Vessel object
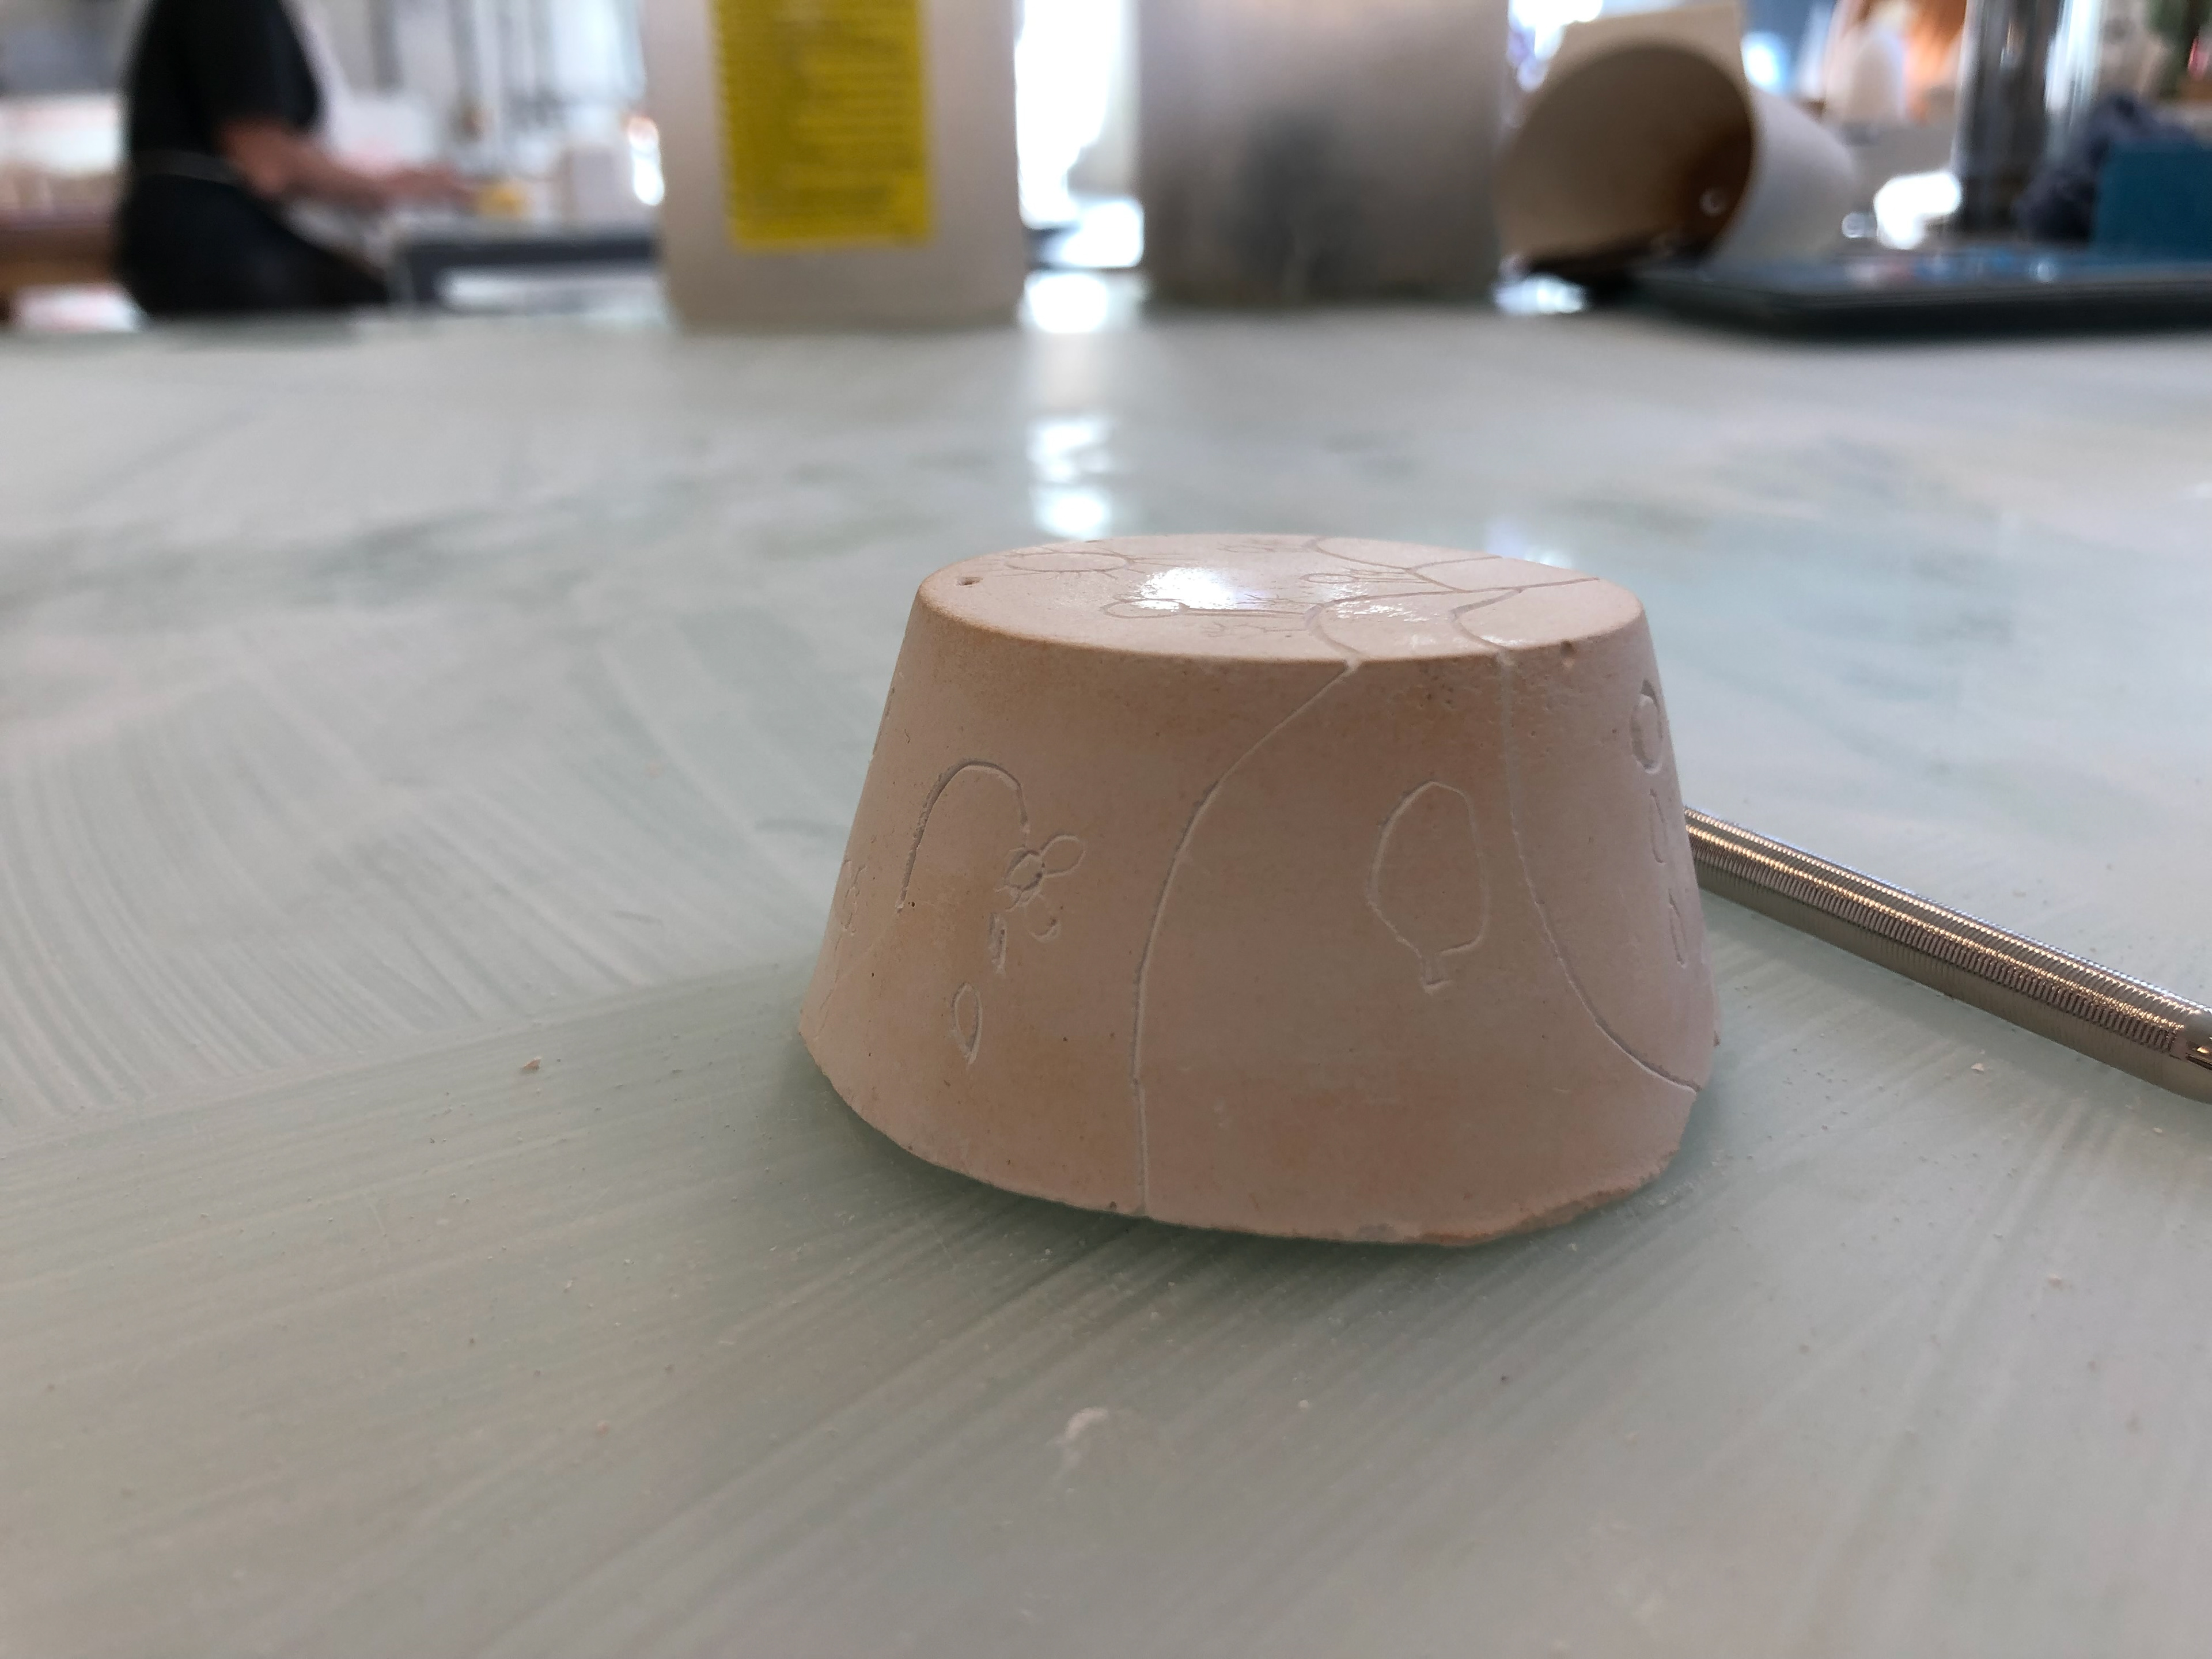
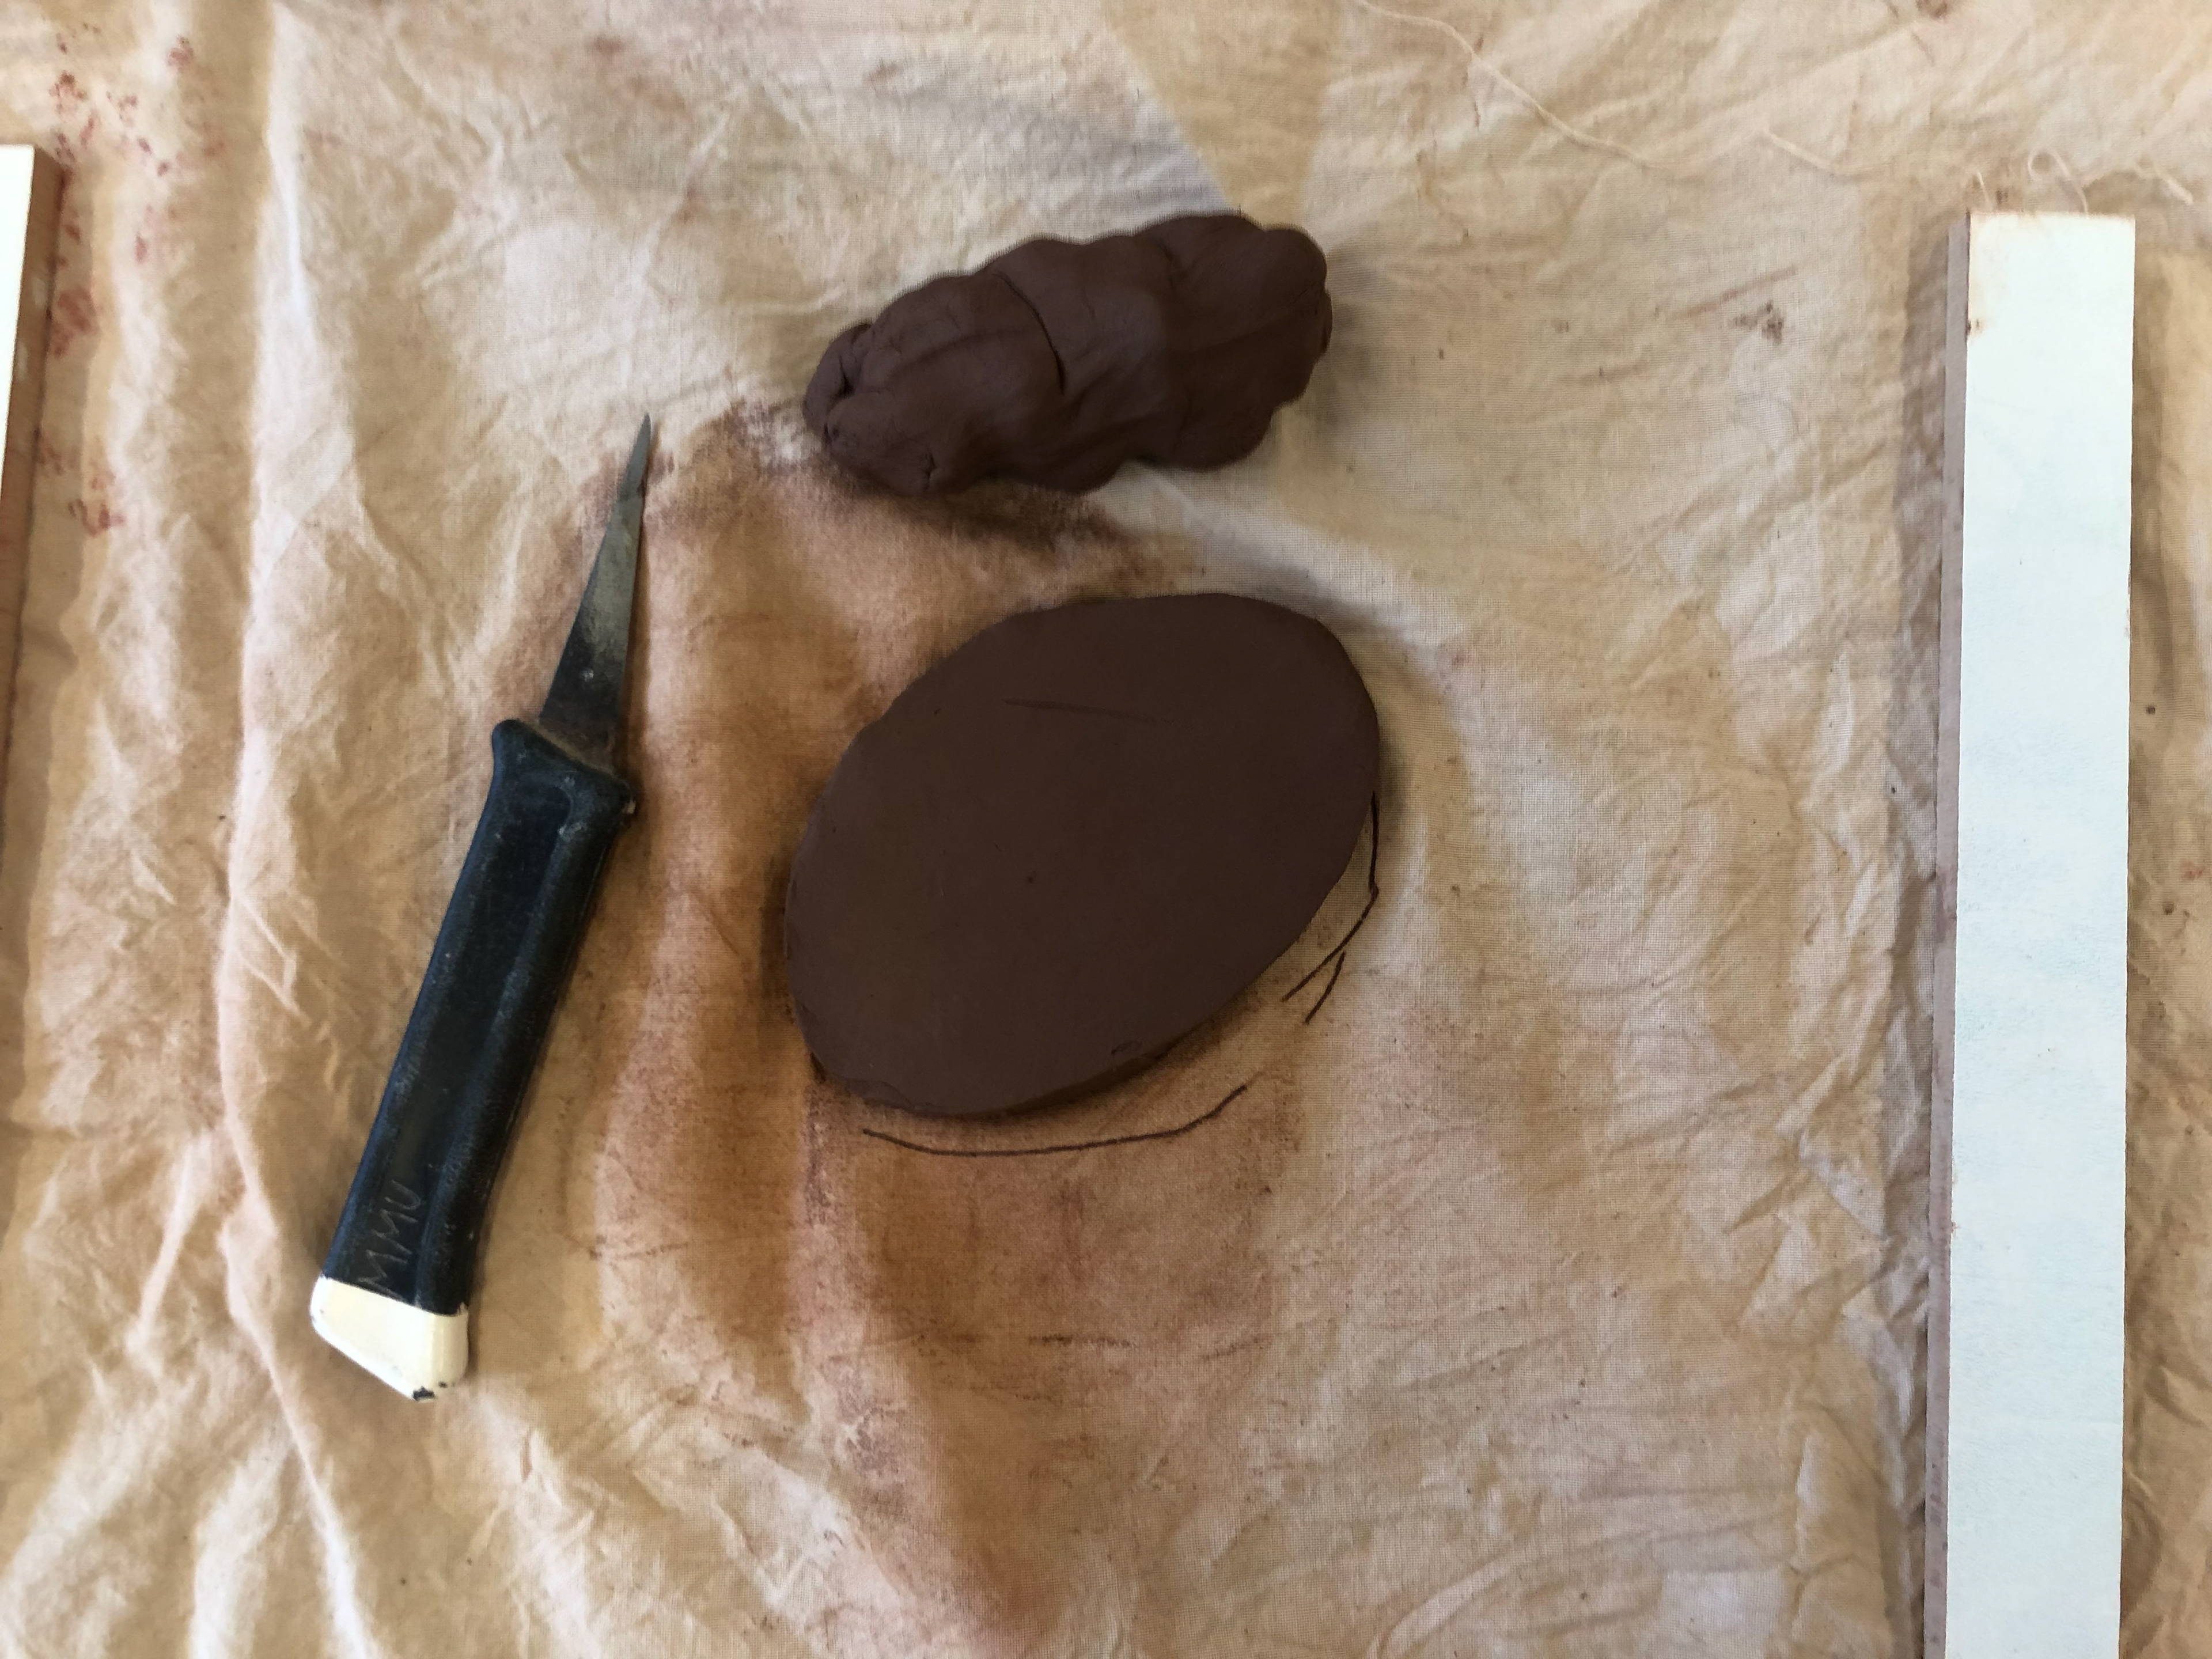
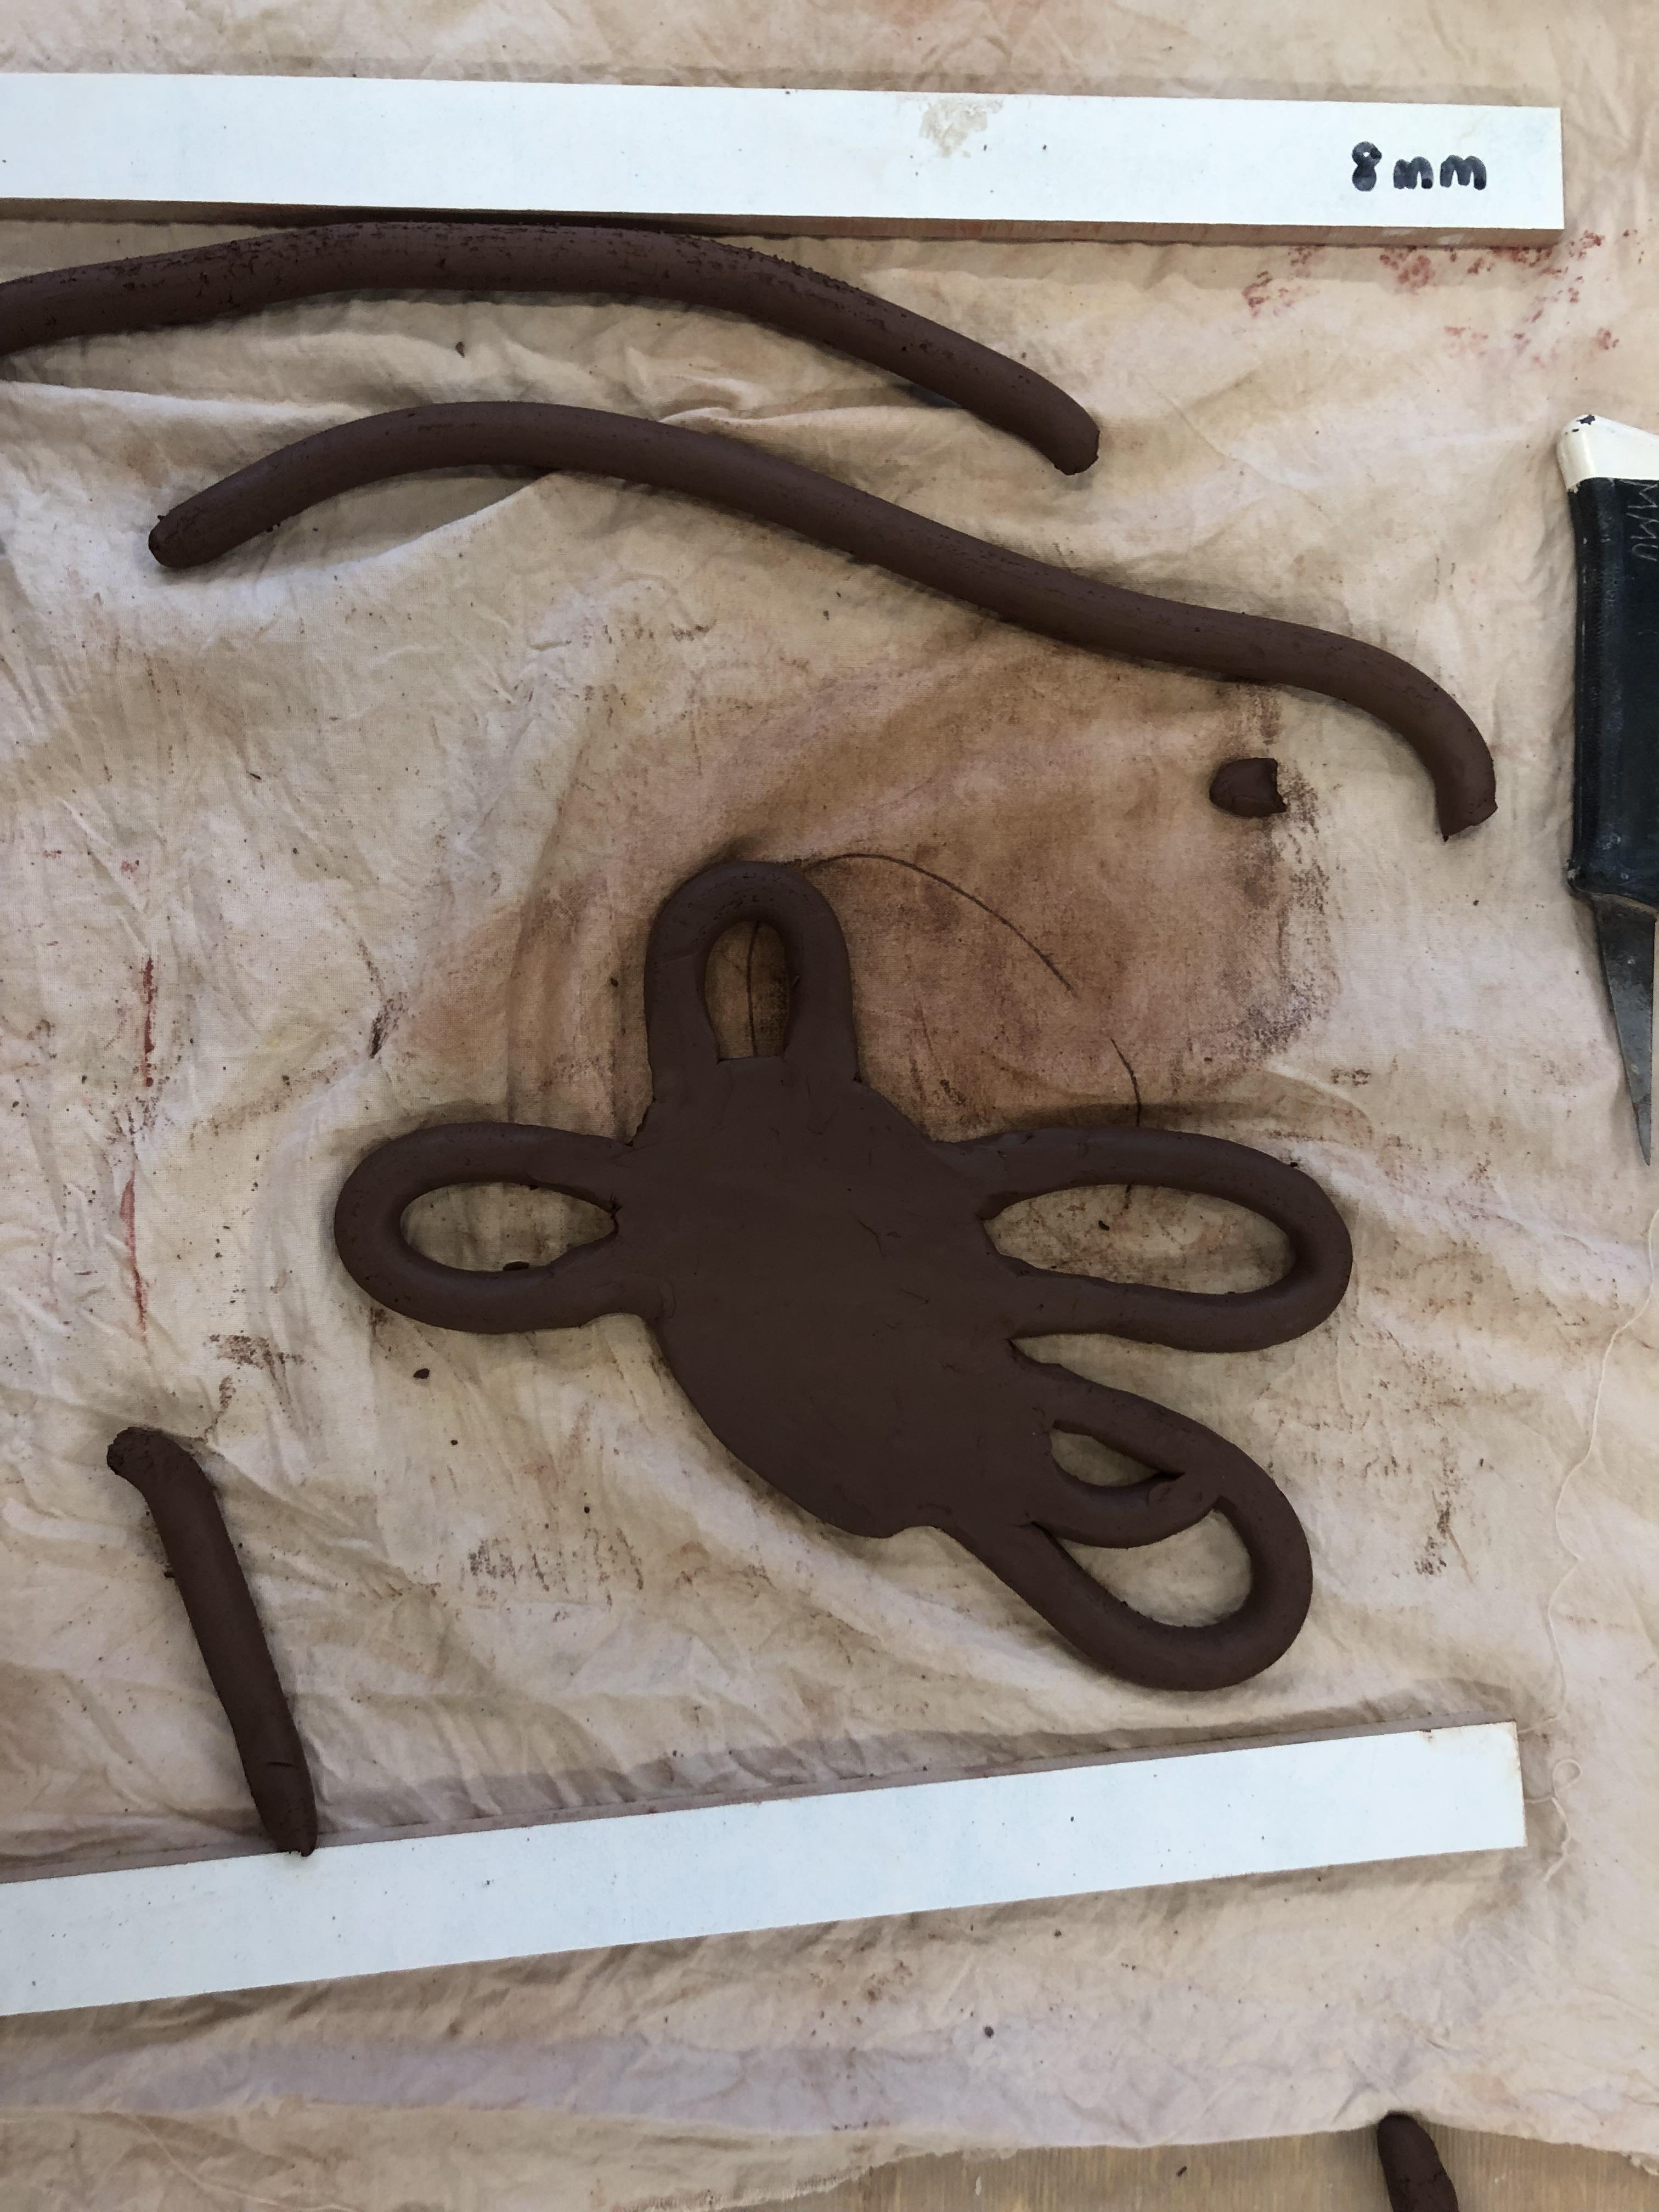
We initially drew two designs of a vessel on paper, cut them out and assigned a word to the vessel. We then took a negative and swapped with another person to create that form from clay. During this process we used the clay extruder to get the correct dimension clay strips. The word I was given with the paper was "flutter" so I had to incorporate this into my design.
Once we had made our vessel we cut it into 3 or 4 pieces. Then we created two "Frankenstein" vessel's. One we just added it to where we thought it would fit best and the other using the word associated with the vessel's paper.
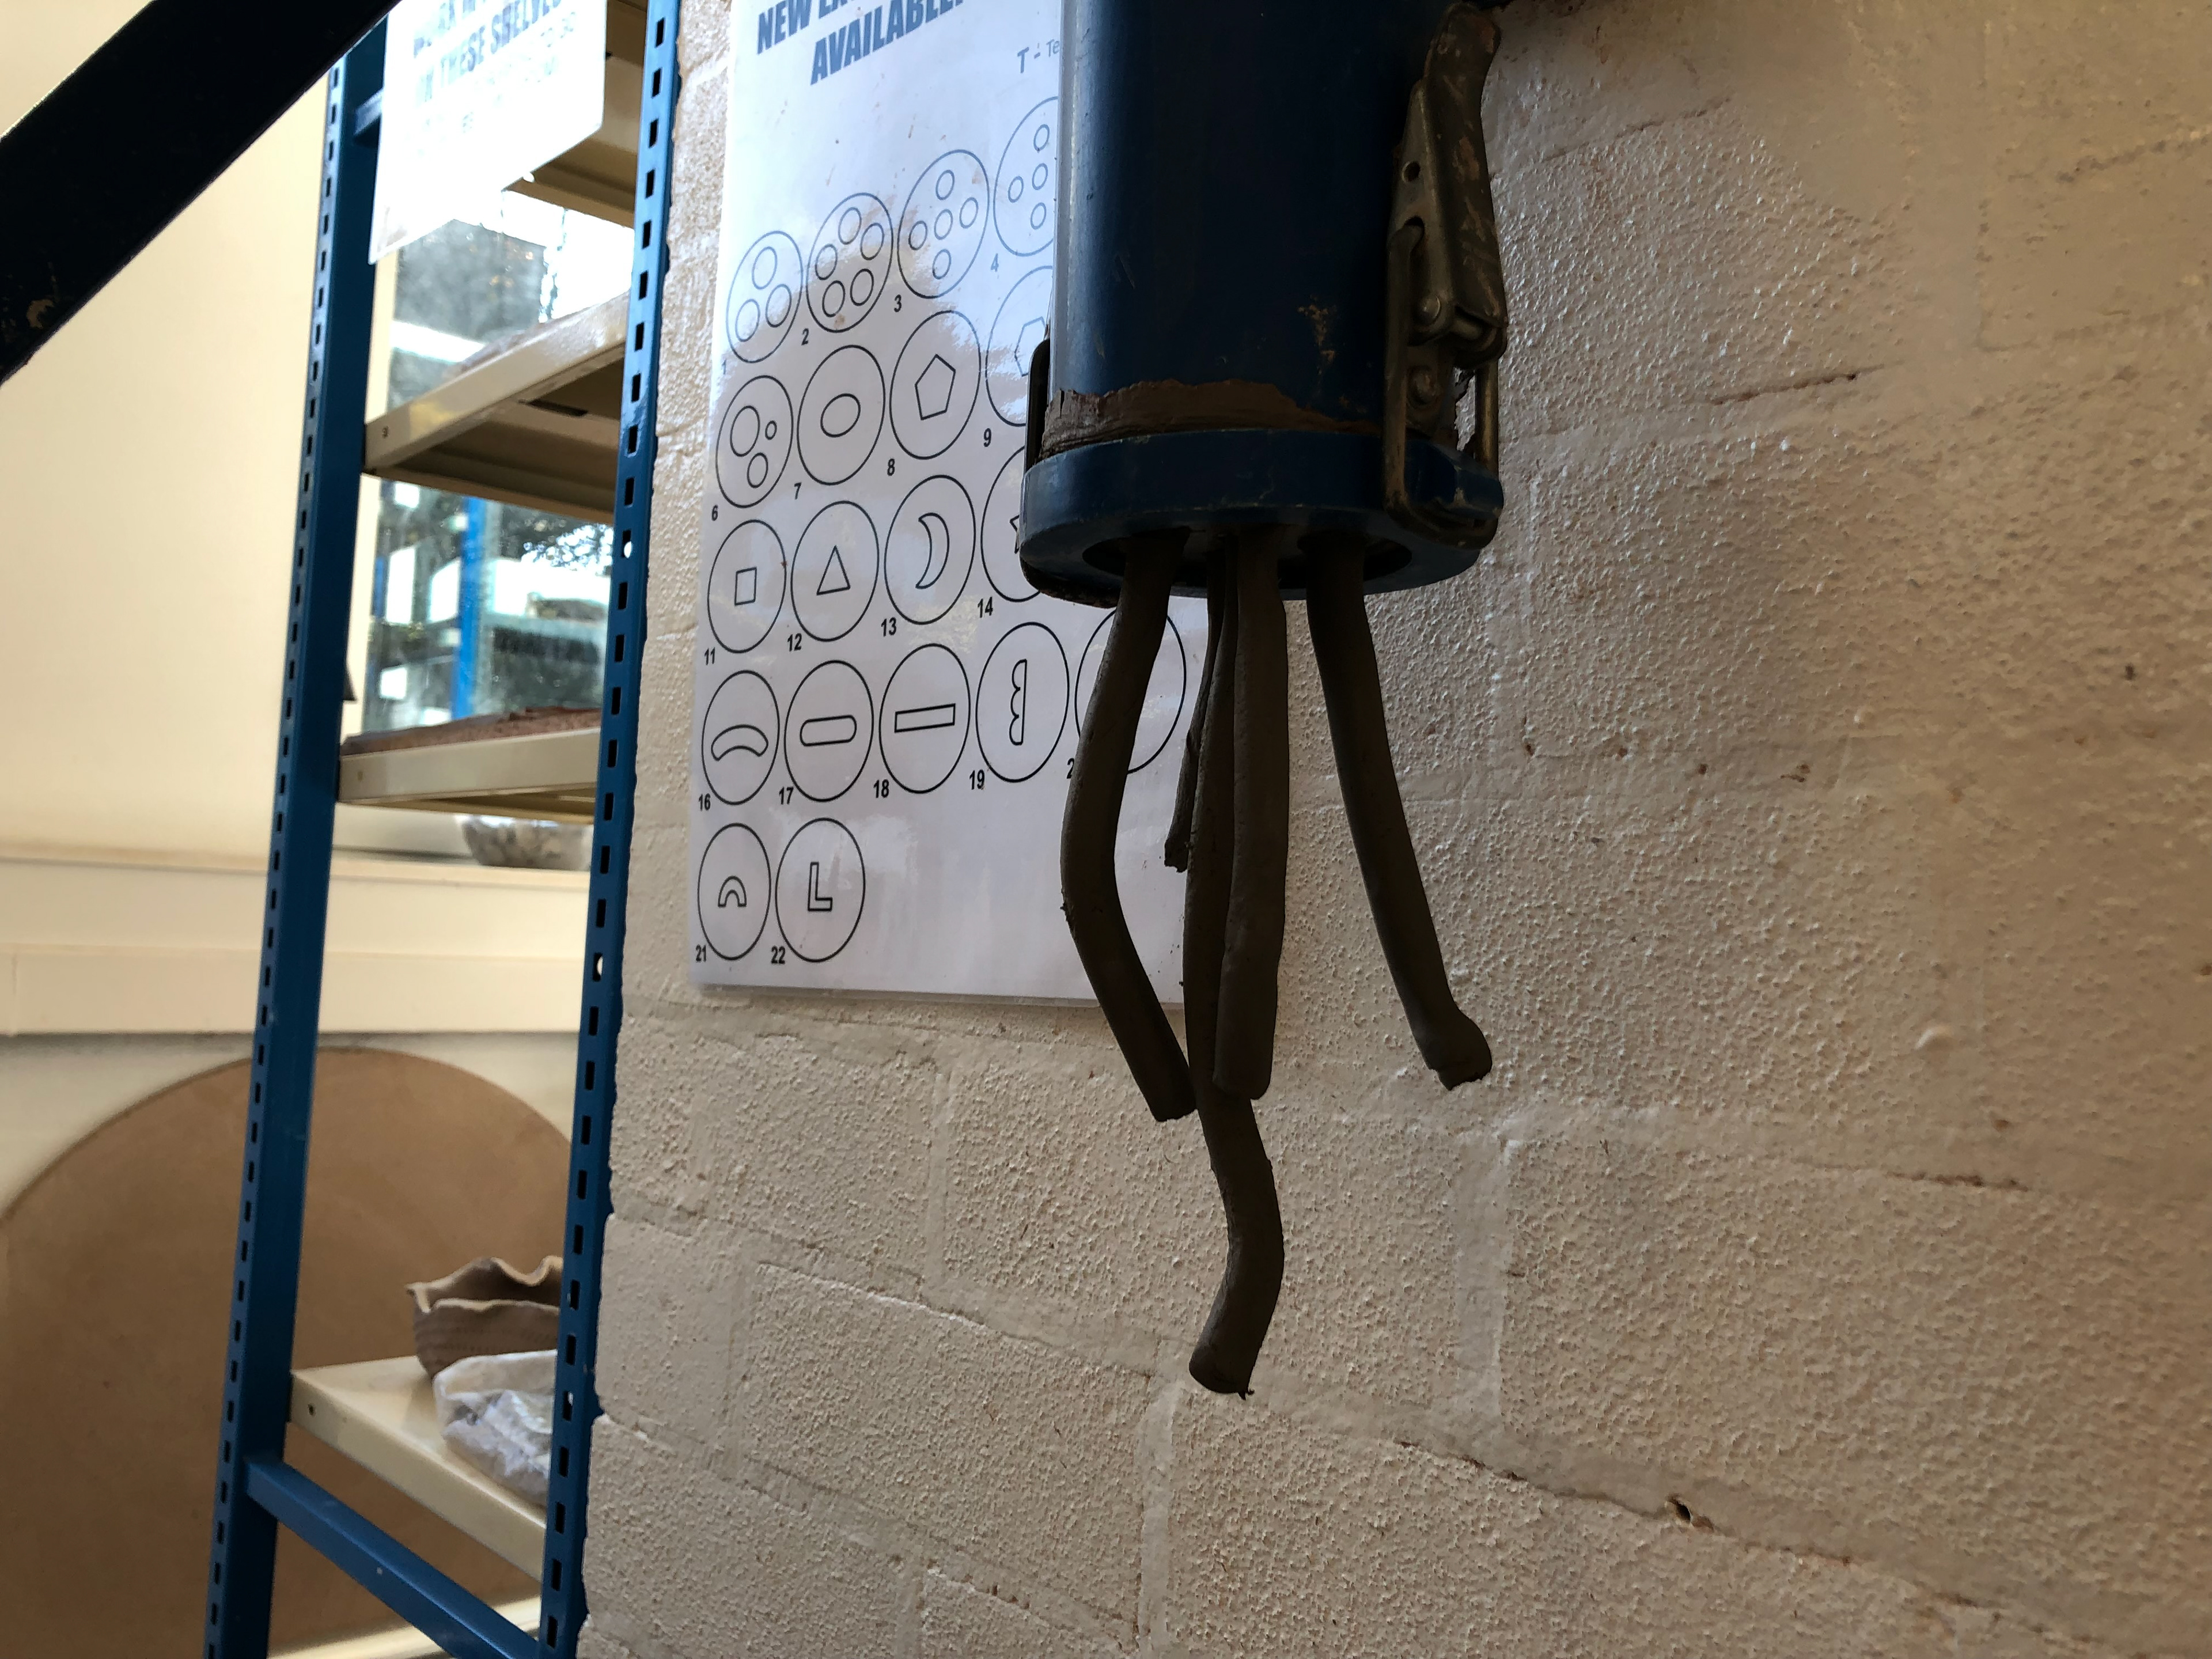
The extruder partially pressed down.
My vessel design with the associated words to give to another person.
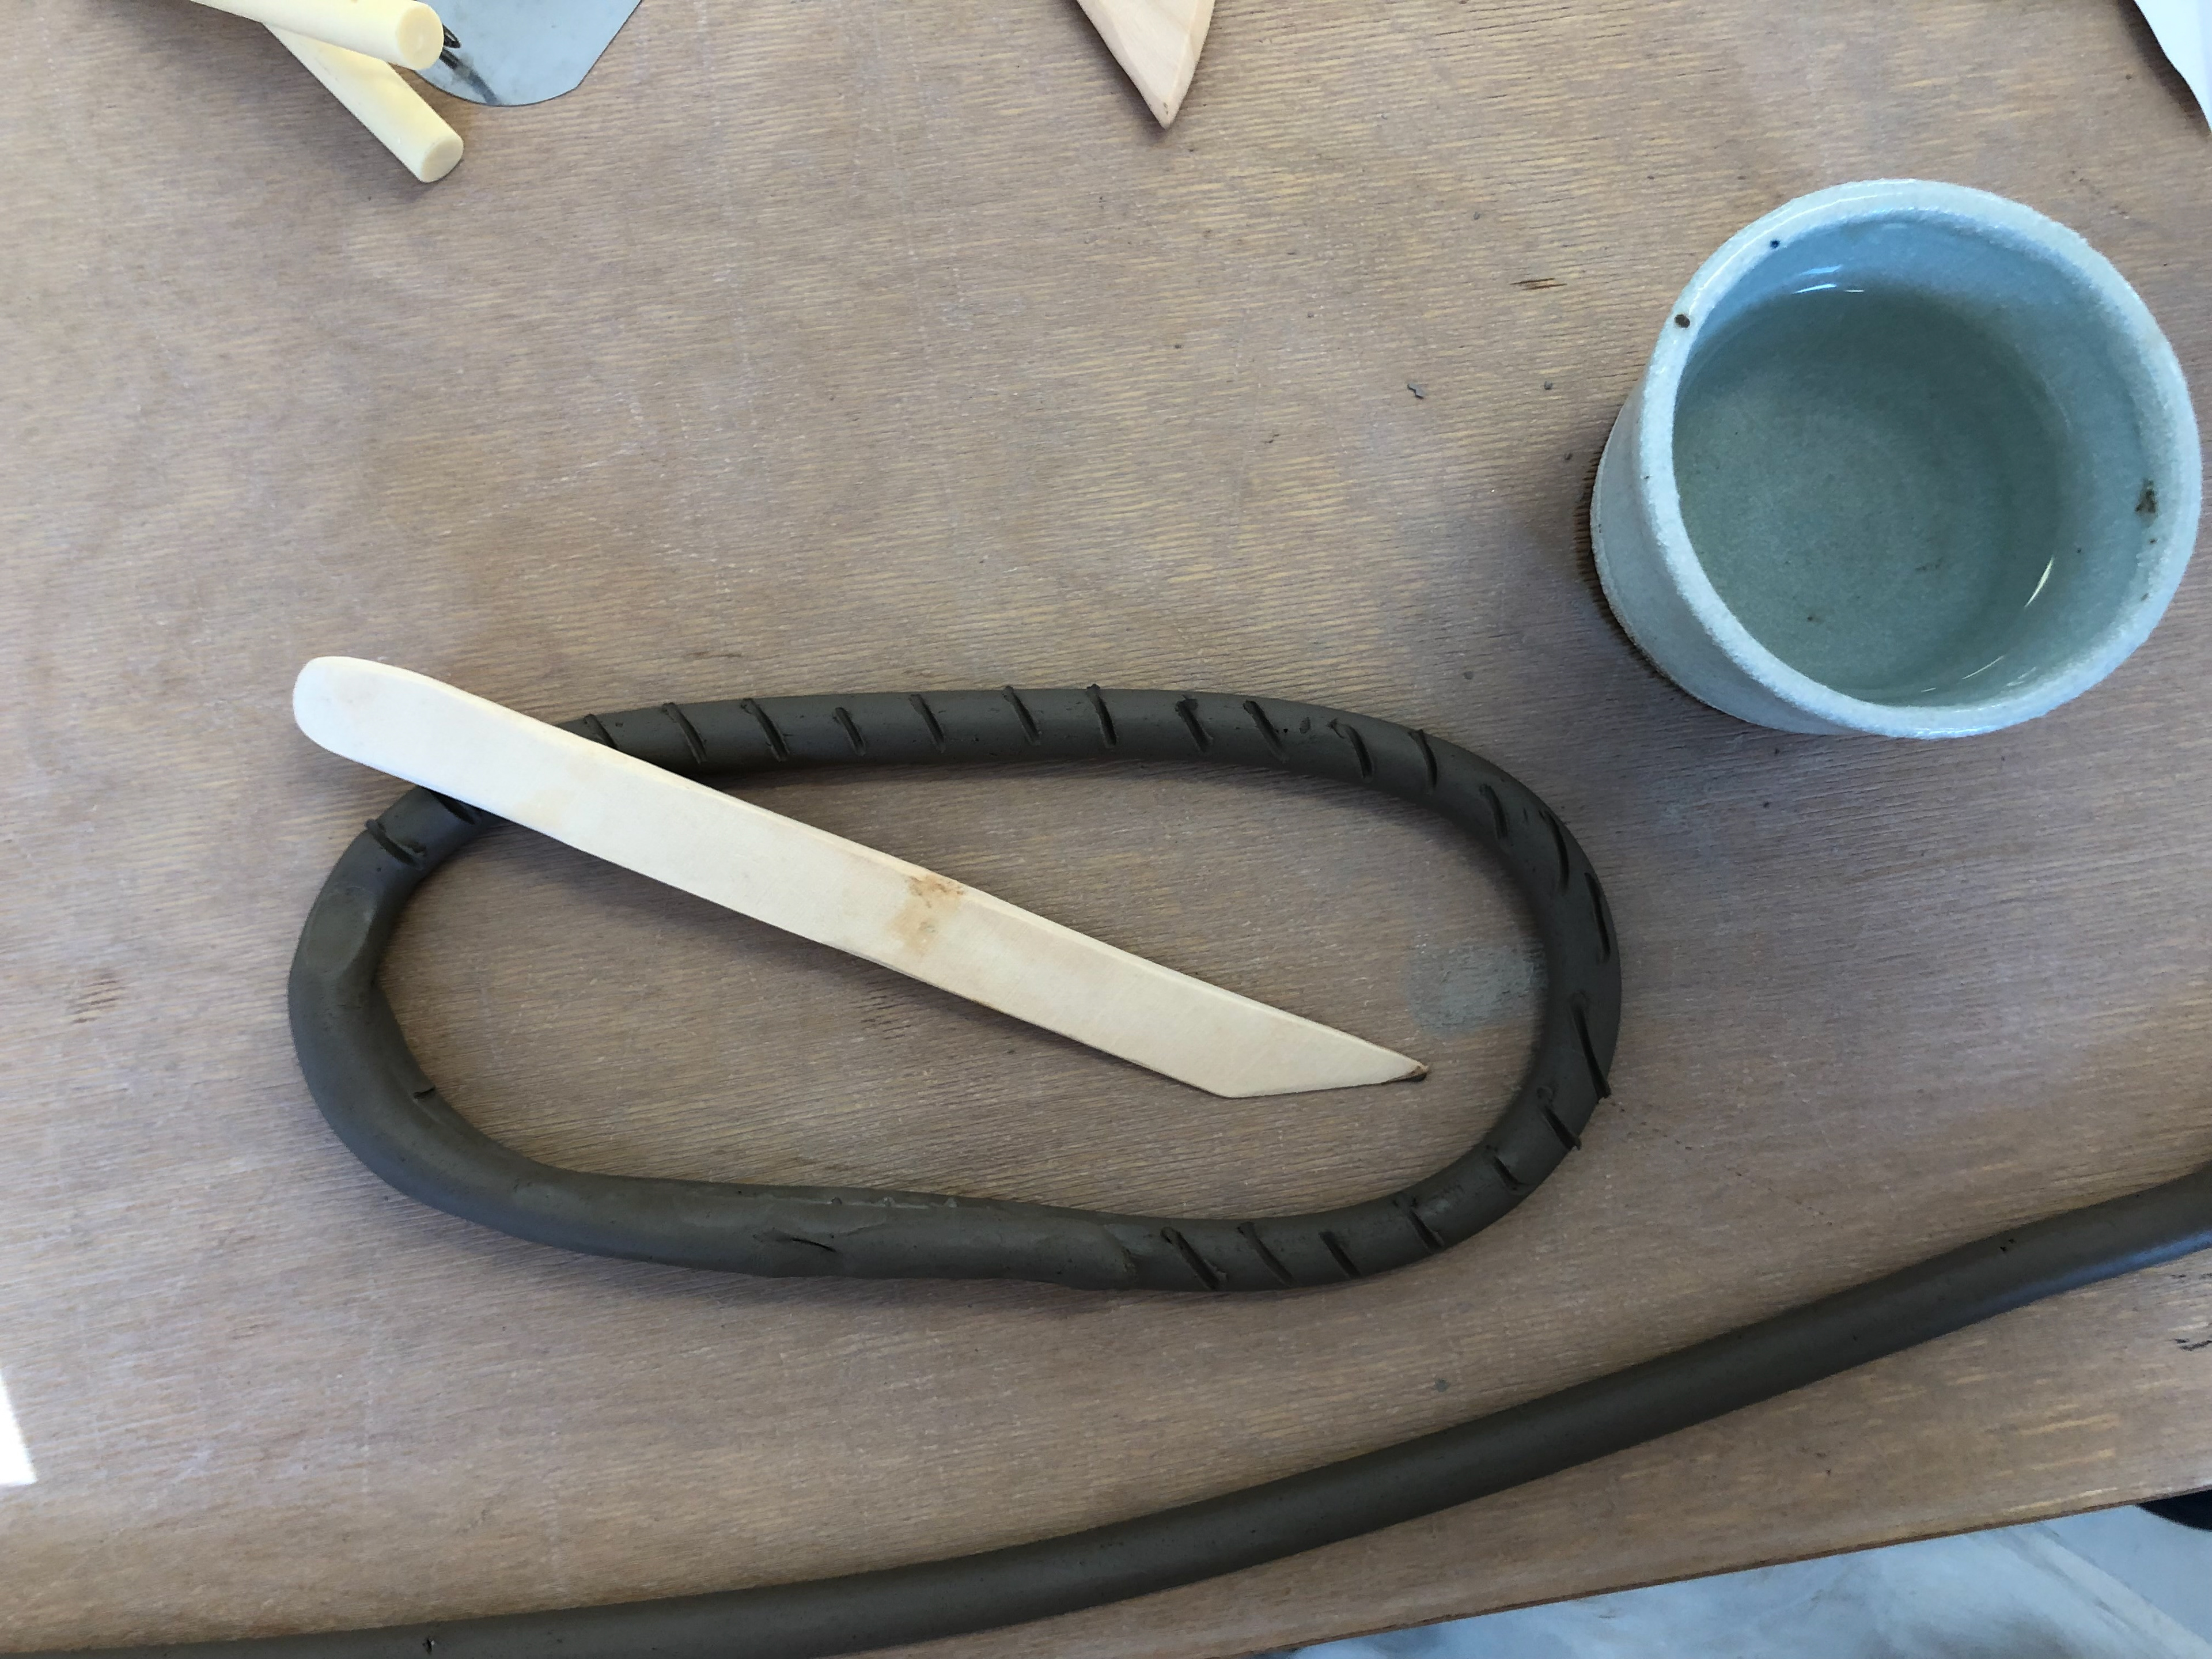
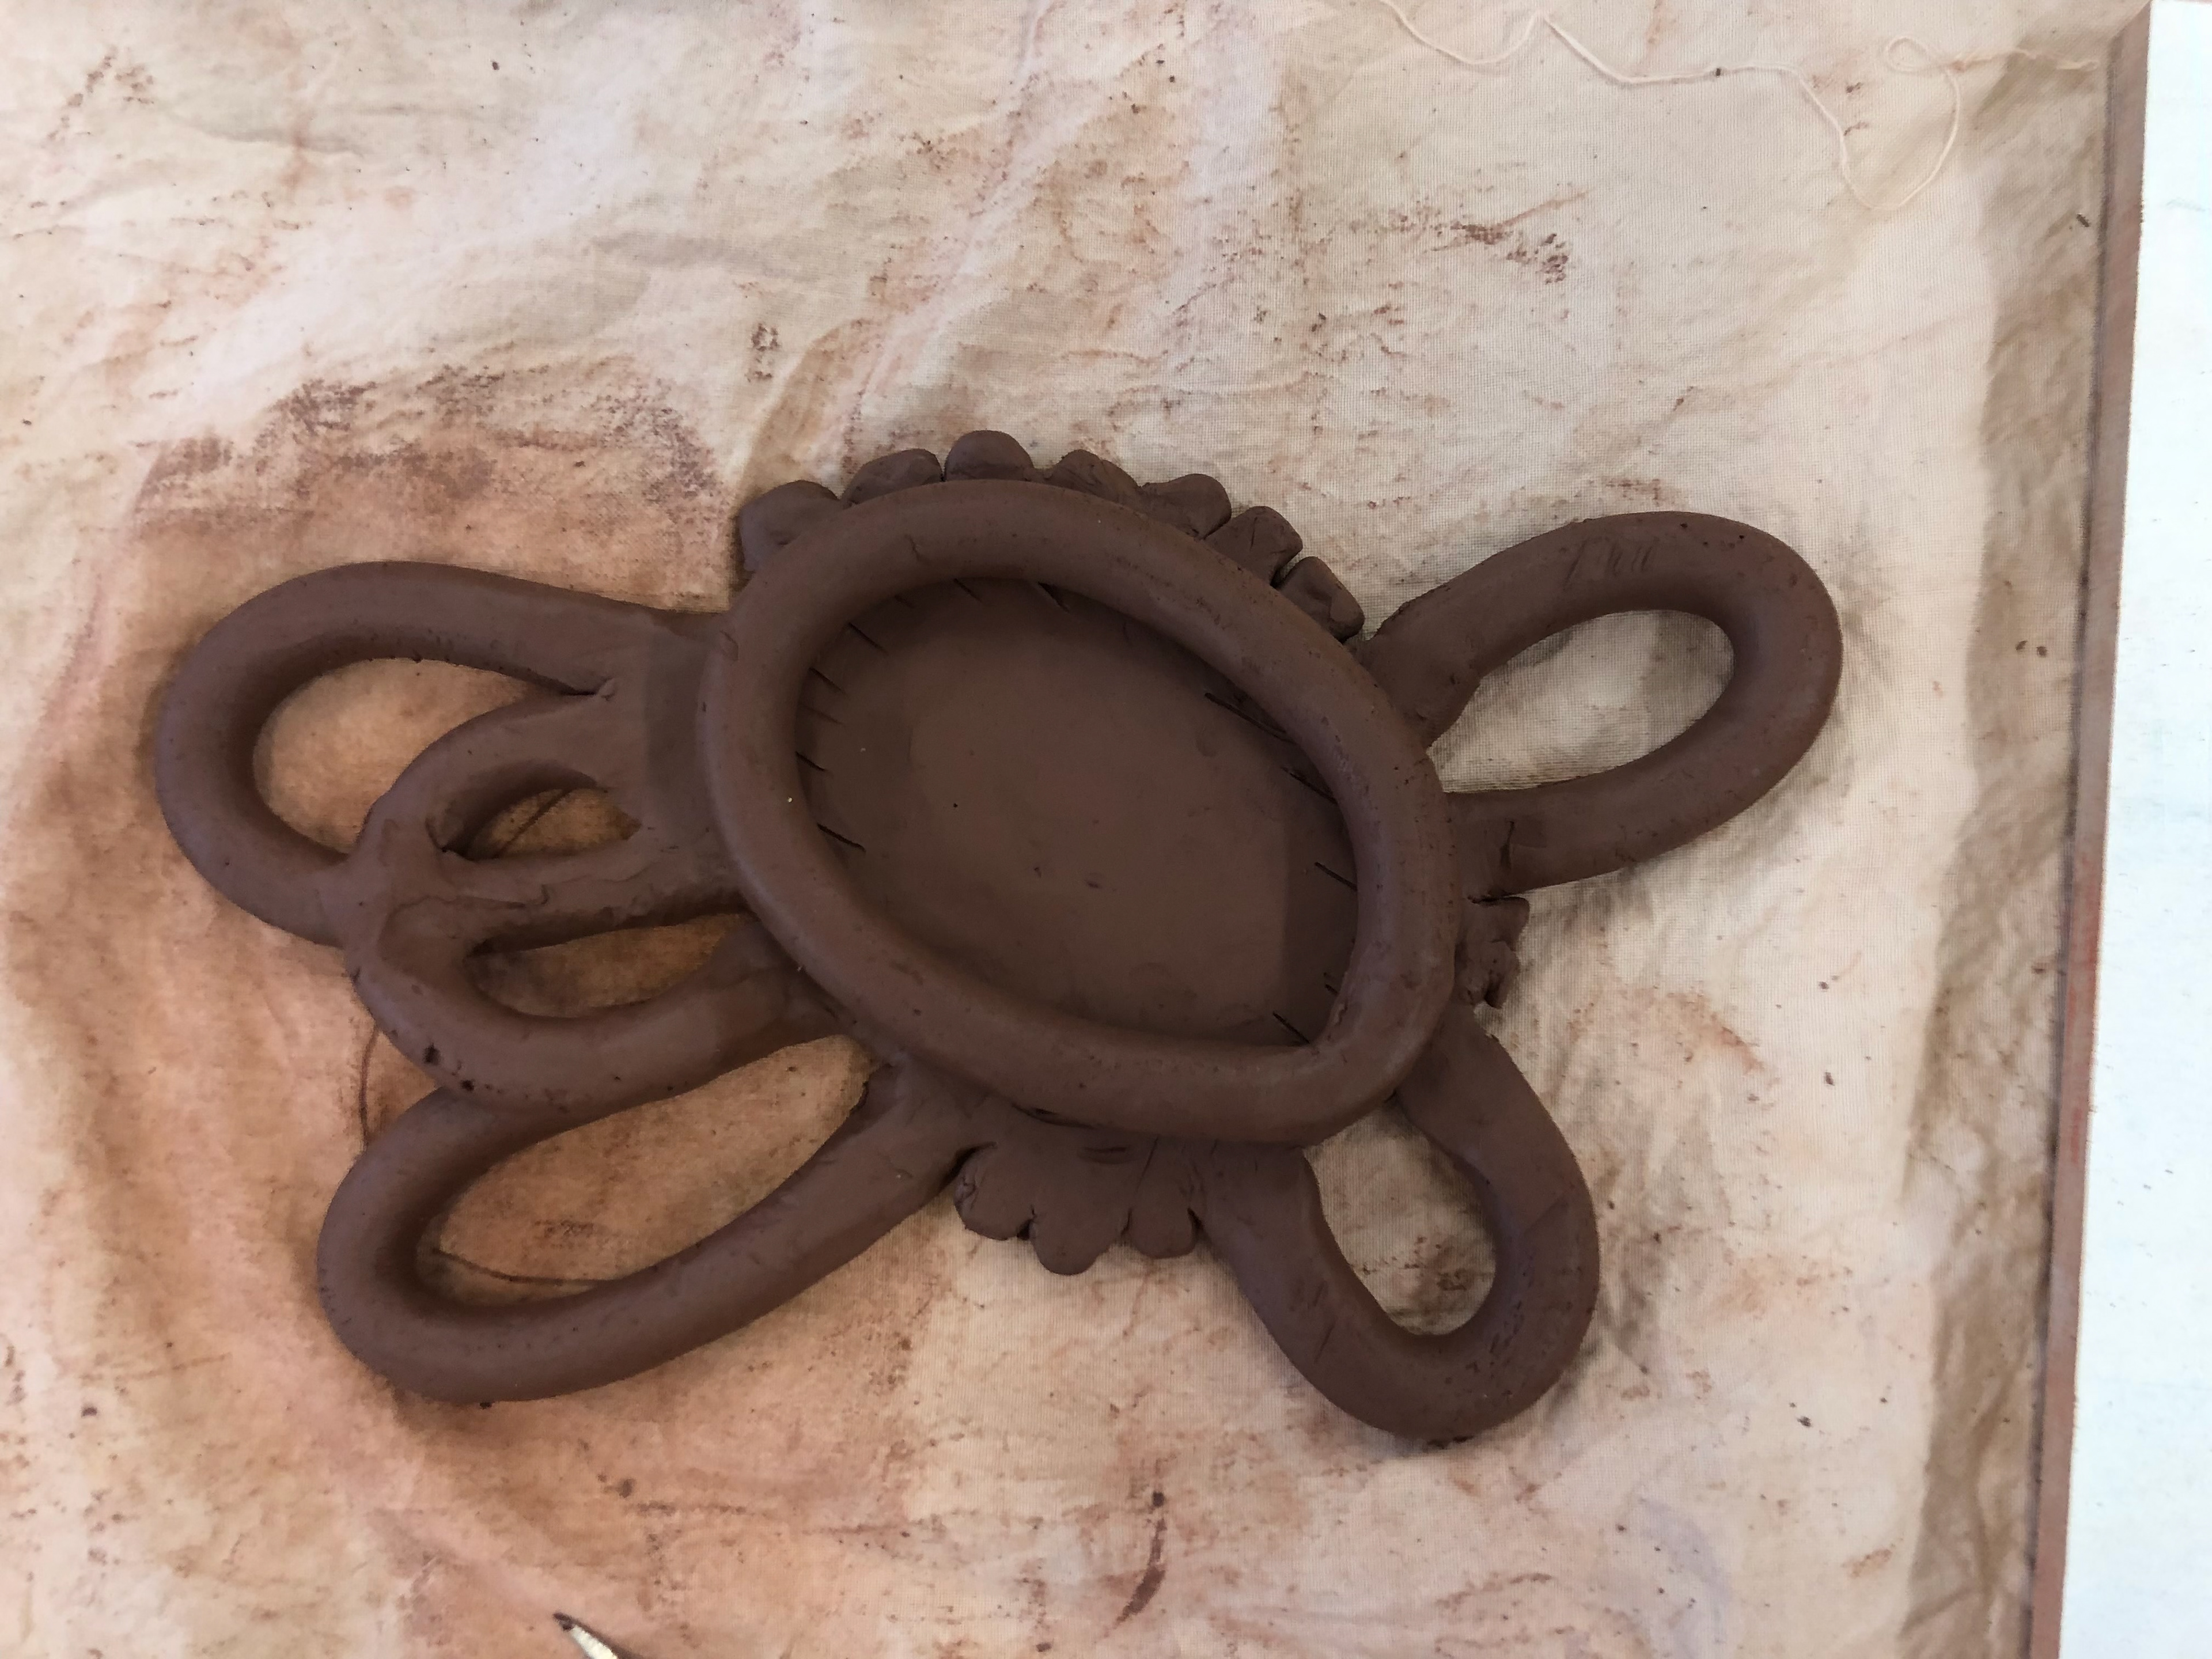
I indented marks into the clay and ran my finger over the clay with water to help the next layer attach.
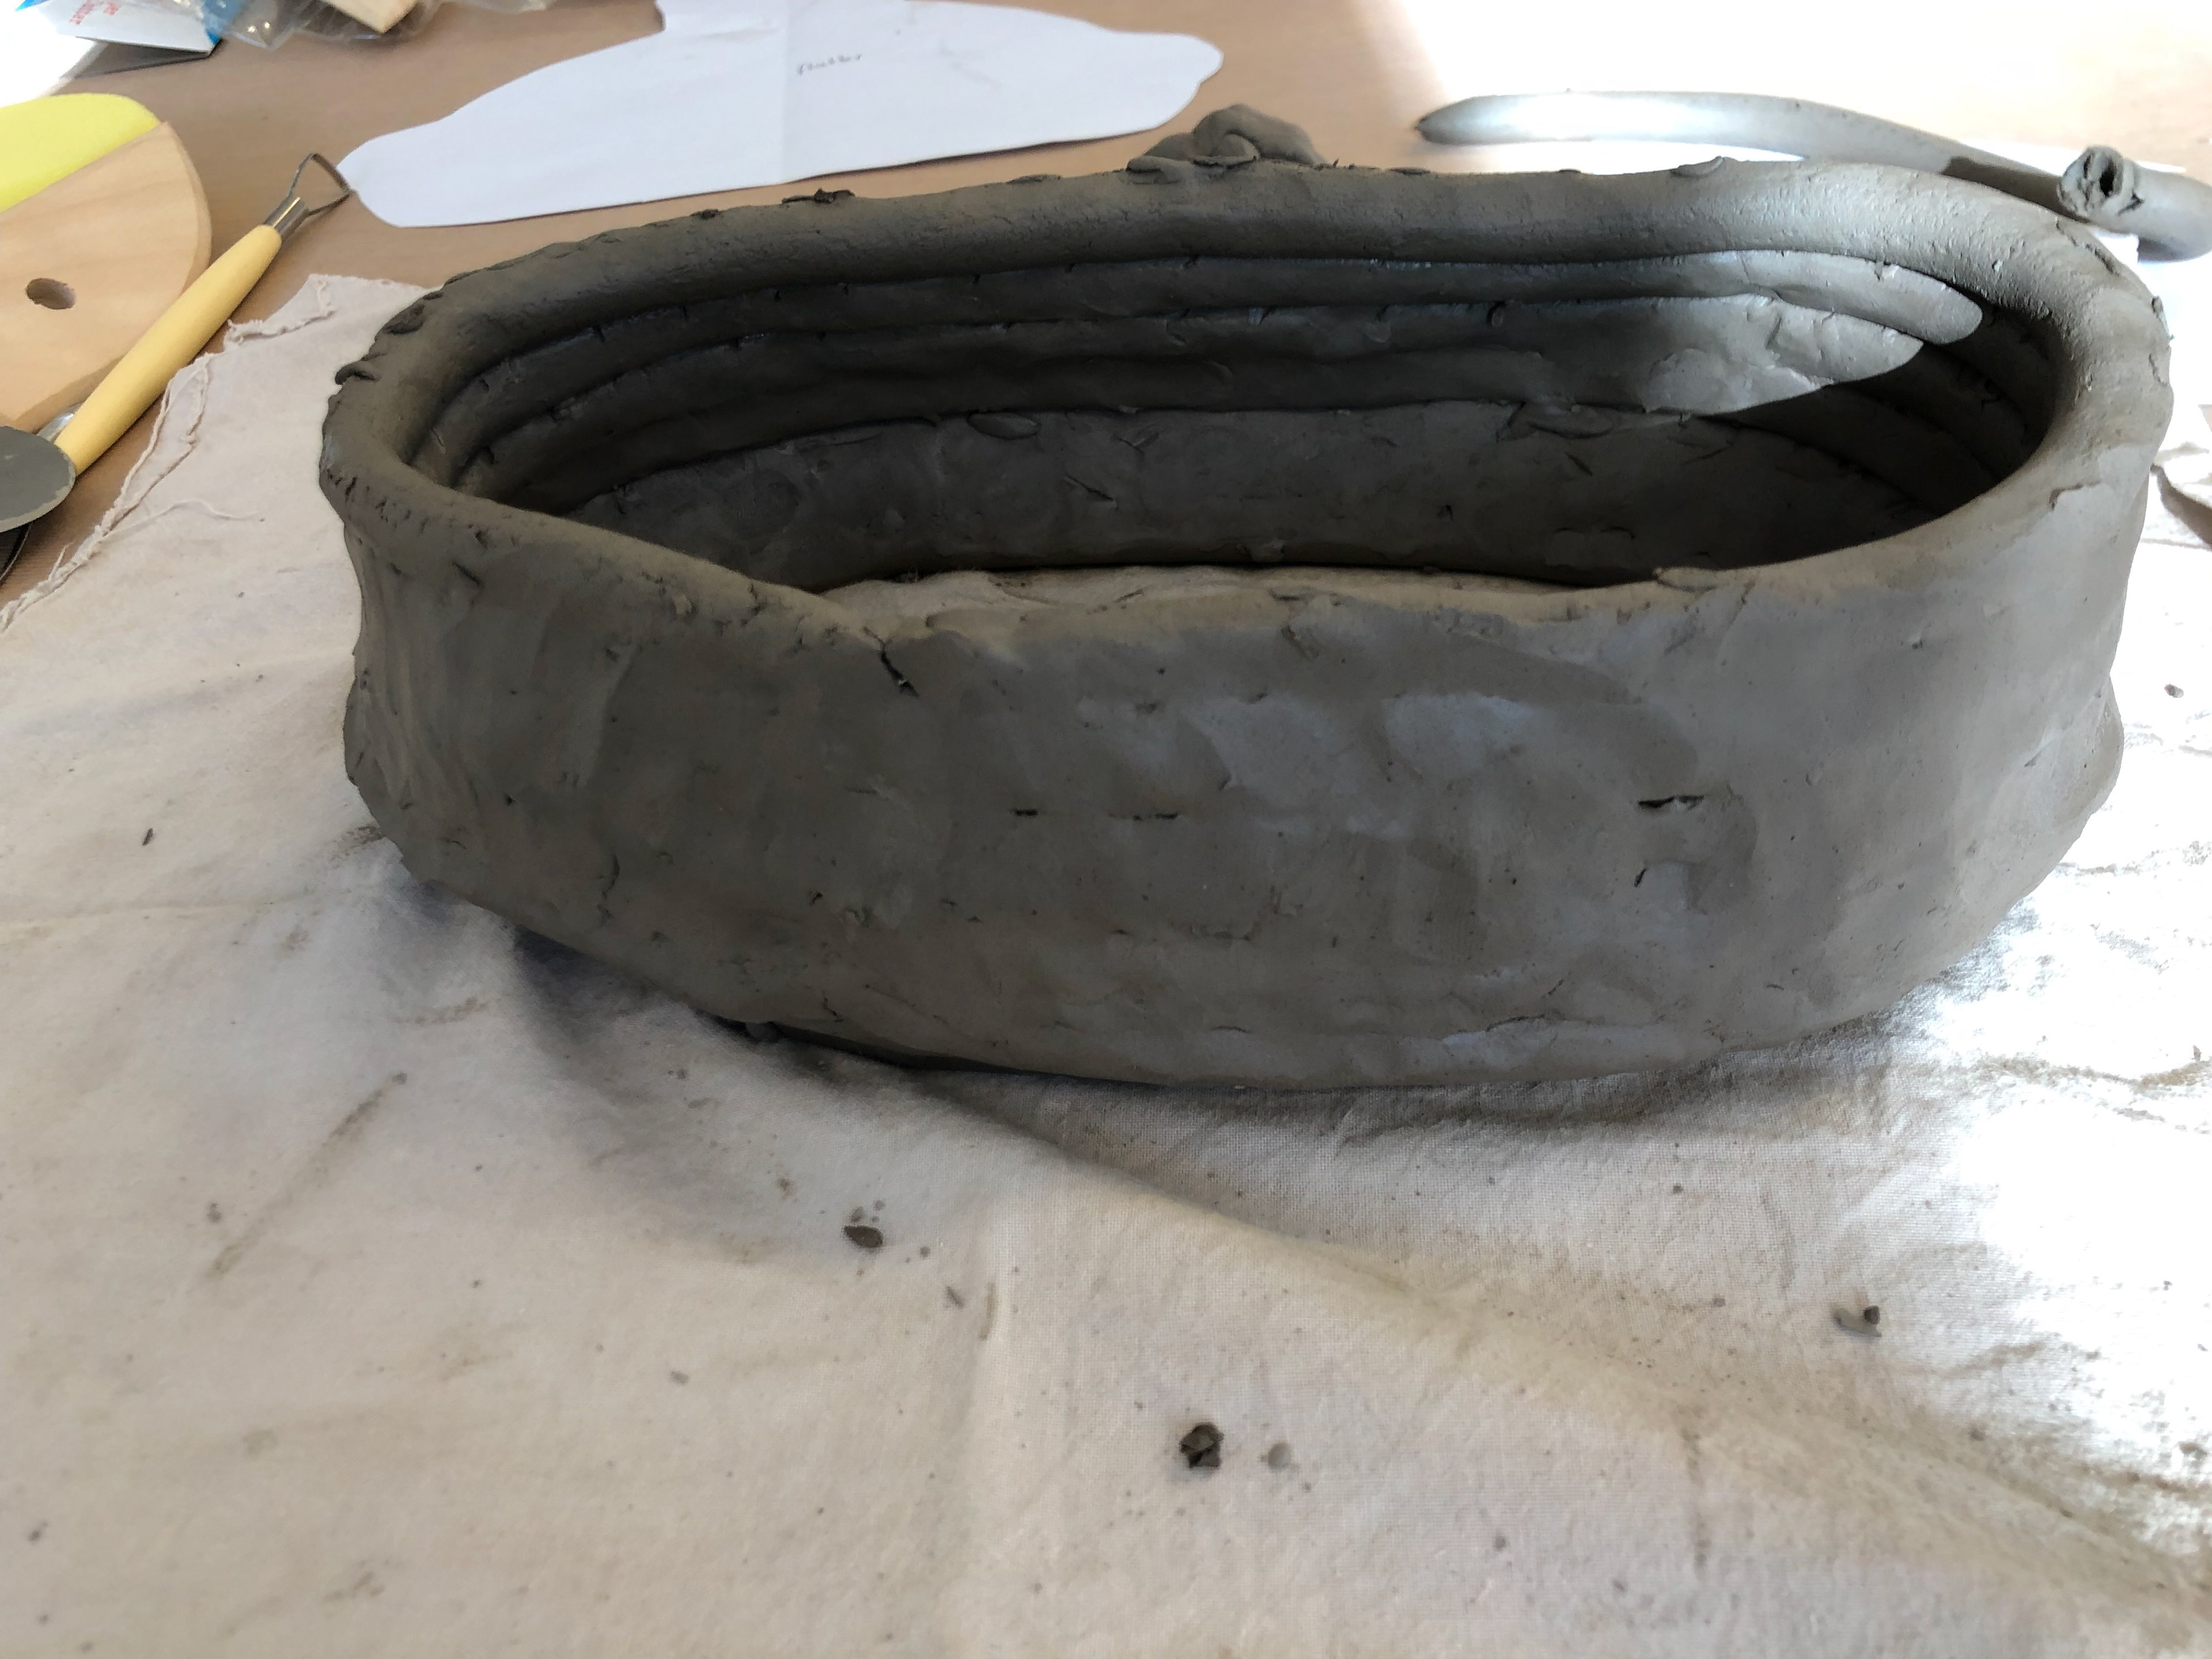
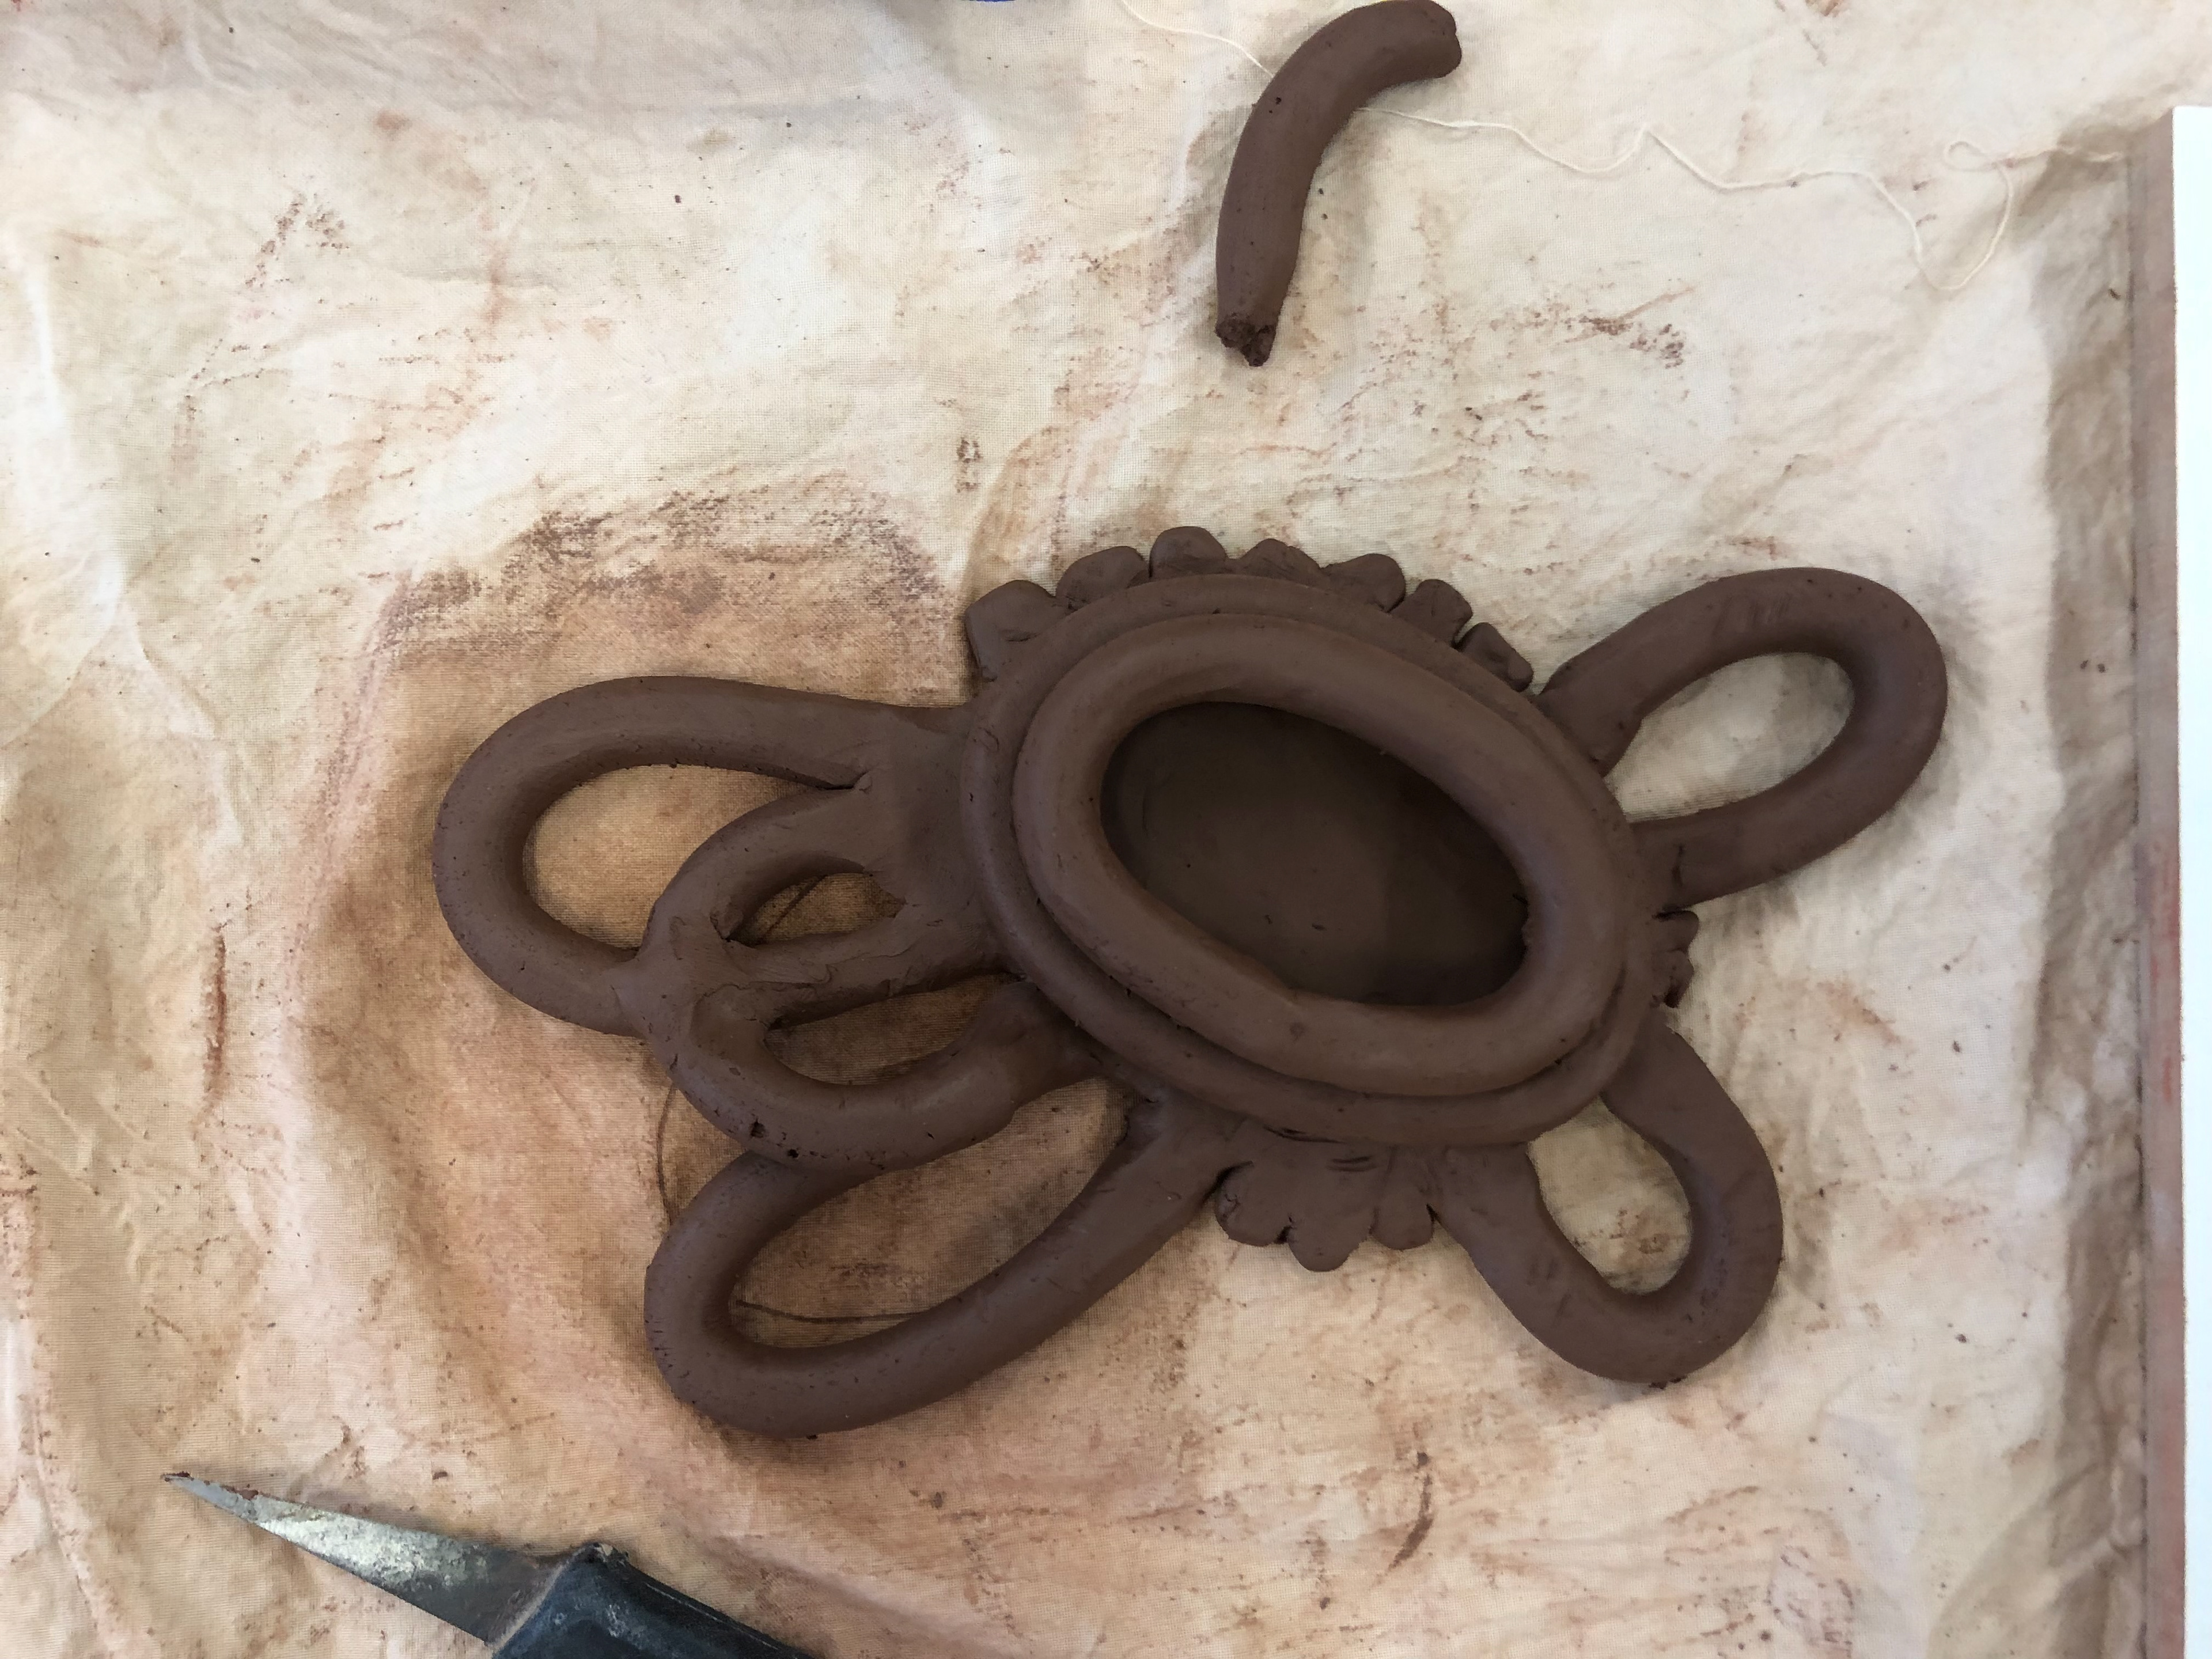
The vessel after a few layers. The outside has been smoothed out however, on the inside it has not.
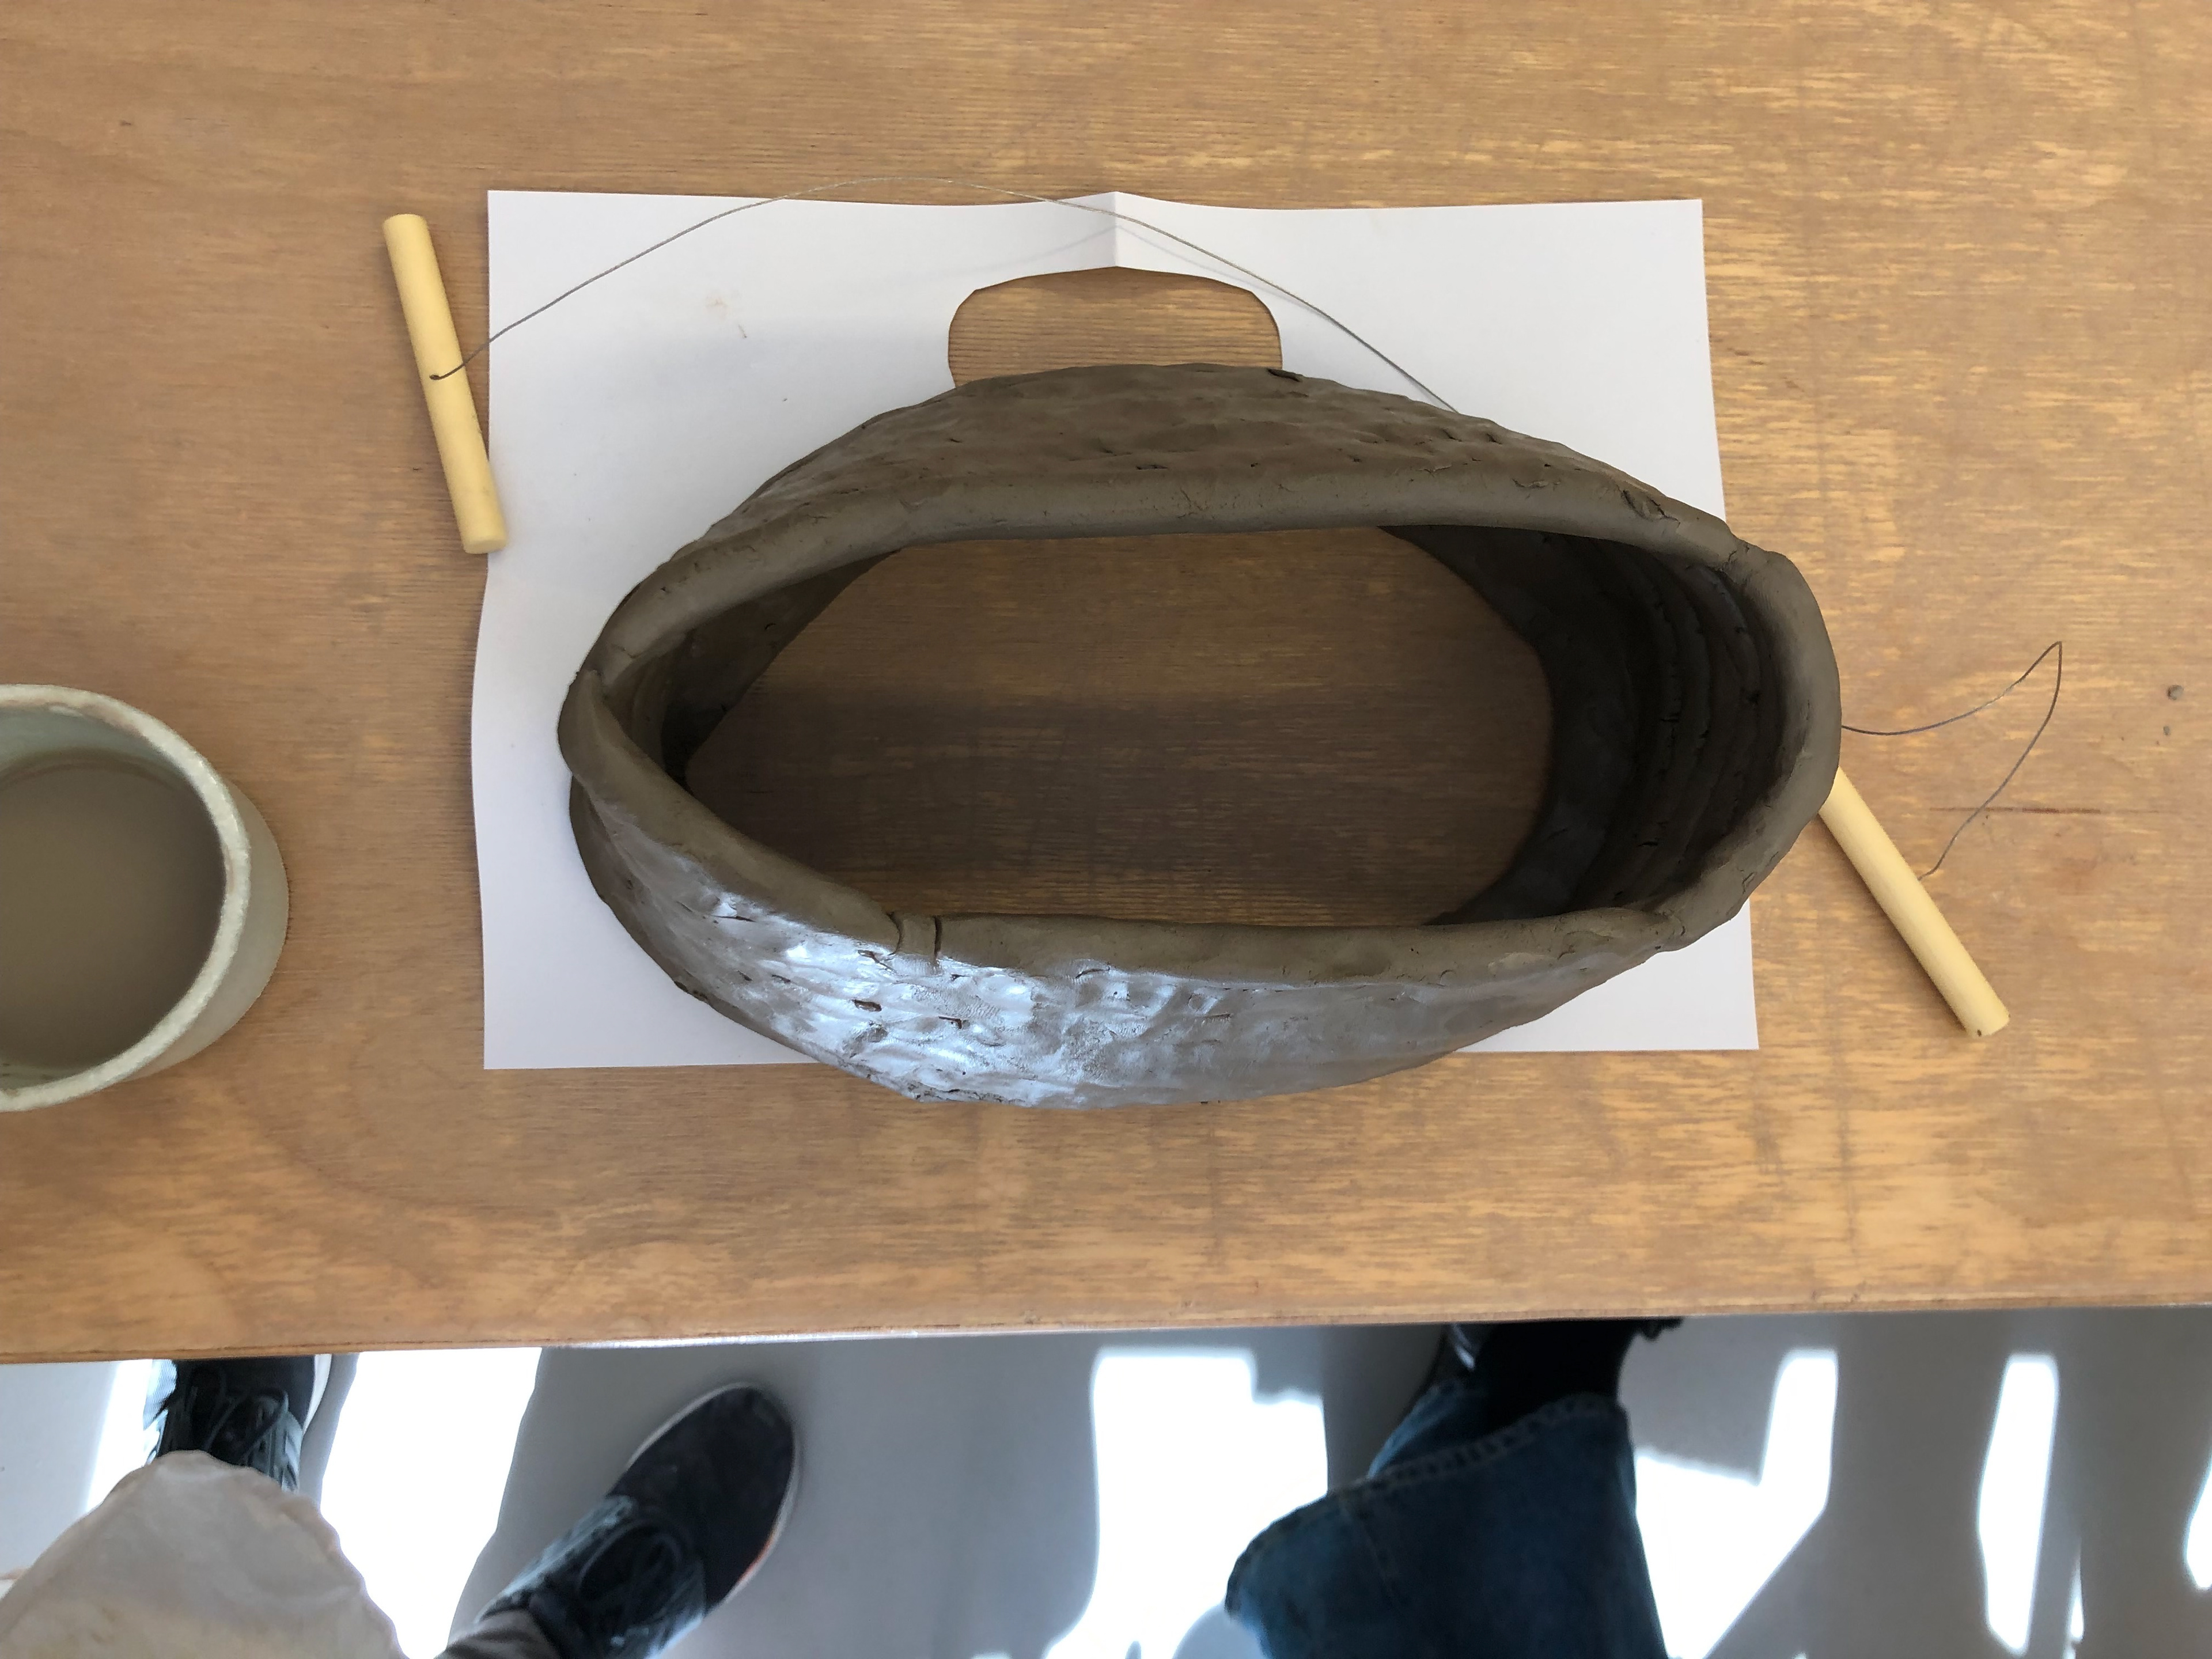
My vessel in the negatives of the paper
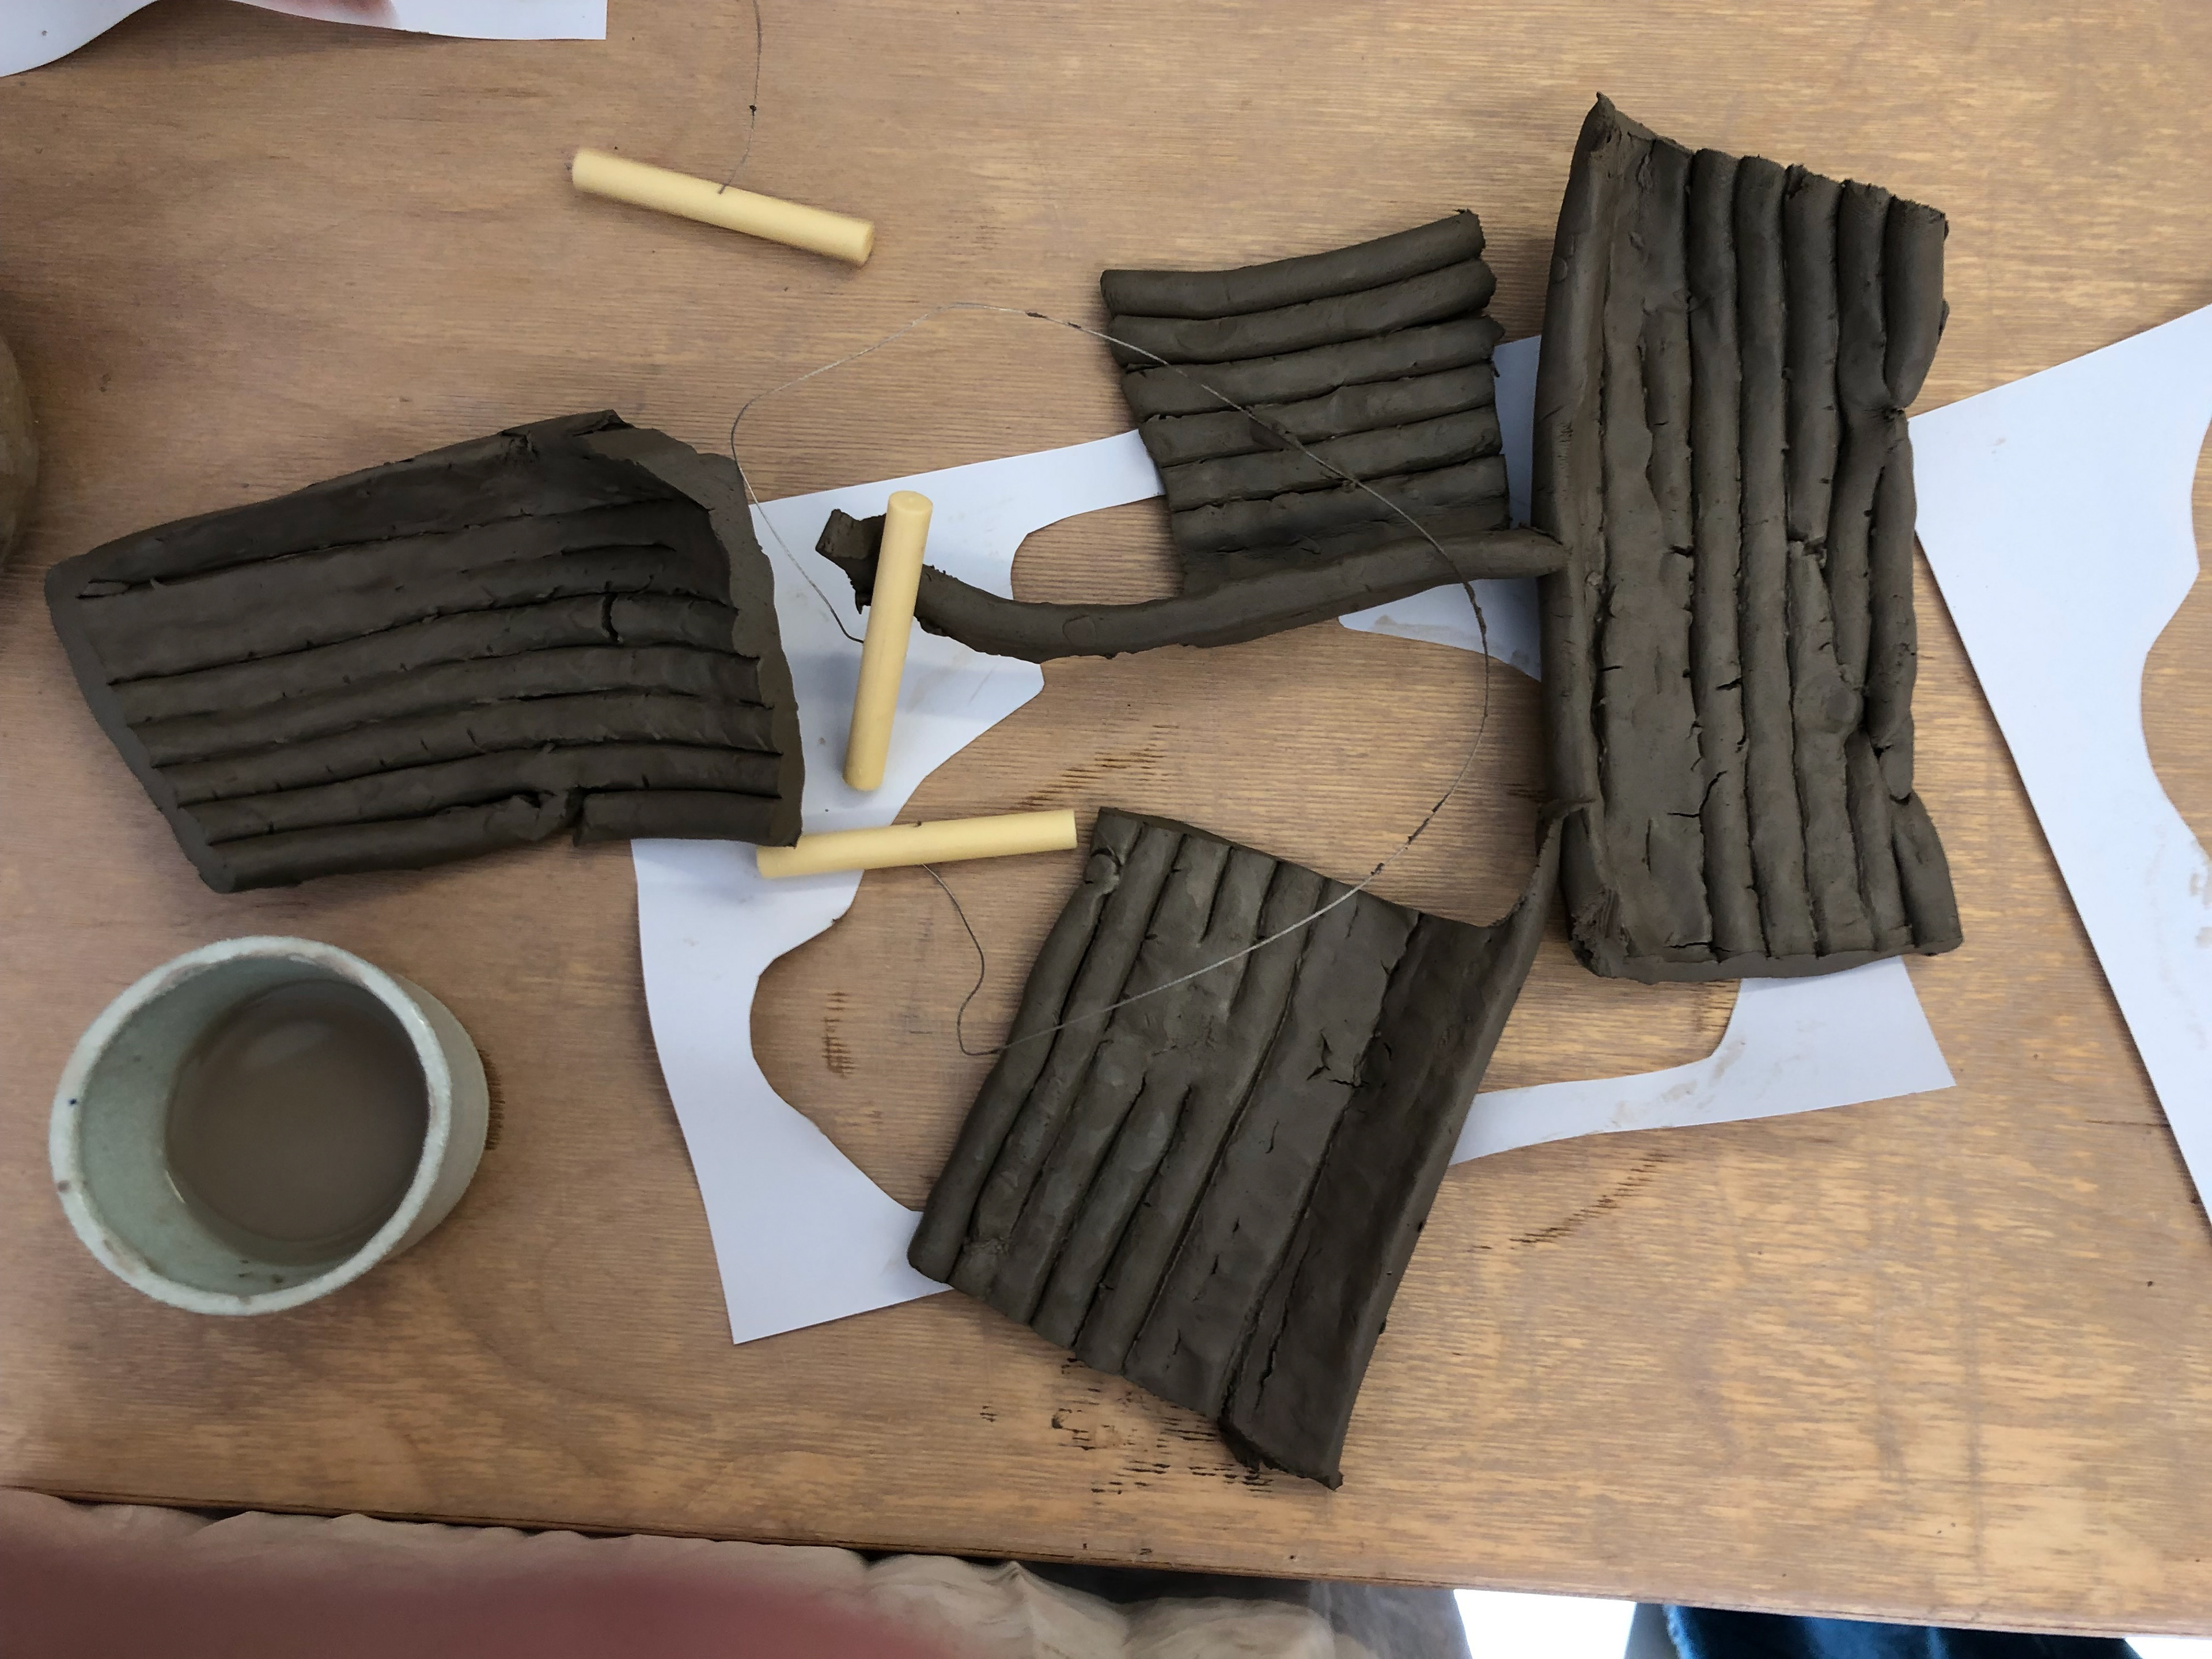
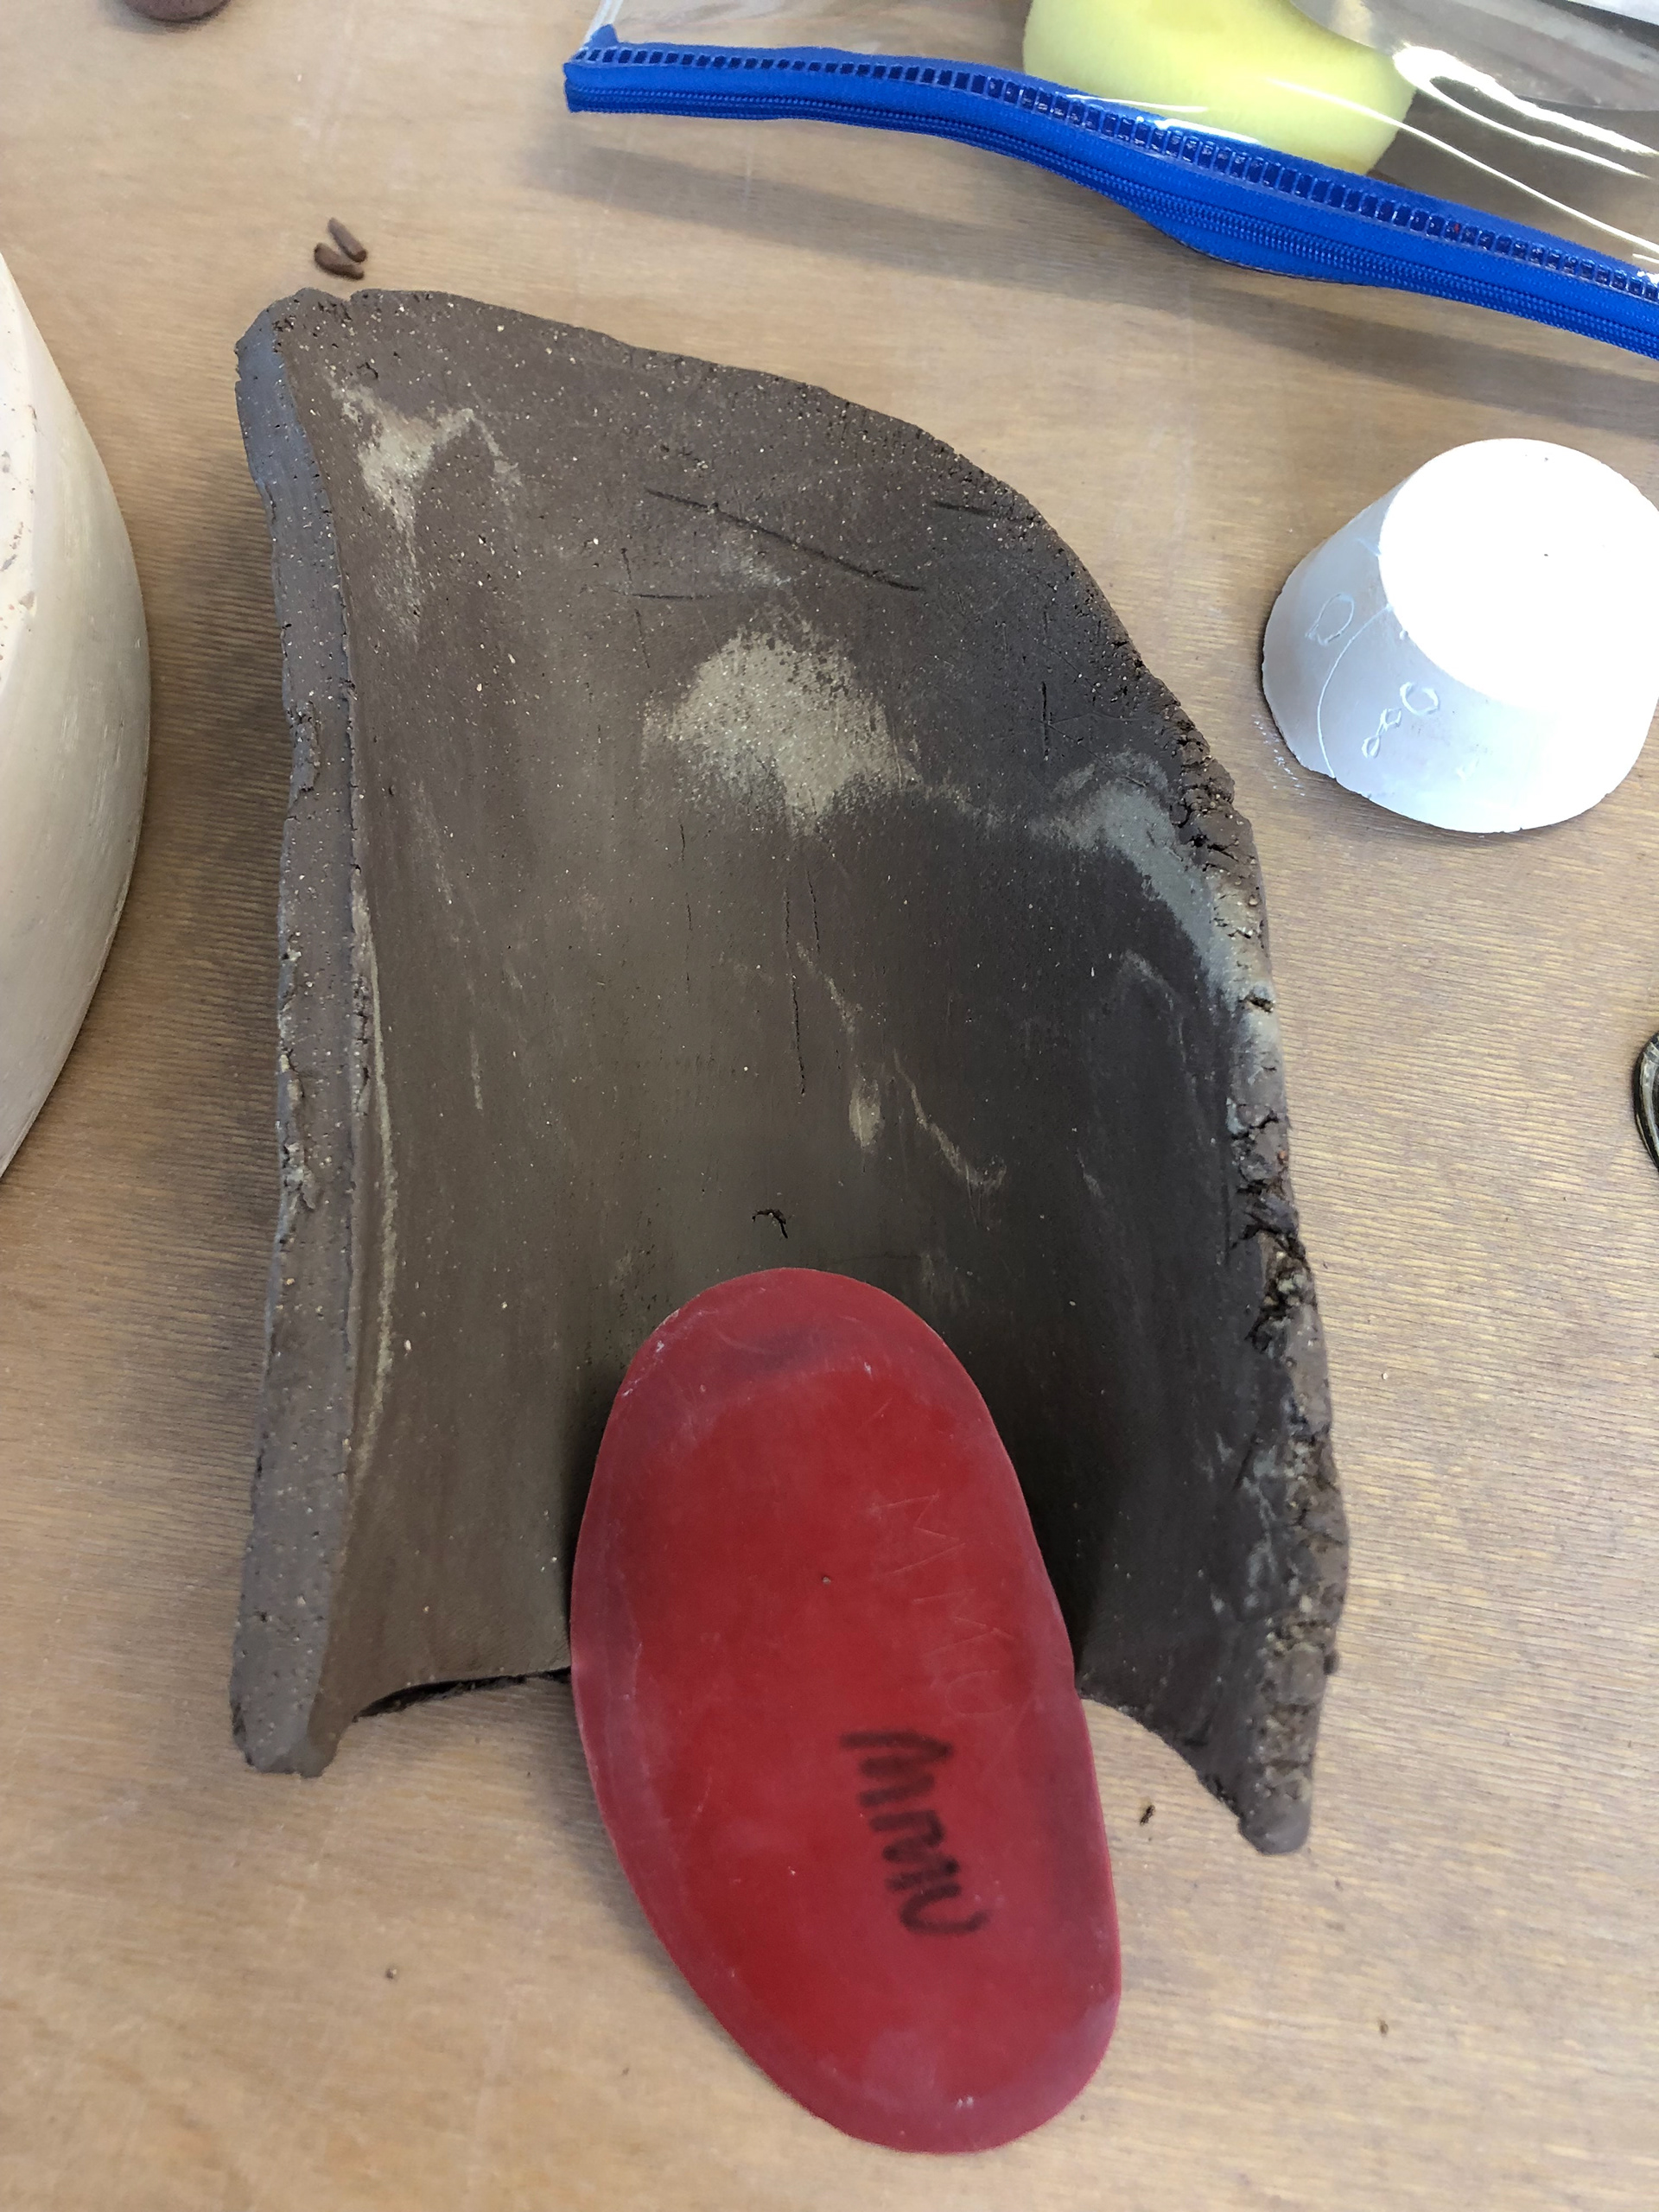
The vessel cut into 4 pieces using a wire tool.
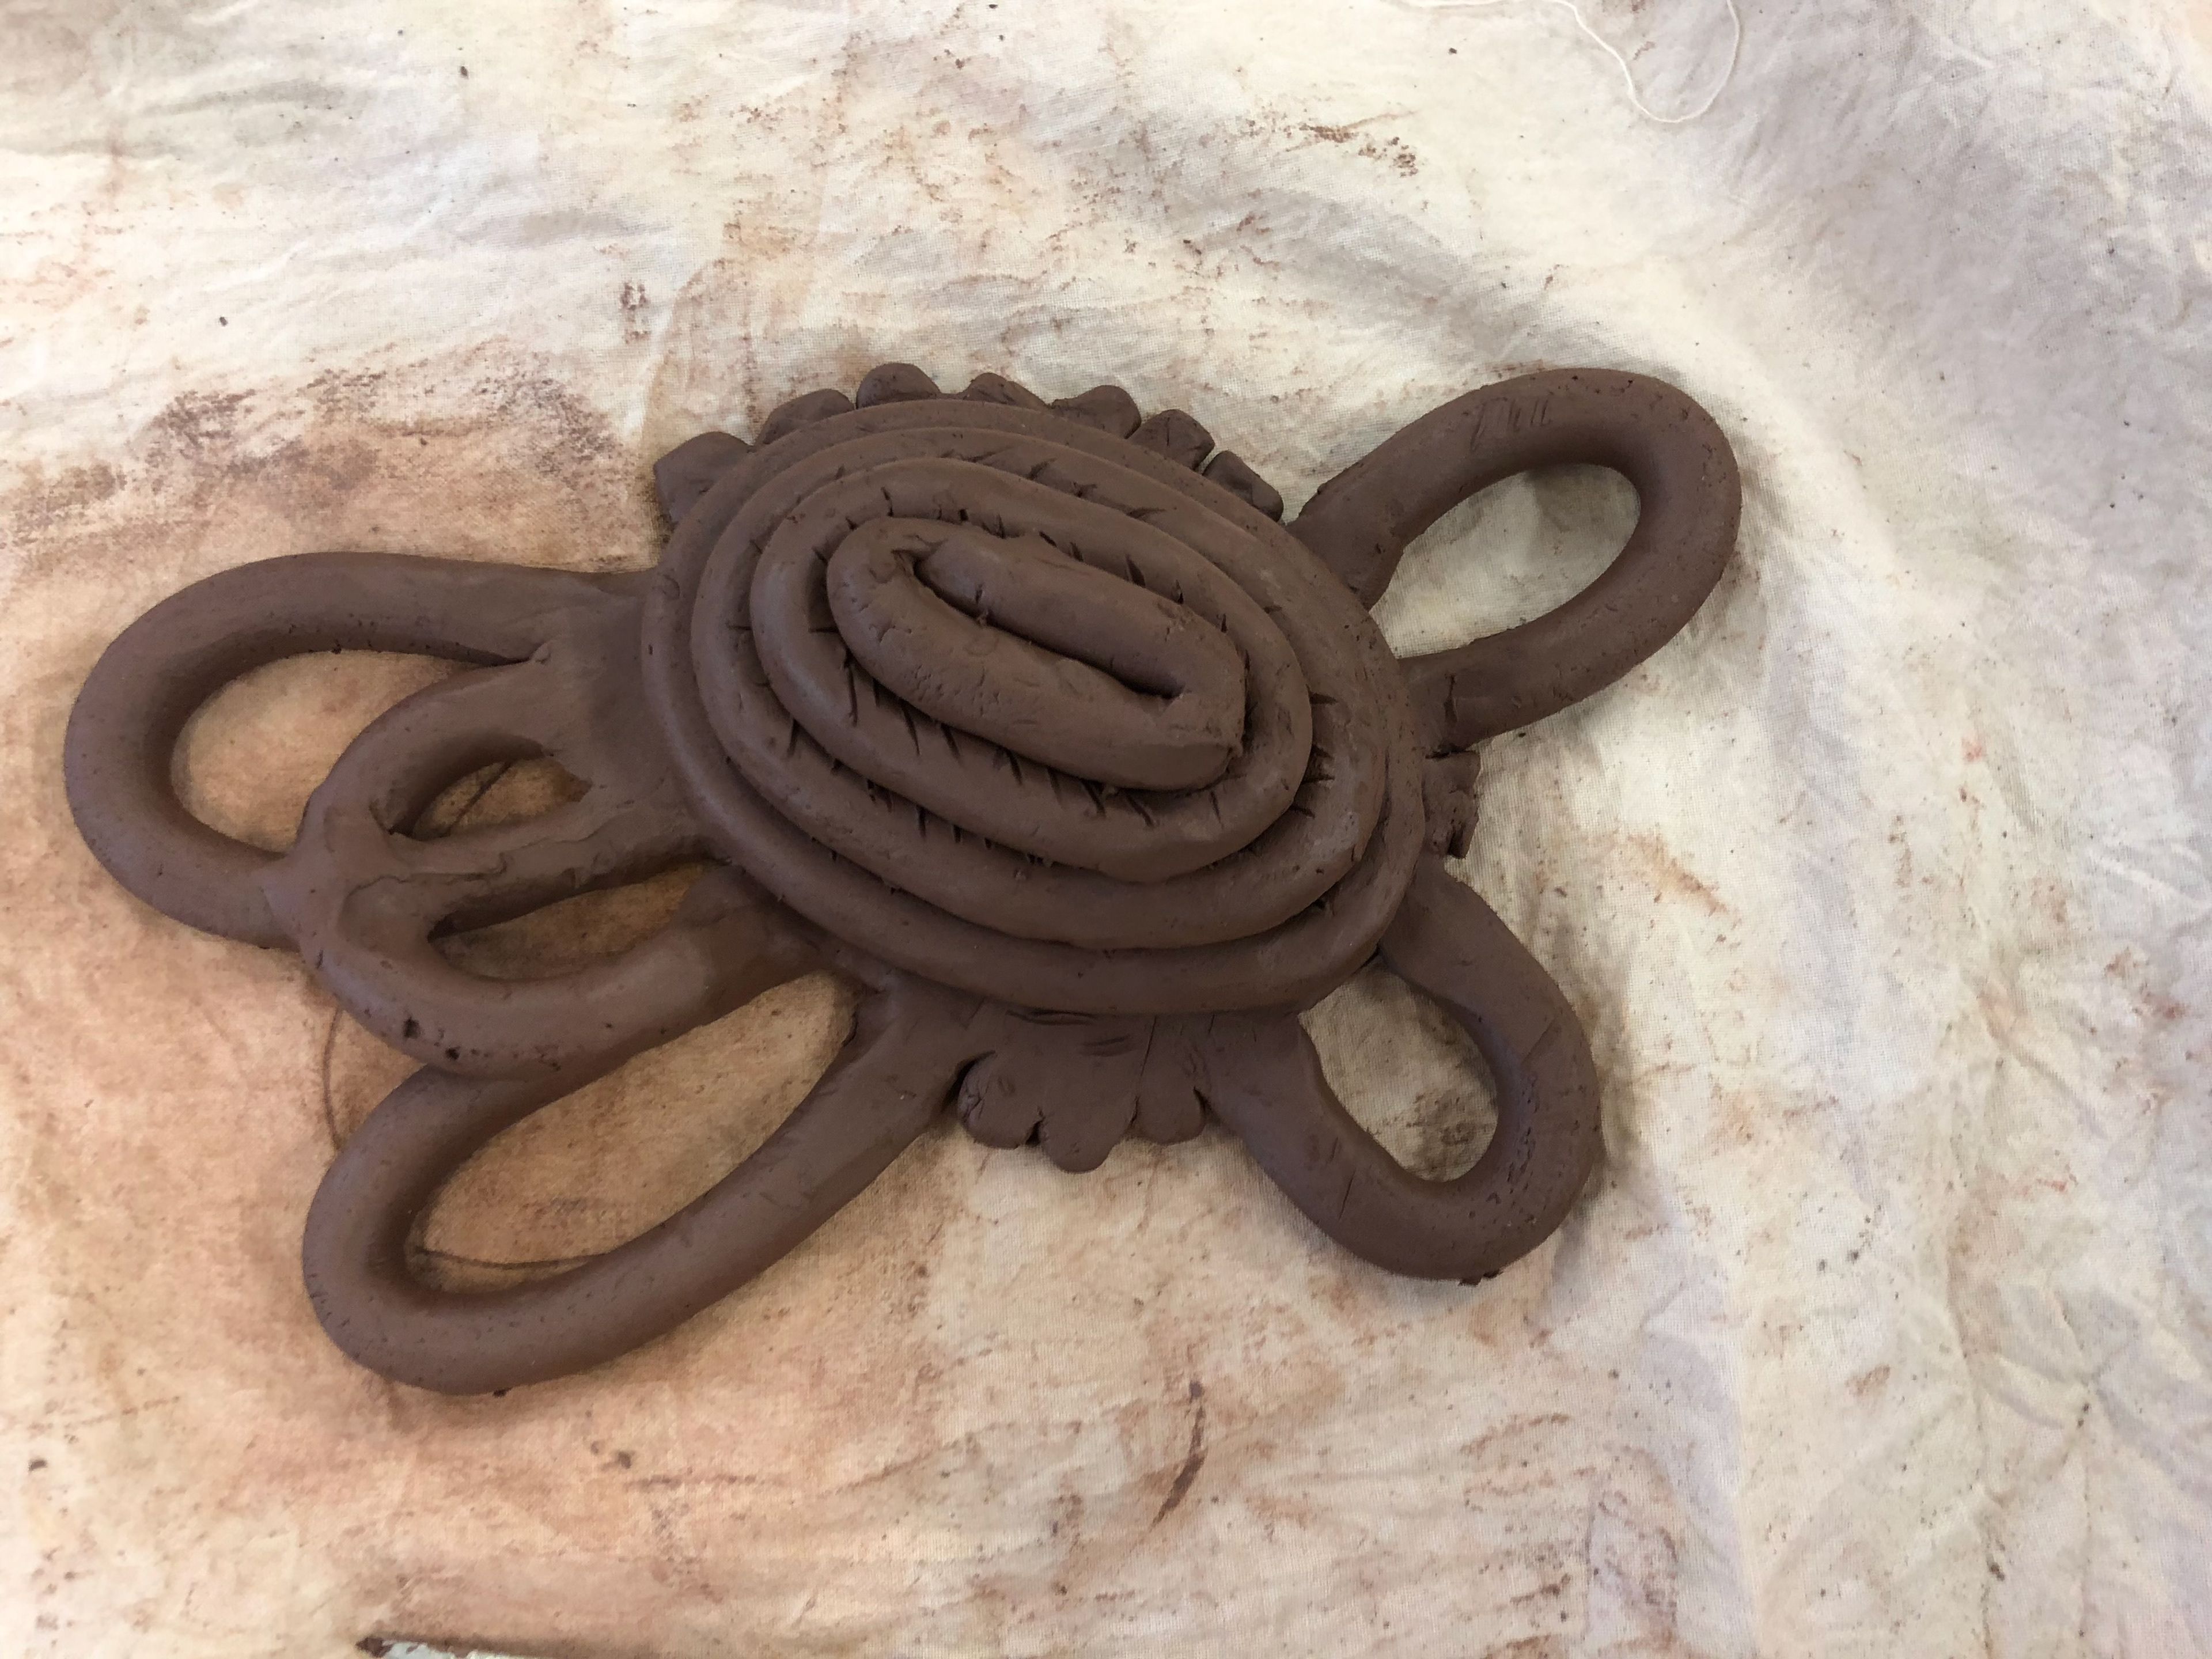
The first "Frankenstein" creation. We placed a piece where we thought it would fit best.
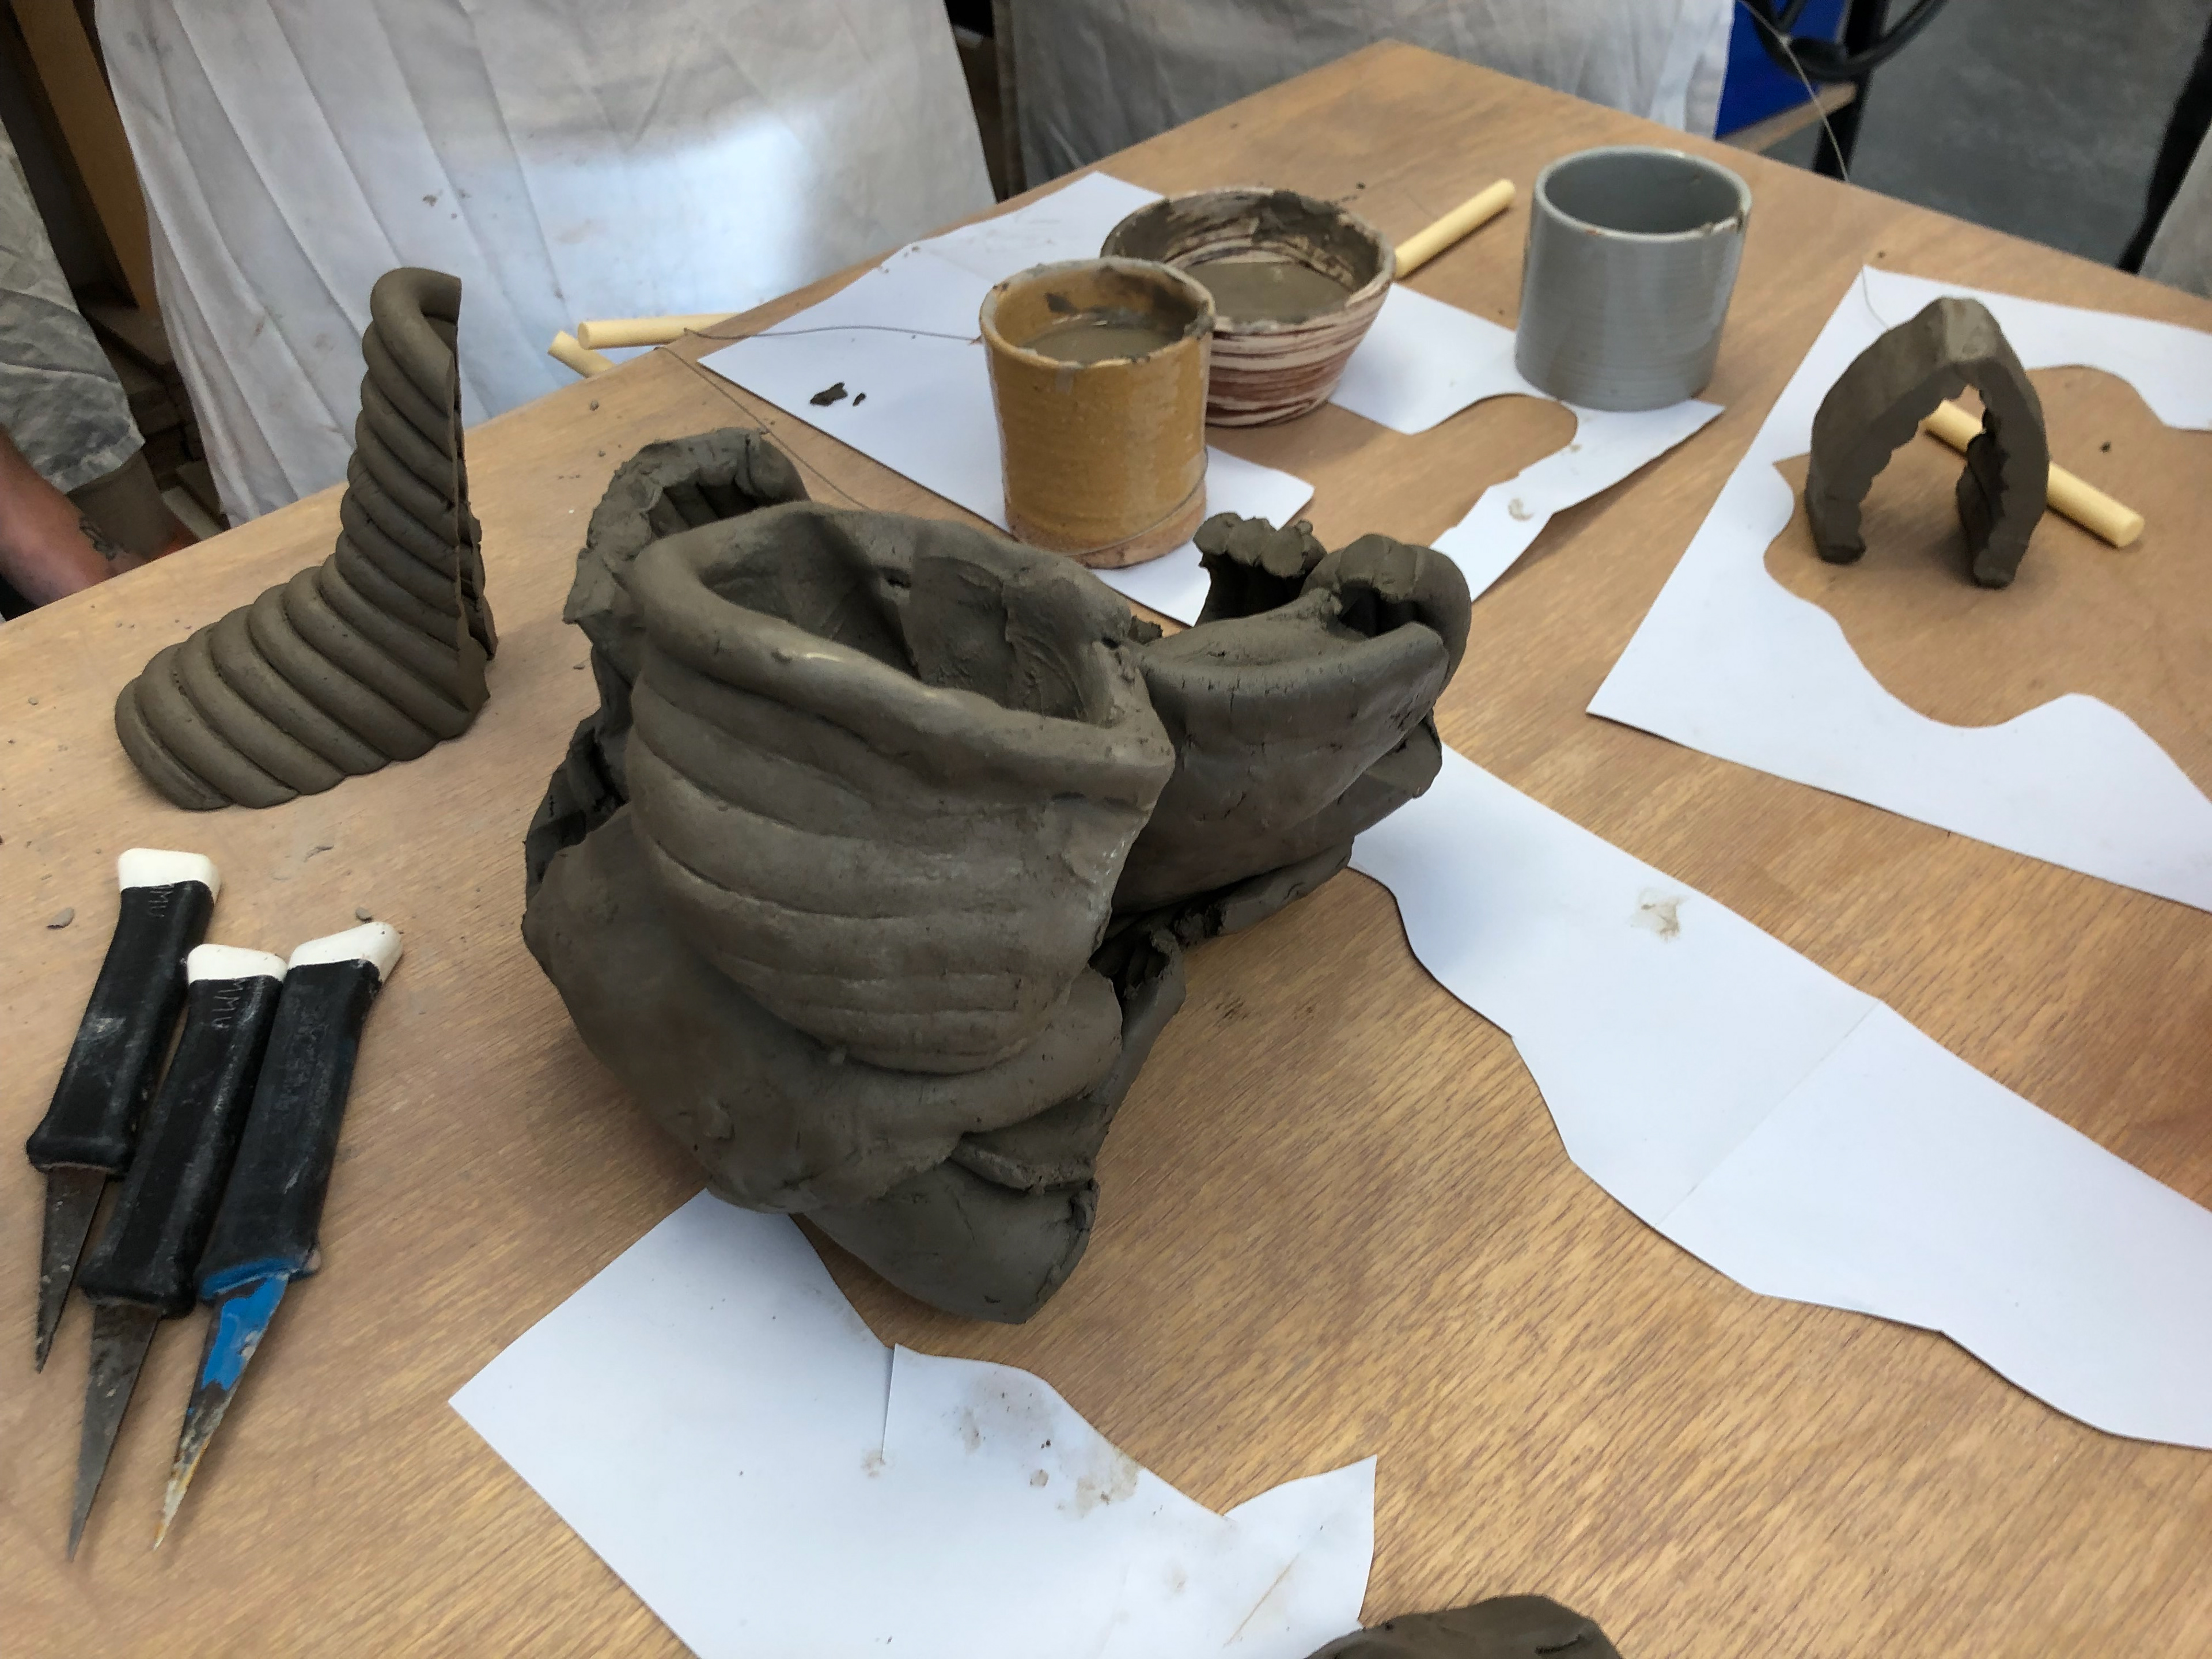
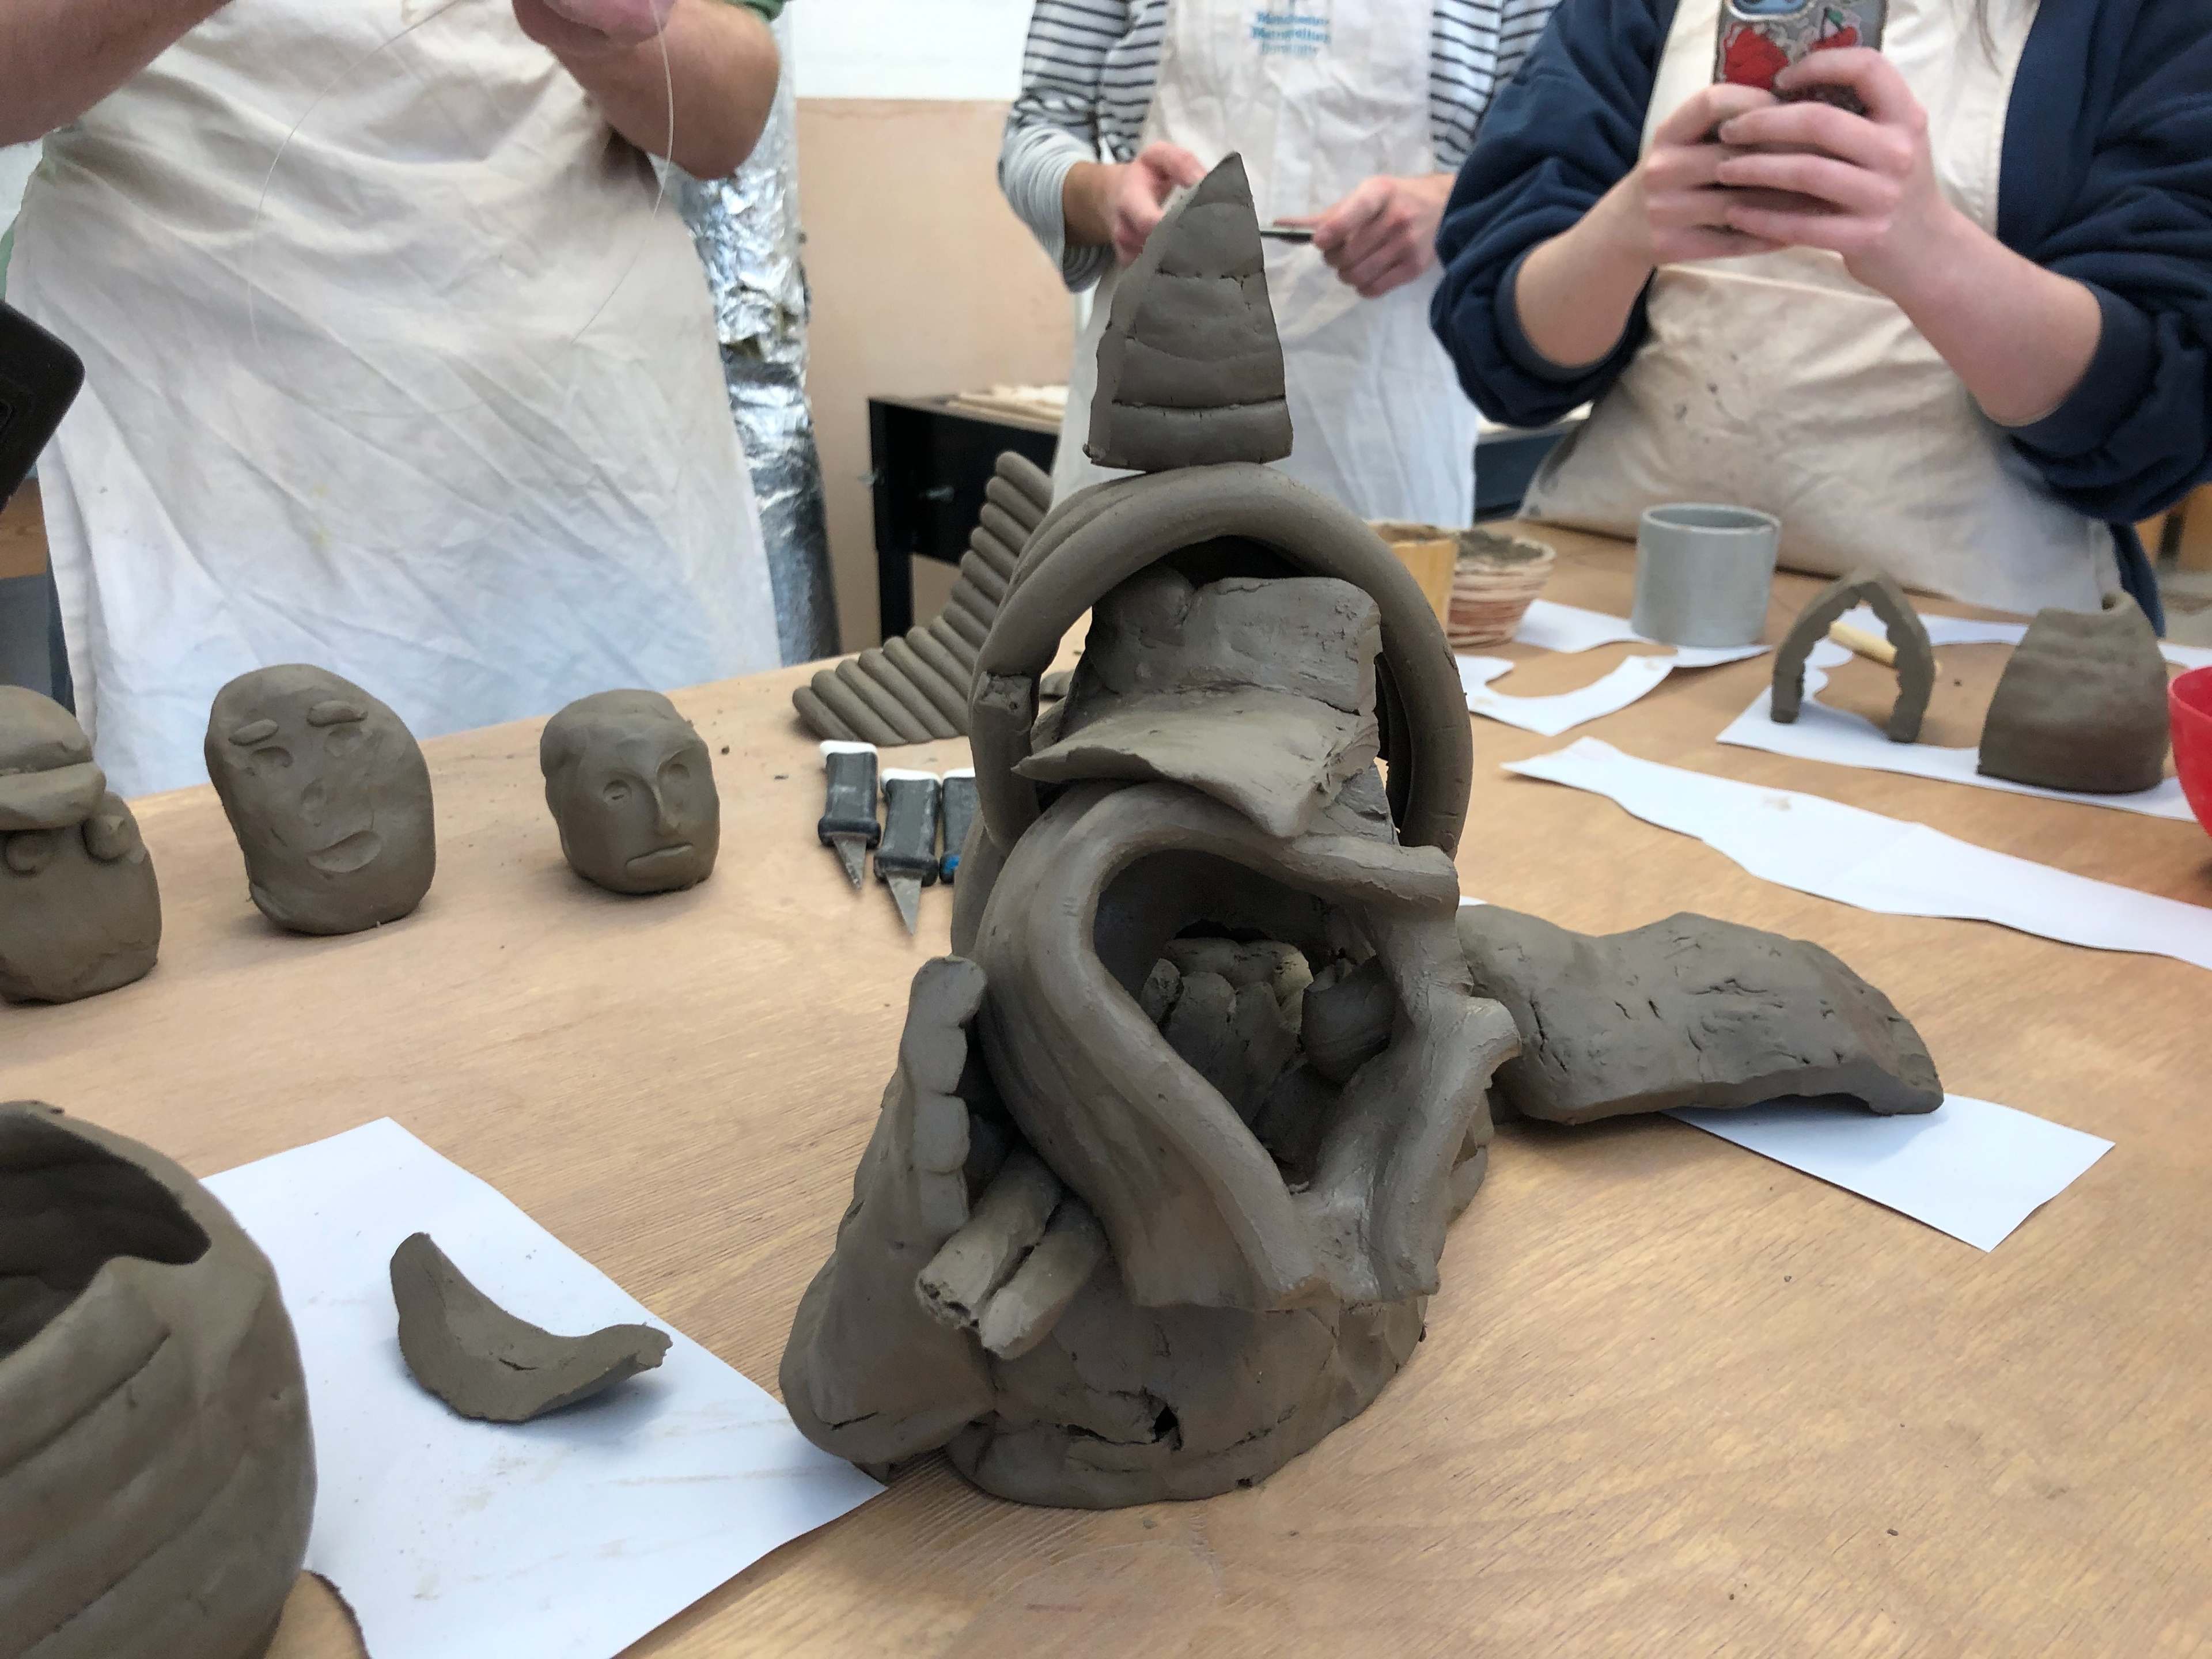
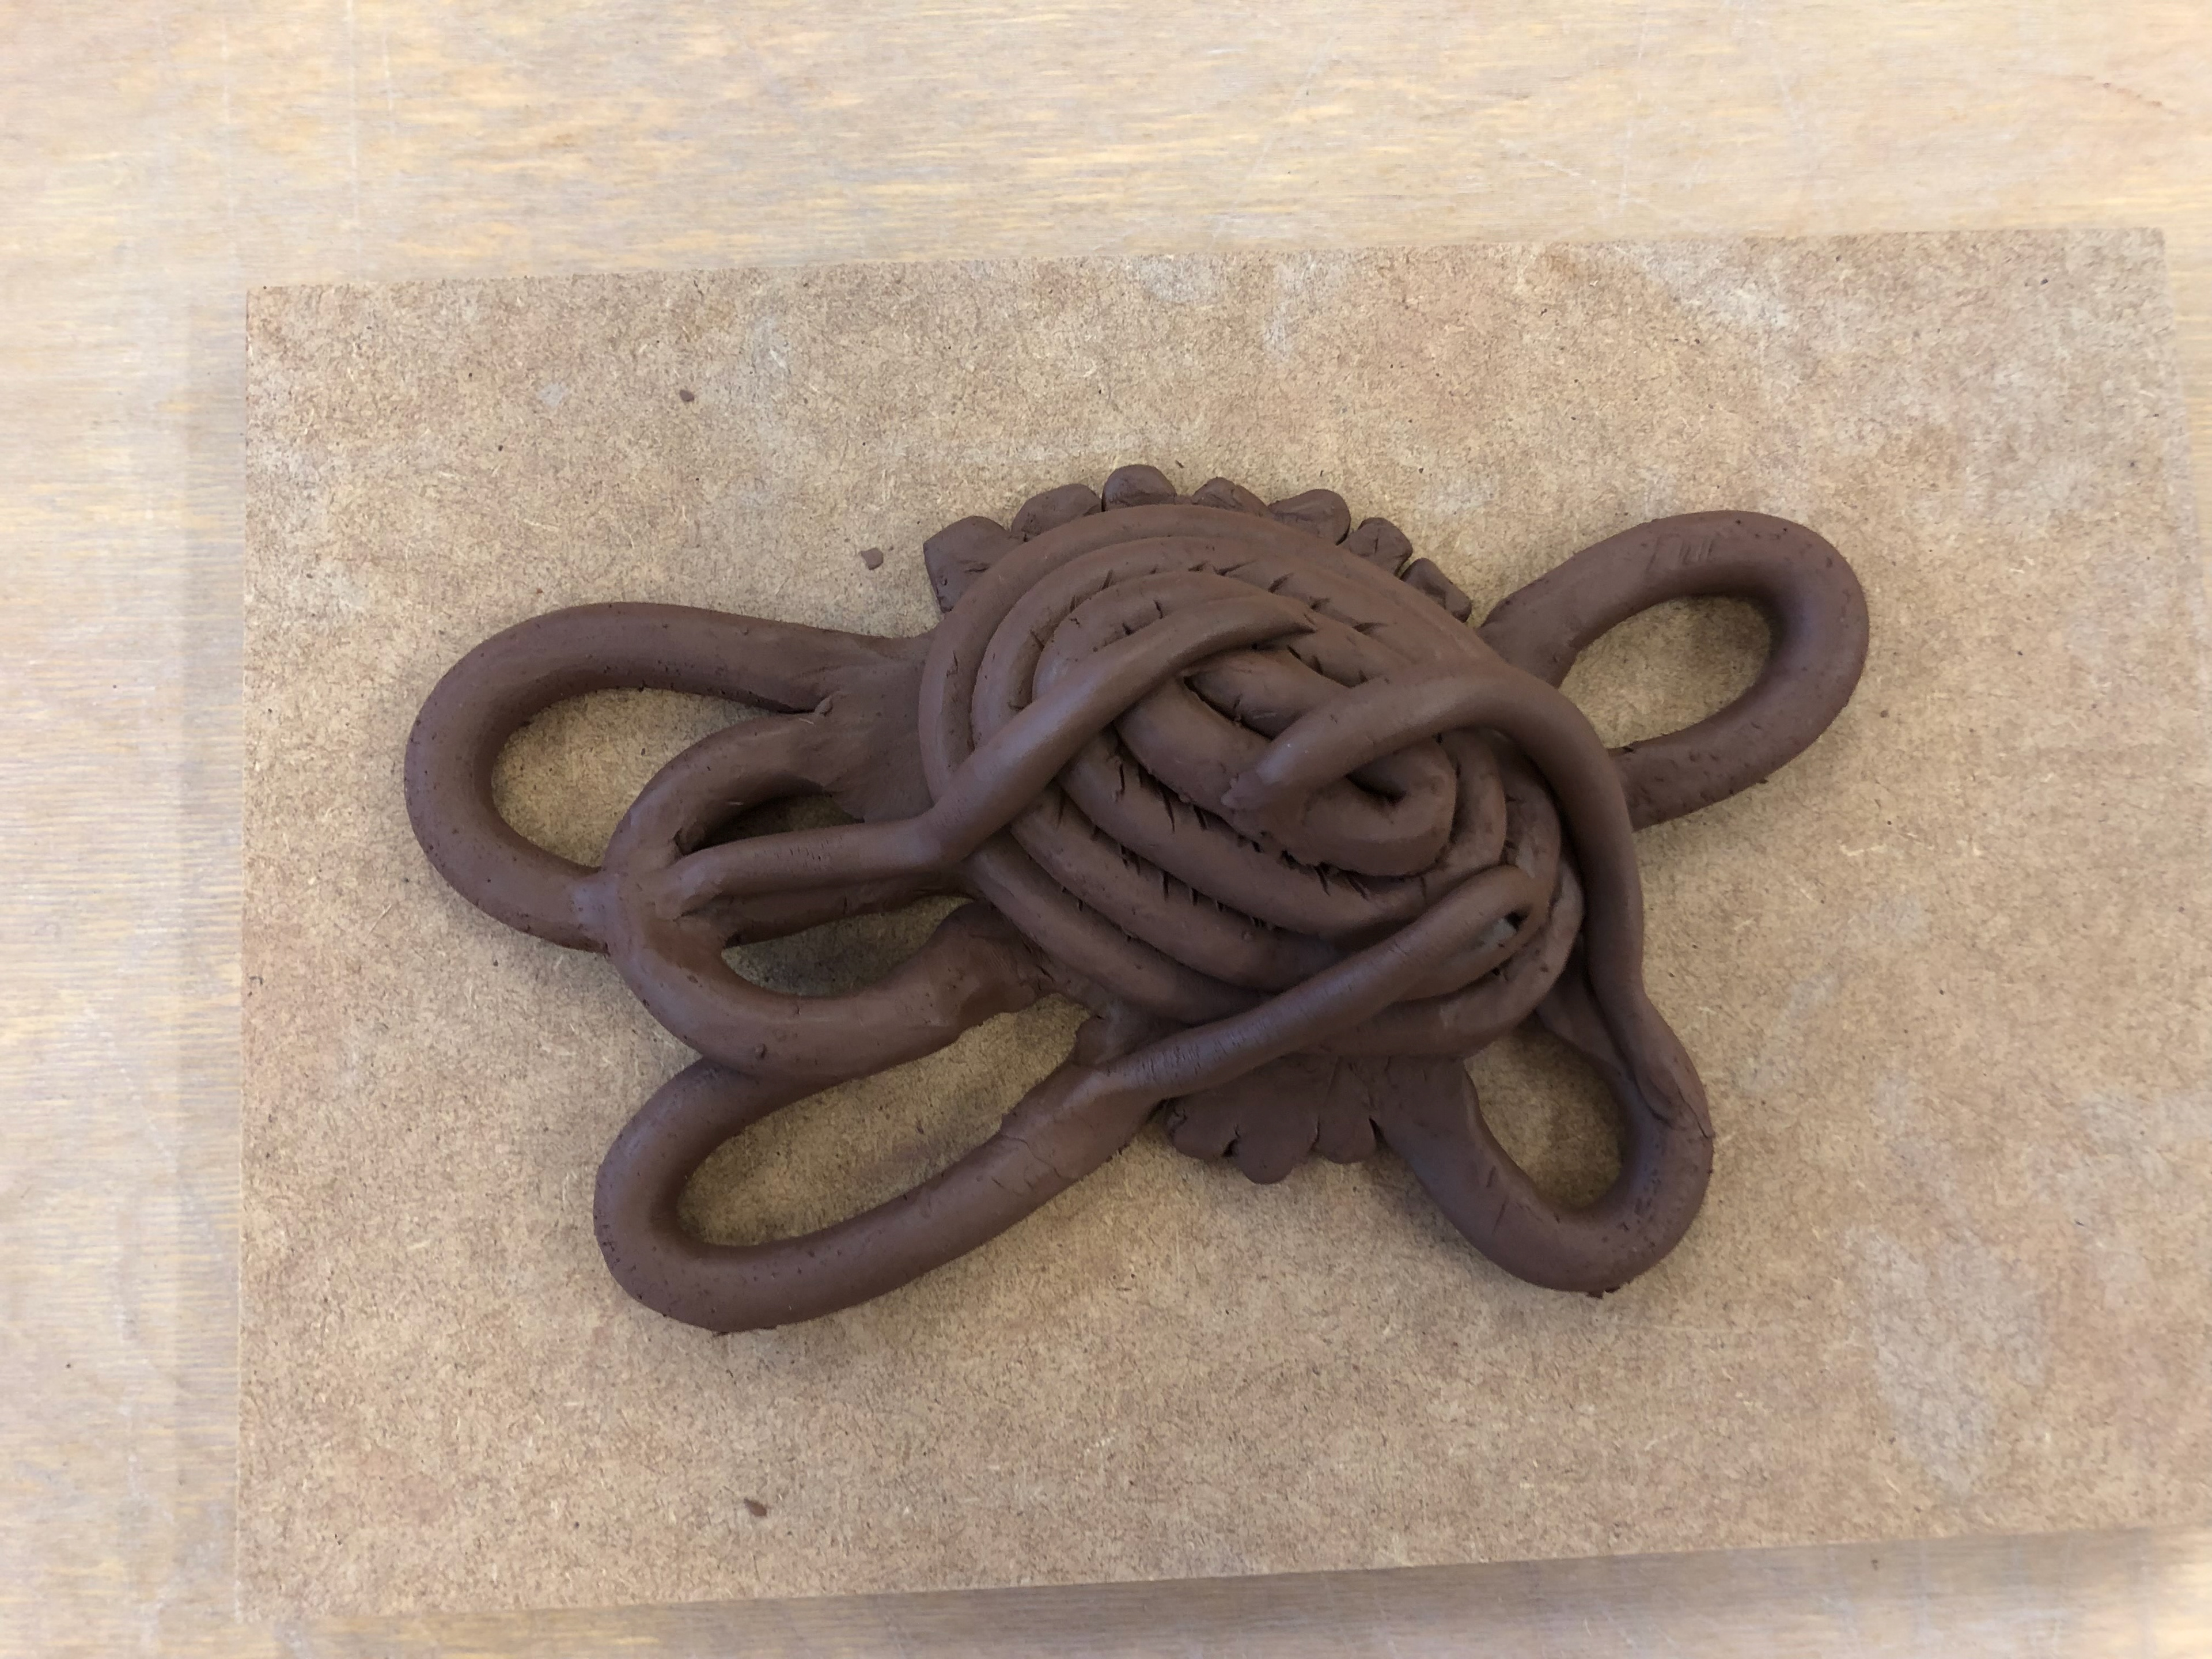
The second "Frankenstein" creation. We used the word associated with each vessel and placed the clay on taking into account the words meaning.
With the remaining pieces we had to make a partner piece for it. I decided to "flutter" my remaining pieces together and this made the clay look like a wave. The perfect partner to a wave is a boat and using some porcelain I was given I incorporated a sail.
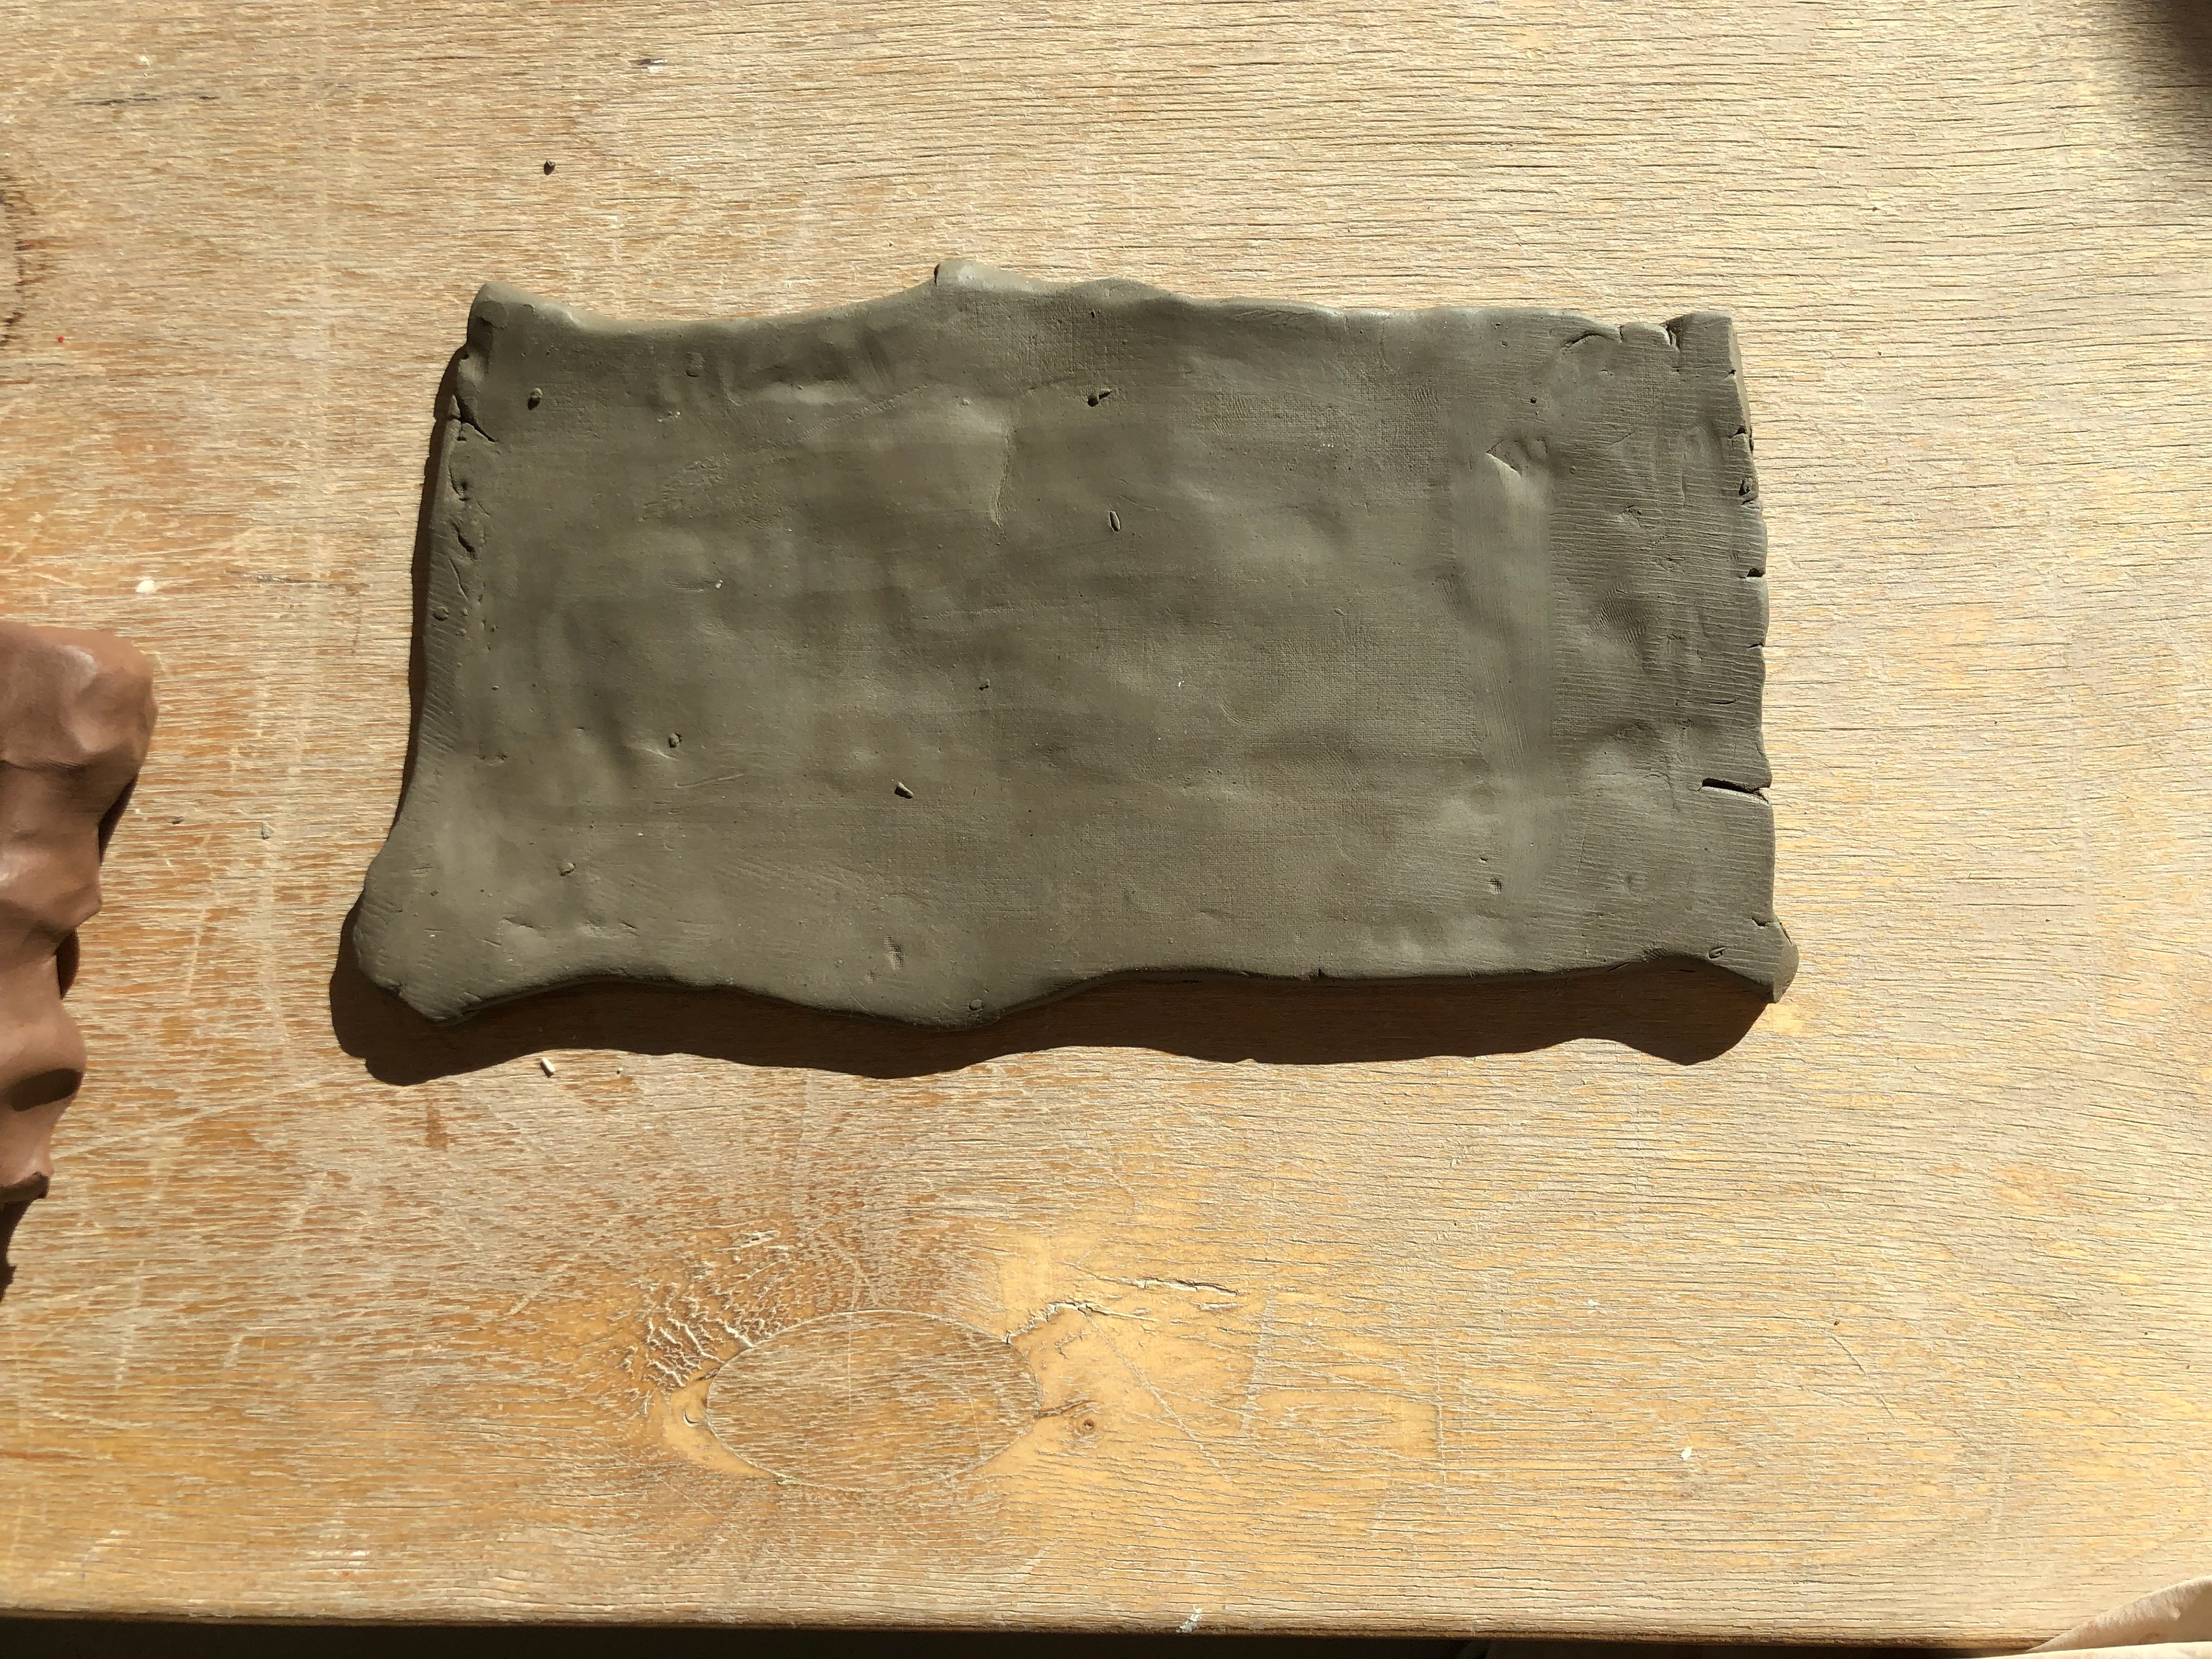
My remains pieces combined.
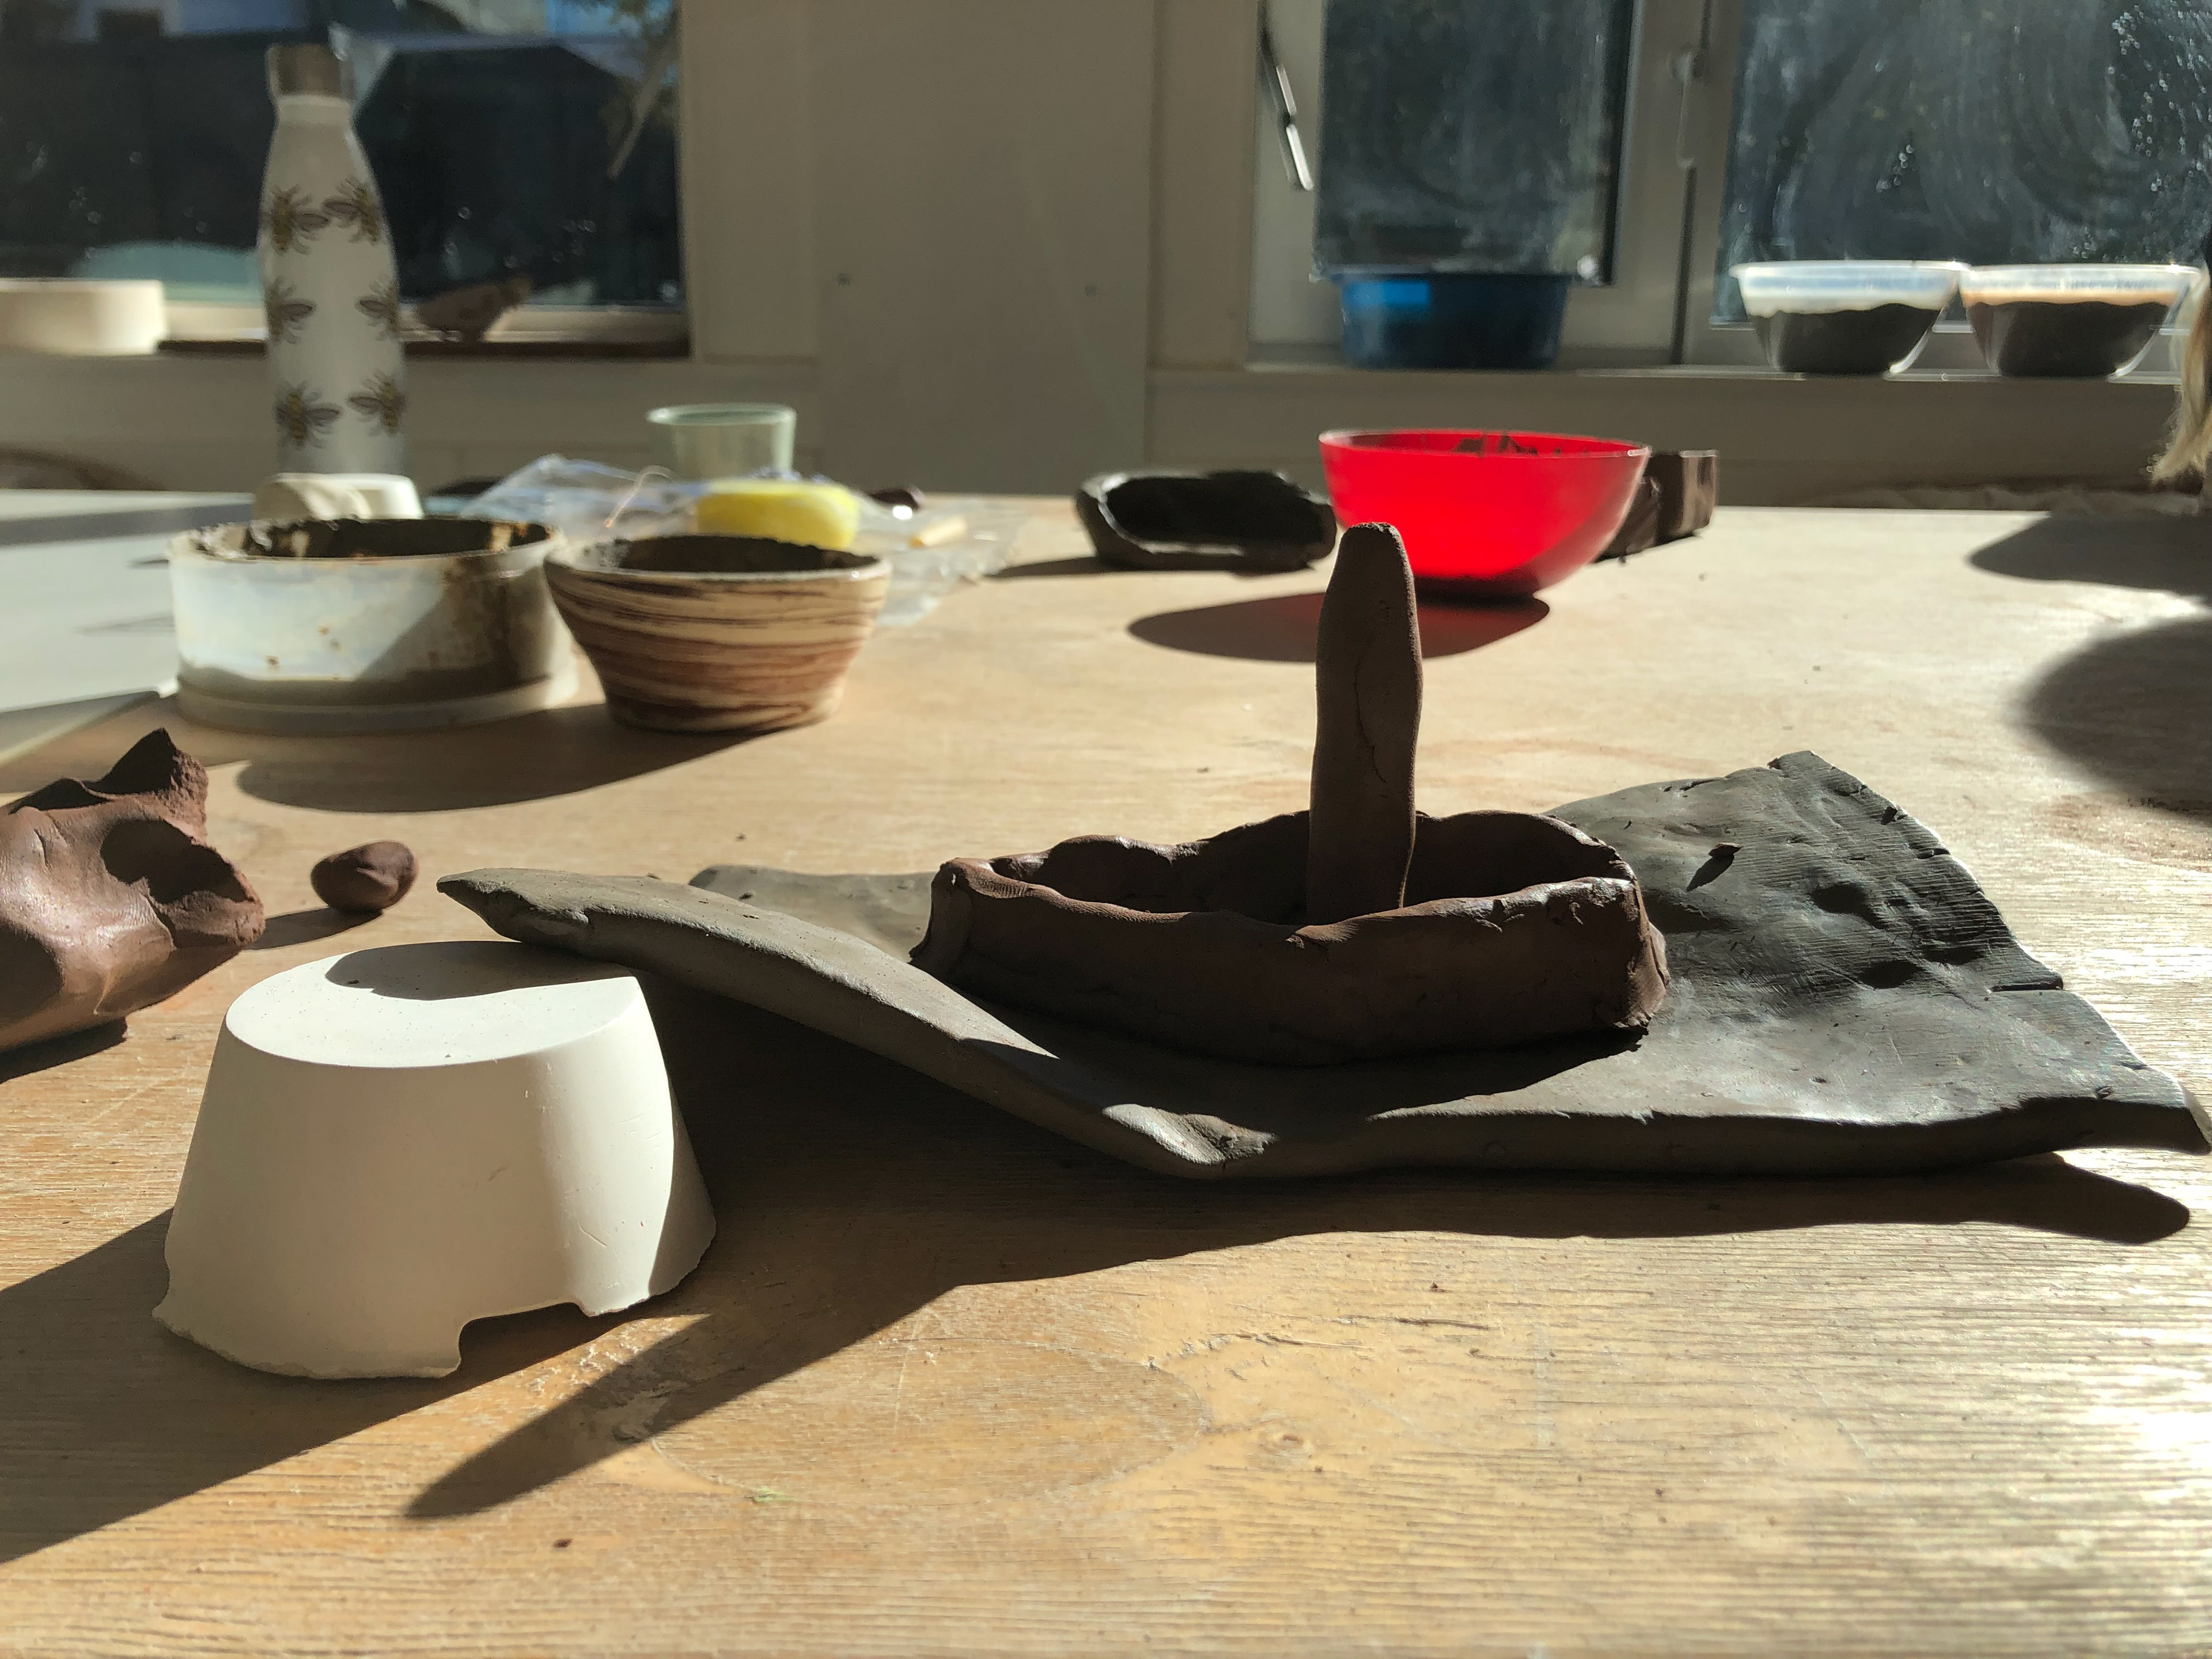
I used a plaster block to help retain the flutter shape. I used terracotta to make the boat. I hand rolled two layers of clay and joined them together to create the boat structure and used a final roll for the mast.
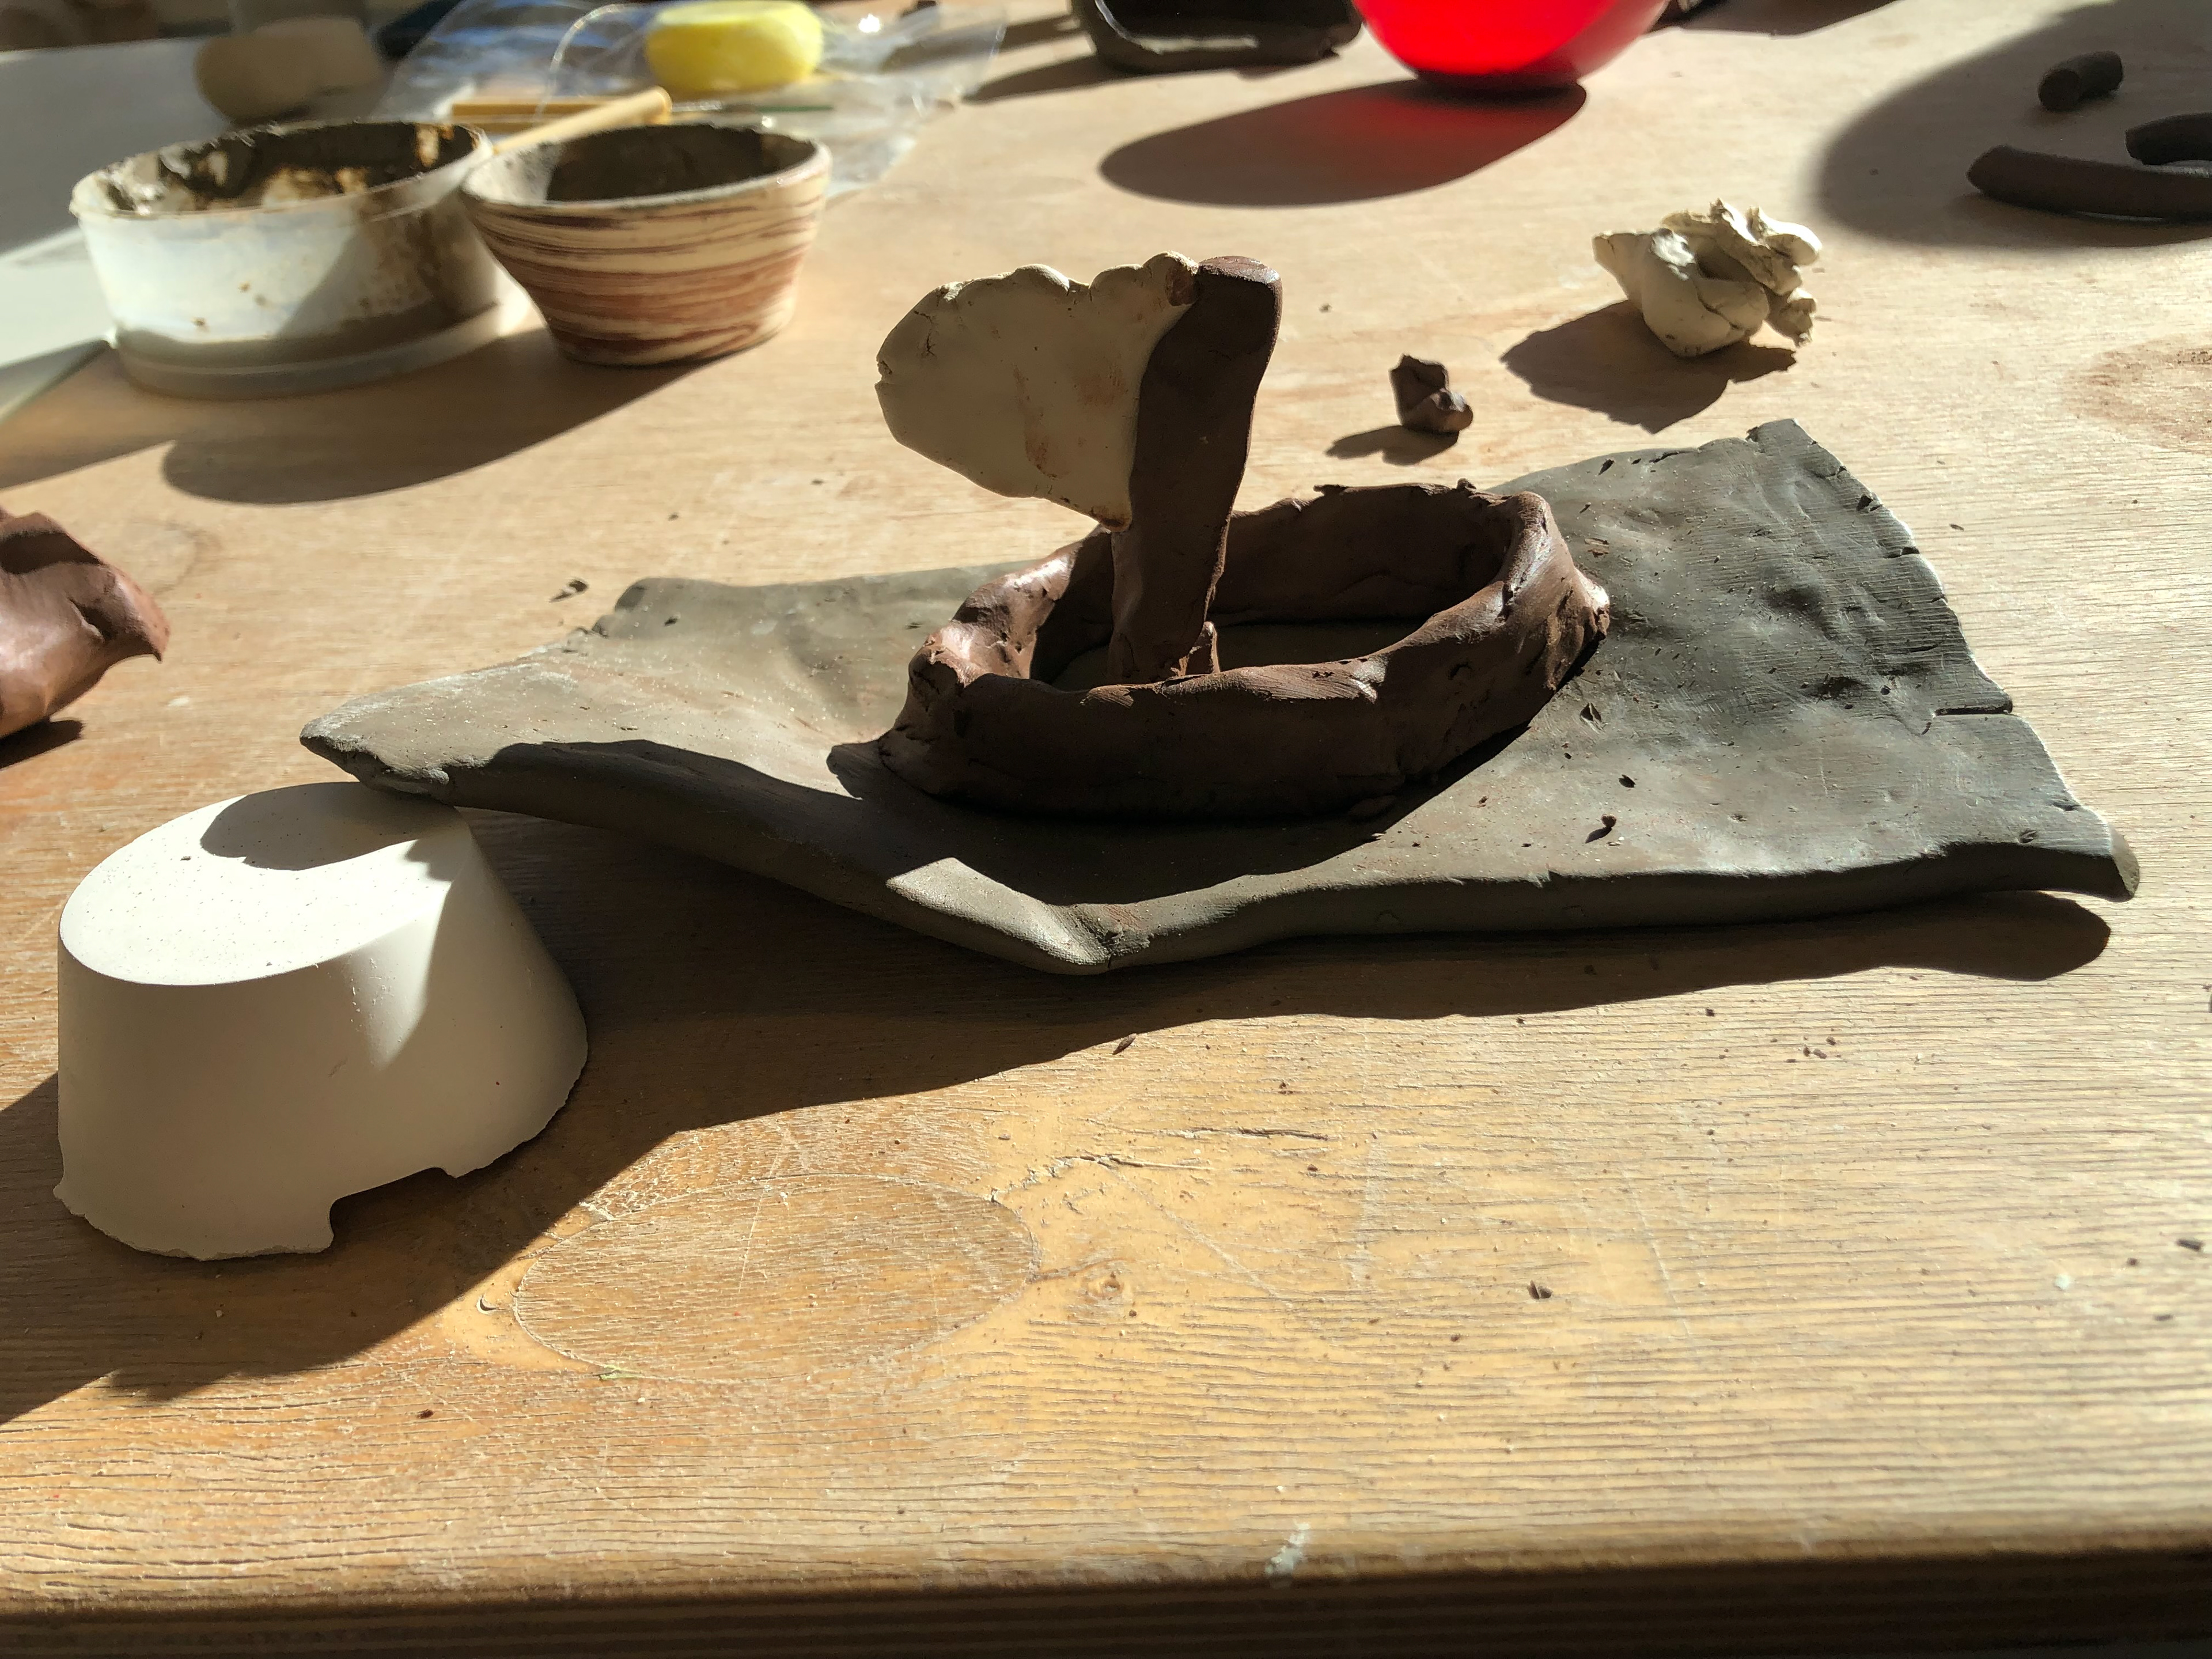
The porcelain sail attached to the mast.
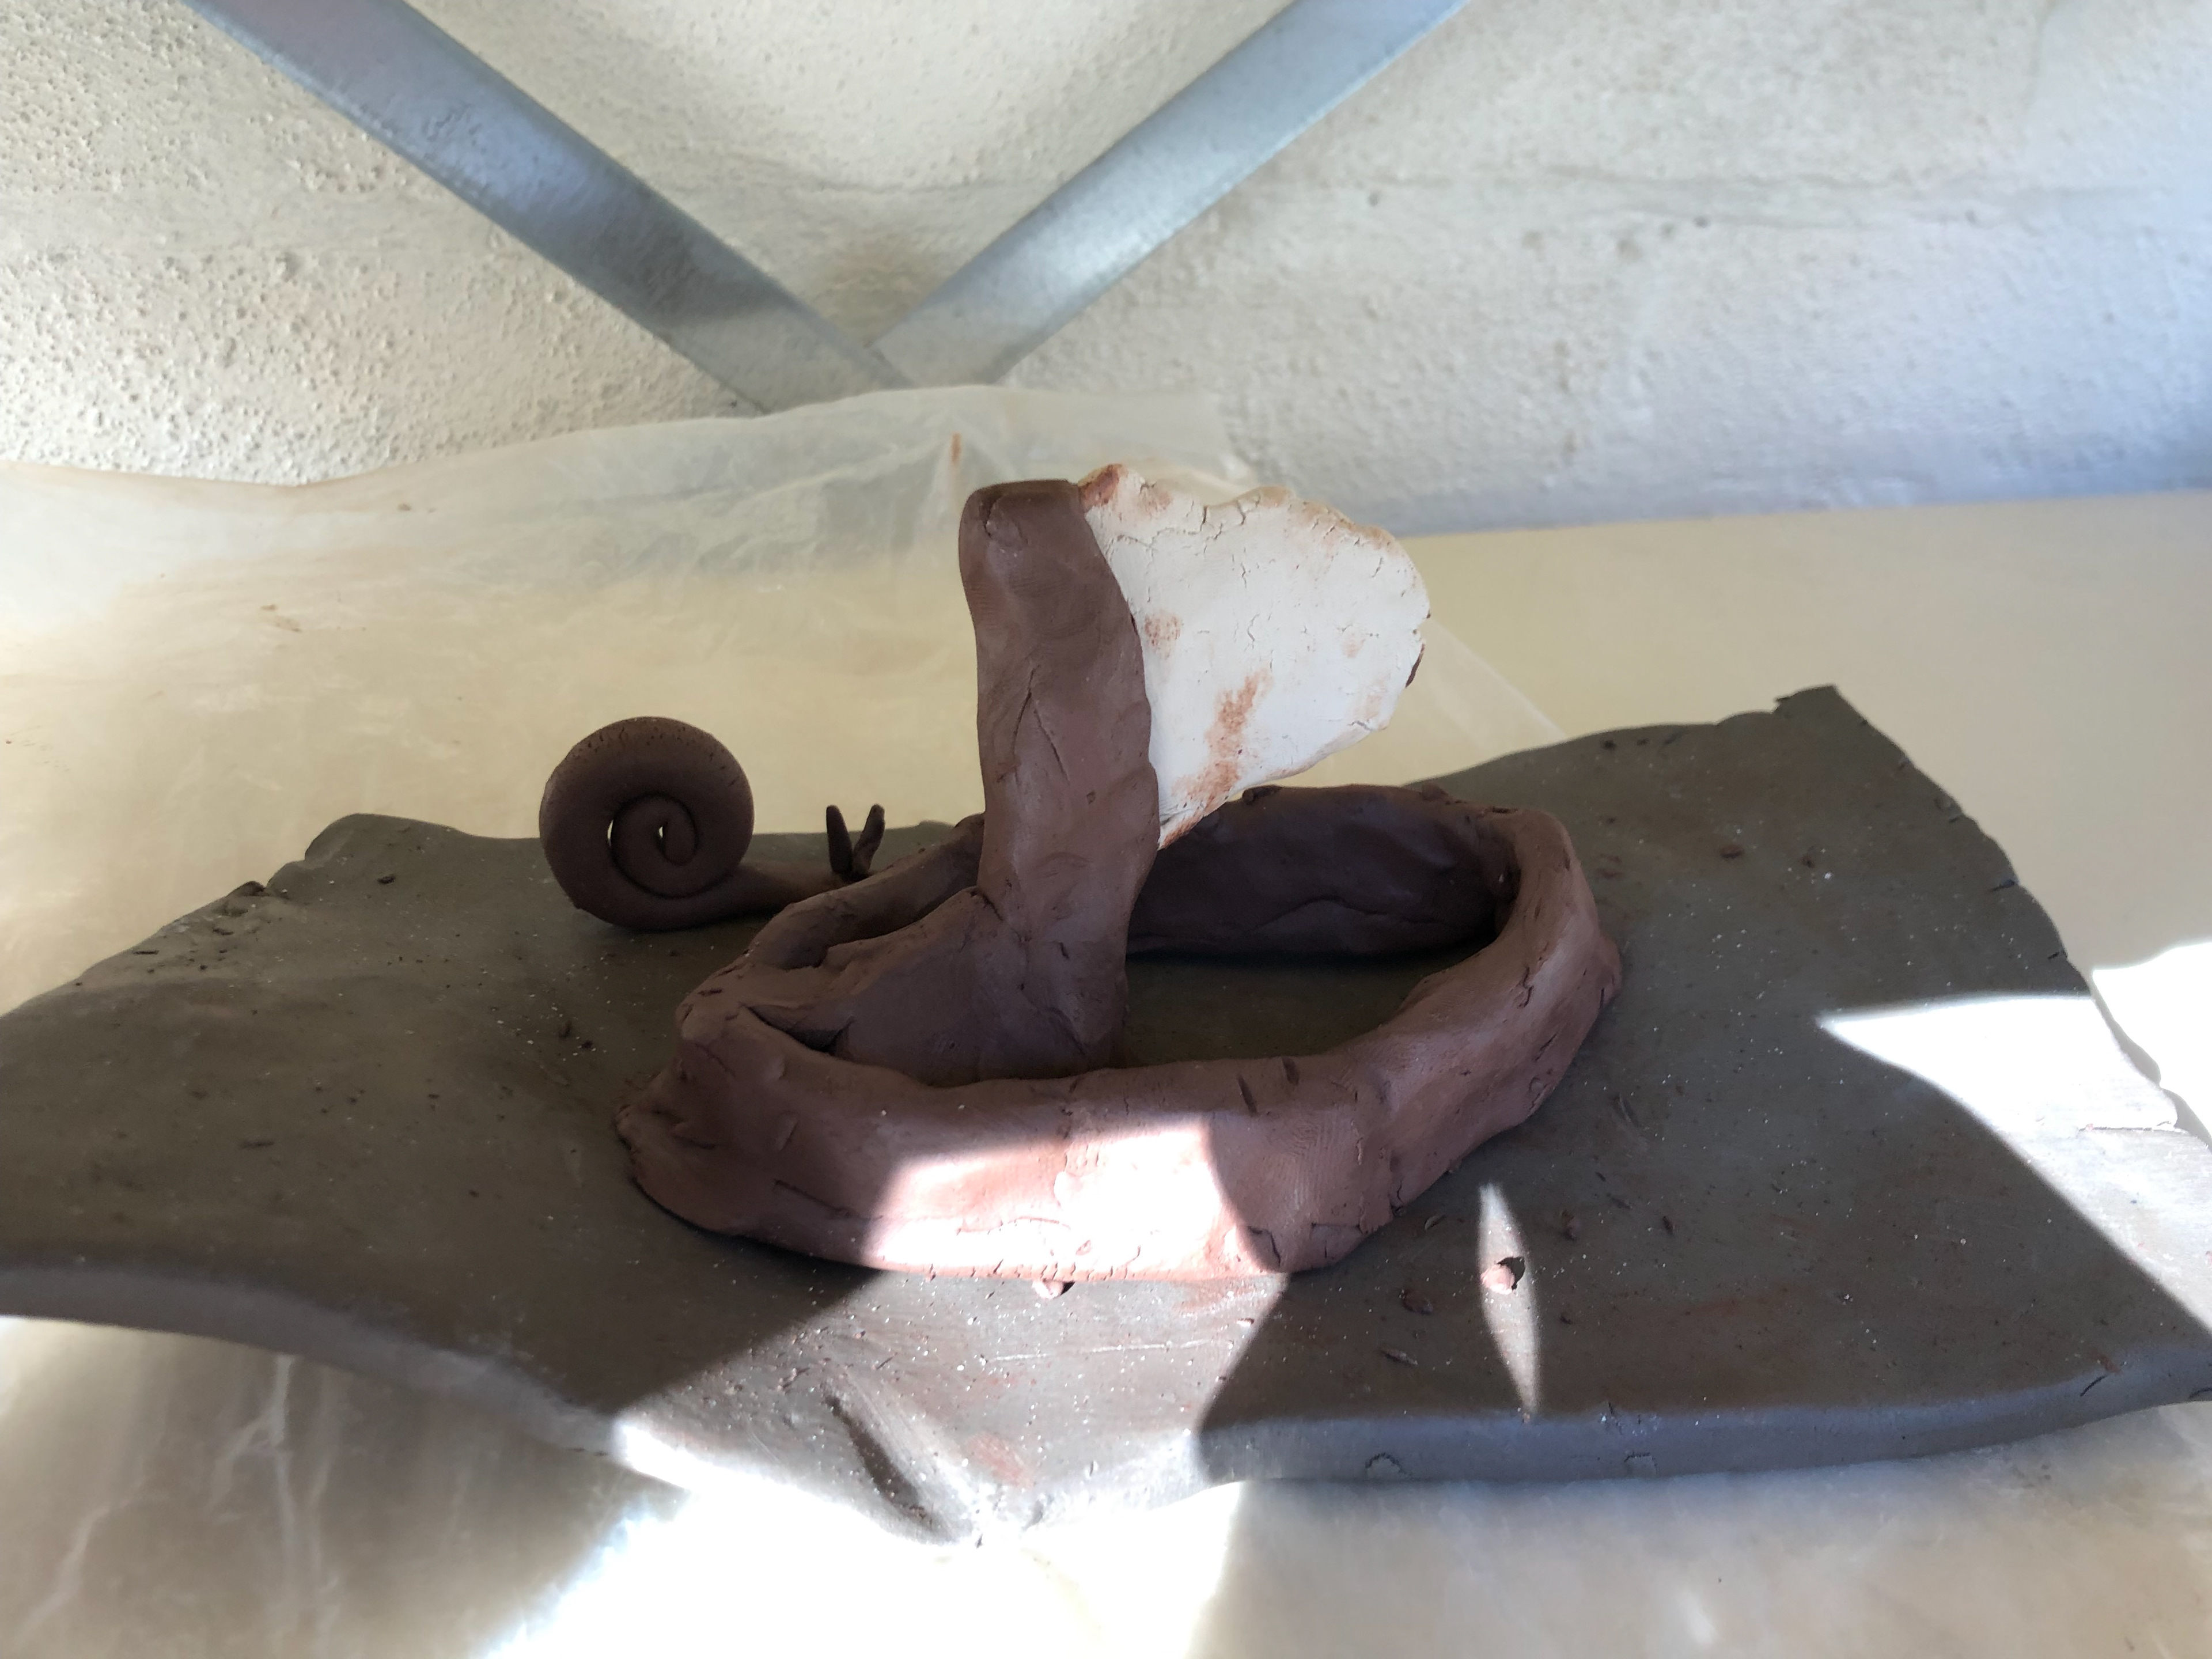
The sail was heavy and caused balance issues so I place more terracotta at the base of the mast and joined the mast to the boat.
Intaglio
We were given a waste plaster block to create an intaglio from. I did this by using a sharp tool to carve out a design. On the top is a happy and bright landscape whilst around the sides is darkness and sadness.
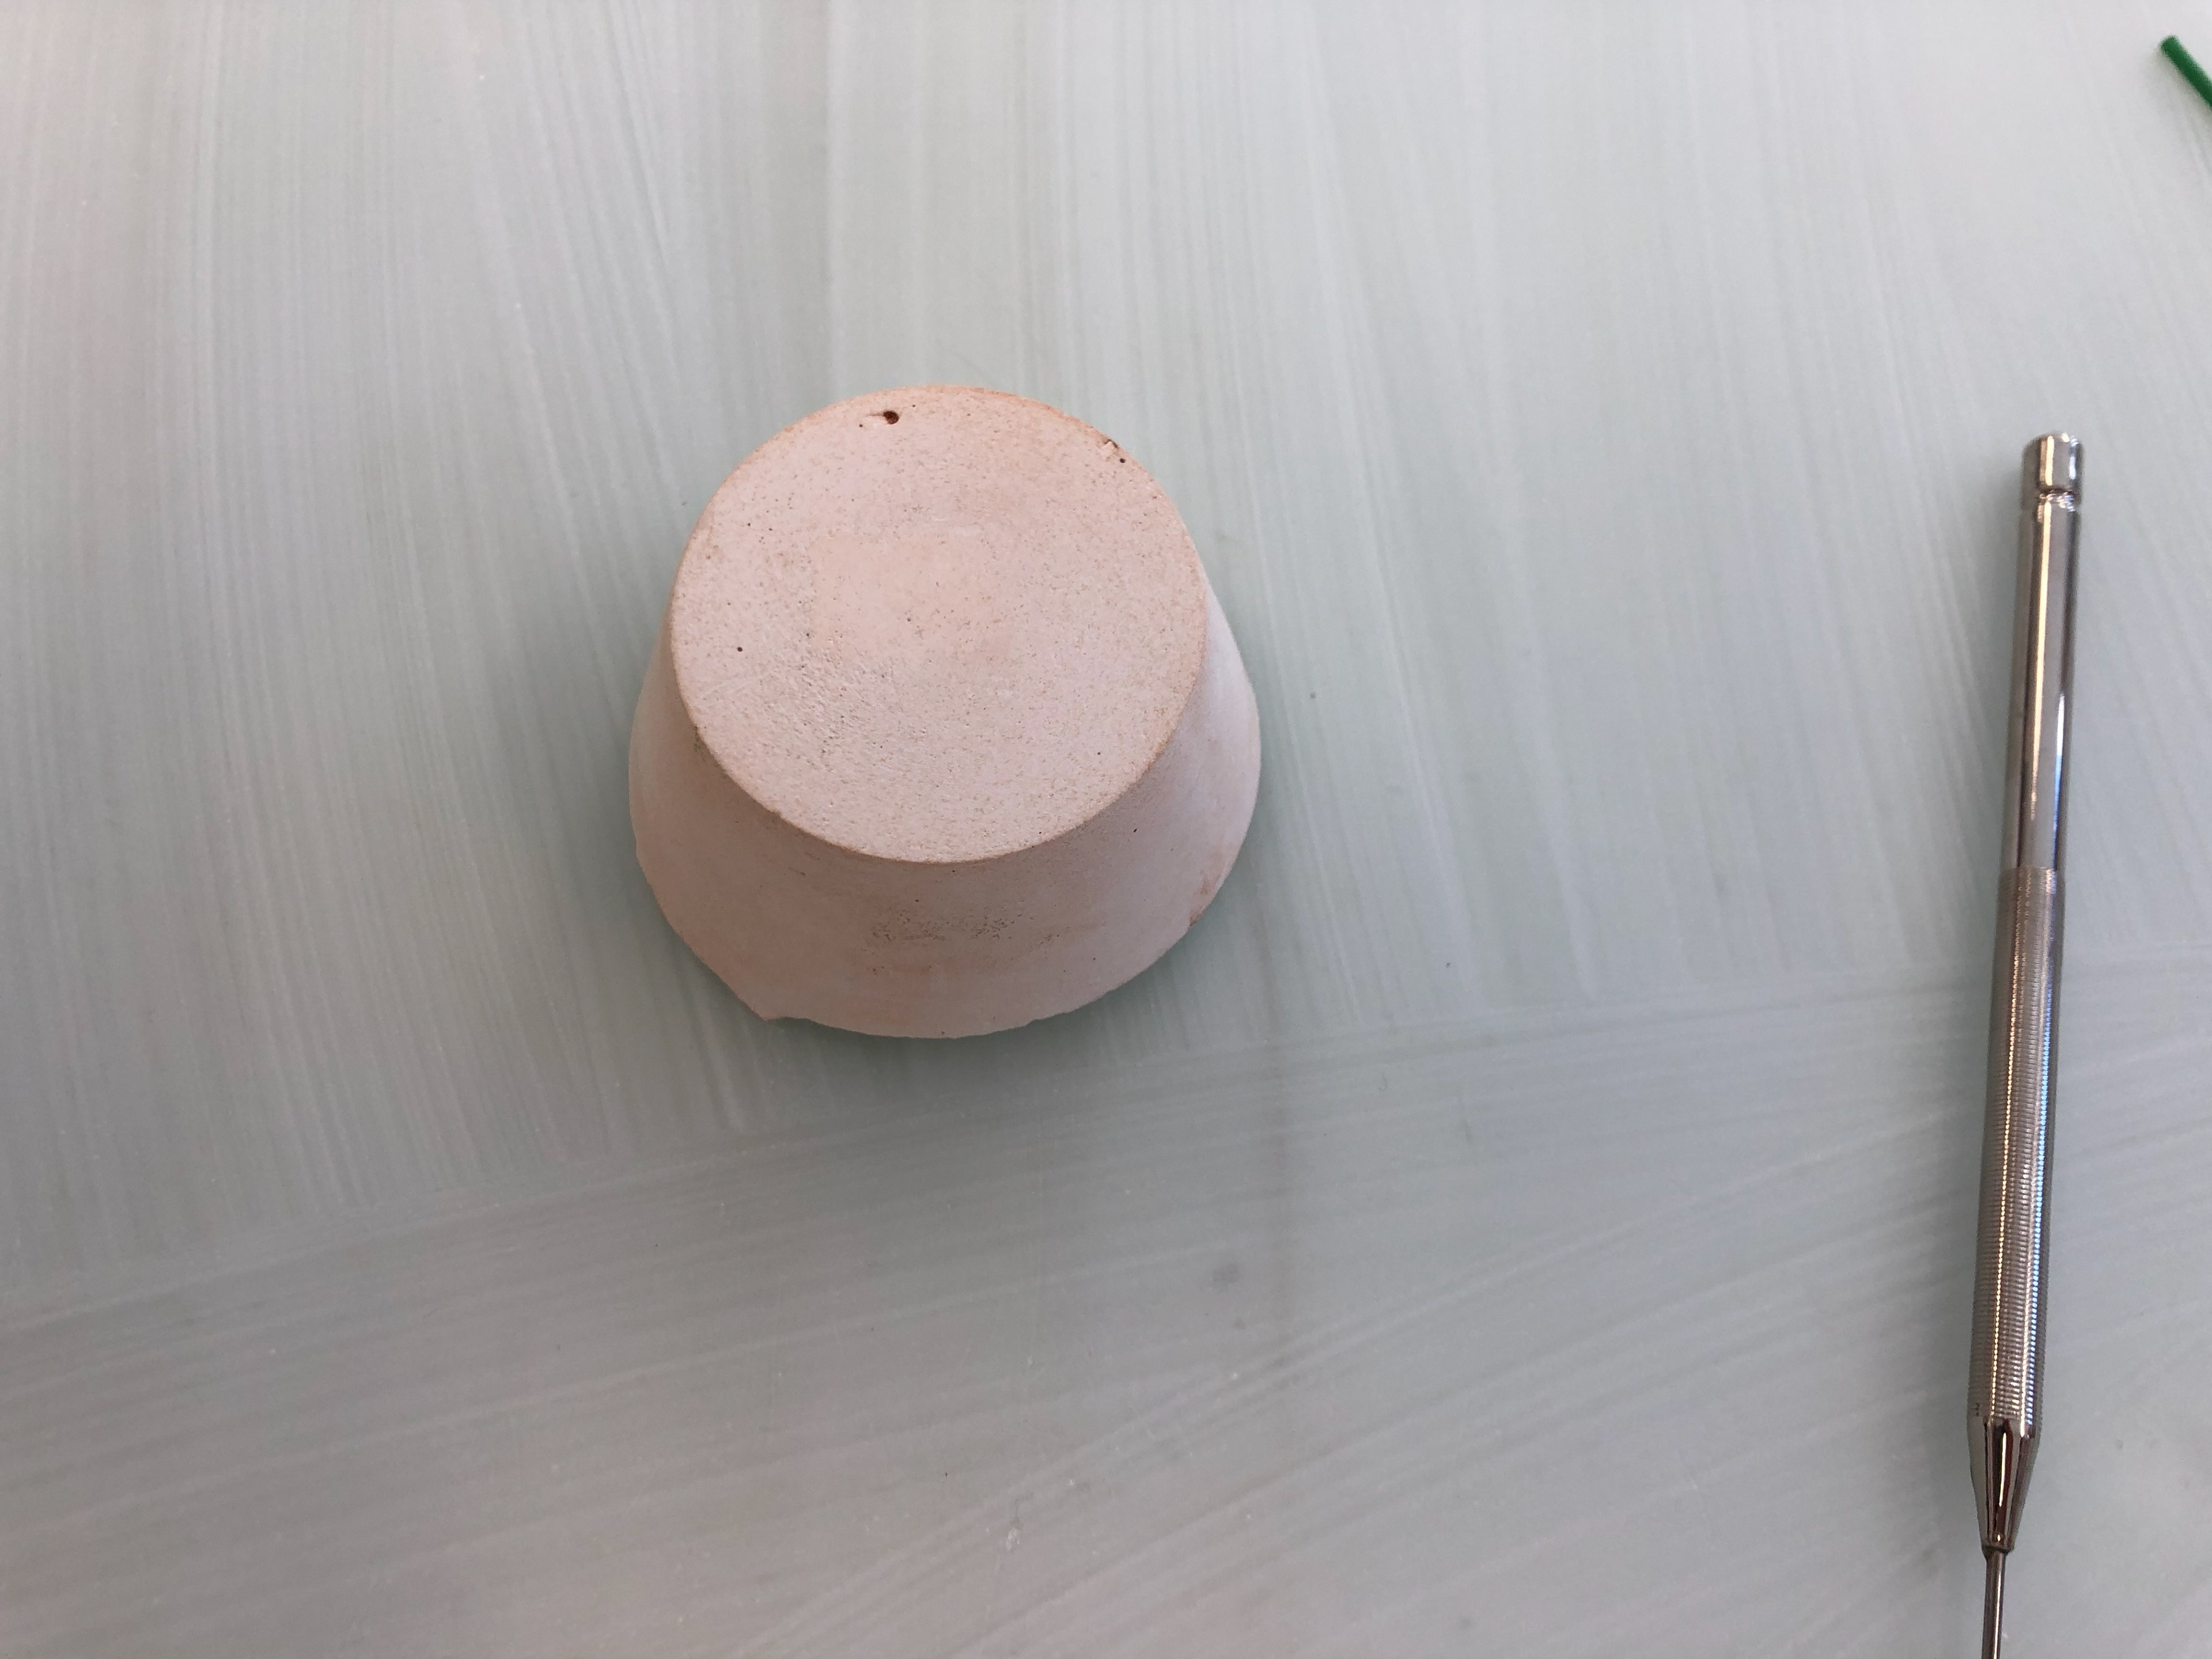
The plain plaster with the sharp tool.
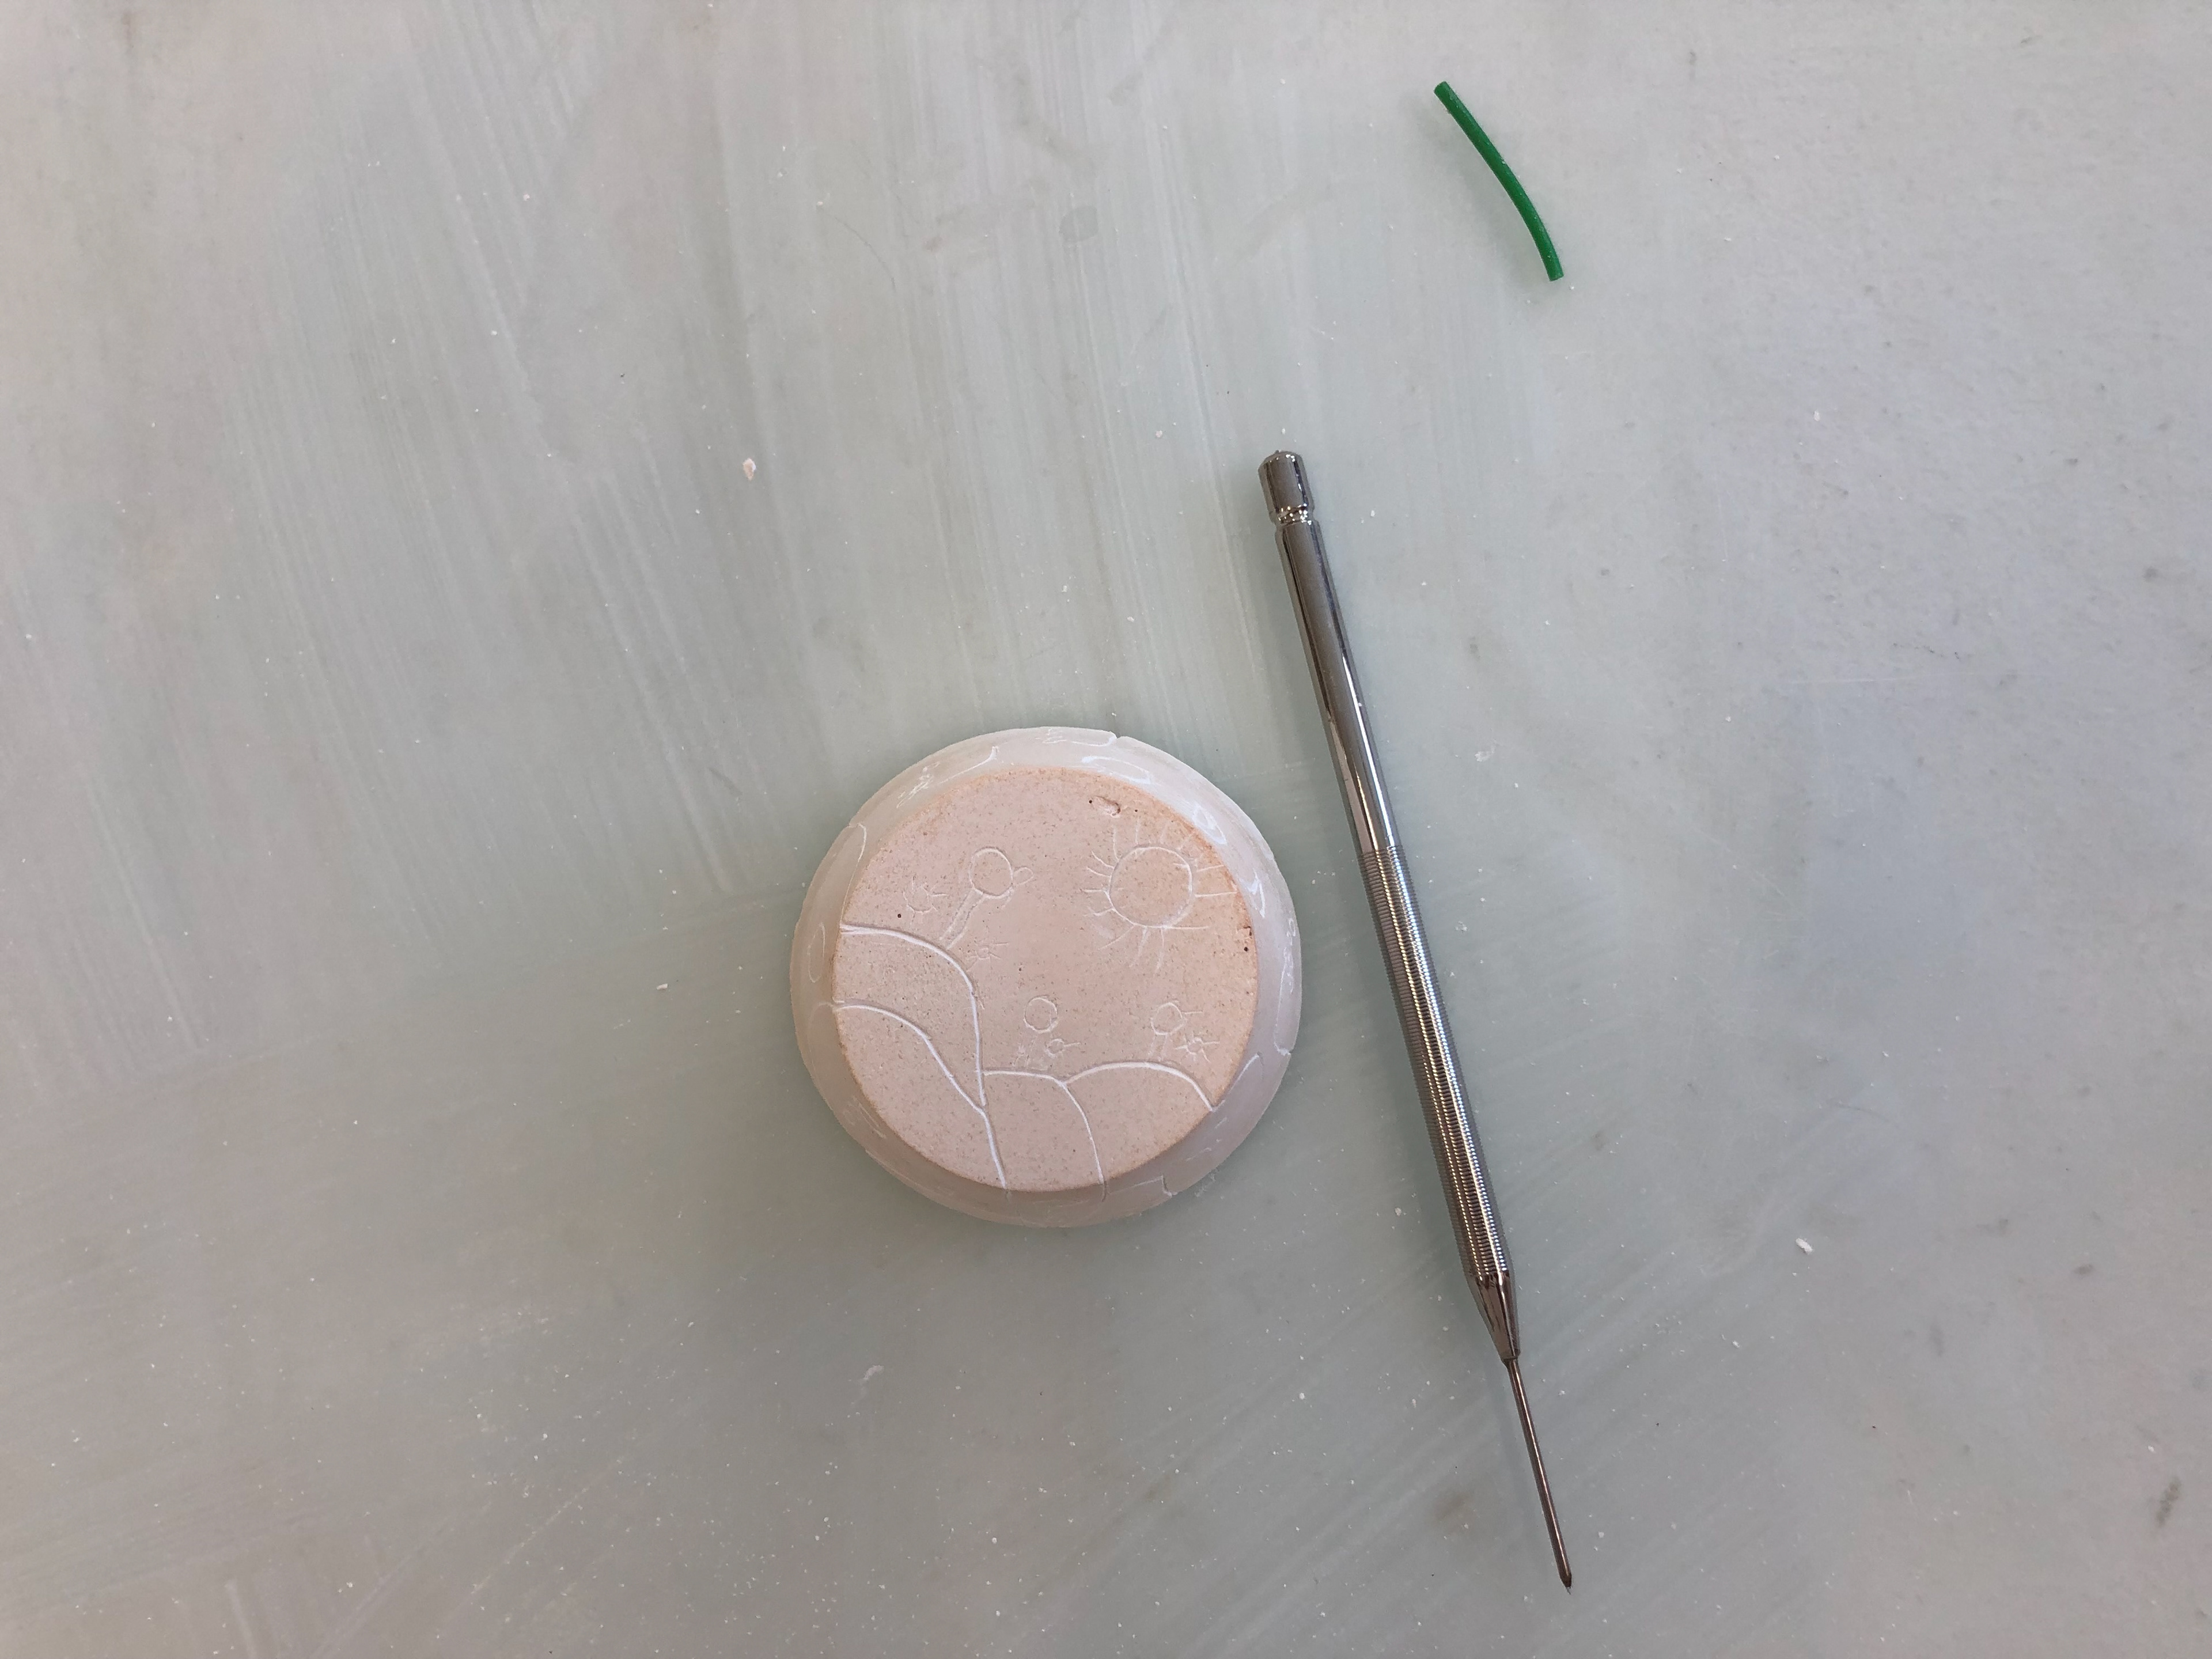
The top layer shows the landscape with trees and a bright sun.

A sad face crying on the side whilst the hillside from he top carries on to be a tear.
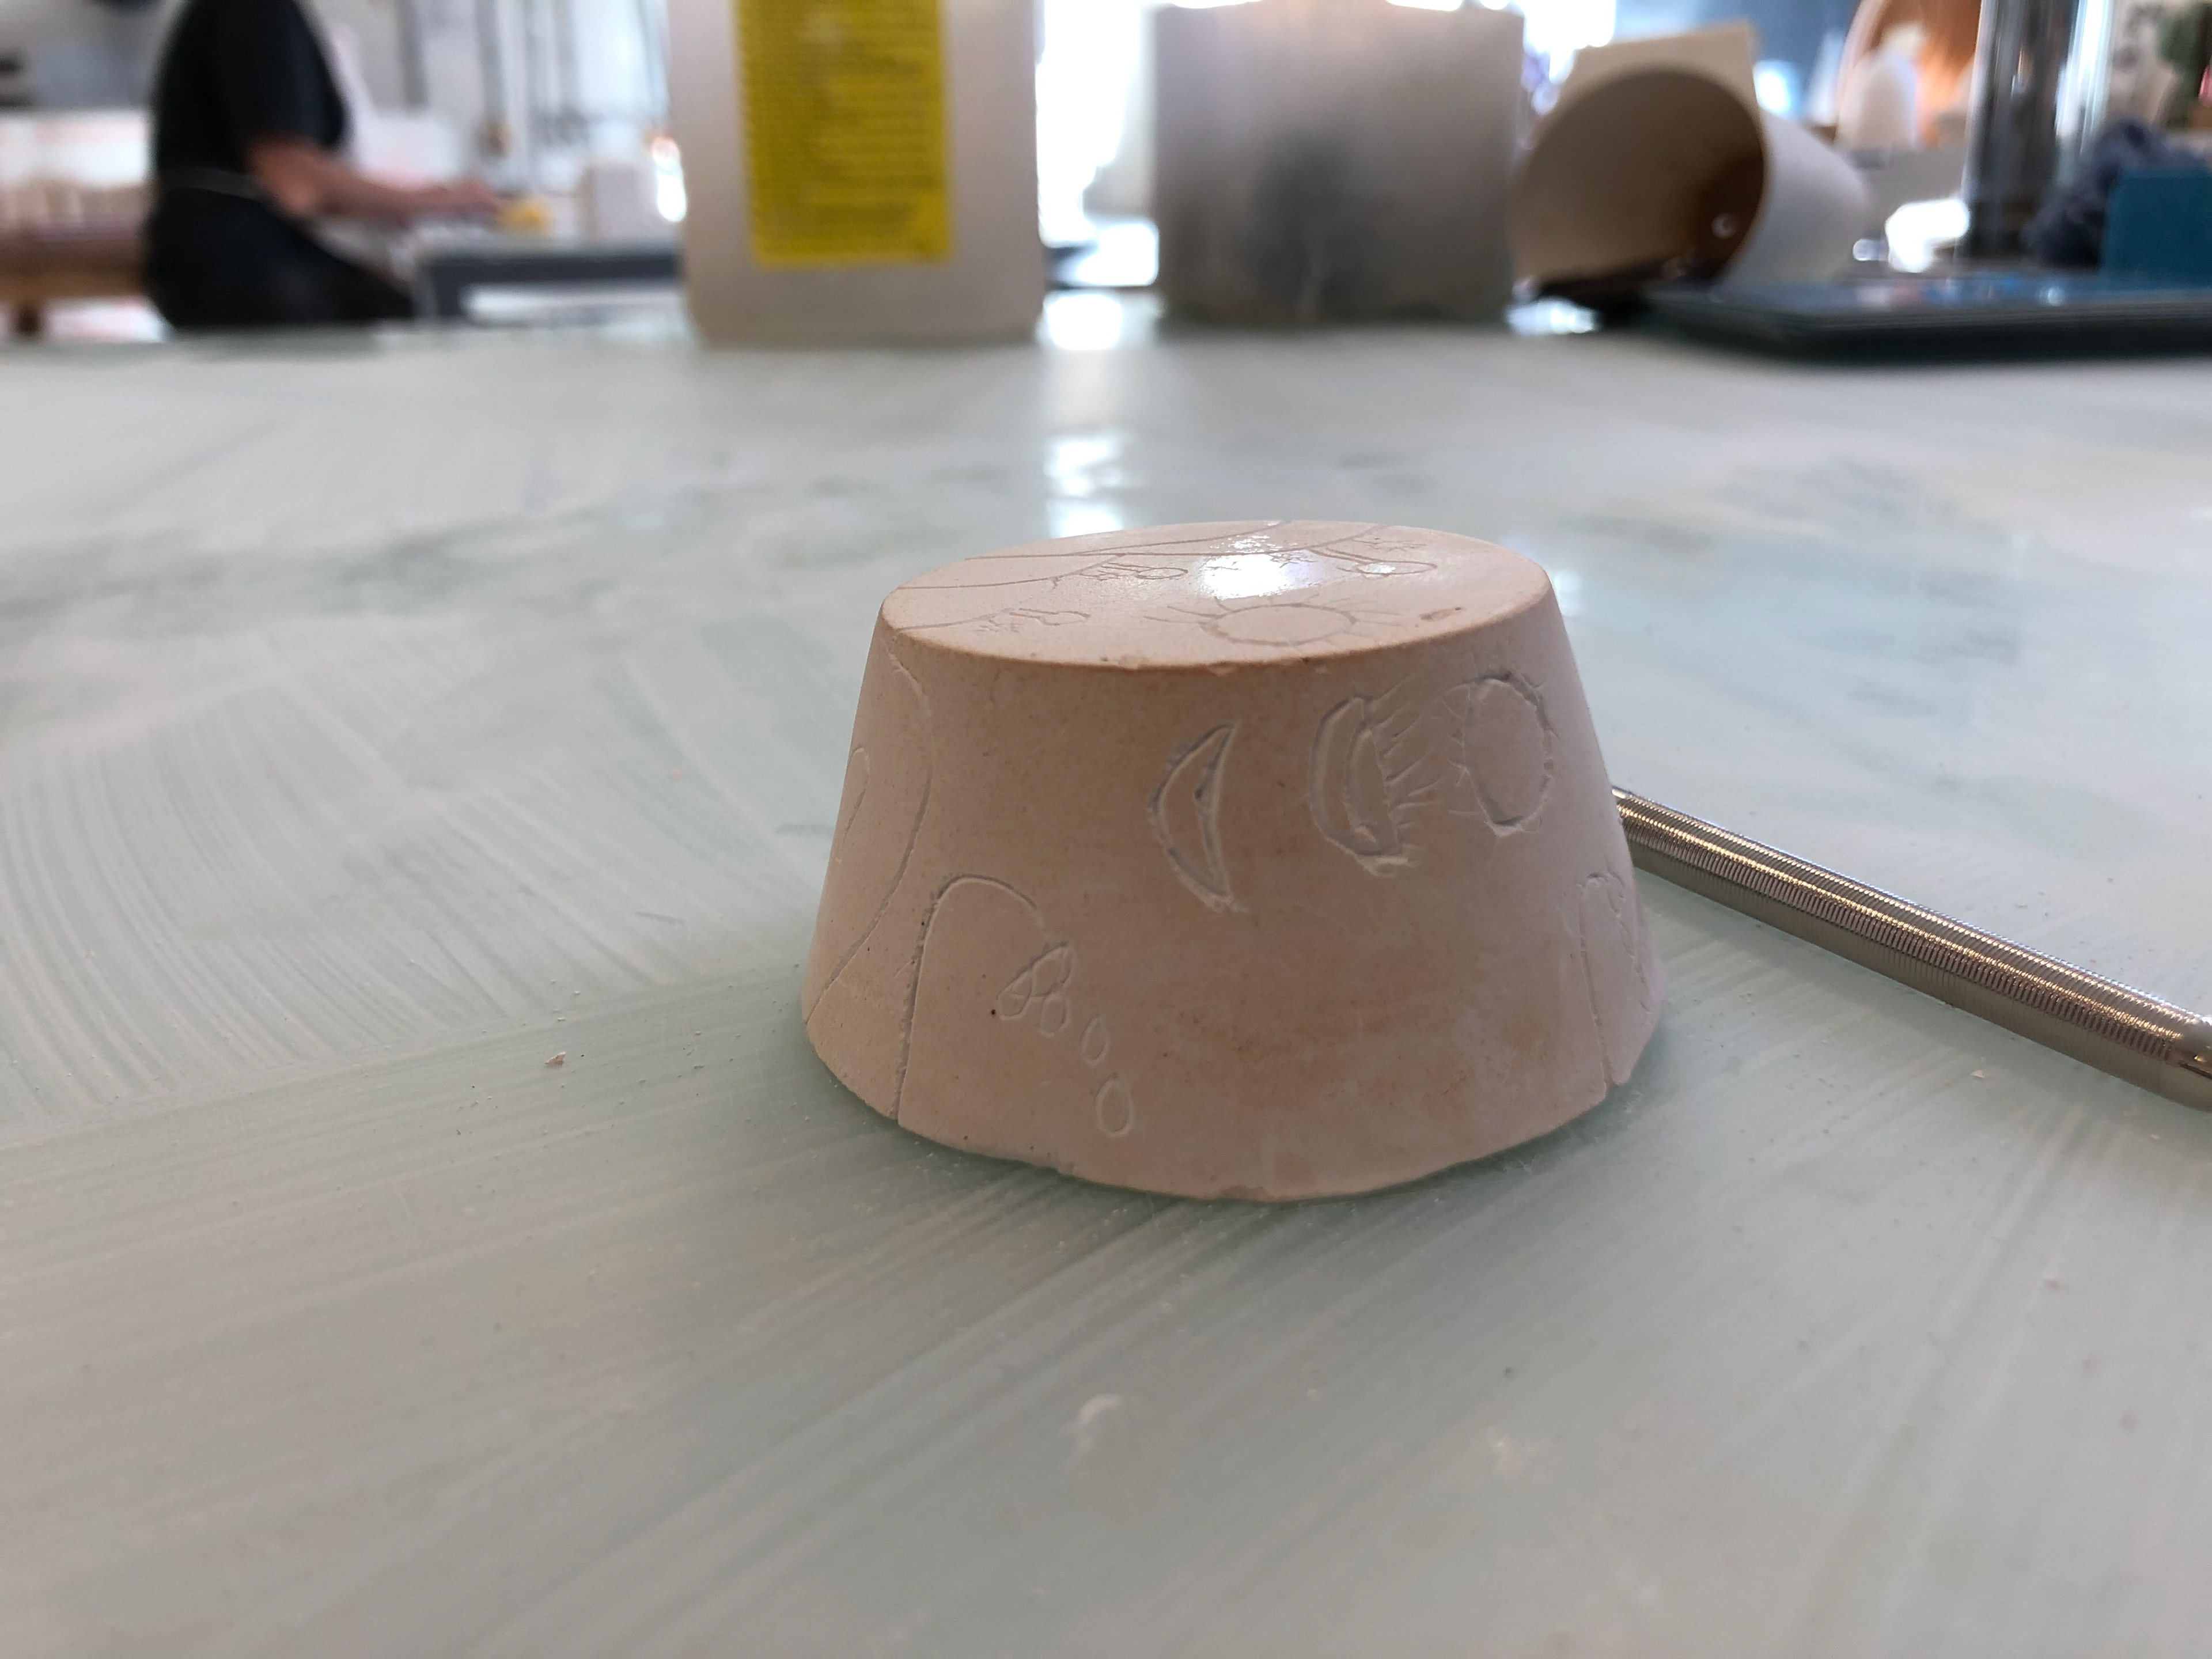
The petals of the flower are falling off and the moon phases can be seen.
Another flower losing its petals and the black spades design from a card pack enforces the sadness.
Imprinting and rolling
I gathered a selection of objects to imprint into my clay. I also used slip to add colour and make the indents and patterns the main focus.
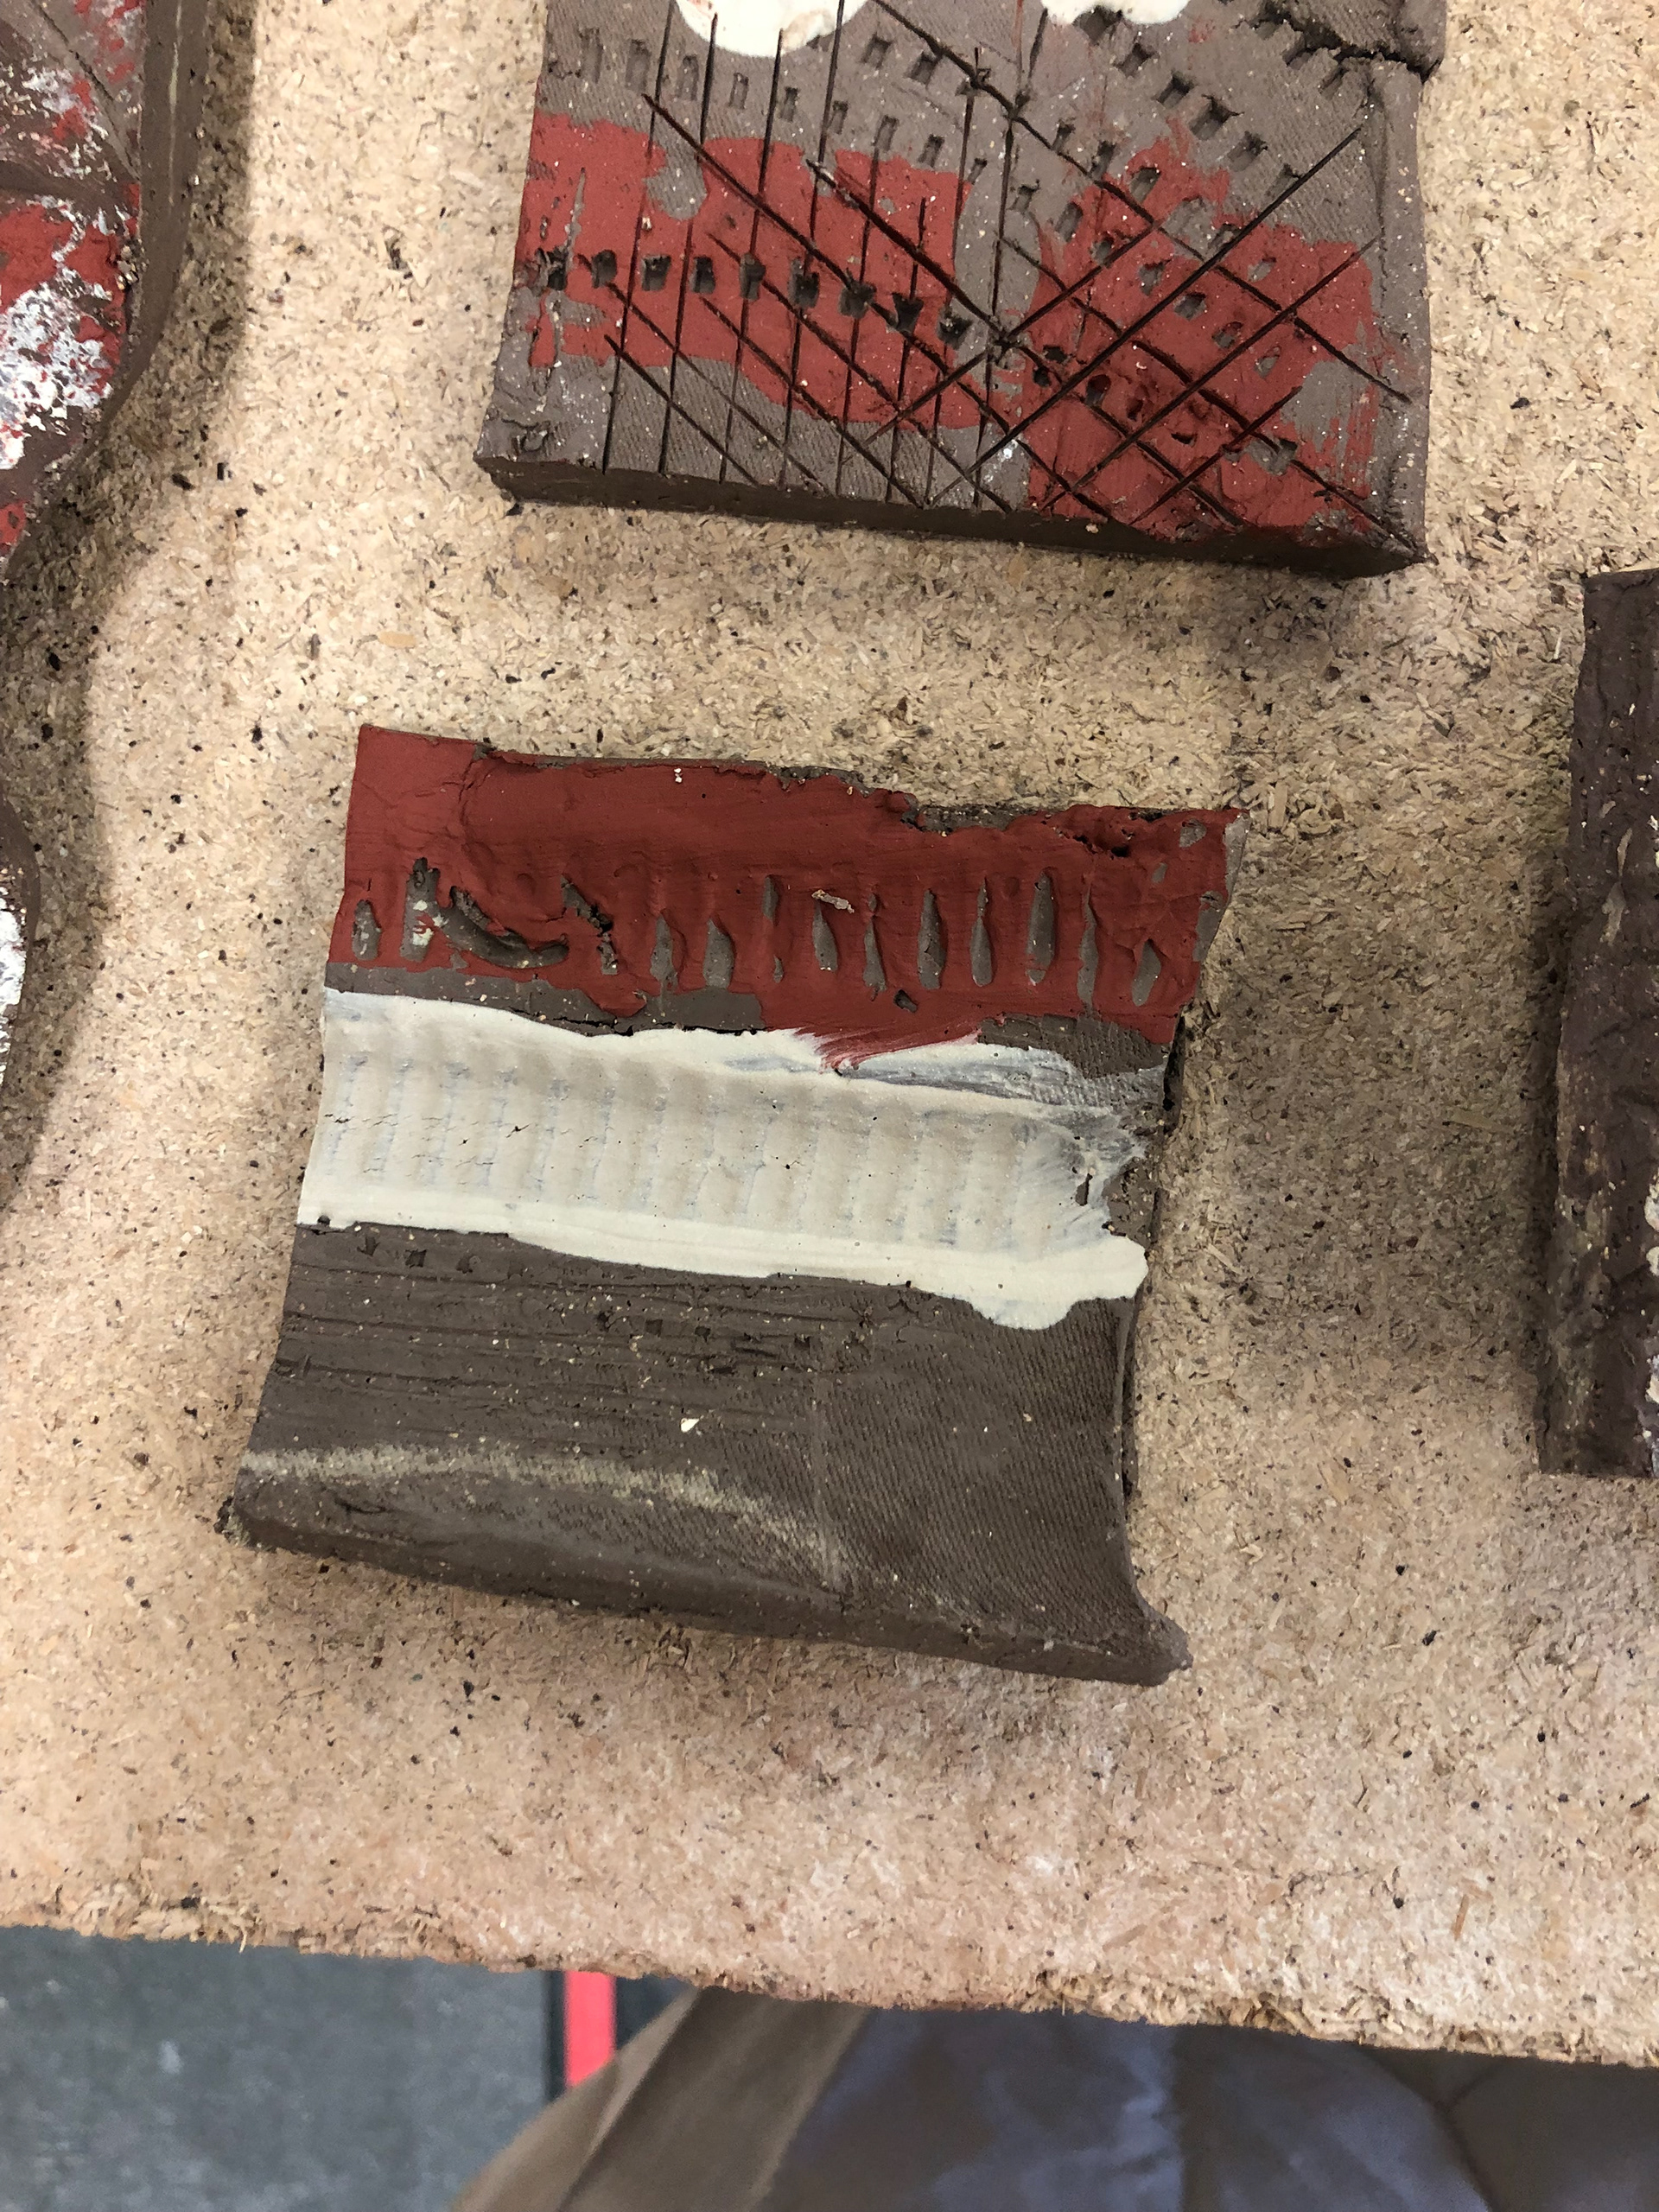
We then cut the clay into pieces and mixed with other people nearby to experiment with multiple random object layouts.
Initial clay piece with rubber kidney to smooth.
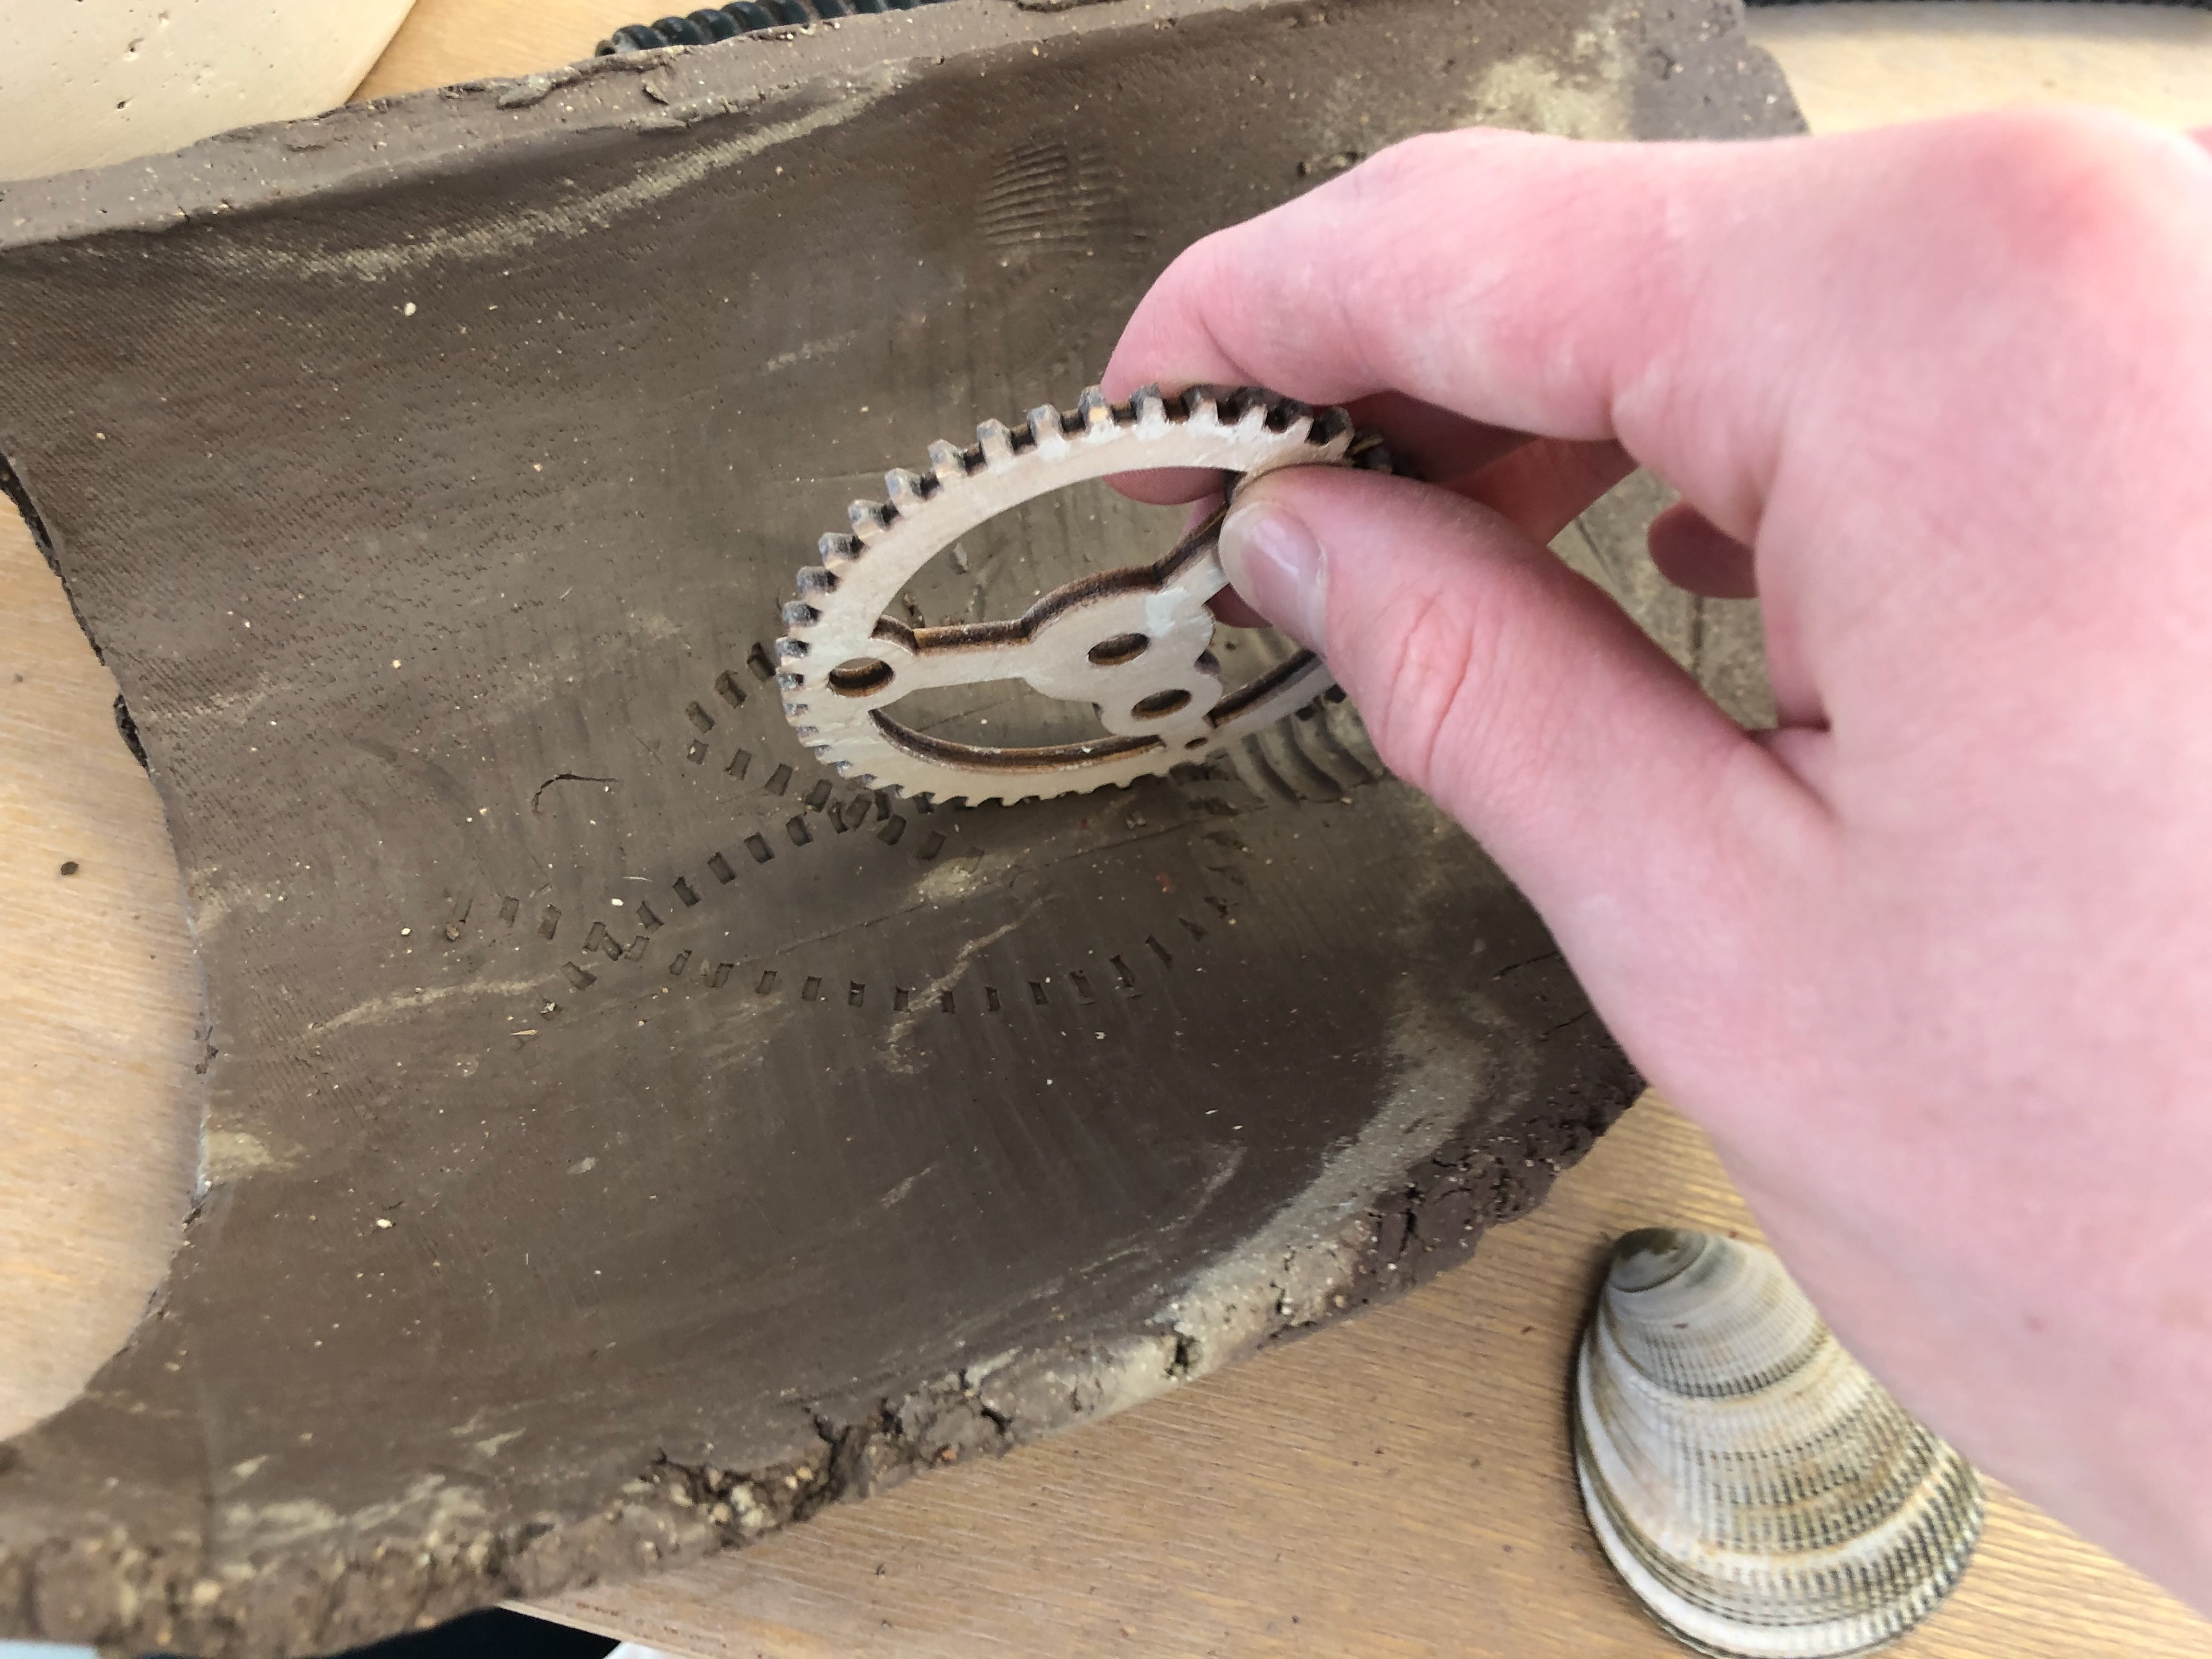
Wooden cog to imprint the cog teeth into the clay.
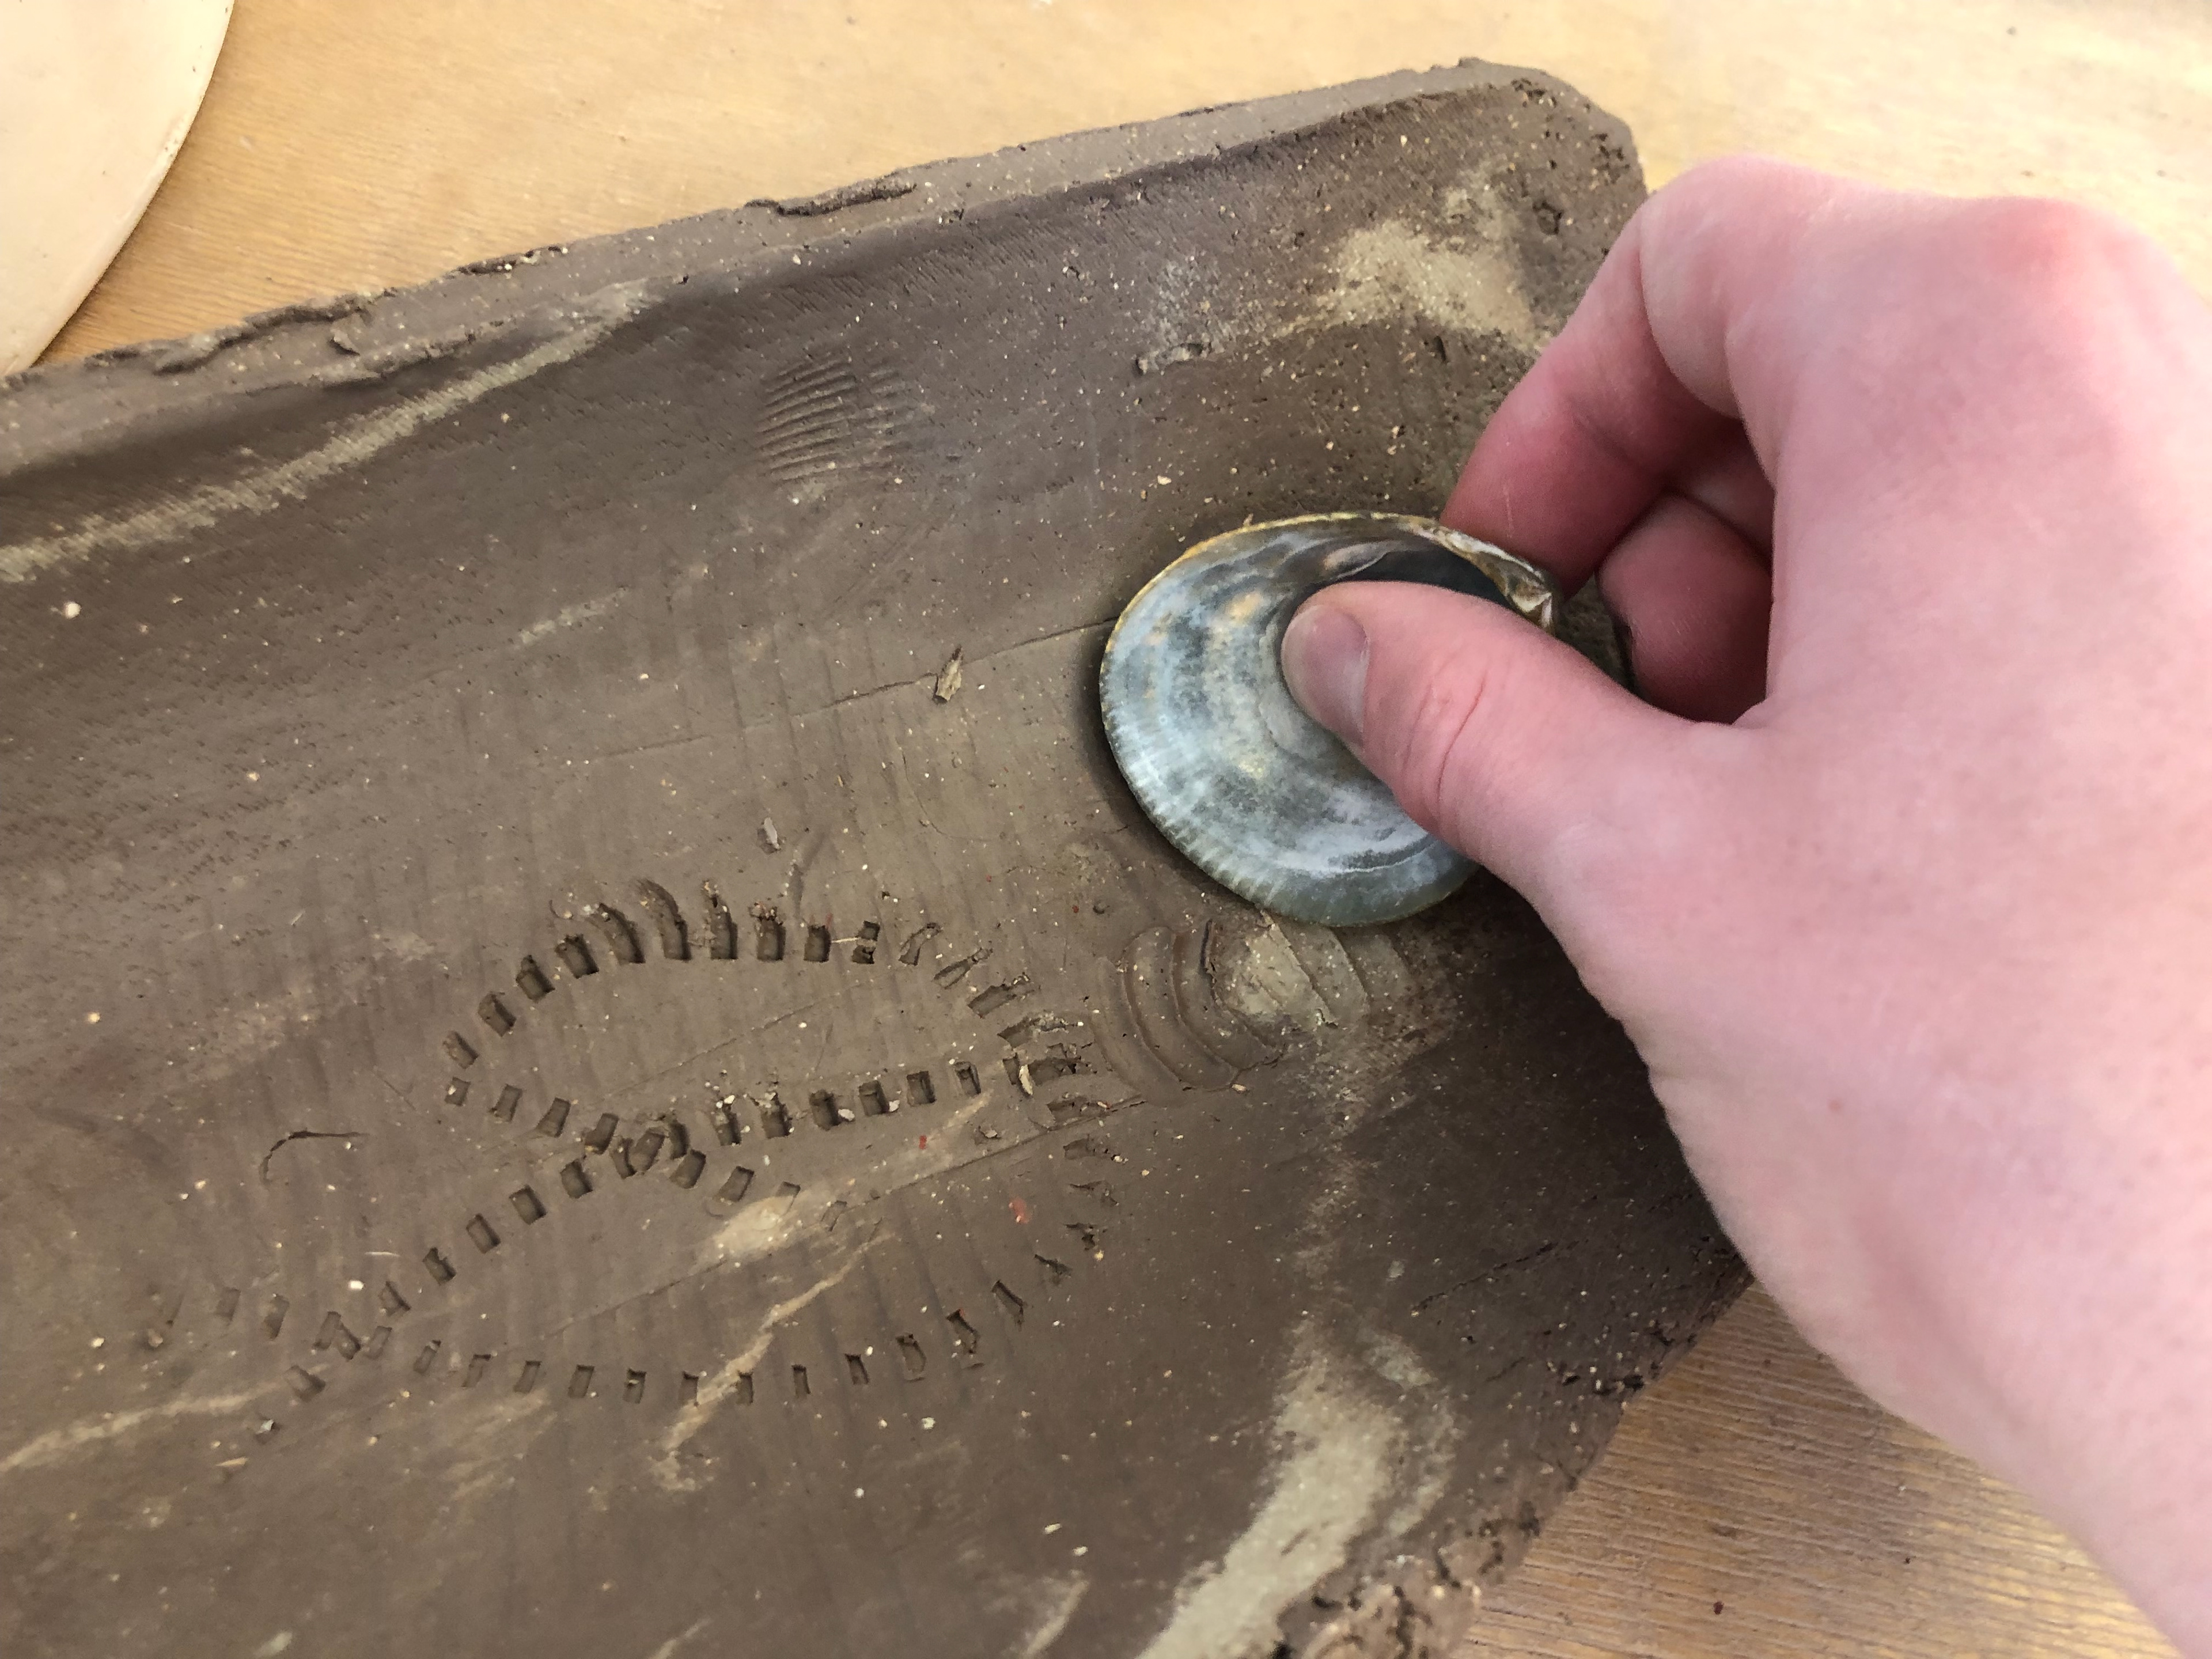
The shell had deep groves on the outside which left a perfect pattern on the clay.
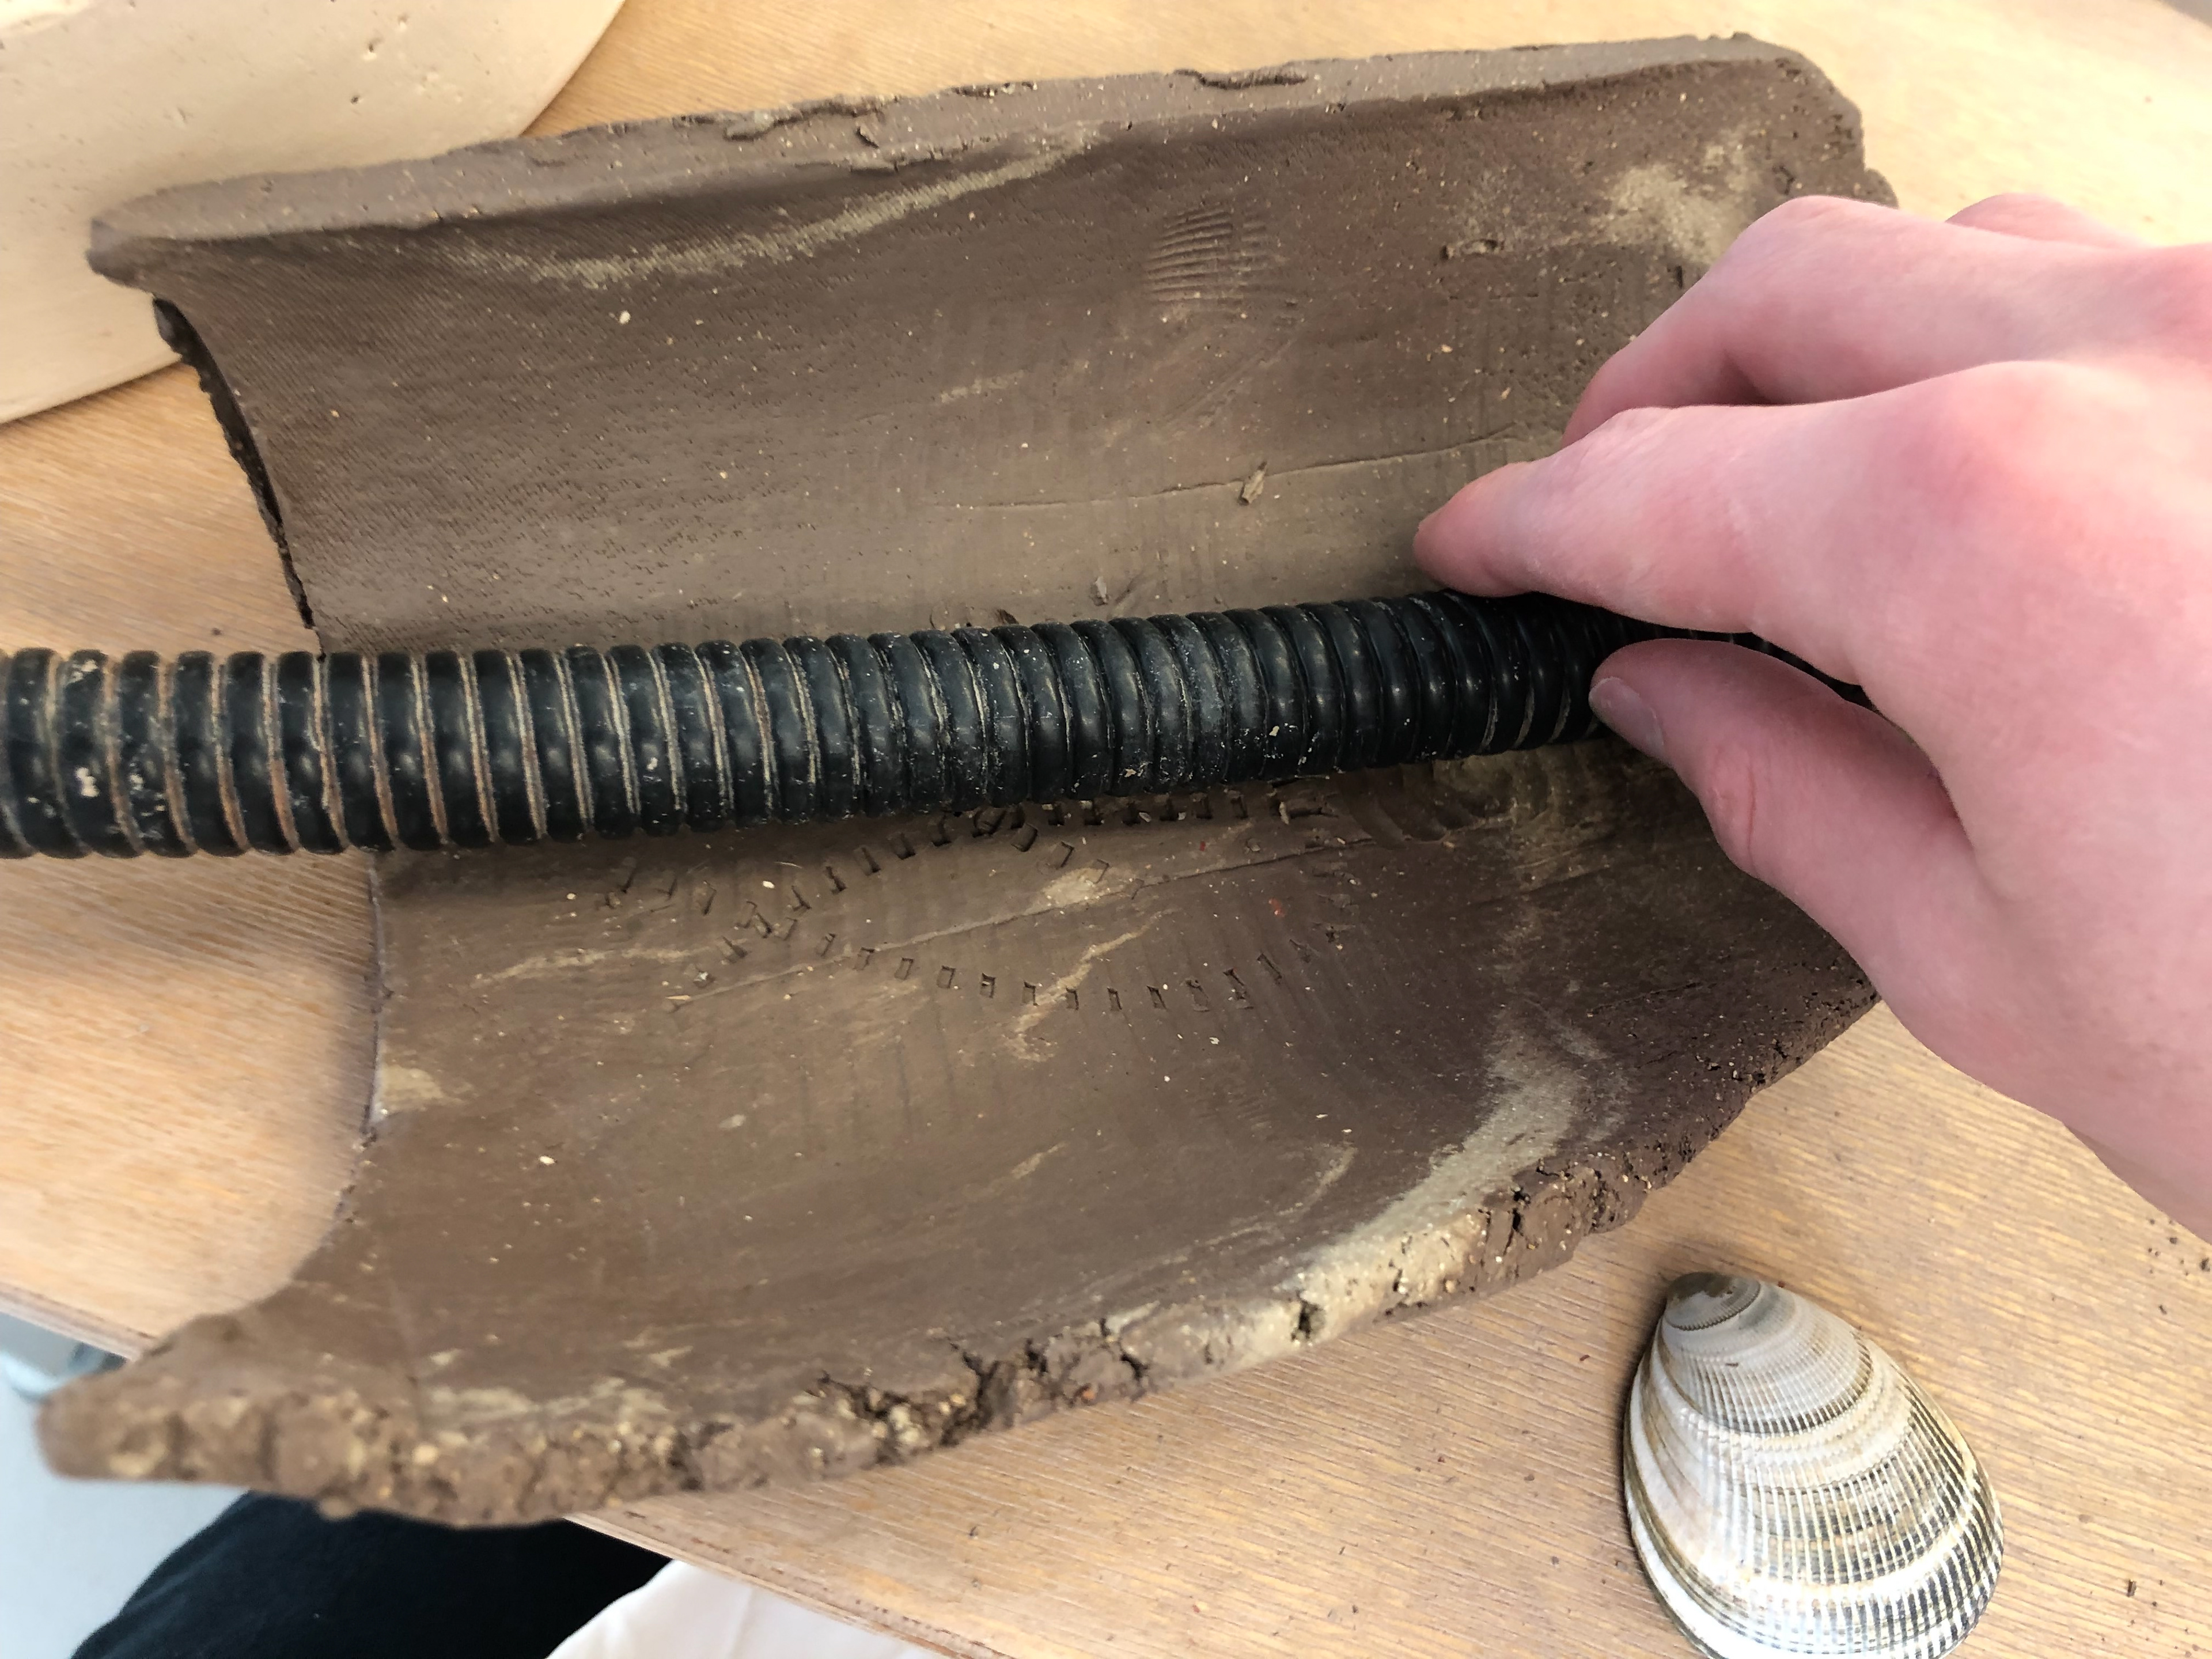
Piping which I slapped into the clay left a deep imprint.
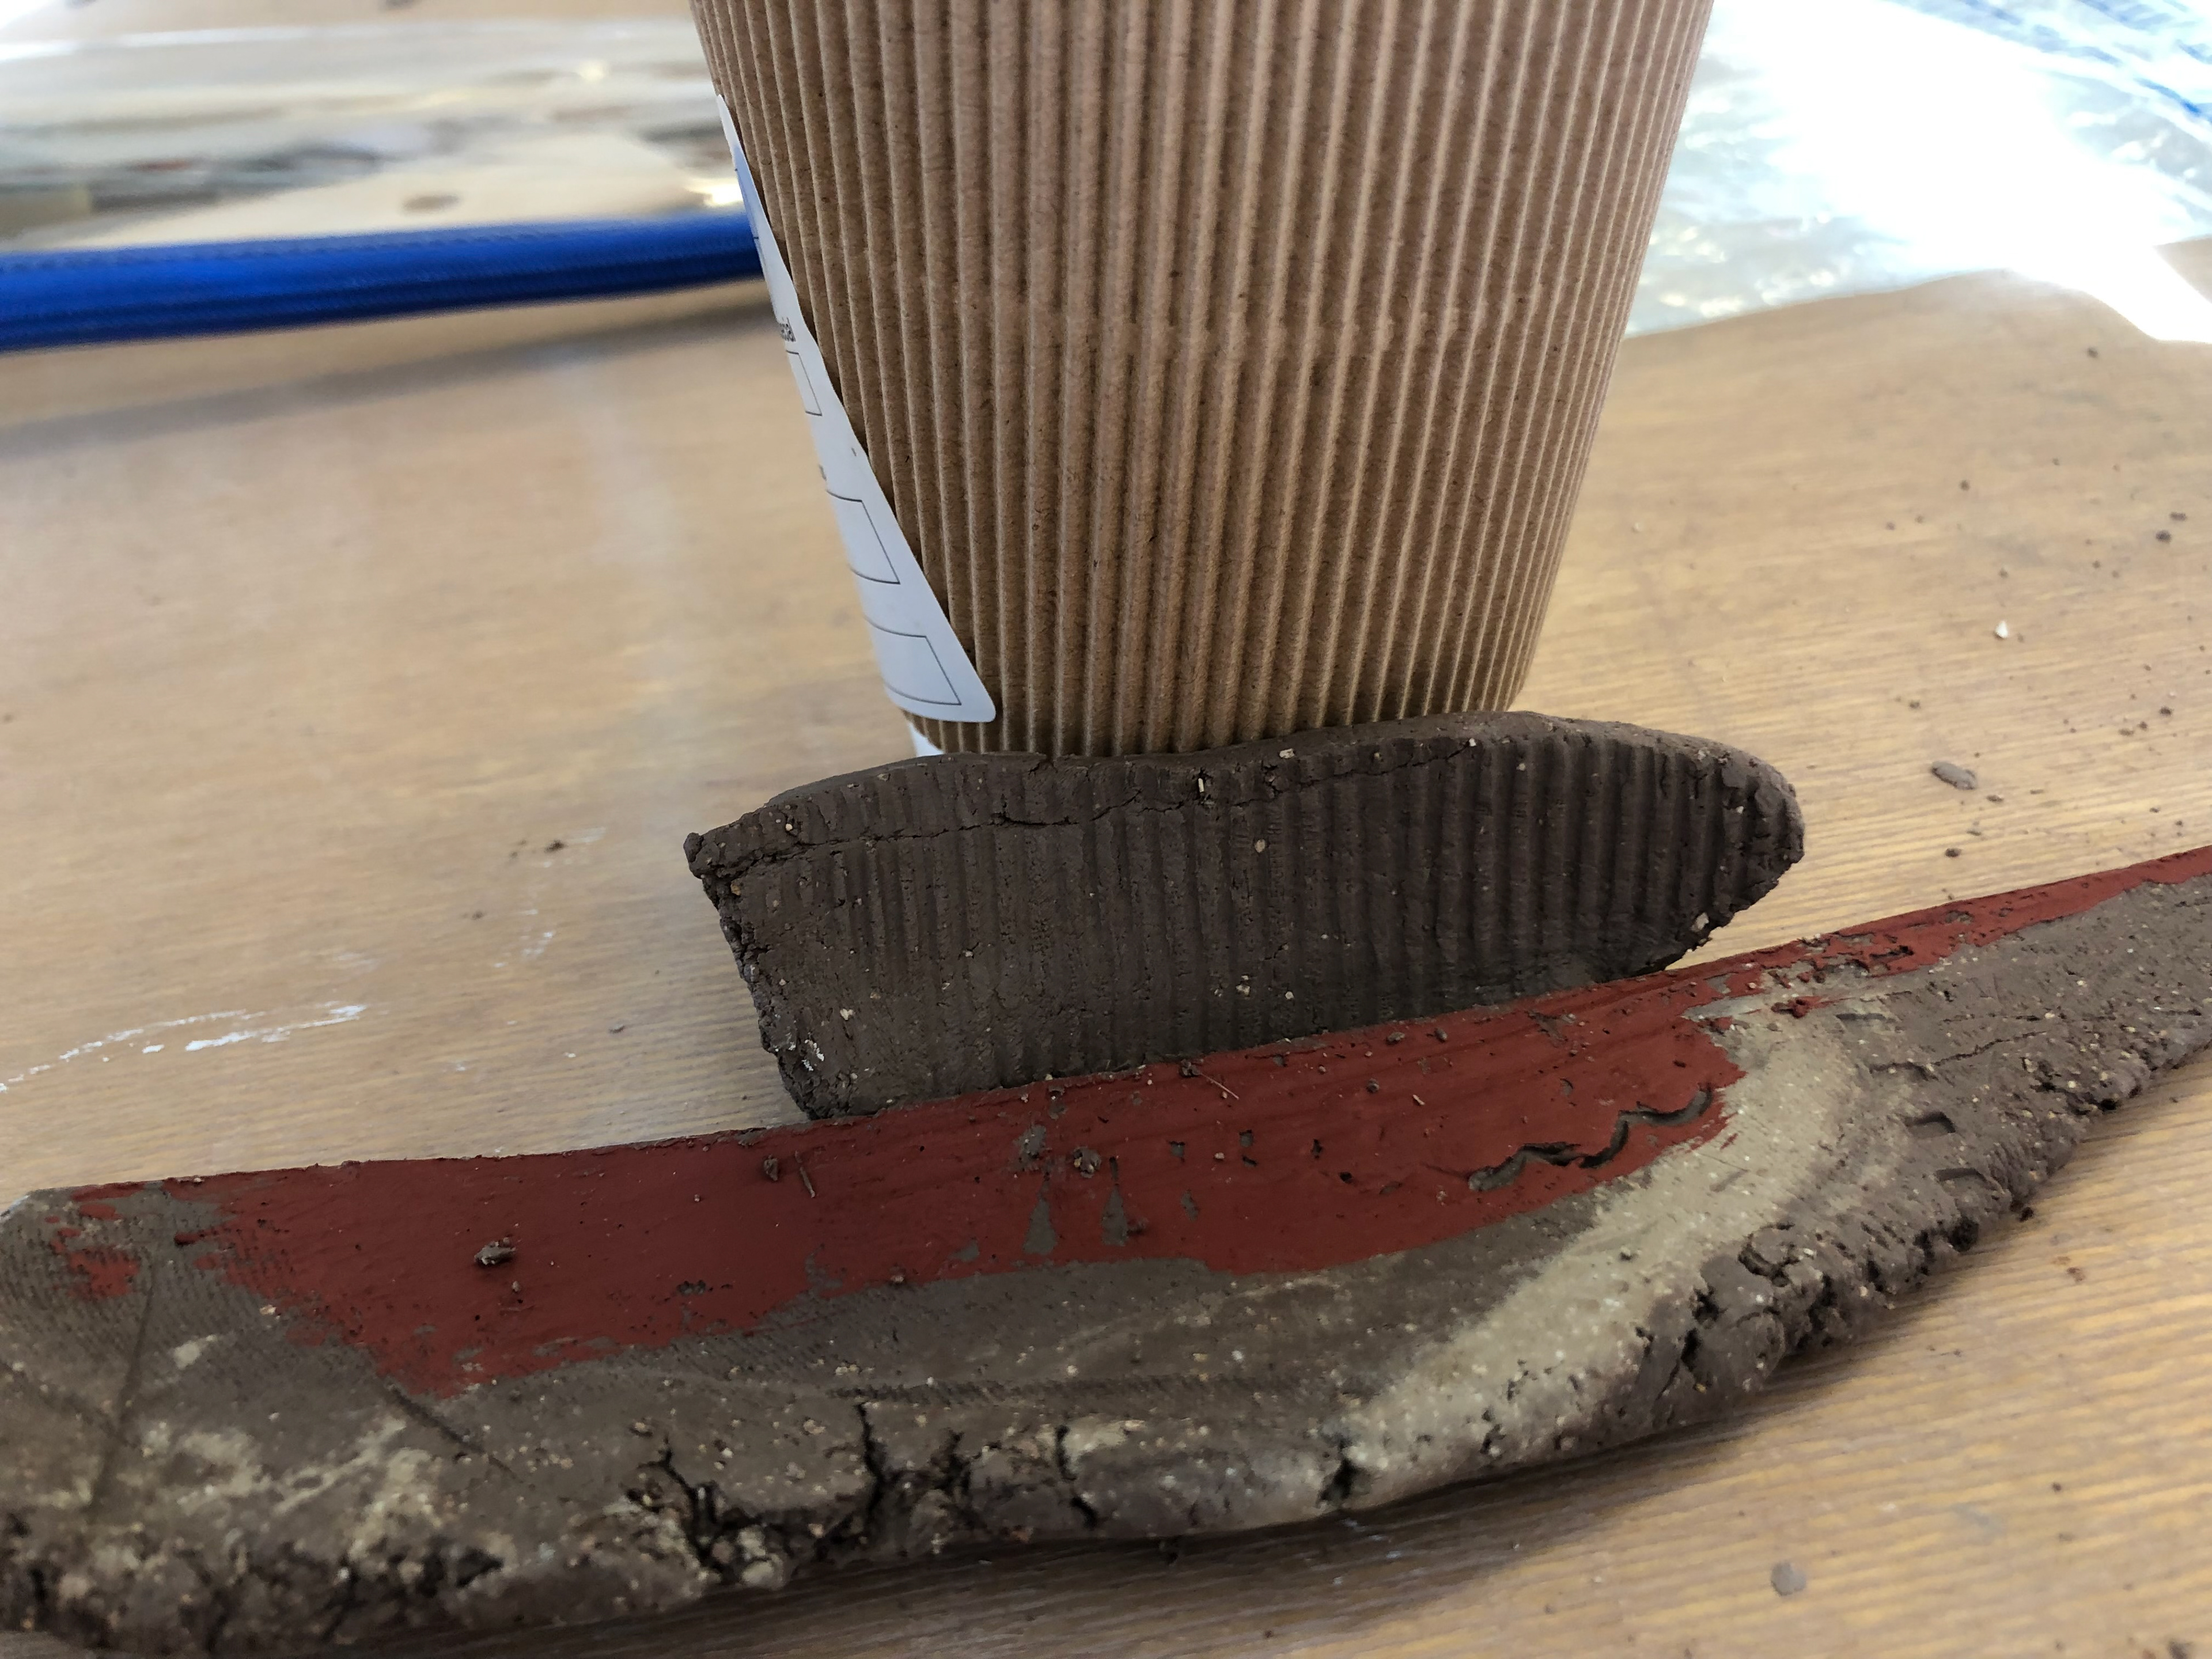
I wrapped clay around the side of a coffee cup to collect the pattern.
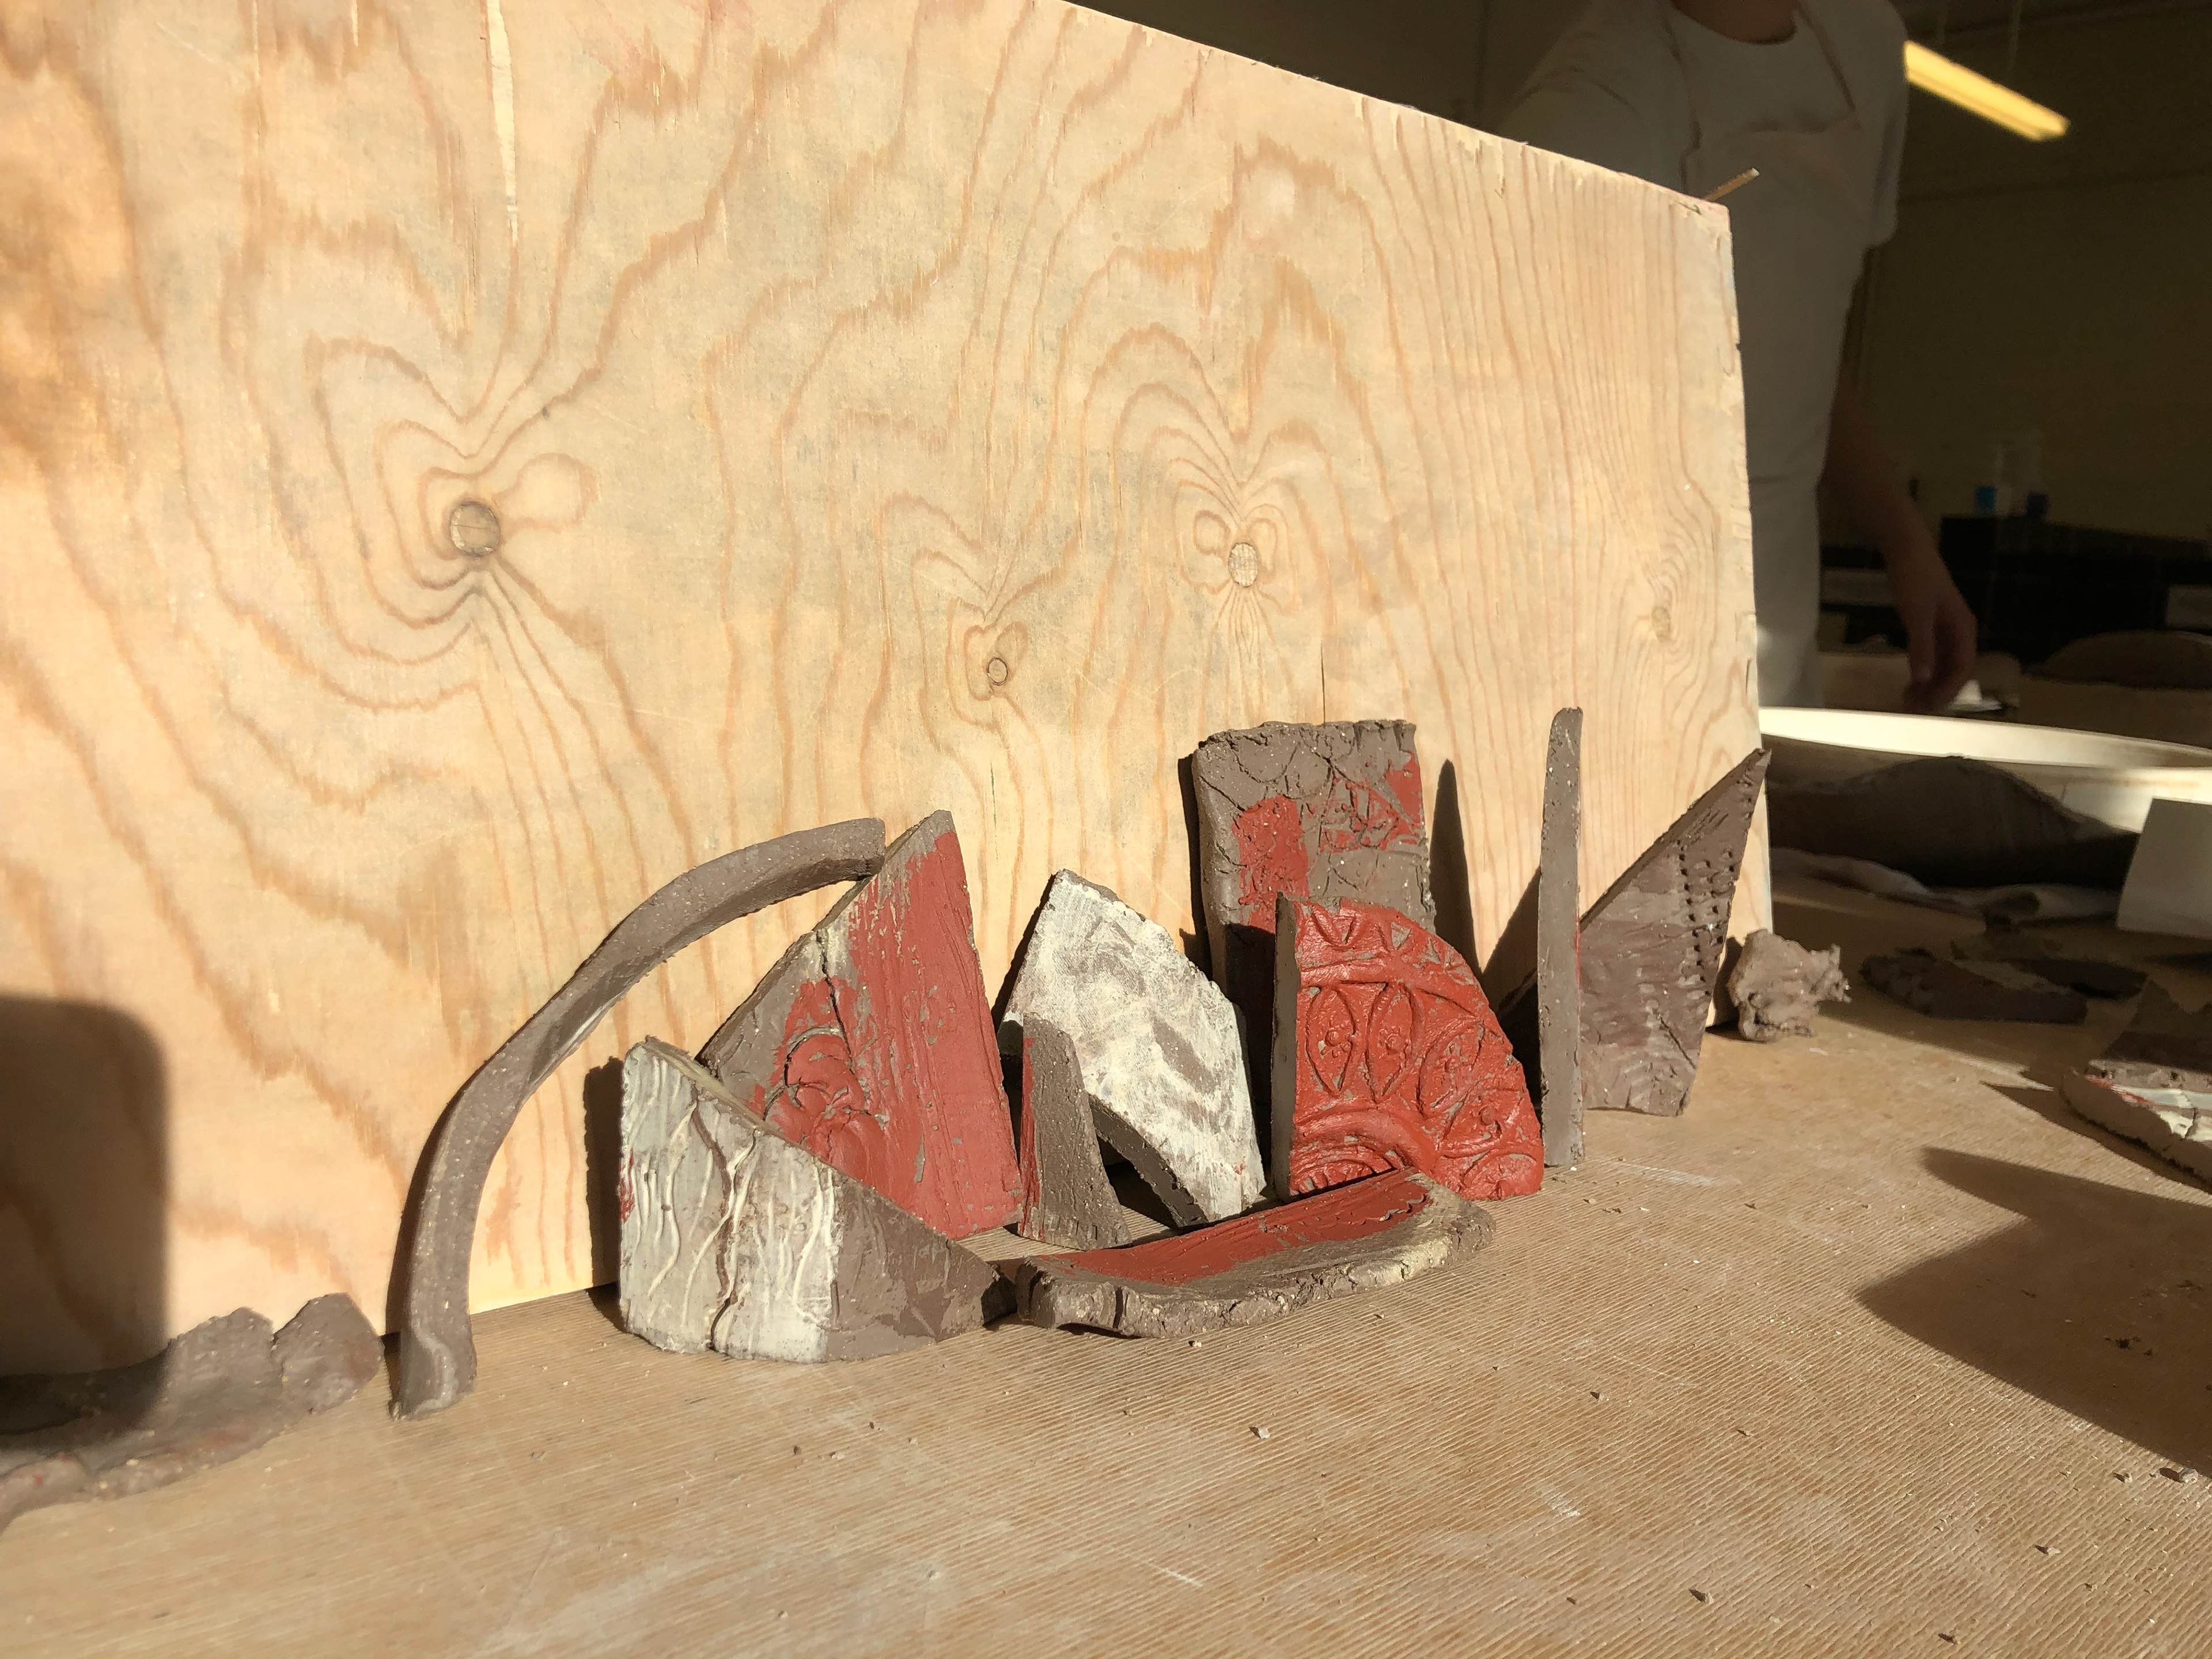
The collection of cutouts from multiple people including myself.
Porcelain and terracotta slip in the piping indent.
Slab rolling piece
I used the rolling machine to flatten my clay. I then placed the clay into a plaster mould and made sure it fit and wouldn't tear when I imprinted into it. I once again used a variety of slip to add colour.
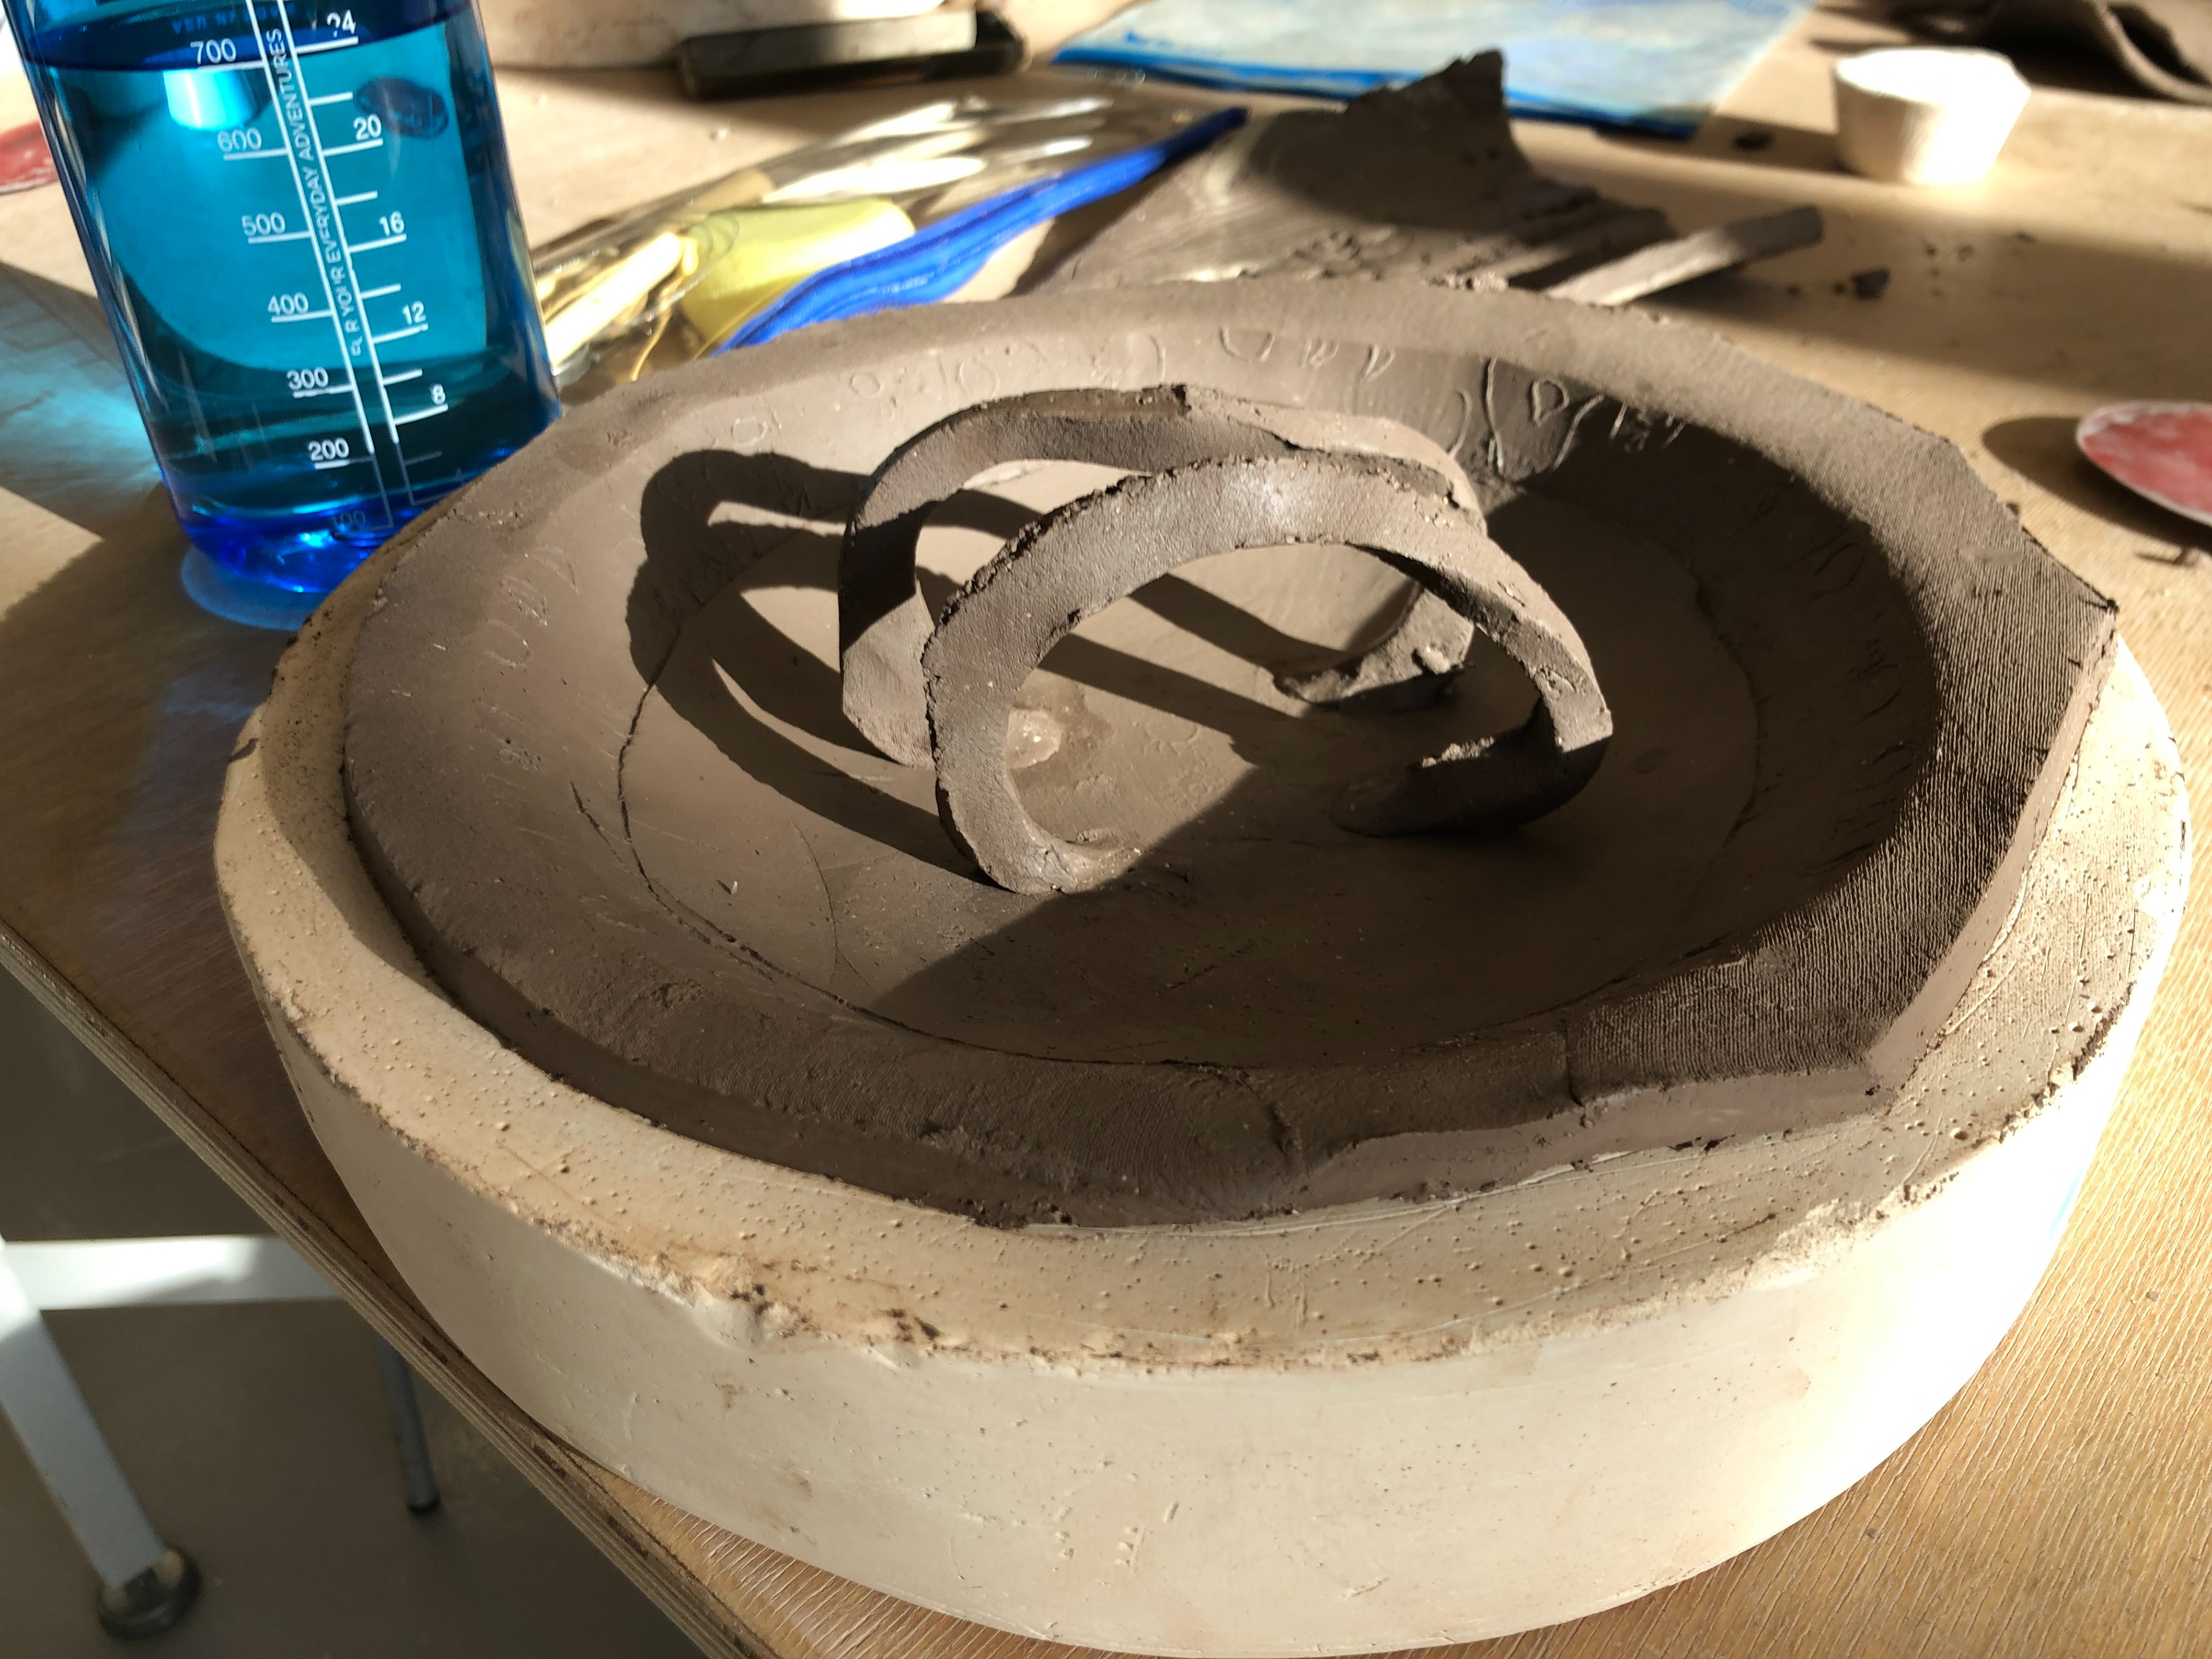
The clay I rolled out is in a plaster mould. I added two arches that for aesthetics only.
I used the intaglio to imprint my design around the brim of the bowl.
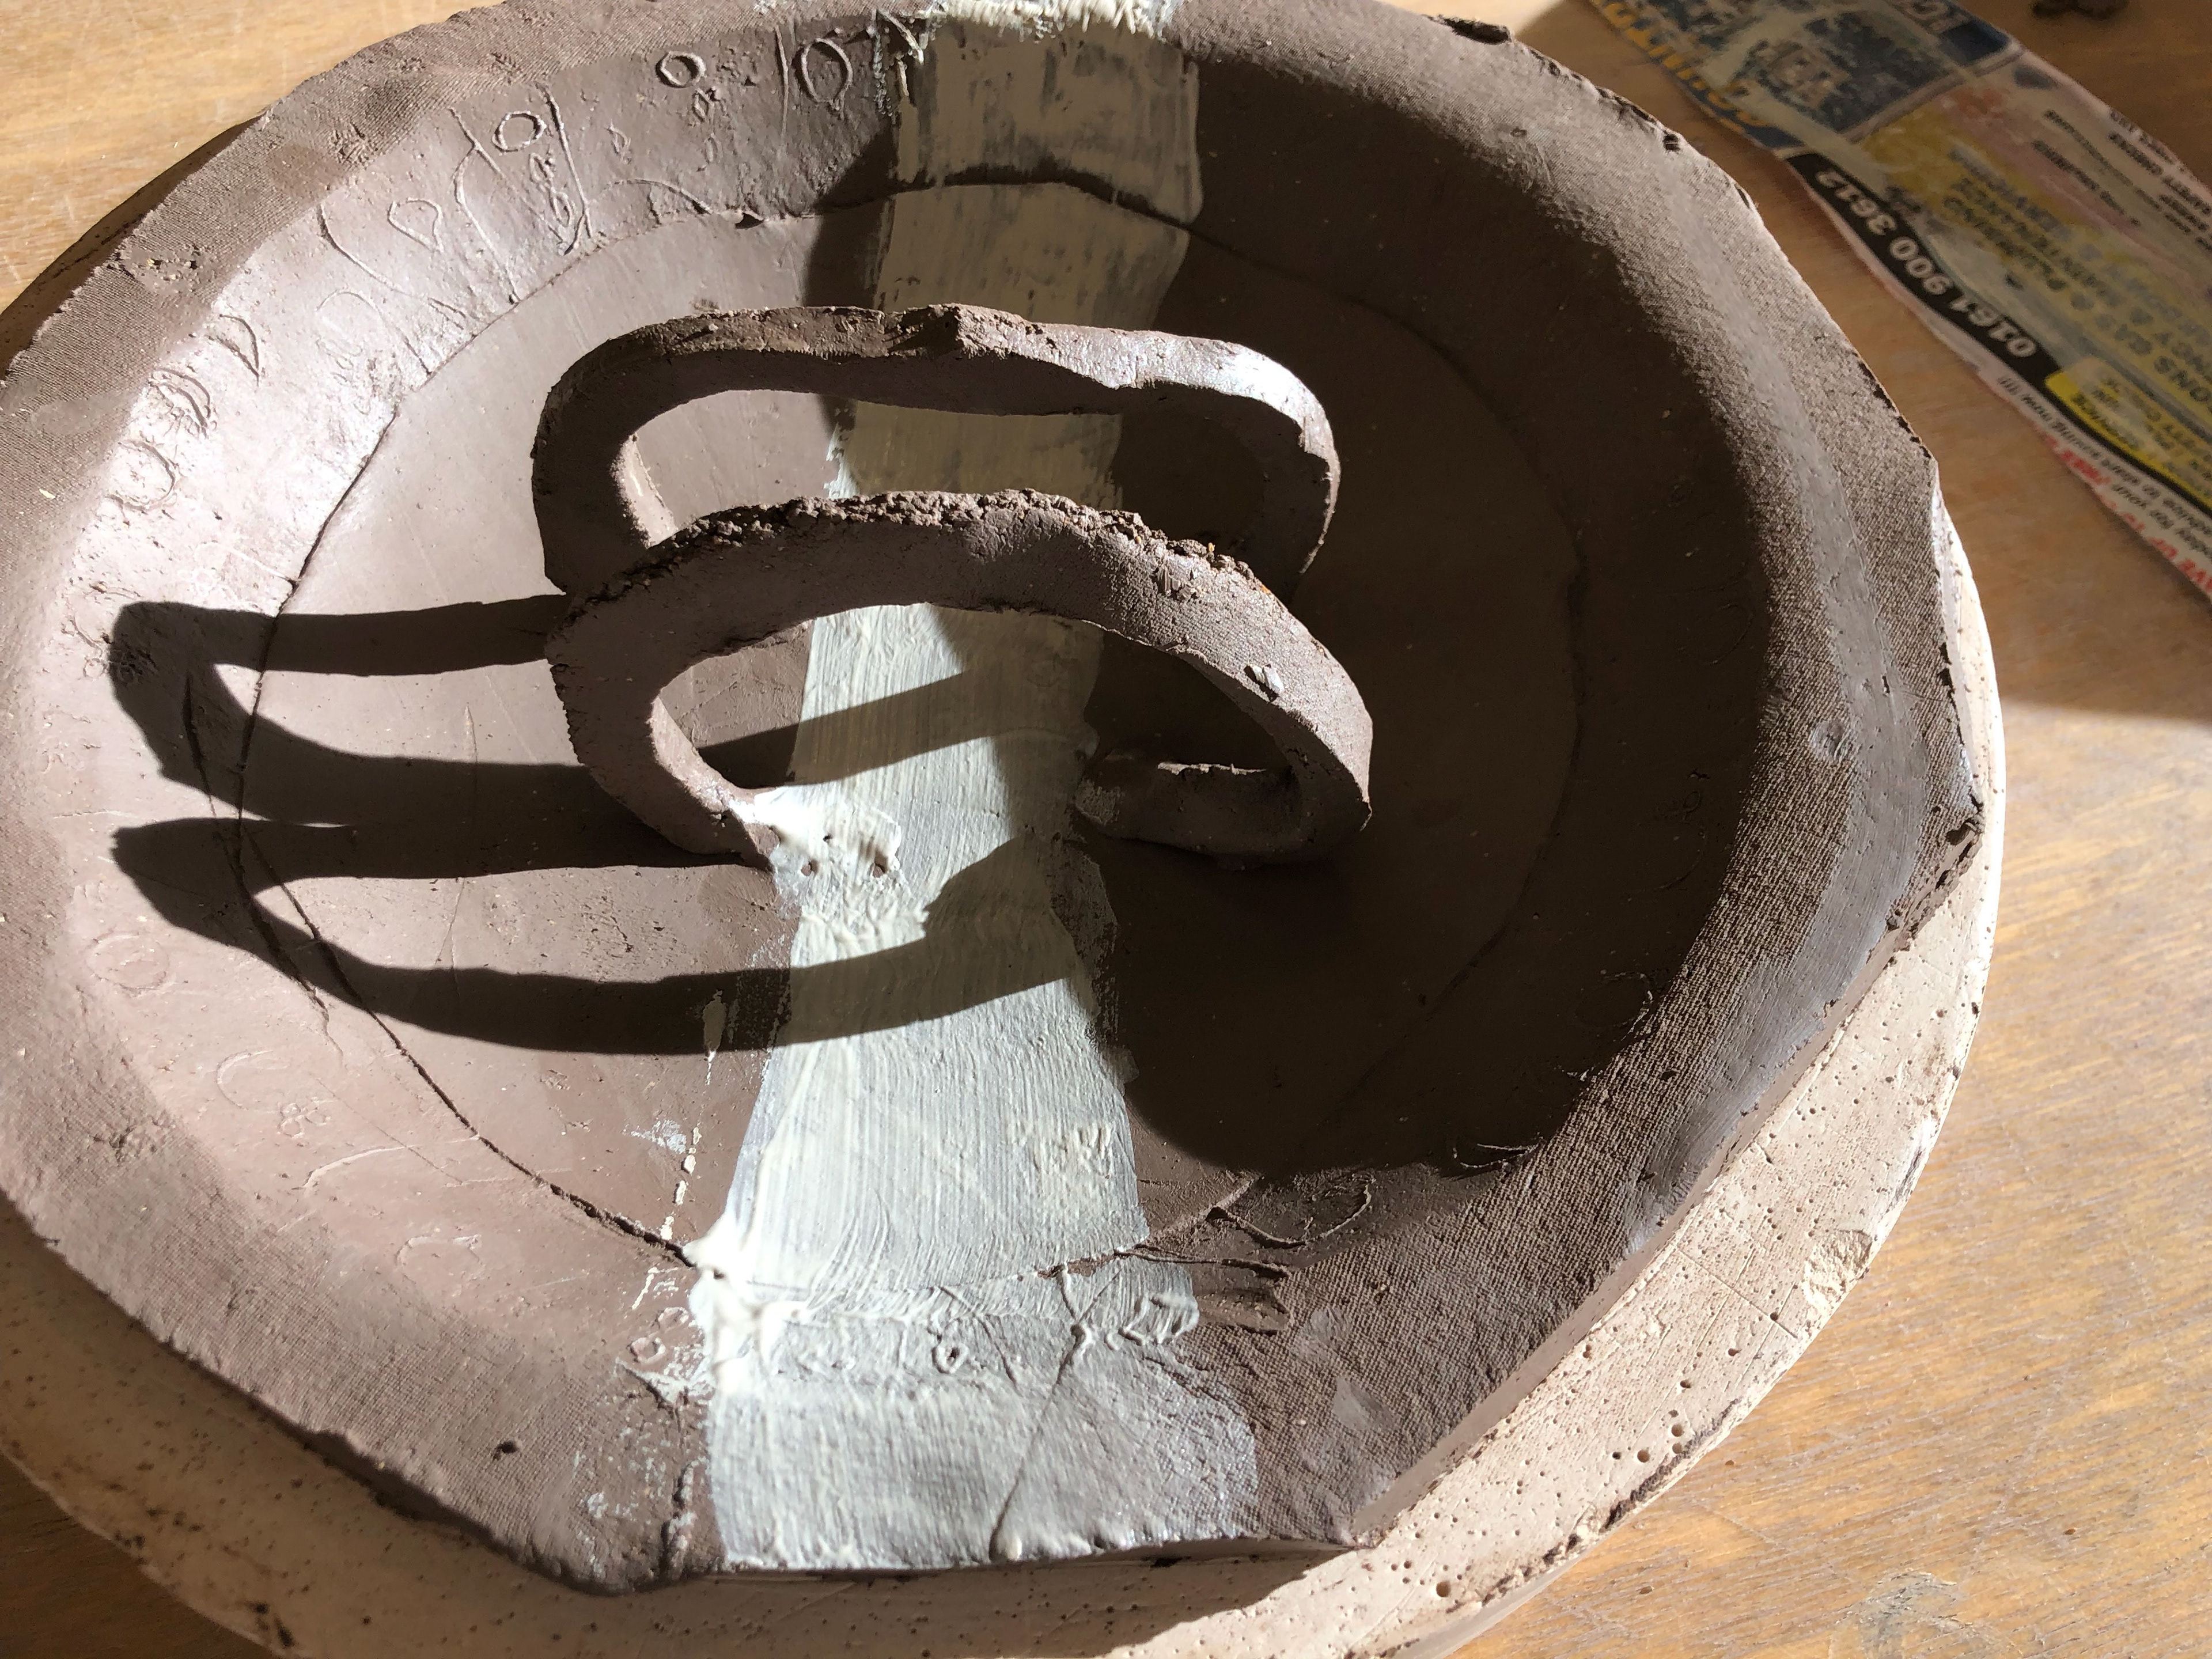
I used porcelain slip to paint a white line through the arches.
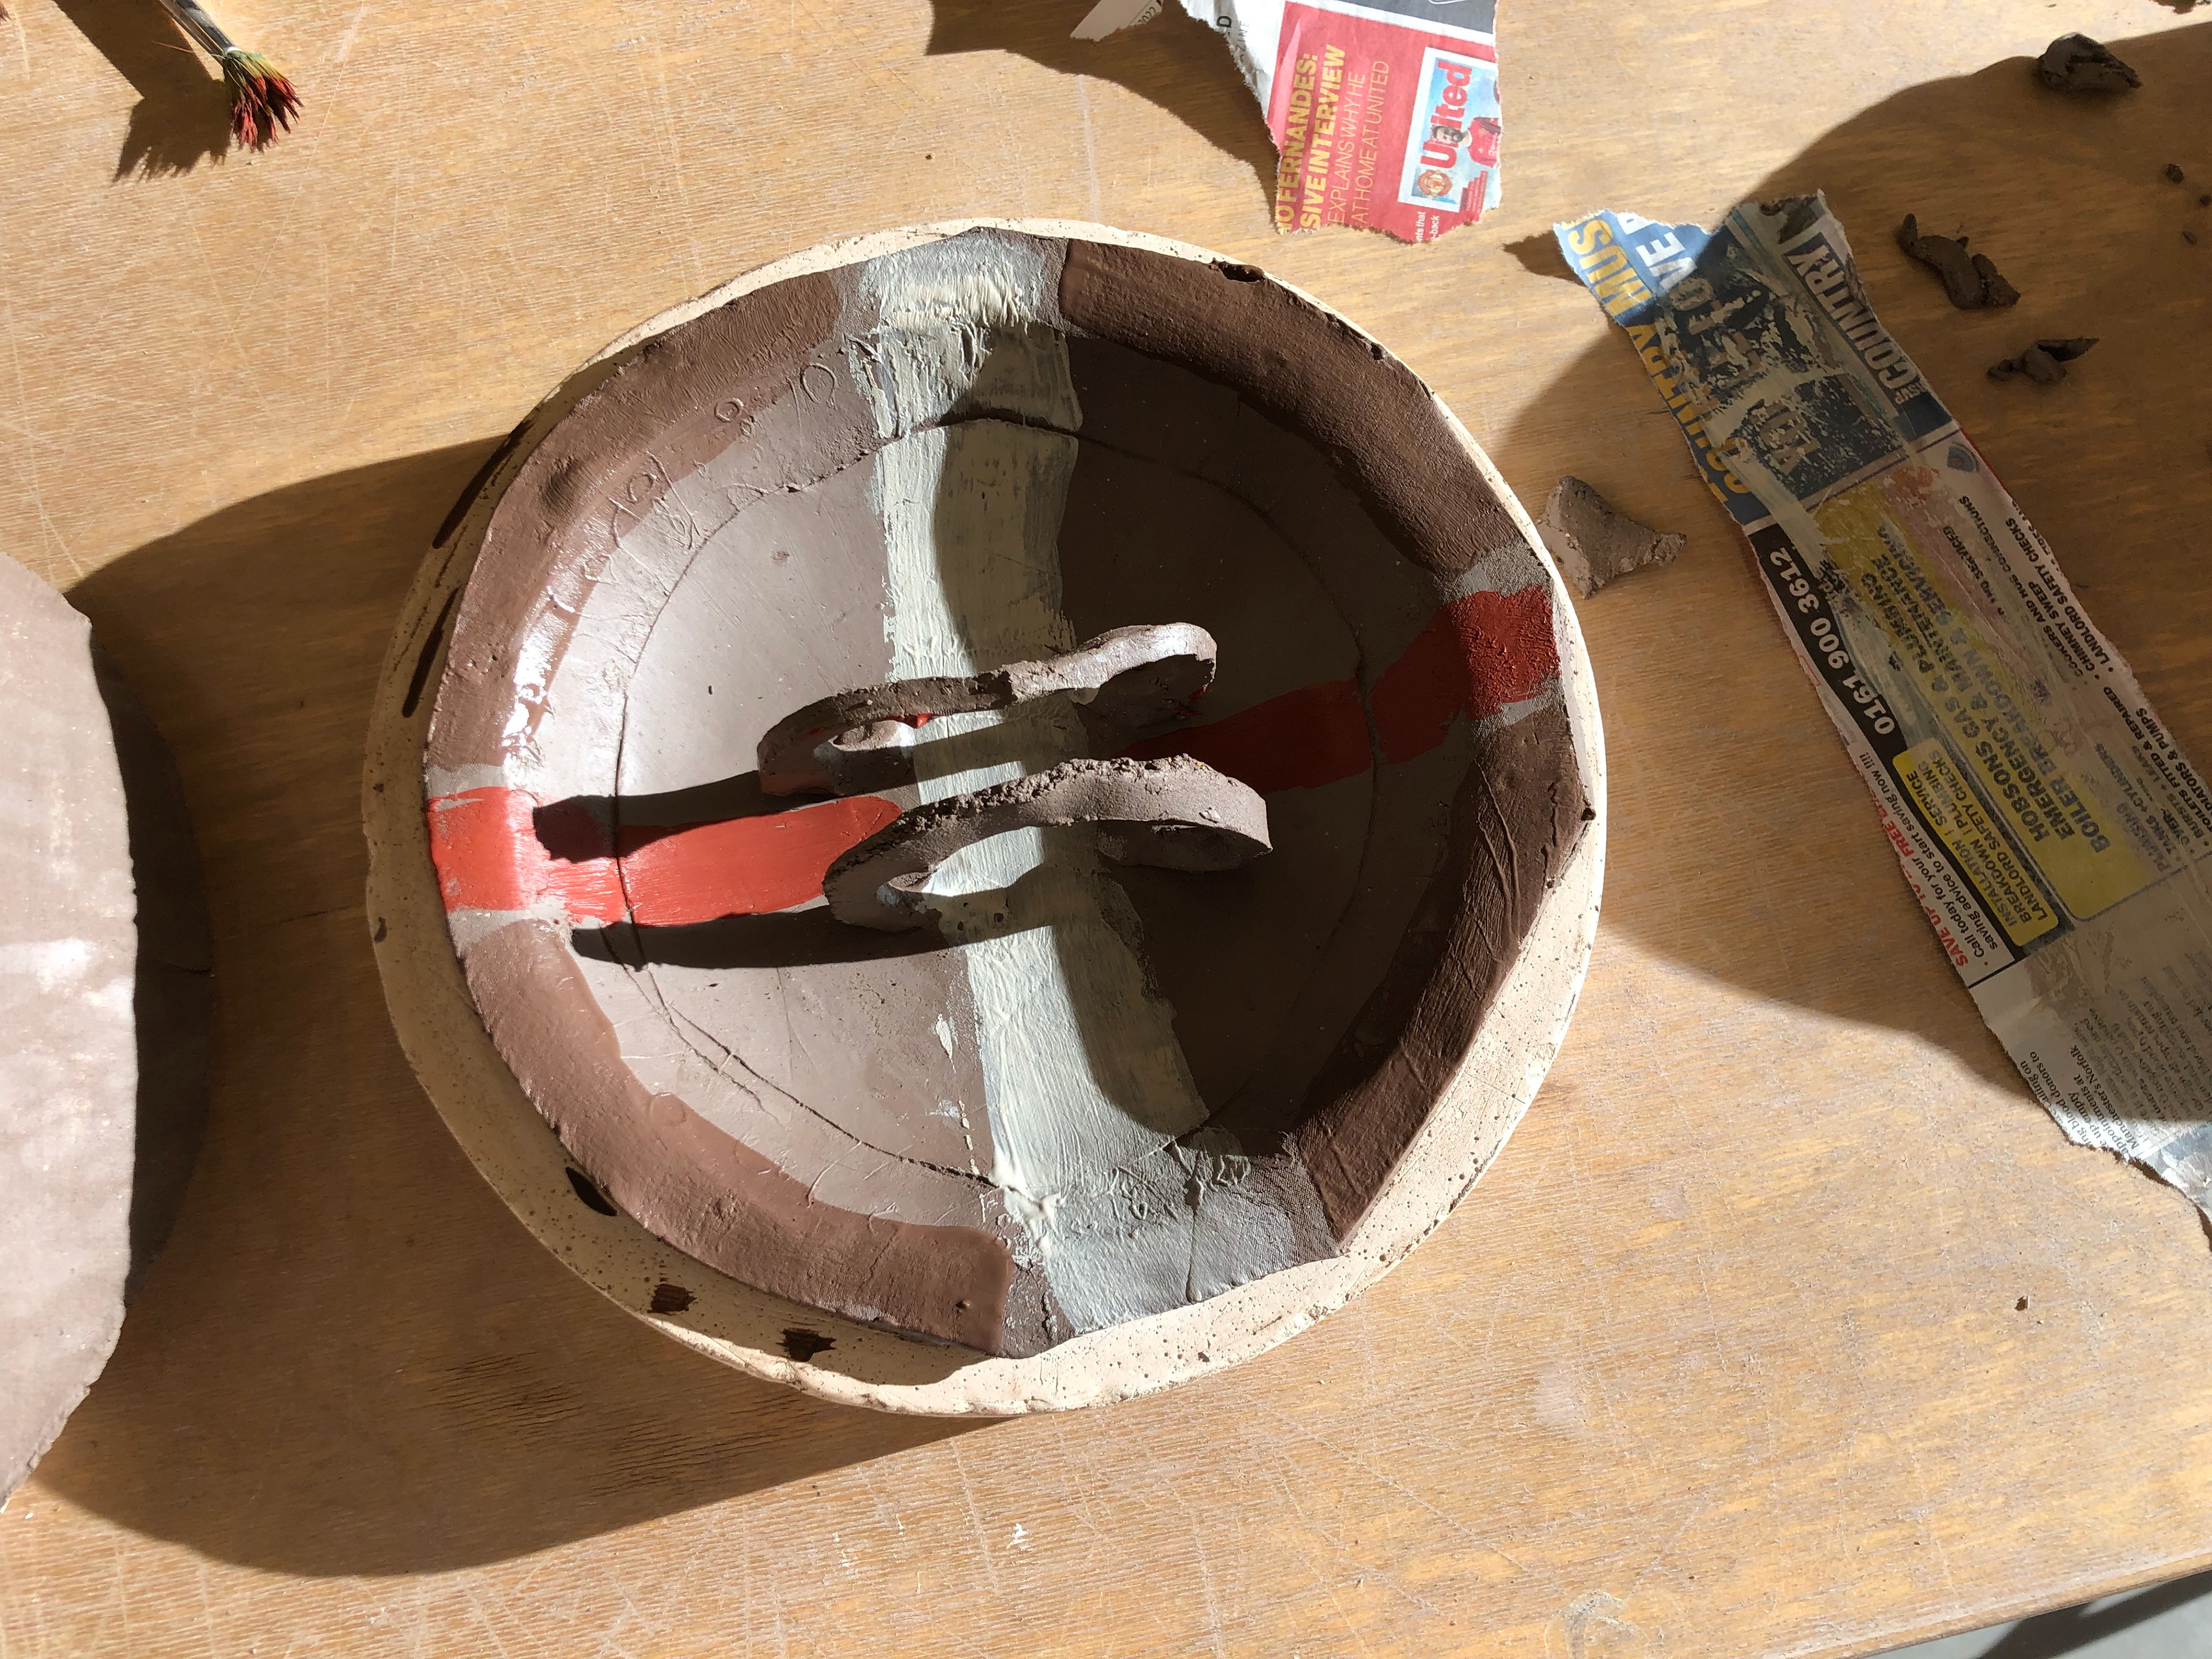
I then used two other slips to paint the outer brim and the line between the arches
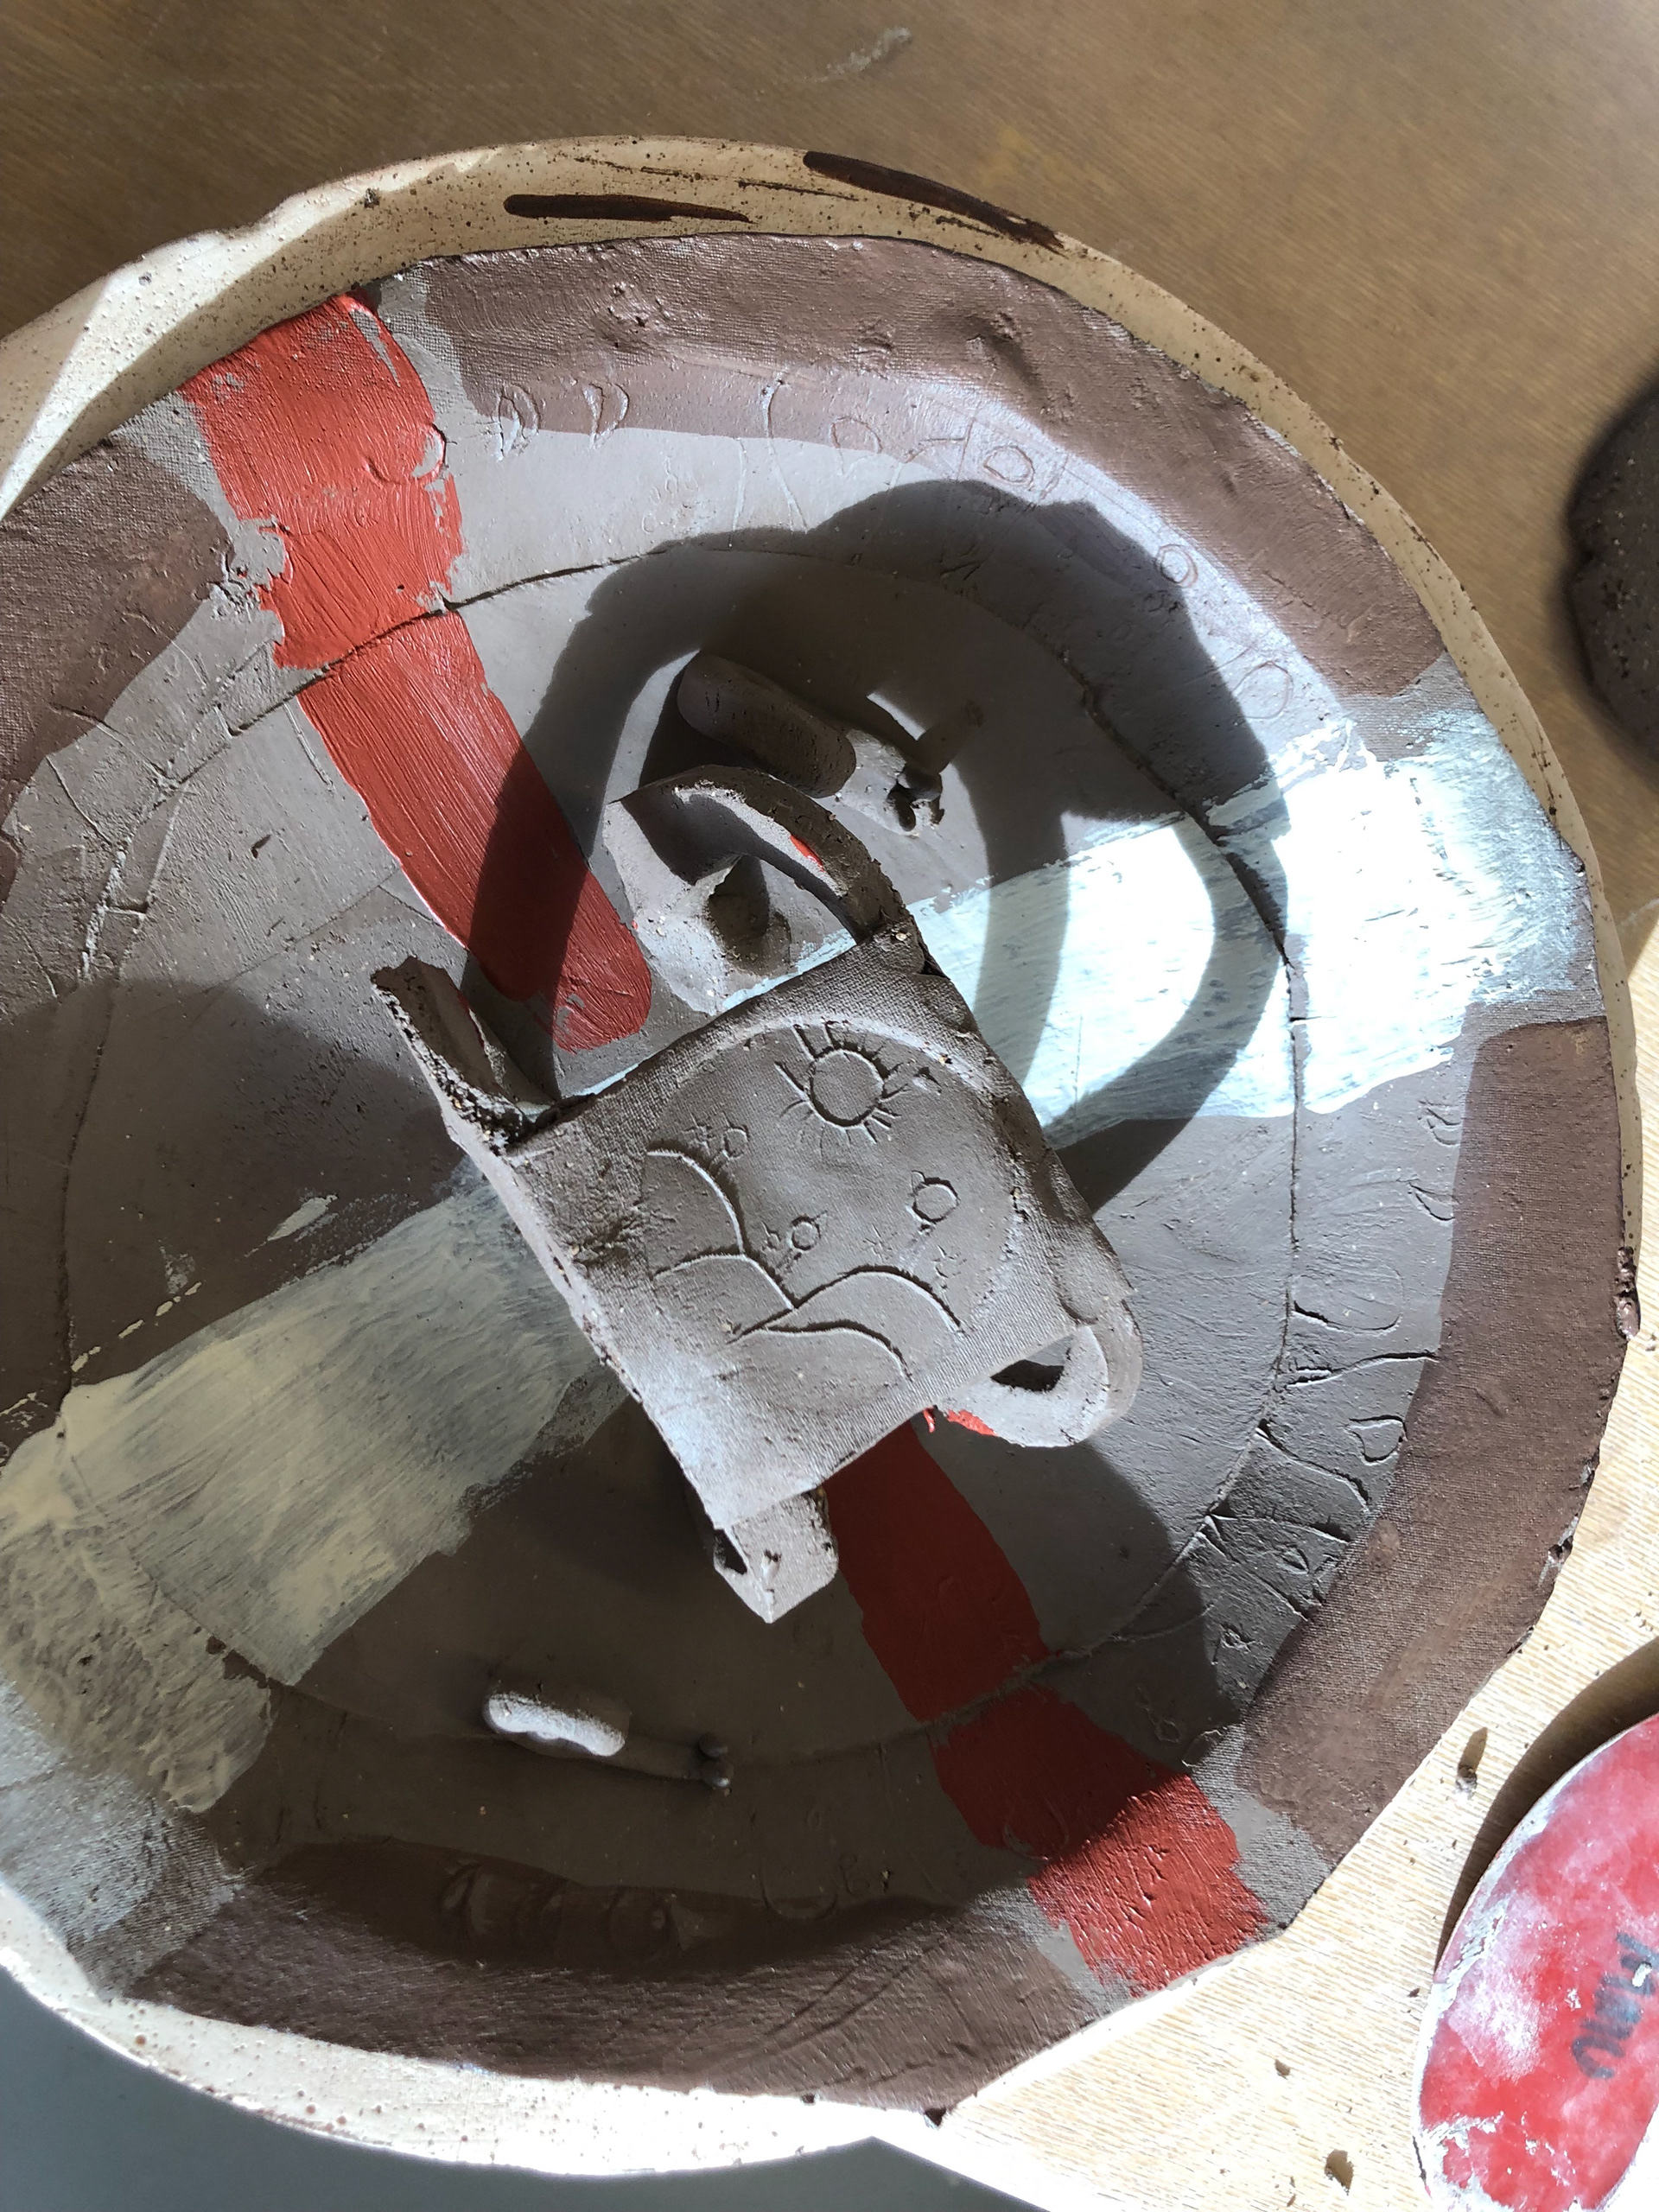
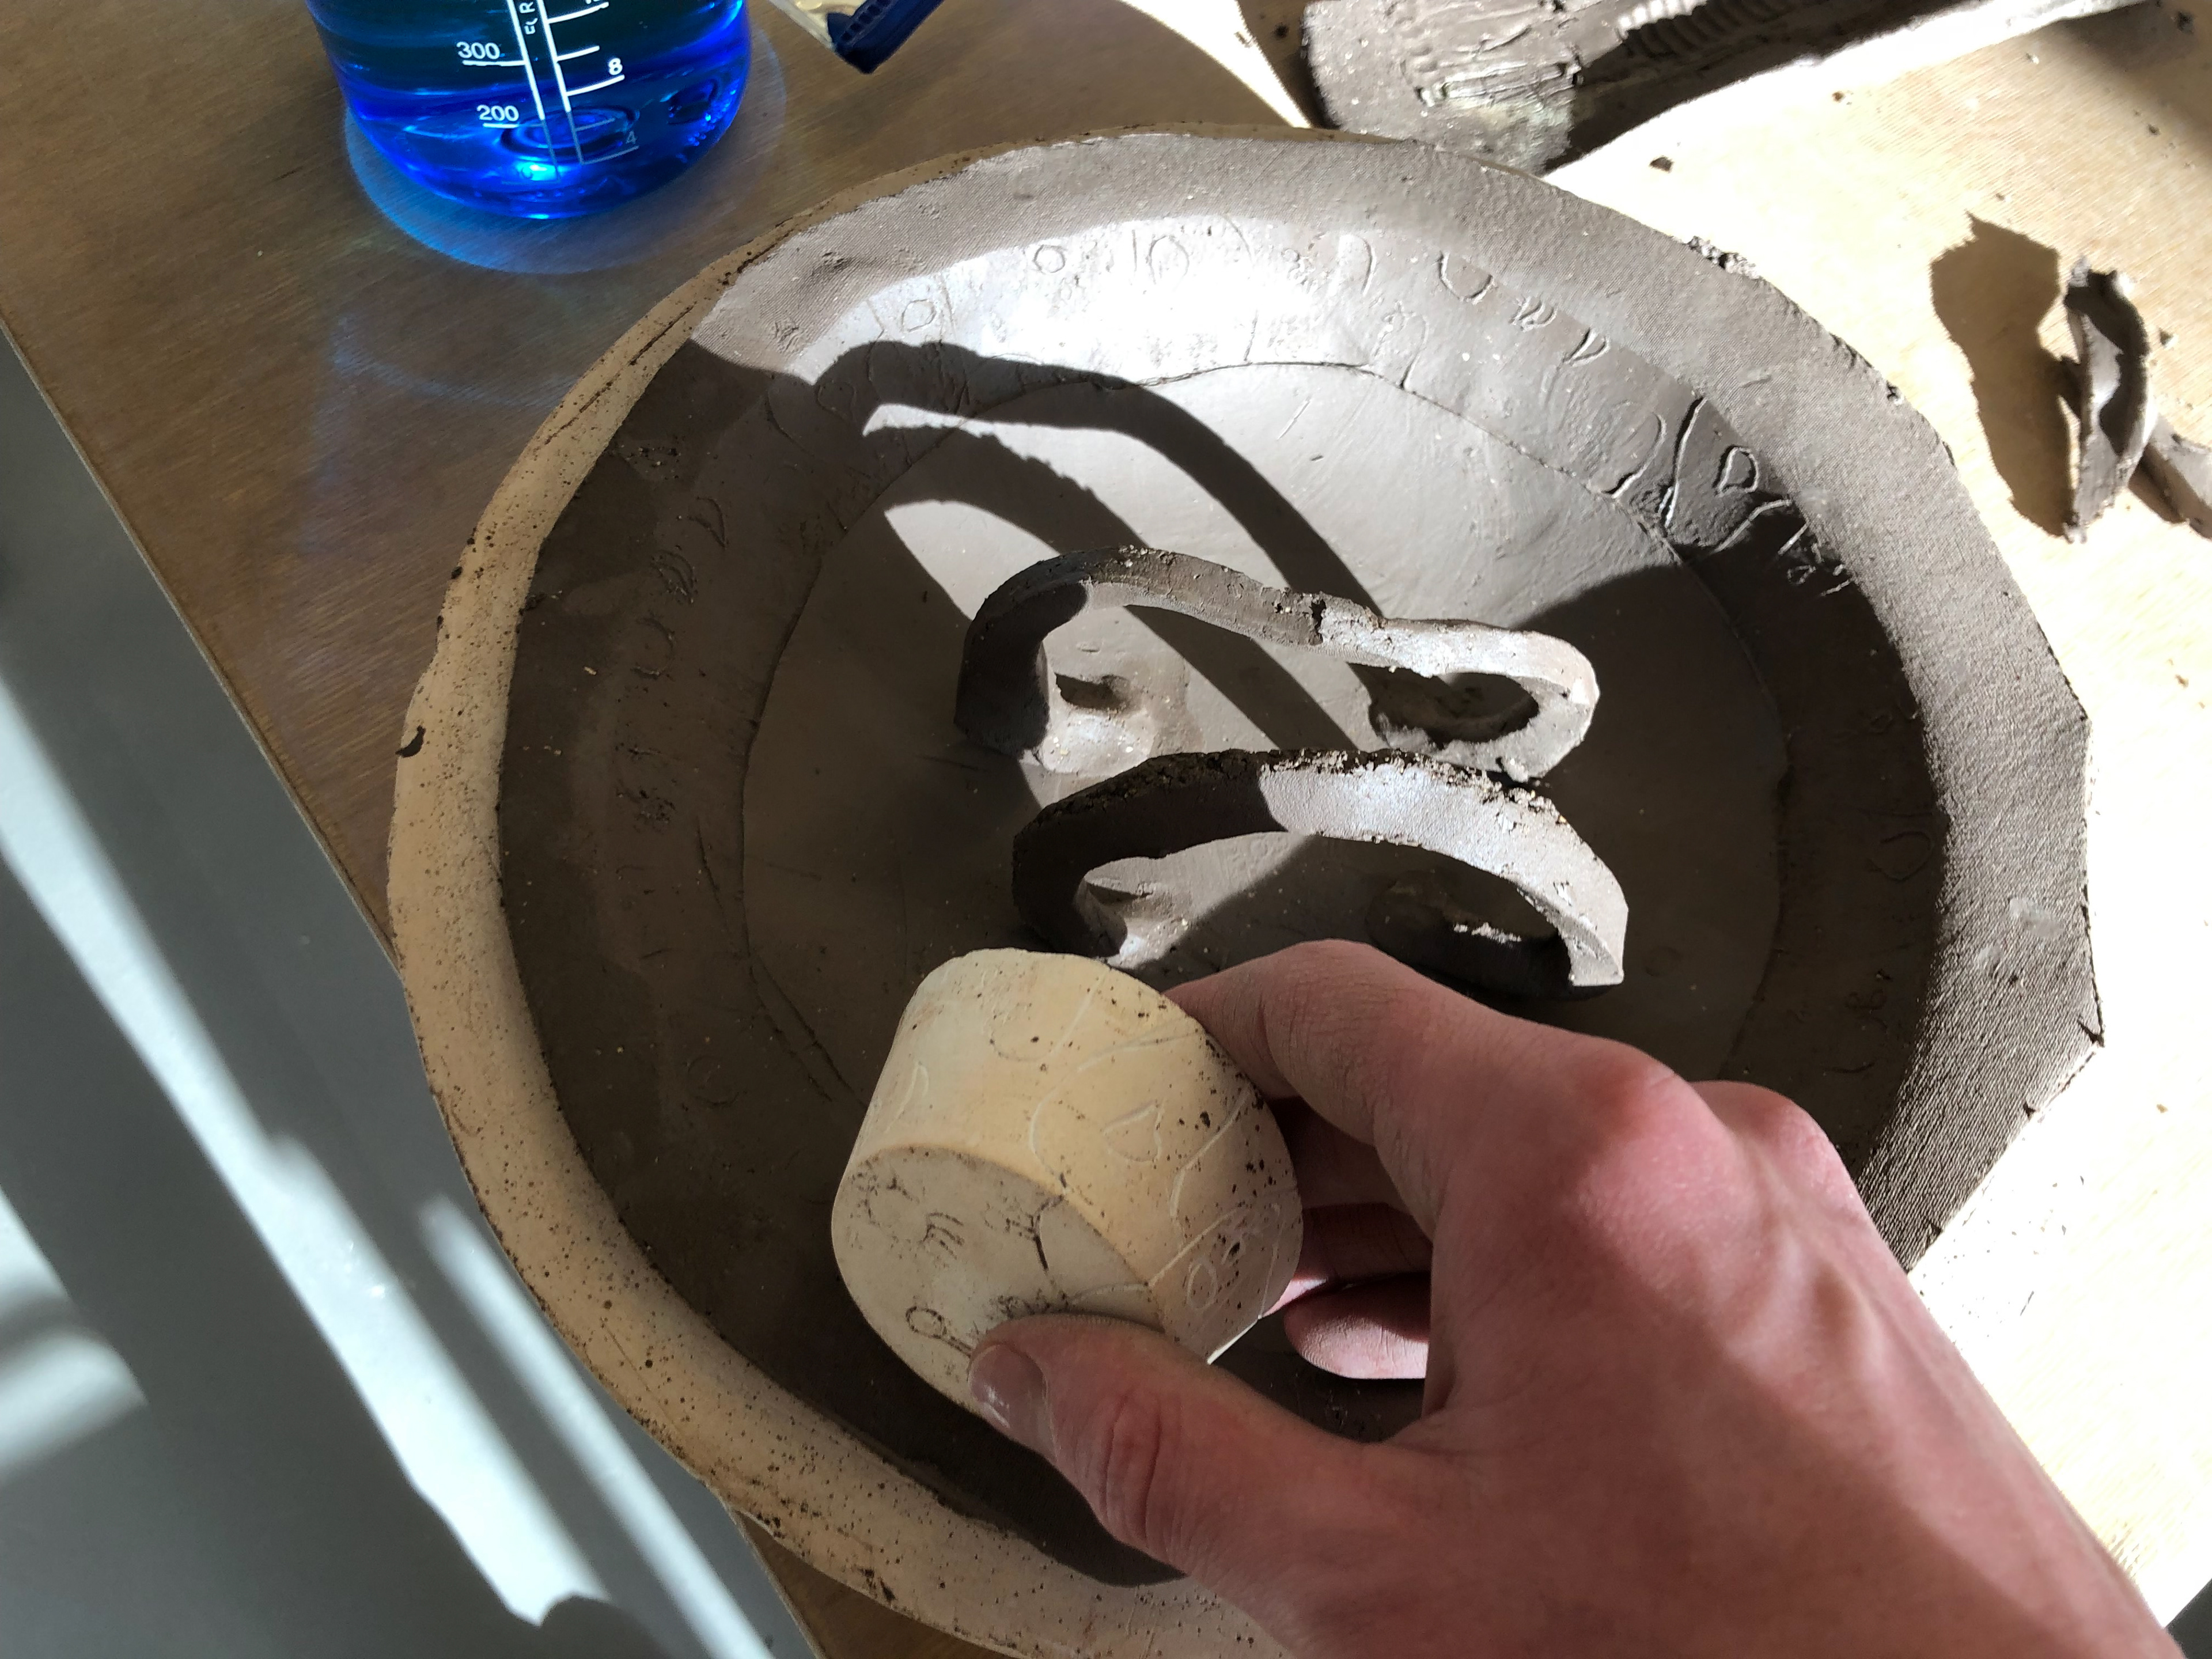
I then imprinted the top of the intaglio into a piece of clay and attached it to the arches.
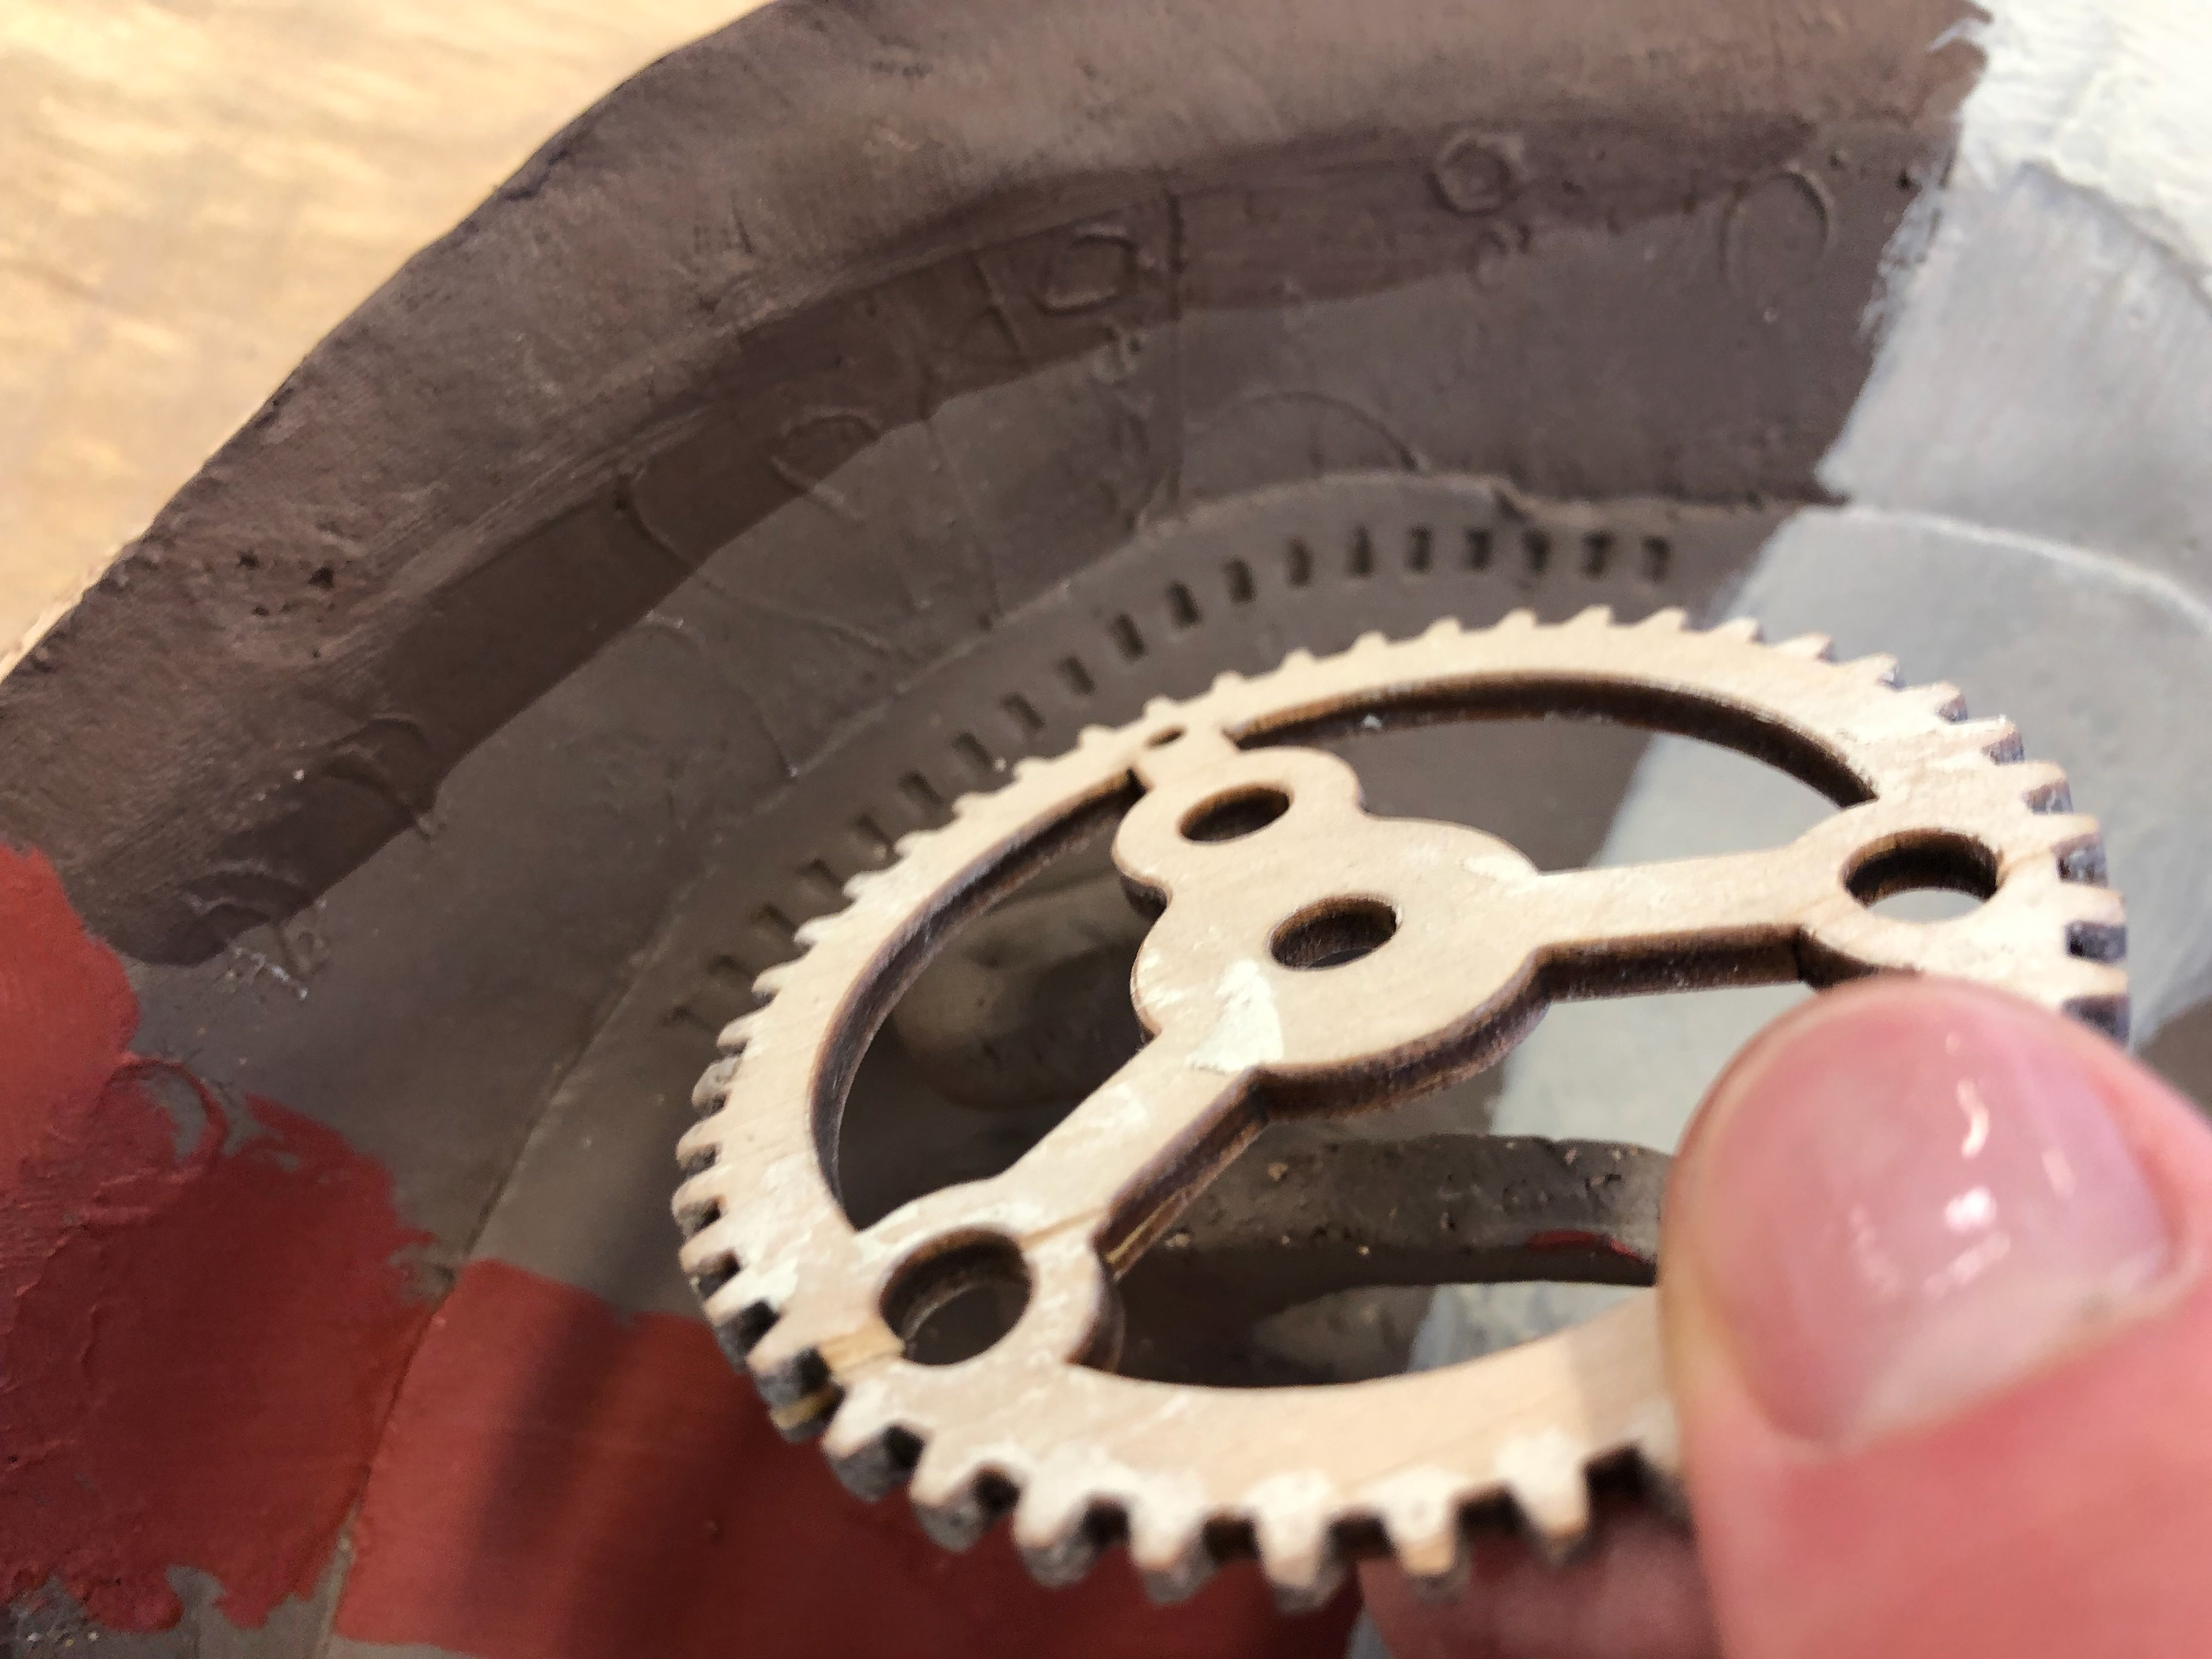
I used a cog to imprint the teeth just below the imprint of the intaglio.
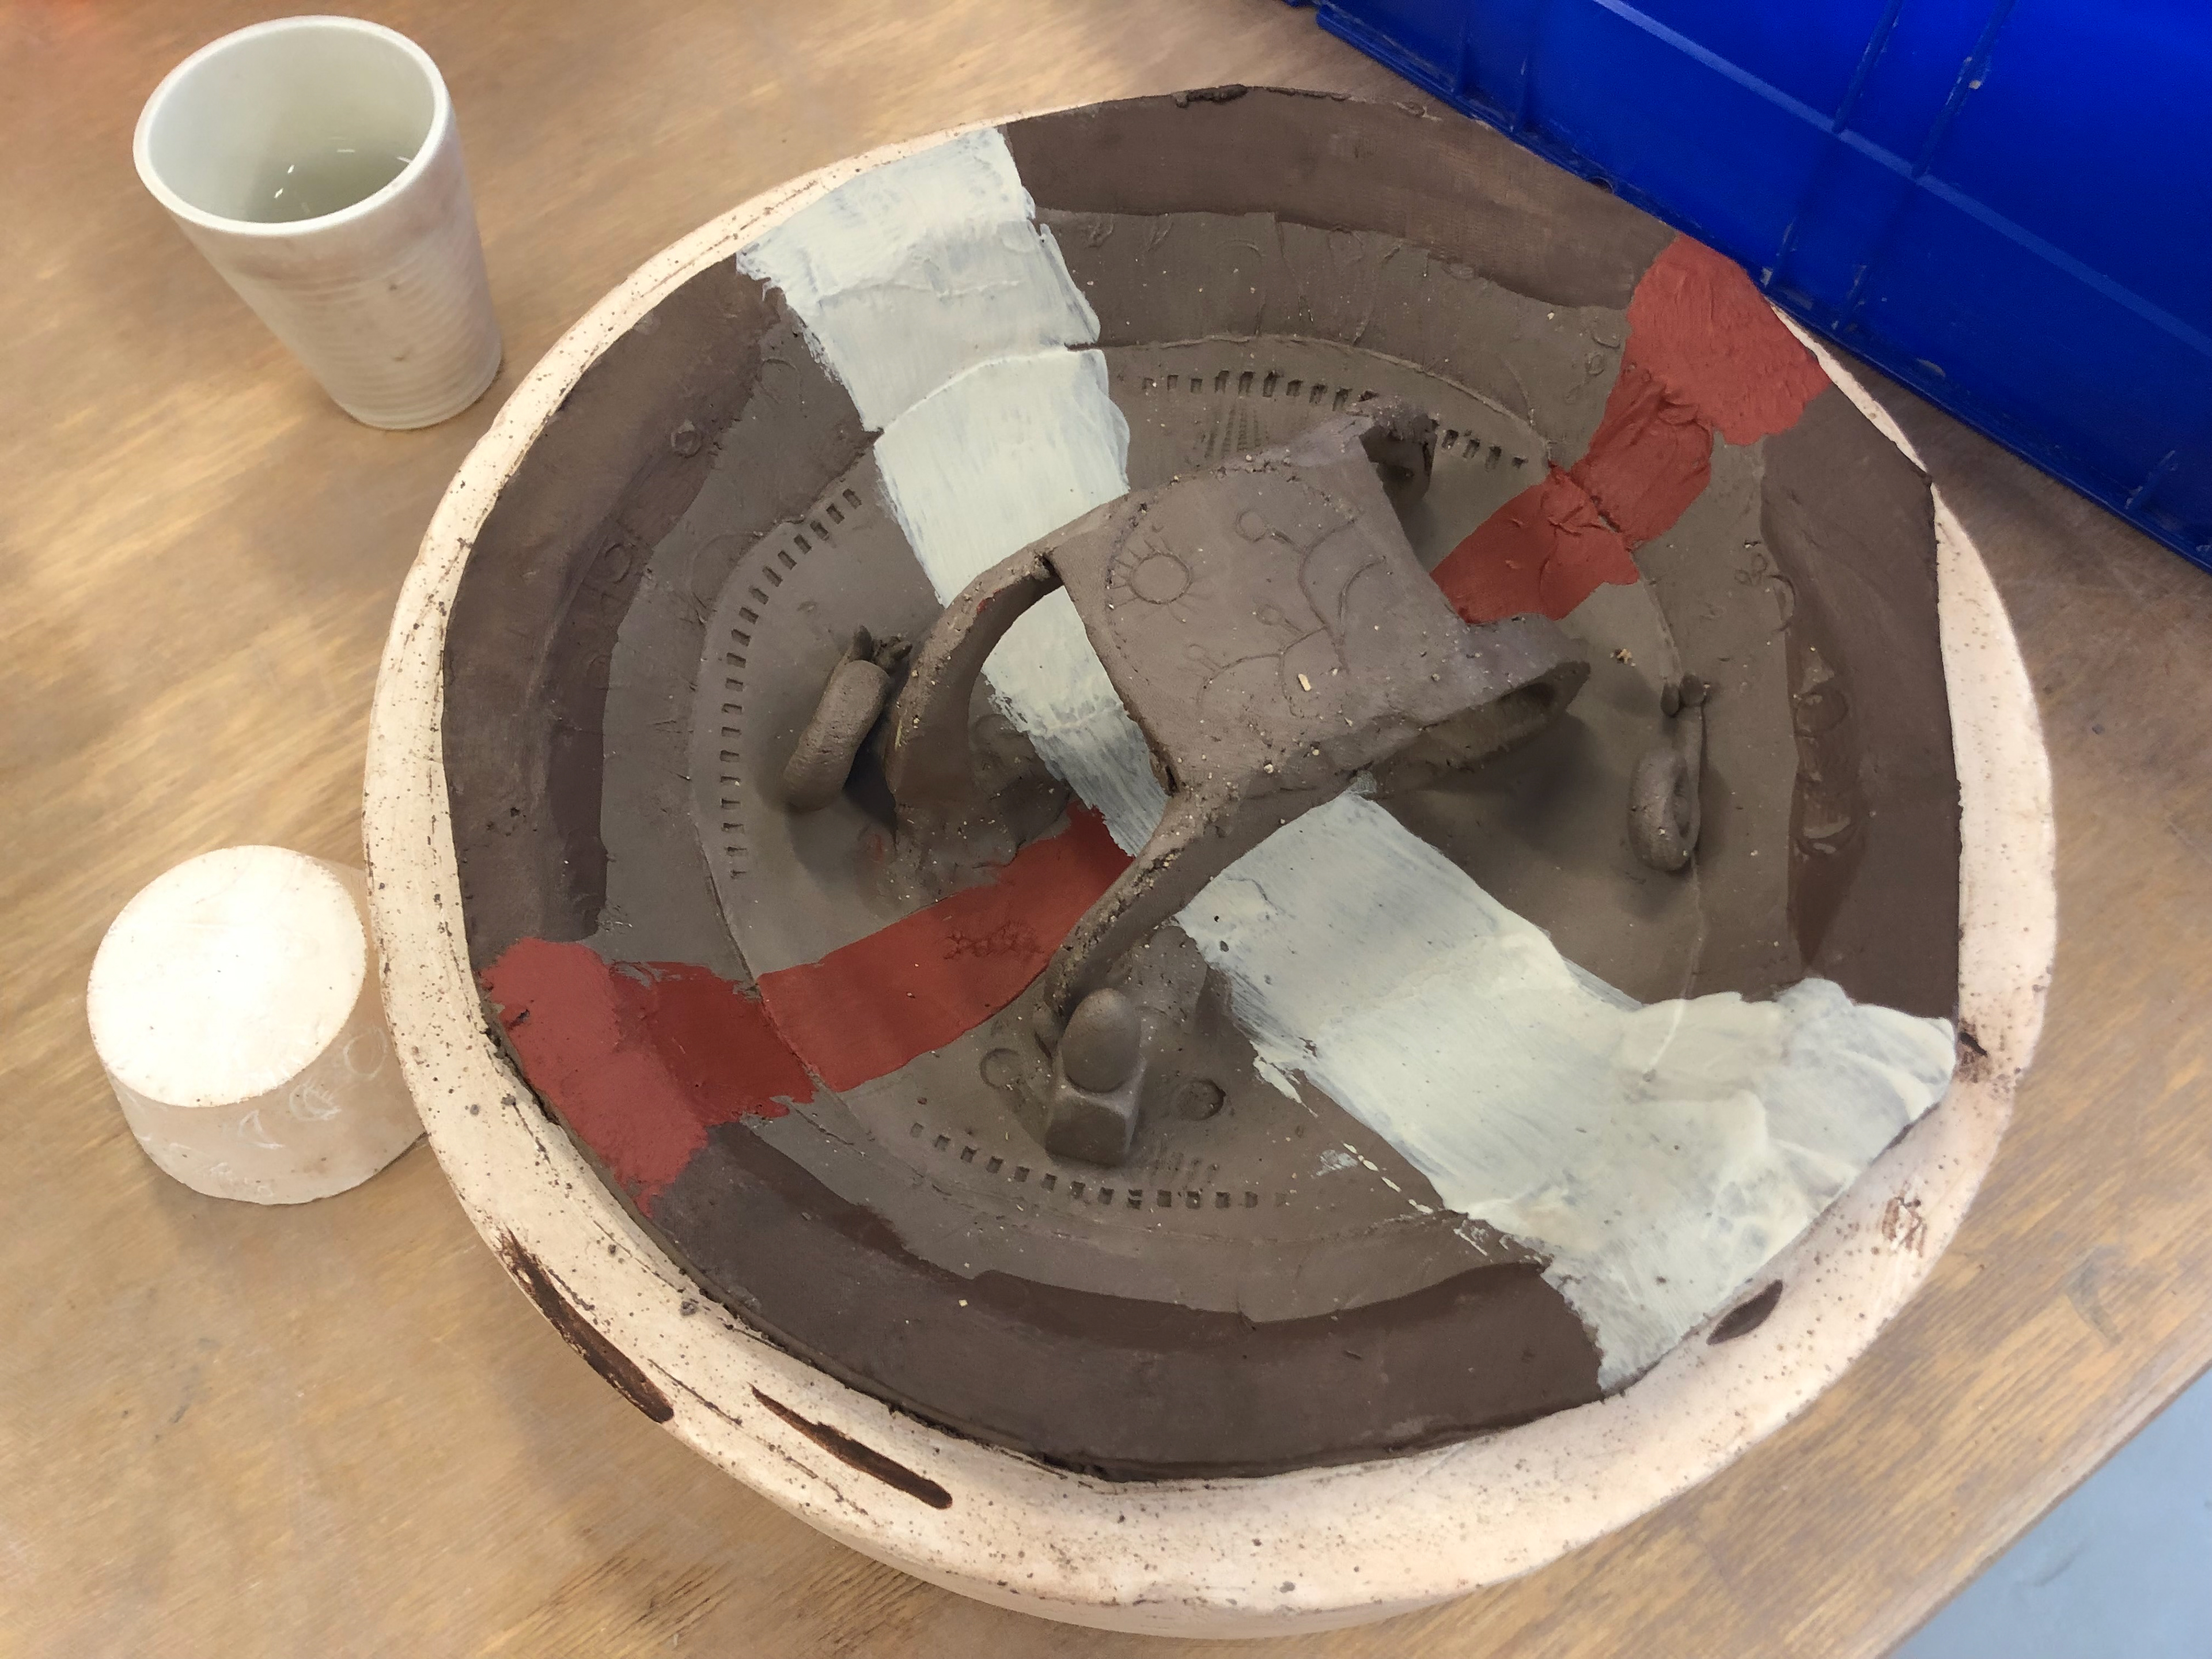
I added a few snails and a little face. The face is two circular indents and uses the cog's teeth as a mouth, the nose is a small block of clay with a cylindrical shape sit on it.
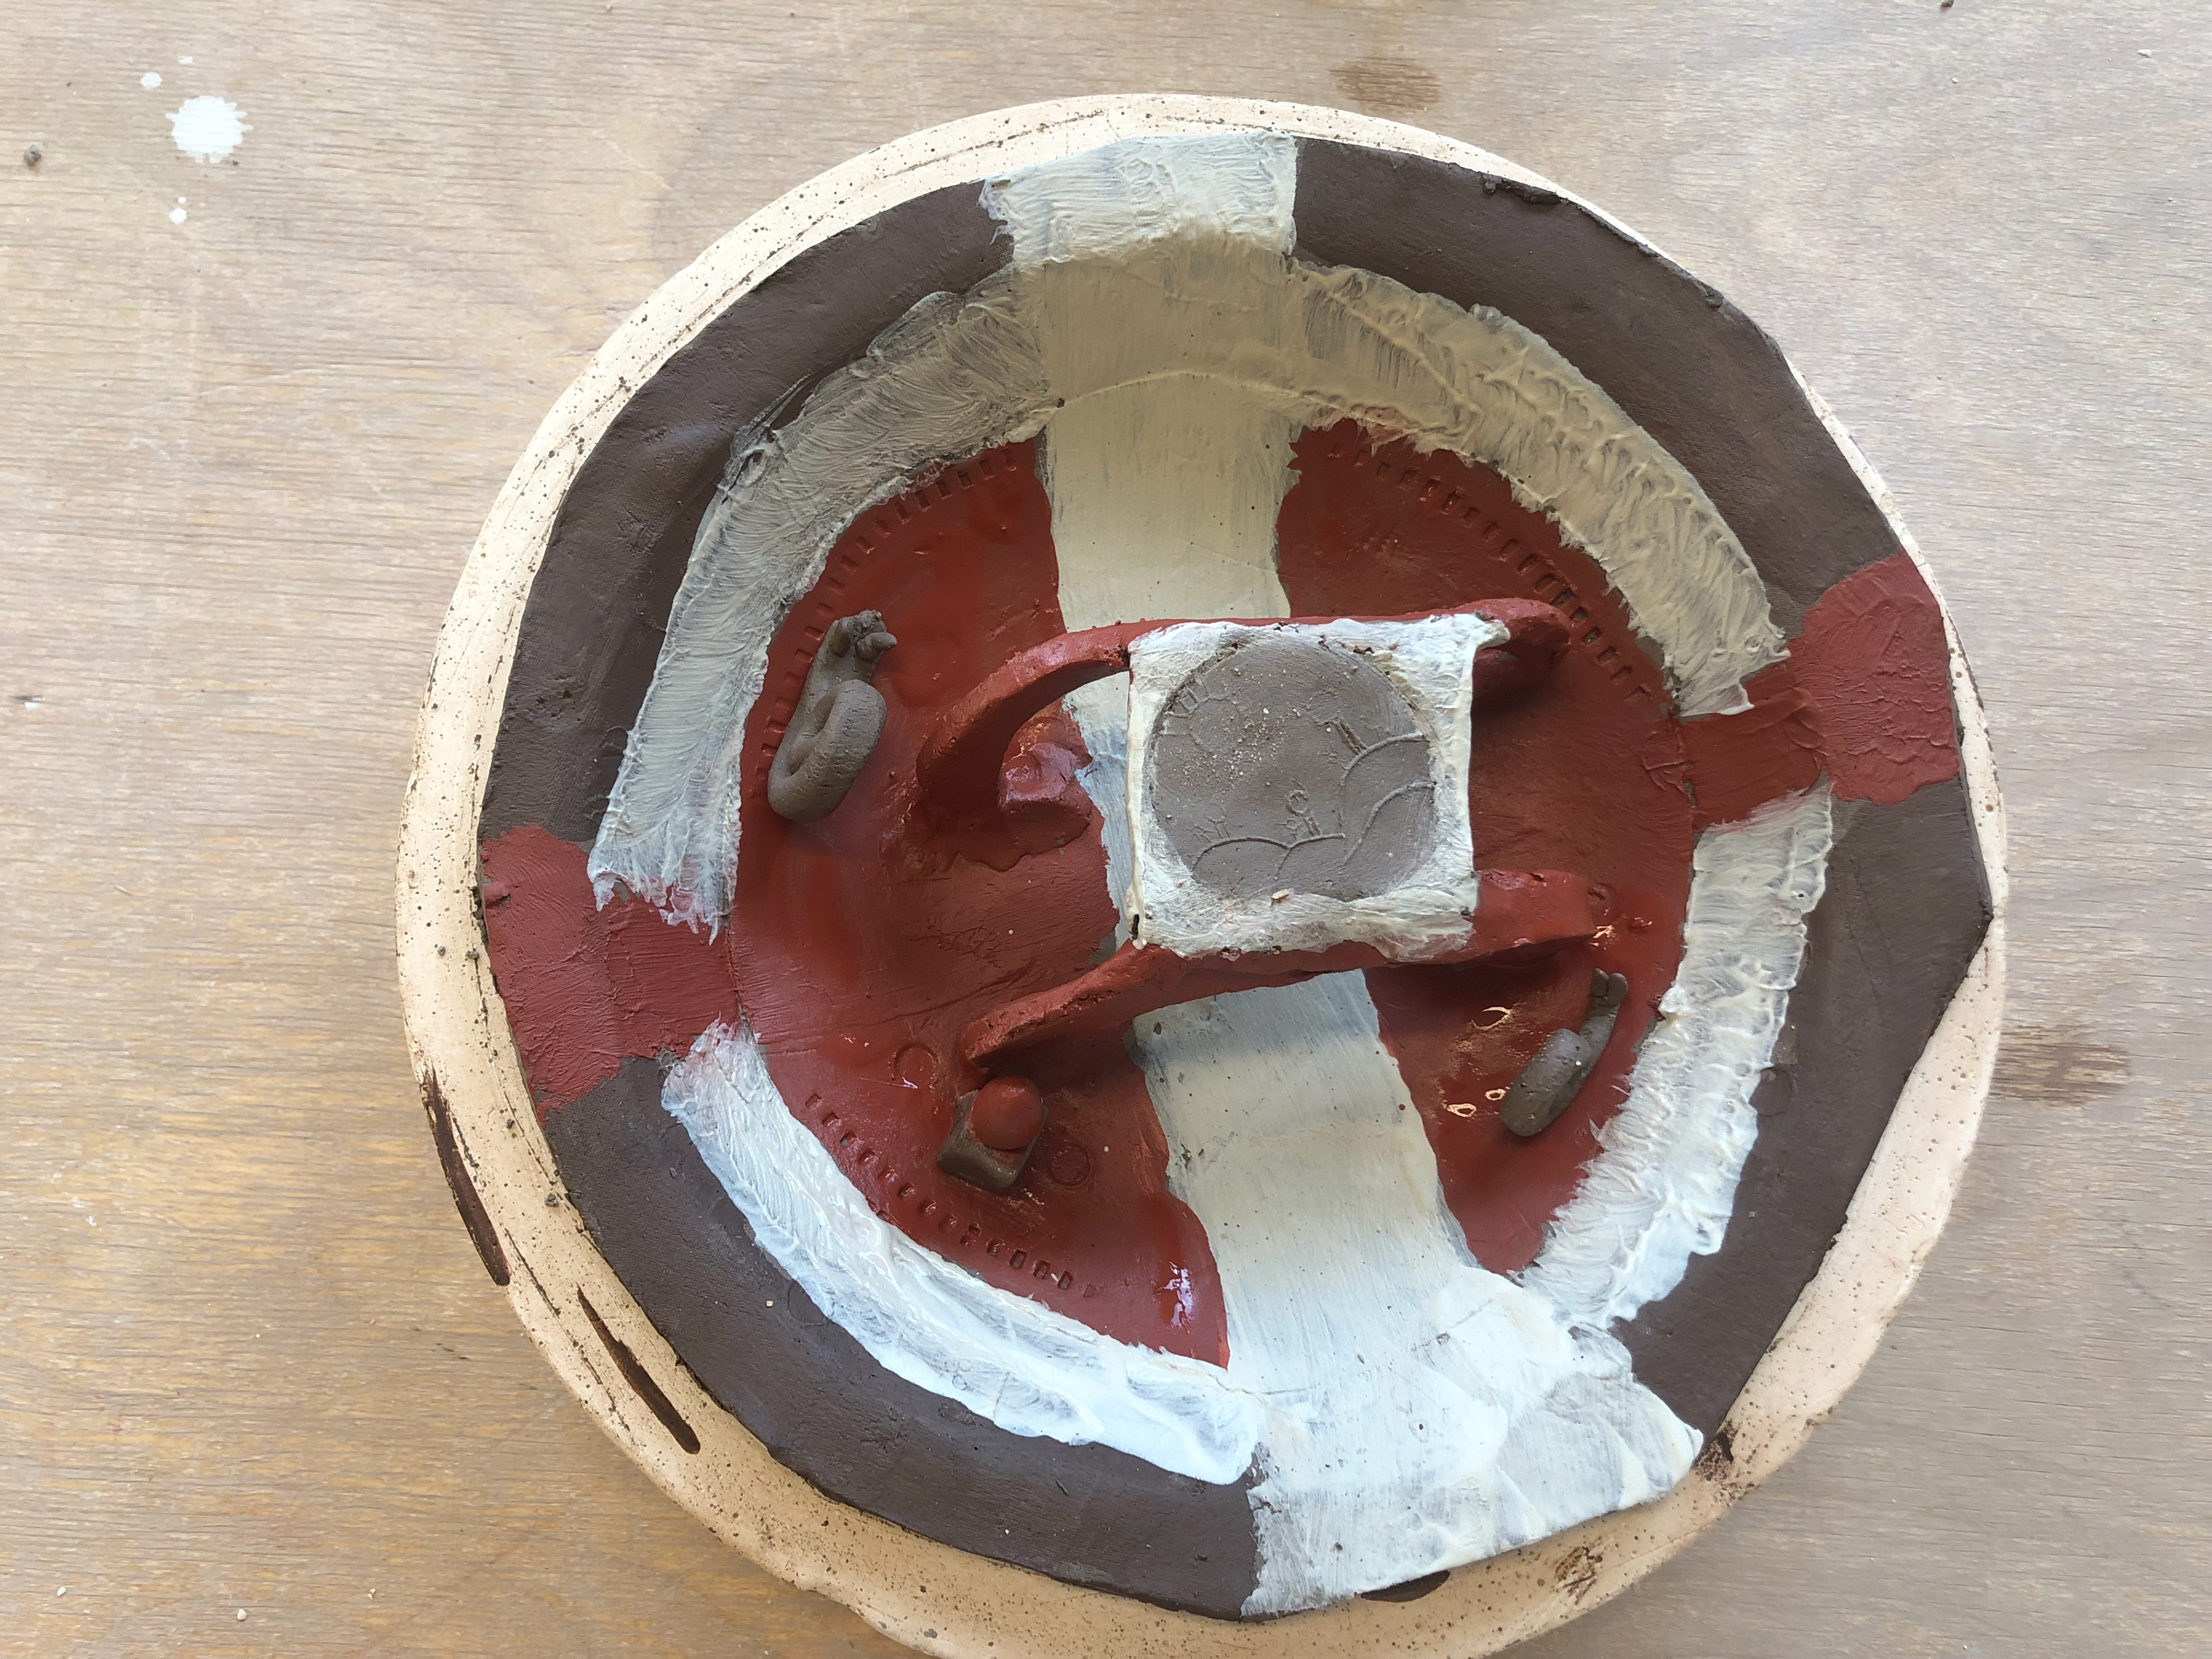
I added some more colour to the arches, the centre of the bowl, the snails and the face.
Observational Drawing
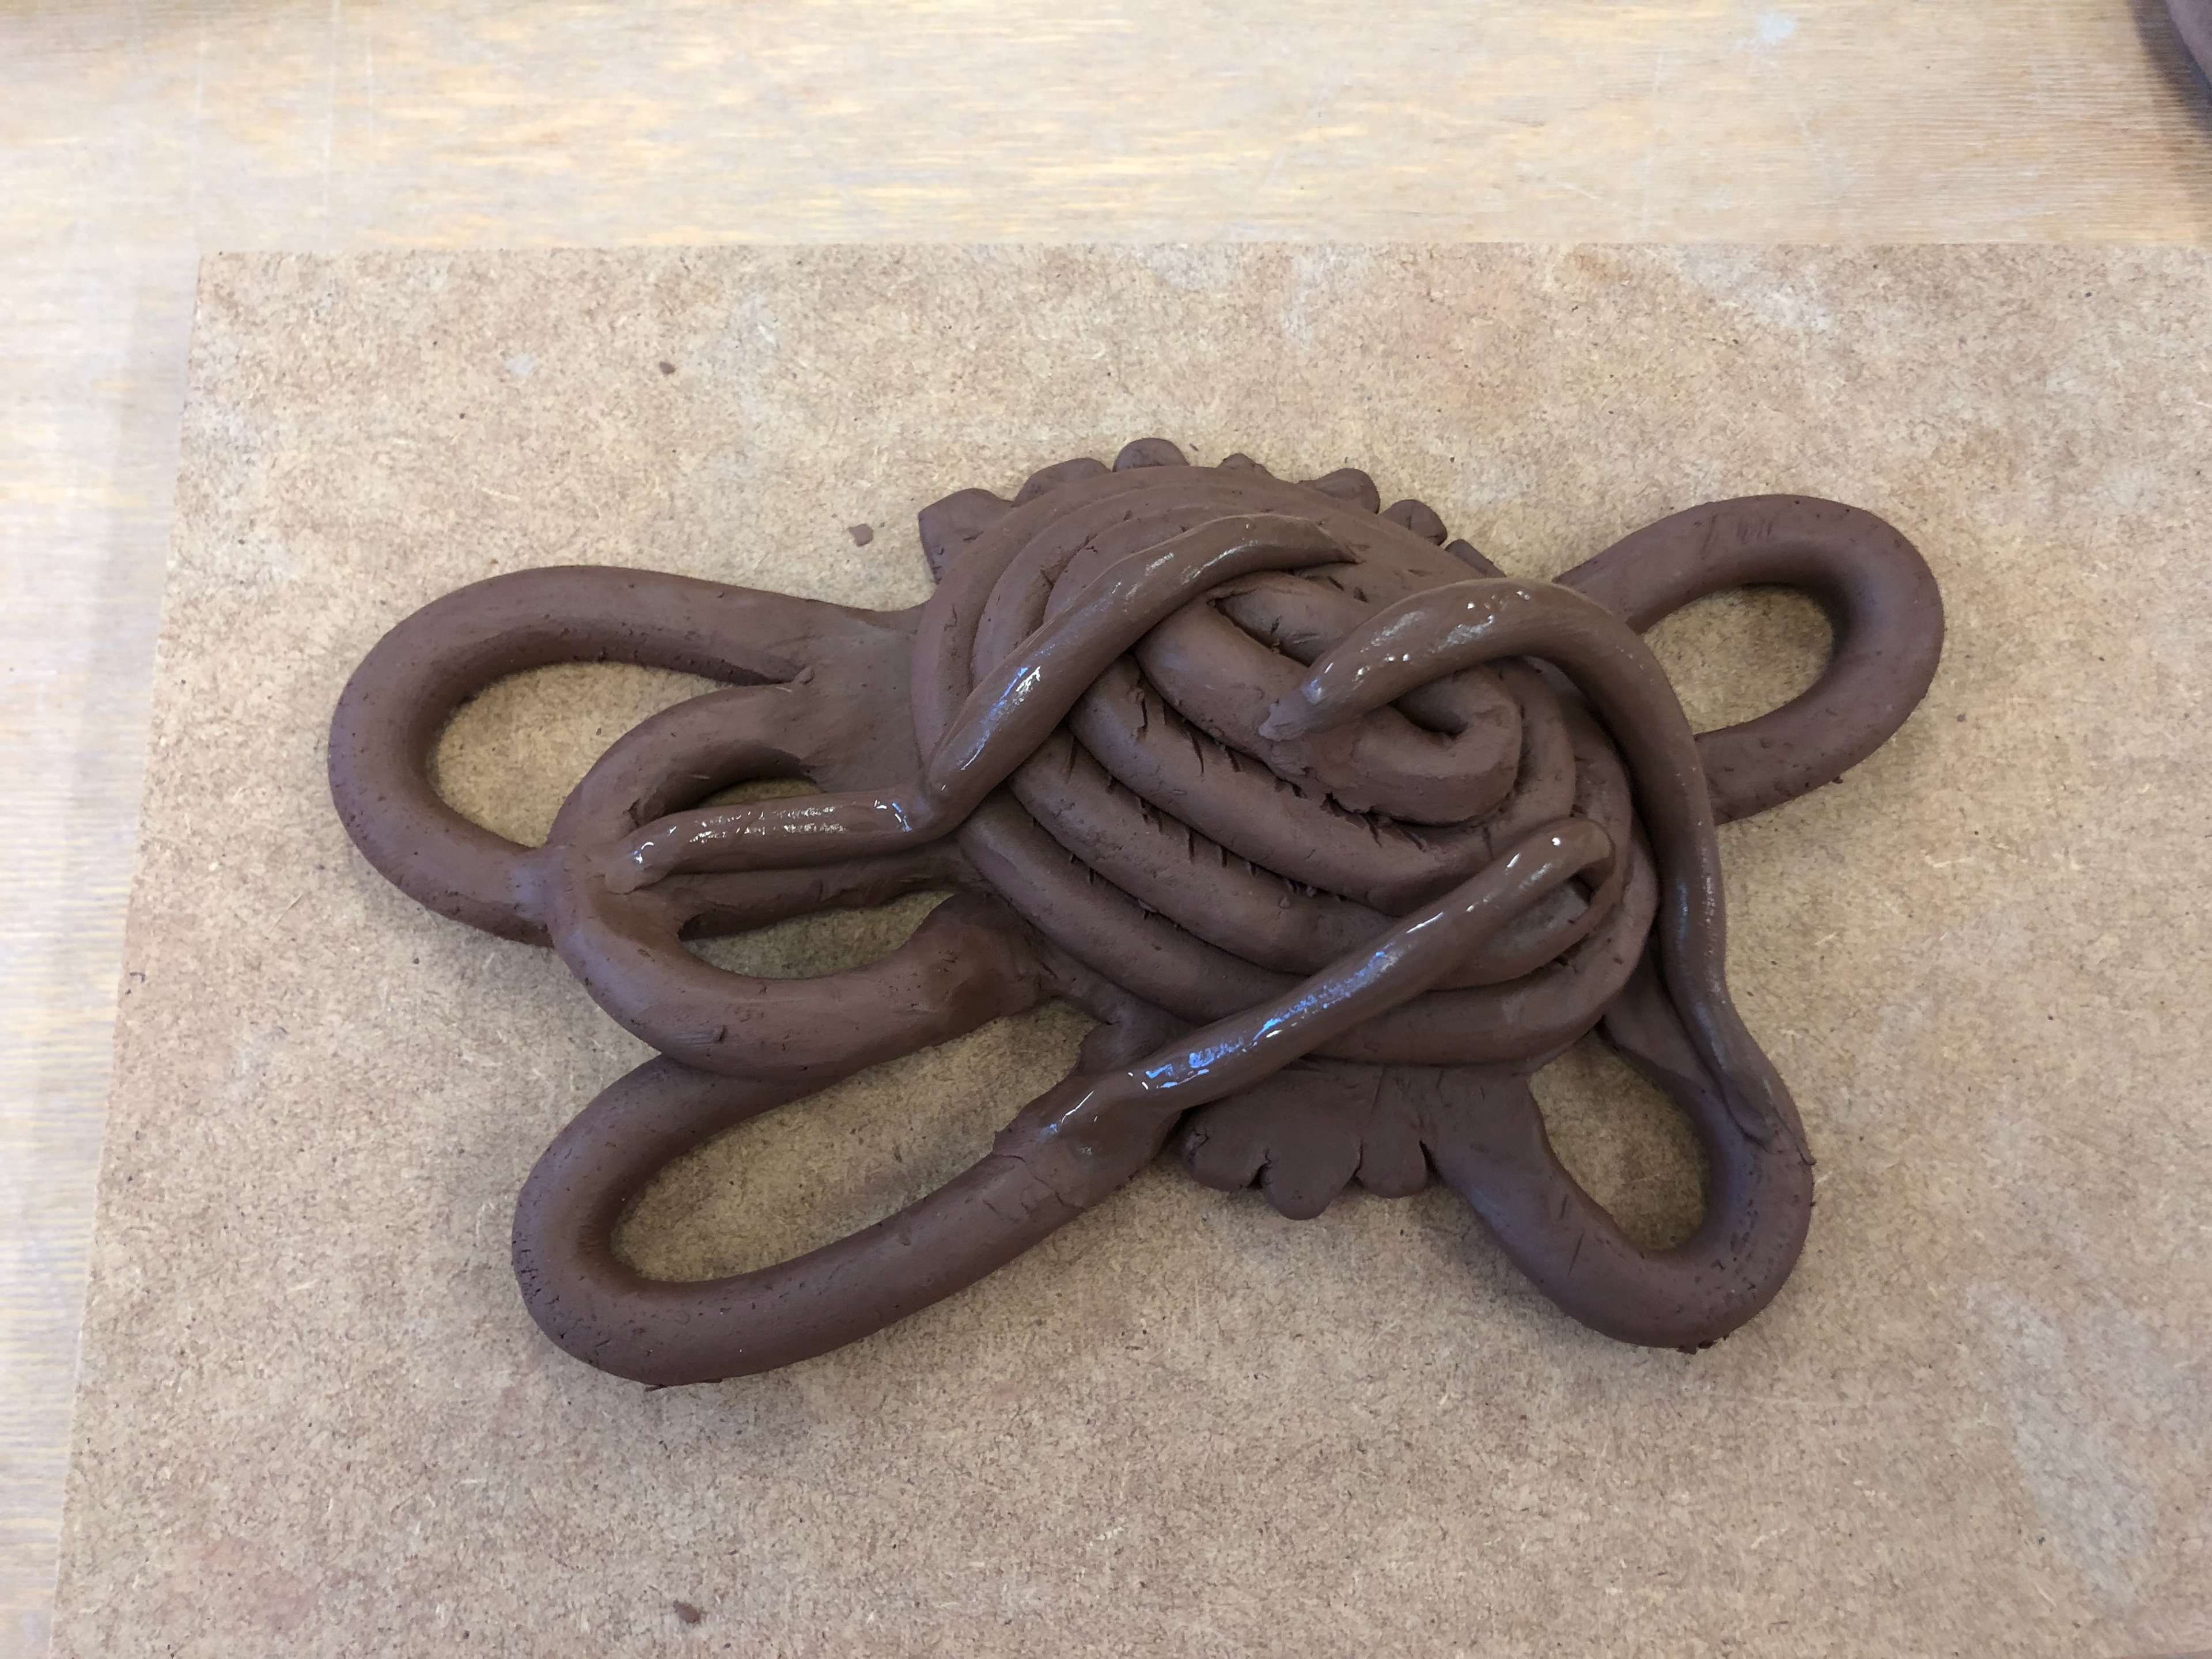
We had been asked to take a sketch and turn it into a 3D object. I choose a chaotic sketch that I had done of sound. I decided to make it with clay using a rolling pin, extruder and slip.

Initial Sketch
I rolled the clay and used a knife to cut out the centre of my sketch.
Using the extruder I had rolls of clay to attach to the centre

Overlaying the rolls of clay
Second layer of the centre
Third layer of the centre
3D version of the sketch complete but it removed the sense of chaos
I added some thinner and smaller rolls of clay and threw them on to add chaos