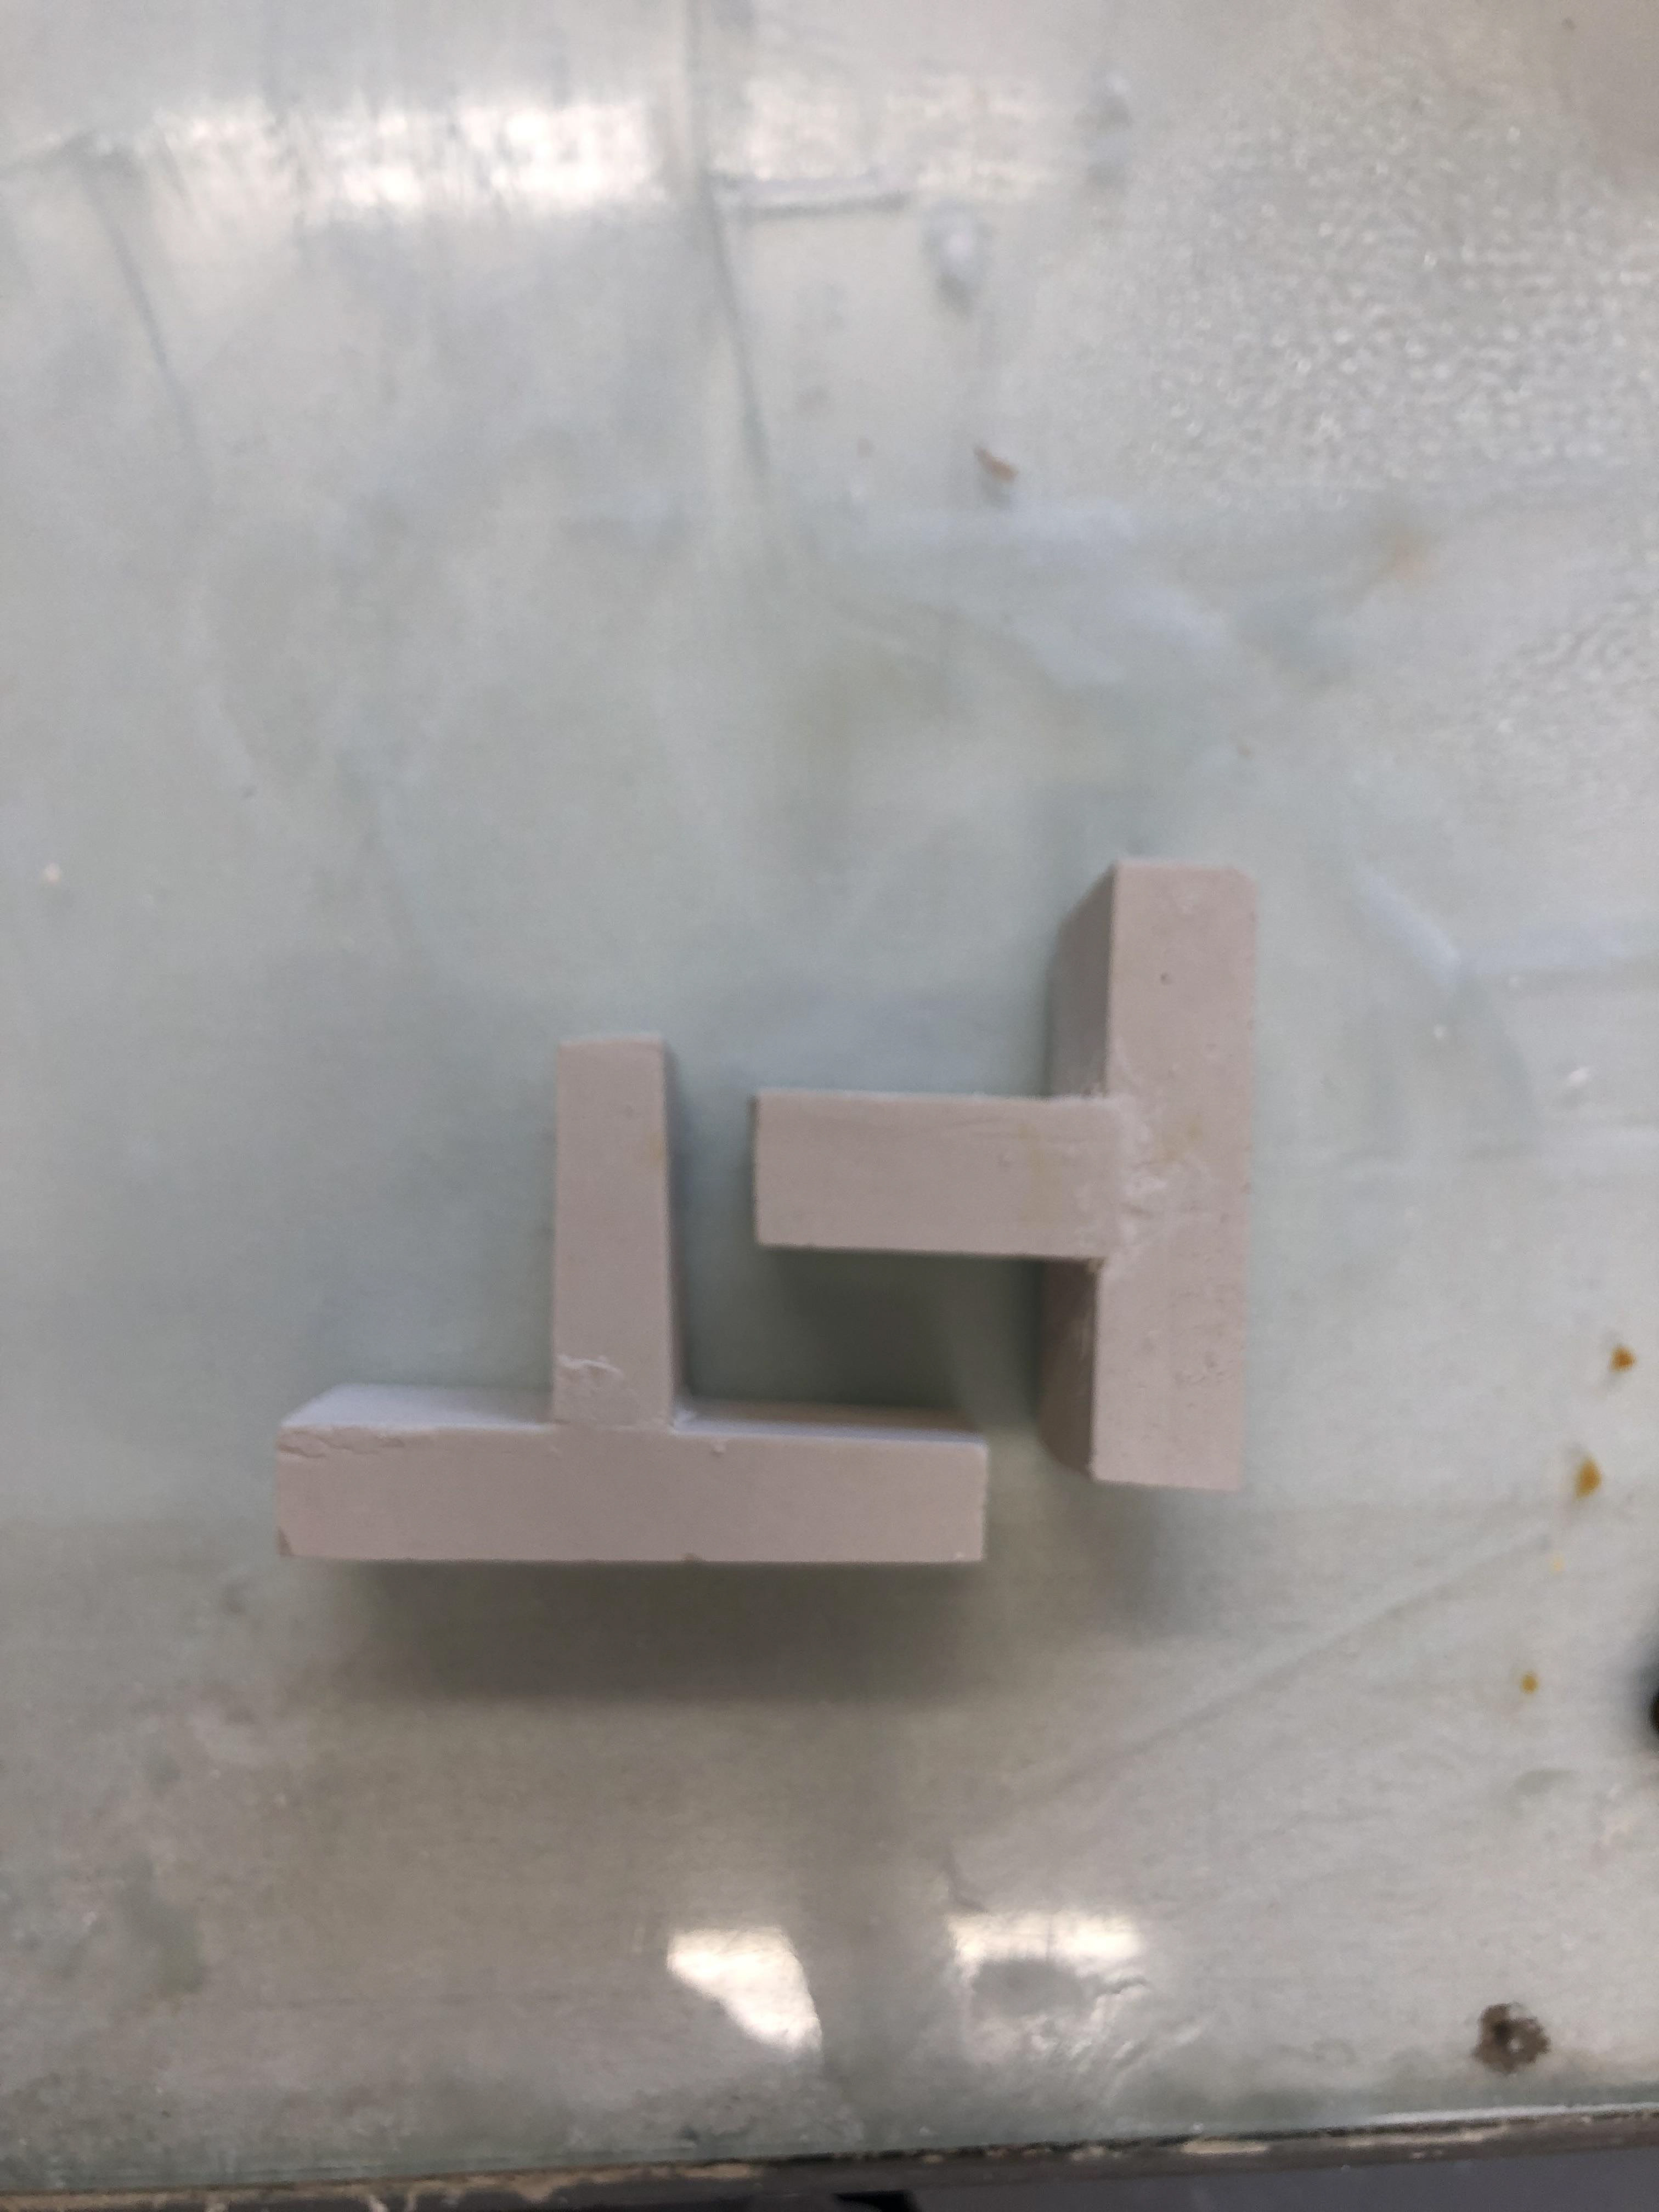
Demonstration of joining plaster
The initial task was two join two blocks together and create a joint. I created two joints, one that sat on top of another block and one that sat within an indent of the other block. This is done by cutting the plaster and marking lines onto where the blocks would join and pasting some plaster in-between them.
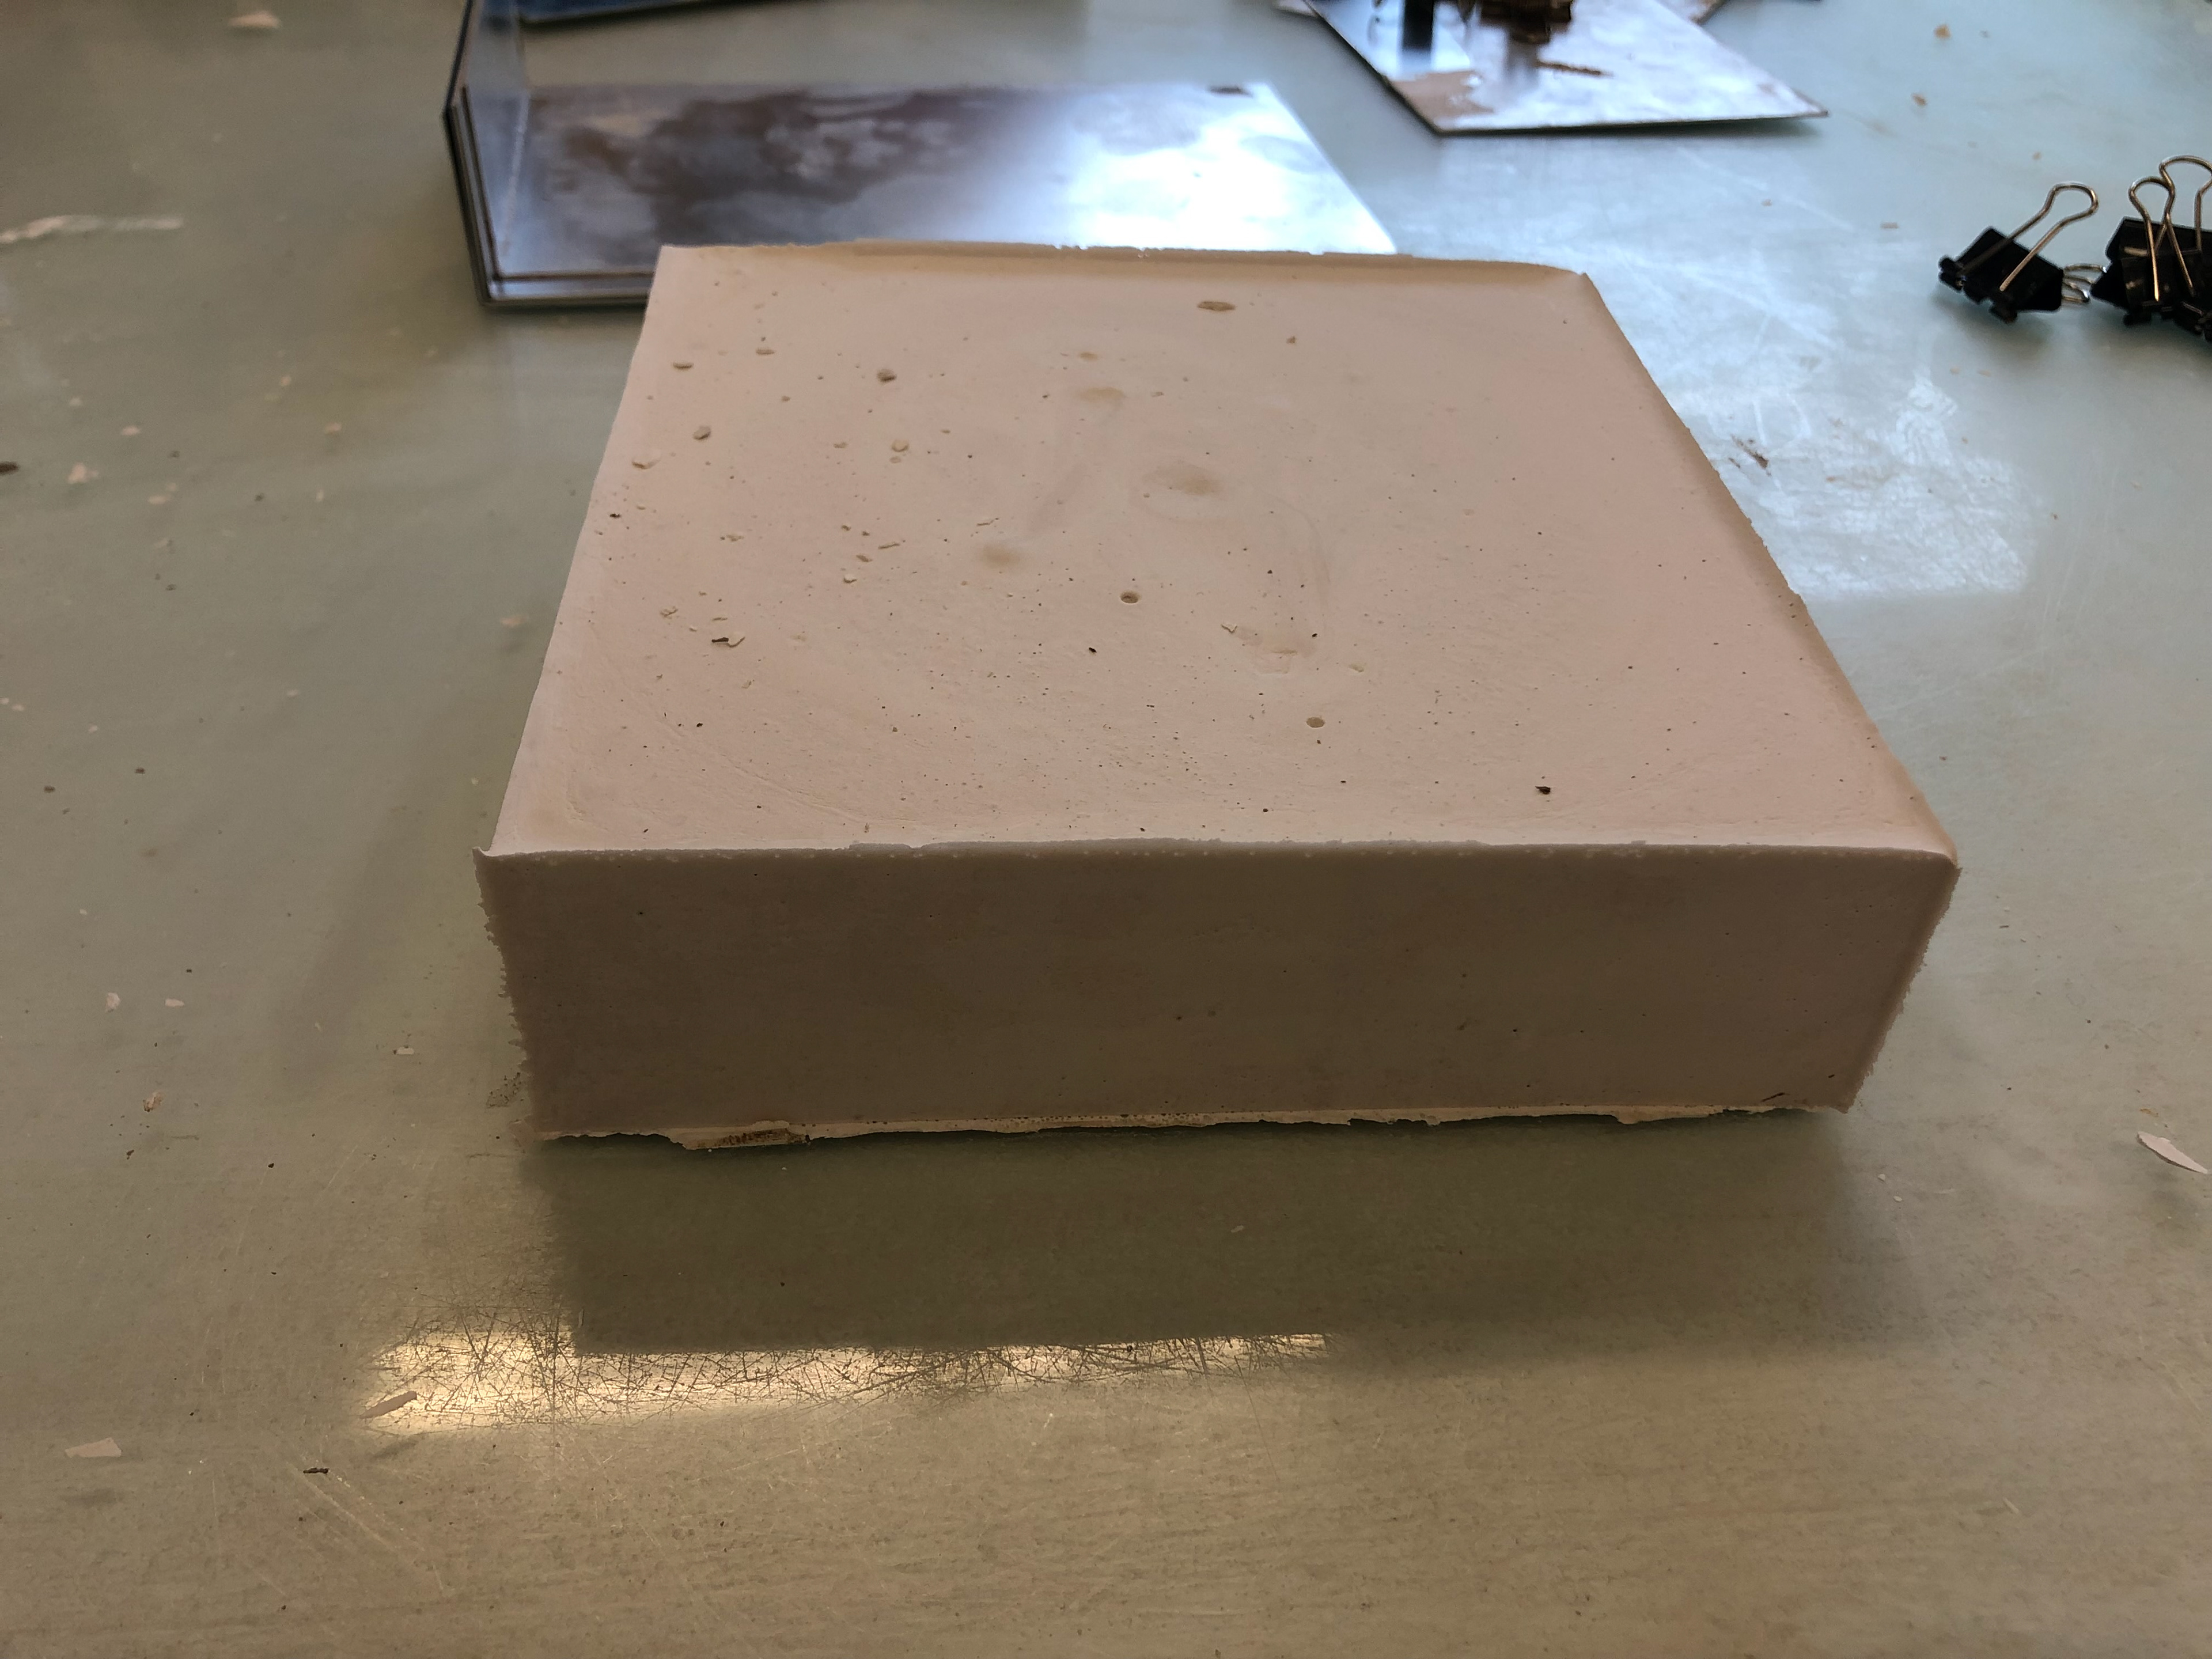
Original block of plaster
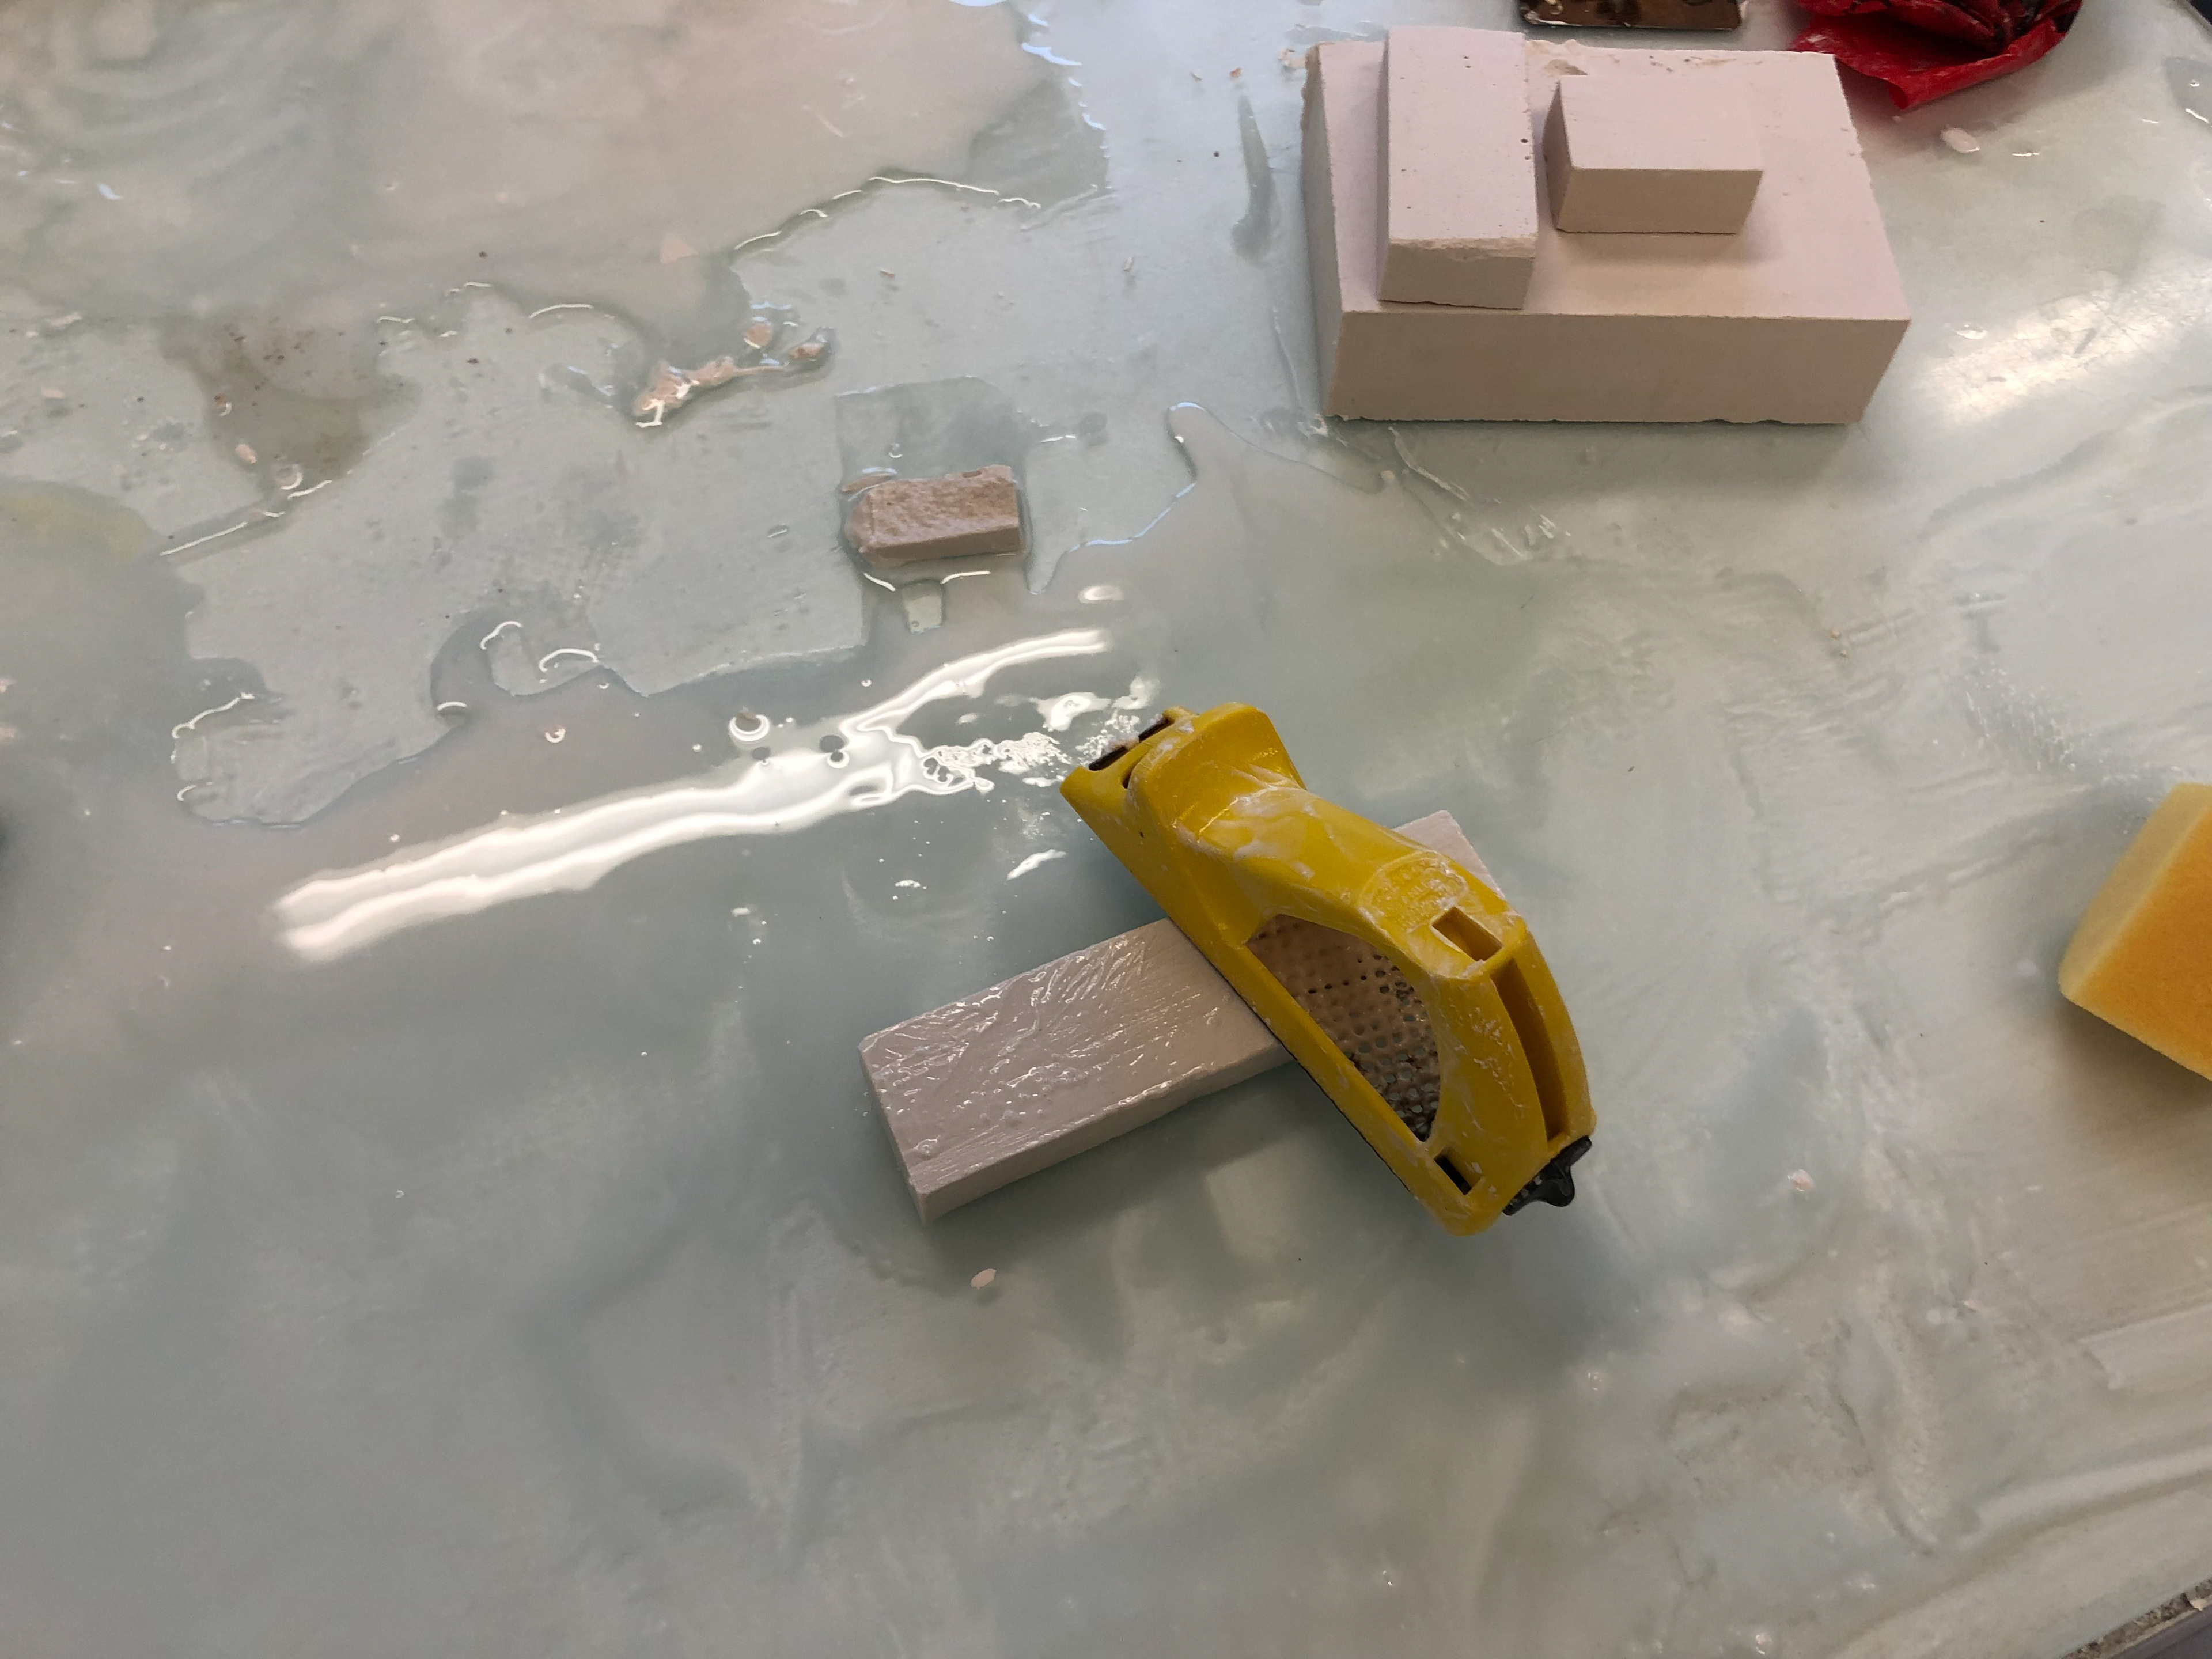
Using a surform tool with water to make the plaster smooth
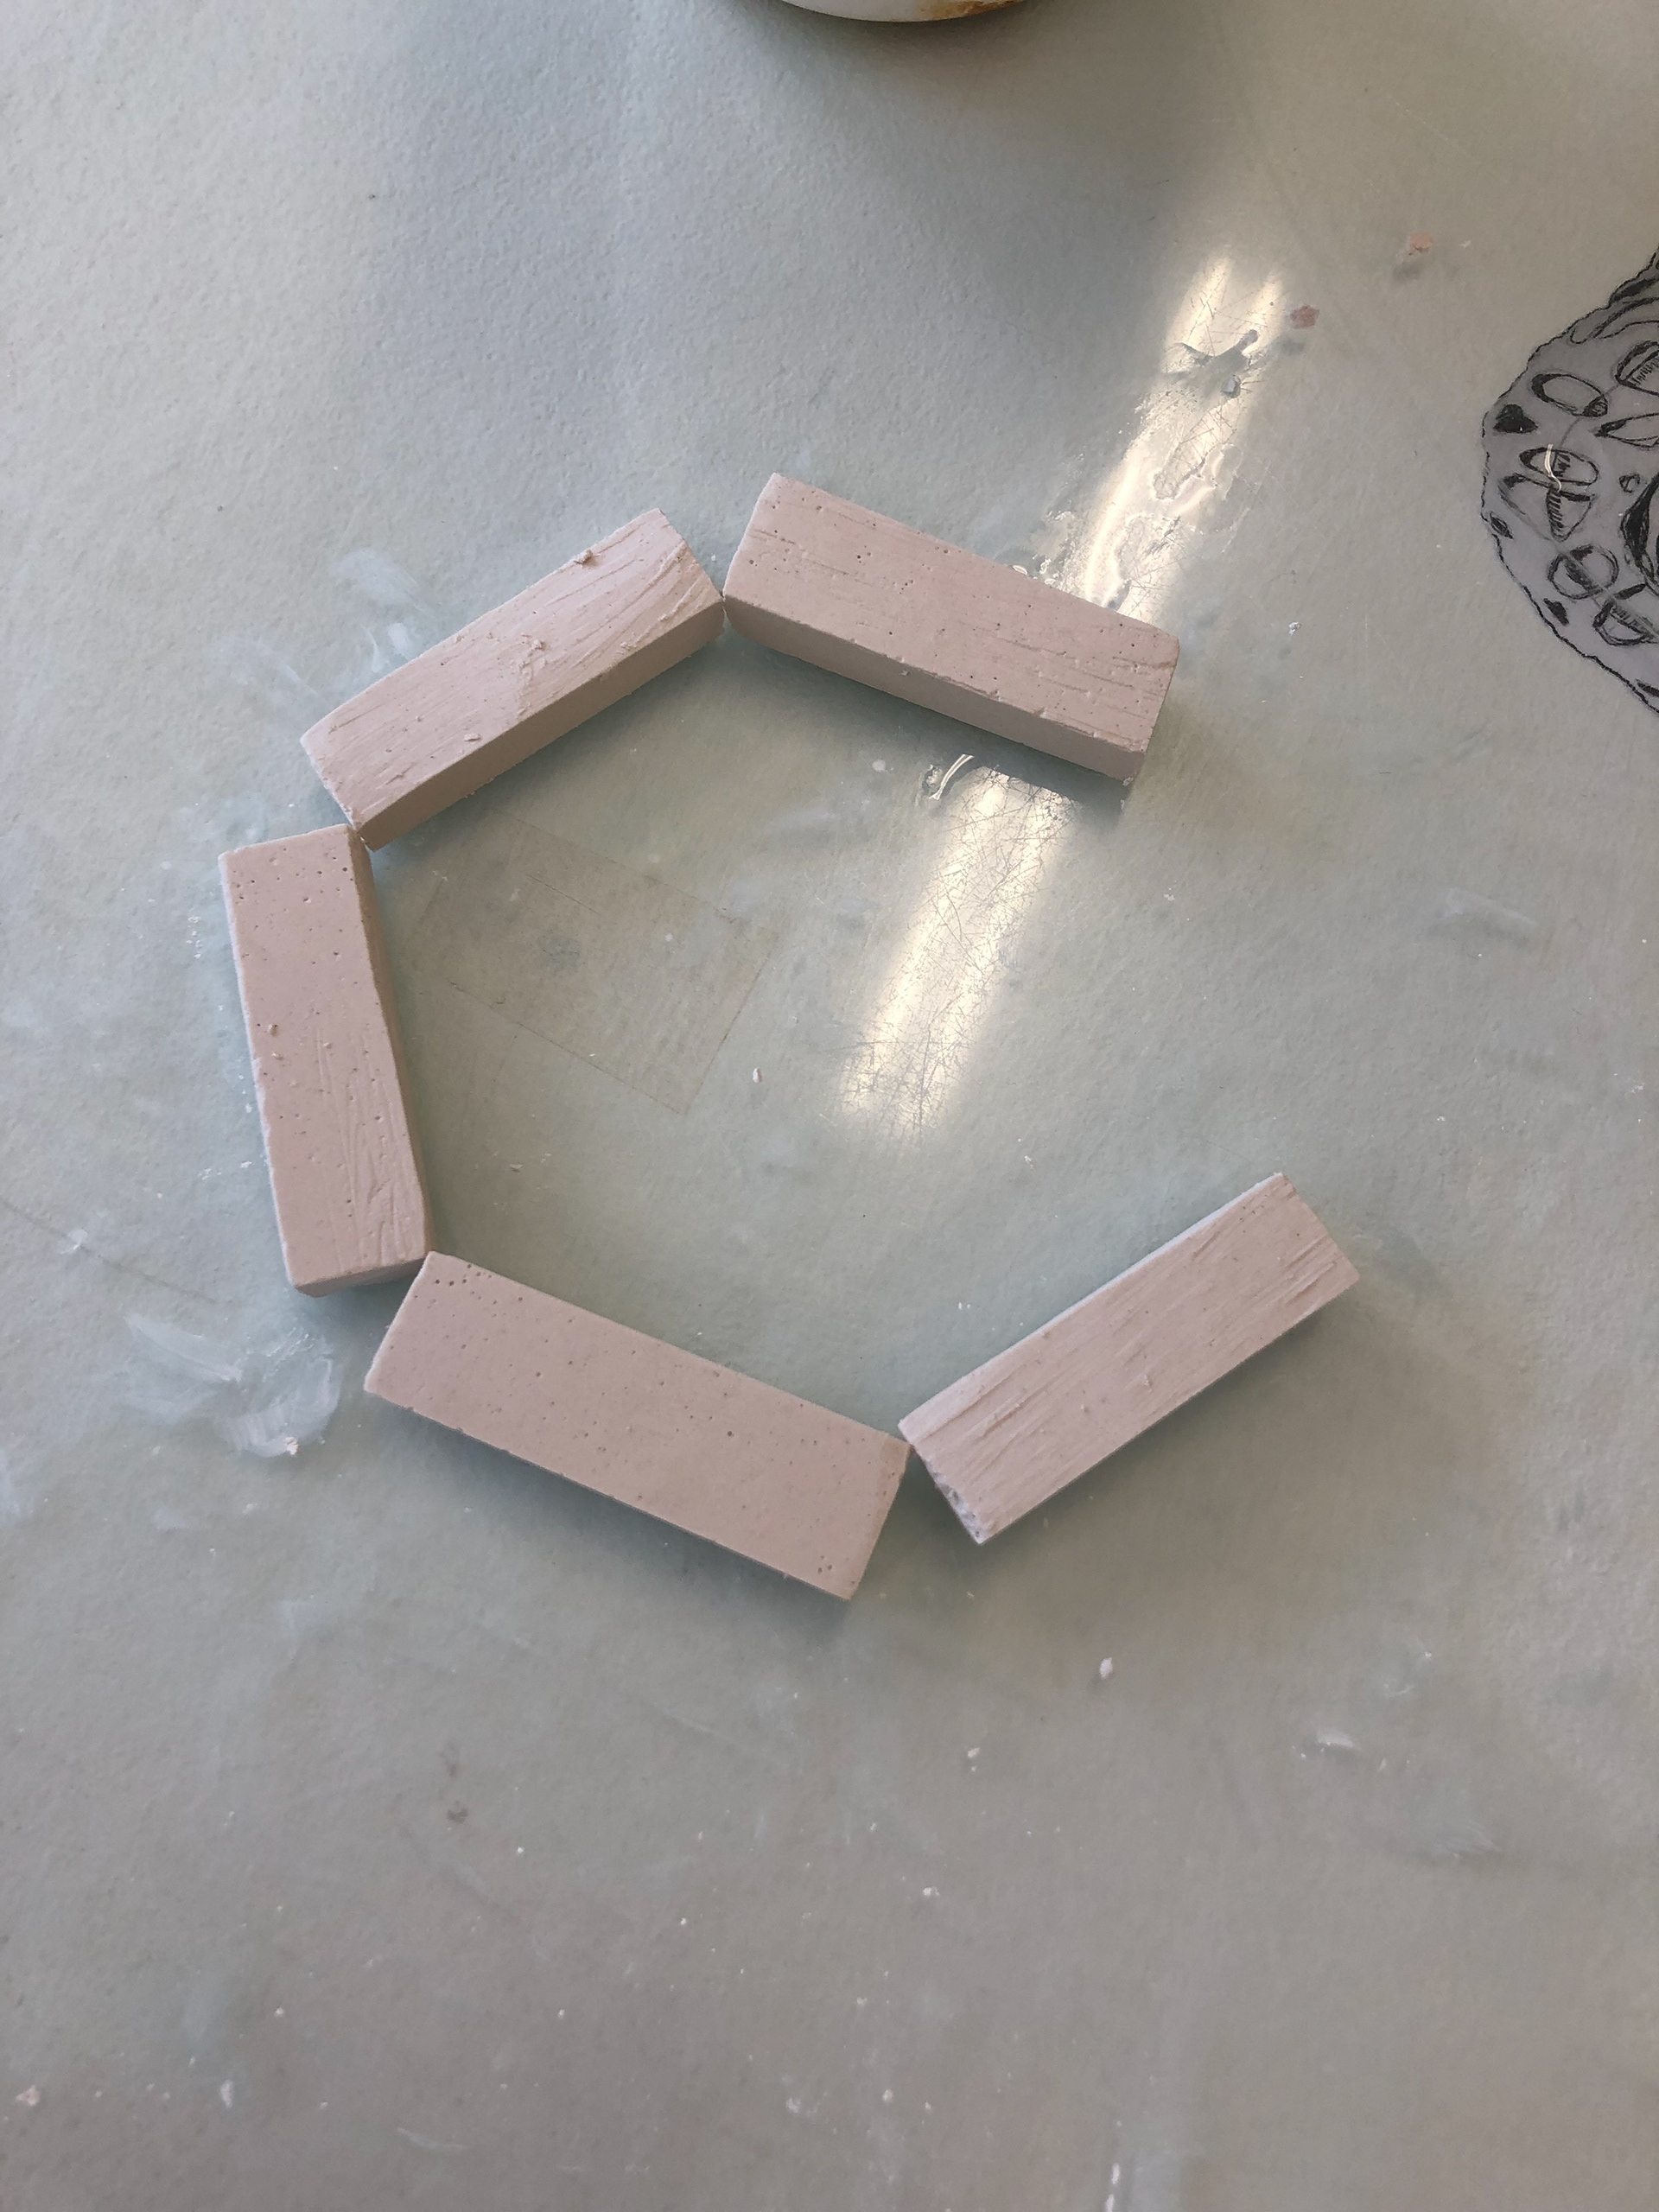
Plan view of plaster blocks
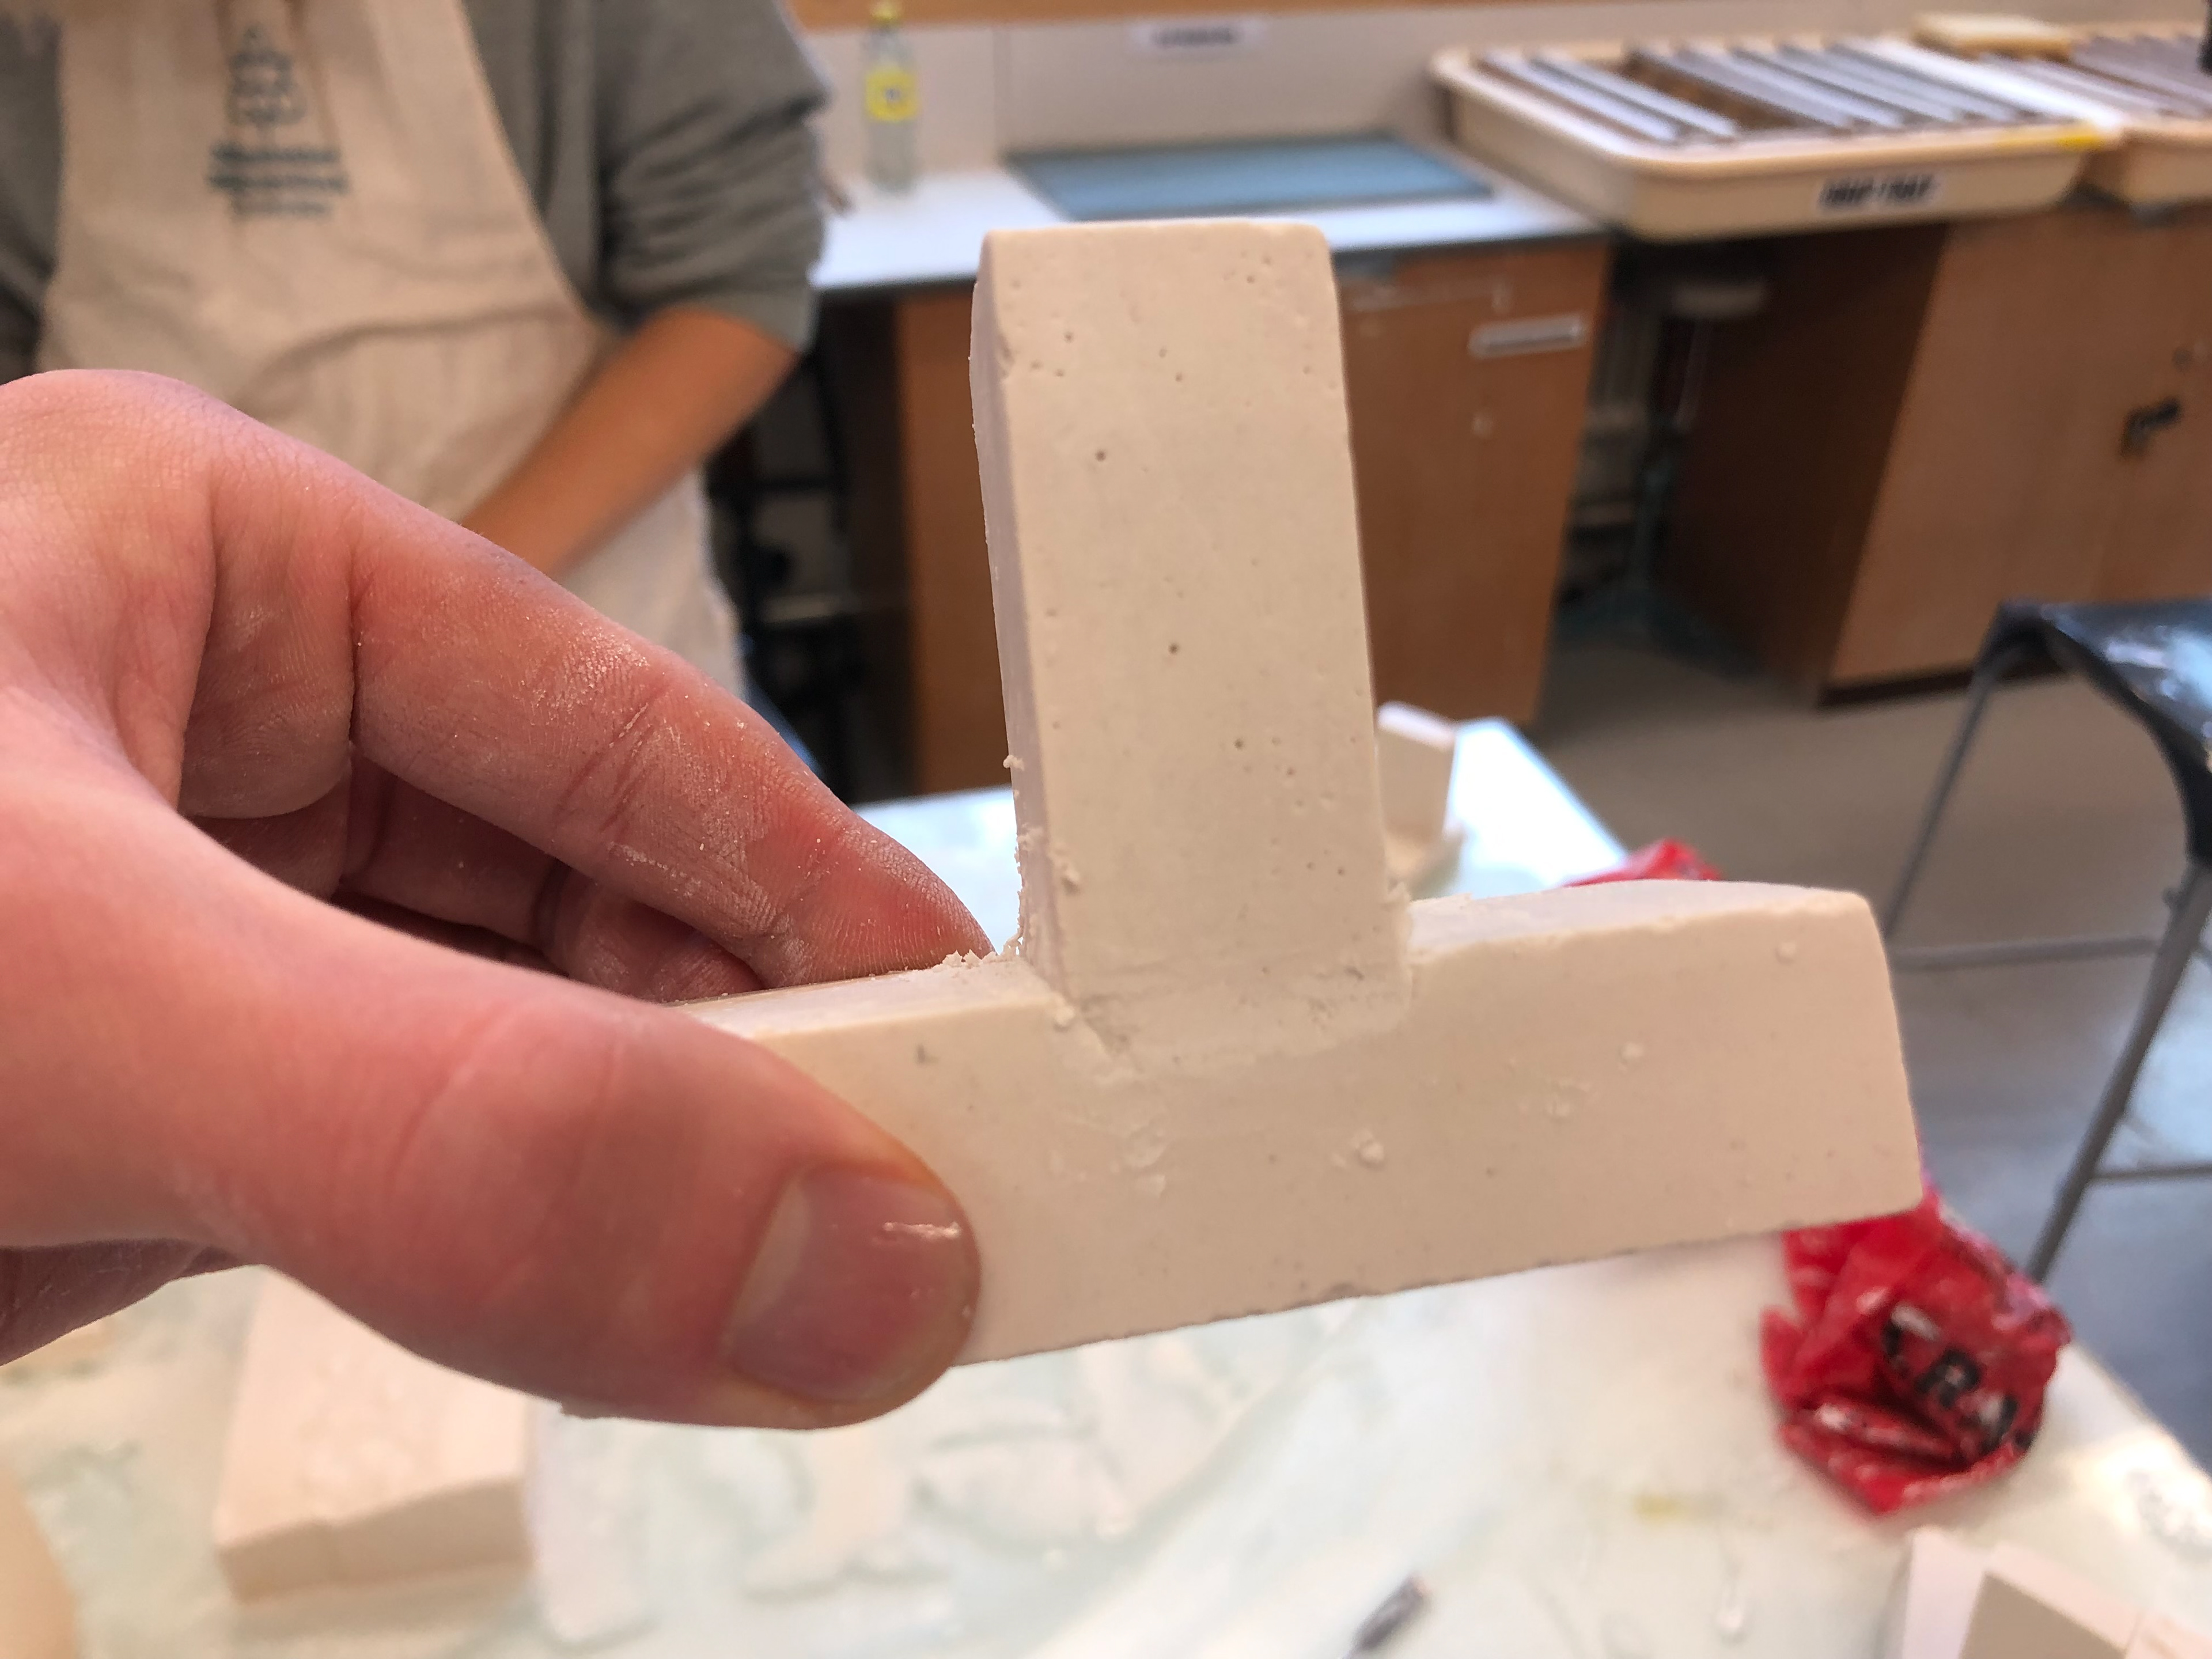
Indented T-joint
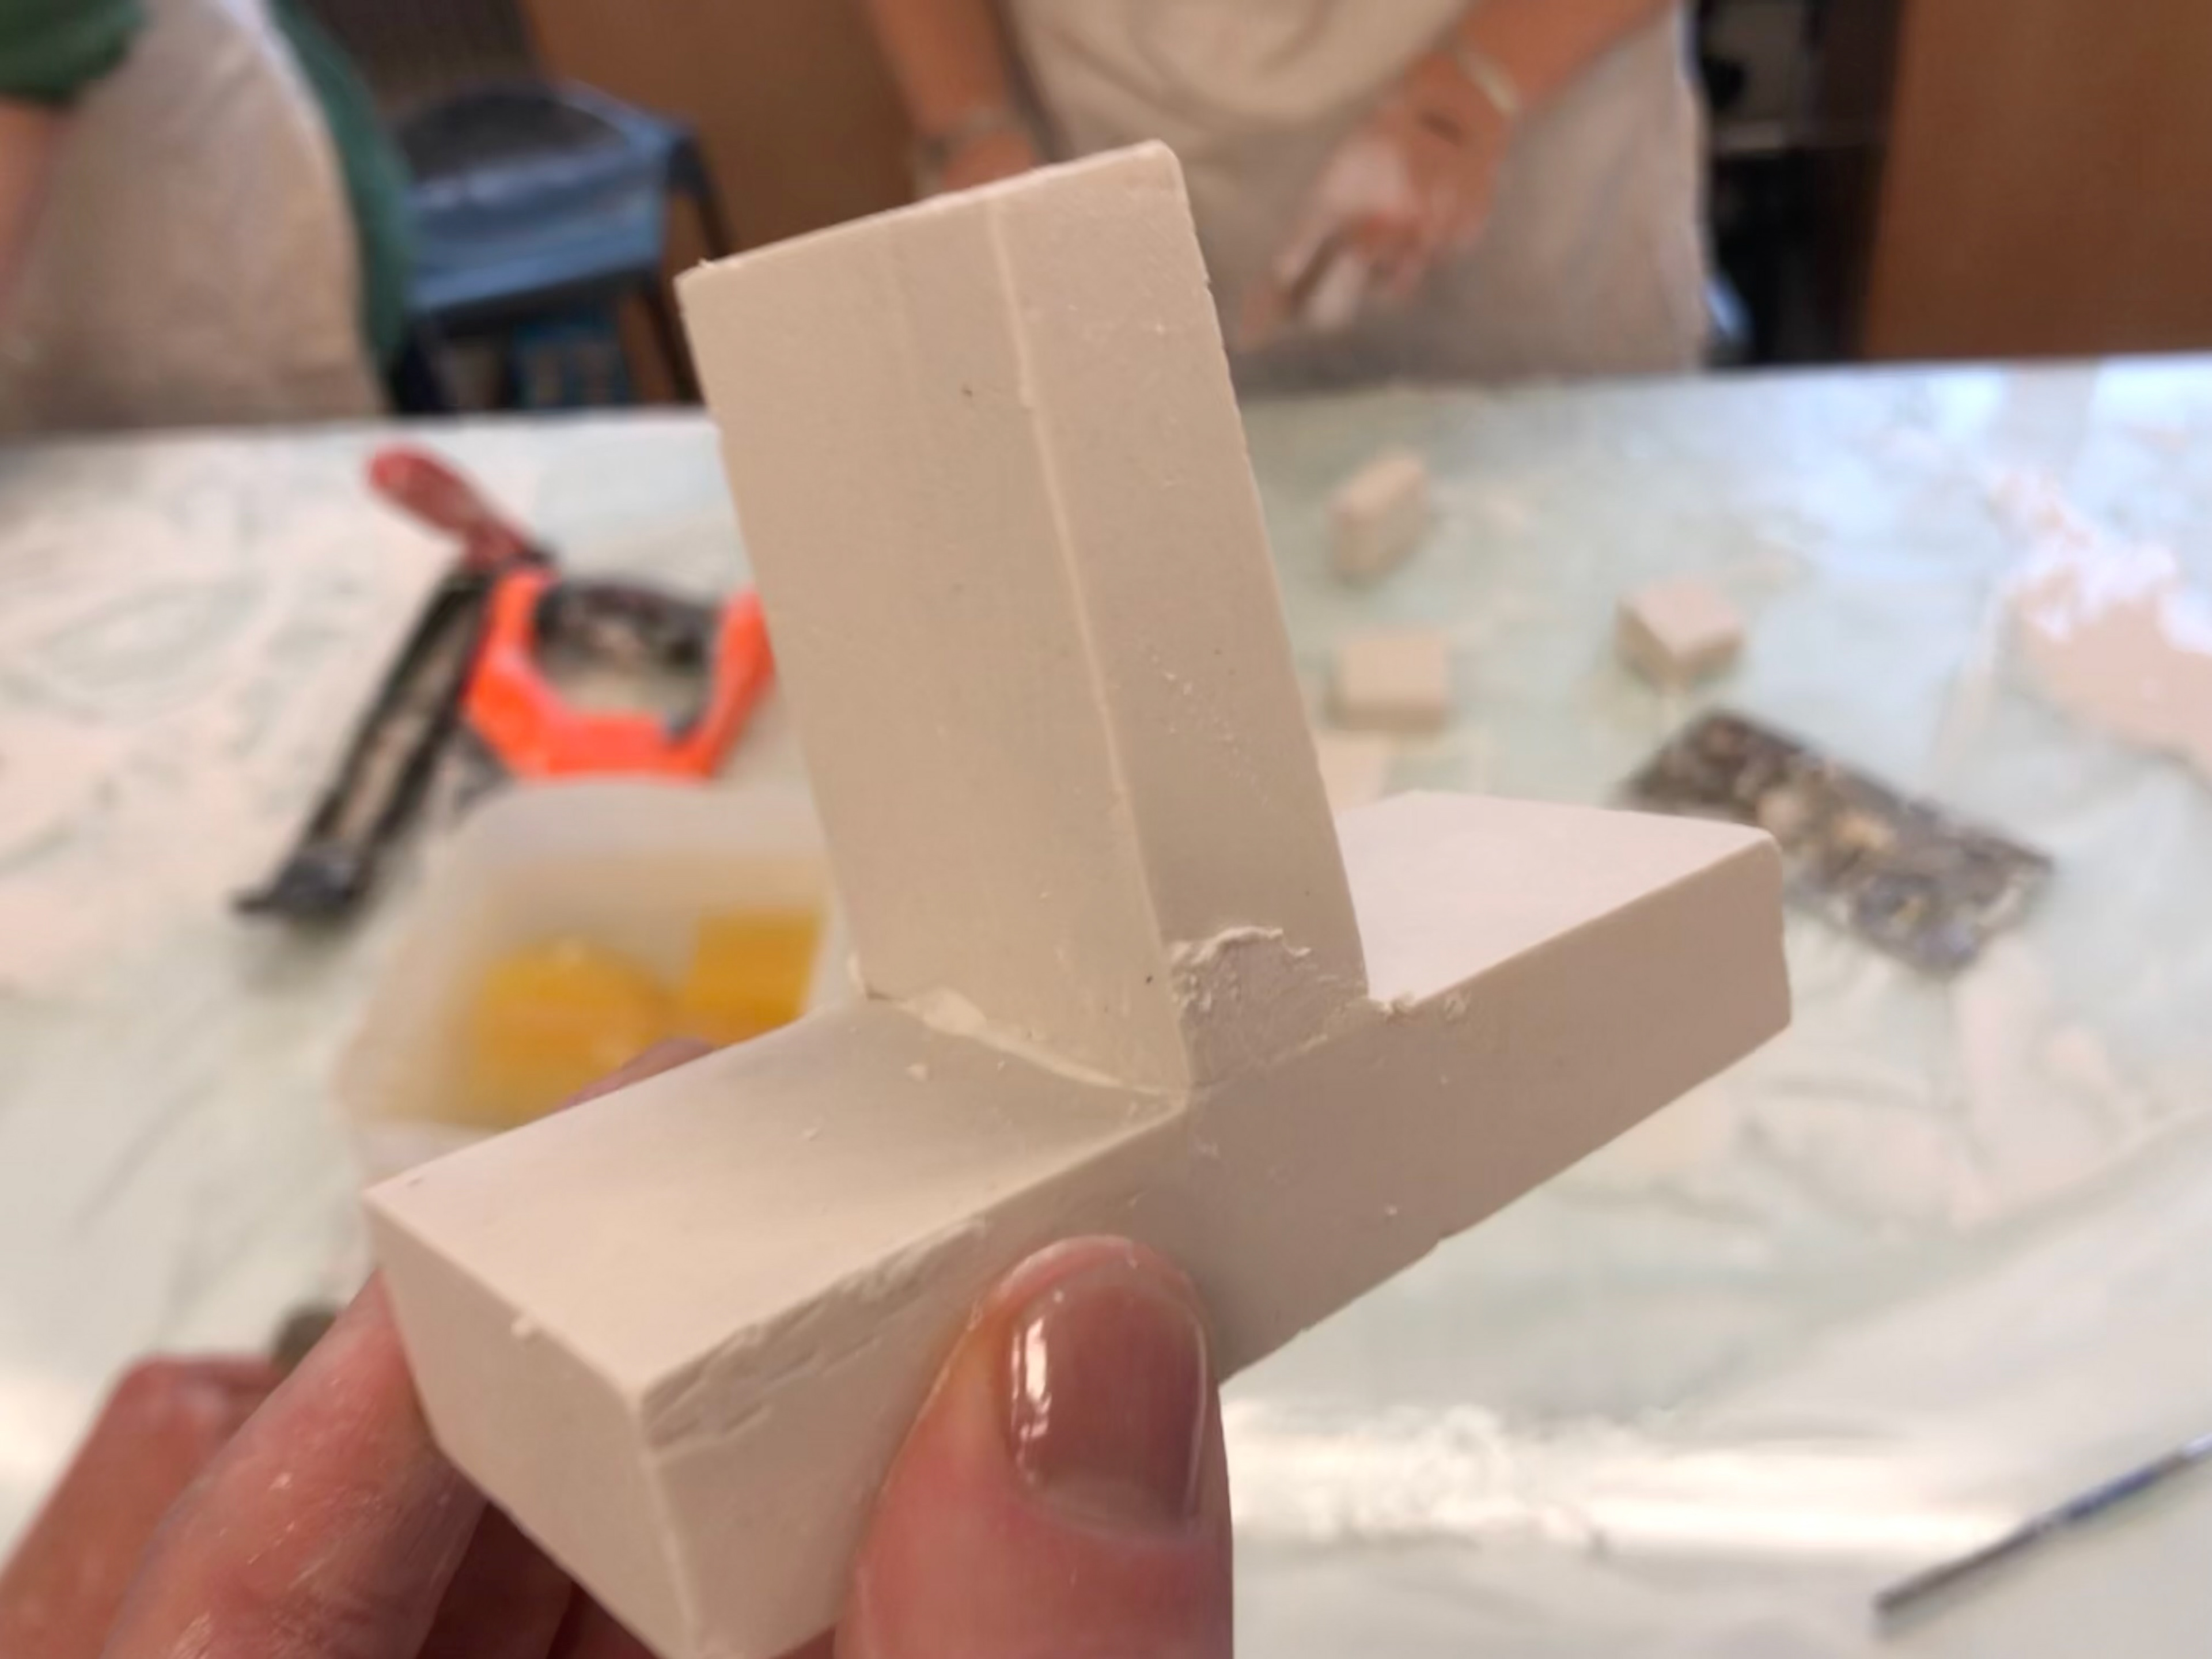
T-joint
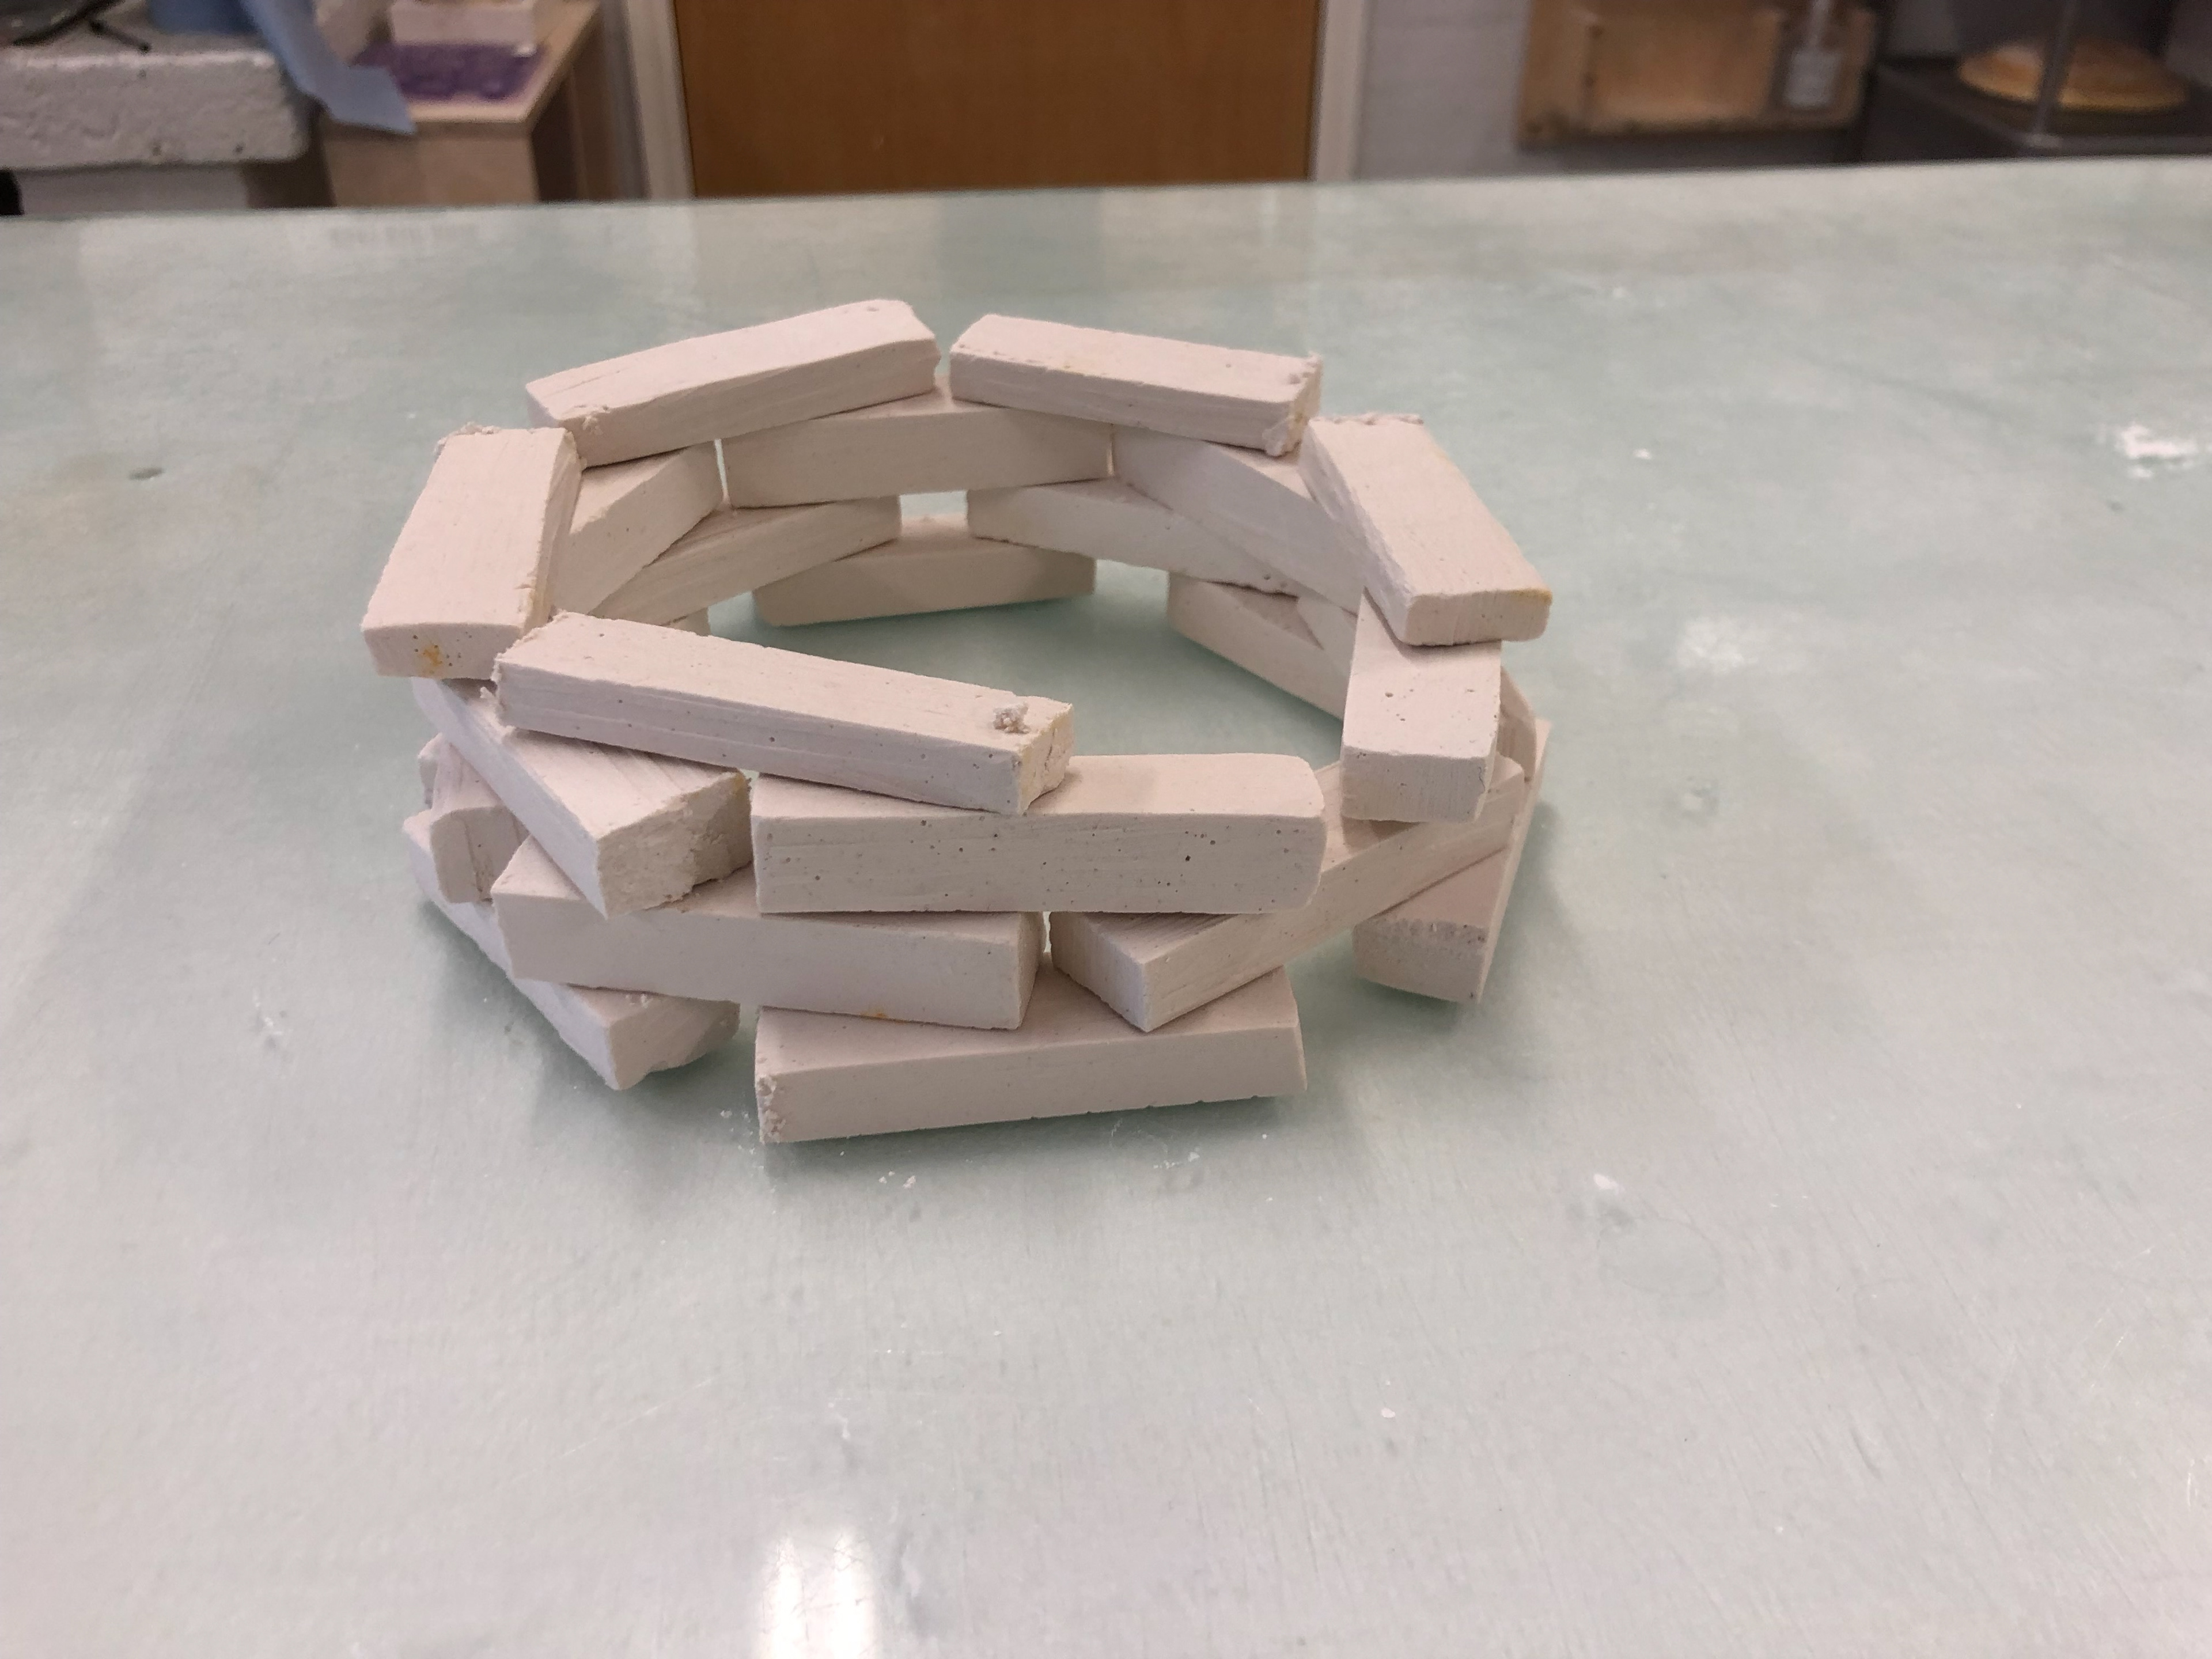
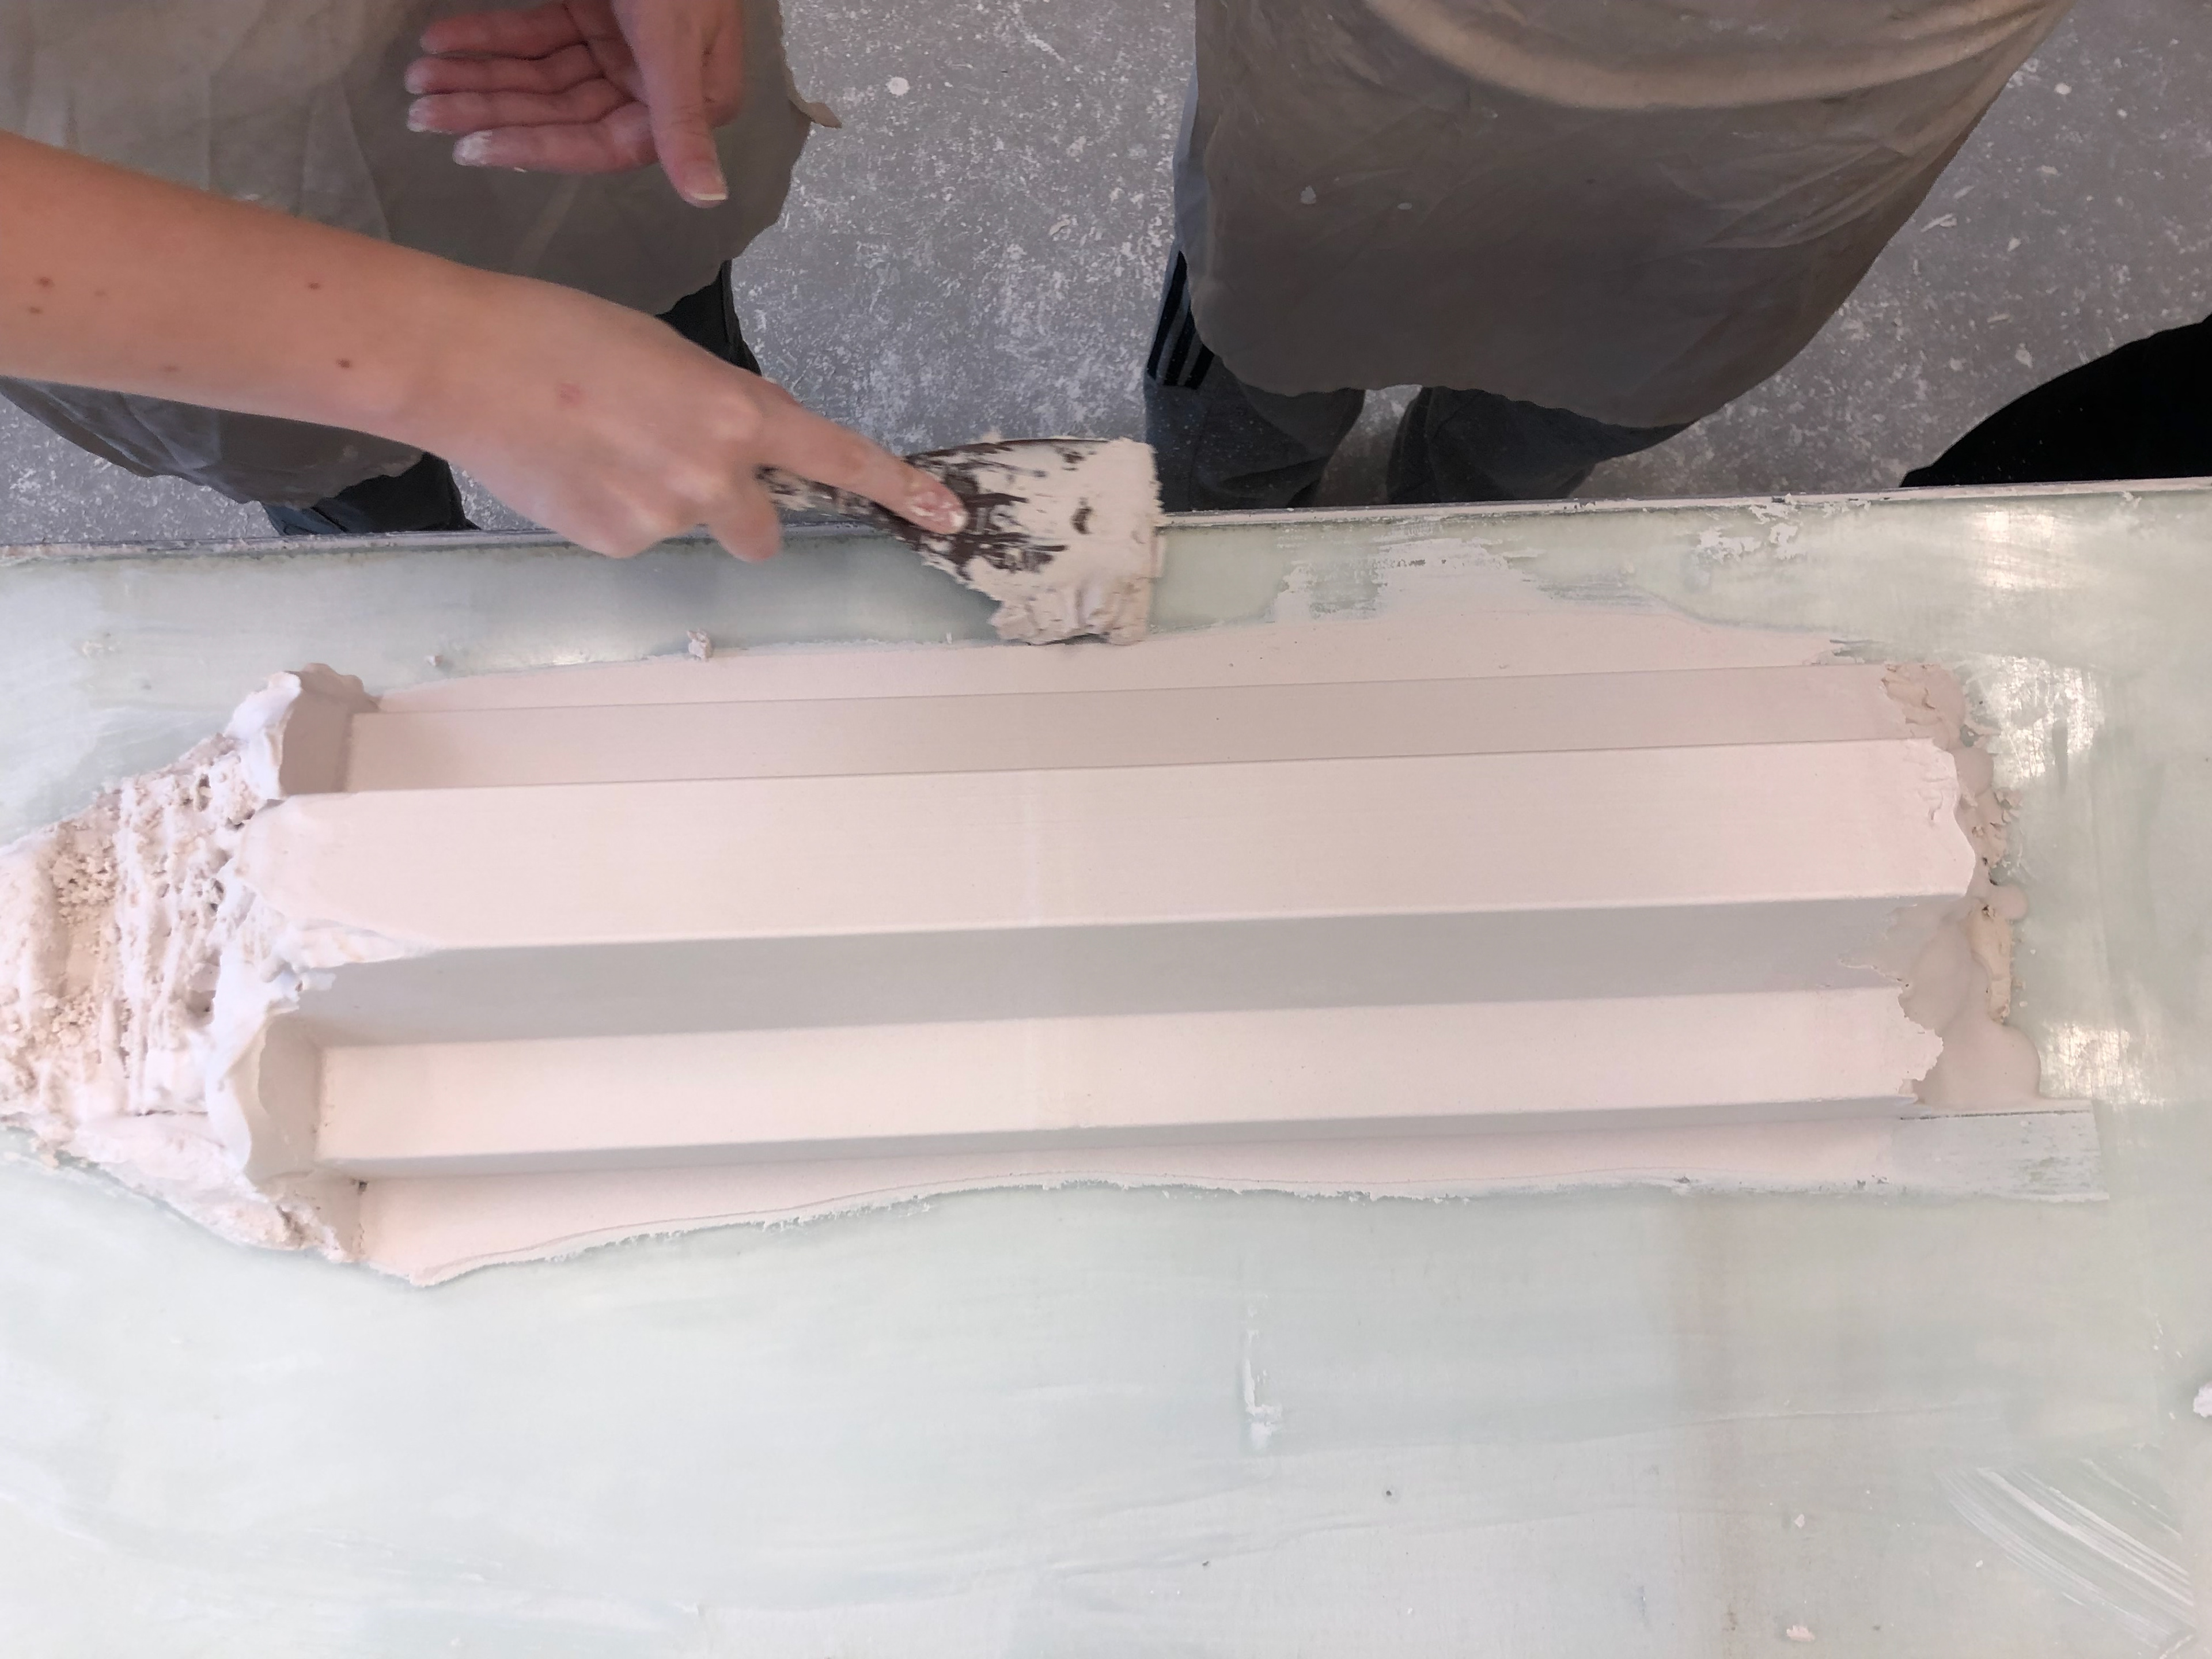
The second task was to create a coliseum-like piece which involved cutting blocks to equal dimensions and a lot of plaster joints.
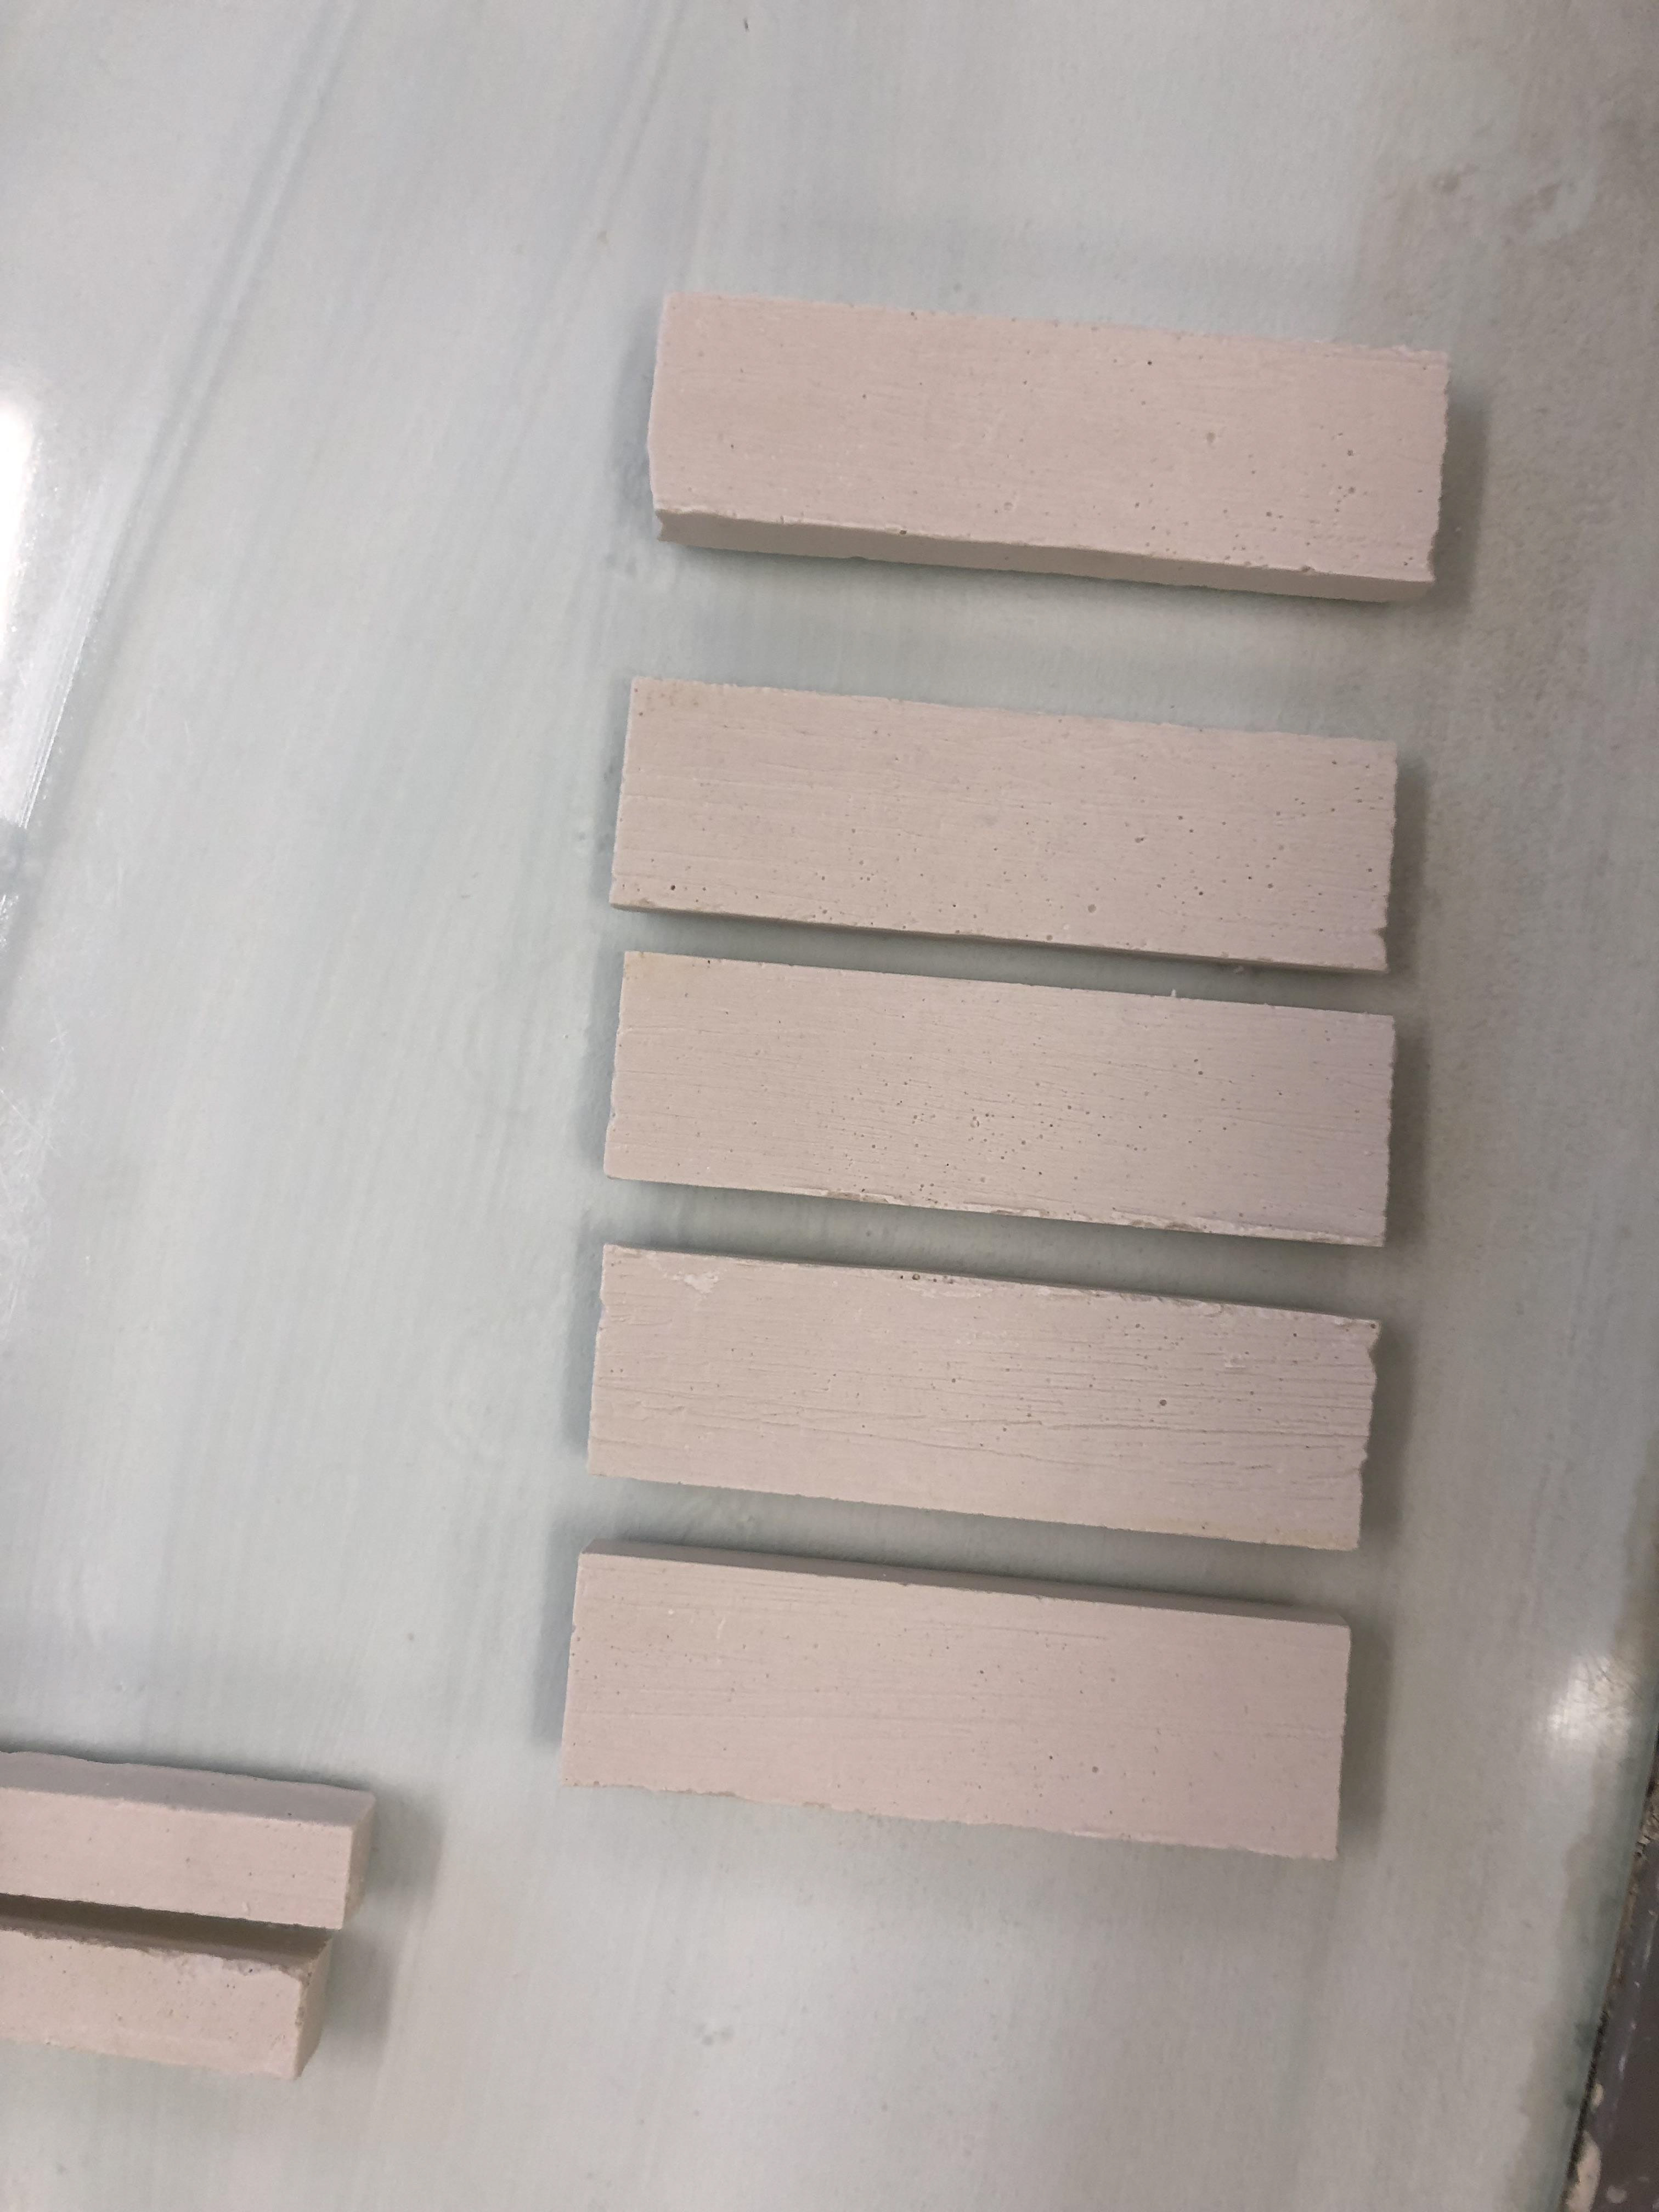
Equally cut hand sawn blocks
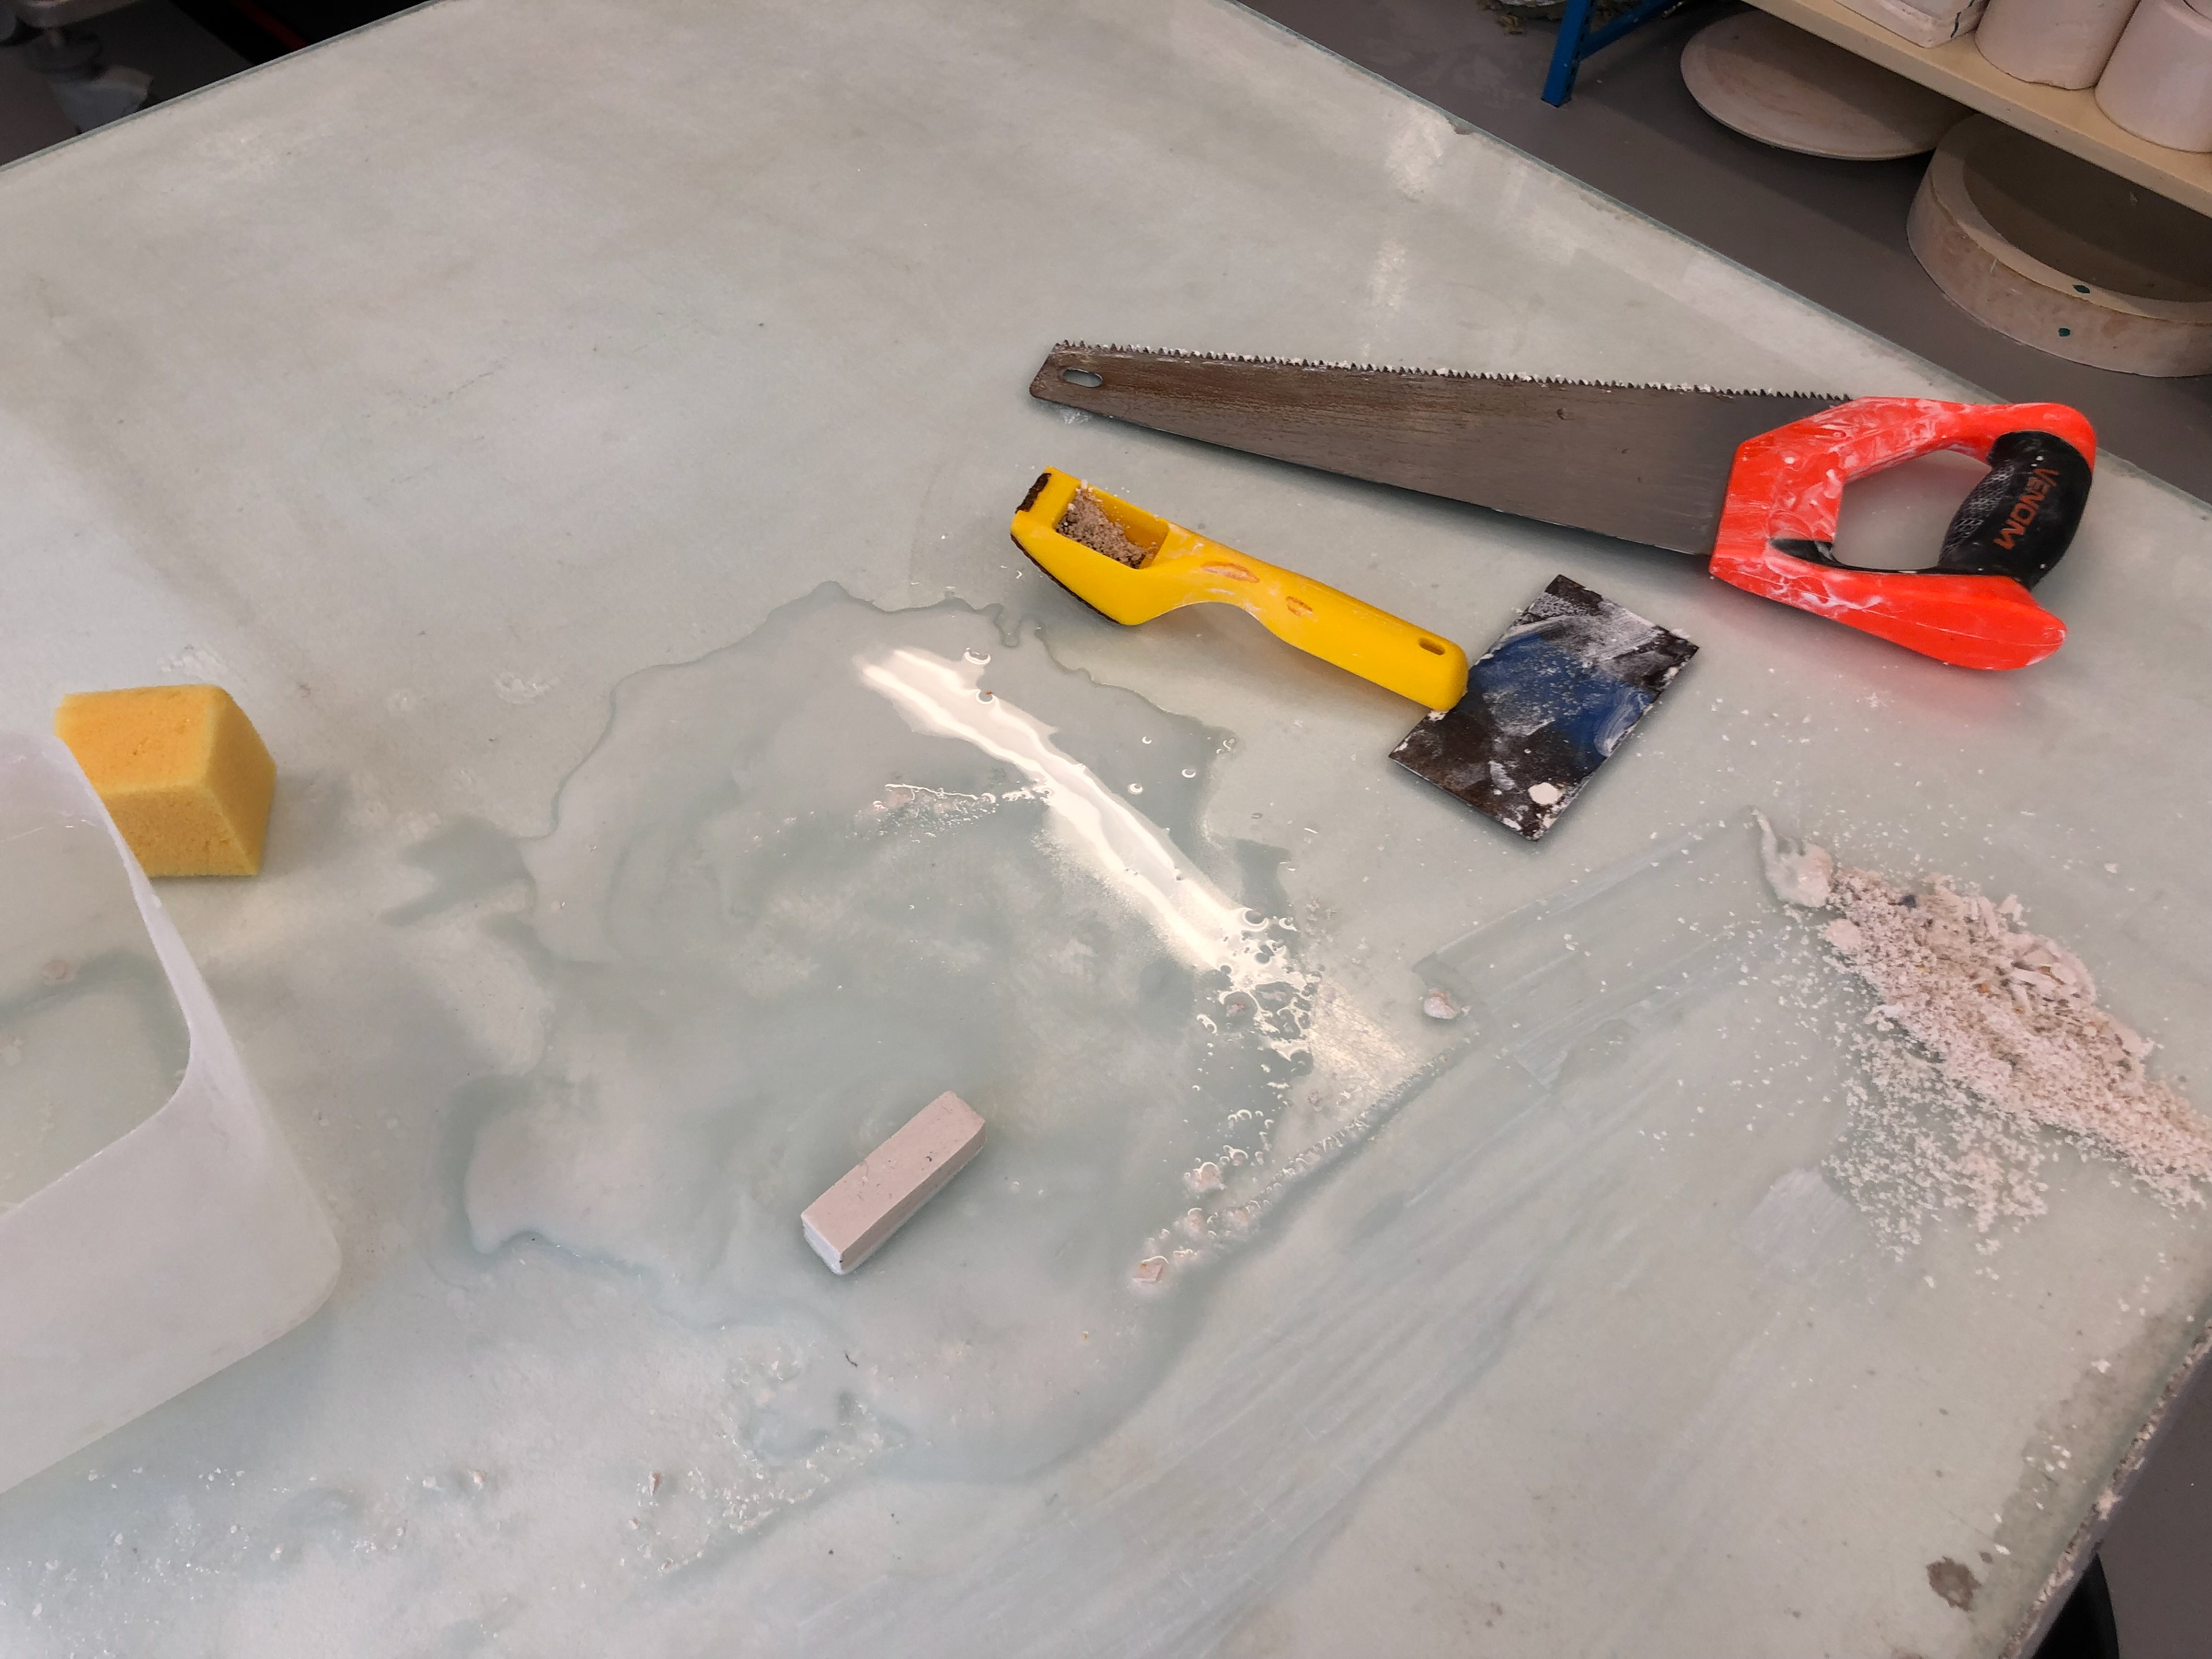
Cutting tools to halve the blocks
First layer of the pattern
Mockup of pattern
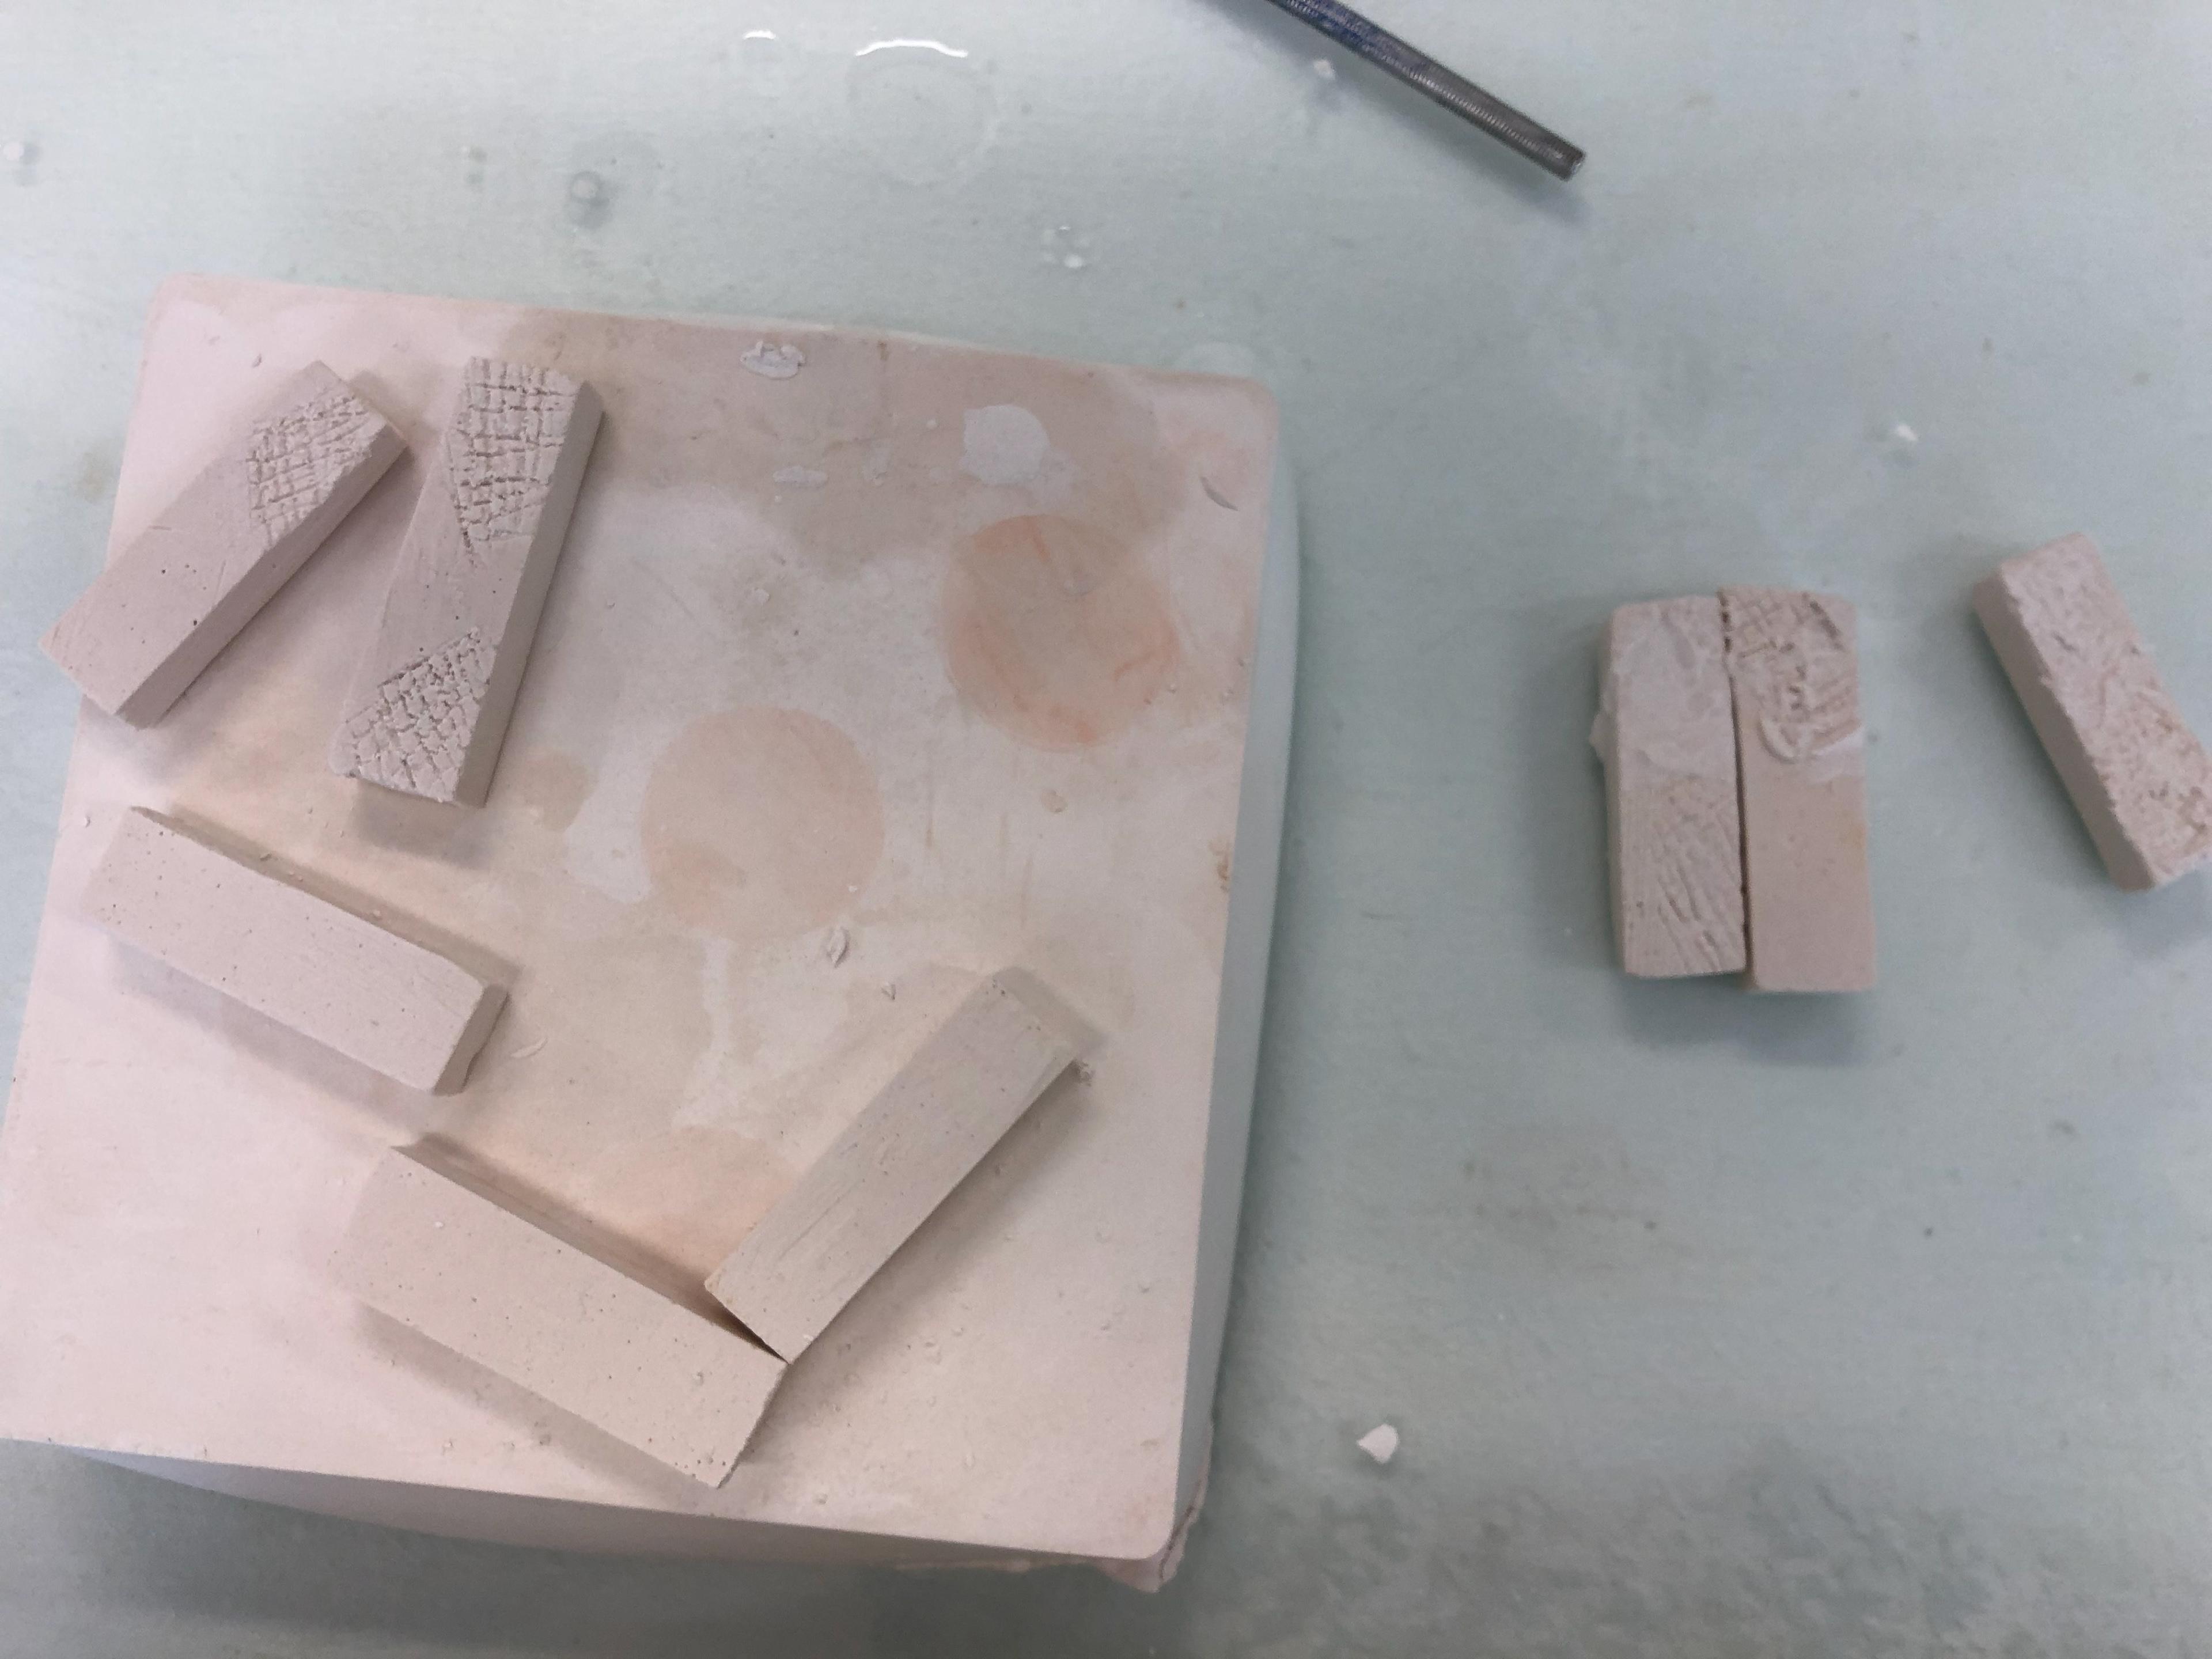
Cutting indents into the block to help the blocks join
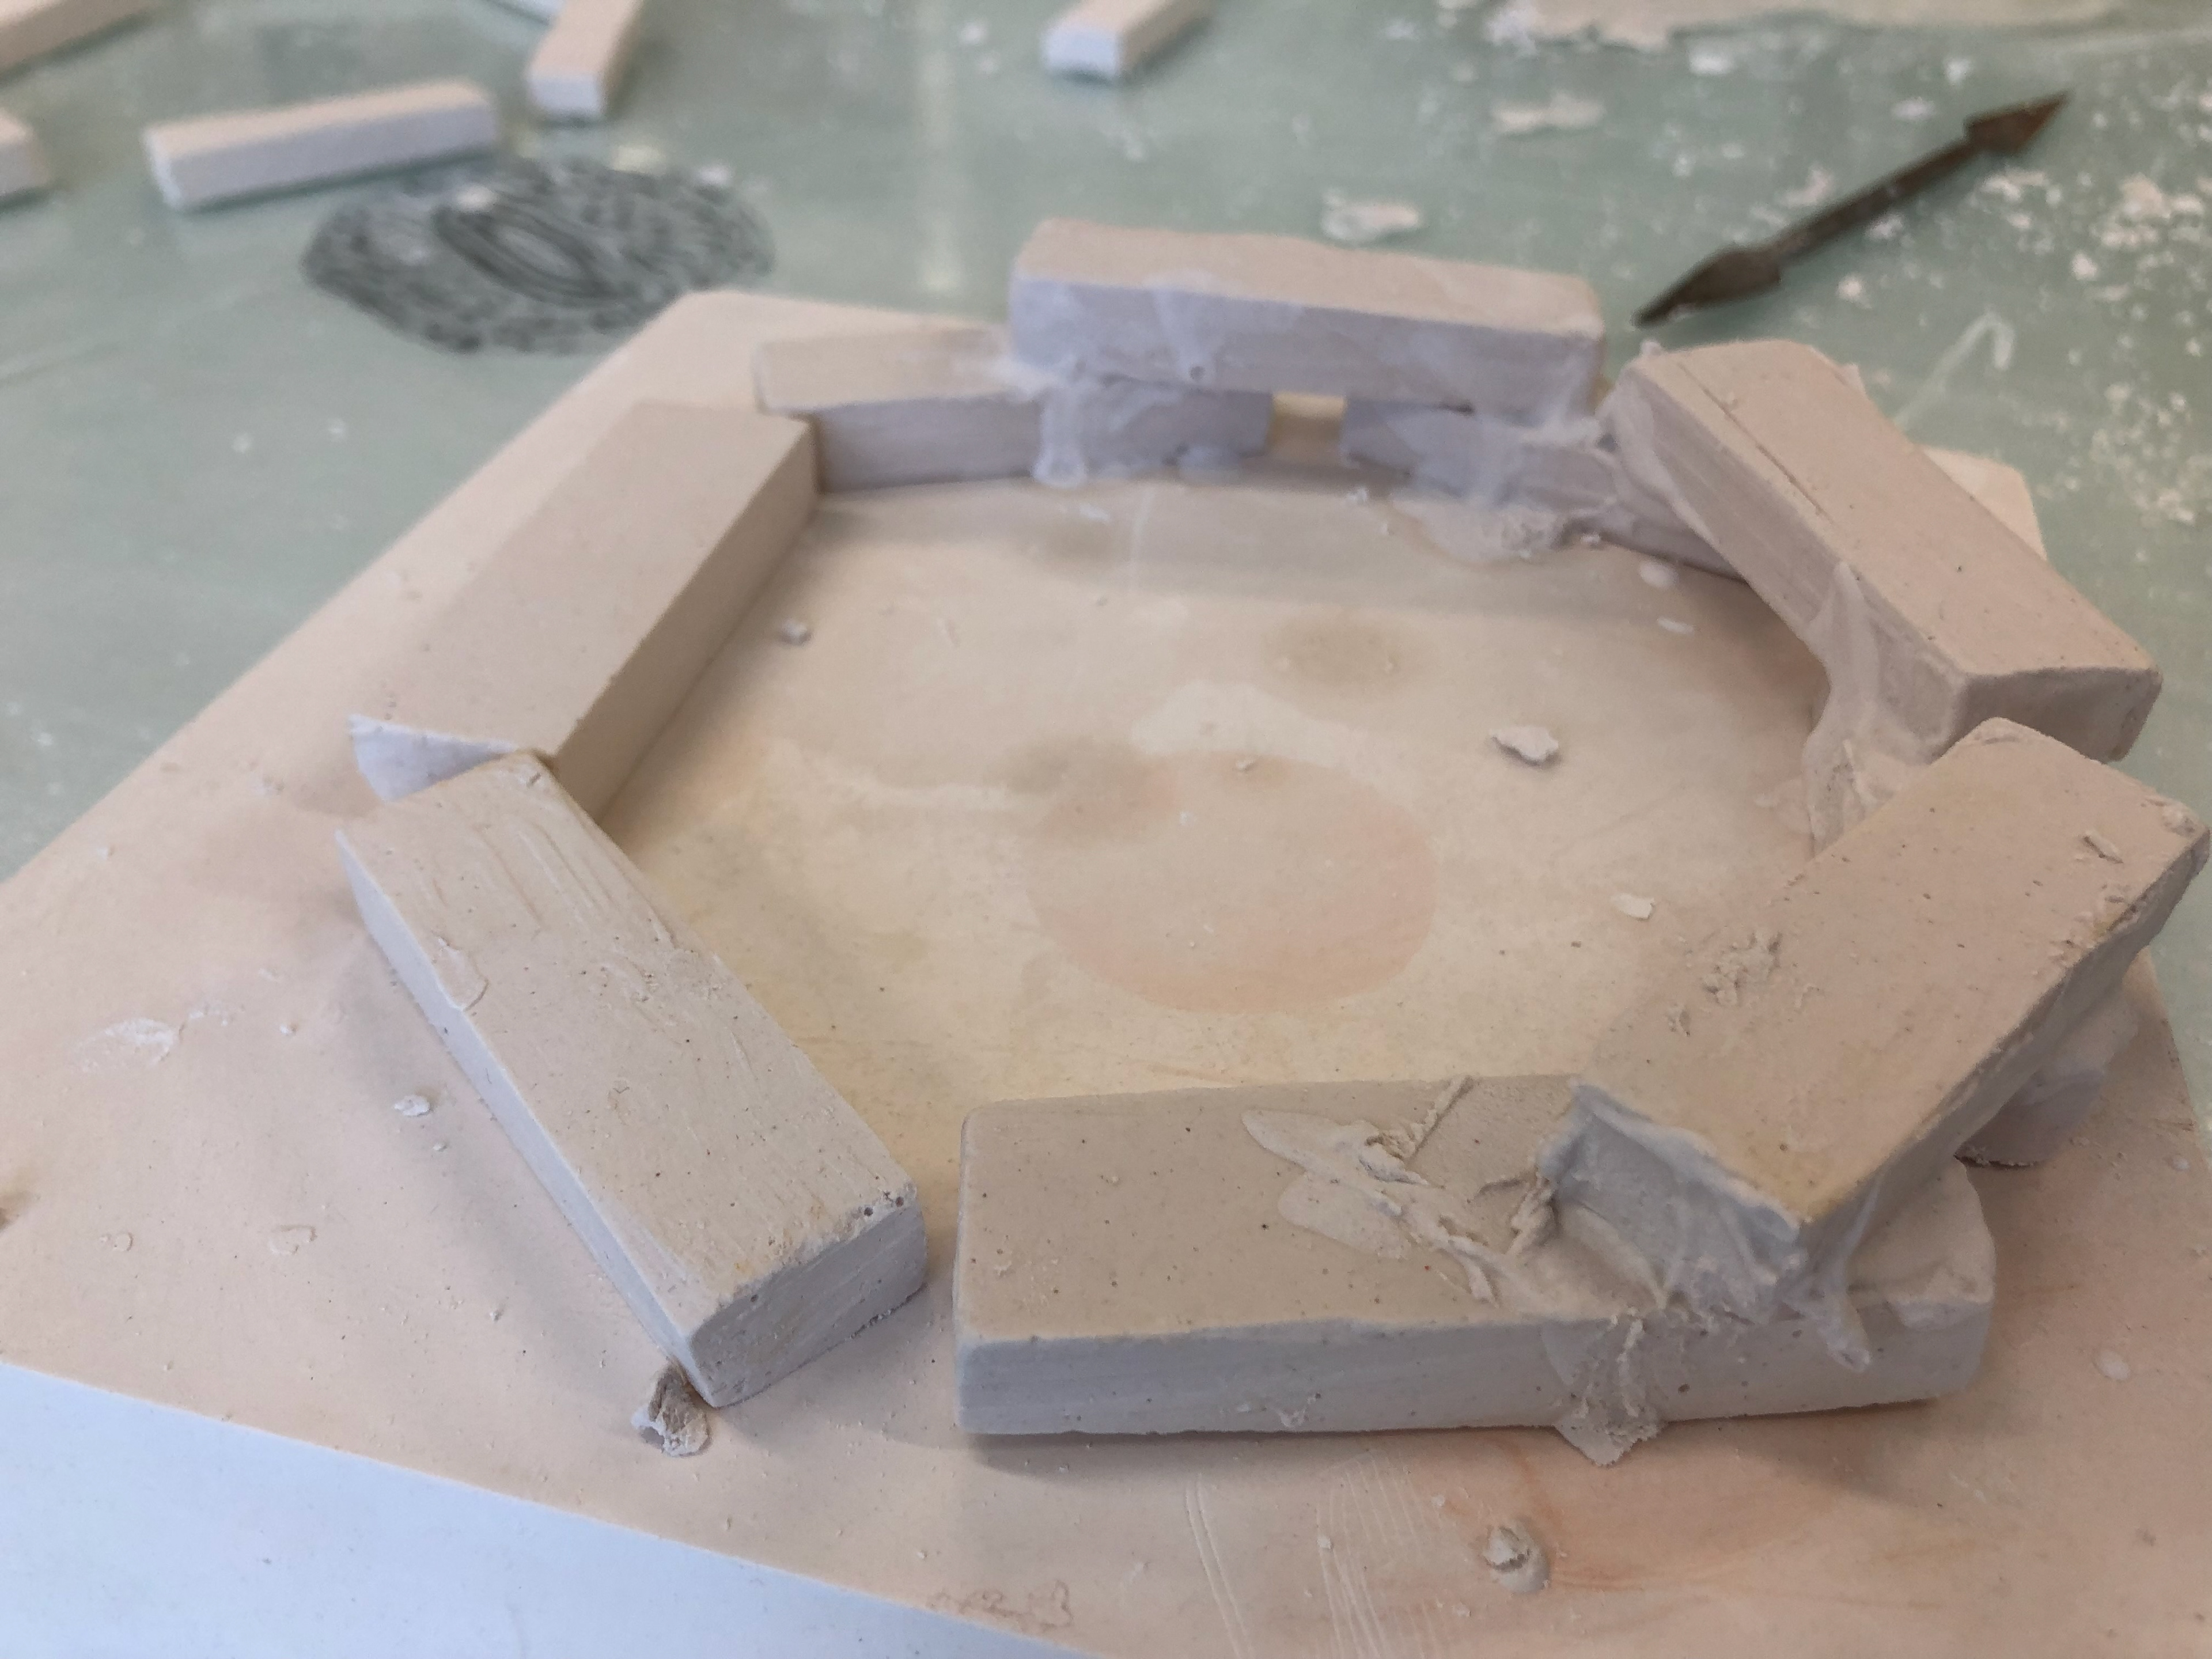
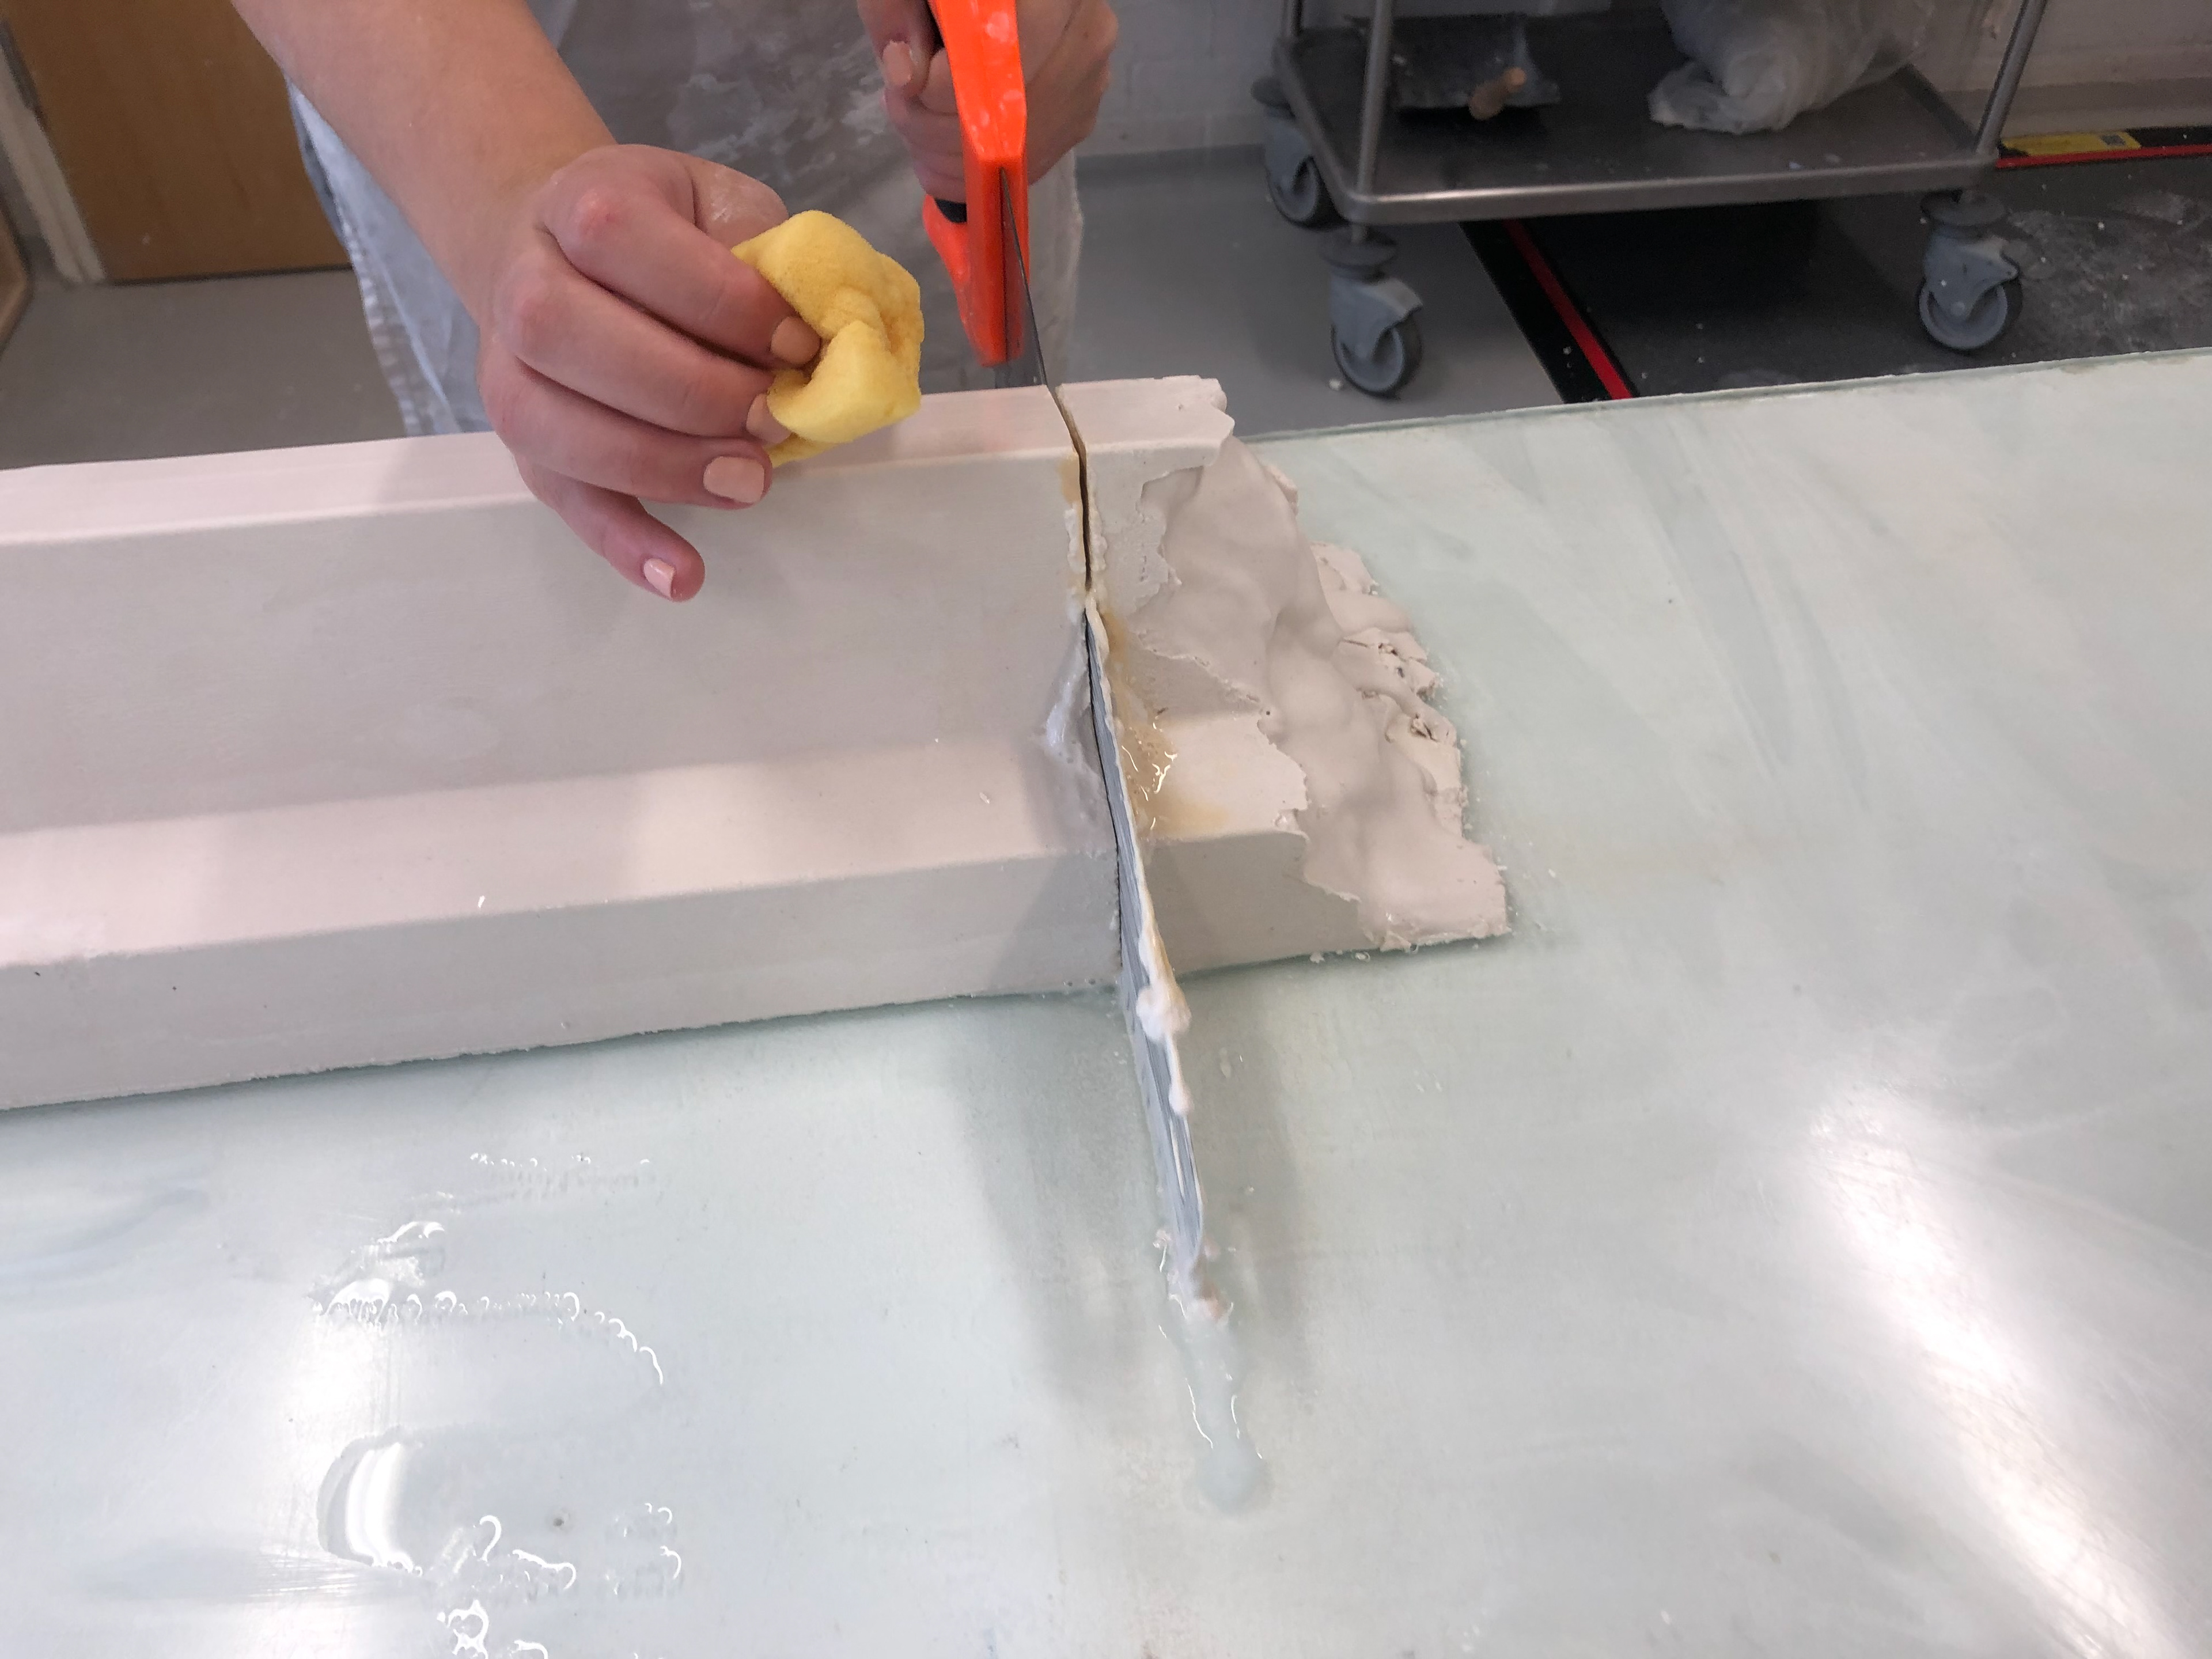
Second layer of blocks joining
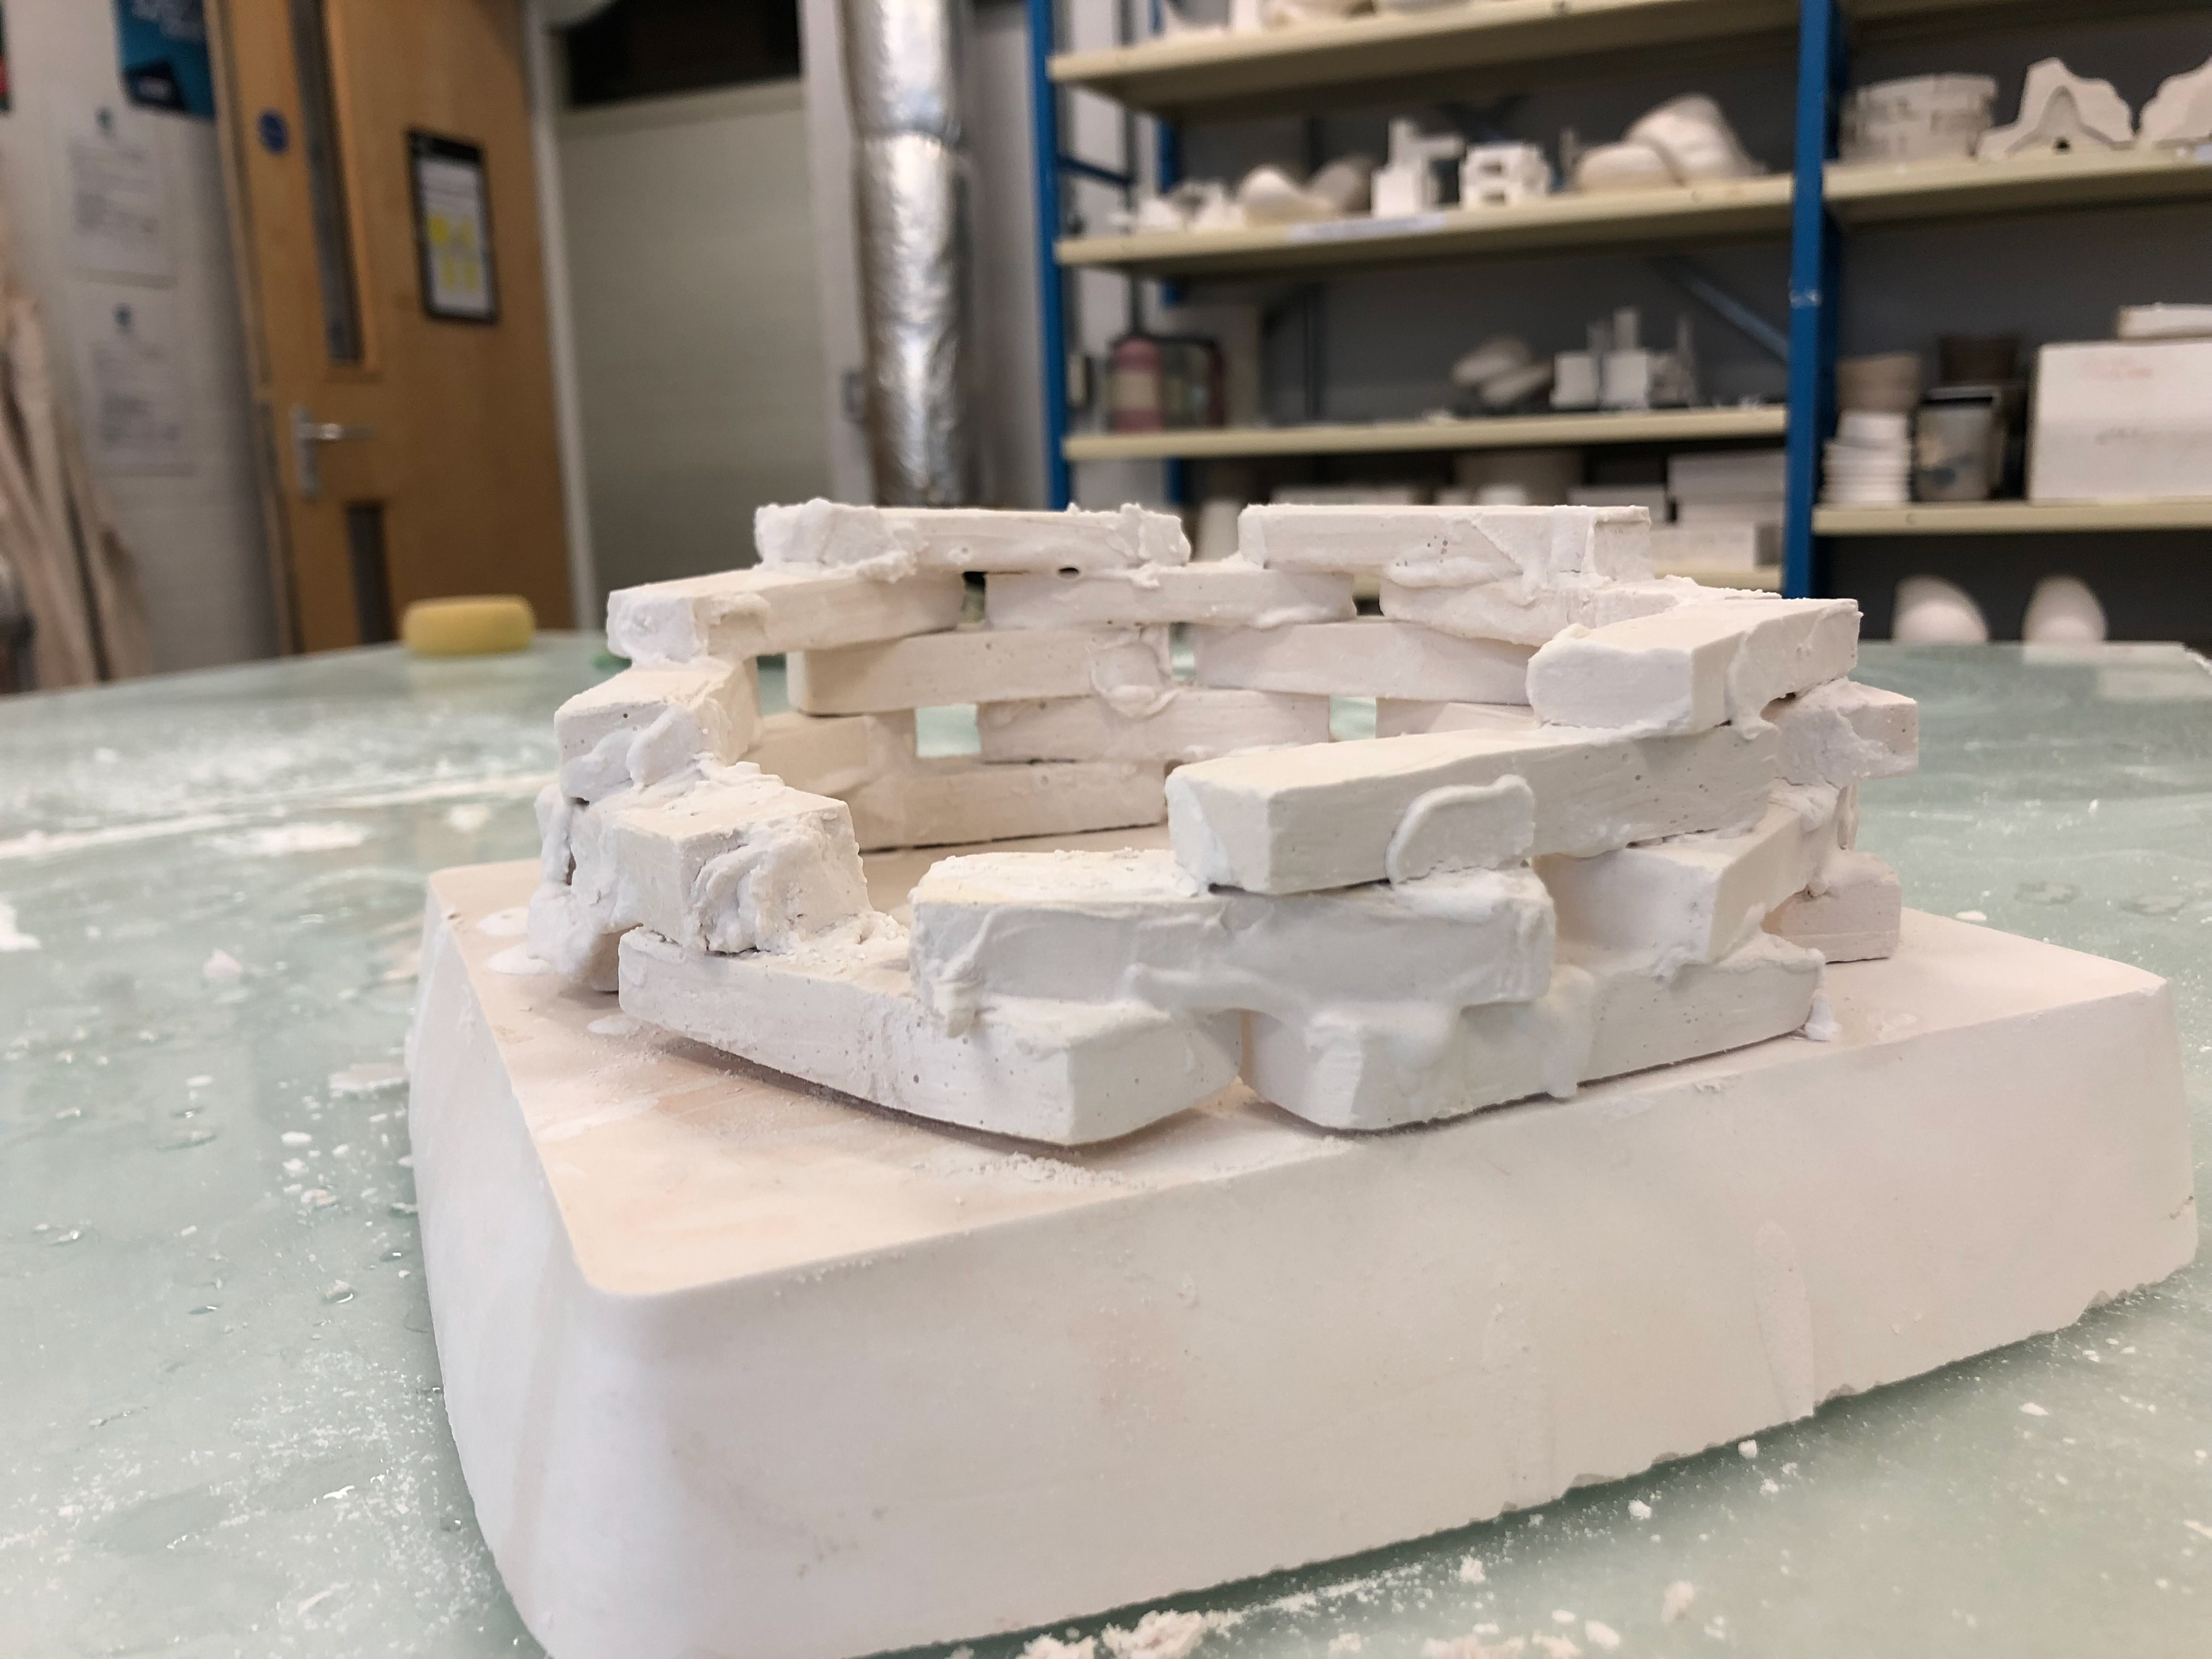
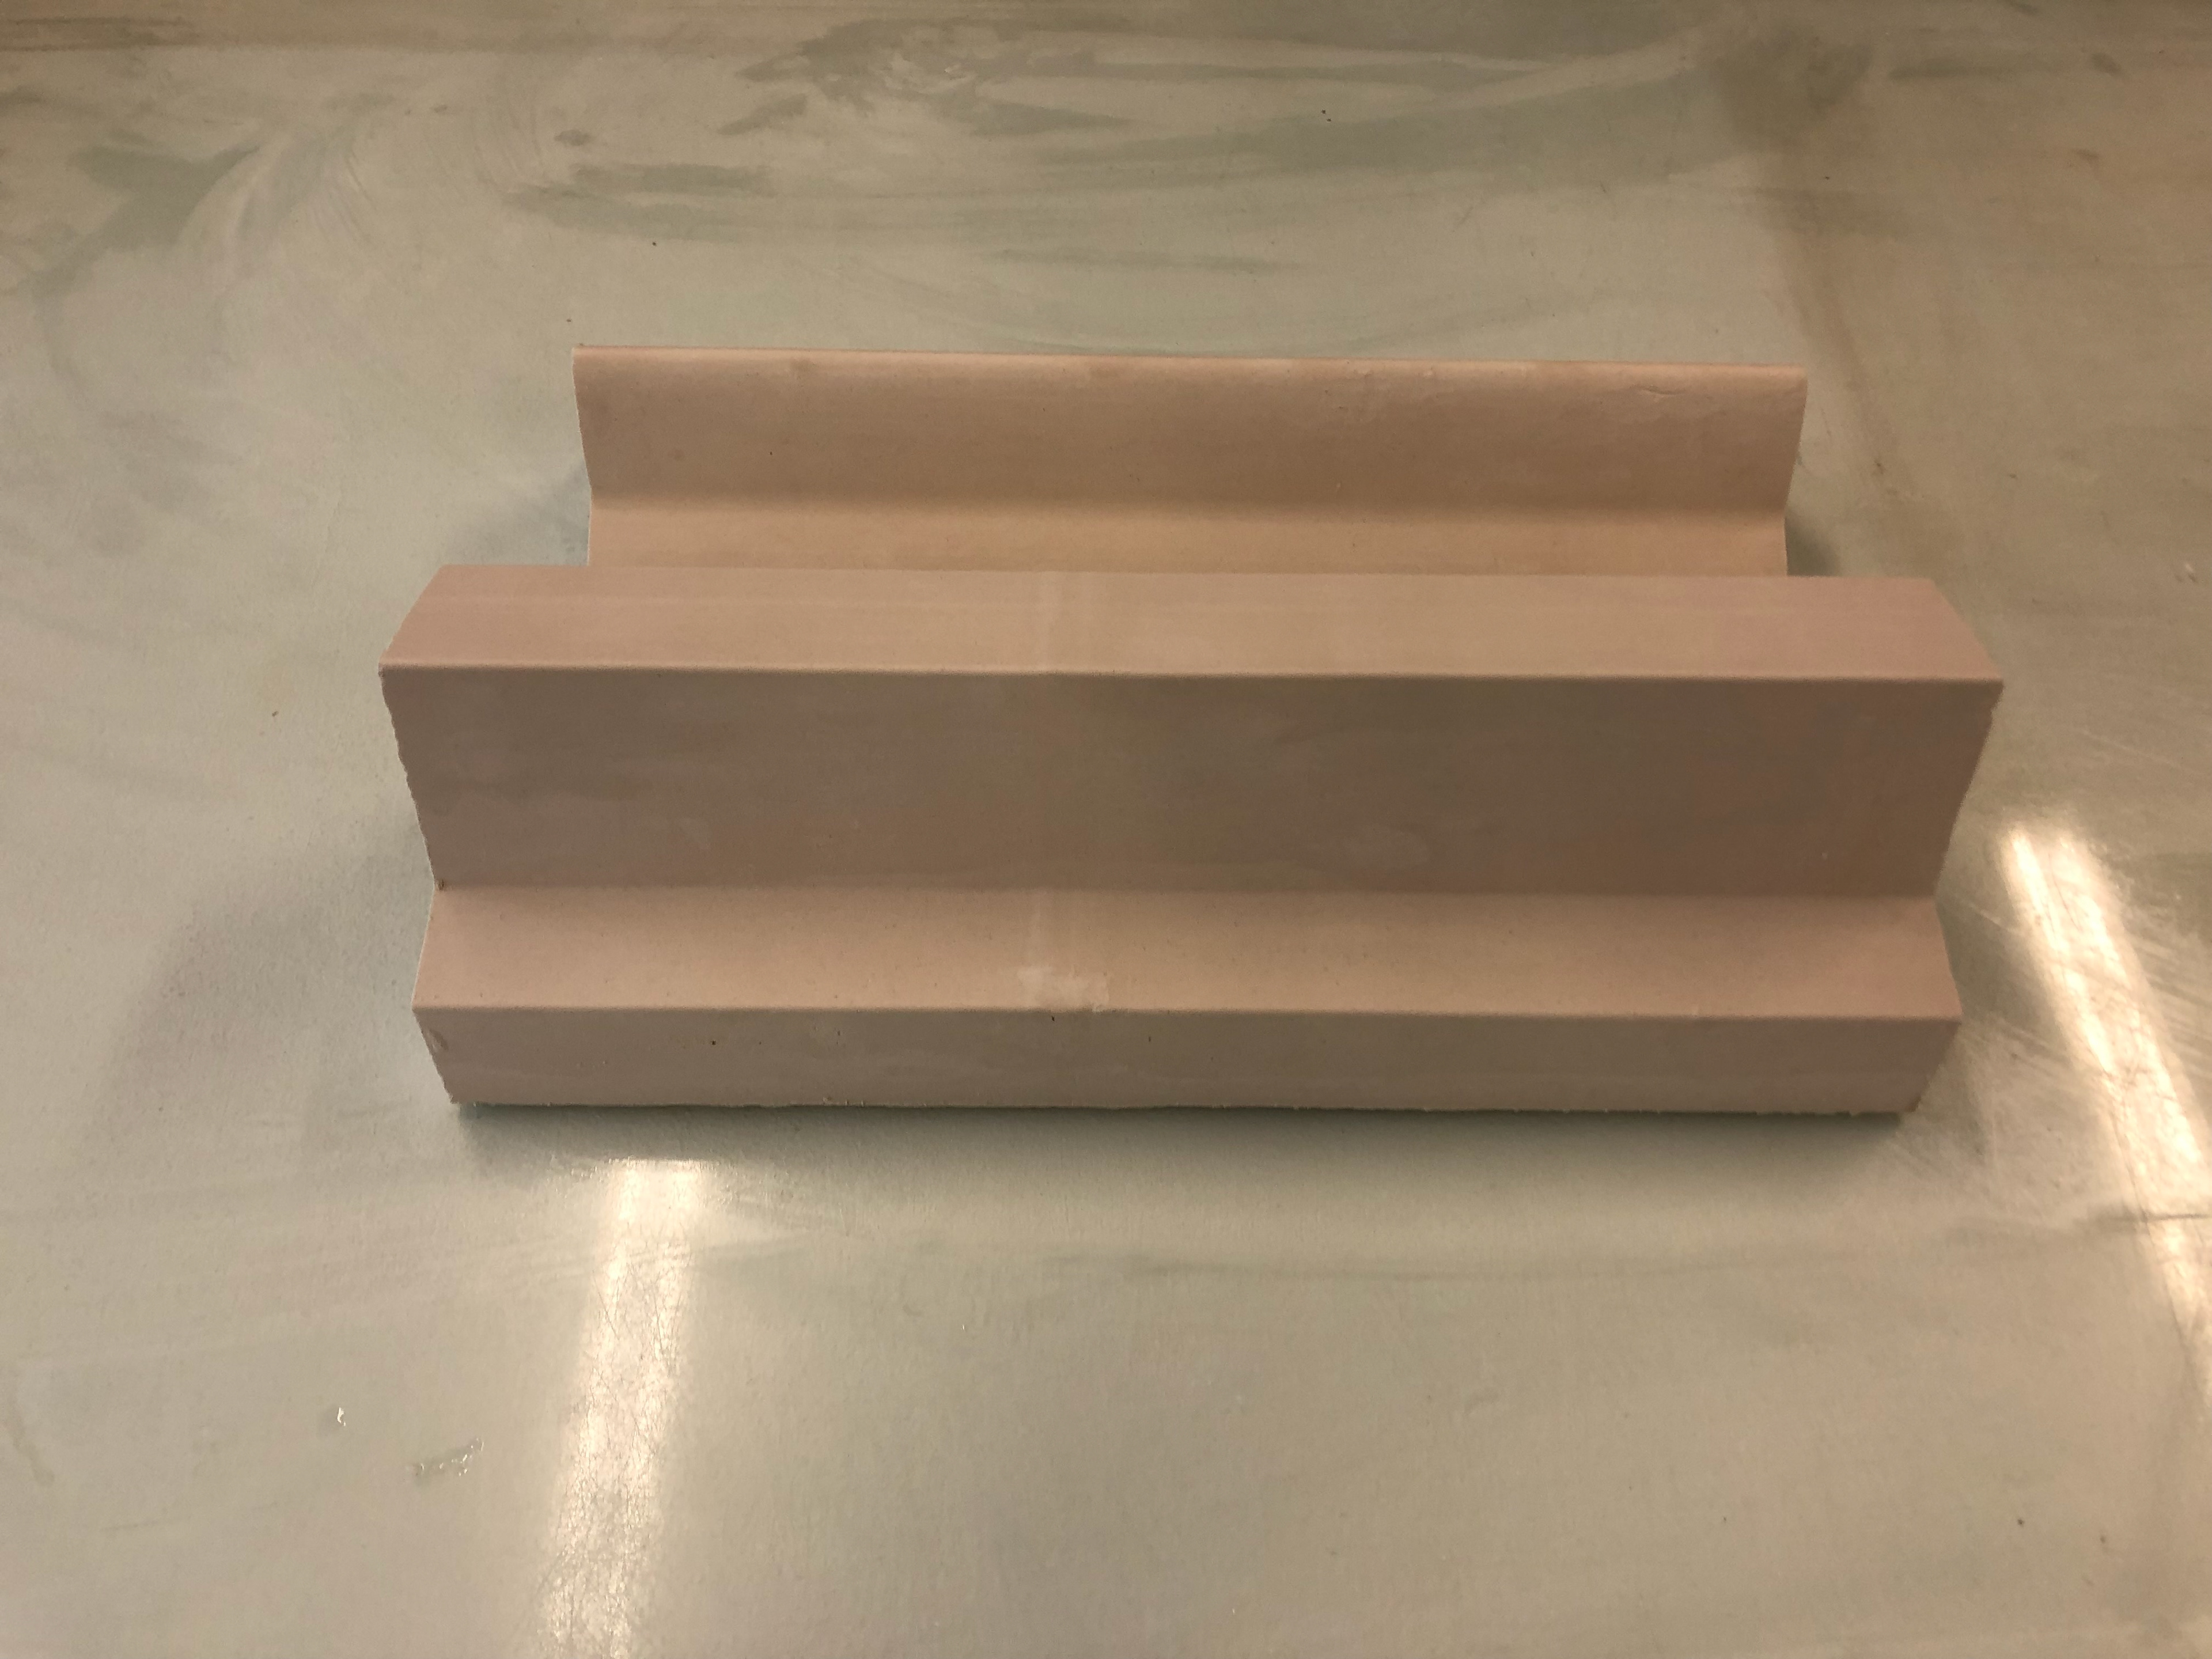
Completed pattern with all blocks joint
Using plaster with latex
Working with latex allows the maker to extract clean surface indents or patterns. Since the plaster is confined to the latex, it can be shaped immediately after pouring and gives a much smoother finish compared to surform's.
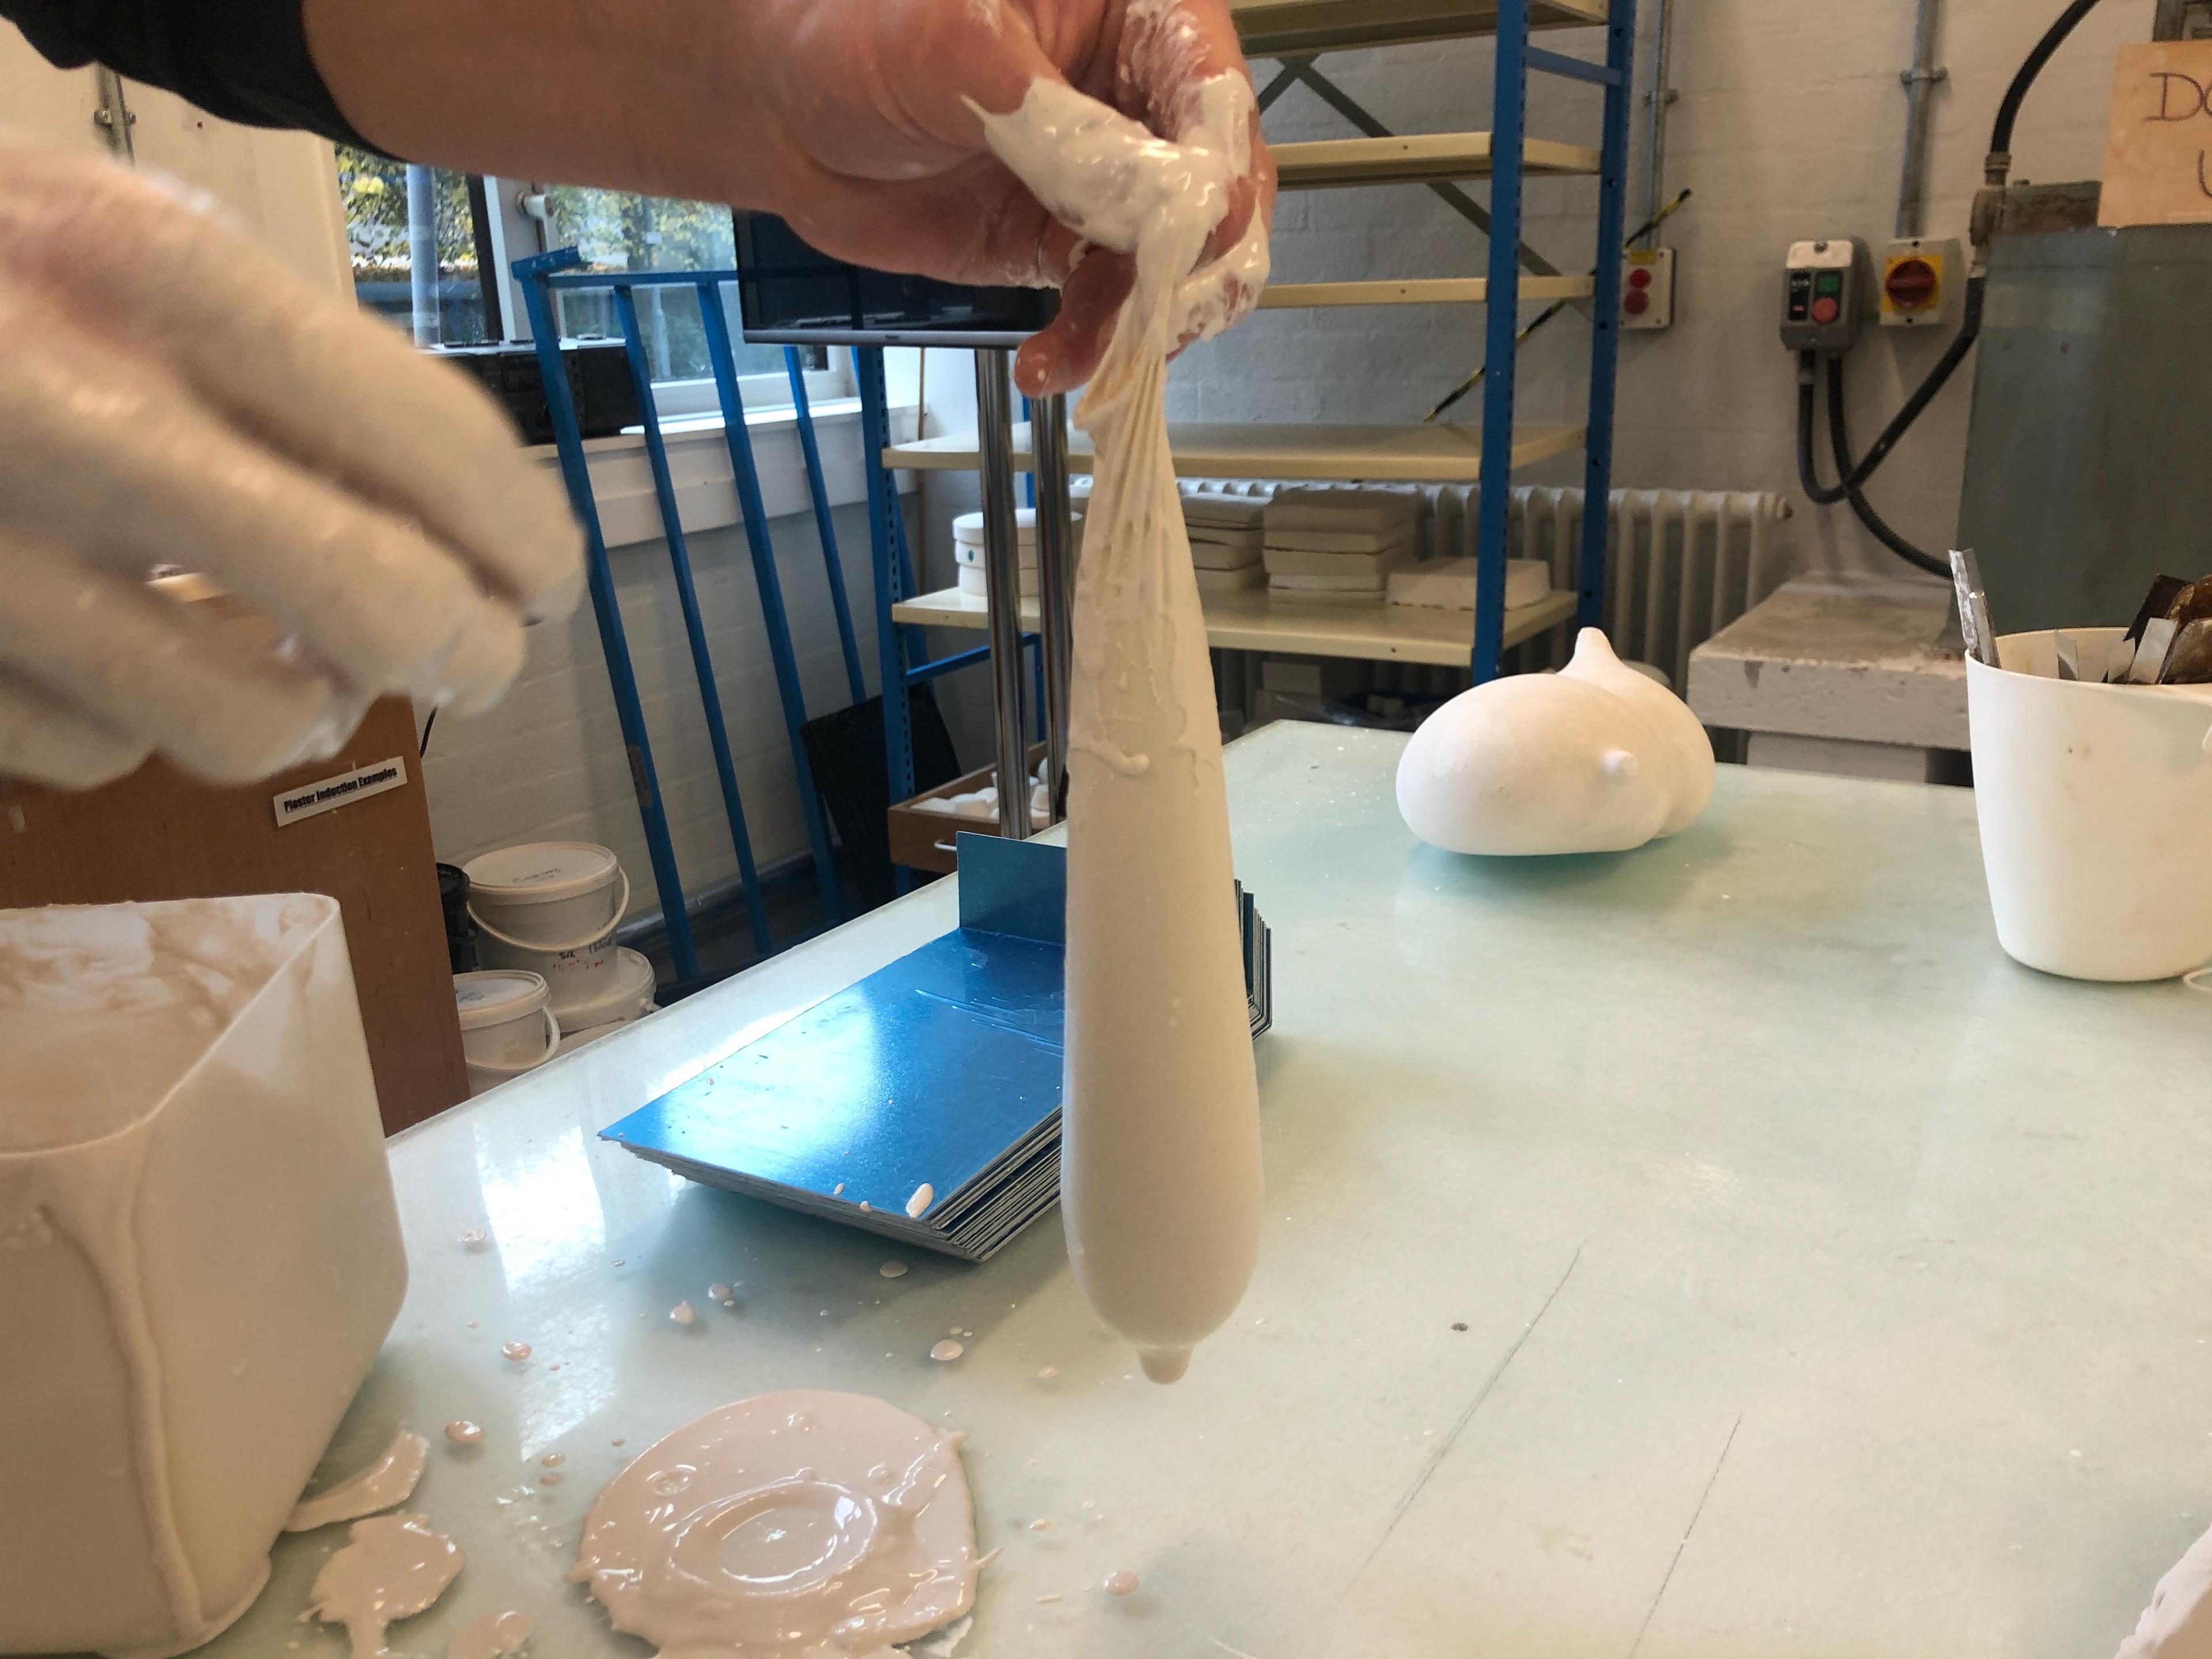
Filling a condom with plaster
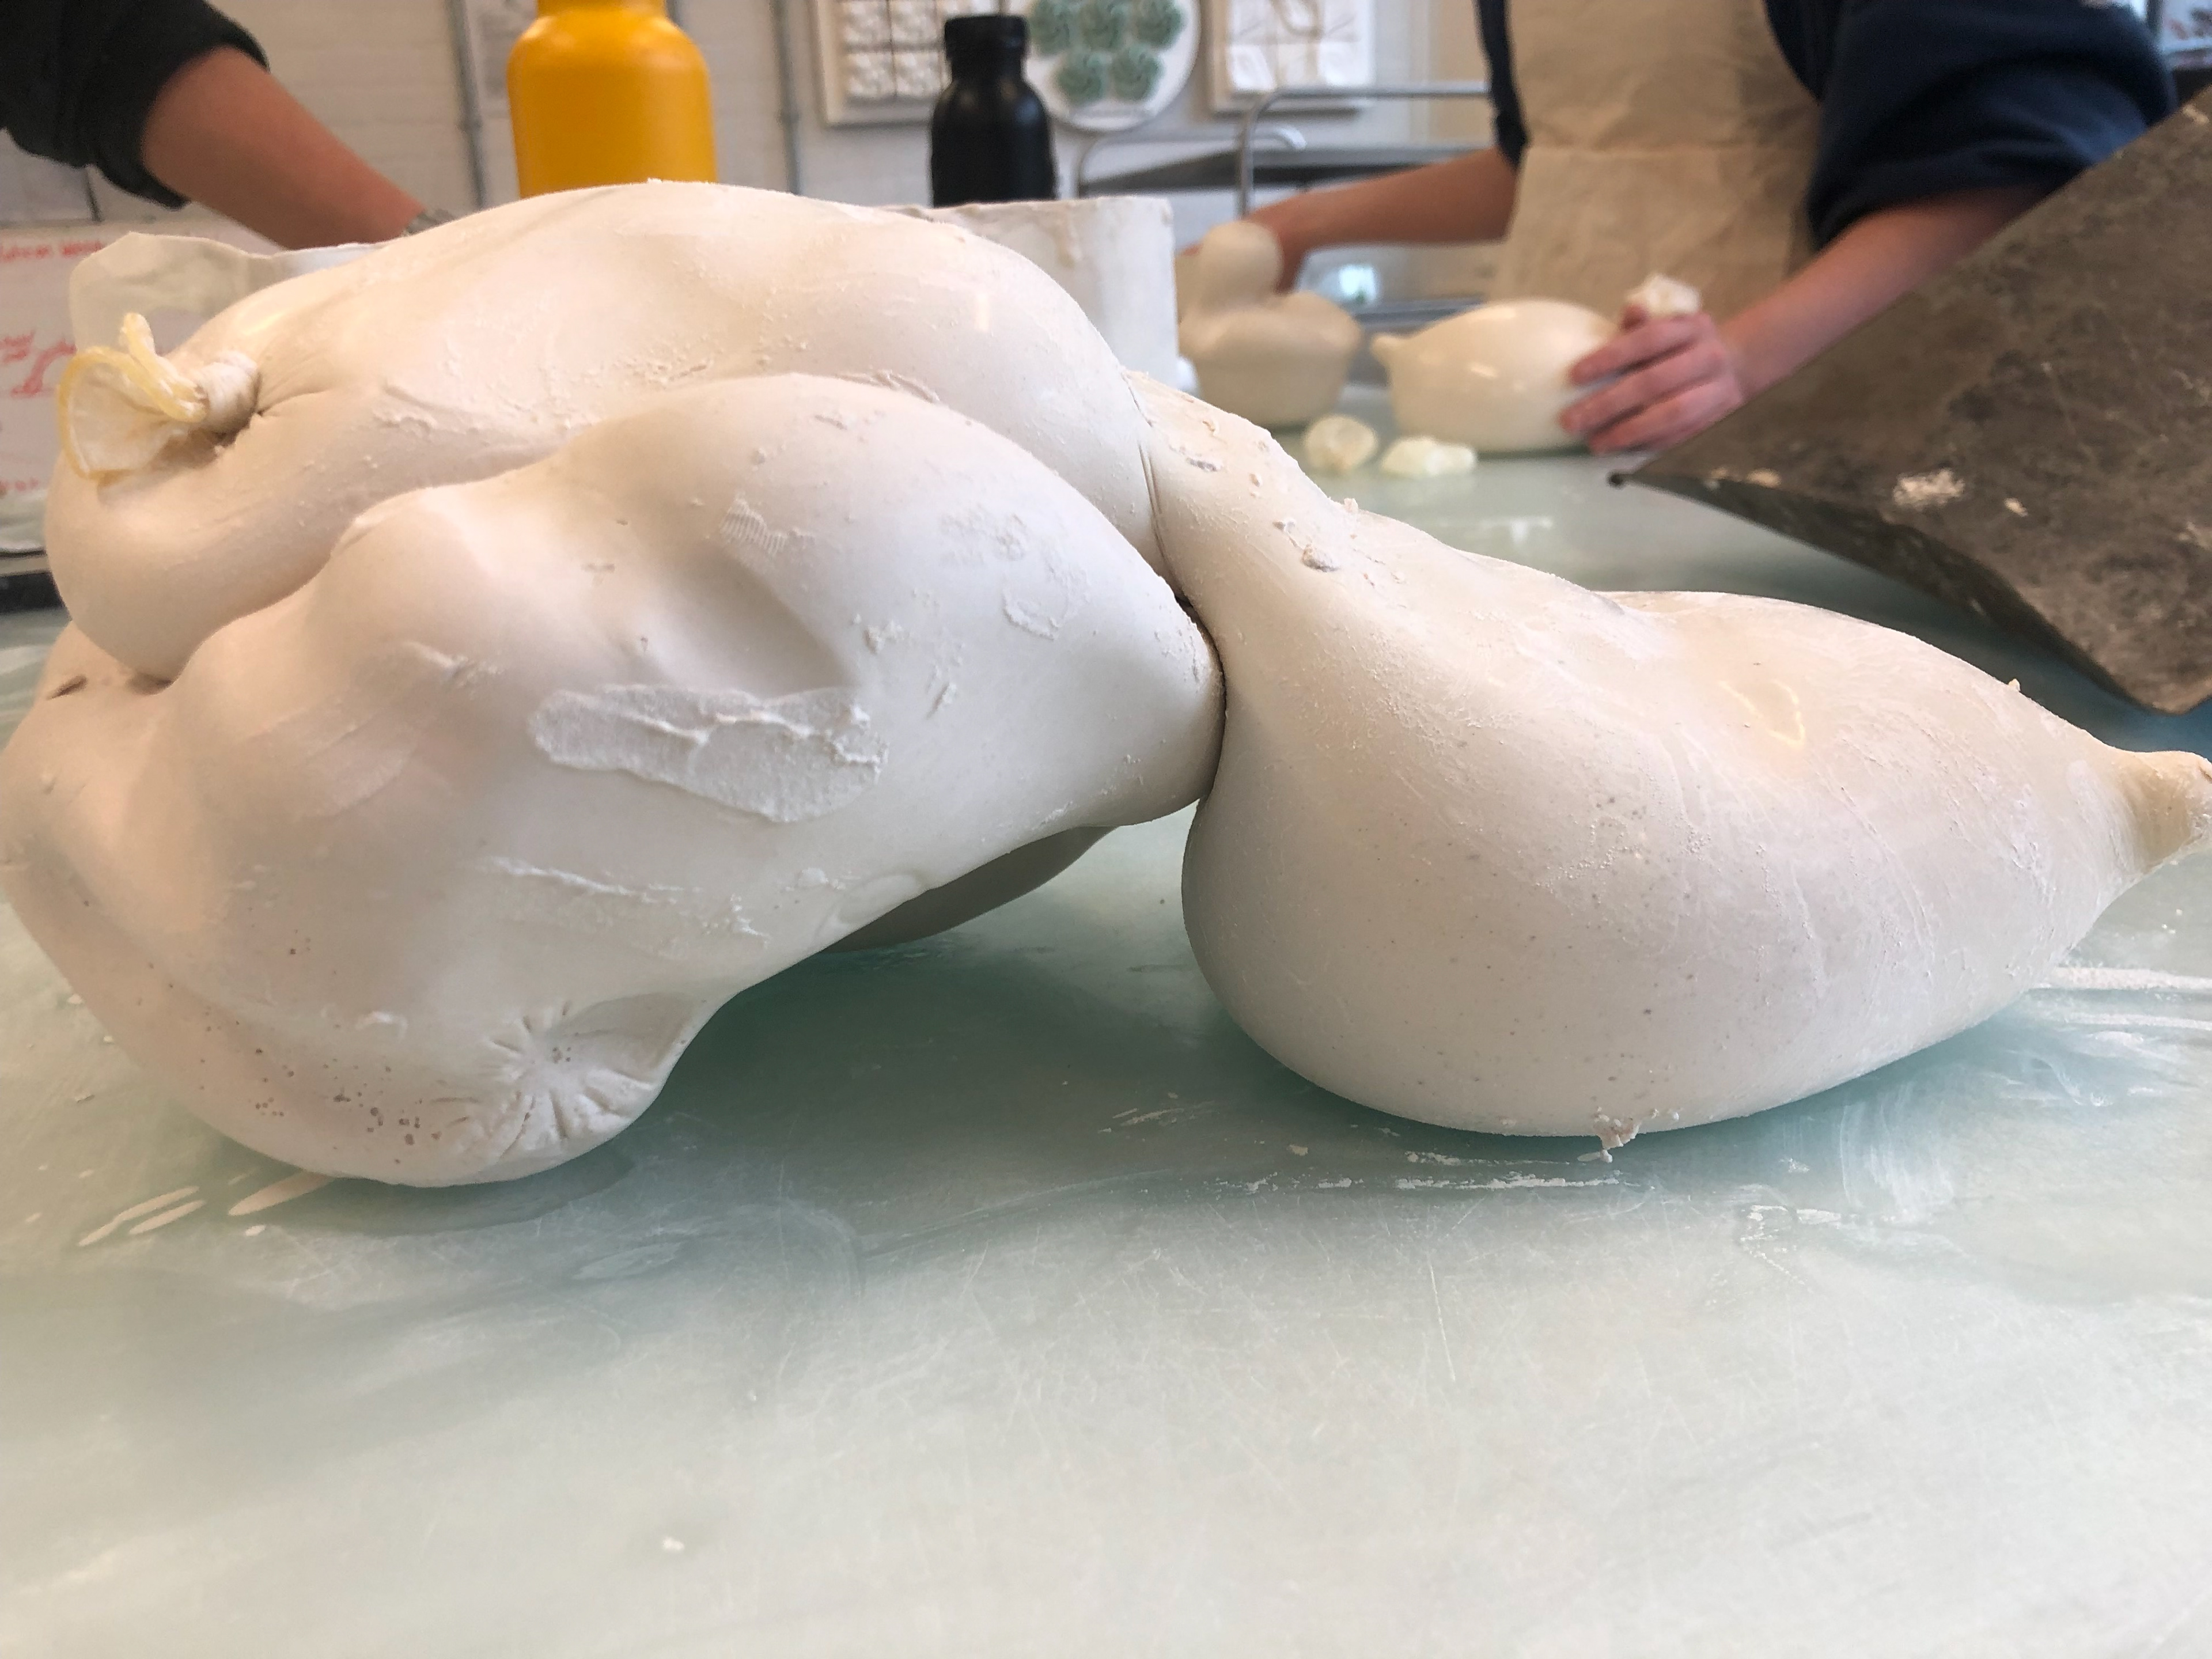
The two plaster filled condom's over lapping each other
The top plaster was too thin at that section and broke

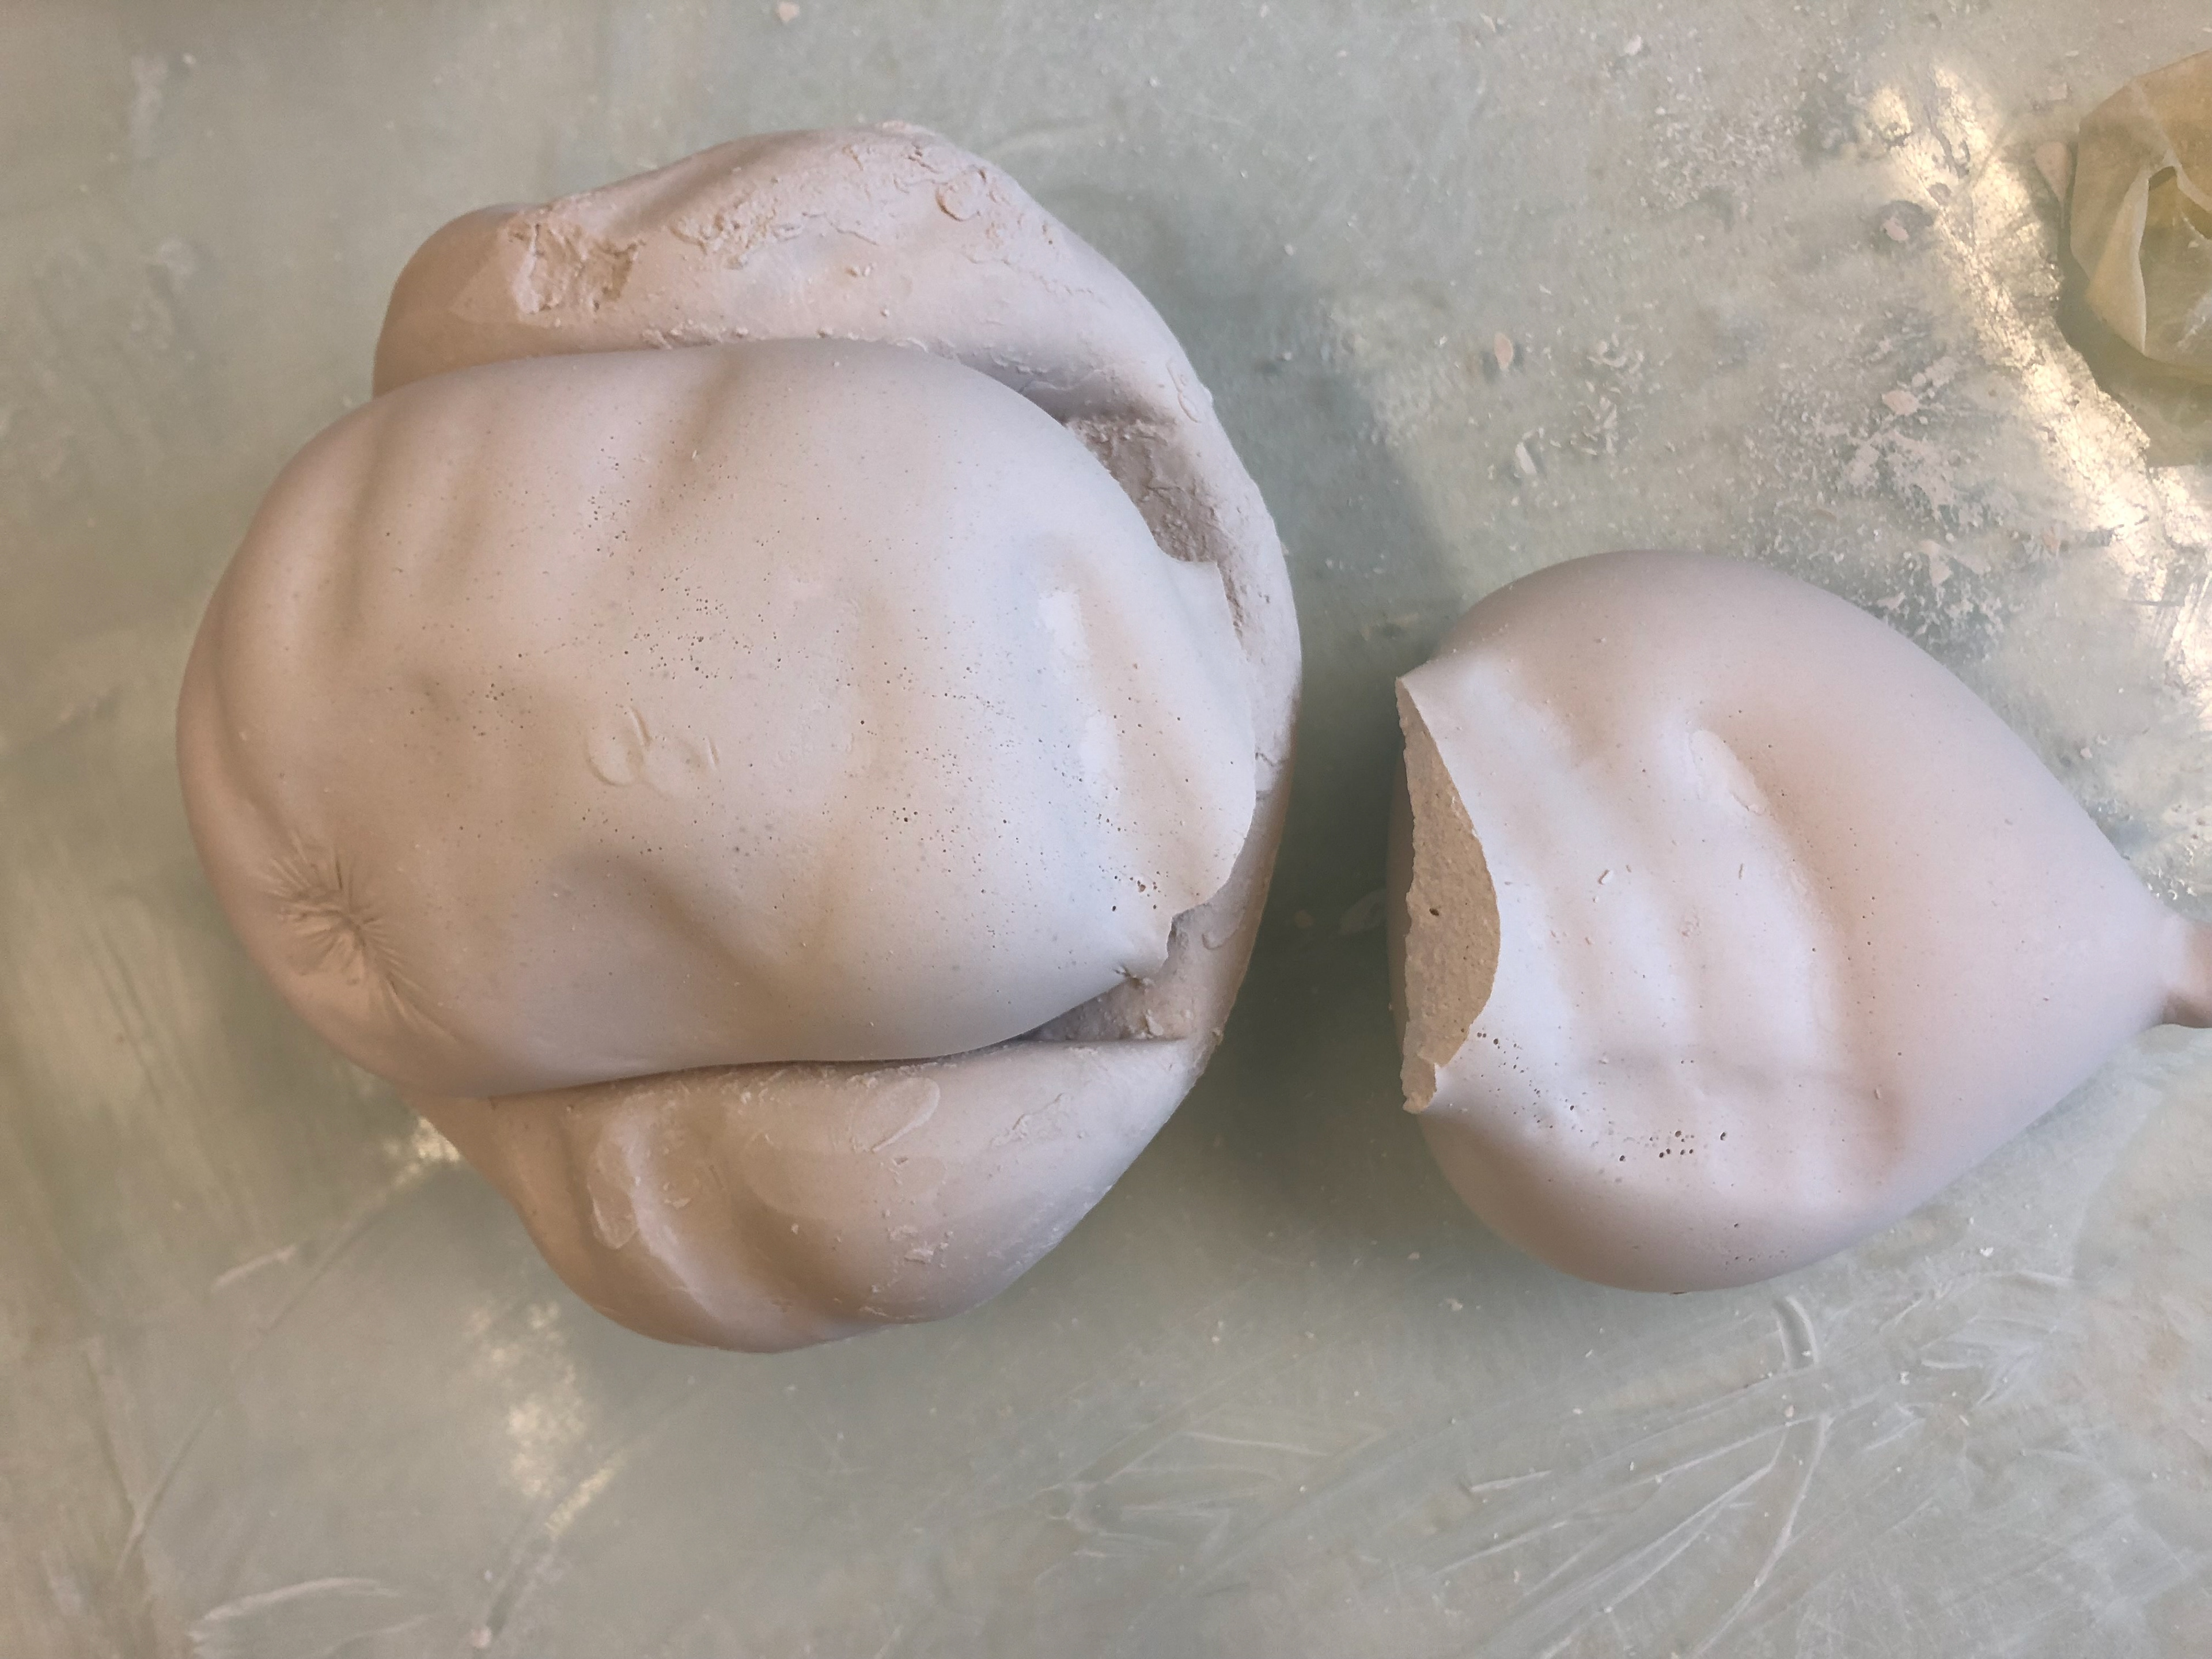
The indent and its reciprocal indent can be seen in the plaster
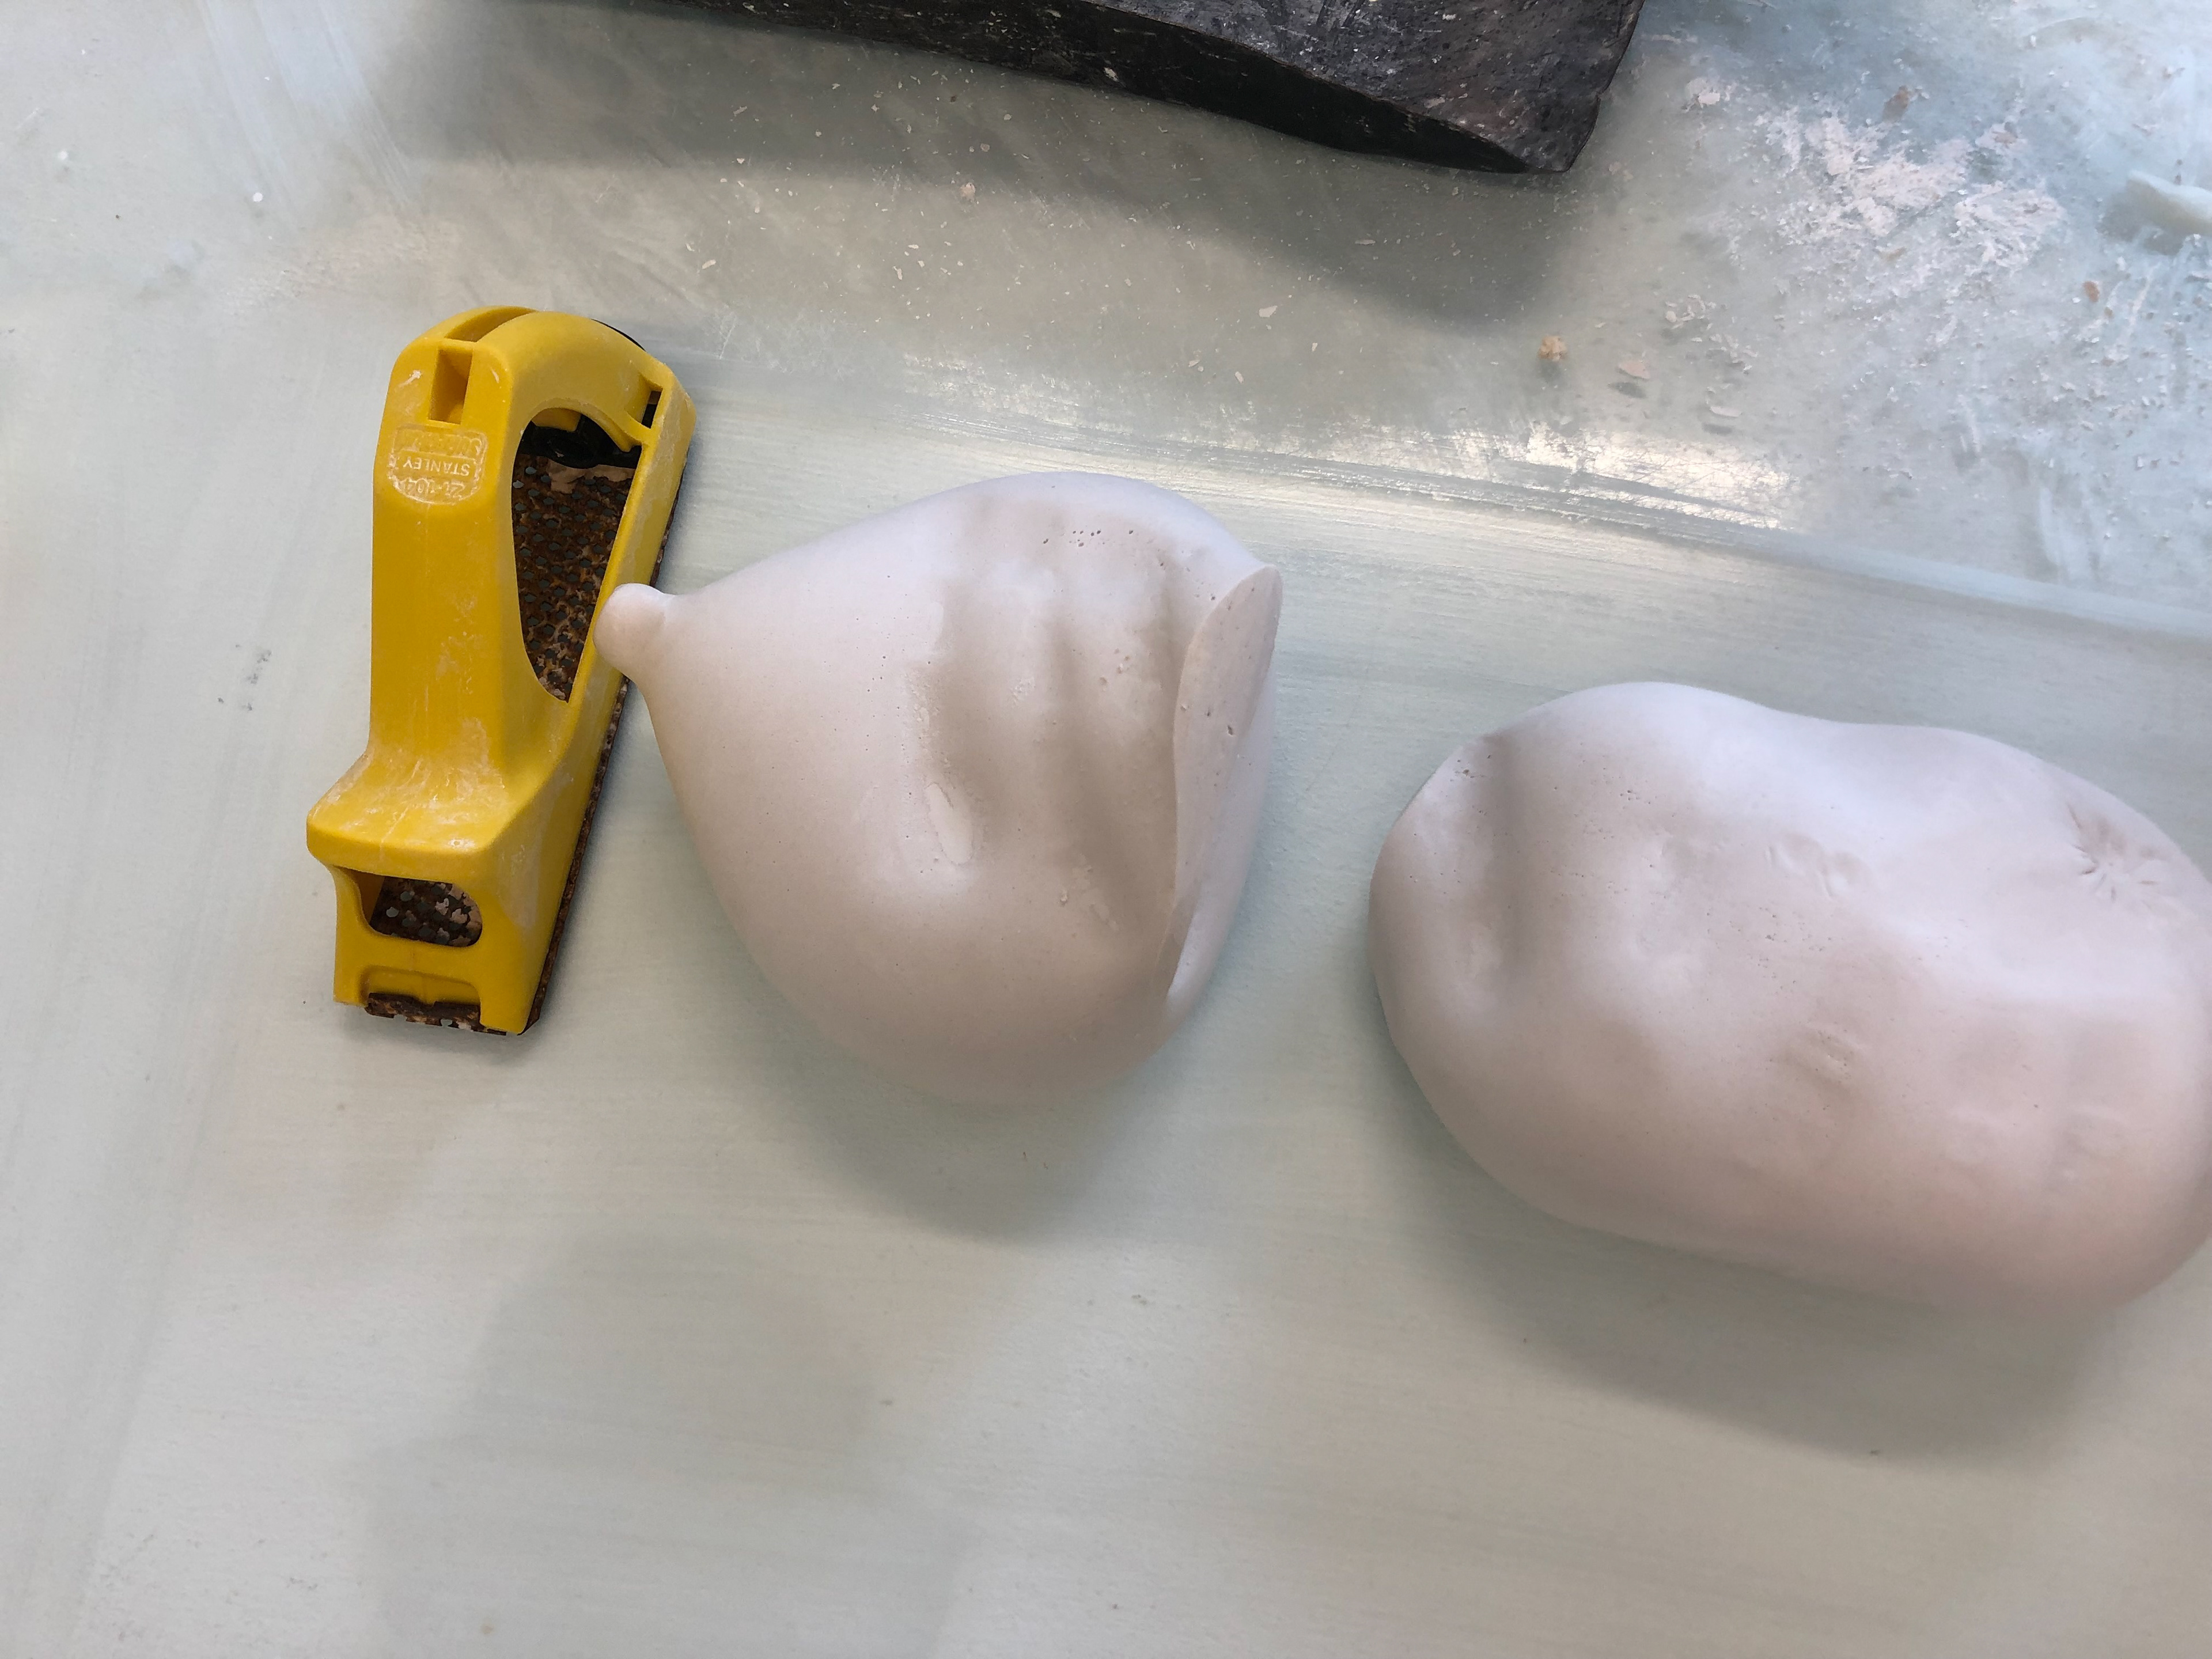
The surform is used to smooth the plaster along with water and a scalpel
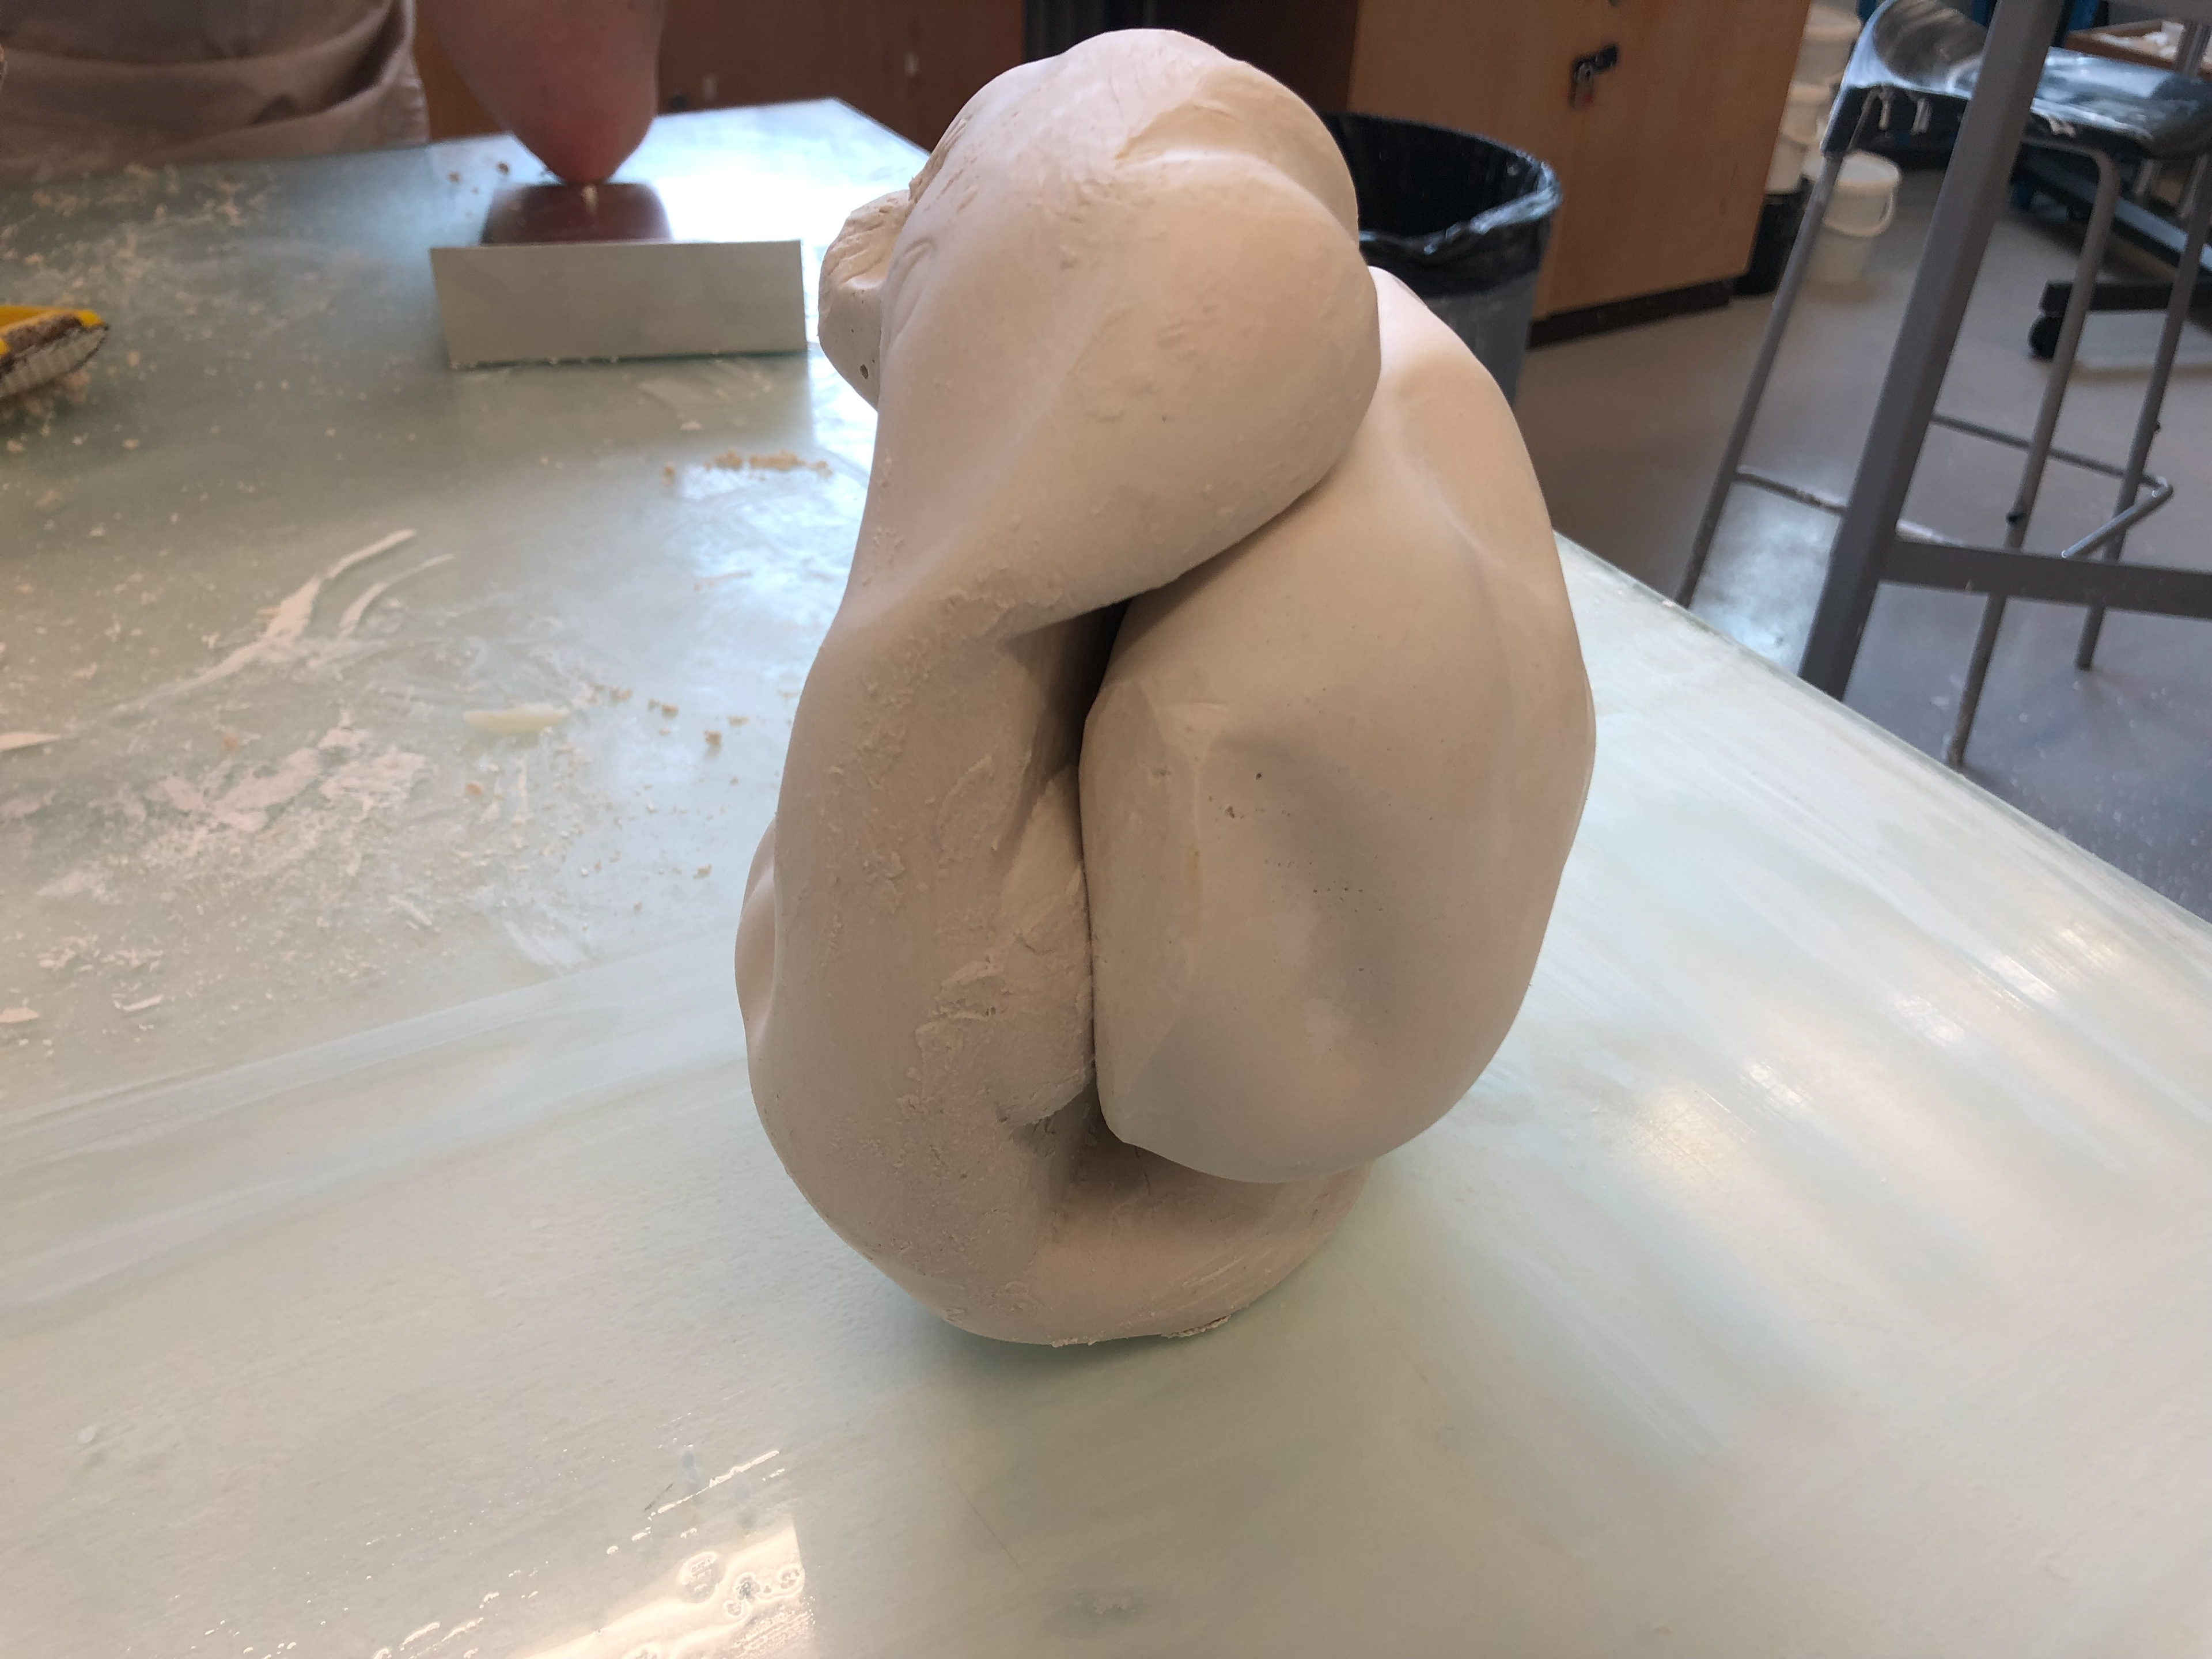
The two plaster sculpts interlocked after the plaster has set
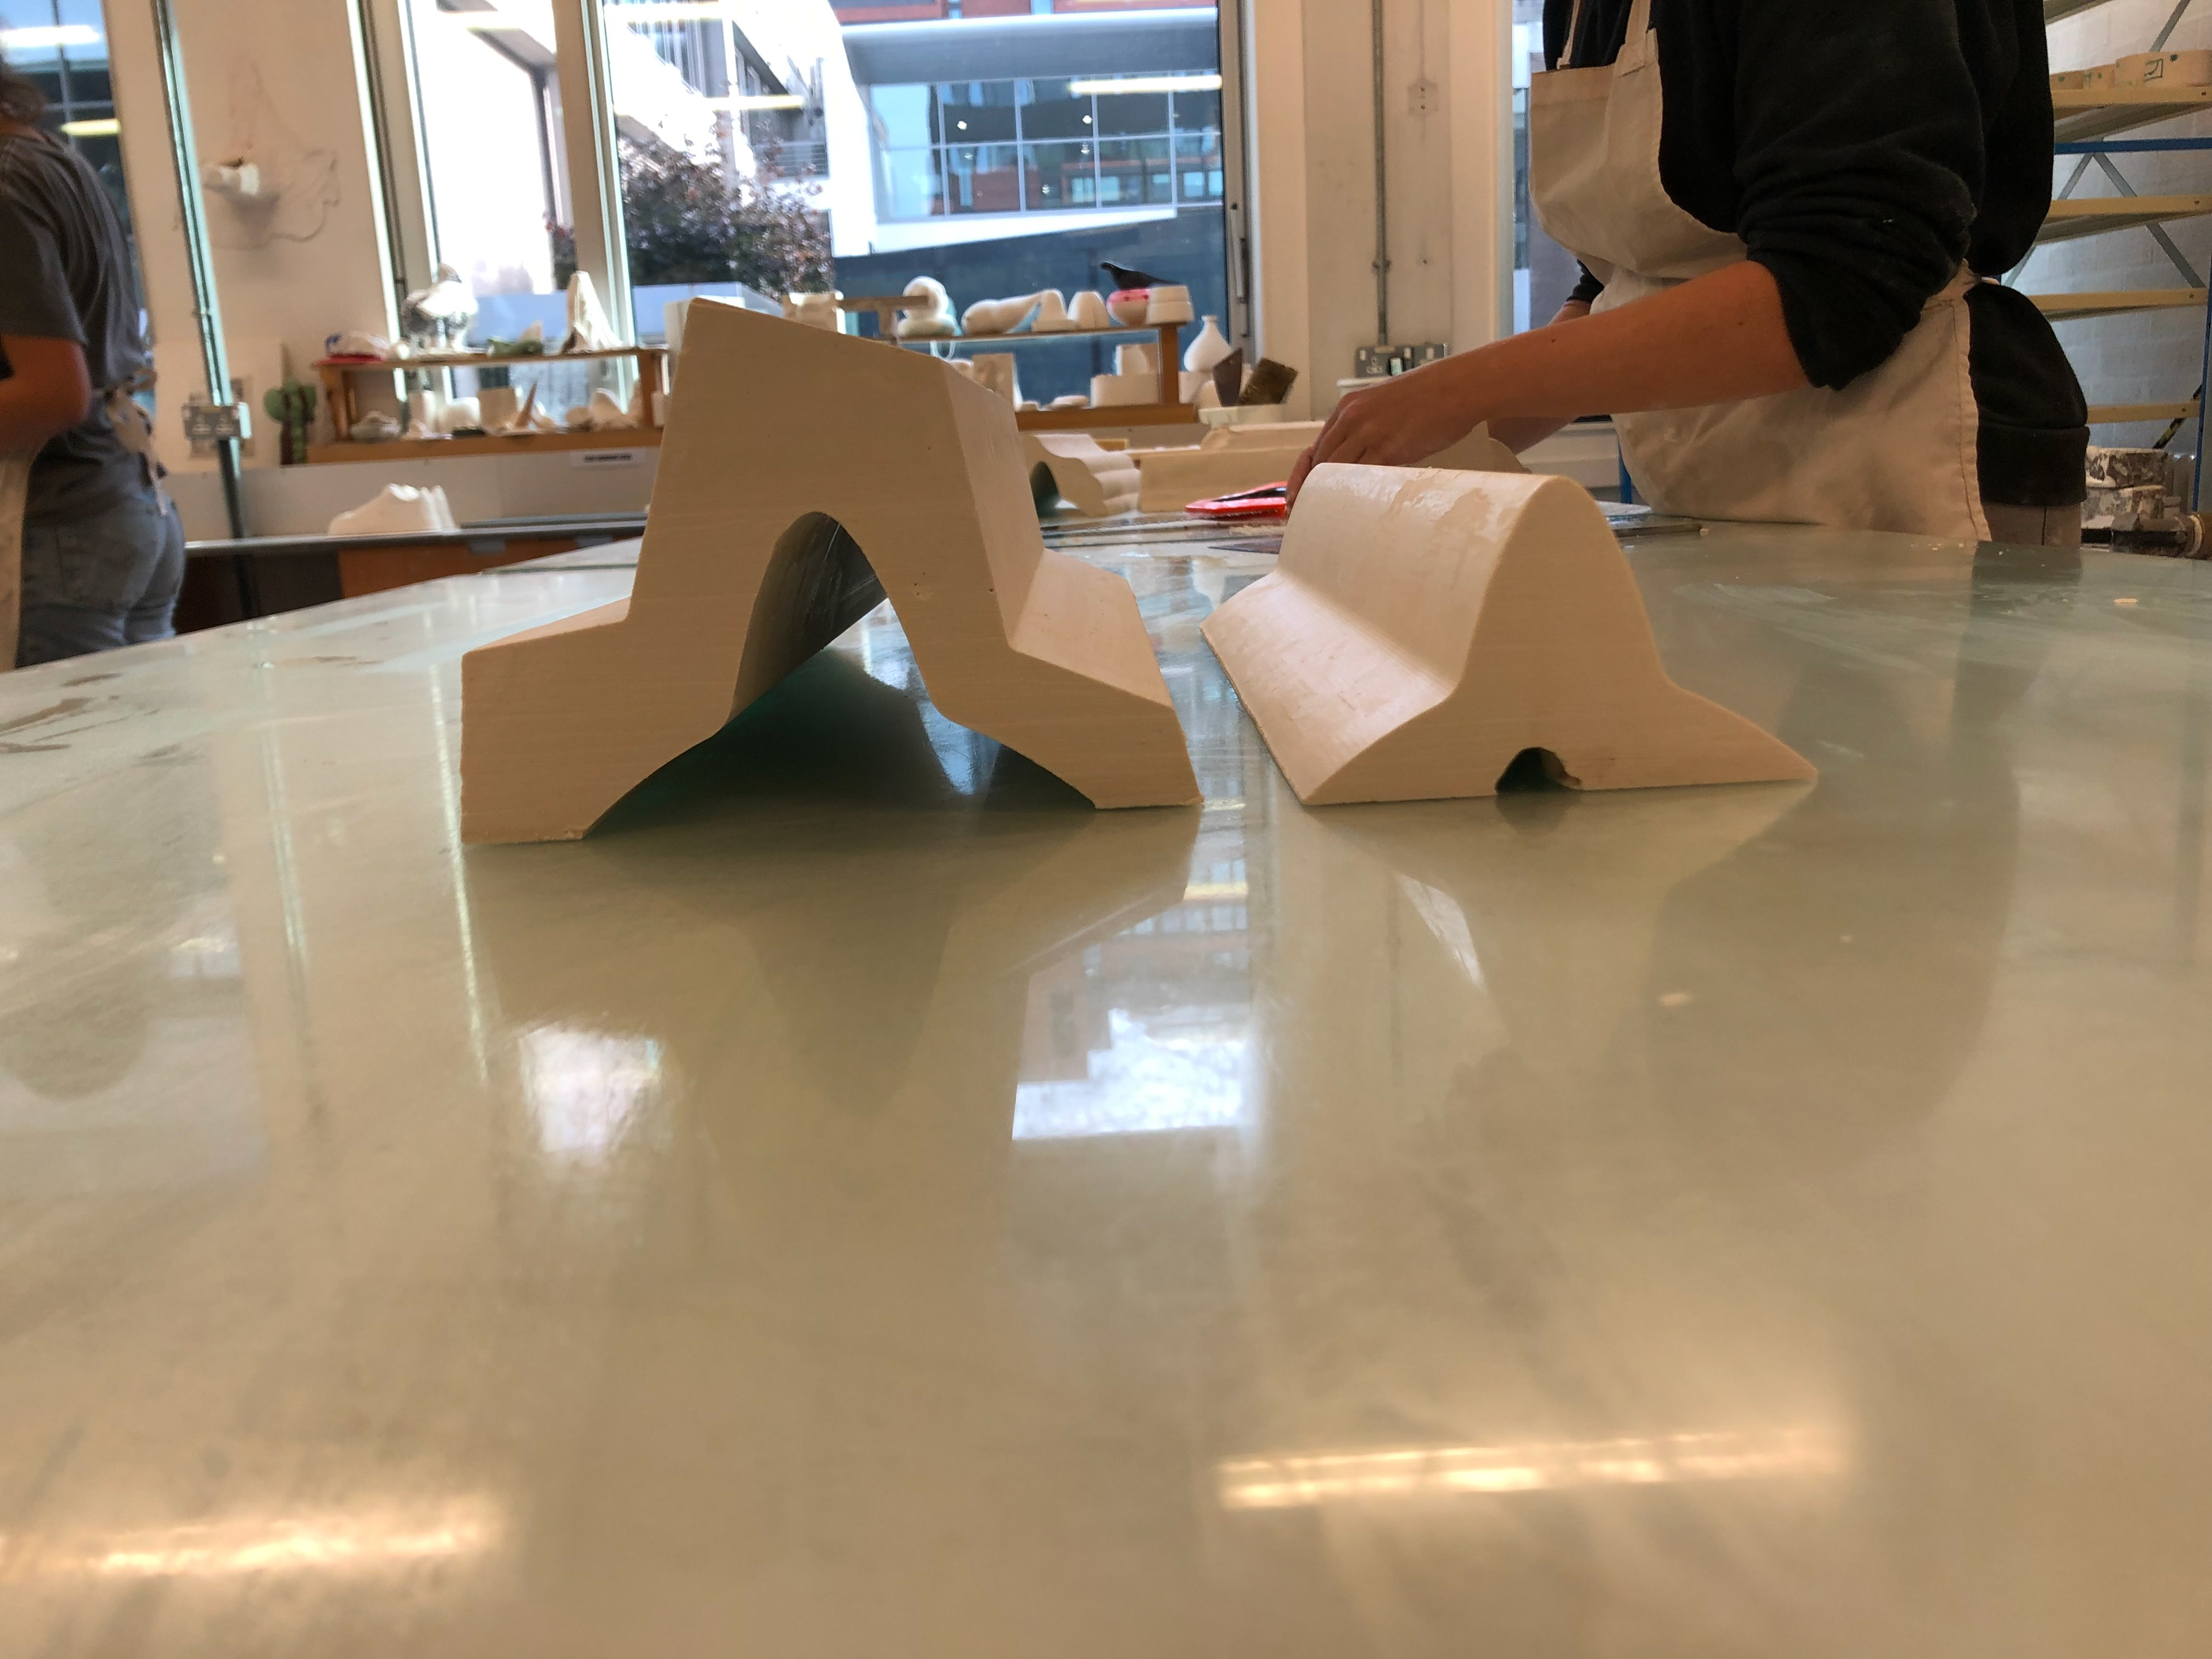
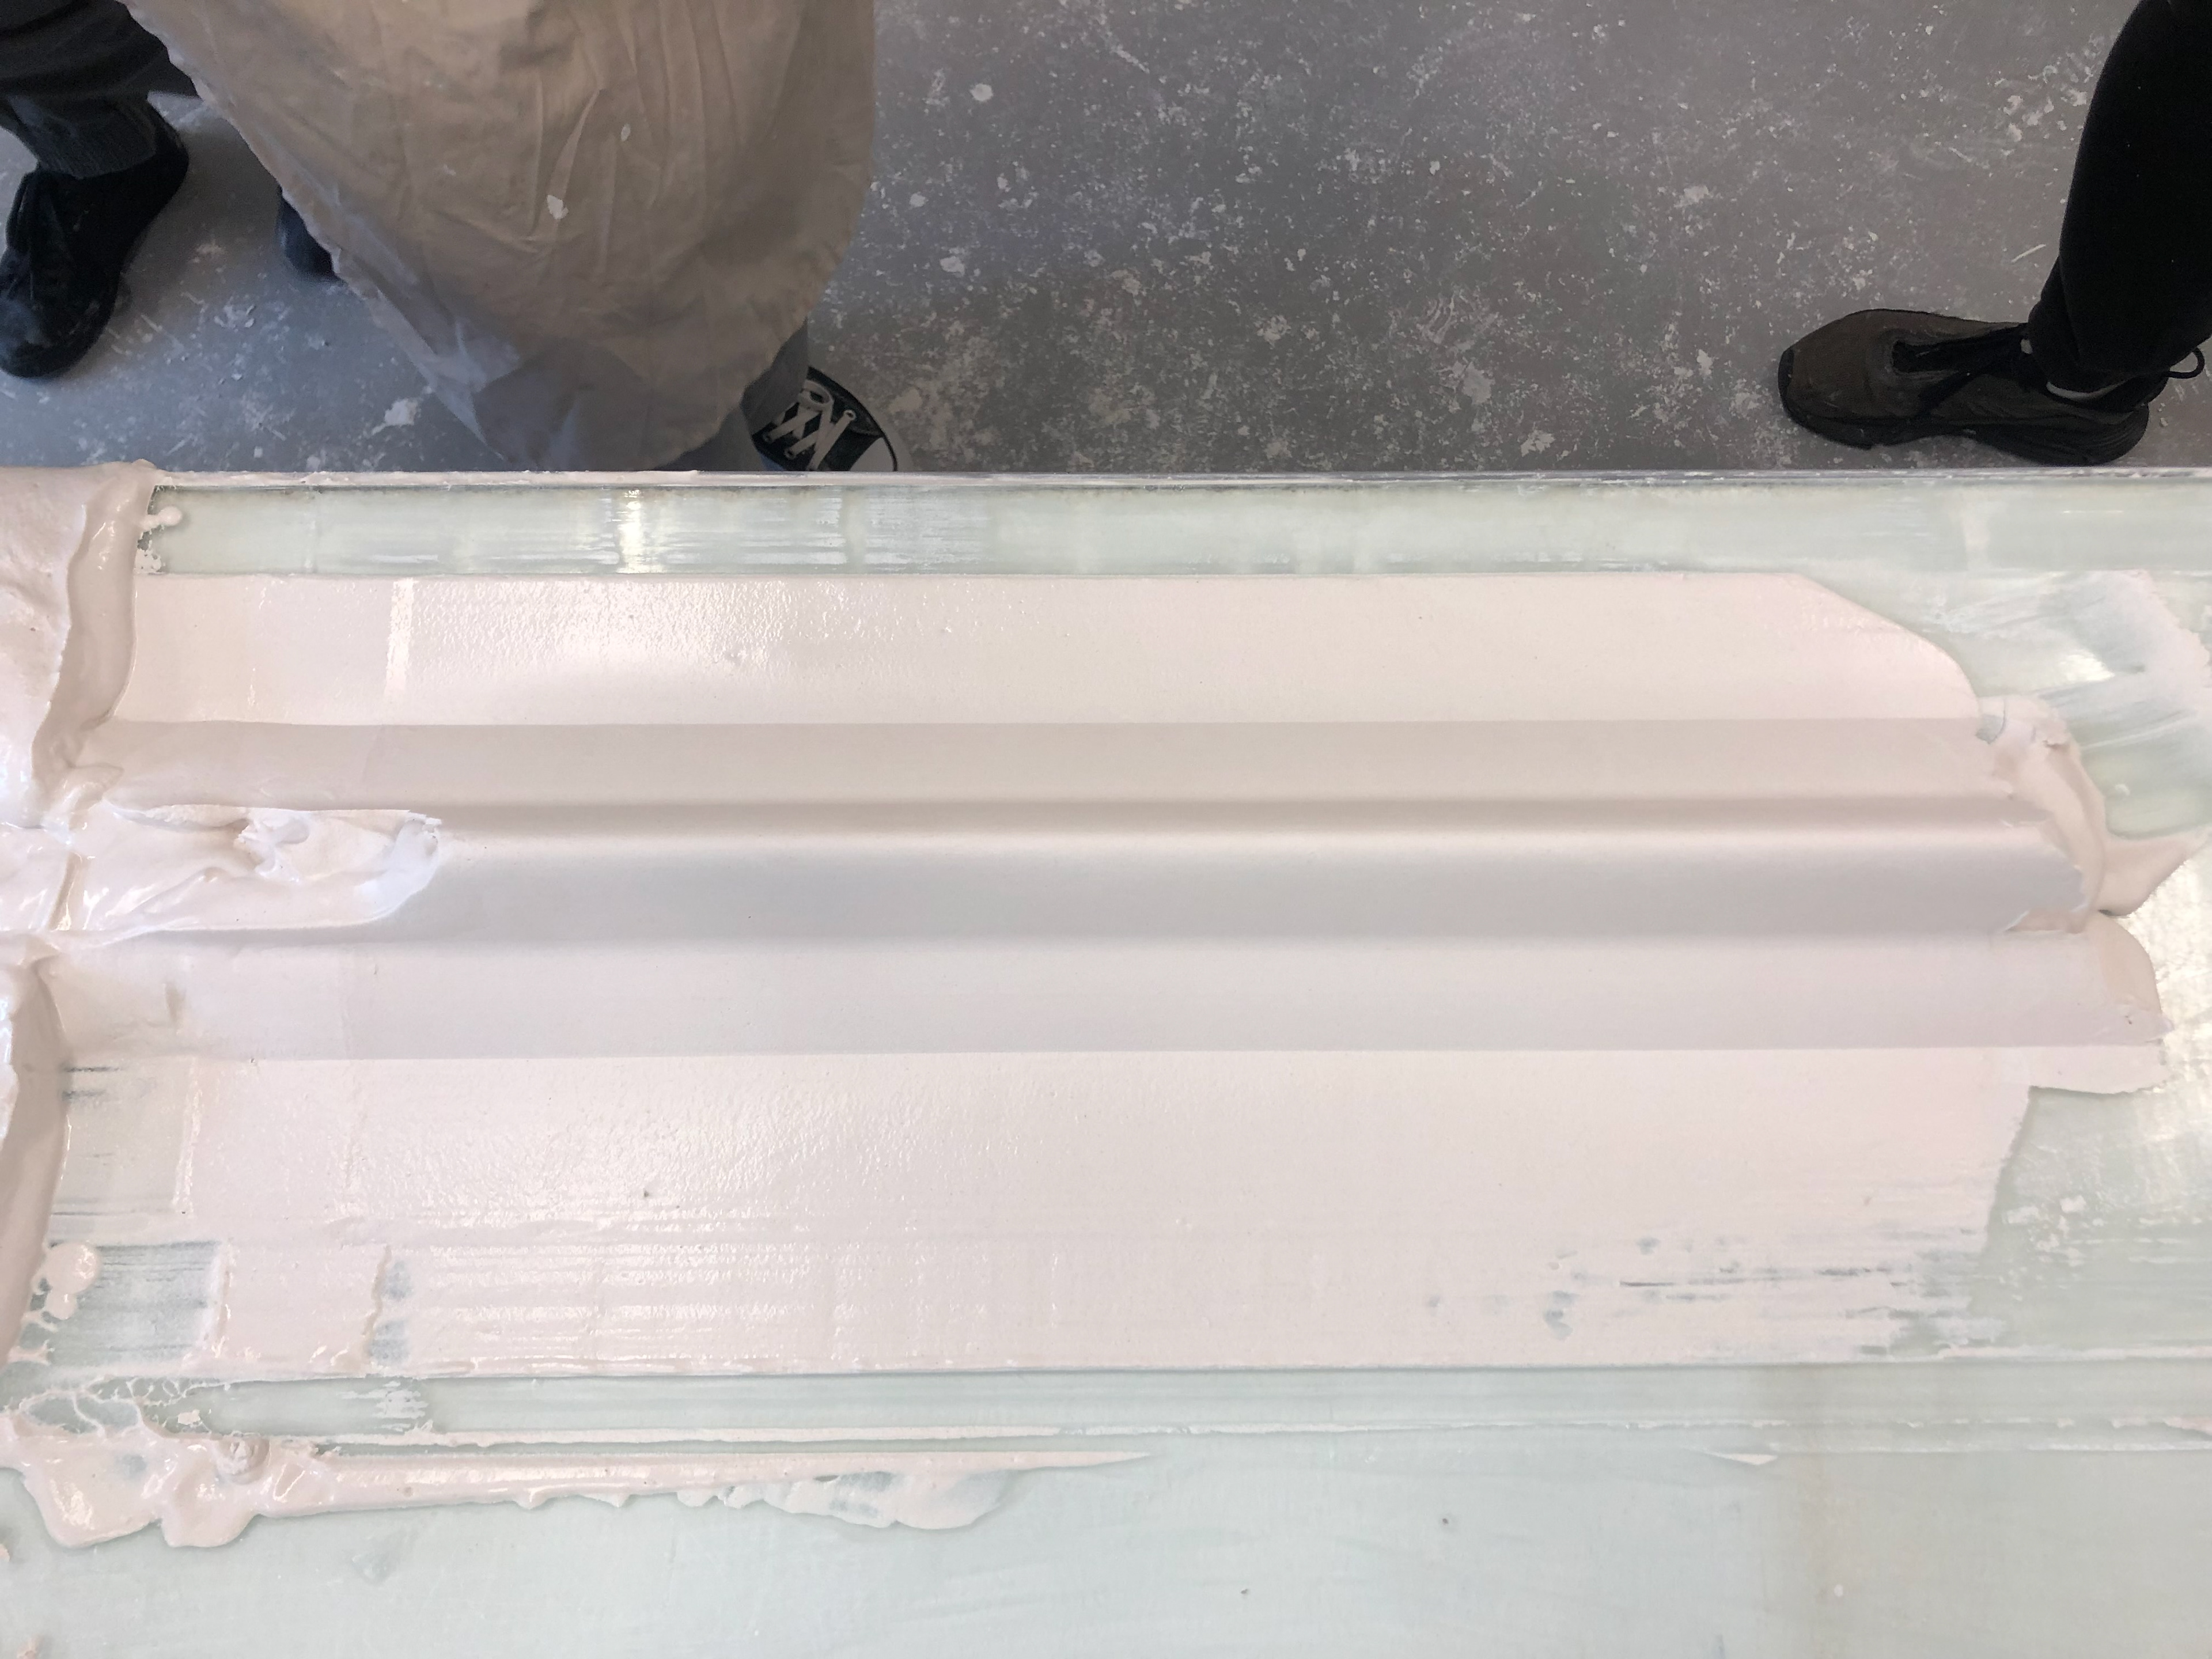
Sledging plaster
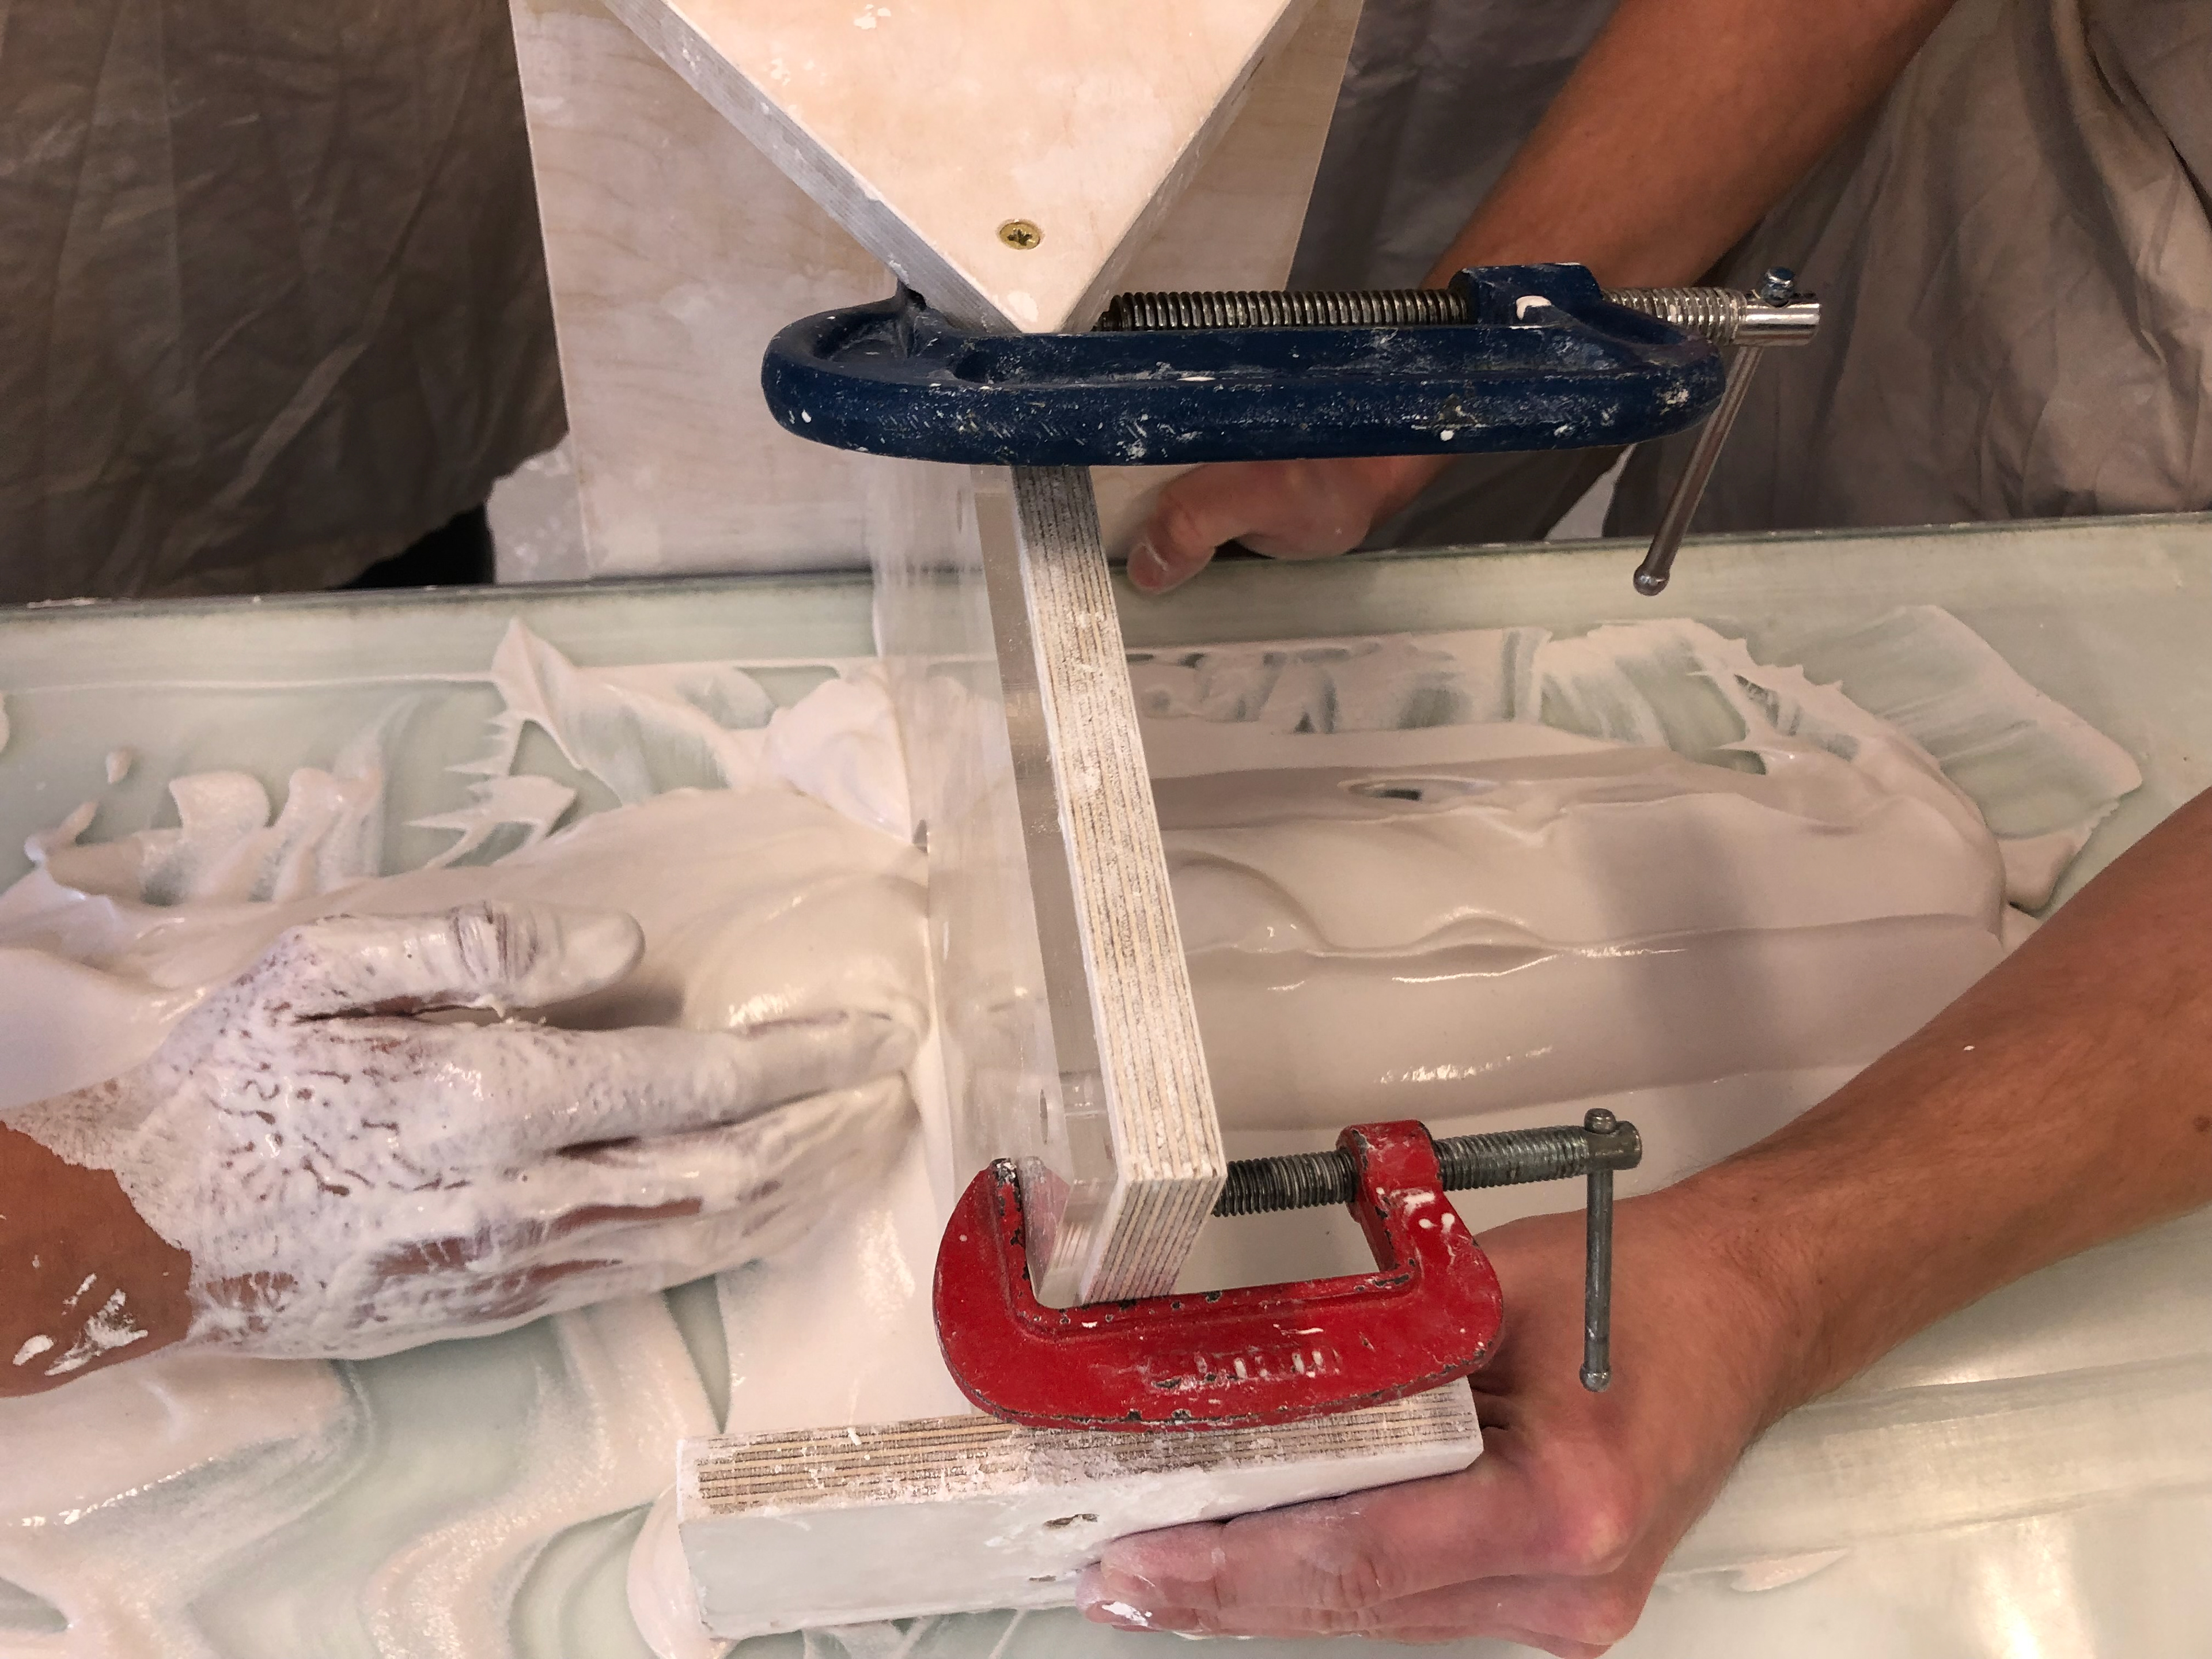
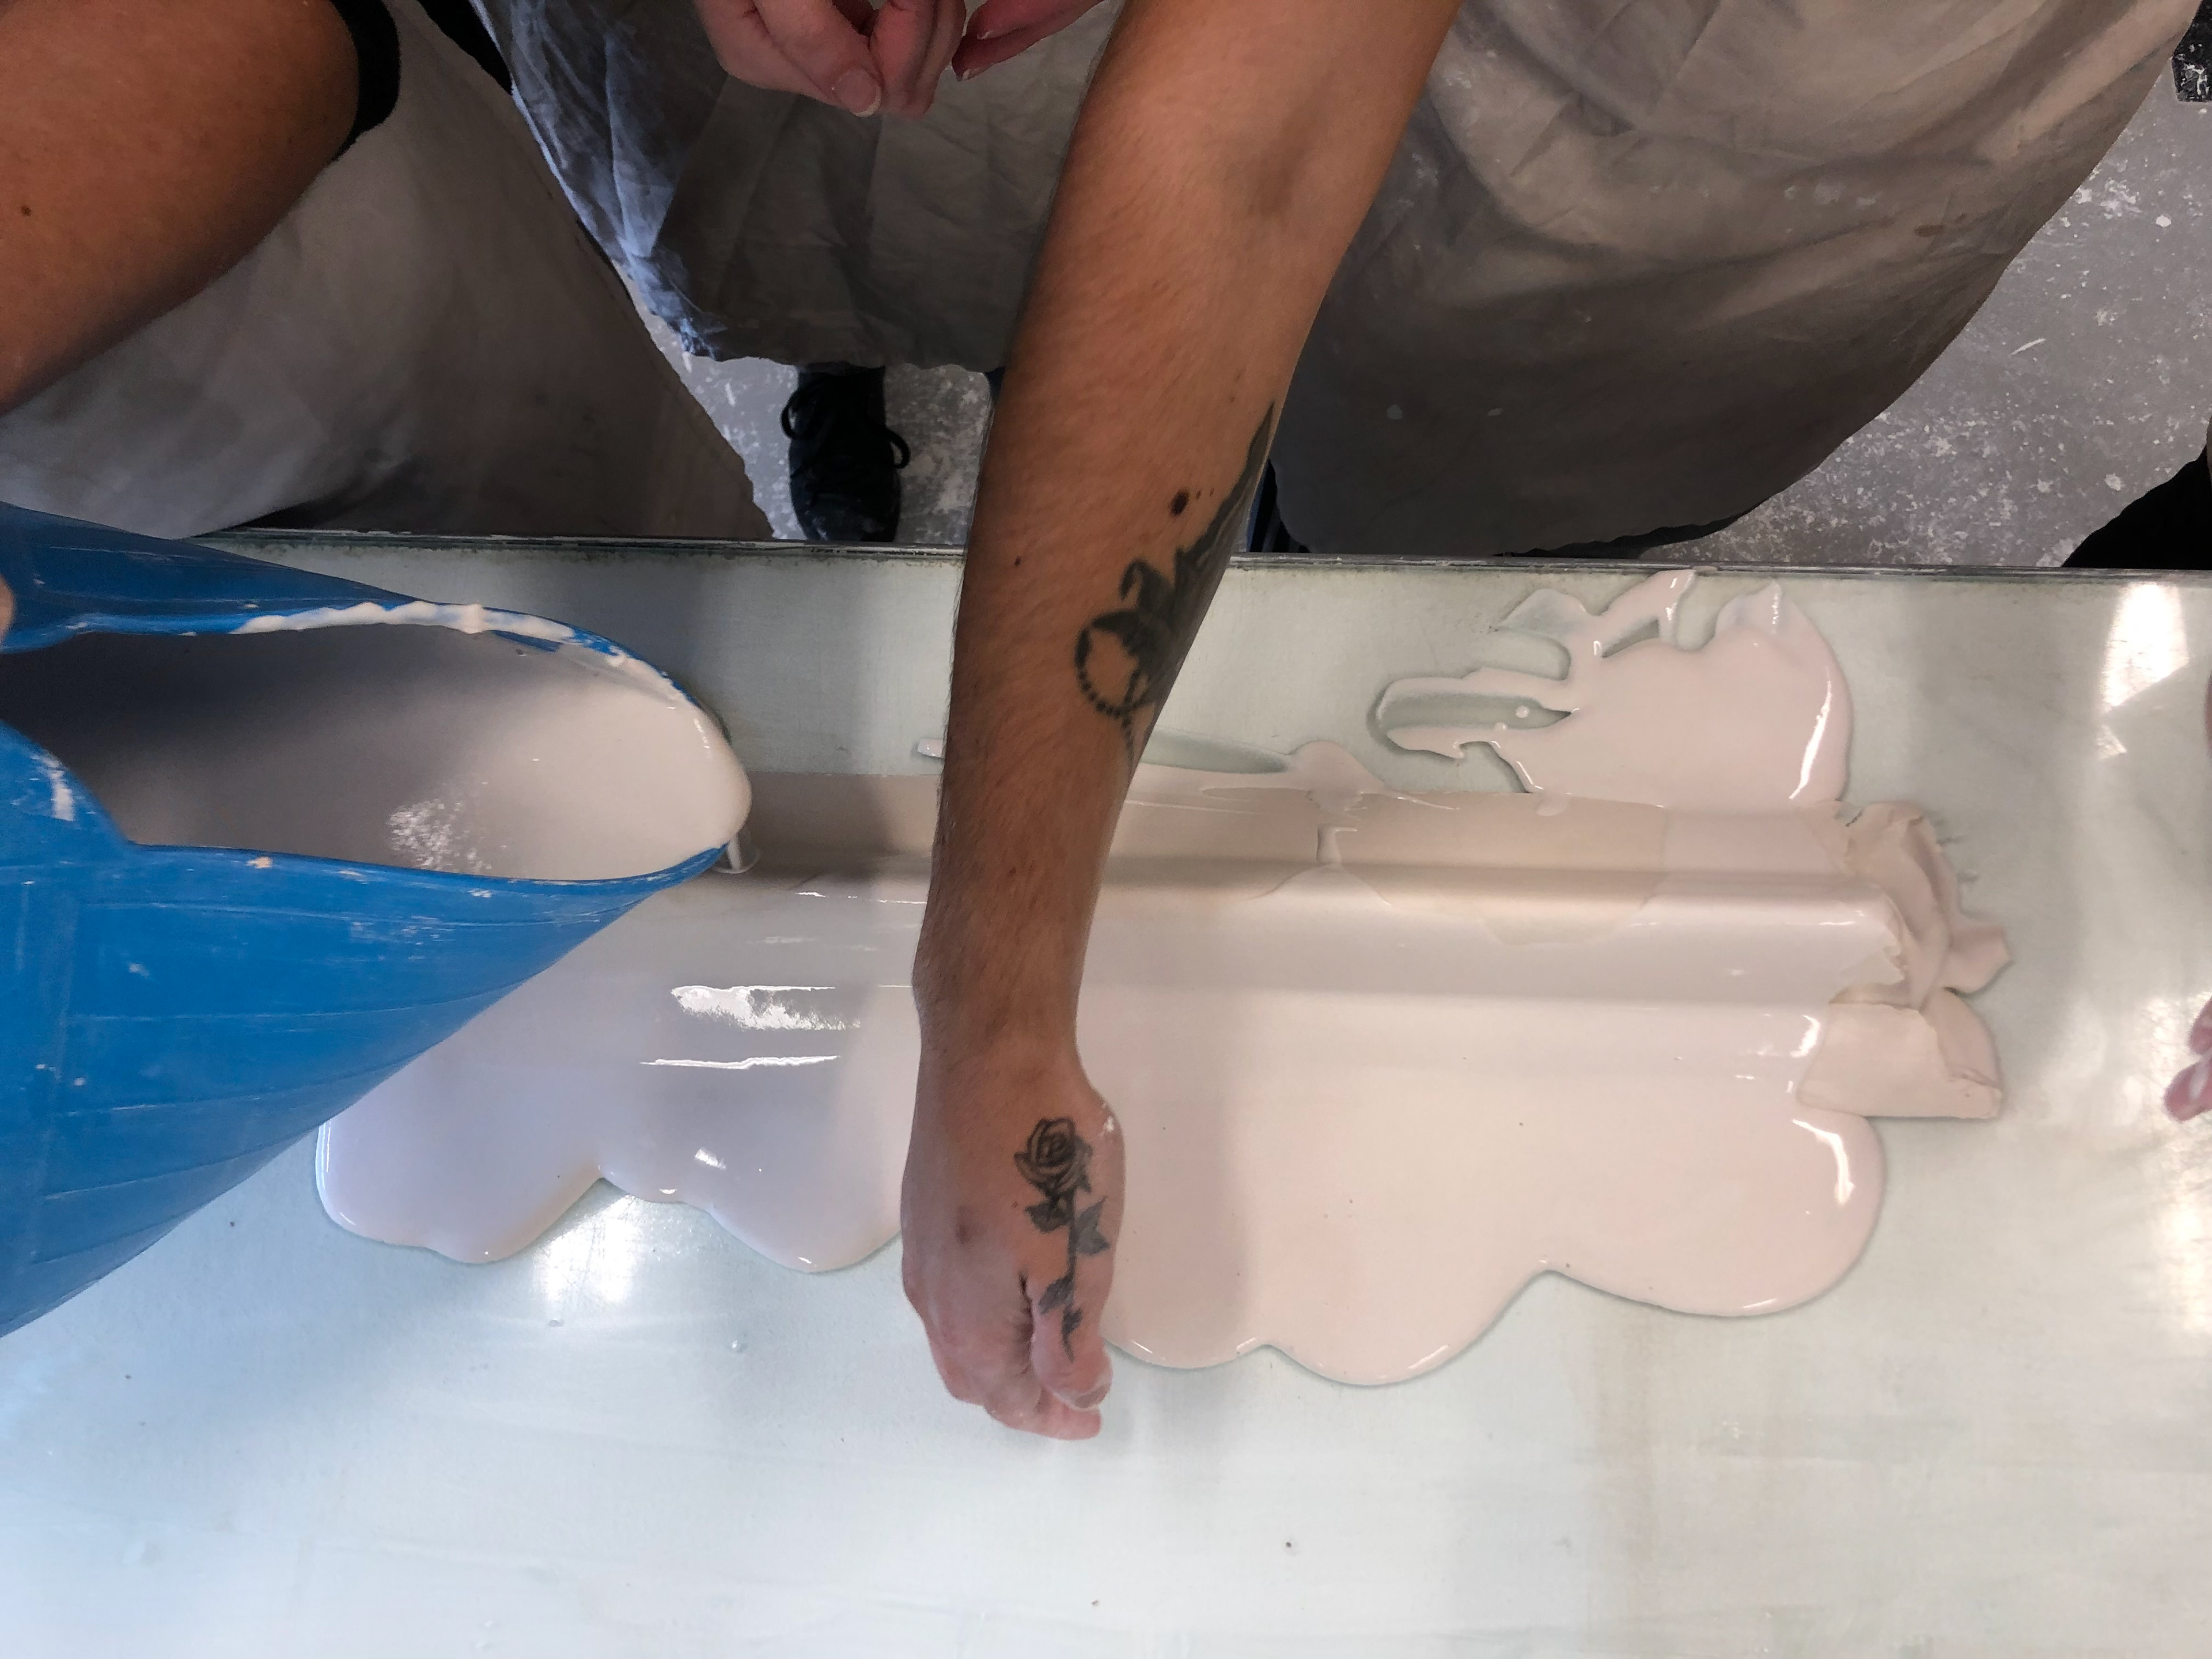
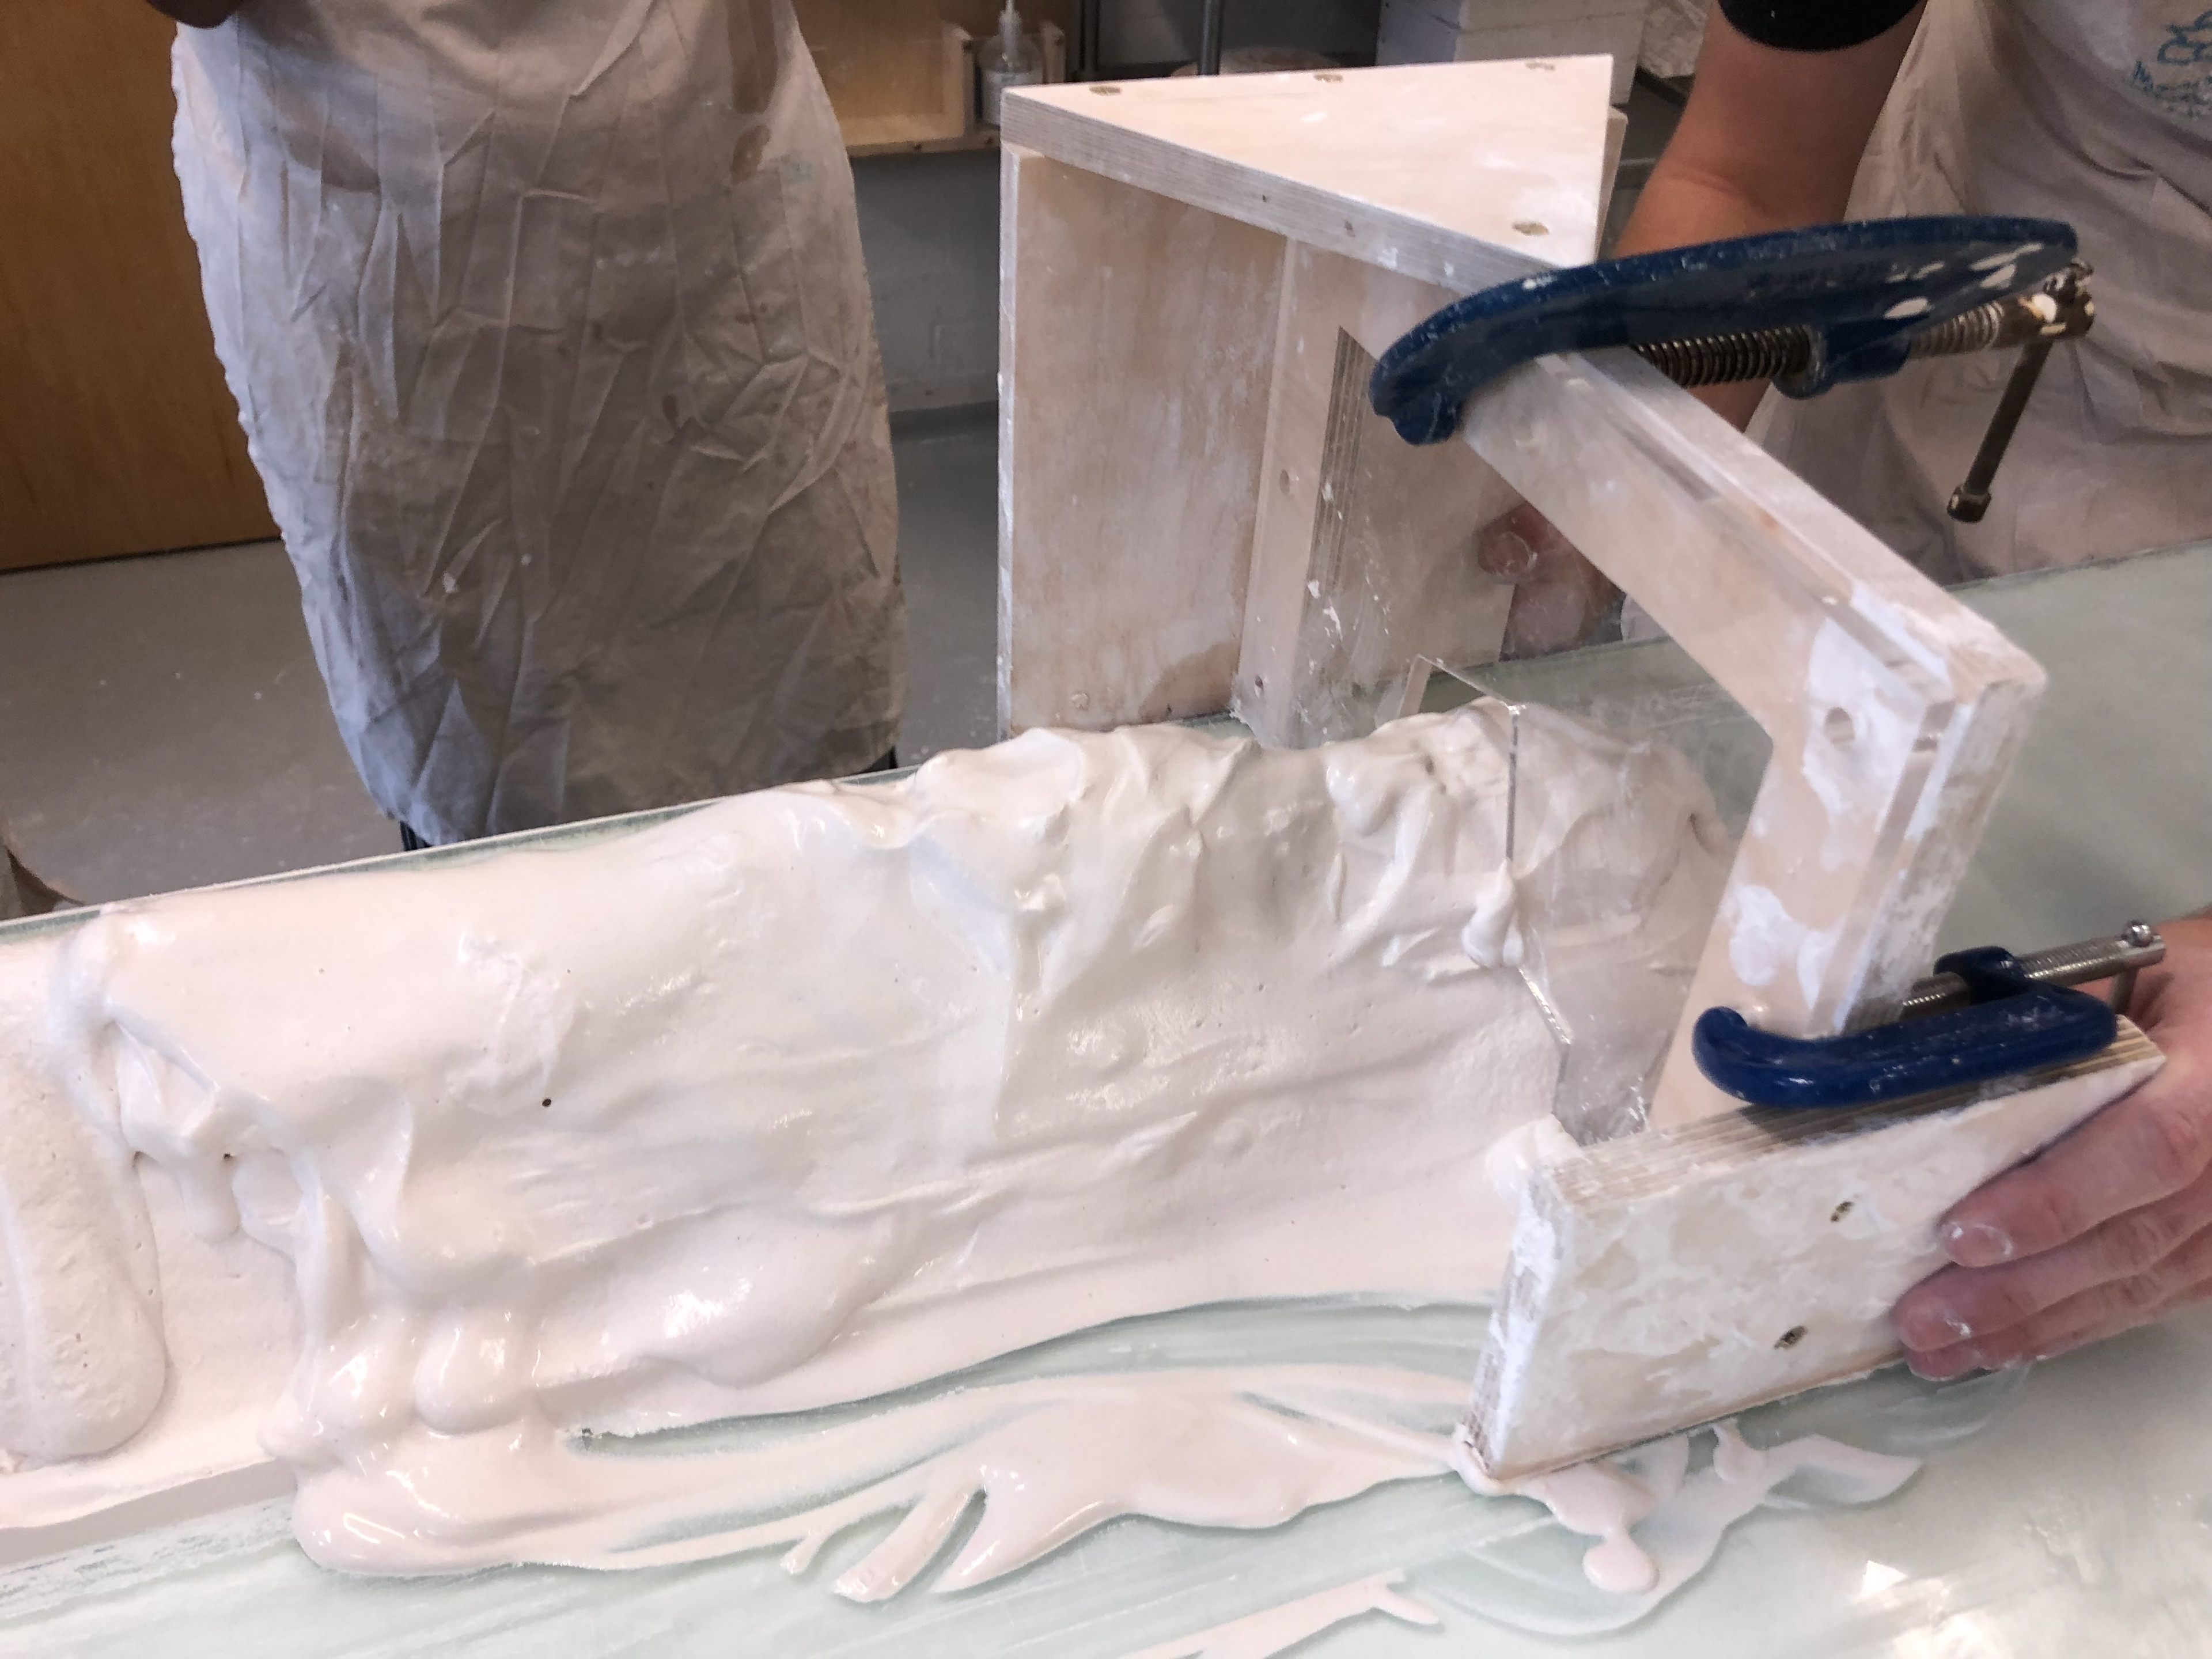
Sledging plaster was a team effort. We initially placed down a line of clay to pour the plaster over. Each time we poured plaster the sledge came along to form the shape that's cutout of the acrylic. We repeated the pour and sledge until we were satisfied. We then applied 4 layers of soft soap over the plaster, each time wiping it away with water. The soft soap prevents the next layer of plaster to attach itself to the previous layer.
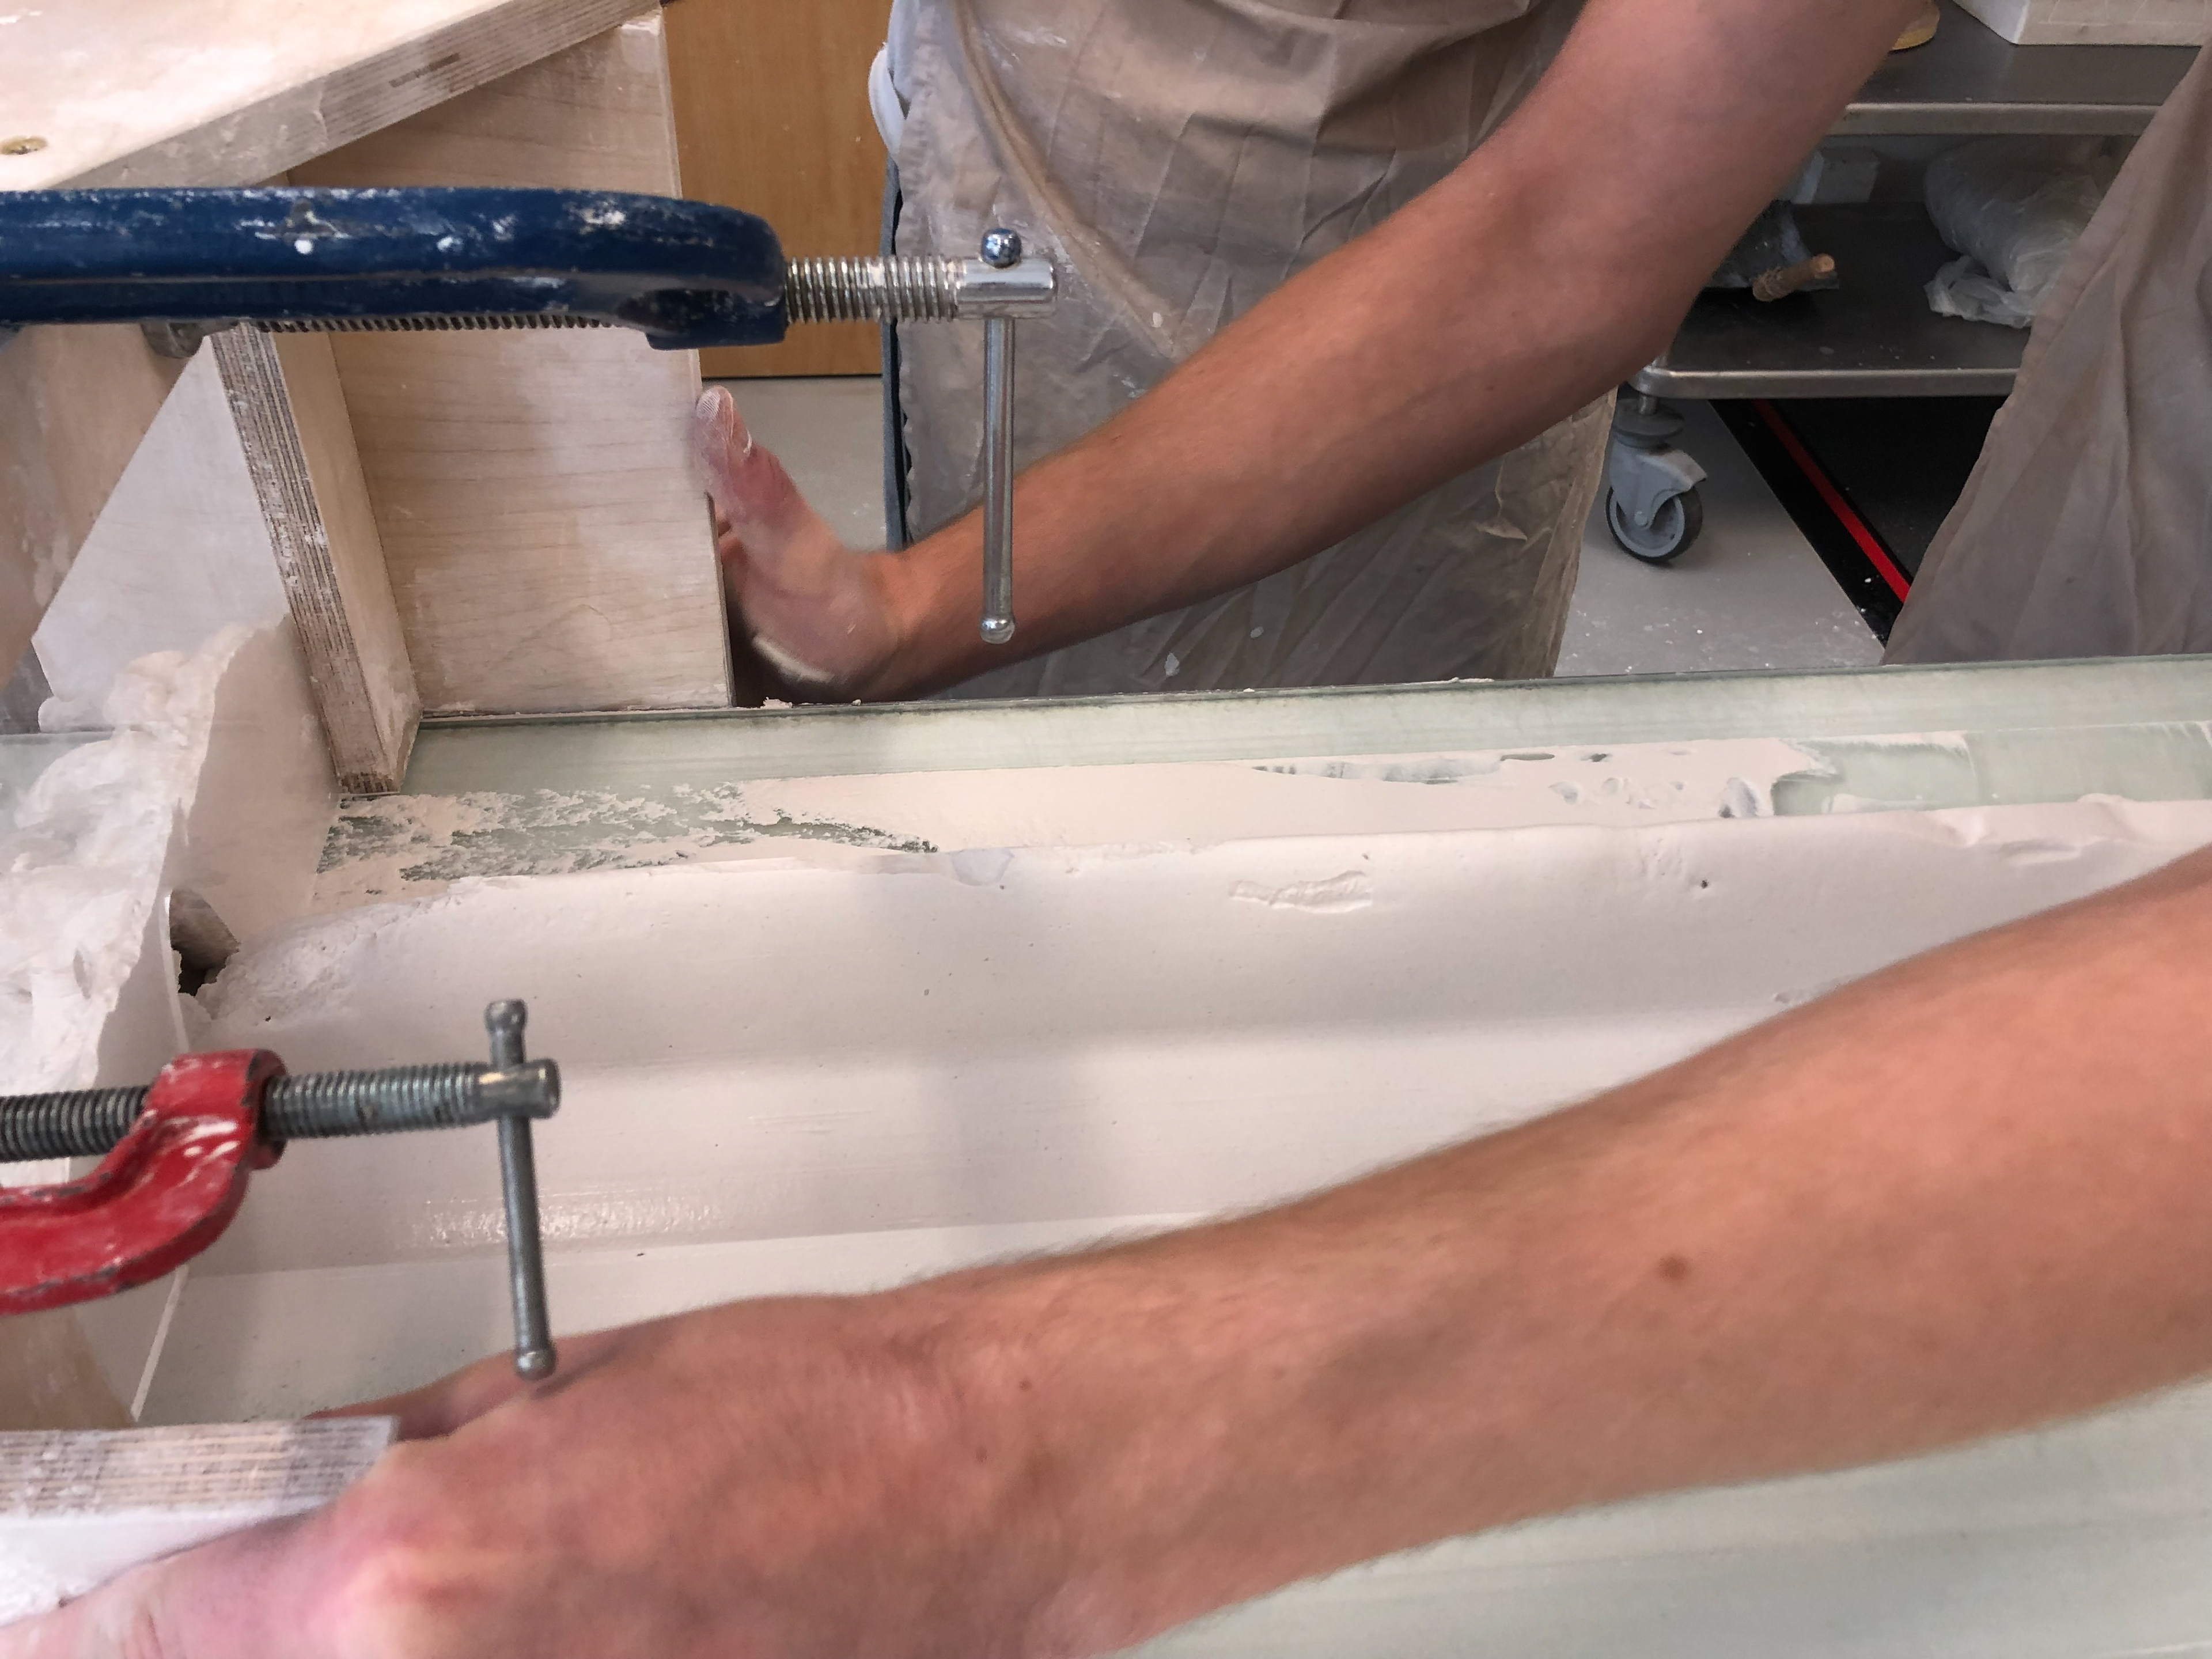
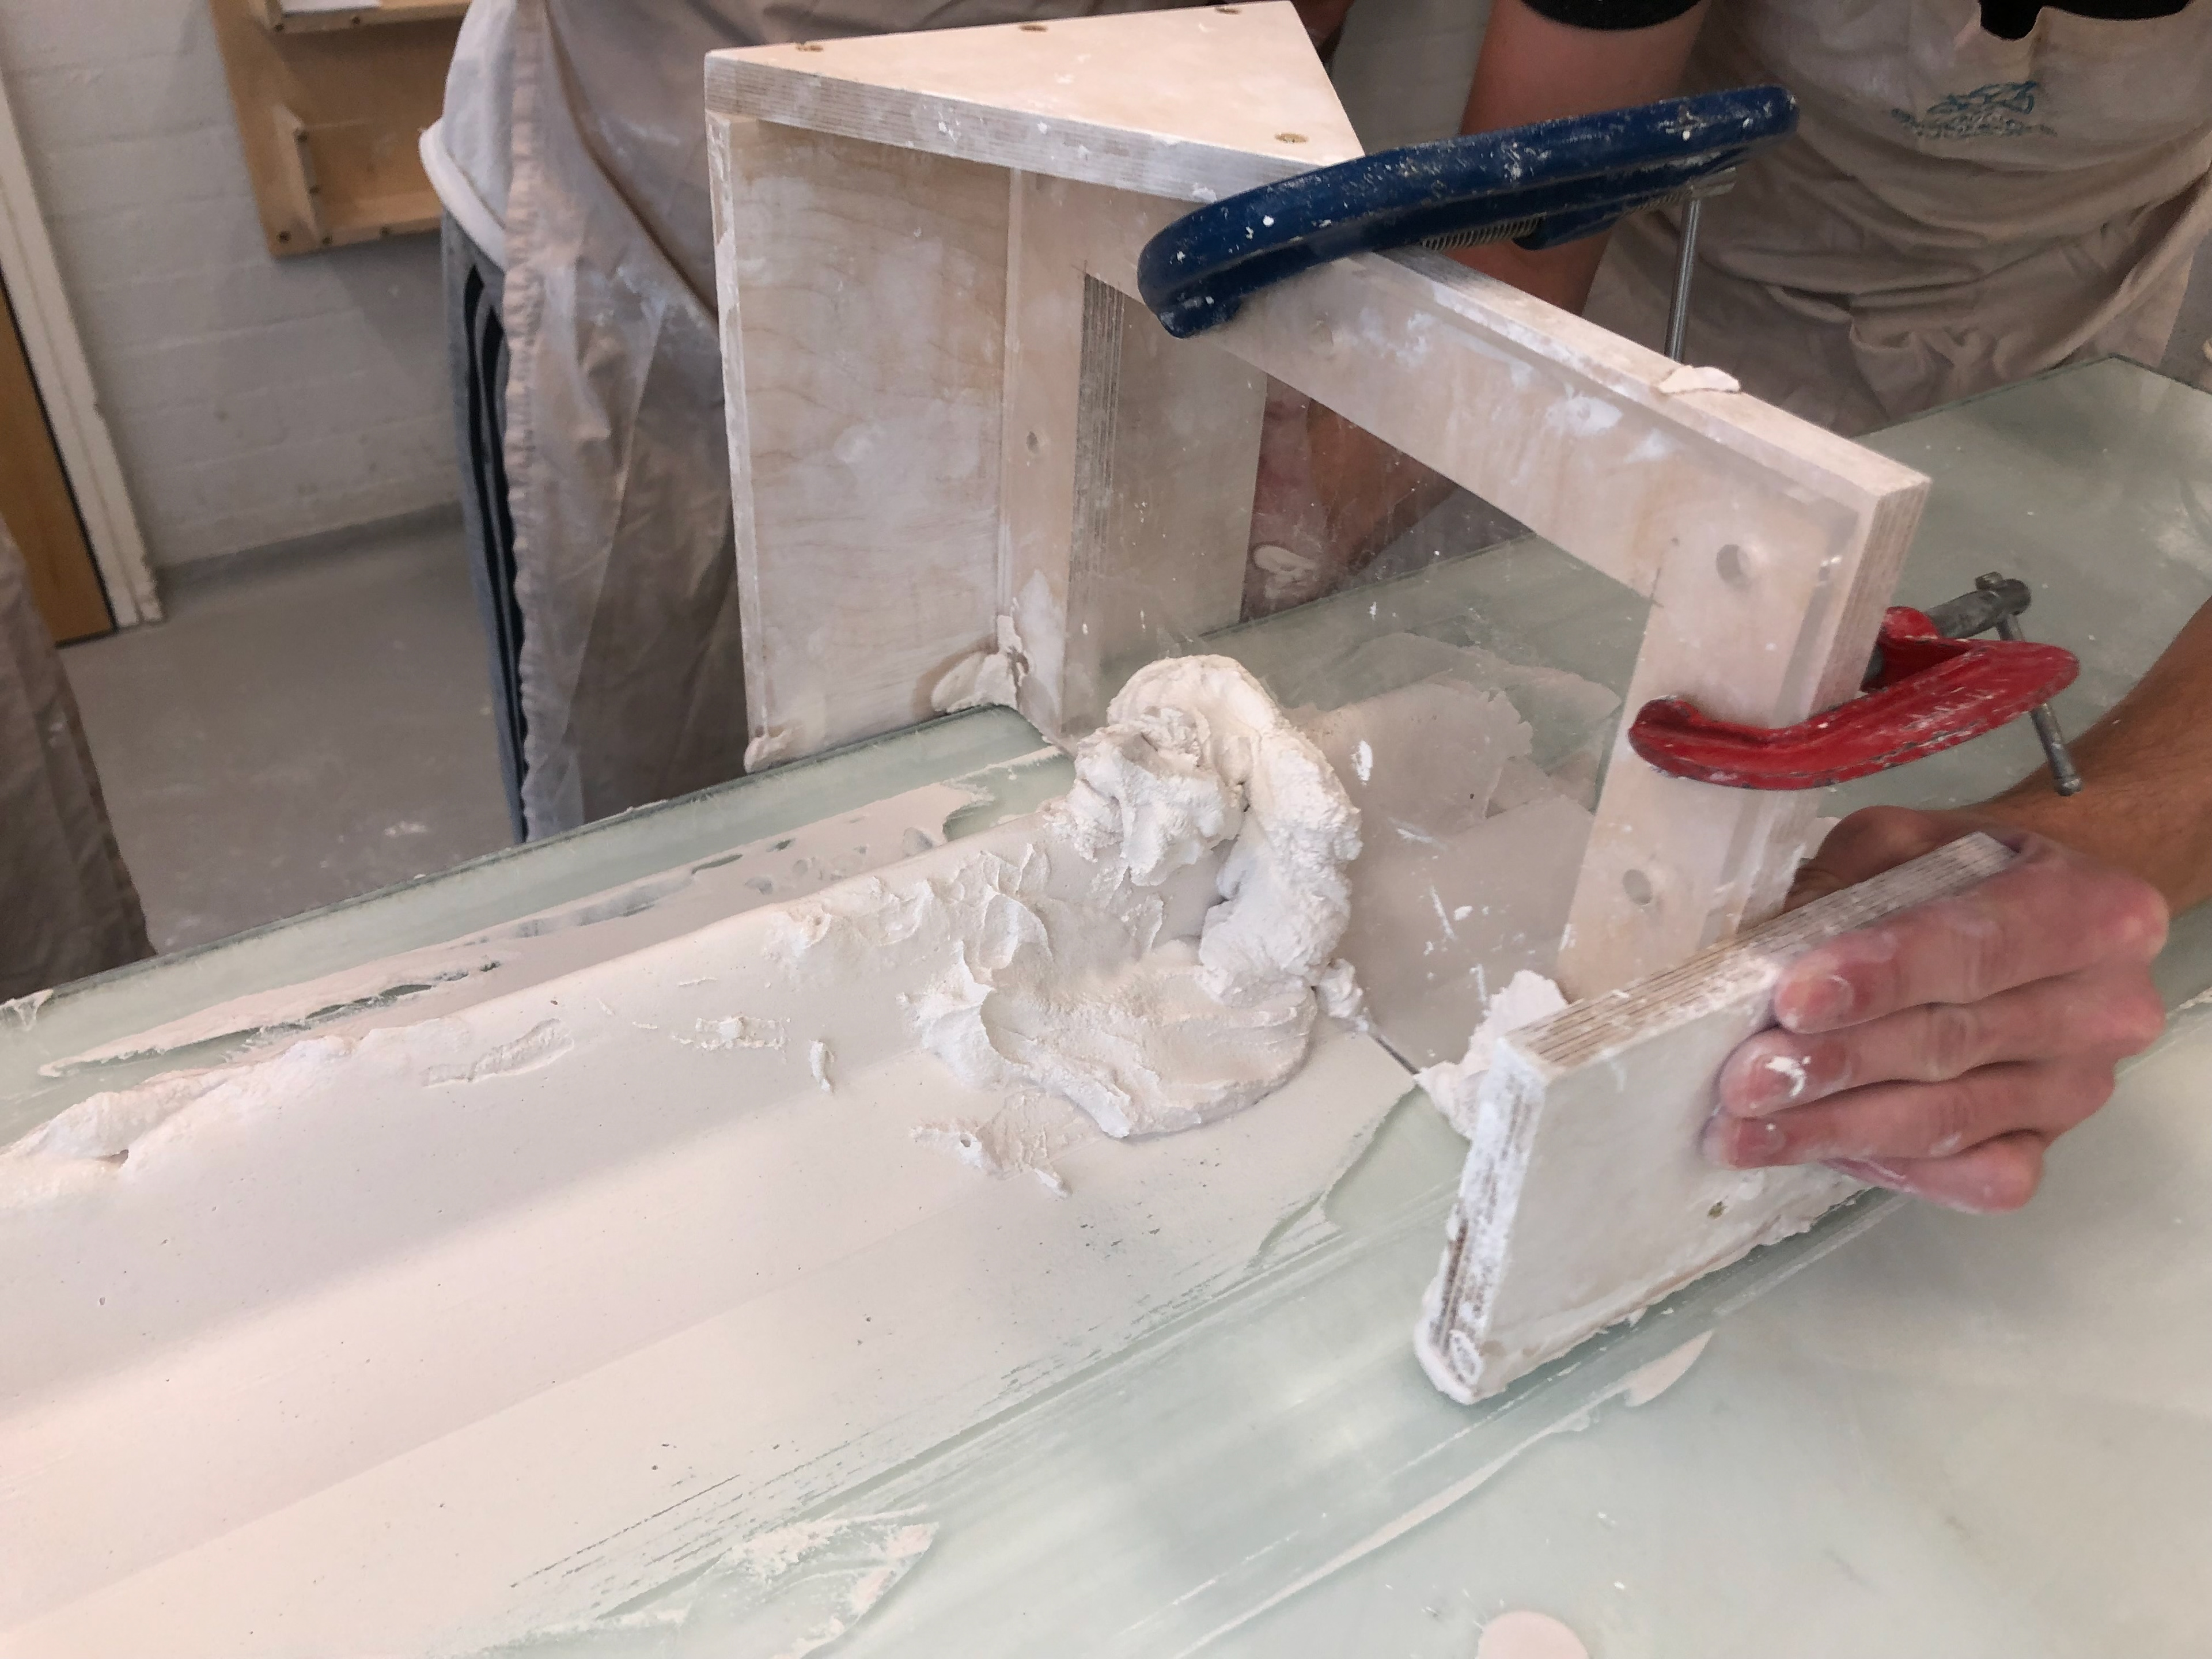
The top layer was exactly the same as the bottom except a different acrylic cutout was used. Once both layers had been complete we then used a saw and cut the ends off to have nice smooth straight form's. We then slide and lift the top layer off to reveal the bottom. In total there were 5 people who contributed and 5 litres of plaster was used.
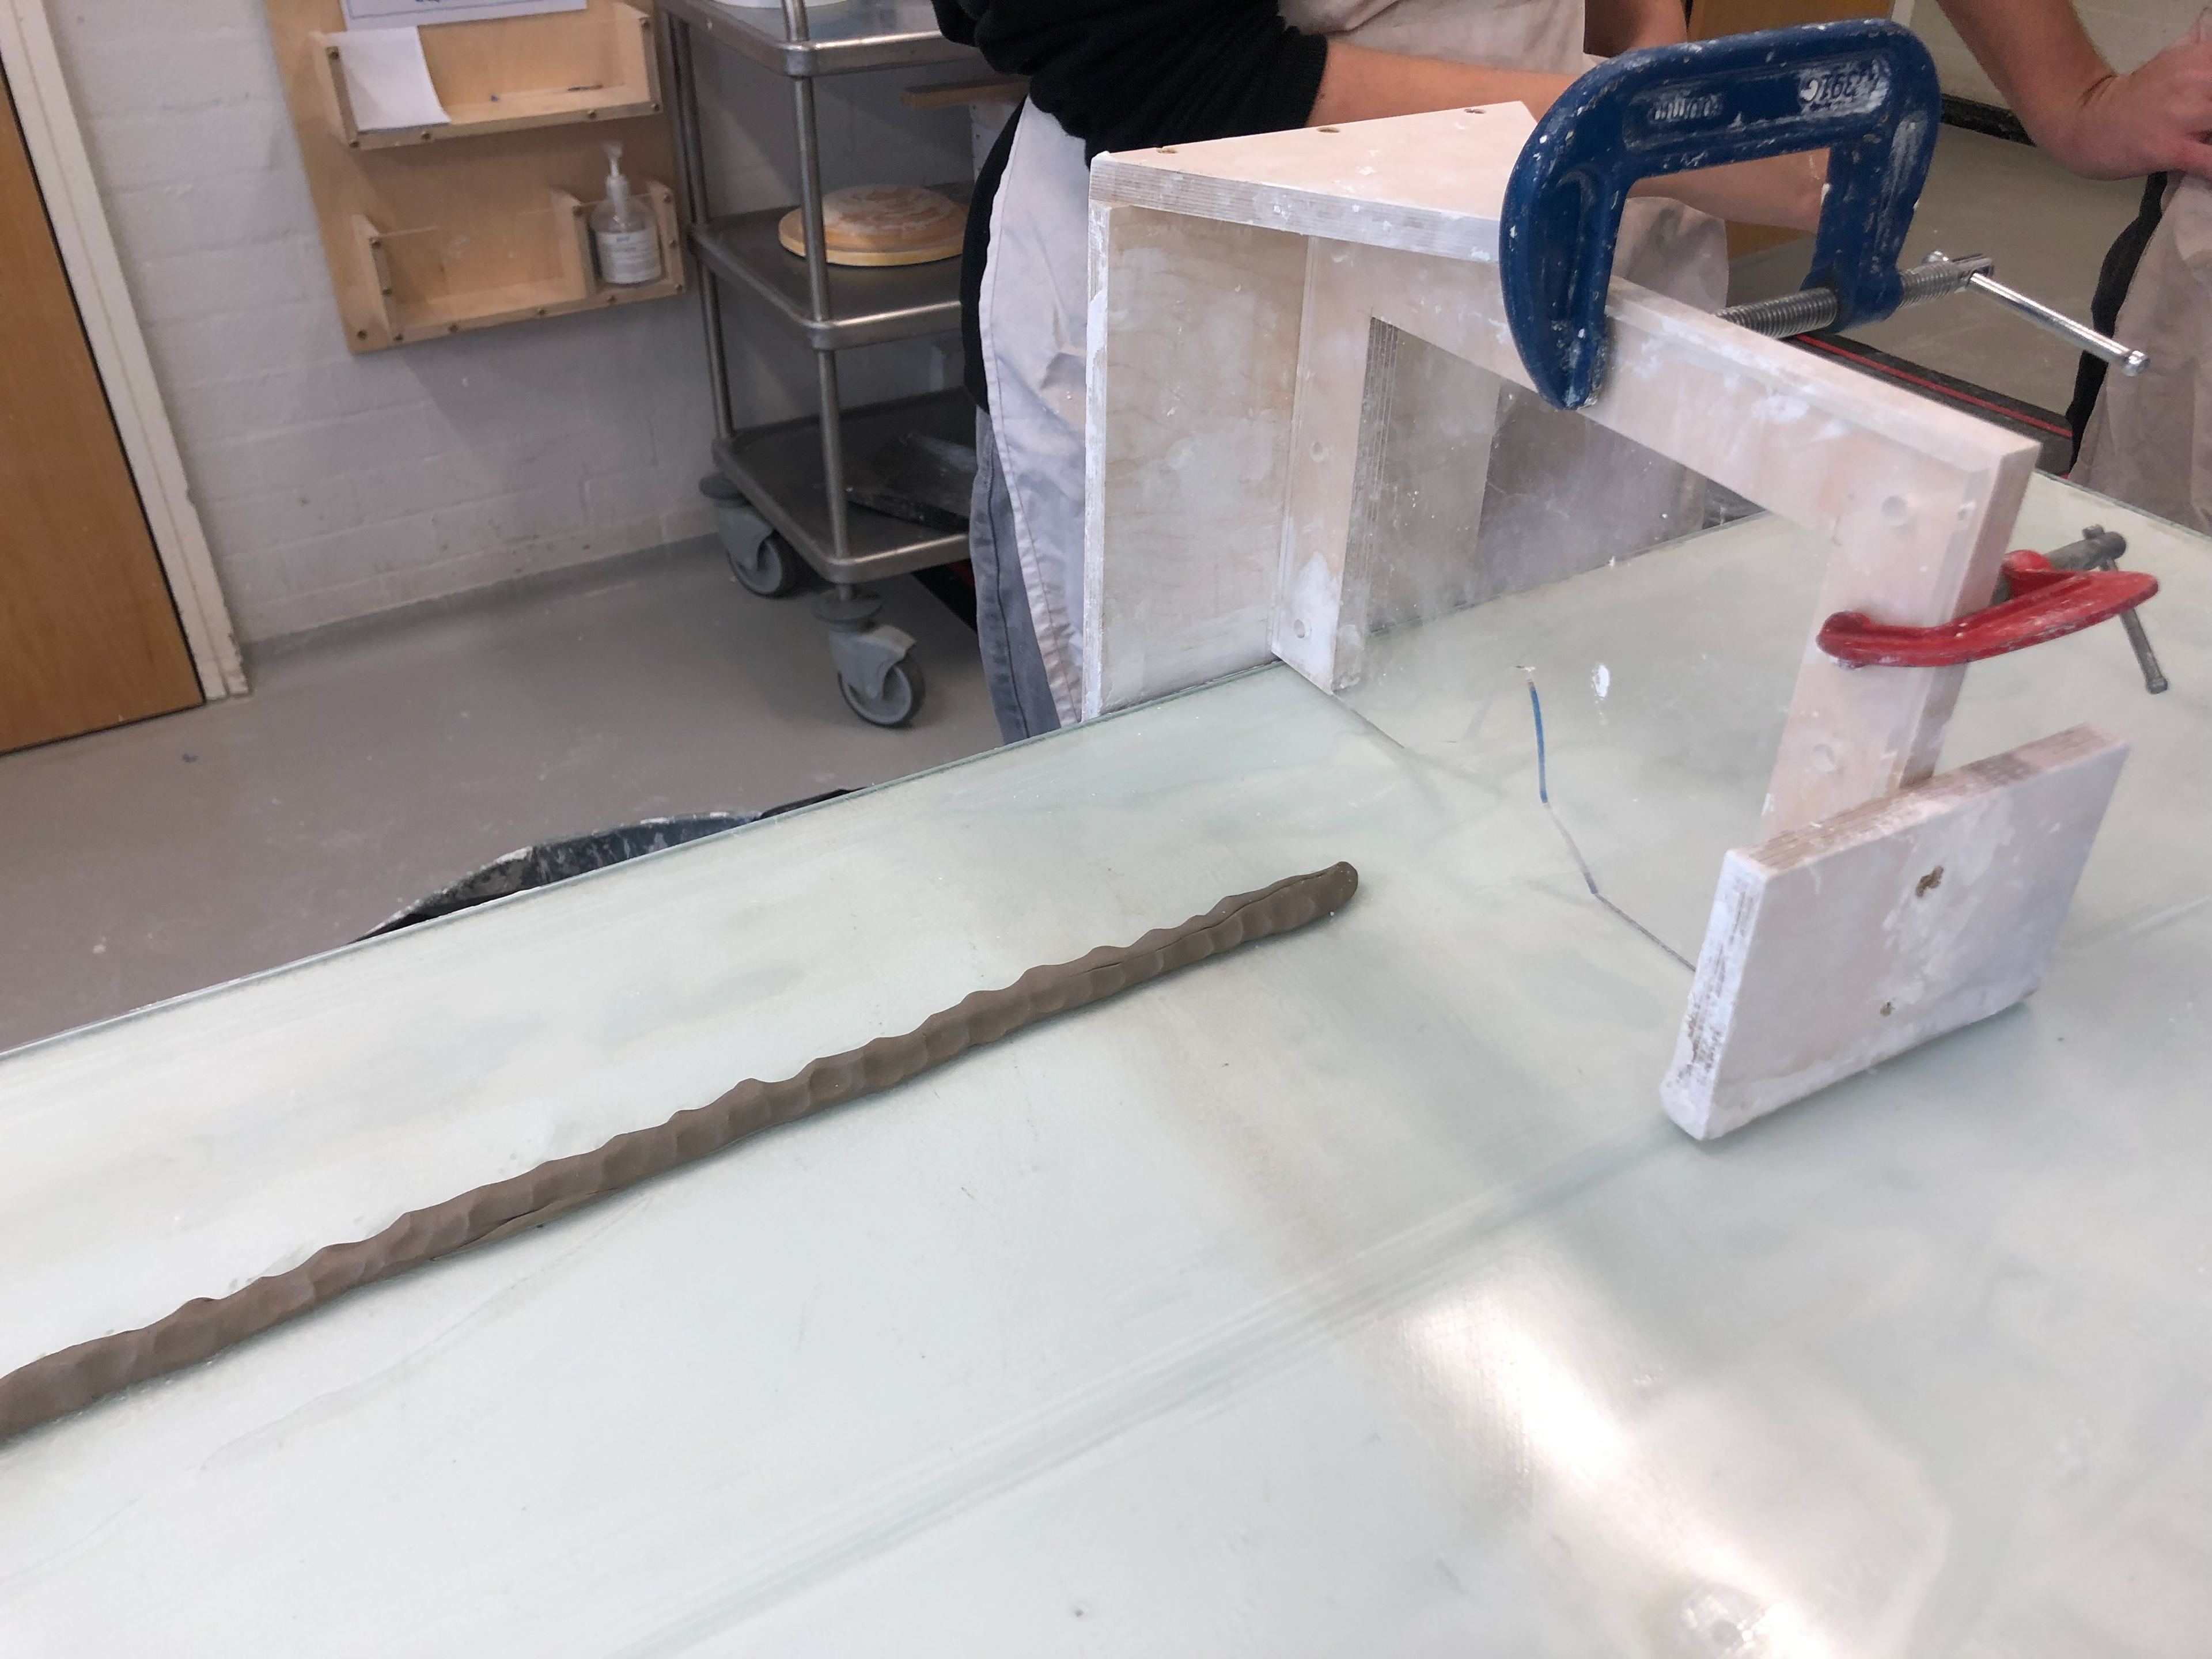
Clay is layed out to allow the plaster to build up. The laser cut piece of acrylic is the desired shape
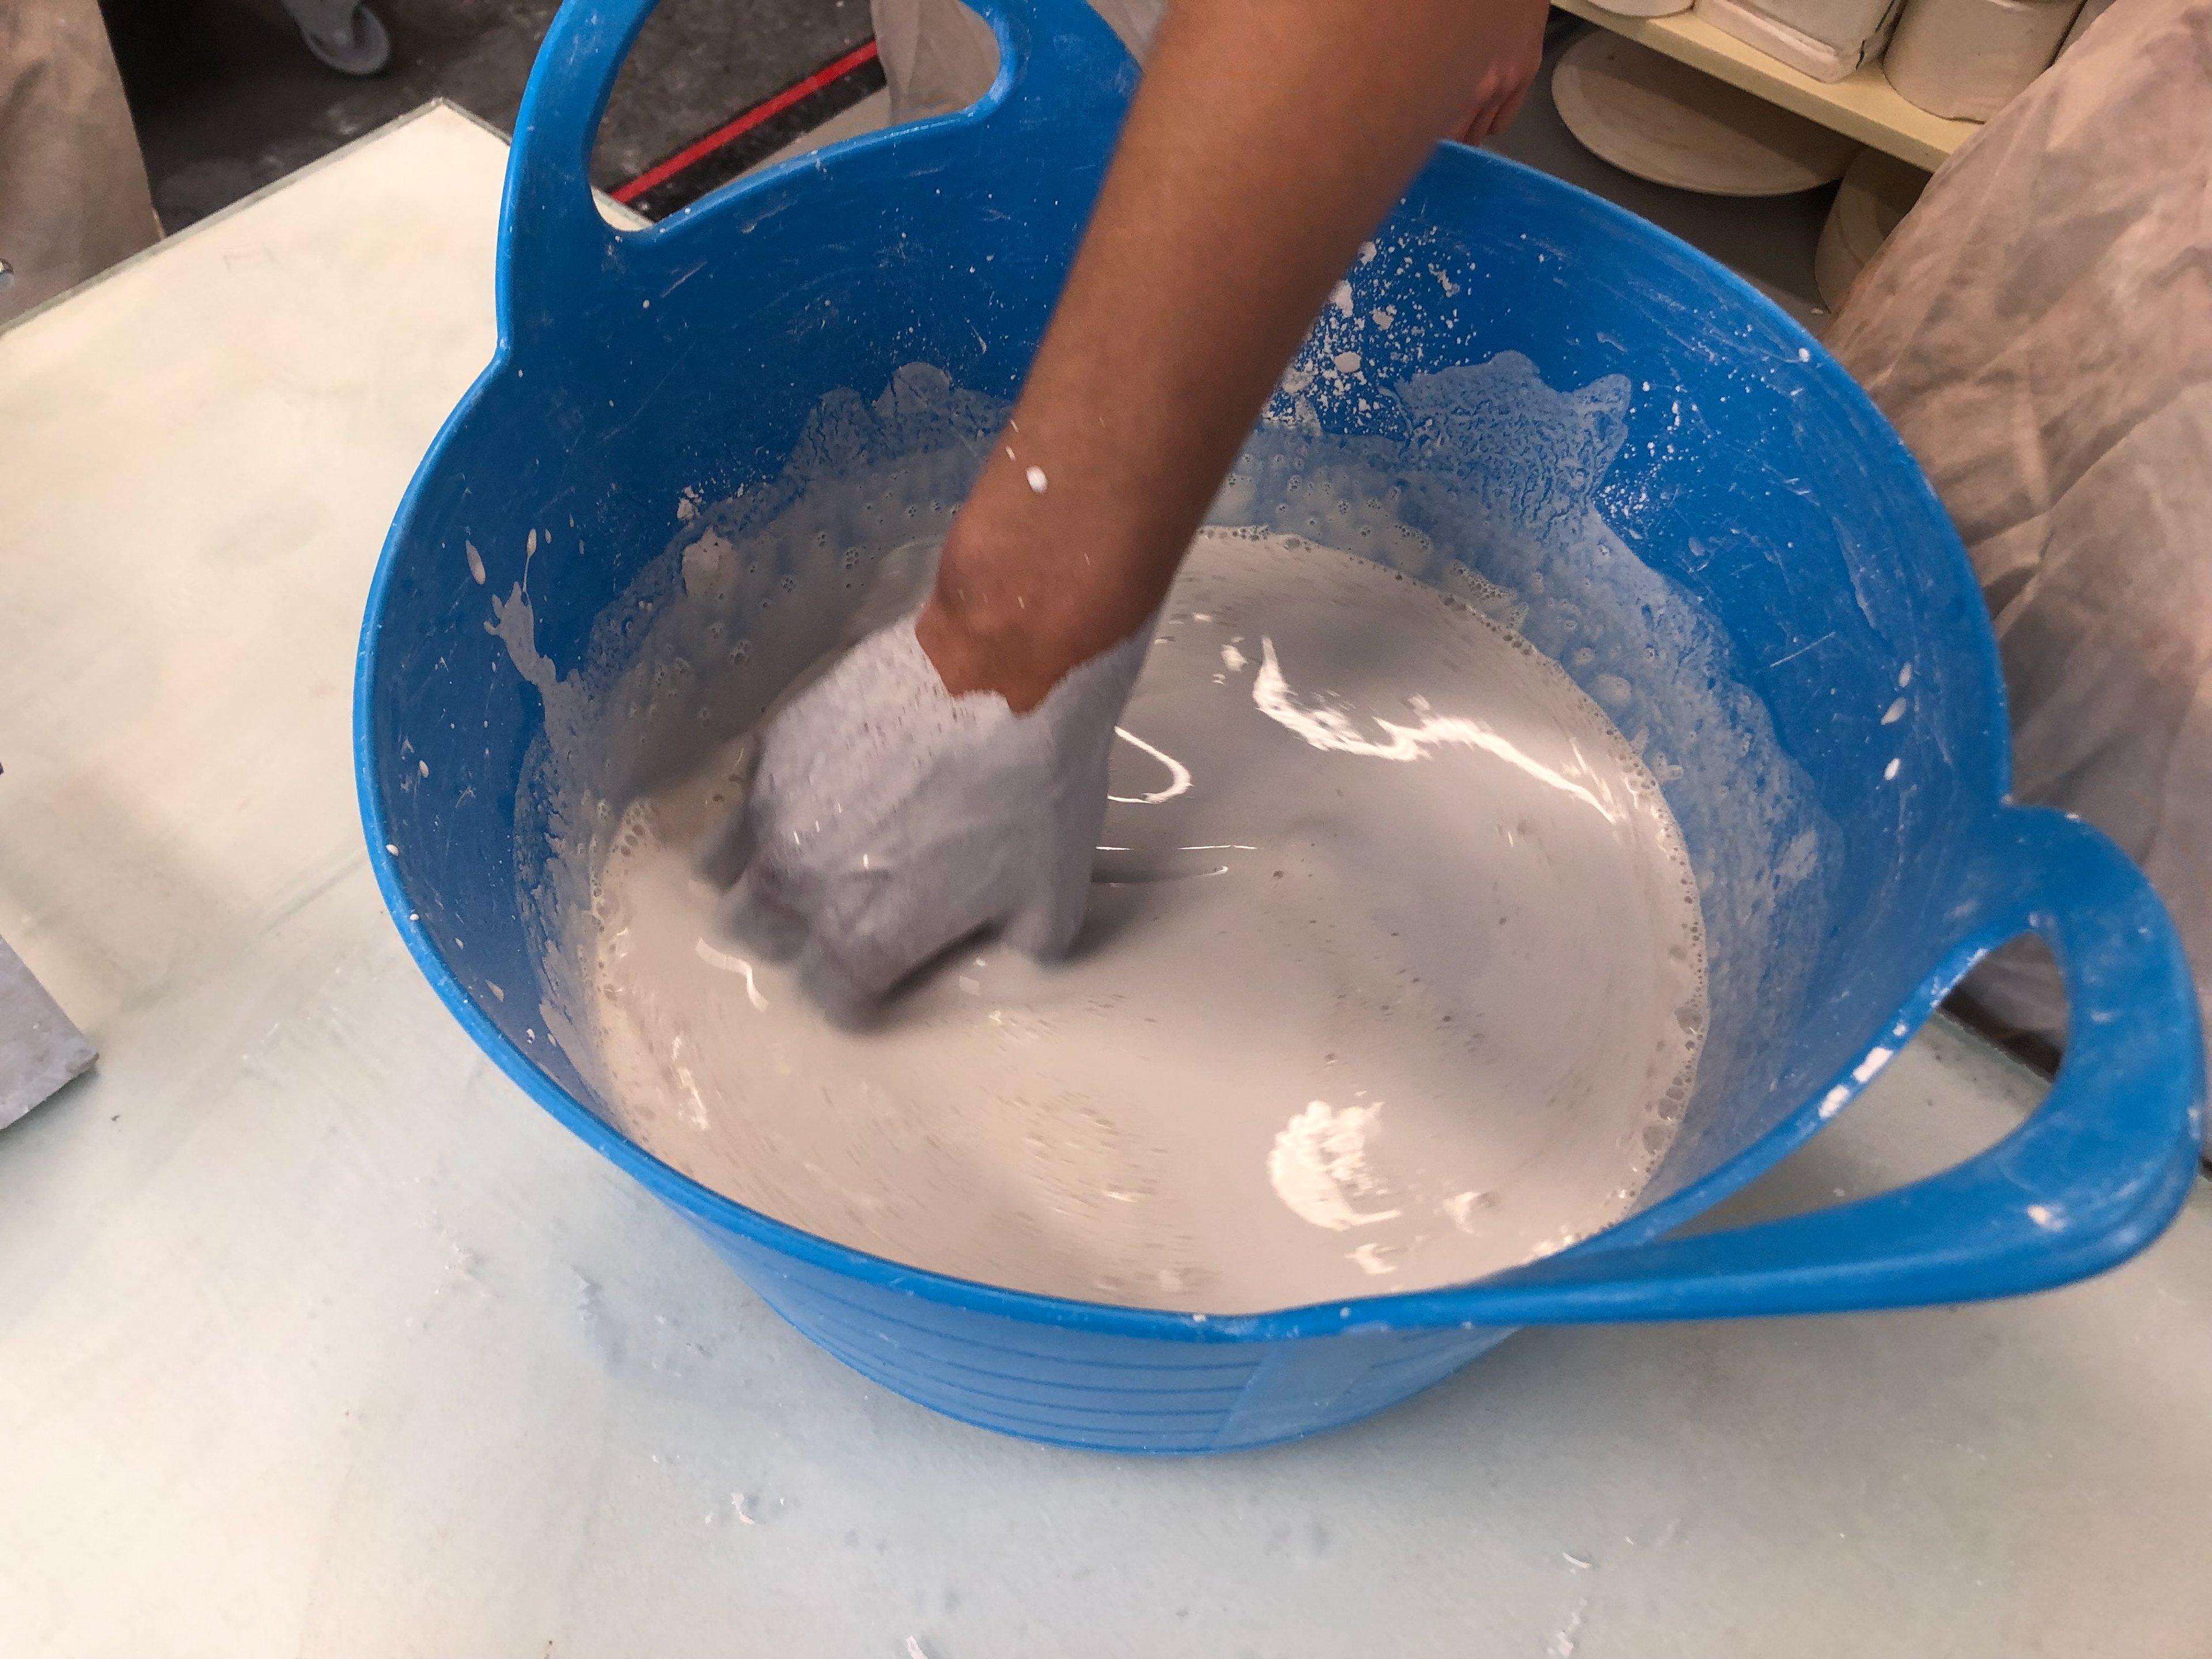
Mixing 2 litres of water with plaster (A total of 5 litres was used)
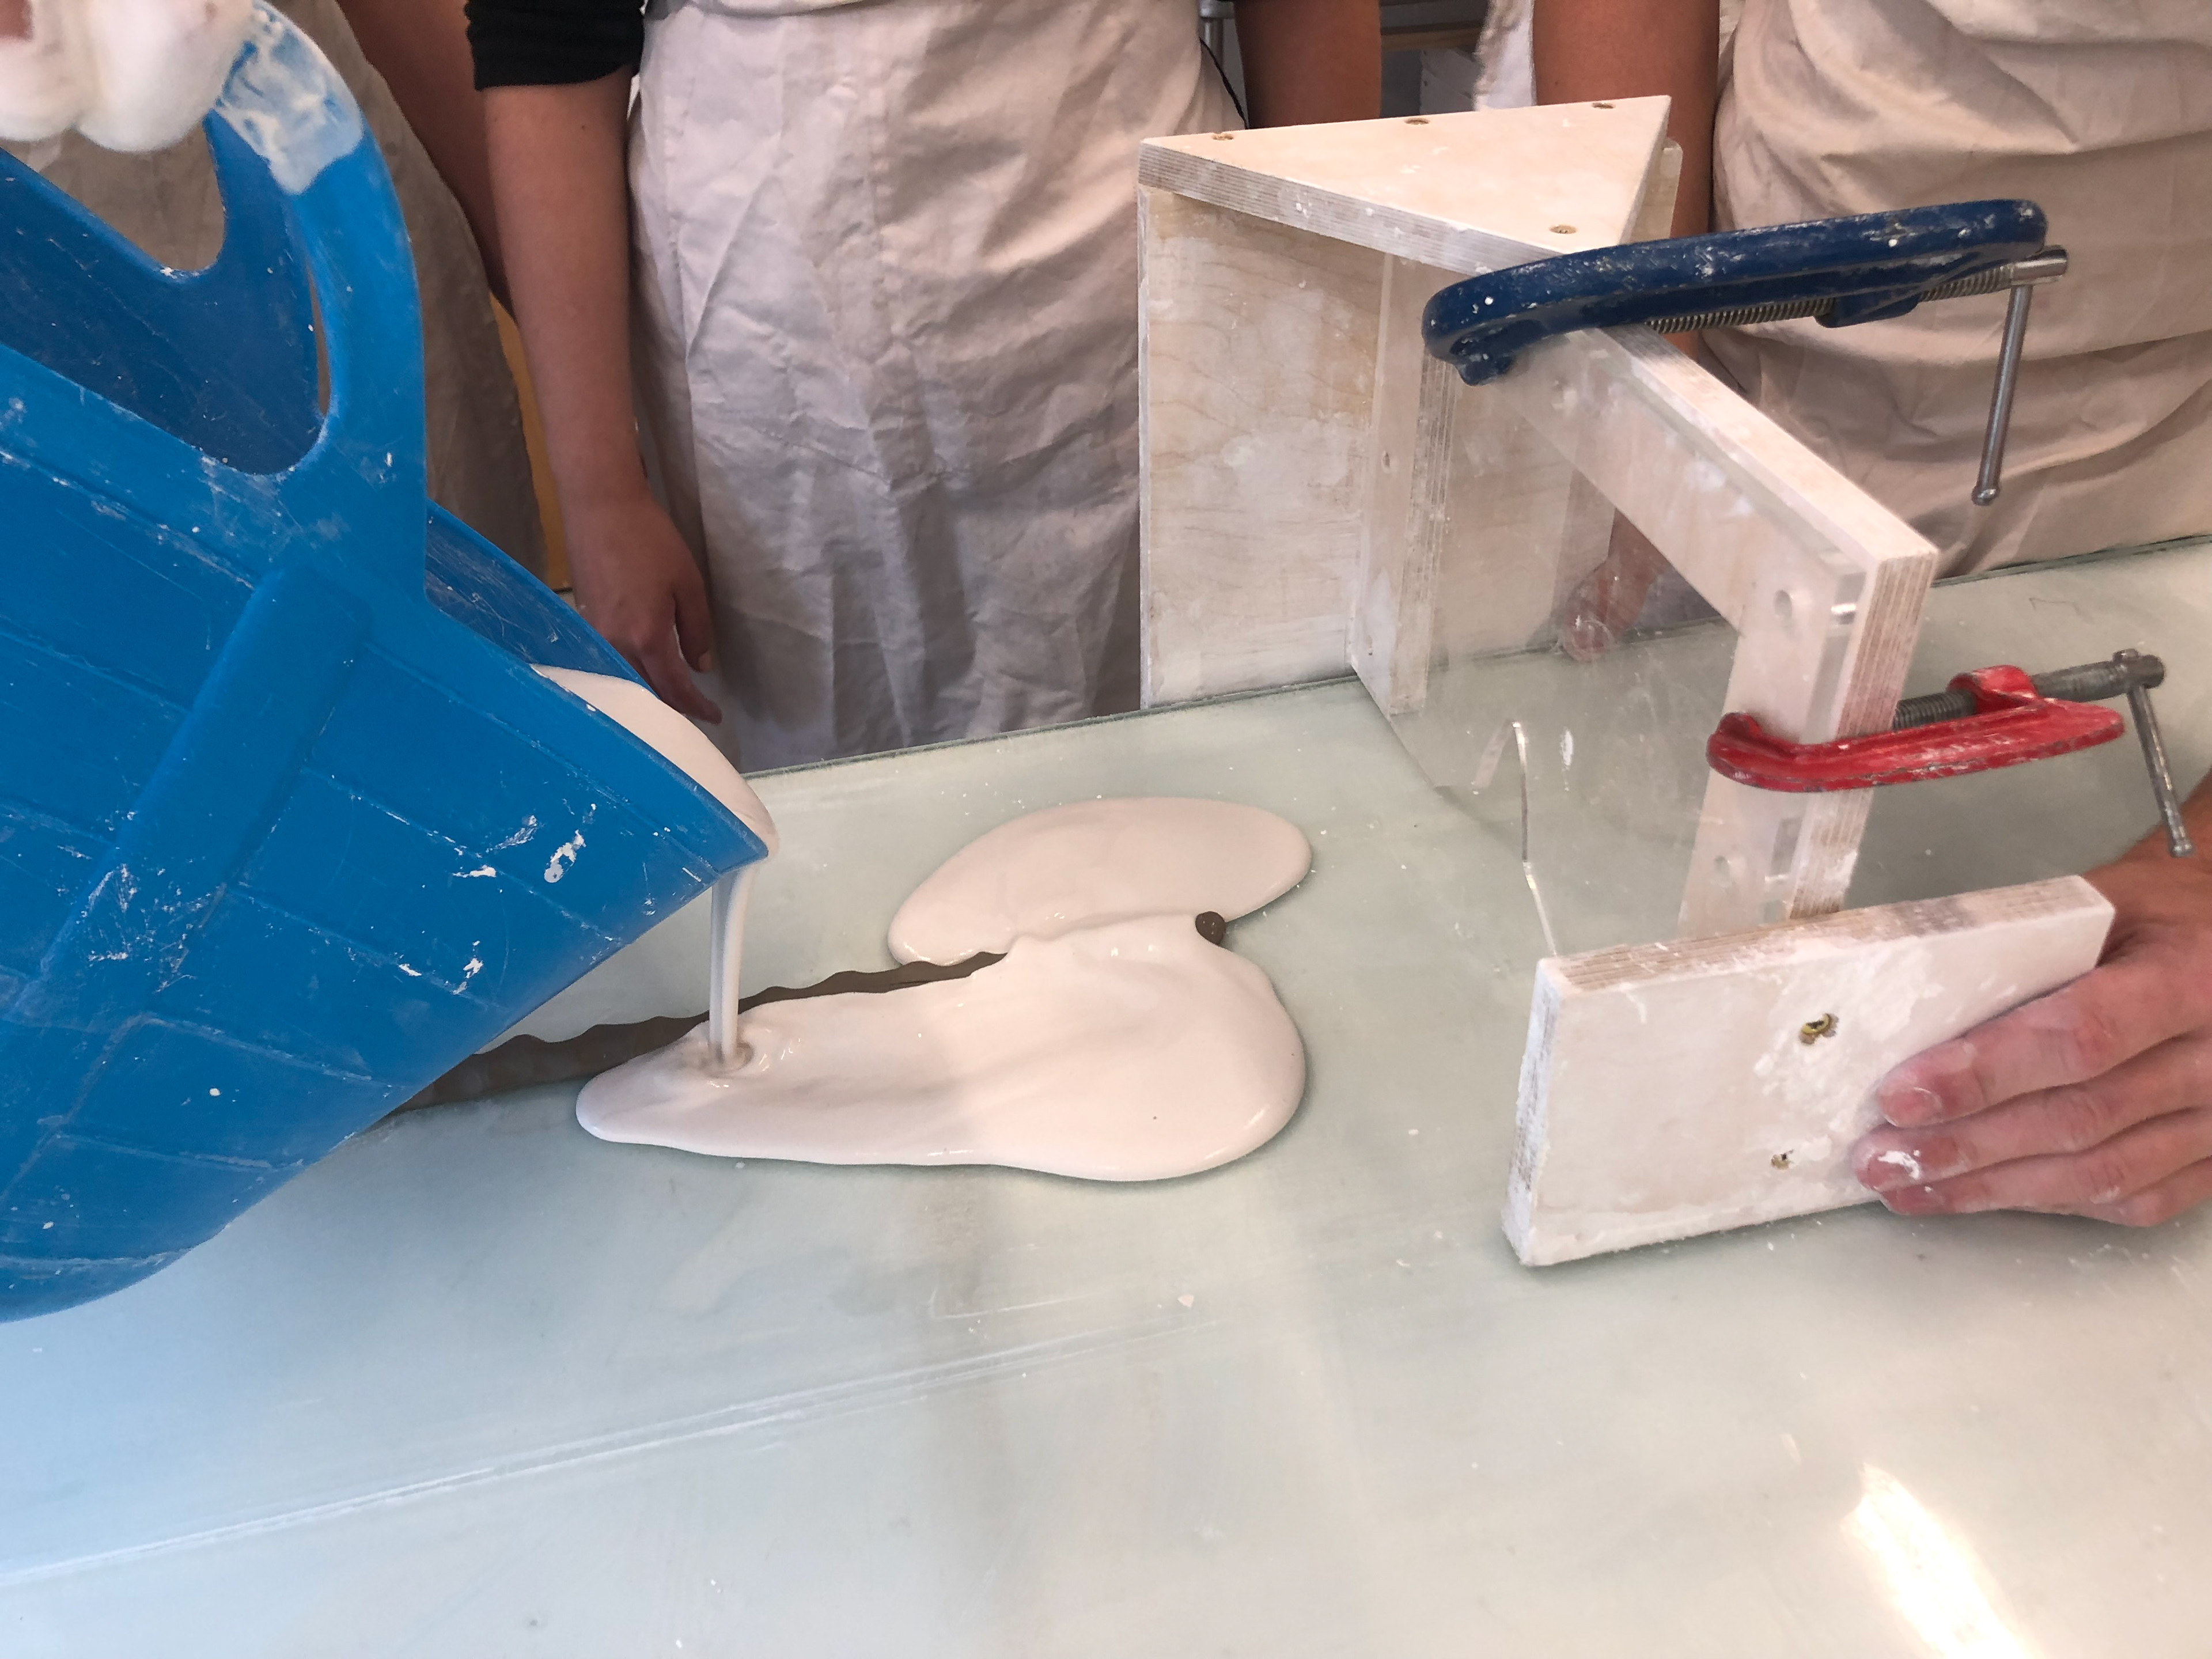
First pour of plaster
The sledging tool is push into the plaster to create the shape/
After as couple rounds of sledging
Final pour of plaster
Top view of the inner section
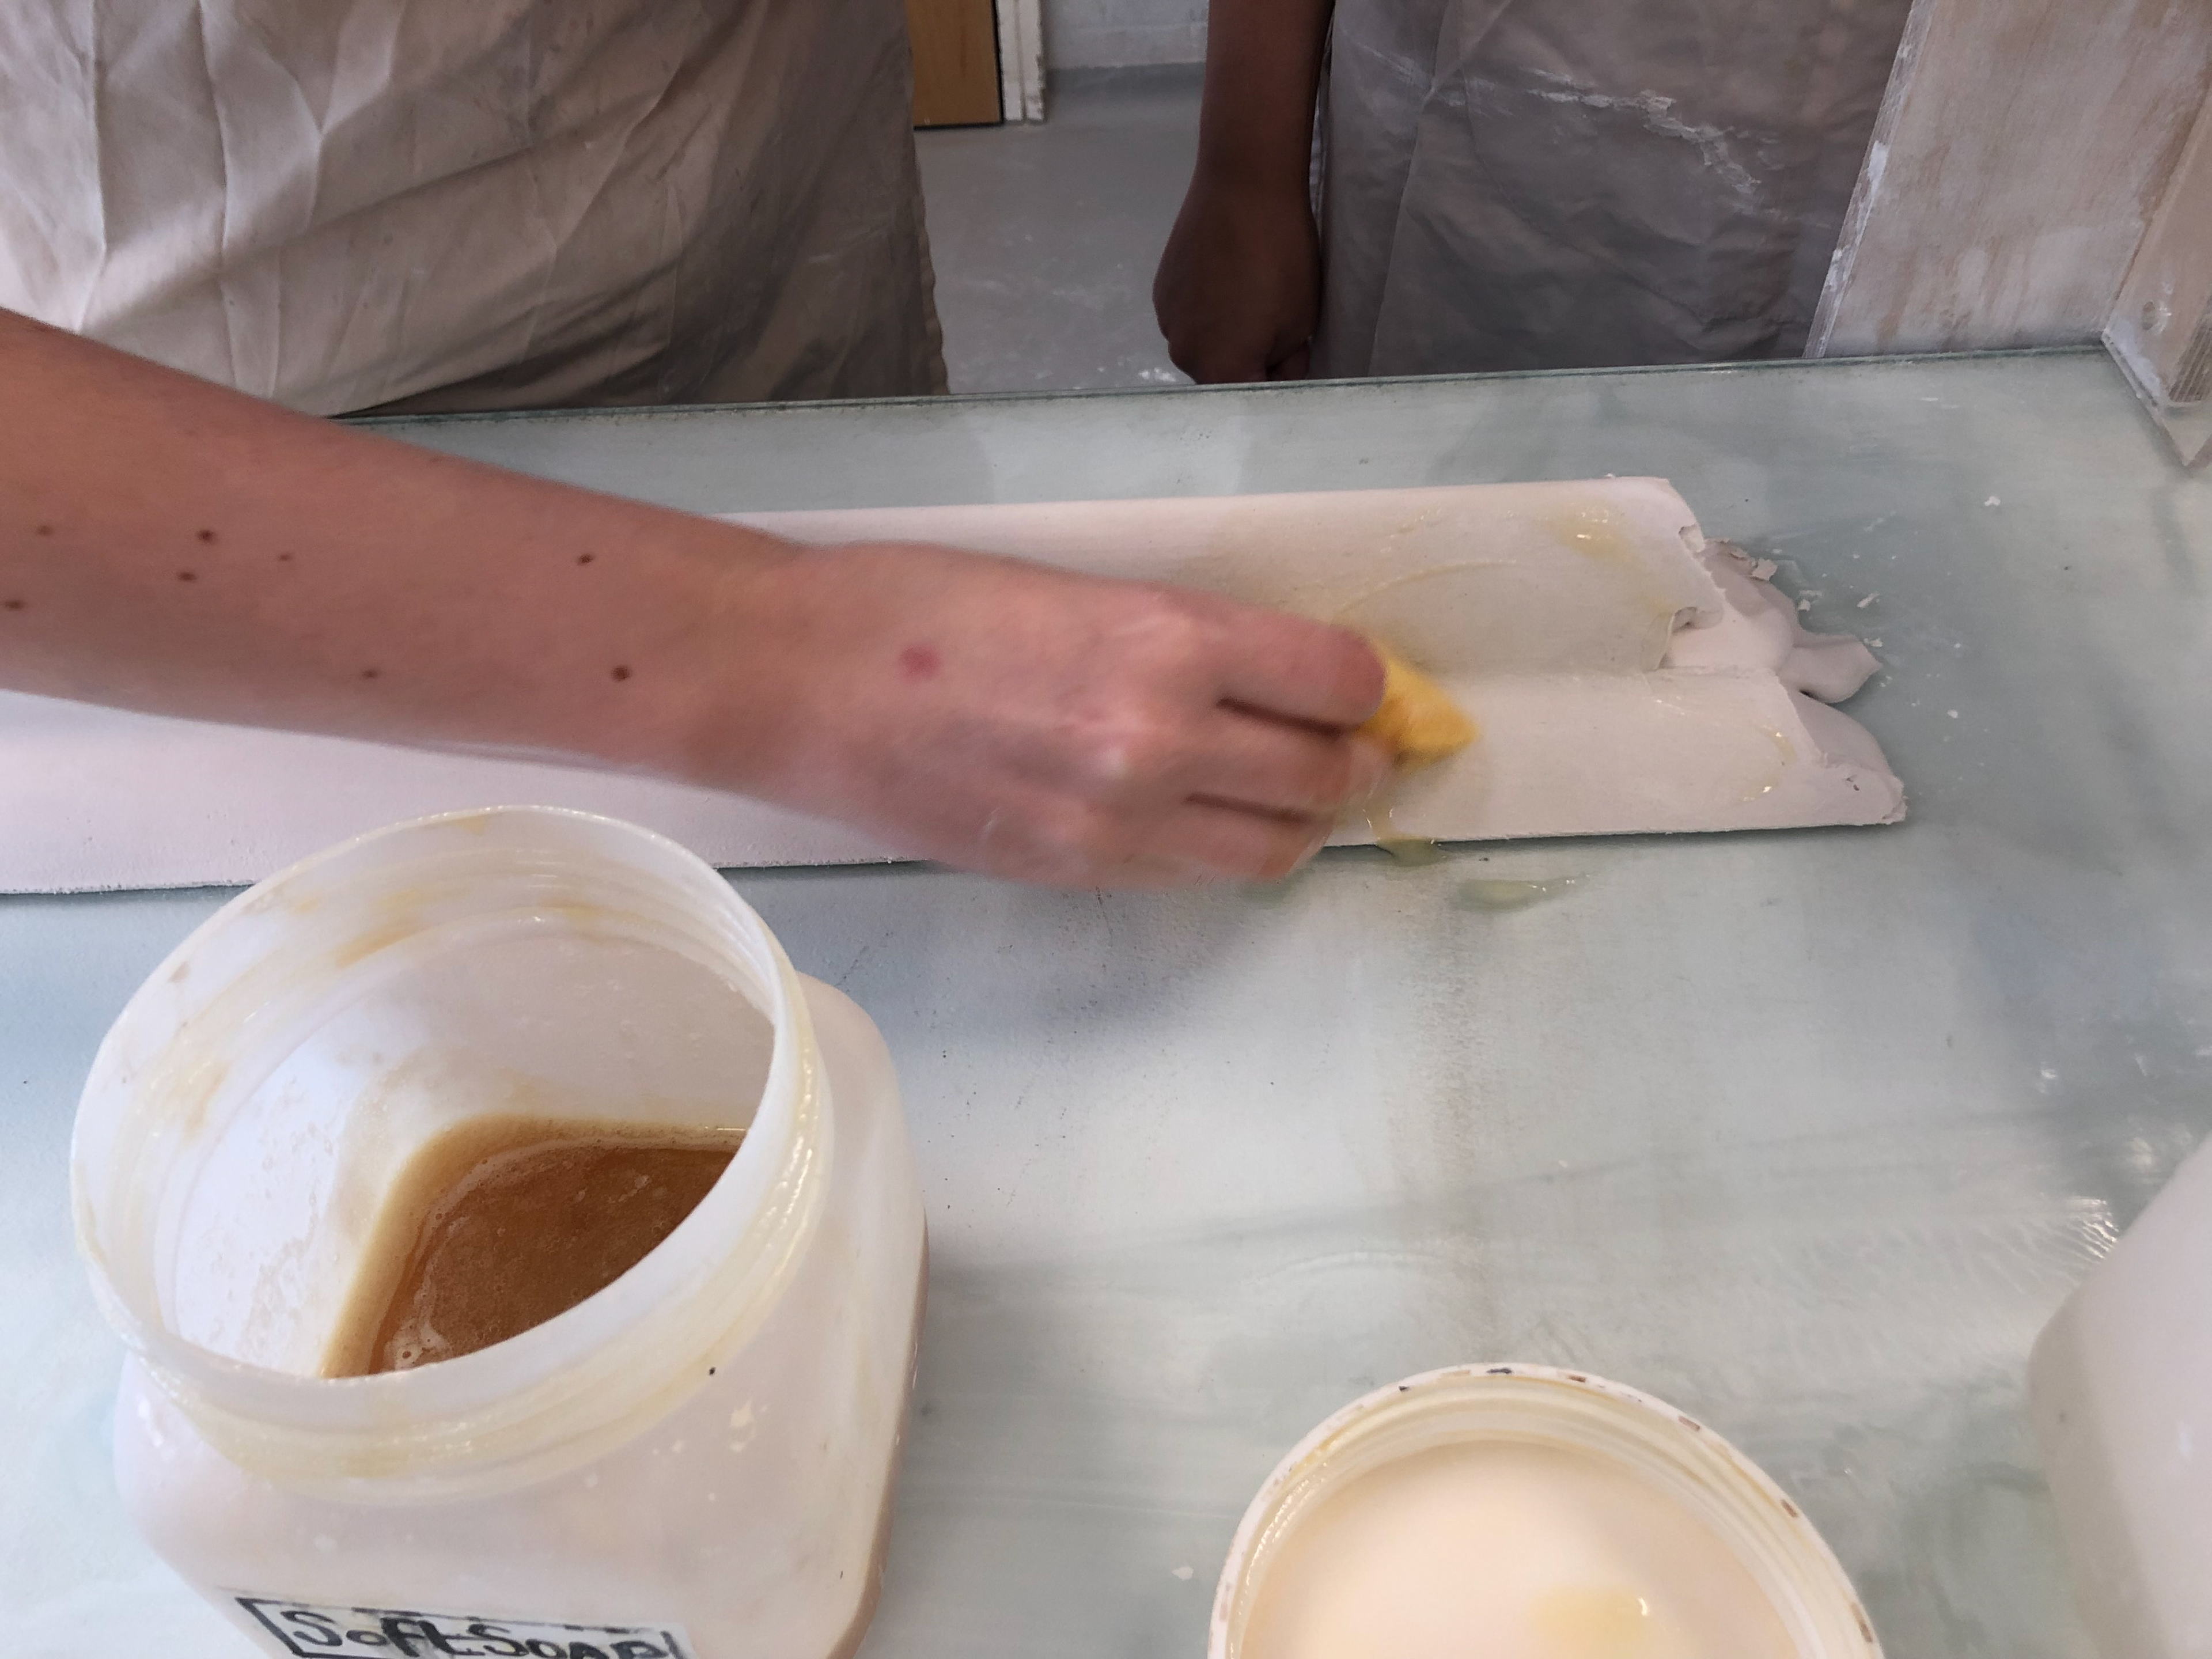
Wiping soft soap over the plaster and wiping with water (repeated 4 times) to prevent the top section from joining
First pour of the outer section
Final pour of the outer section
Final form of the outer section
Using a saw and water to get a clean cut through both pieces

Slide and lift to separate the two sections
The outer and inner layer