Plaster Lathe Preparation
Creating a plaster block for the lathe and setting up the lathe.

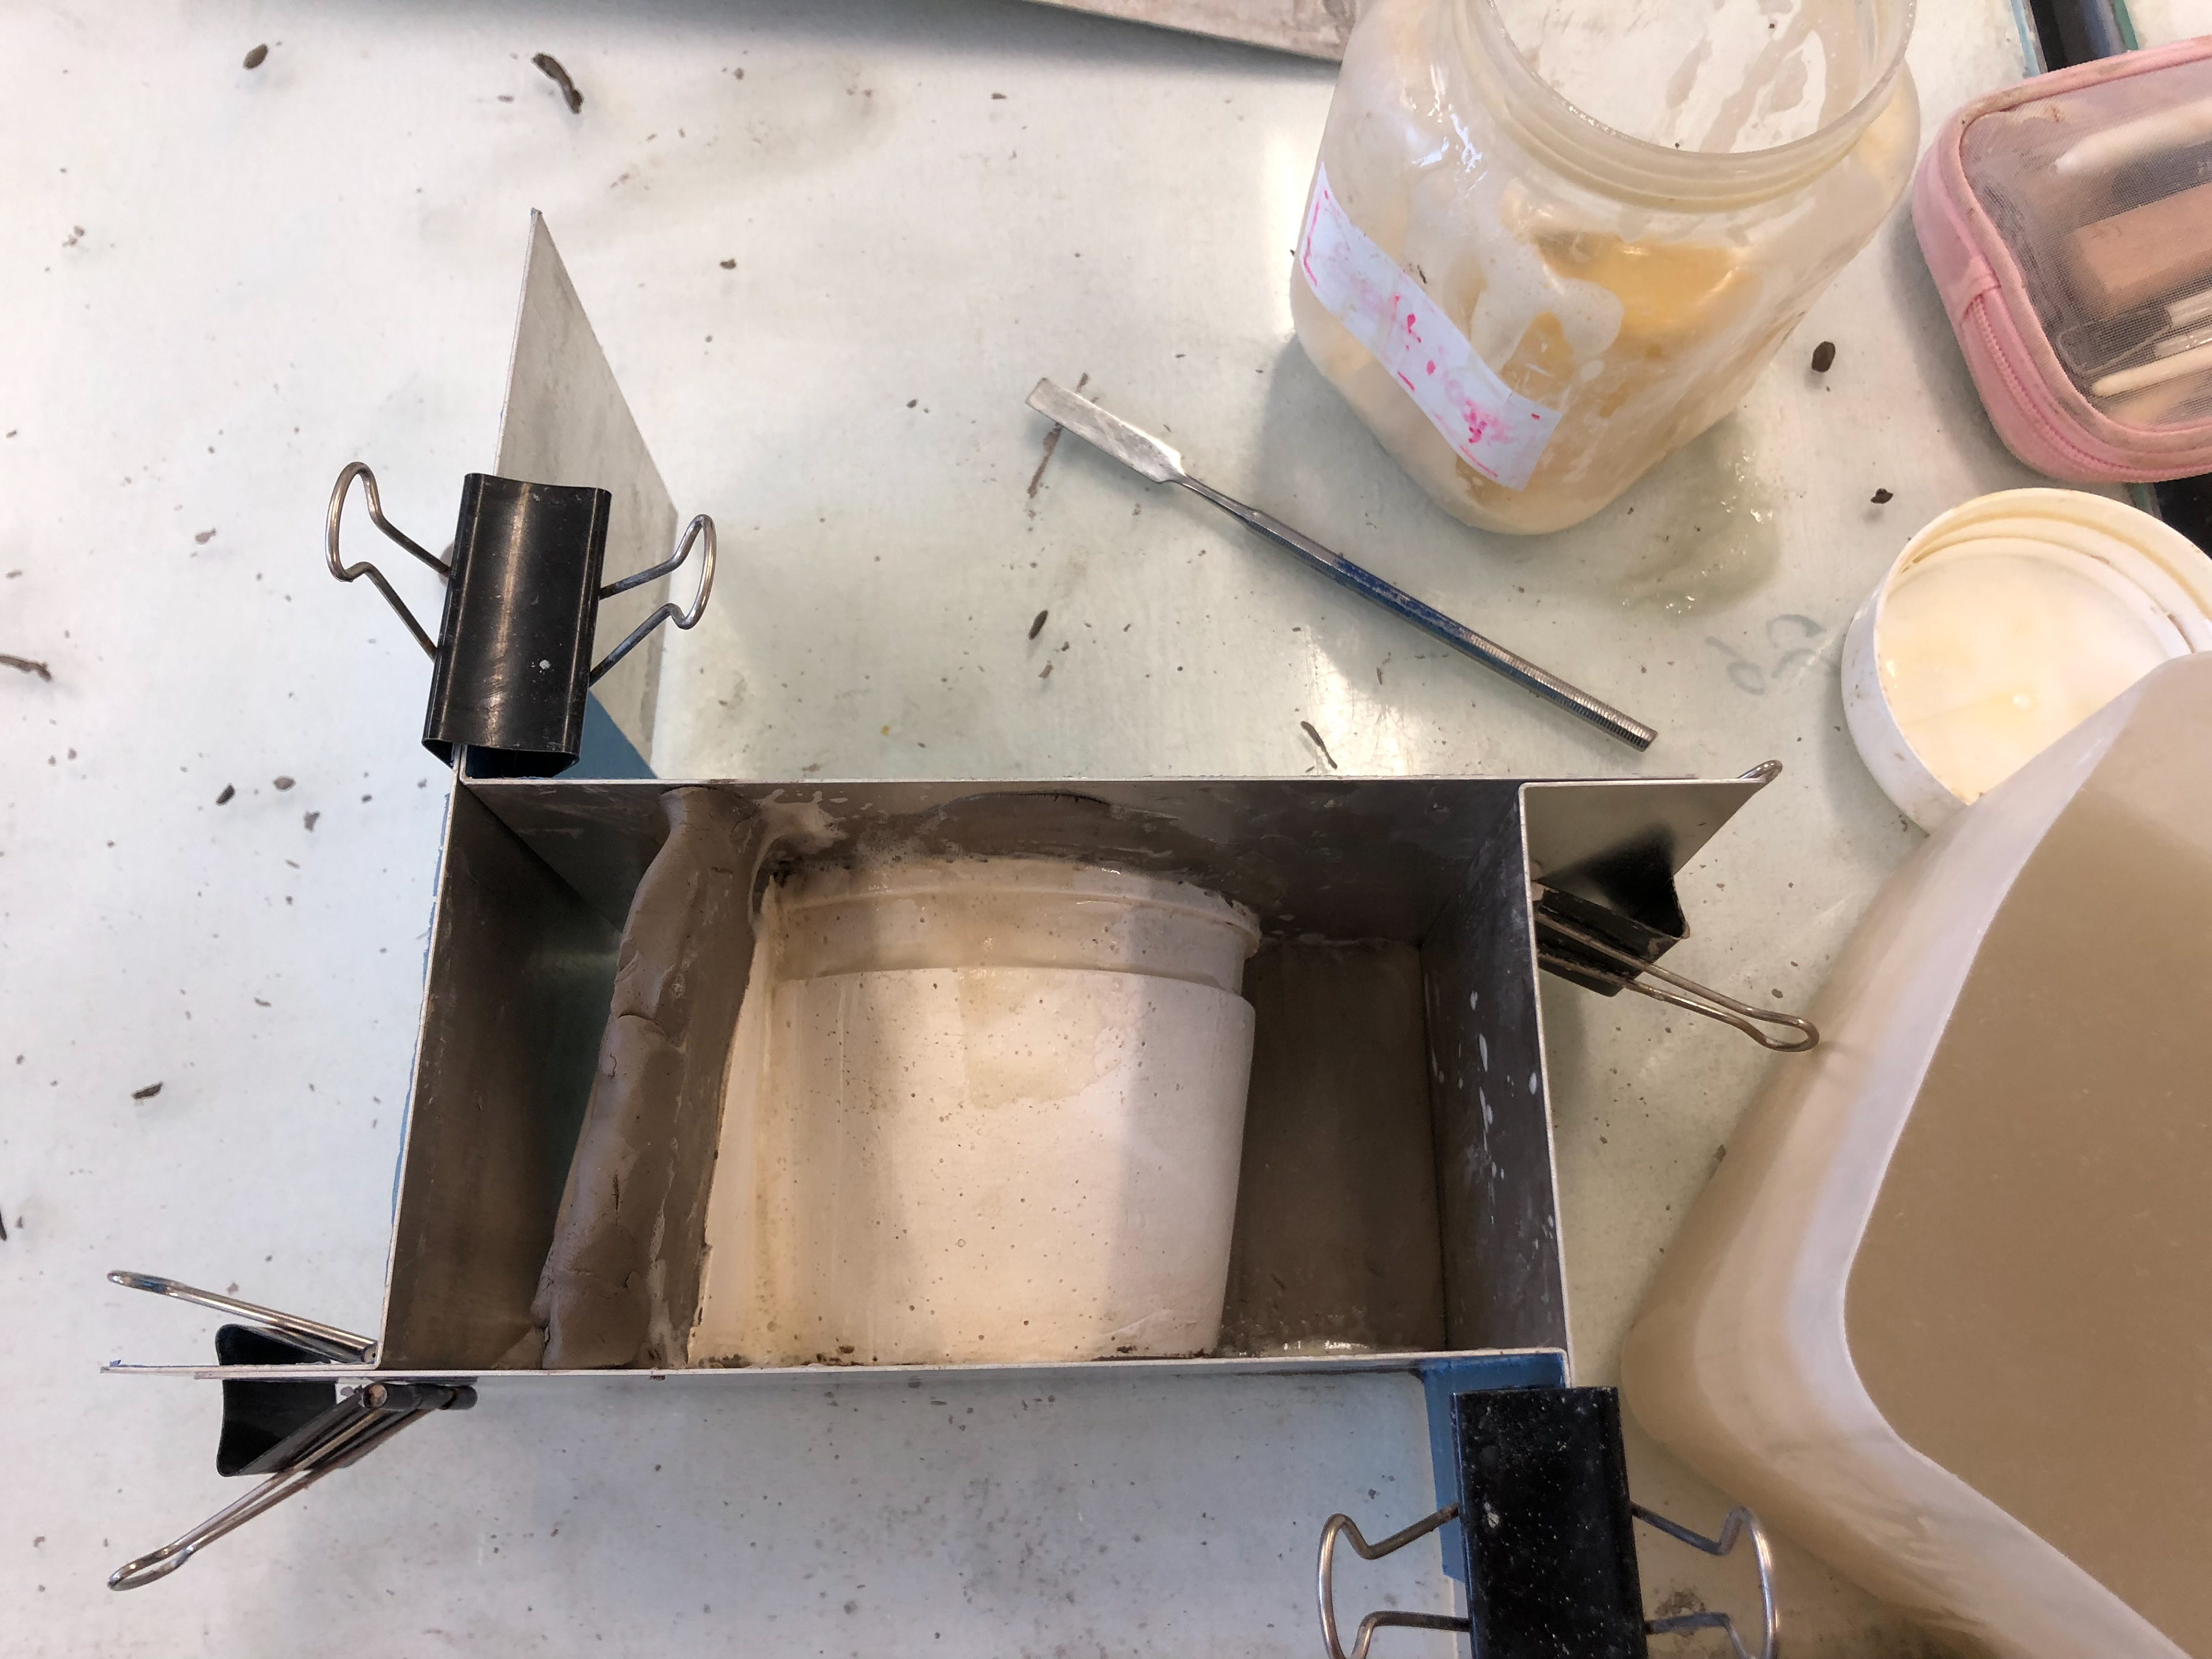
Place the mendrel in the bulk plaster. Ensure the mandrel is clean and lightly oiled.
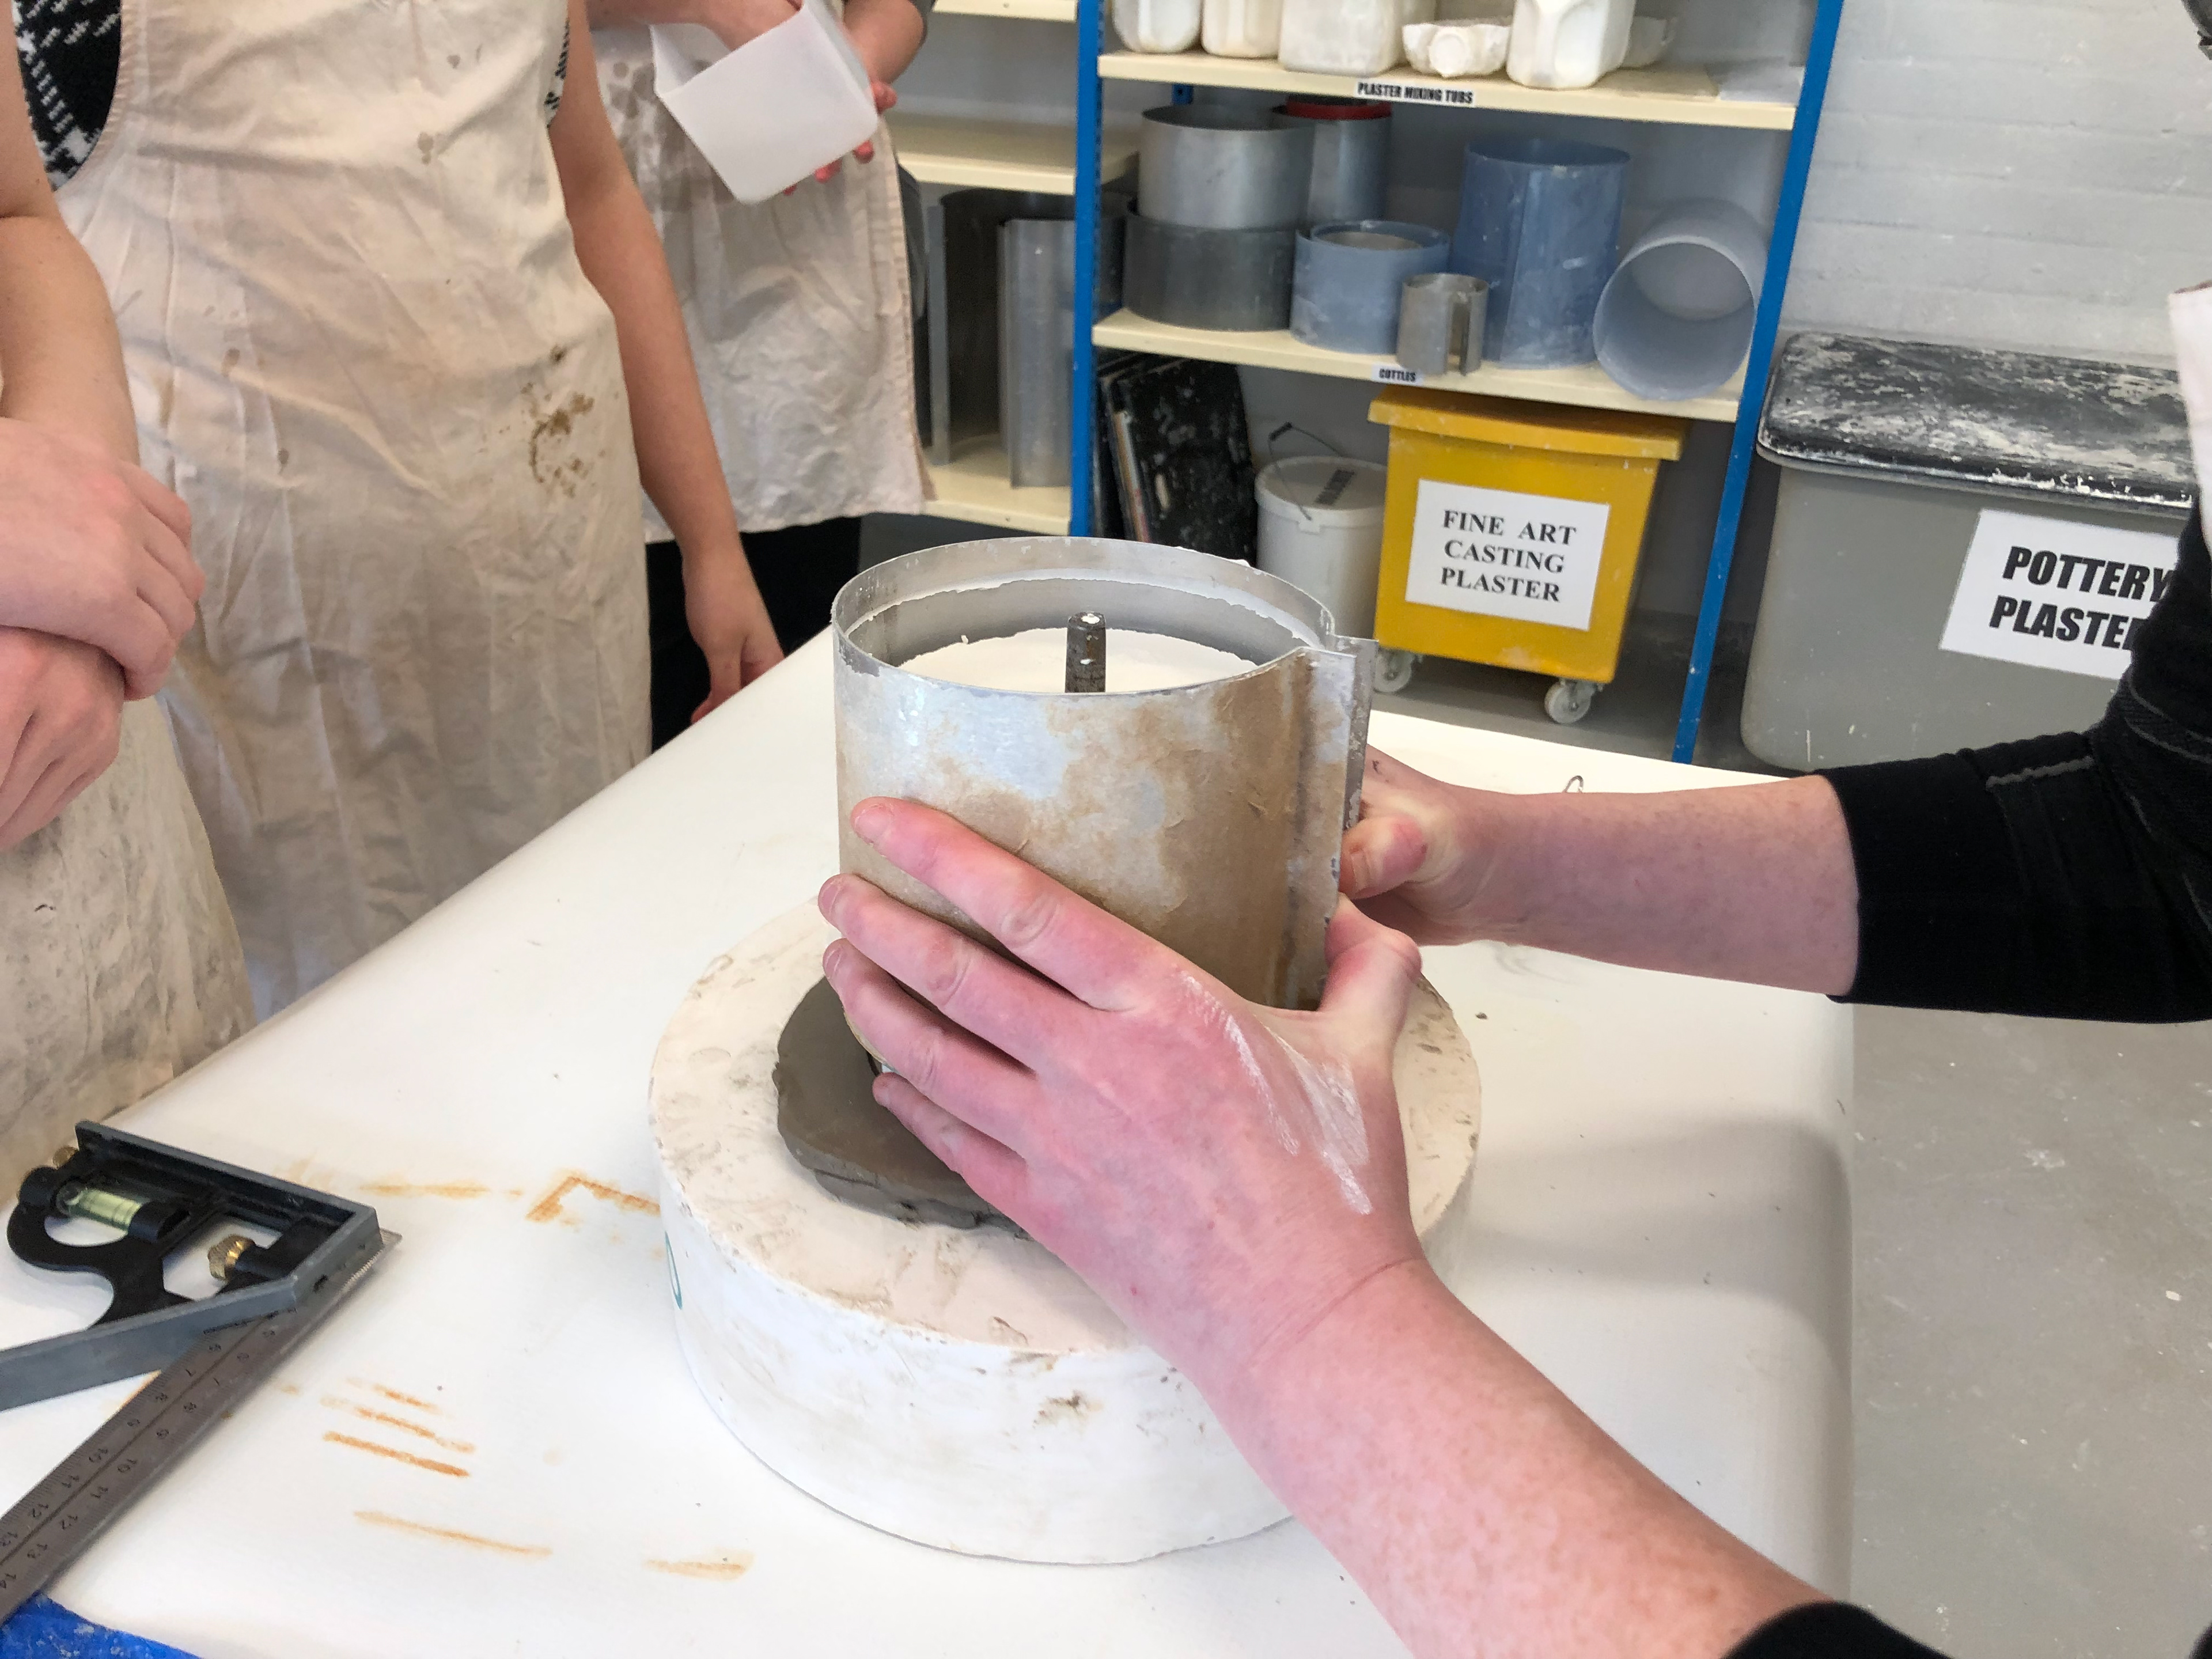
Cottle it up so the clay covers the mandrel head and make sure the mandrel is in the centre.
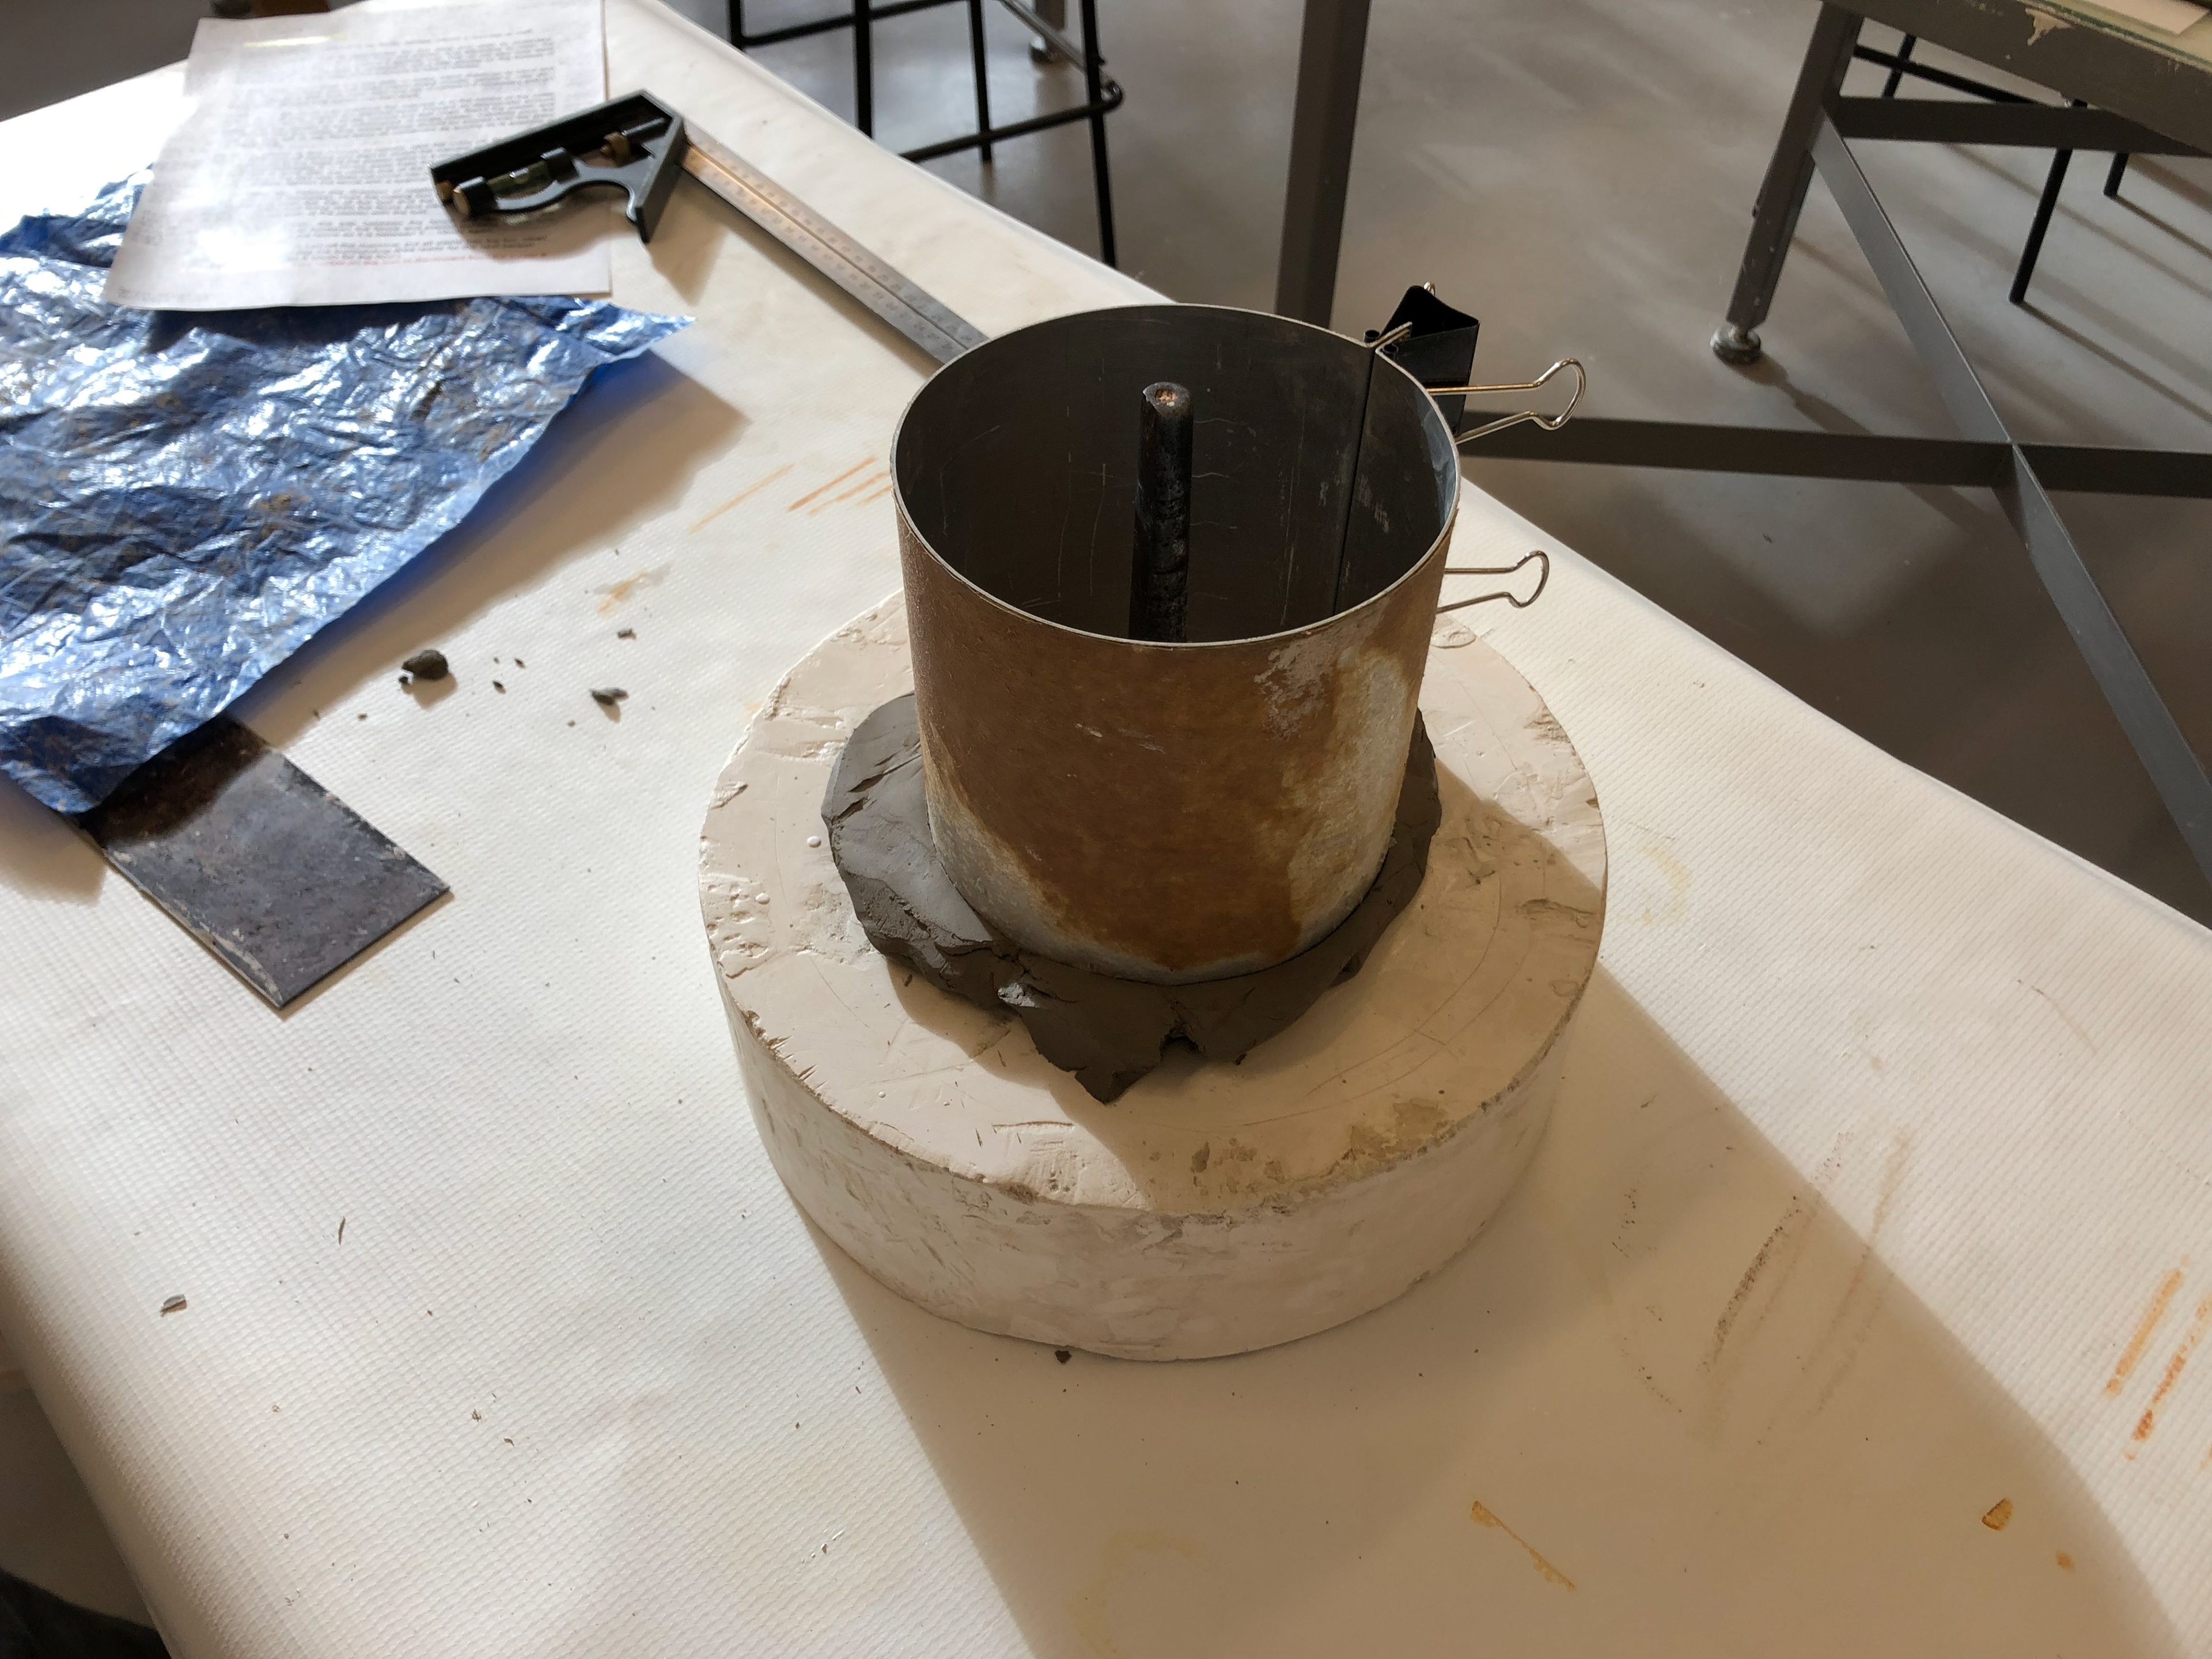
We used a circular metal cottle and make sure it digs into the clay.
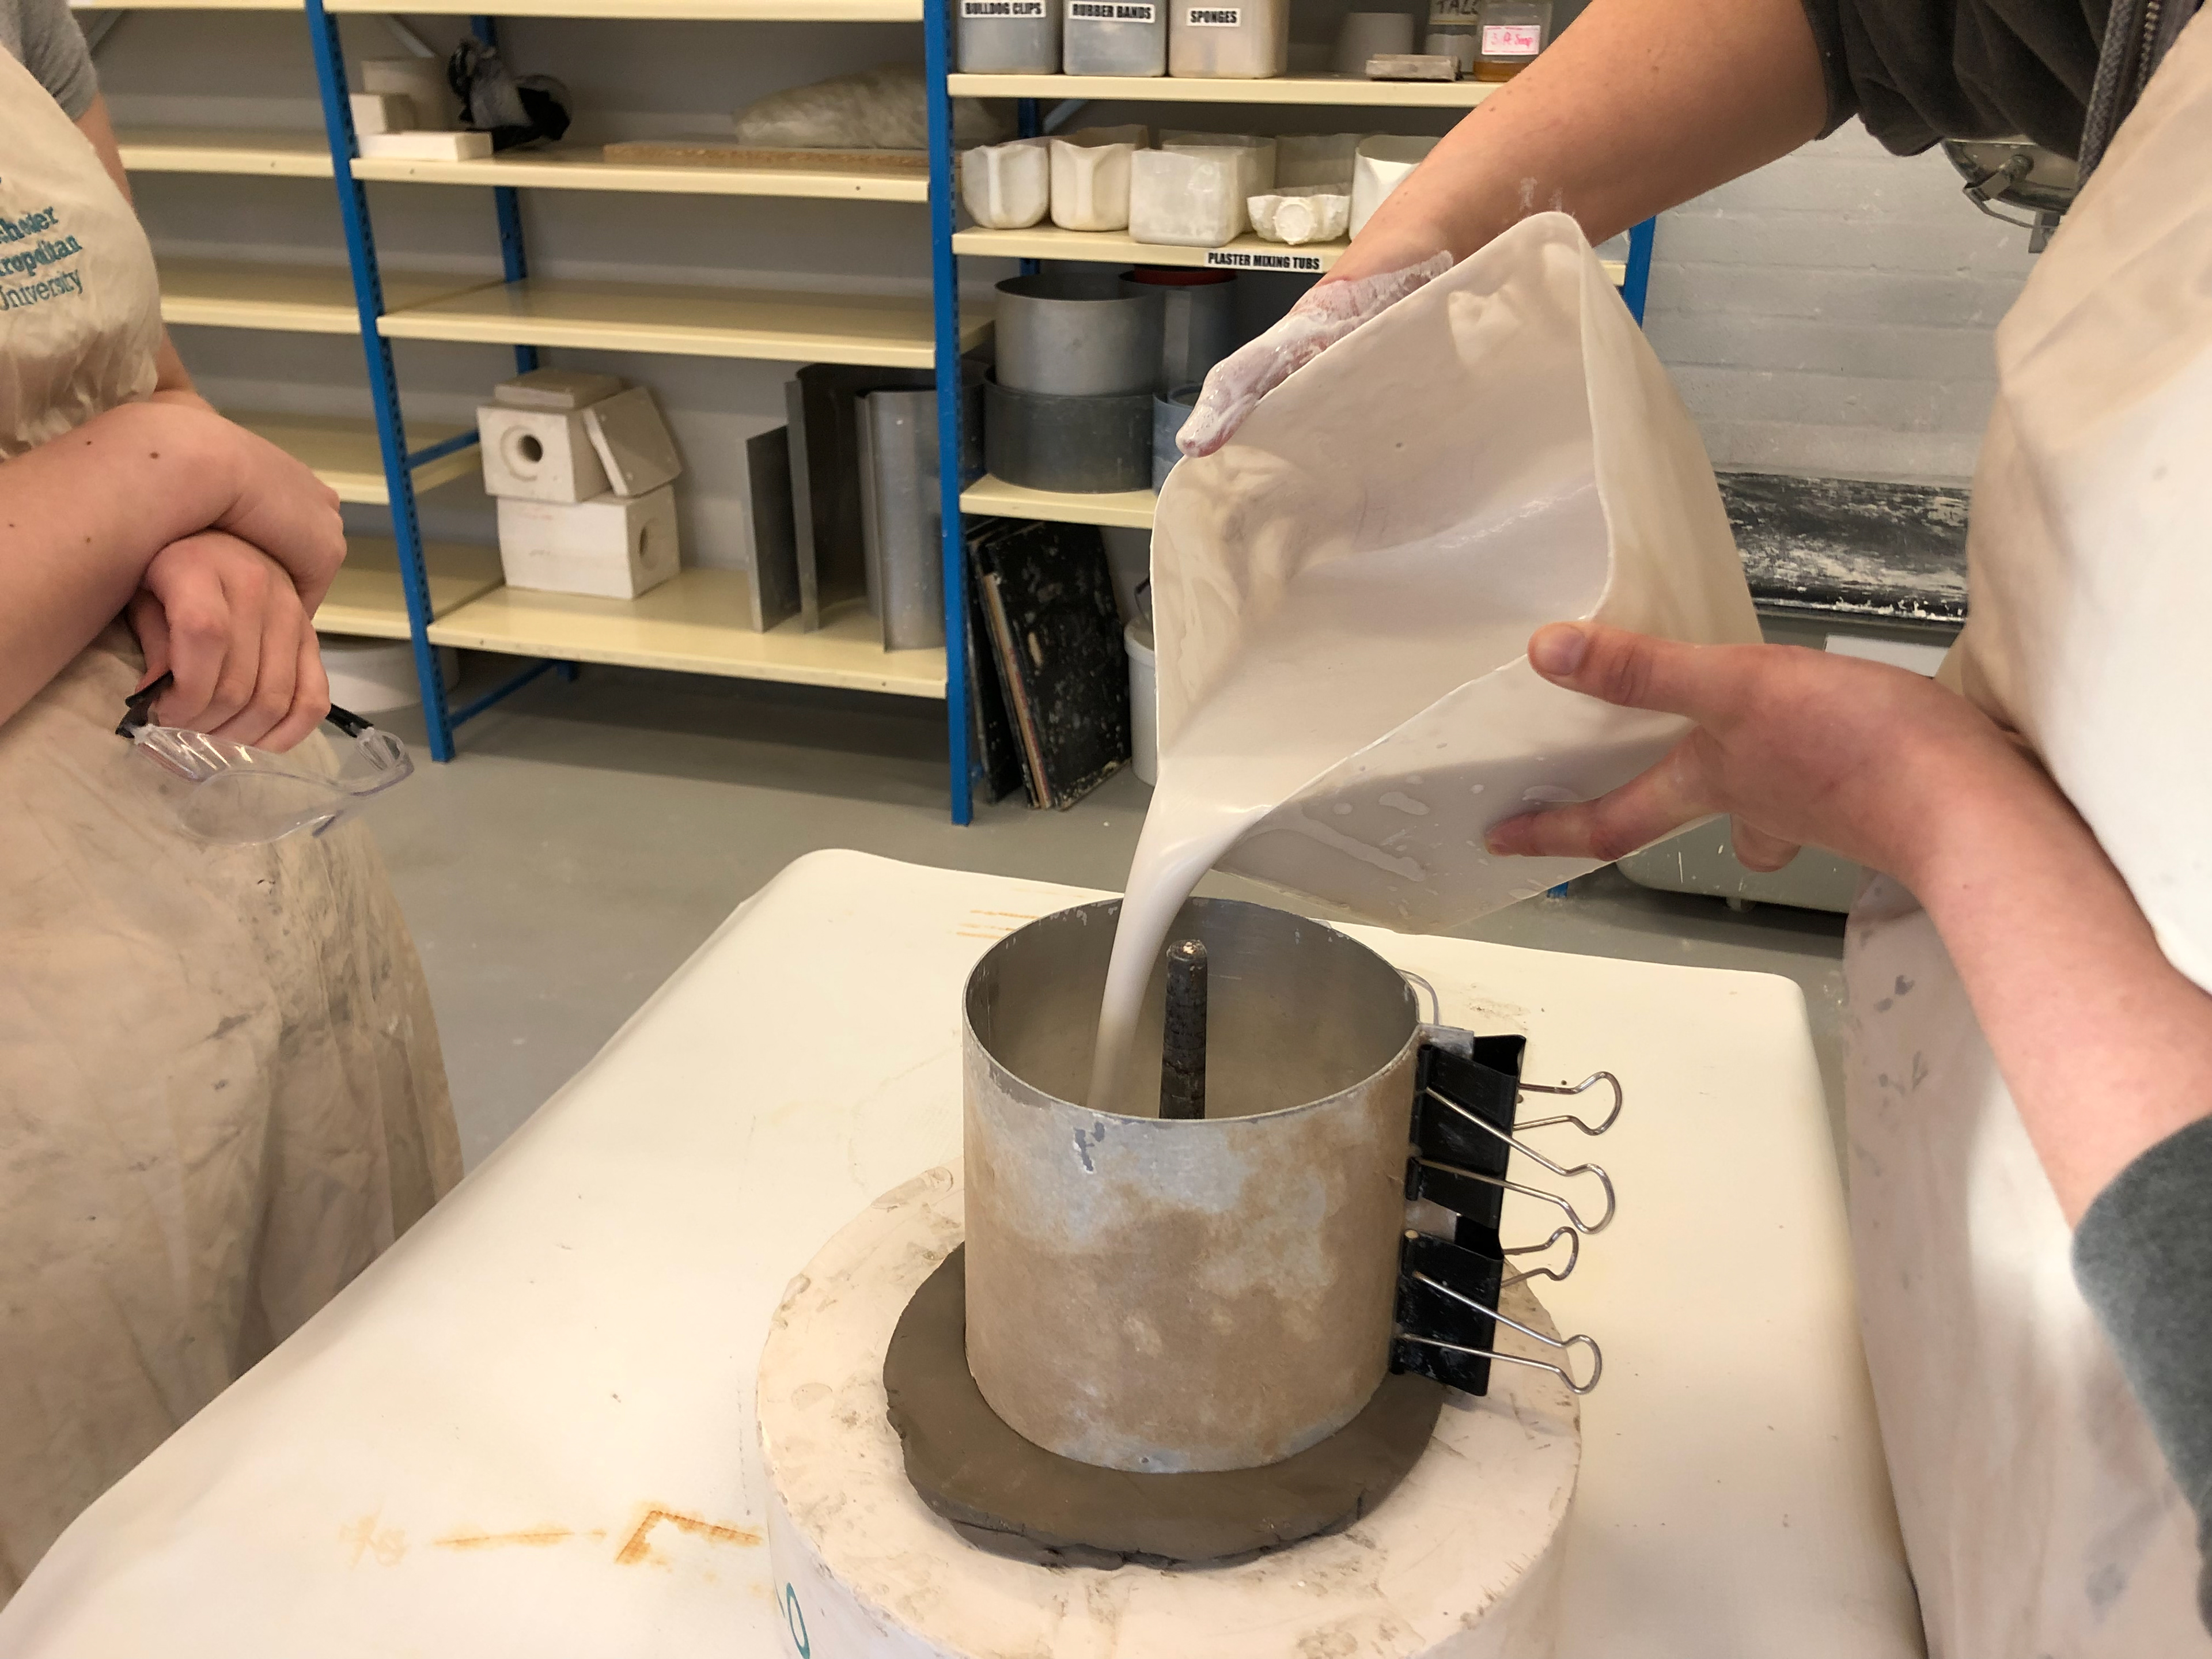
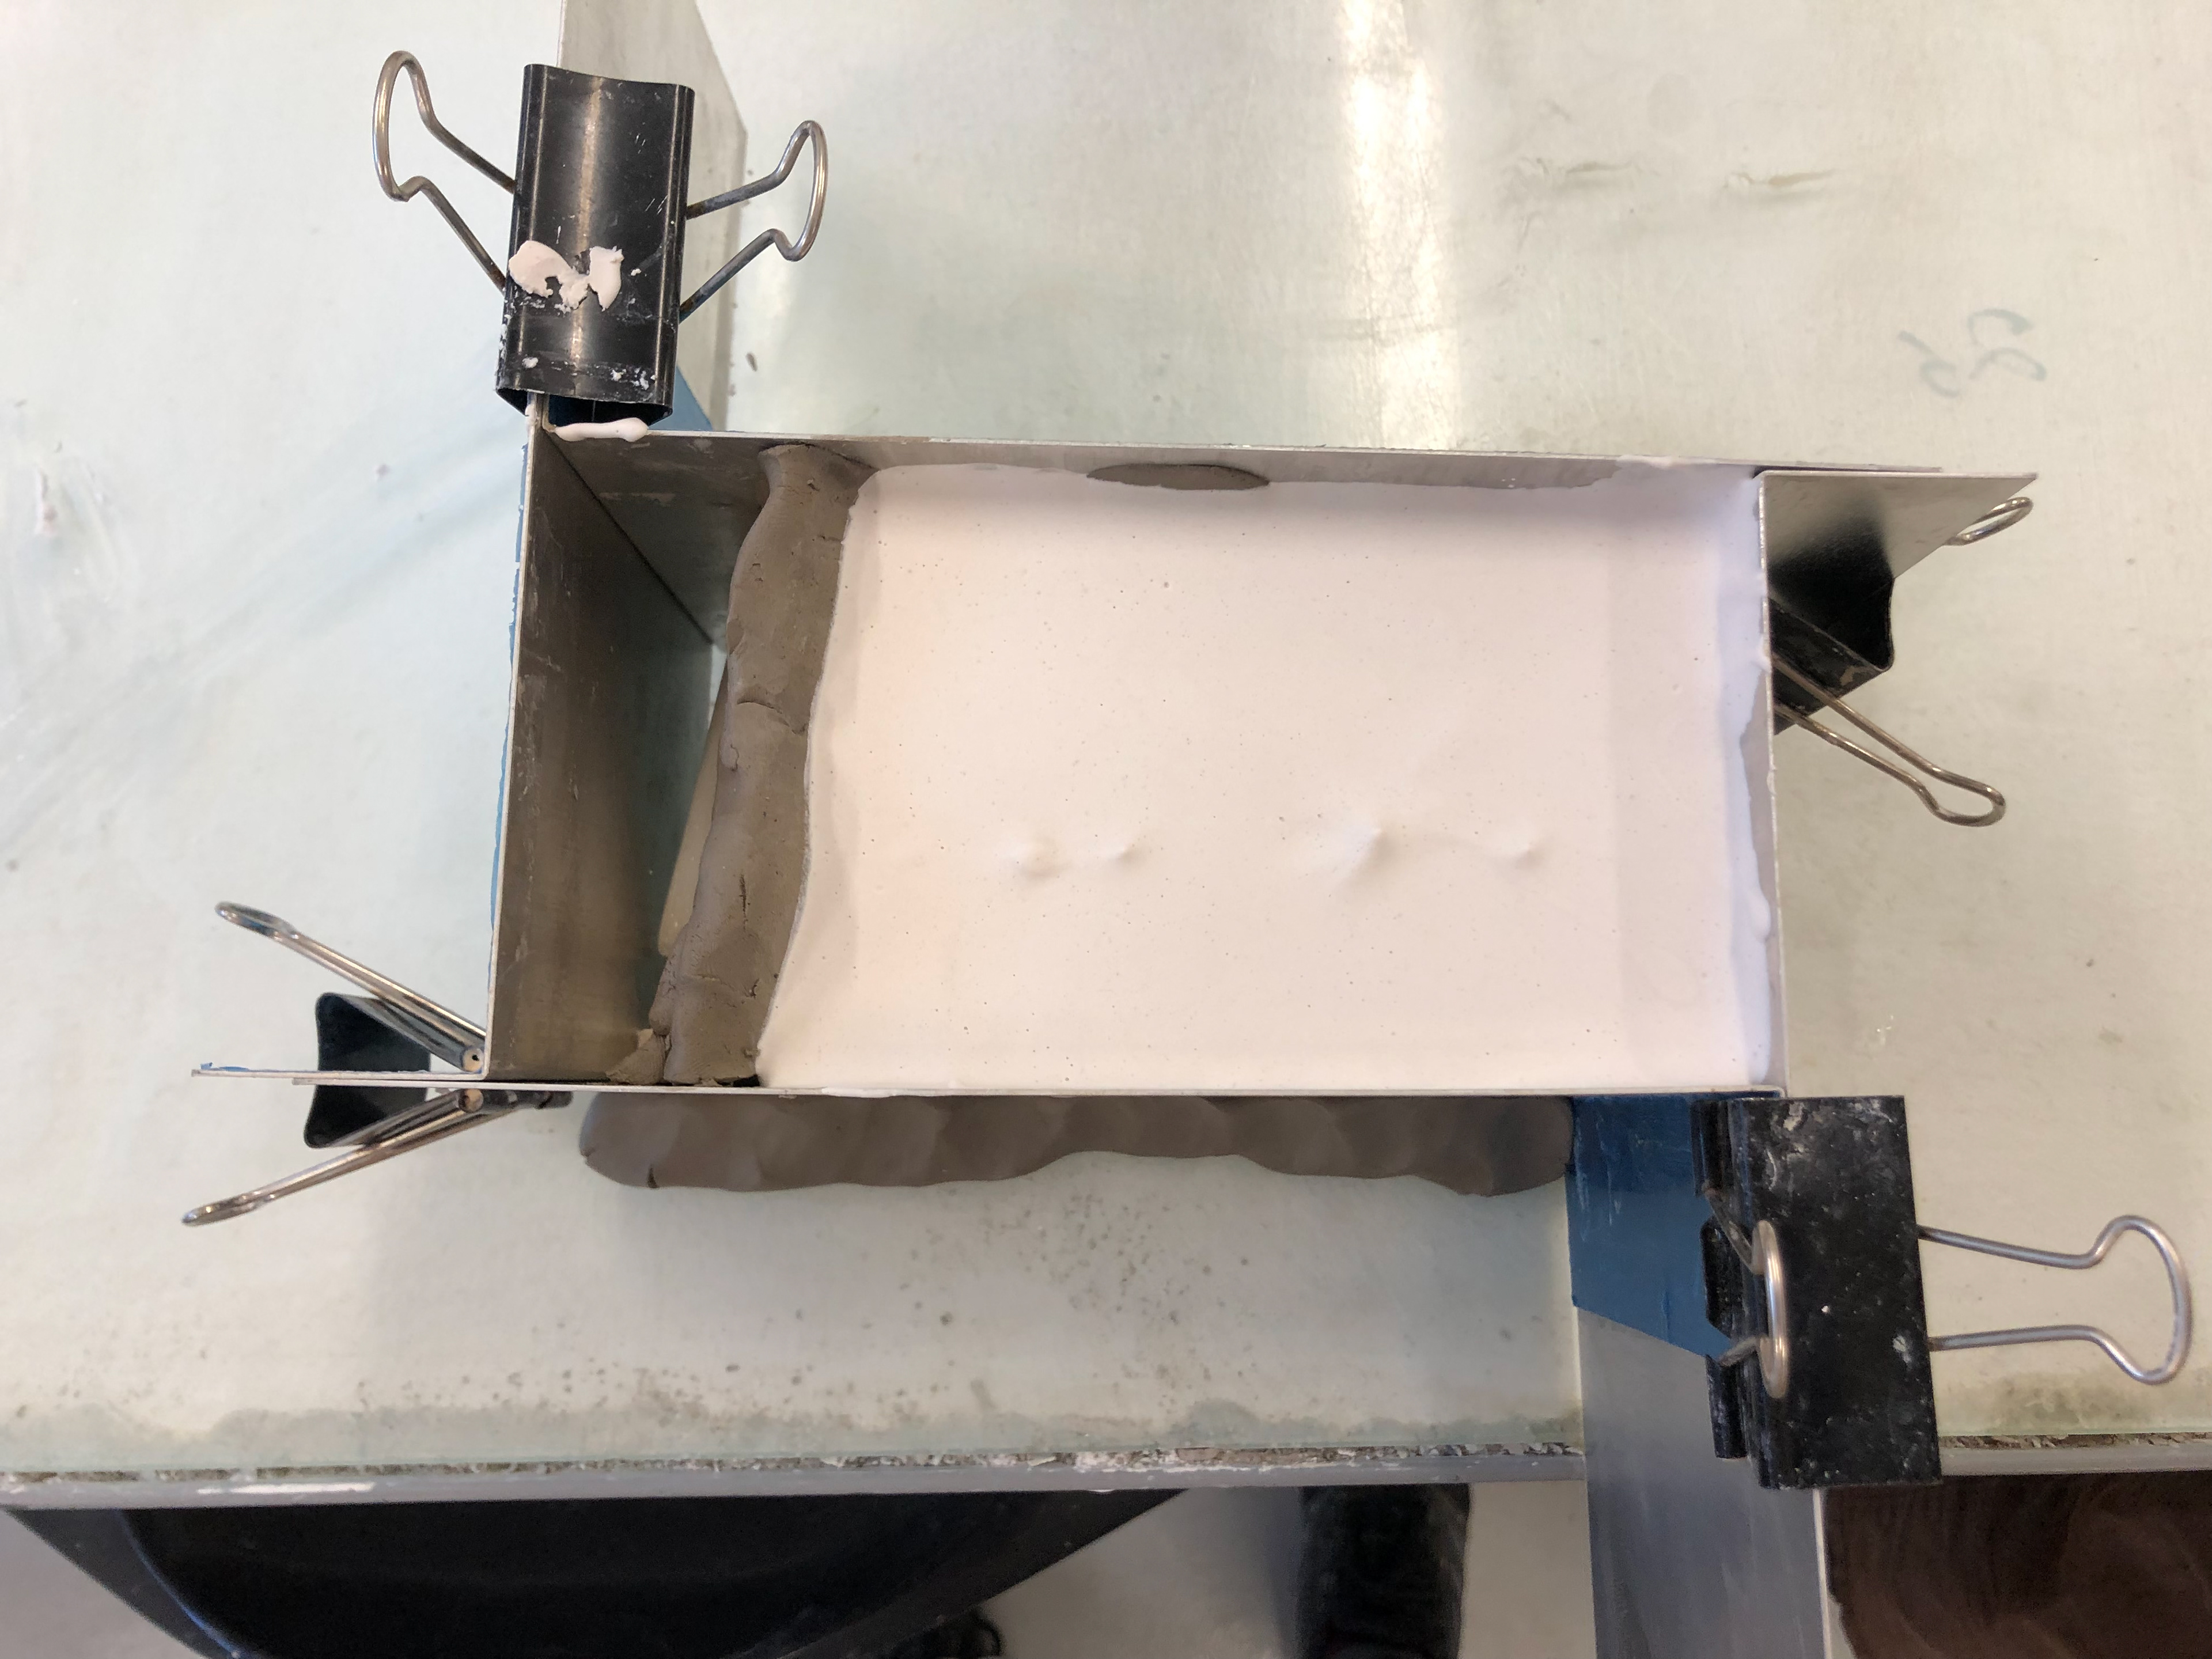
Pouring the plaster.
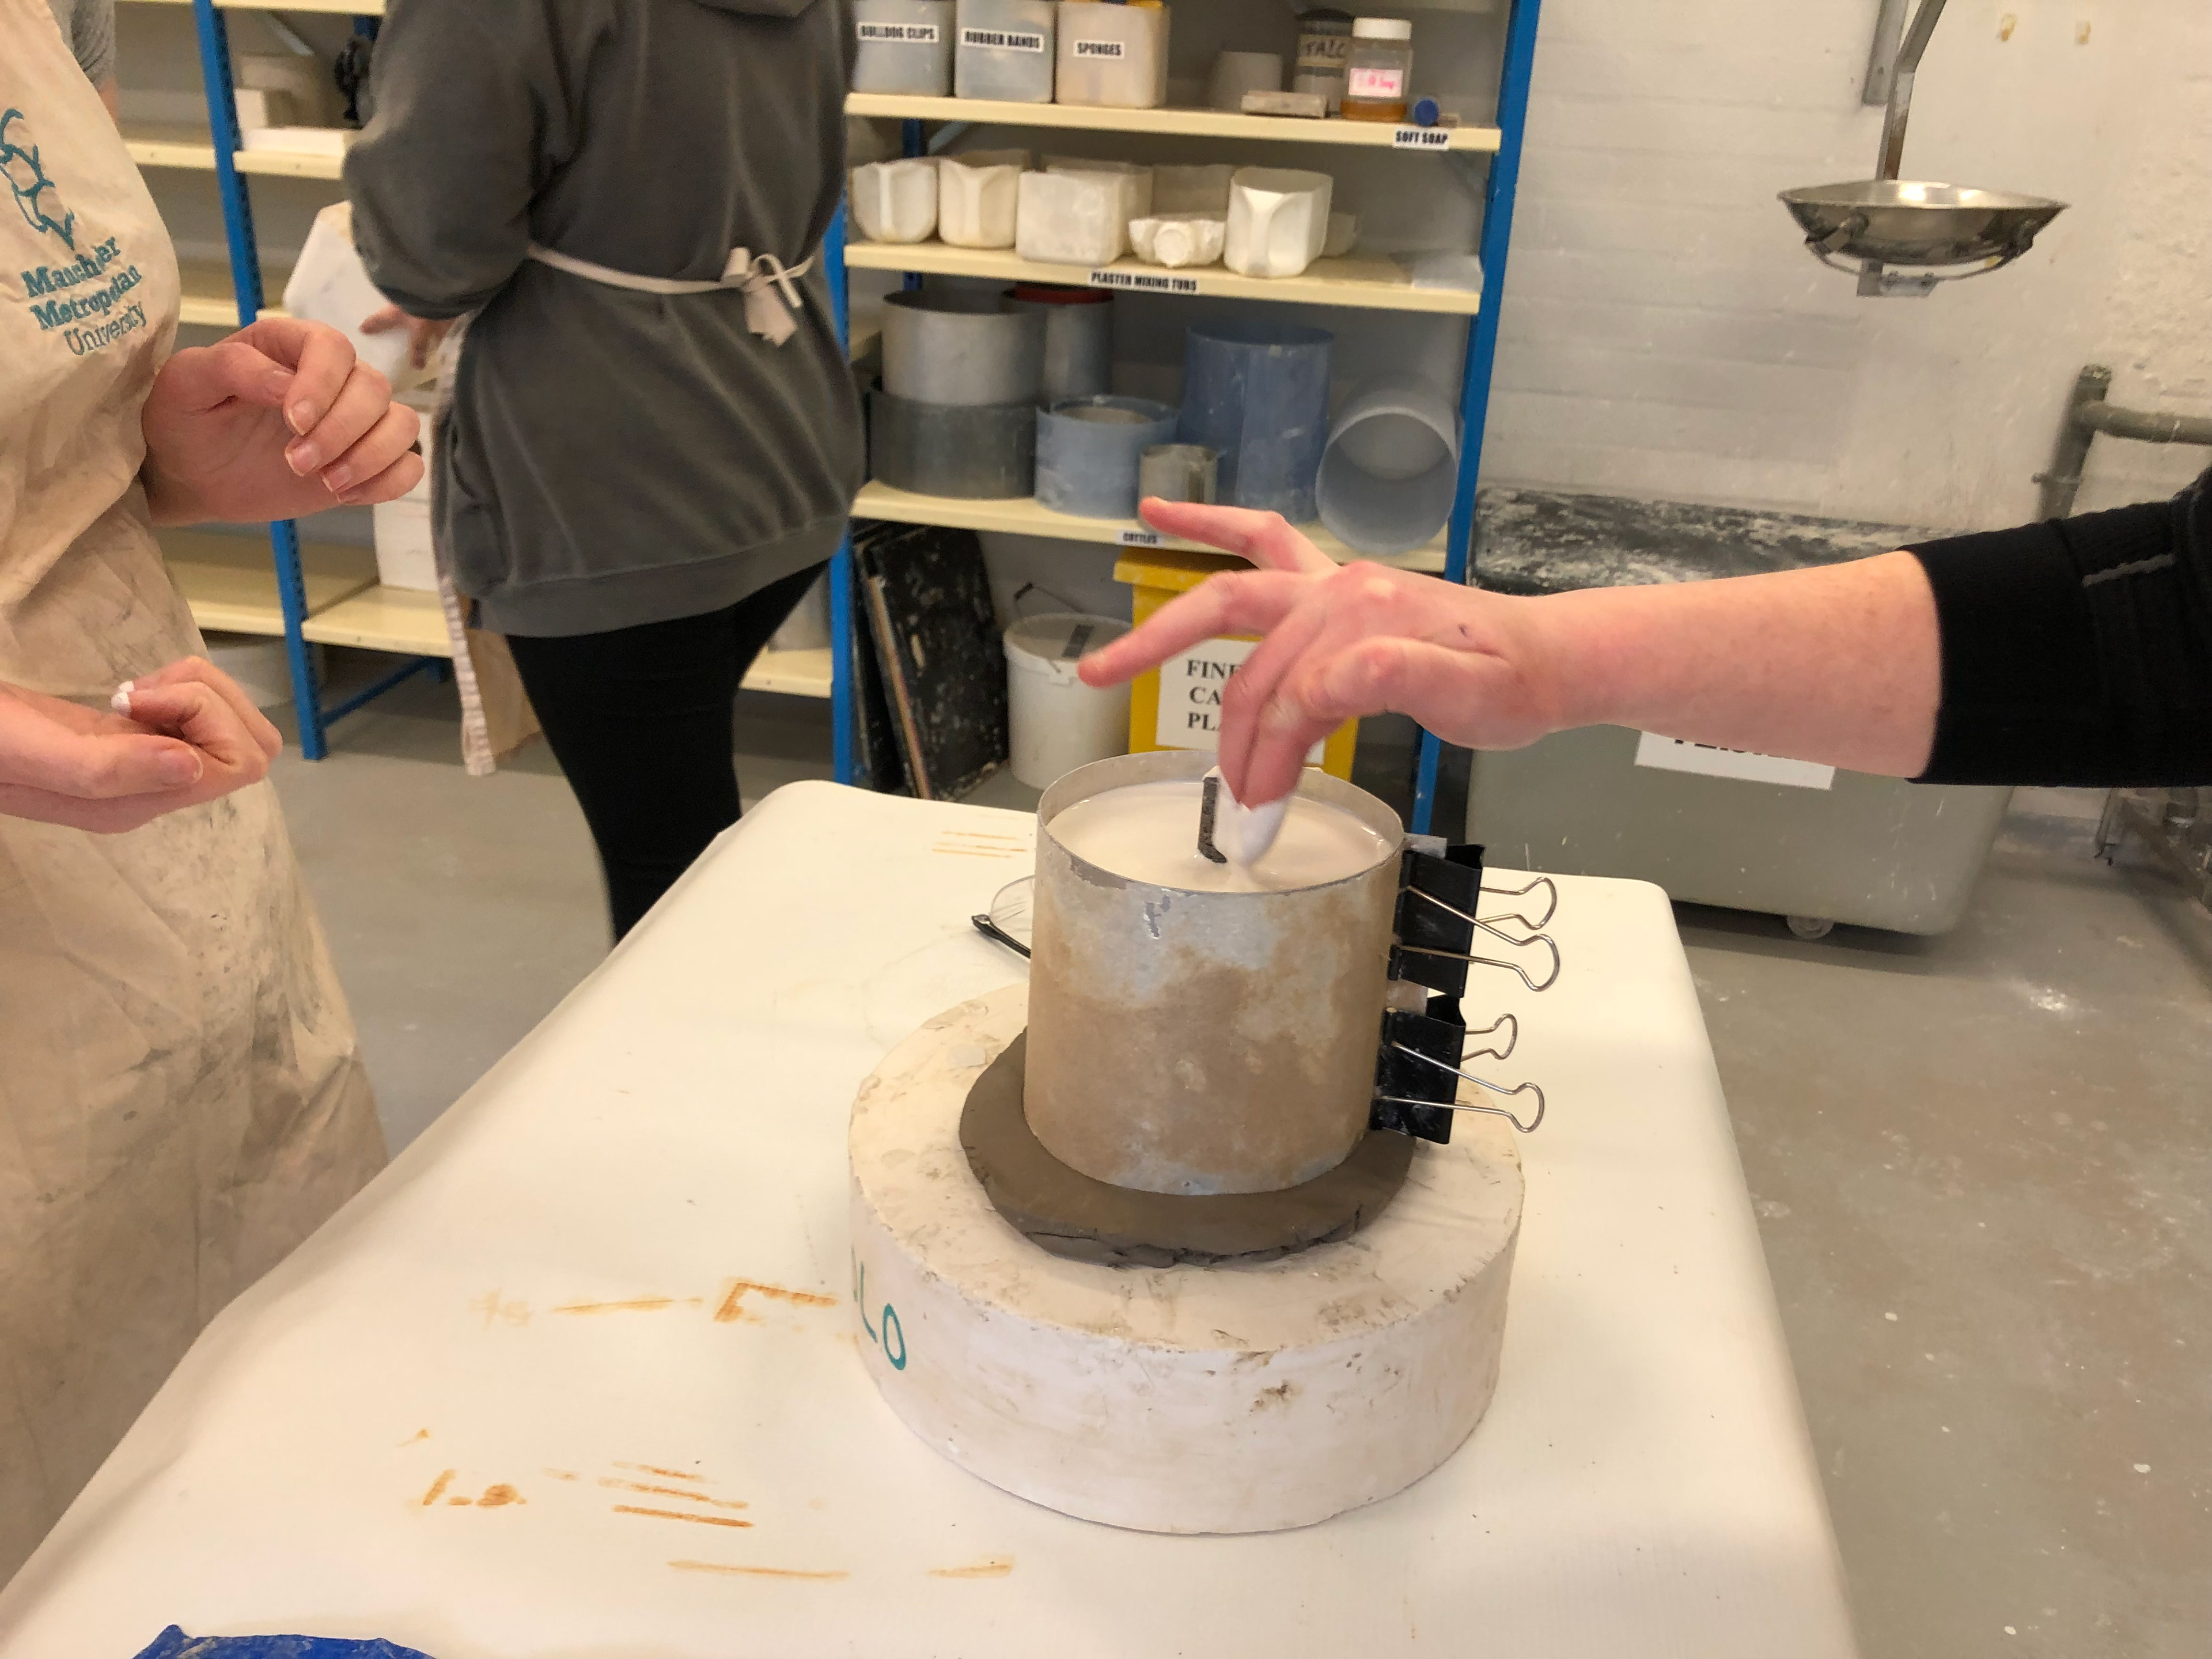
Tapping the plaster to remove any air bubbles.
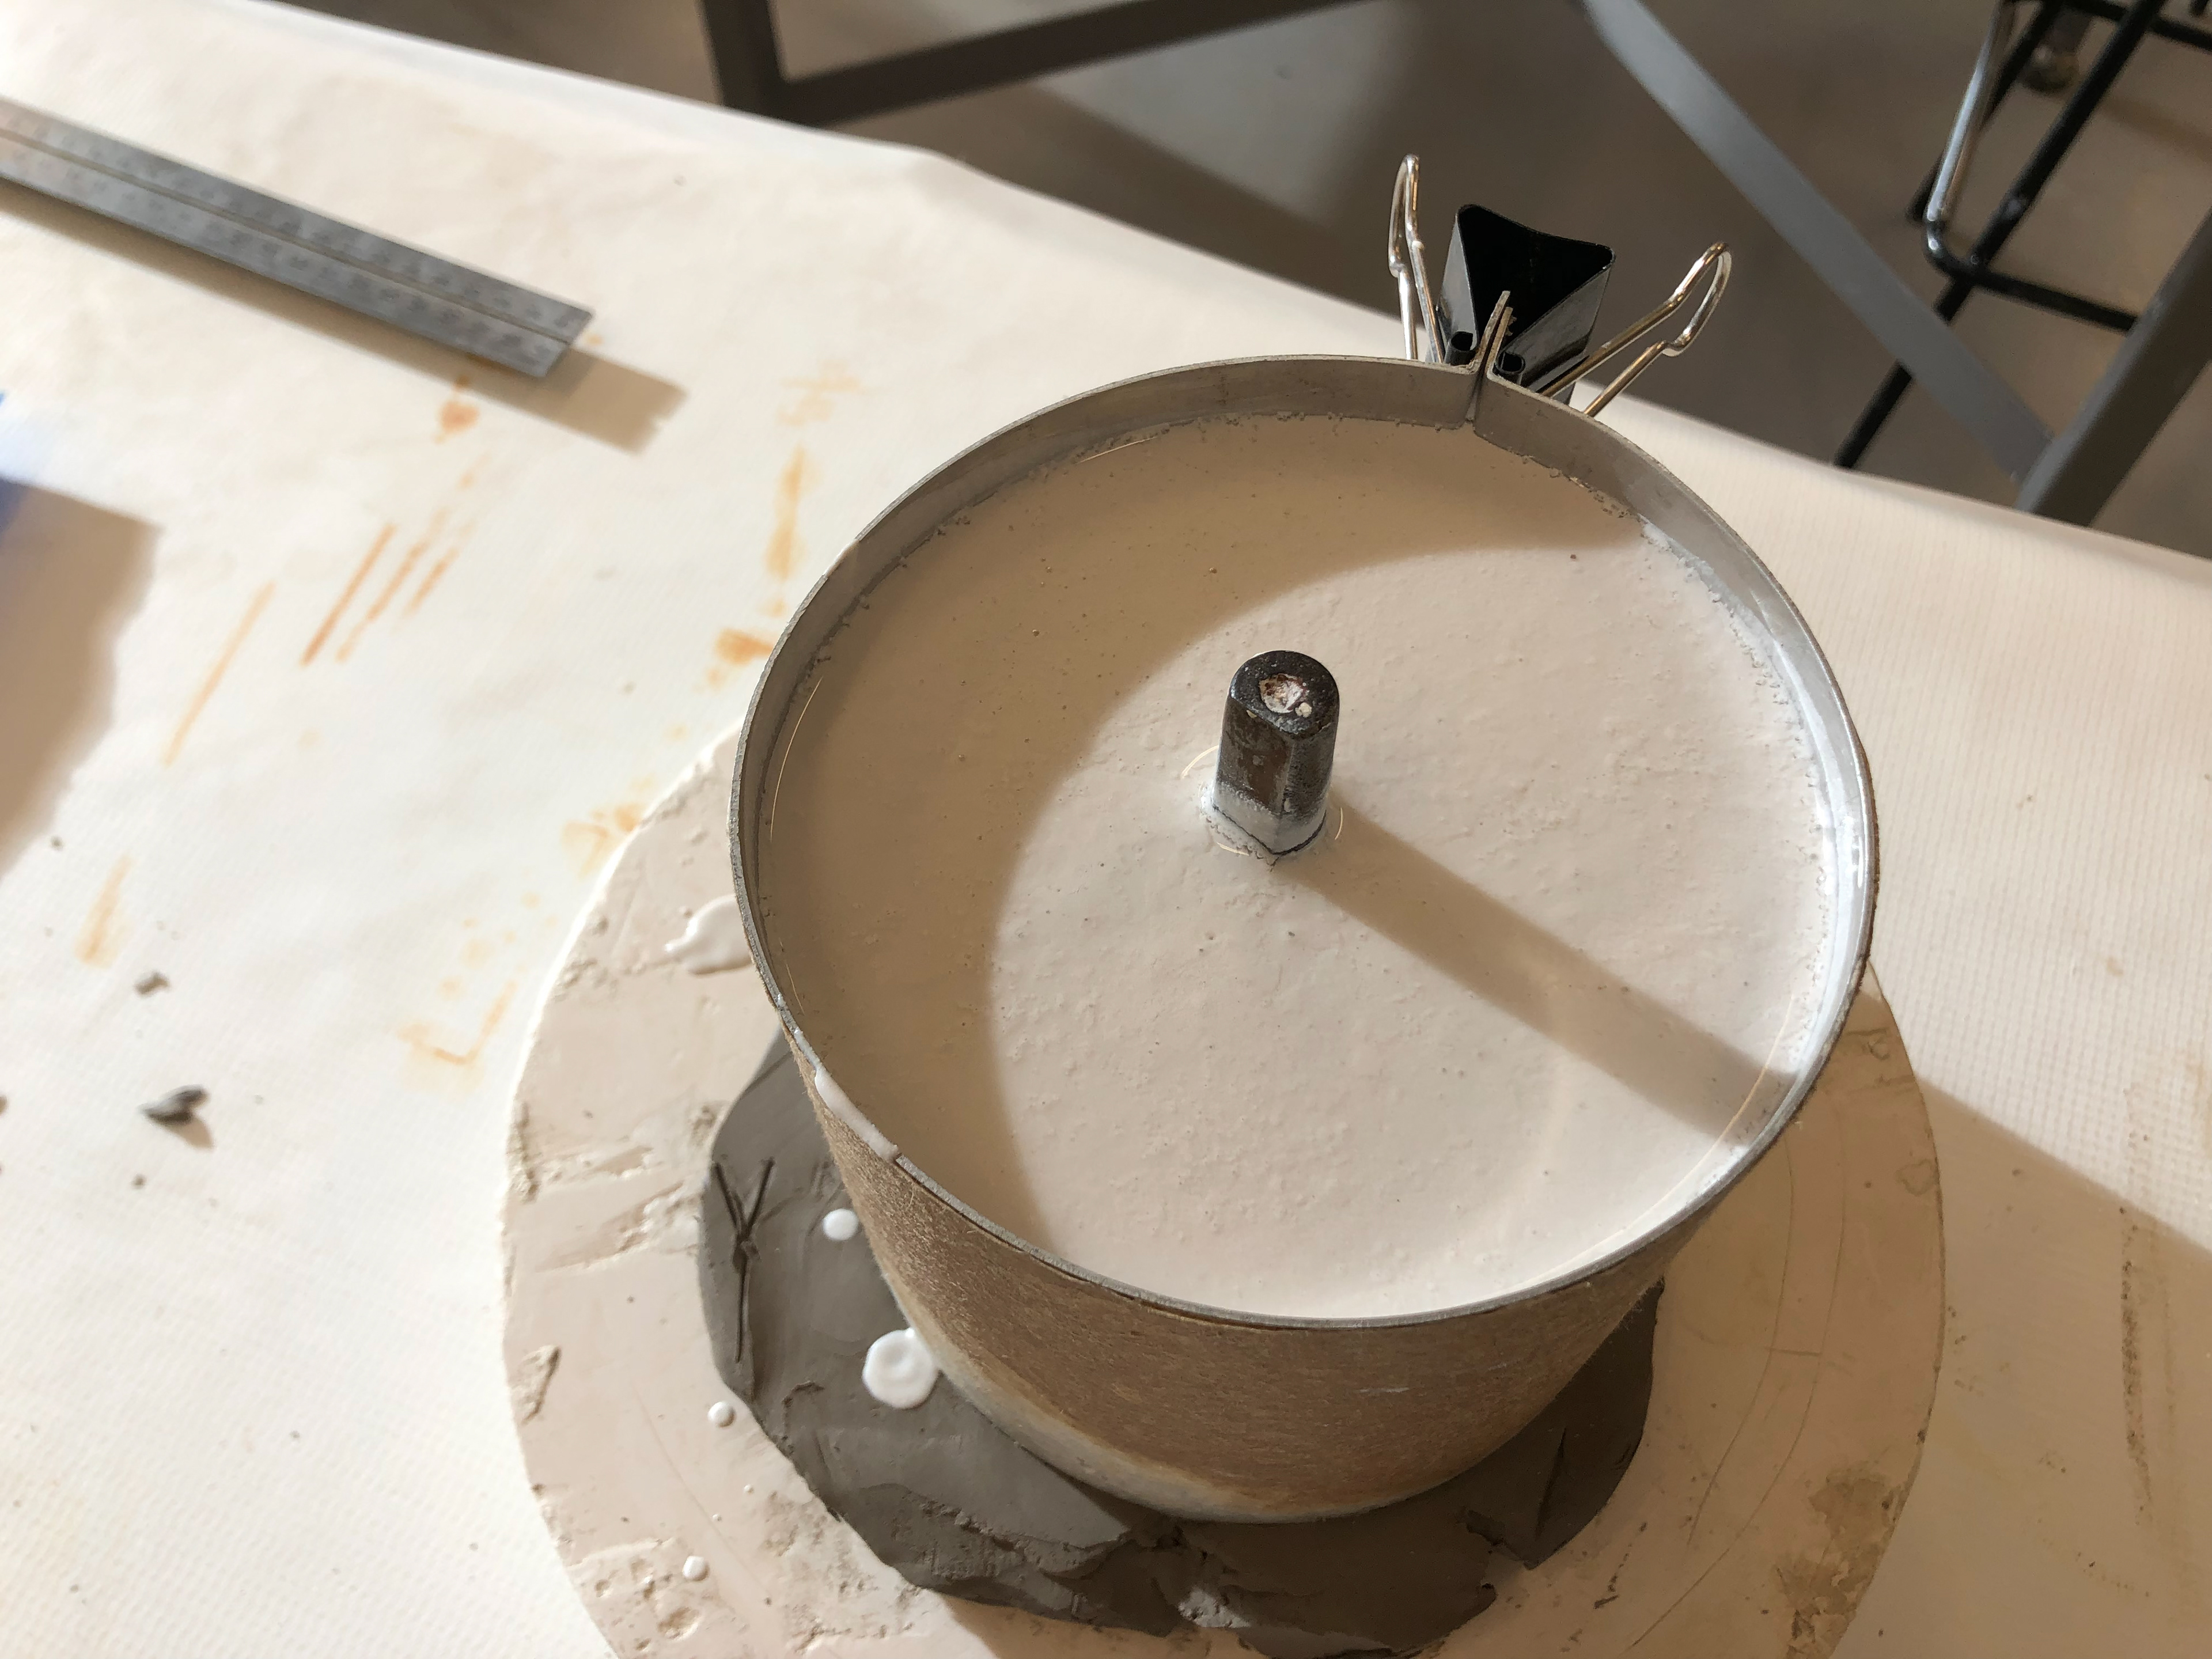
Poured plaster.
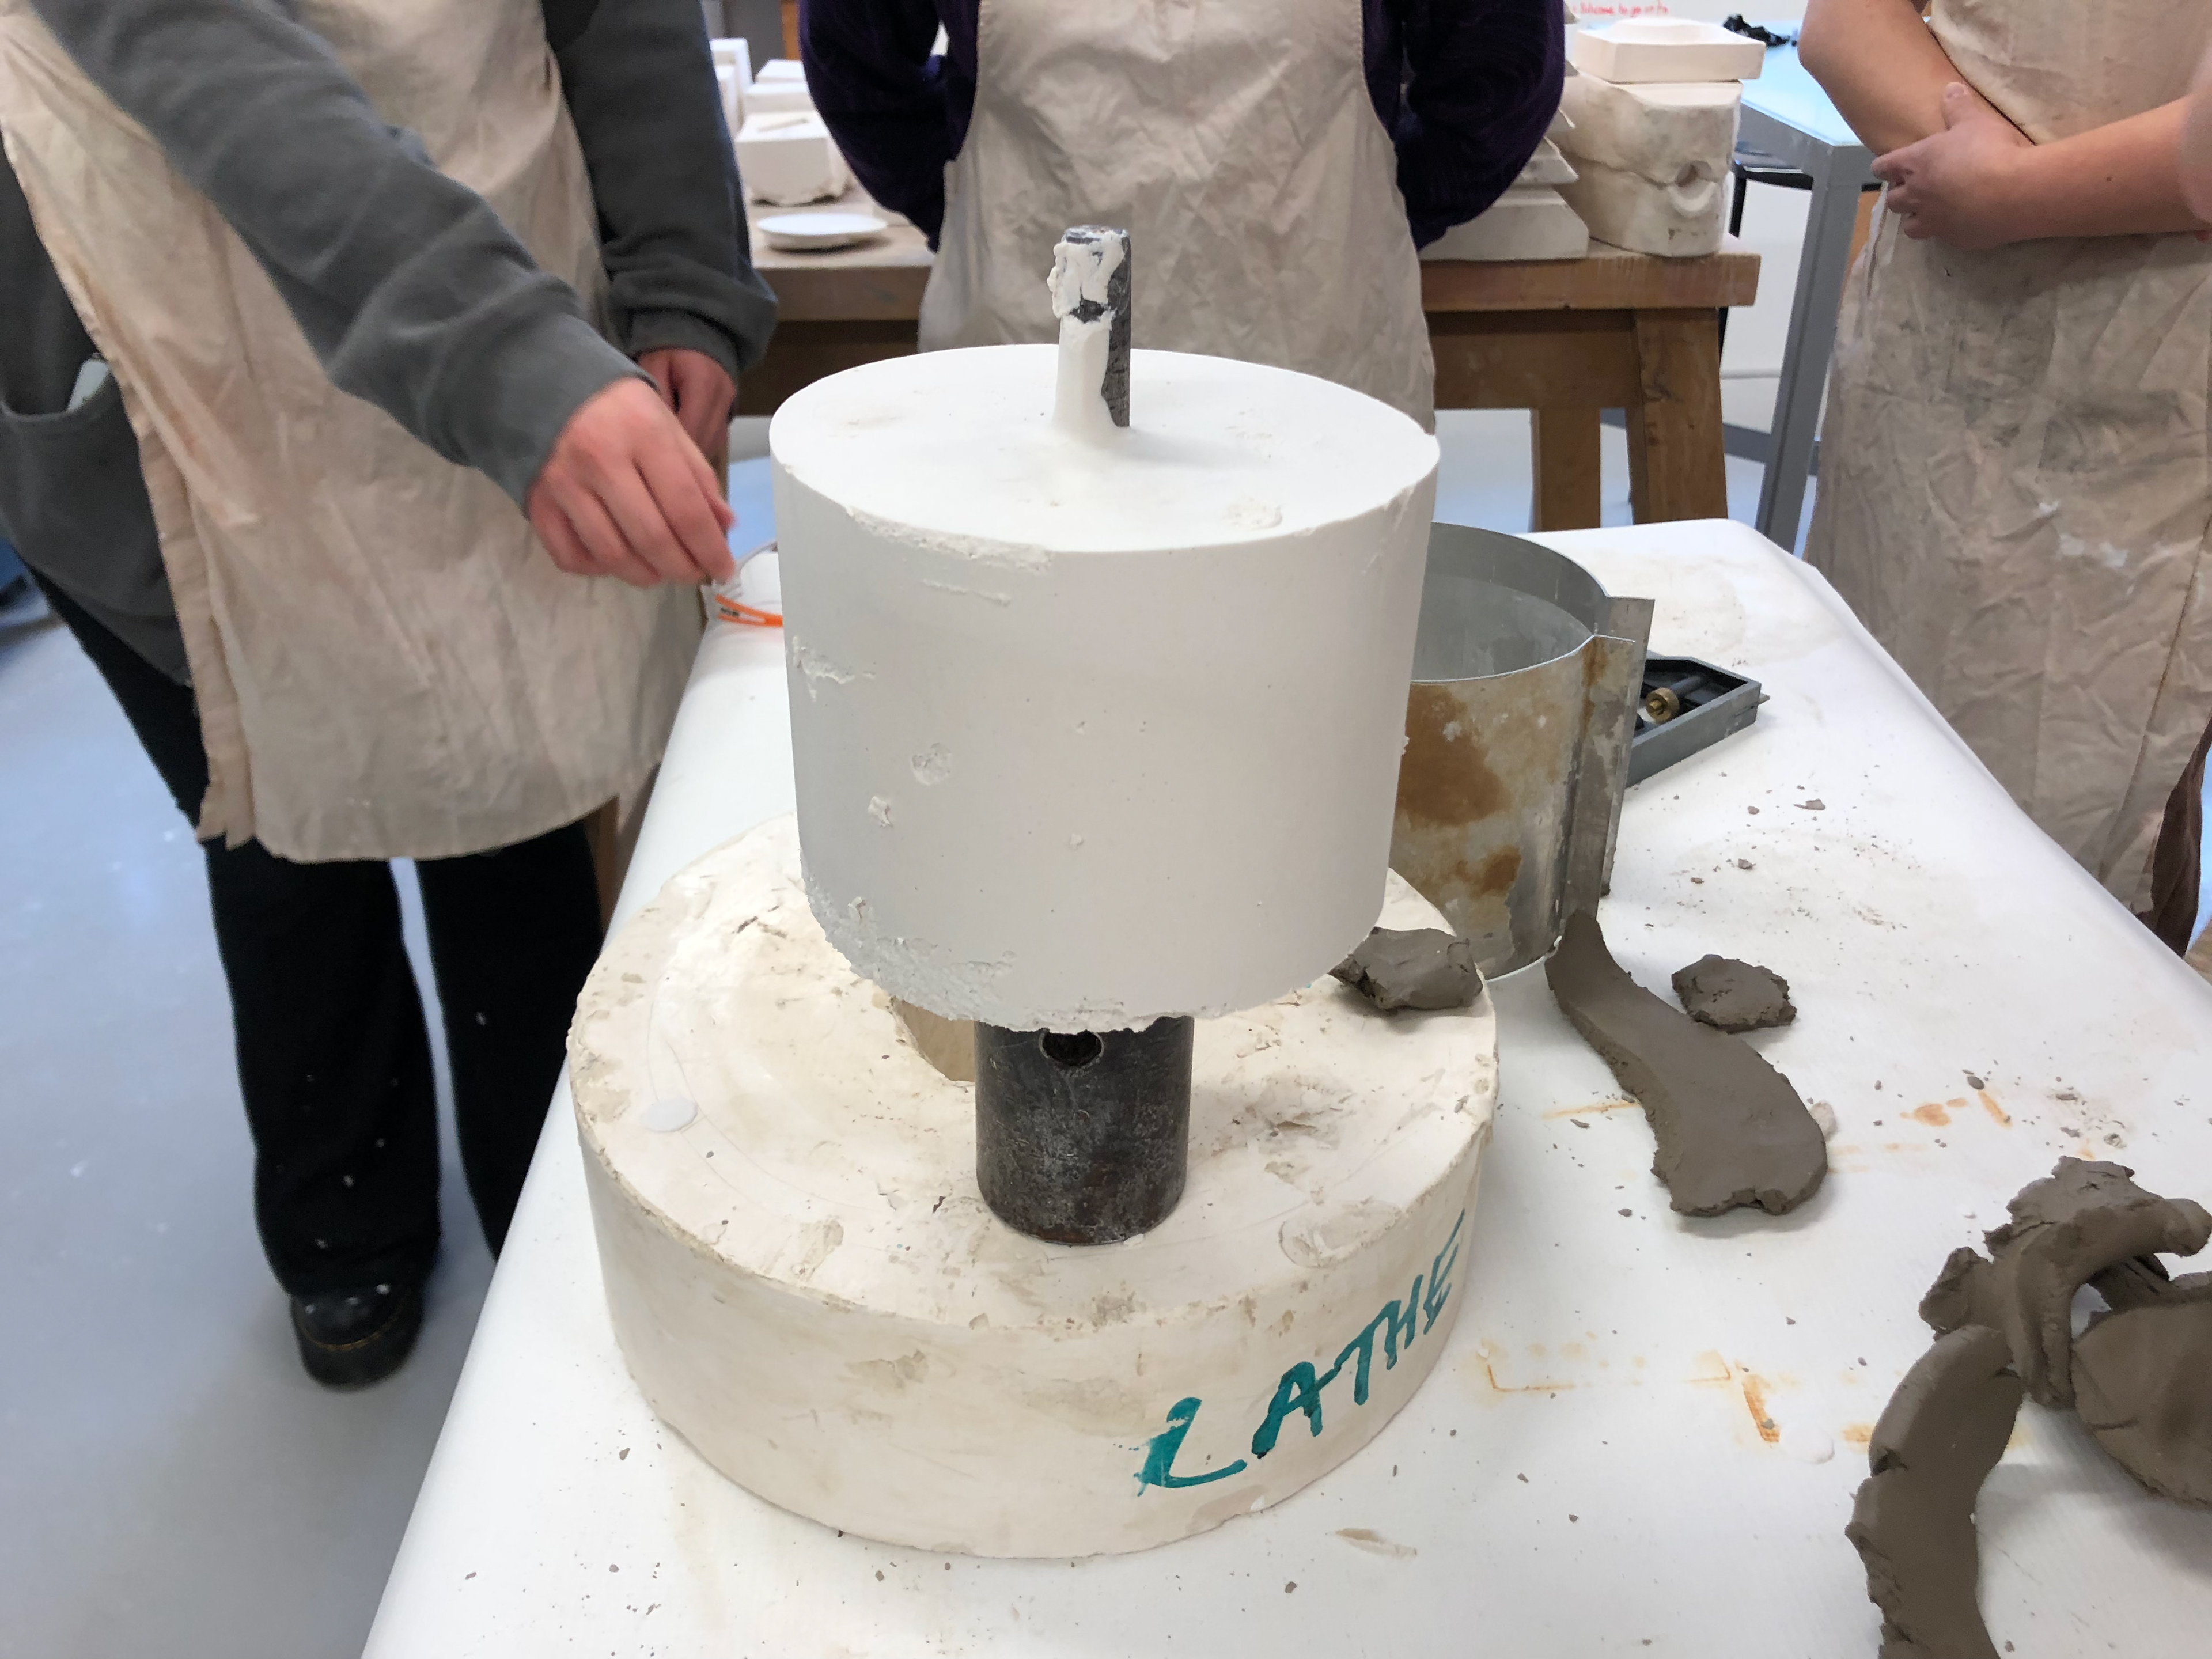
Once the plaster has set.
Taking the cottle off.
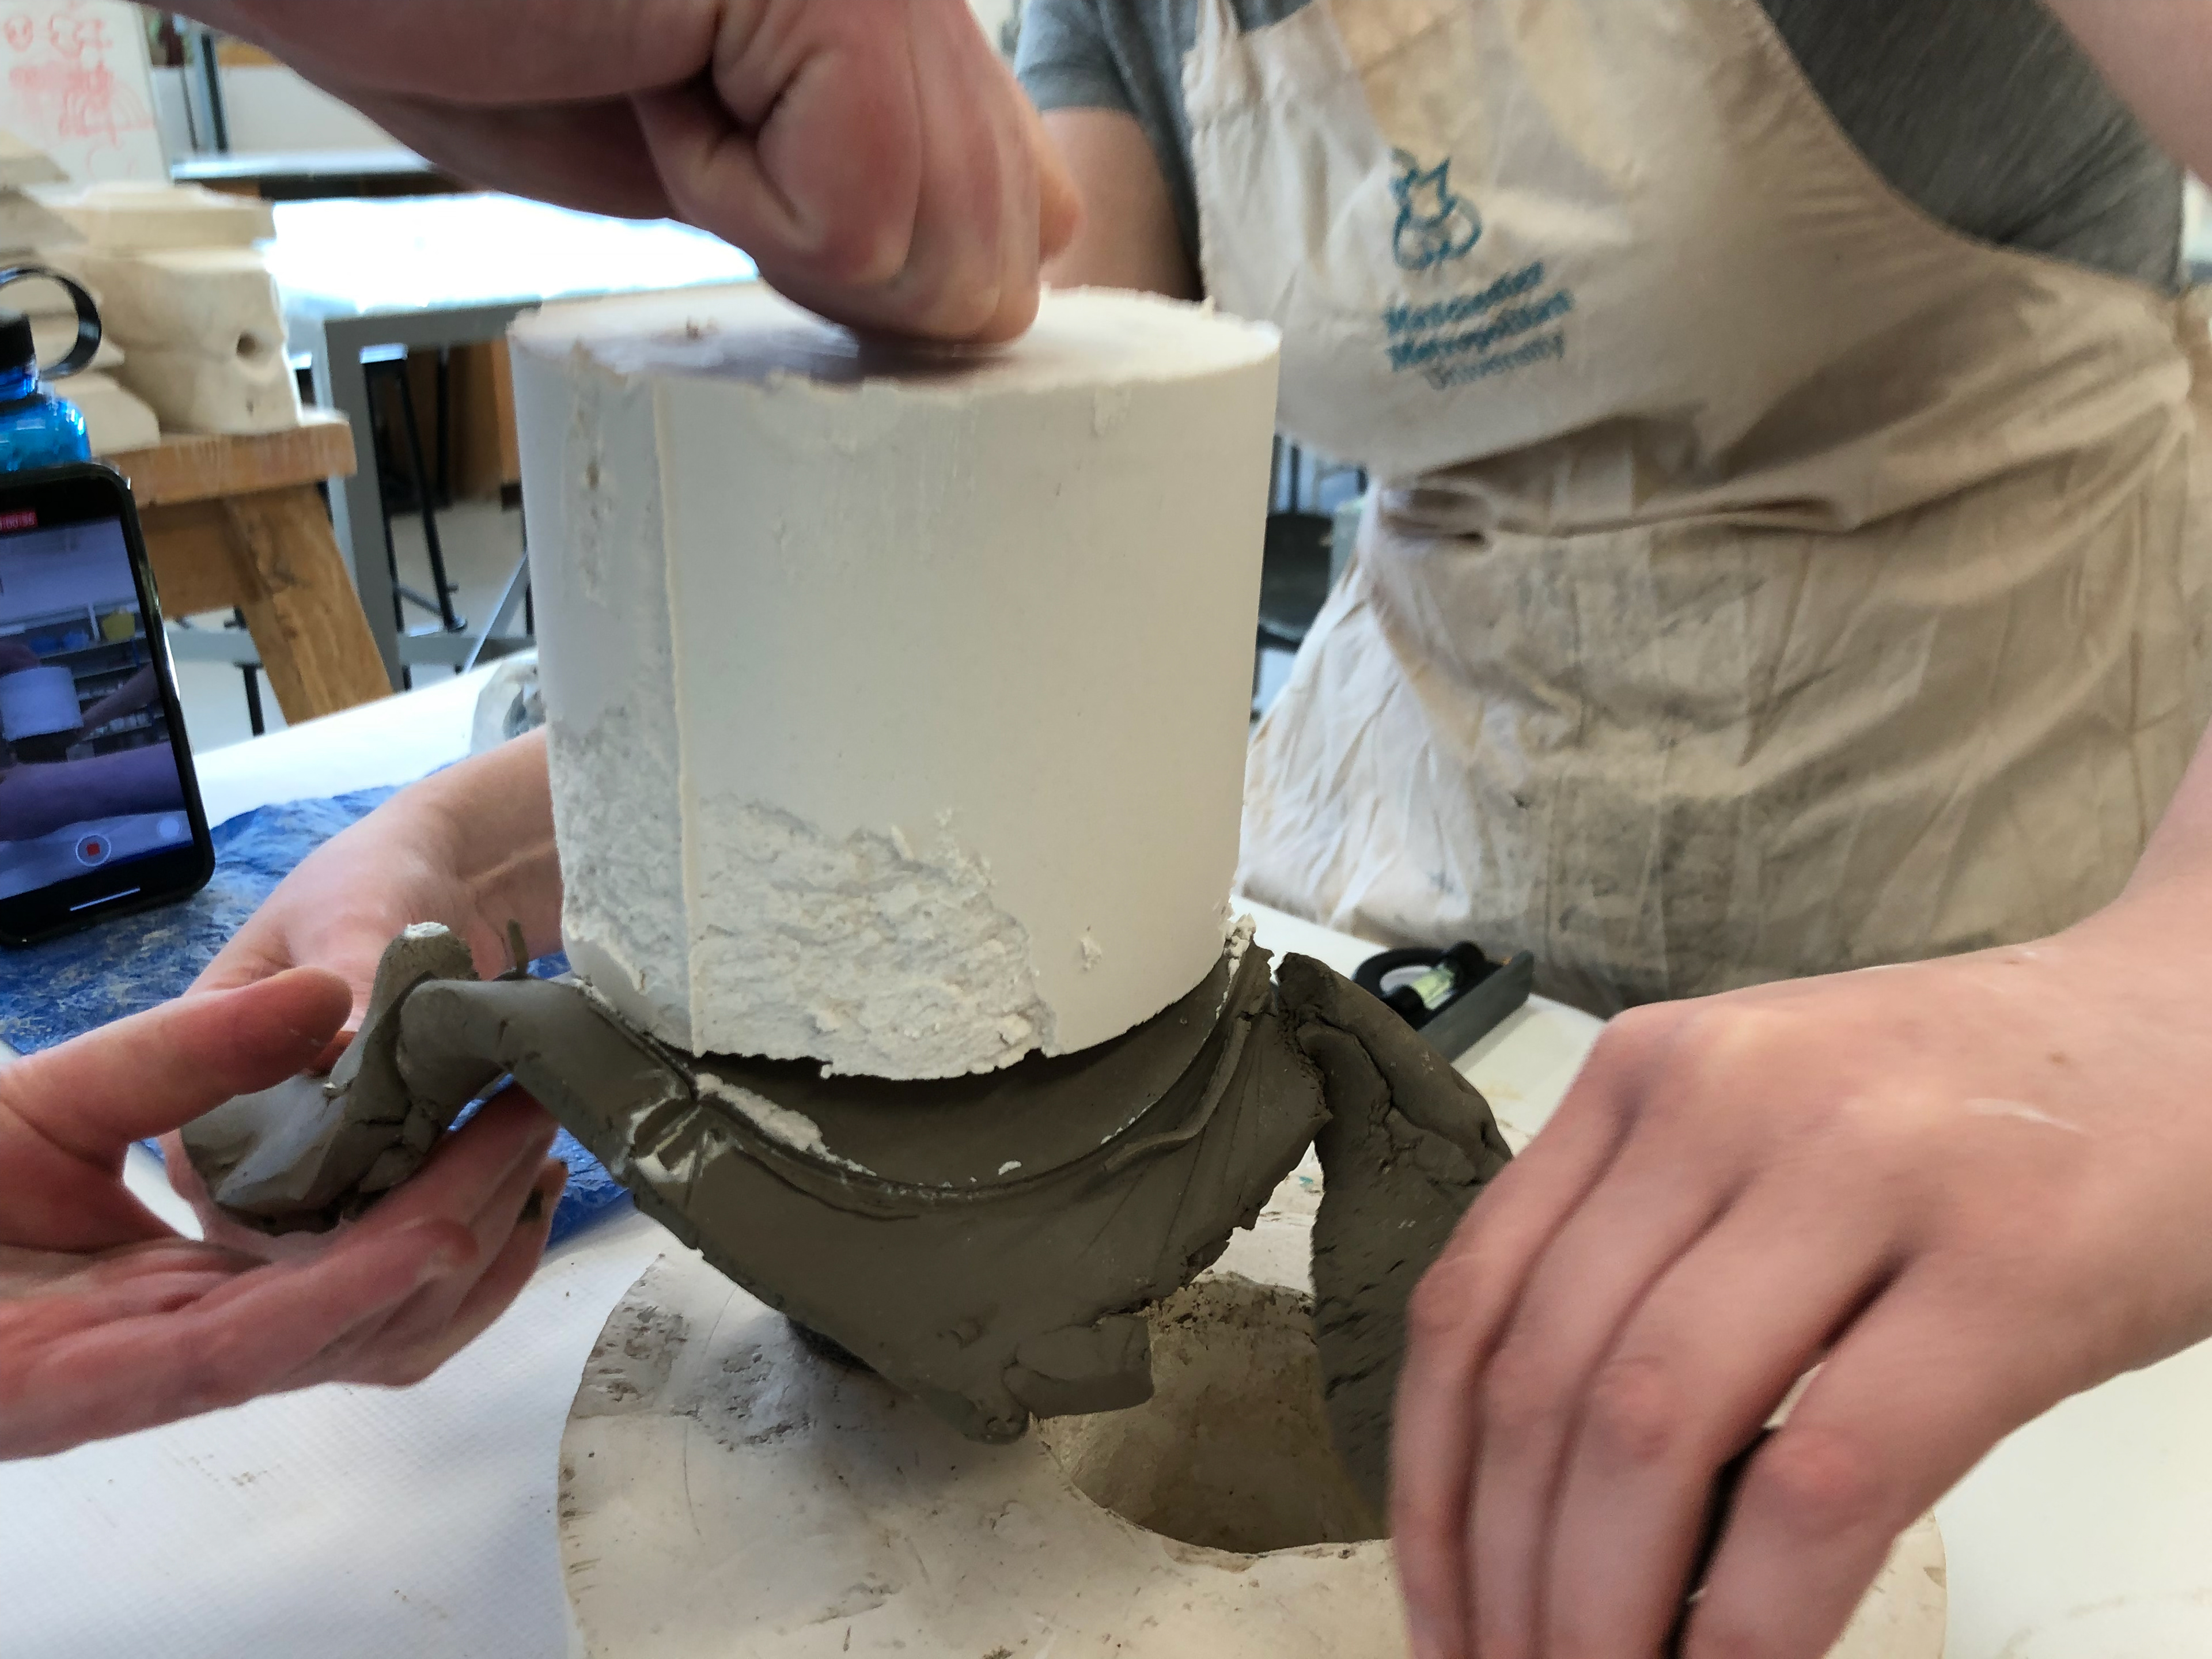
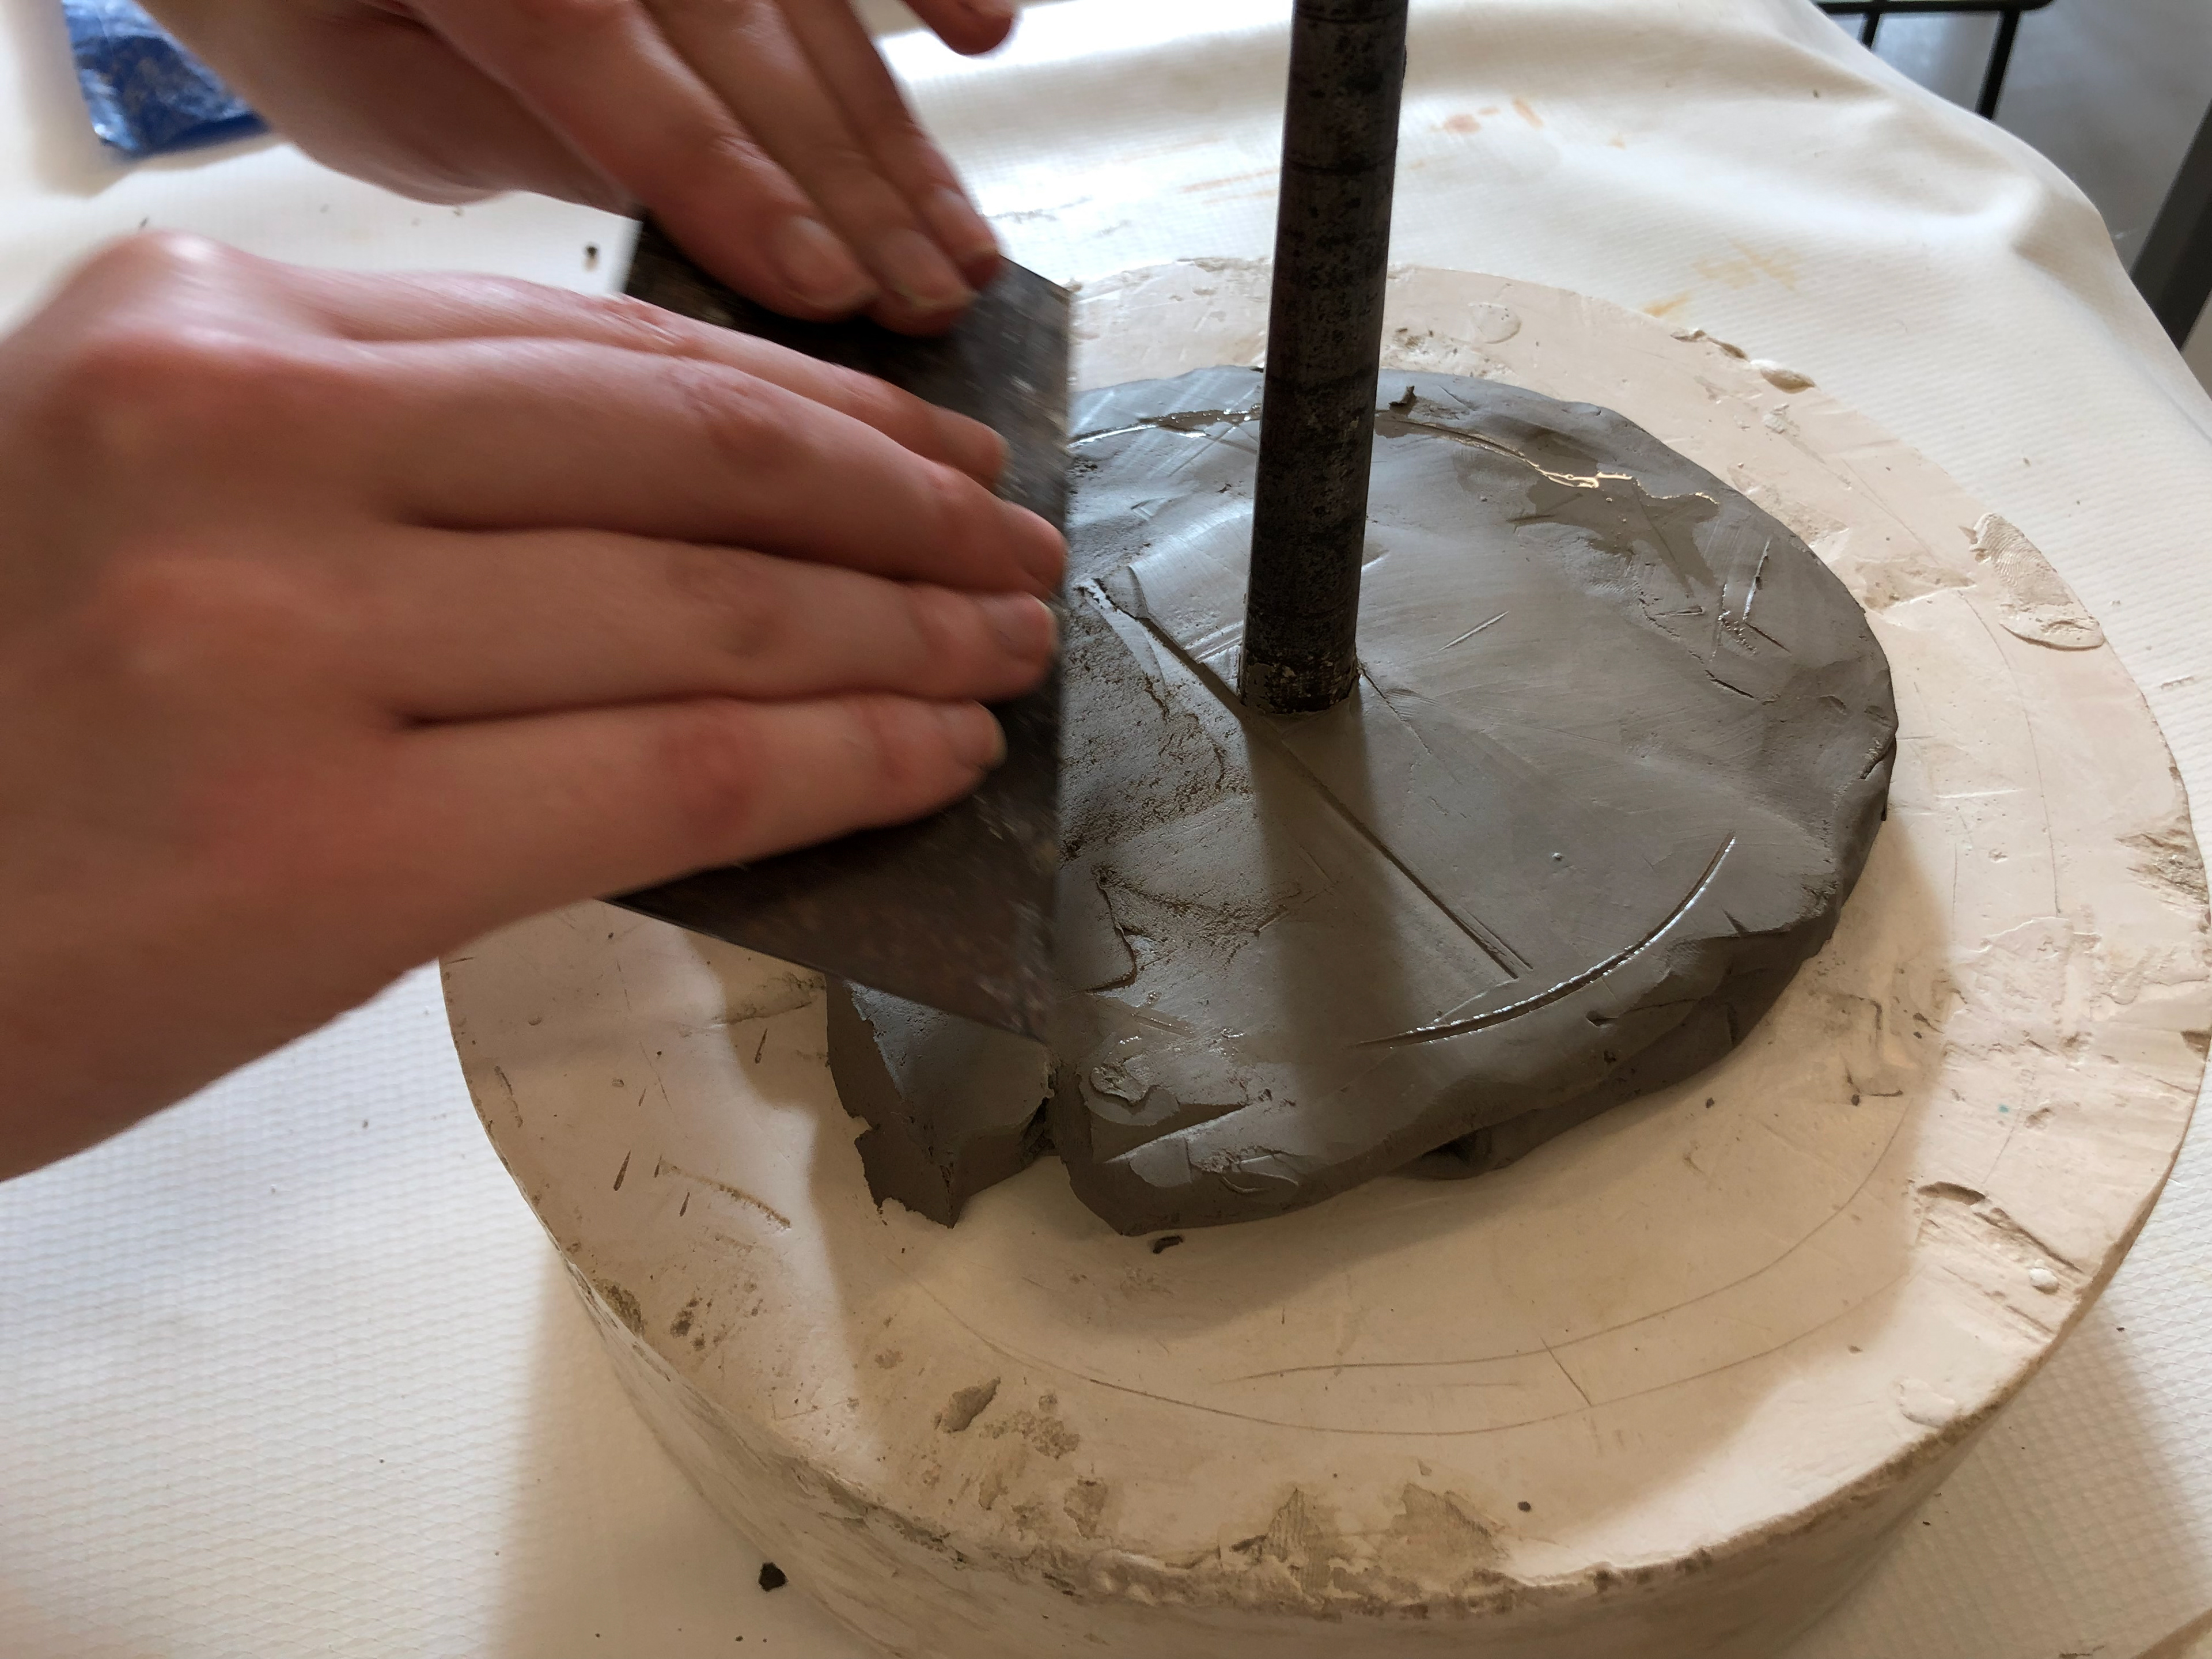
Carefully but quickly remove the clay from the plaster and mandrel.
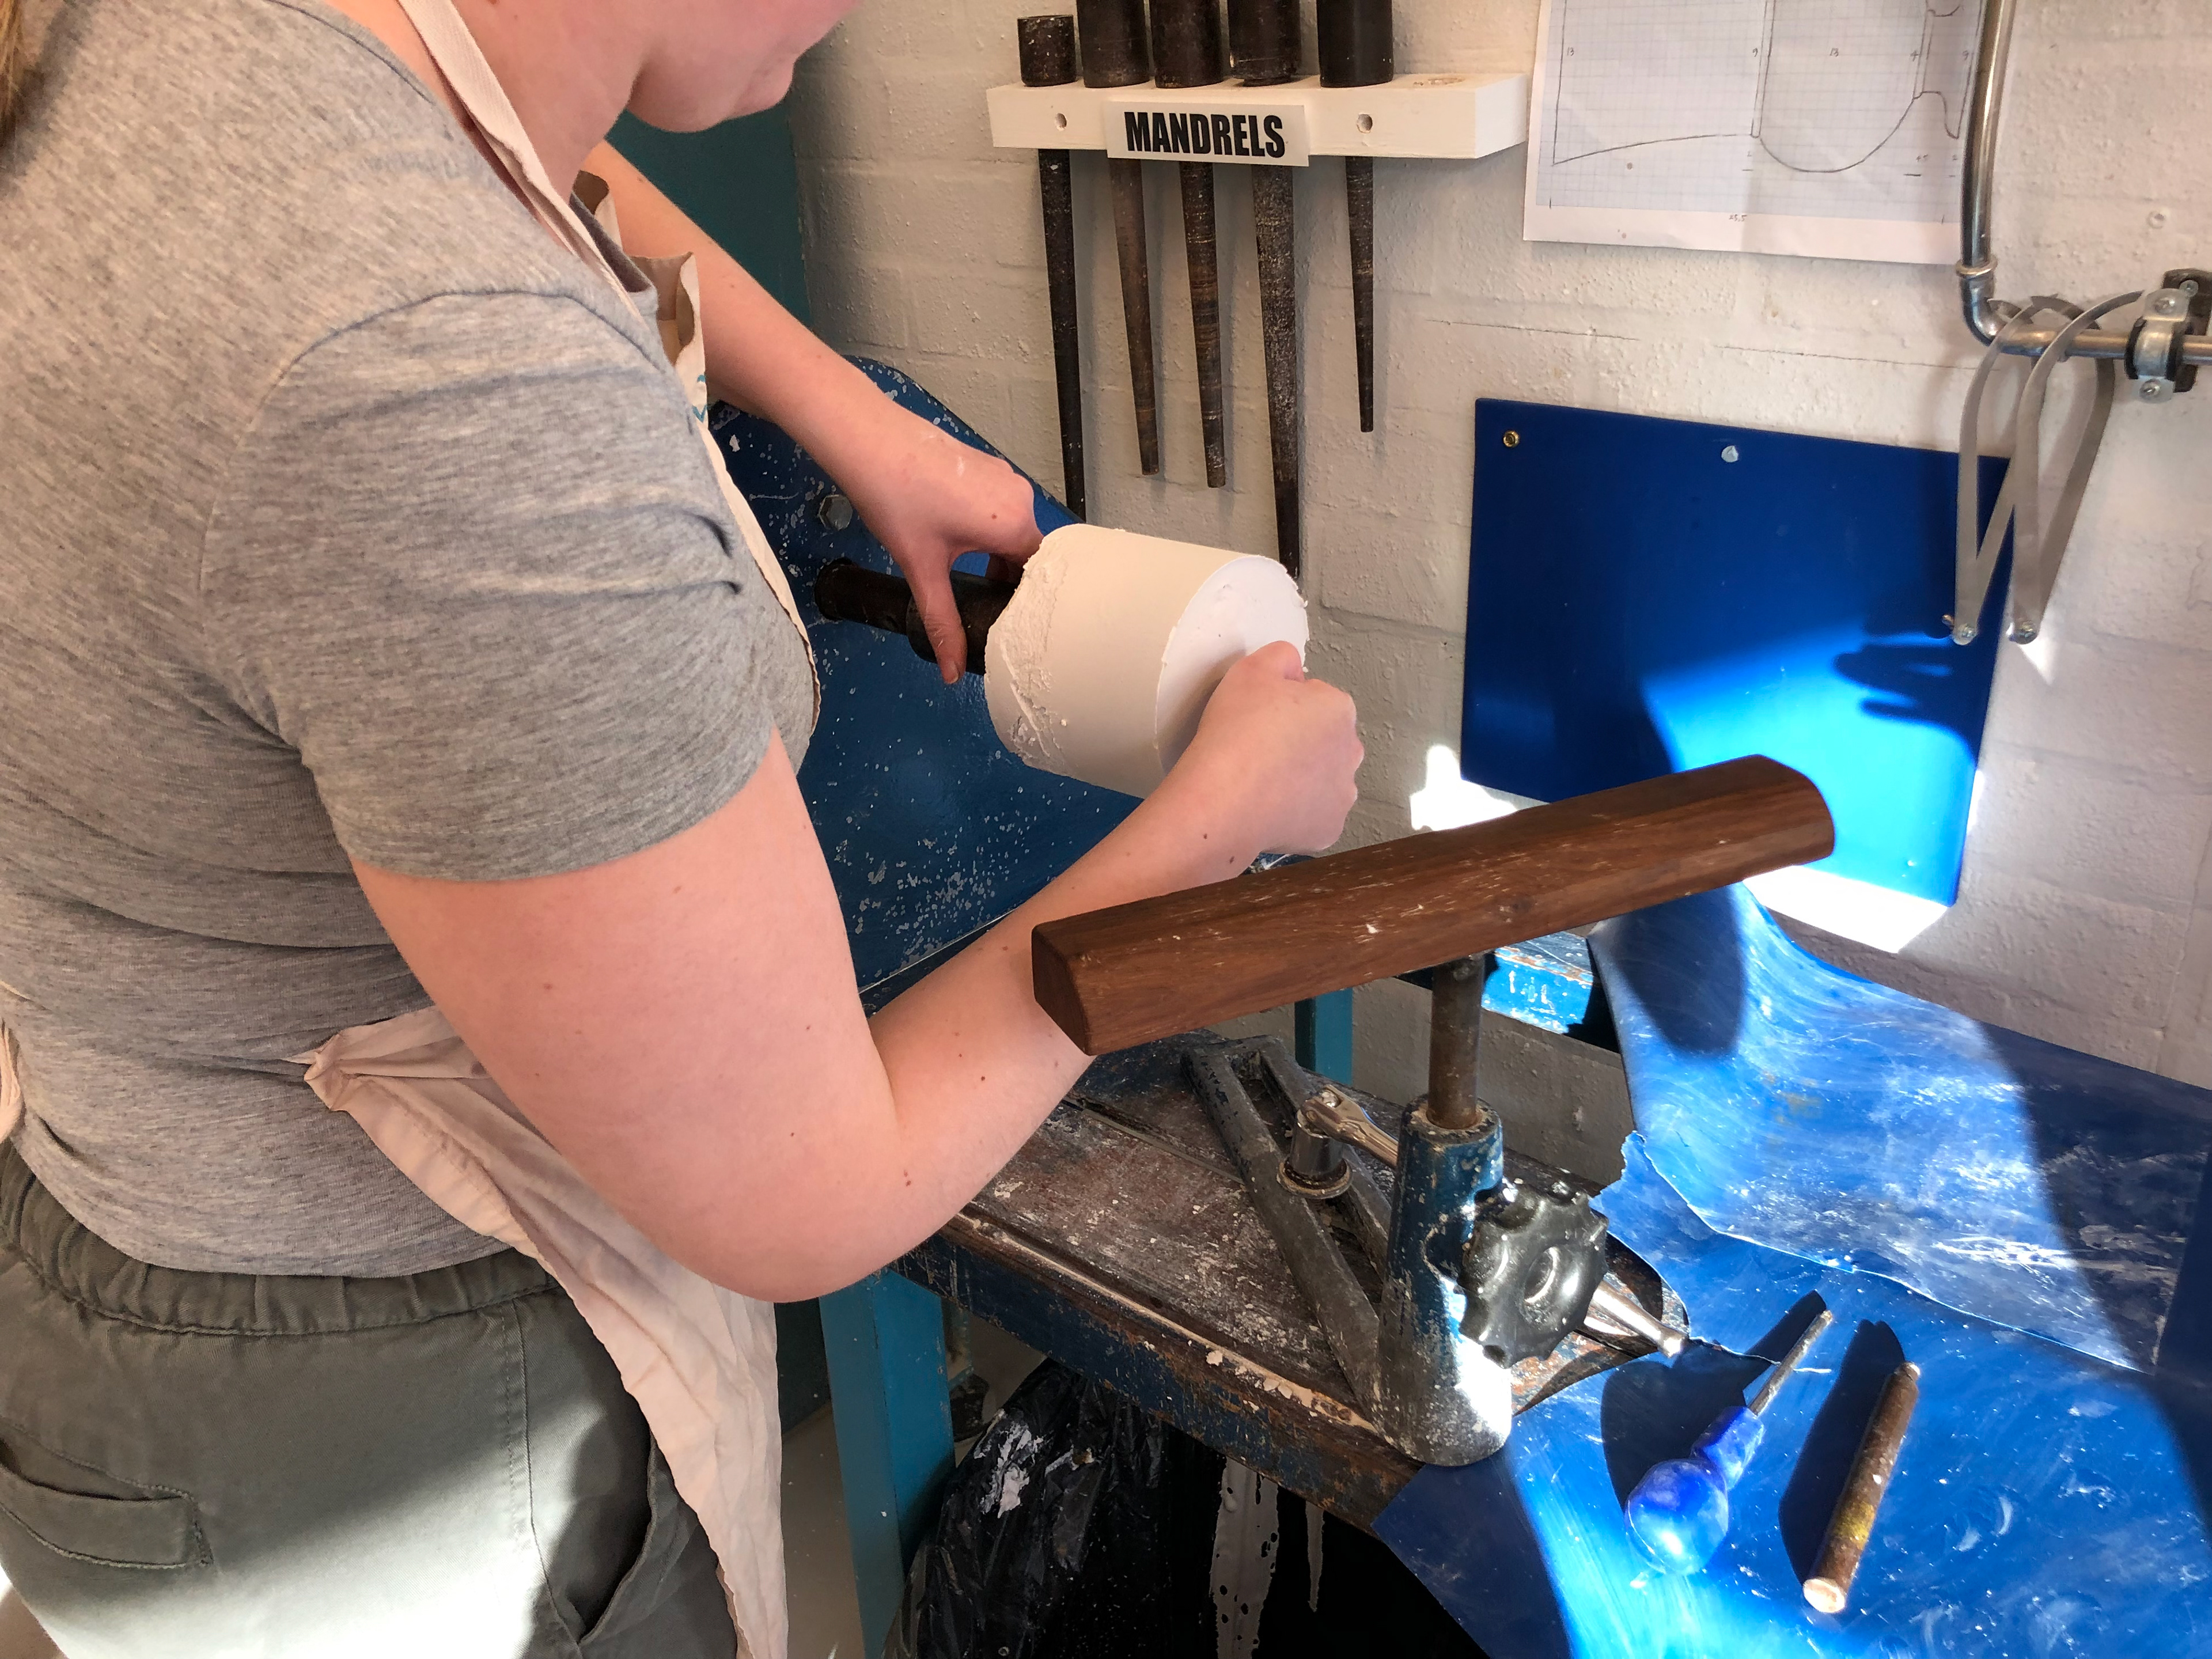
Screw the mandrel onto the lathe.
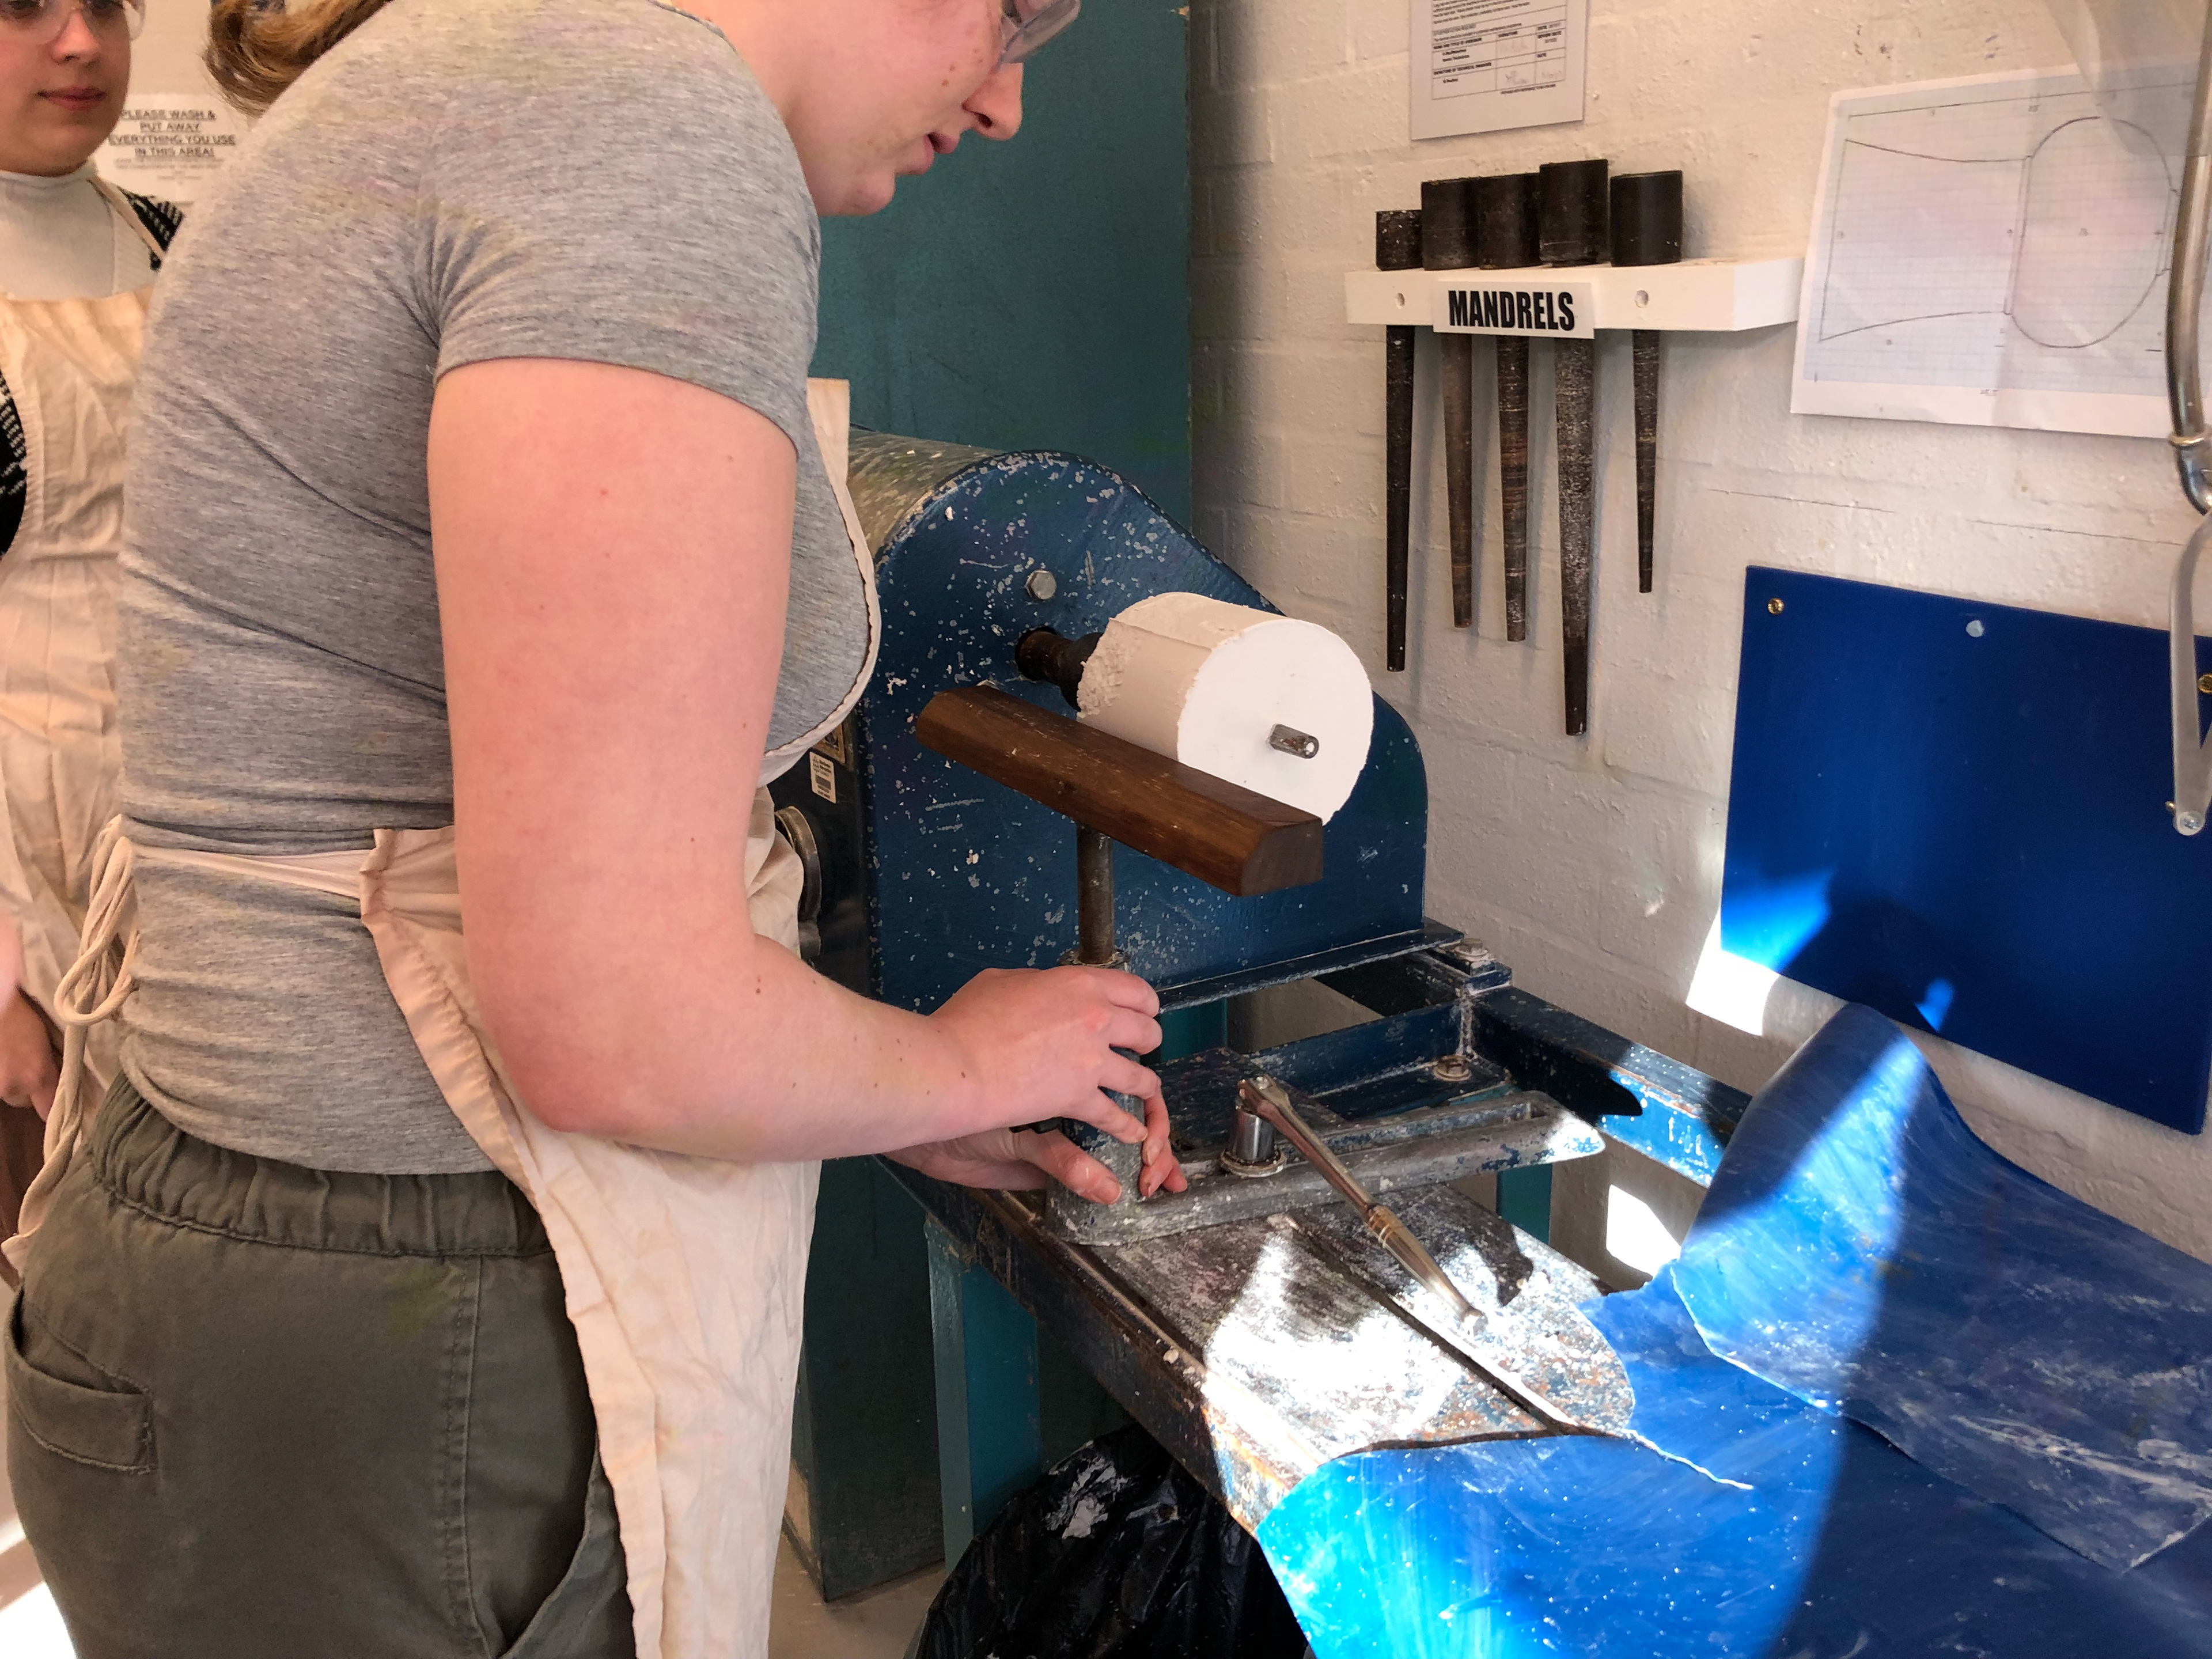
Adjust the tool rest to the correct position and height.
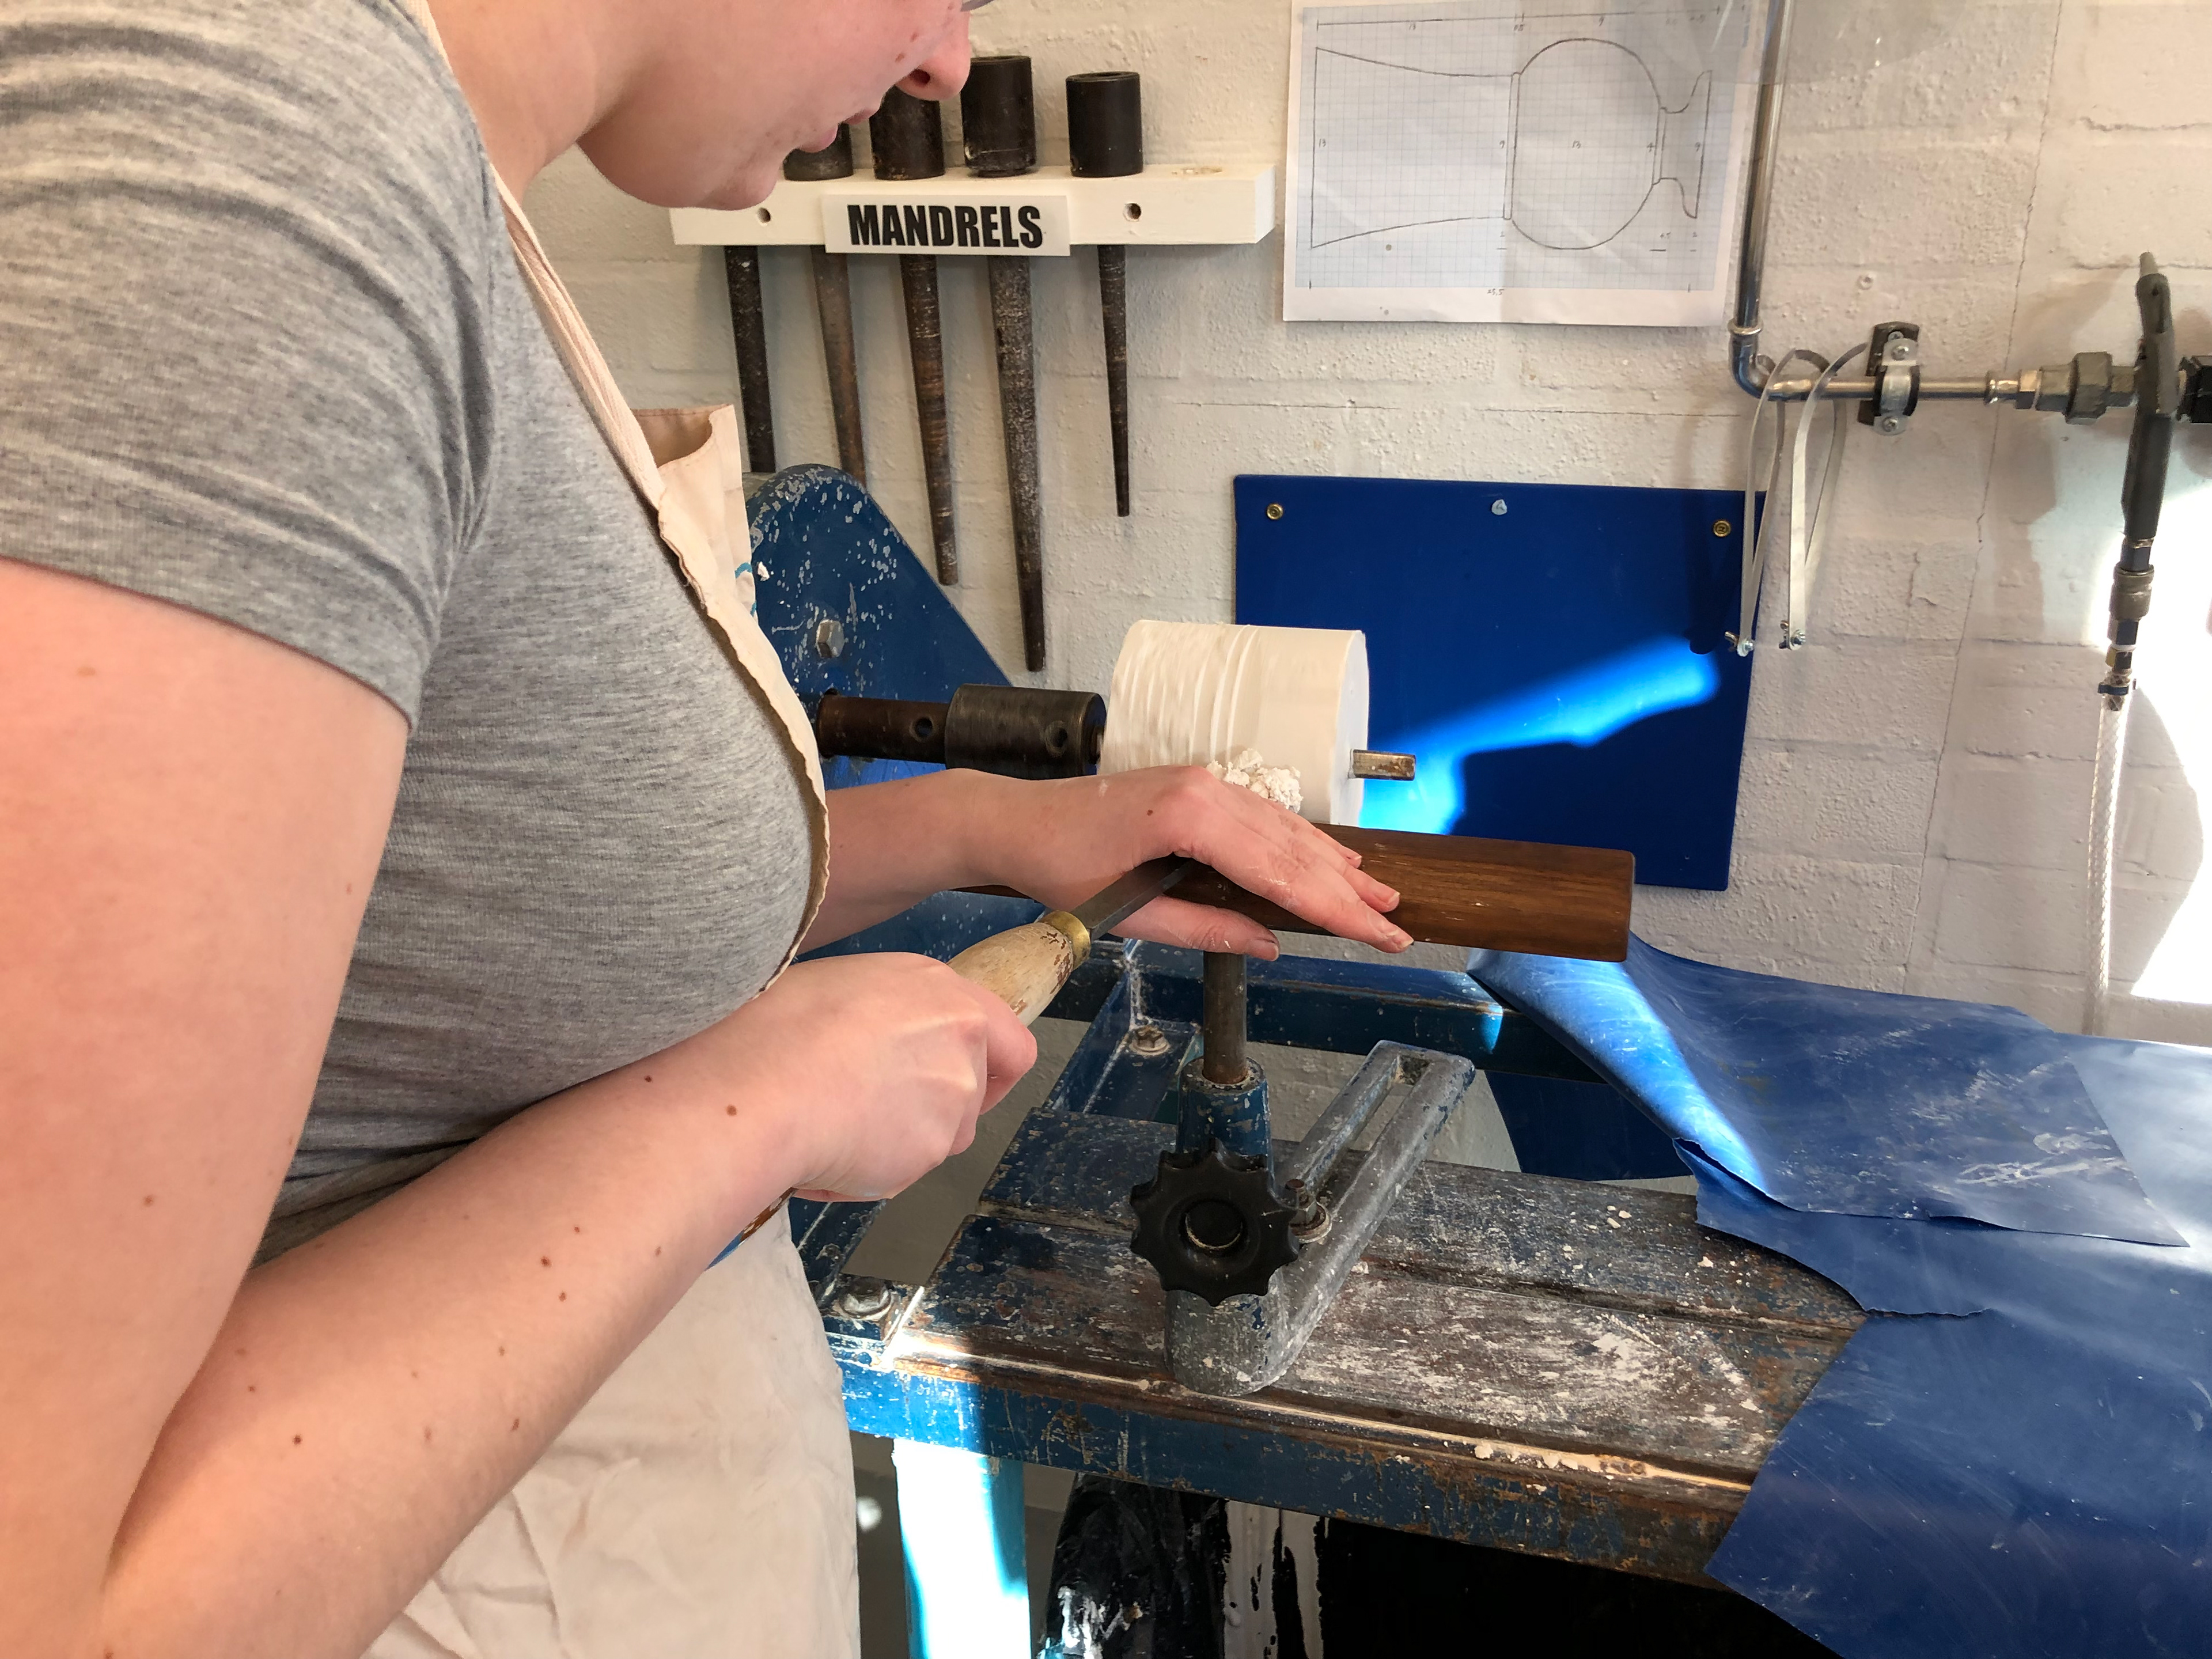
The correct tool stance and position.

Once you have shaped the plaster as you want. Take a screwdriver and place in one hole and take the metal rod and place it into the other hole.
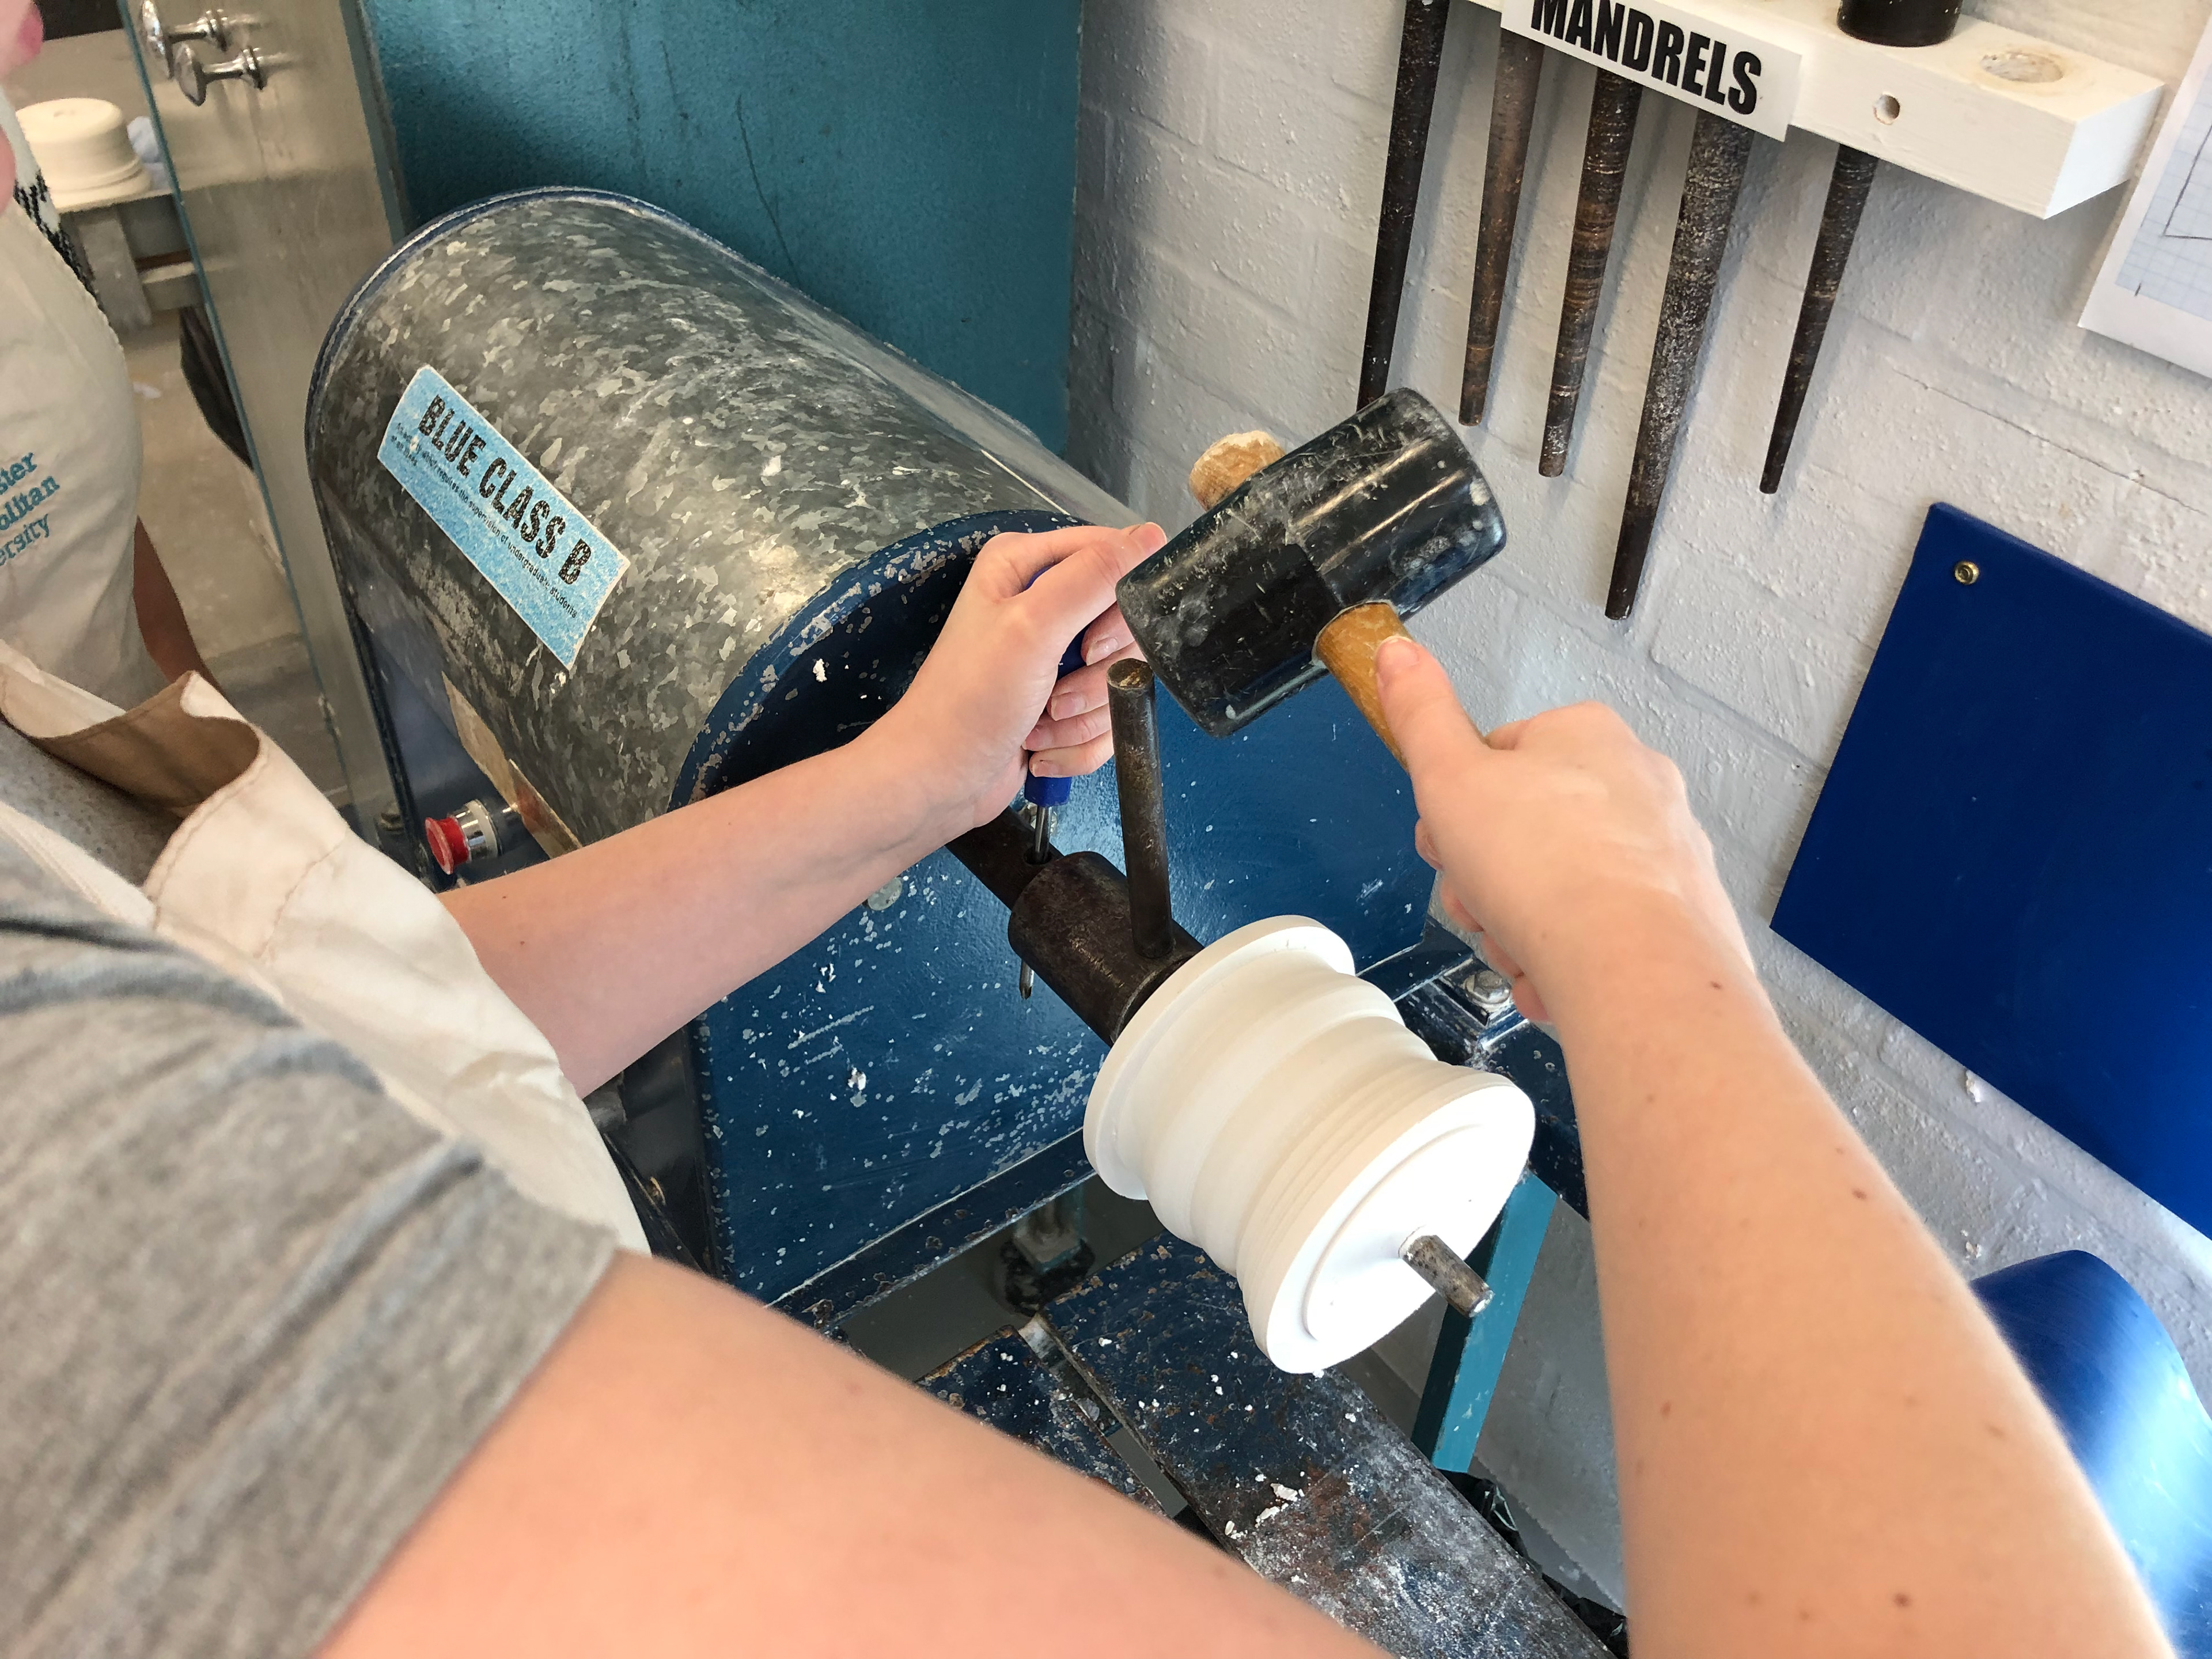
Use a mallet to carefully unscrew the mandrel. Then pull the plaster off the mandrel.
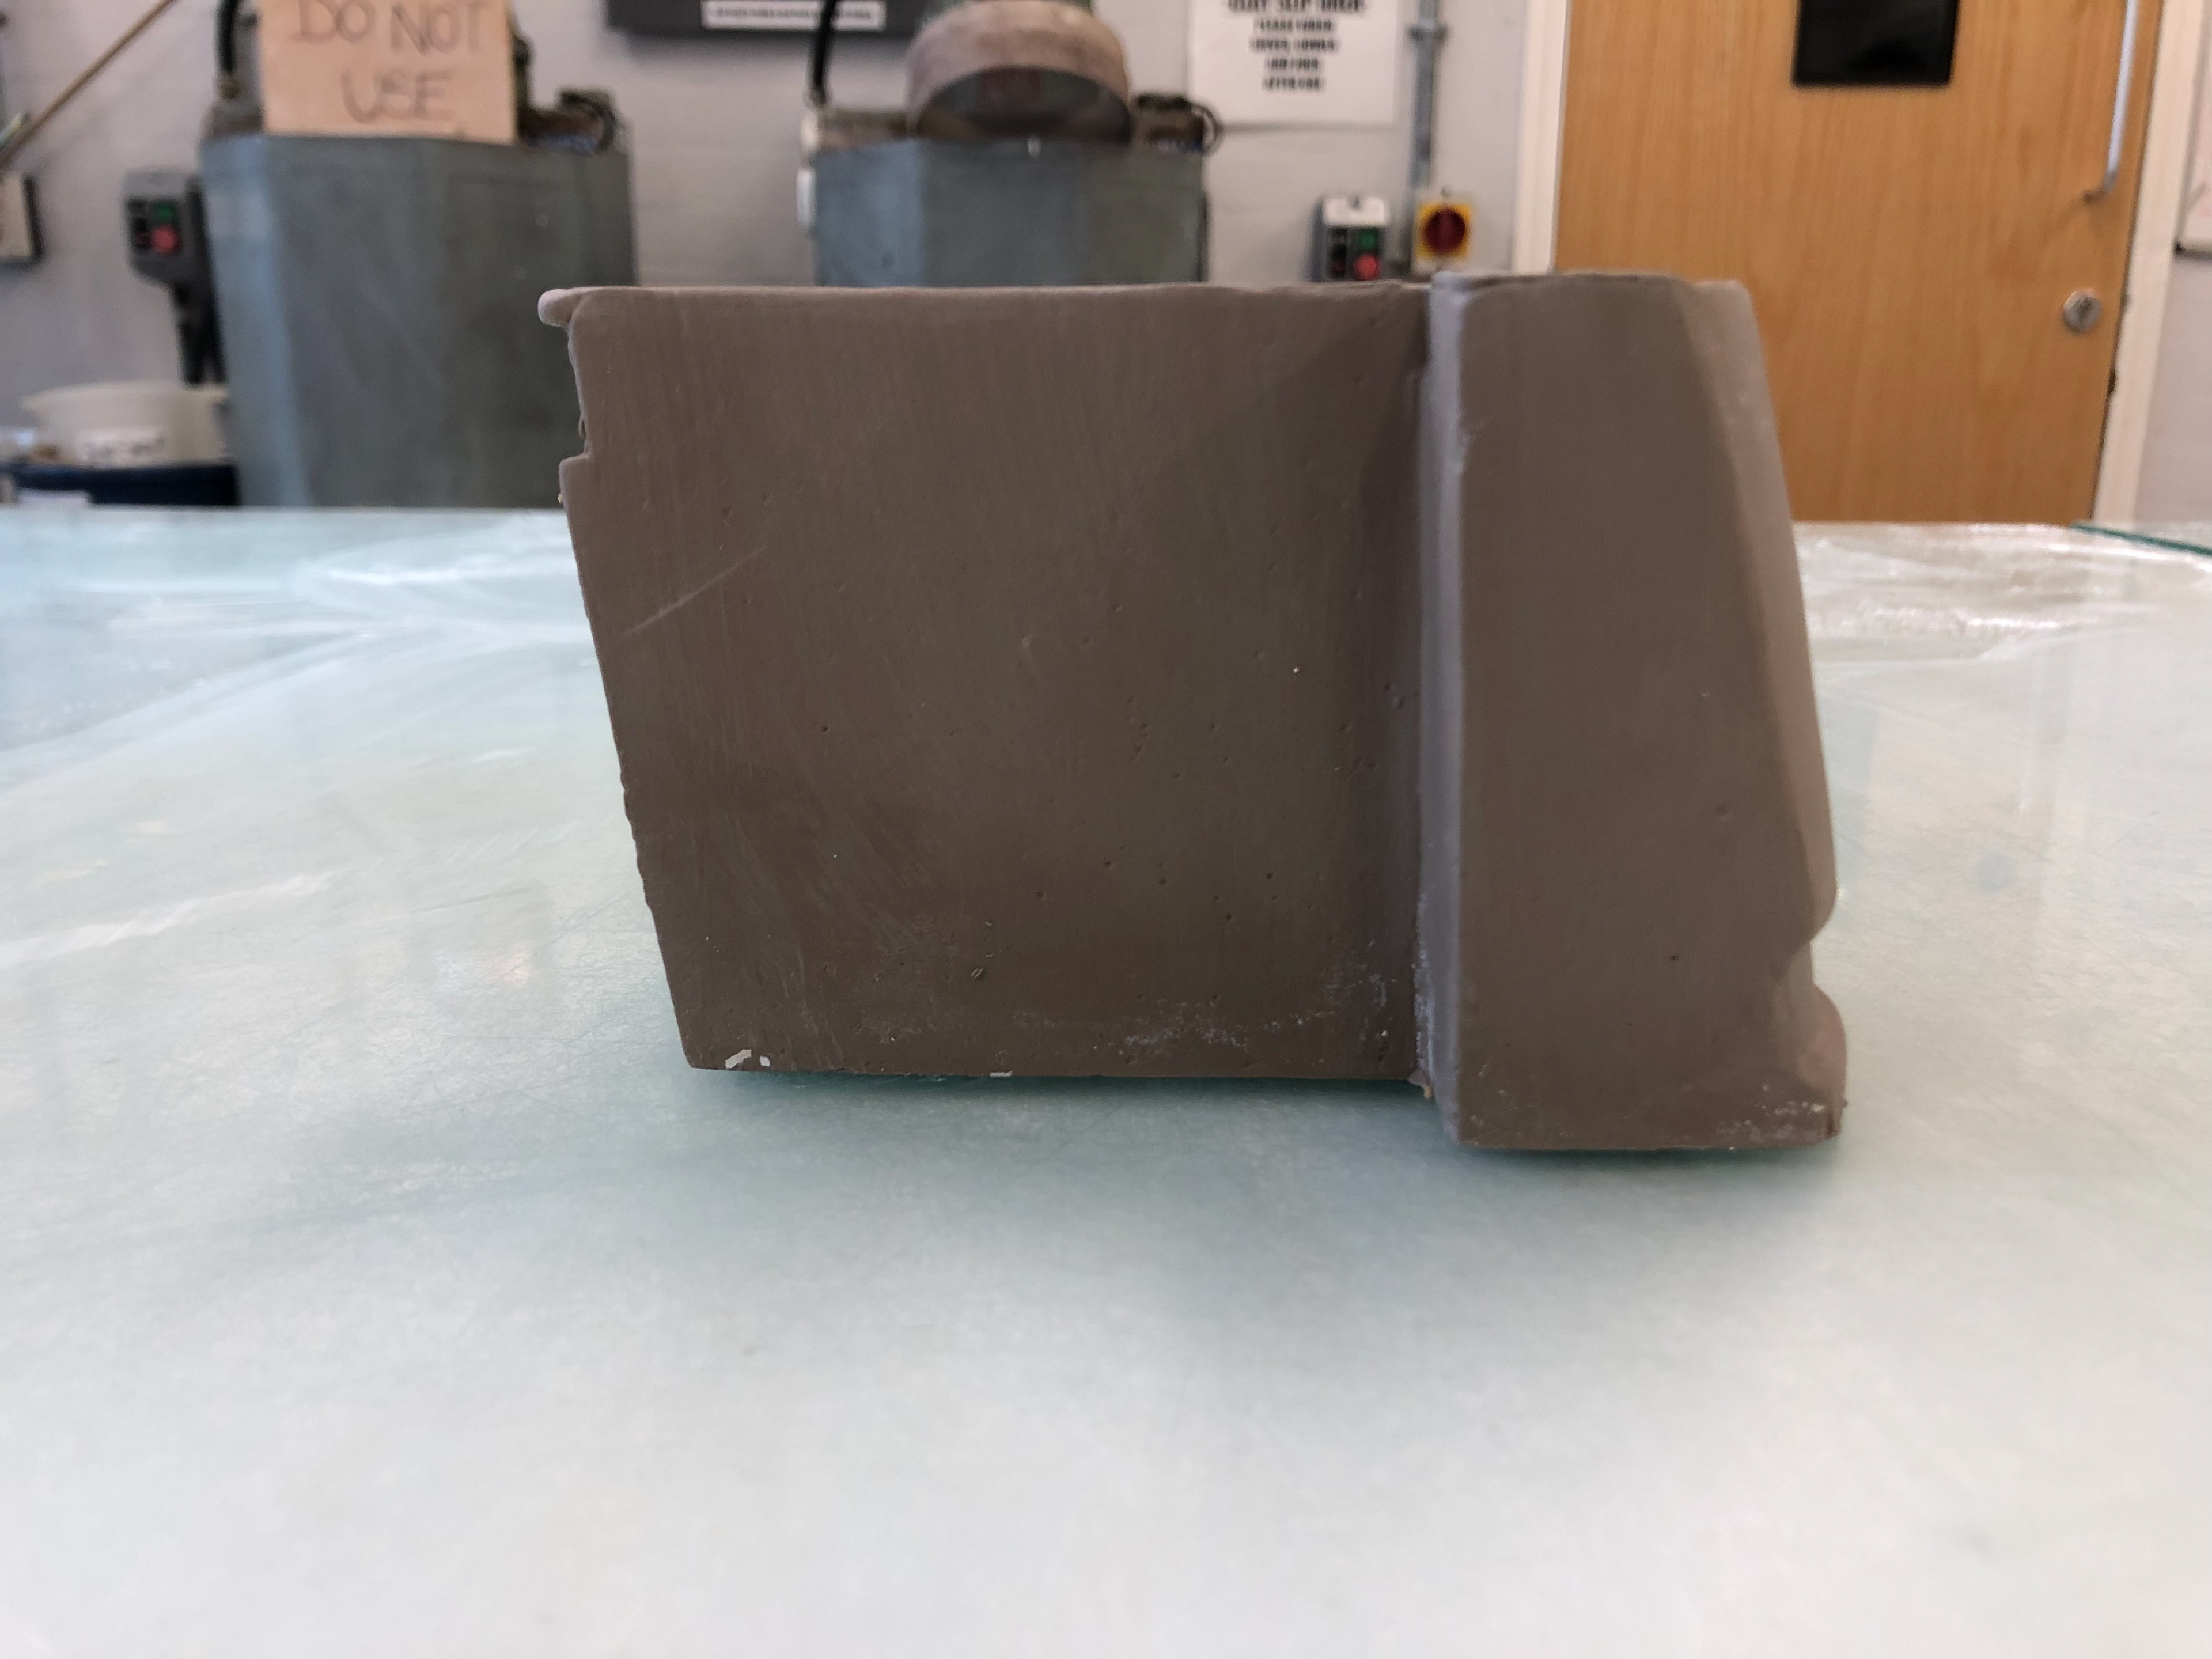
My plaster lathe object - inspired by Yorkshire Sculpture Park
On a trip to Yorkshire Sculpture Park we were tasked with a variety of drawing tasks. This object is inspired by one of these drawings and a photograph.
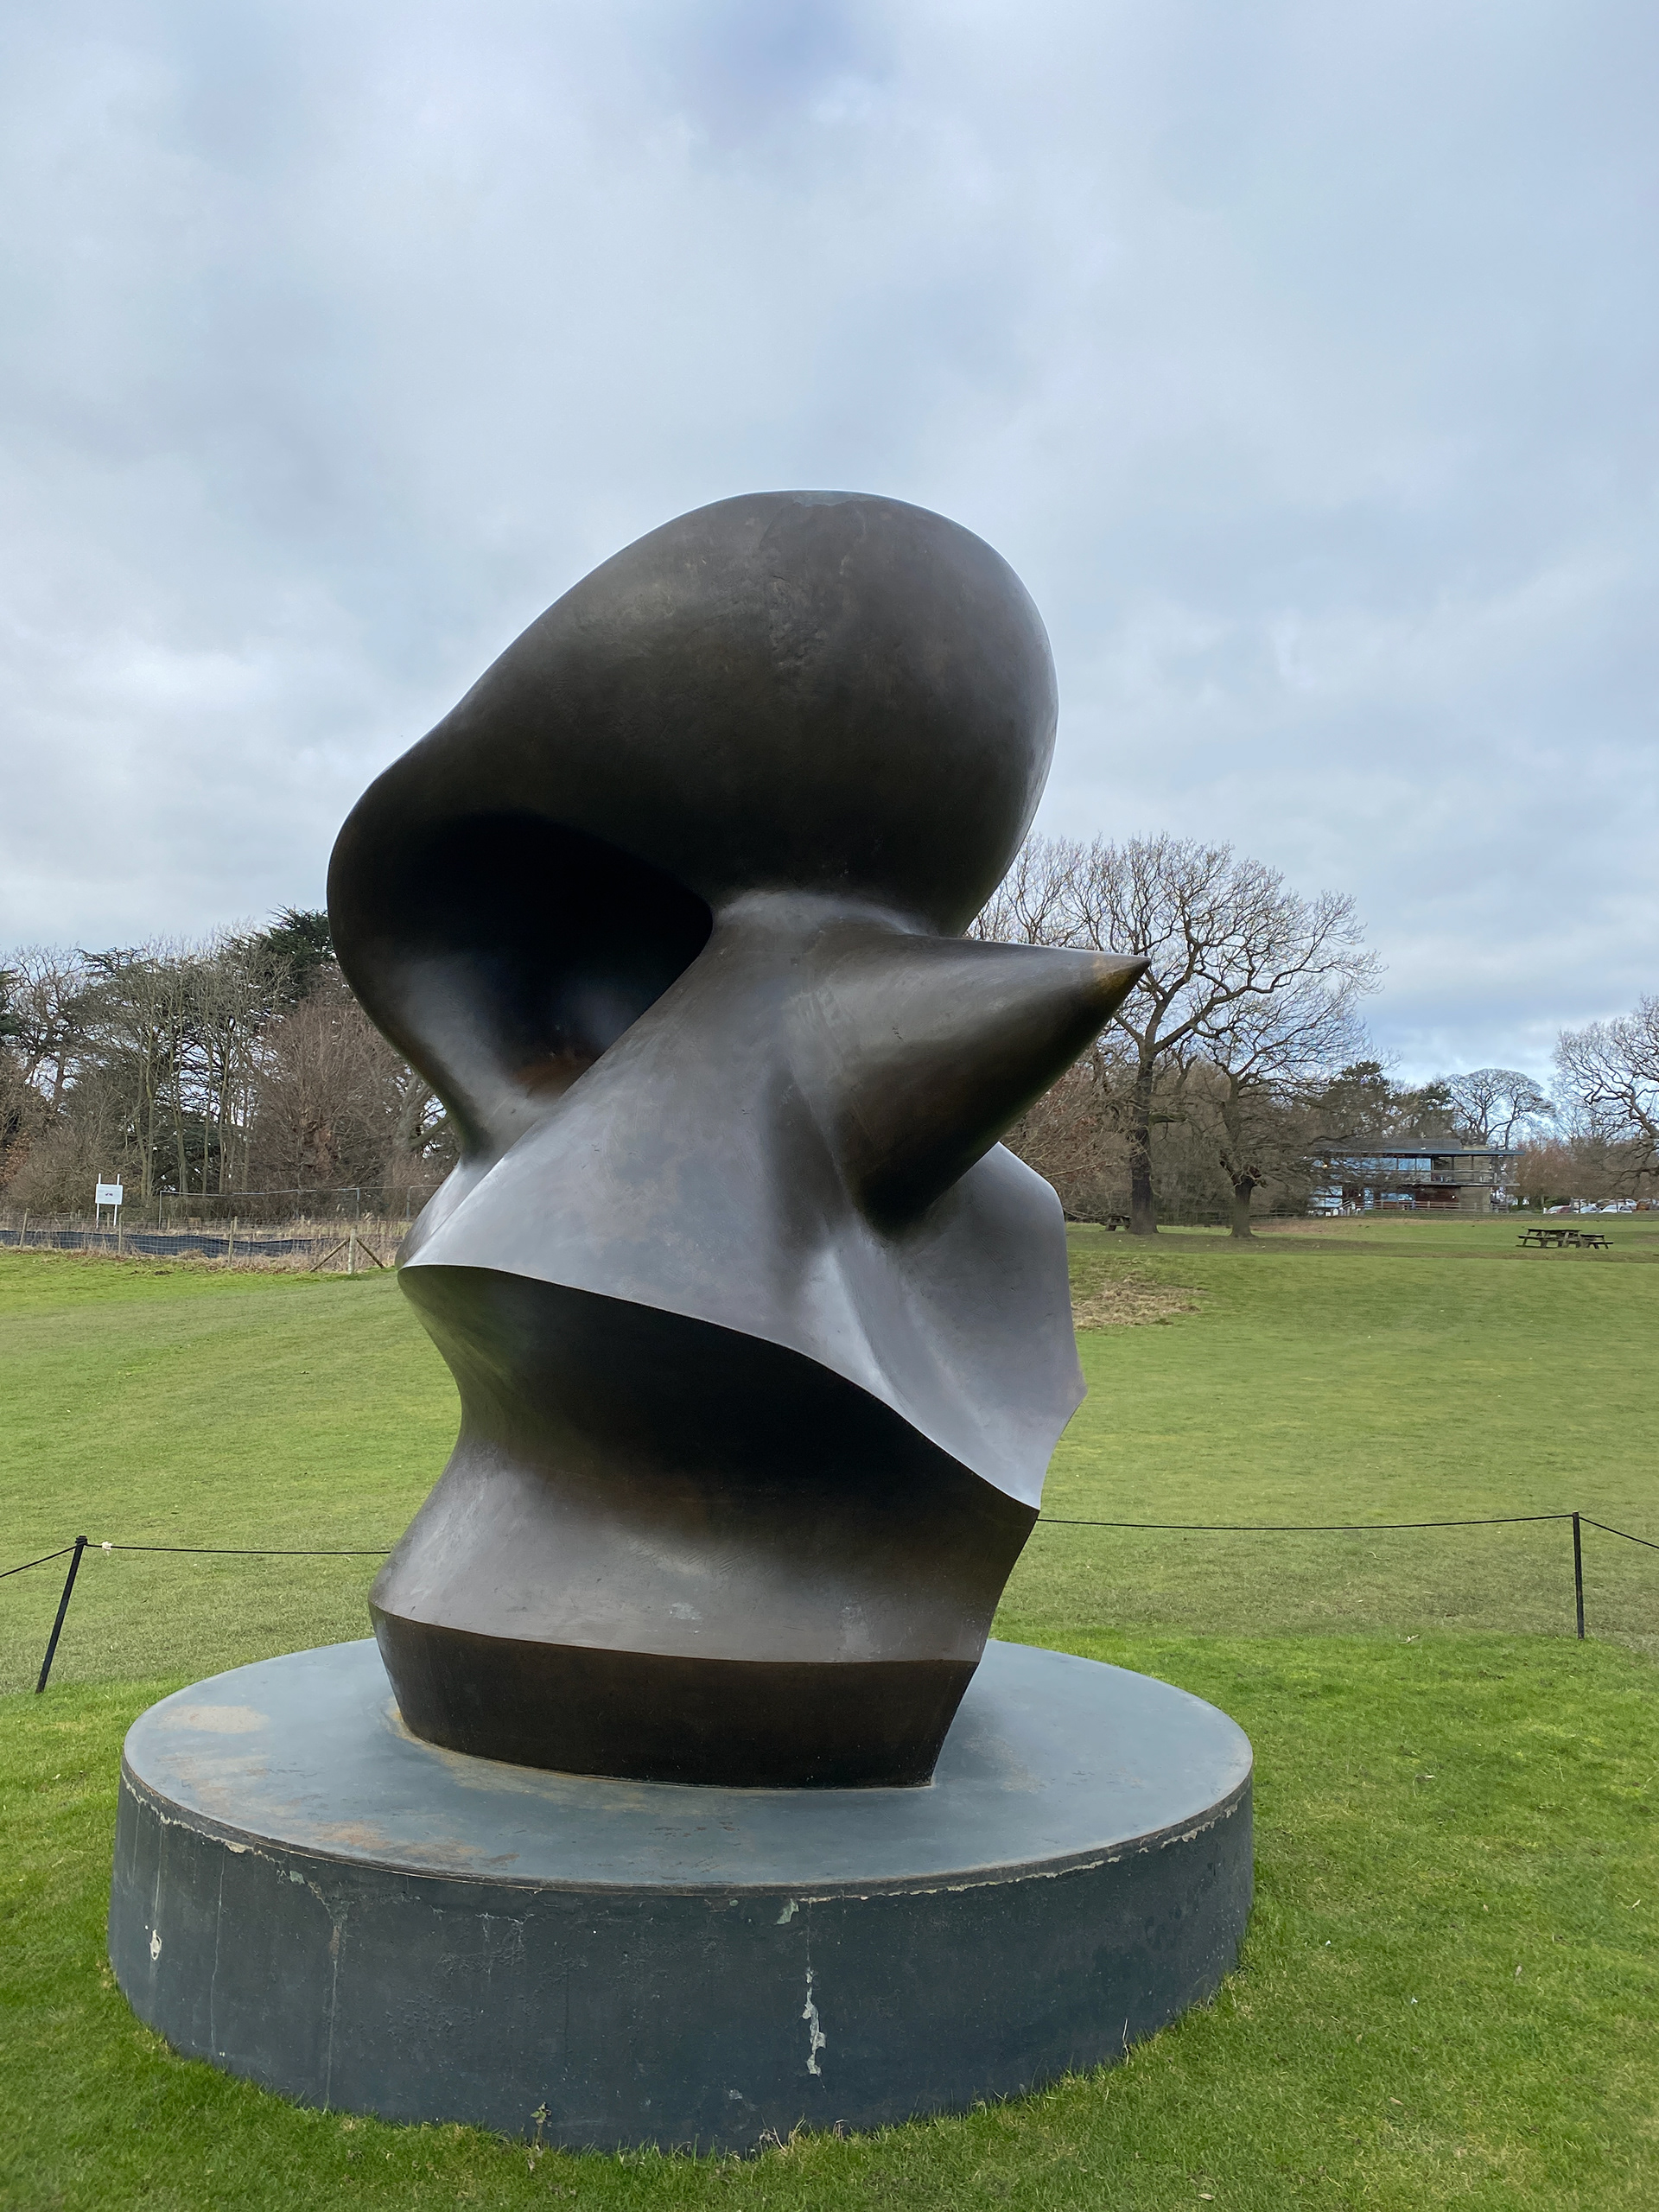
The piece I take inspiration from.
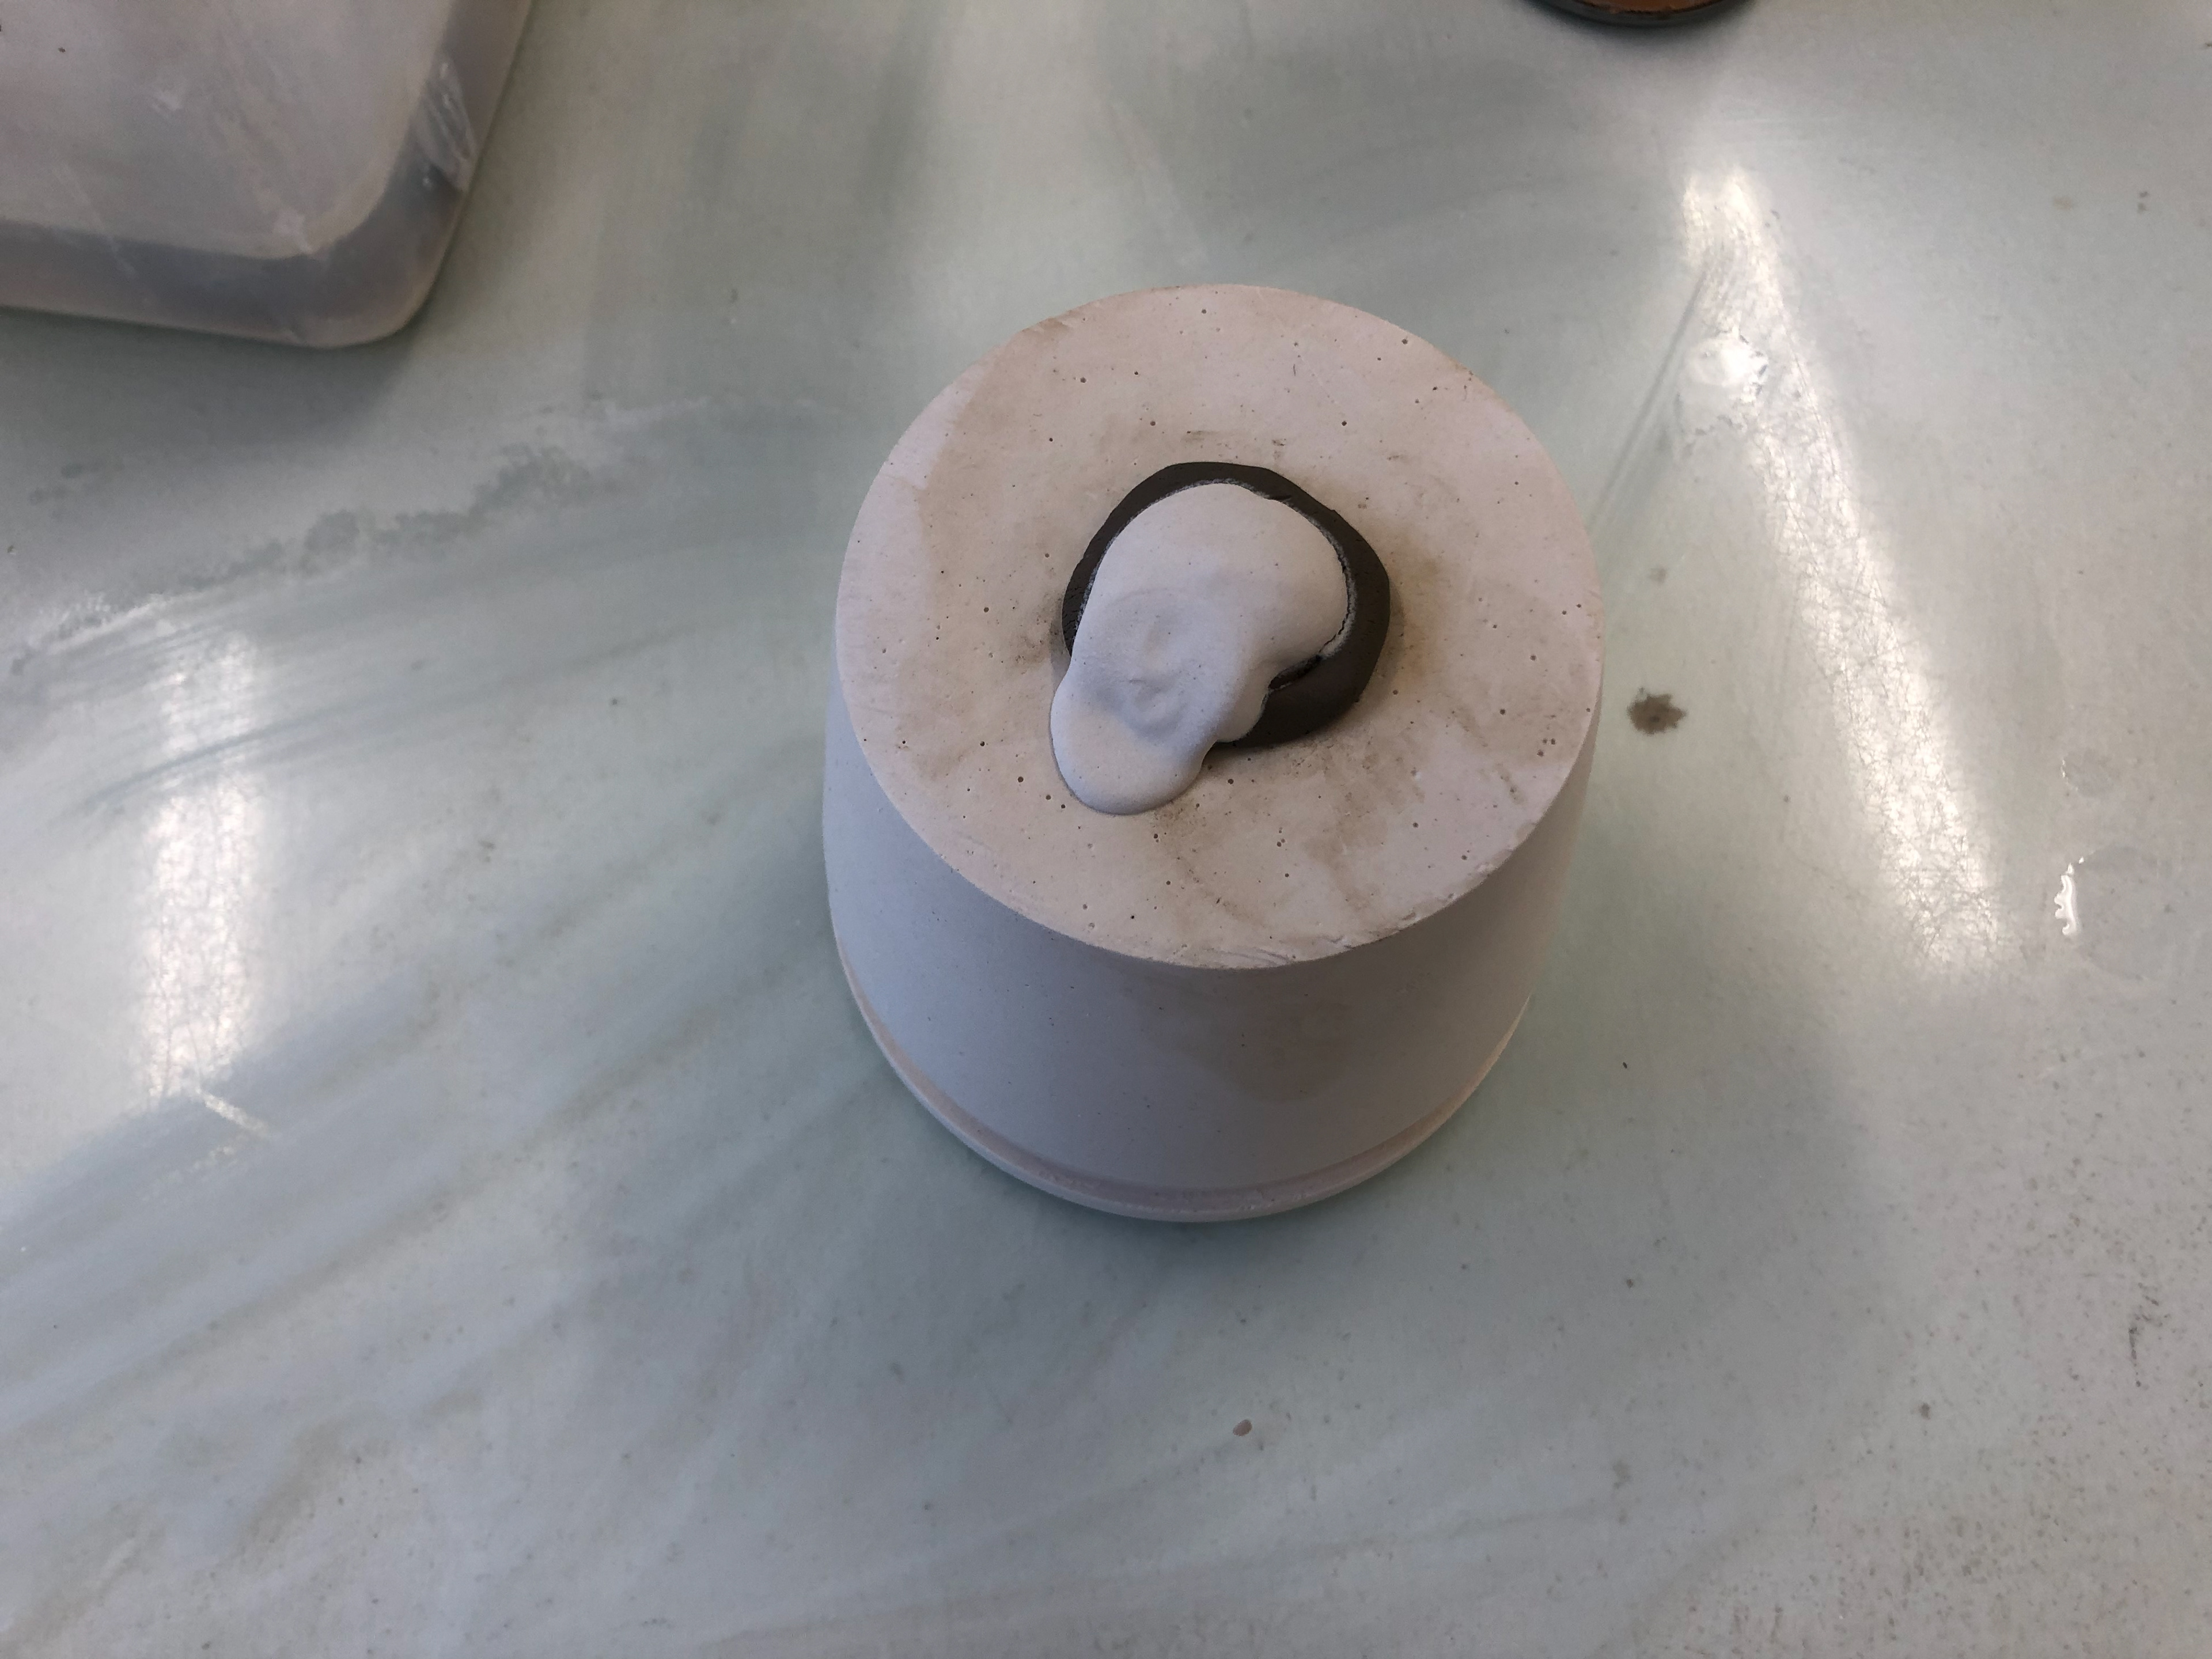
Filling the hole where the mandrel was.
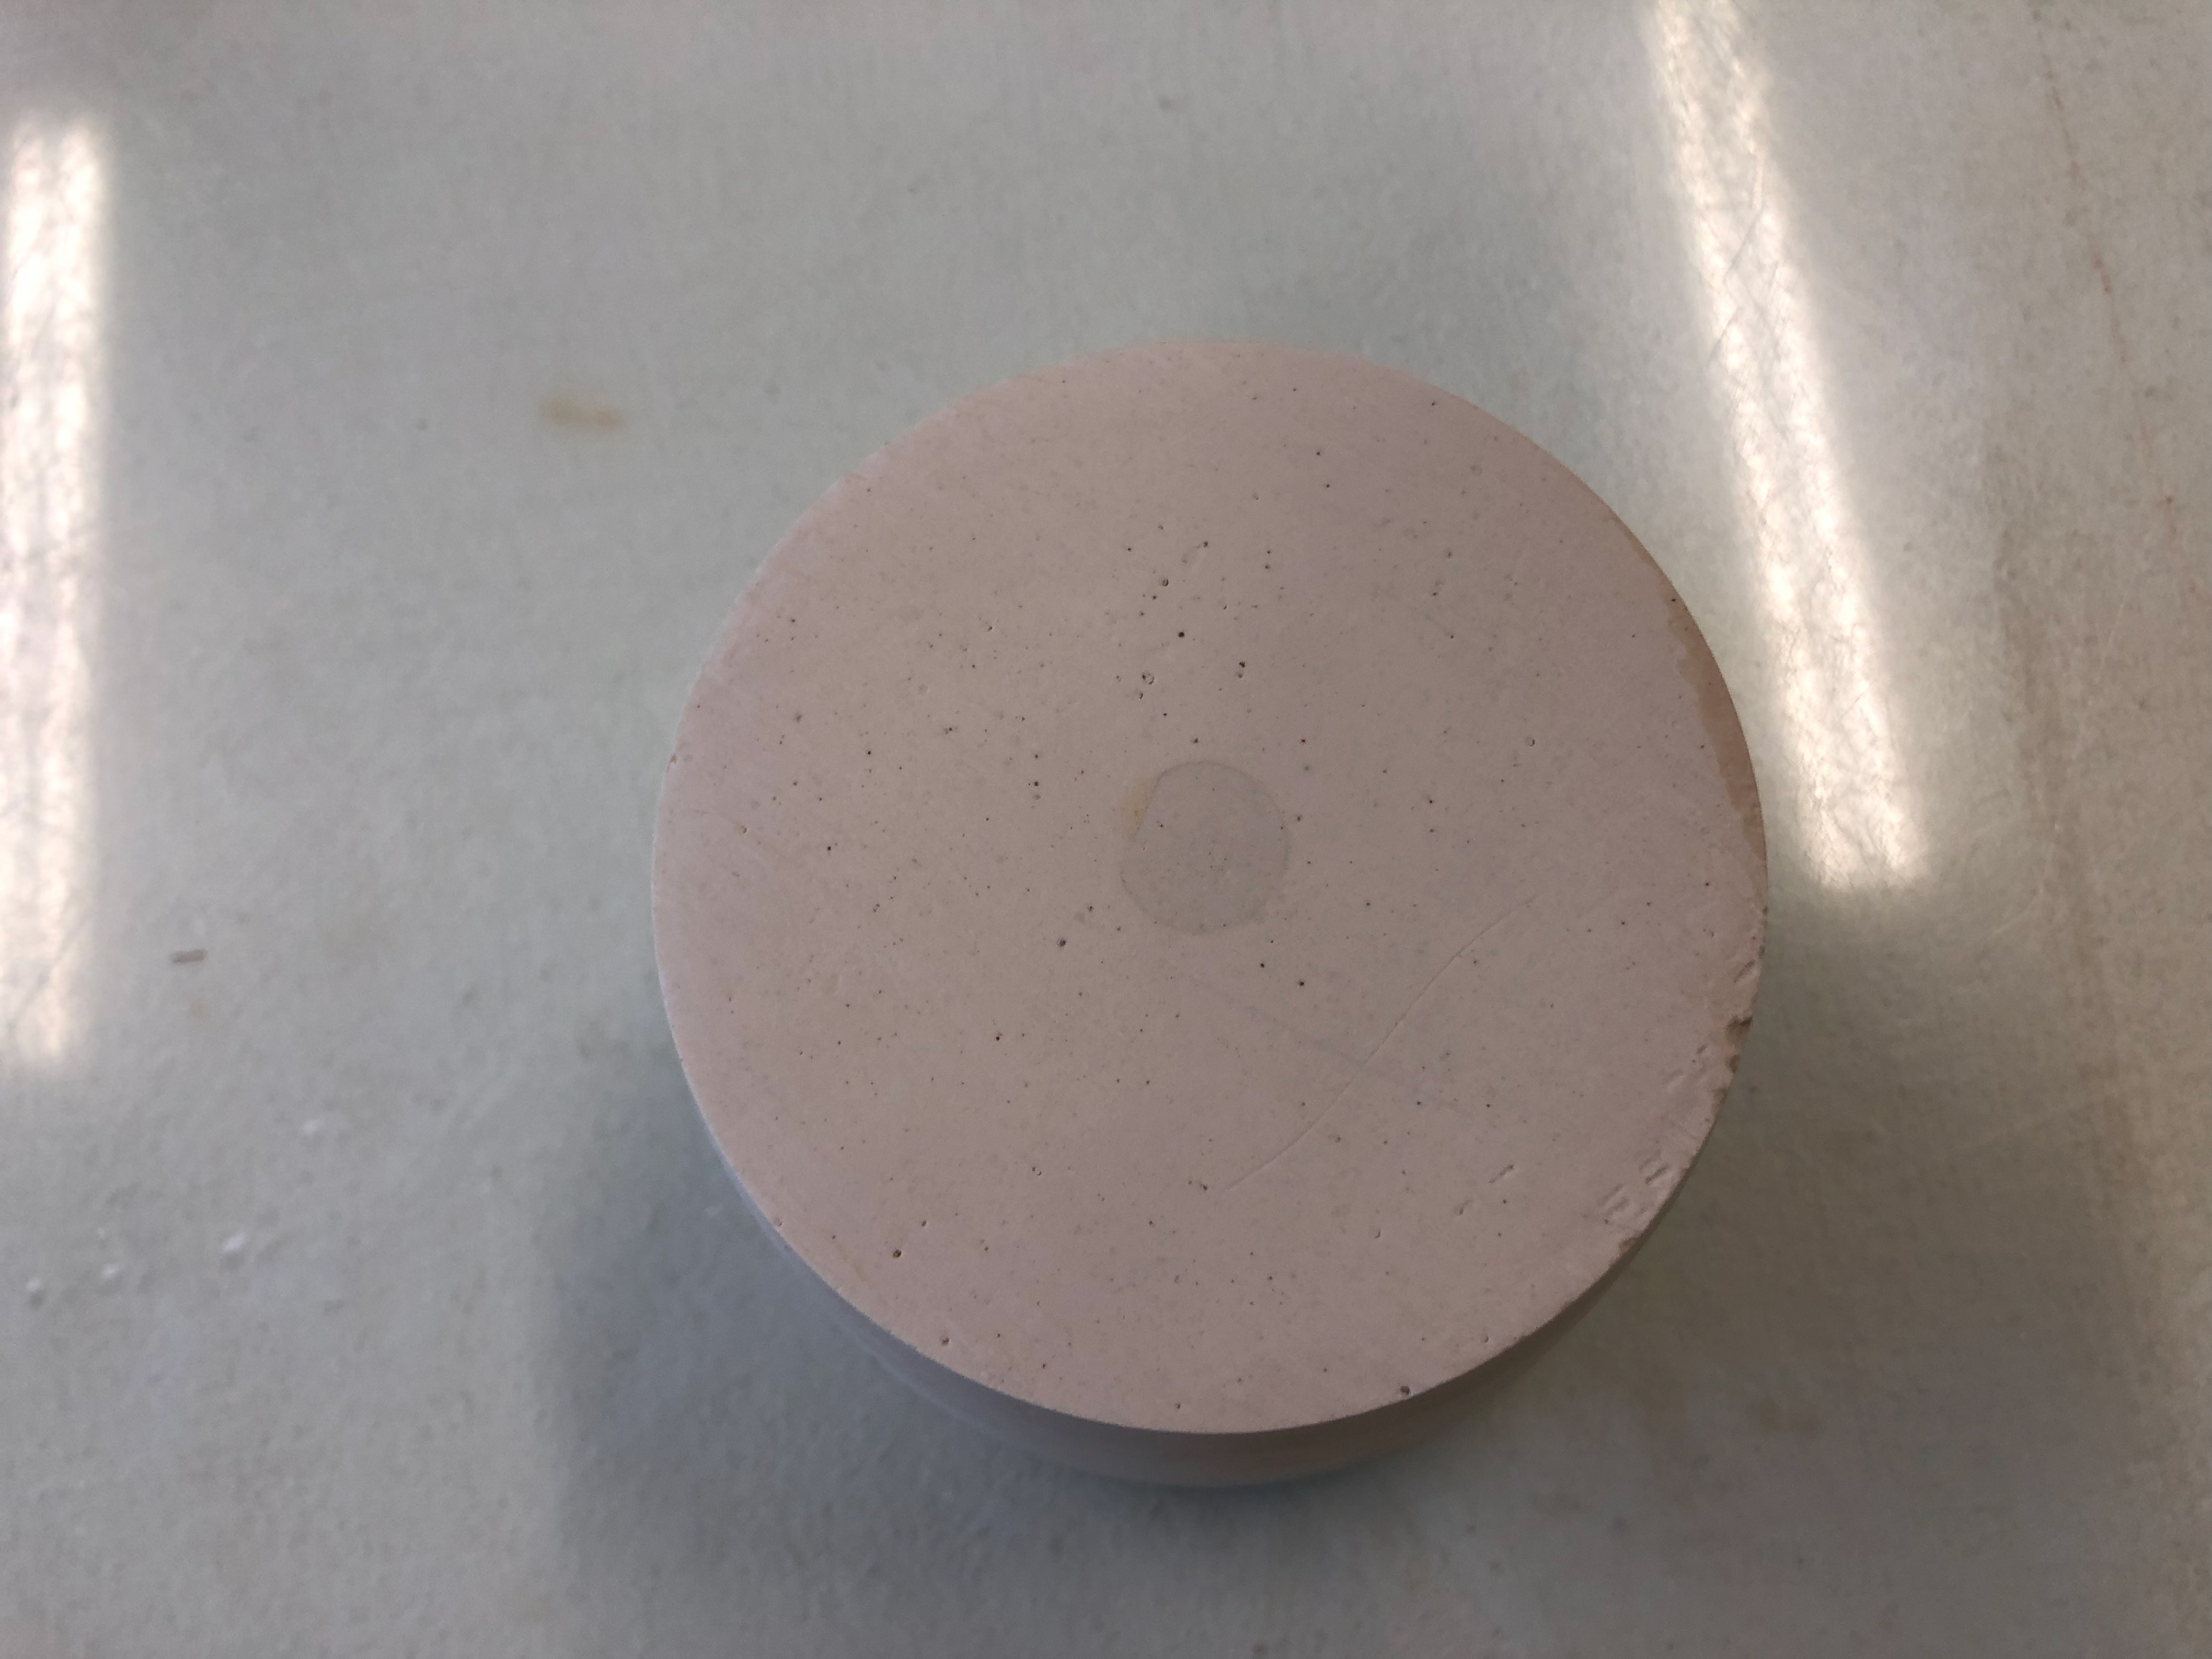
The top after the hole is filled.
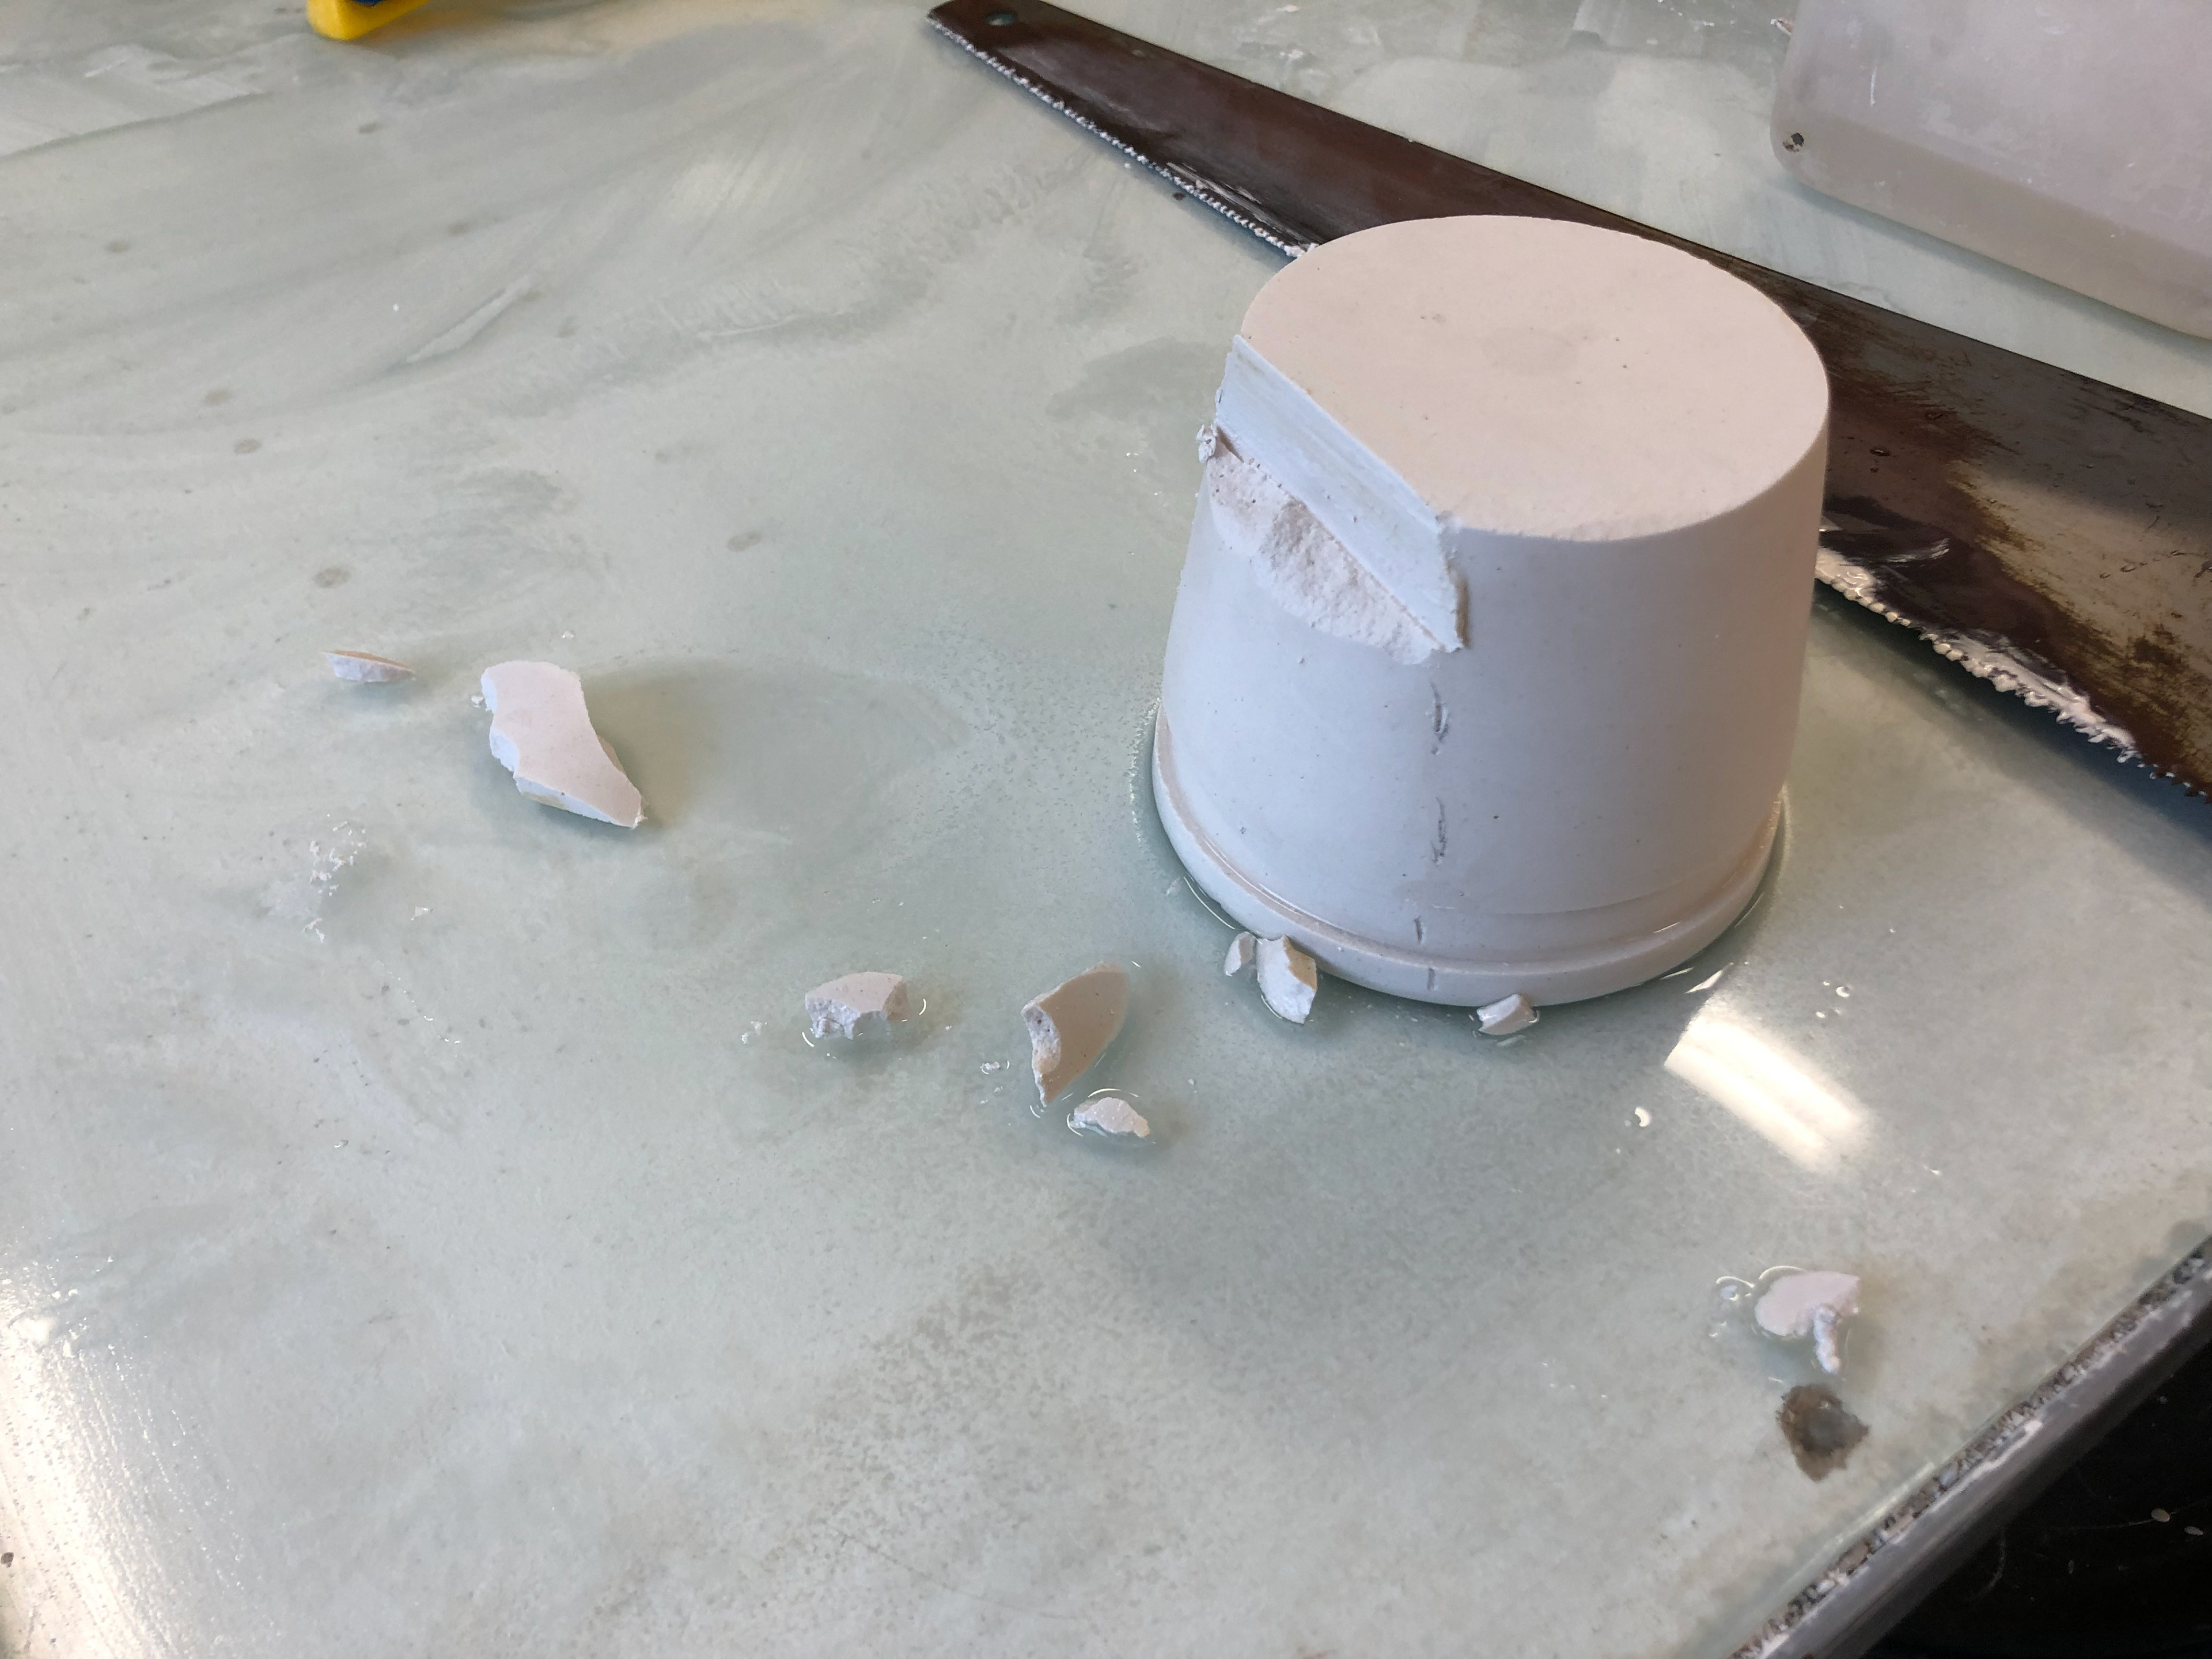
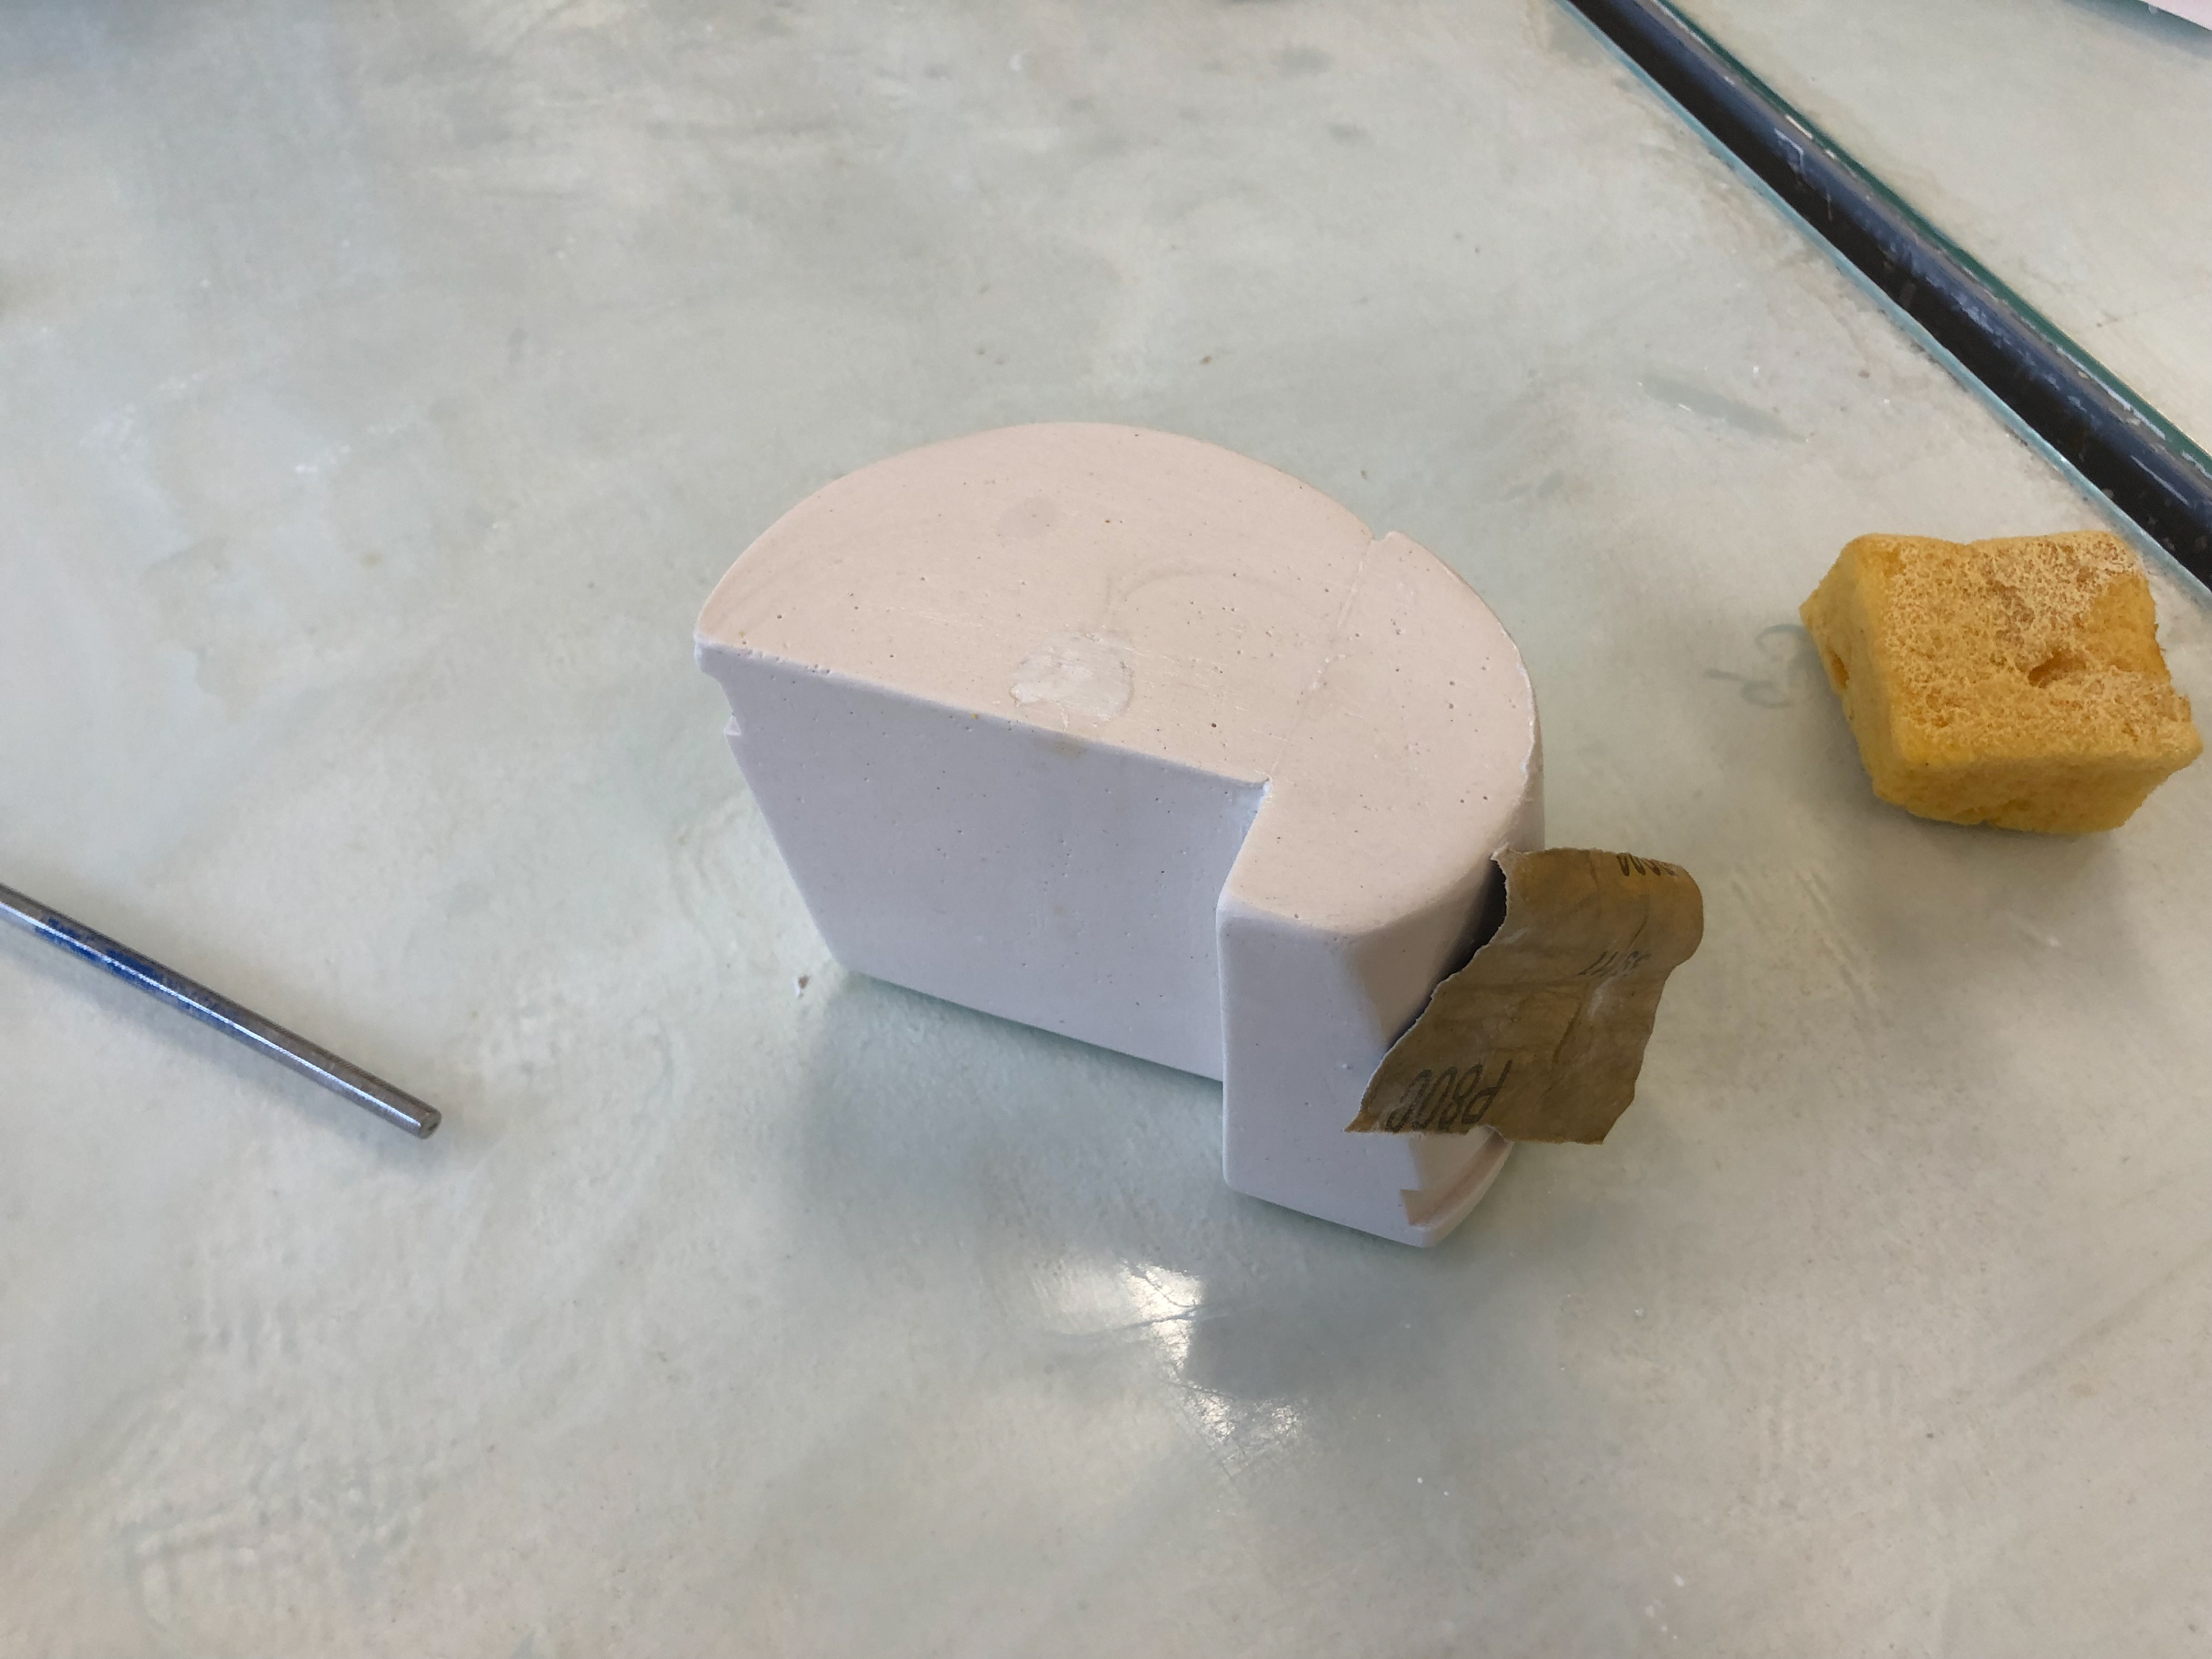
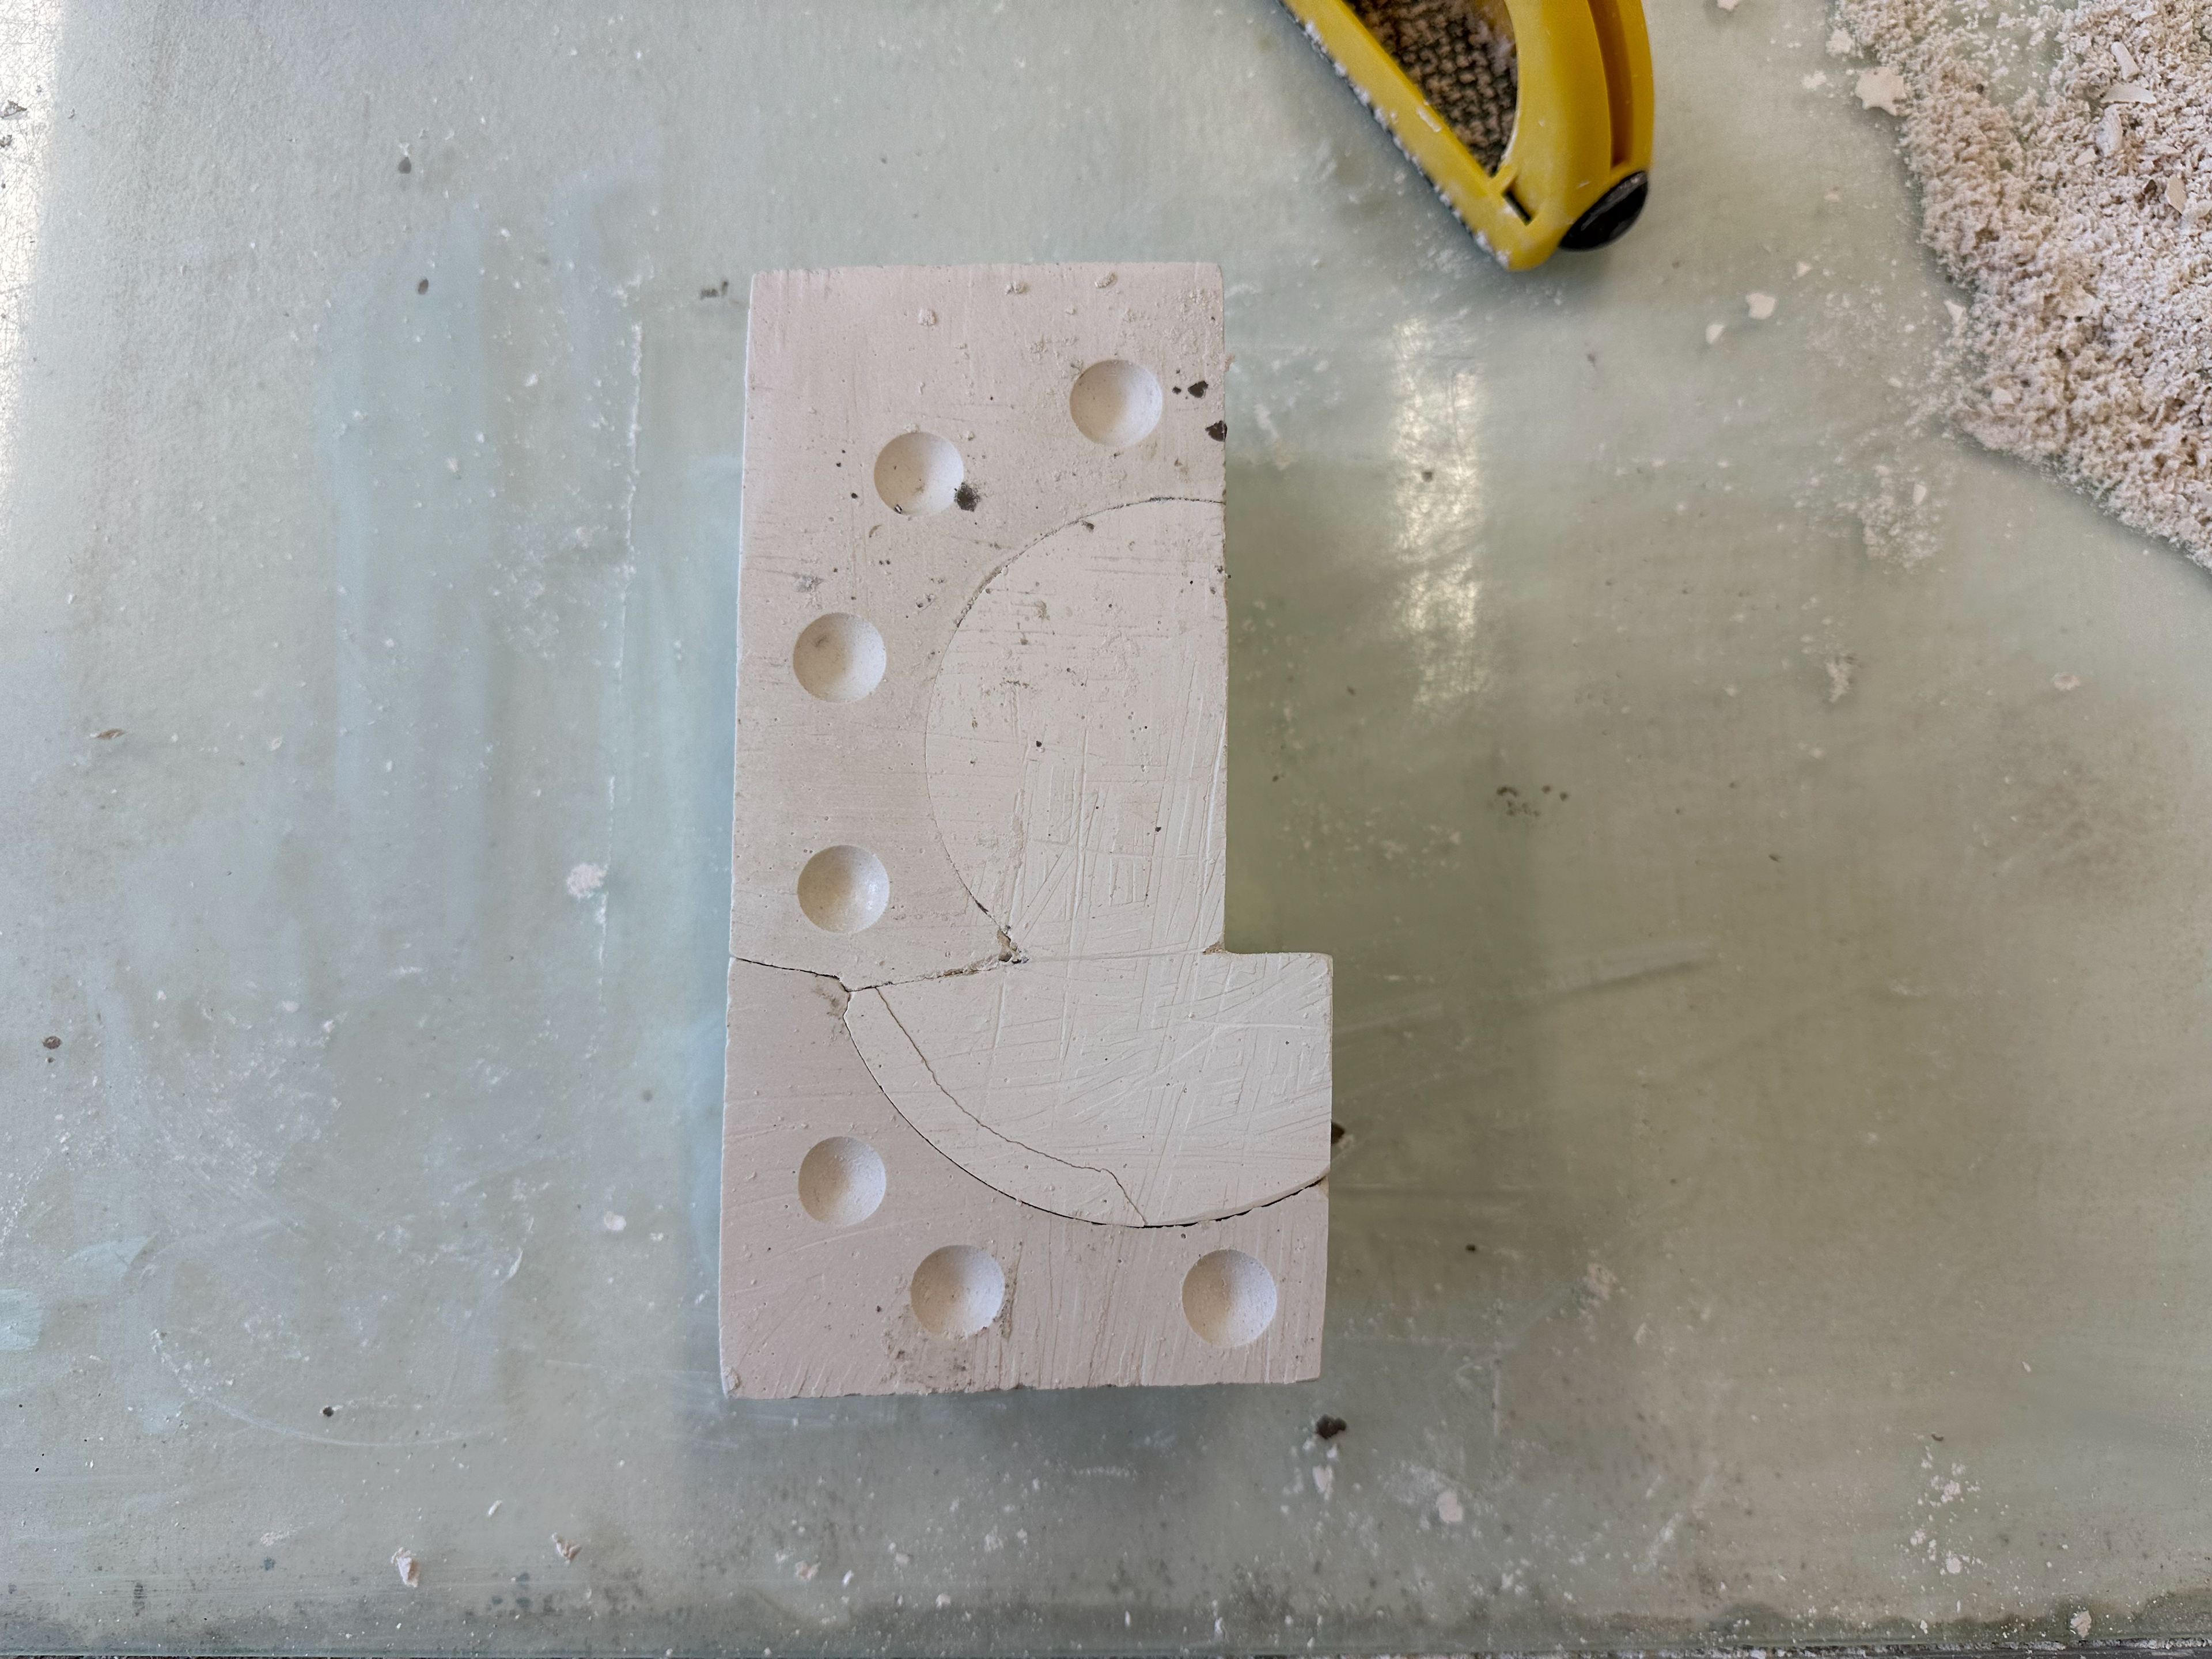
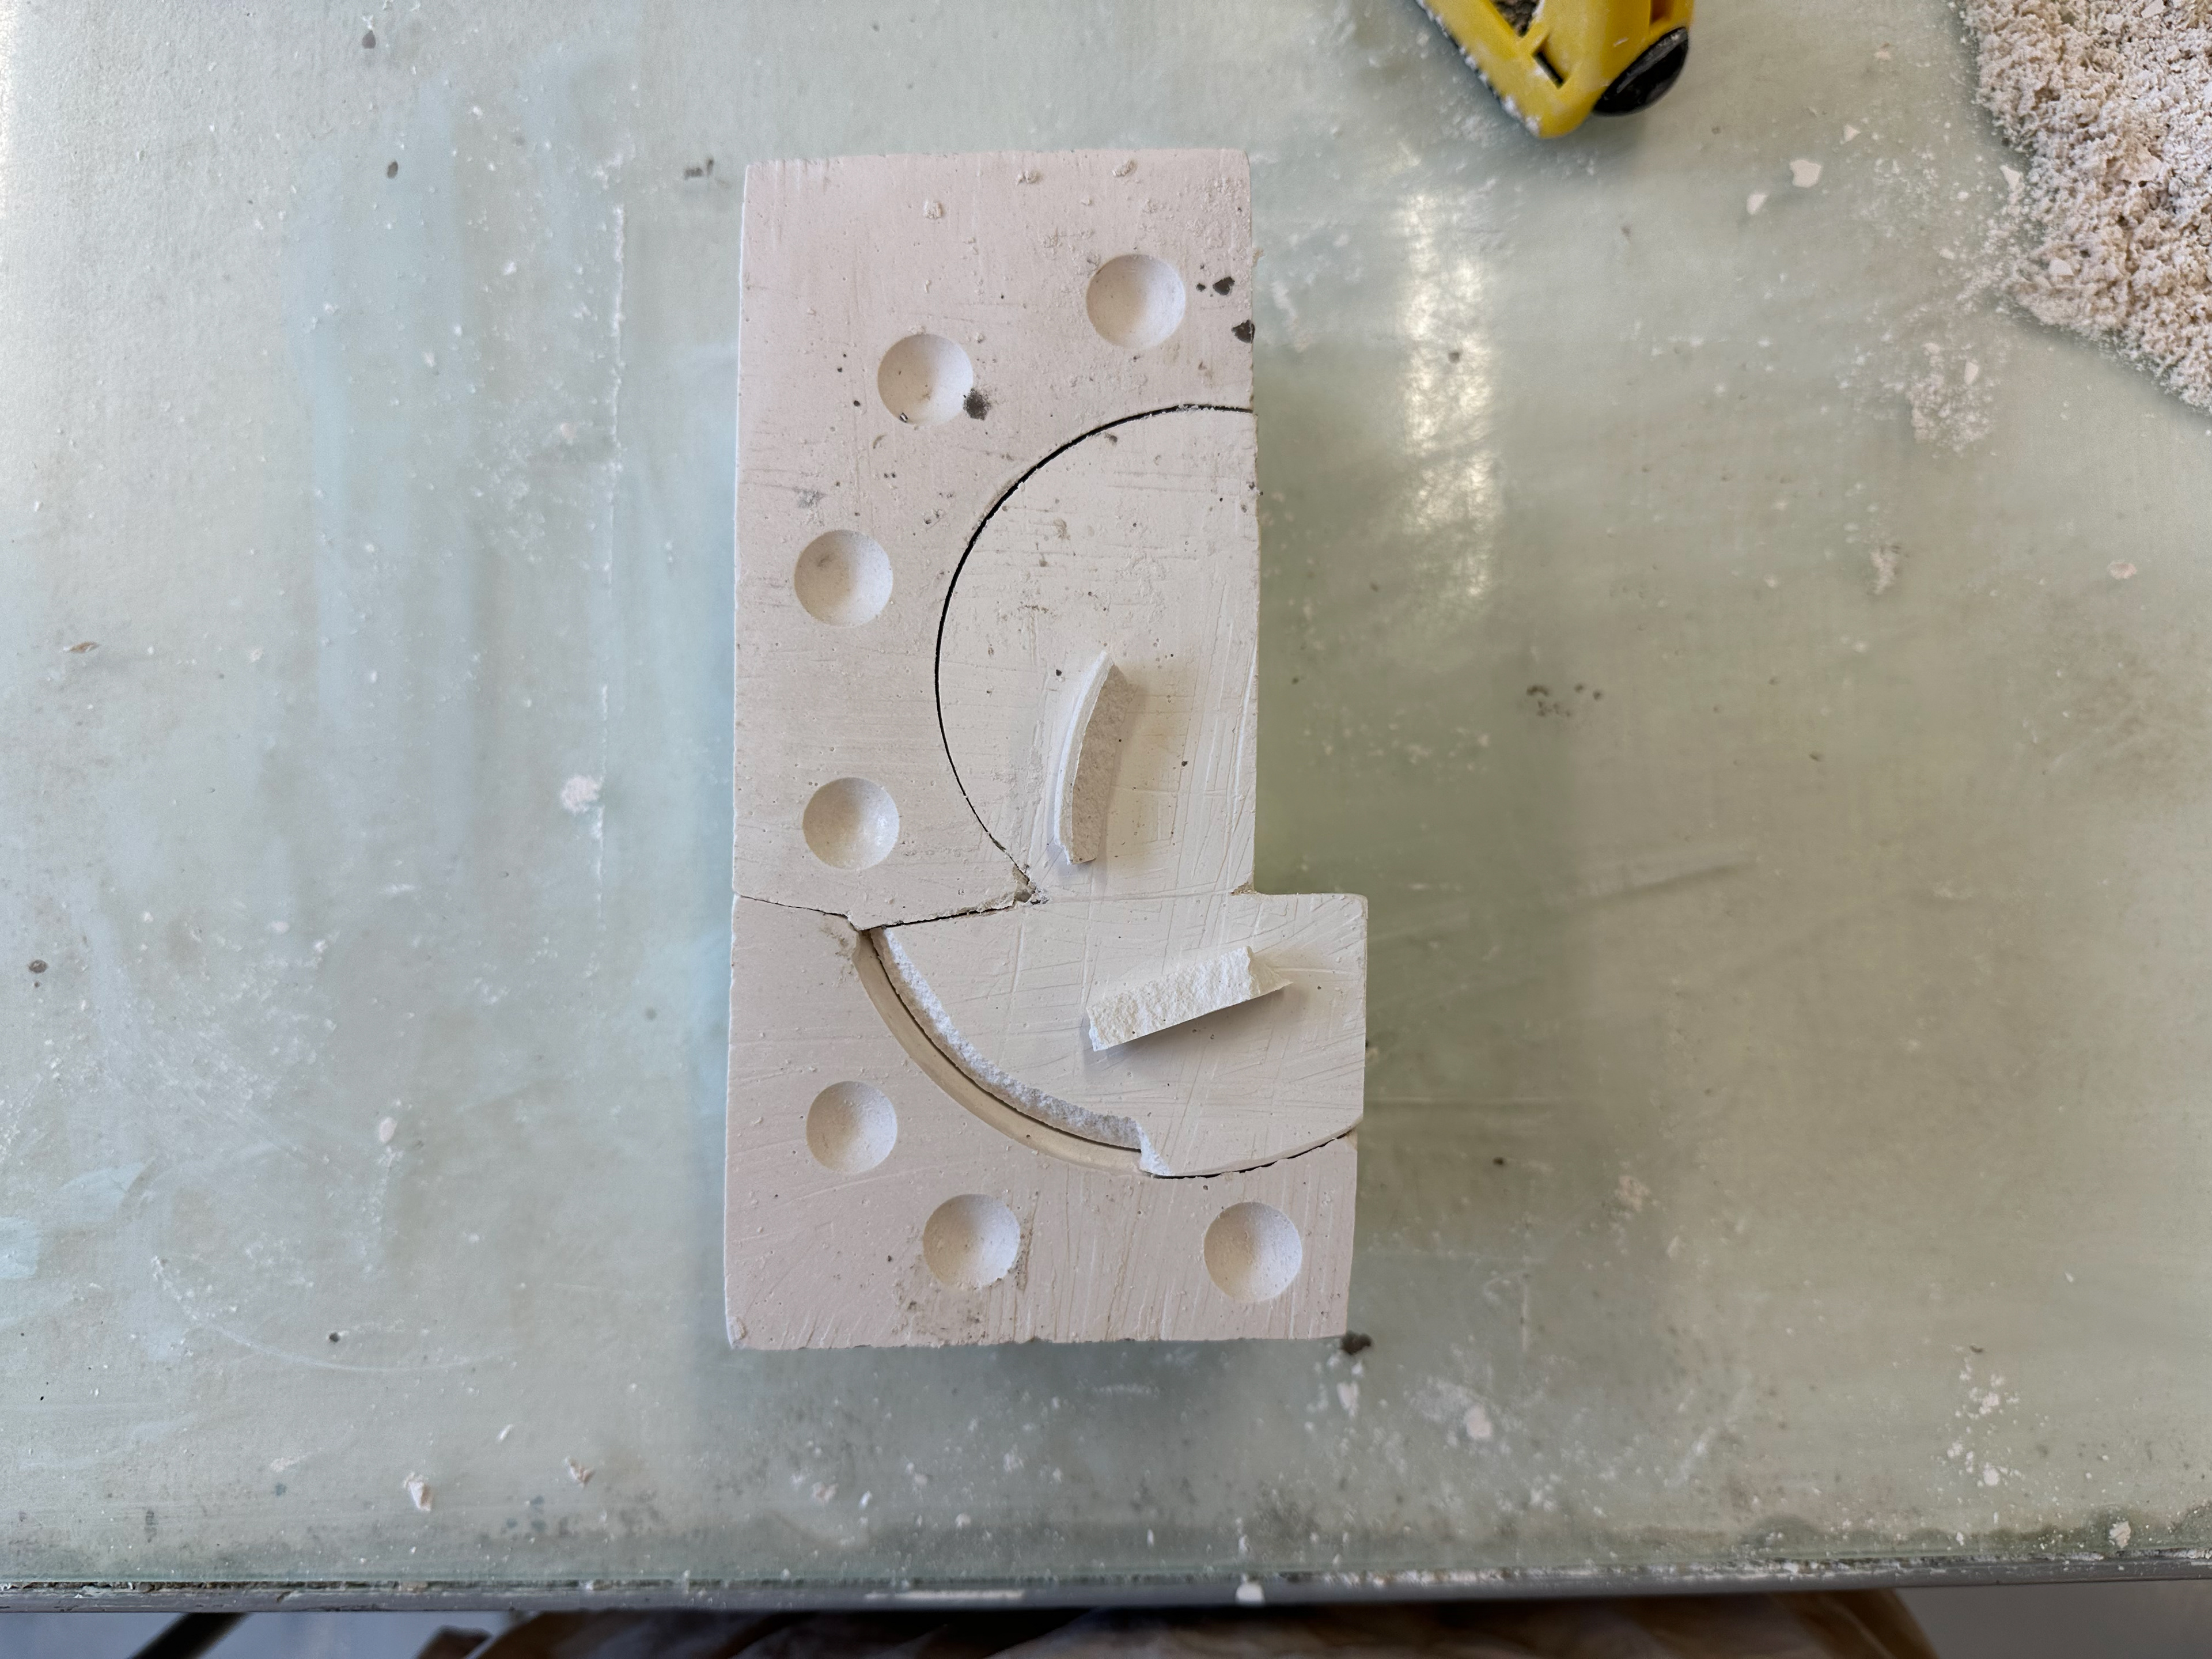
I cut too close to far from the centre and it broke.
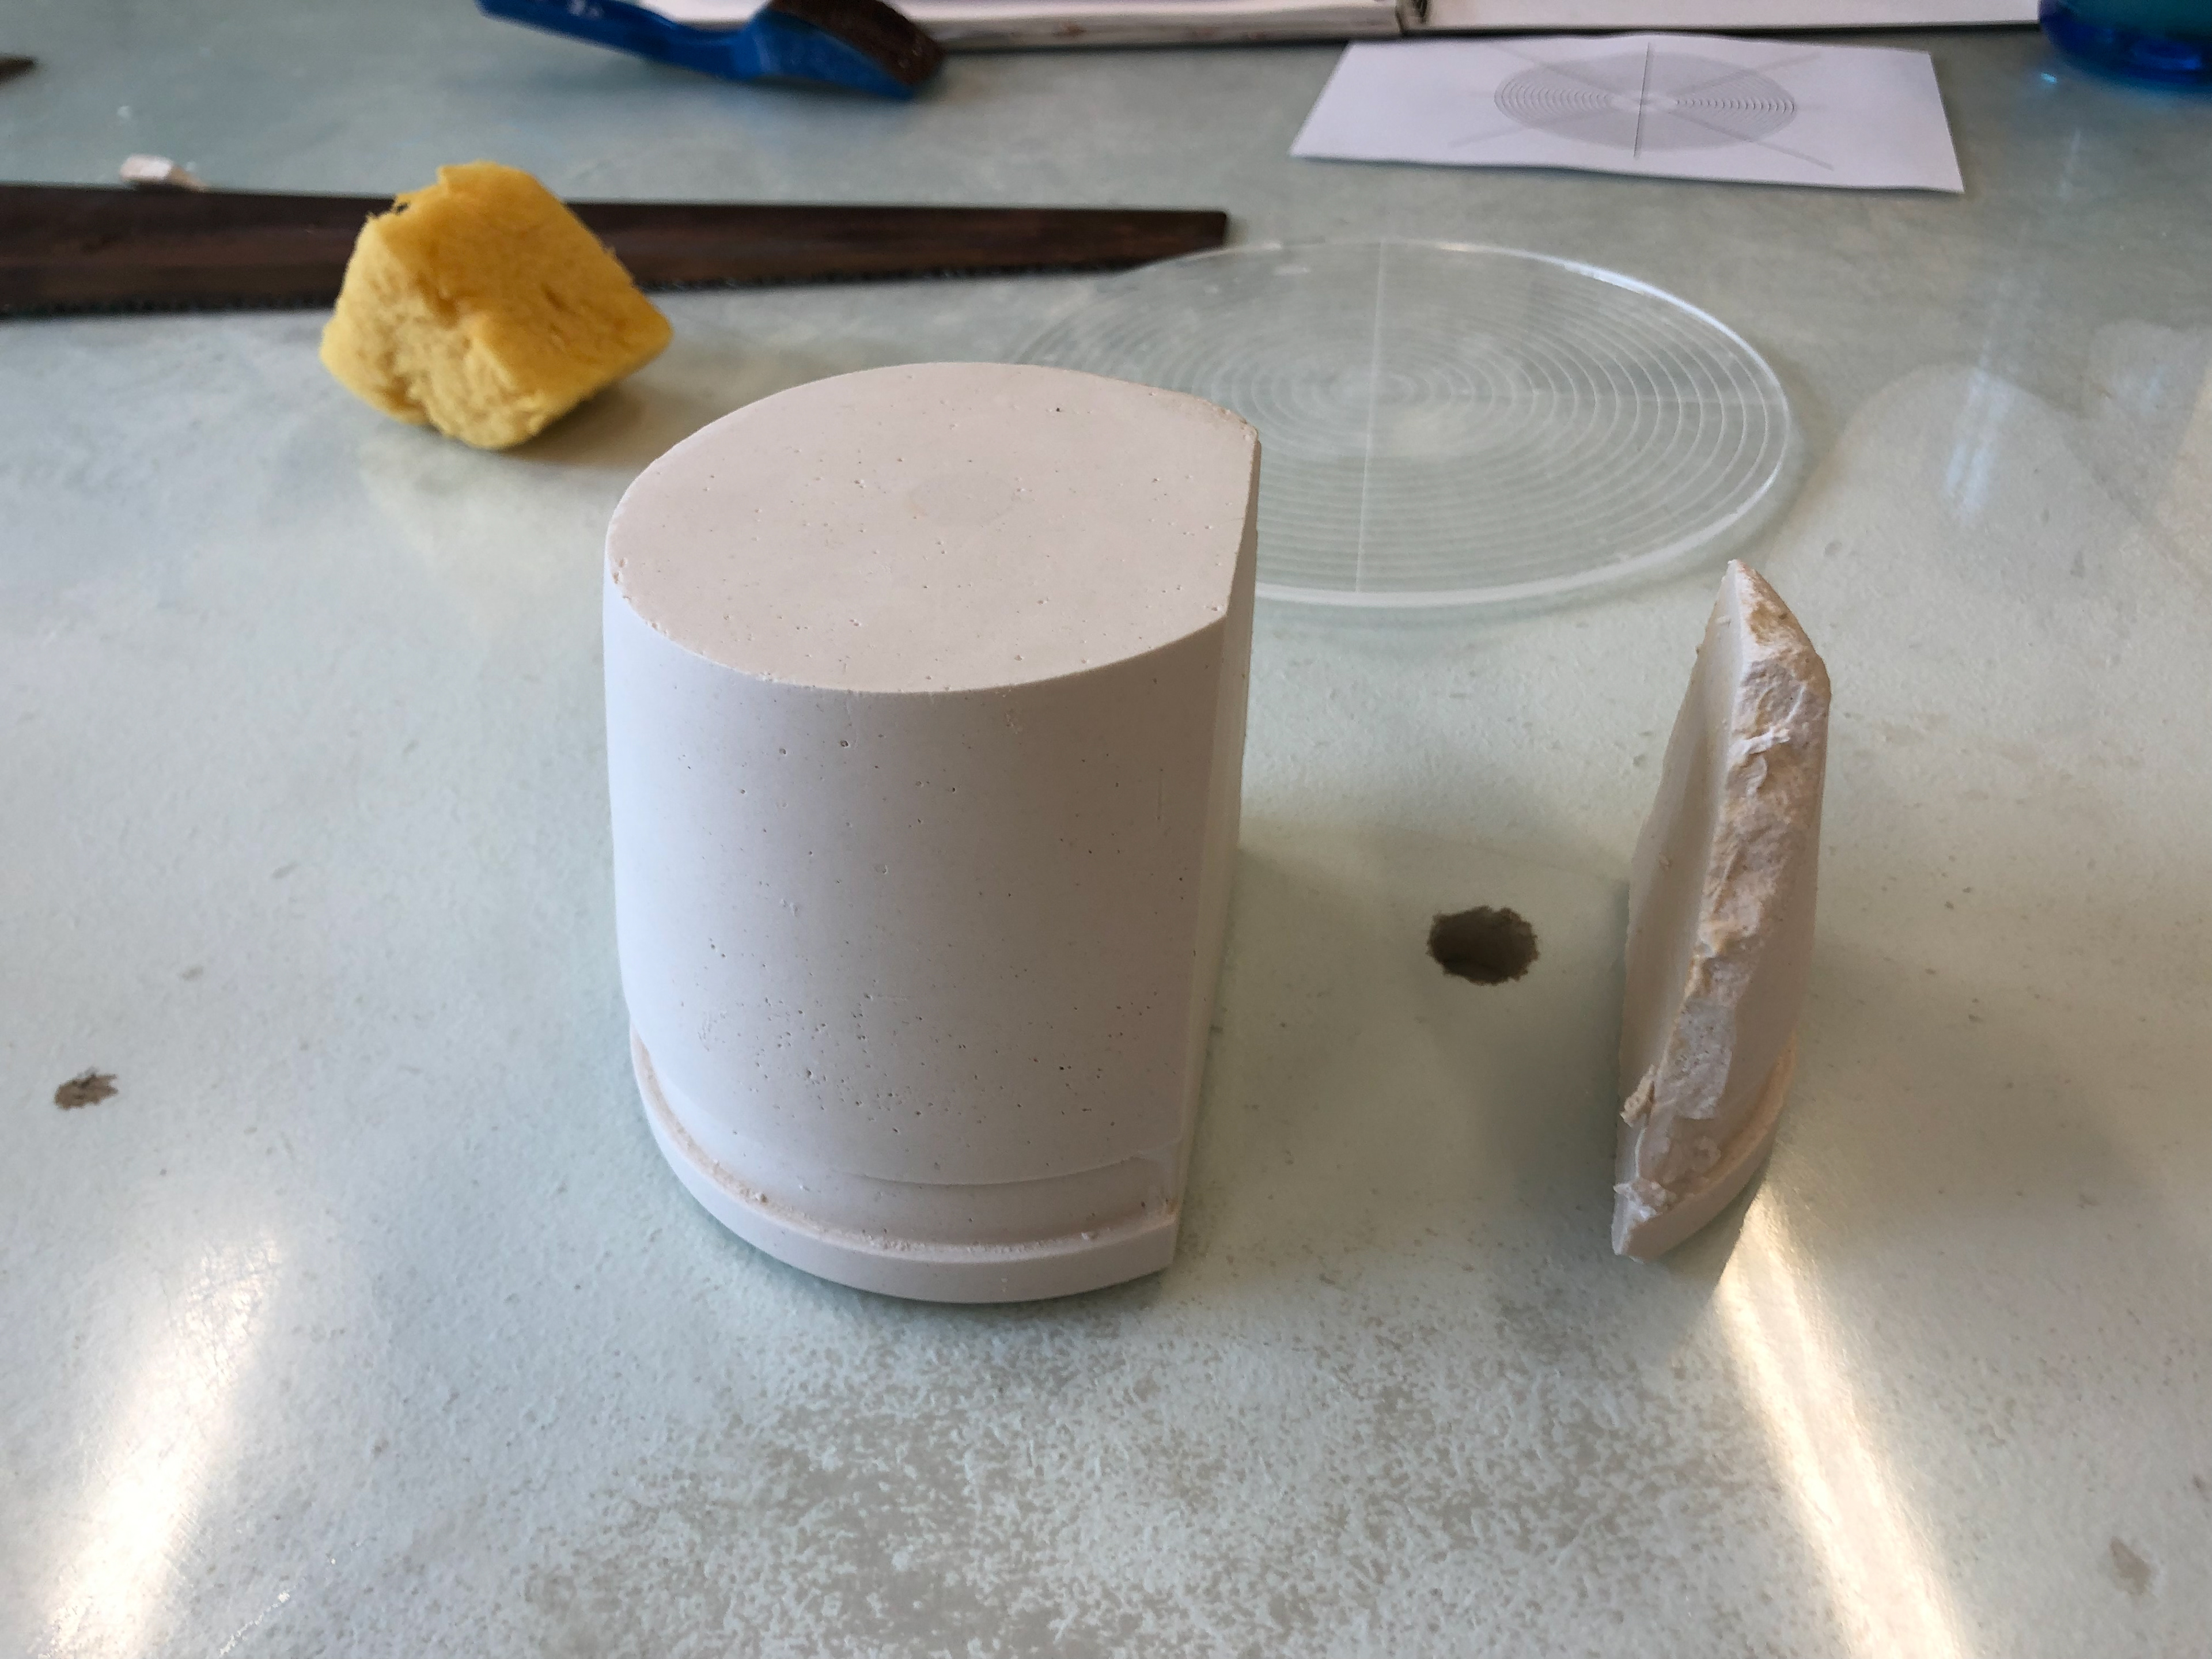
The first cut but it broke so I removed it.
The first cut.
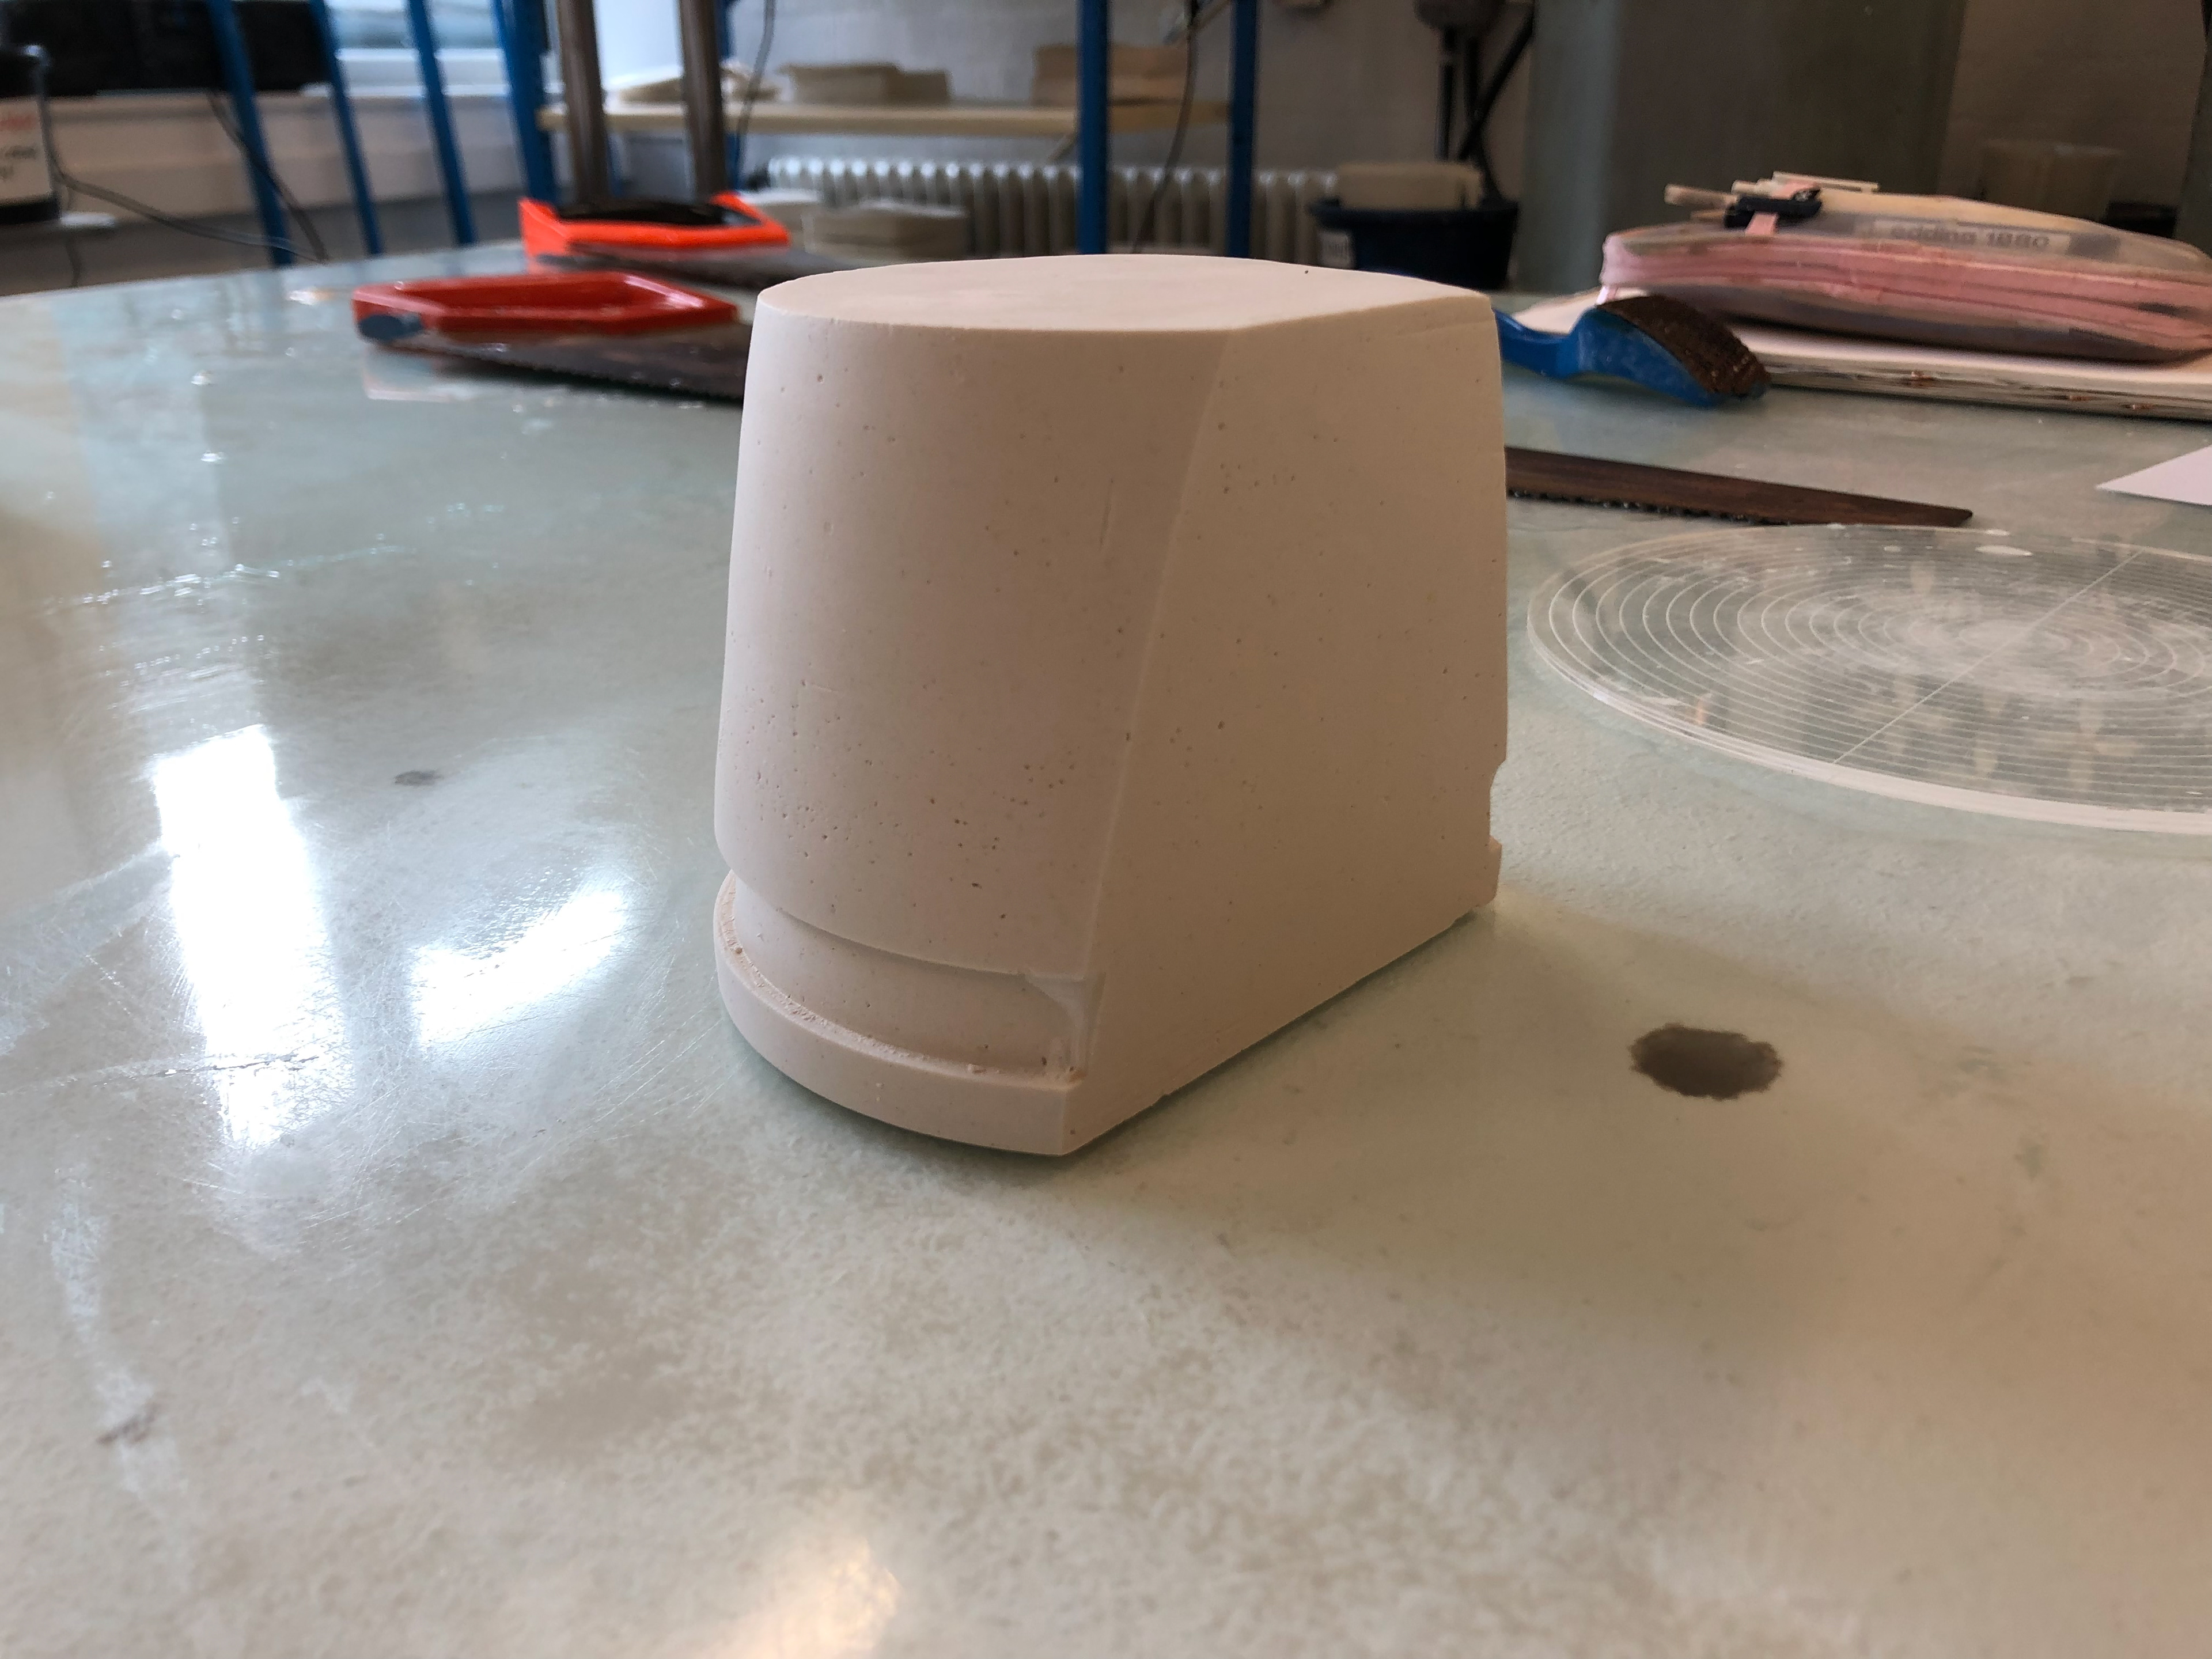
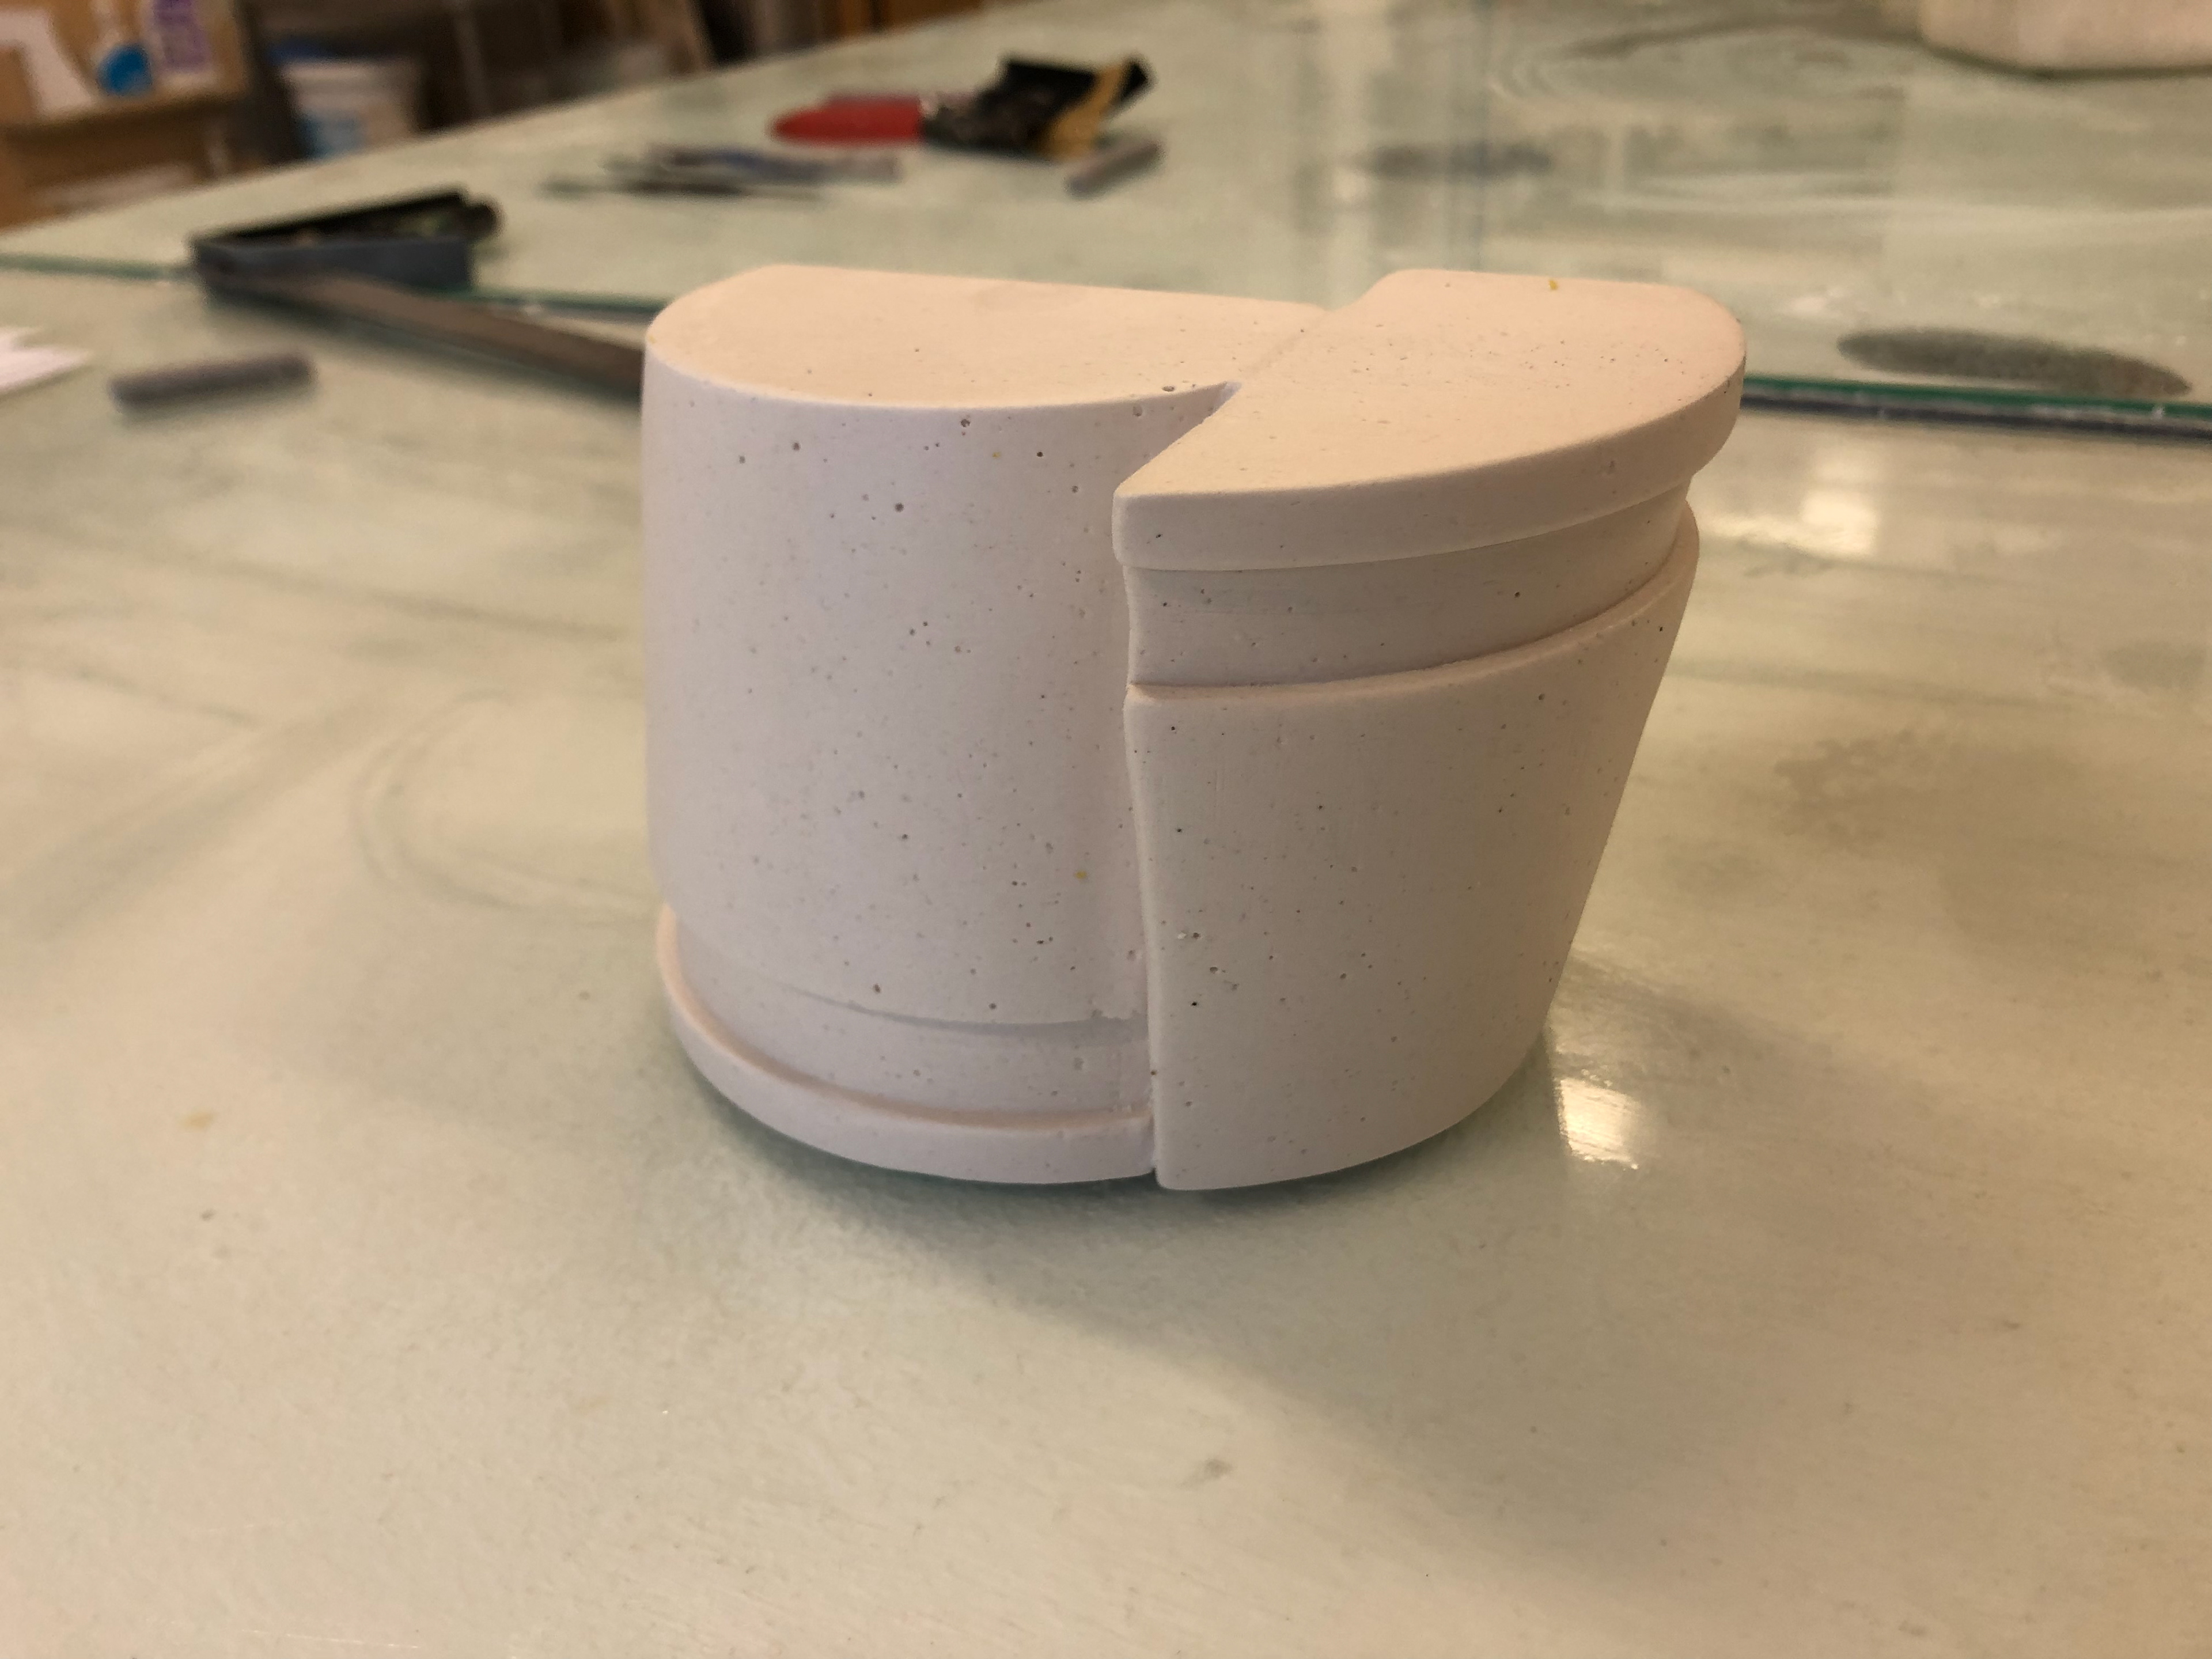
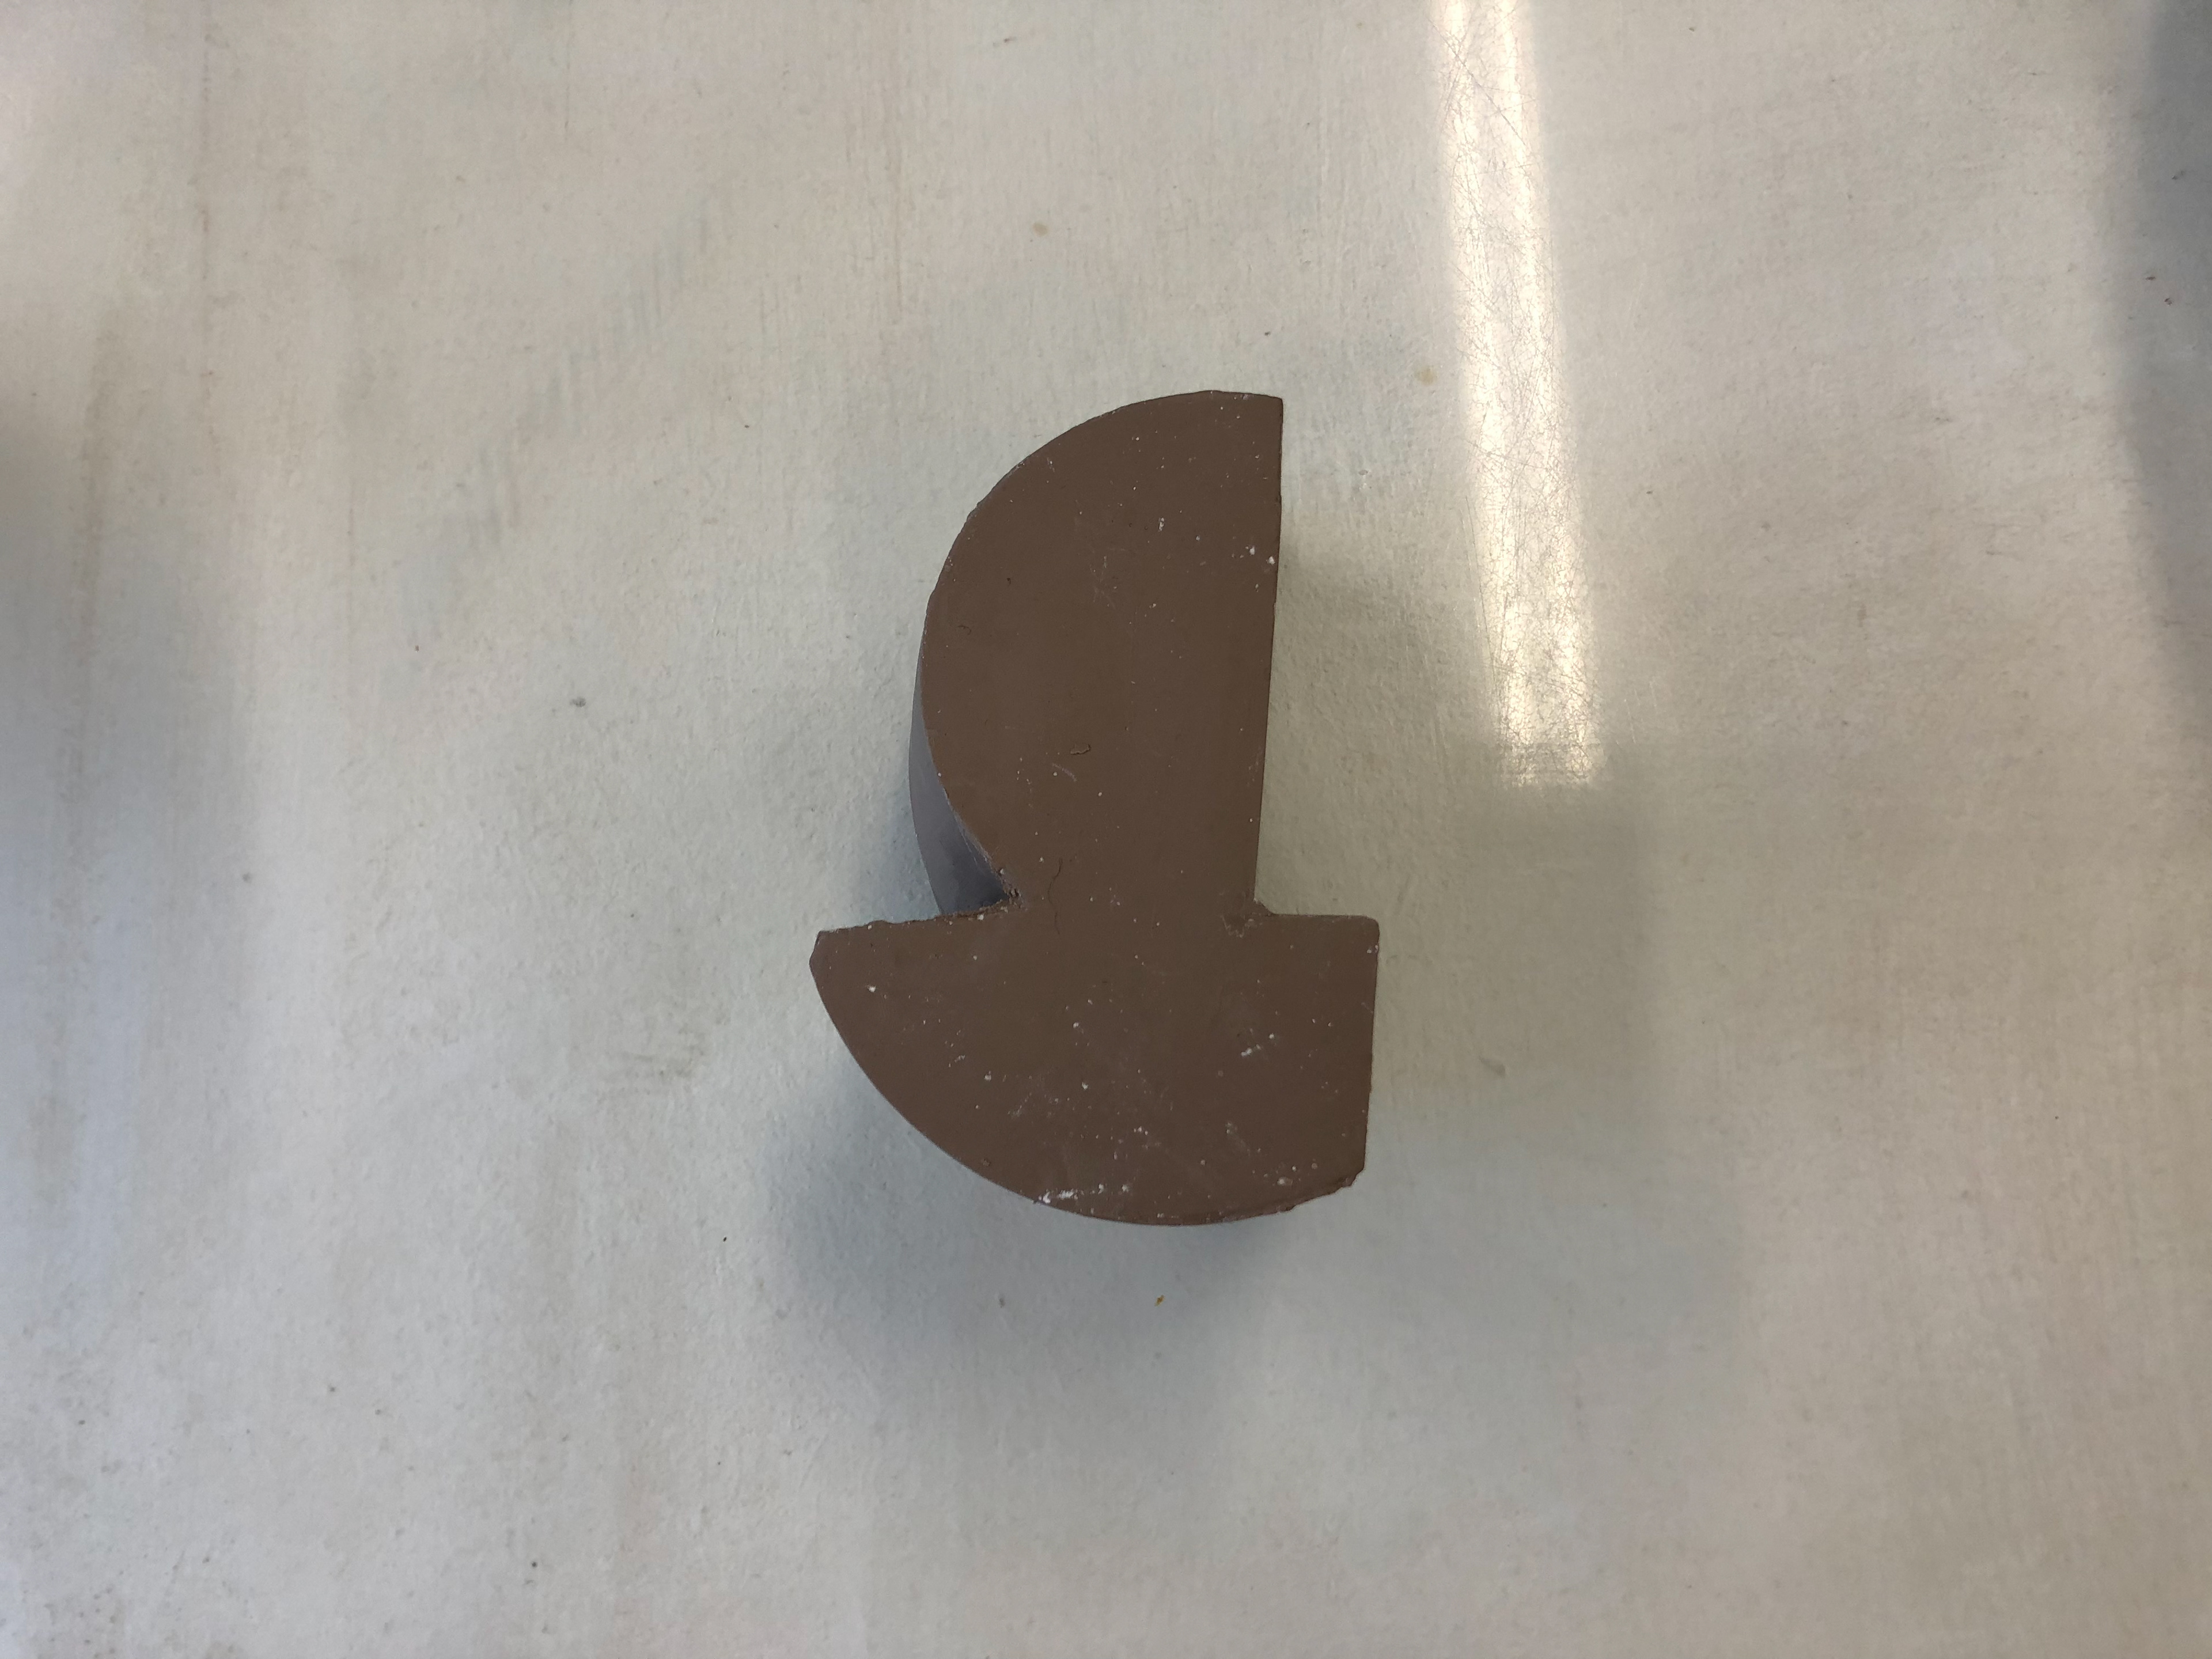
After the second cut.

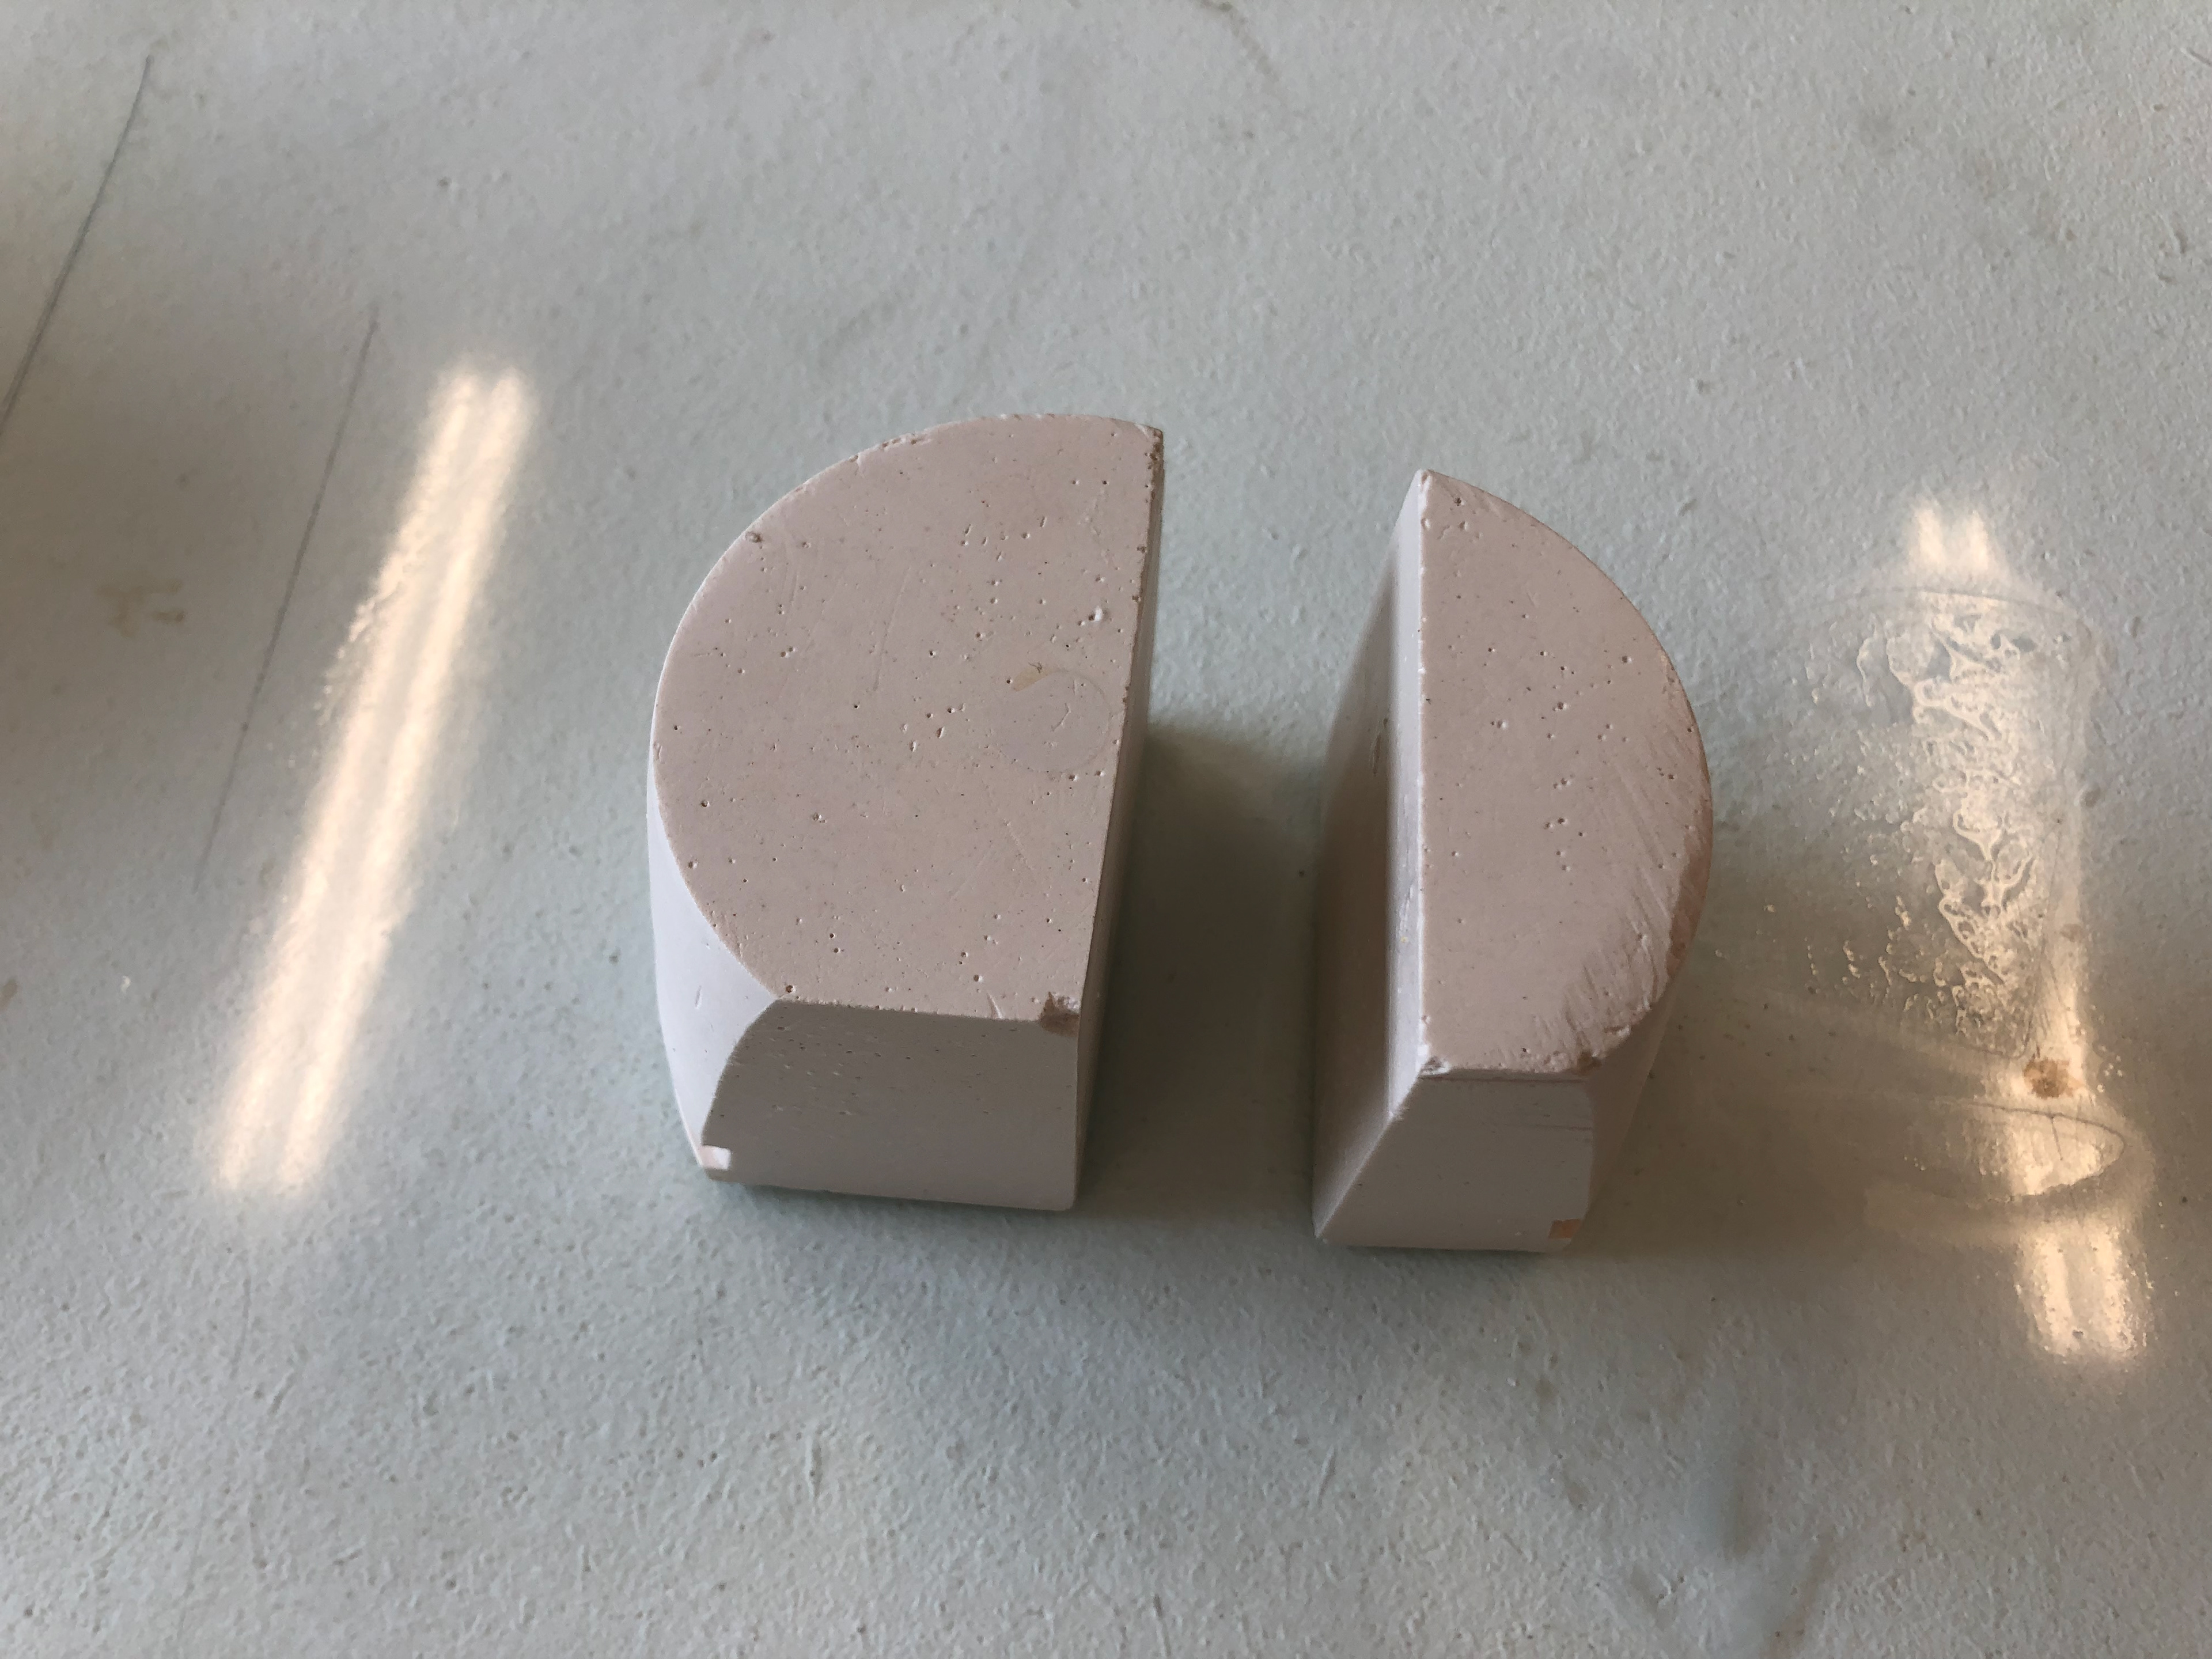
Mockup of final design.

After the joining the two parts together.
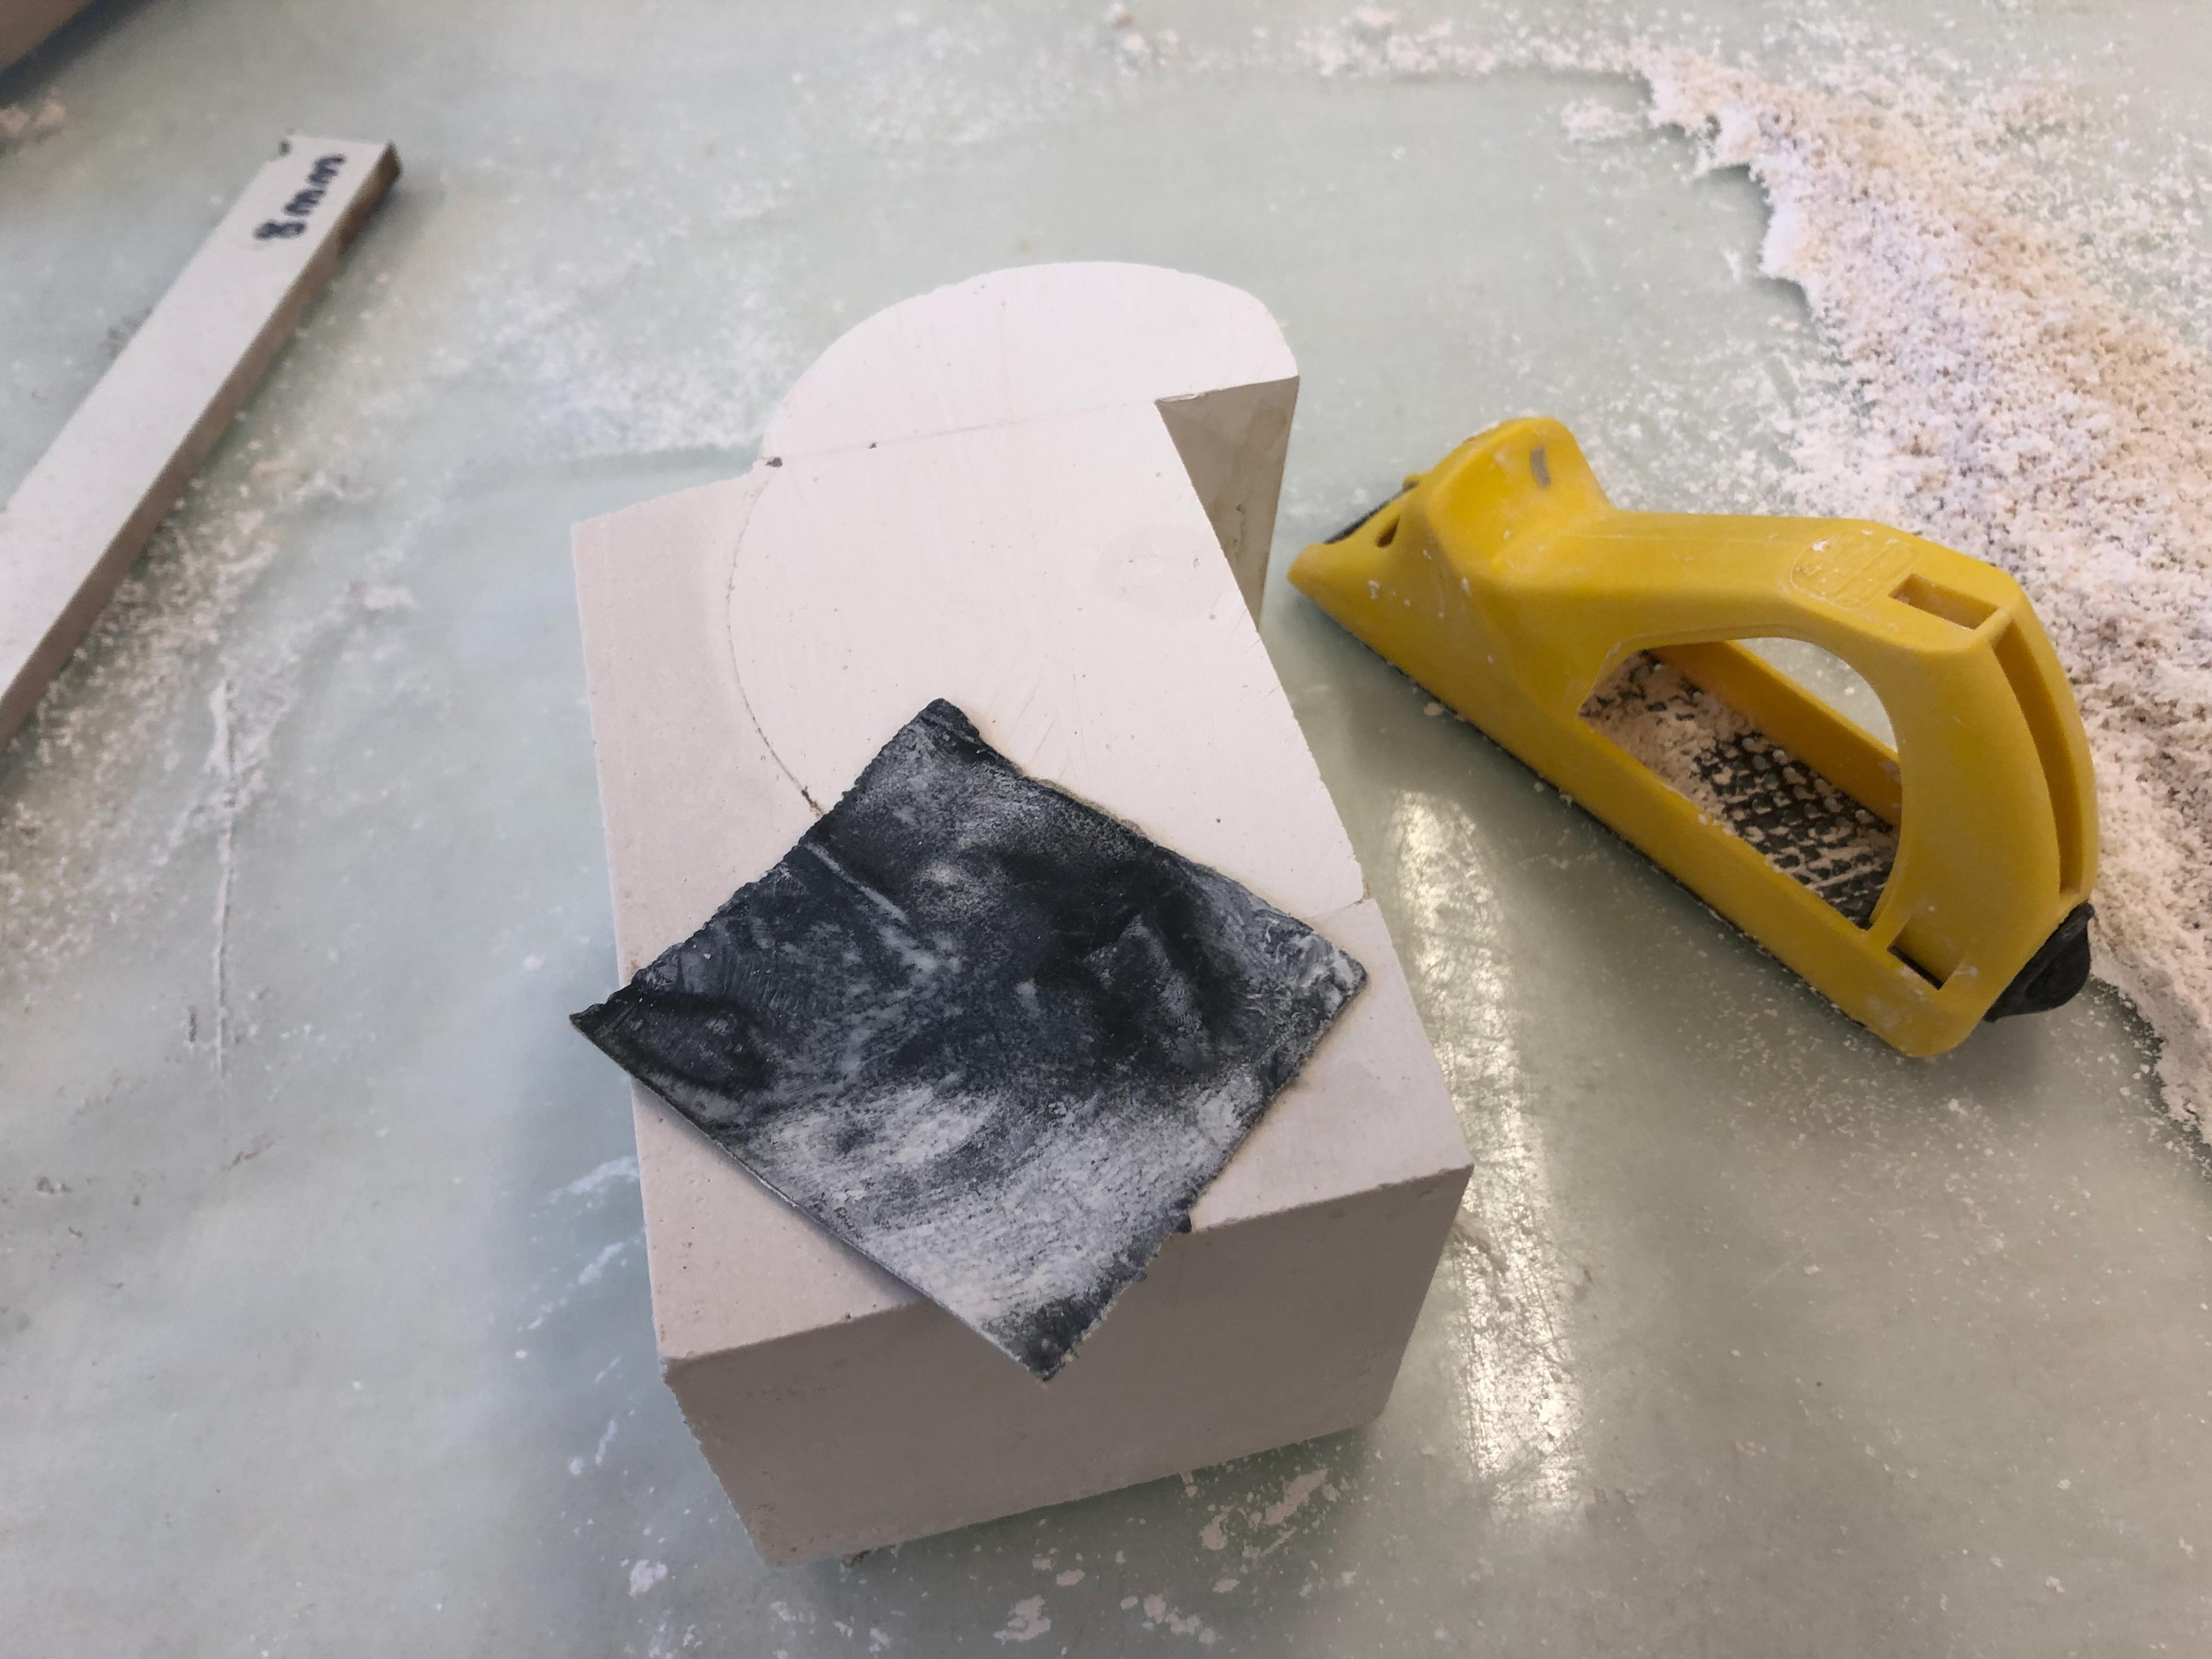
Sanding and finishing.
Final Design.
Creating a mould for slip-casting.
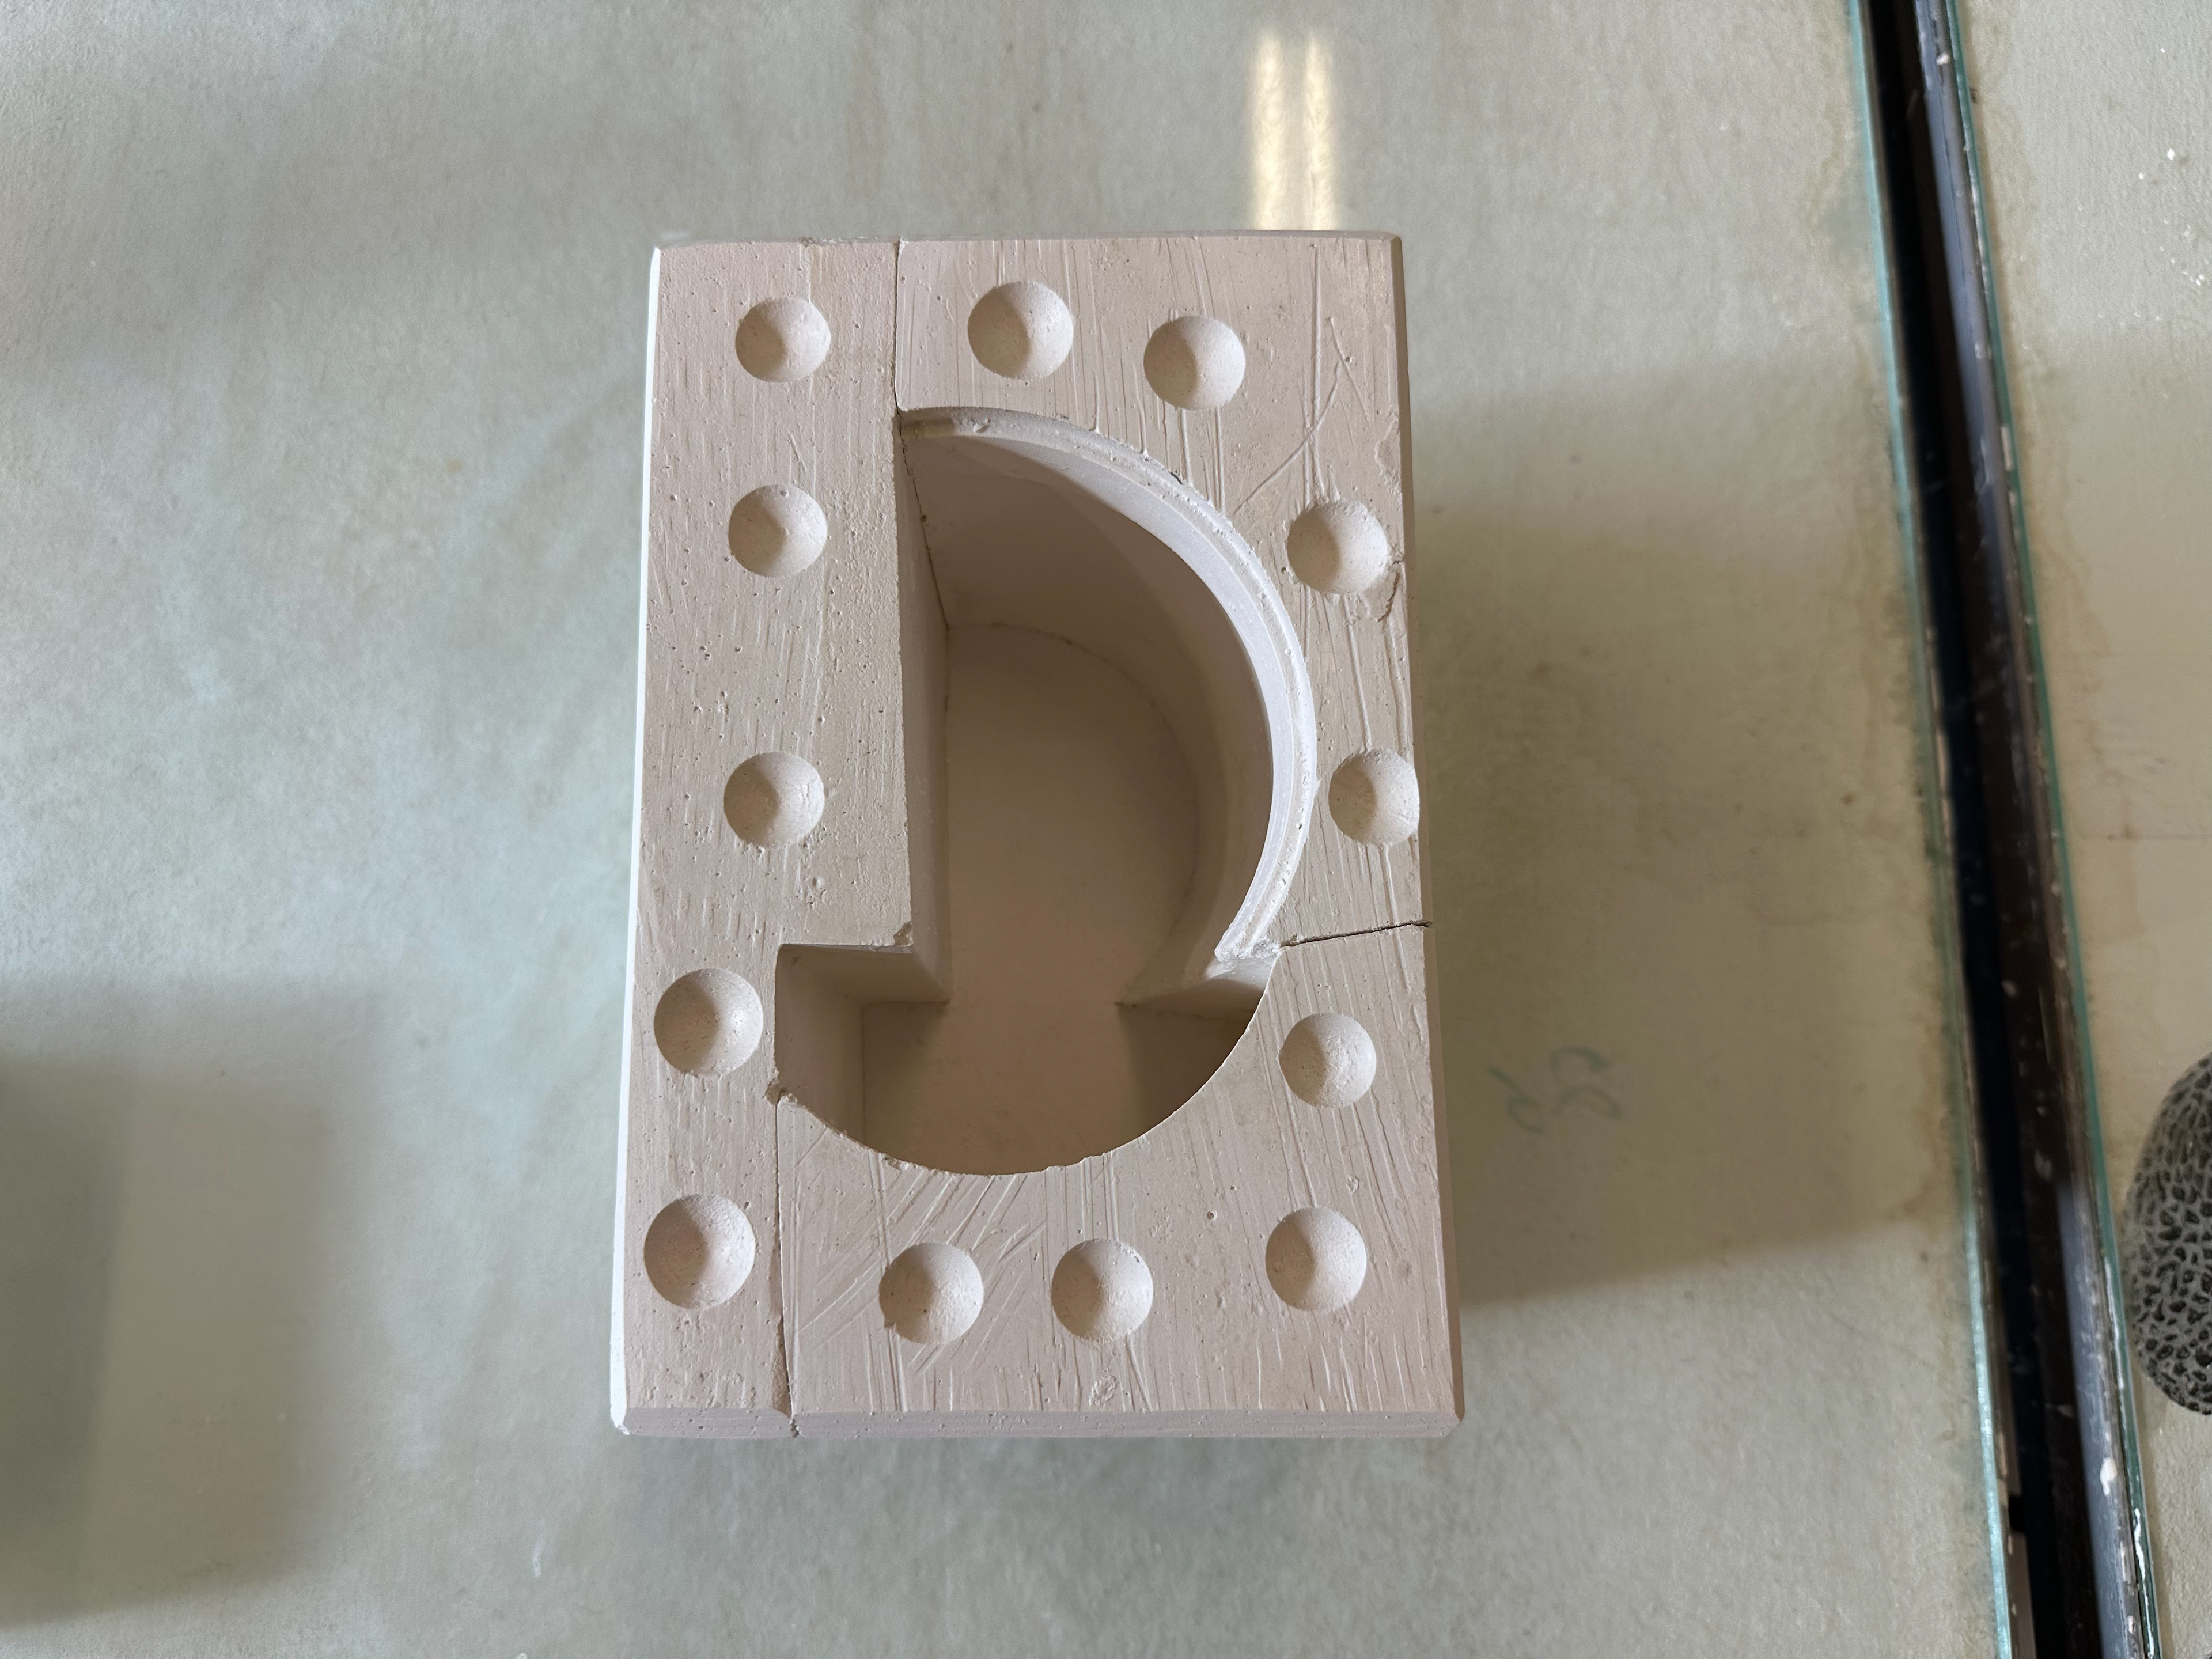
The mould will have the negative as the design and so incorporates the same design. The mould will be used for slip casting with a variety of slips.
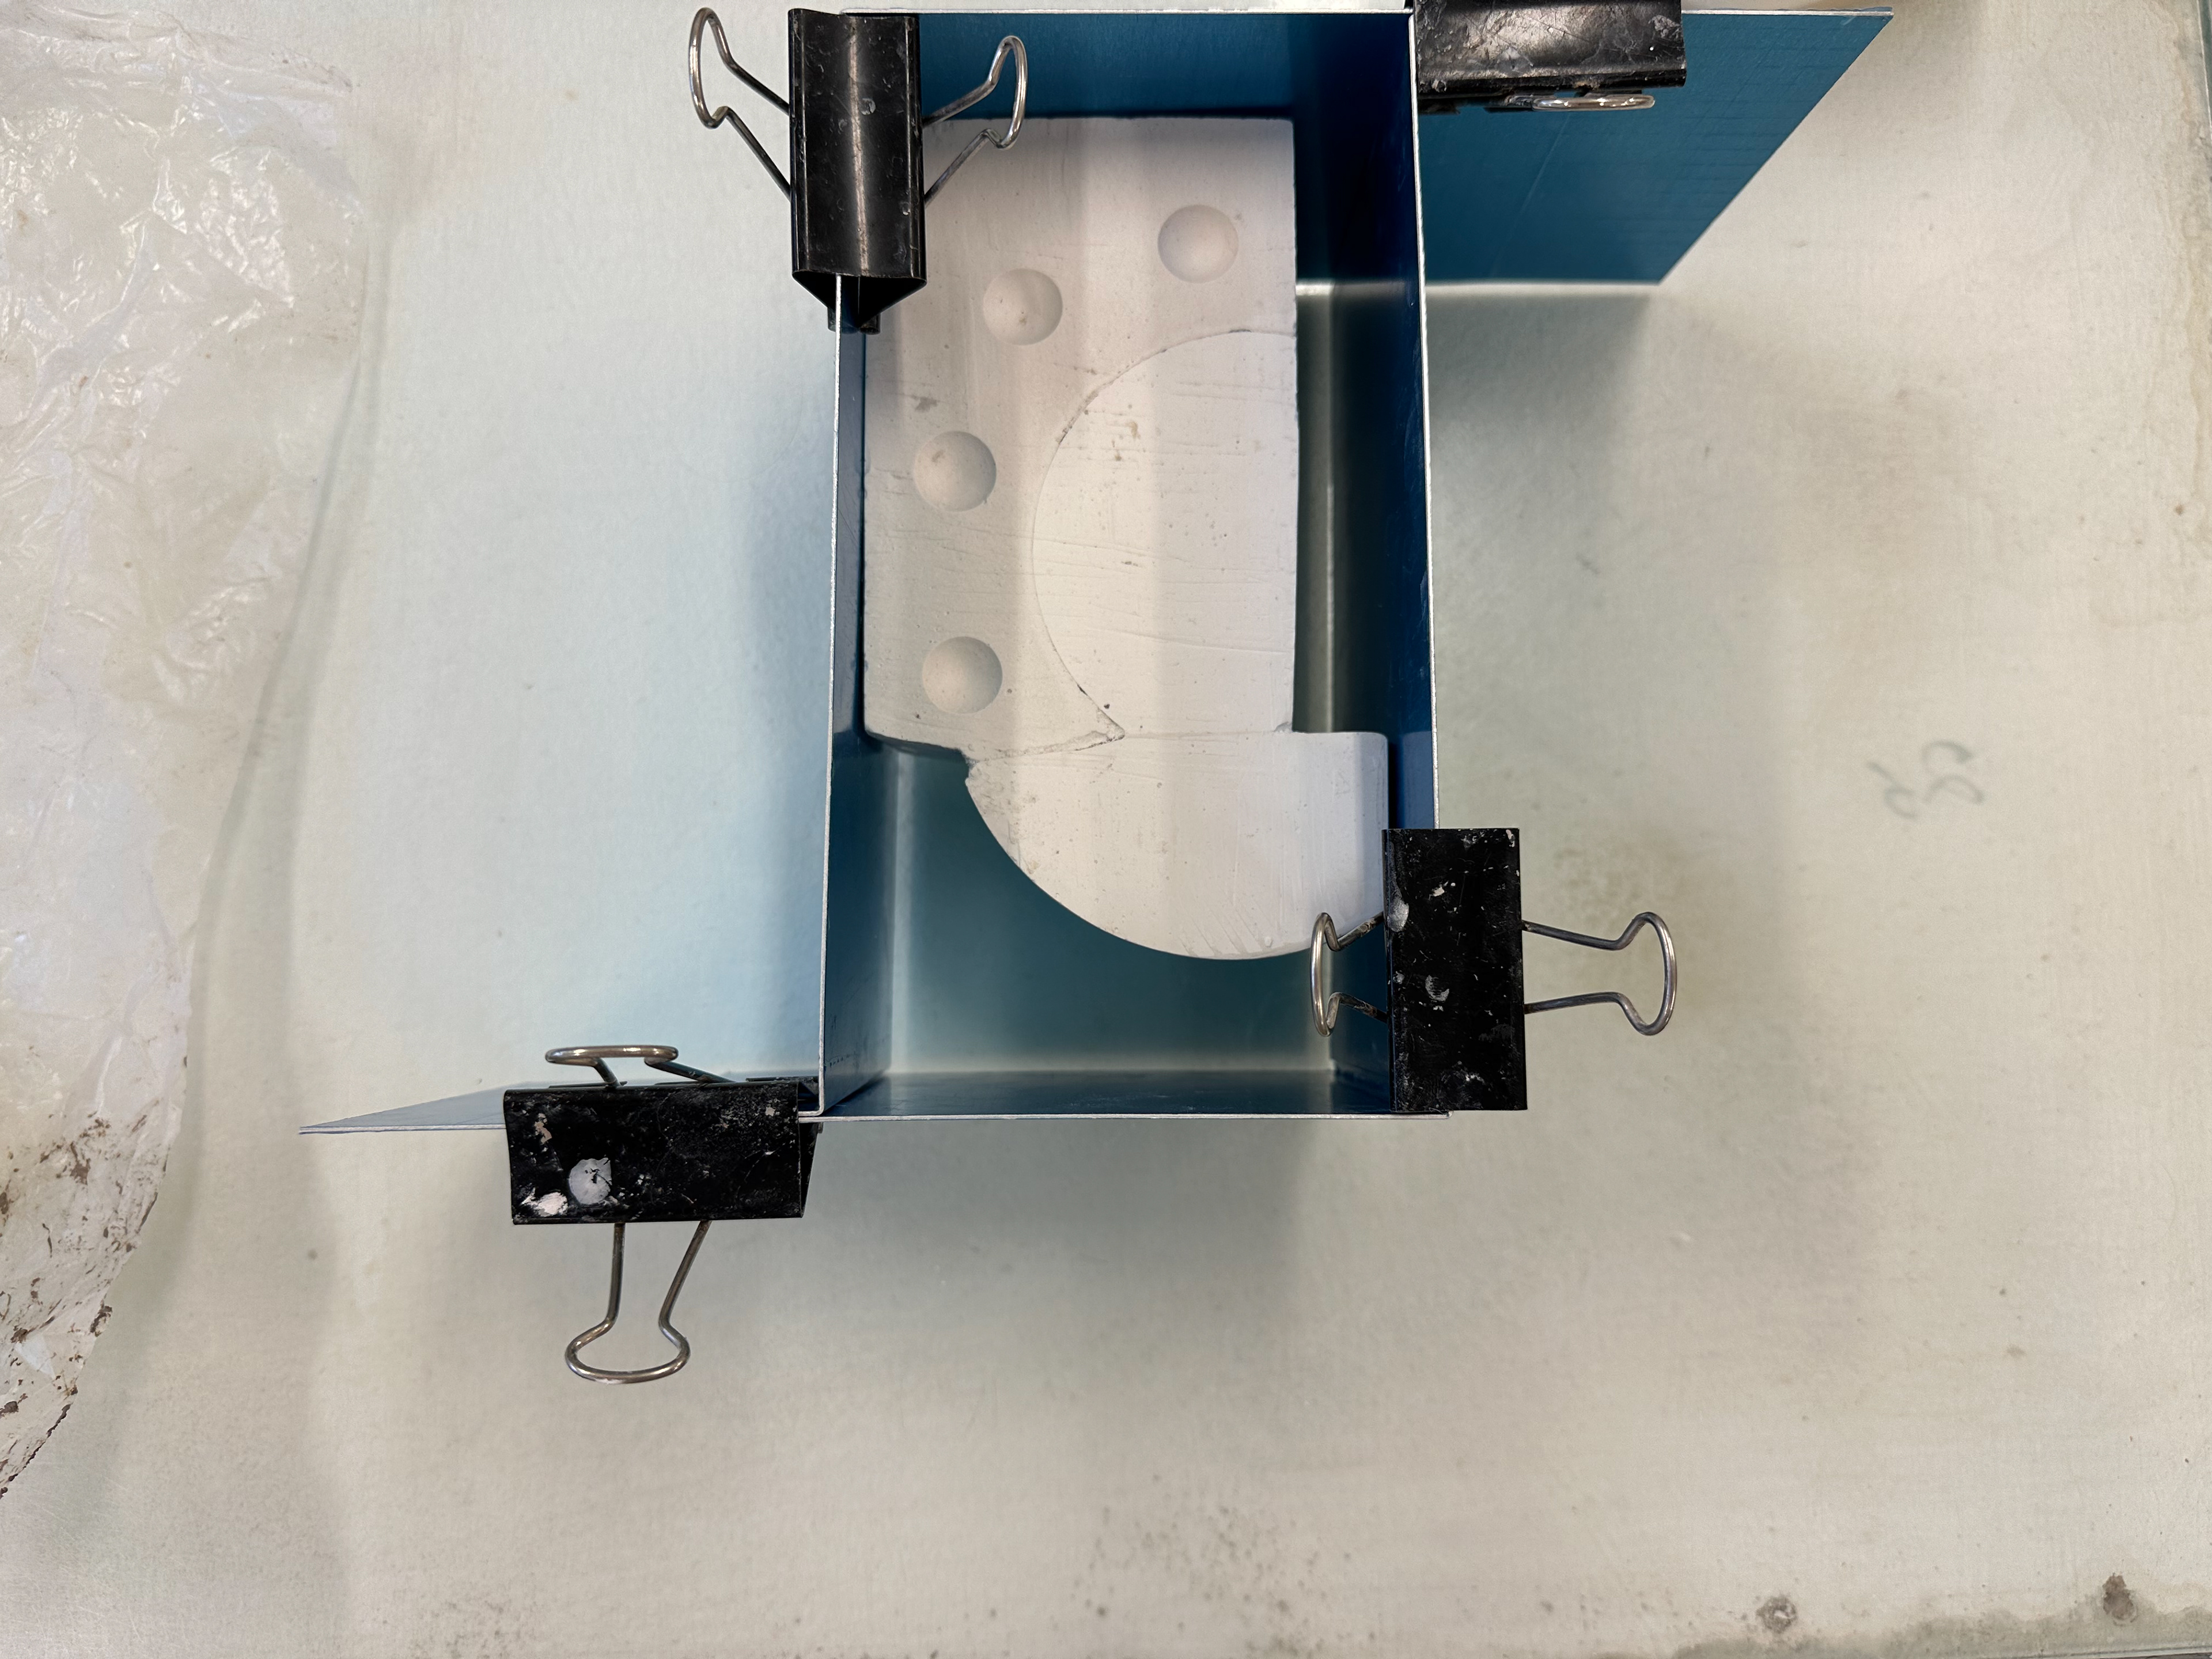
The first cottleing and soft soap.
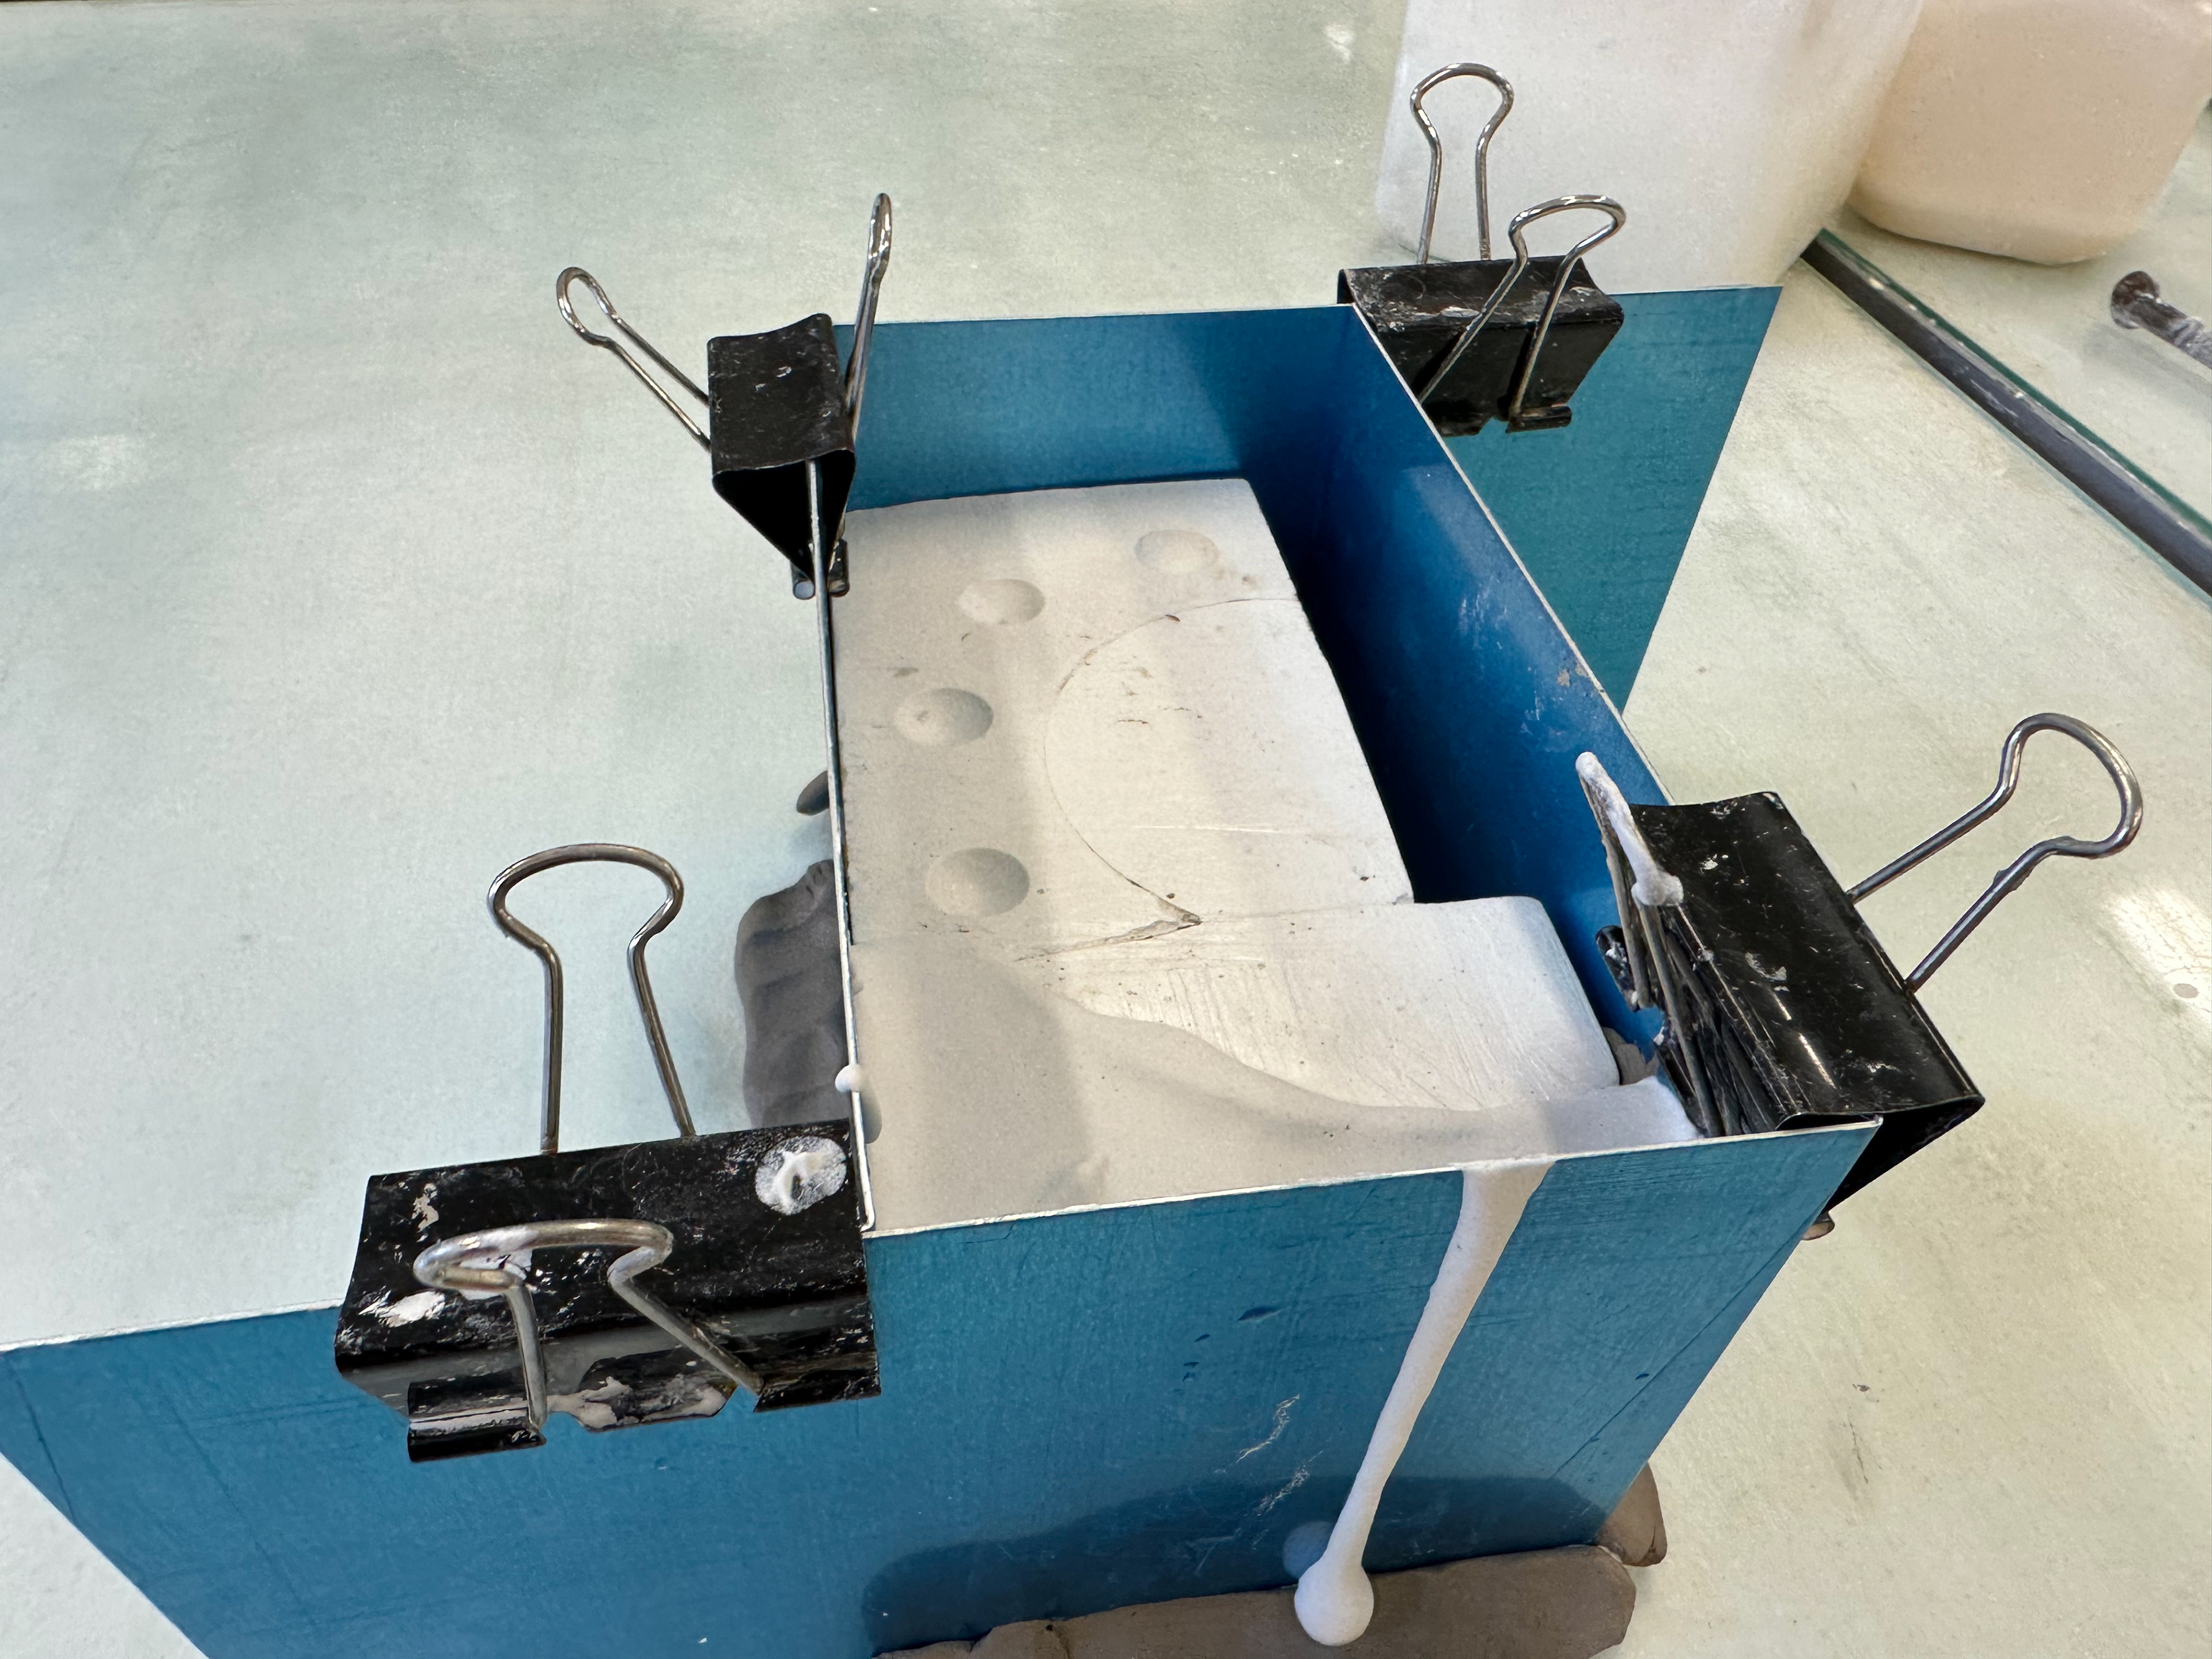
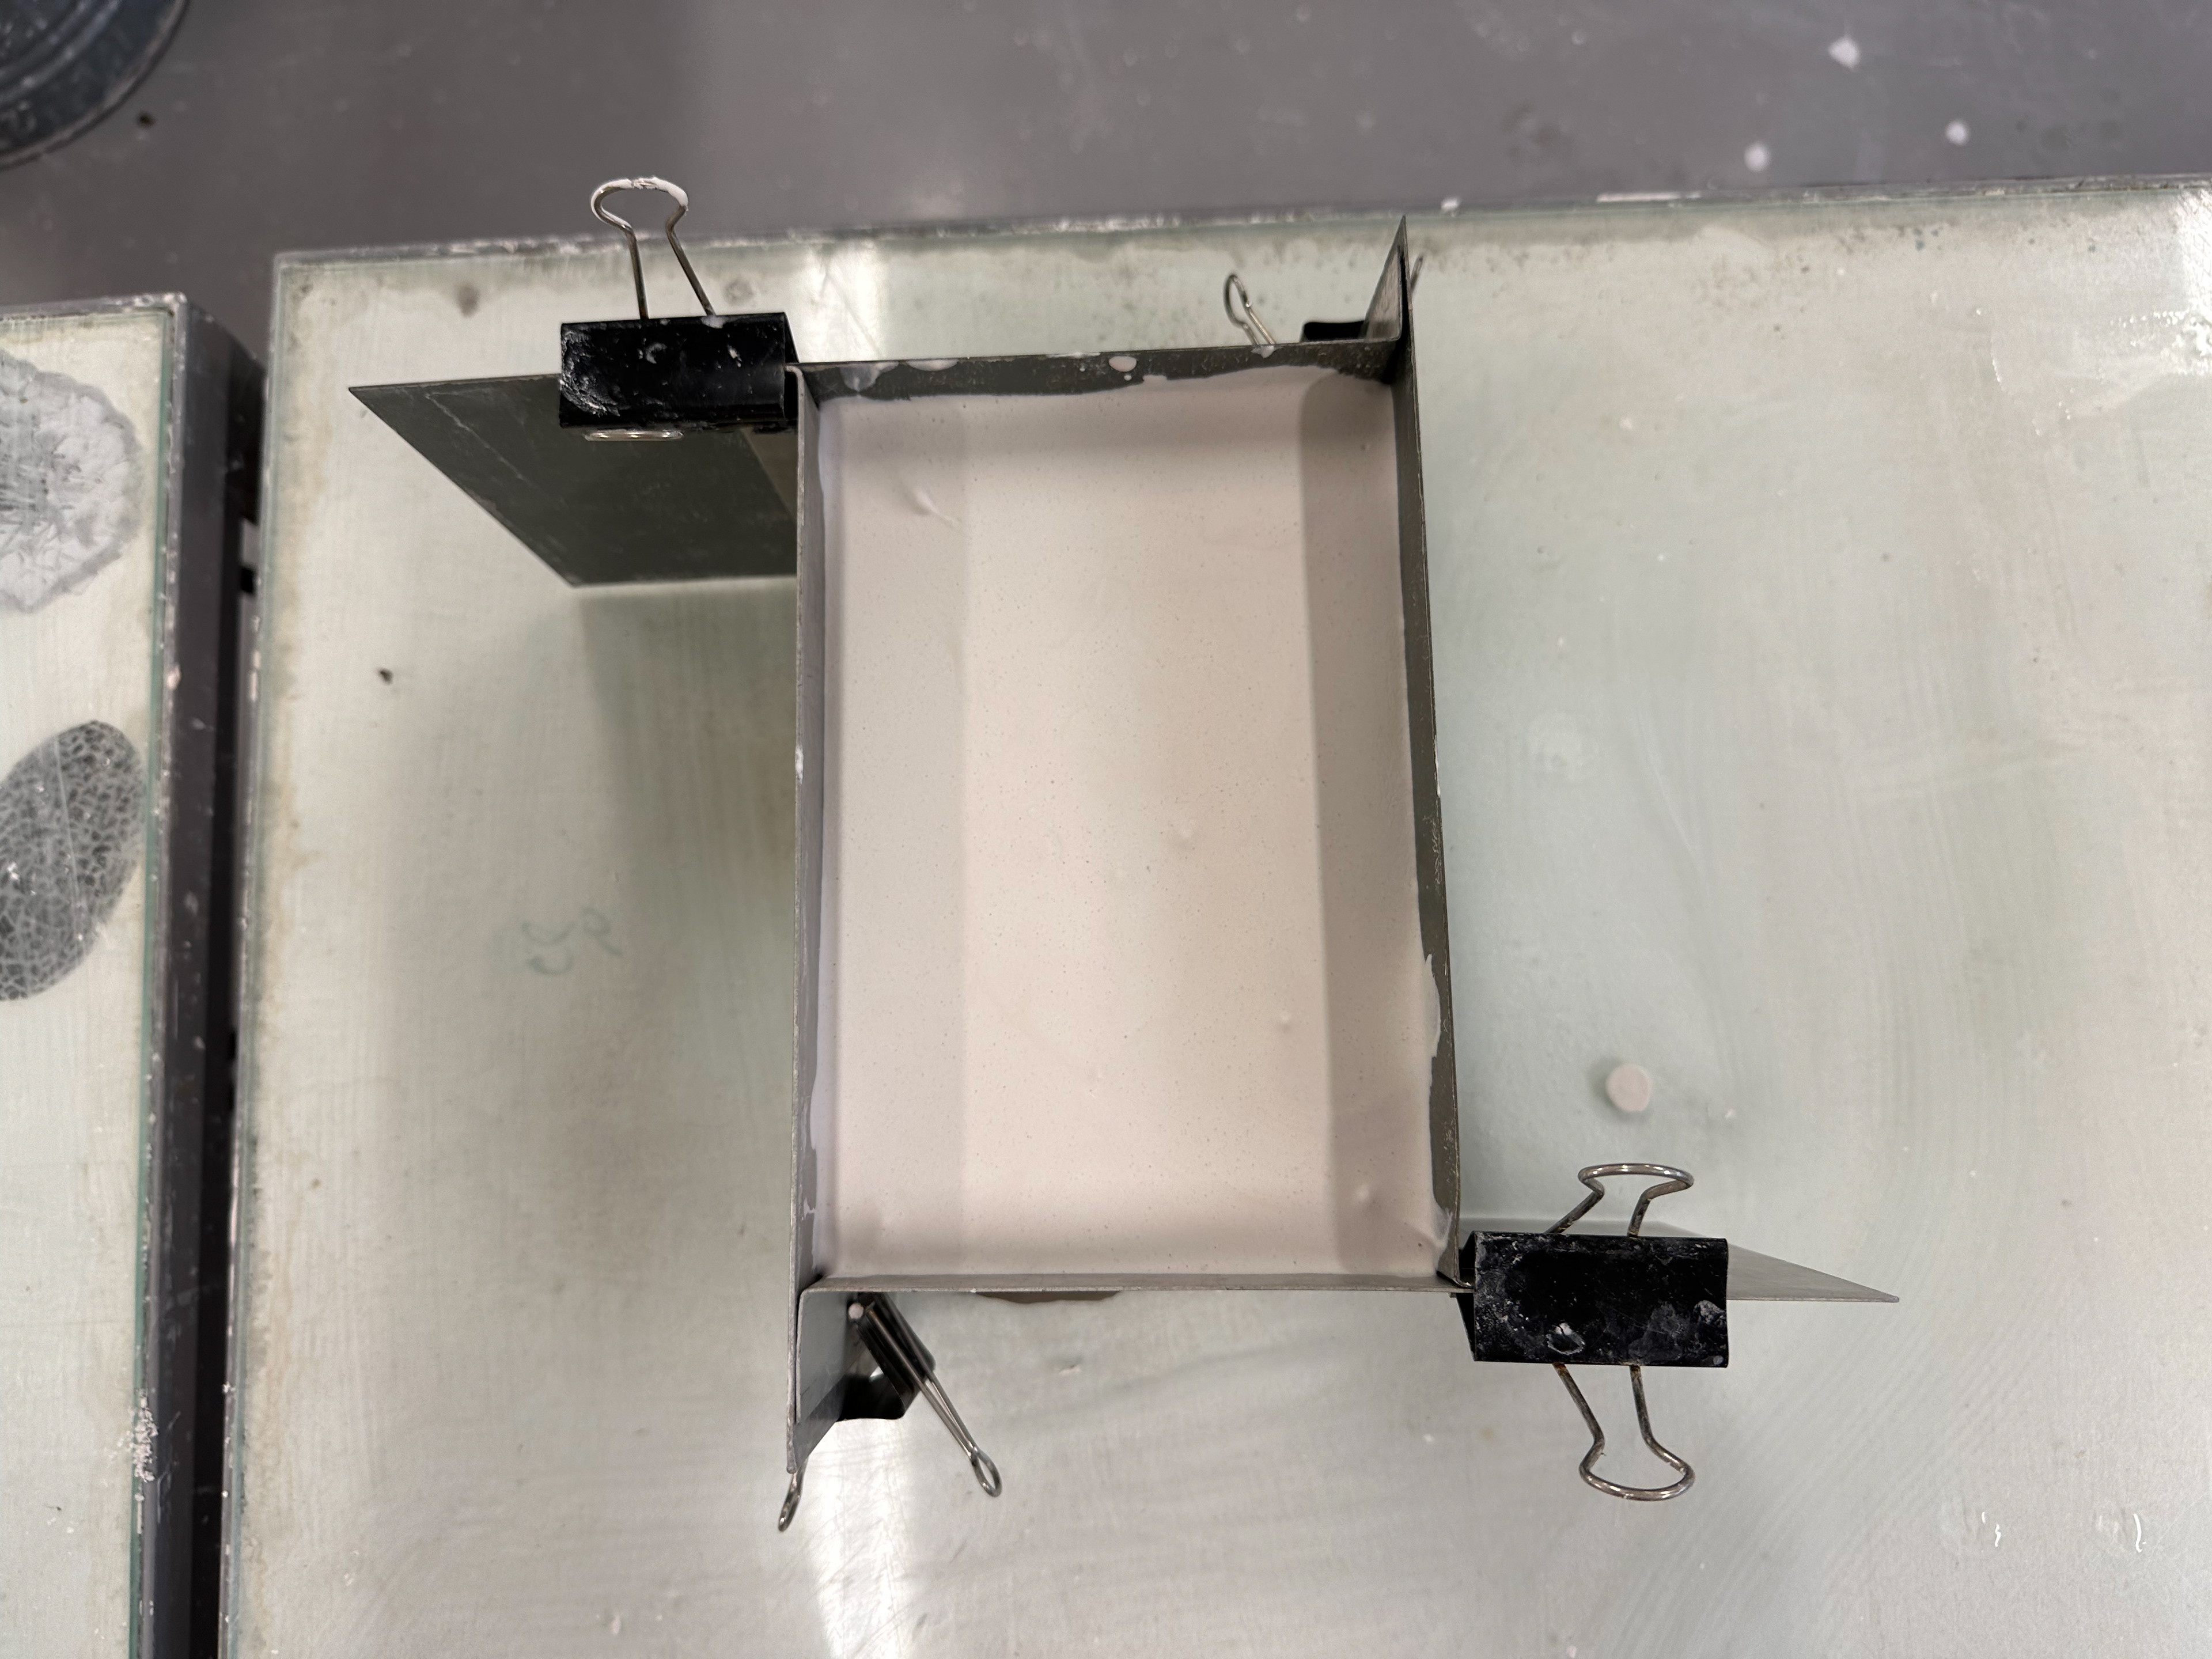
The first pour.
Sanding down the first pour.
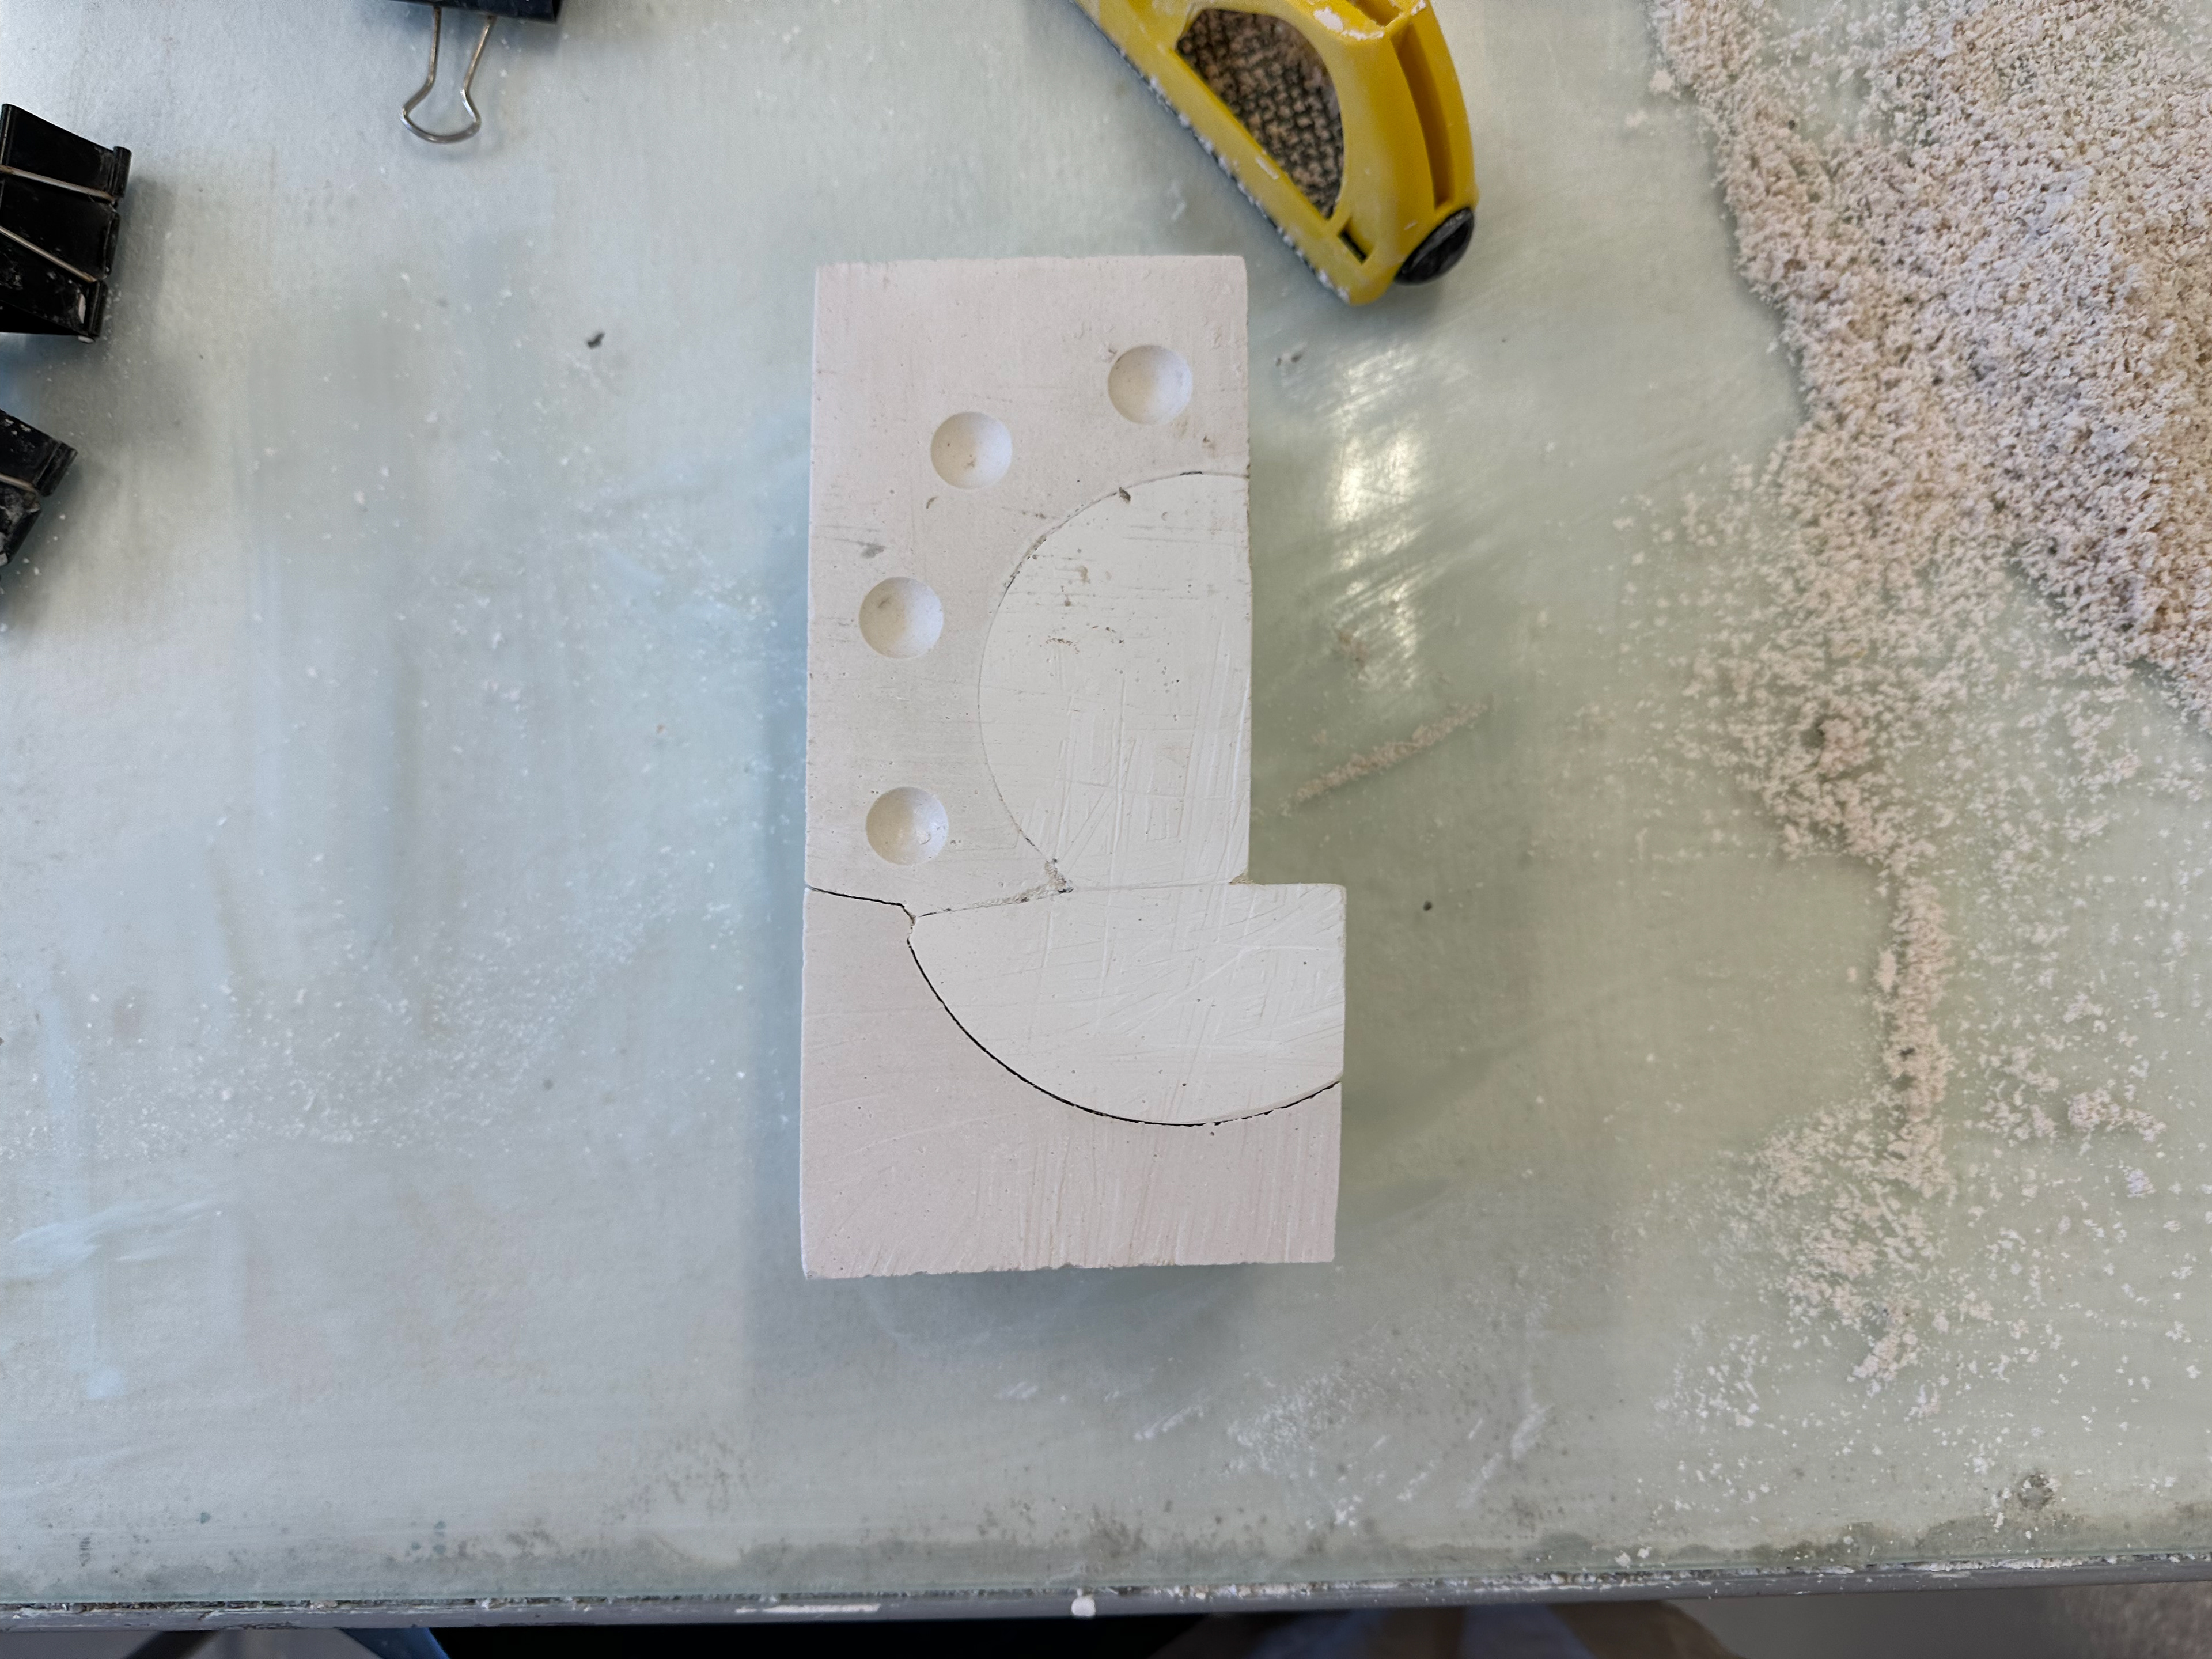
Notches in the first part of the mould.
Poured second part.
Sanded second part.
Notches in the second part.
The initial piece broke.
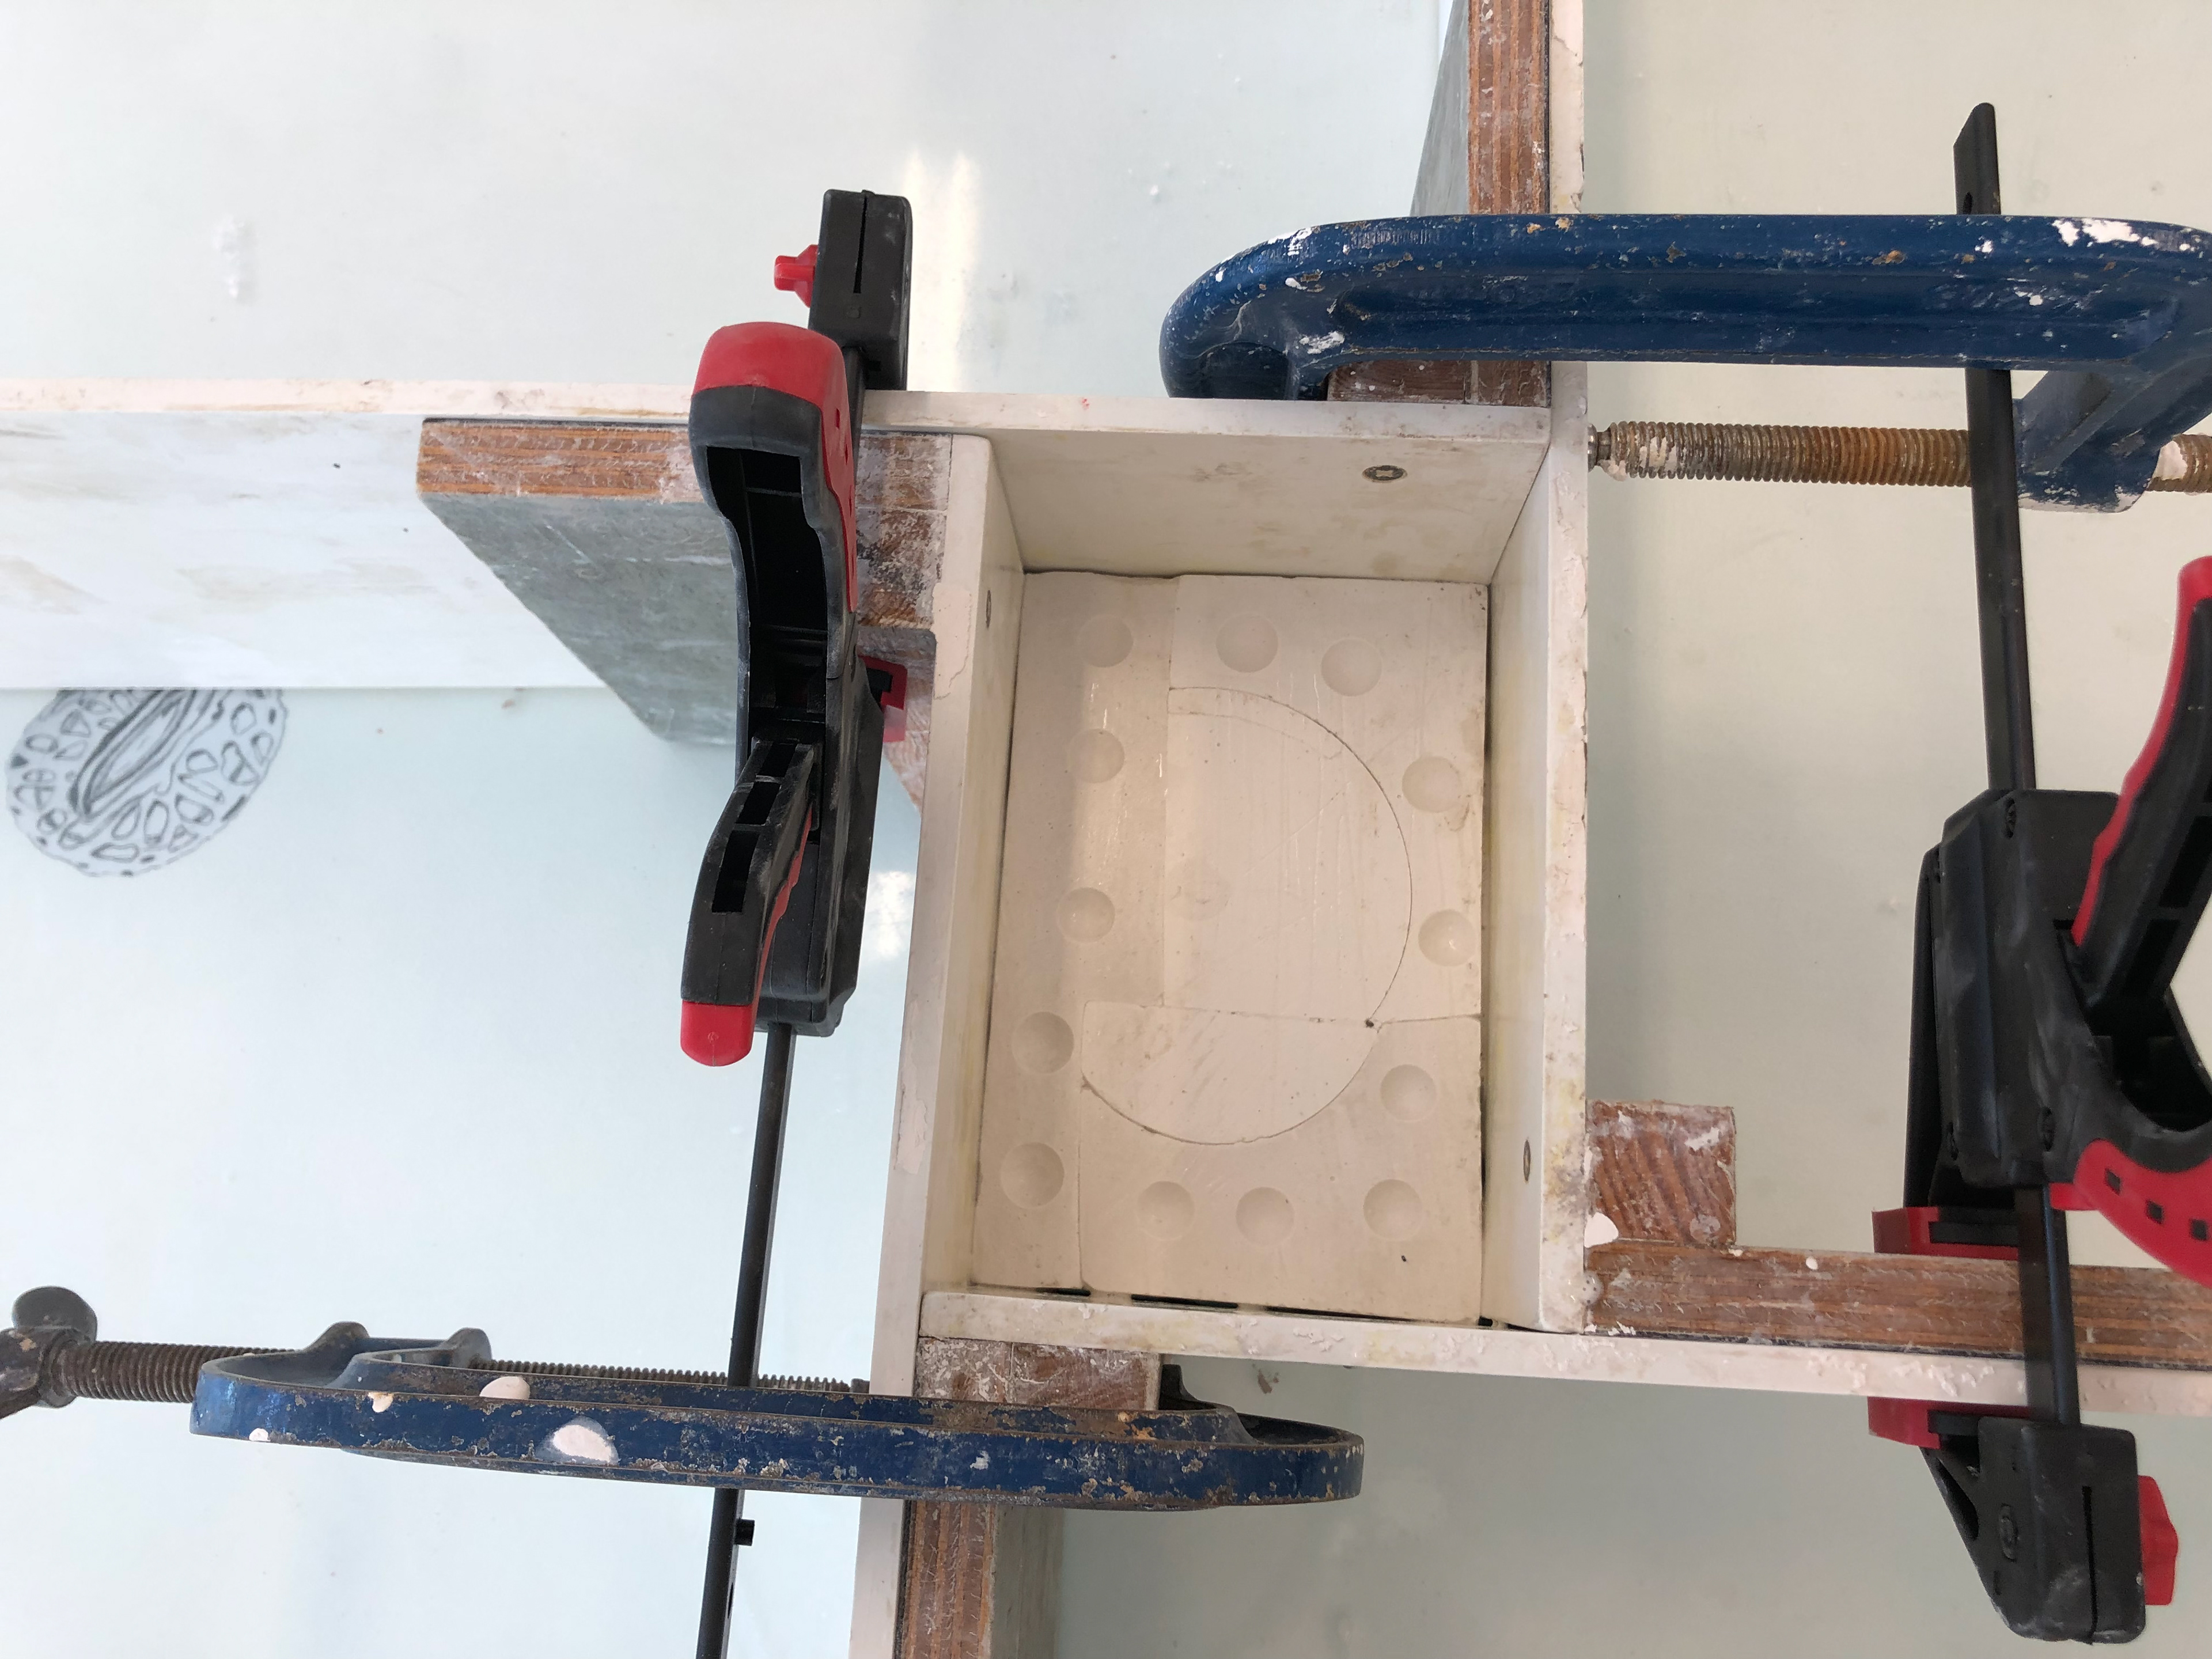
Three parts made and with notches in.
All parts of the mould done.
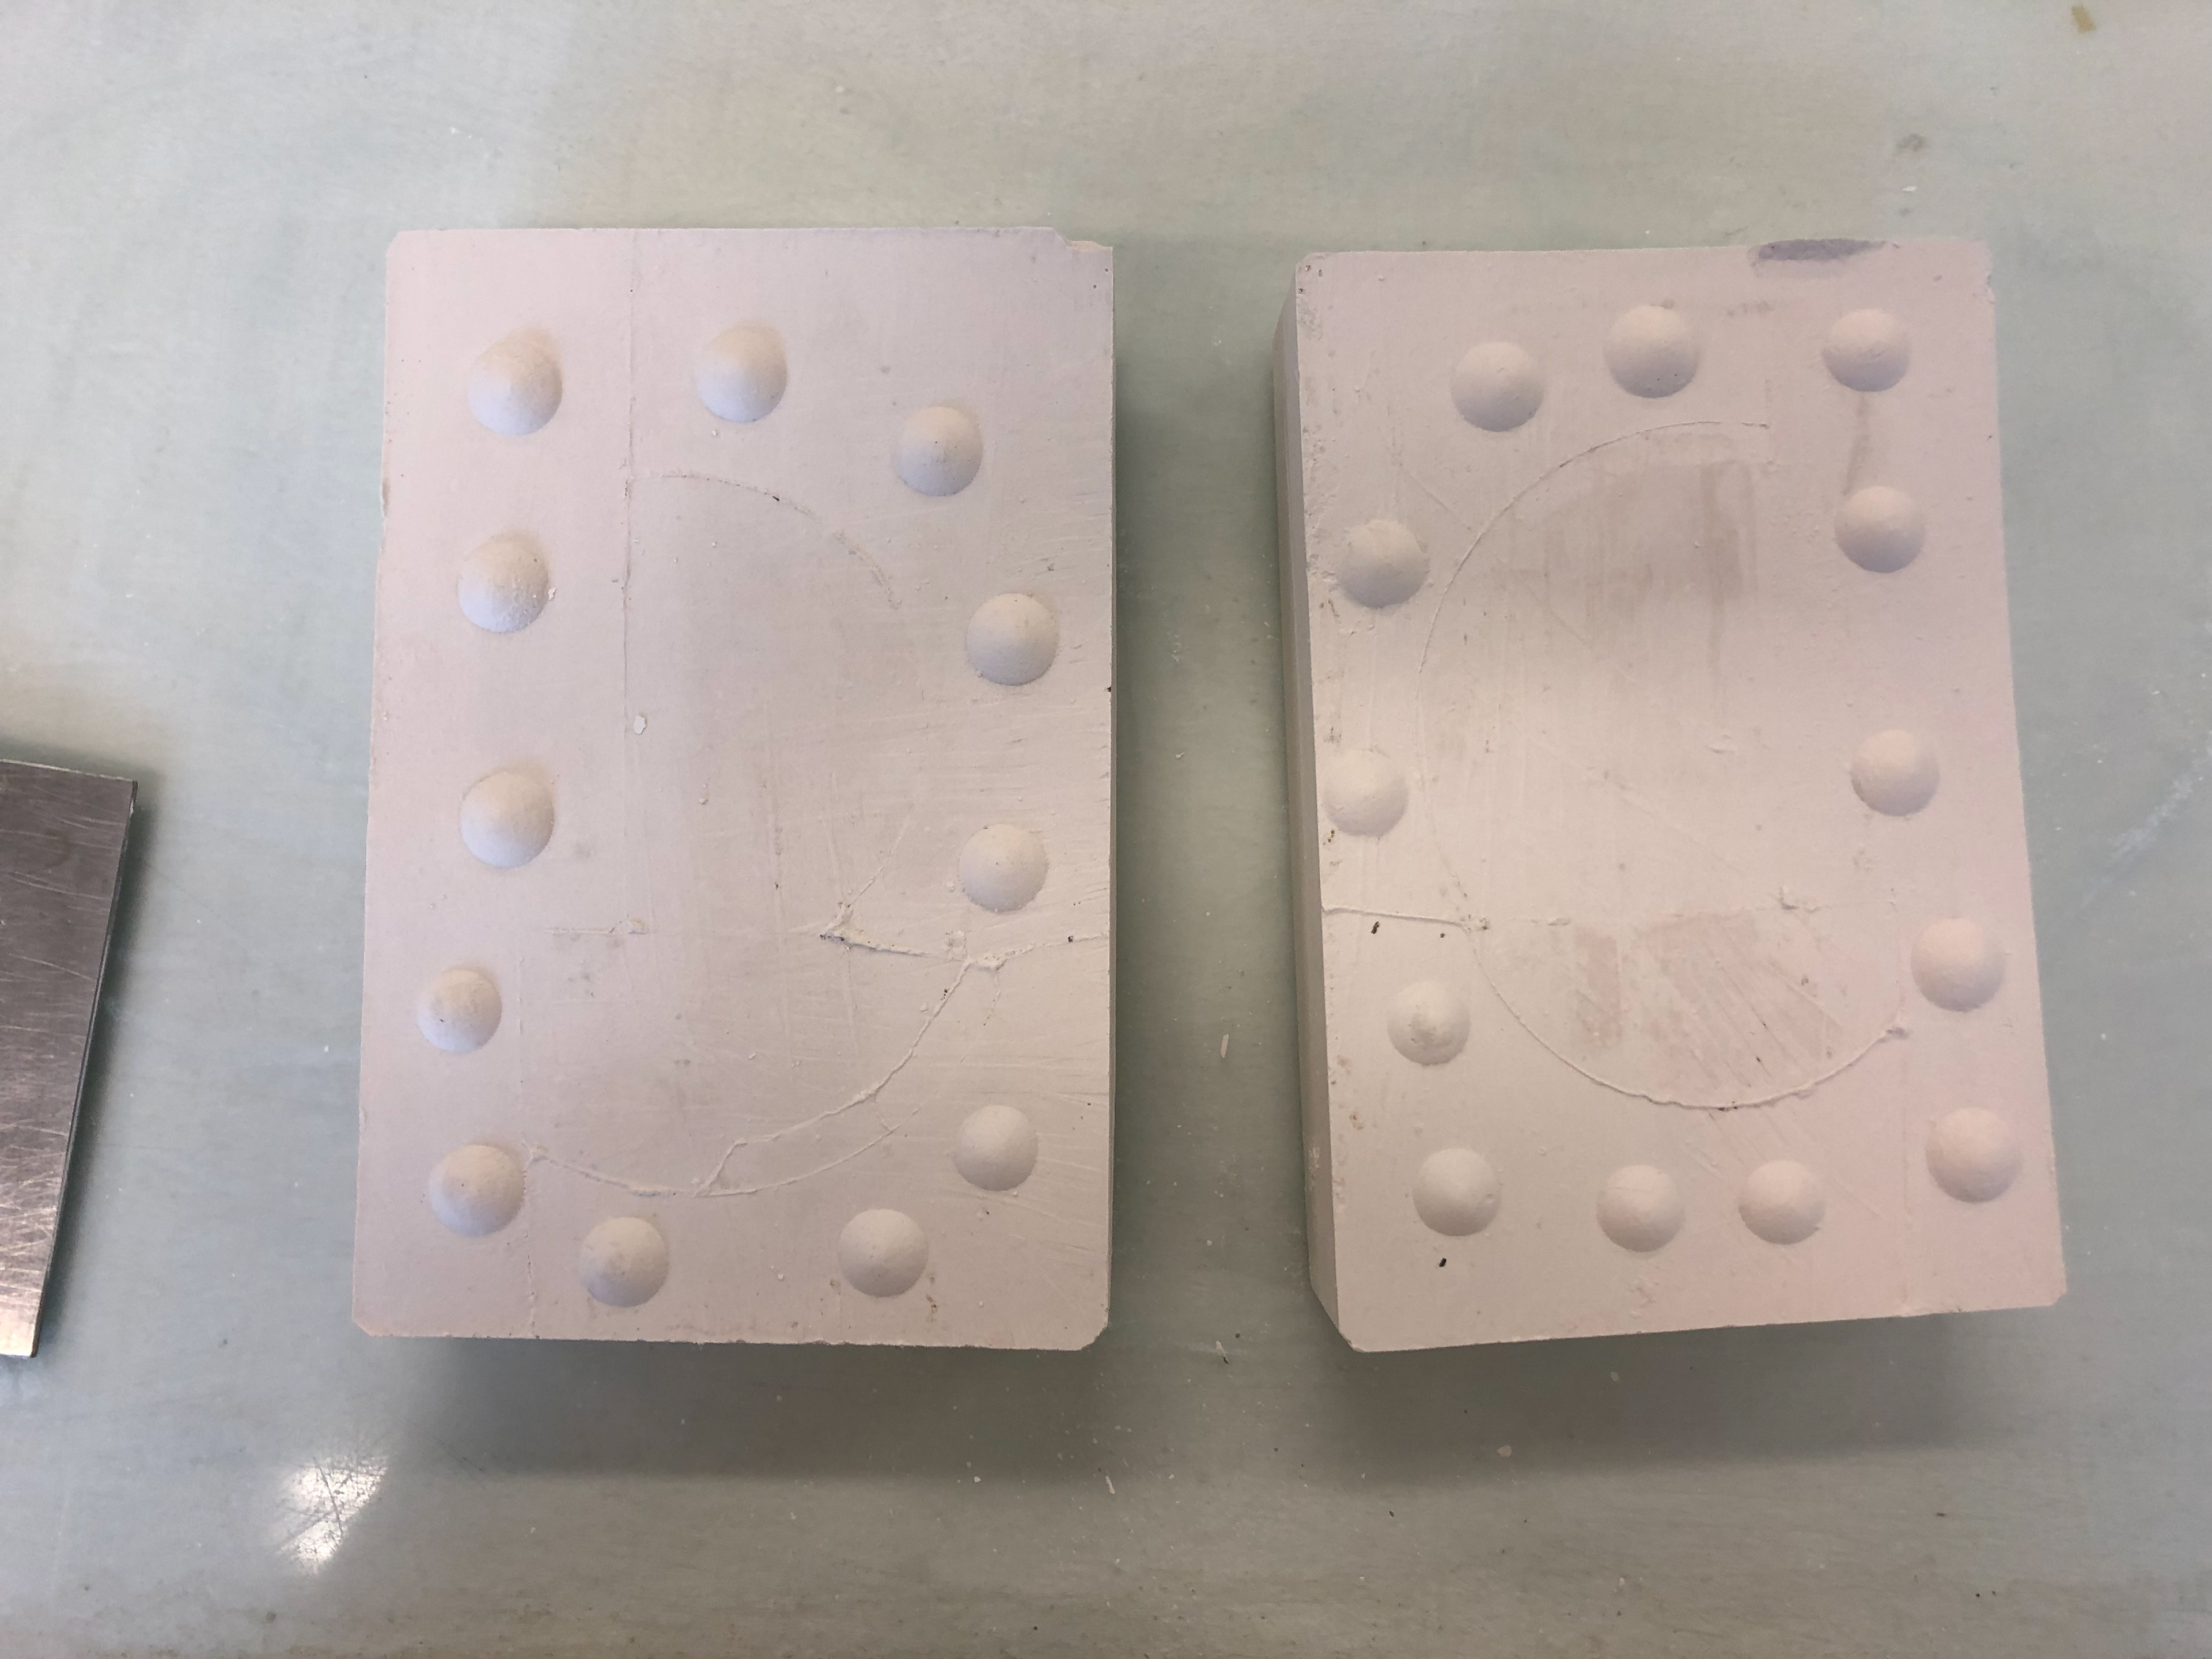
Top and Bottom parts to the mould.
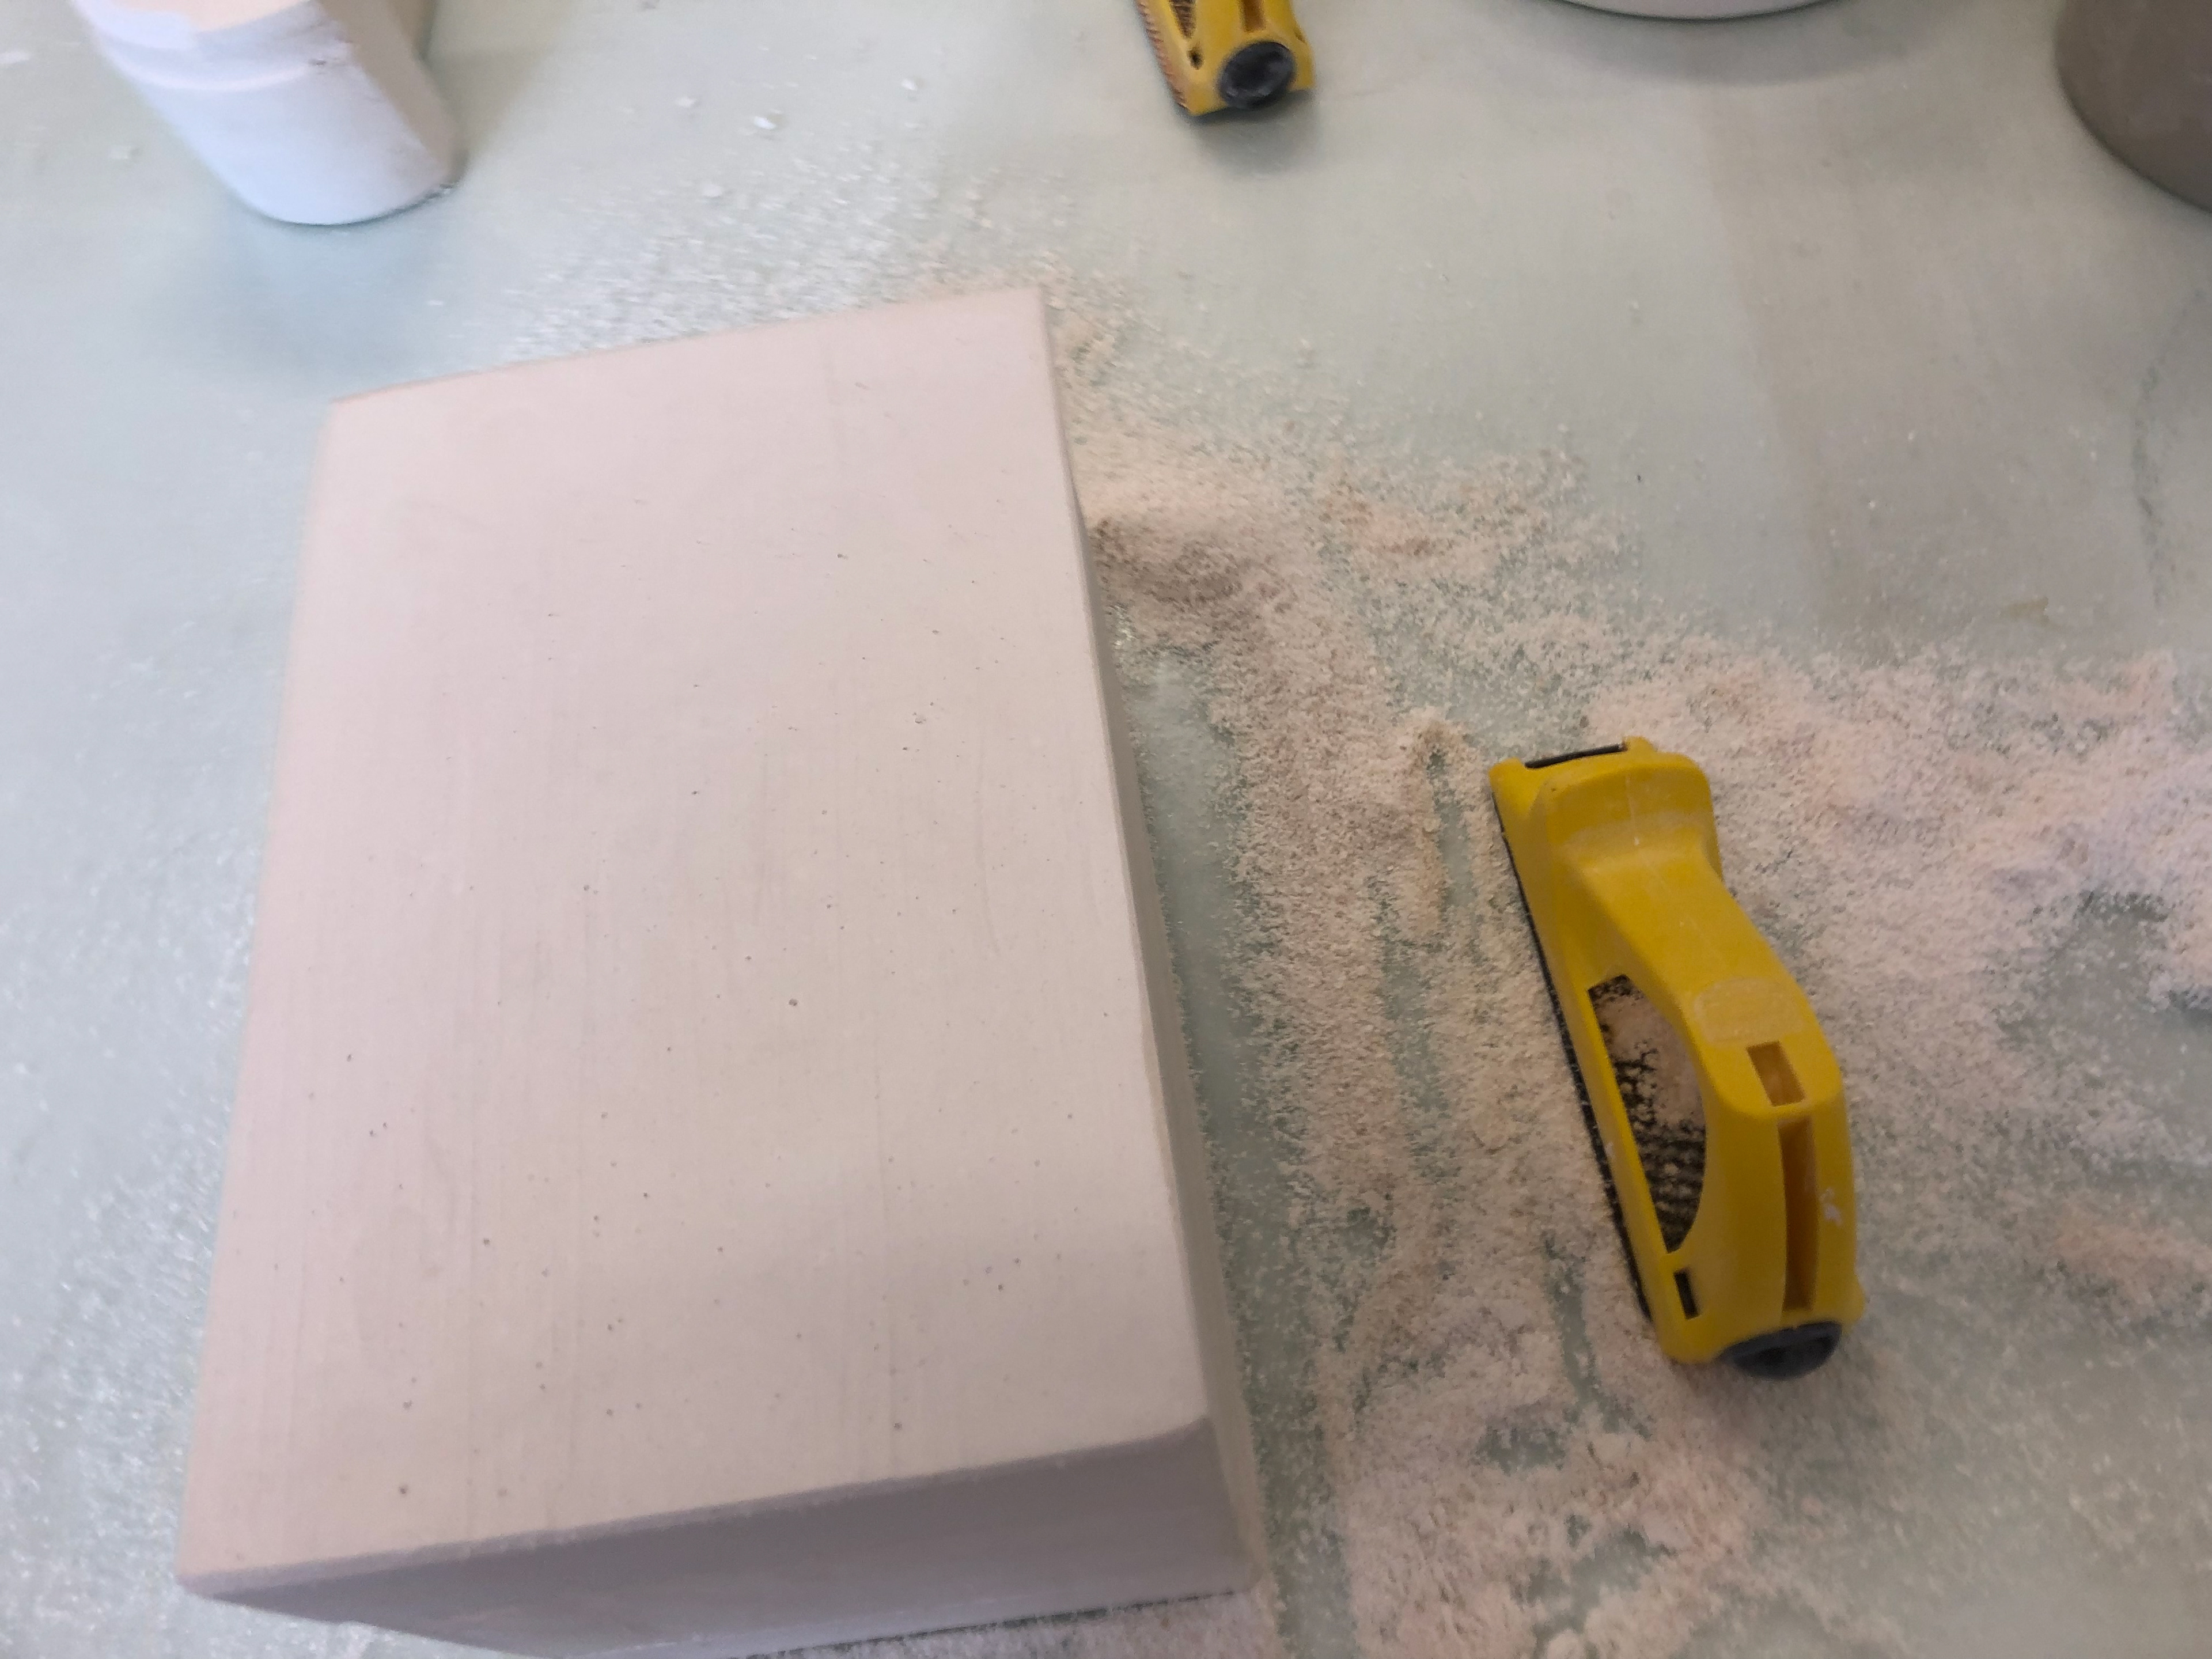
Surforming the sides and edges.

The physical design broke whilst making the mould but did not affect it.
Finished mould from the bottom.
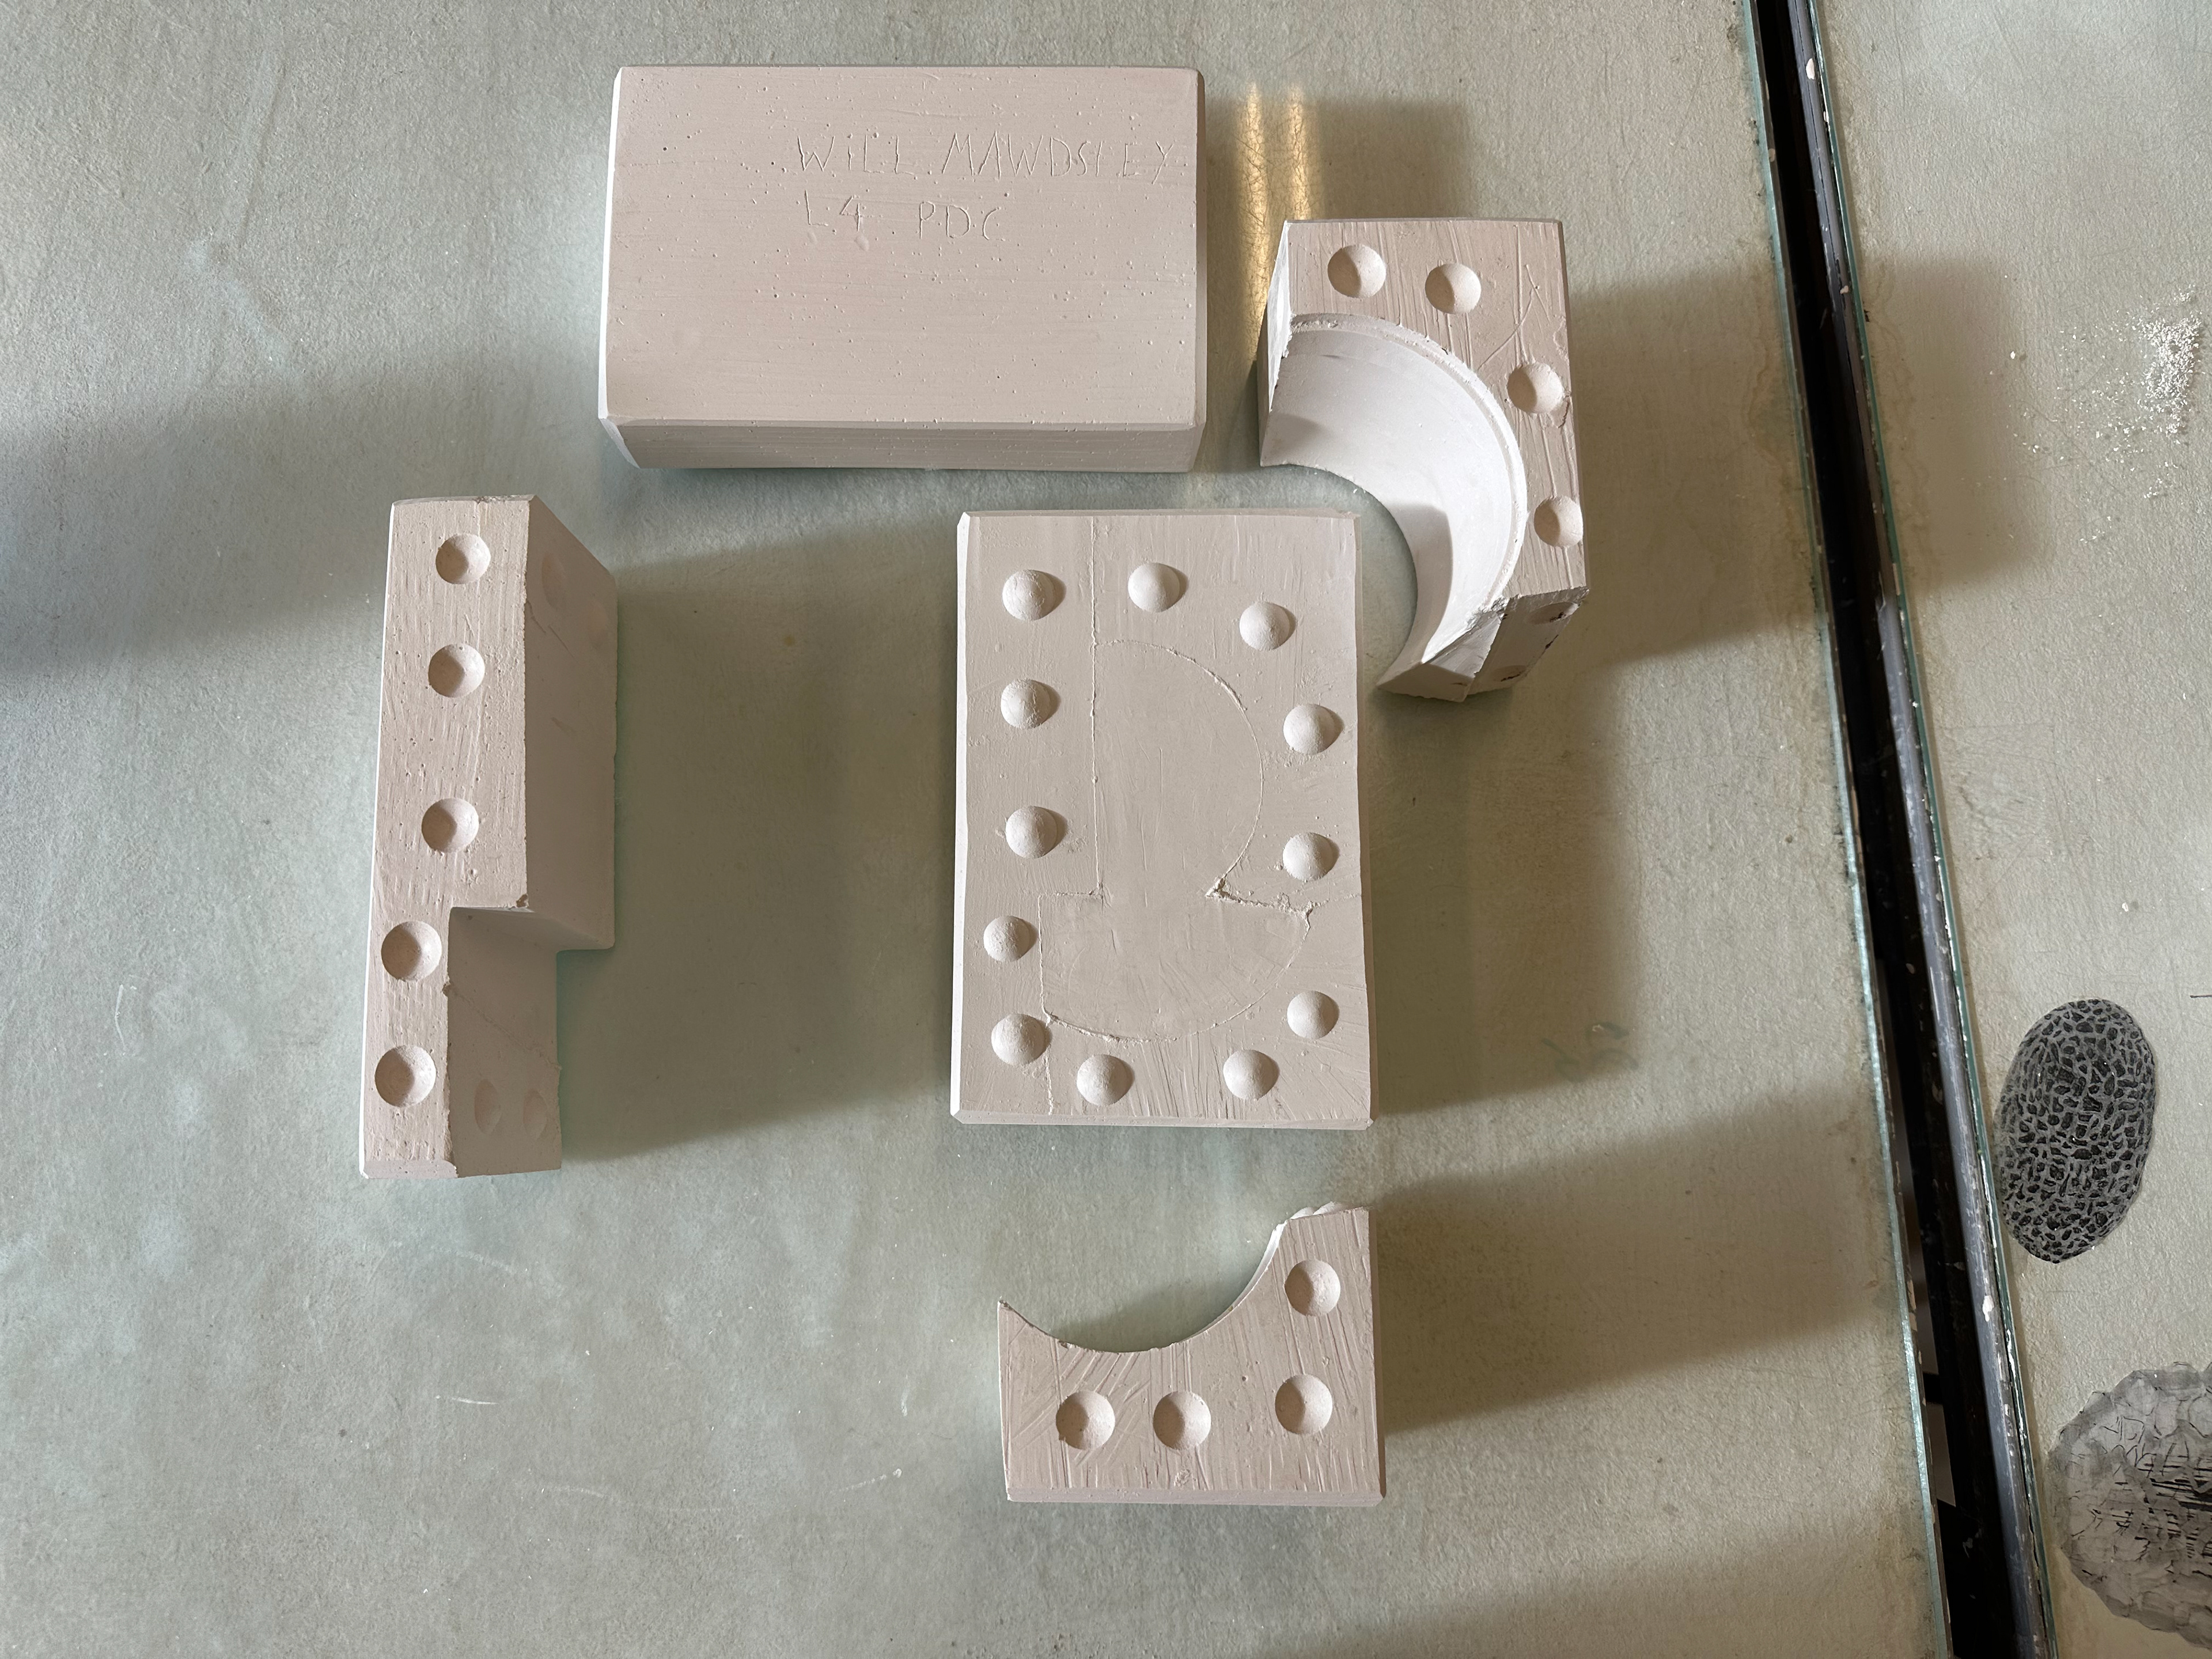
All parts of the mould.
Slip Casting
To incorporate the idea of "same but different" I took the mould and slip cast to create the same shape but from a different material and technique.
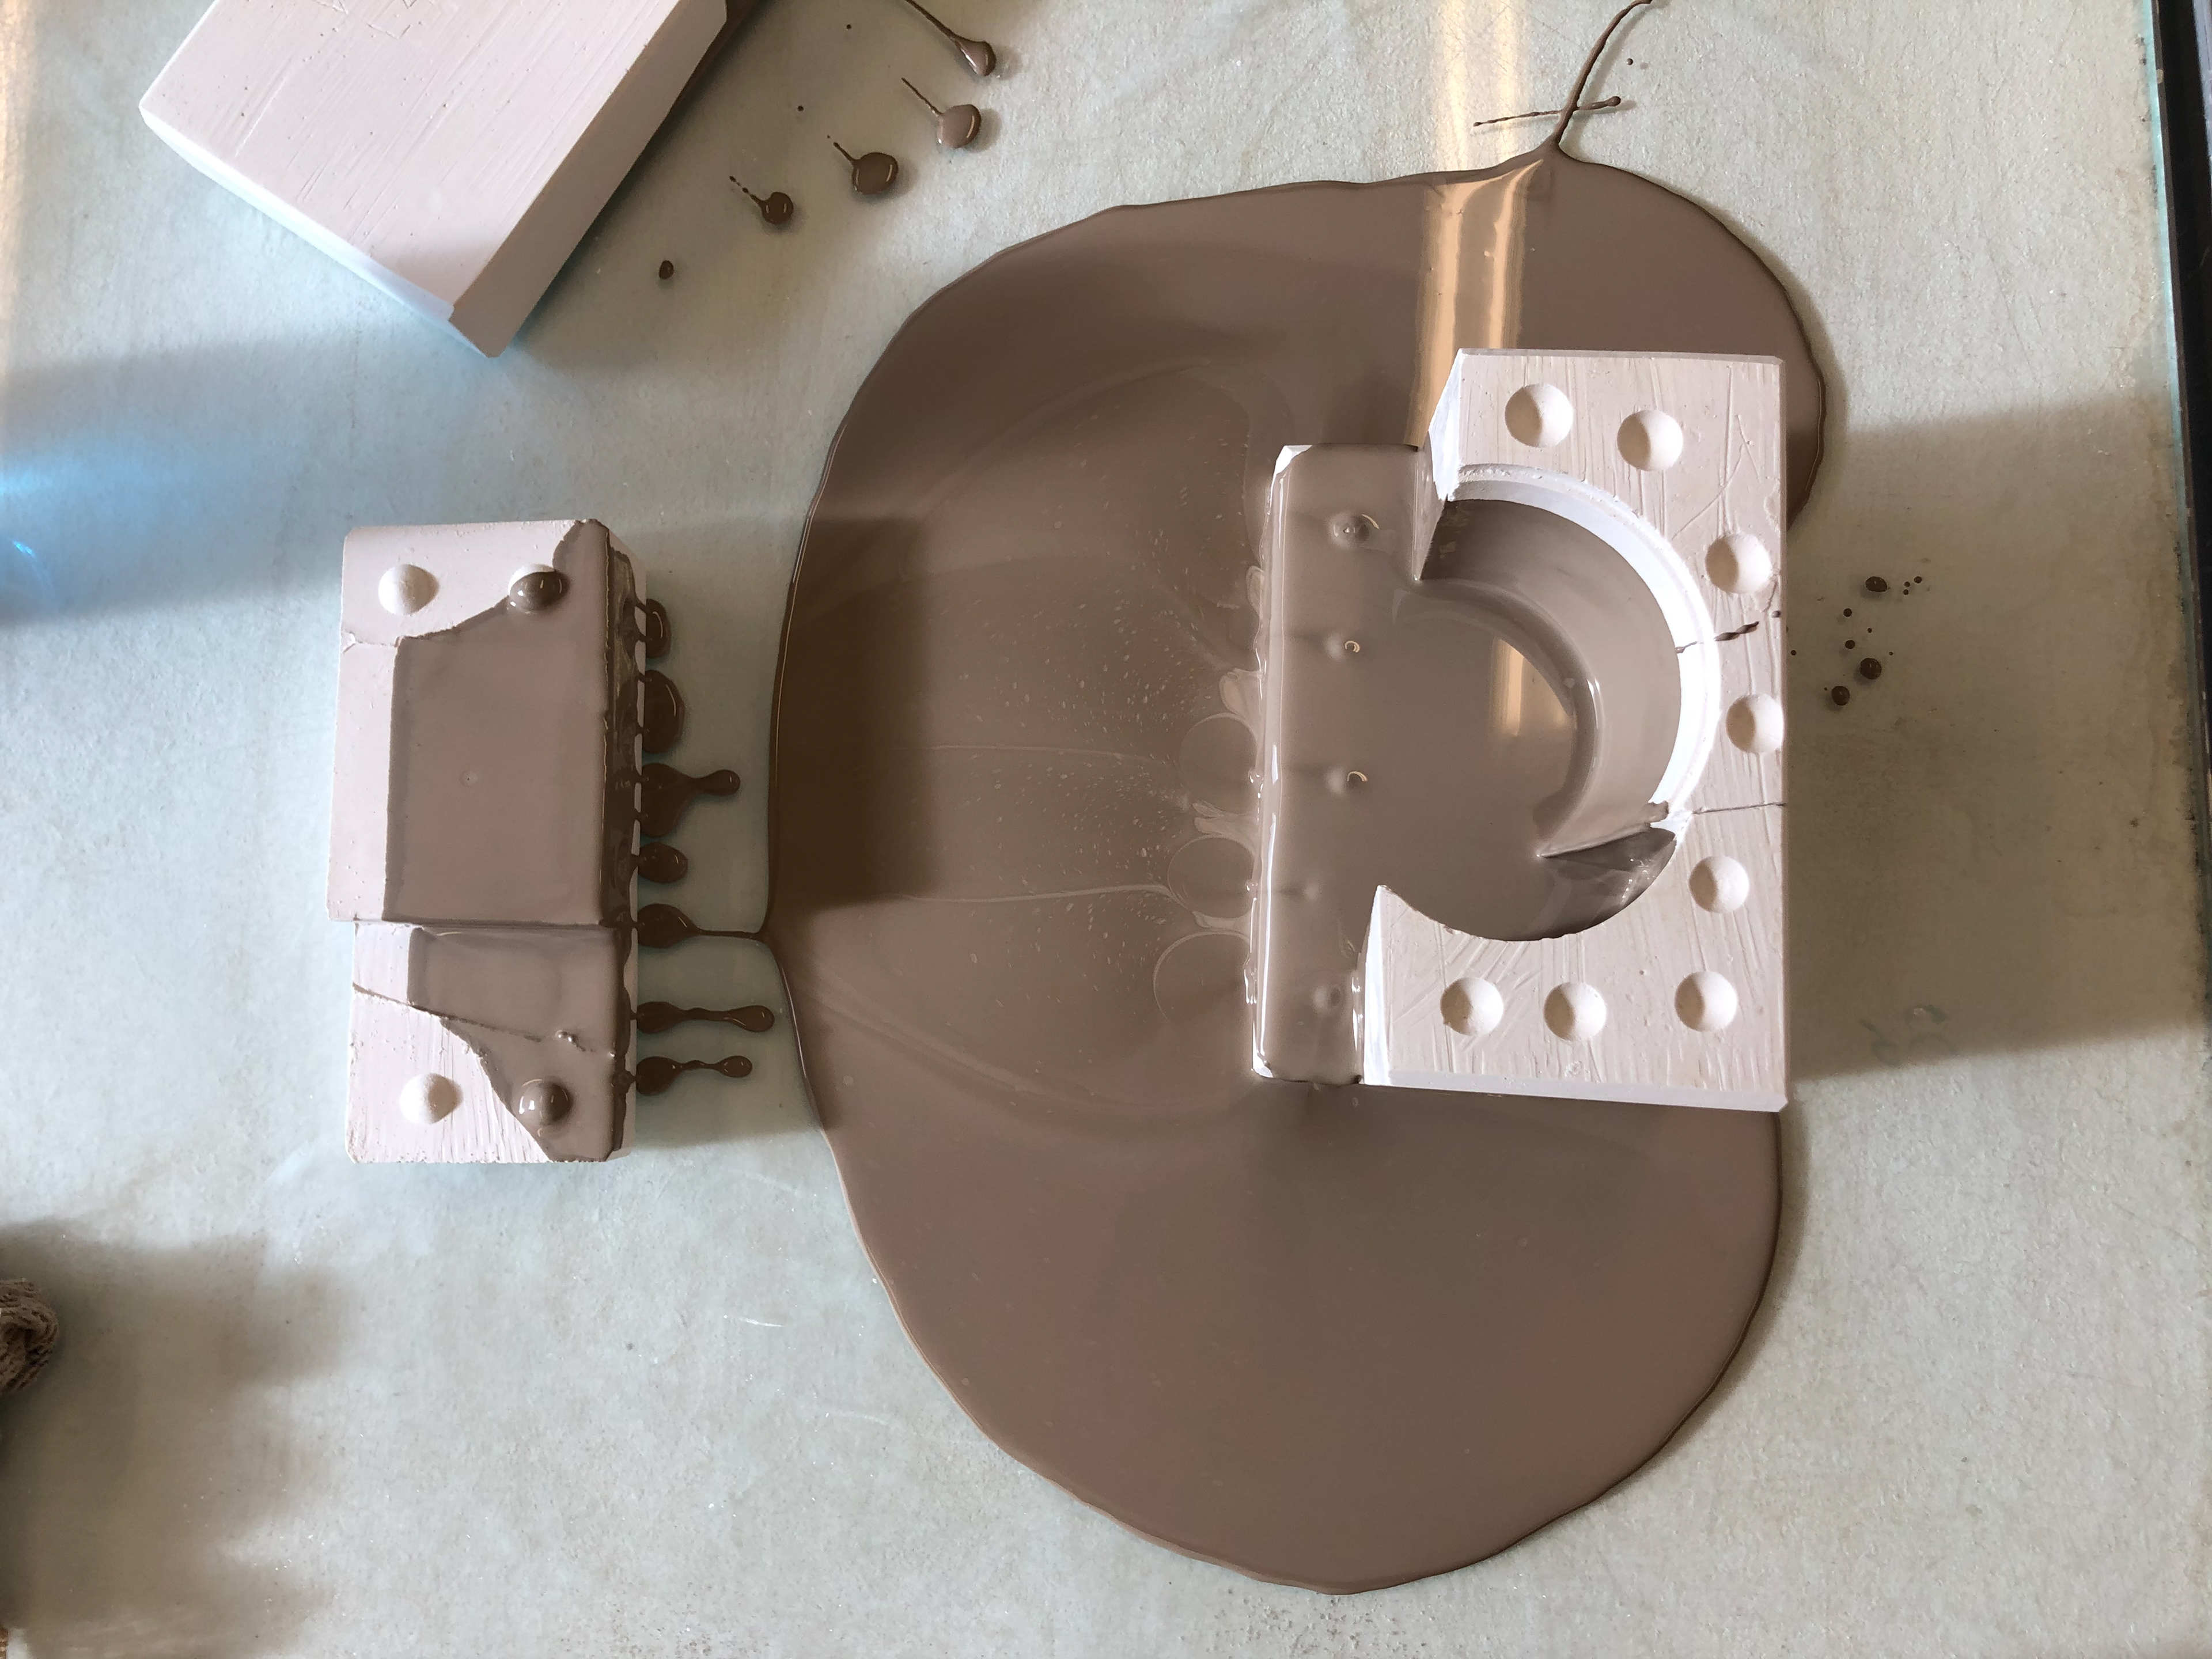
First pour I forgot to add elastic around the sides and one part fell off.
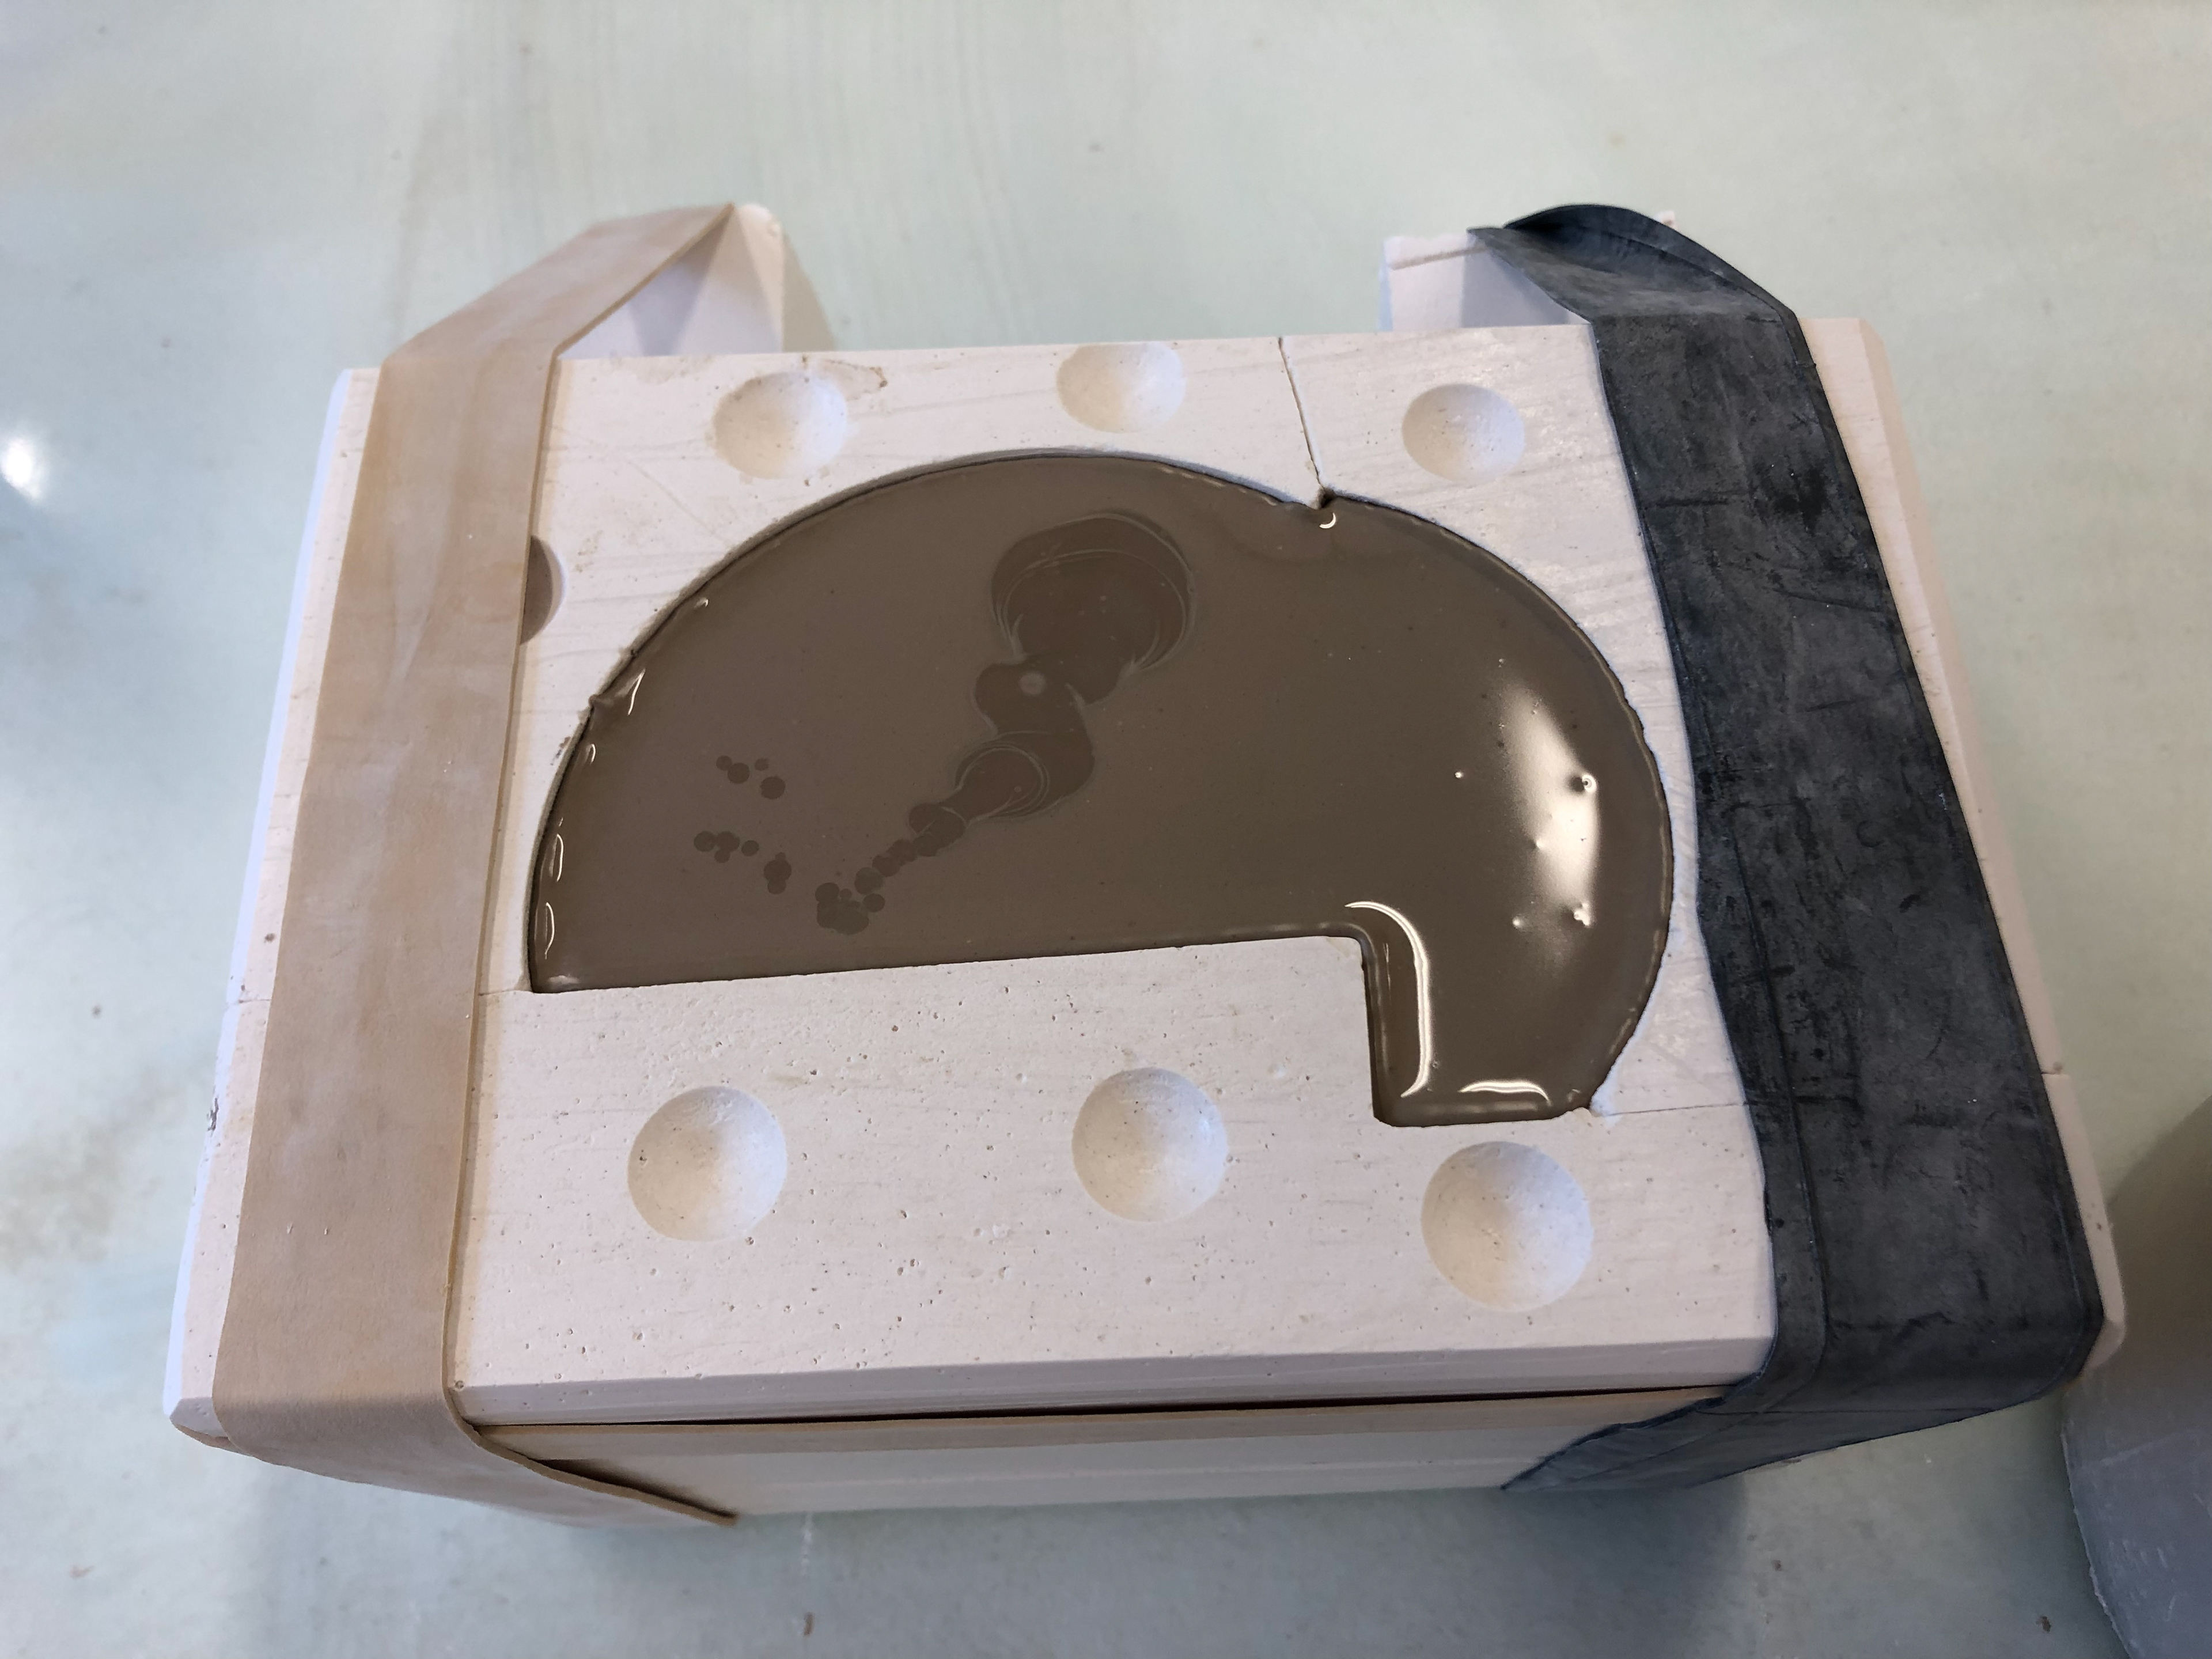
Slip poured into mould.
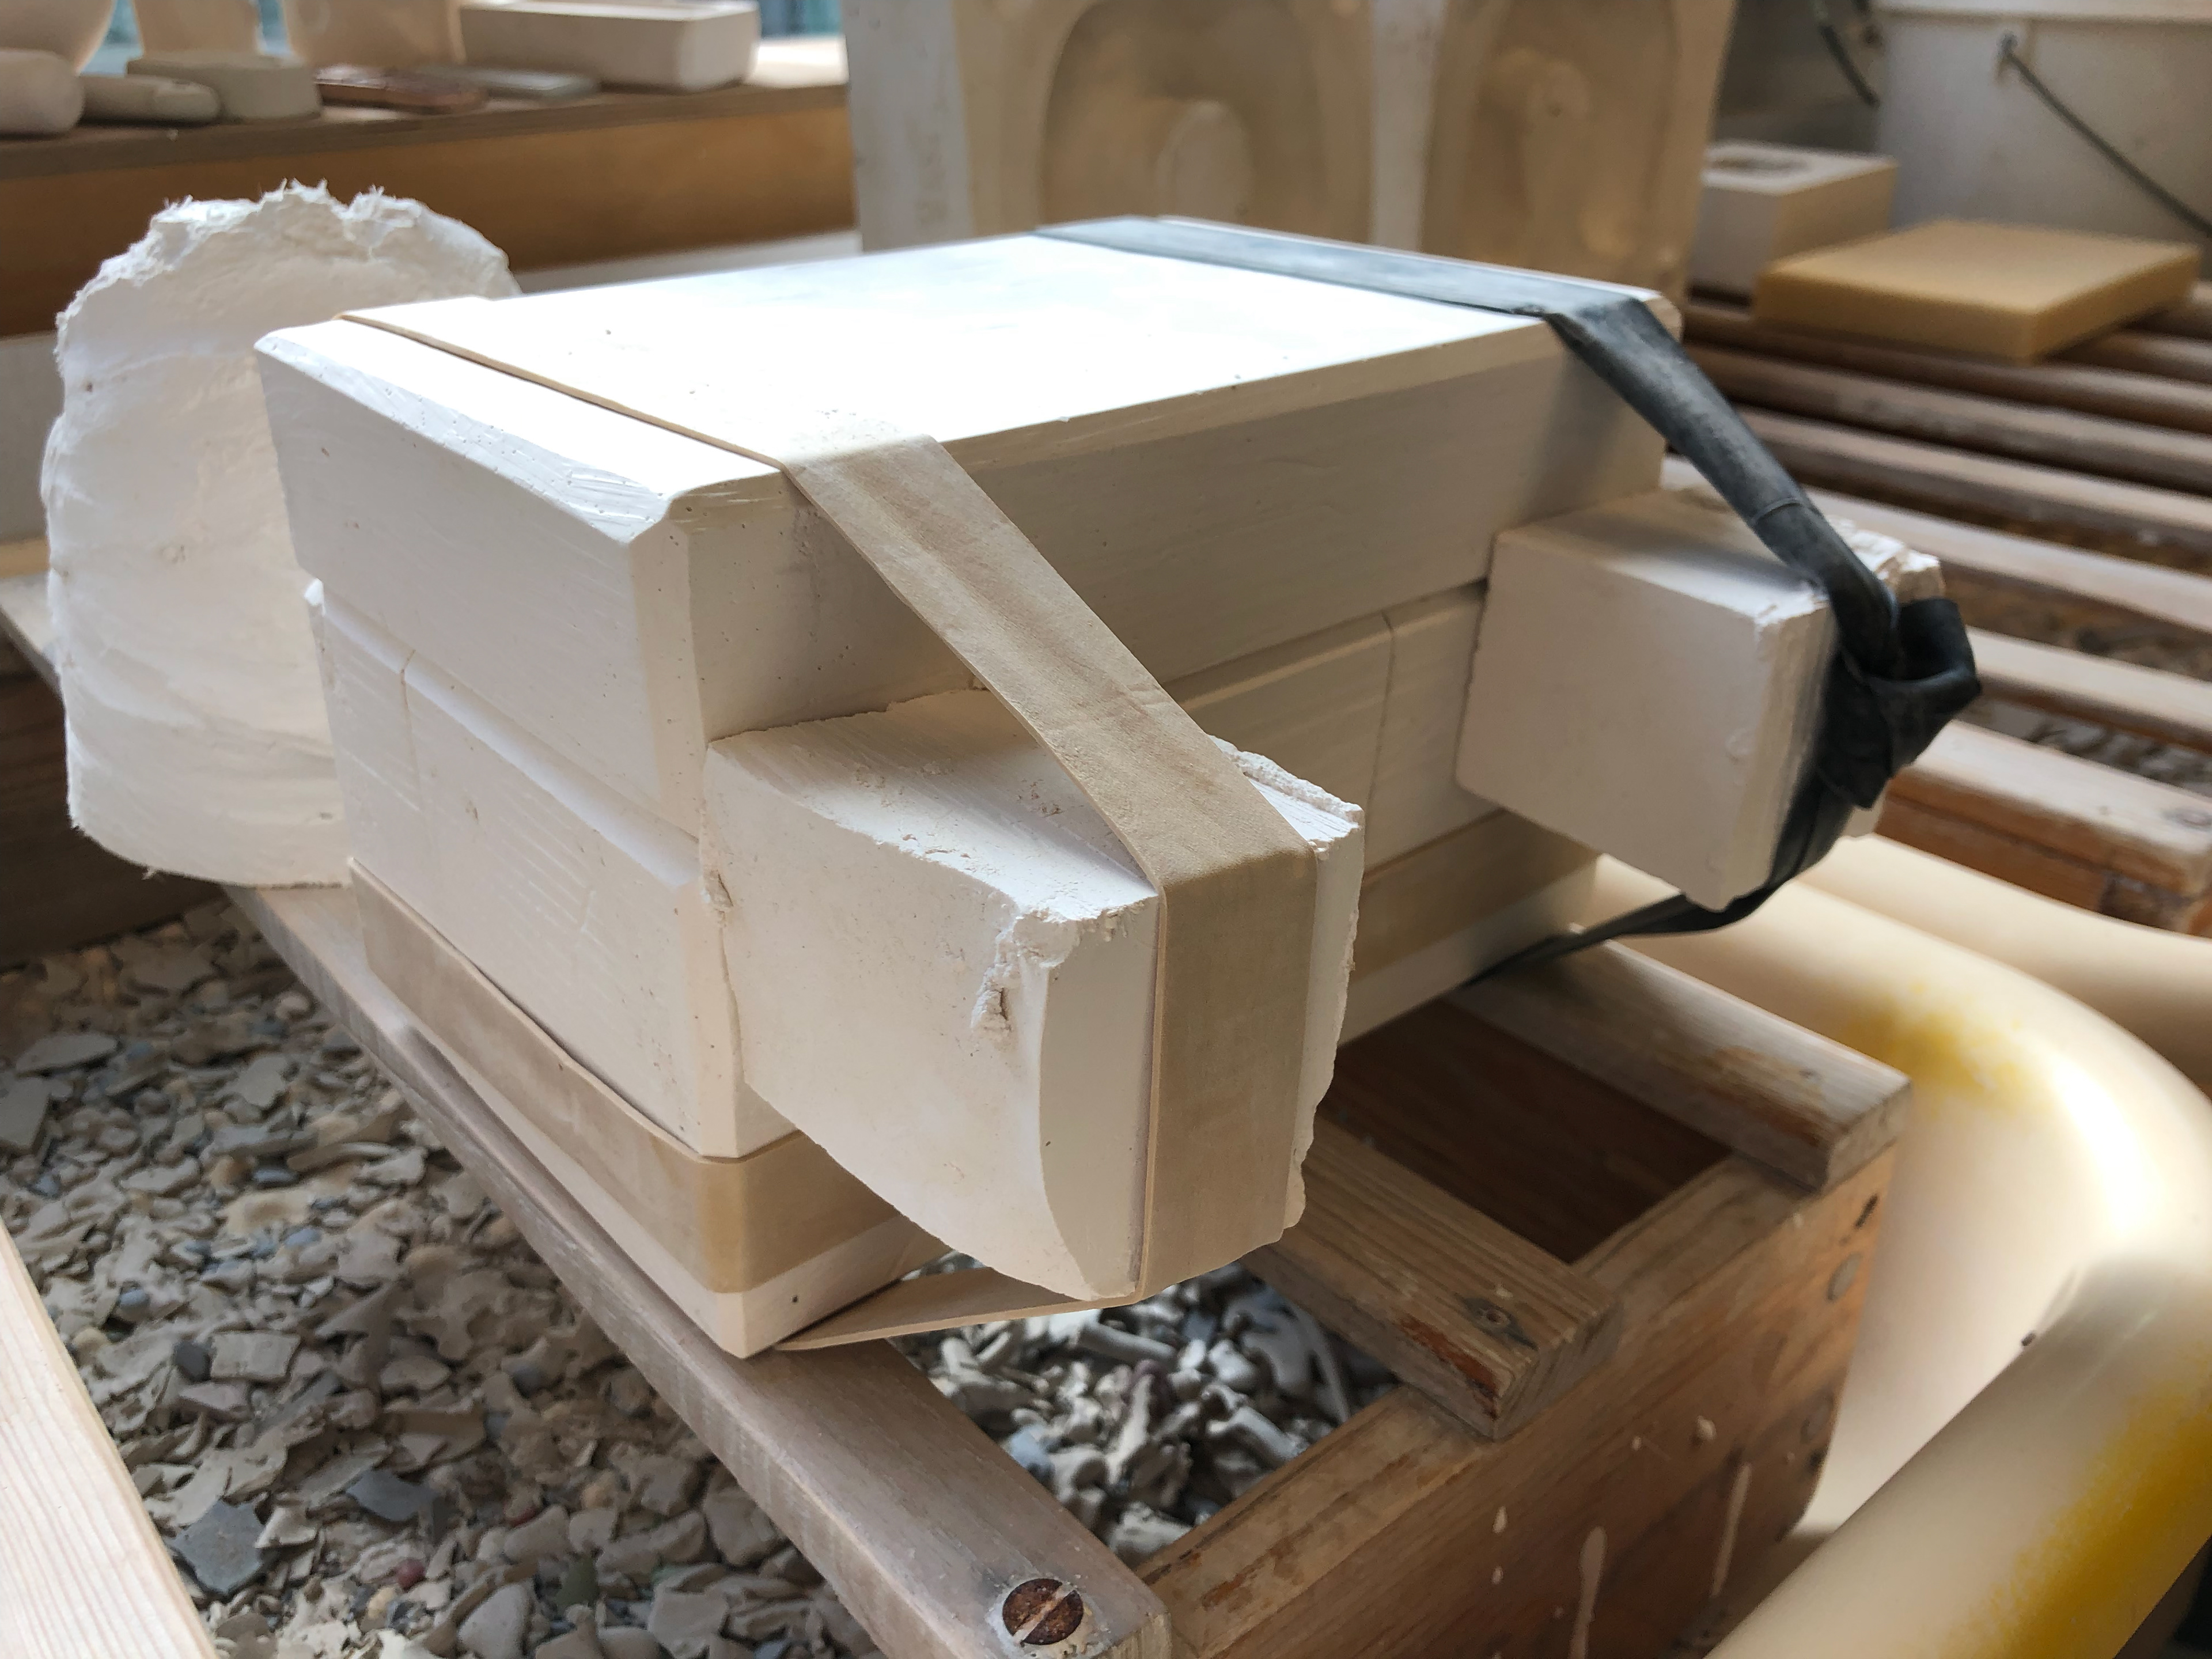
Blocks to keep the elastic taut.
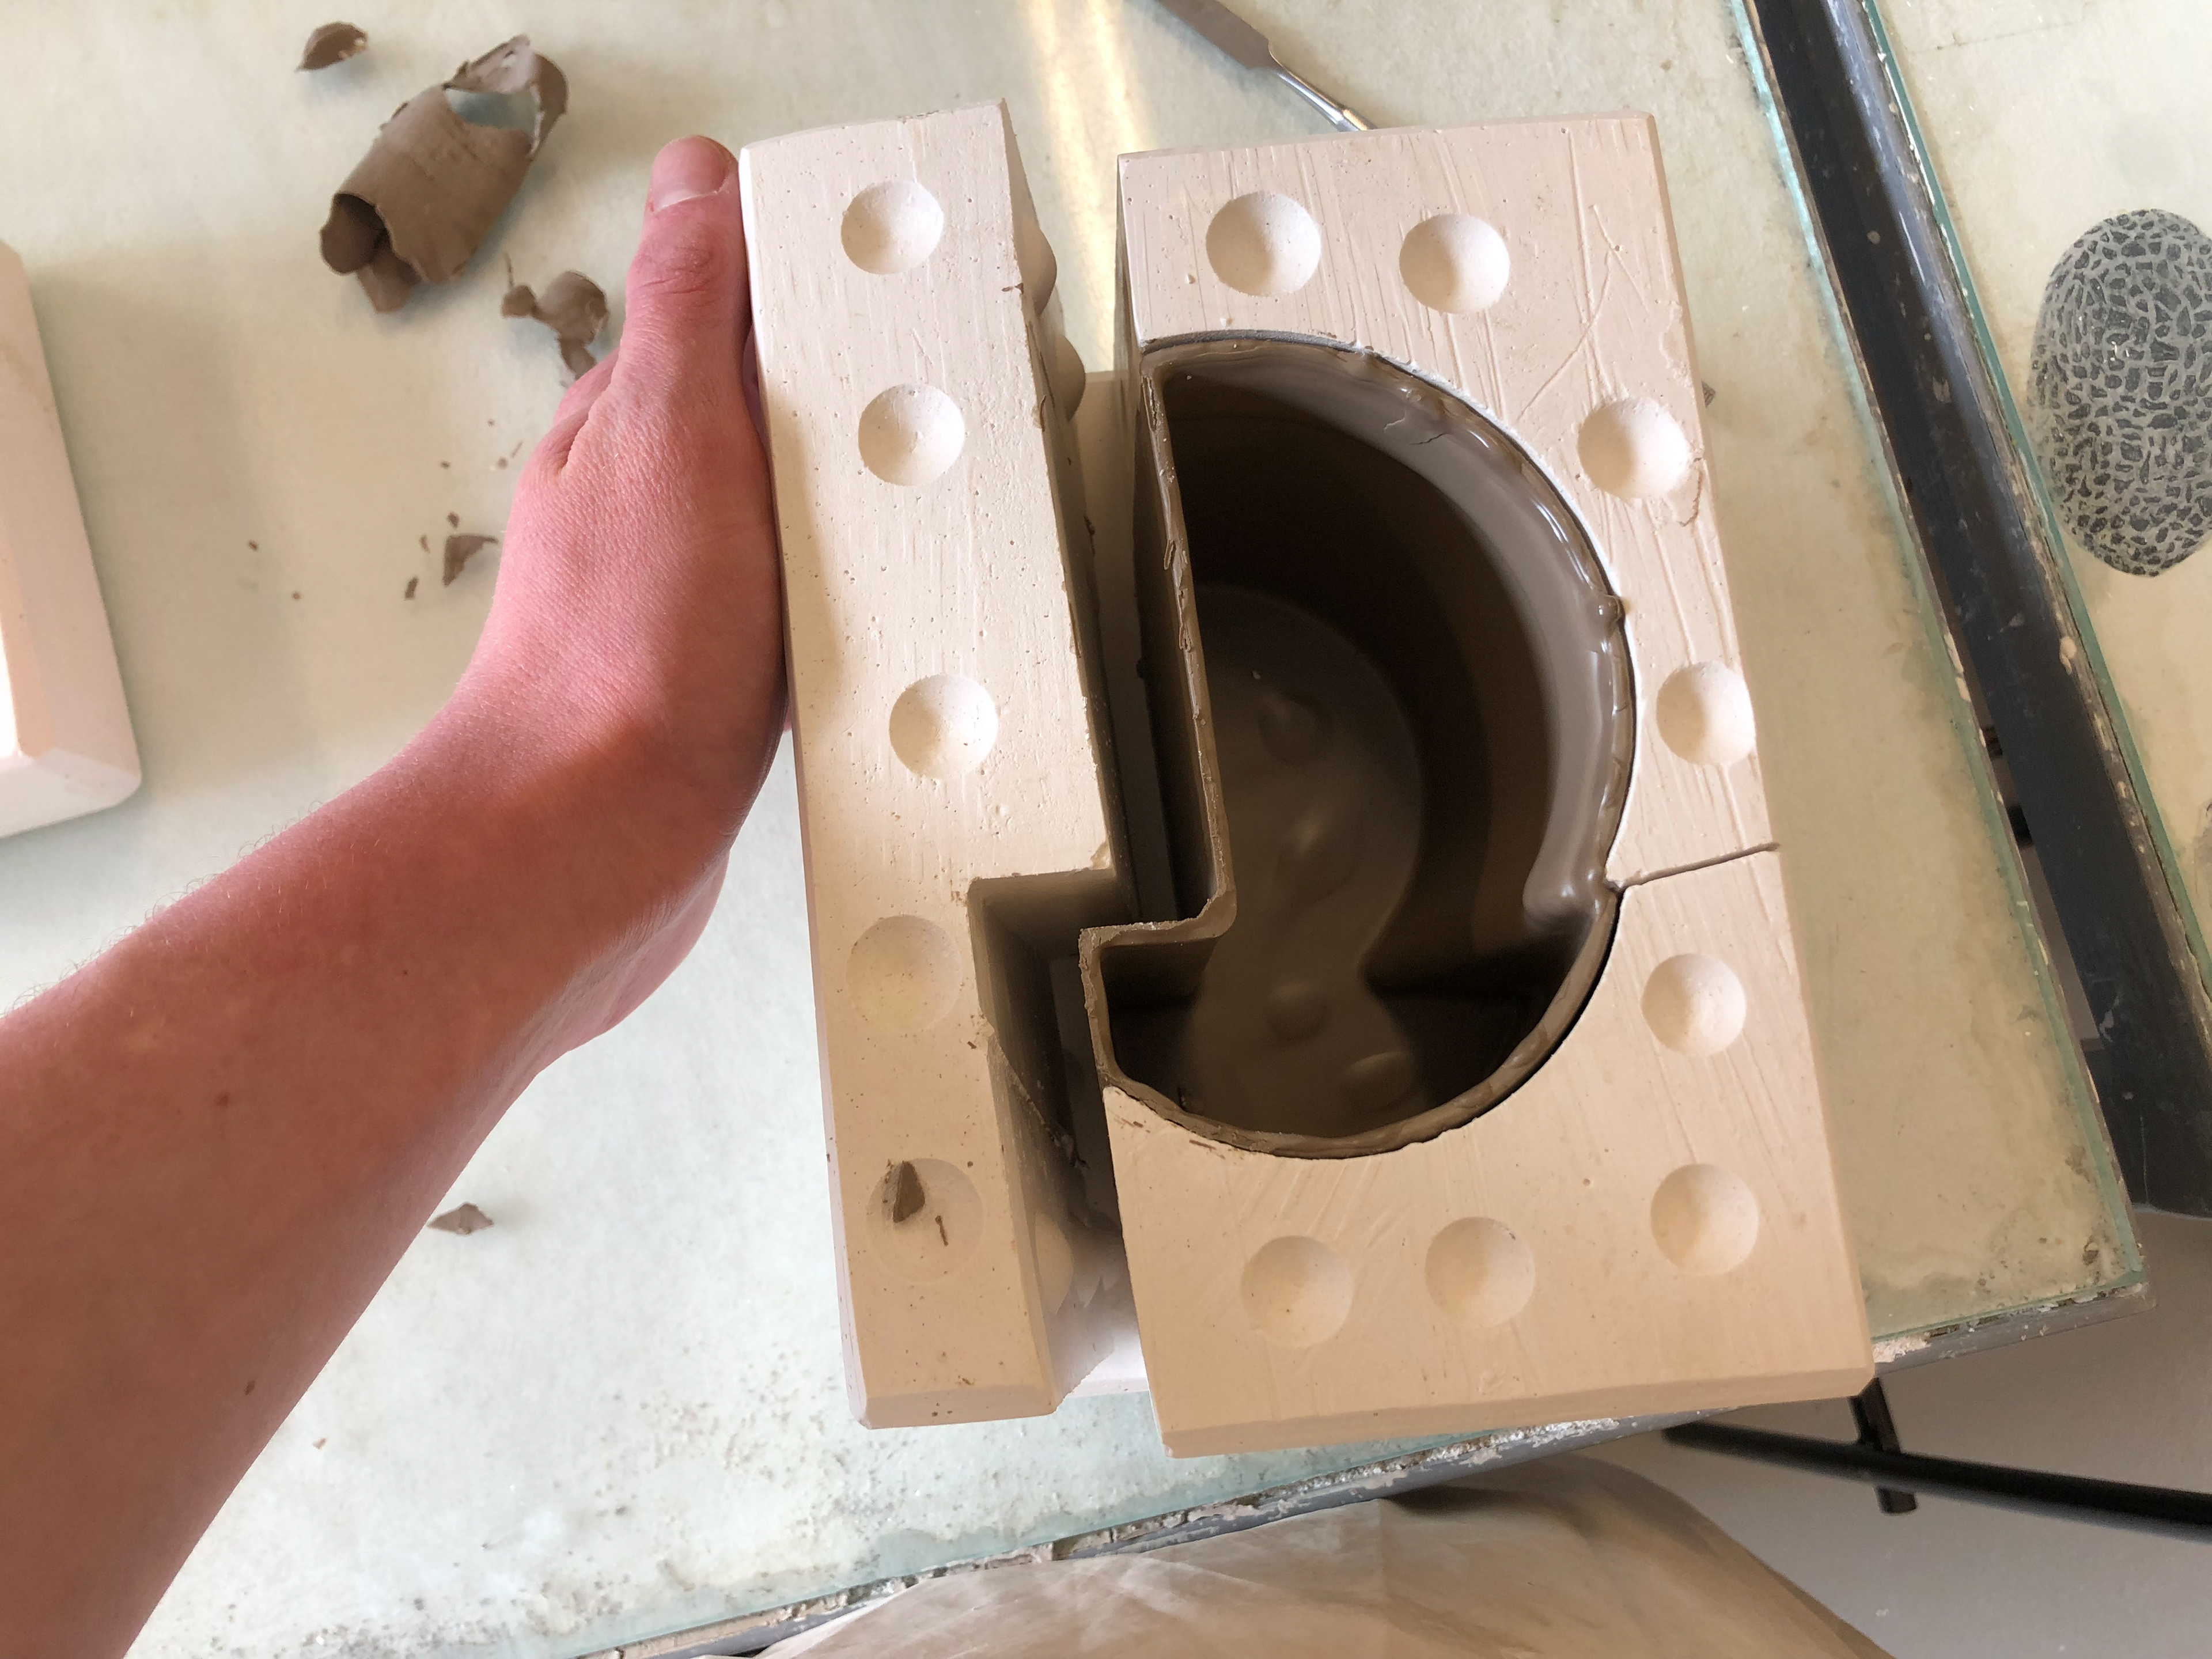
After the remaining slip is poured out and the first part of the mould is removed.
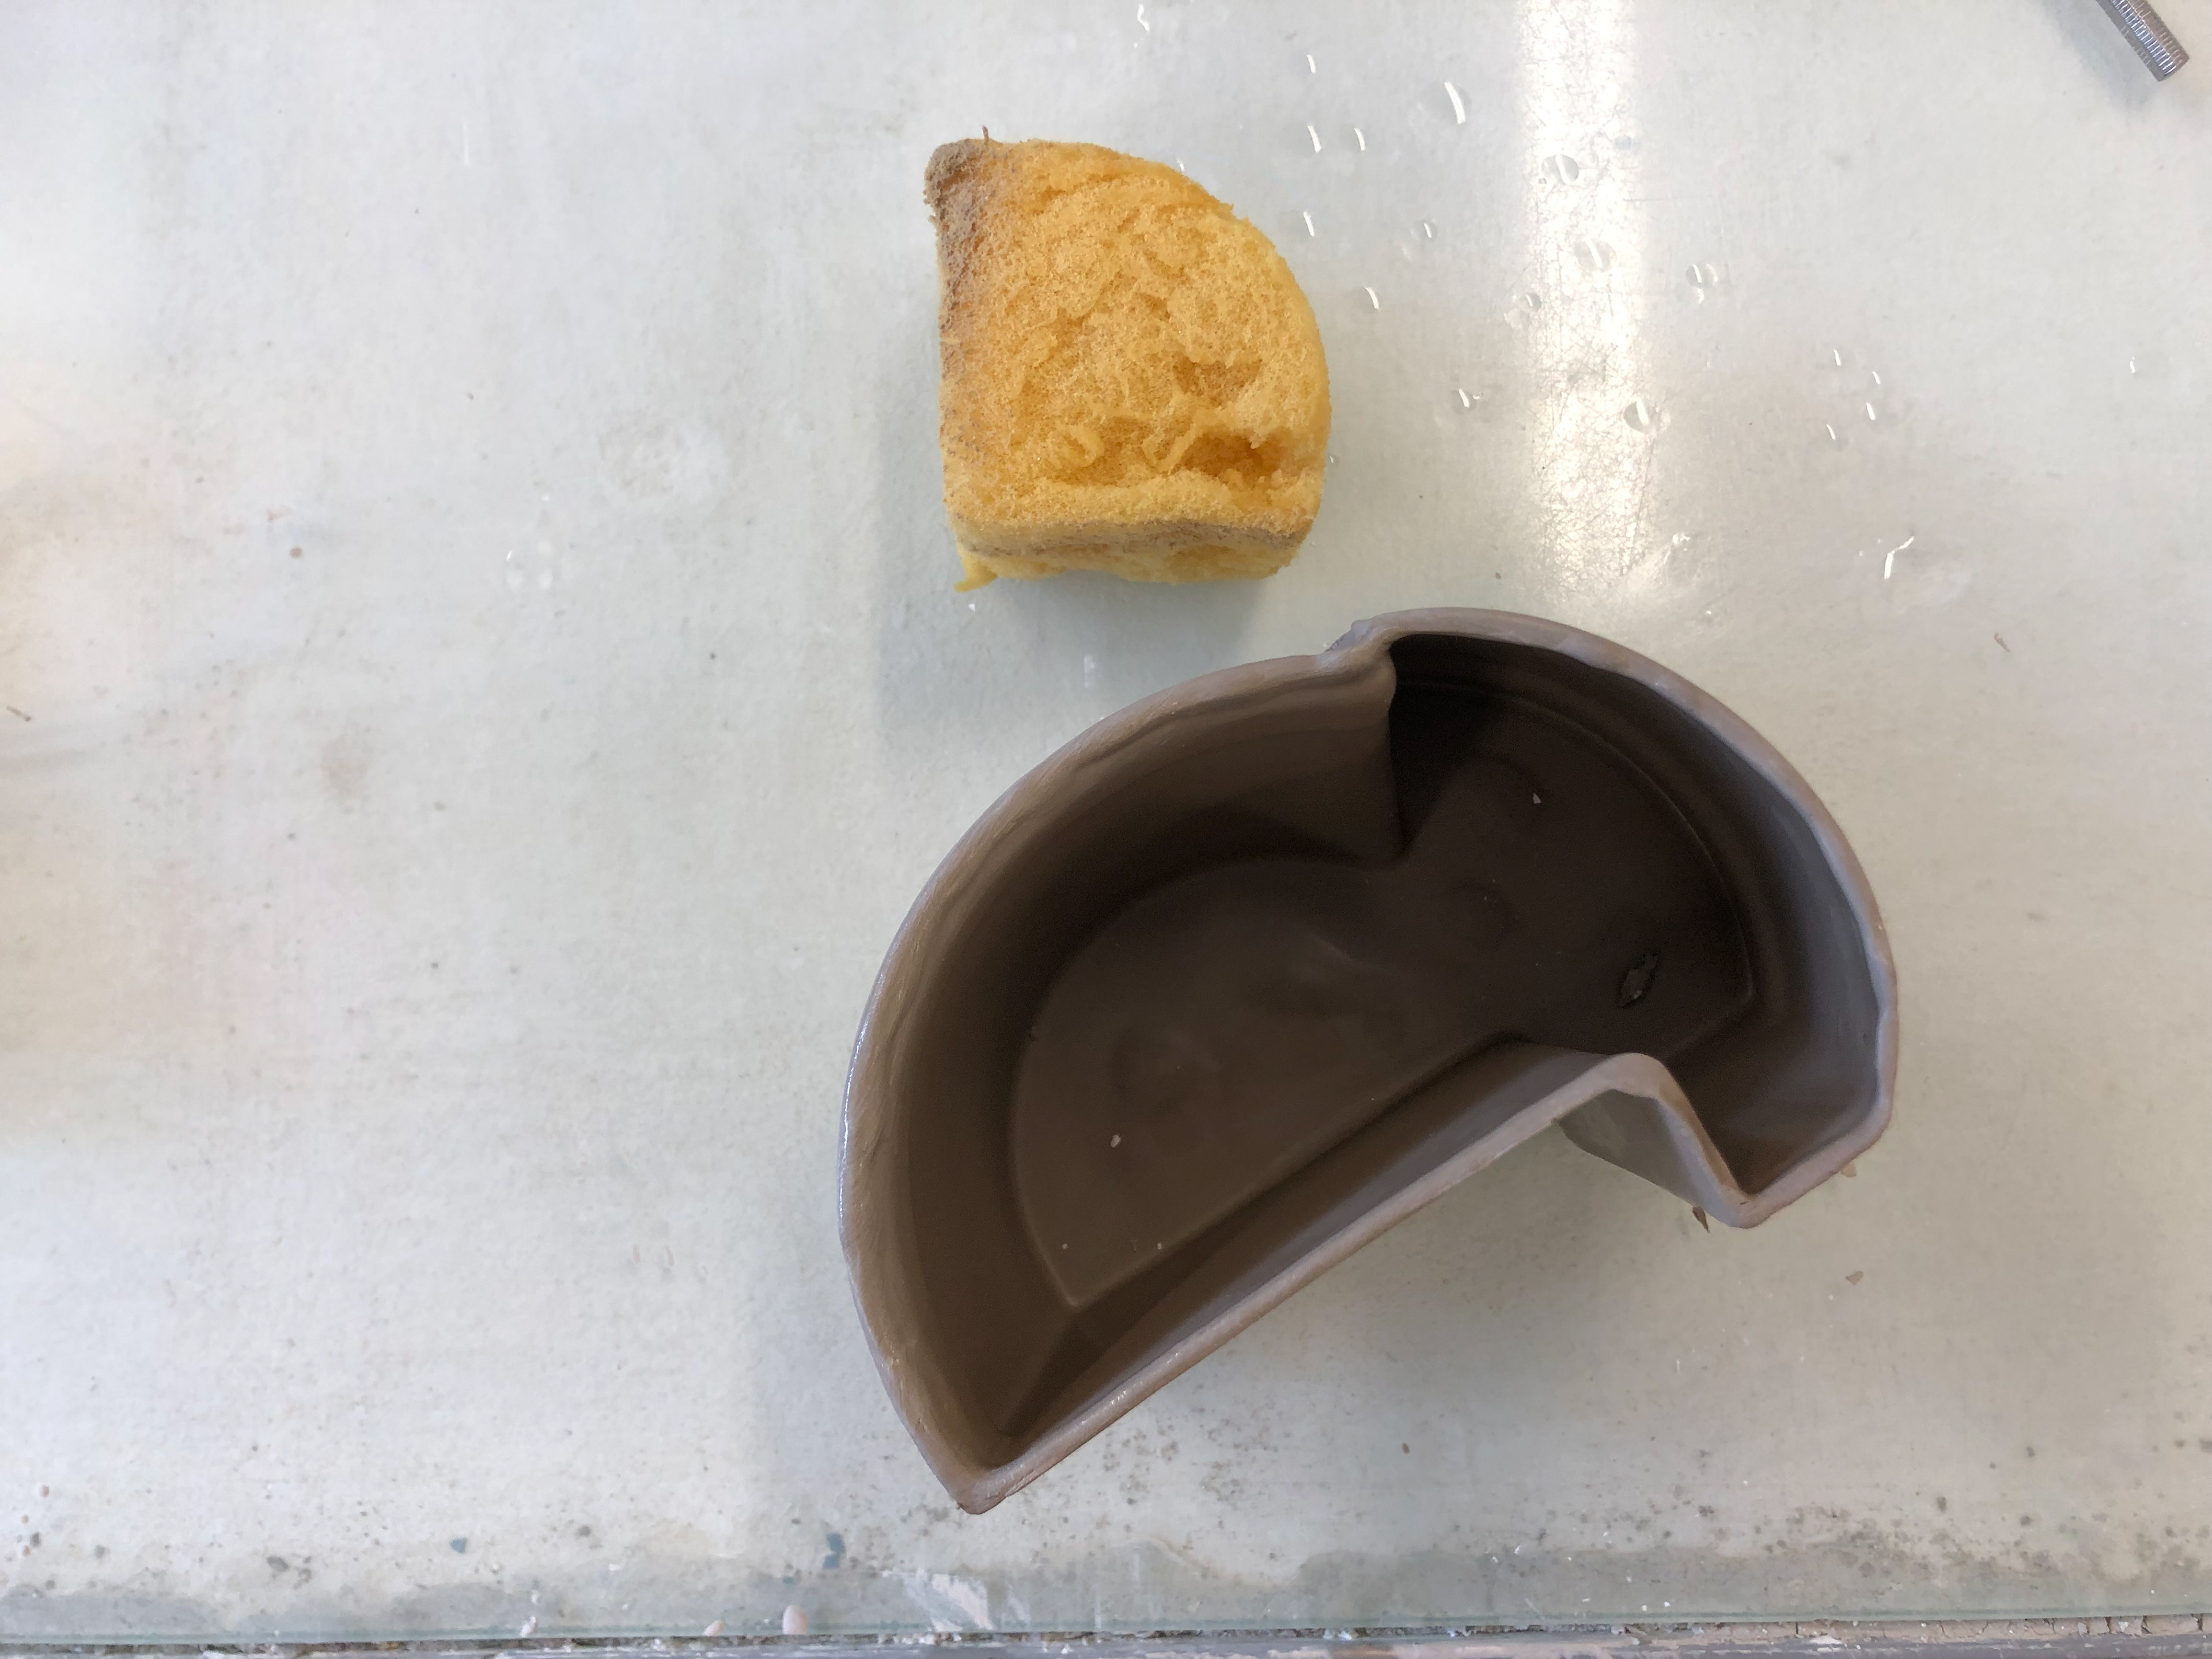
Fettling the edges to make it smooth.

Final piece from above.
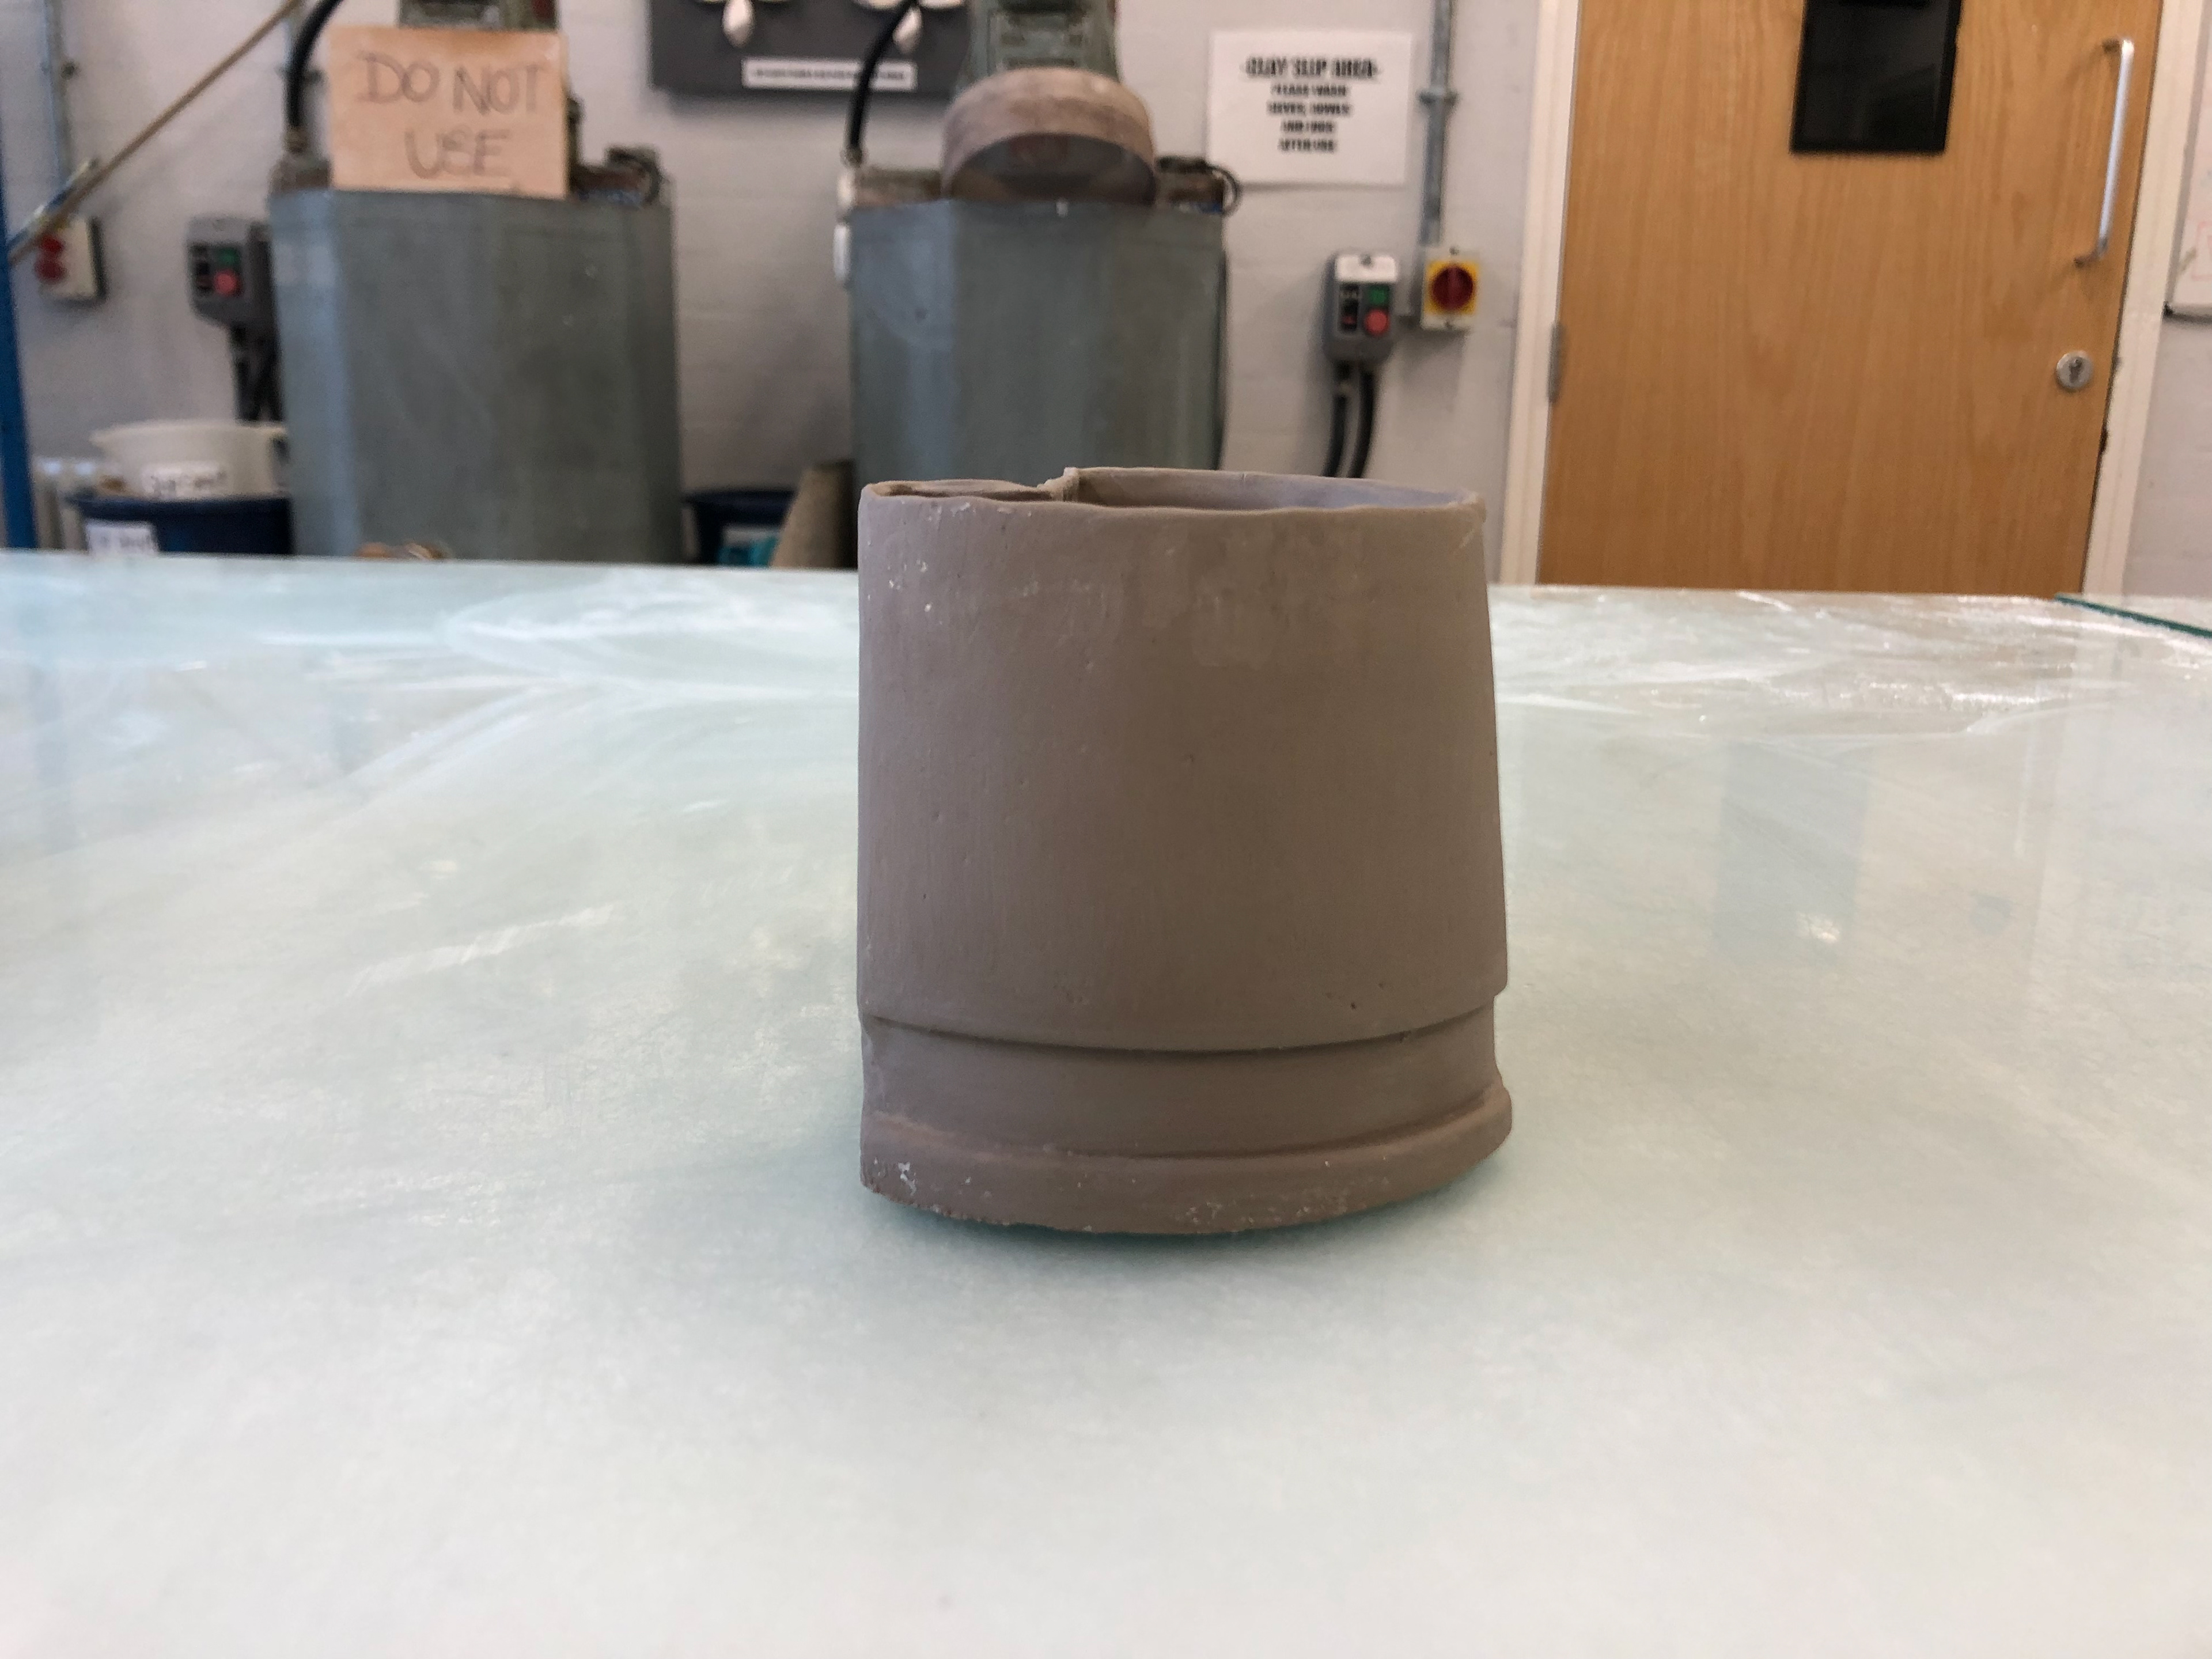
Final piece from the side.
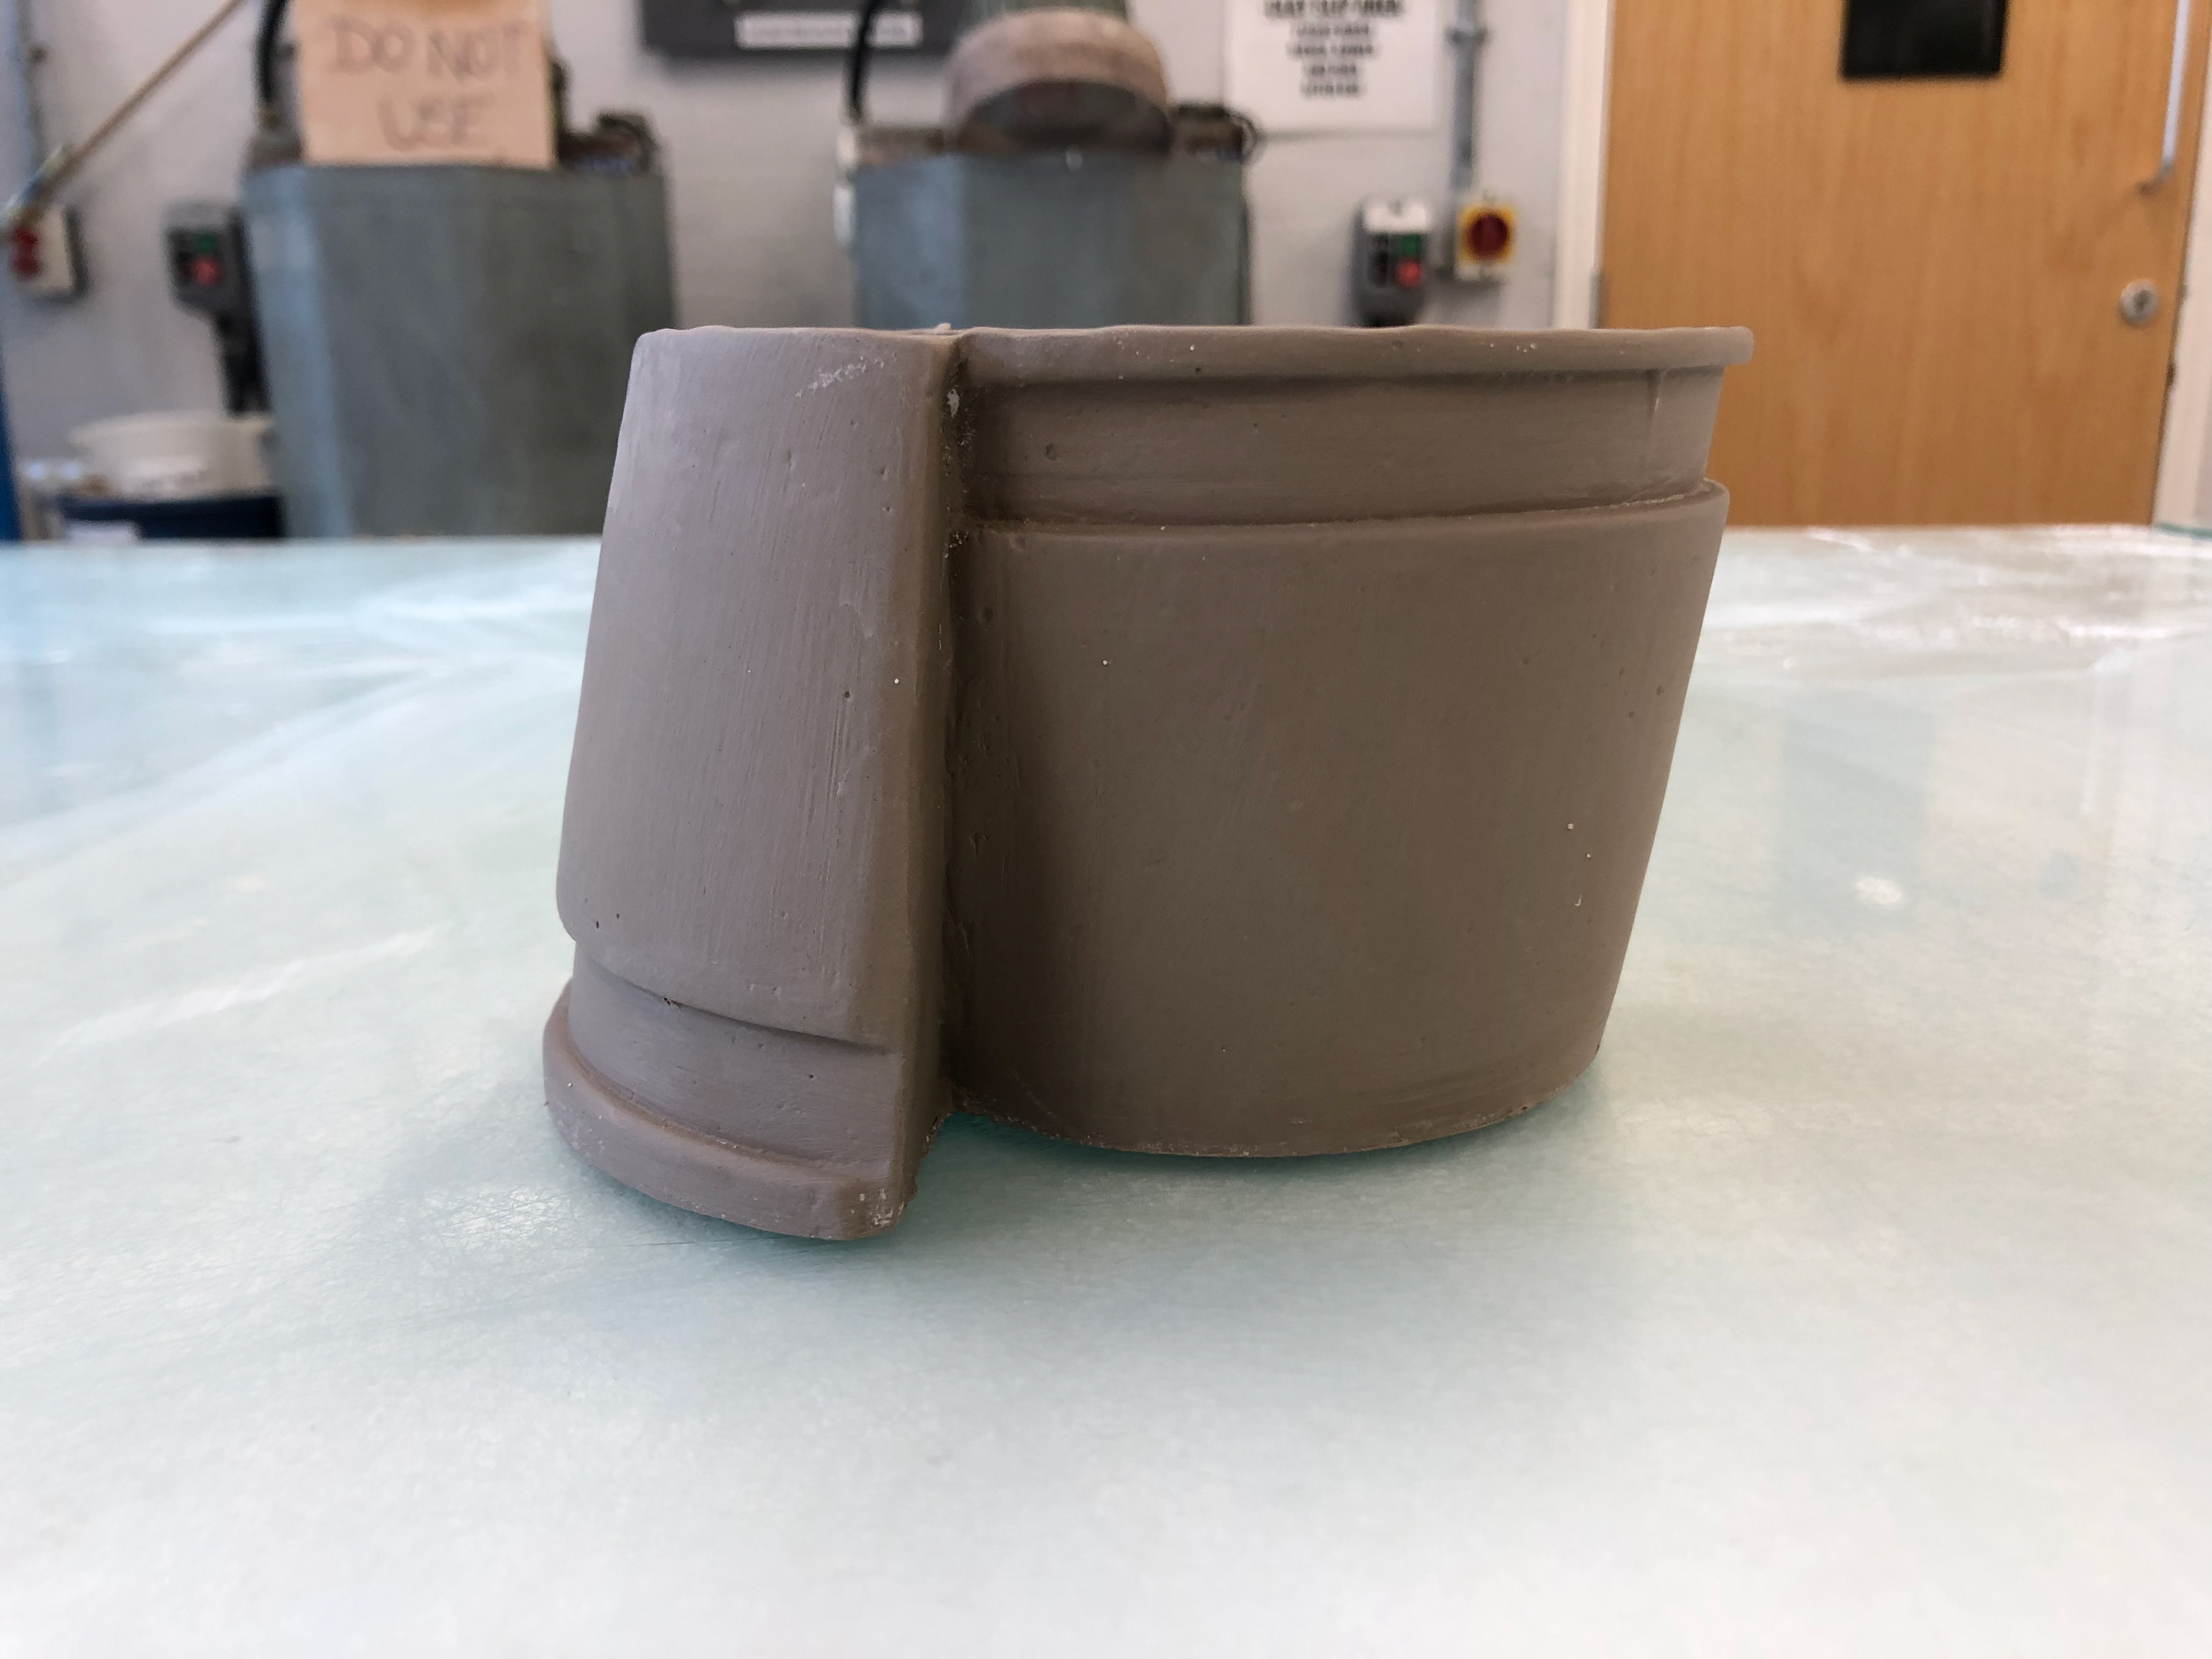
Final piece from the side.
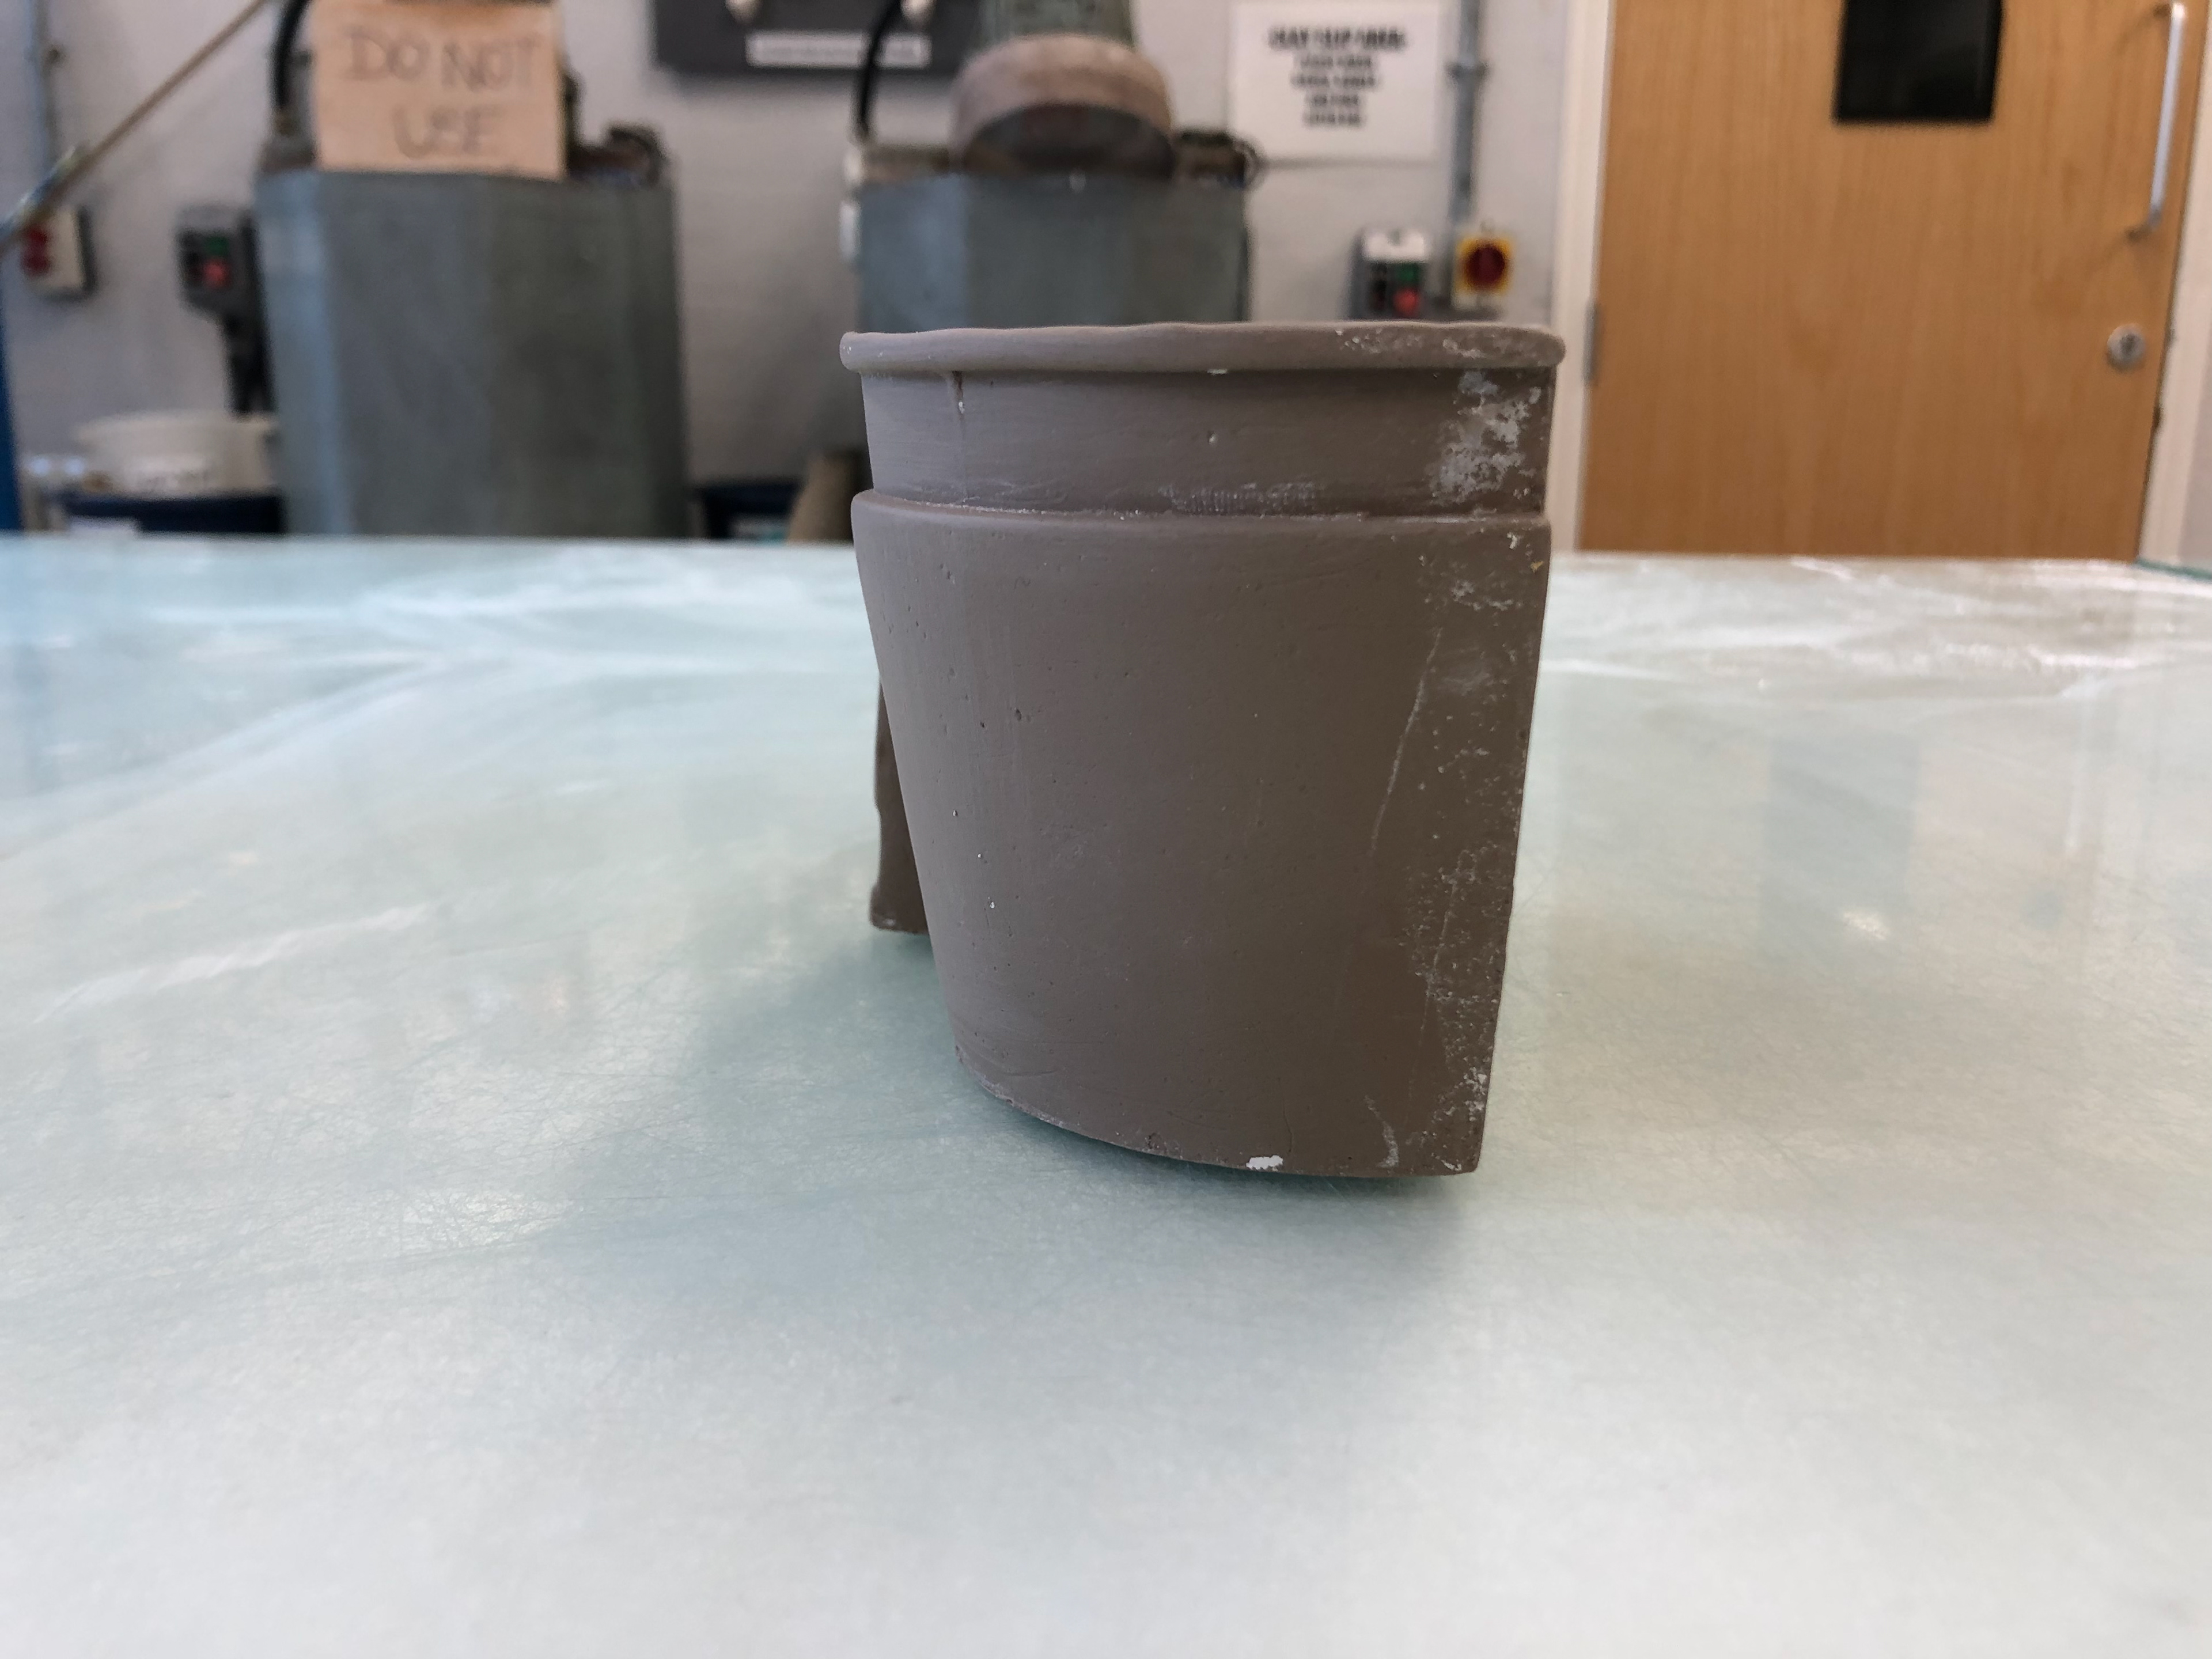
Final piece from the side.
Final piece from the side.
Final piece from bottom.
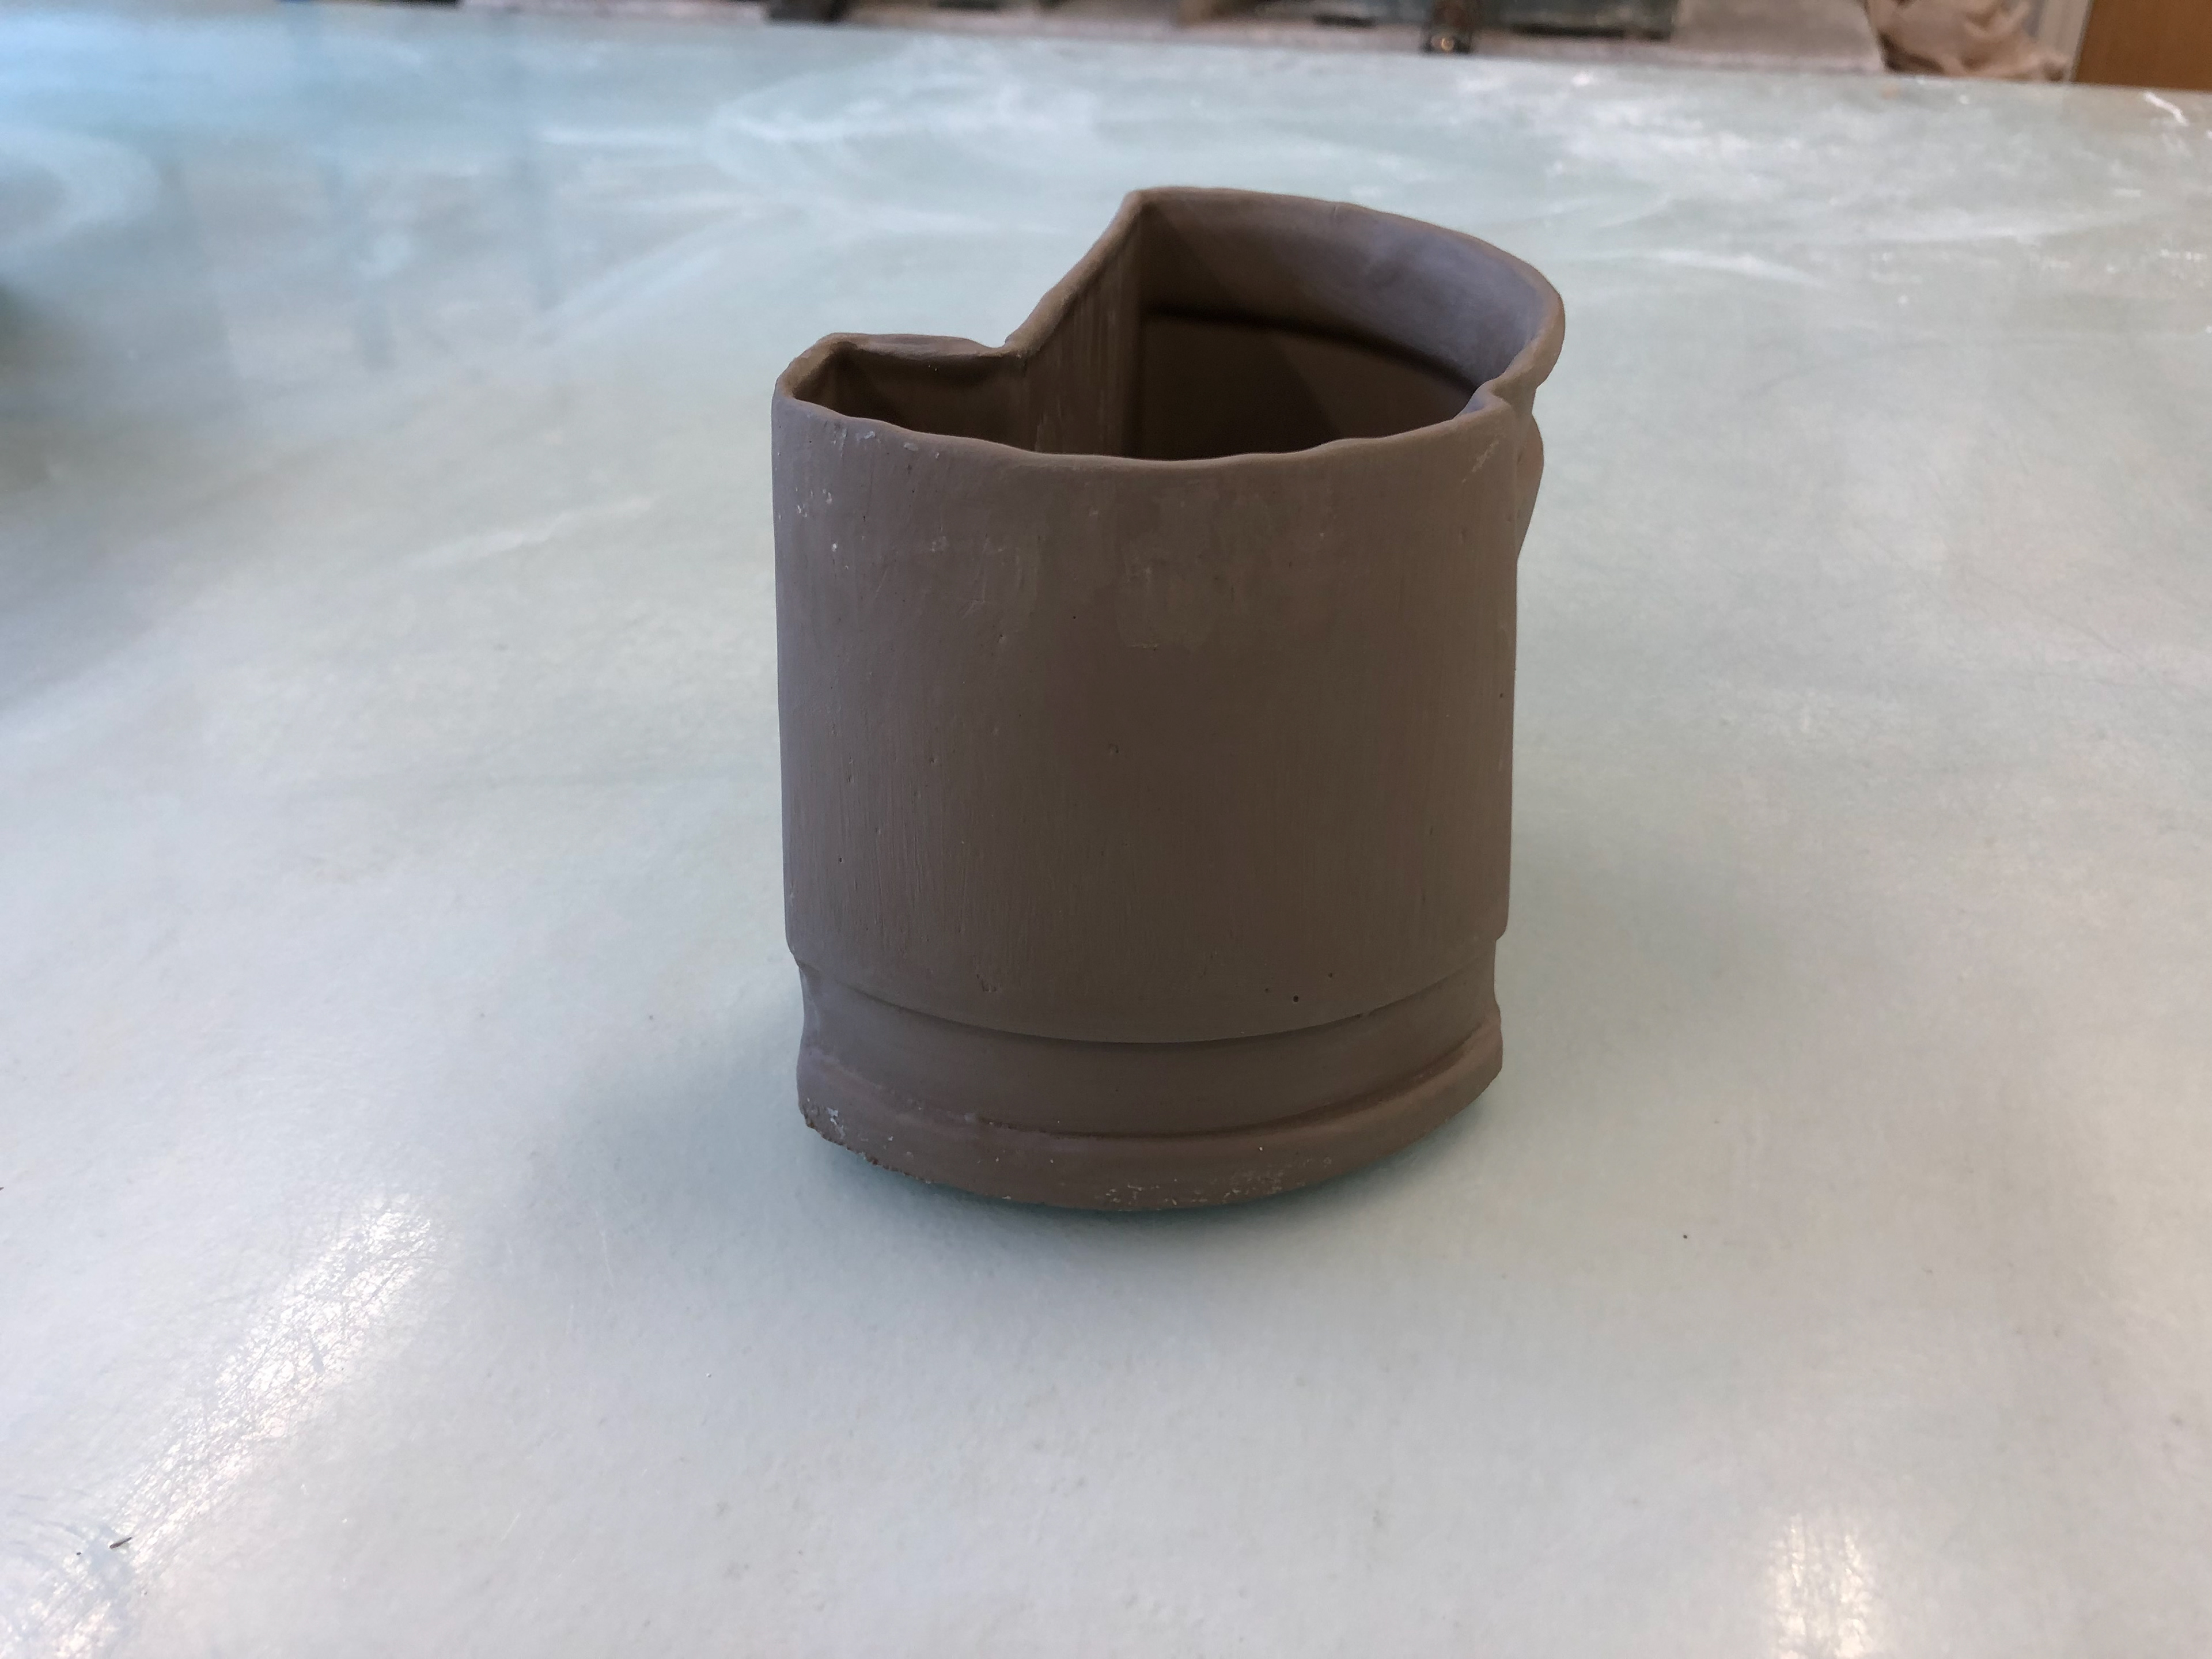
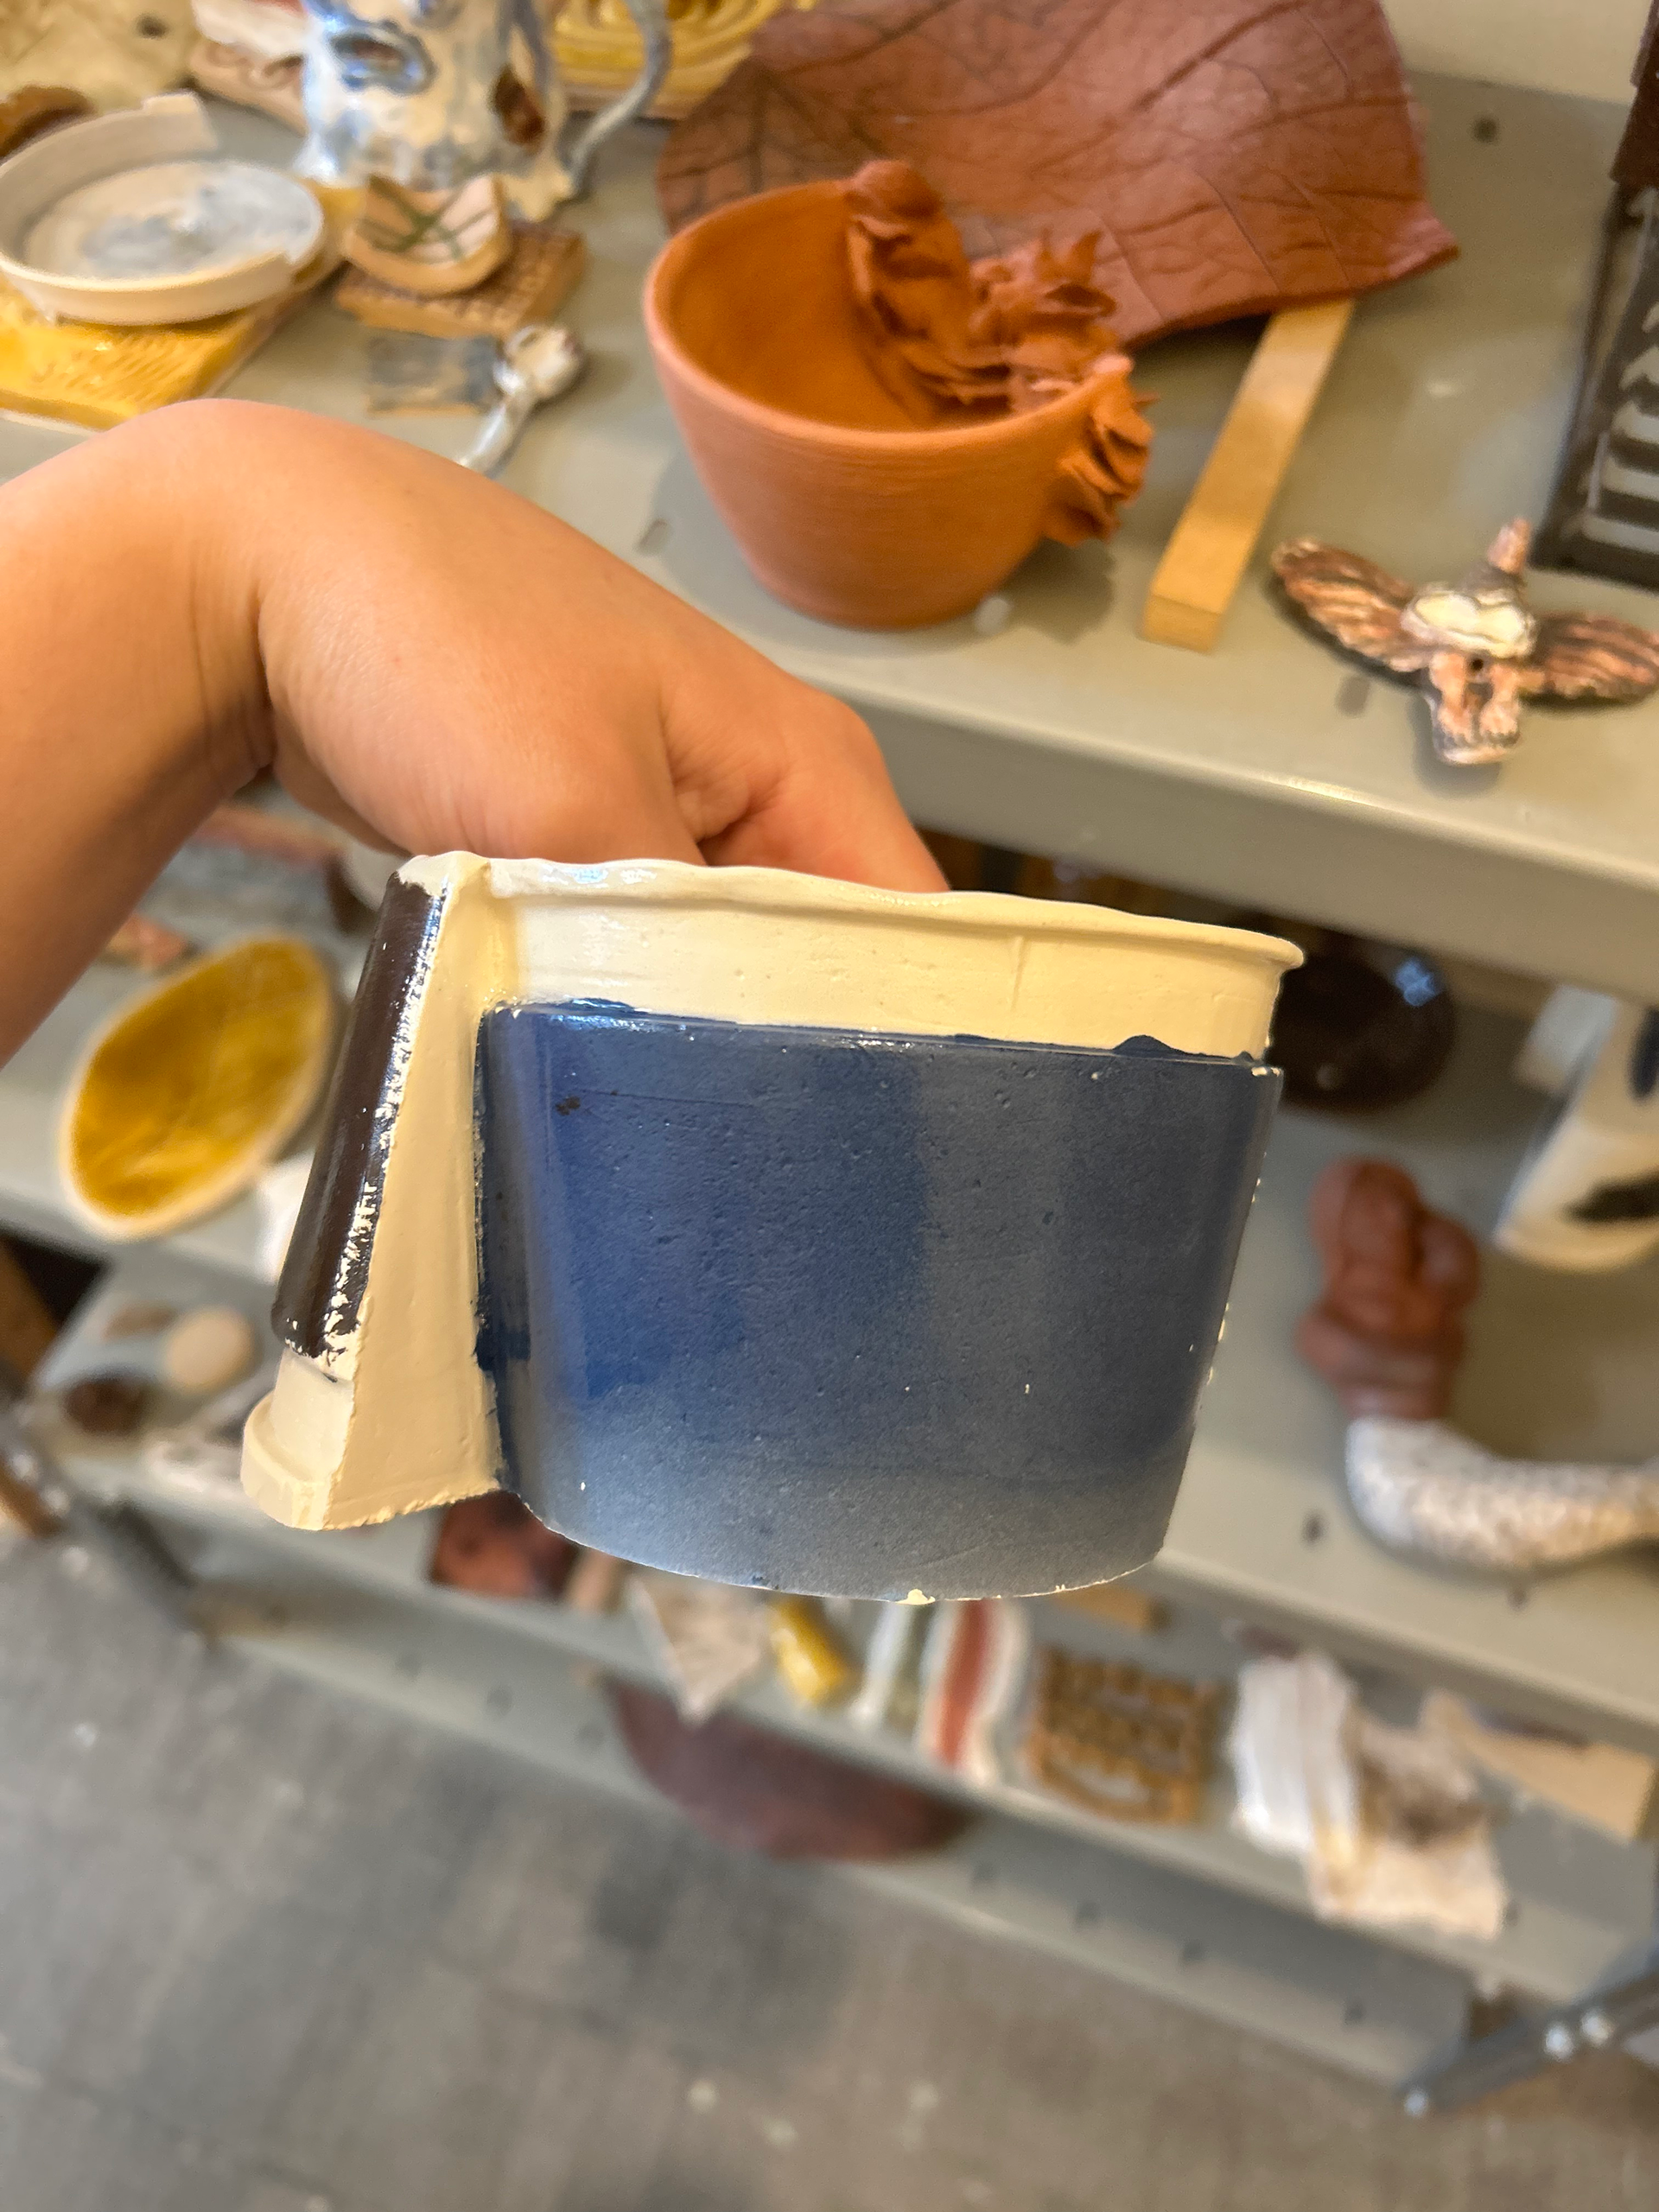
Final piece.
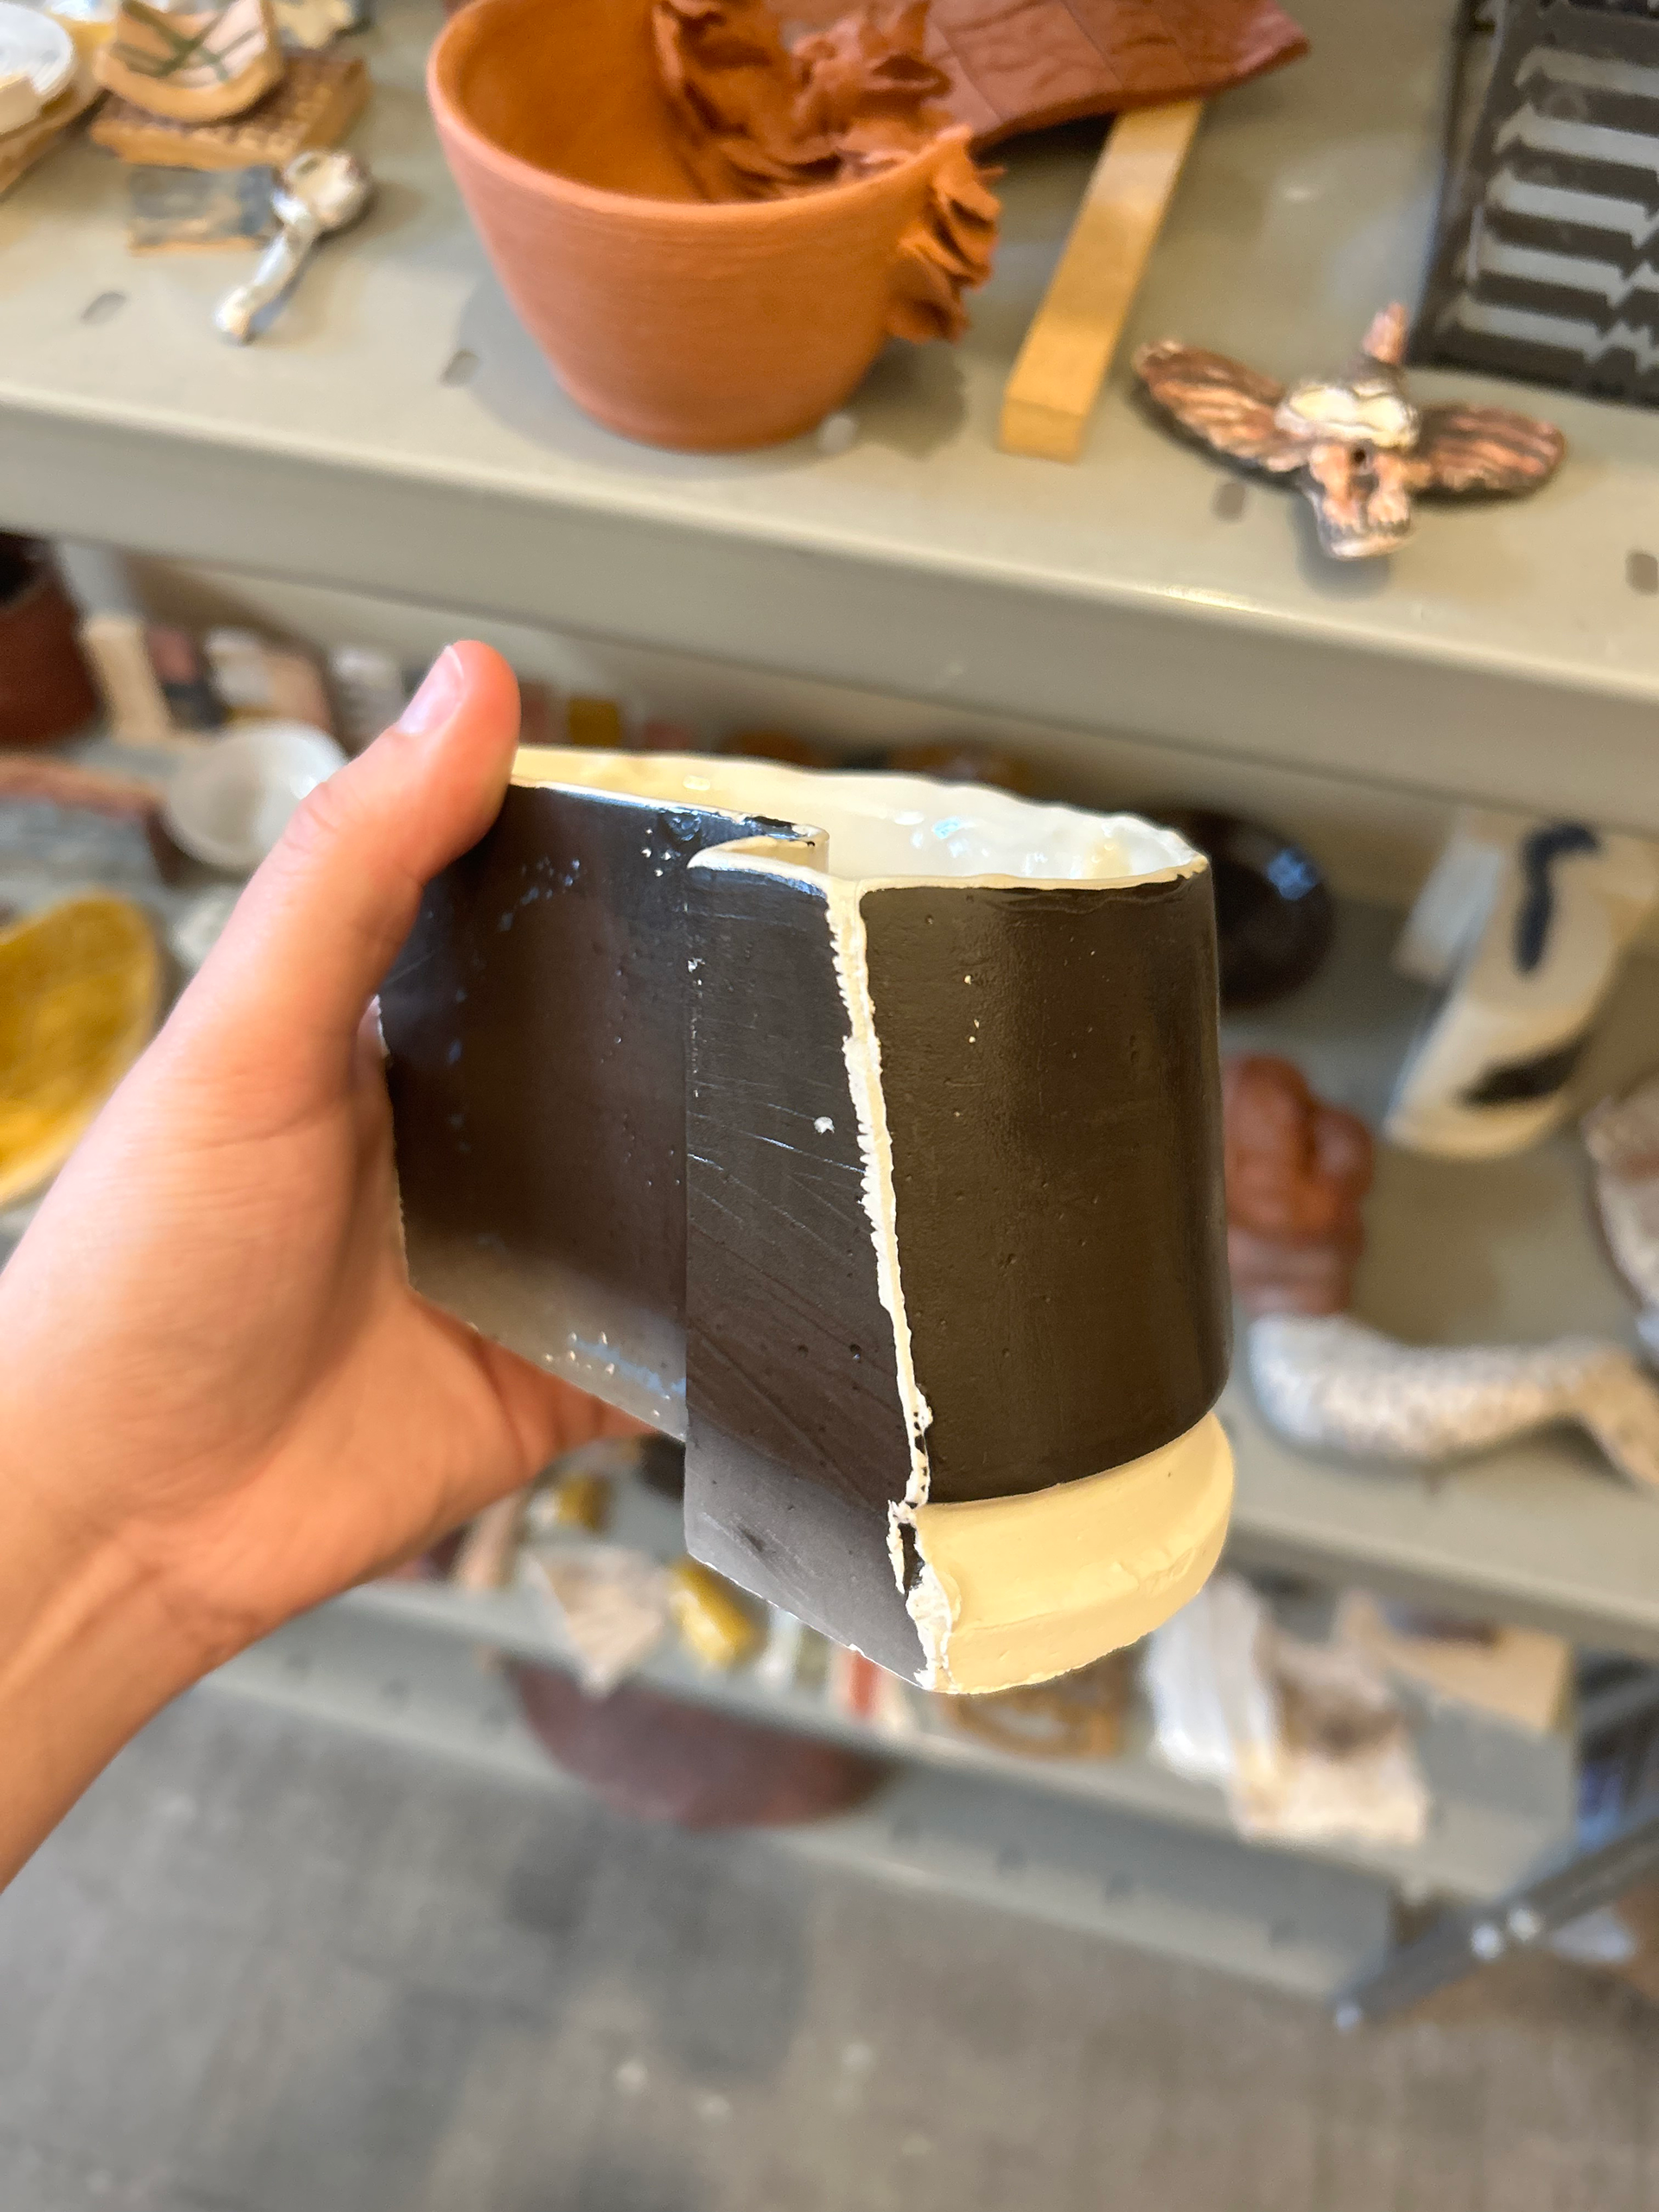
After a clear glaze and firing.