More detail about reasoning can be found in the sketchbook section of this topic. For image specific details you can click on the image to reveal more.
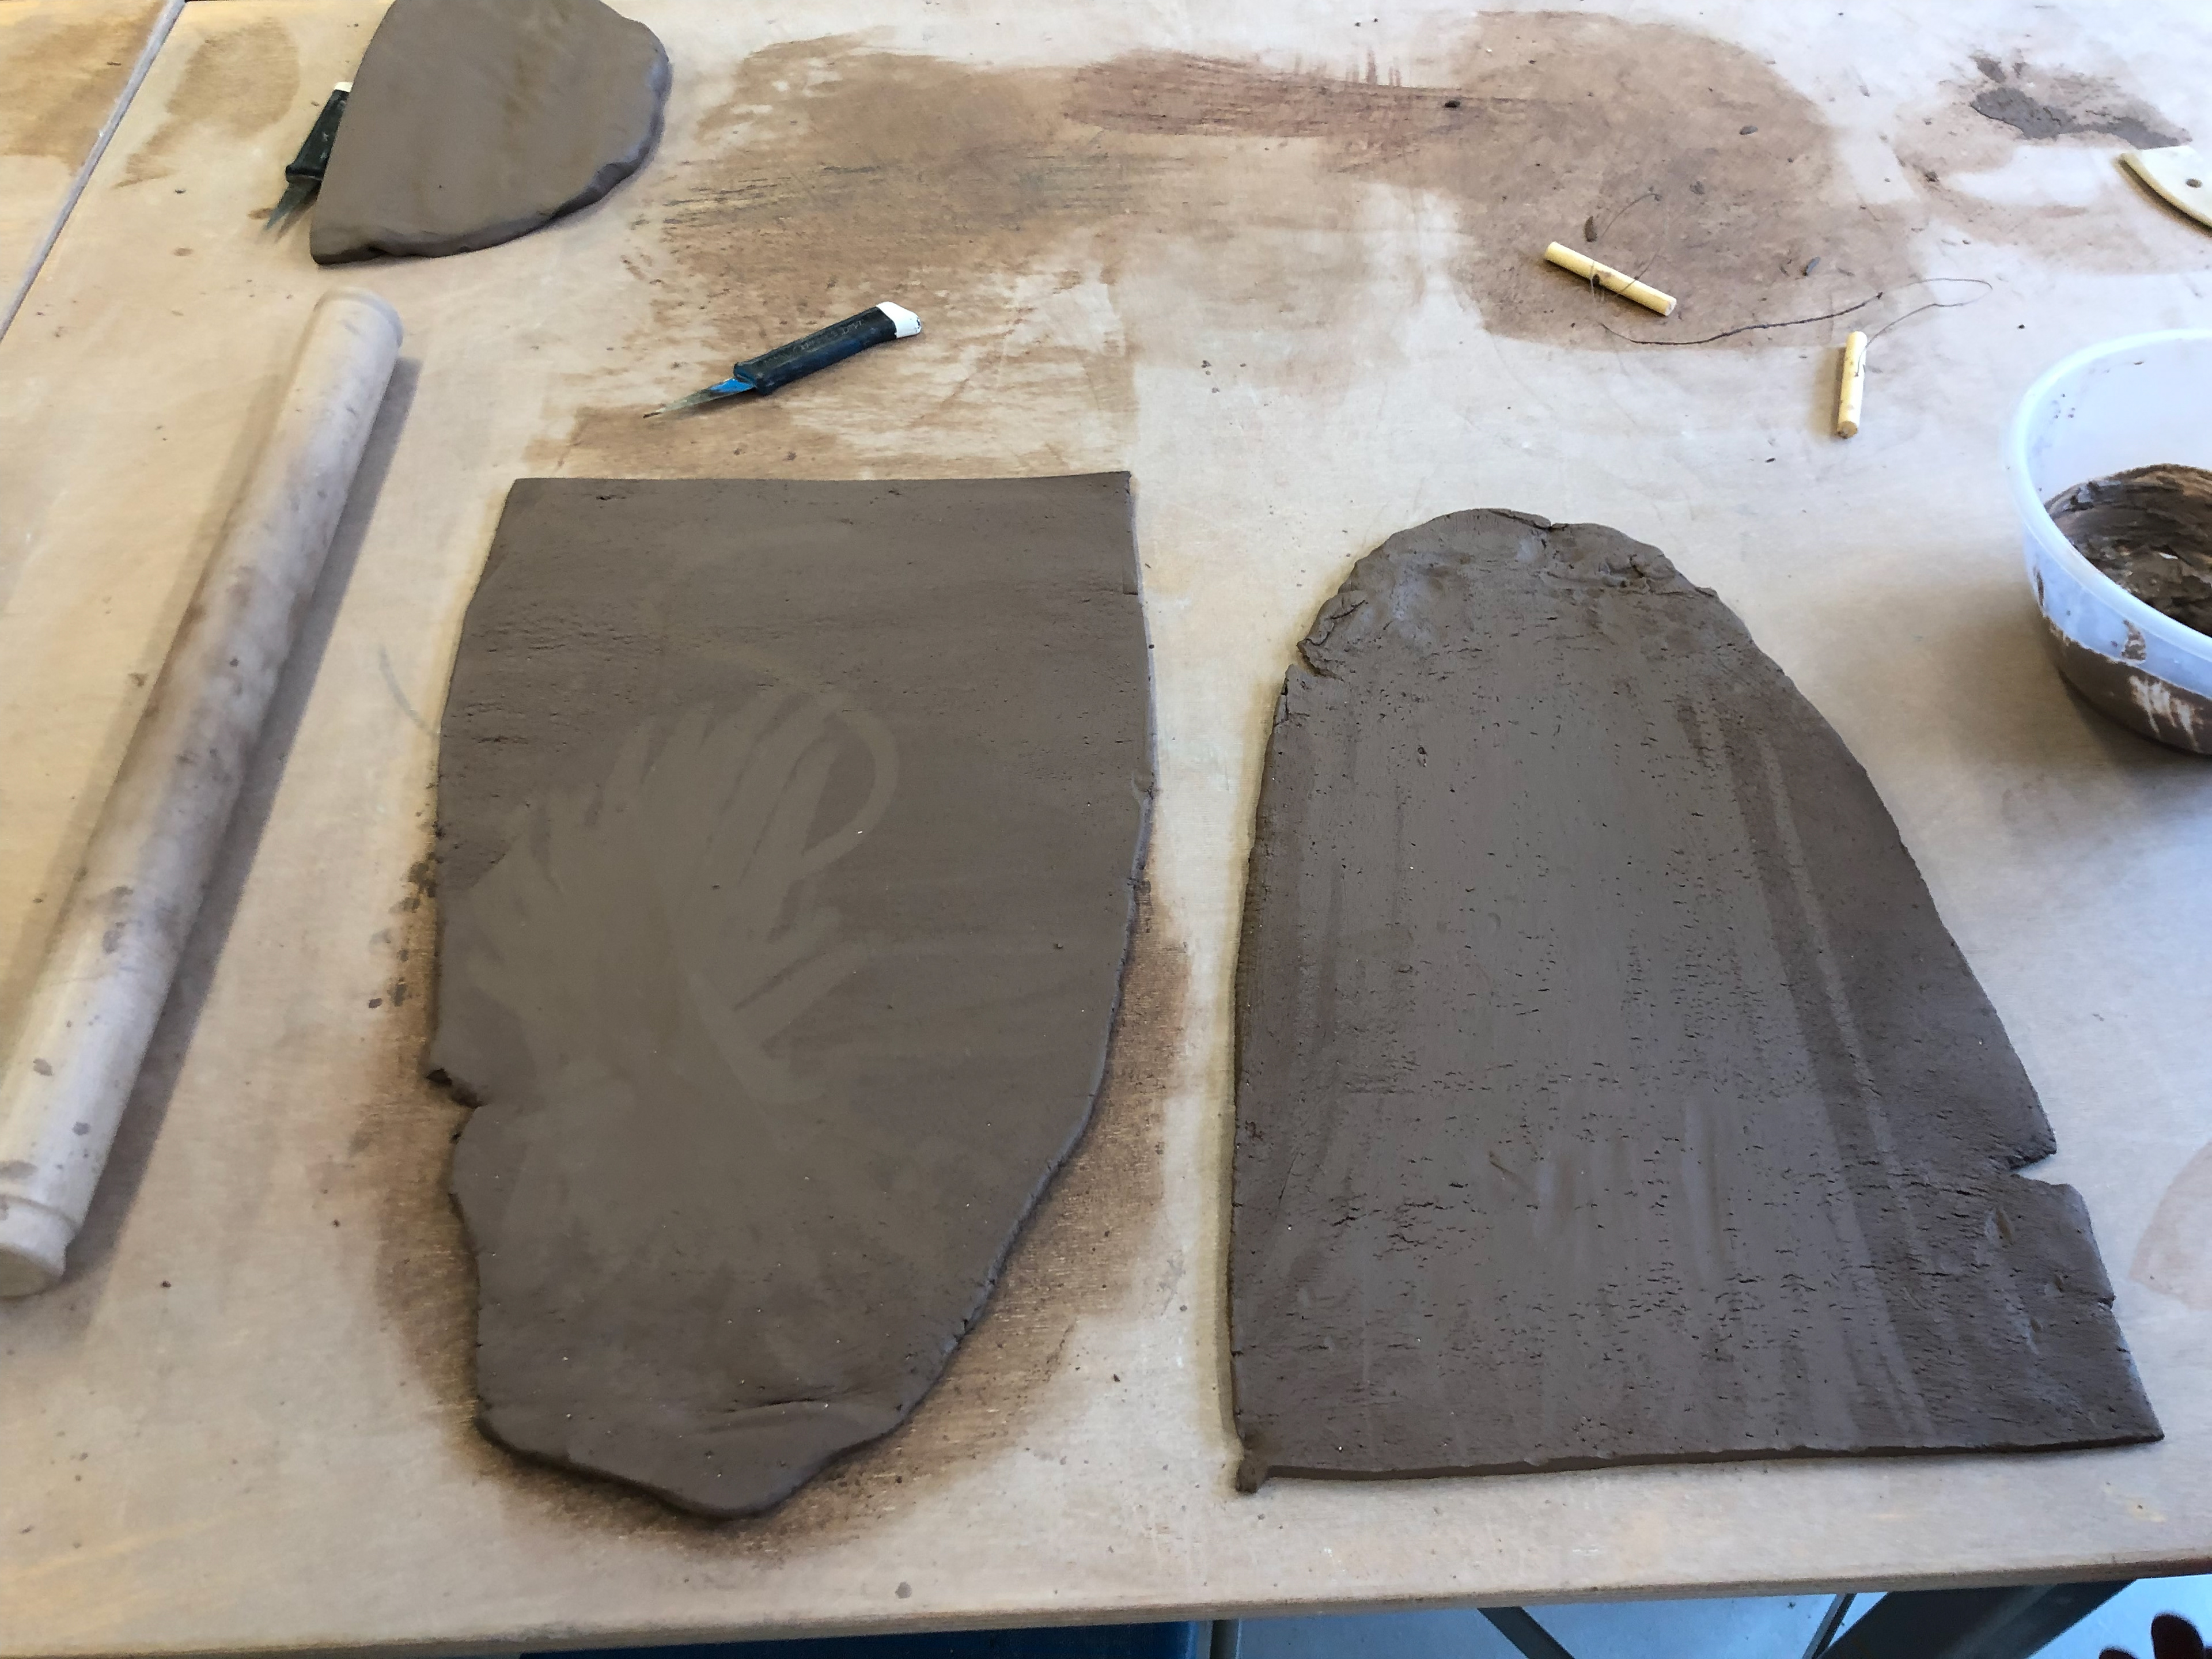
Slab making
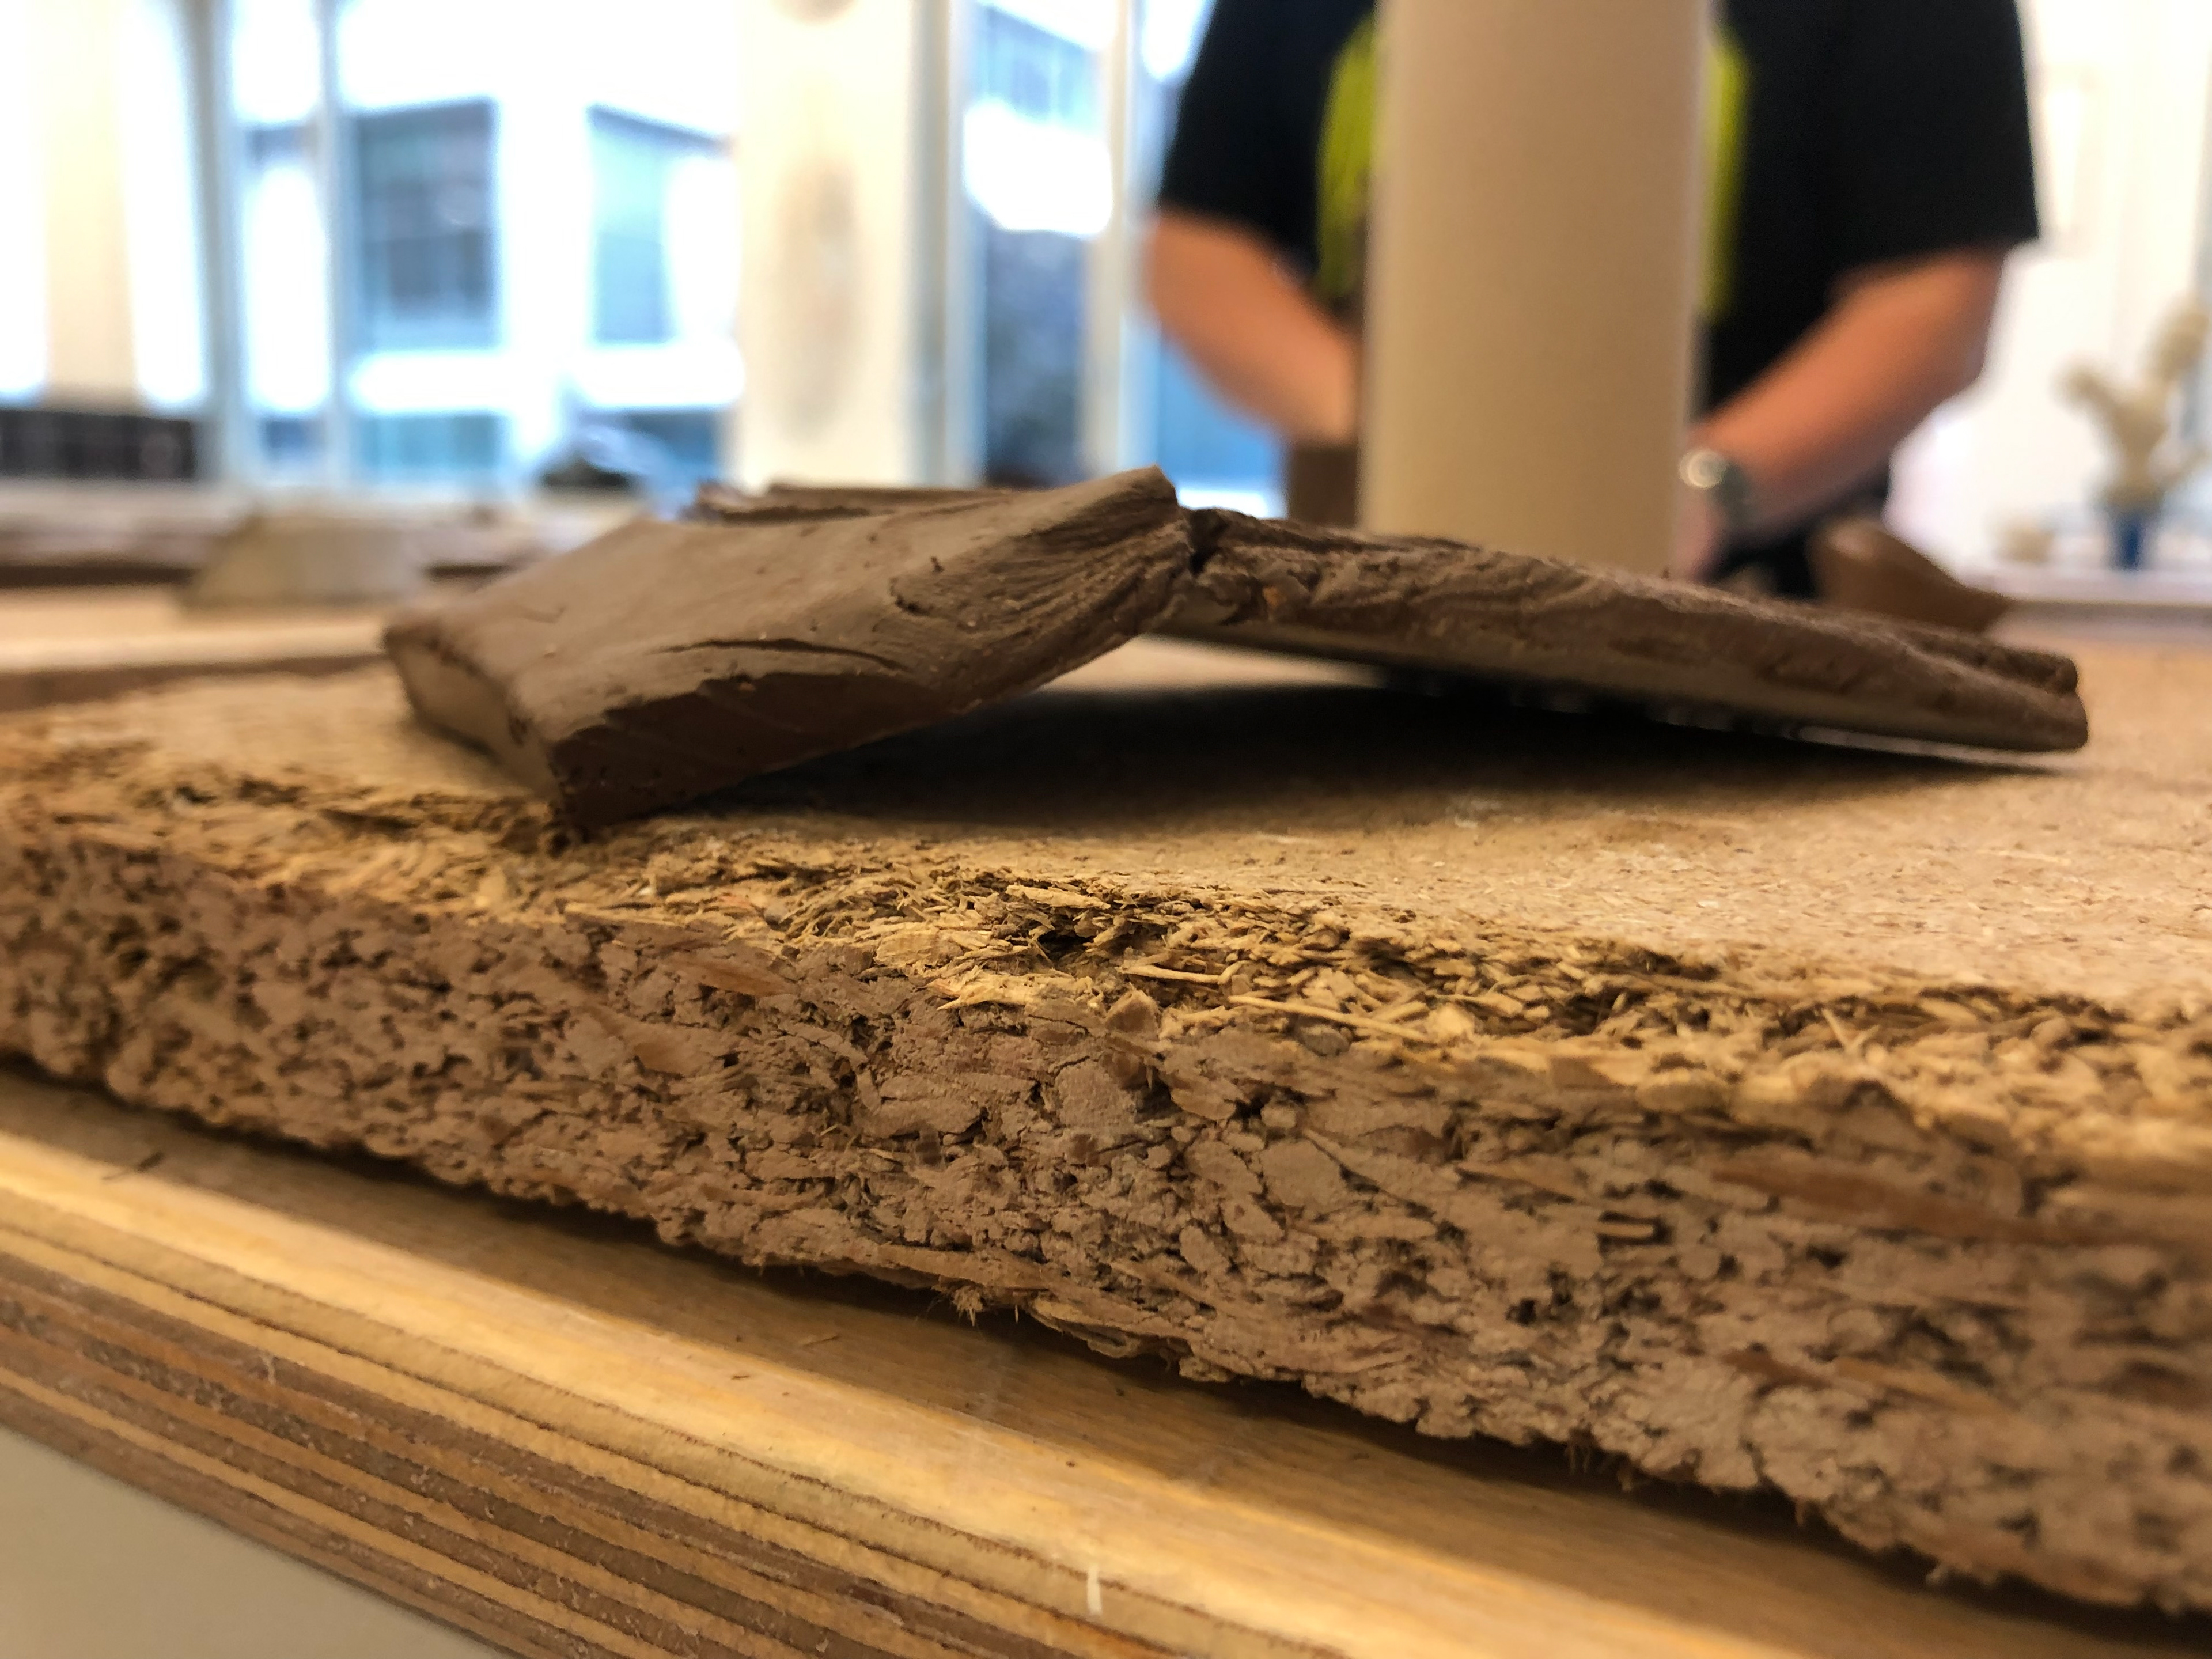
During the first week of year 2 in the workshop, we were asked to make, experiment and play around with clay slabs. This was just to regain our skills from before to the break. There was no set idea, just do what we felt was right and let the hands do the work not the head.
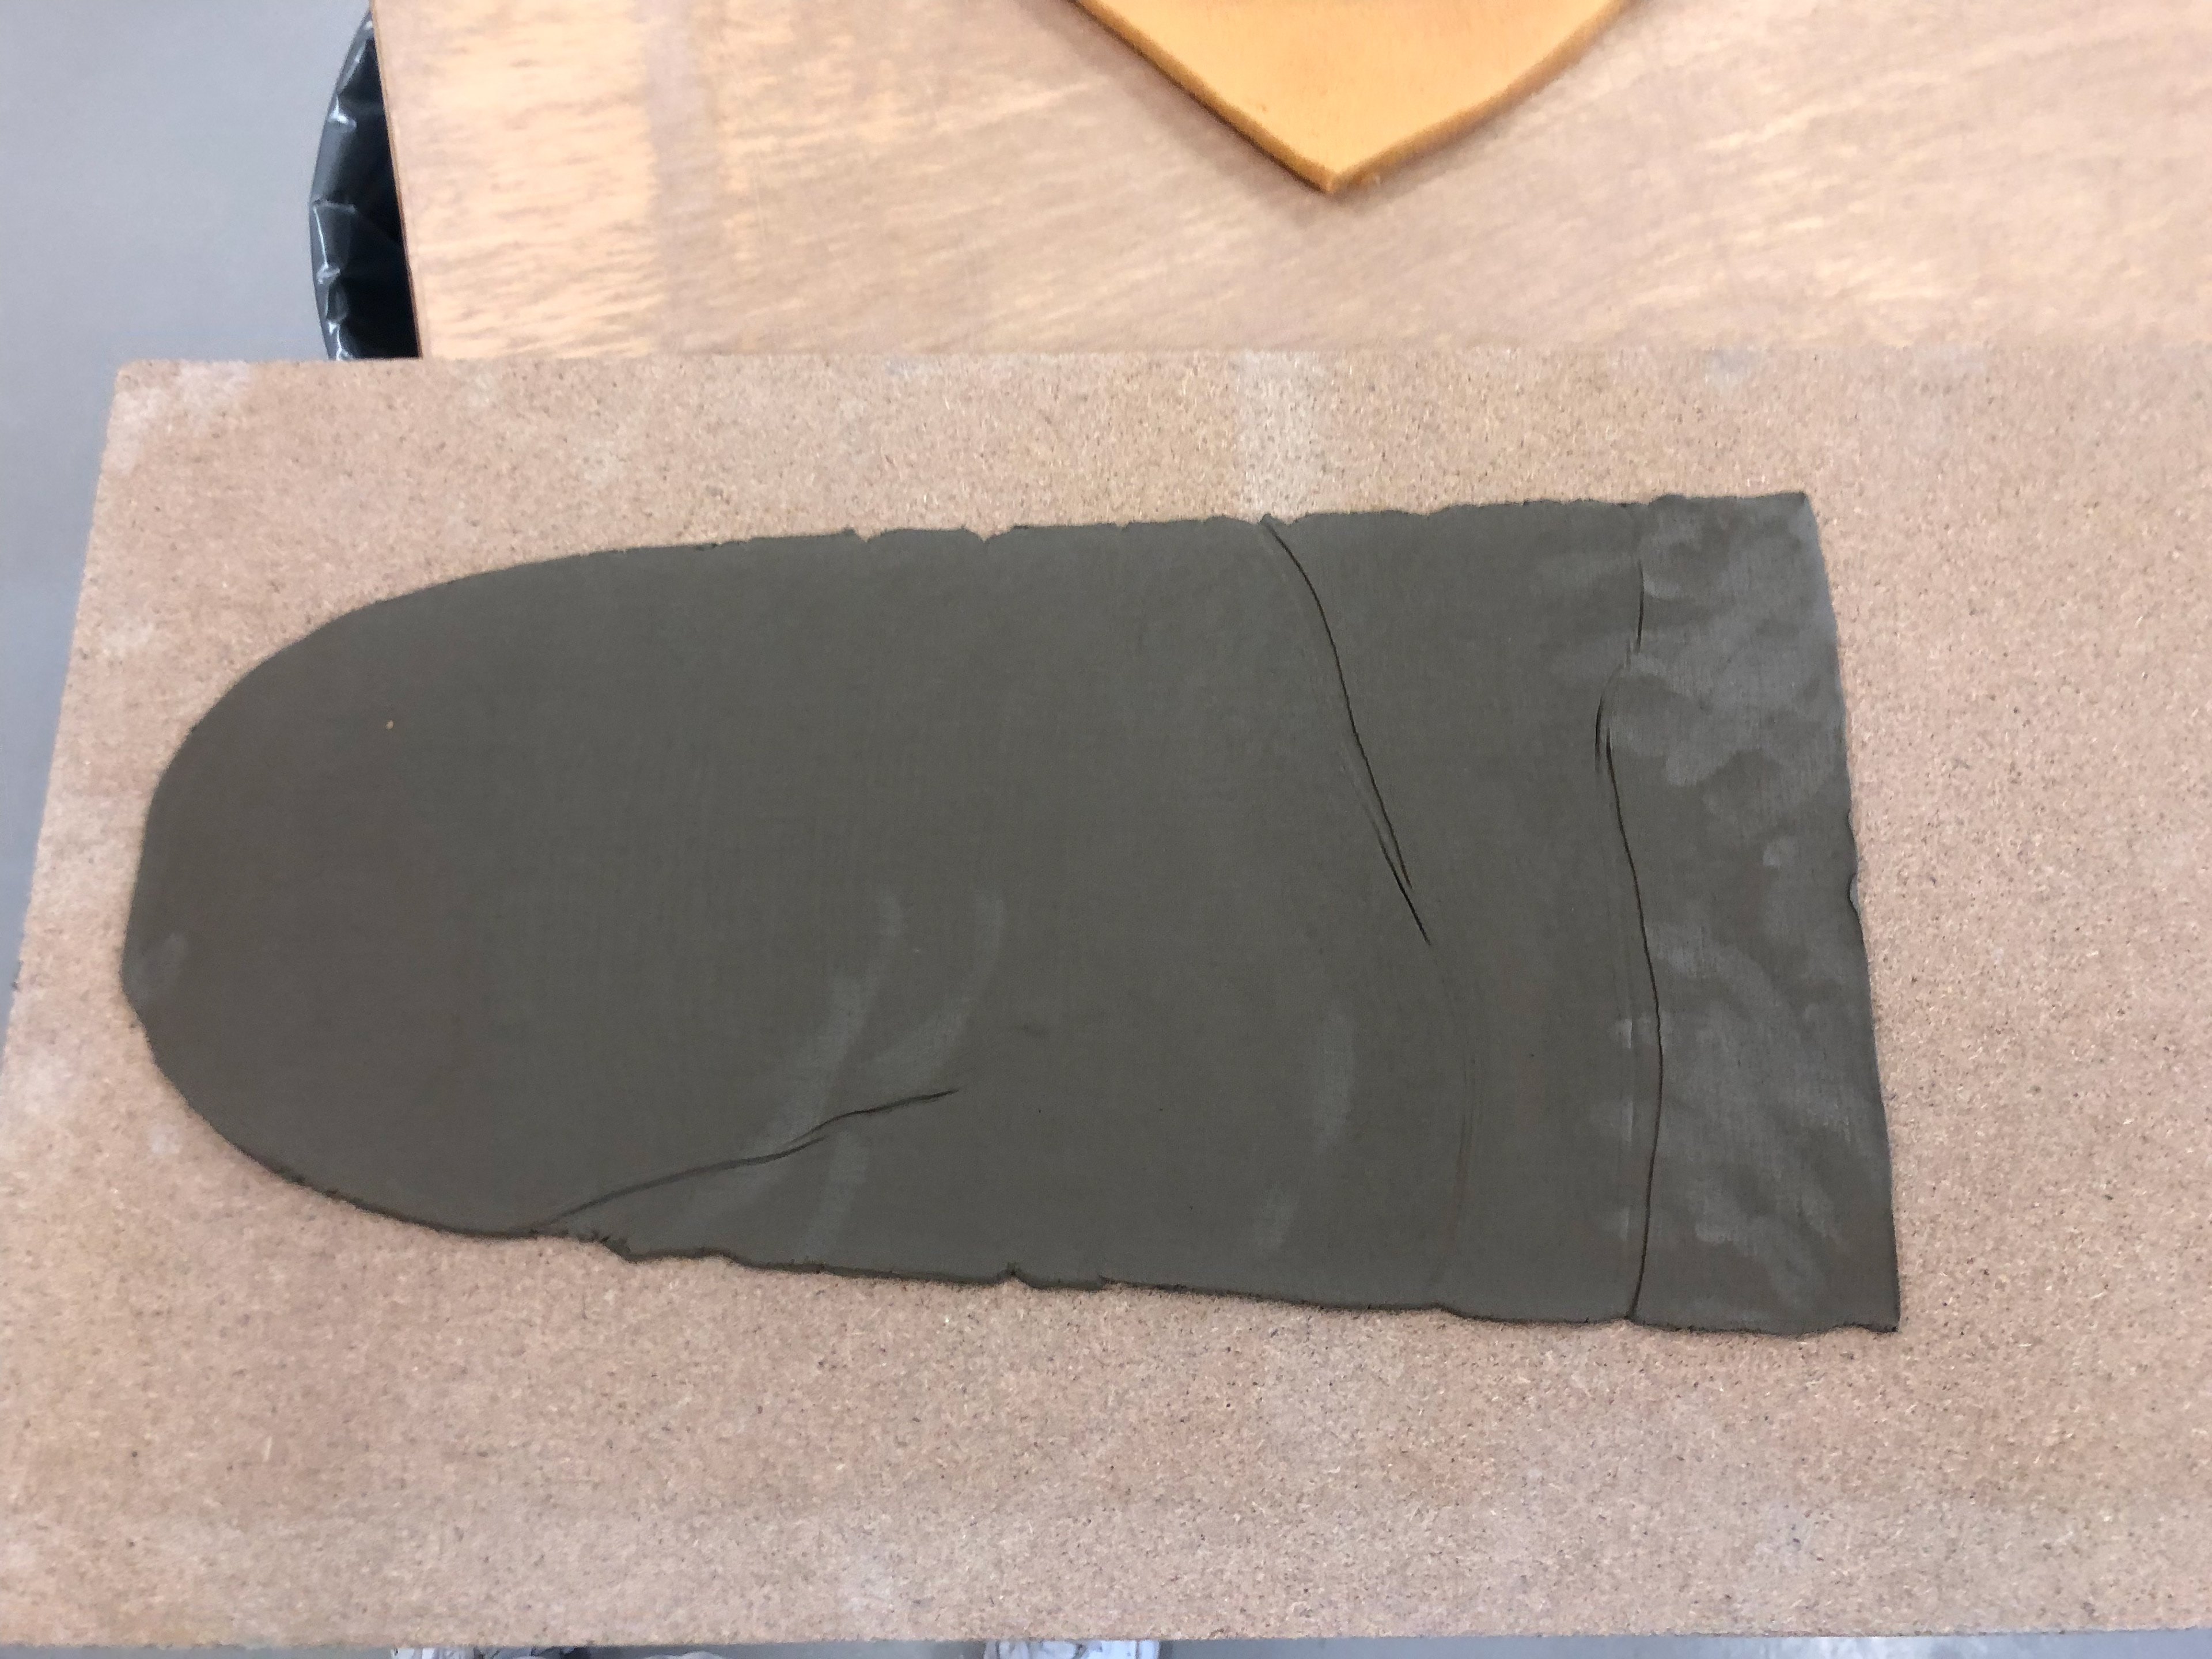
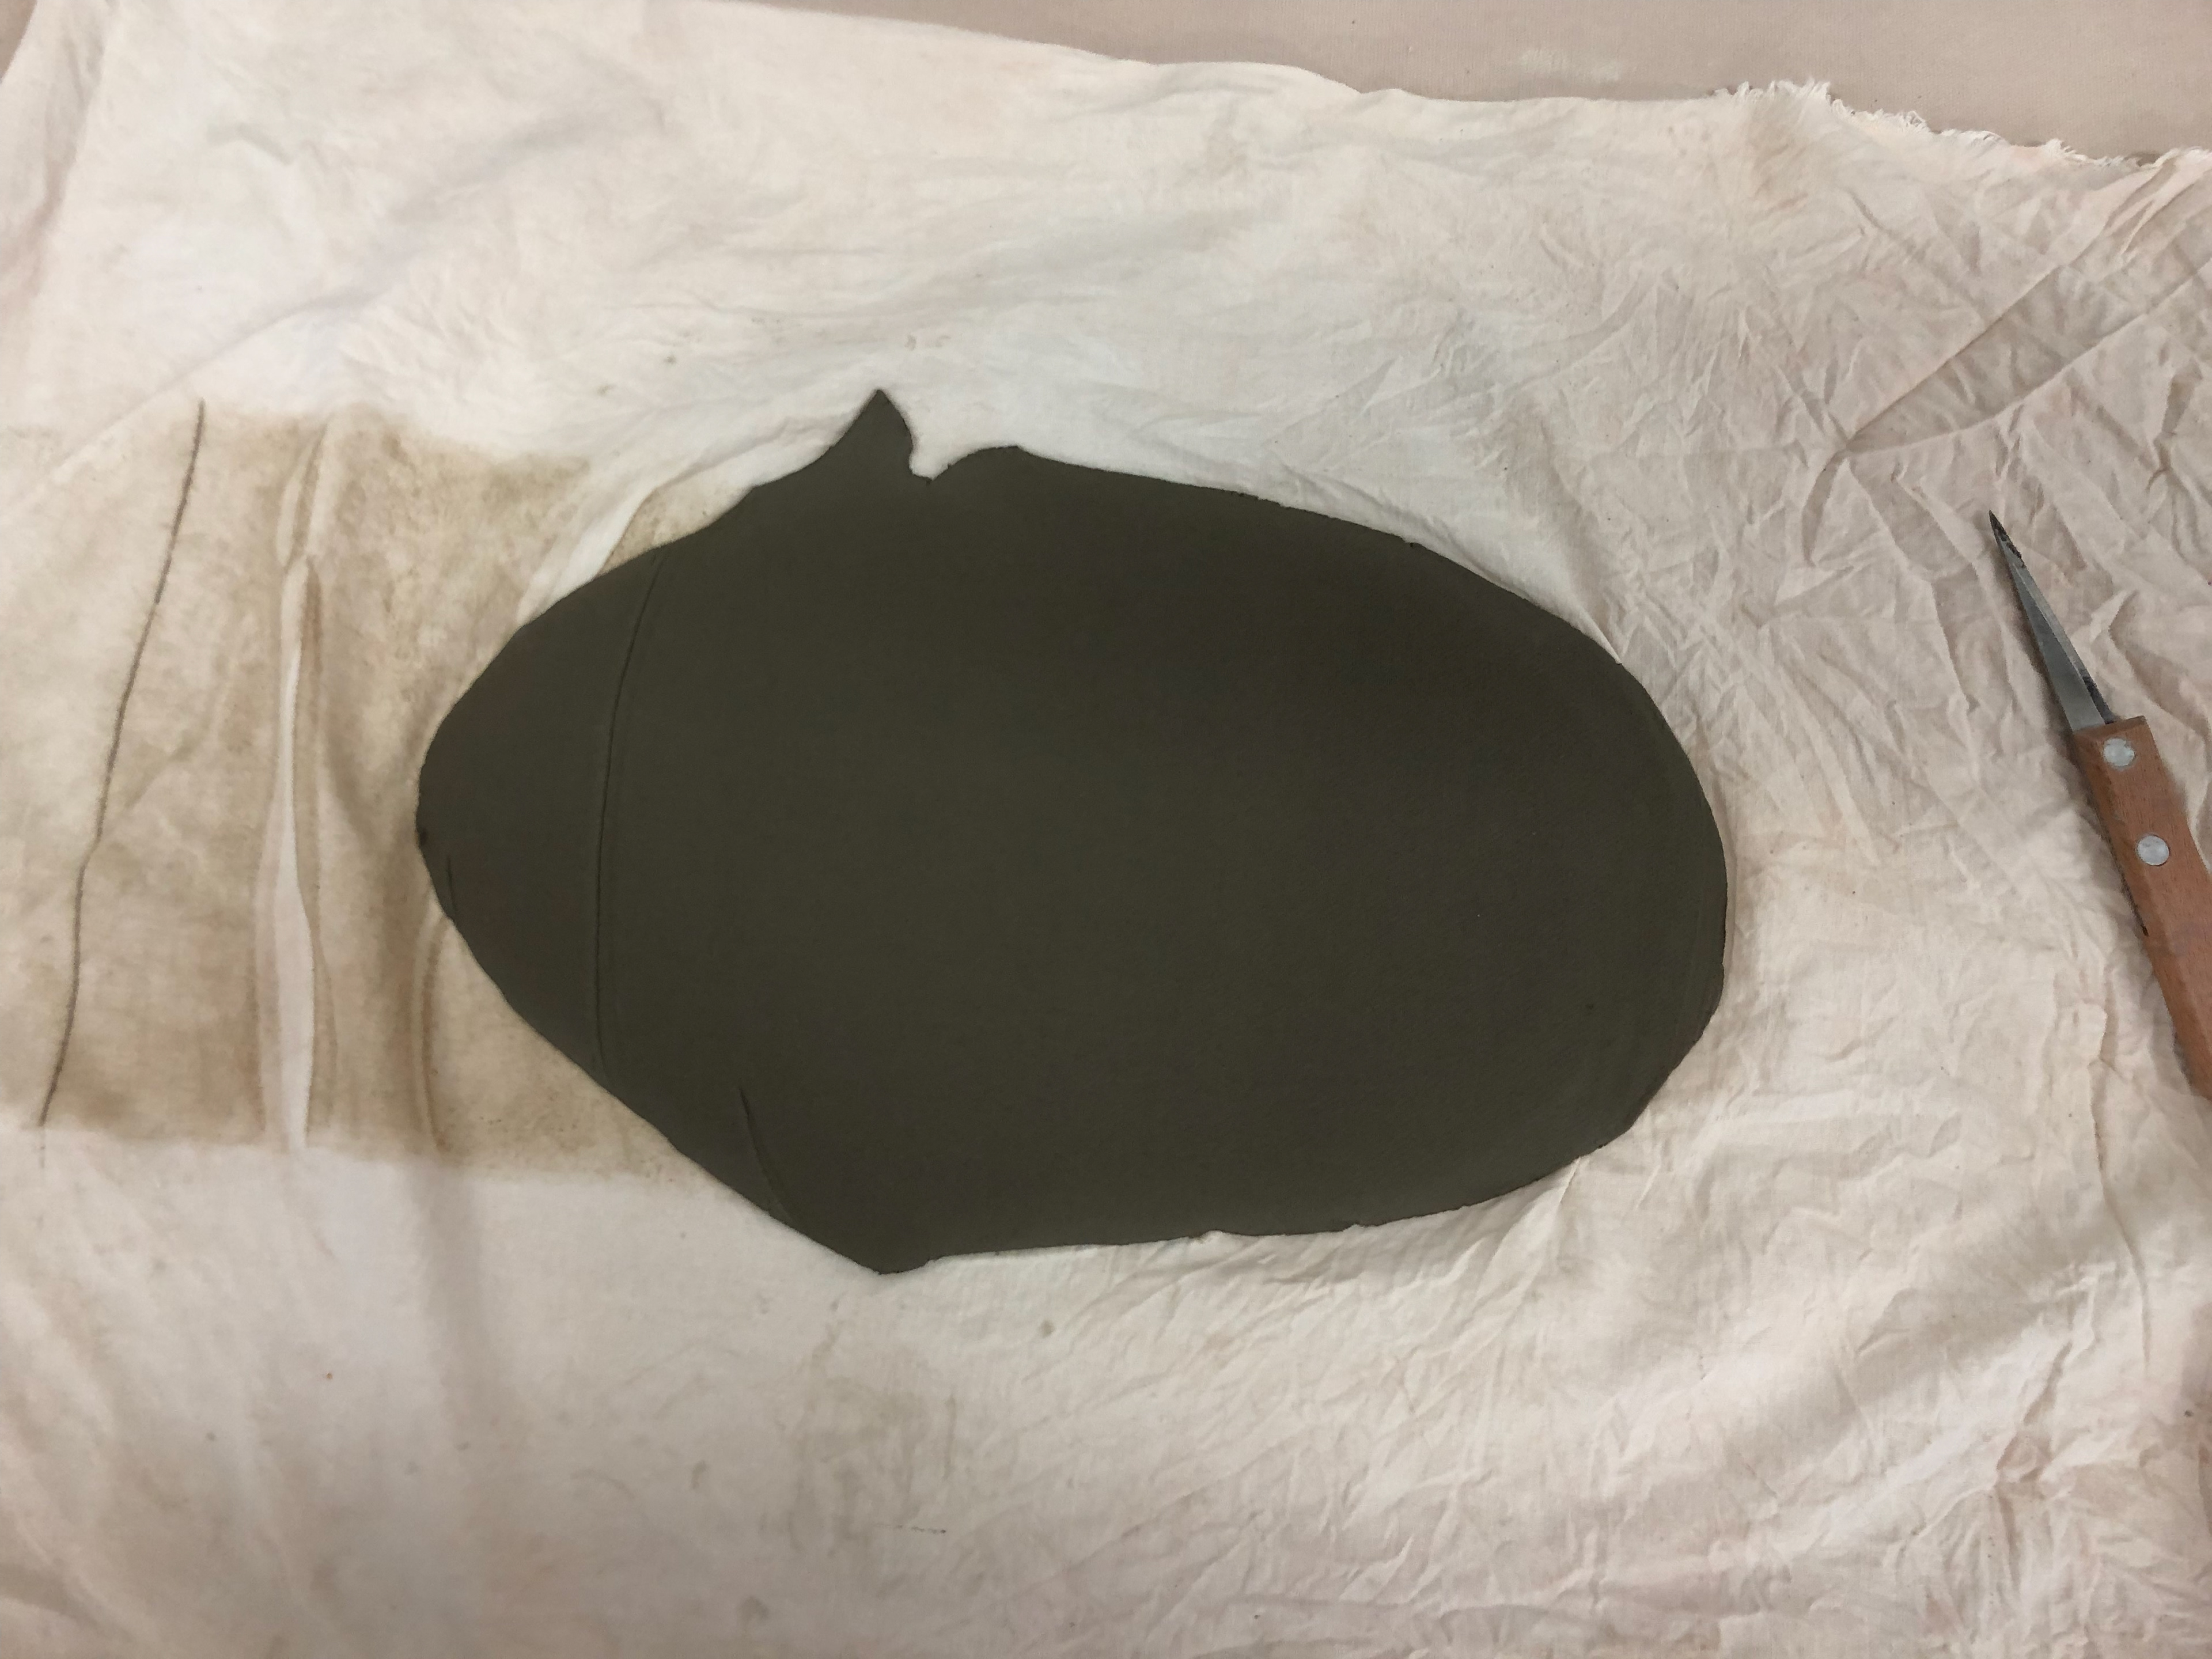
Rolled out slabs

Wet slip-like clay
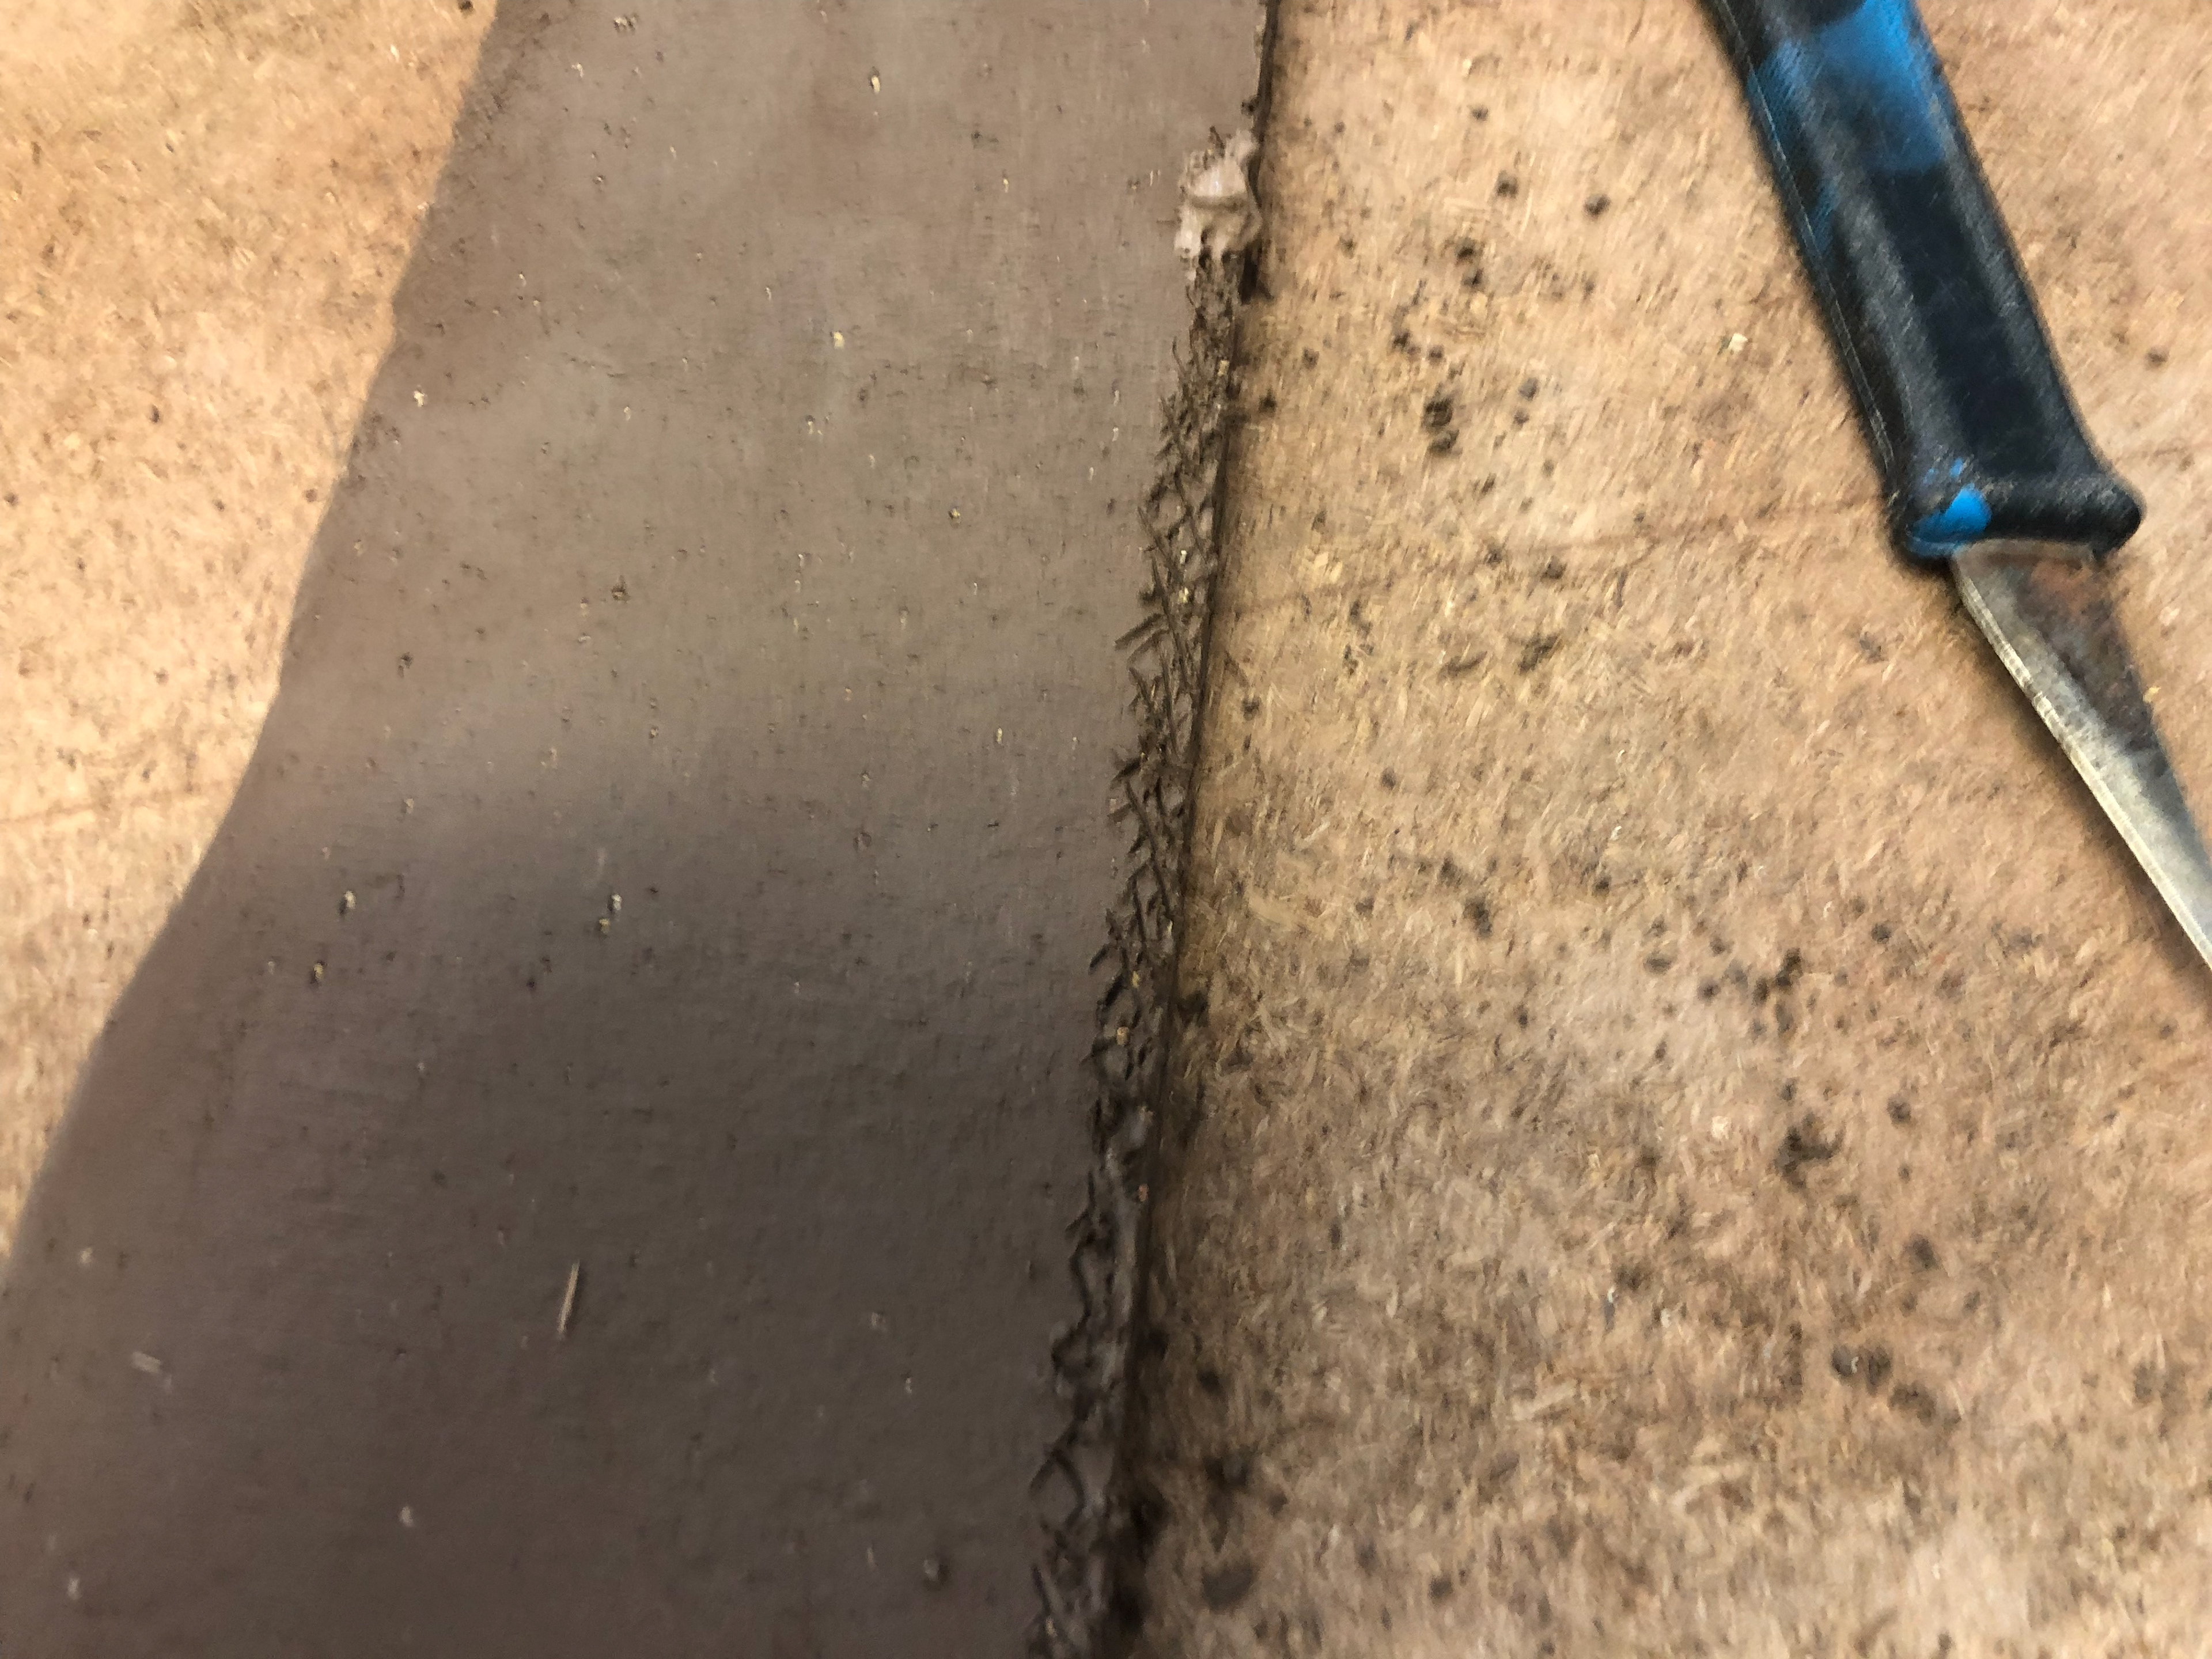
Scoring the edges
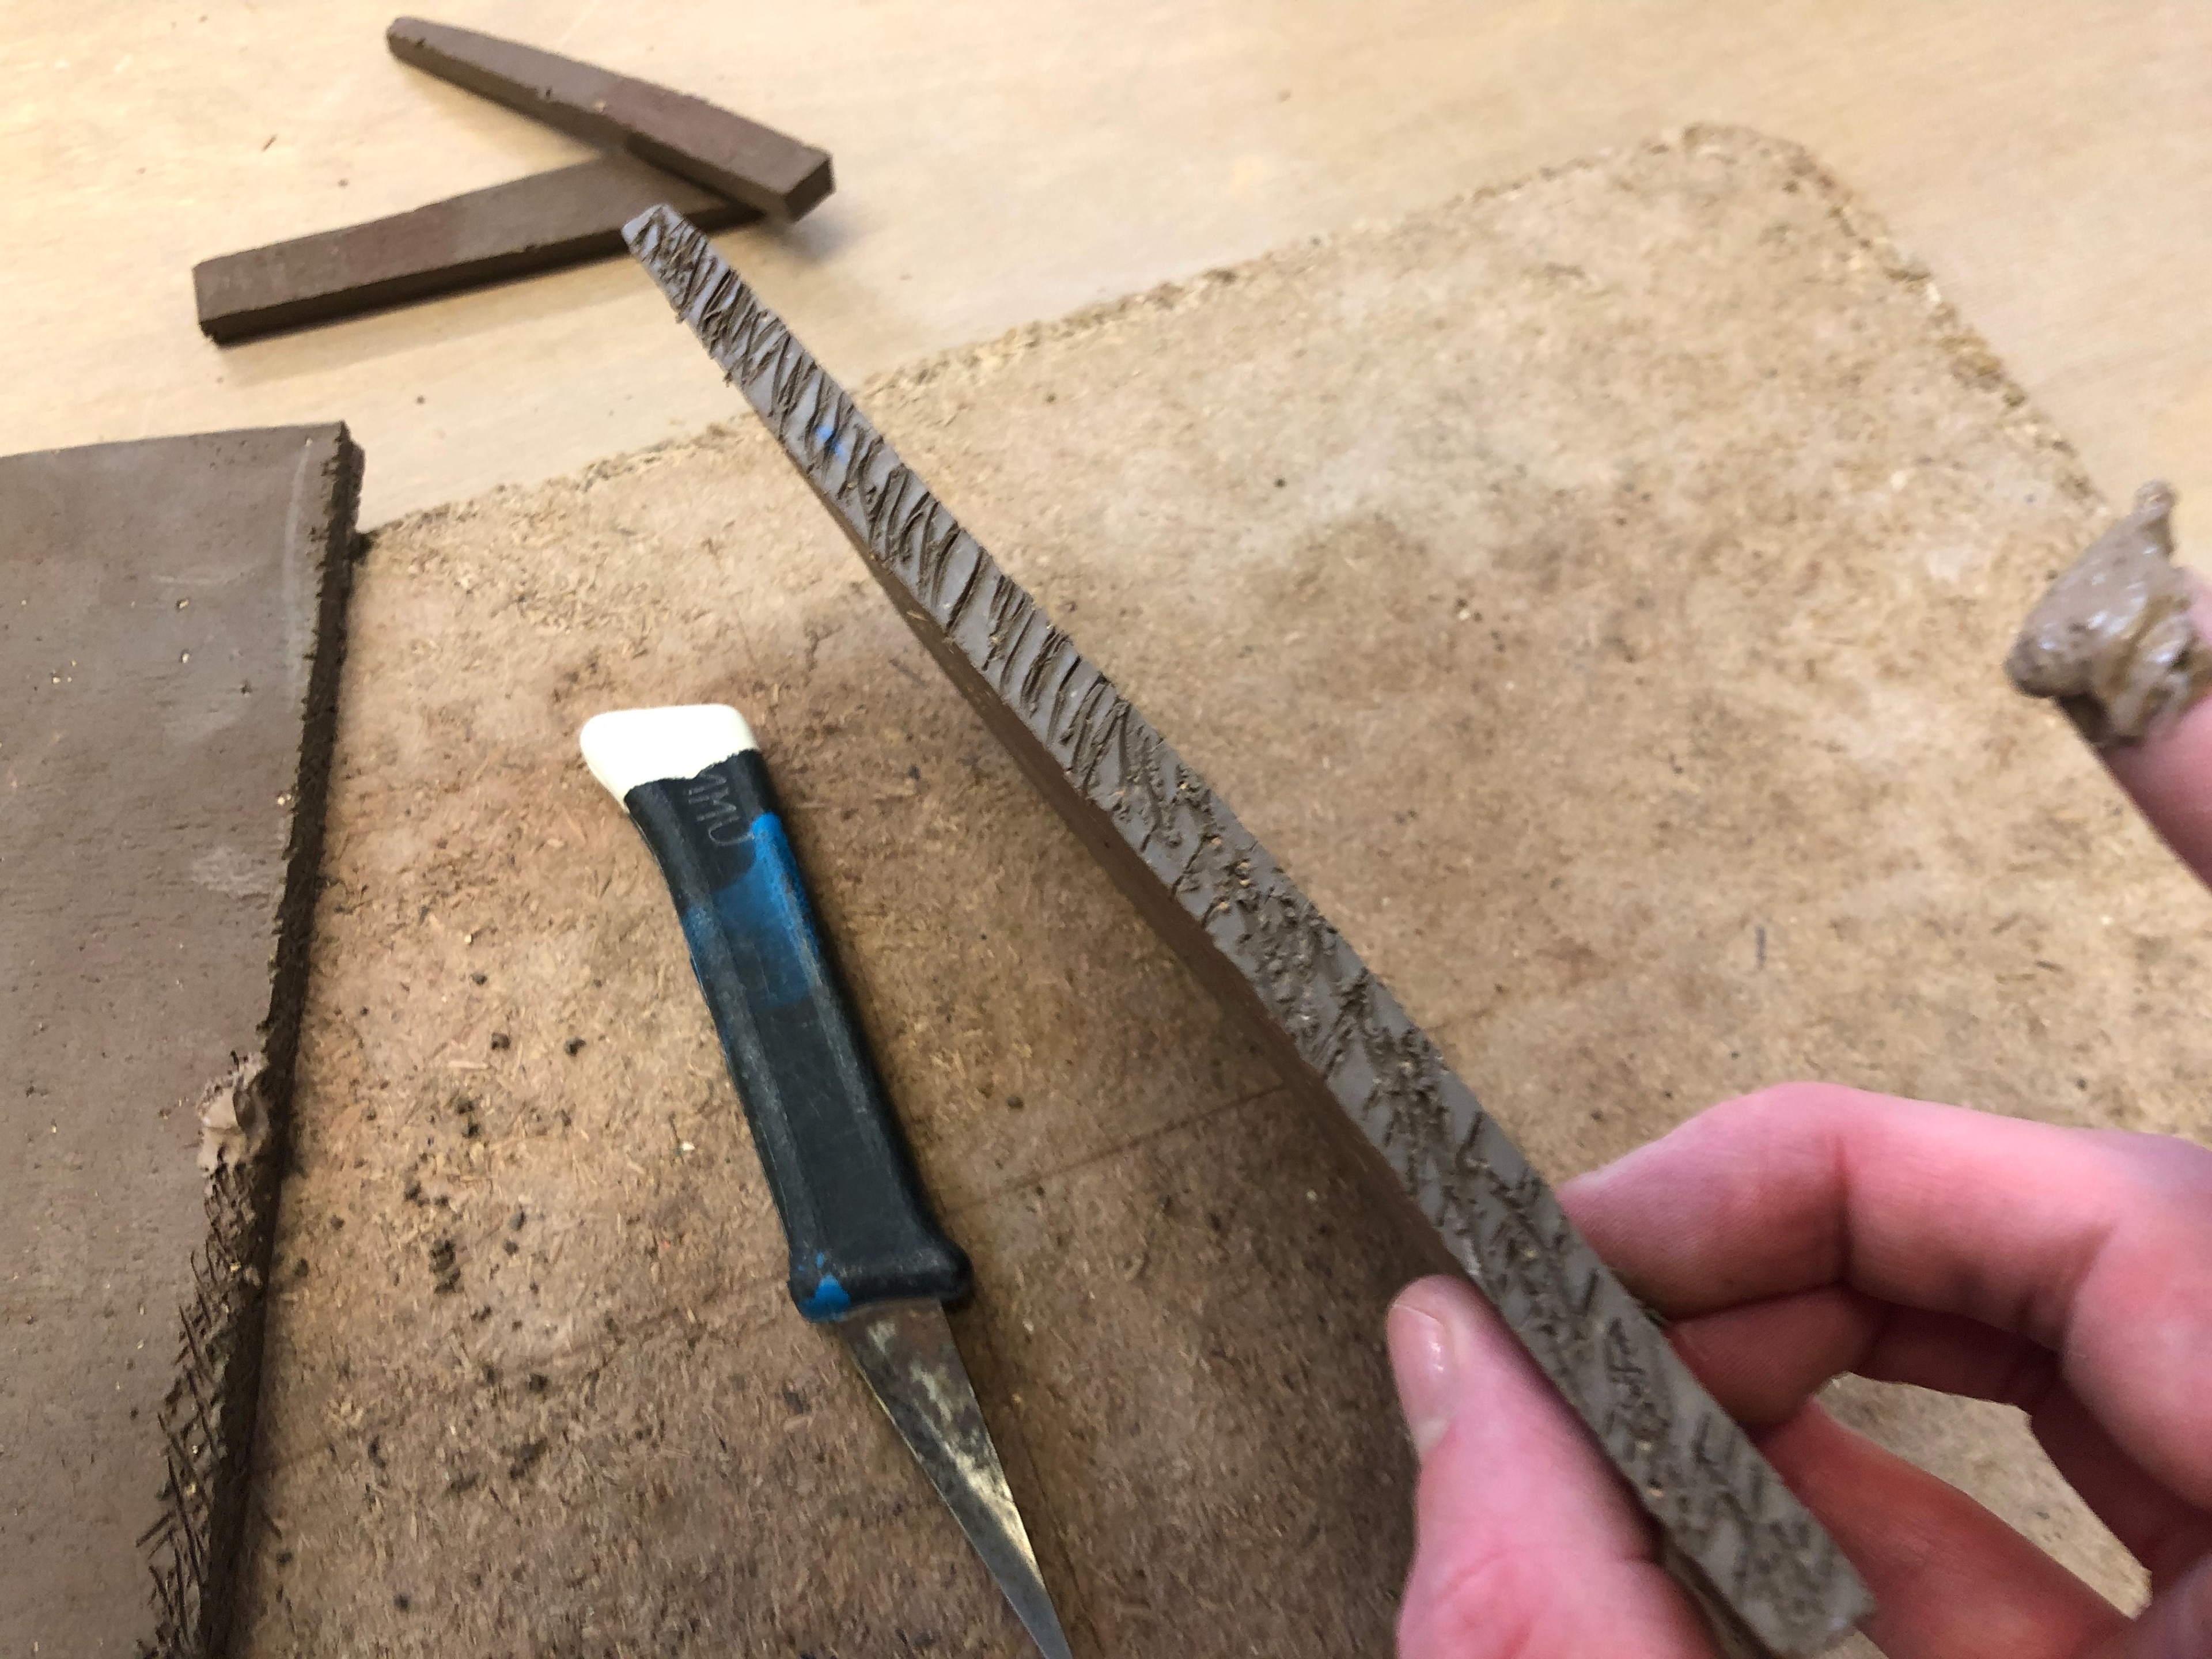
Scoring the edges
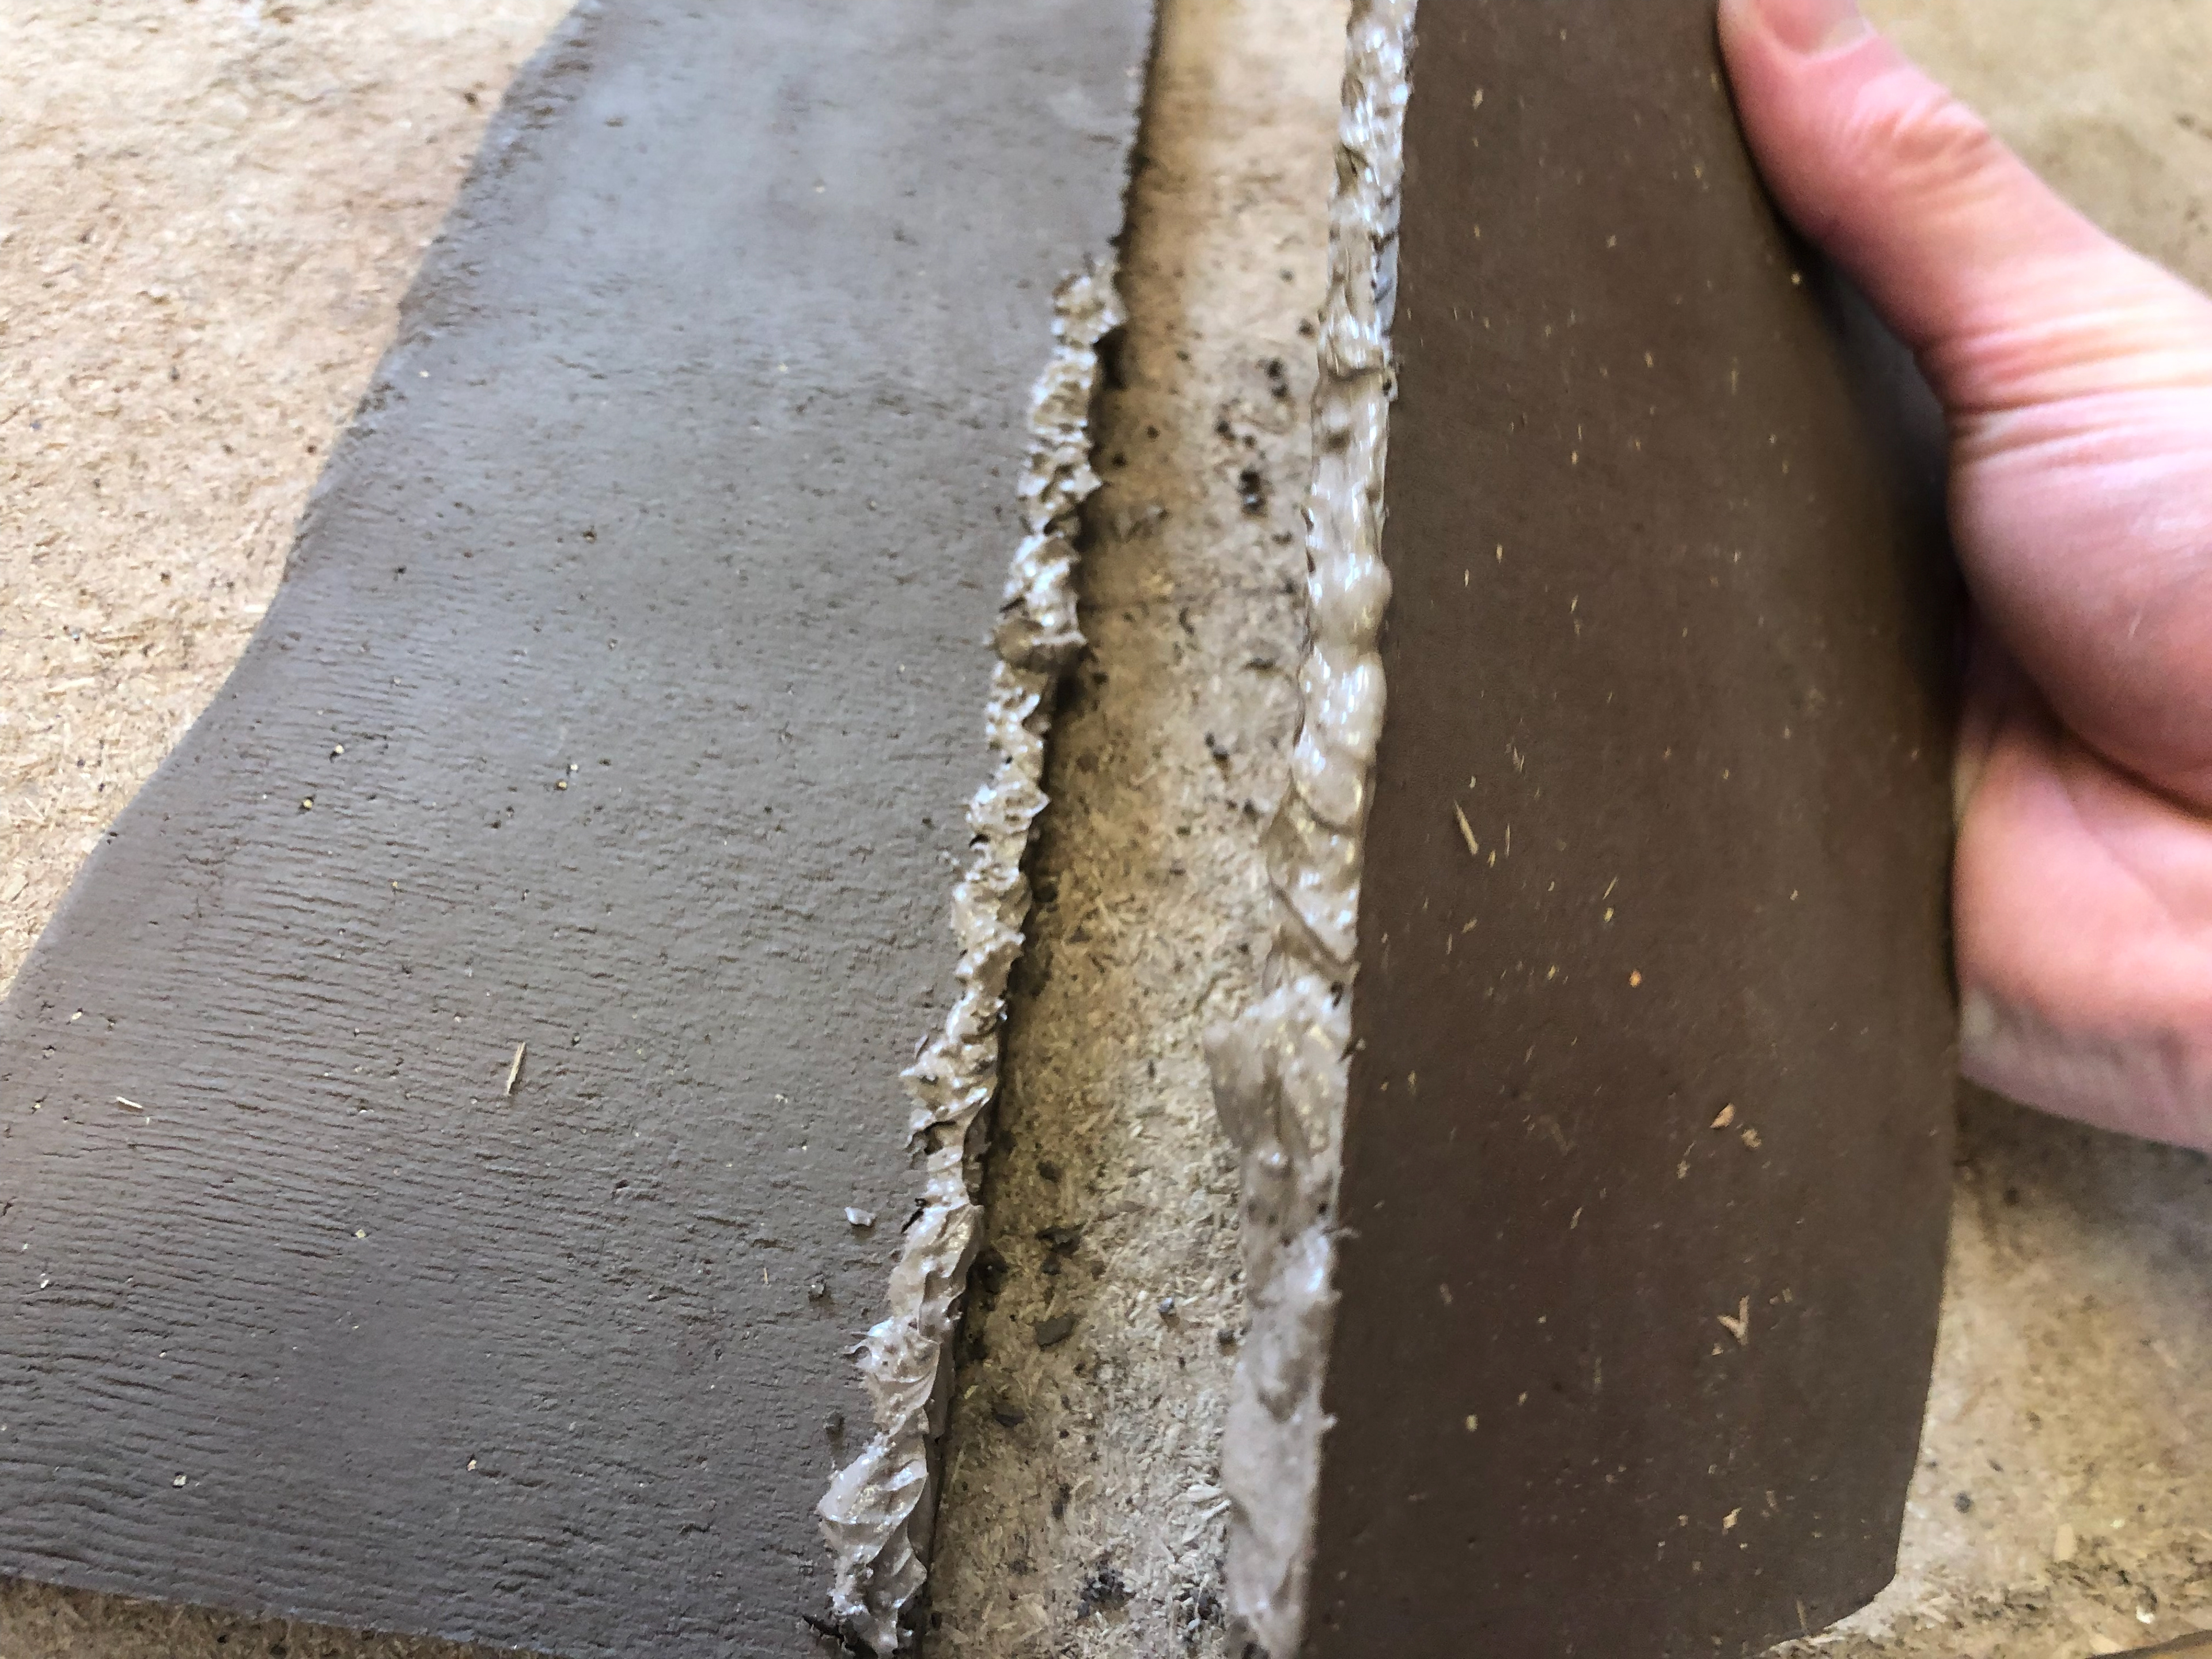
Slip-like clay to bind the two parts together
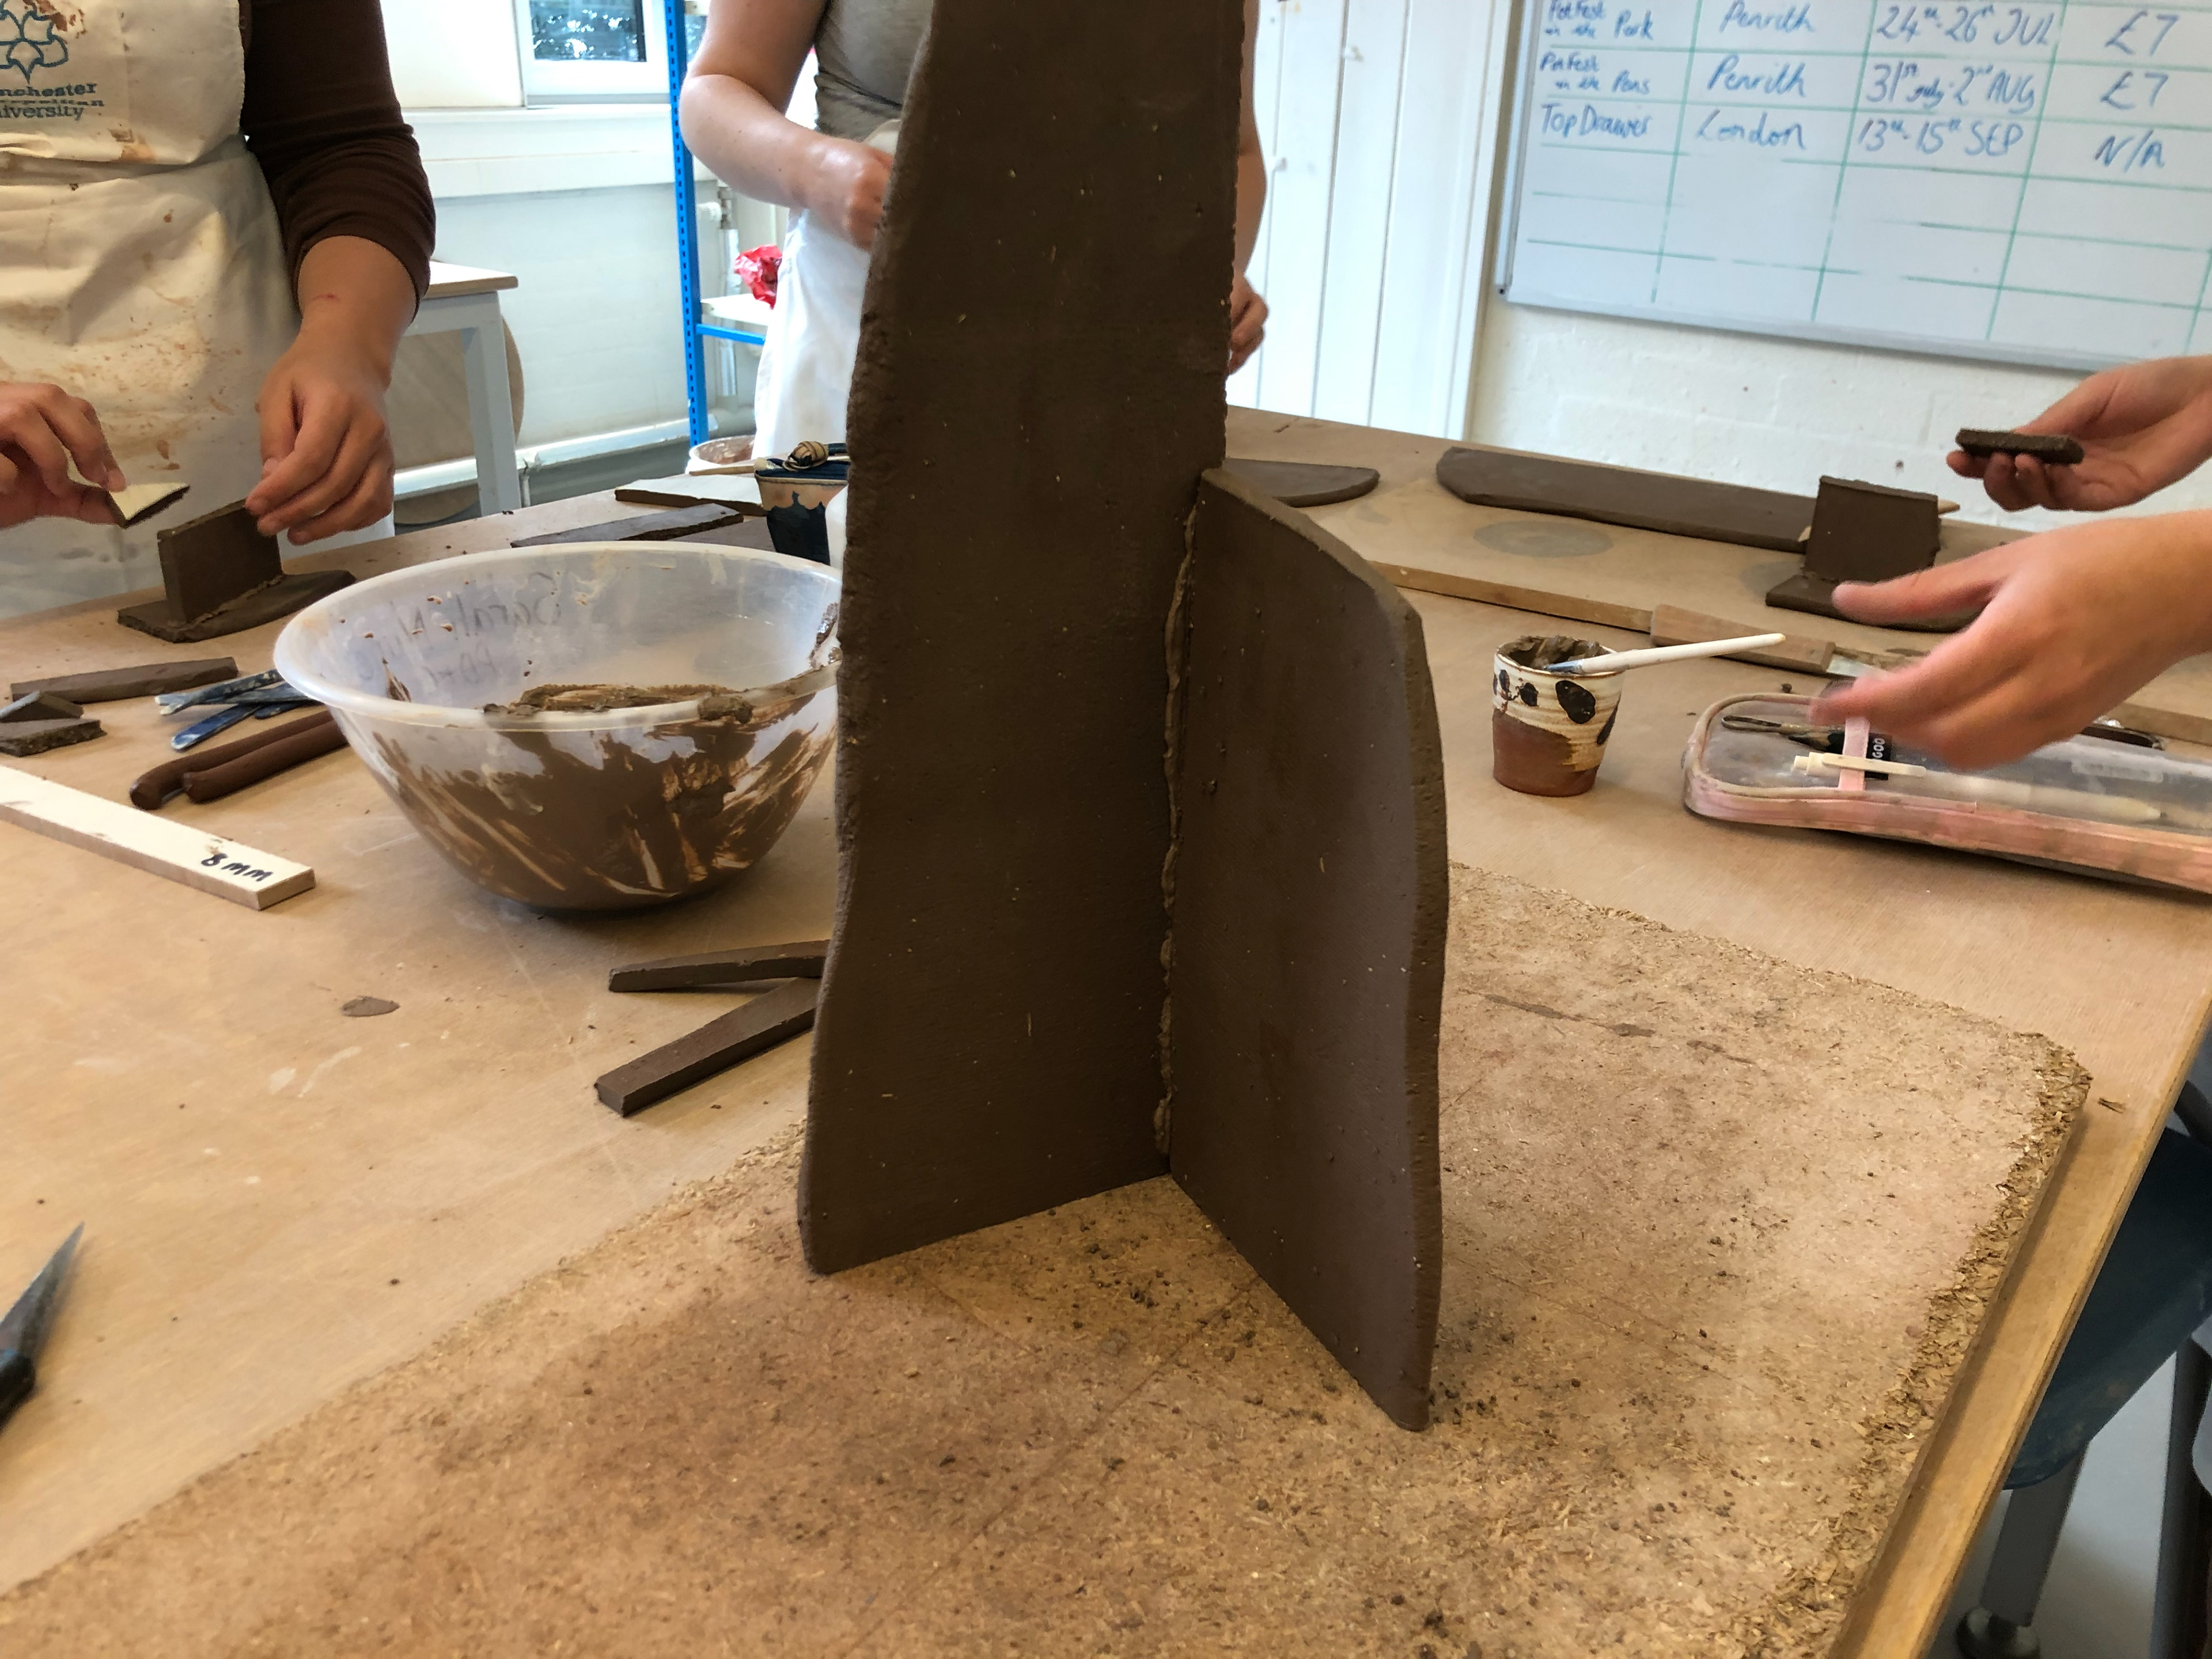
Two sides stuck together
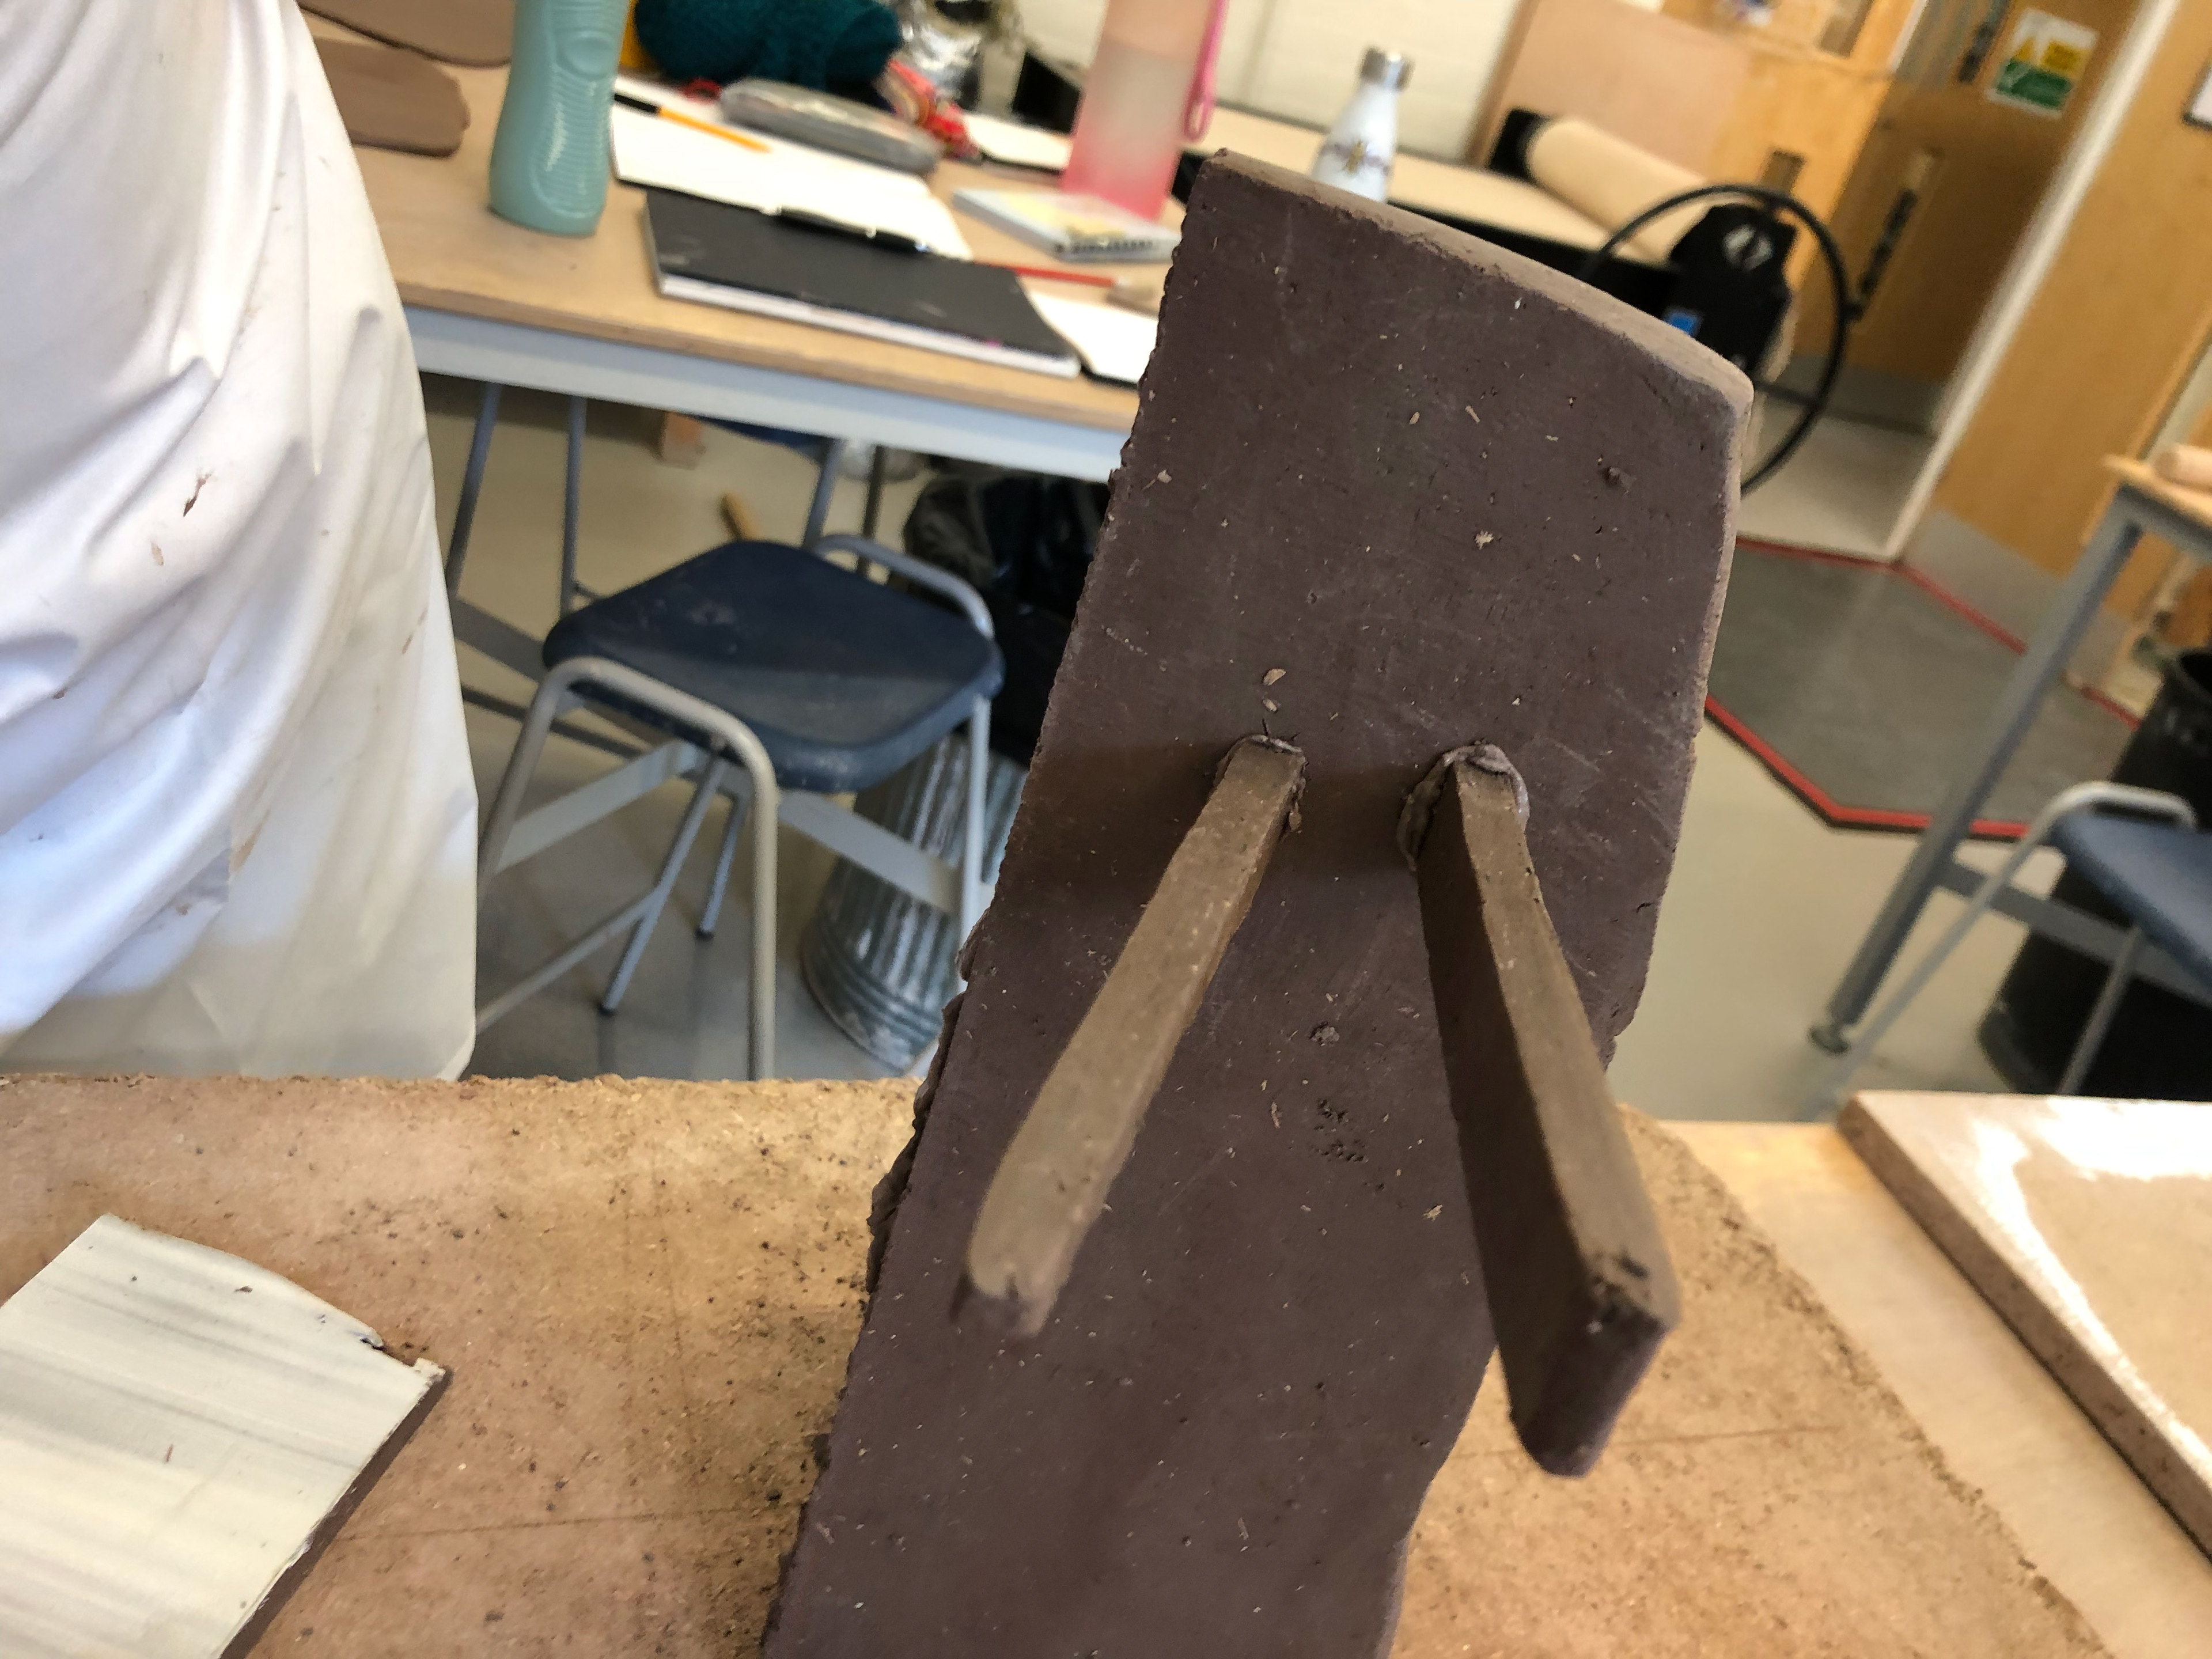
More parts added
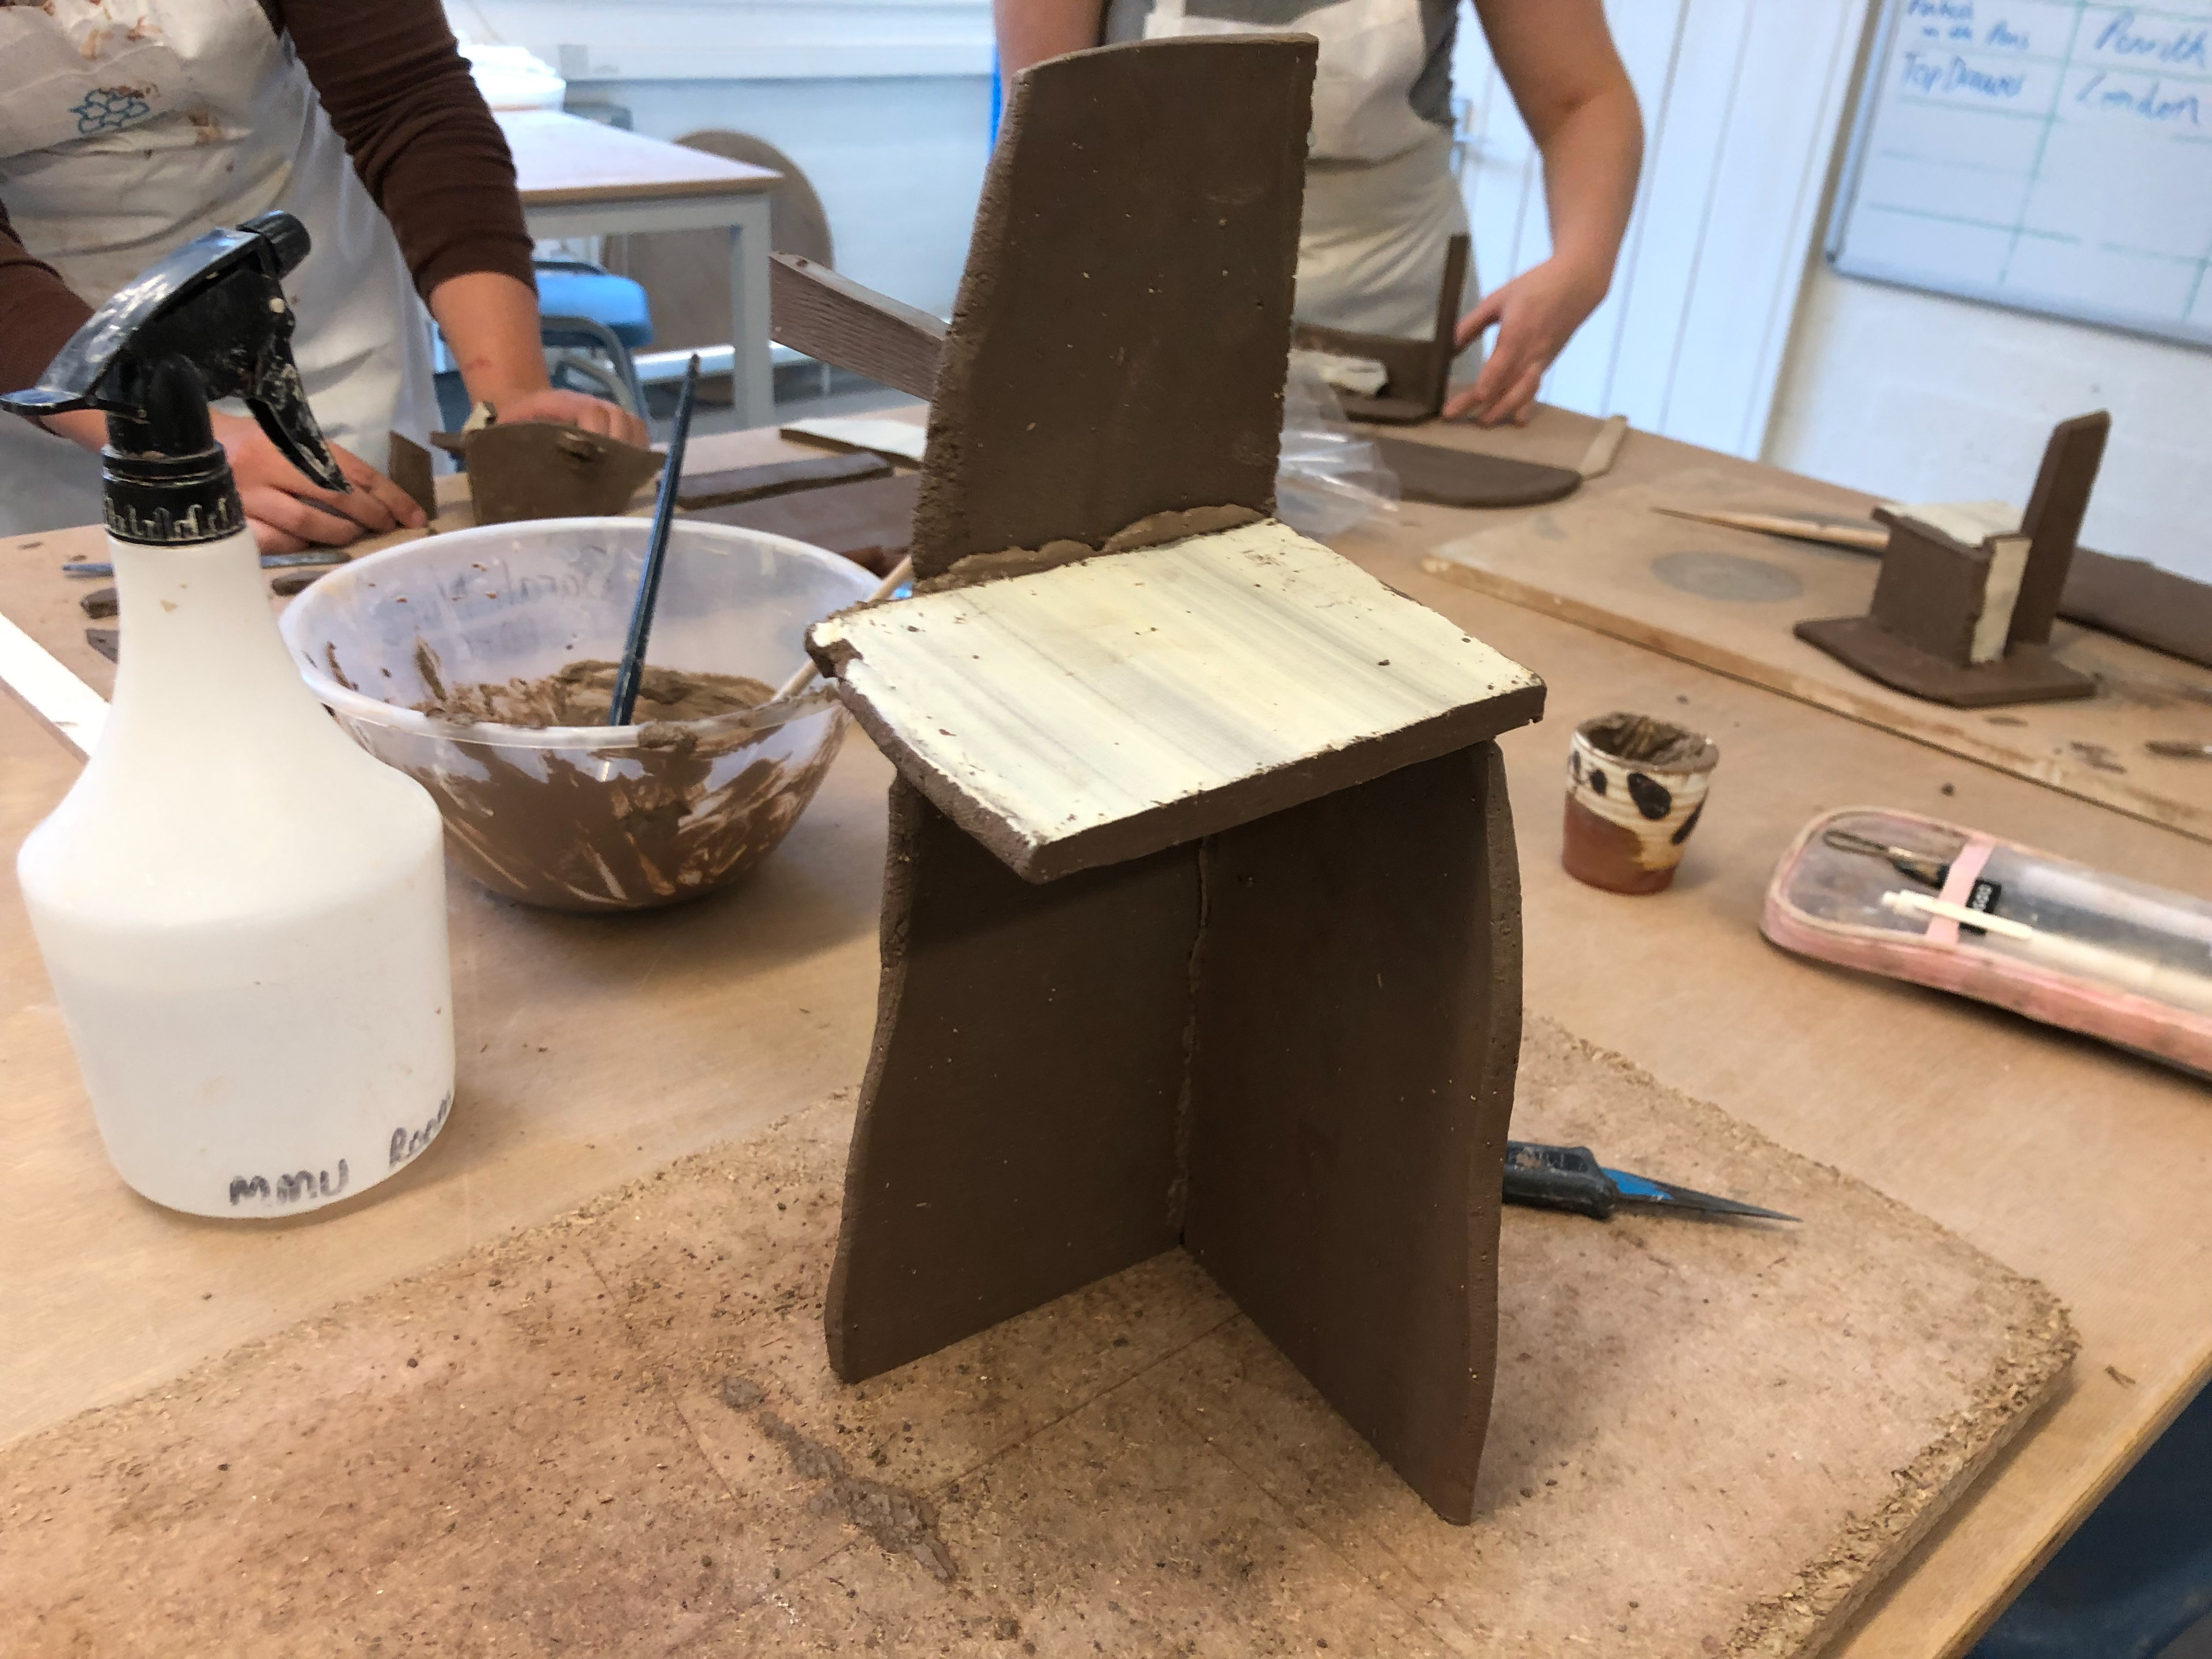
Another part with white slip
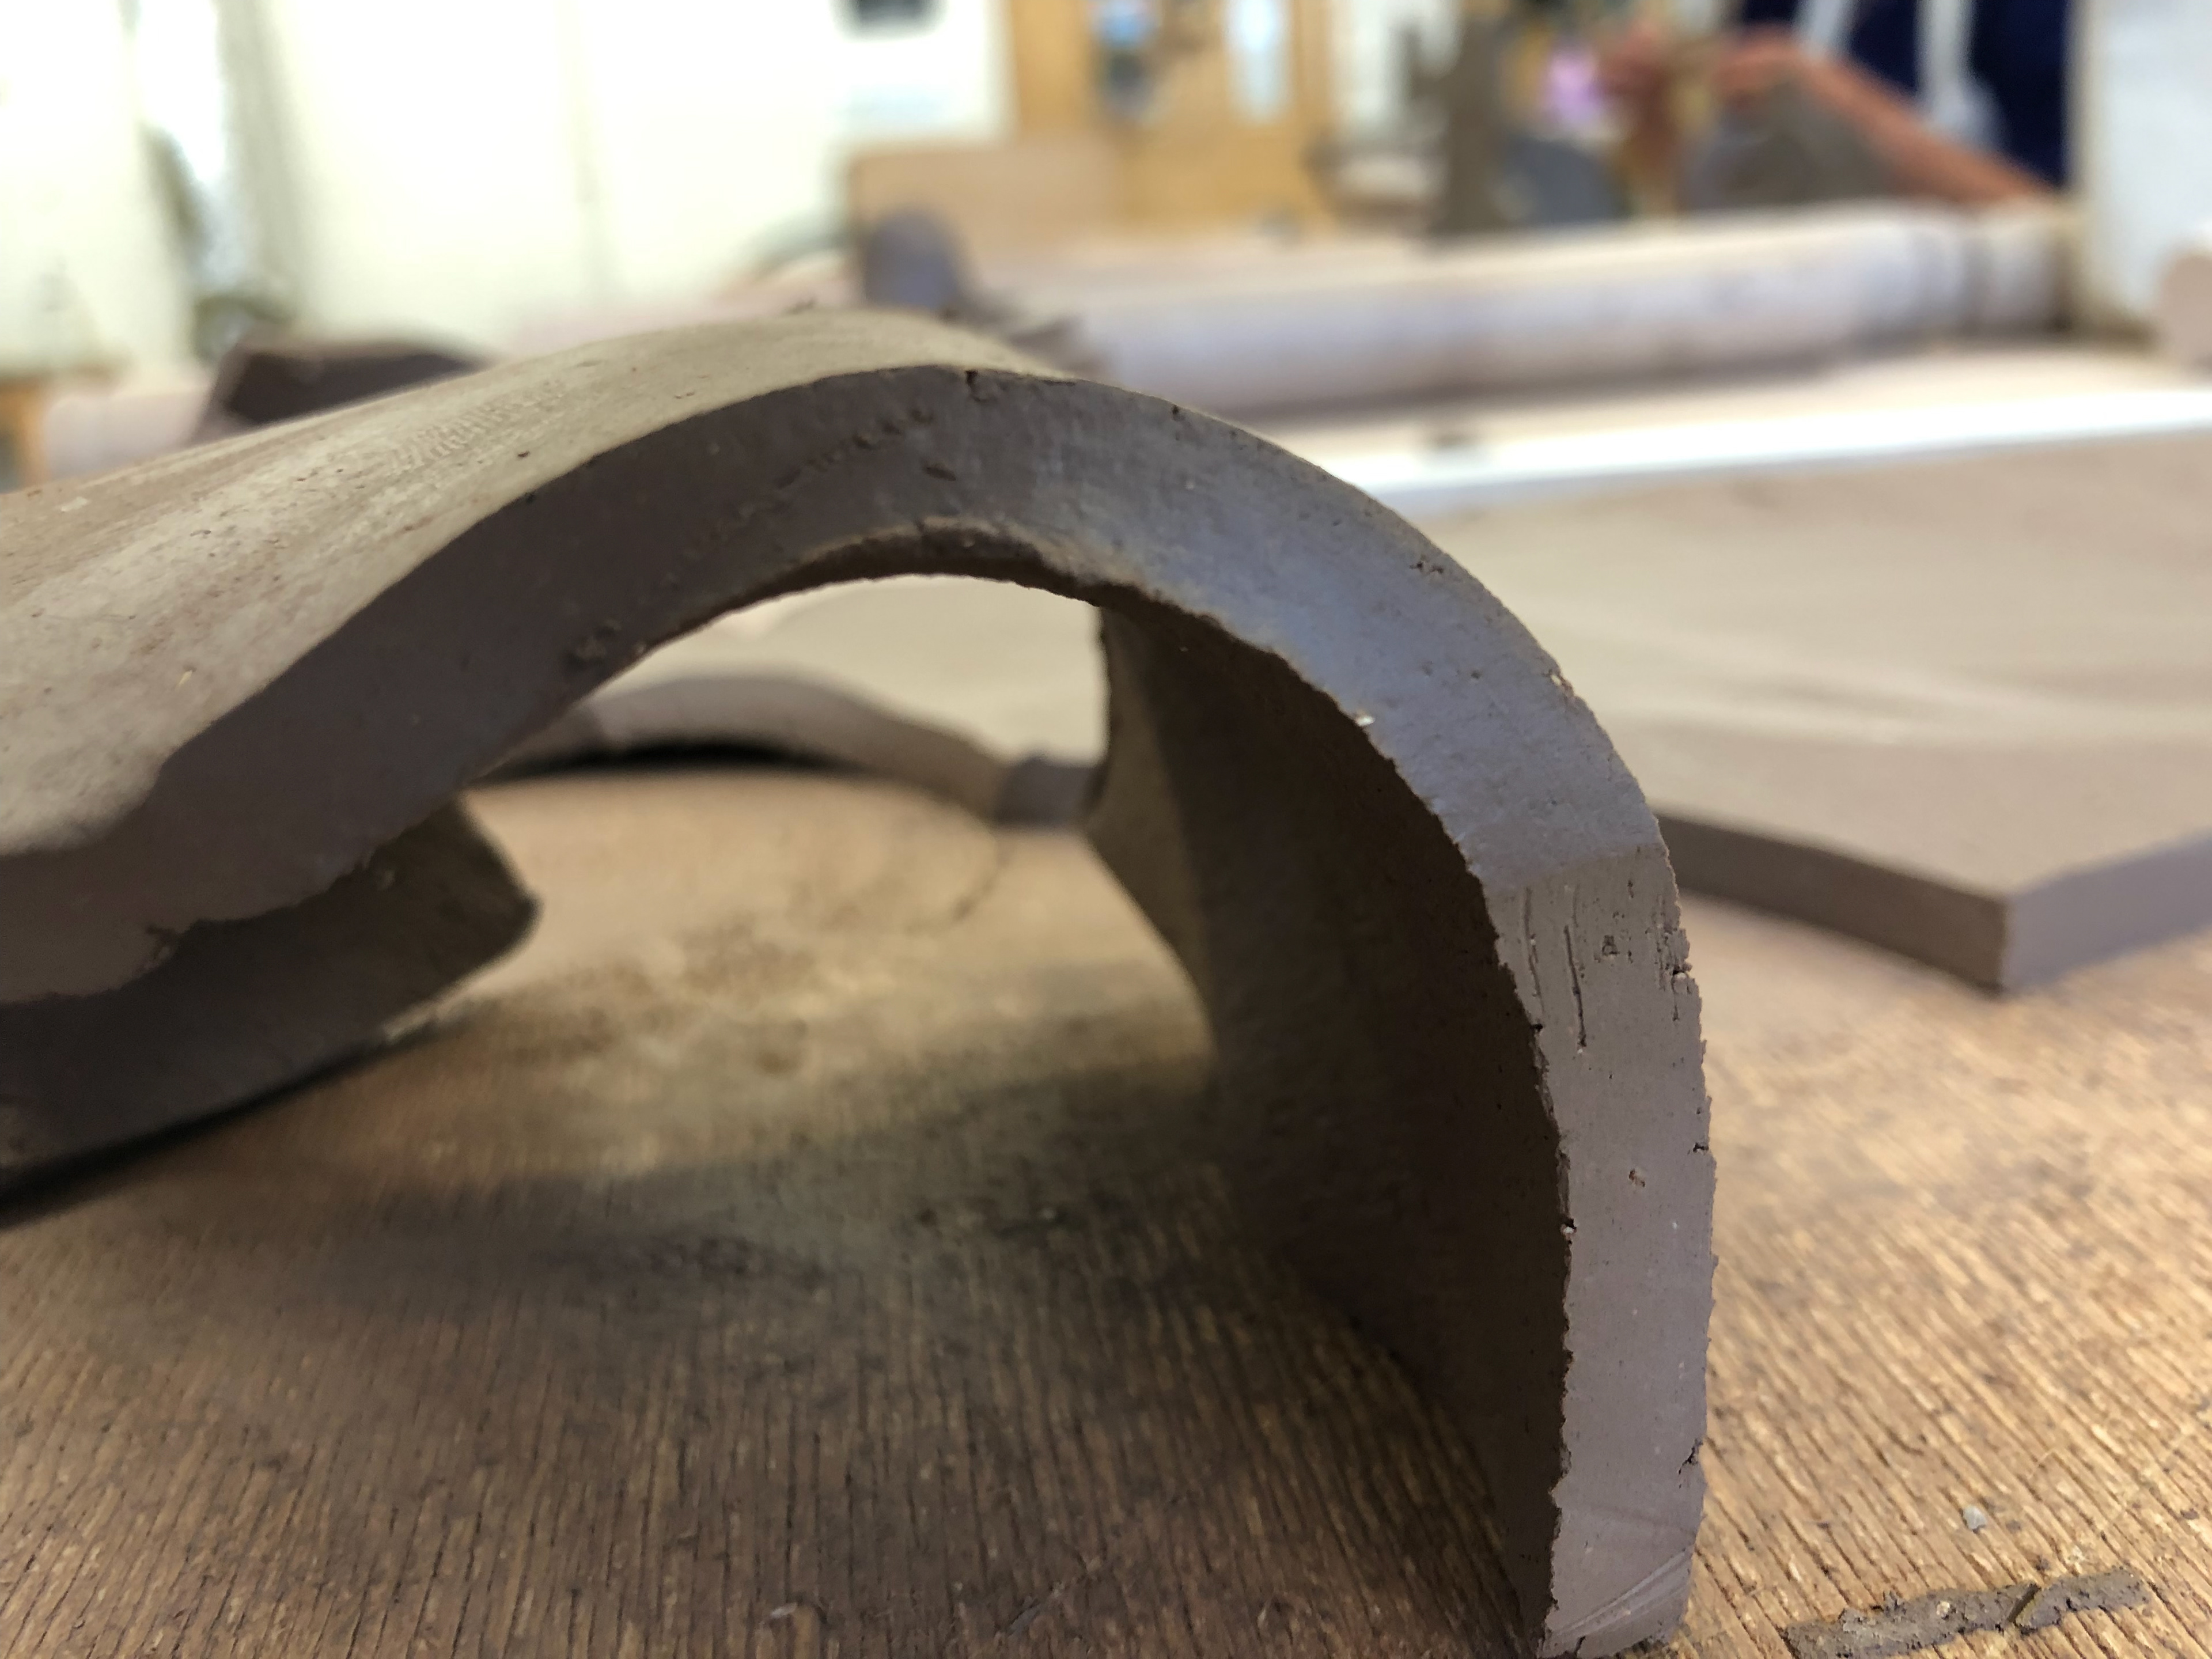
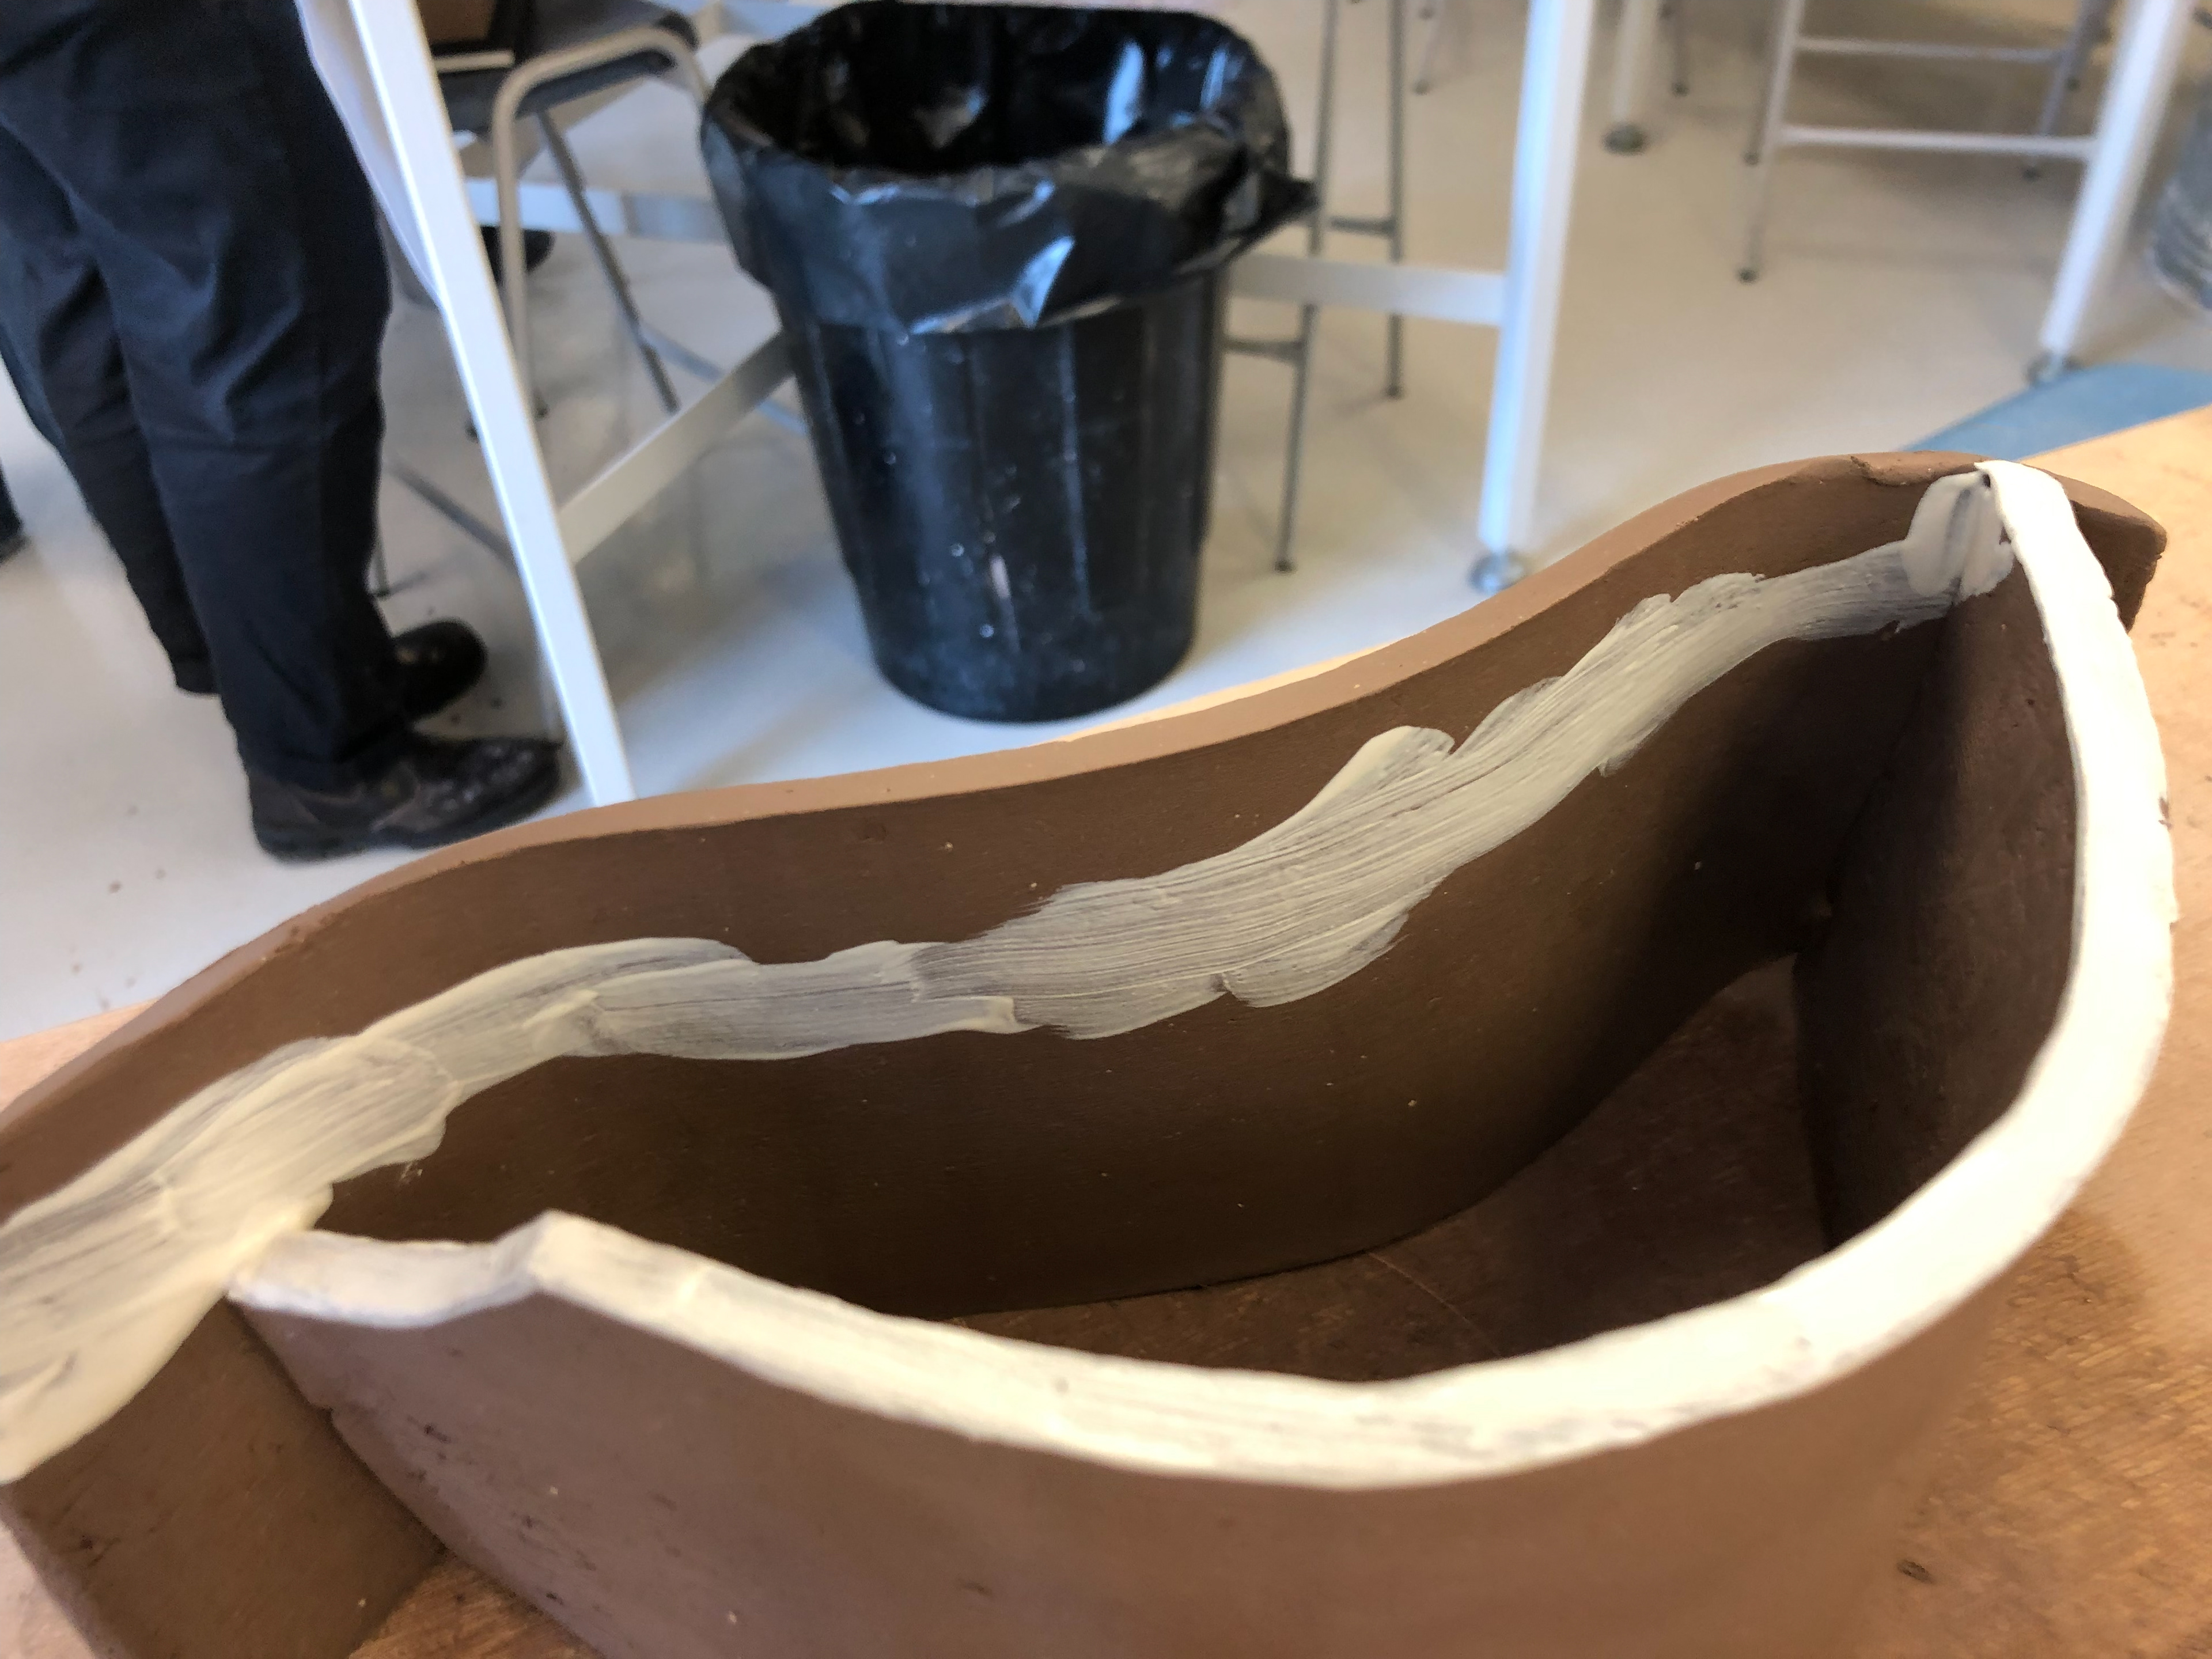
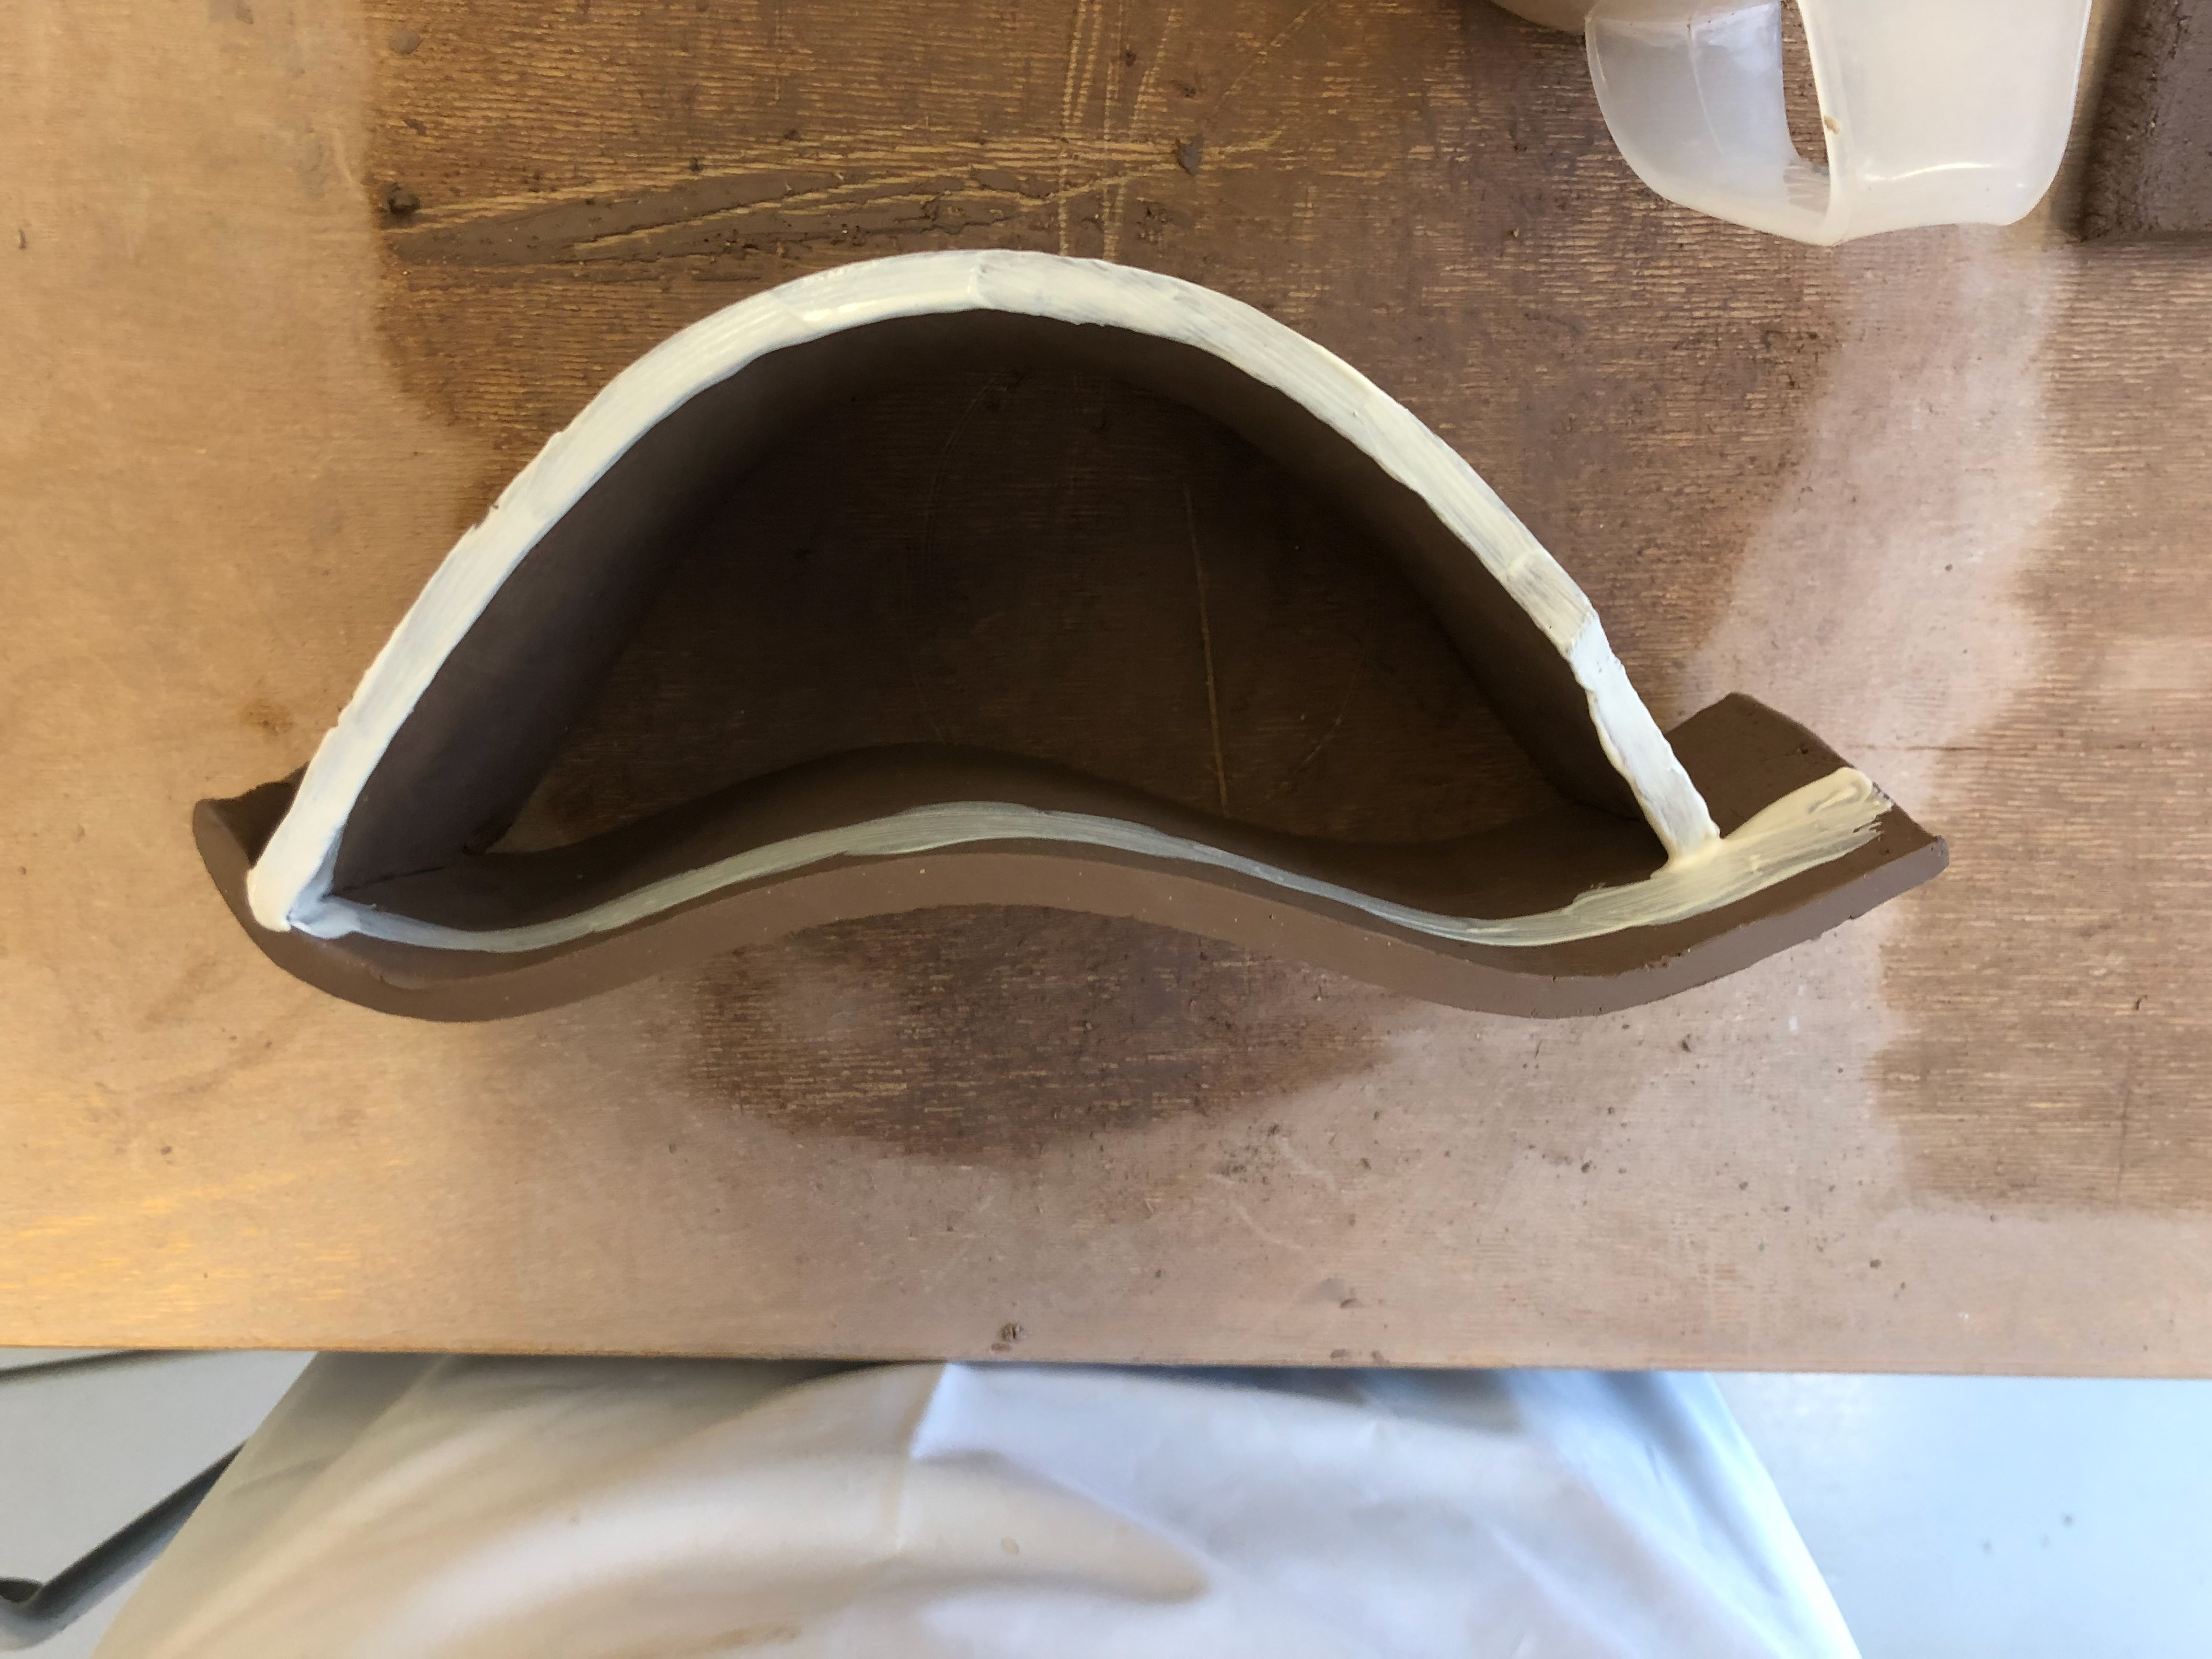
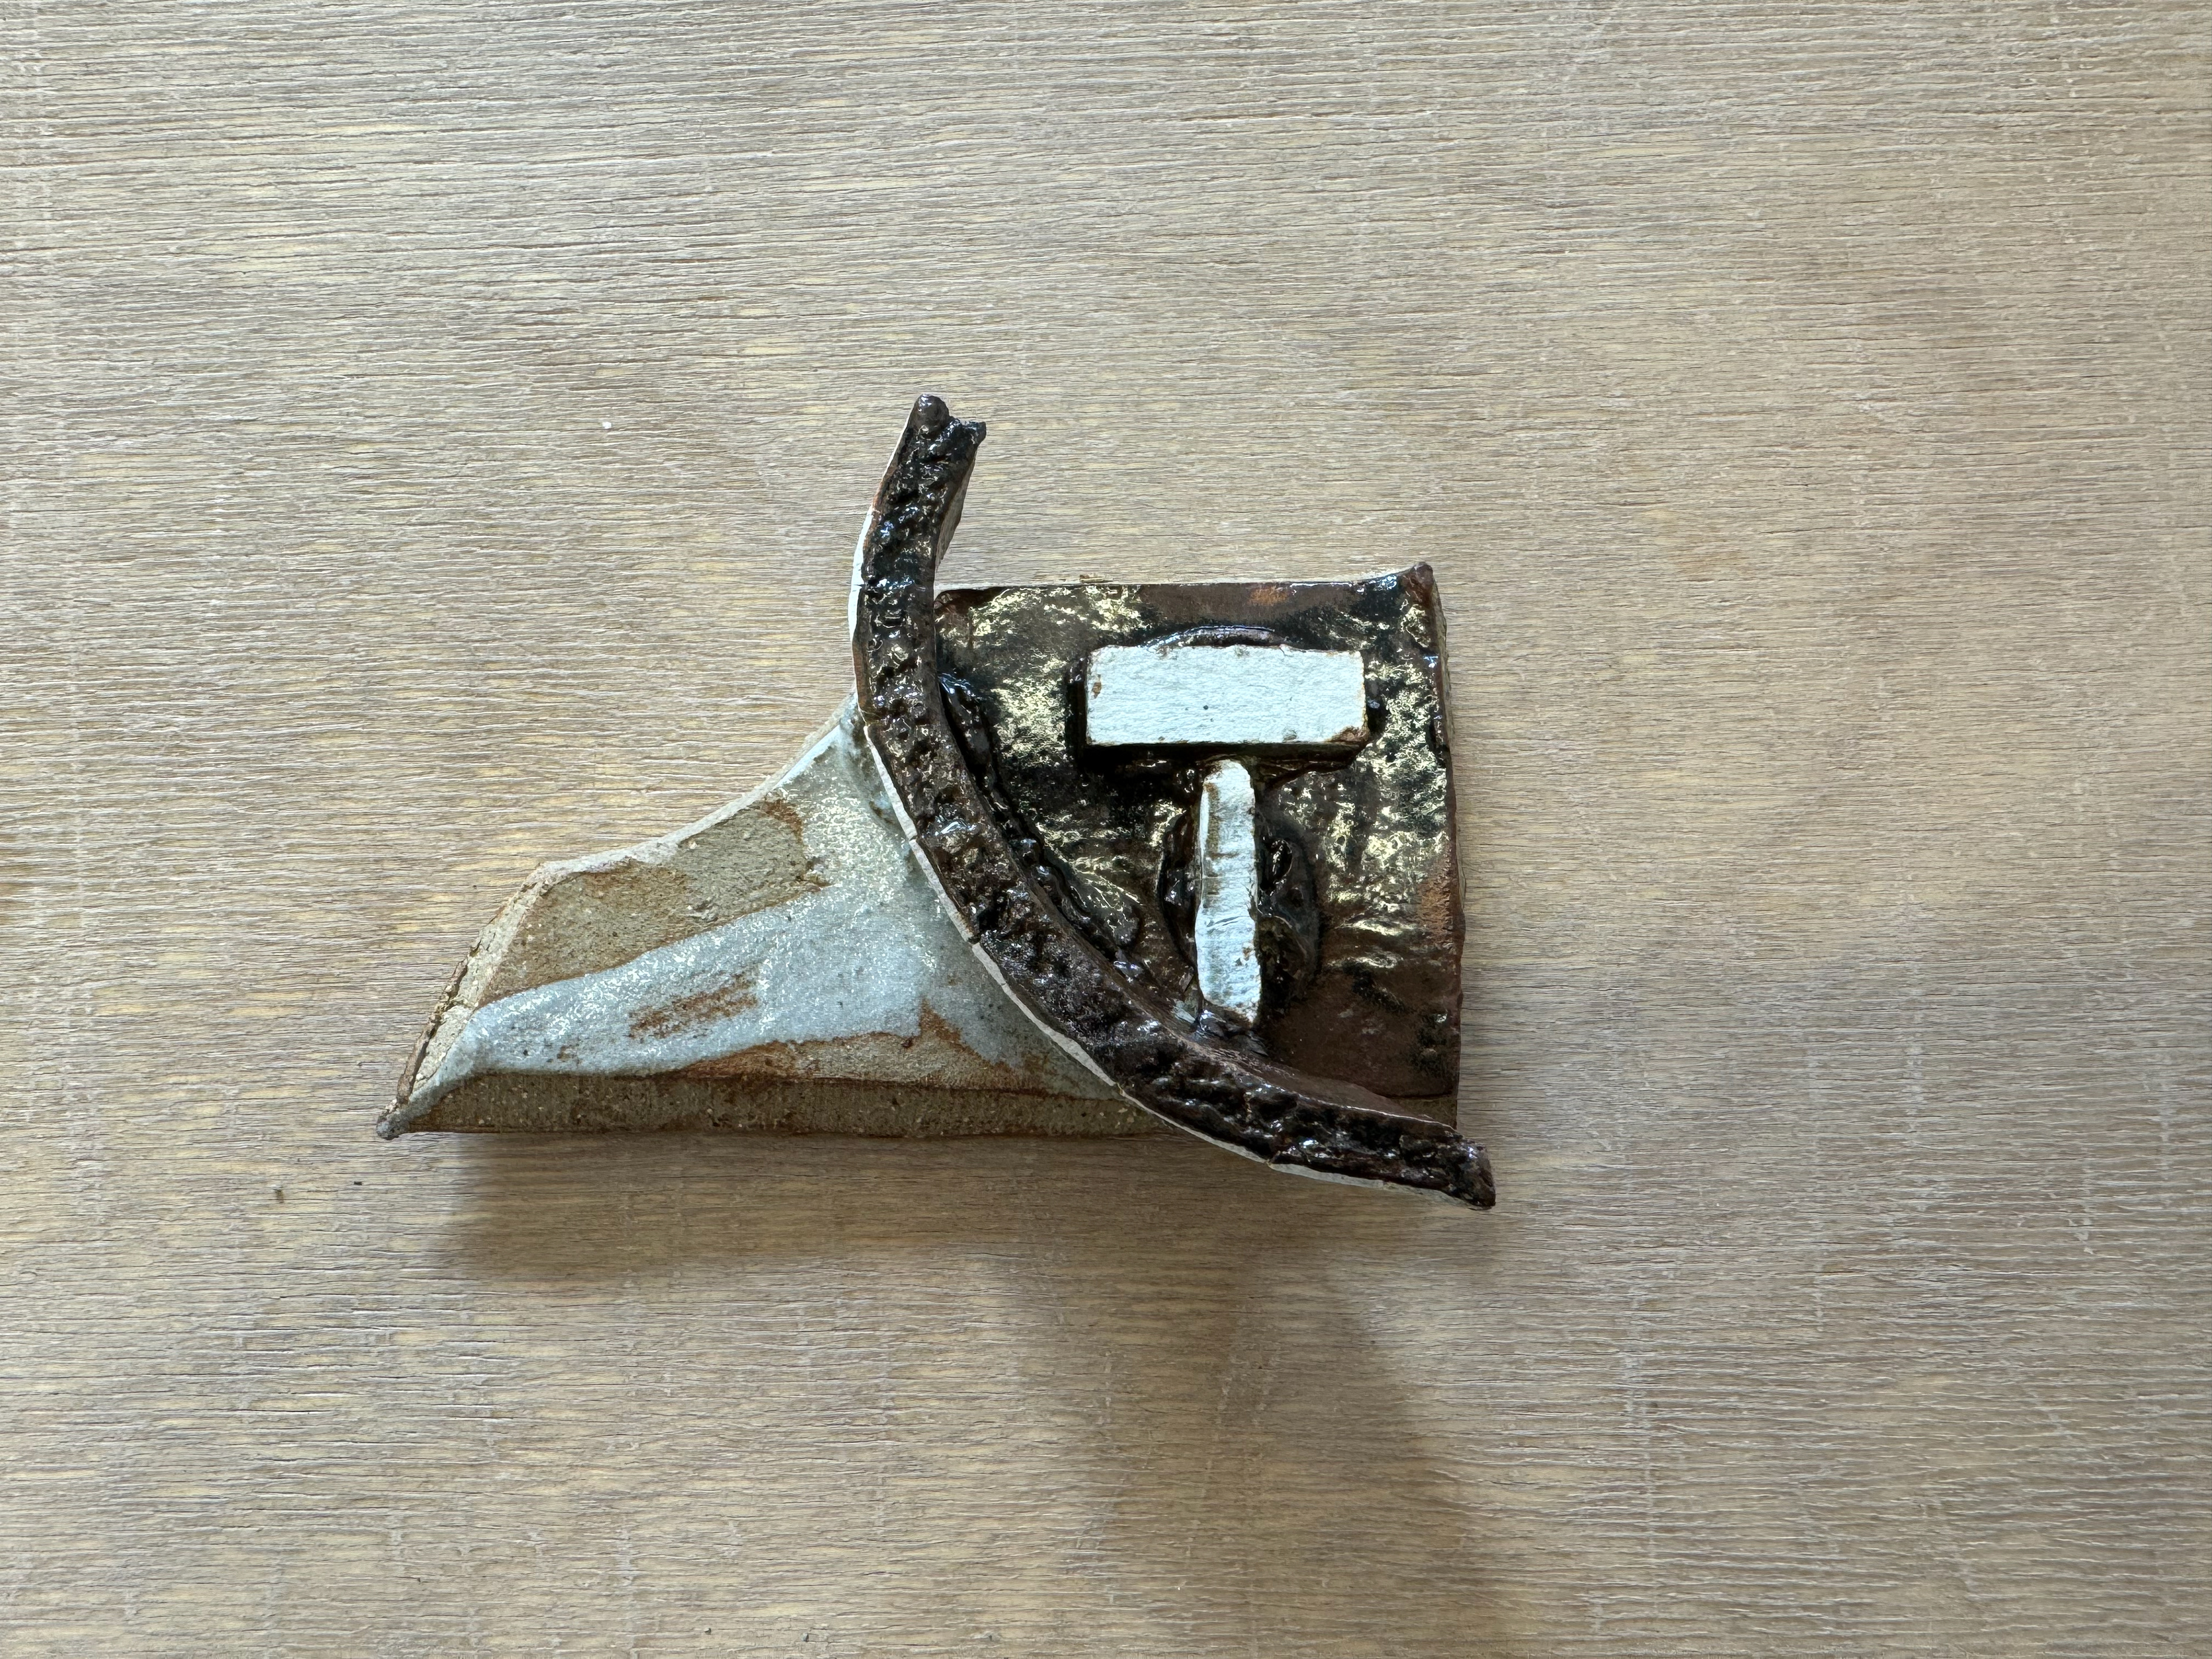
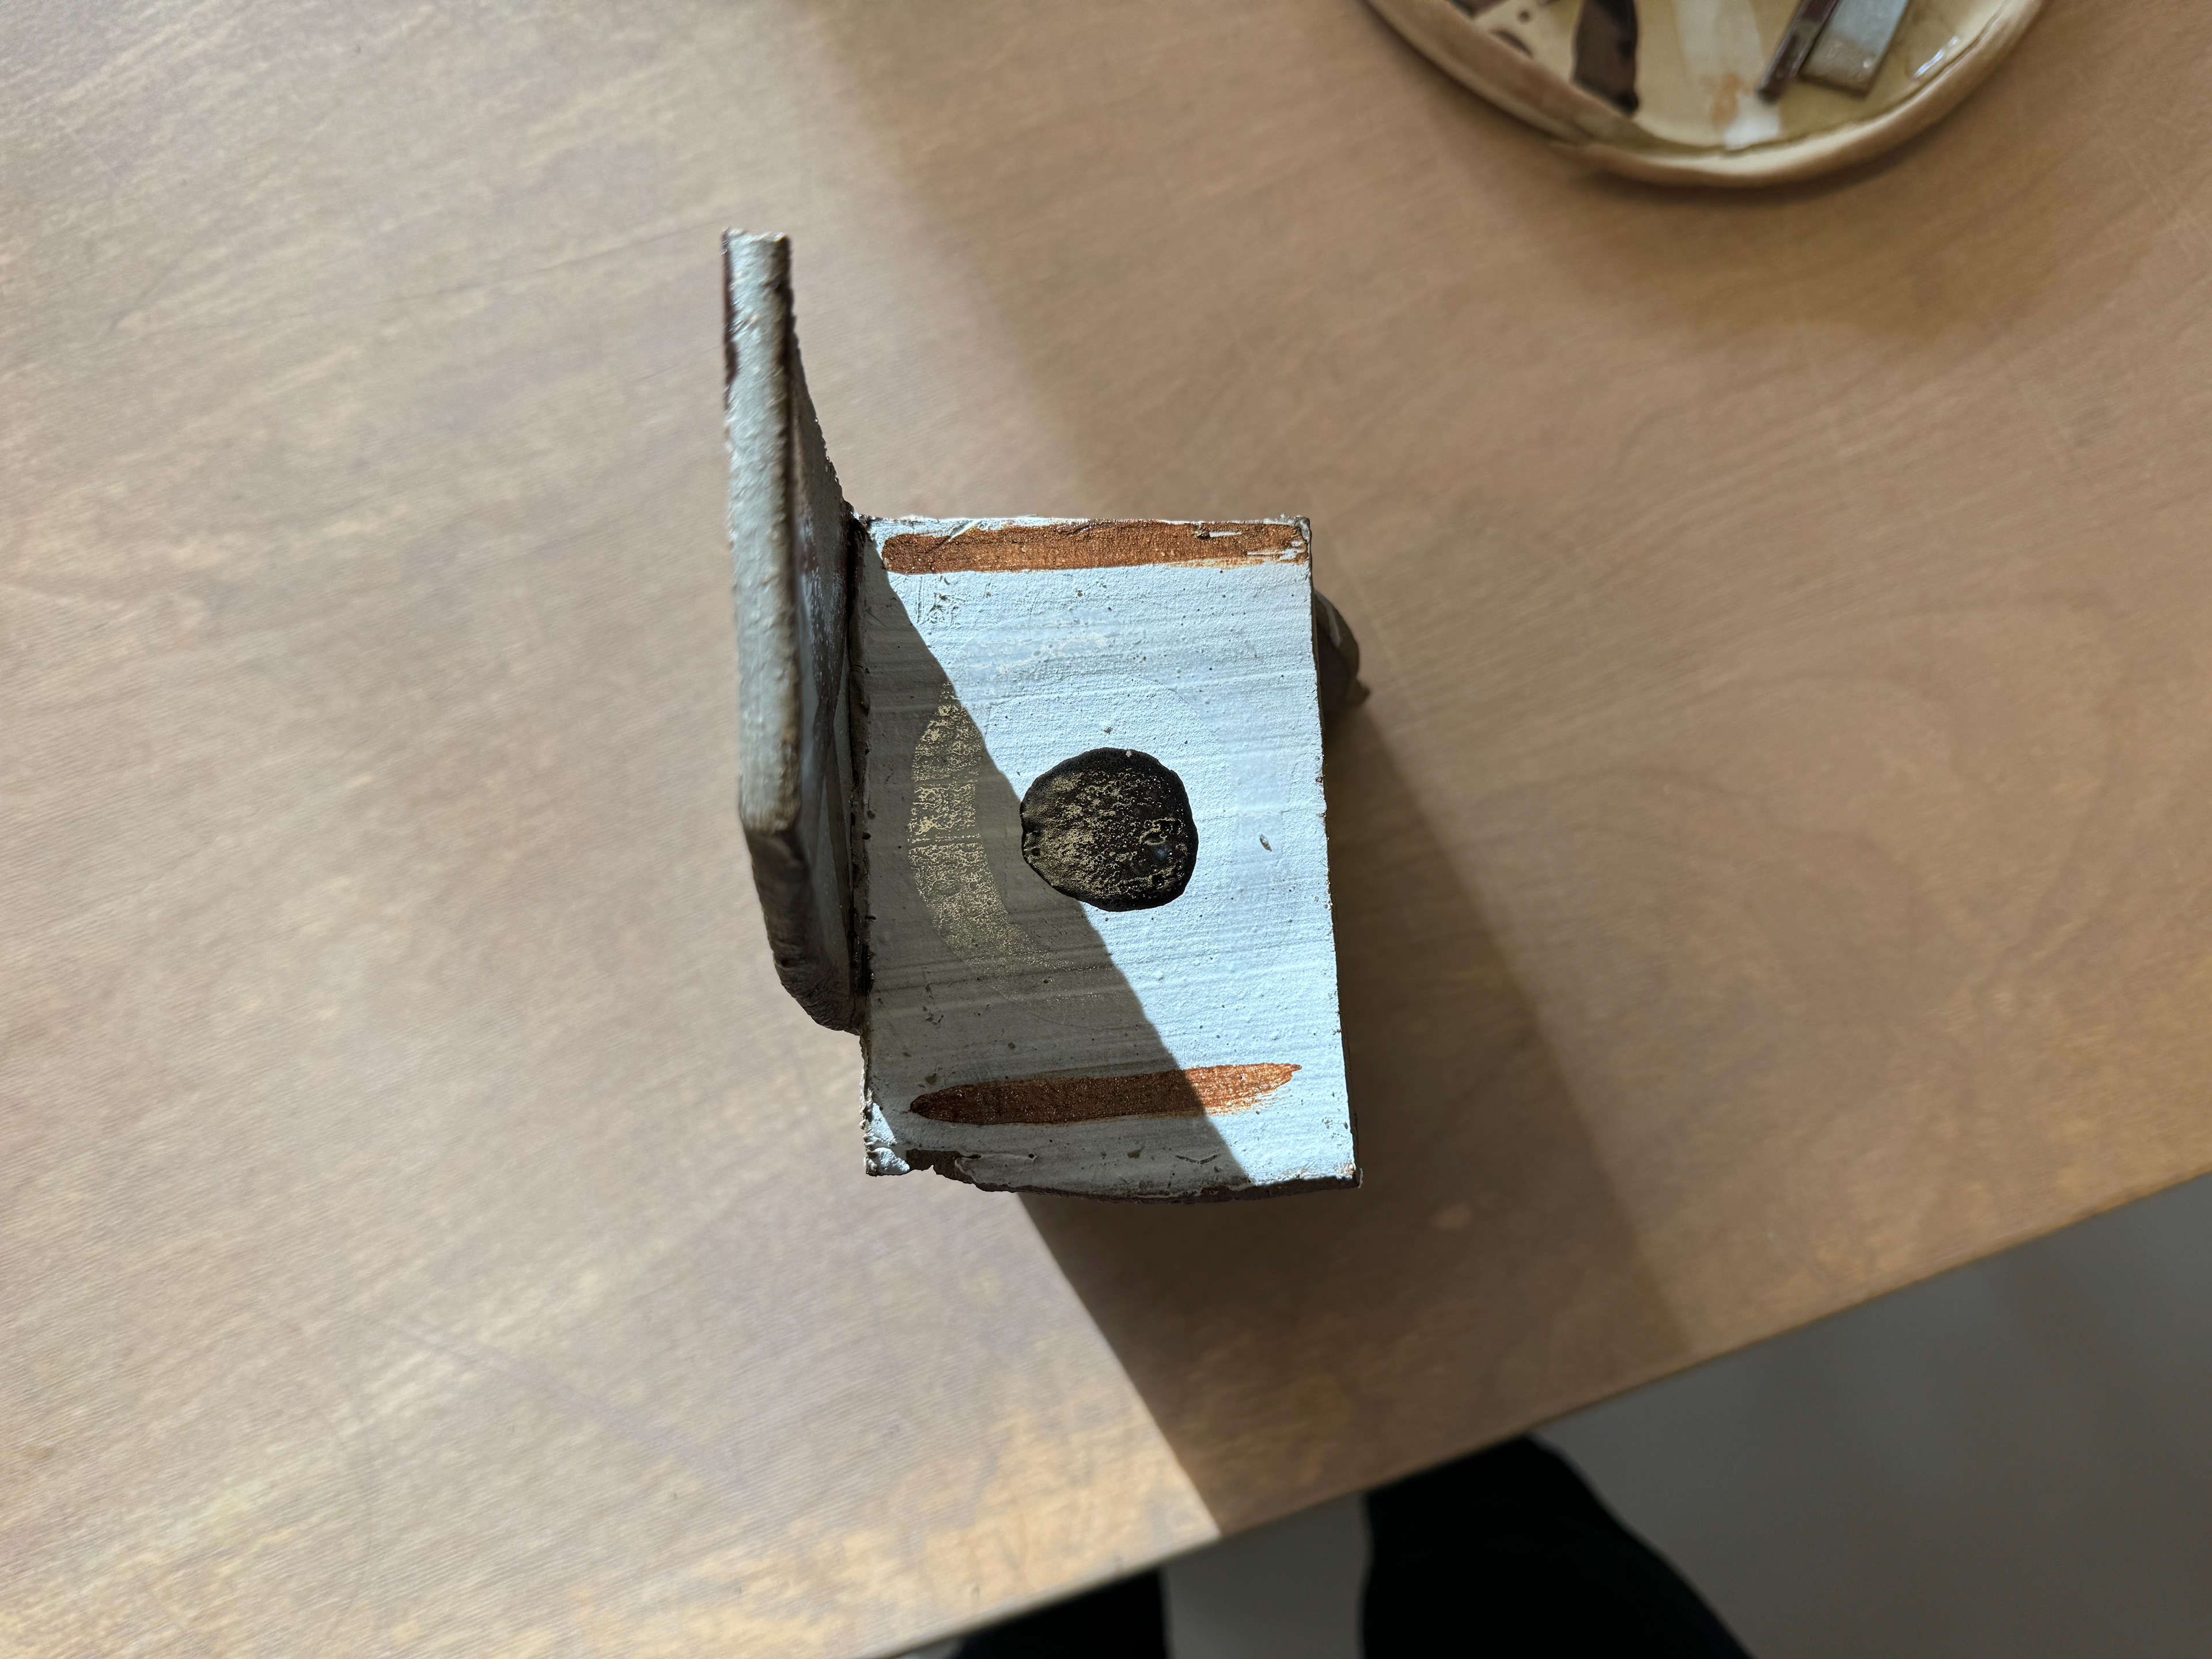
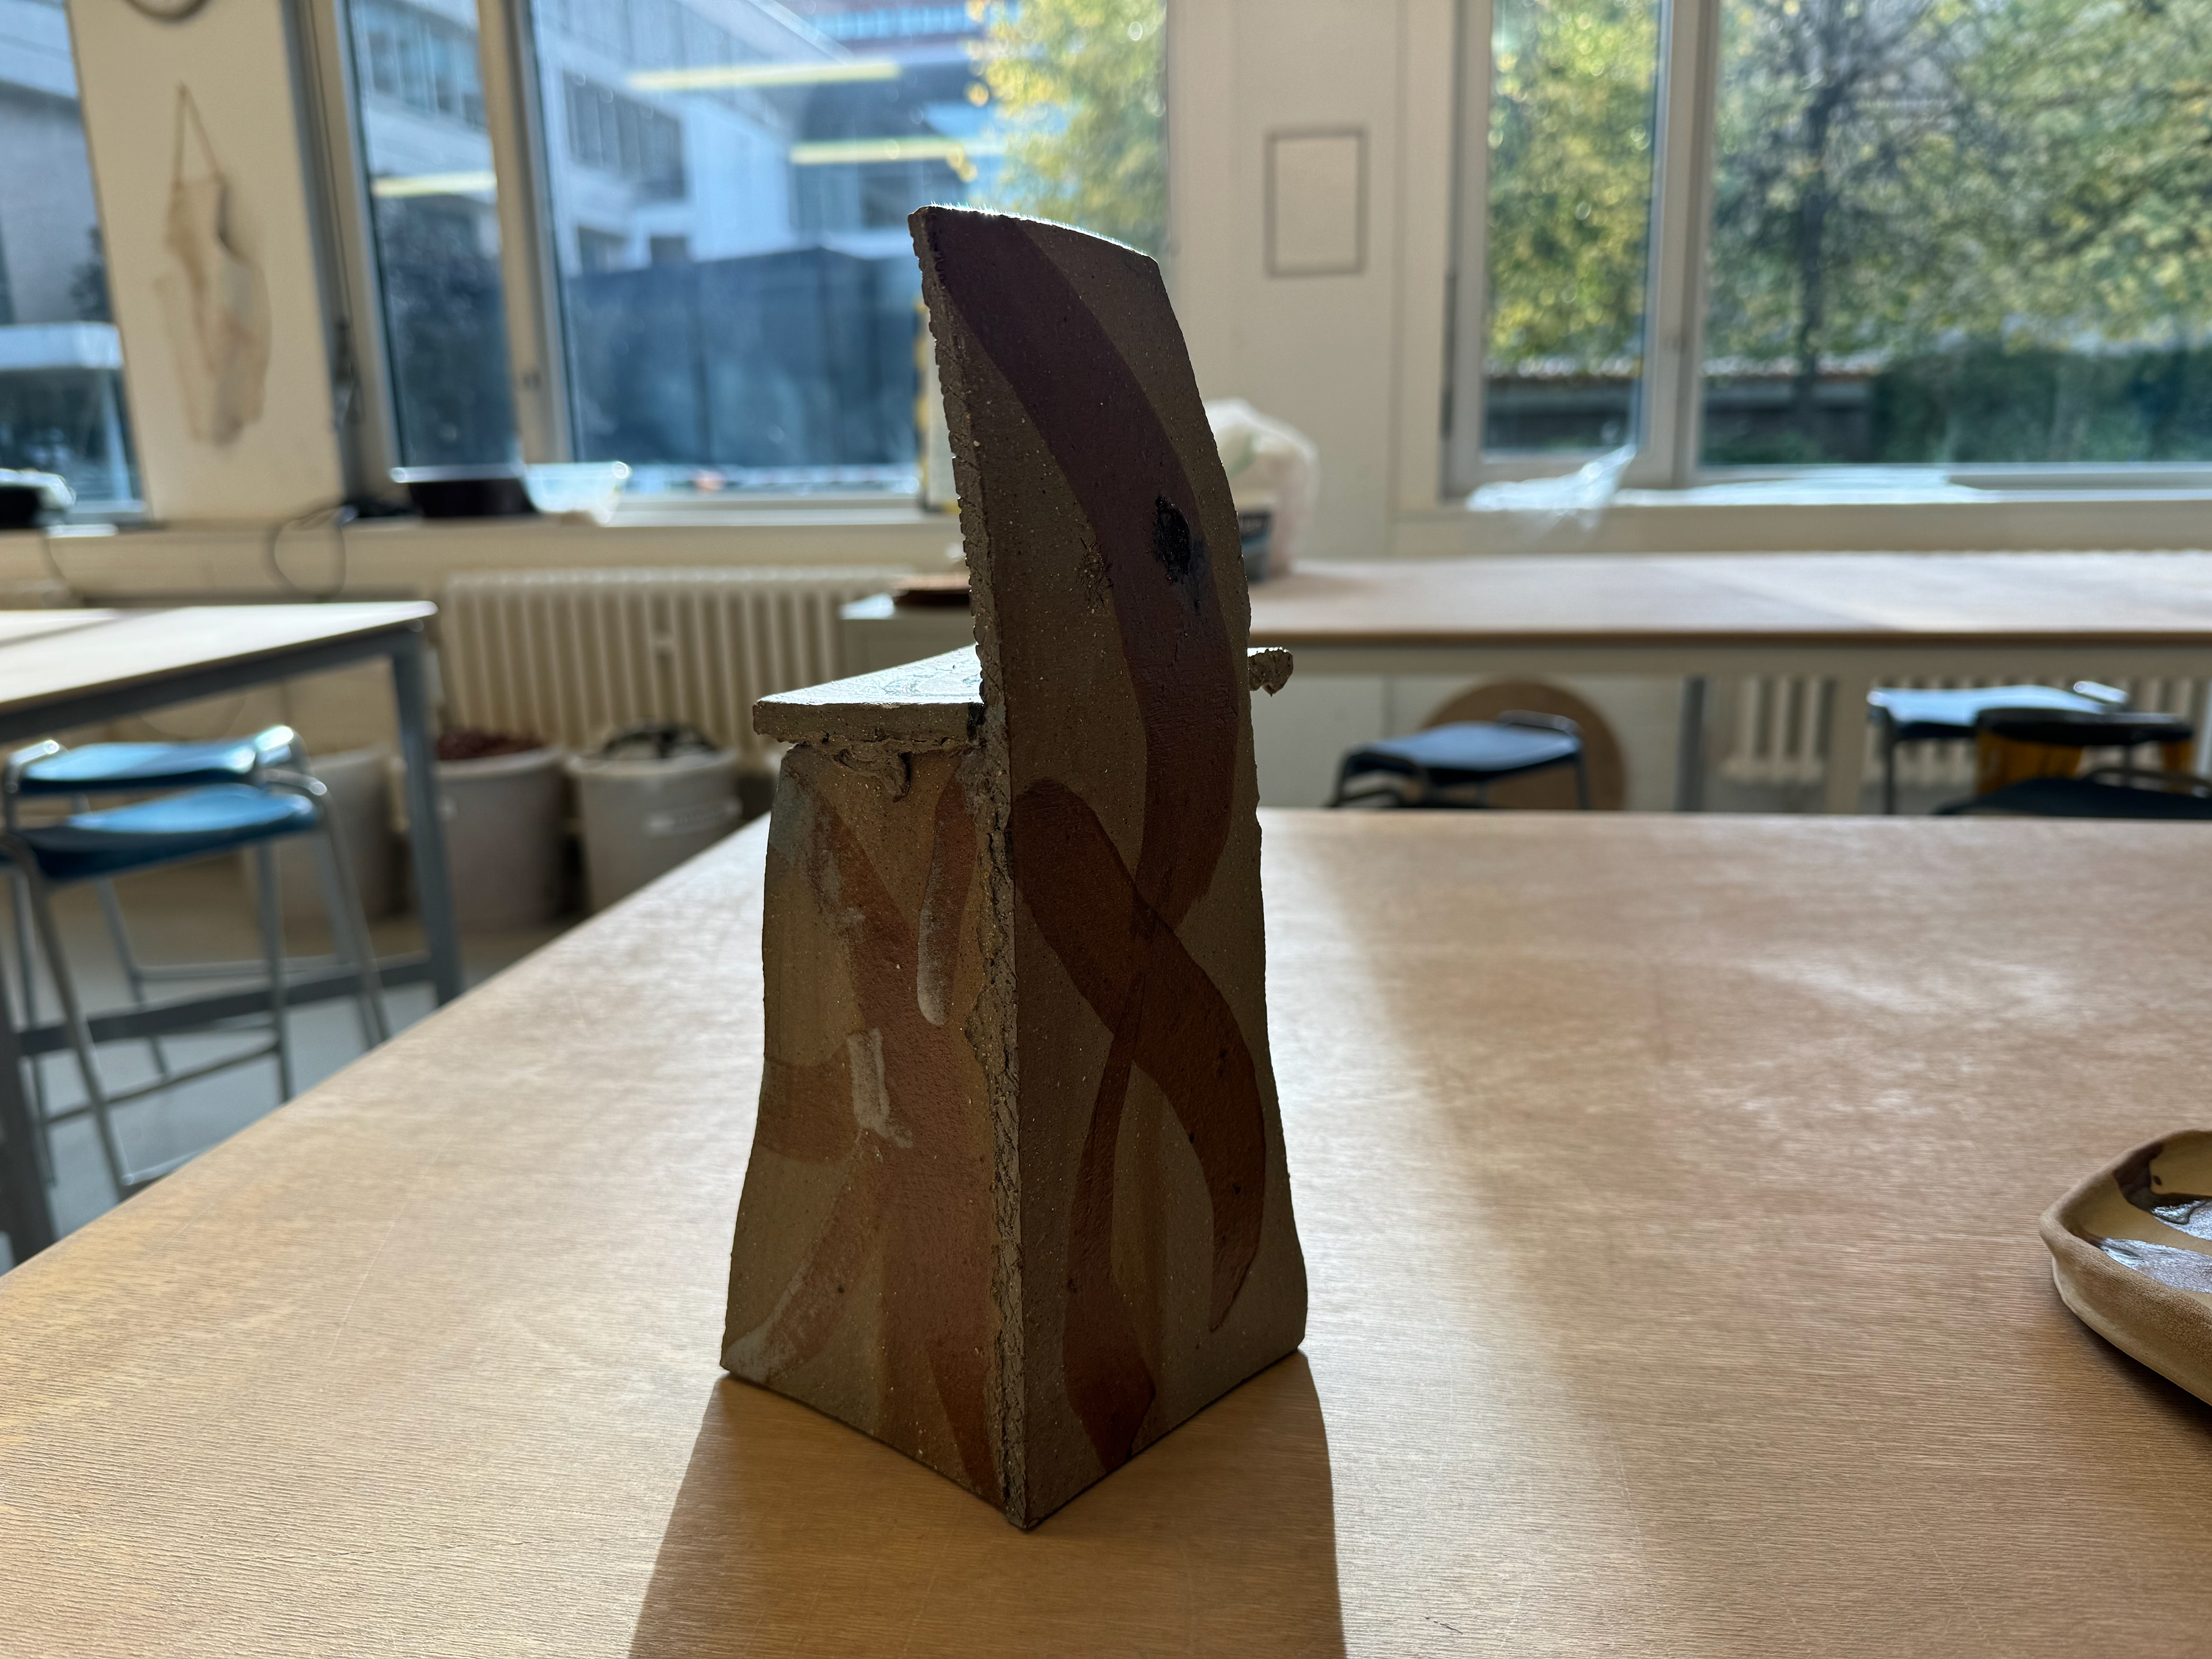
Bending leather hard clay to create a break and new texture

Curving the clay
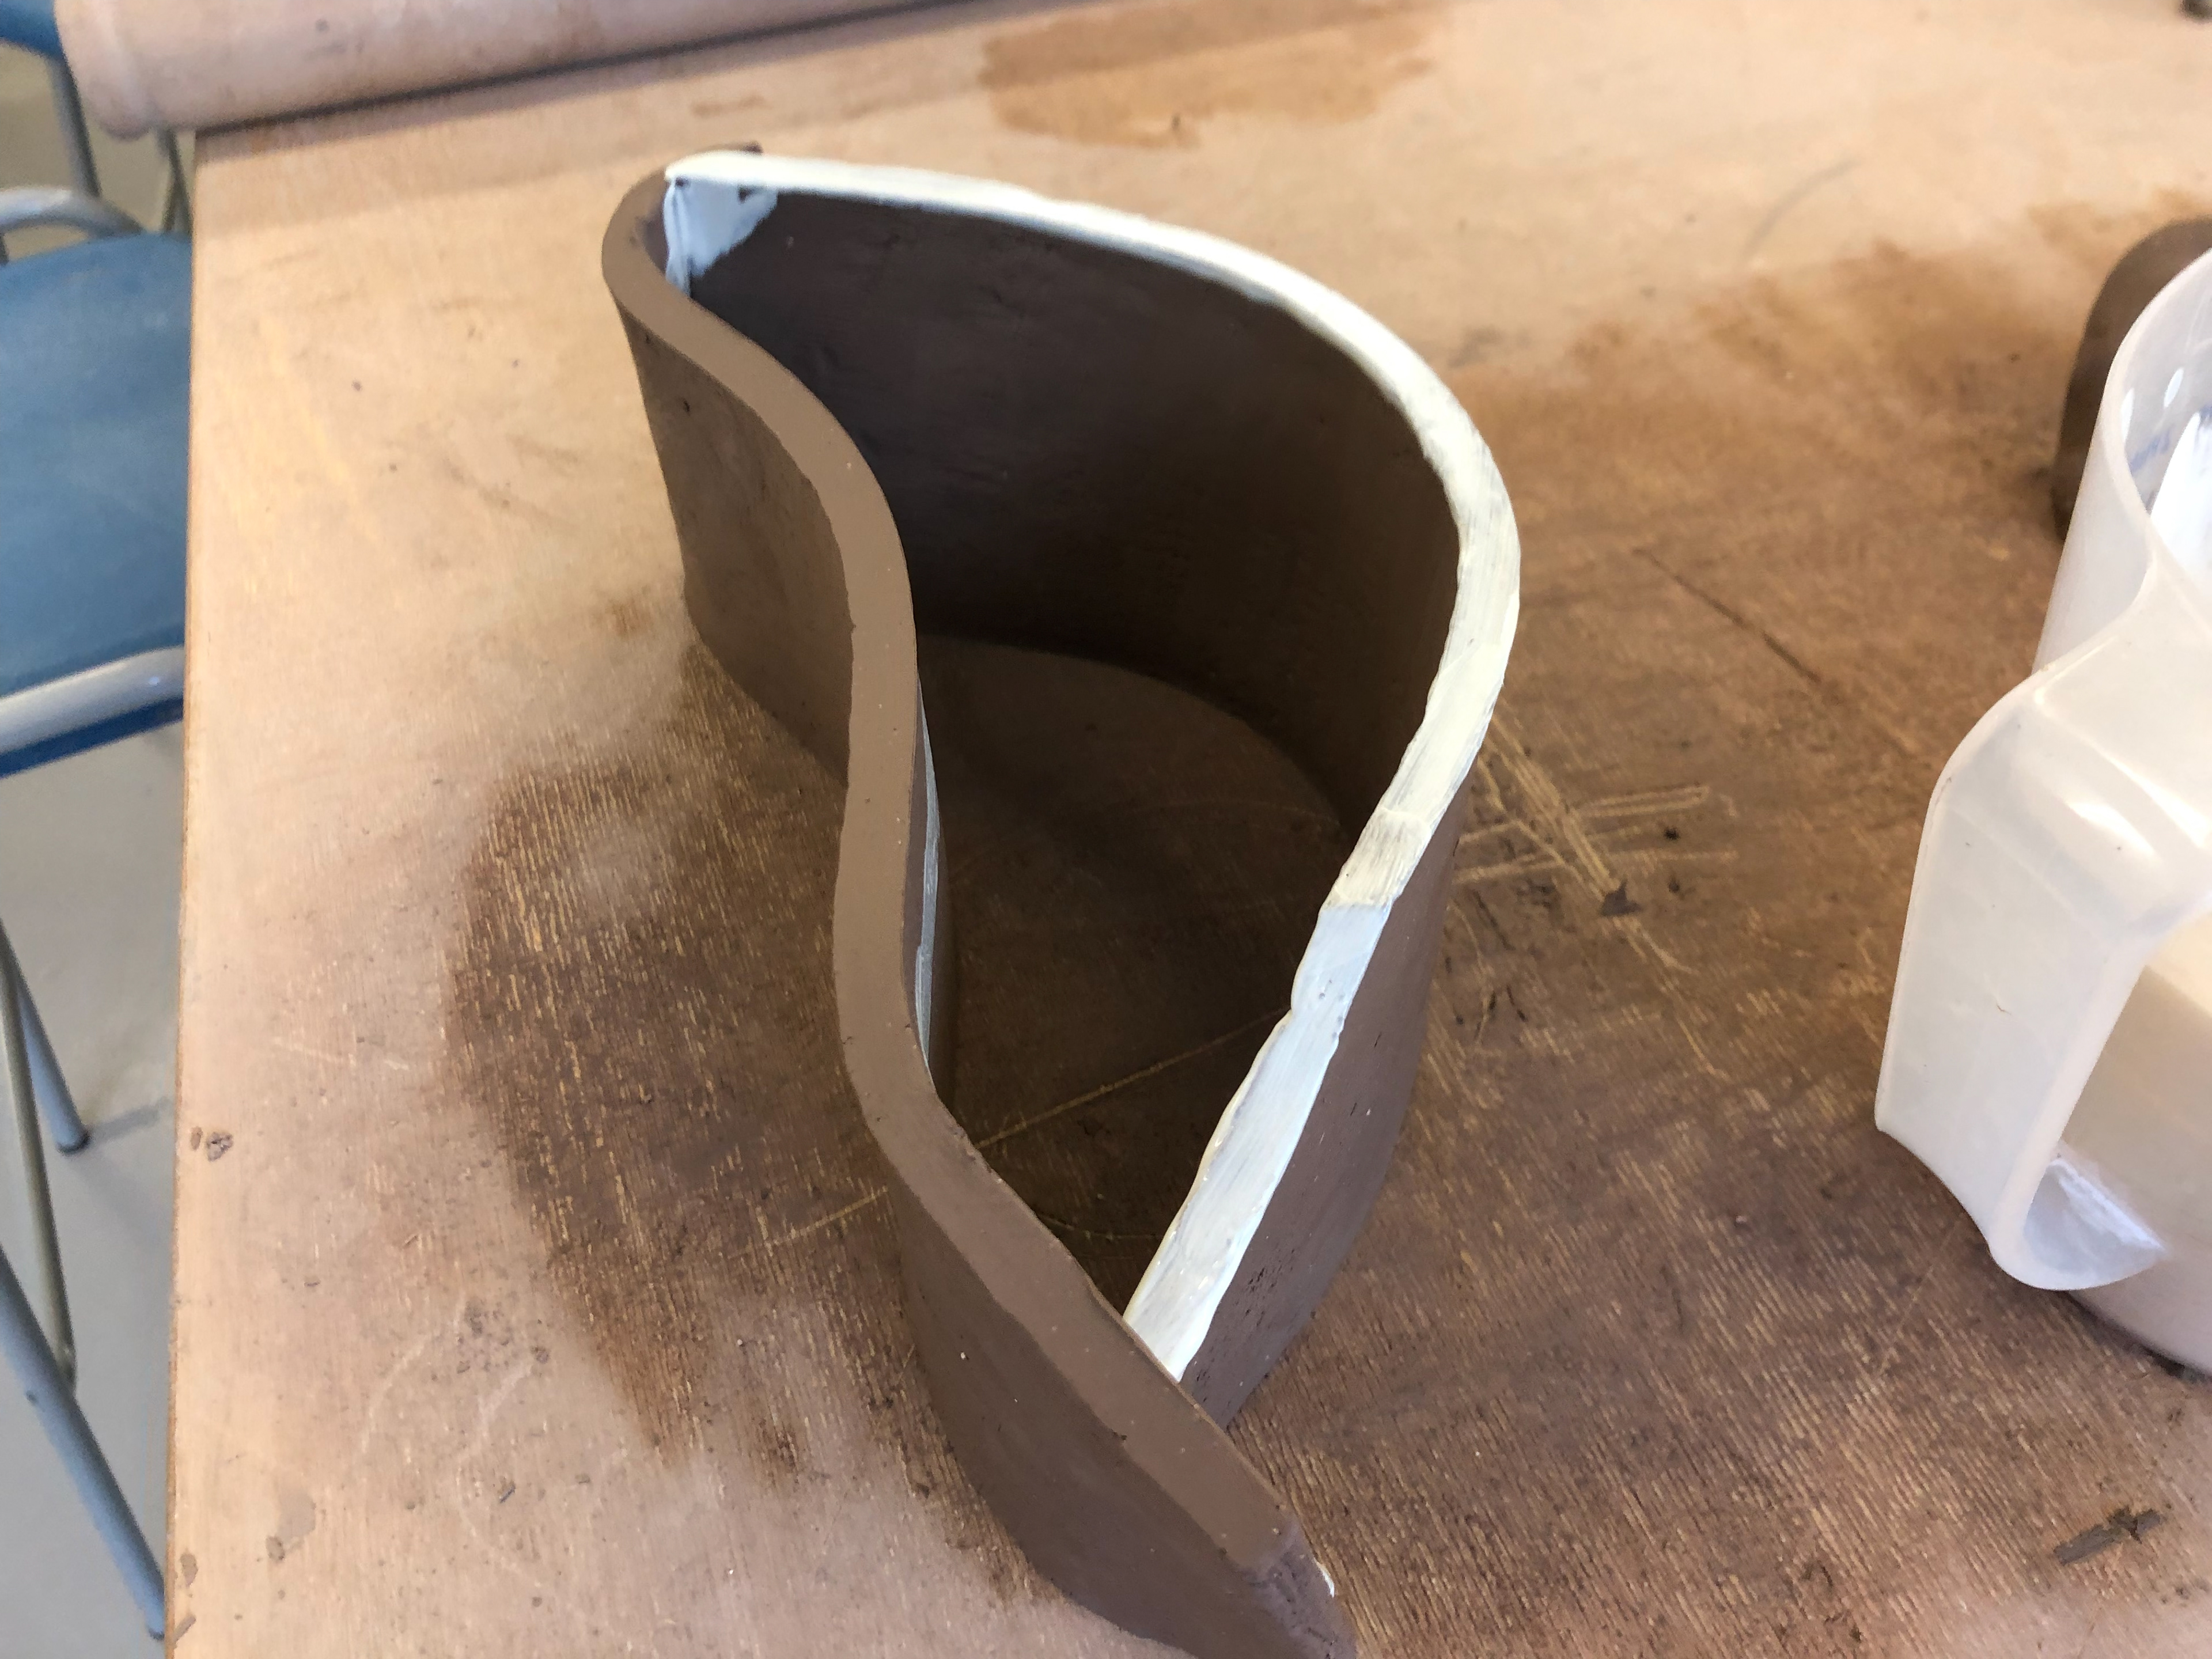
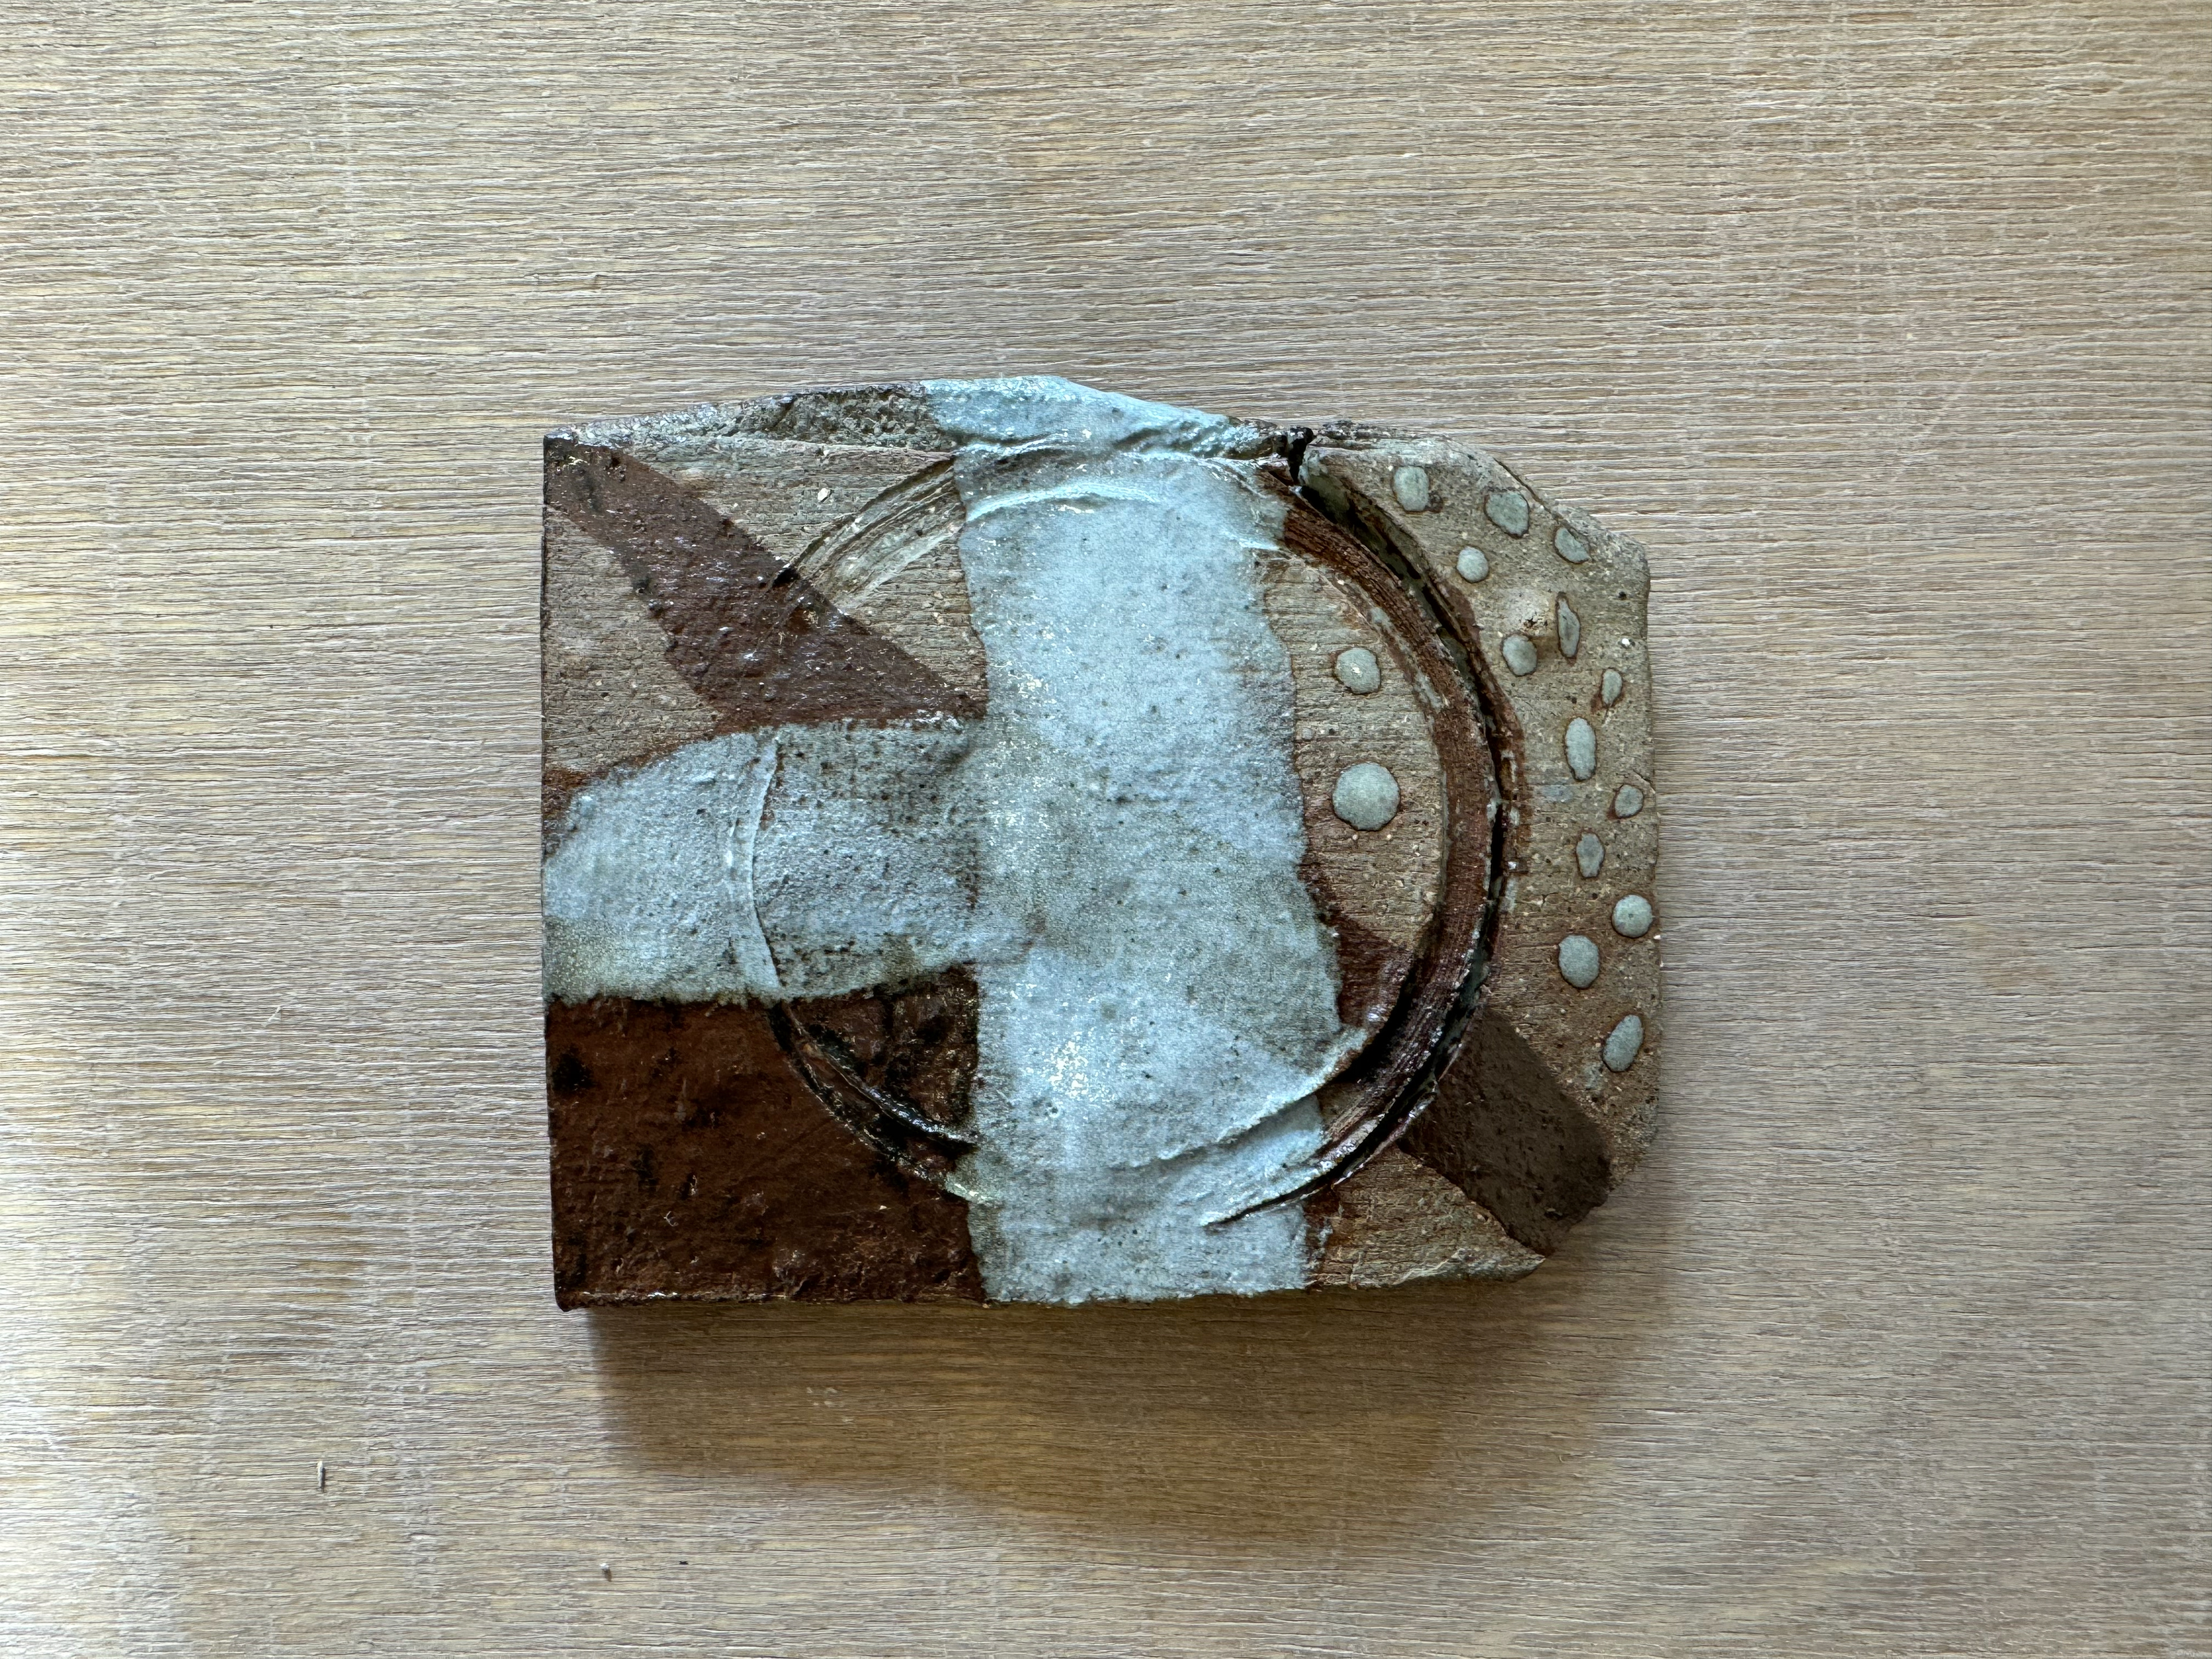
Connecting two parts, one with white slip on the inside and another with white slip on top
Line blending research
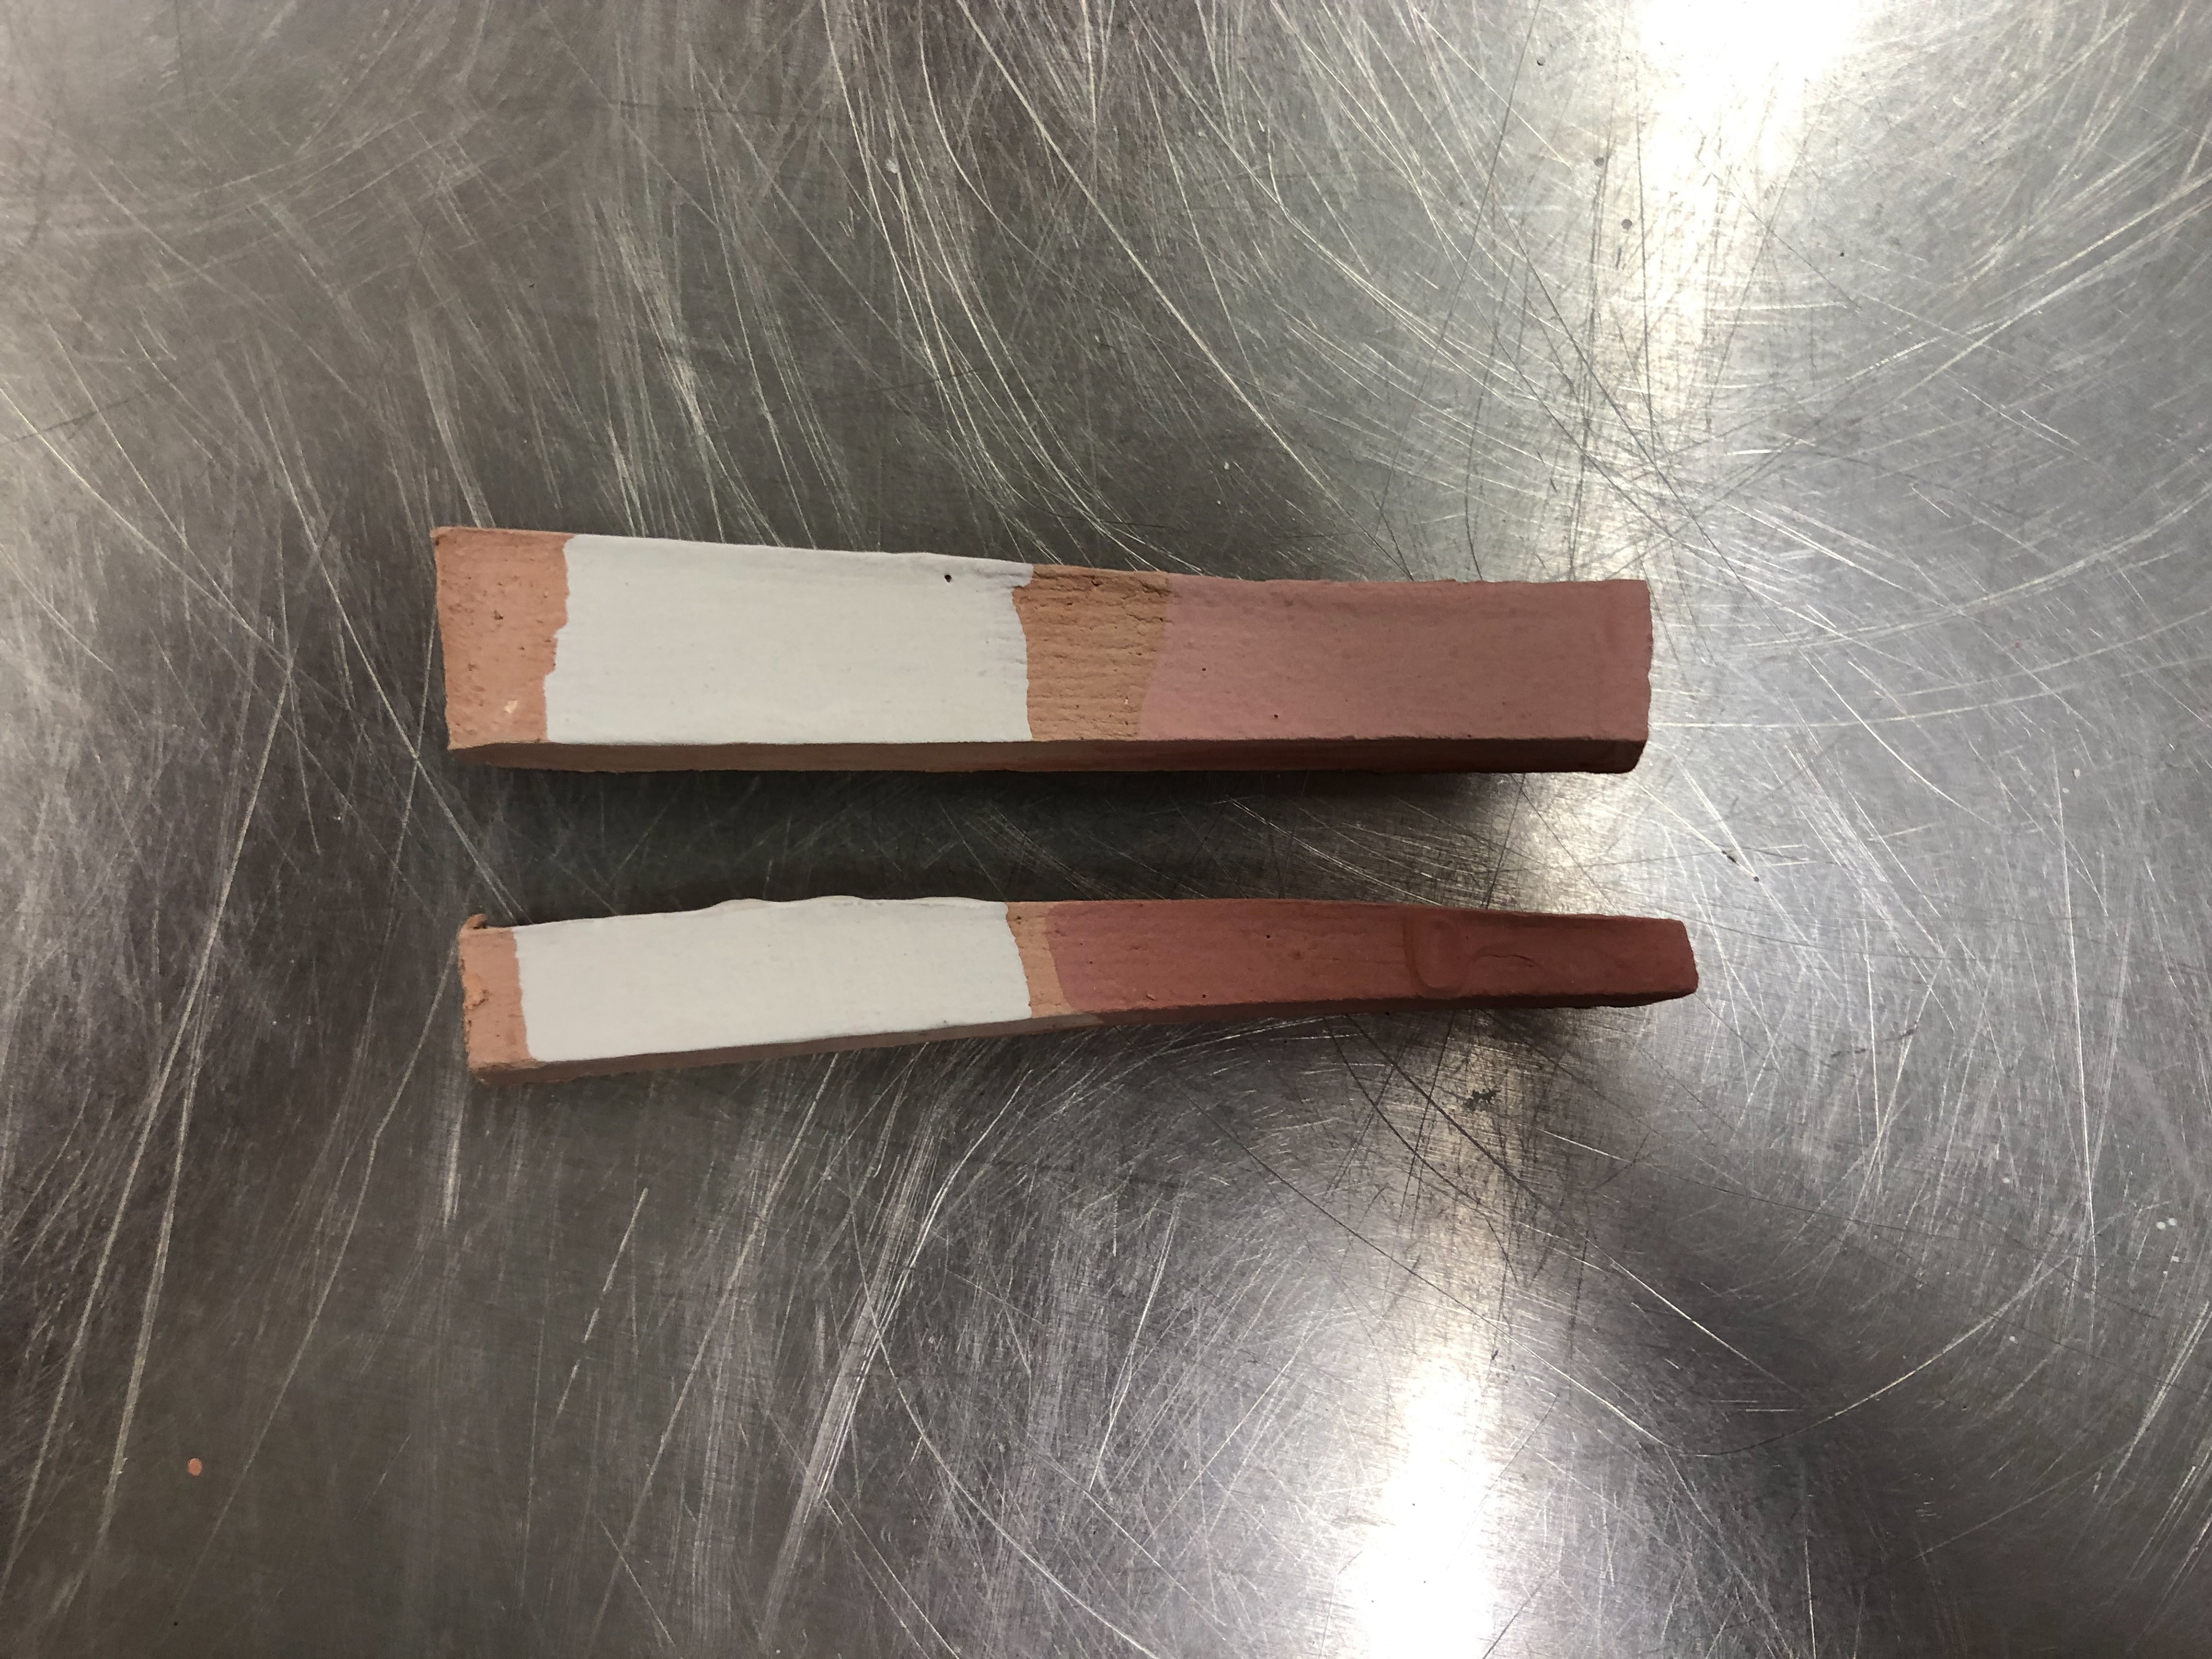
Research on how to do line blending. This is important because I'd like to incorporate the technique into my dials to provide gradients of glaze across the piece. I then took some of the pieces that I had fired after the slab making, and applied the different slips from the different line blends.
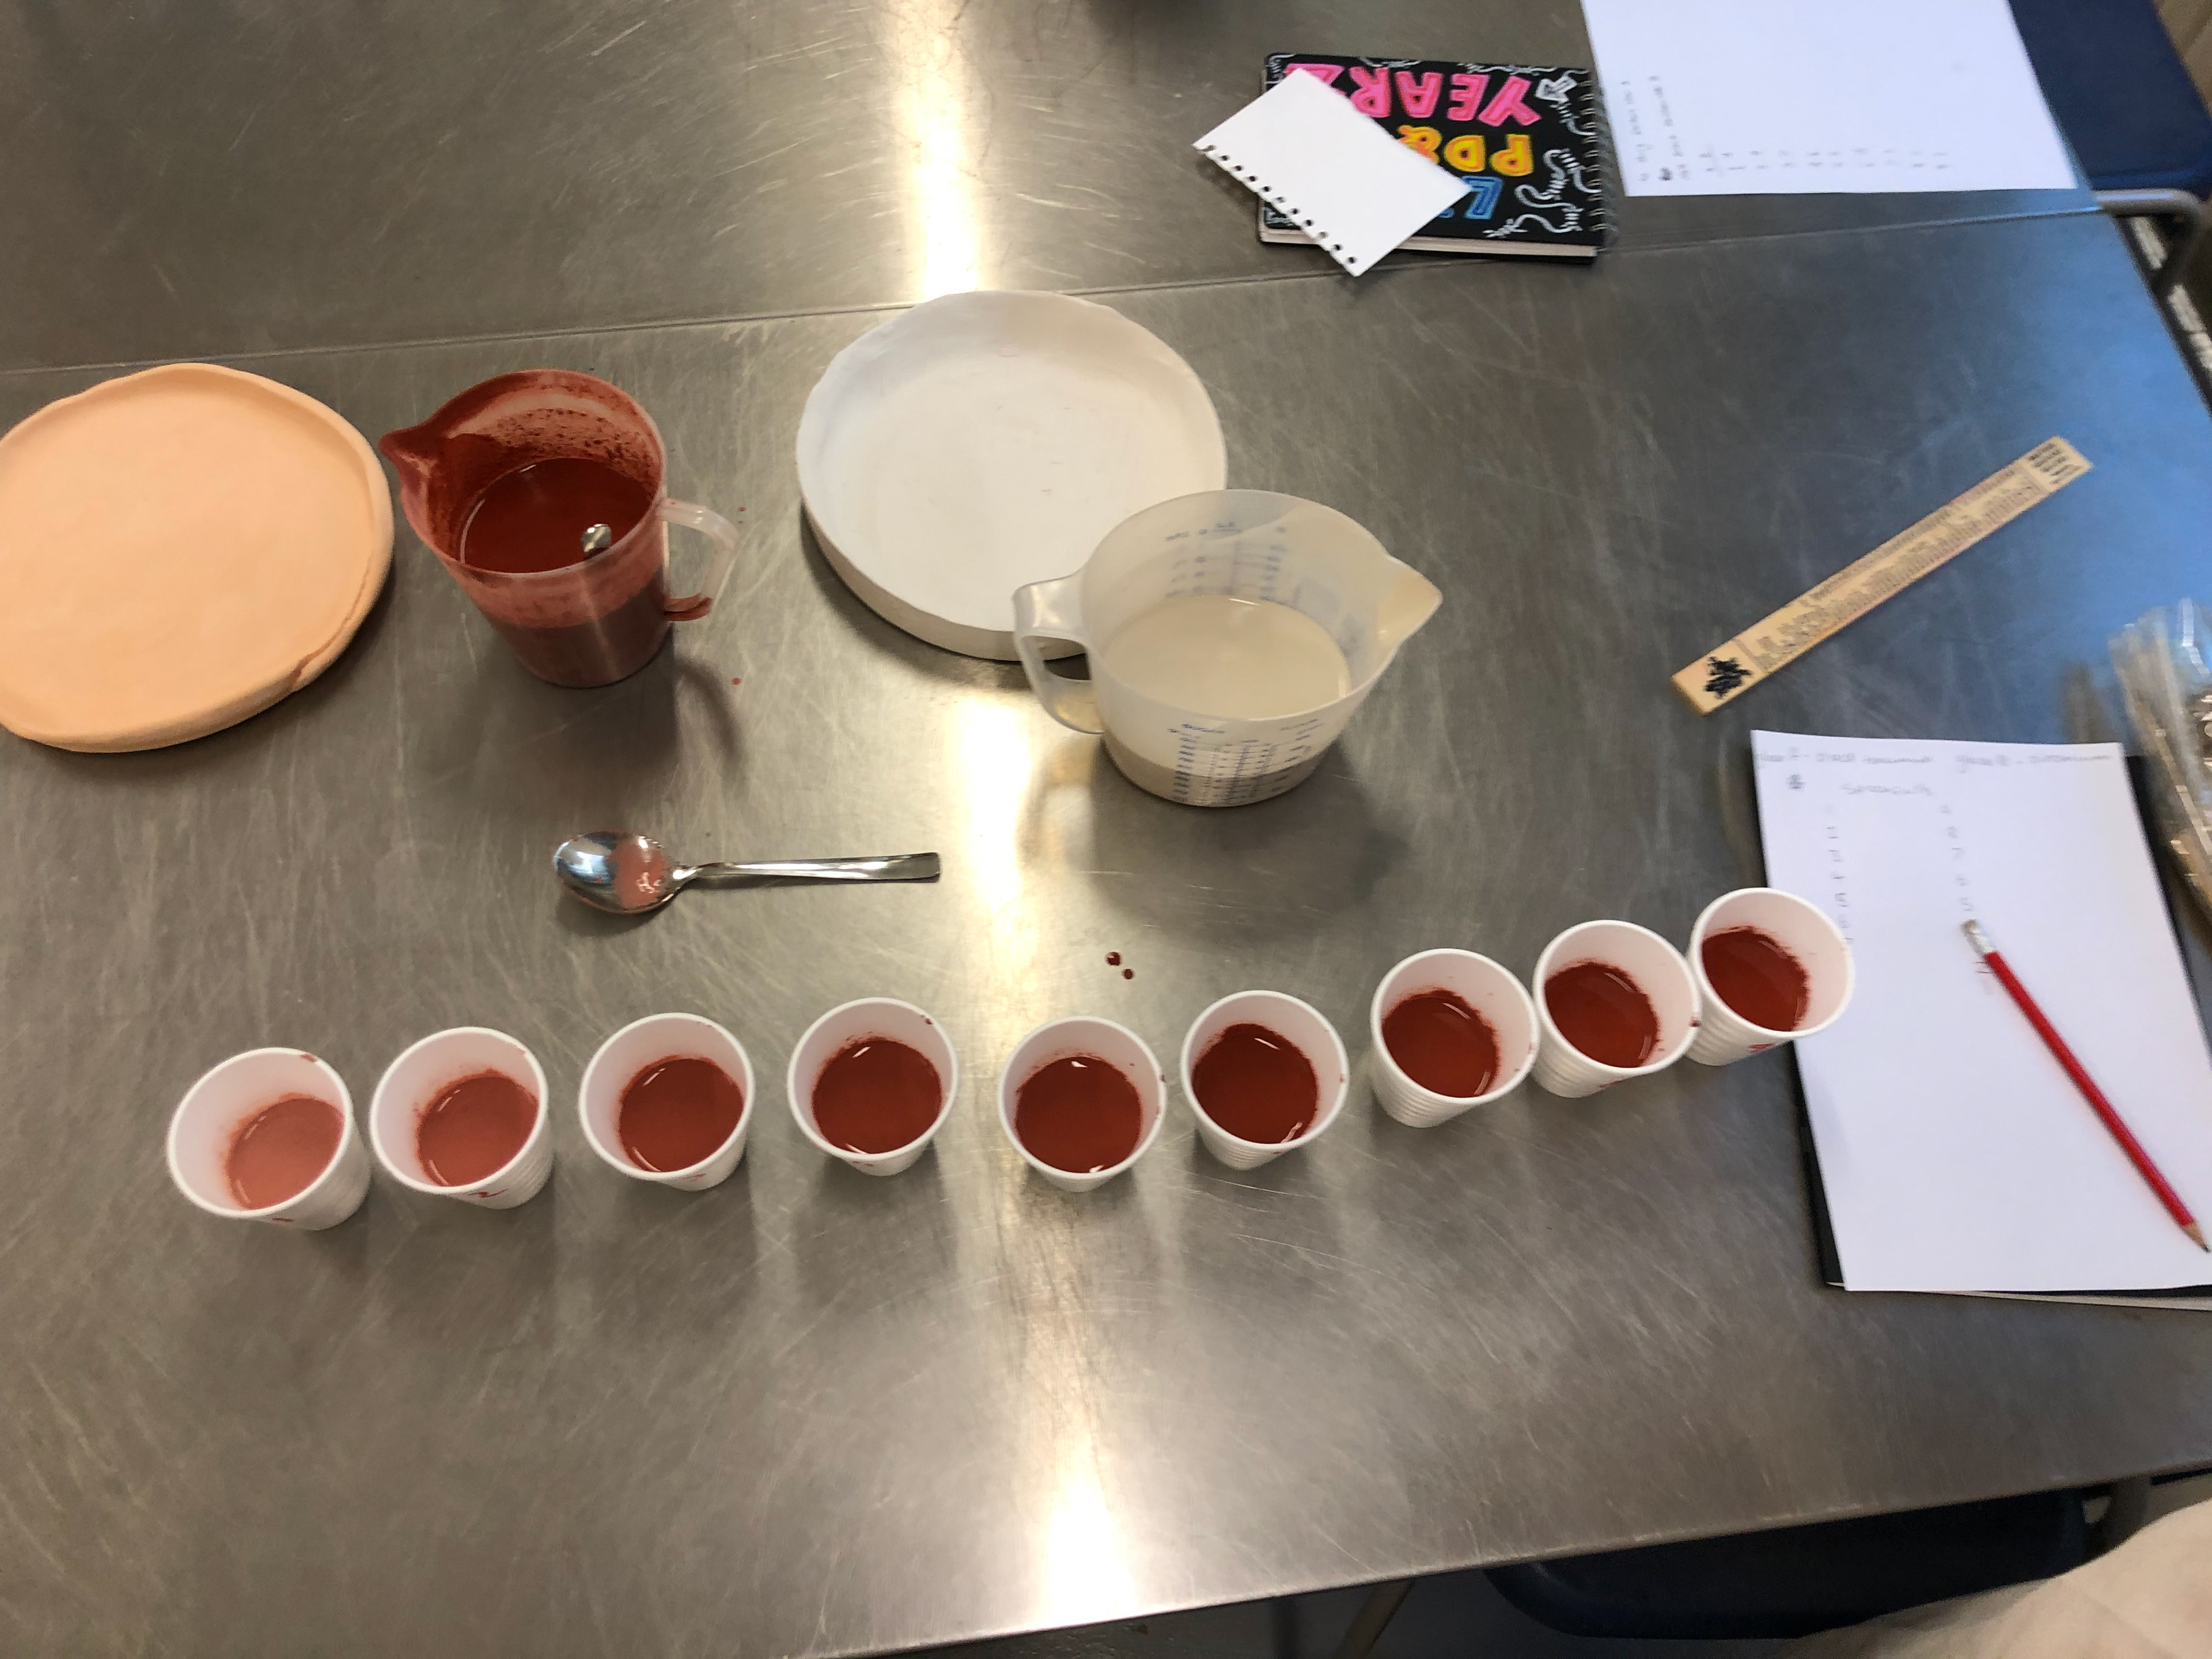
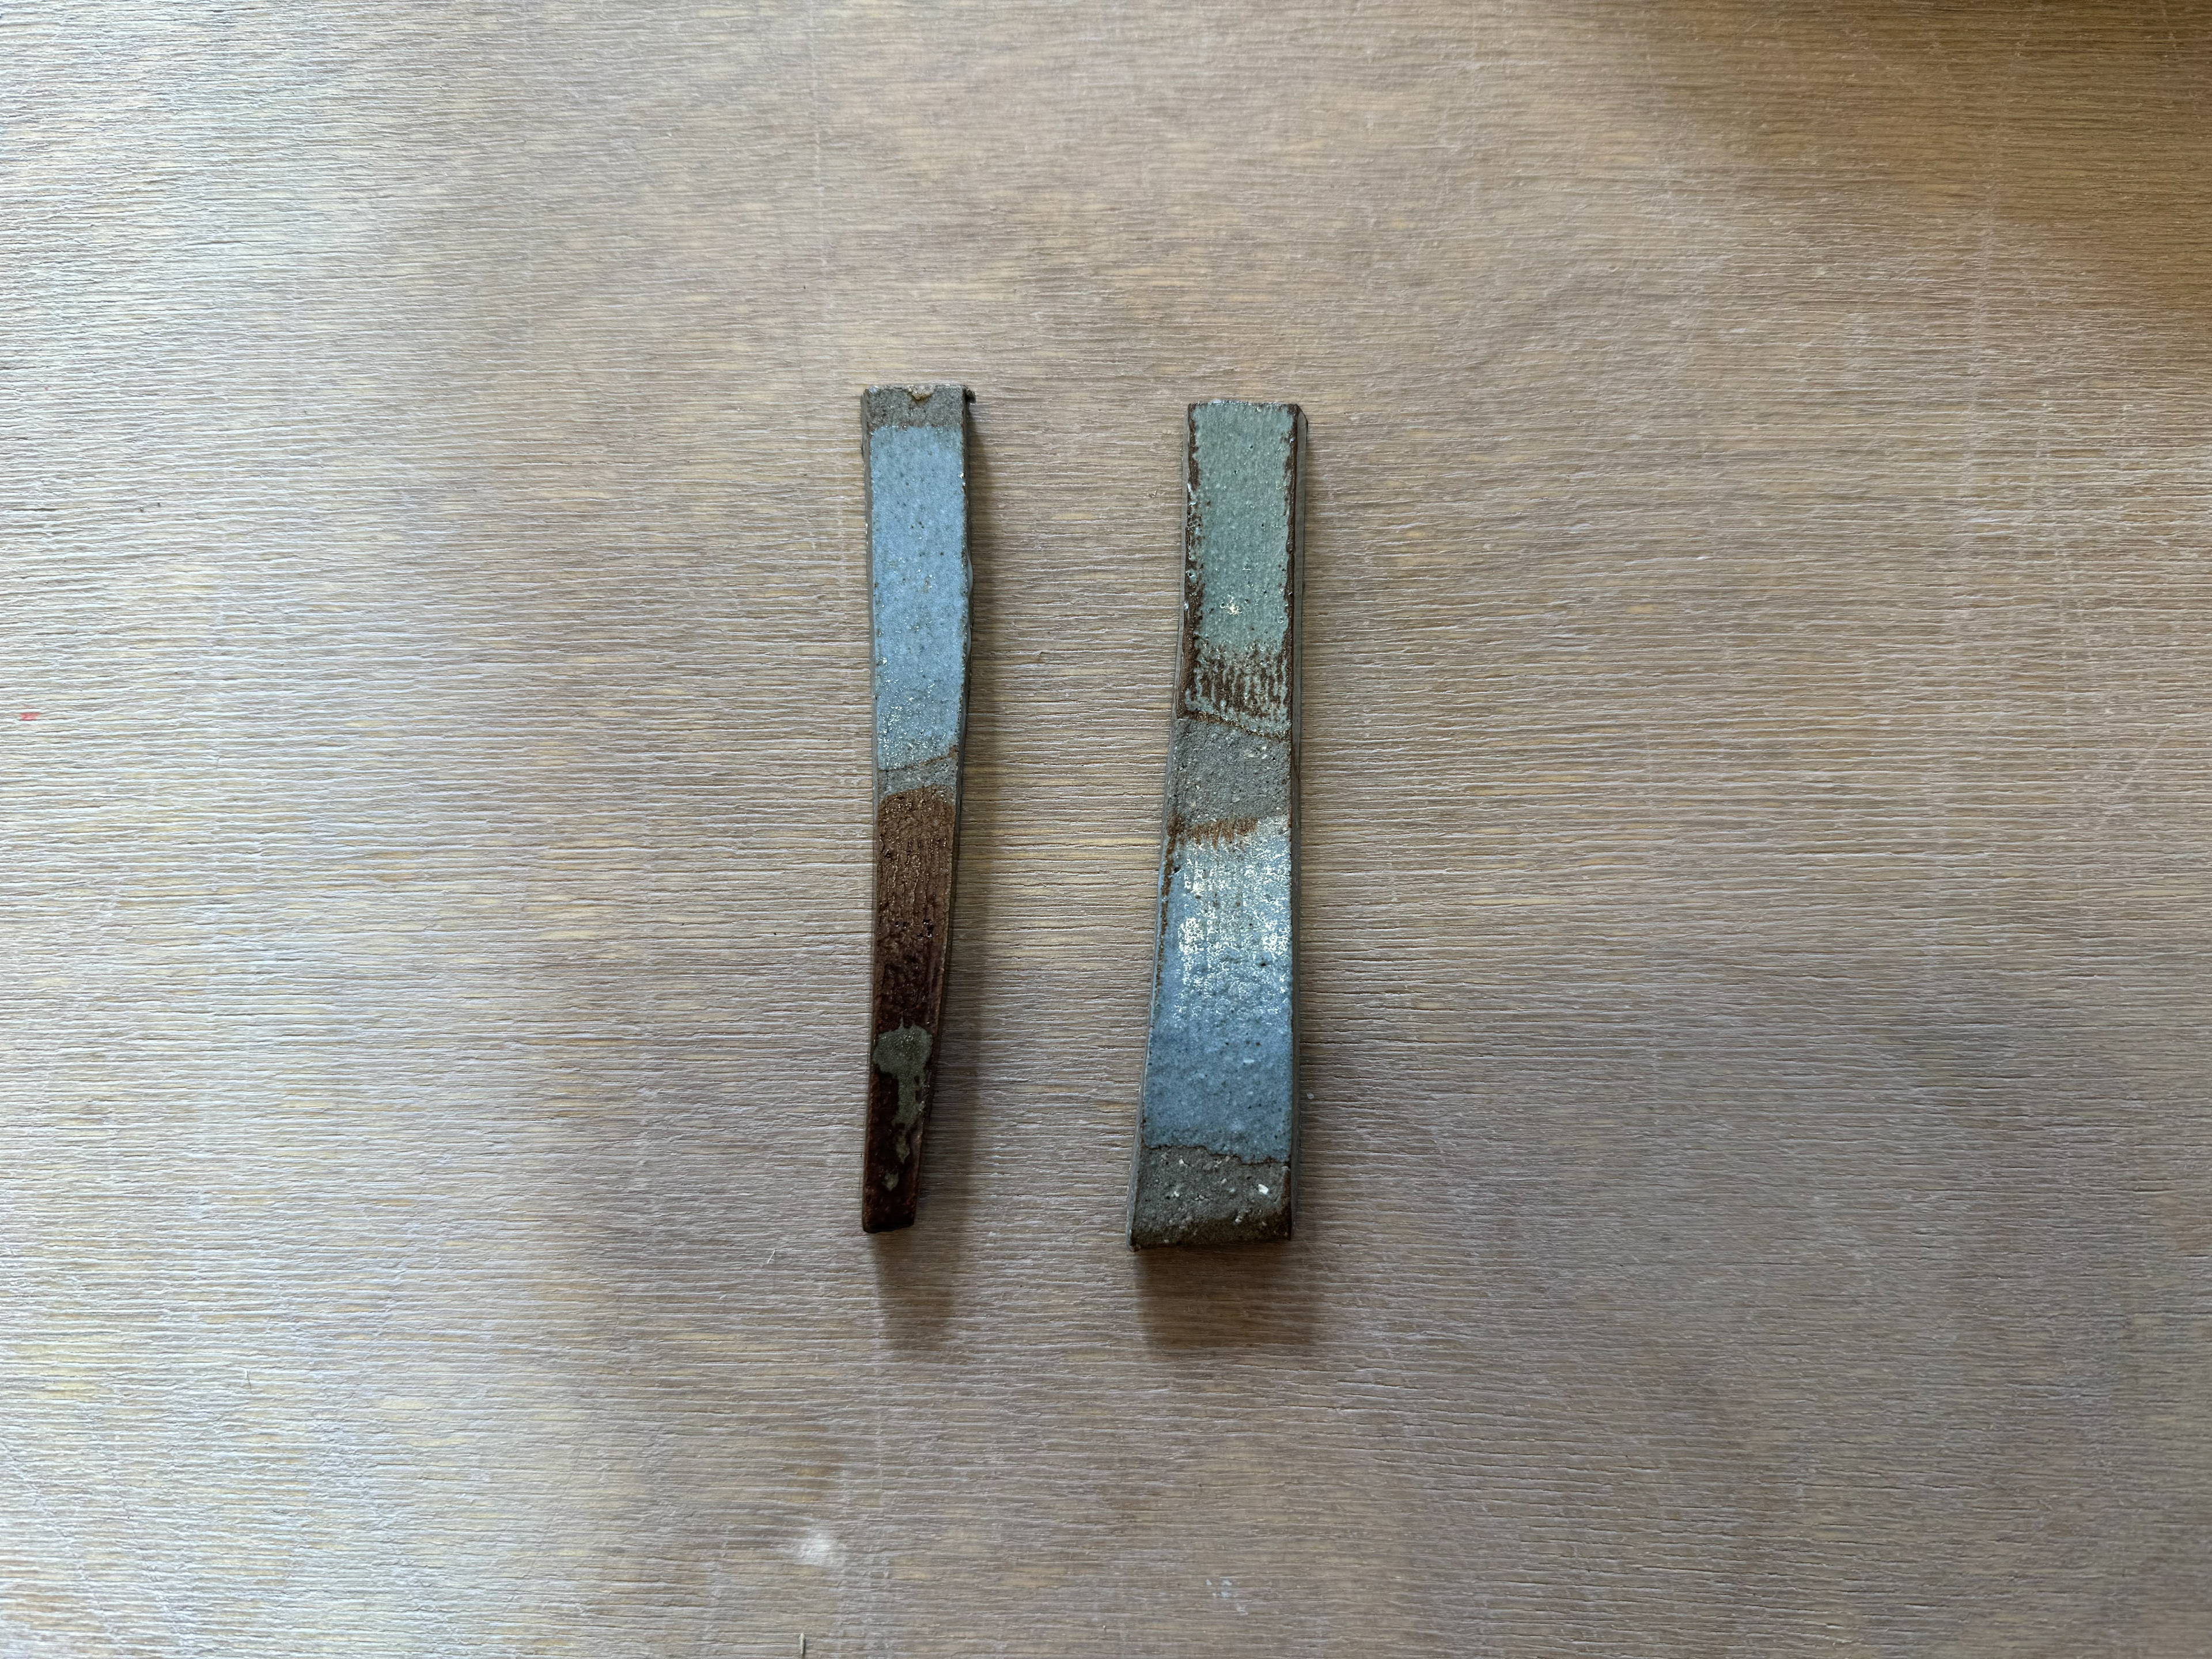
9:1 - 1:9 (Zirconium : Black Tenamoku)
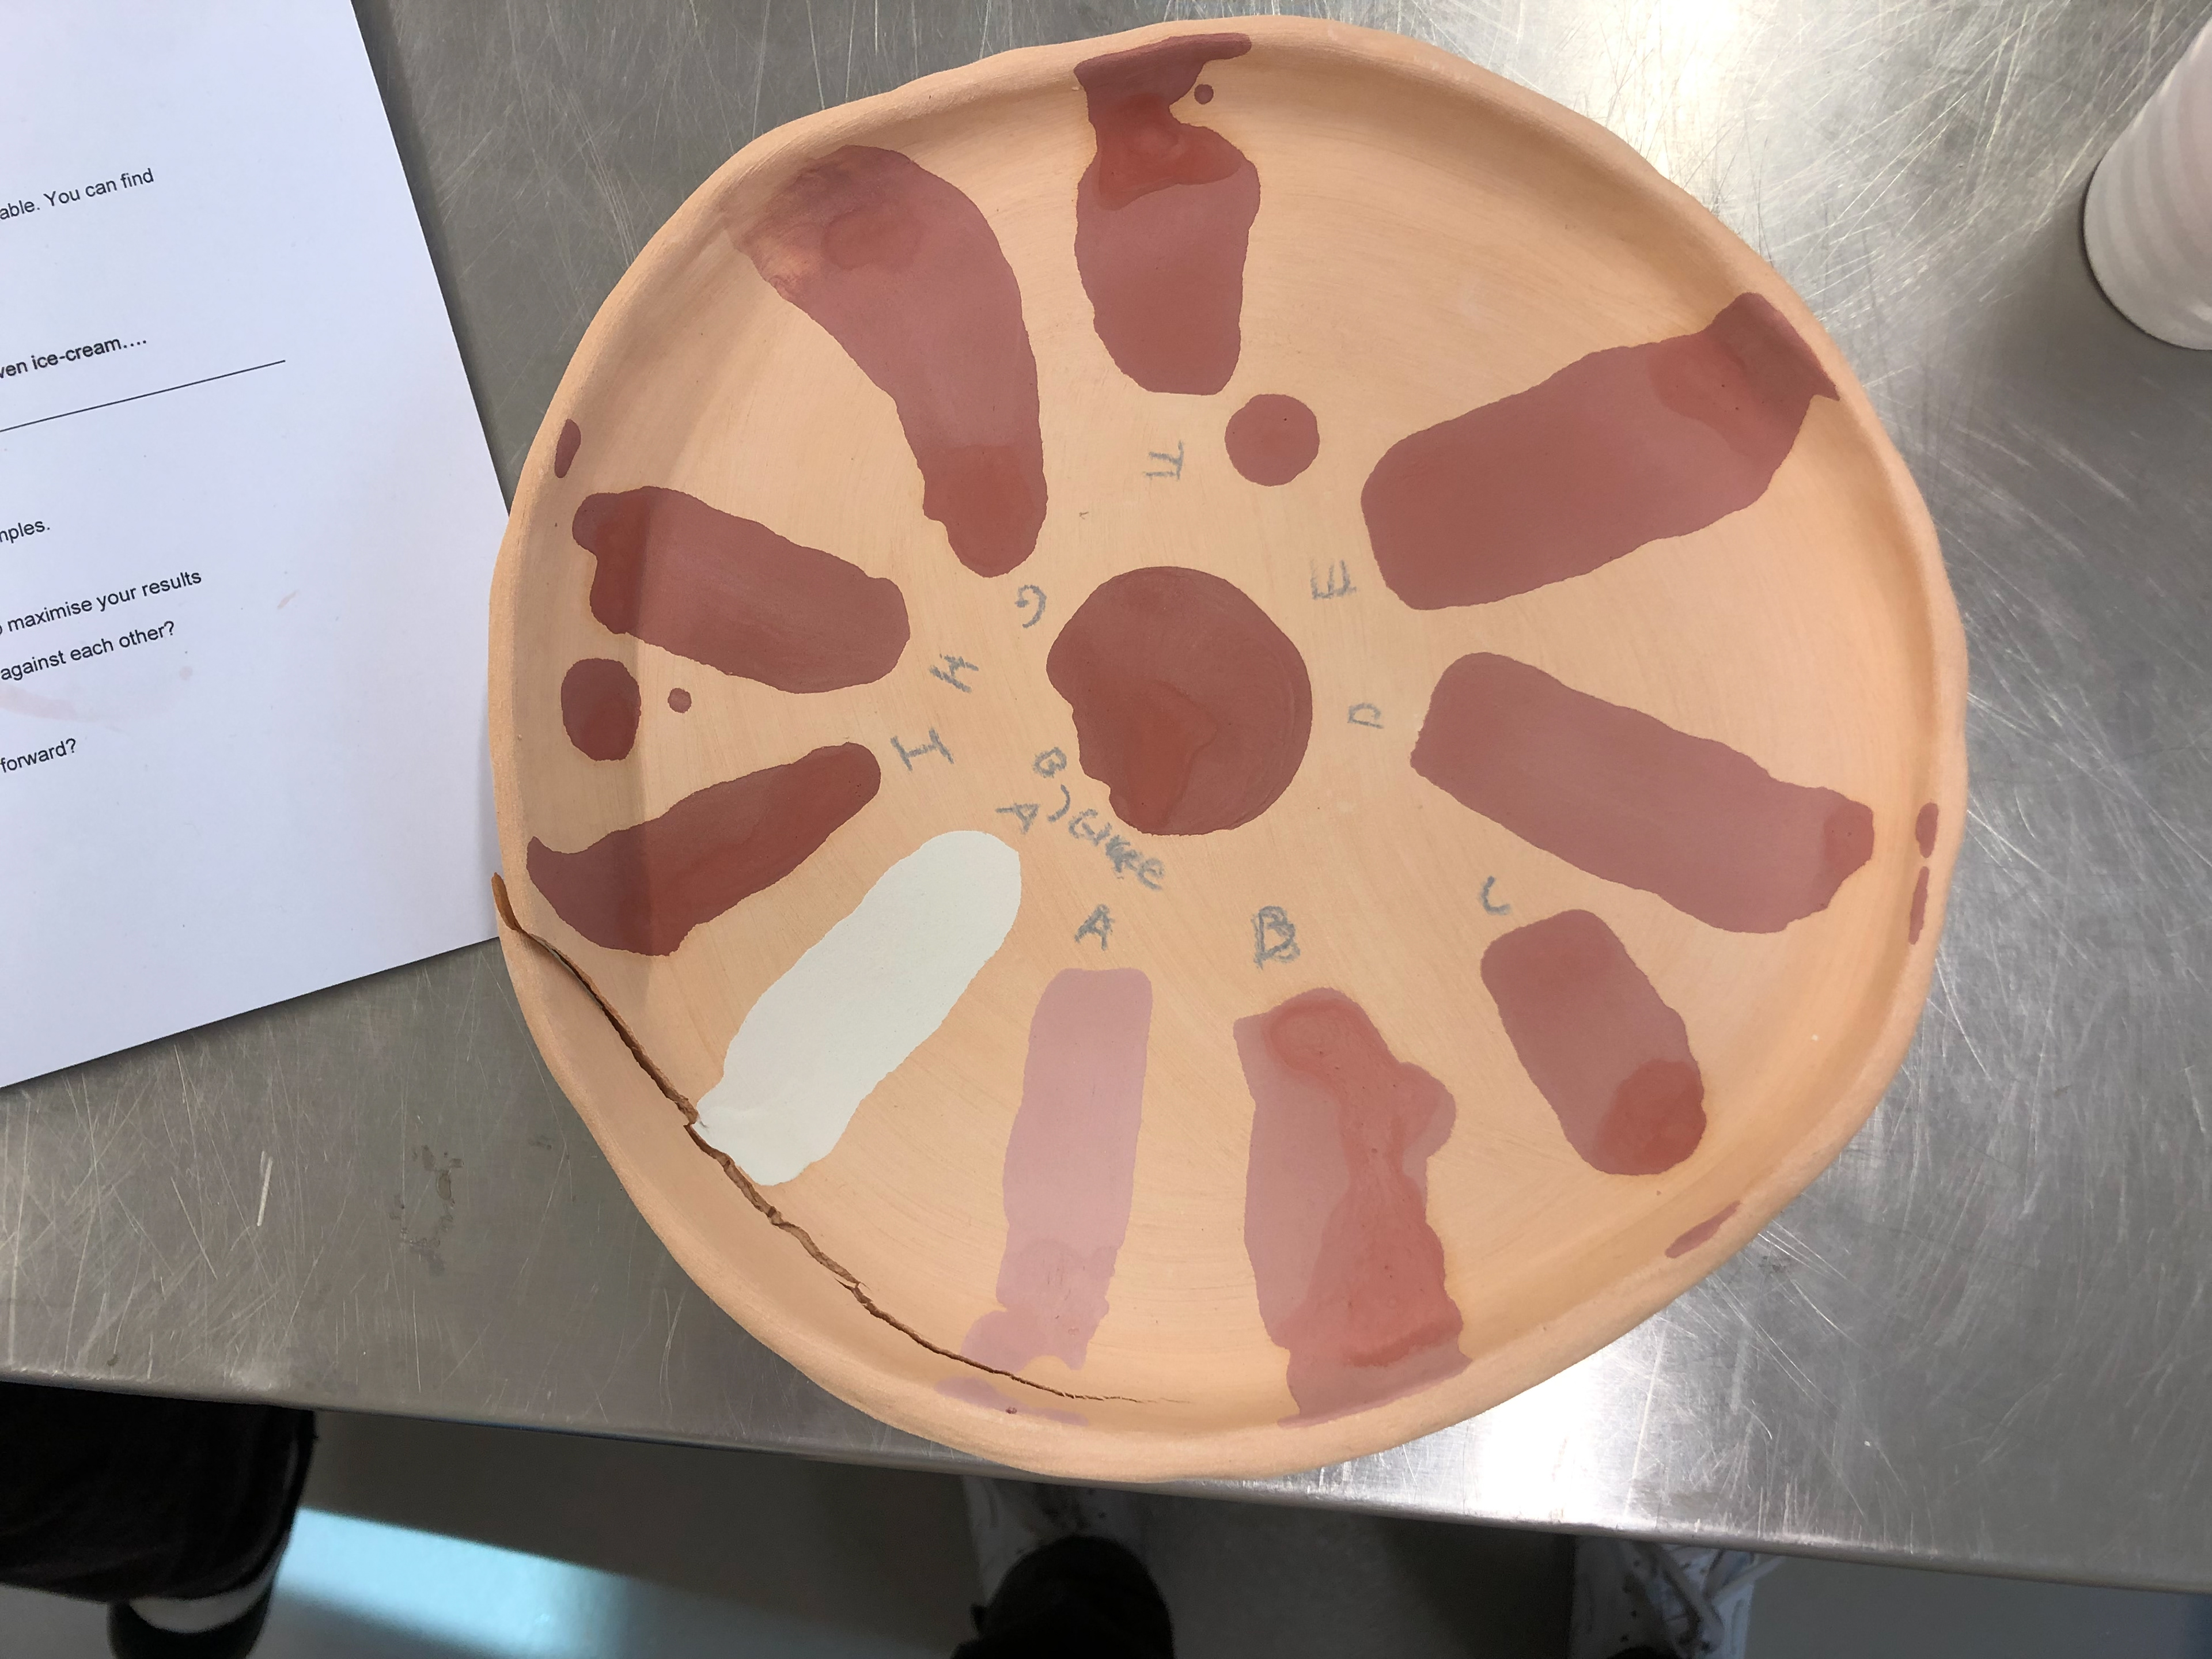
Piece to test the glaze on.

Applying the line blending on the pieces from the slap building
Some of those pieces after firing.
Slip Trailing
I will be mainly using slip trailing in my project because after my research into pad printing. I can mimic the technique of pad printing by using Slip, providing I can get it thick enough. I also included the crushed up ceramic piece that I also used to try and replicate the pad pricing process but it didn't work out too well.
Rolled out slab with marking from cloth. I wanted to keep the lines because it "added character"
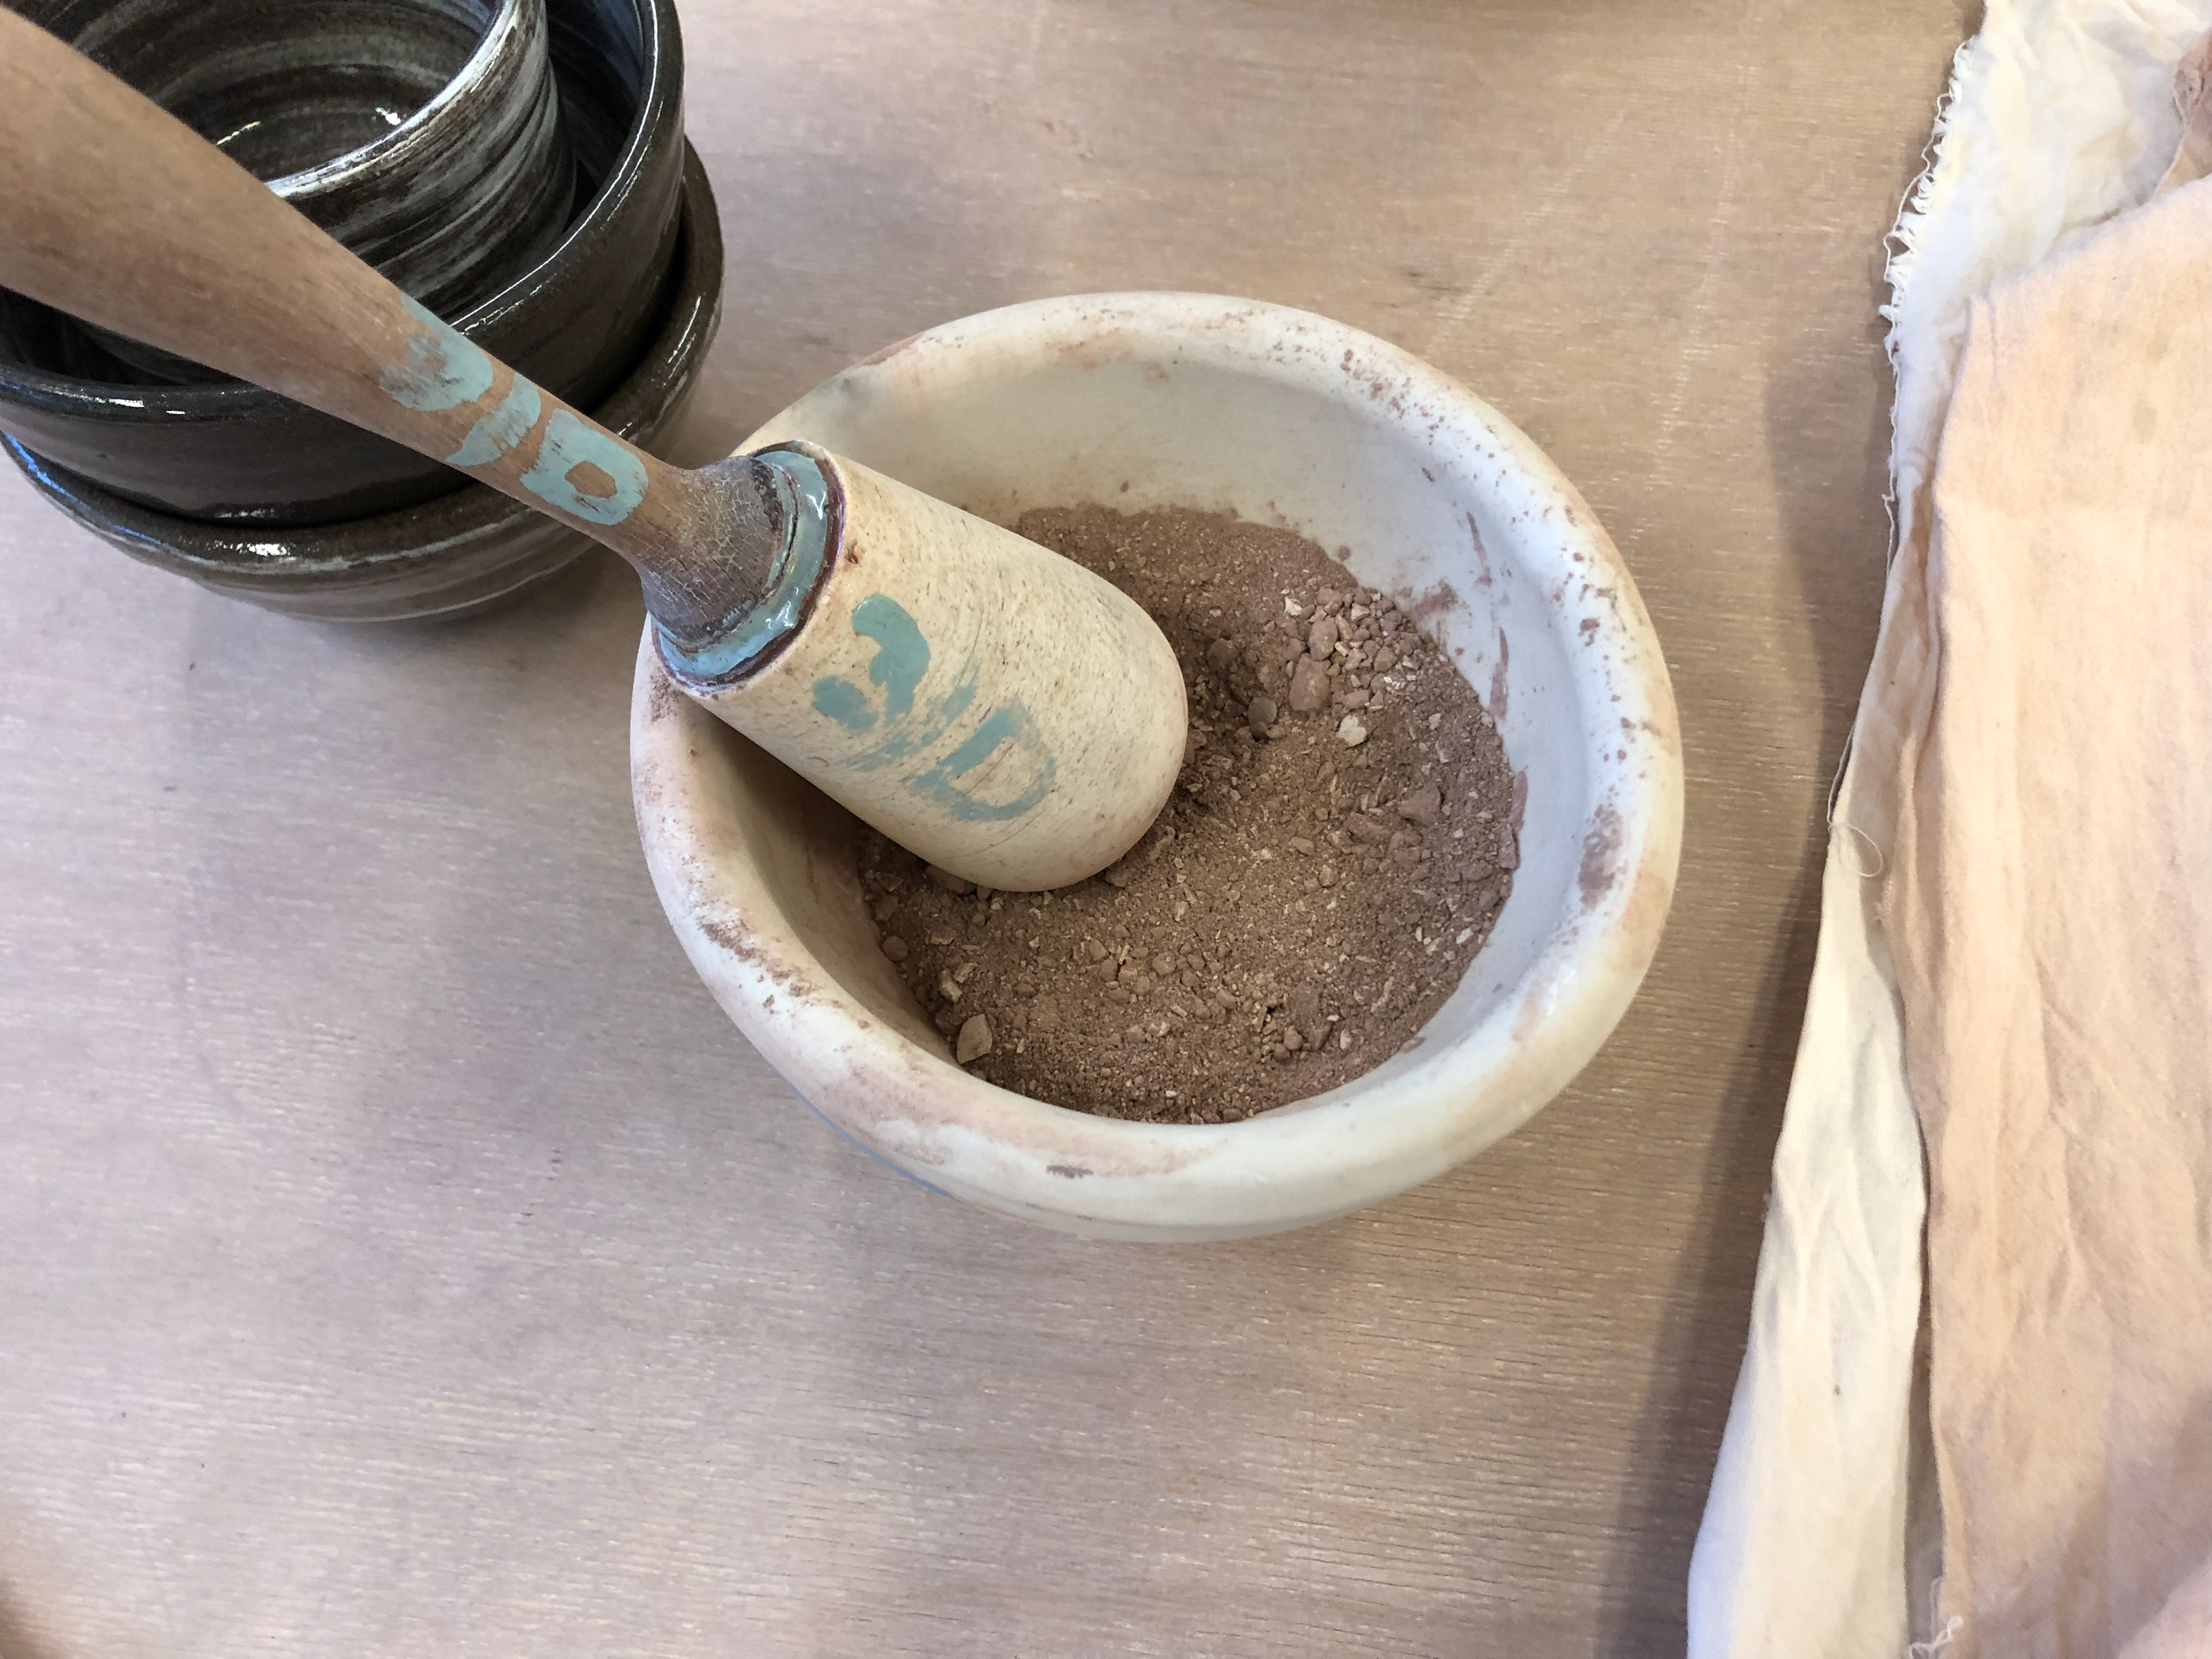
Crushed up leather hard clay
The crushed up leather hard clay rolled into clay

Bare pieces for slip to be applied too
Pieces after slip has been applied
Mixing slip similar to line blending
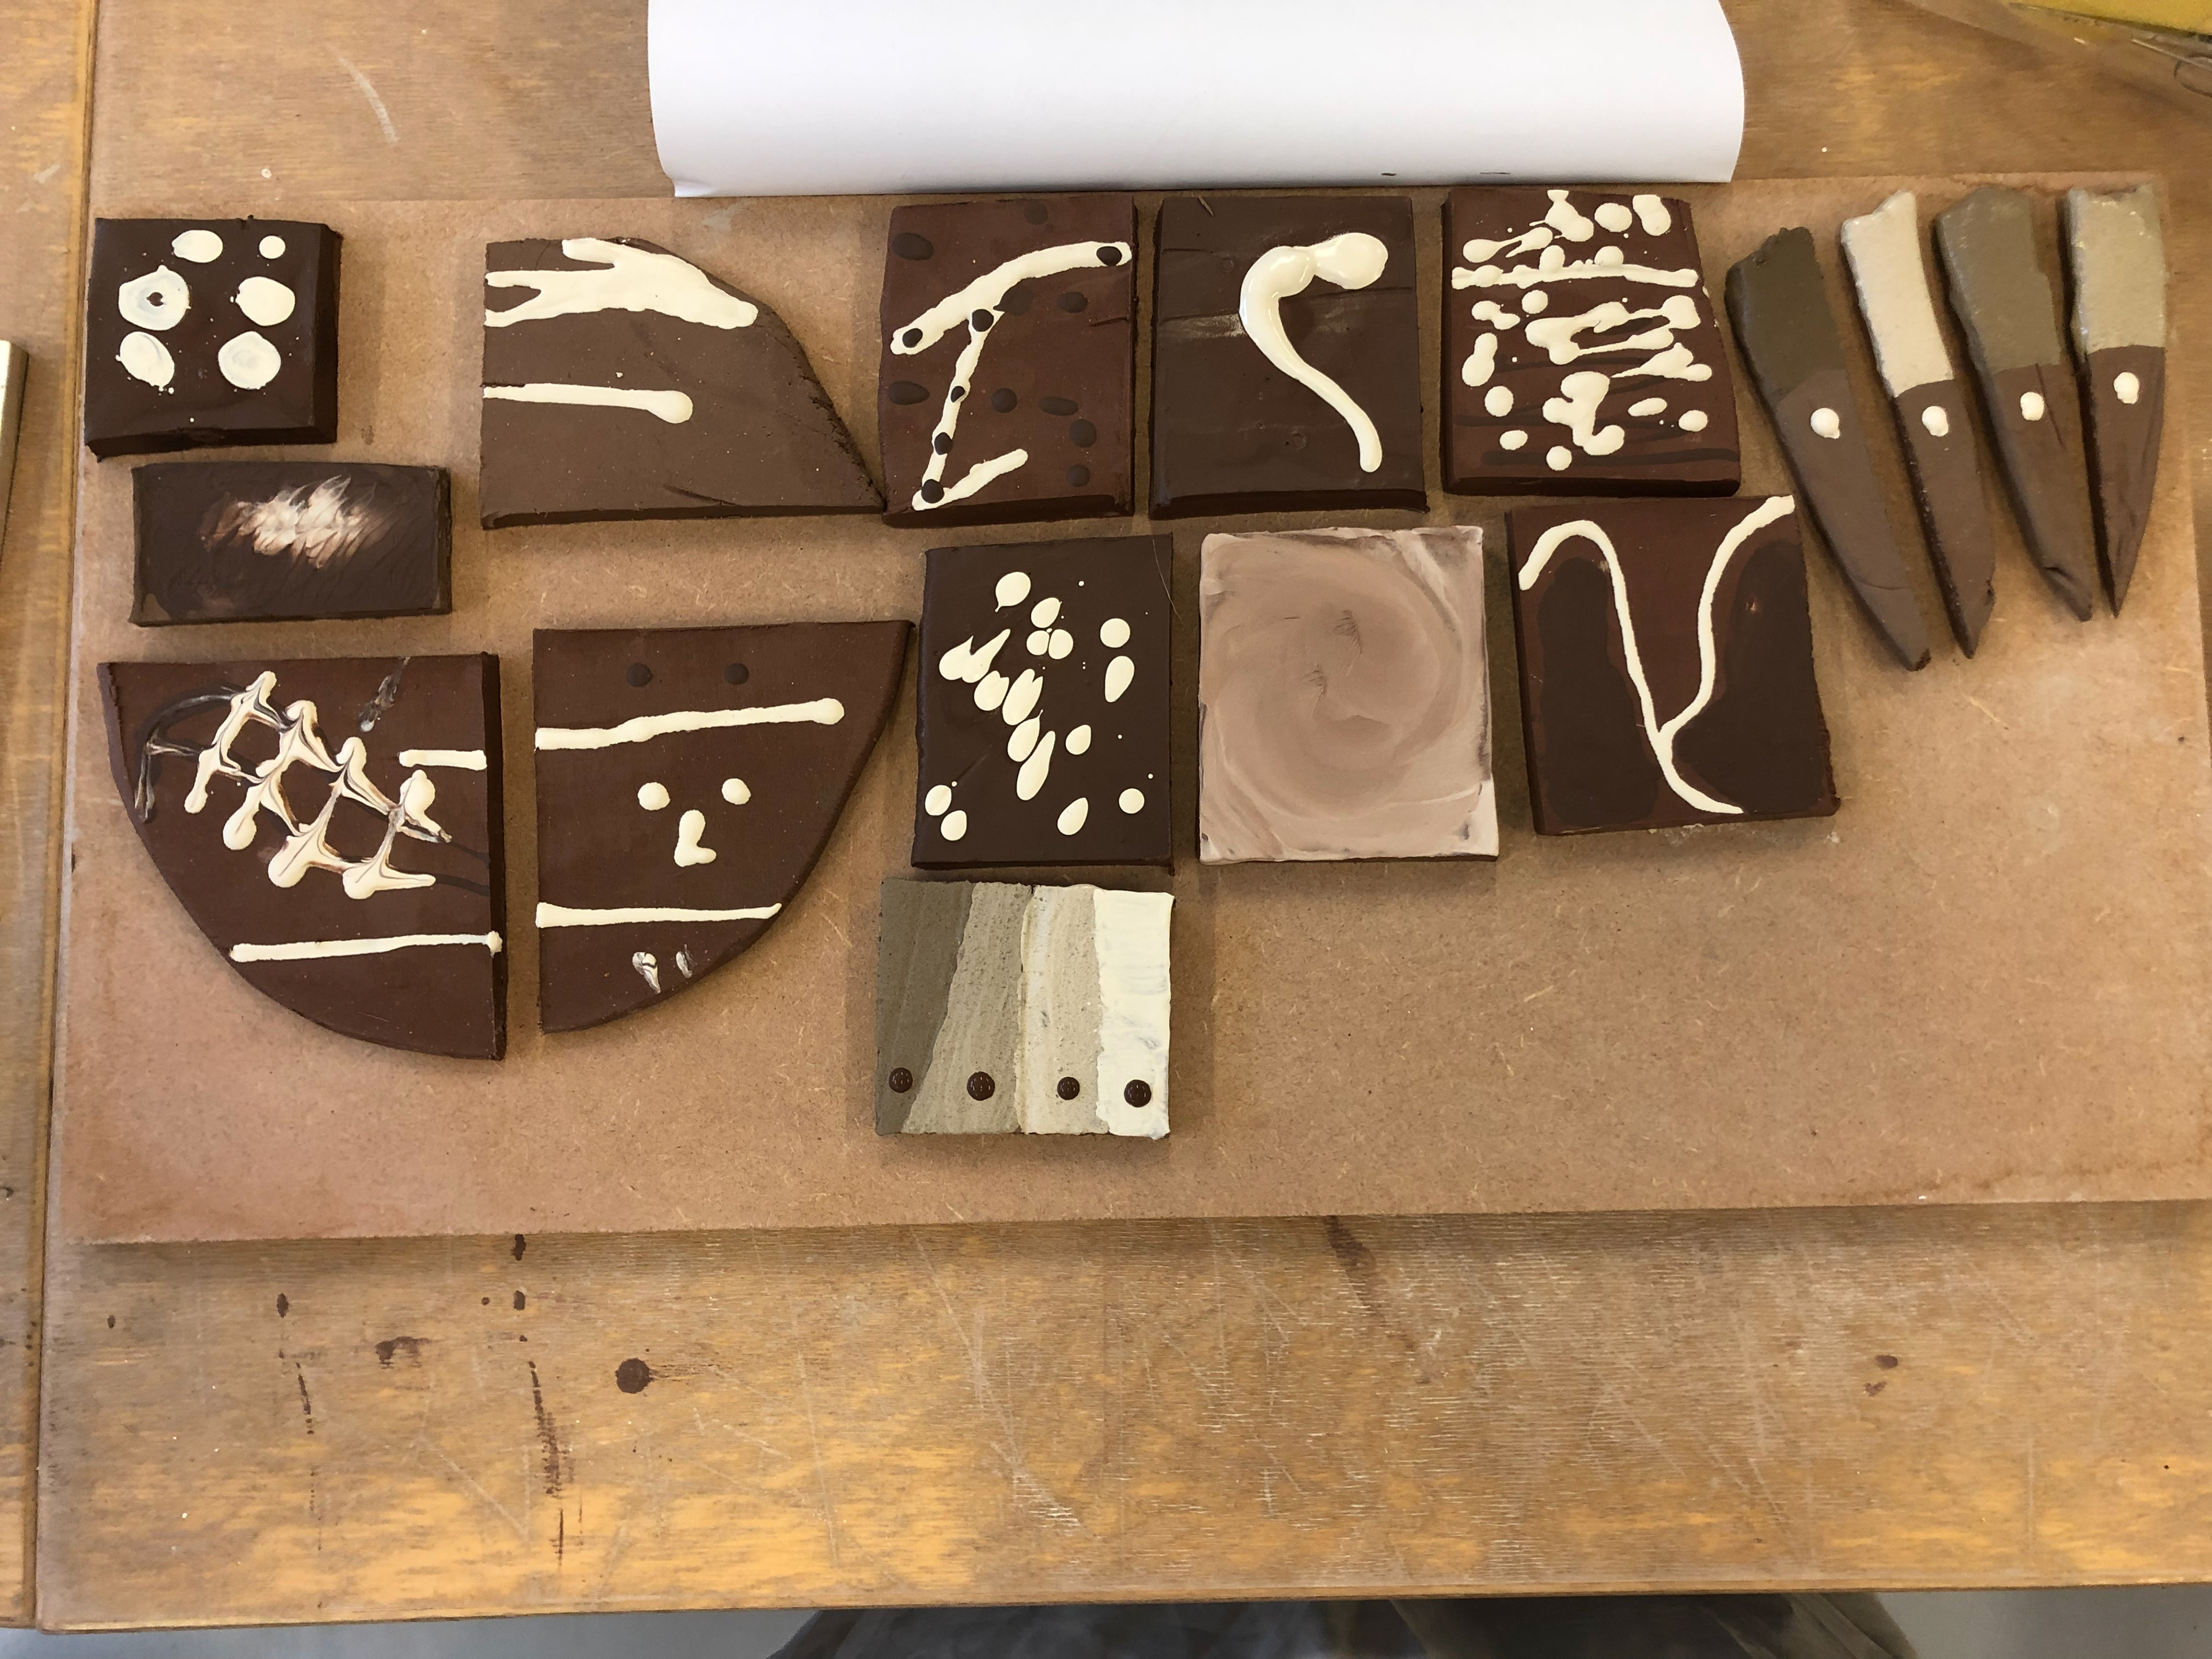
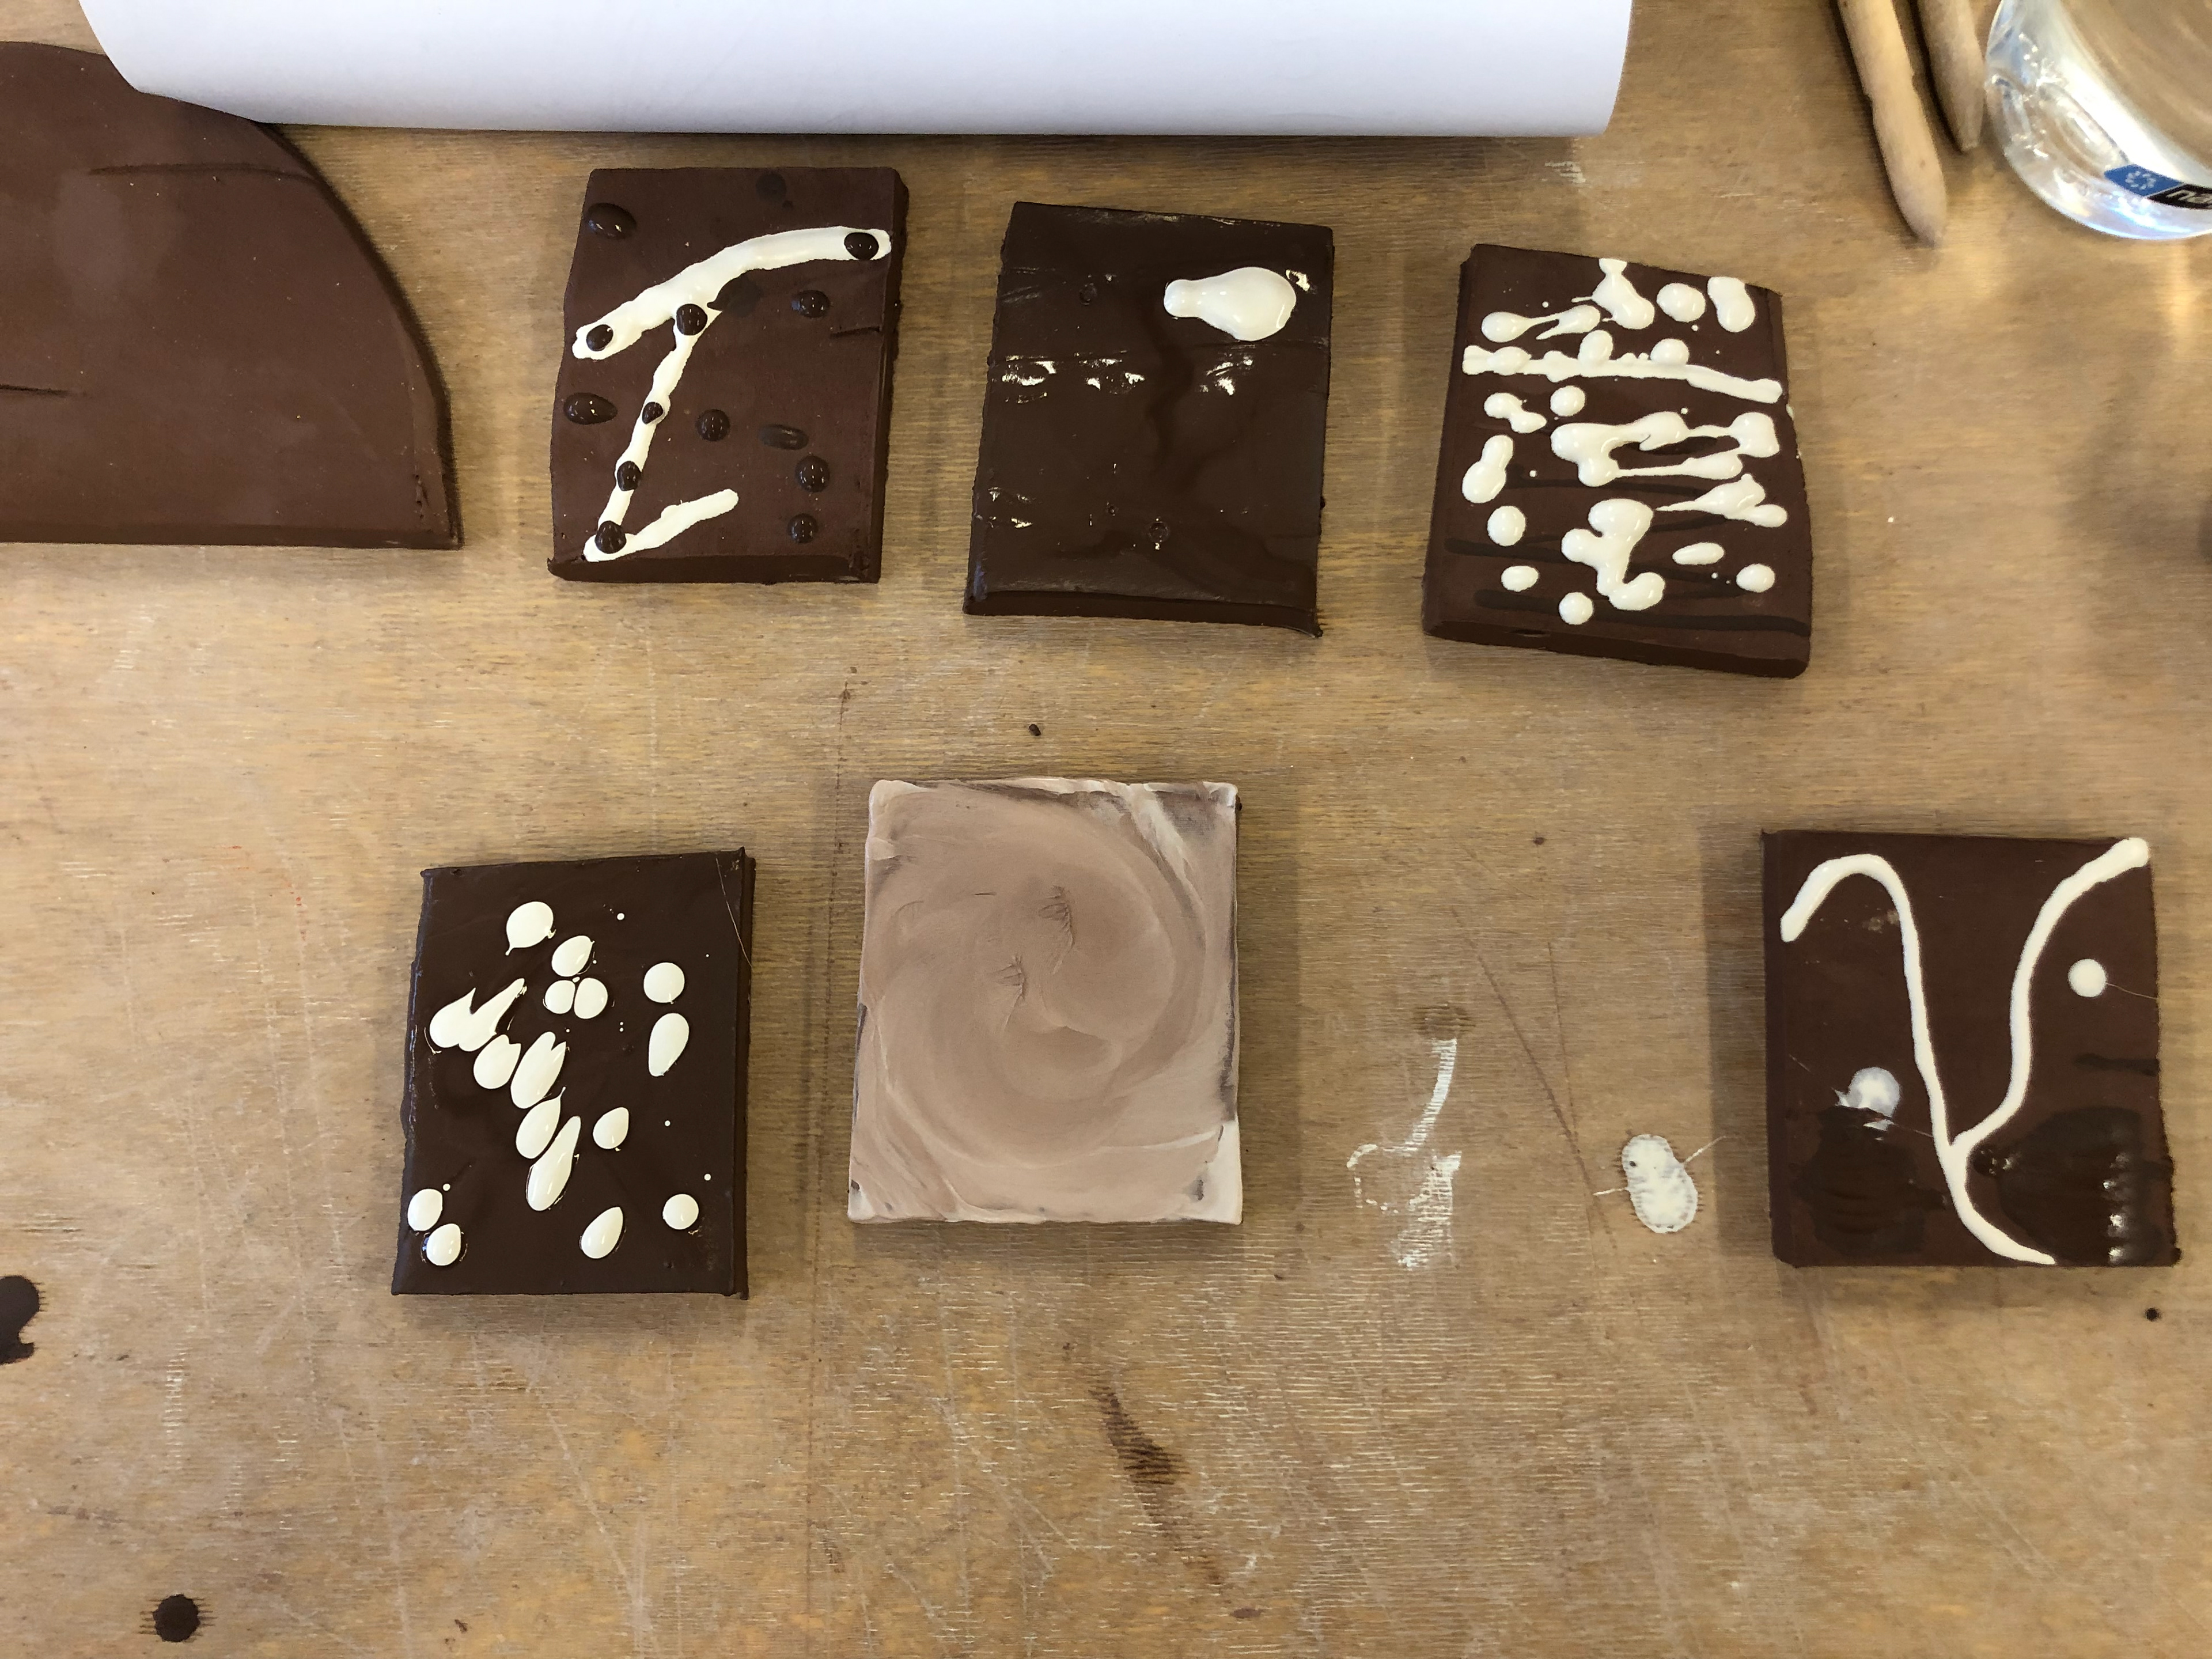
All my pieces after using the slip trail
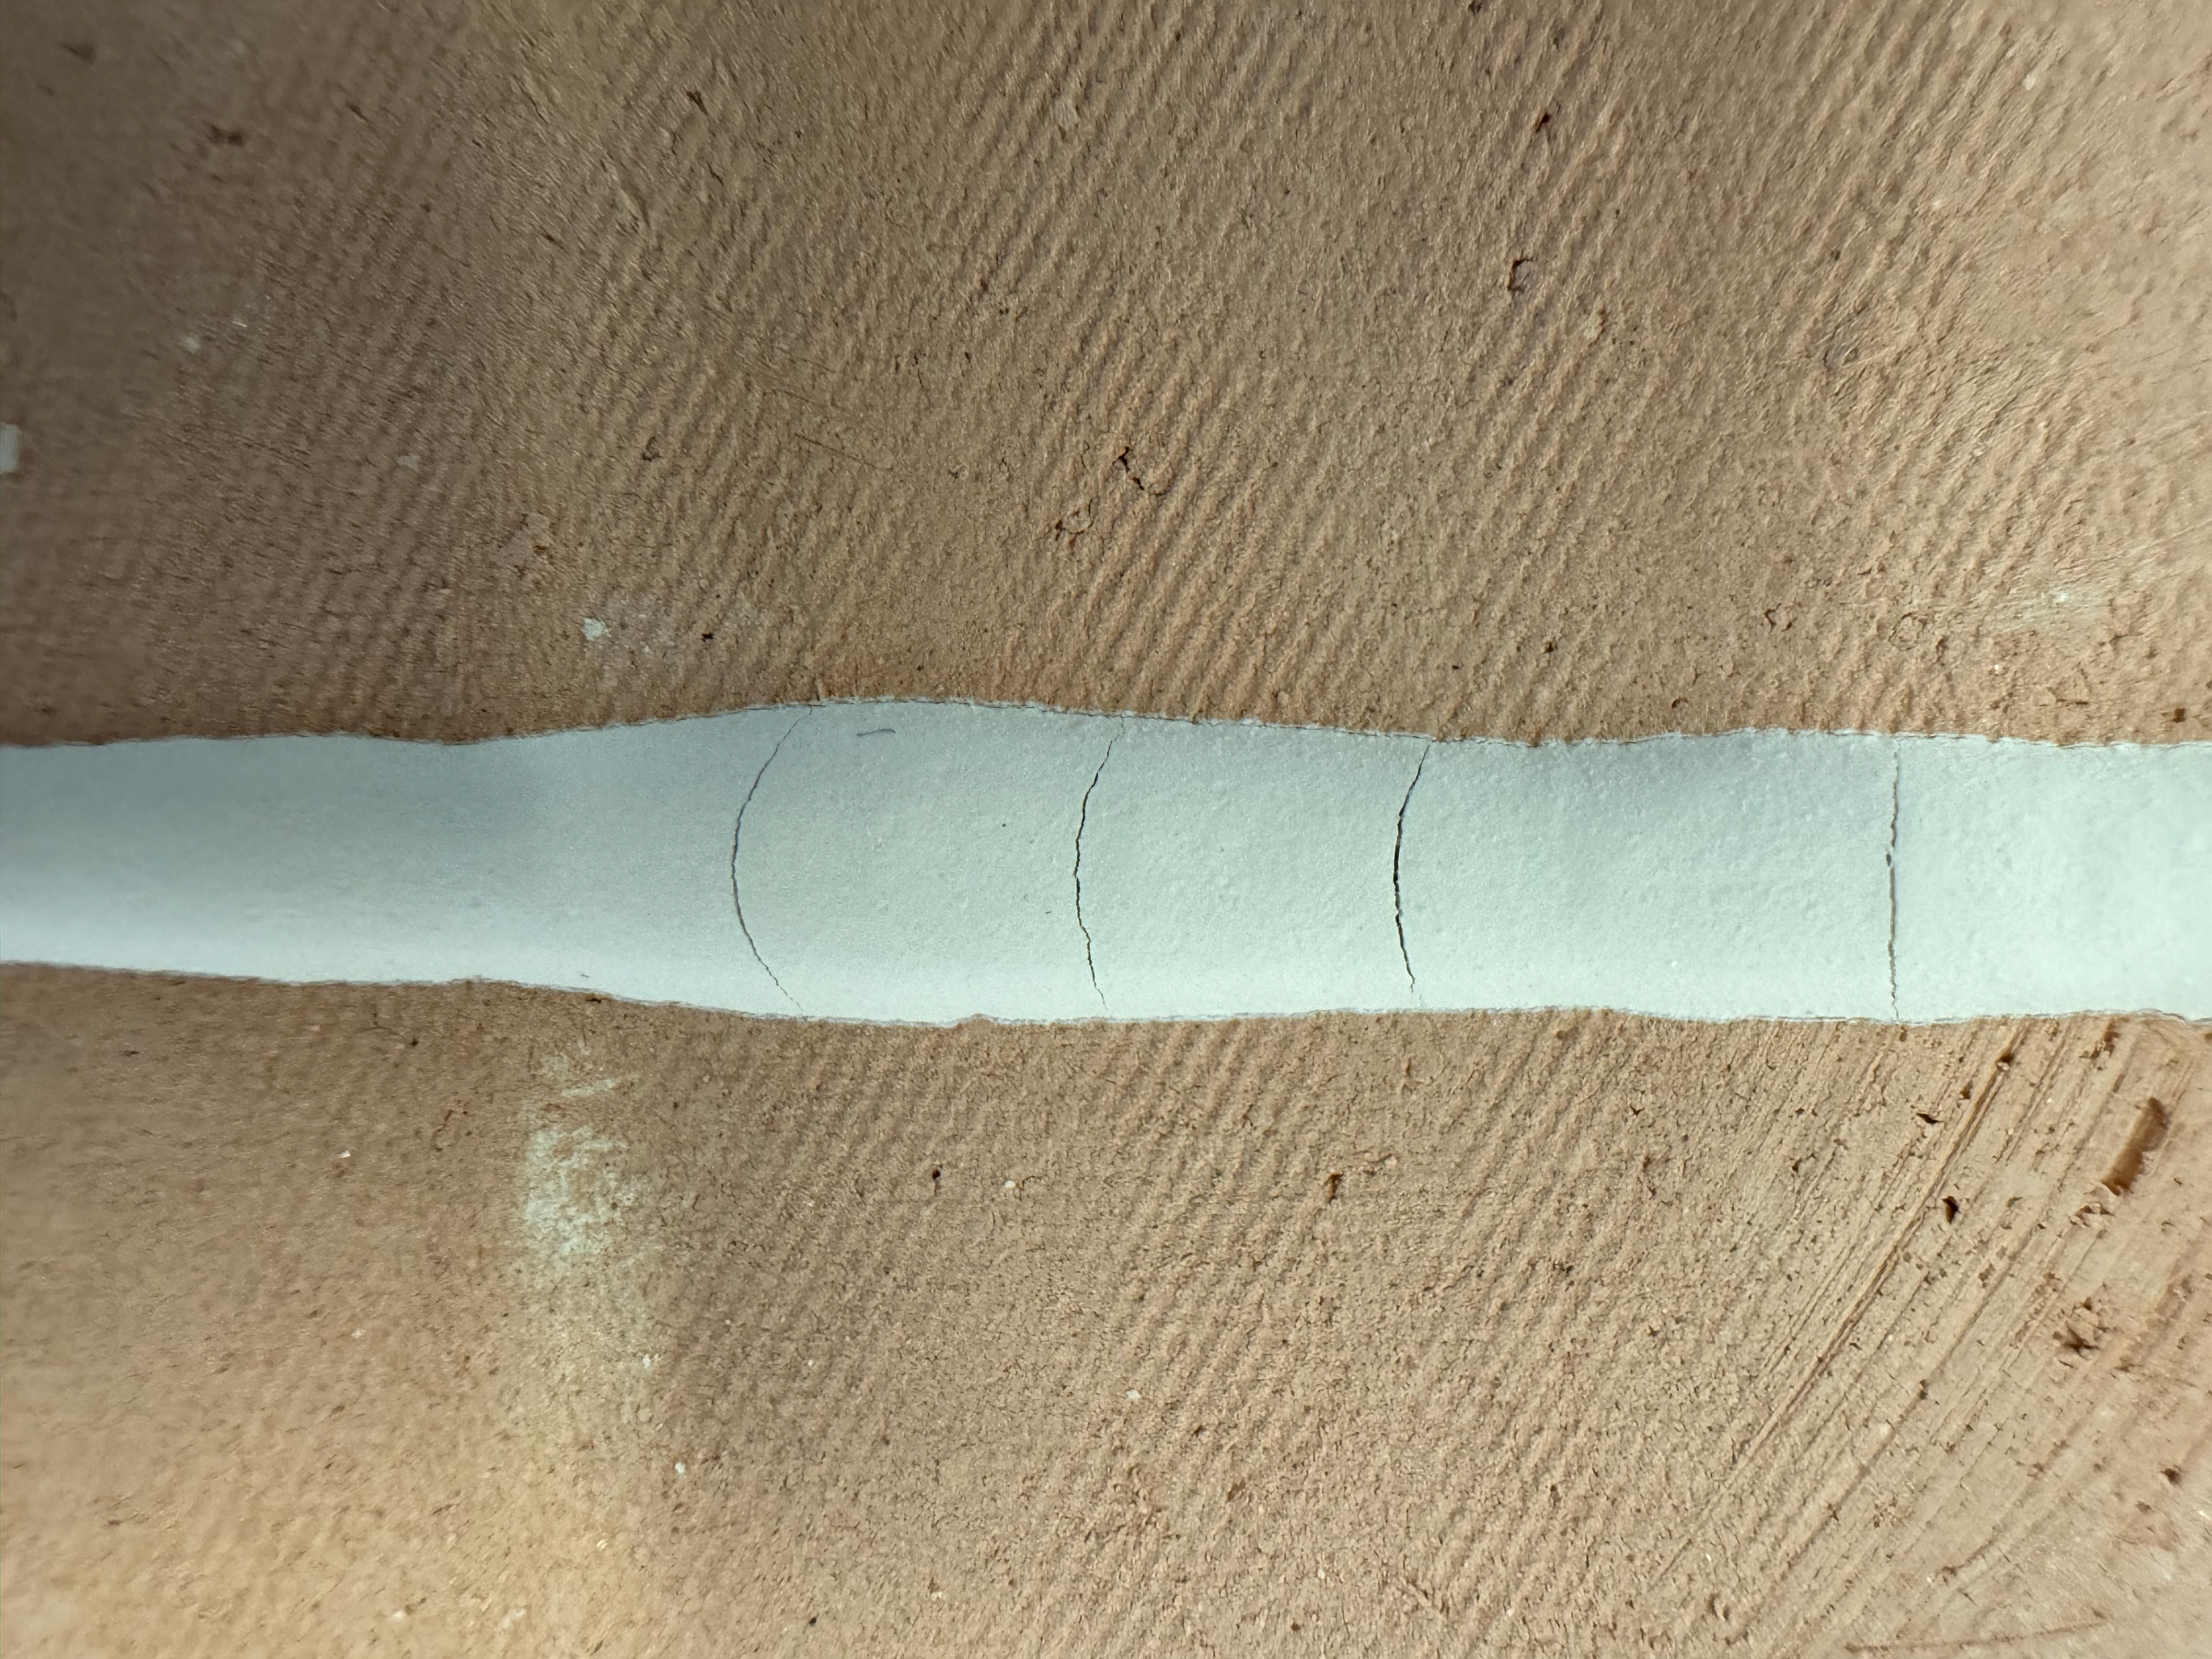
Slip cracked after firing
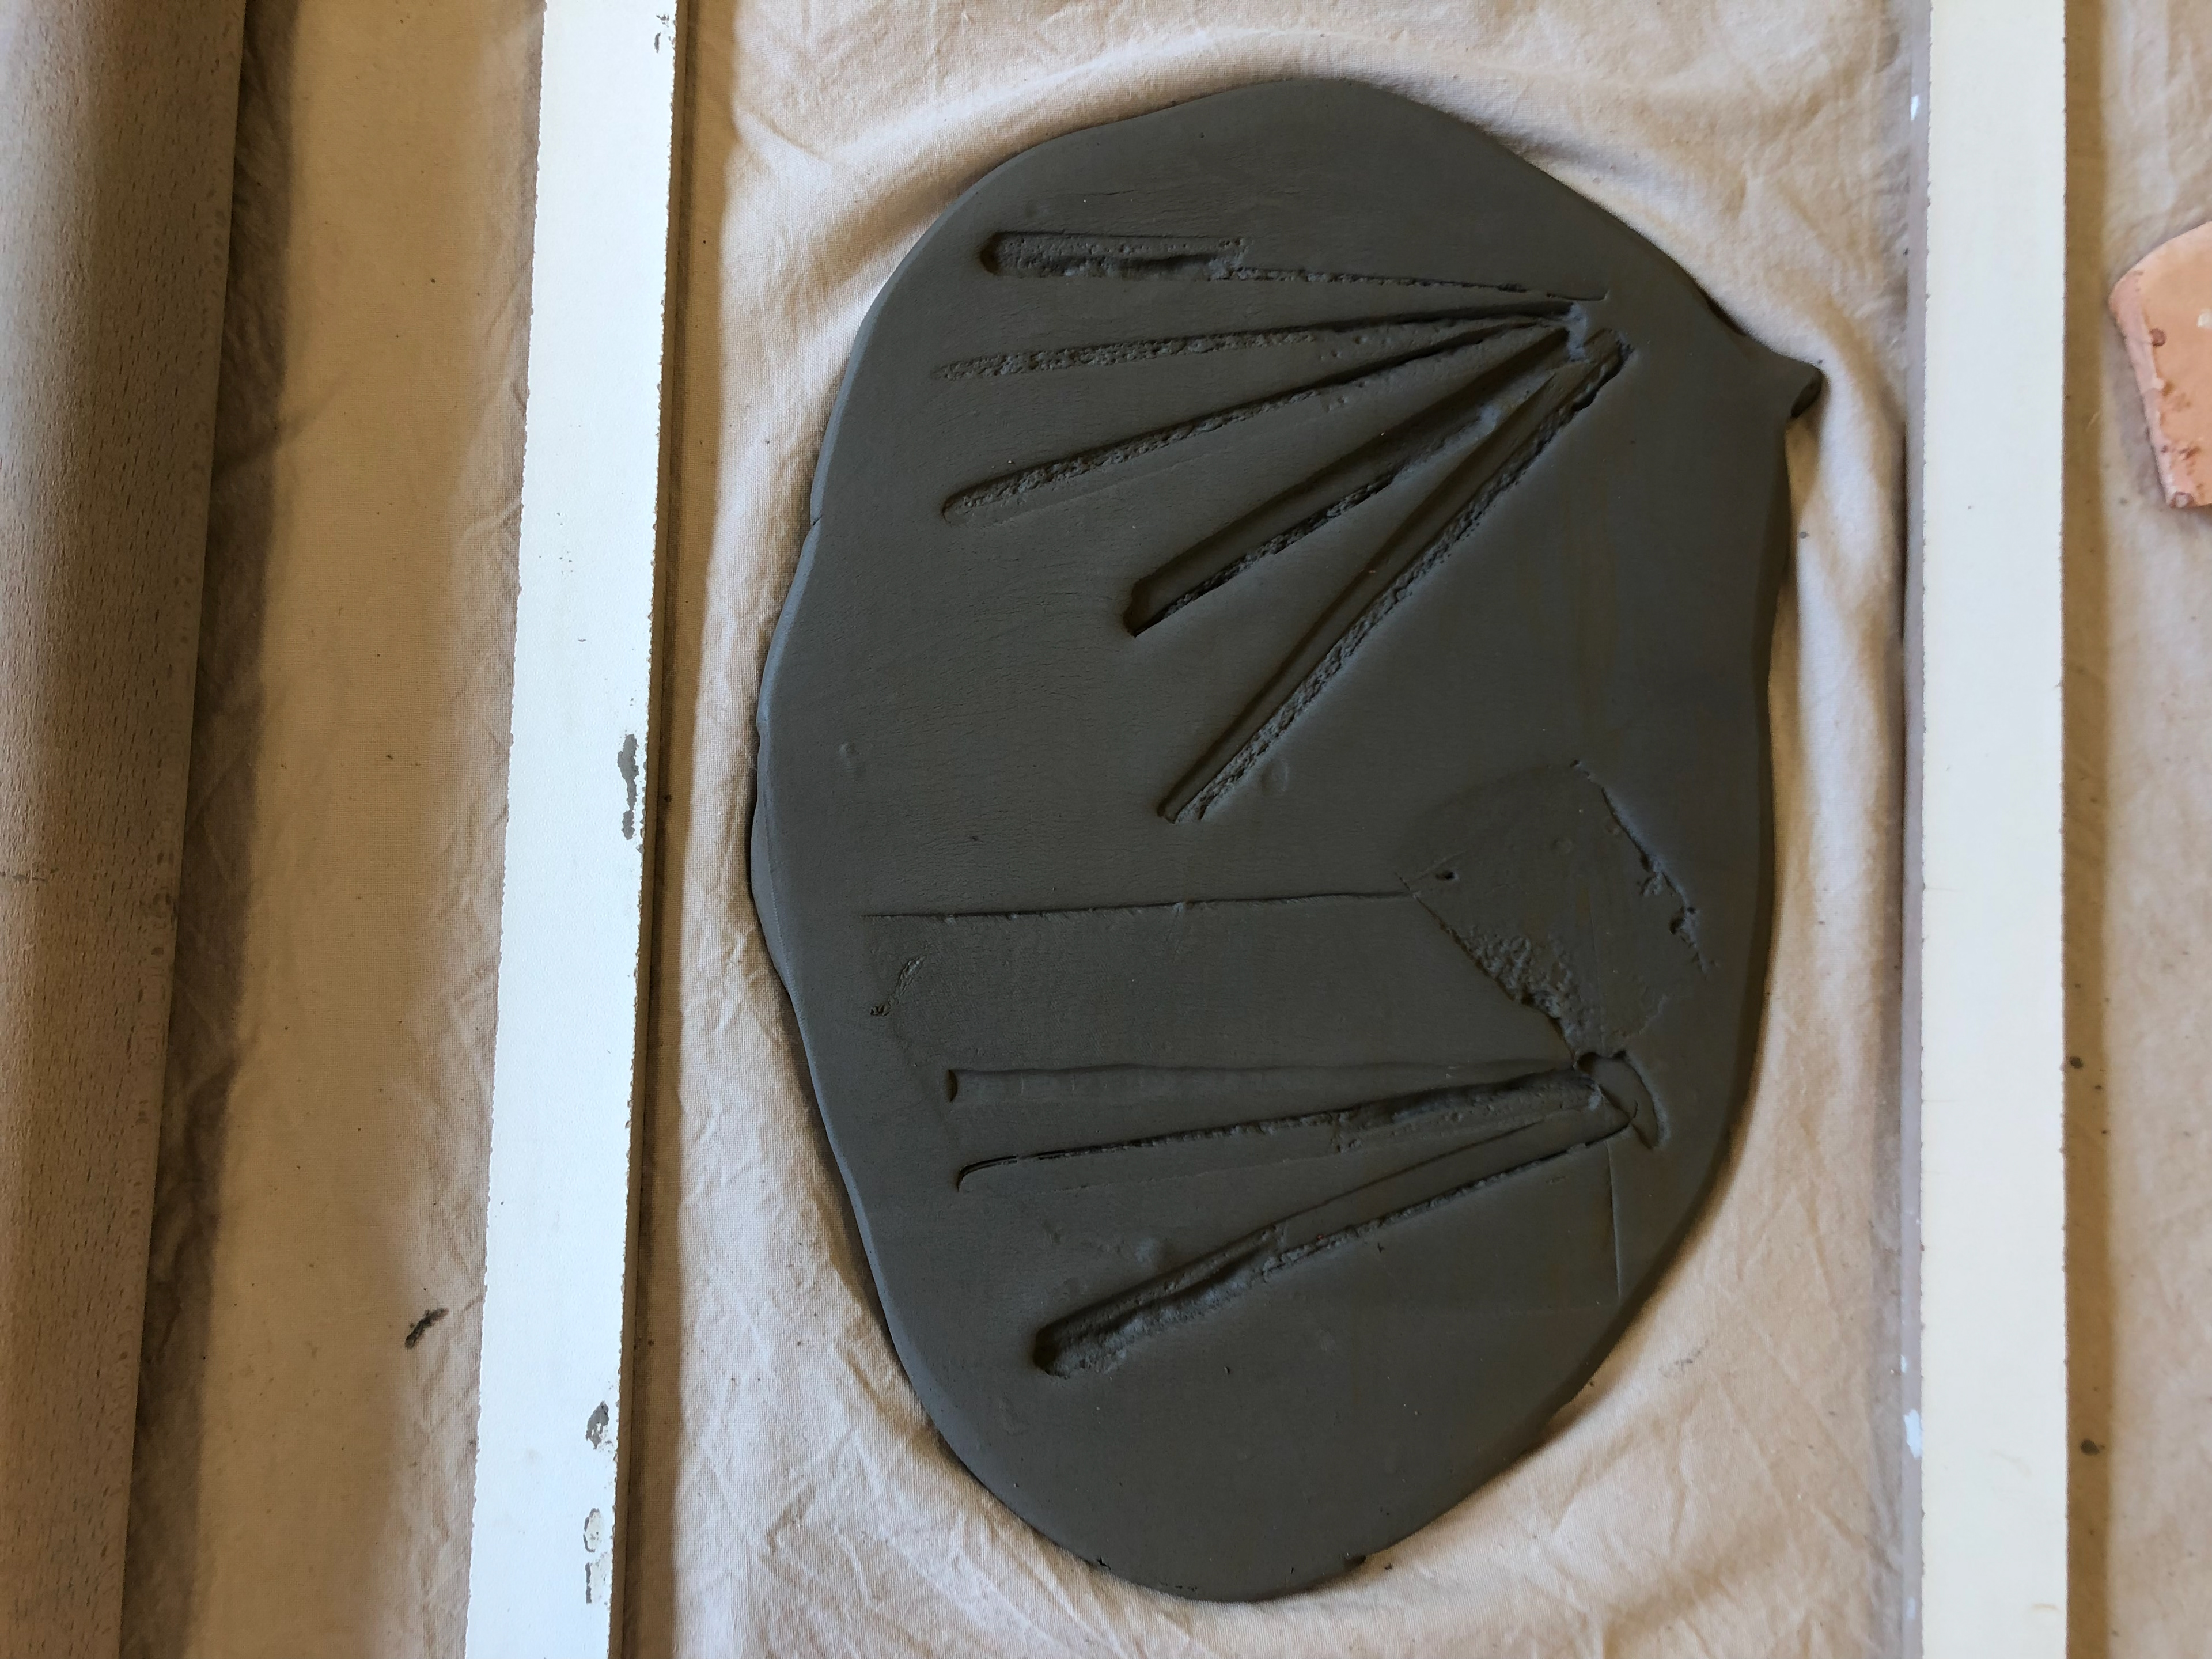
Imprints into clay to mimic pad printing.
The result I wanted
Practical research of Pad Printing
After my red list research of Watch making, I dialled in on watch dials. During my research I came across pad printing and after doing the Slip trailing, I realised I could do my own version of pad printing. My process is an innovation on pad printing. I use slip trailing to imprint into clay. The slip trail will be the design and then printed into the final piece. During my research I want to make sure this process will work and I can execute it well.
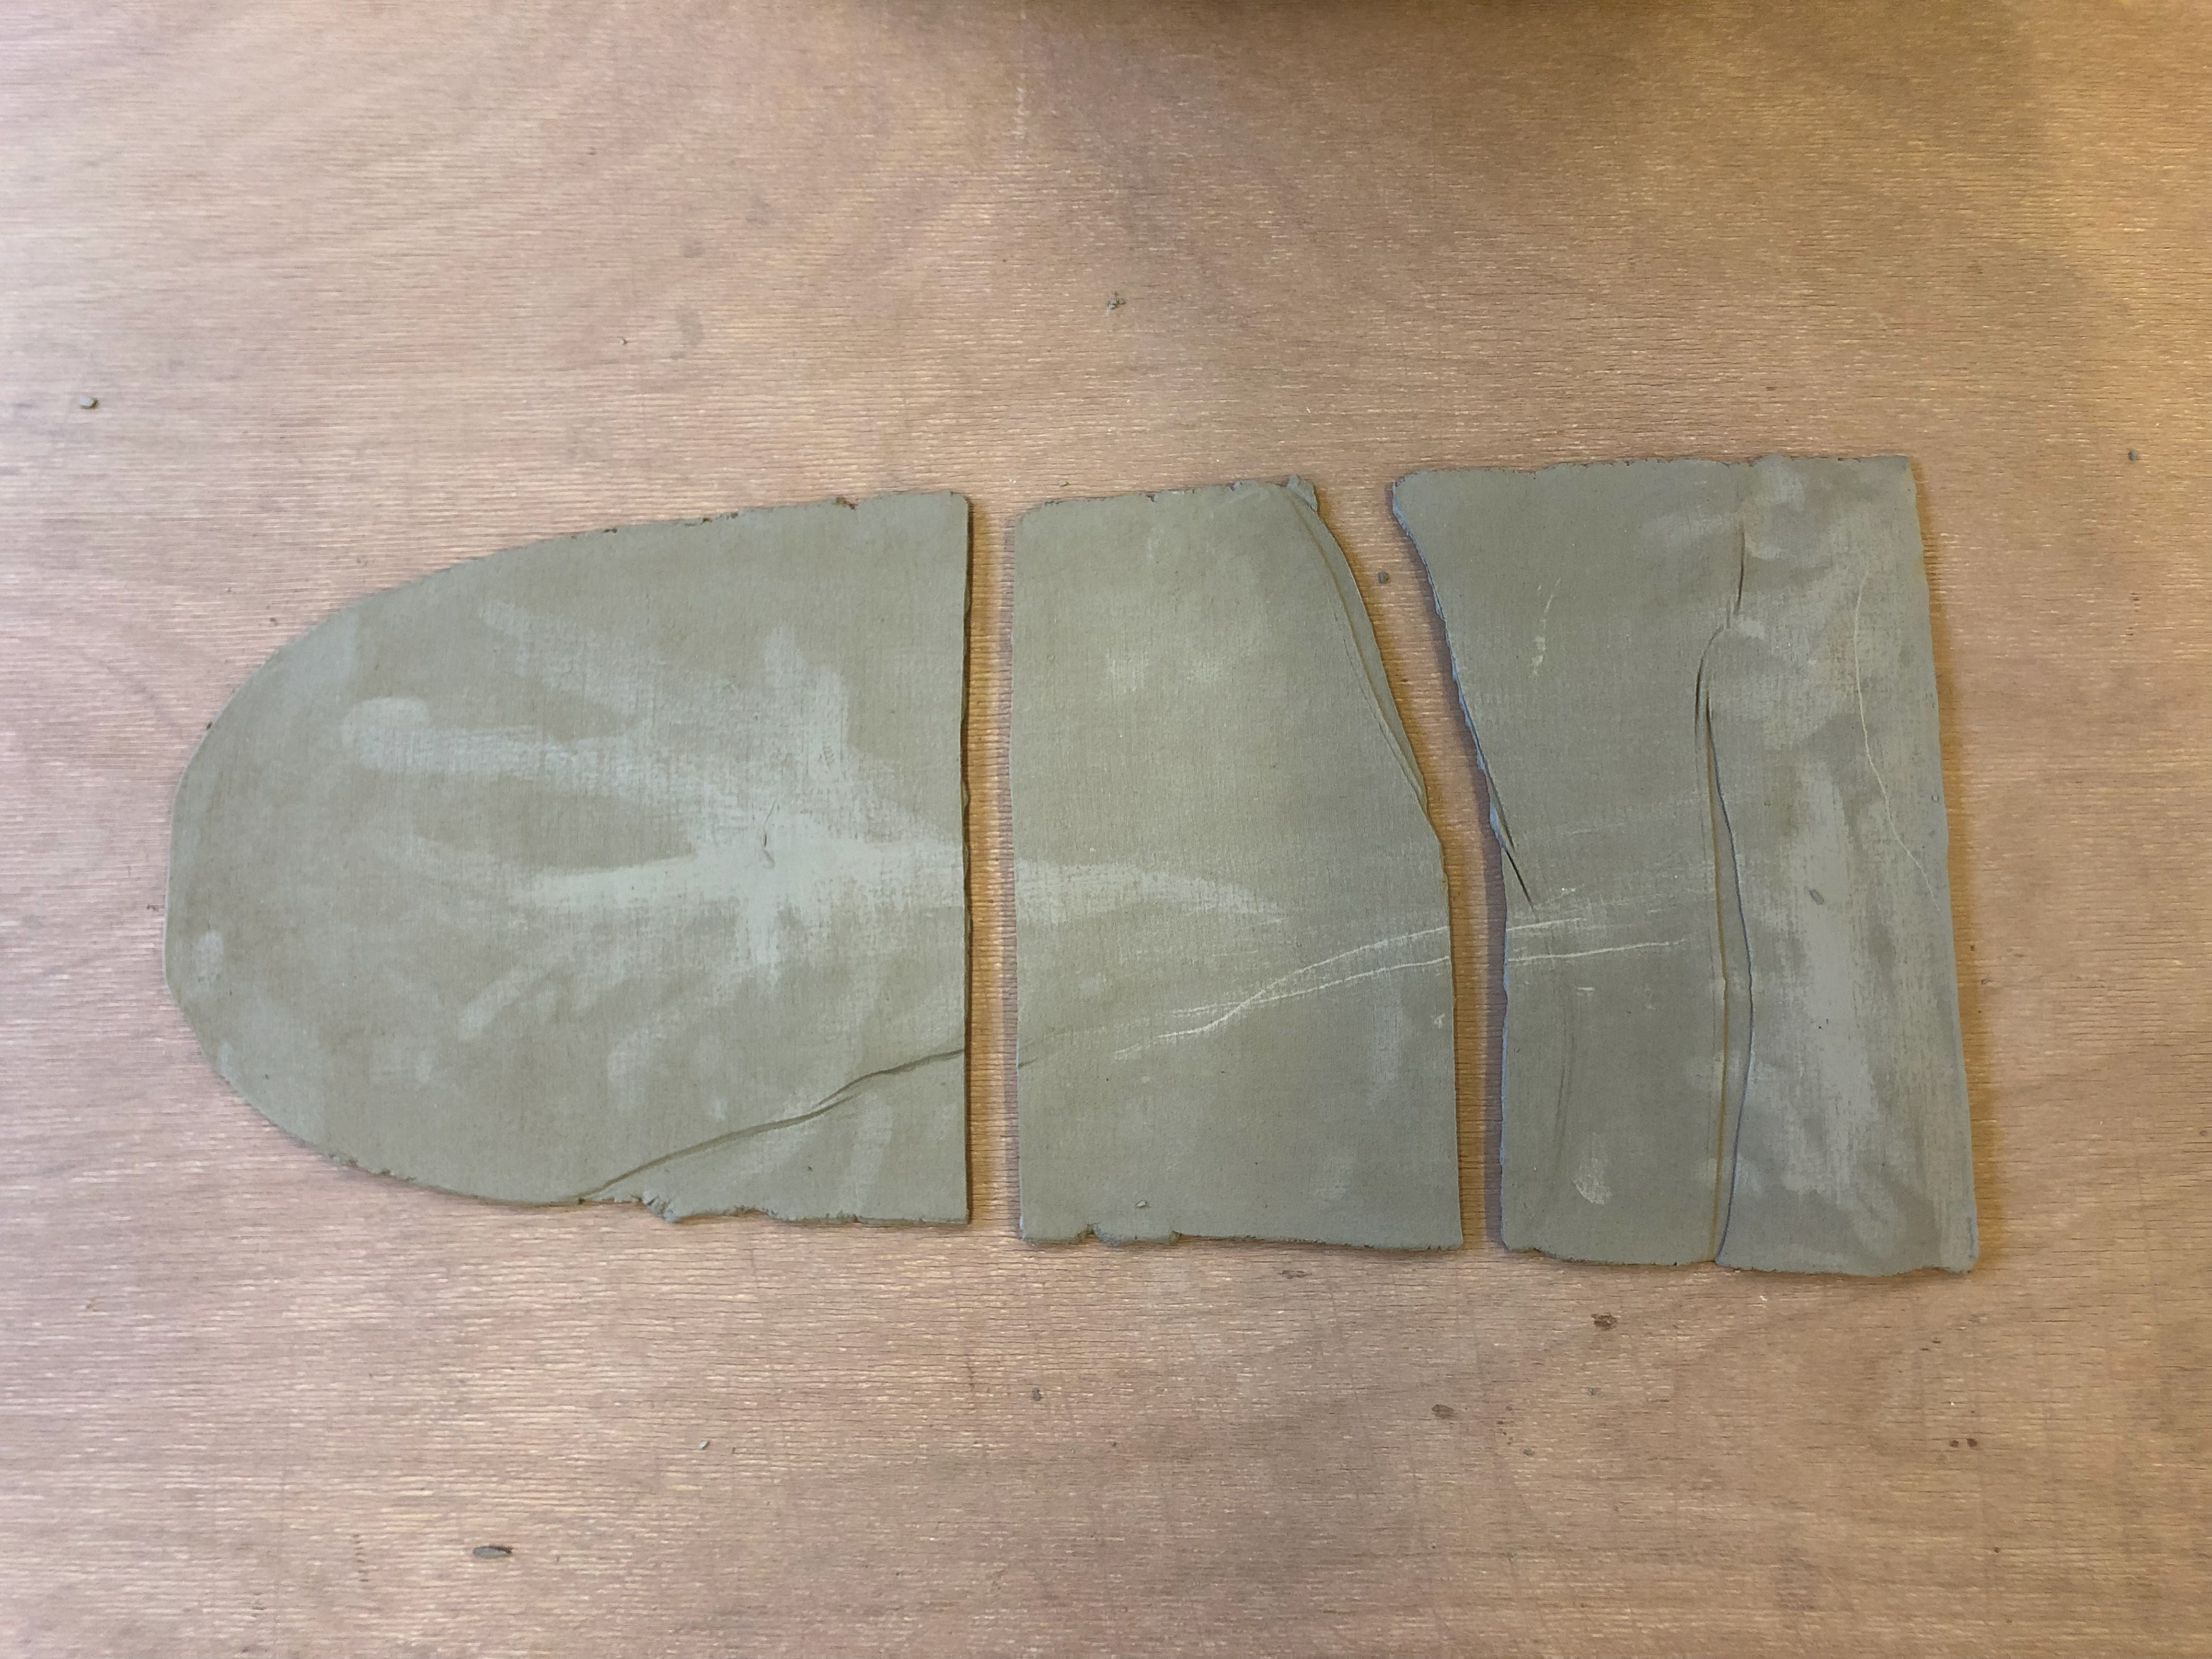
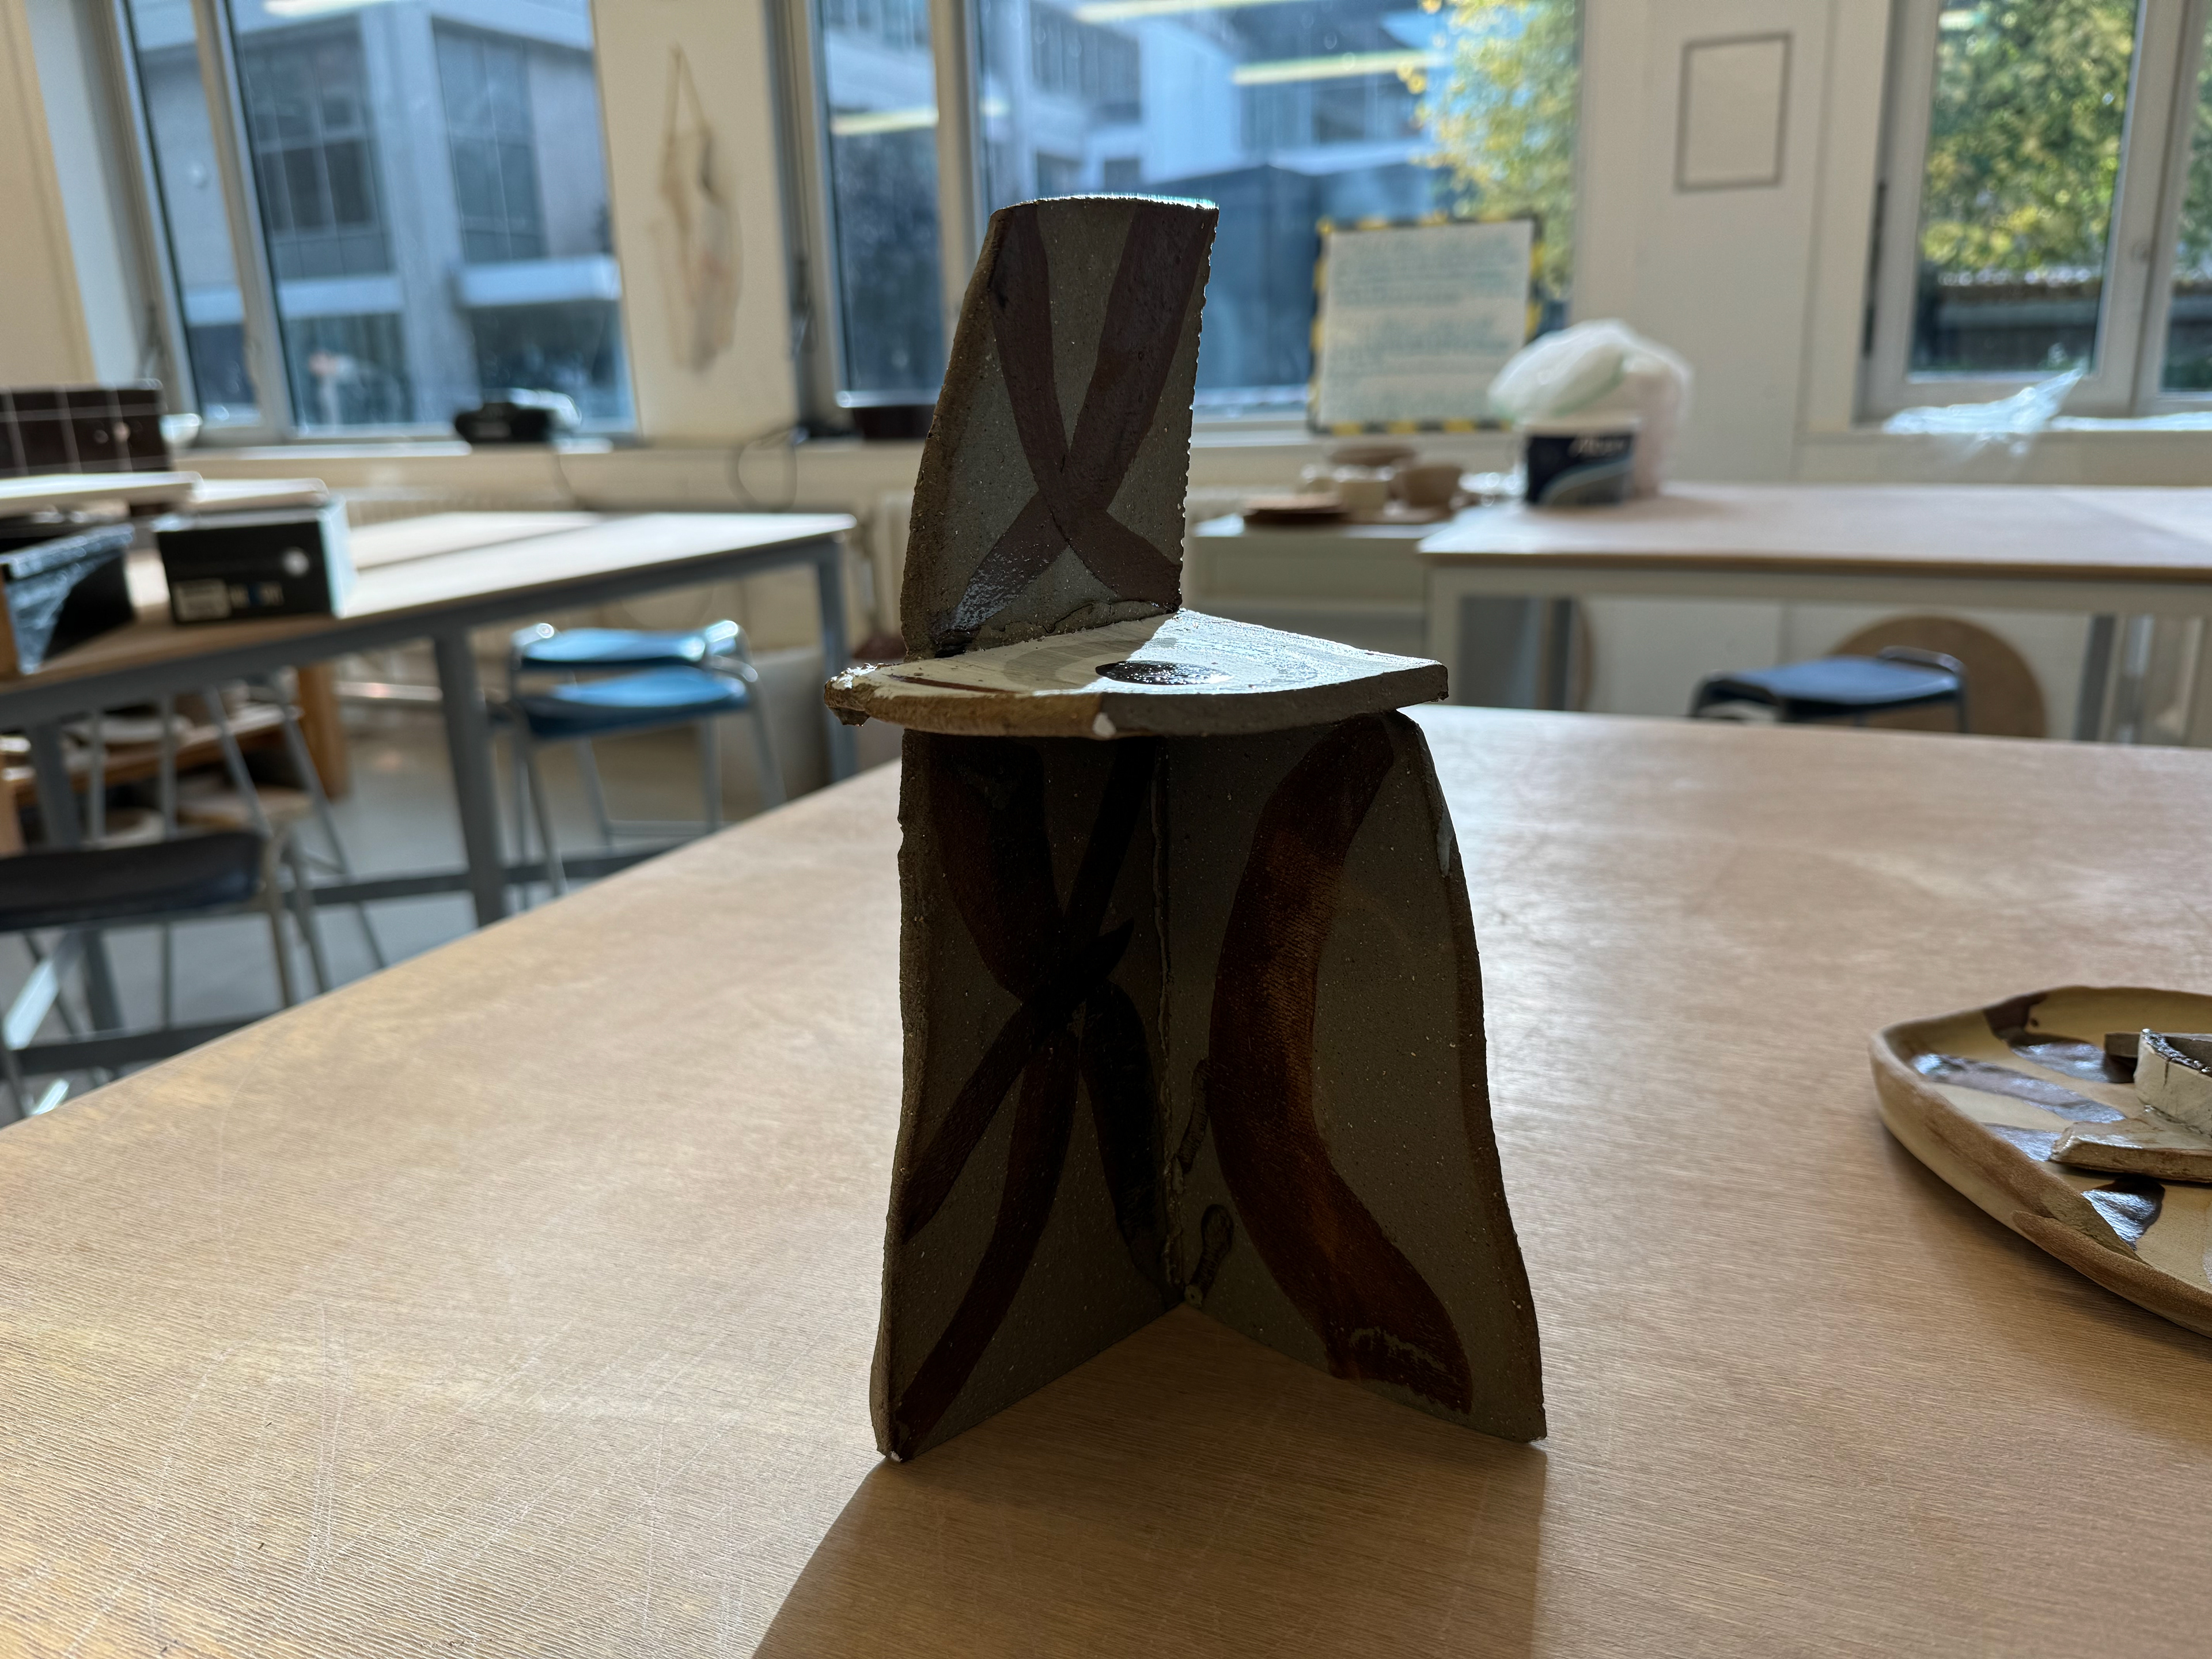
I wanted to see how moisture affects clay slabs. I left this piece out for around a week and then snapped it into three.

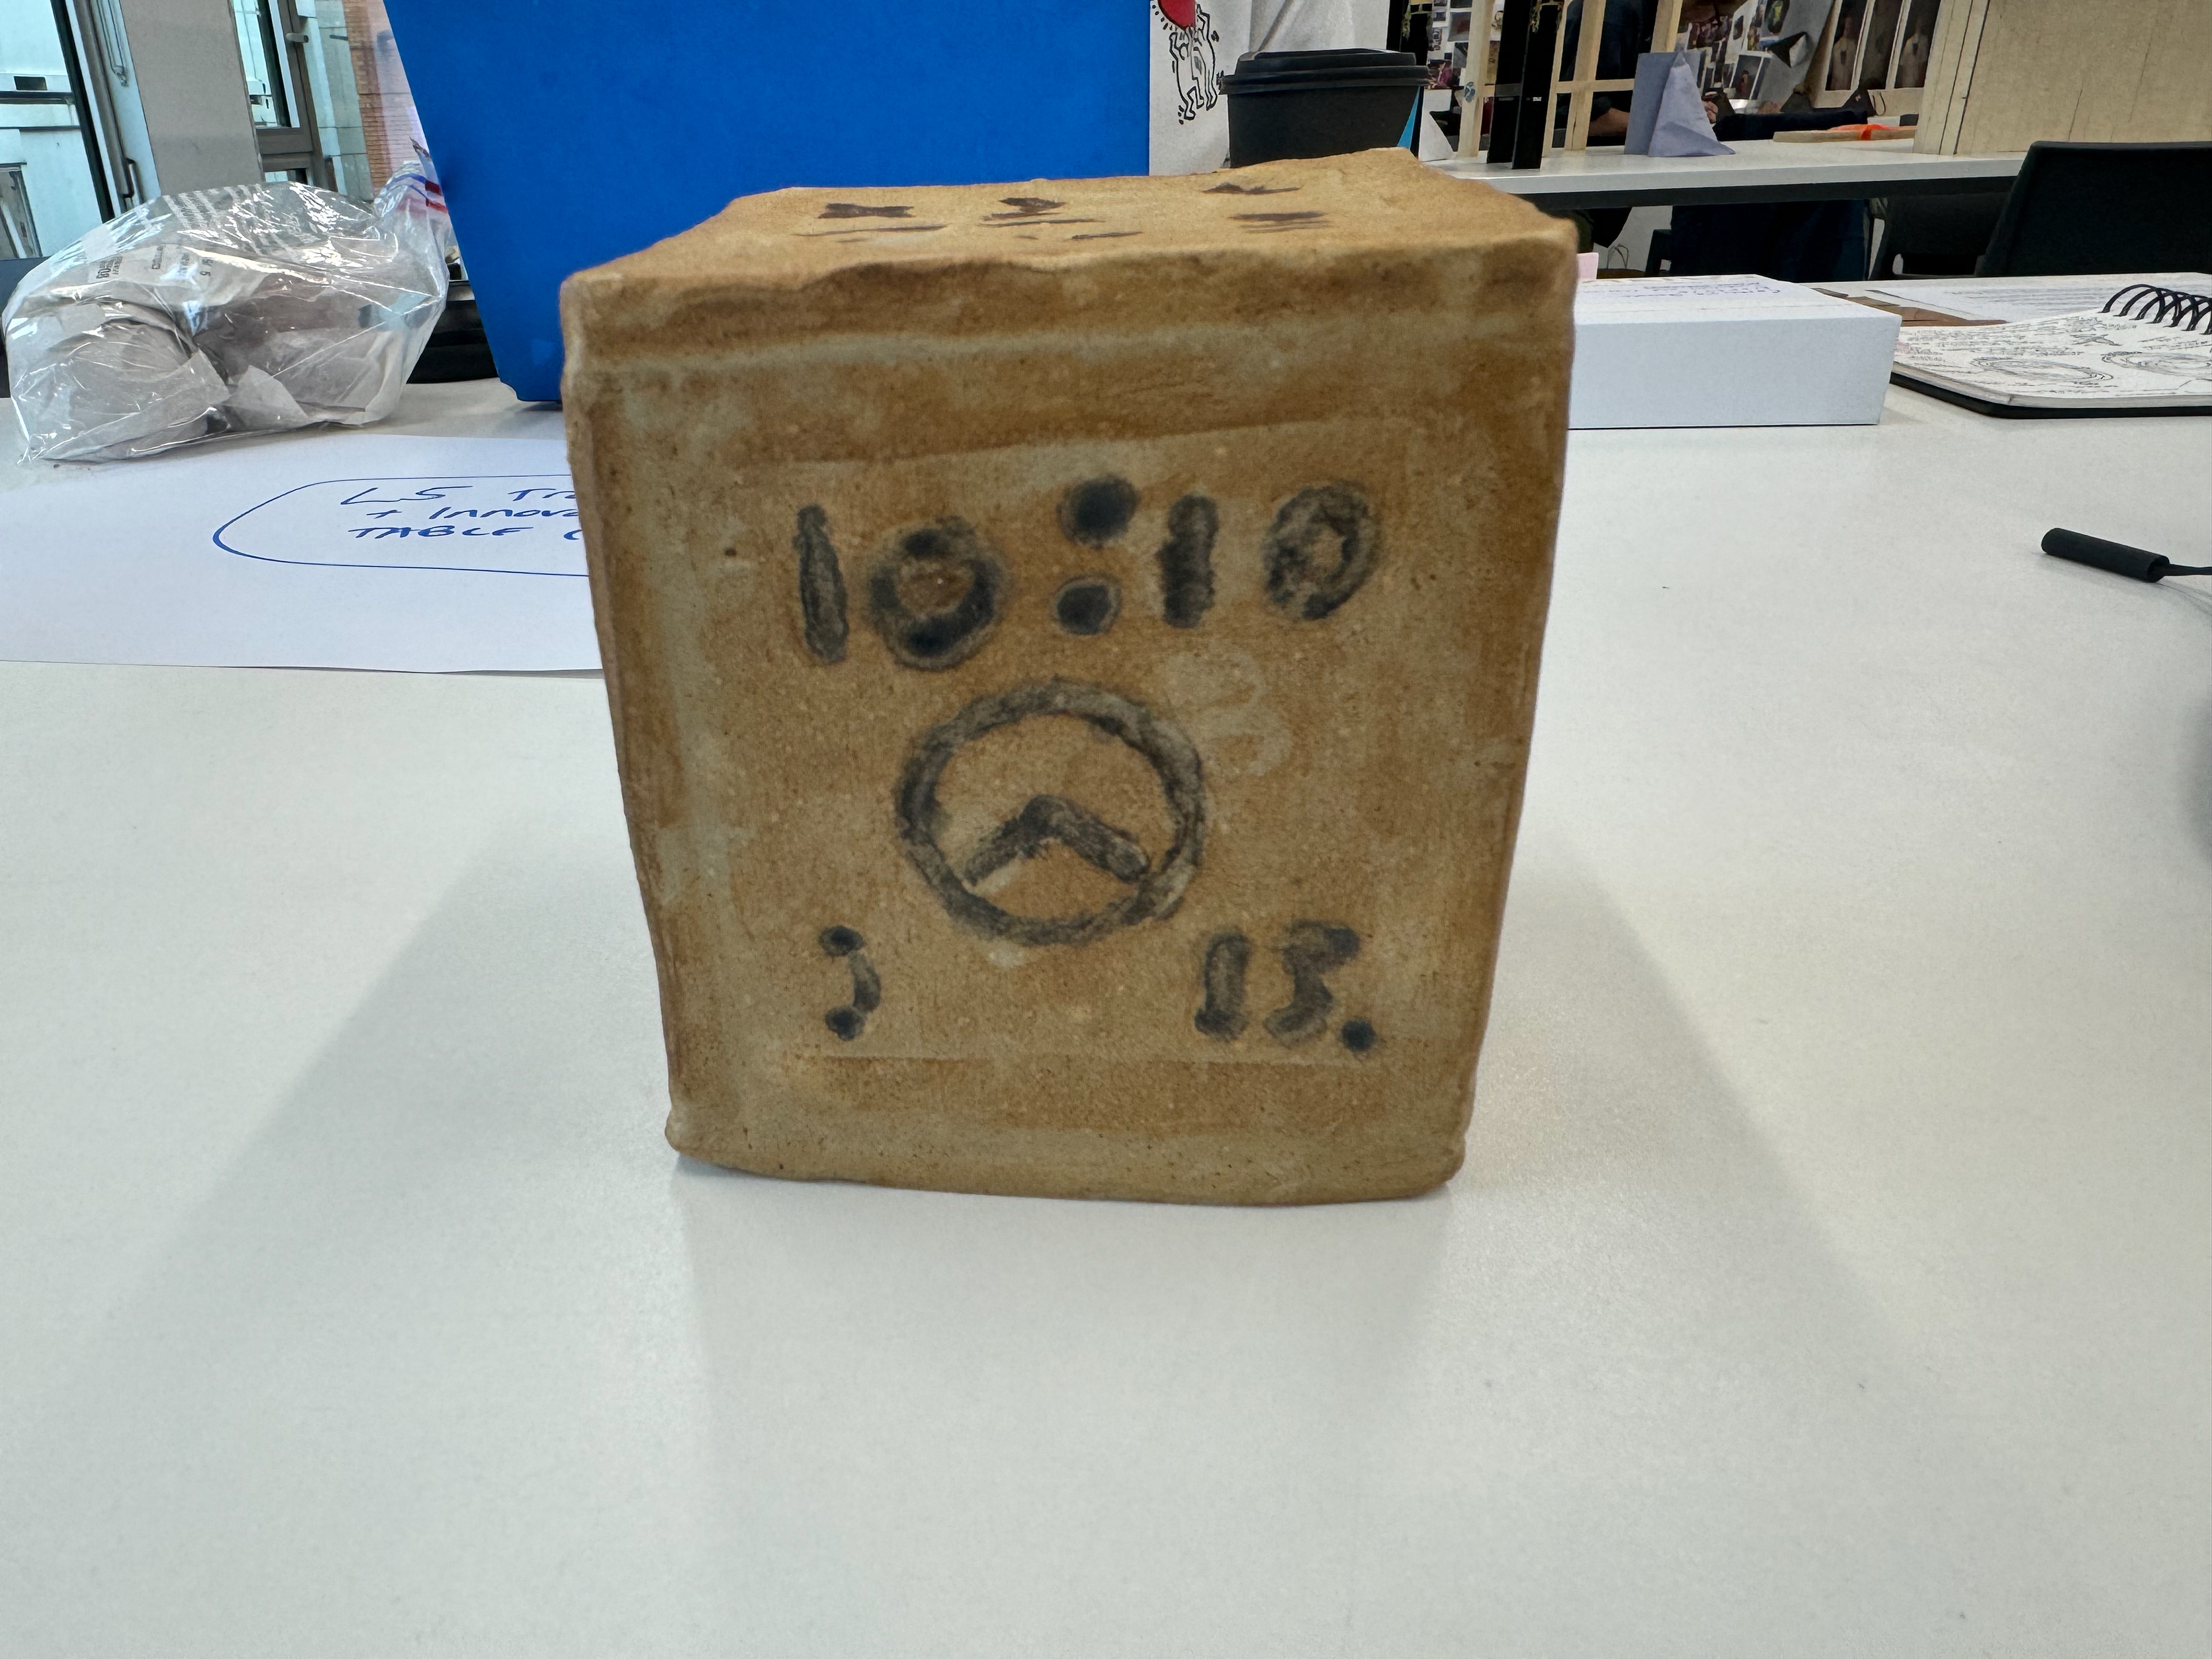
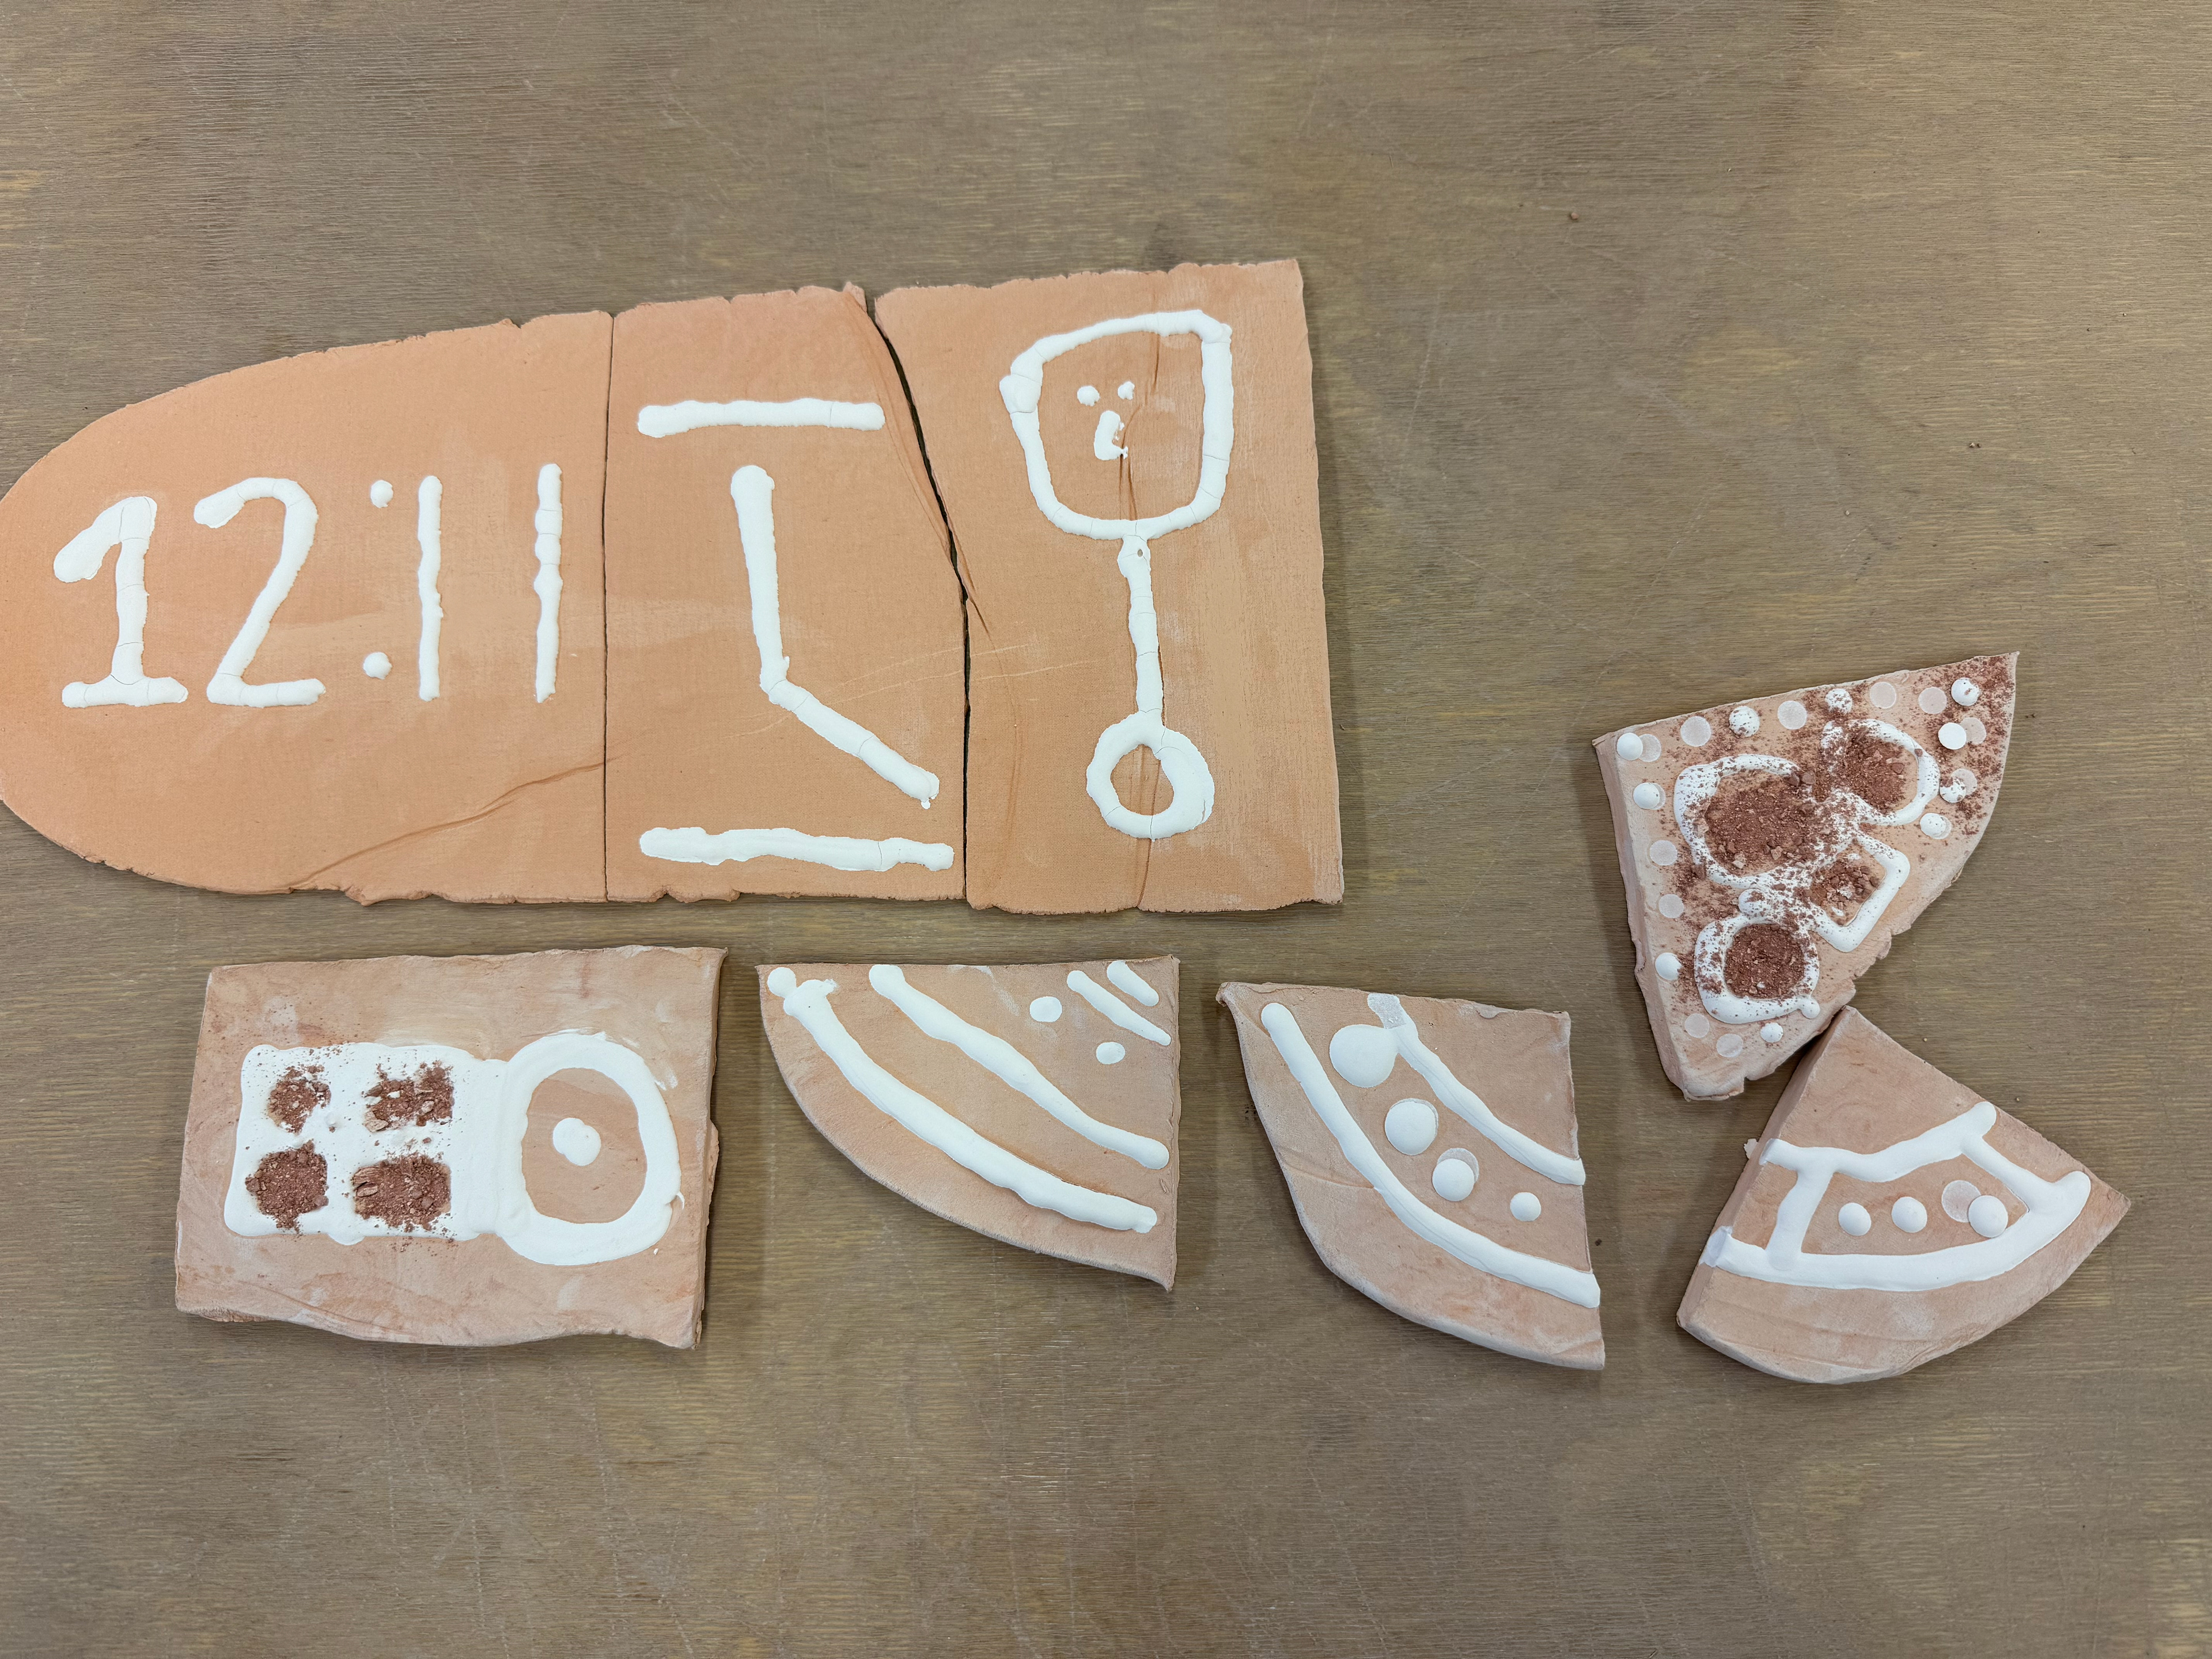
Clock face applied in slip.
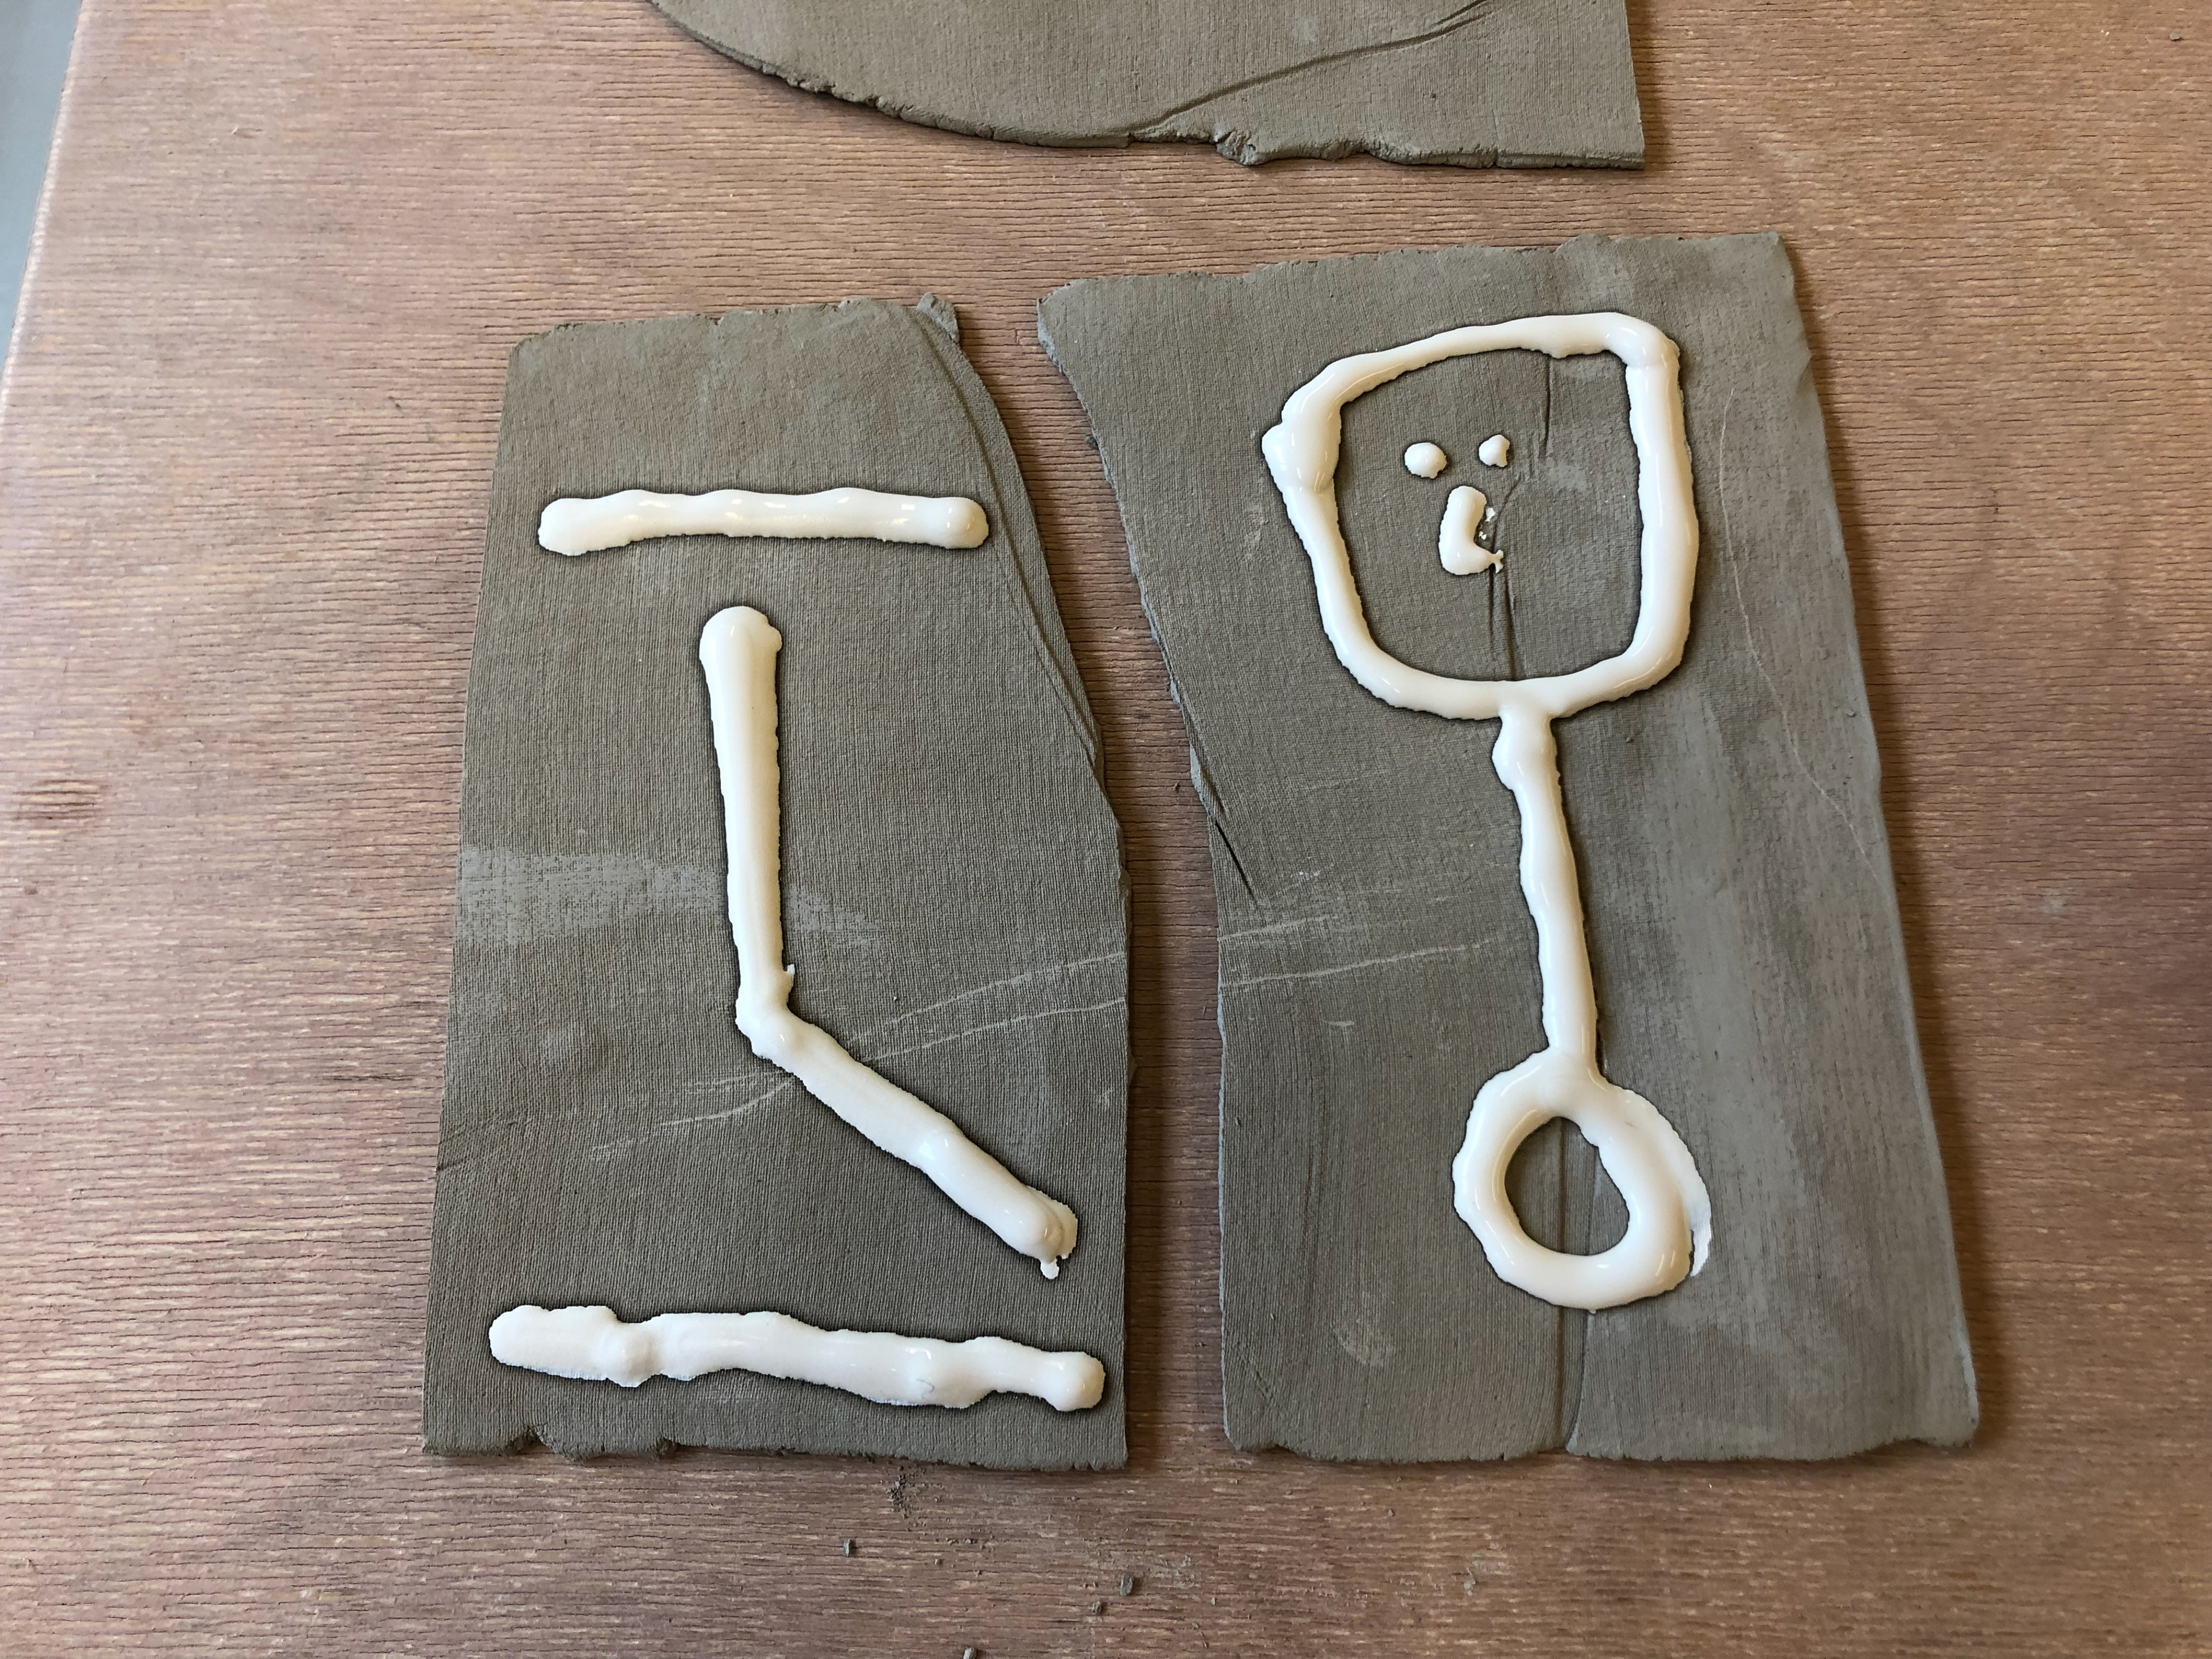
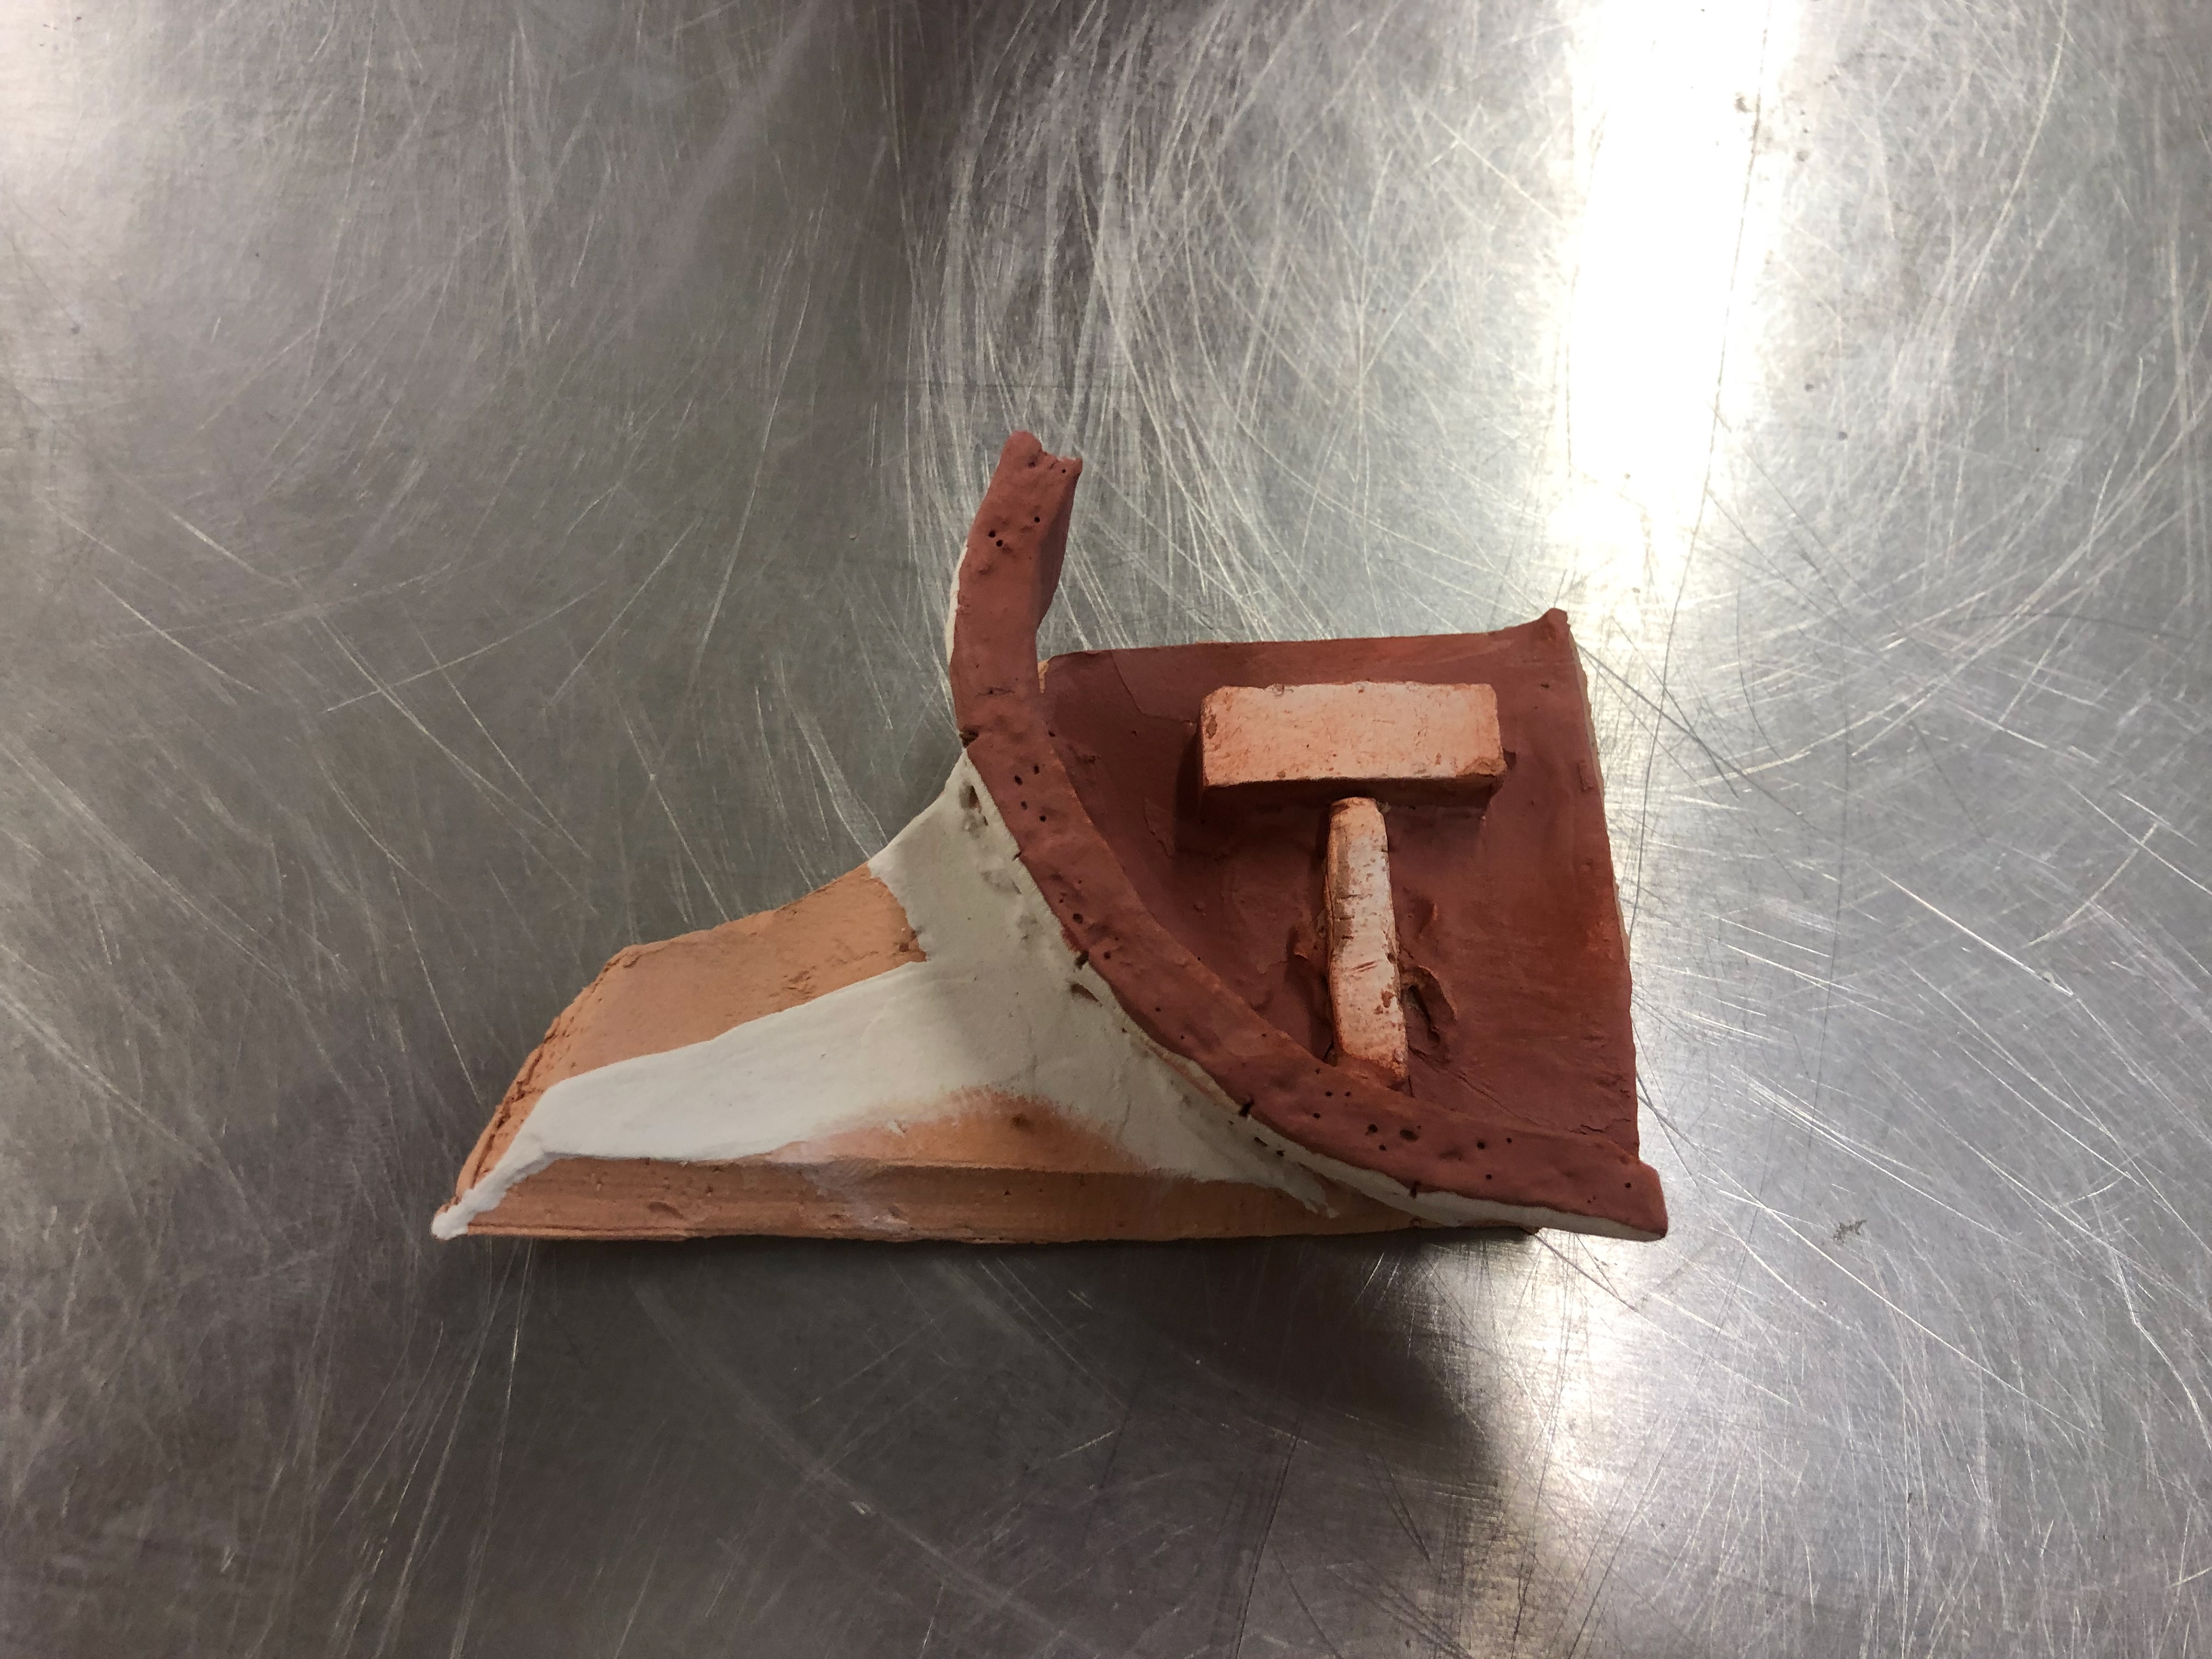
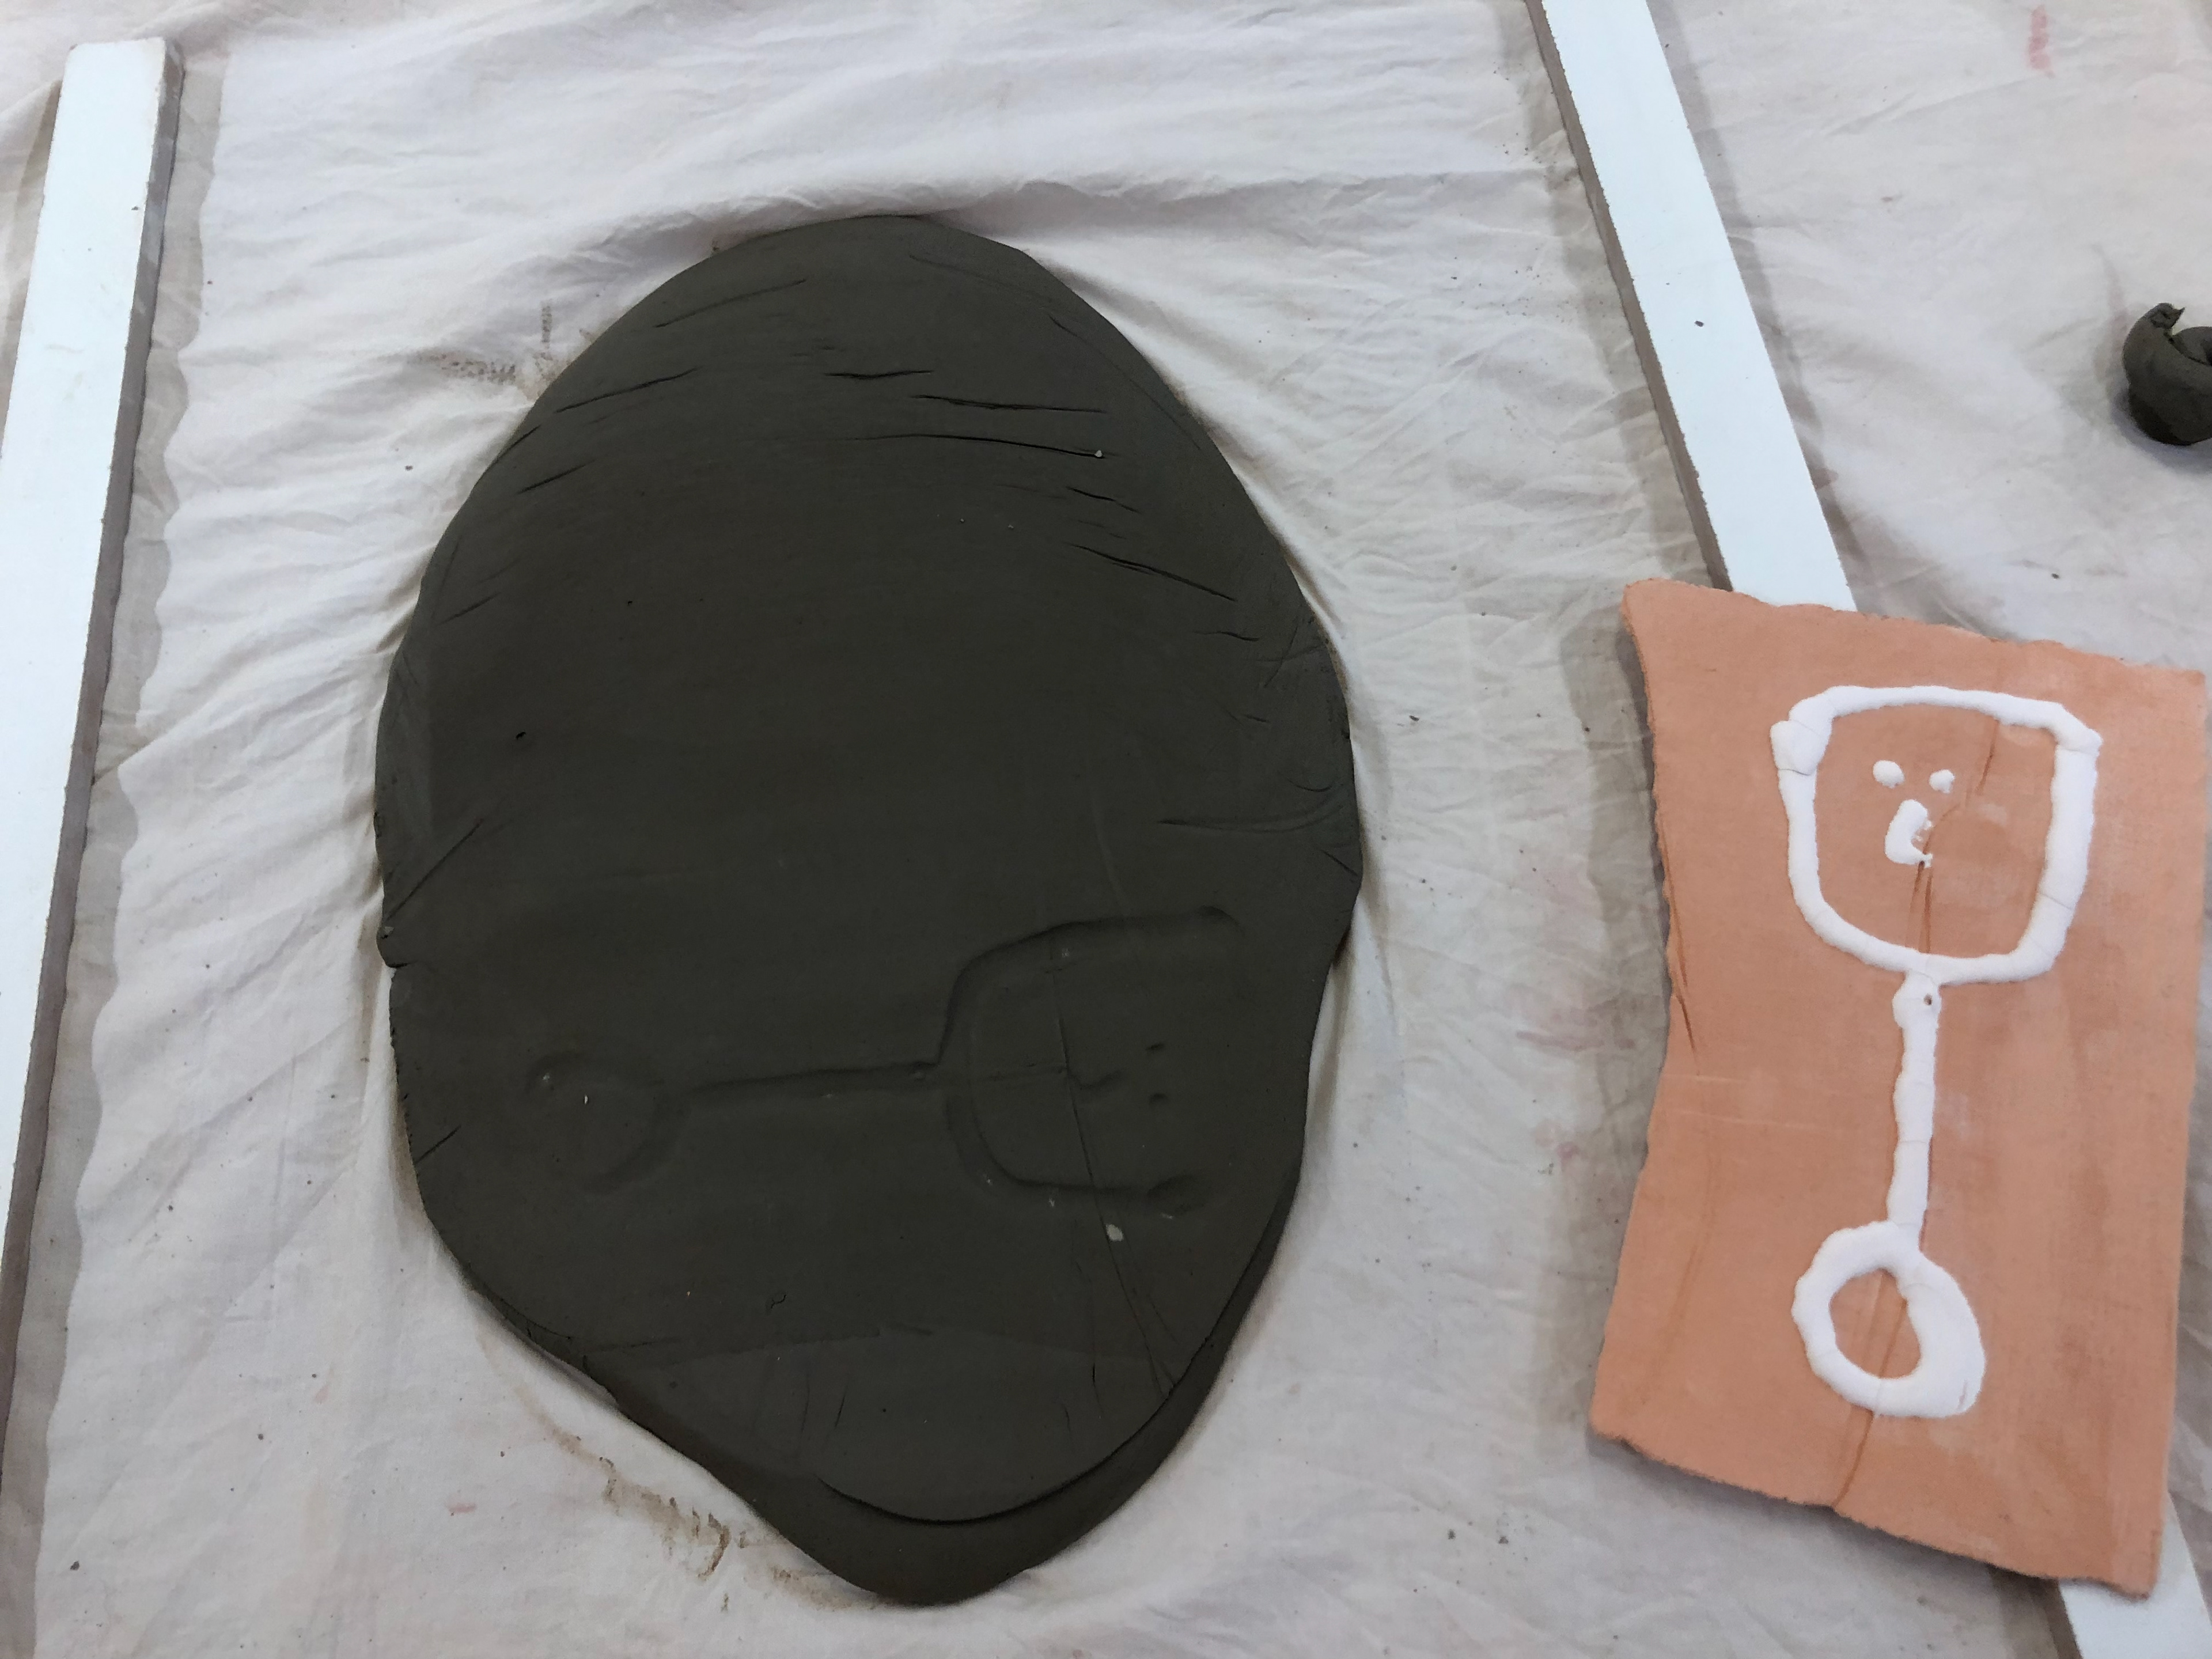
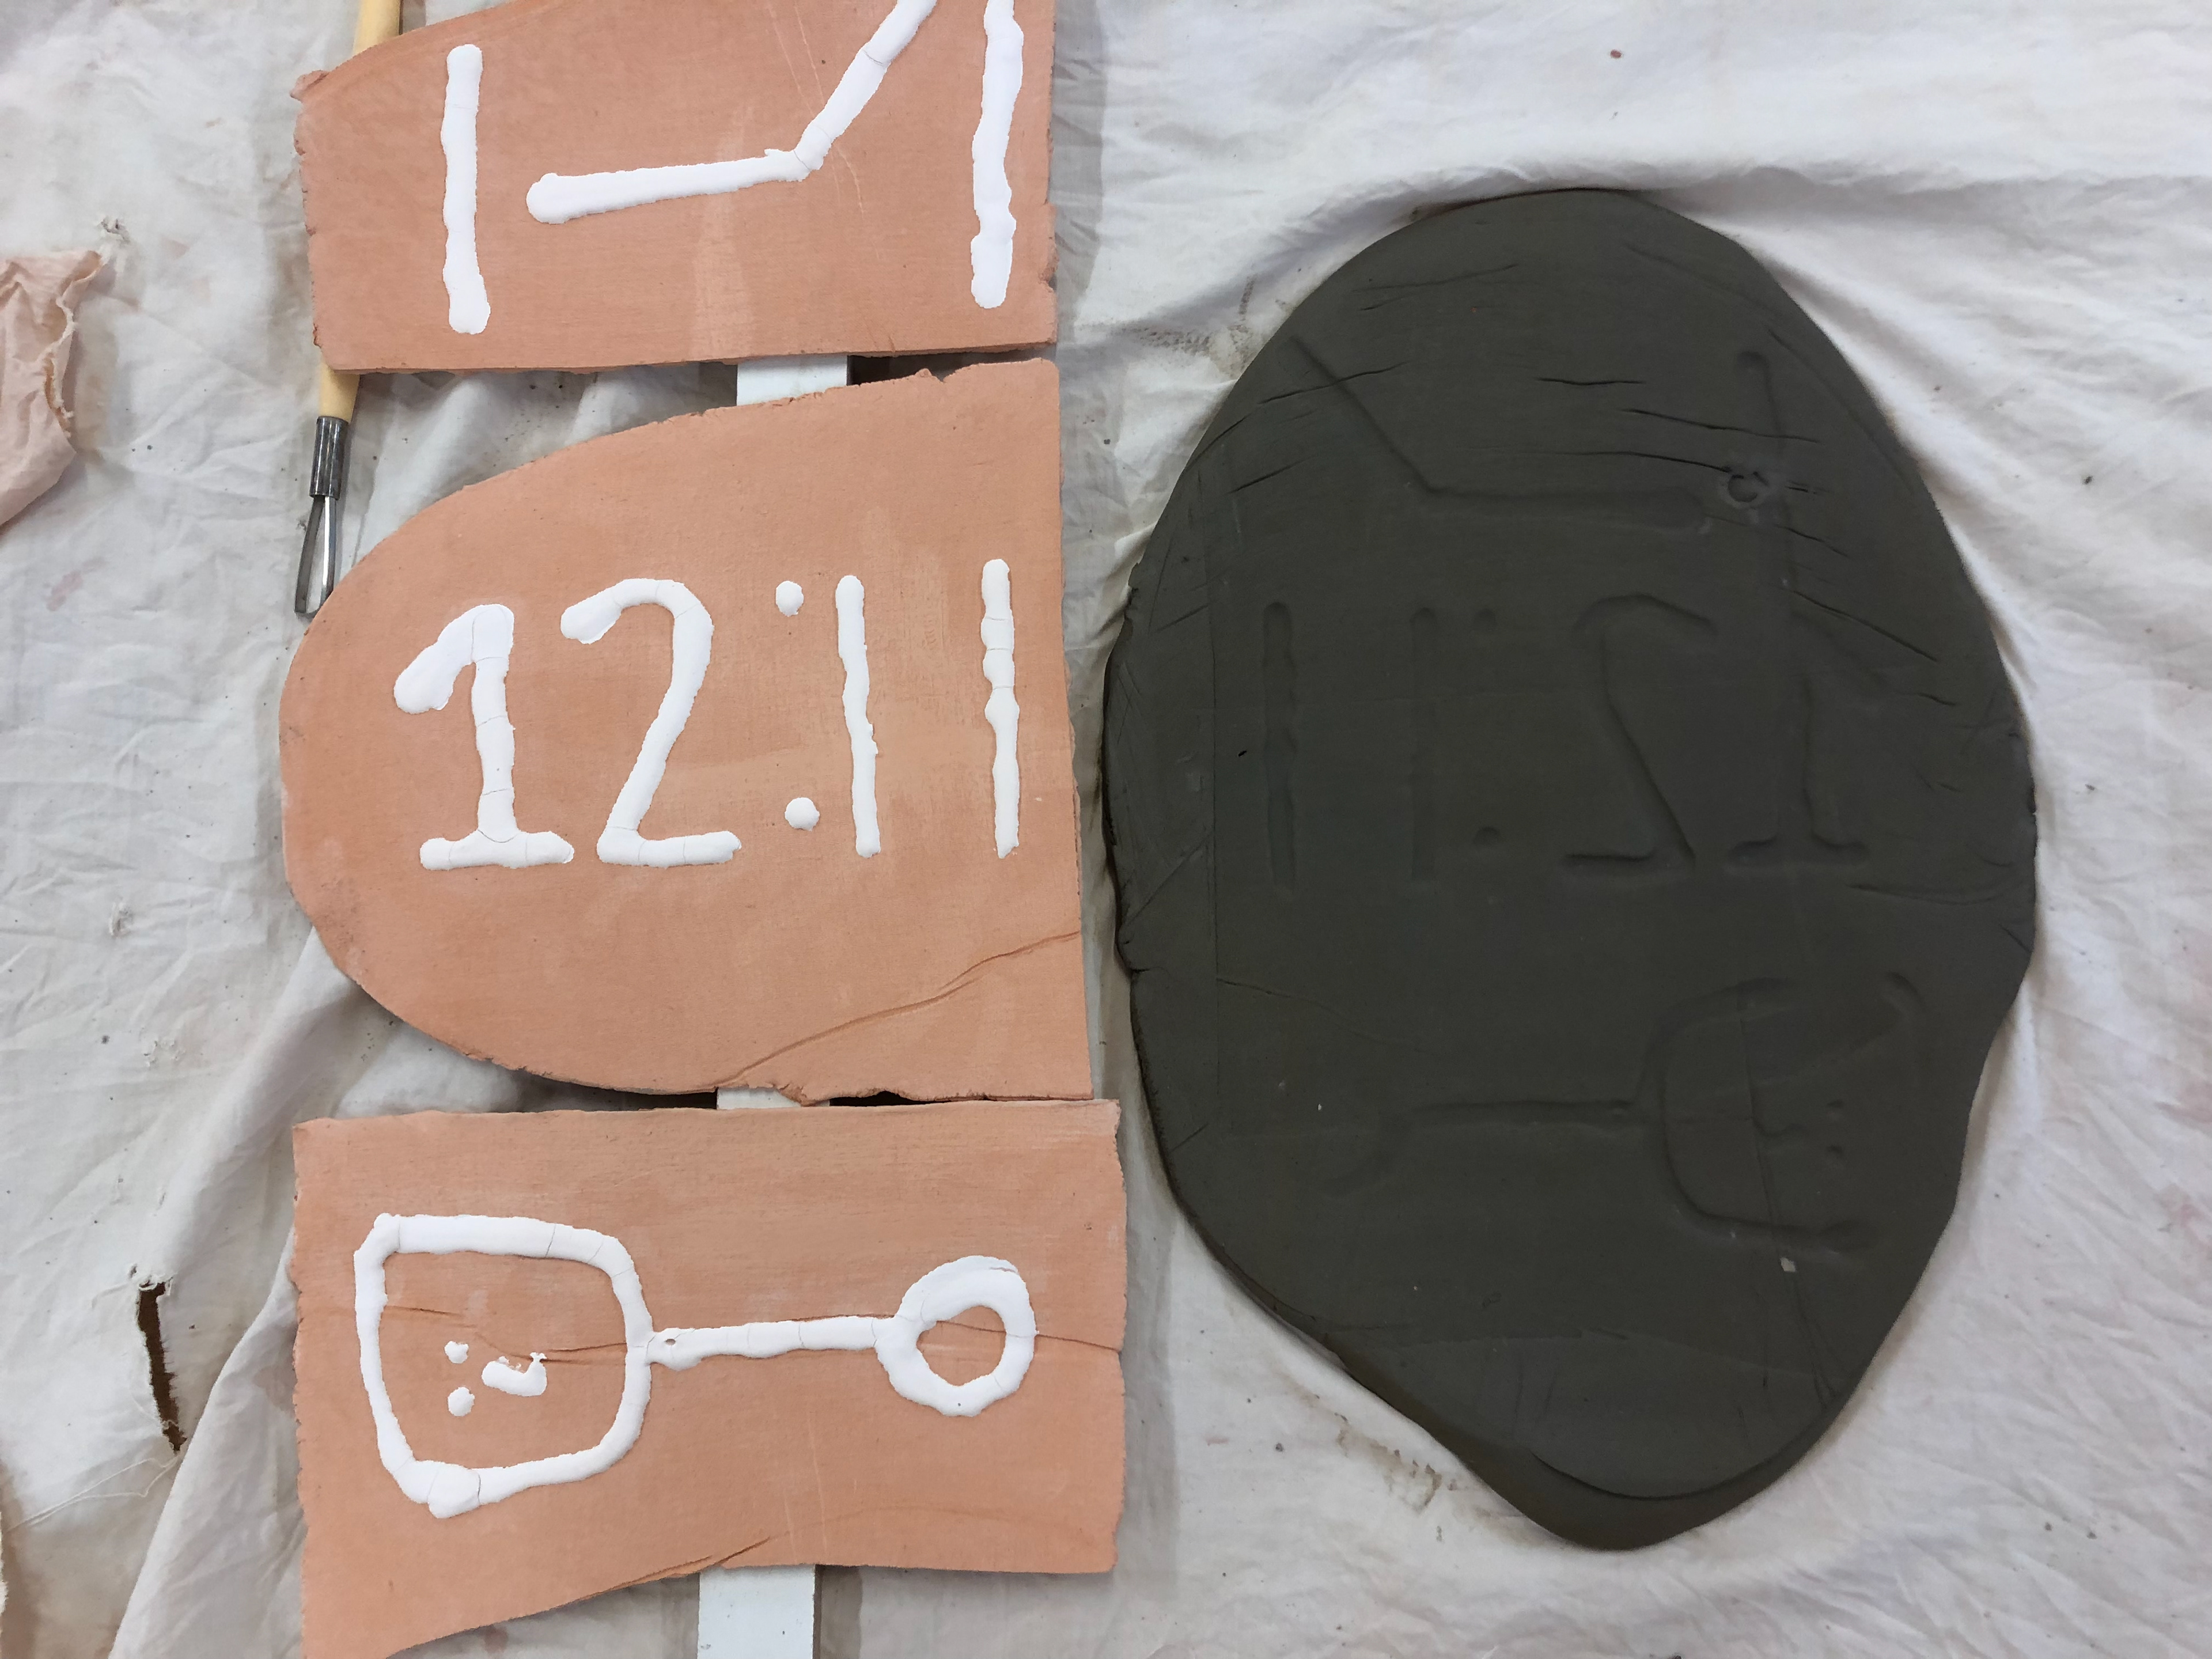
Clock face and cuckoo clock
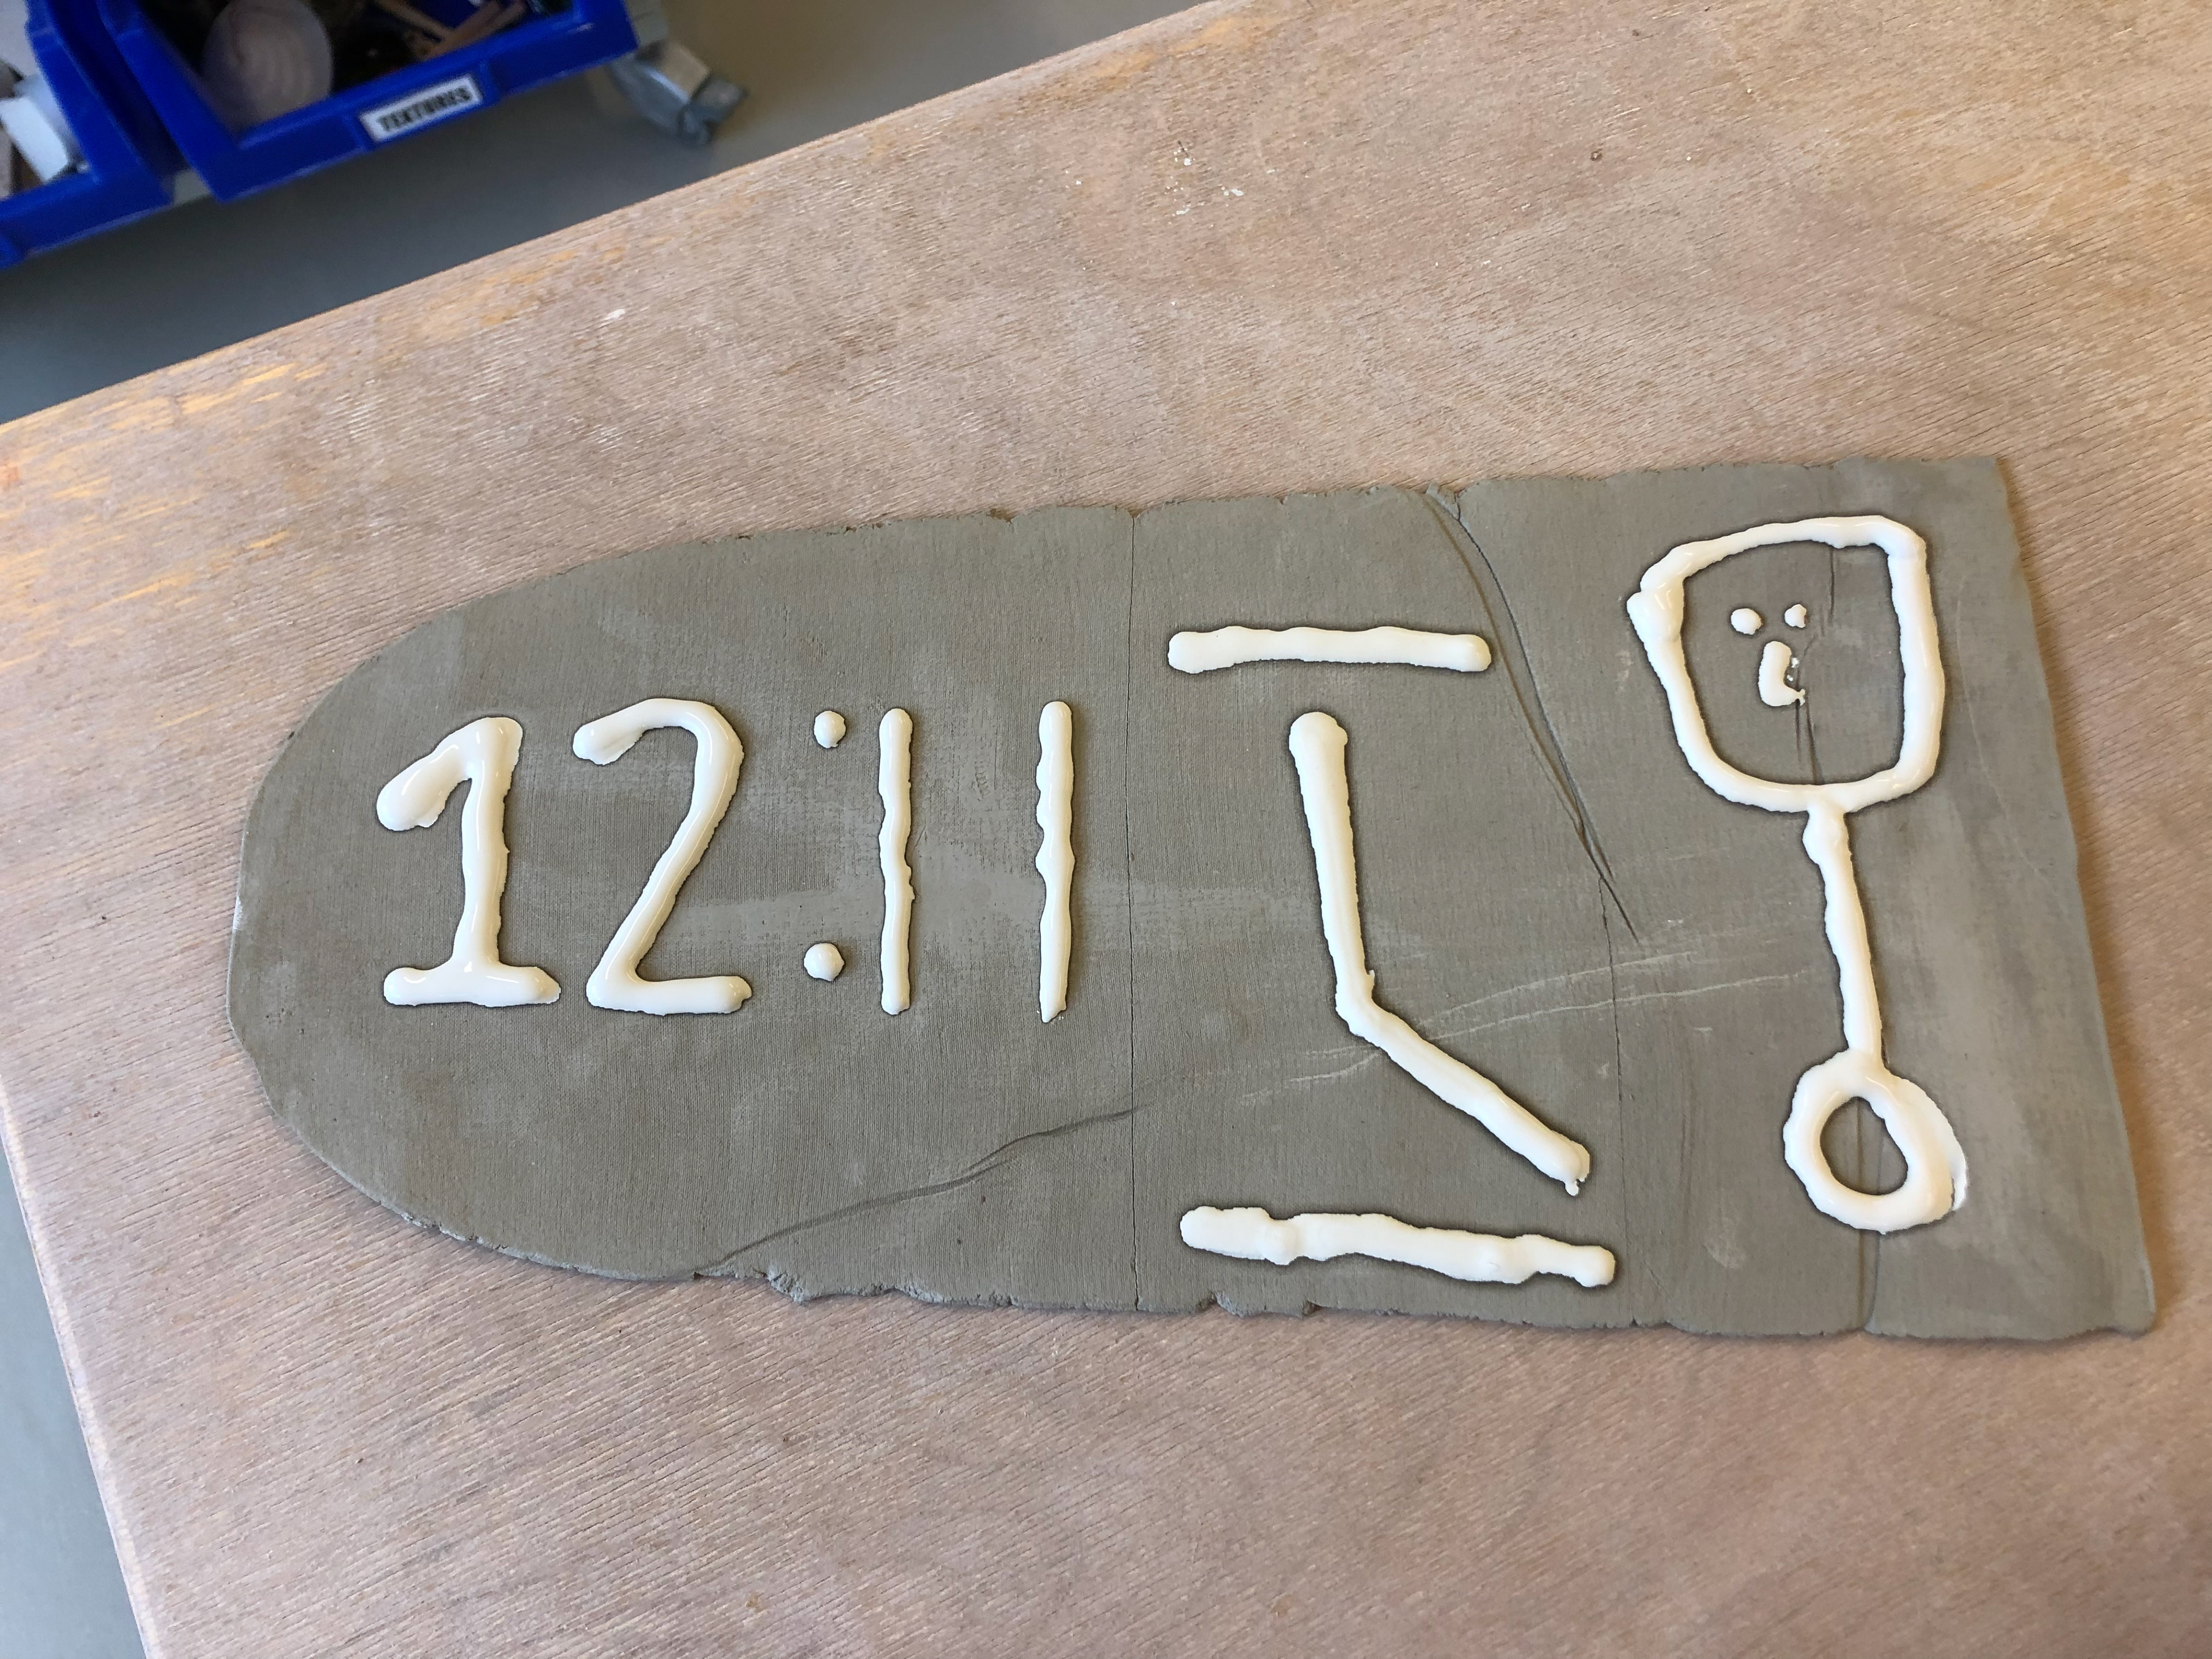
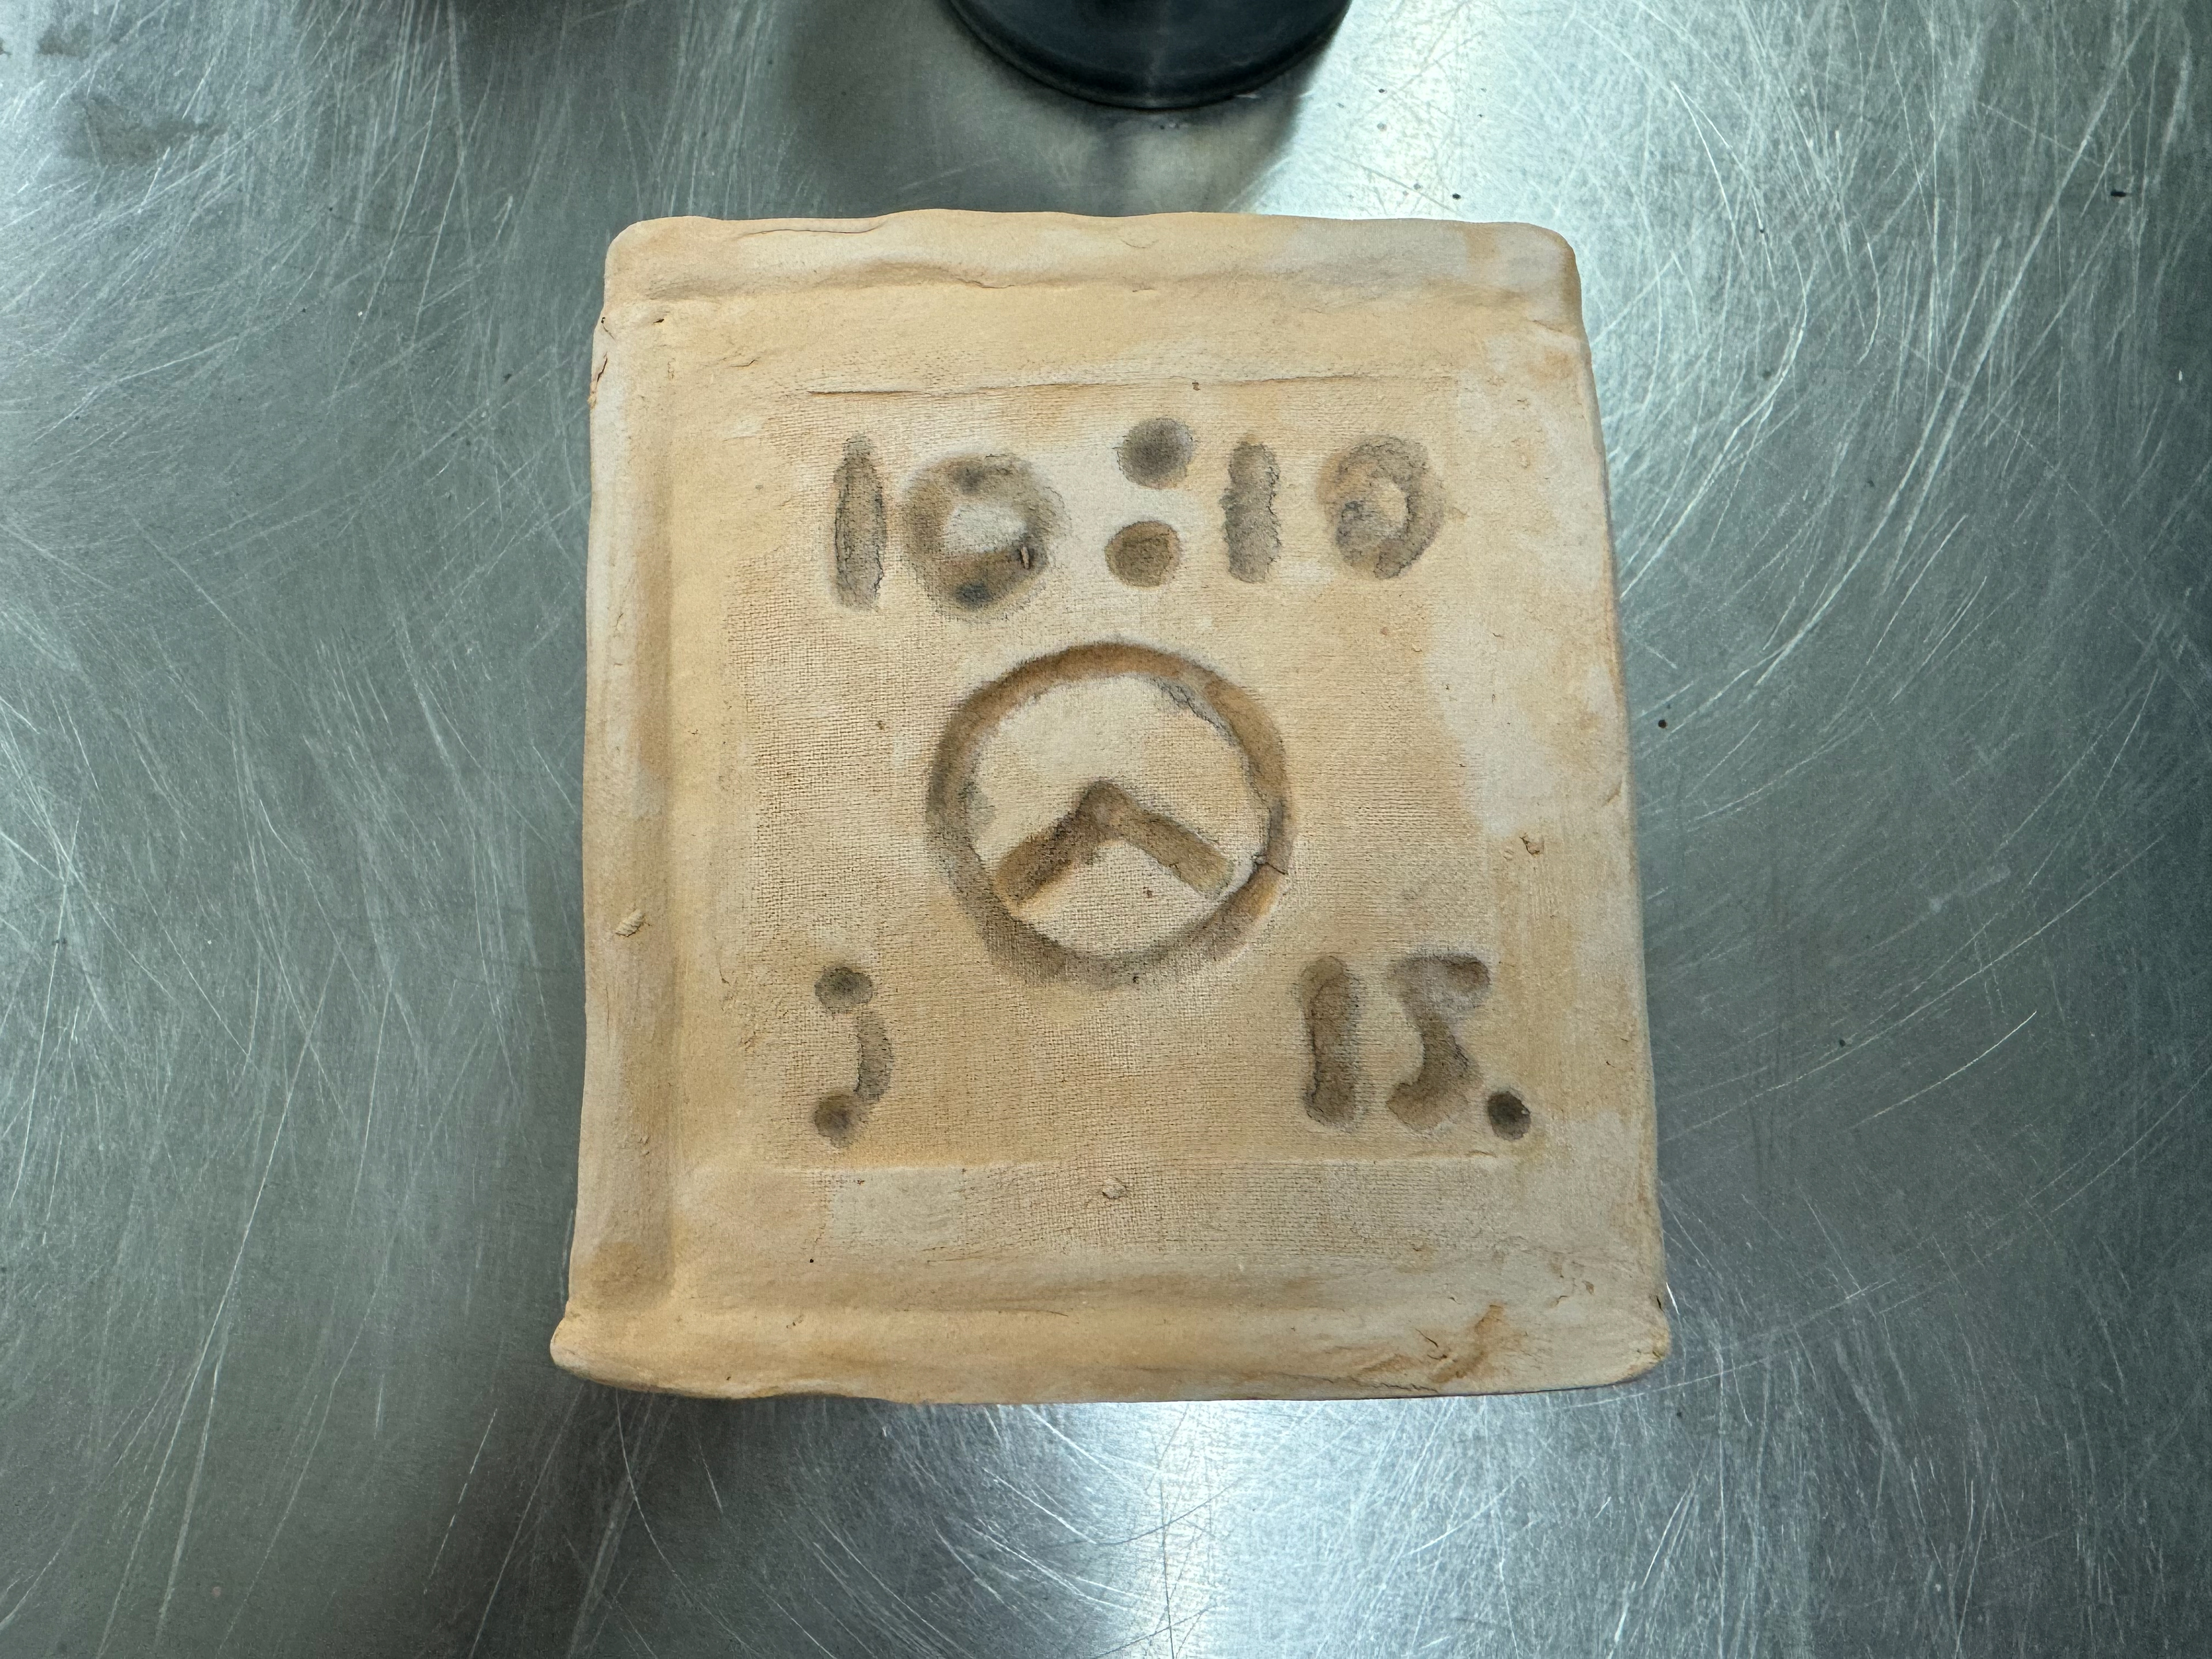
Digital, analog, cuckoo. I want to try and show the history of time. Since it is split they join together perfectly and come together as a single piece.
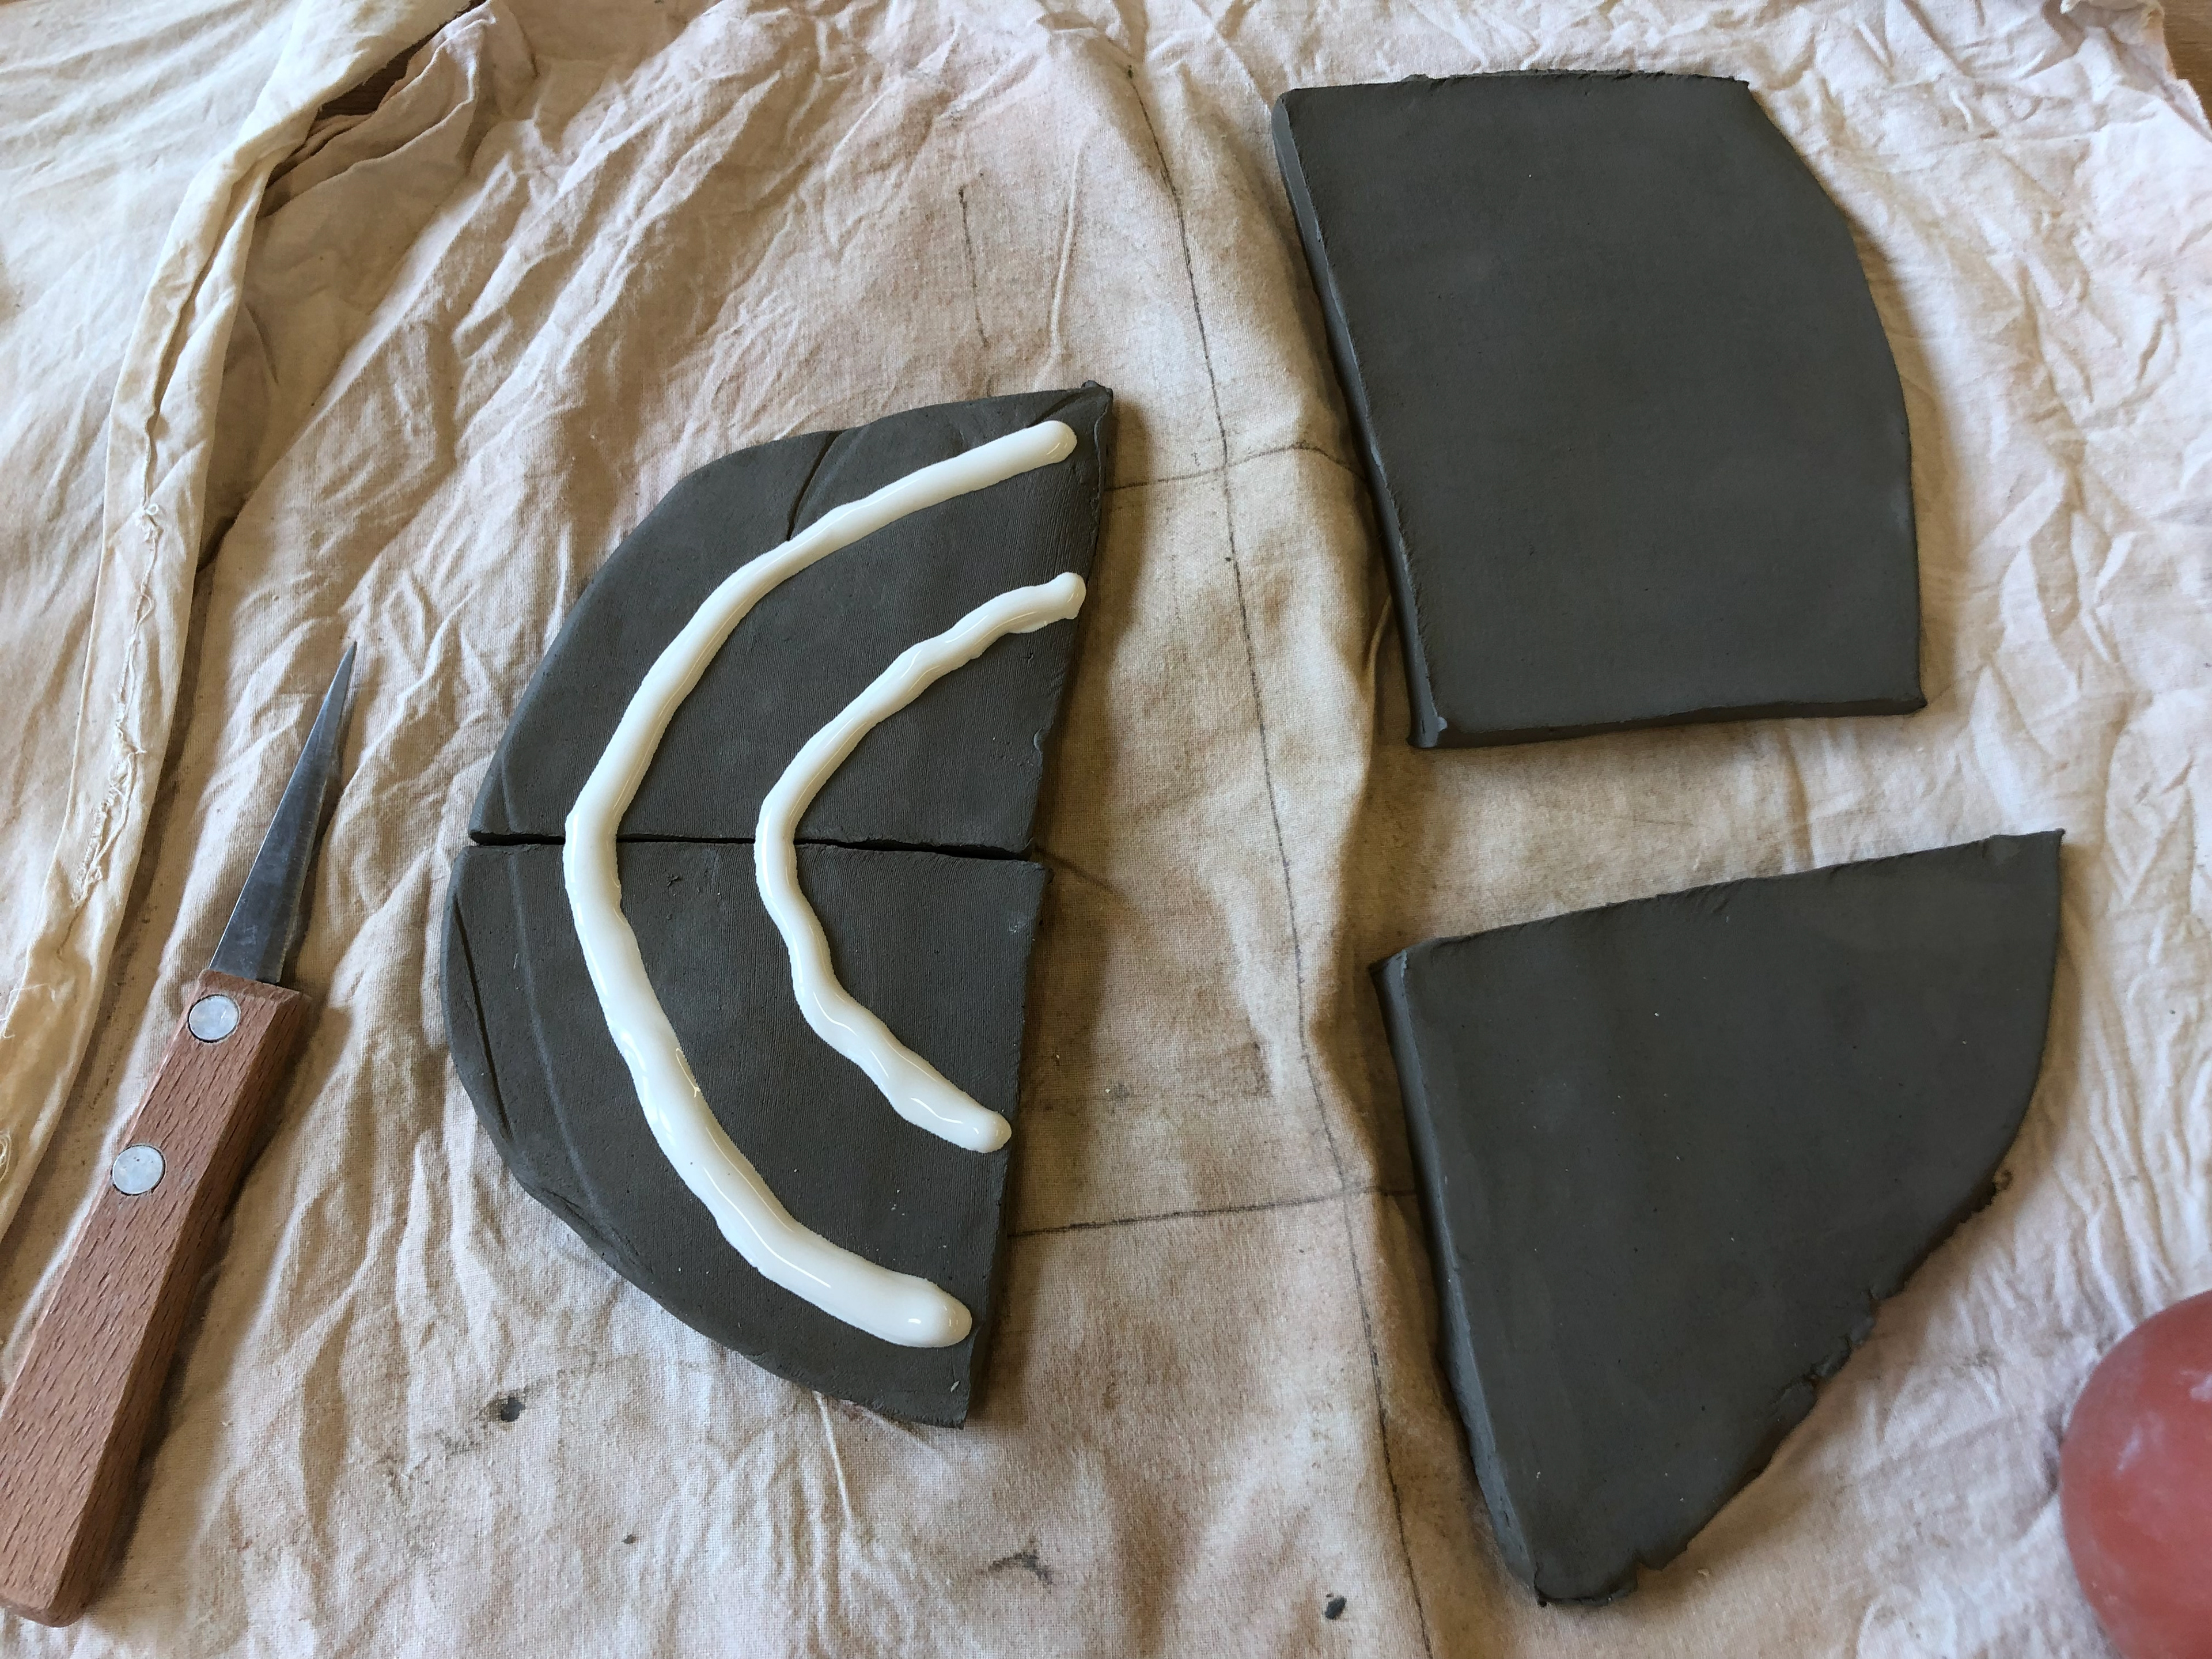
Slip on fresh moist clay
The top is a design about timing and how quick movement of the slip trail affect the outcome. The bottom is mixing the crushed clay with slip to form patterns.
The "pad printing" mimic process.
The result of that process. Turned out well

The slip after it comes out of the kiln, elevated from the clay.
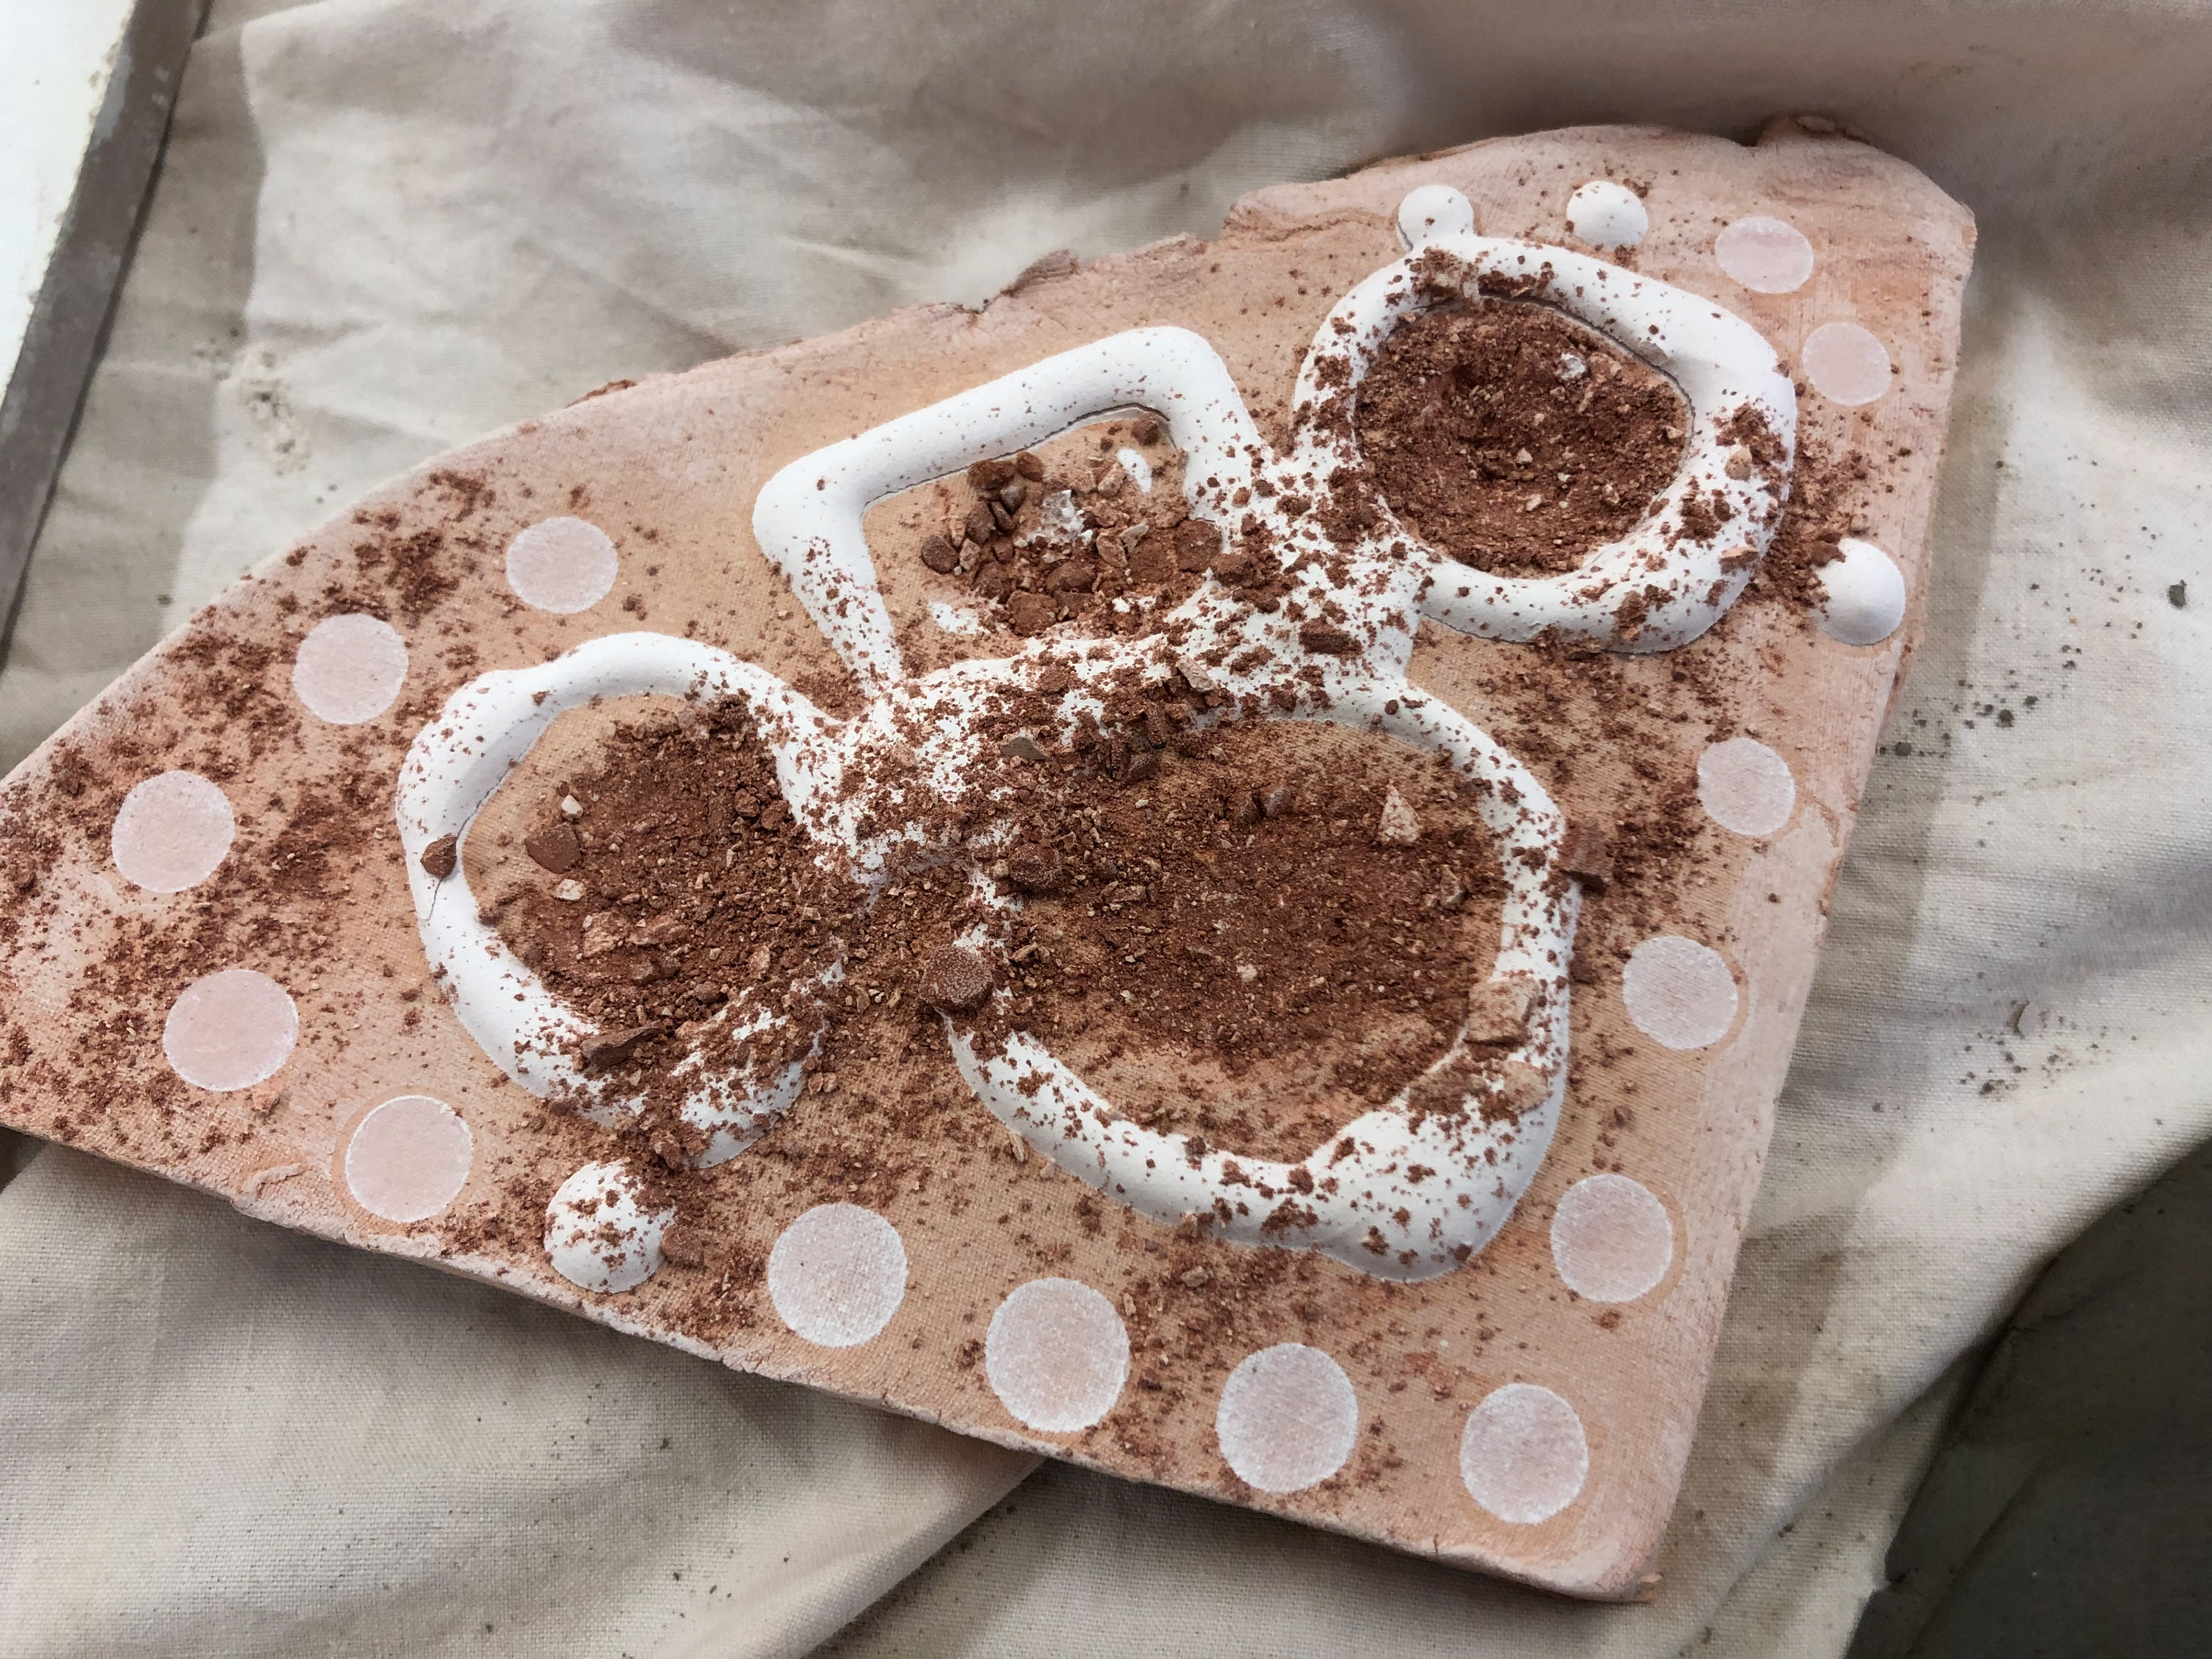
Imprint testing of the slip pad prints.
The slip falls off and reduces there amount of time it can be used.
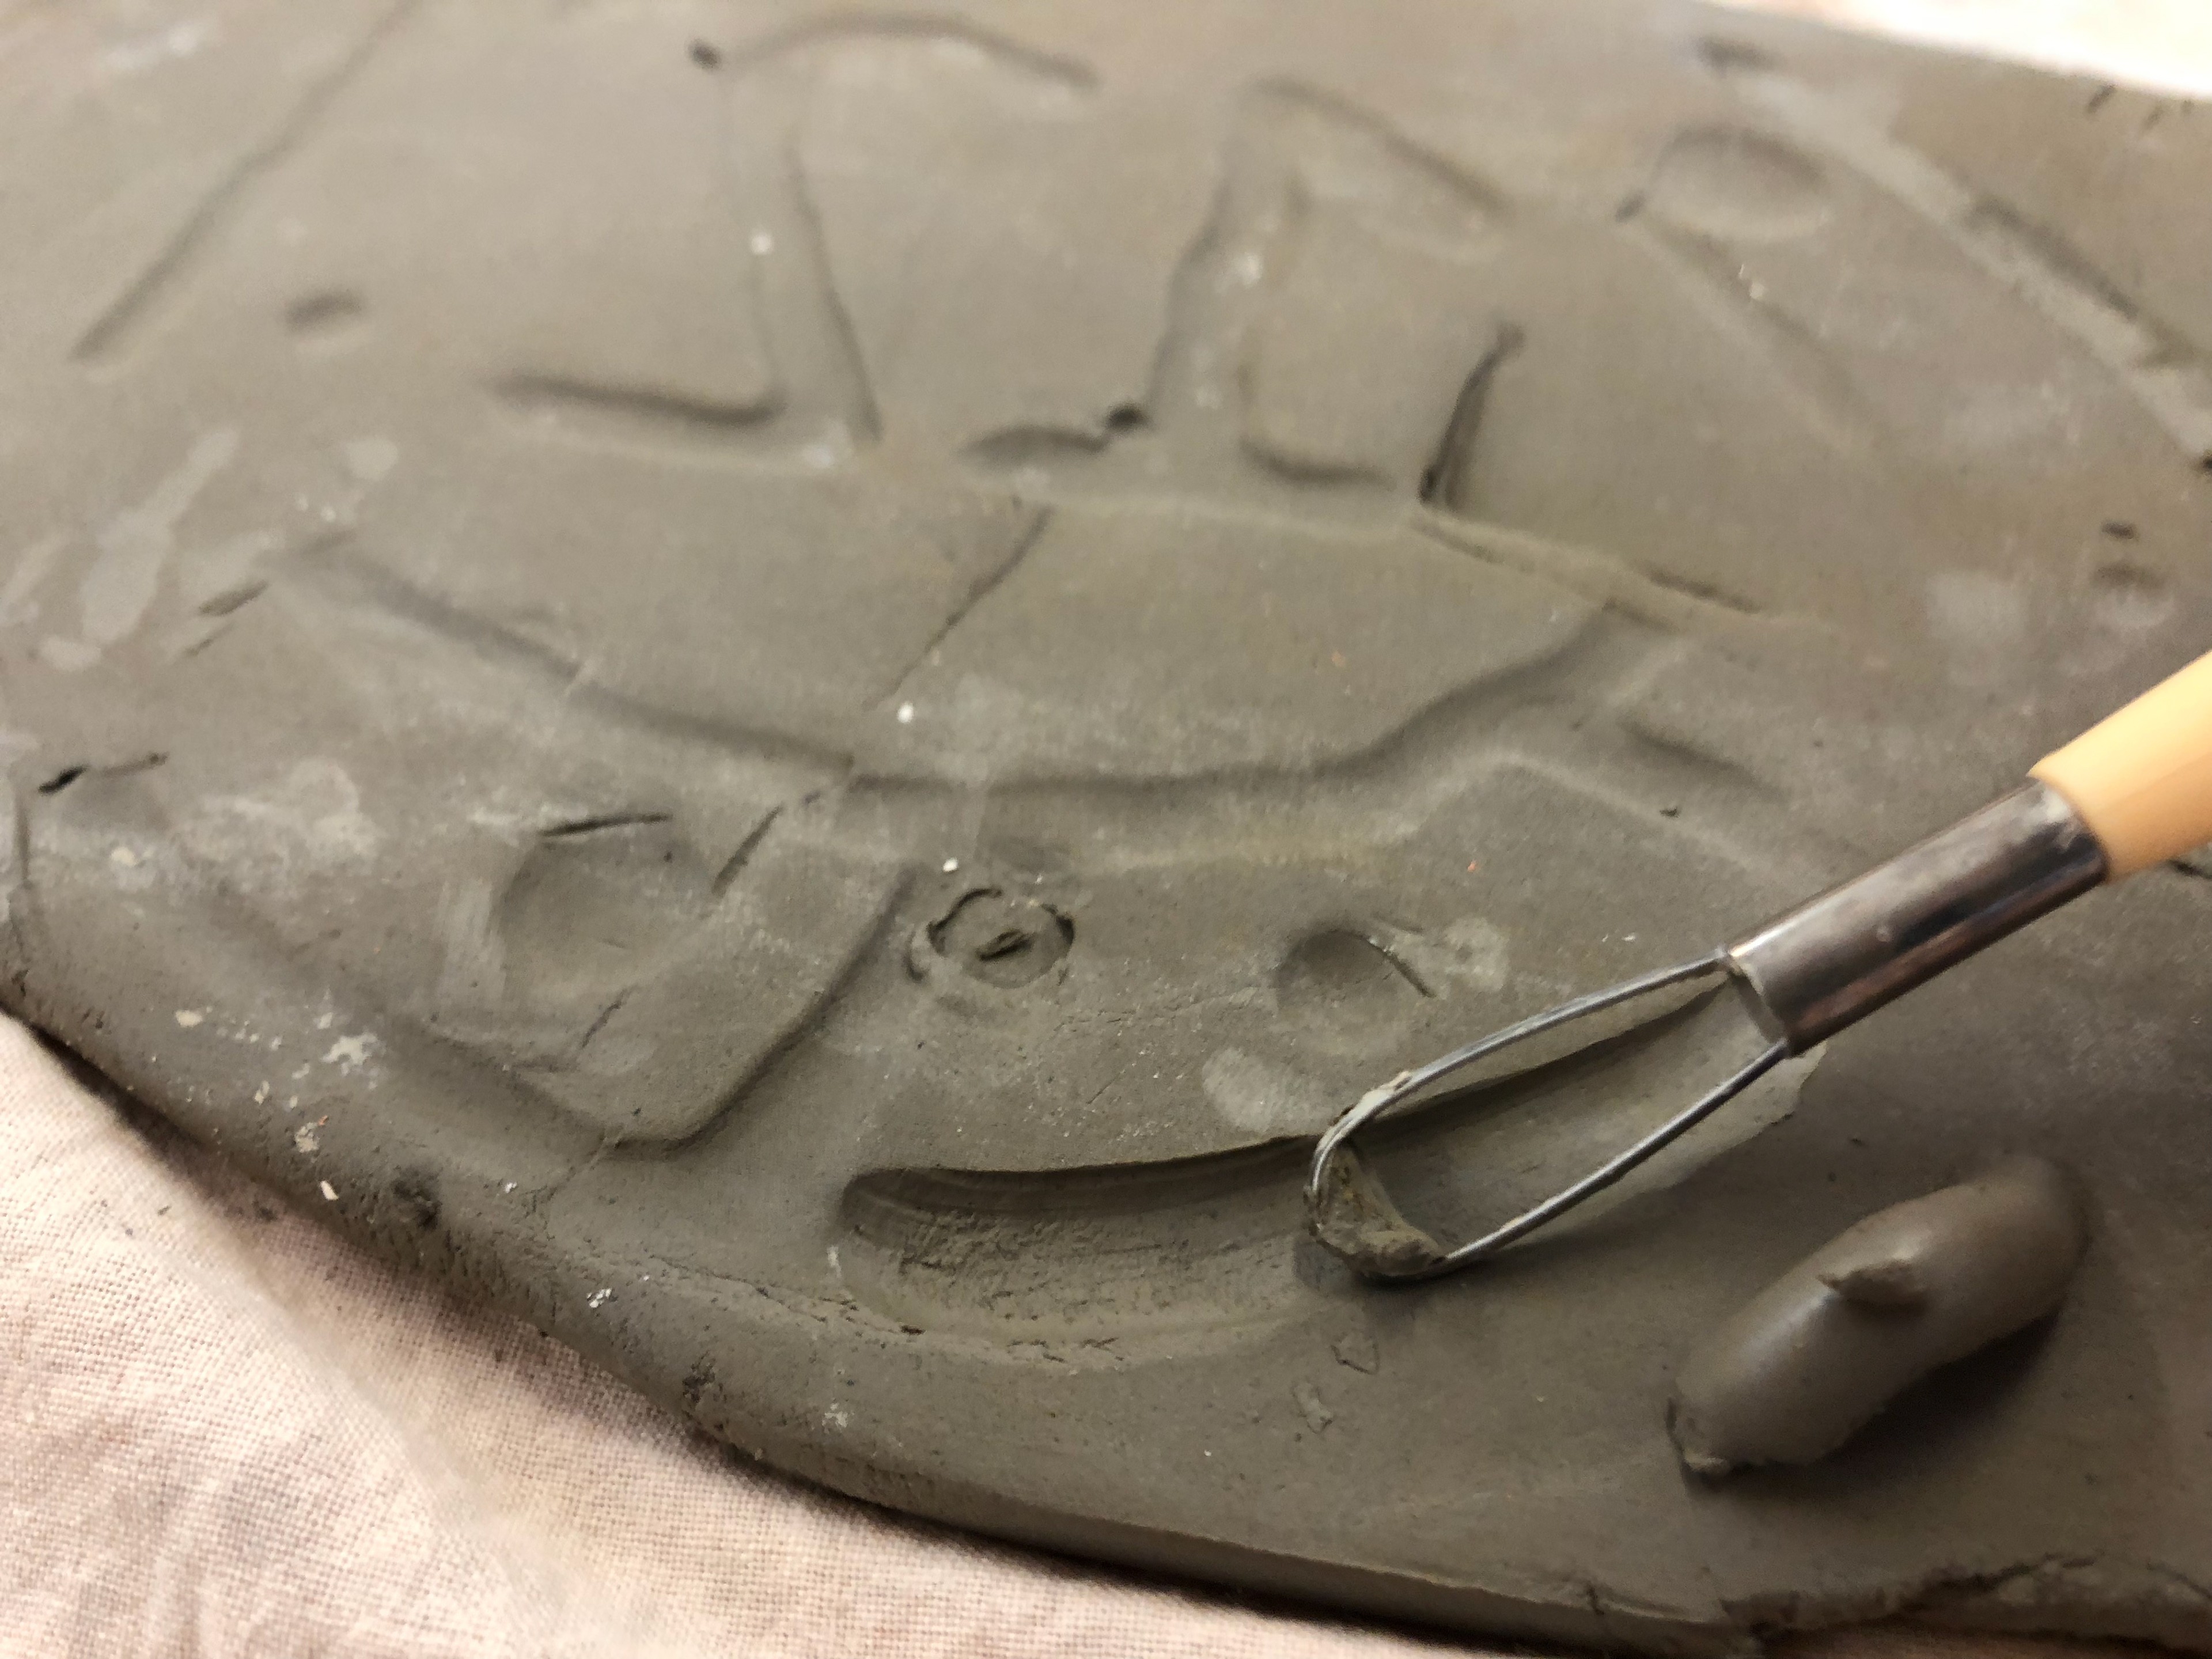
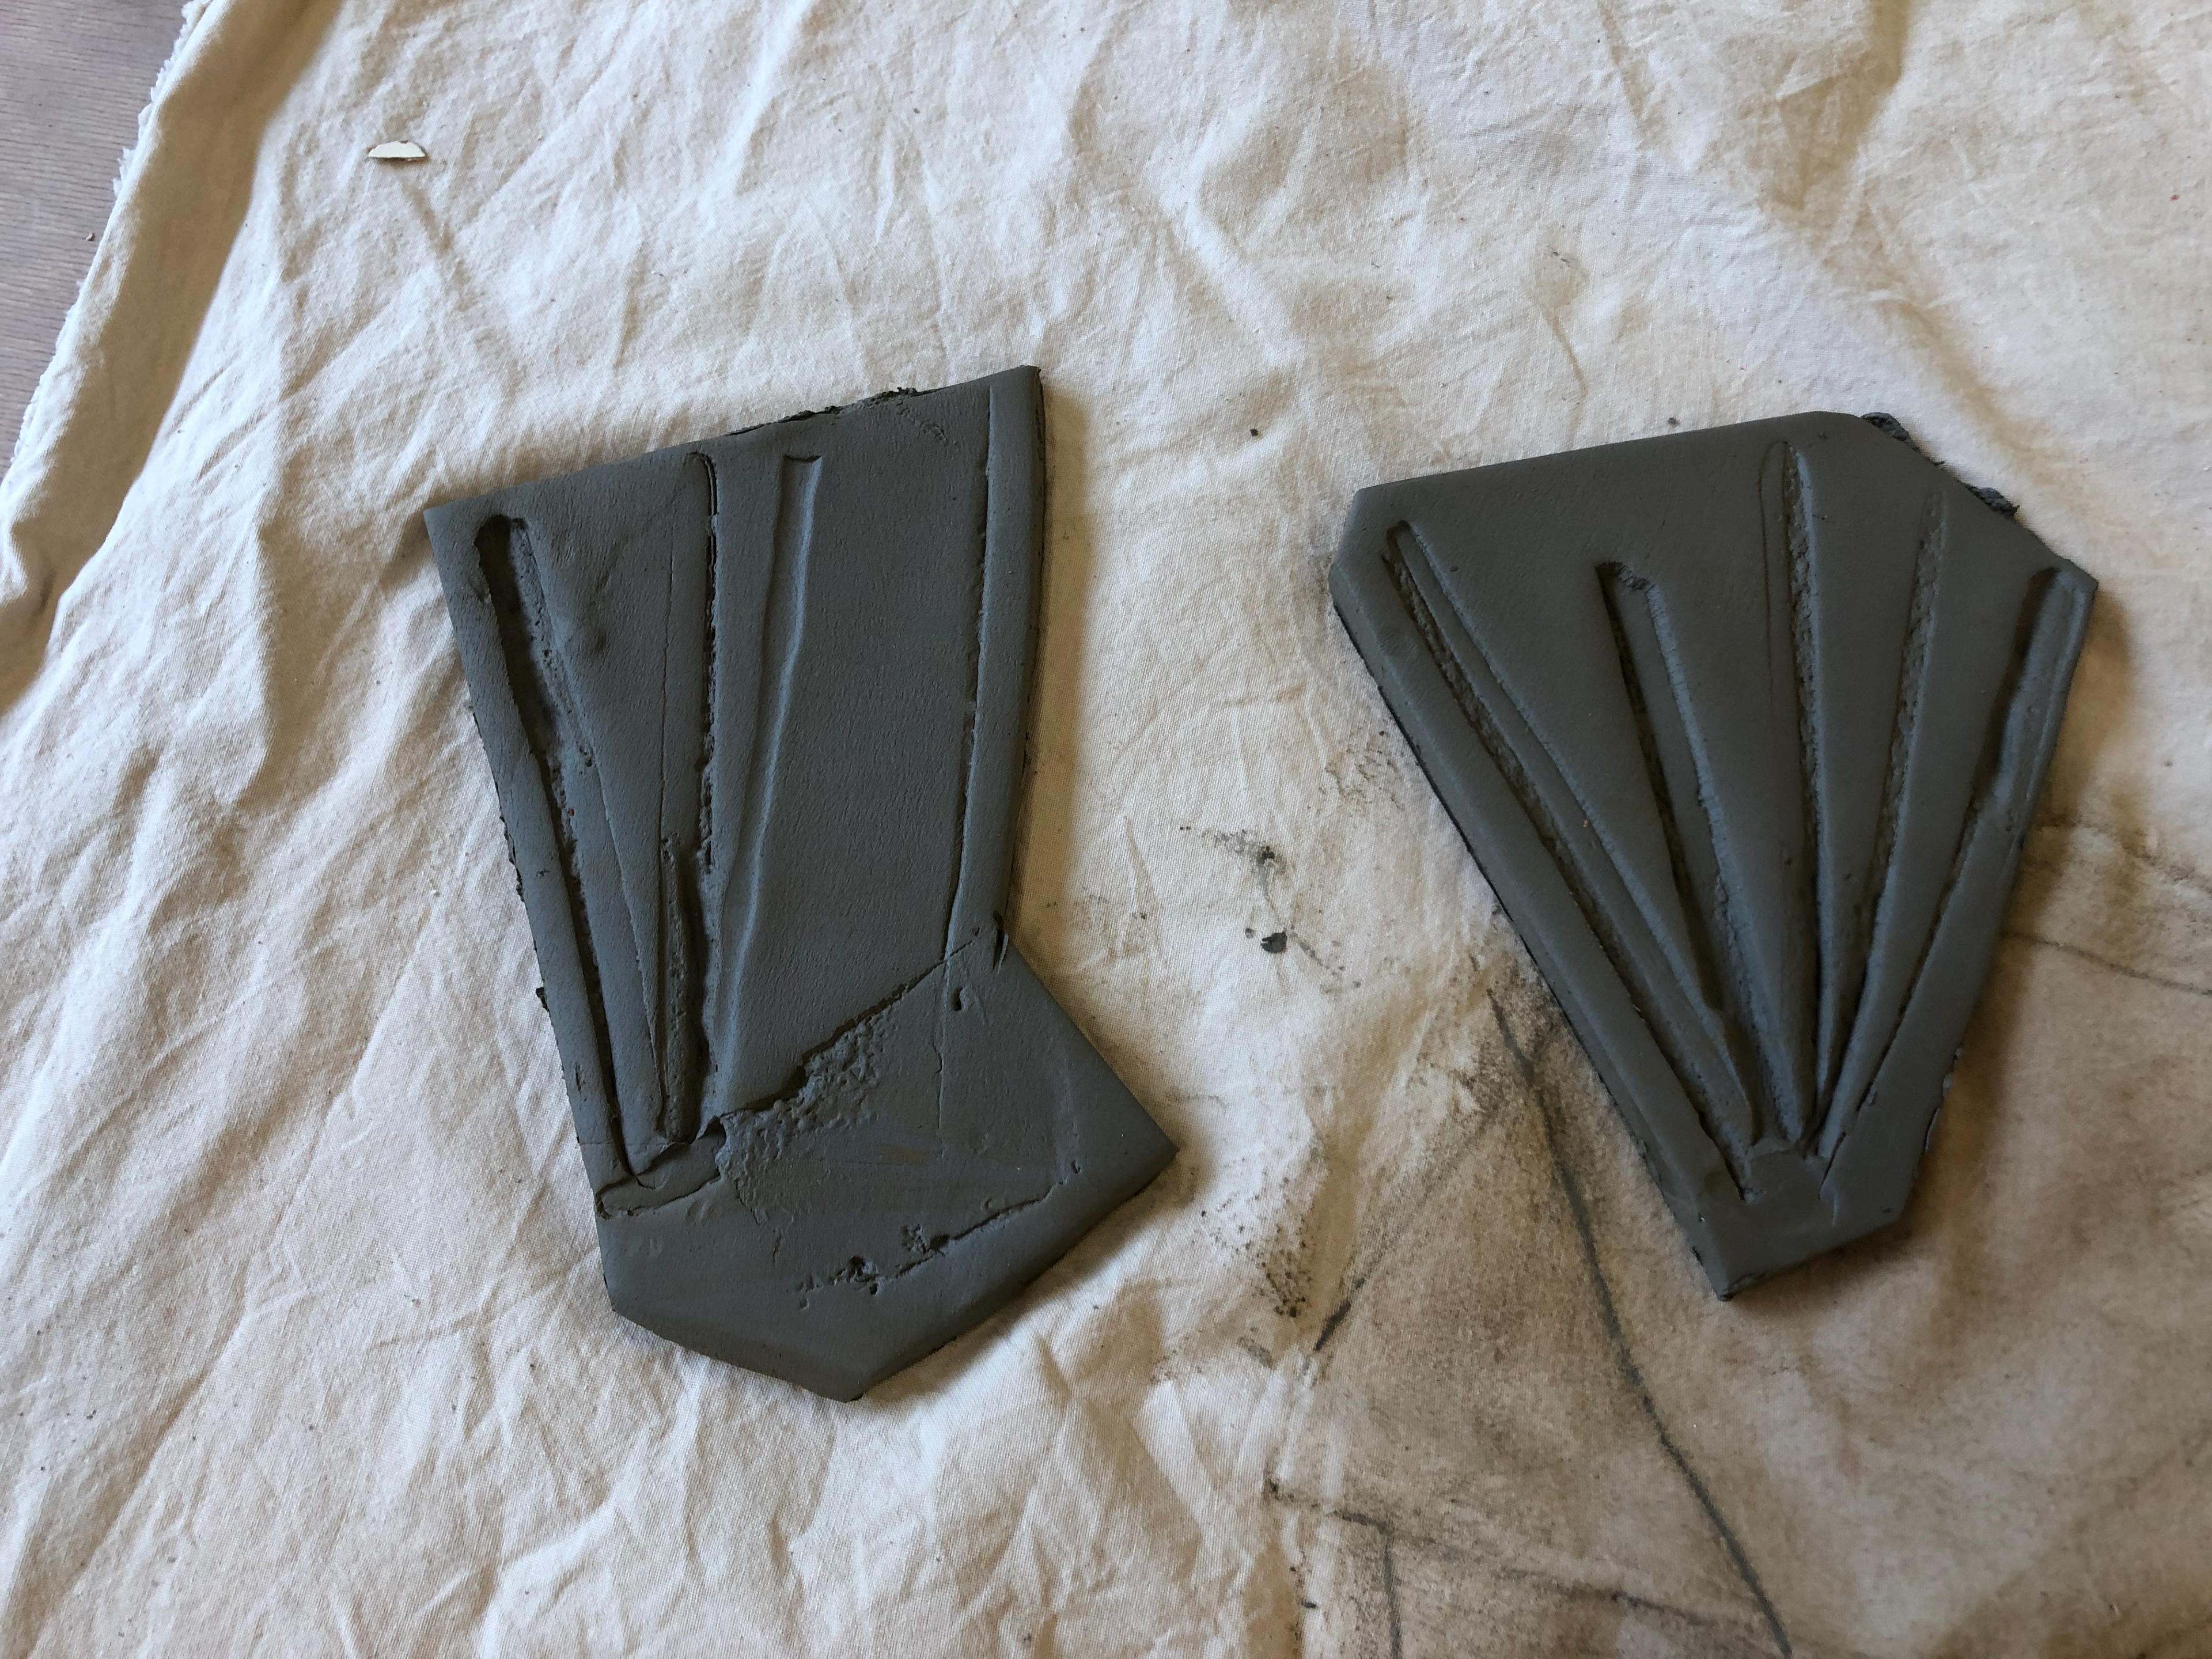
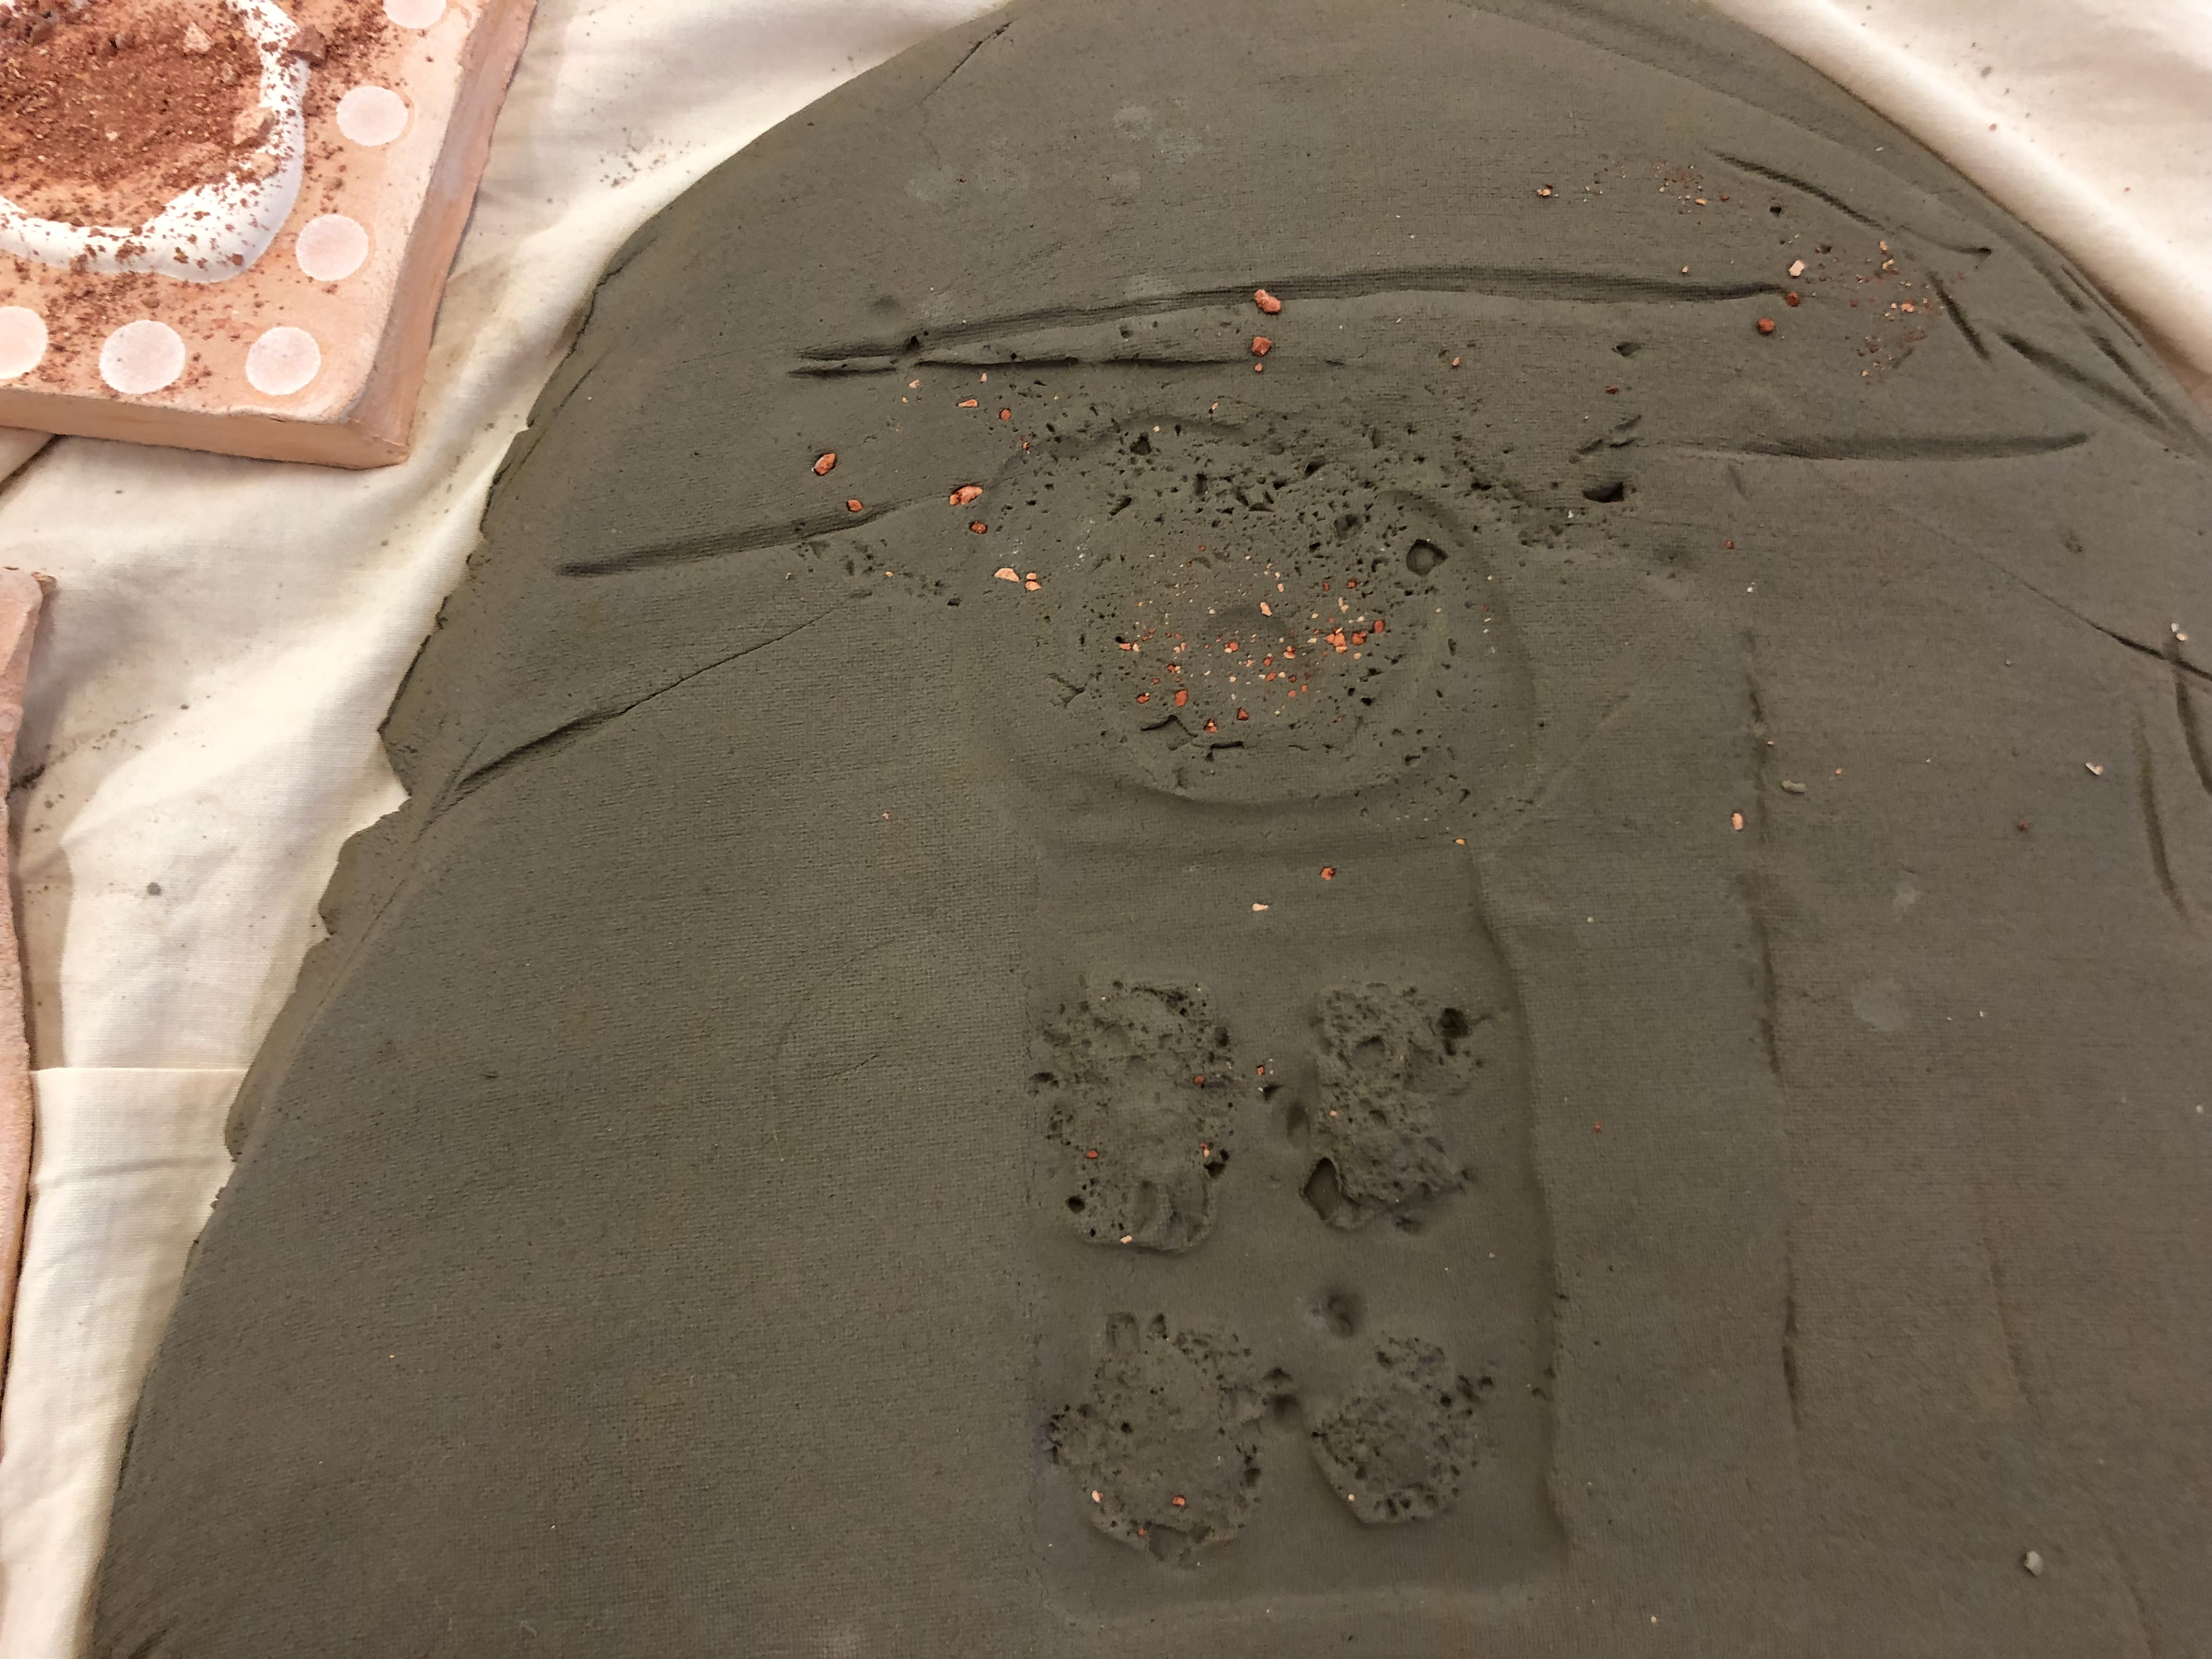
I had to carve out some areas where the pad printing didn't work so well
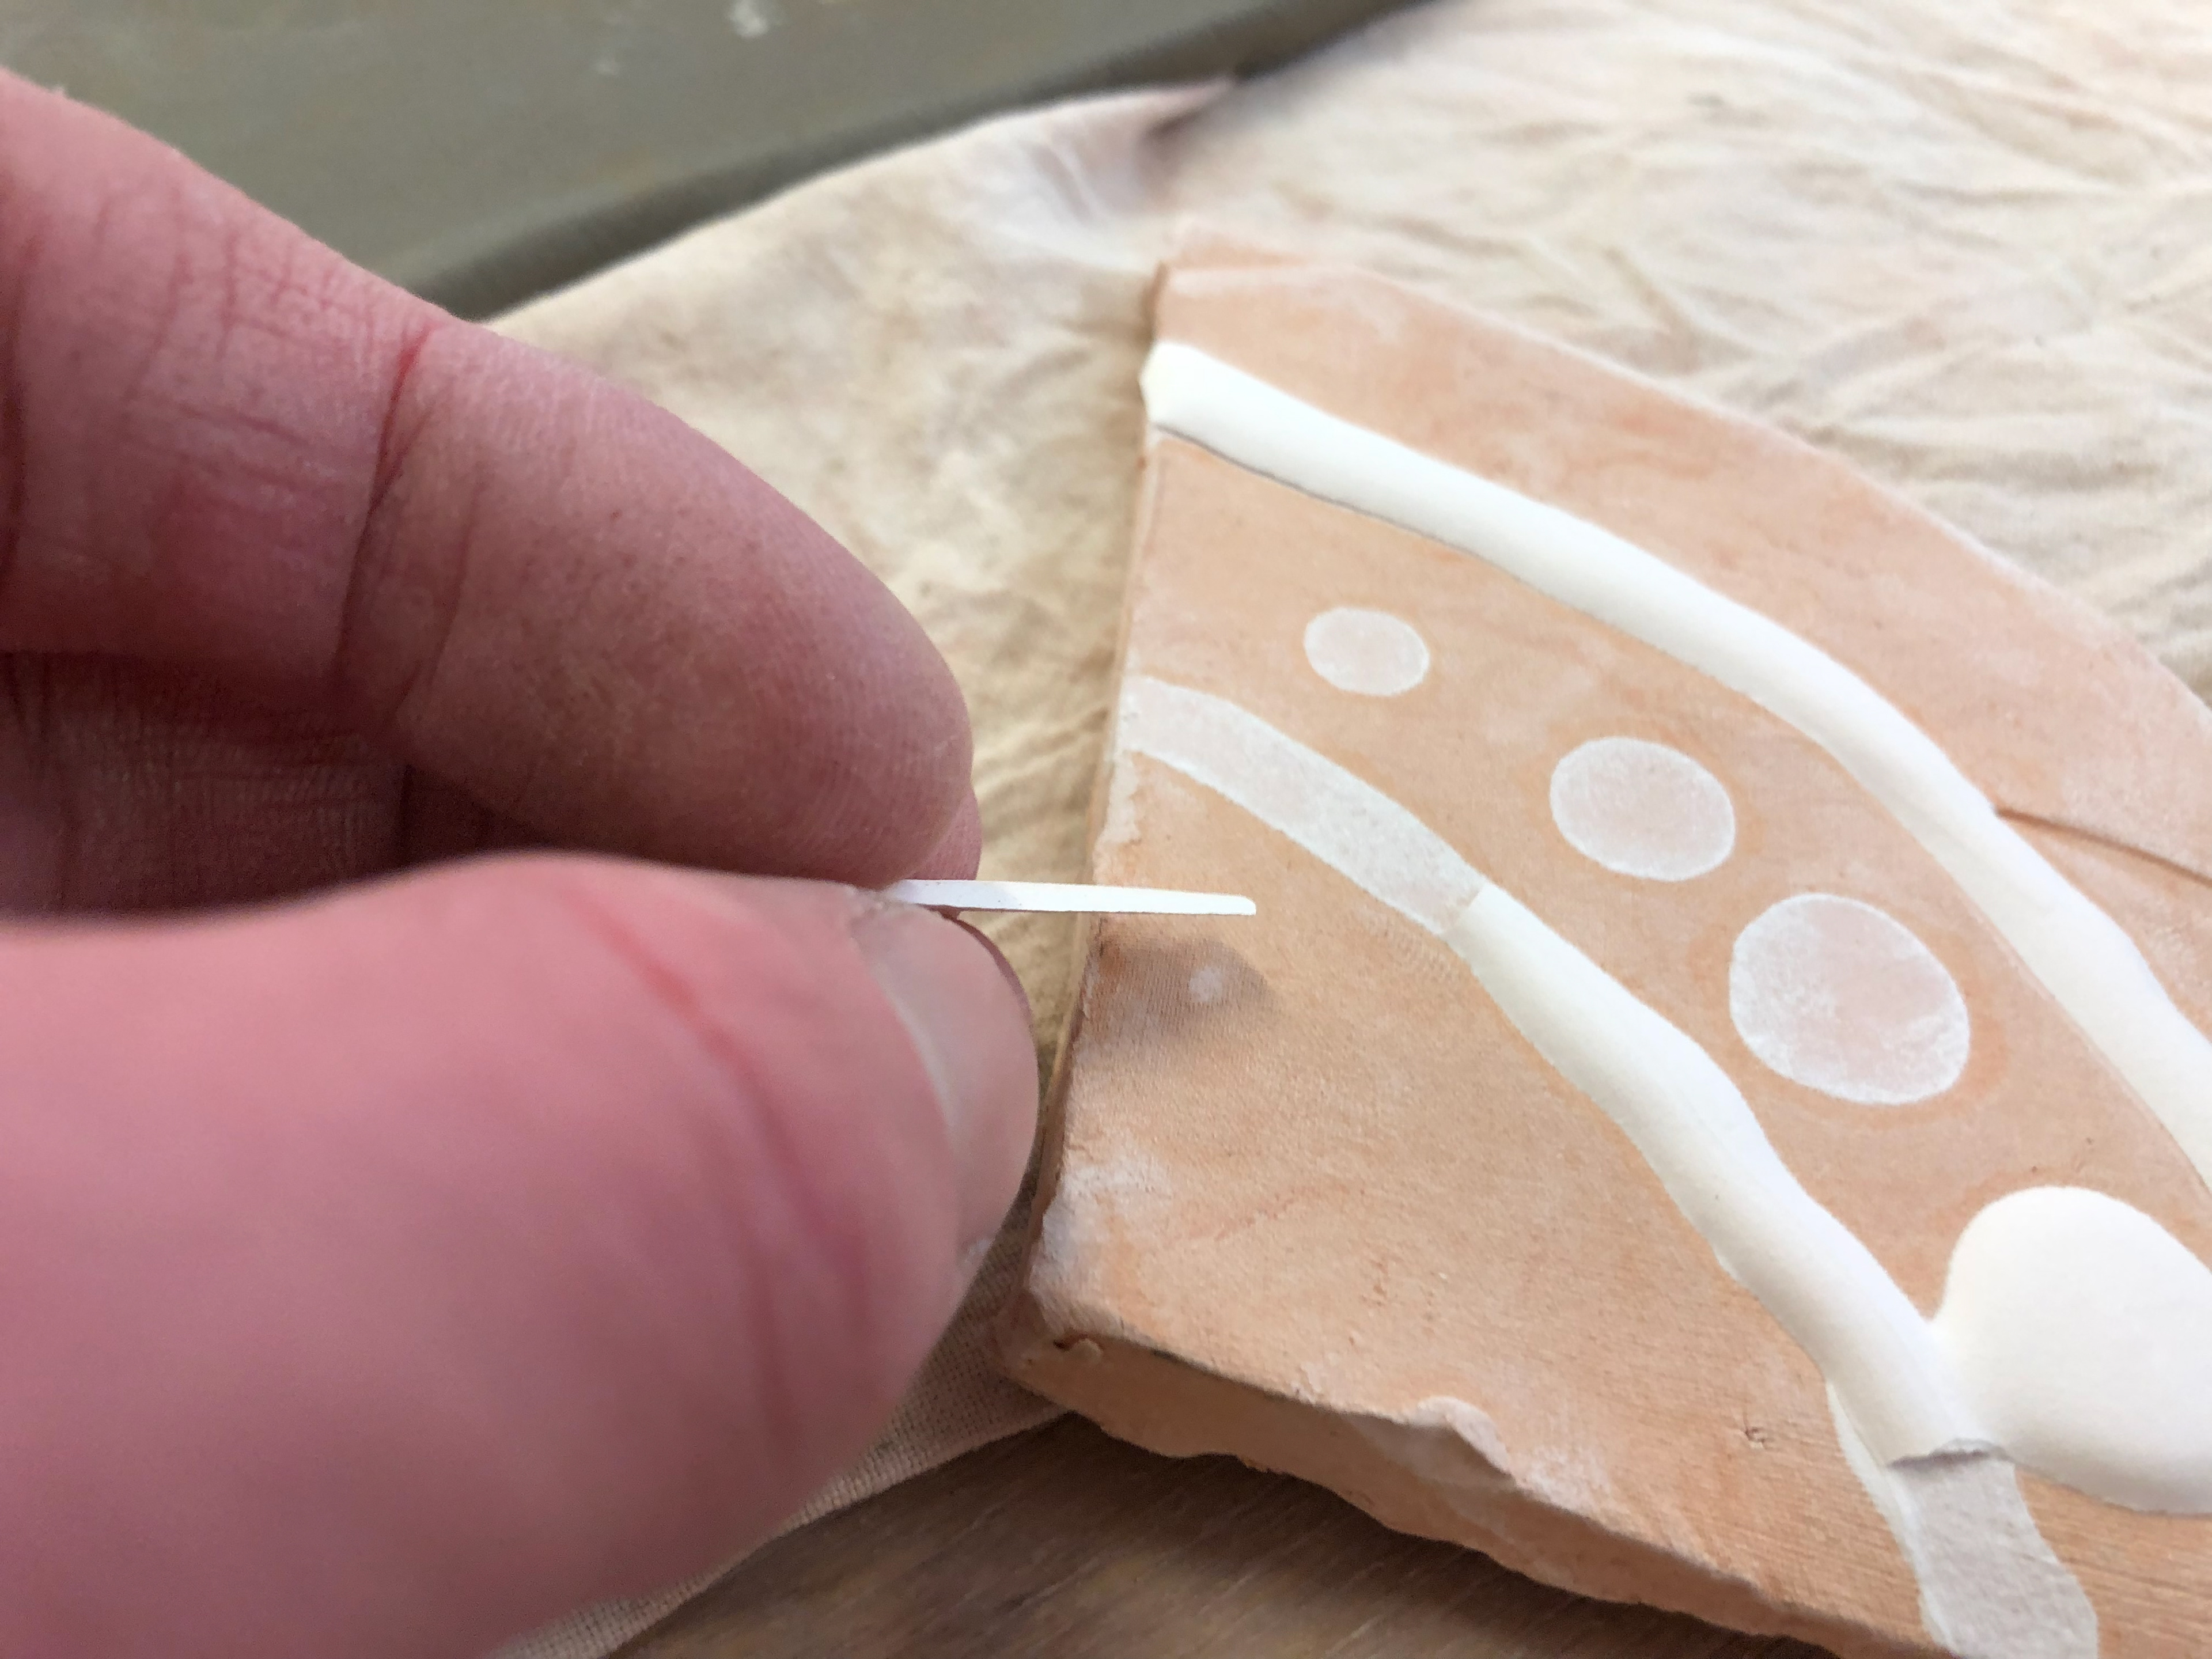
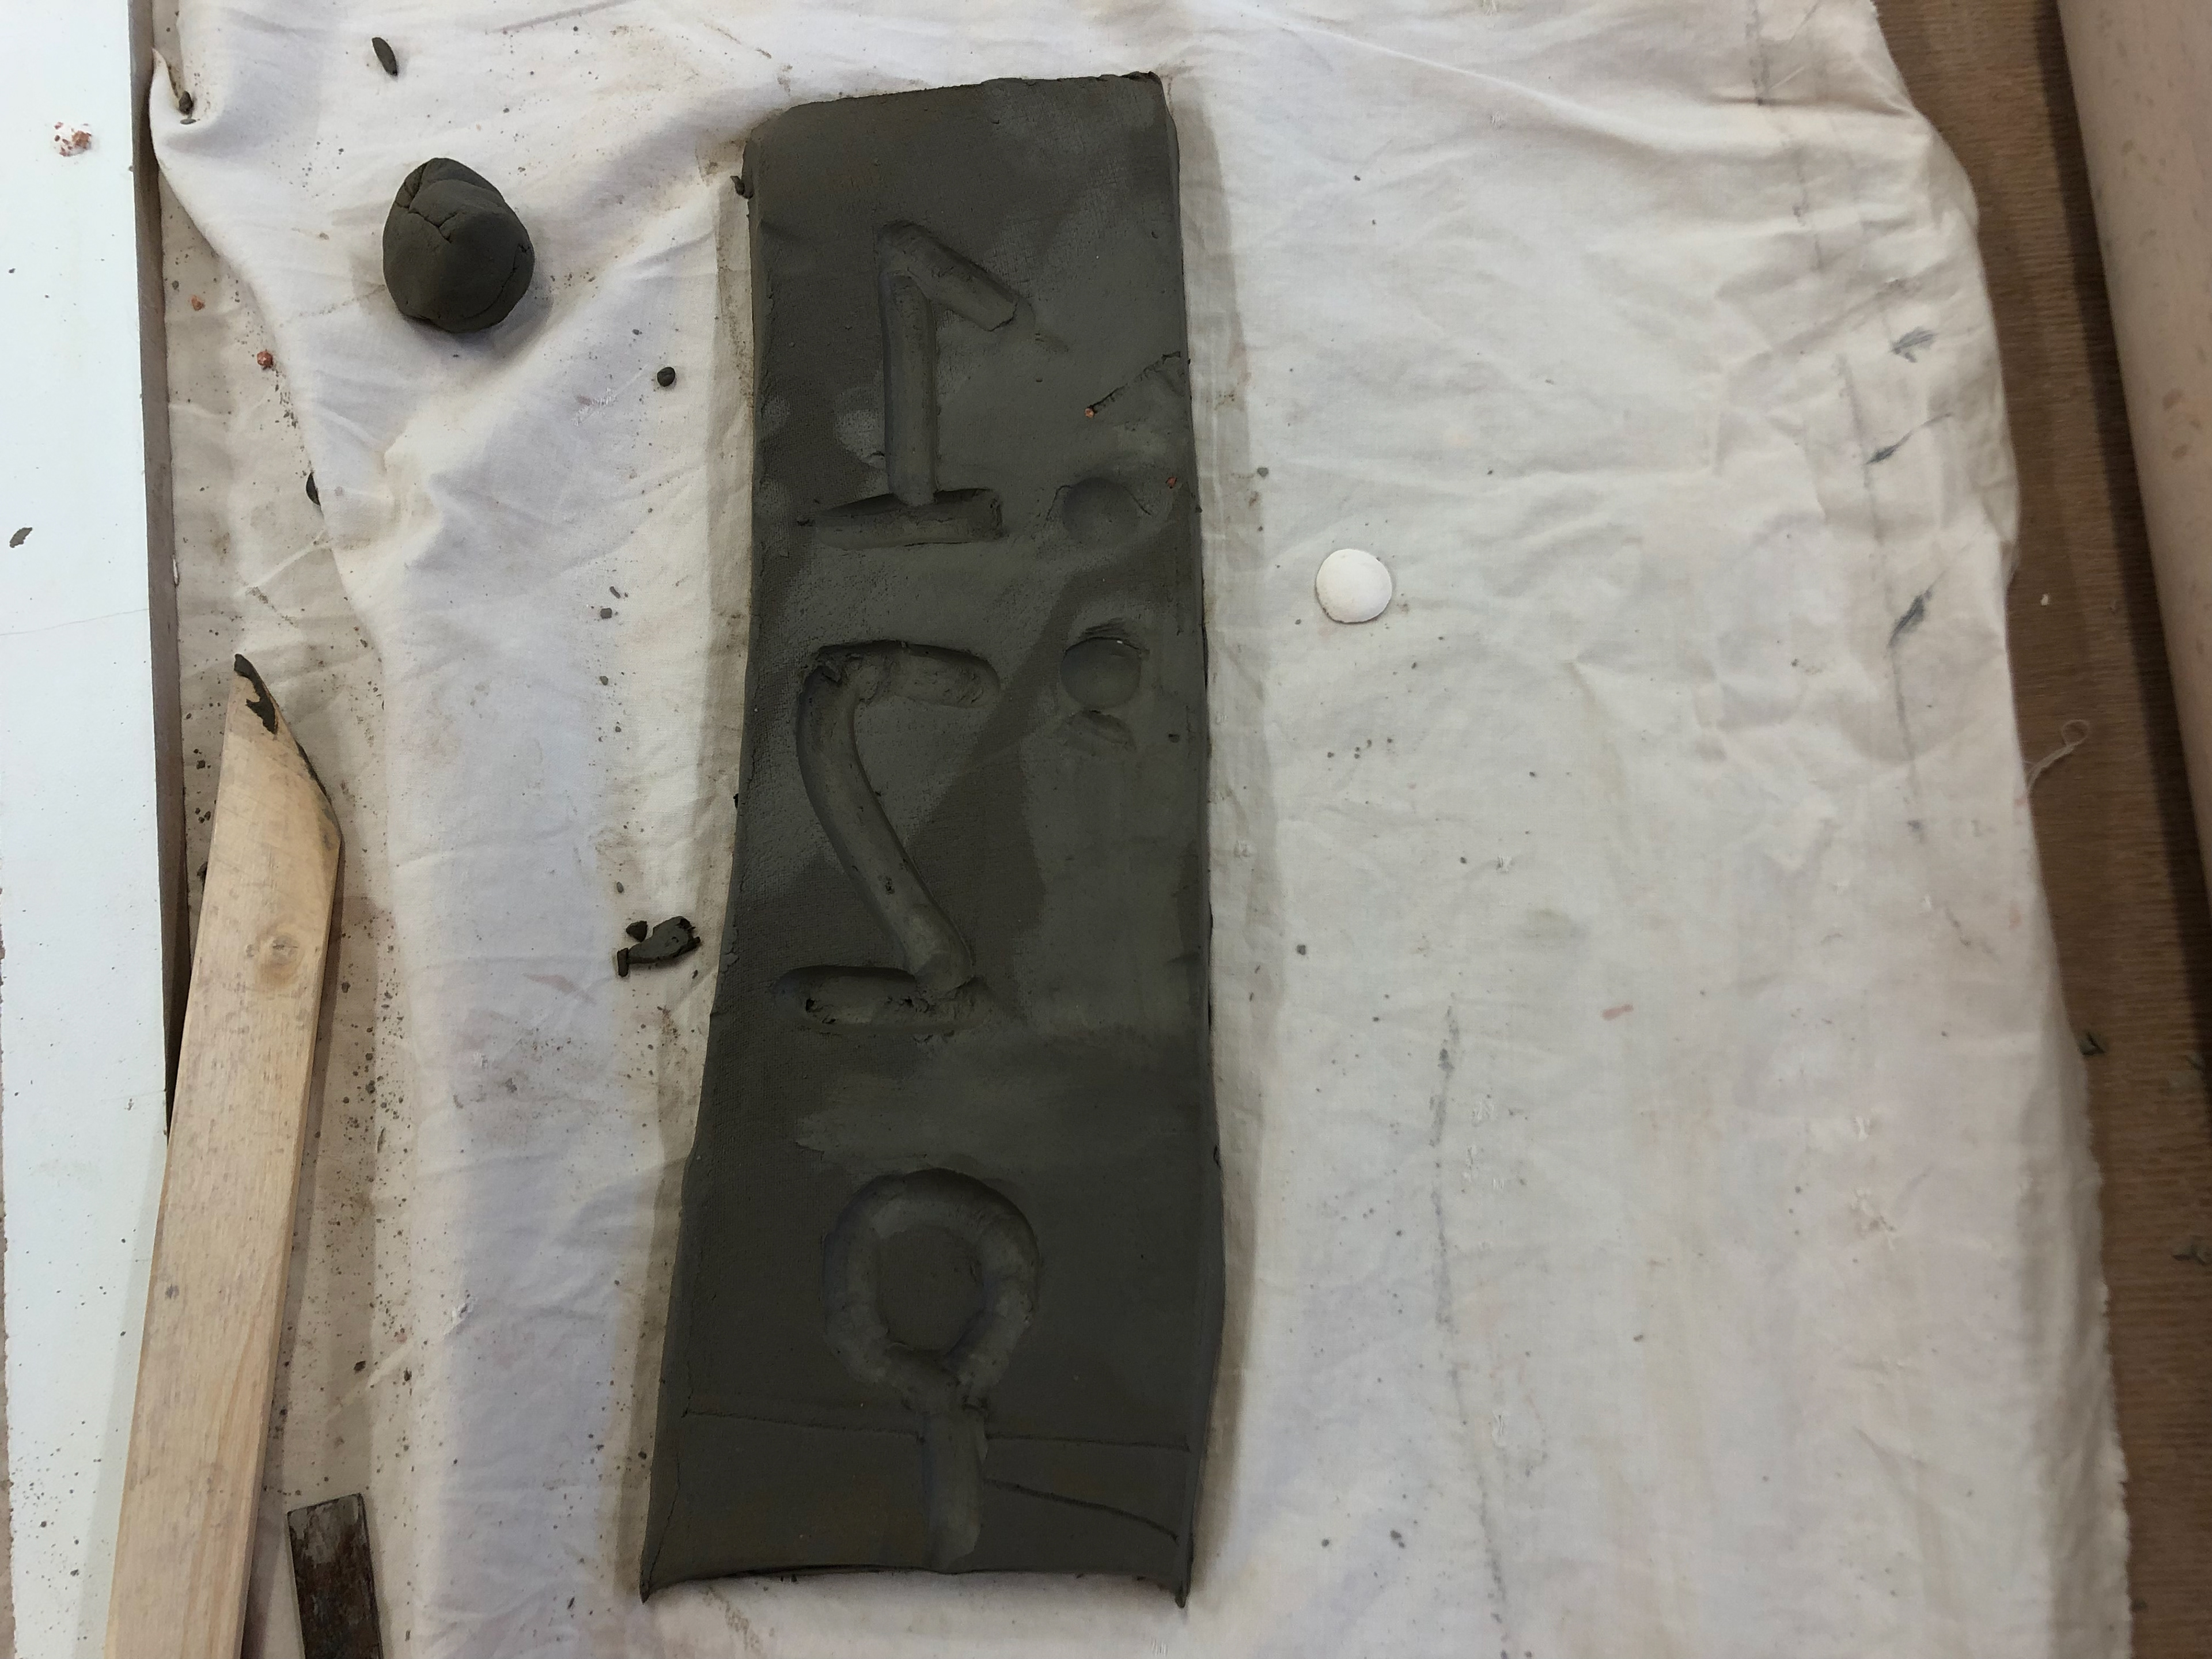
First indent.
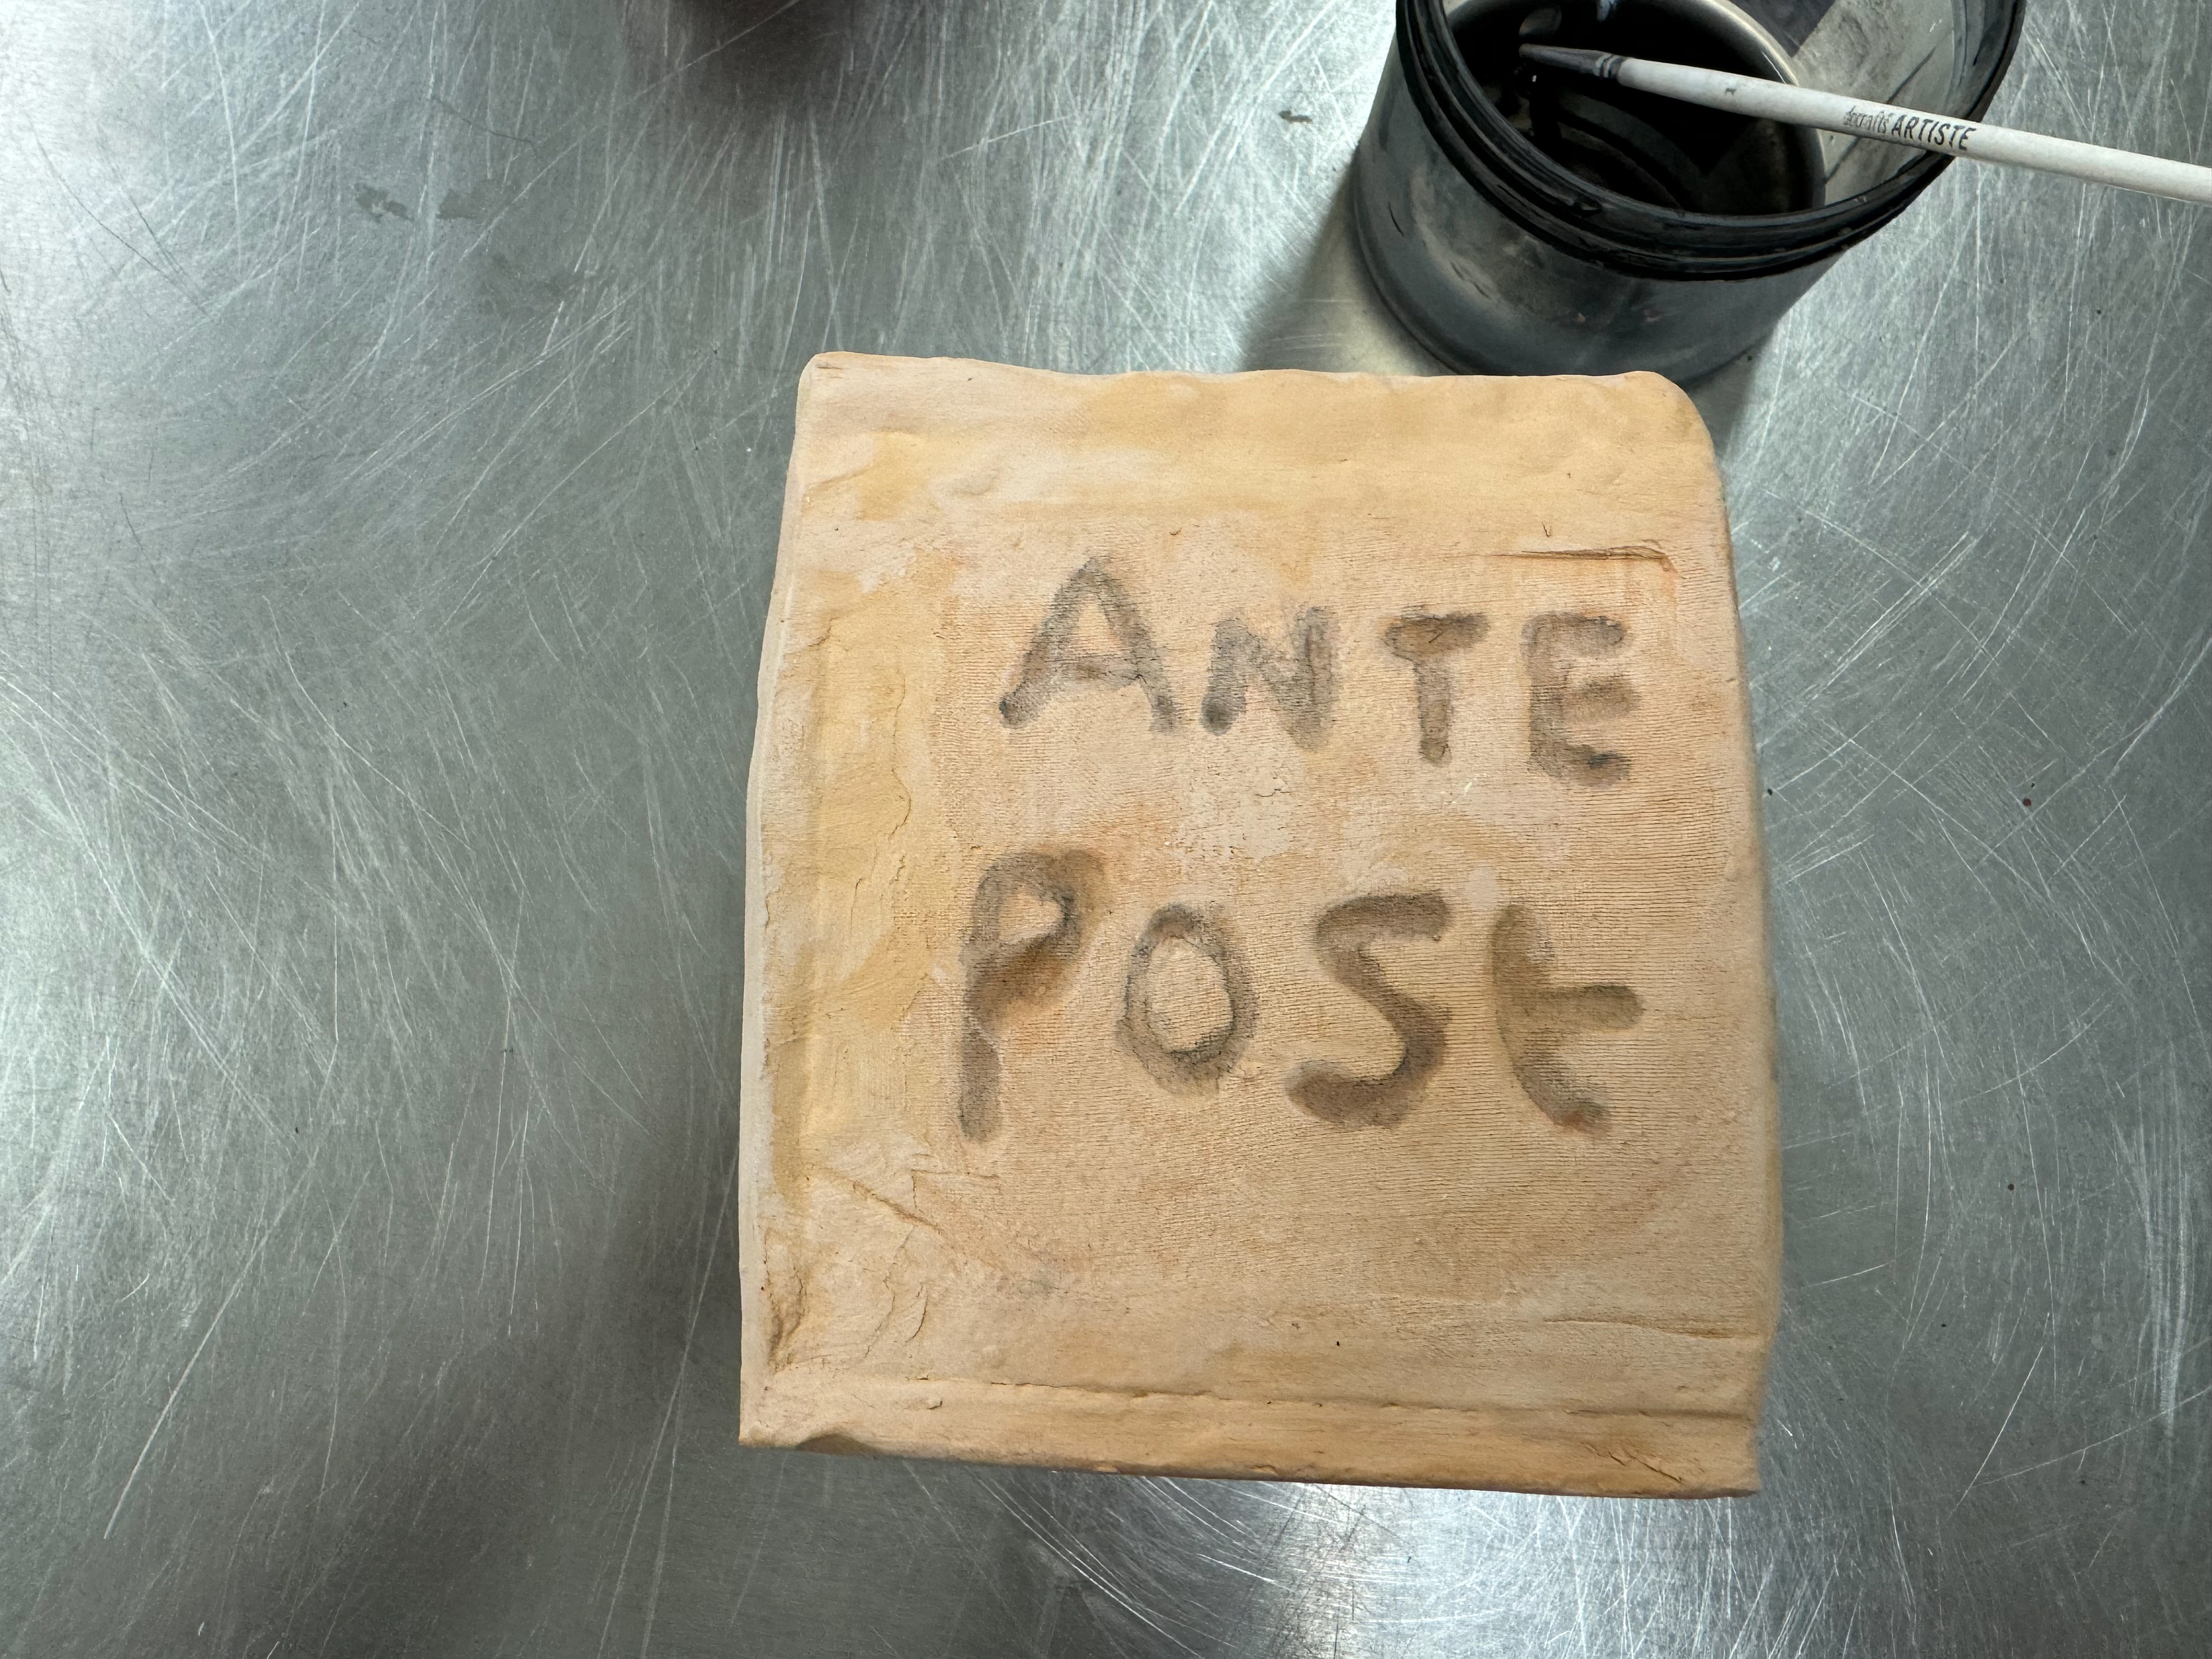
"Pad printing" but changing the order to convey passage of time varies depending on who looks at it.
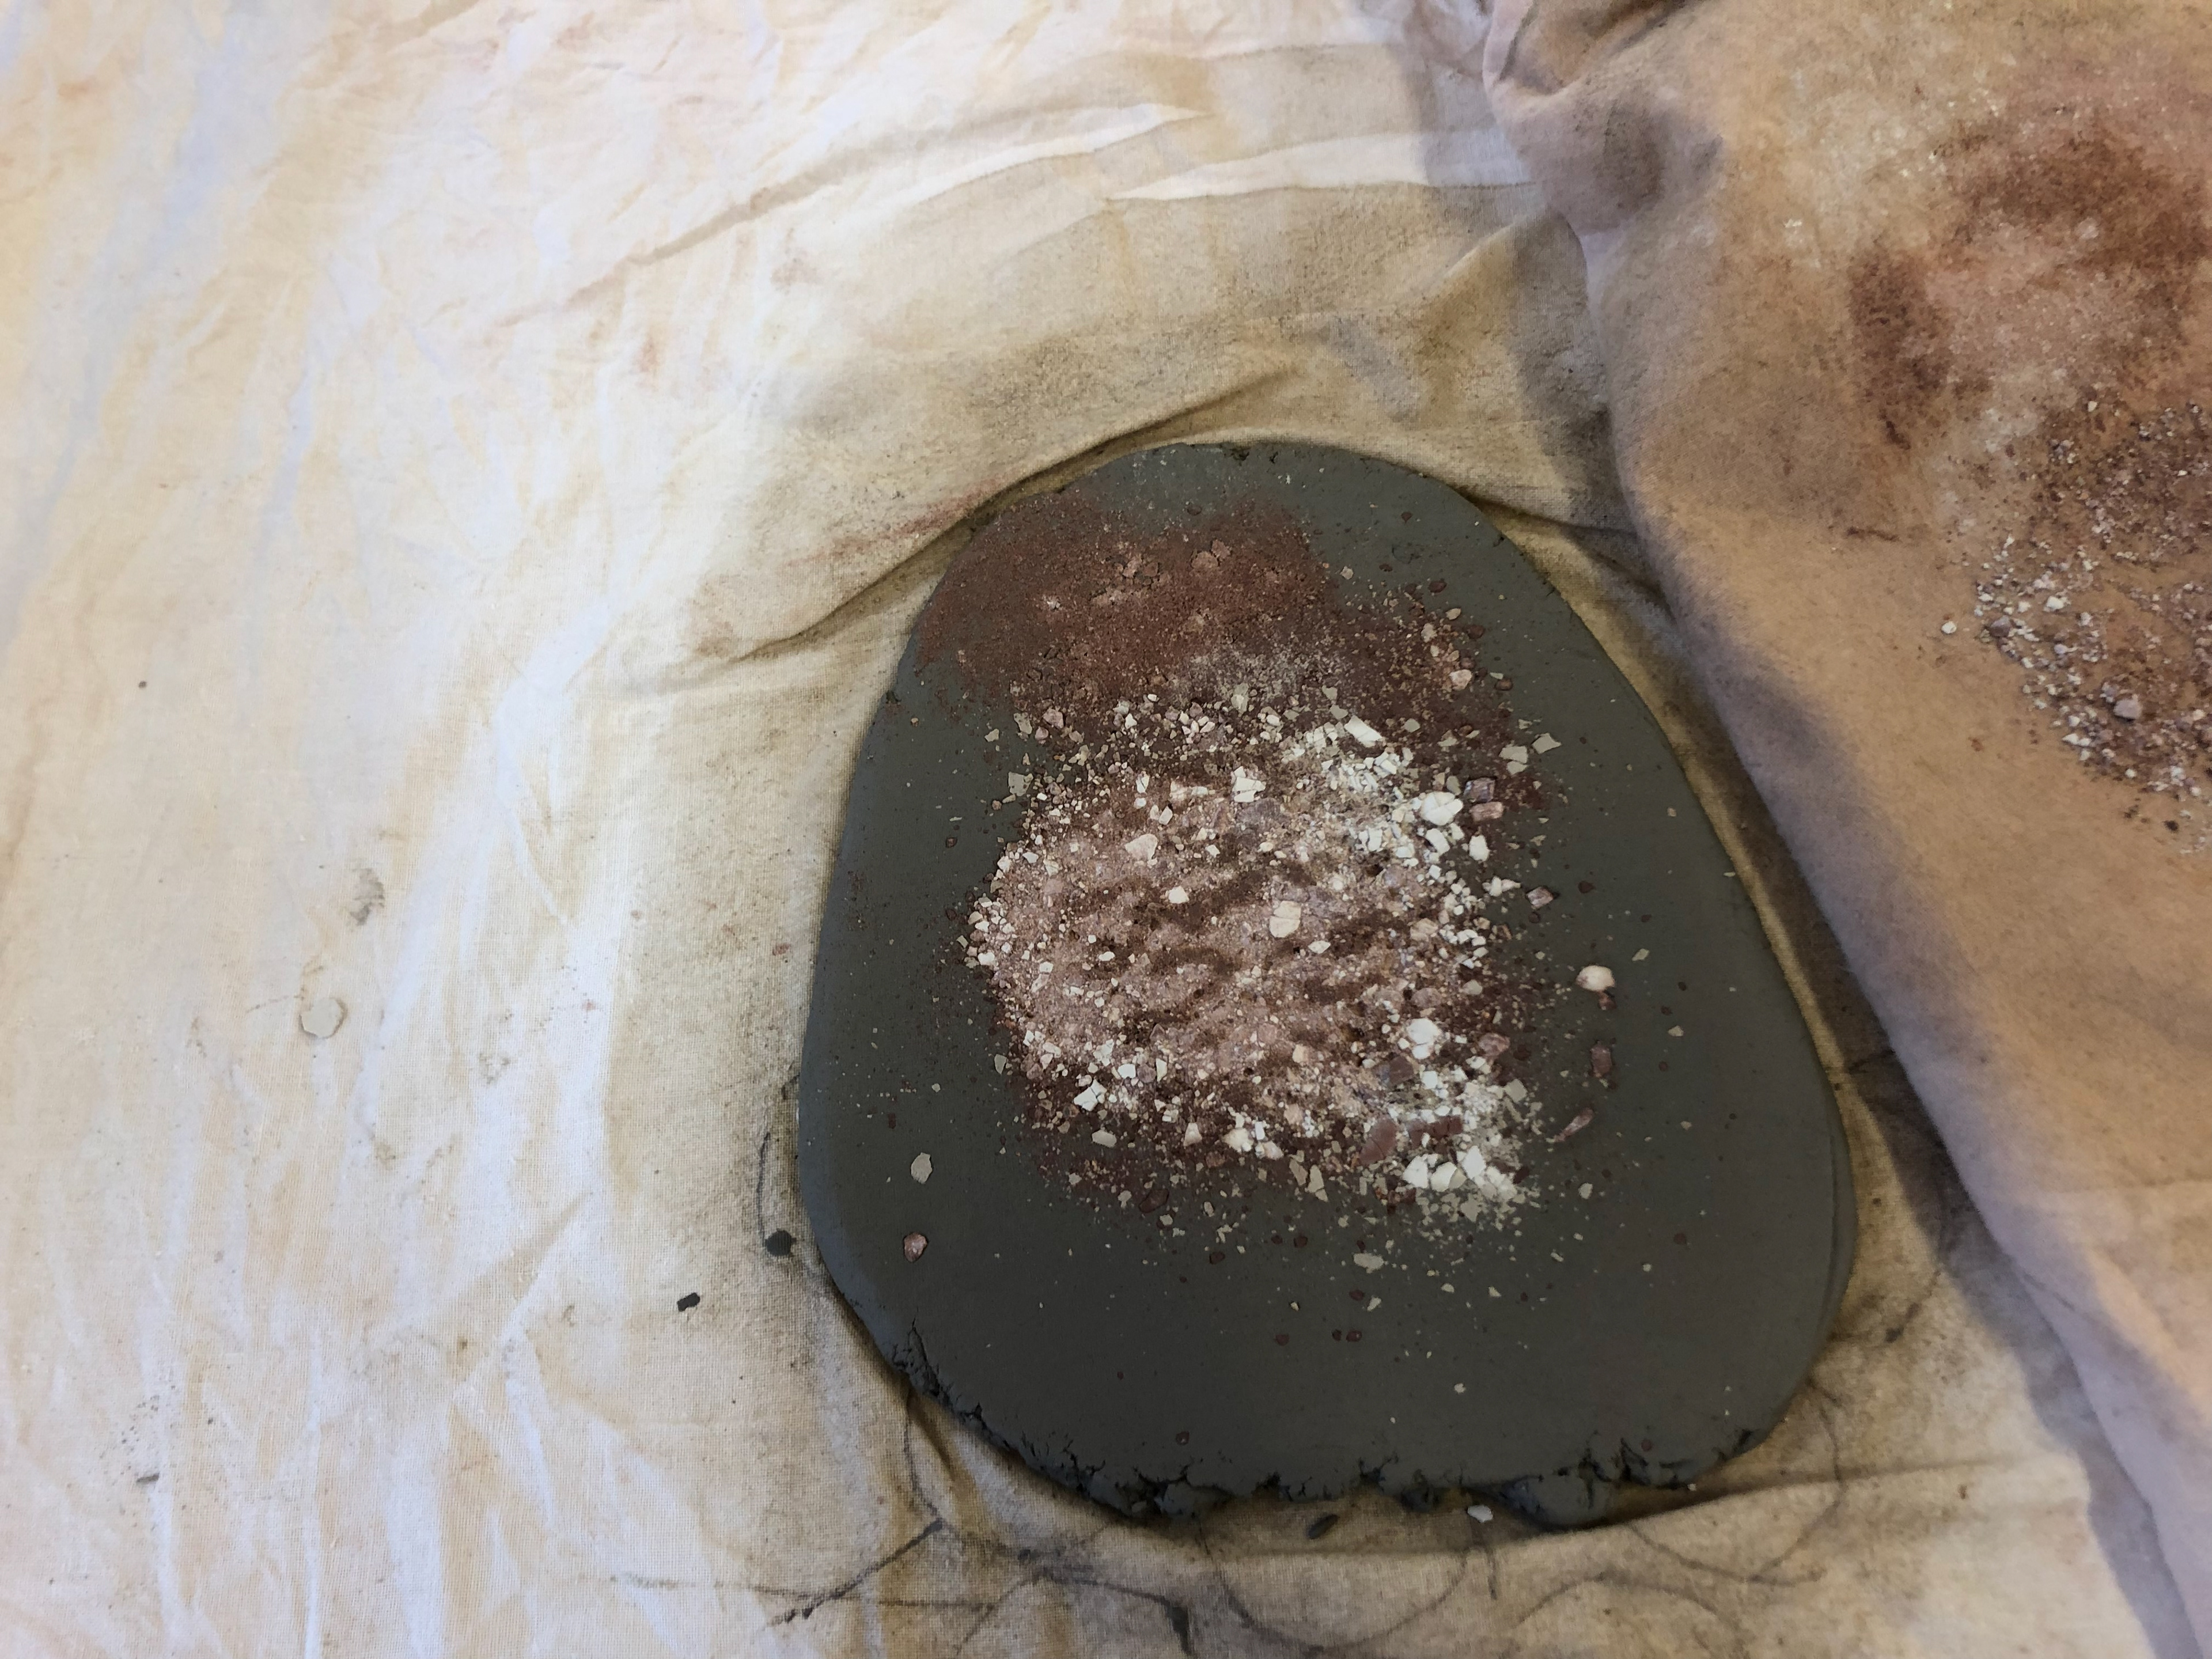
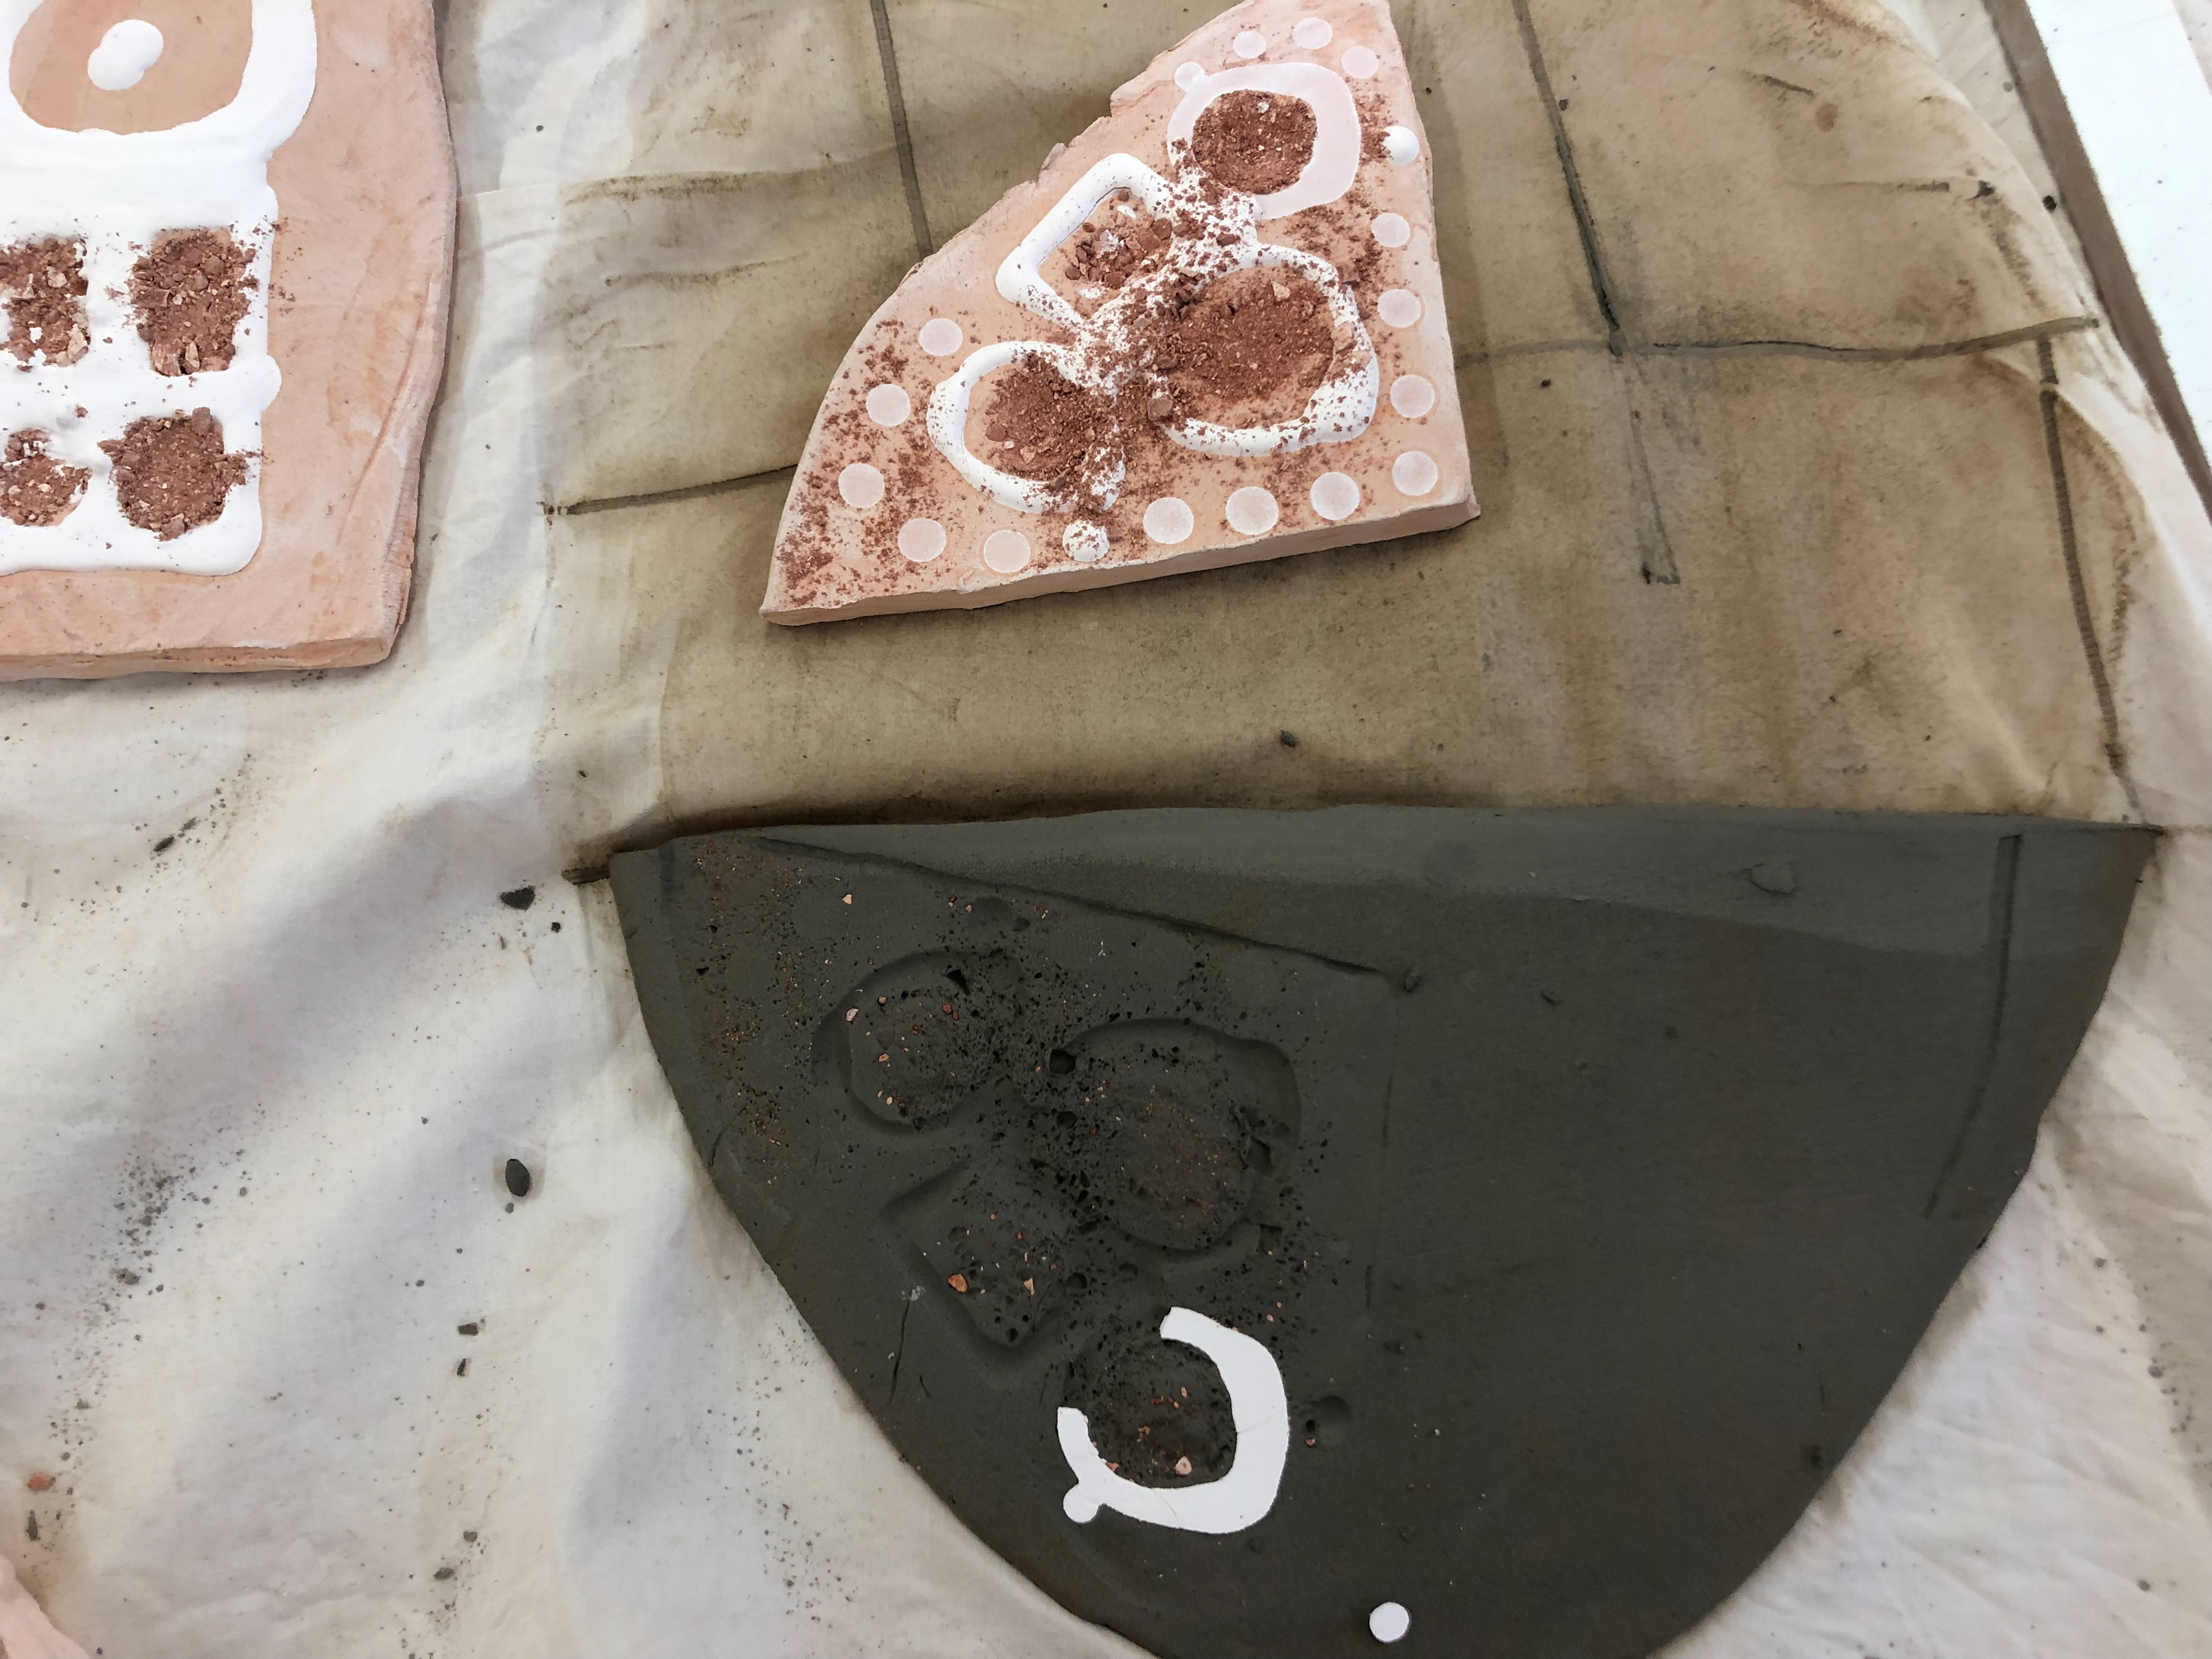
More detailed view of the now fired crushed clay and slip.
Imprint of a different crushed clay and slip
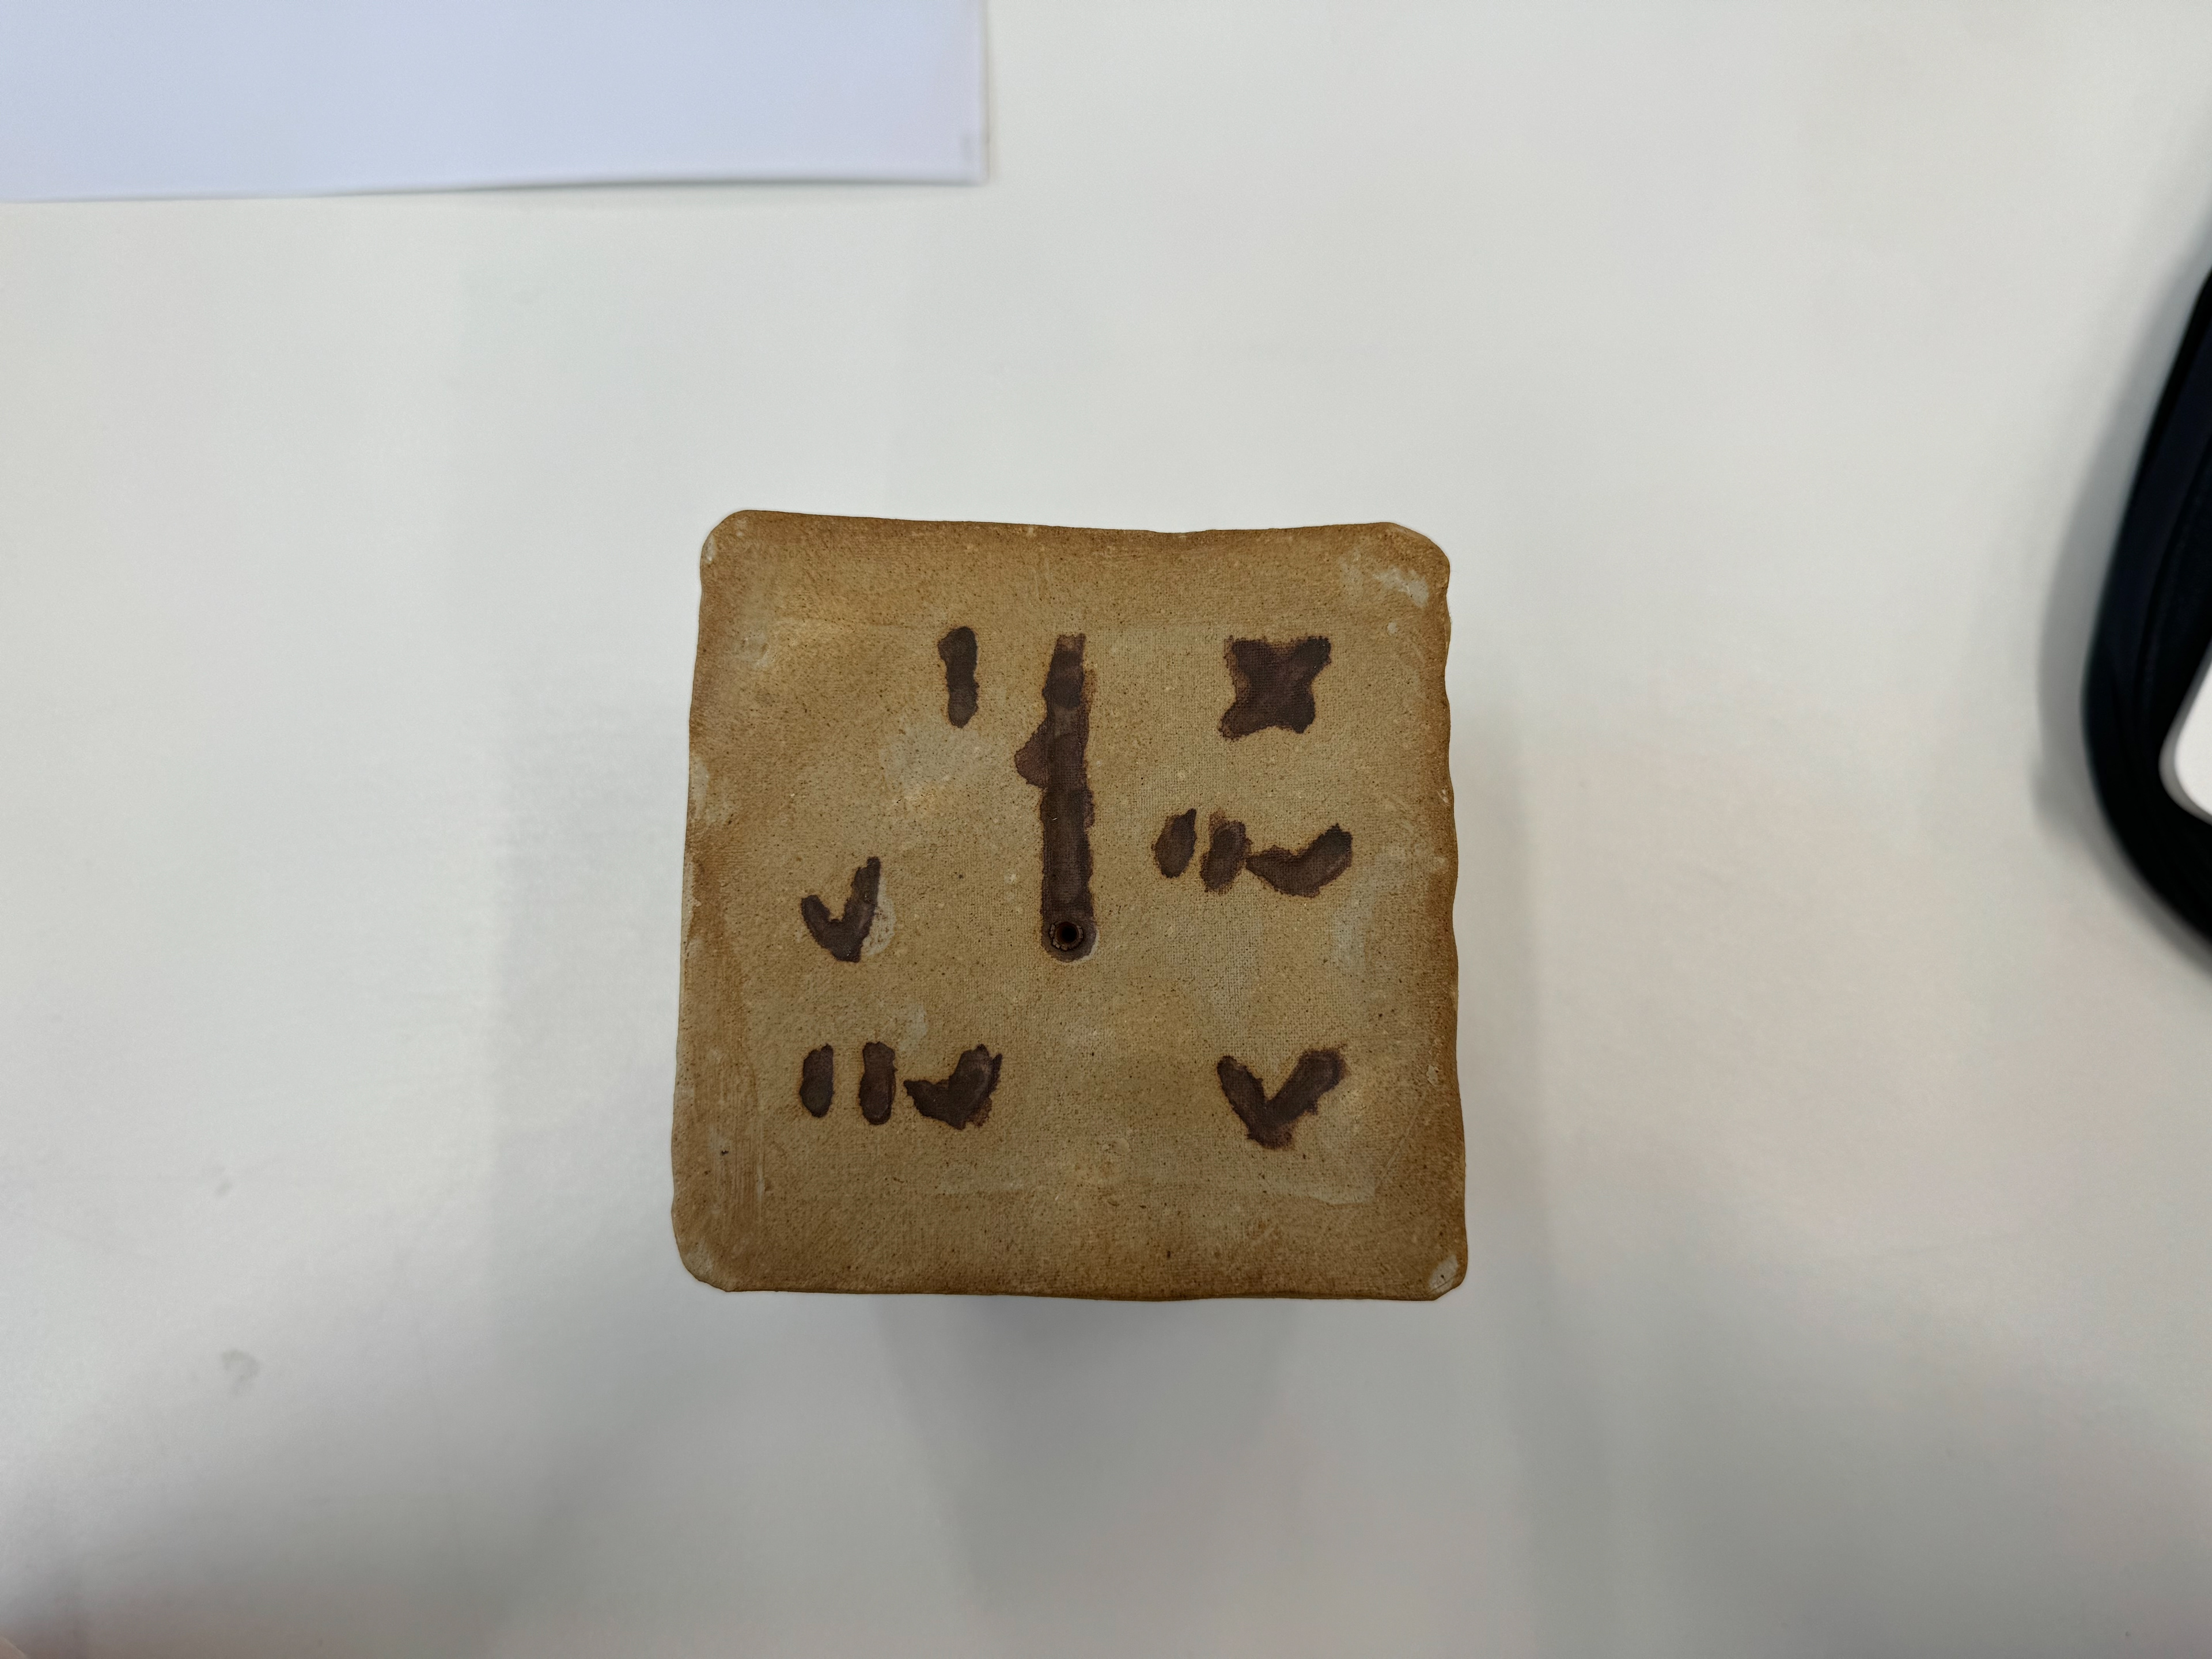
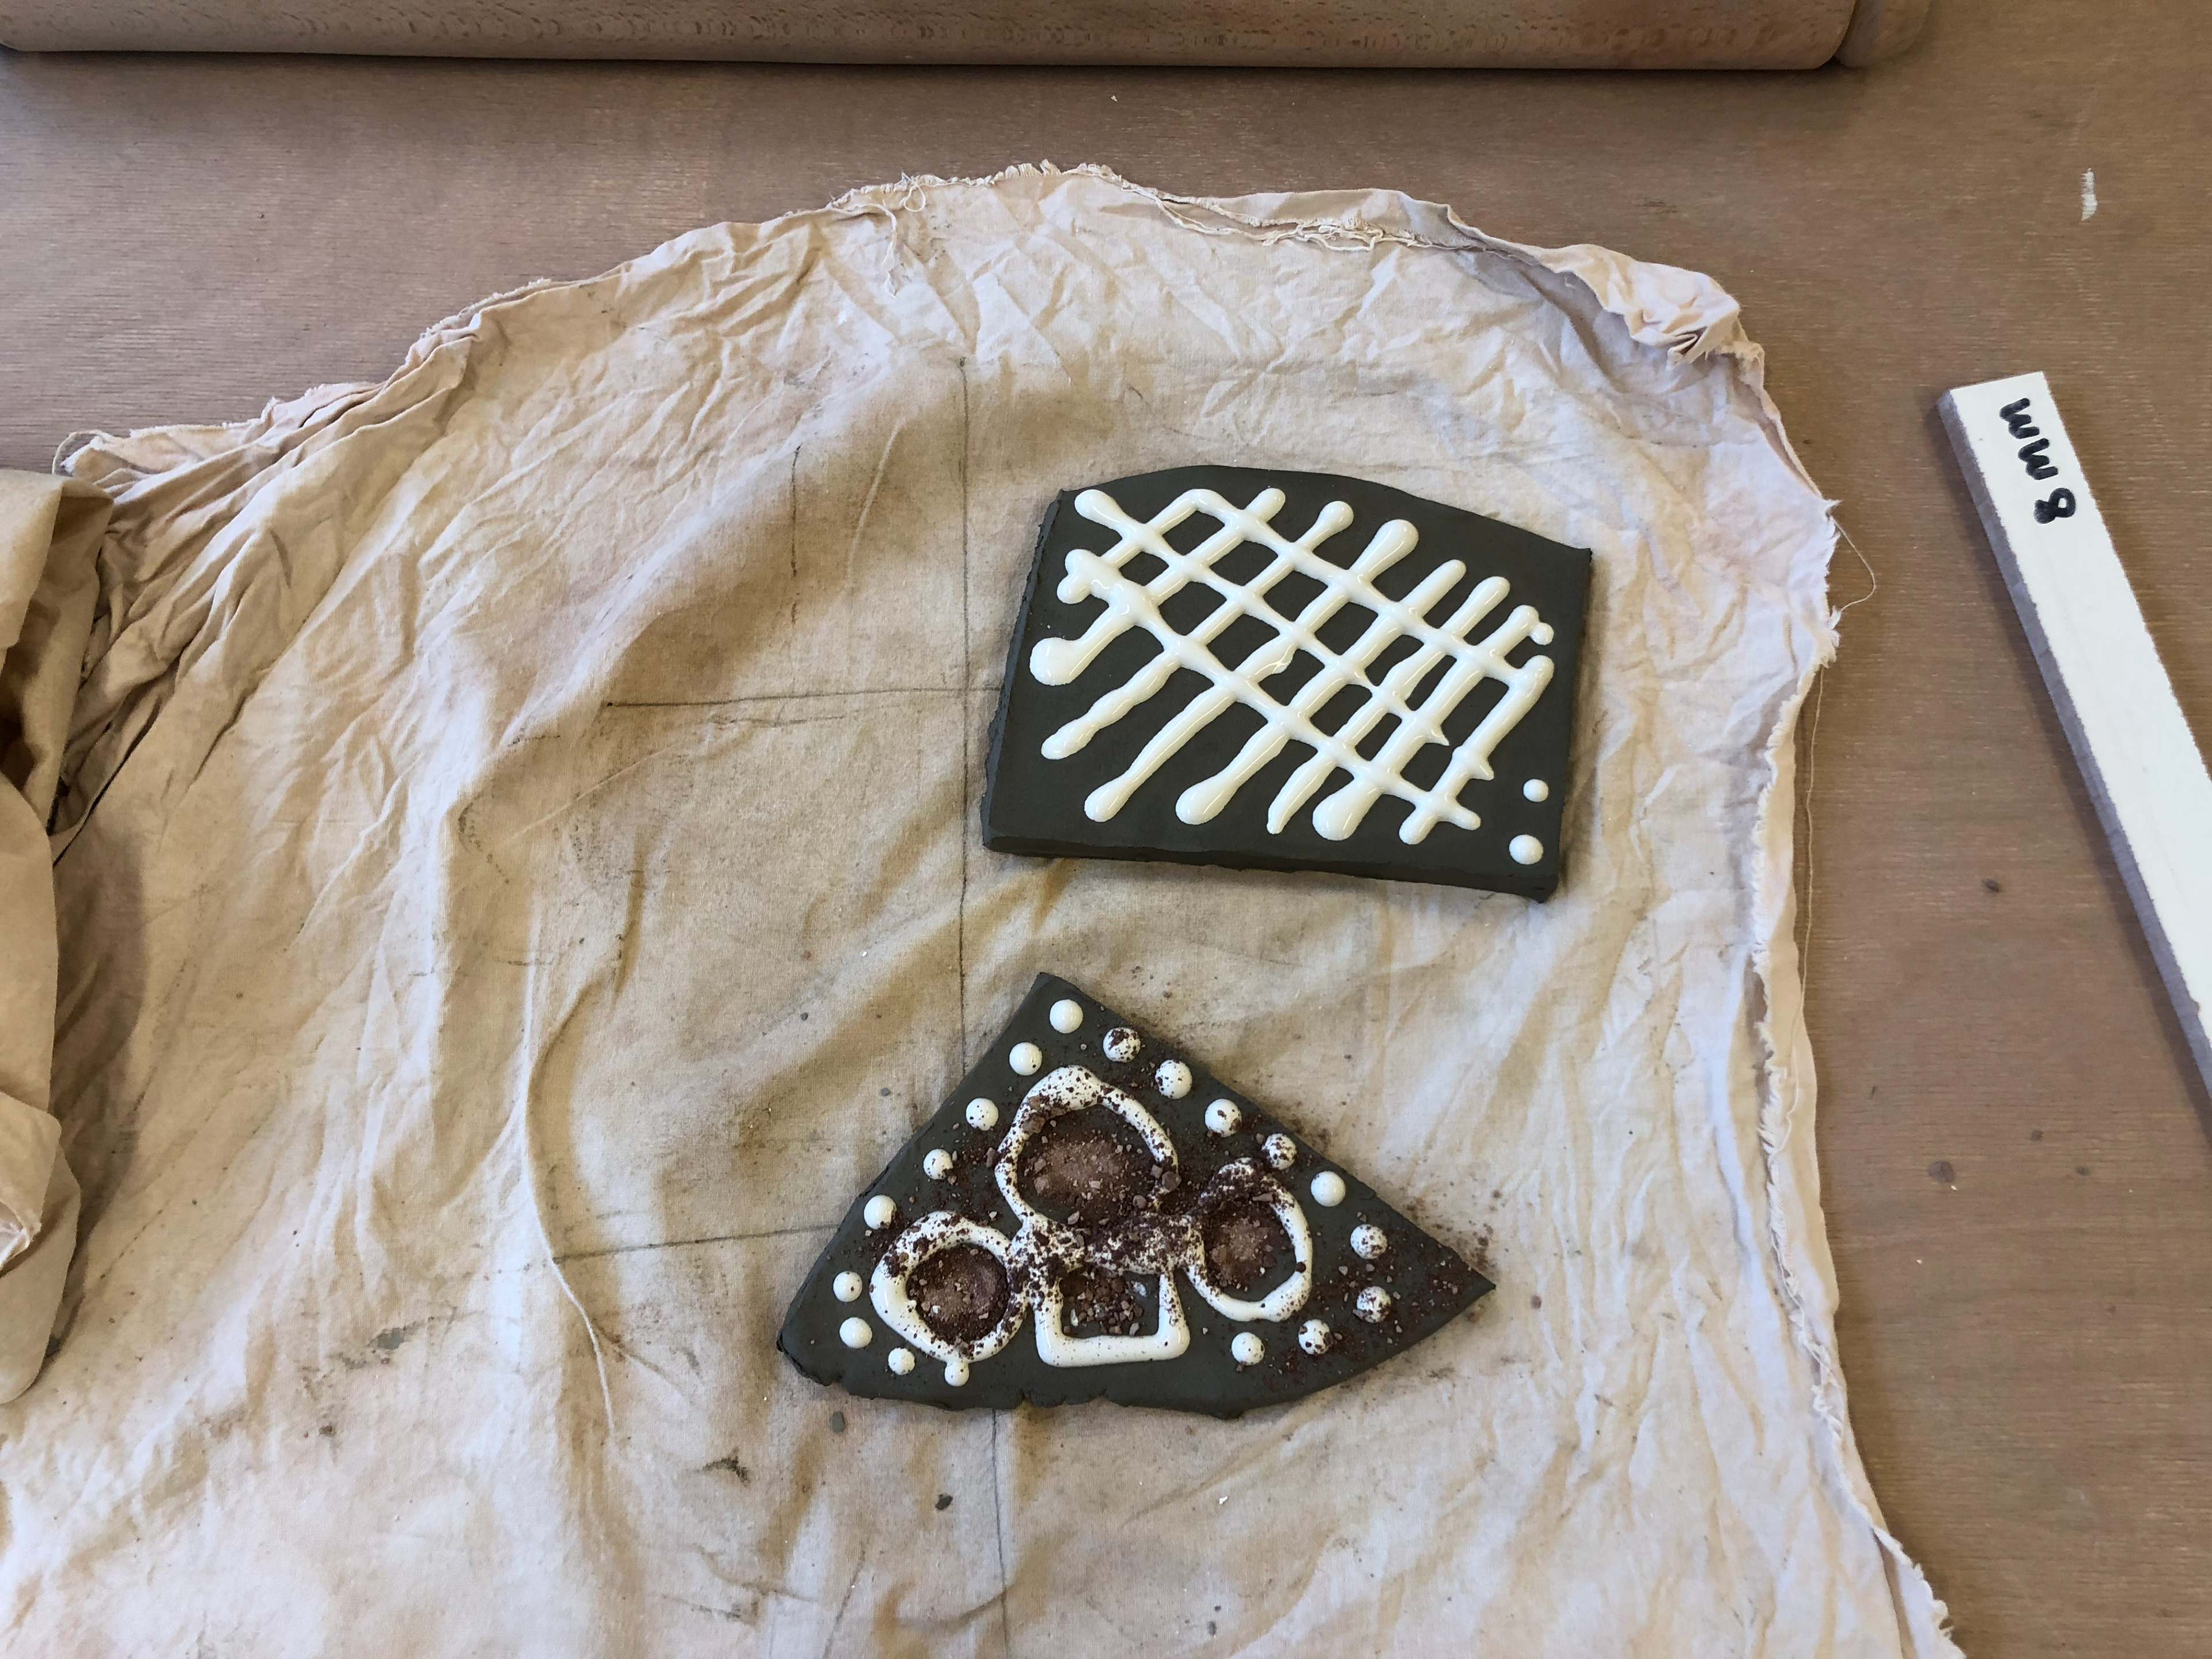
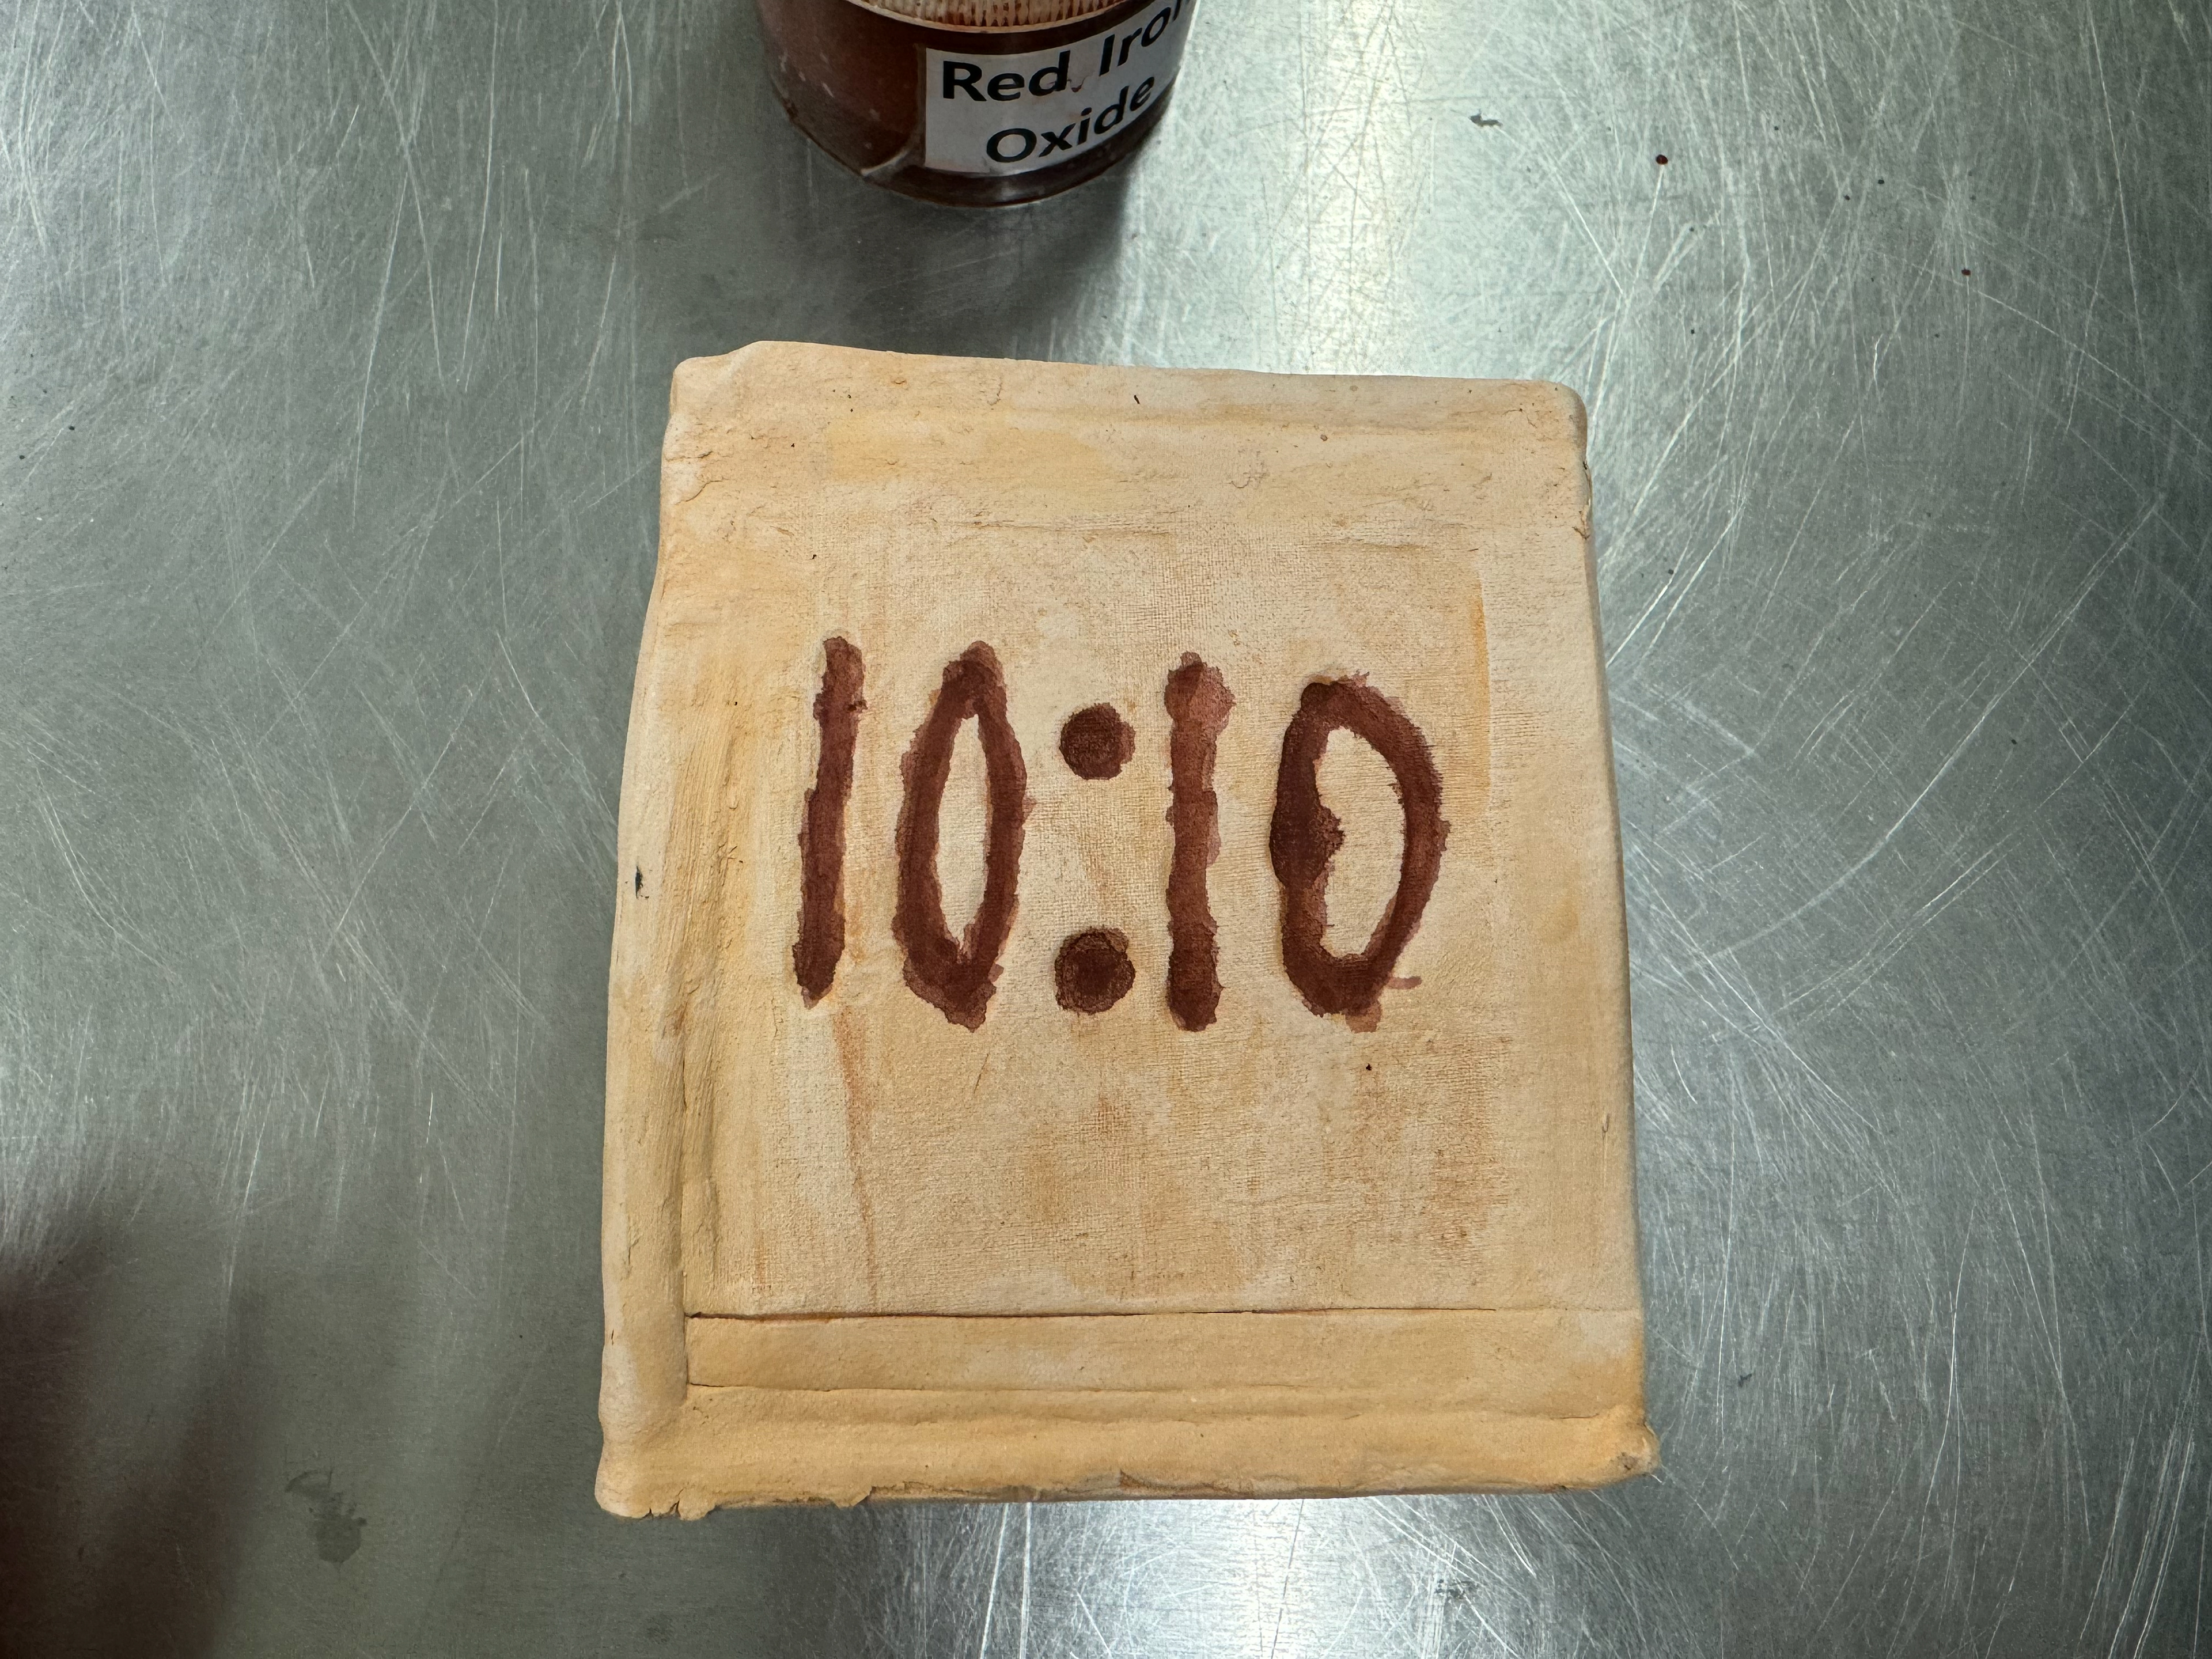
Taking the numbers from the digital face I show the versatility of the "pad printing" design
Imprint of crushed clay and slip creates a great texture but doesn't particularly fit where I want to take this project.

The results of my imprints from the "pad printing".
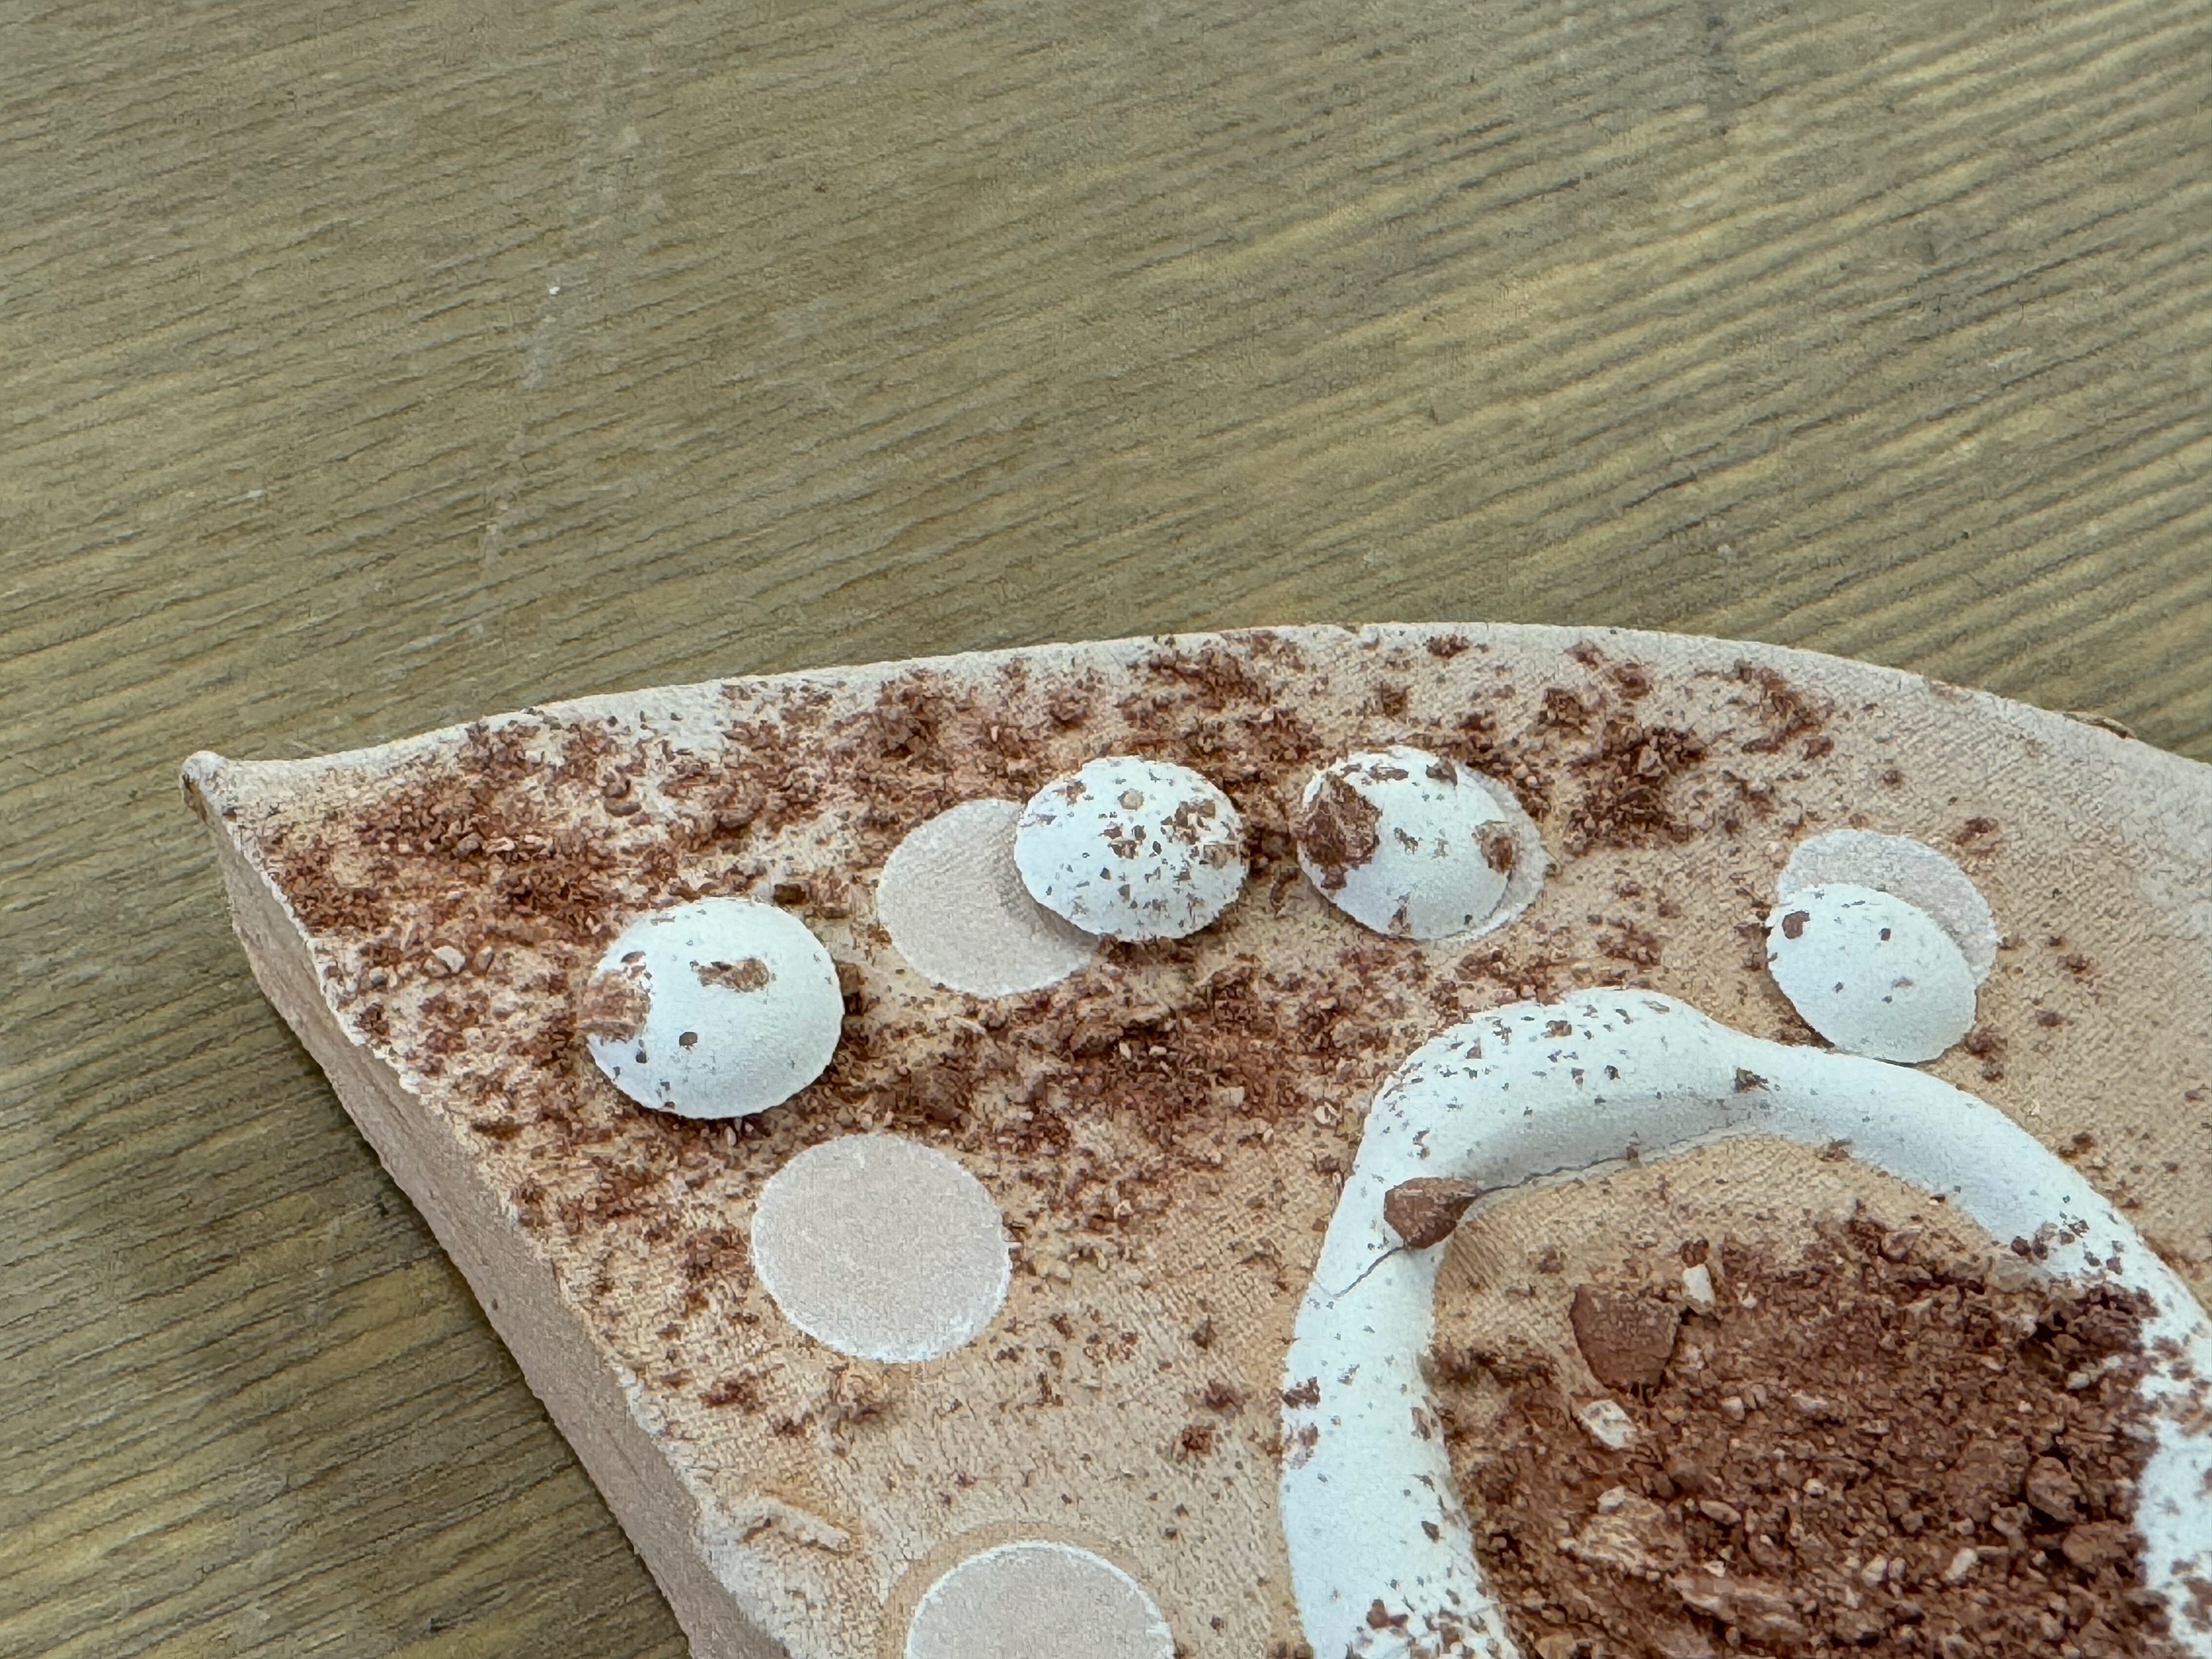
More issues with the dried slip coming off the fired pieces.
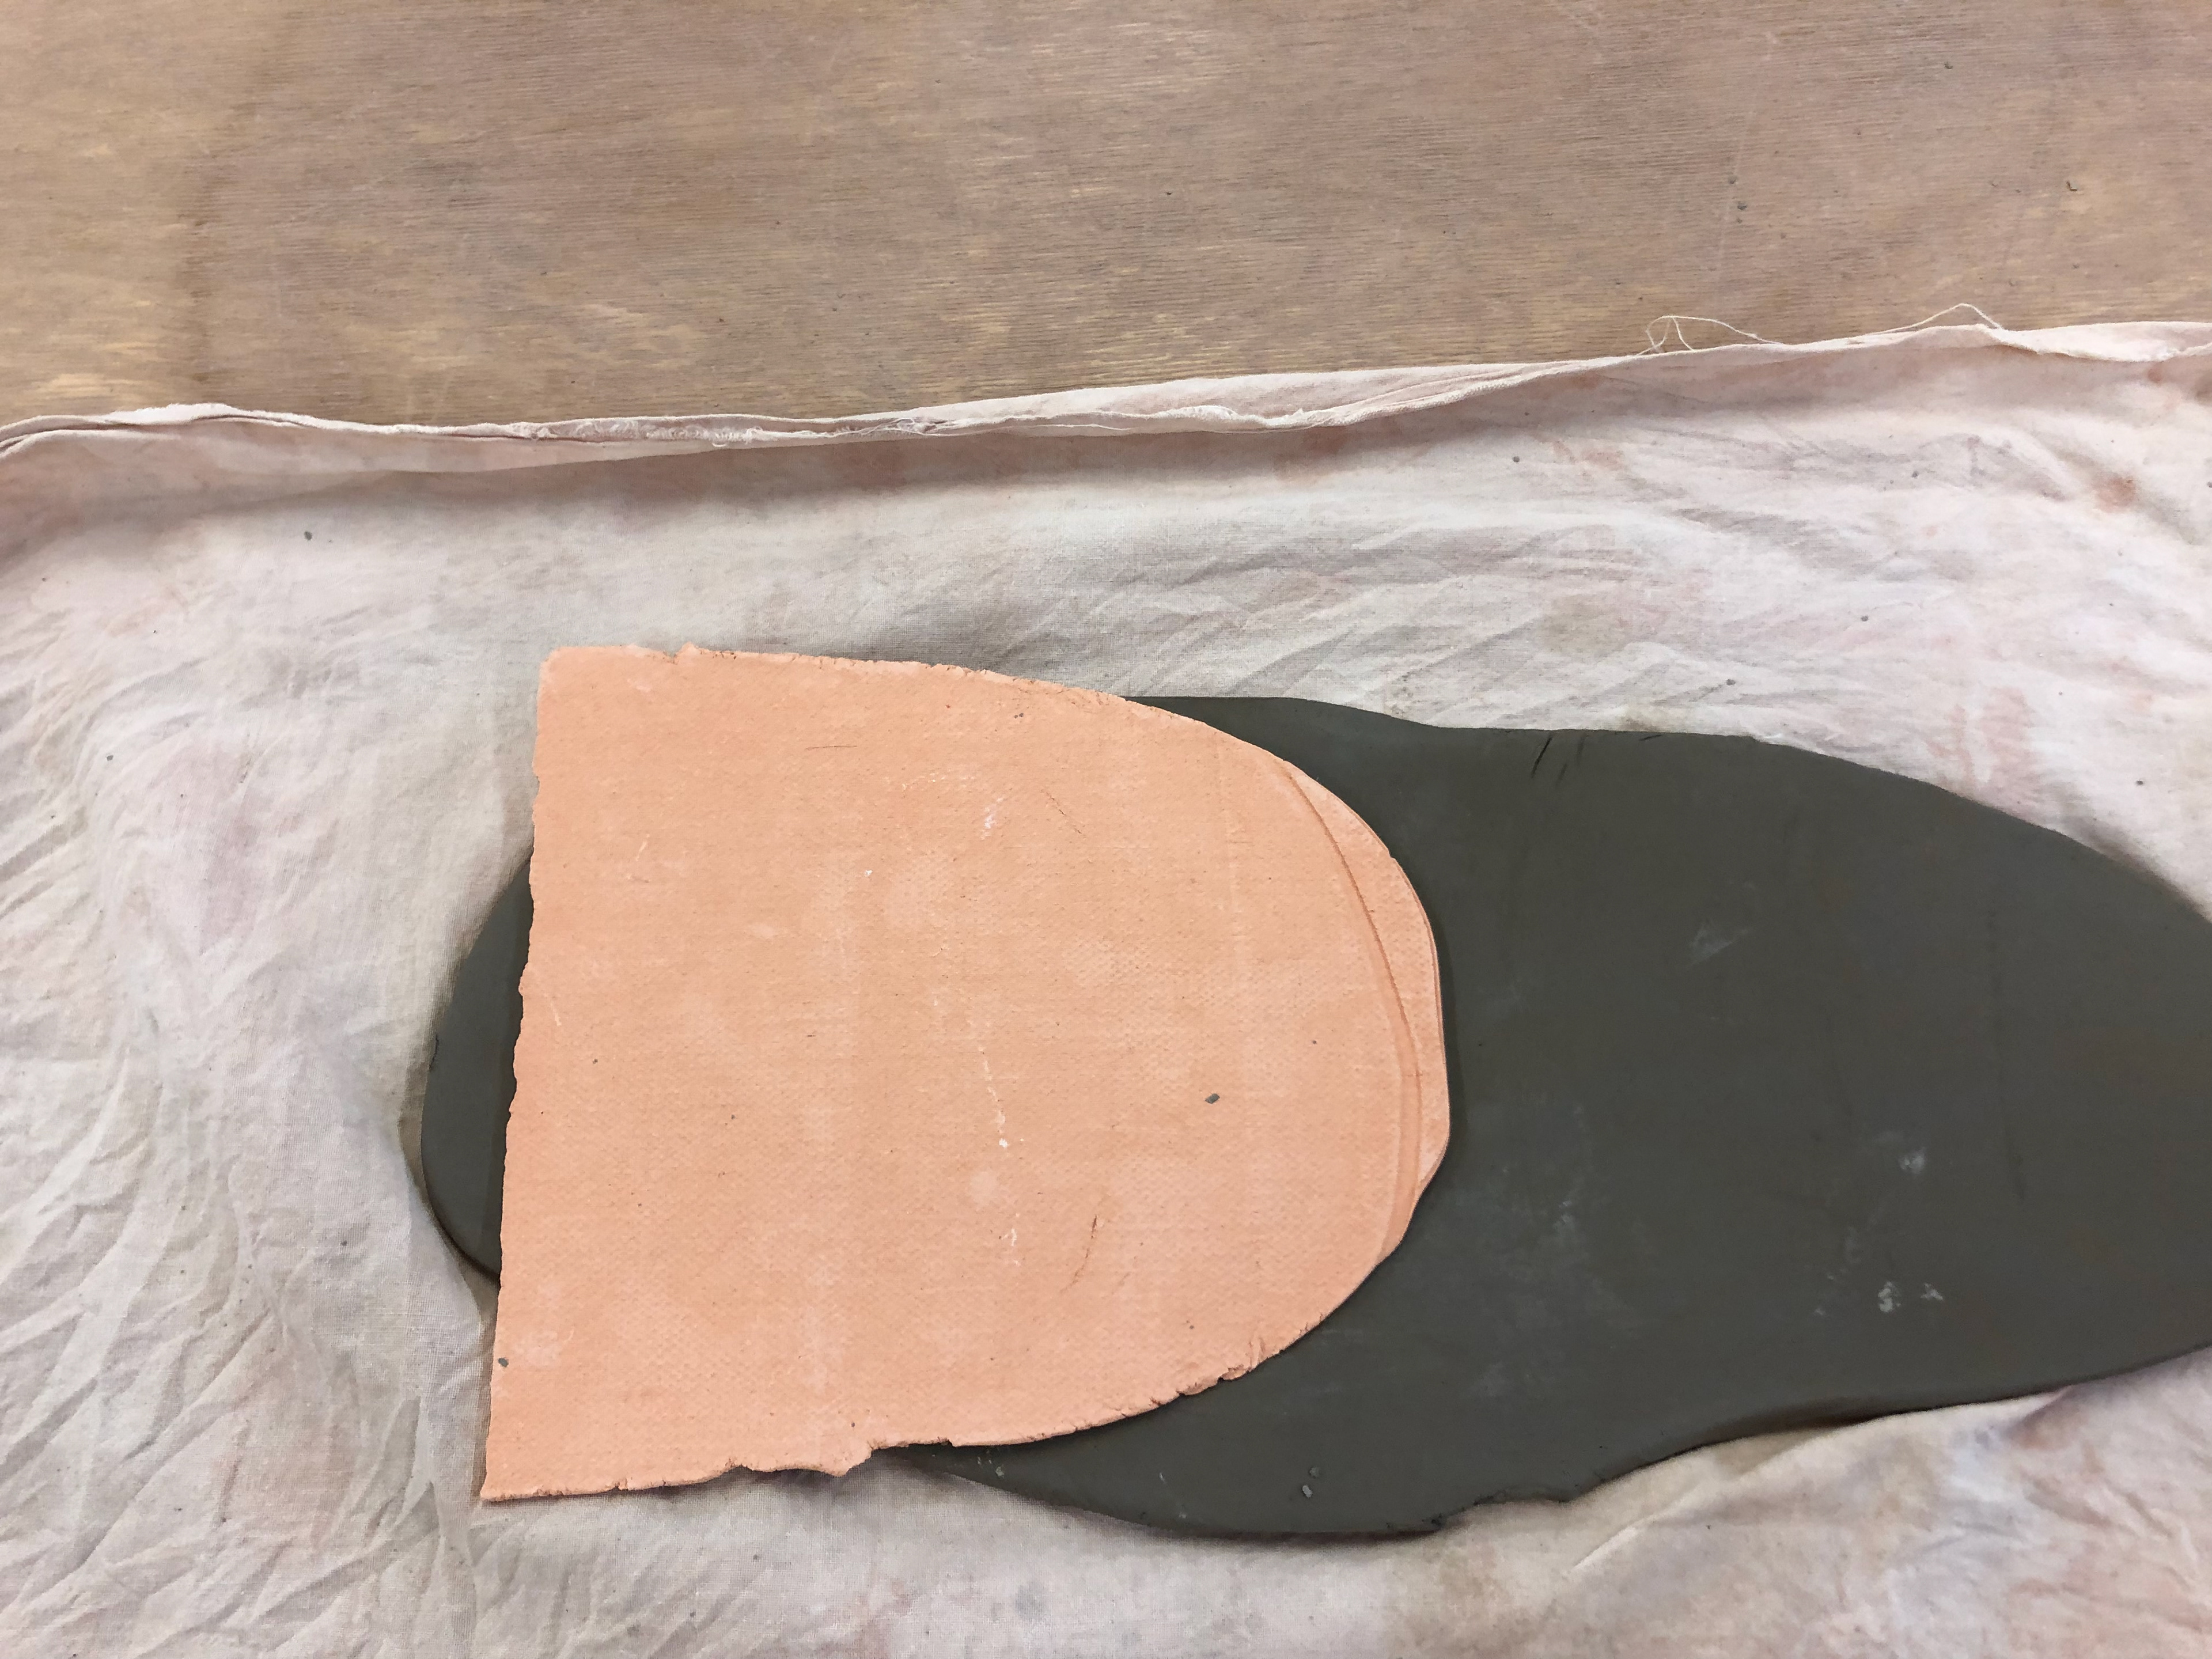
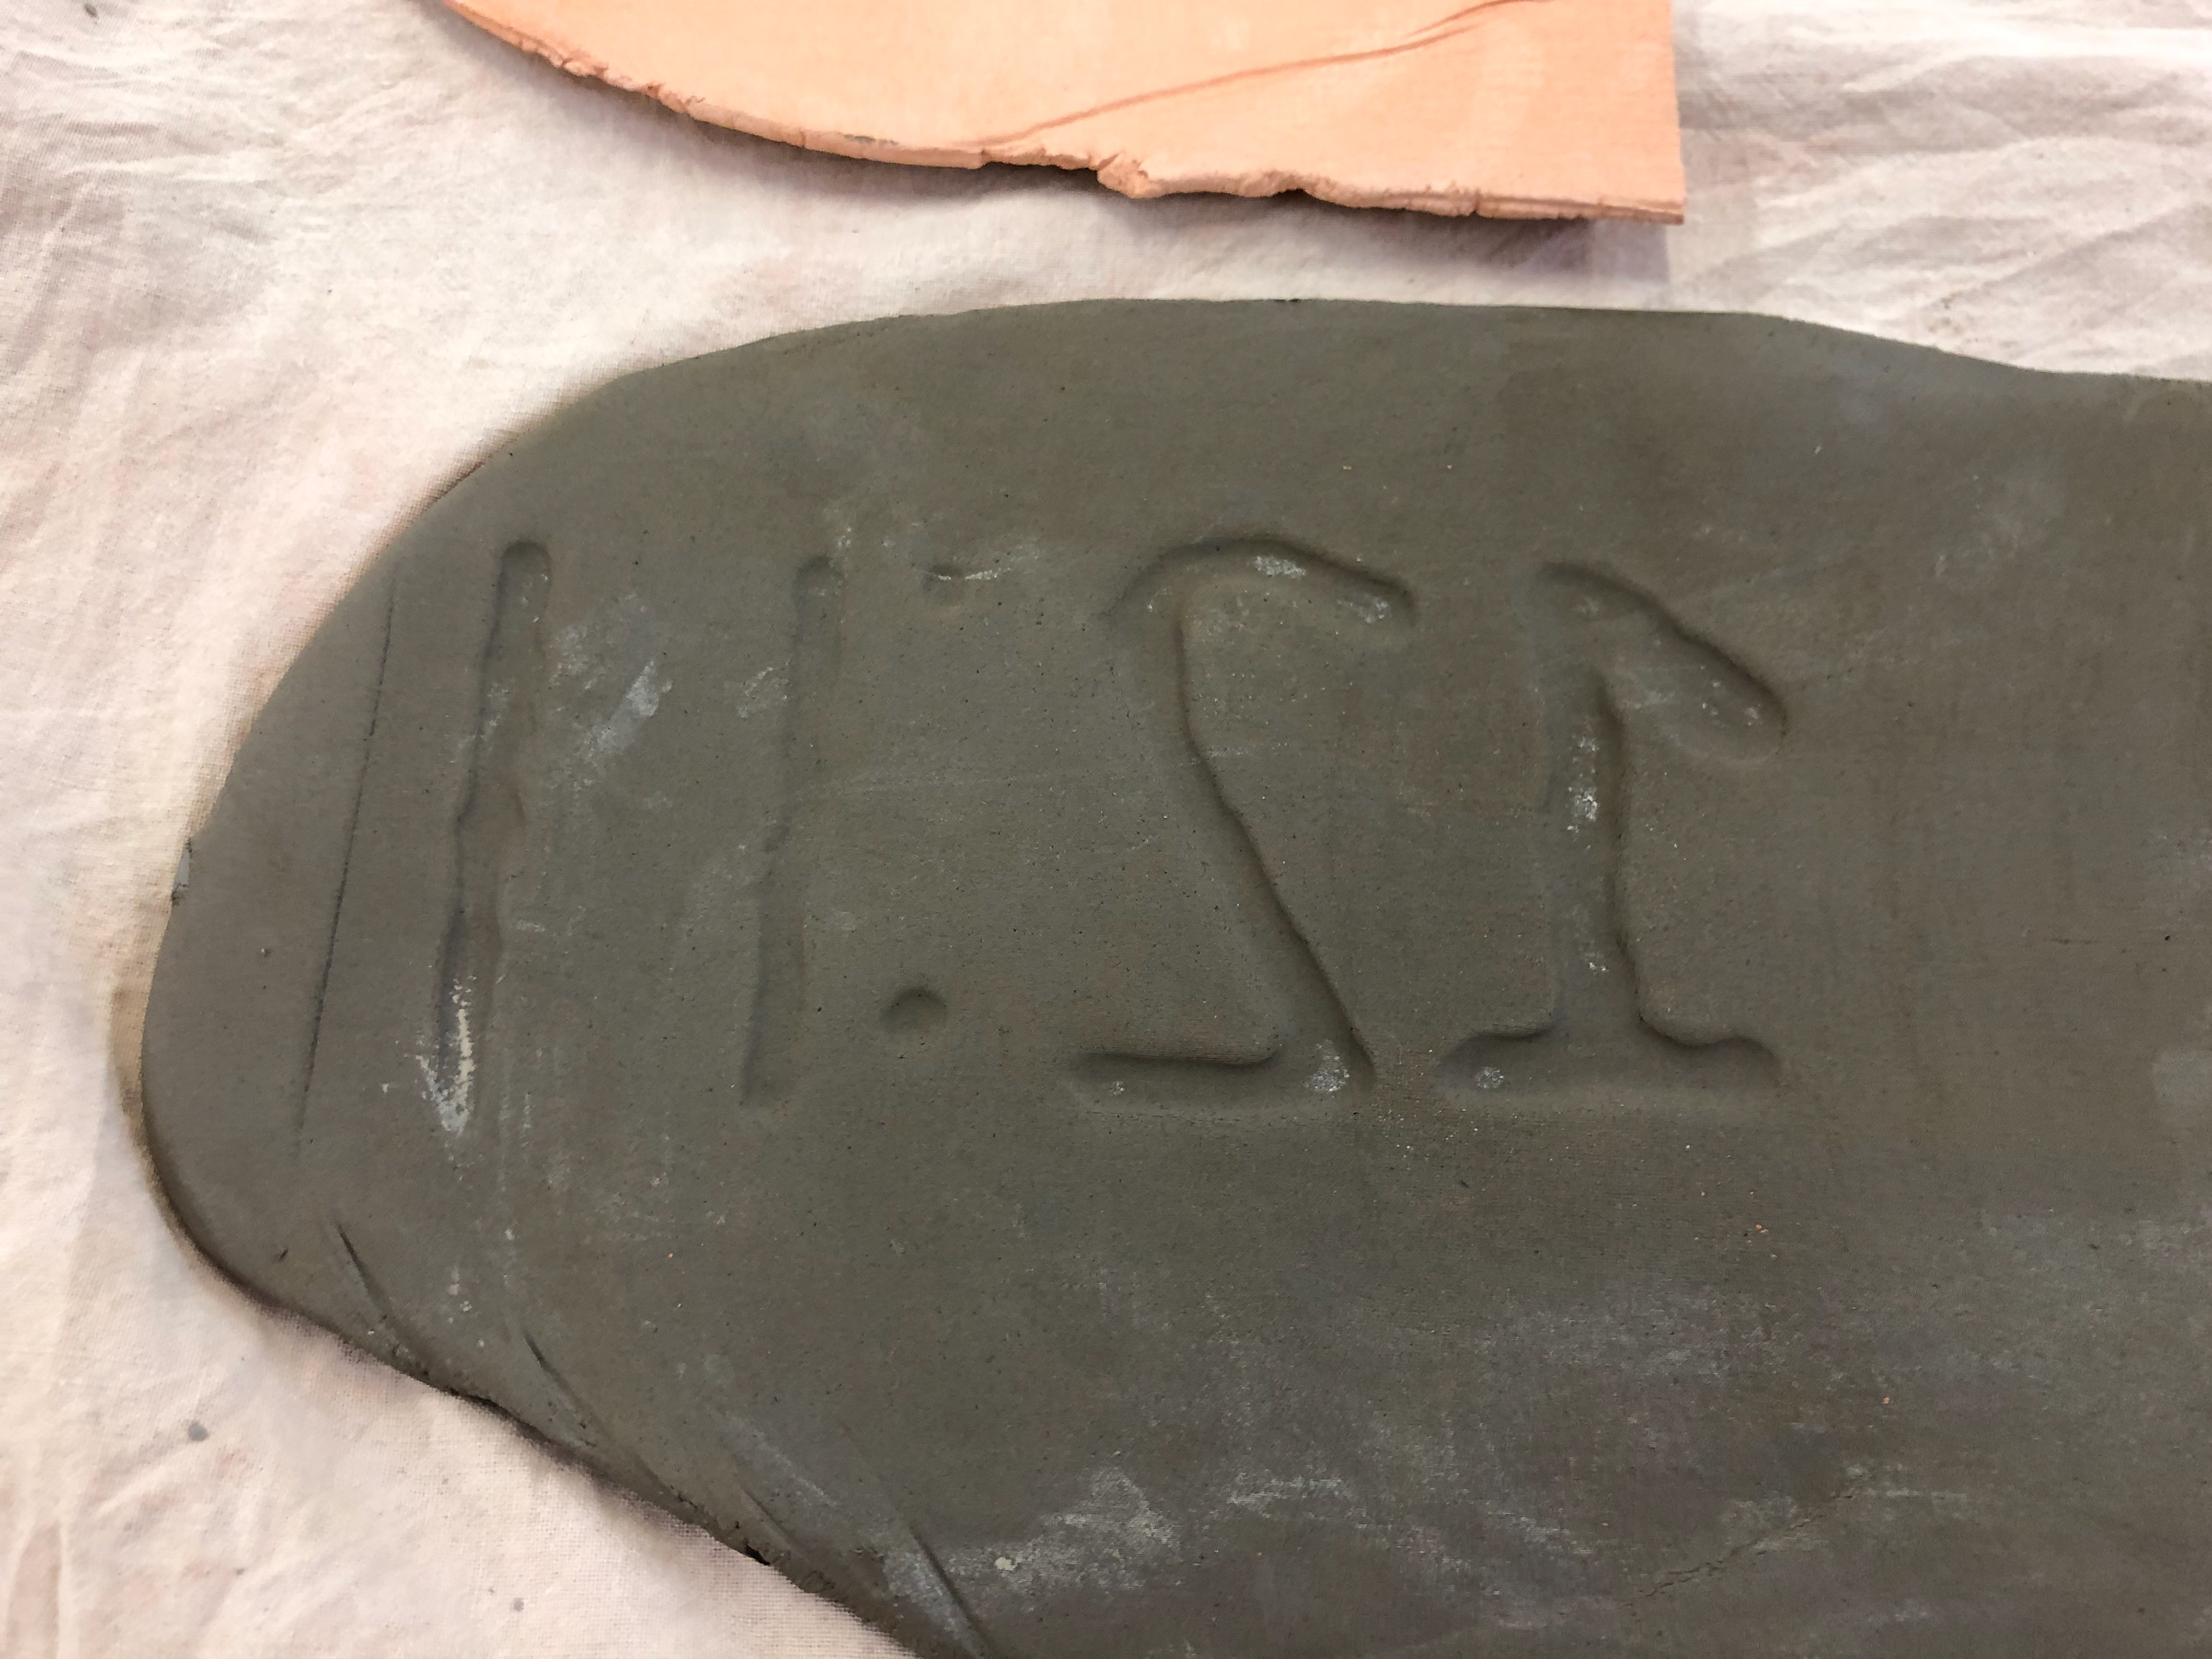
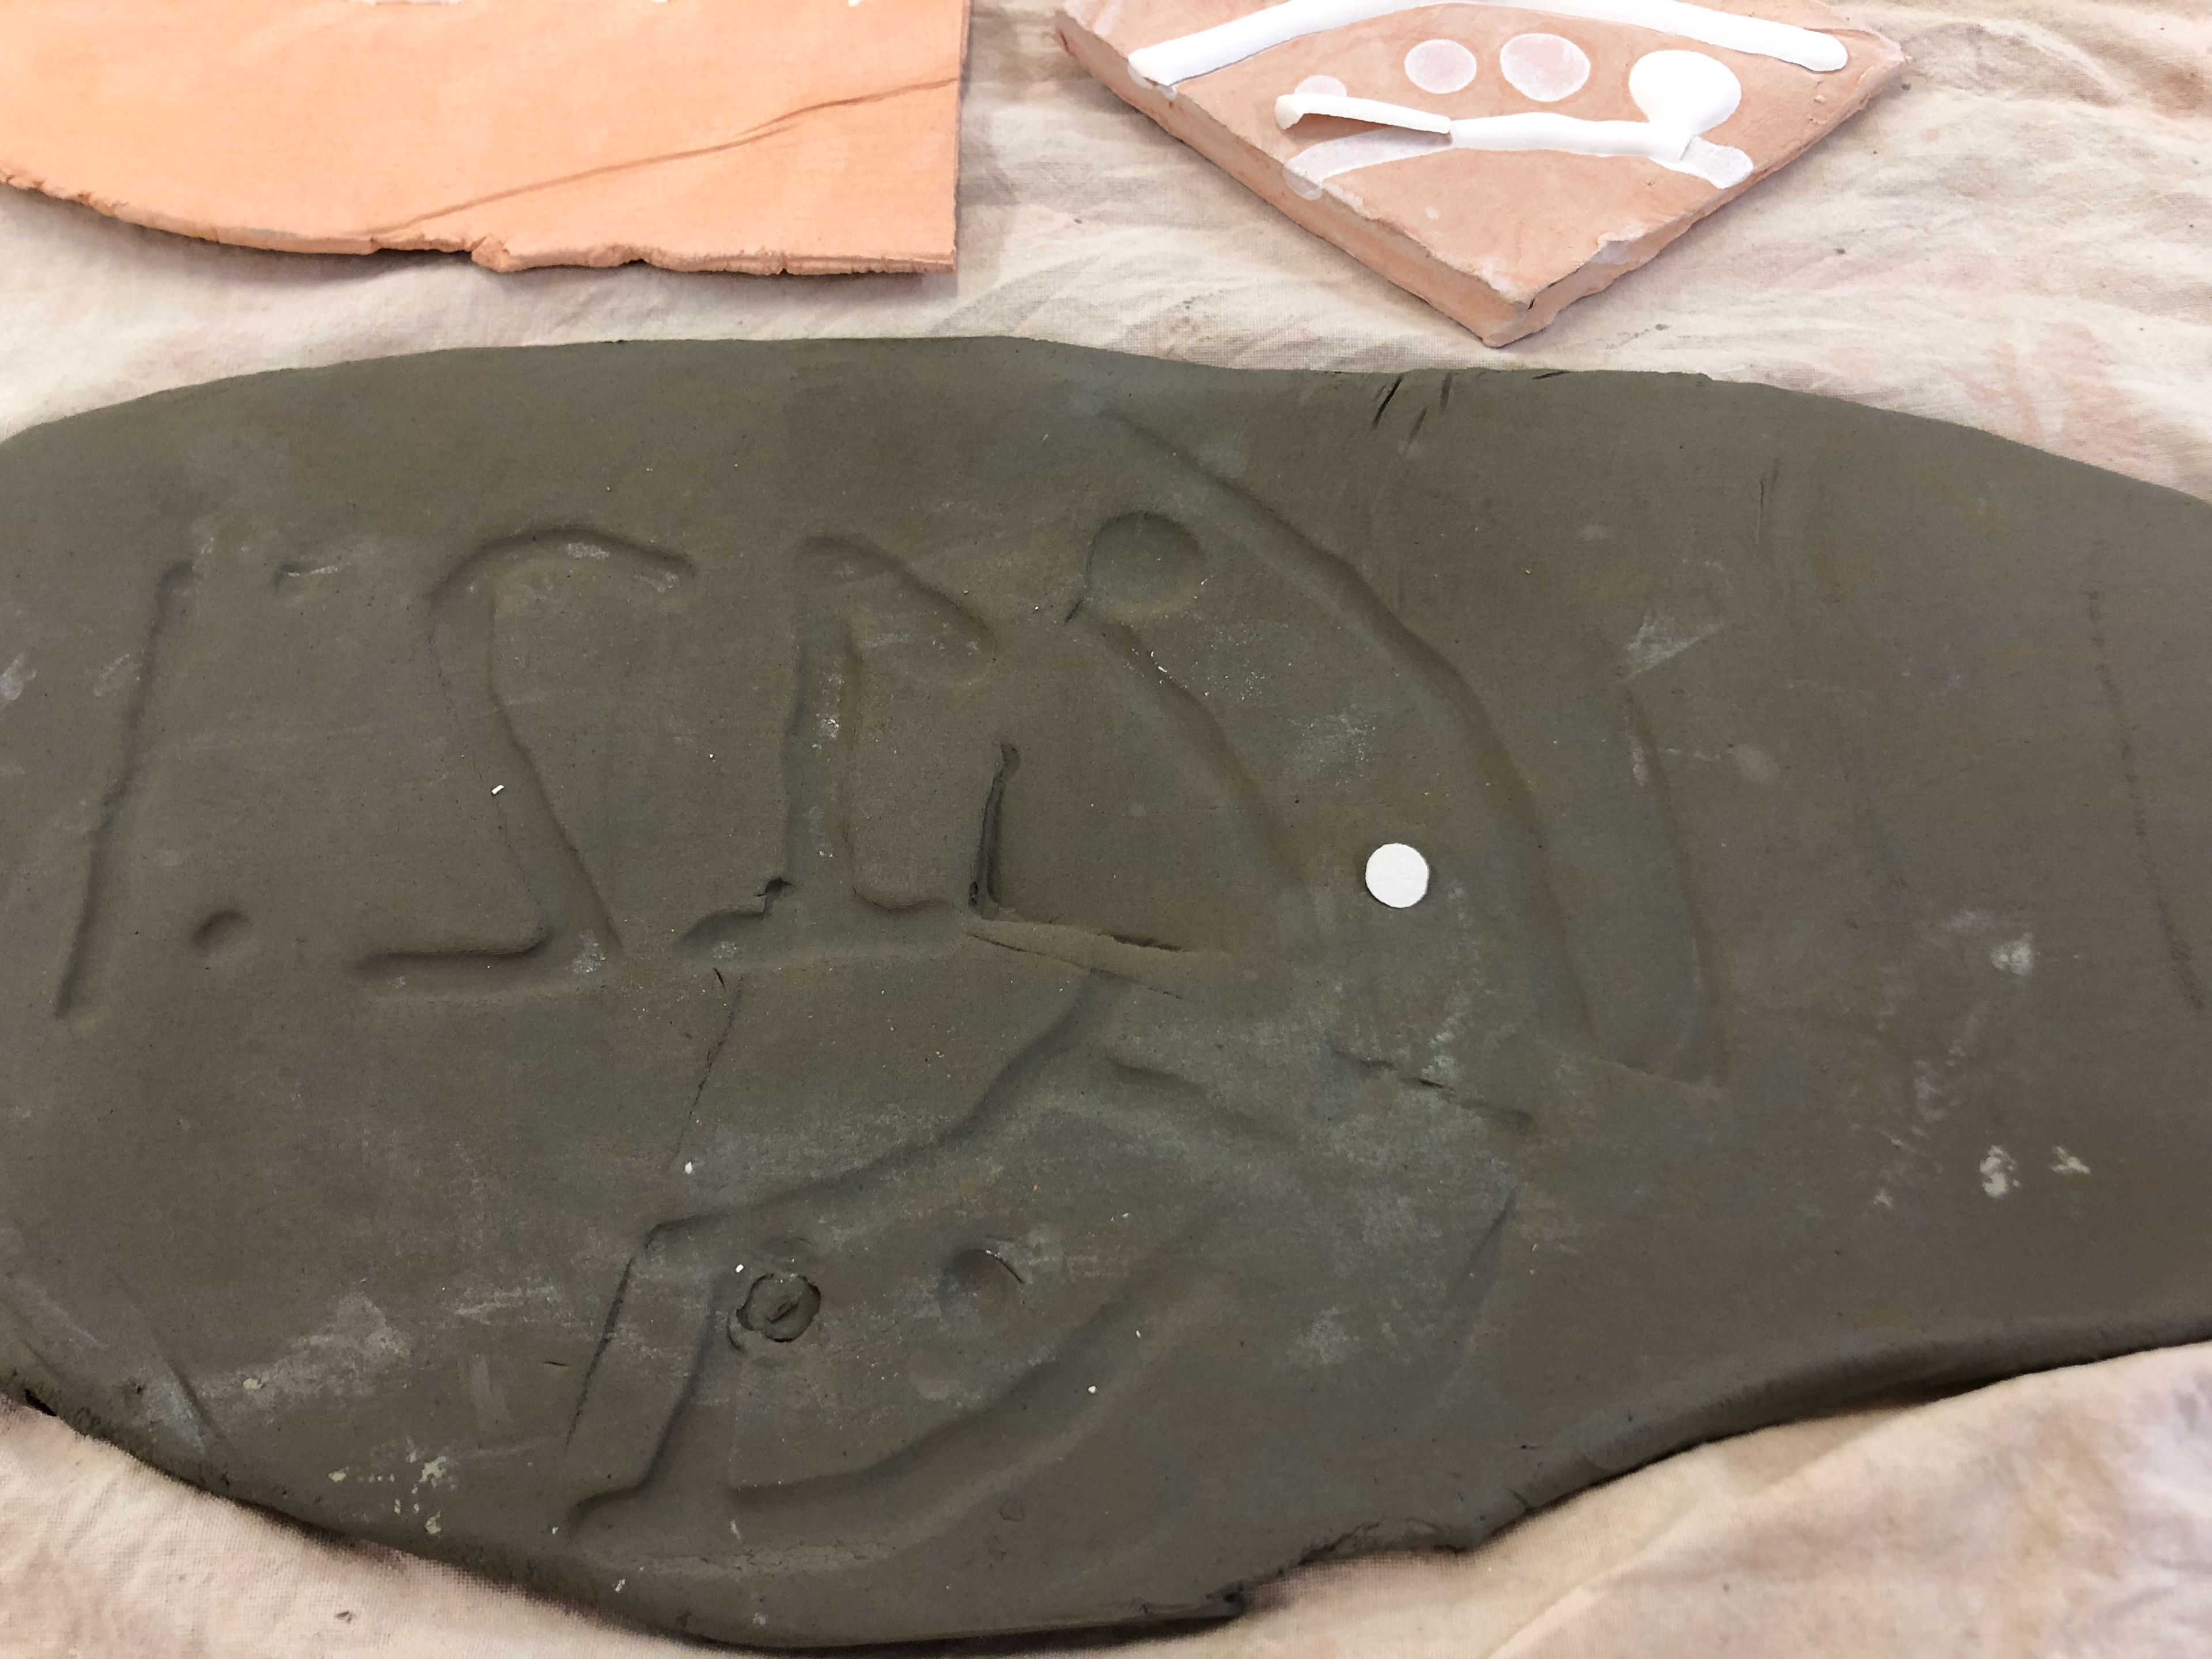
All the "pad printers" I used.
Final Design Pad Printing Parts
Rolled out a big slab of clay.
Used a tile cutter to cut perfect squares so I can apply pressure evenly when "printing".
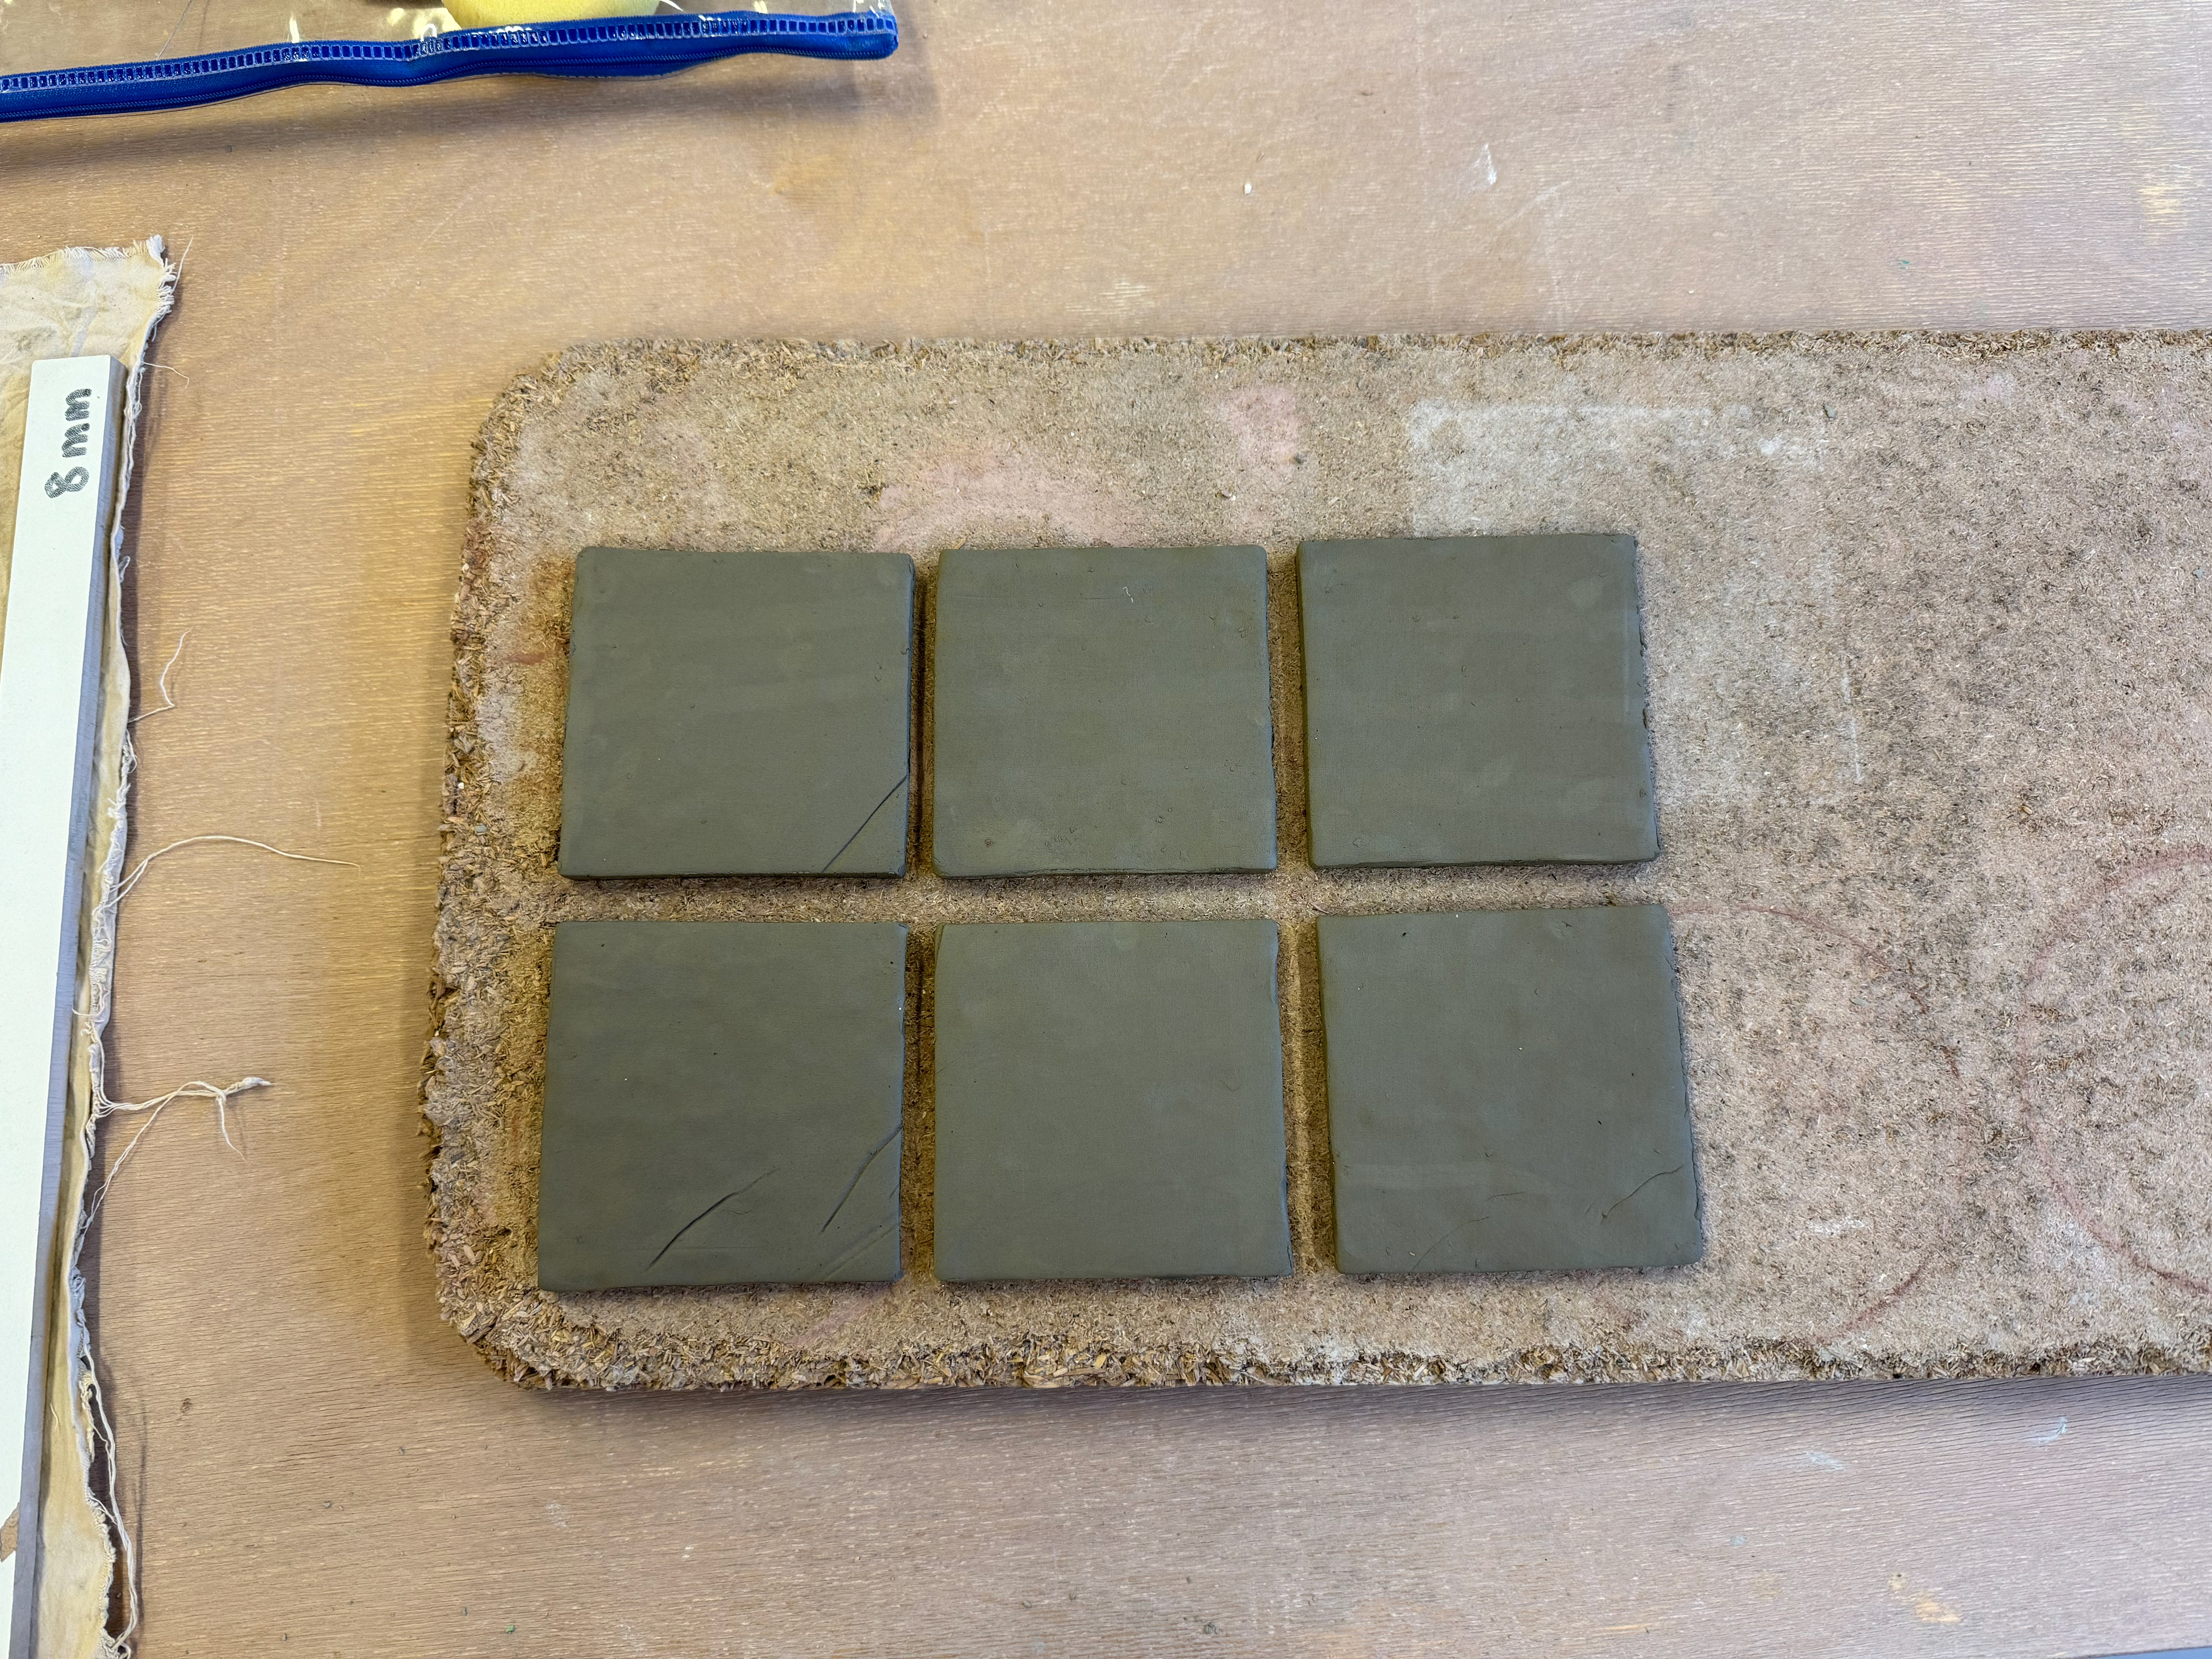
6 tiles for 6 sides.
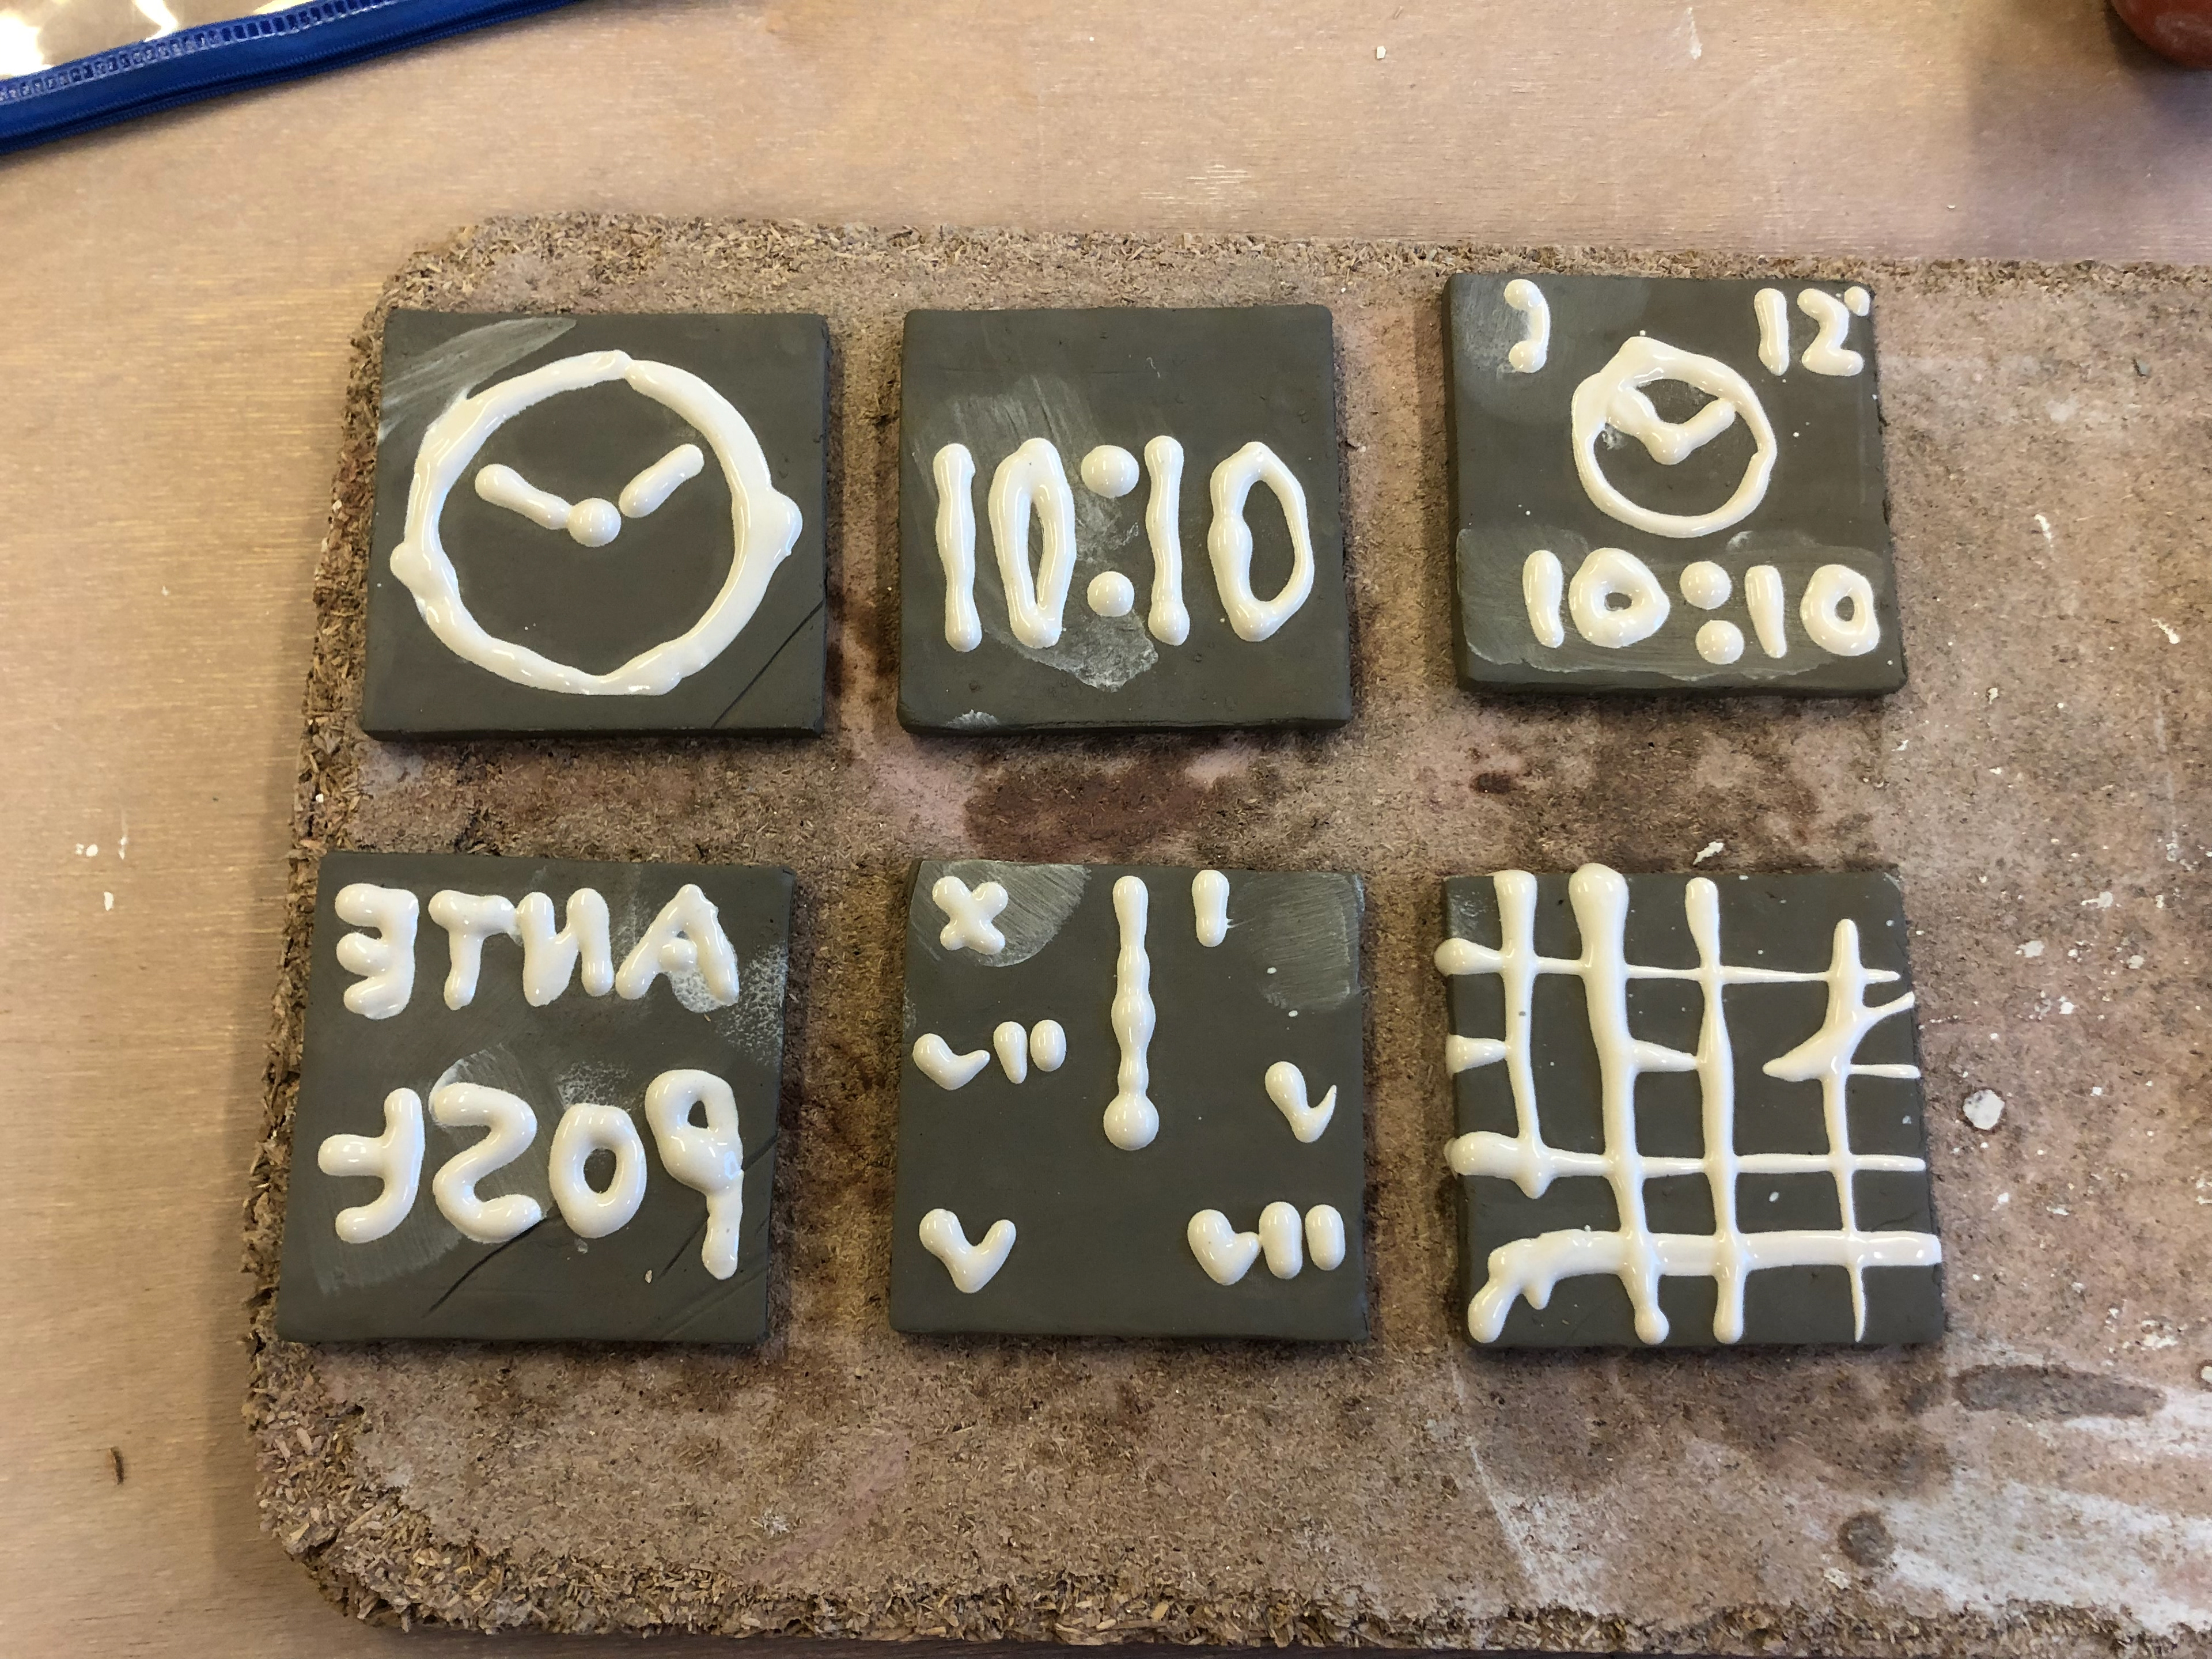
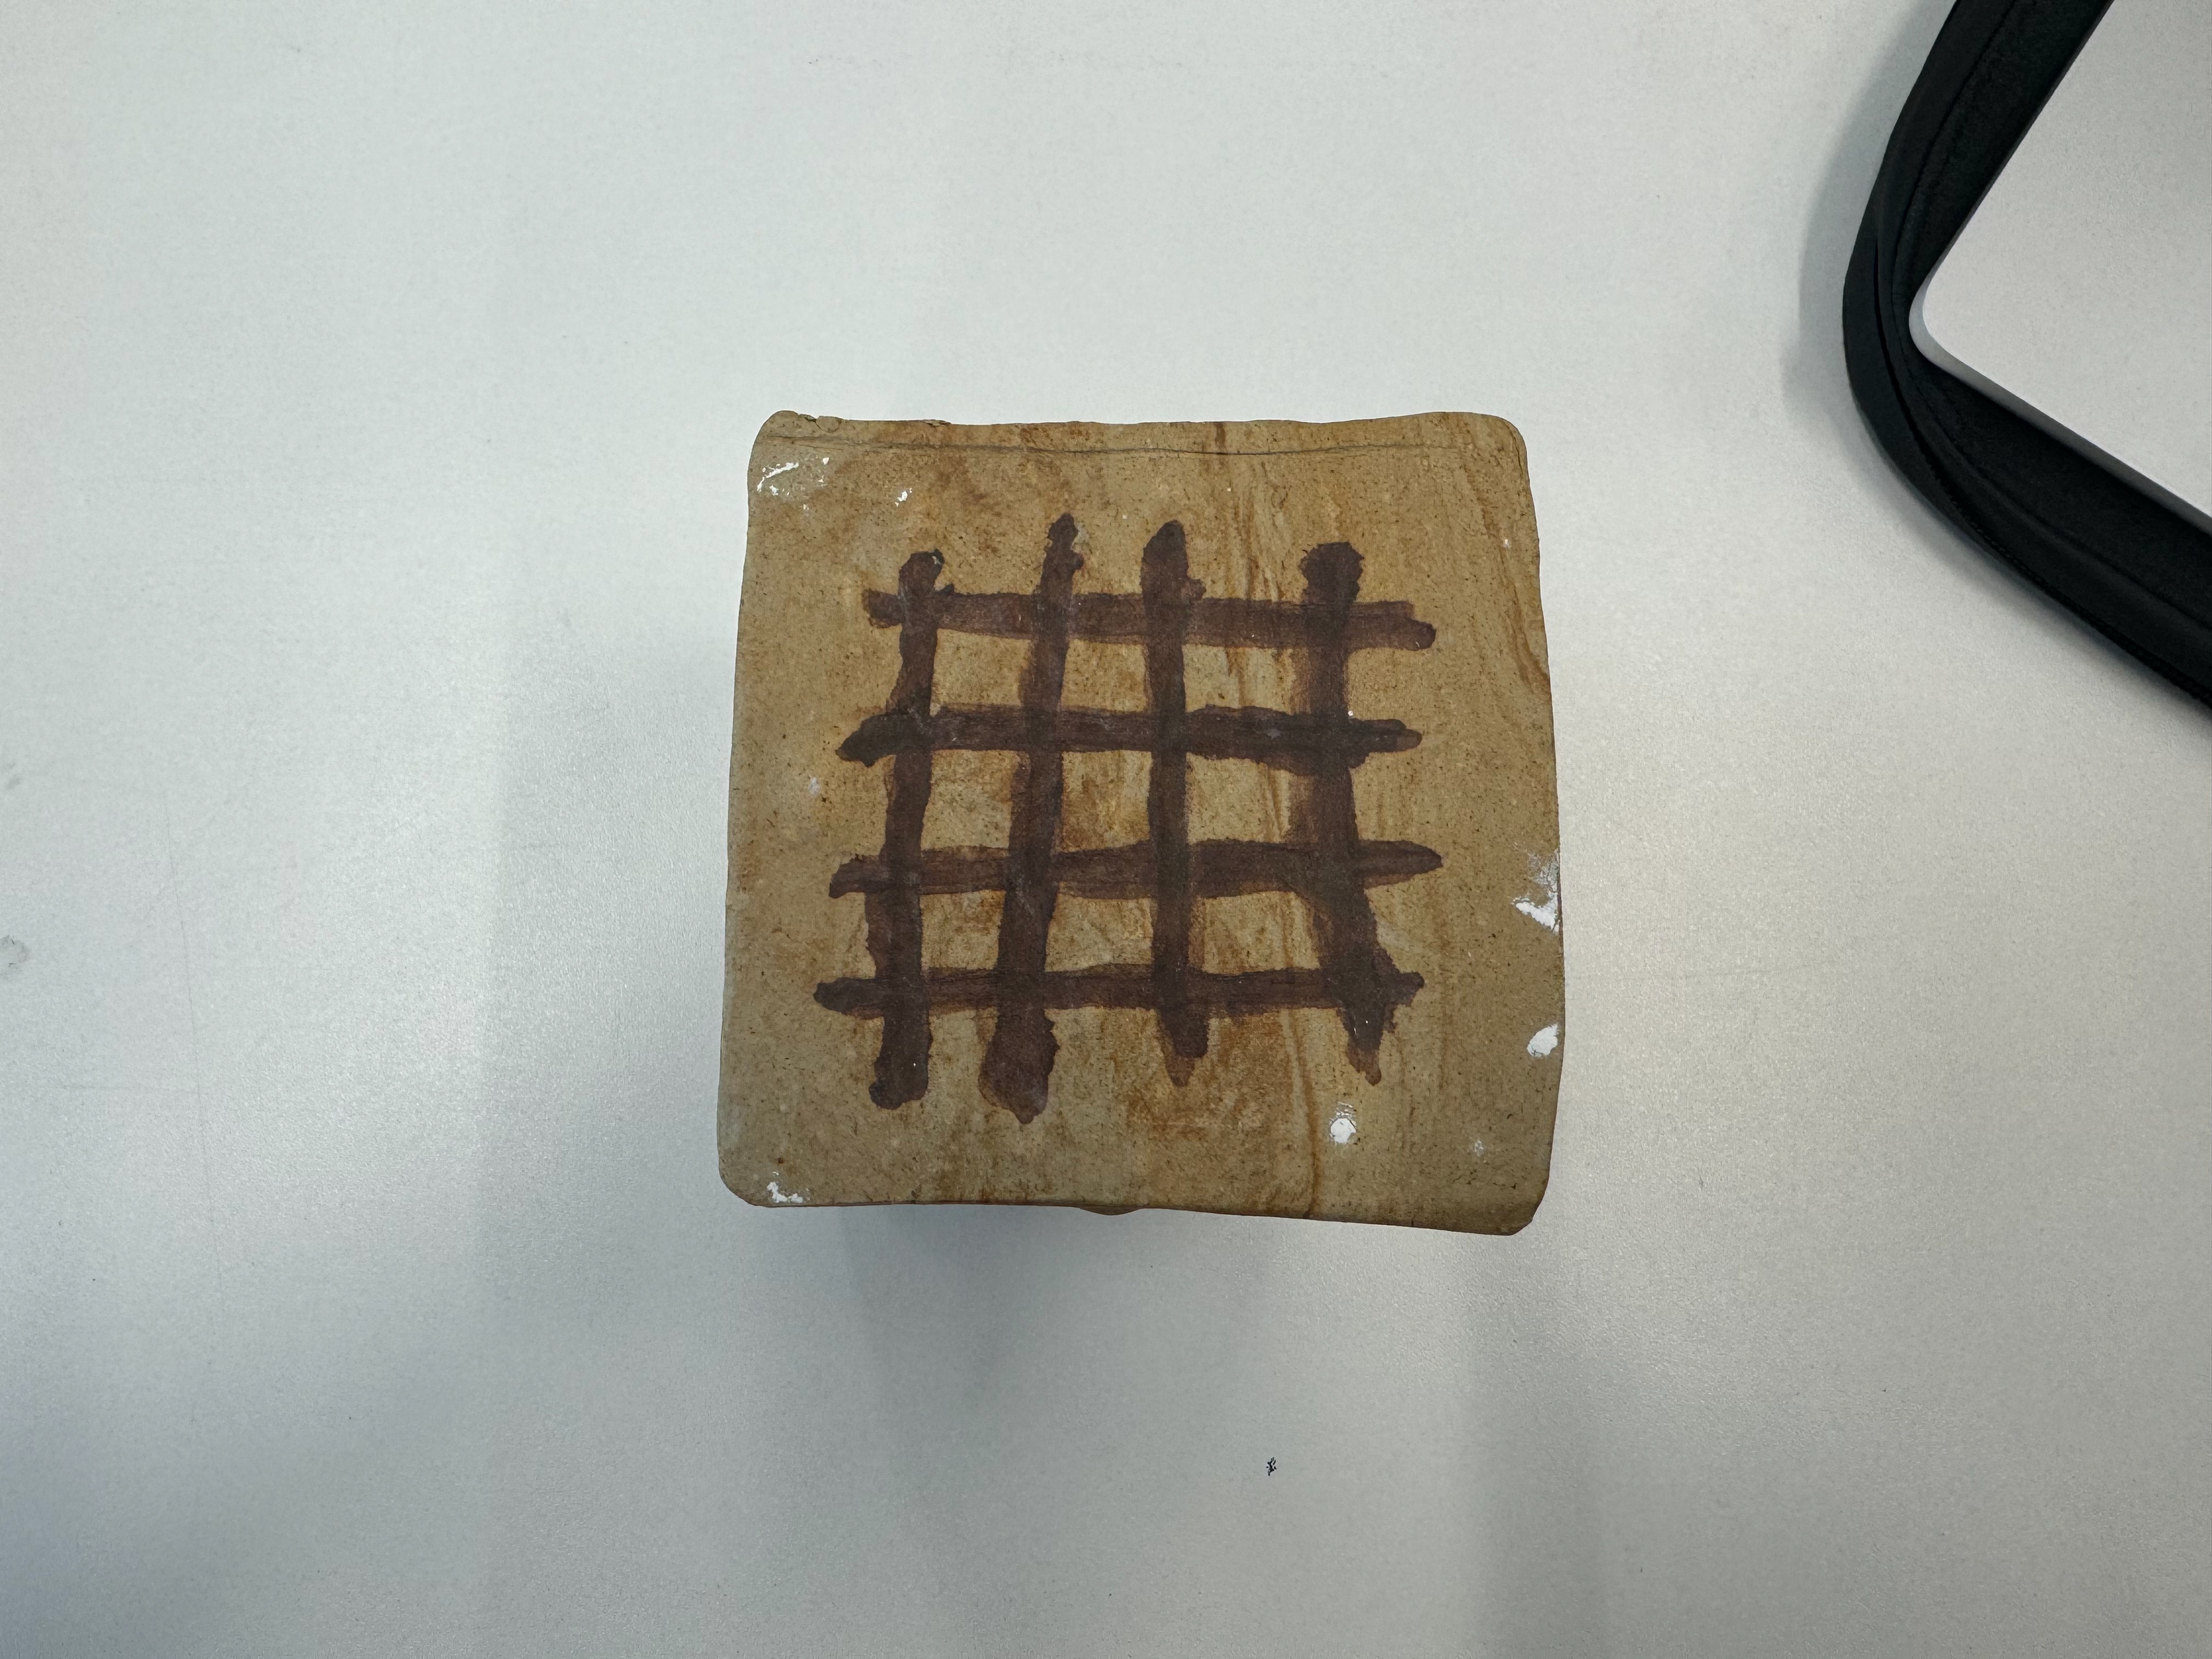
Slip designs applied. Designs are found on the sketchbook section of this project.
Designs after being fired.
Ready to be pushed into larger tiles. I will build the cube on each side has its "imprint"
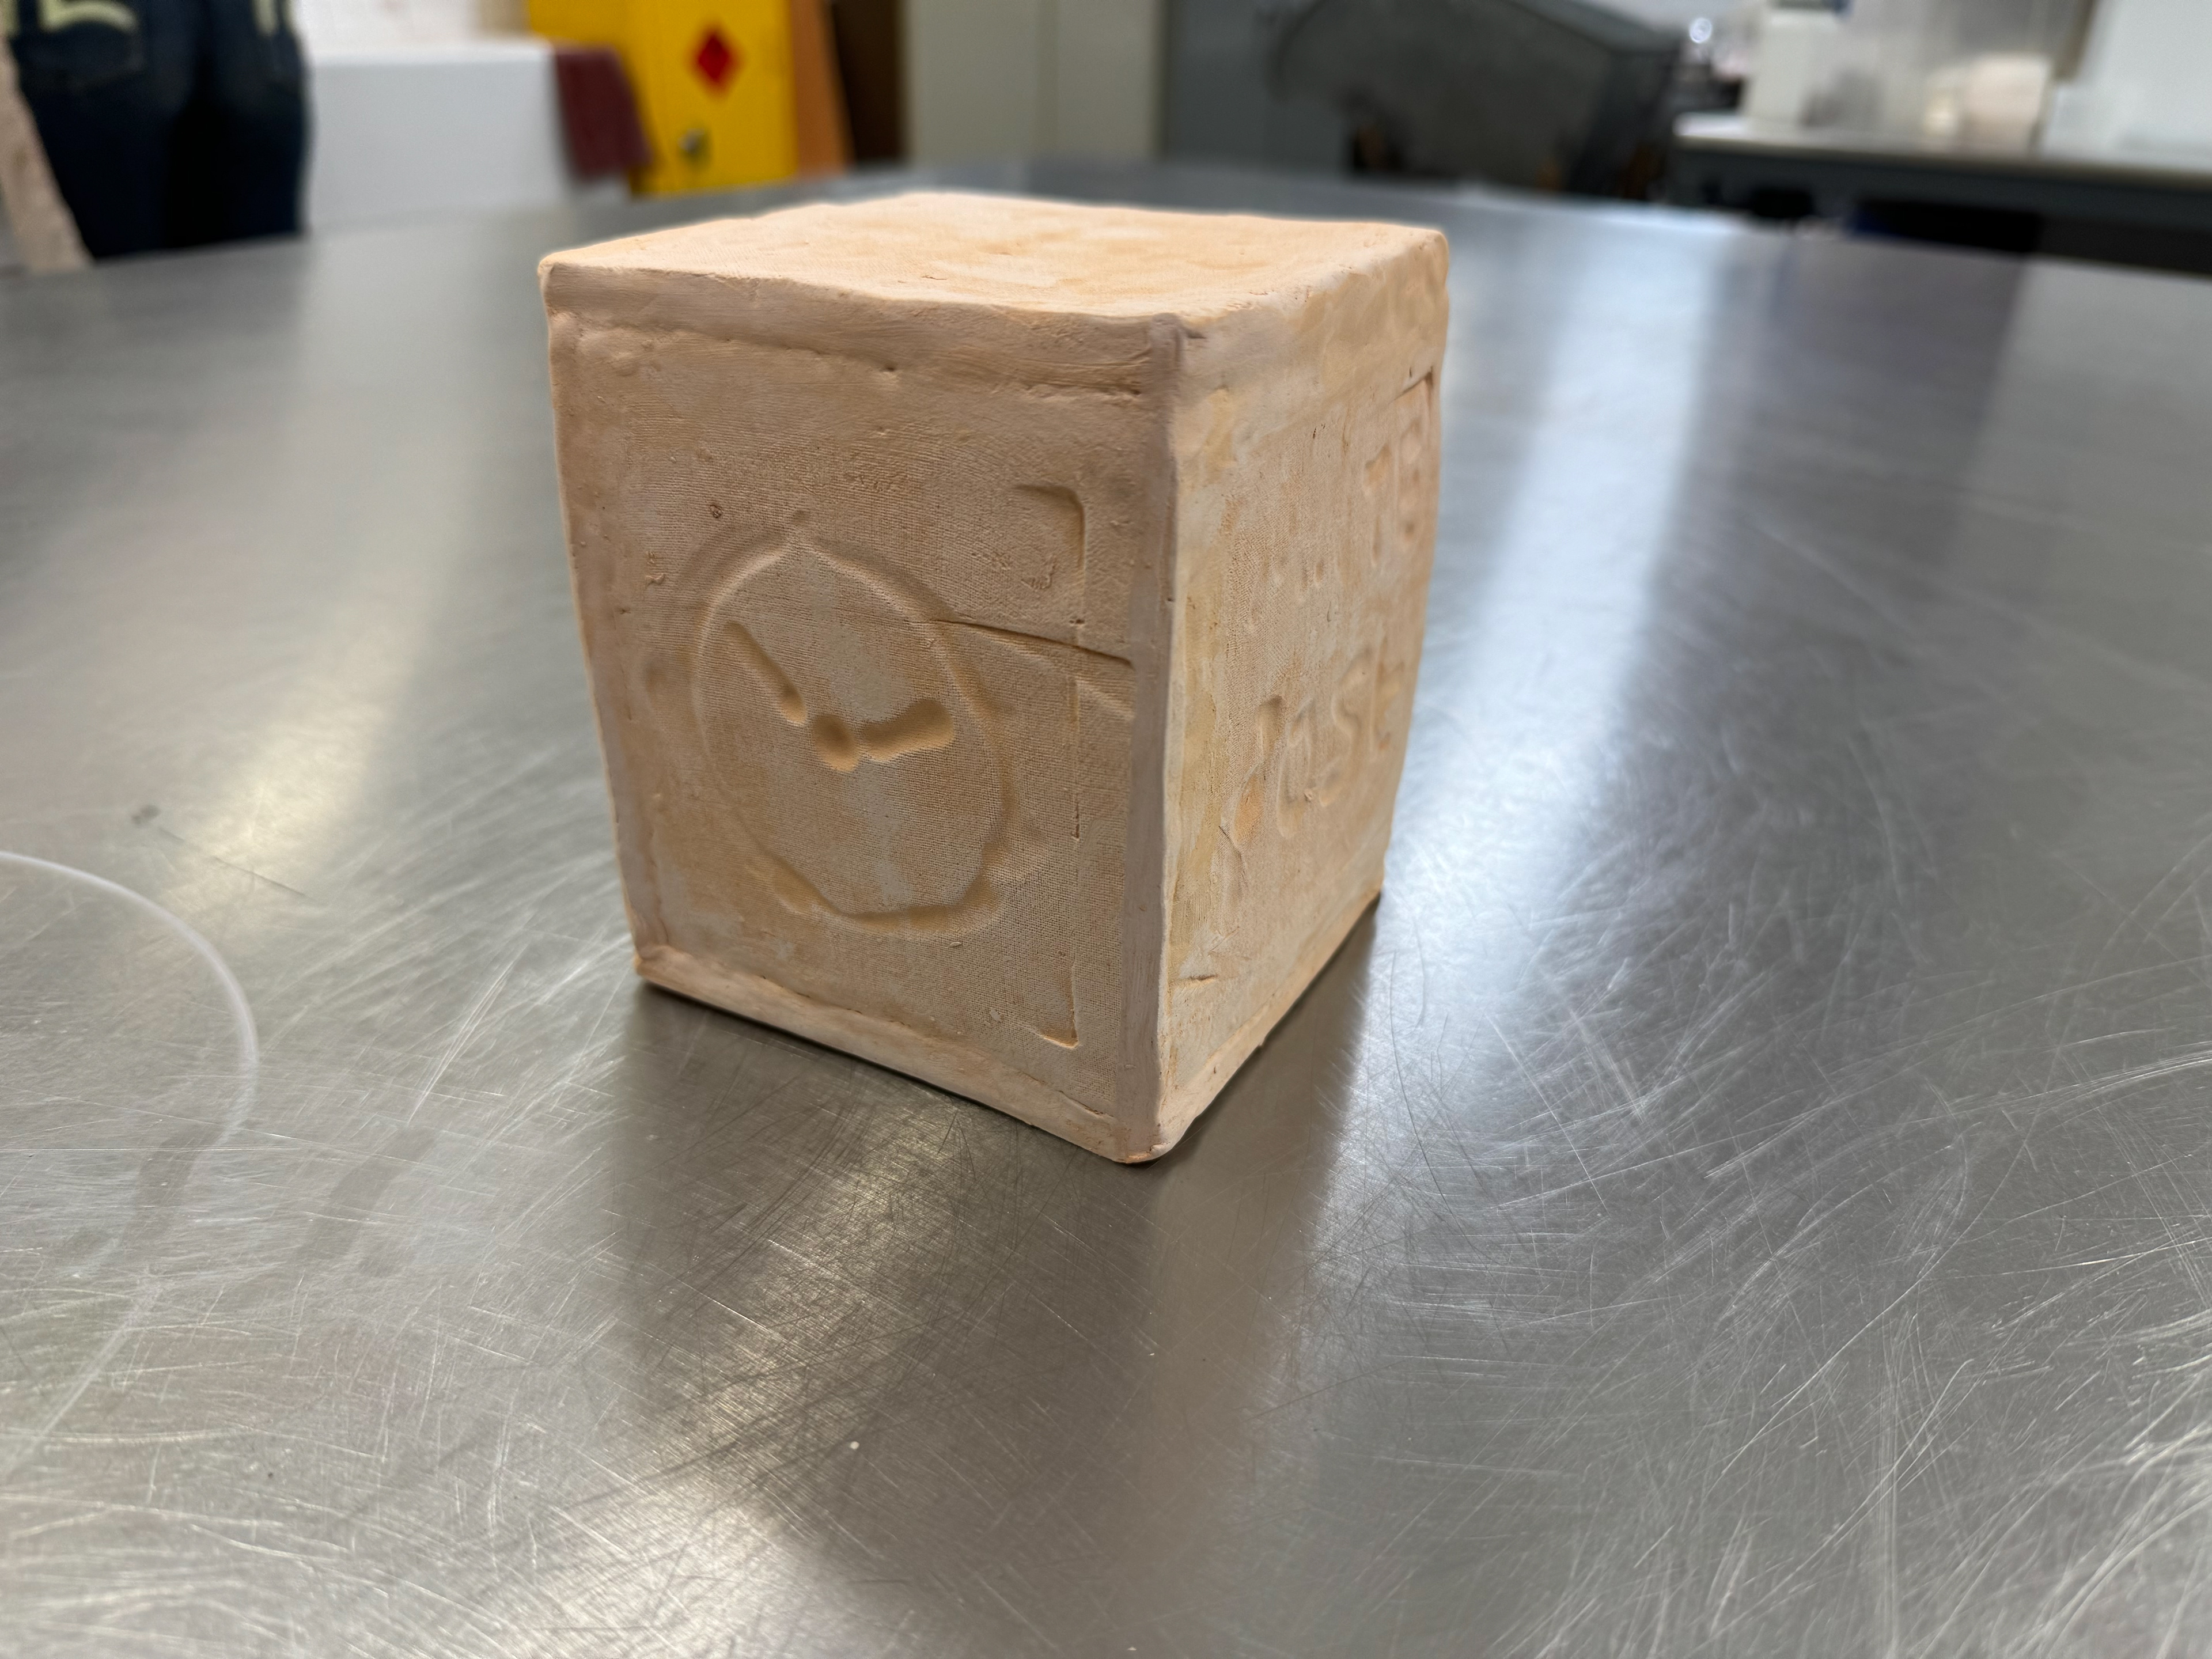
Final Design
I decided to make my final design a cube. The cube itself isn't important, i wanted to show off 6 different designs. The 6 different designs correlate to a different format of time telling. Due to supply issues with the Almington clay, after being fired after the oxide was applied it caused bubbling and discolouration. I was also hoping the oxide with be more vibrant than it shows.
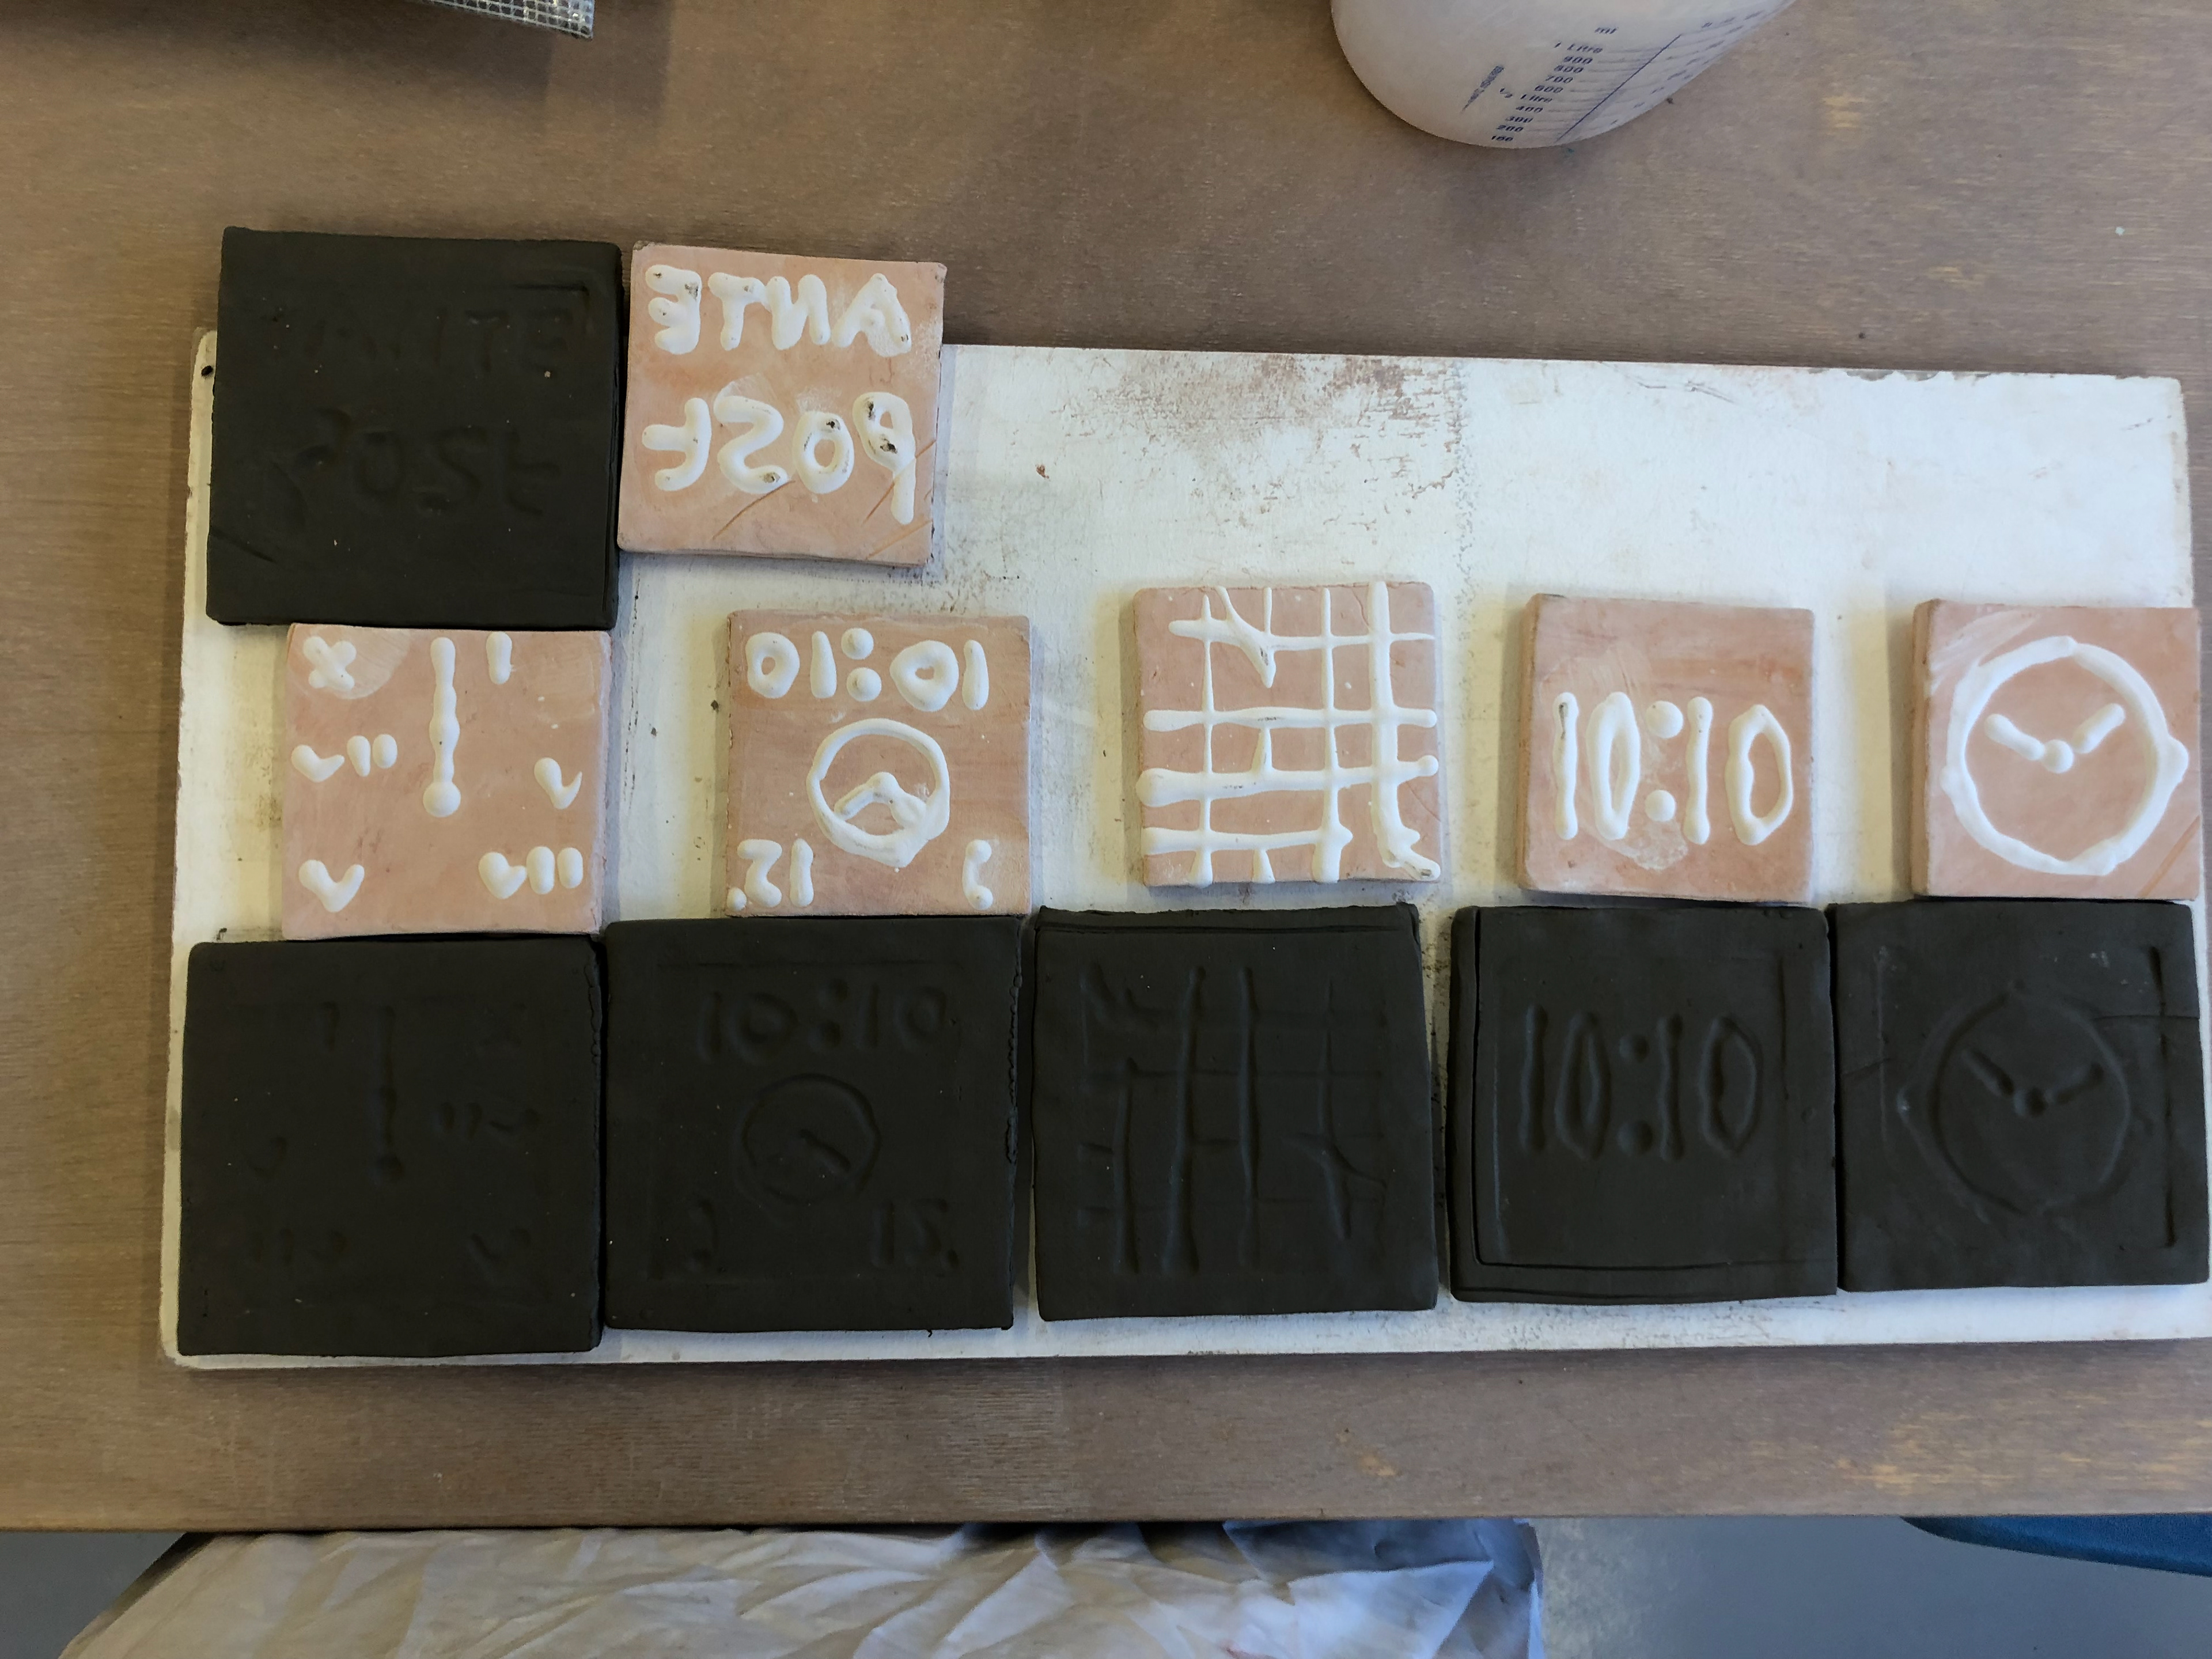
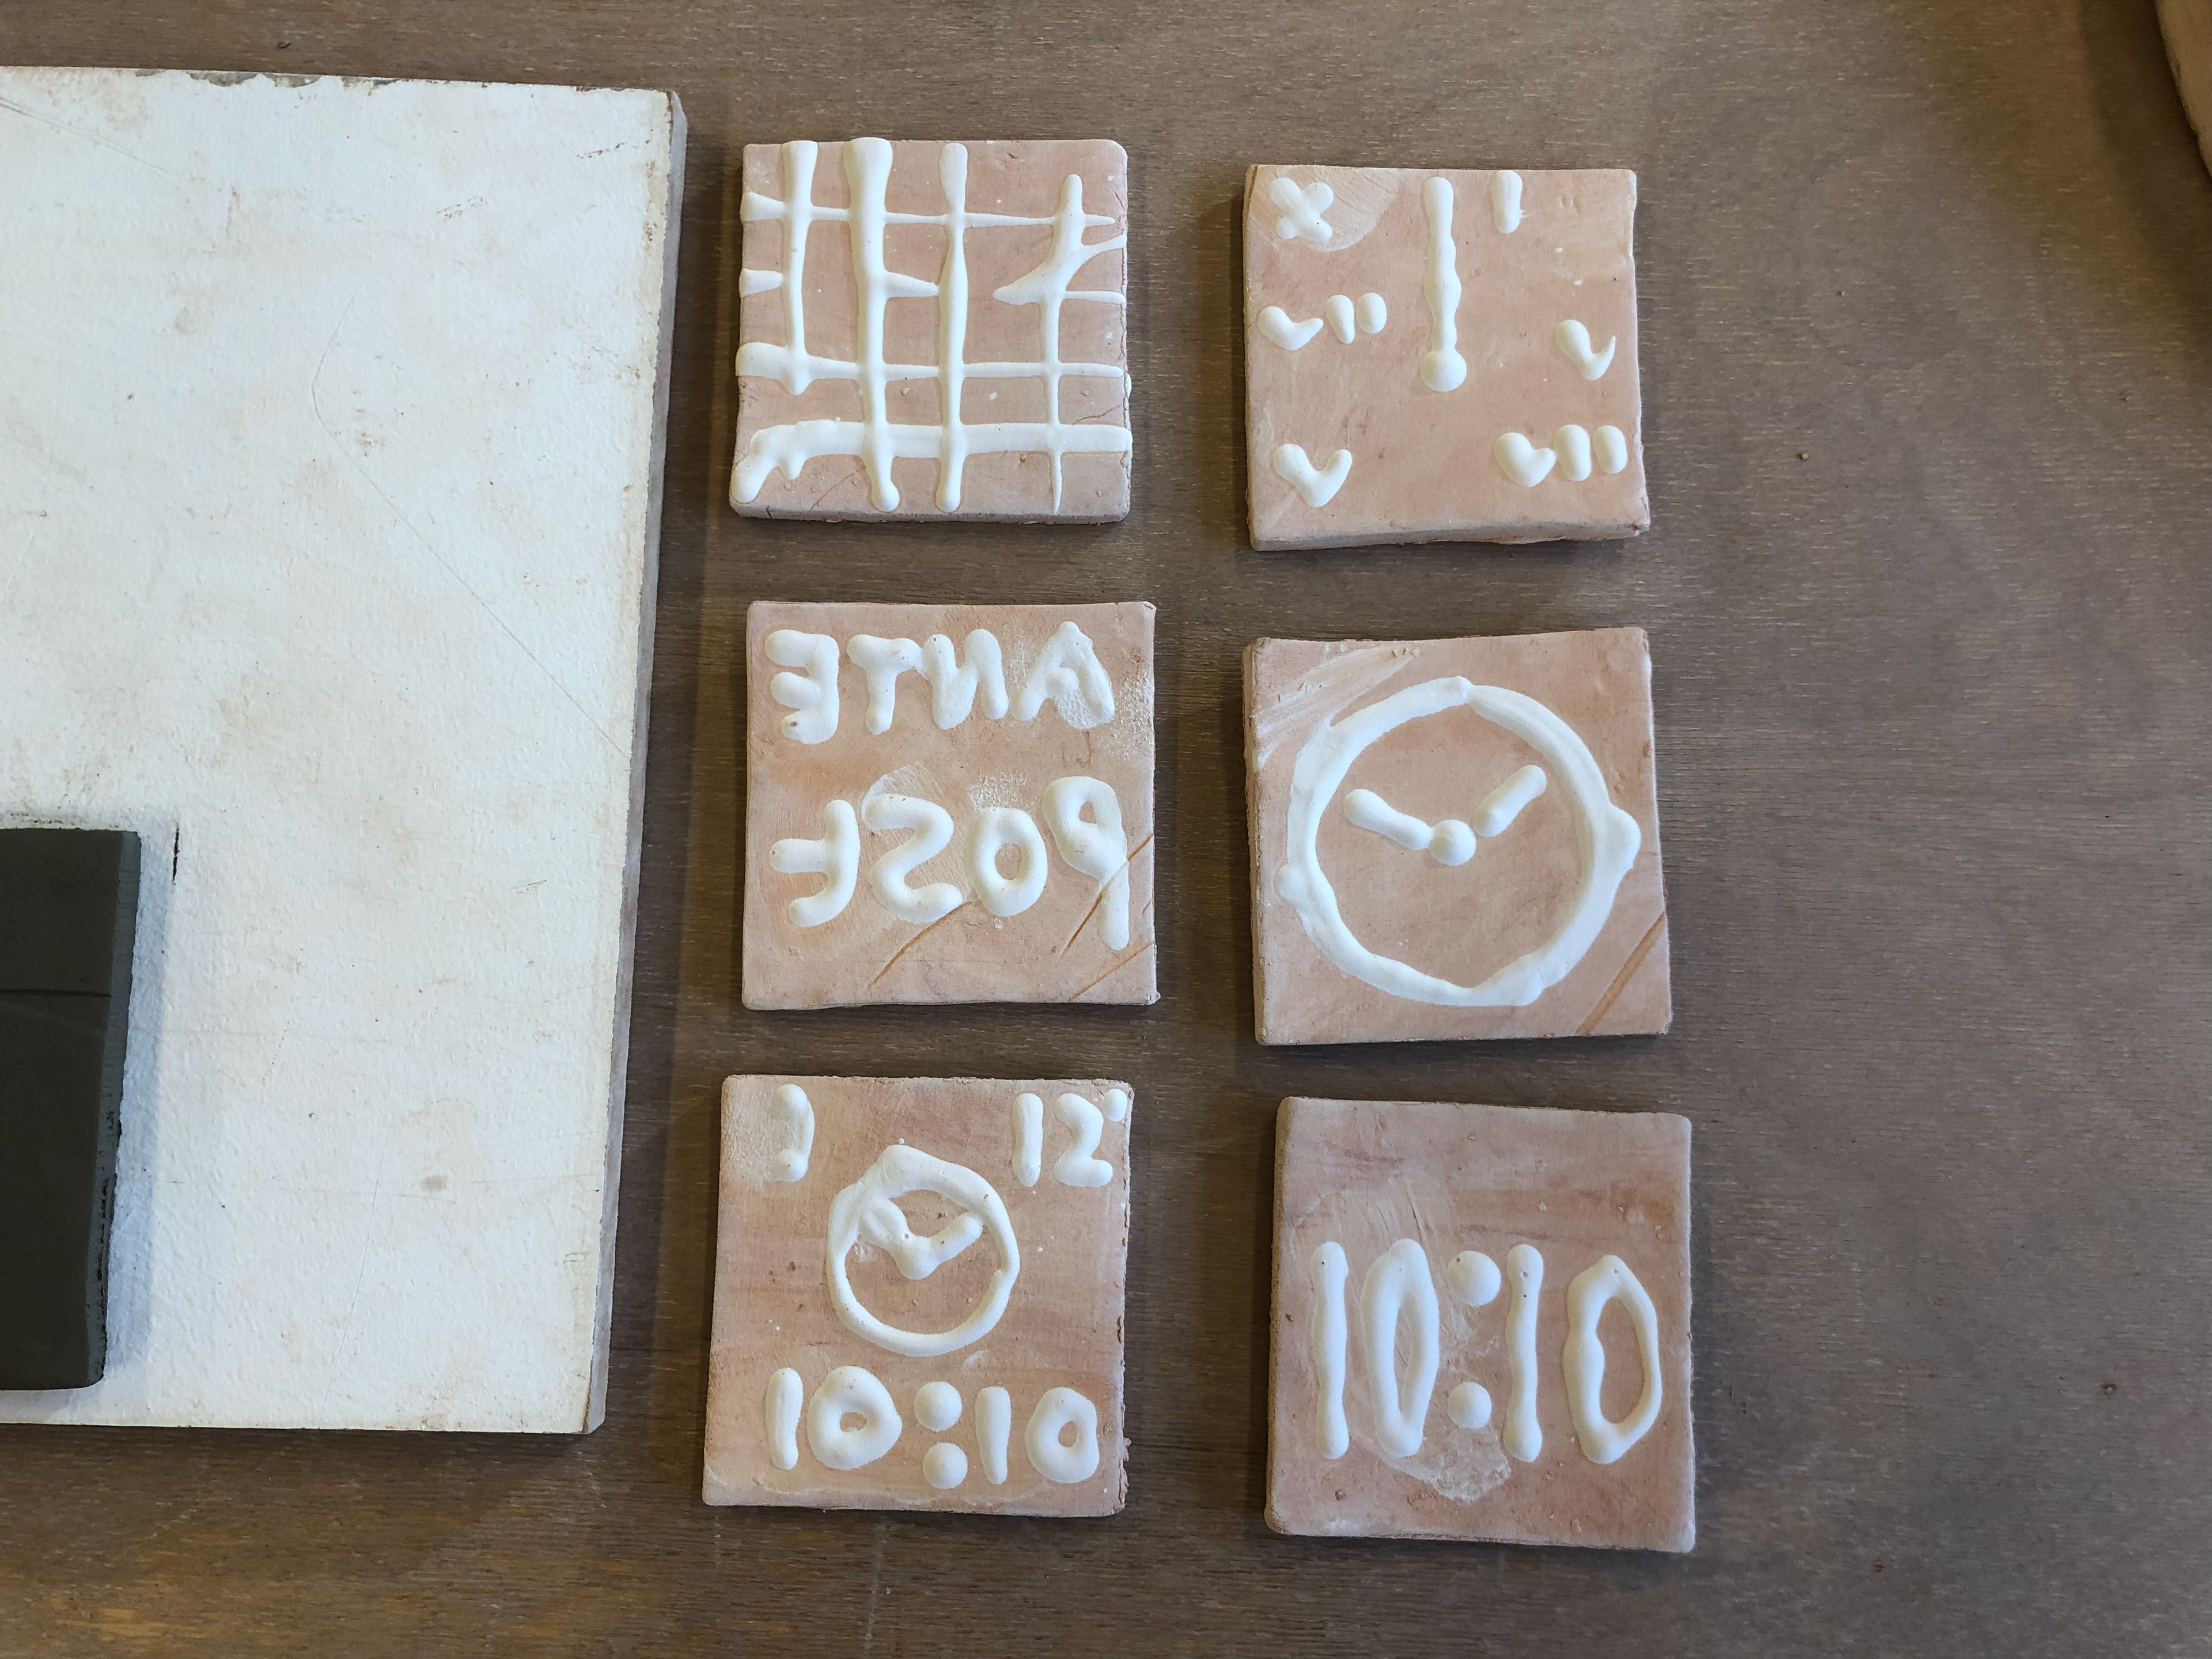
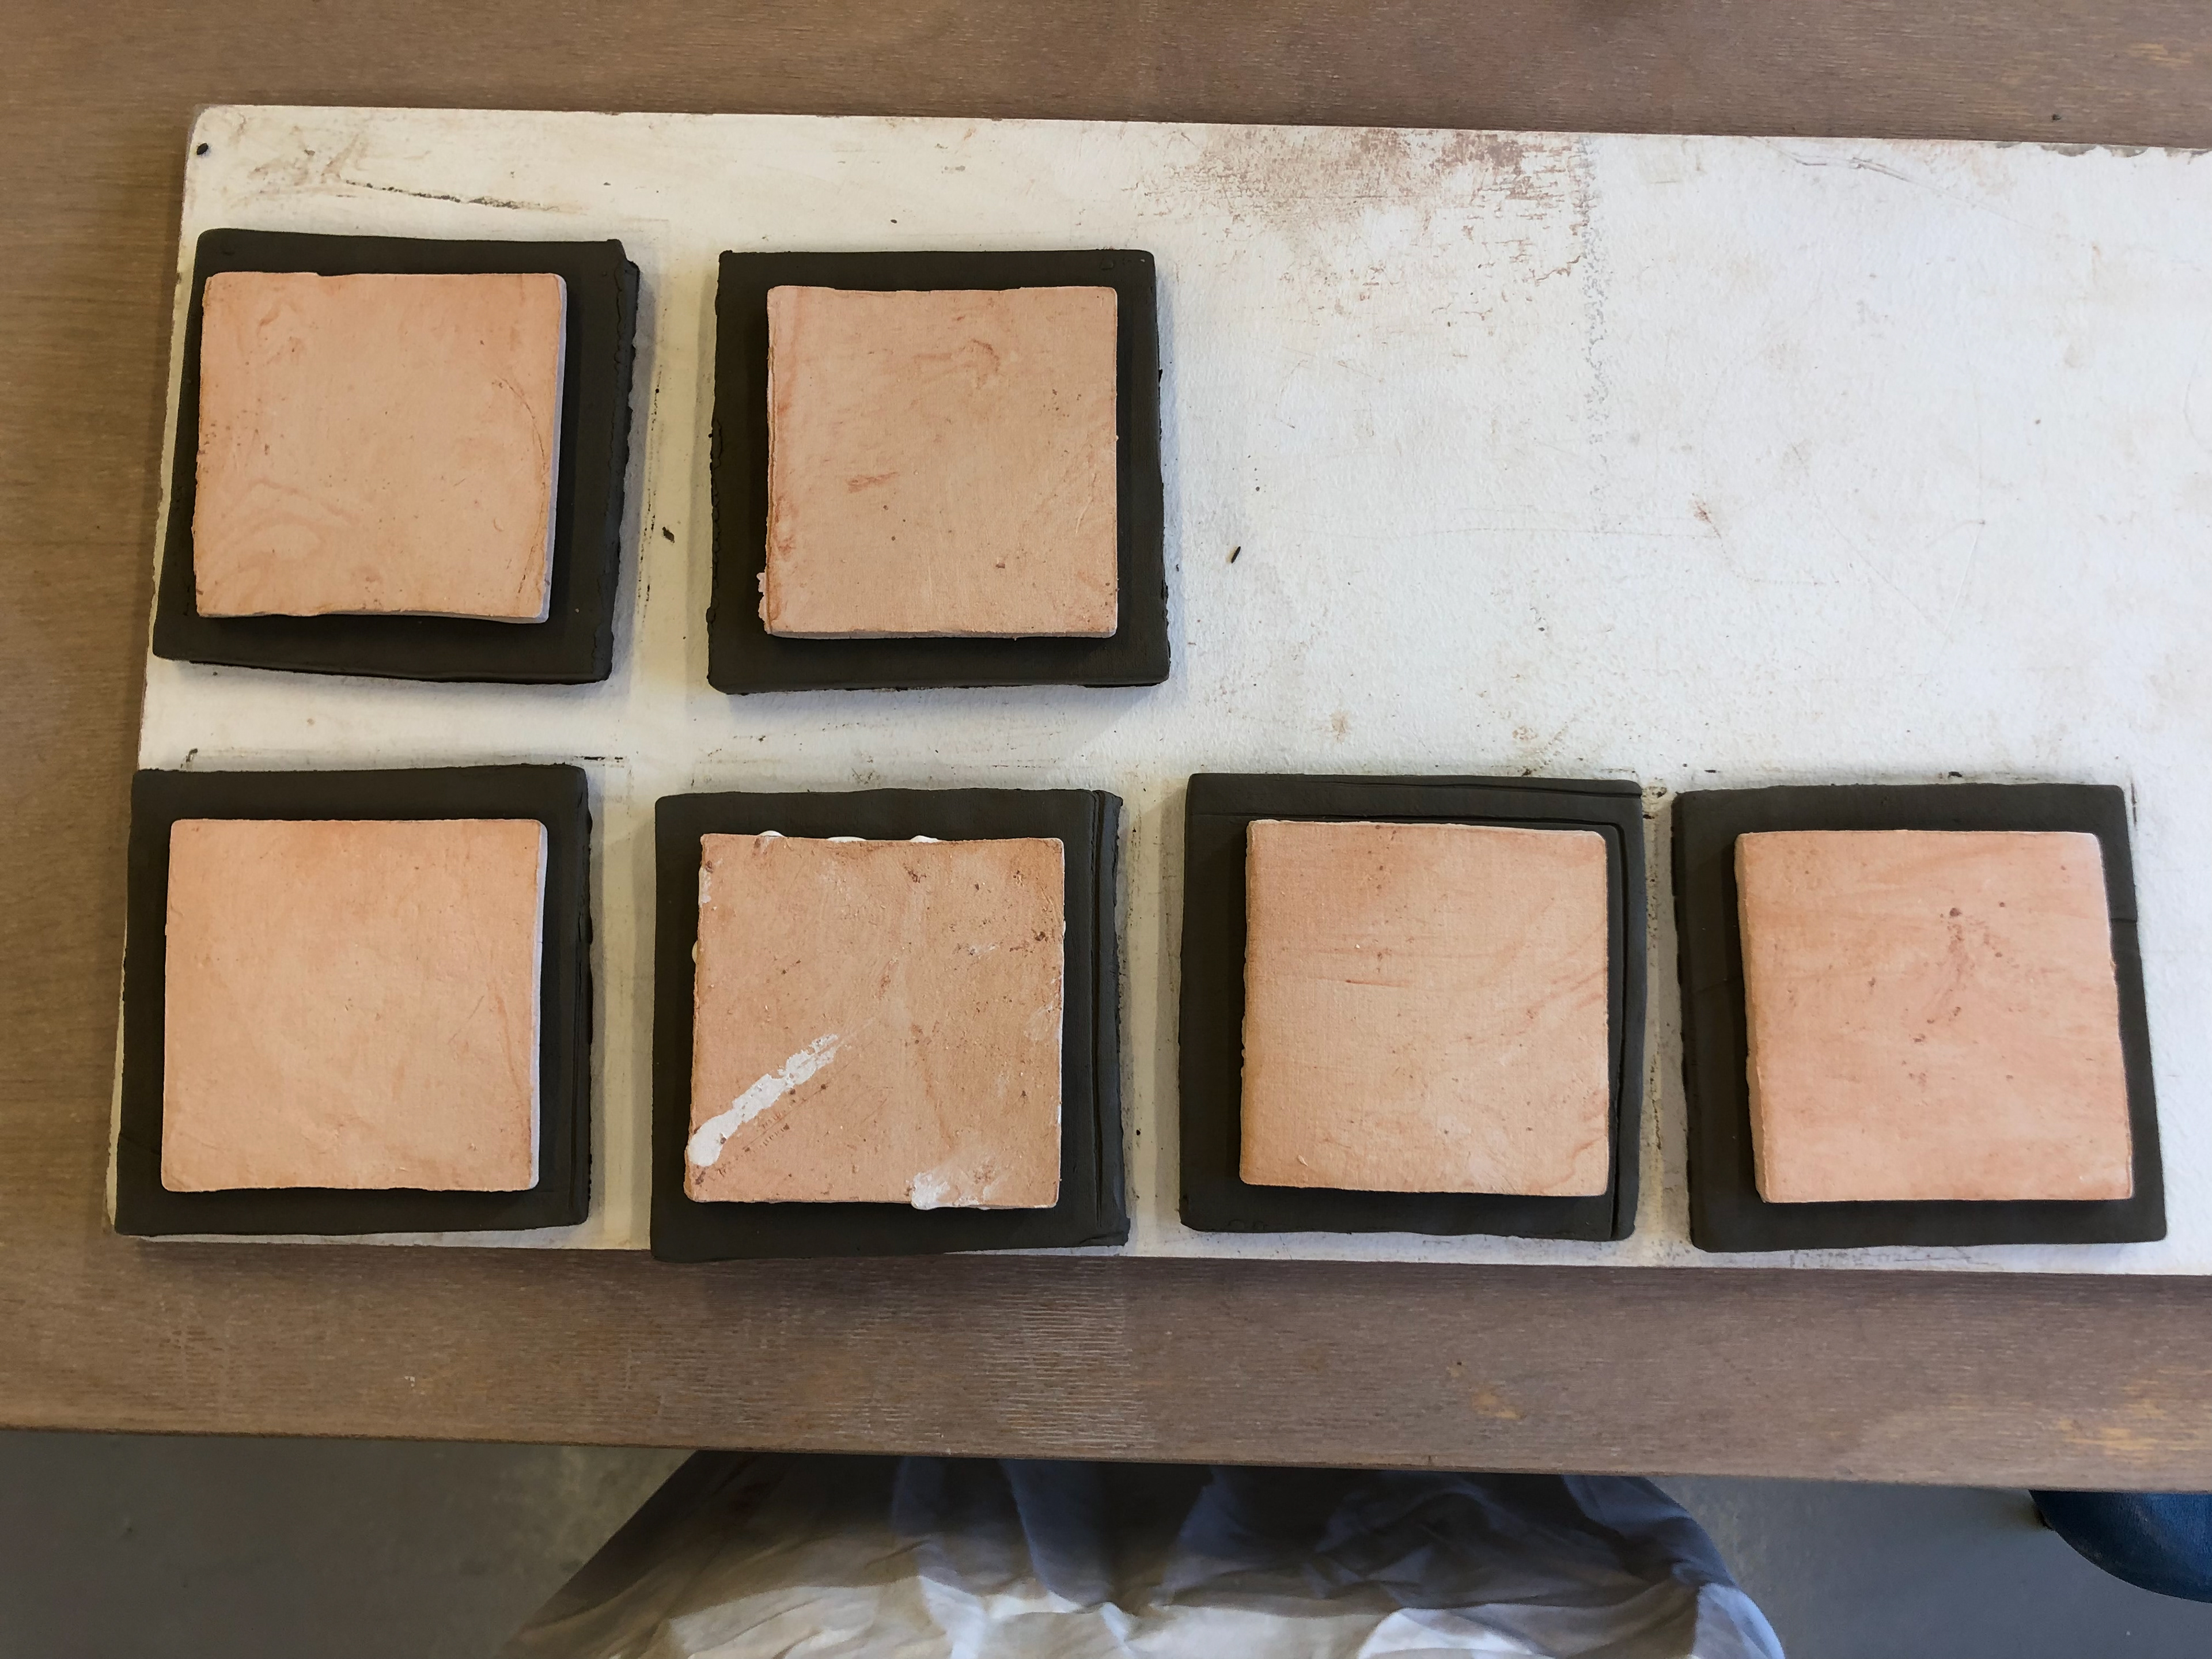
"Pad printers" played next to the corresponding tile. Each tile is ready to be made into a final piece.
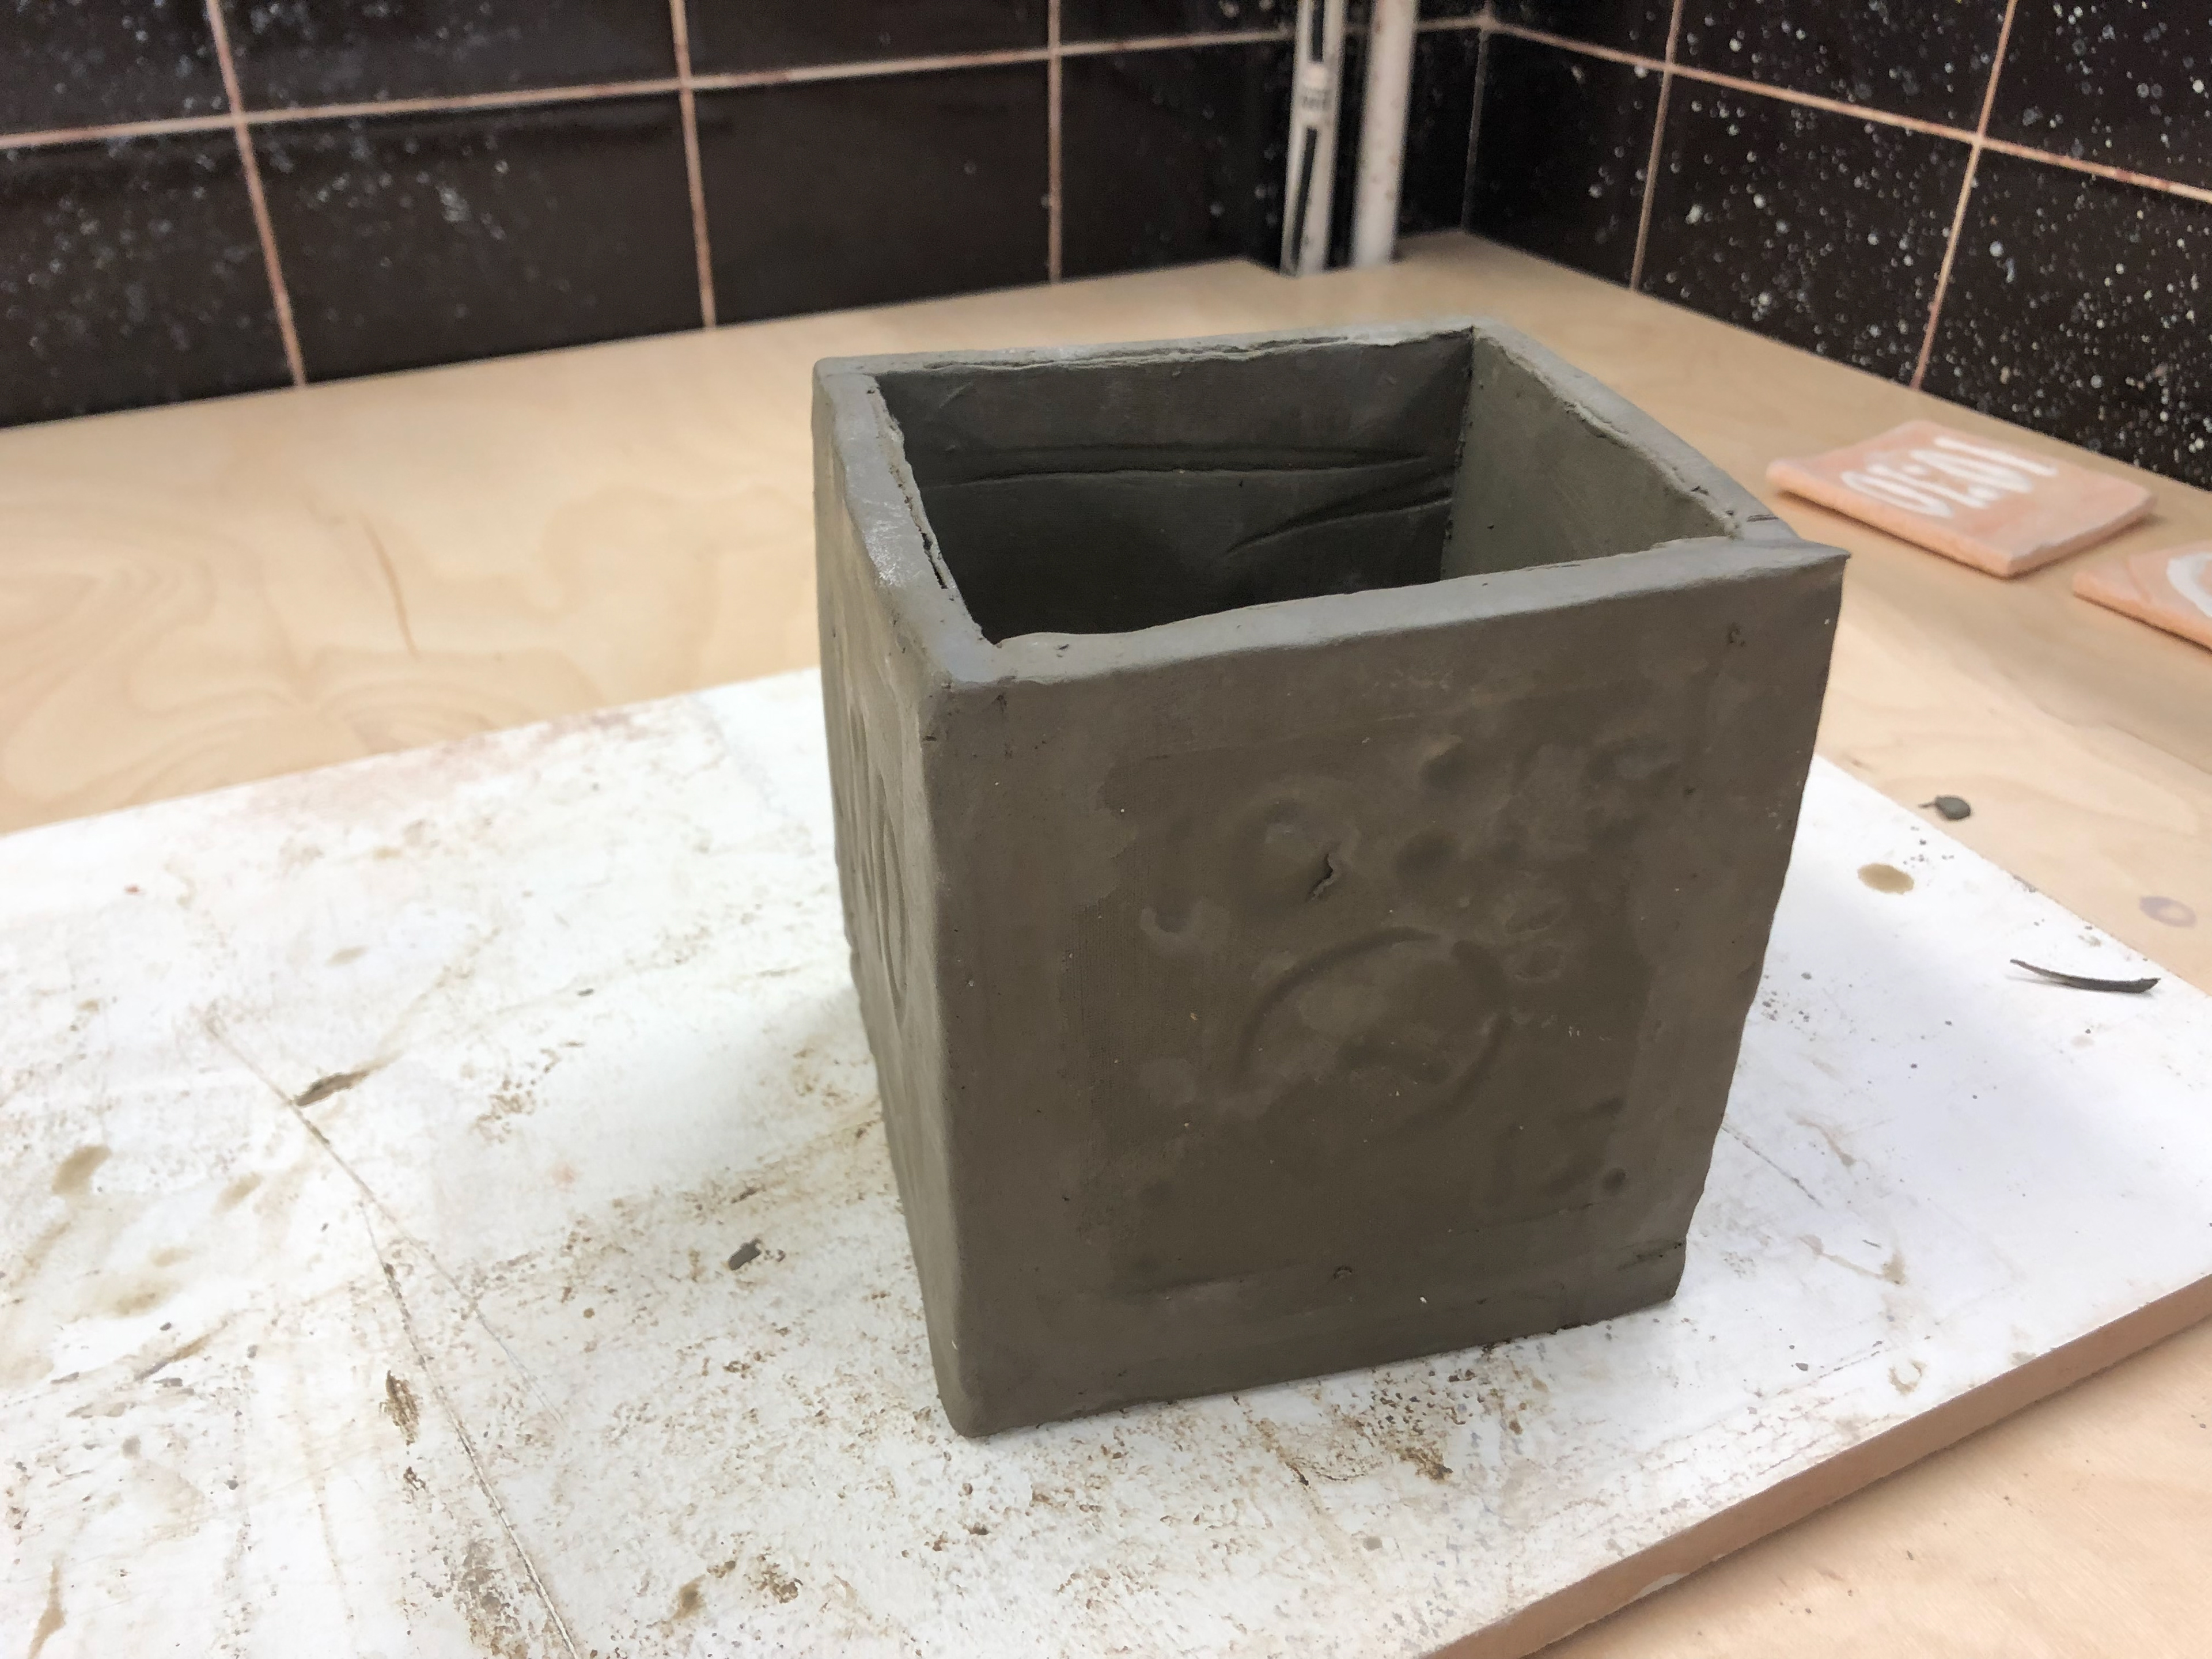
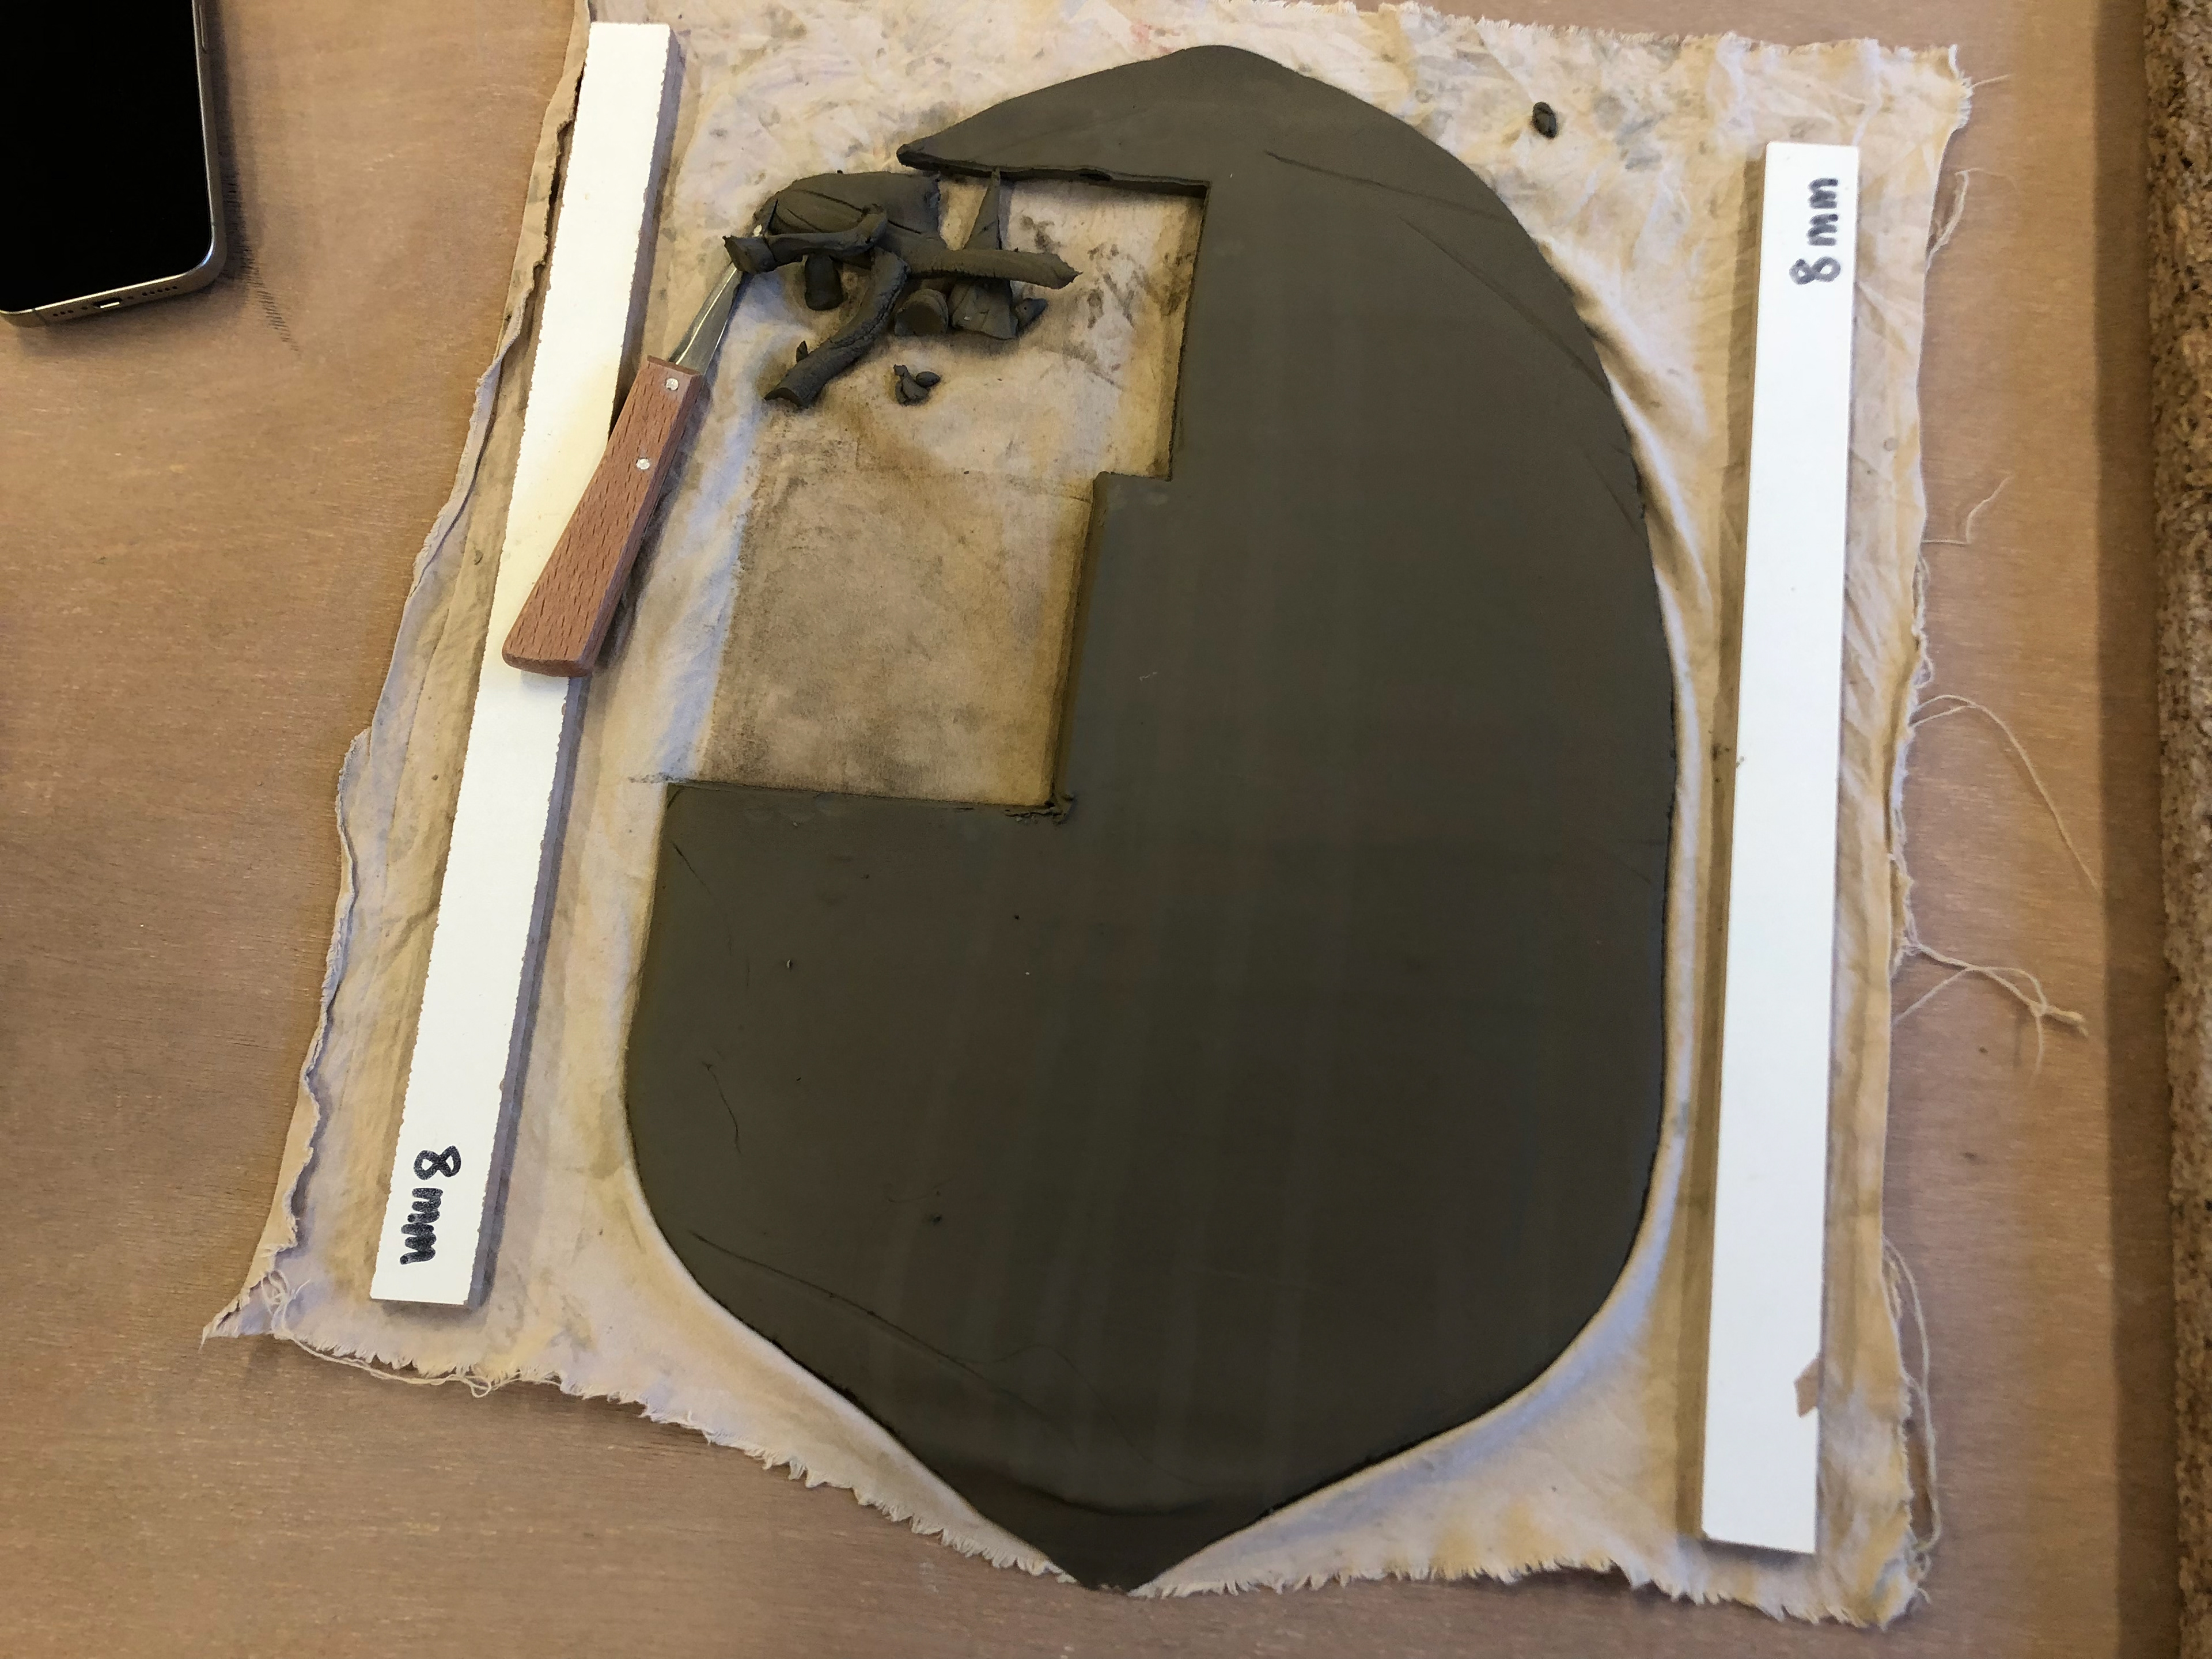
Four walls and a base.
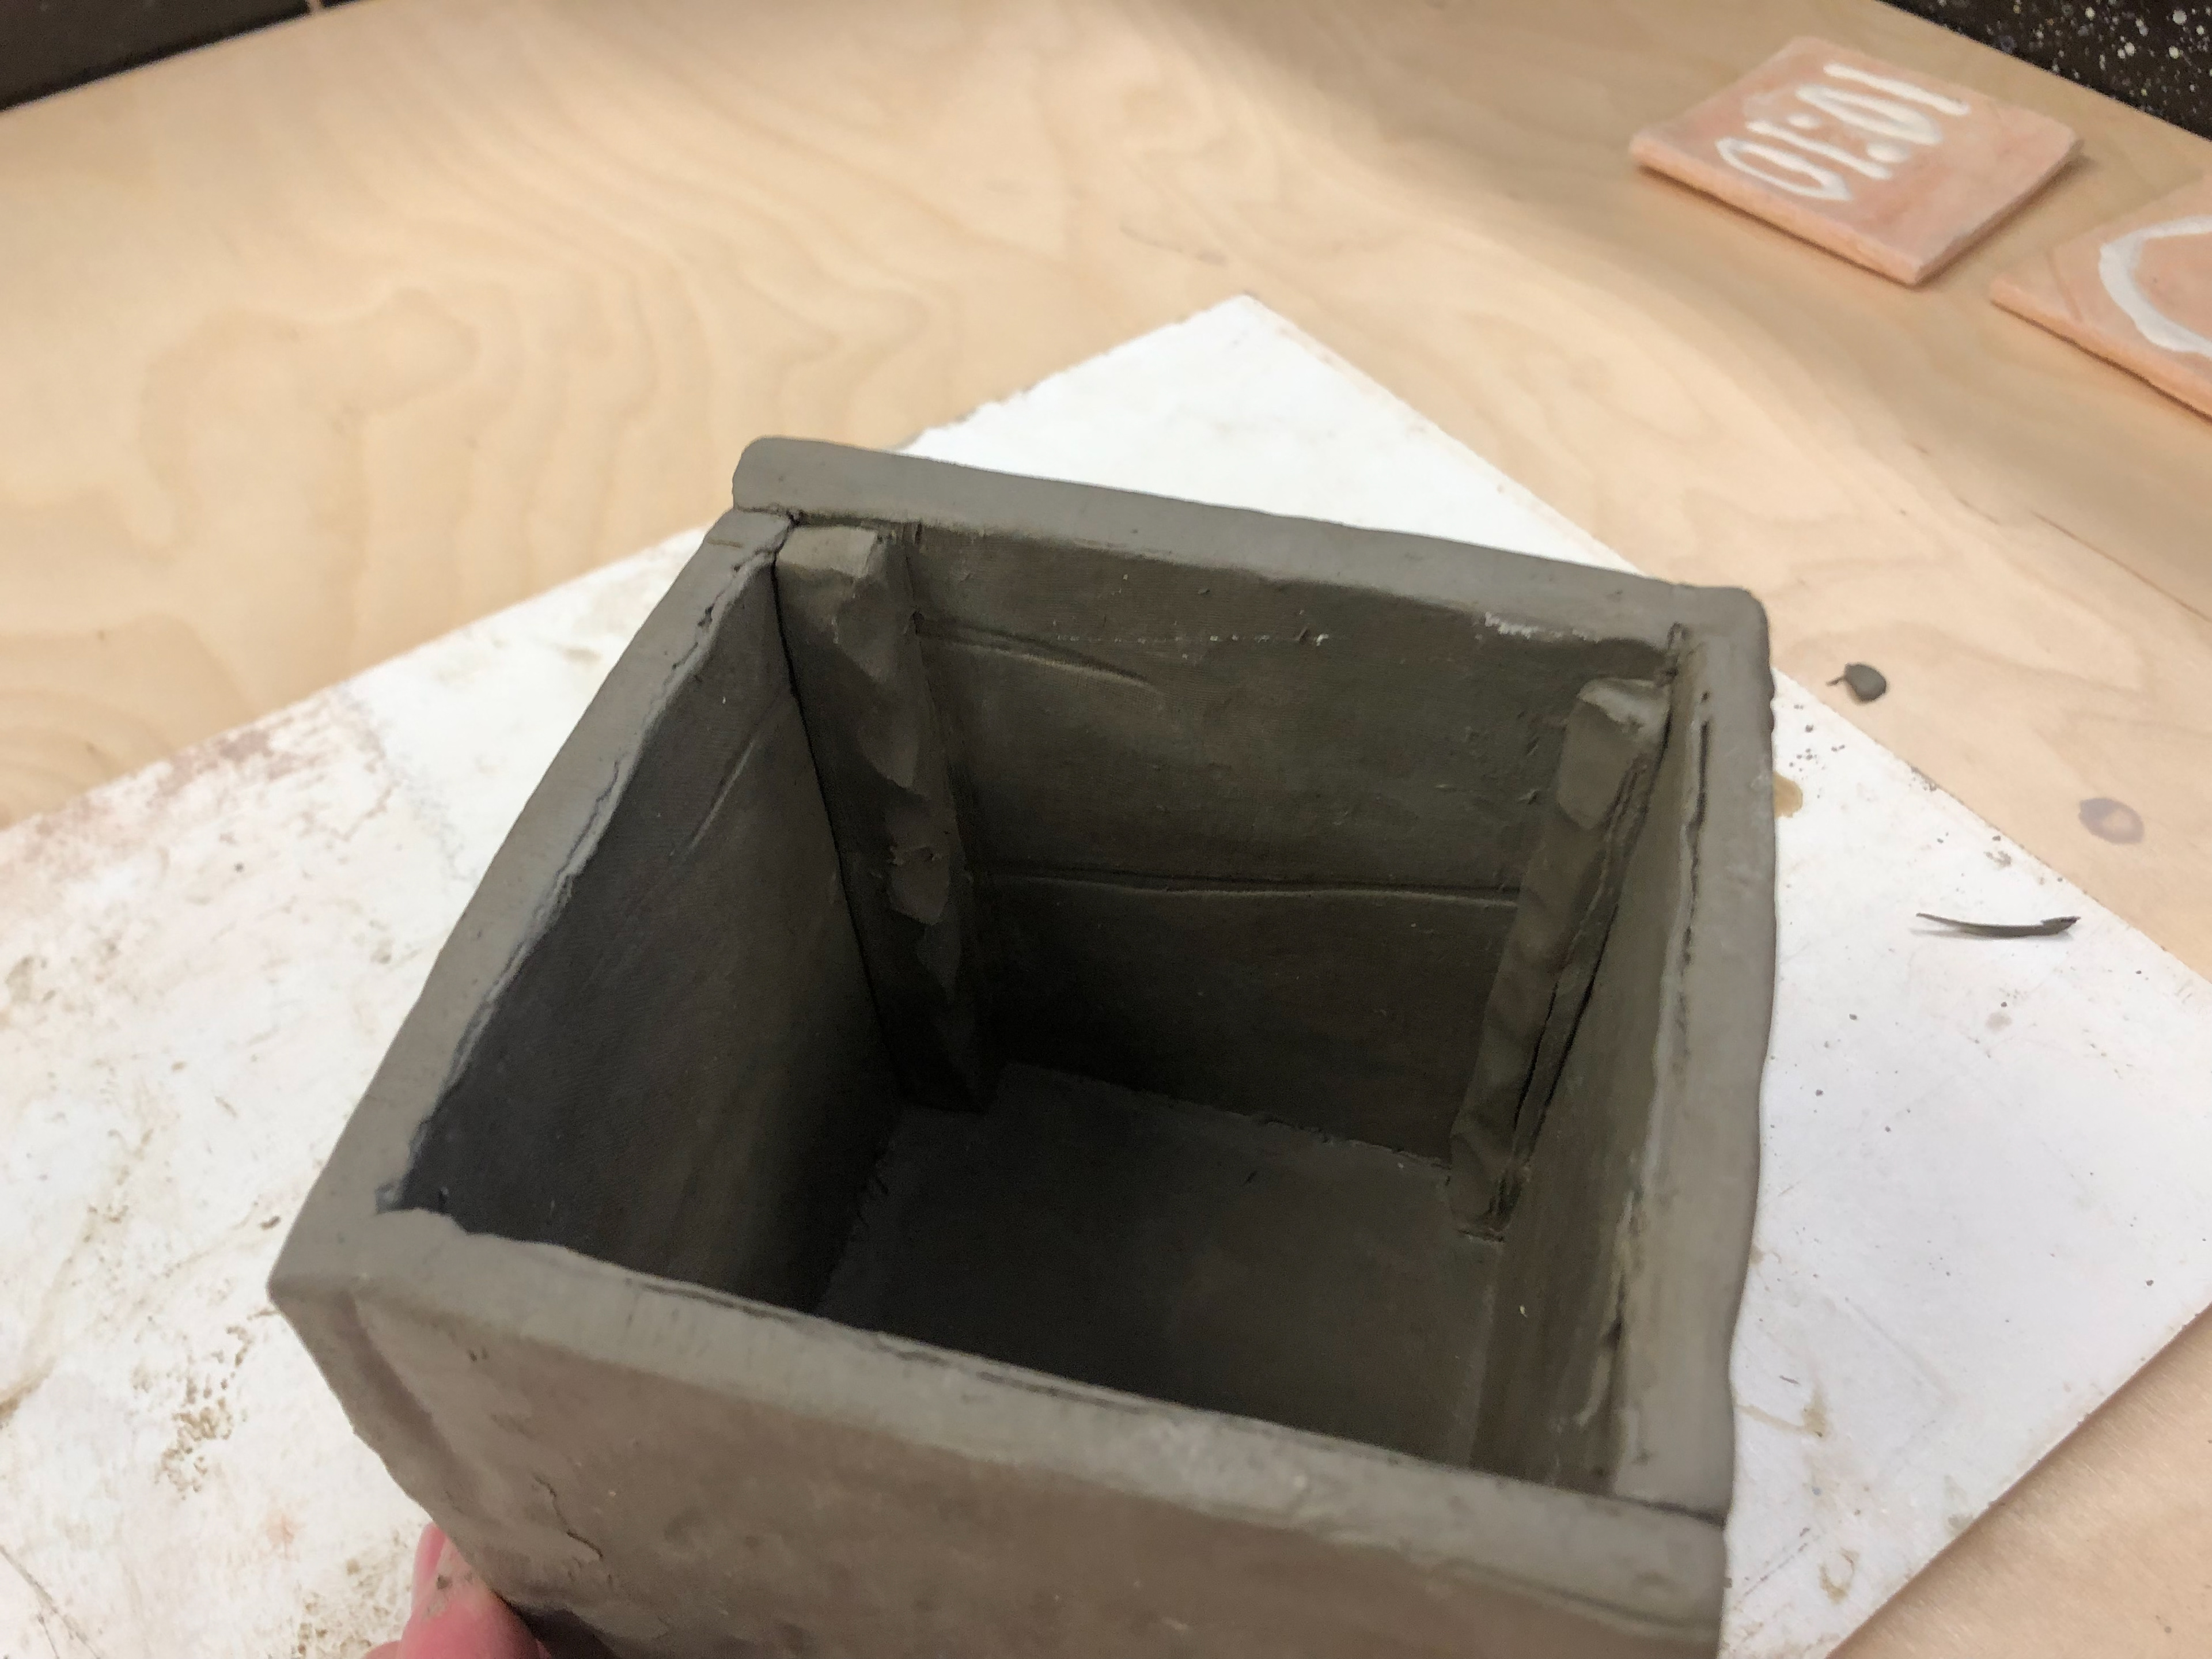
Applying some reinforcements around the connecting areas to help keep structure.
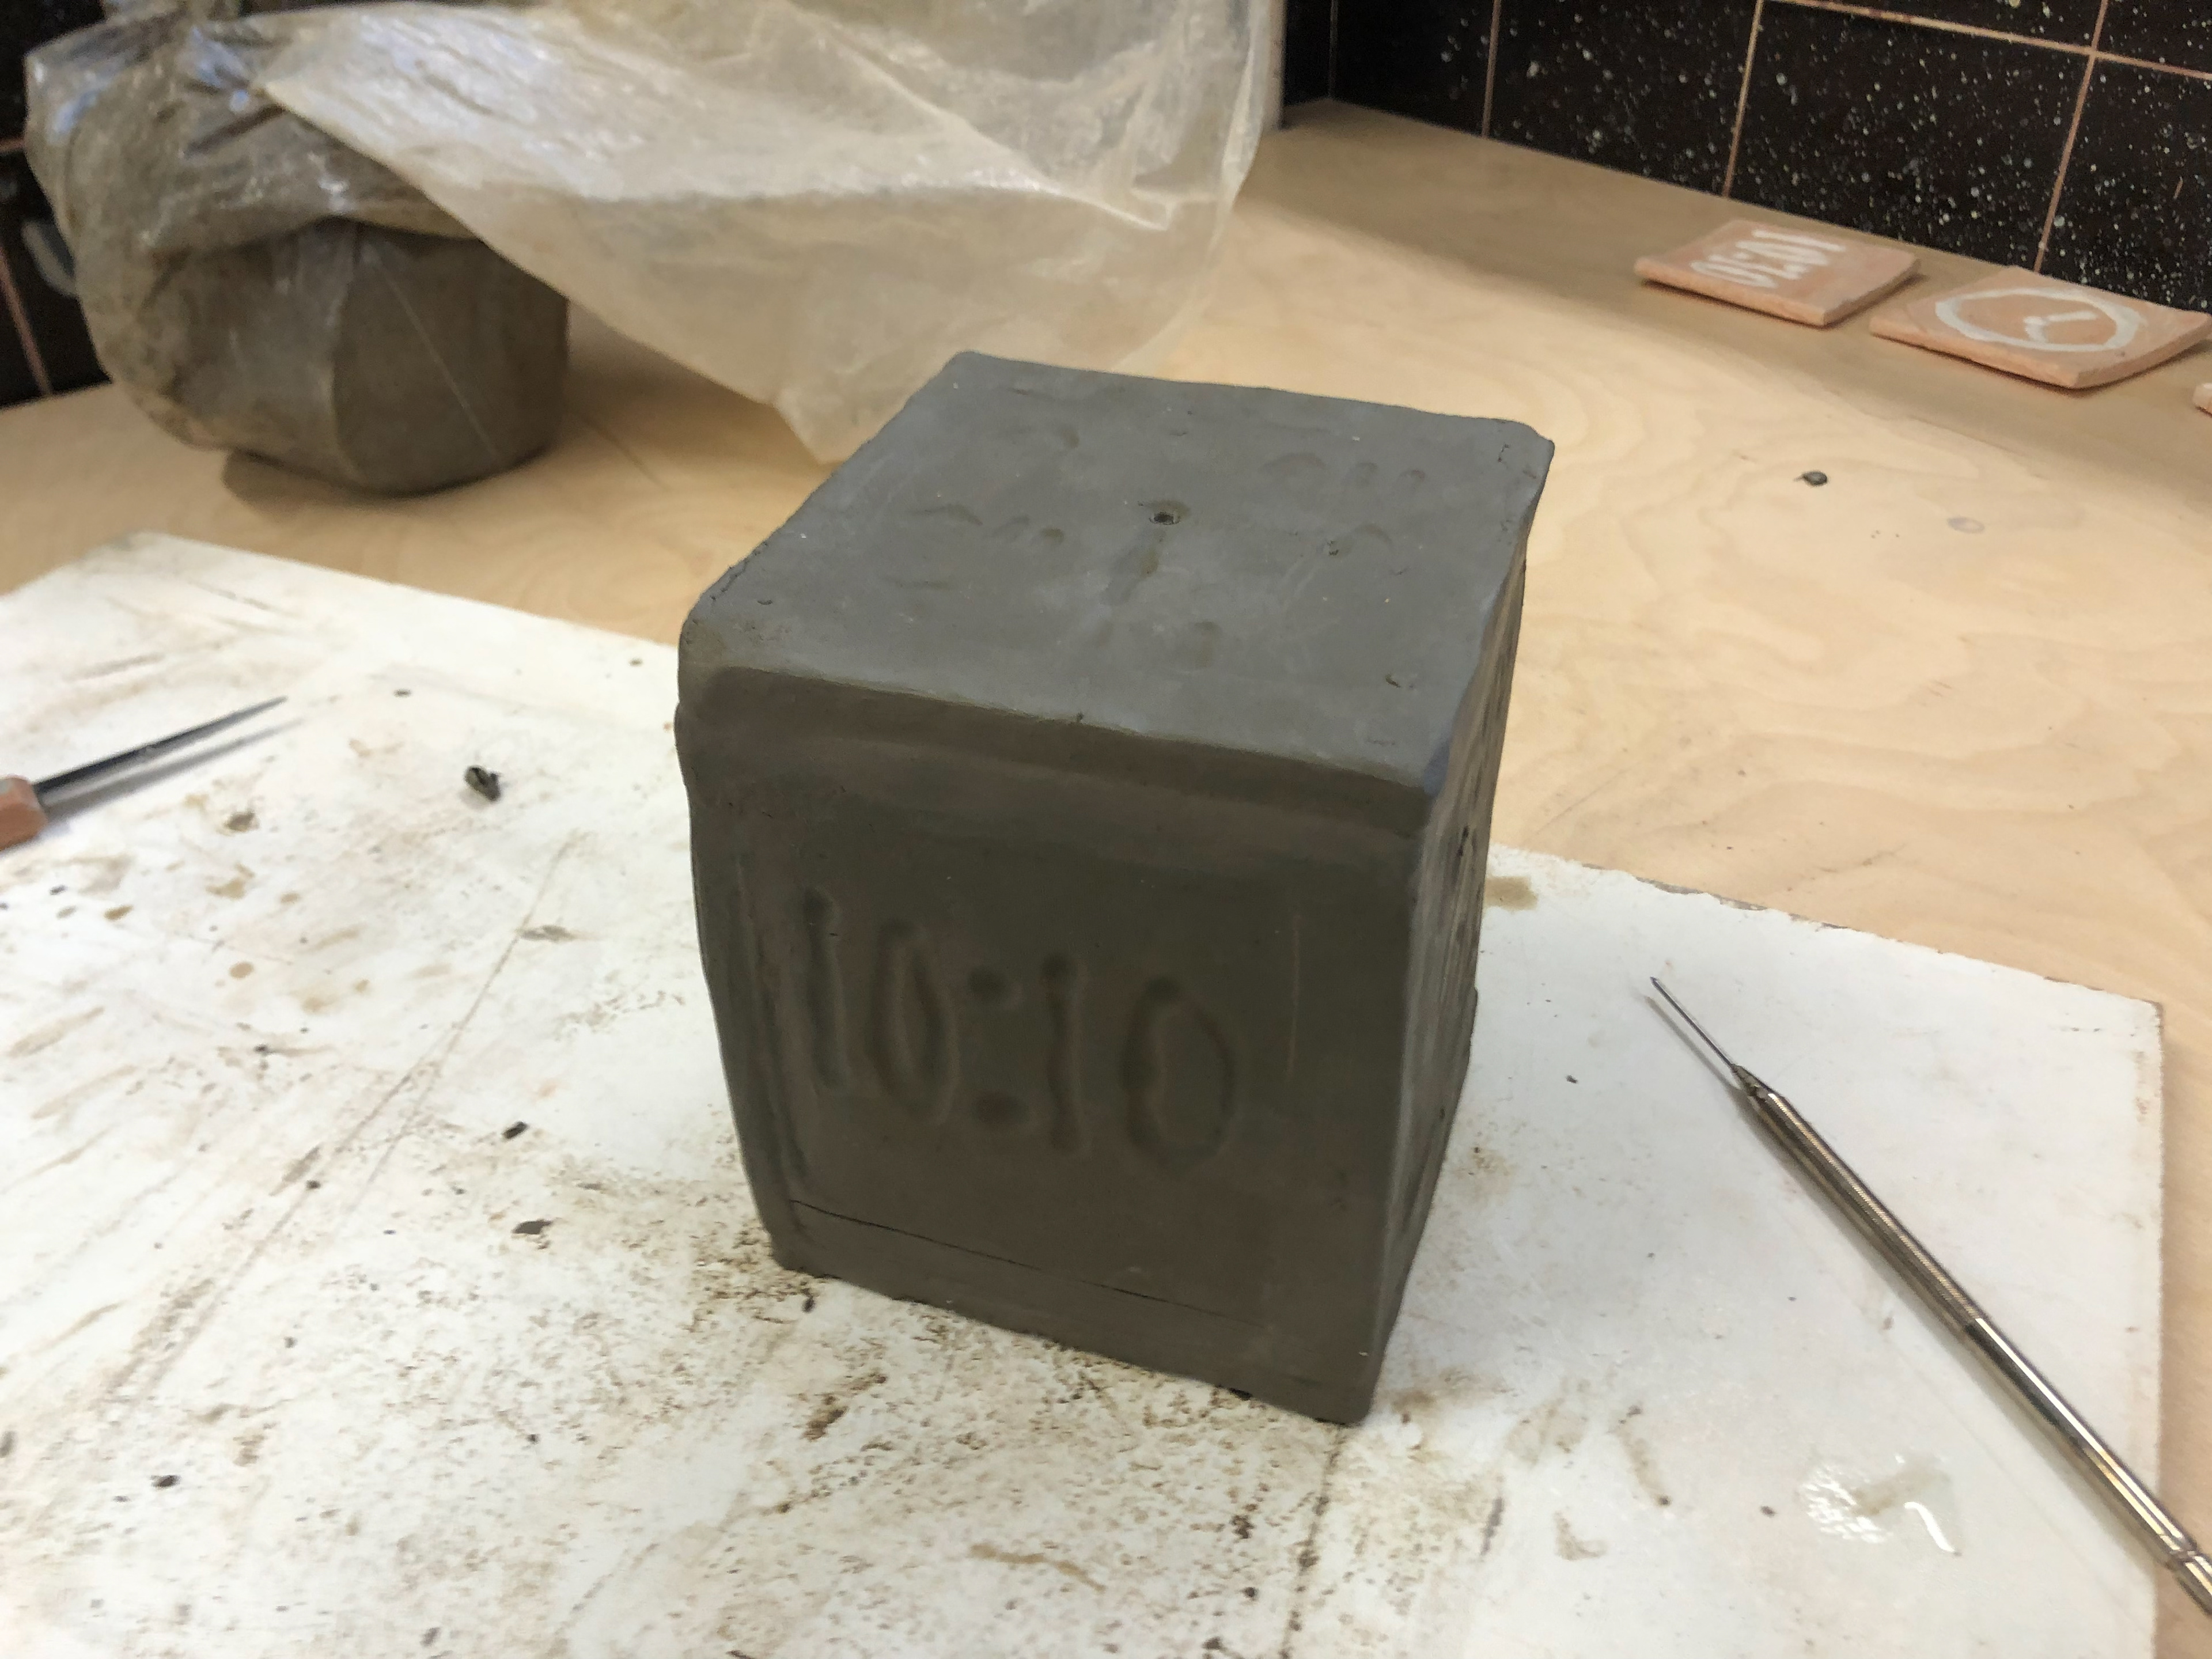
Top view for the inside.
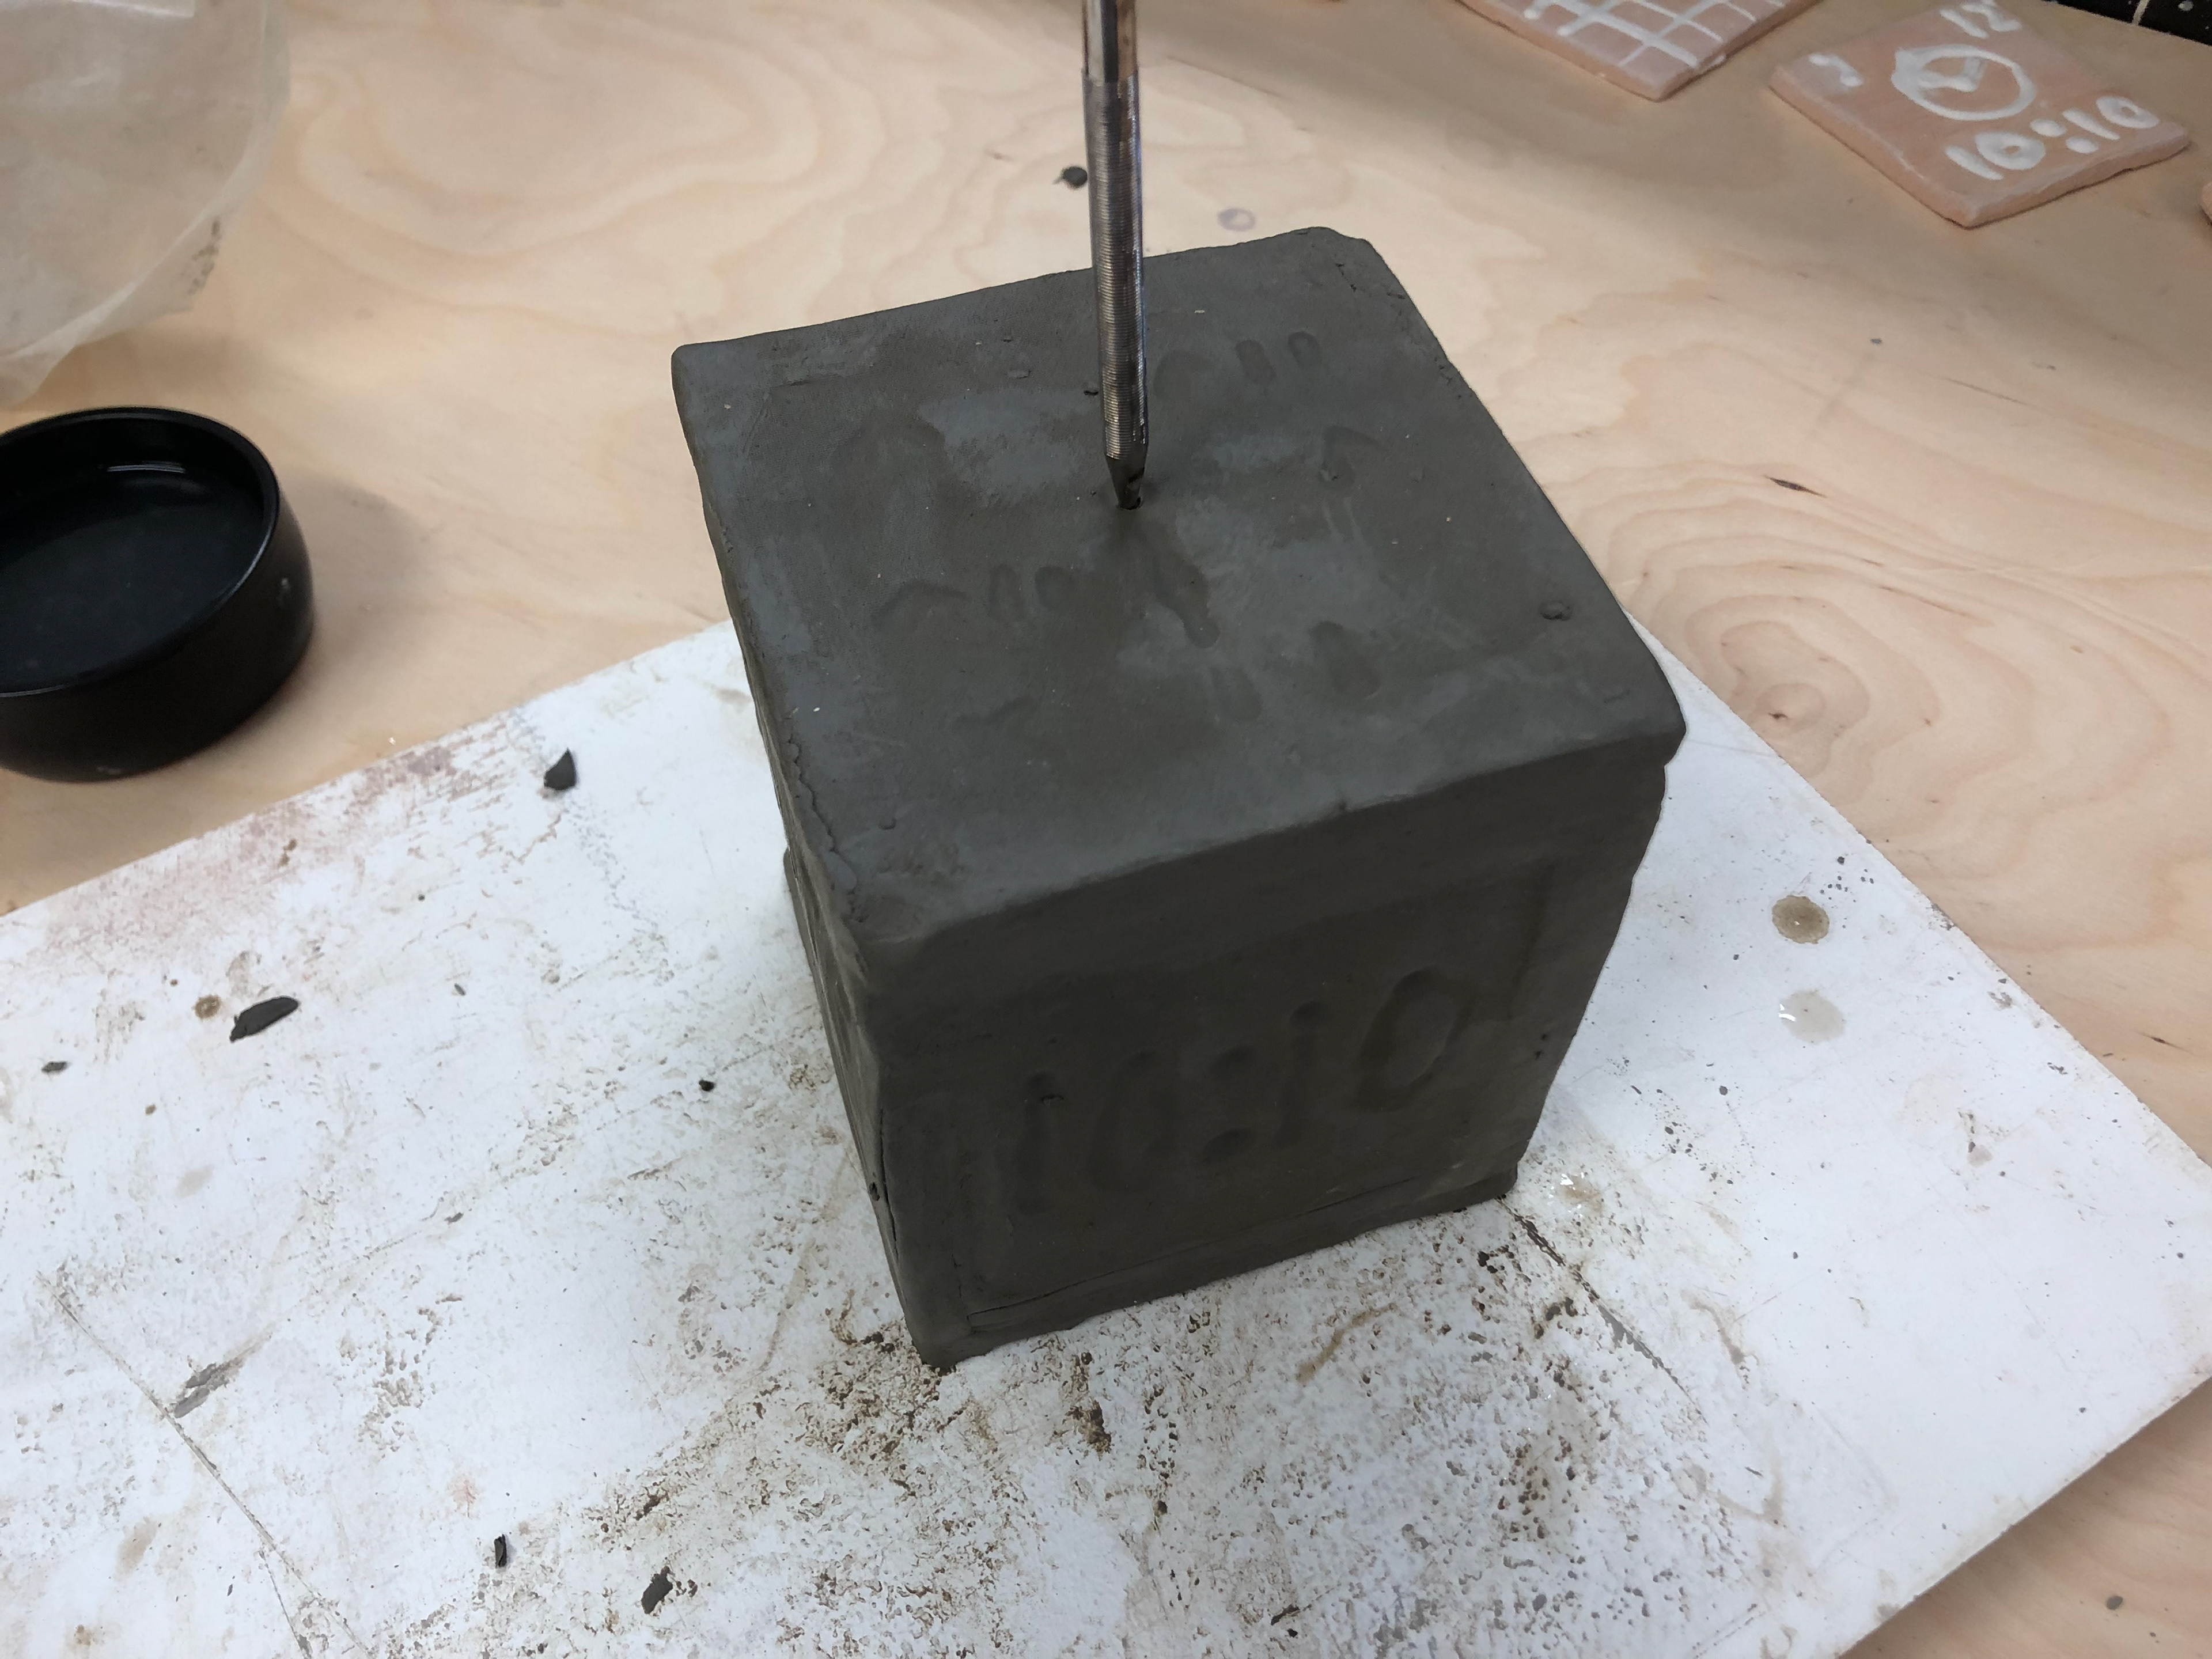
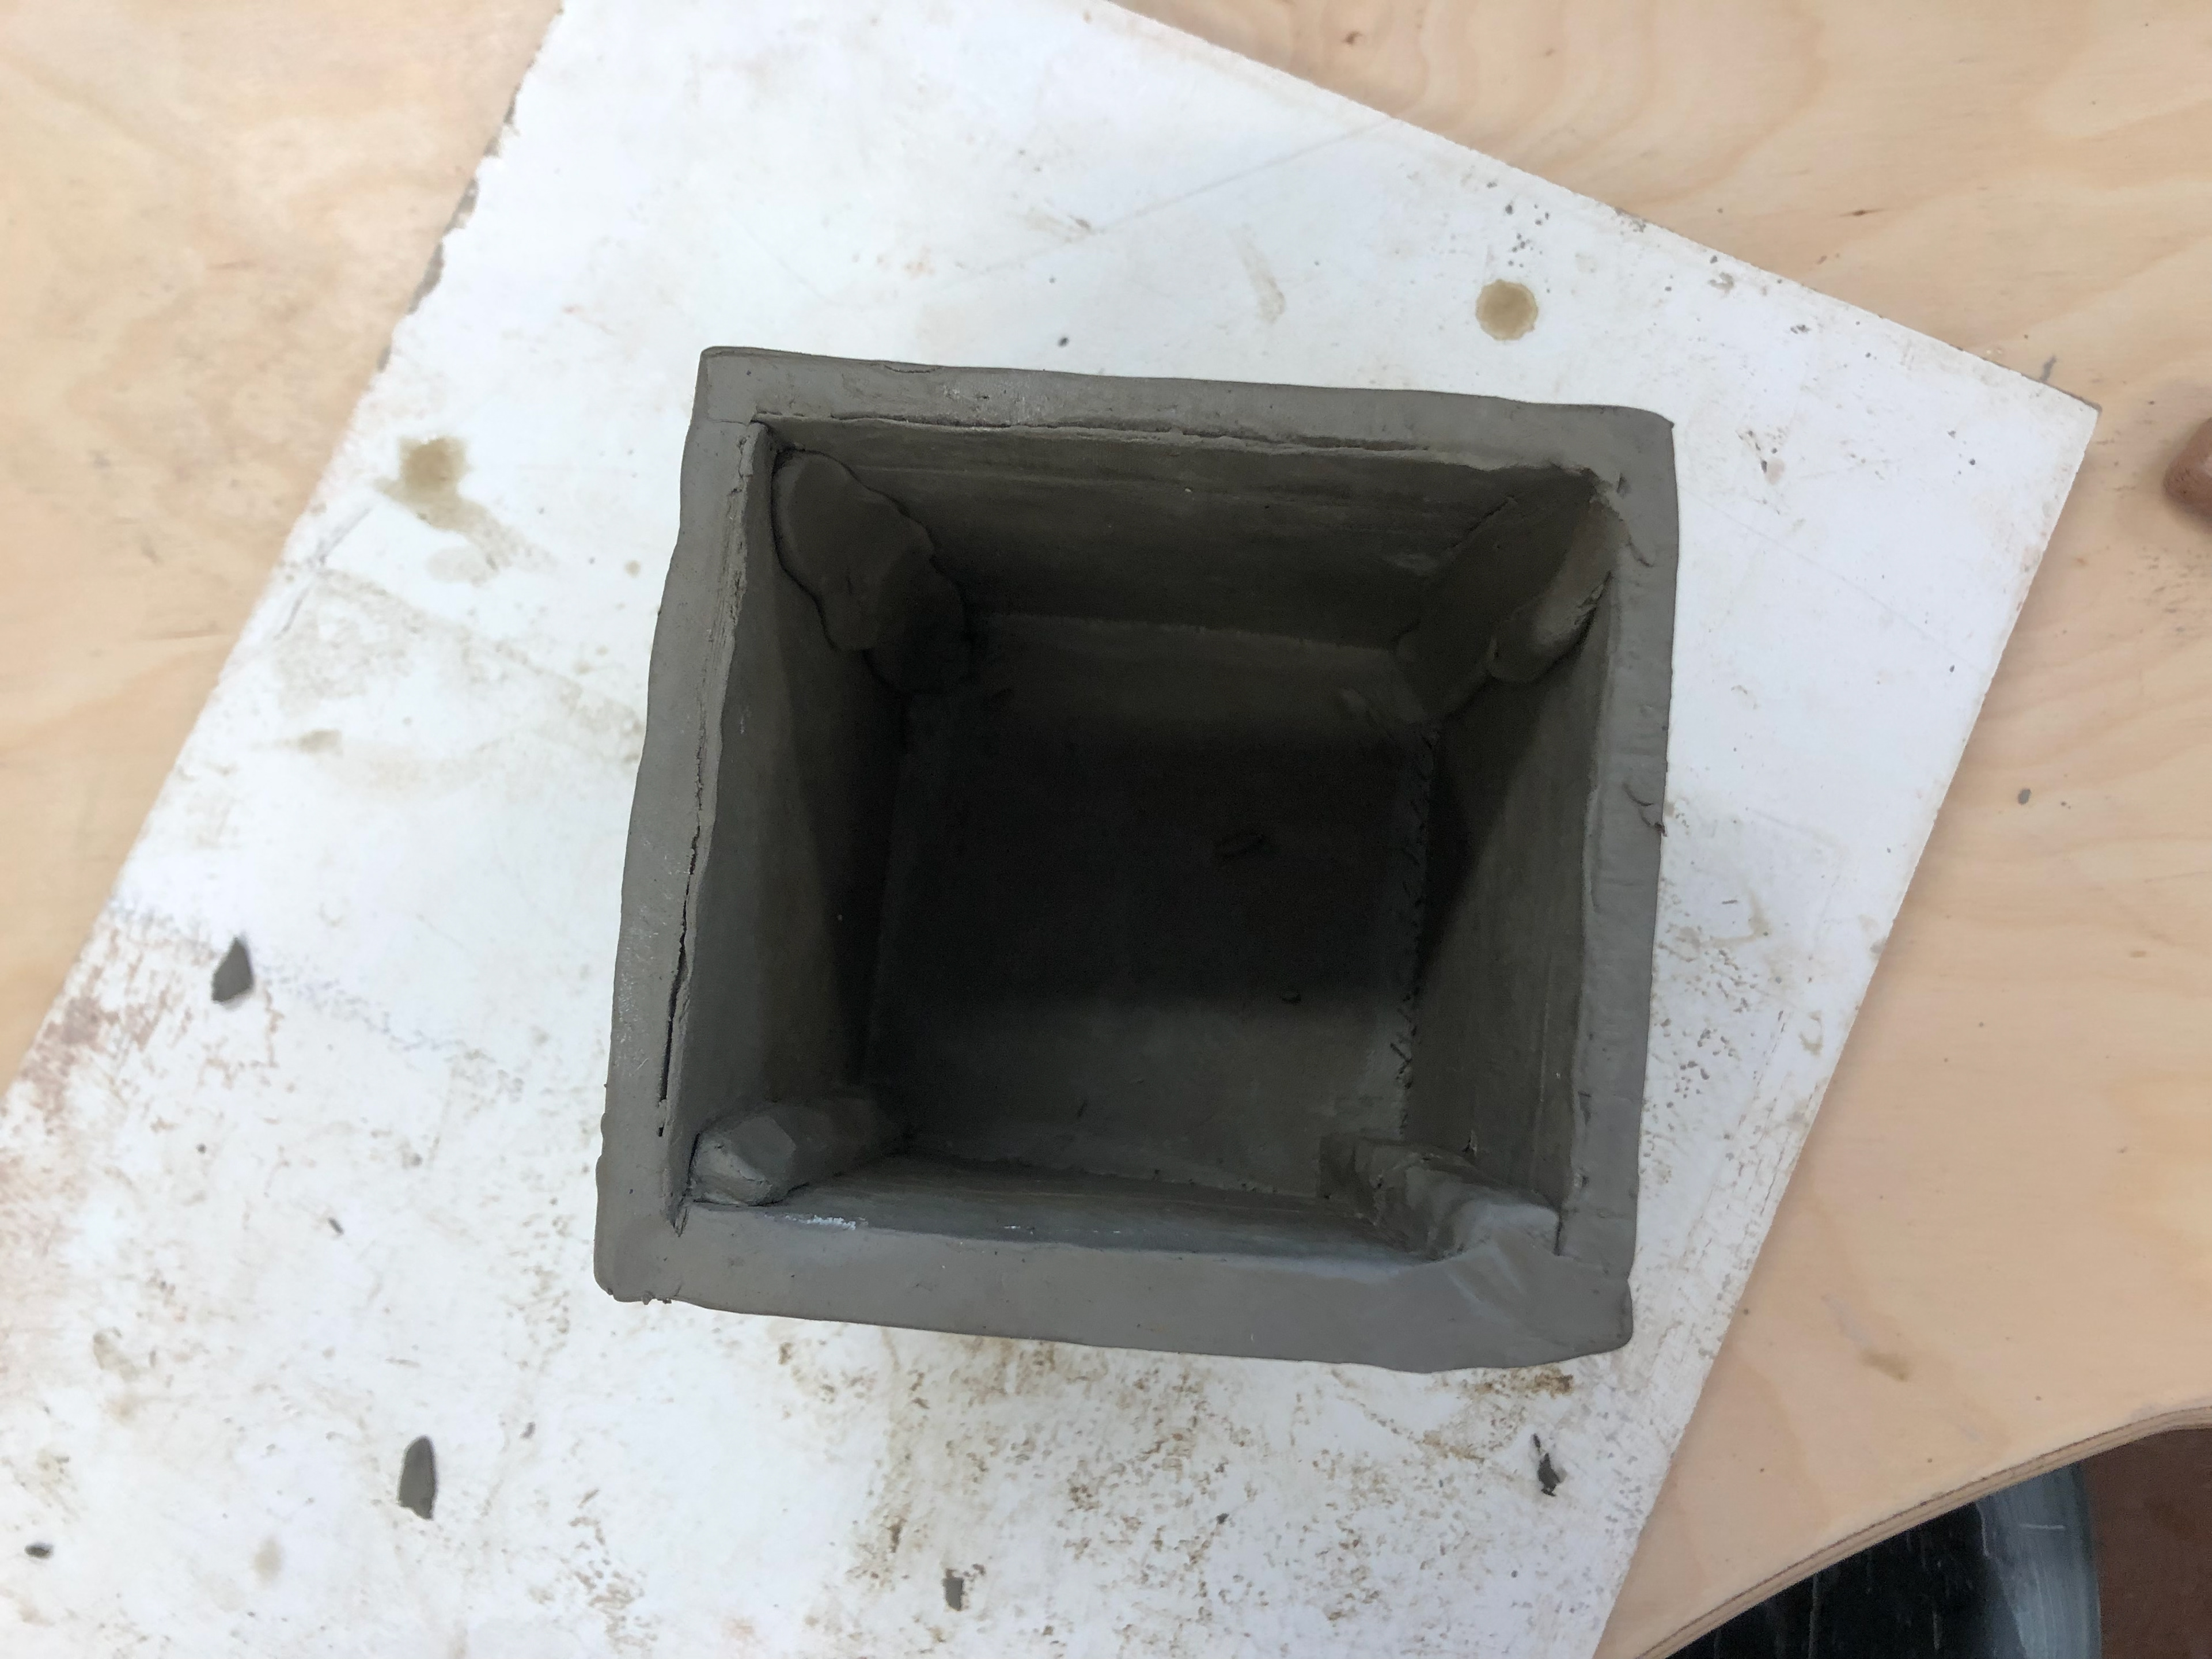
Putting a small hole in so the pressure doesn't cause the cube to explode in the kink.
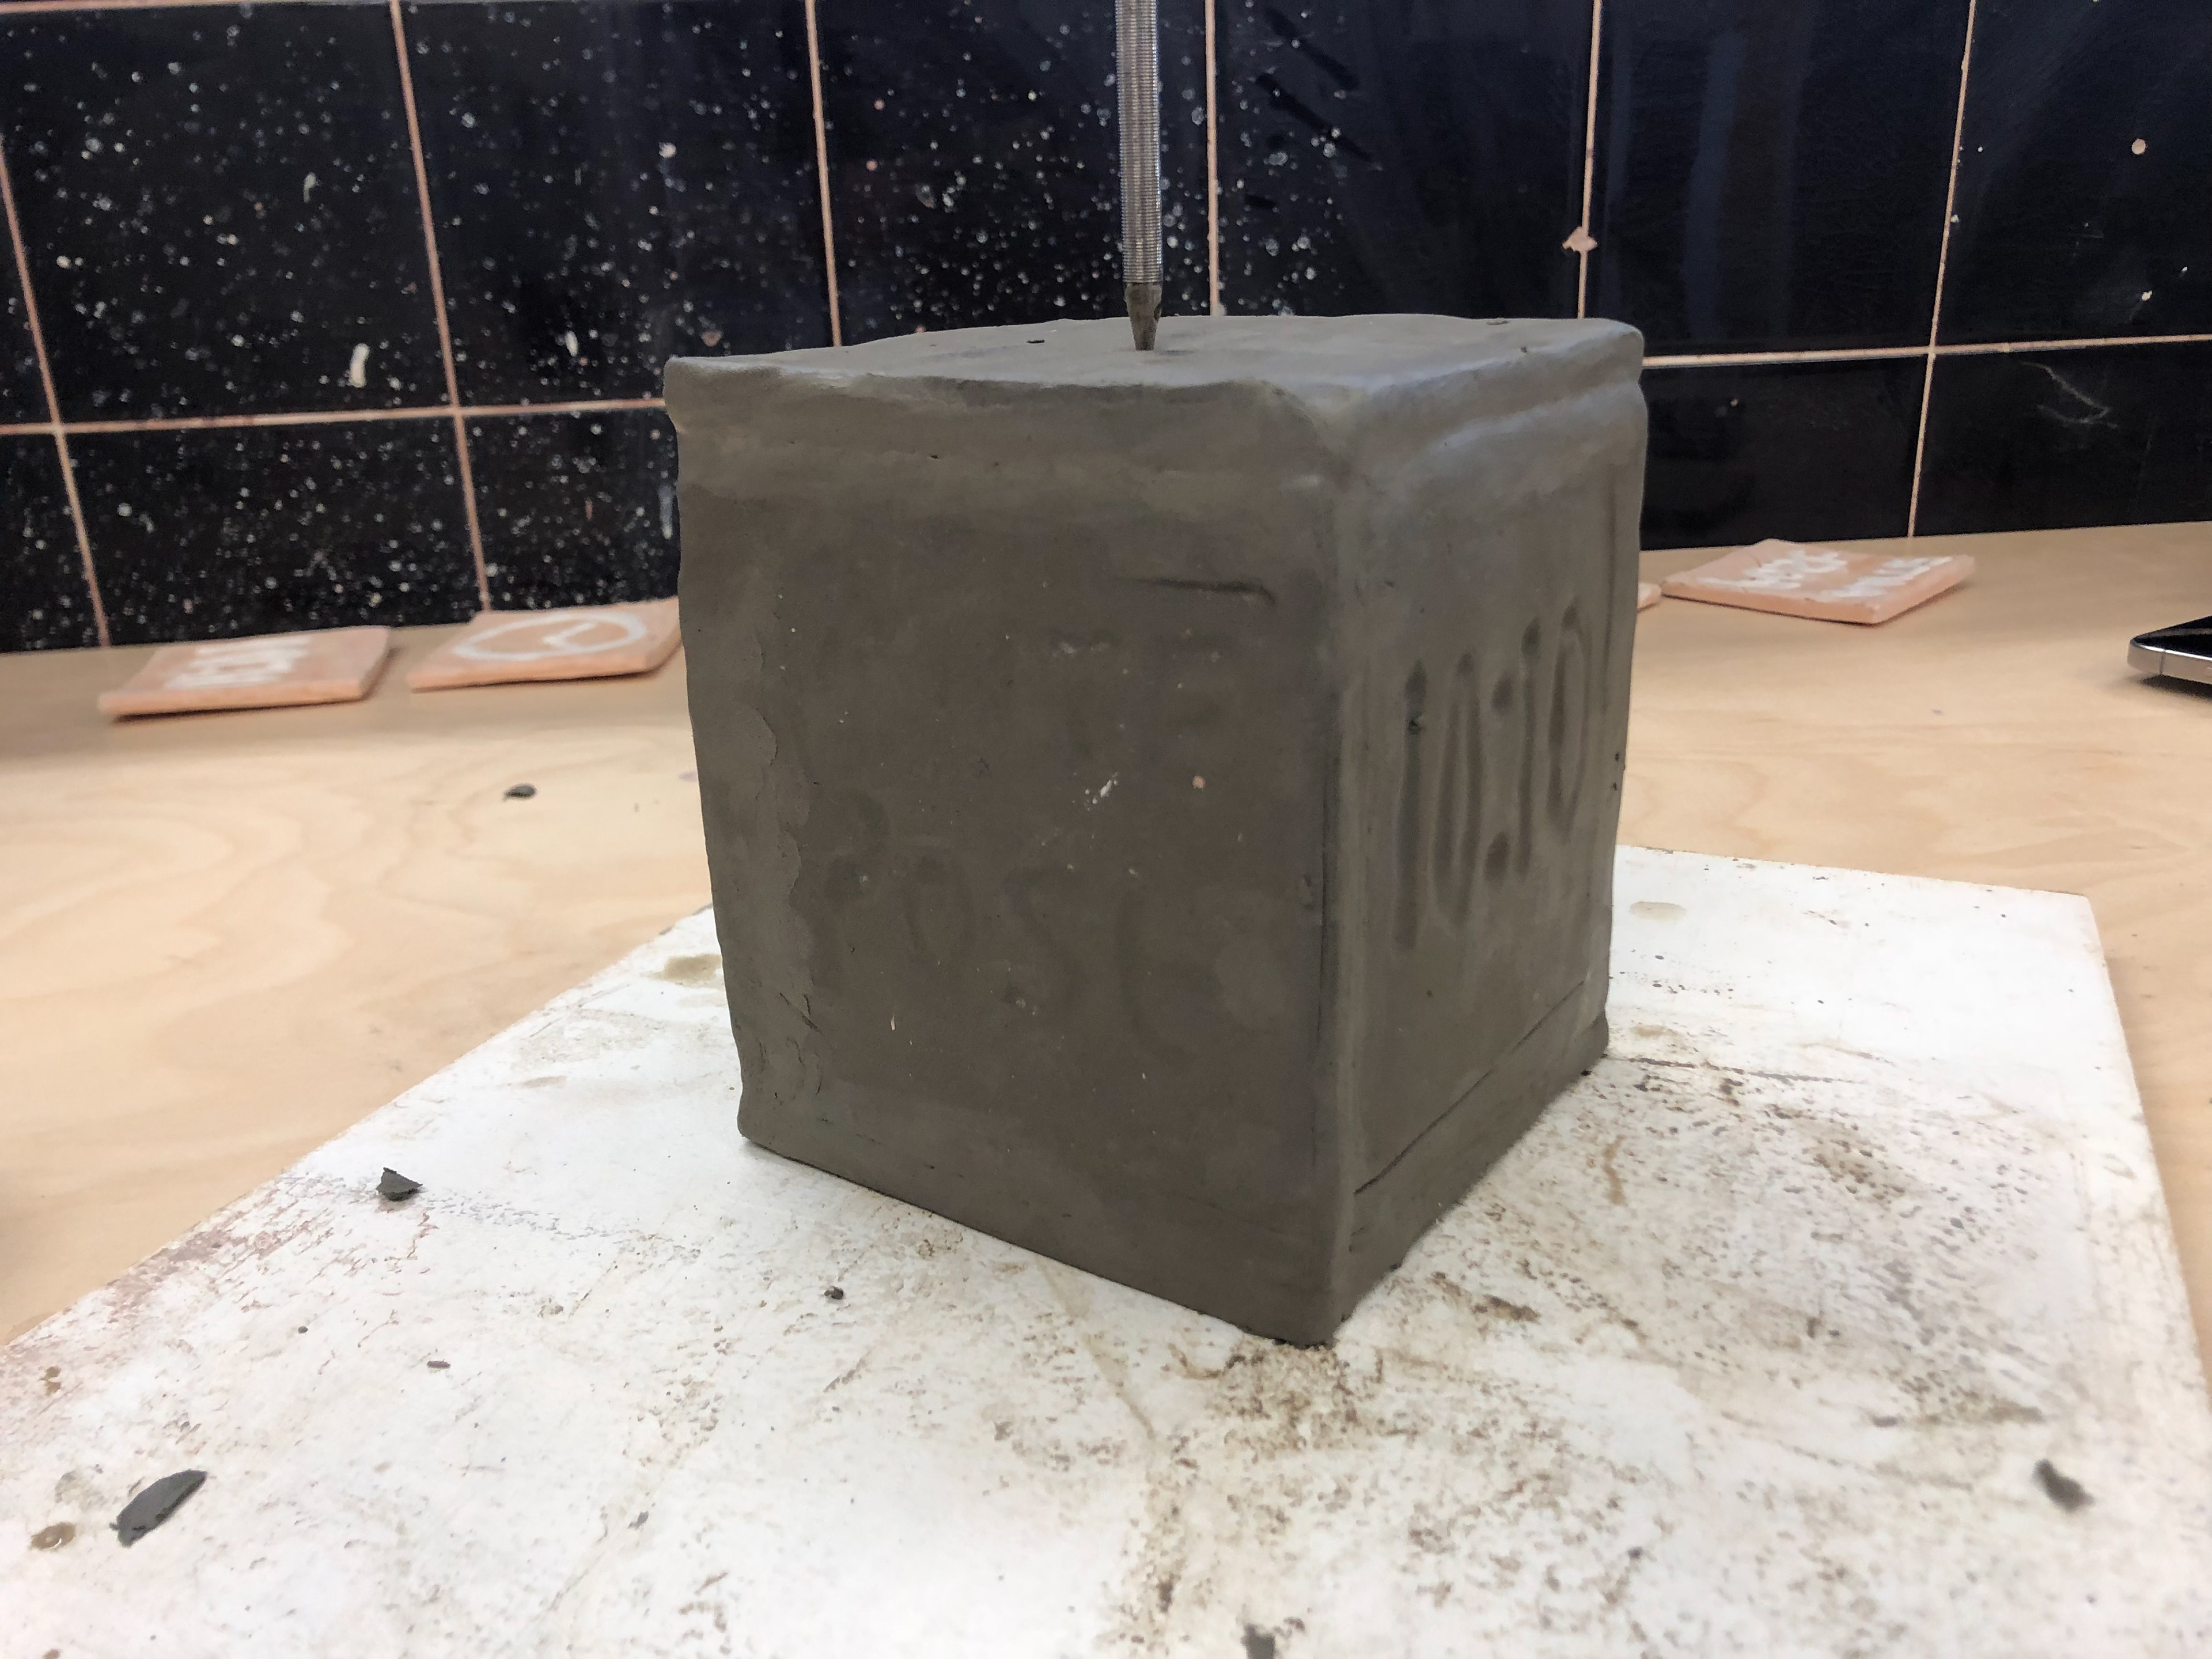
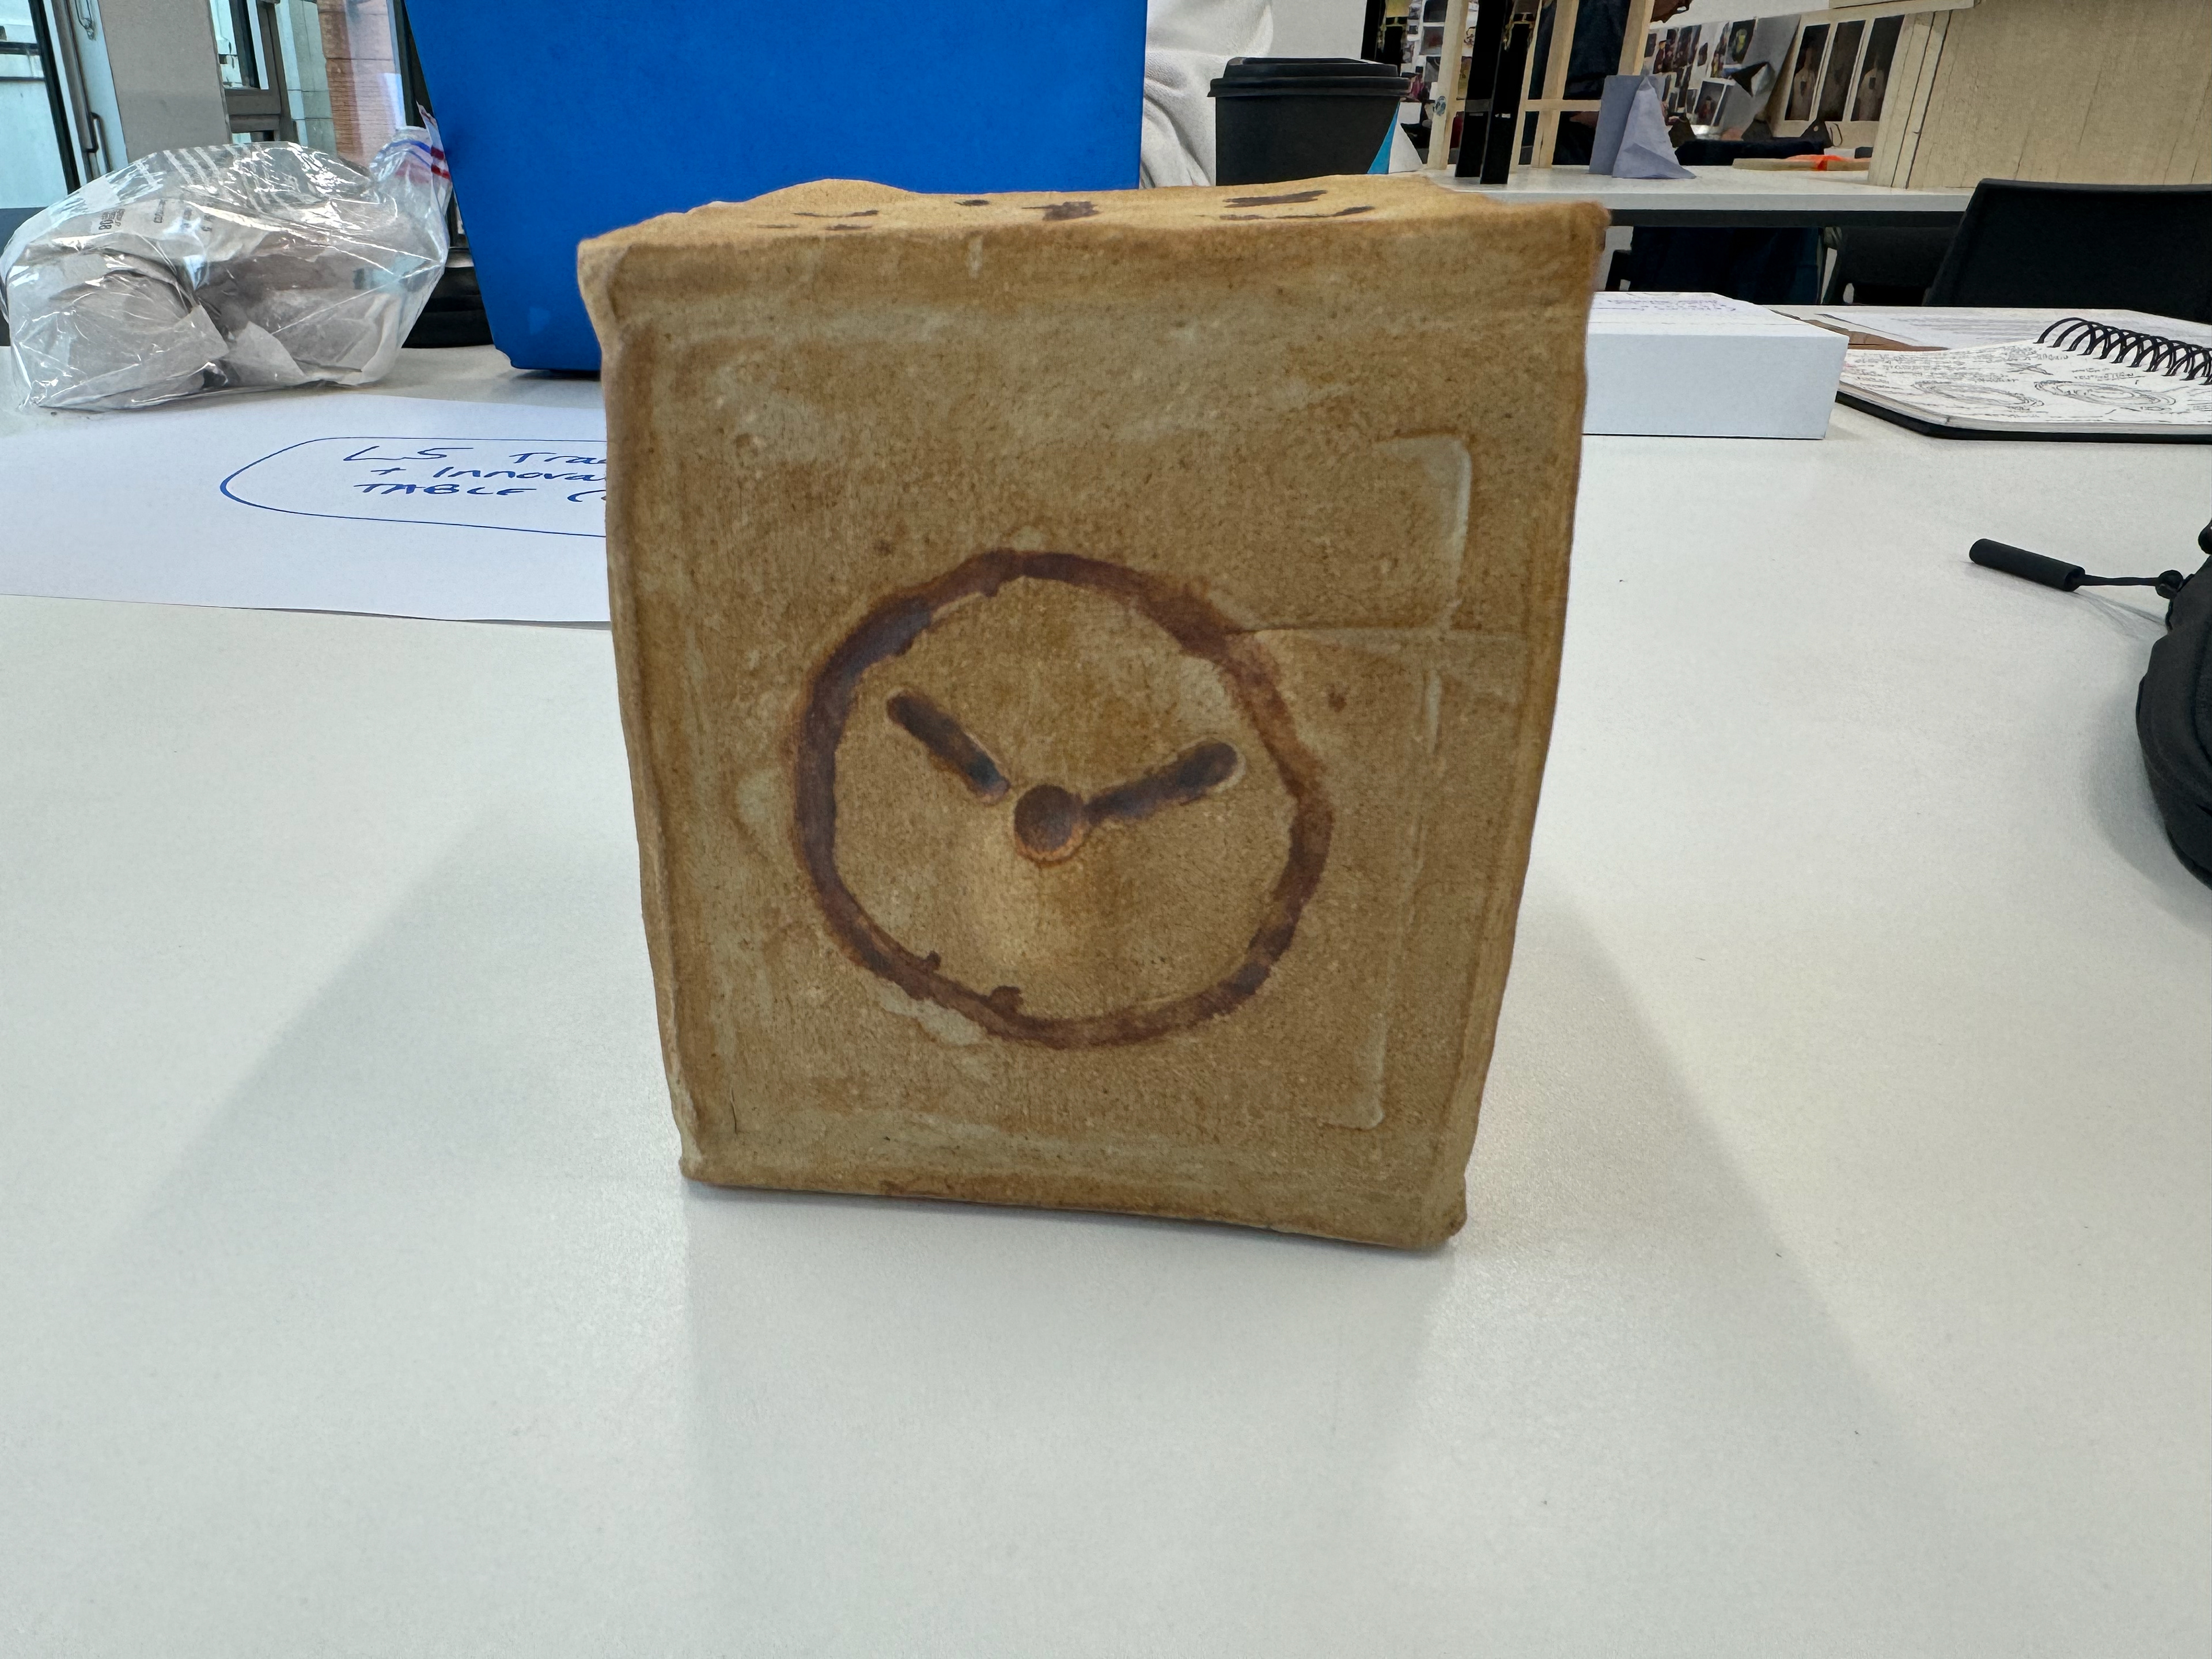
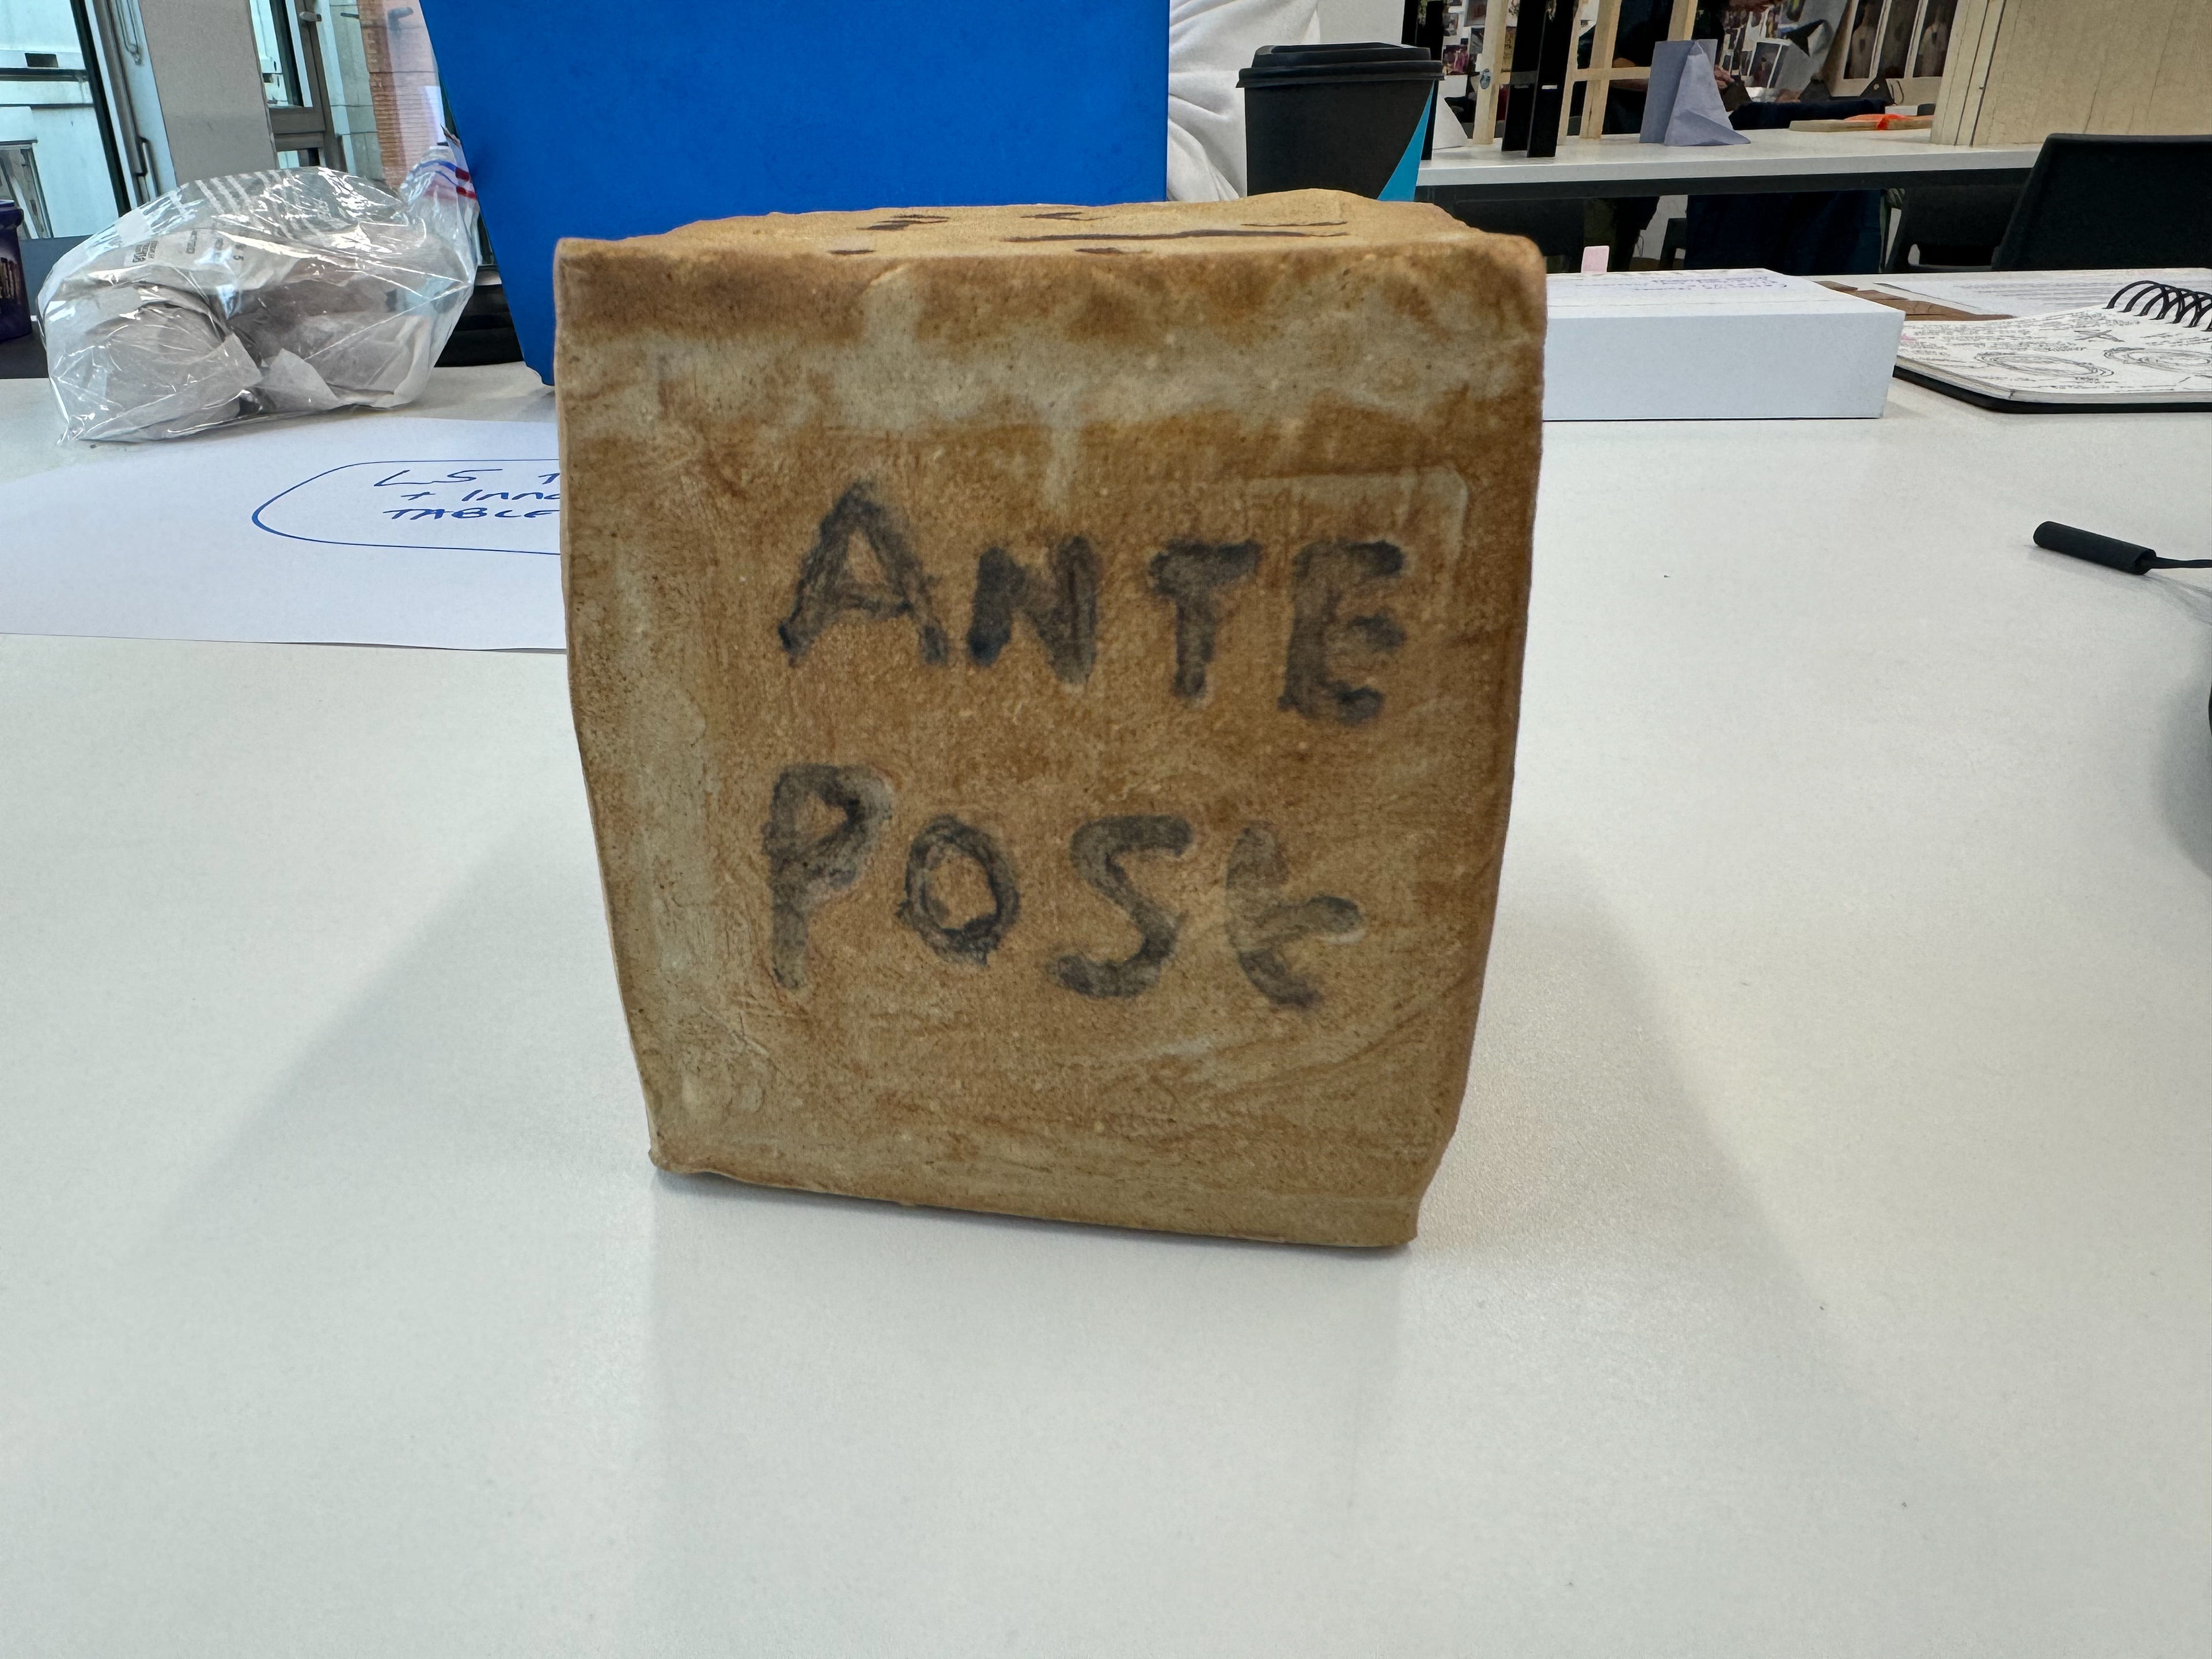
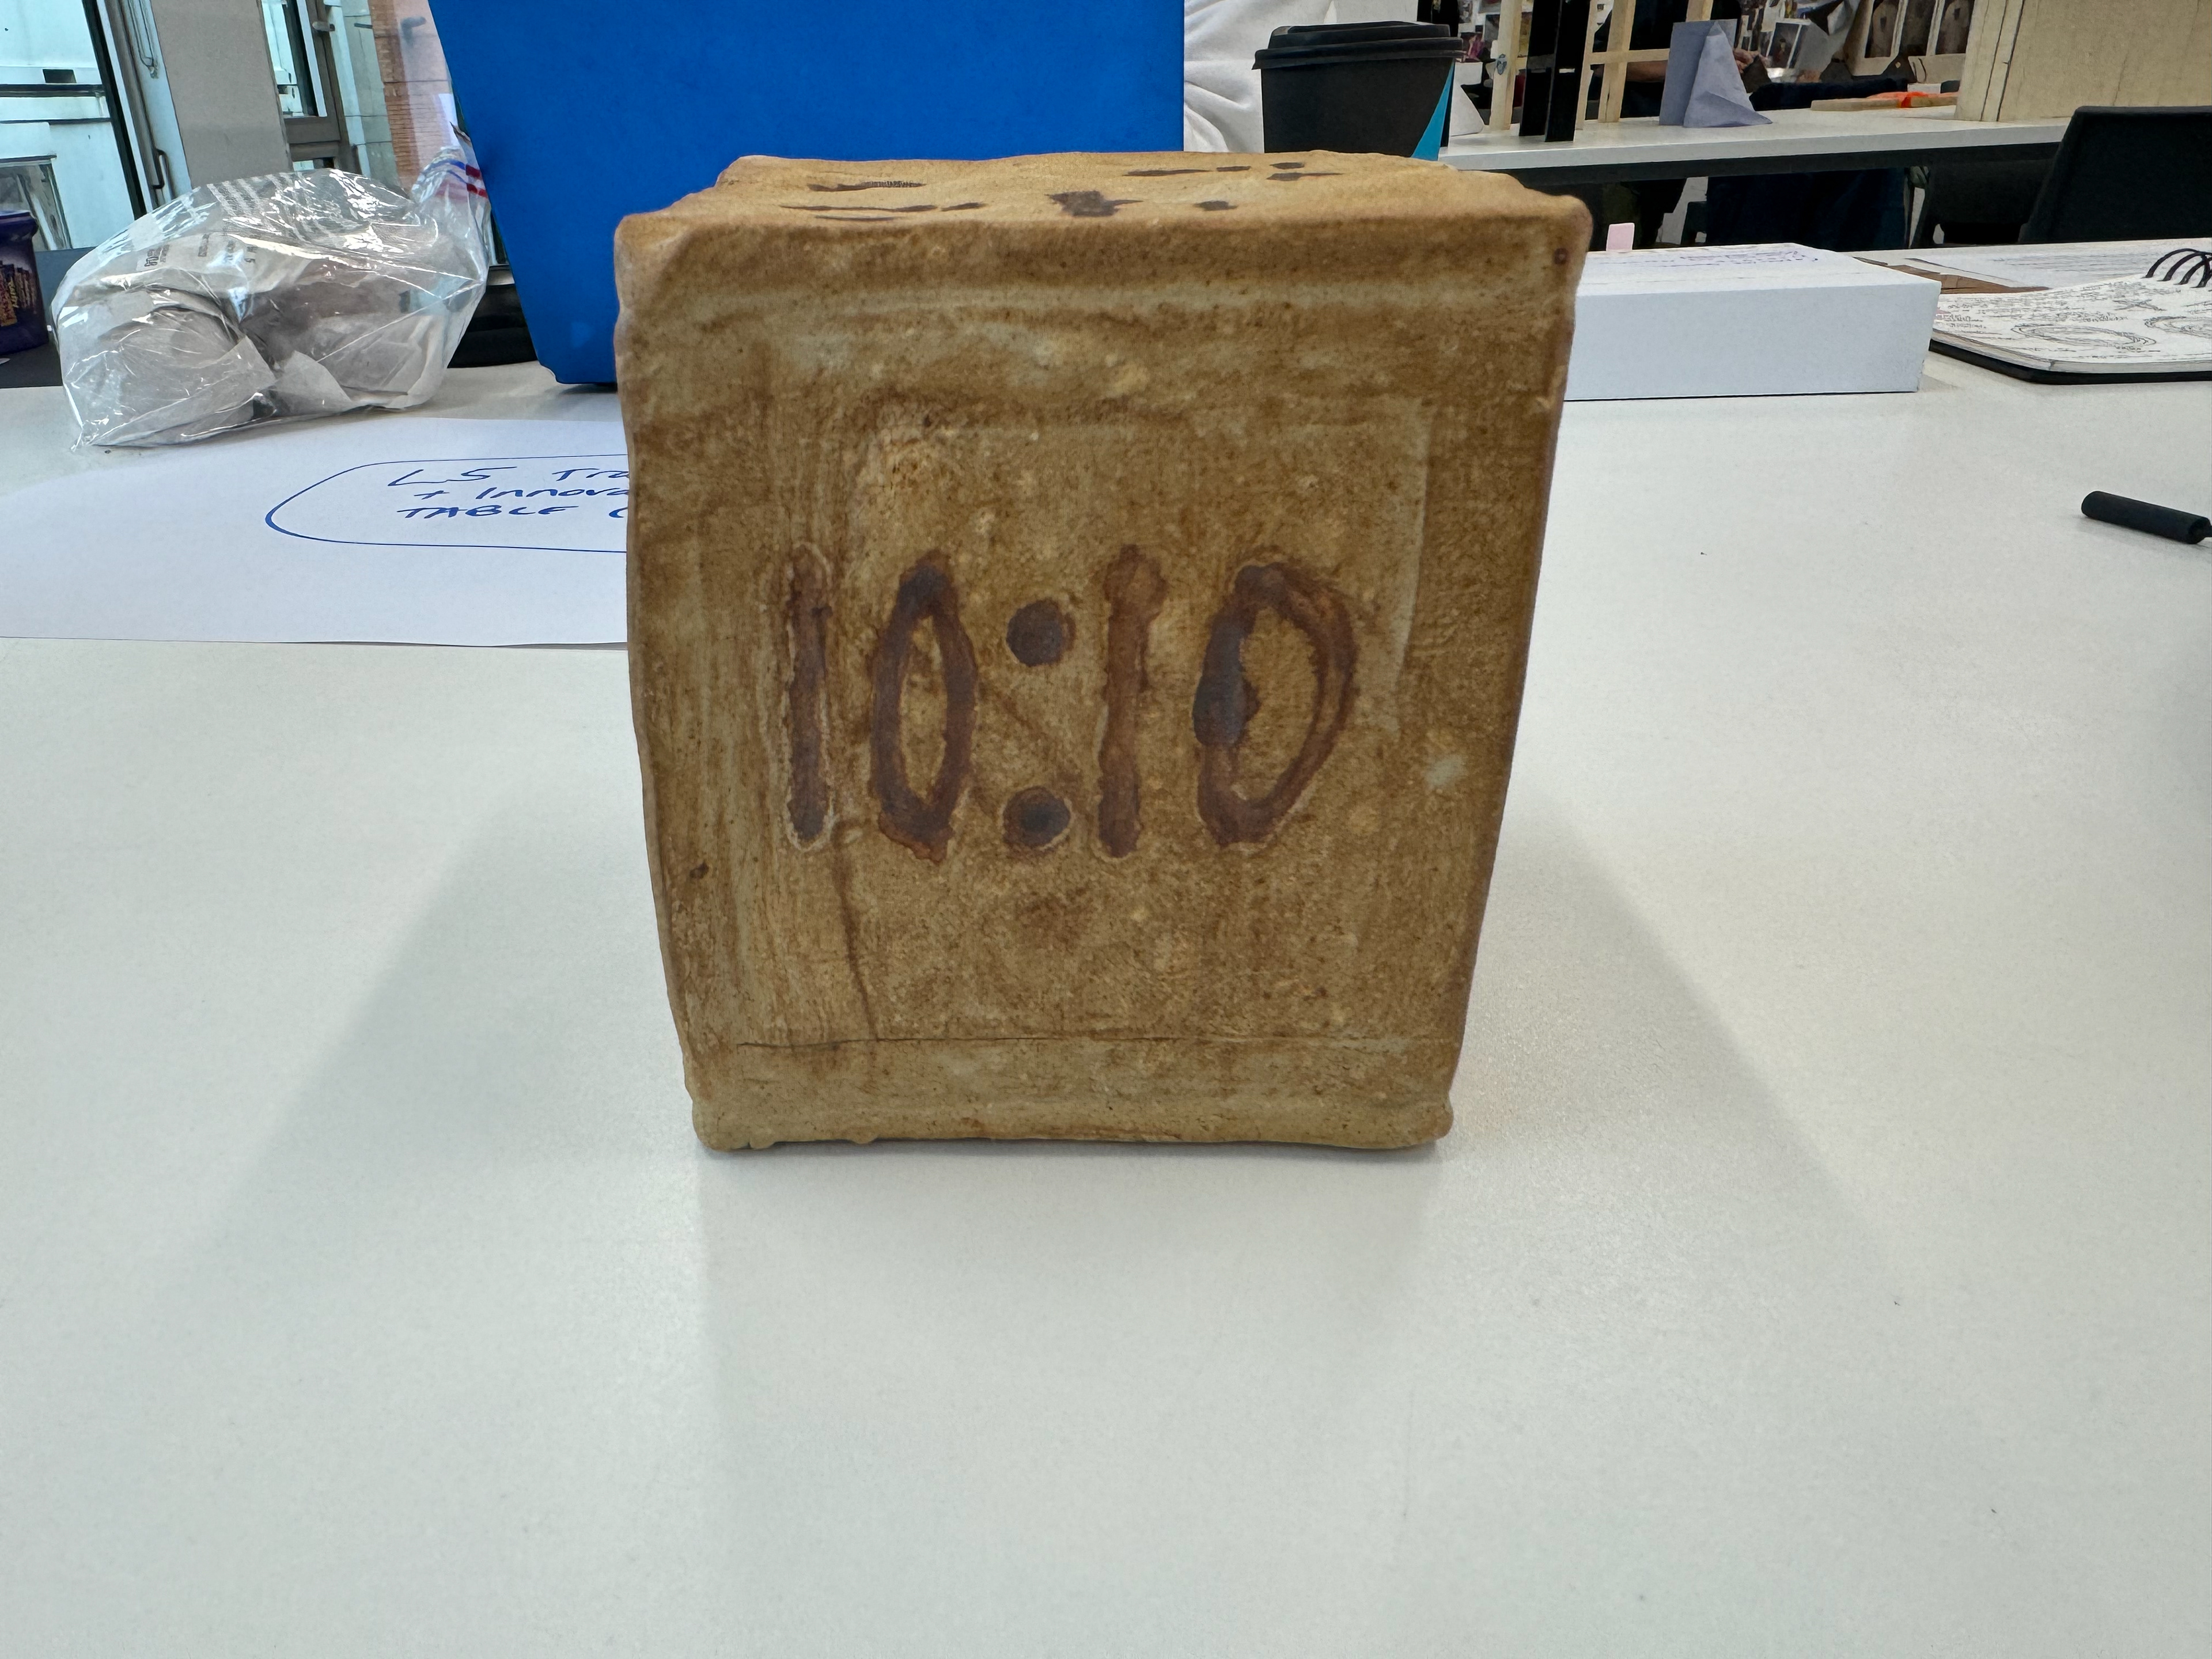
Side view of the cube.
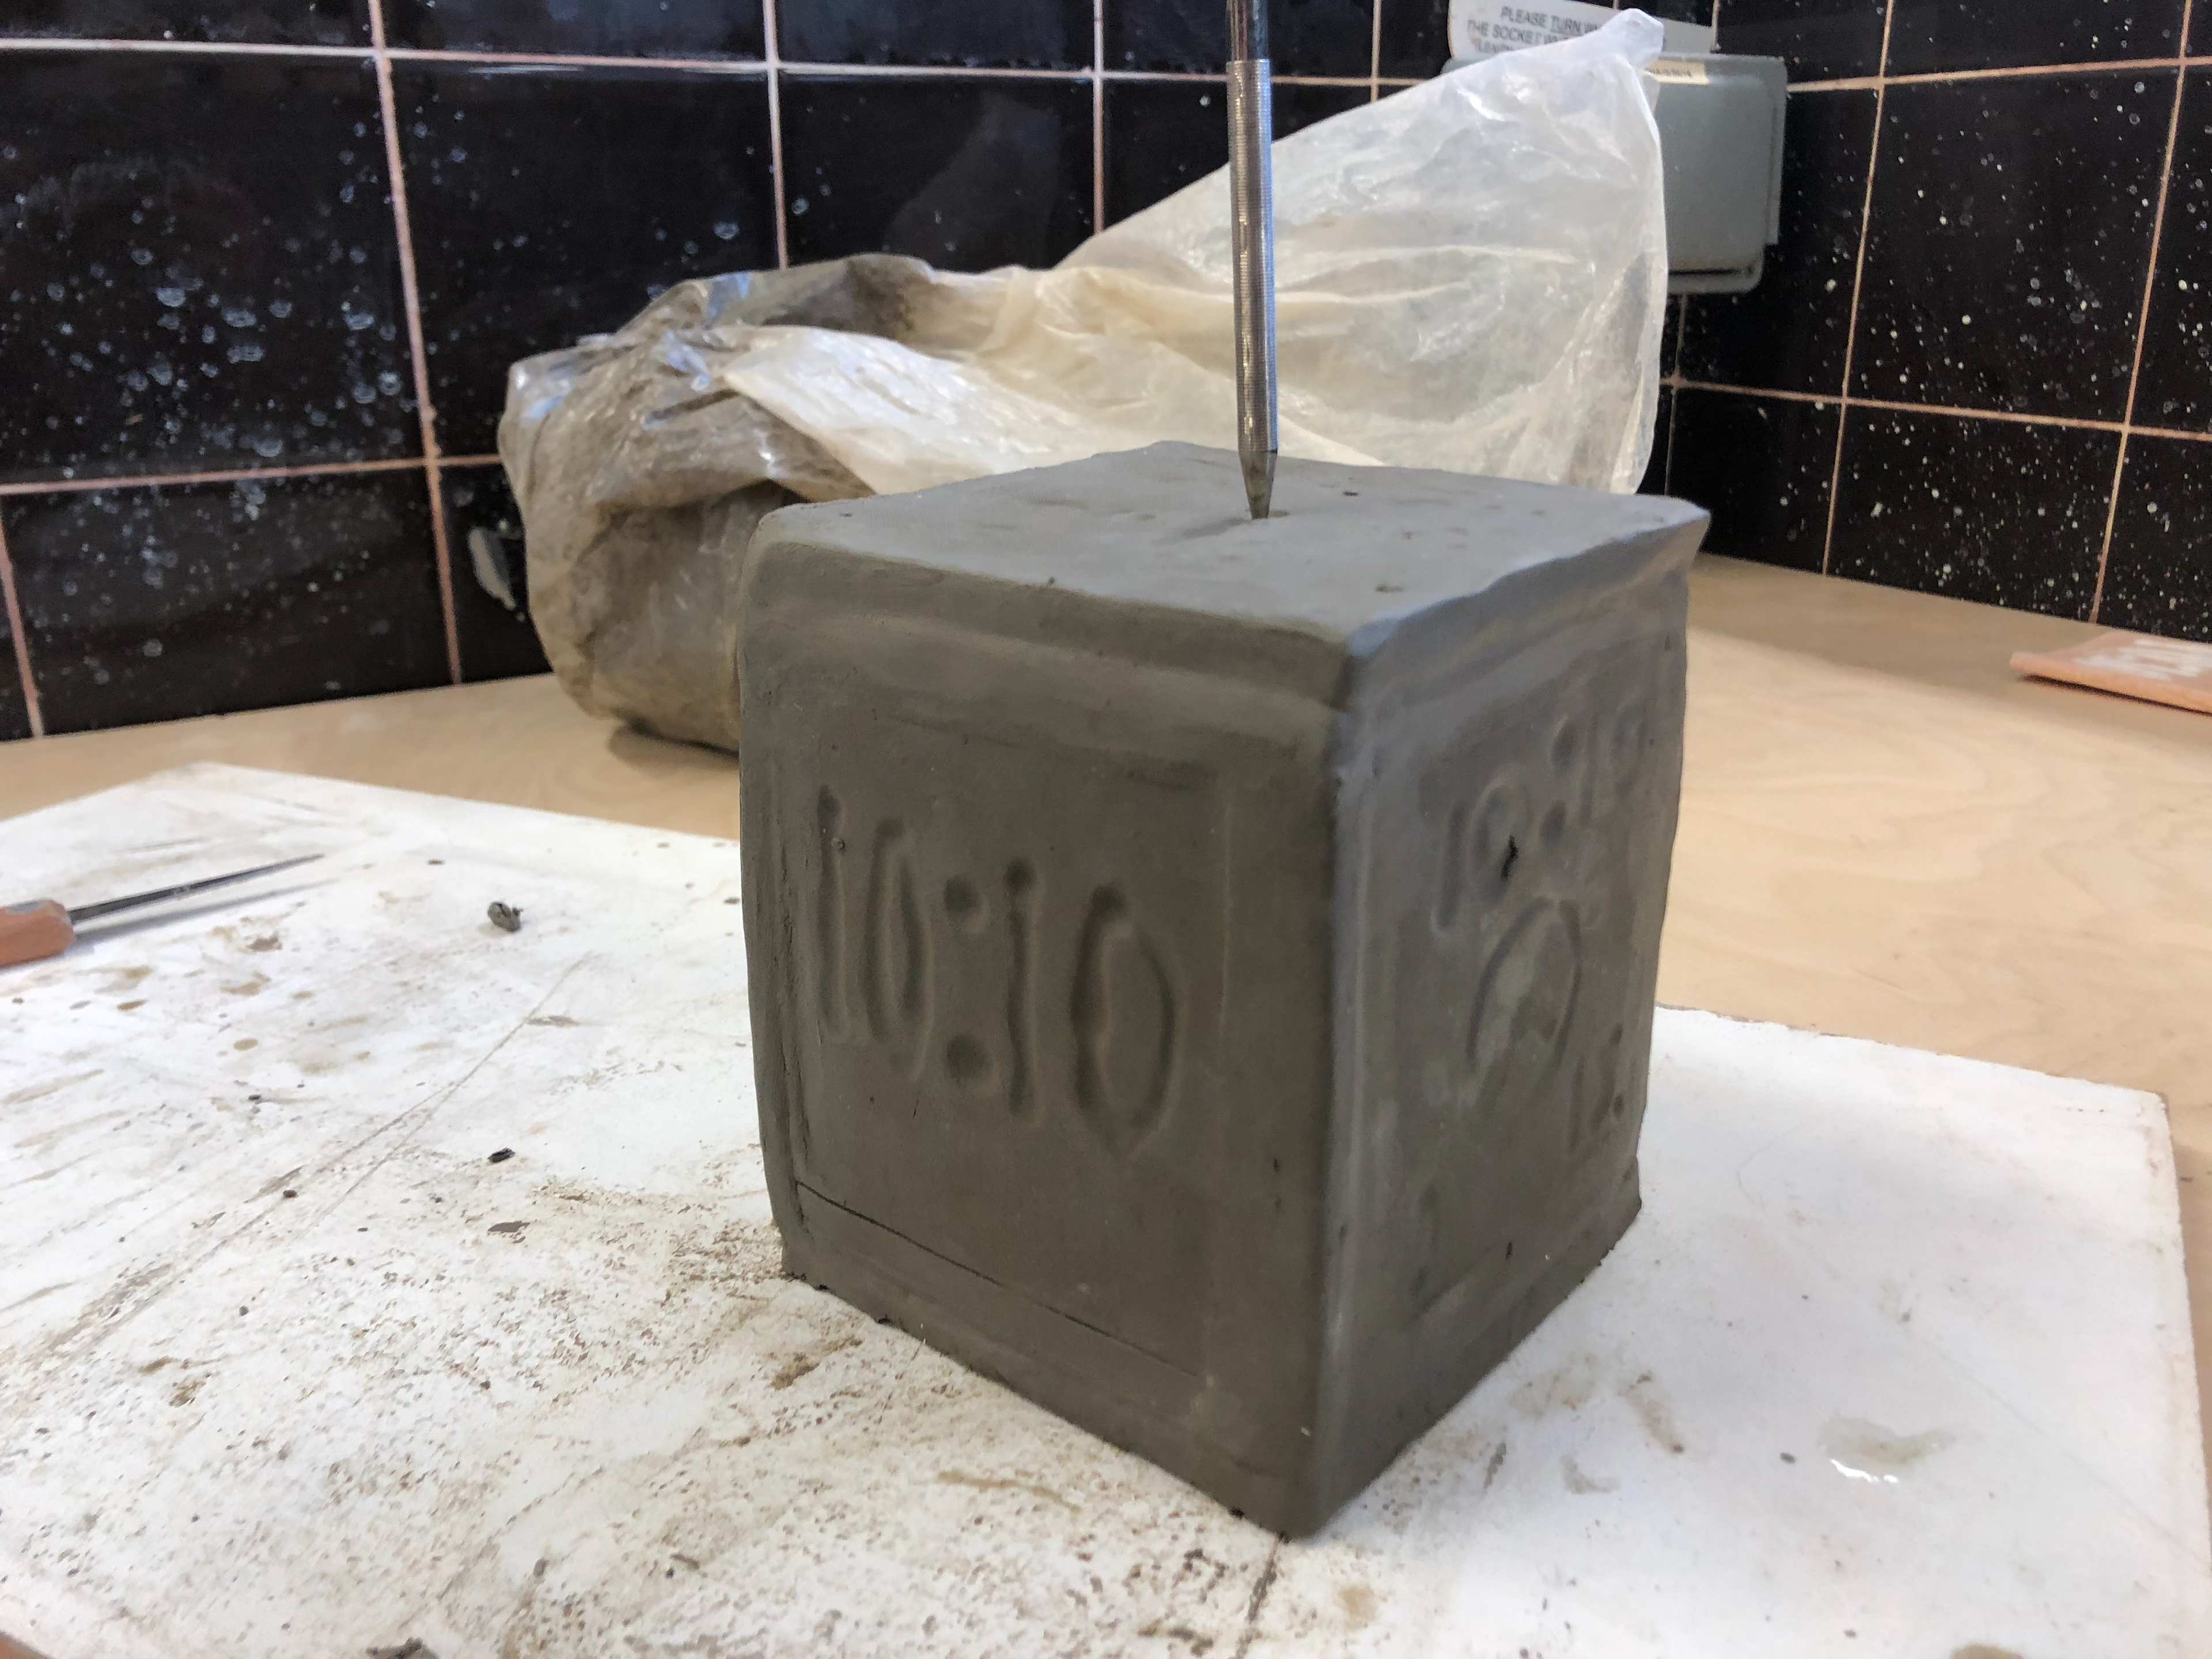
Side view of the cube.
Side view of the cube.
Side view of the fire cube.
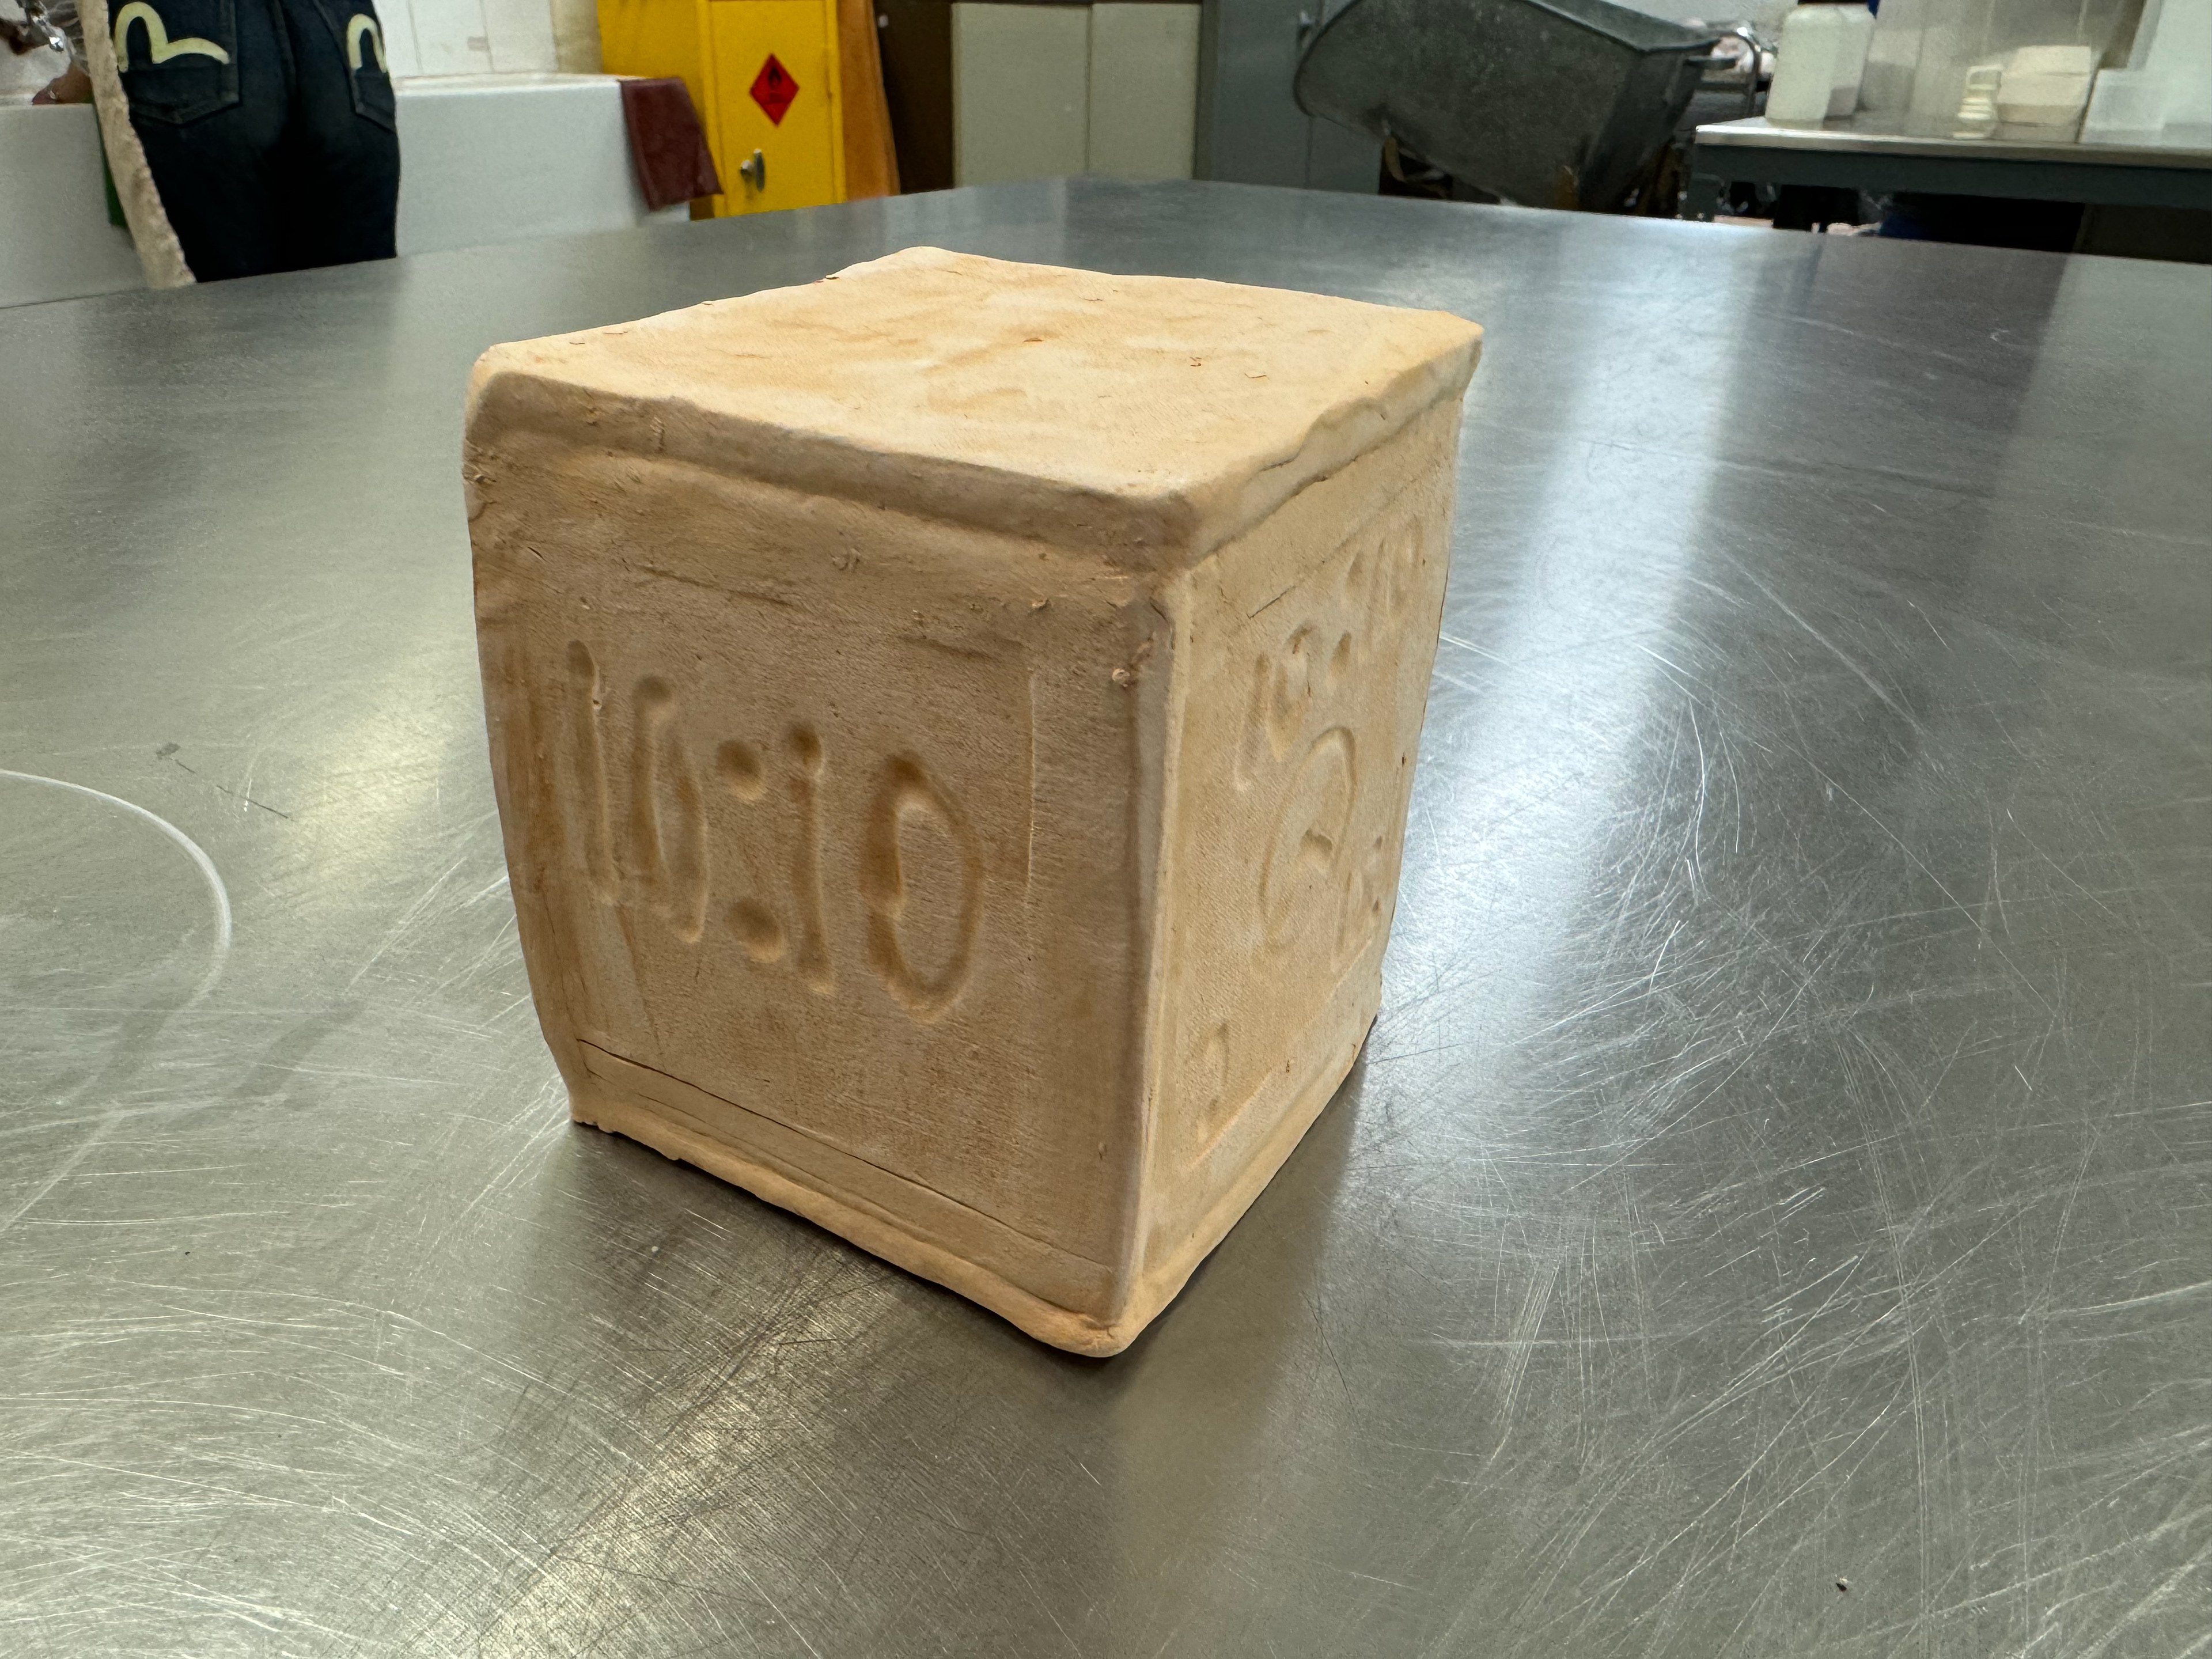
Side view of the fire cube.
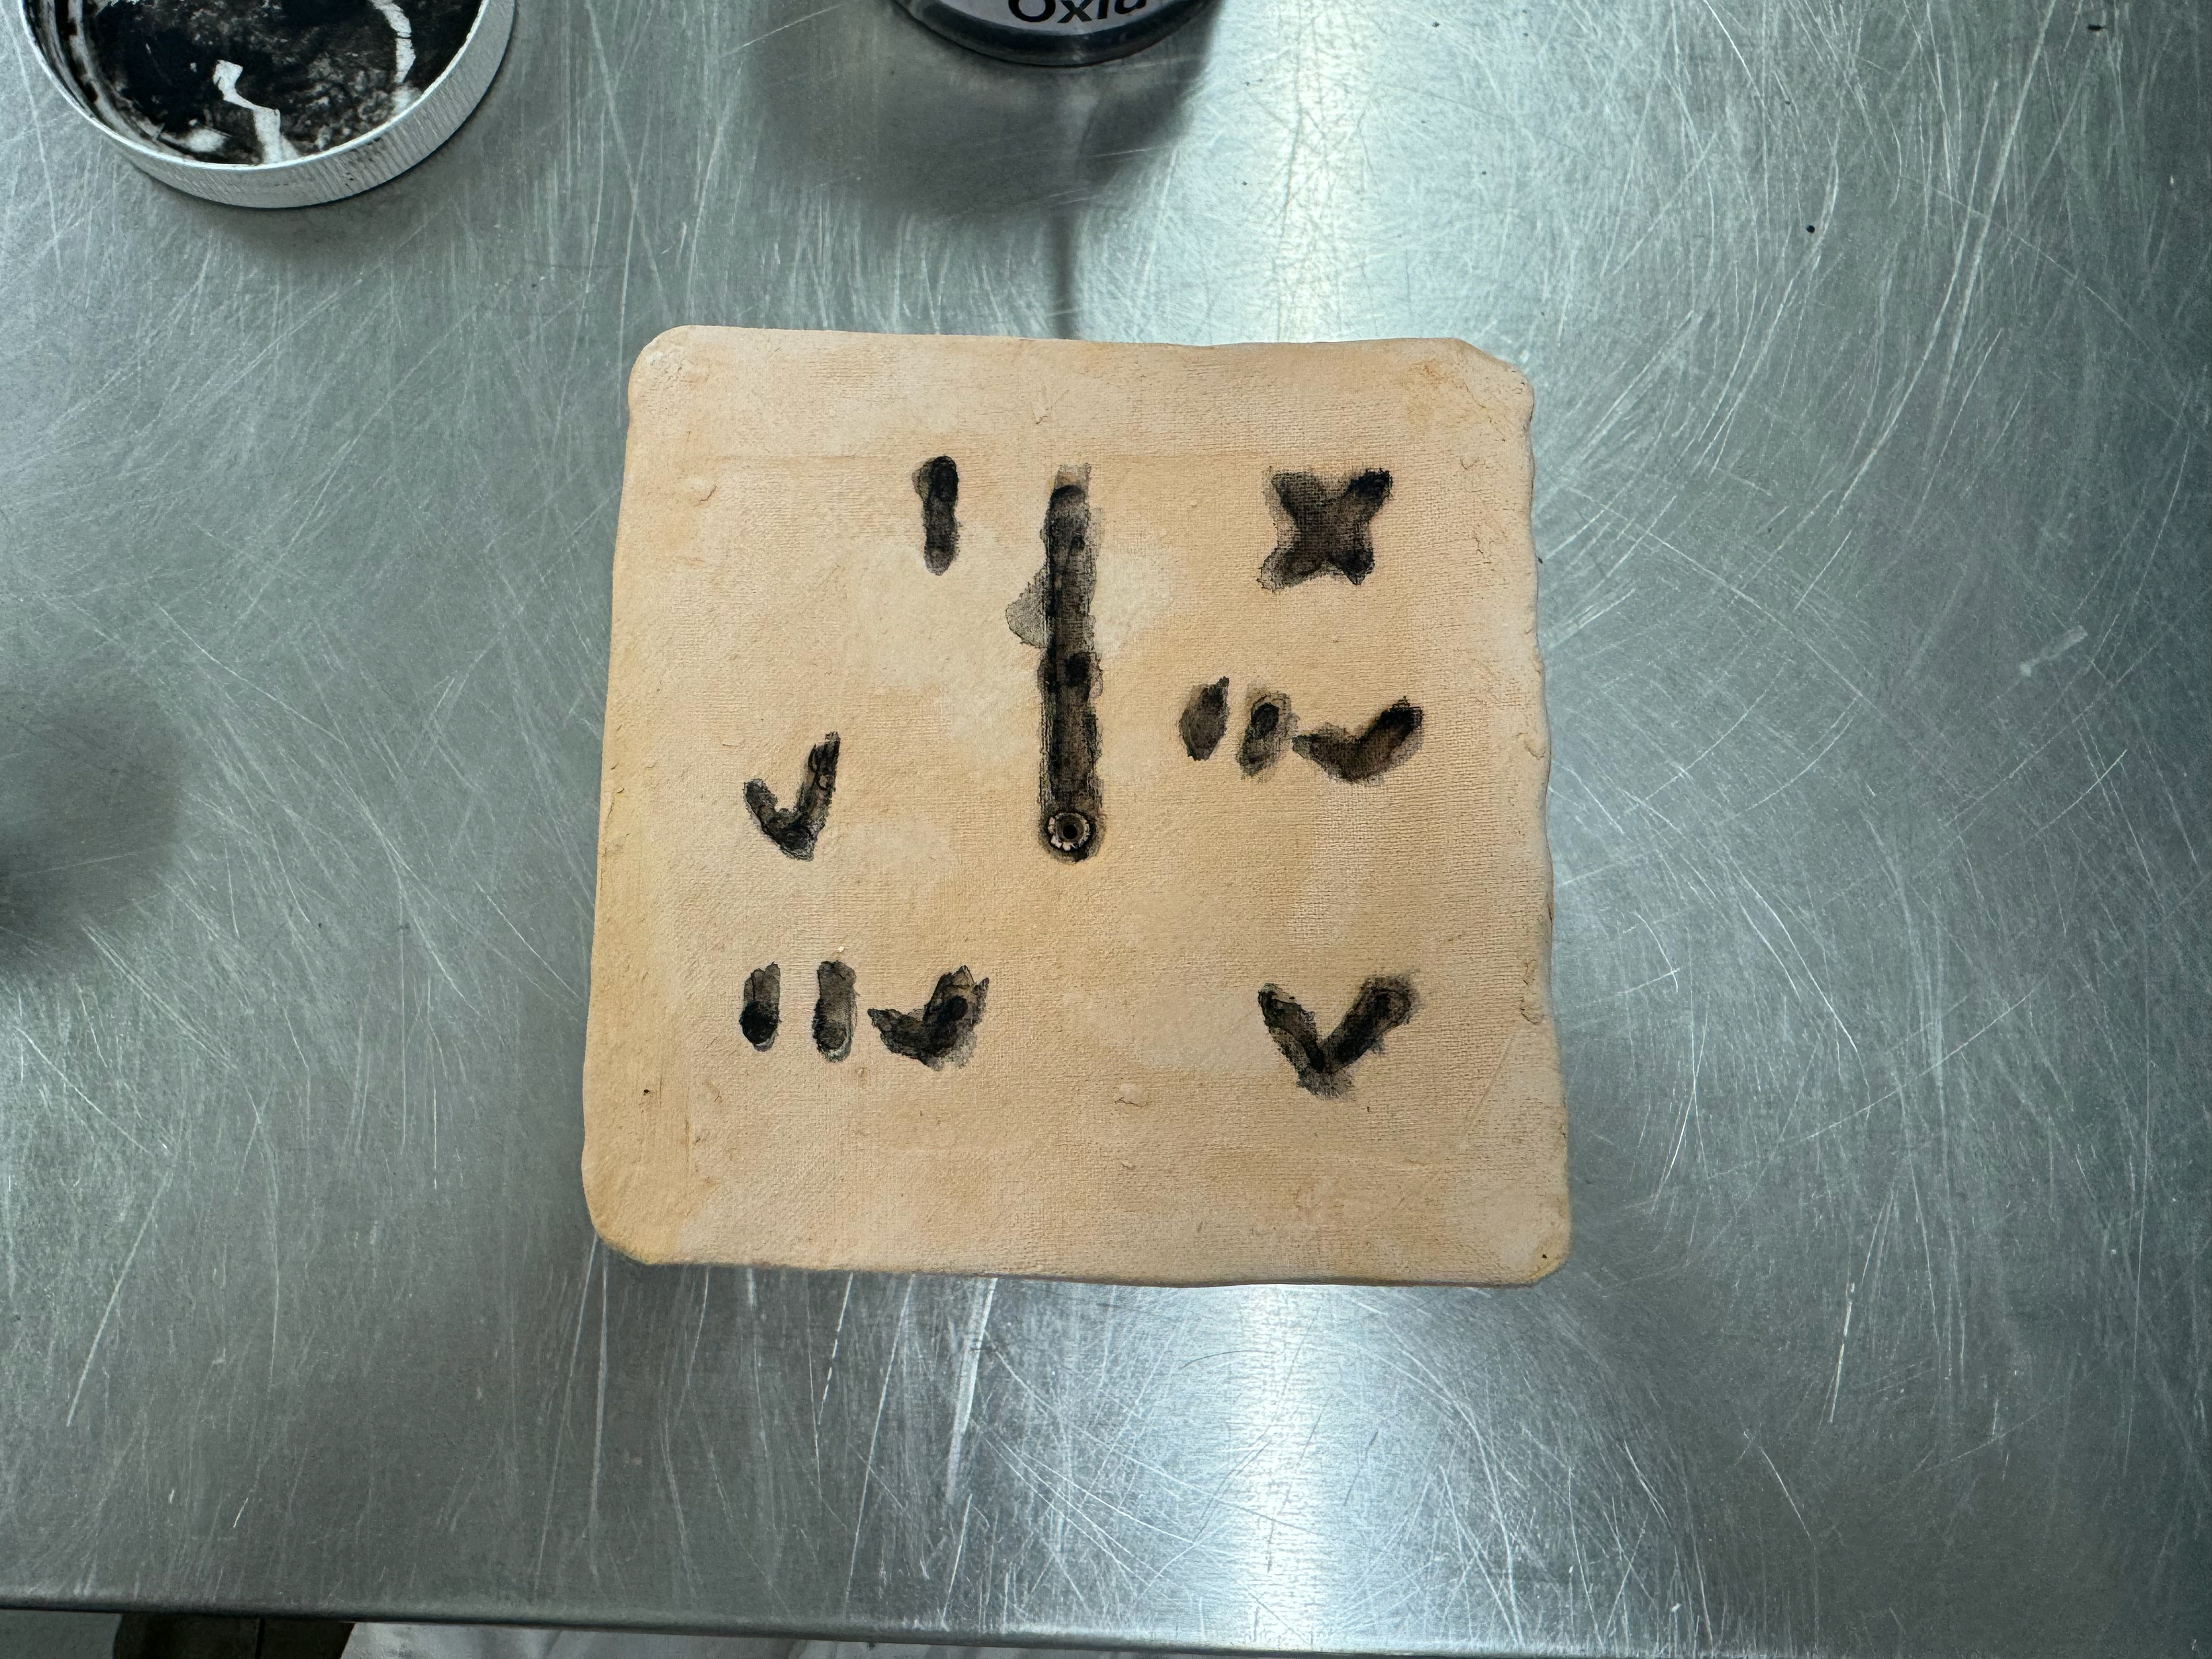
Black nickel oxide
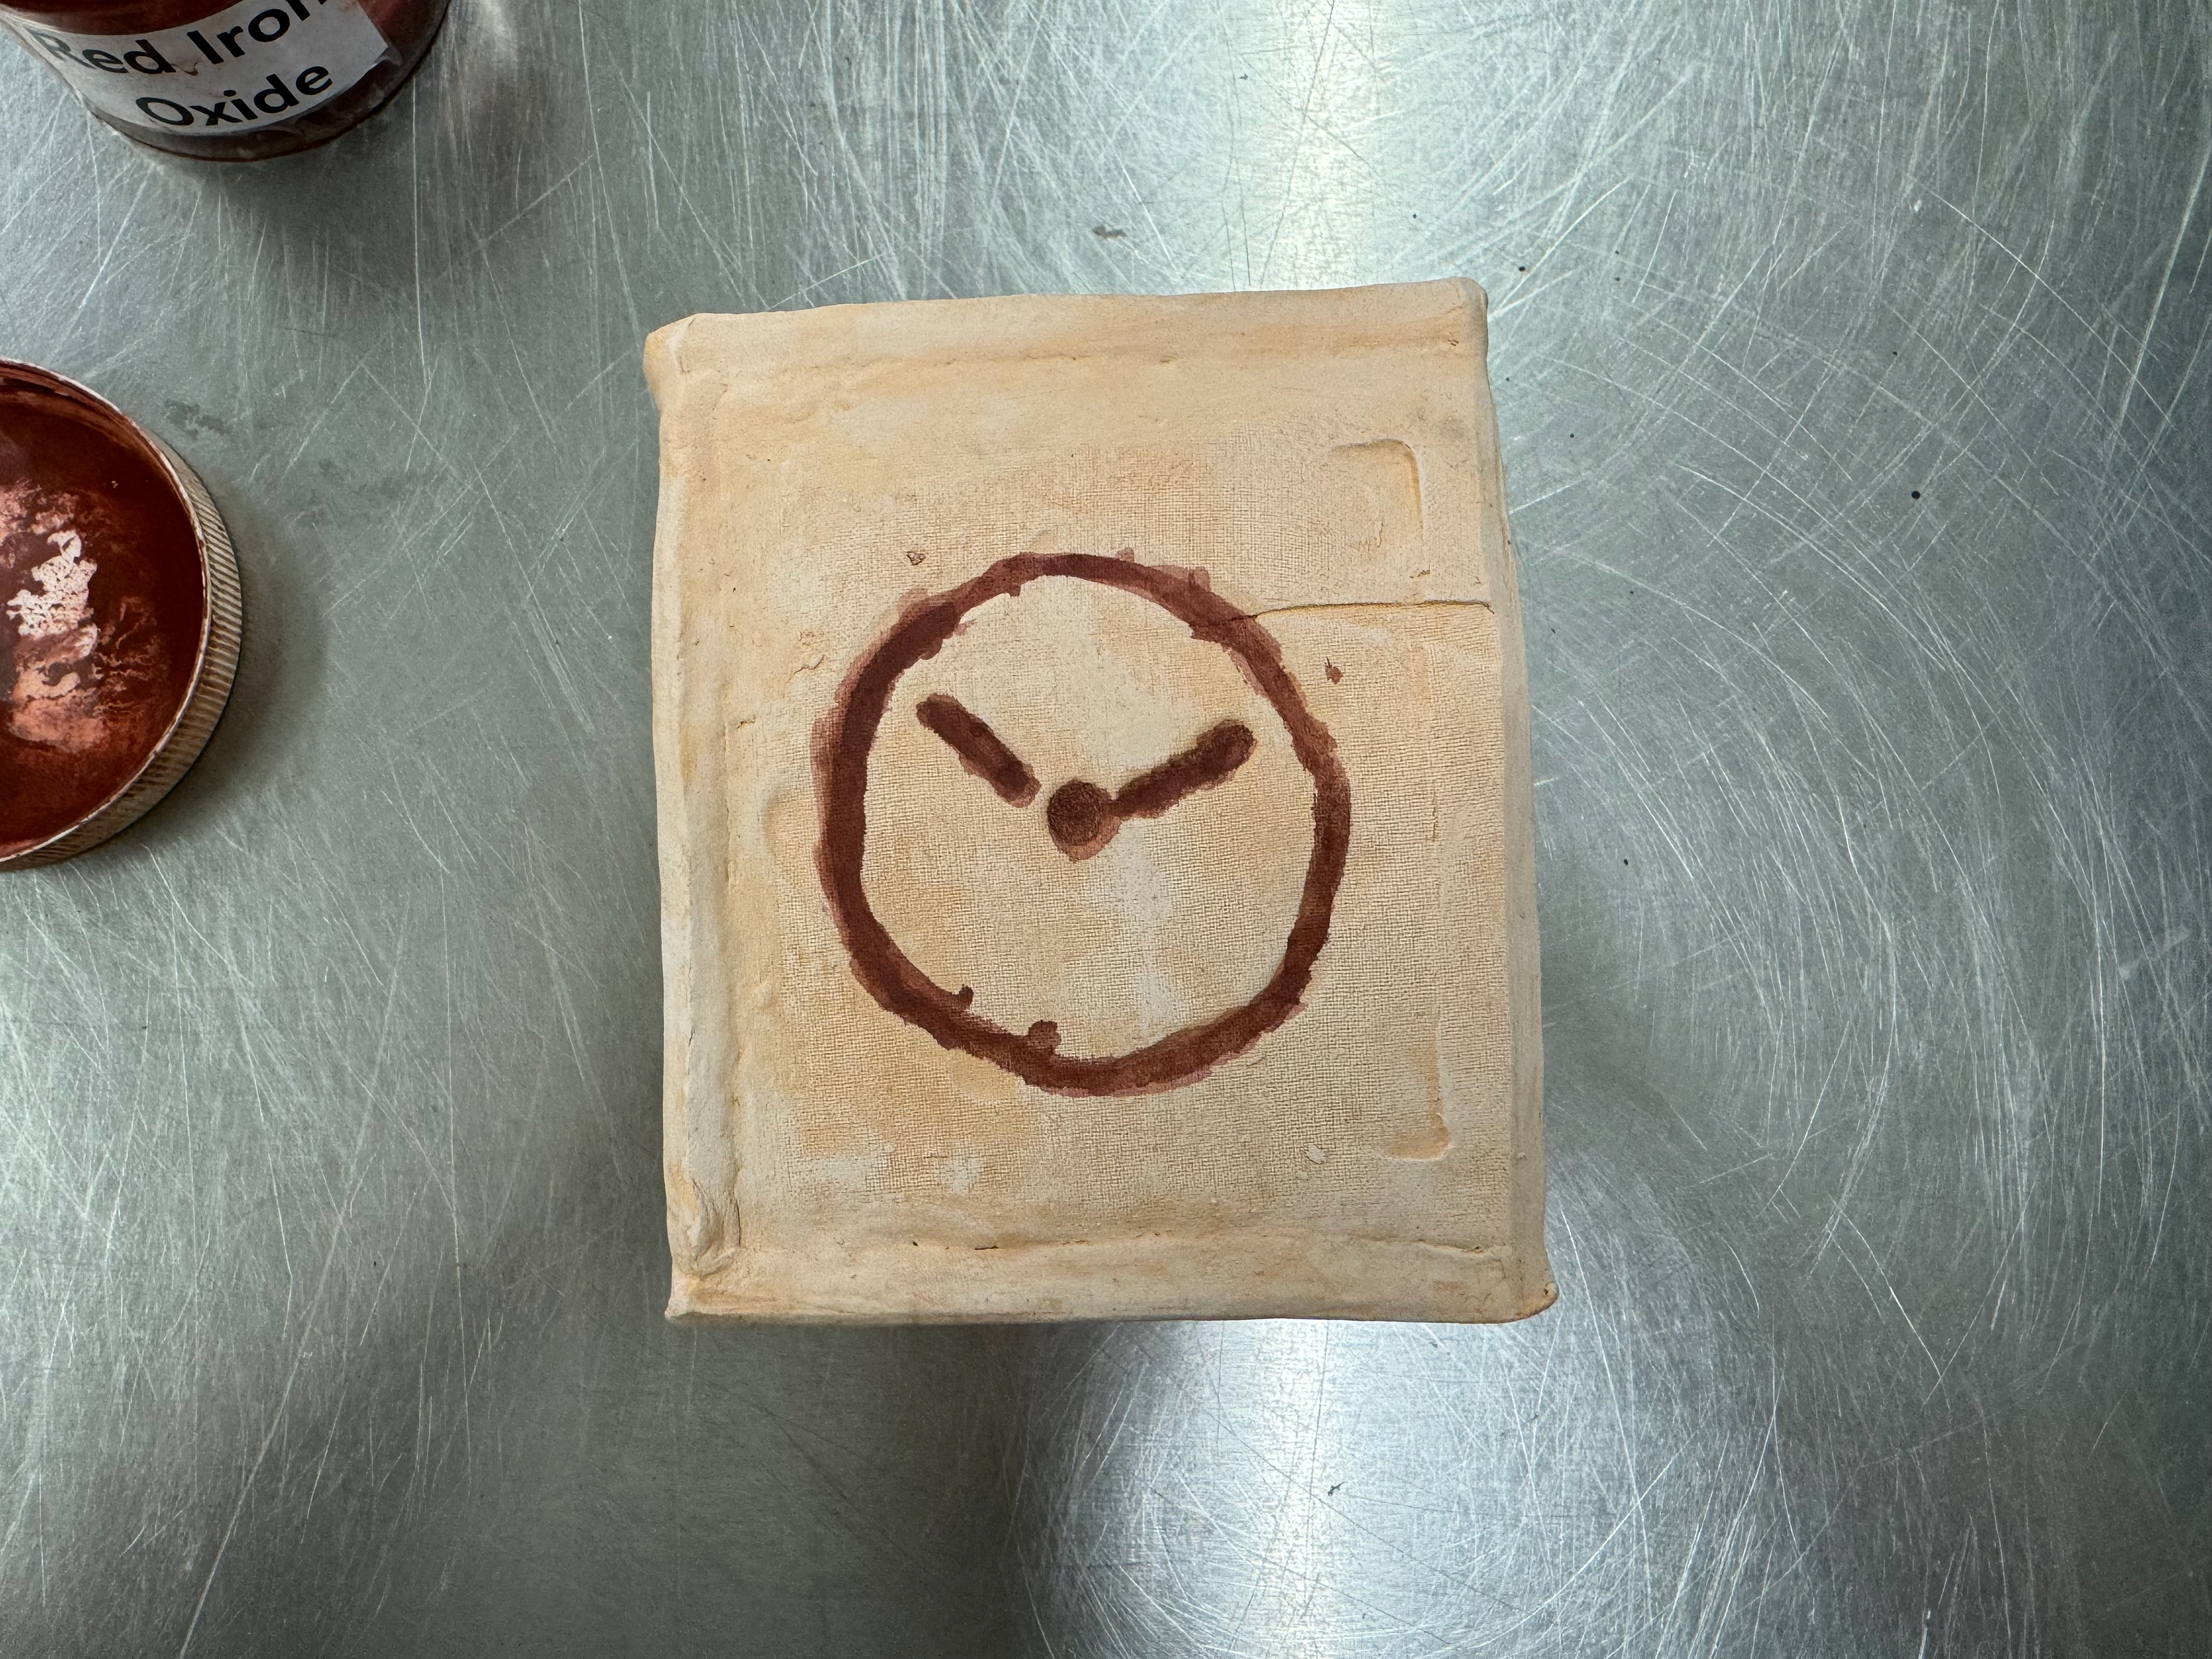
Red iron Oxide
Red iron Oxide
Cobalt oxide
Cobalt oxide

Black nickel oxide