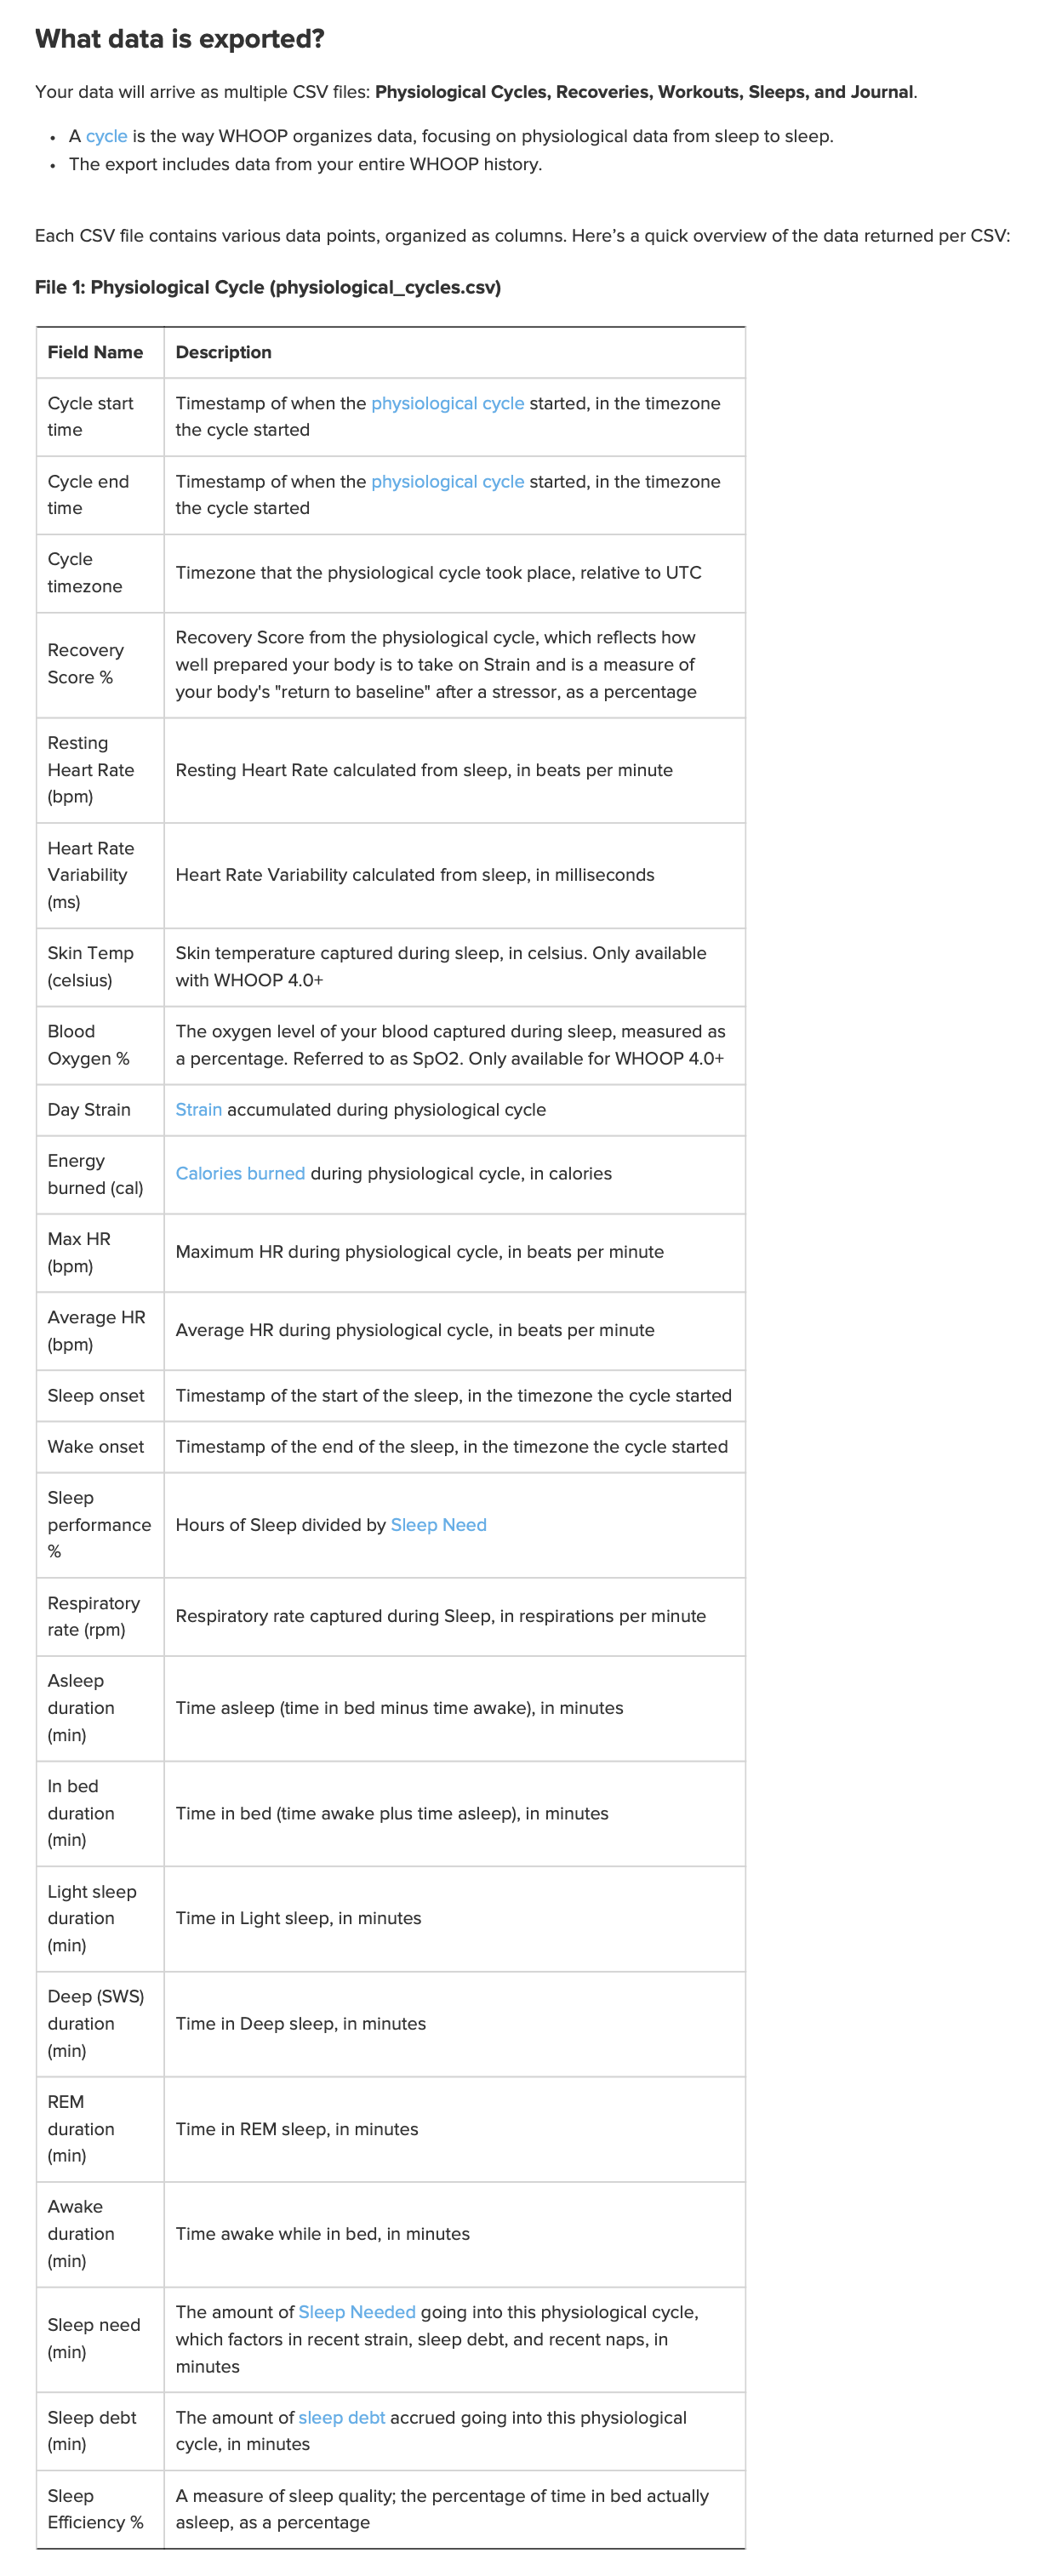
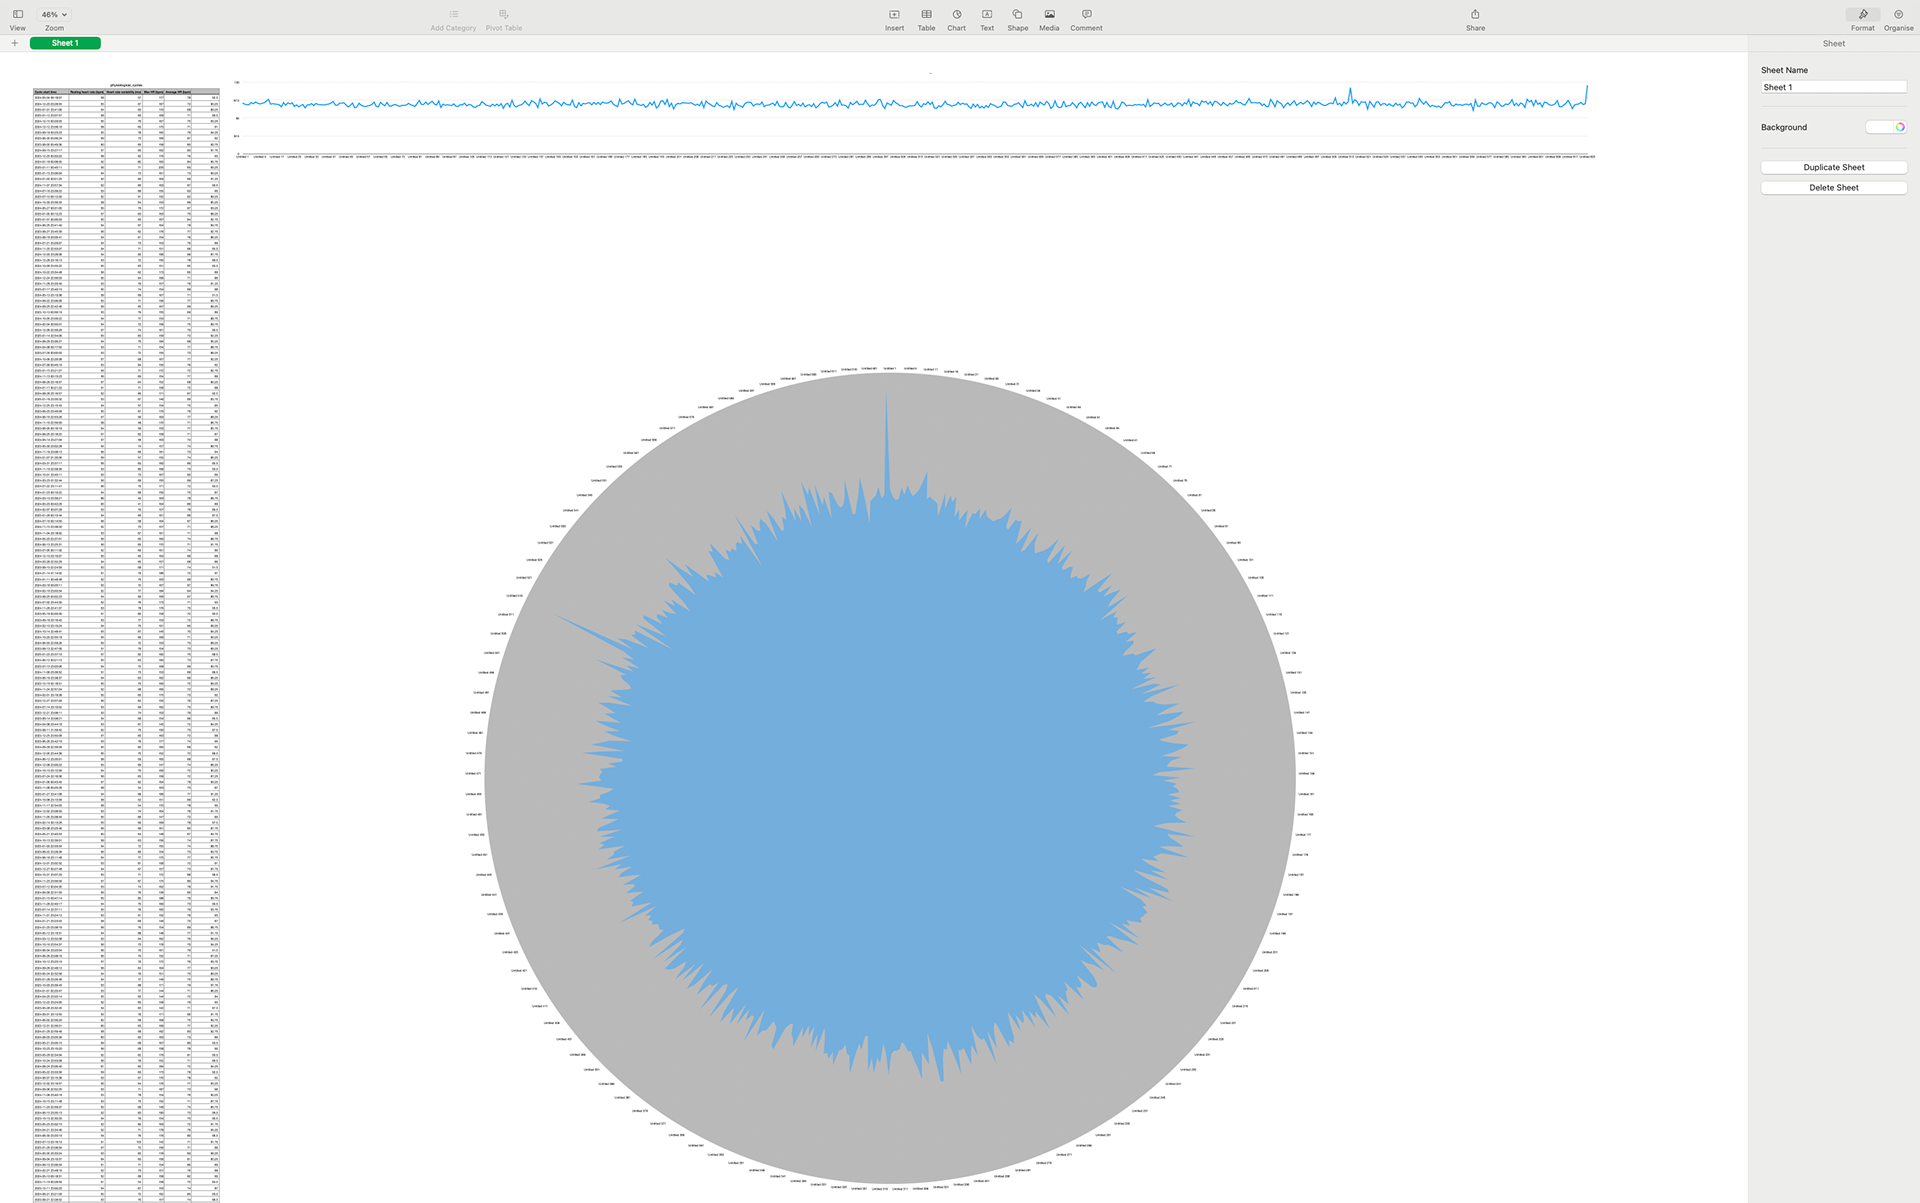
Screenshot of some of the data and both charts
Import
Select to delete
Export
Import
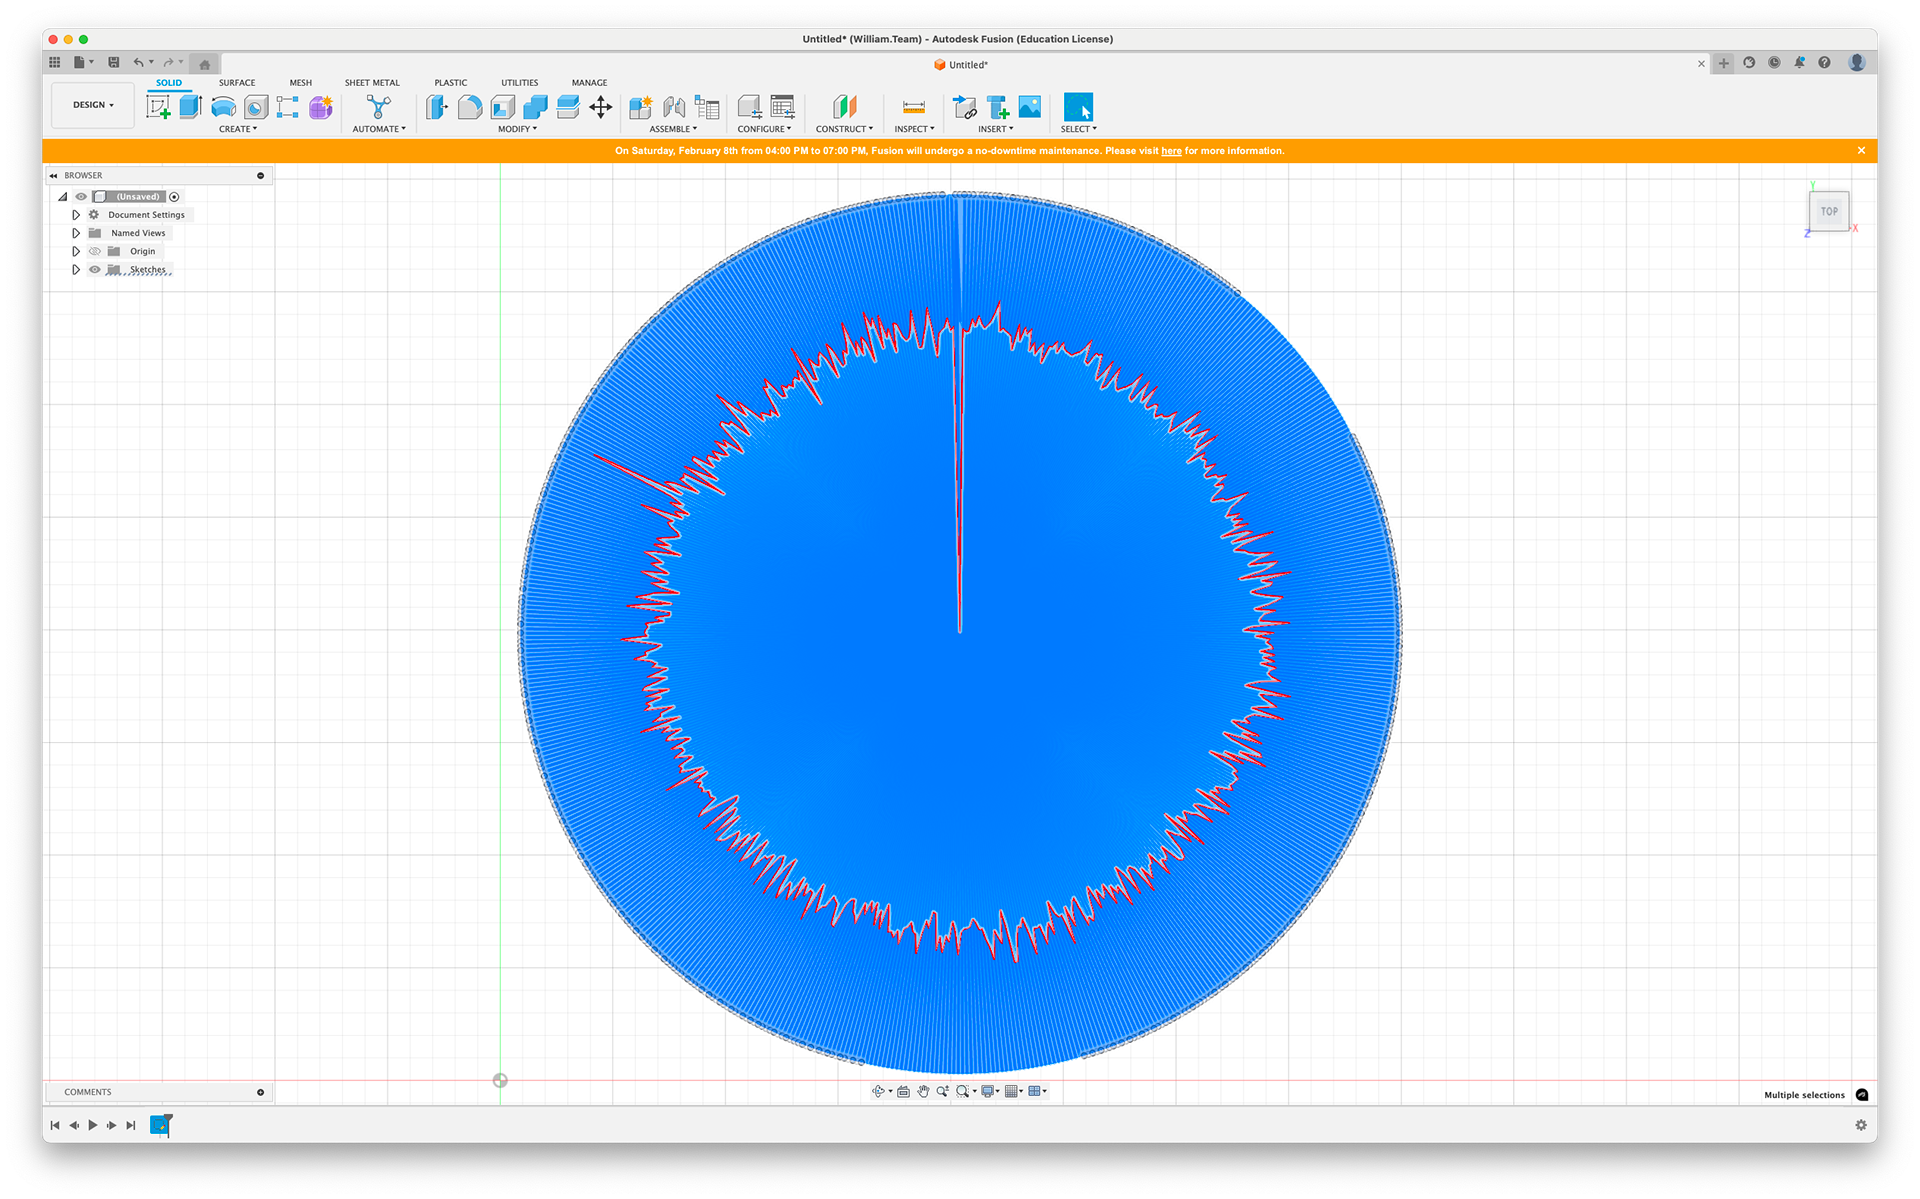
Select to delete
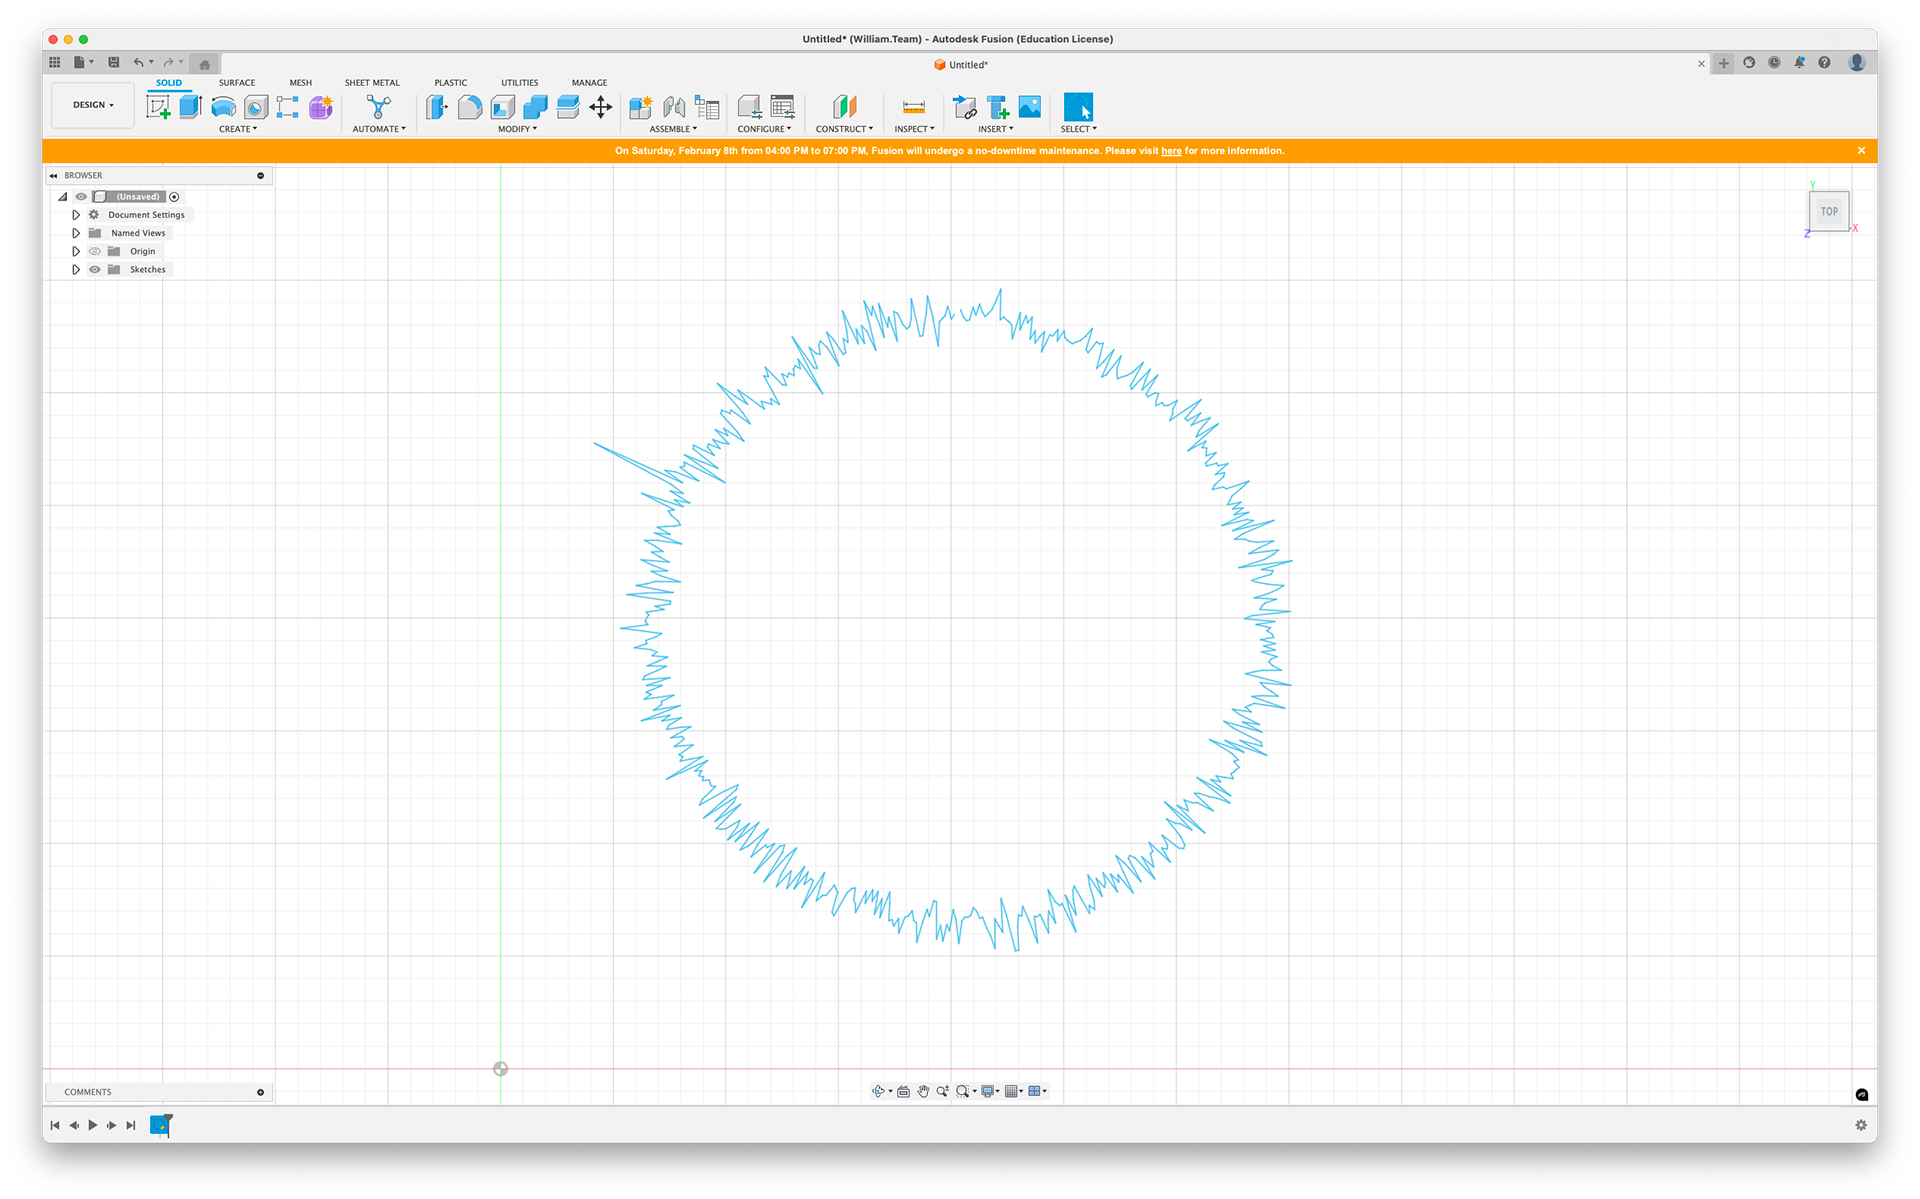
Export
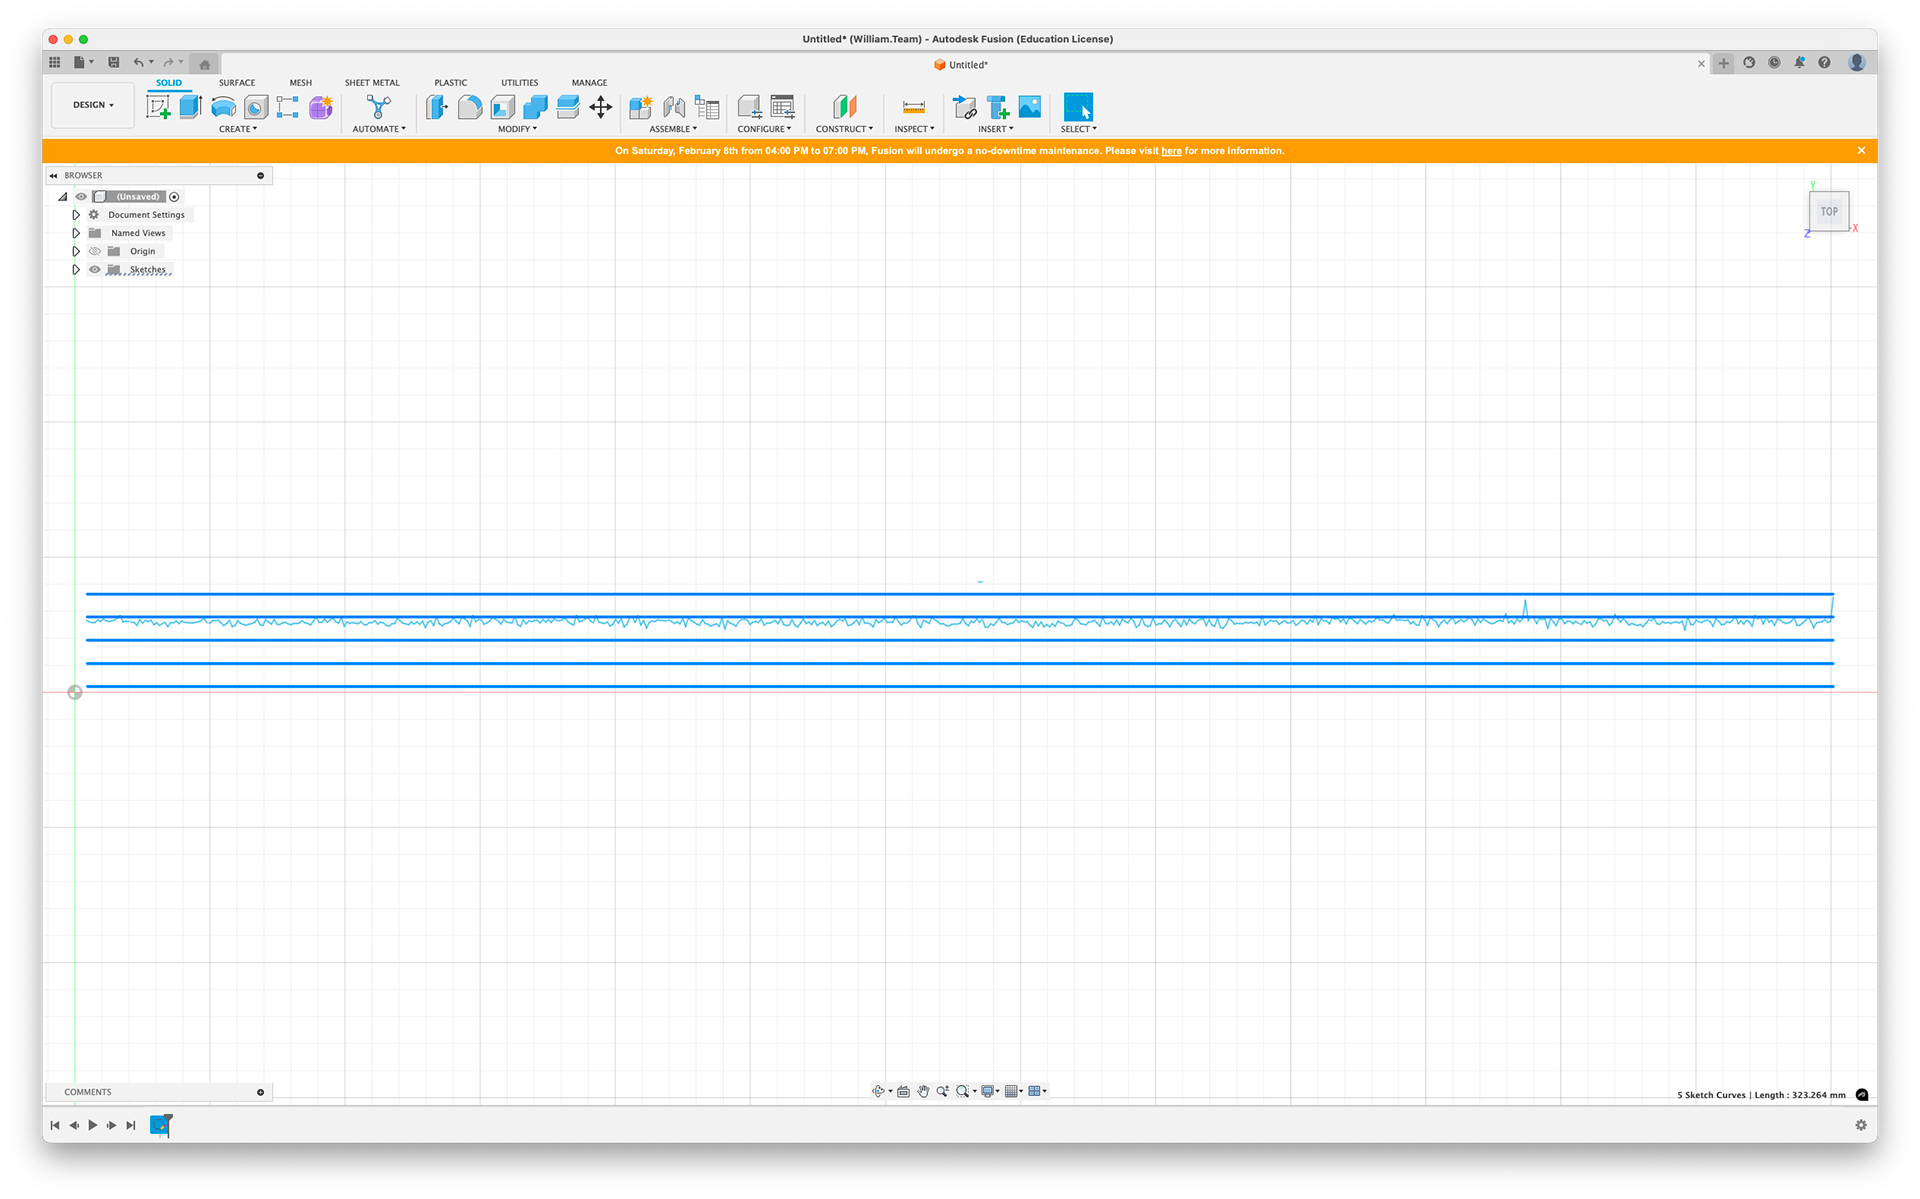
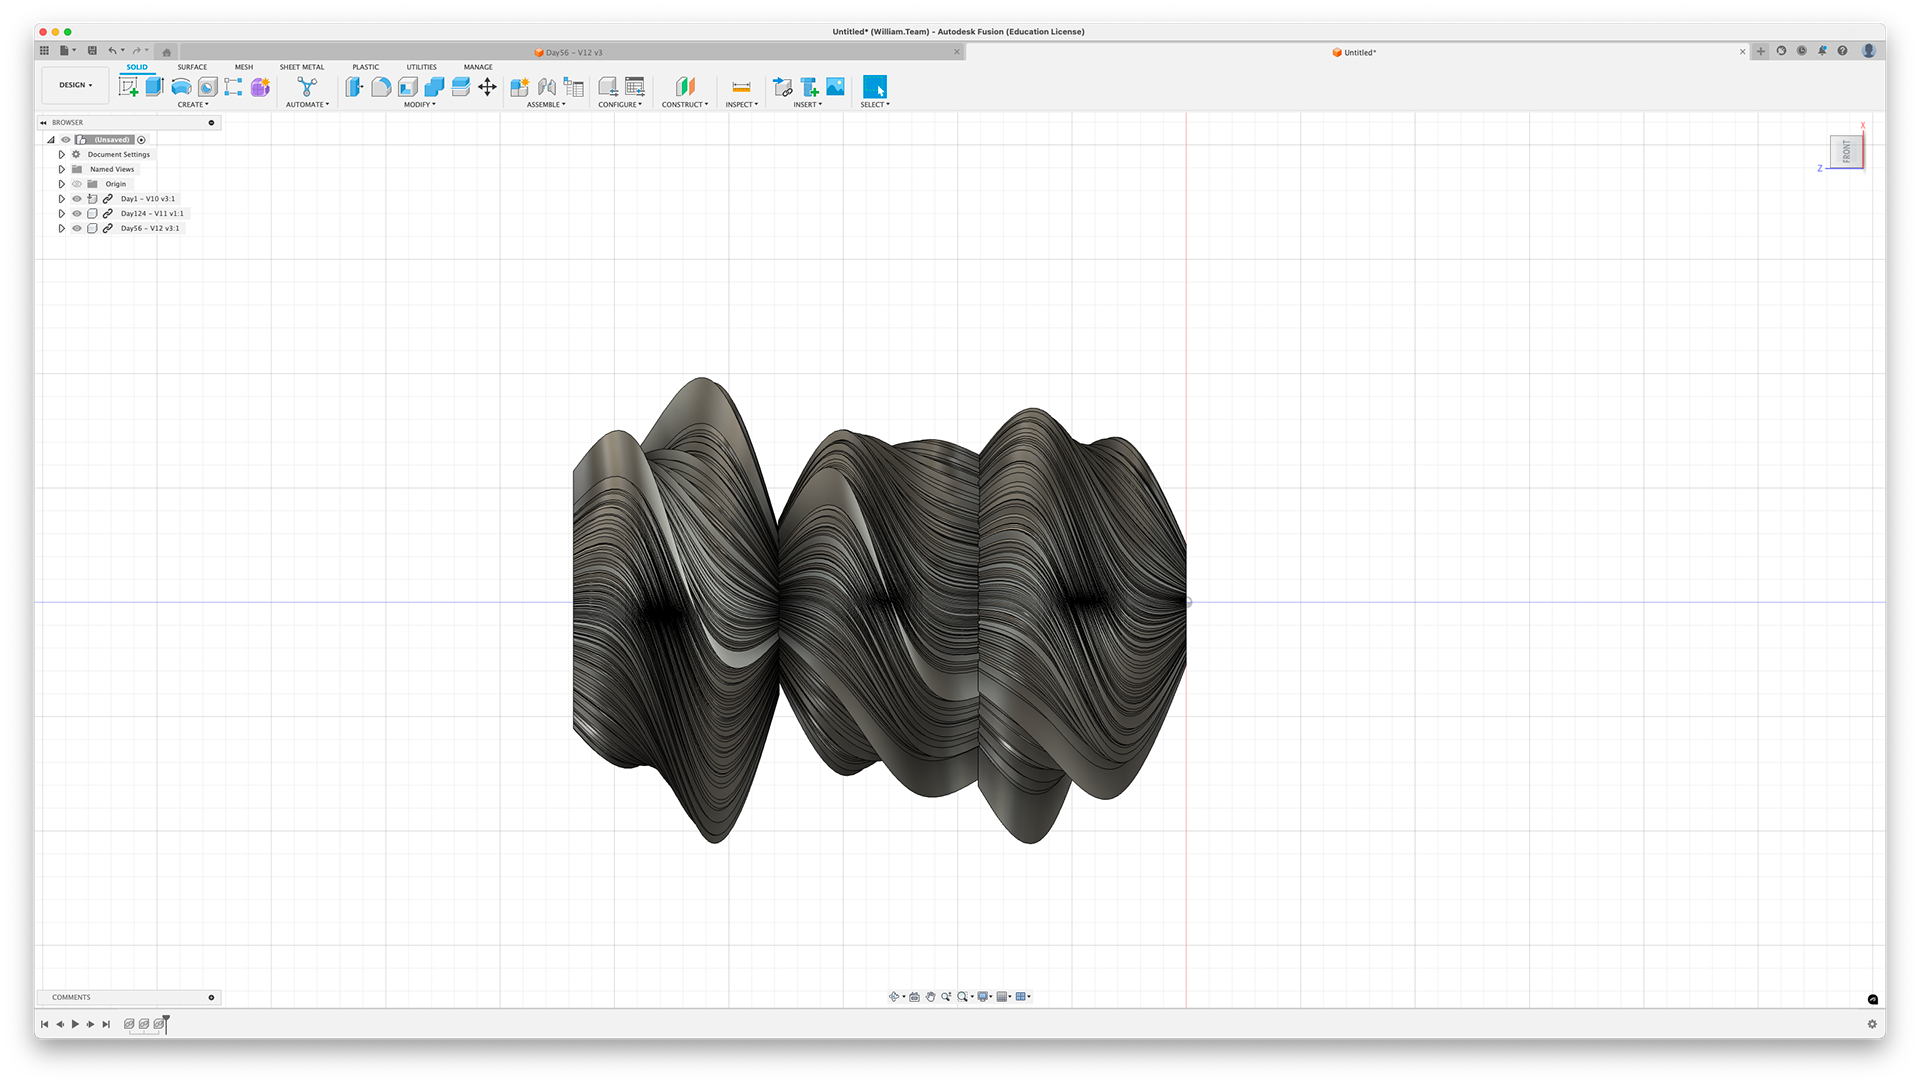
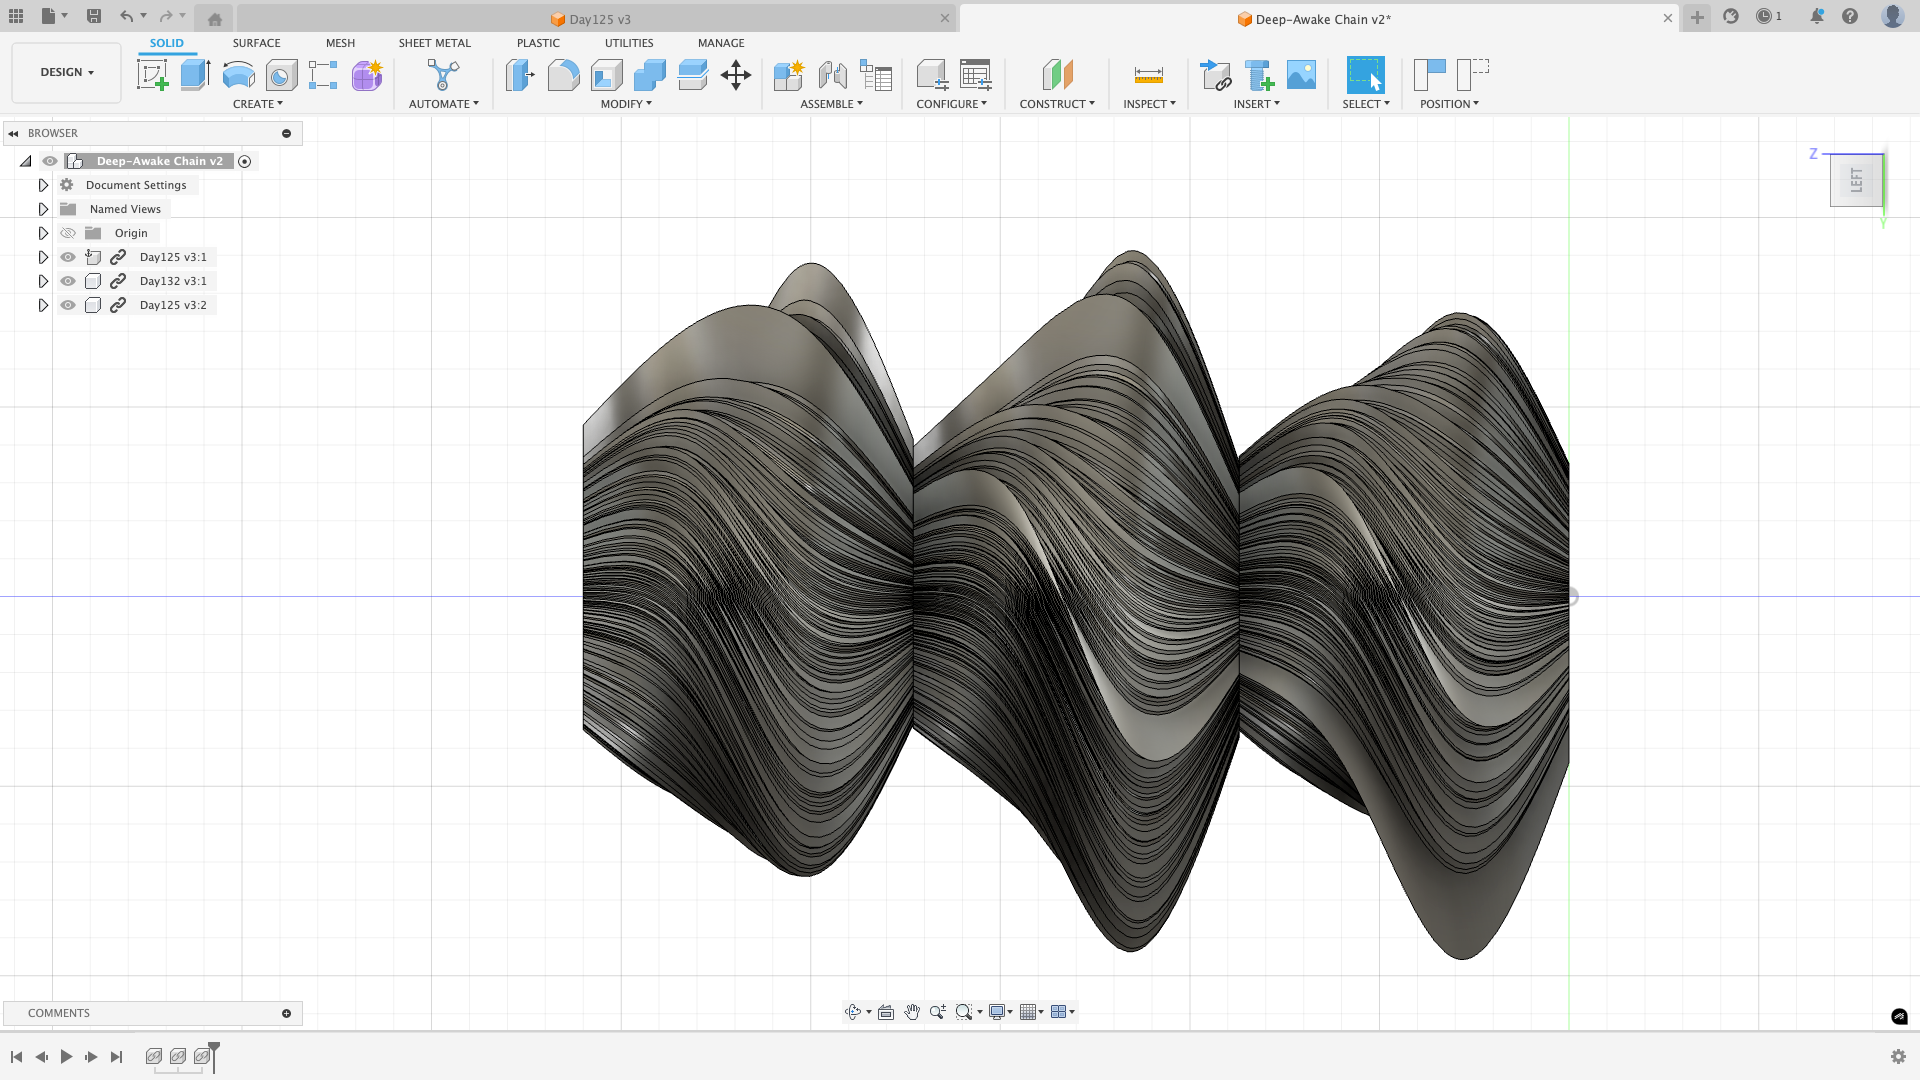
Line Chart Revolve
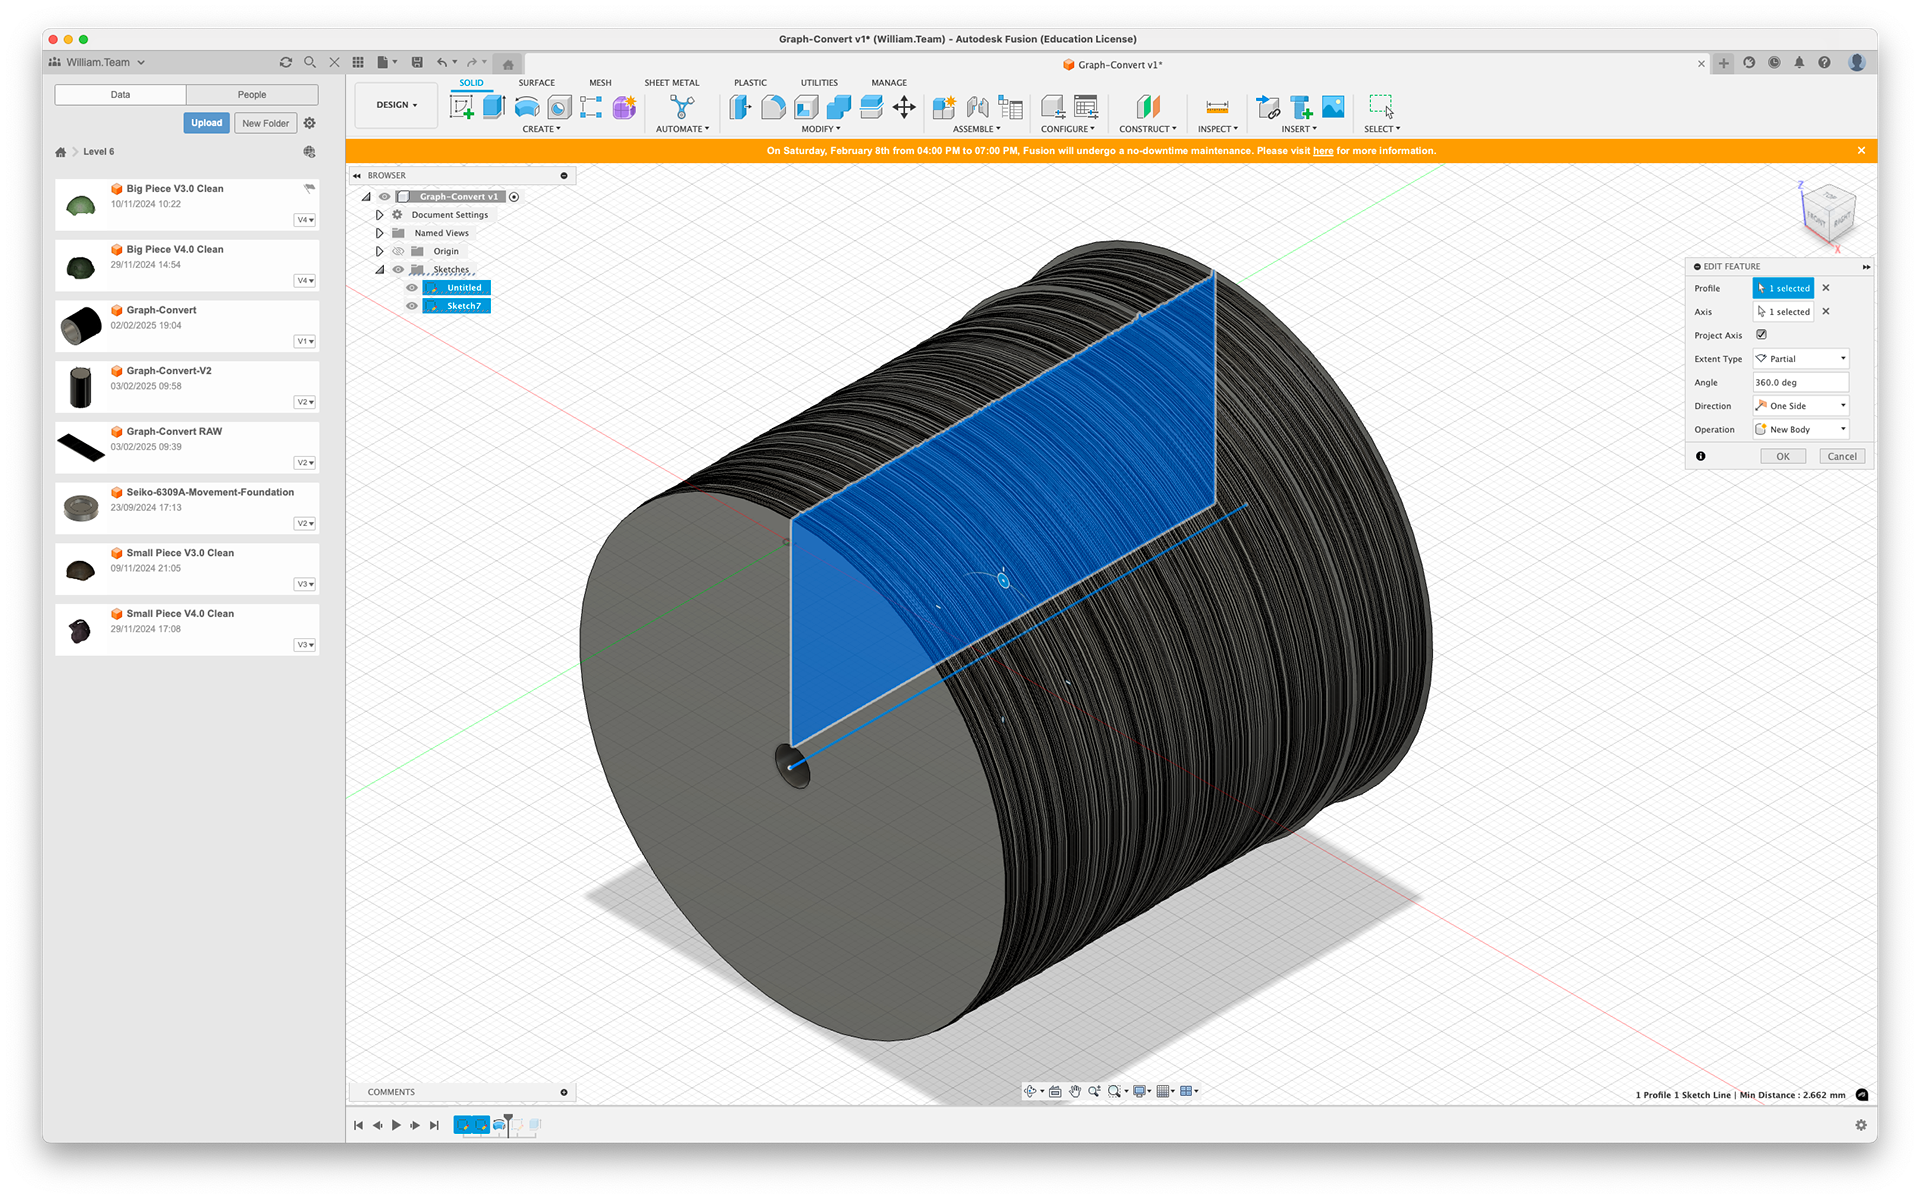
Line Chart Revolve
Line Chart Revolve
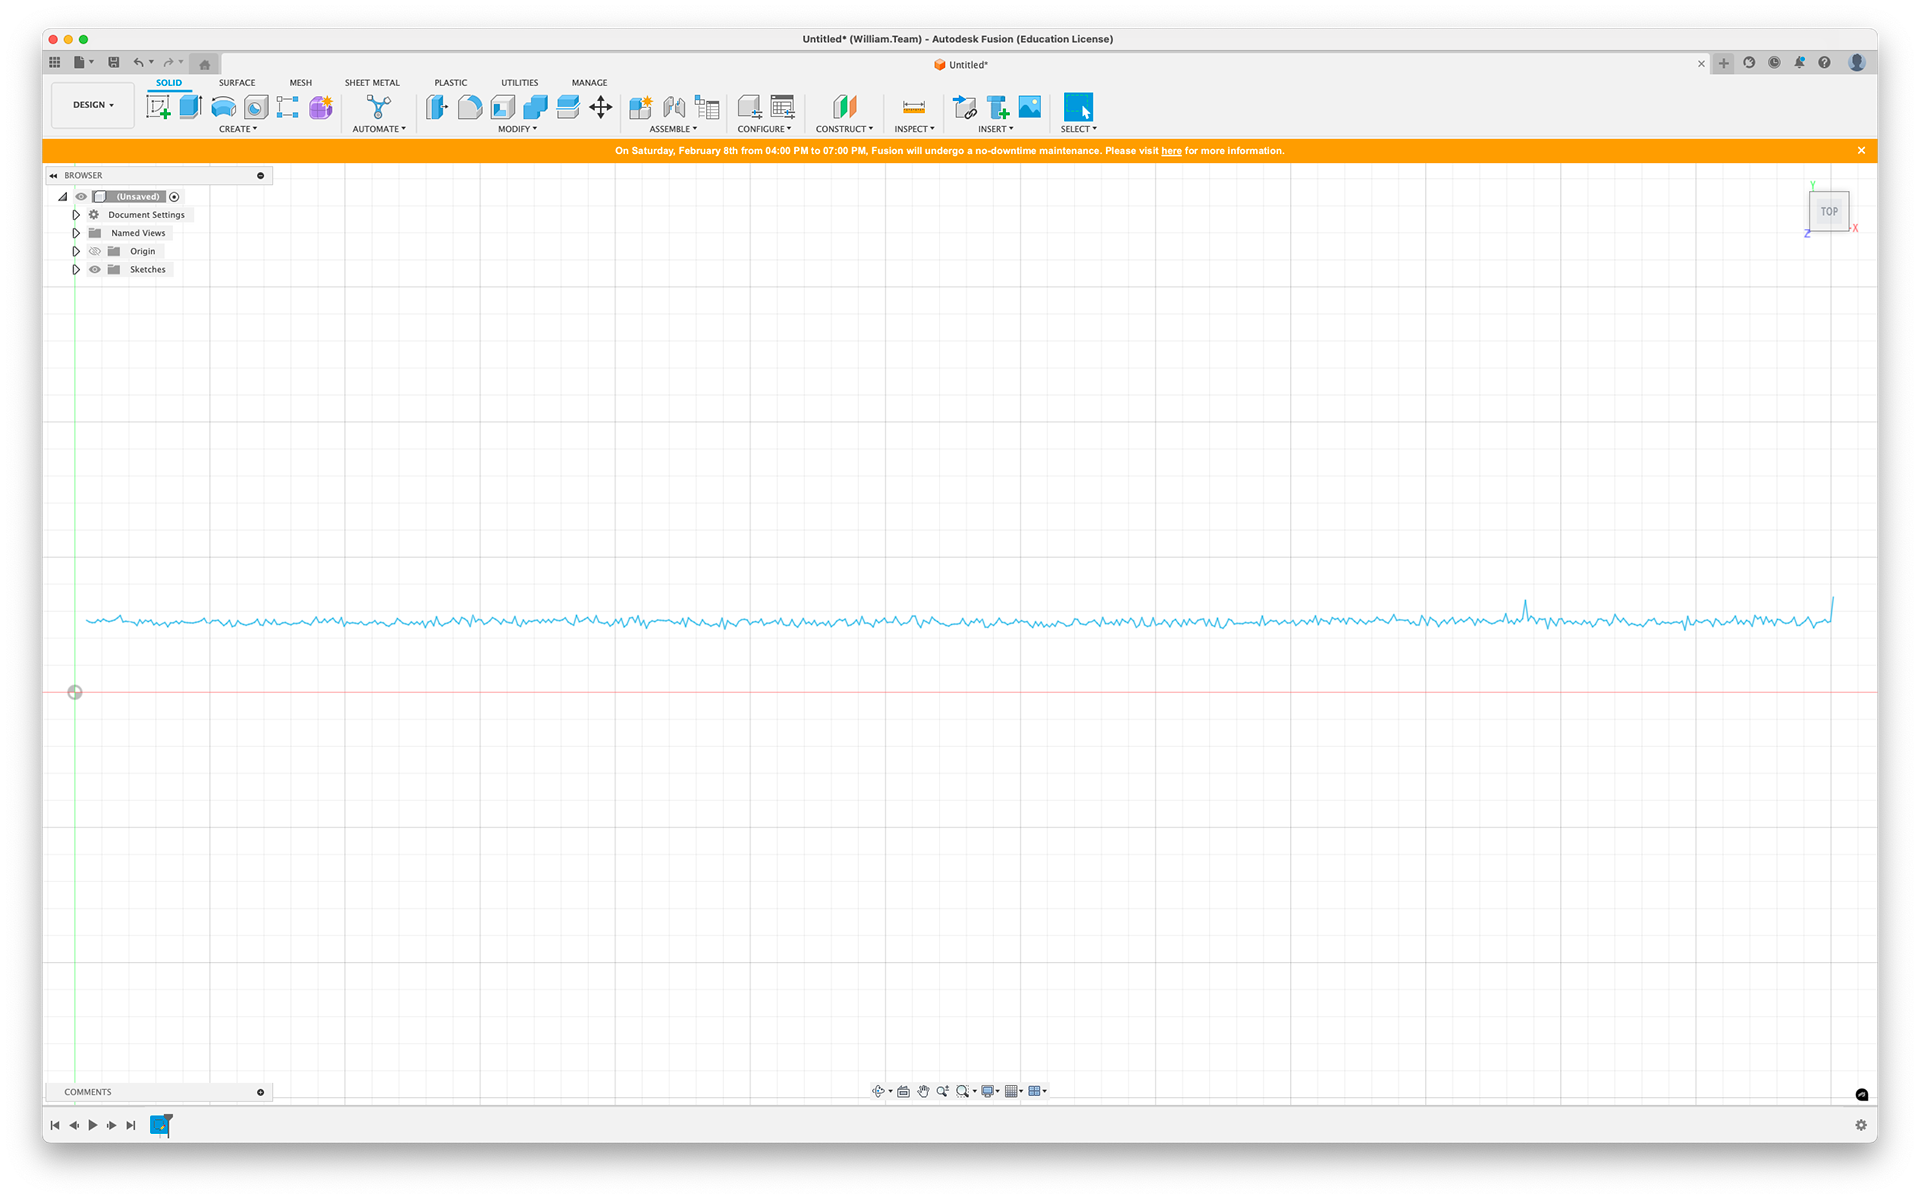
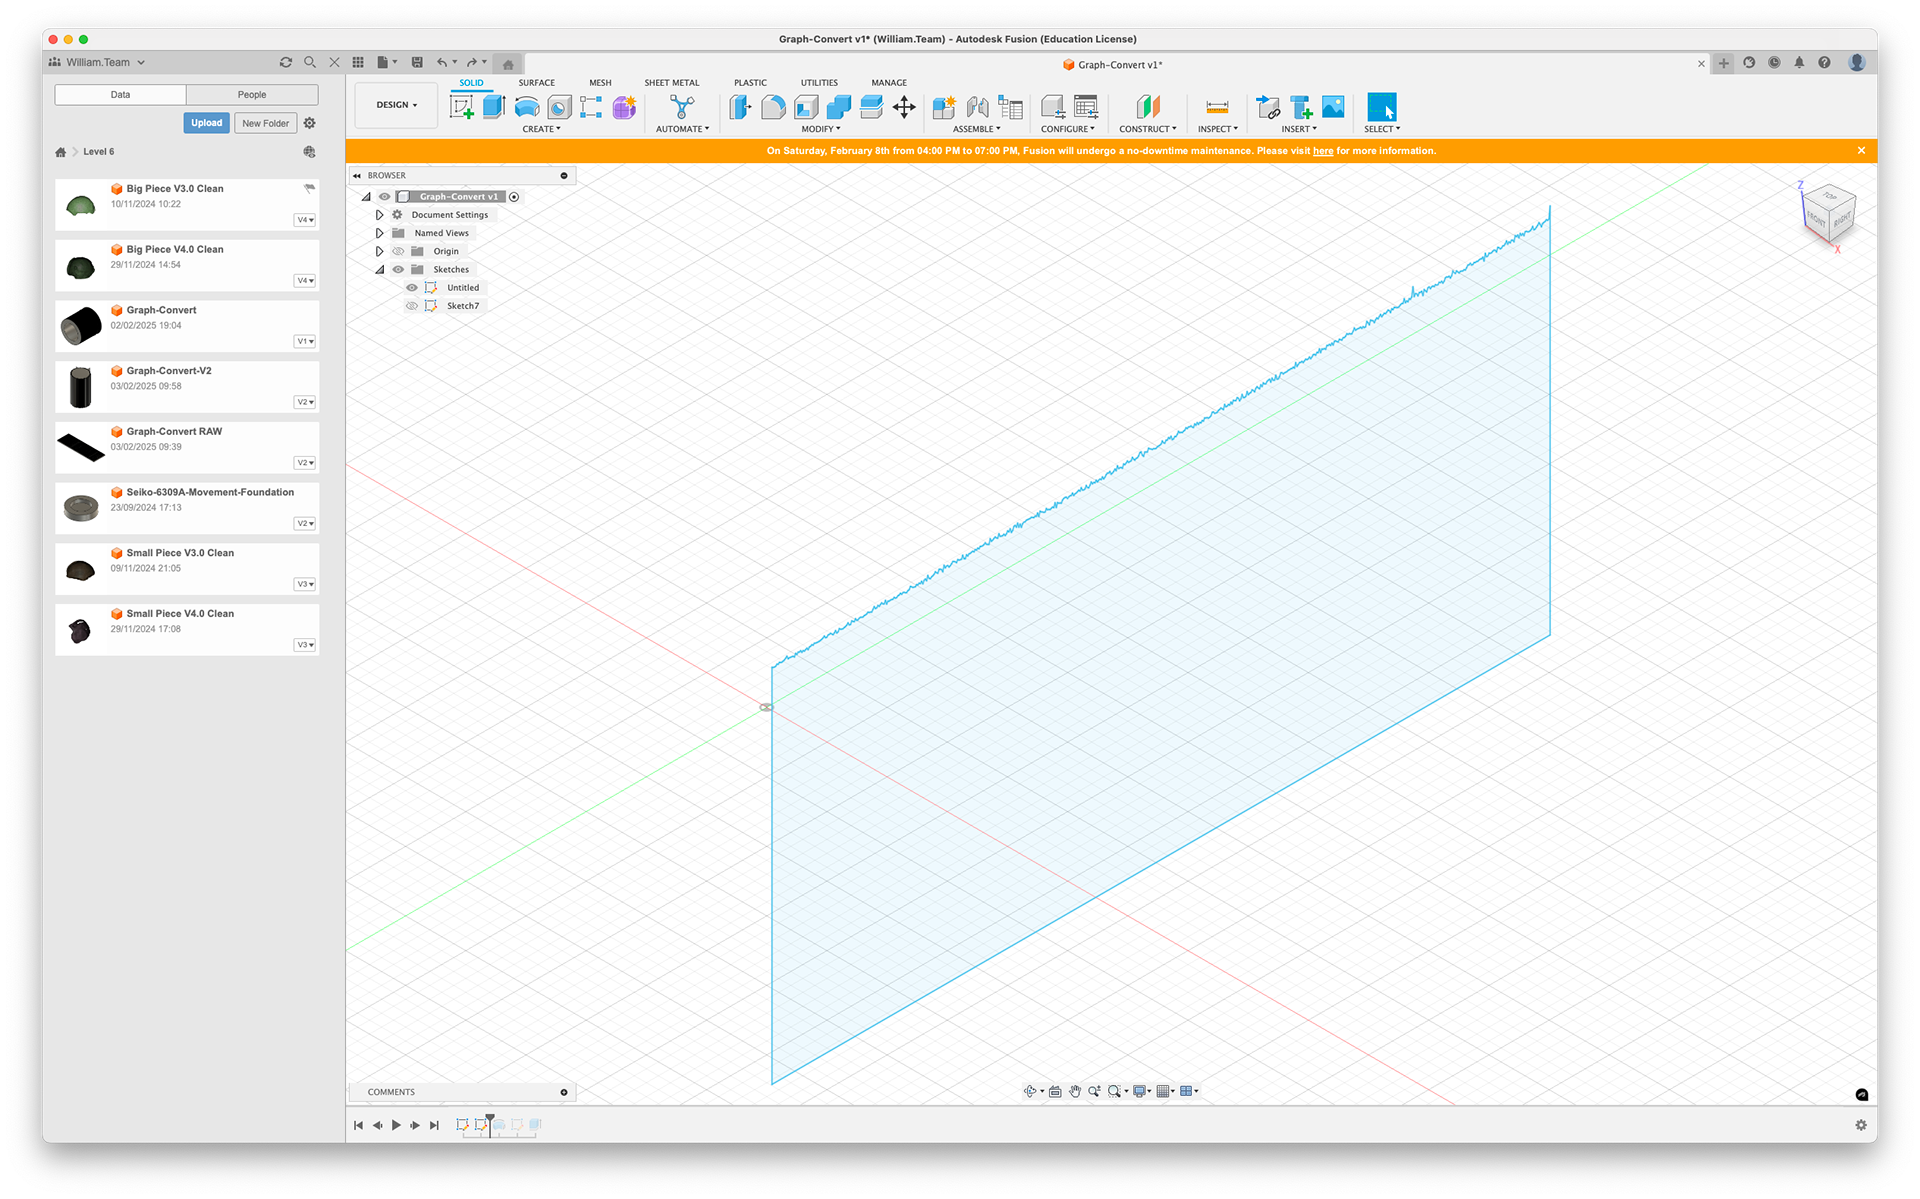
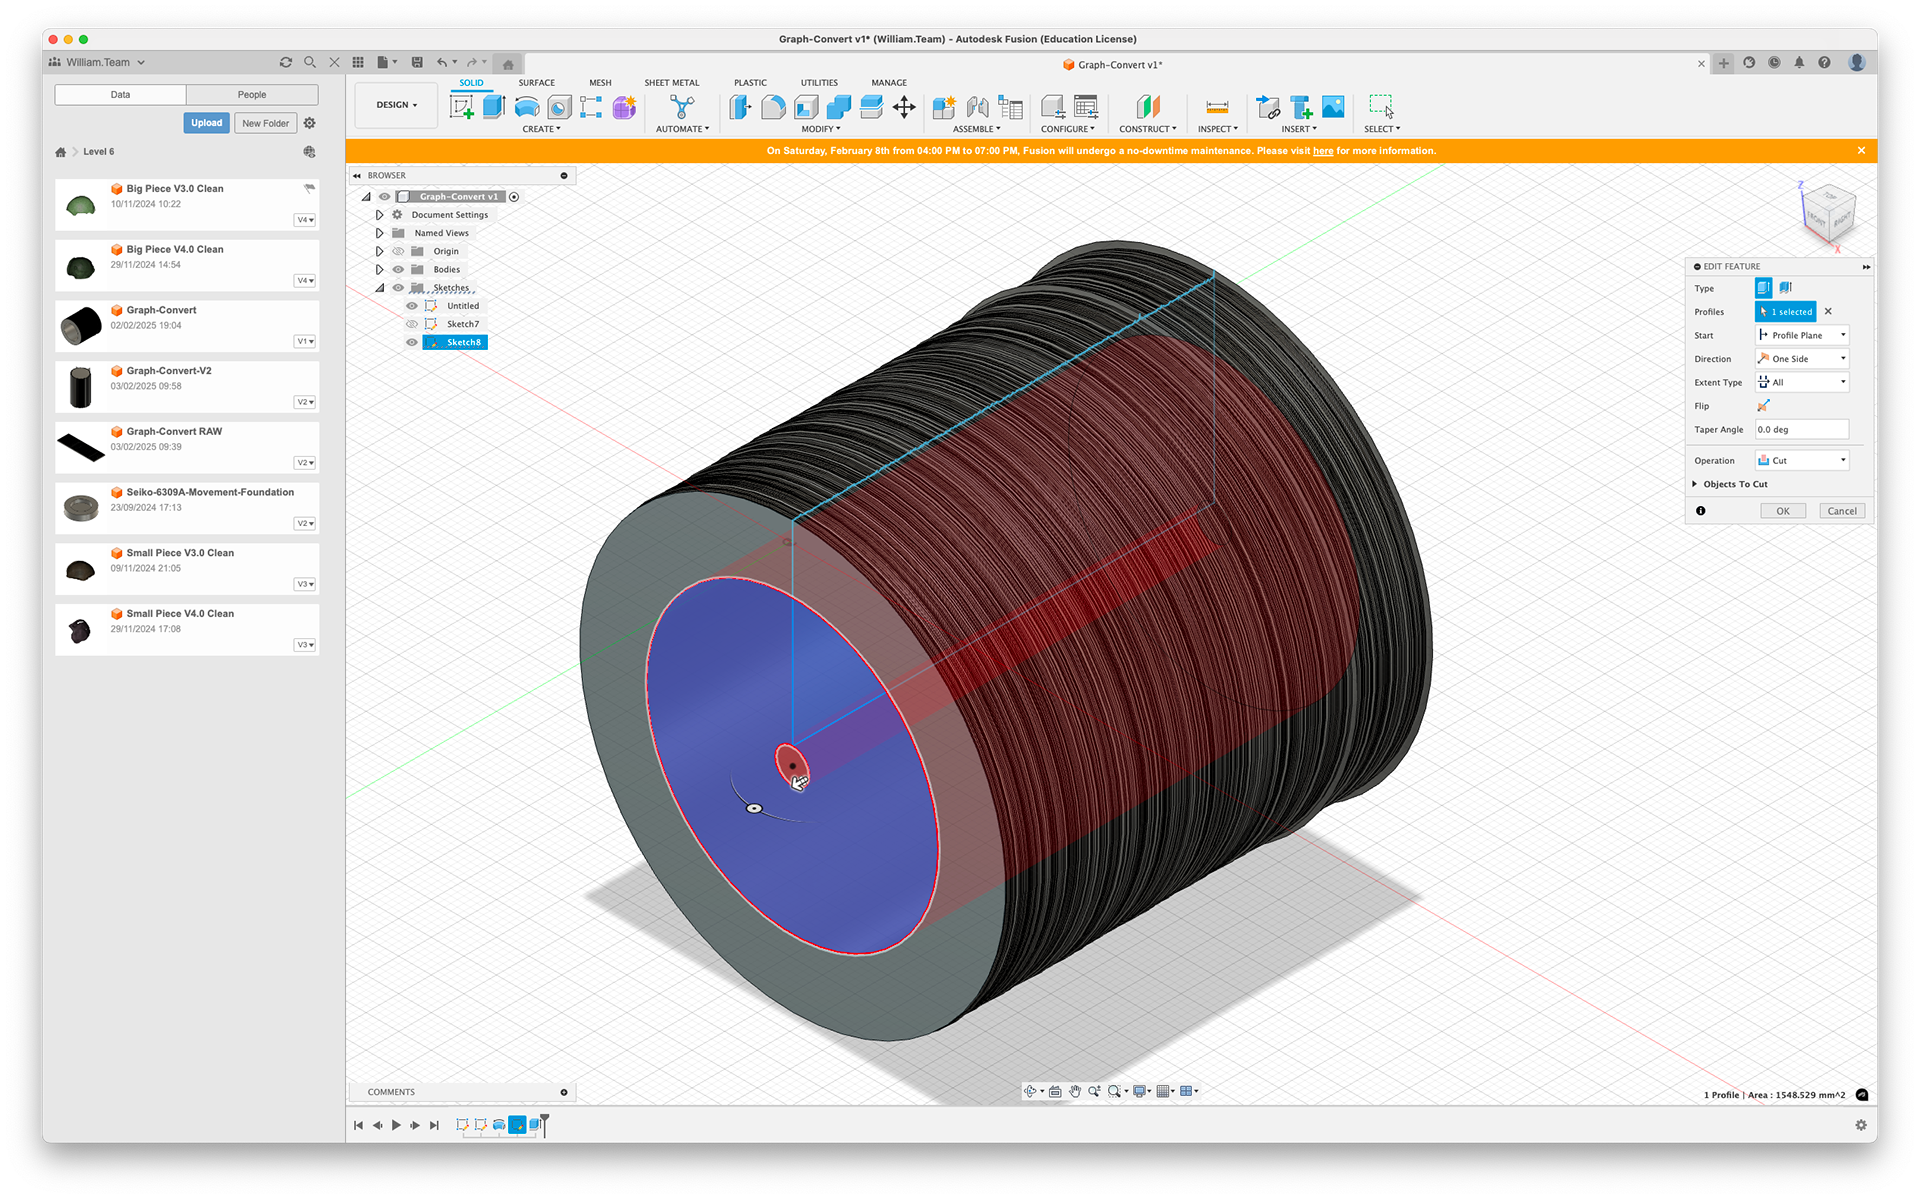
Line Chart Plane
Radar Chart Extrude
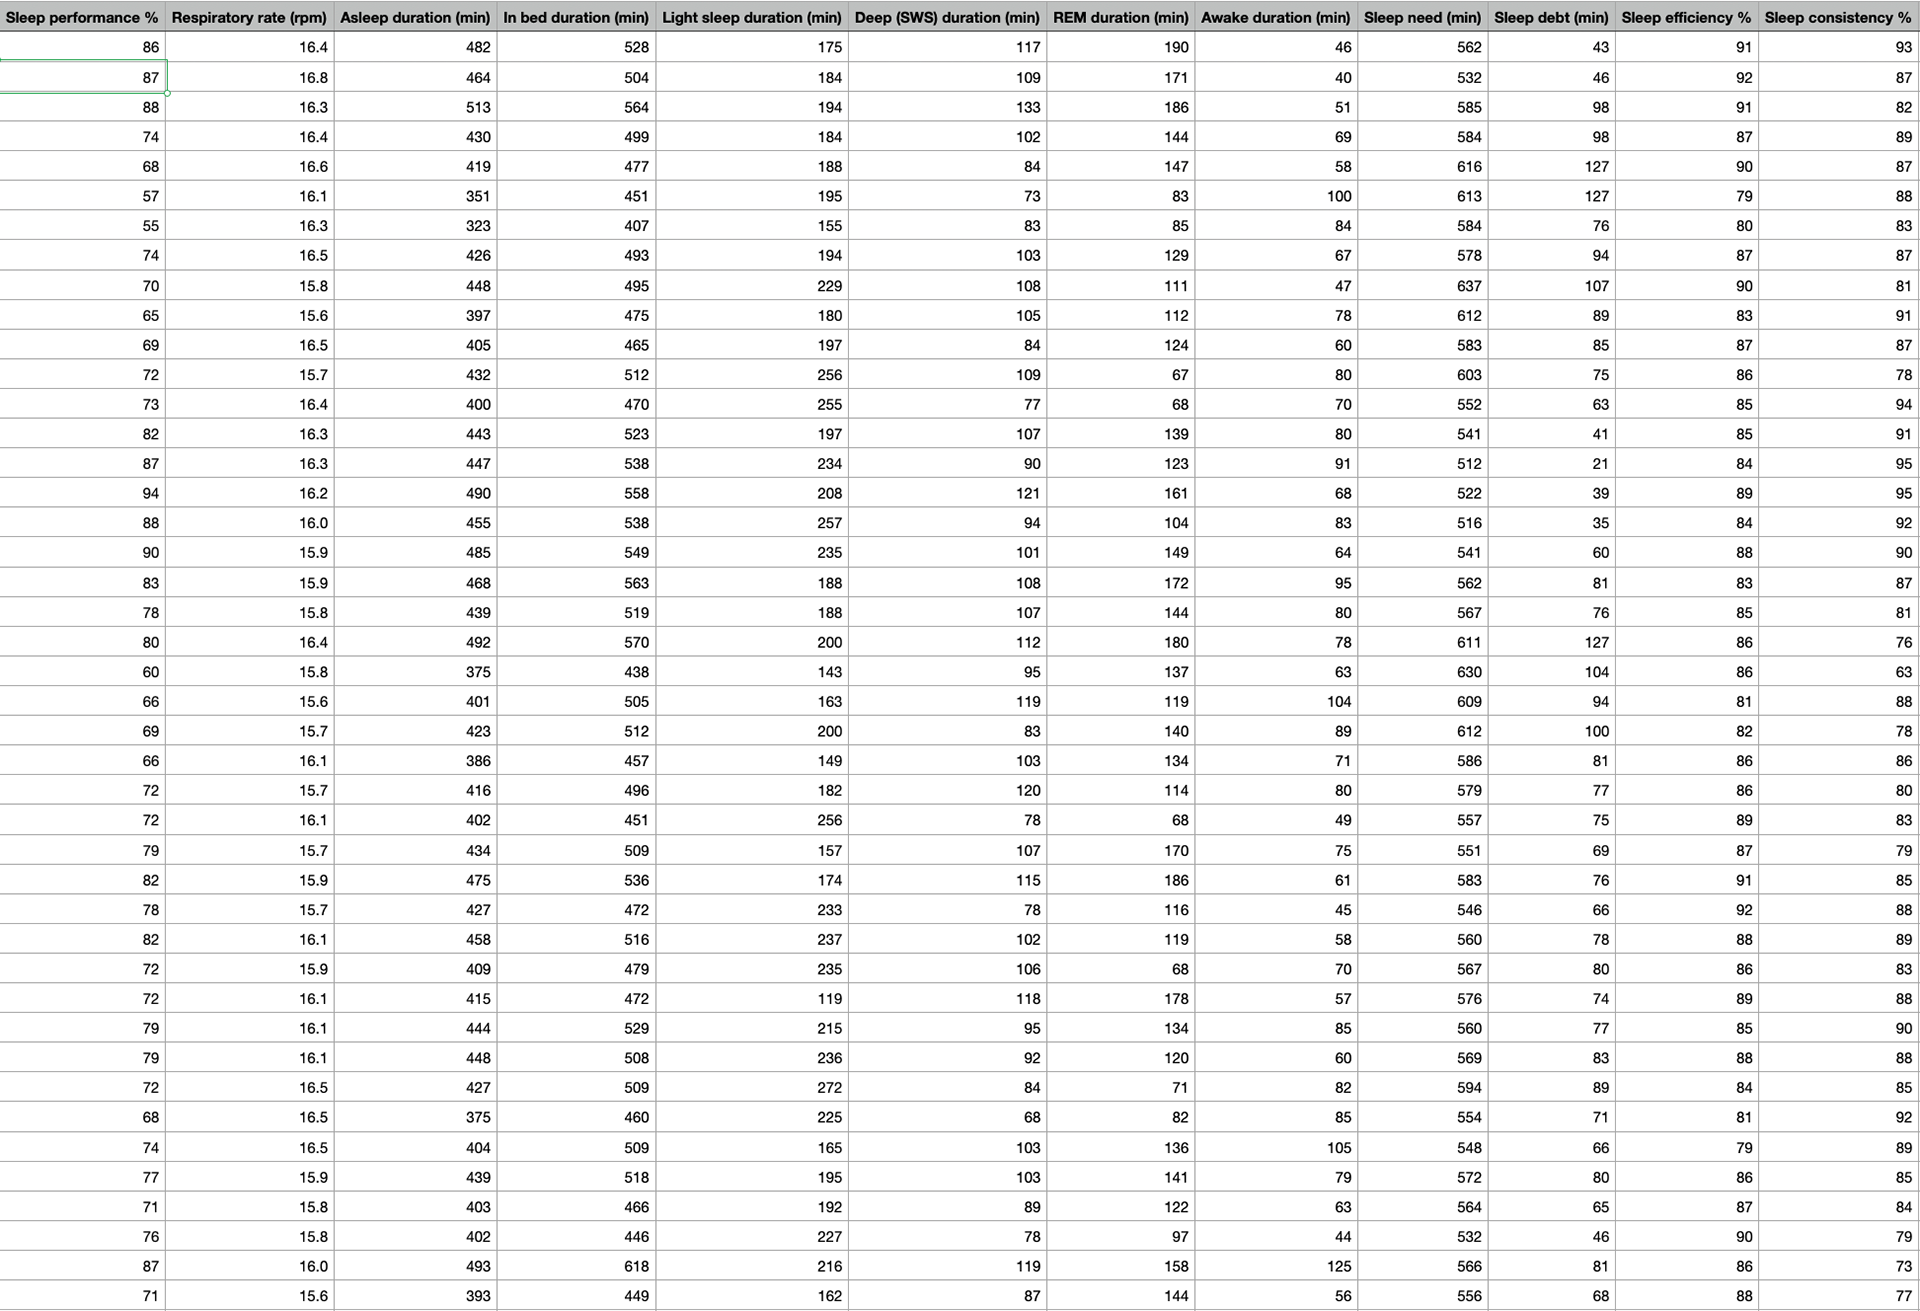
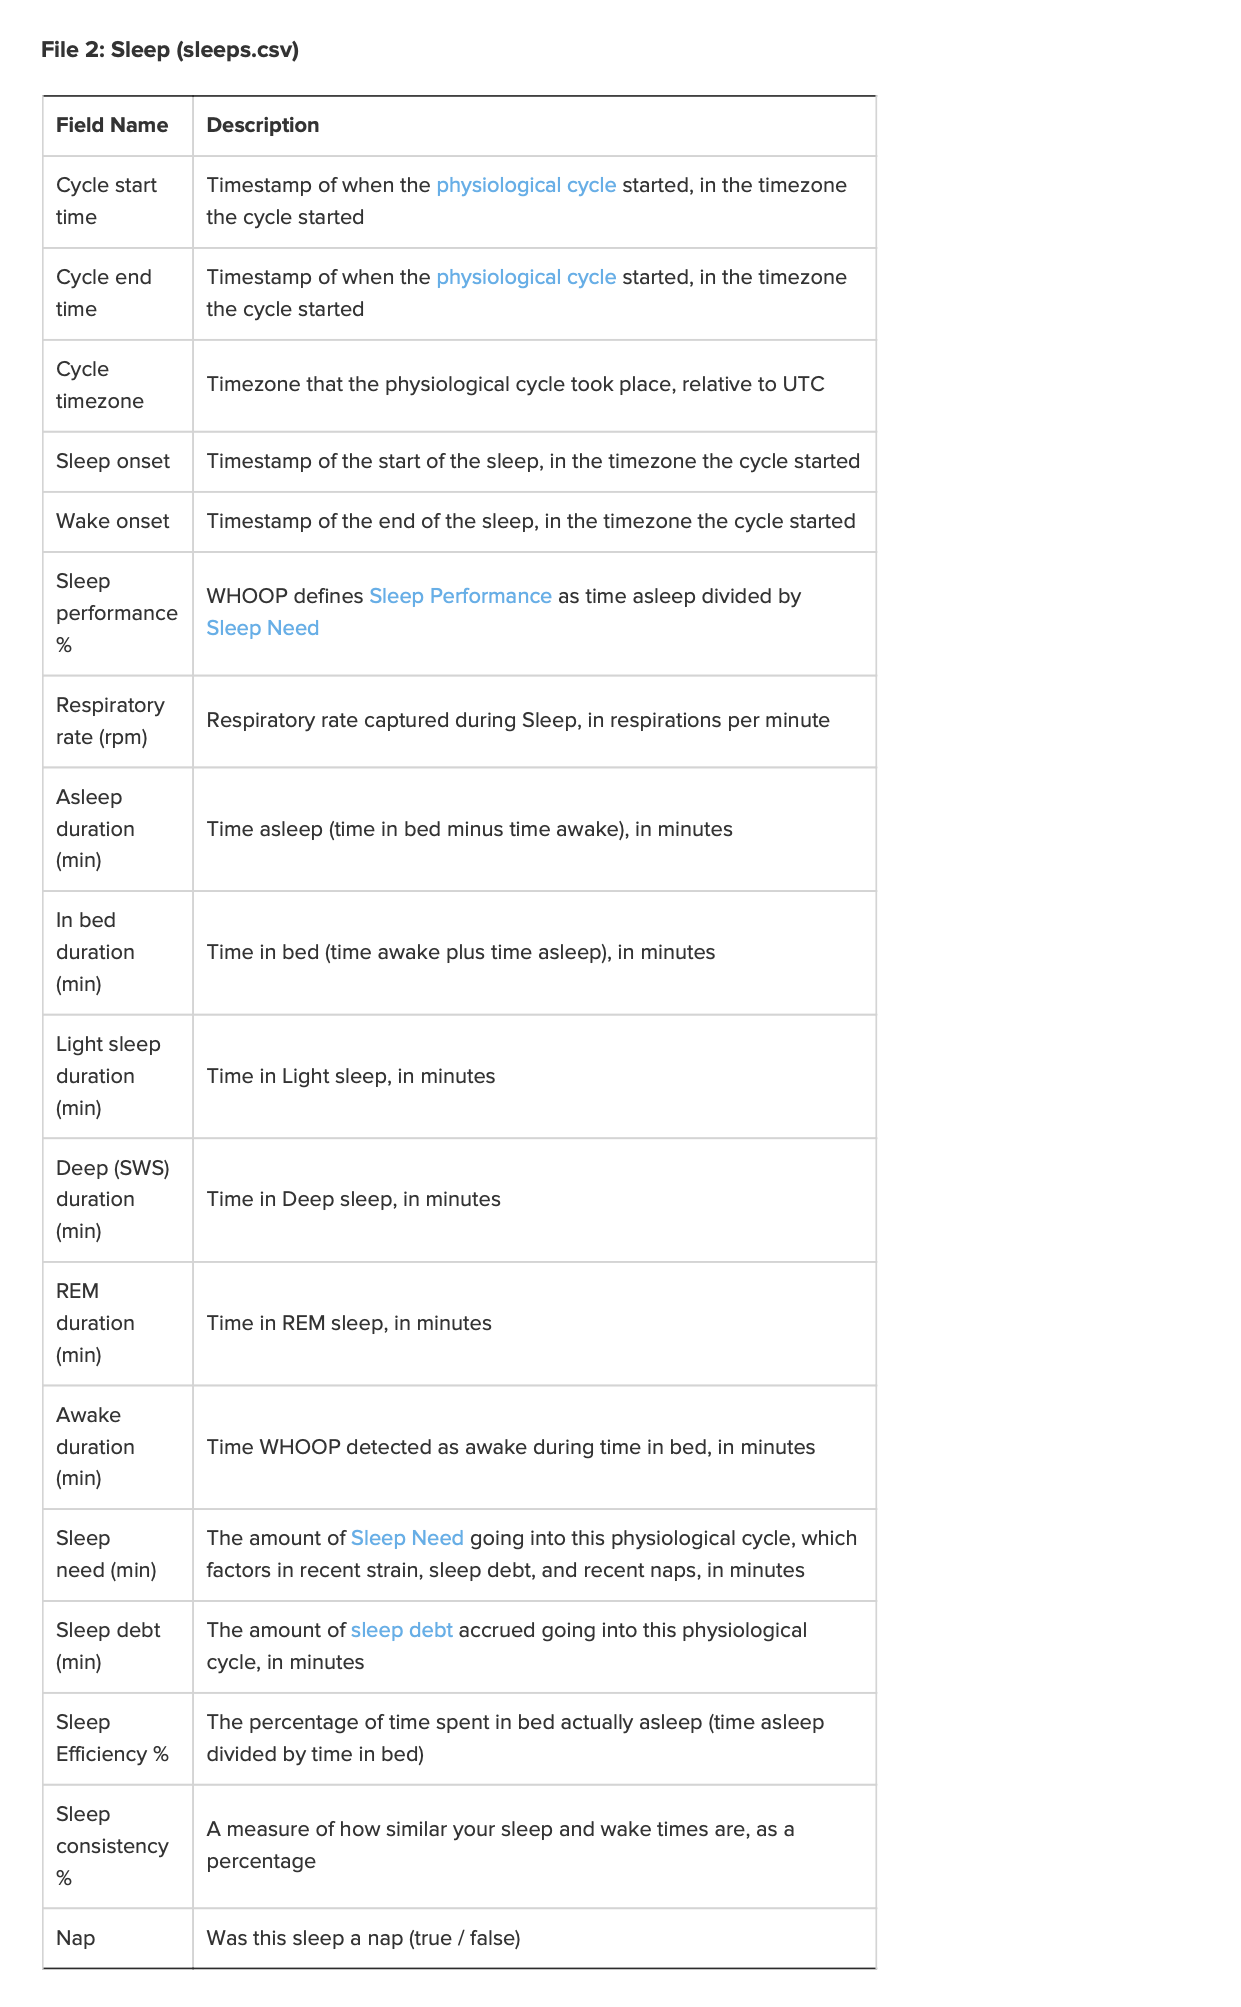
Screenshot of a portion of the sleep data.
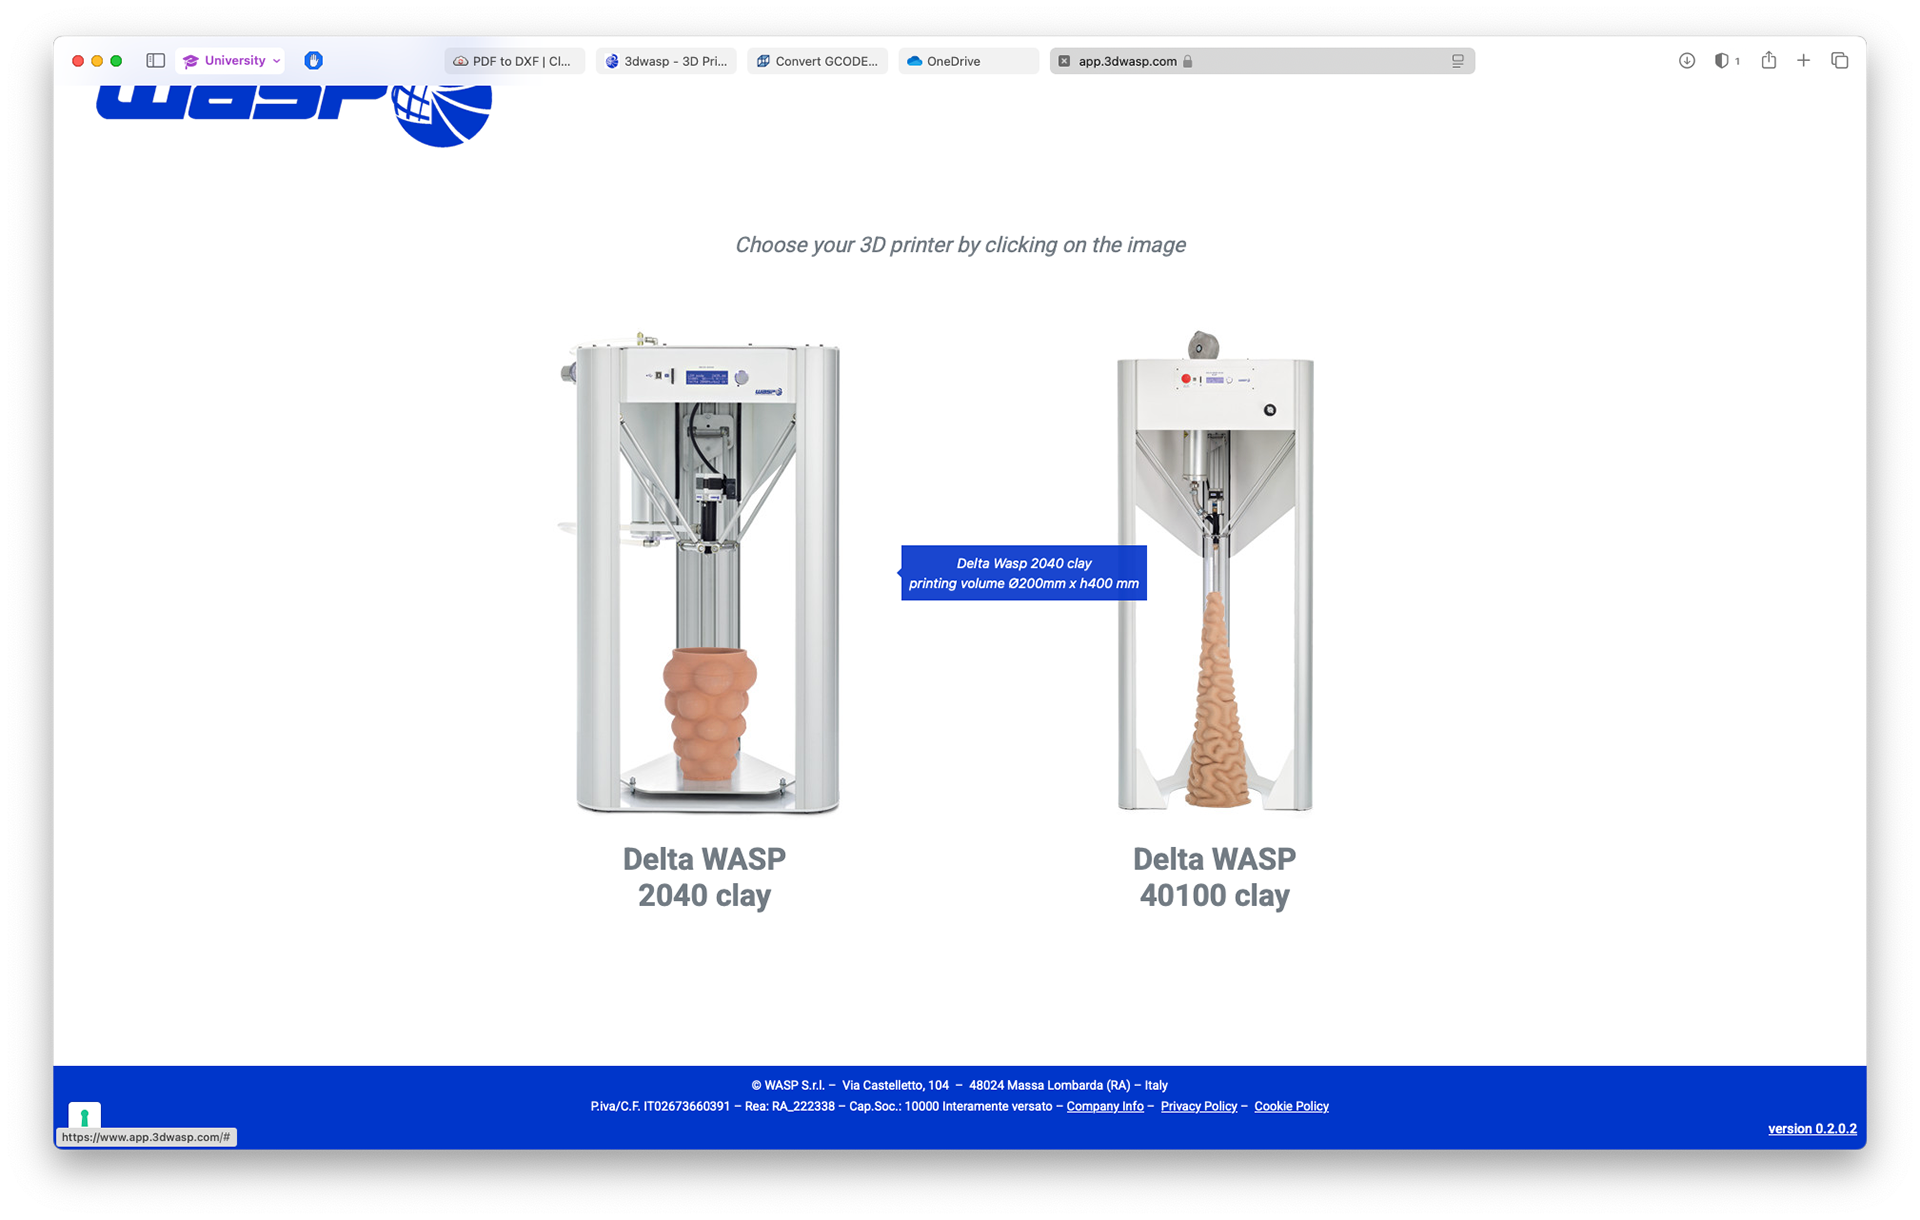
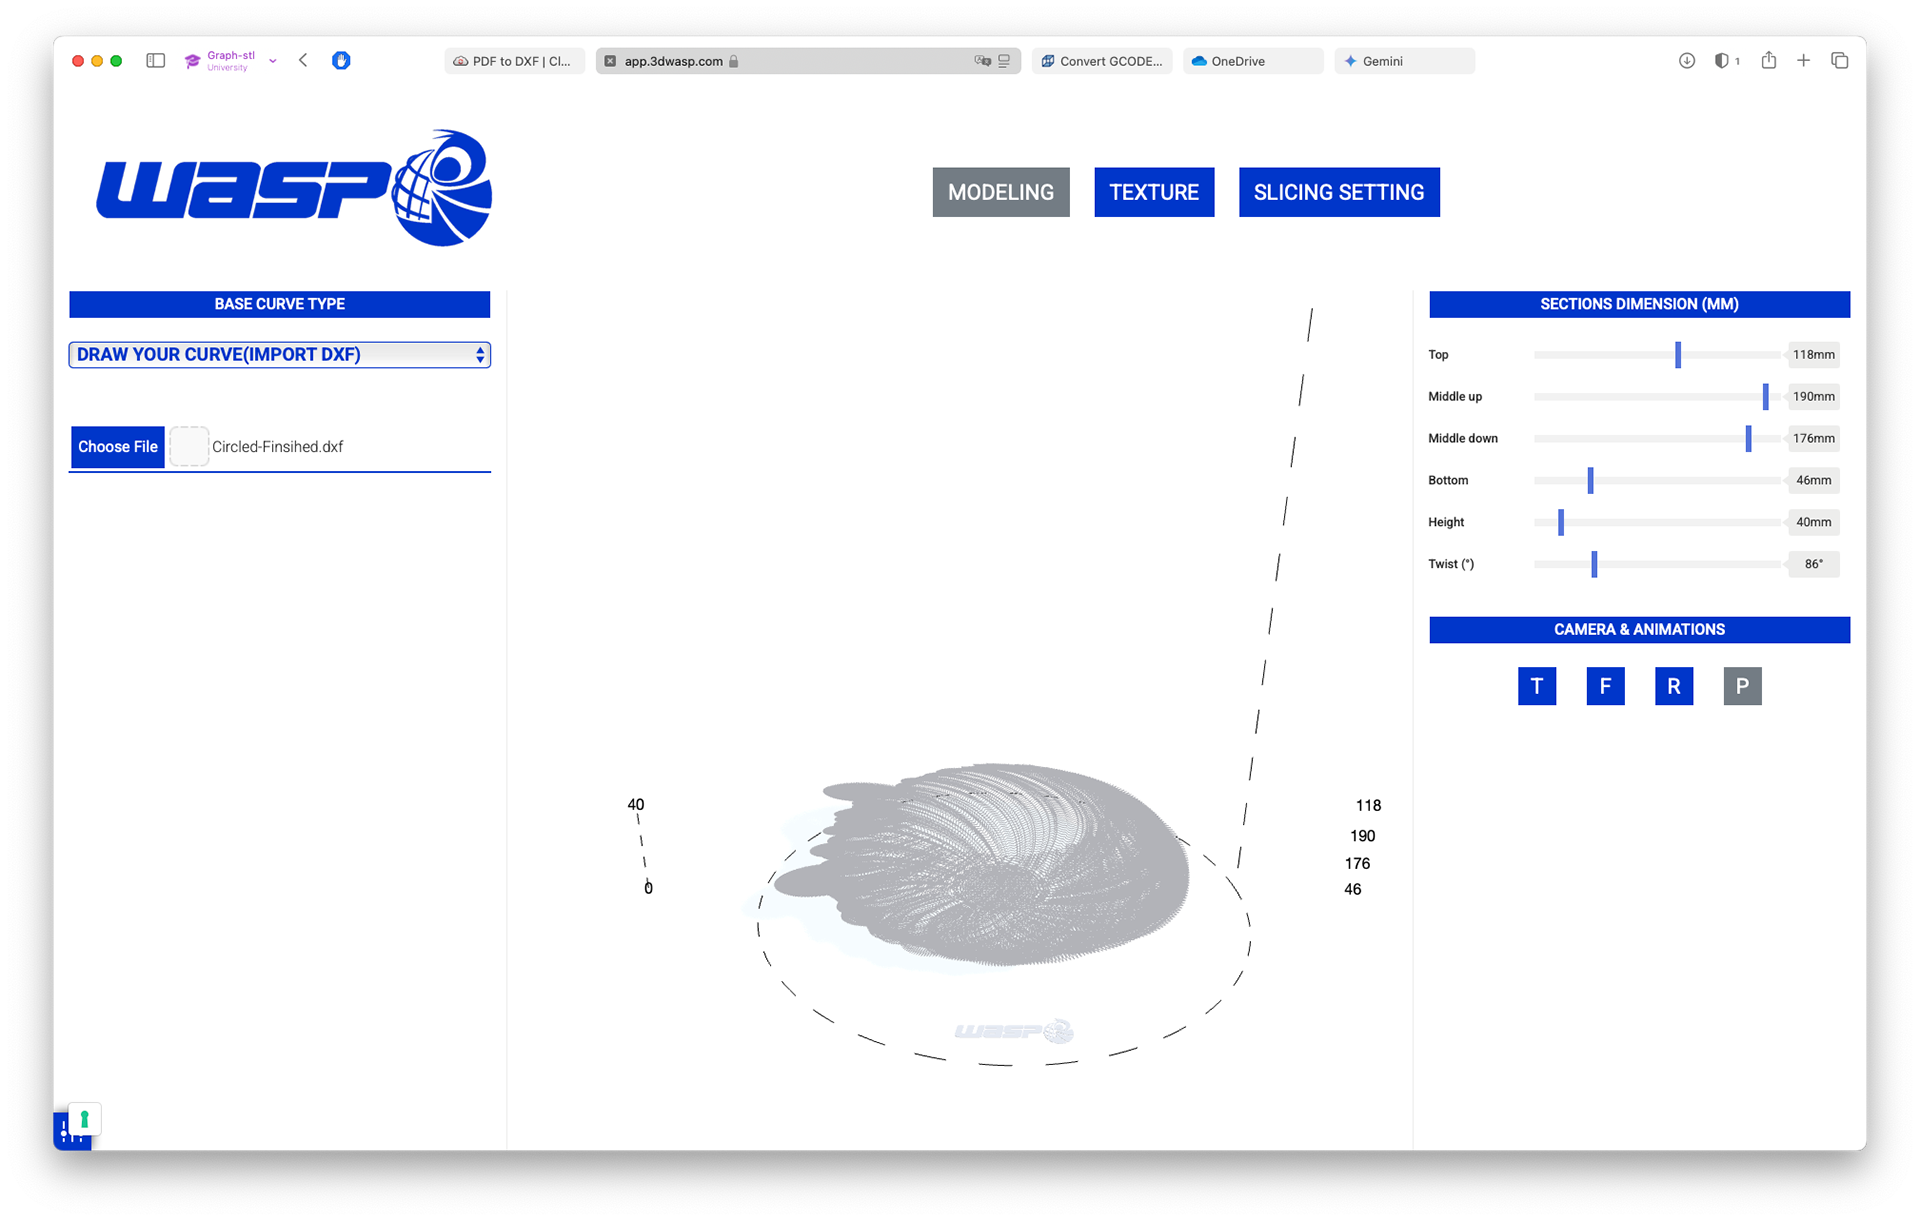
The two machines the software is designed for
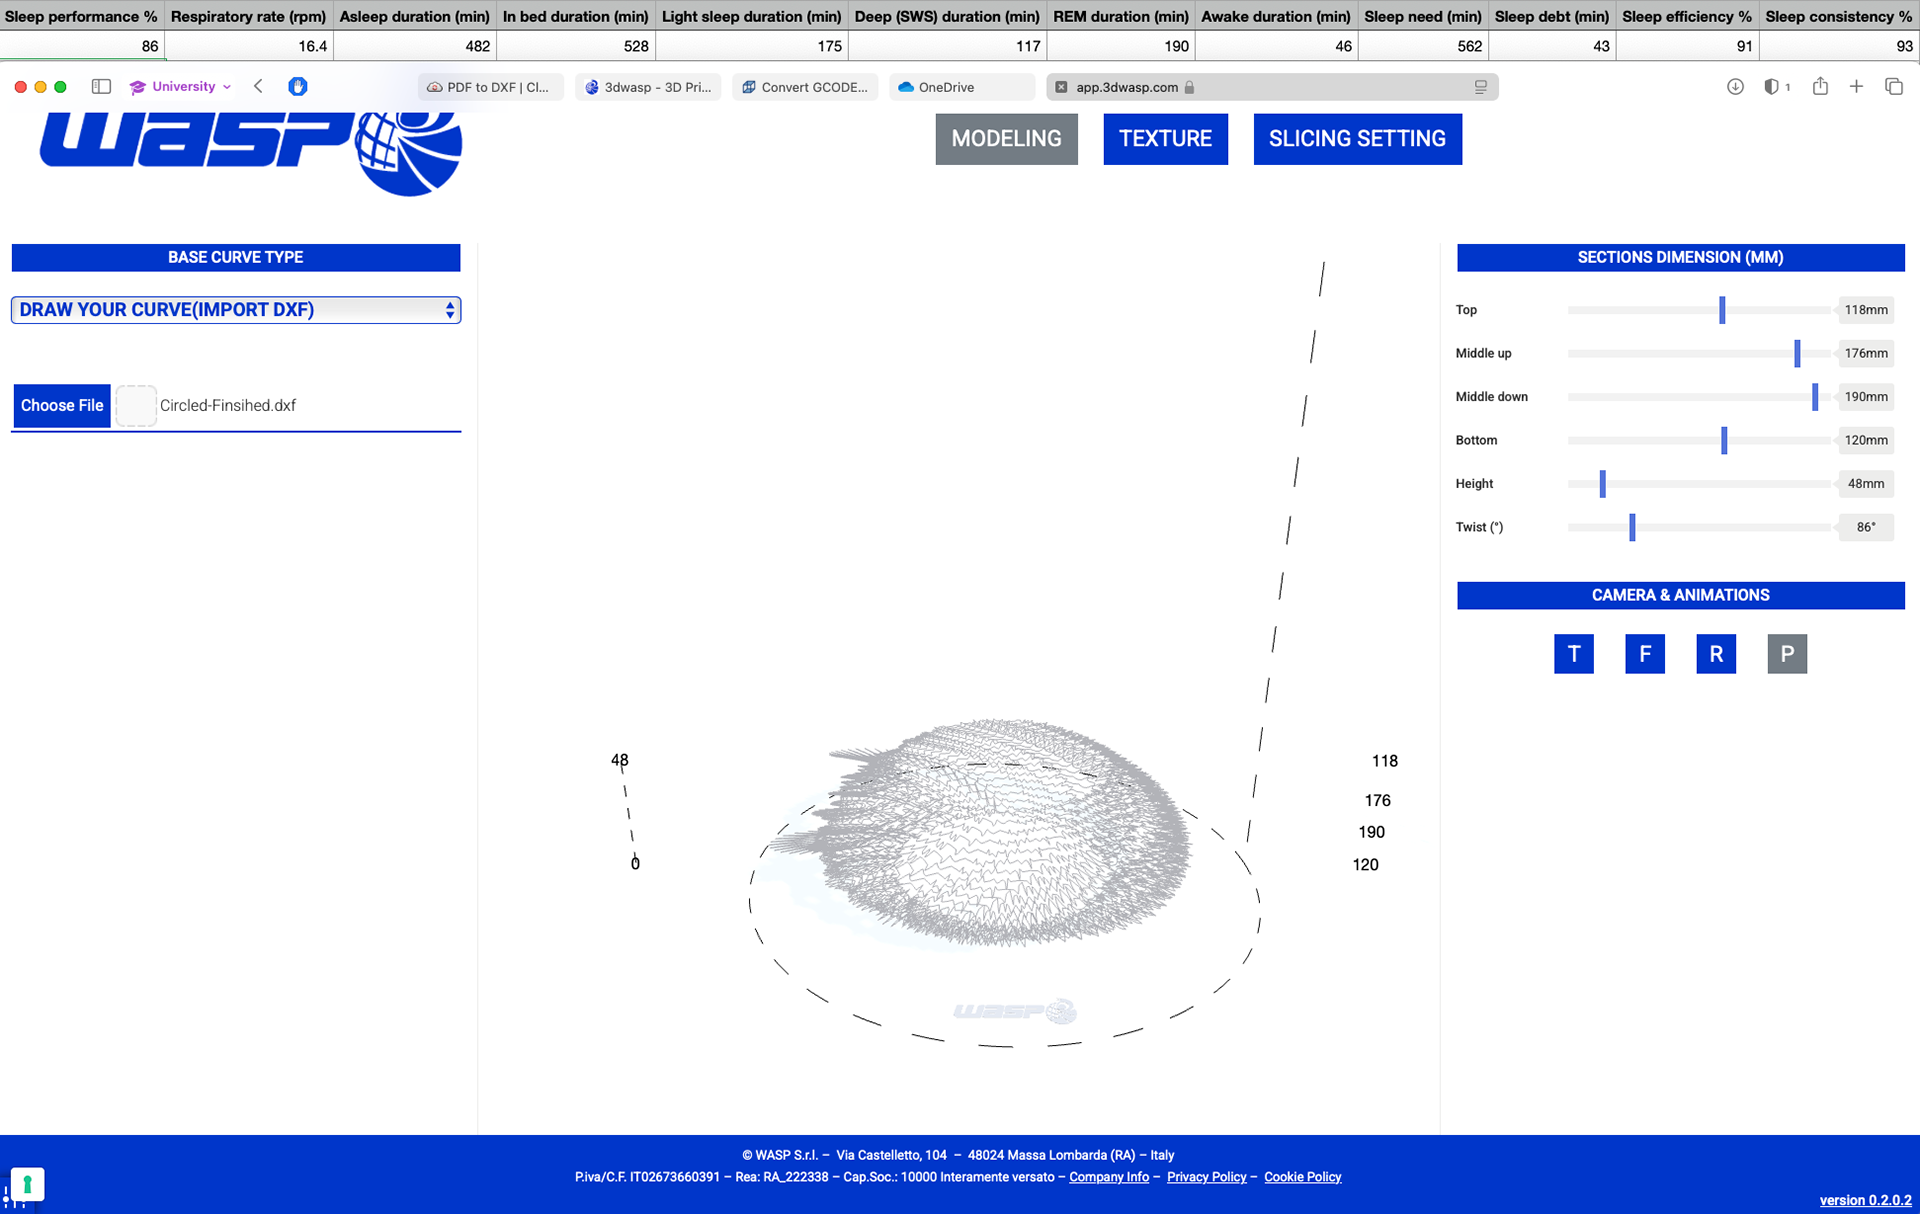
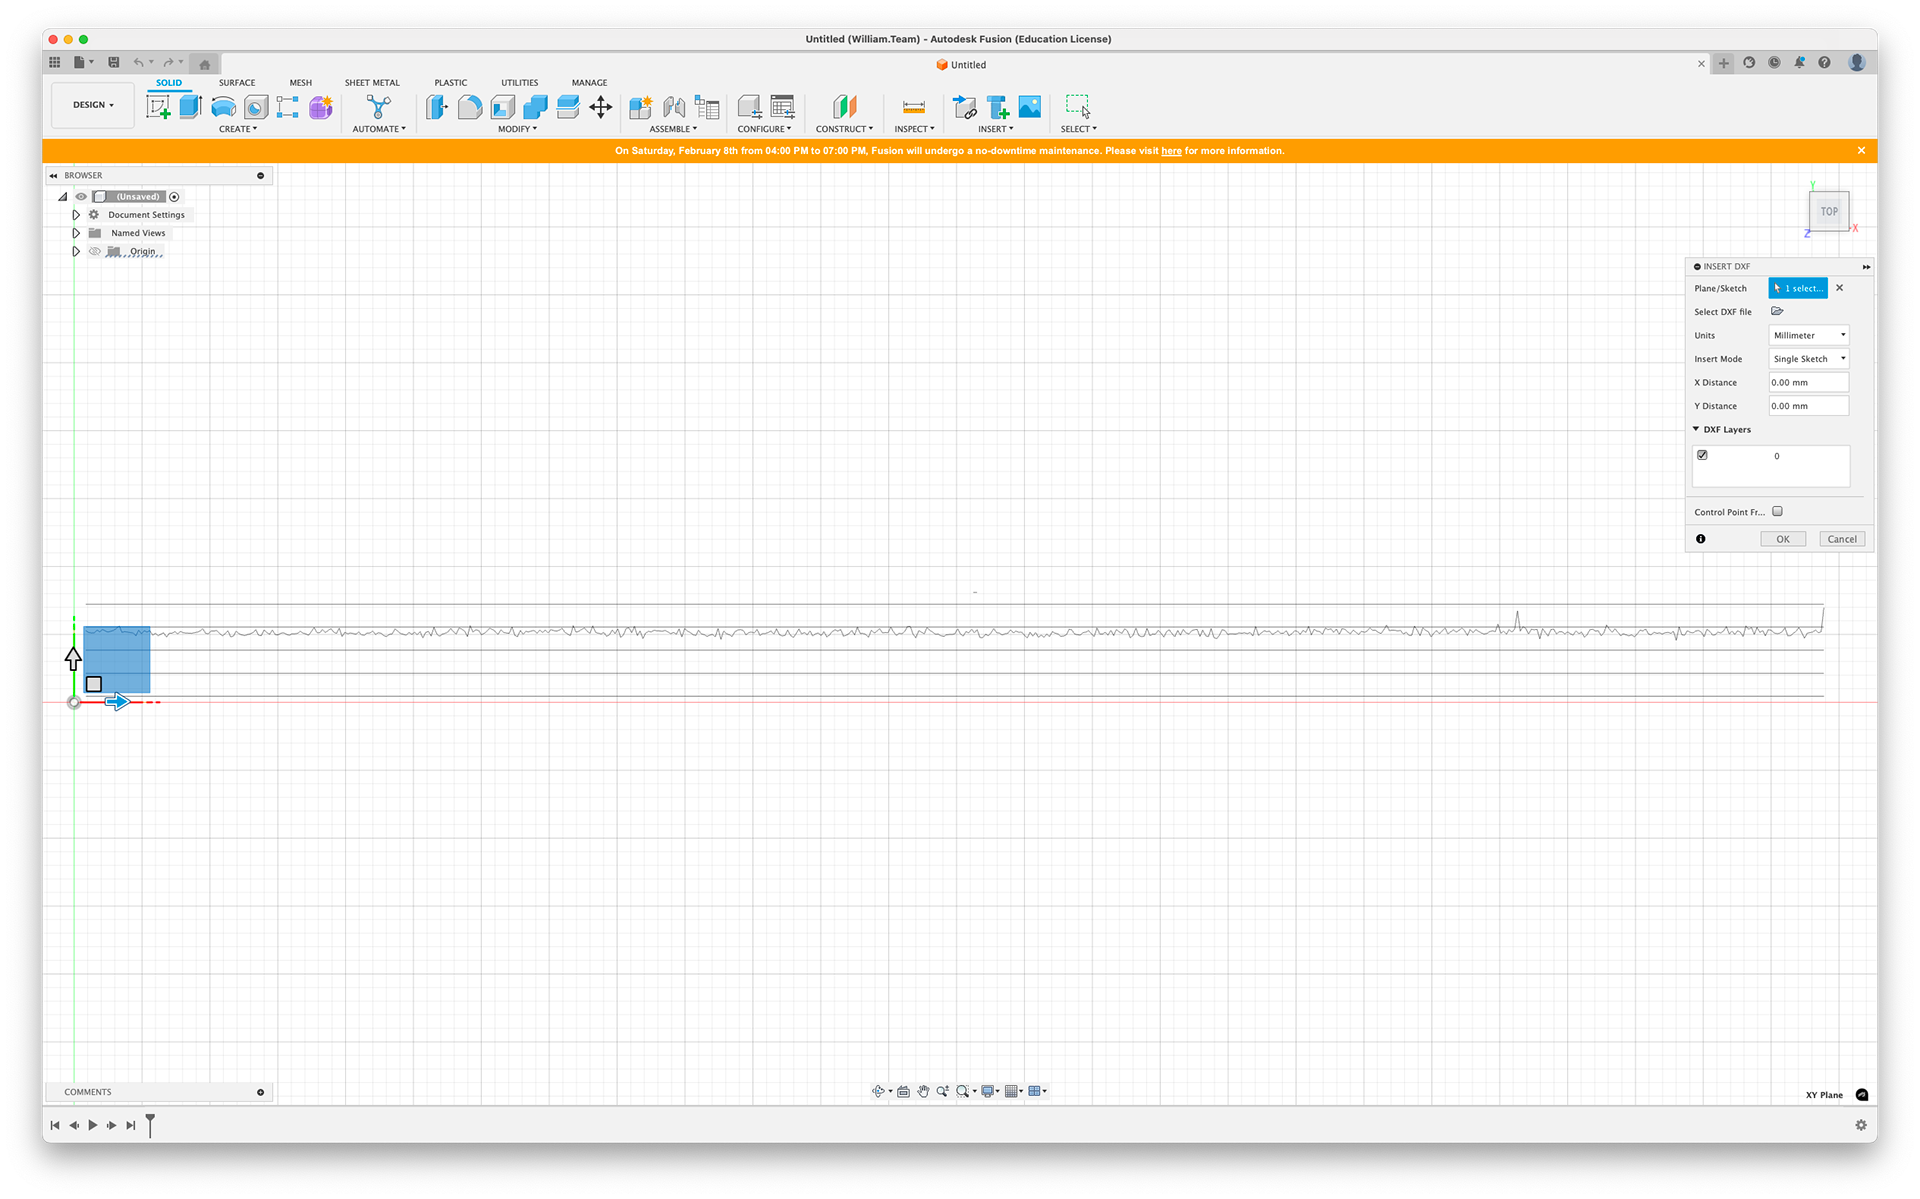
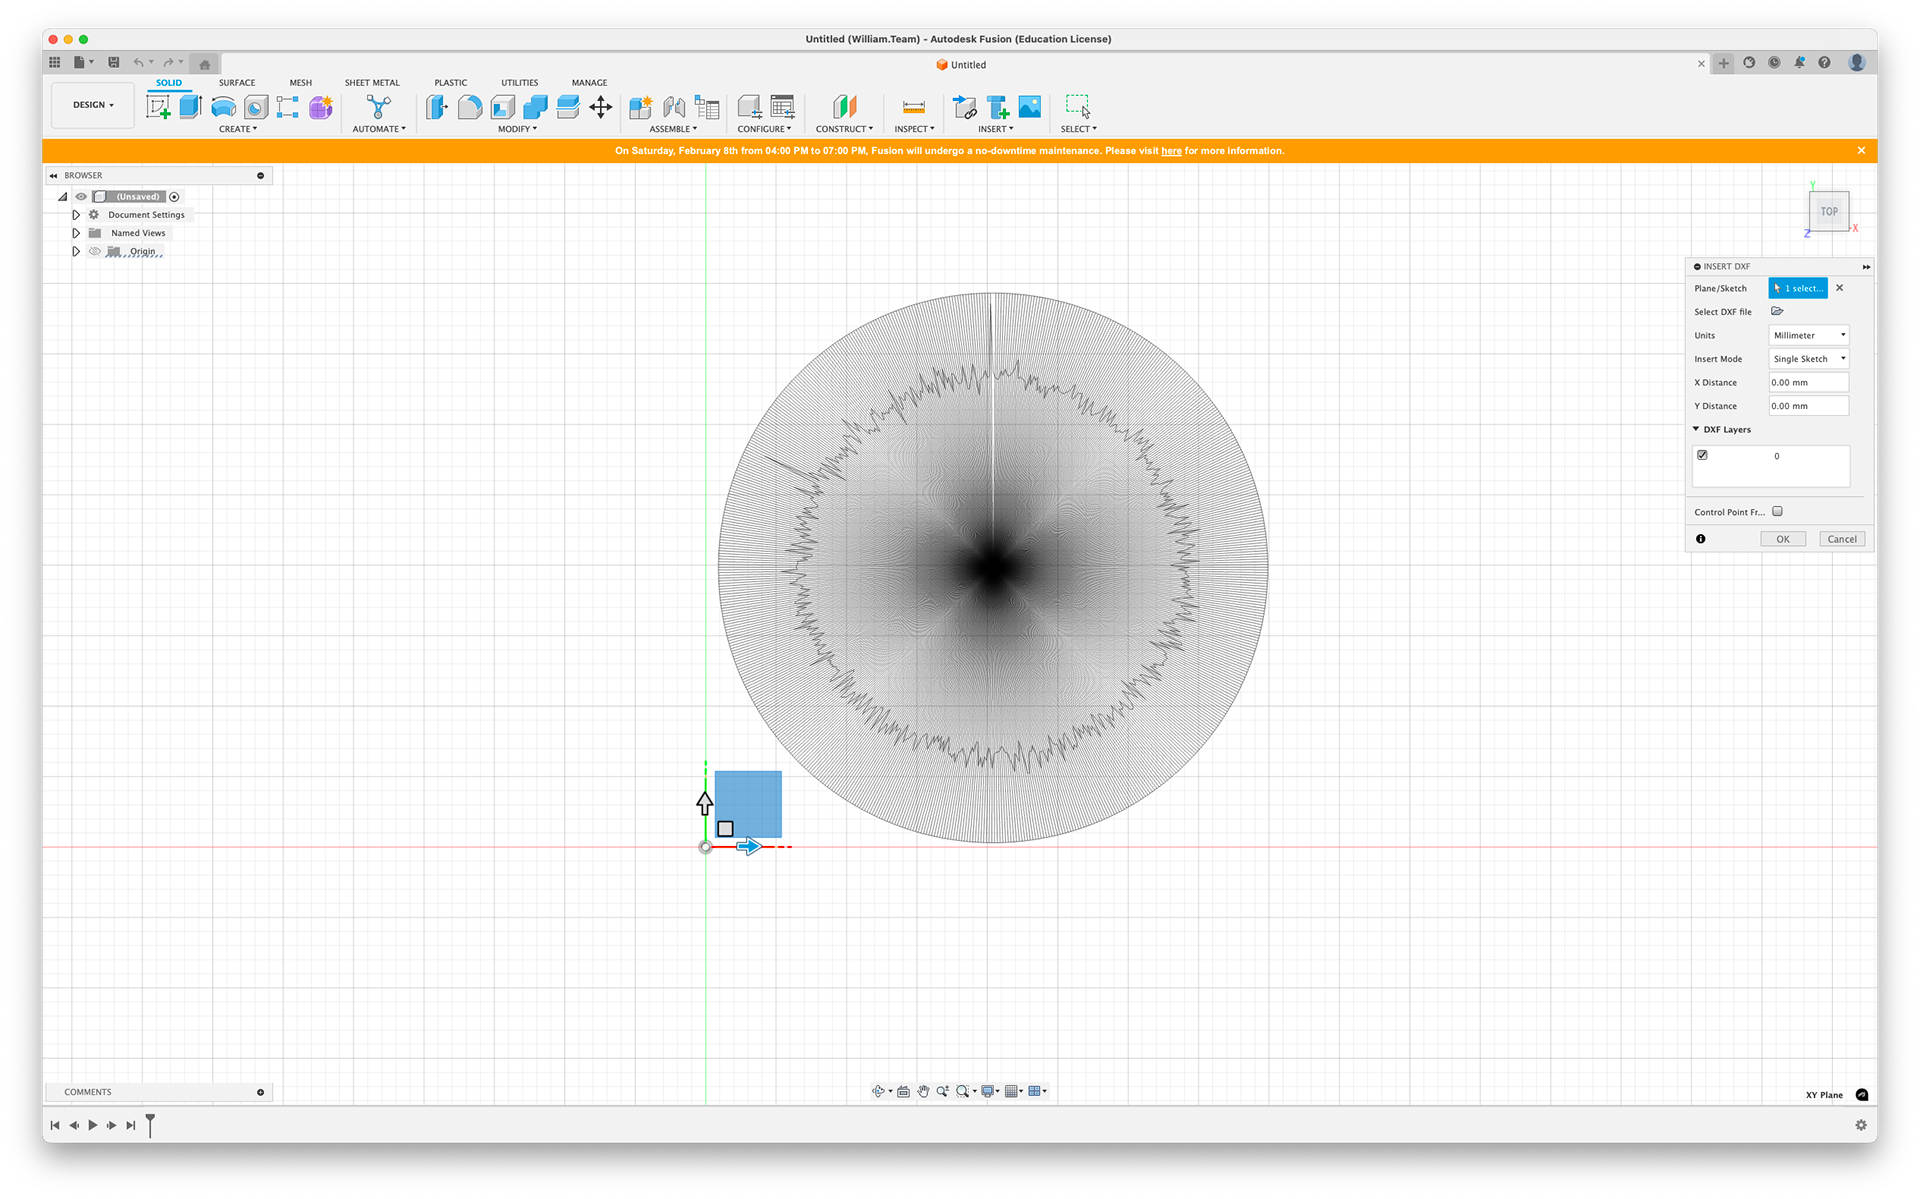
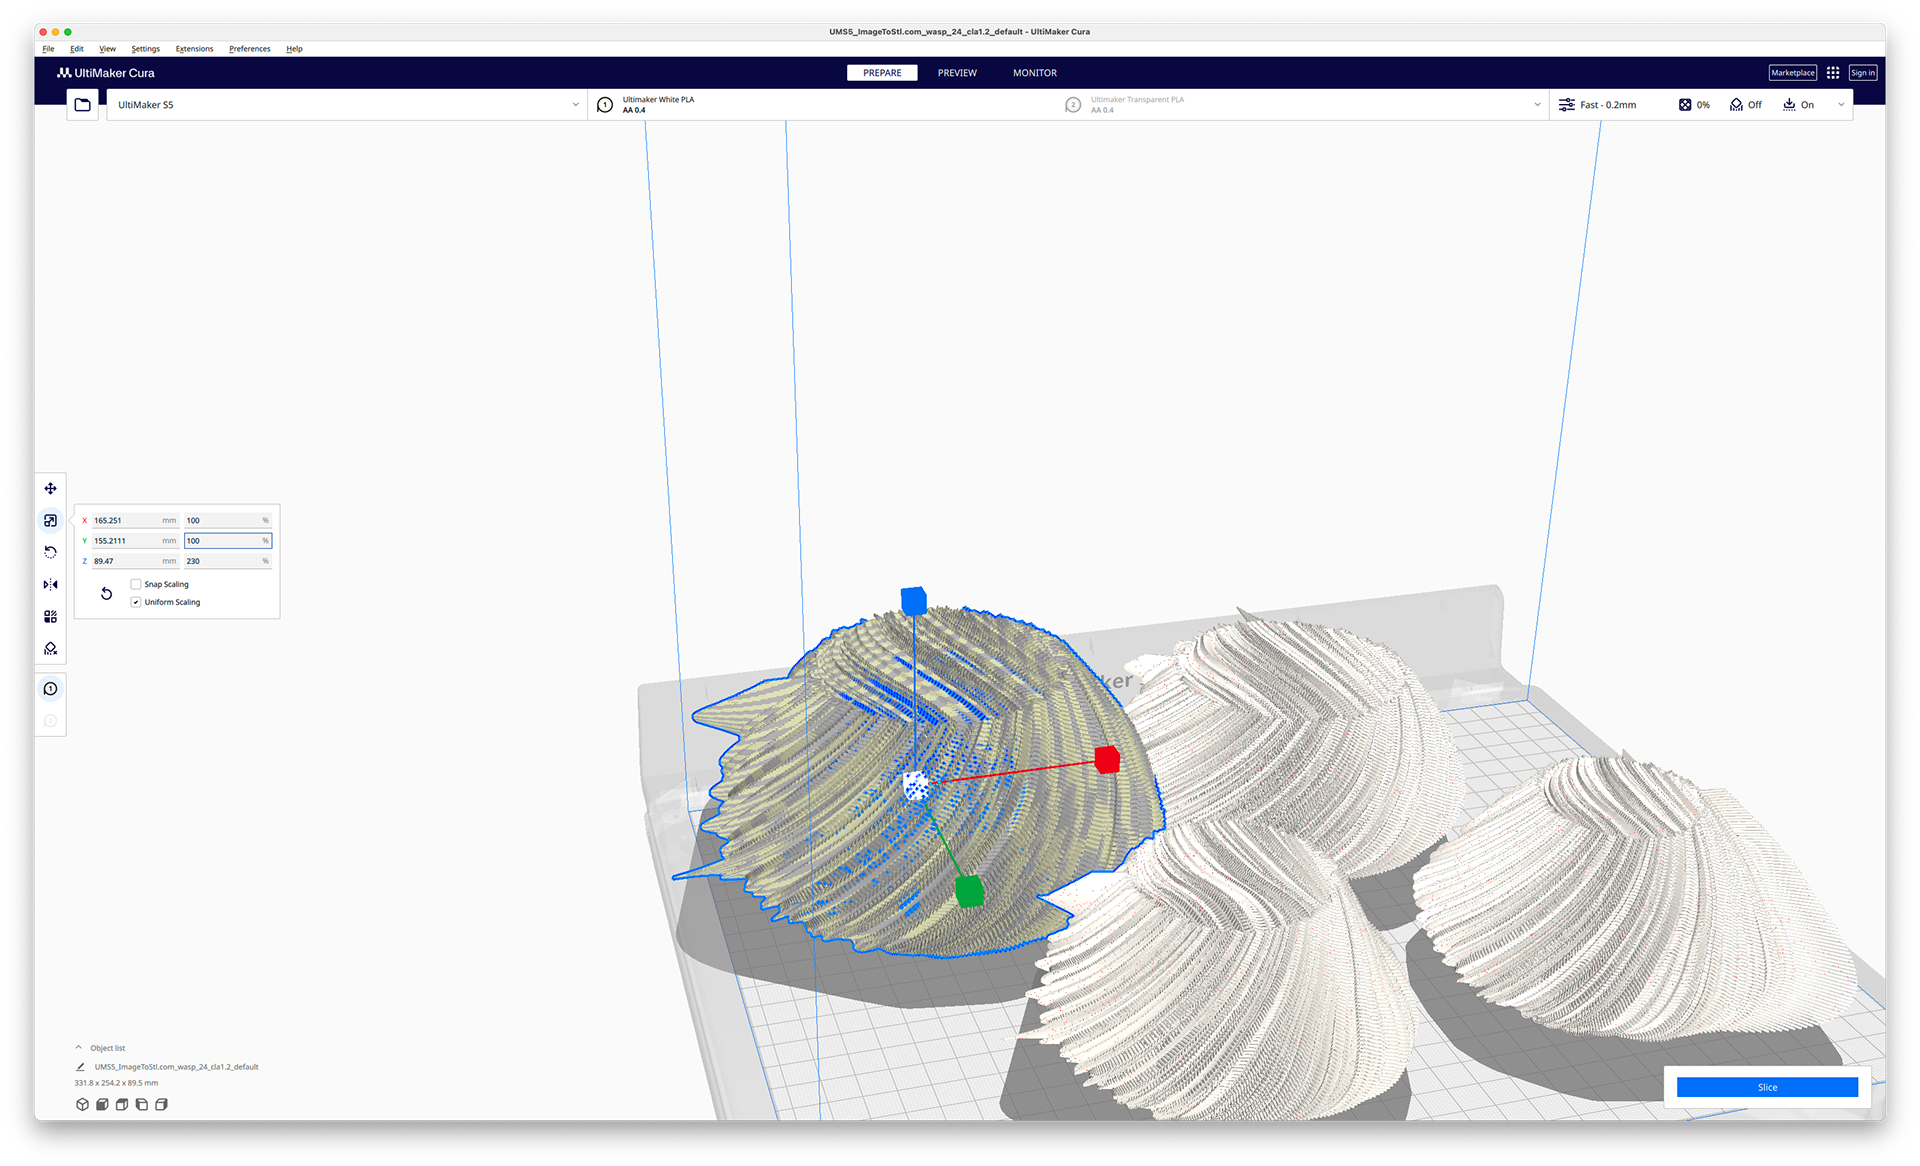
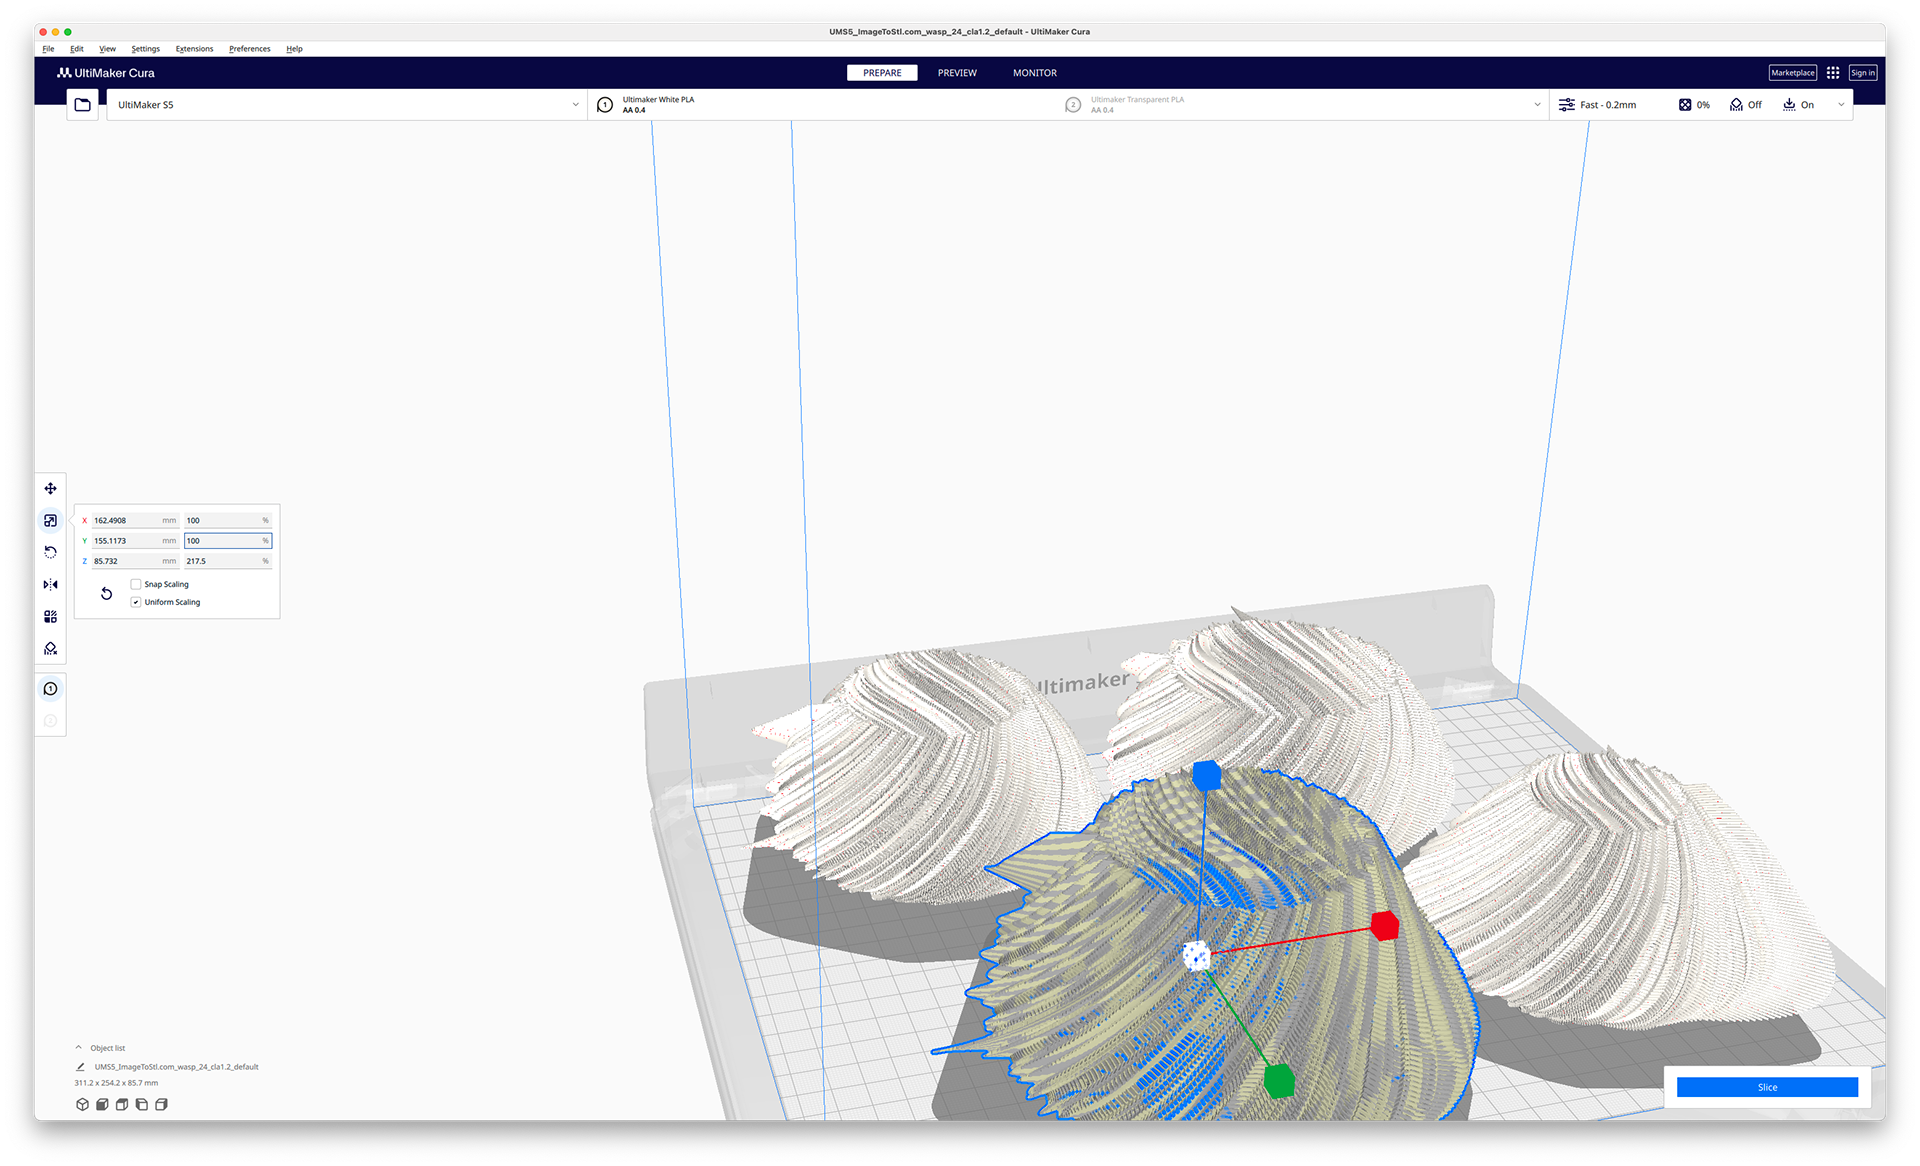
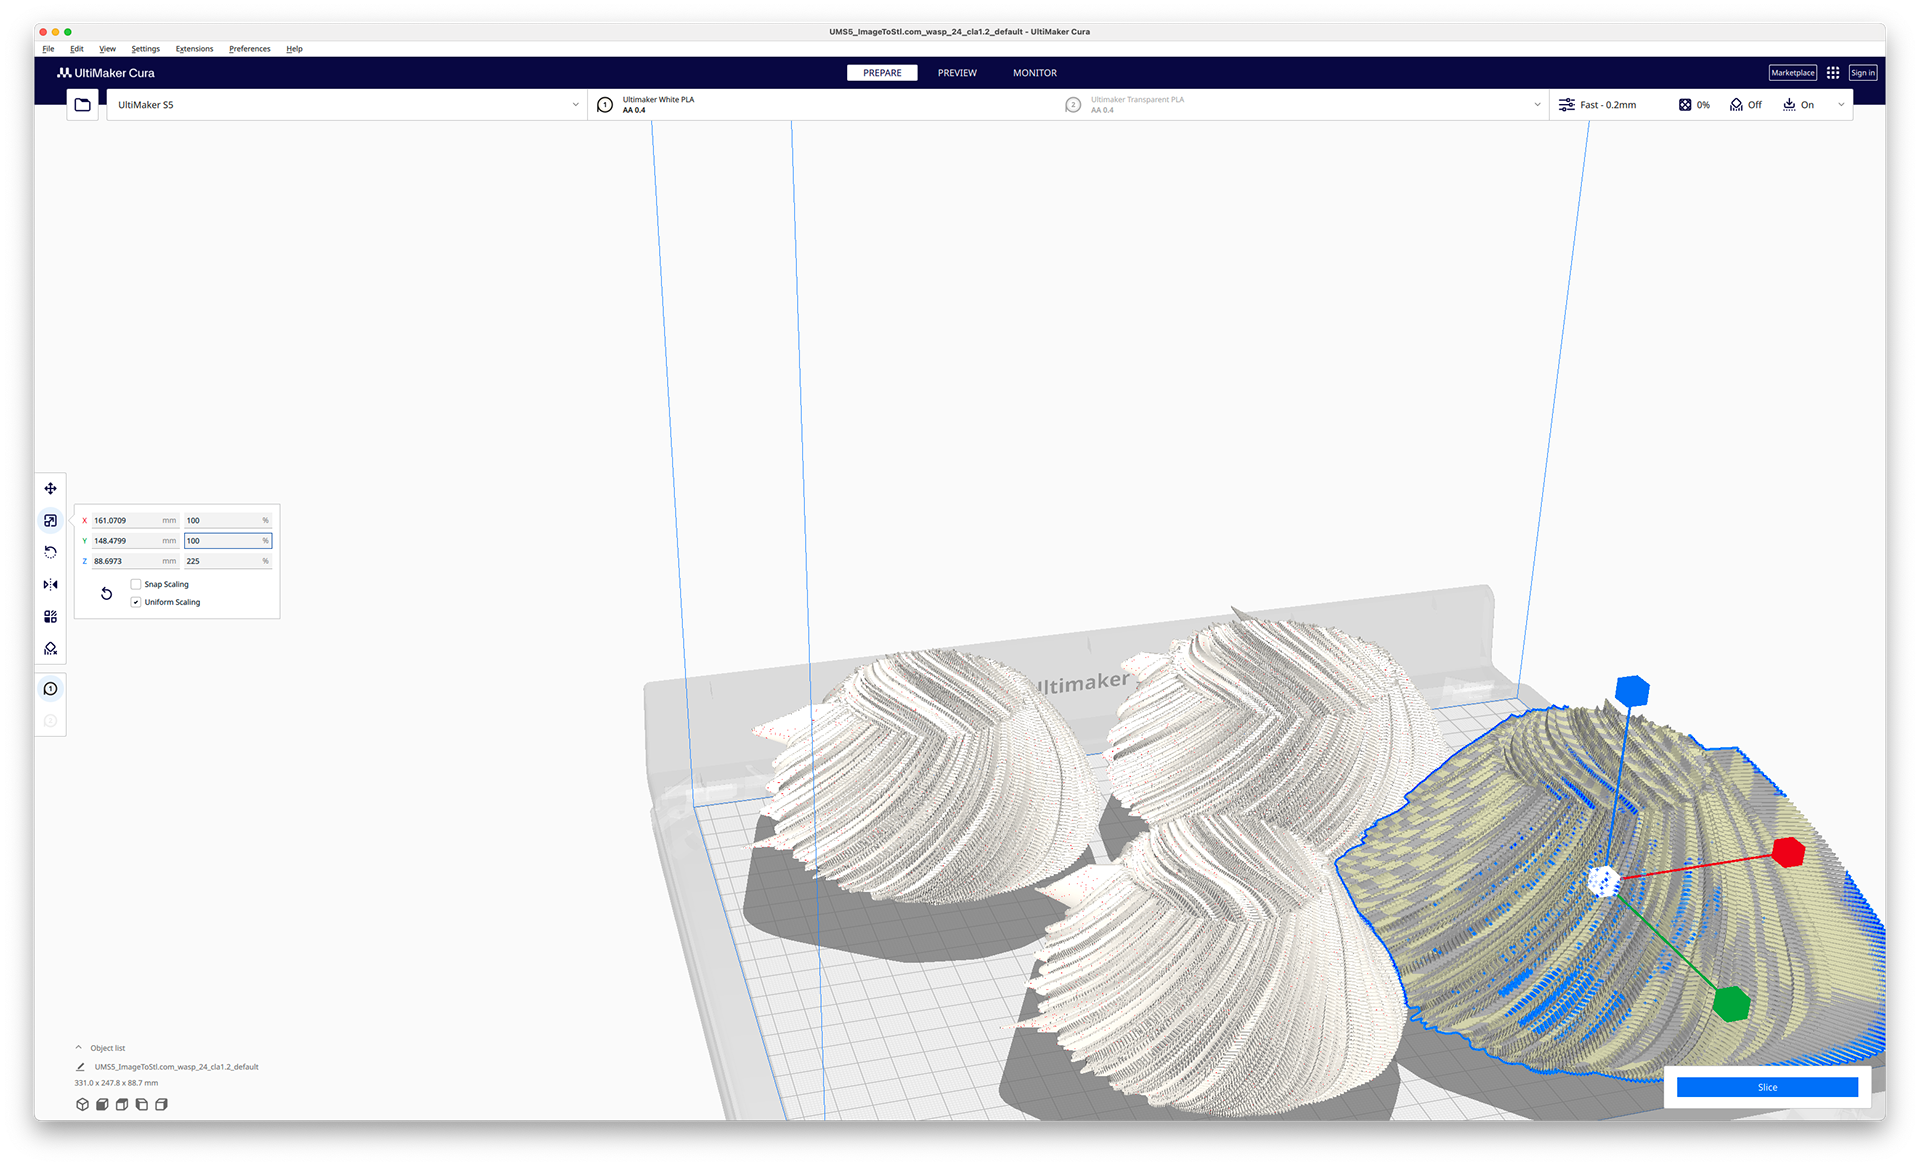
The dxf import and model settings
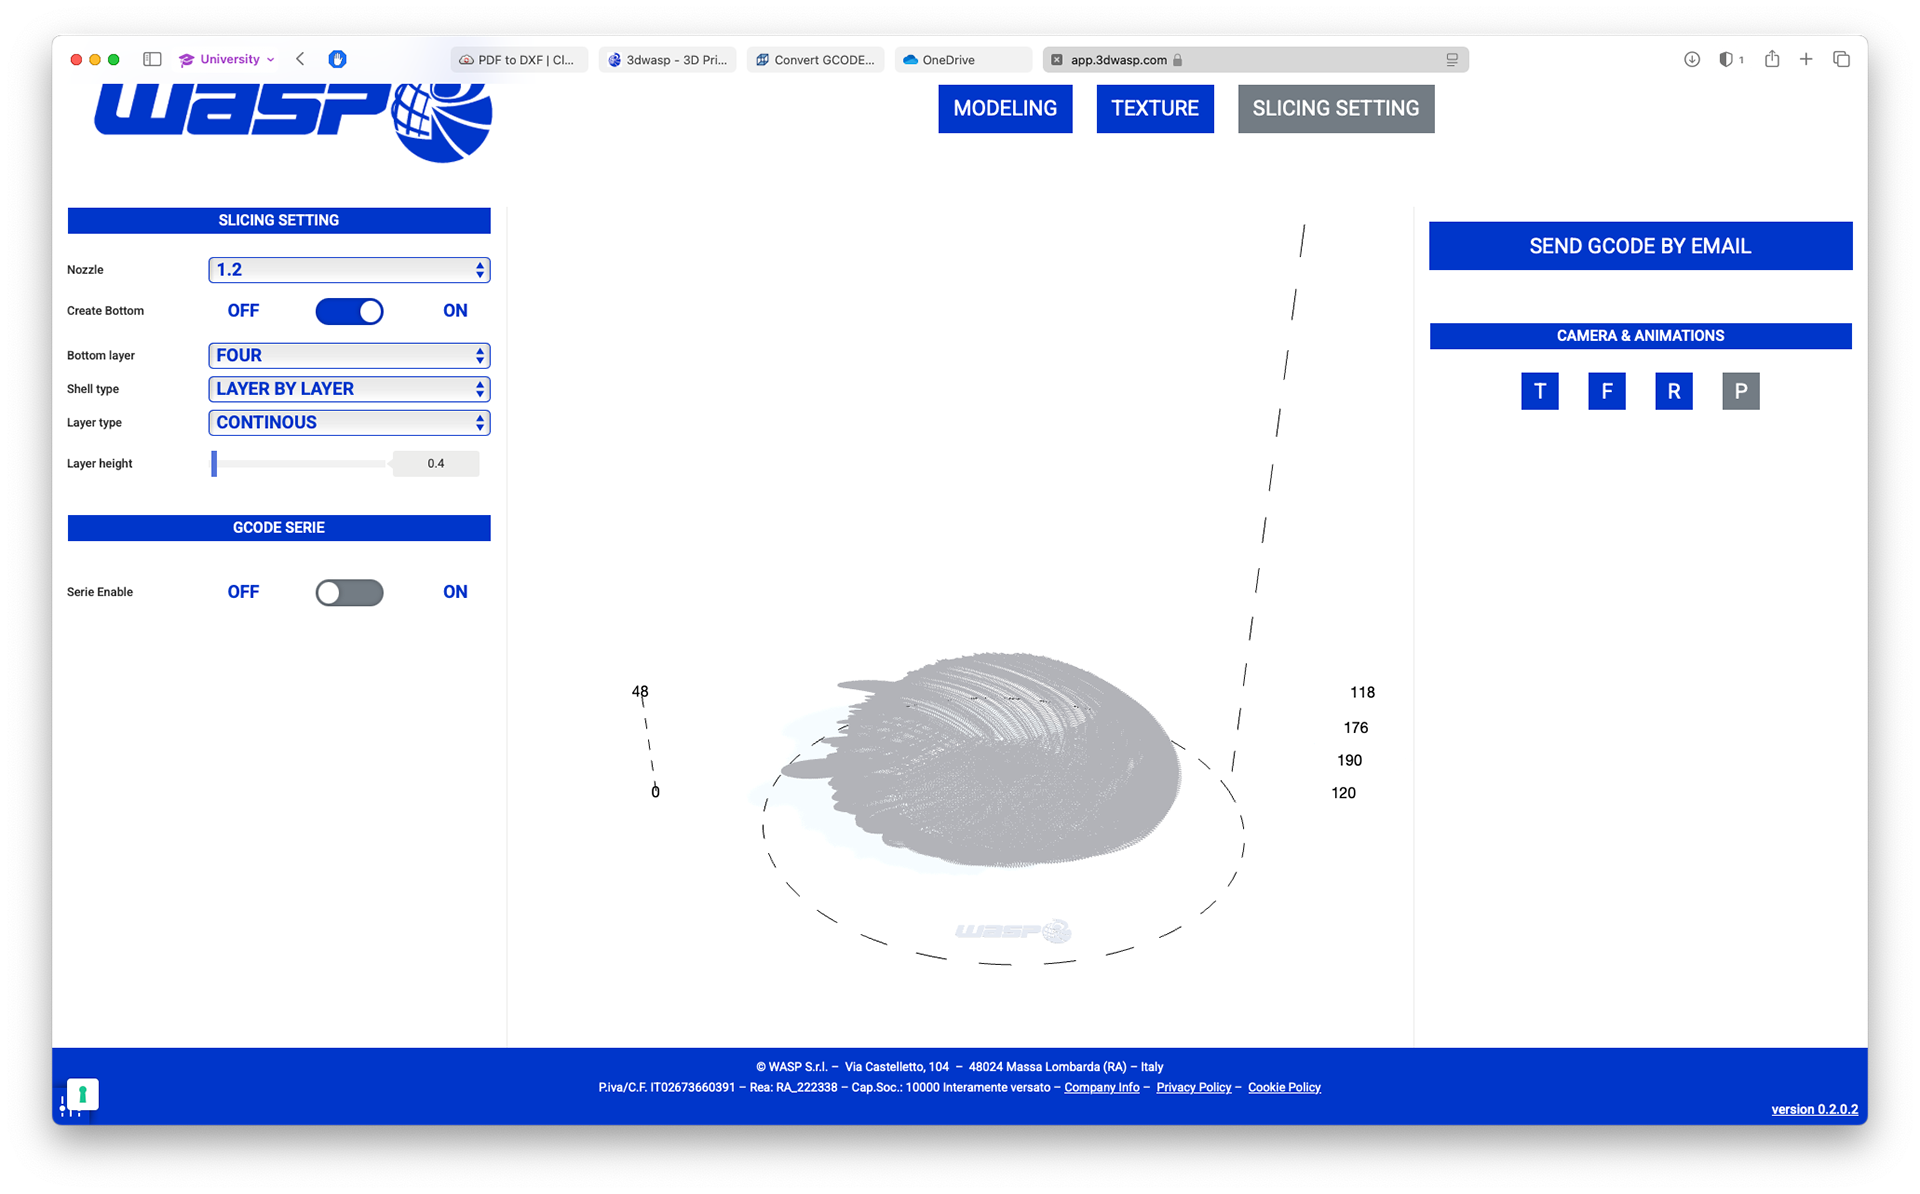
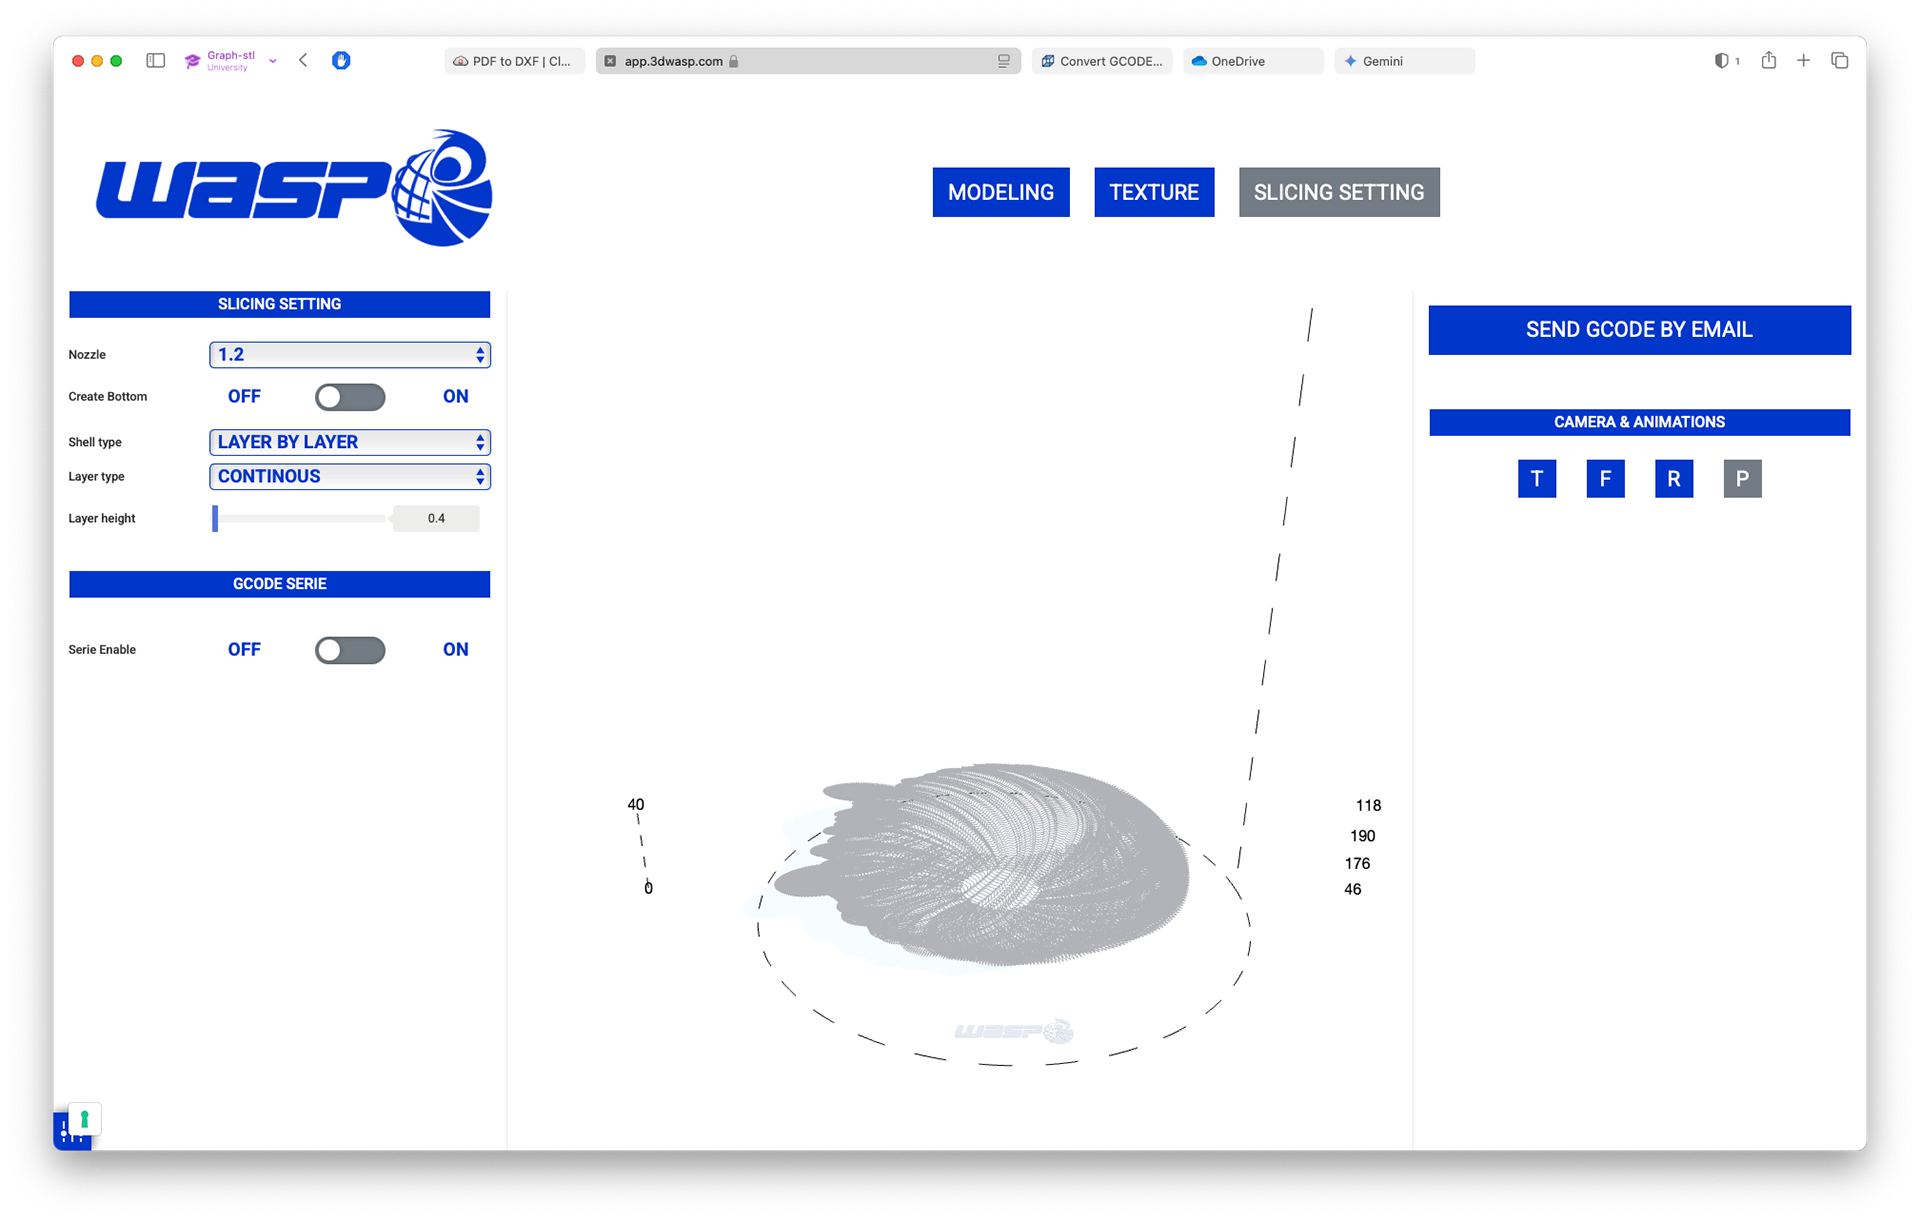
The slicing settings
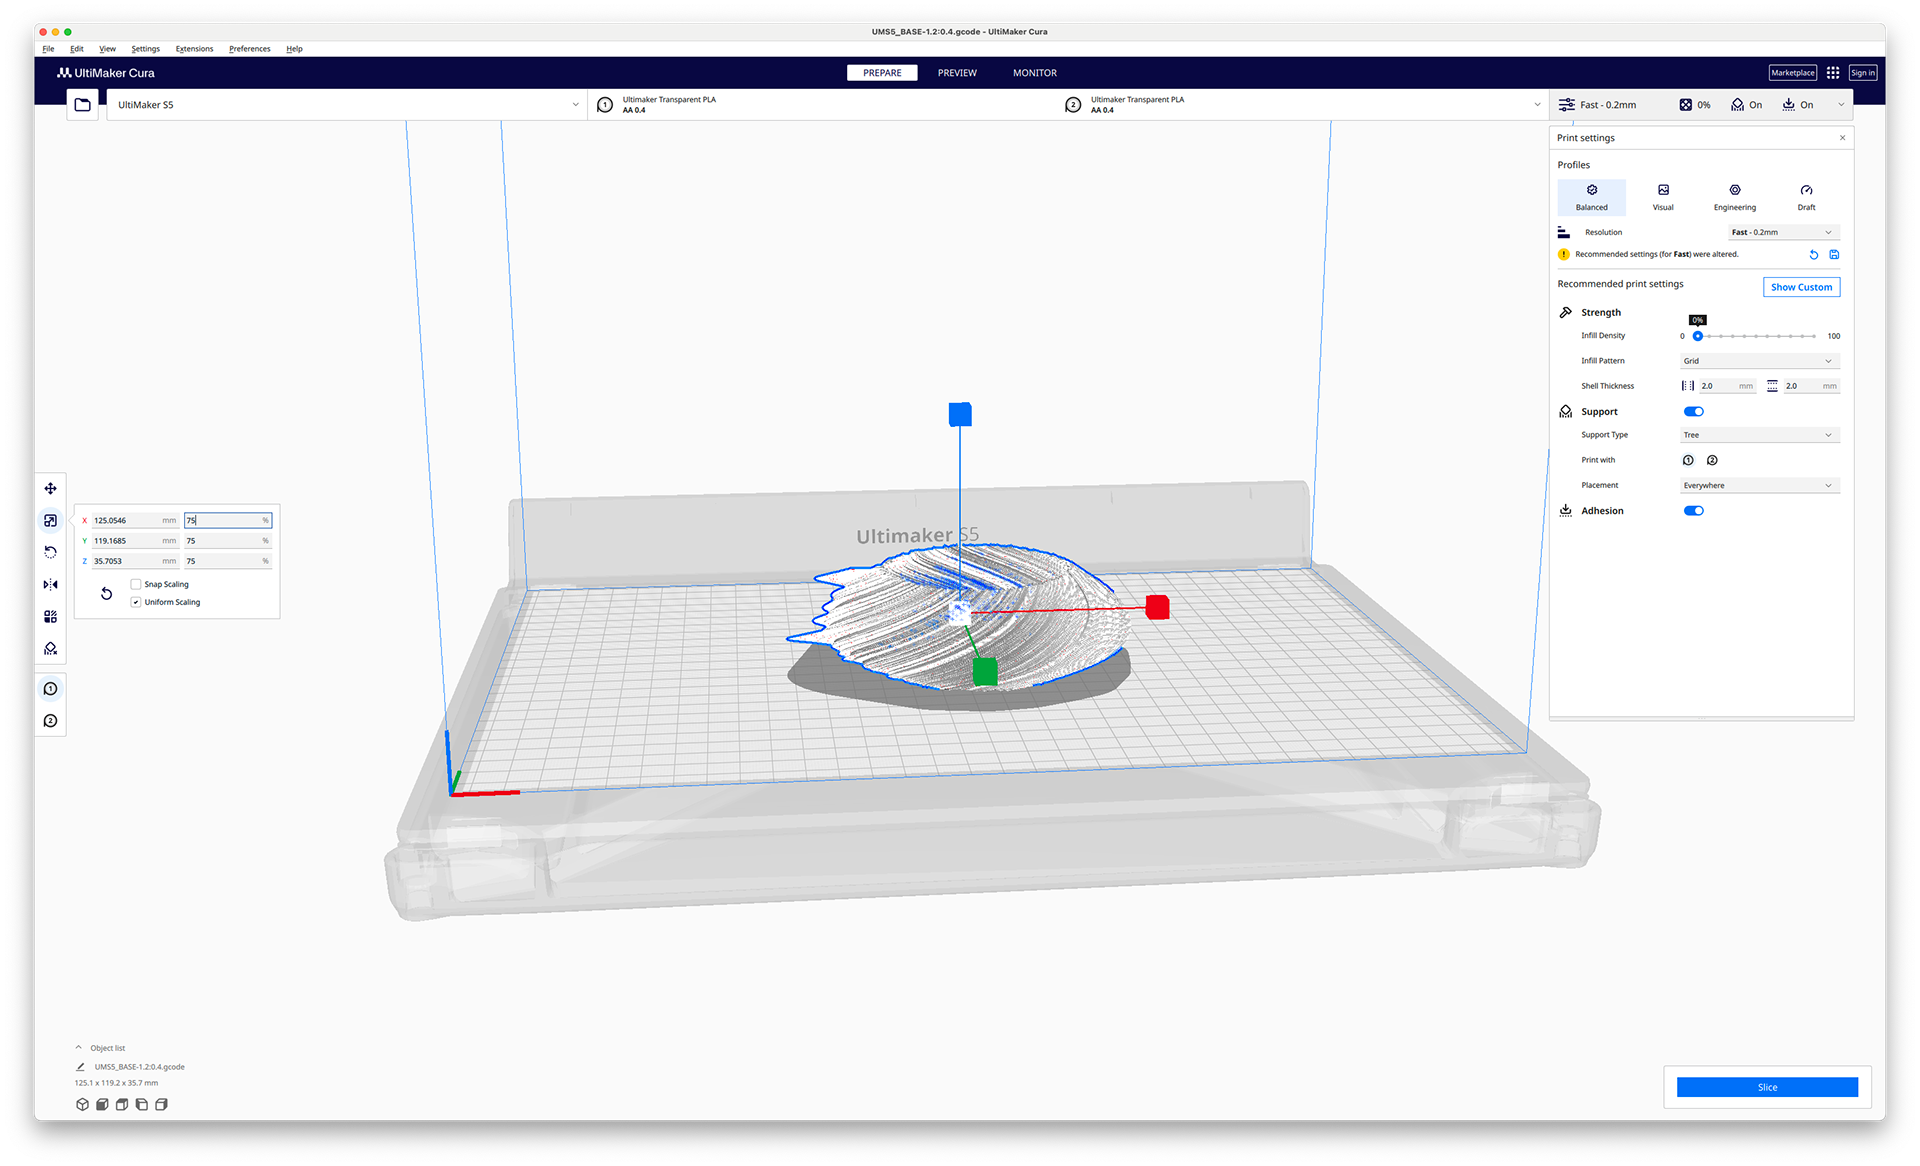
Cura settings


Model Settings
Slicer Settings
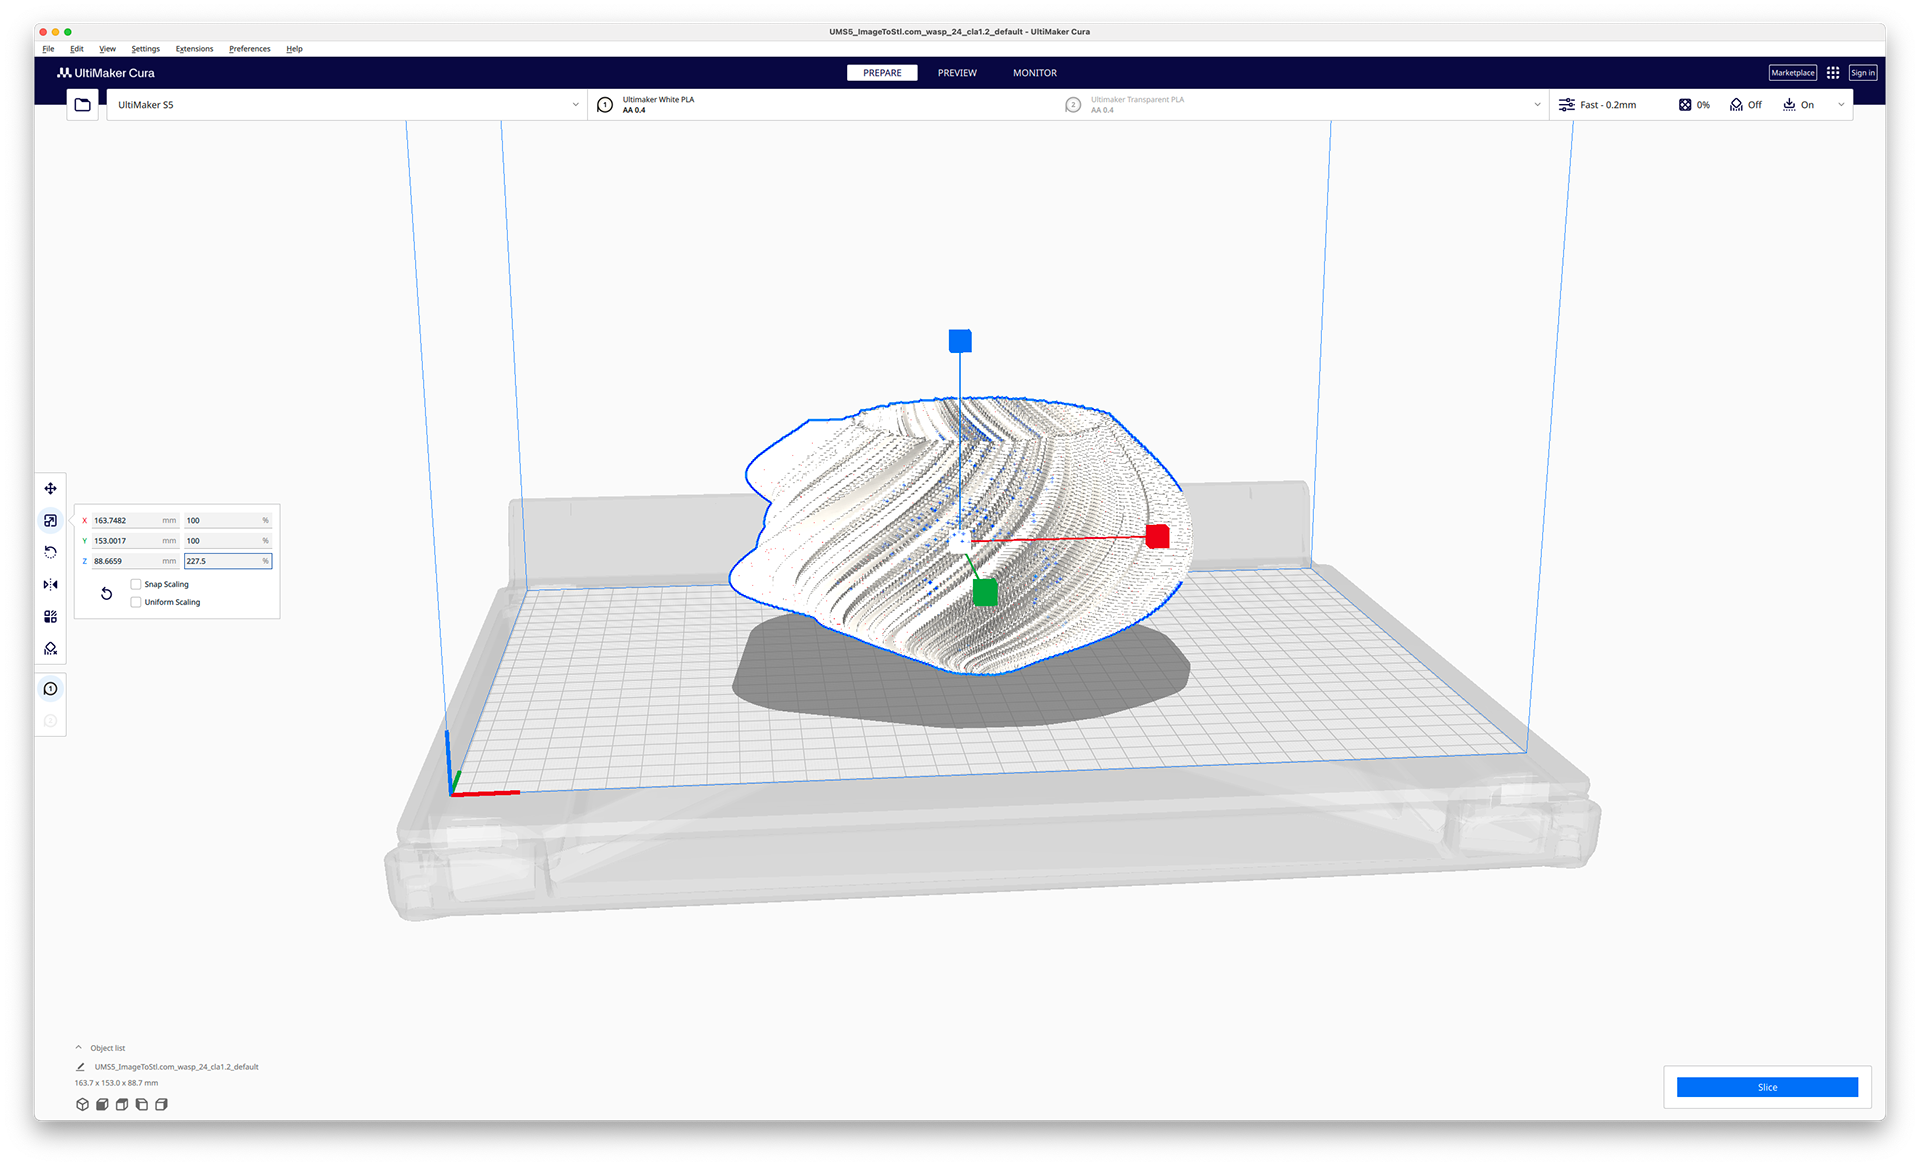
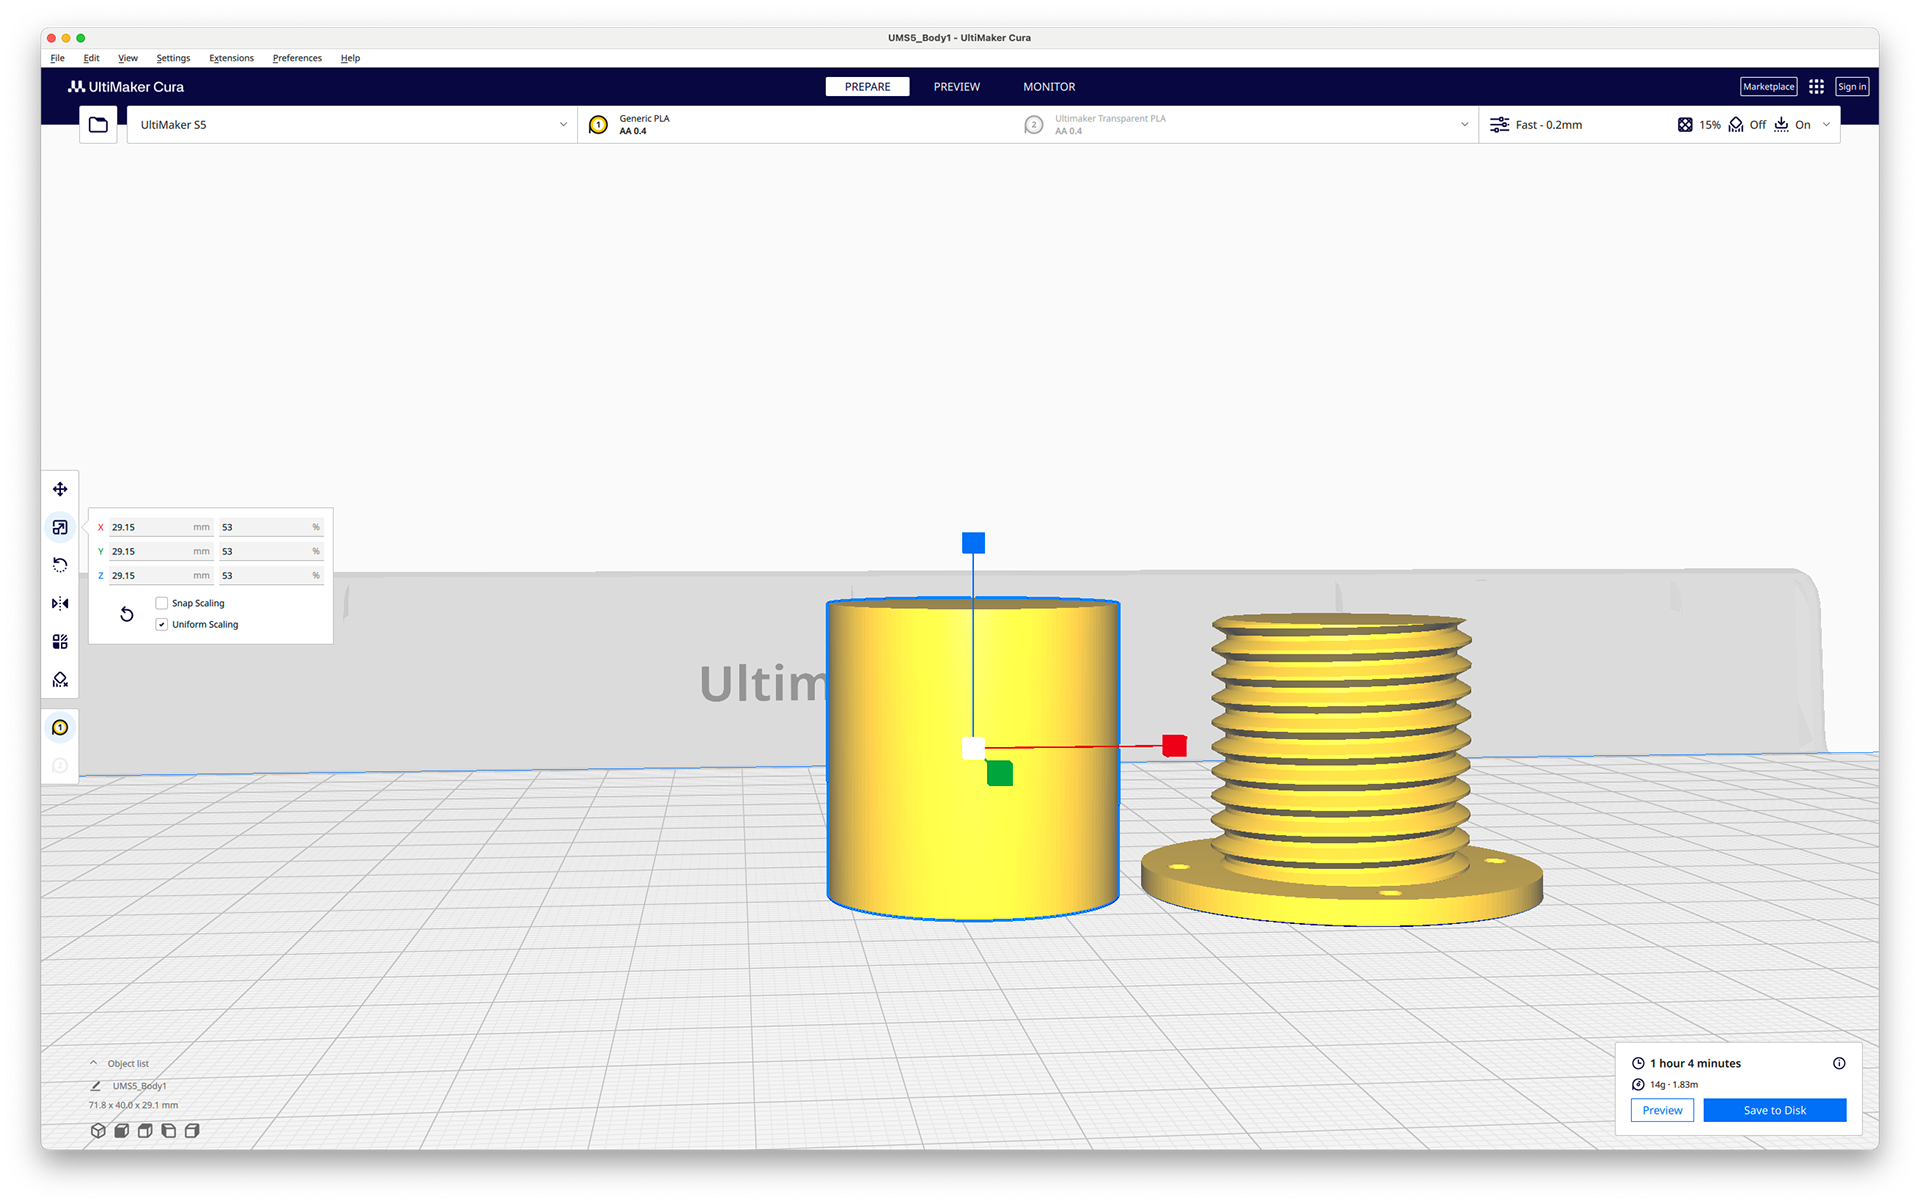
Scale Z axis
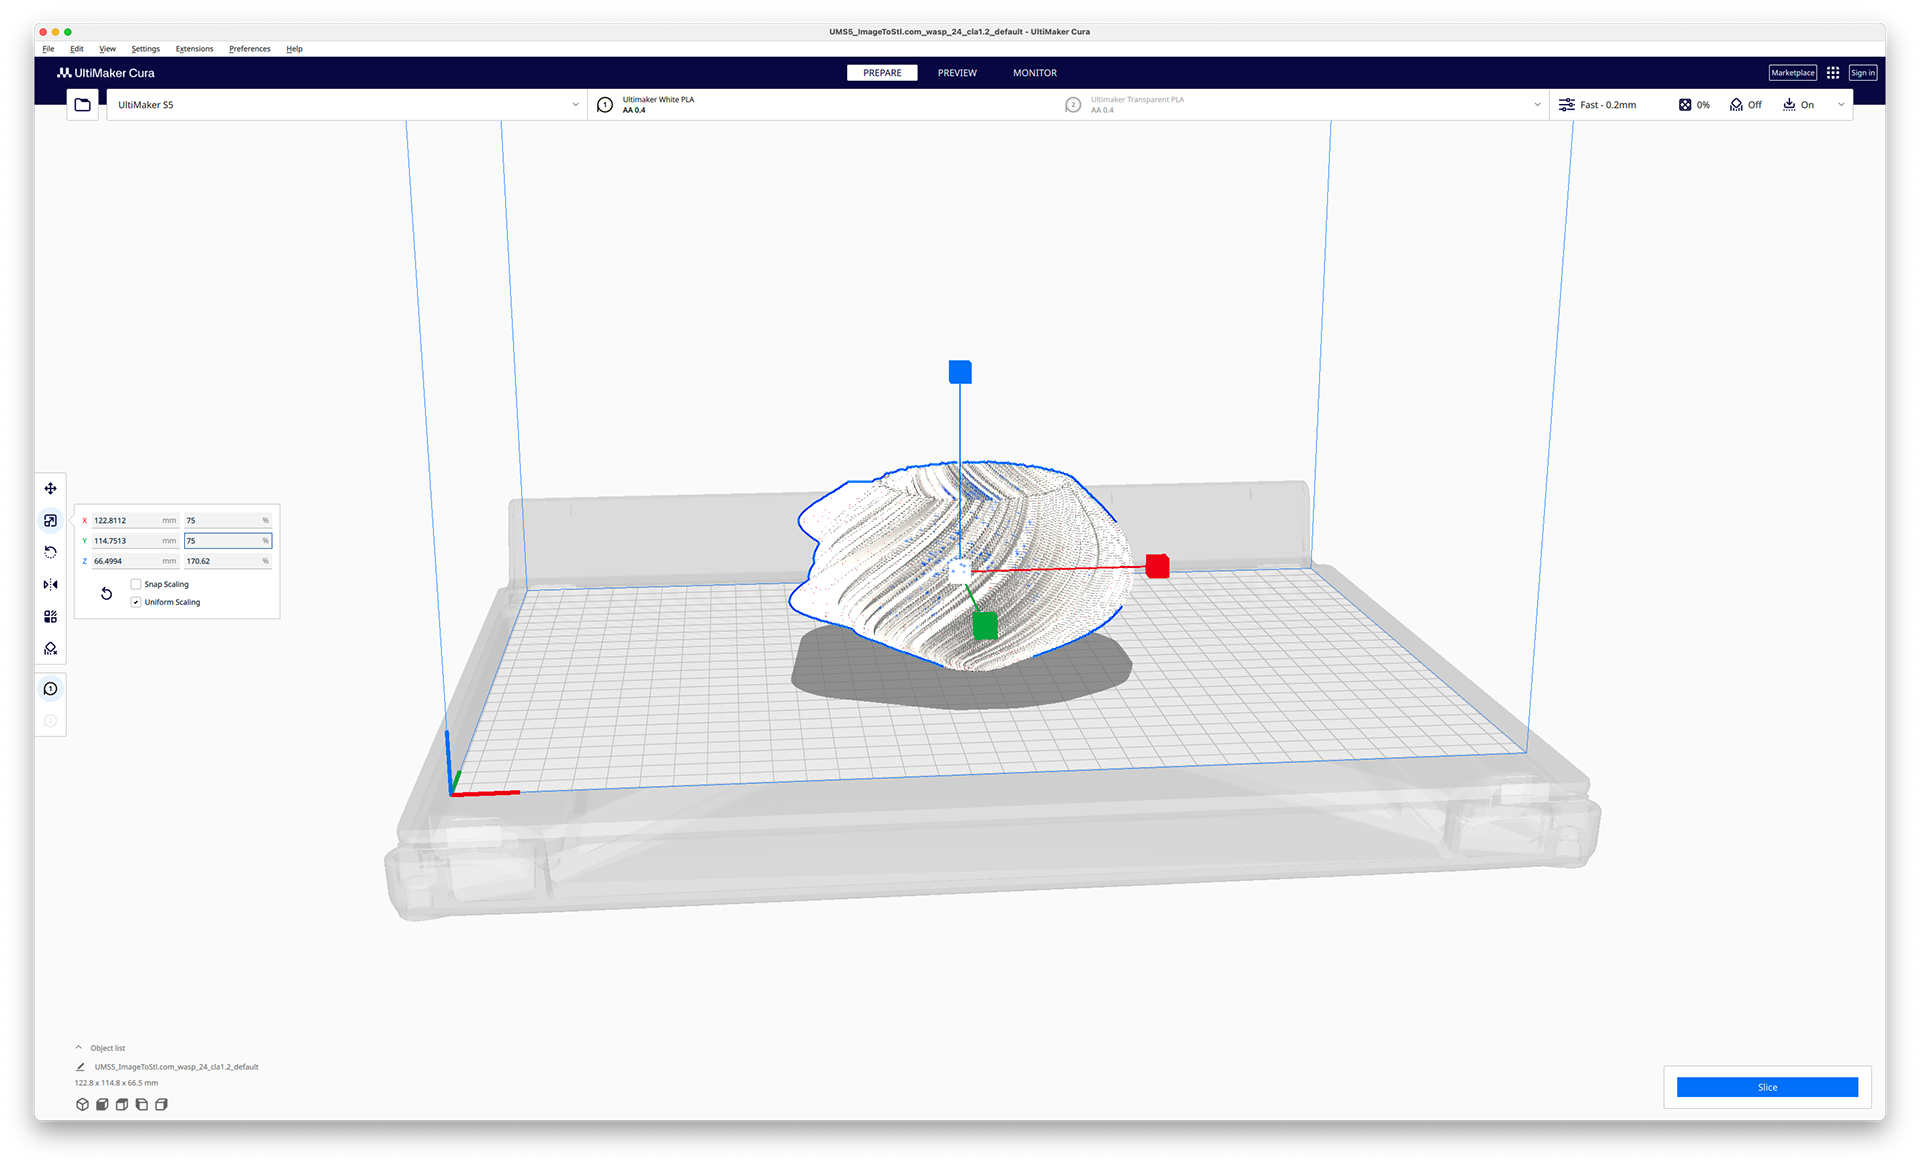
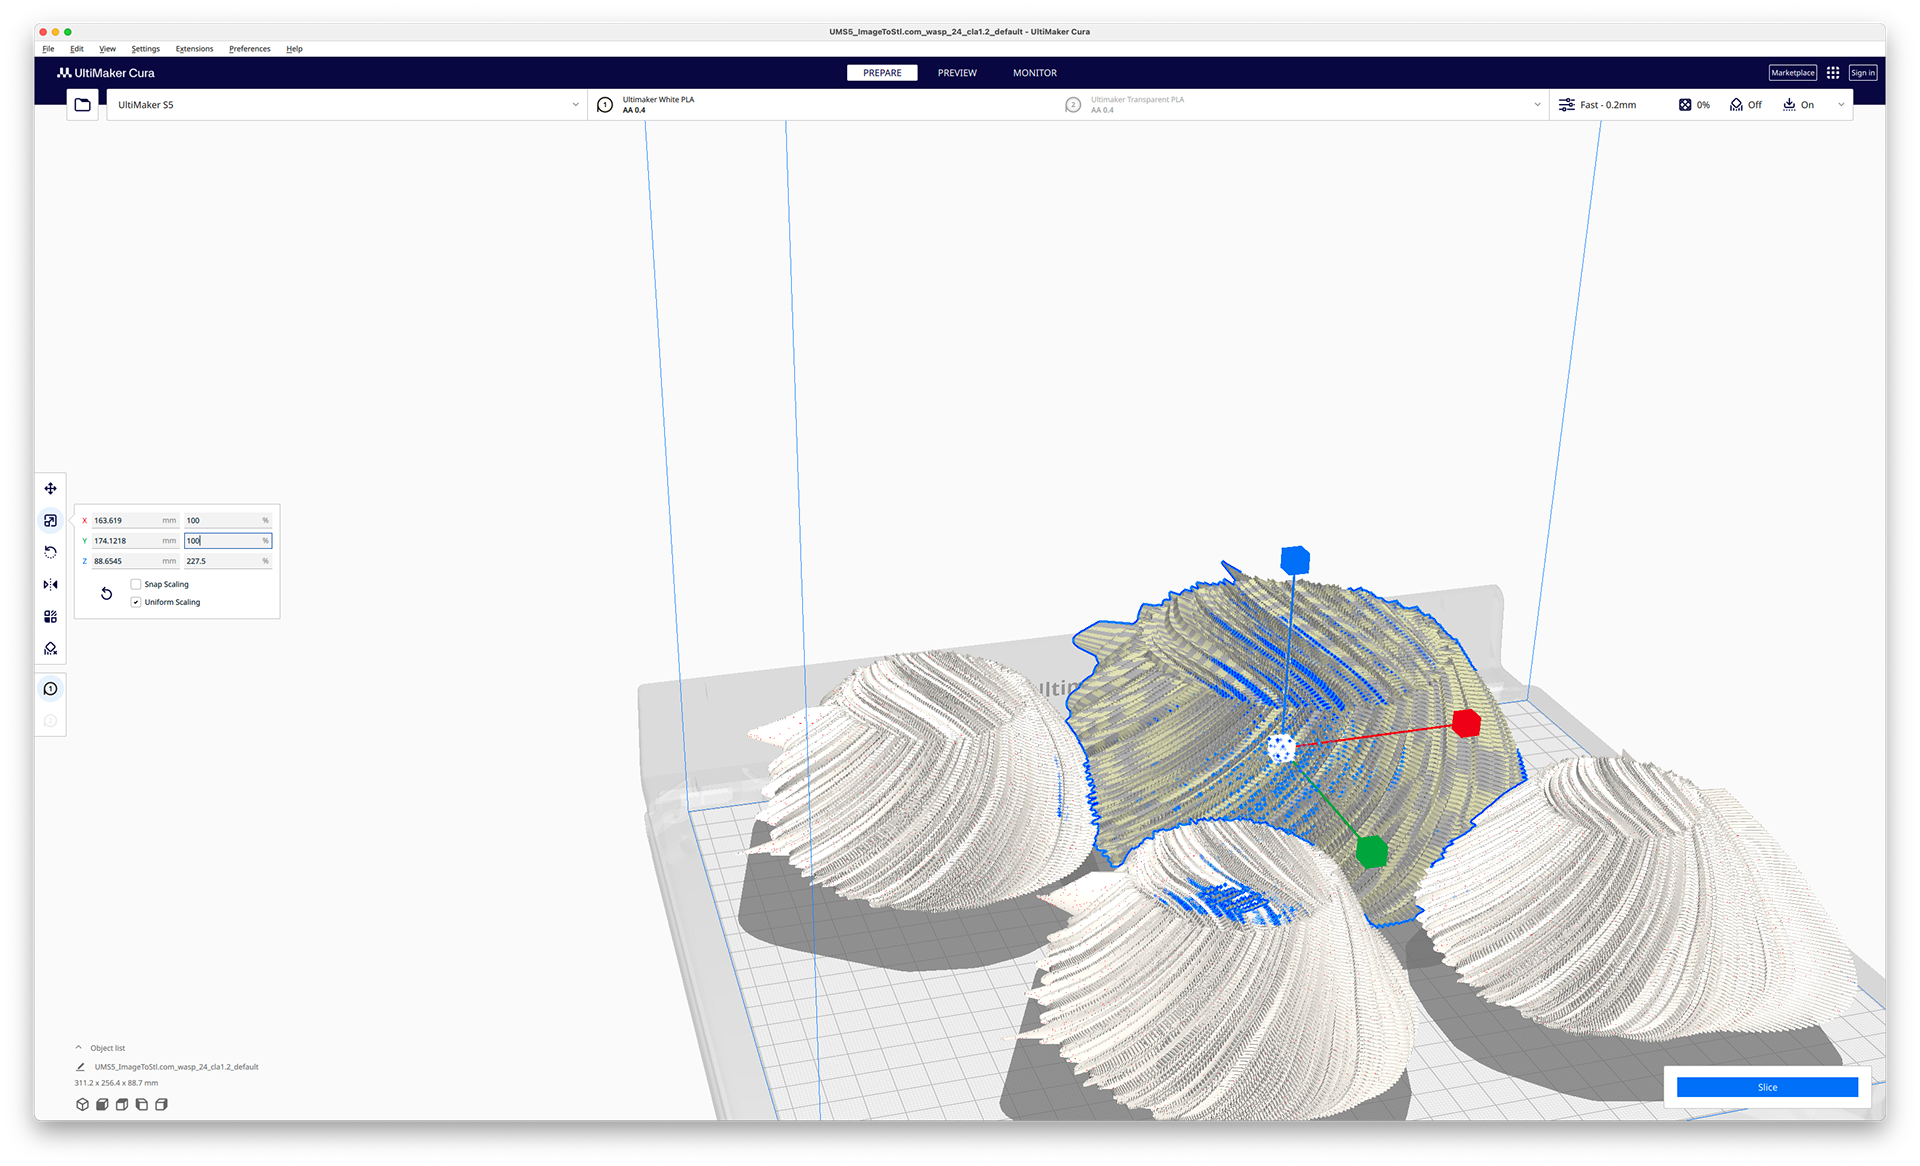
Uniformly scale down to 75%
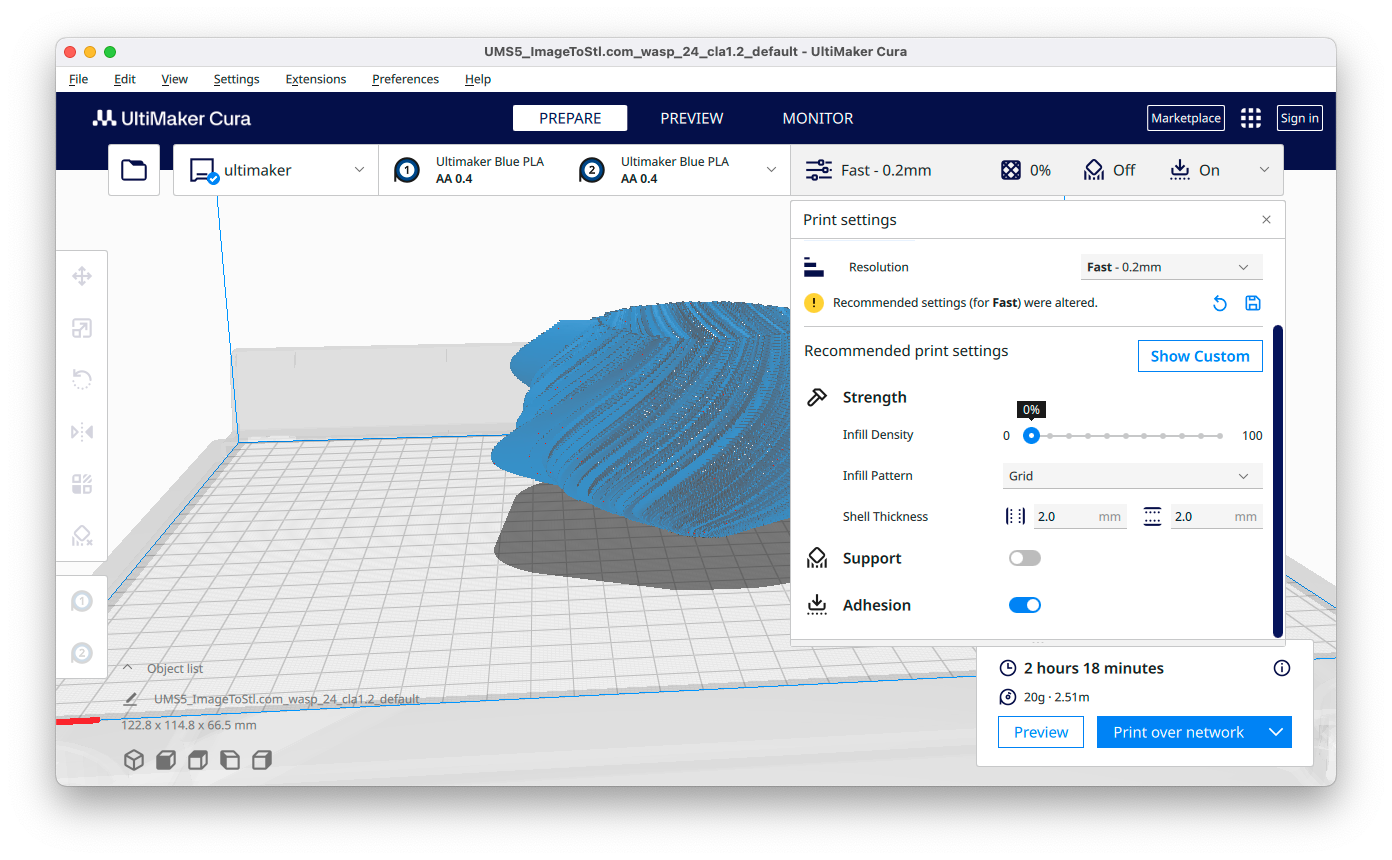
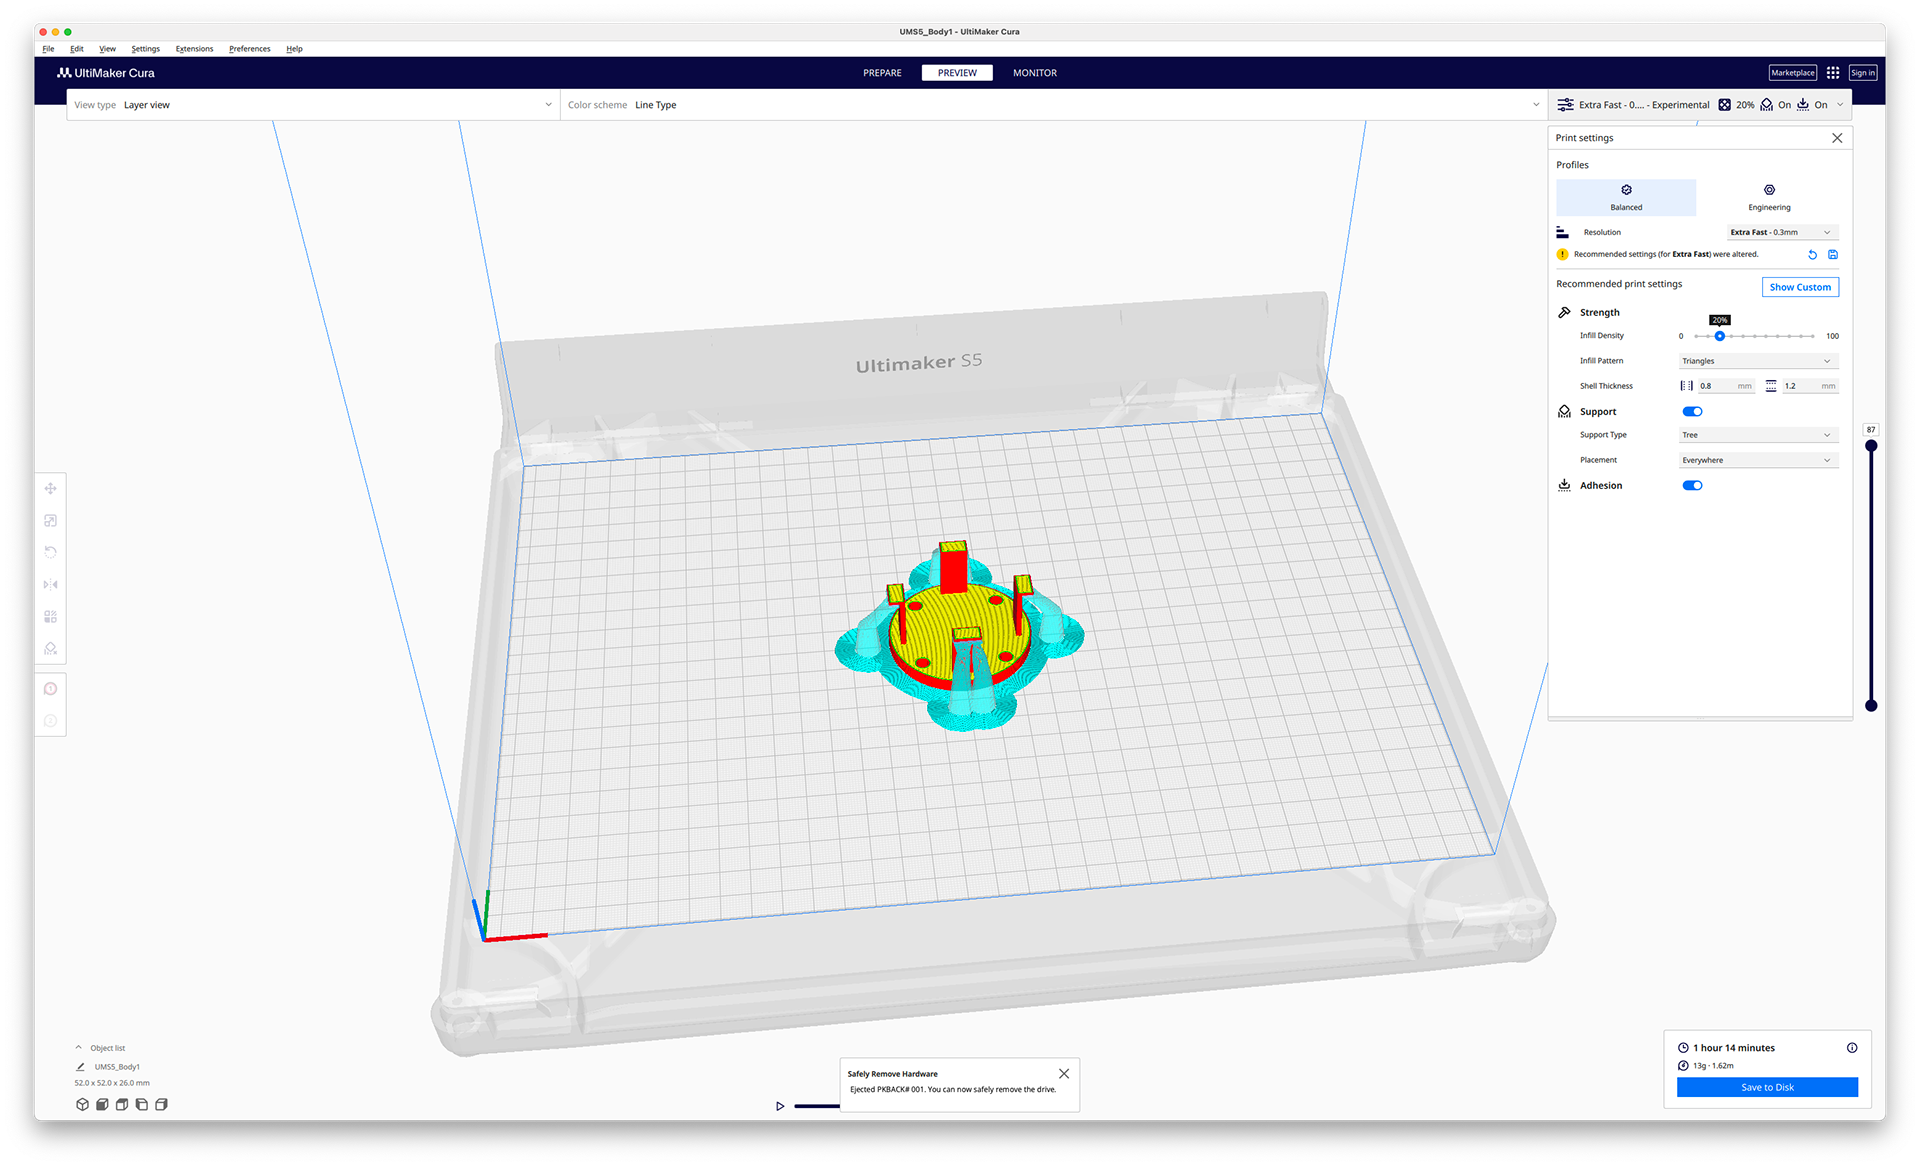
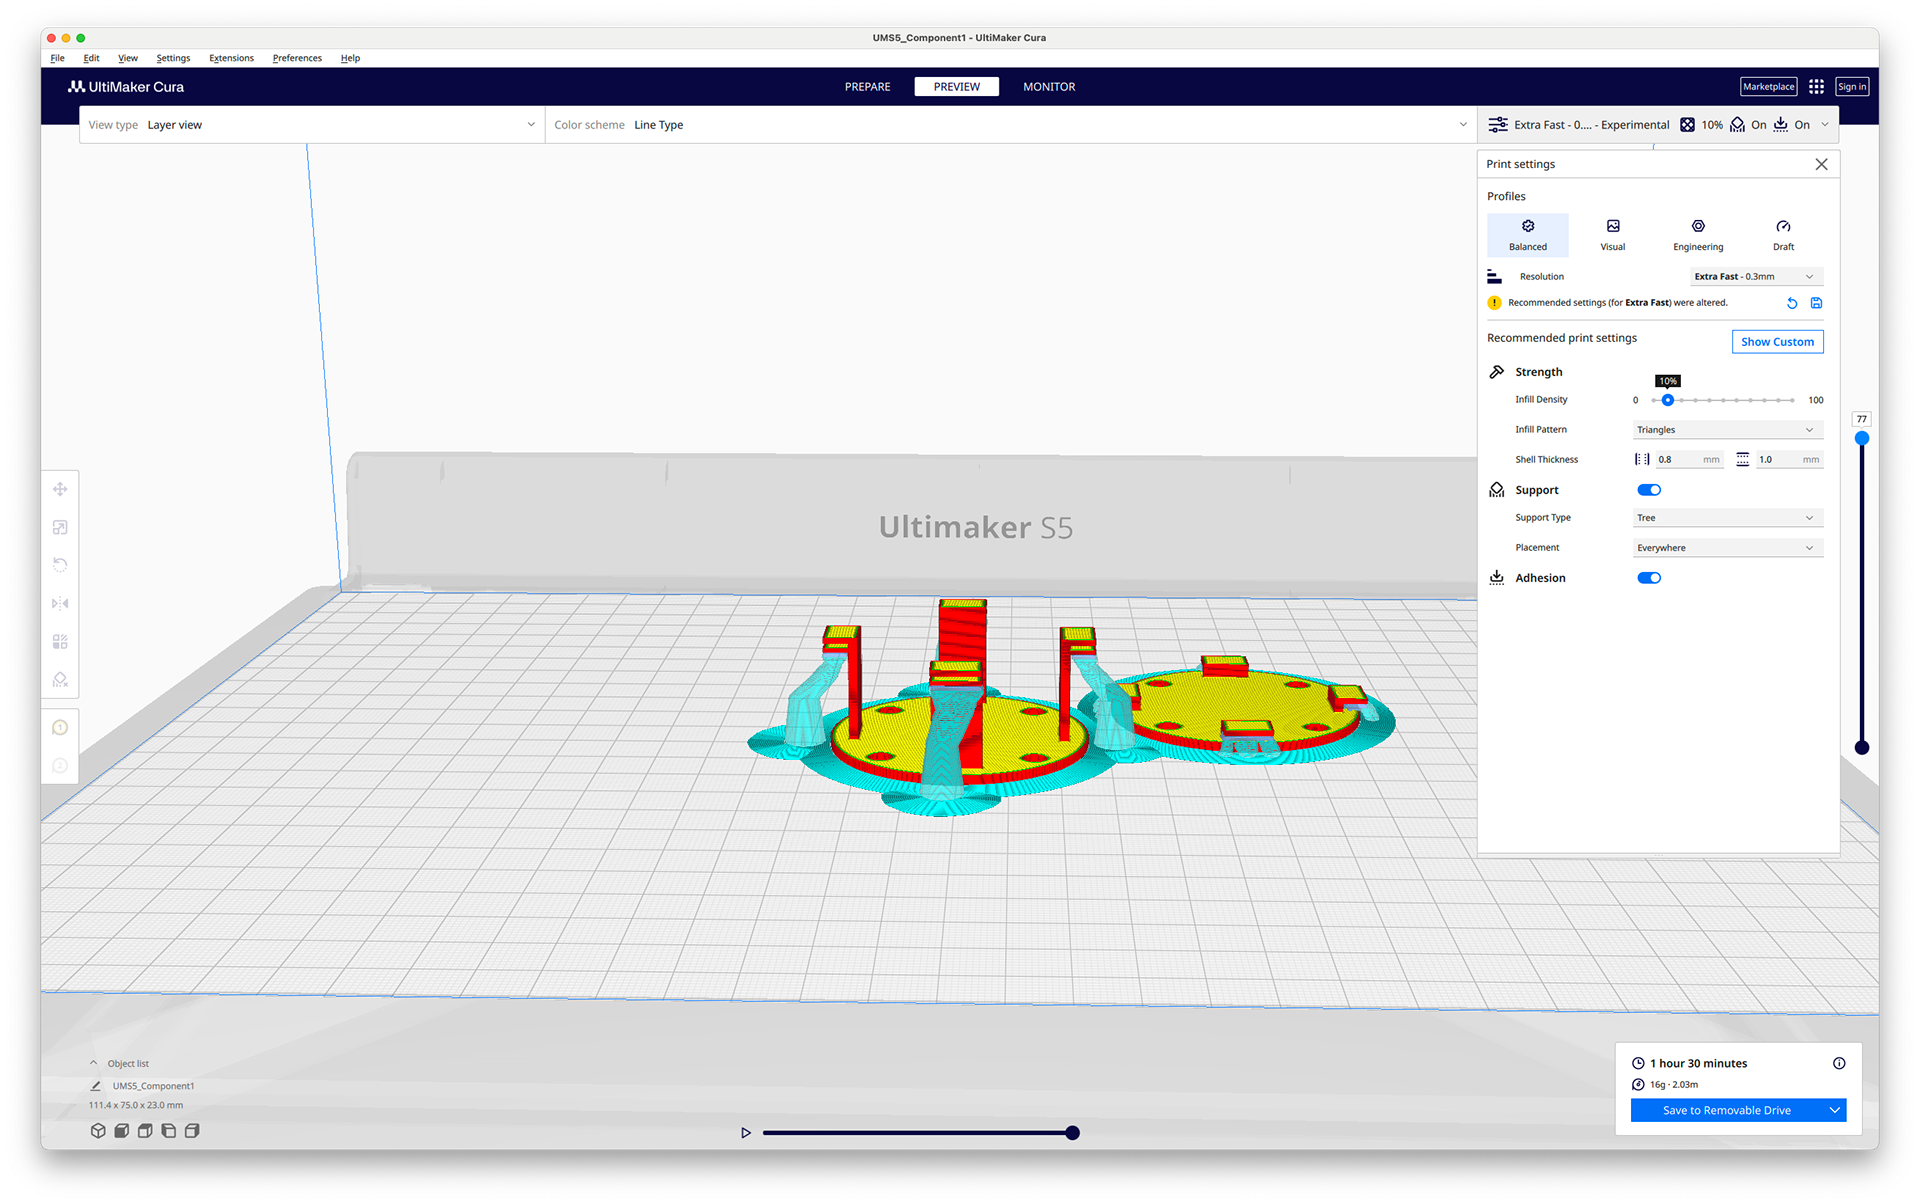
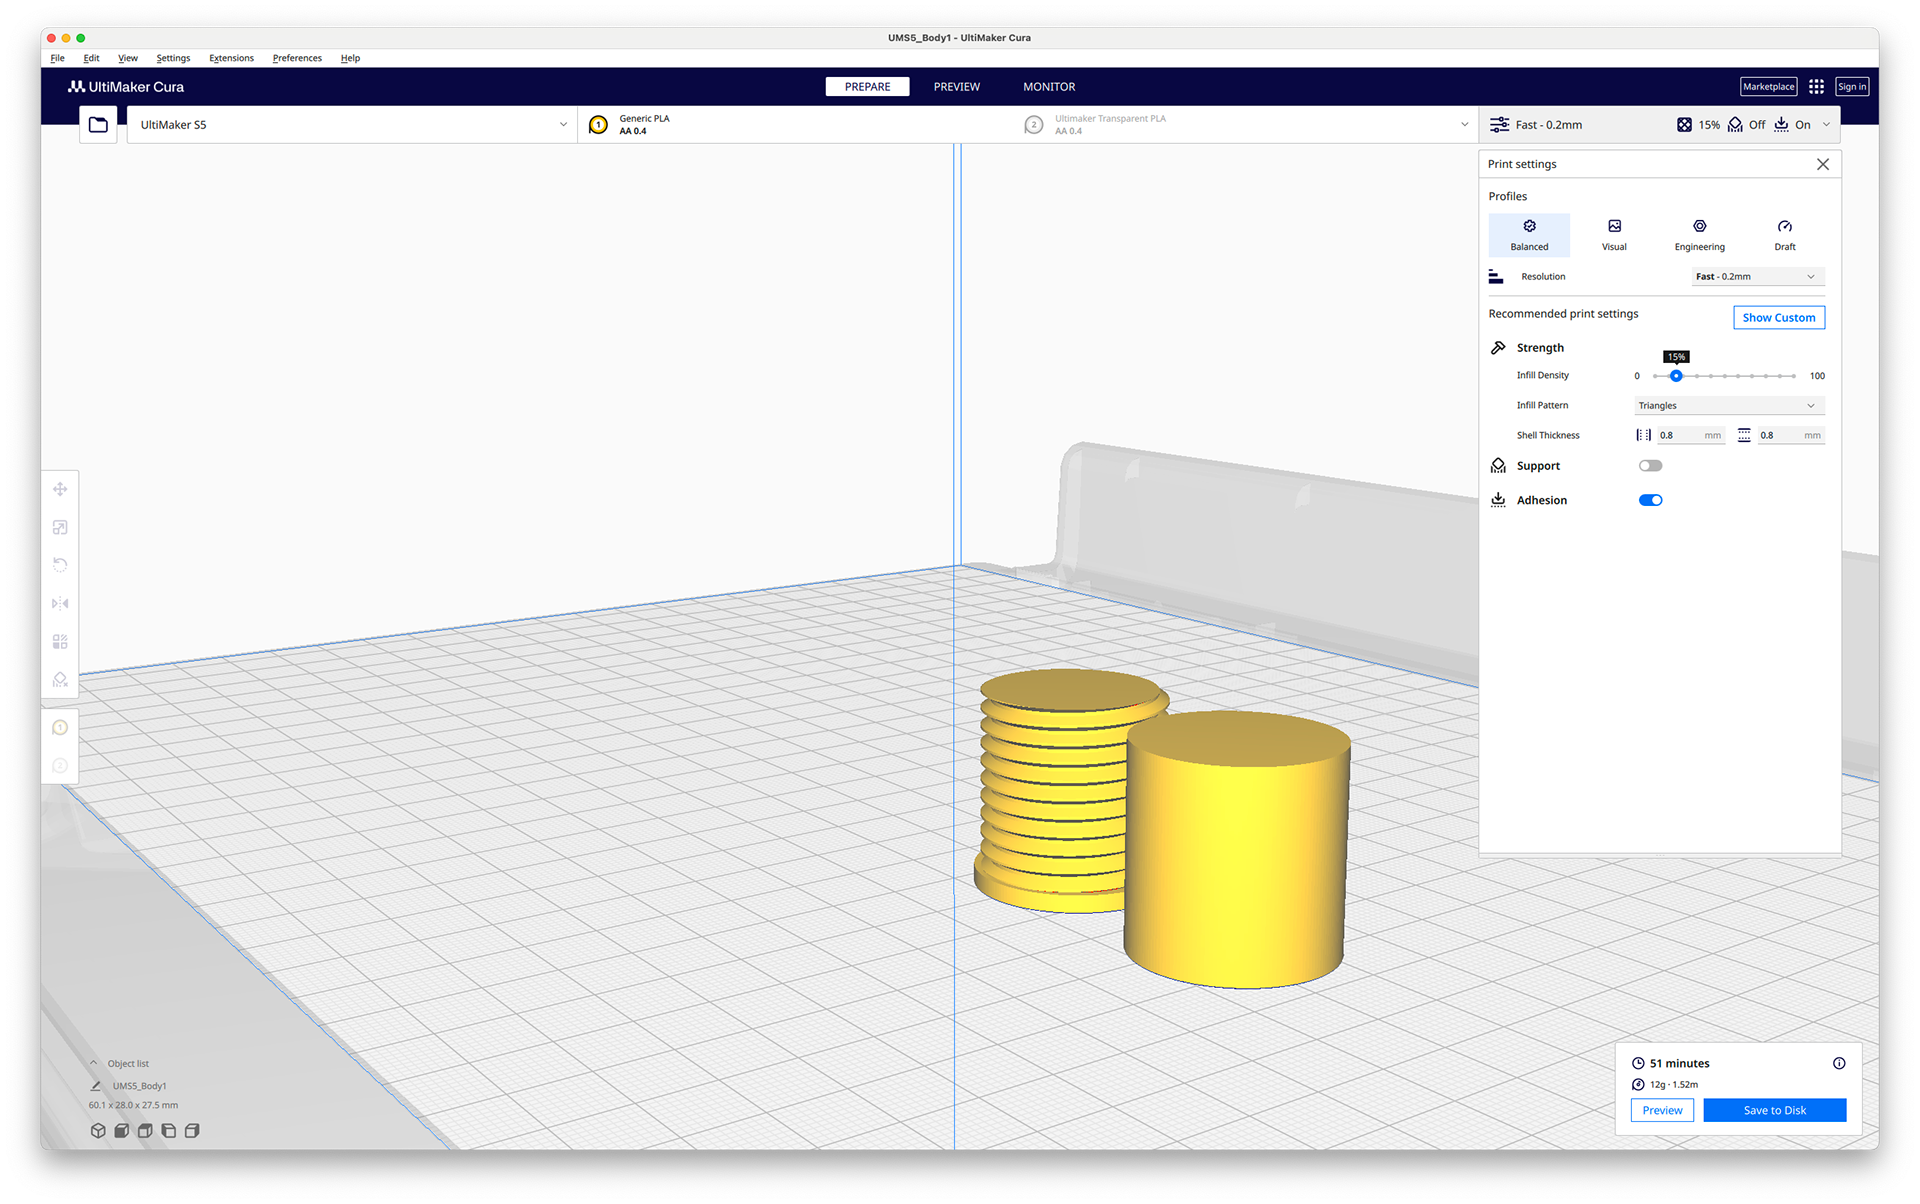
Cura Print Settings and Print Time
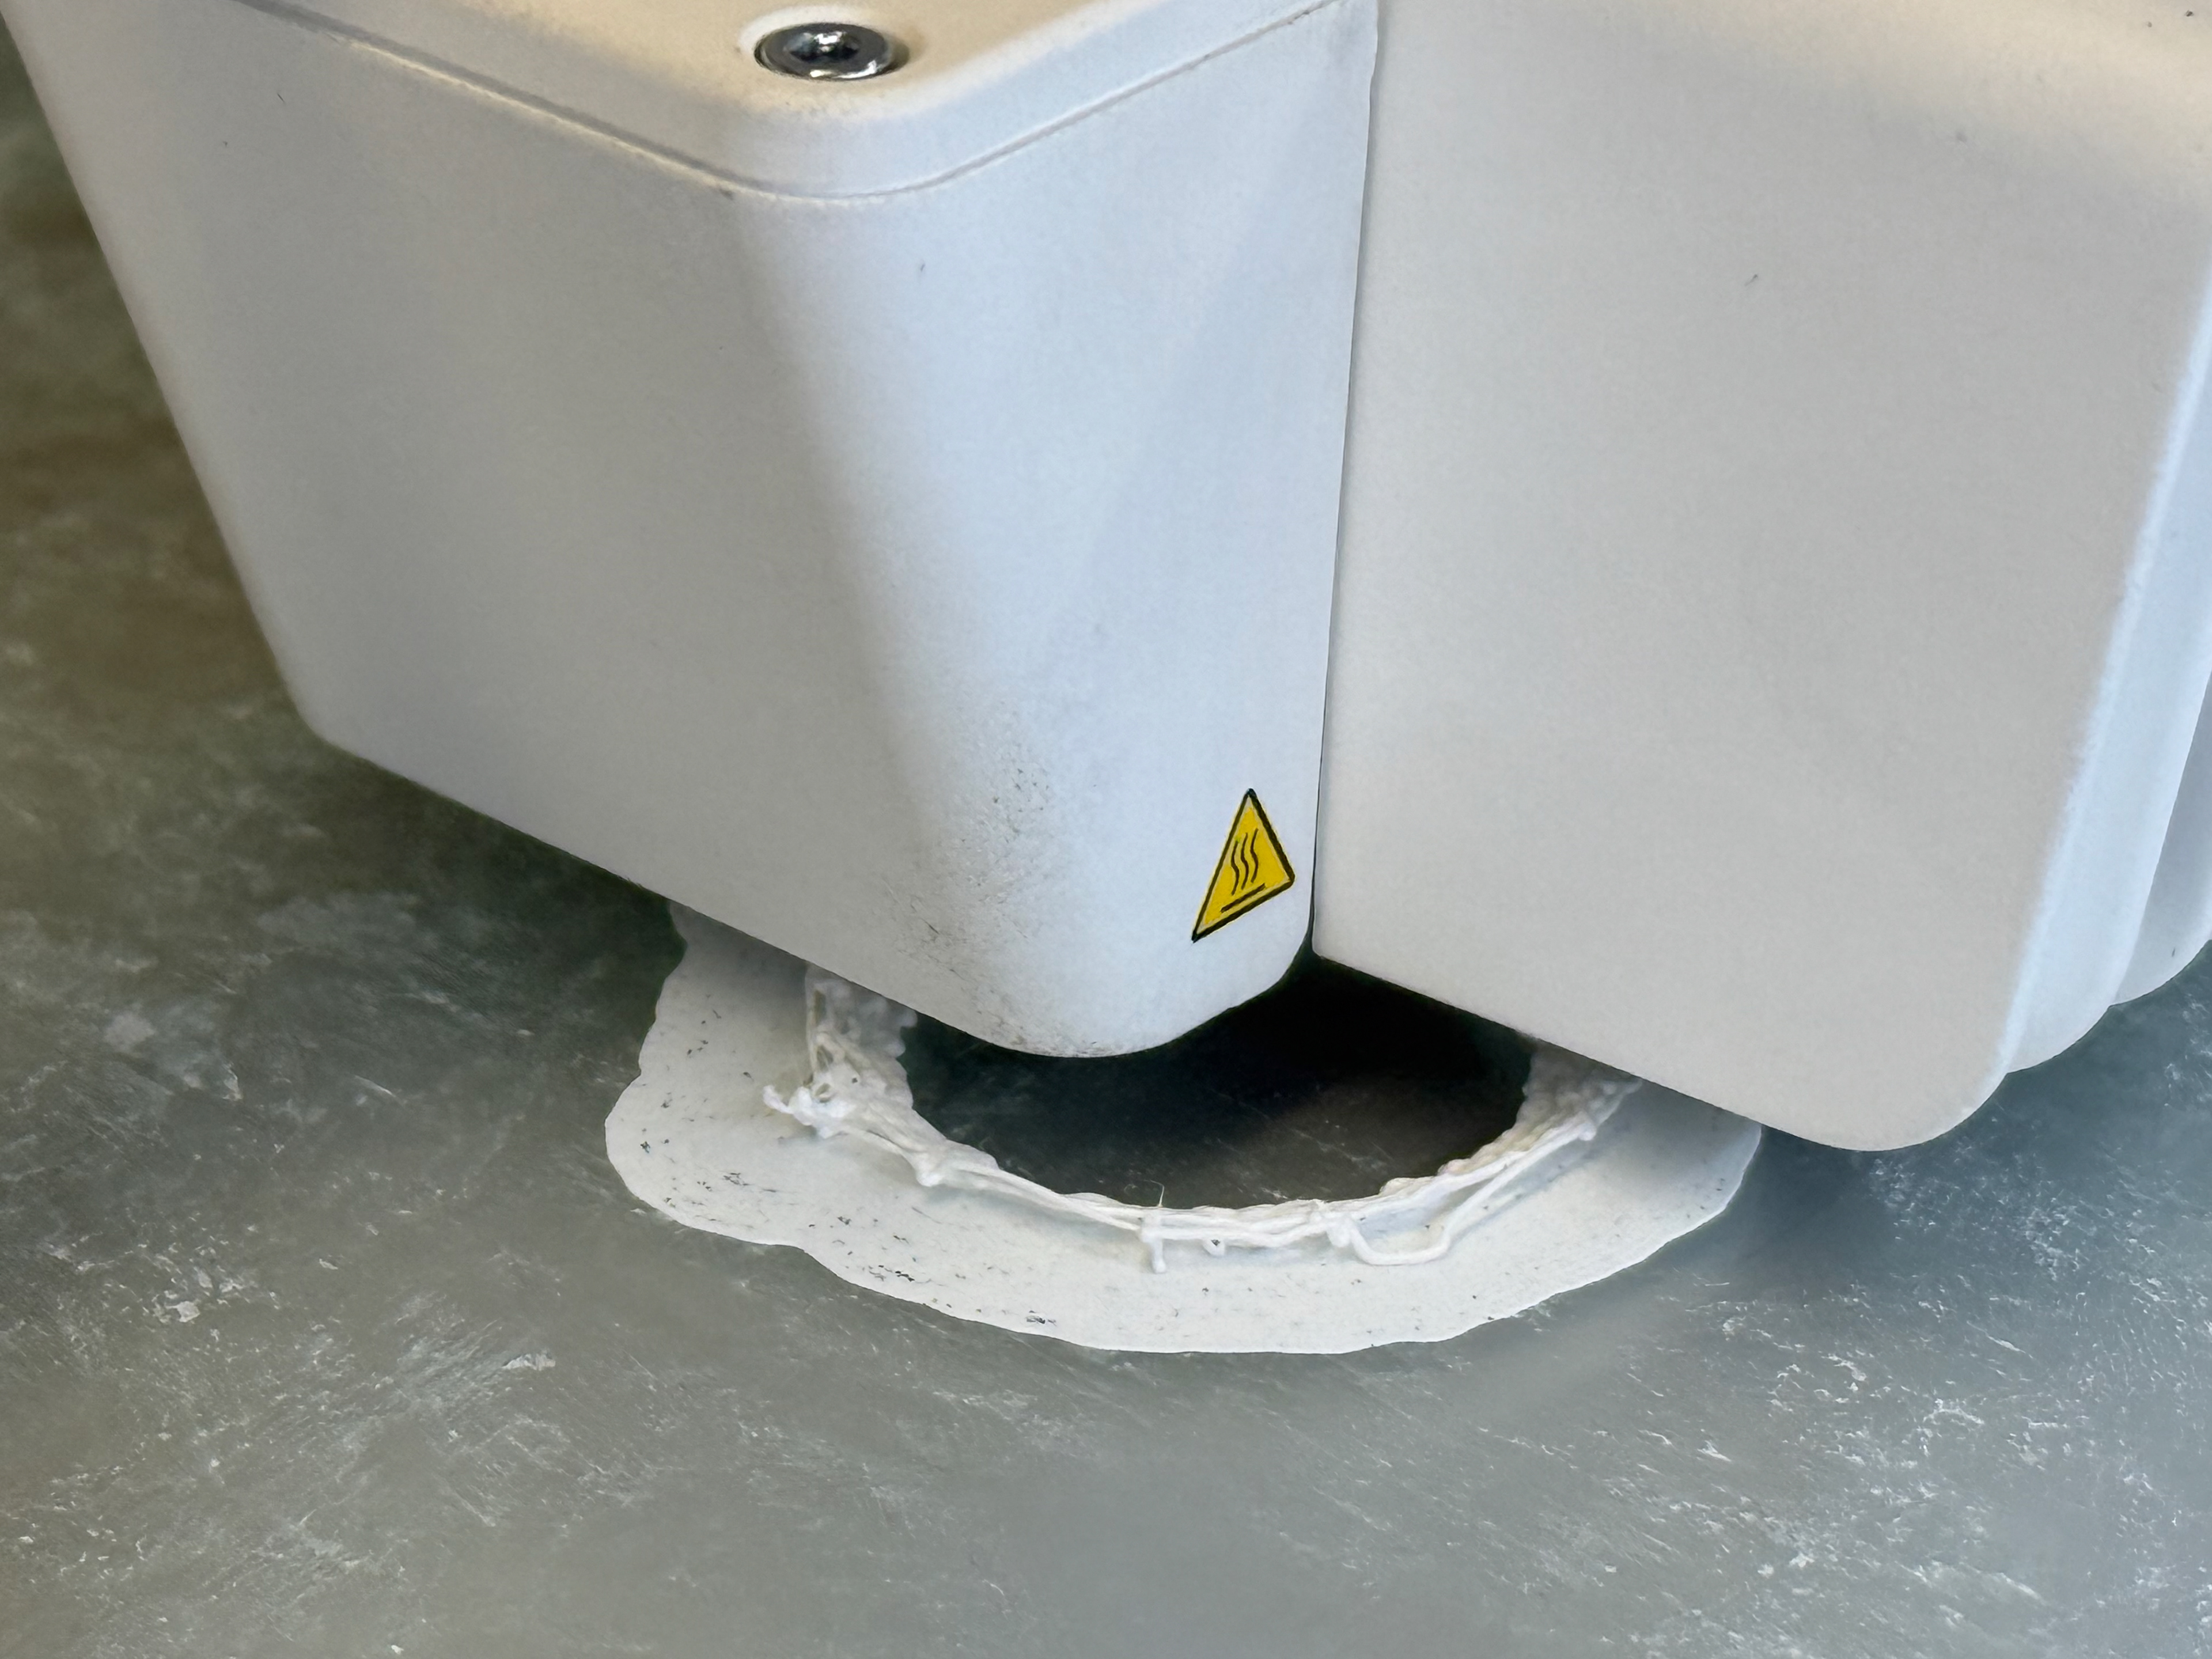
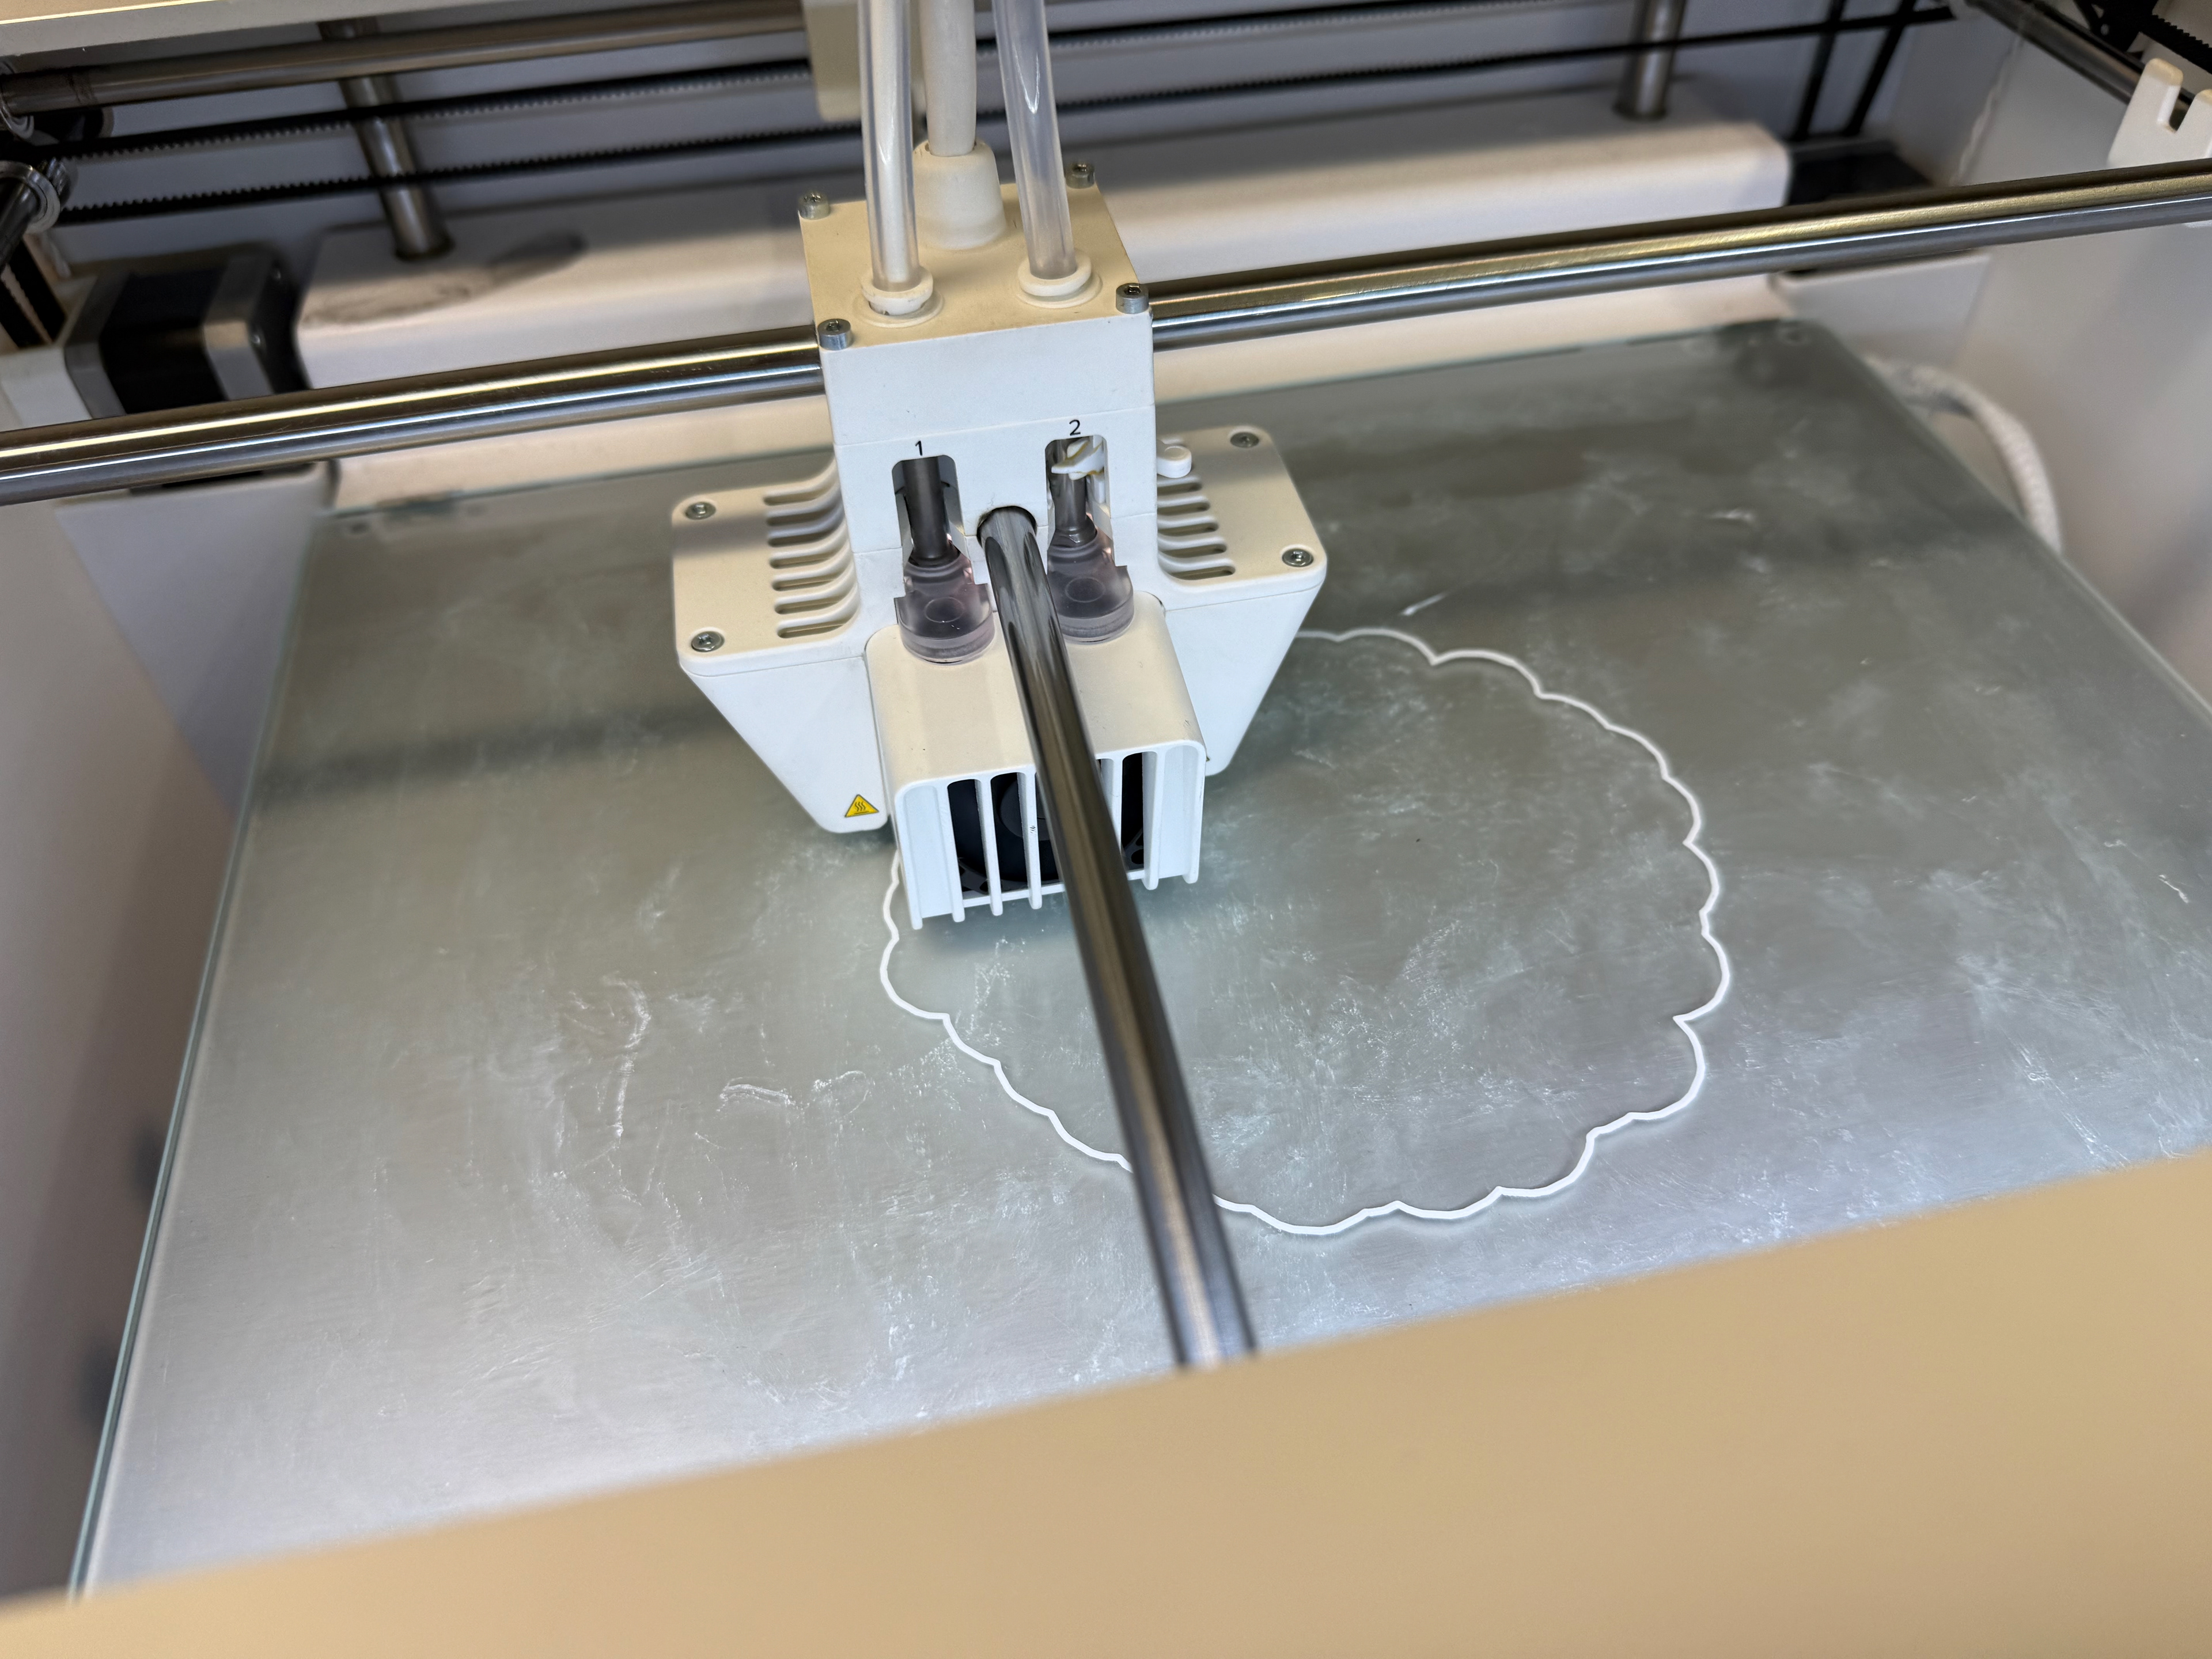
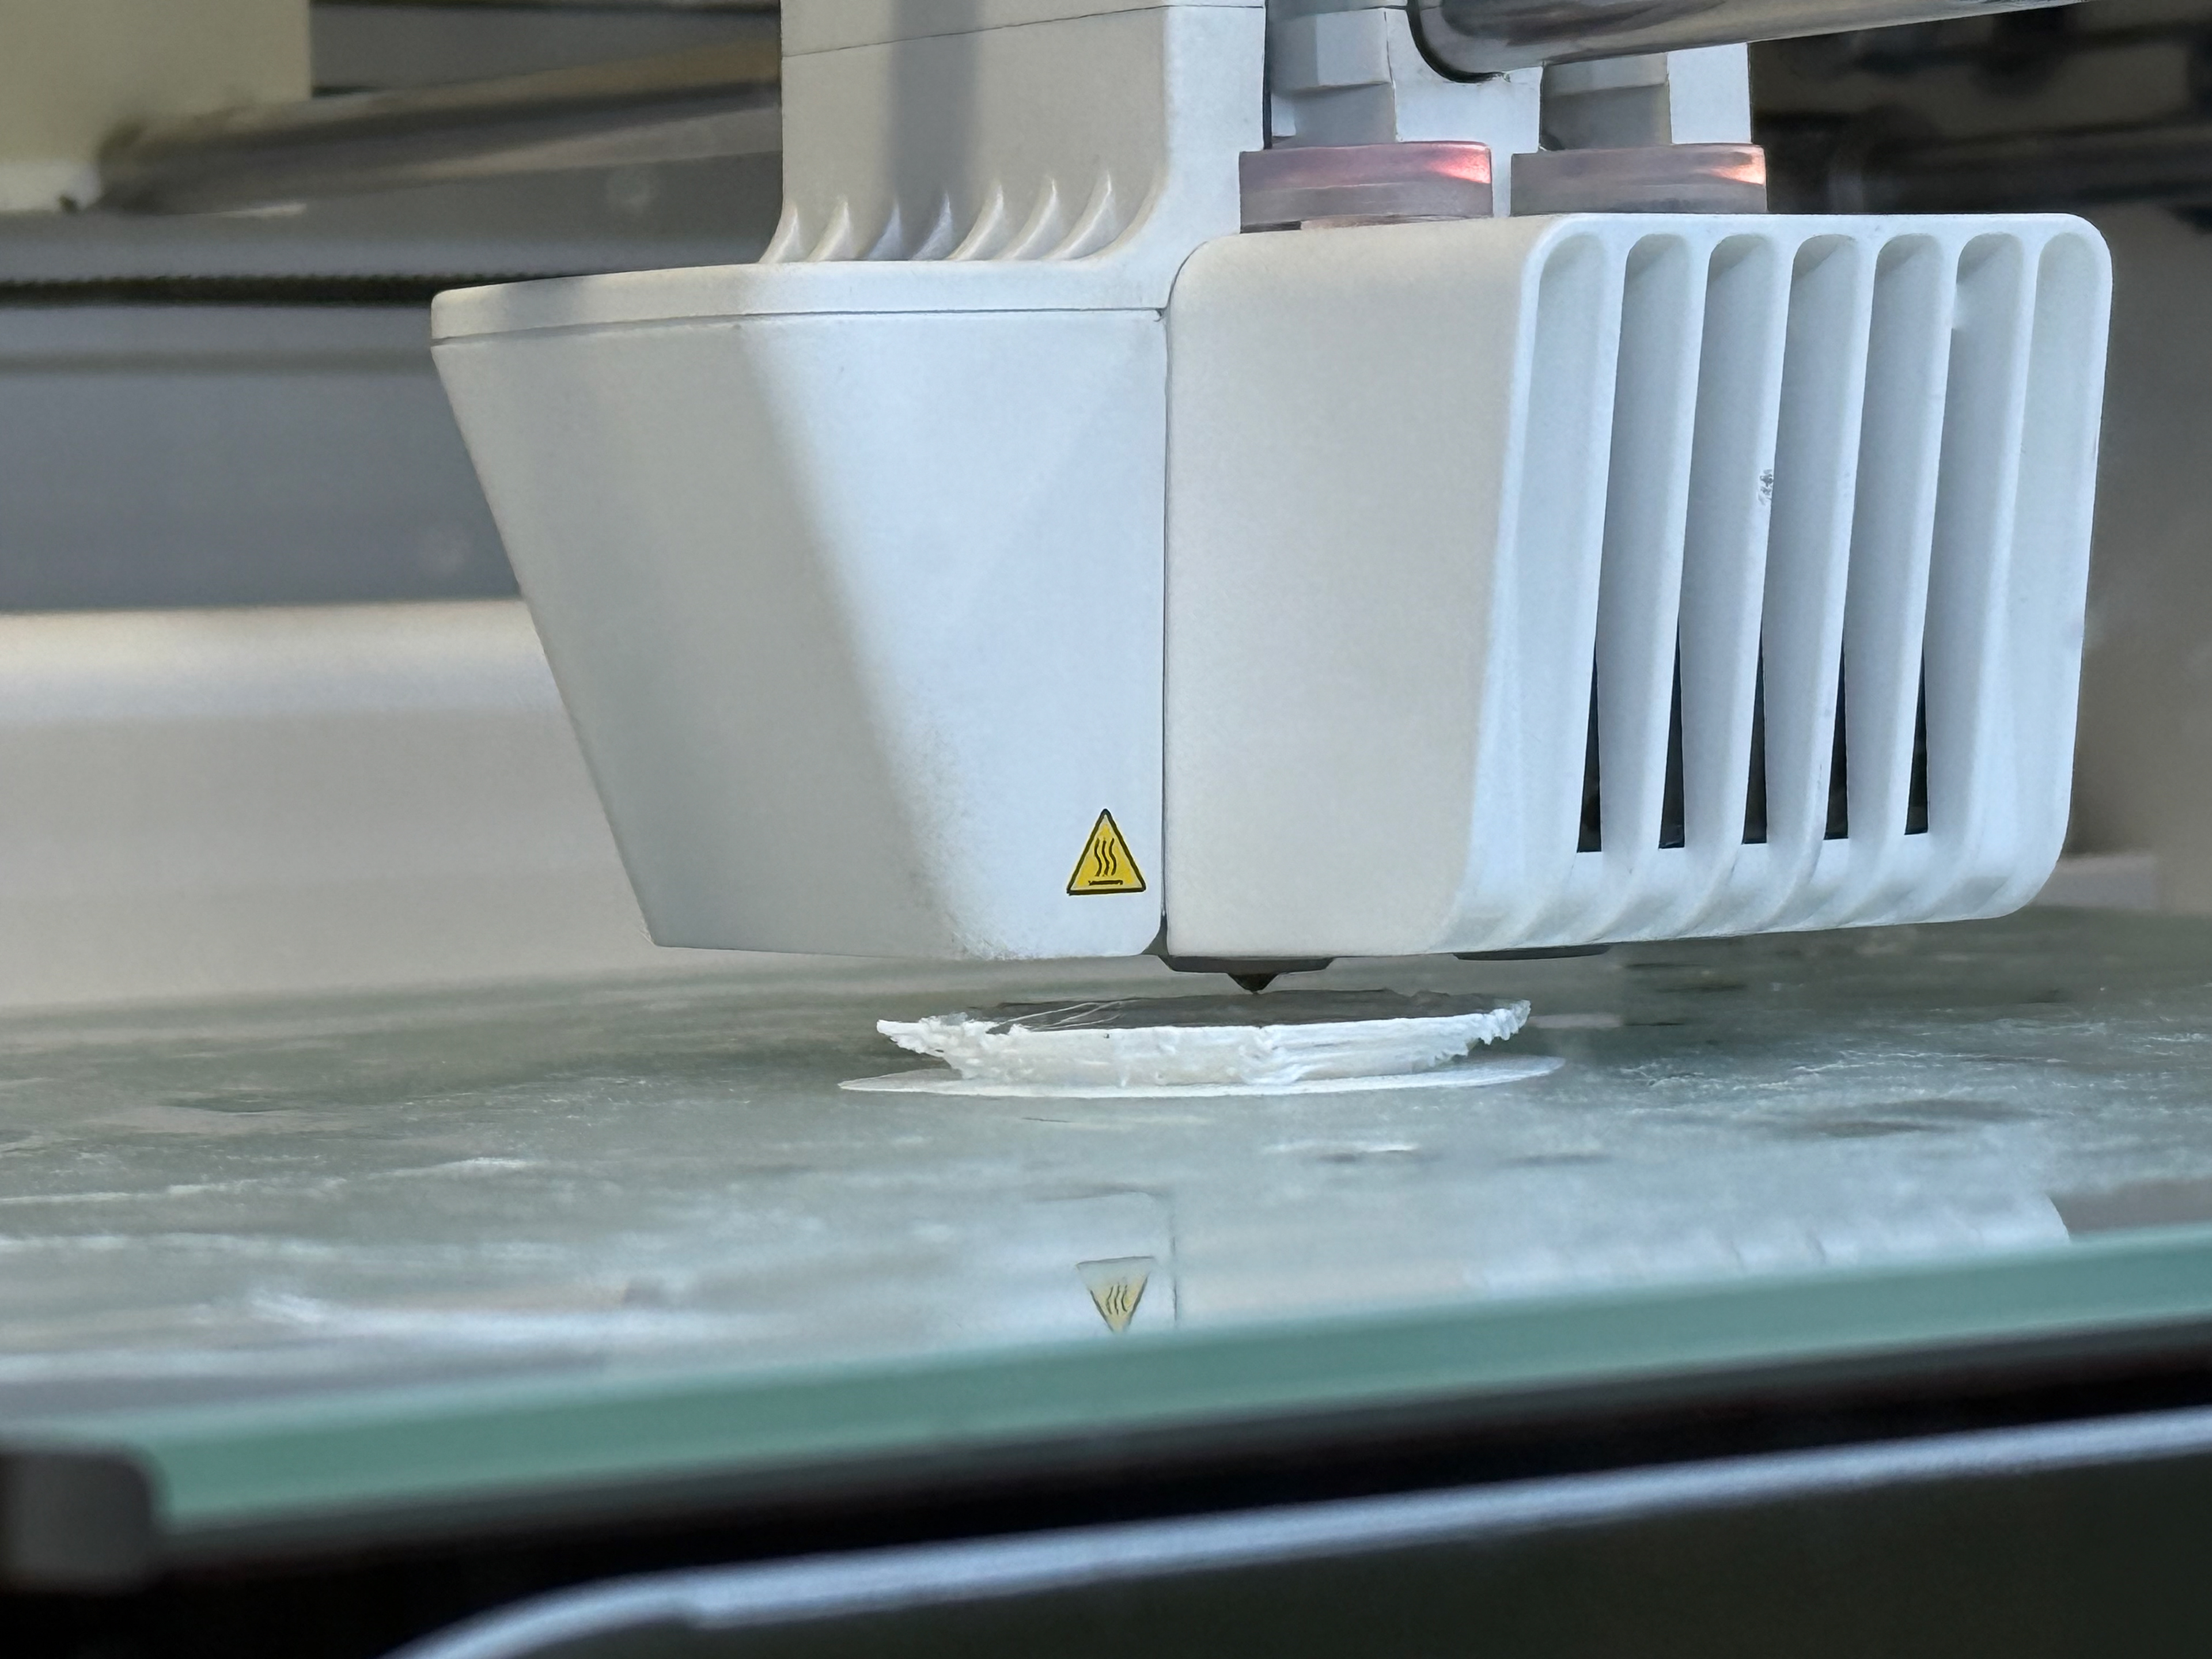
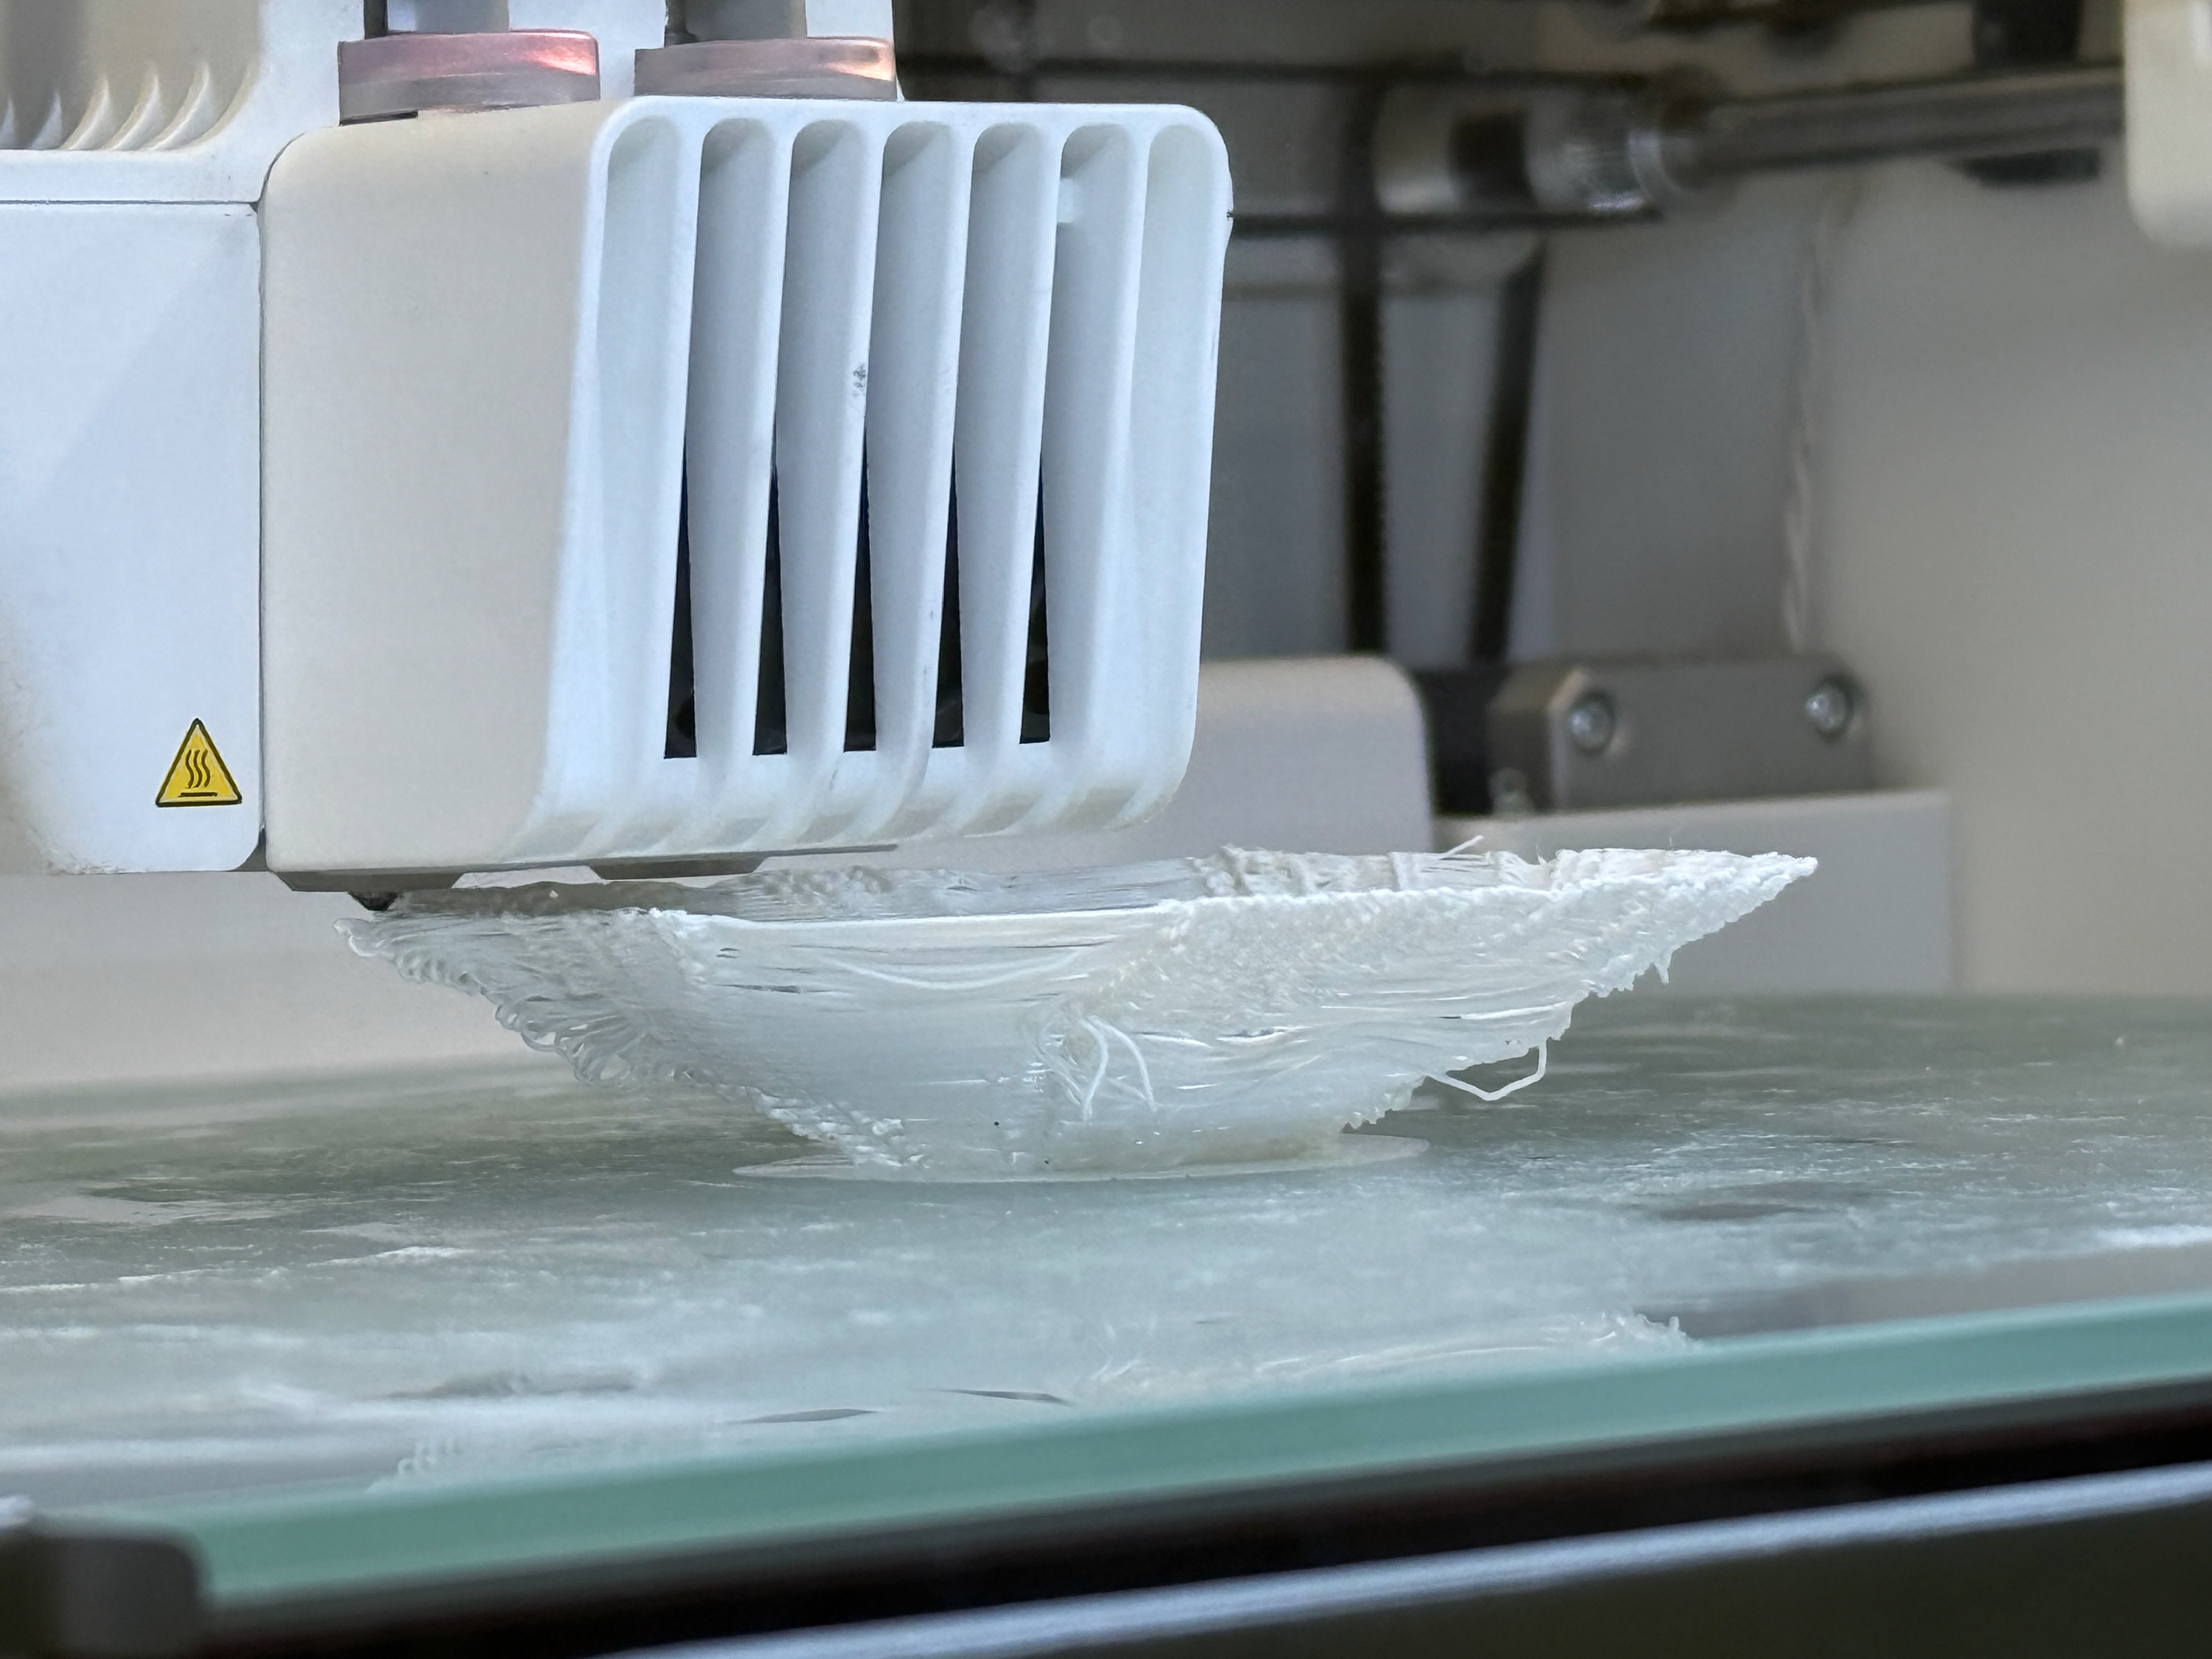
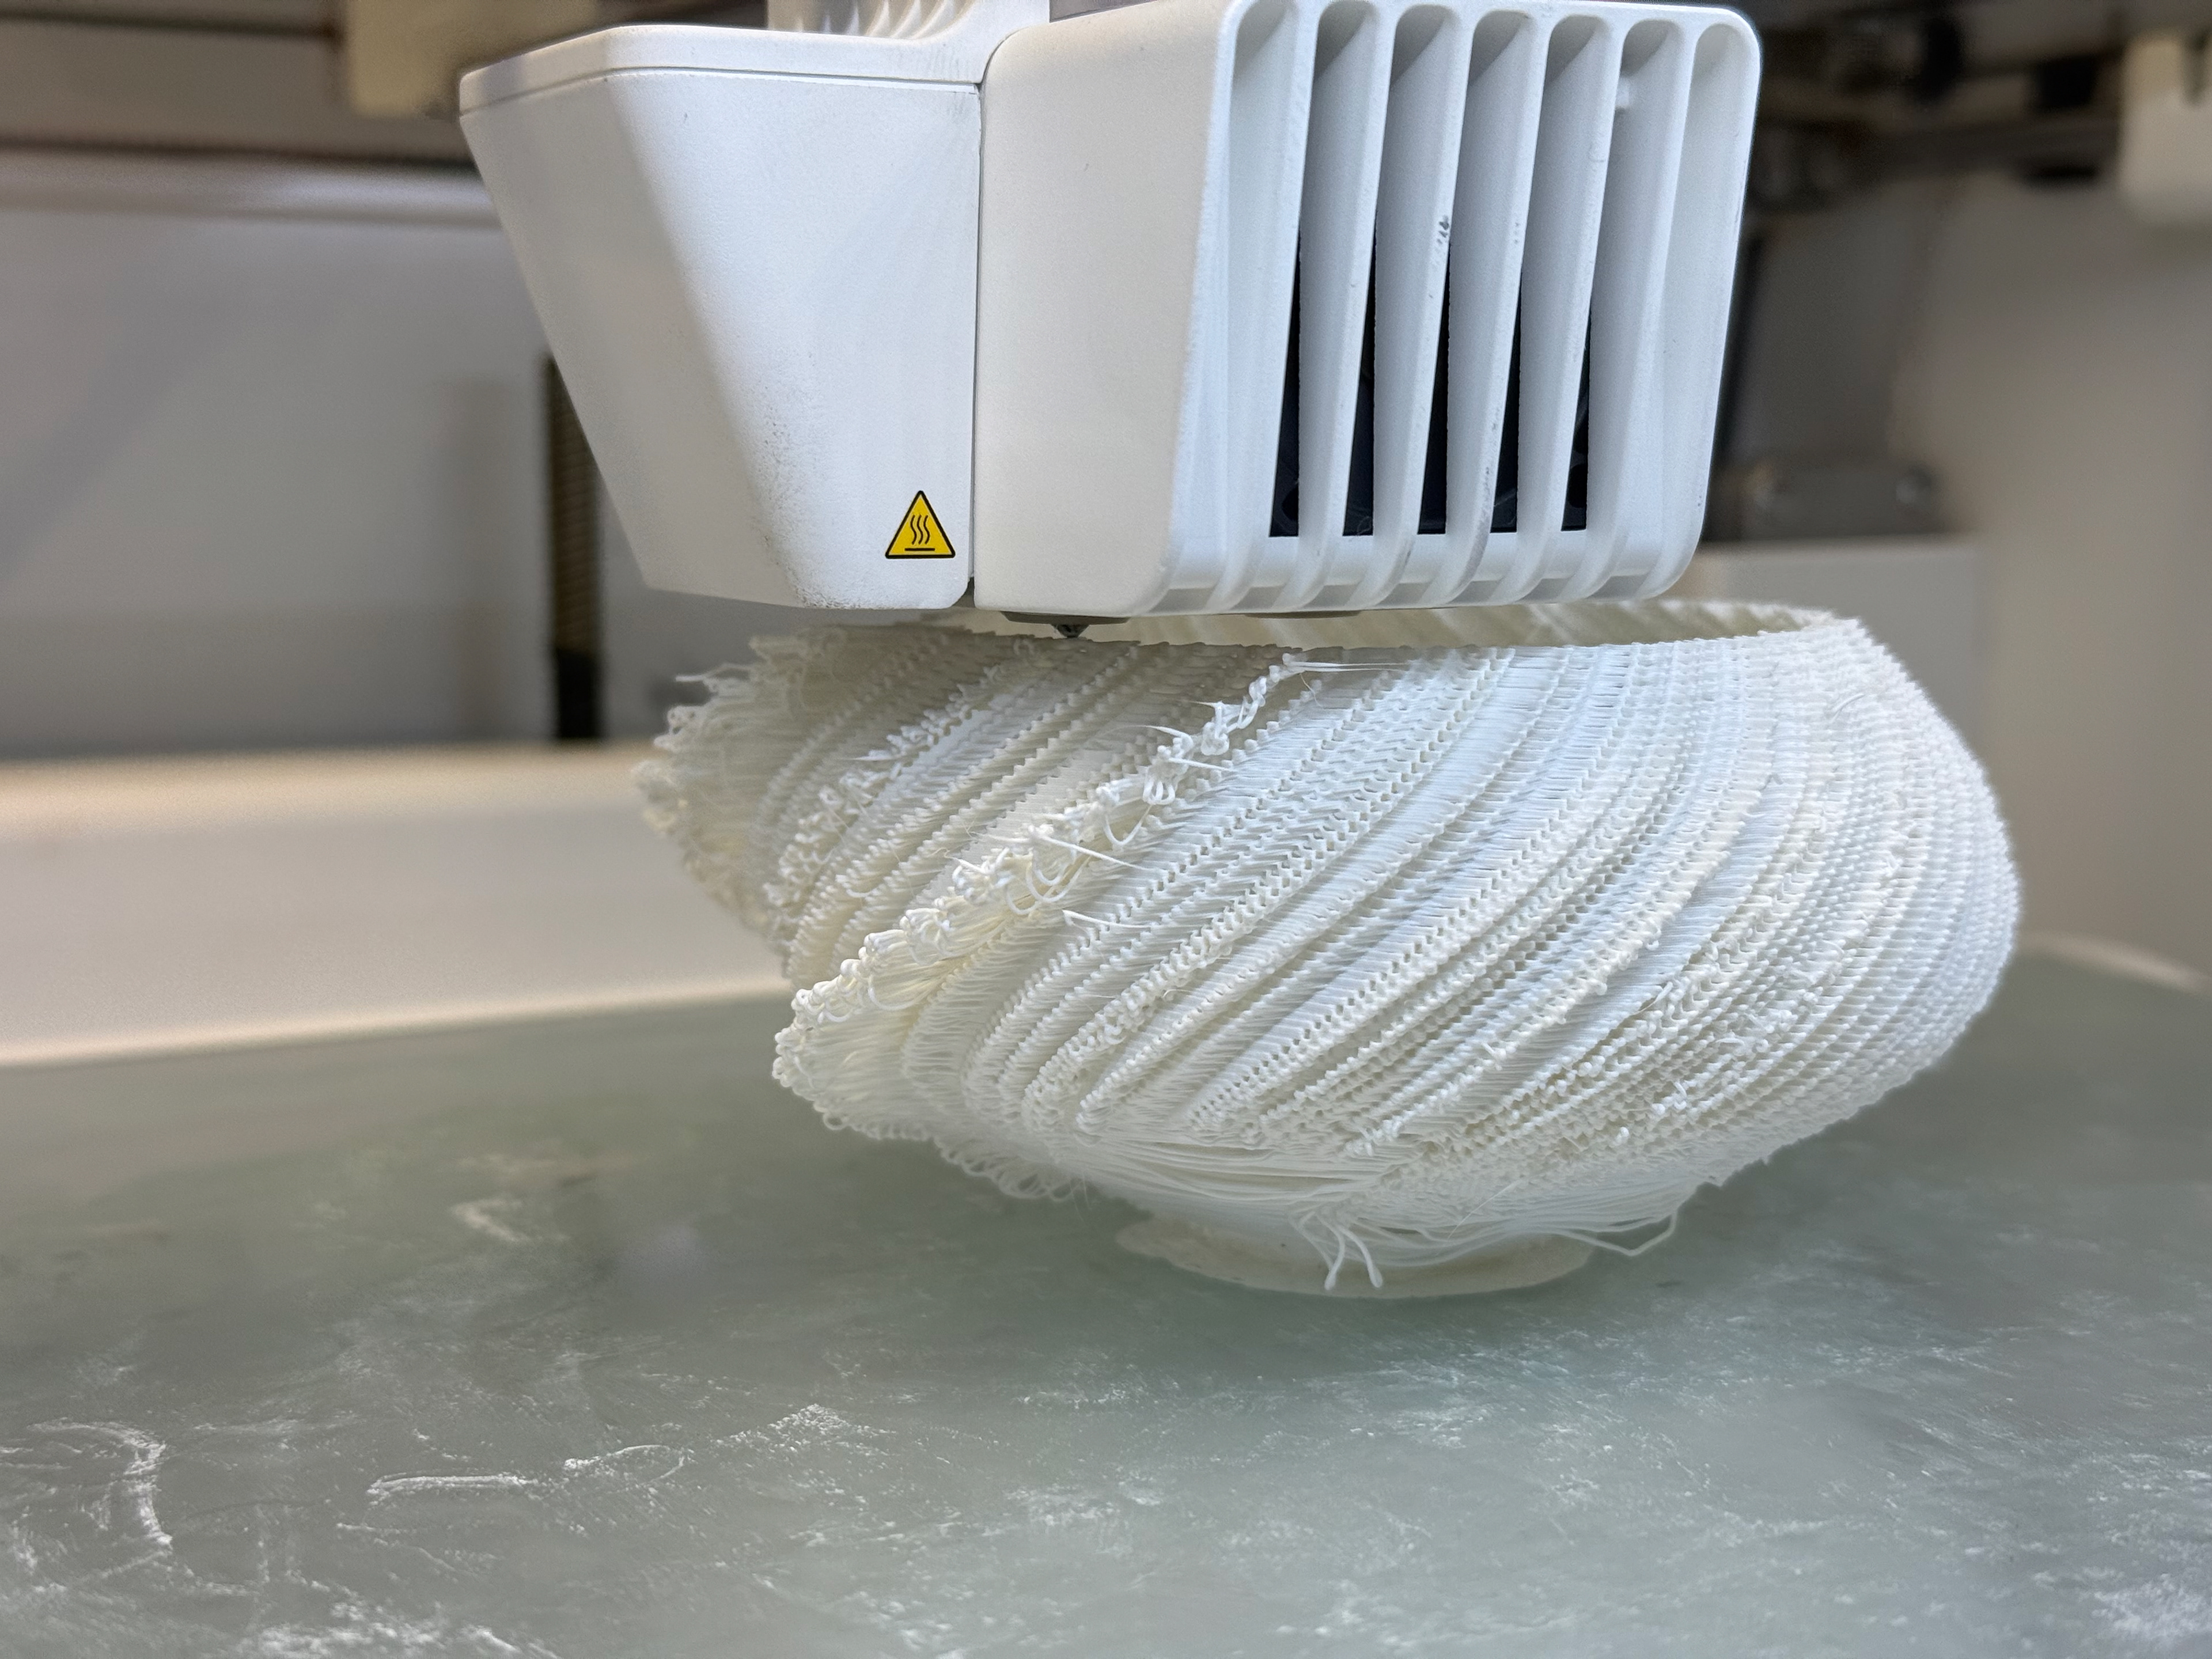
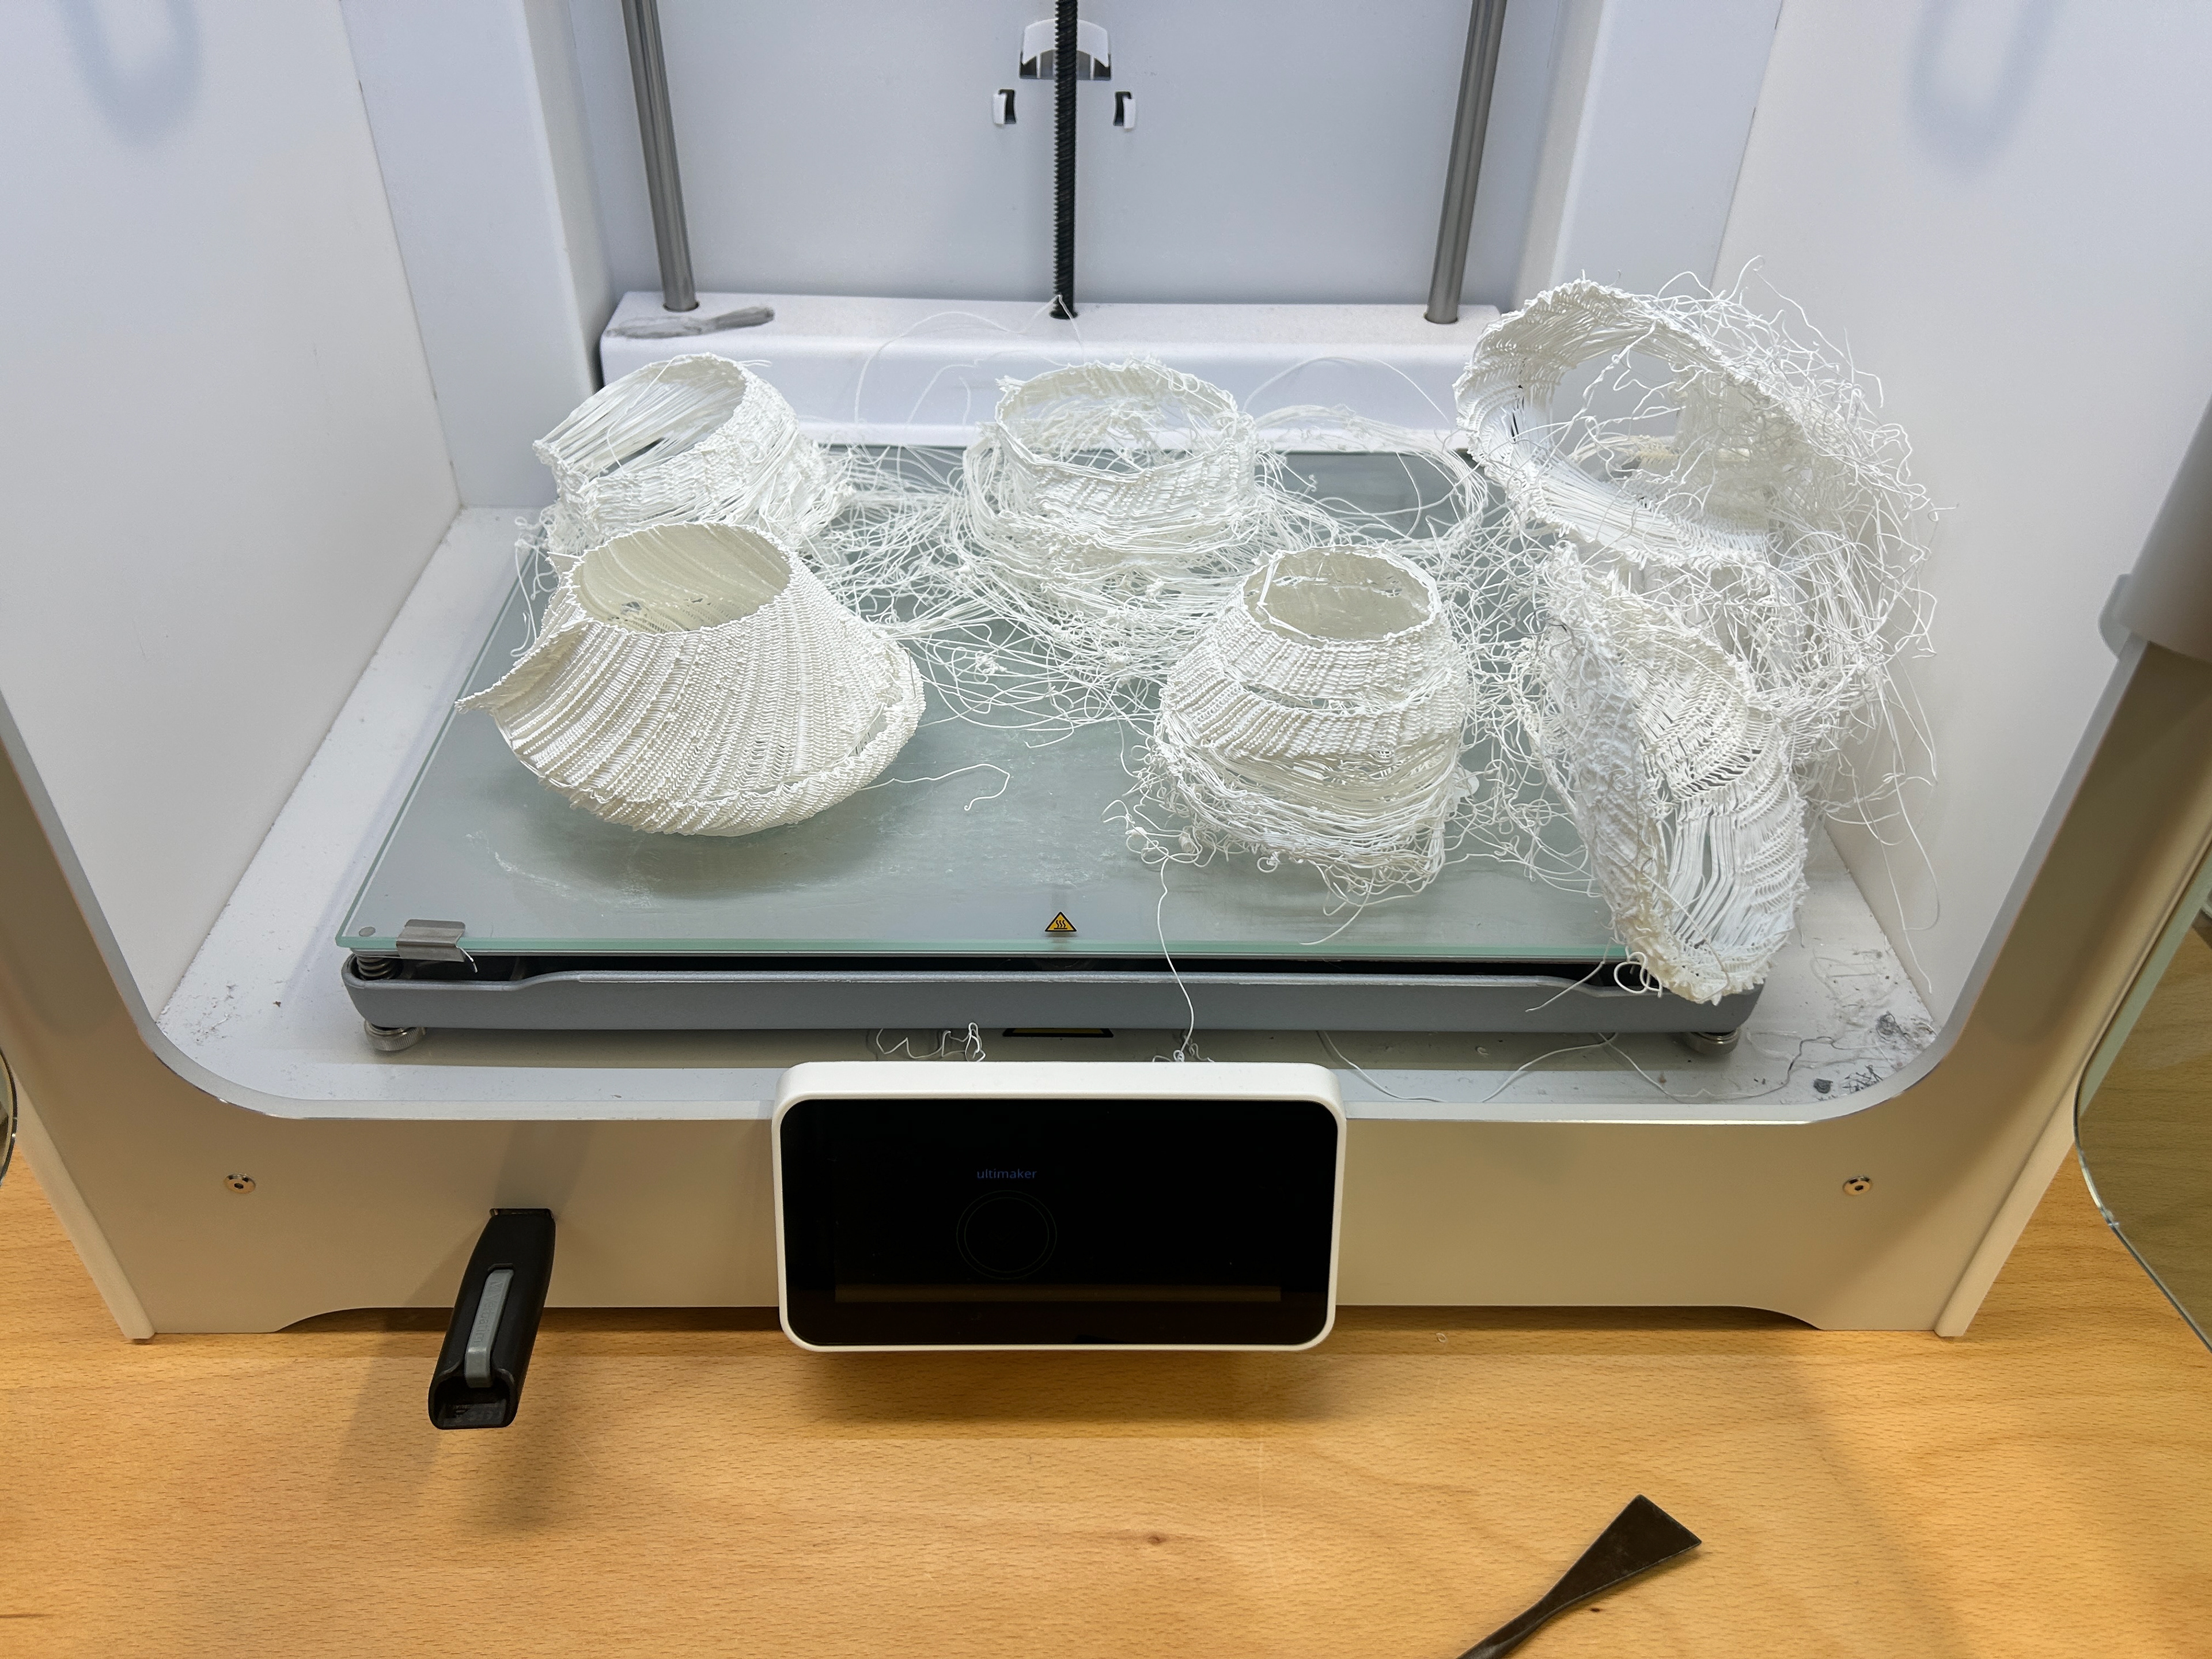
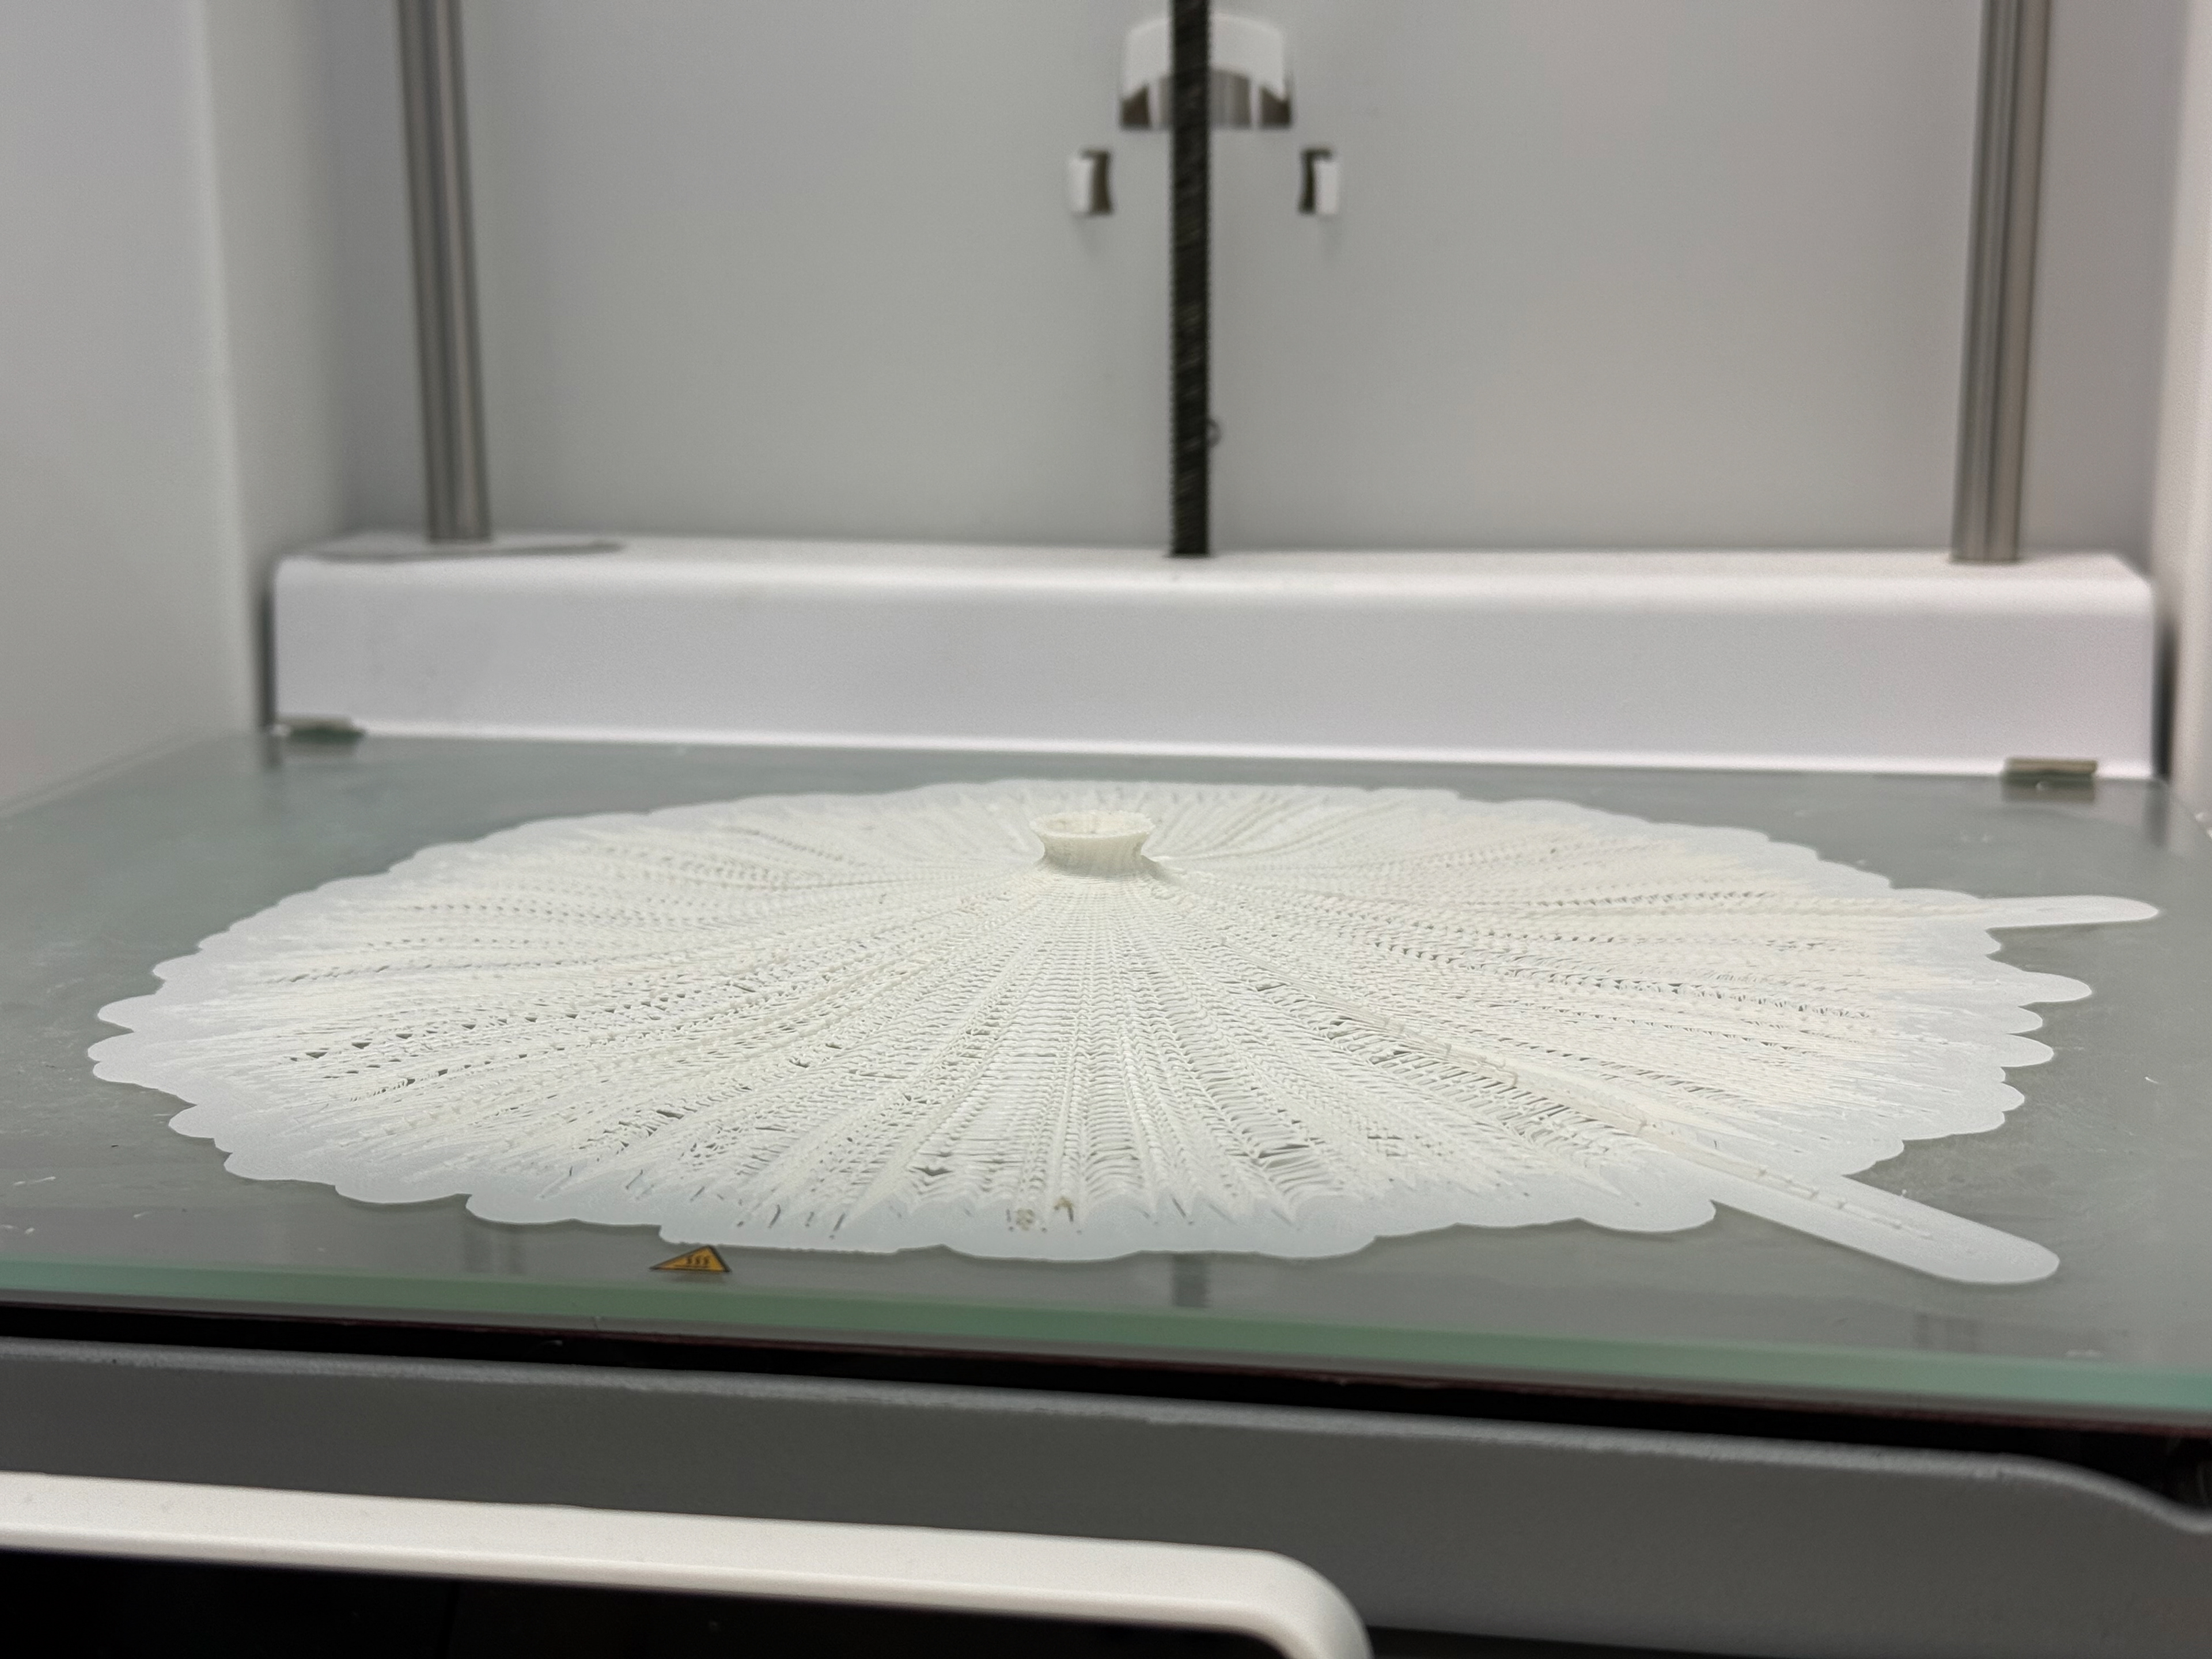
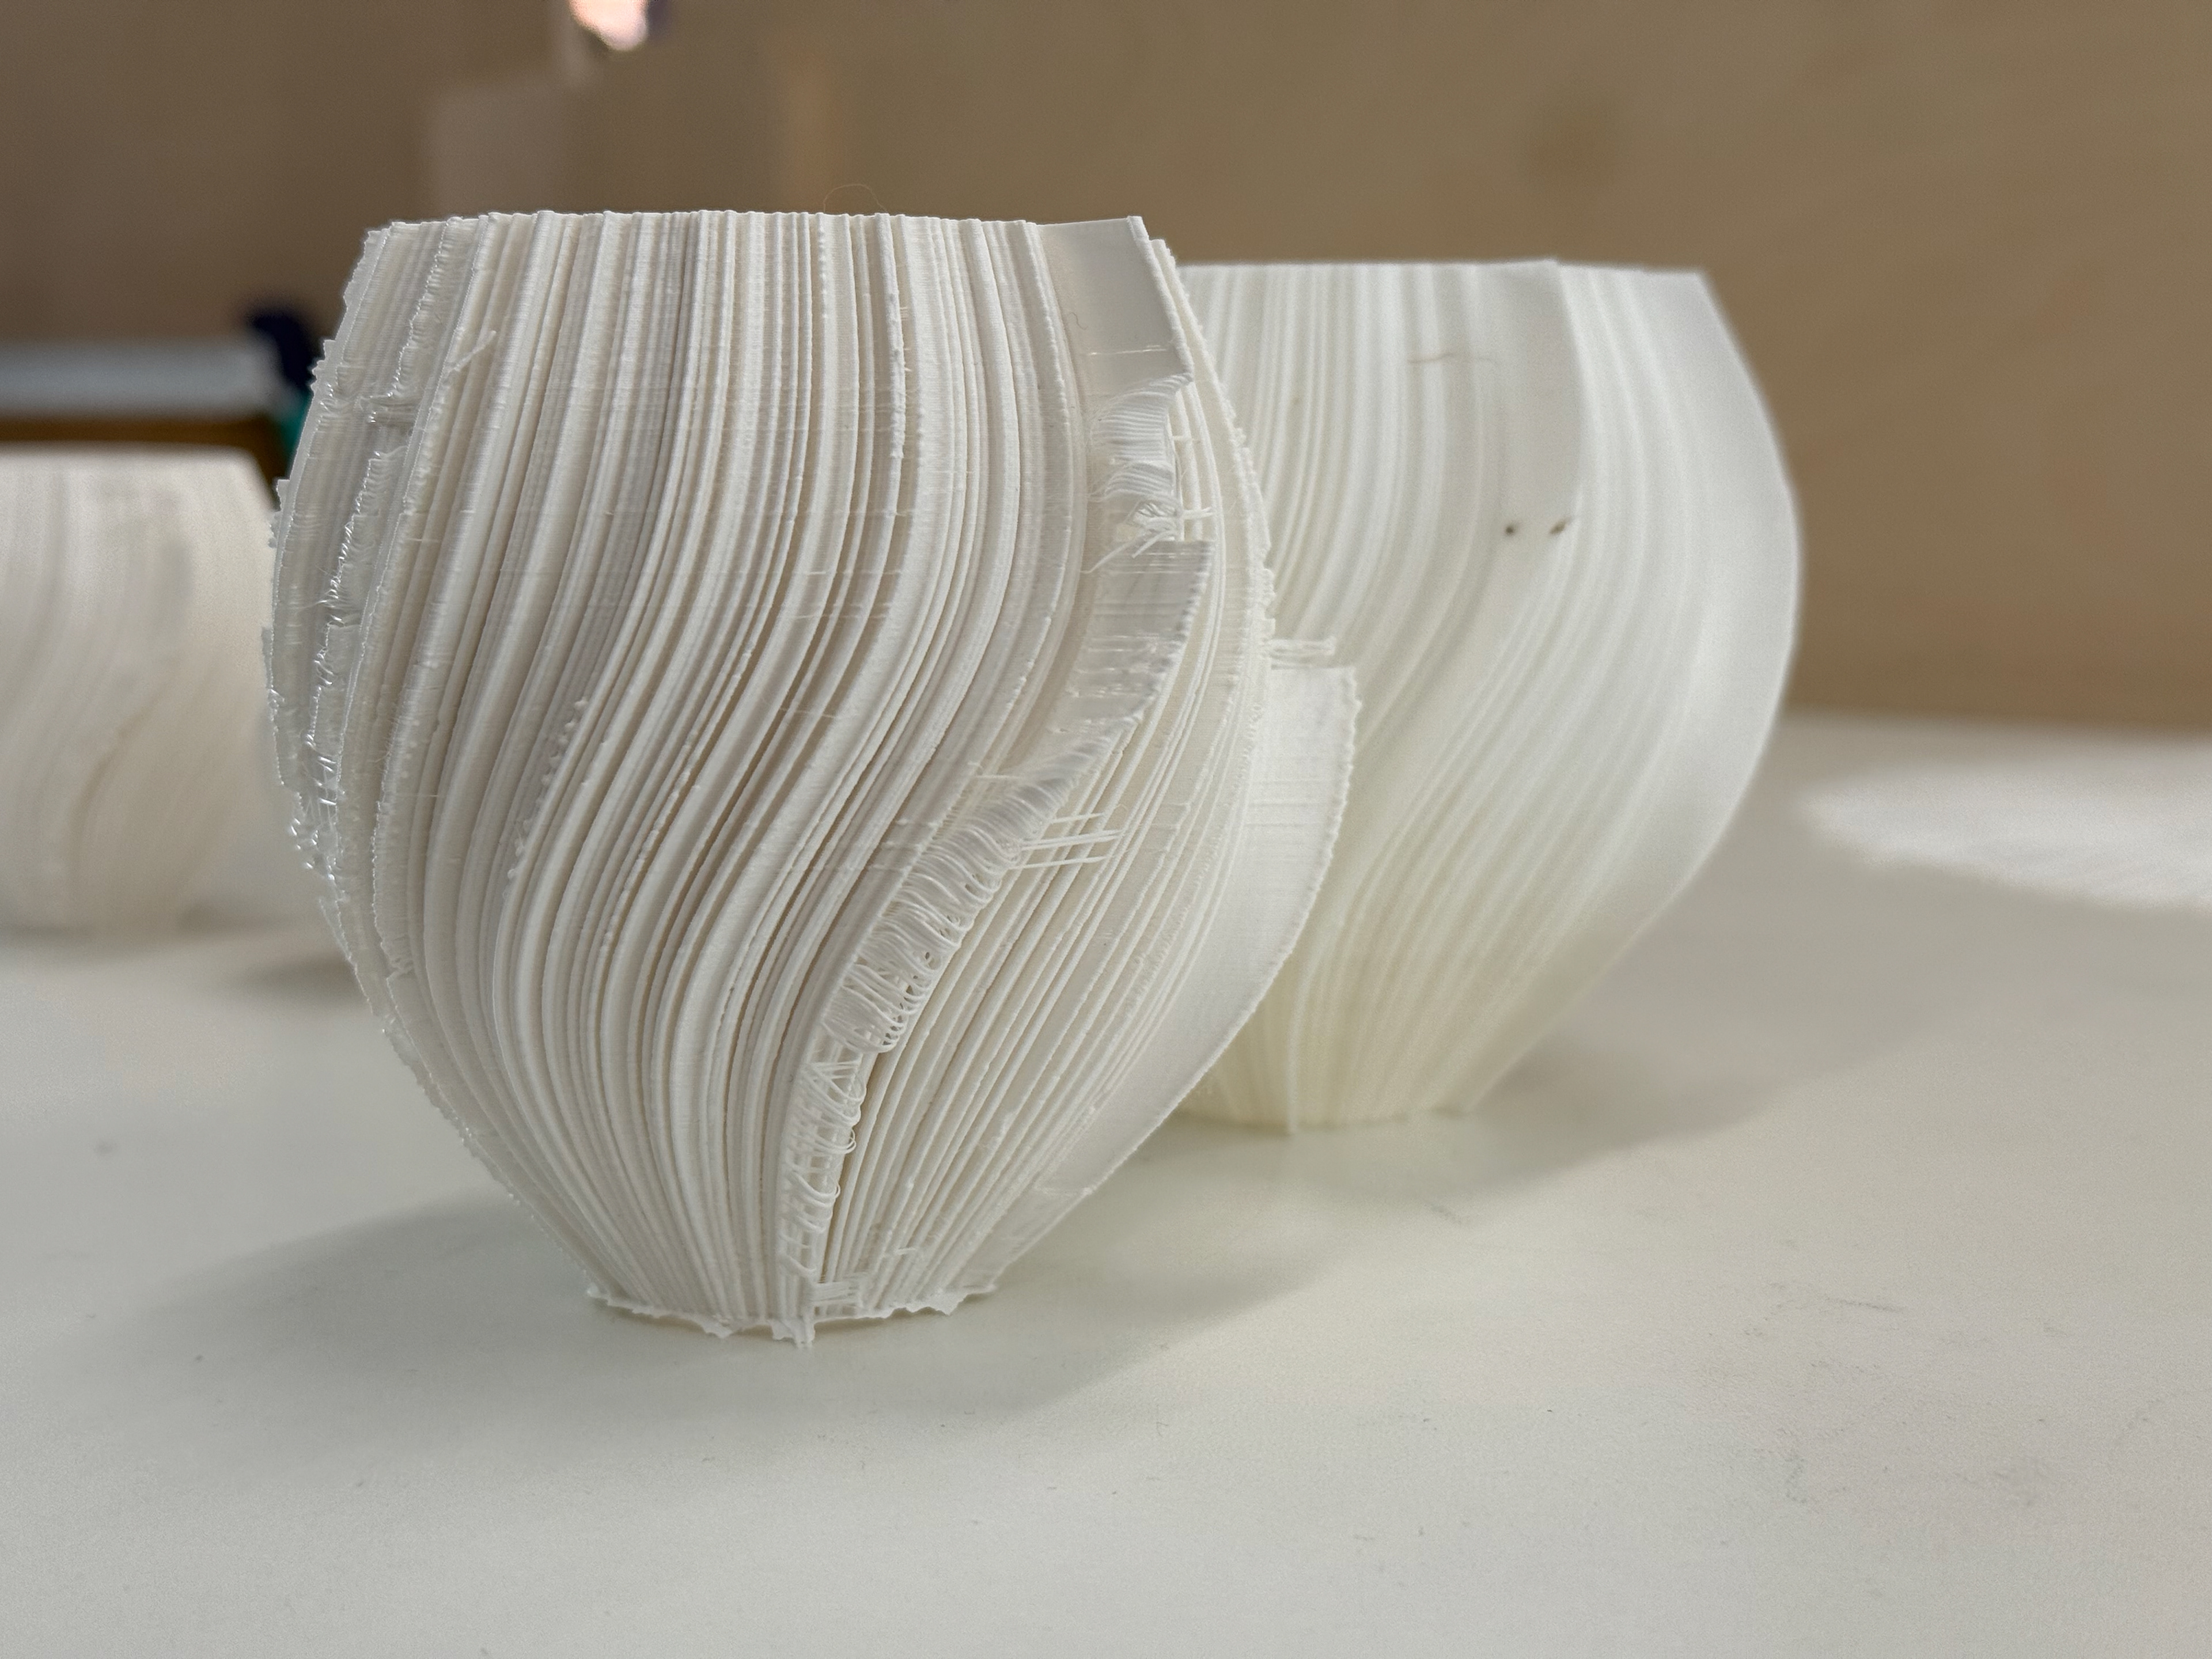
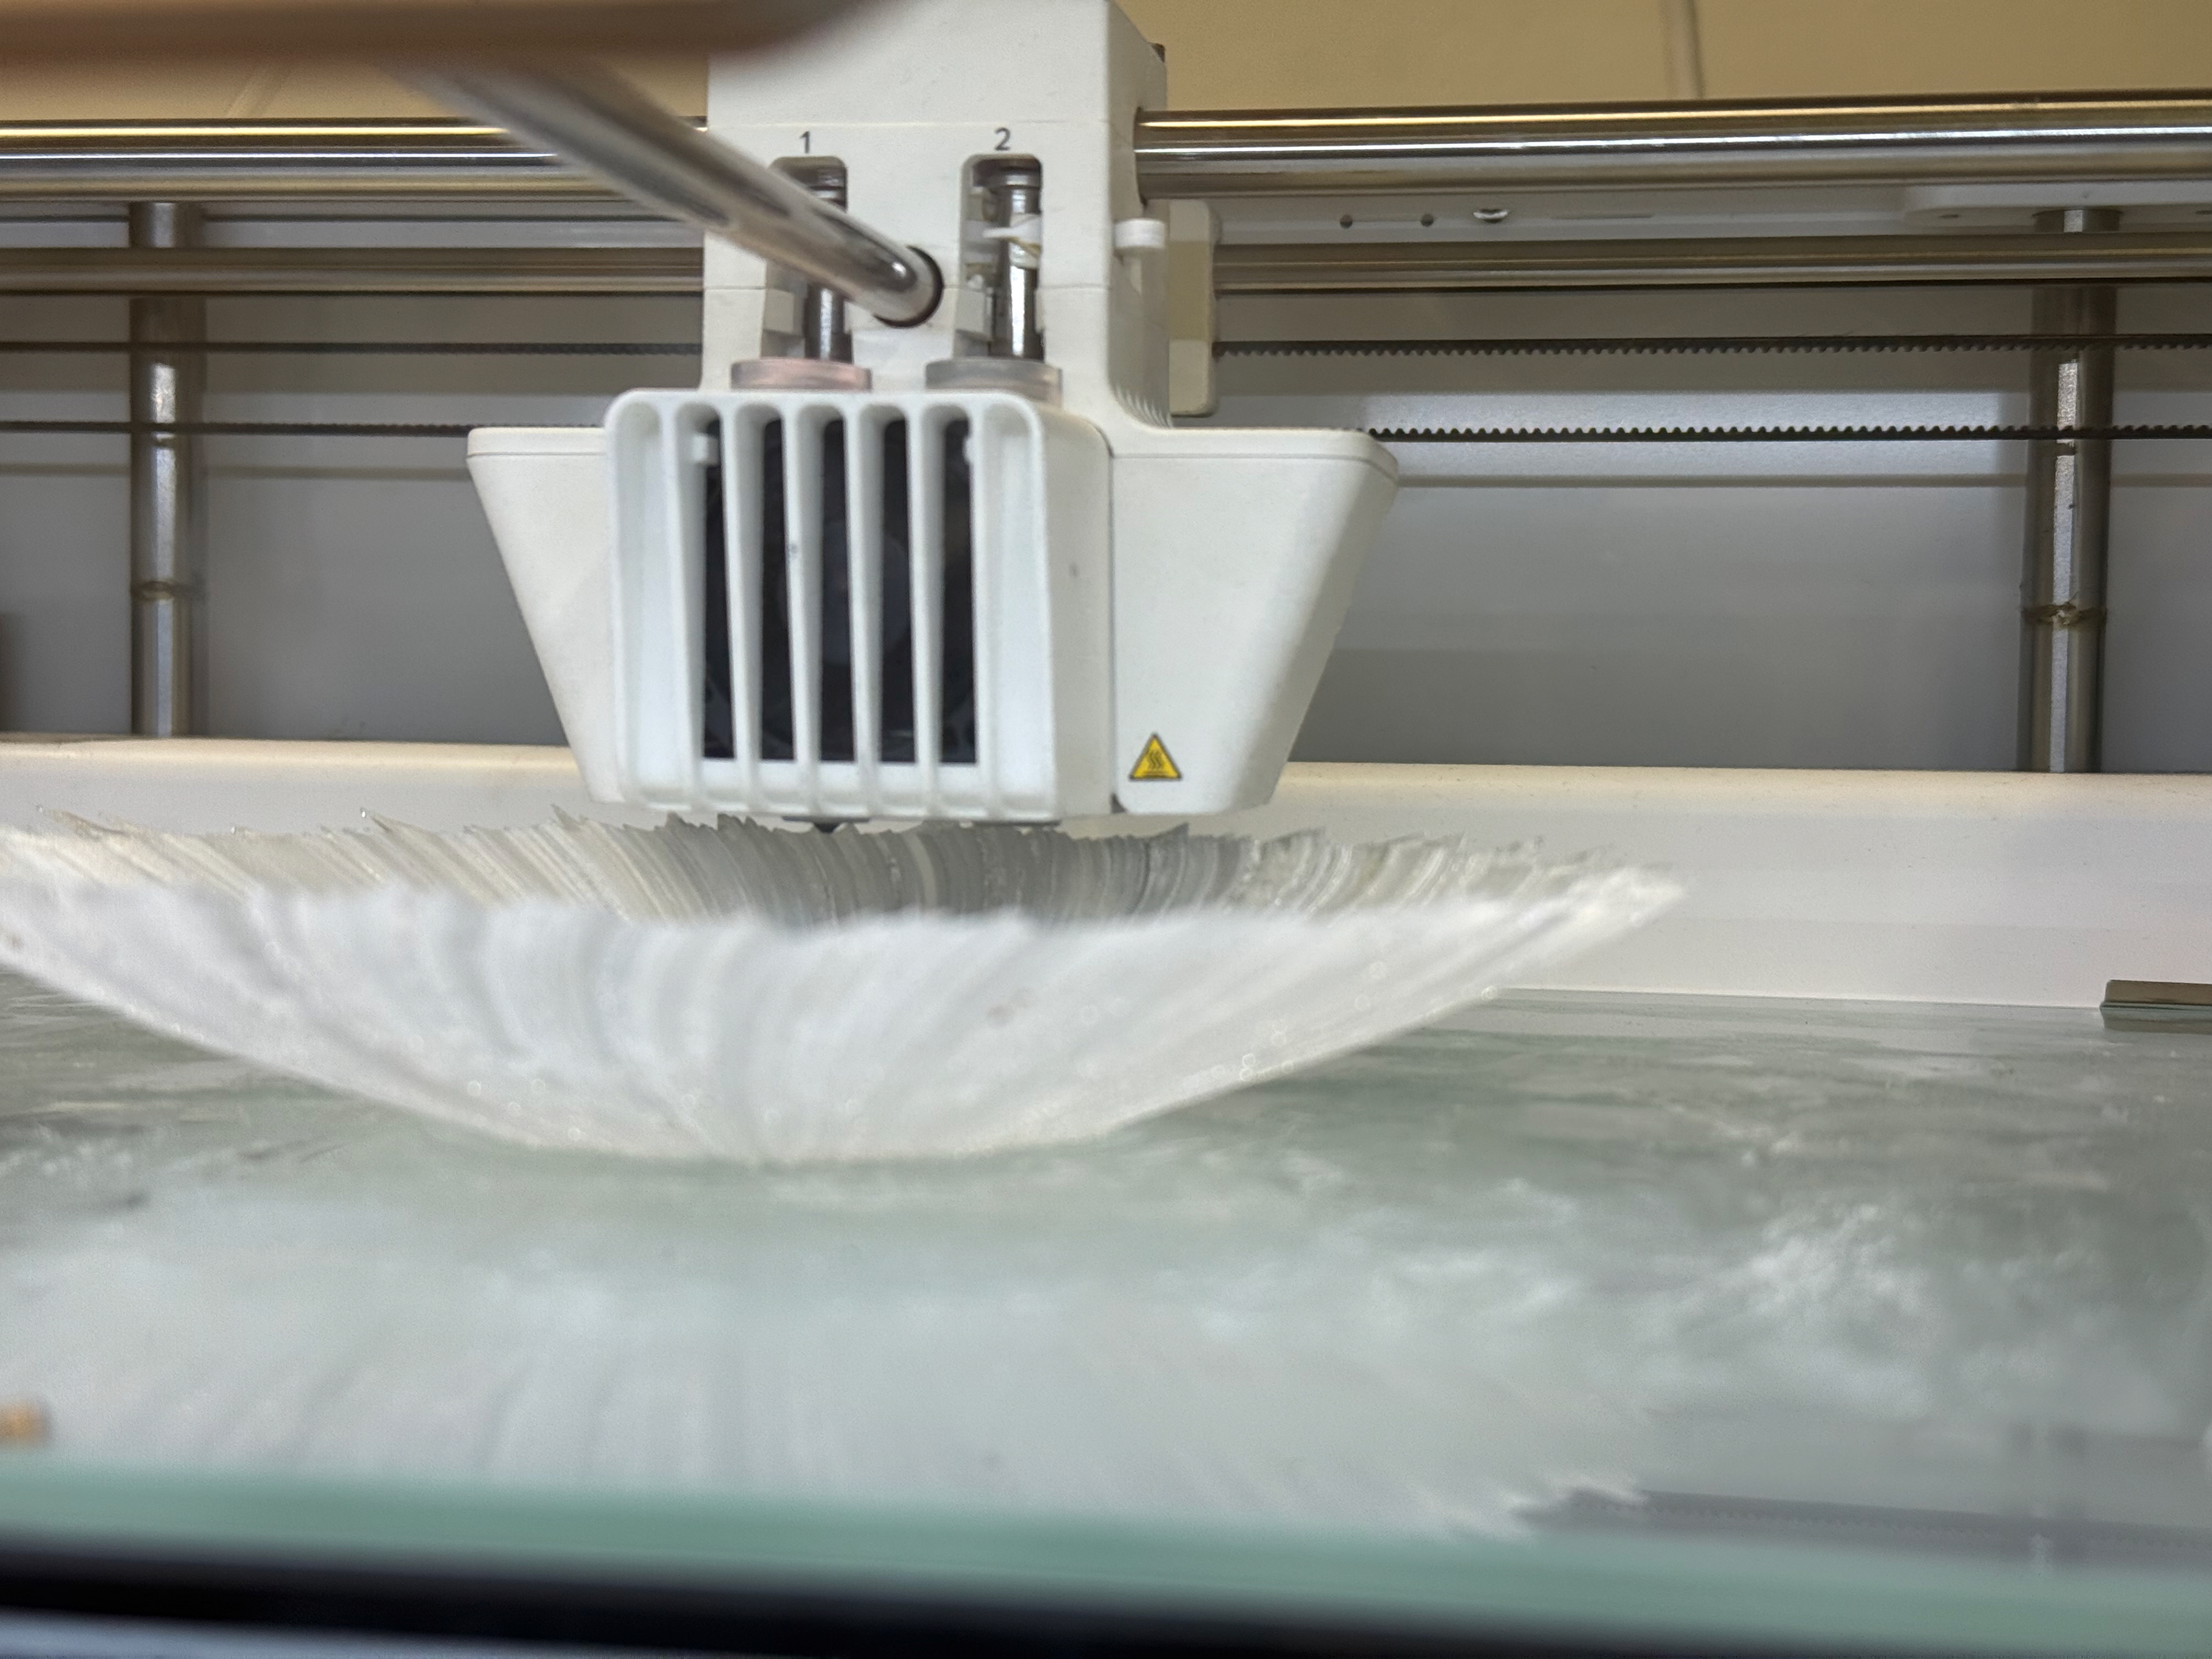
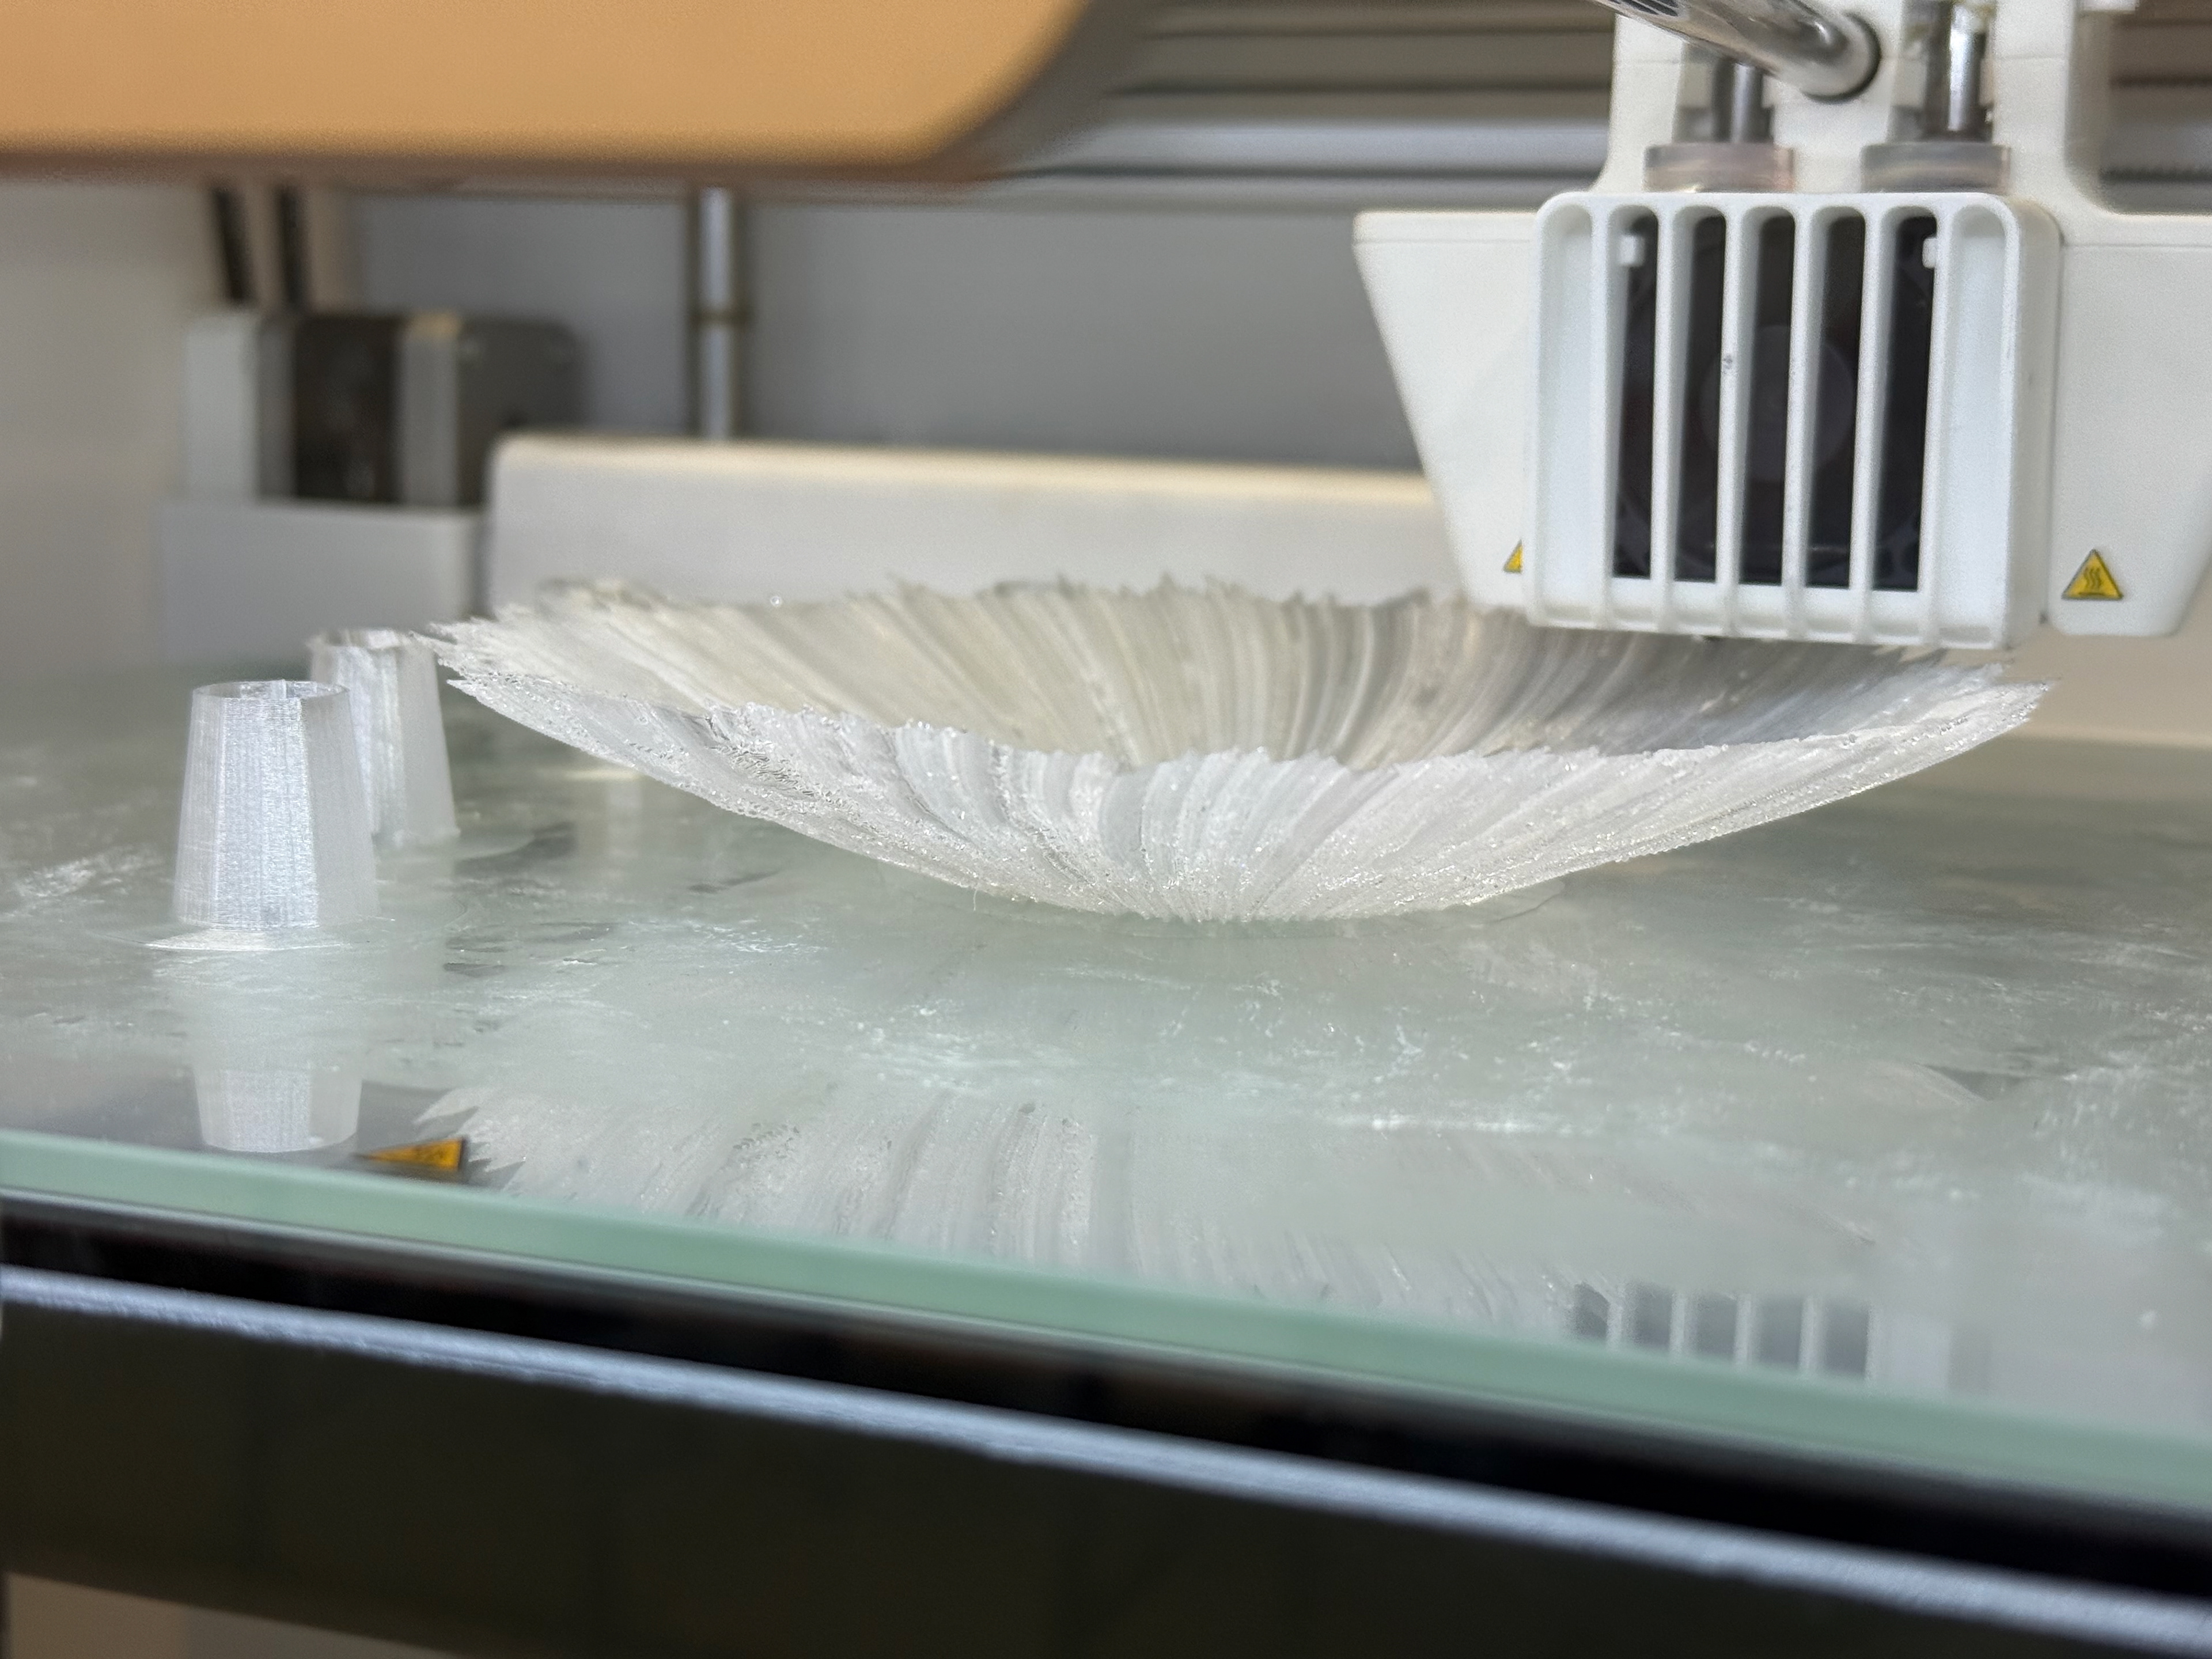
Start of print
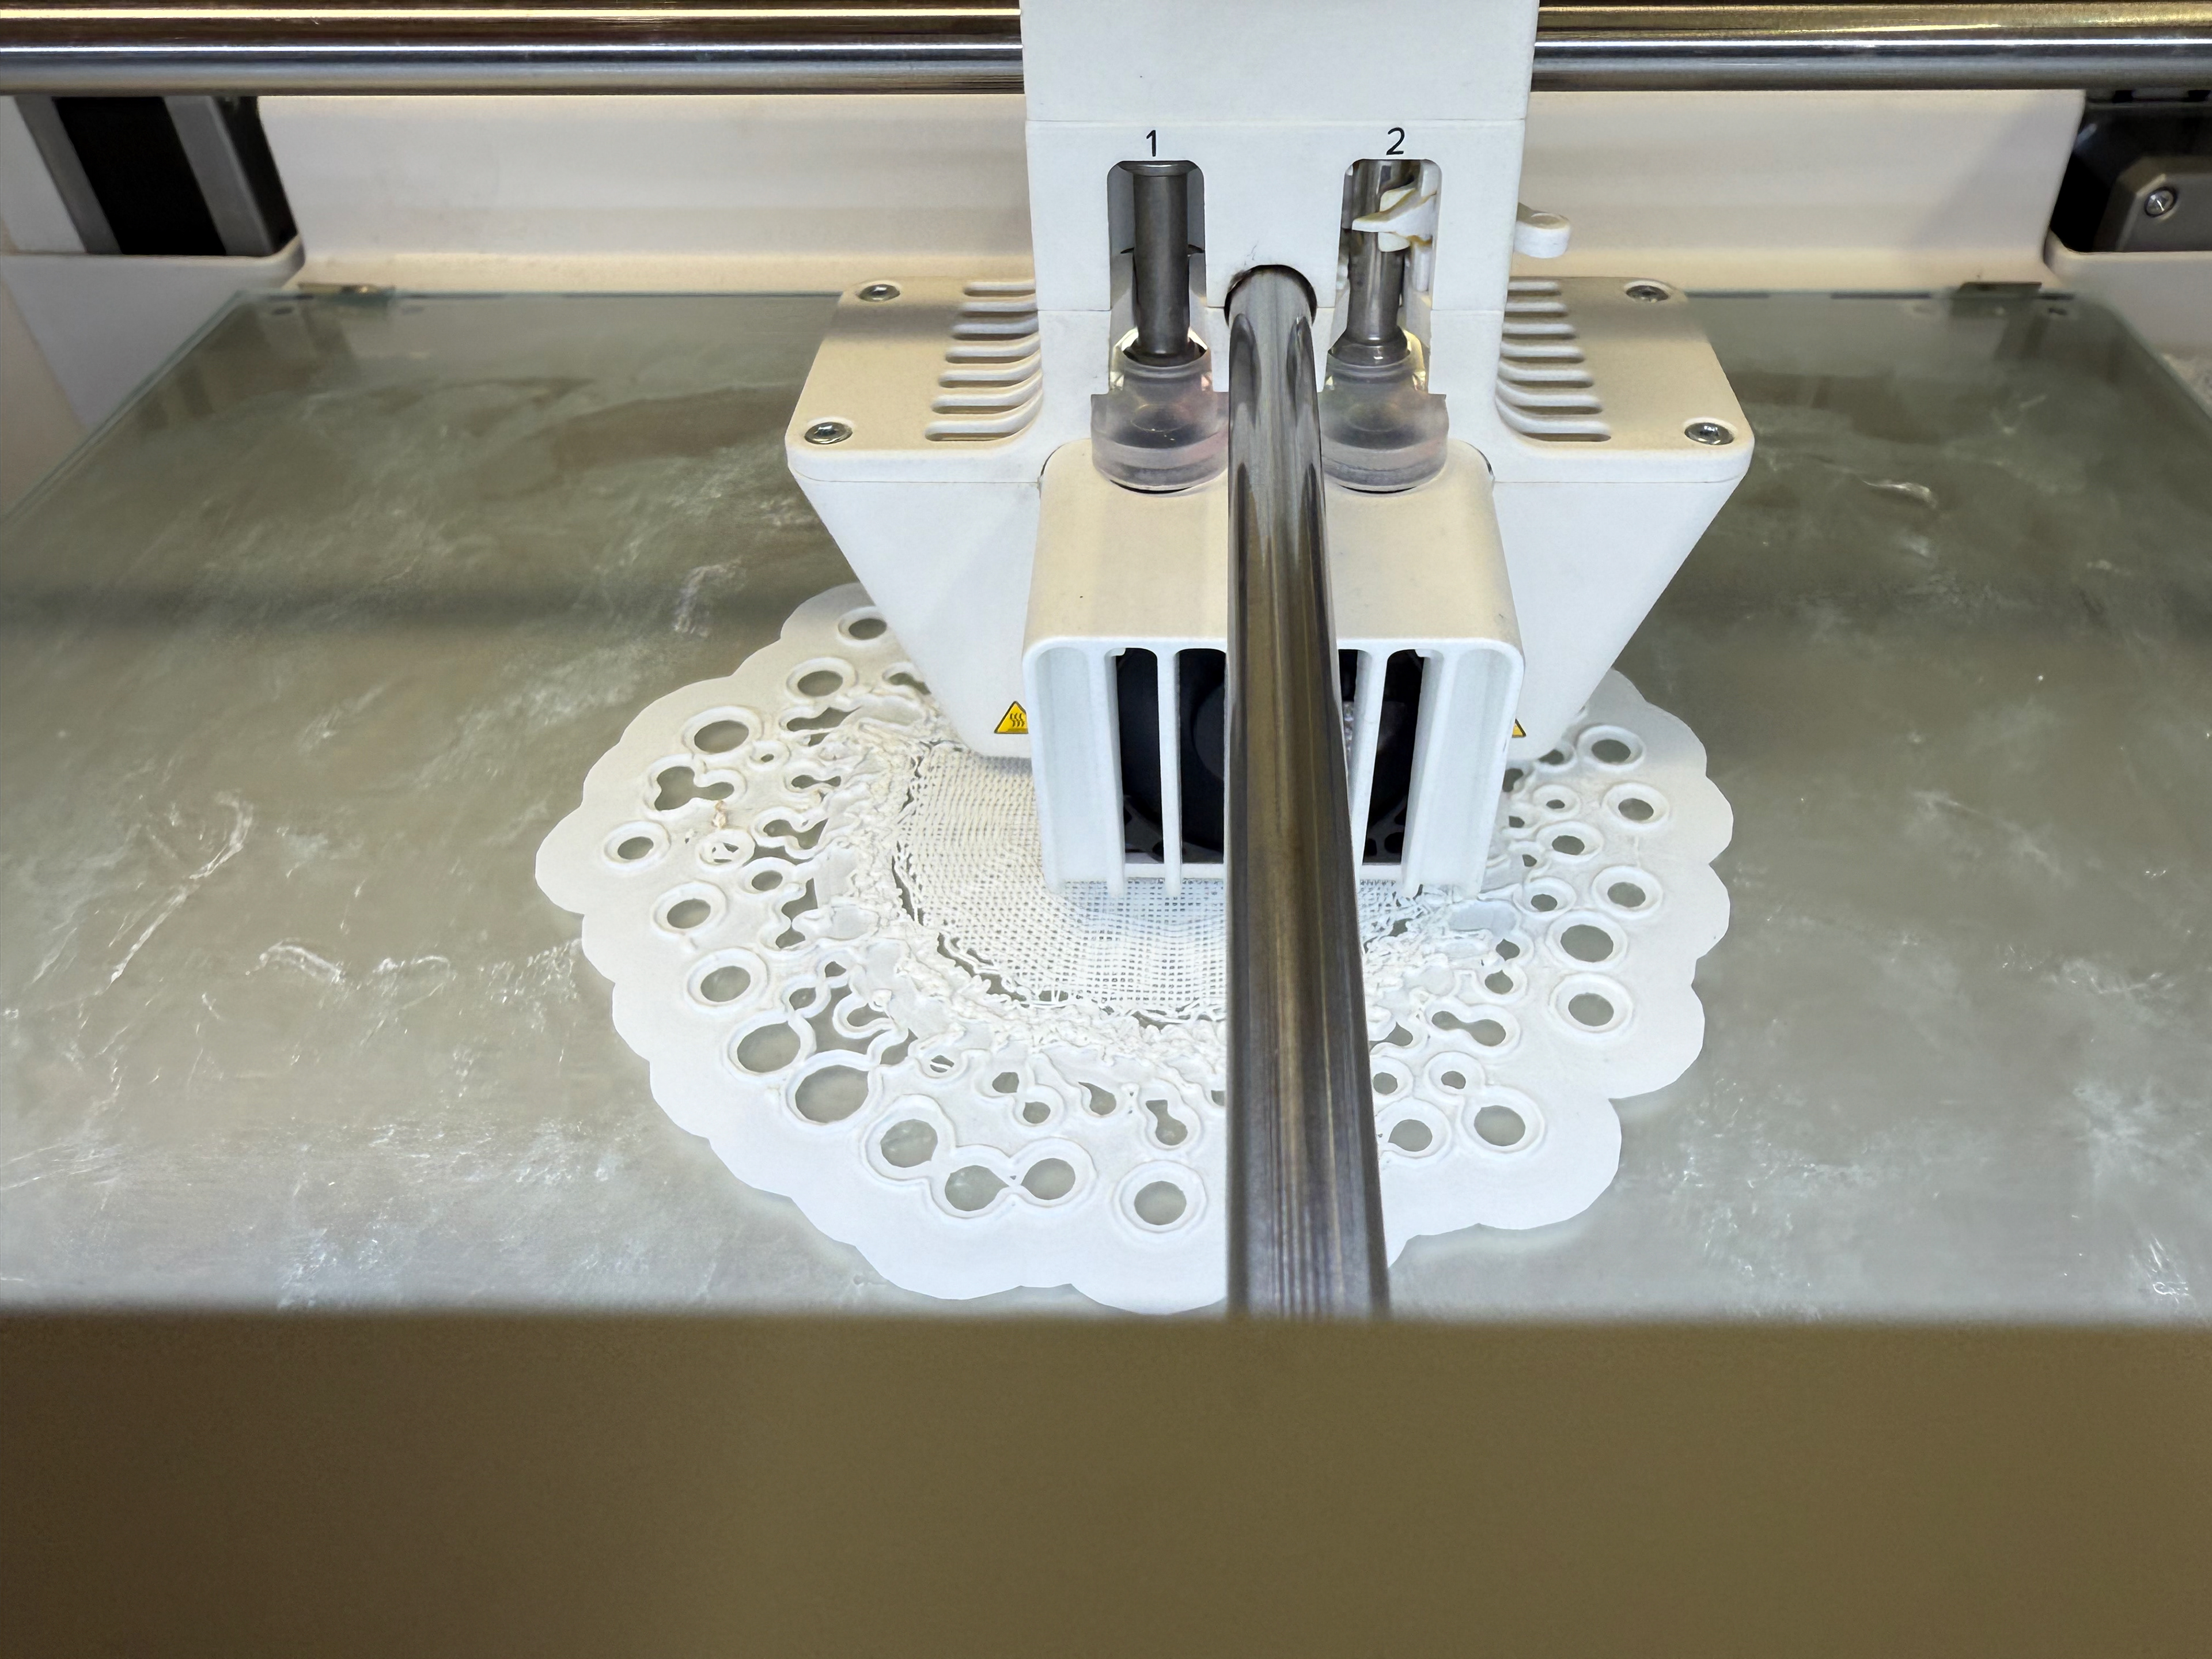
The opening up seems to be holding well

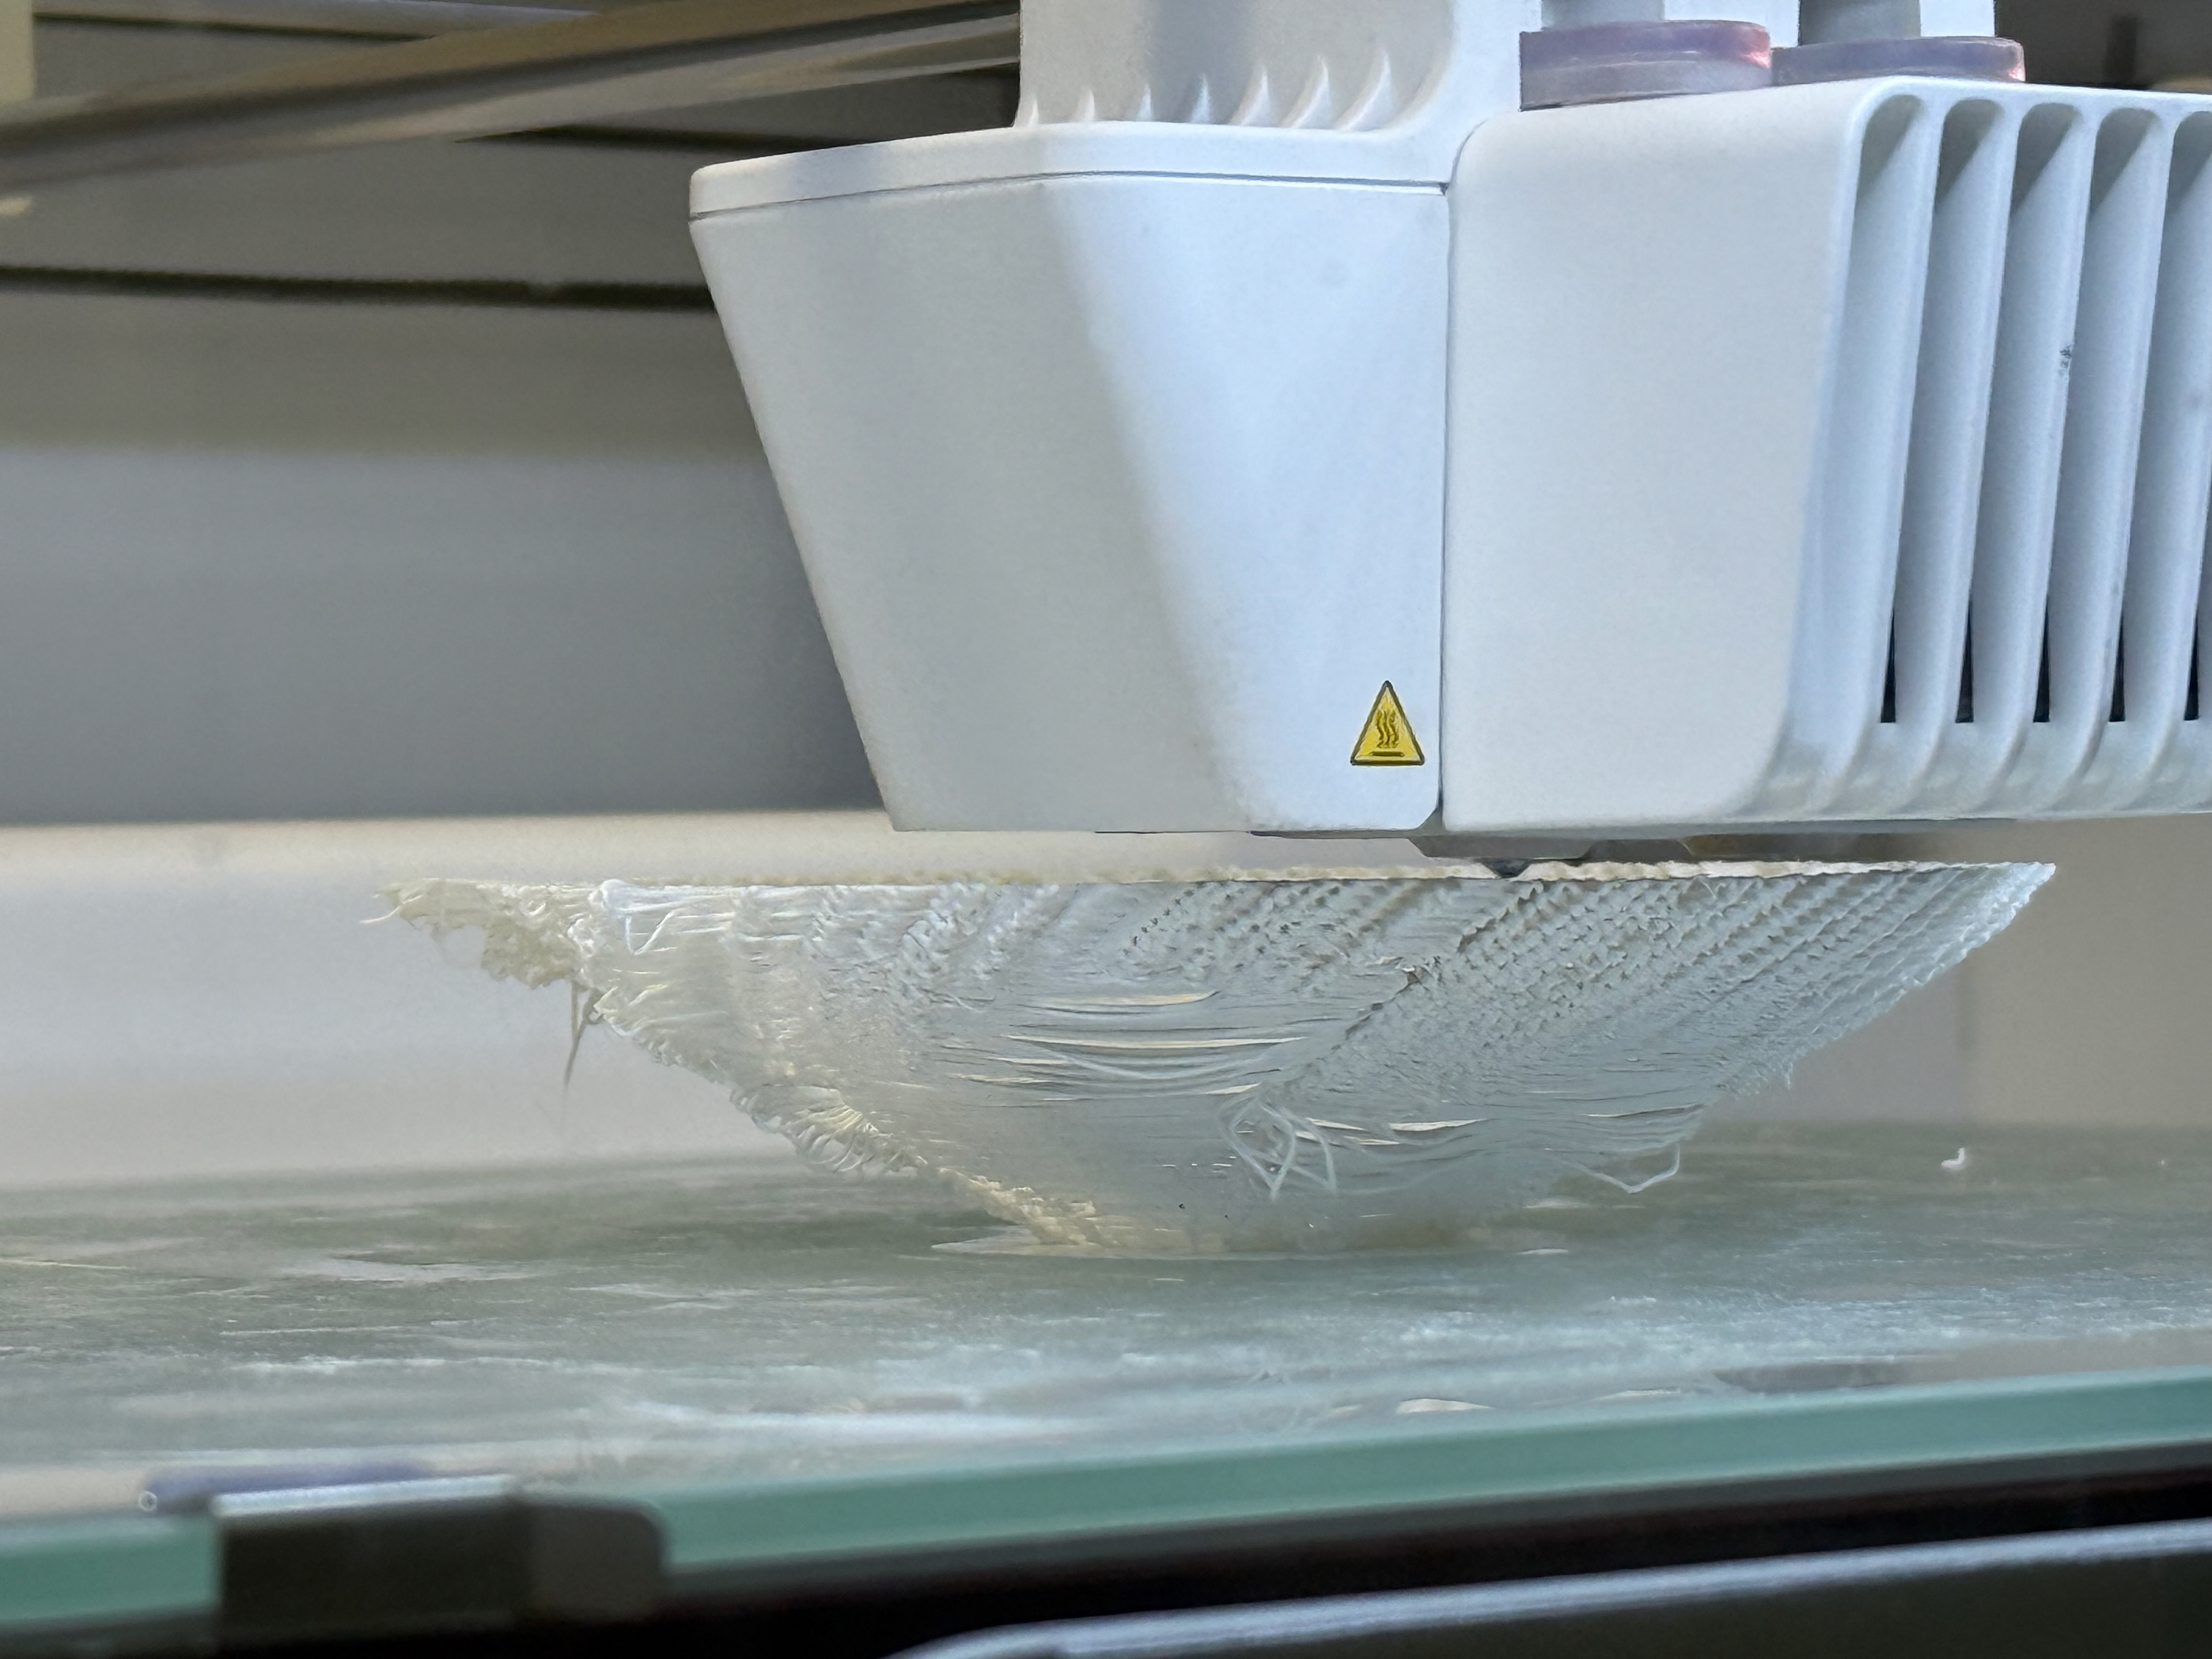
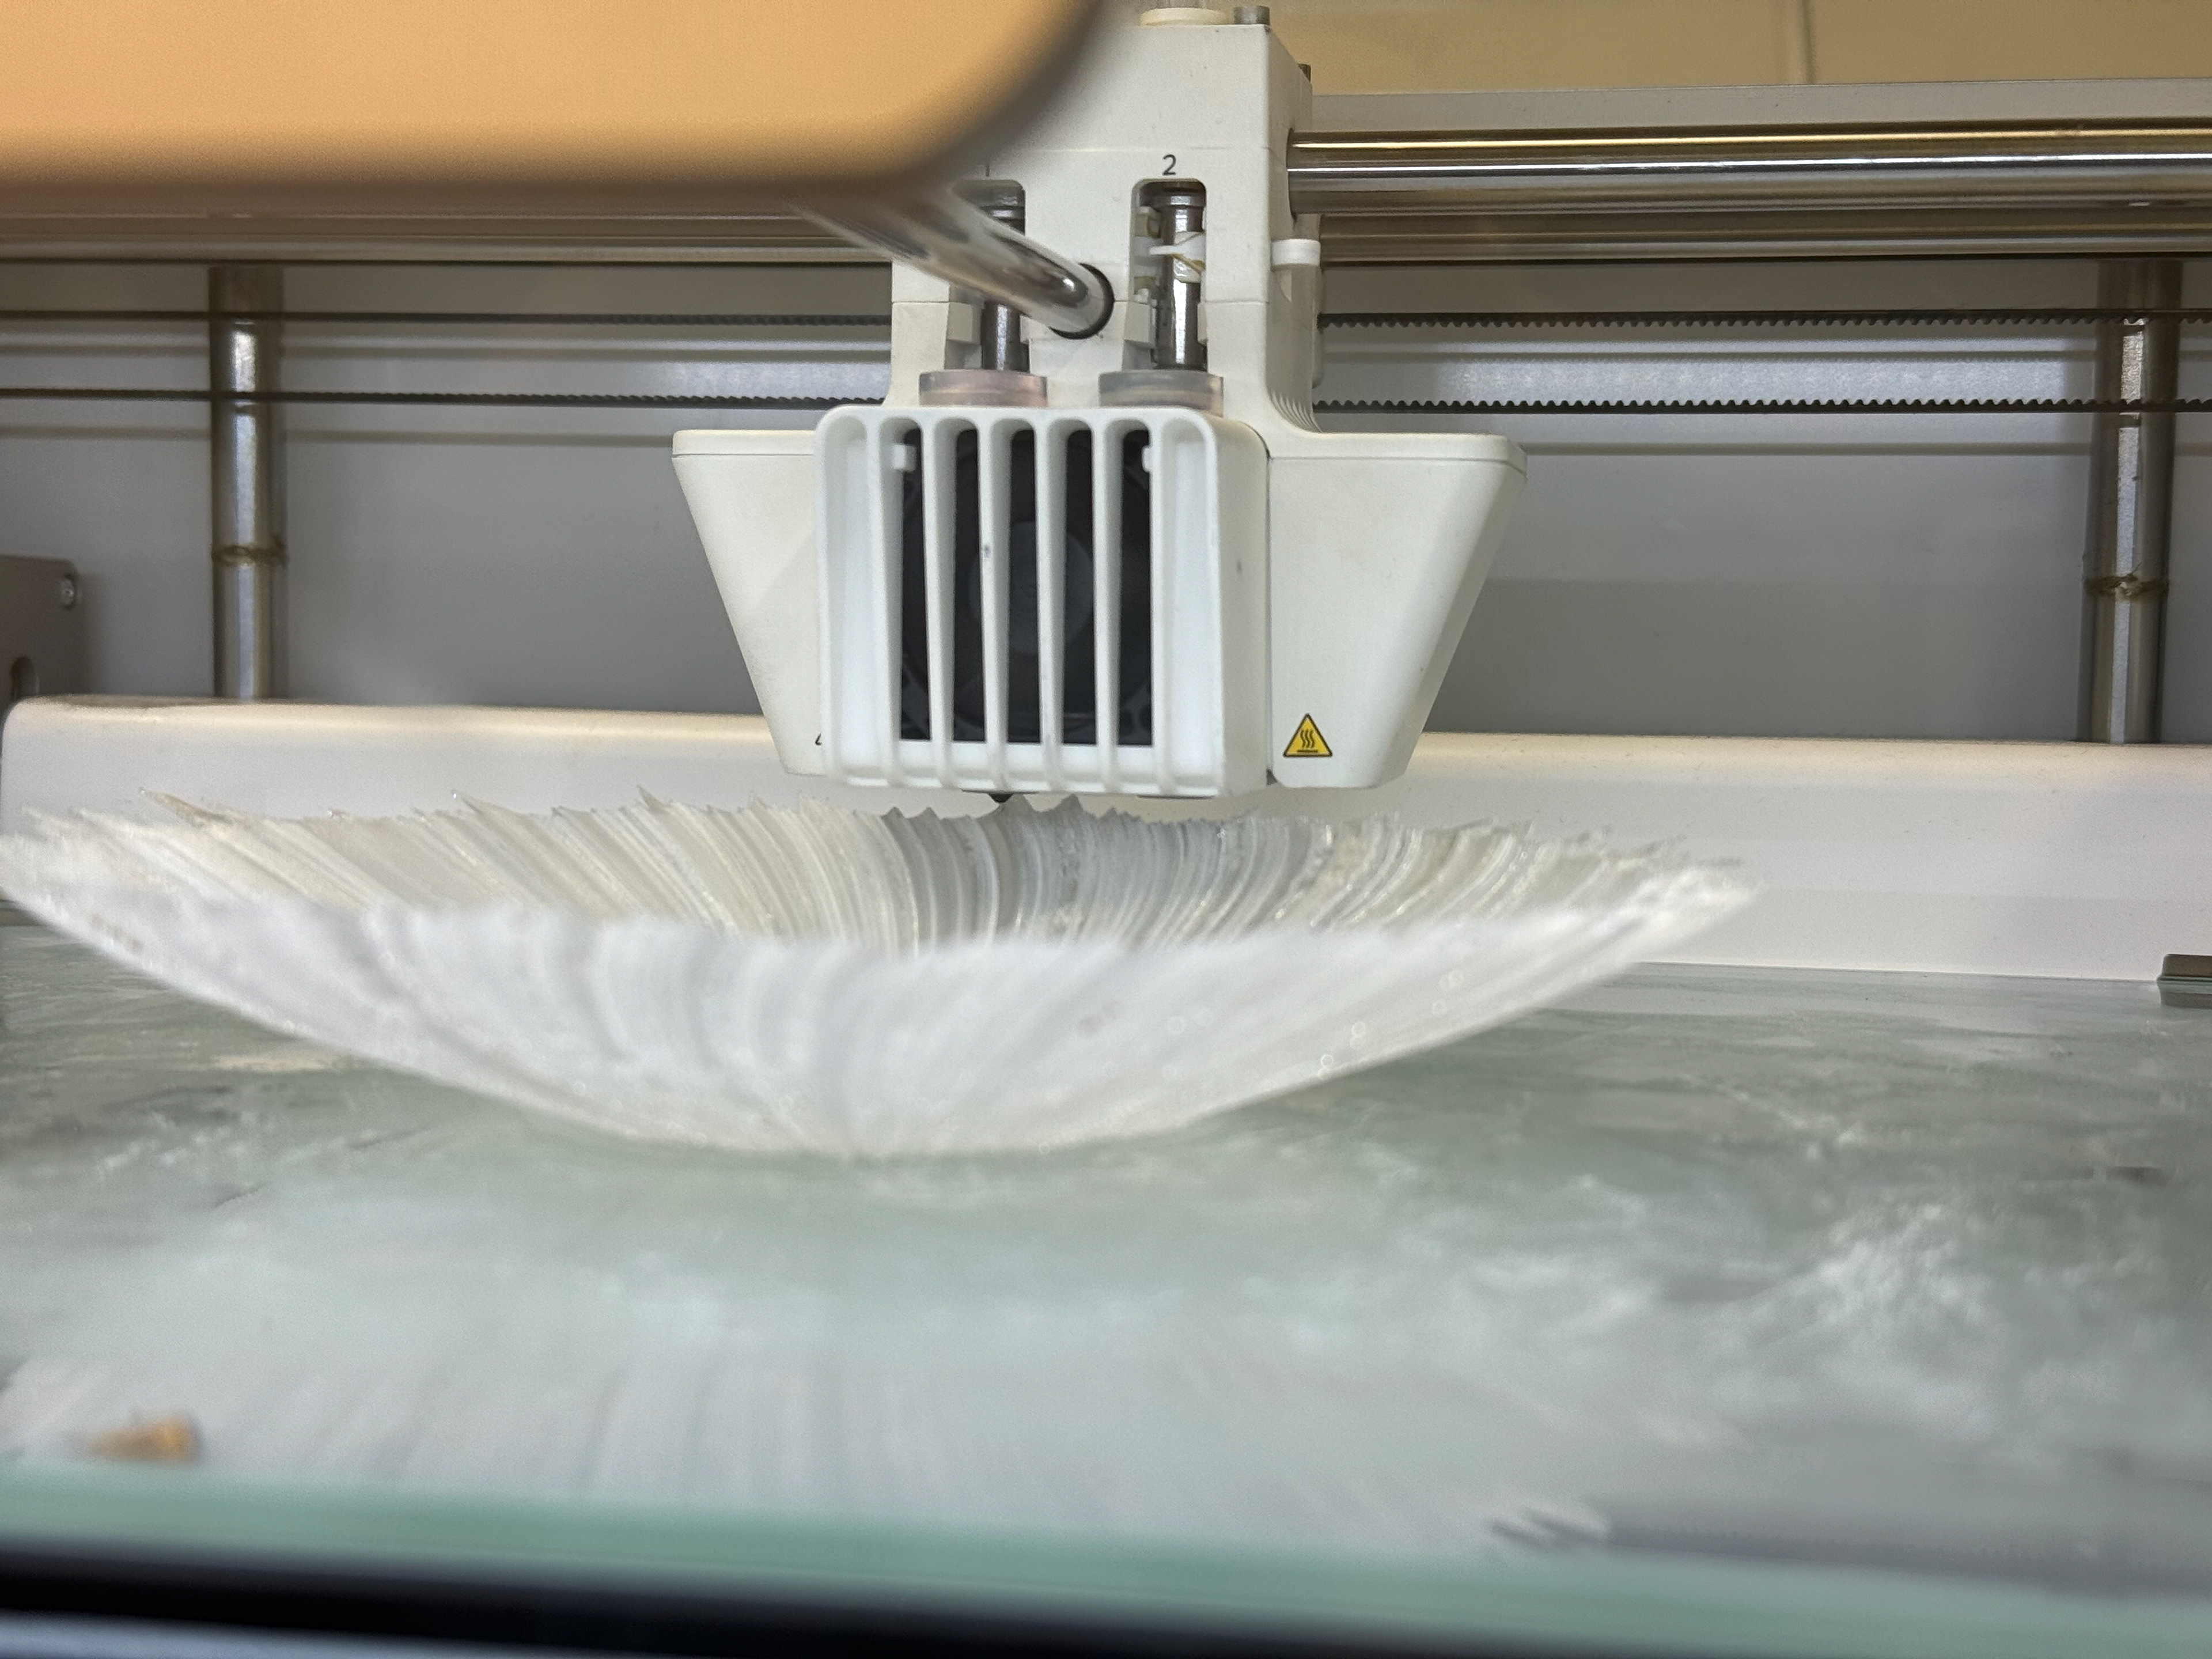
Continues to be successful
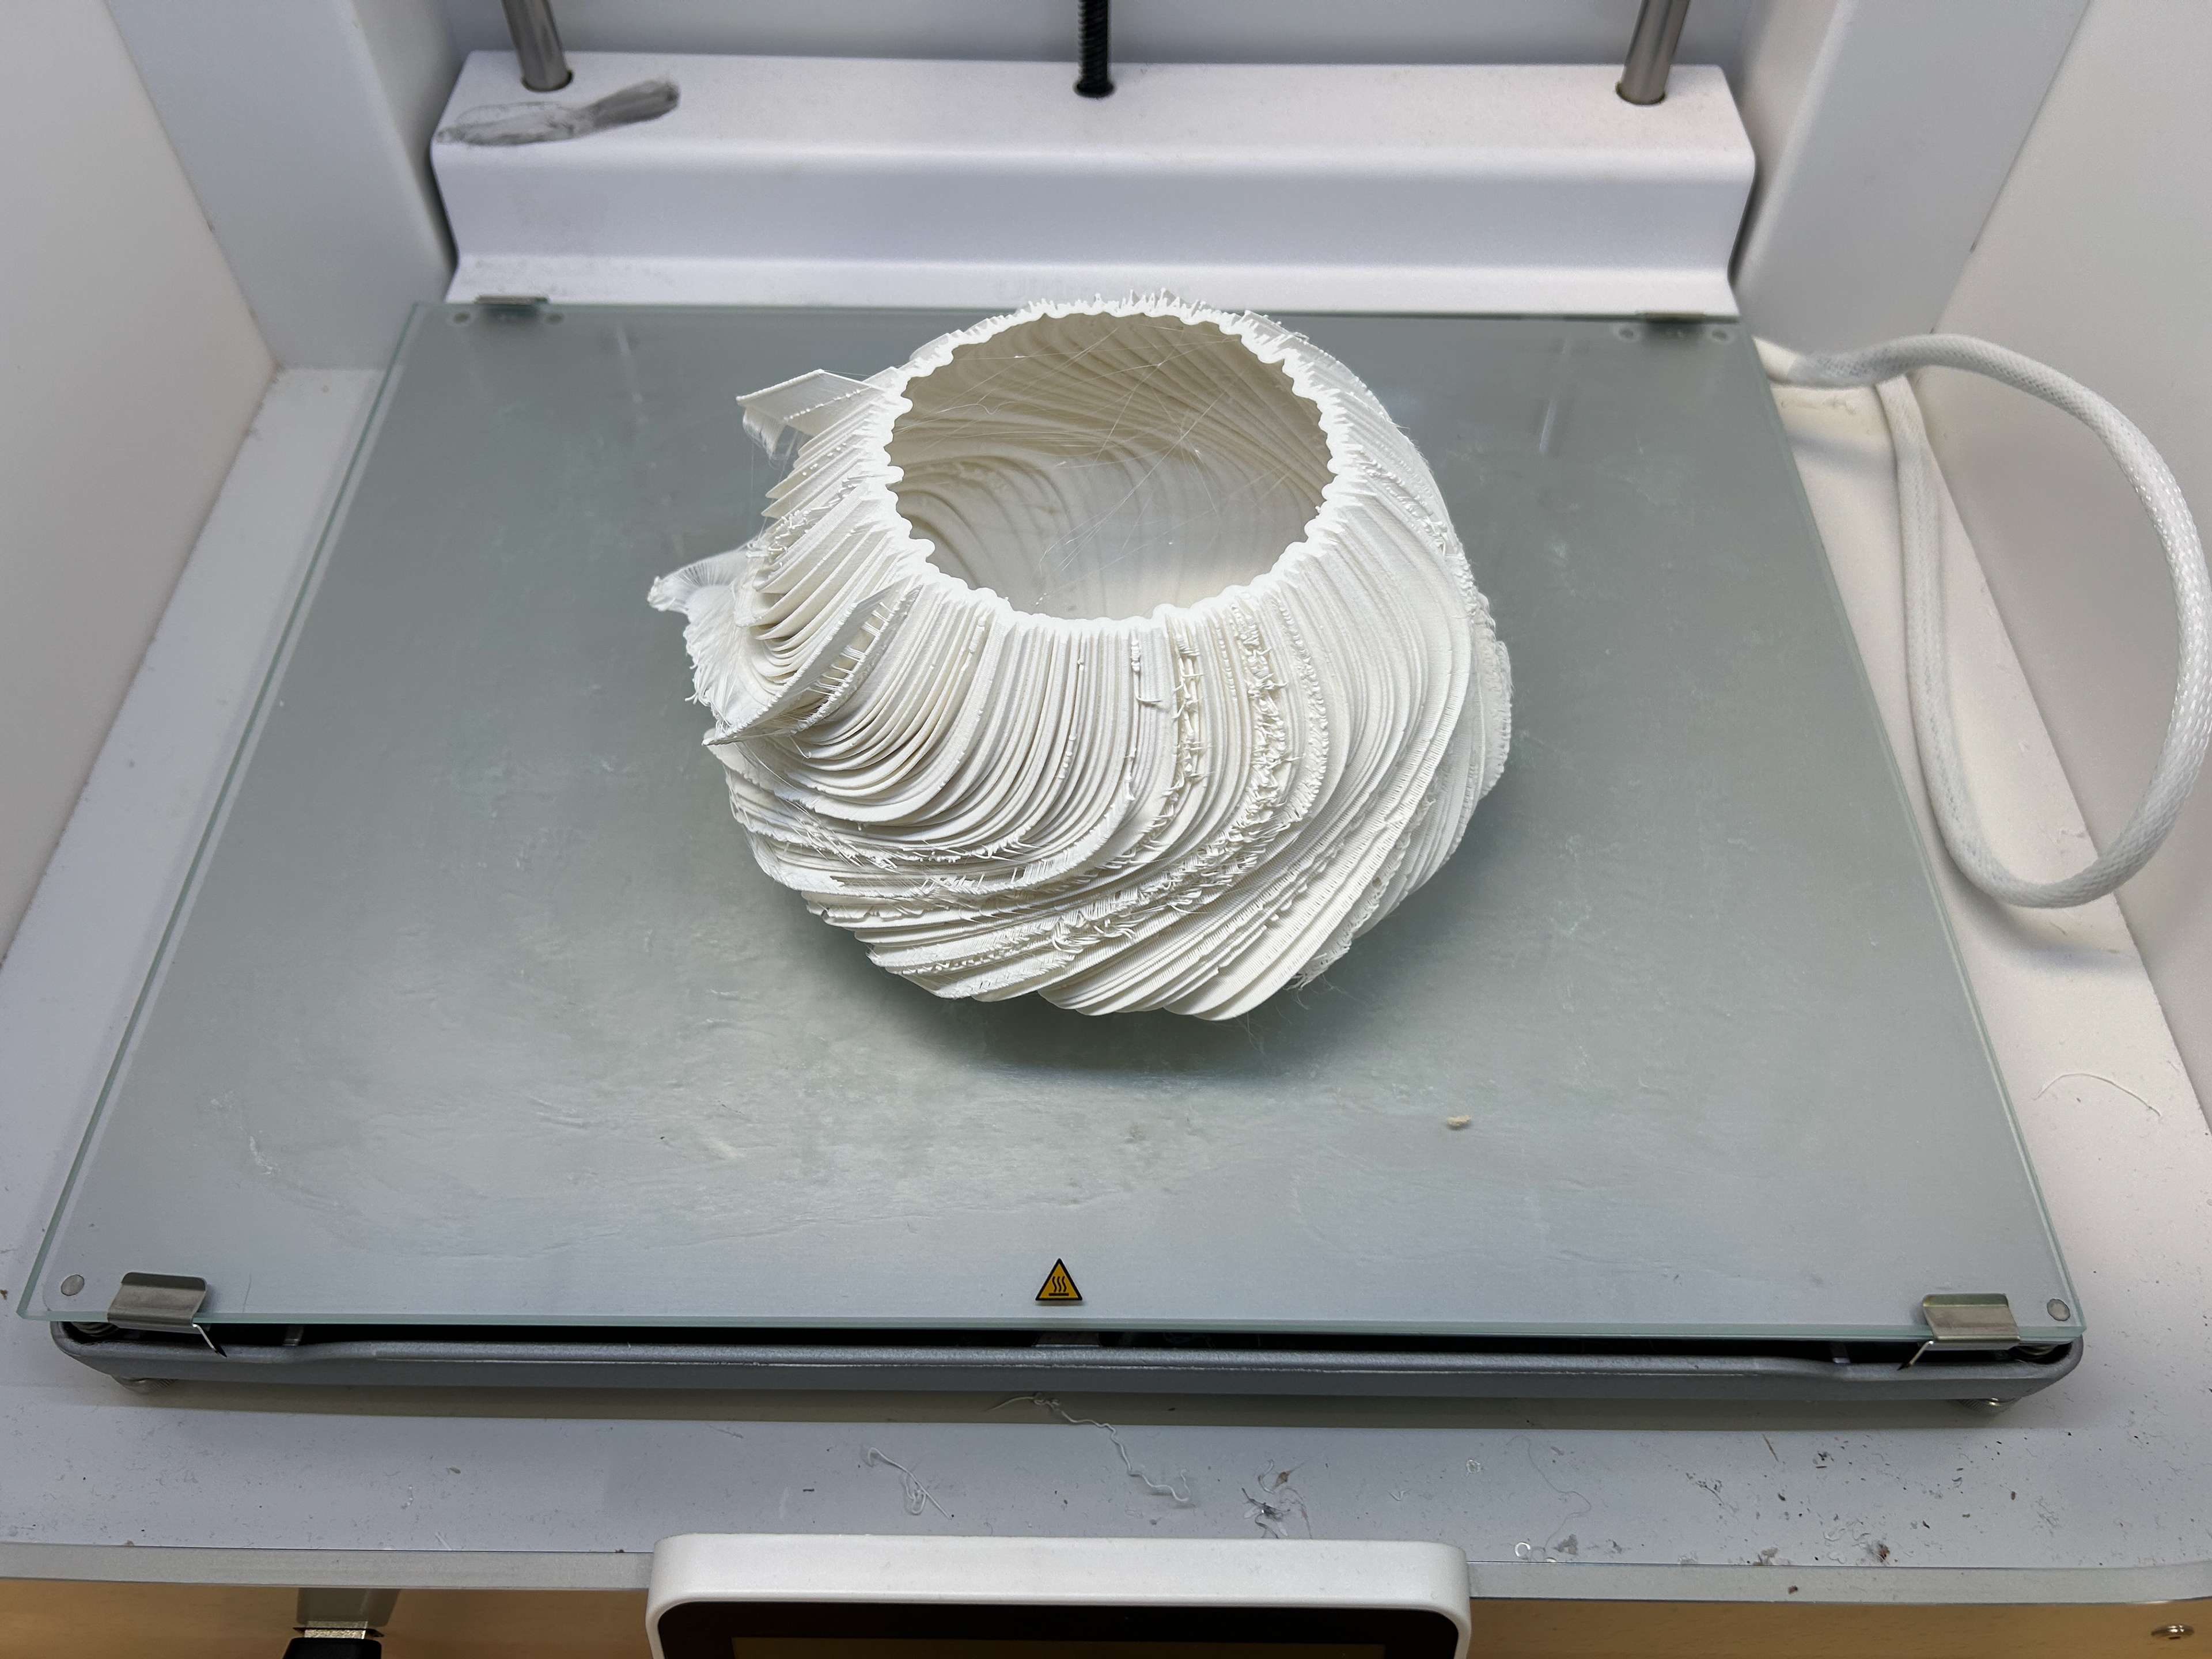
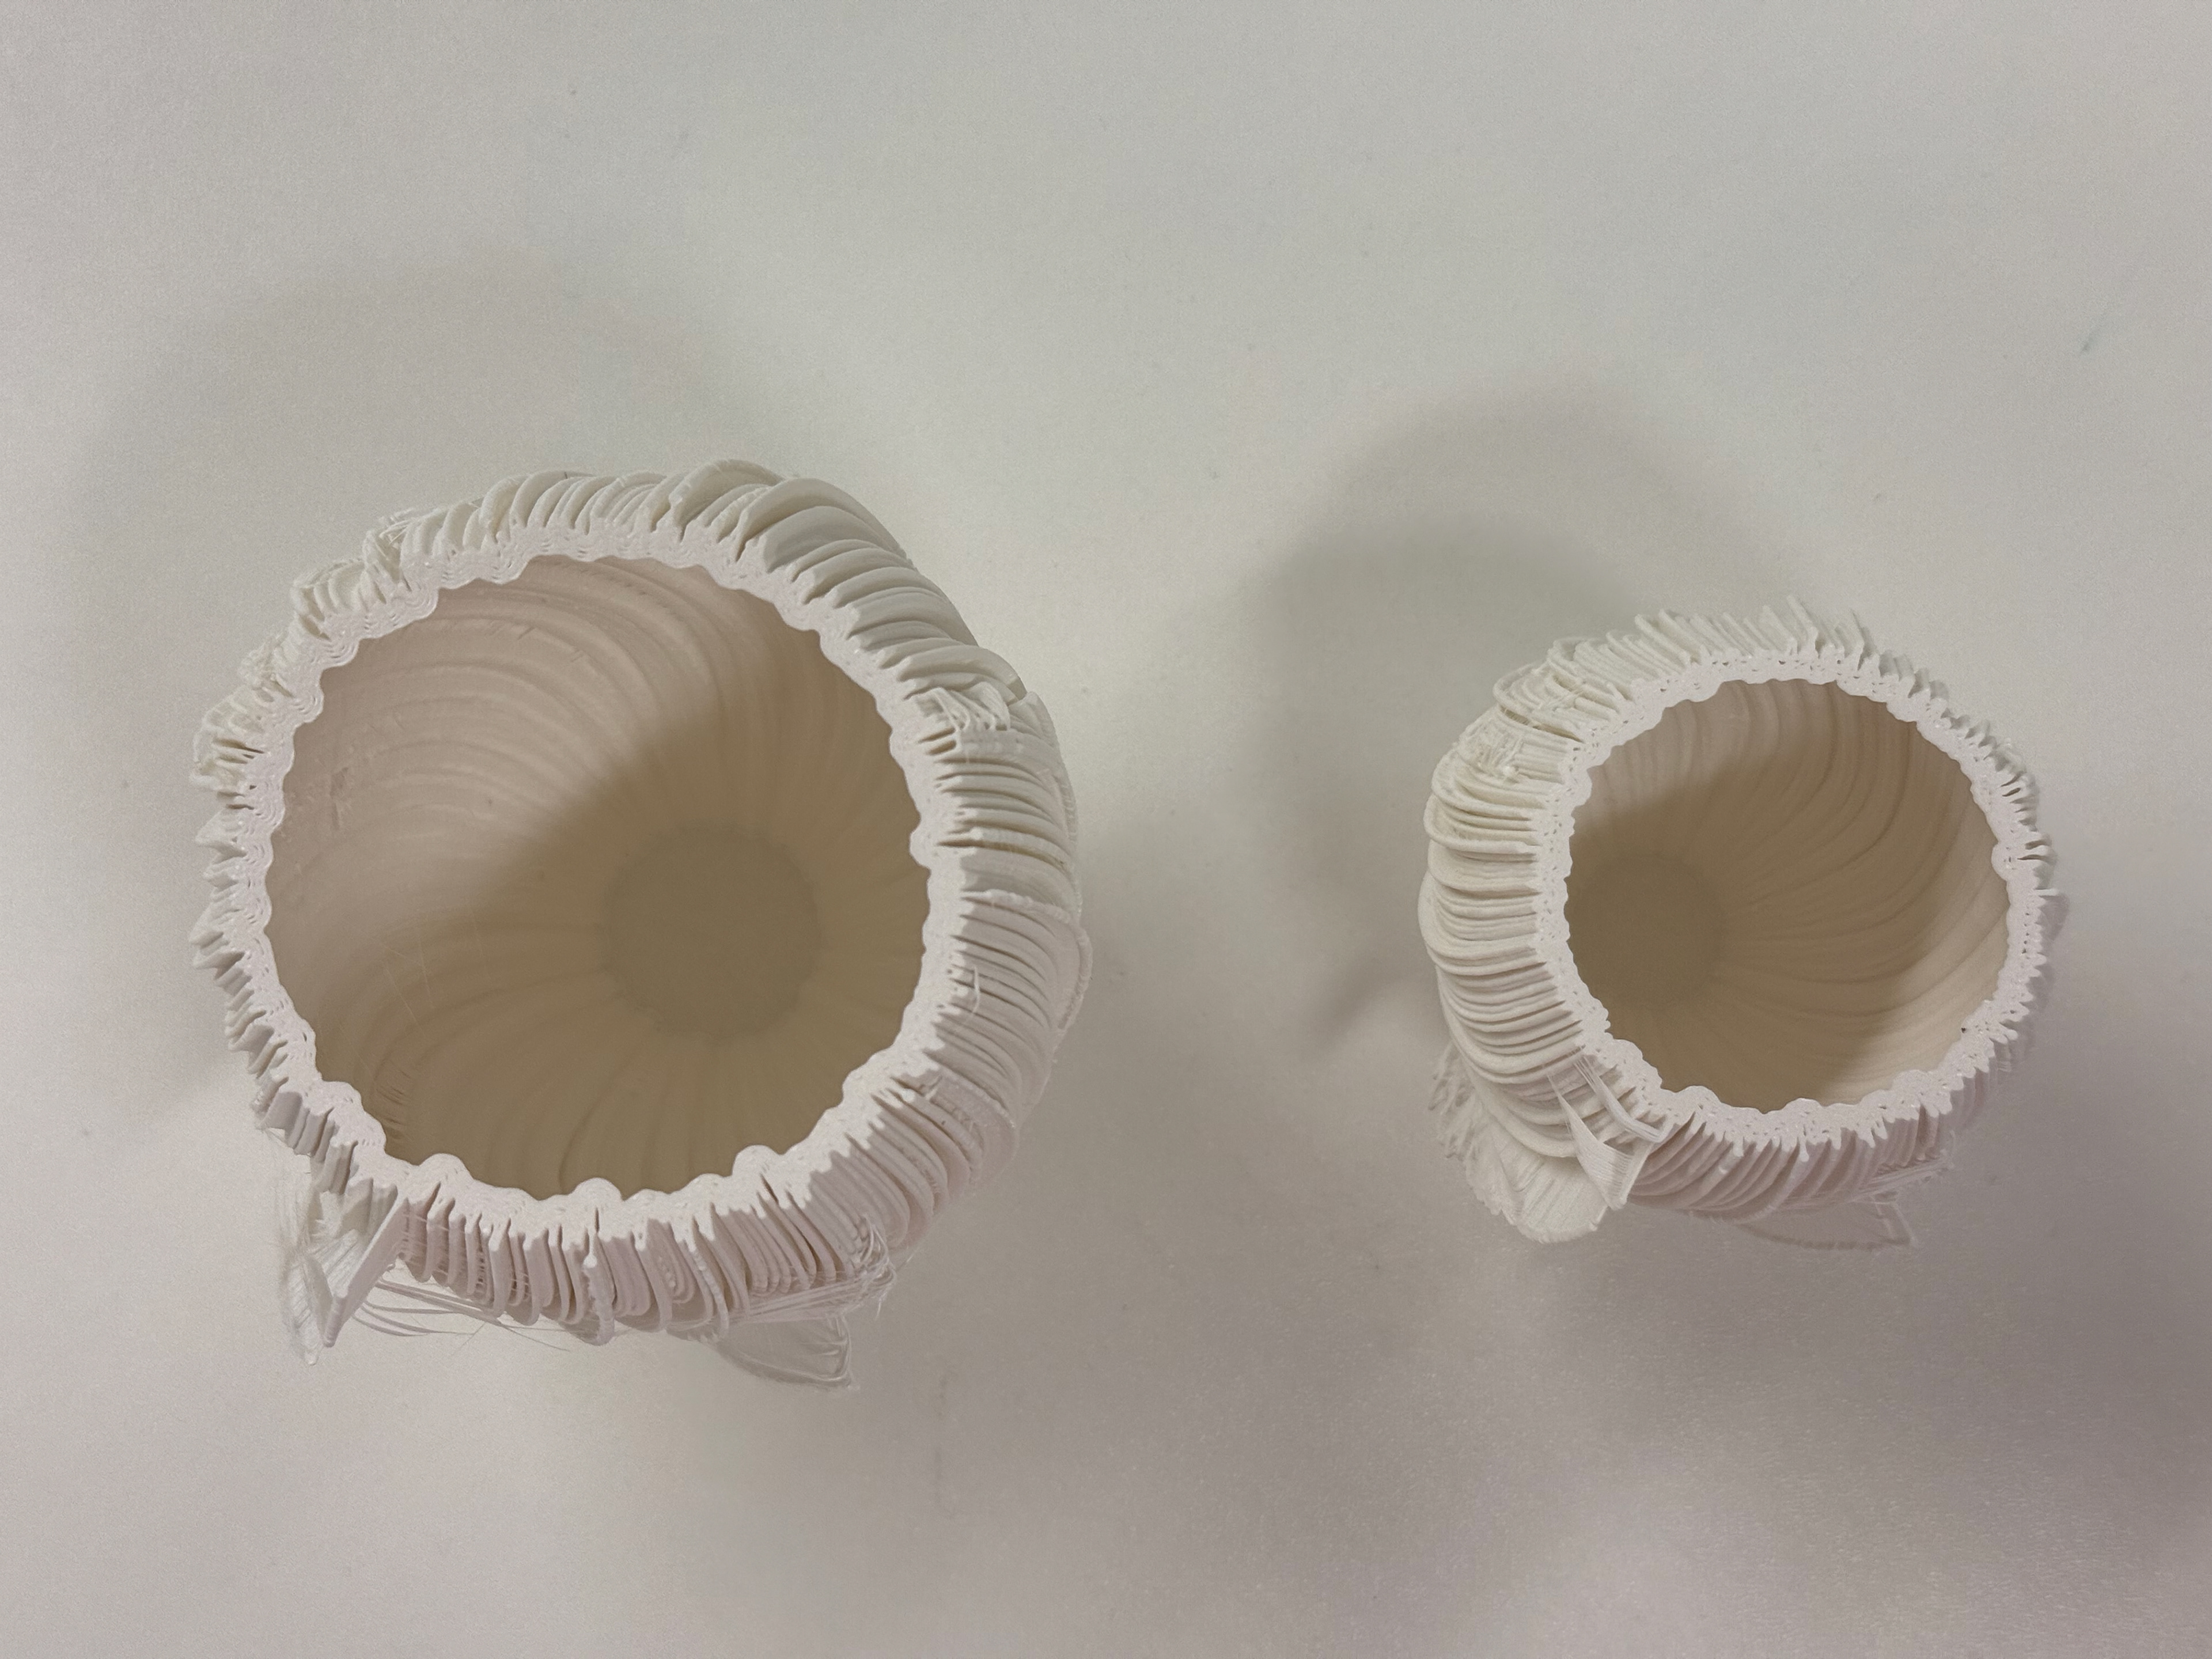
The inside could do with less spacing
Few stray pieces of plastic
Past the widest point but now it's going to overlay
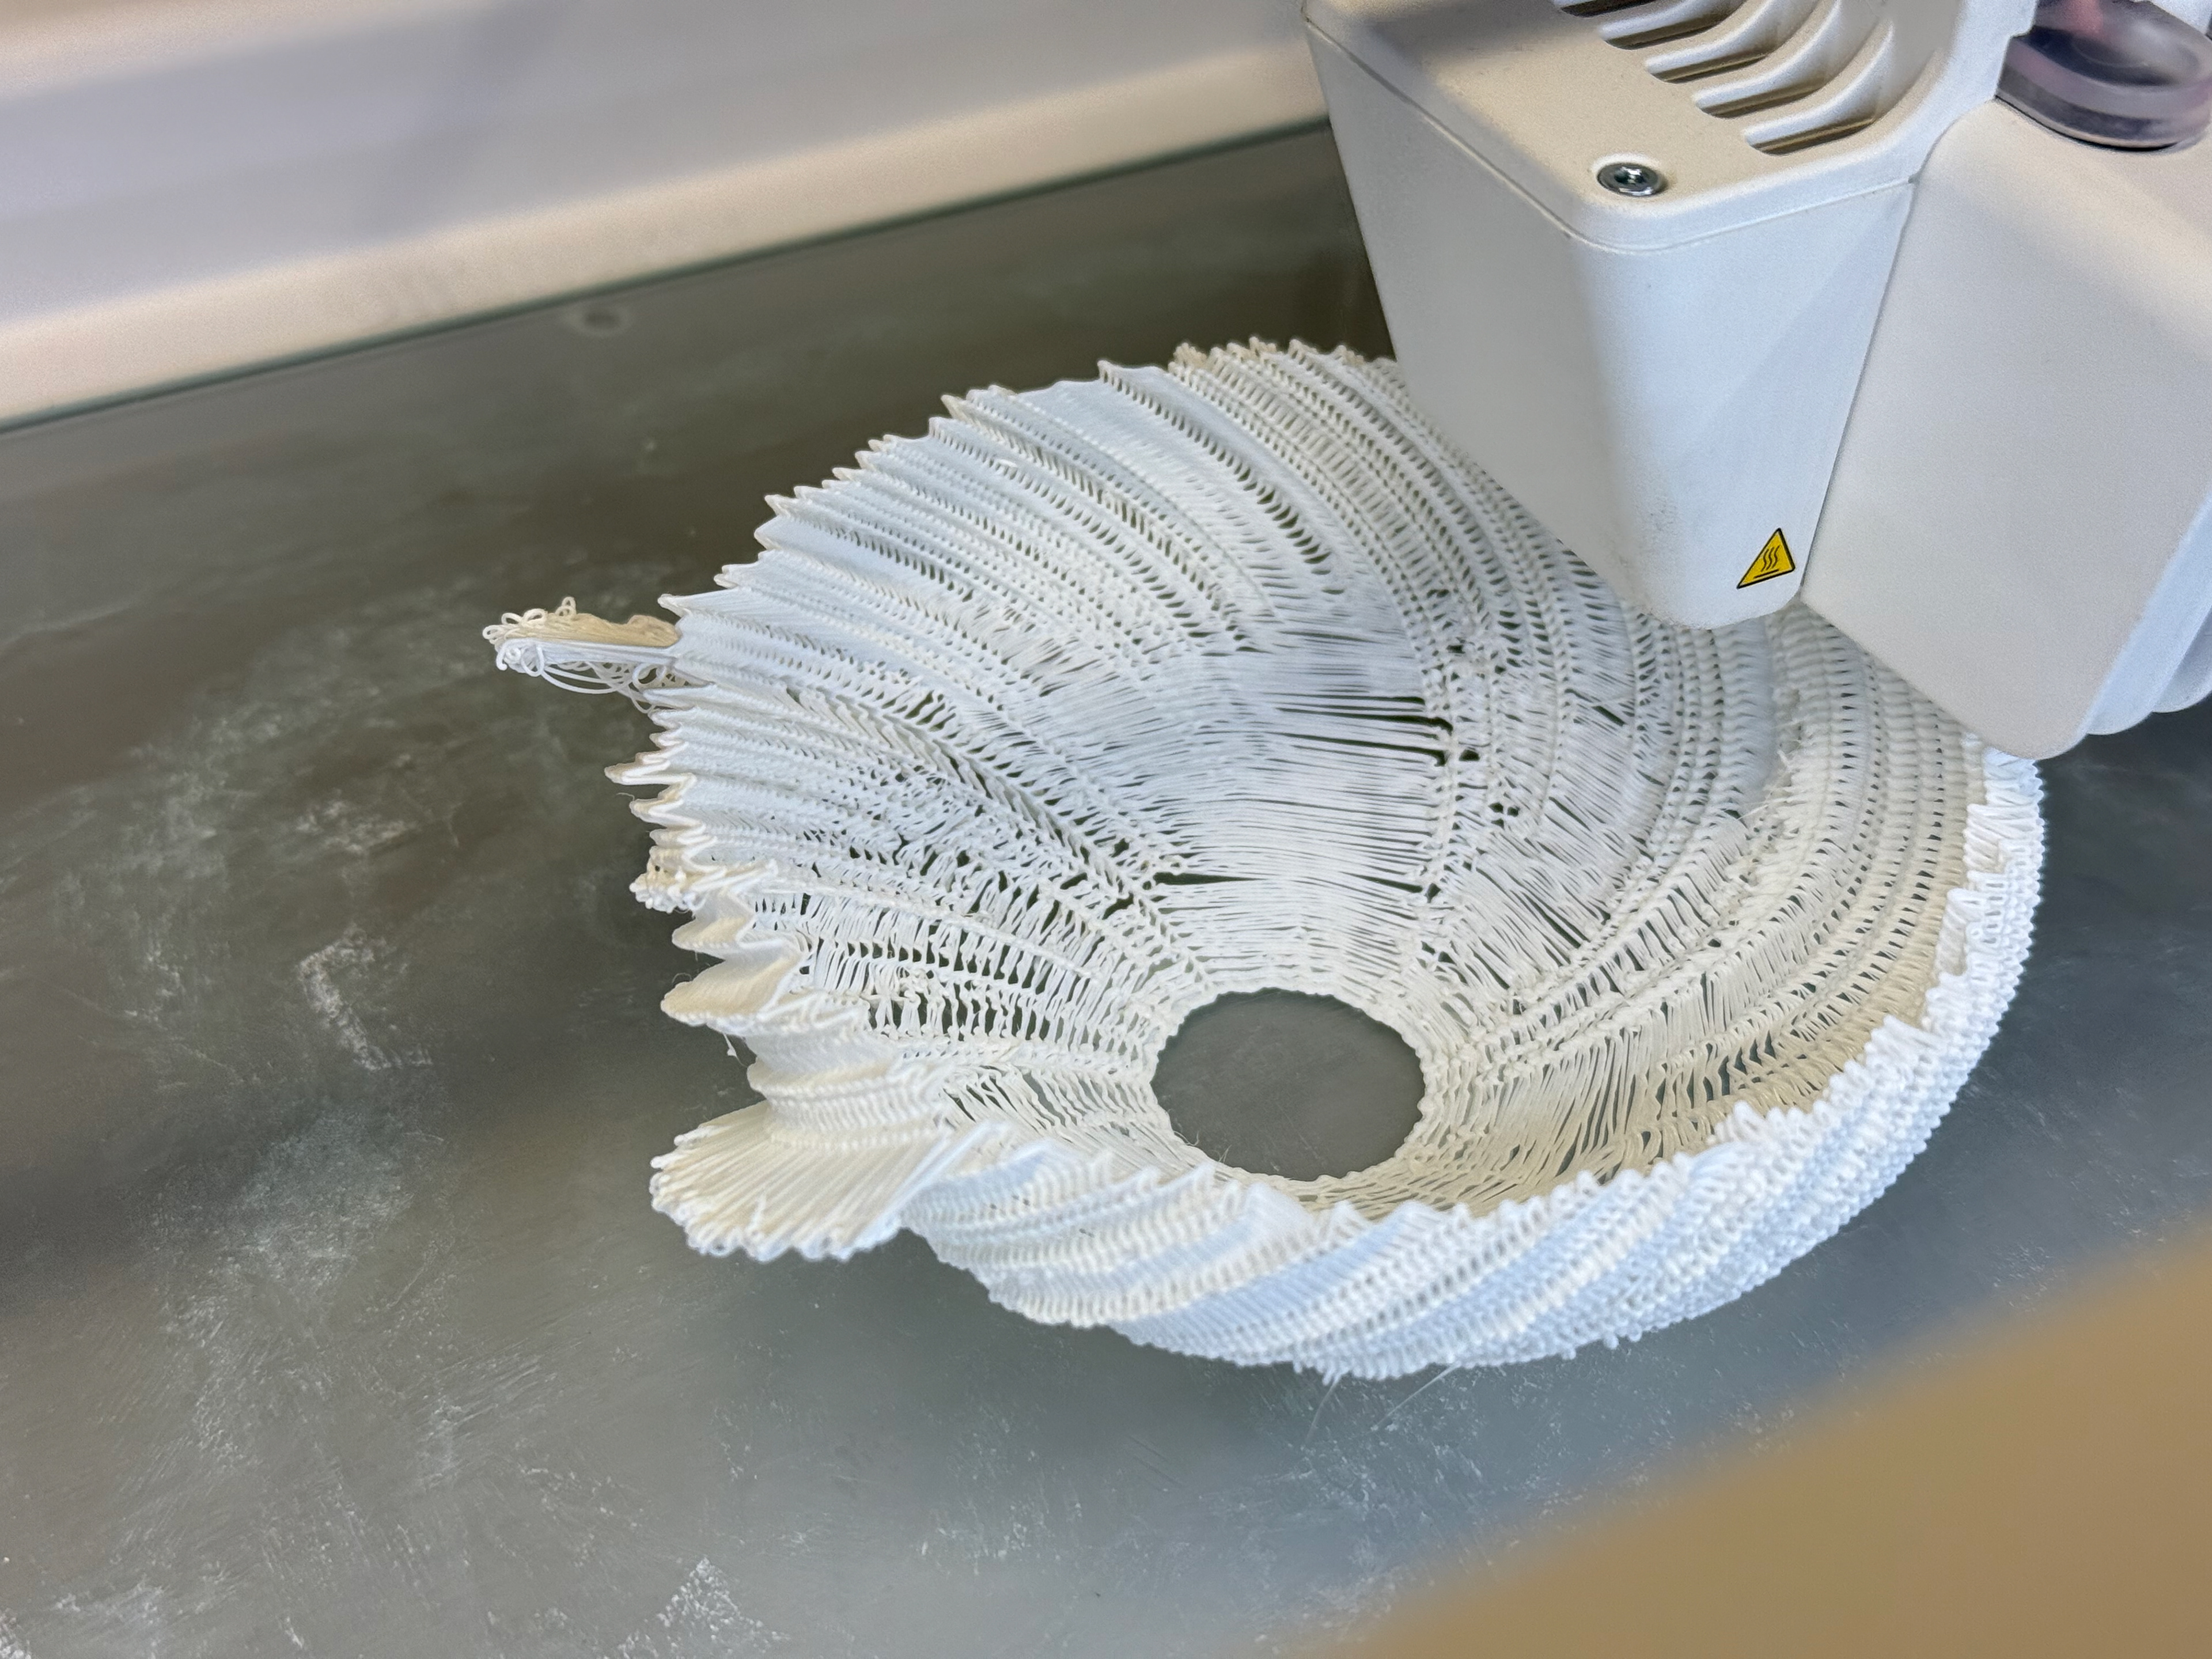
Print pattern changes a few times
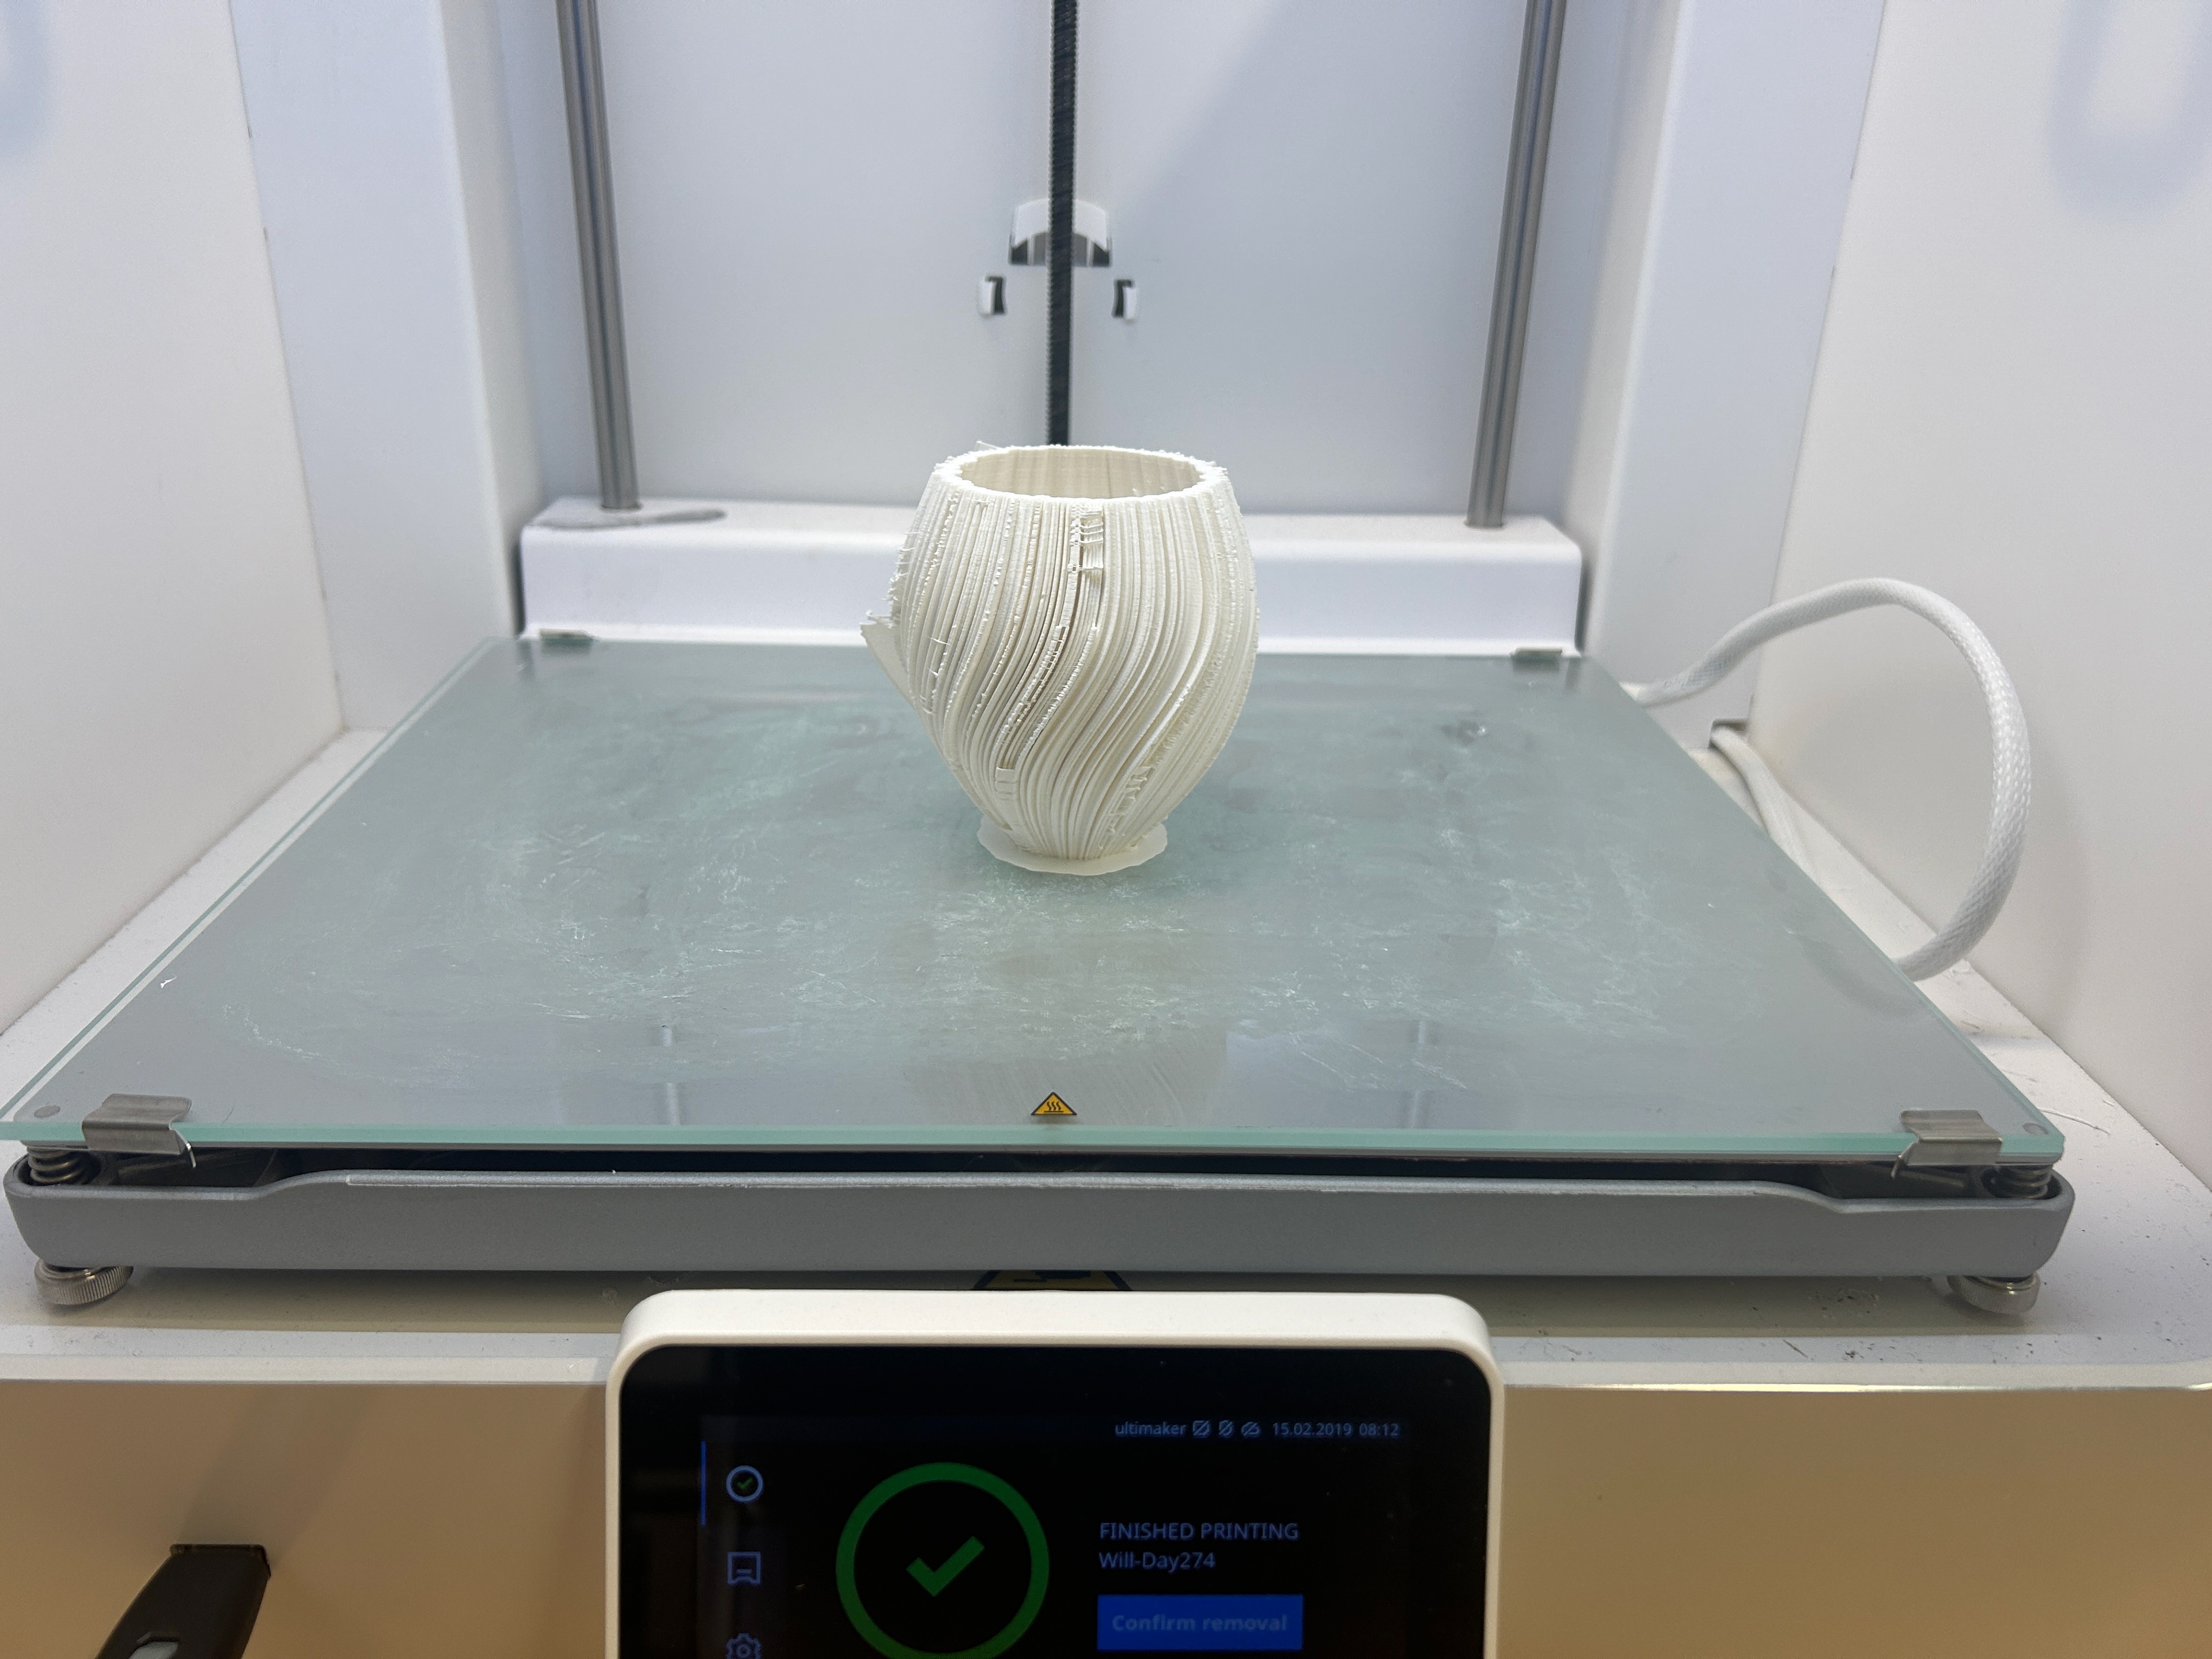
Successful print
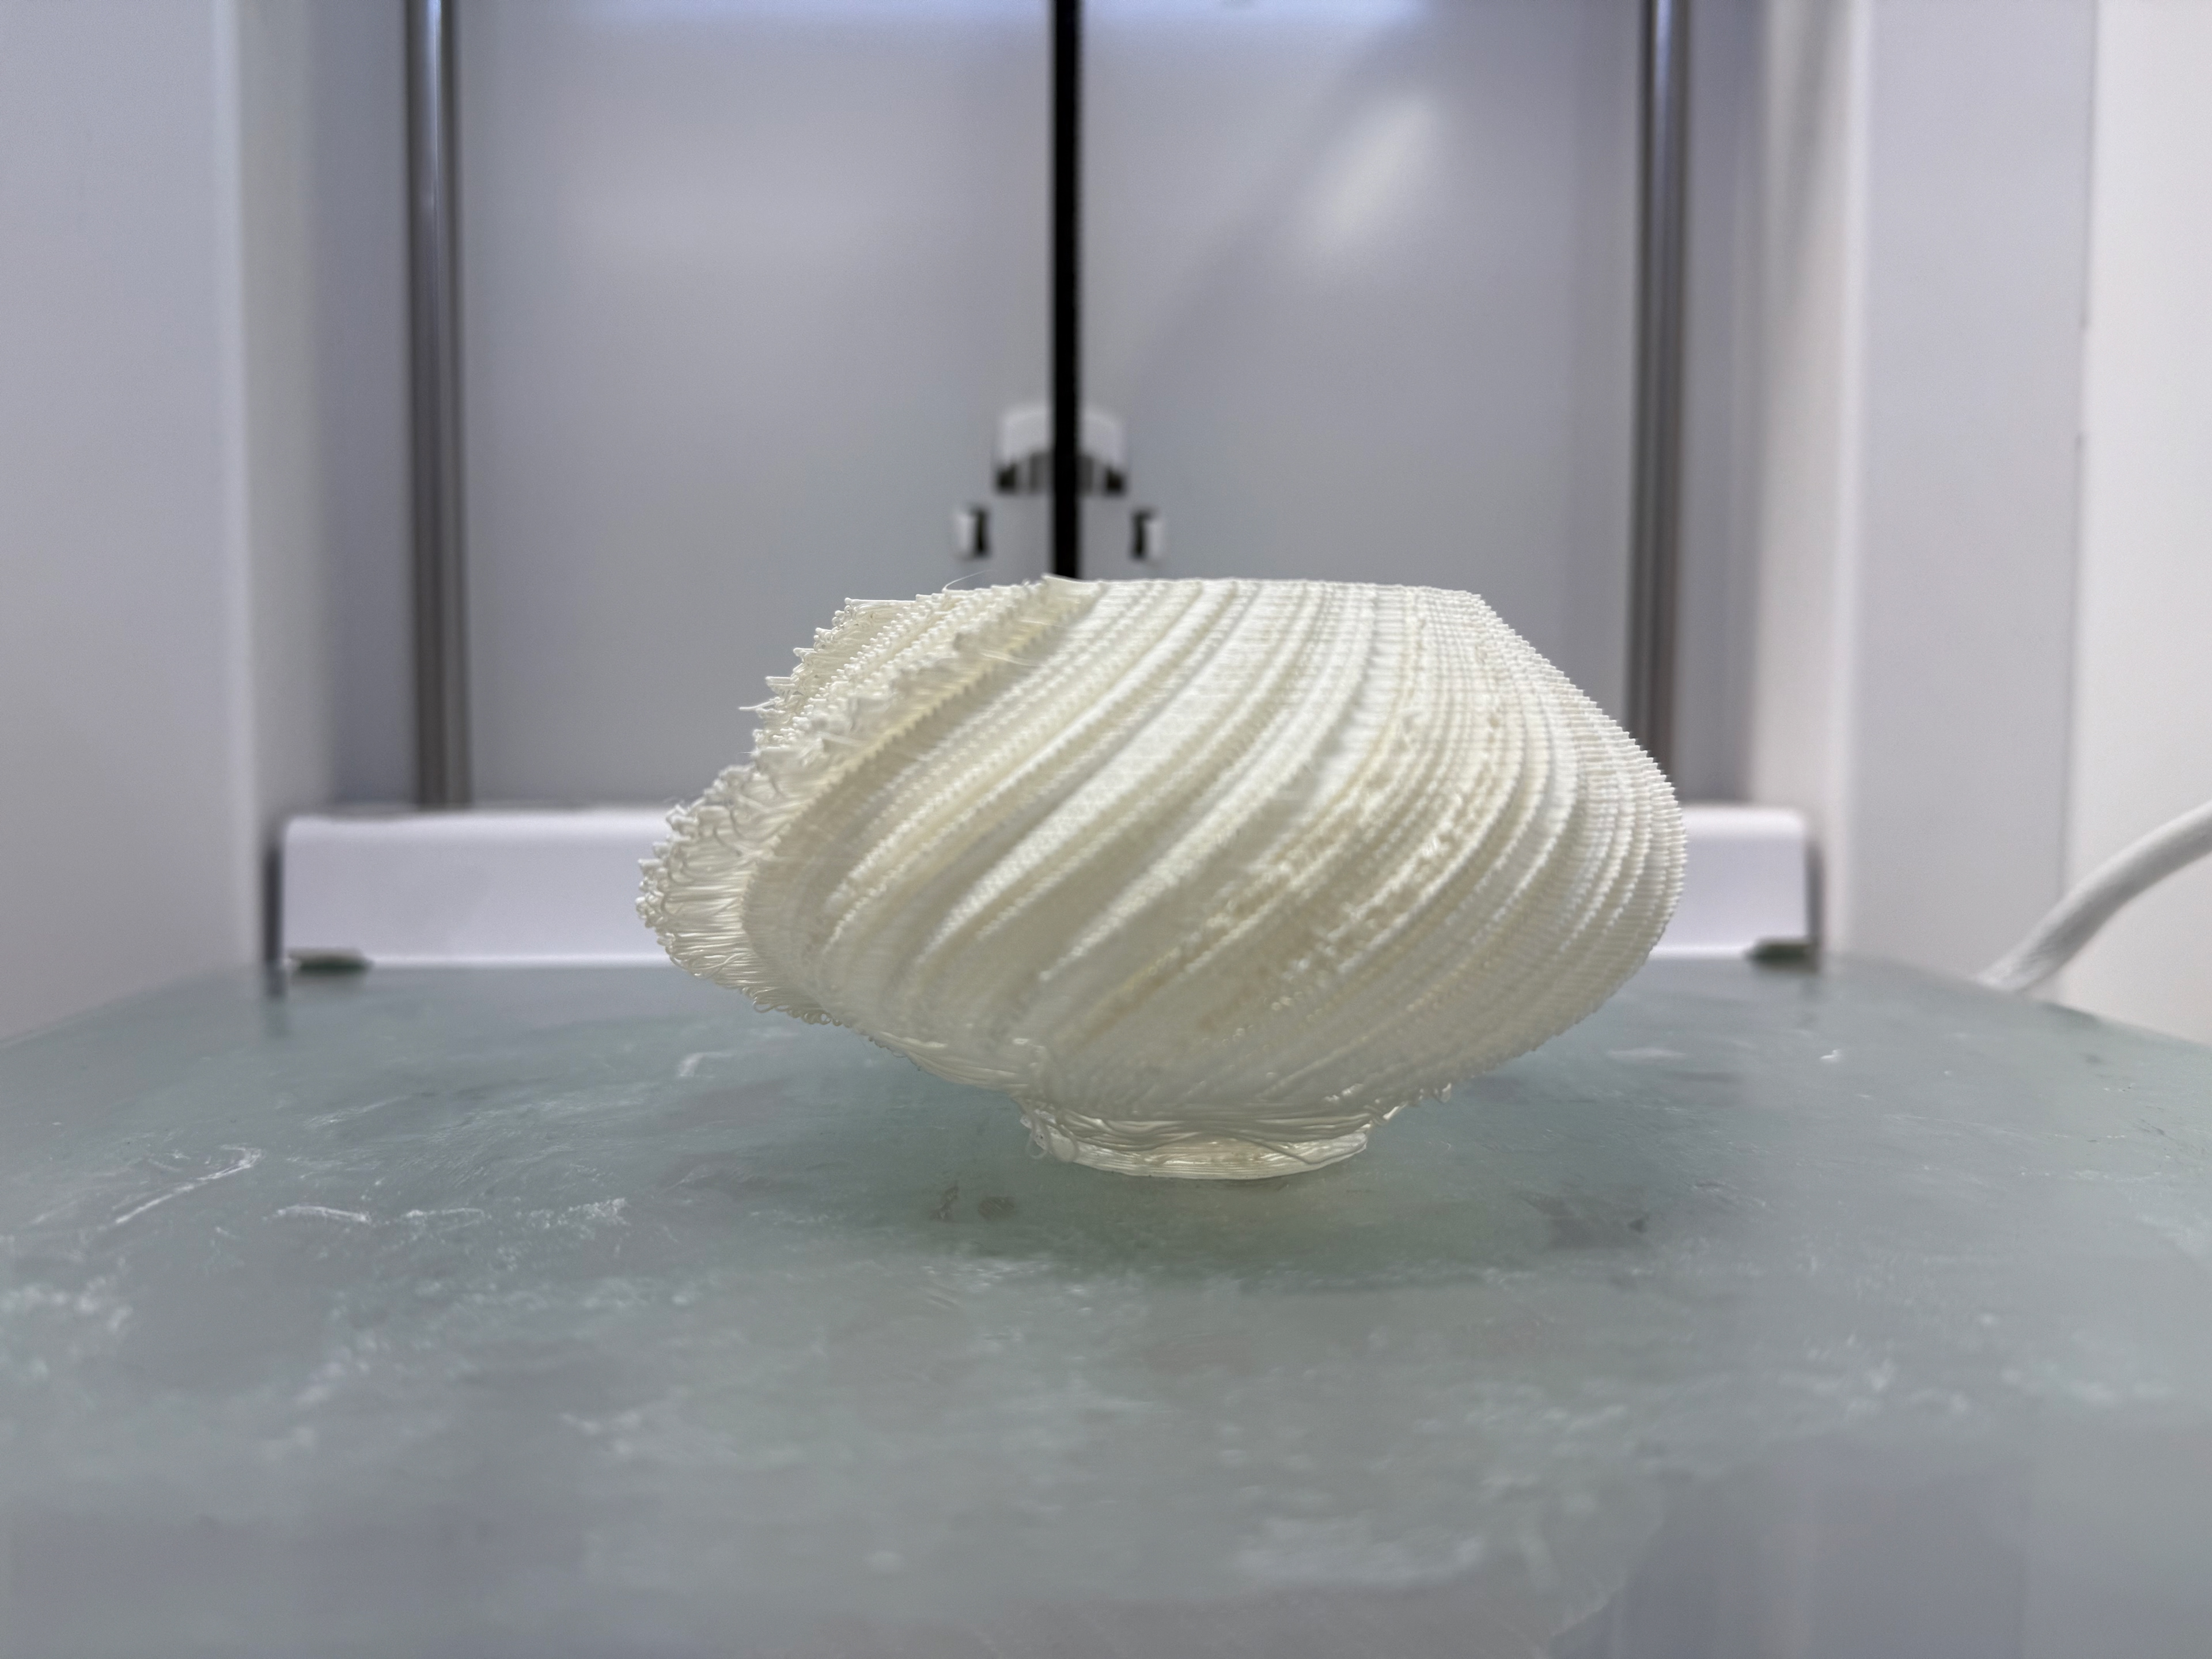
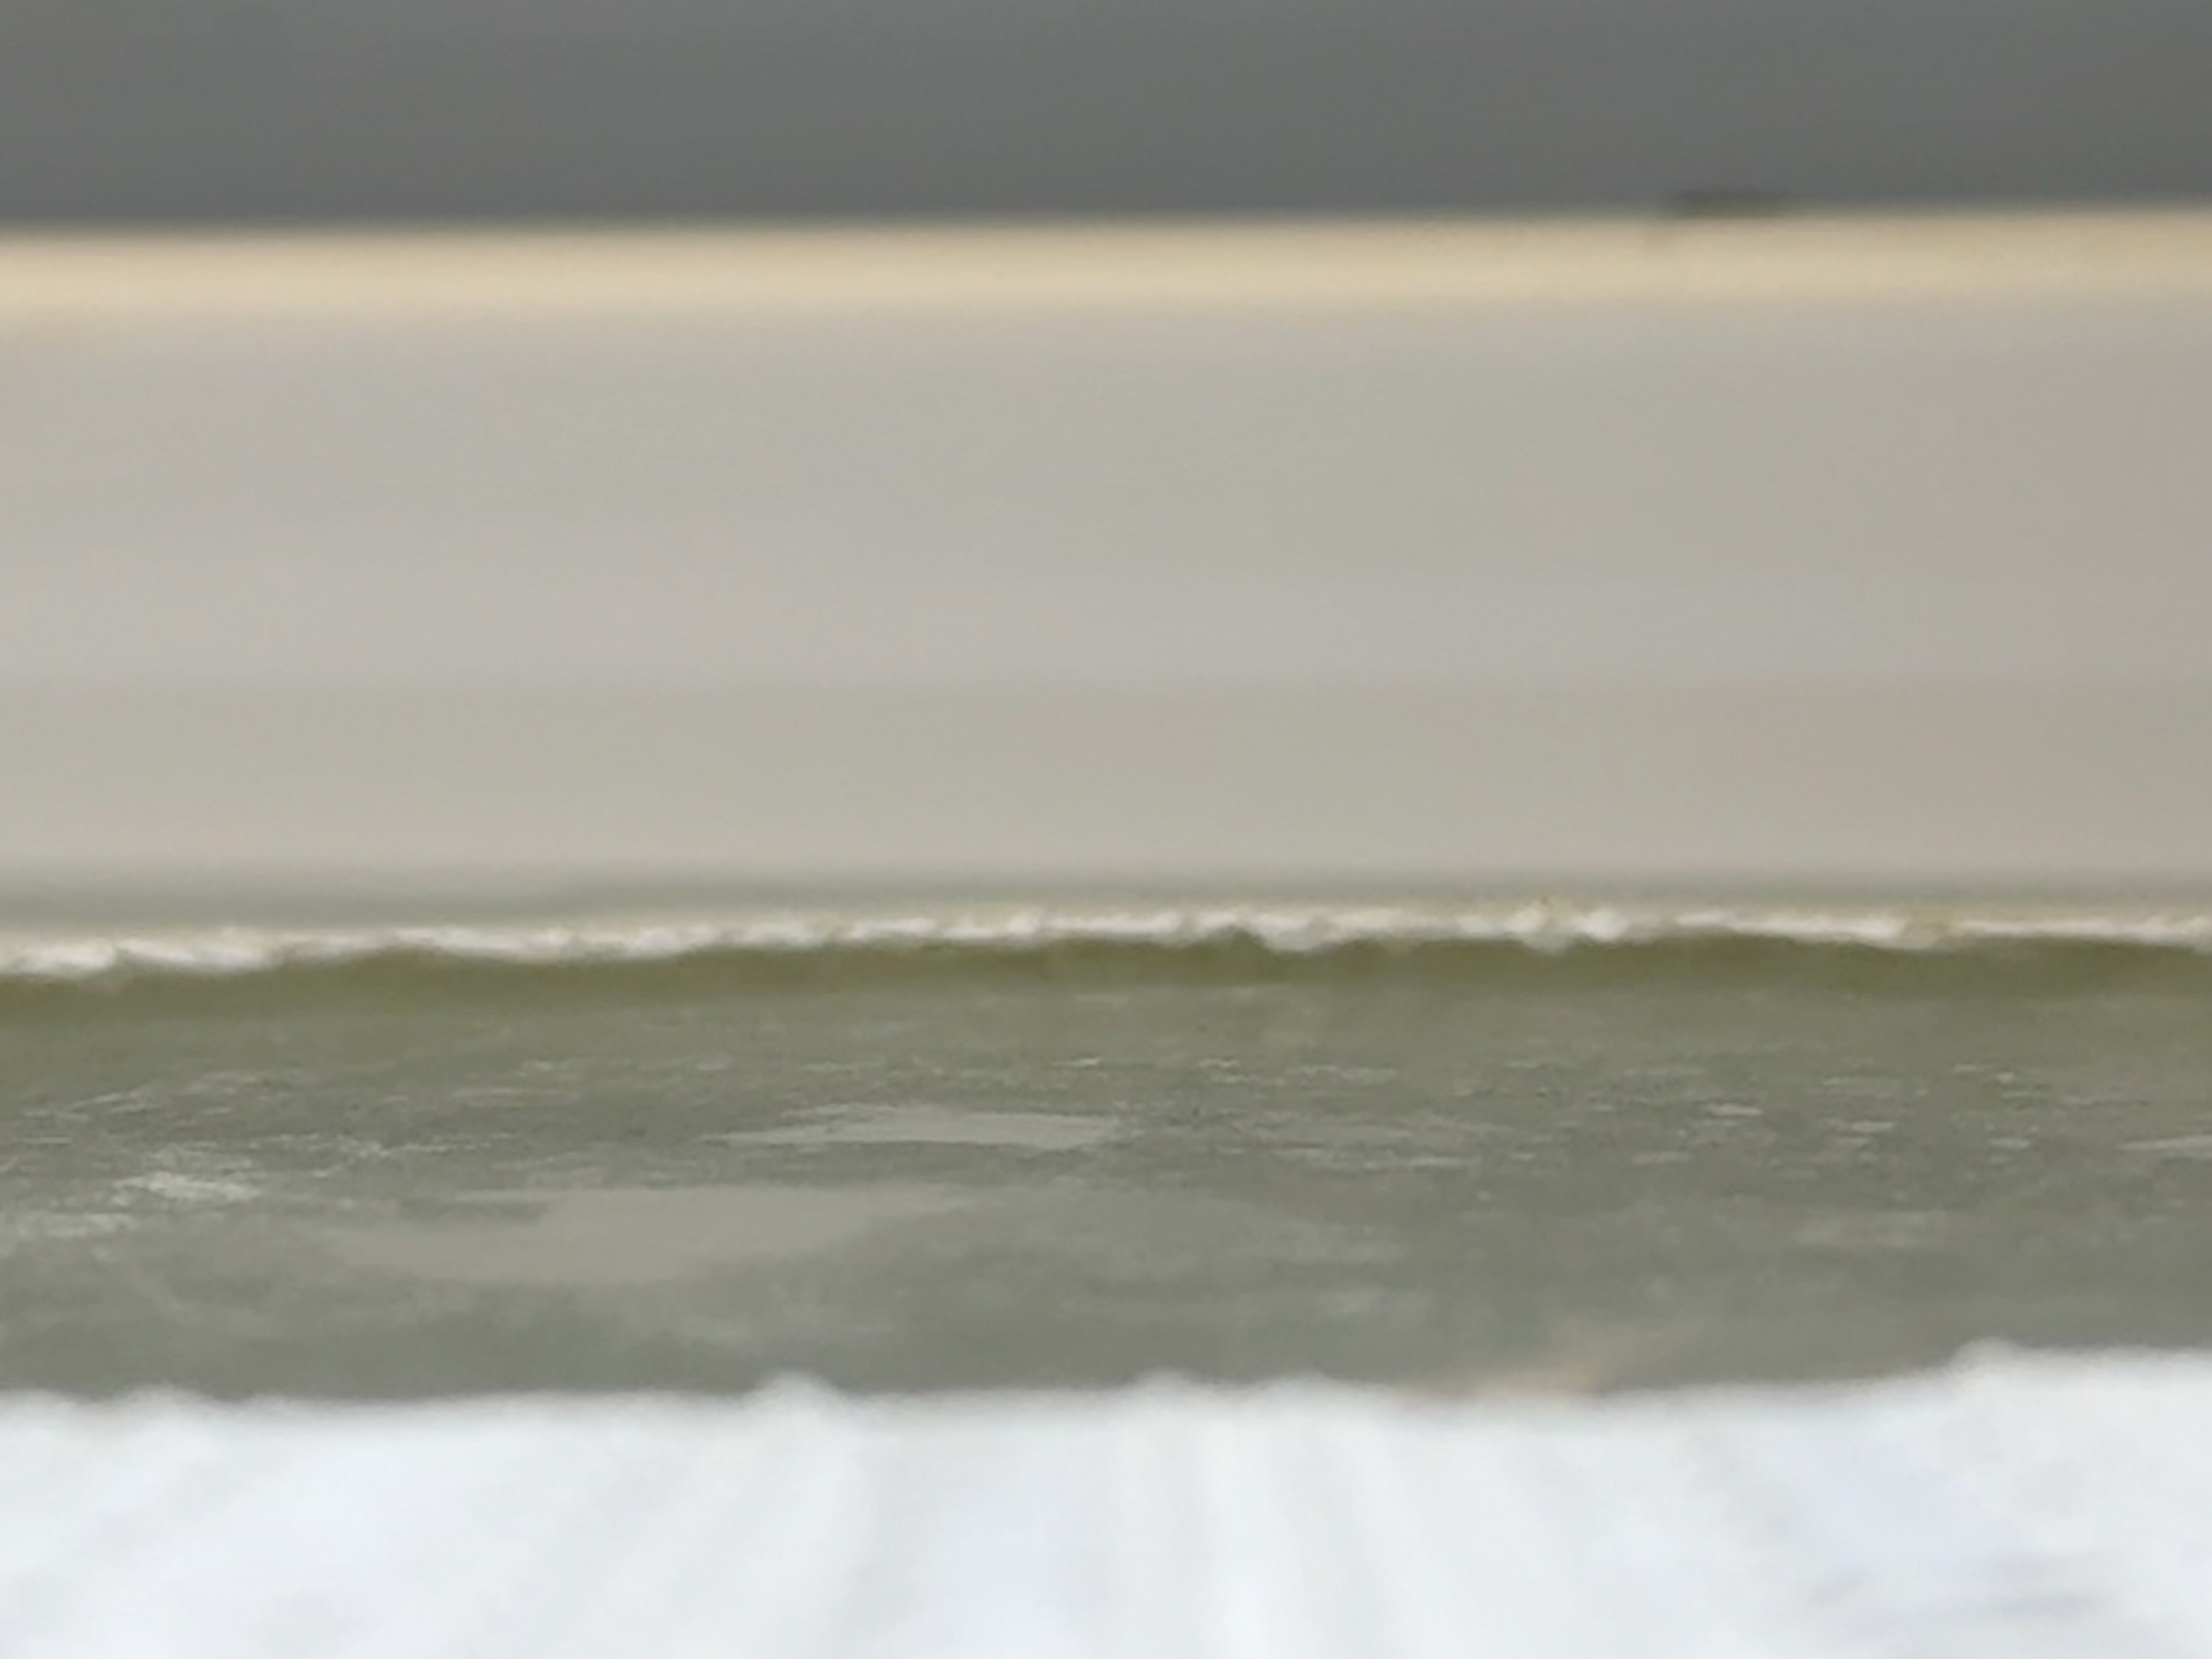
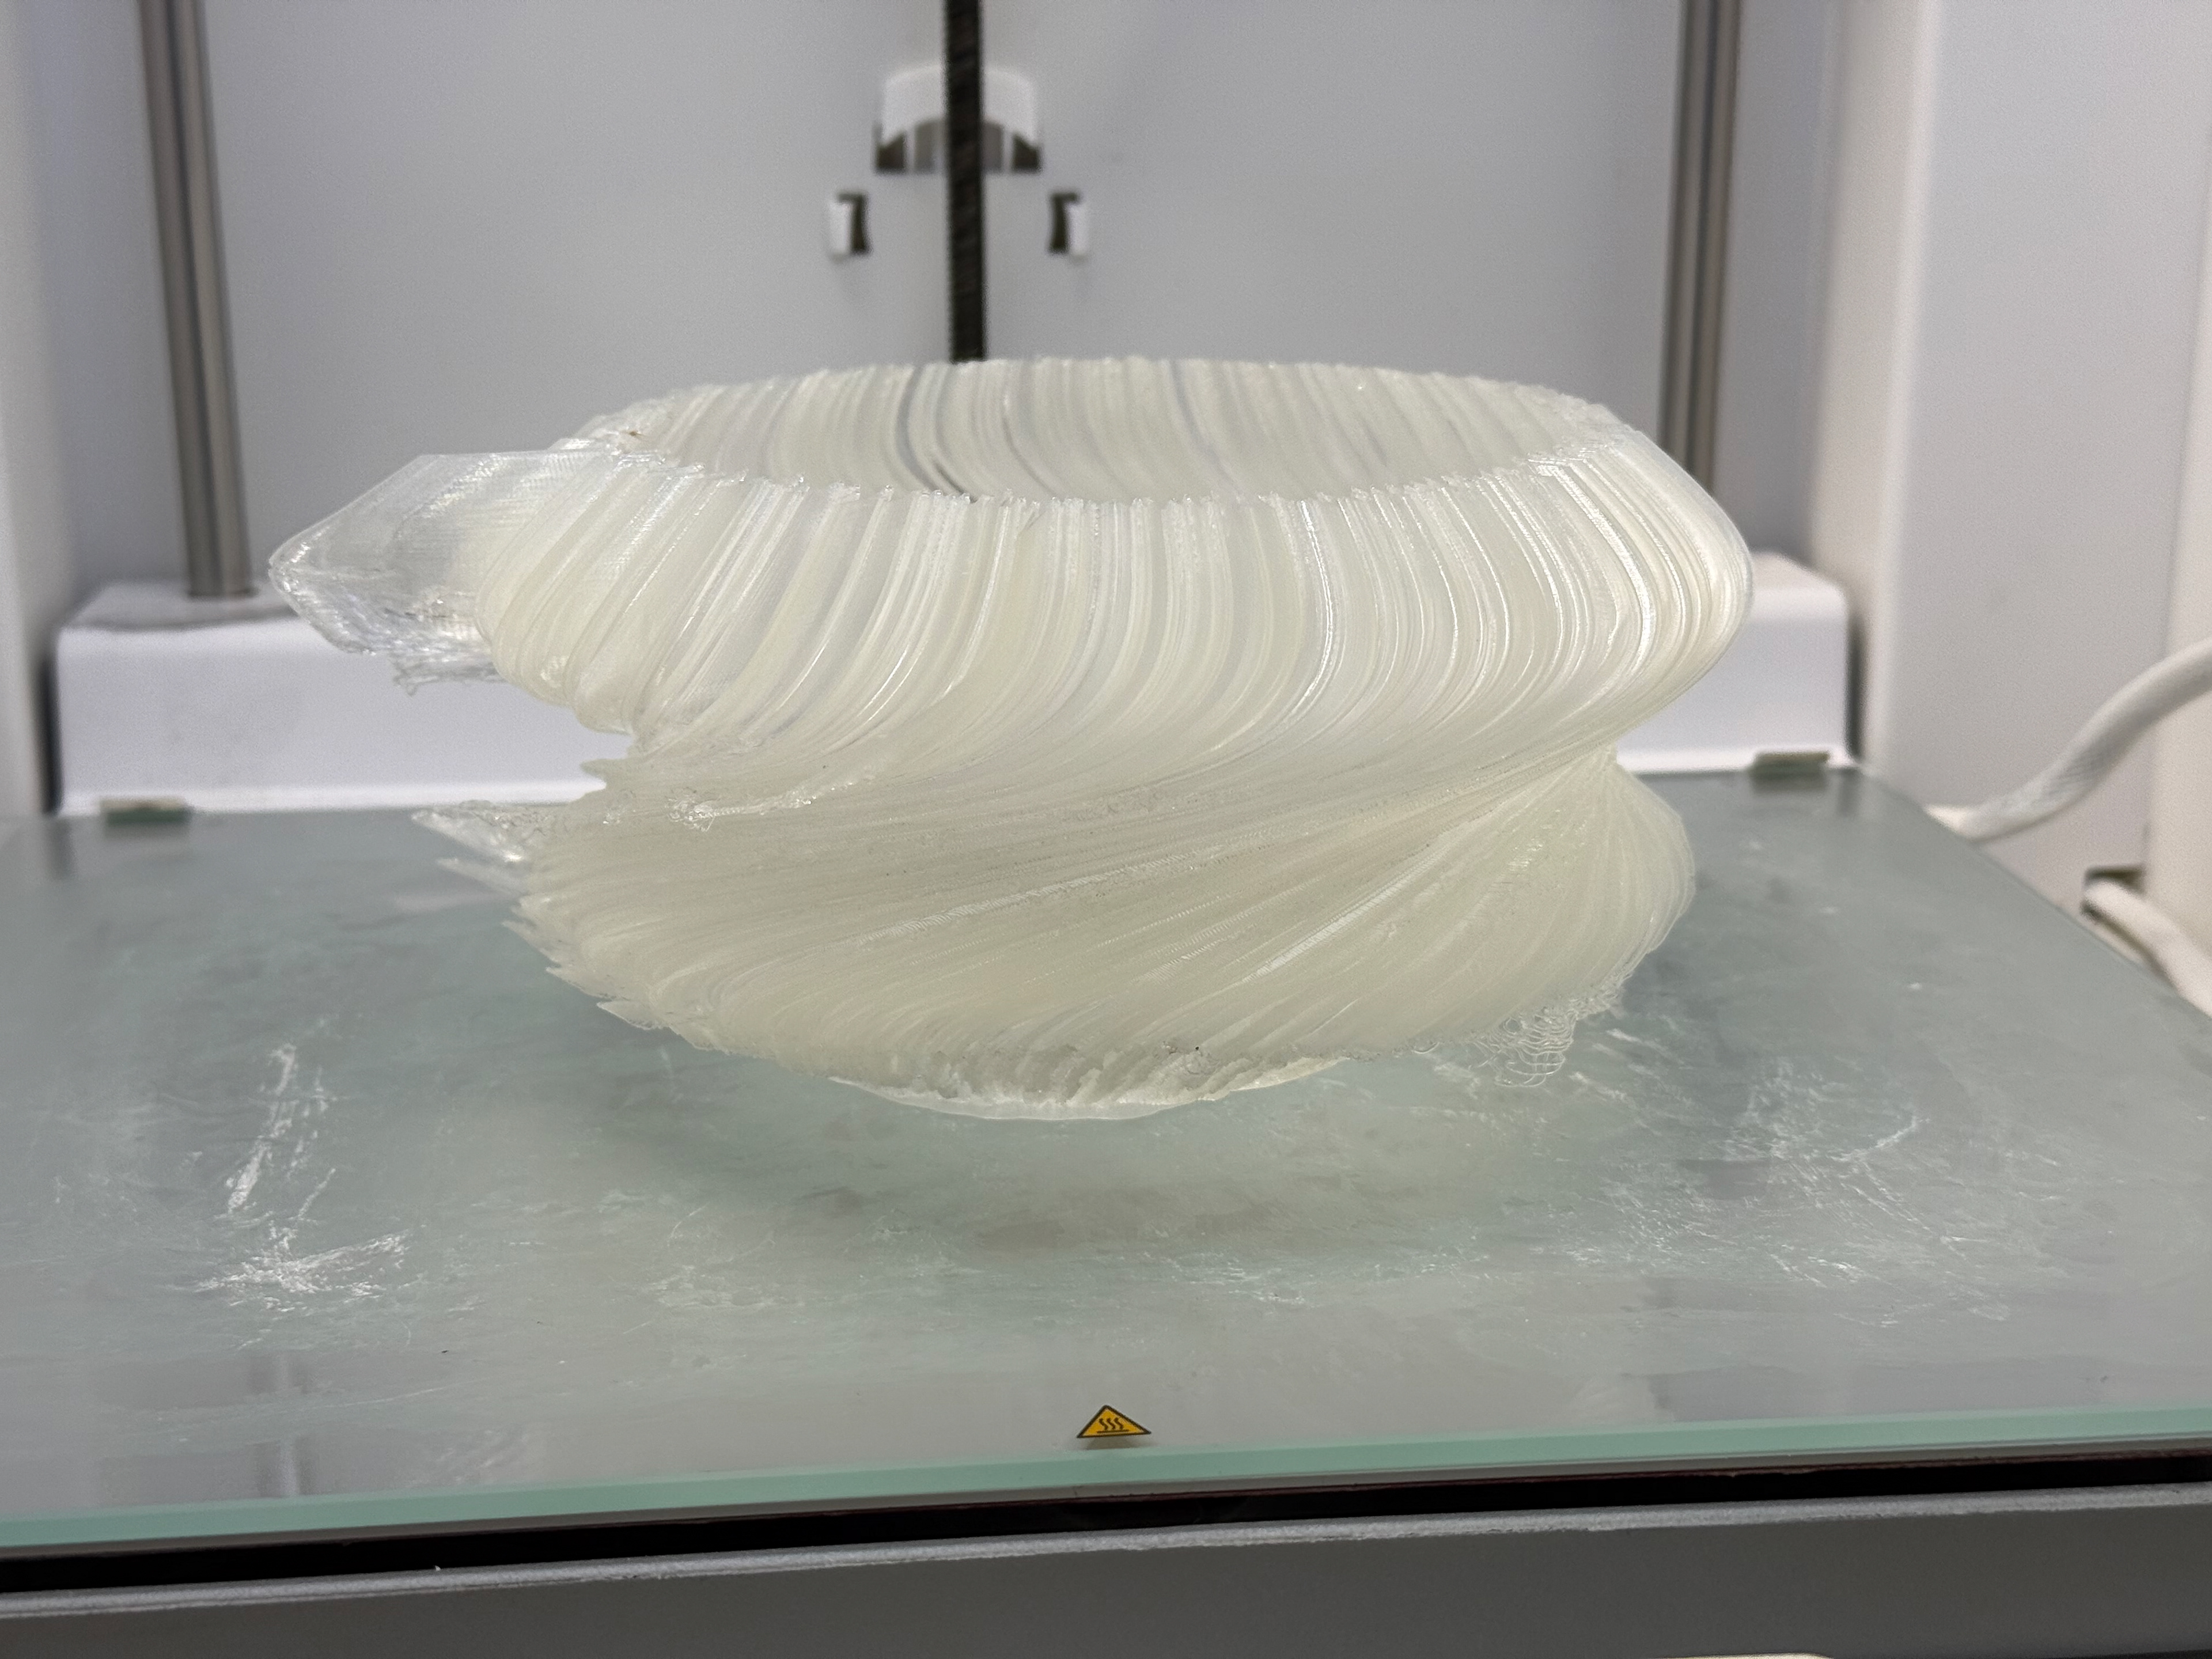
Waiting for the bed to cool, lighting looks good.
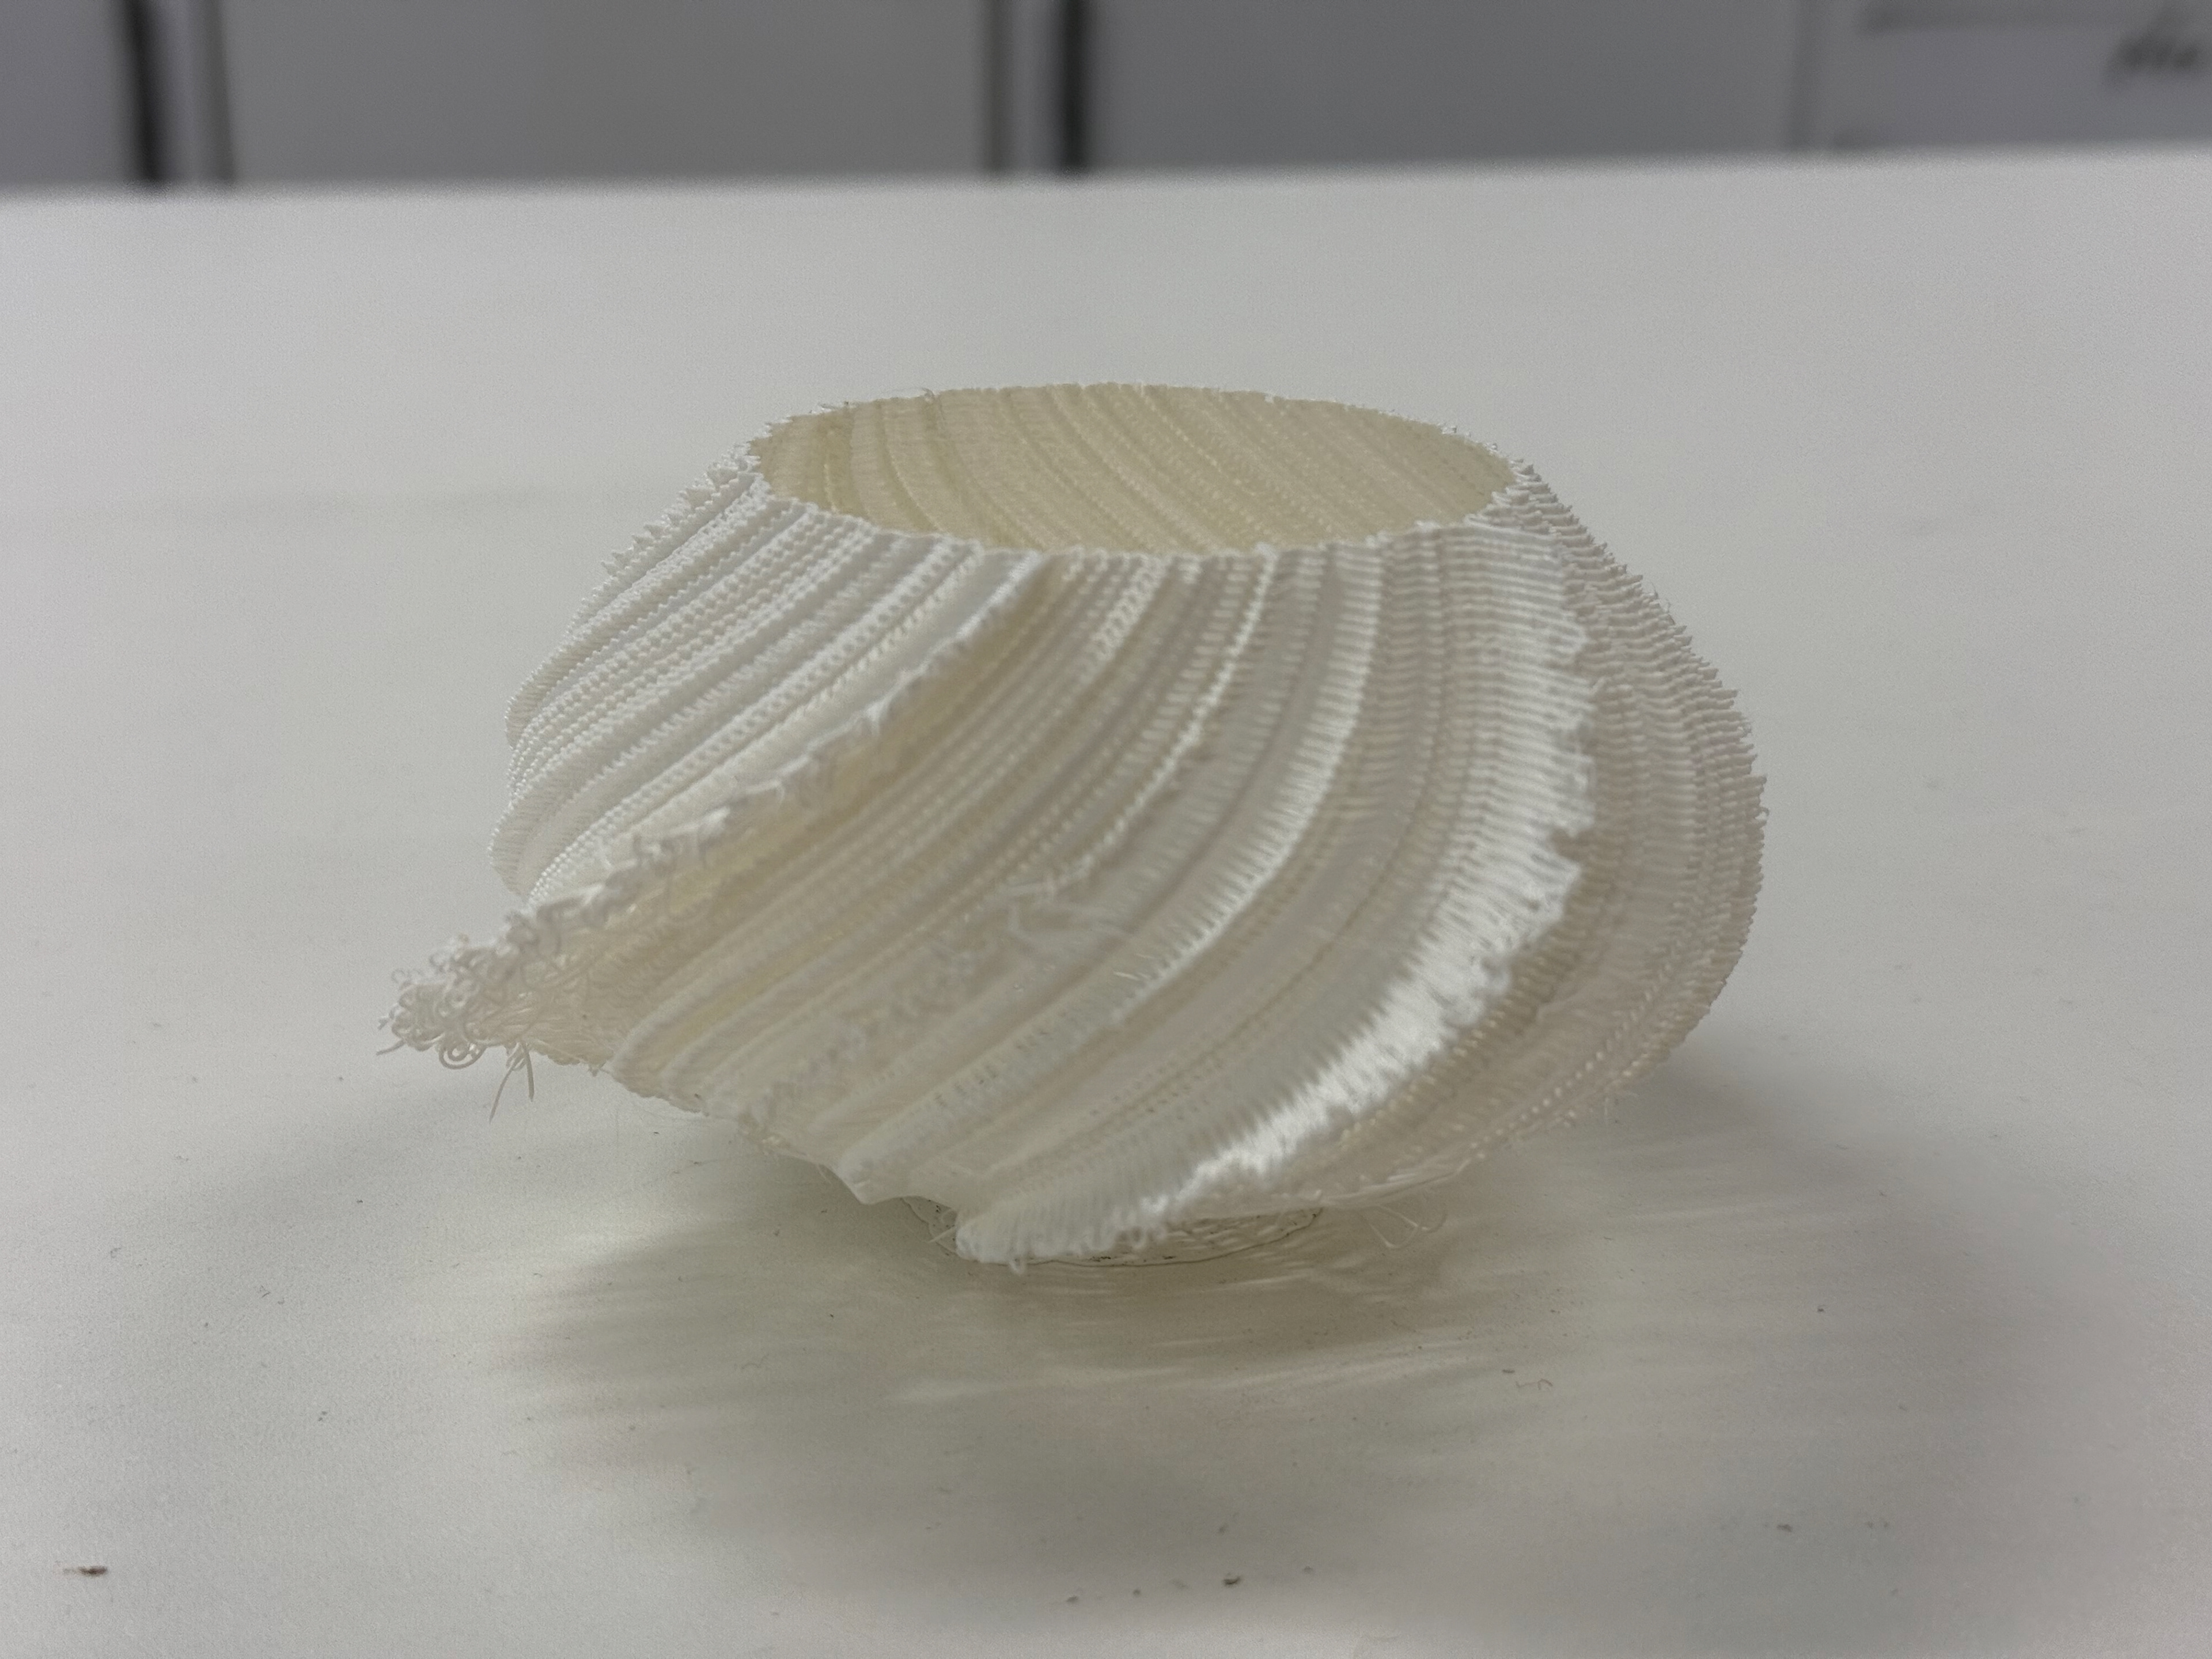
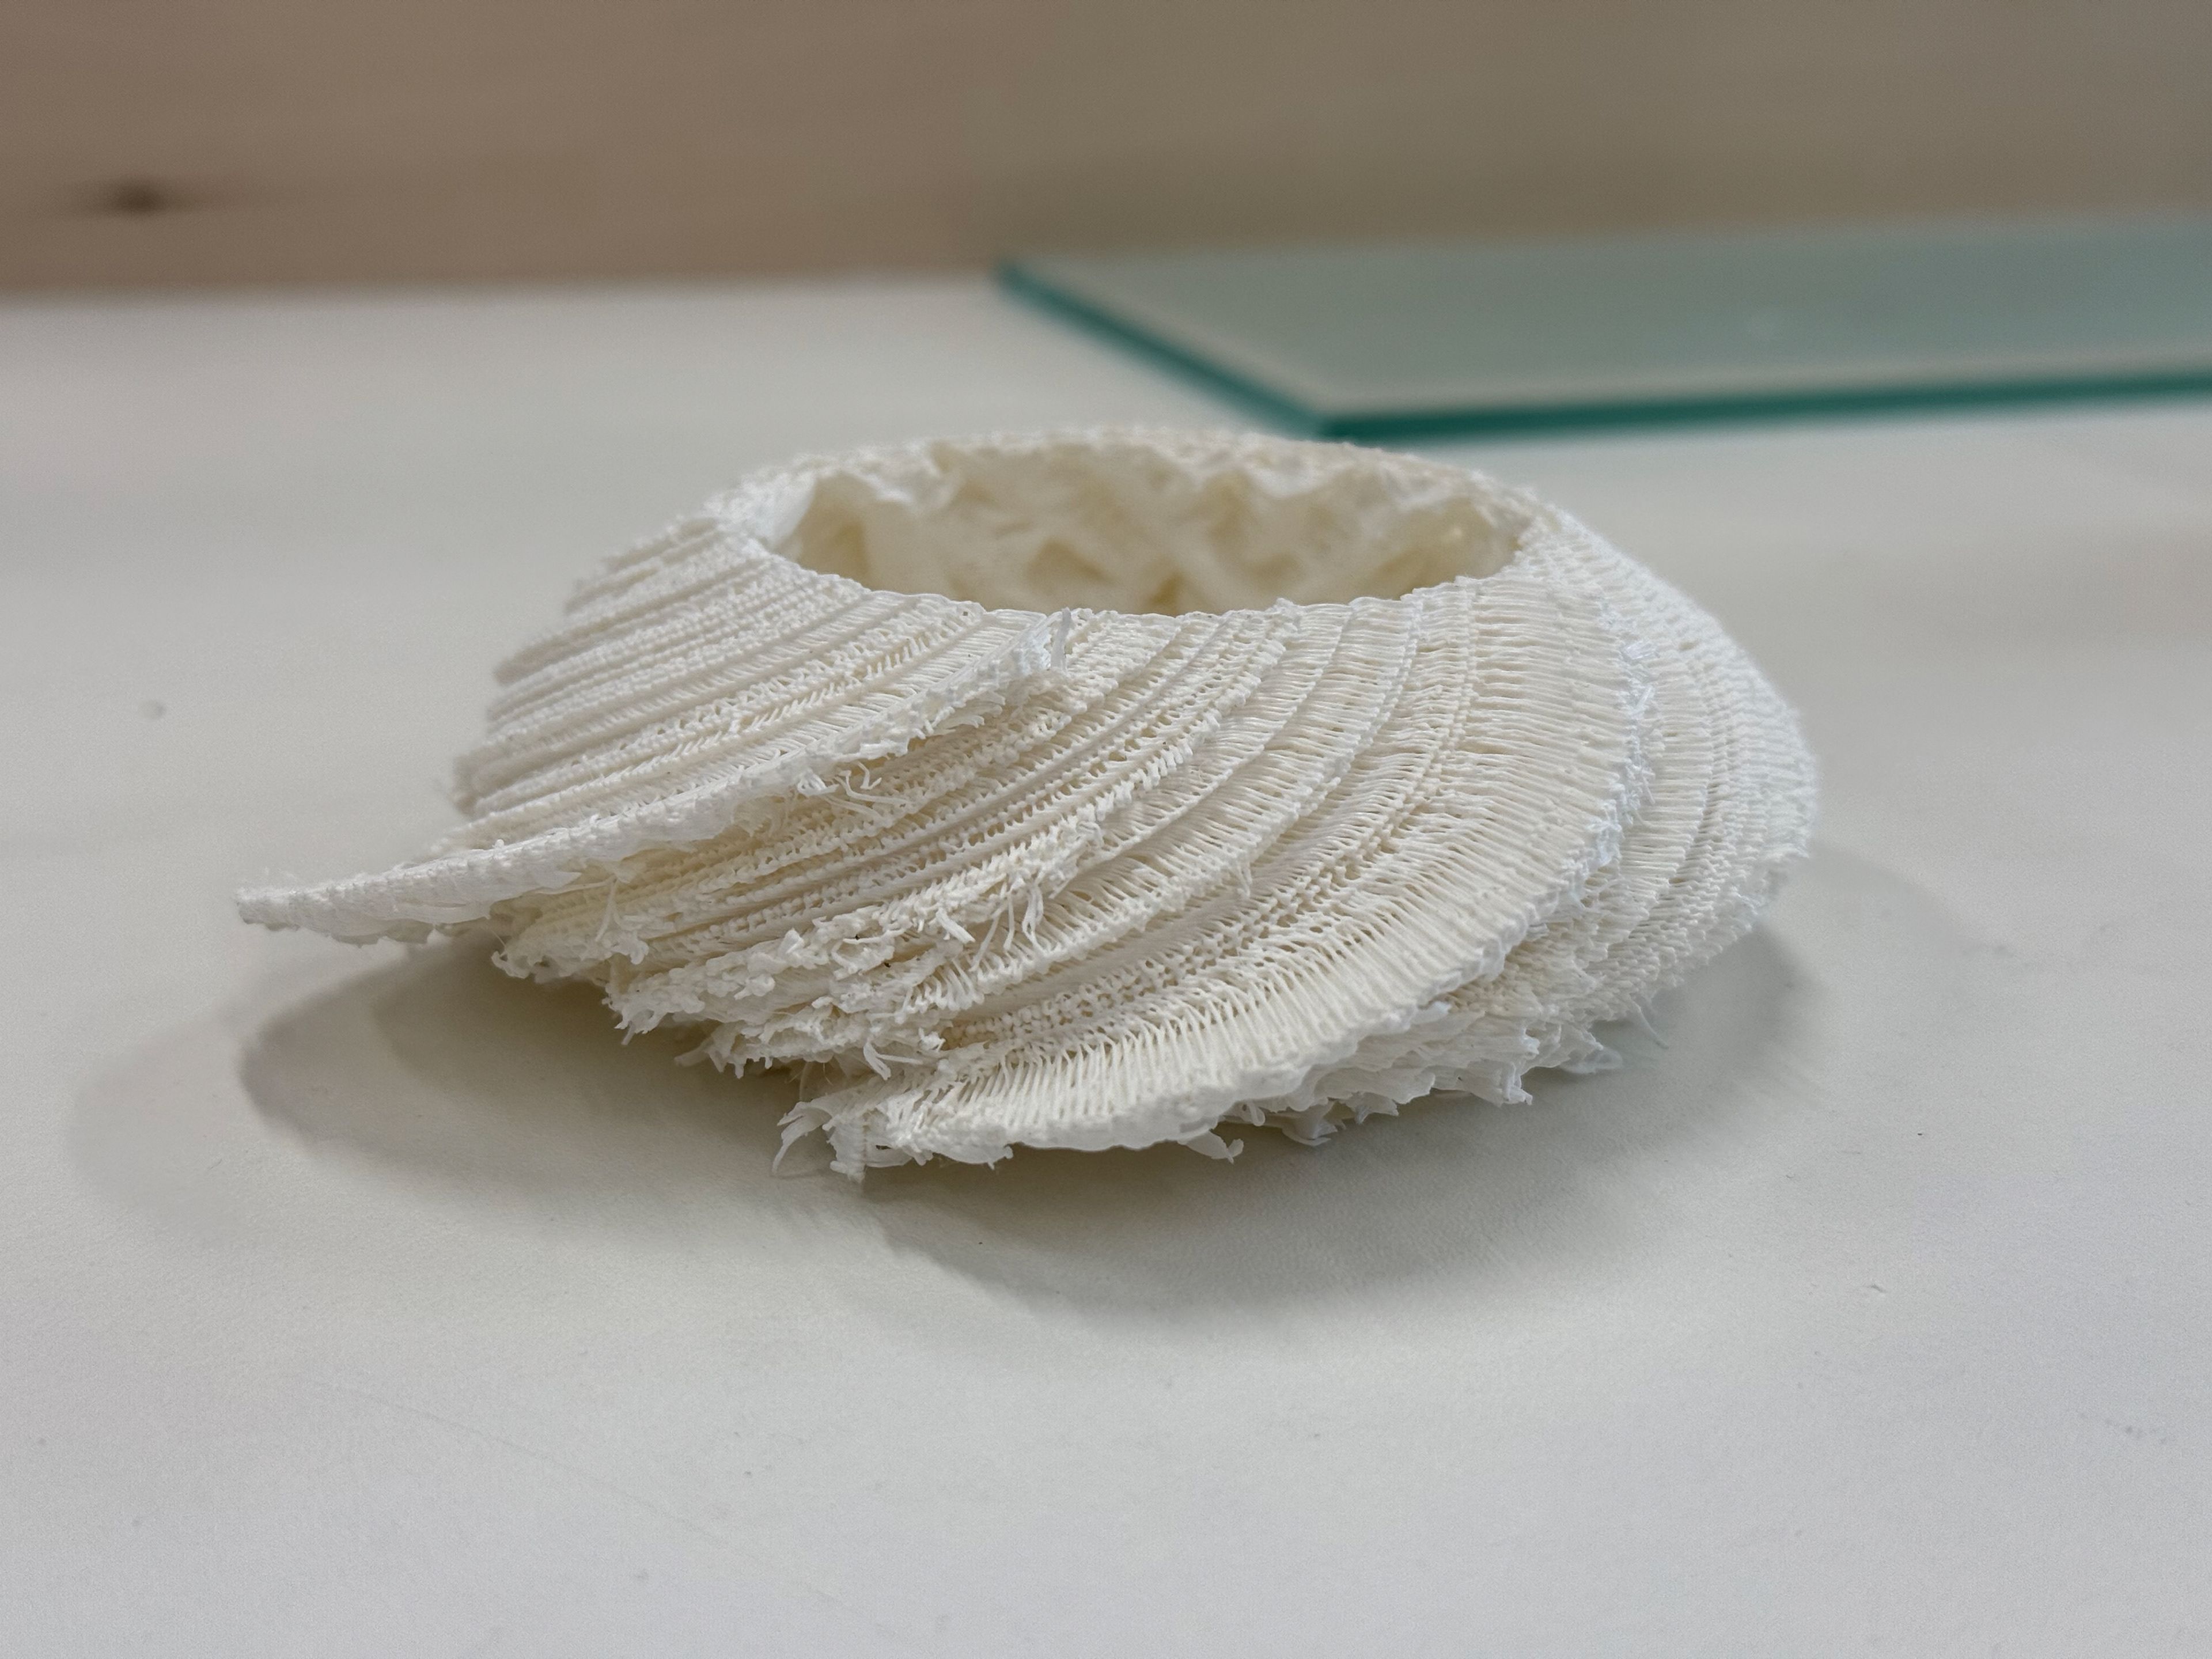
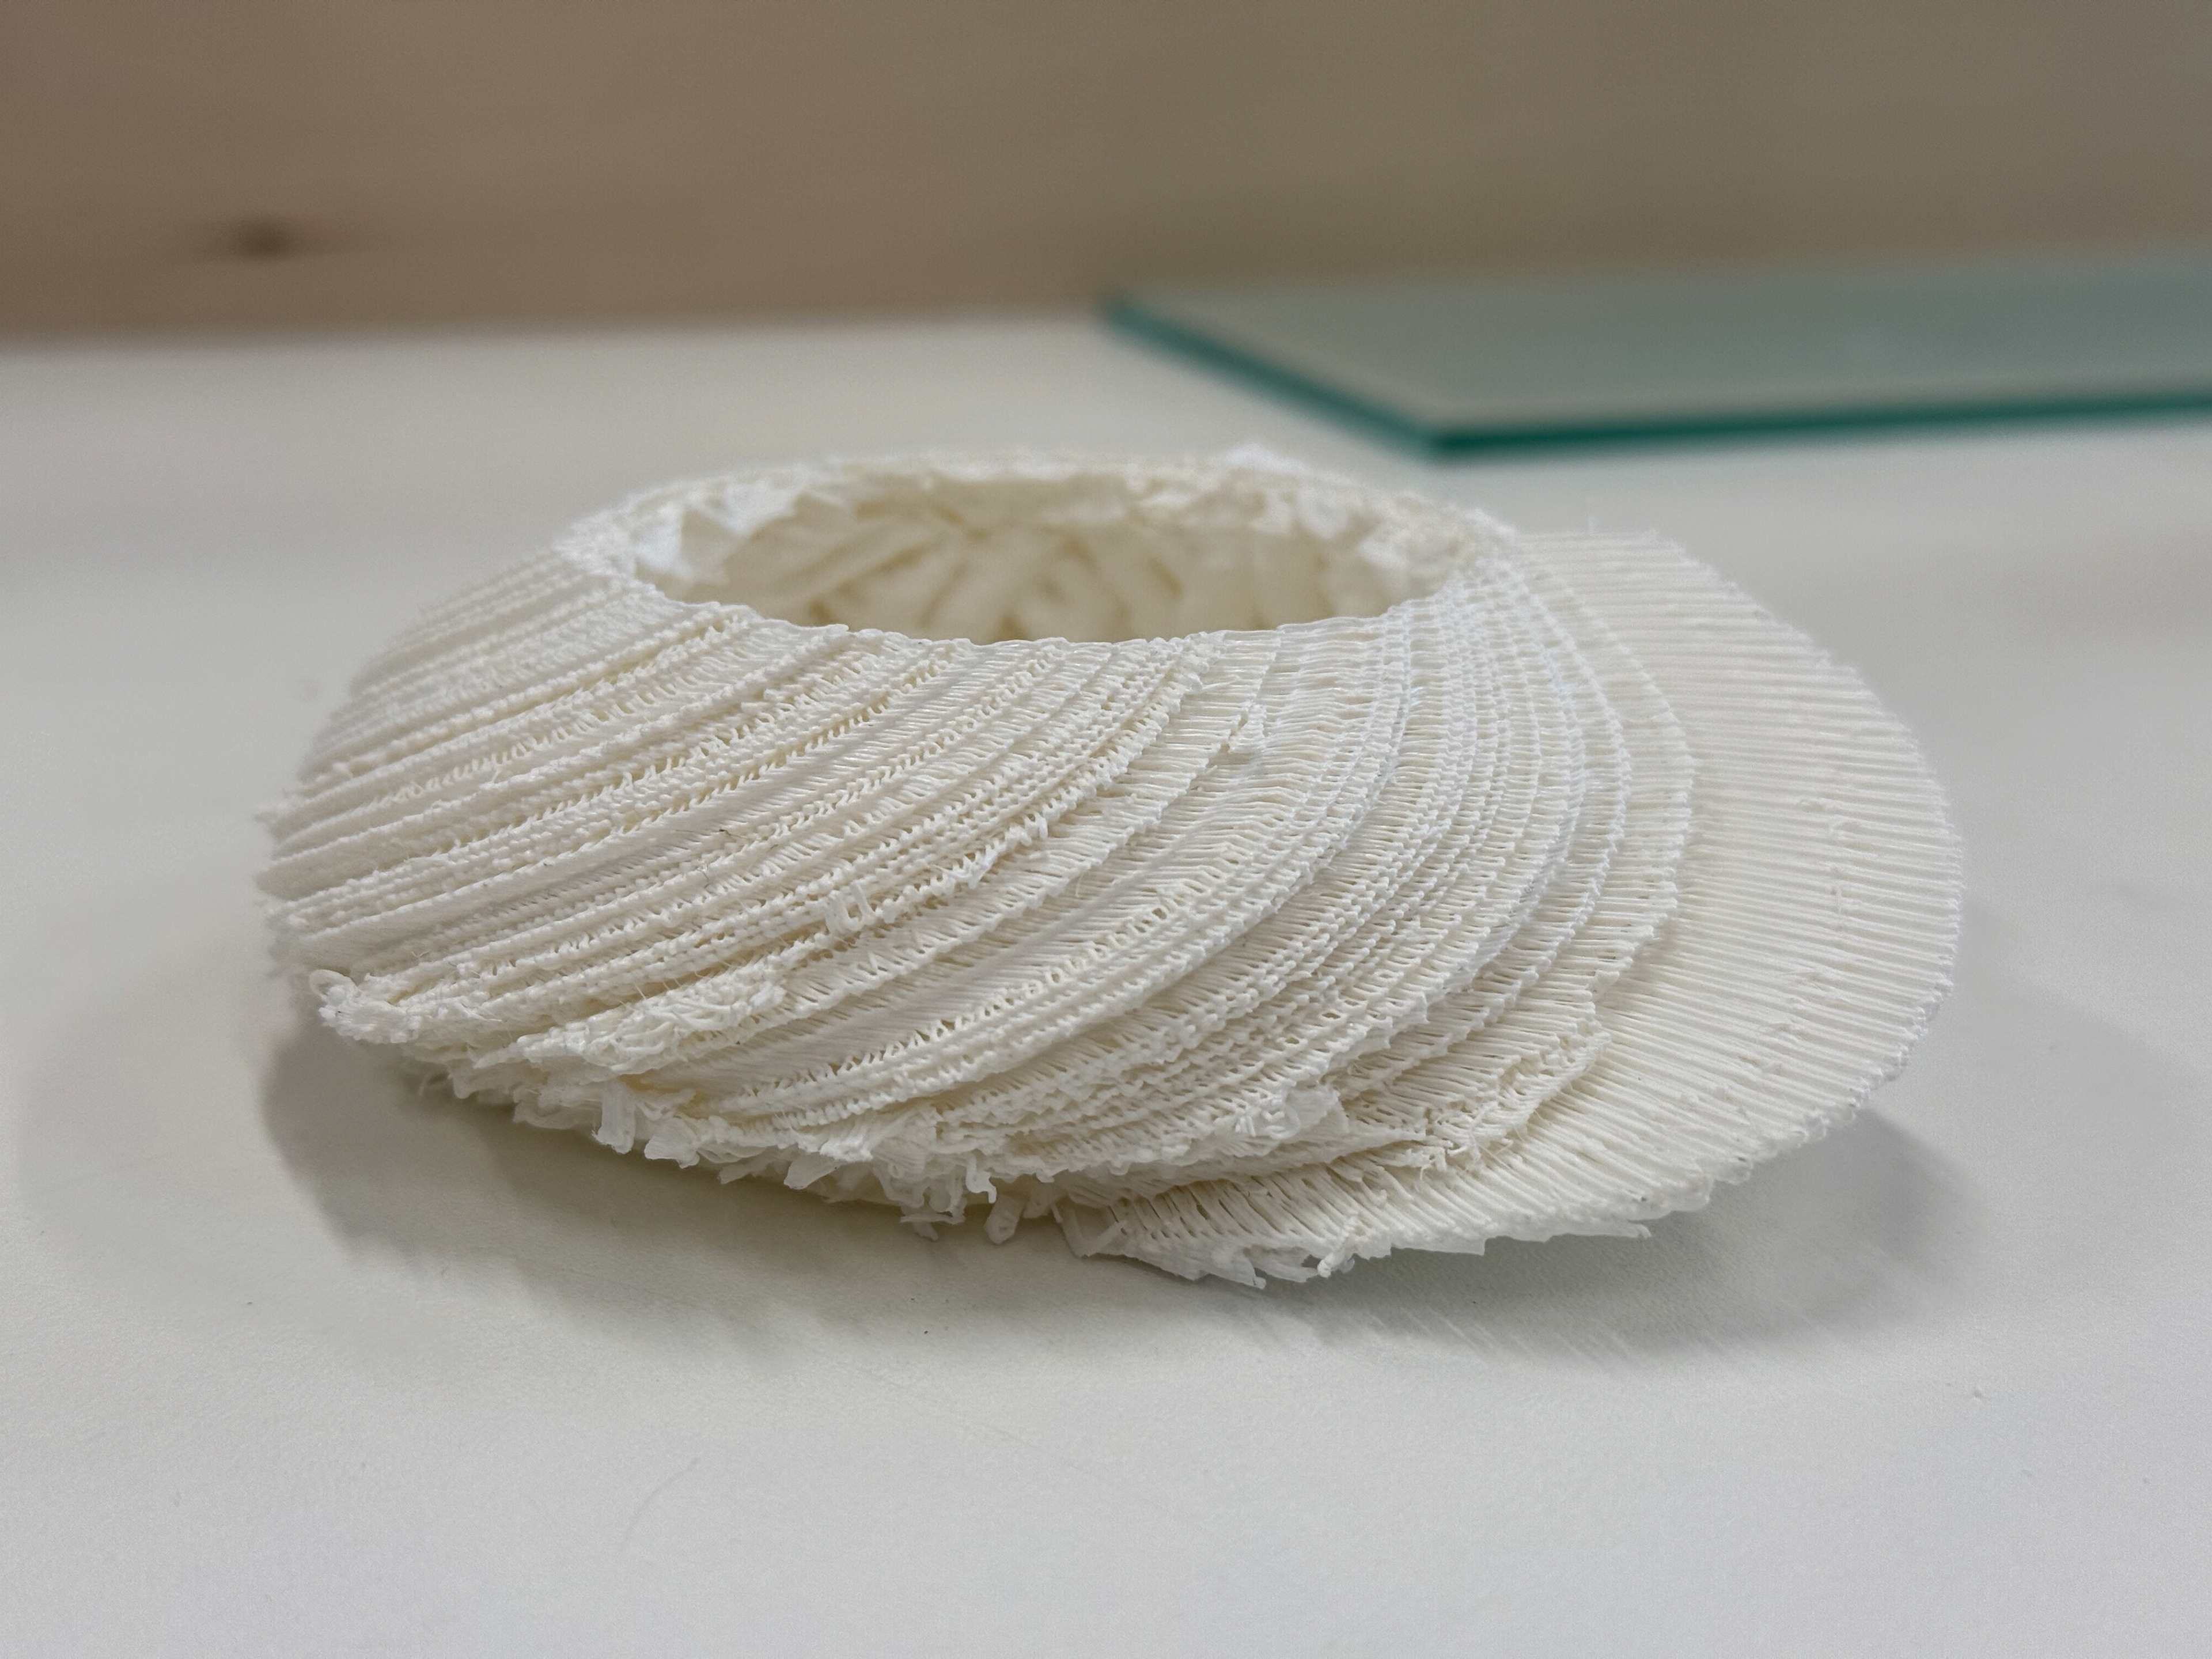
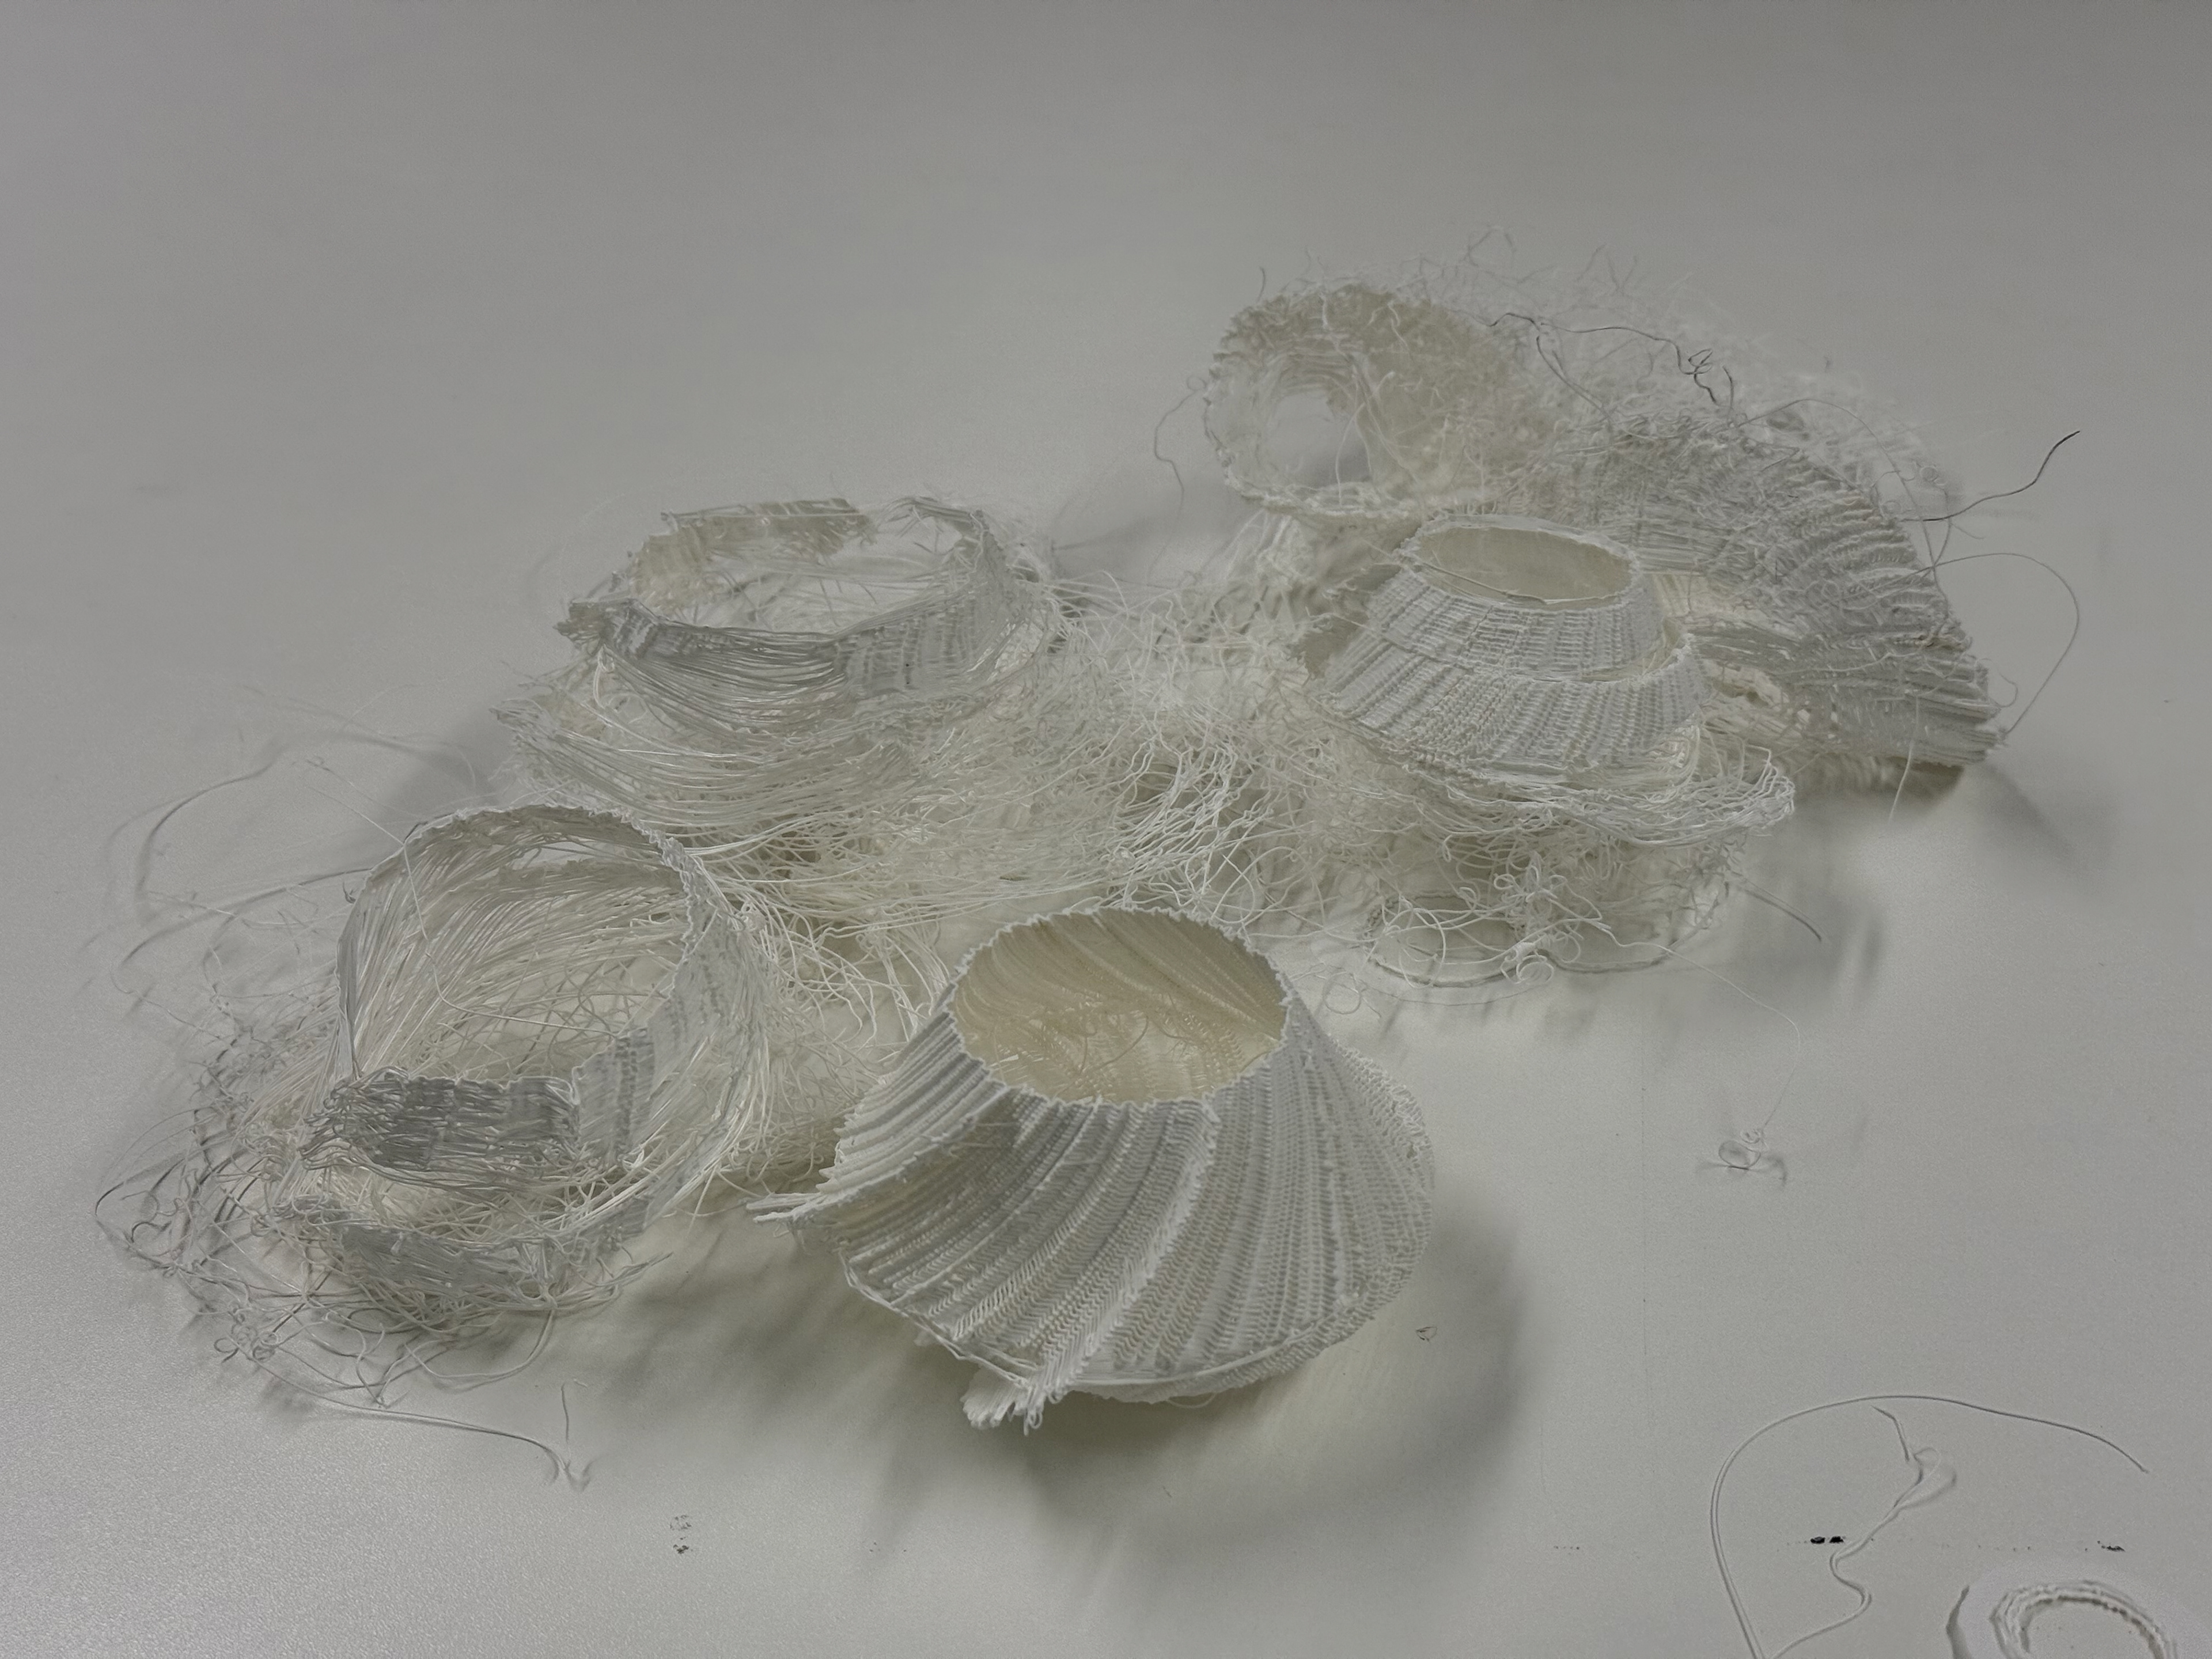
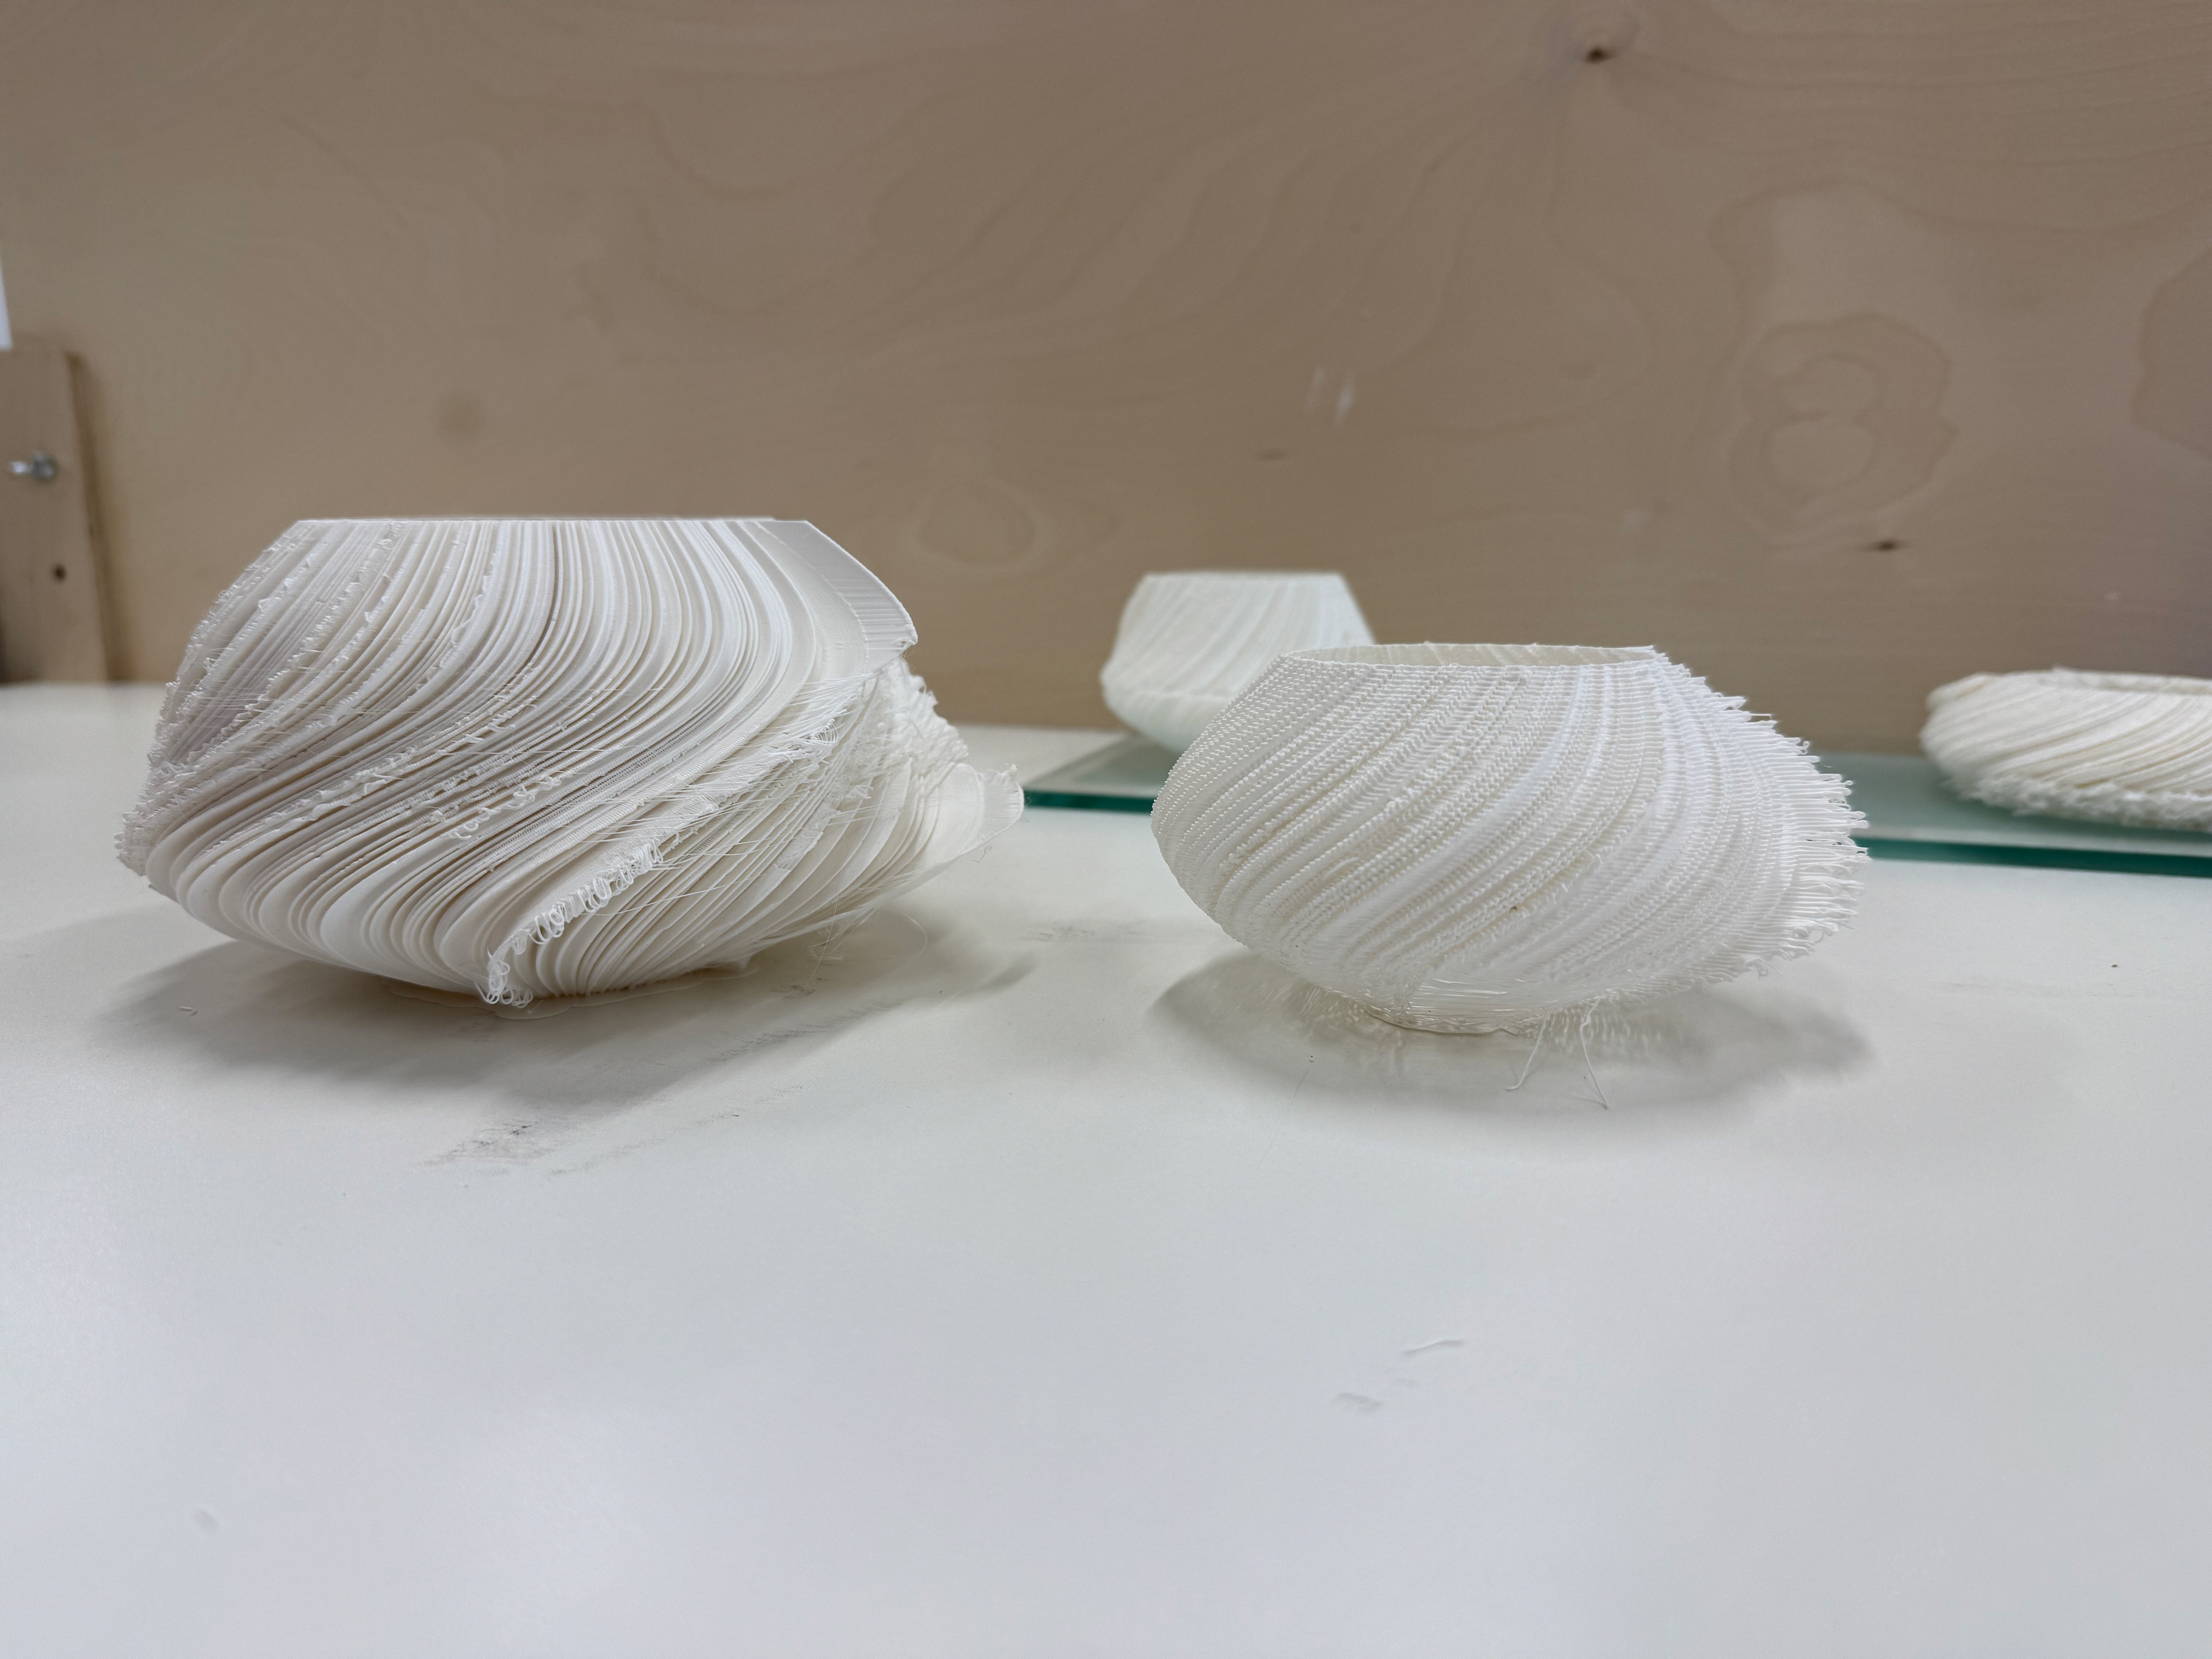
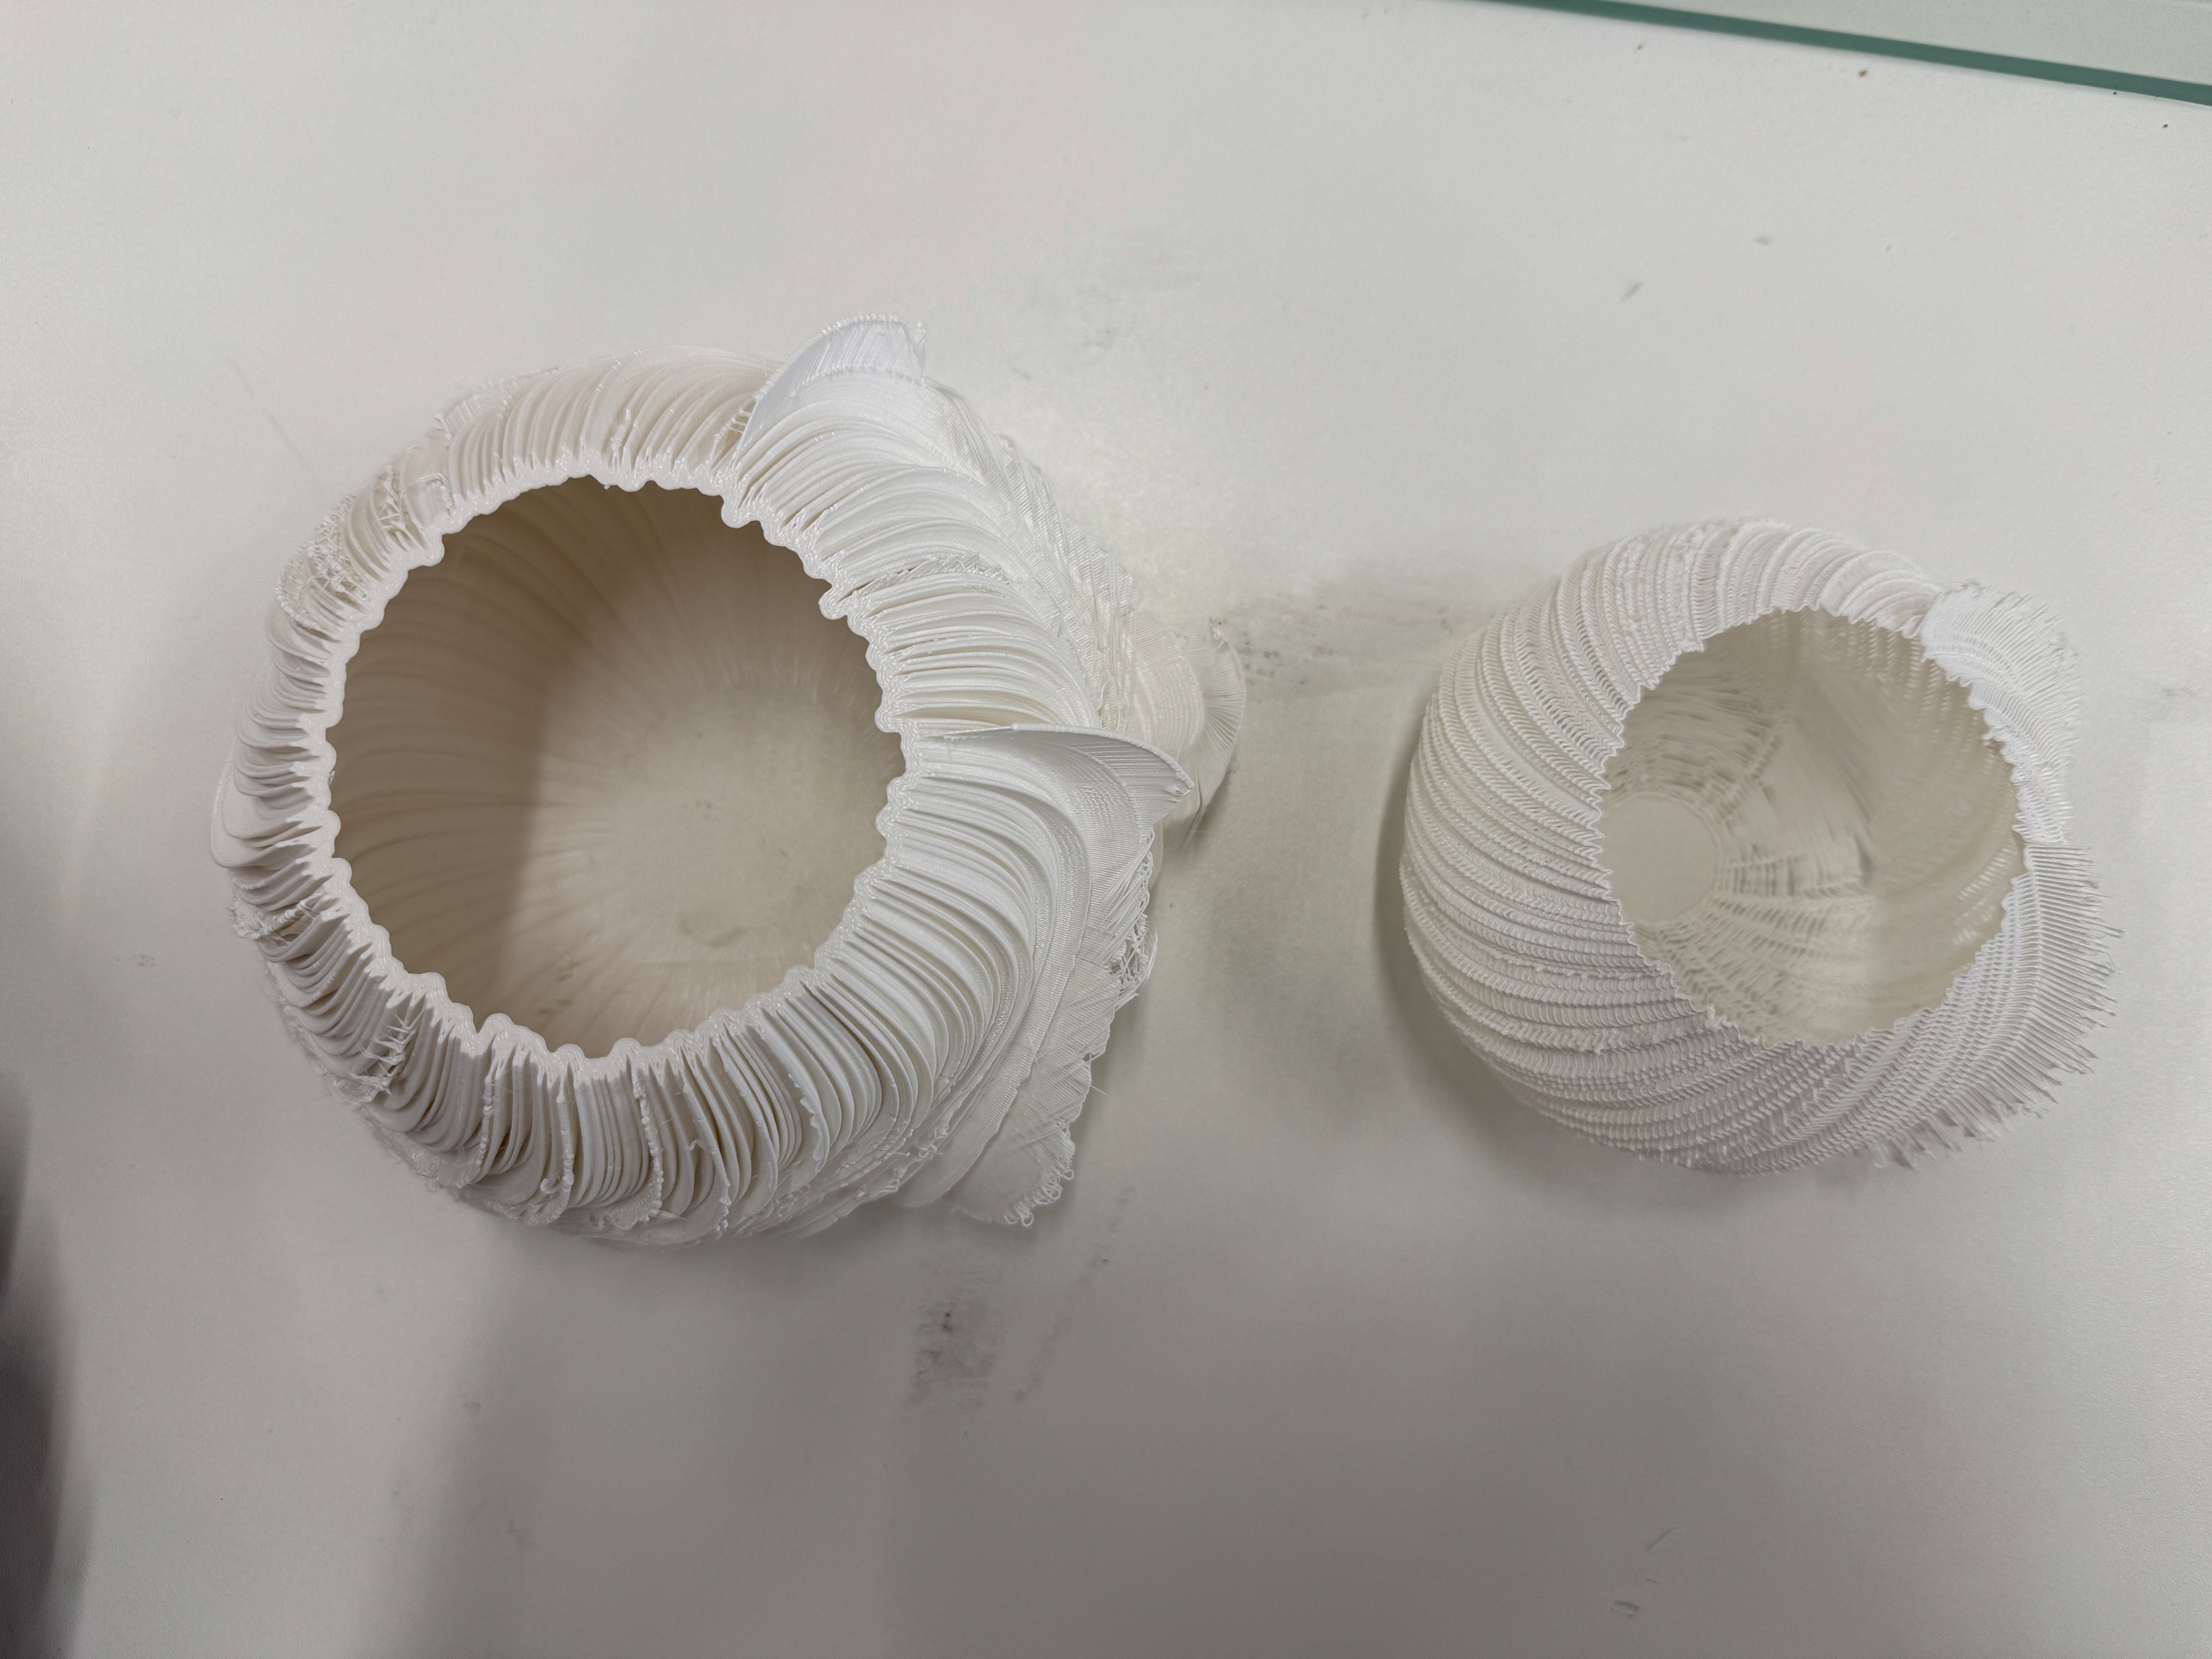
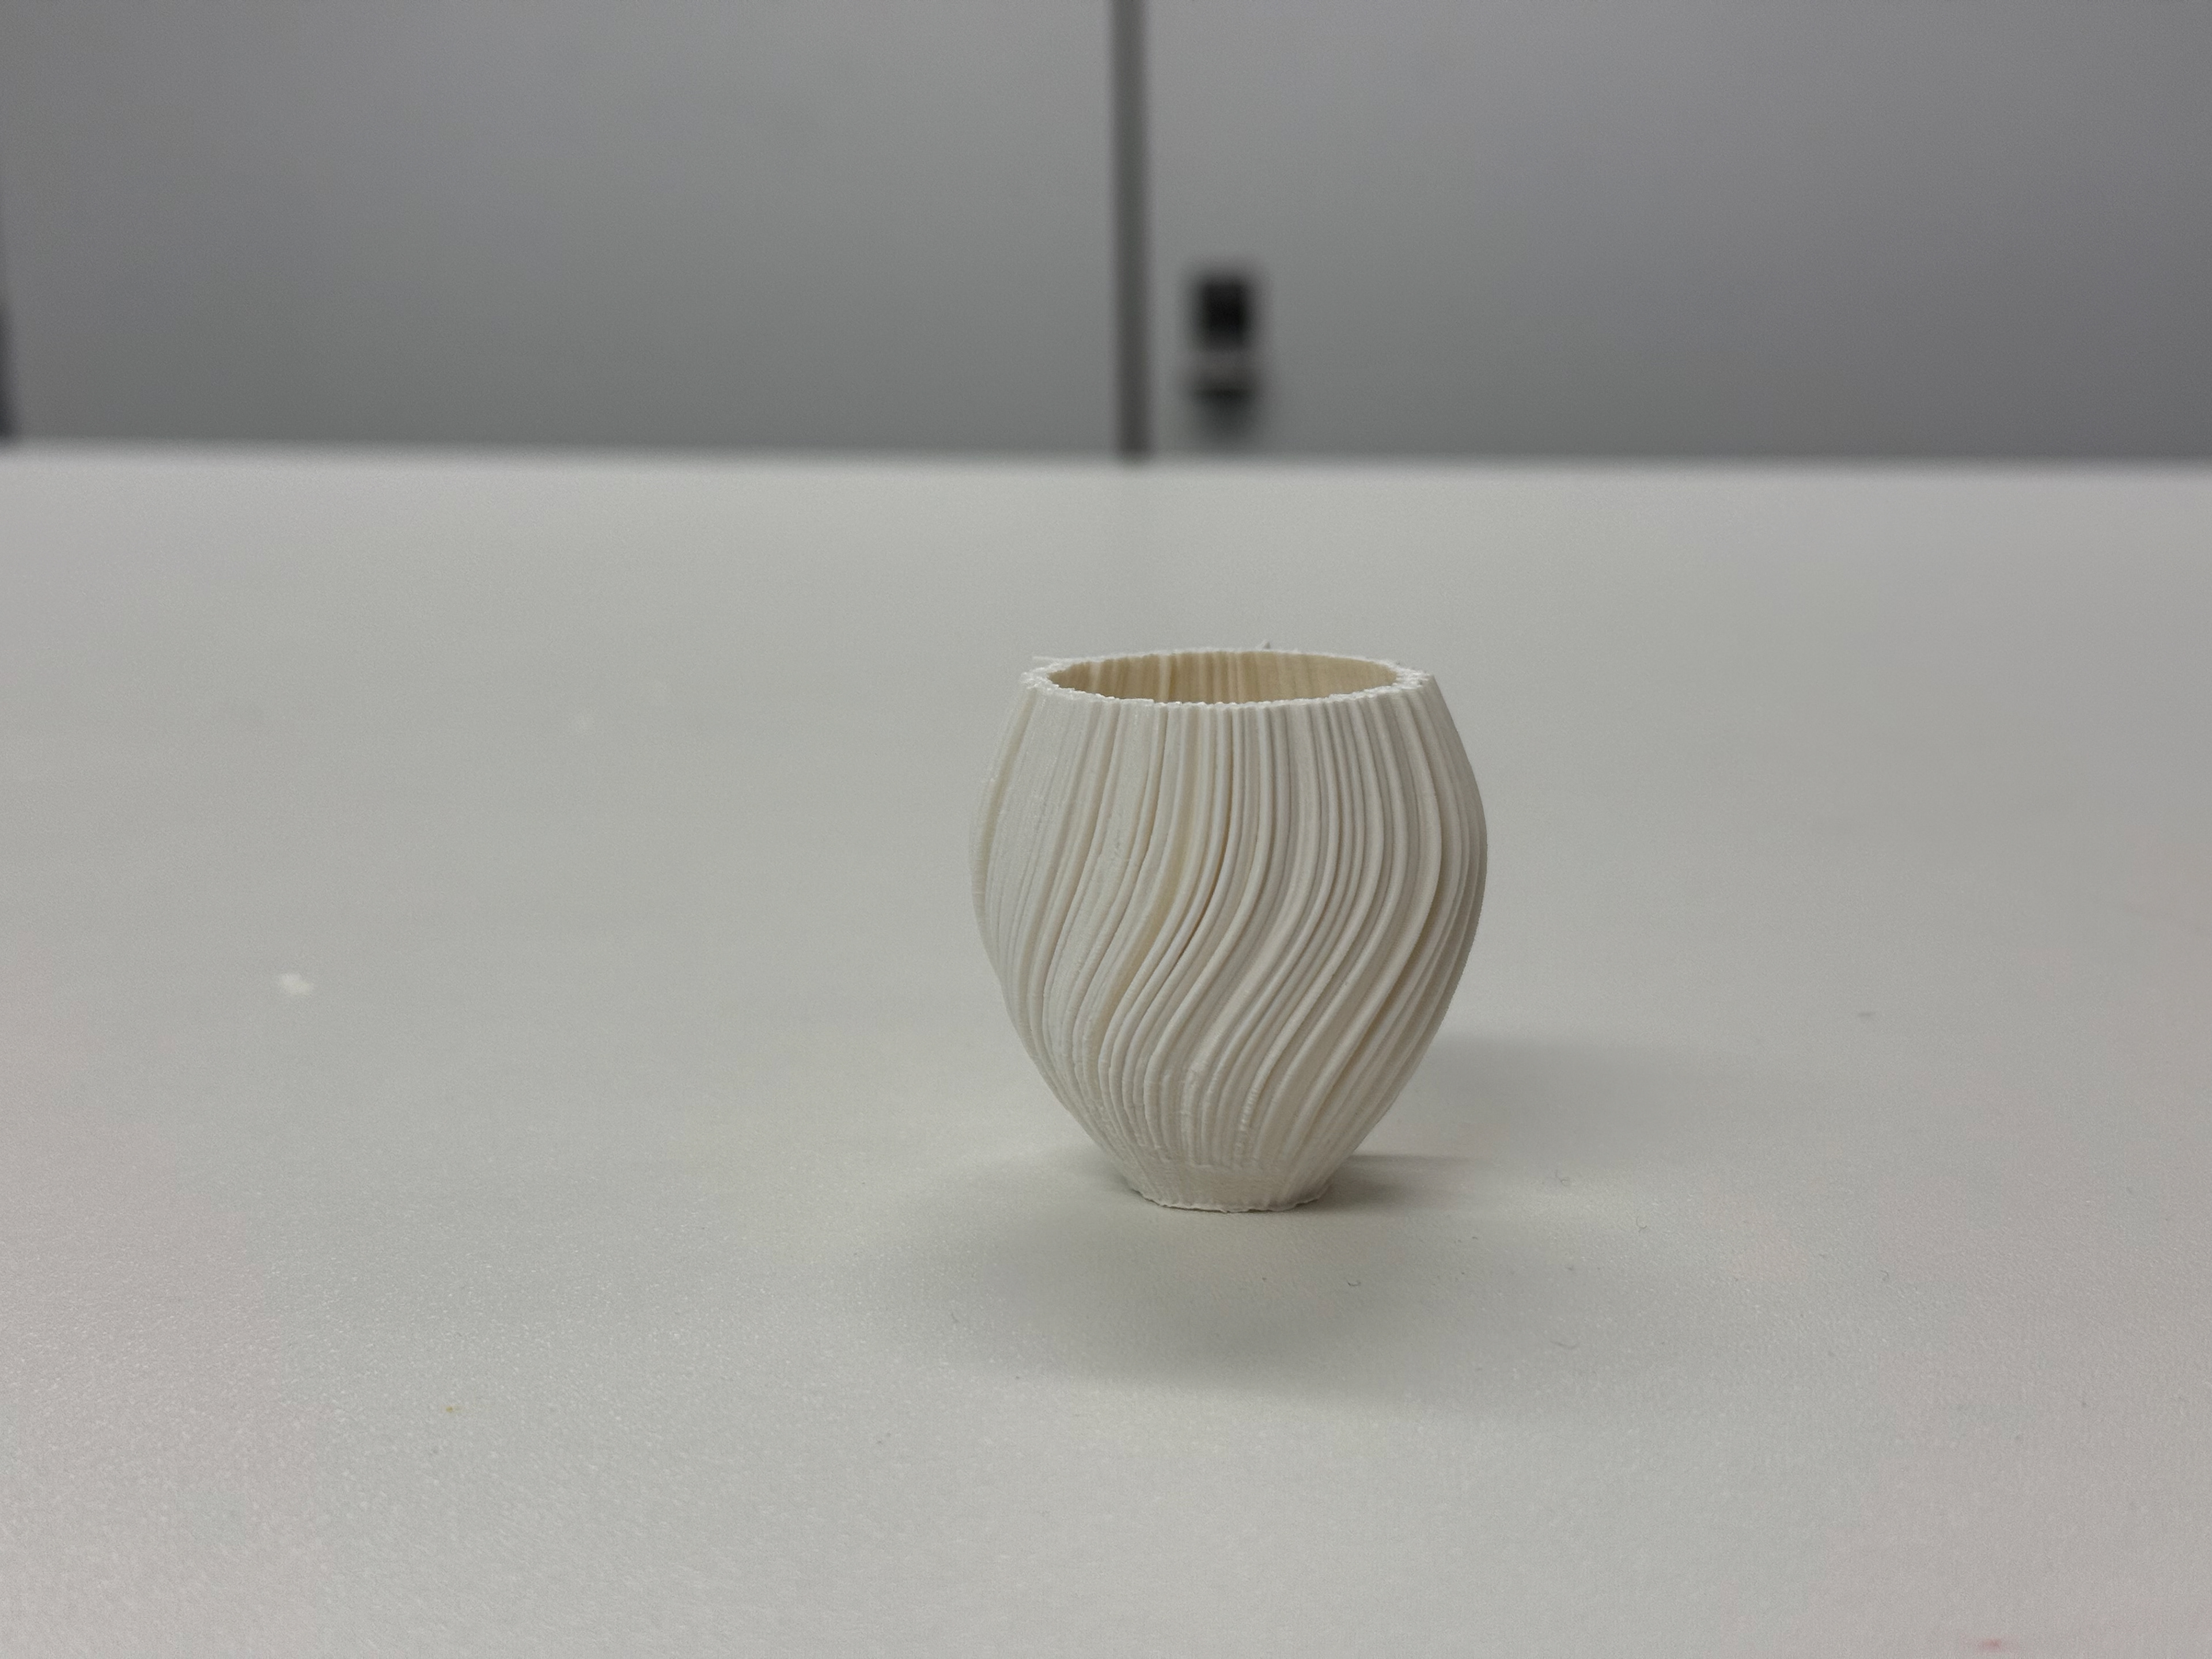
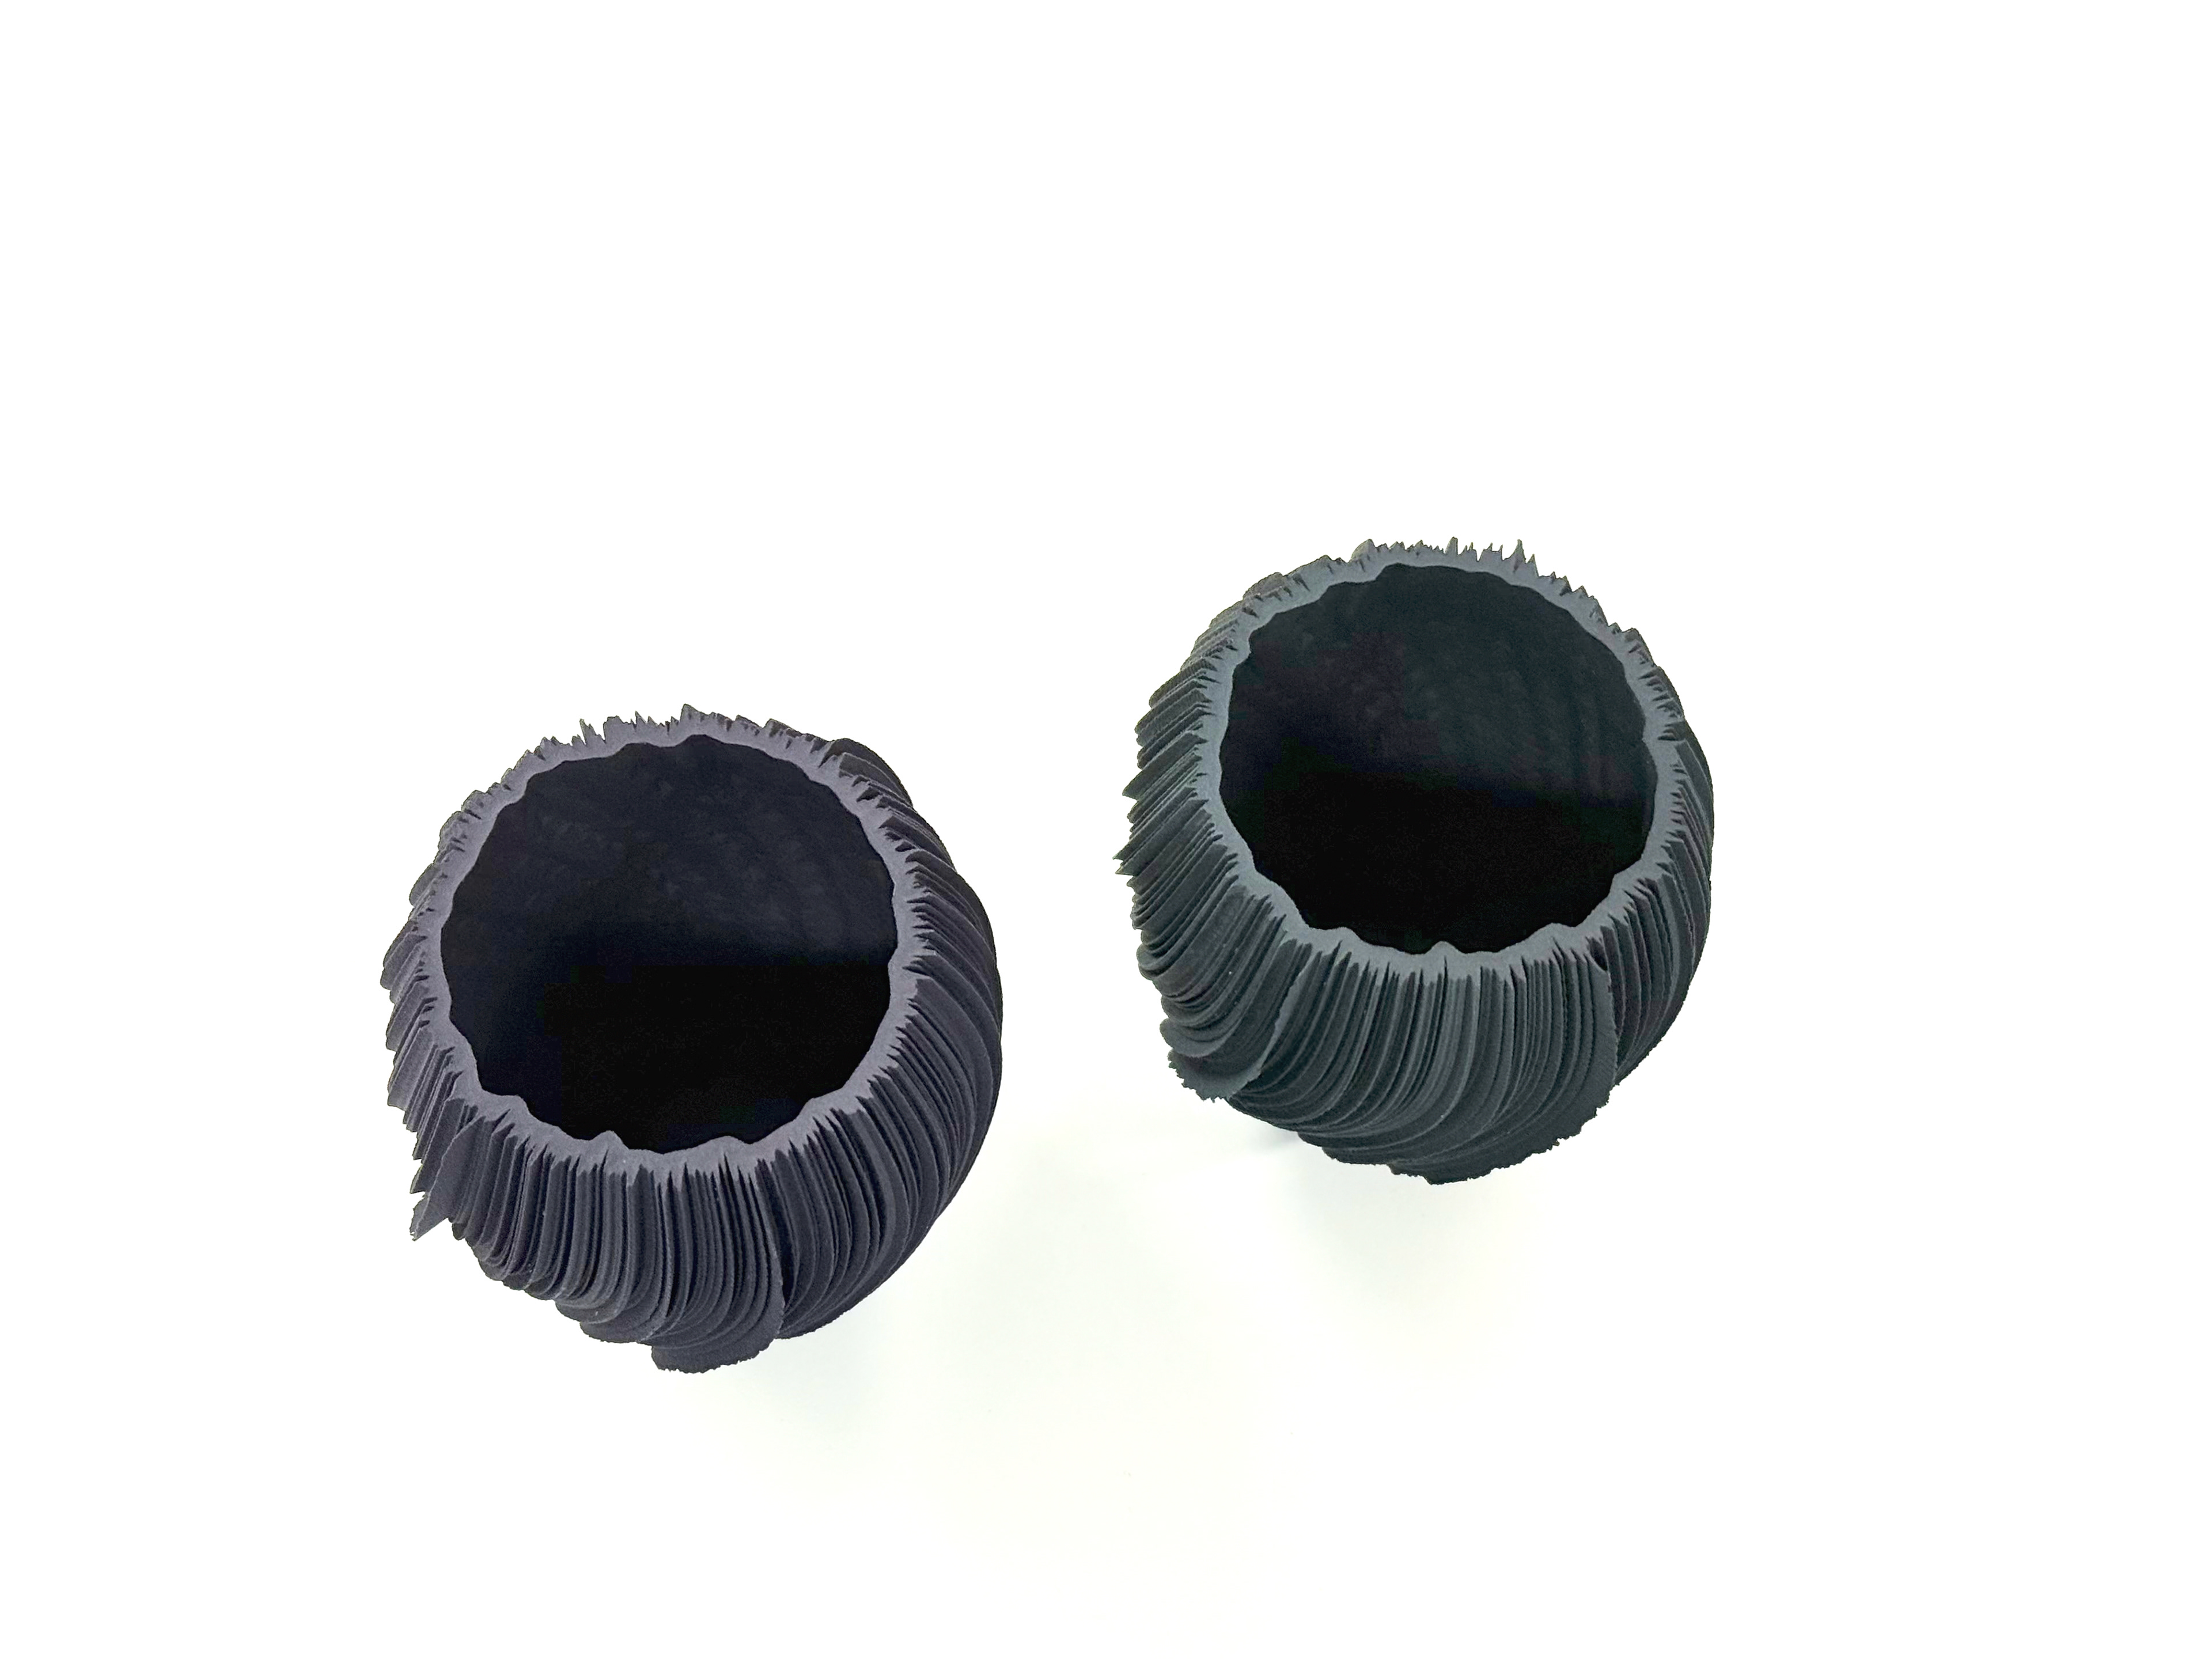
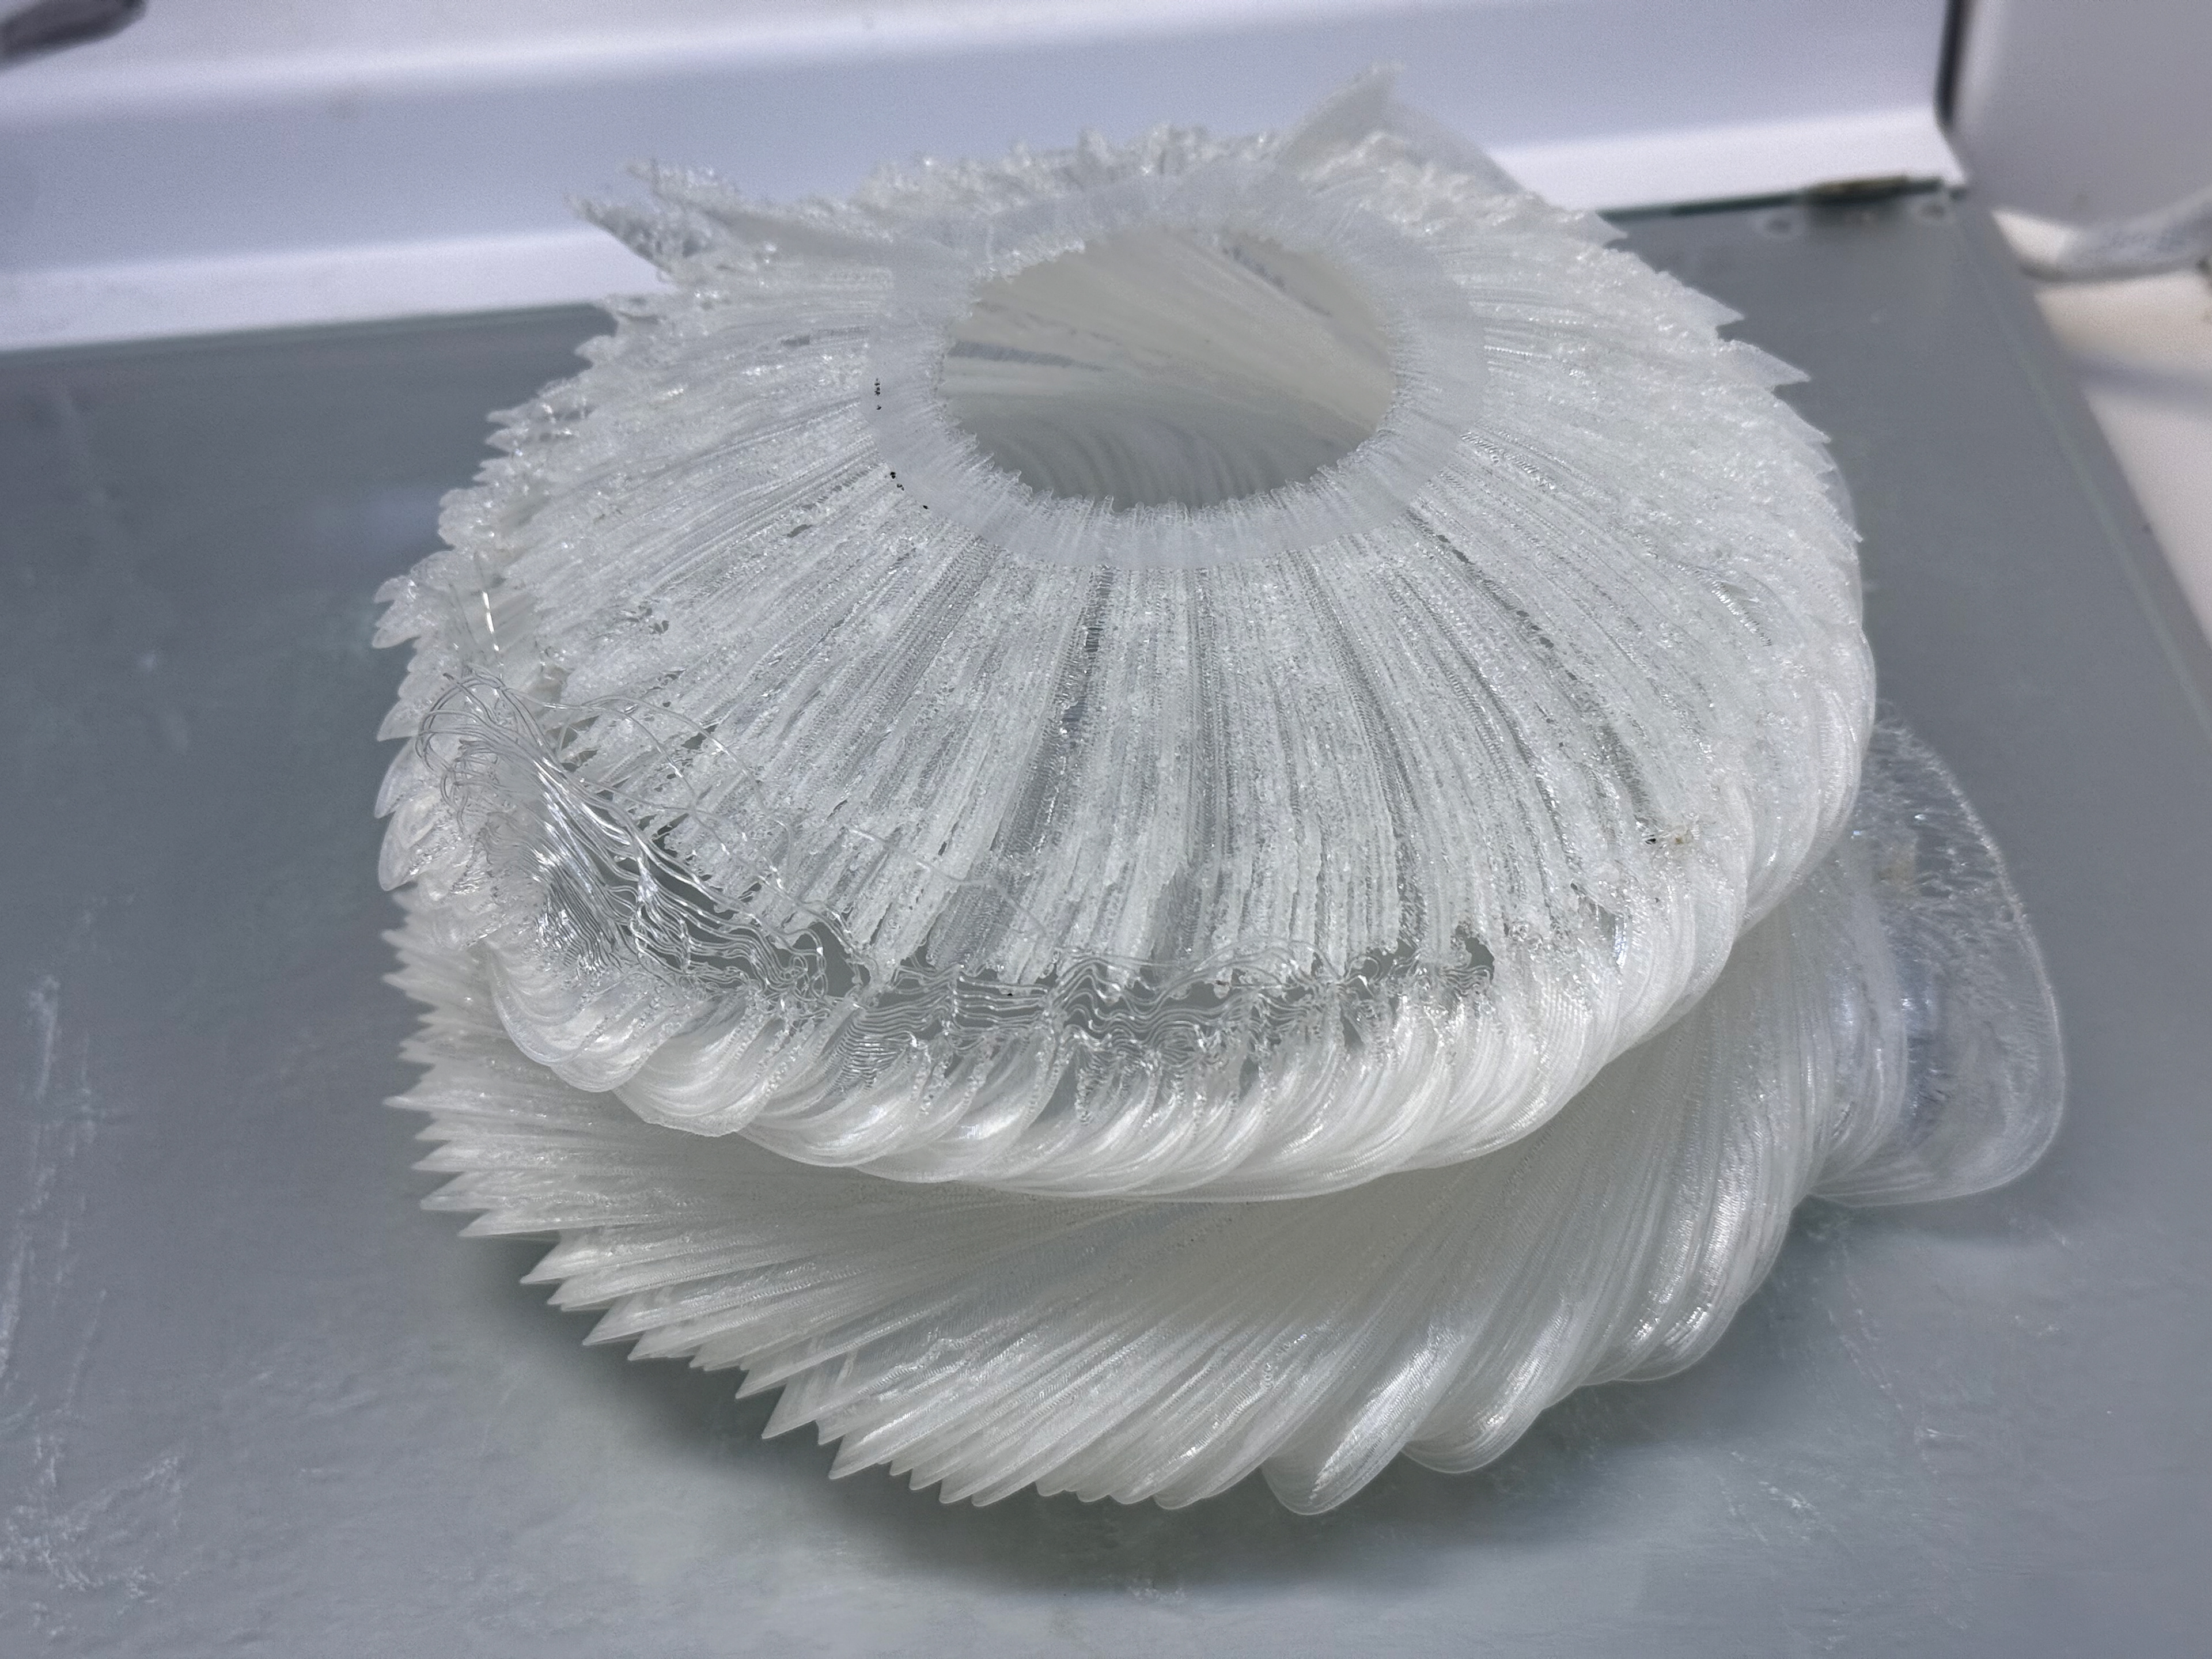
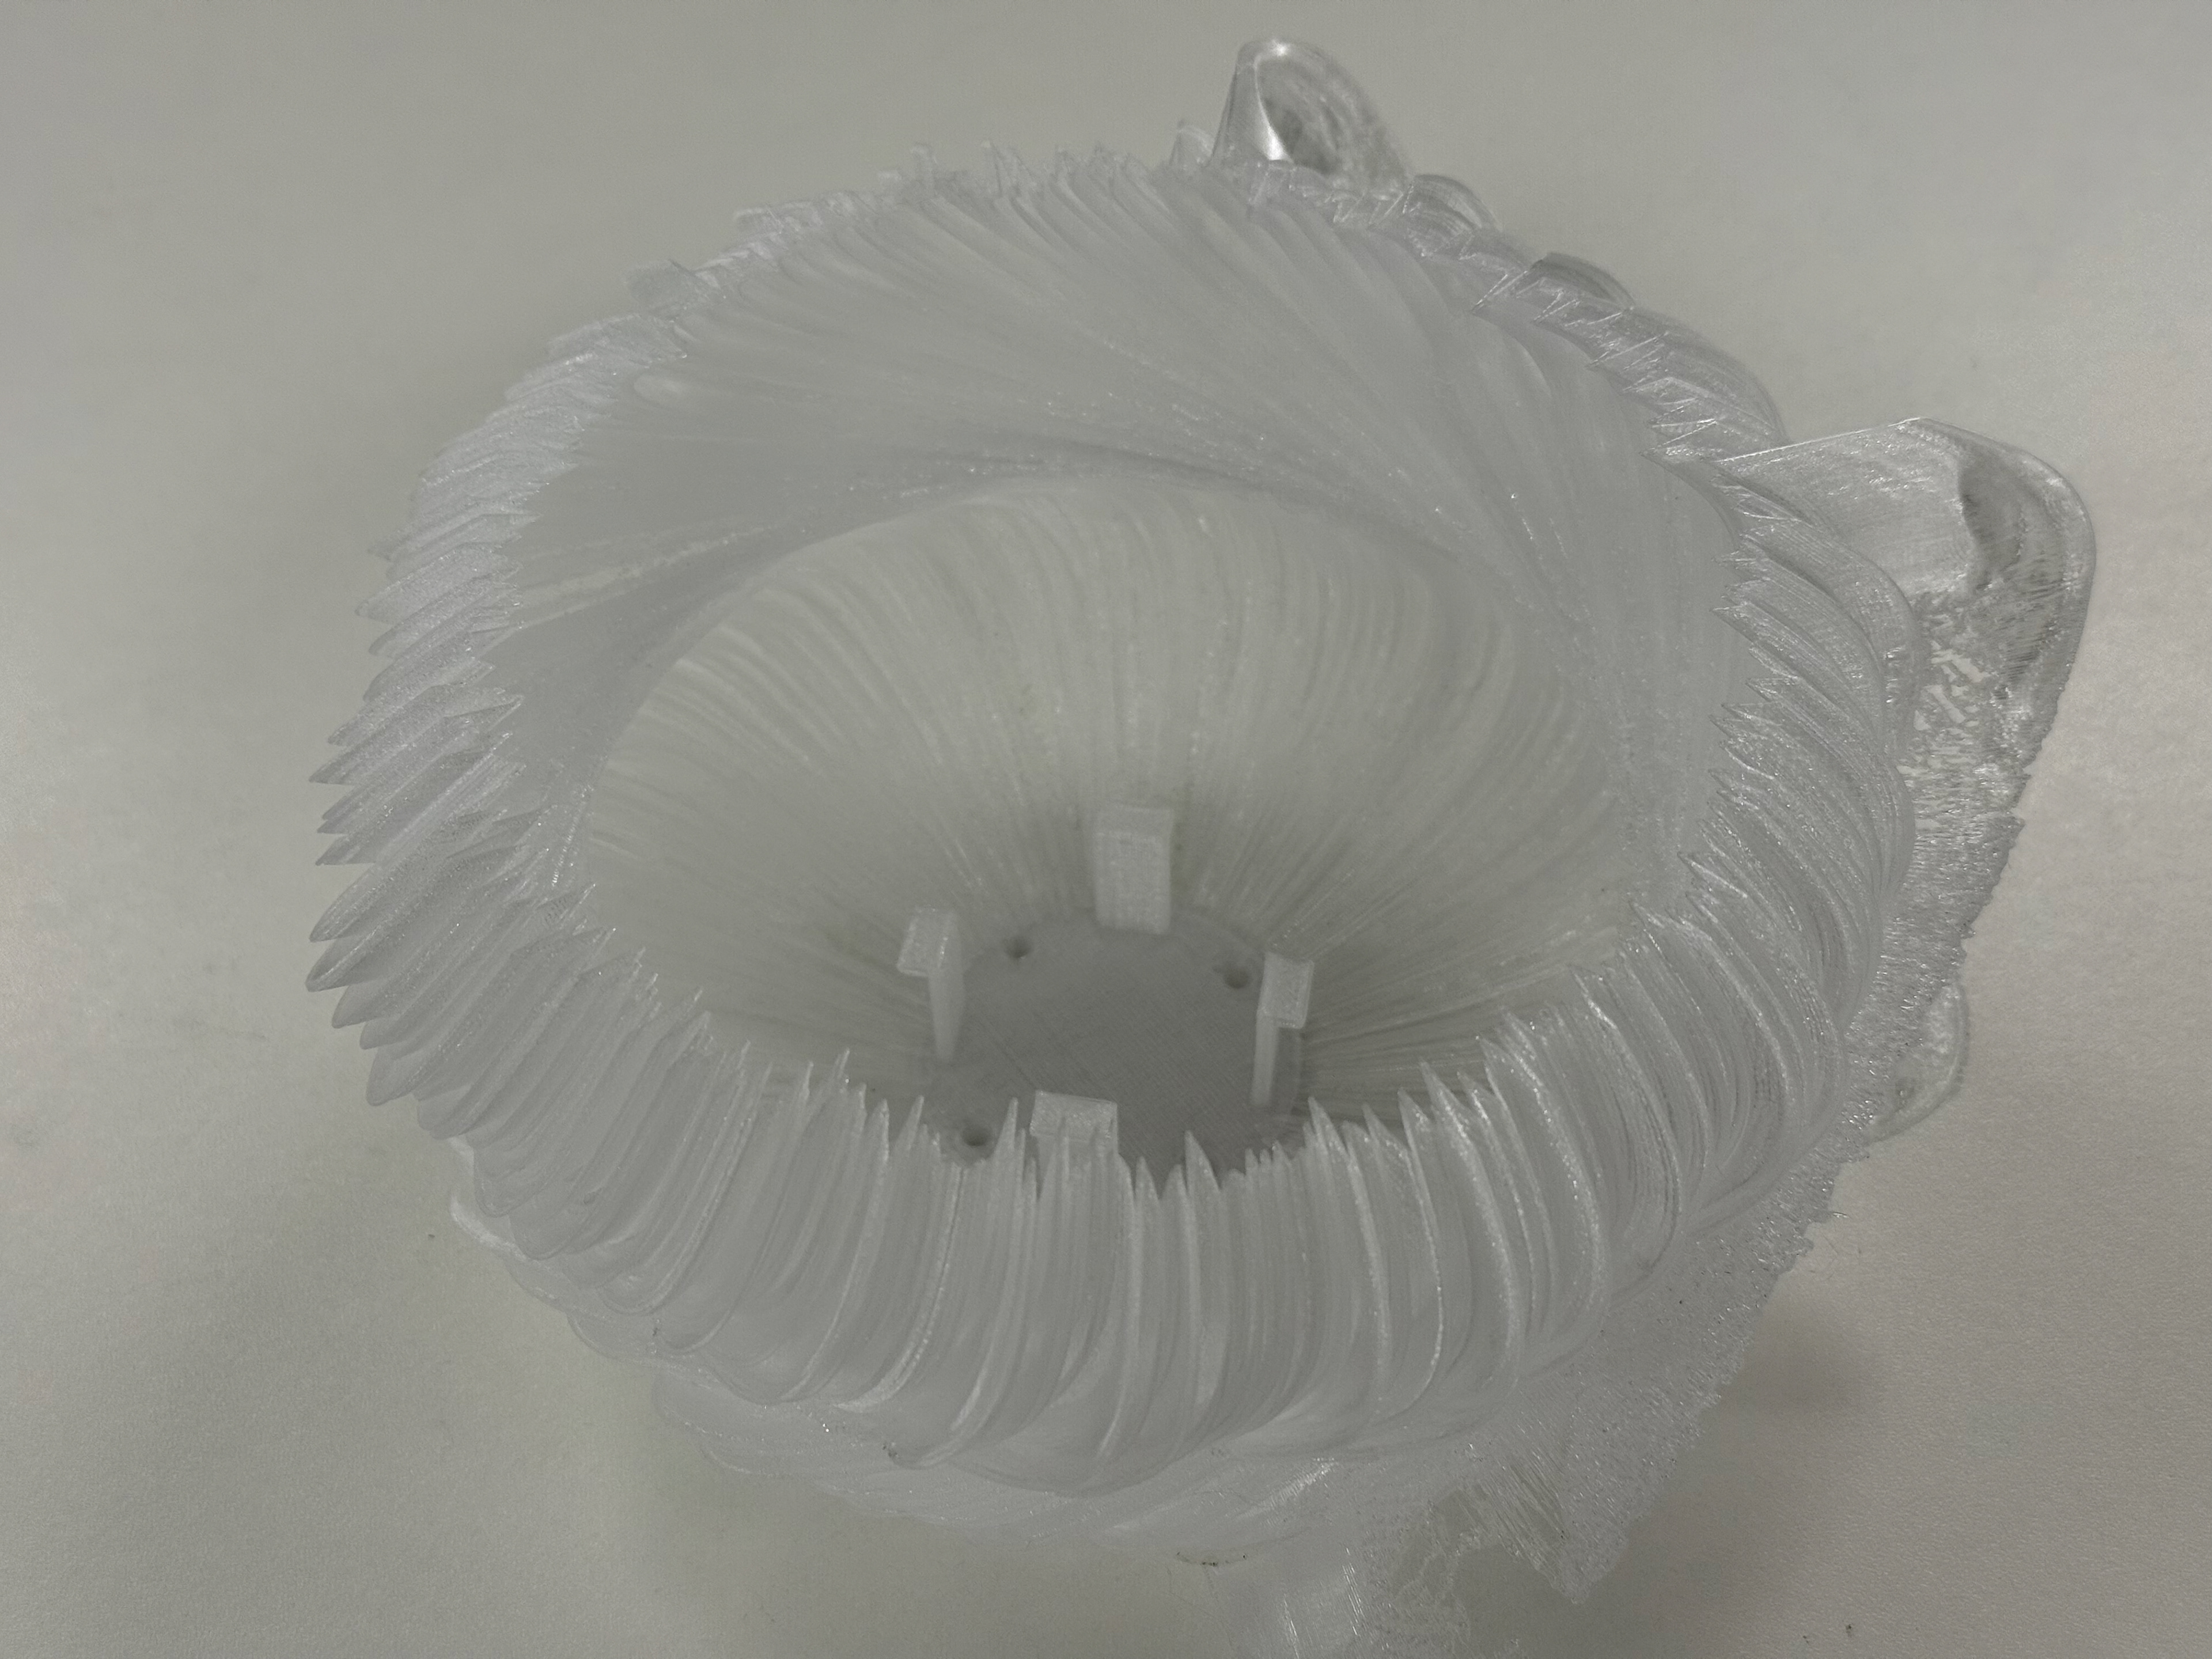
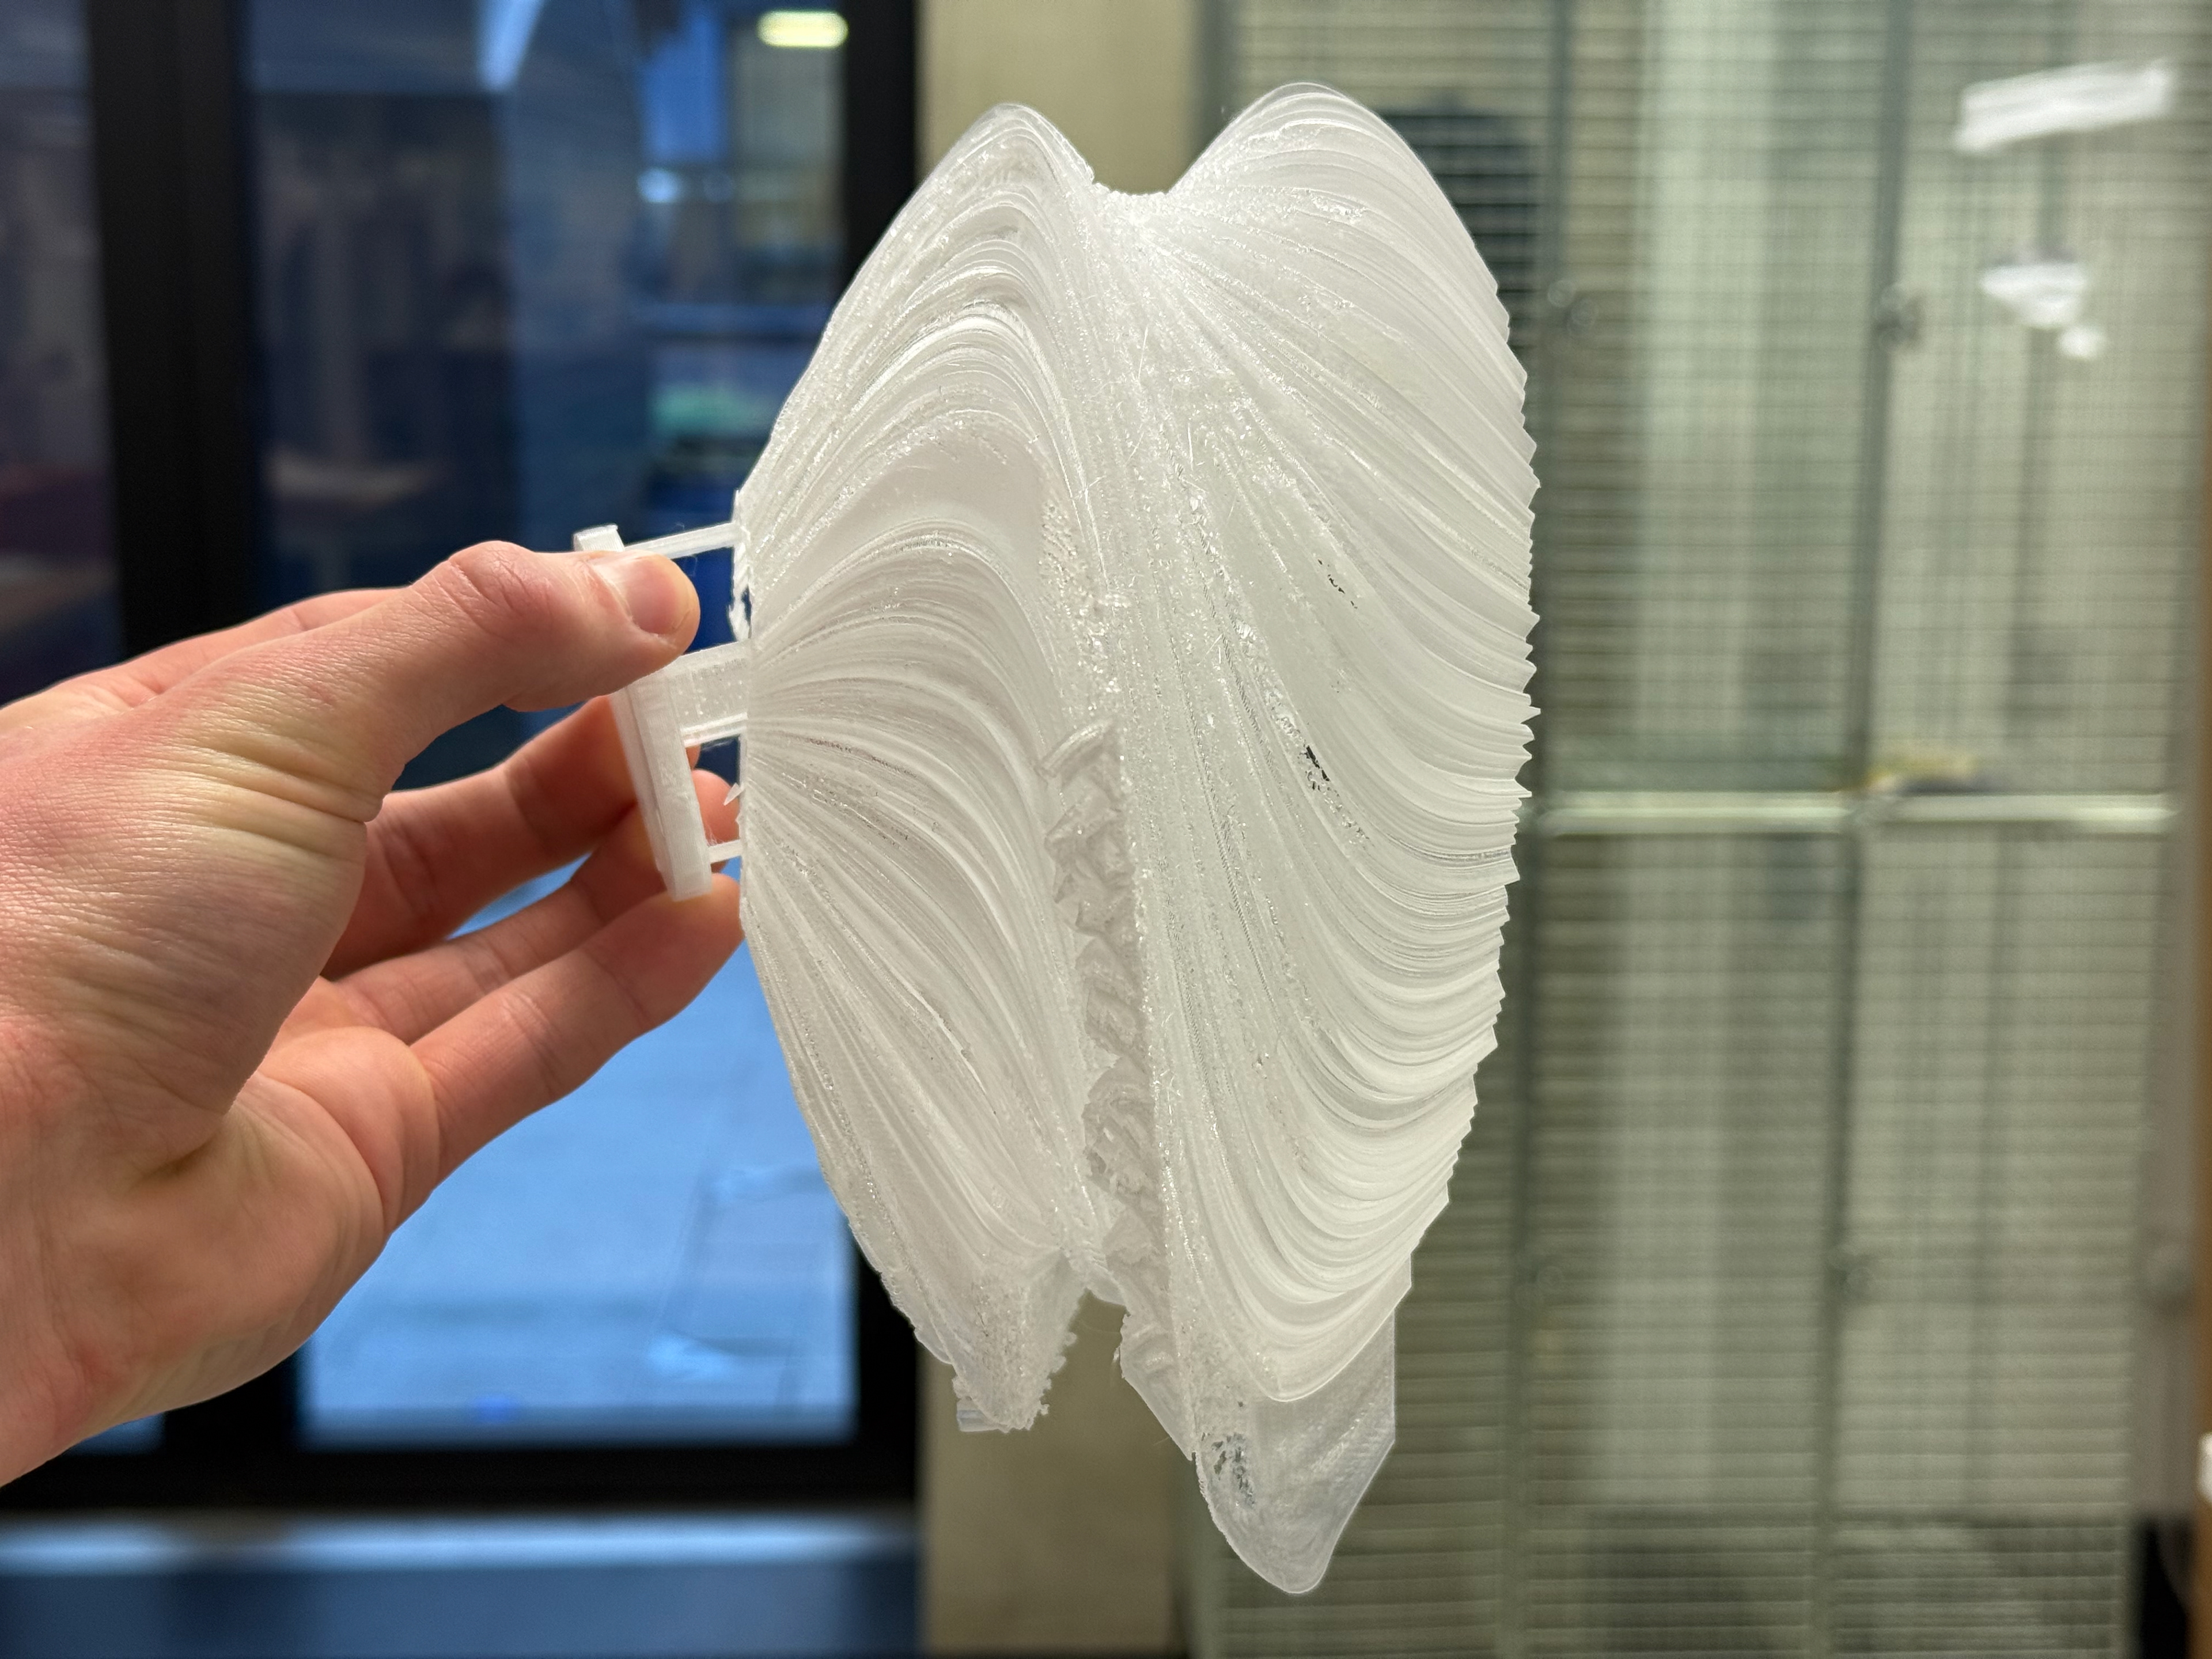
Finished Print
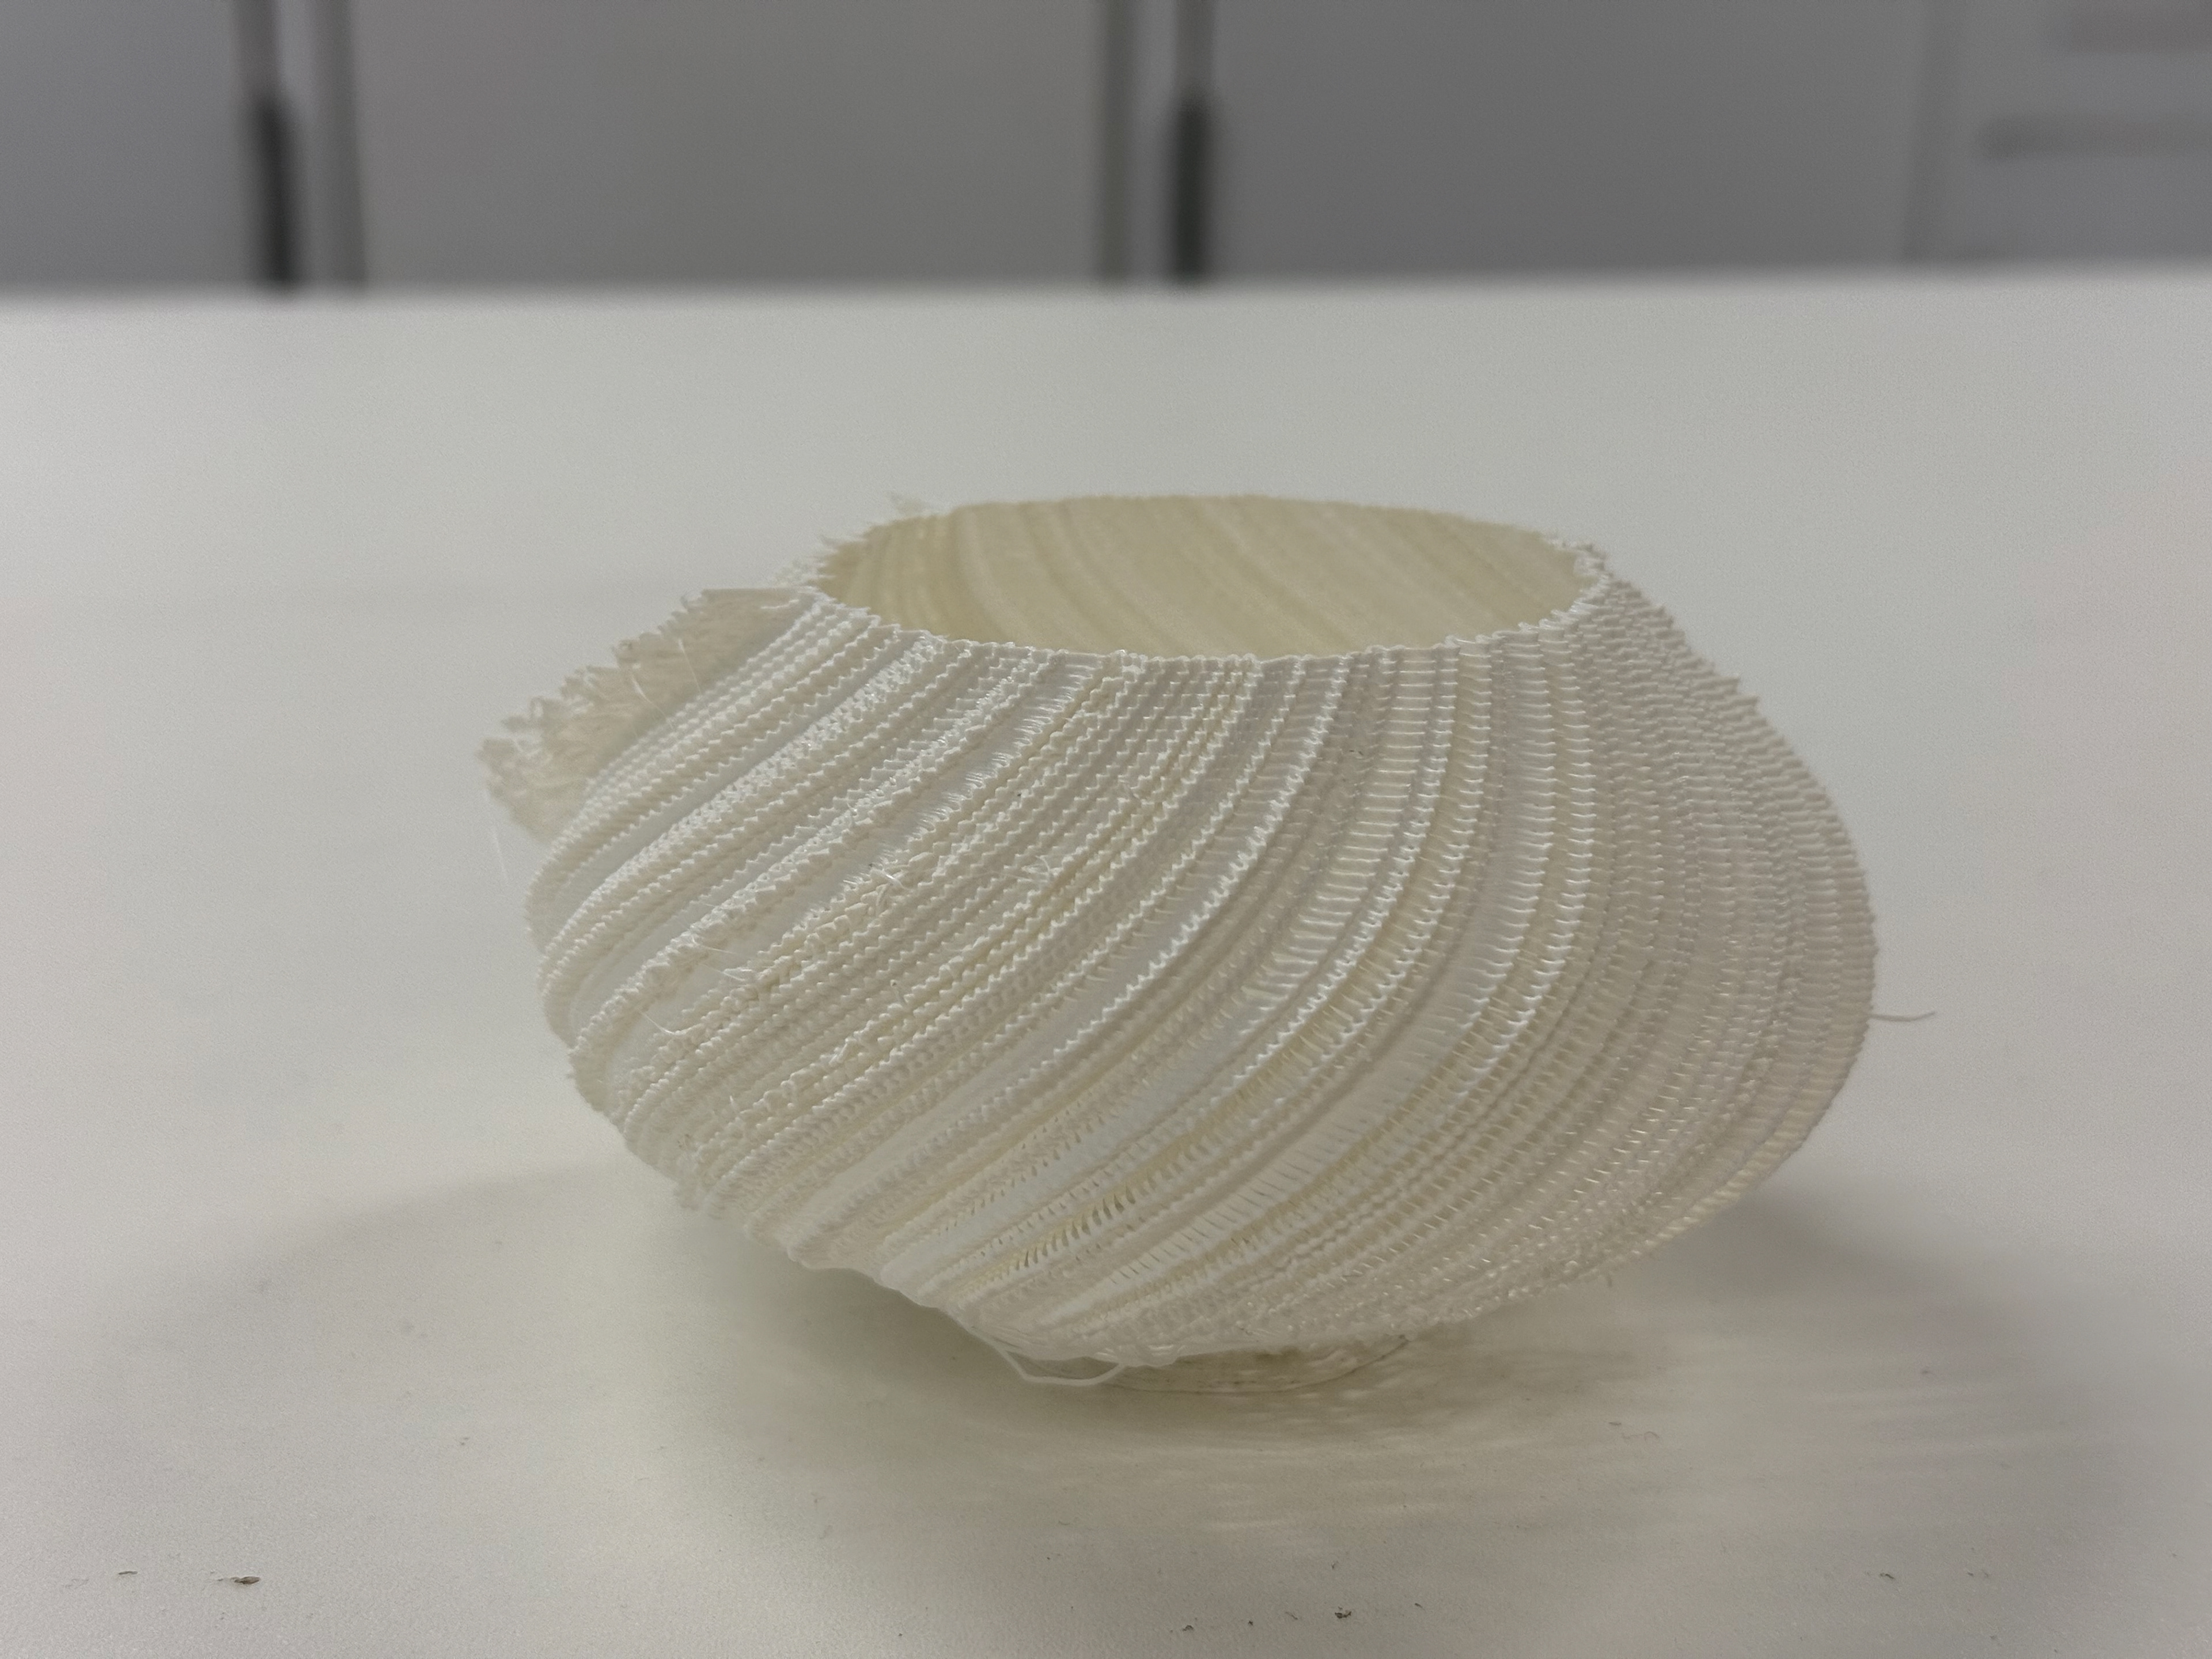
Finished Print
Finished Print
Finished Print
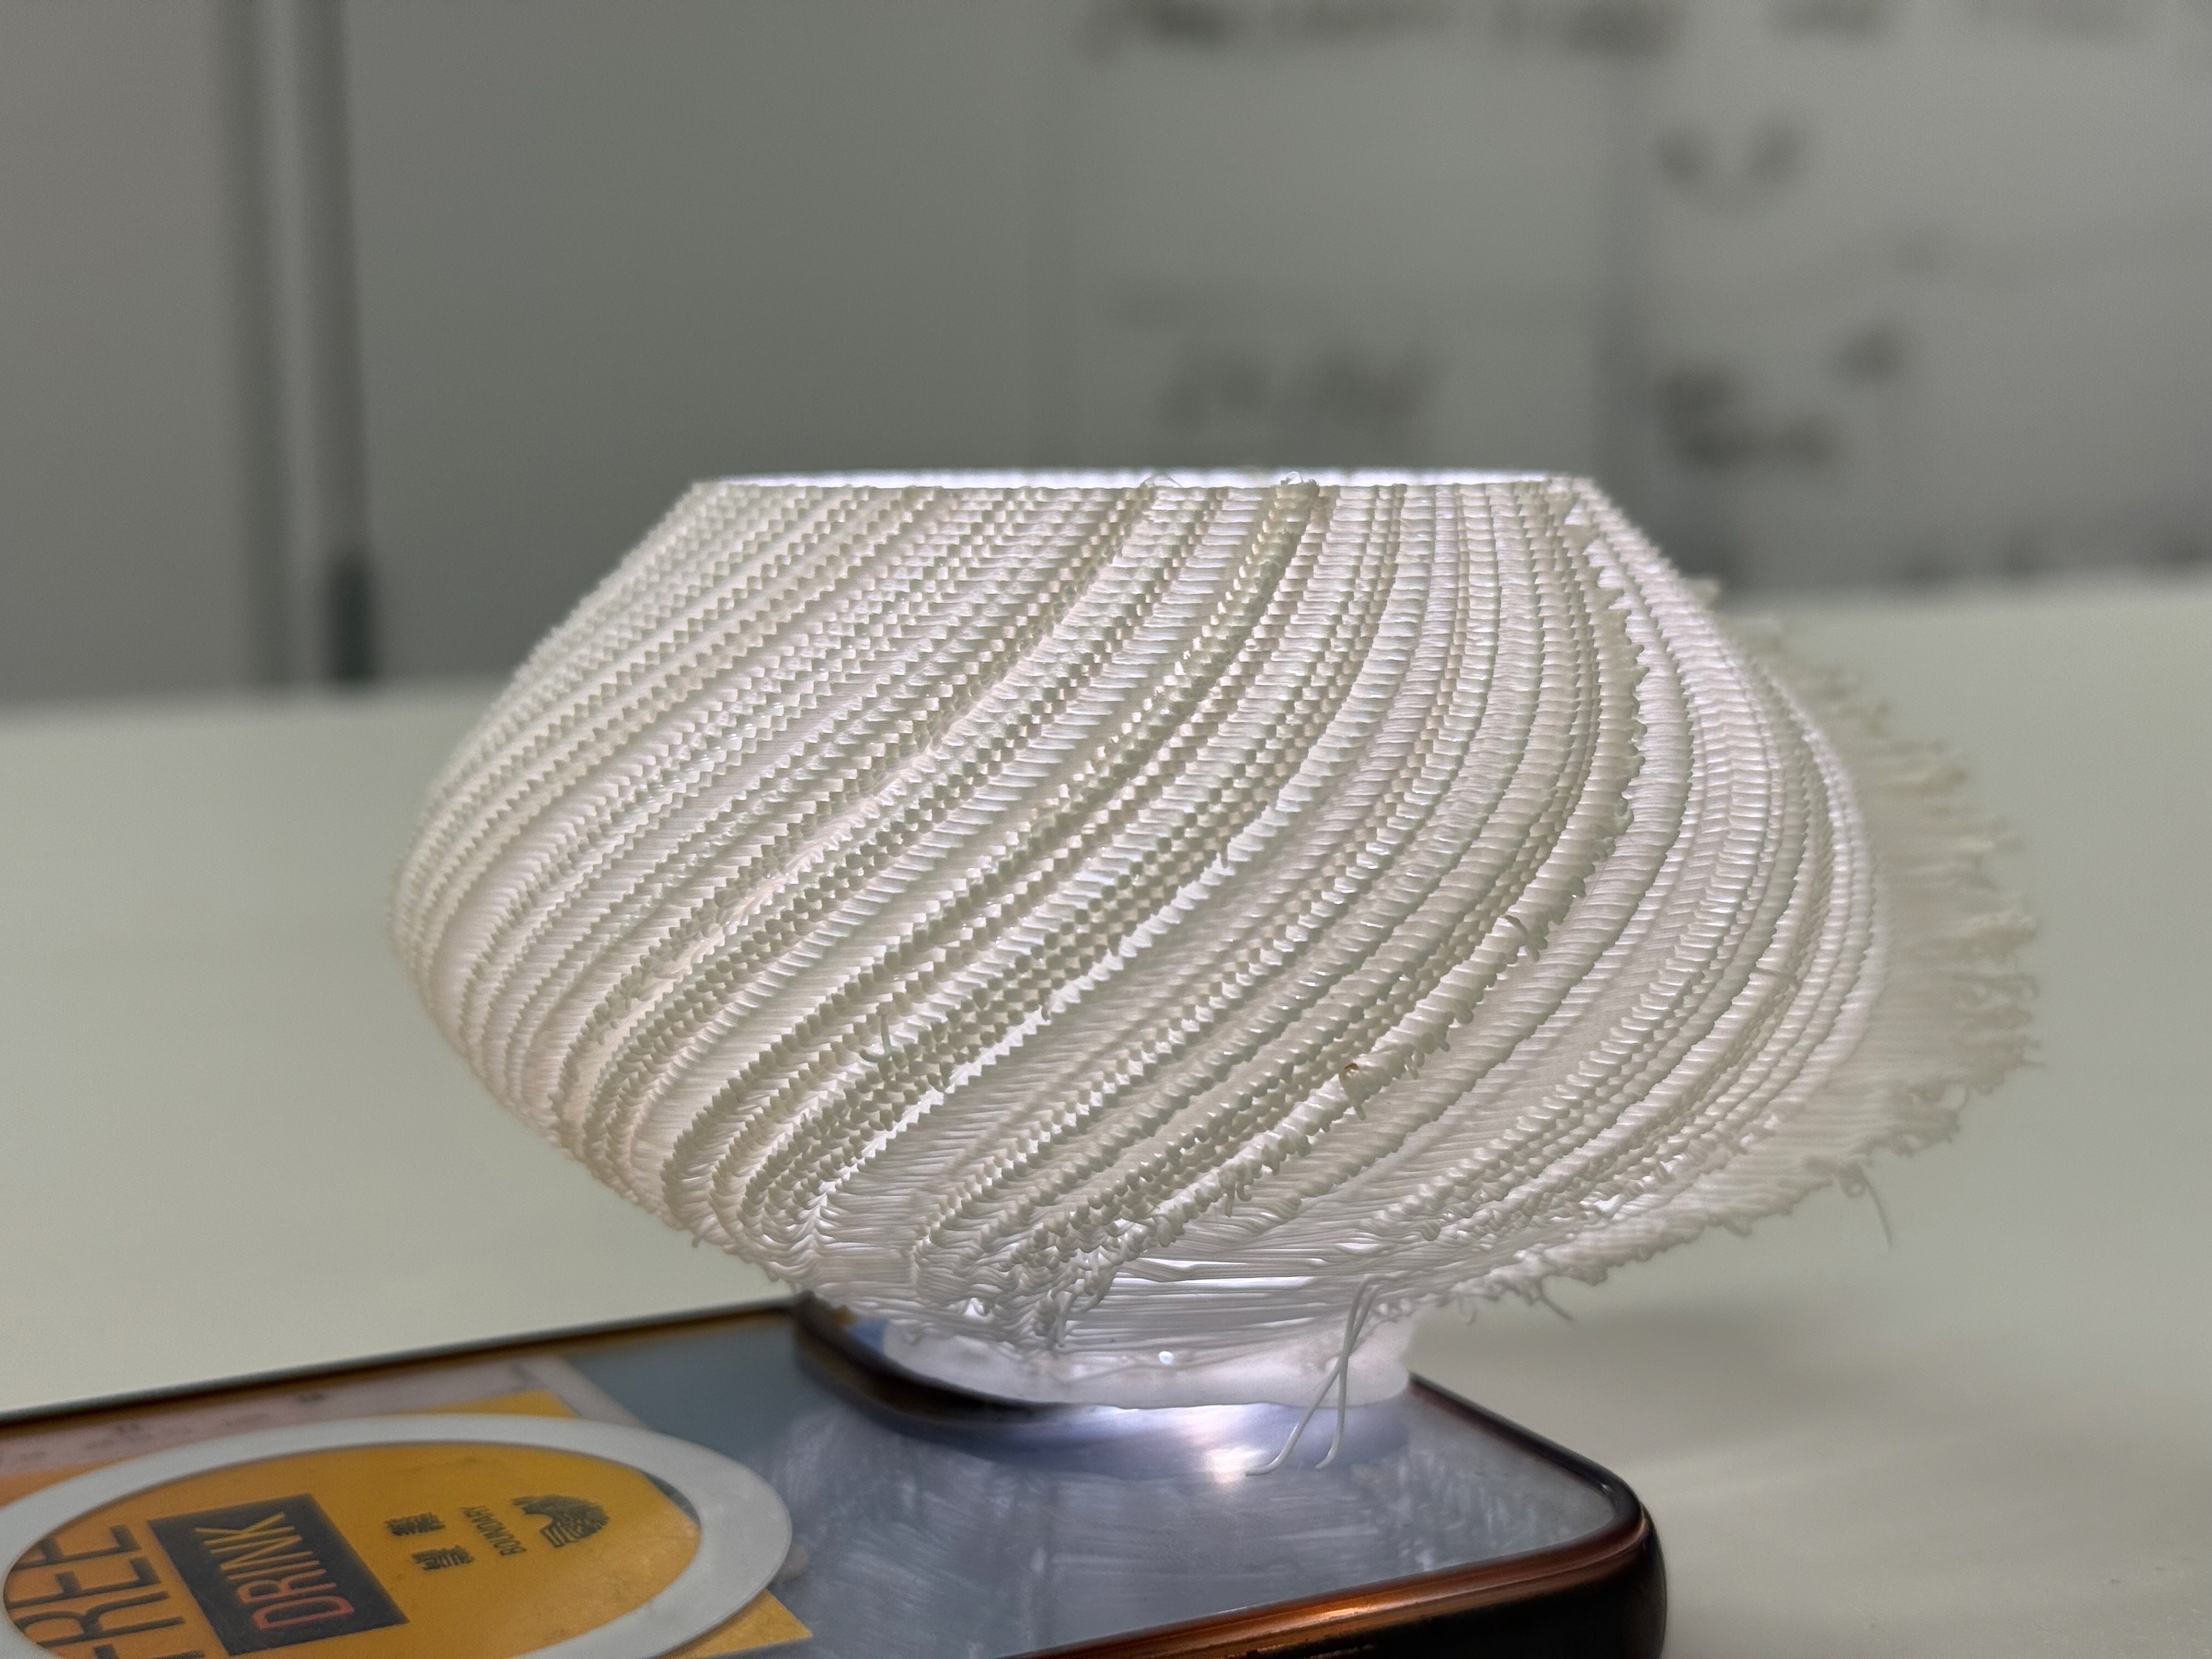
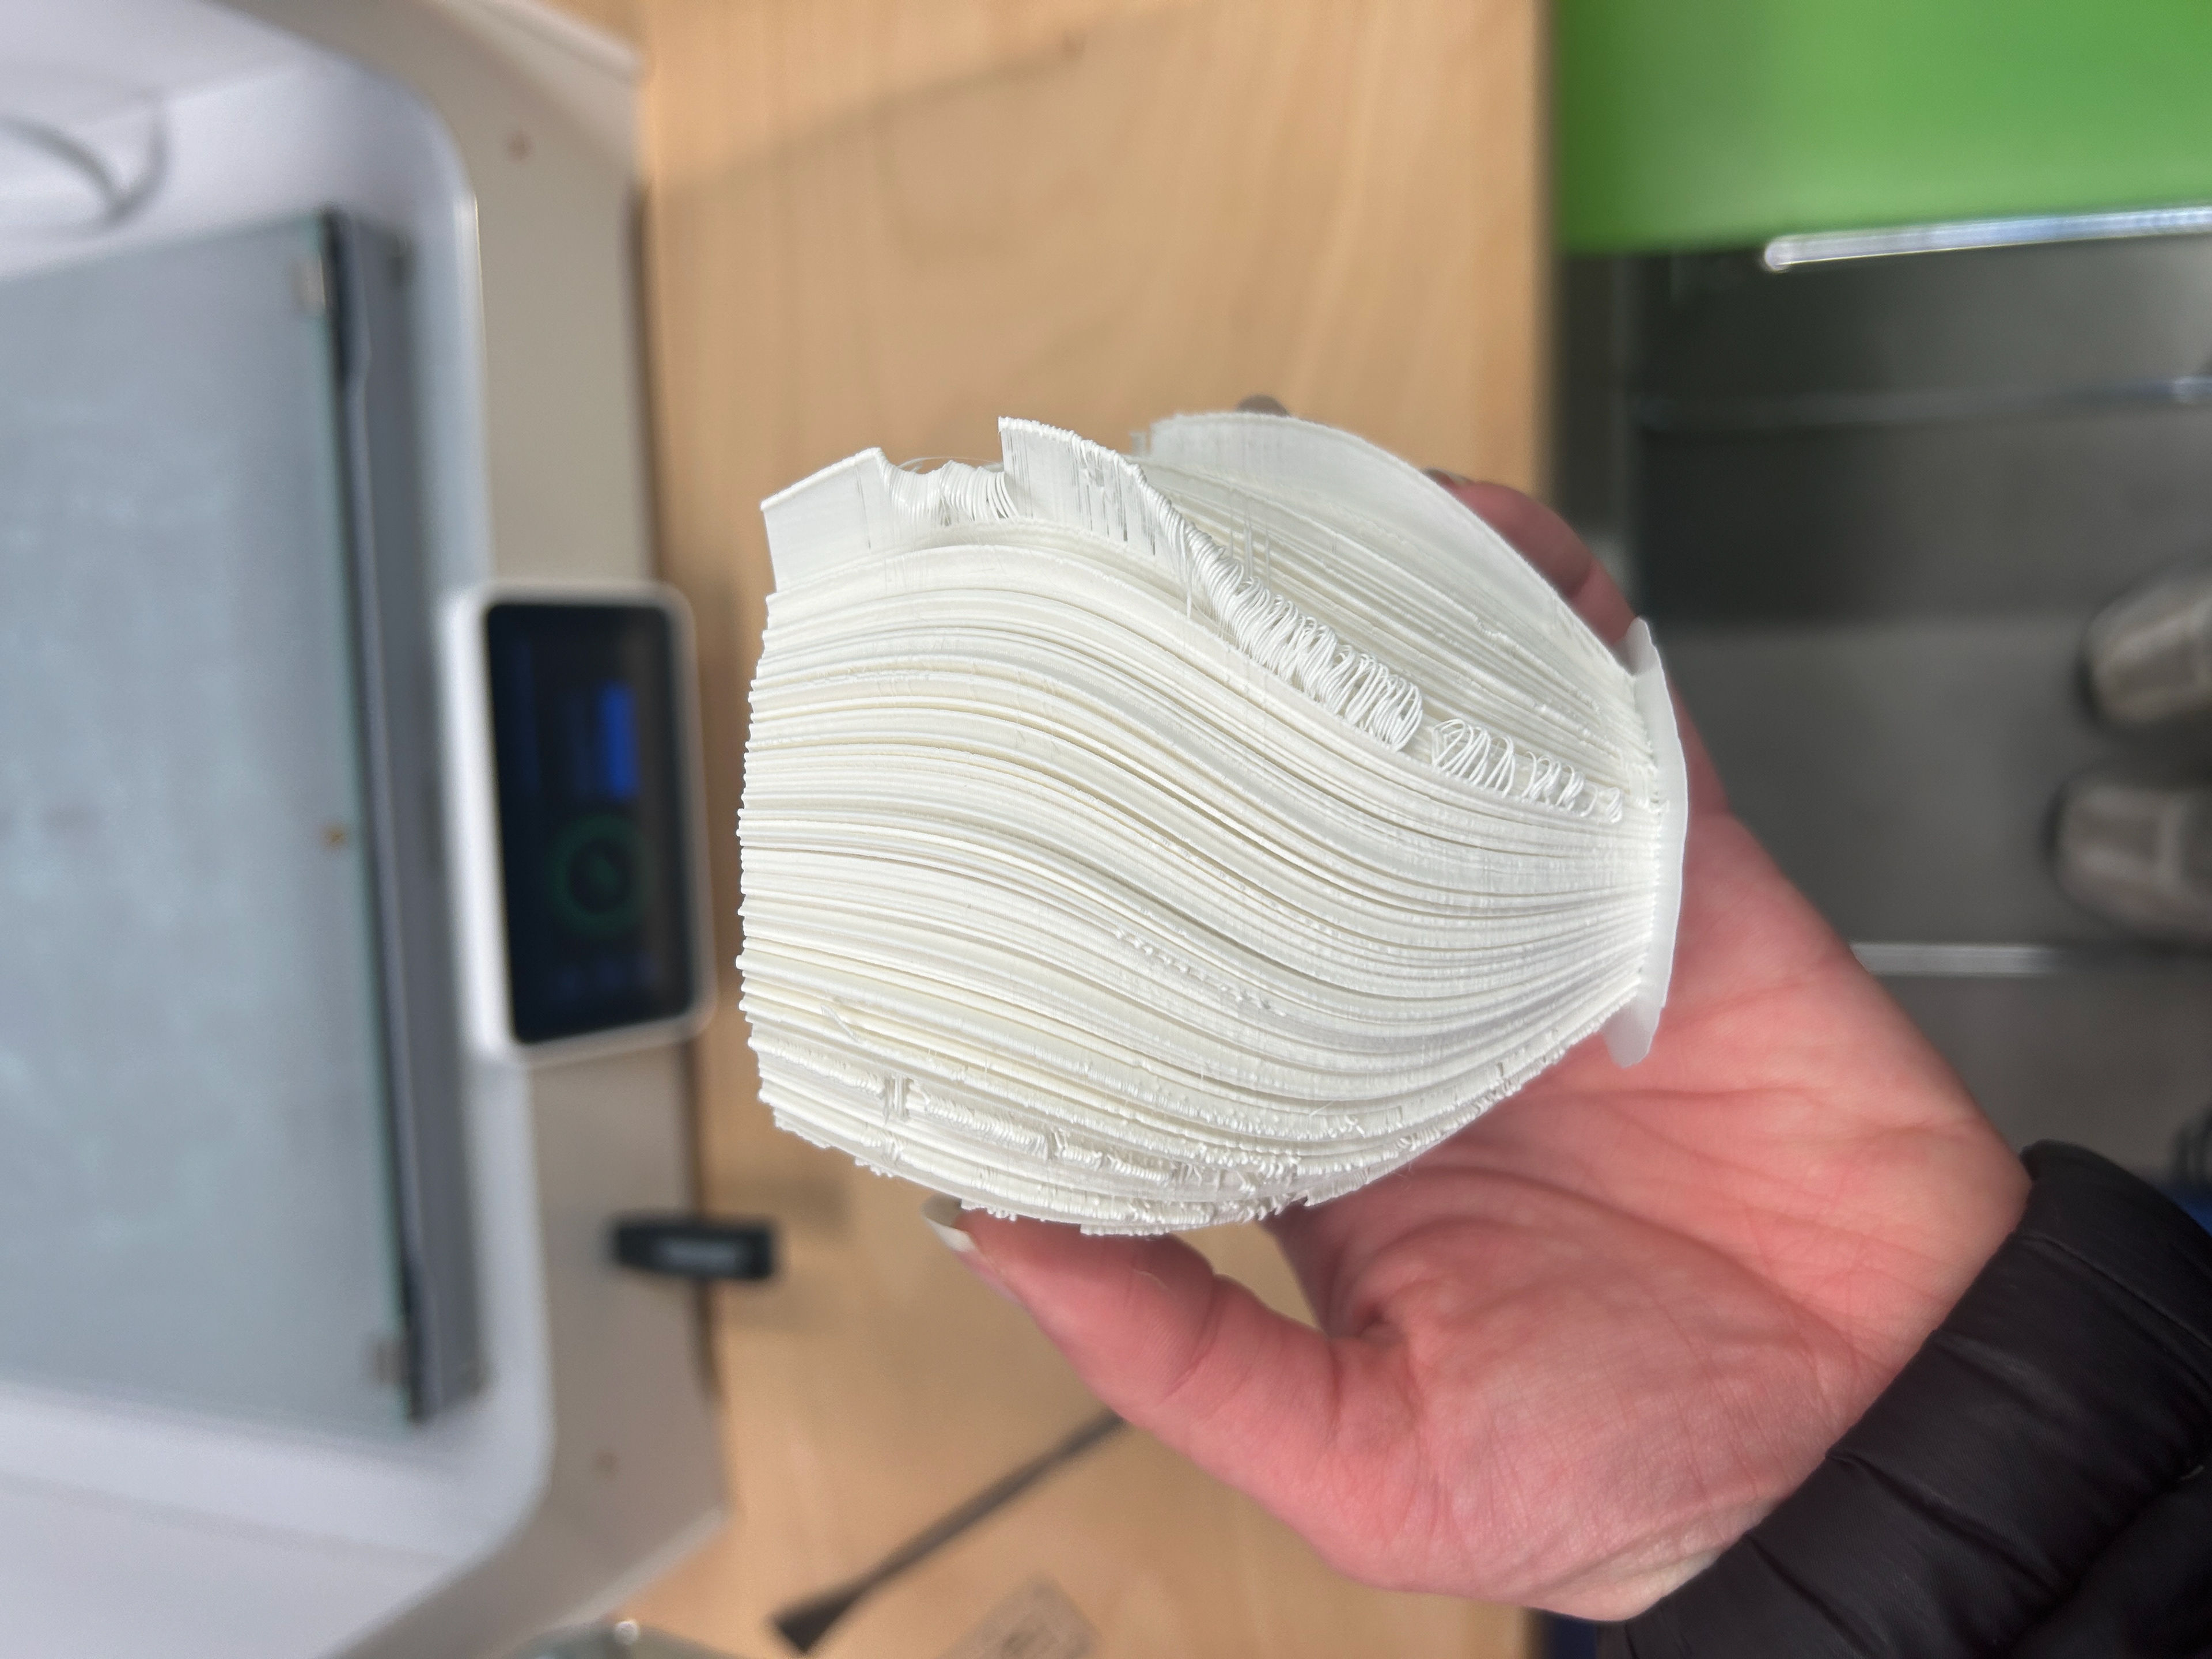
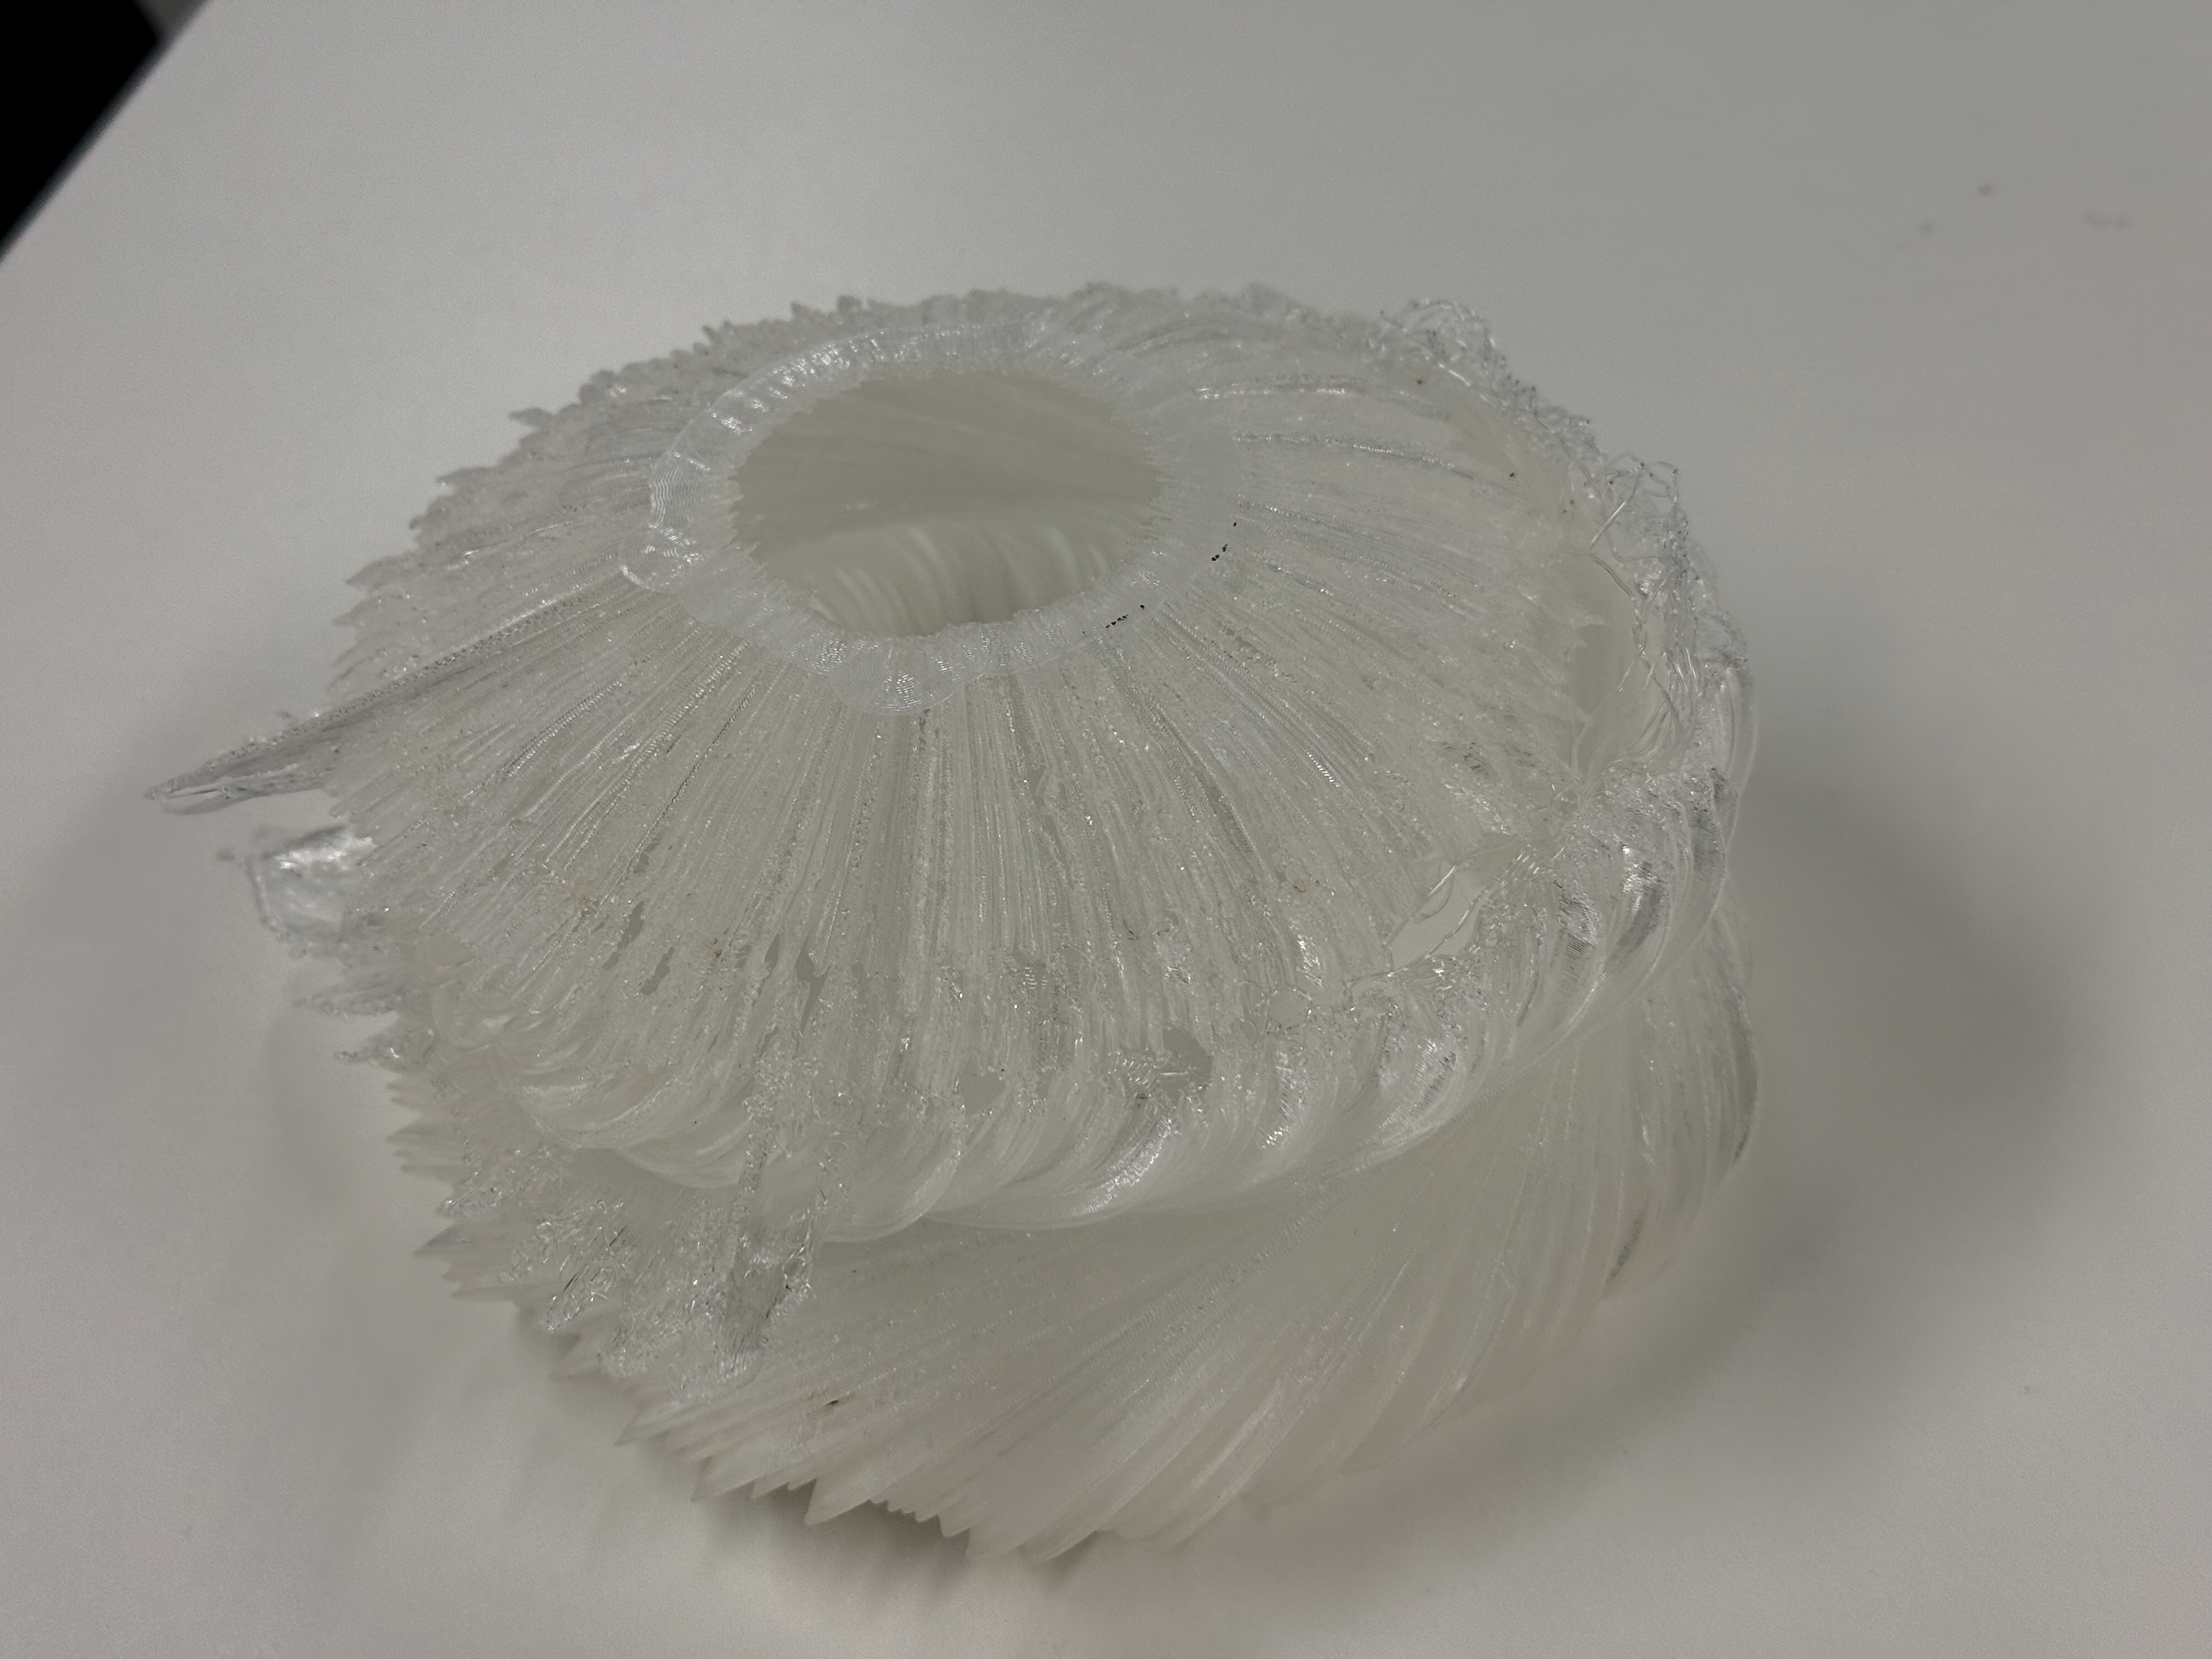
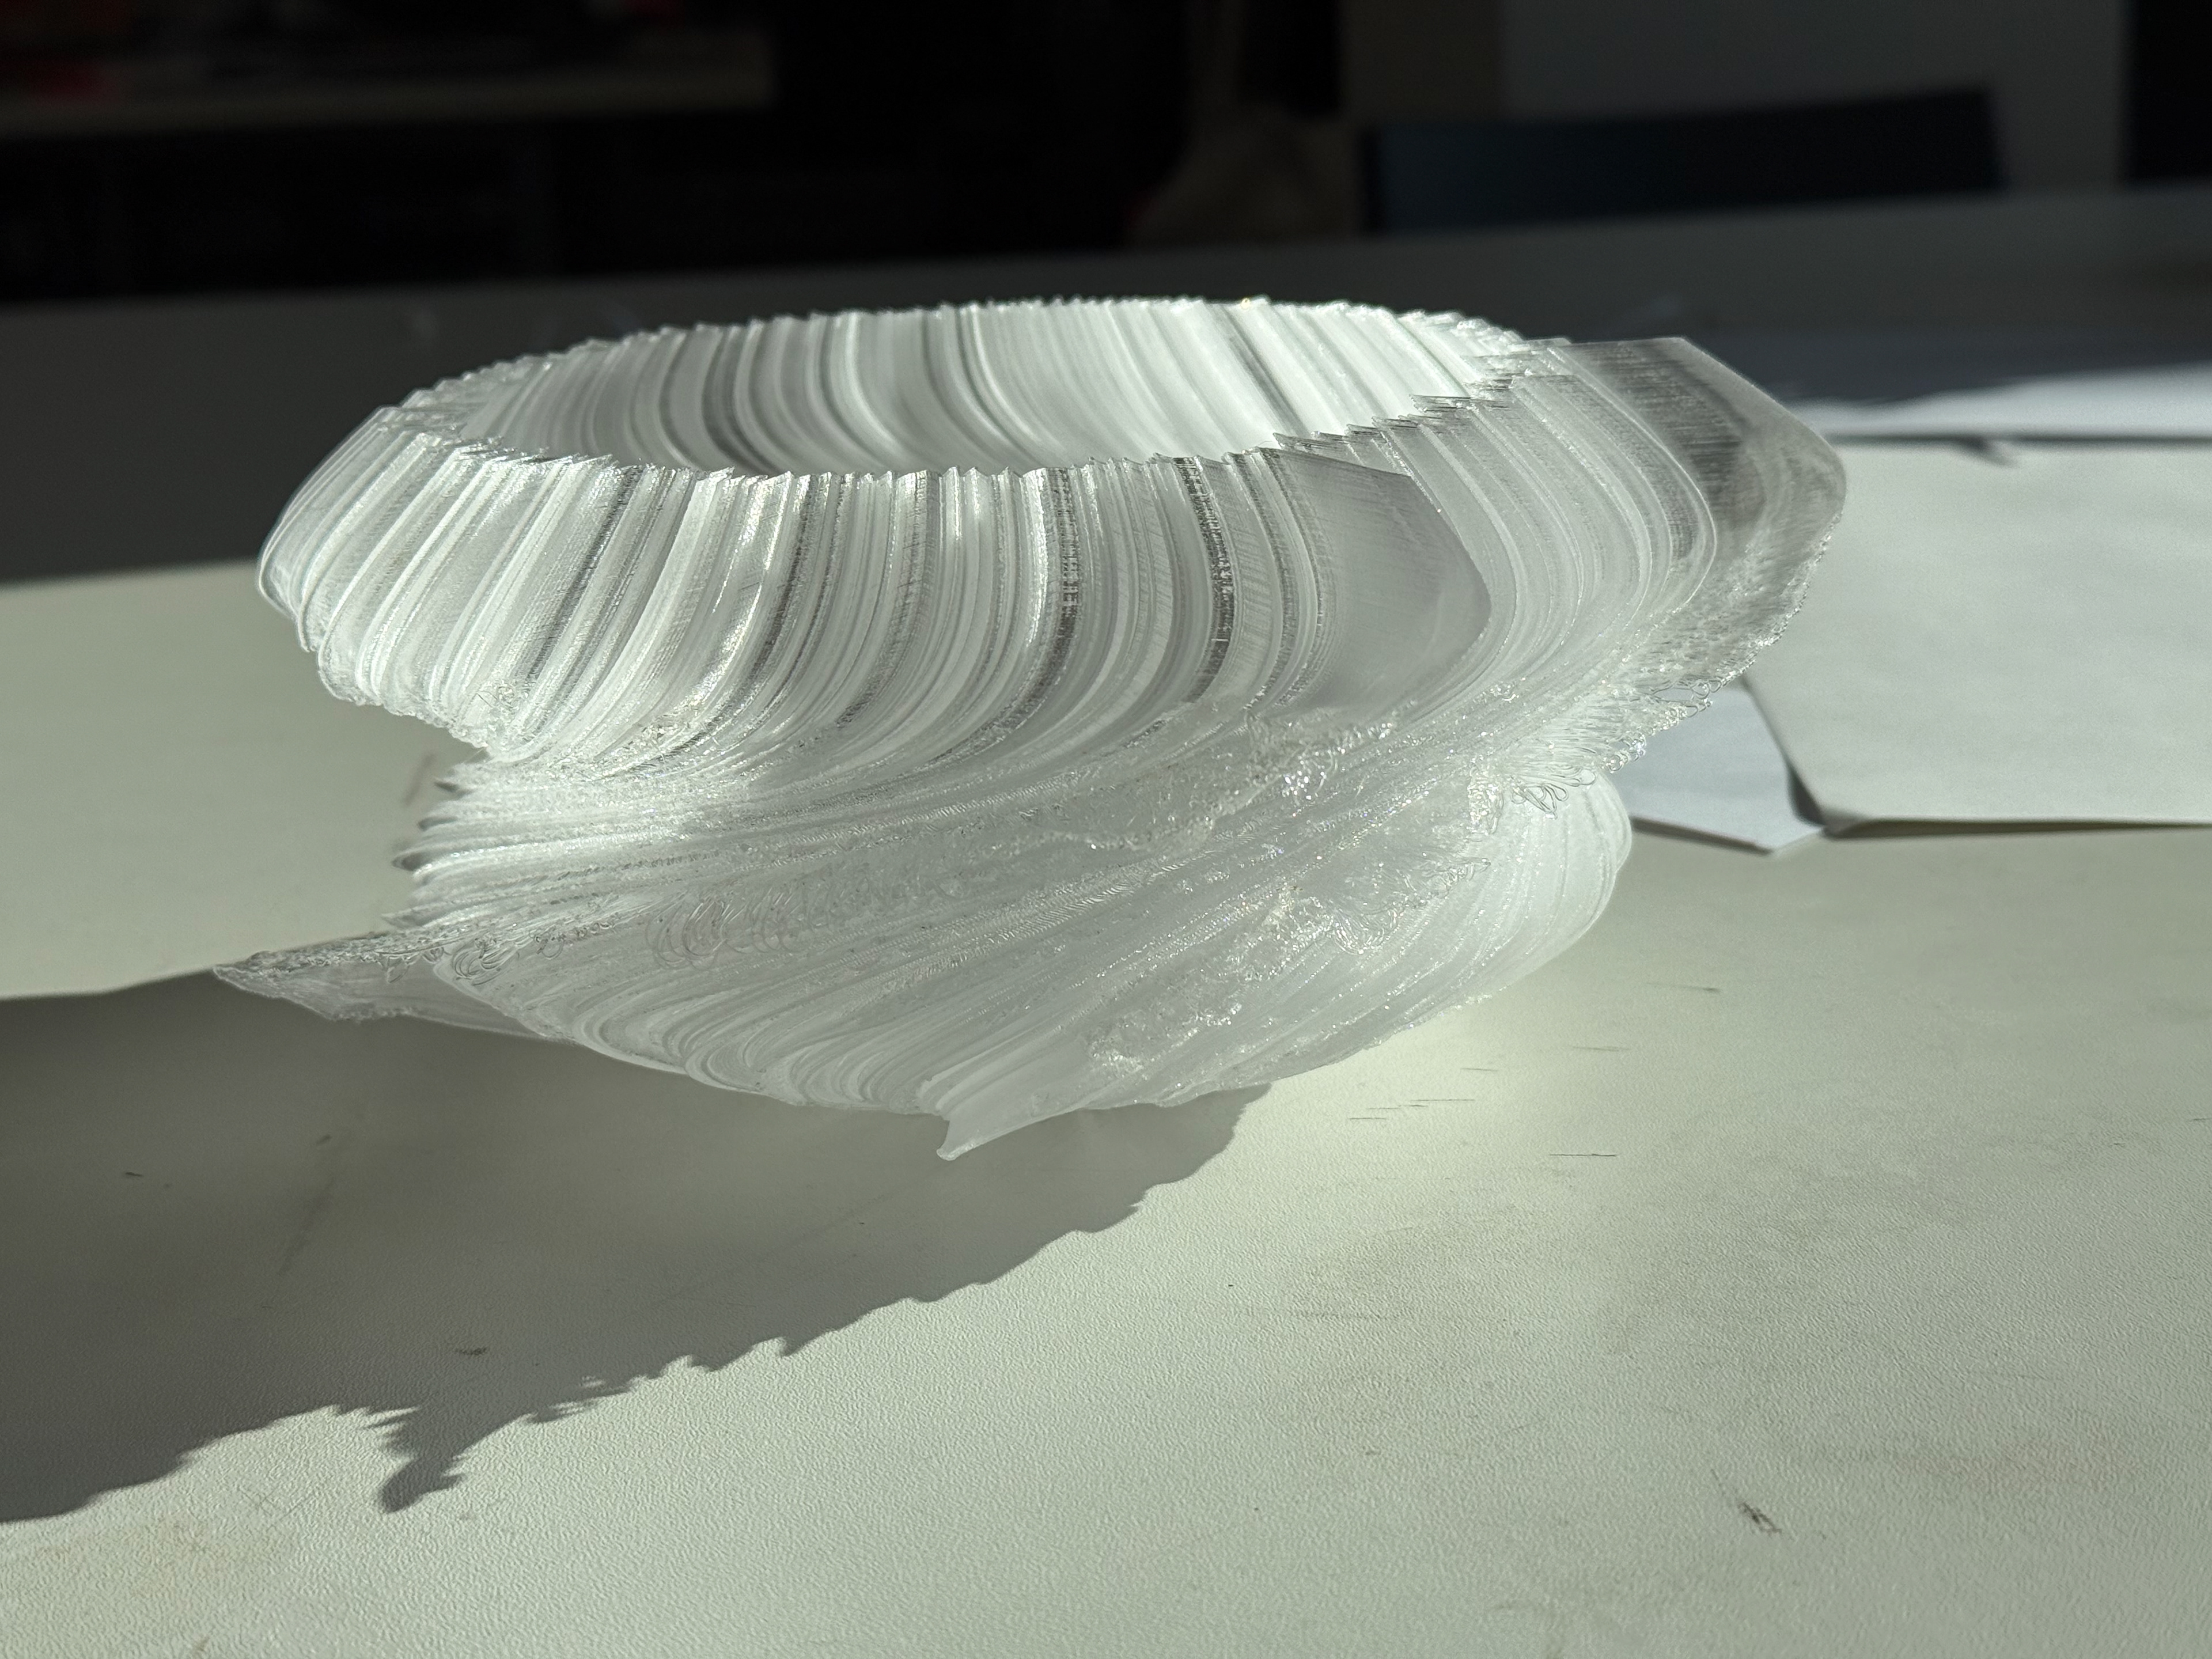
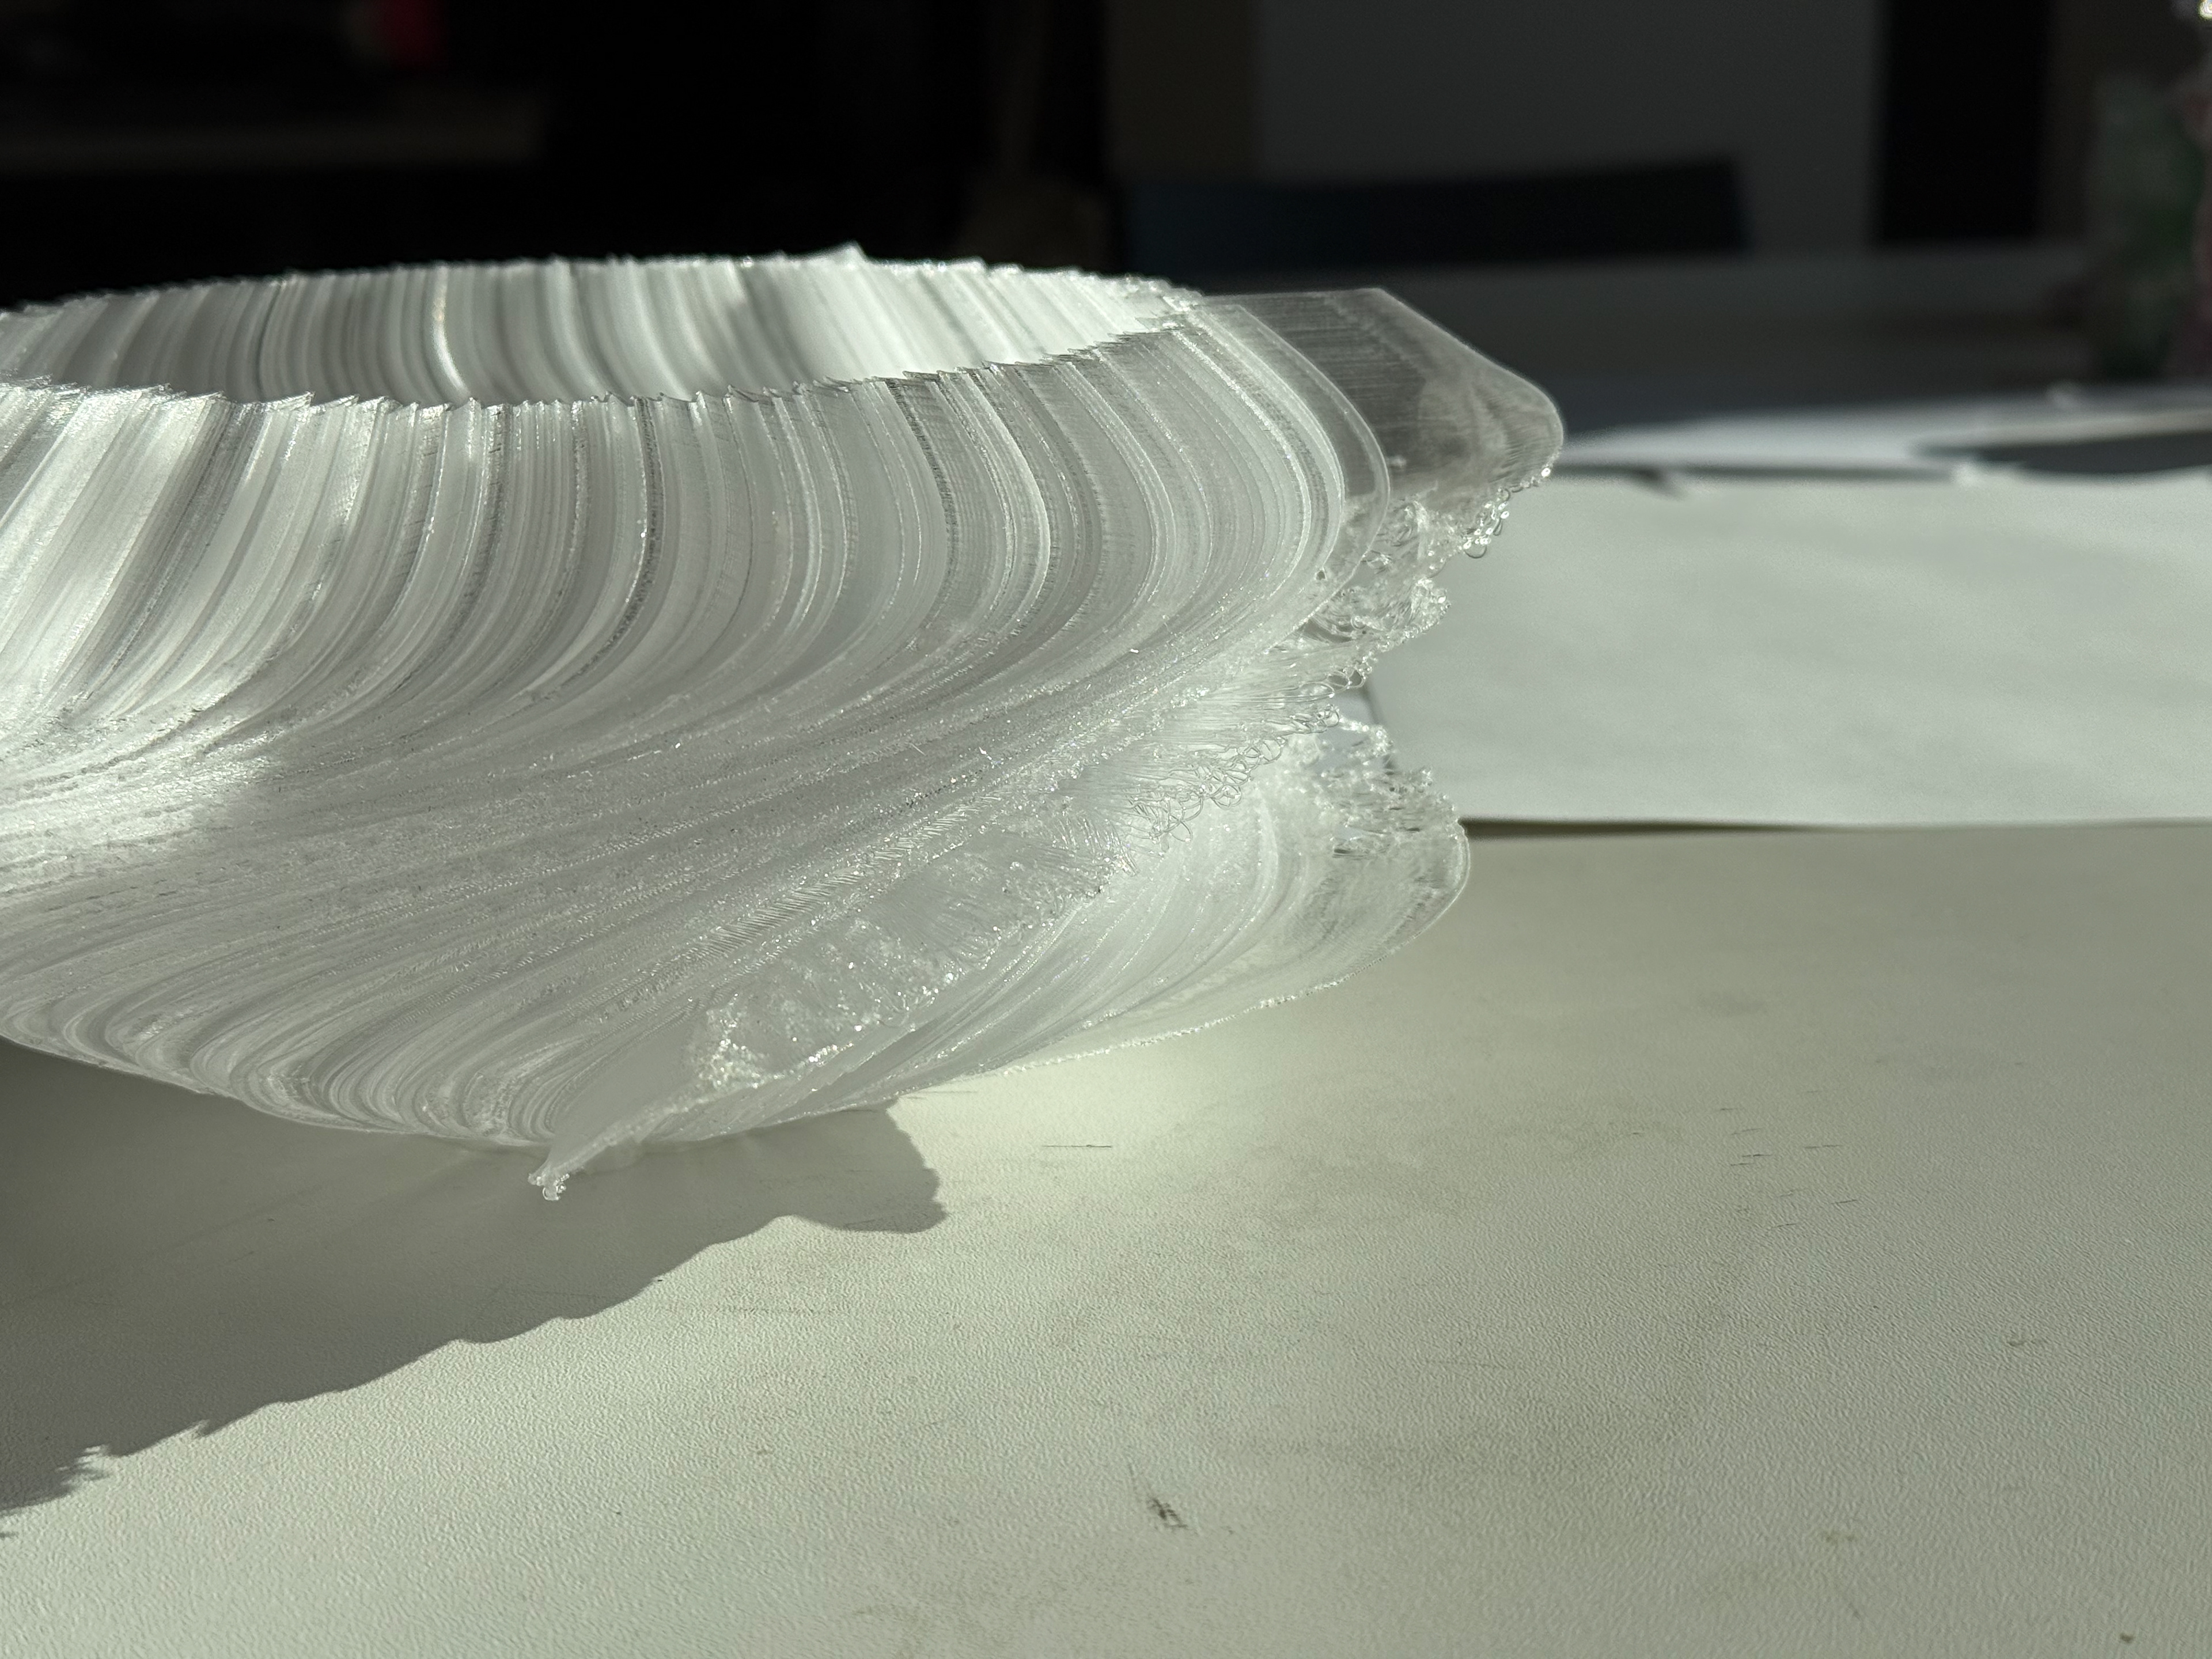
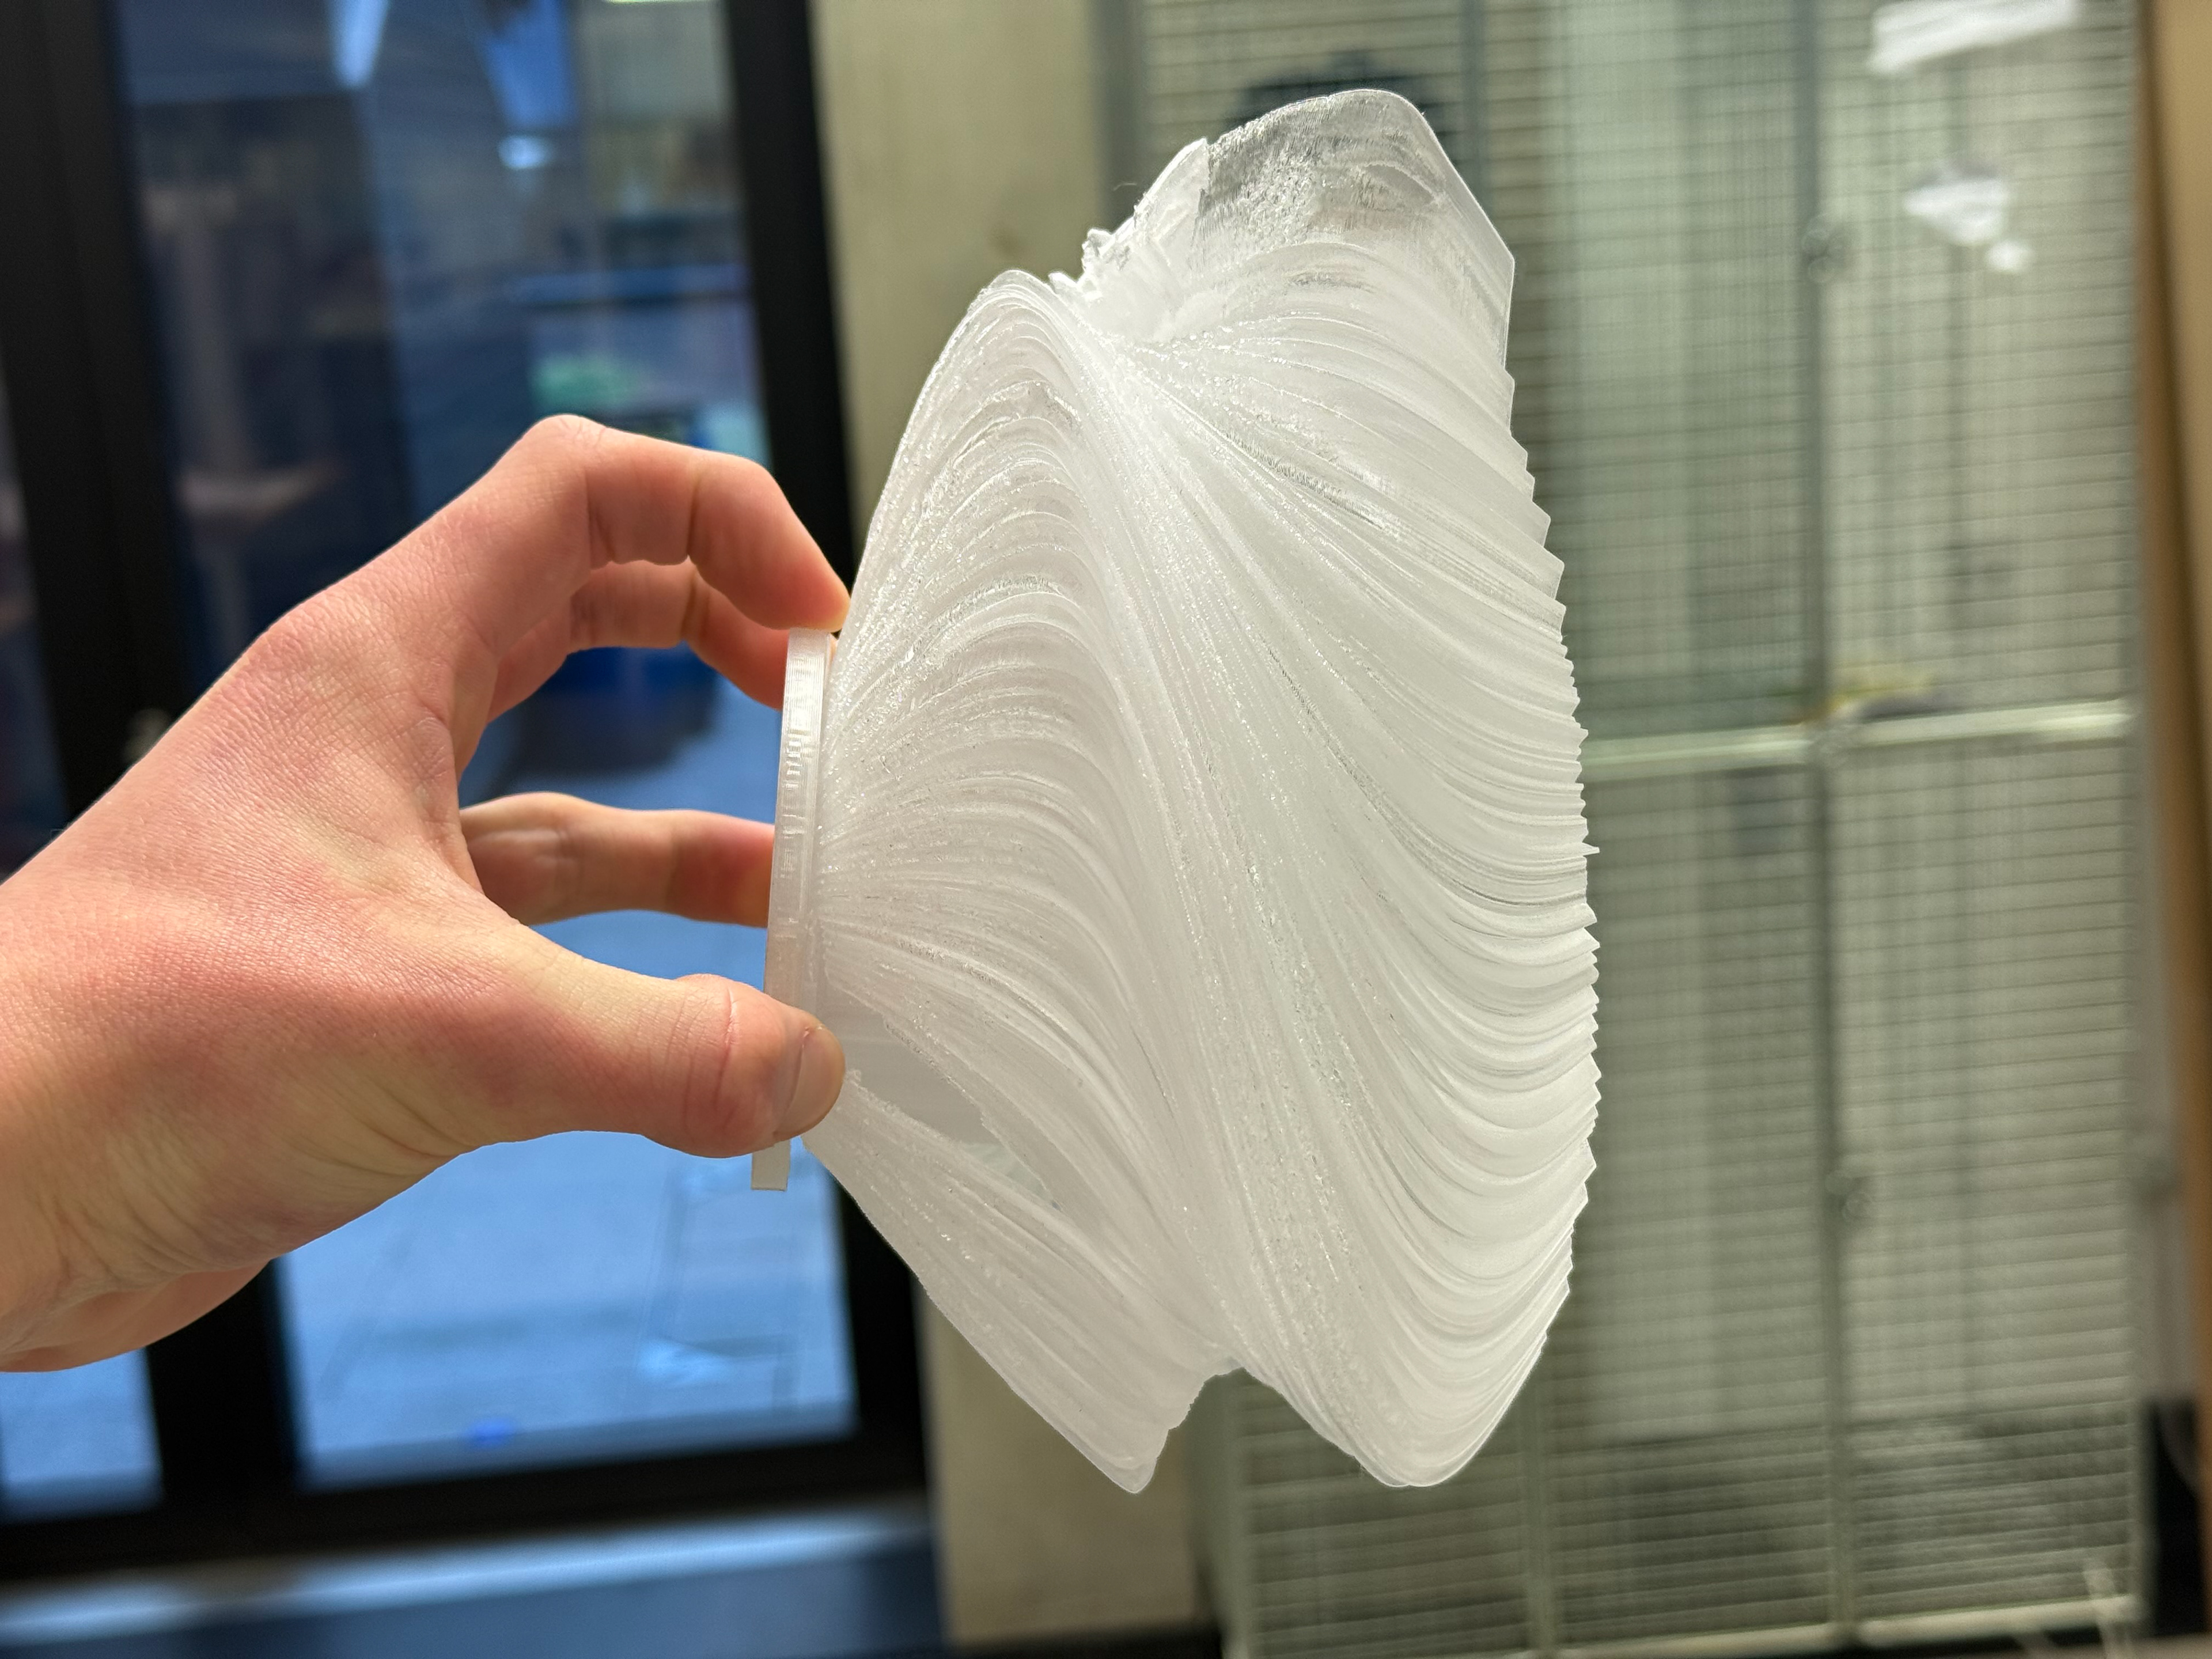
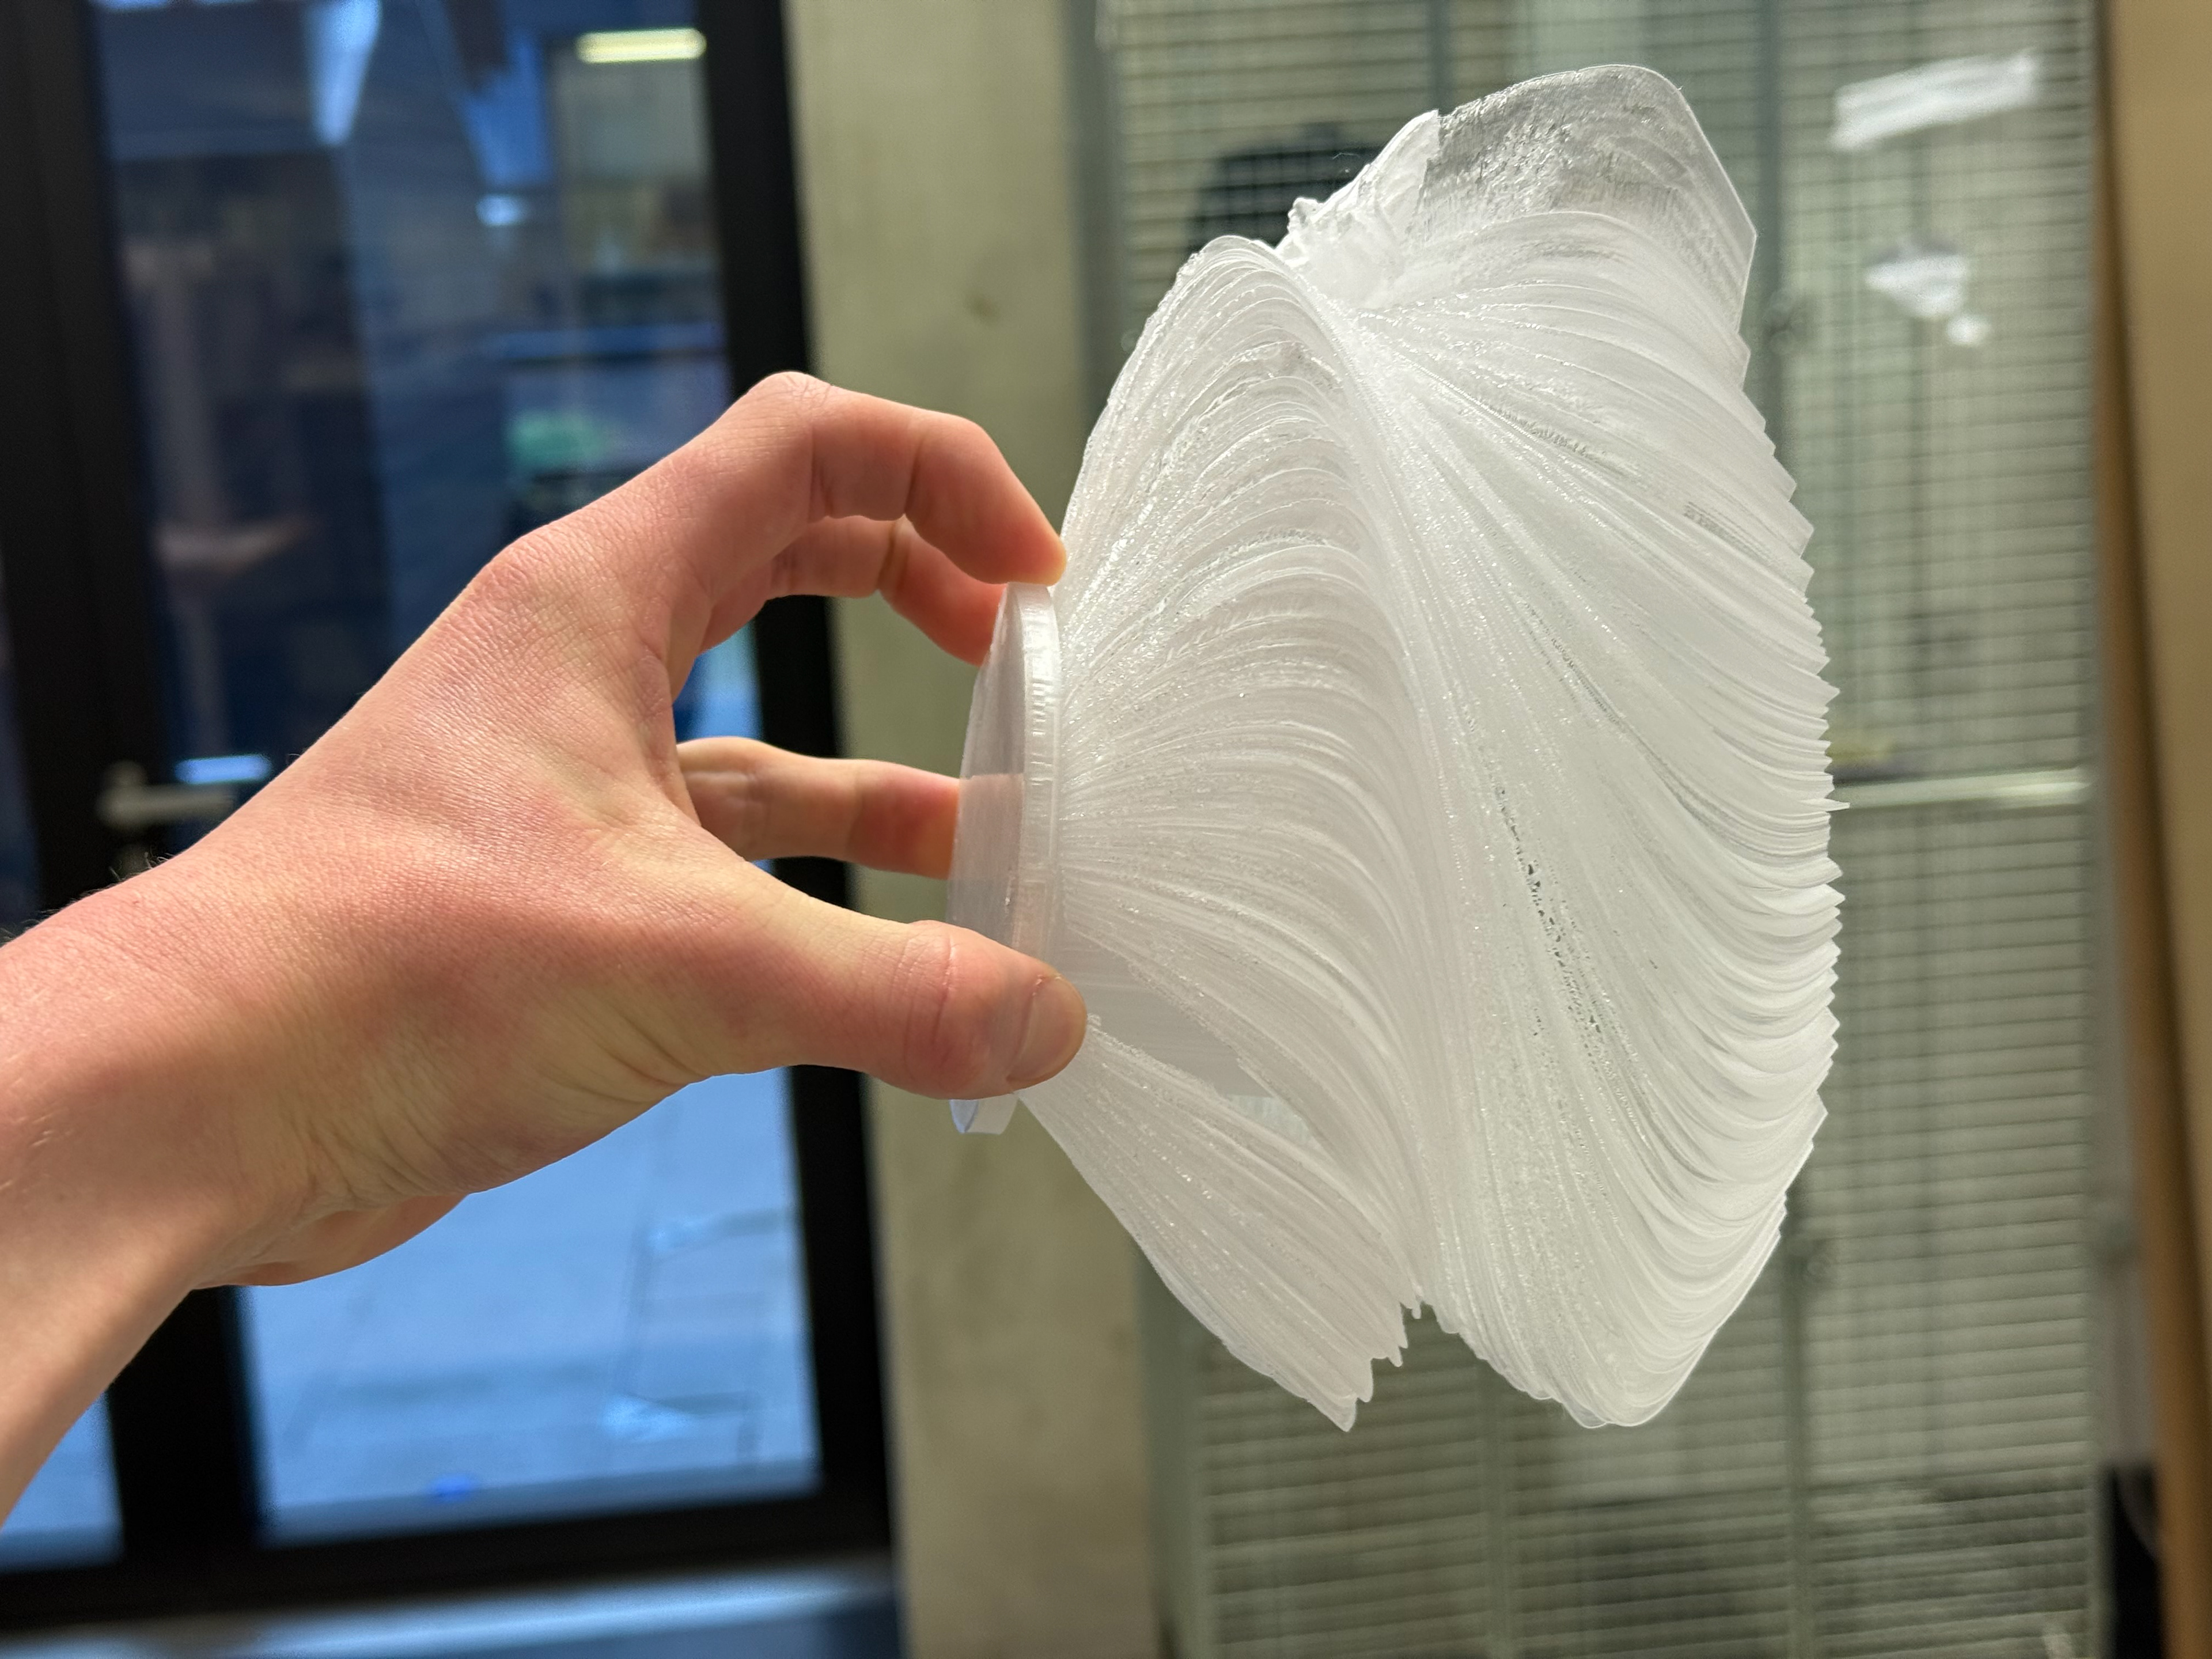
When a light is past through, it looks incredible. the small gaps let light through like a lamp shade
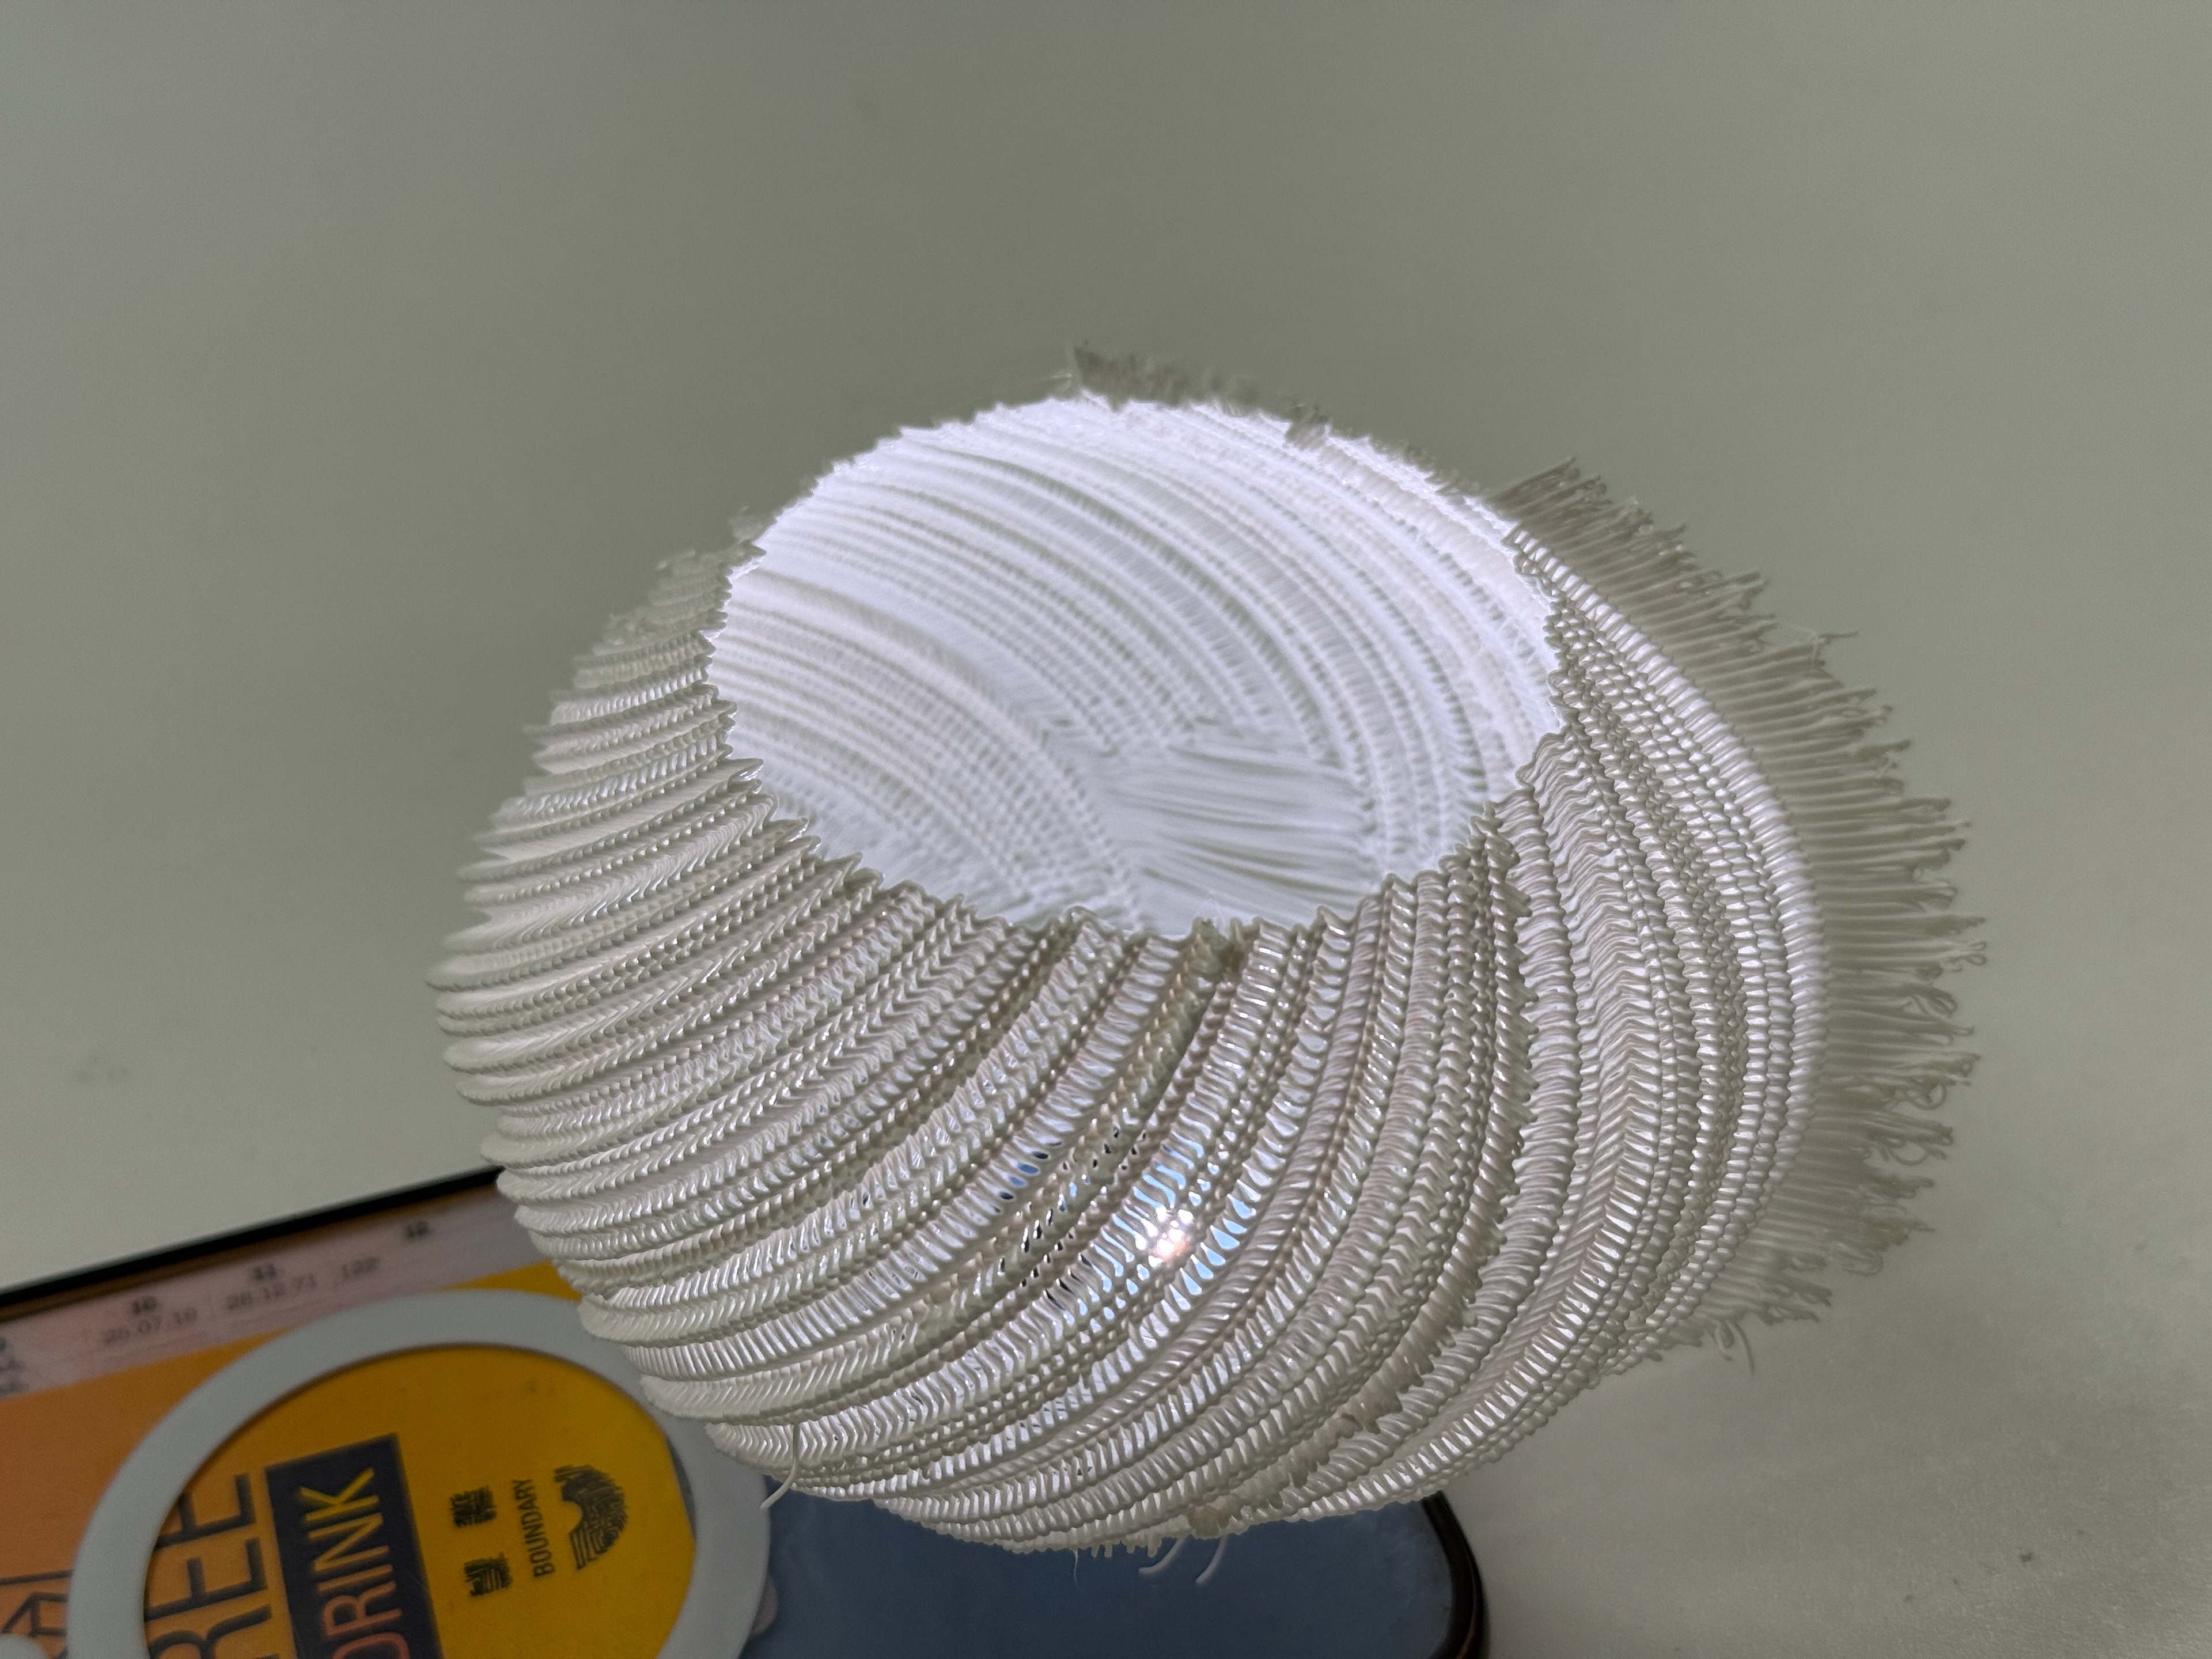
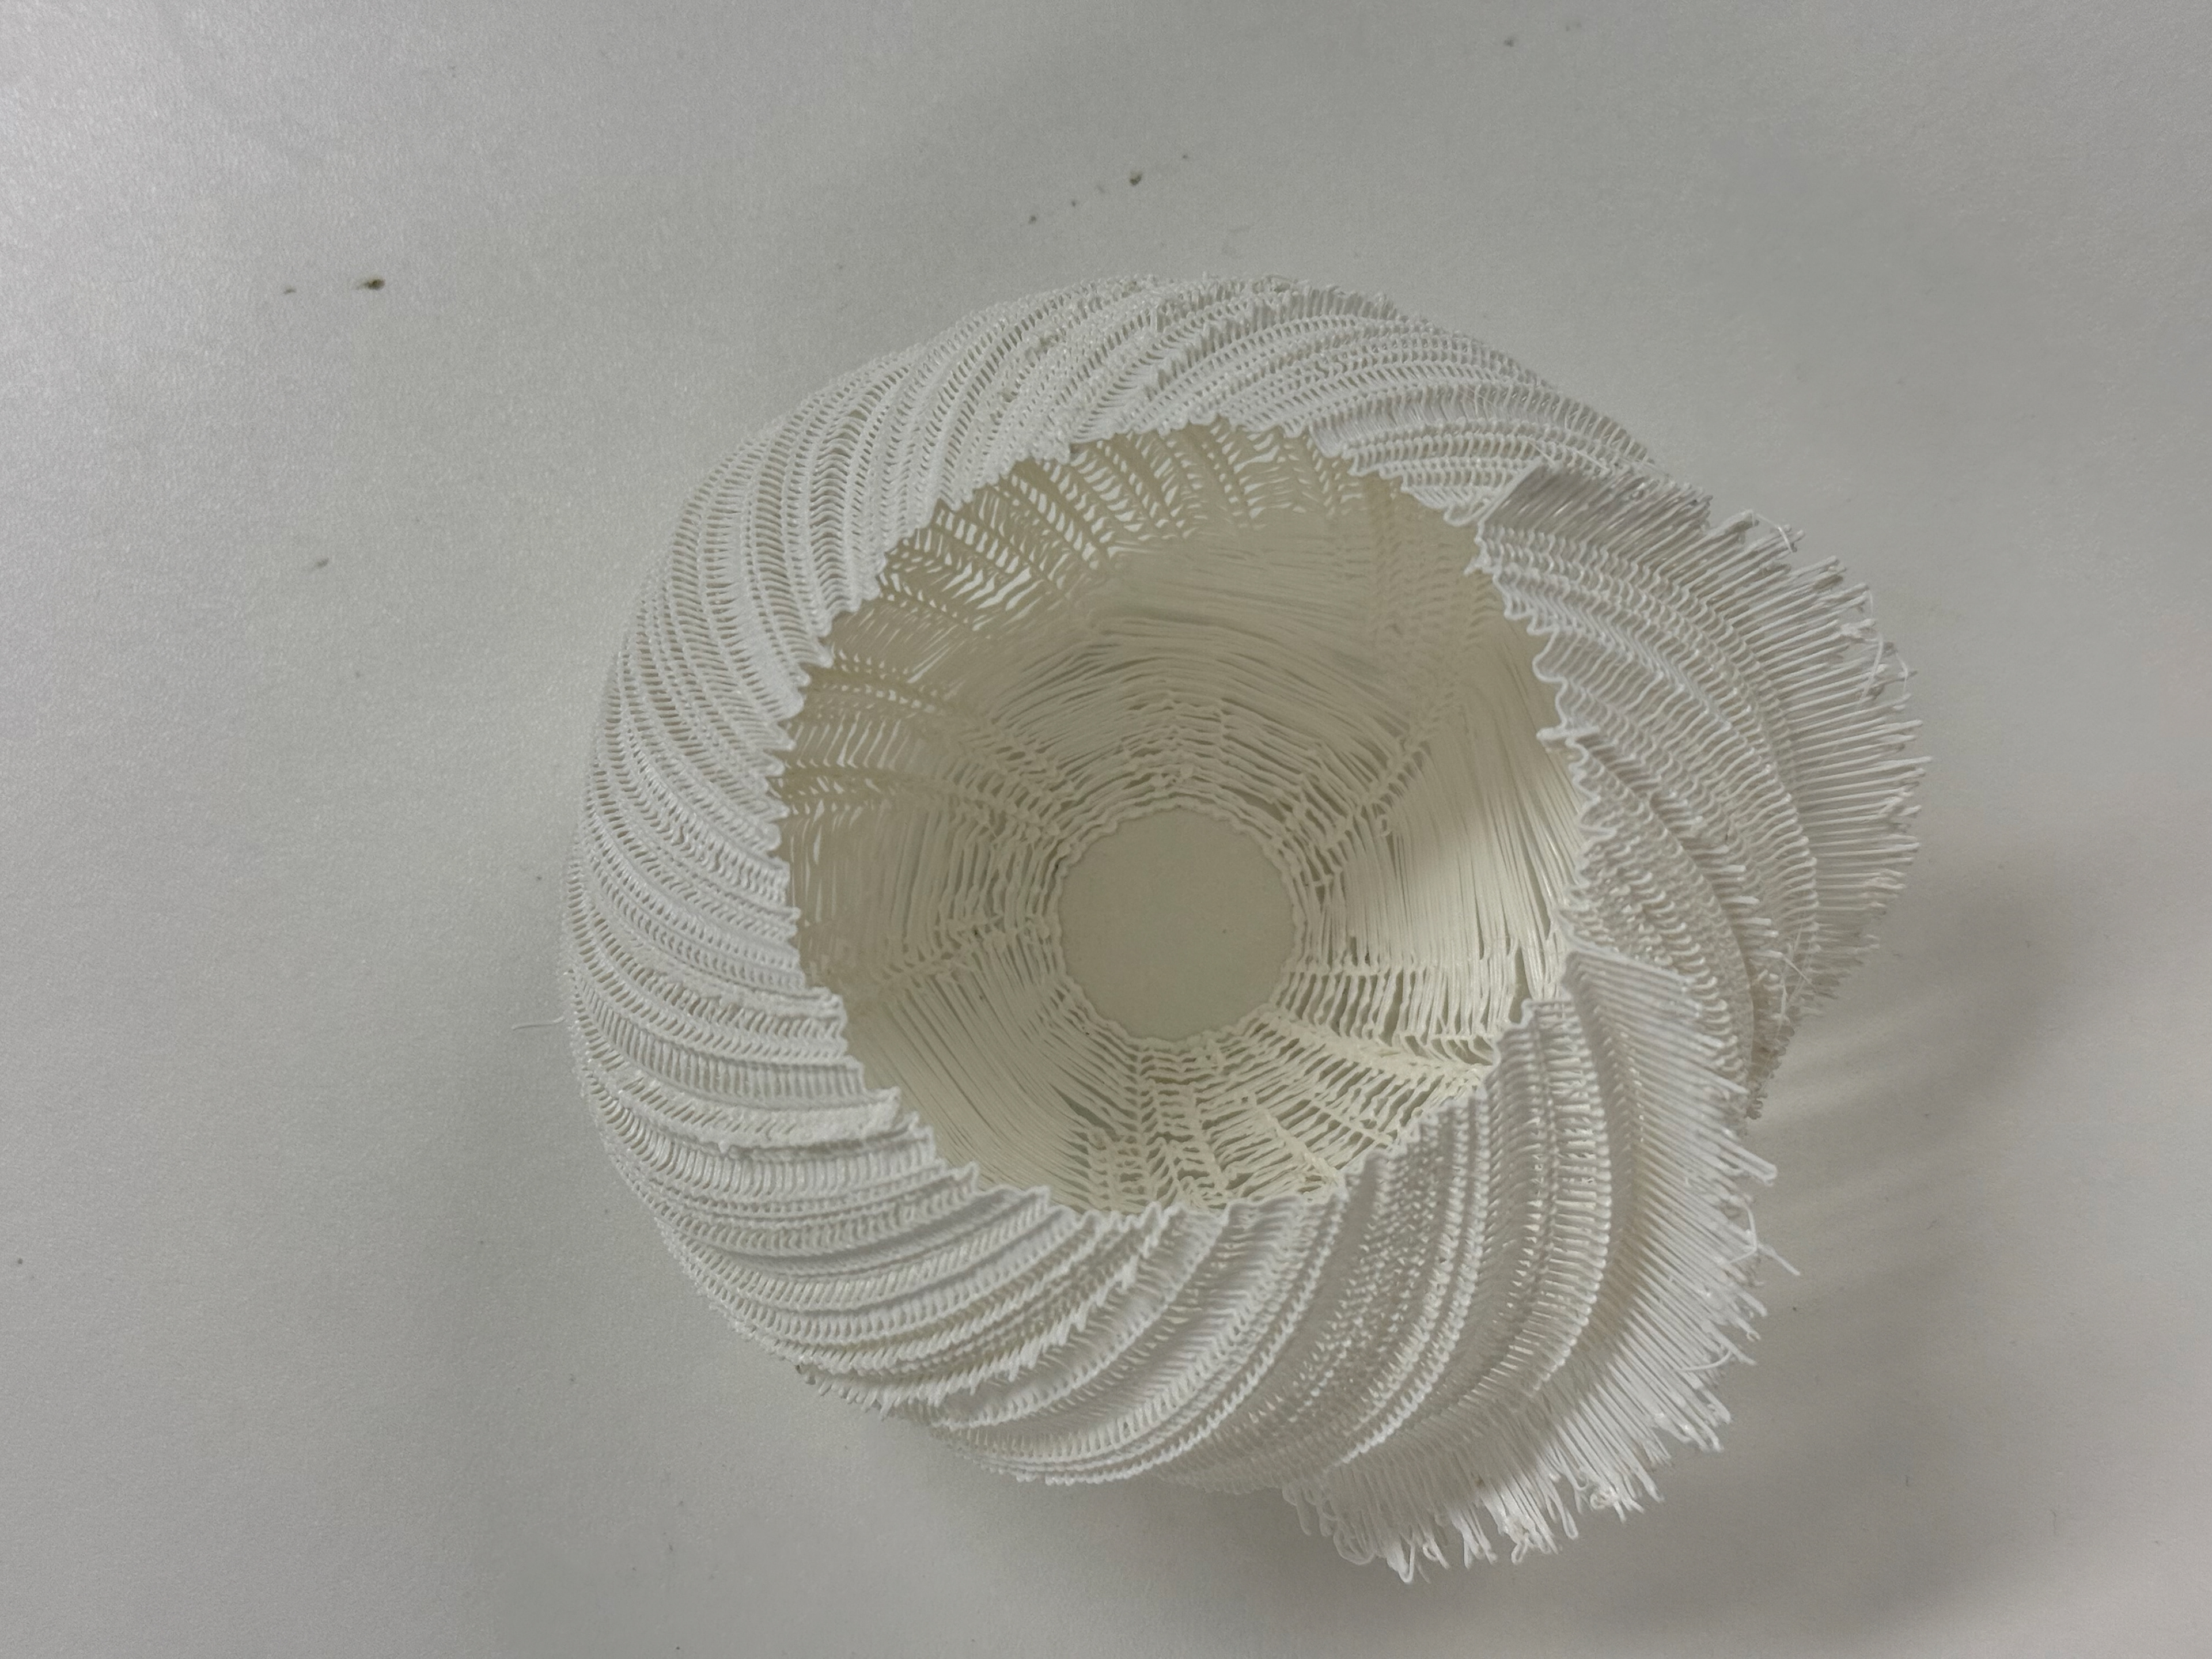
Top view with light

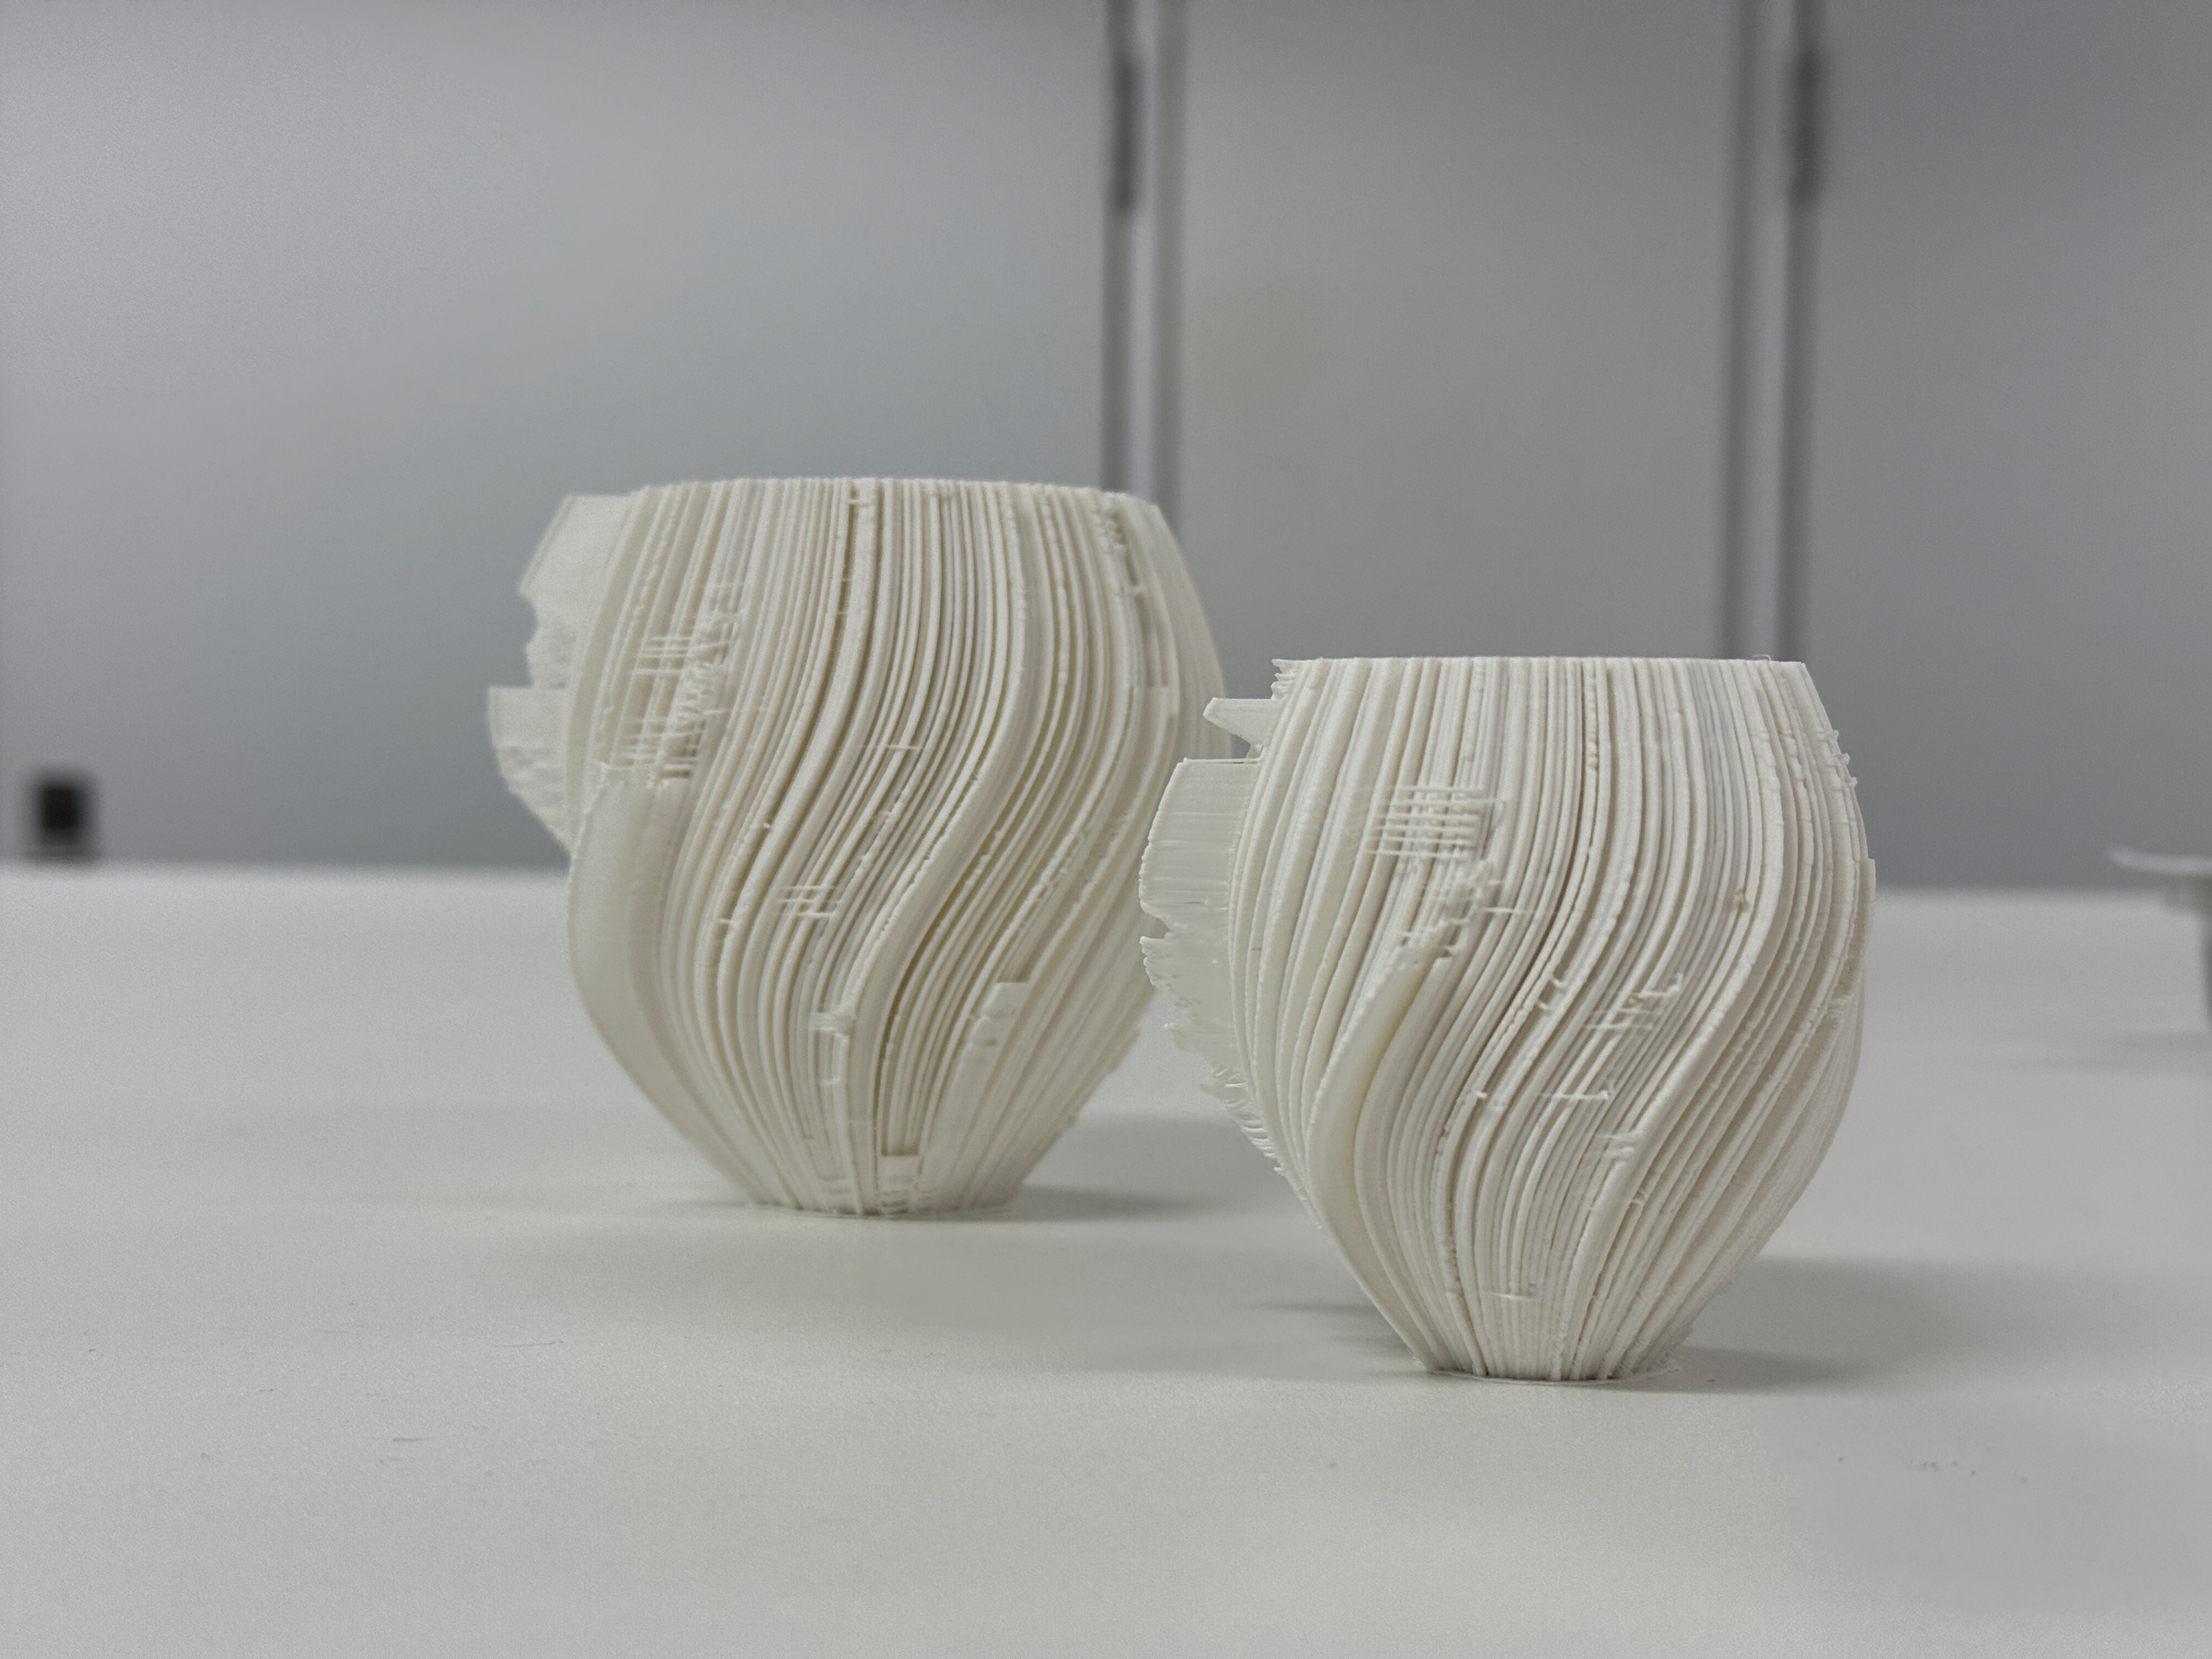
Comparison to Beta
Version 2
Version 3
Version 4
Version 5

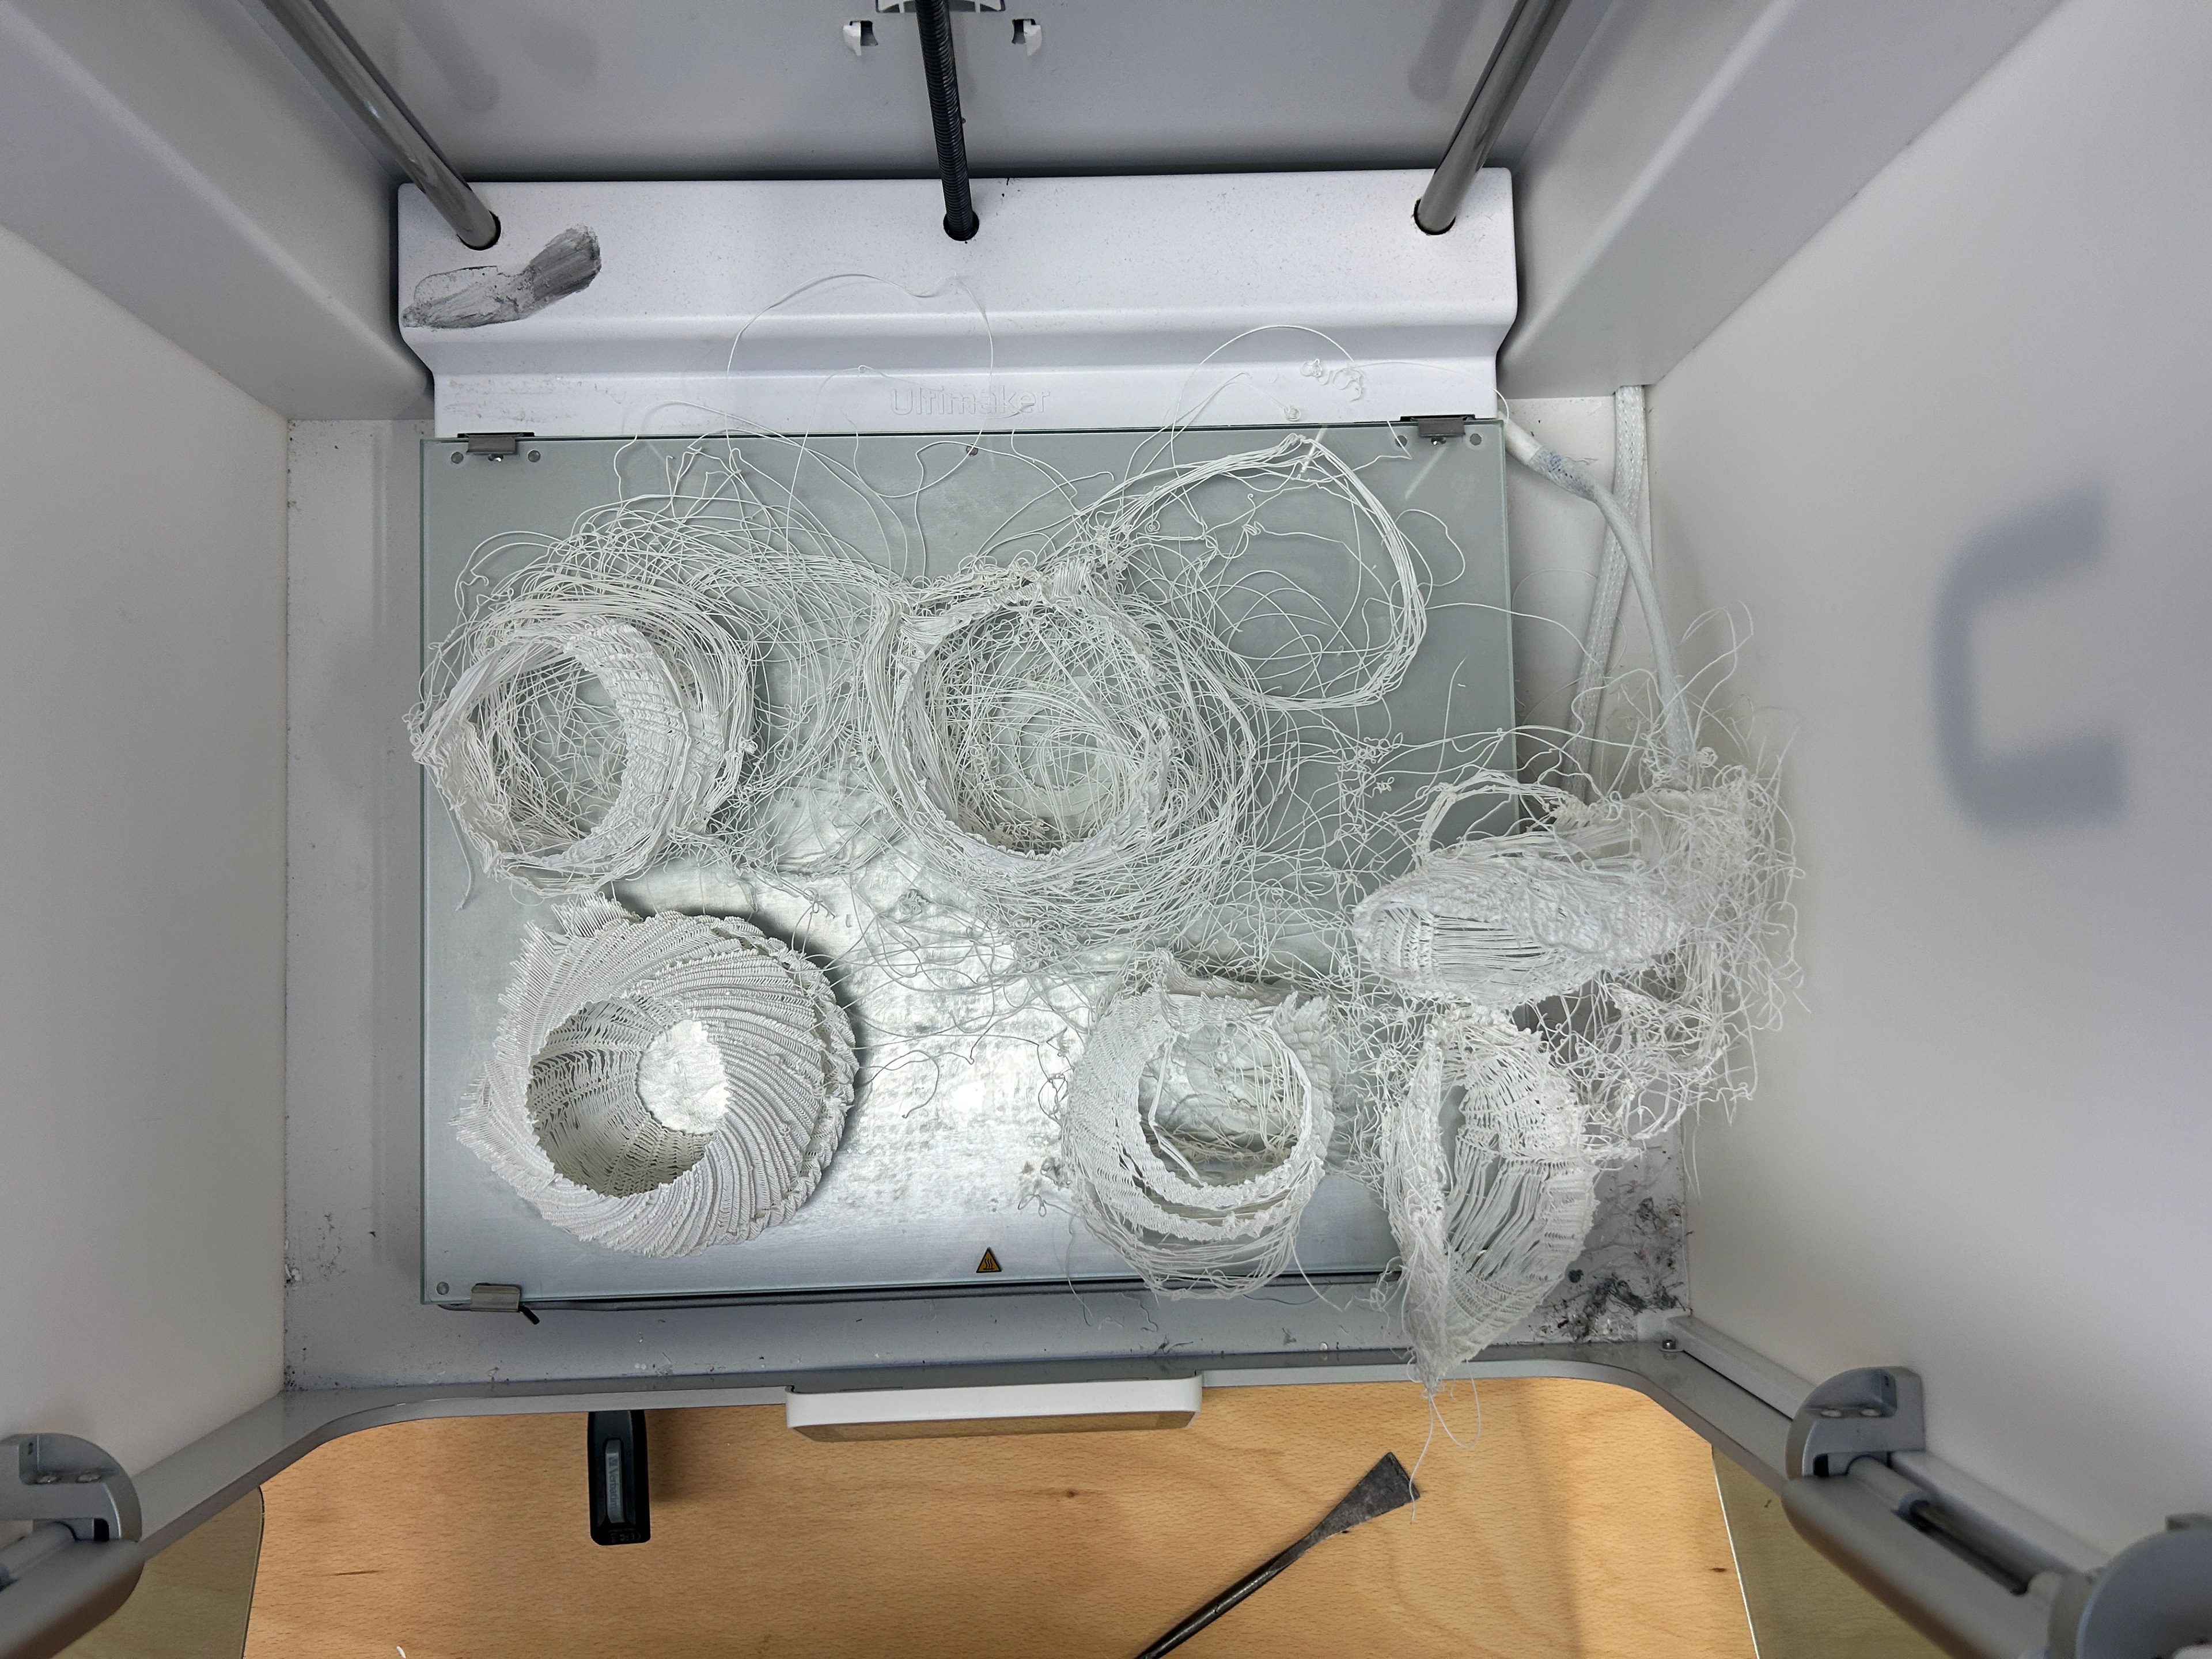
The print started out fine with no issues. Except for Version 1, which I monitored and it looked like I recovered.
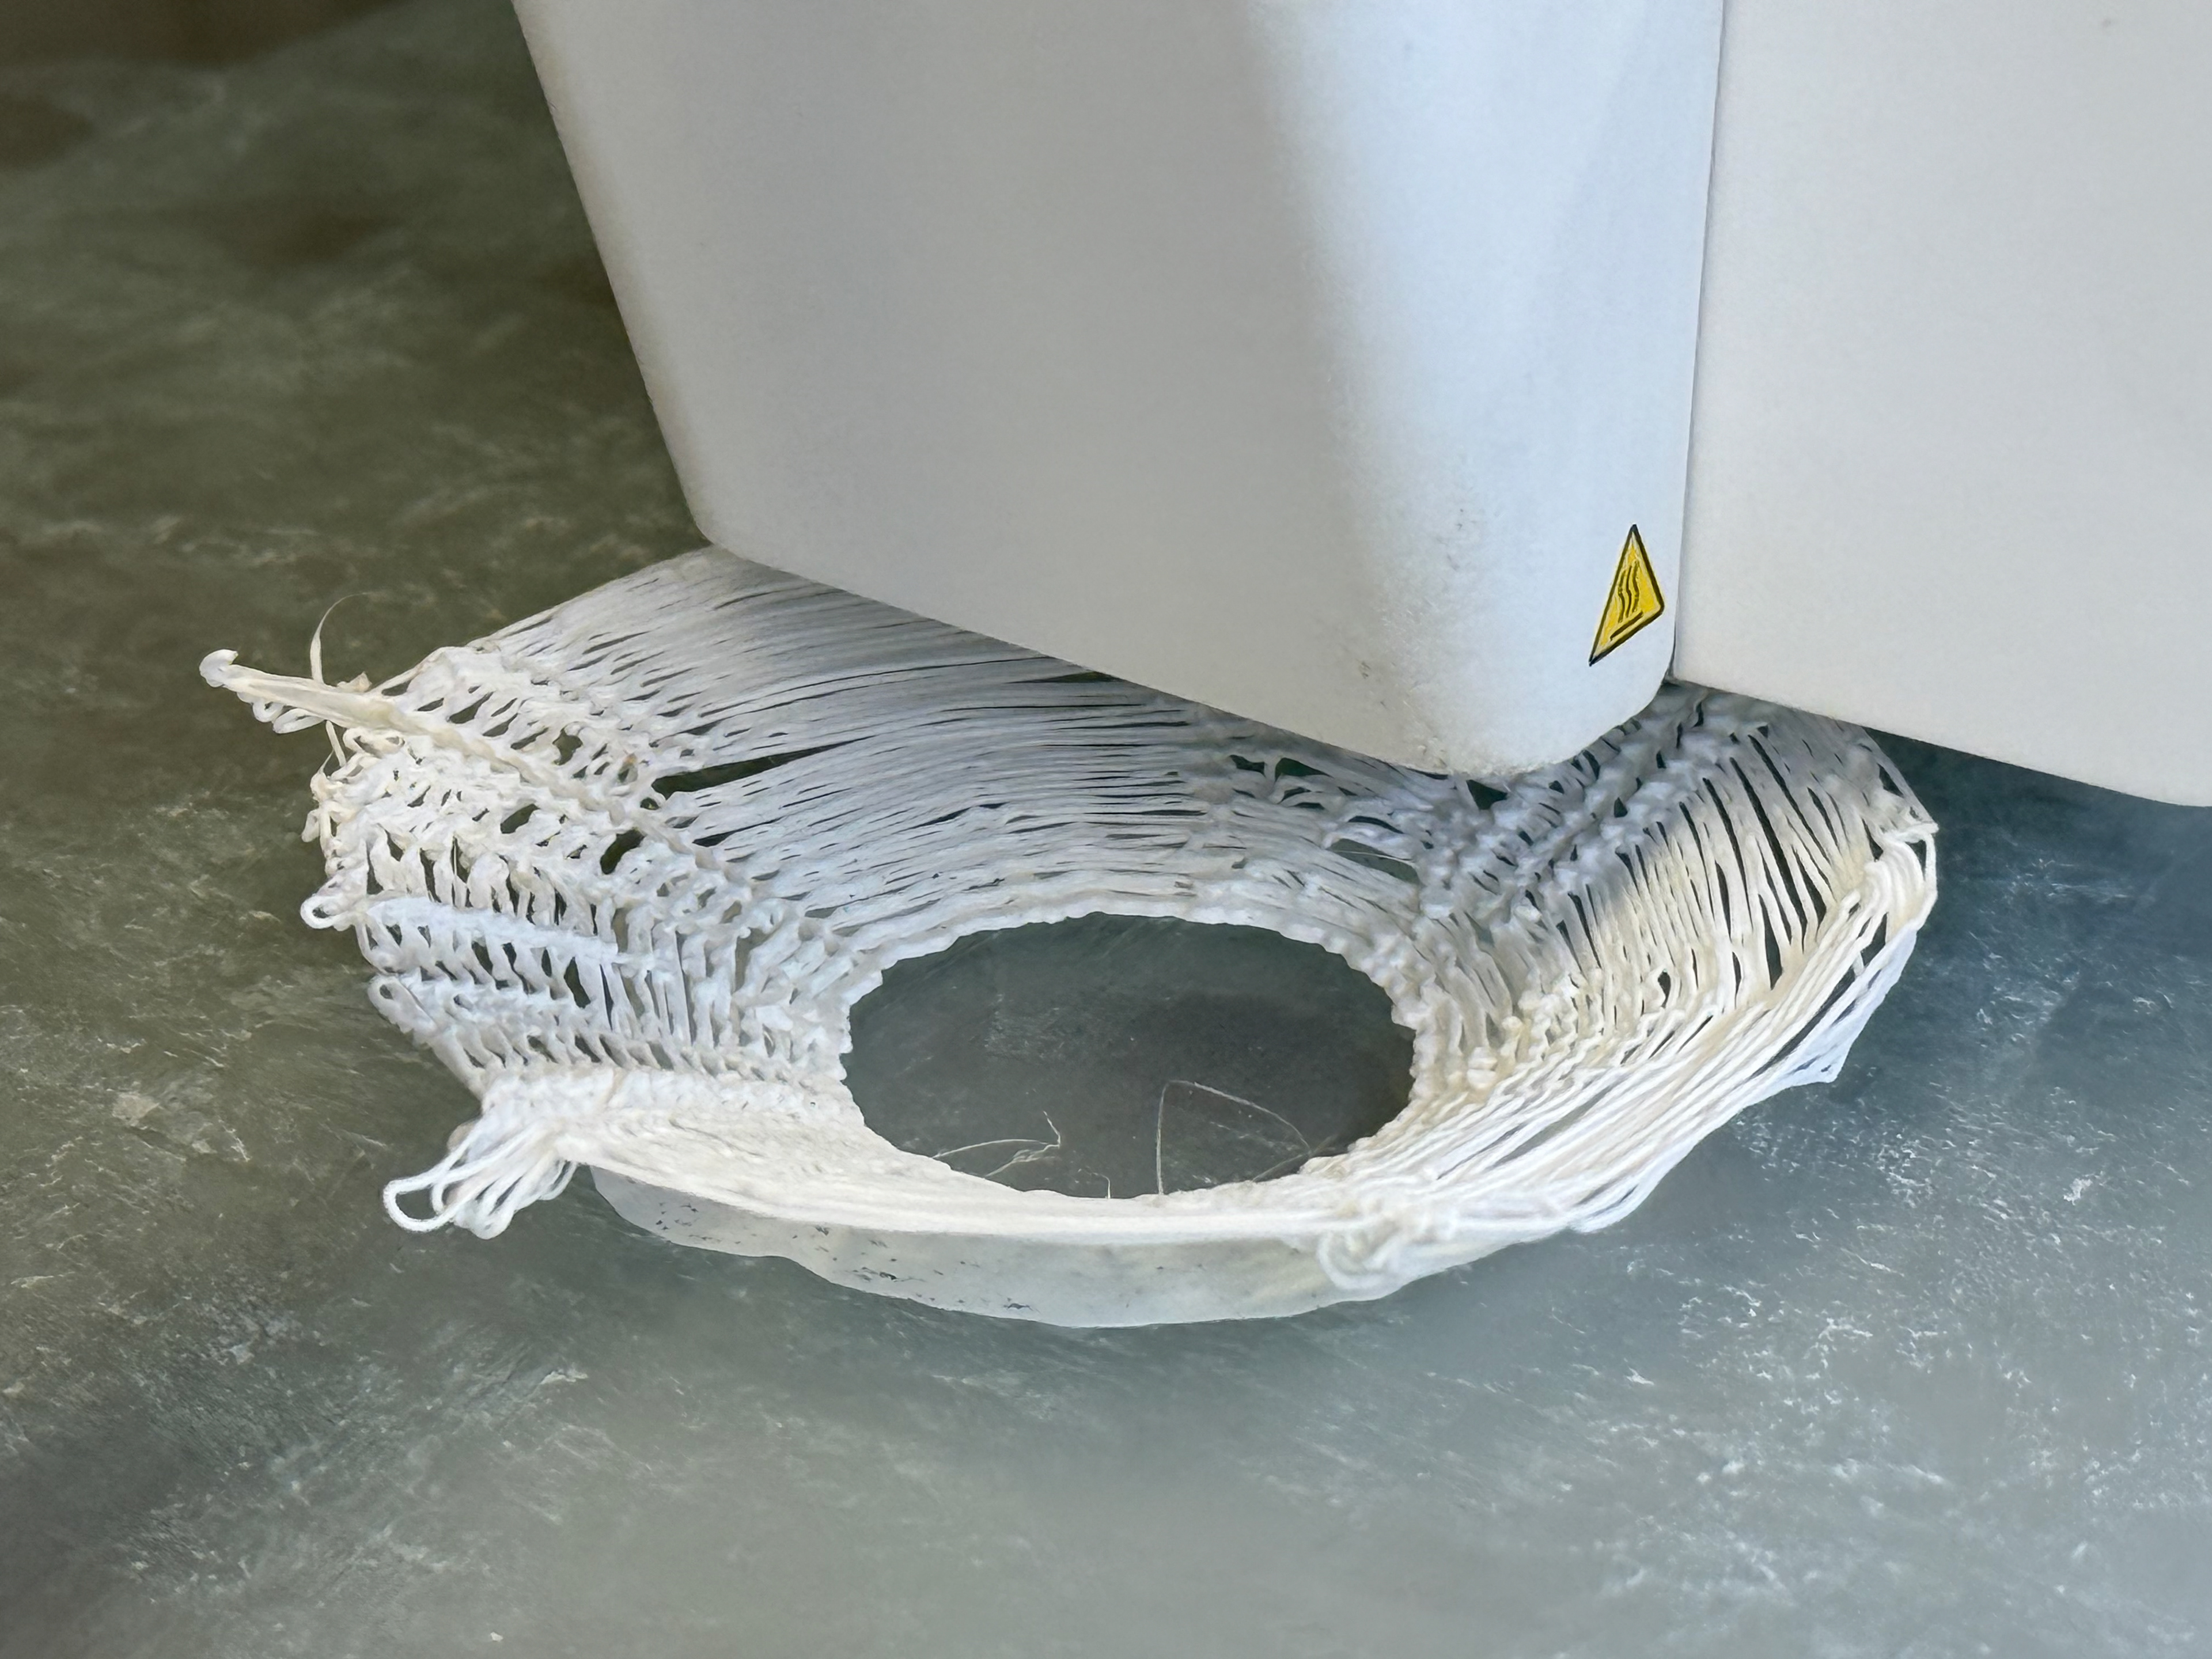
Something catastrophic went wrong through the night

Version 3 was the only salvageable piece.
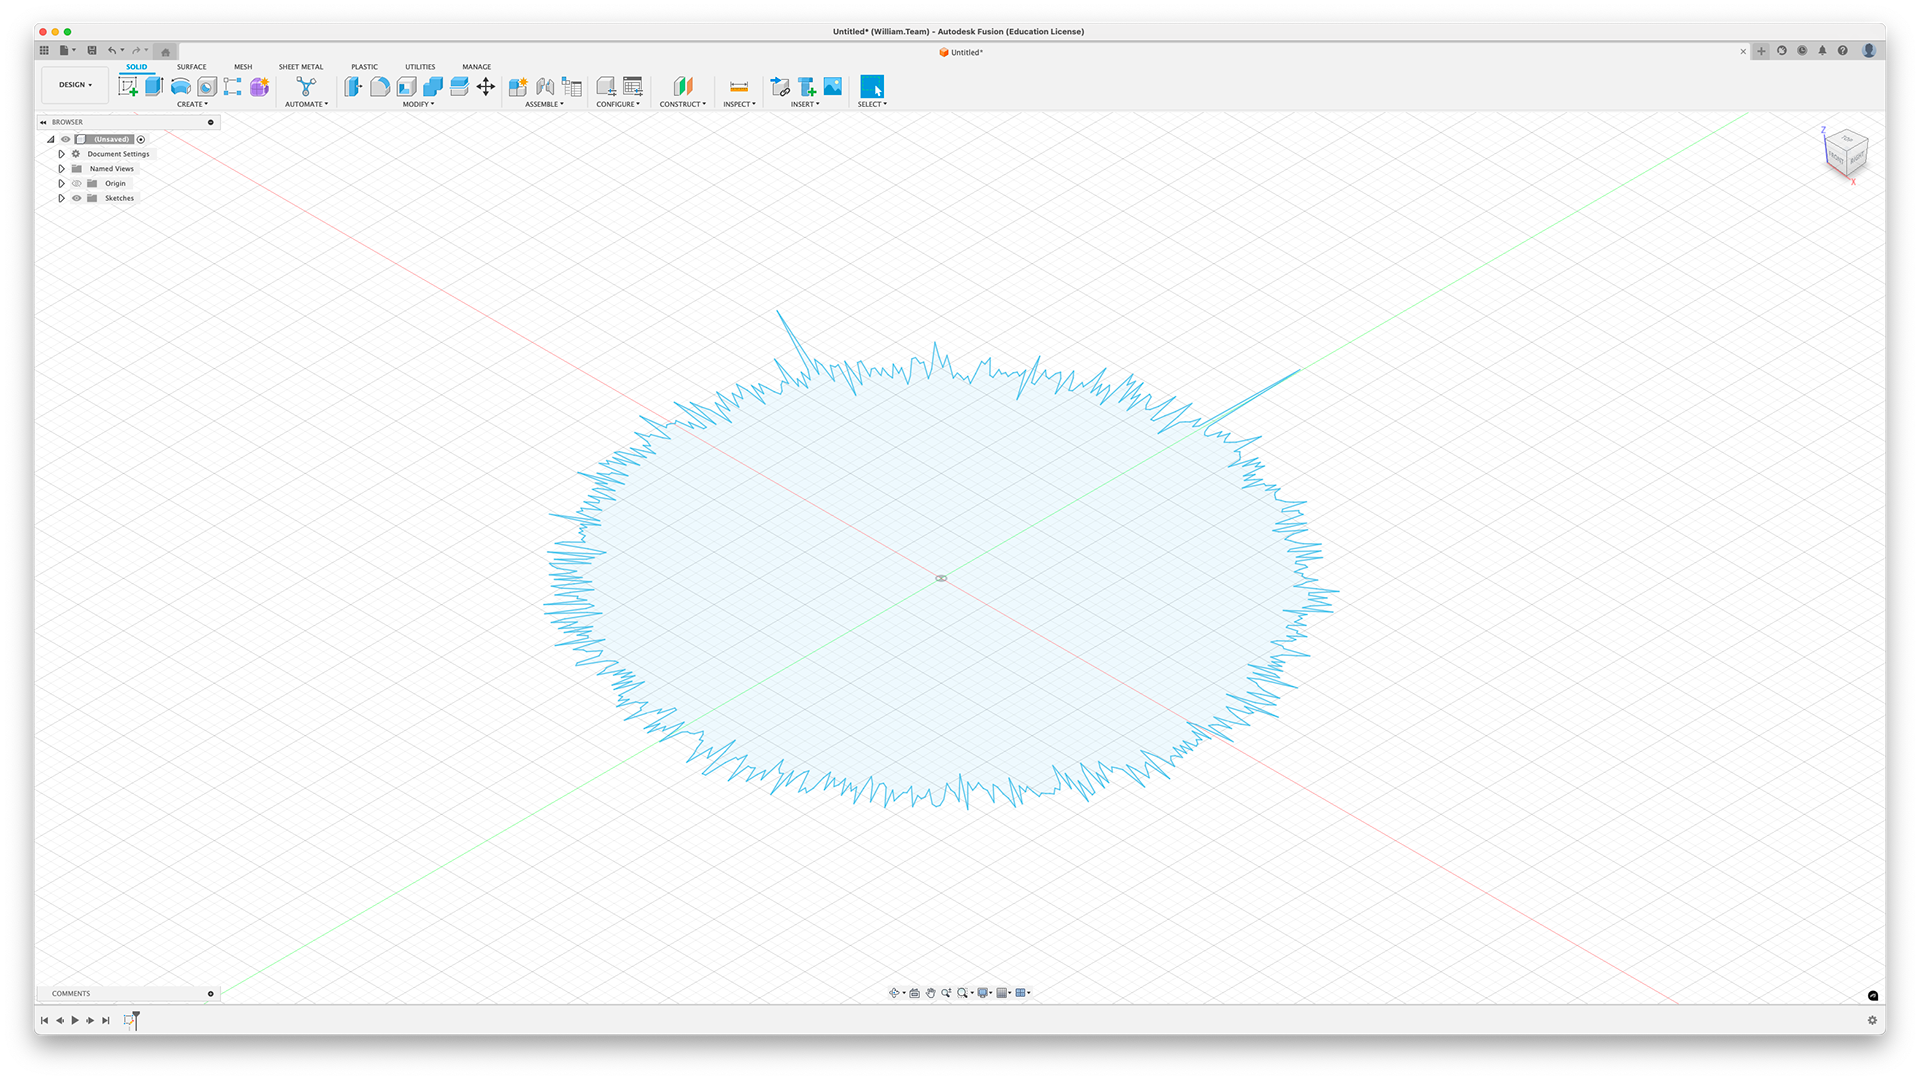
Import .dxf
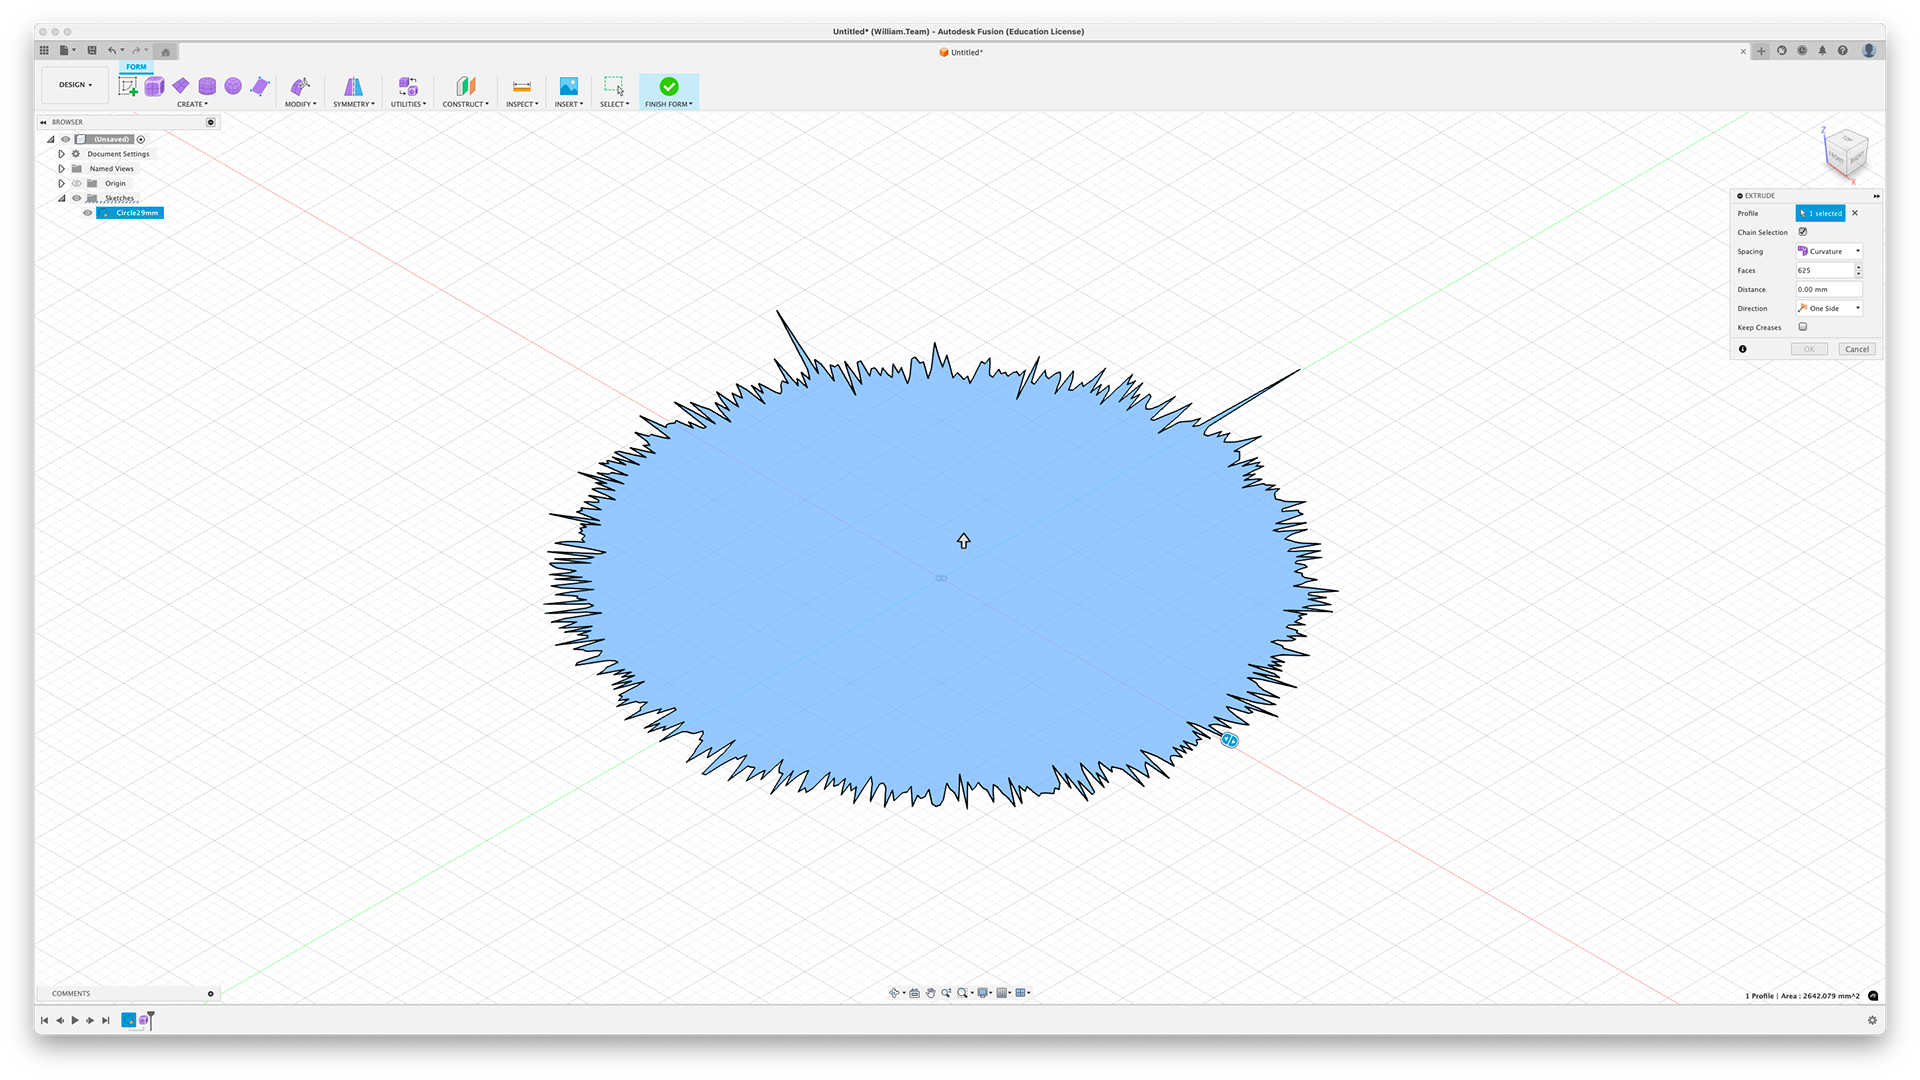
Select extrude

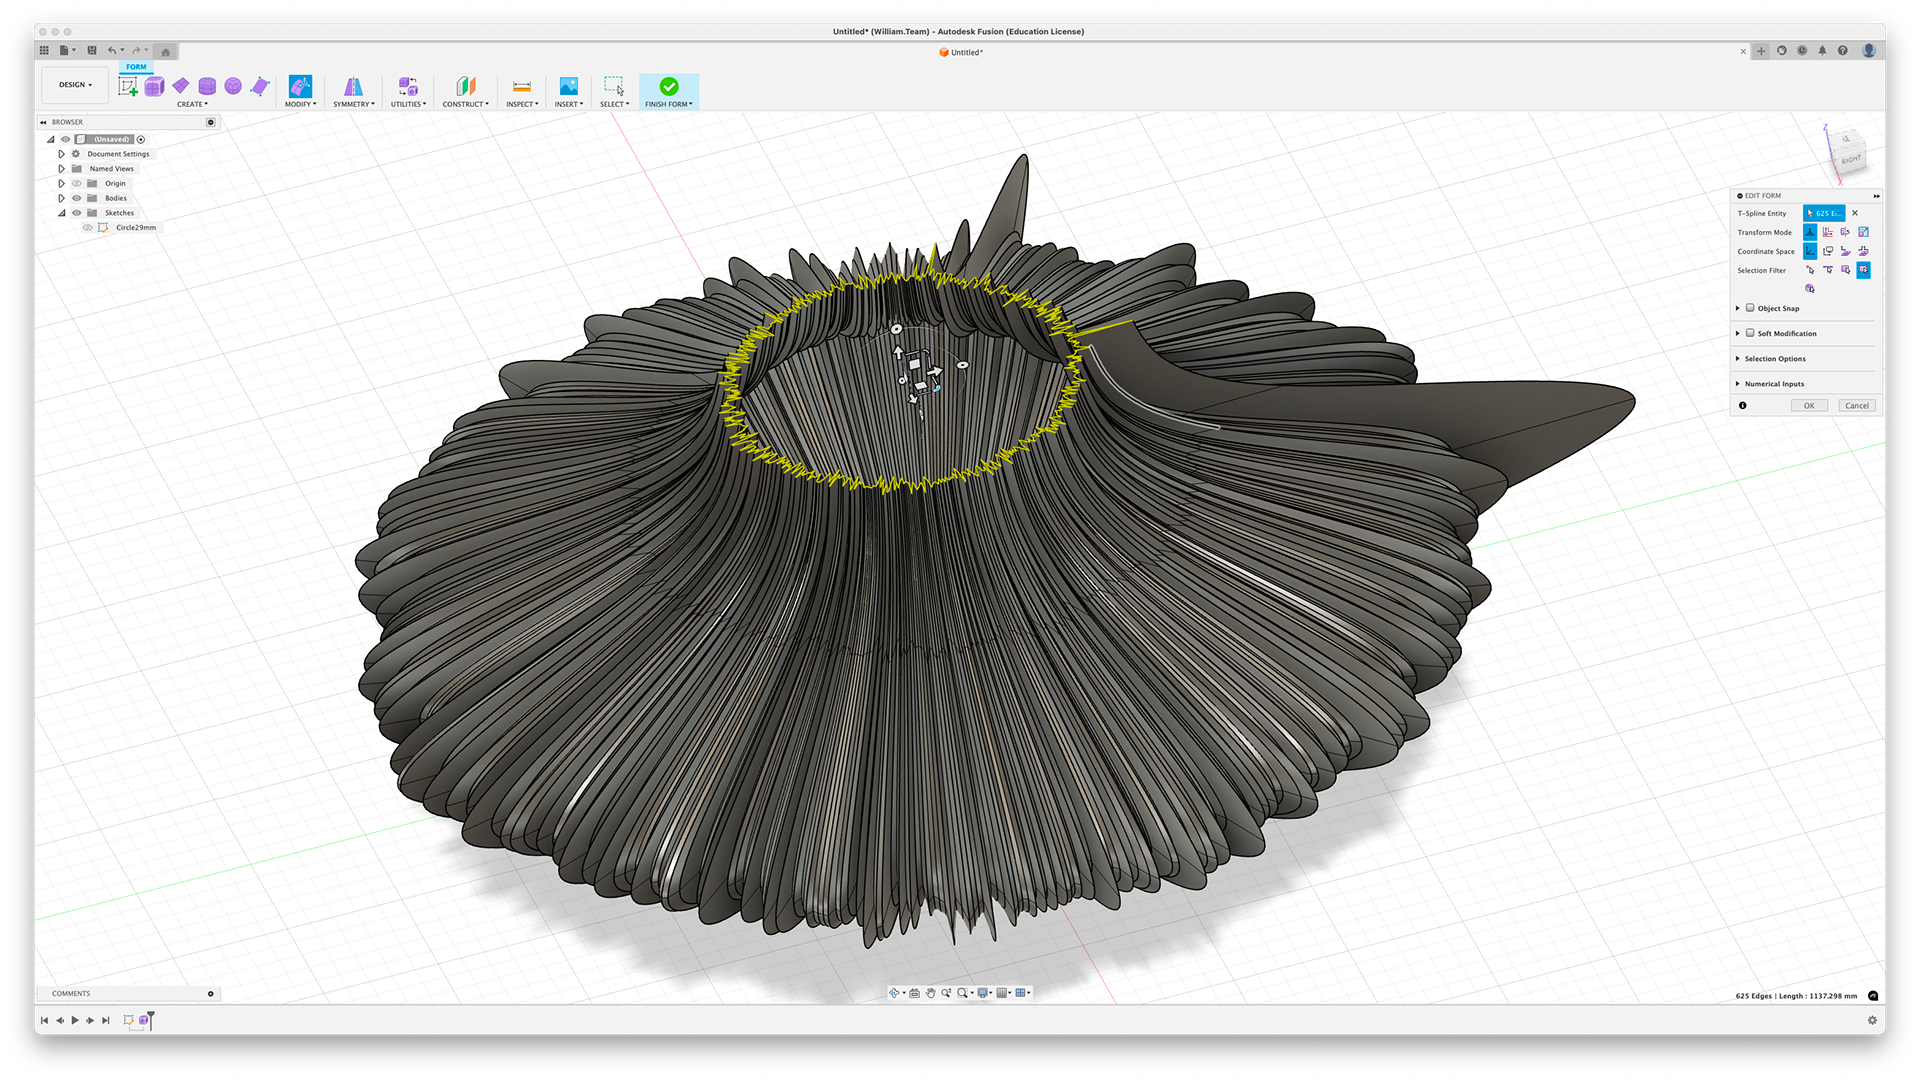
Extrude to the height (Sleep efficiency %) and then set the number of faces to 3
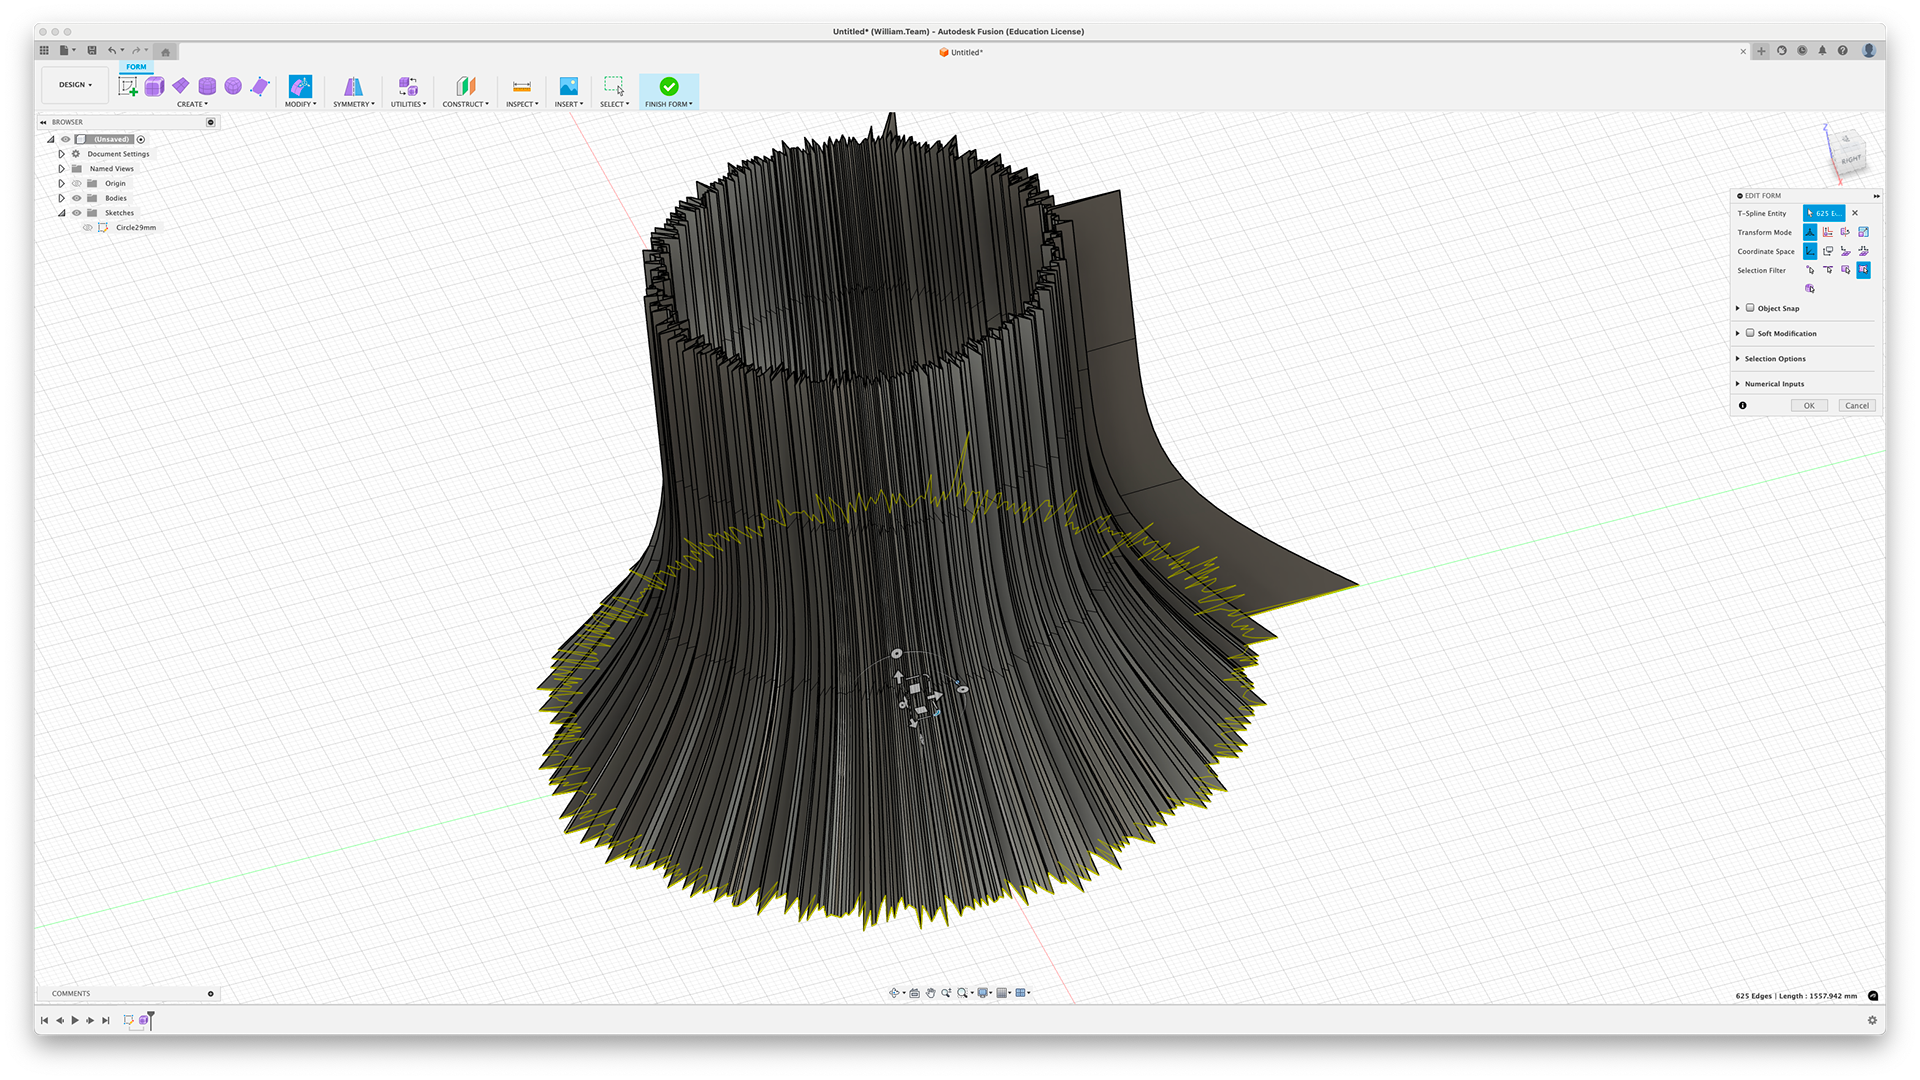
Select the bottom face and scale up according to the numbers document
Select the lower middle face and scale up according to the numbers document
Select the upper middle face and scale up according to the numbers document
Select the top face and scale up according to the numbers document
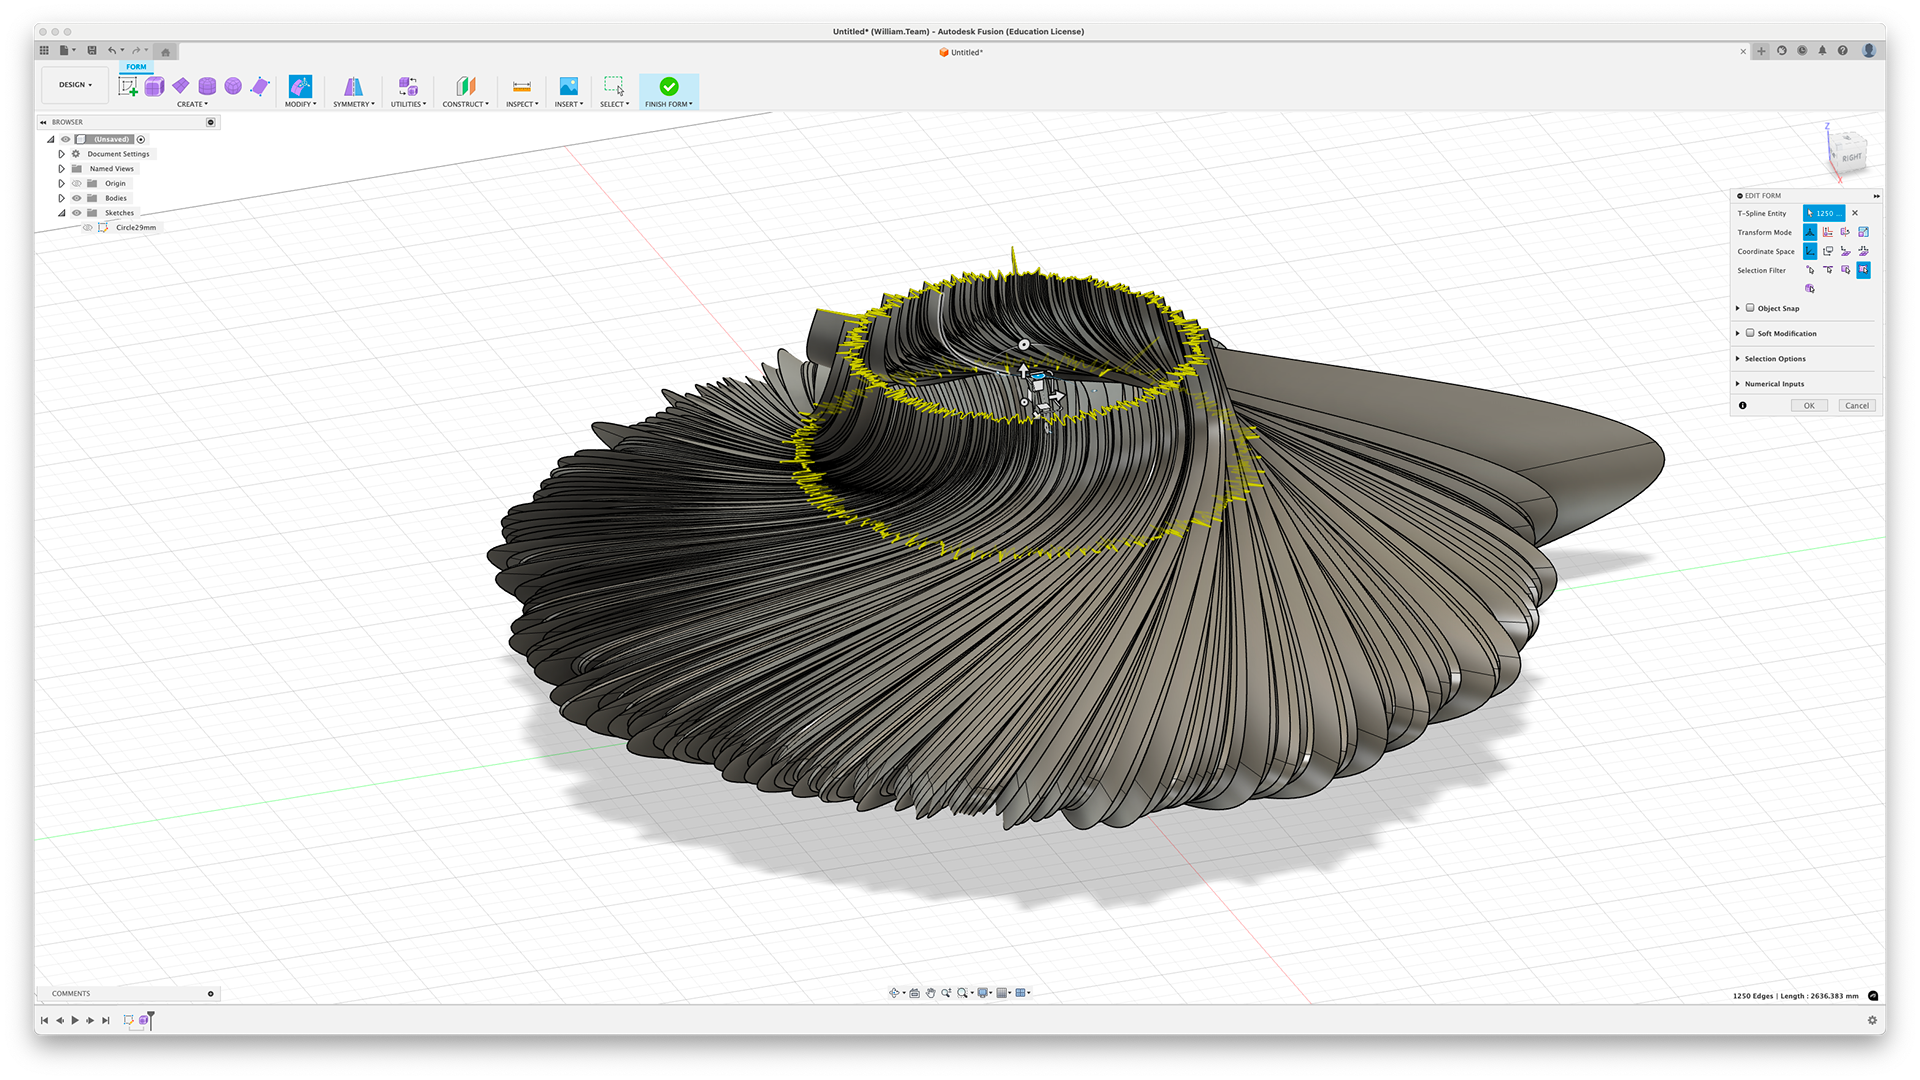
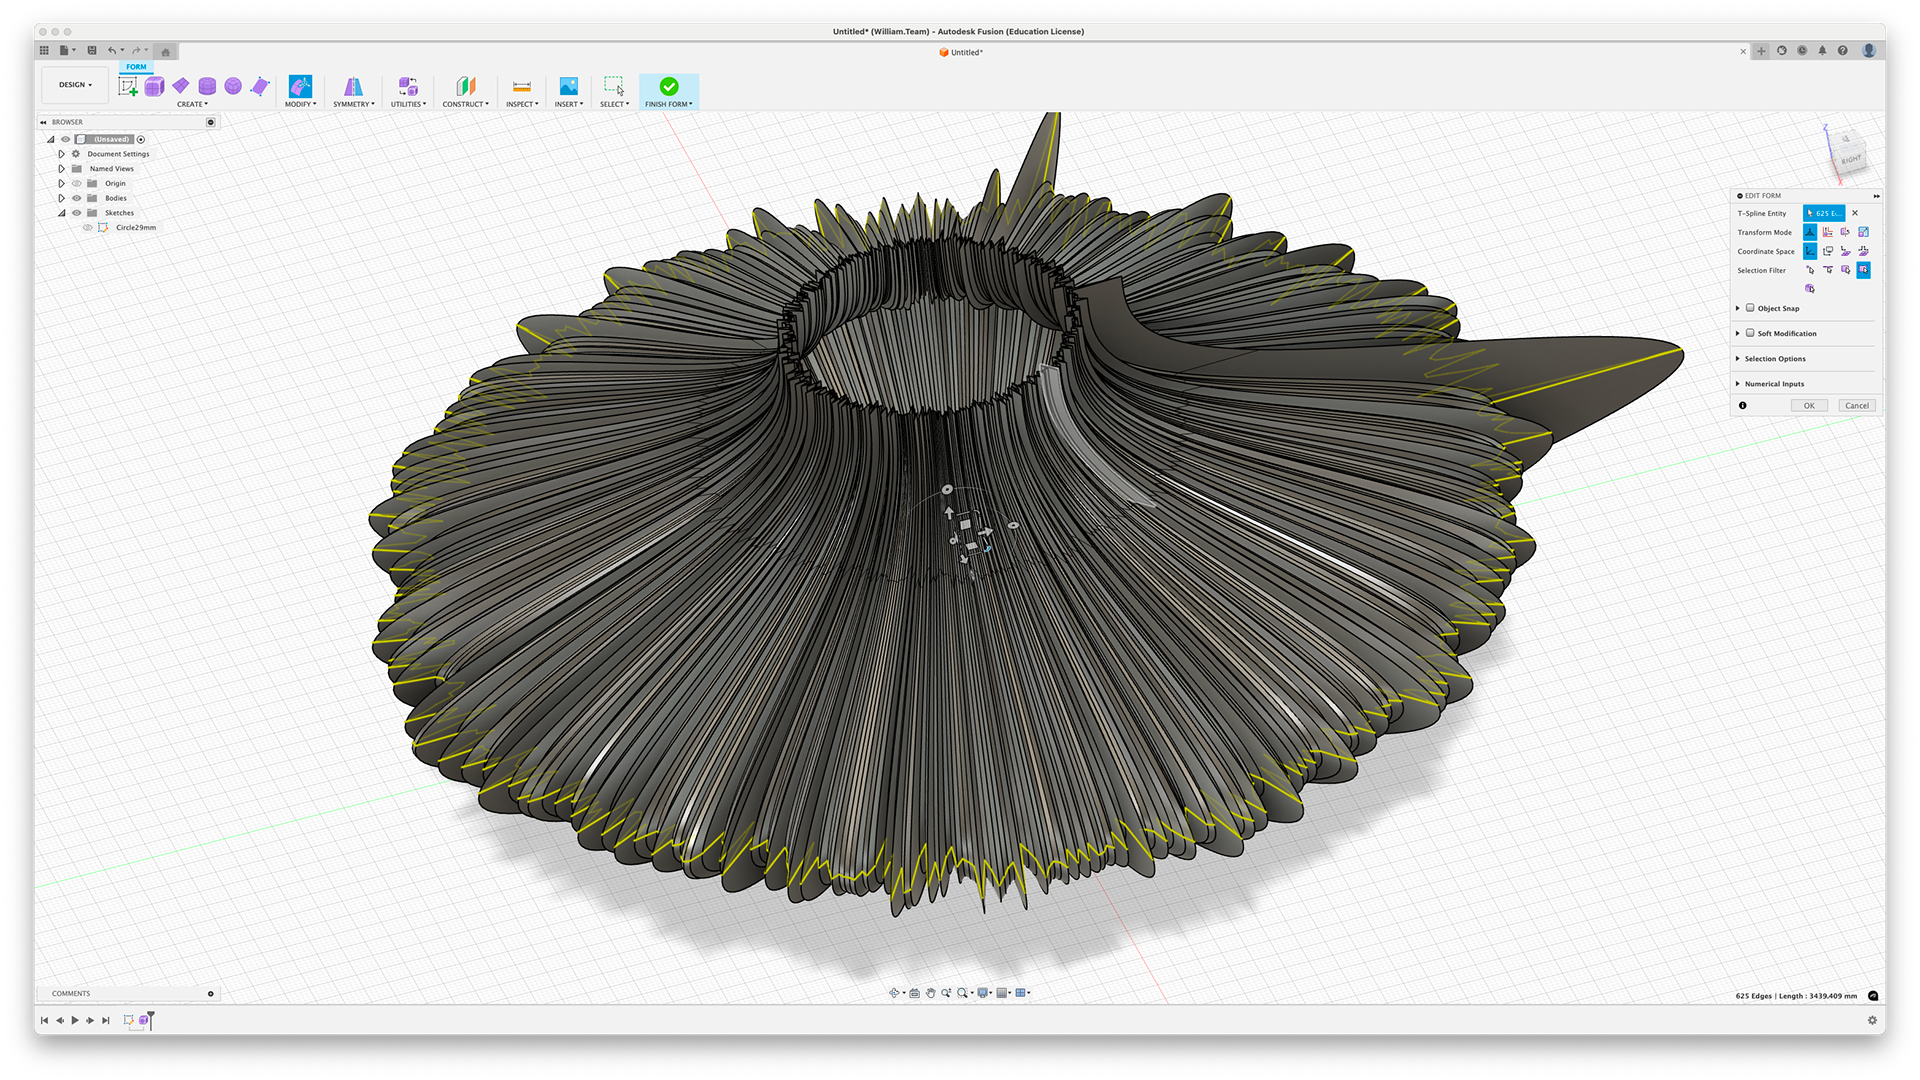
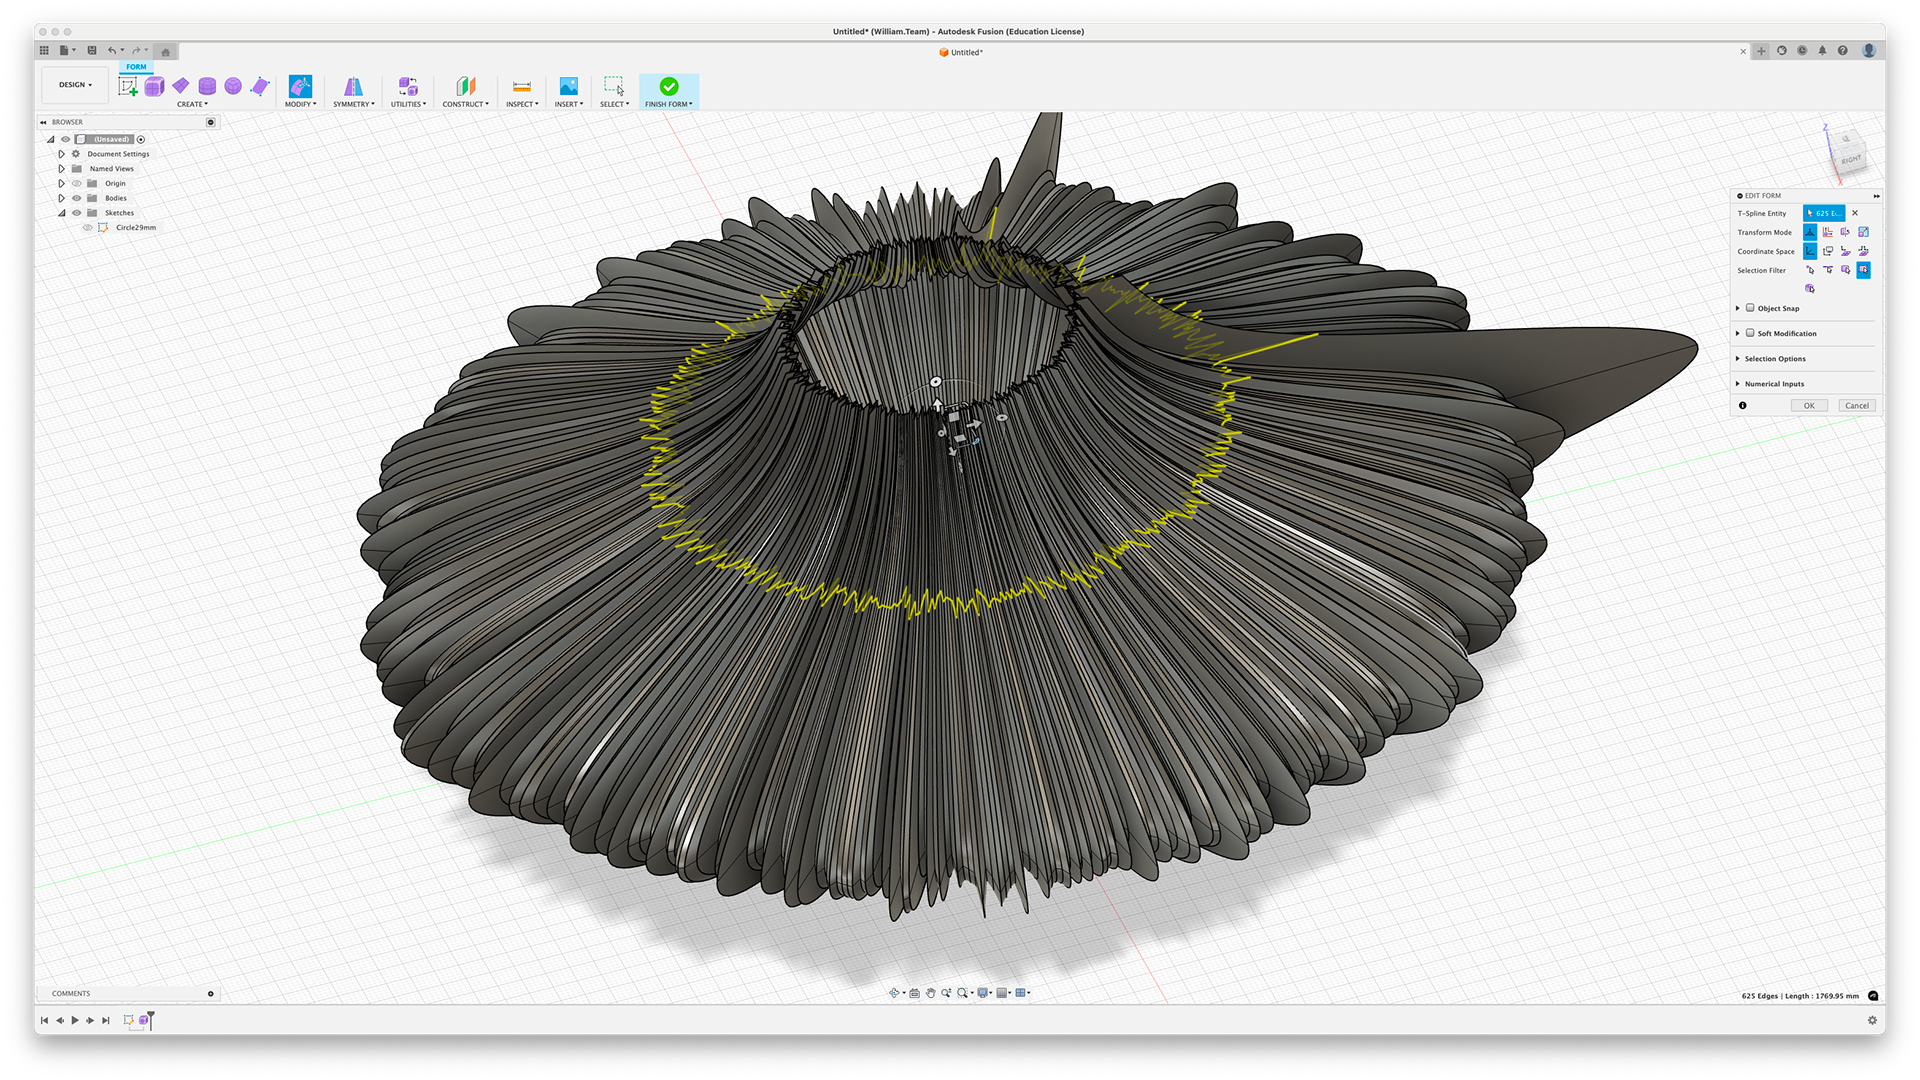
Select the top two faces and twist (Sleep performance %)
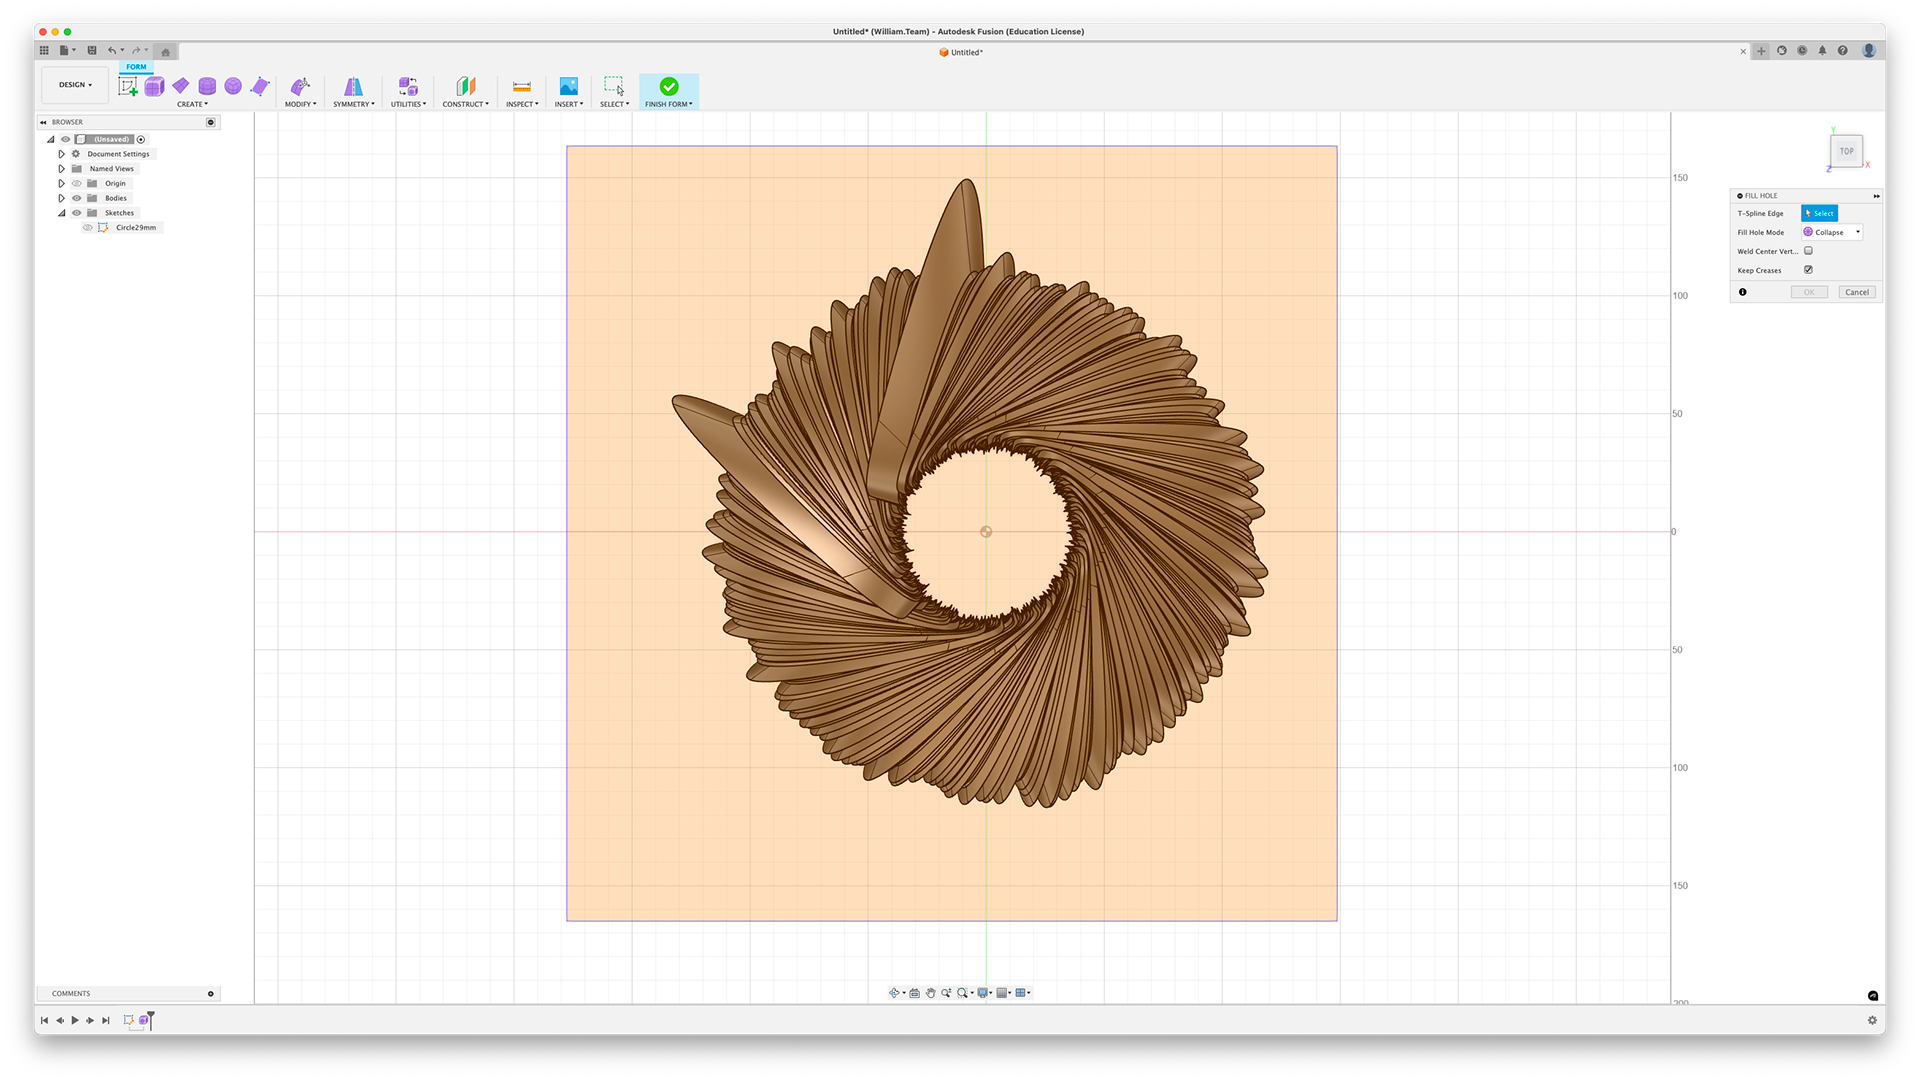
Select the whole object and fill in, set to "Collapse" and "Keep Creases"
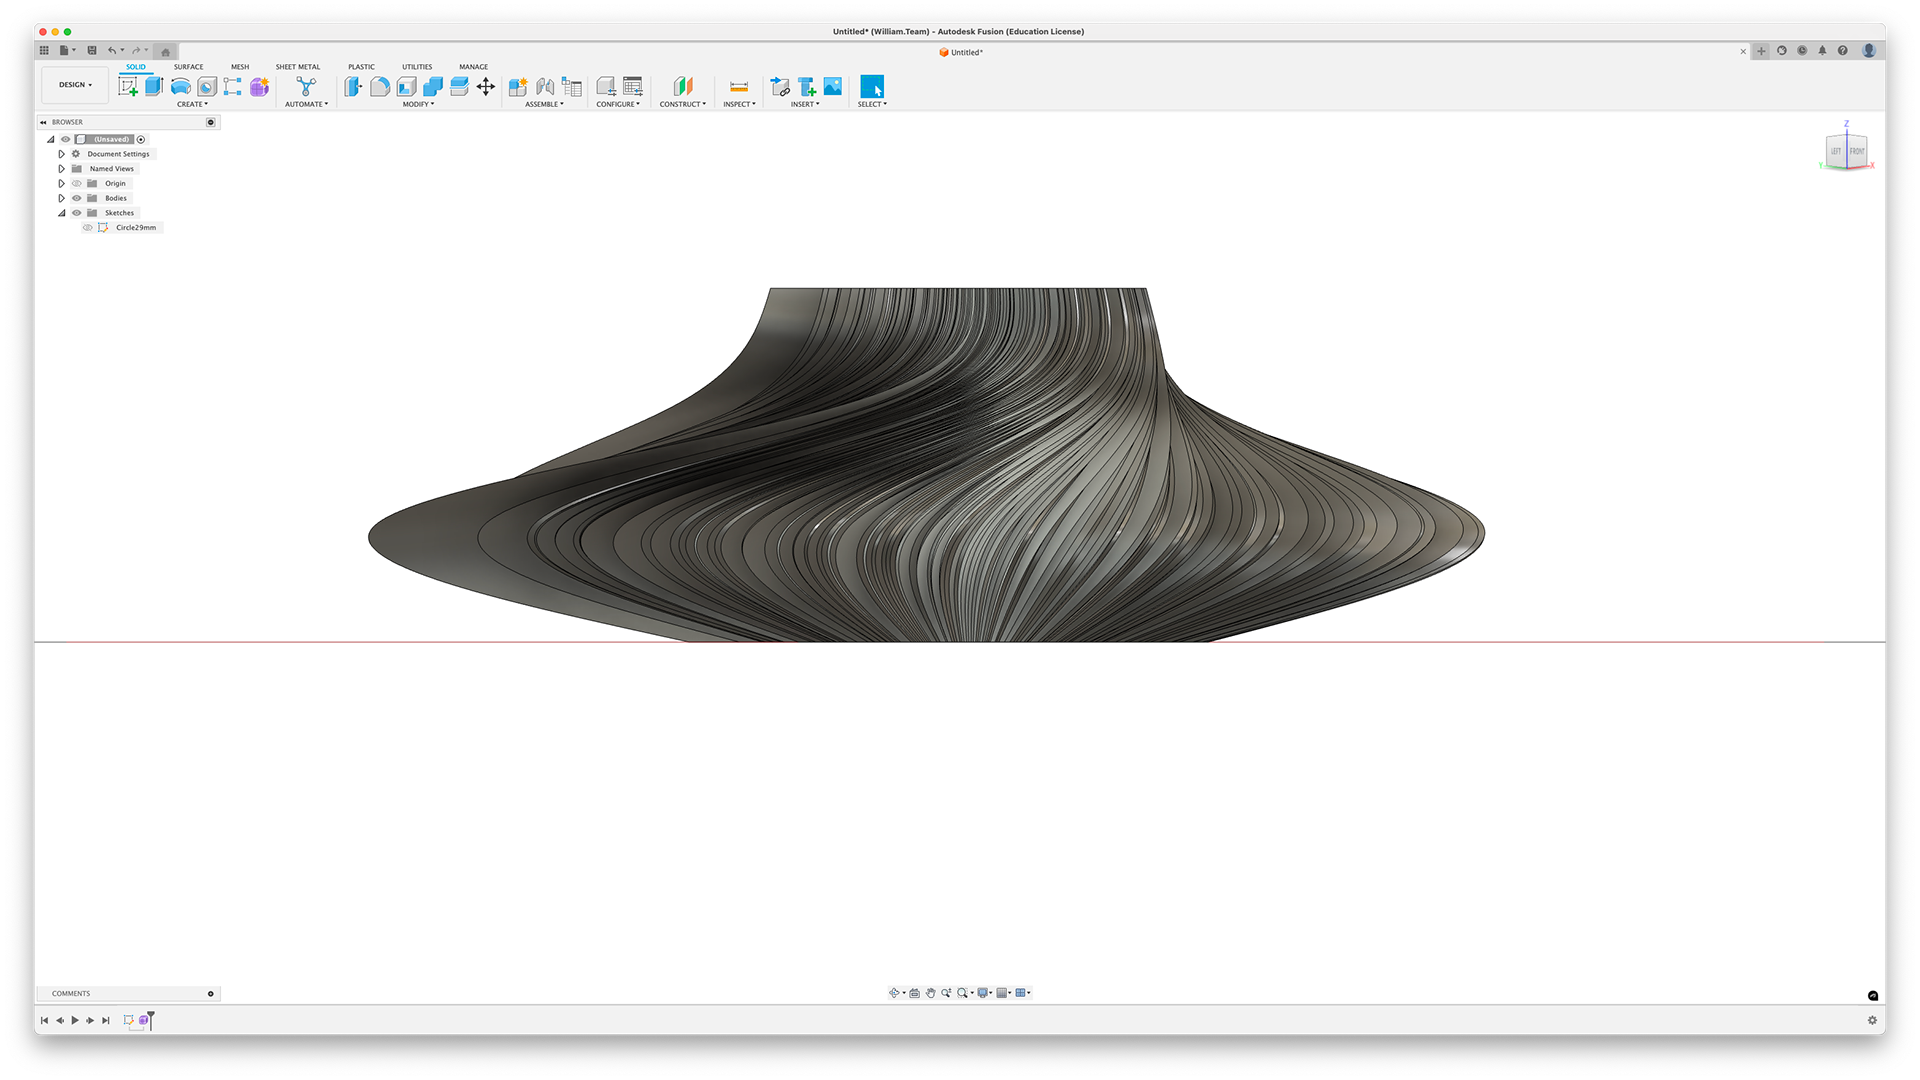
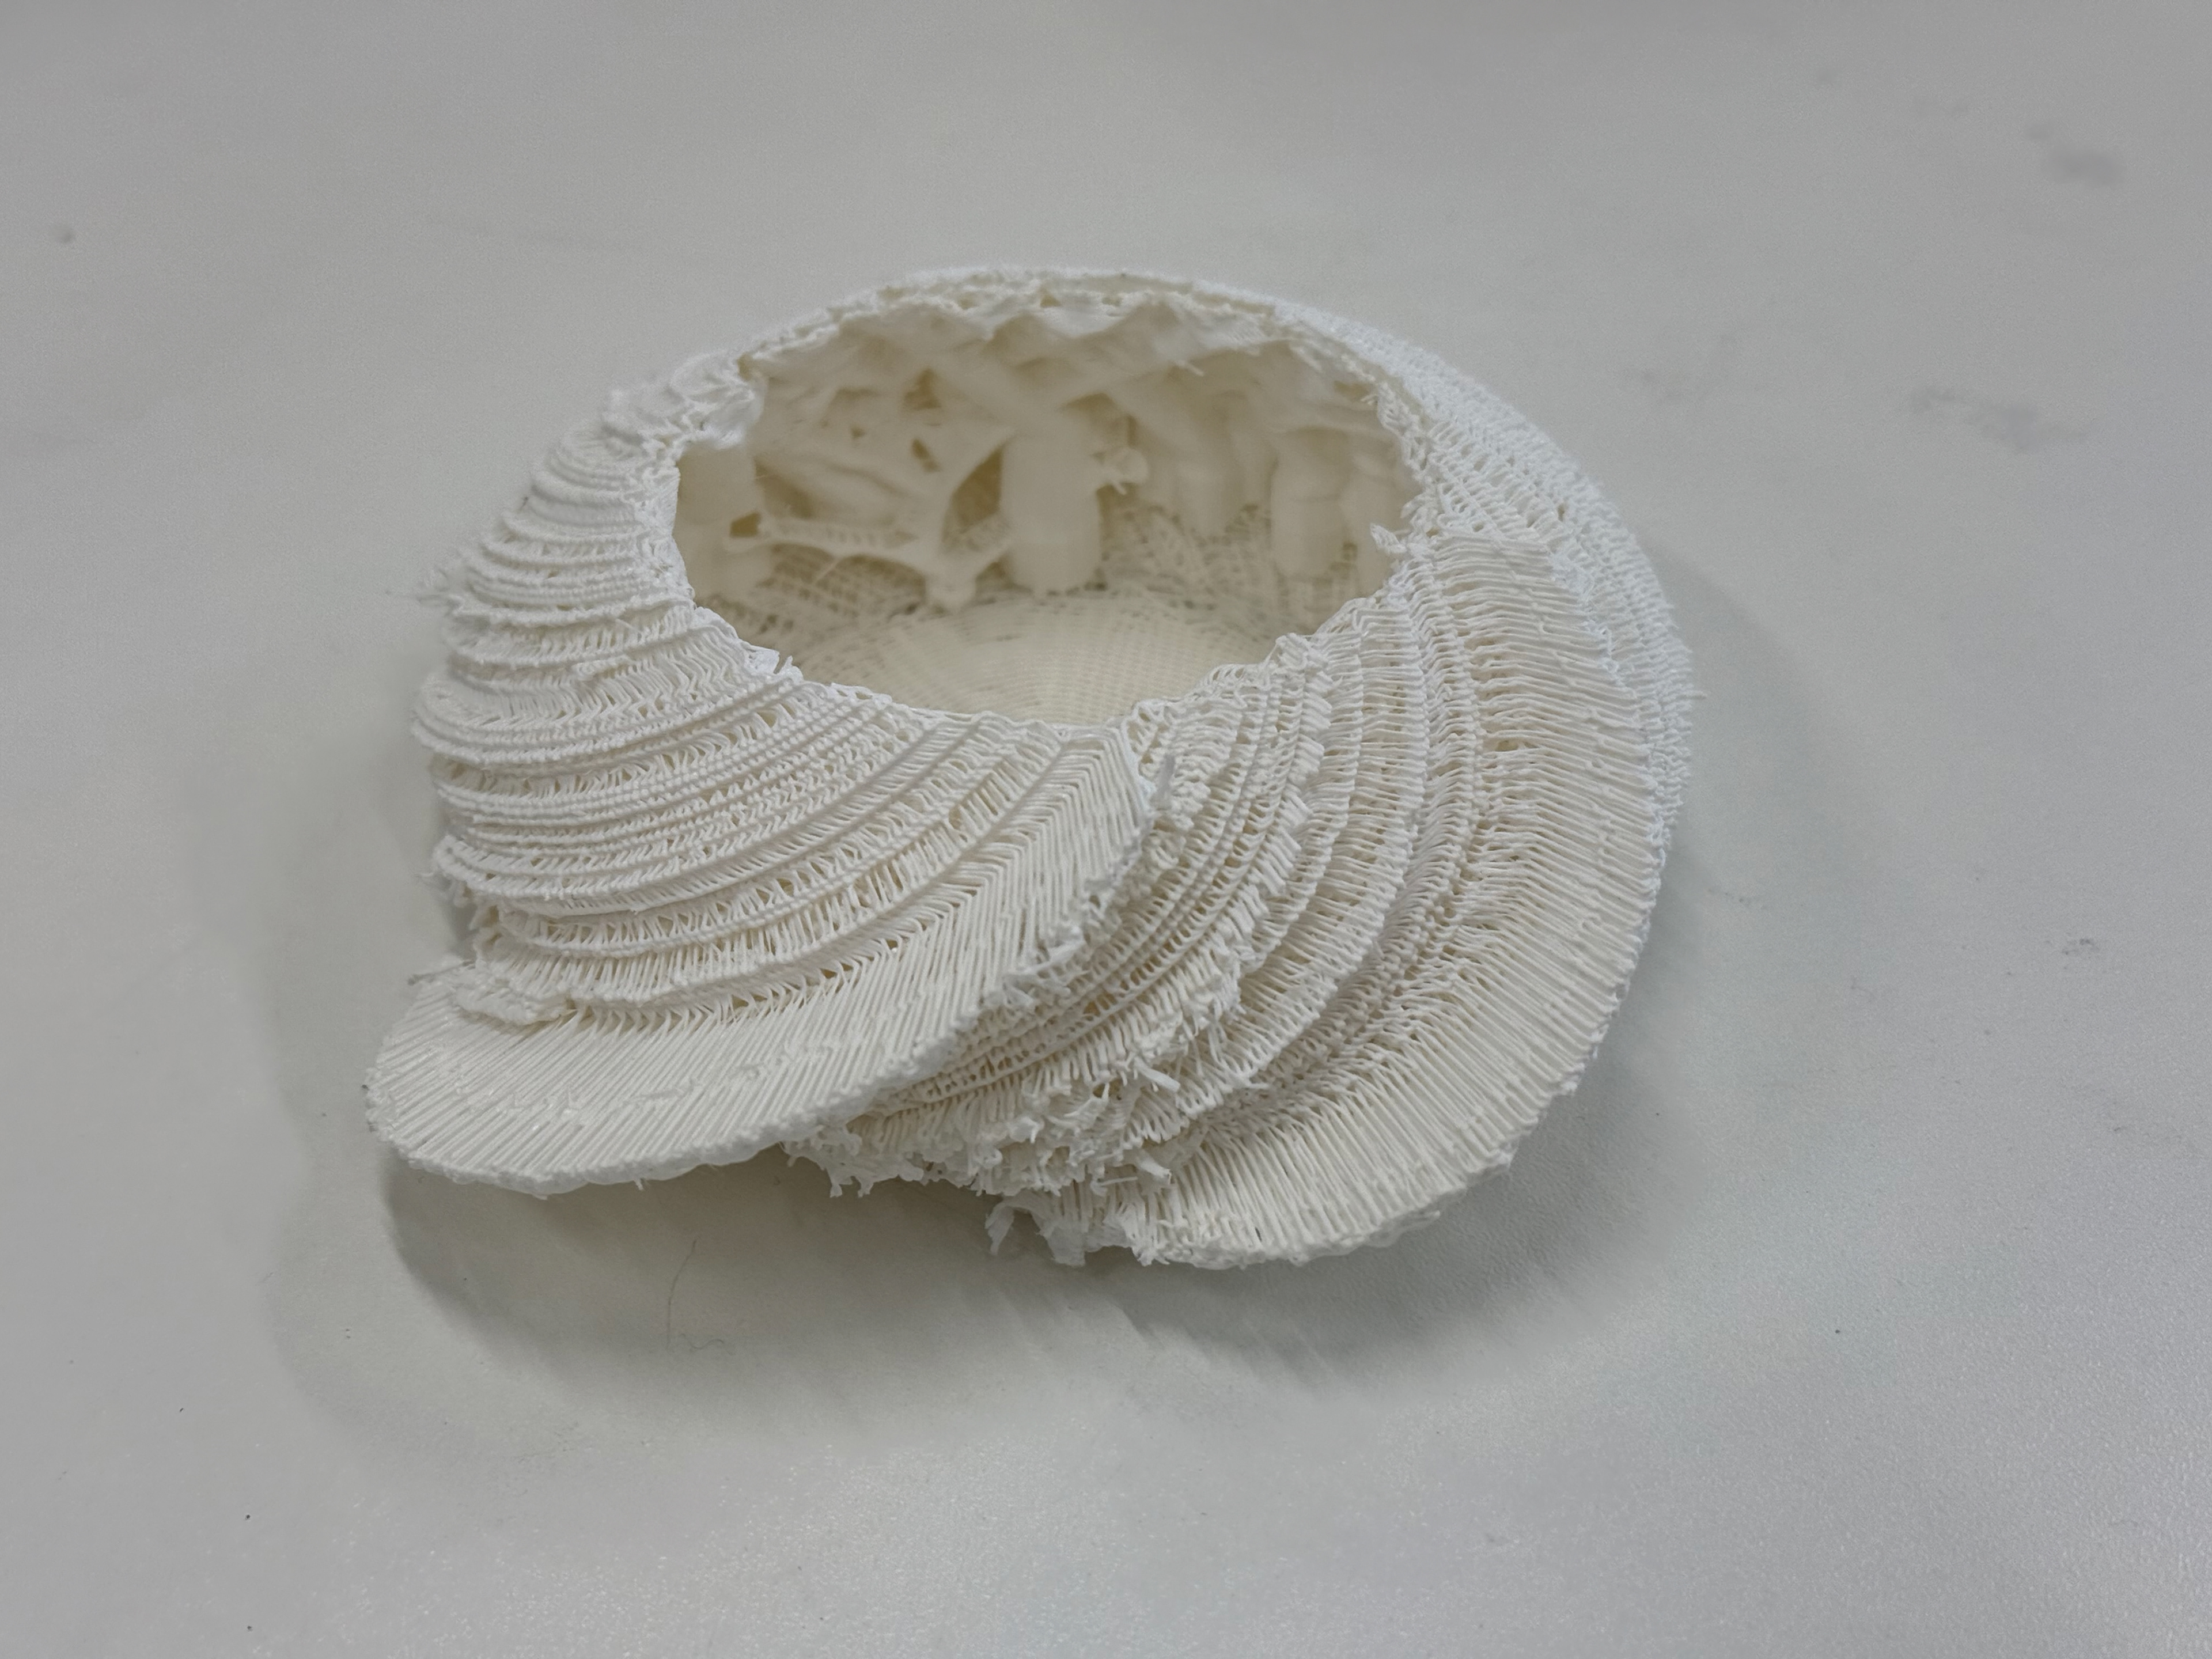
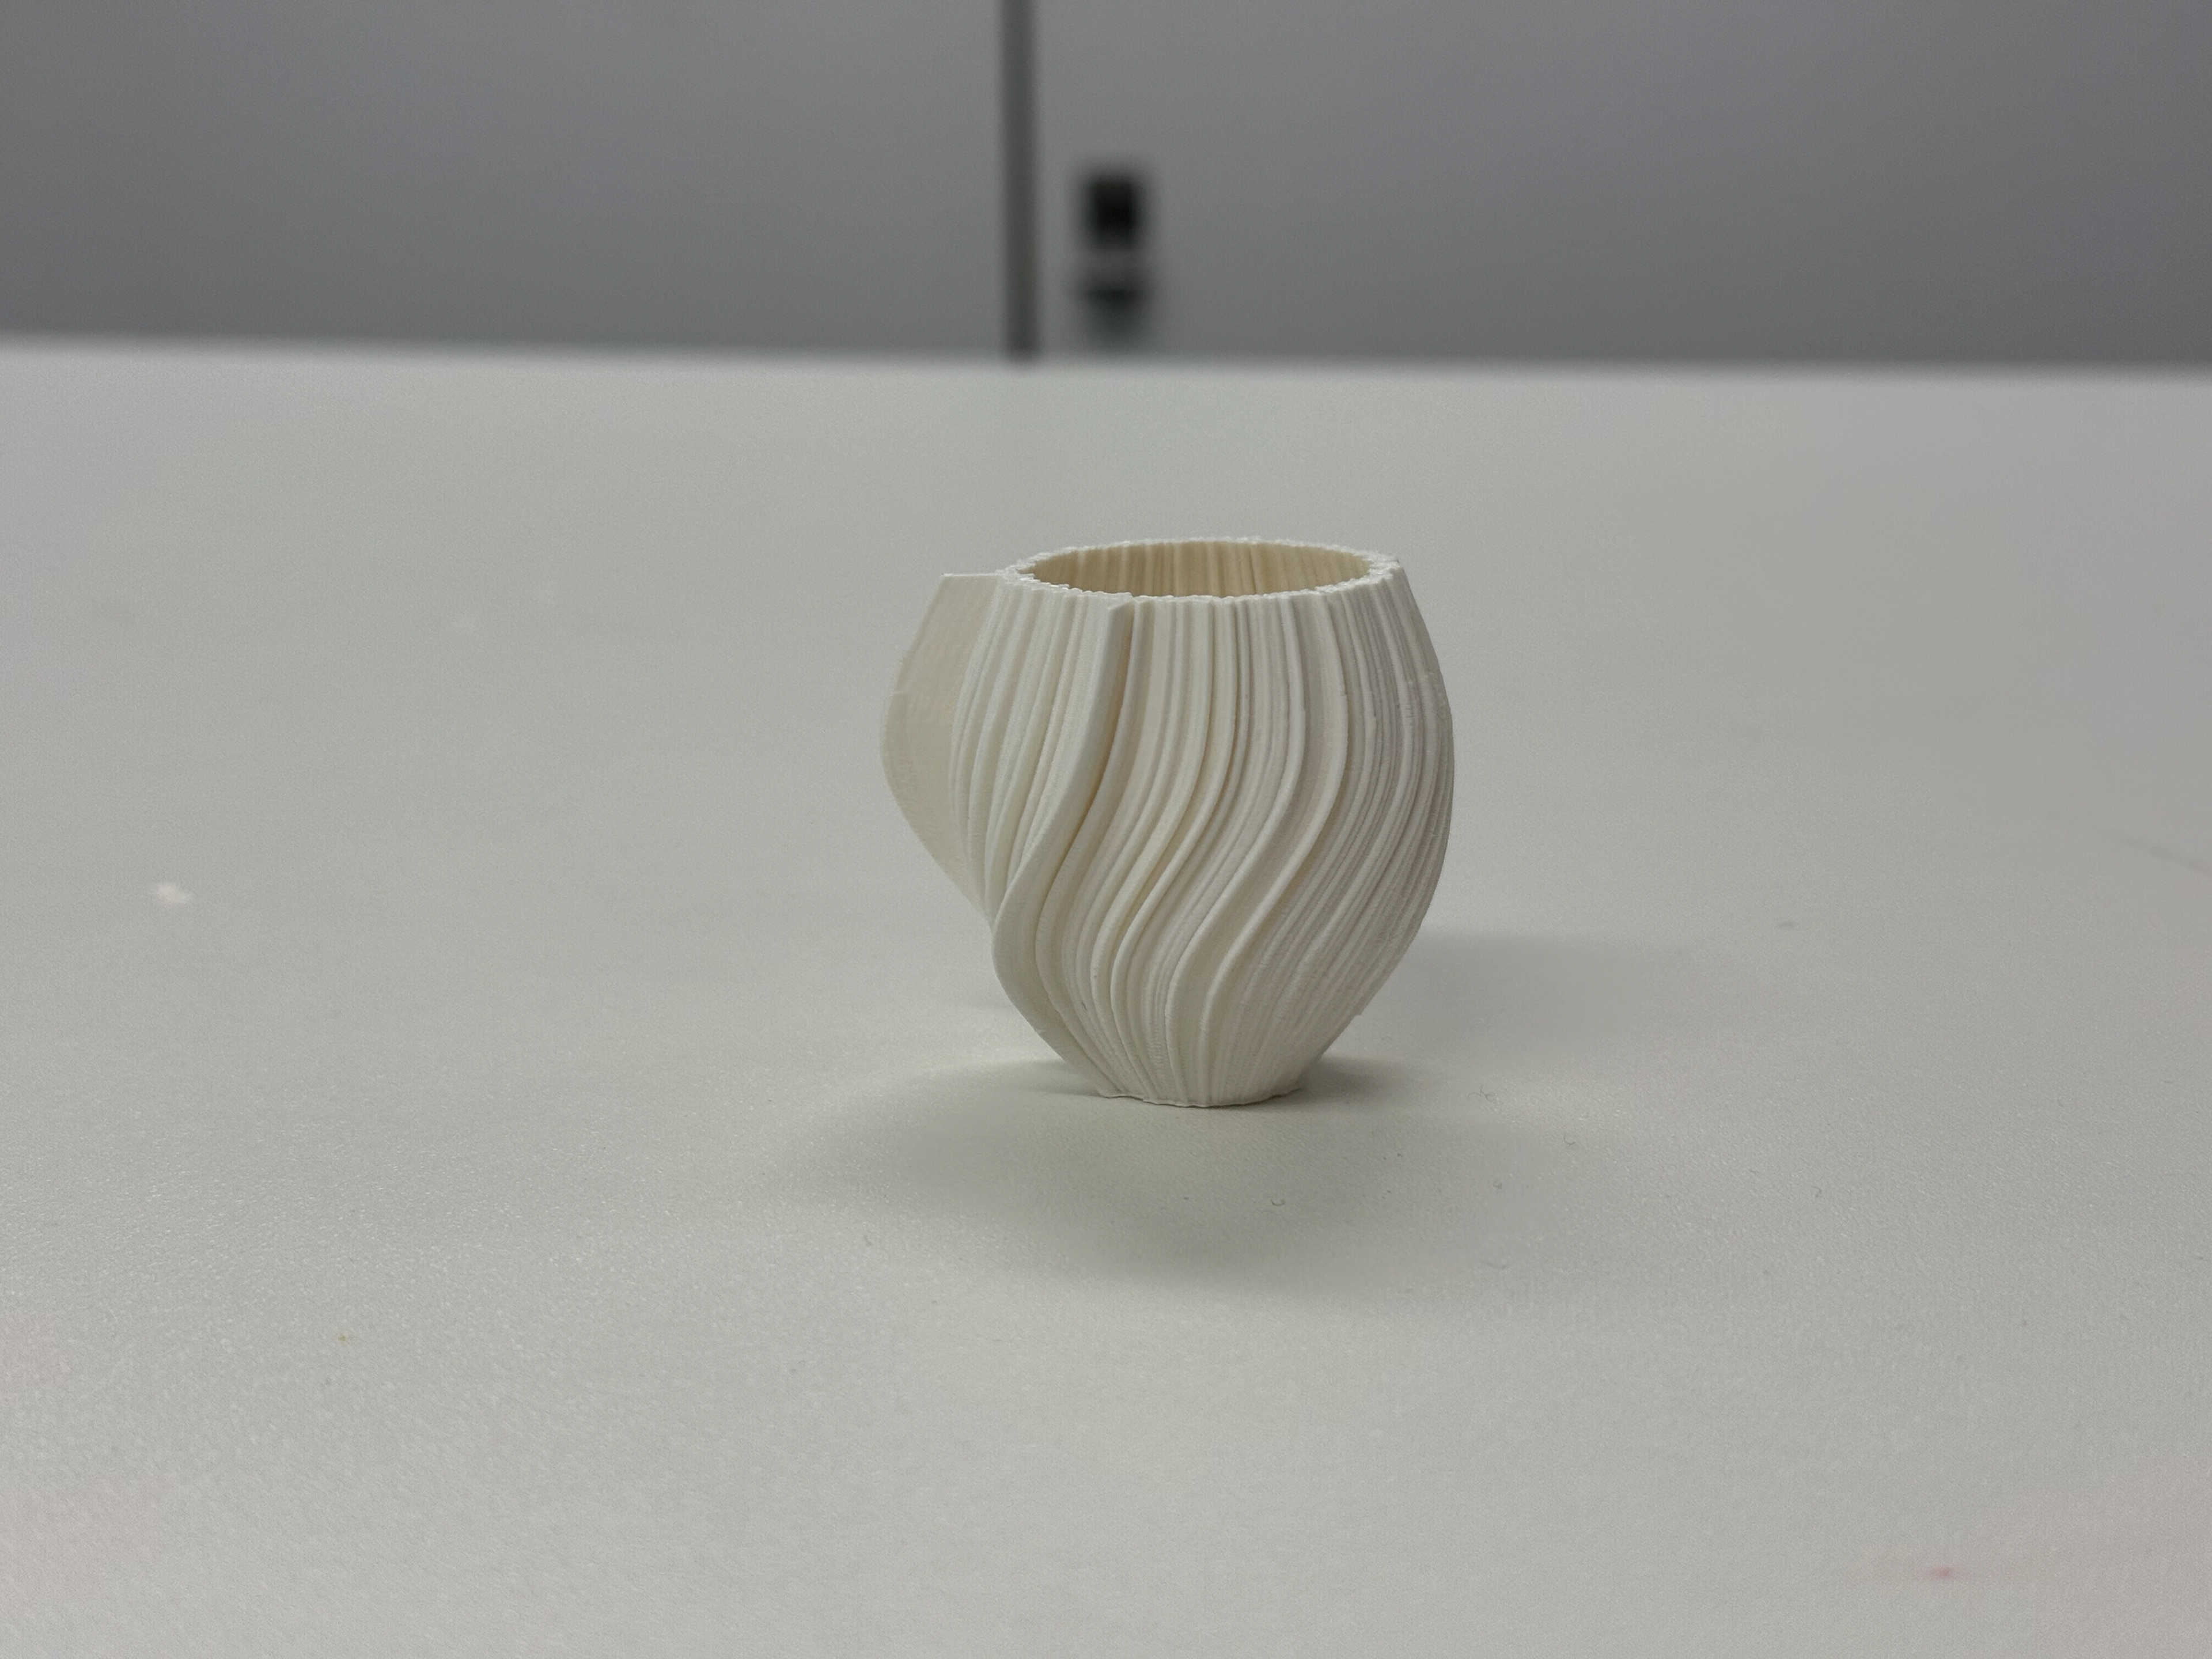
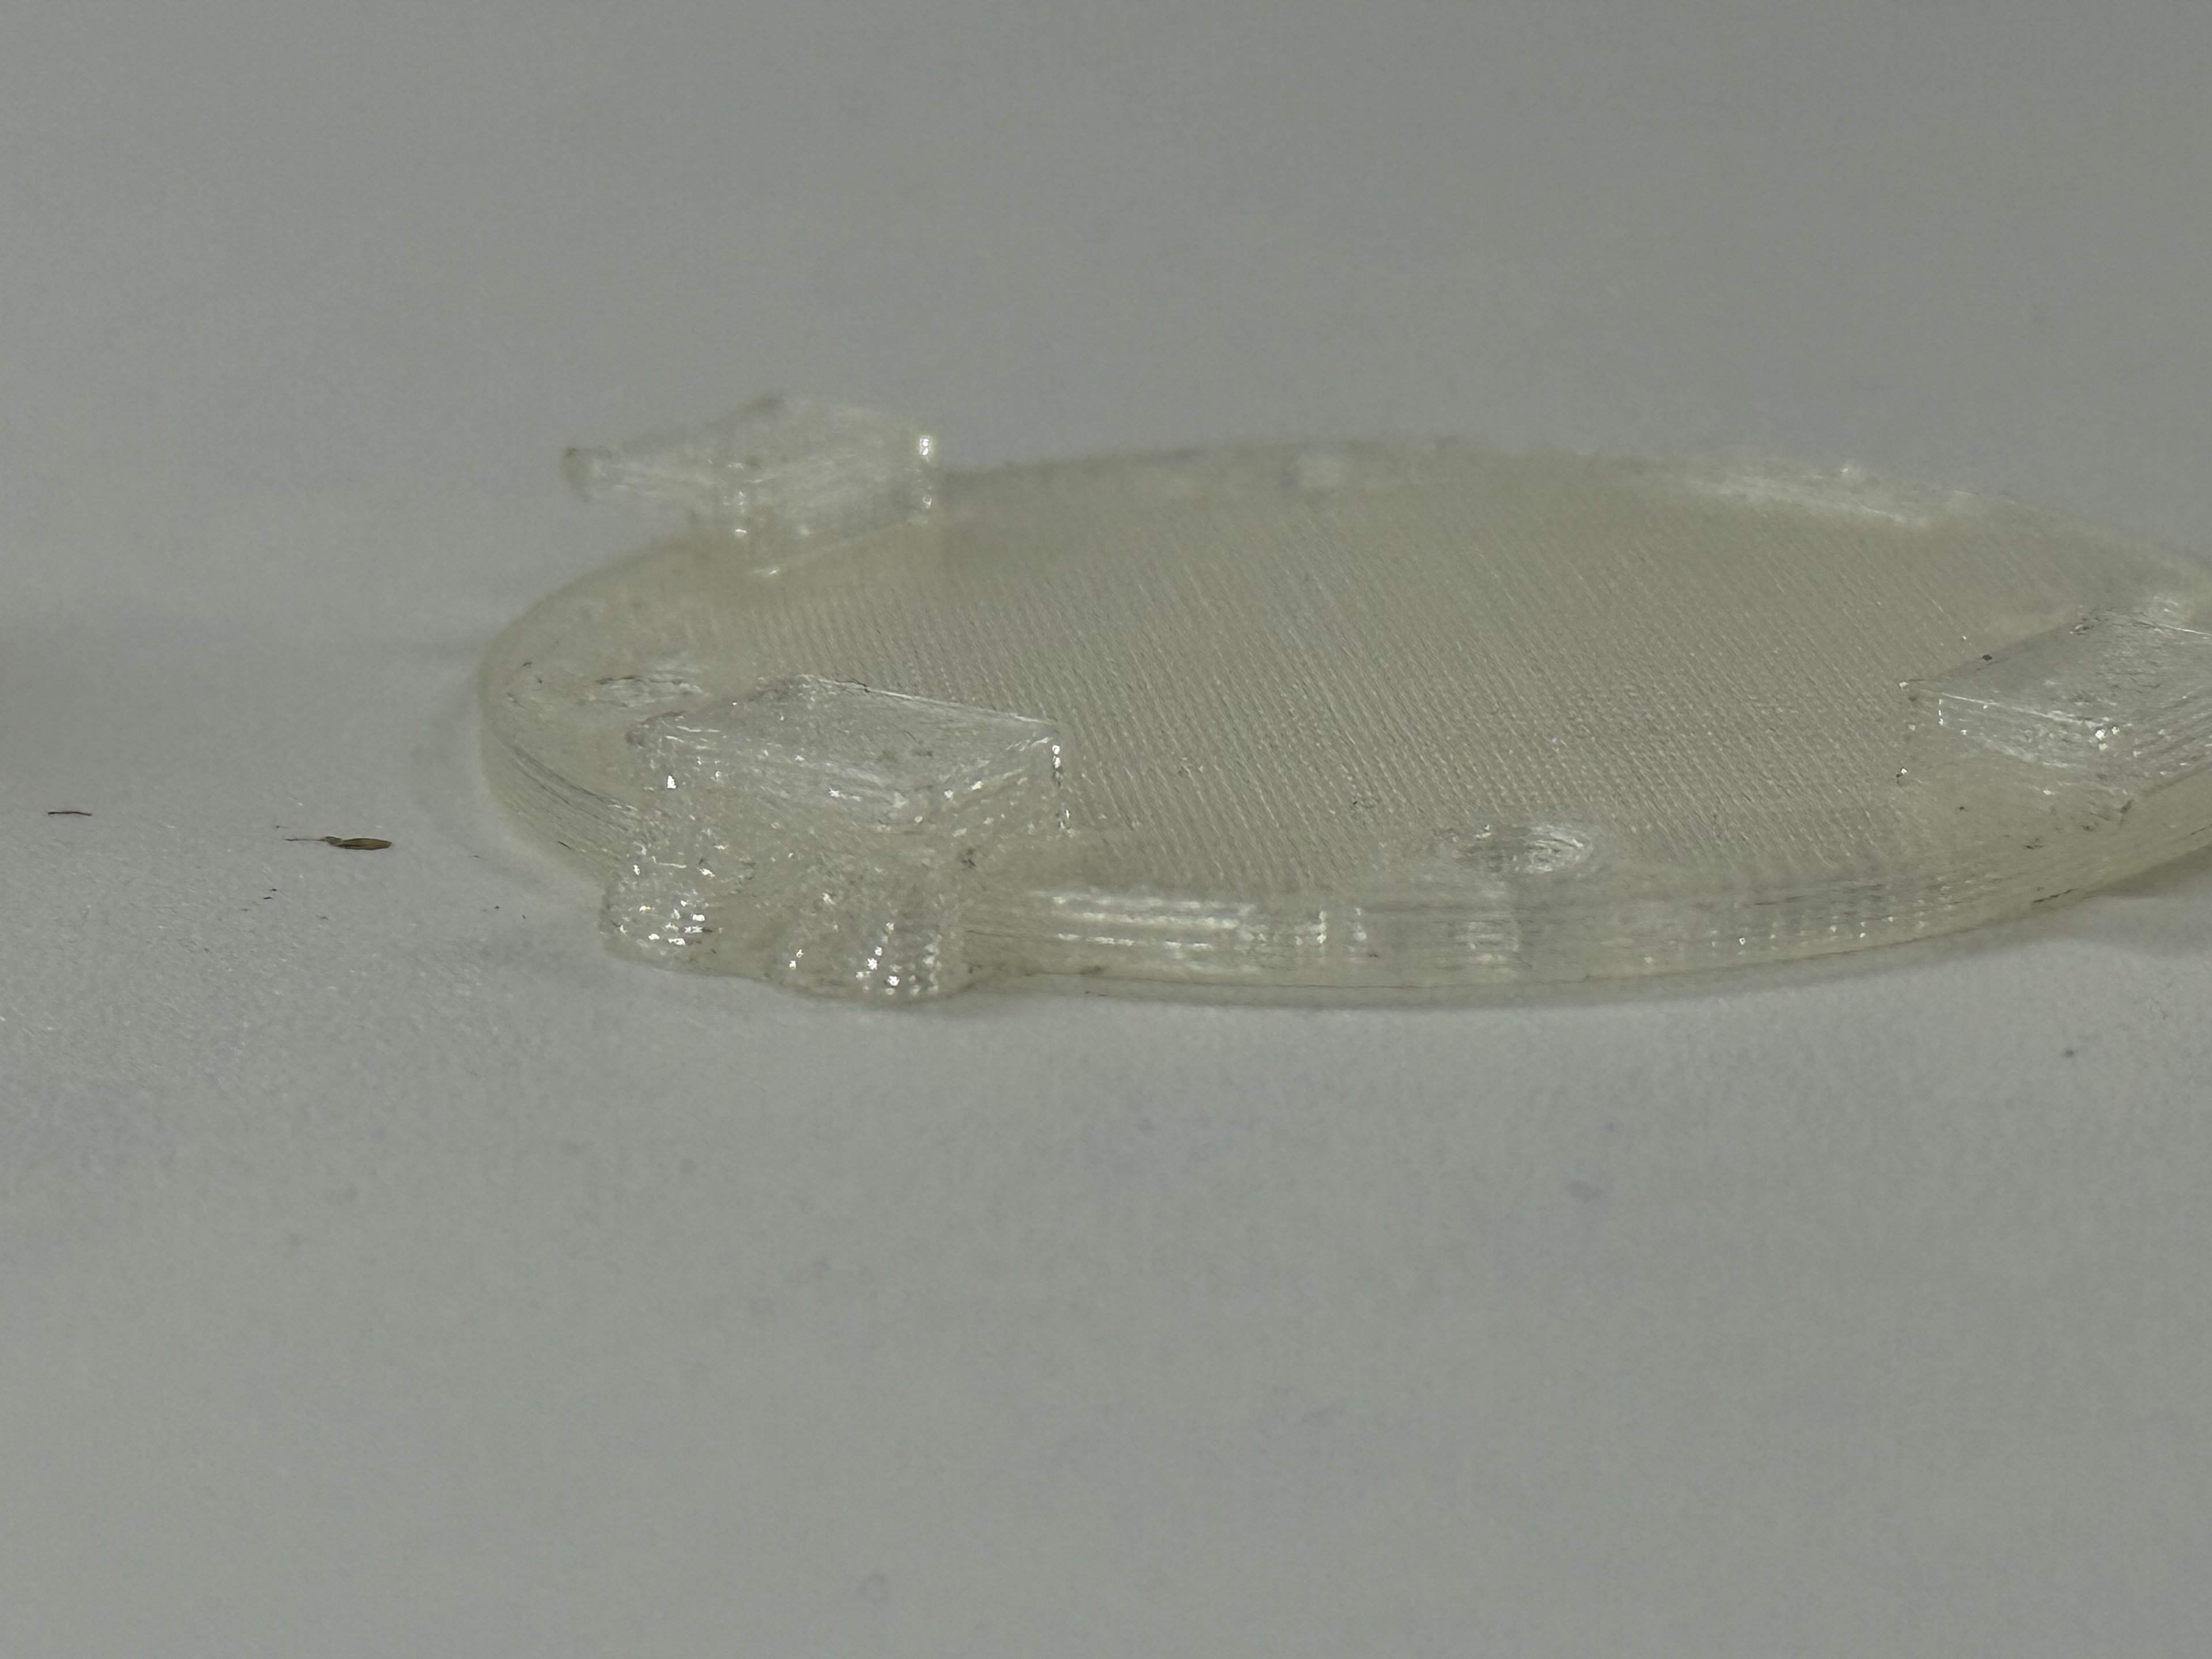
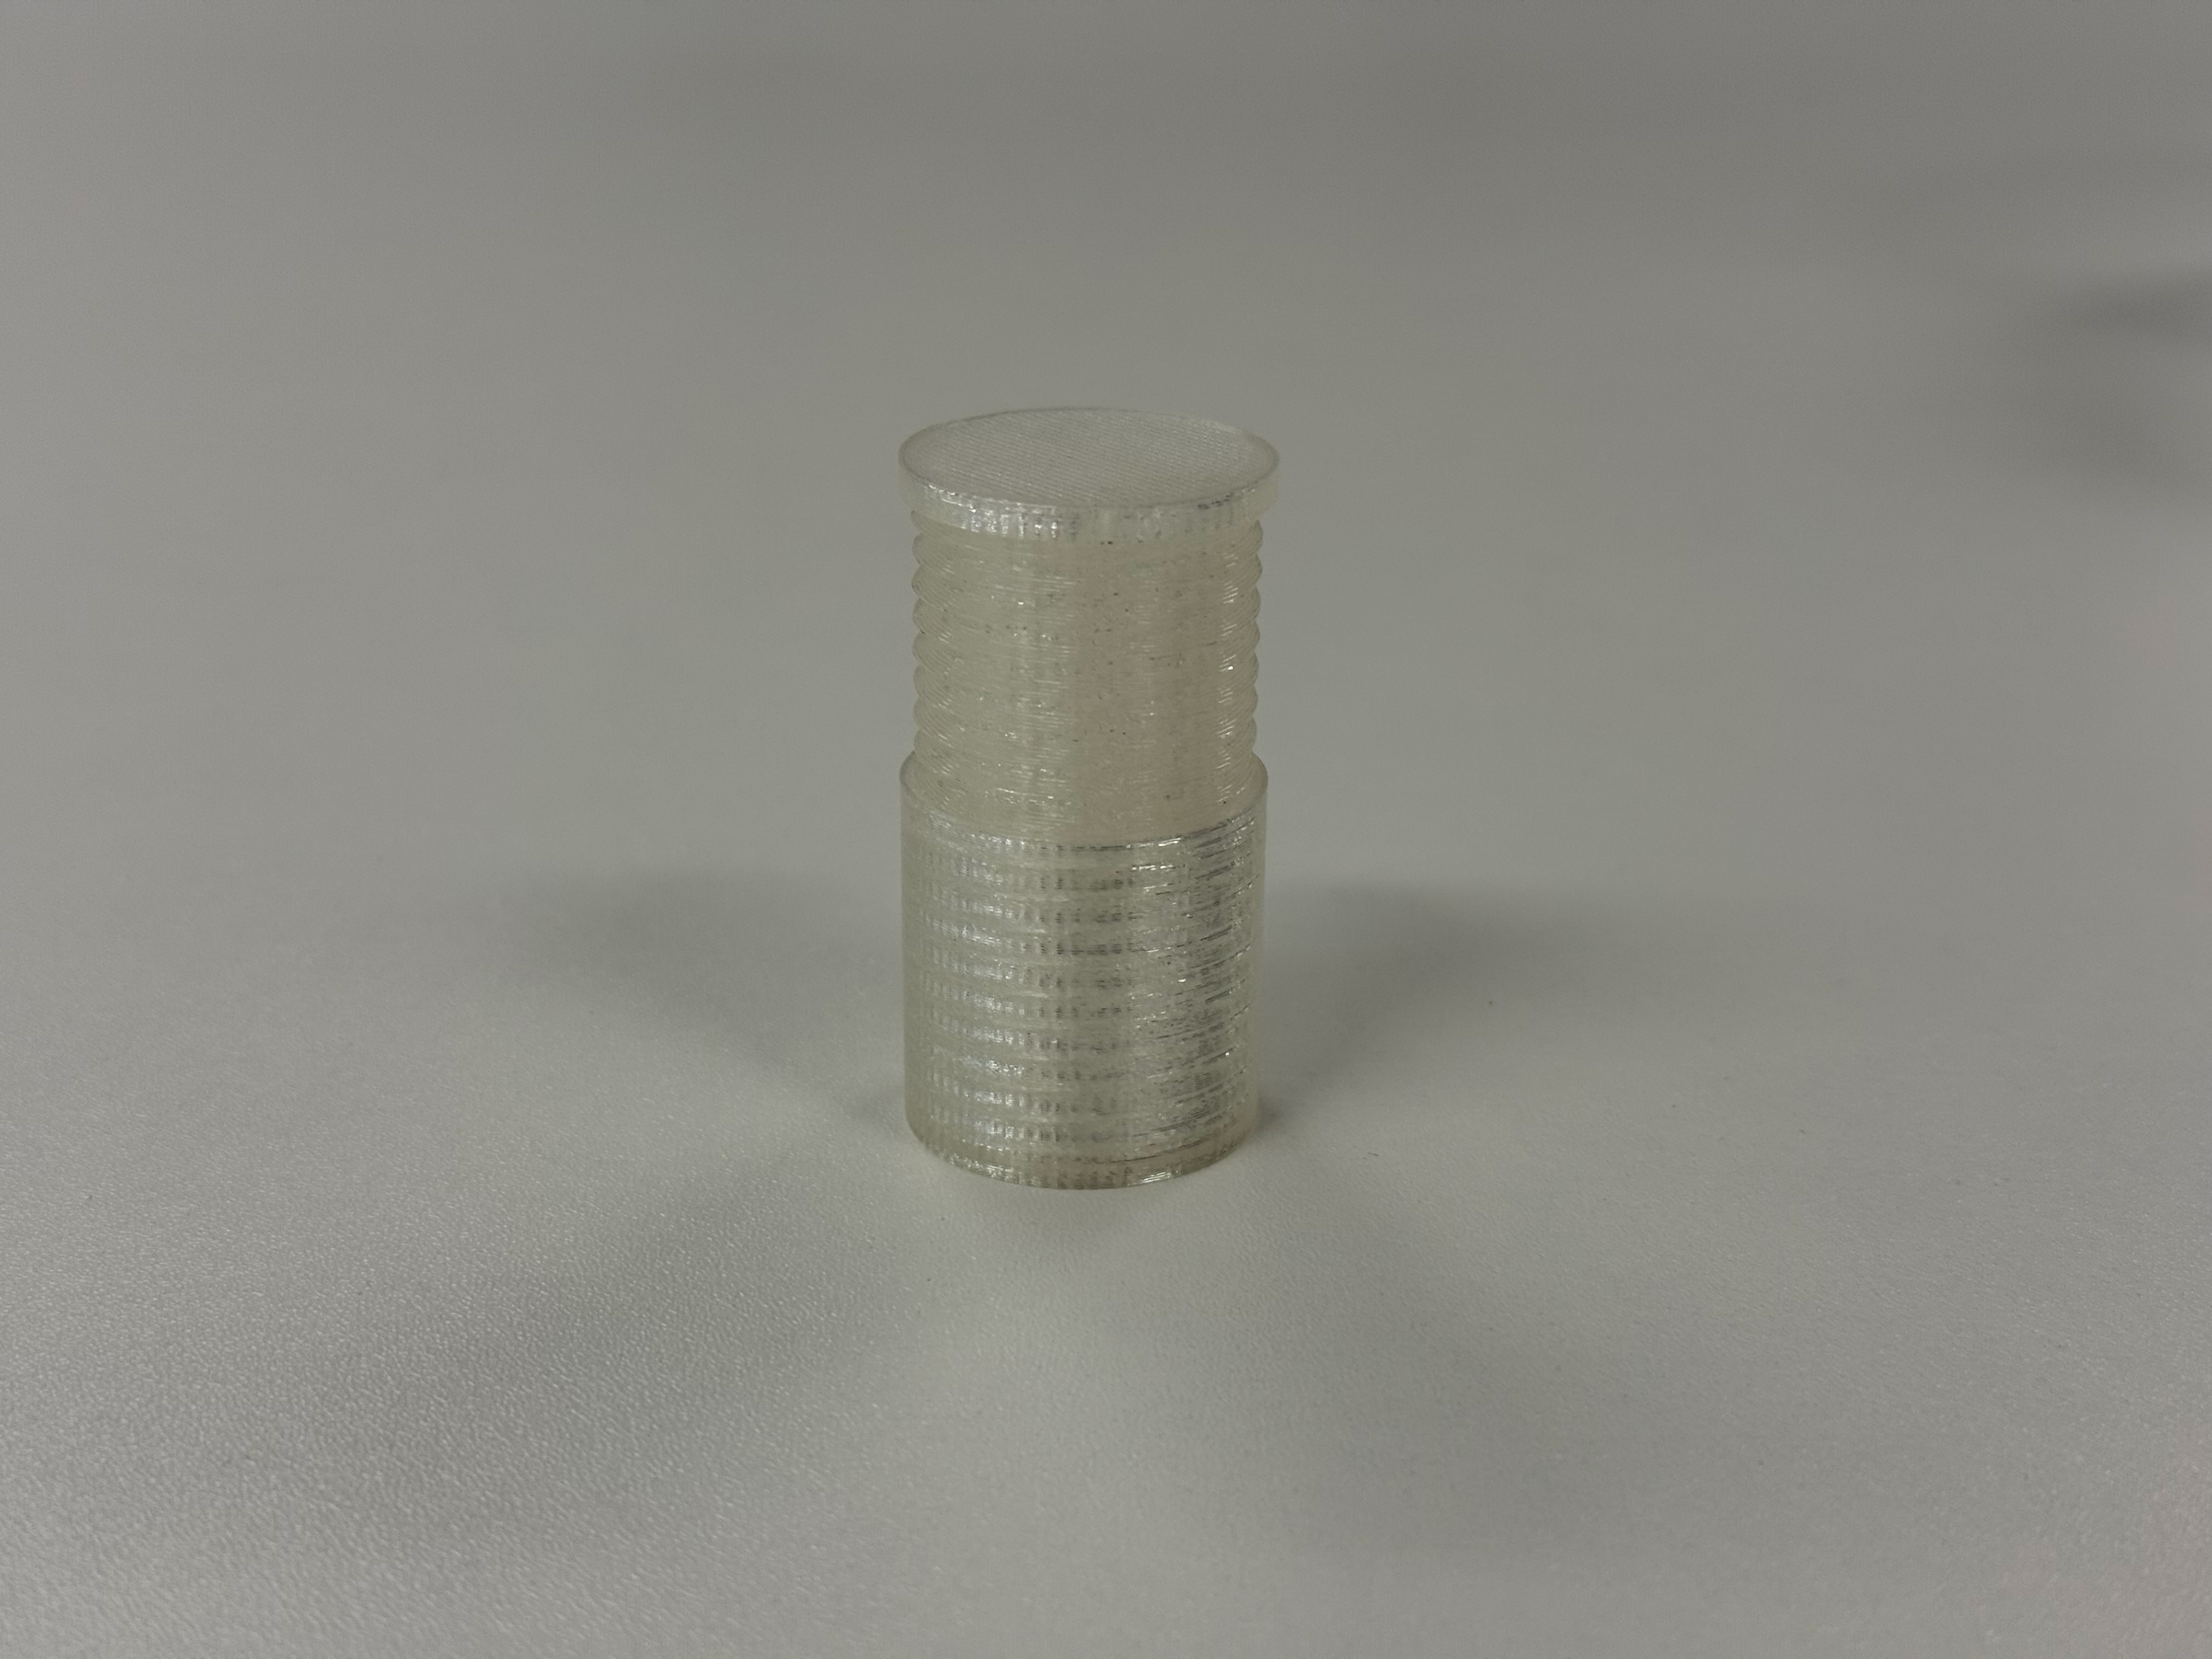
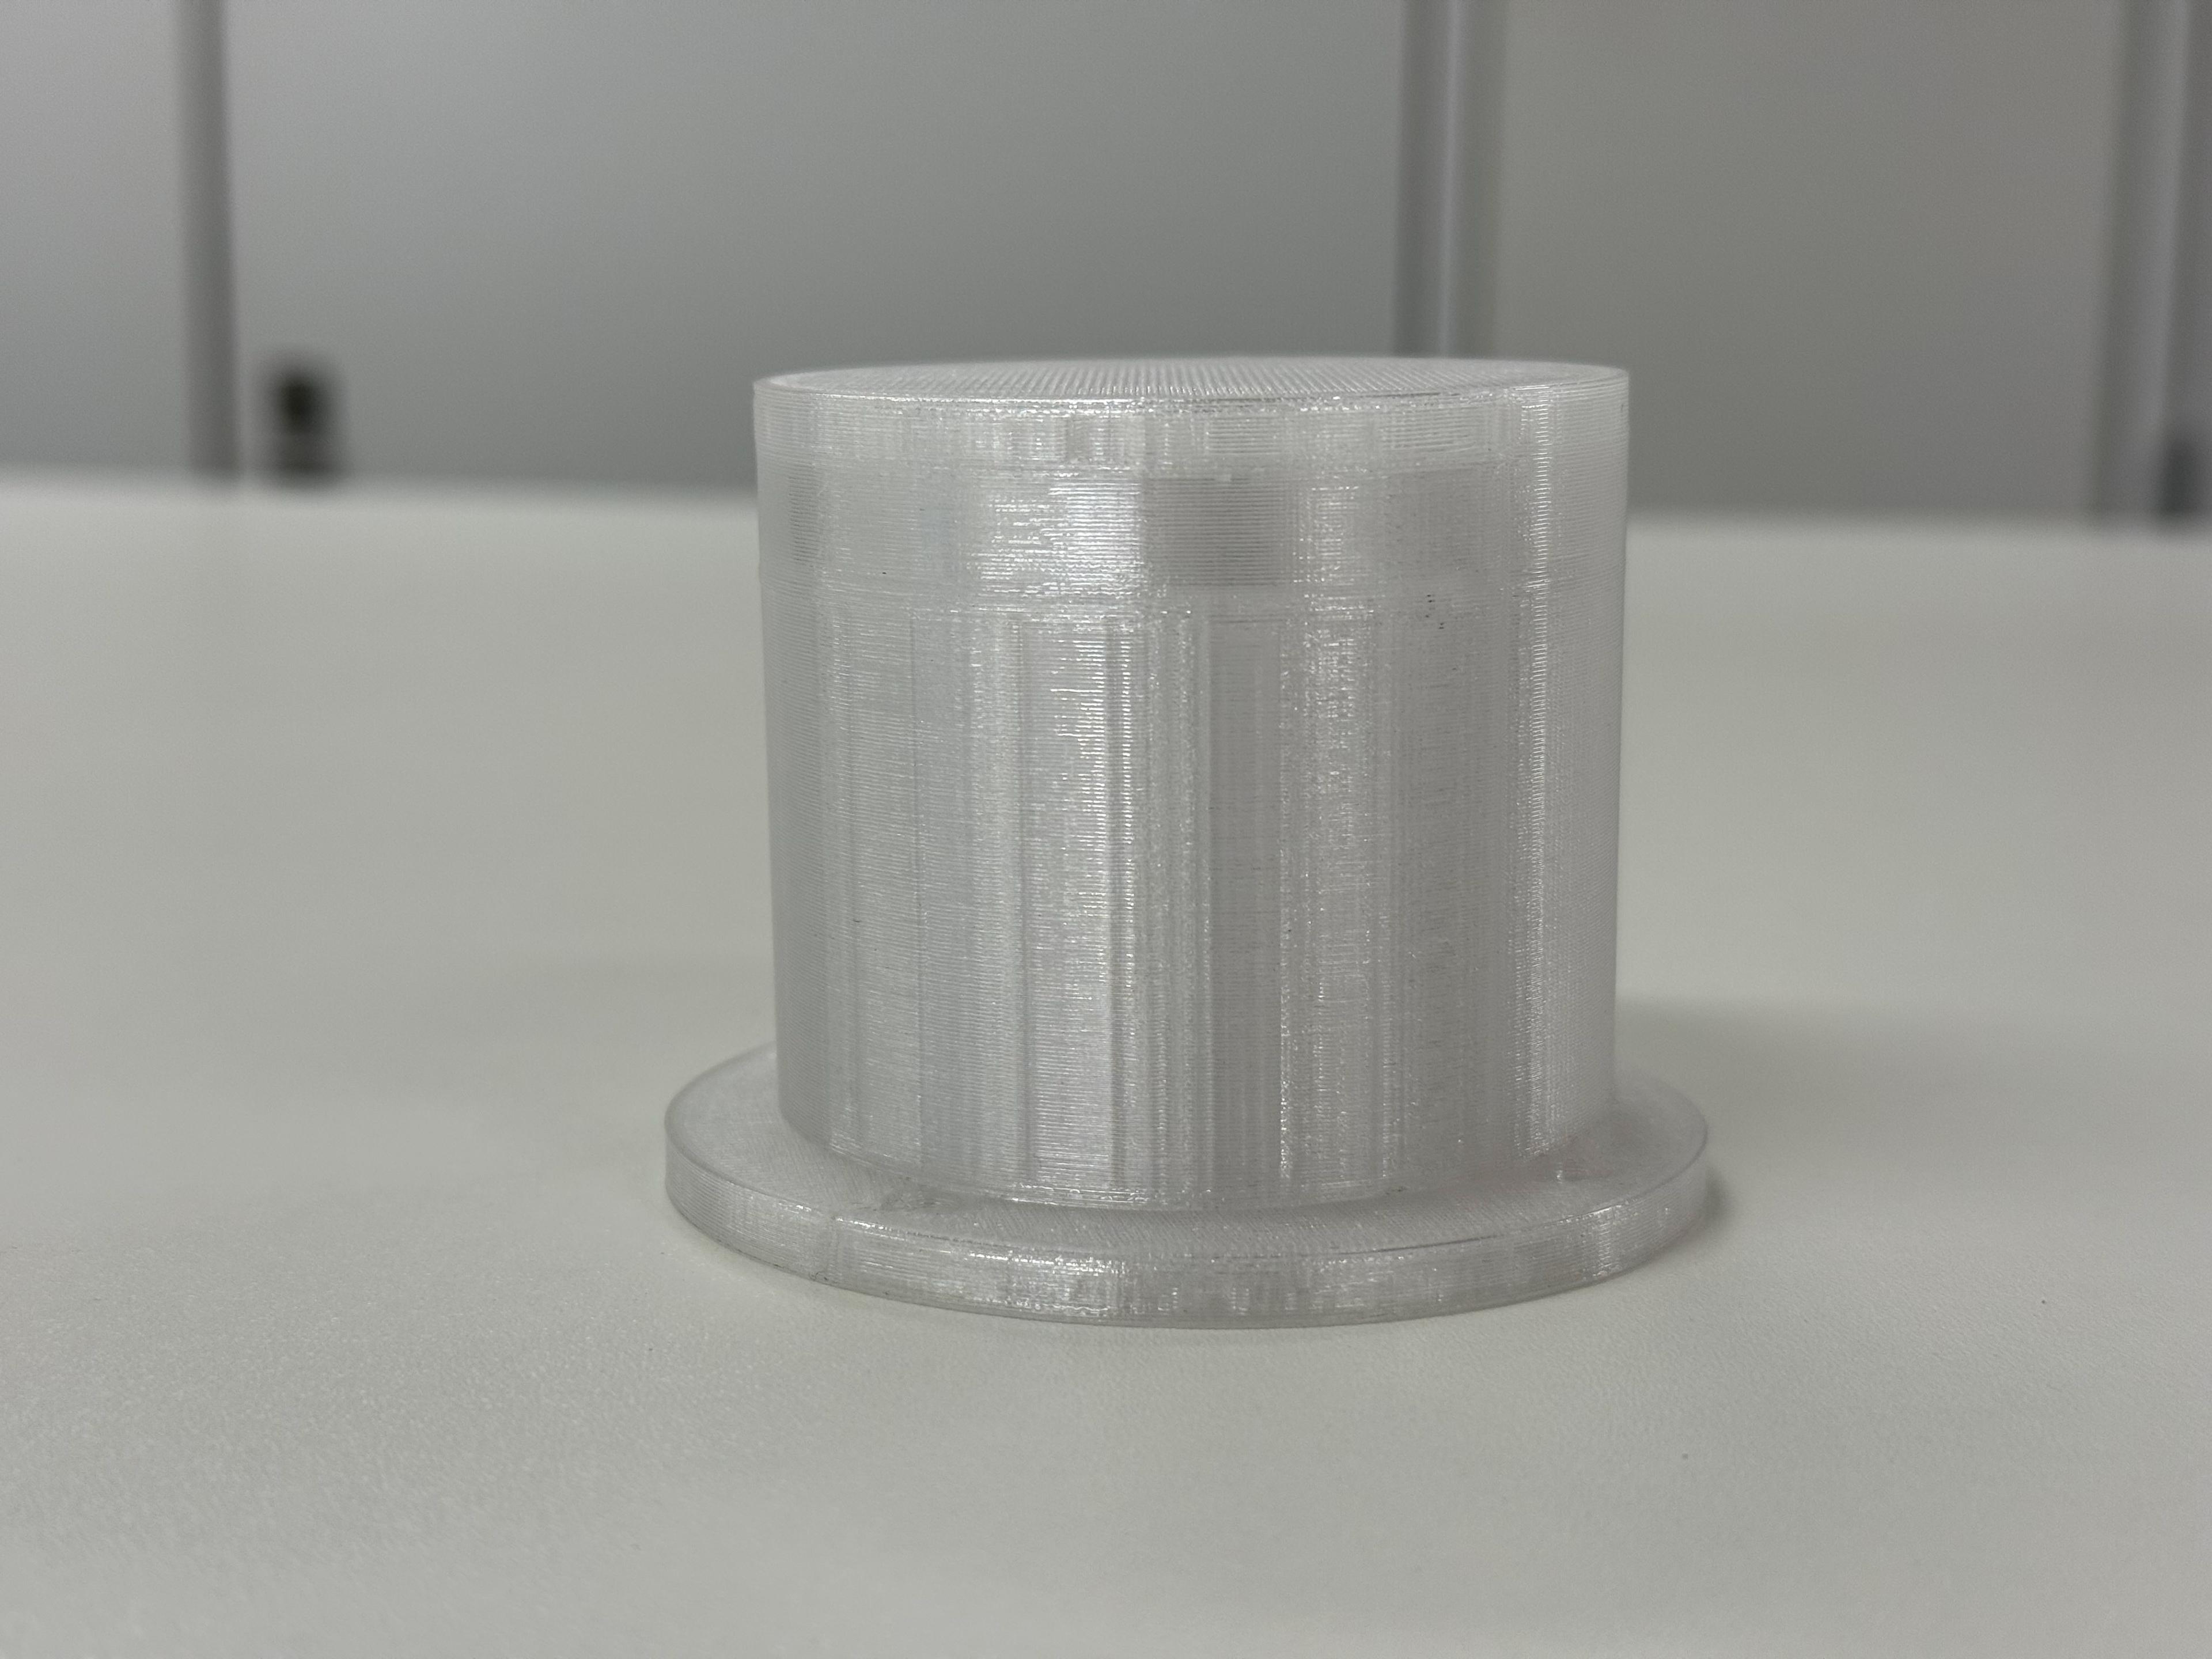
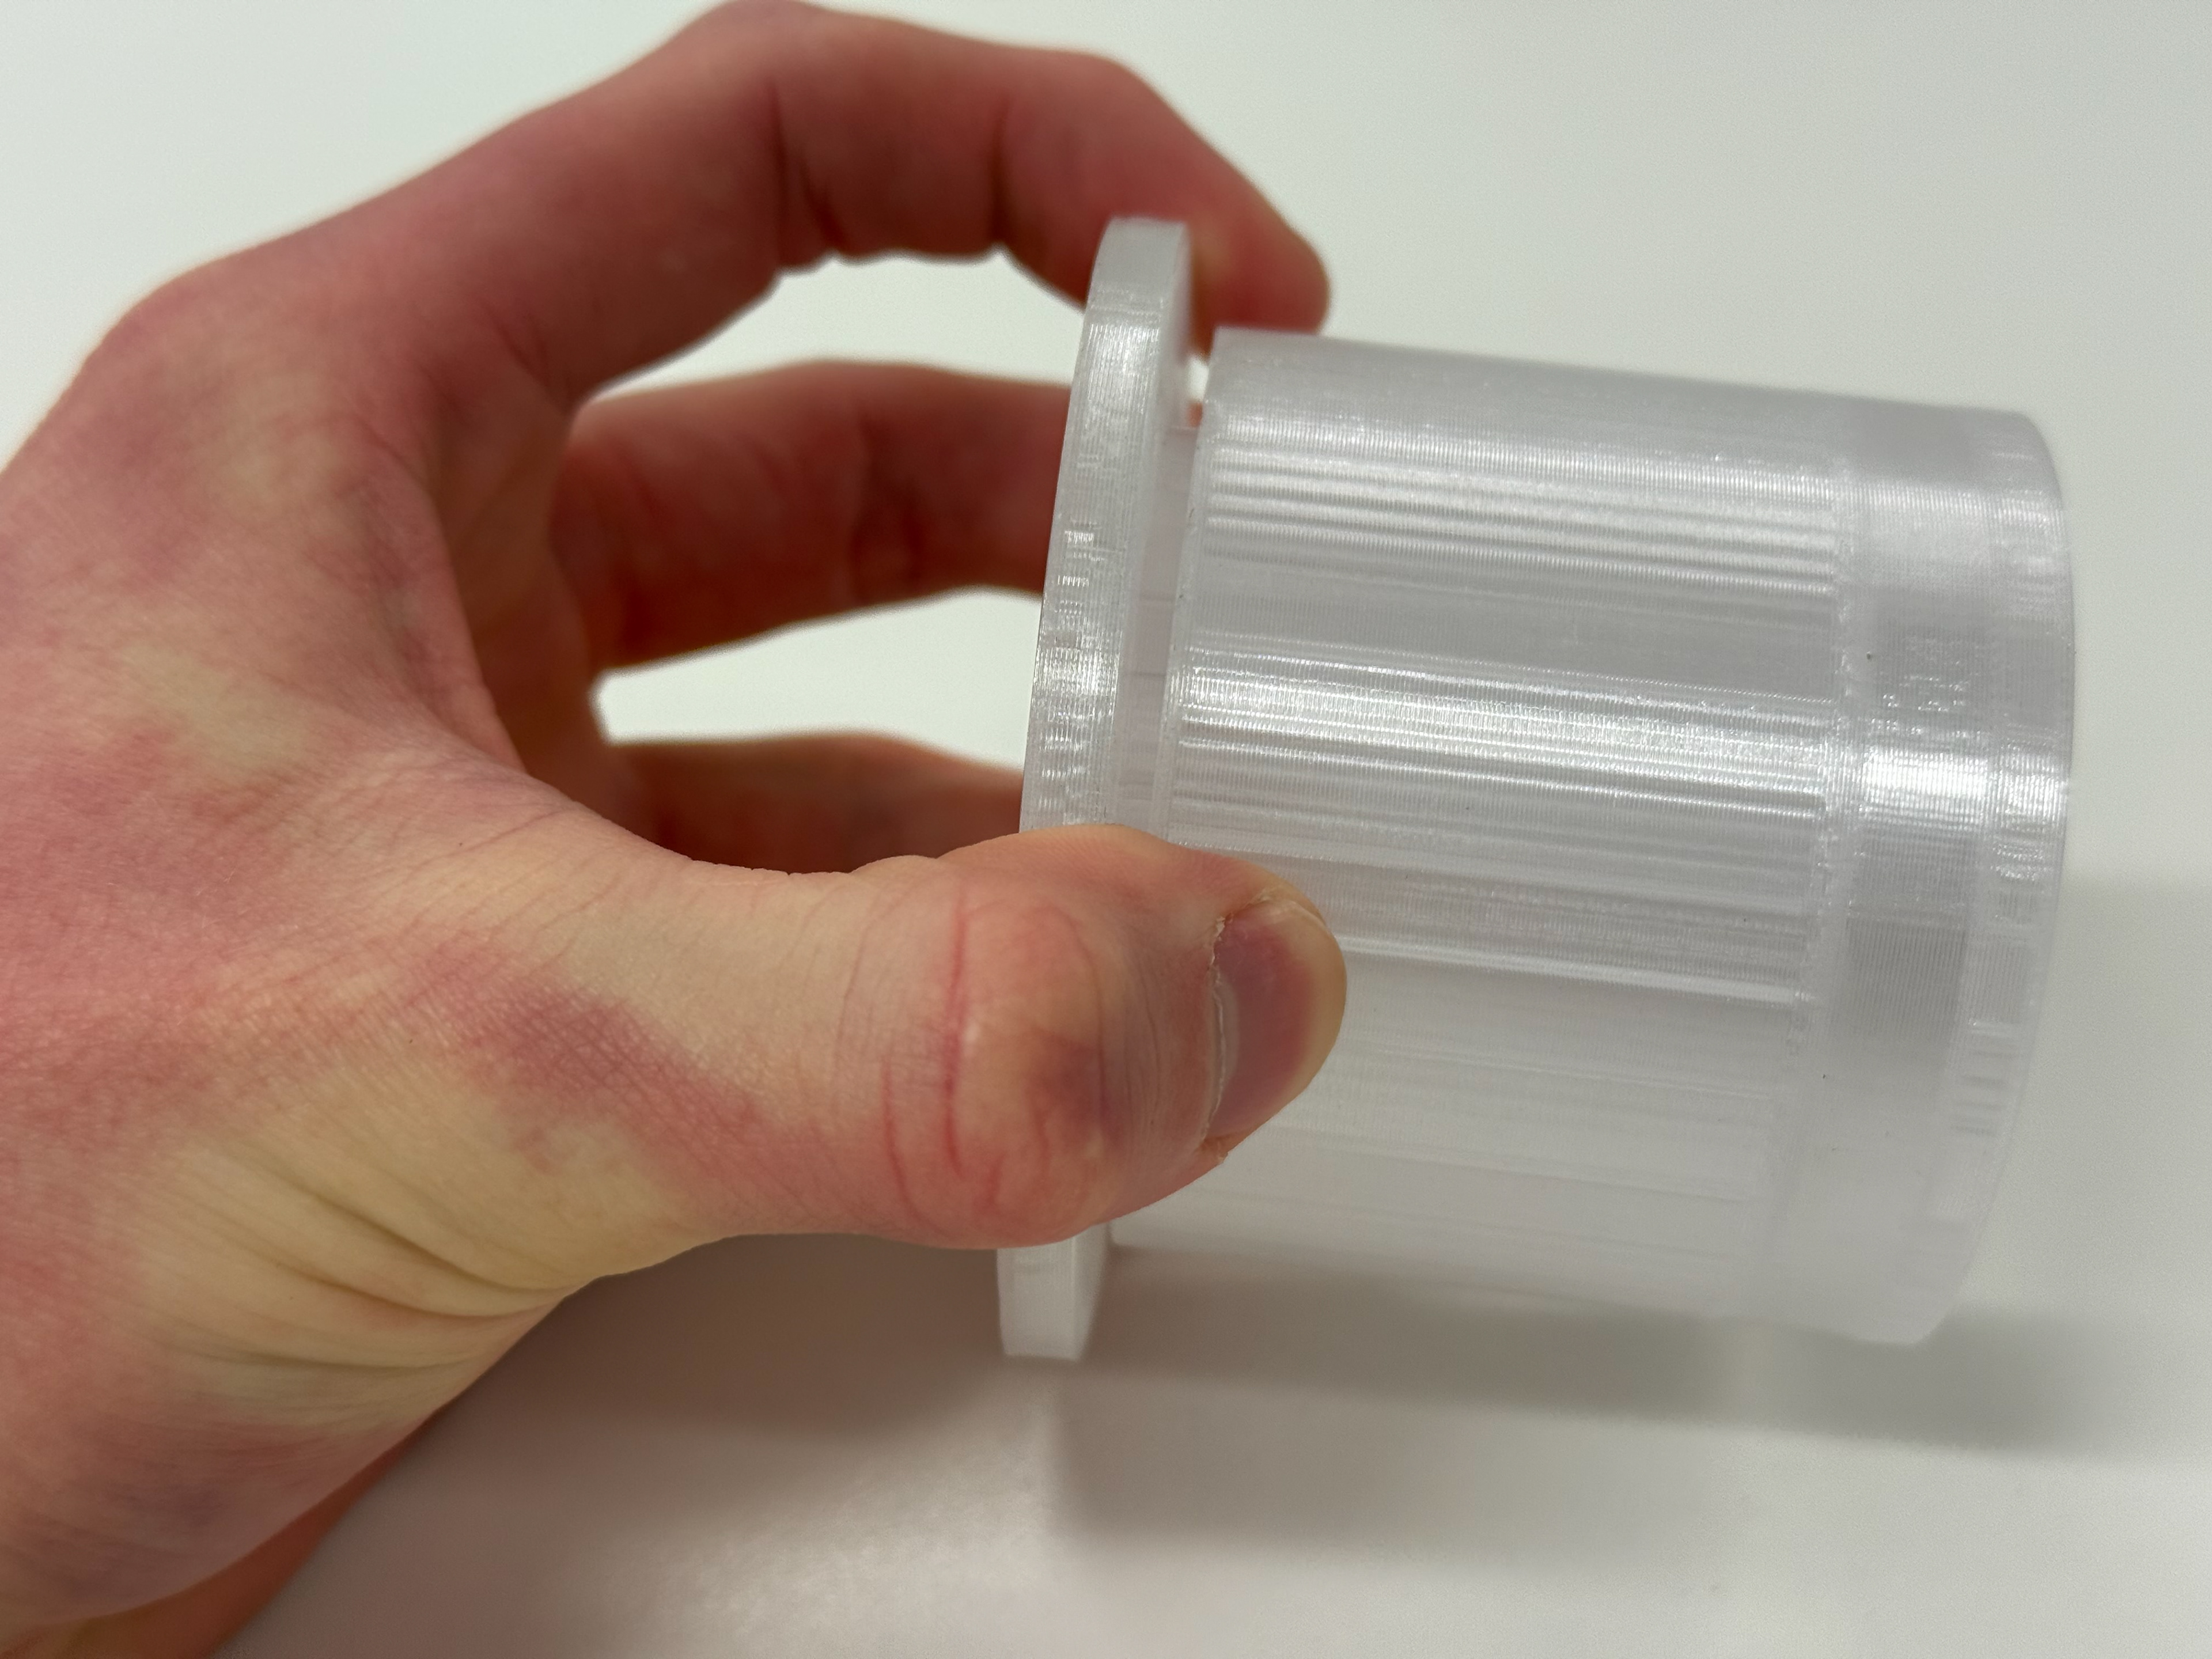
The piece
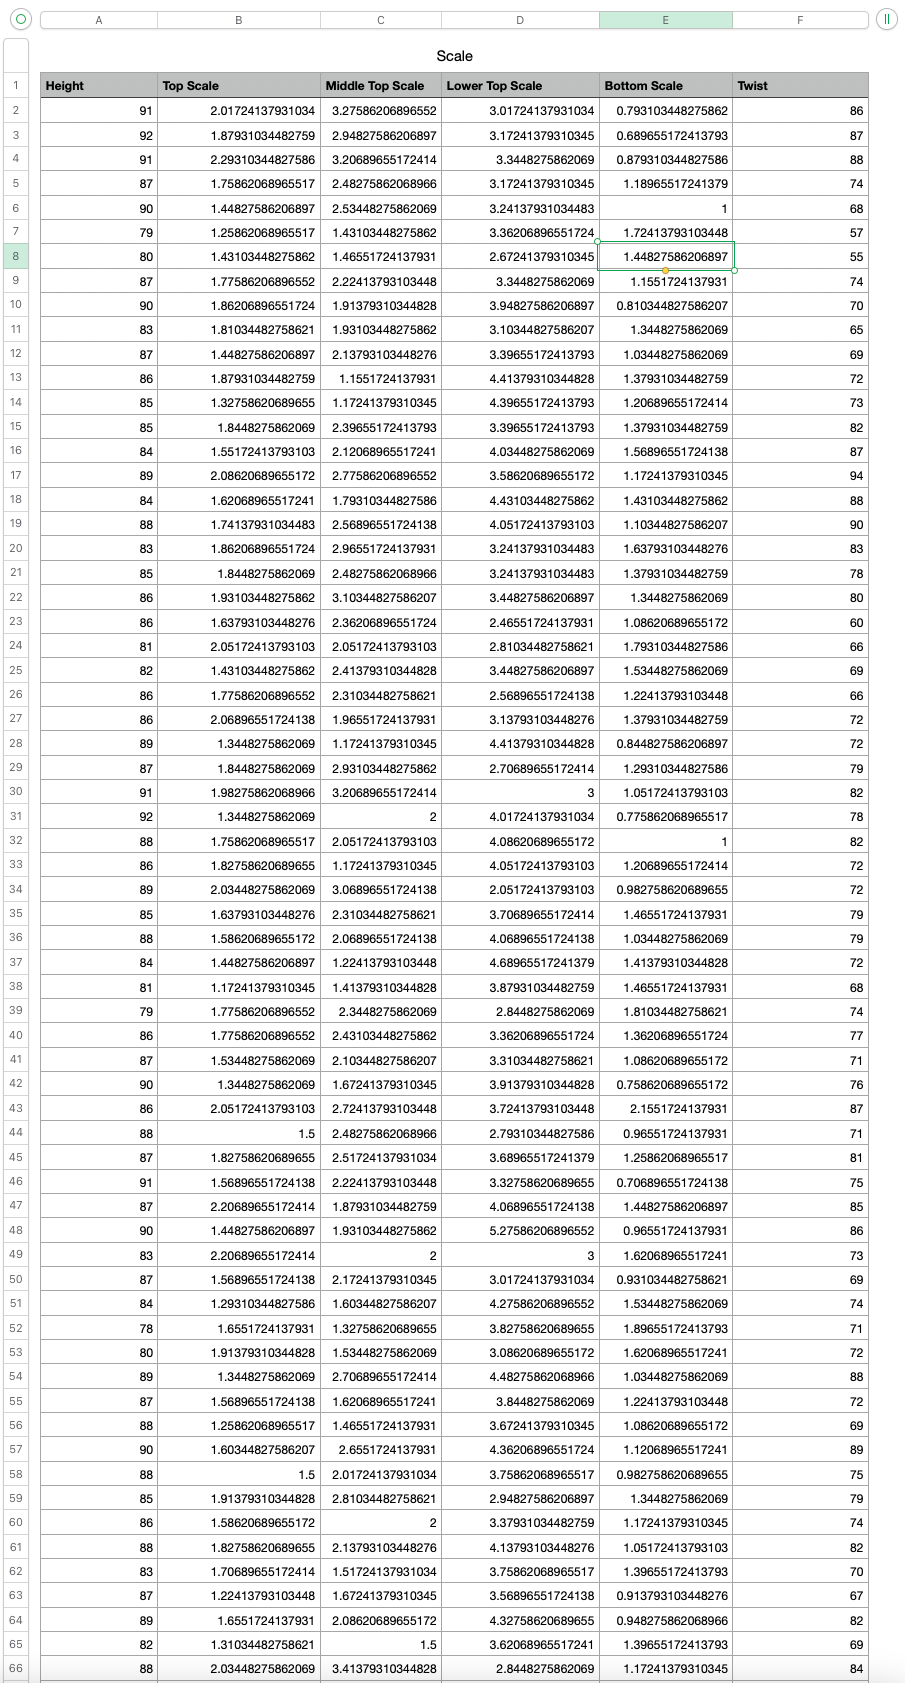
This is not all the data. I have 625 rows in total.
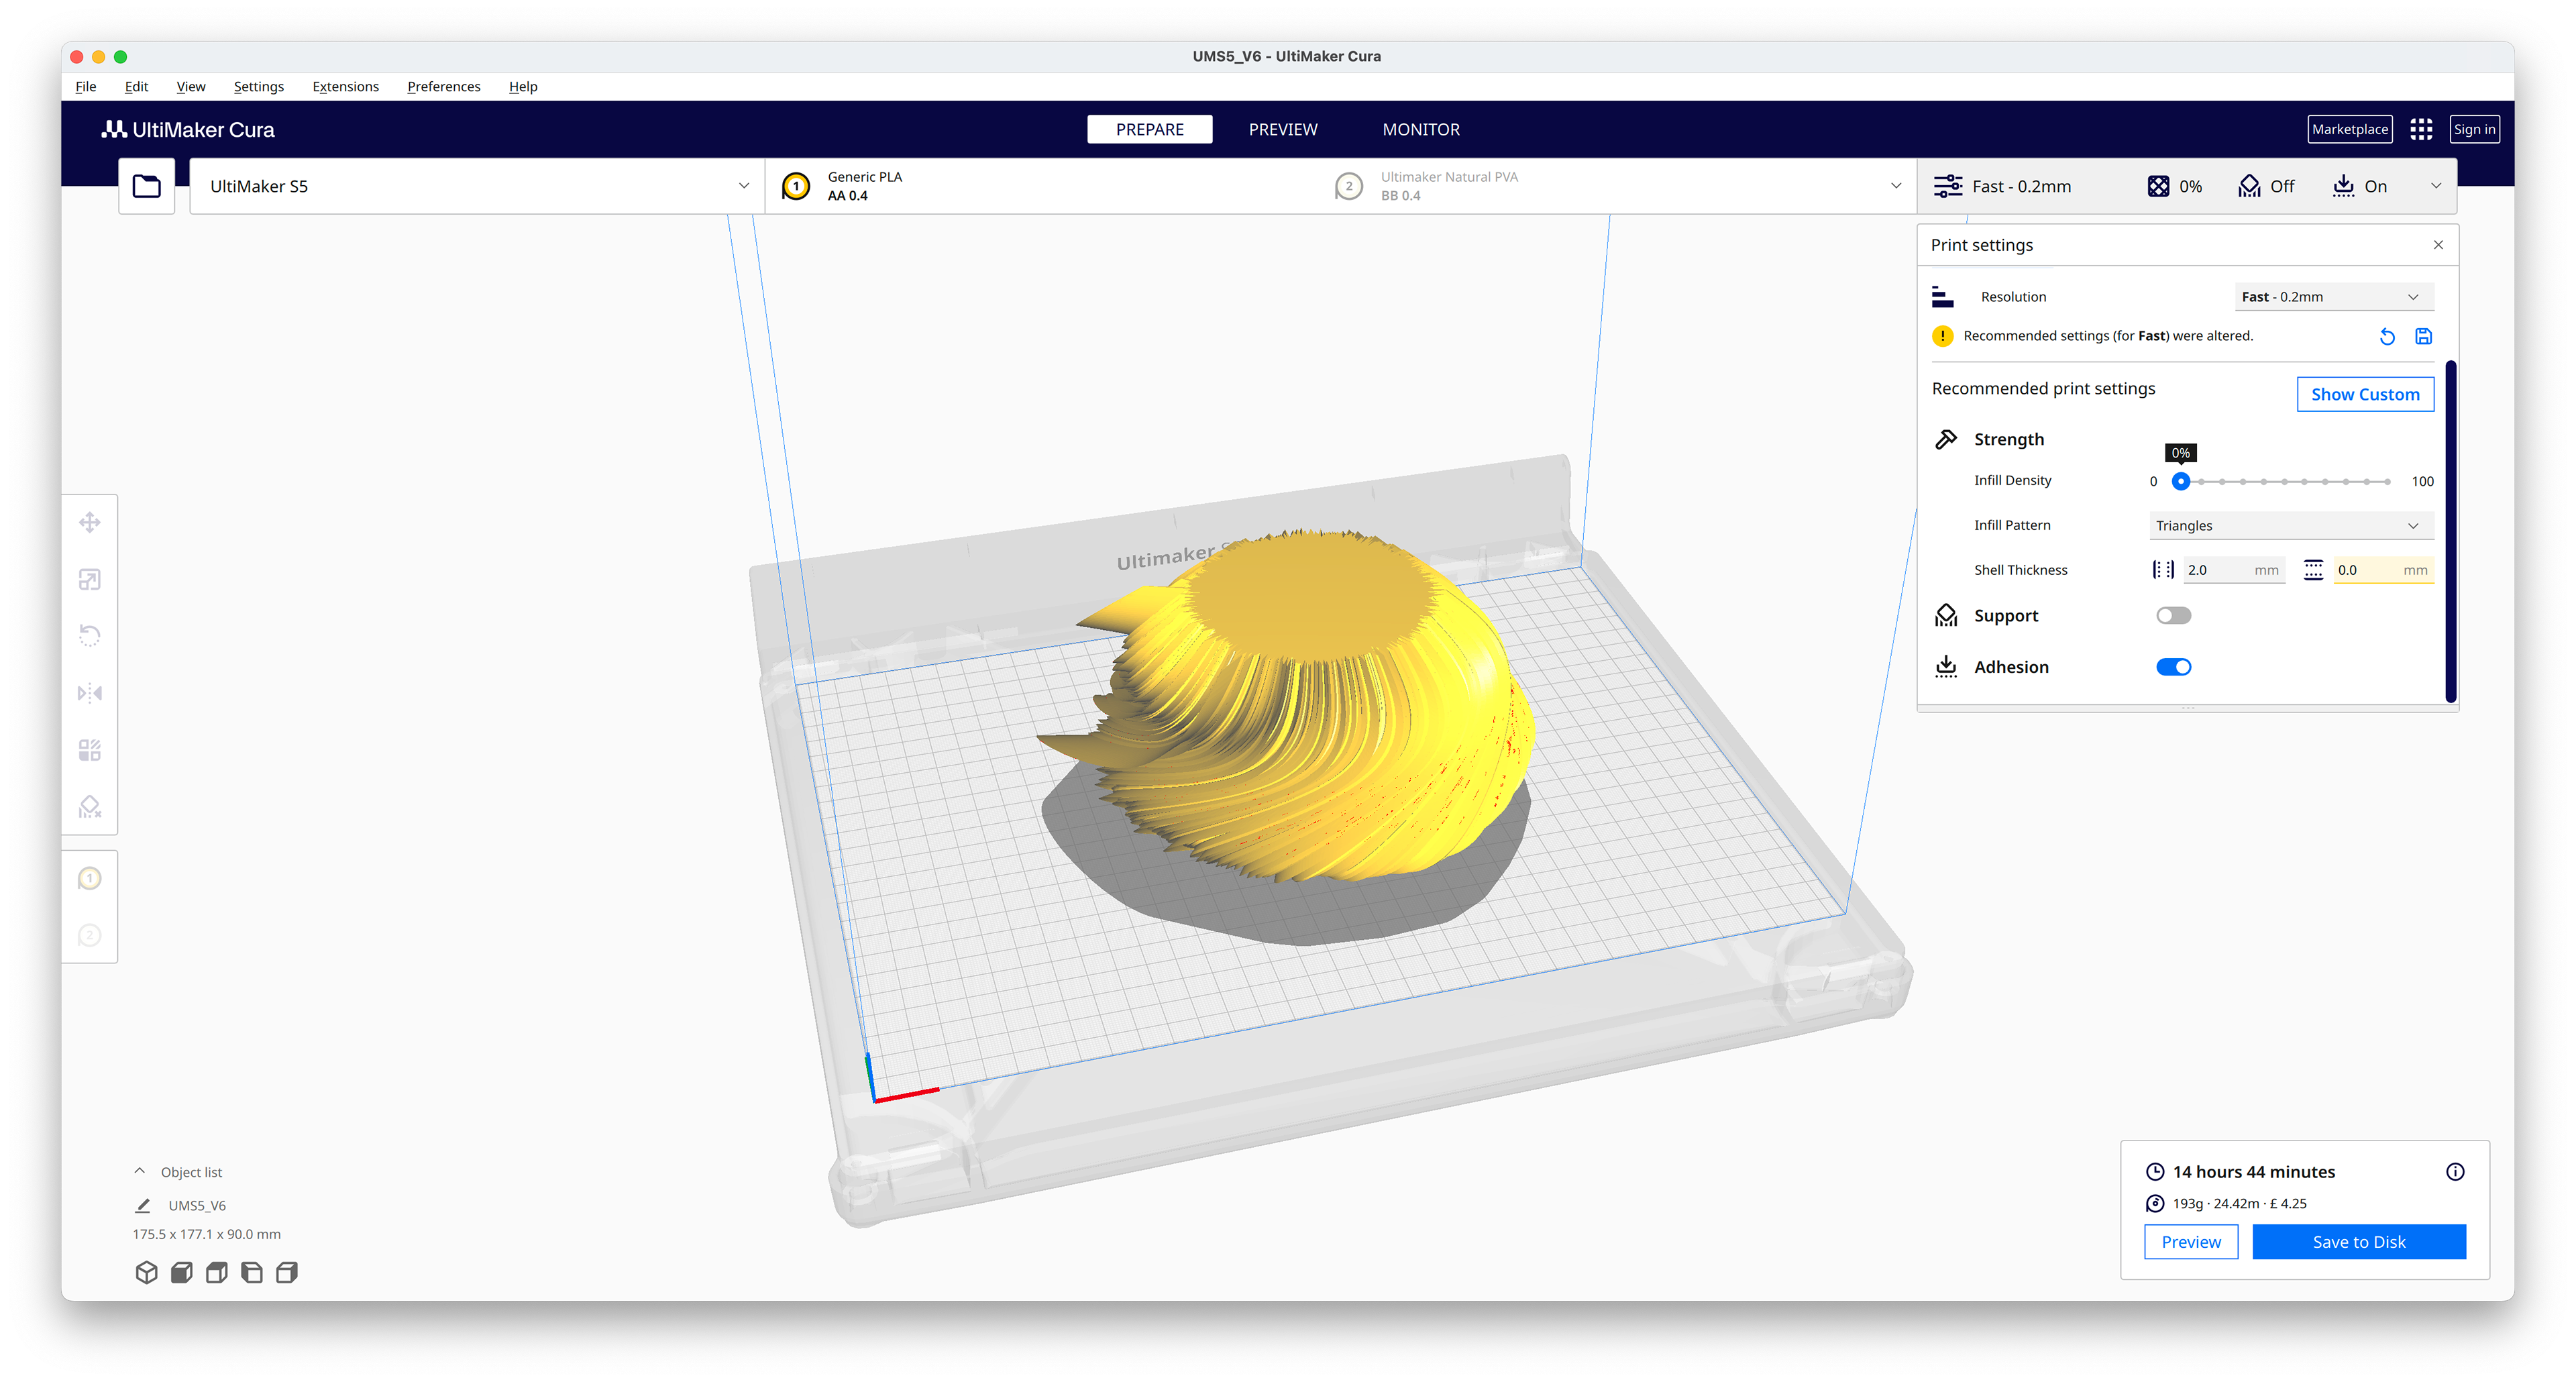
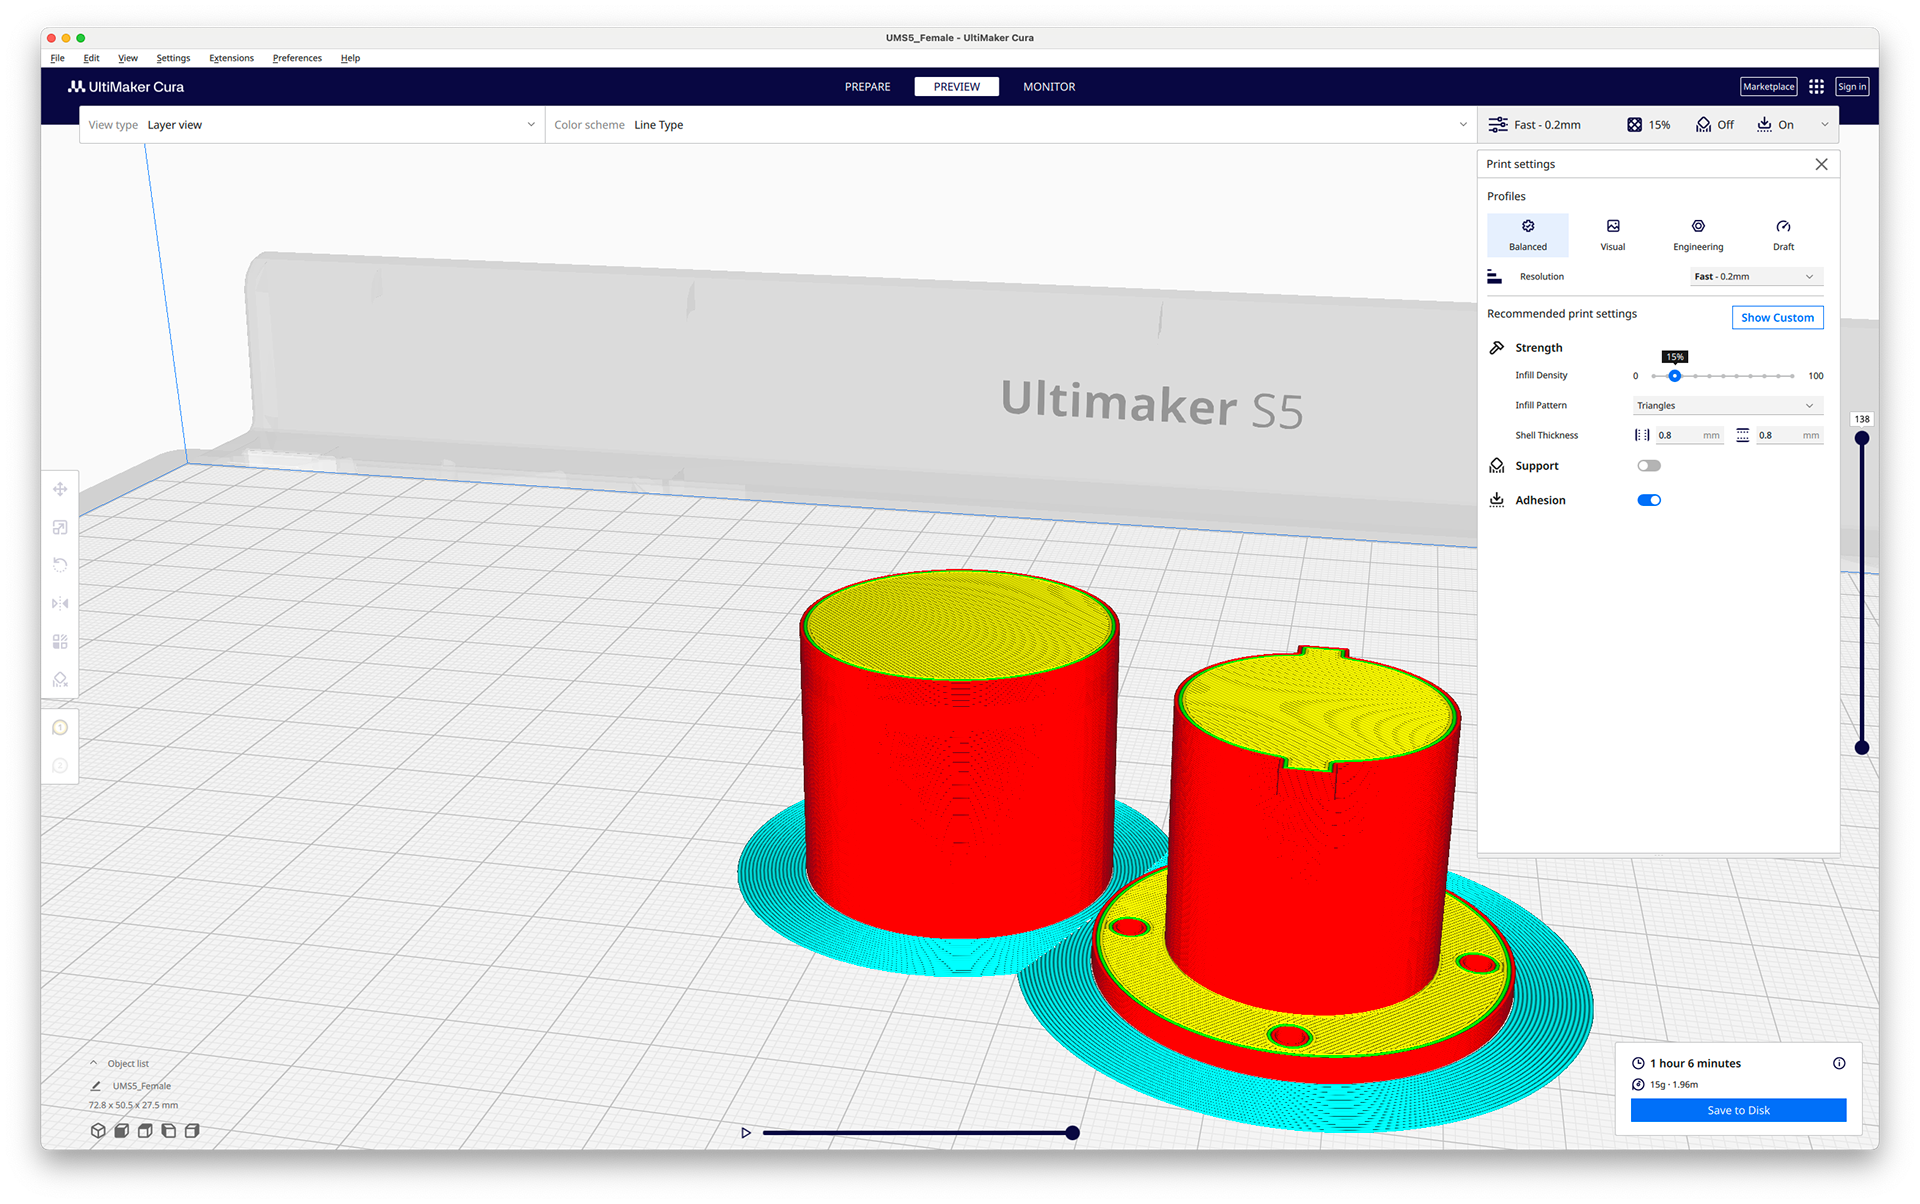
Cura Settings
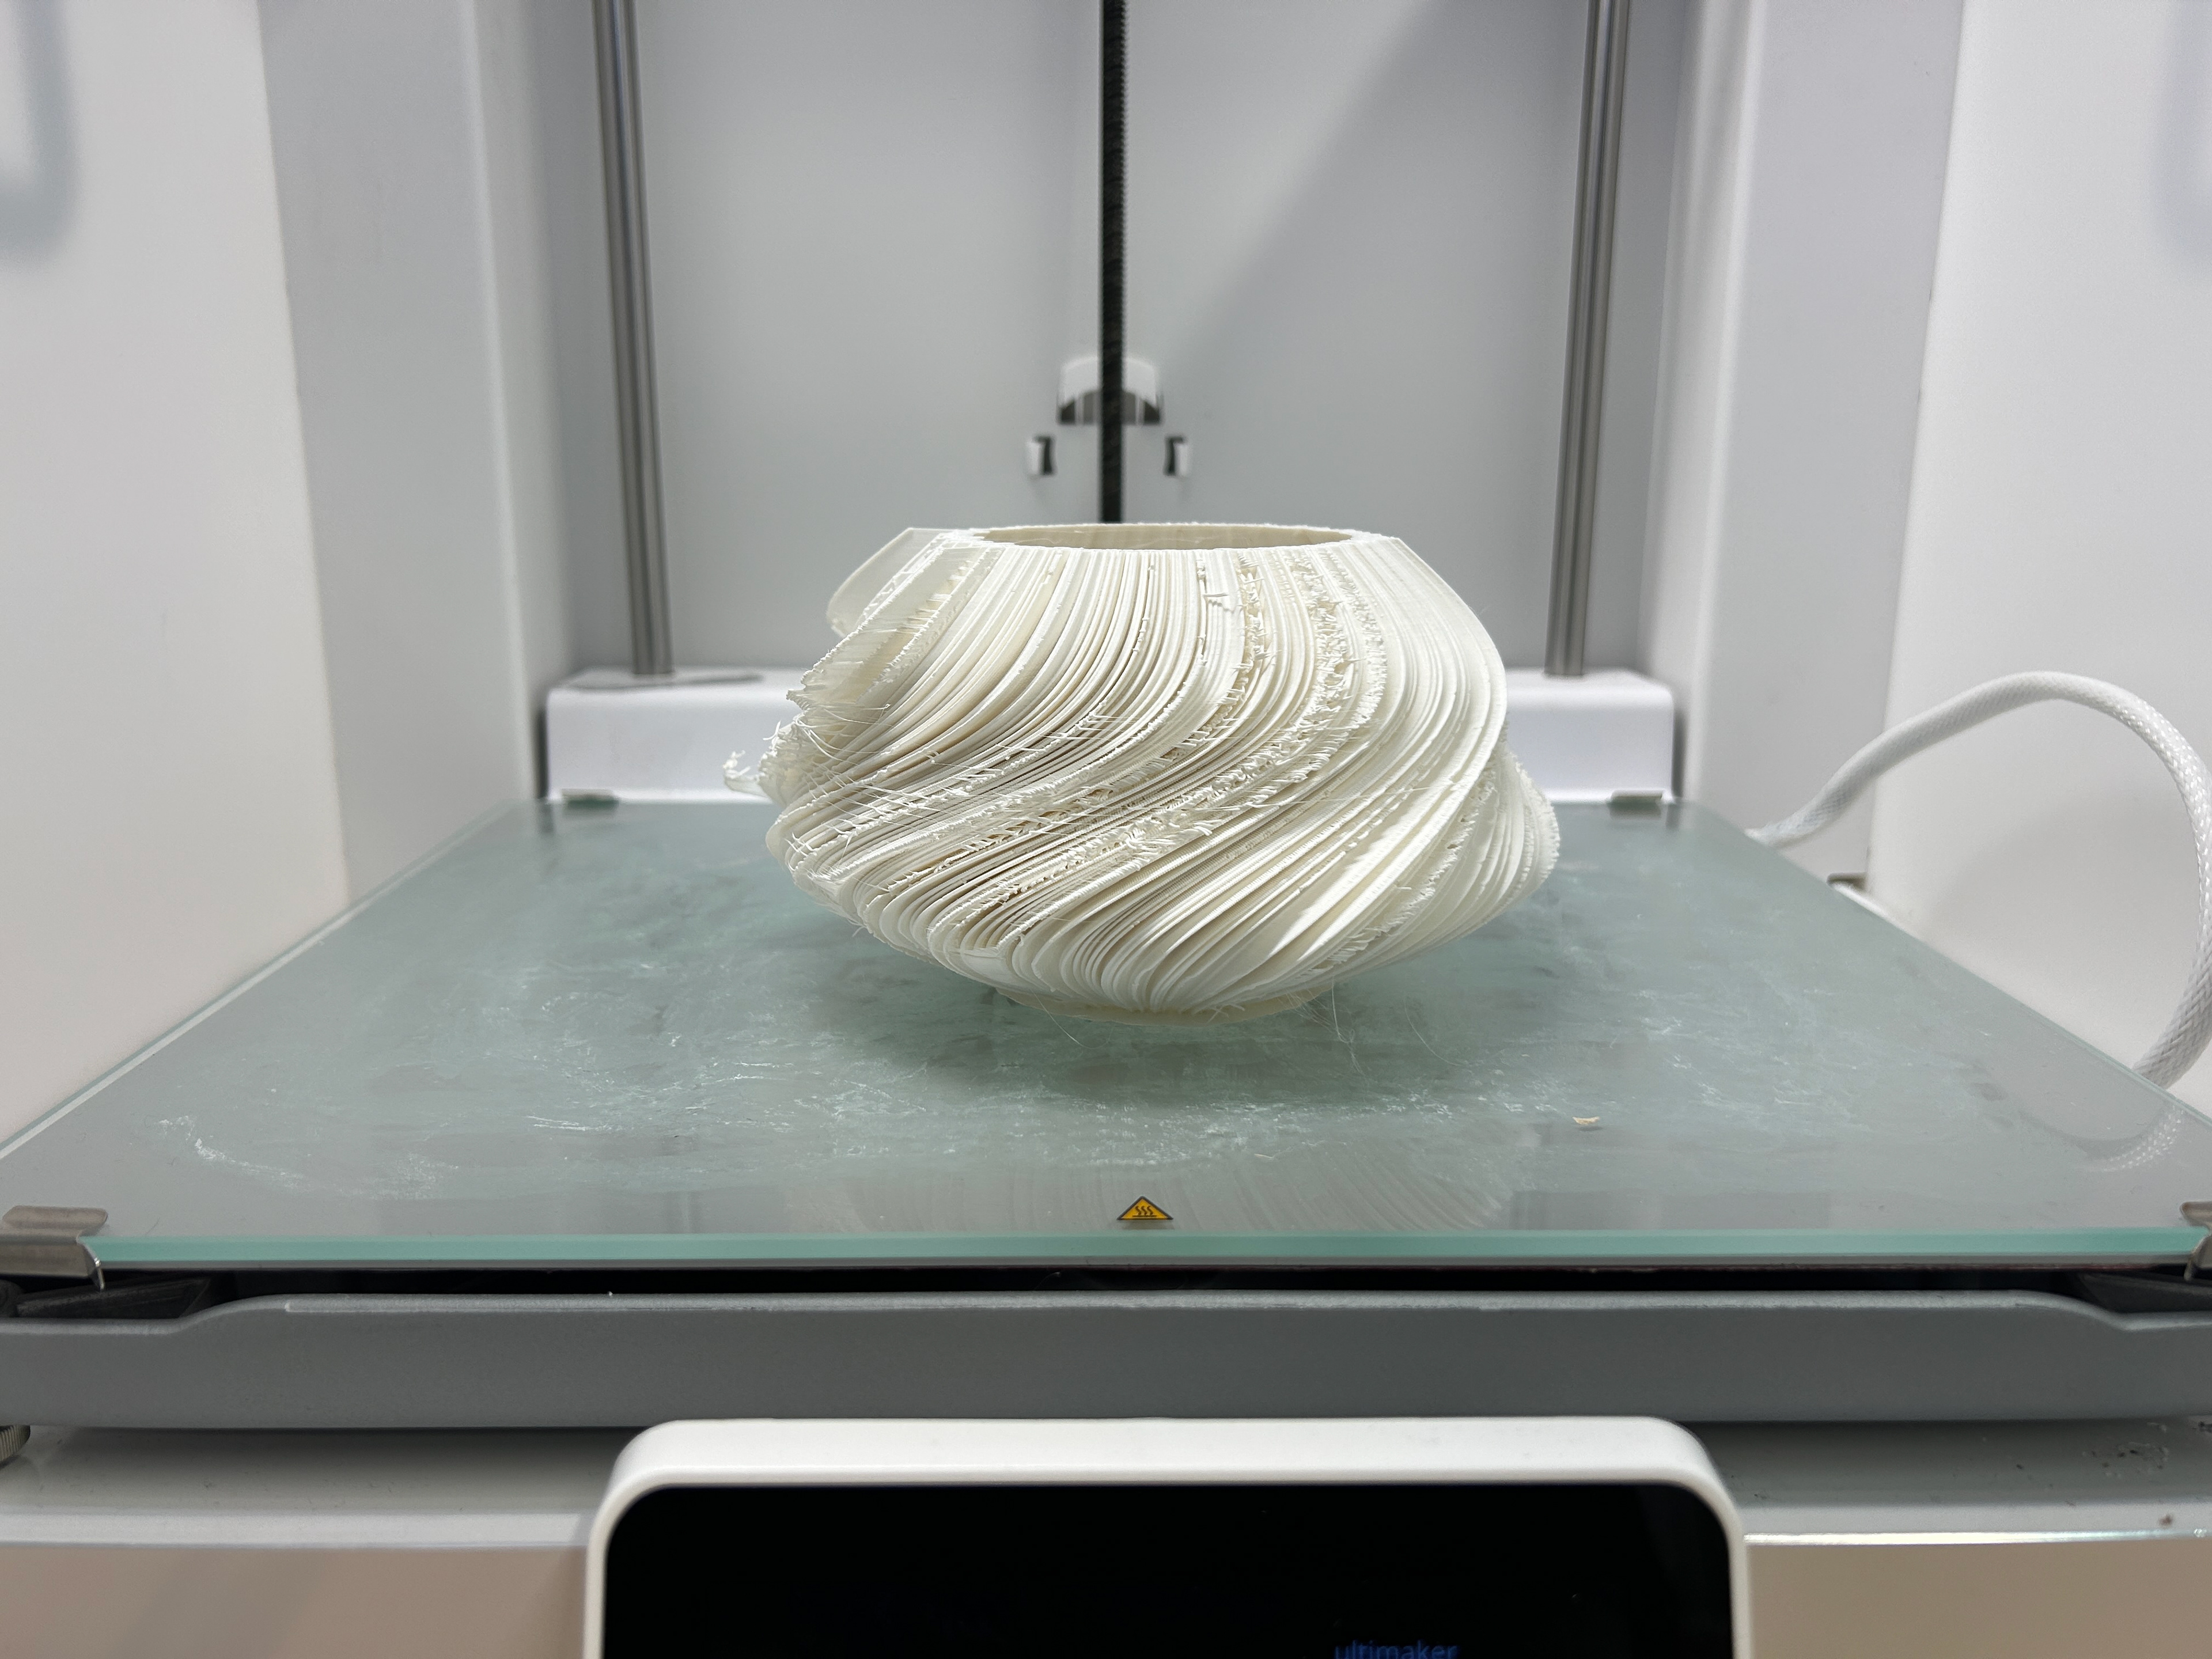
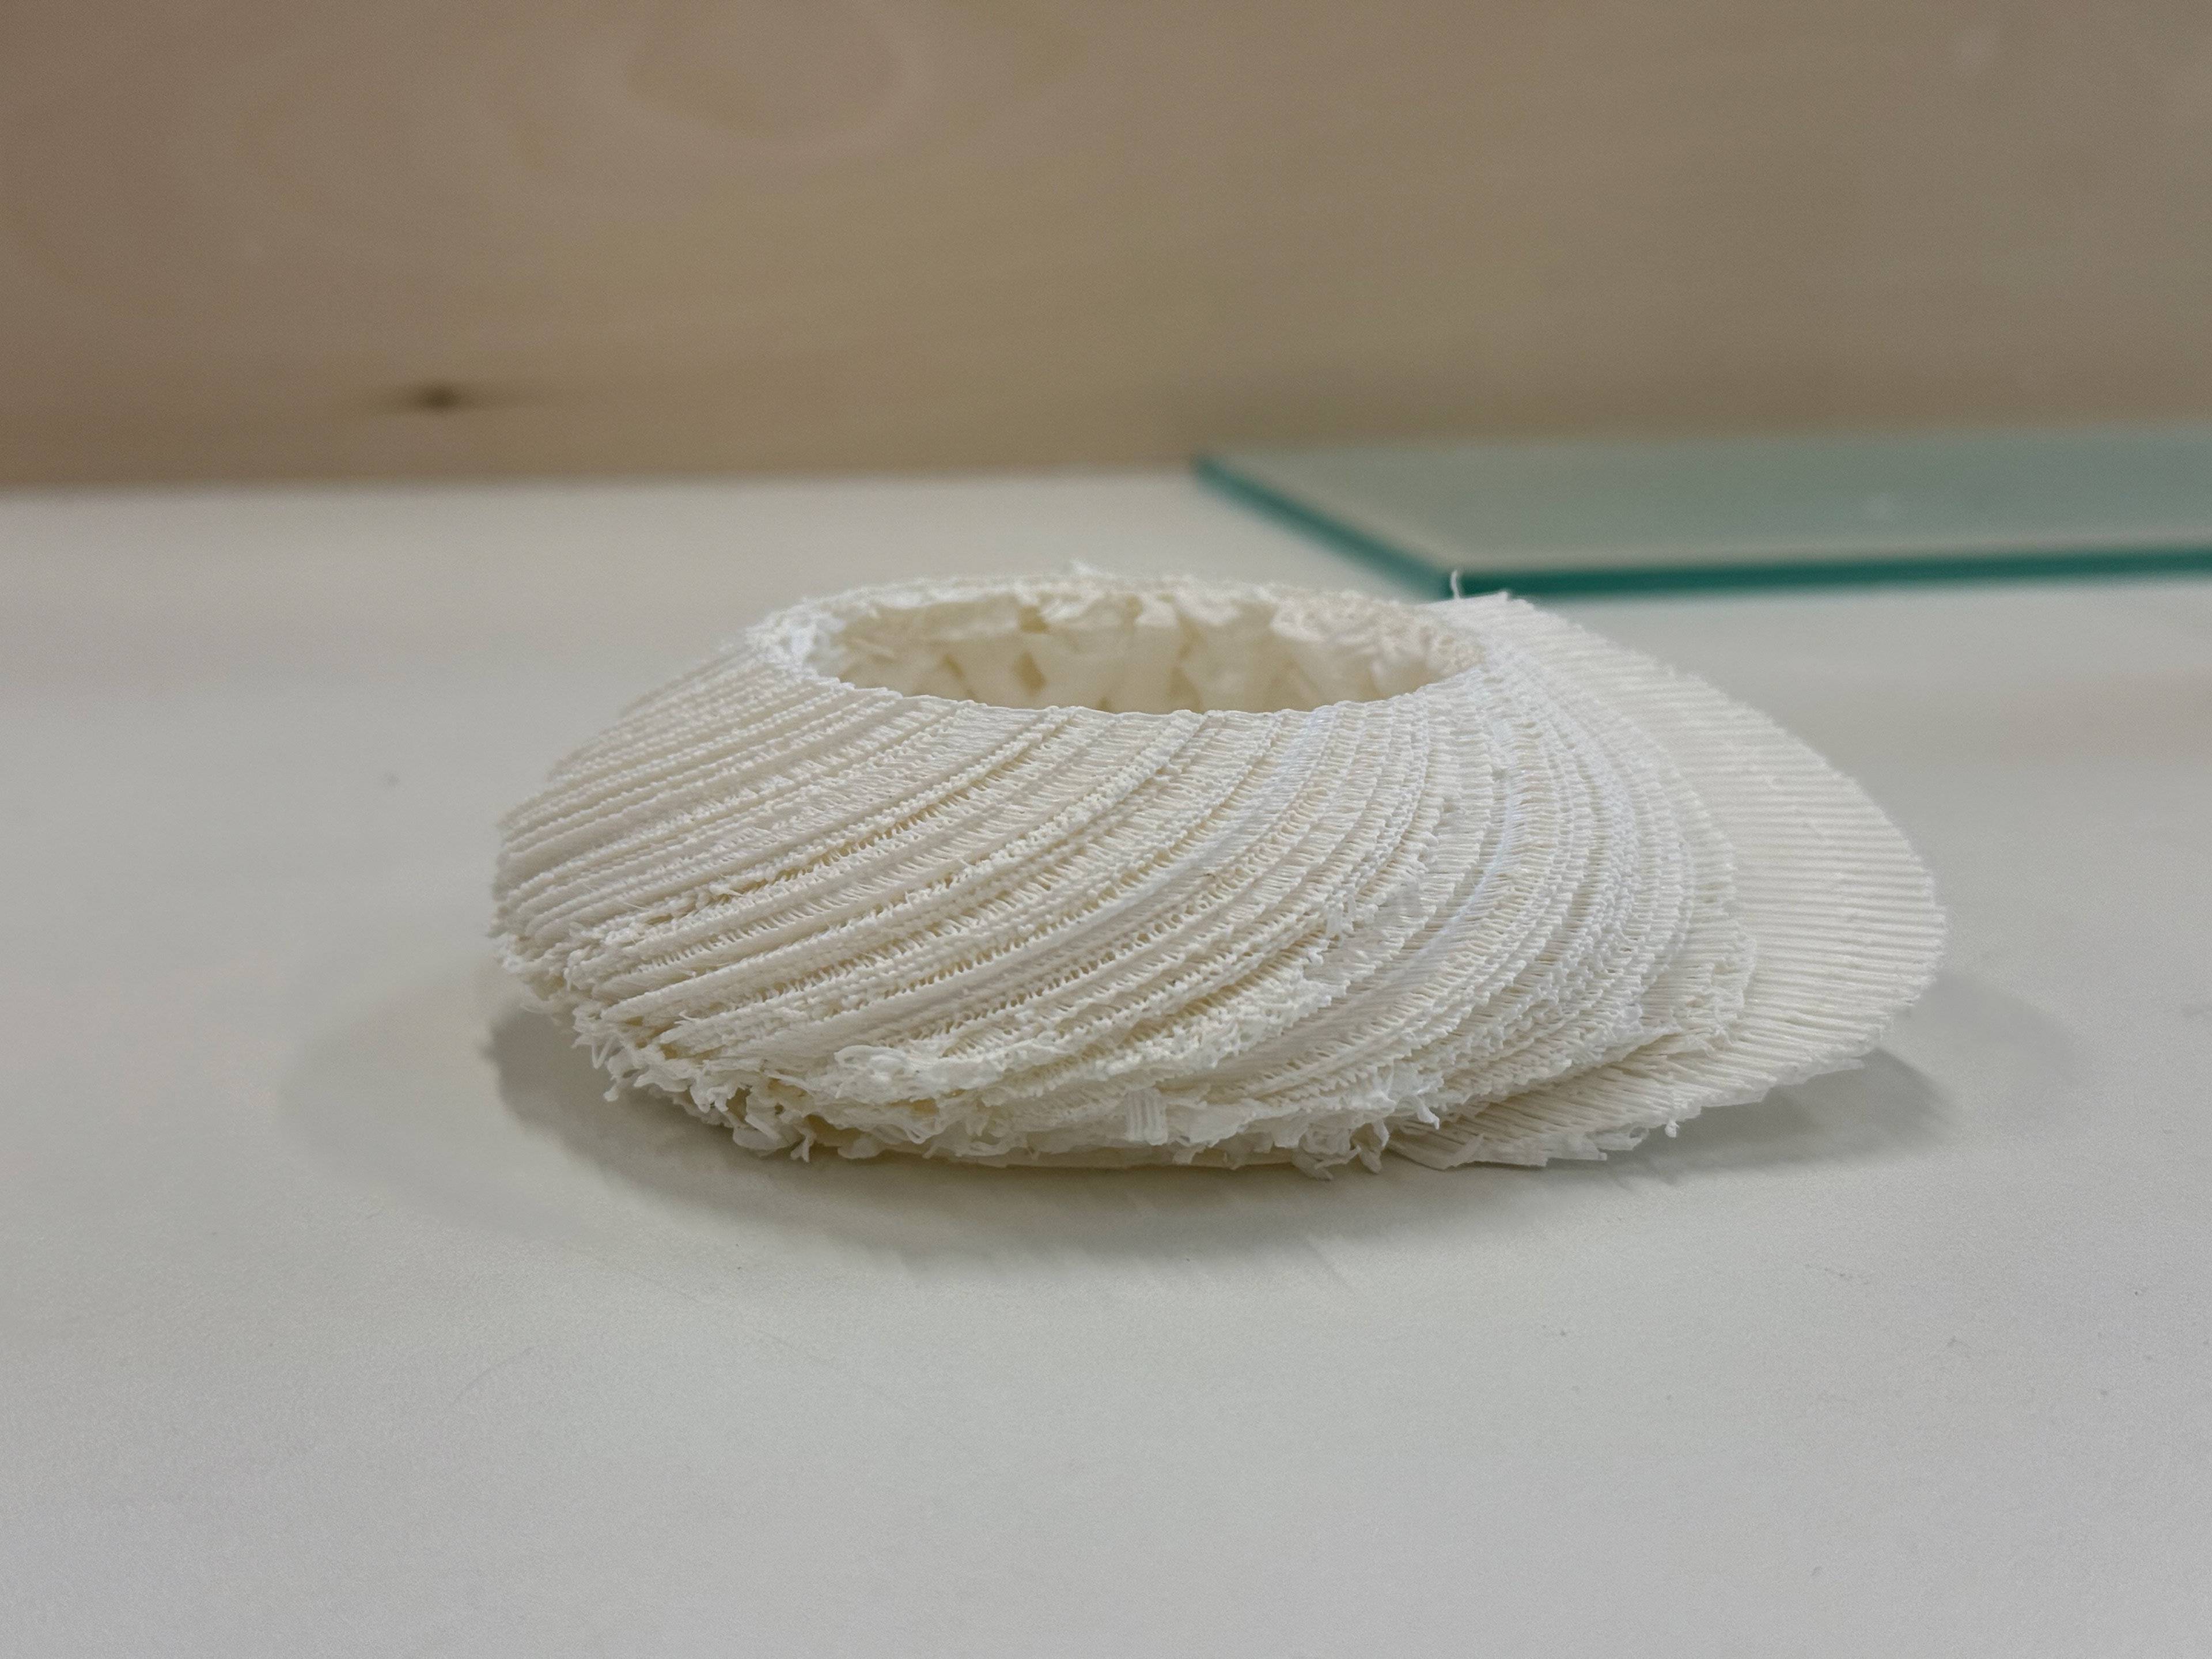
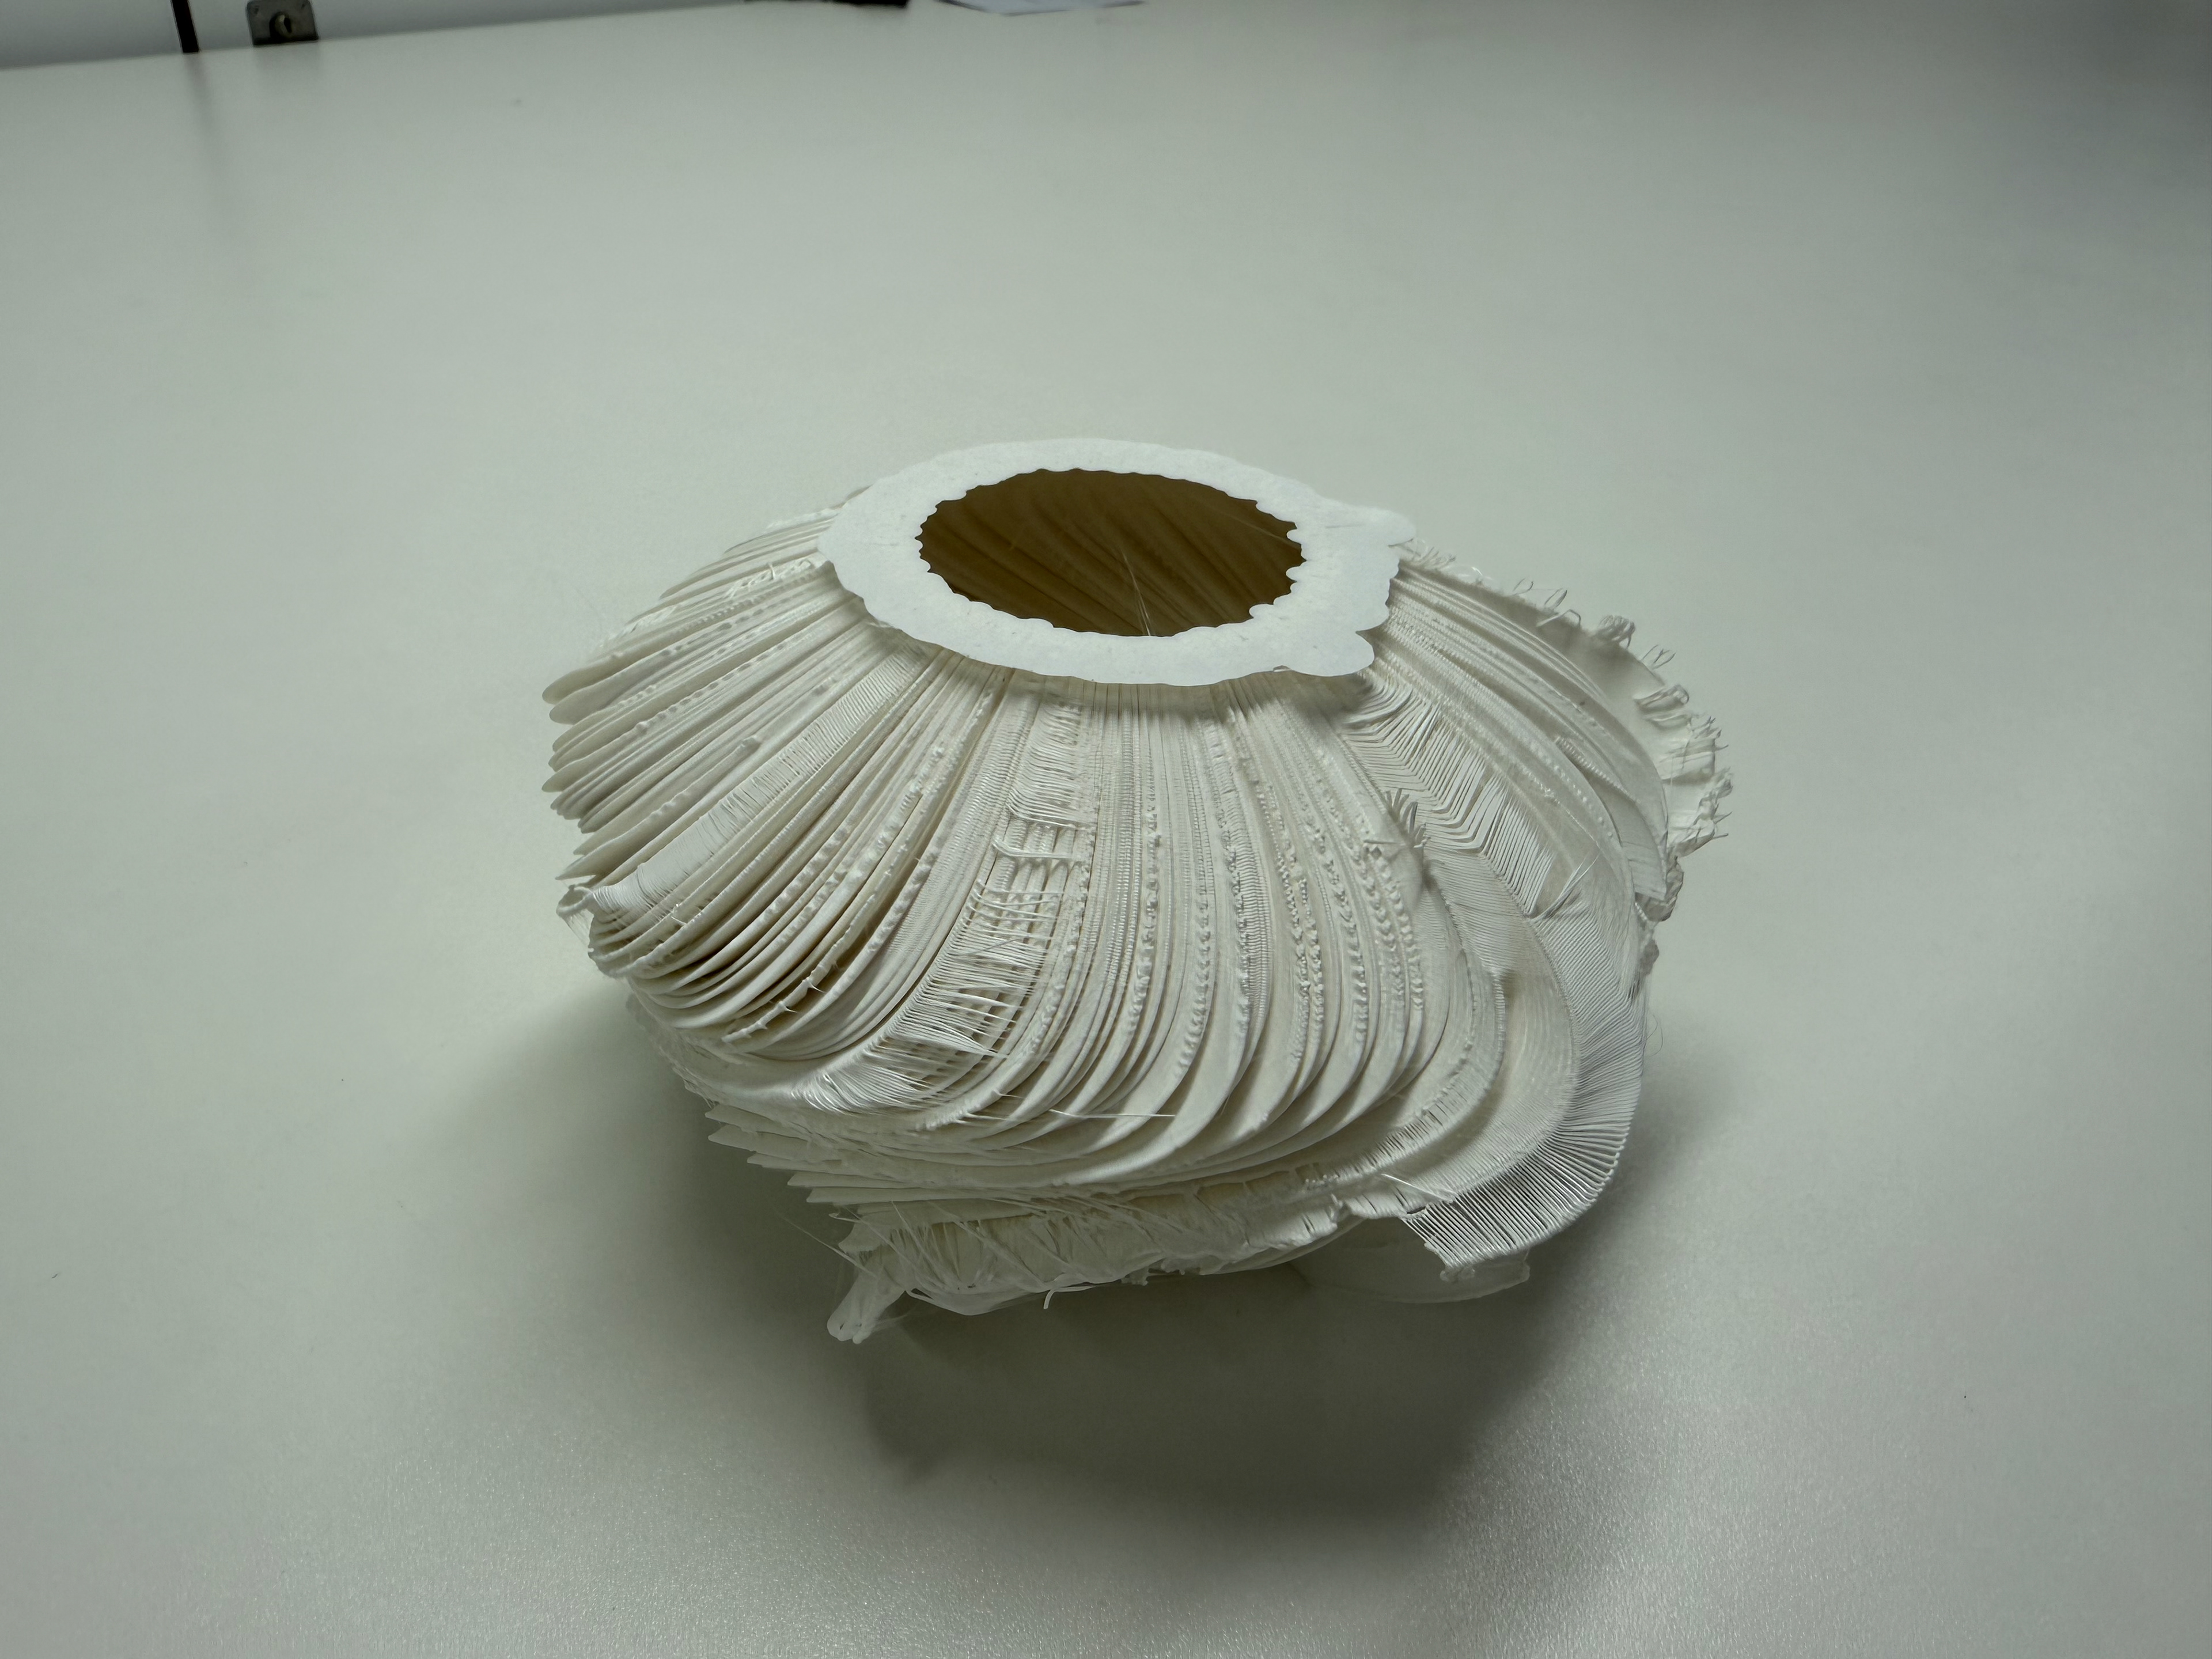
ON the 30cm squared print bed for scale
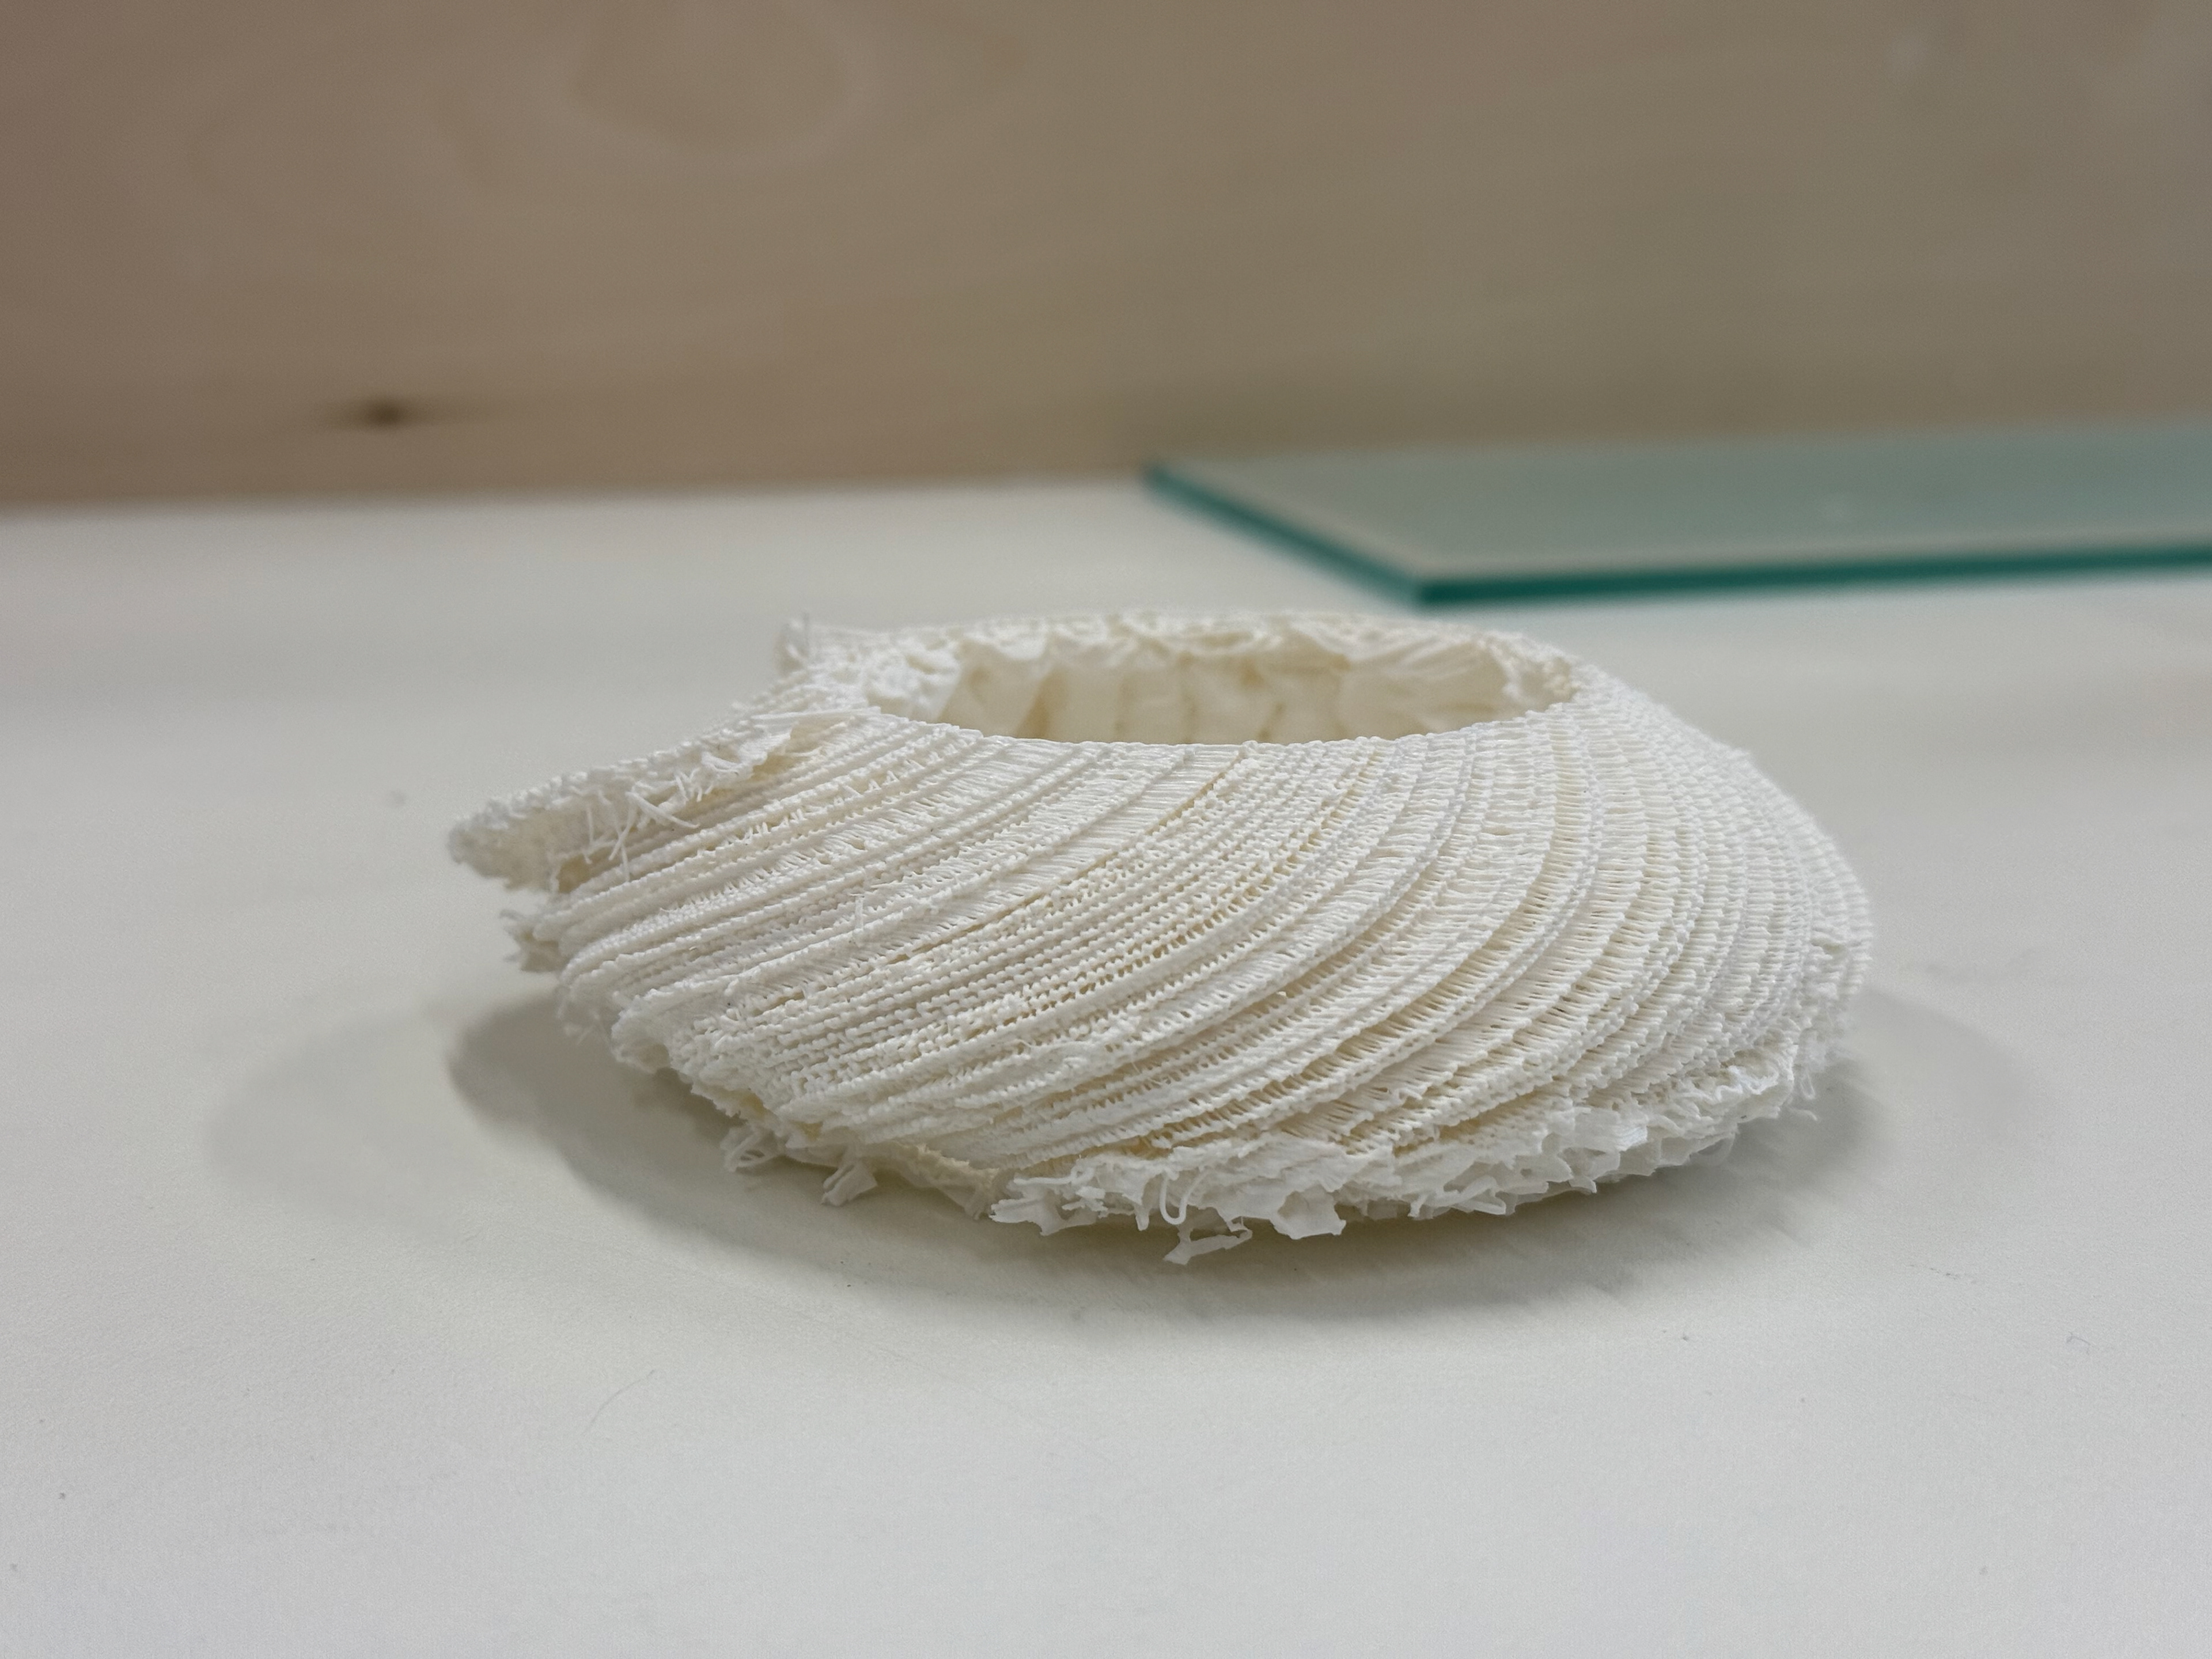
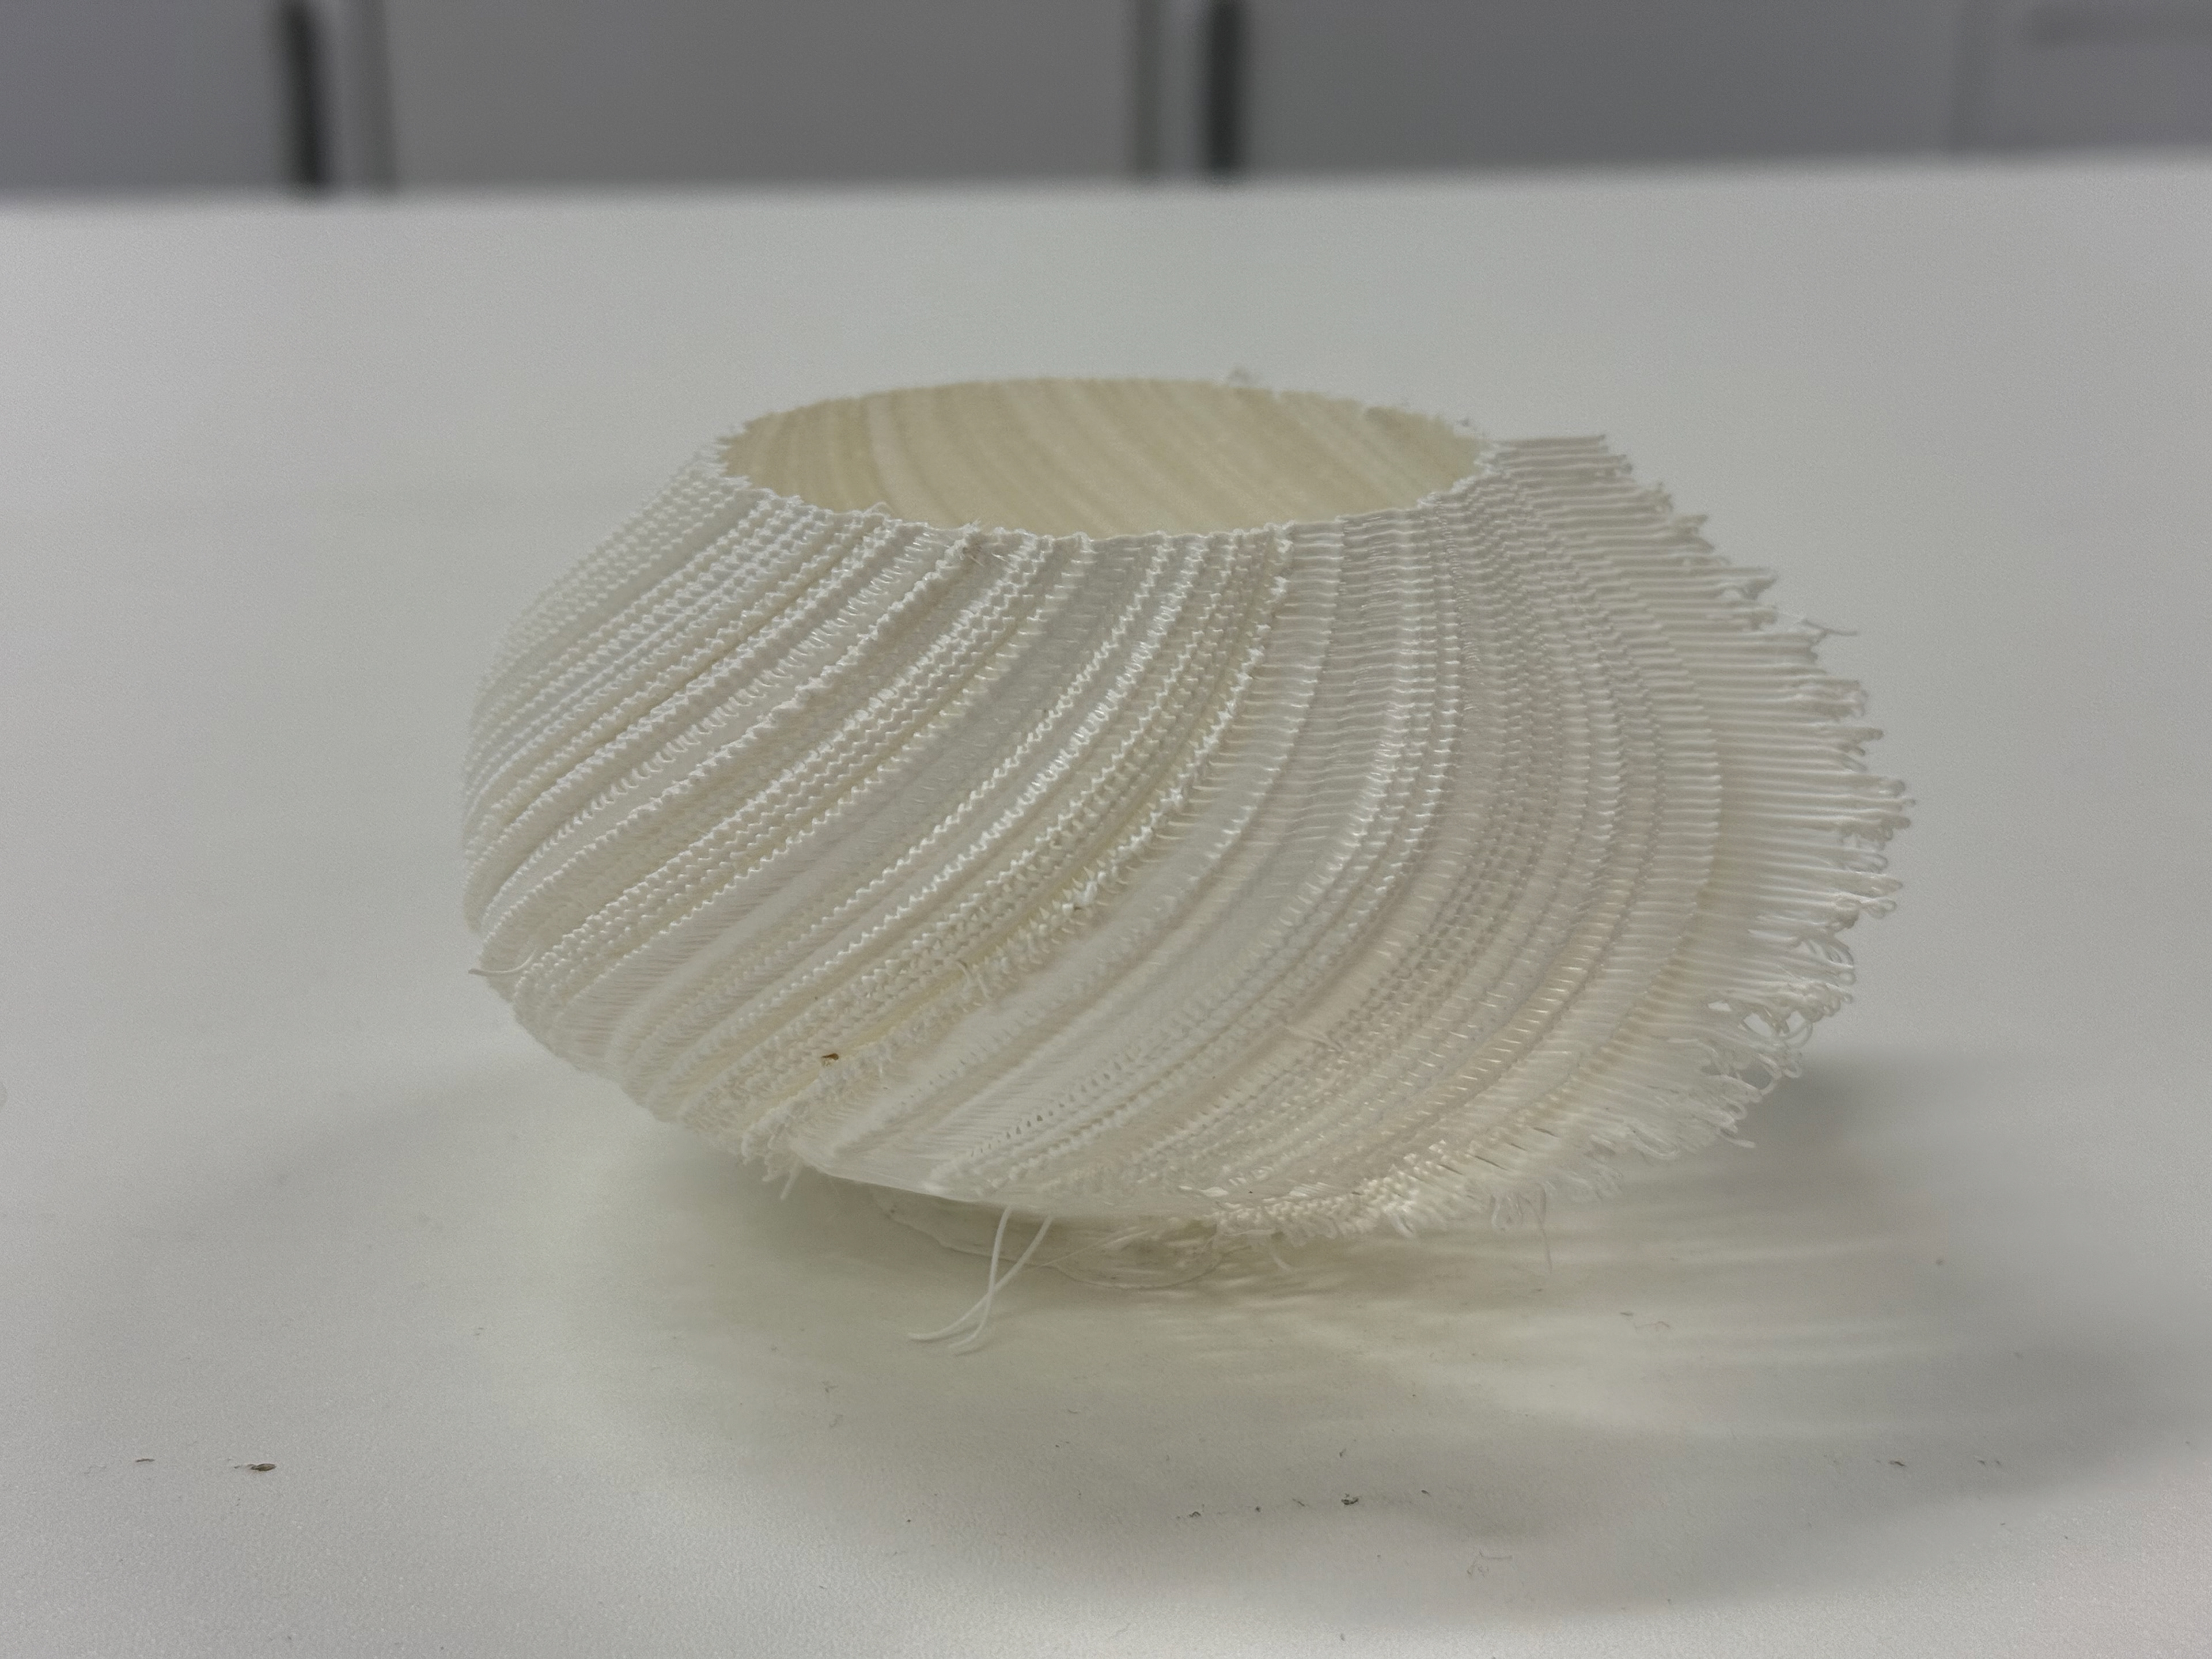
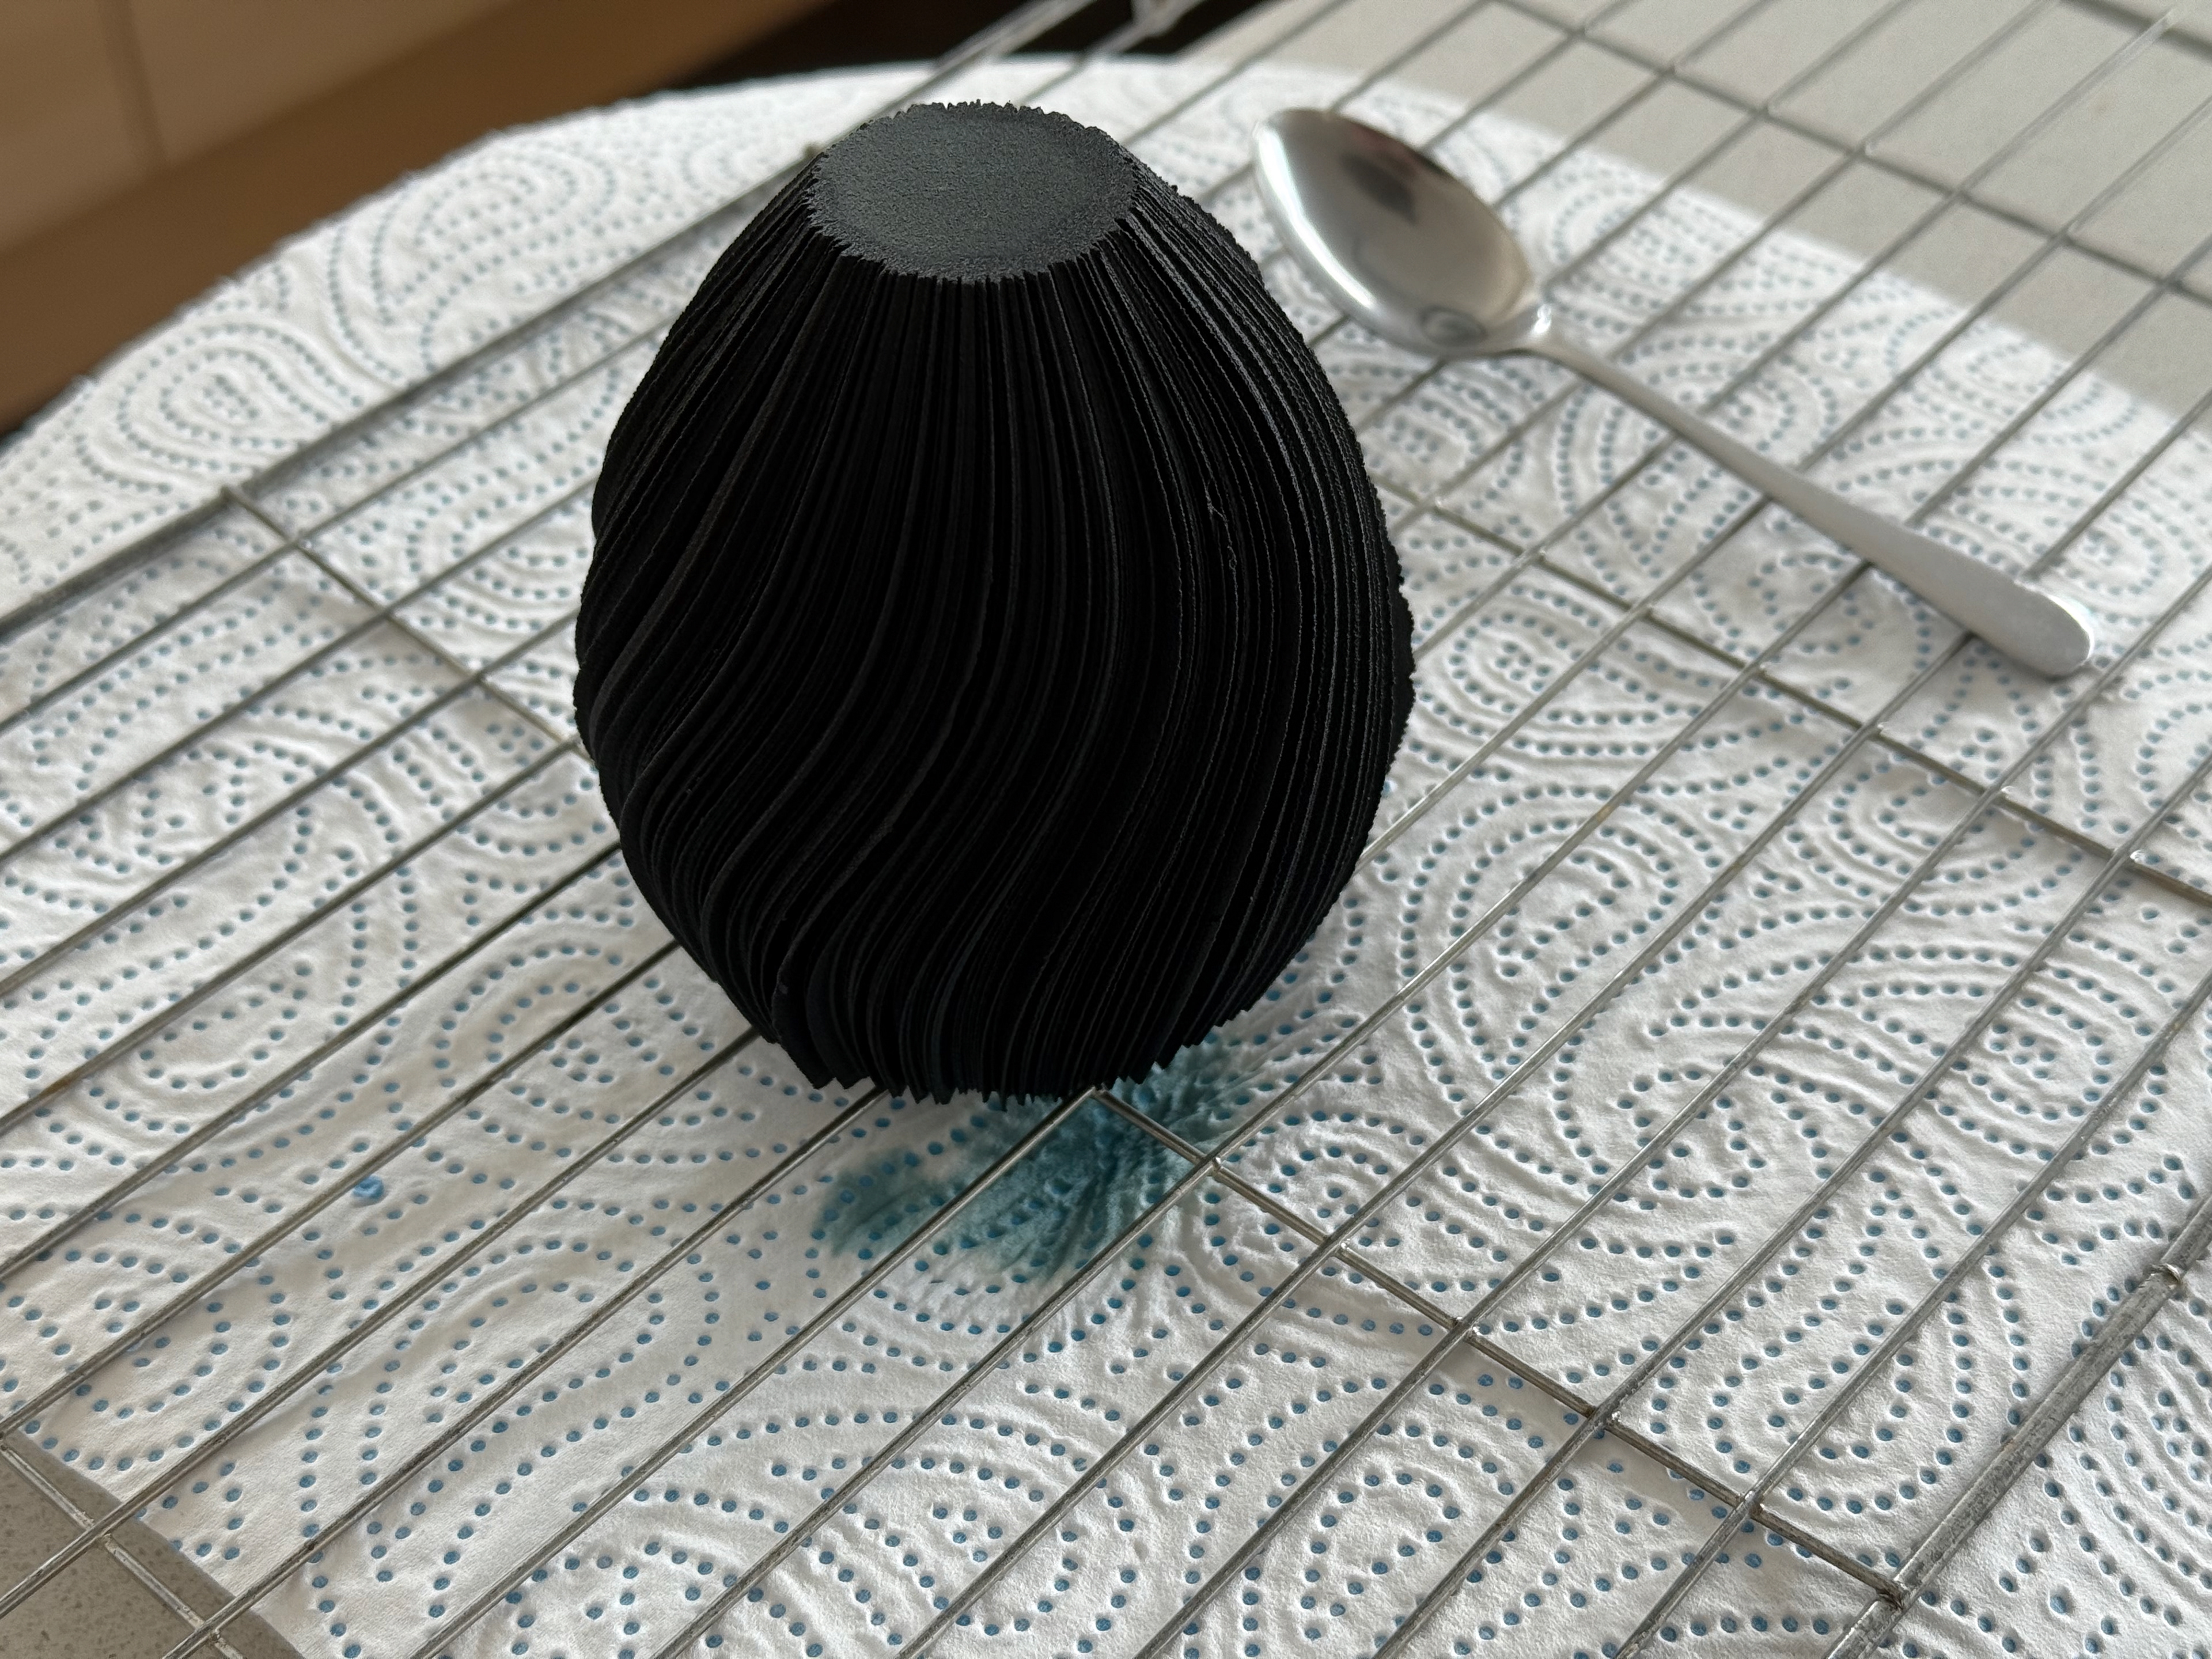
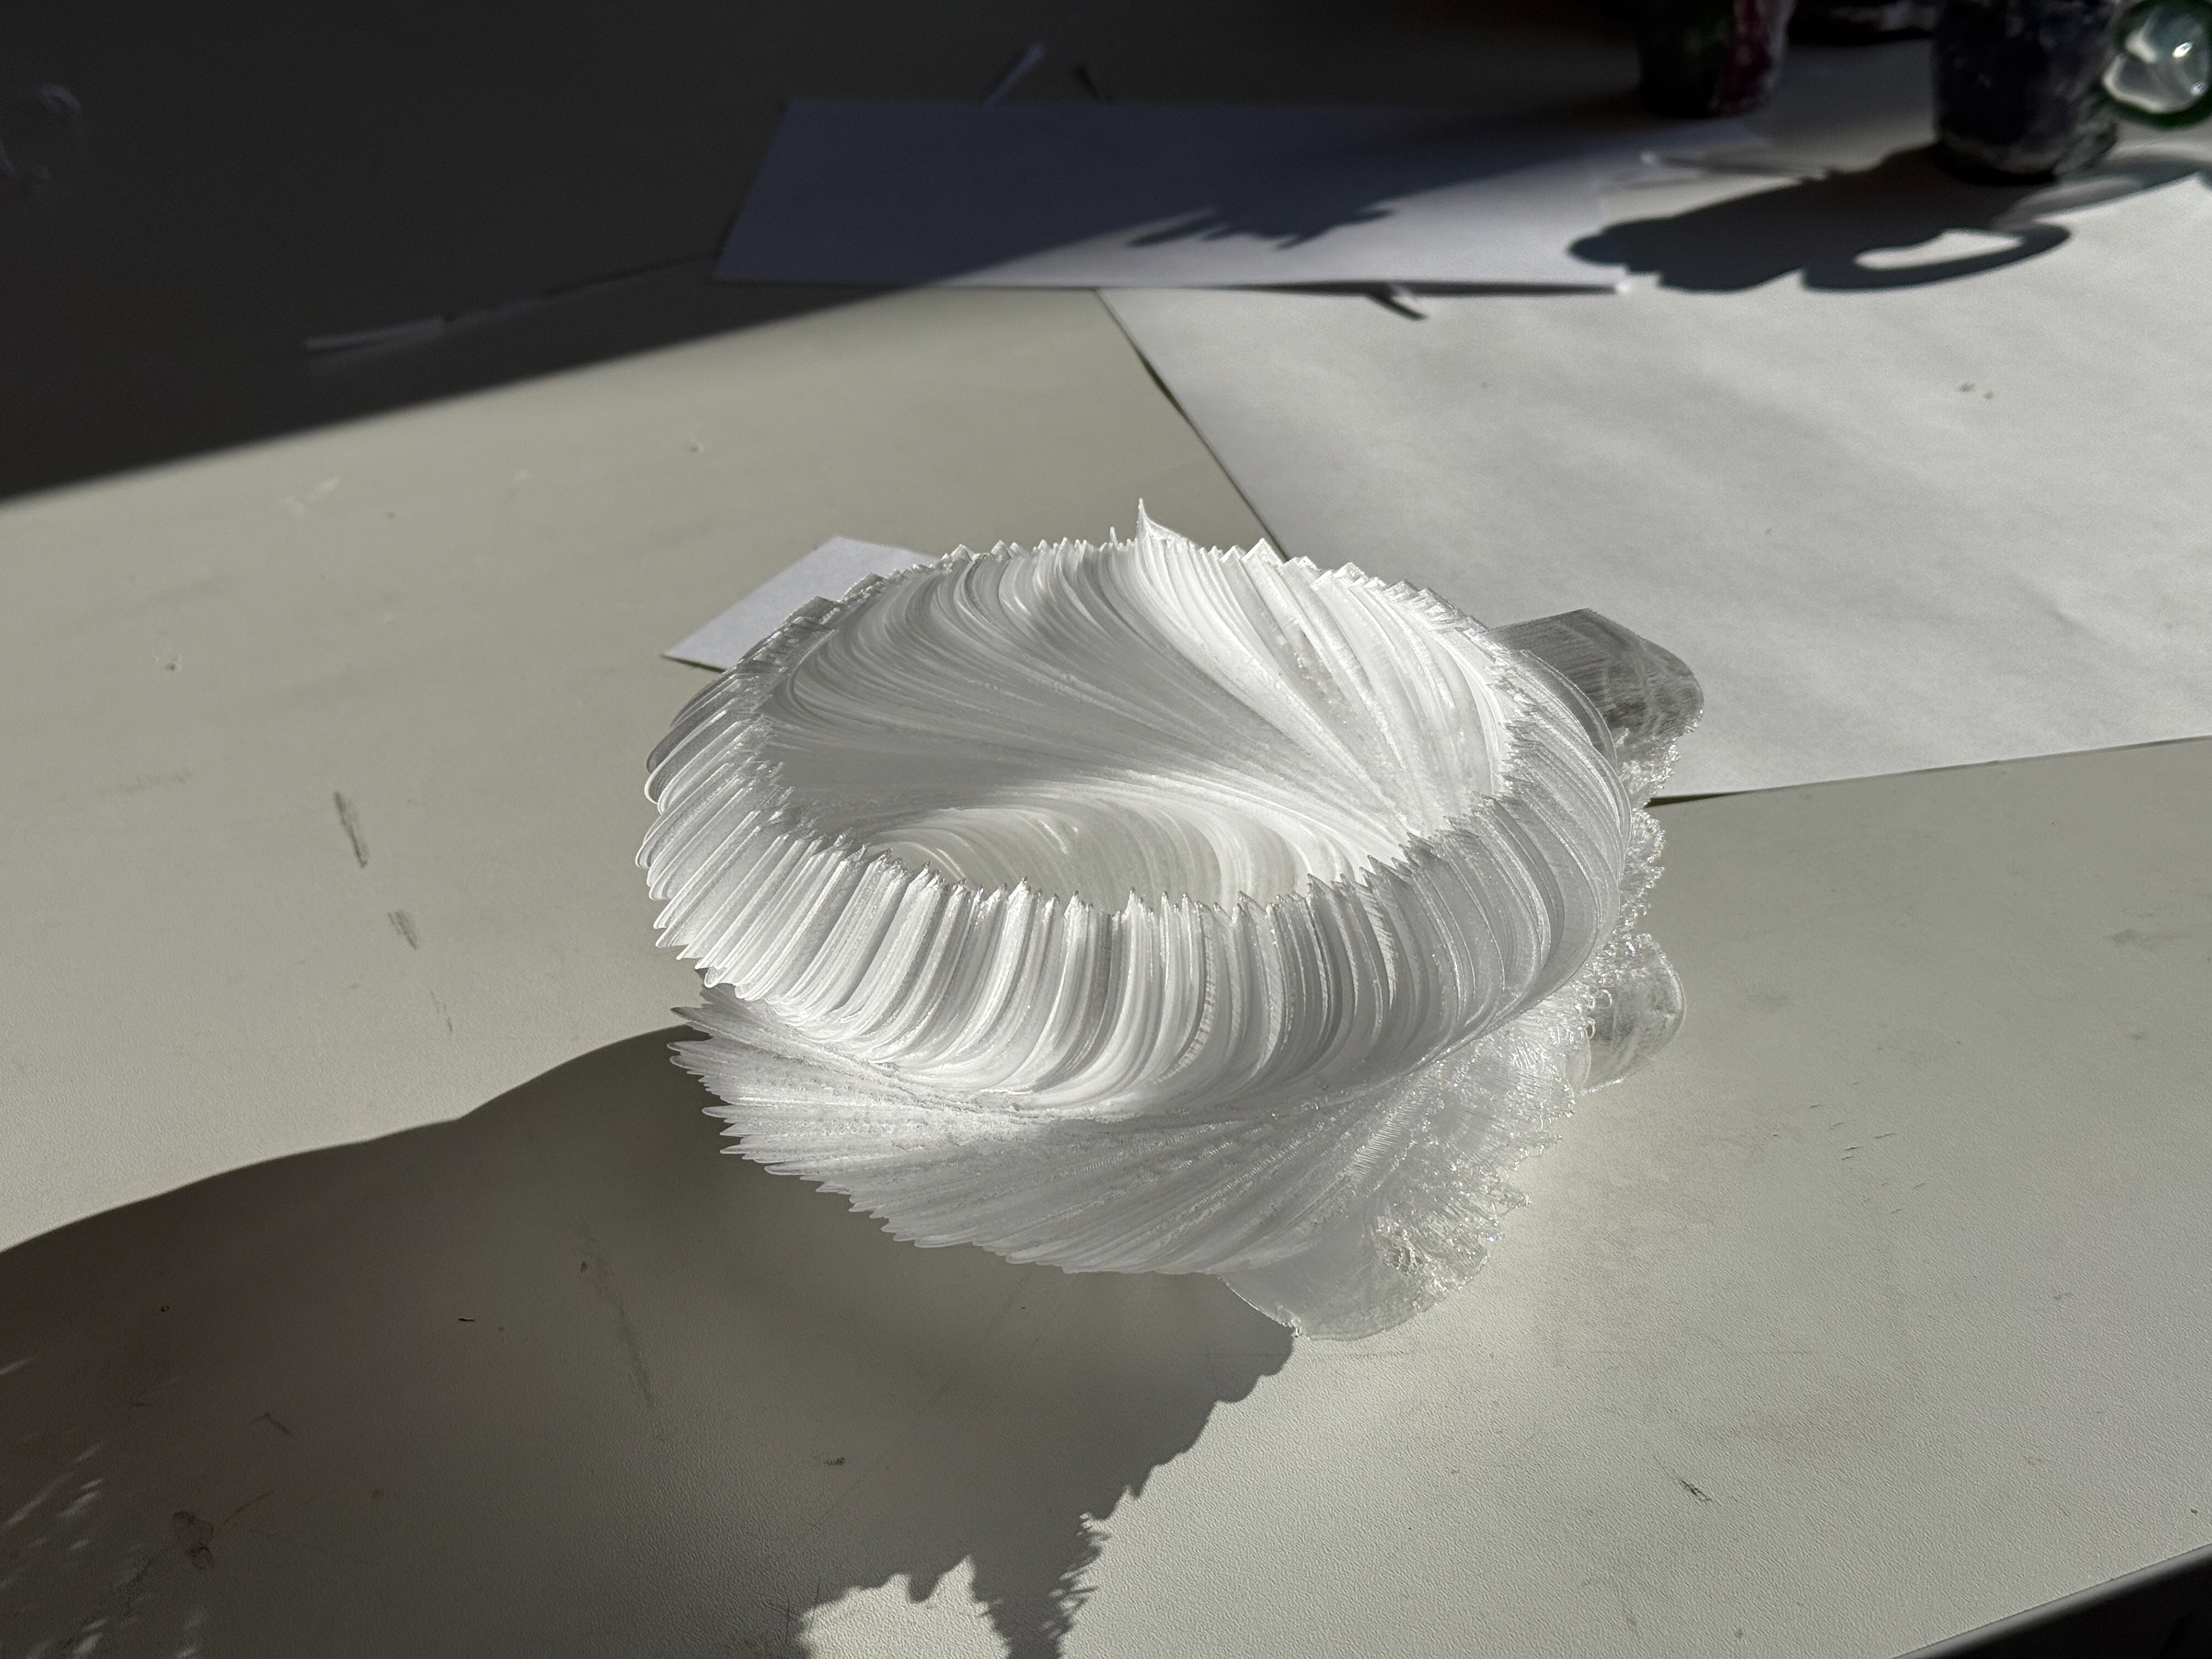
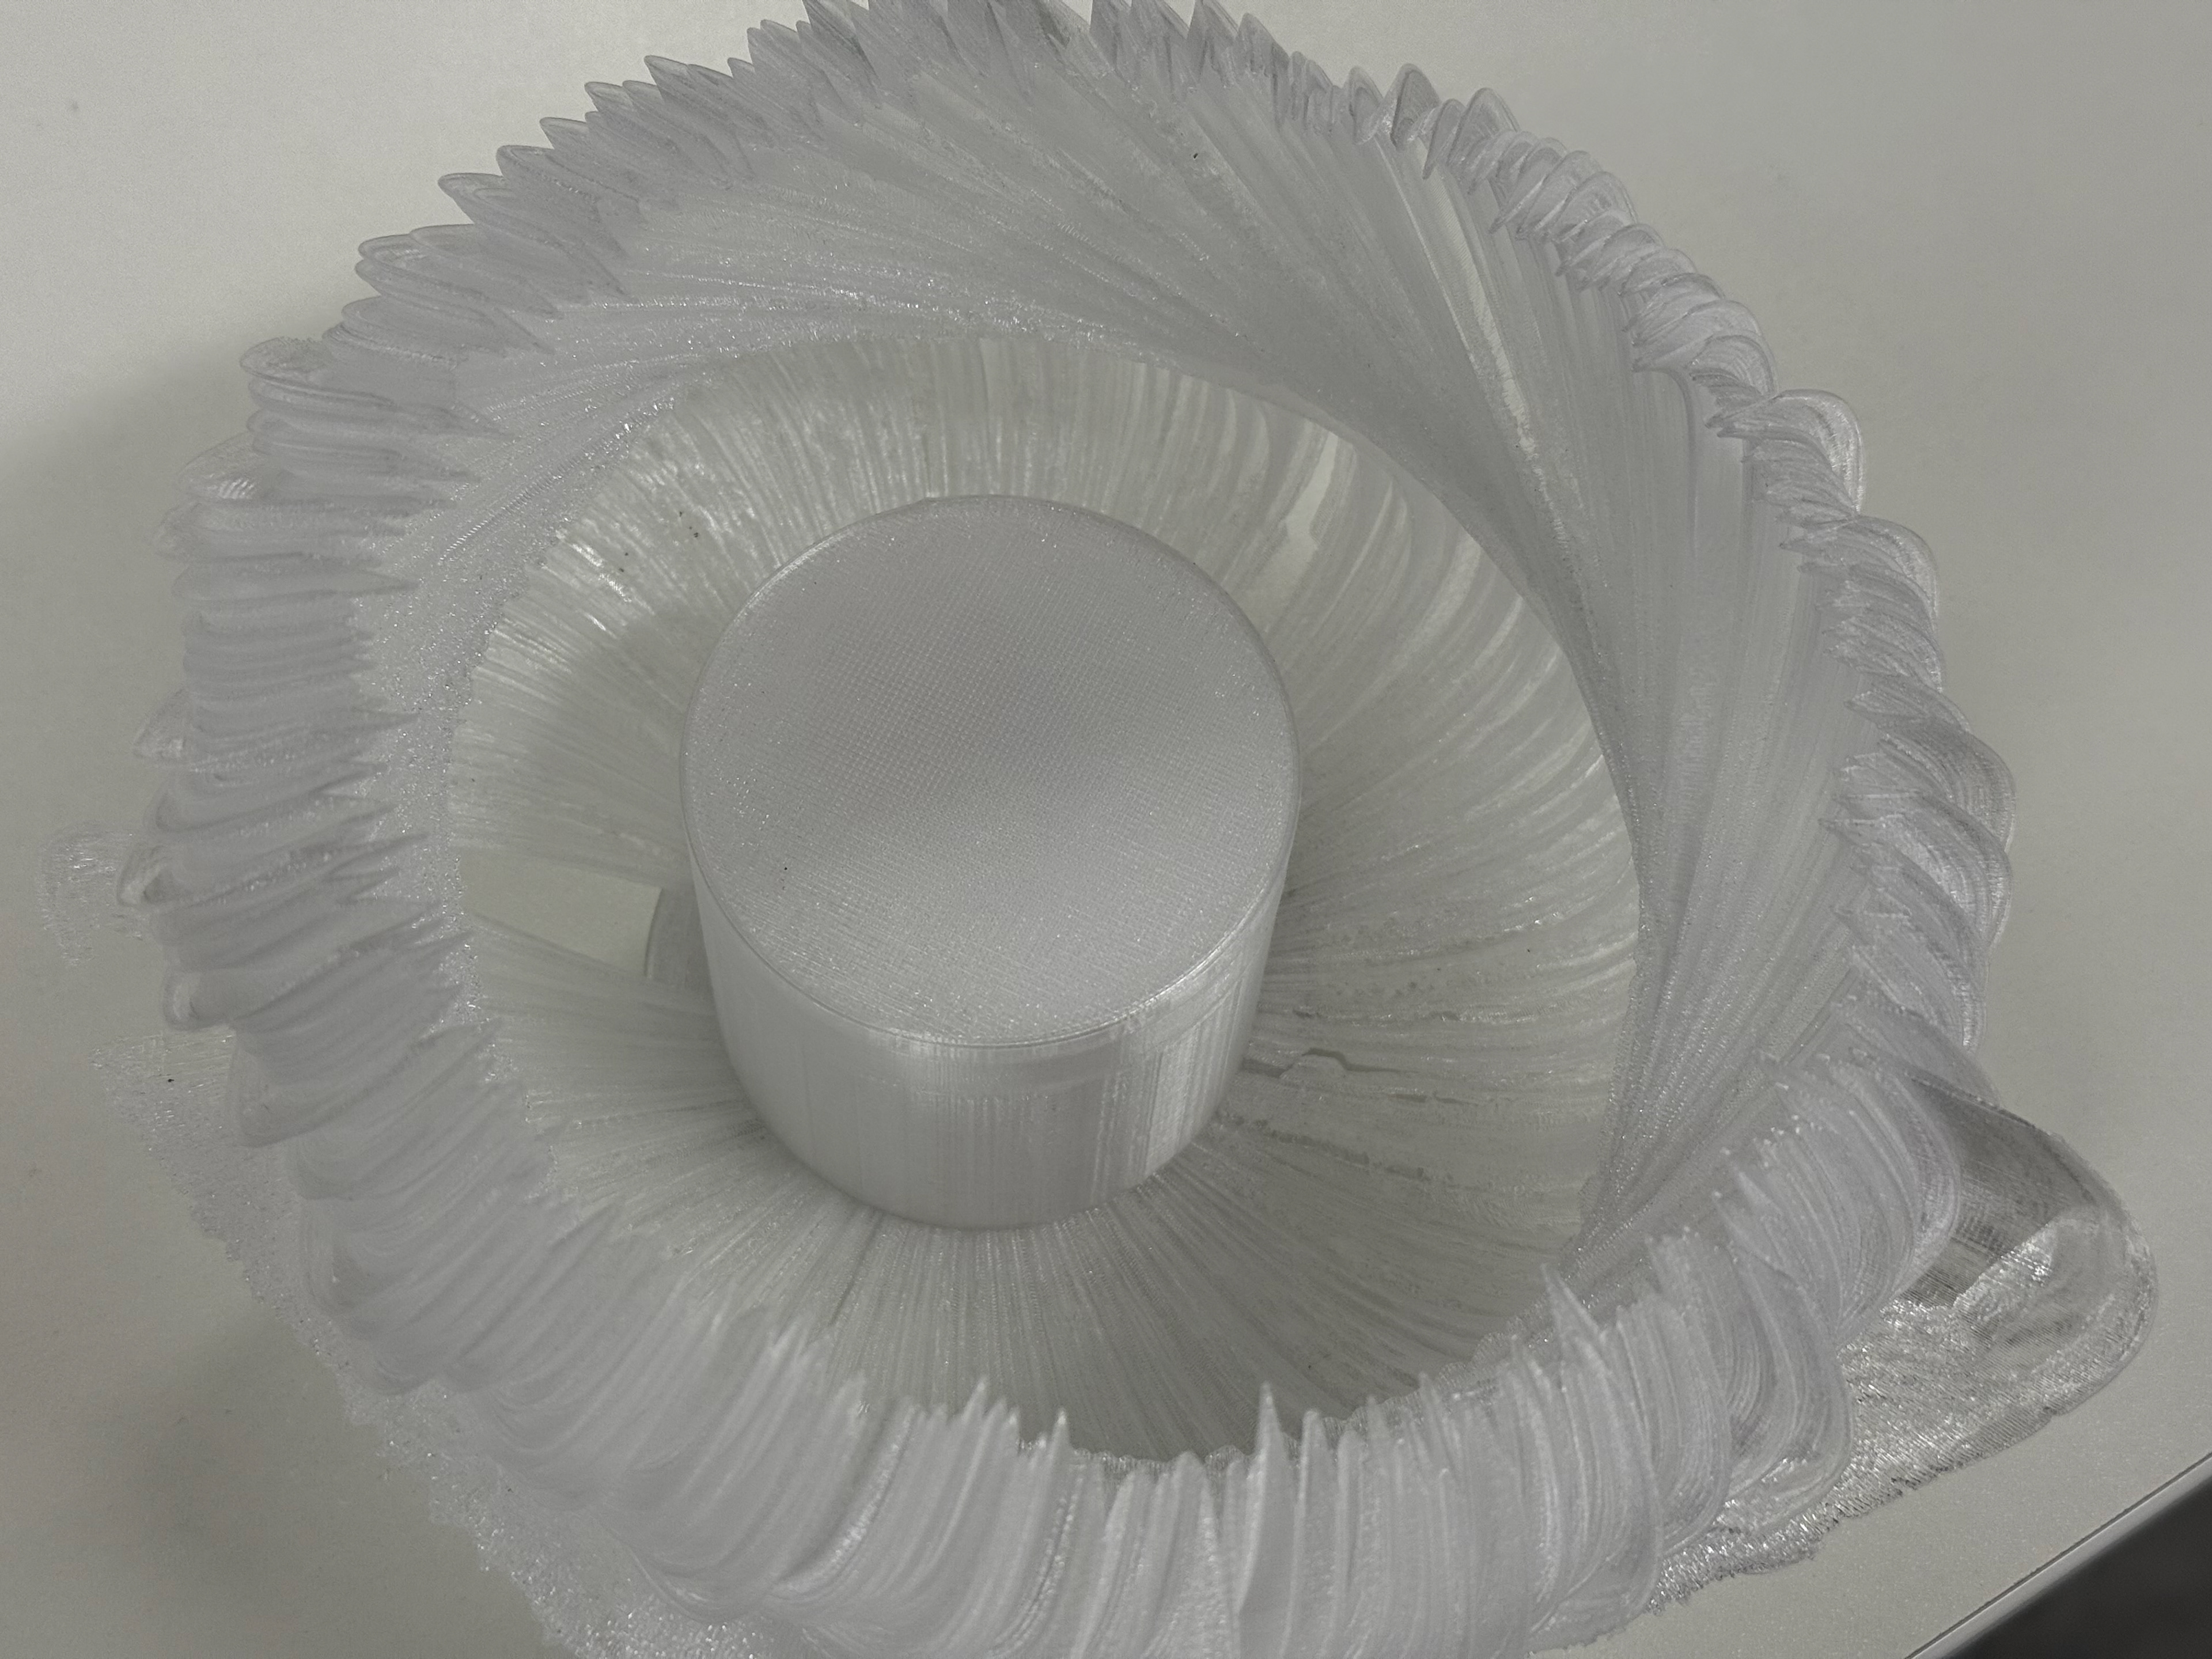
Side upper view

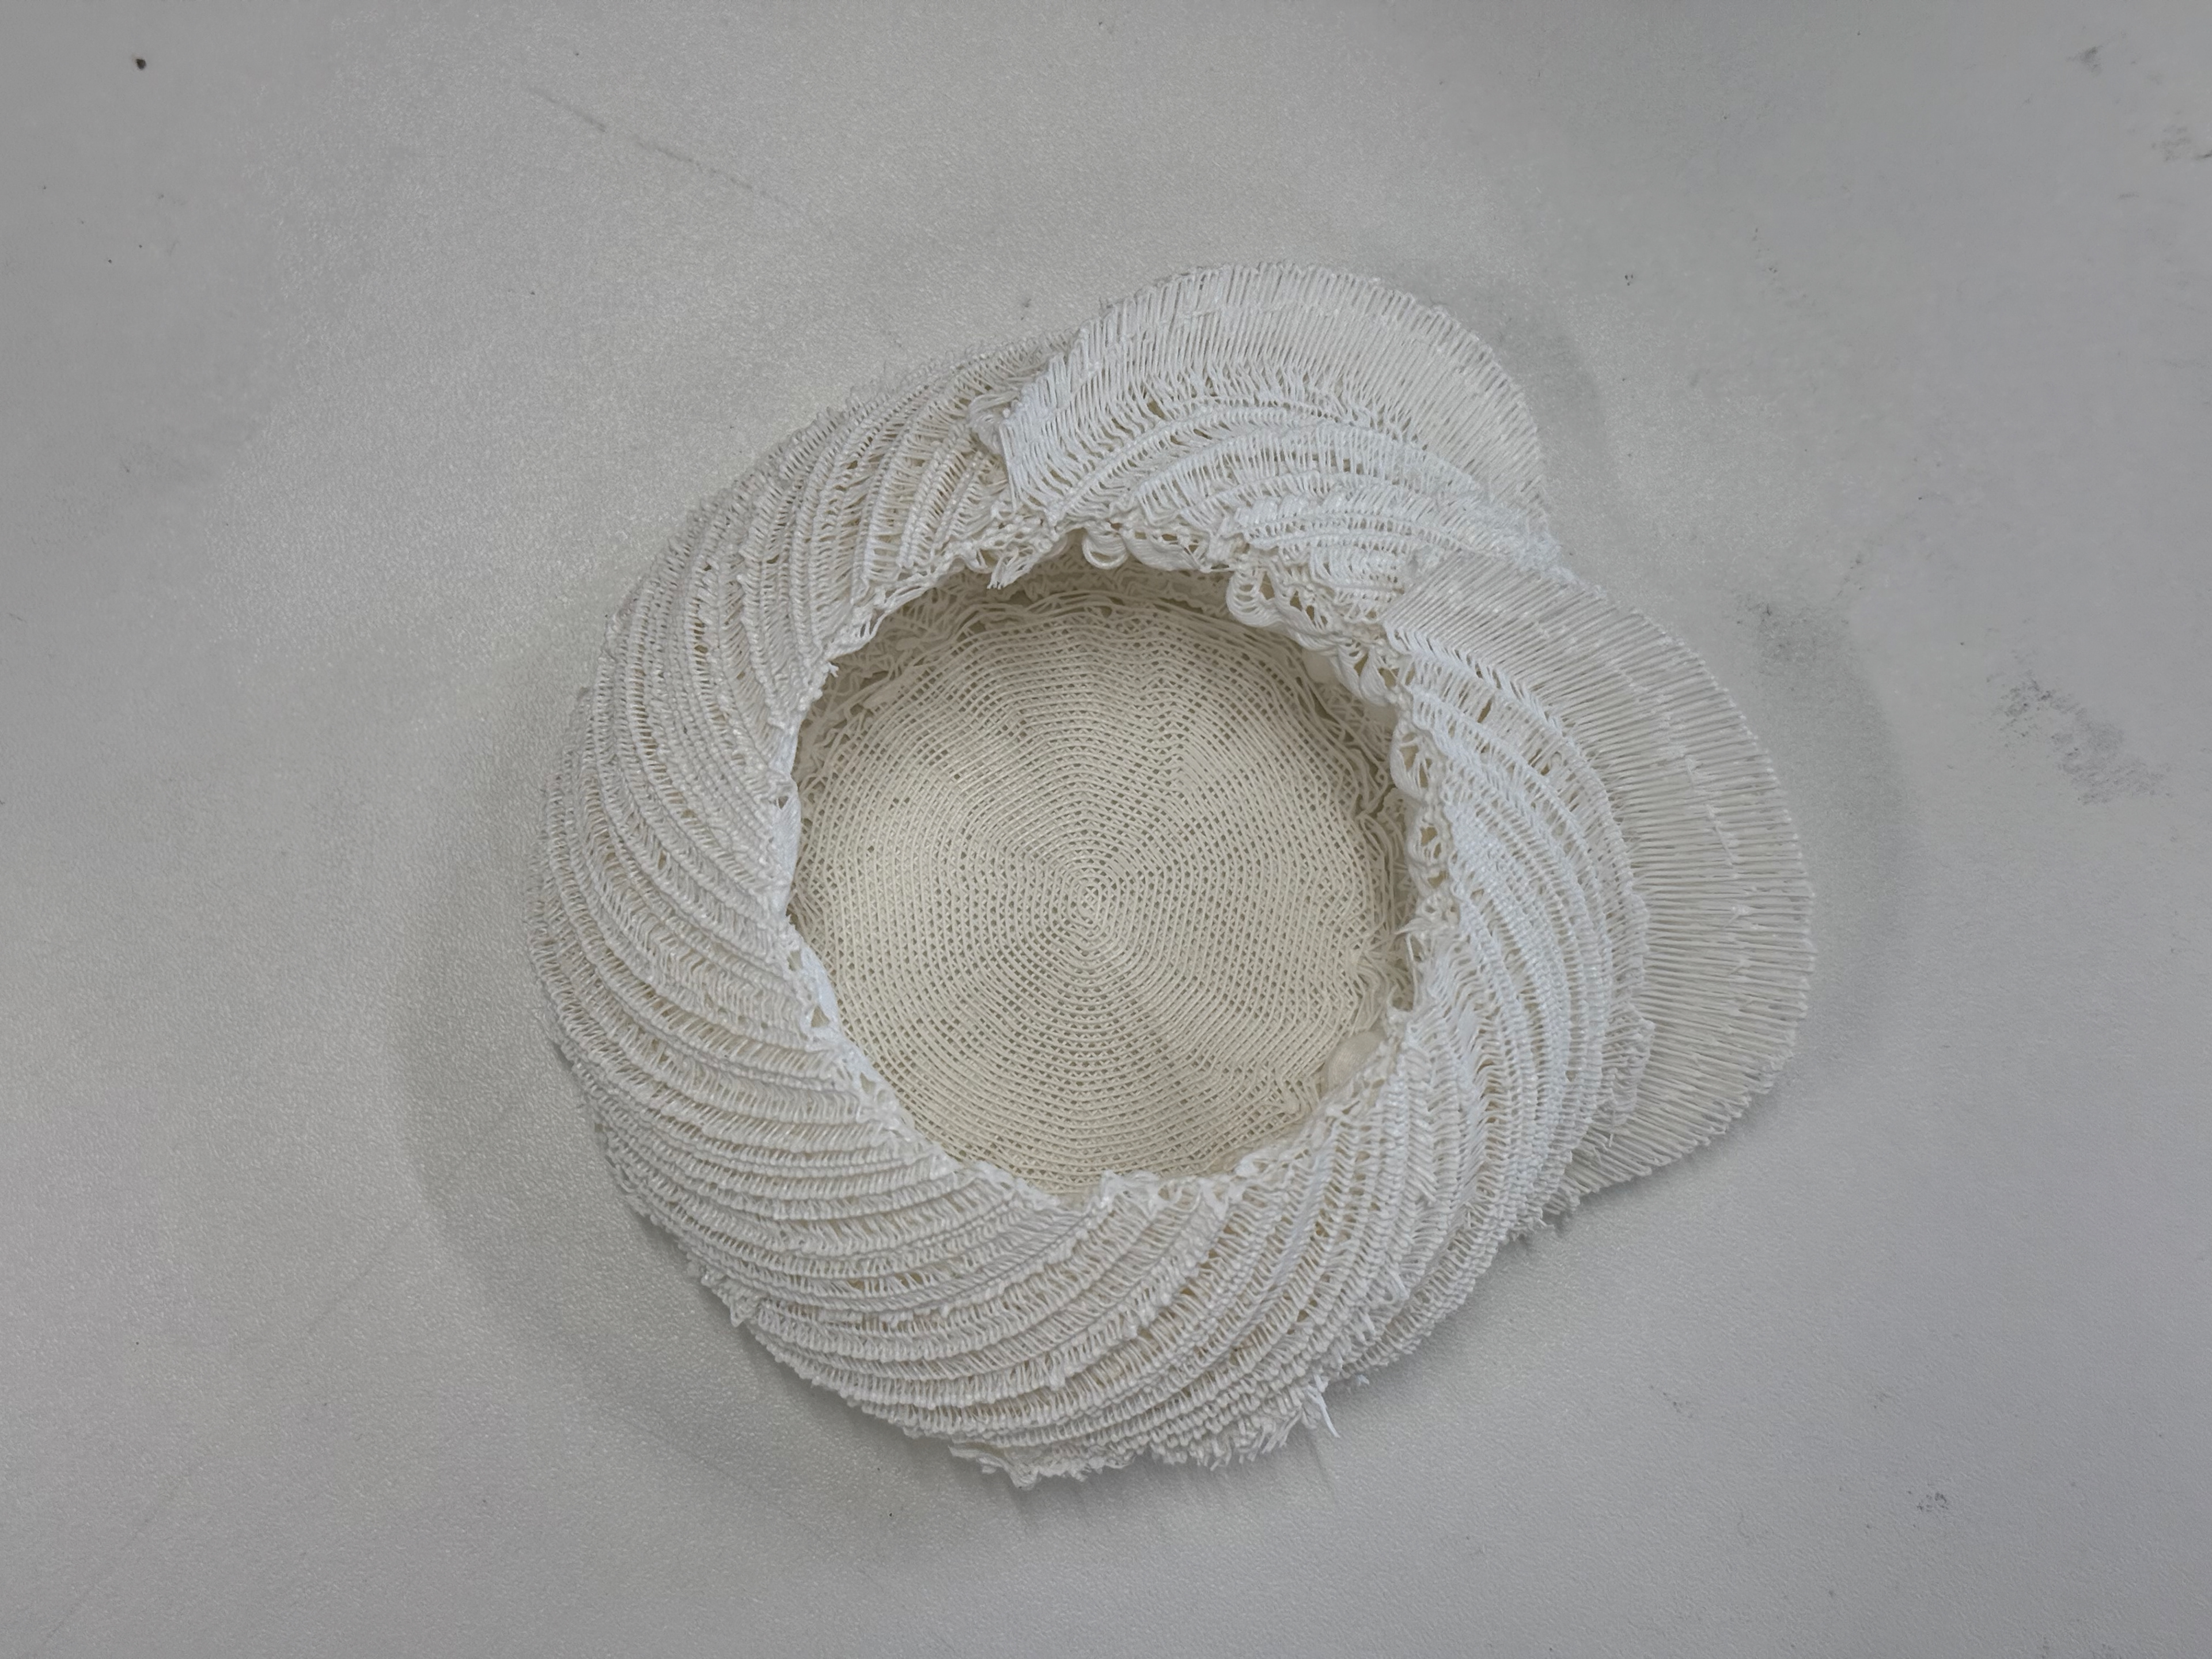
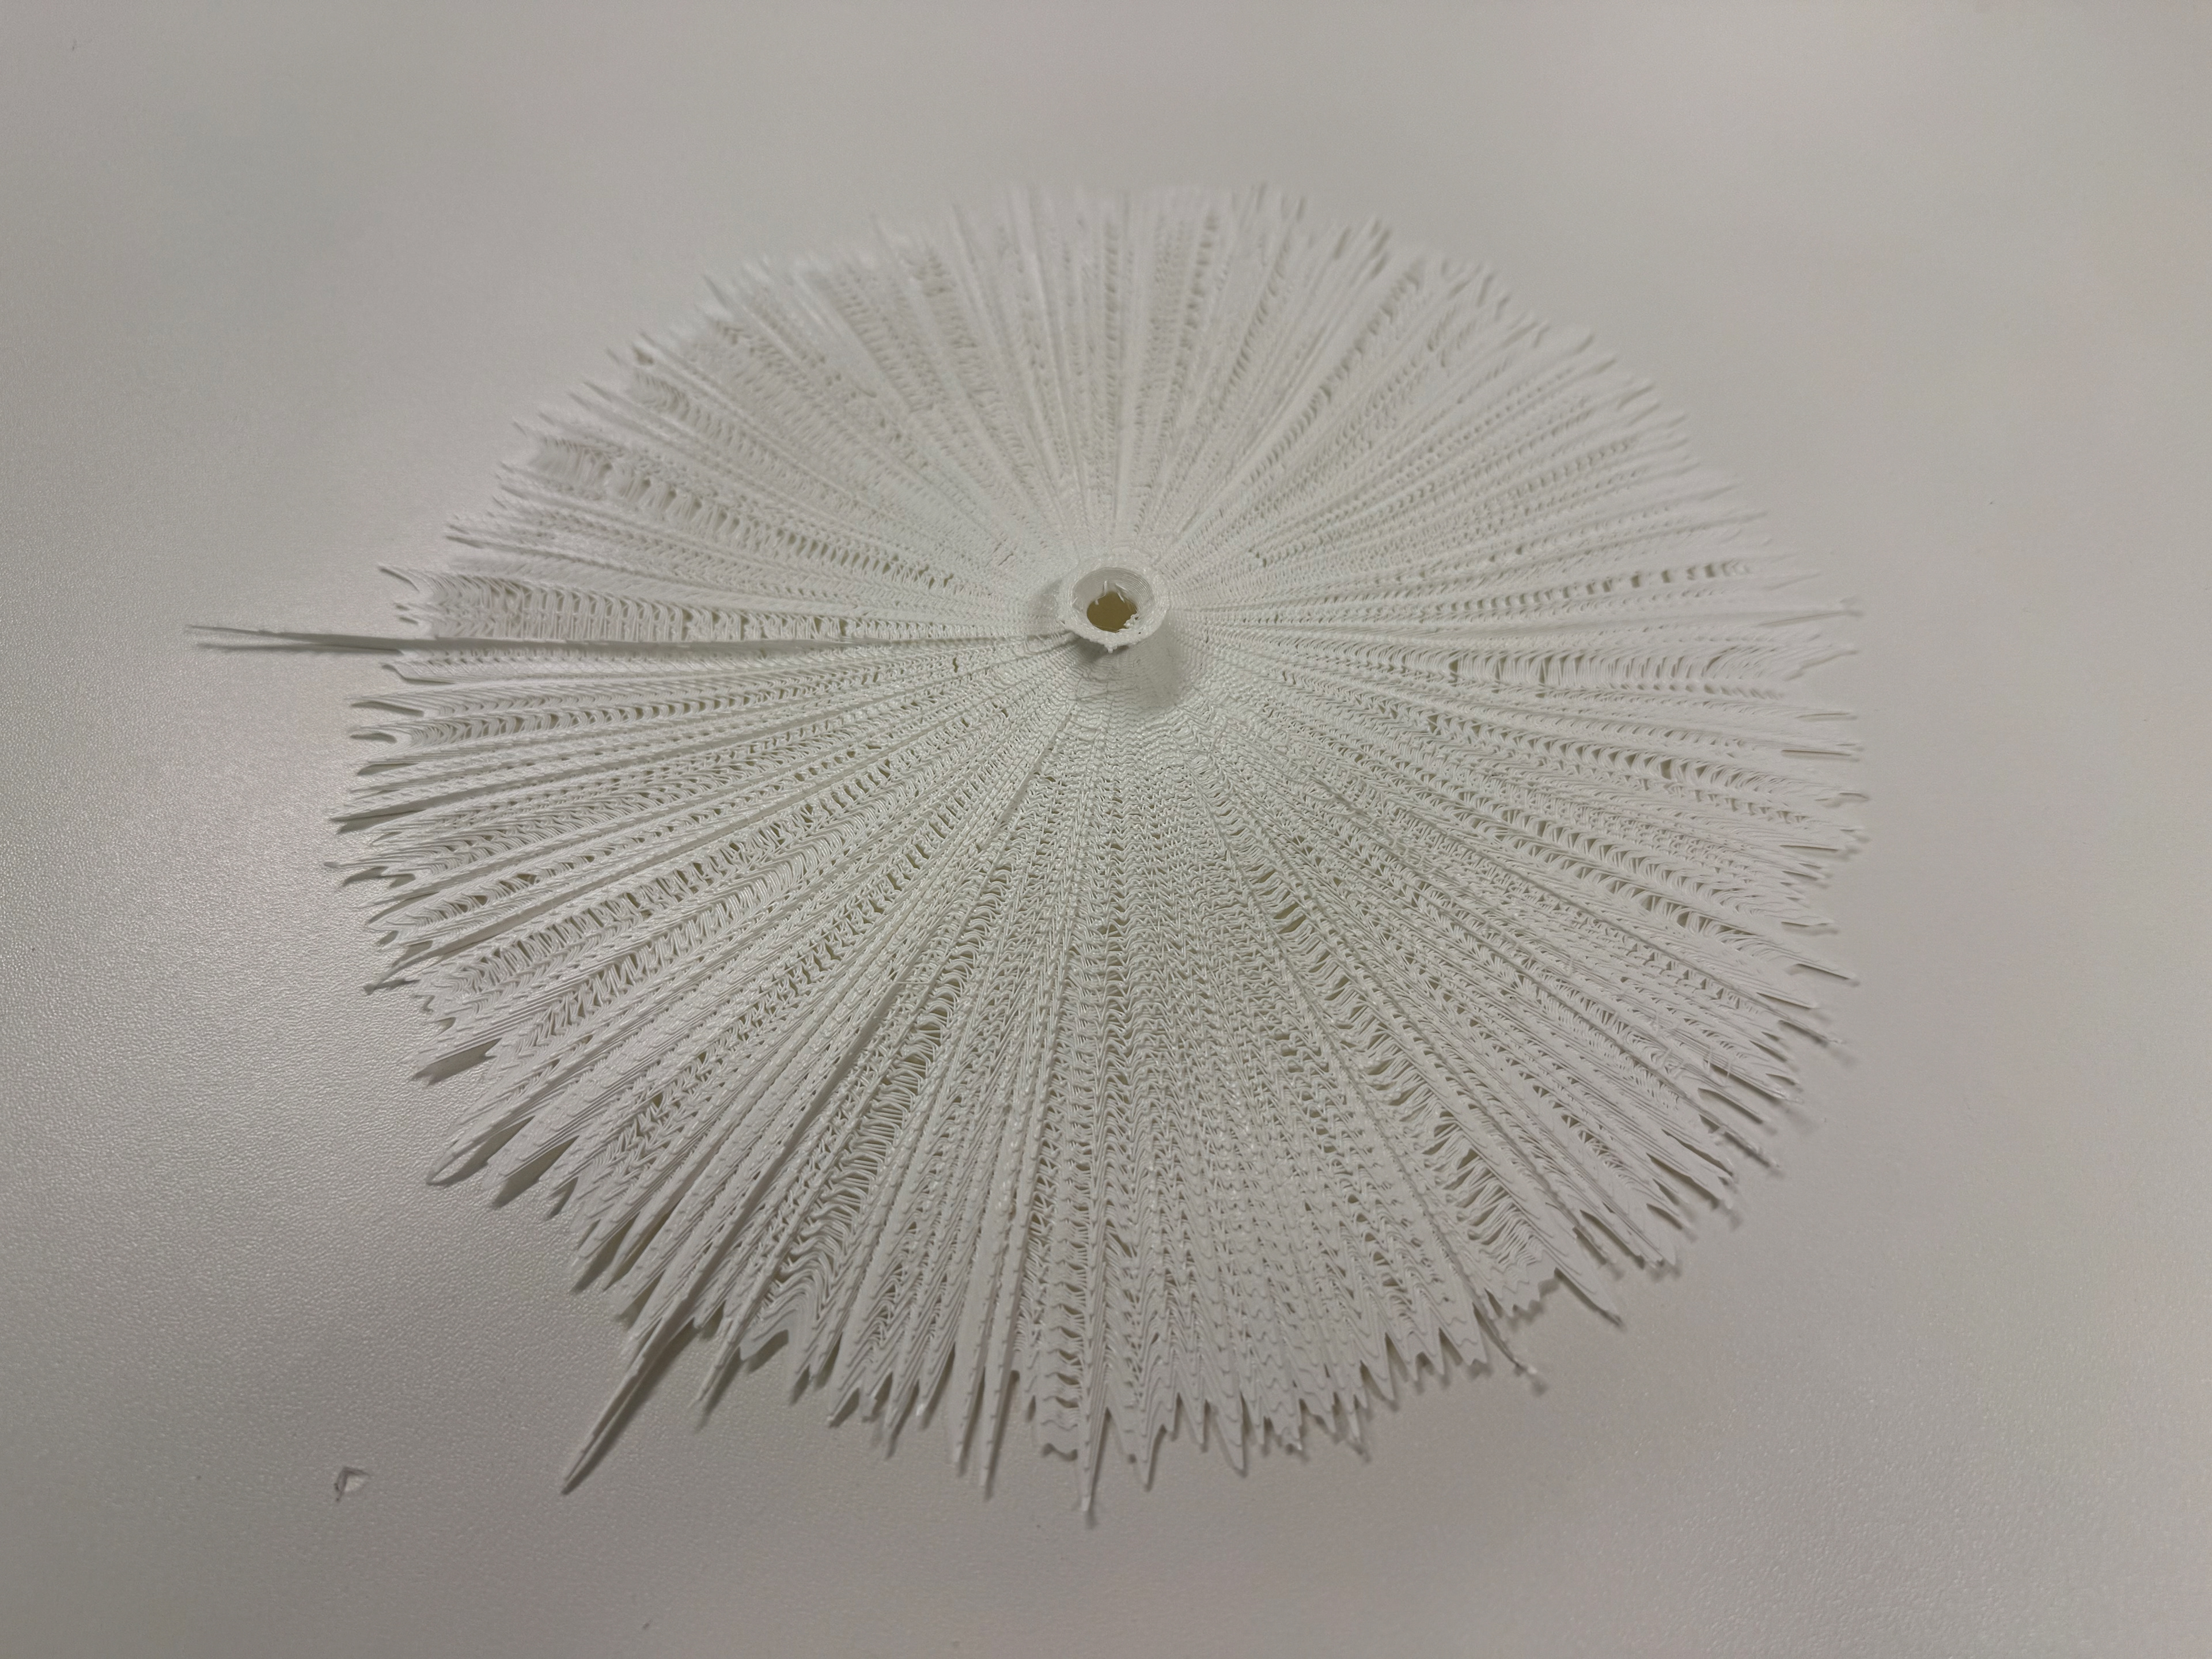
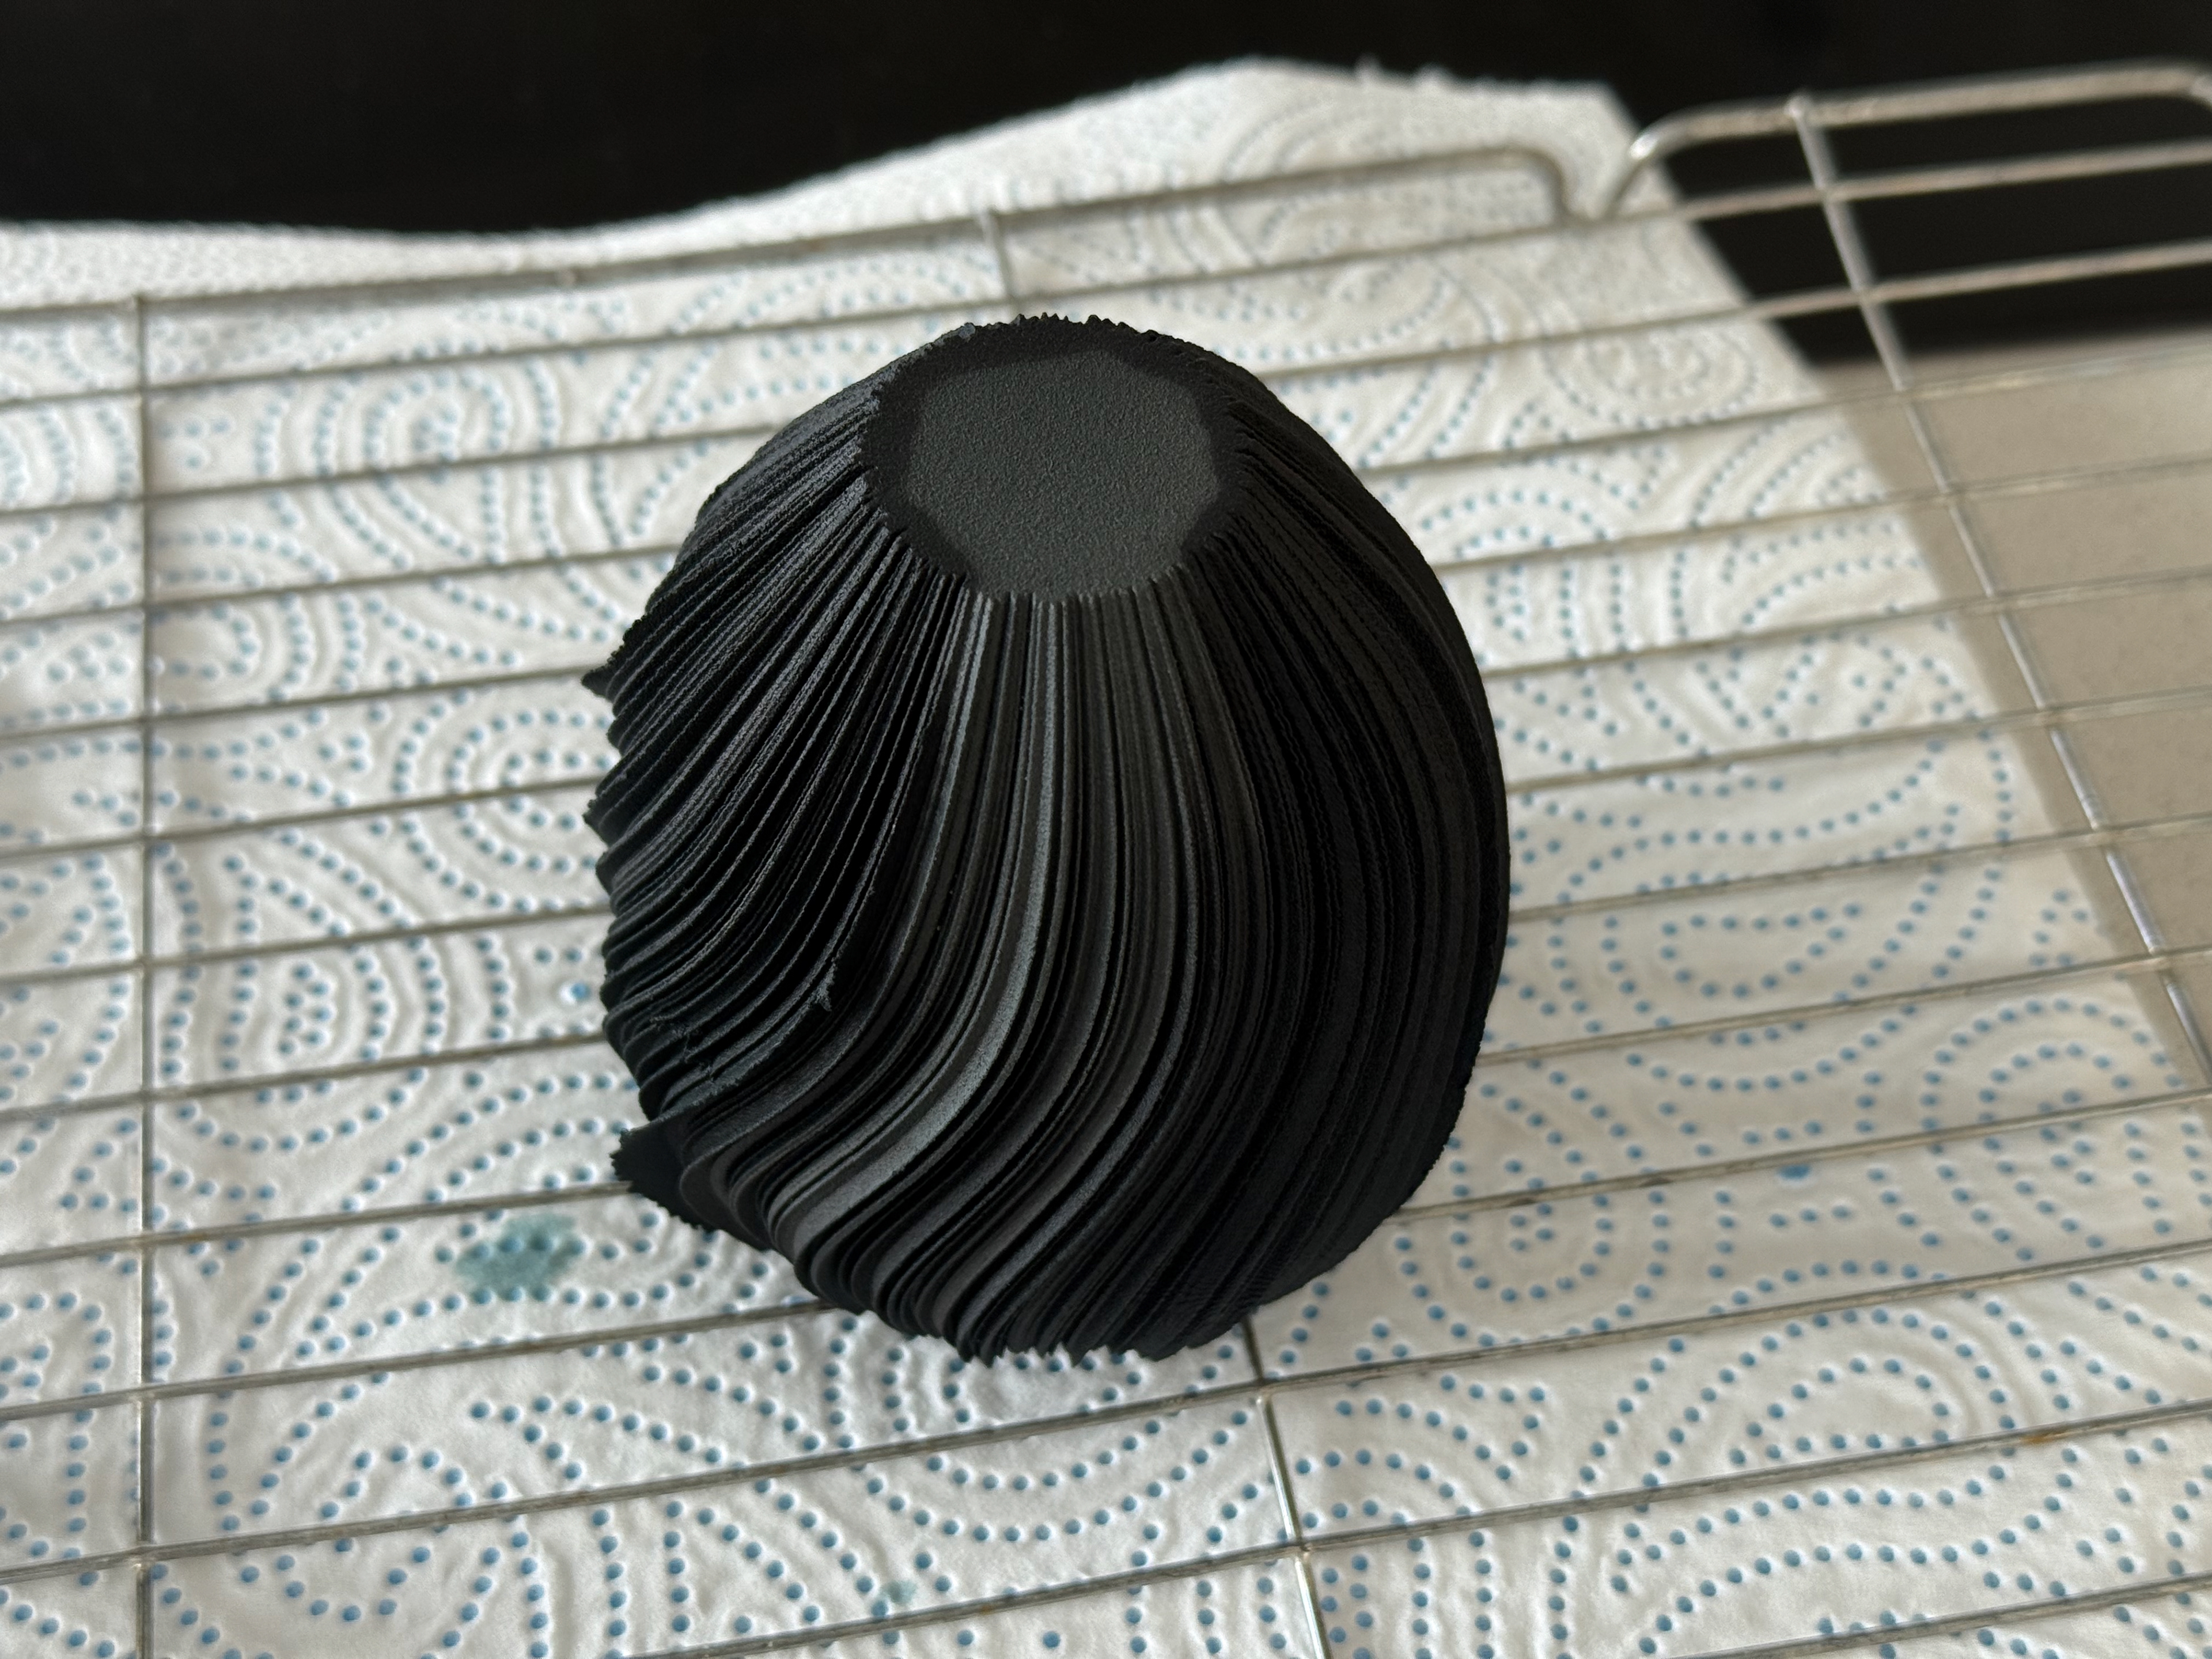
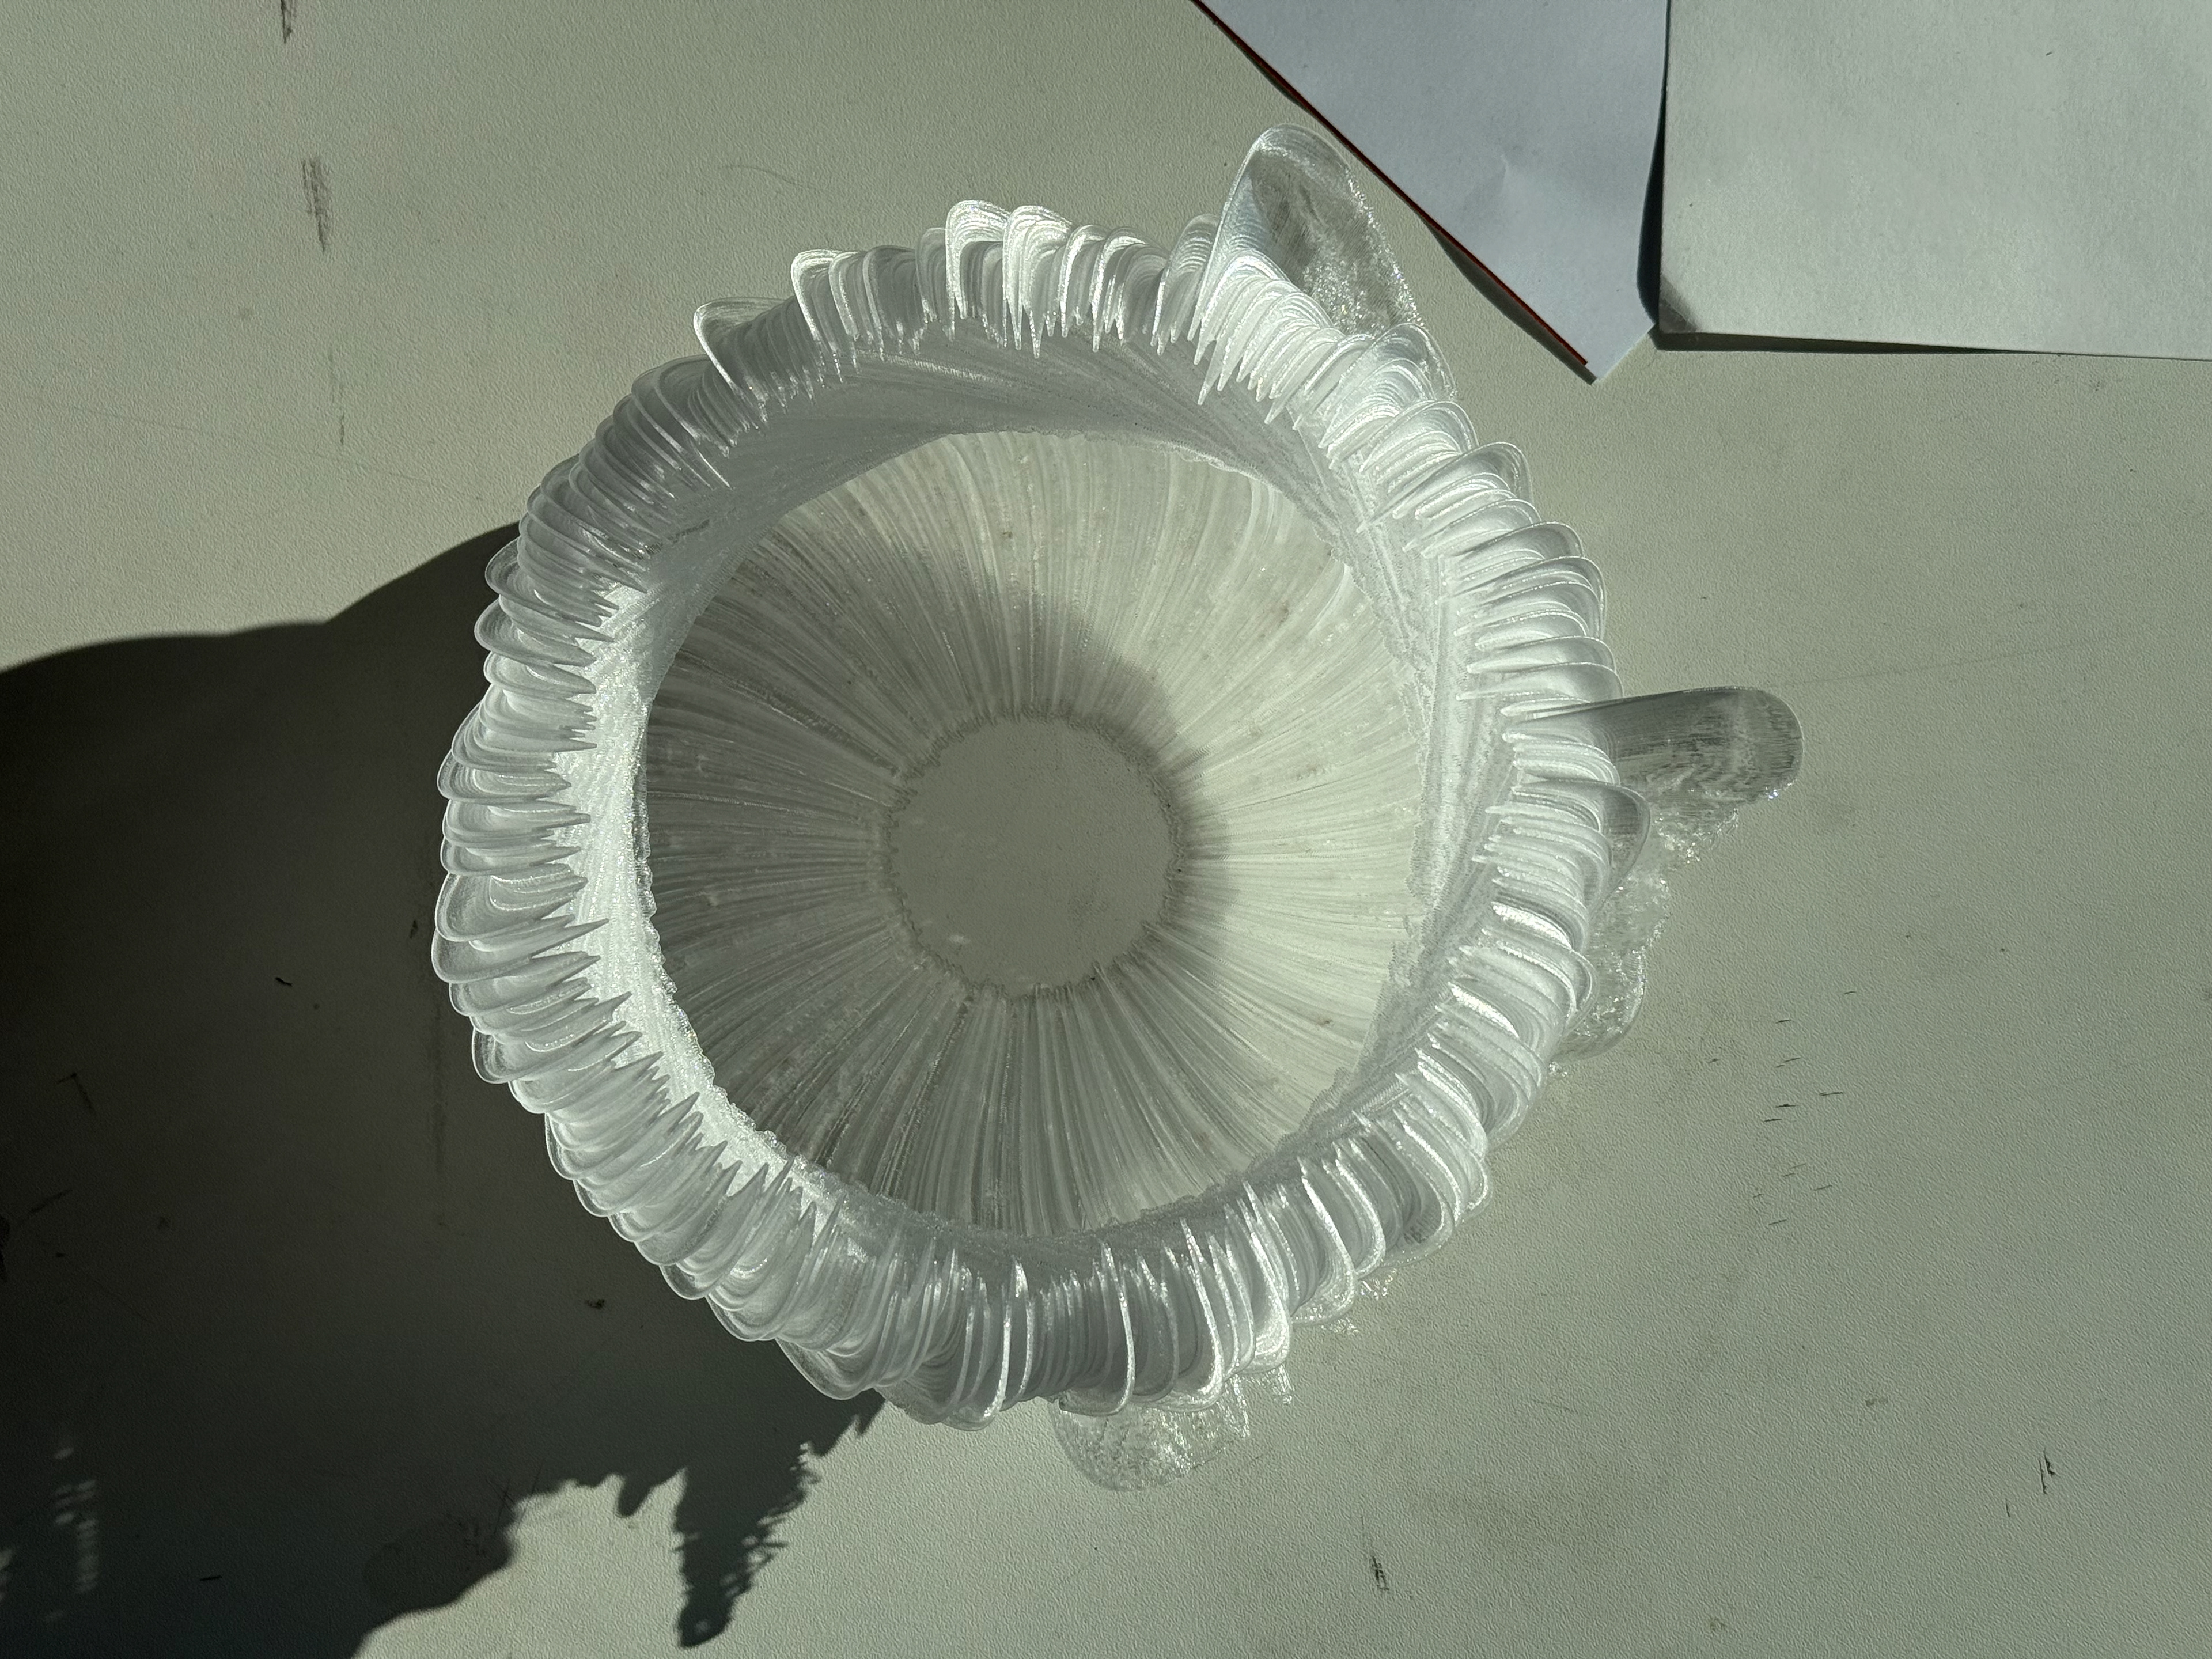
Above view
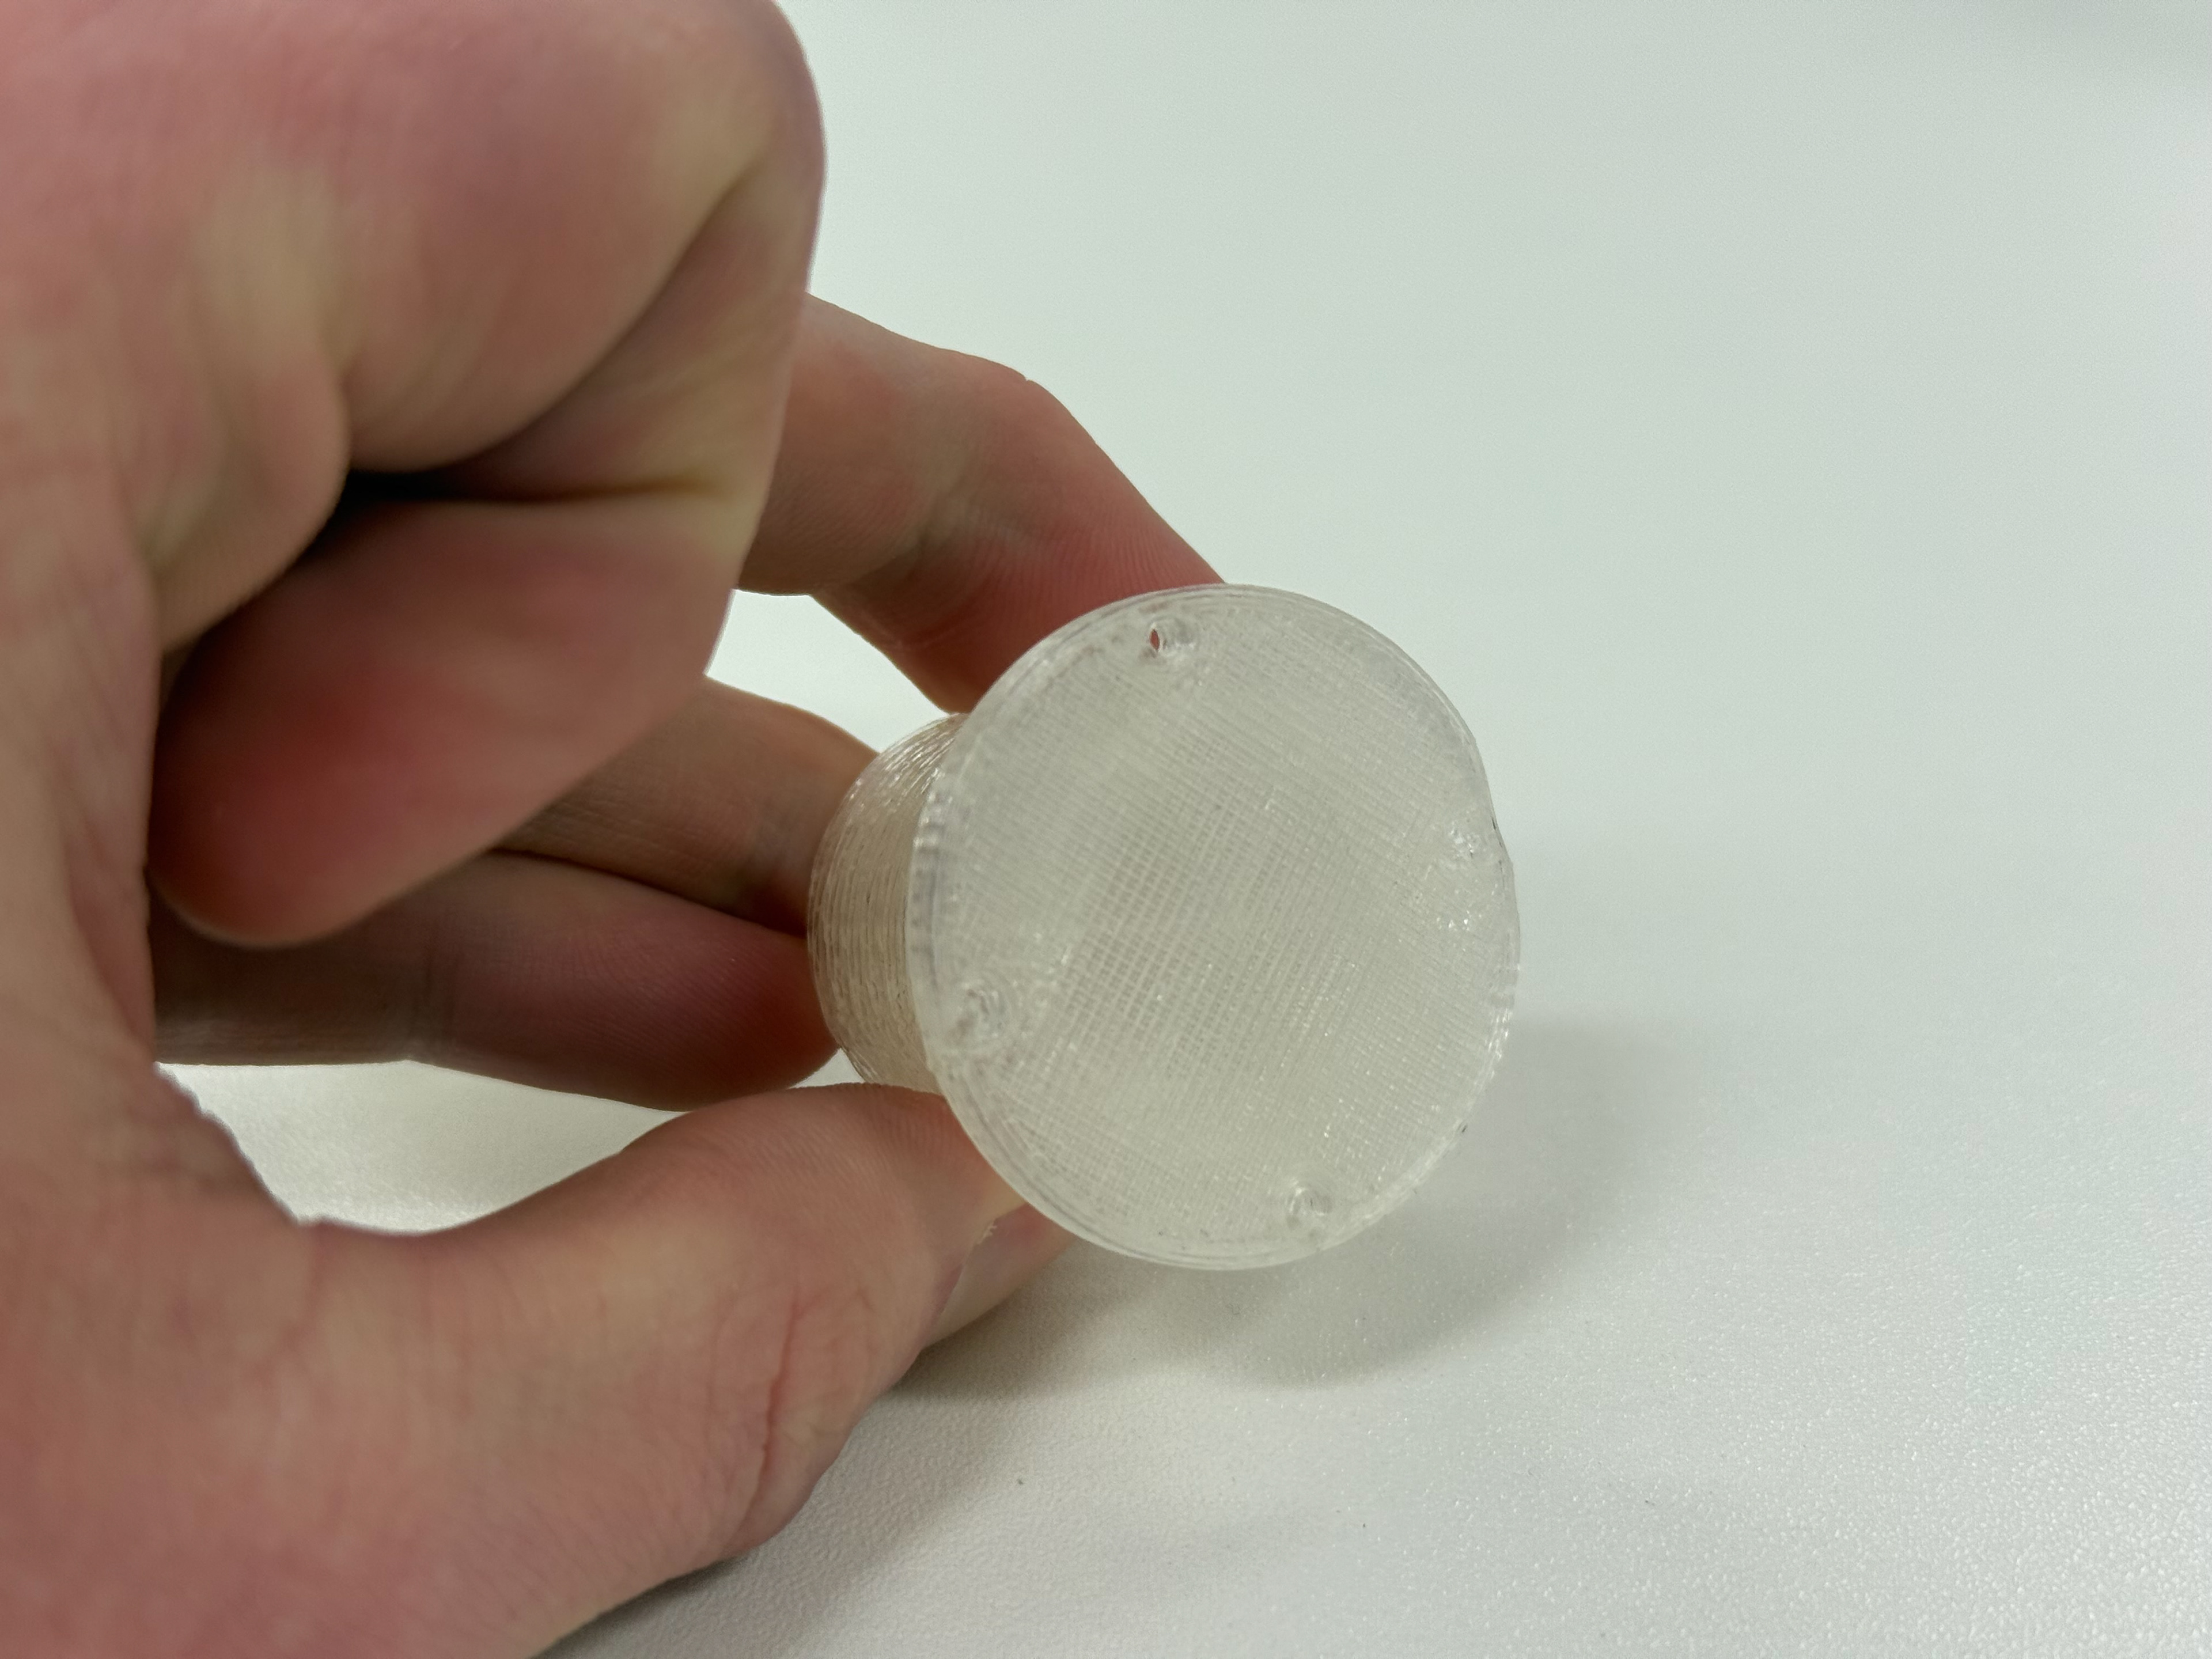
Base
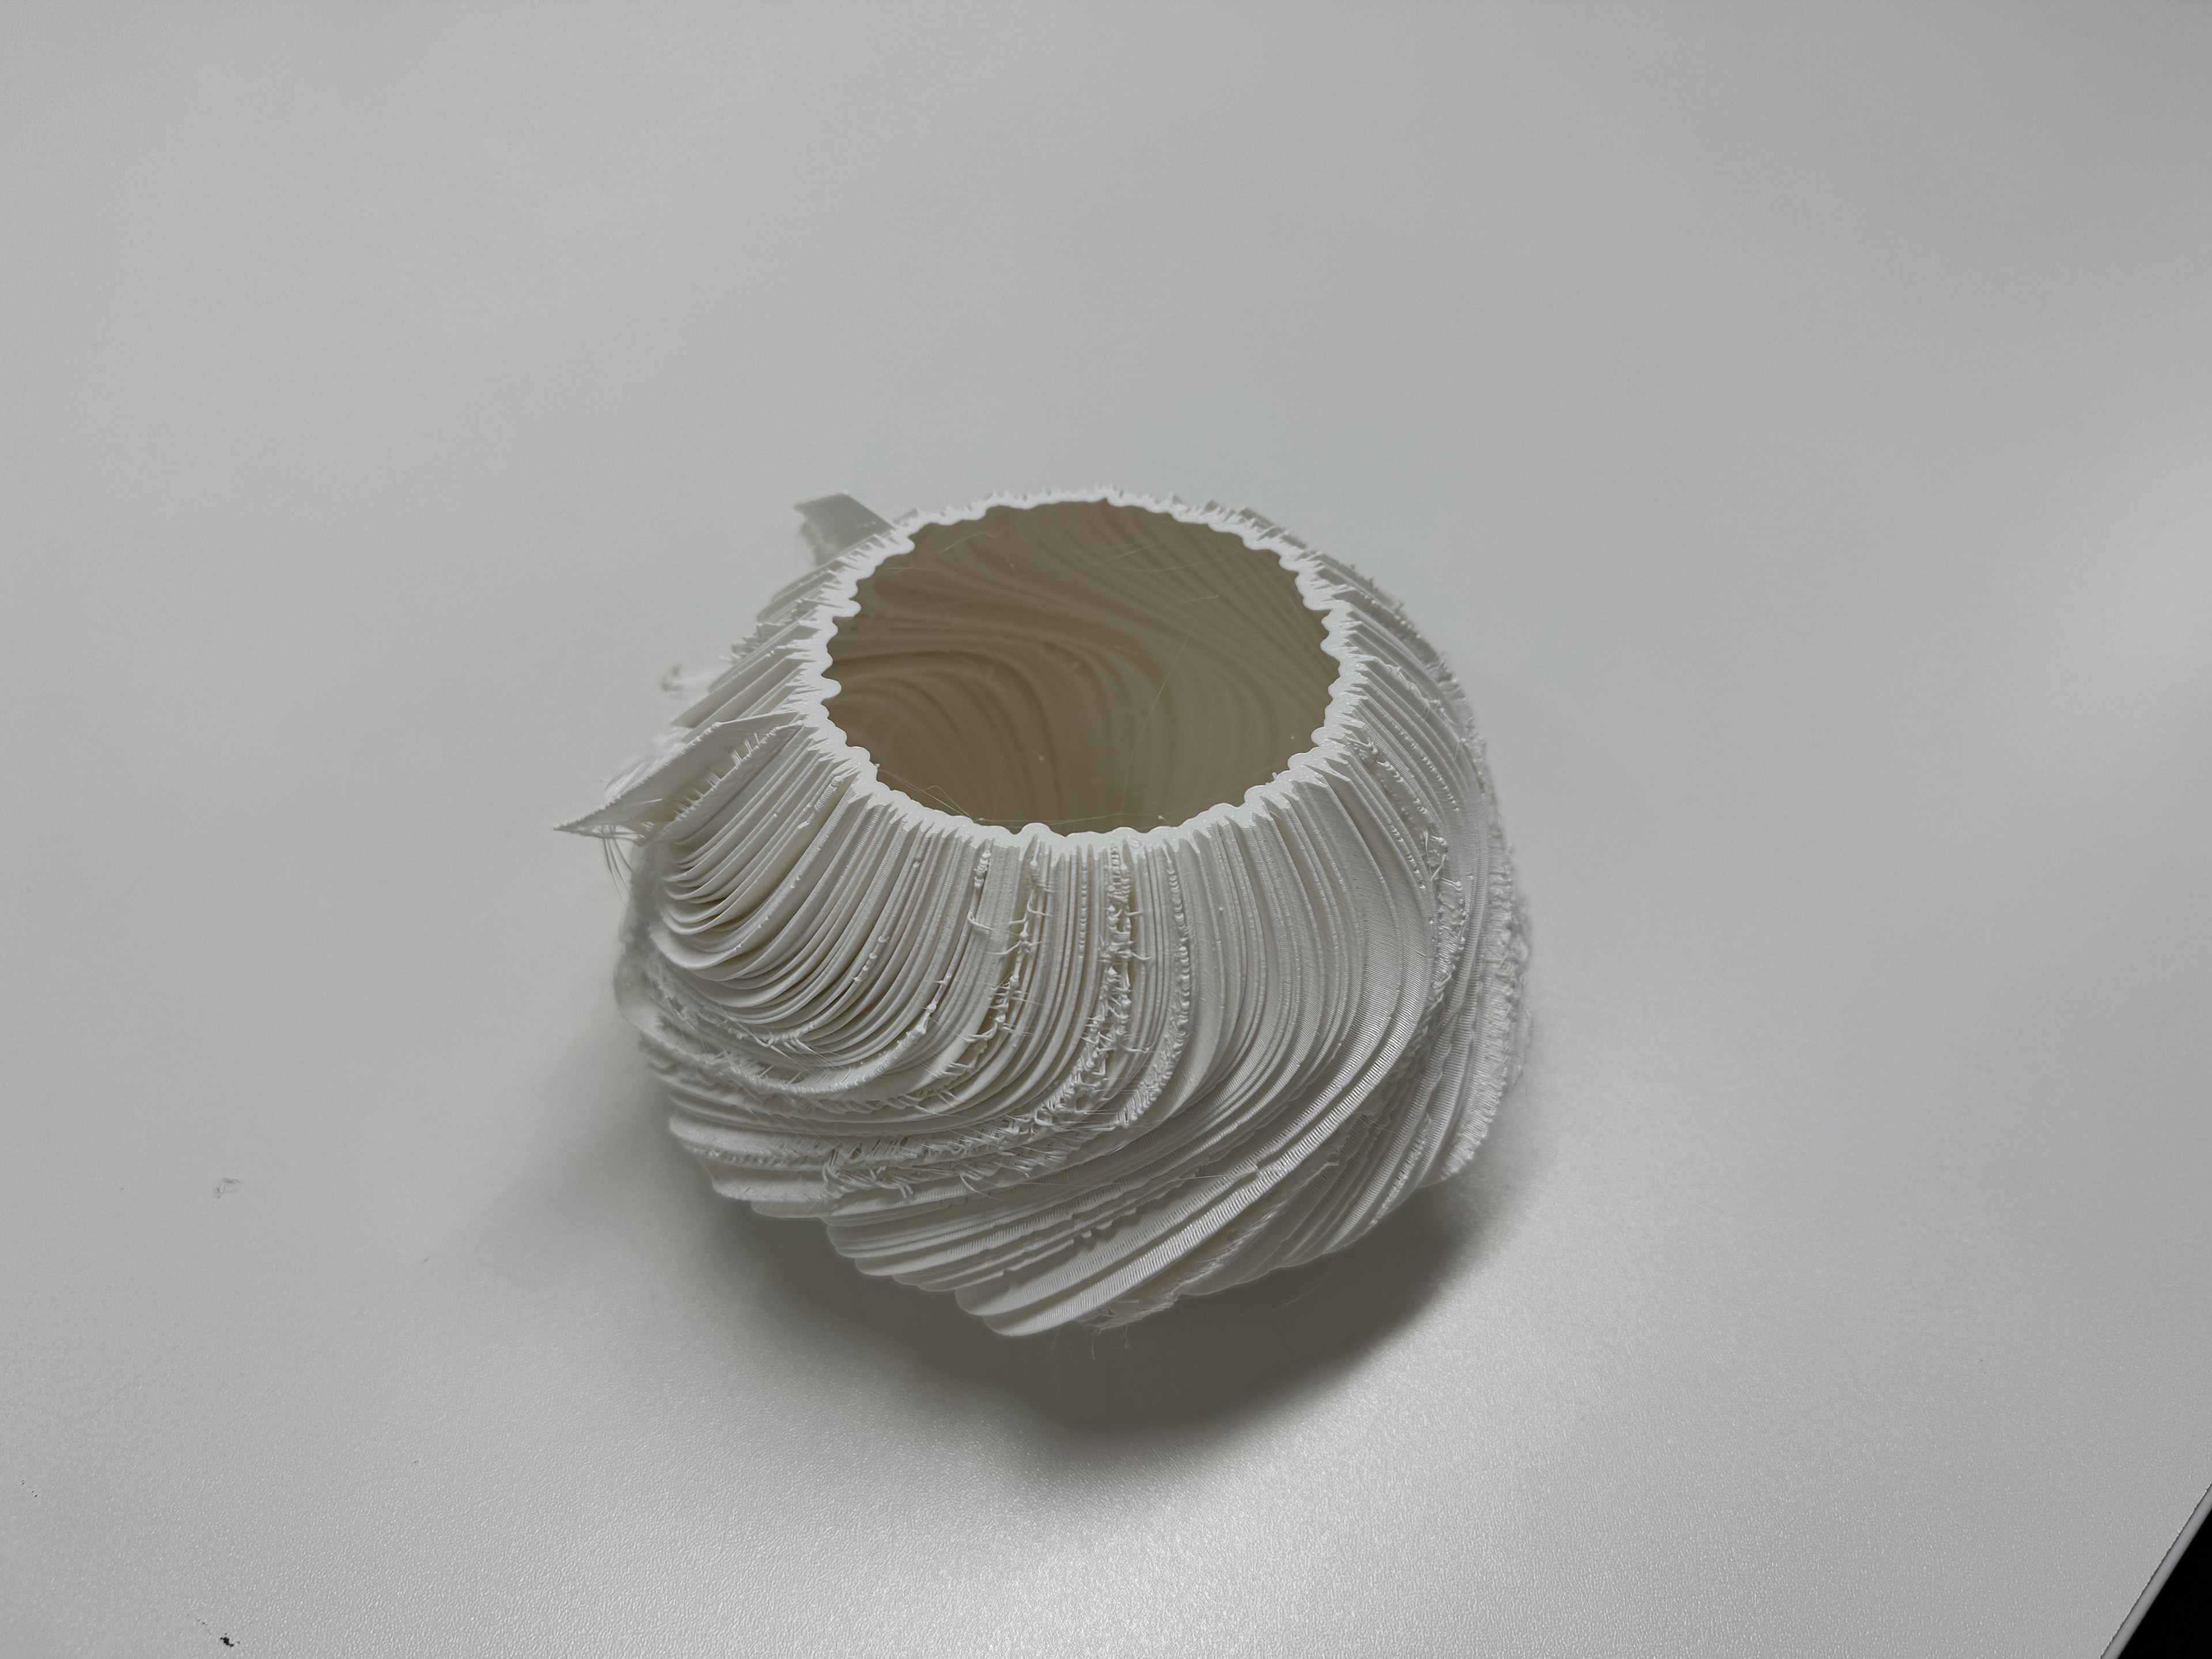
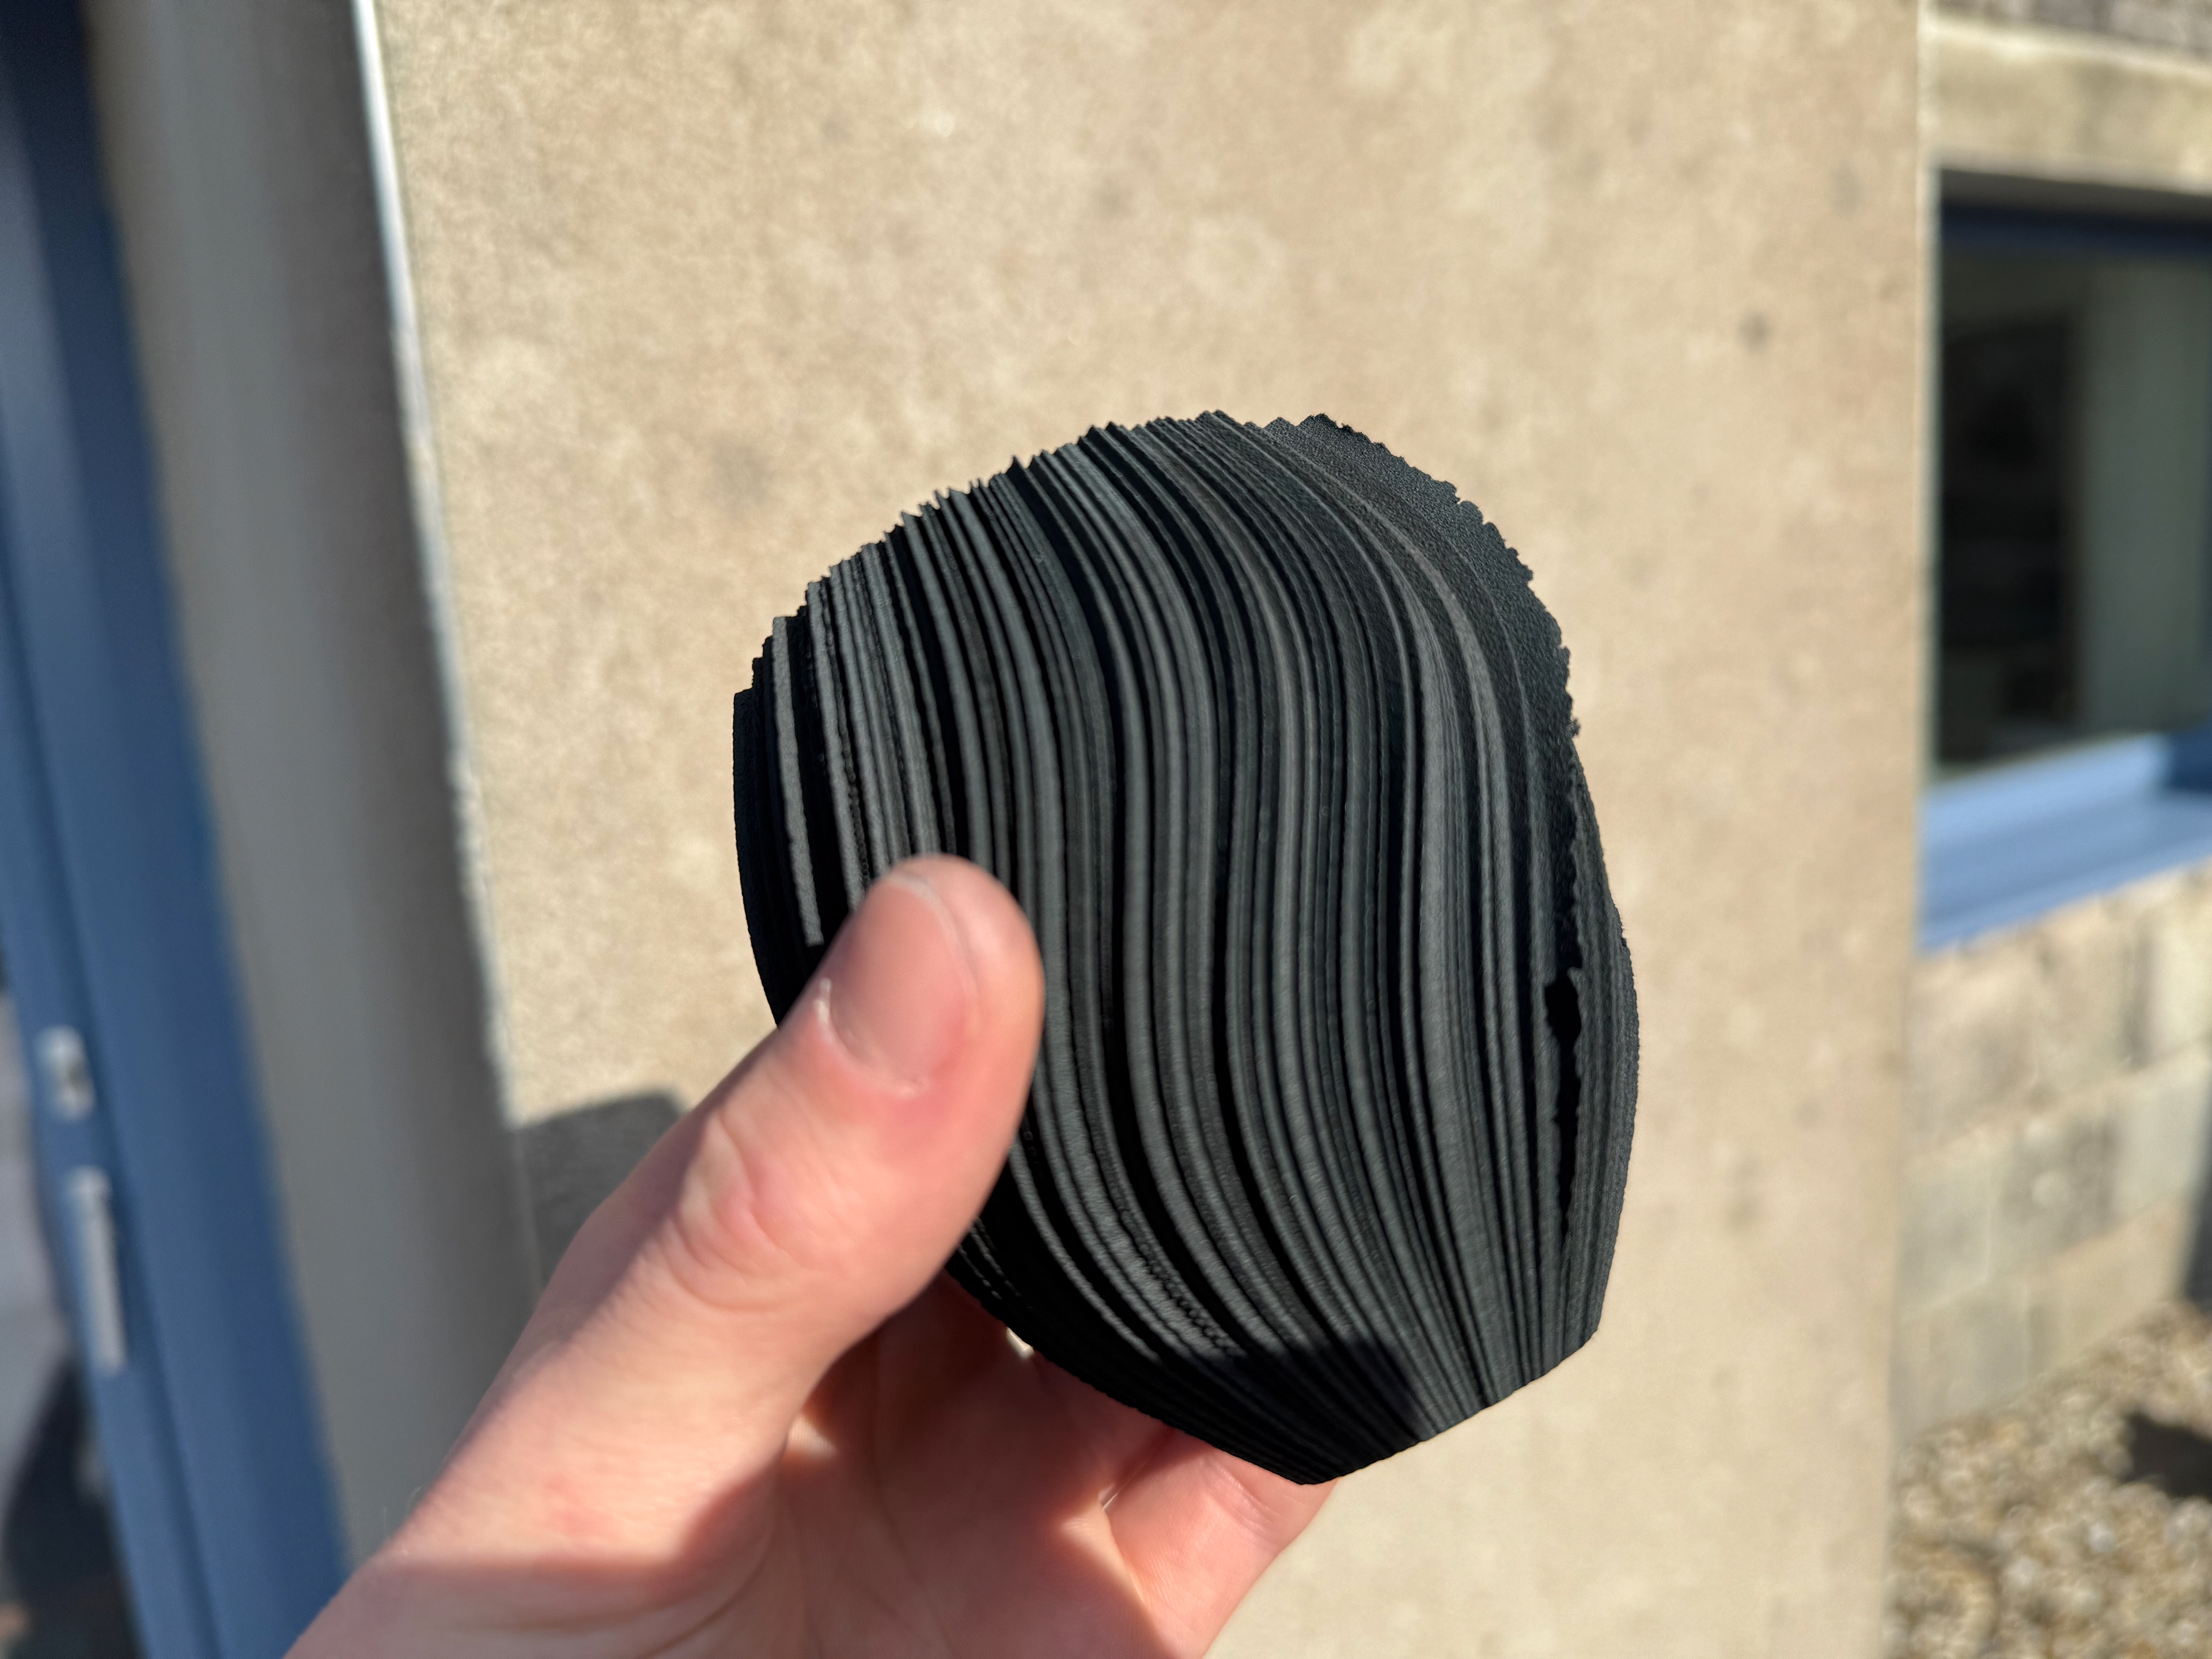
Top
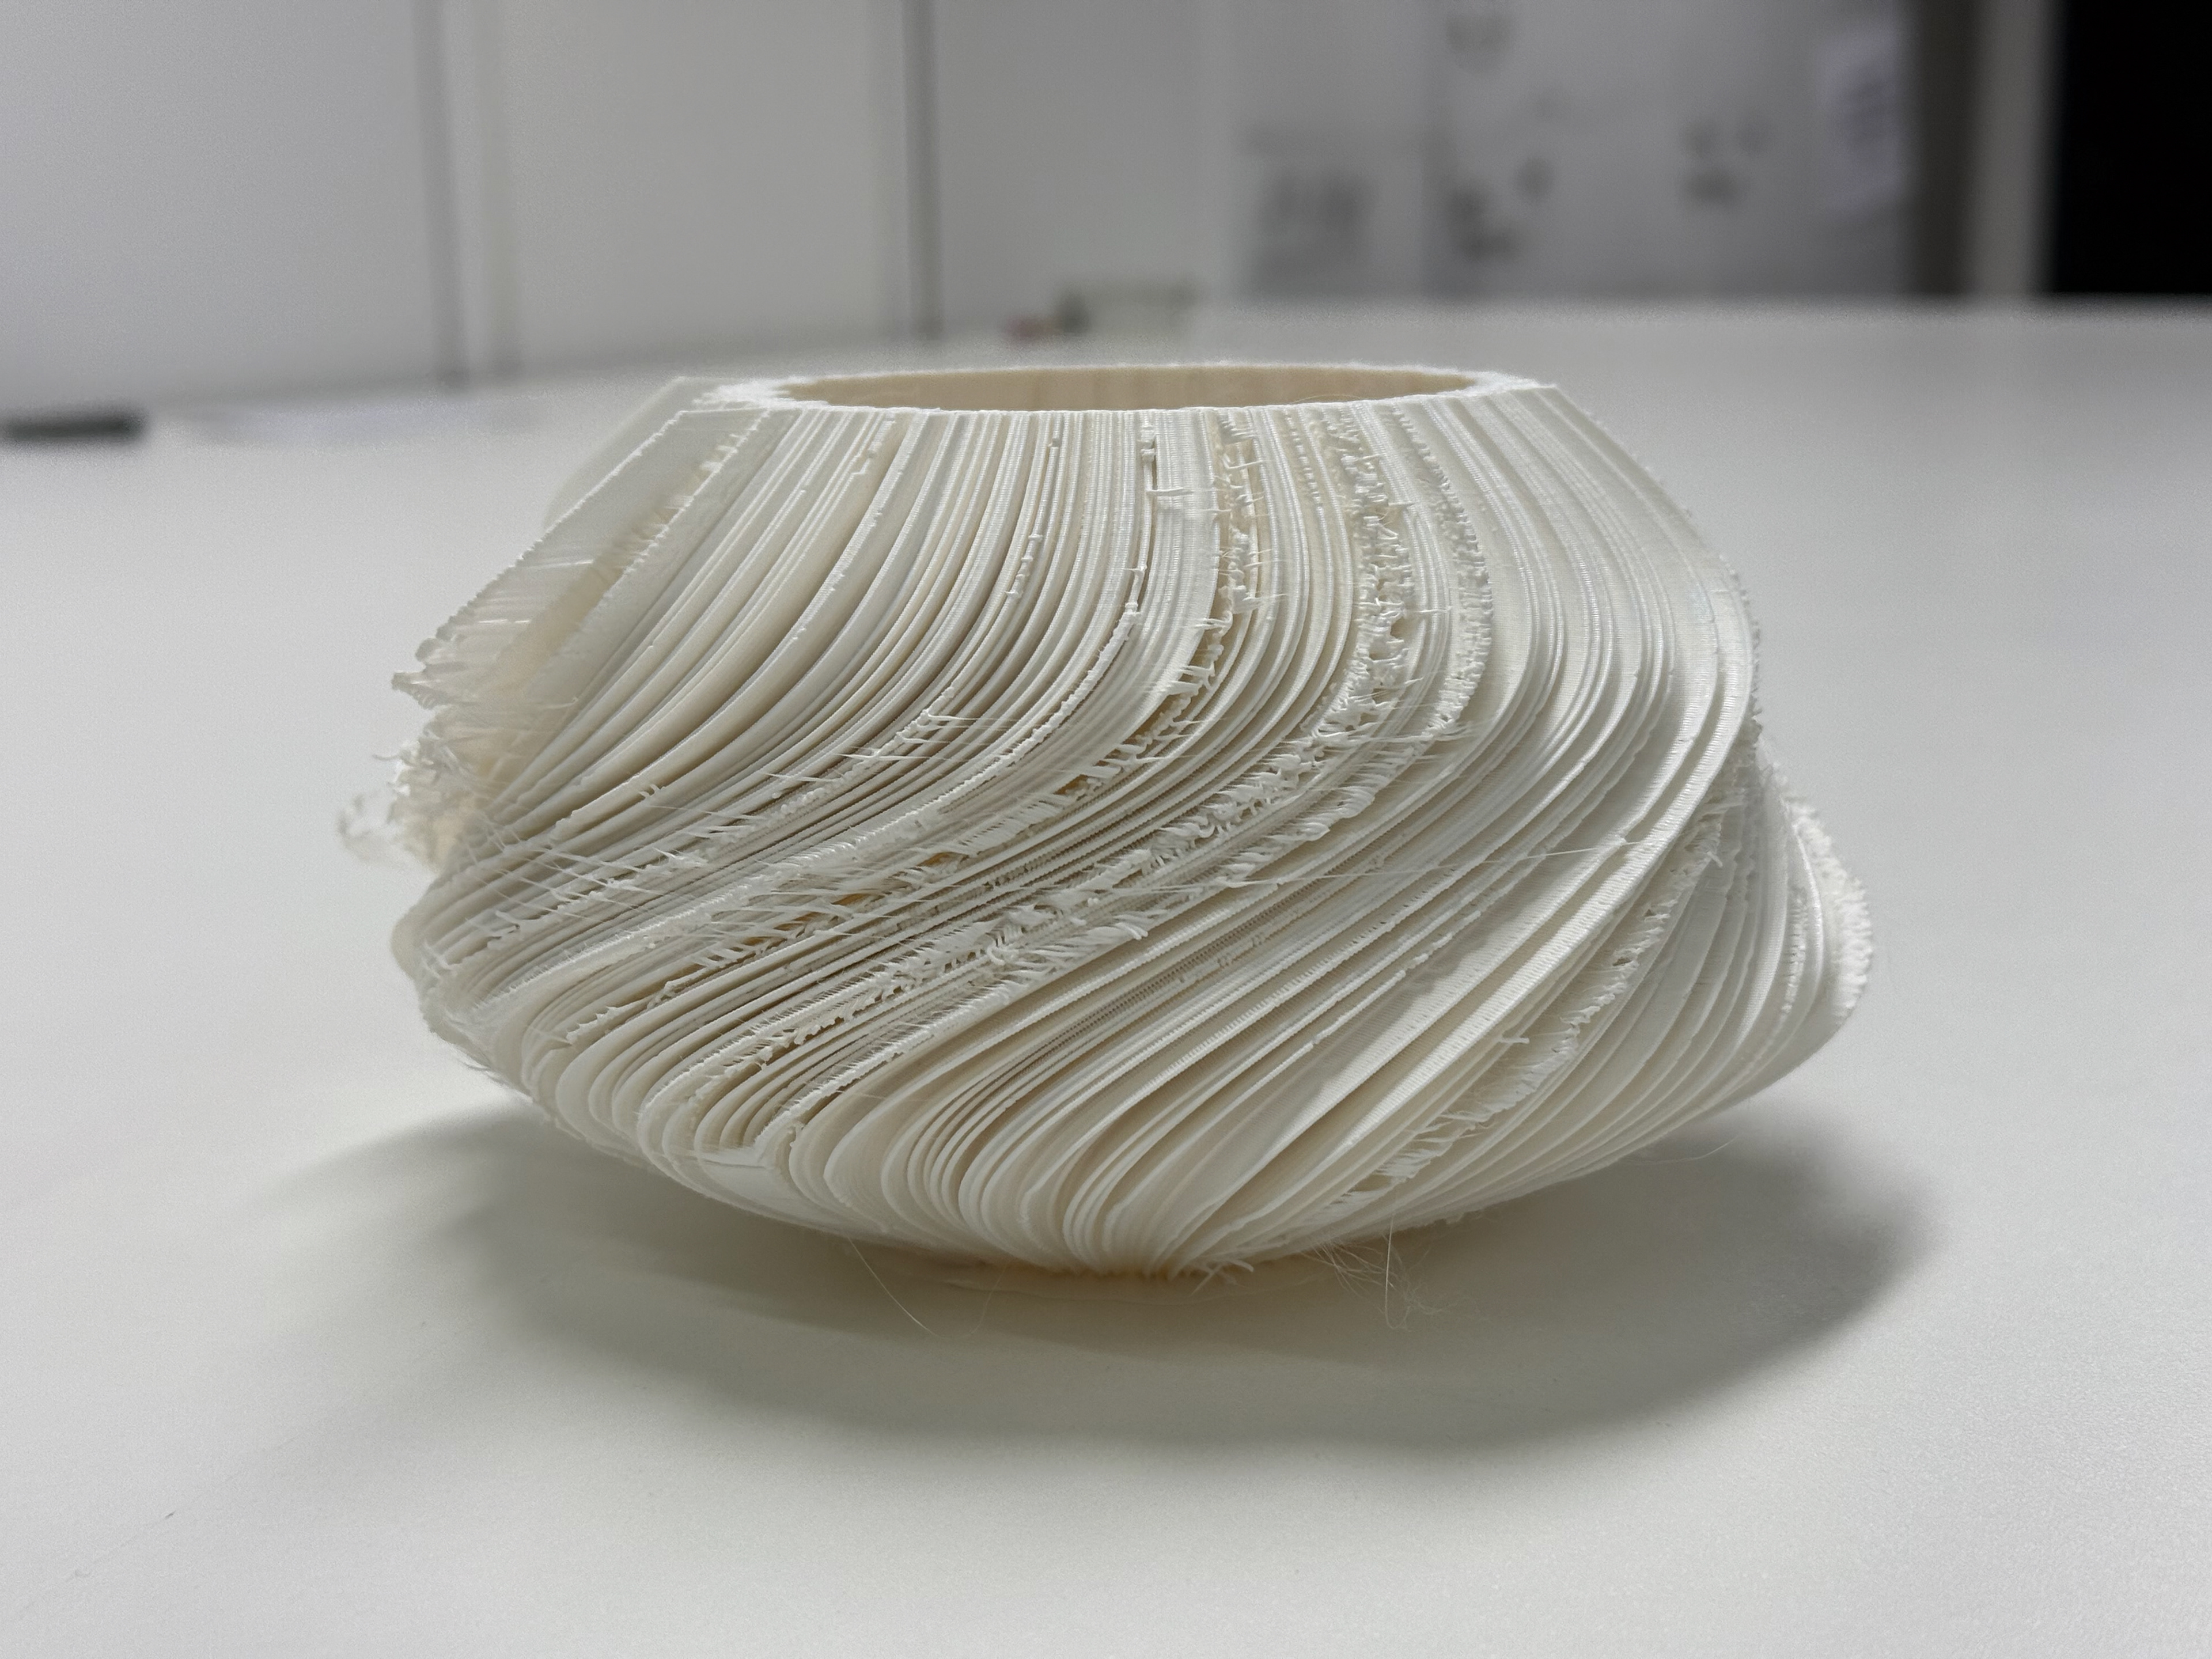
Twists
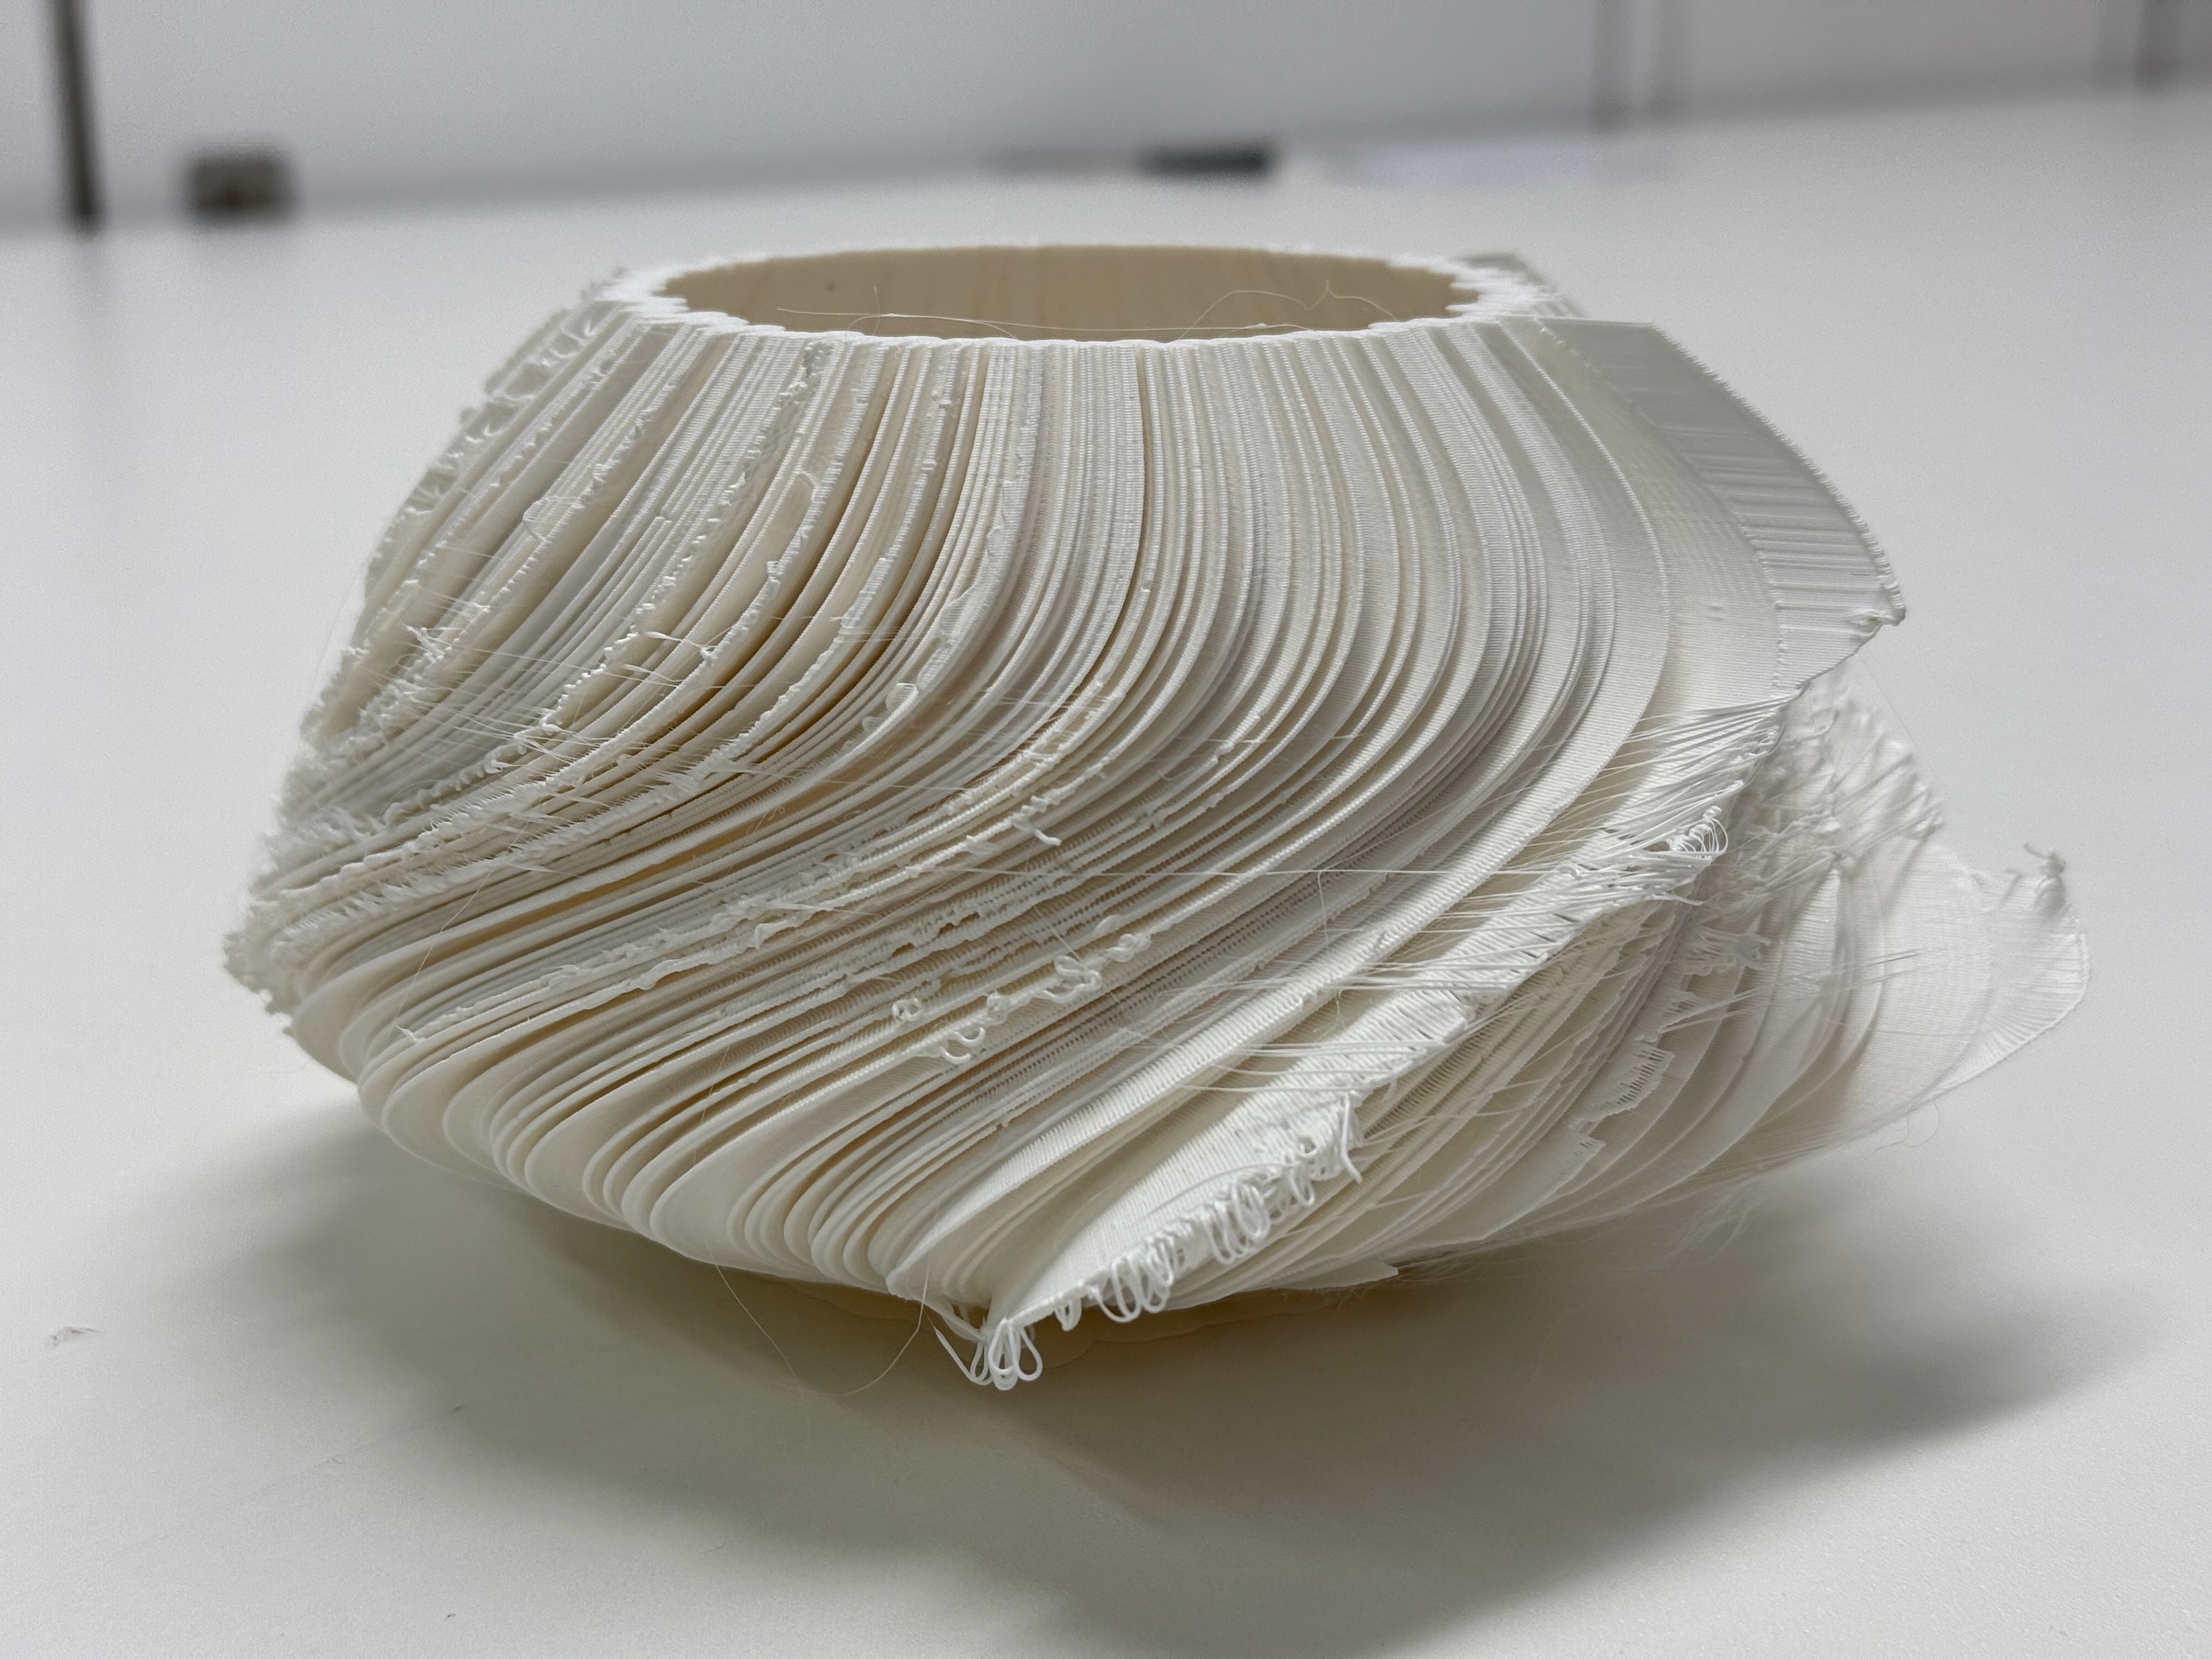
Twists
Compared to the WASP App 75% scale model
Compared to the WASP App 75% scale model
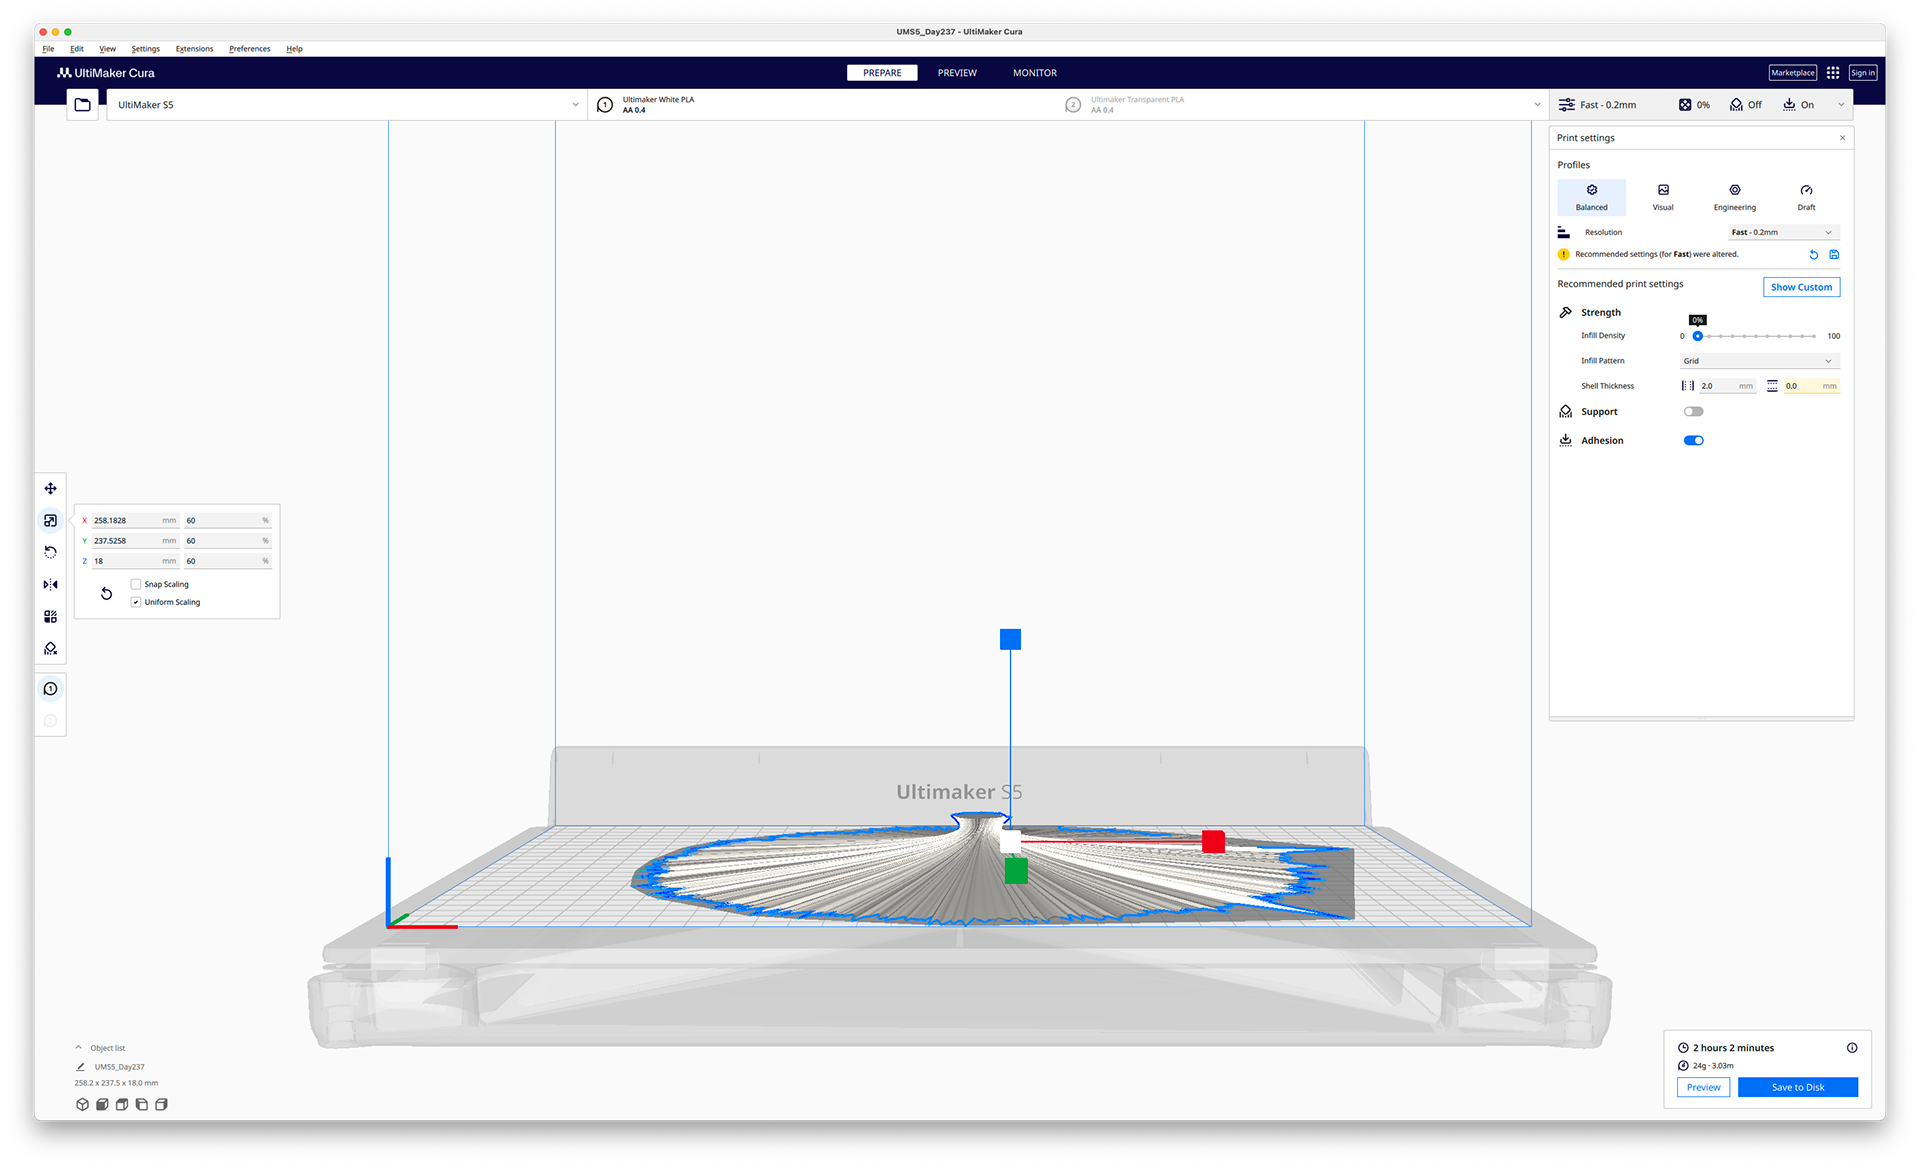
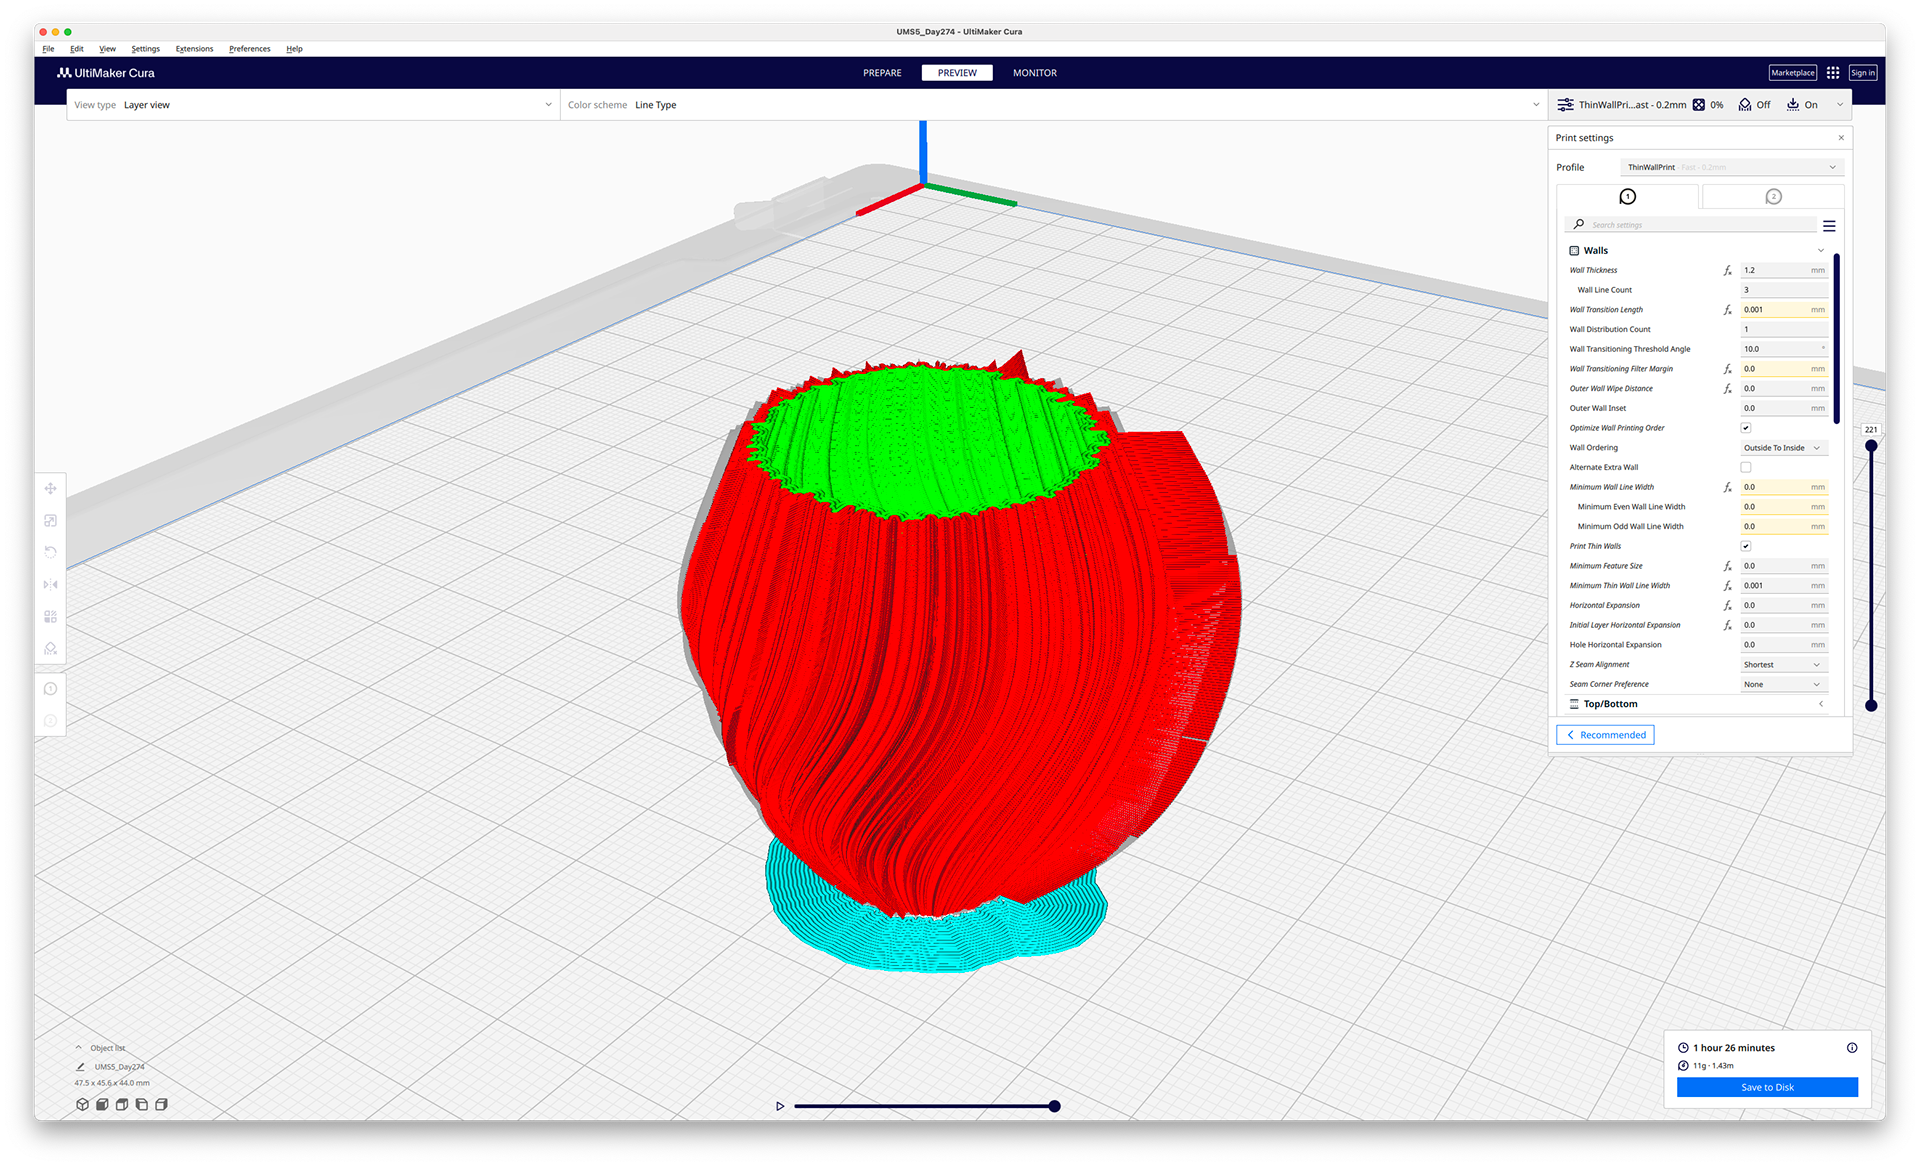
The Cura settings. You can see how short the piece is. I had to scale it down to 60% size just to fit on the bed; it was a very wide object initially.
The slight gradient the printer has to build layers on
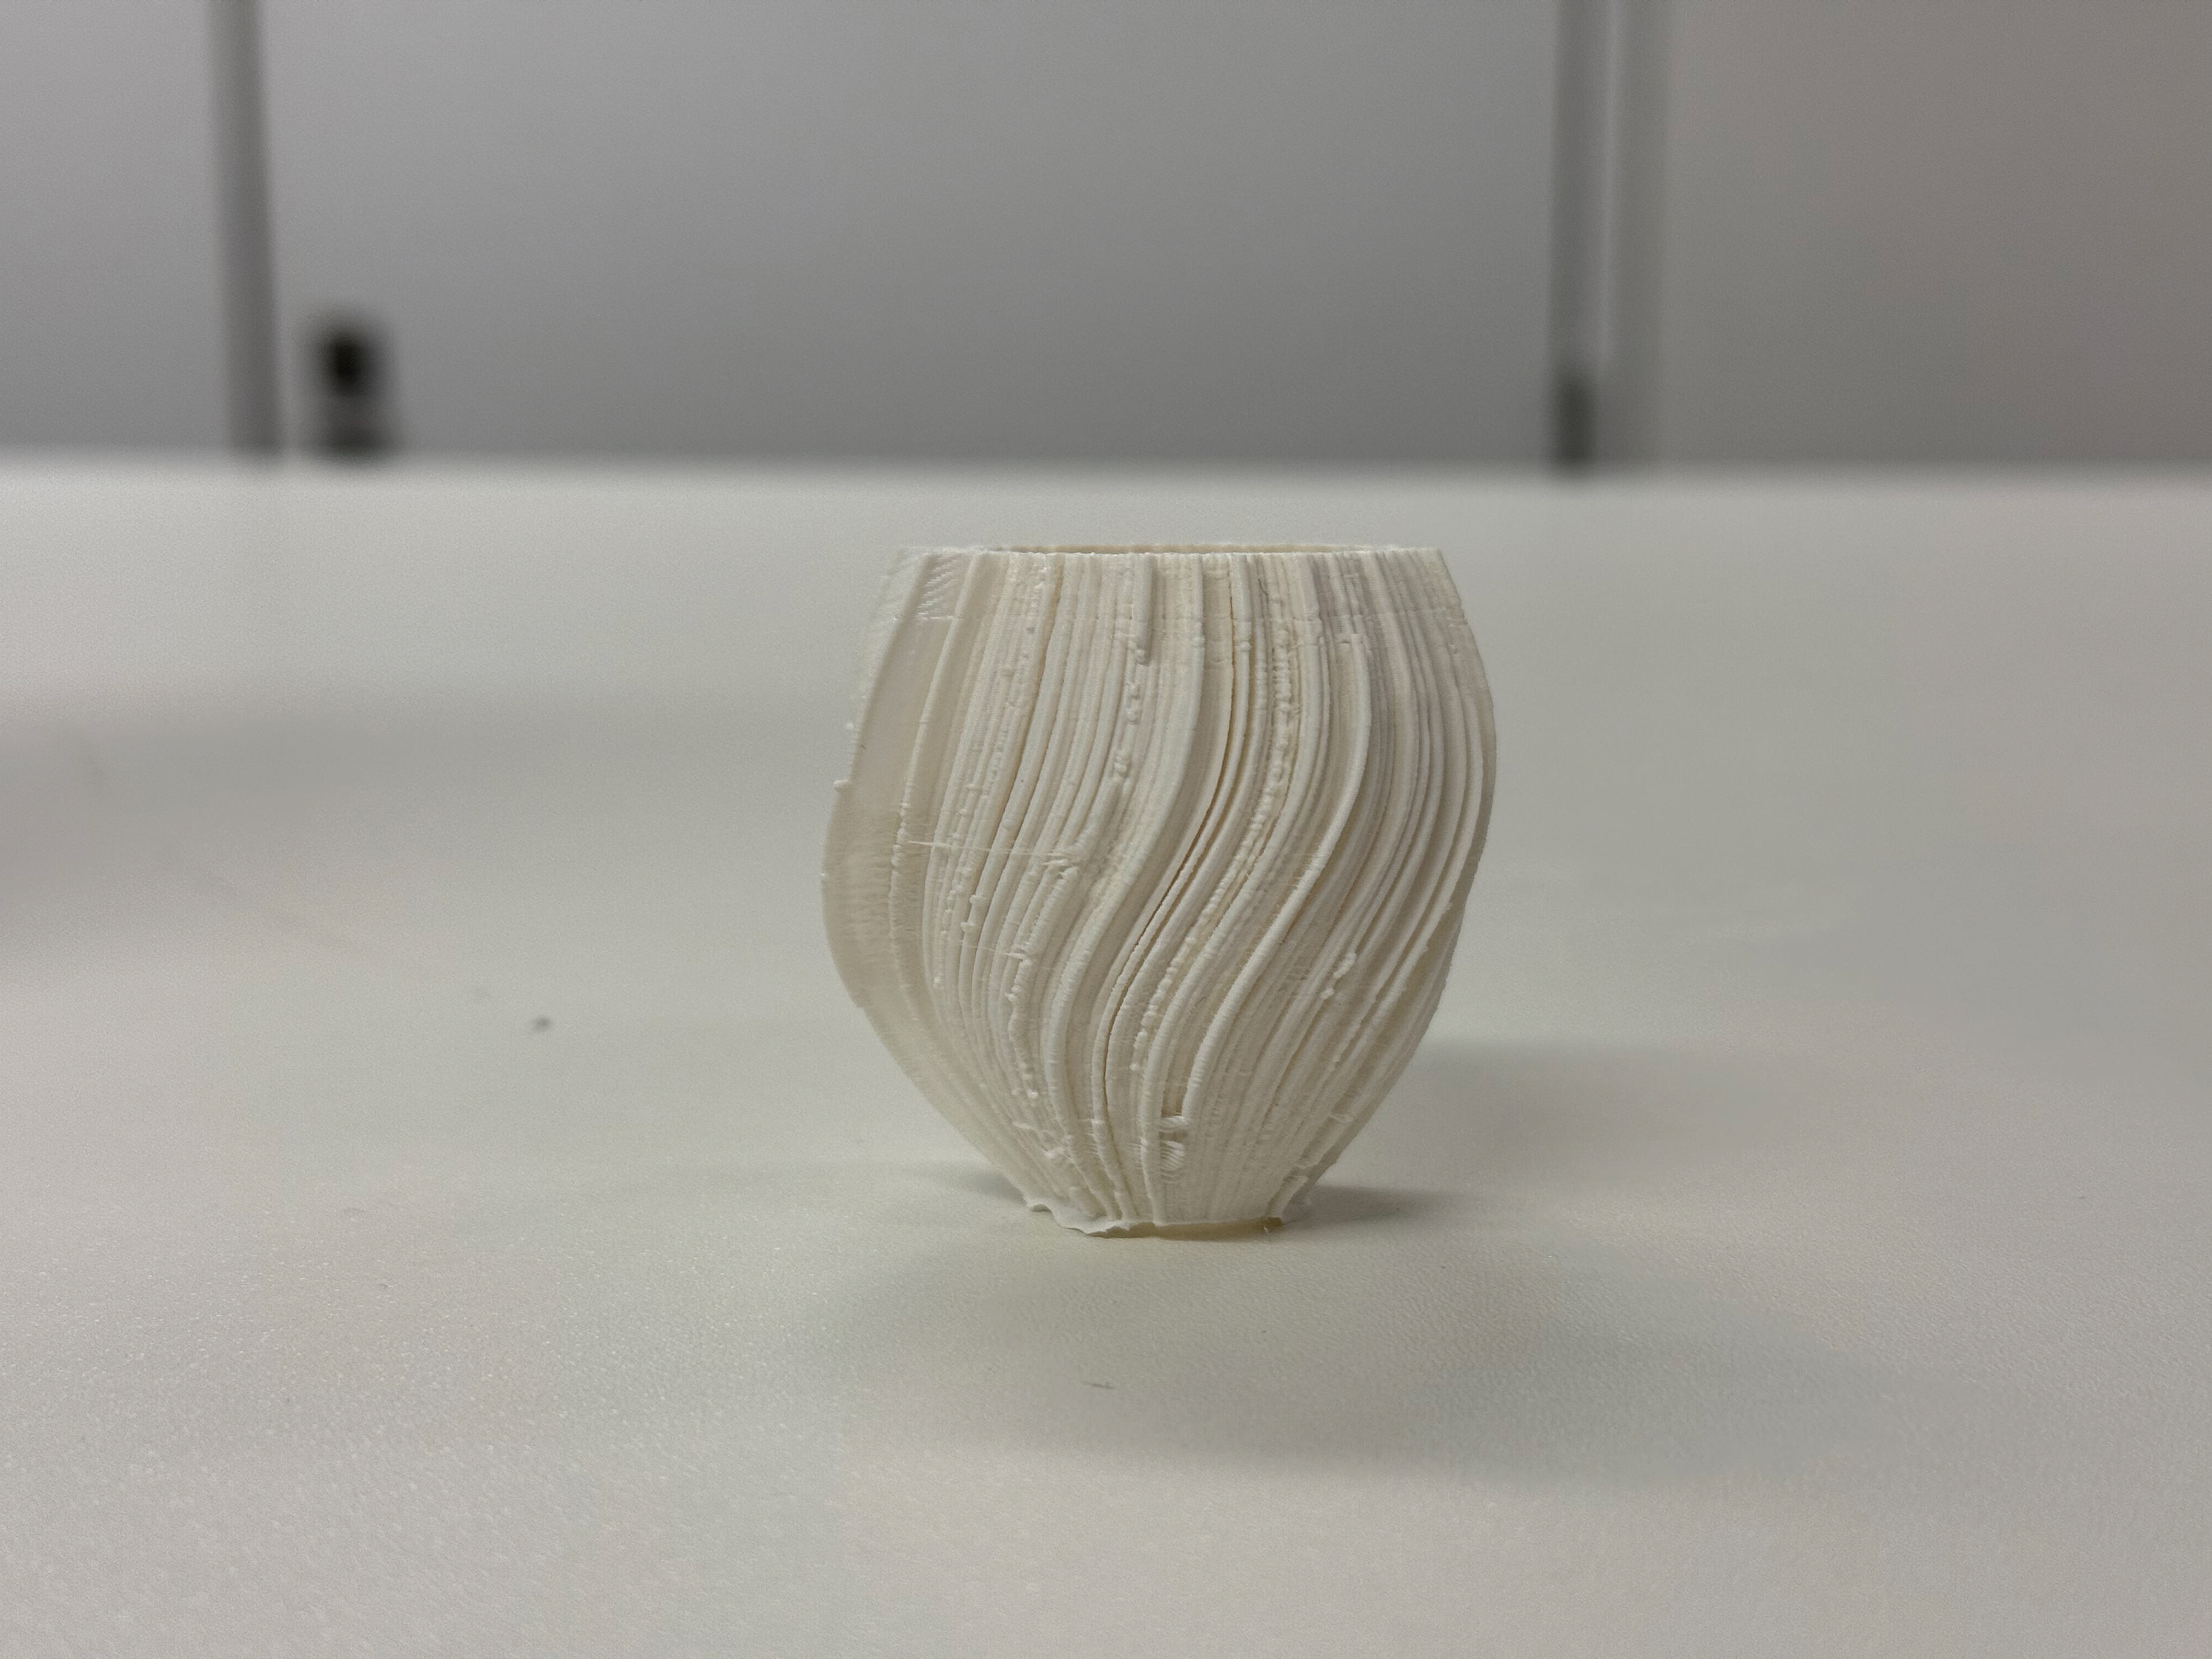
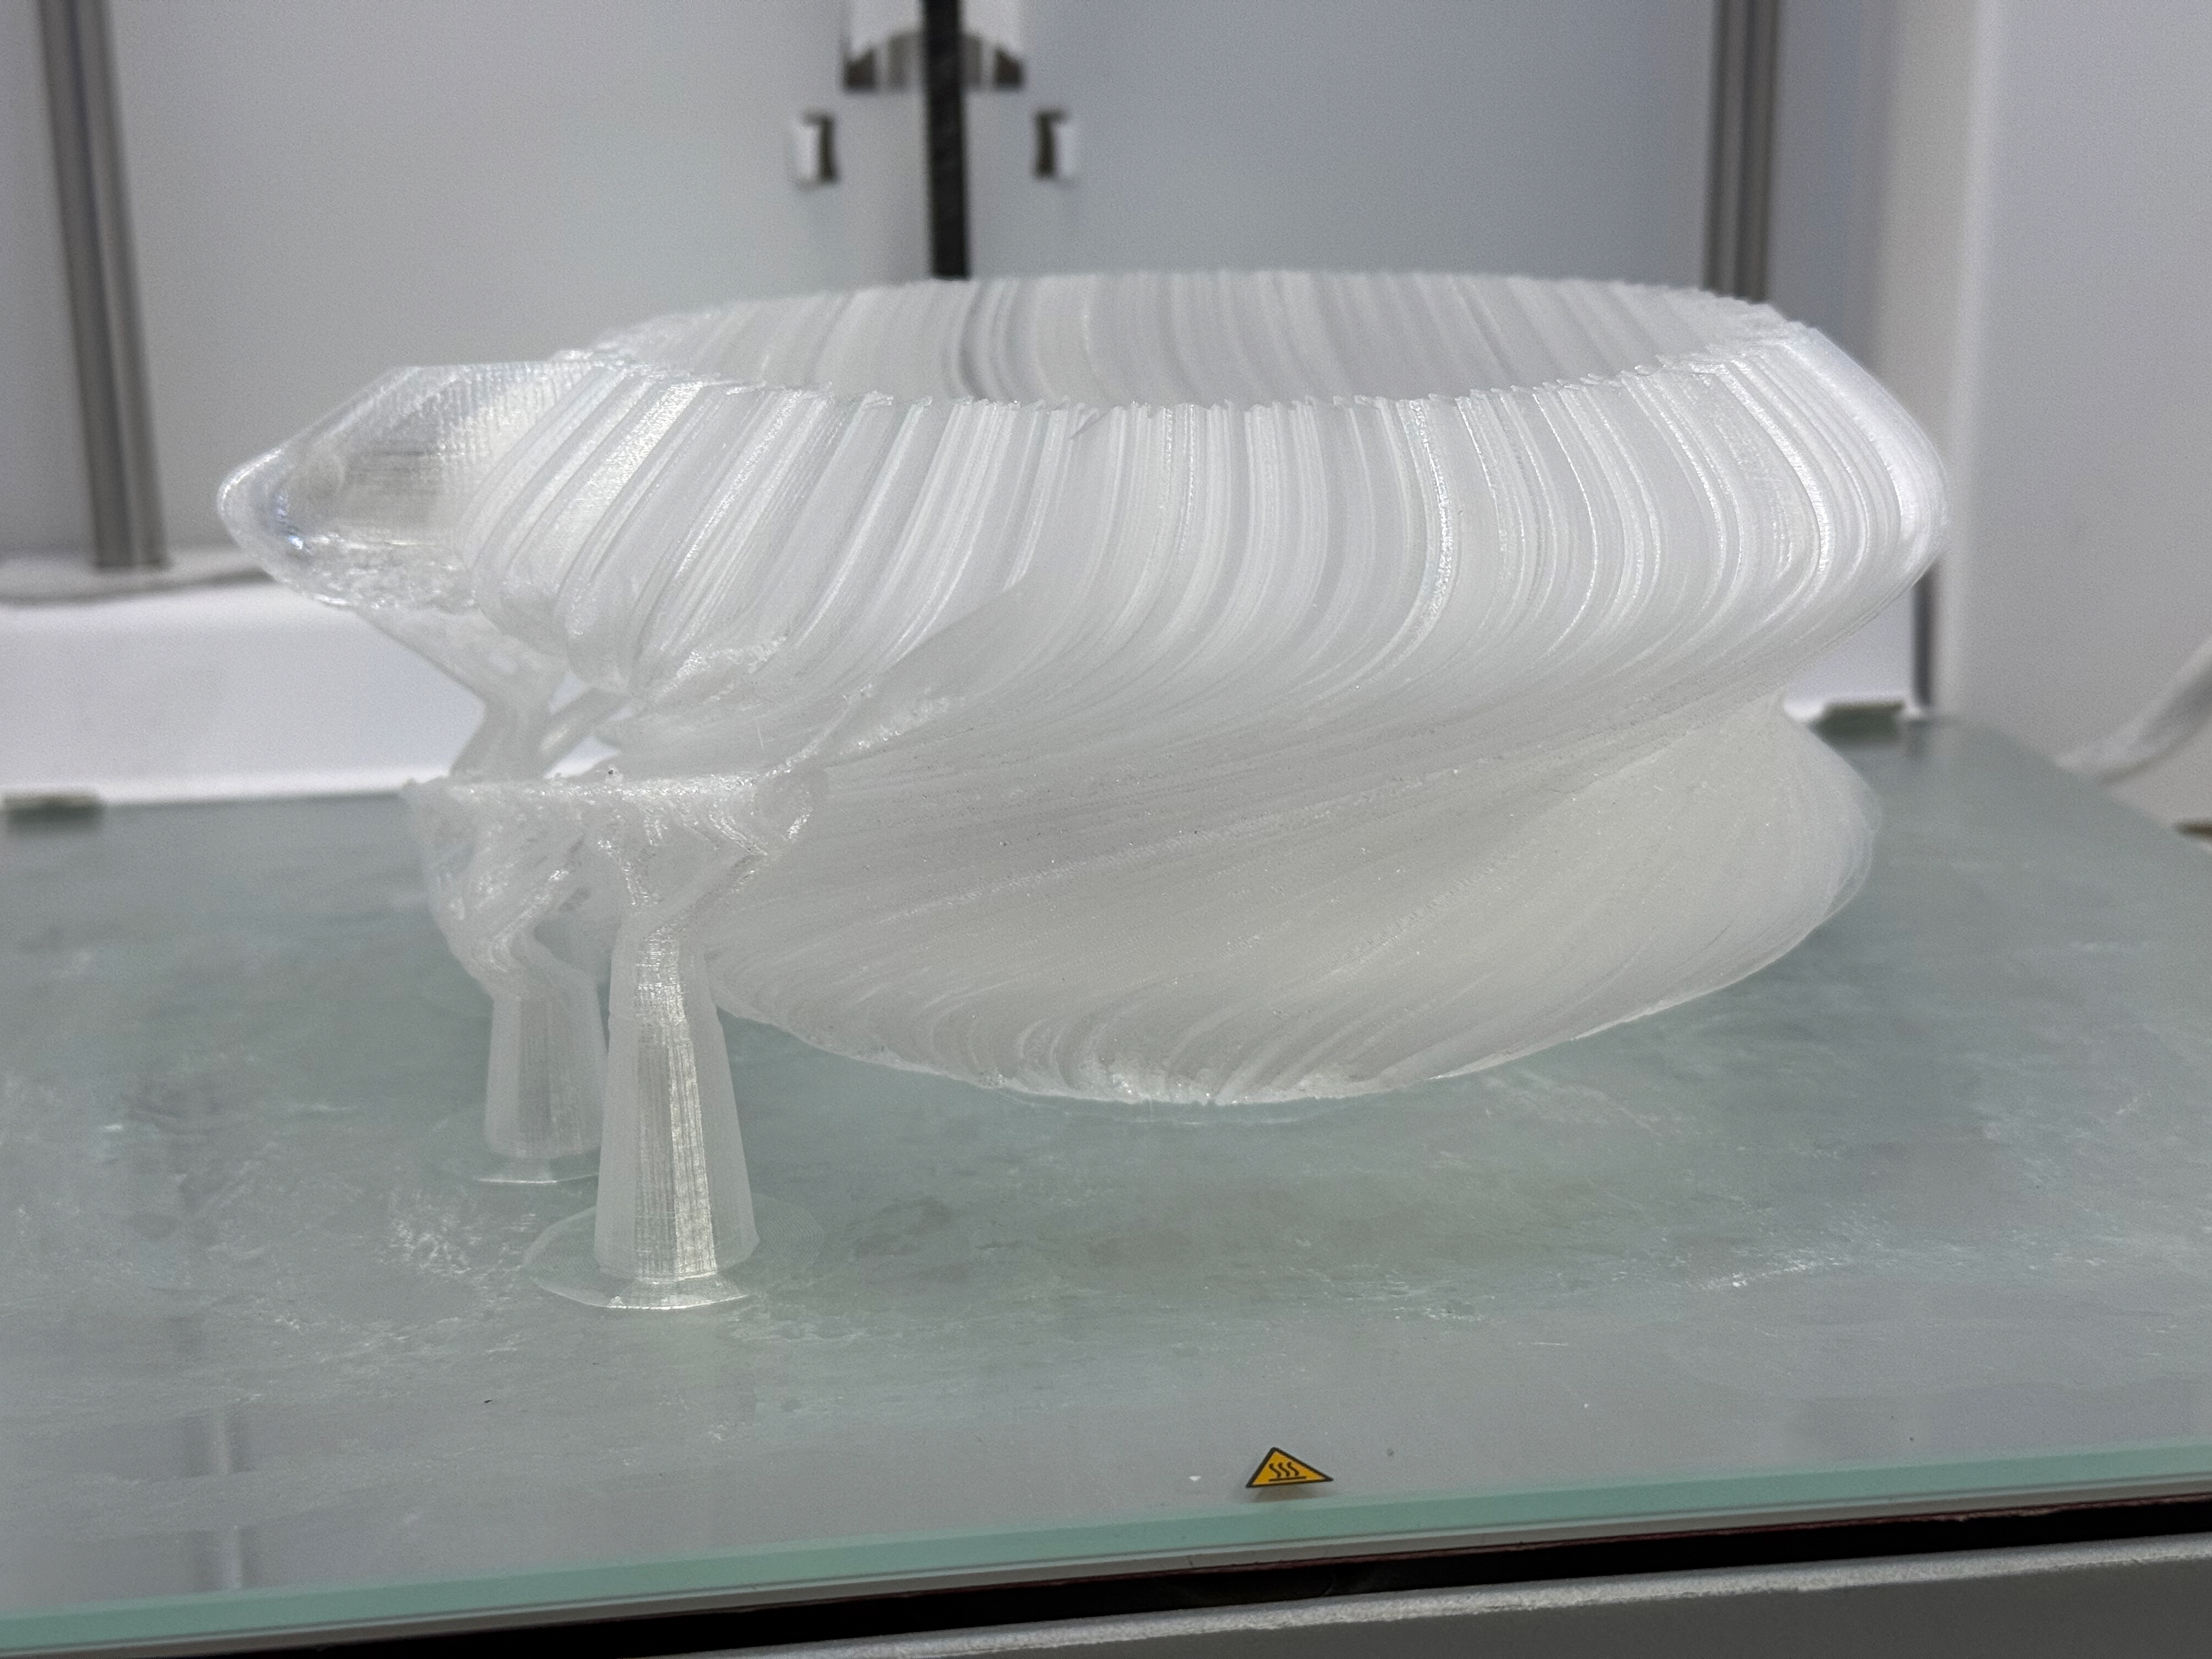
Finished print on the bed

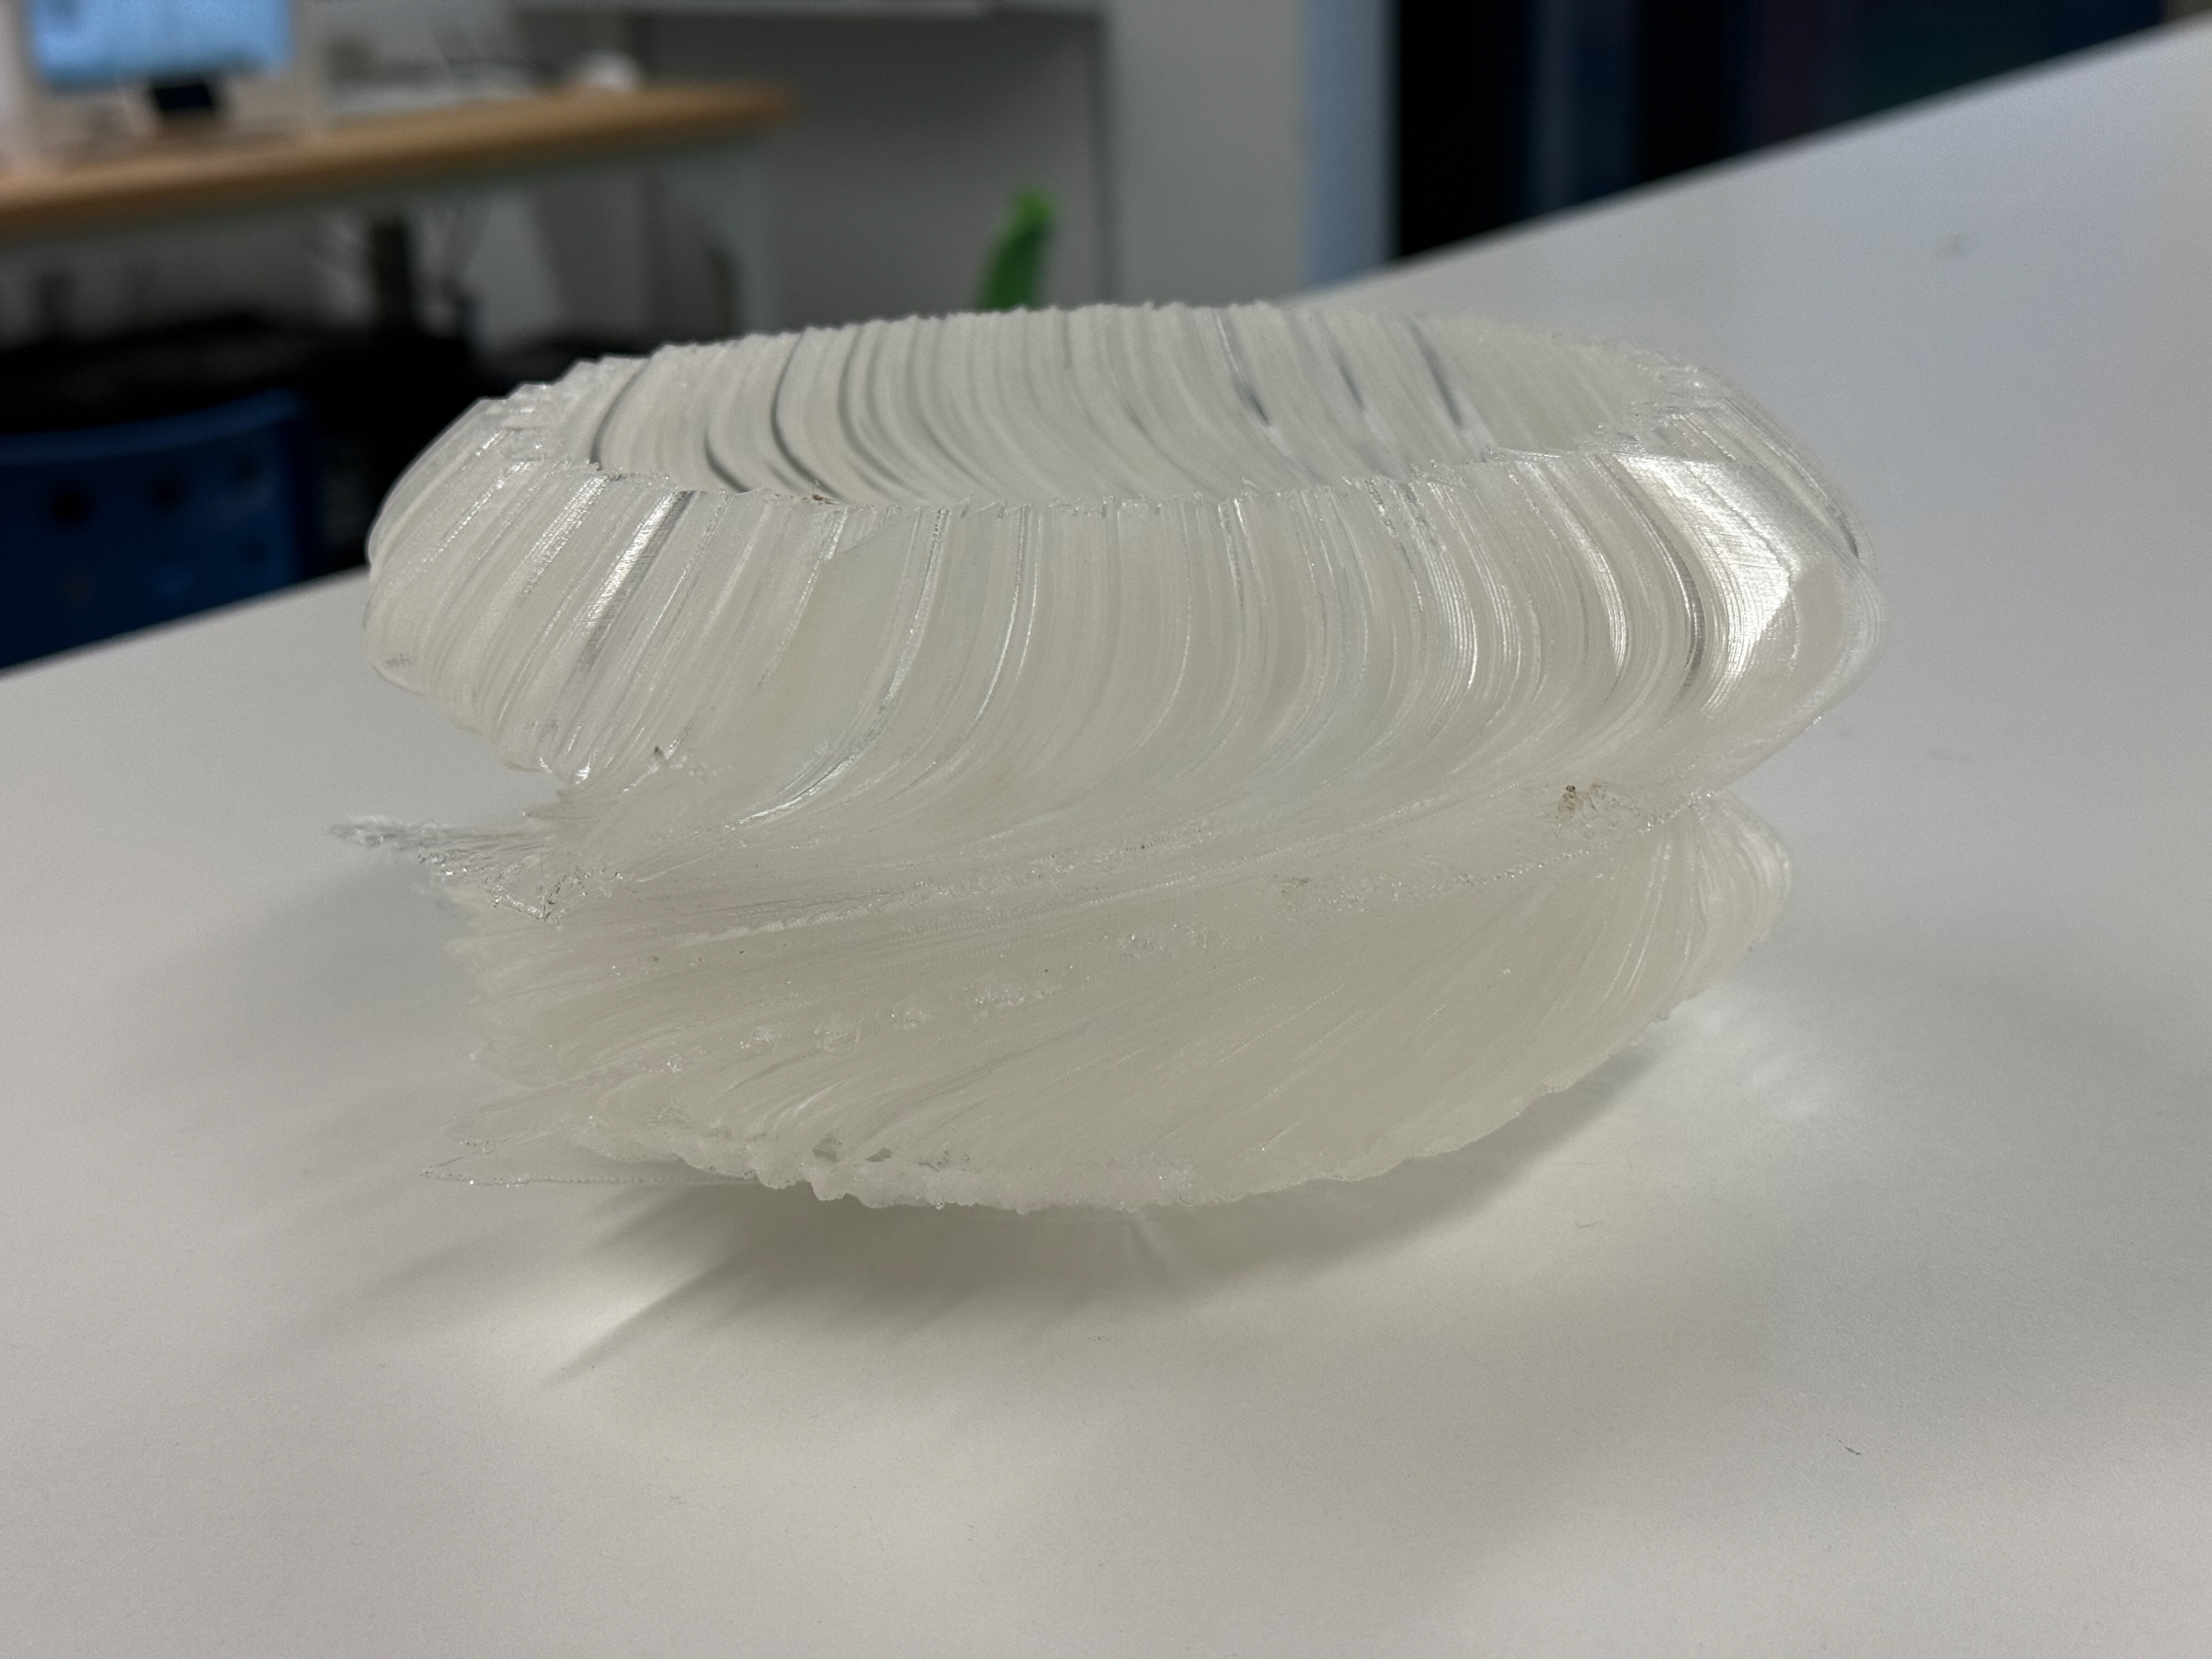
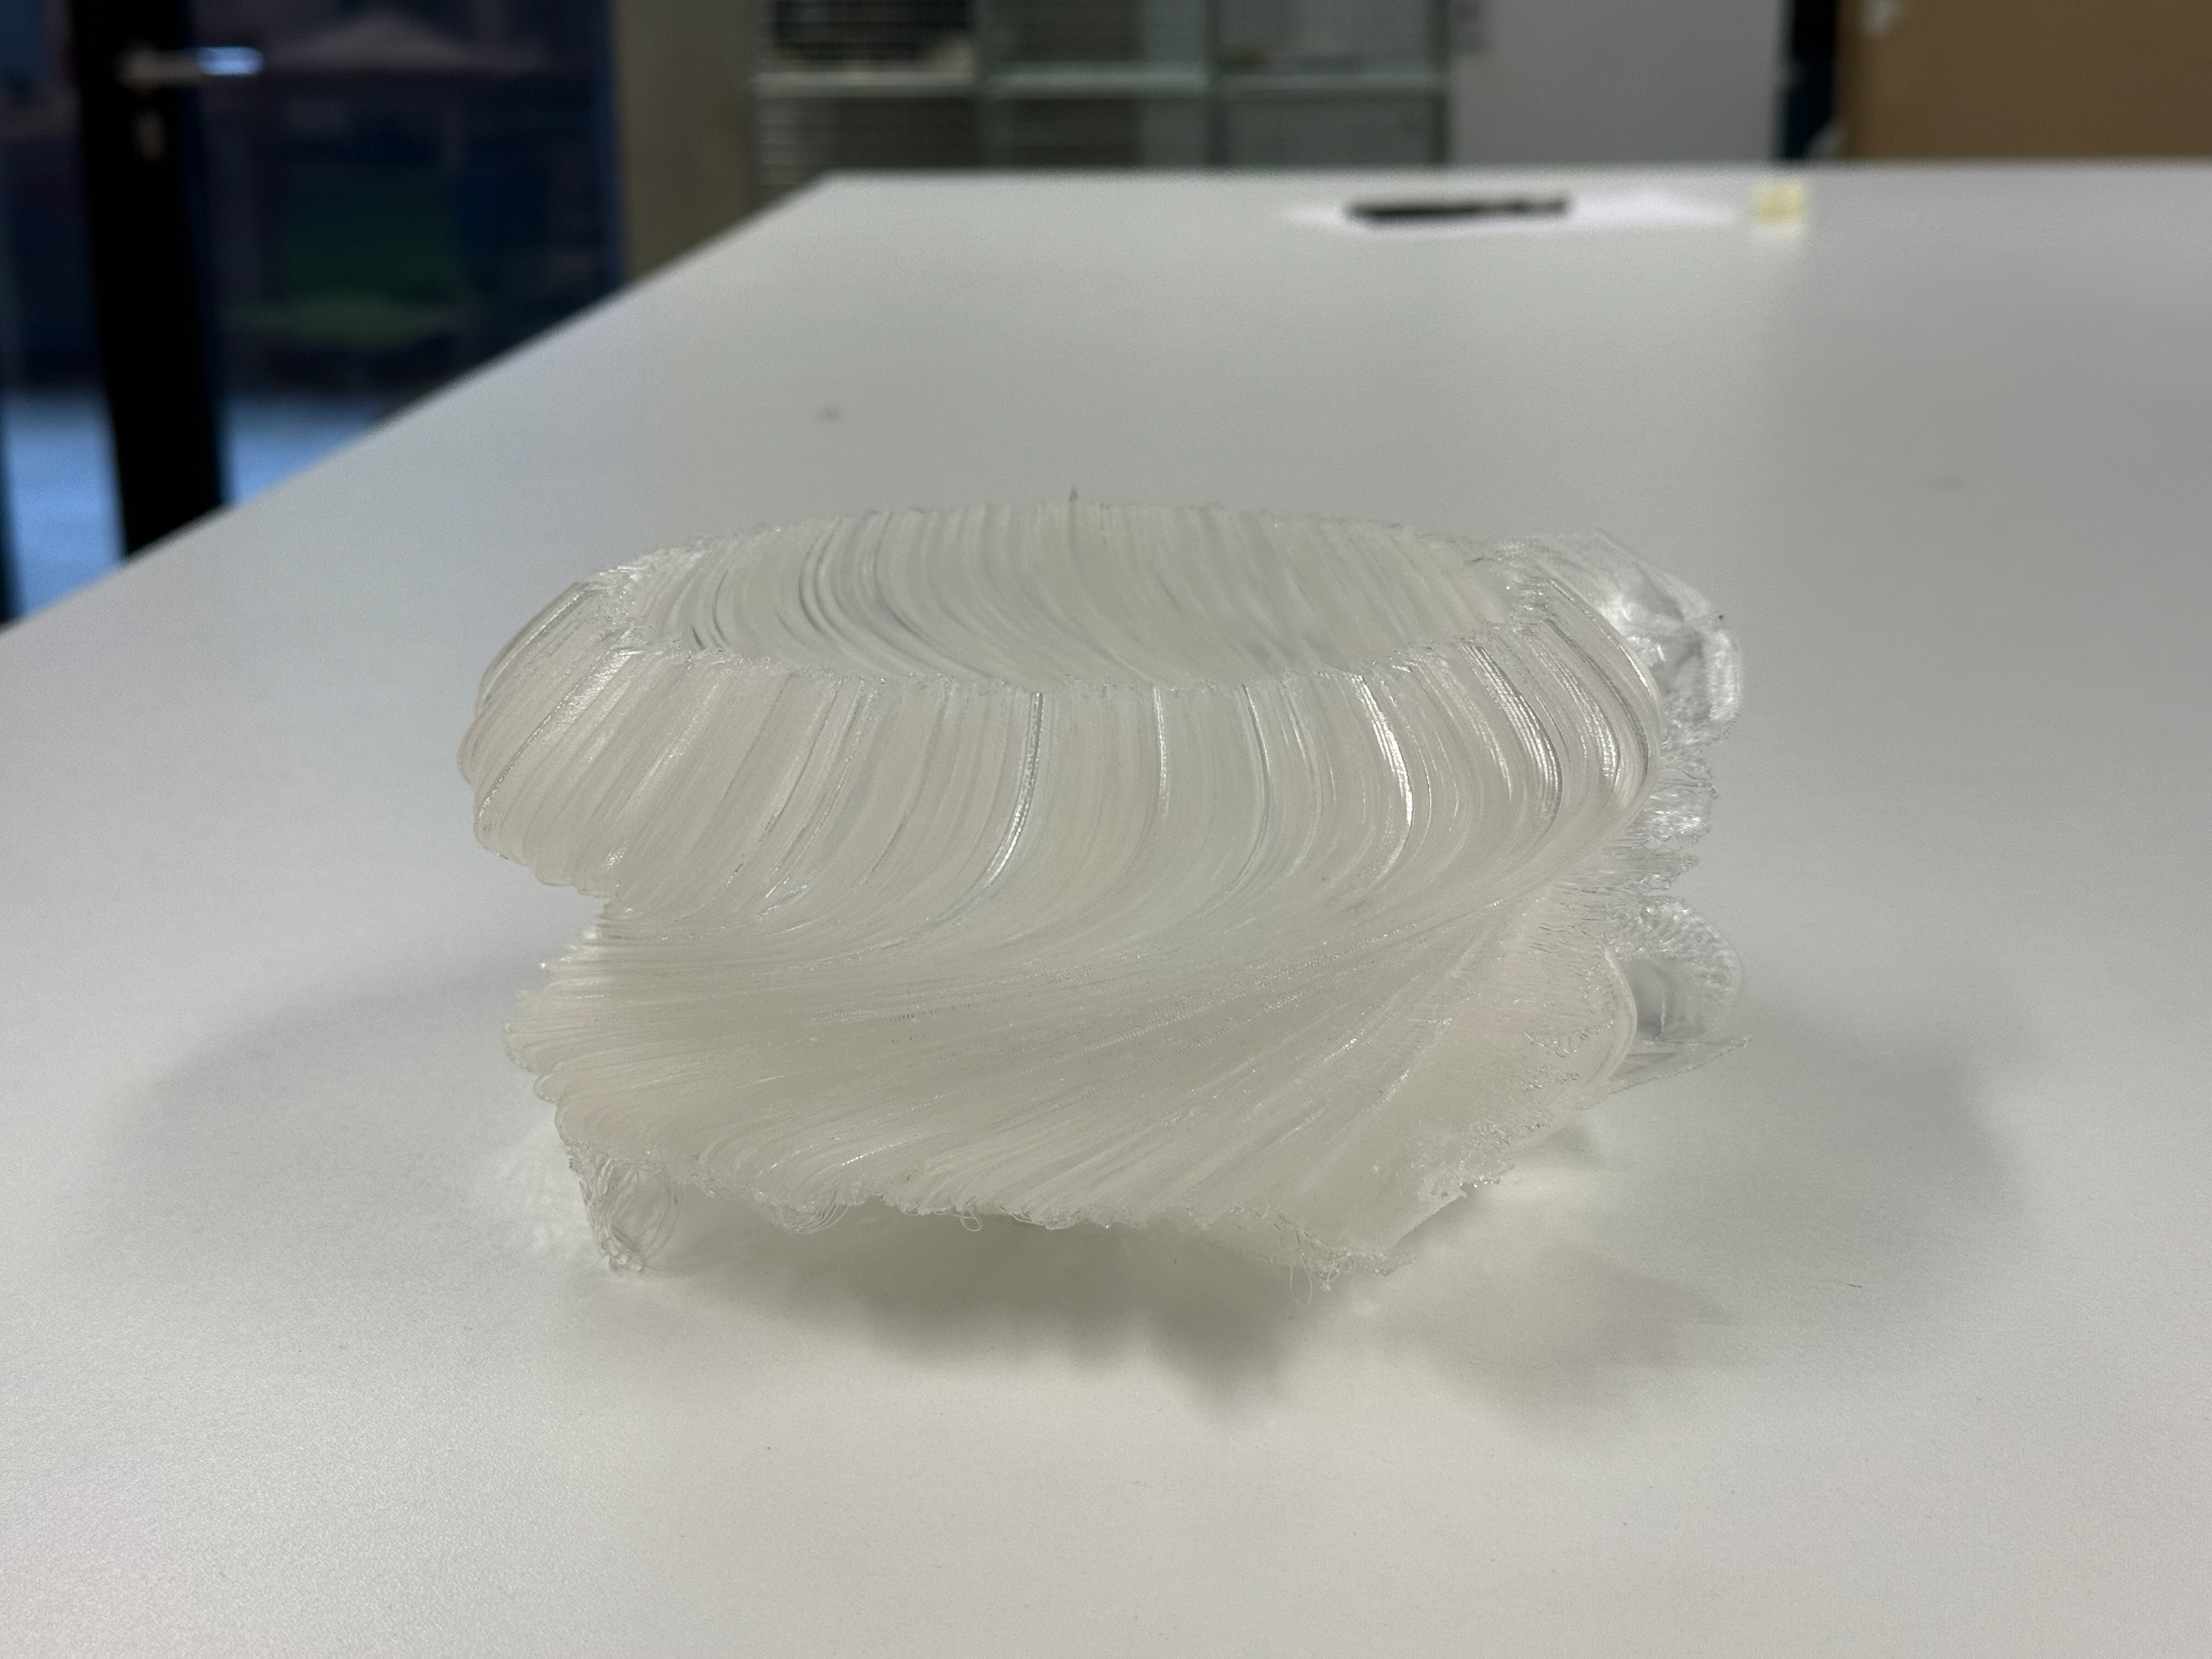
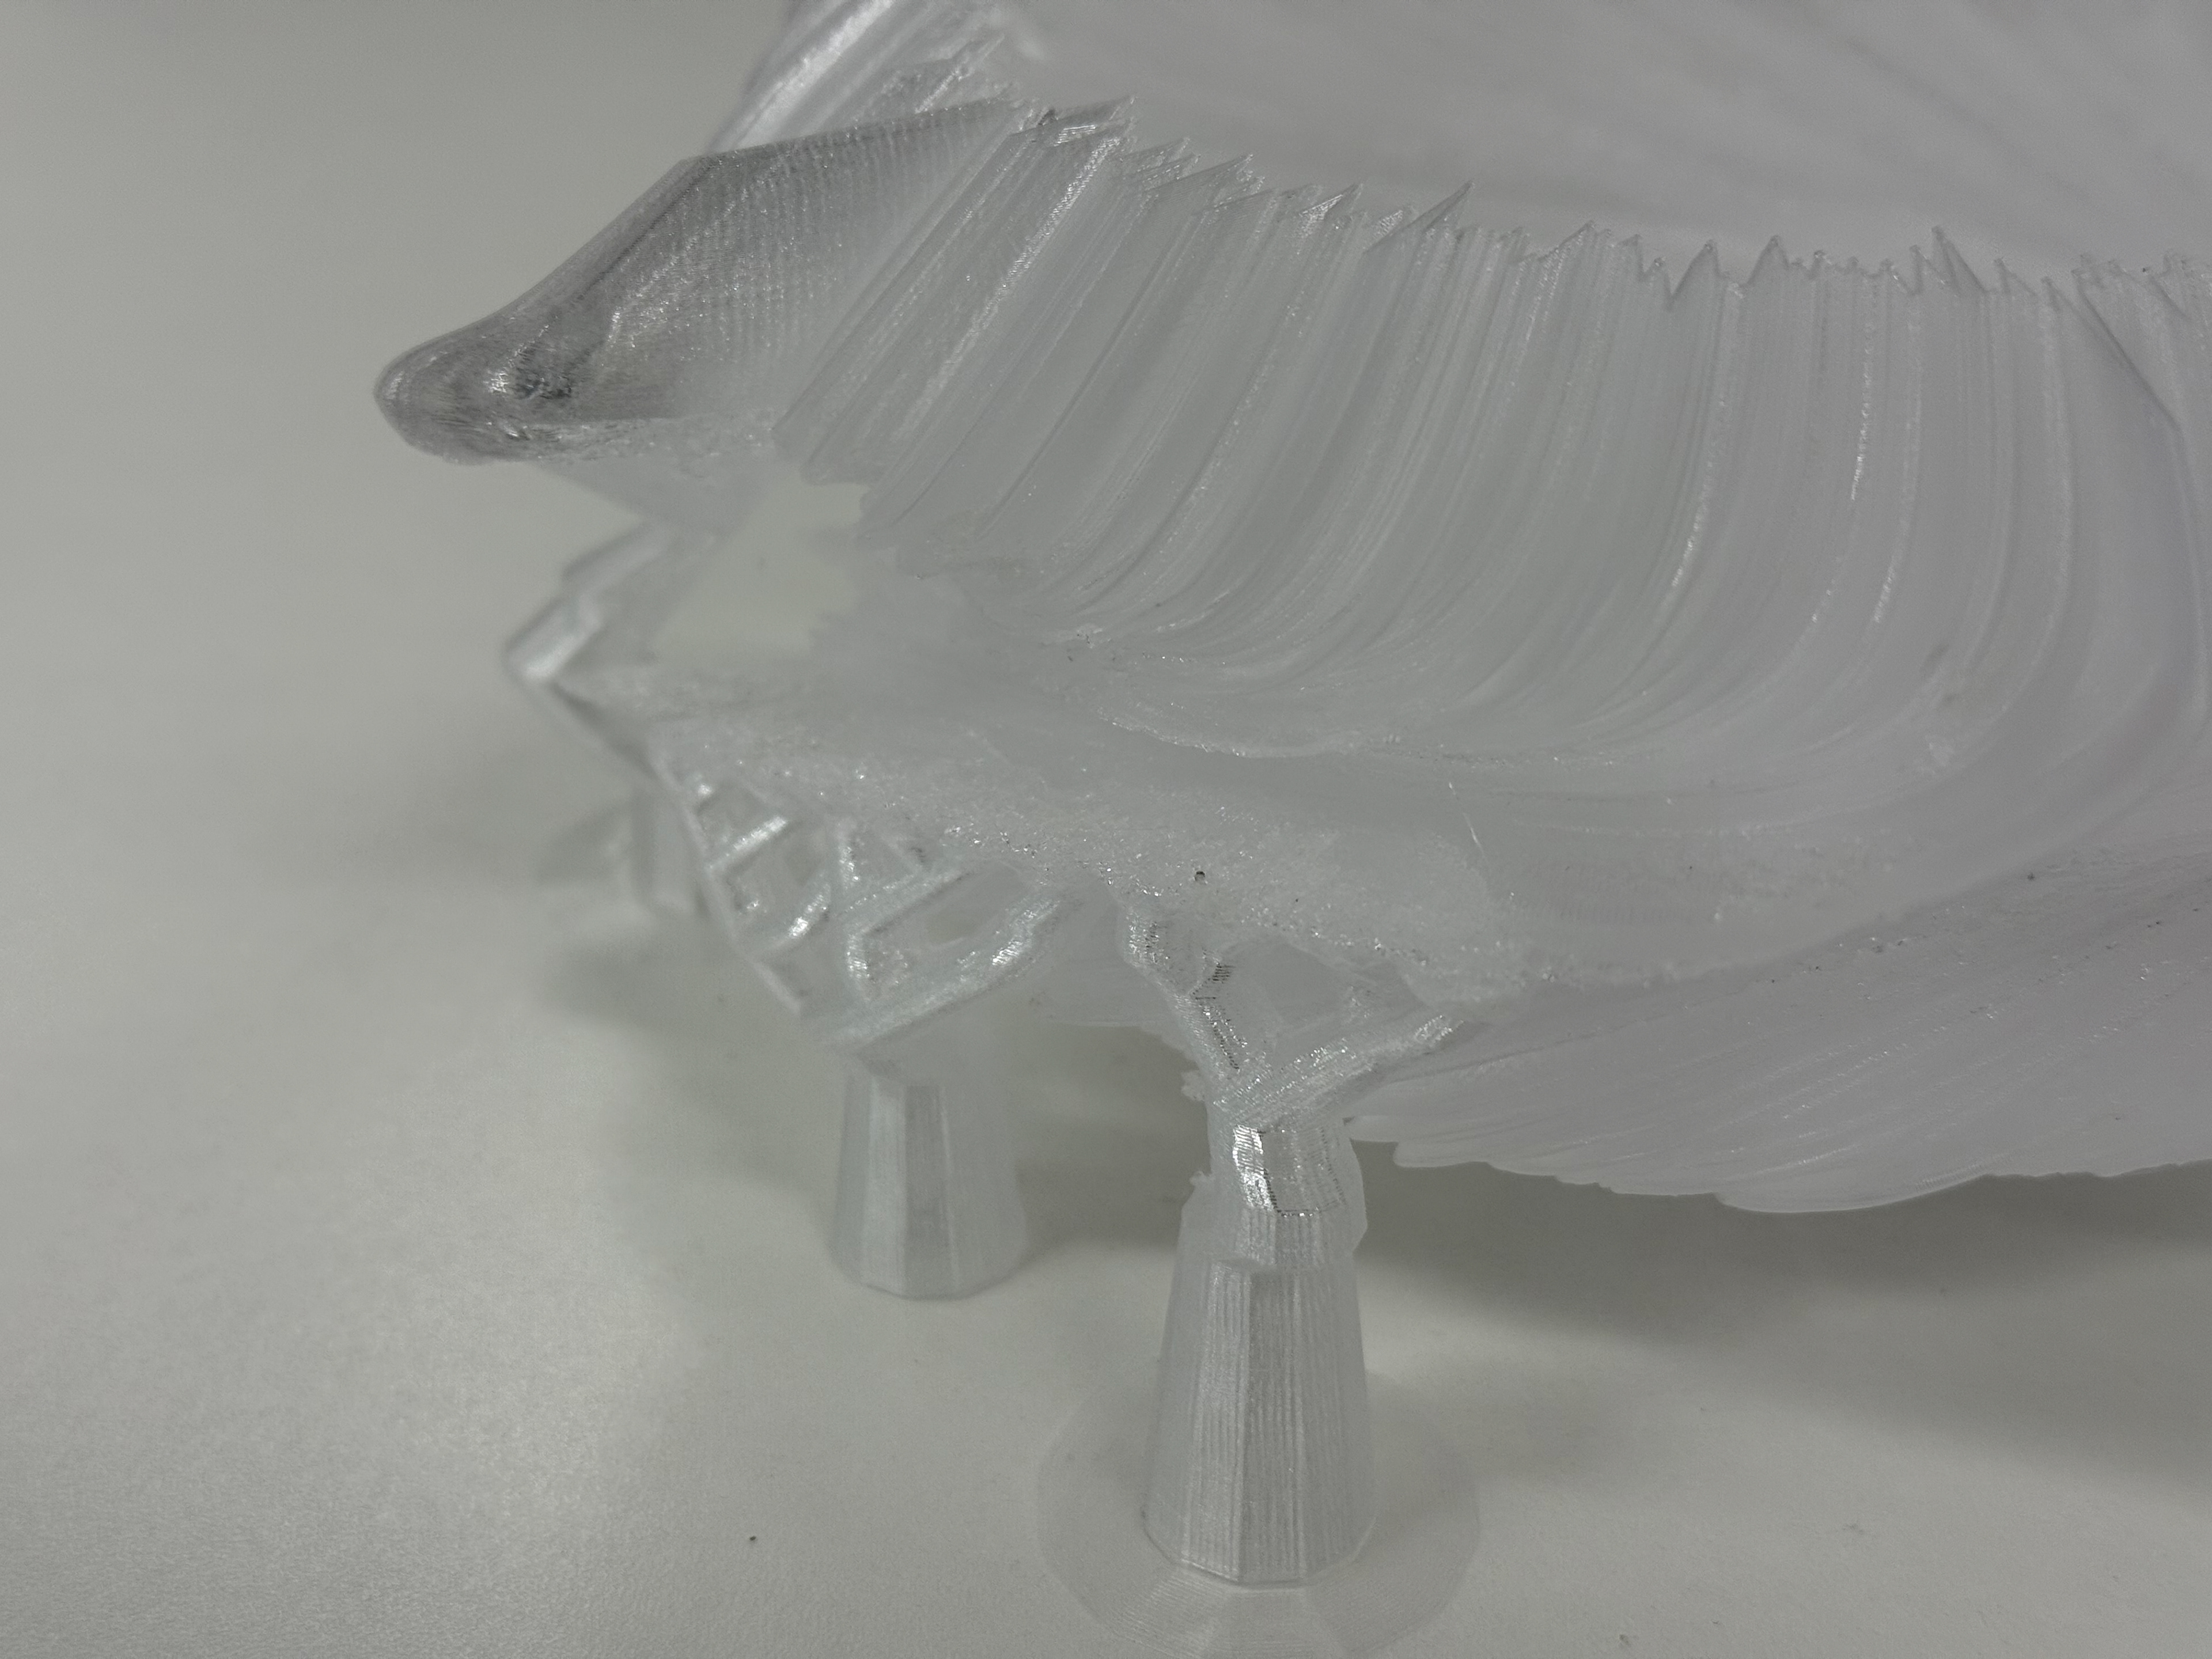
I took the skirt off the piece. Side profile with the twist viewable
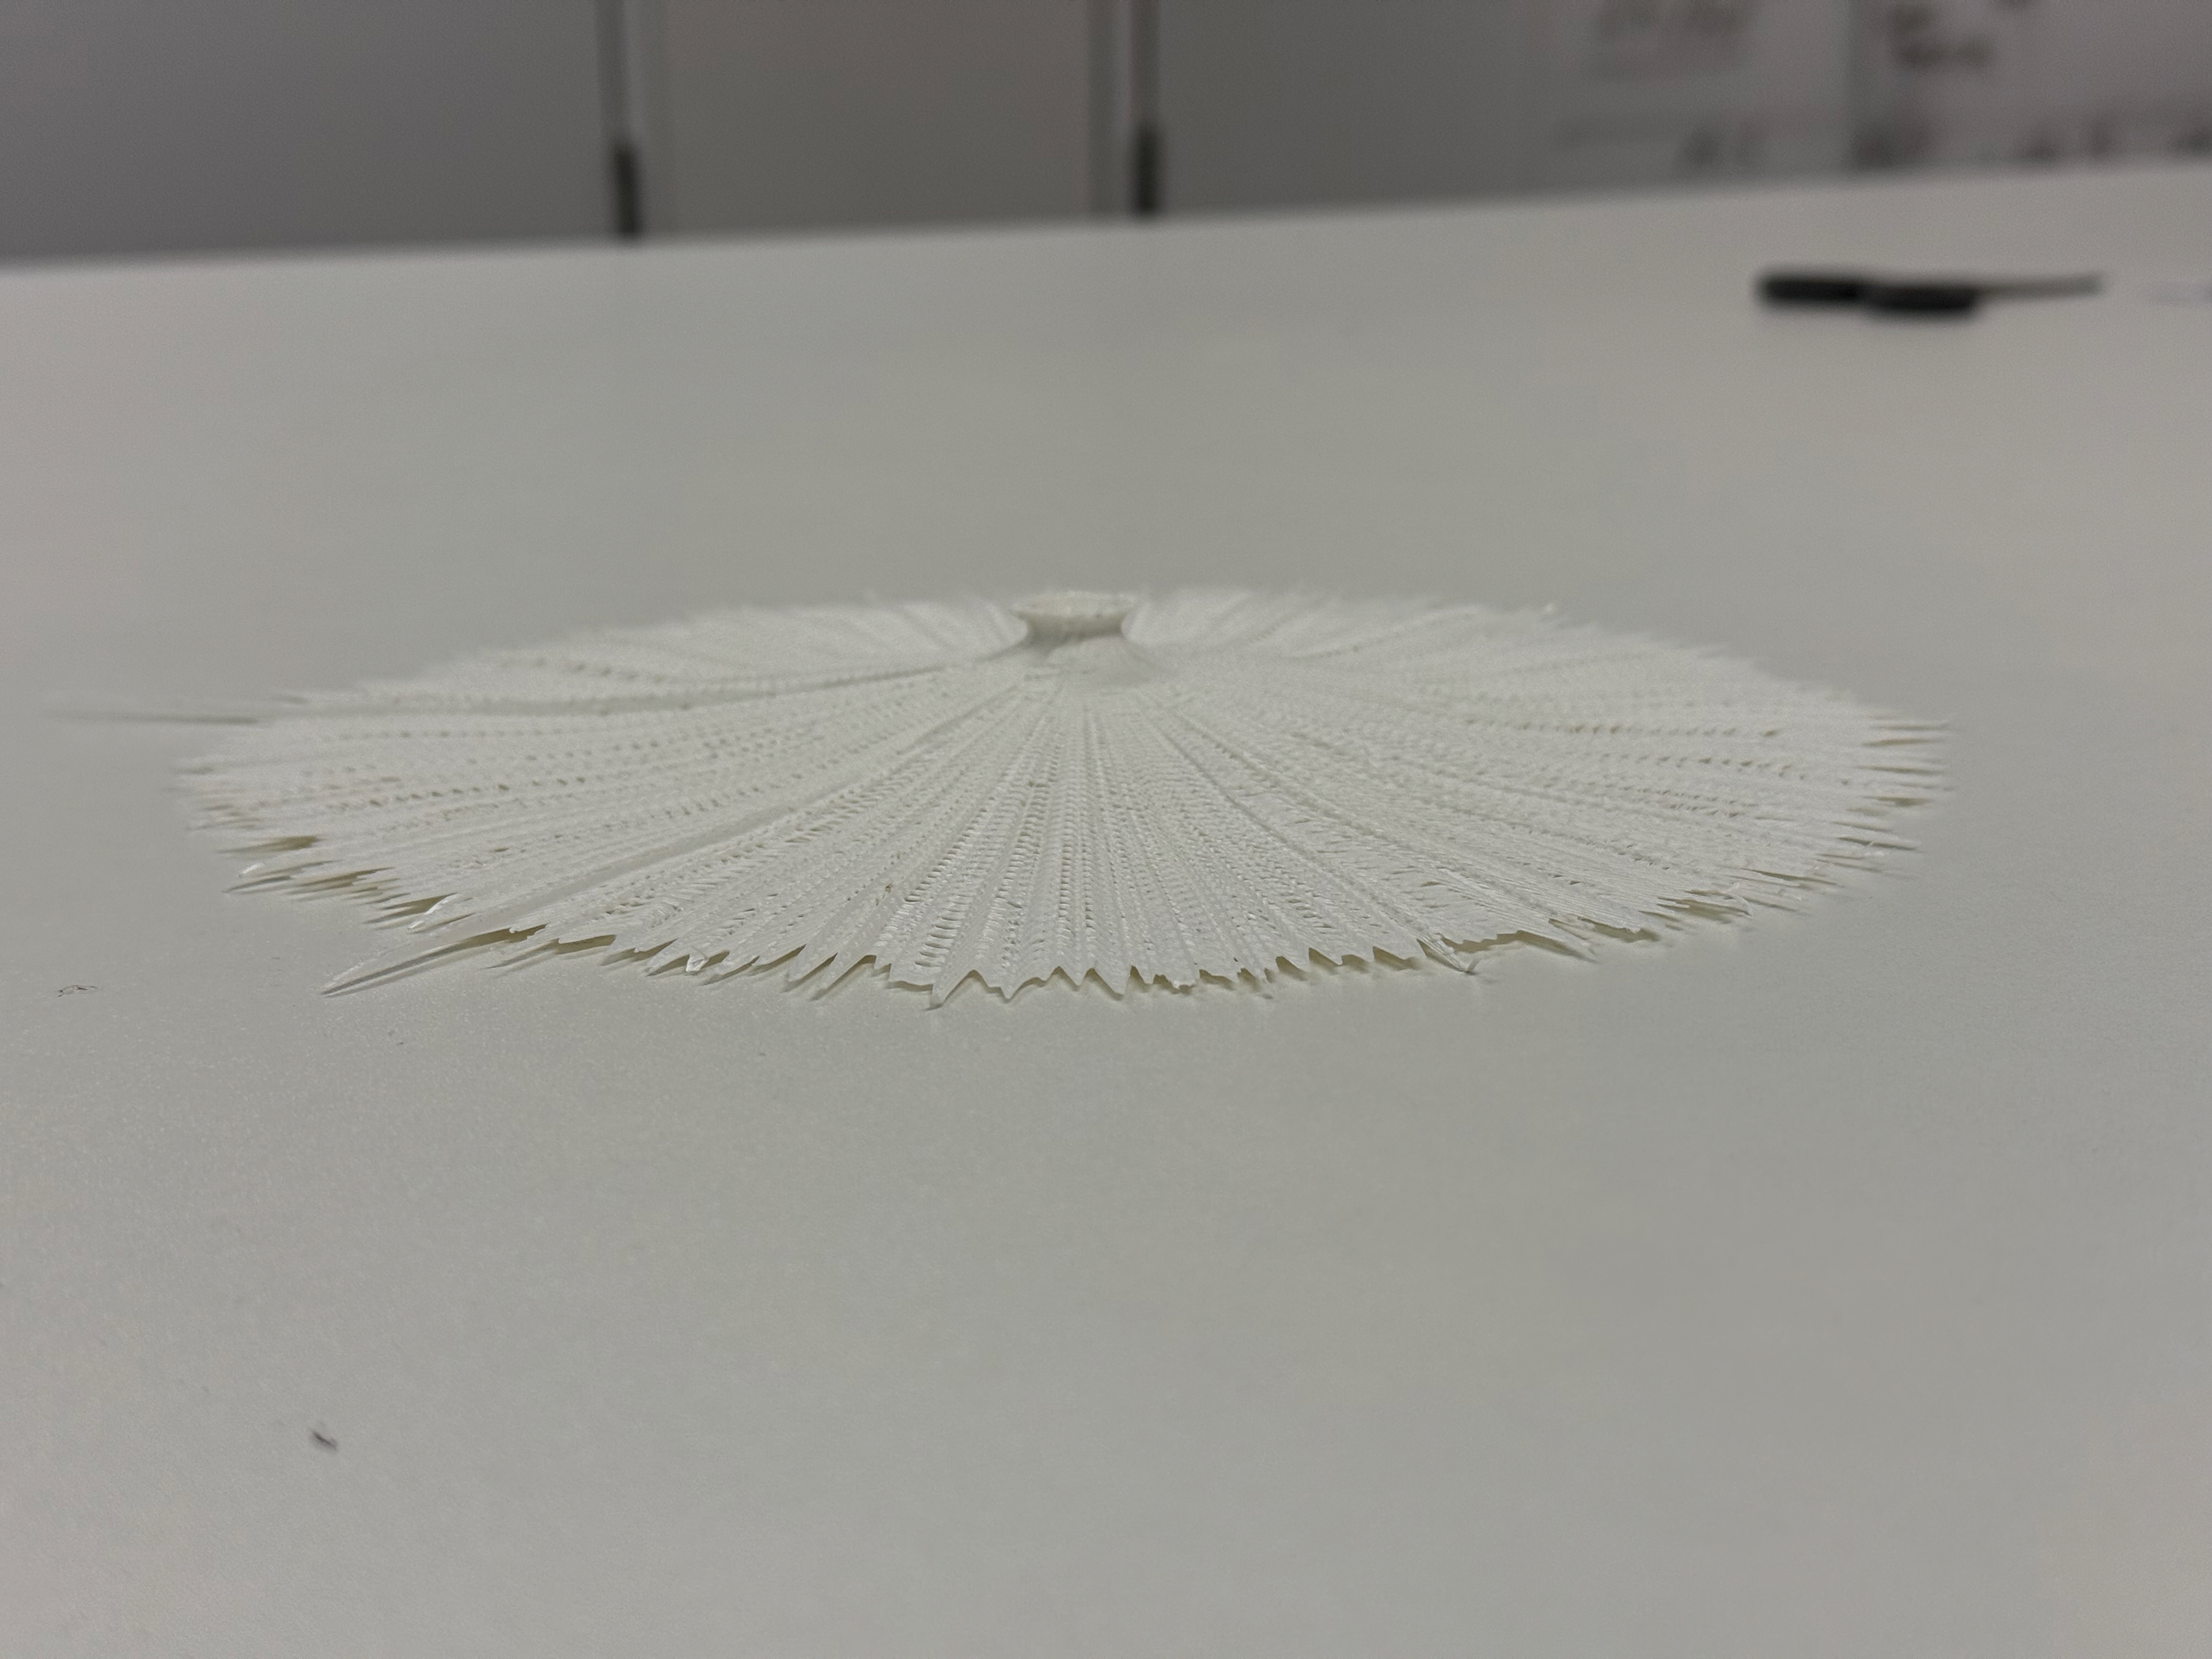
Flat on a desk
Top side view

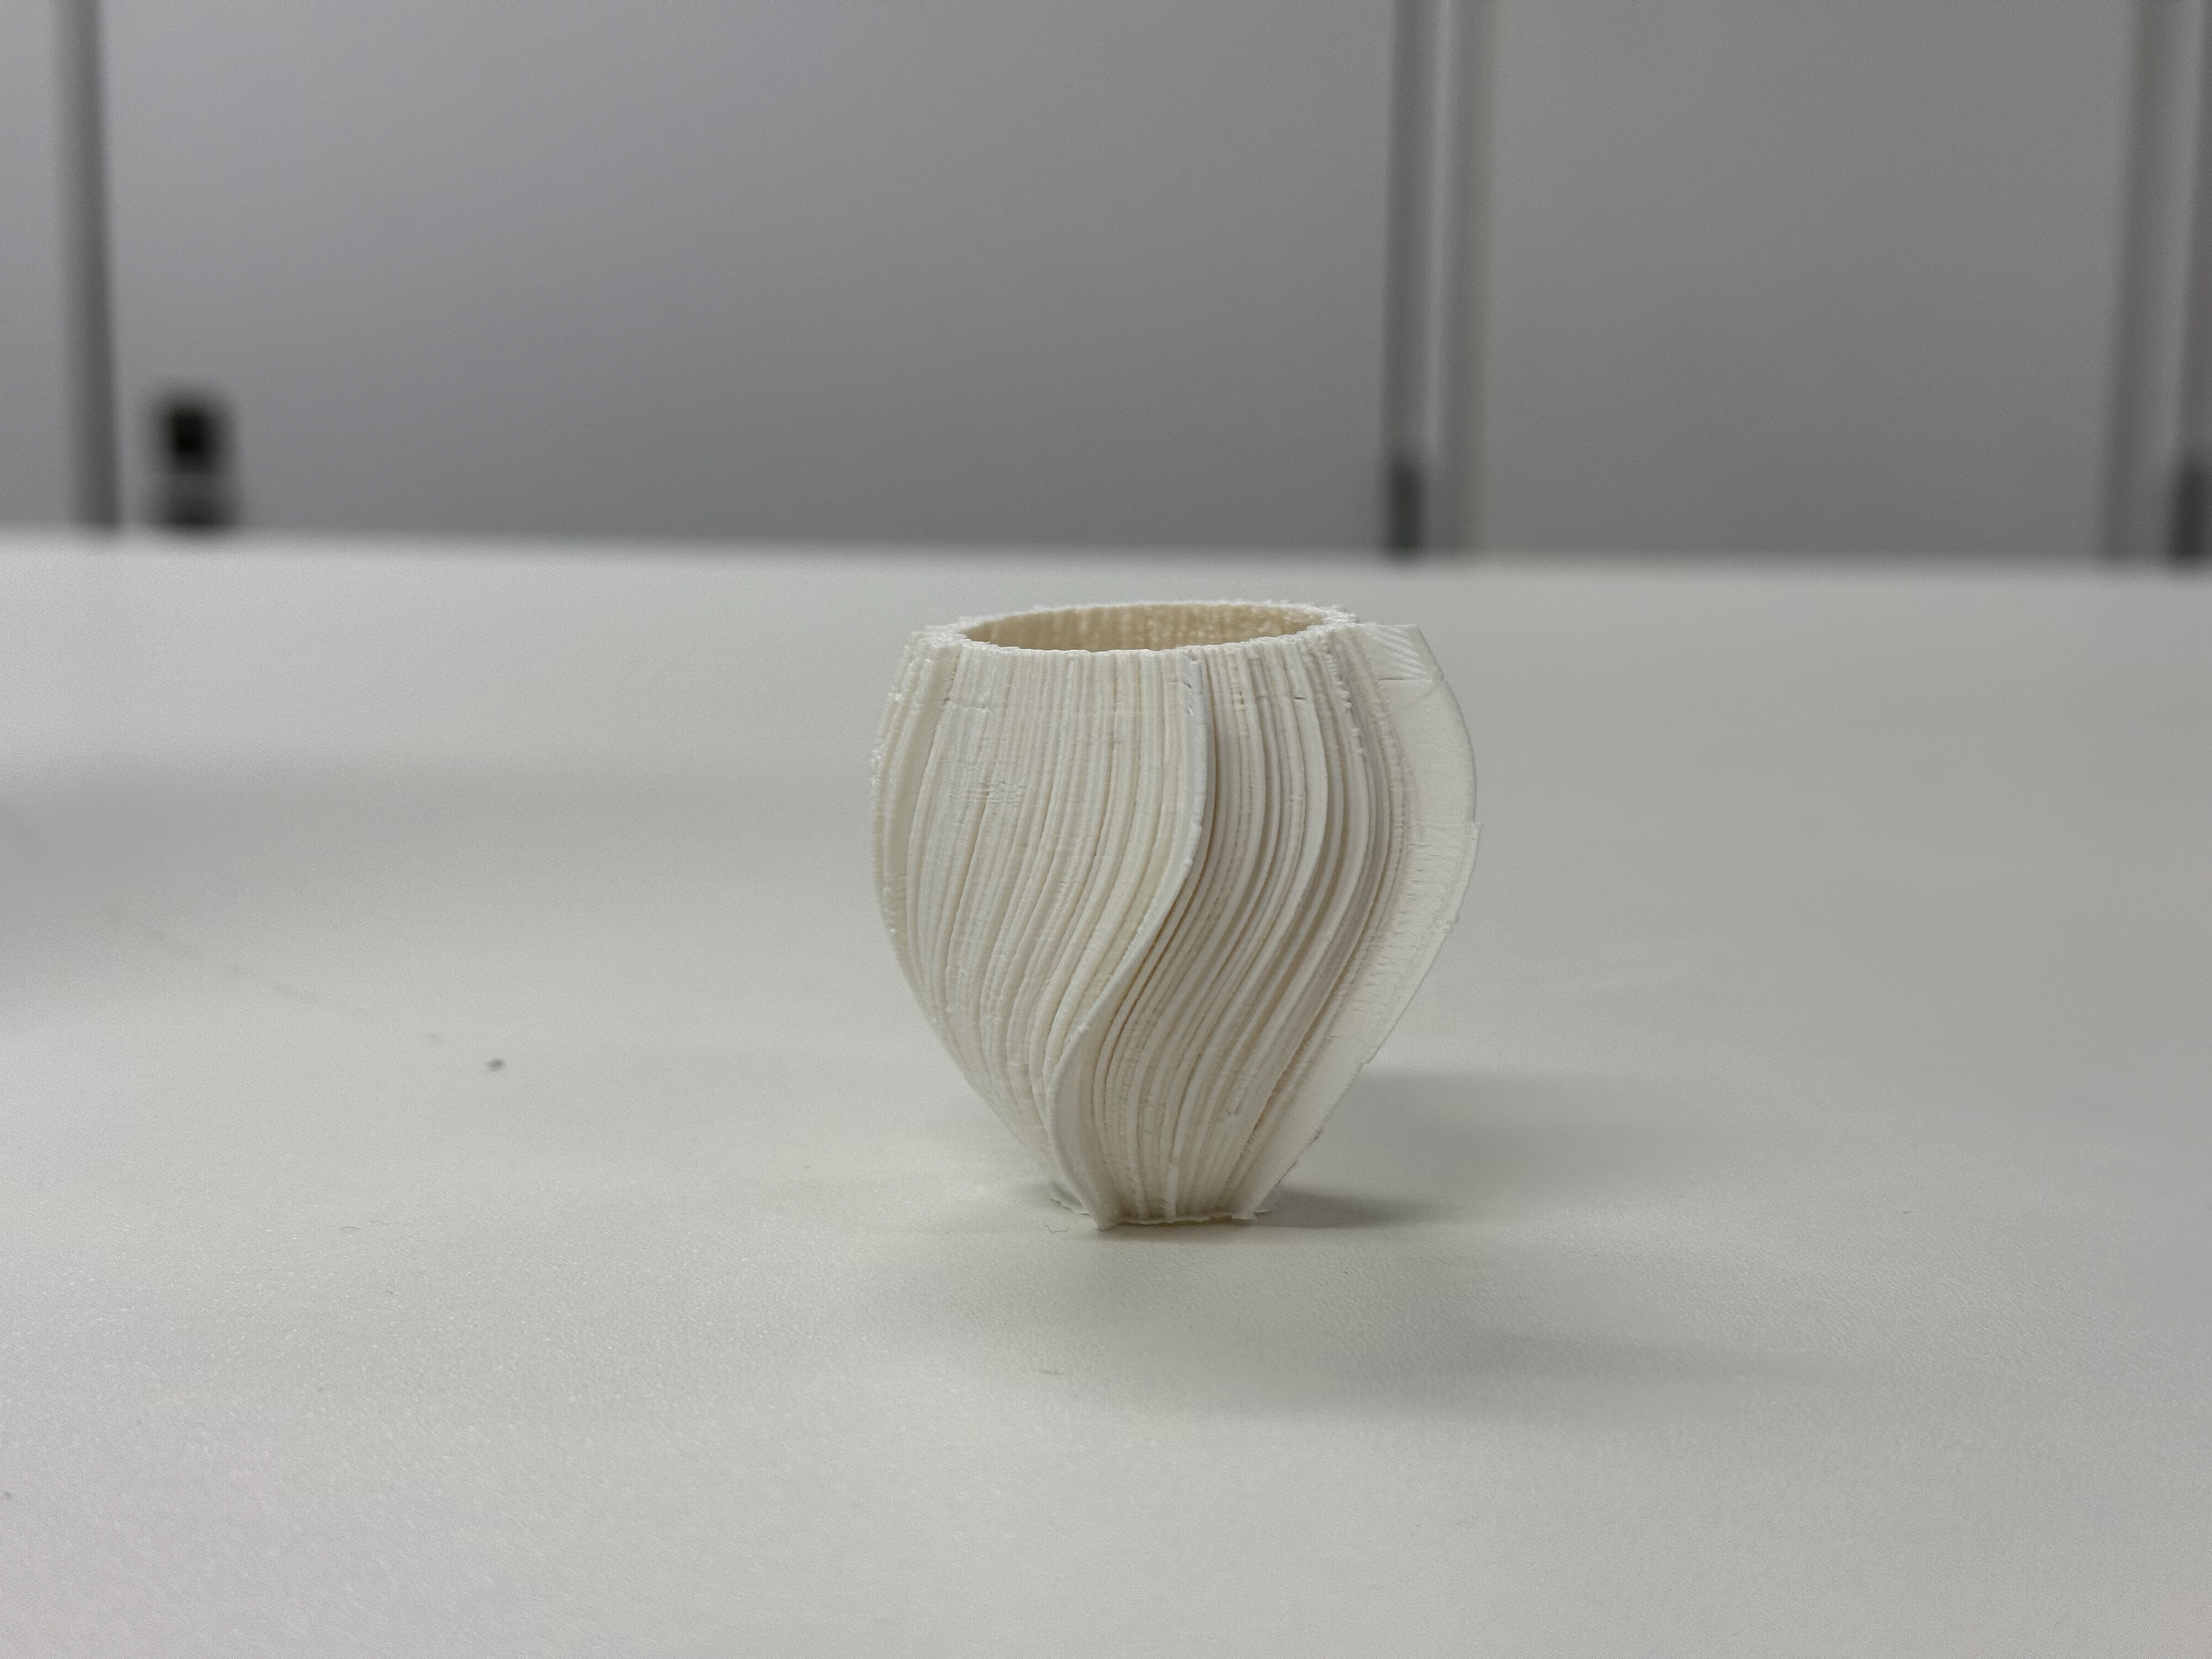
Comparison to V6 which was a randomly selected sleep
Comparison to V6 which was a randomly selected sleep
Full Scale on the Print Bed
Some of the lines have printed but others seem to have collapsed
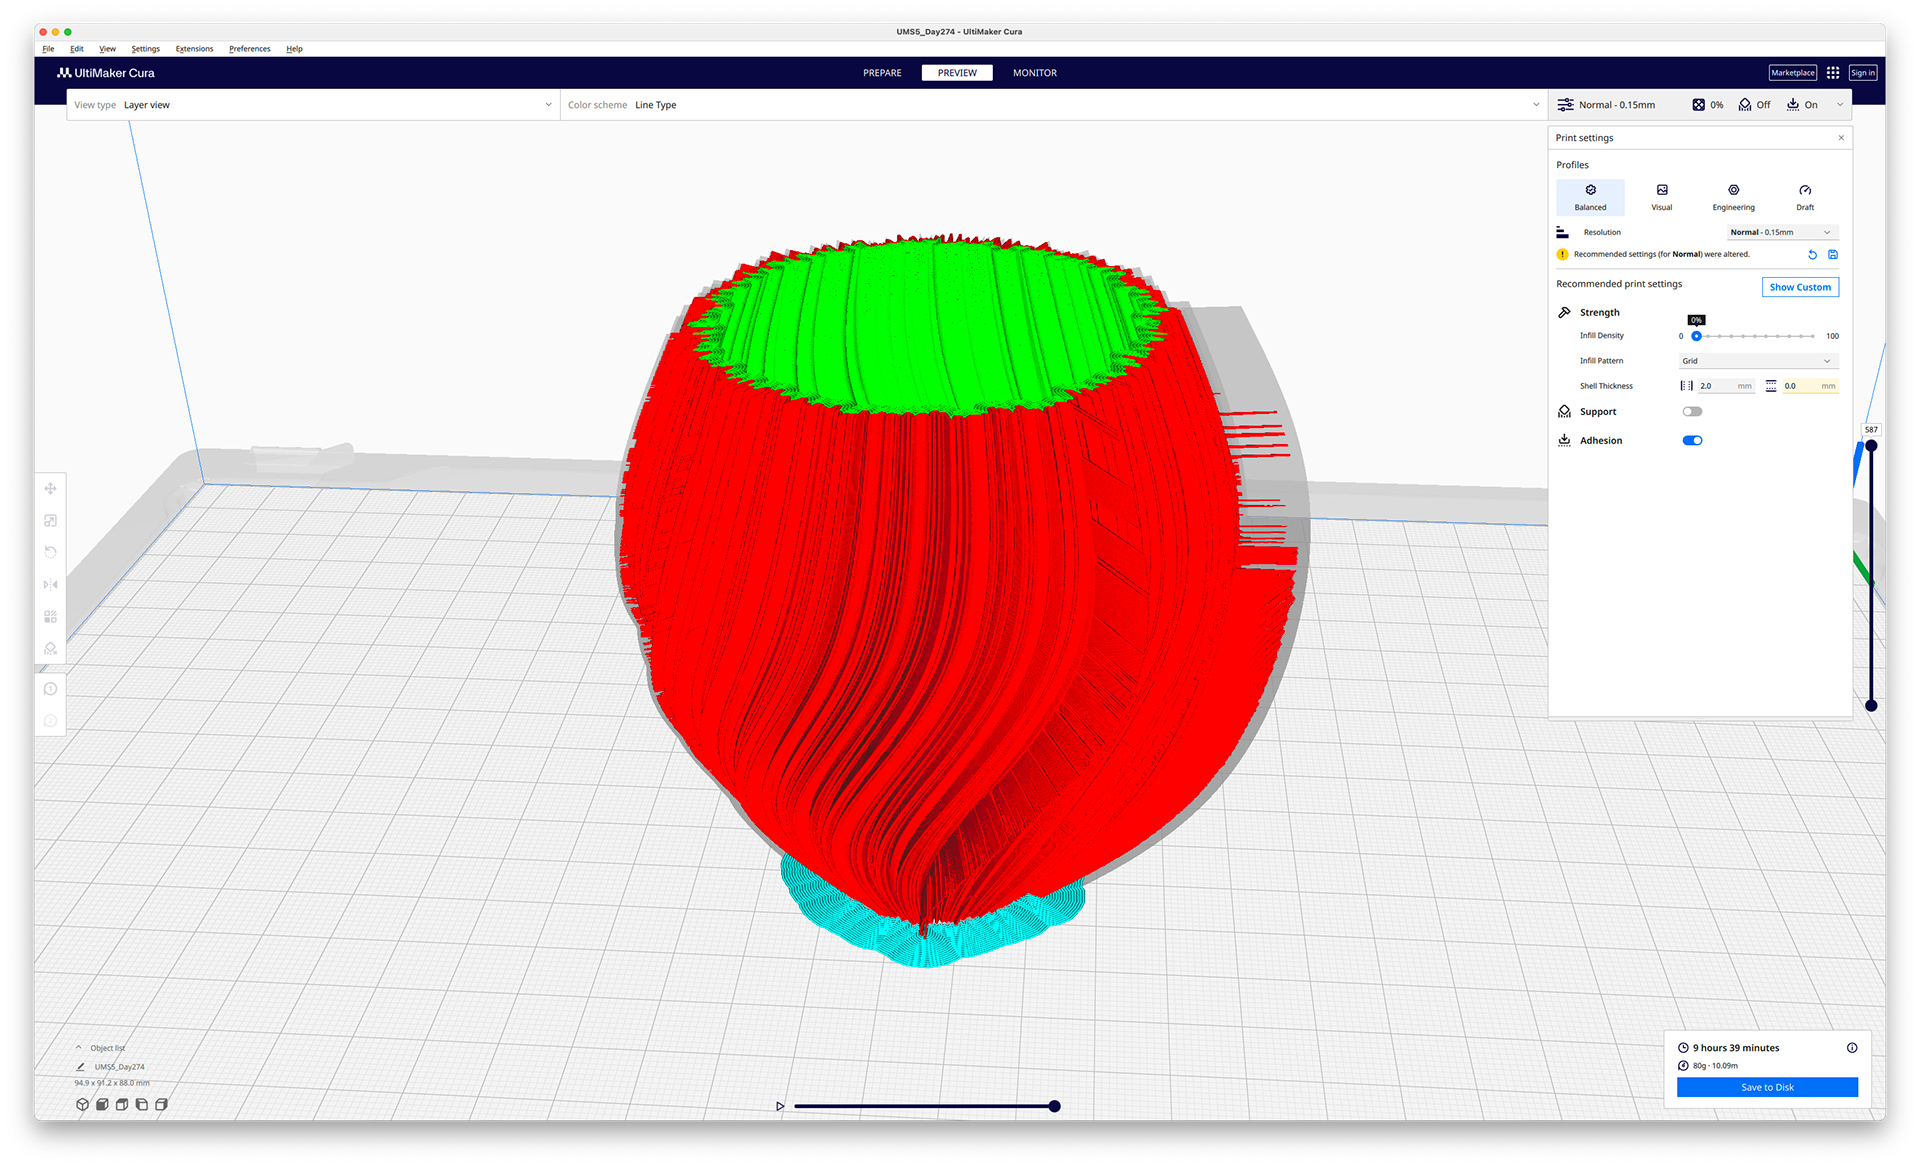
We can see within the "Prepare" section that it is purposely not printing these sections. I obviously didn't do the correct checks before printing.
Although not perfect, the result is far better. This was the best I managed to figure out on my own. I will contact Gary at Print City to see if he has any recommendations.
50% Scale
50% Scale
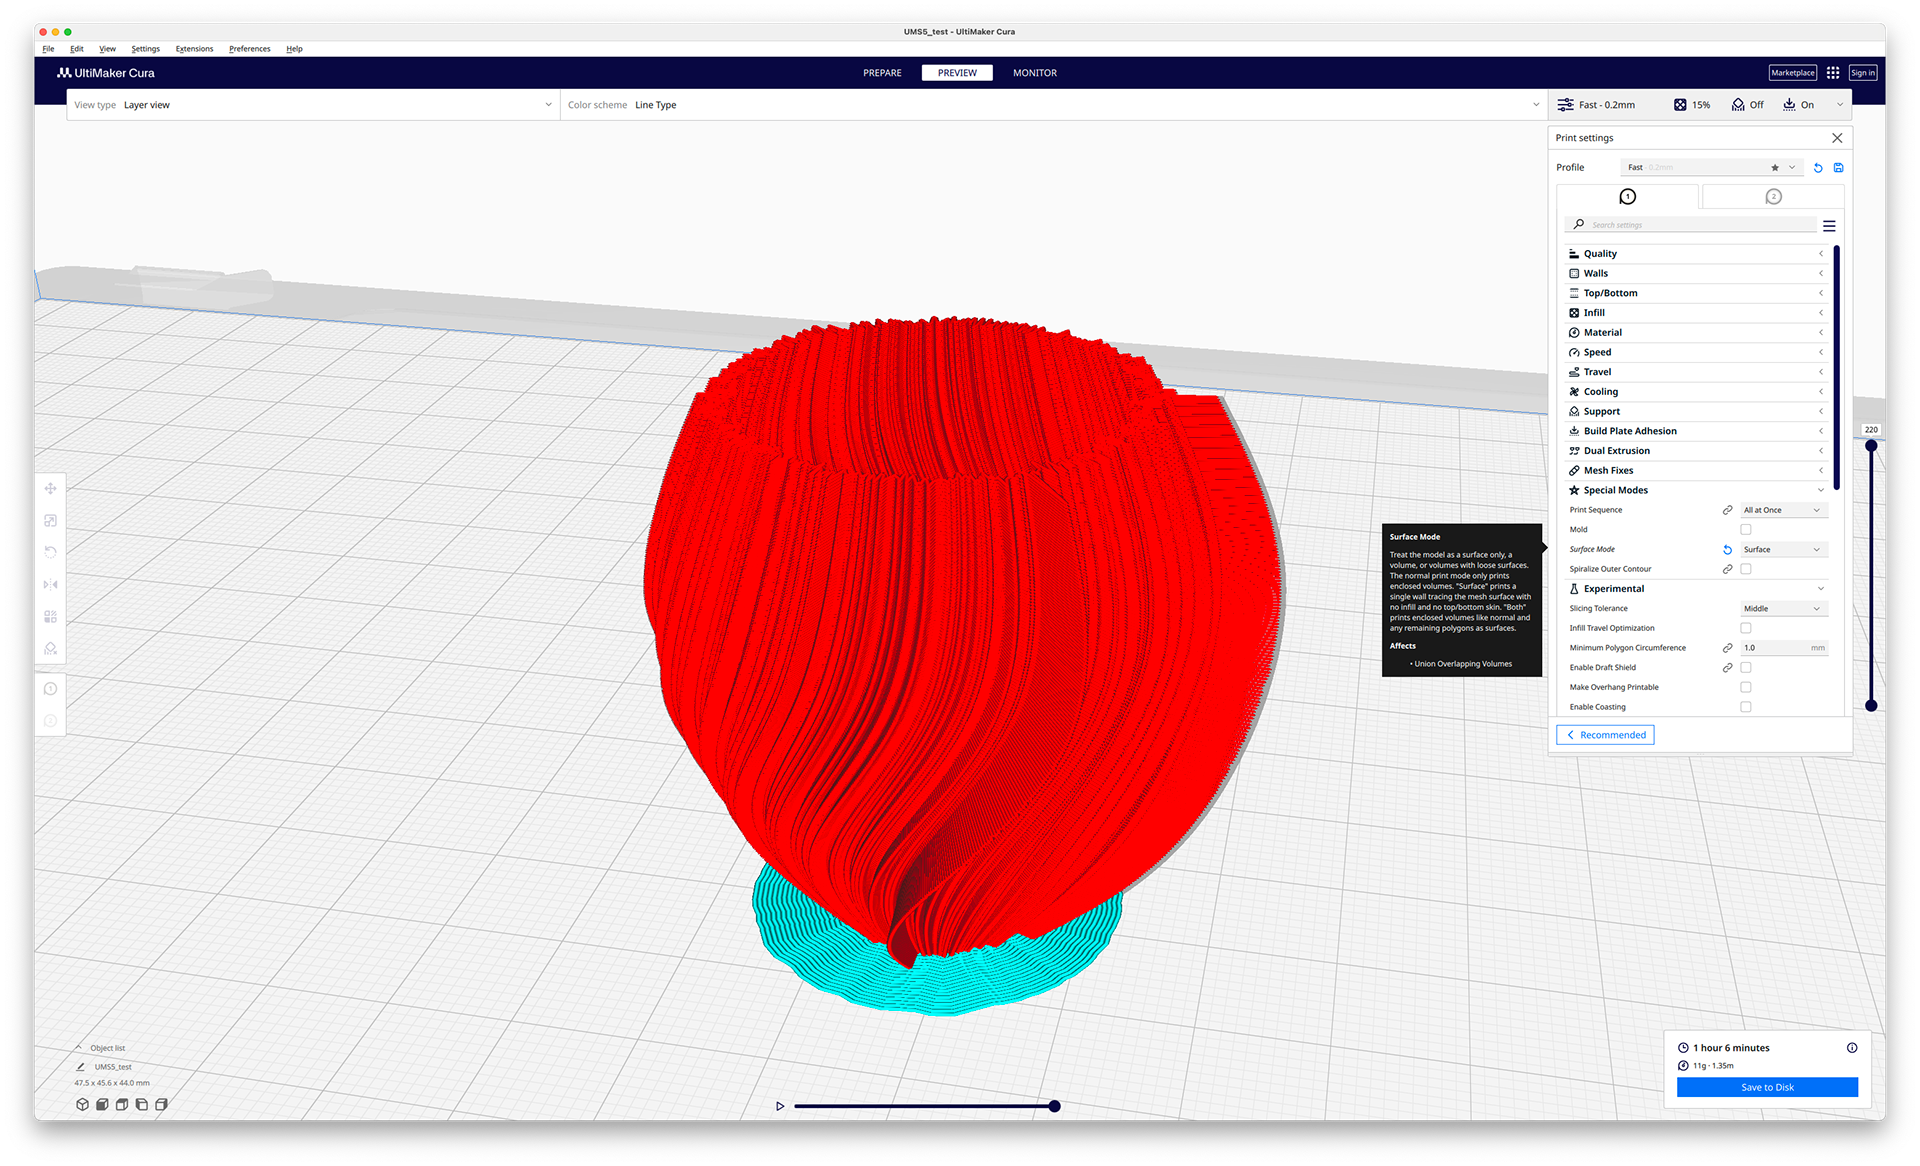
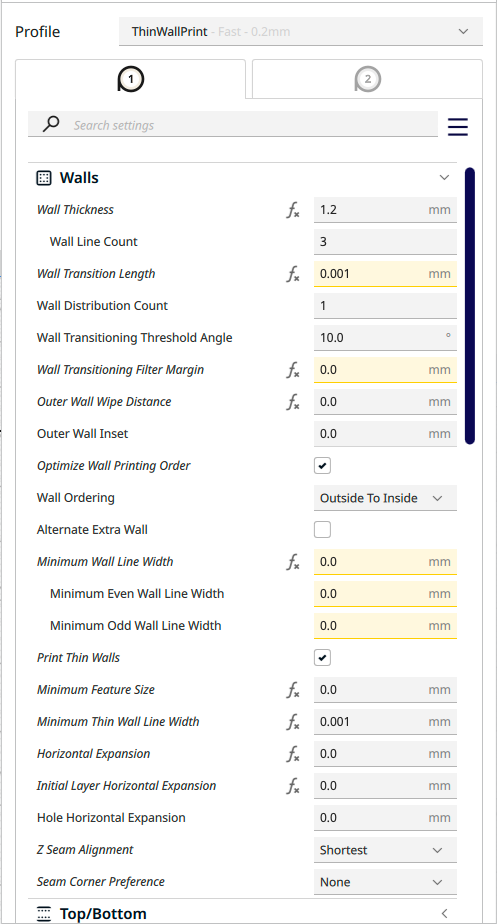
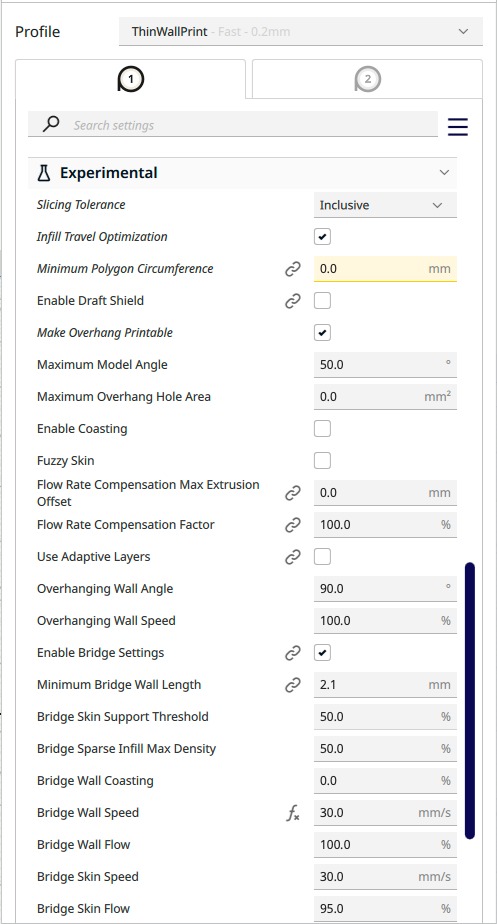
I have discovered the equivalent setting - "Surface Mode" and set to "Surface". This mode prints a single wall tracing the mesh surface; it has no infill and doesn't allow a base or top to be printed, which may possibly cause some issues for me later on.
50% Scale
50% Scale
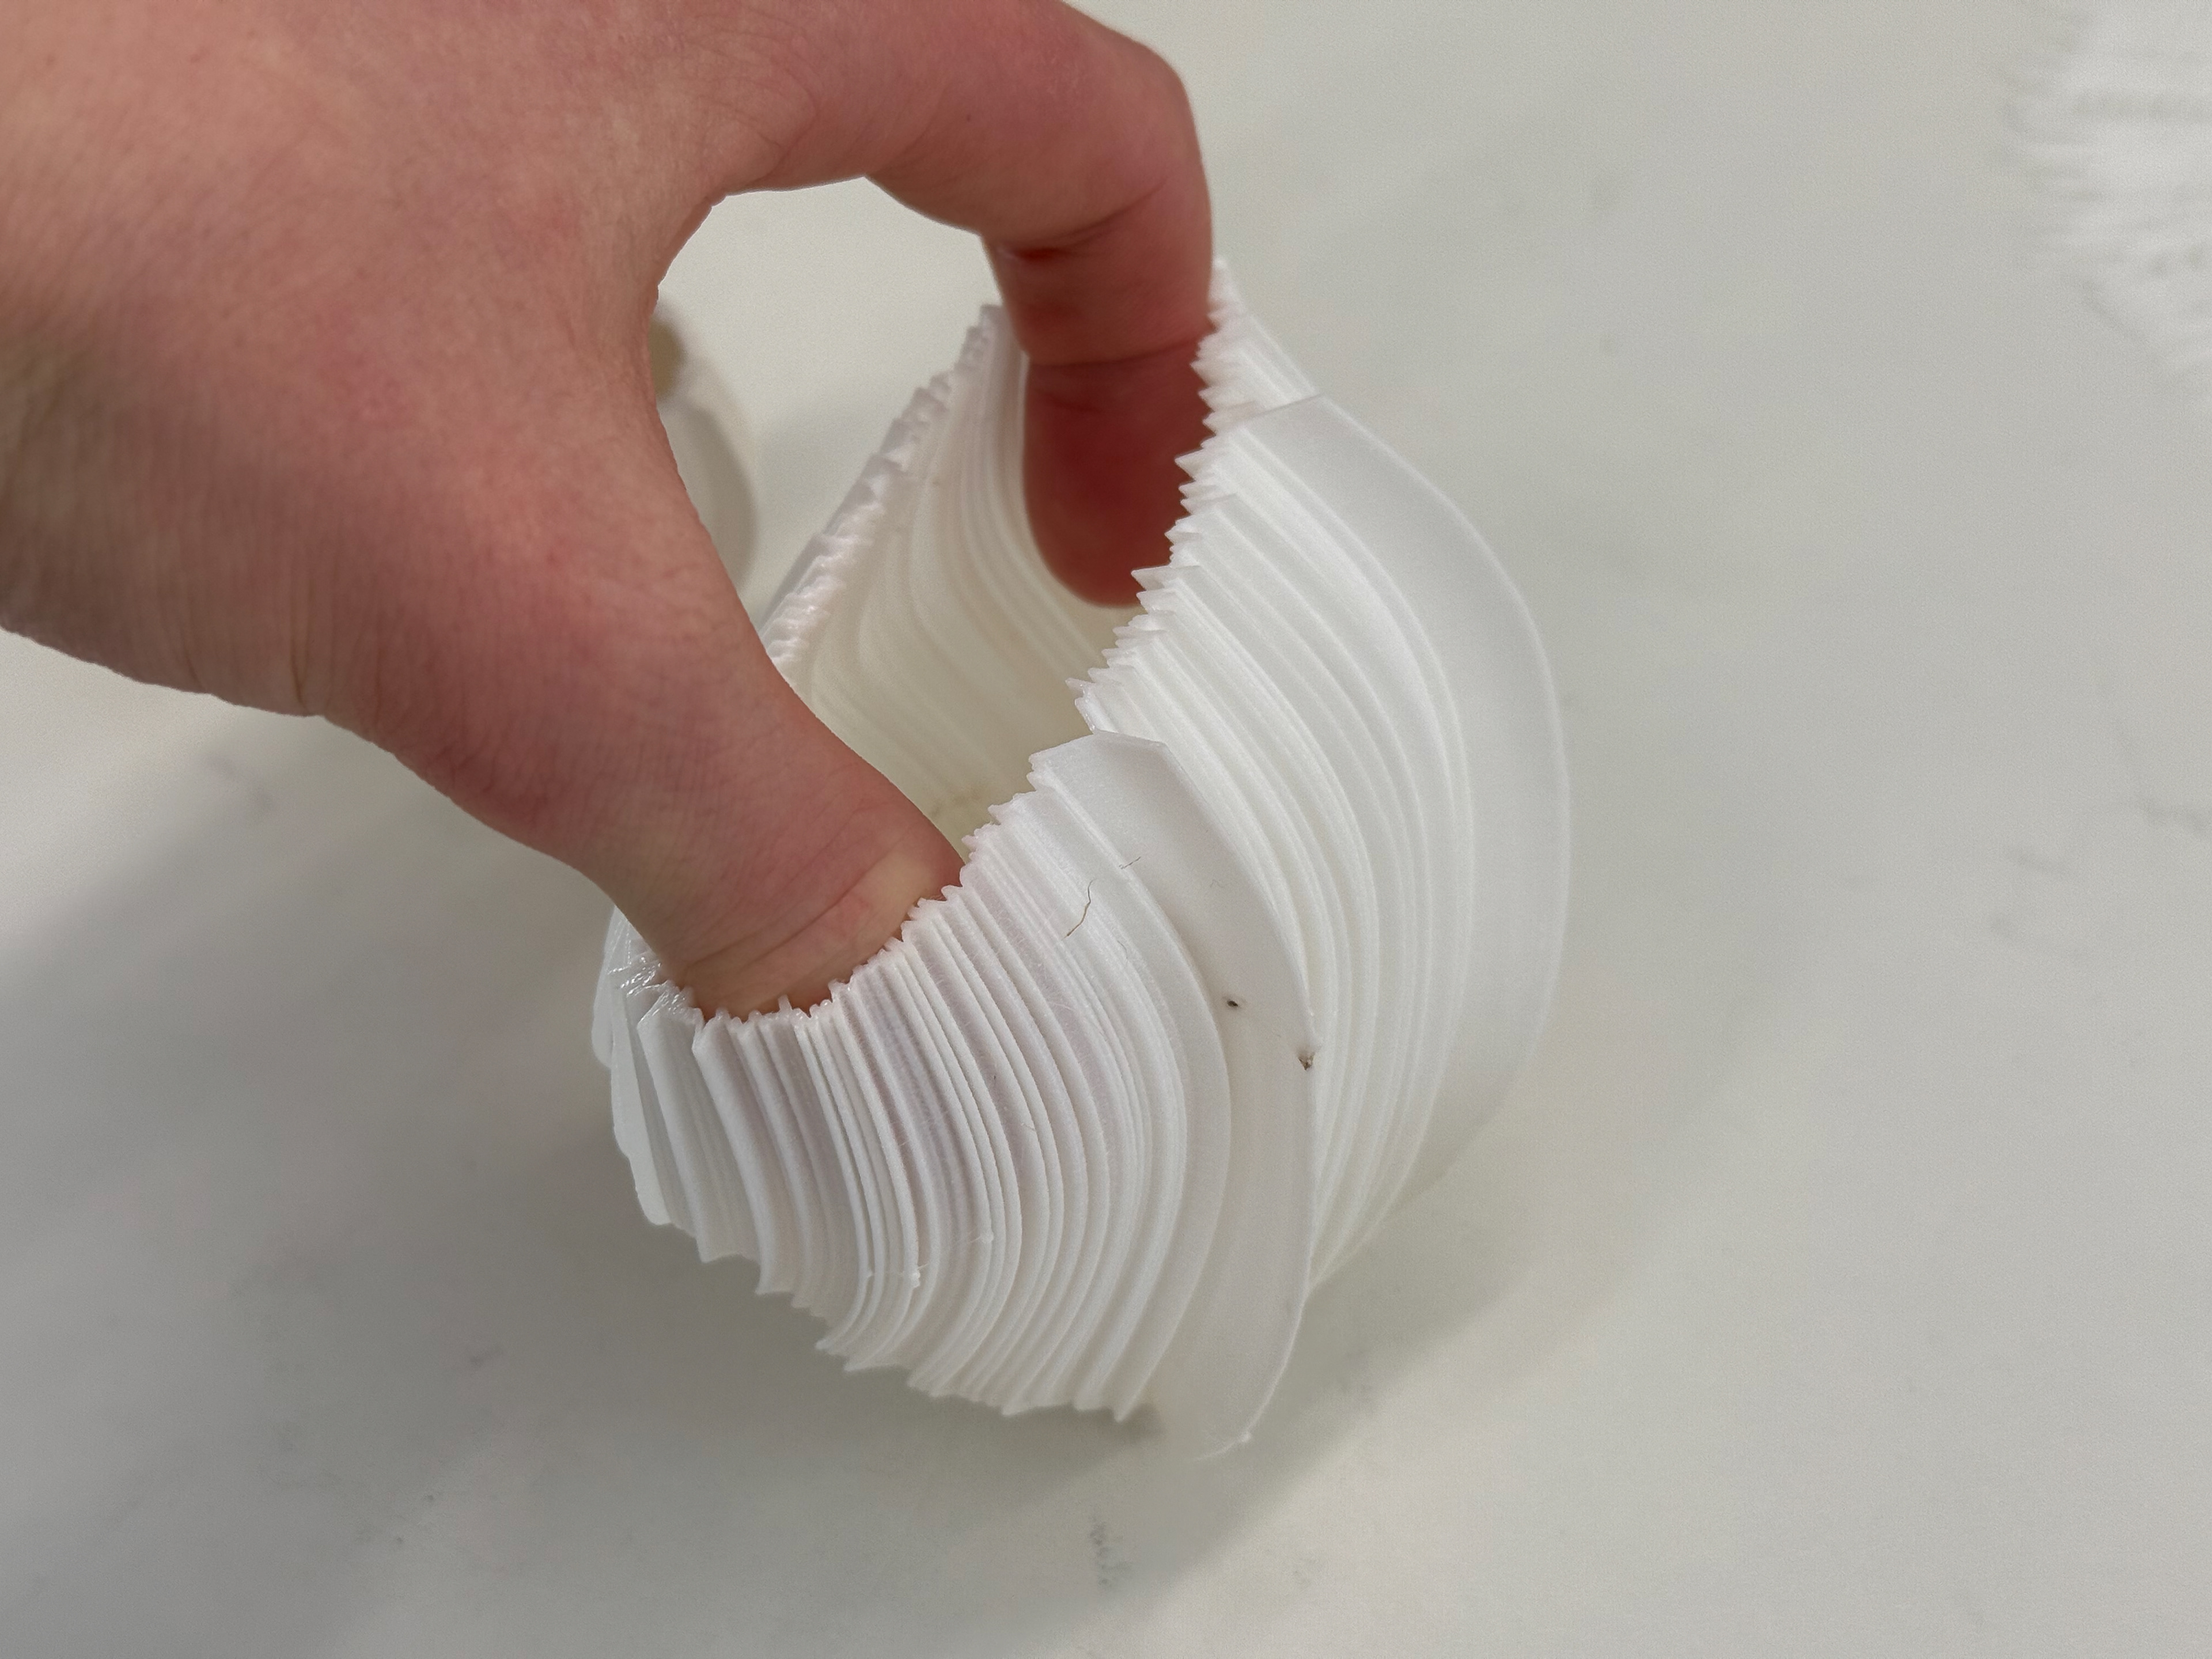
The flexibility of TPU95A
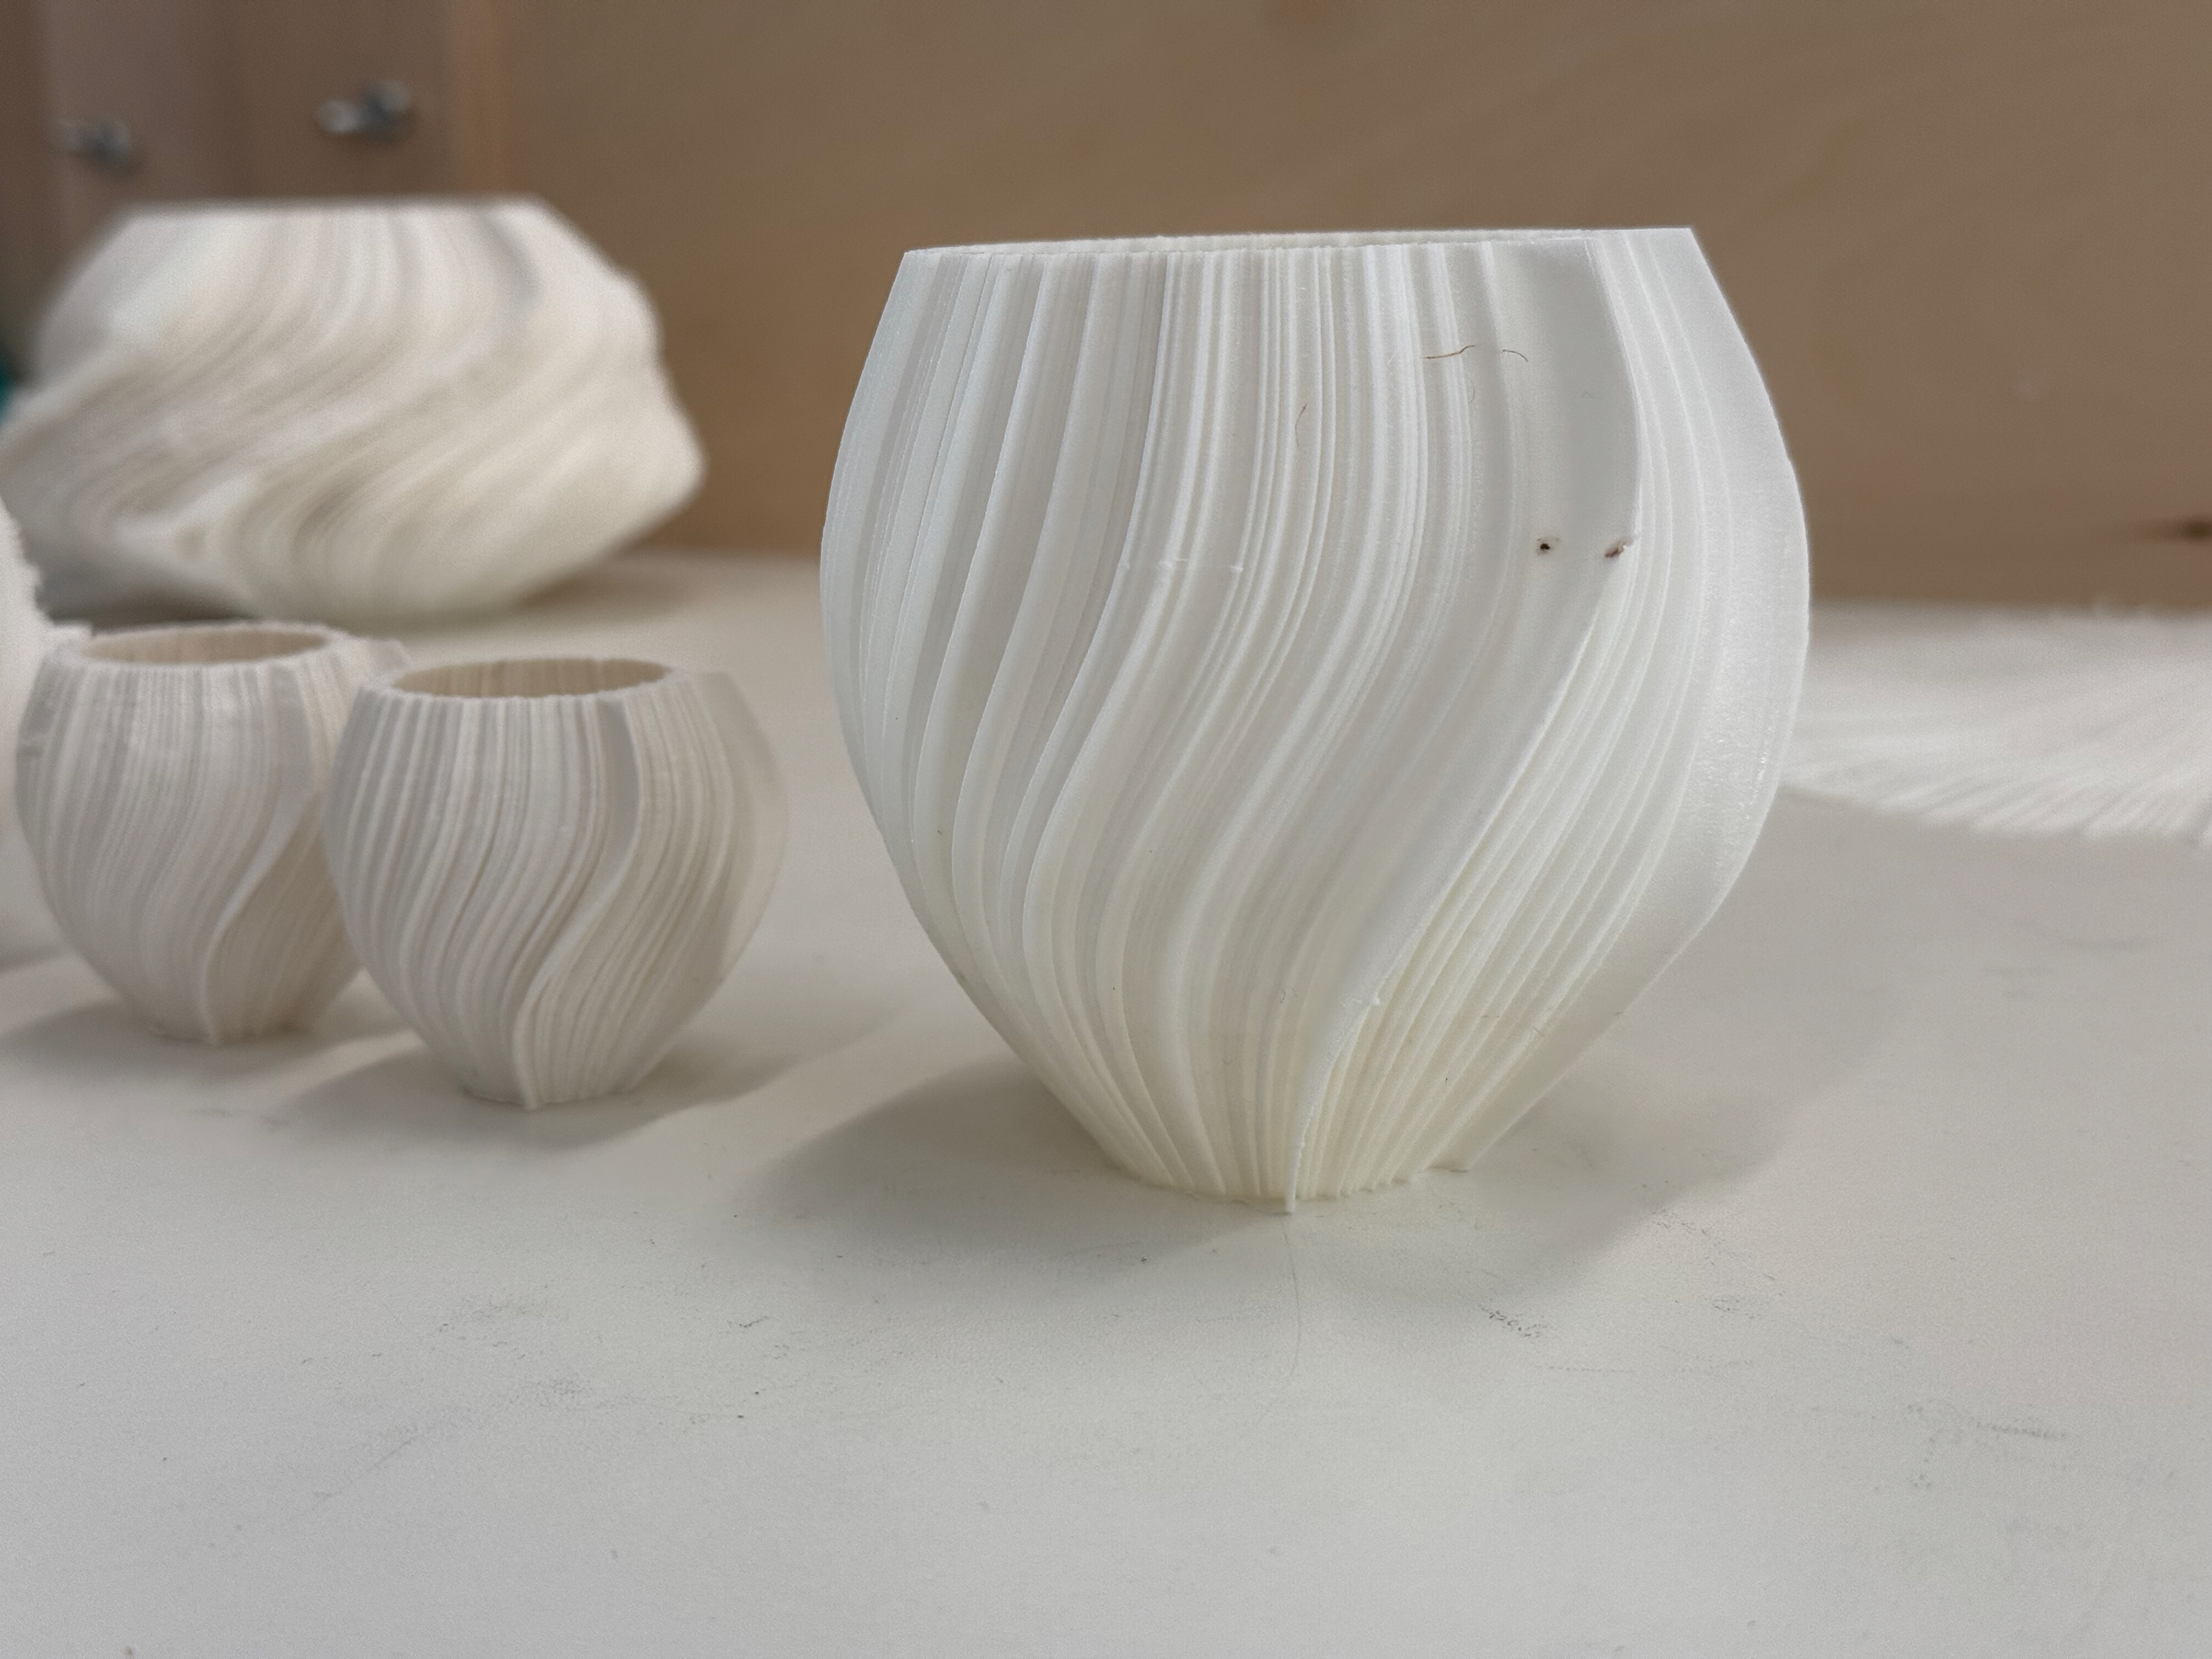
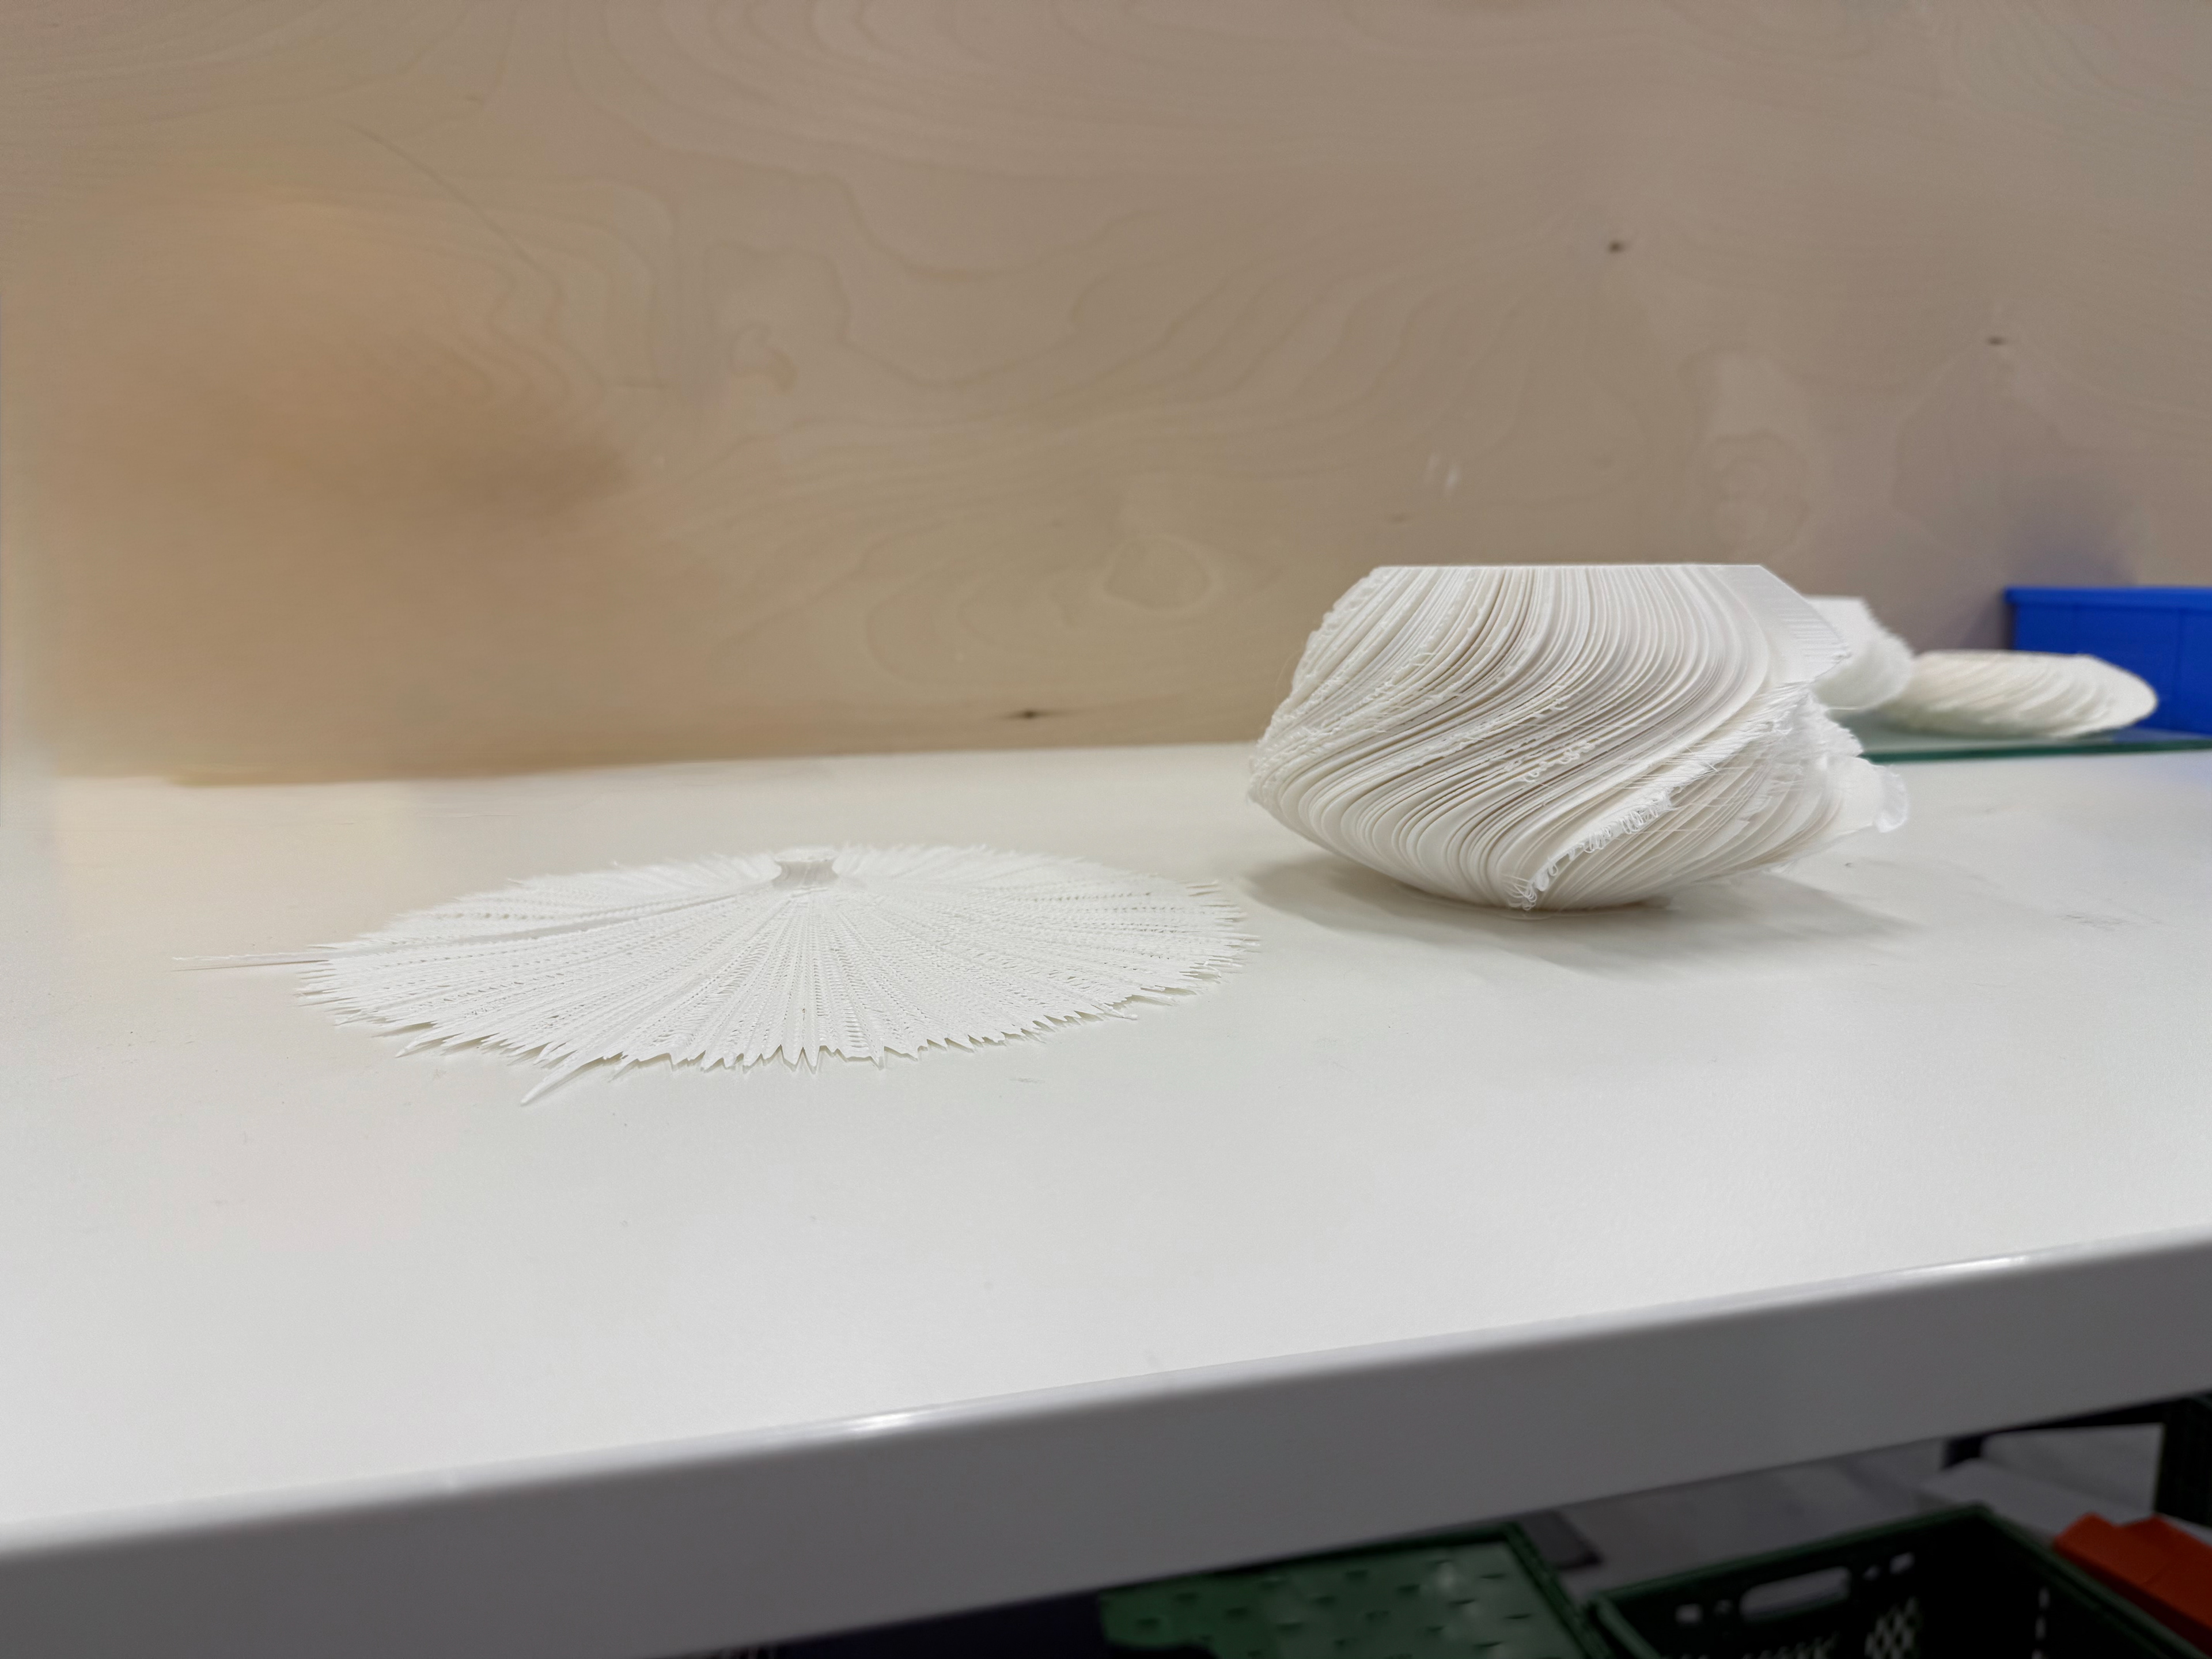
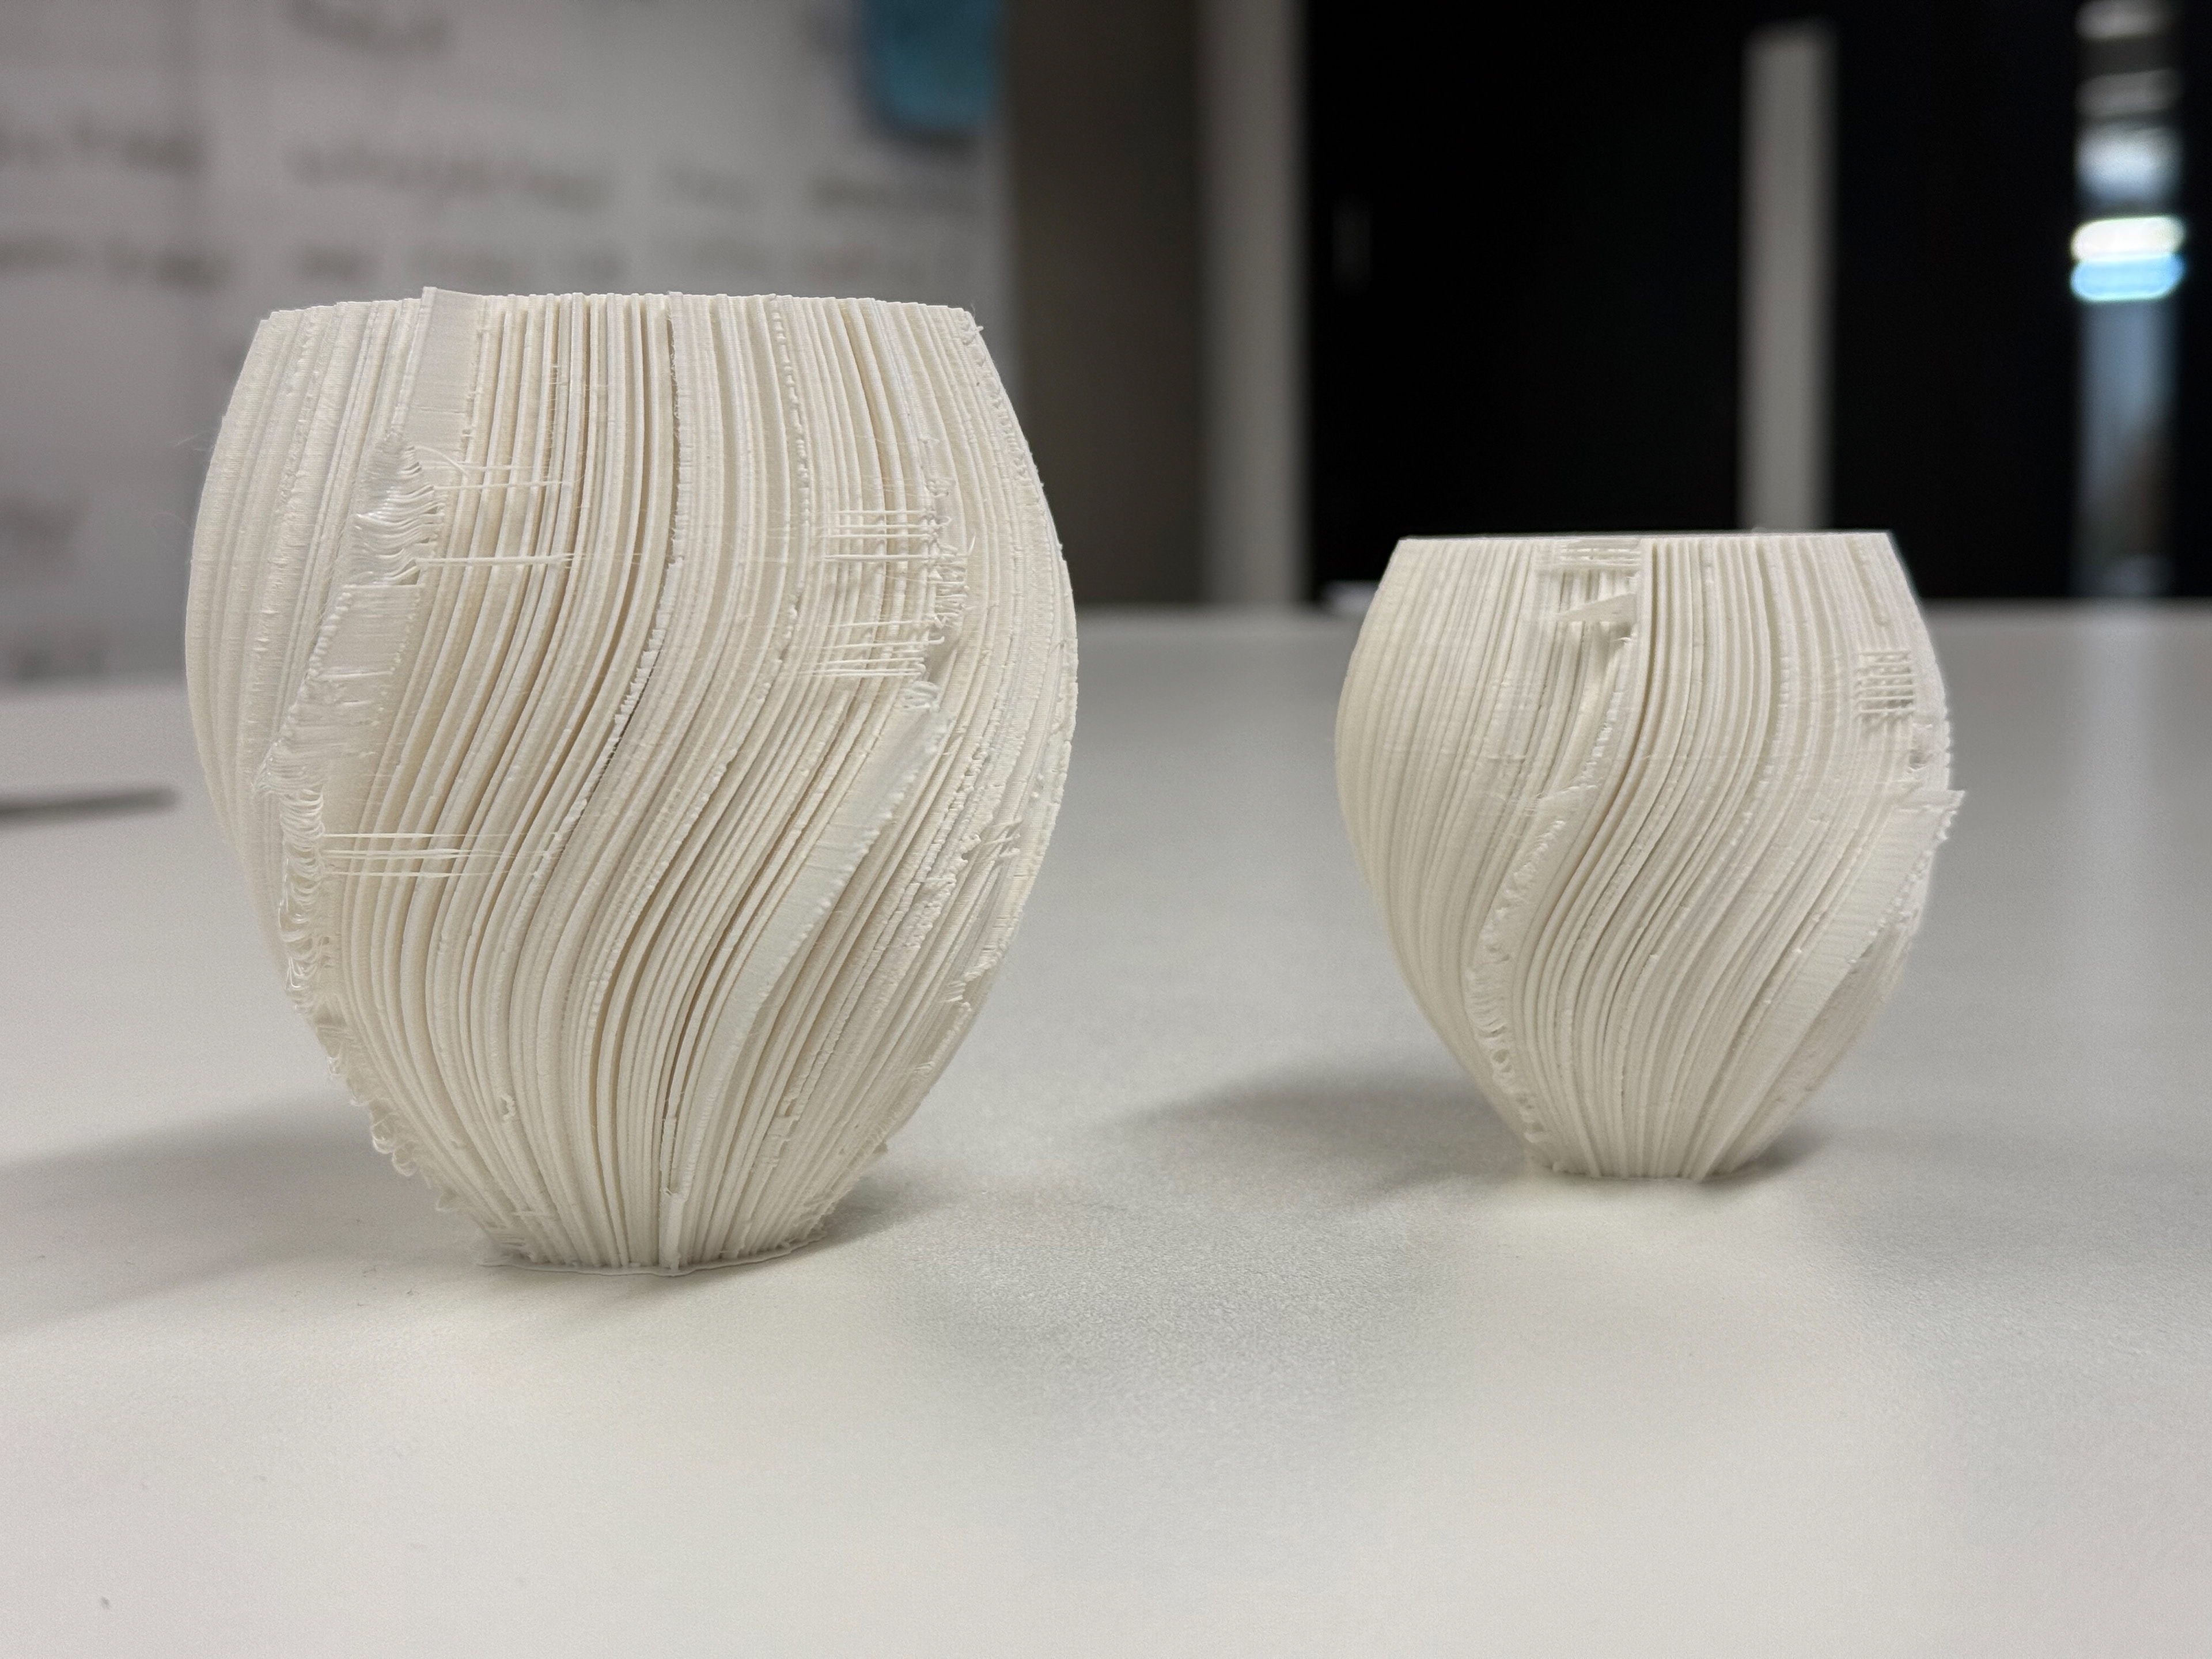
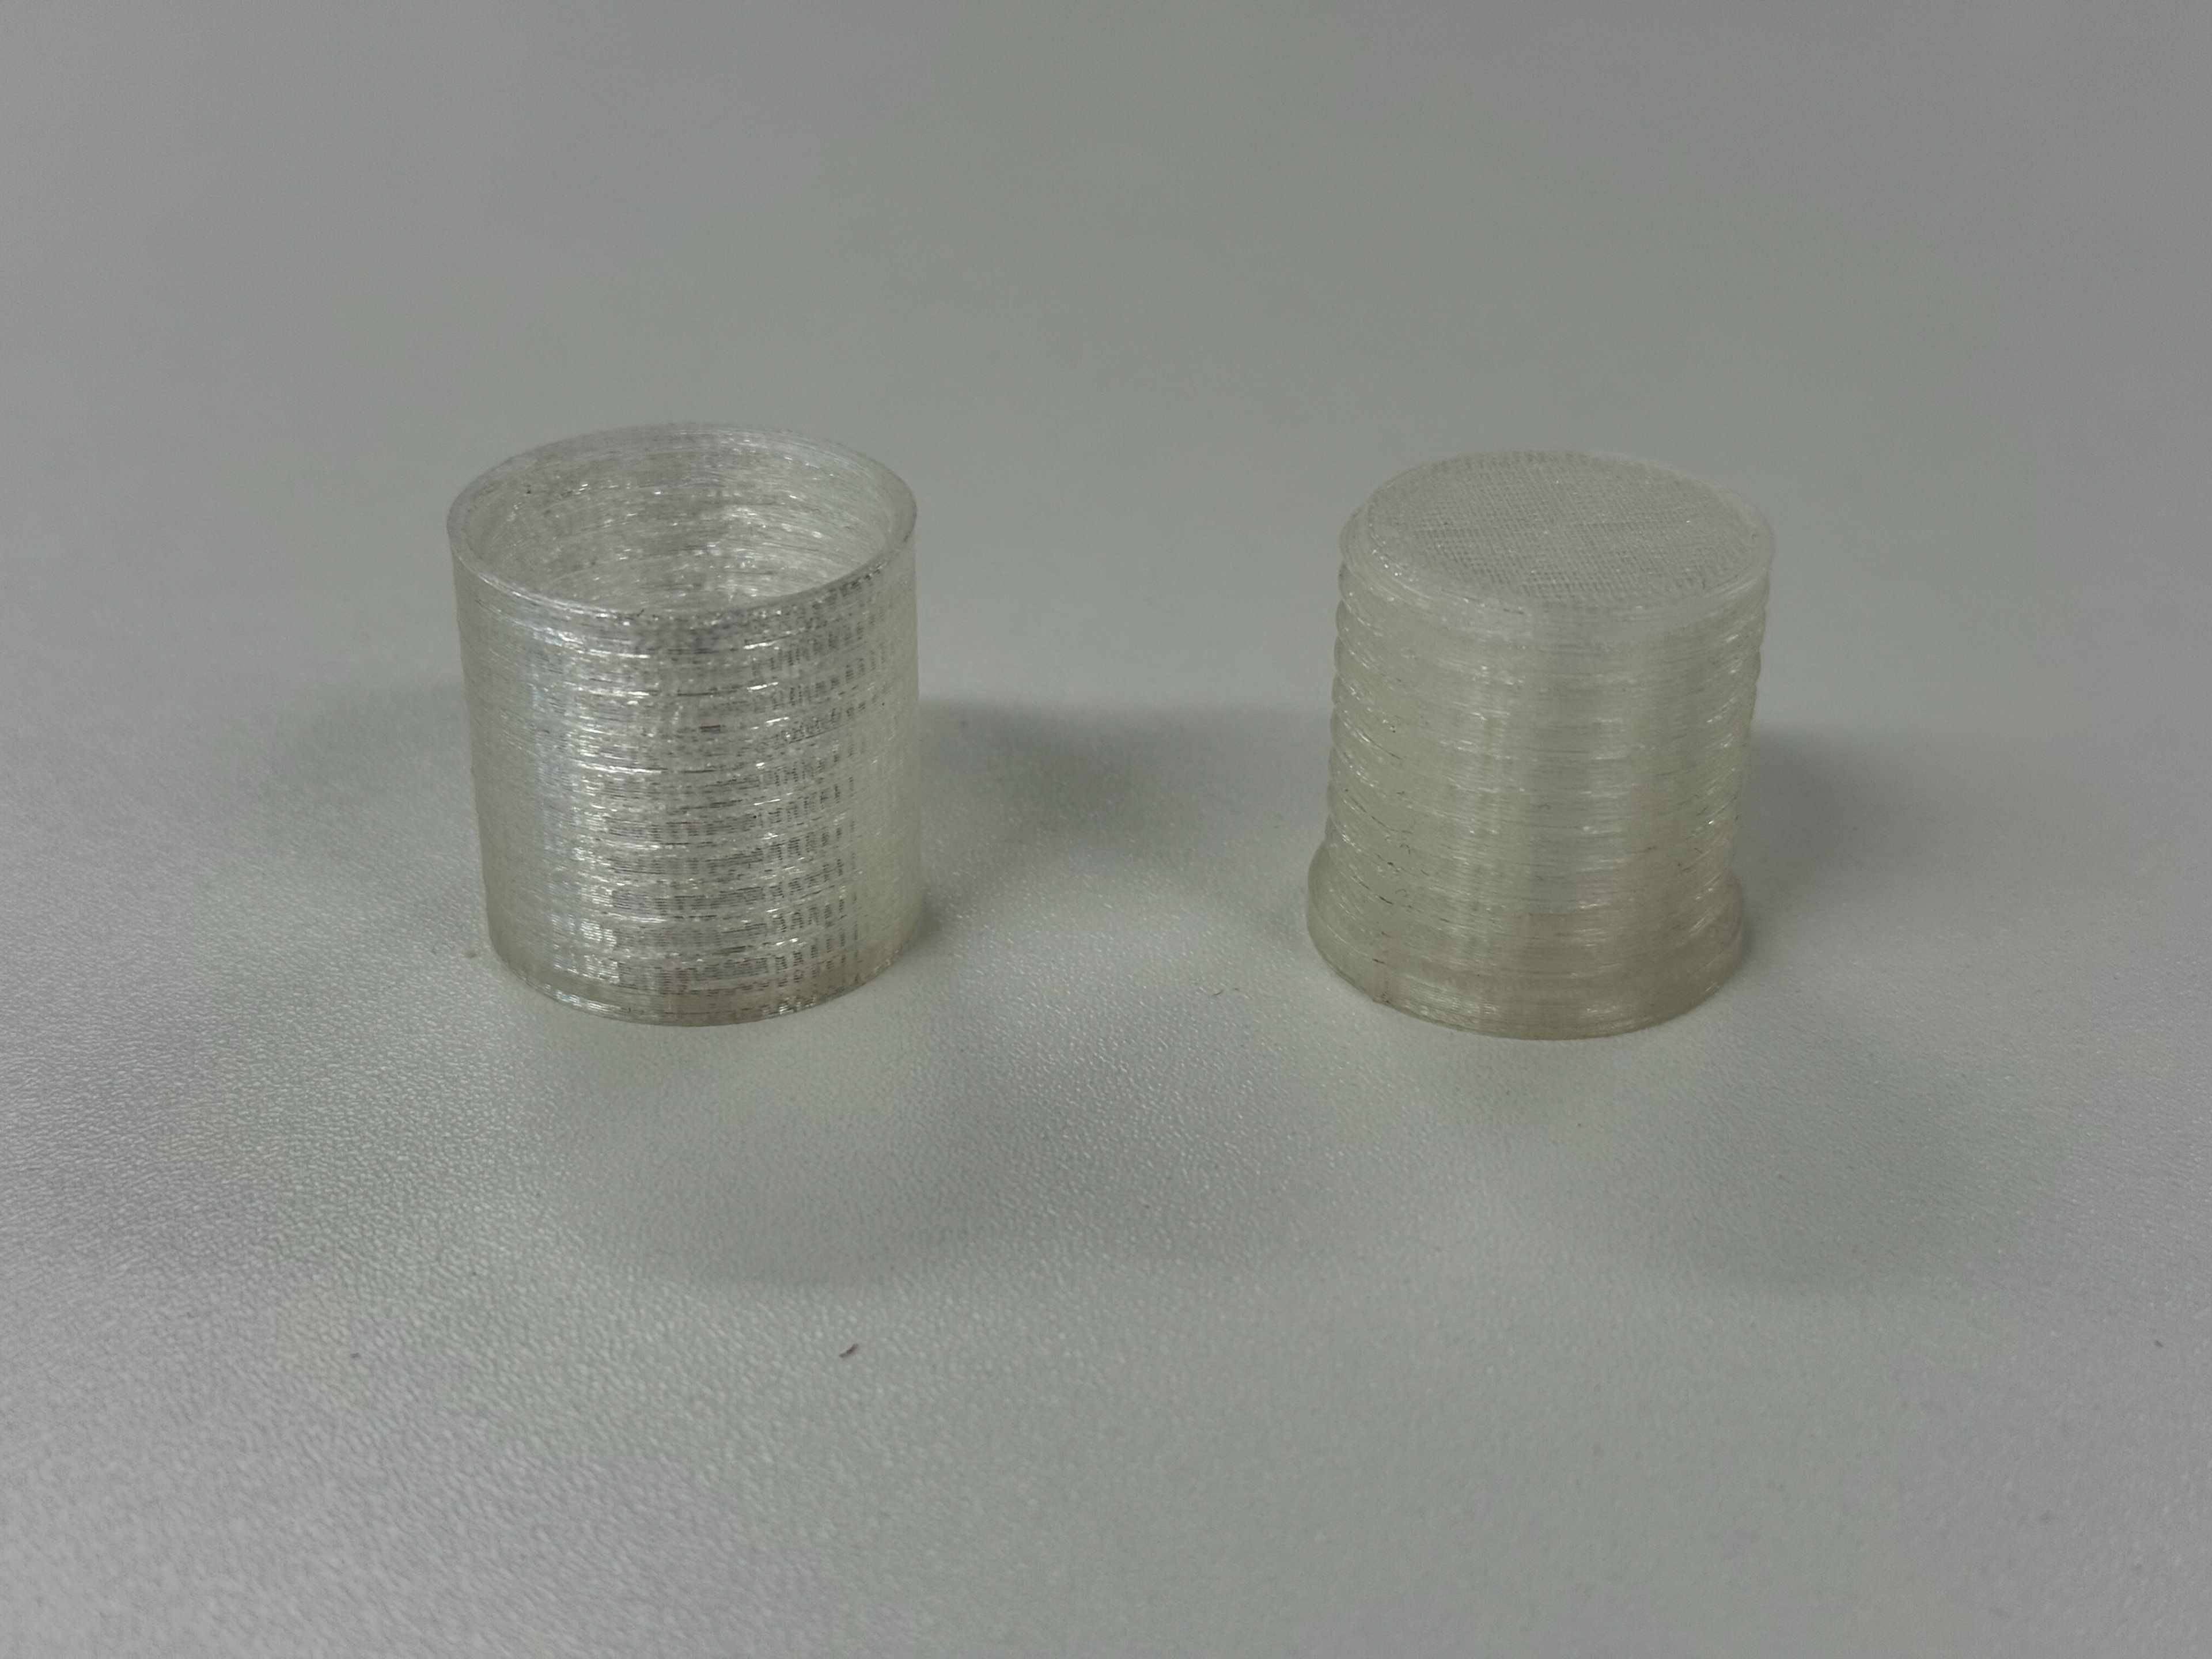
100% scale next to 50%
Compared to the first 100% model
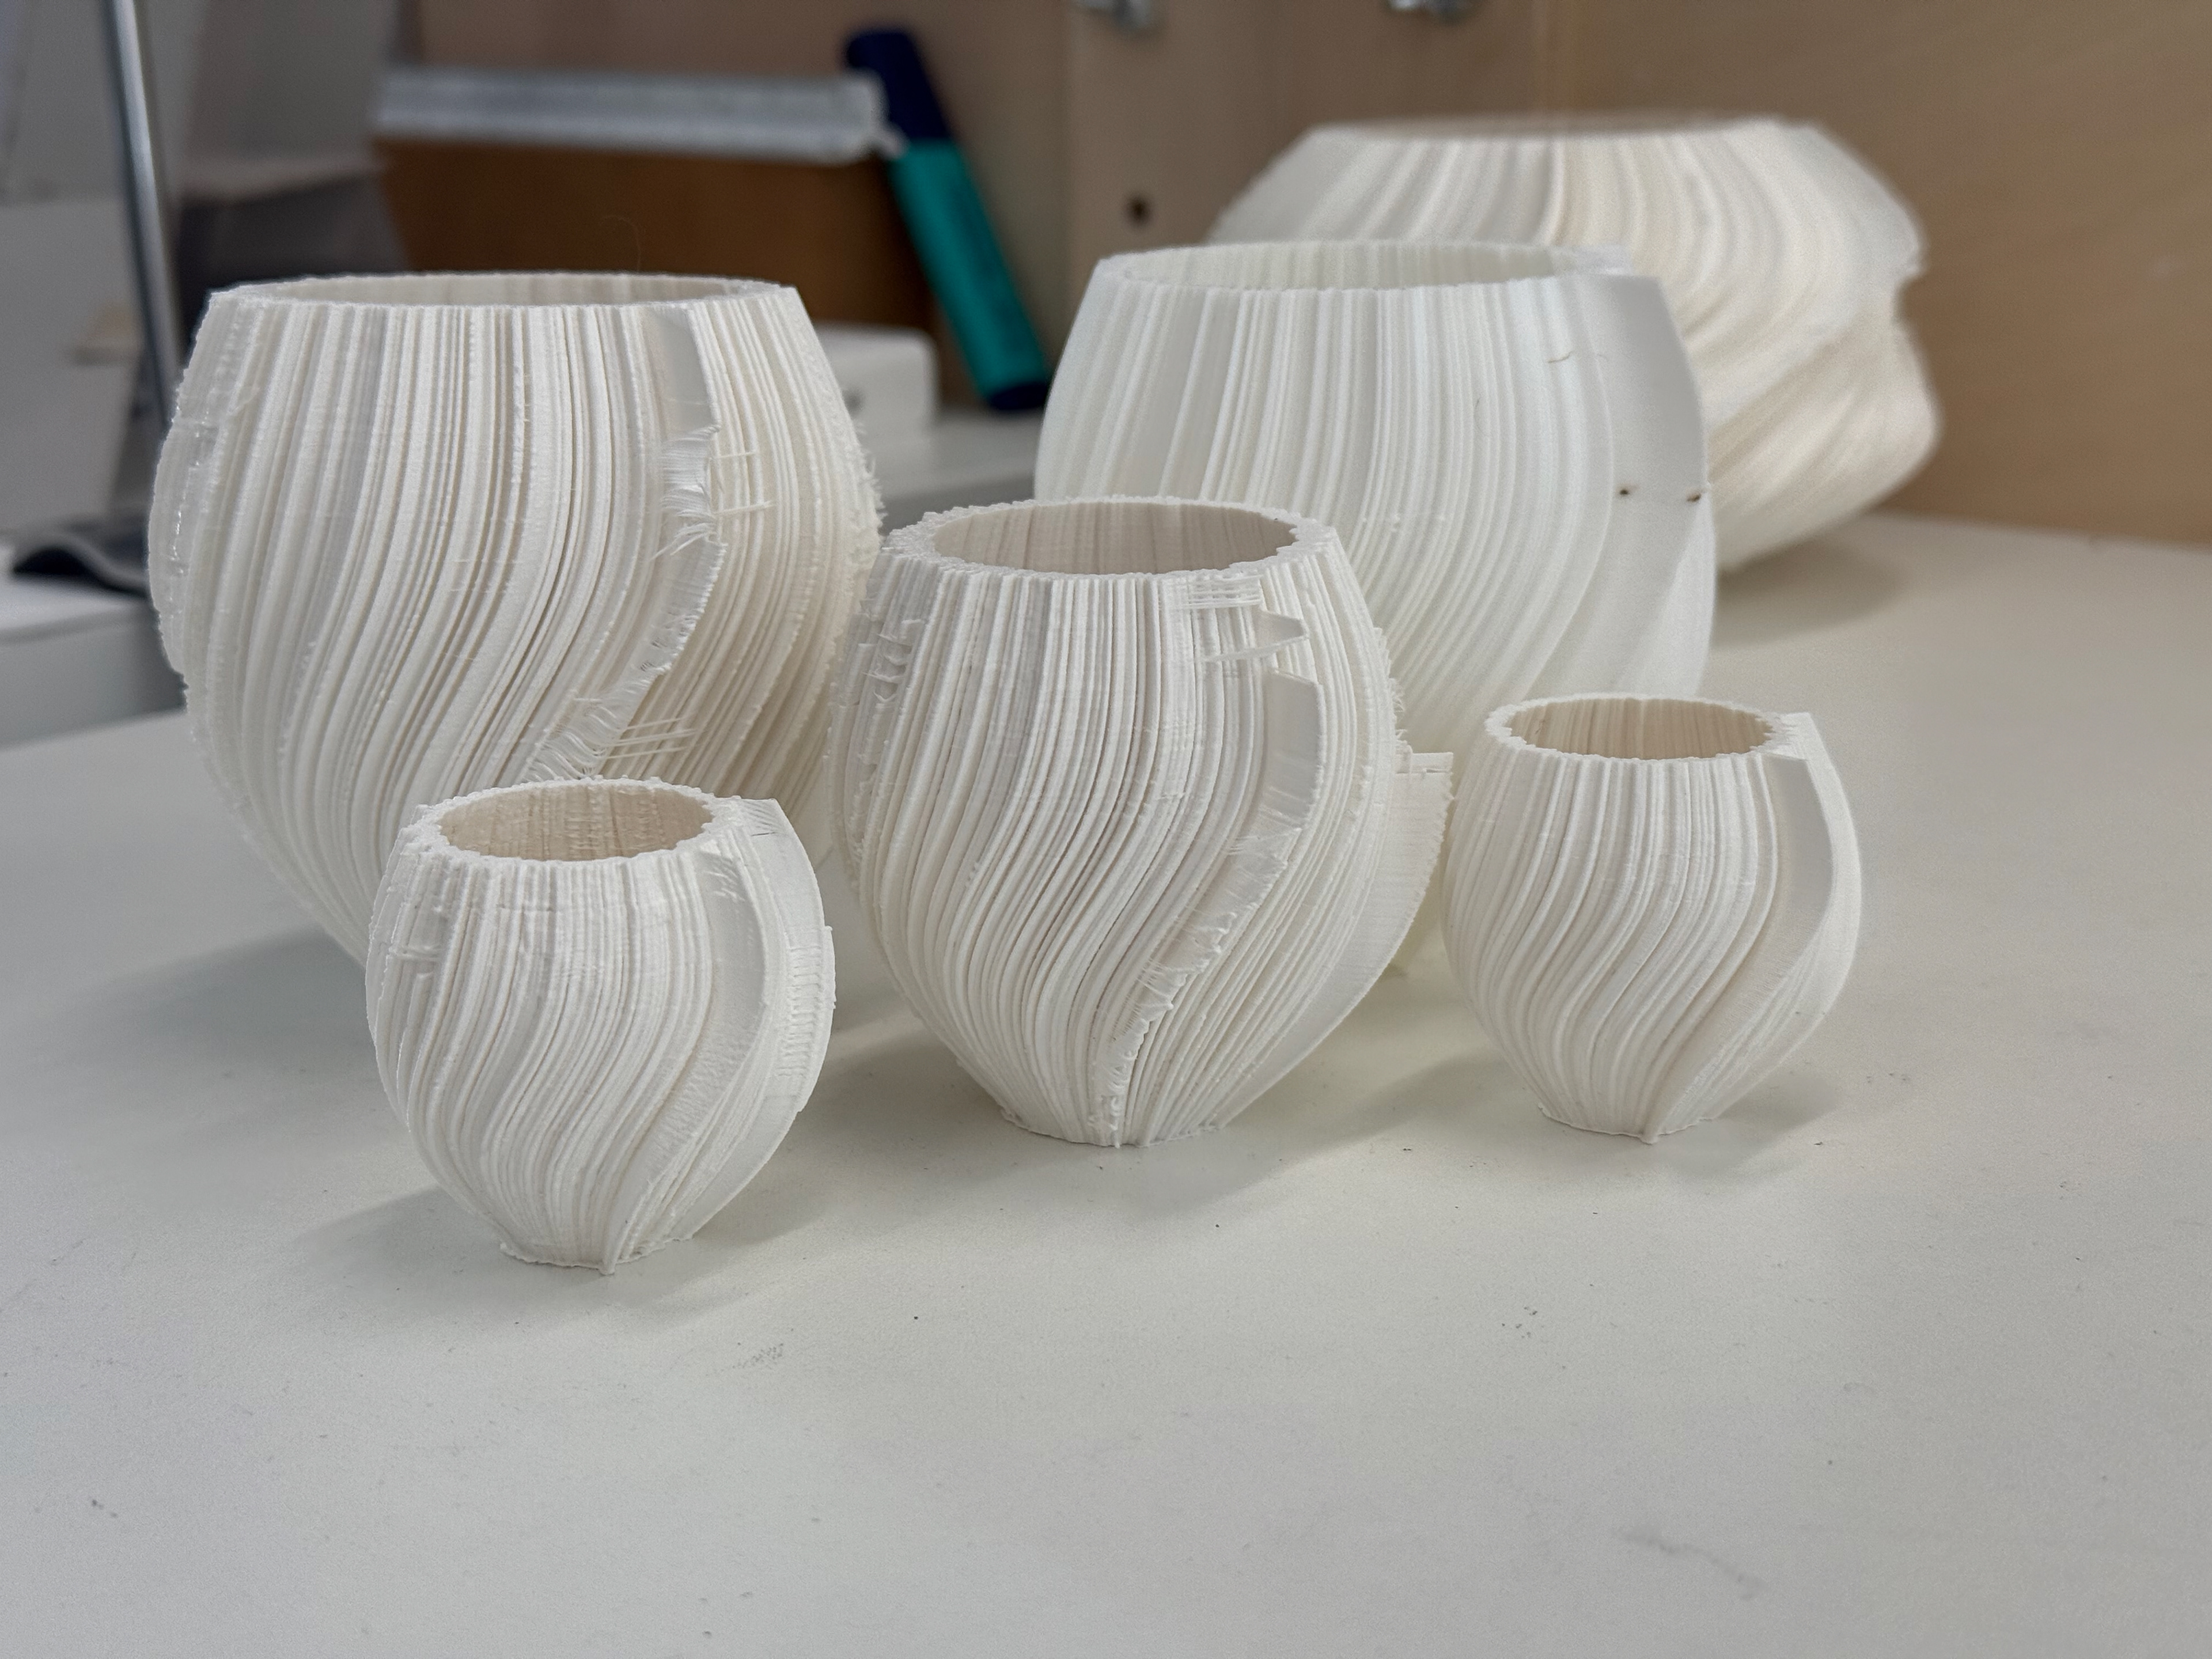
The family of V8 showing the refinement development
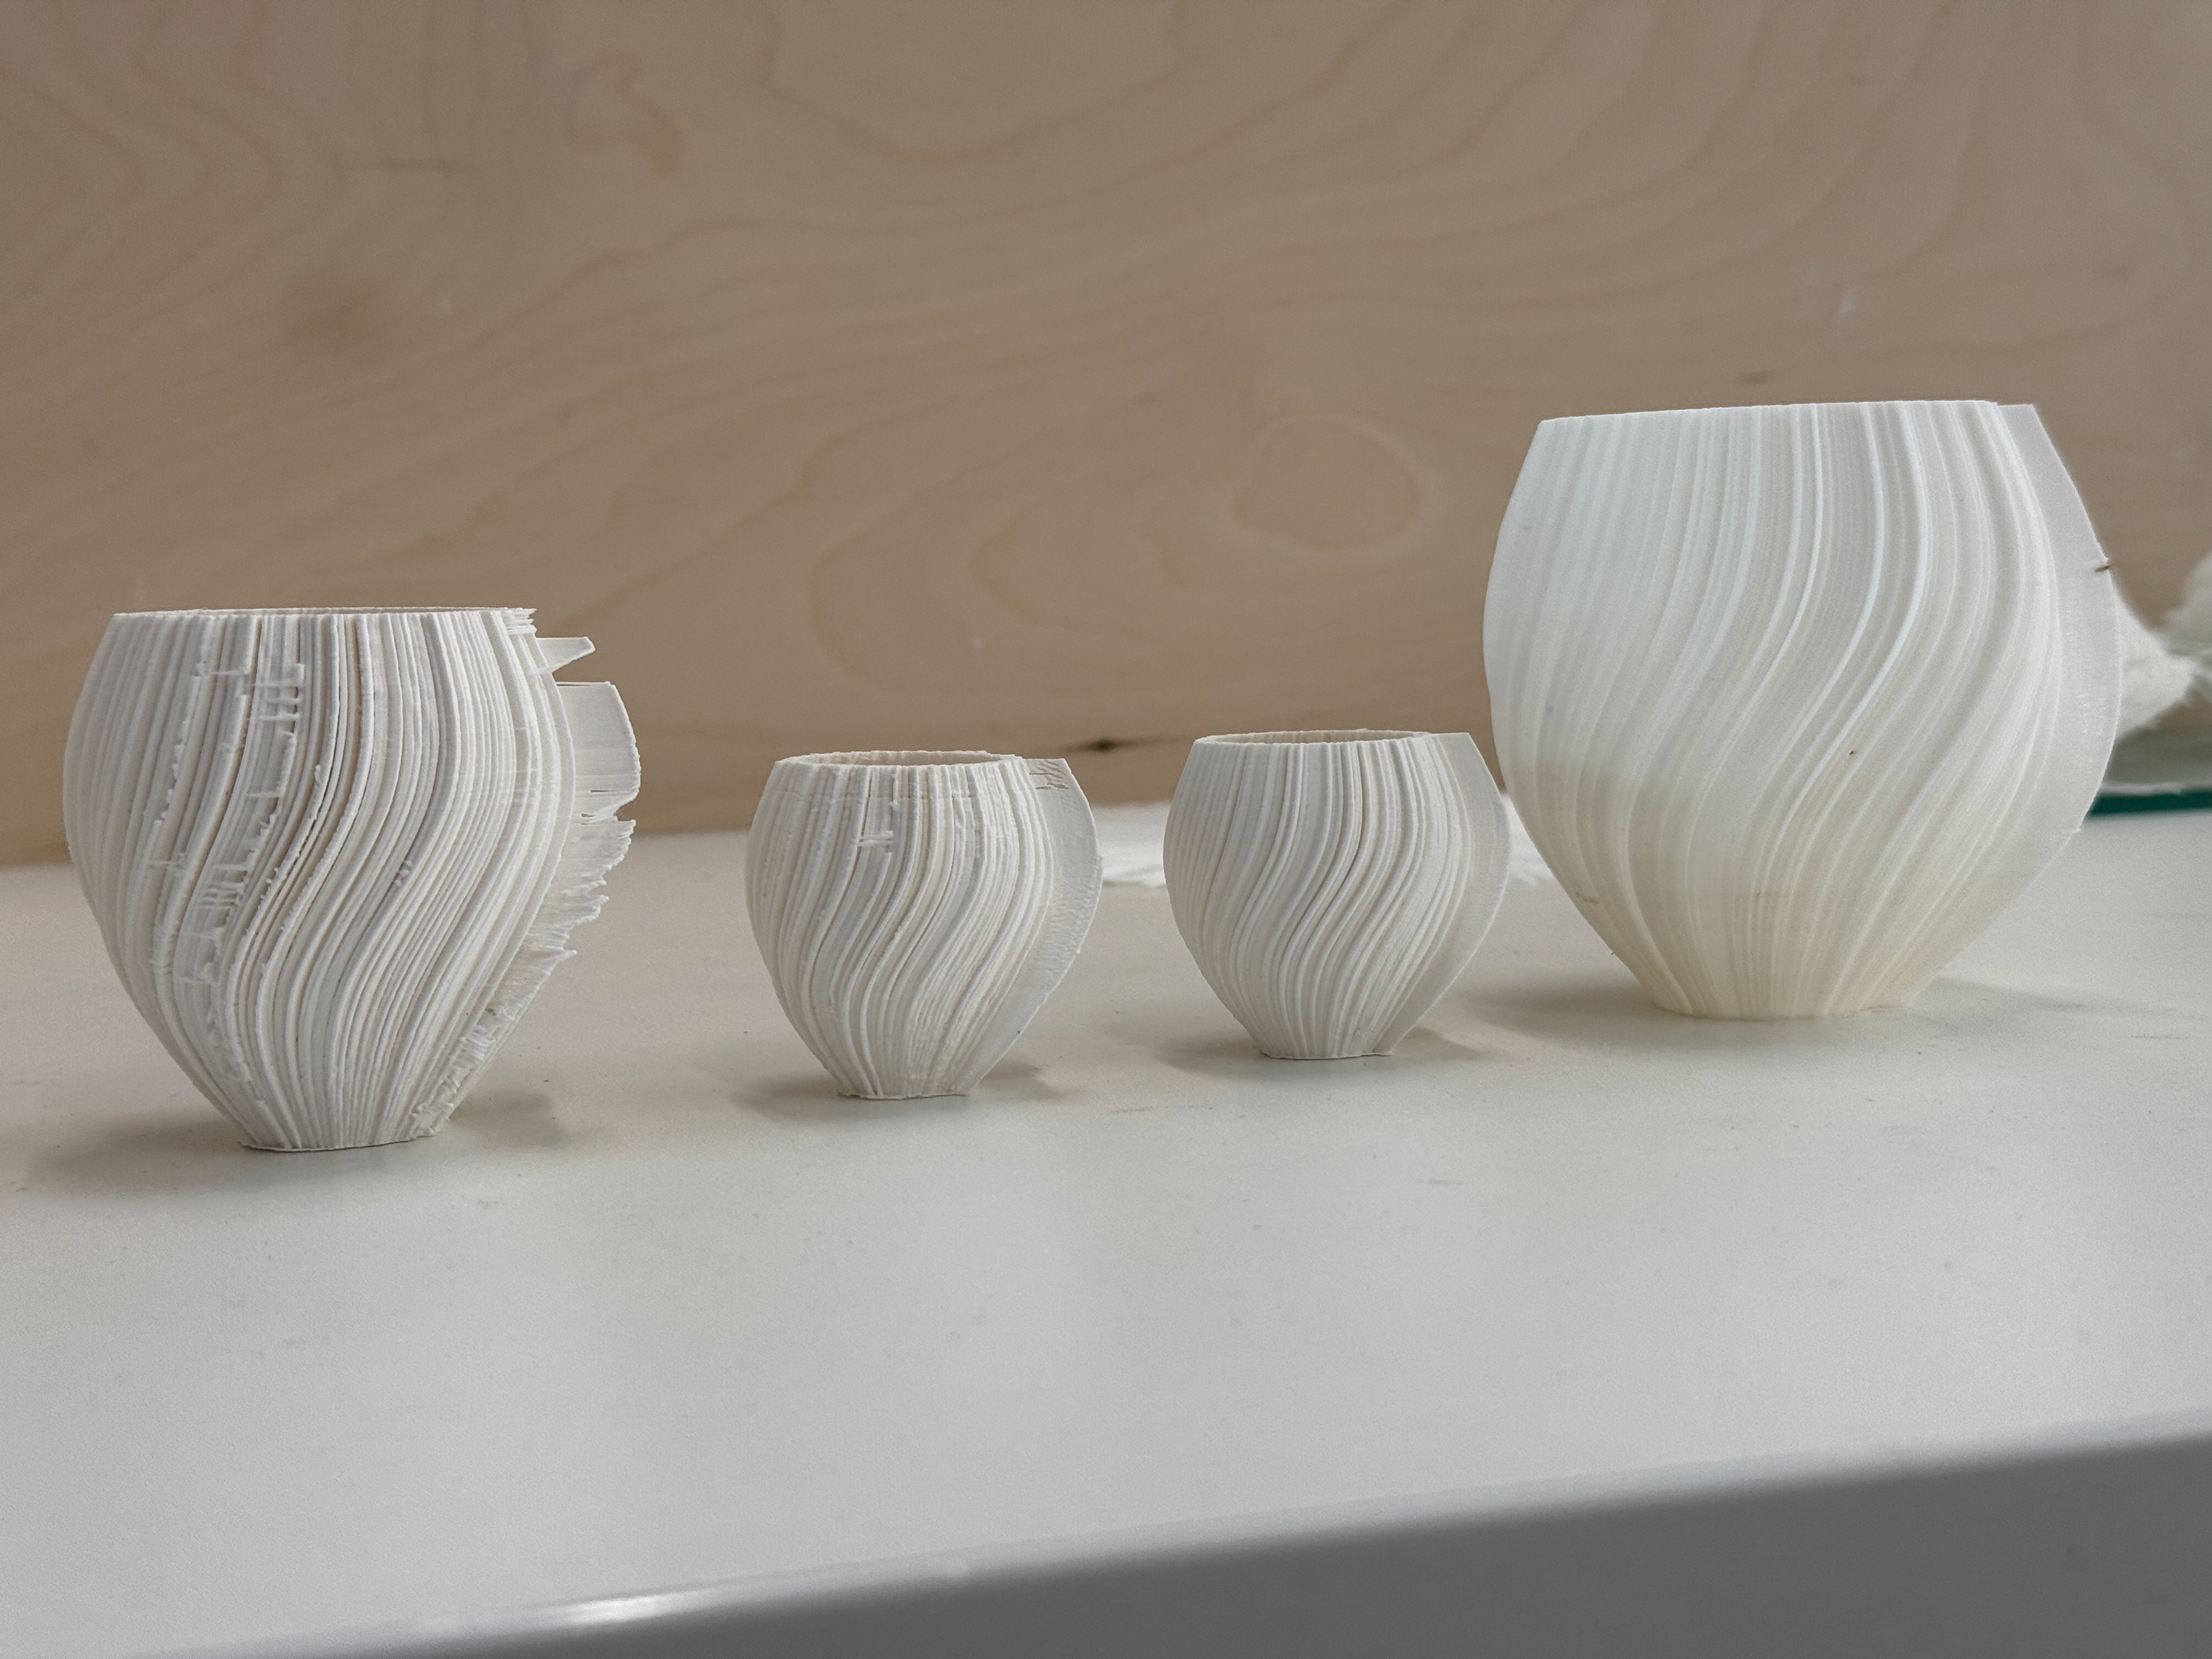
The refinement process order
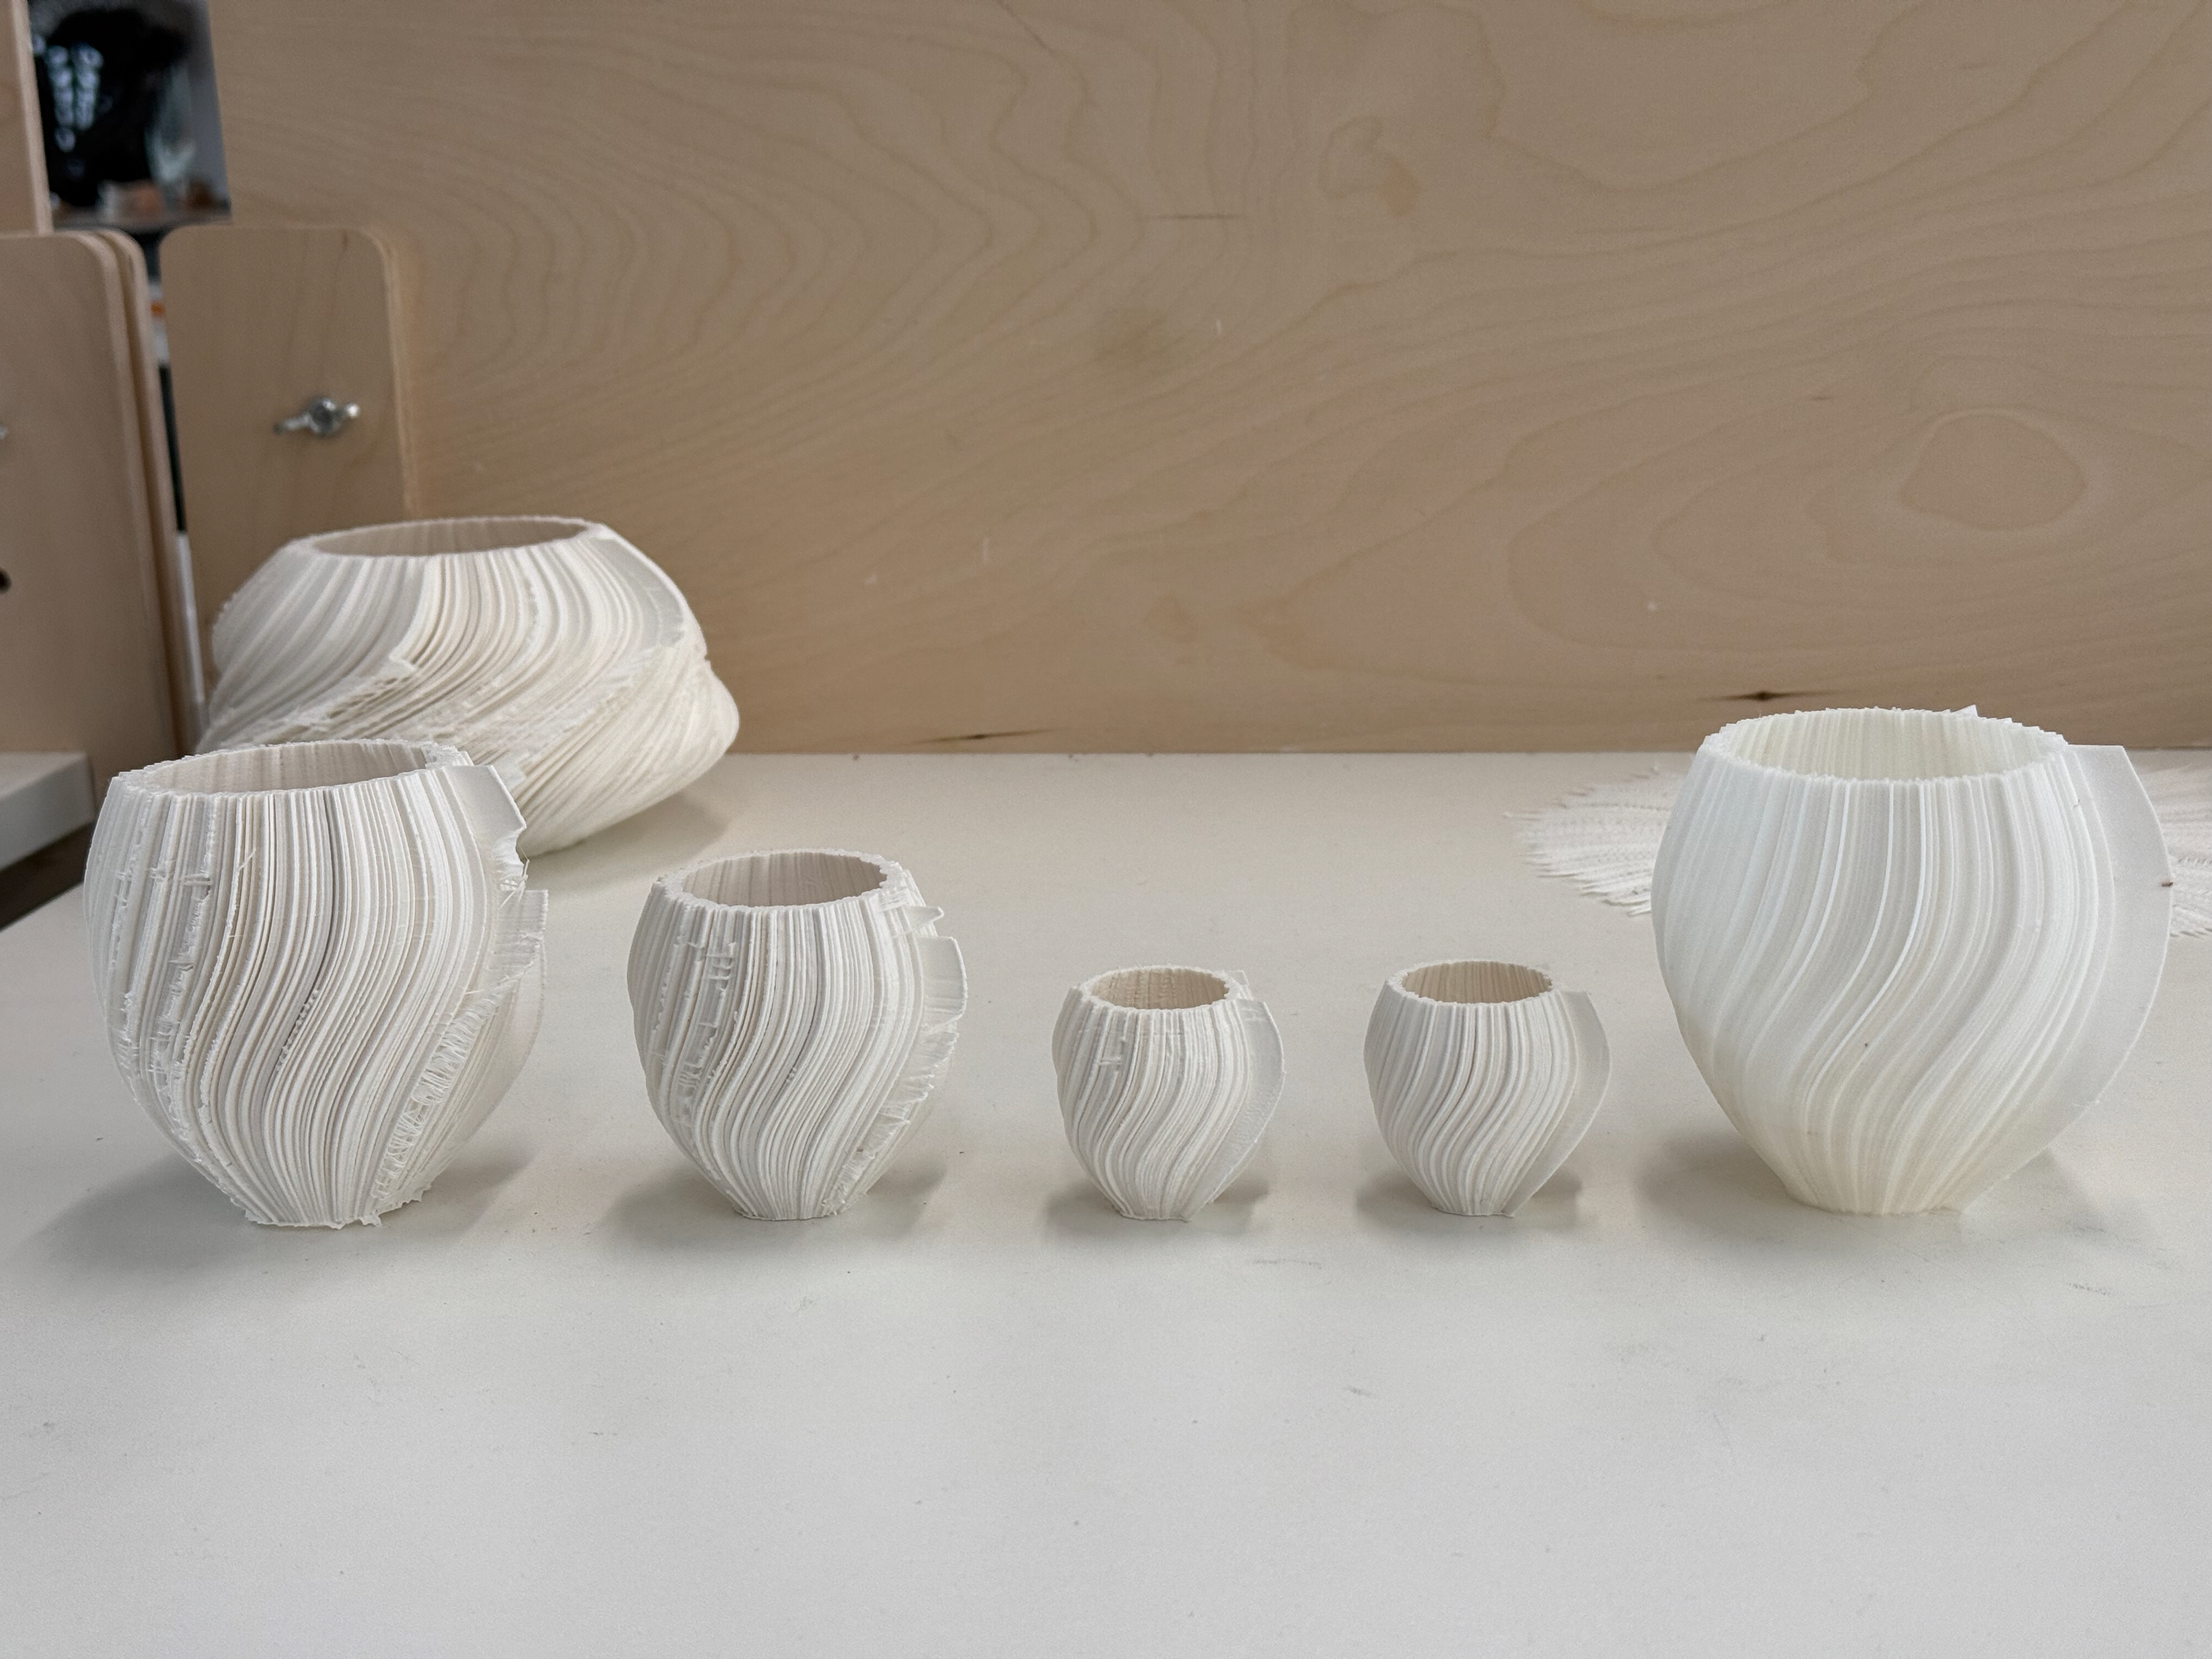
The family in order of refinement
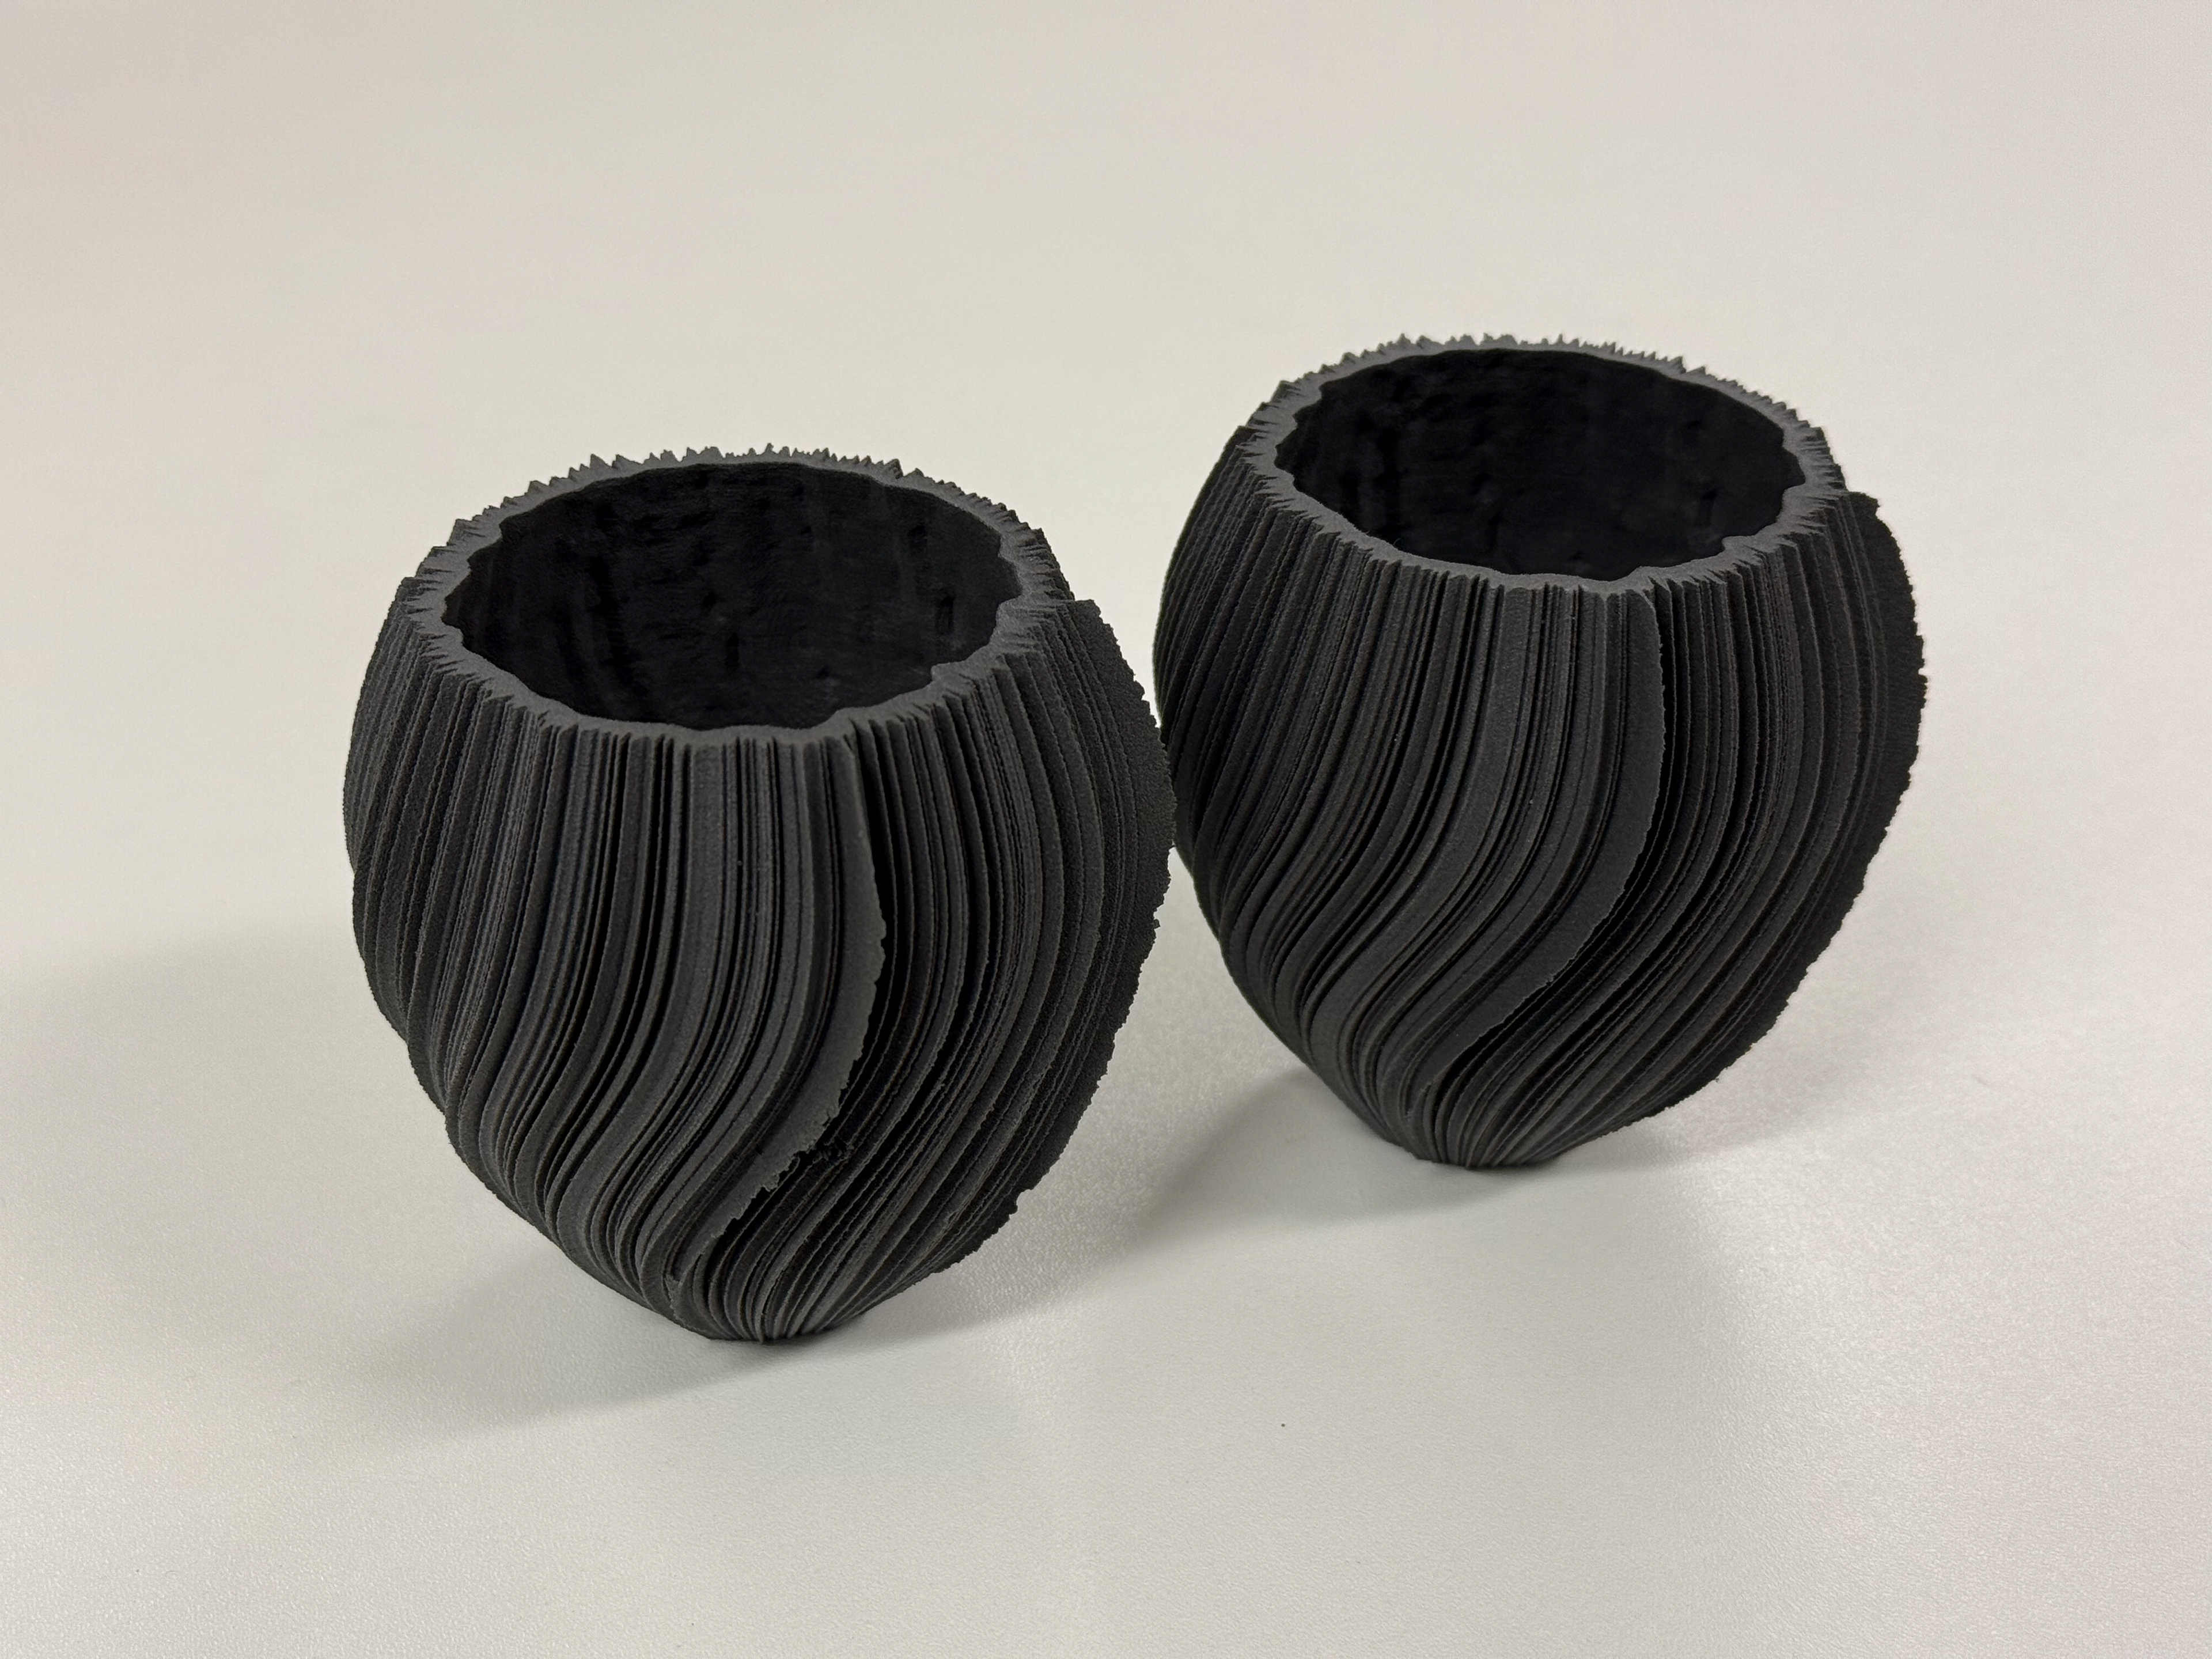
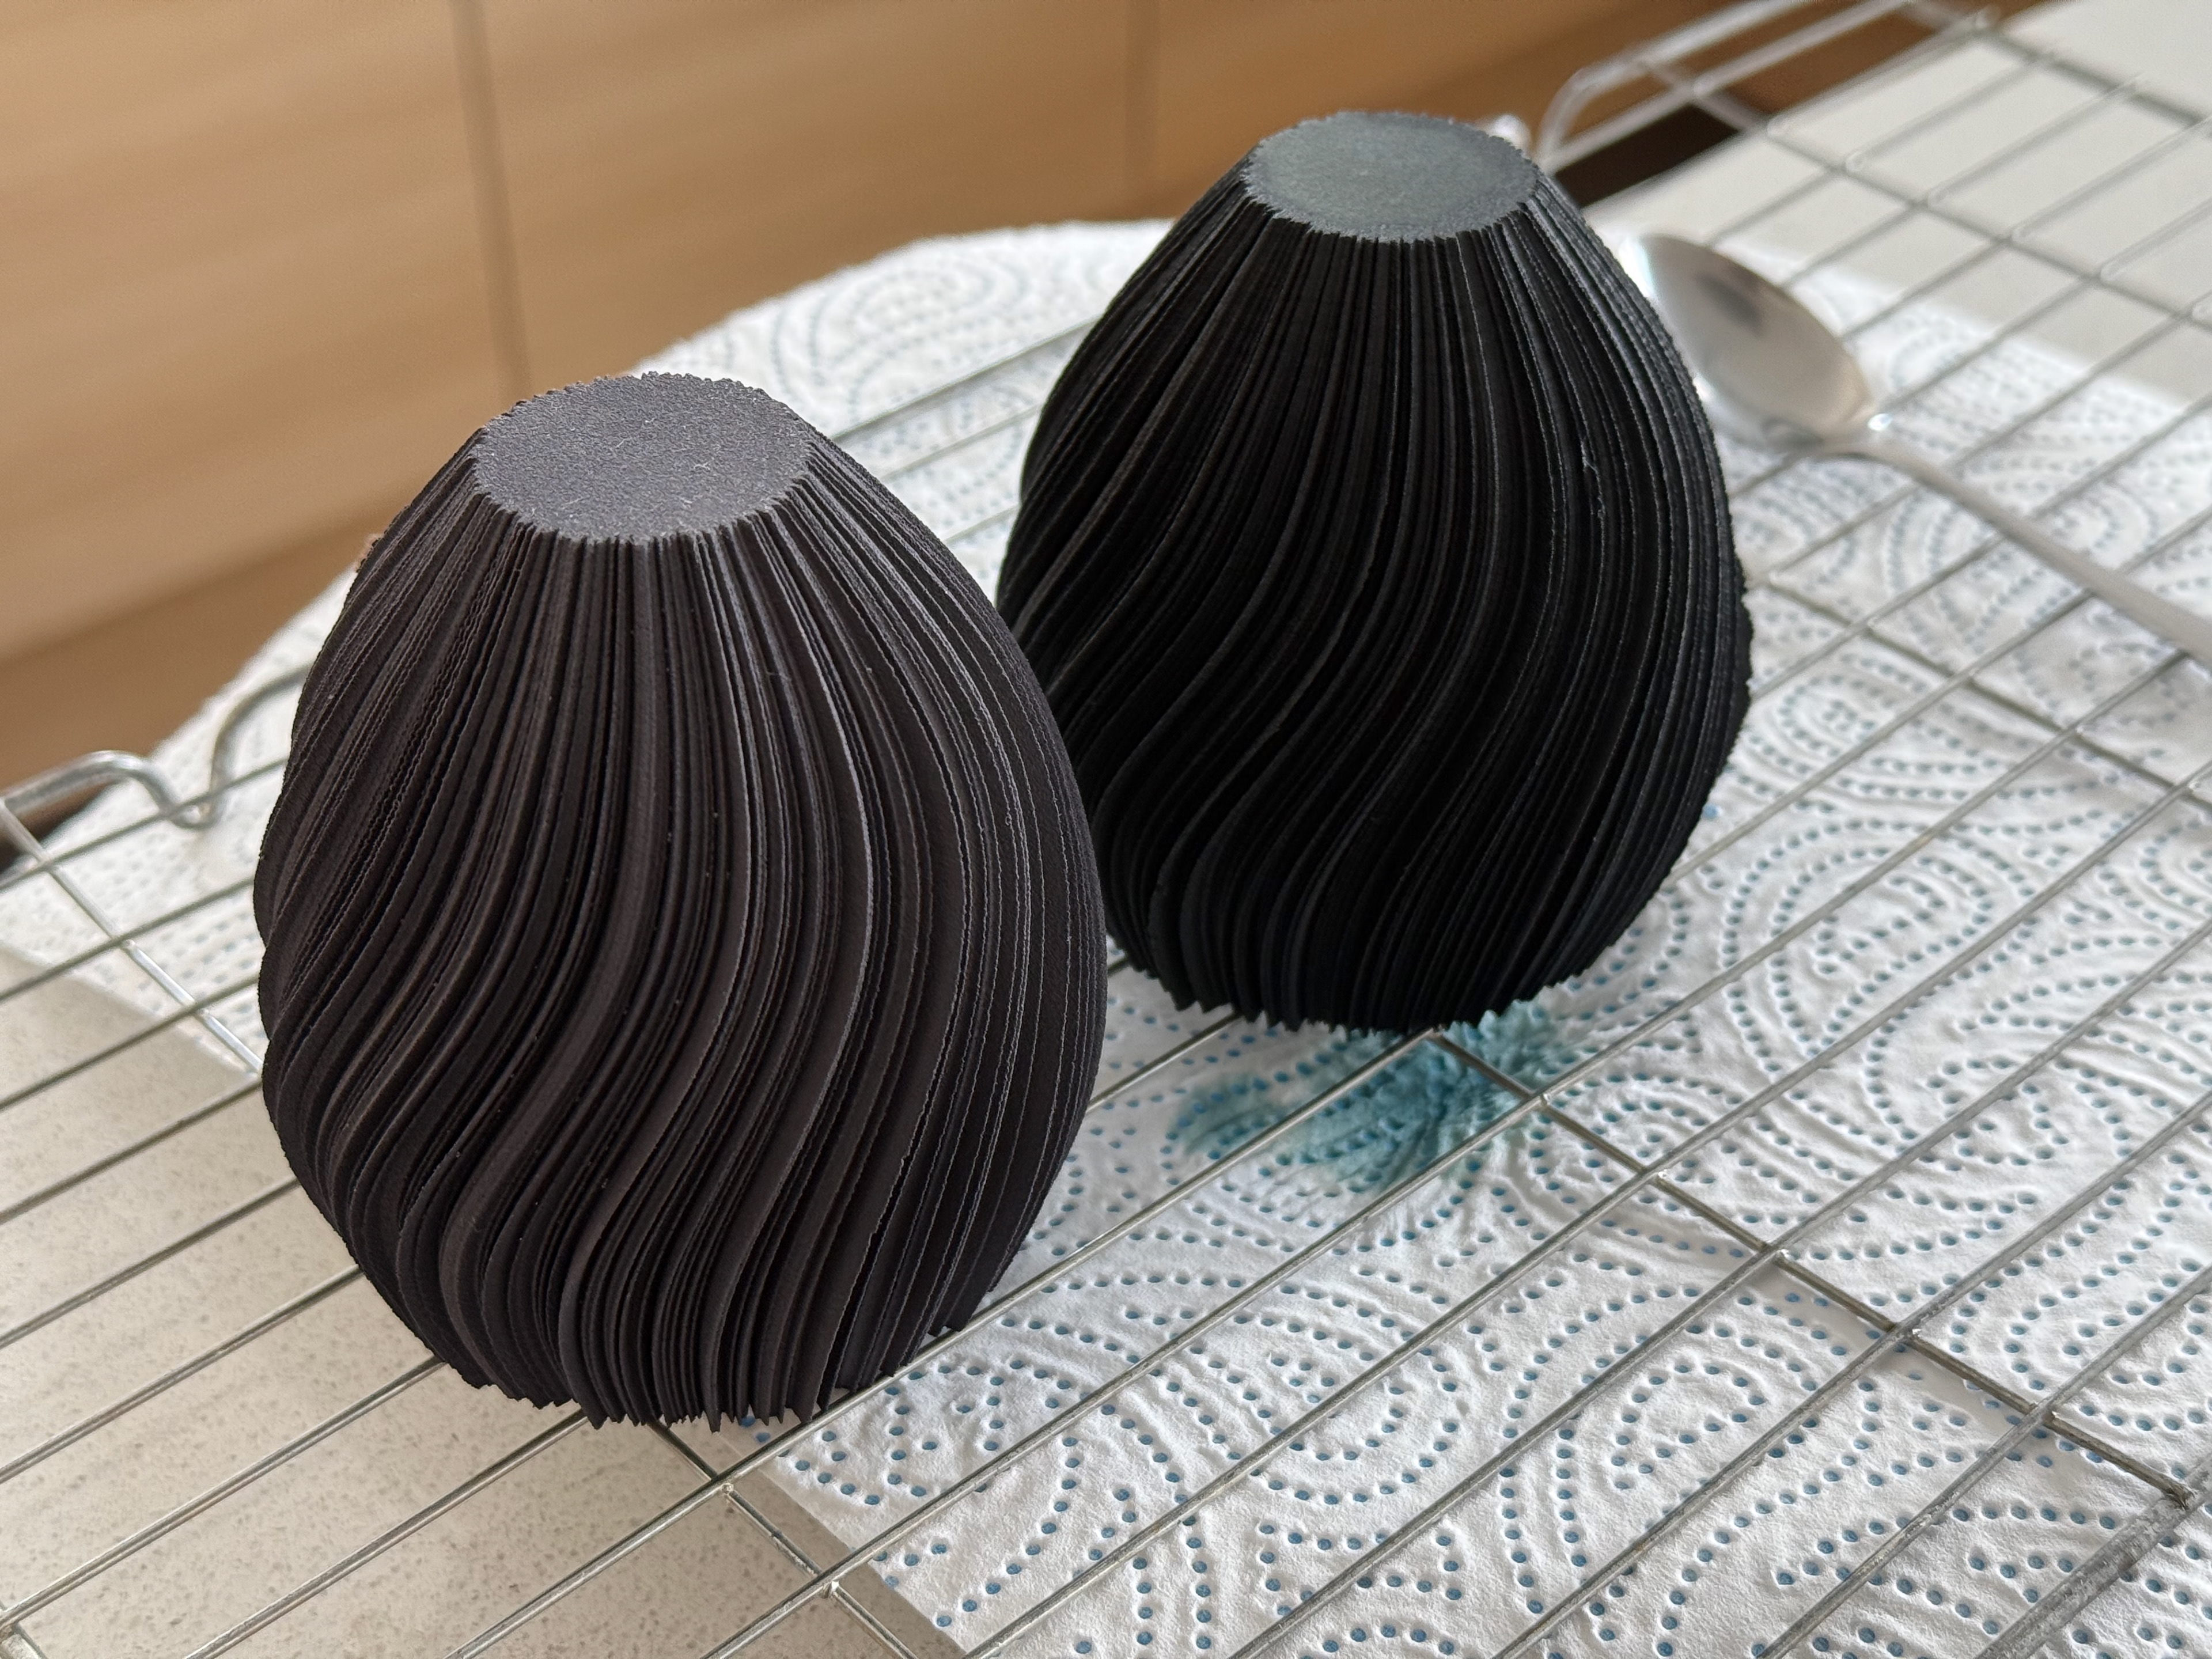
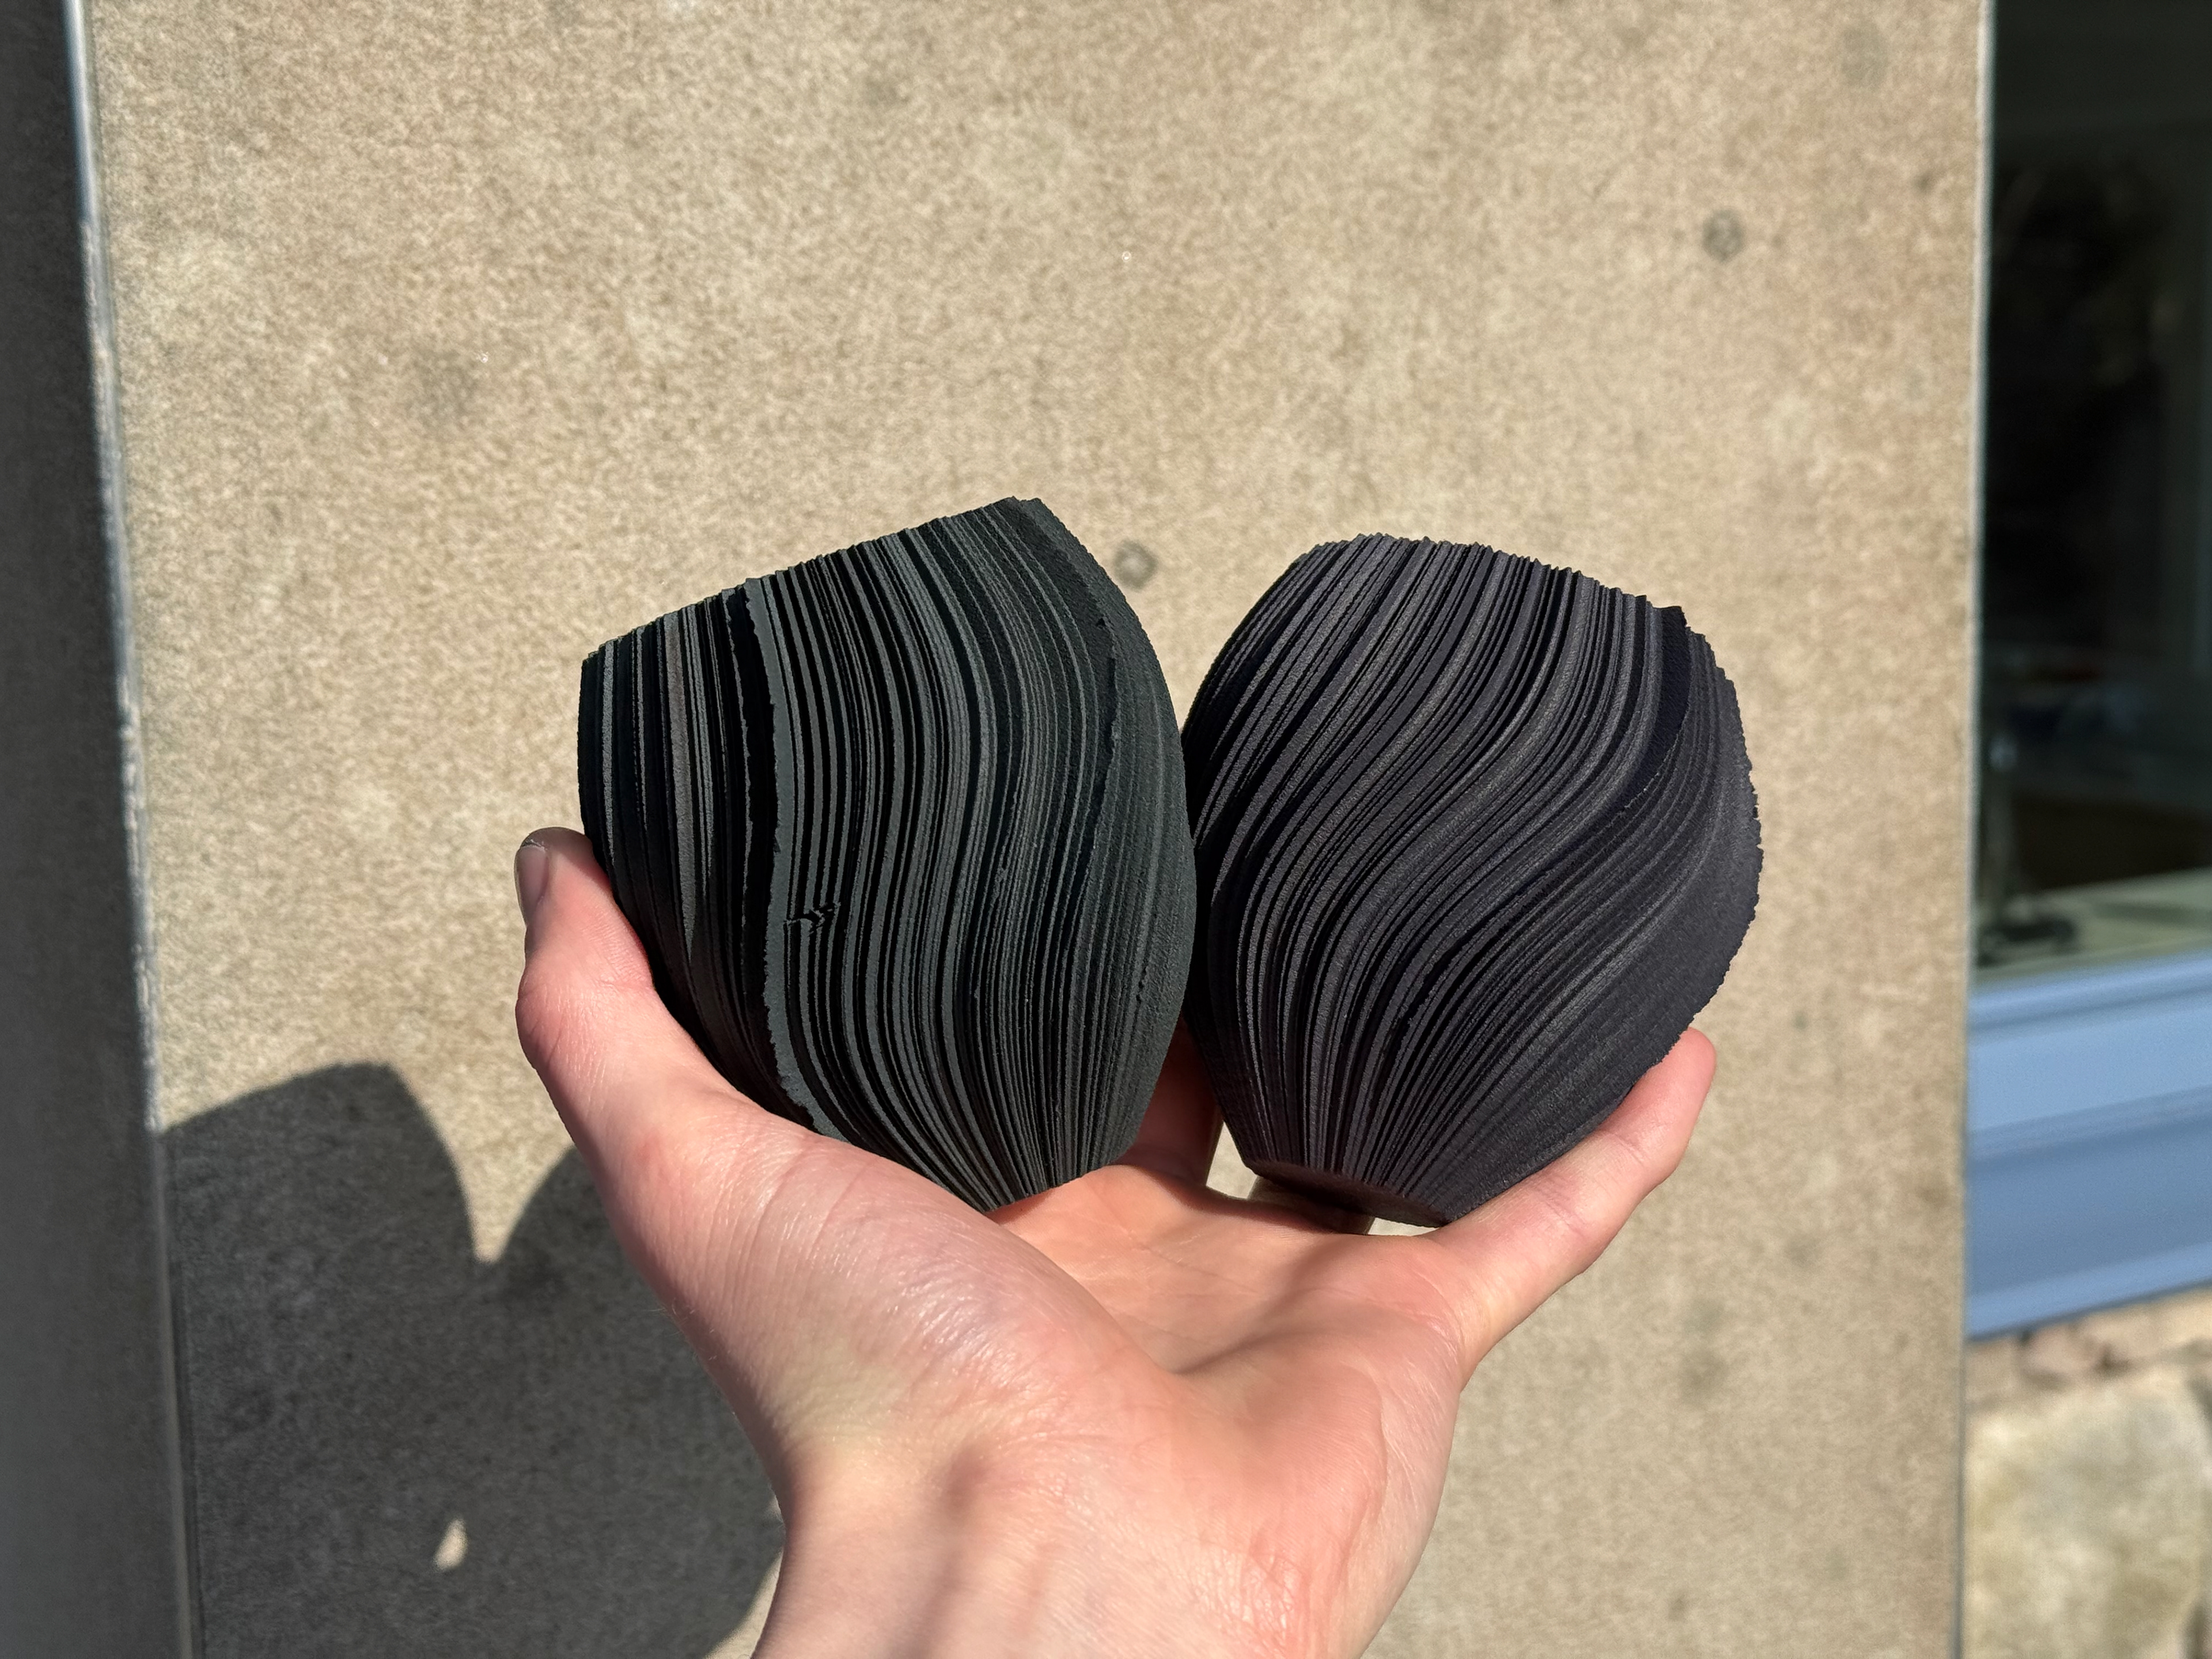
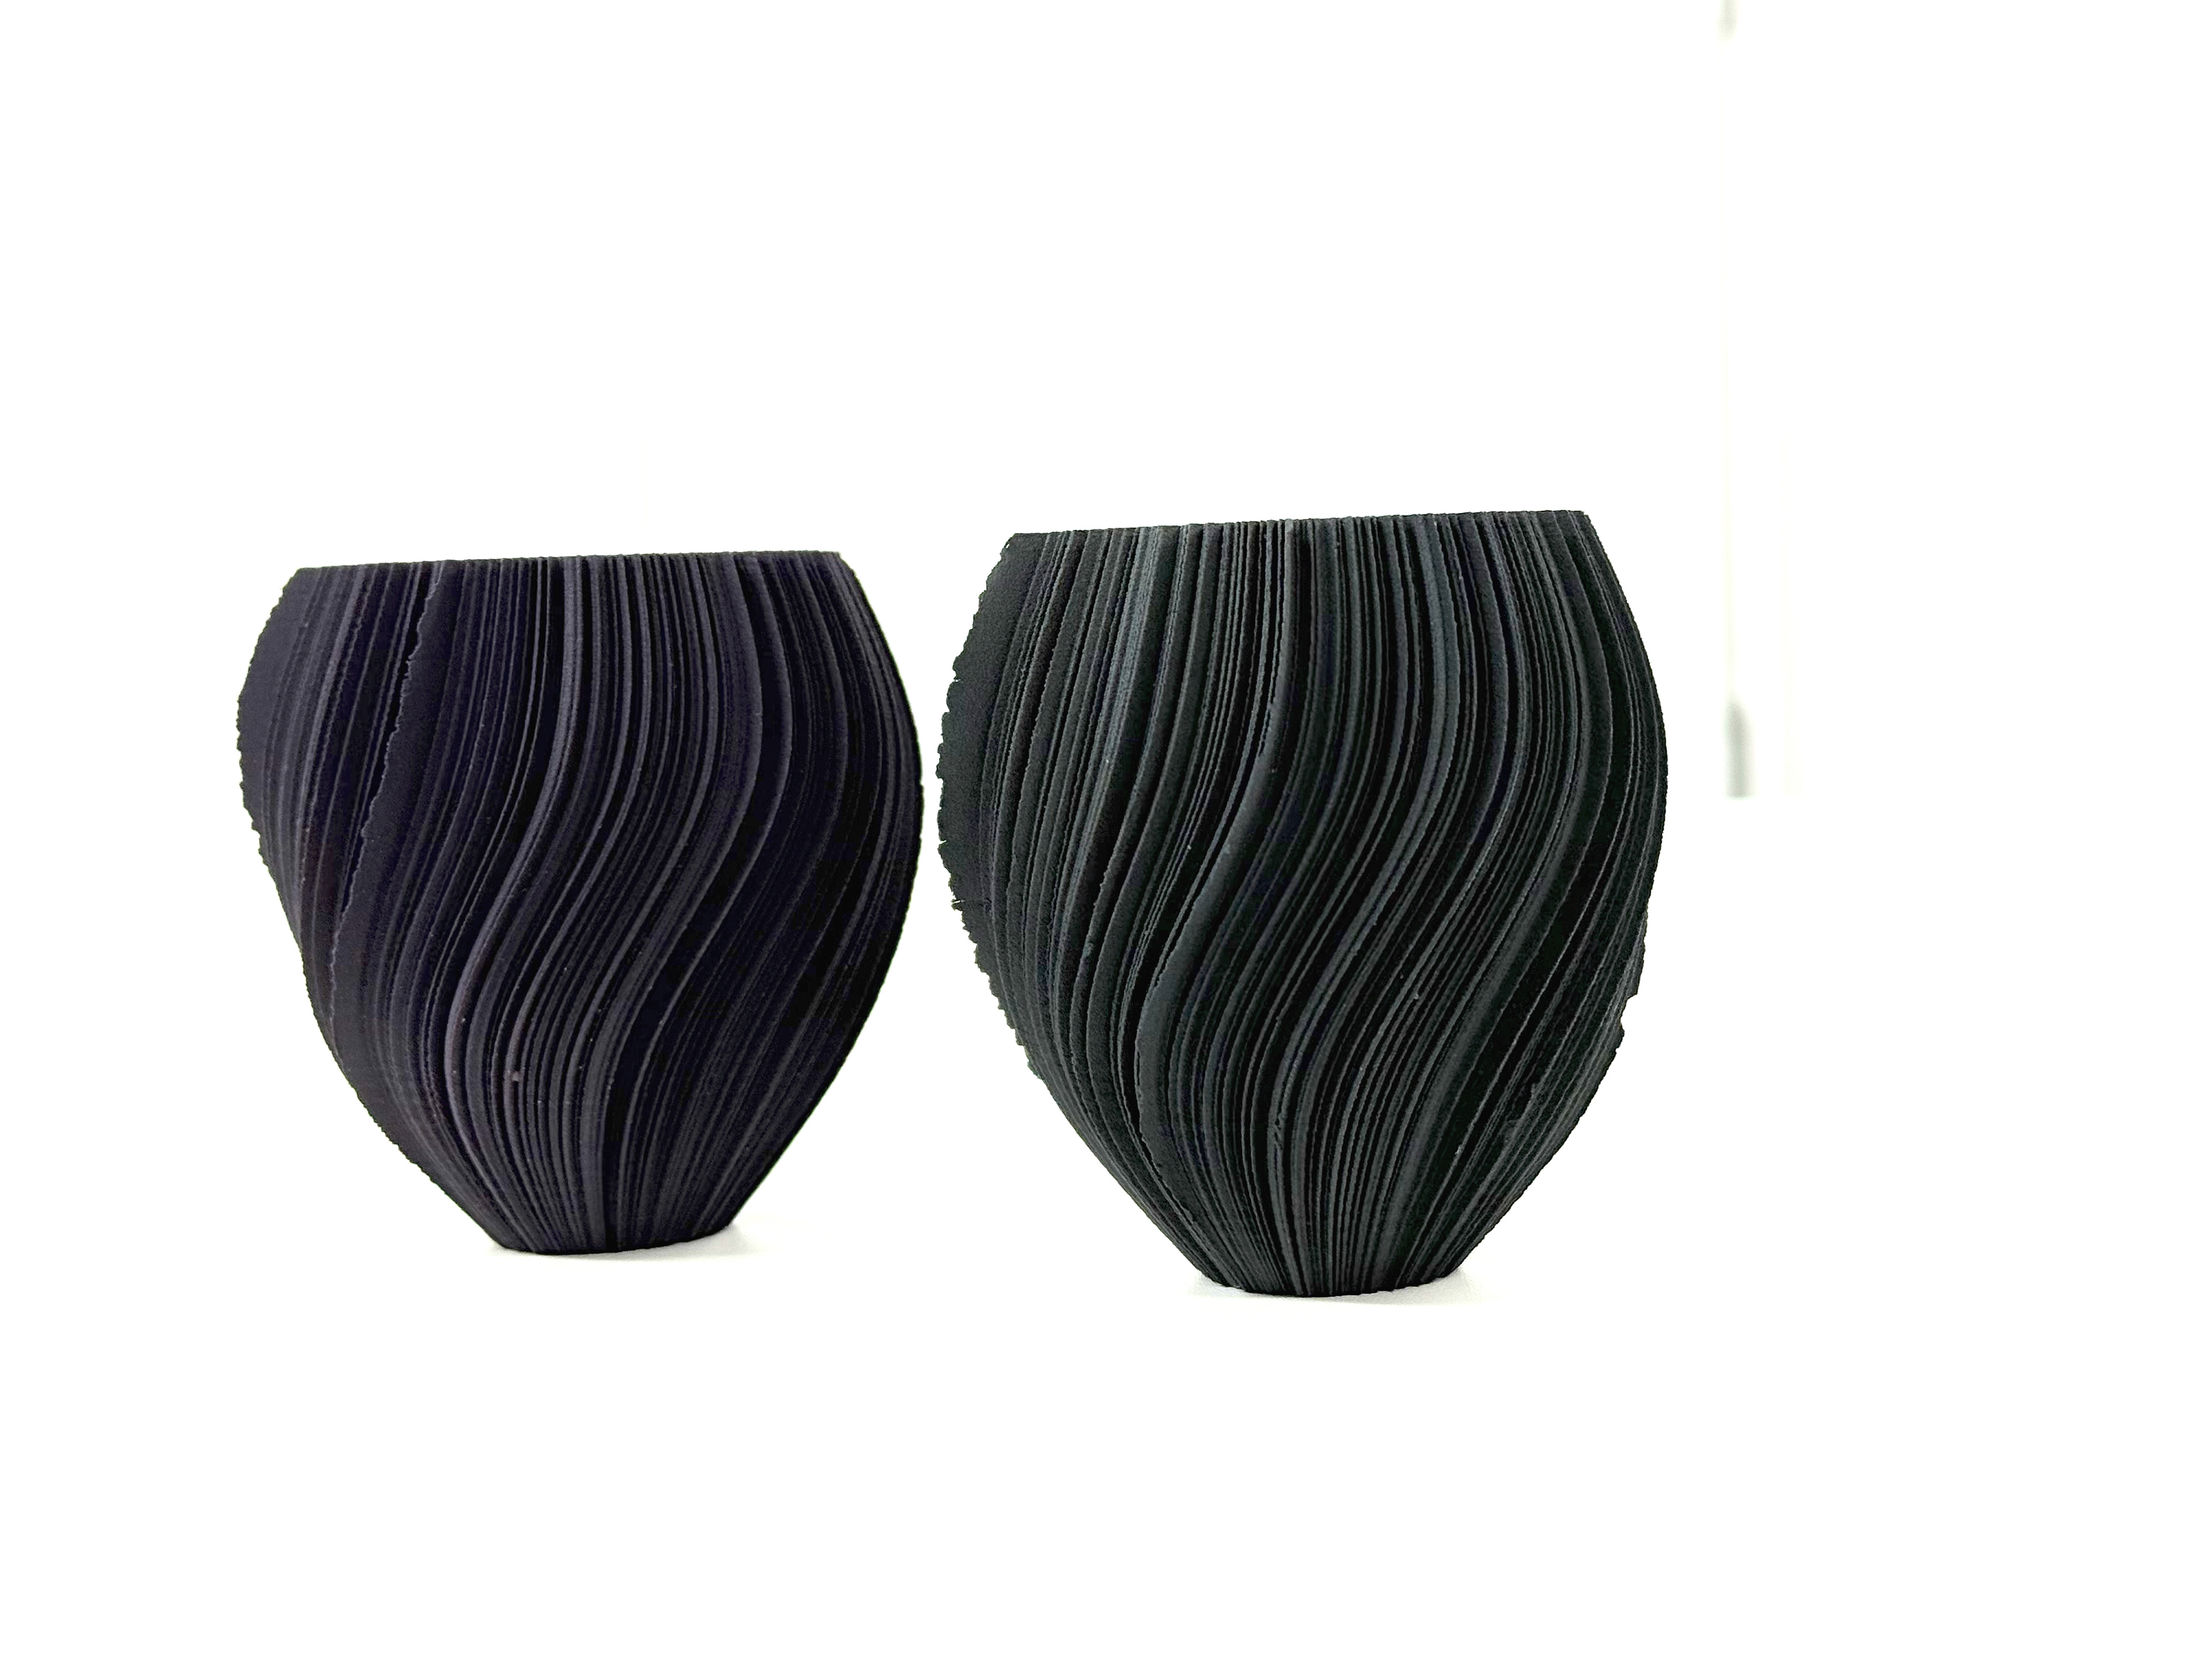
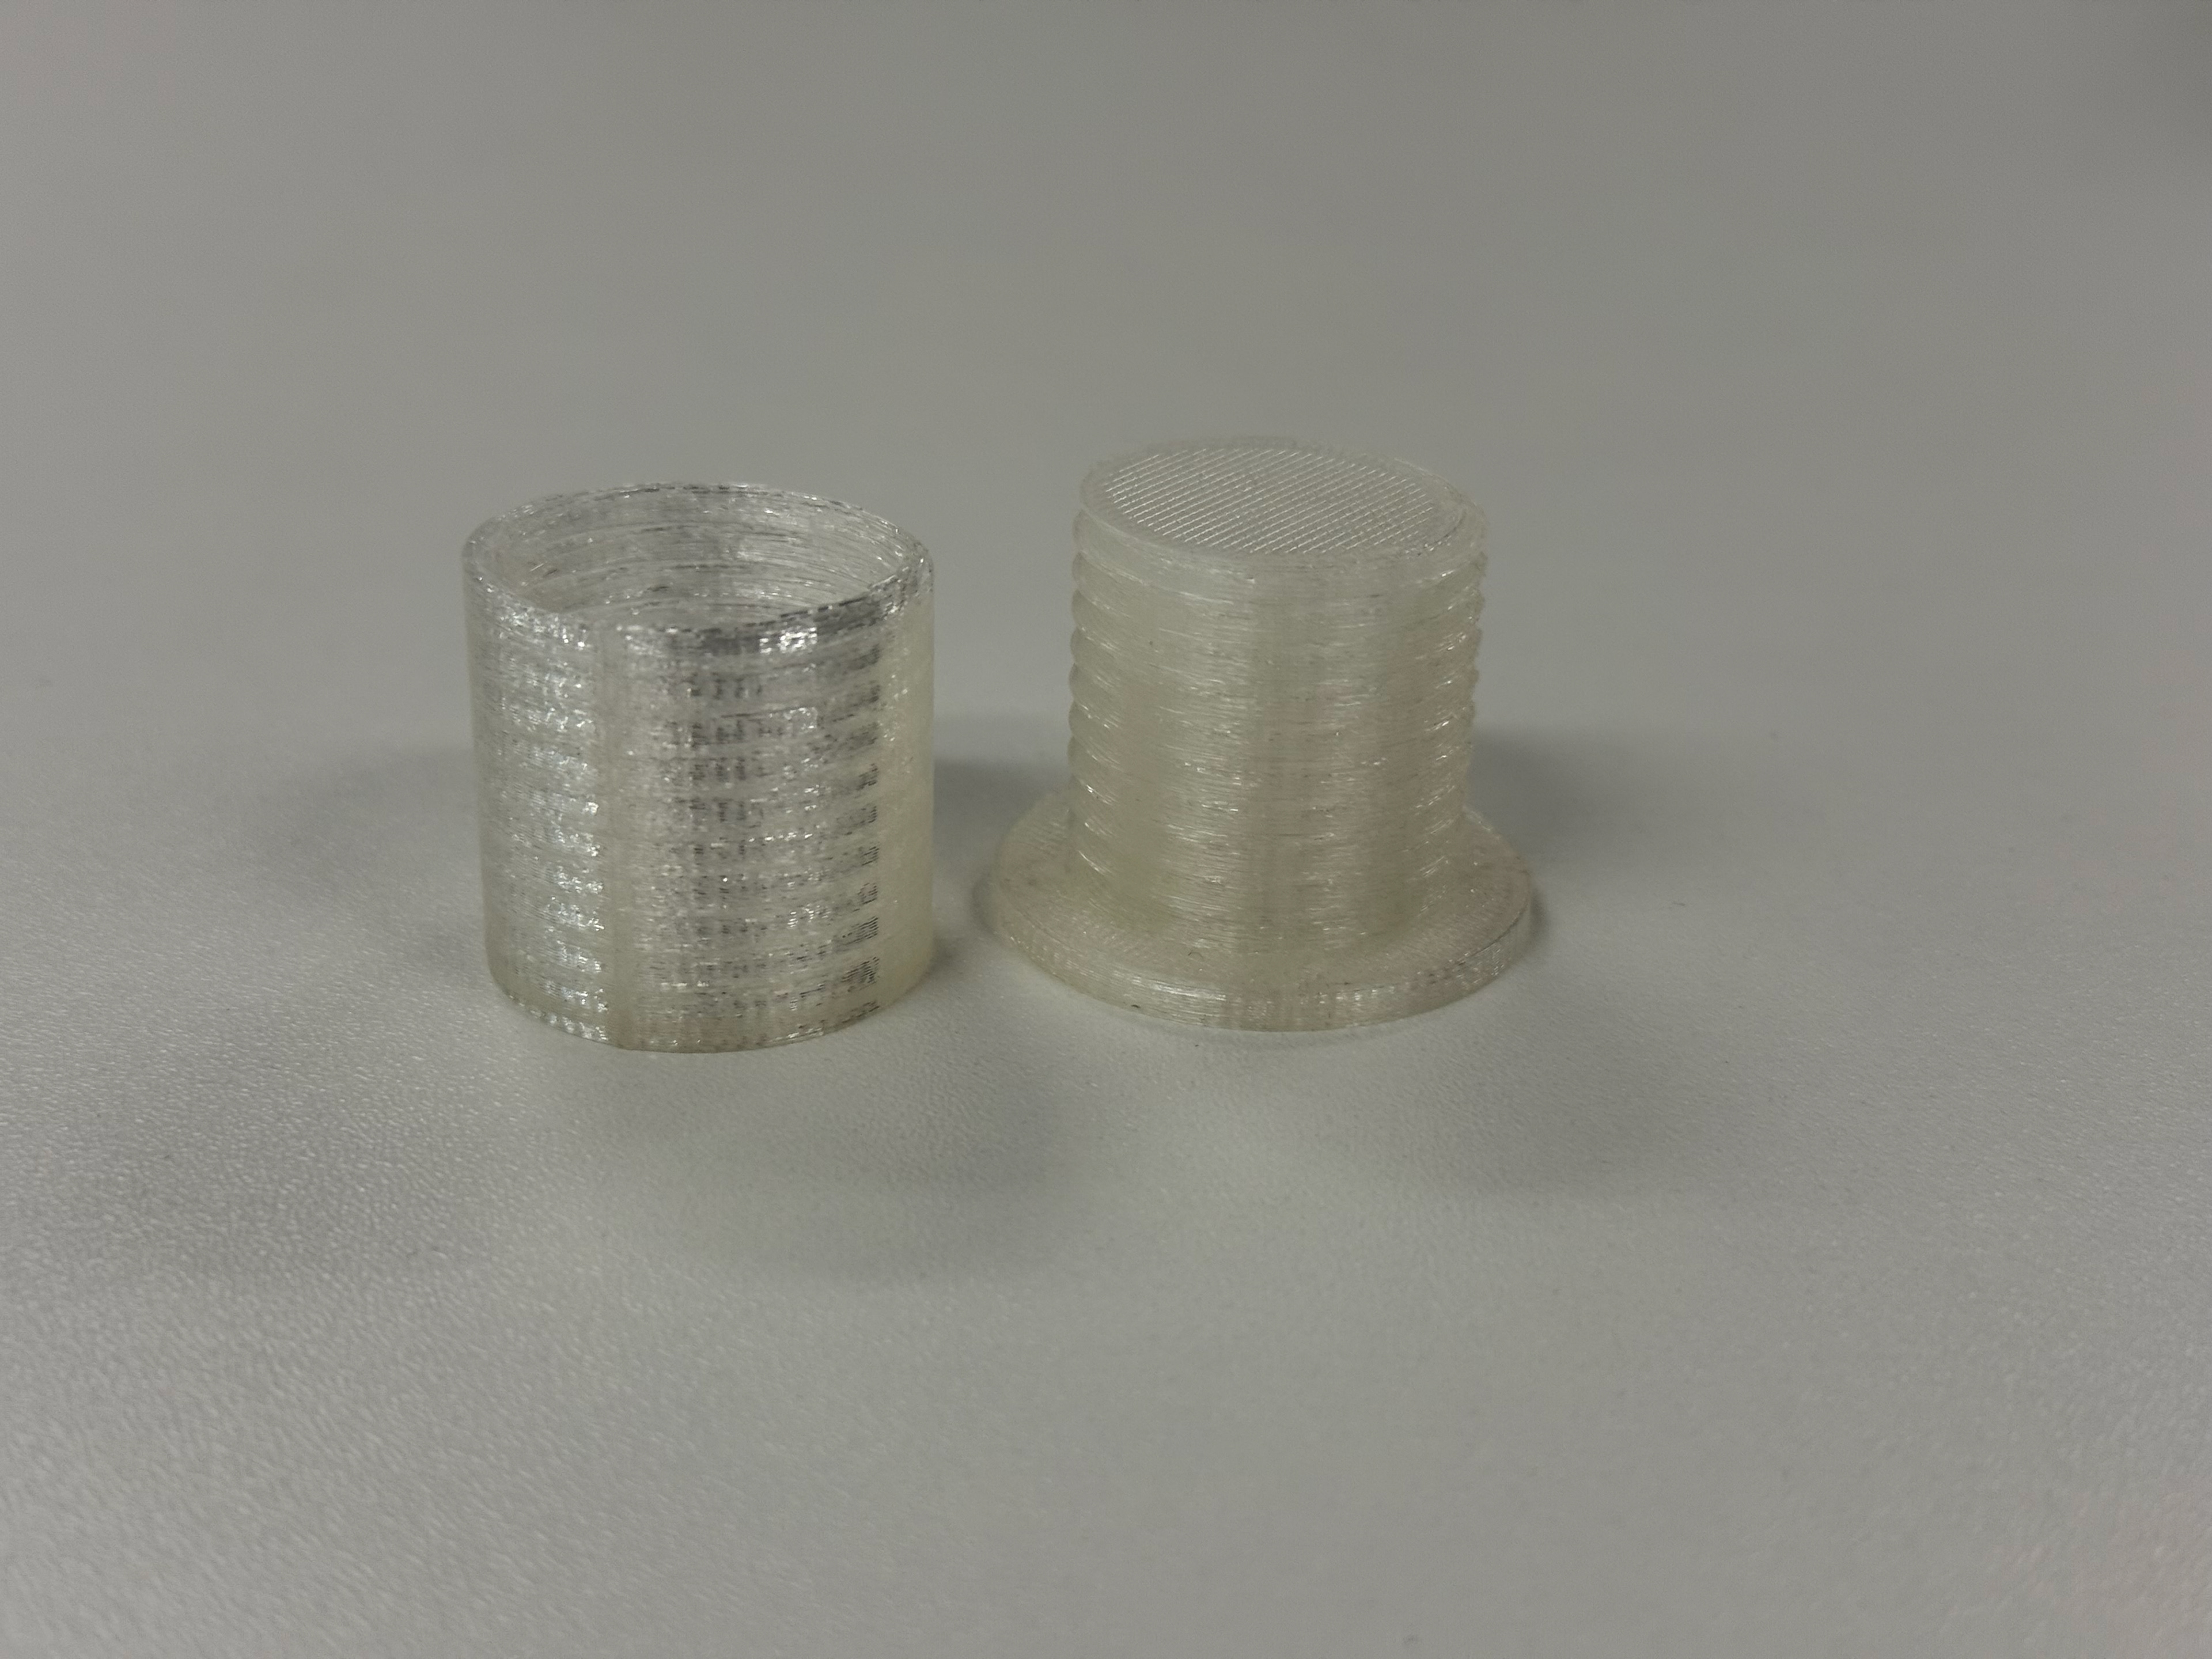
The two identical prints

The two identical prints
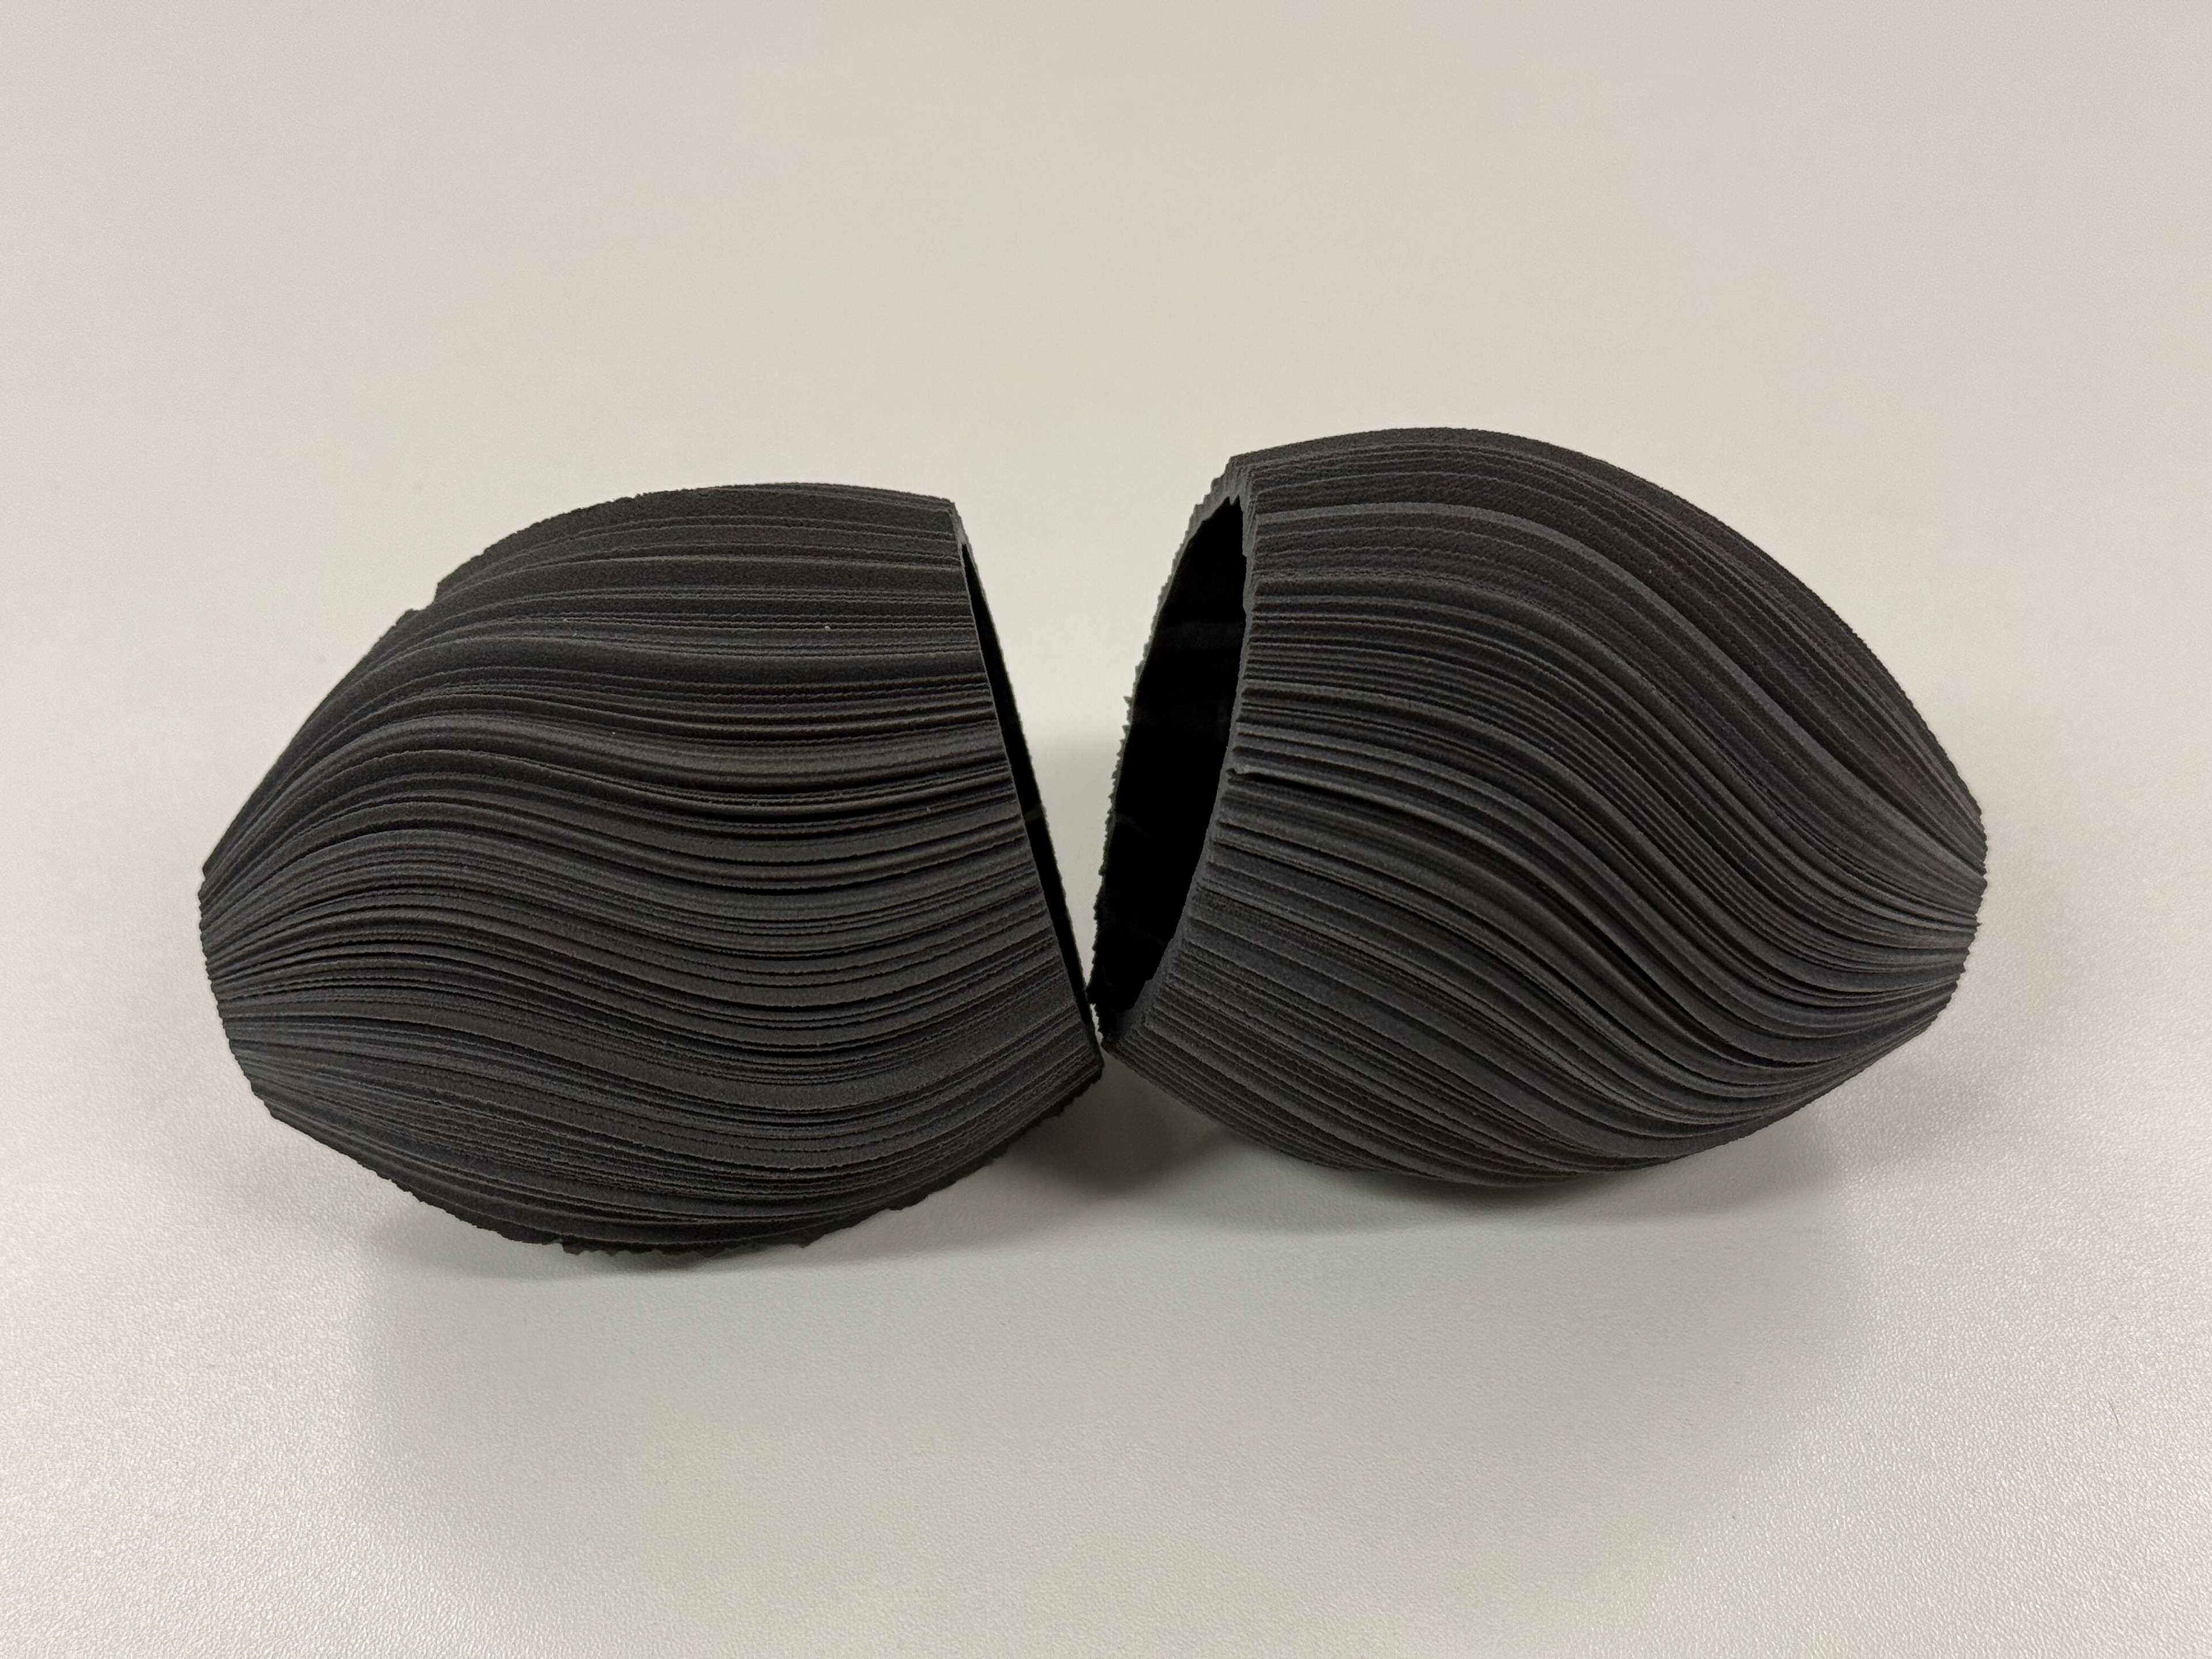
Side profiles
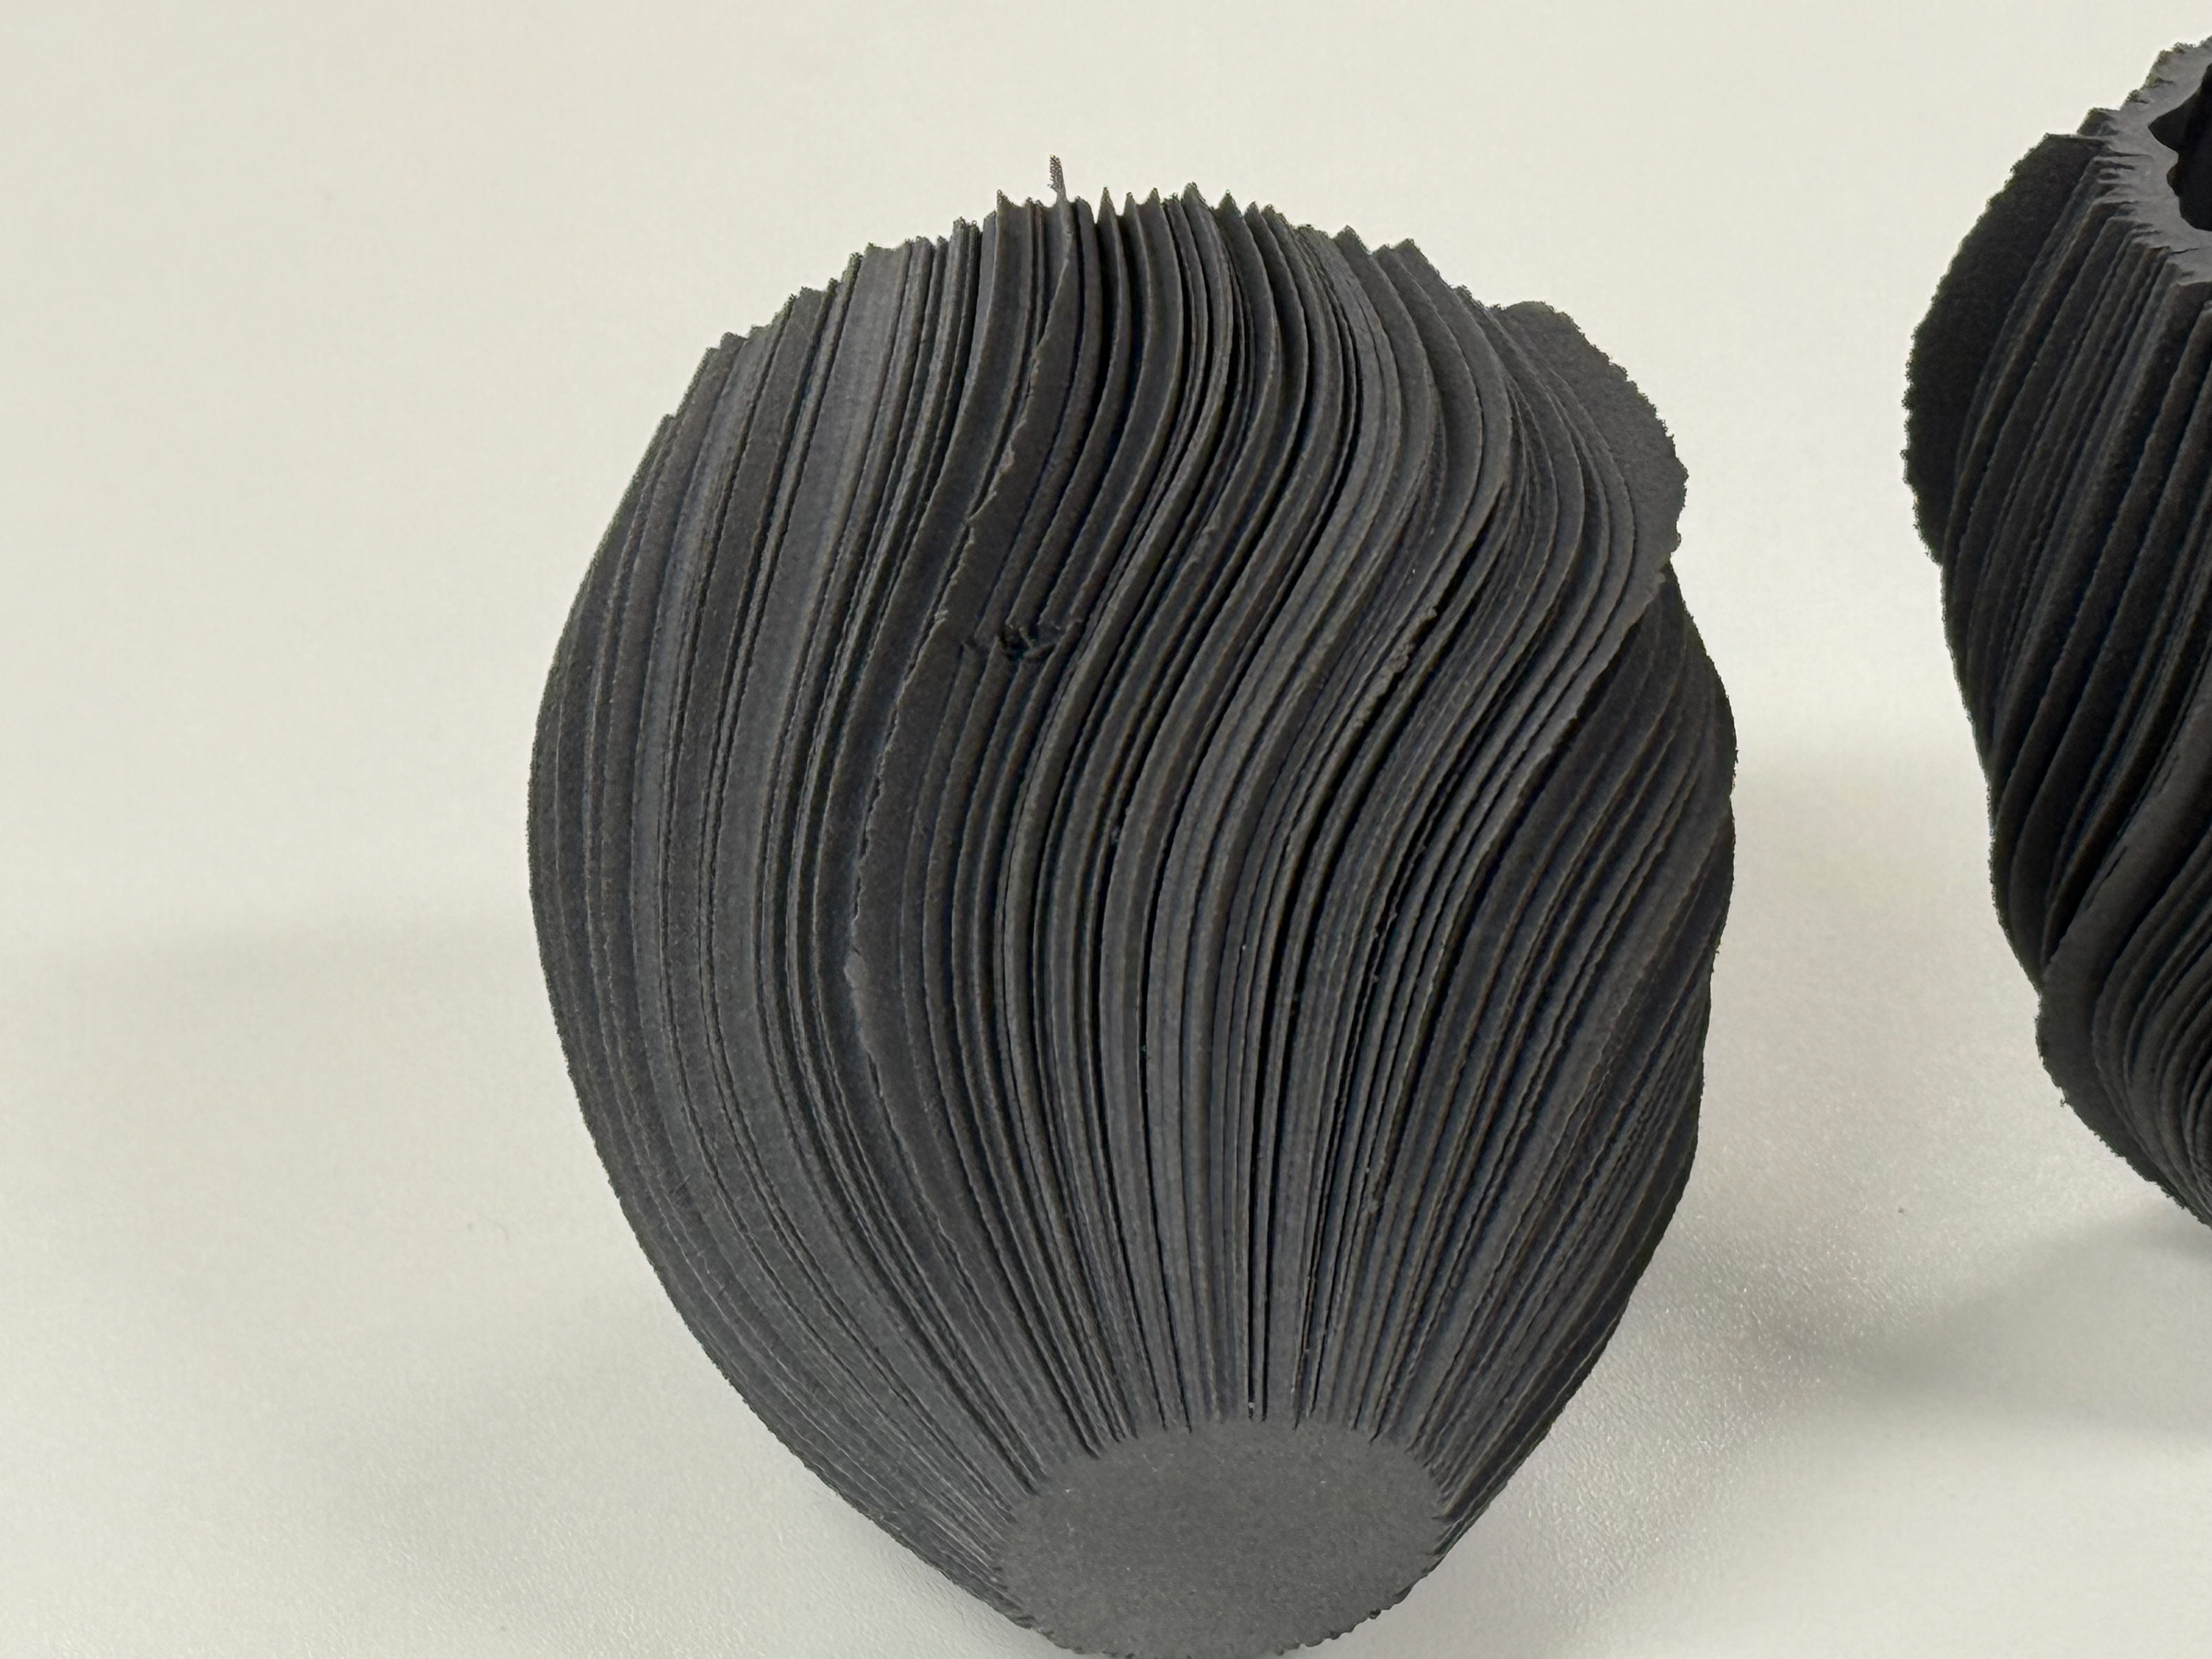
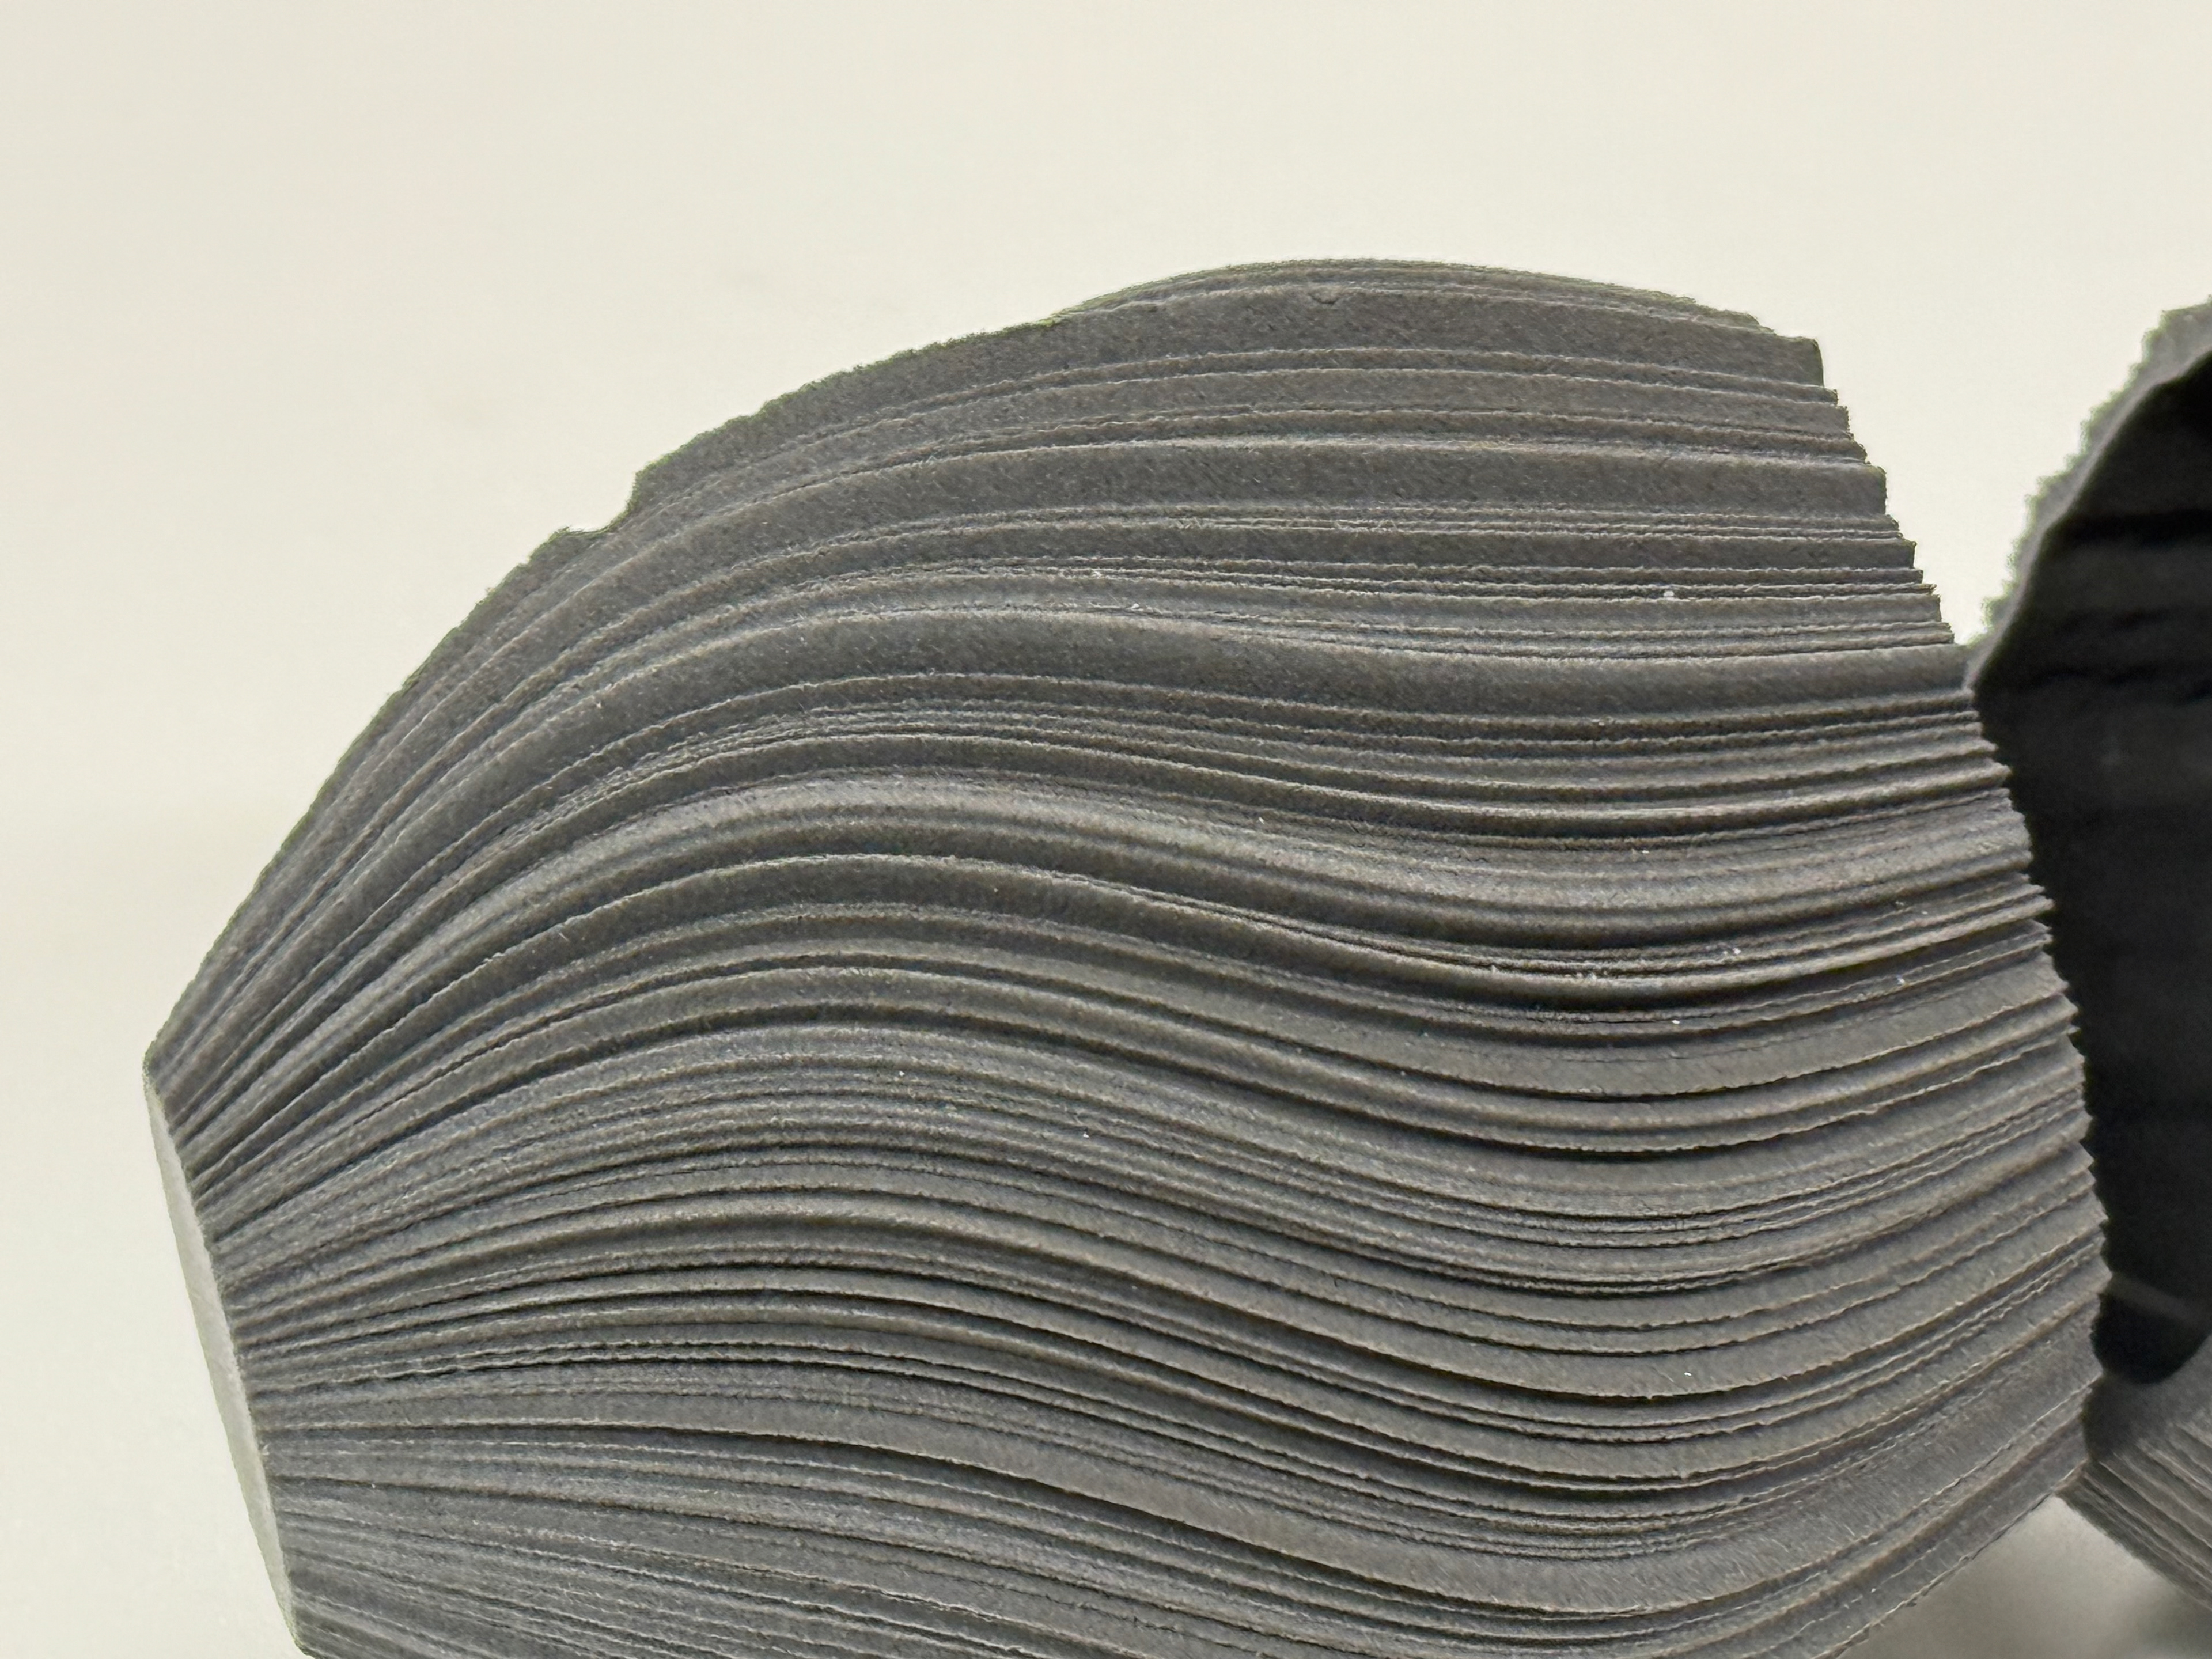
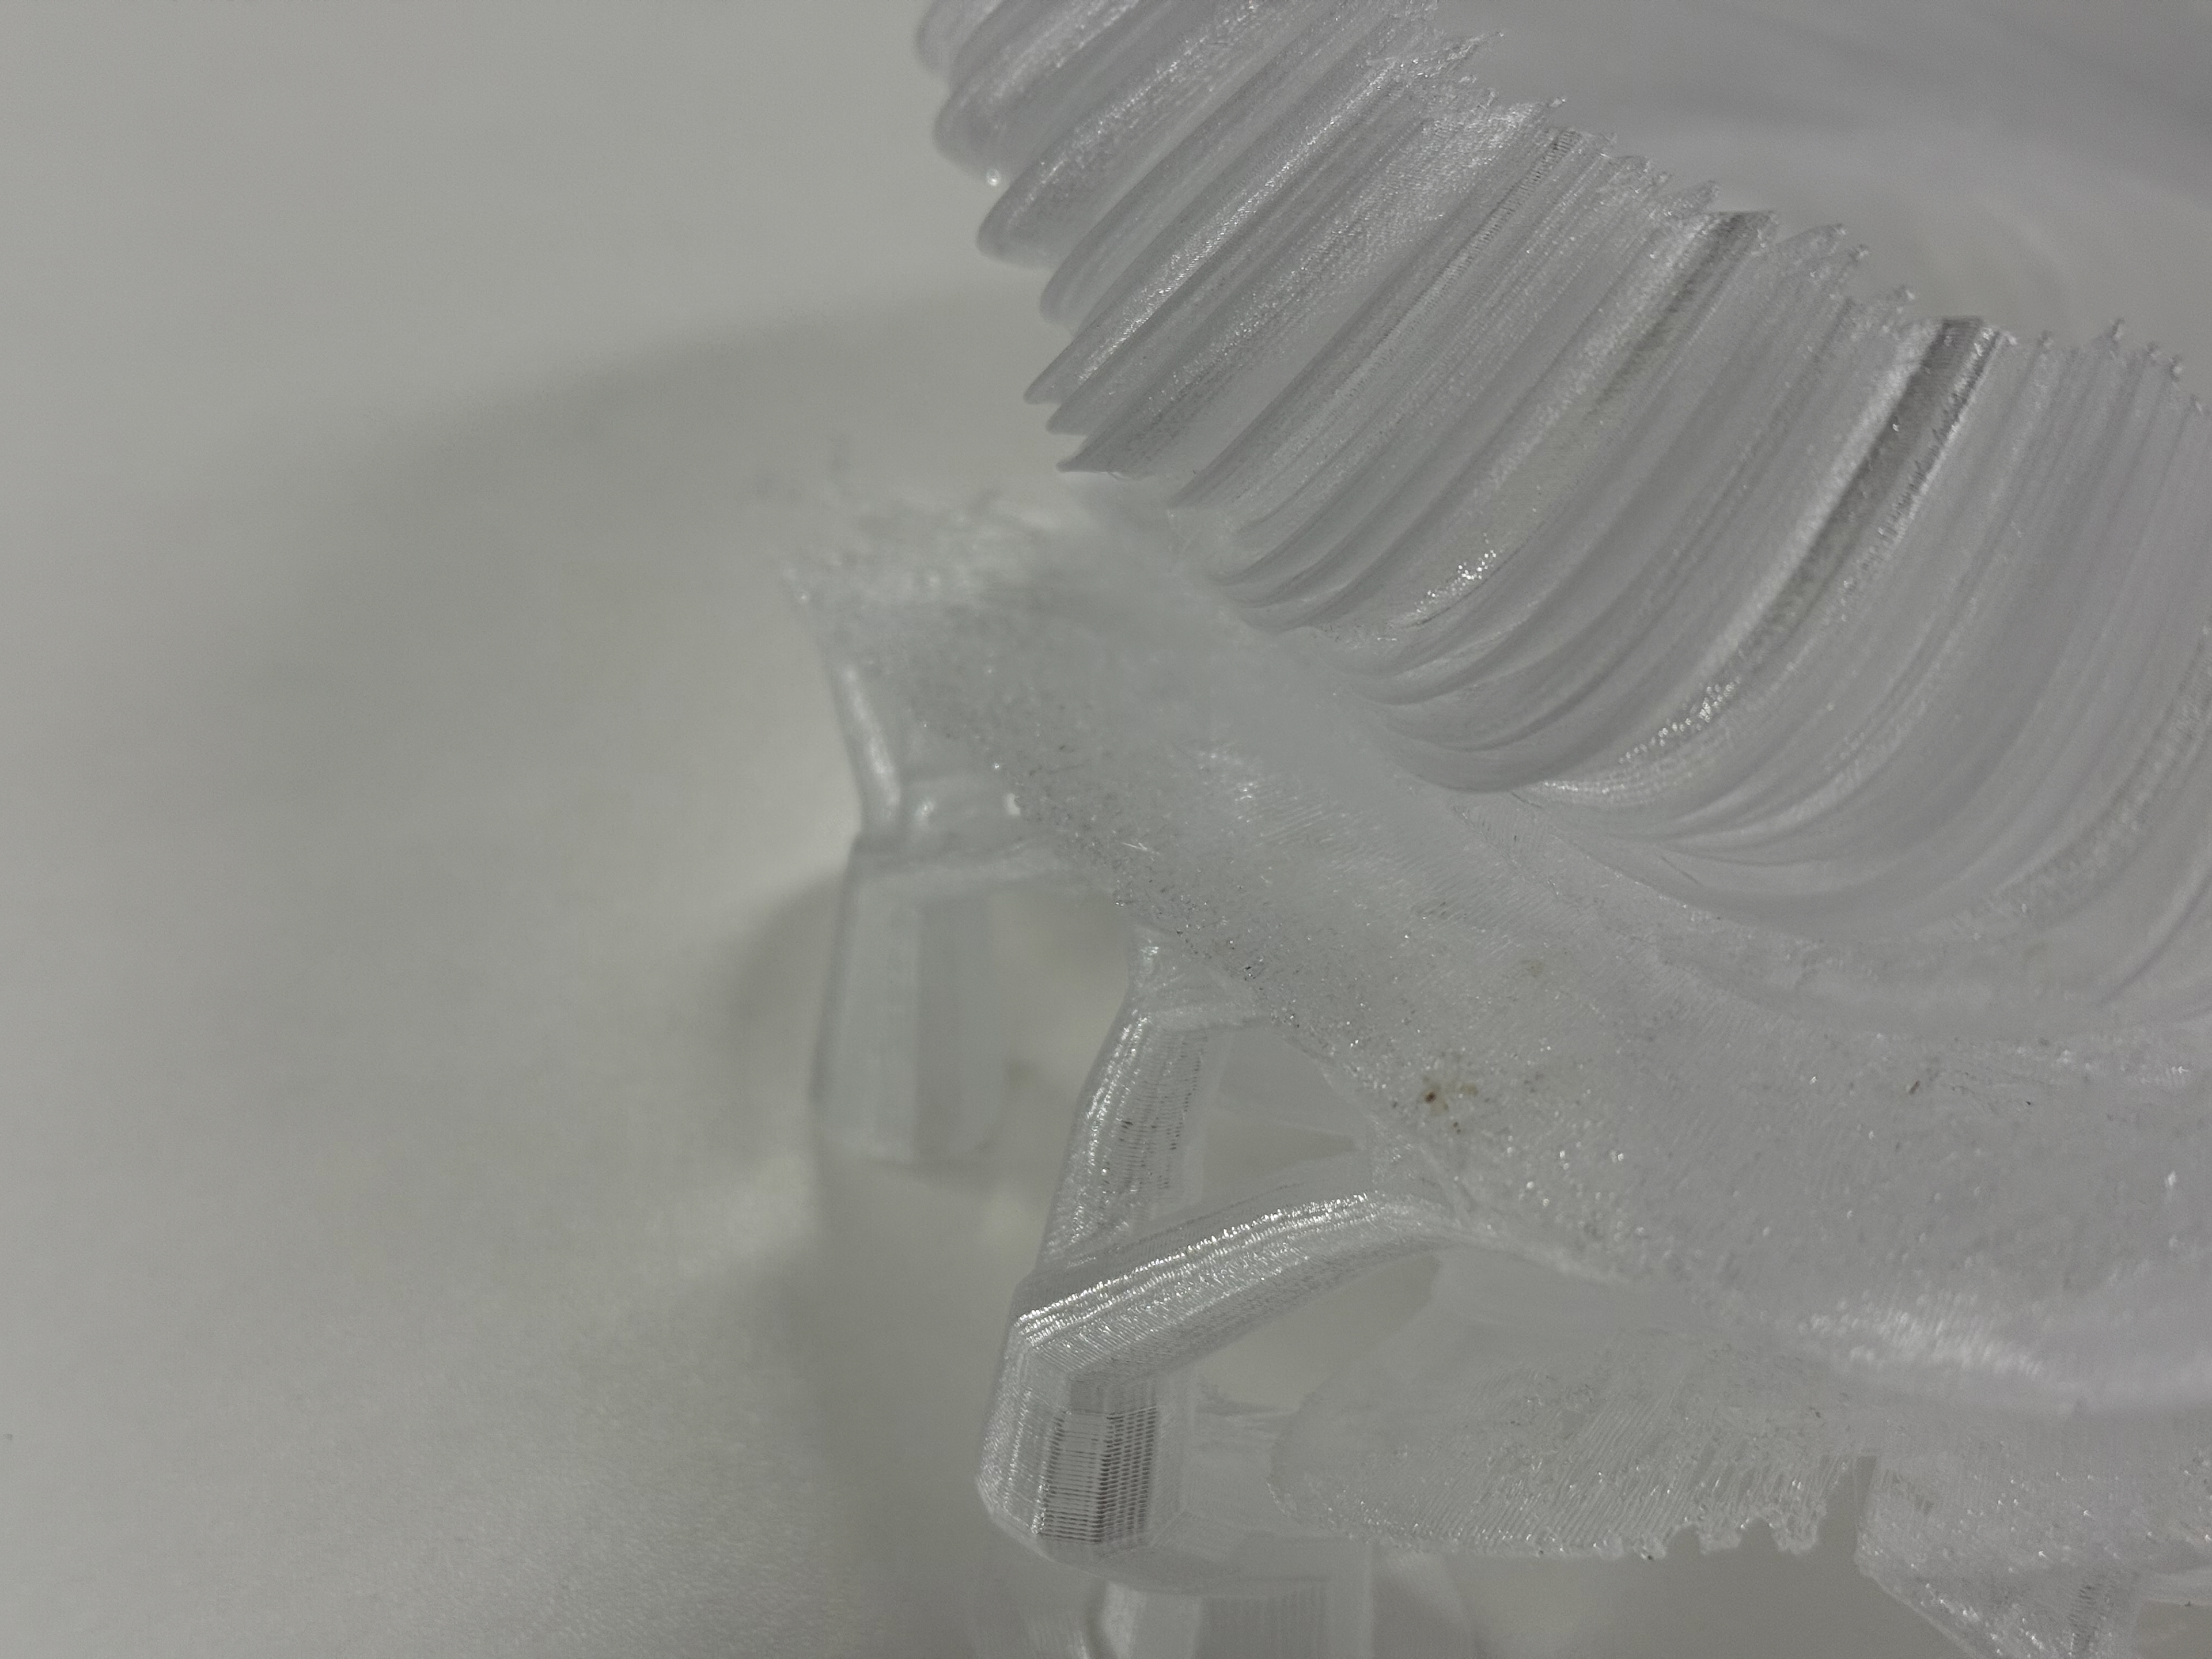
Leading lines
Some of the print came out damaged which may just be because of how the pieces were laid out on the print bed
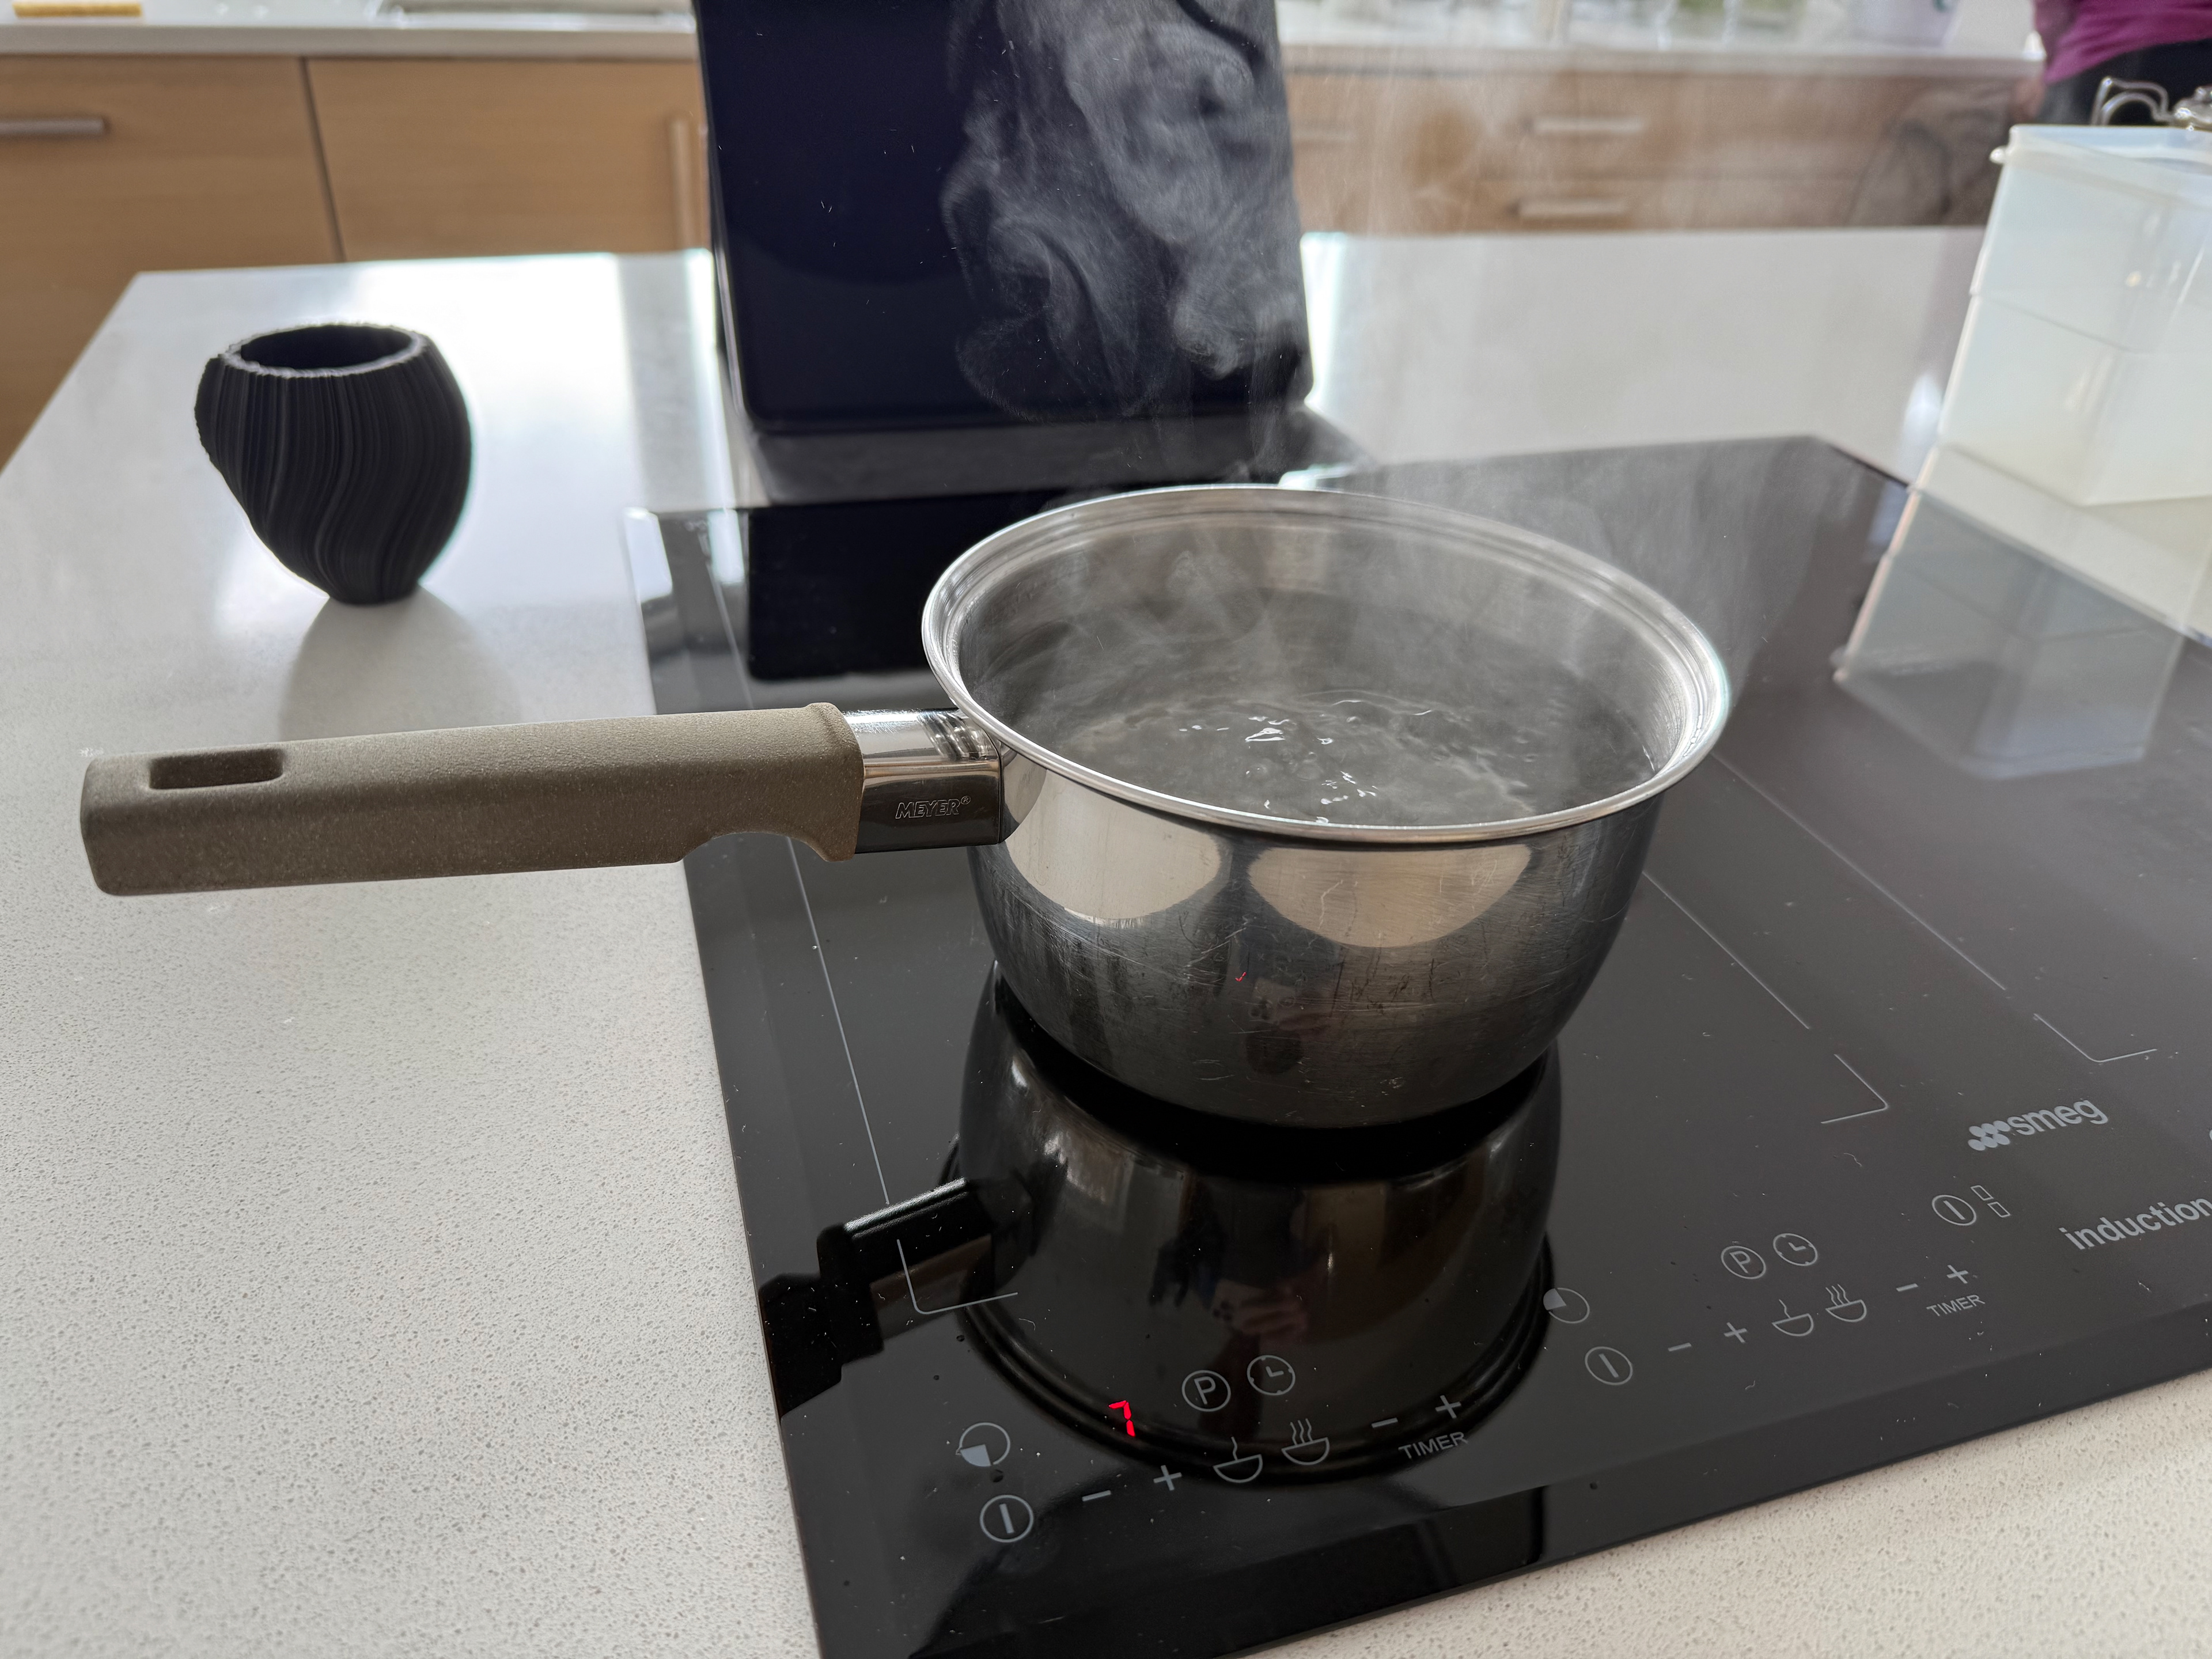
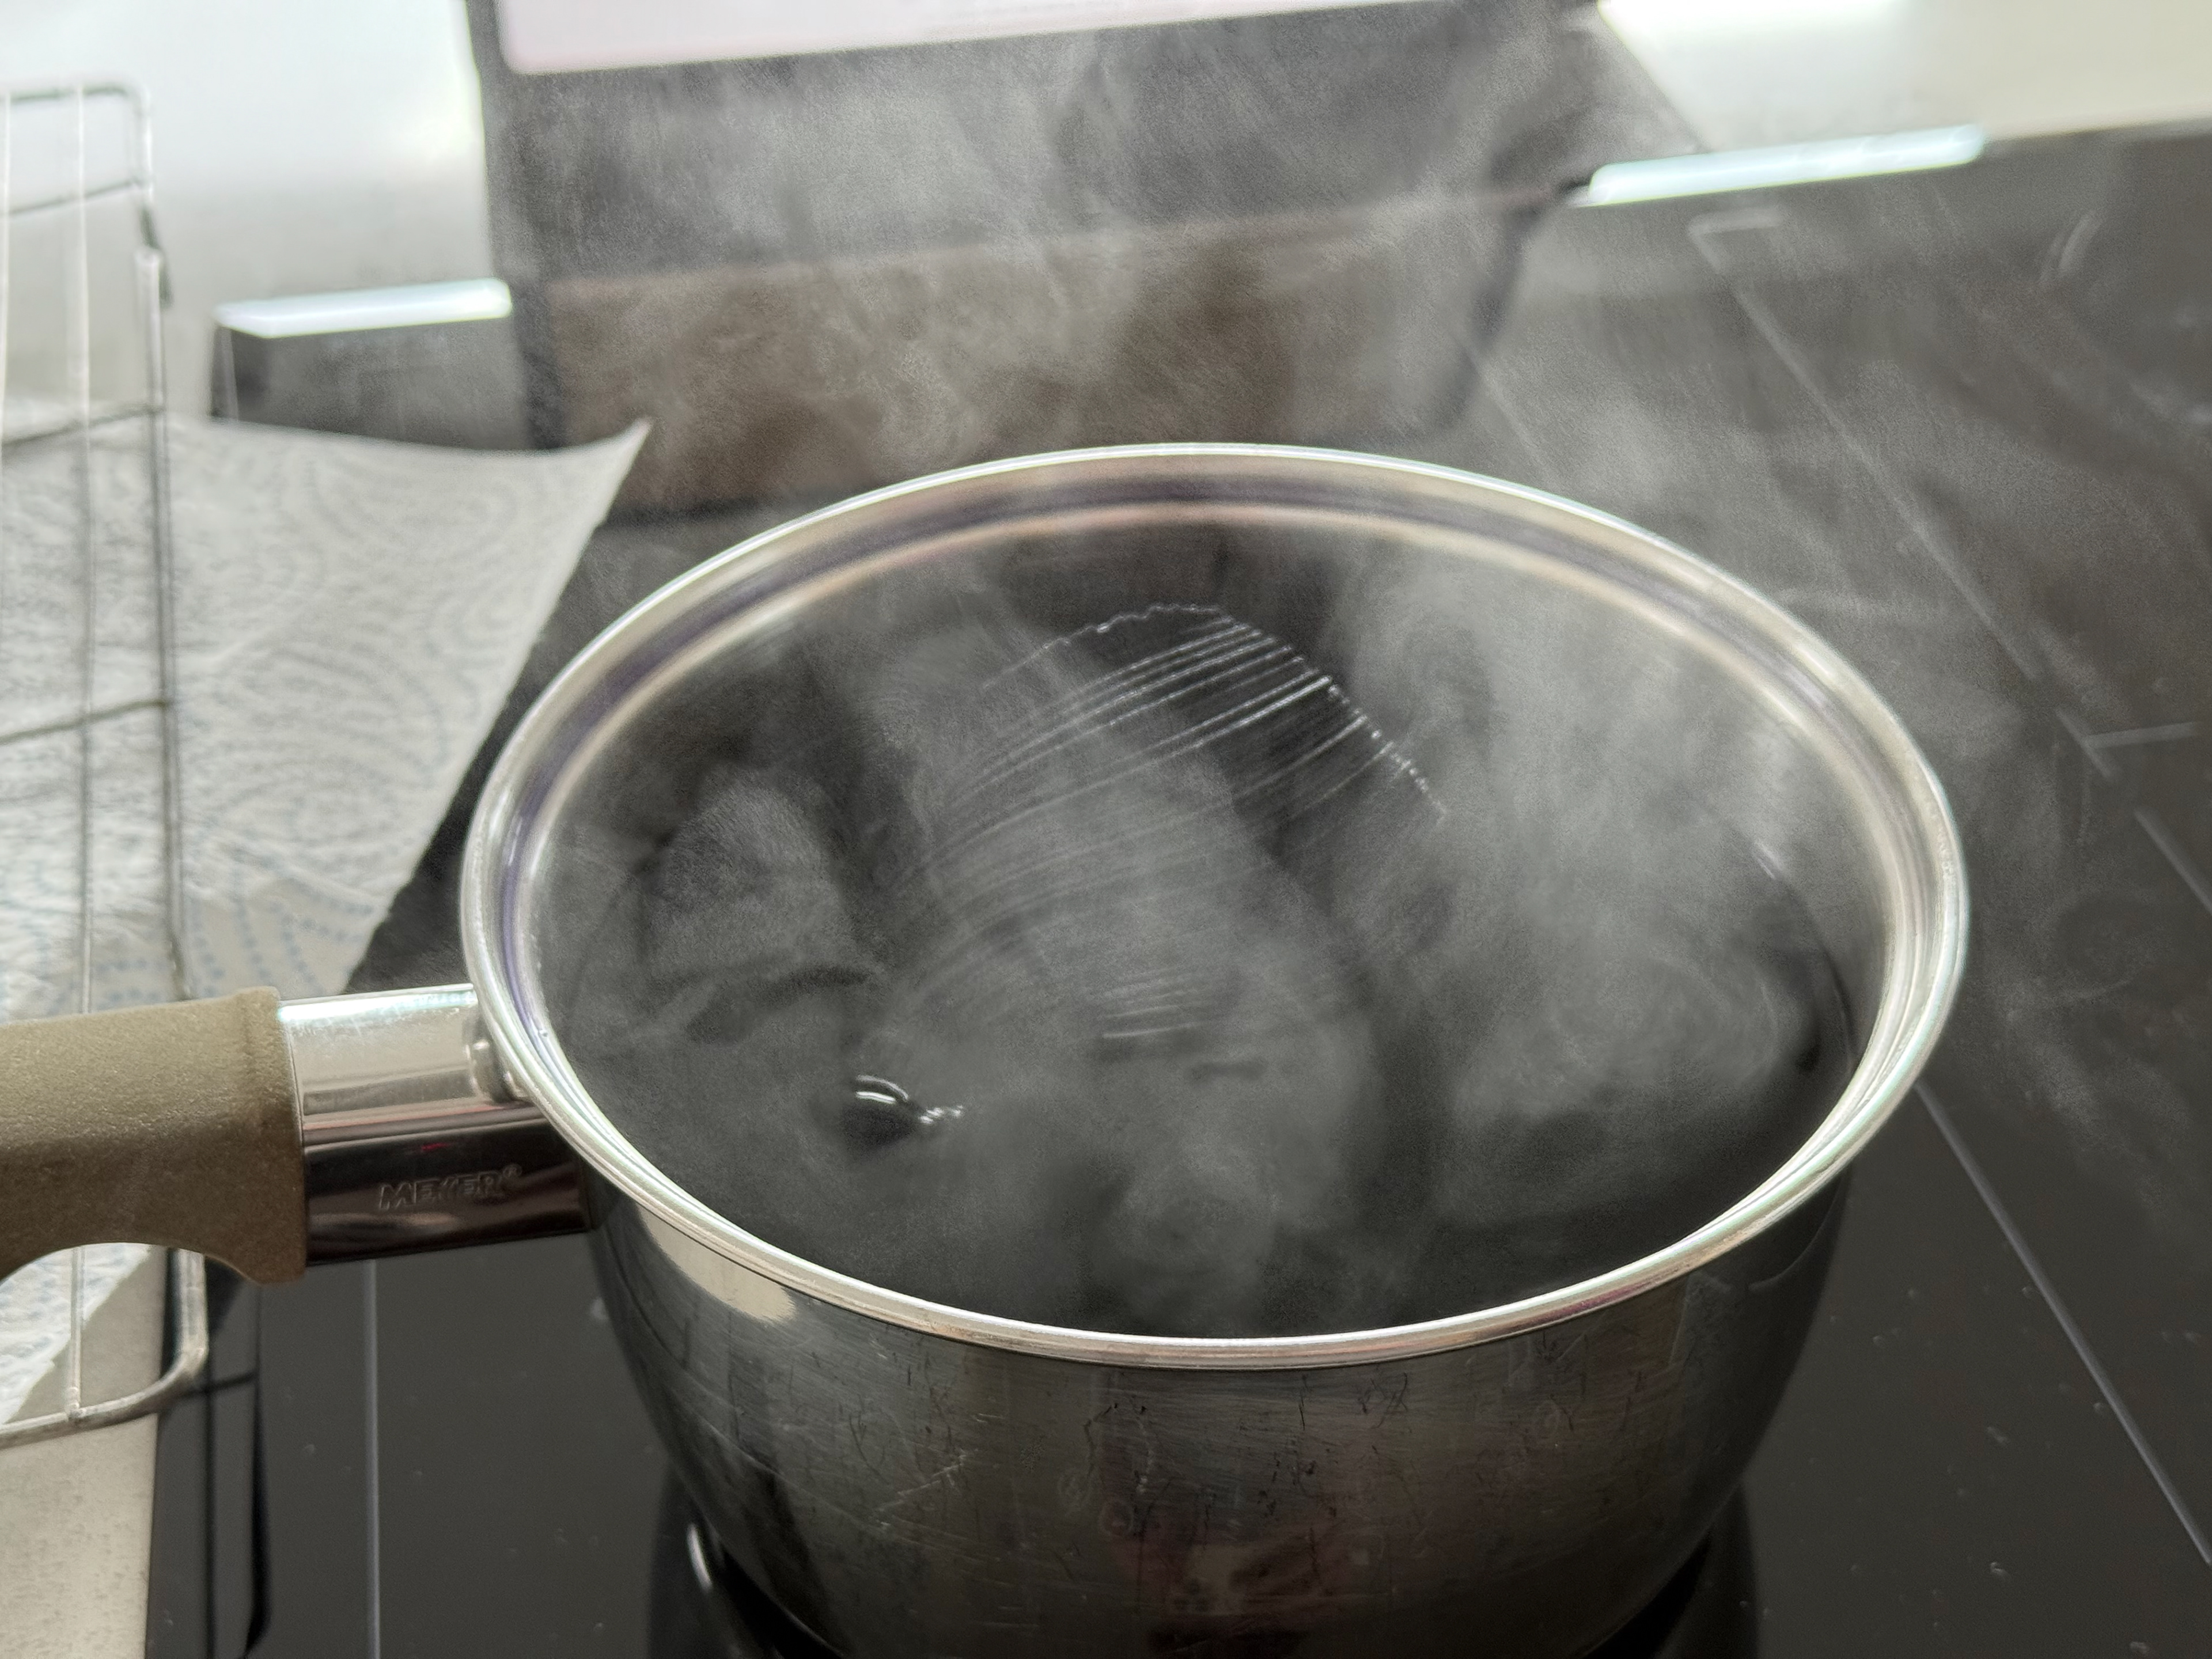
Boiling Water
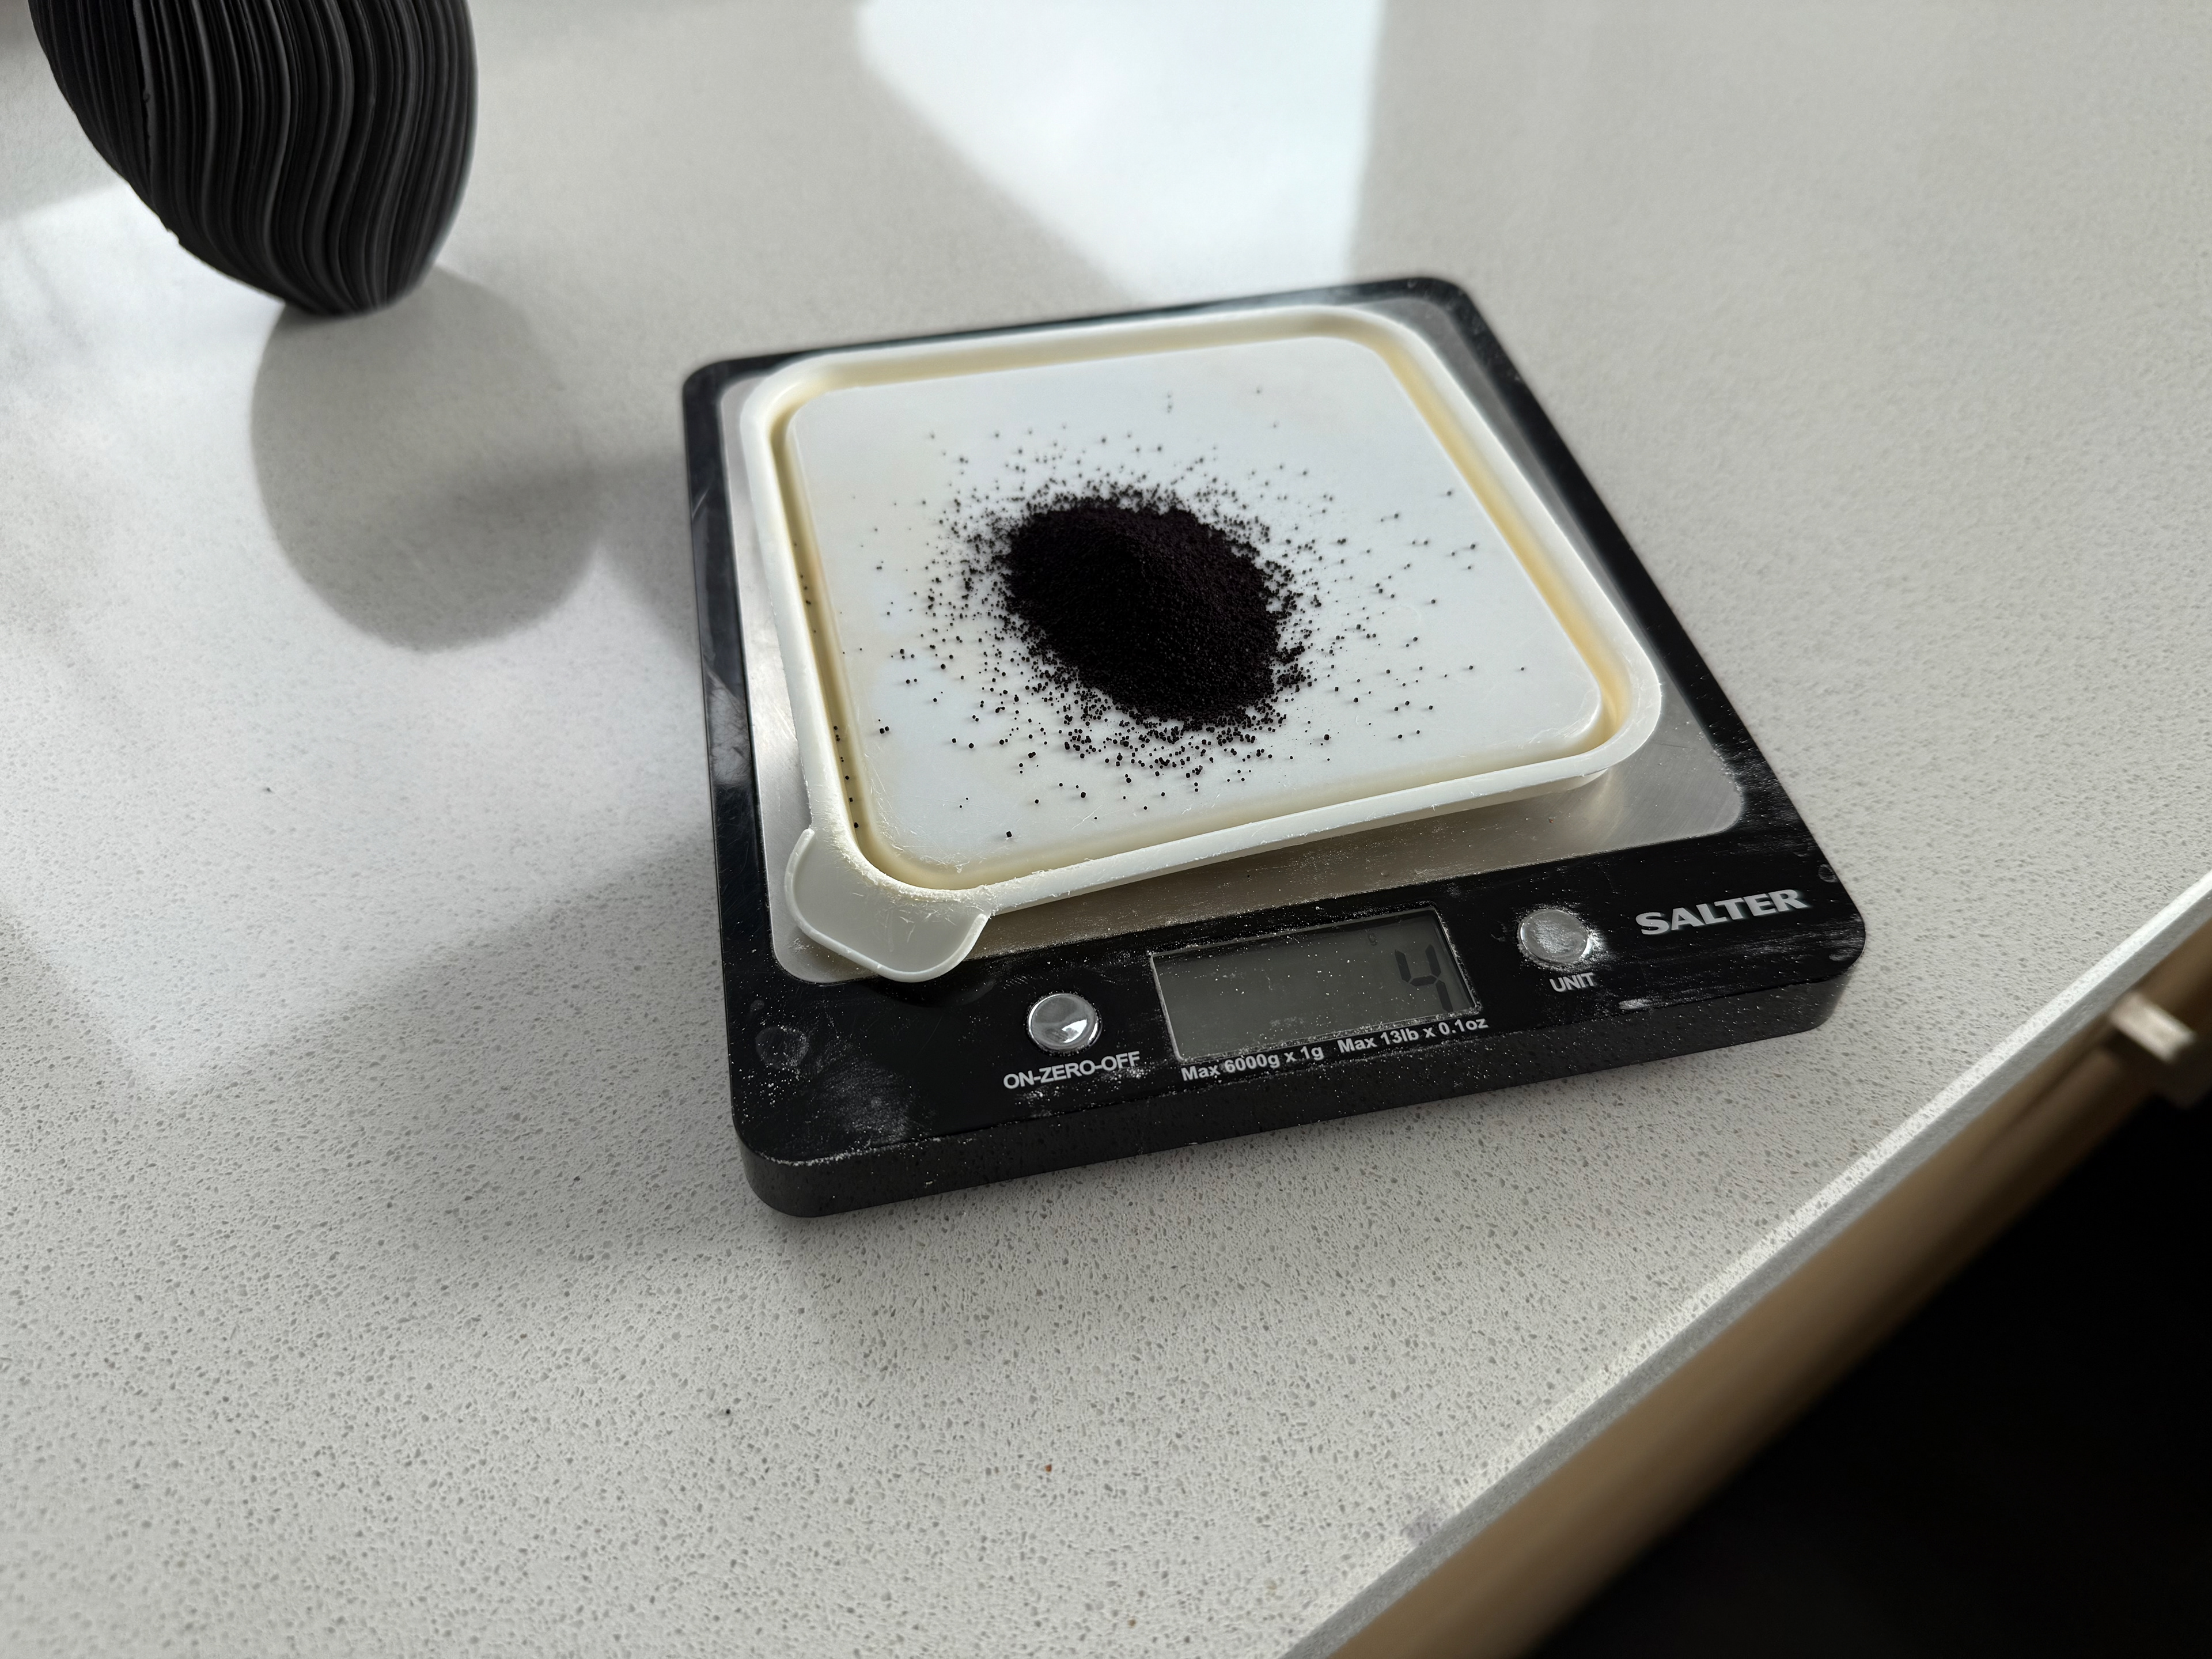
Measure out correct amount of power. 2 sachets (64g) = 1KG of fabric
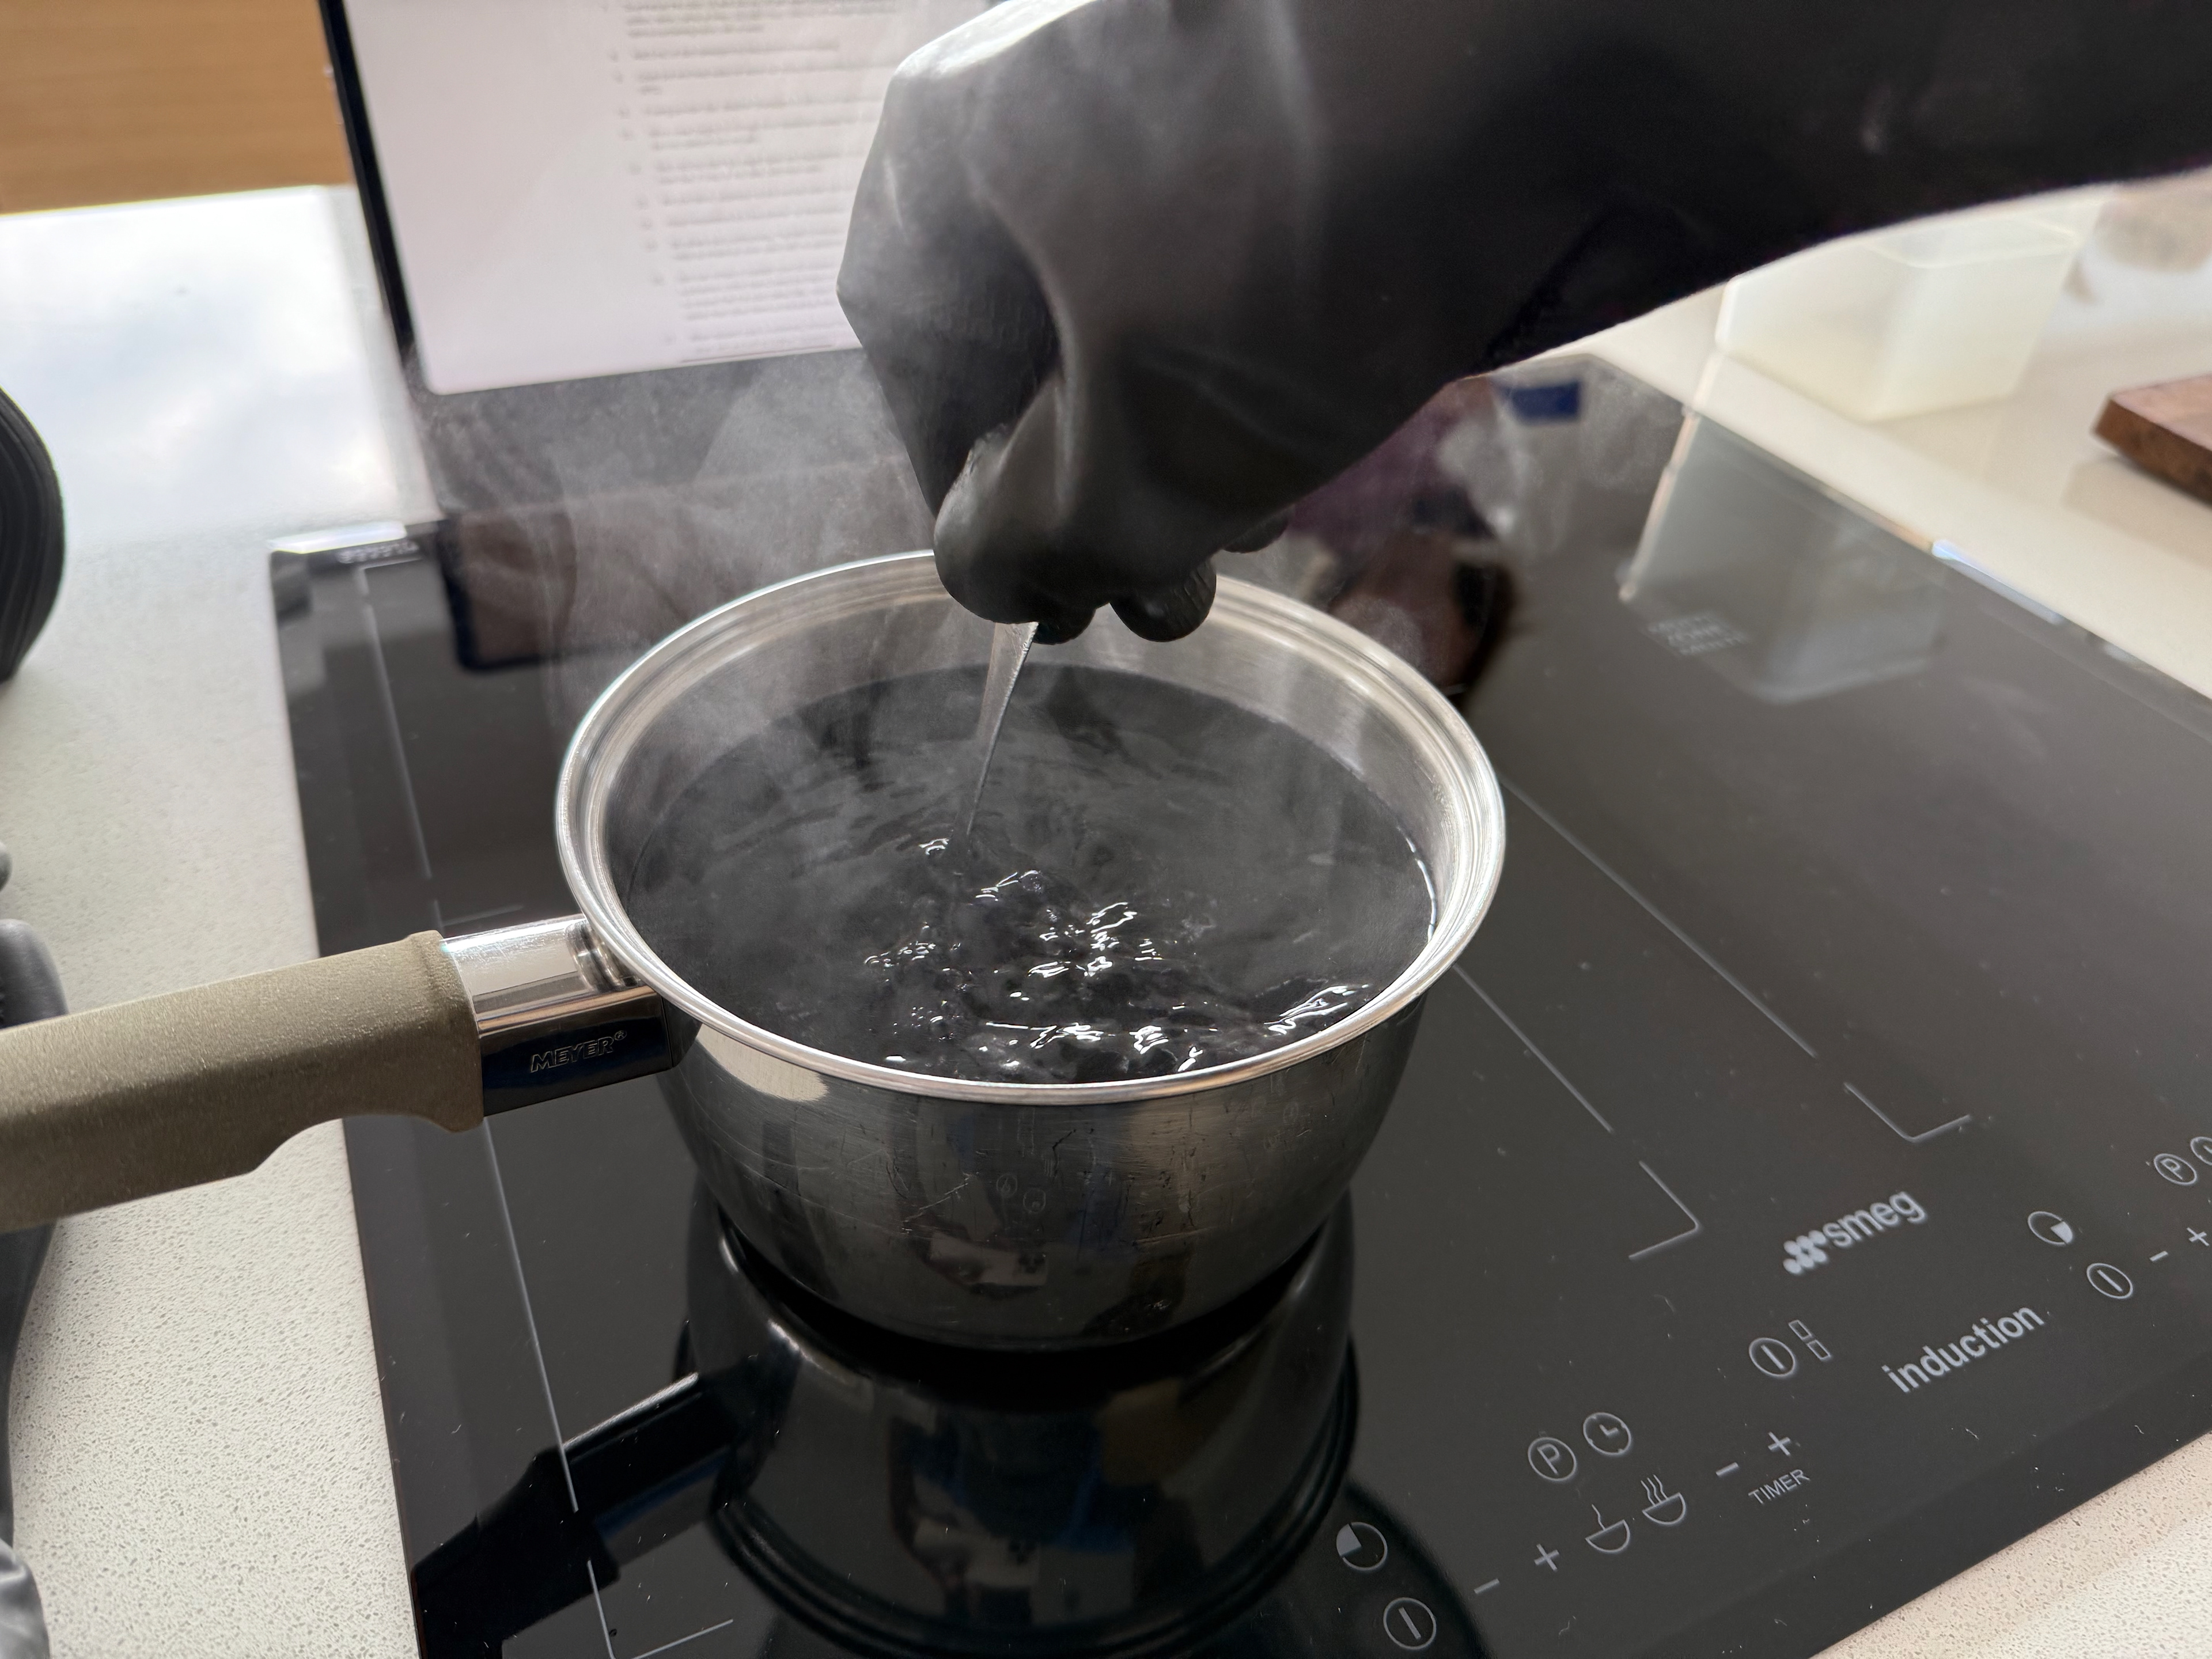
Stir the power into the boiling water
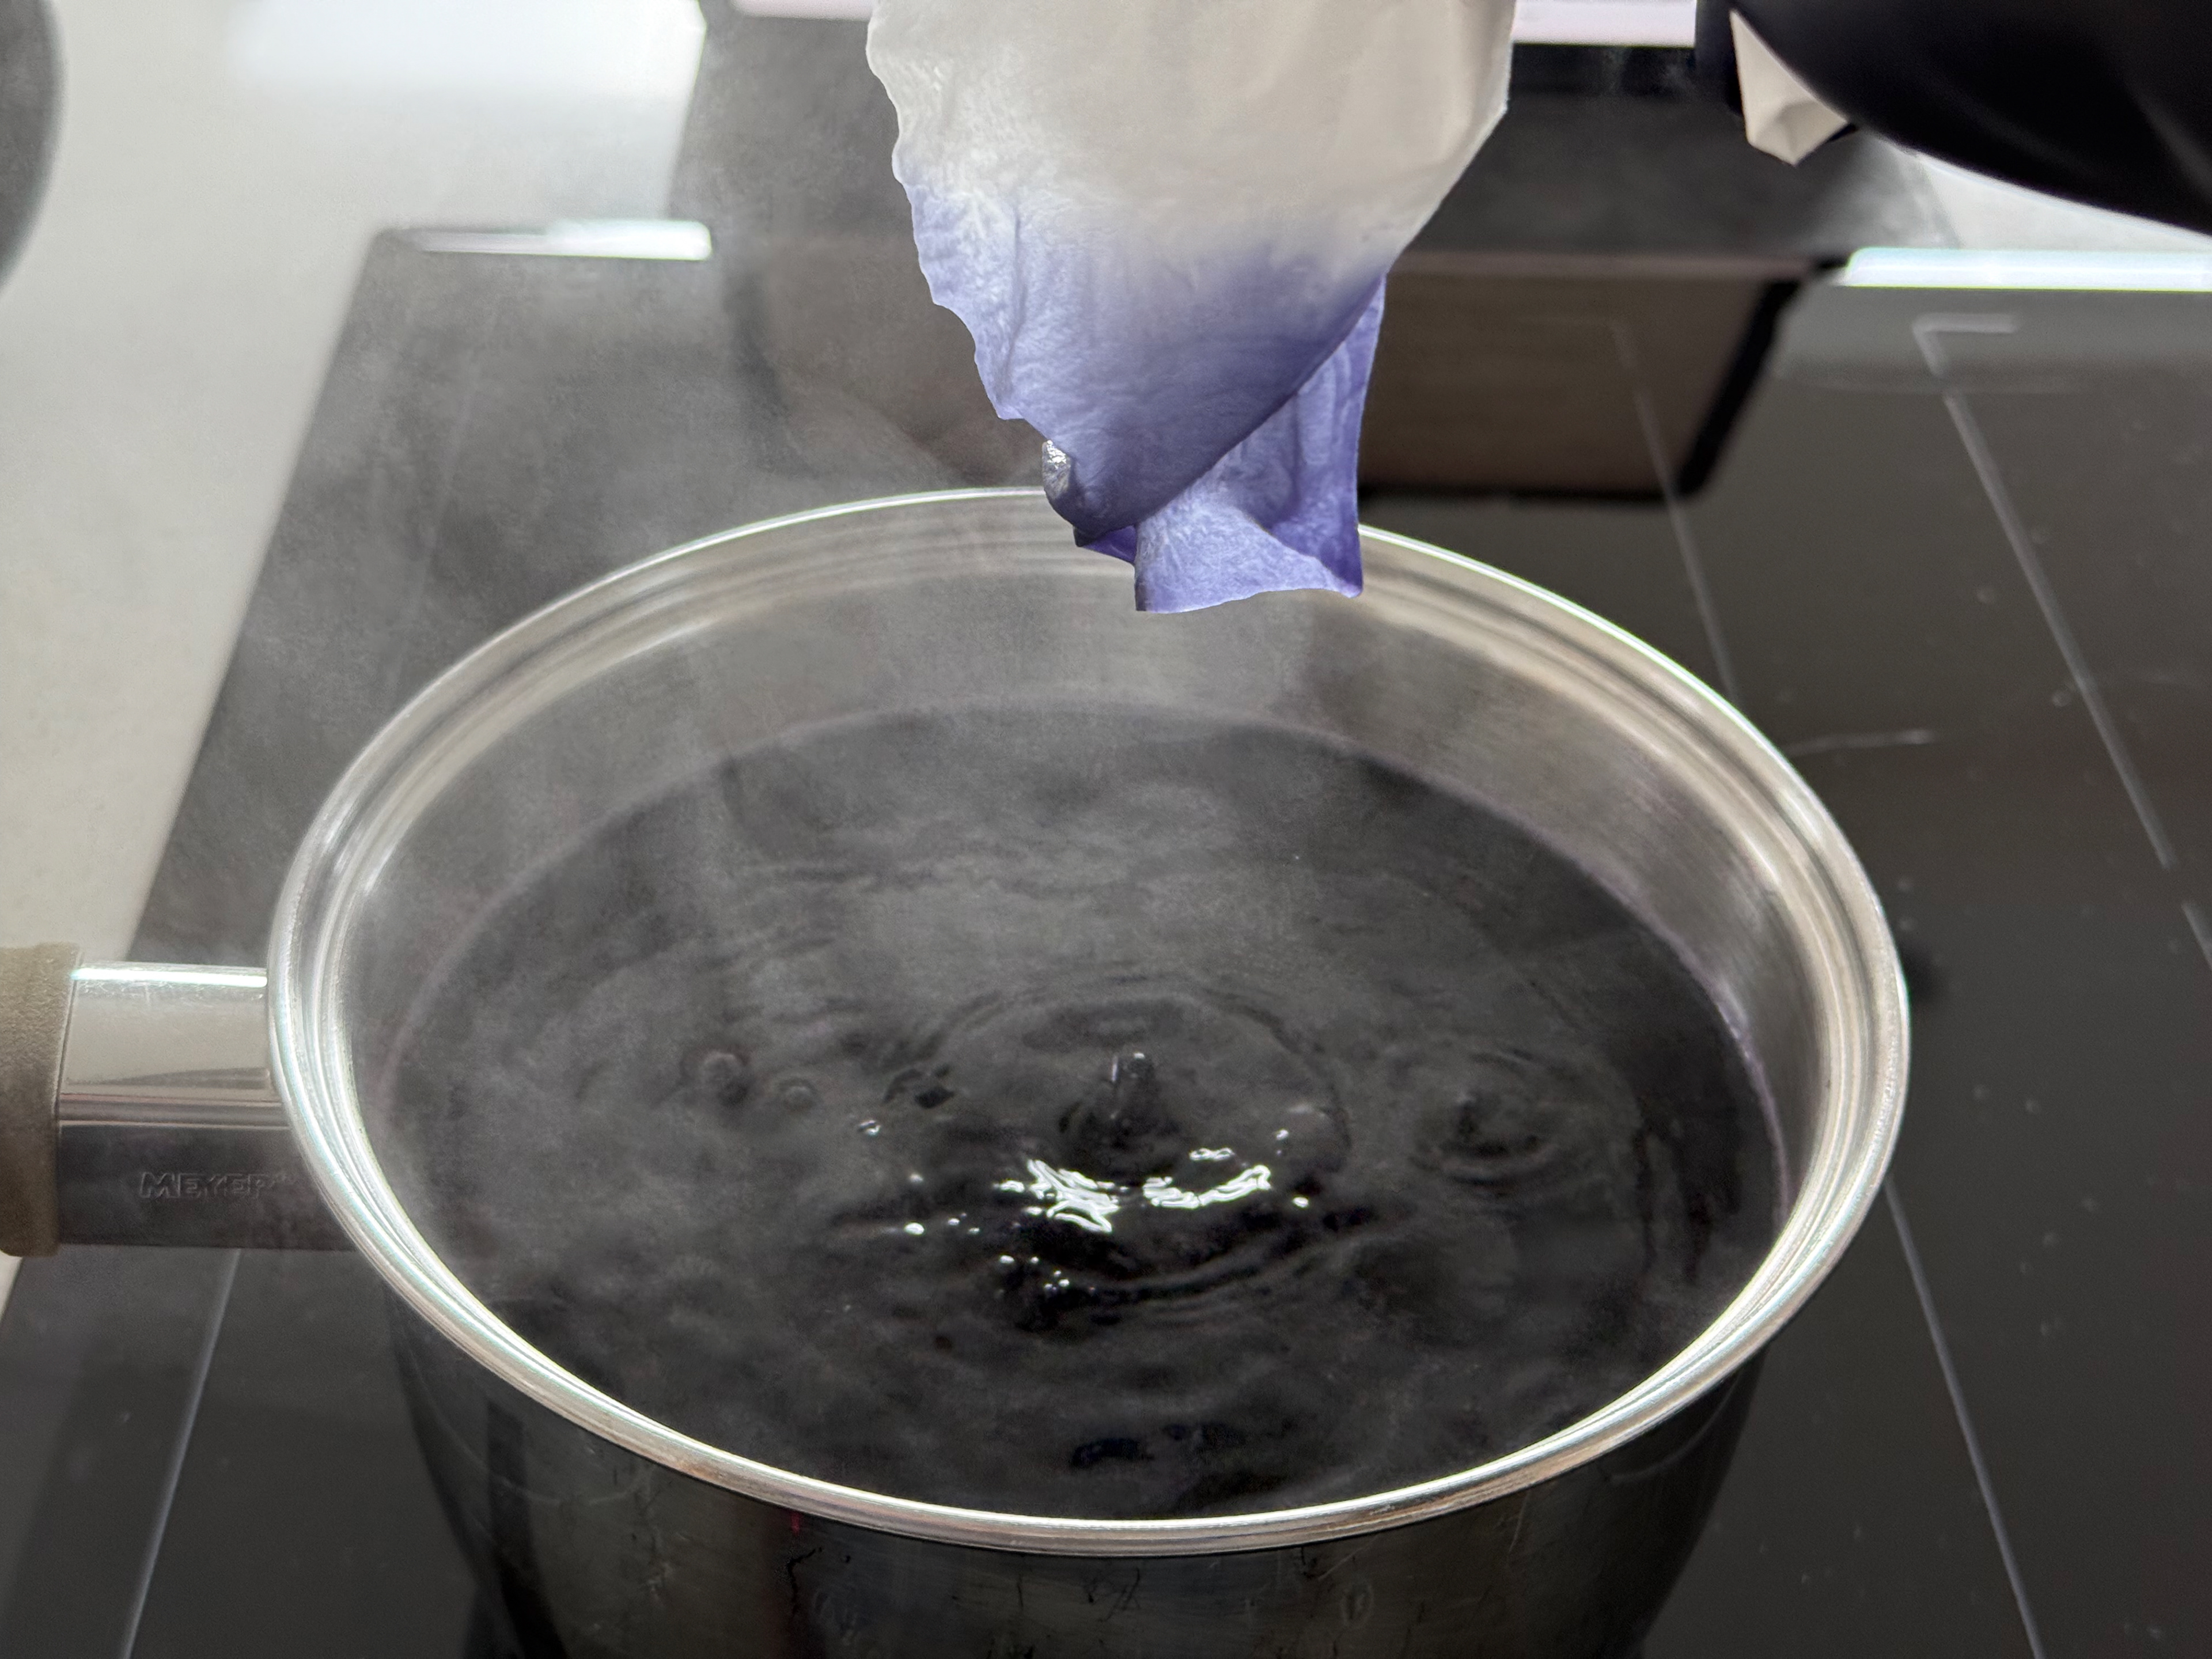
Check the dye is strong enough
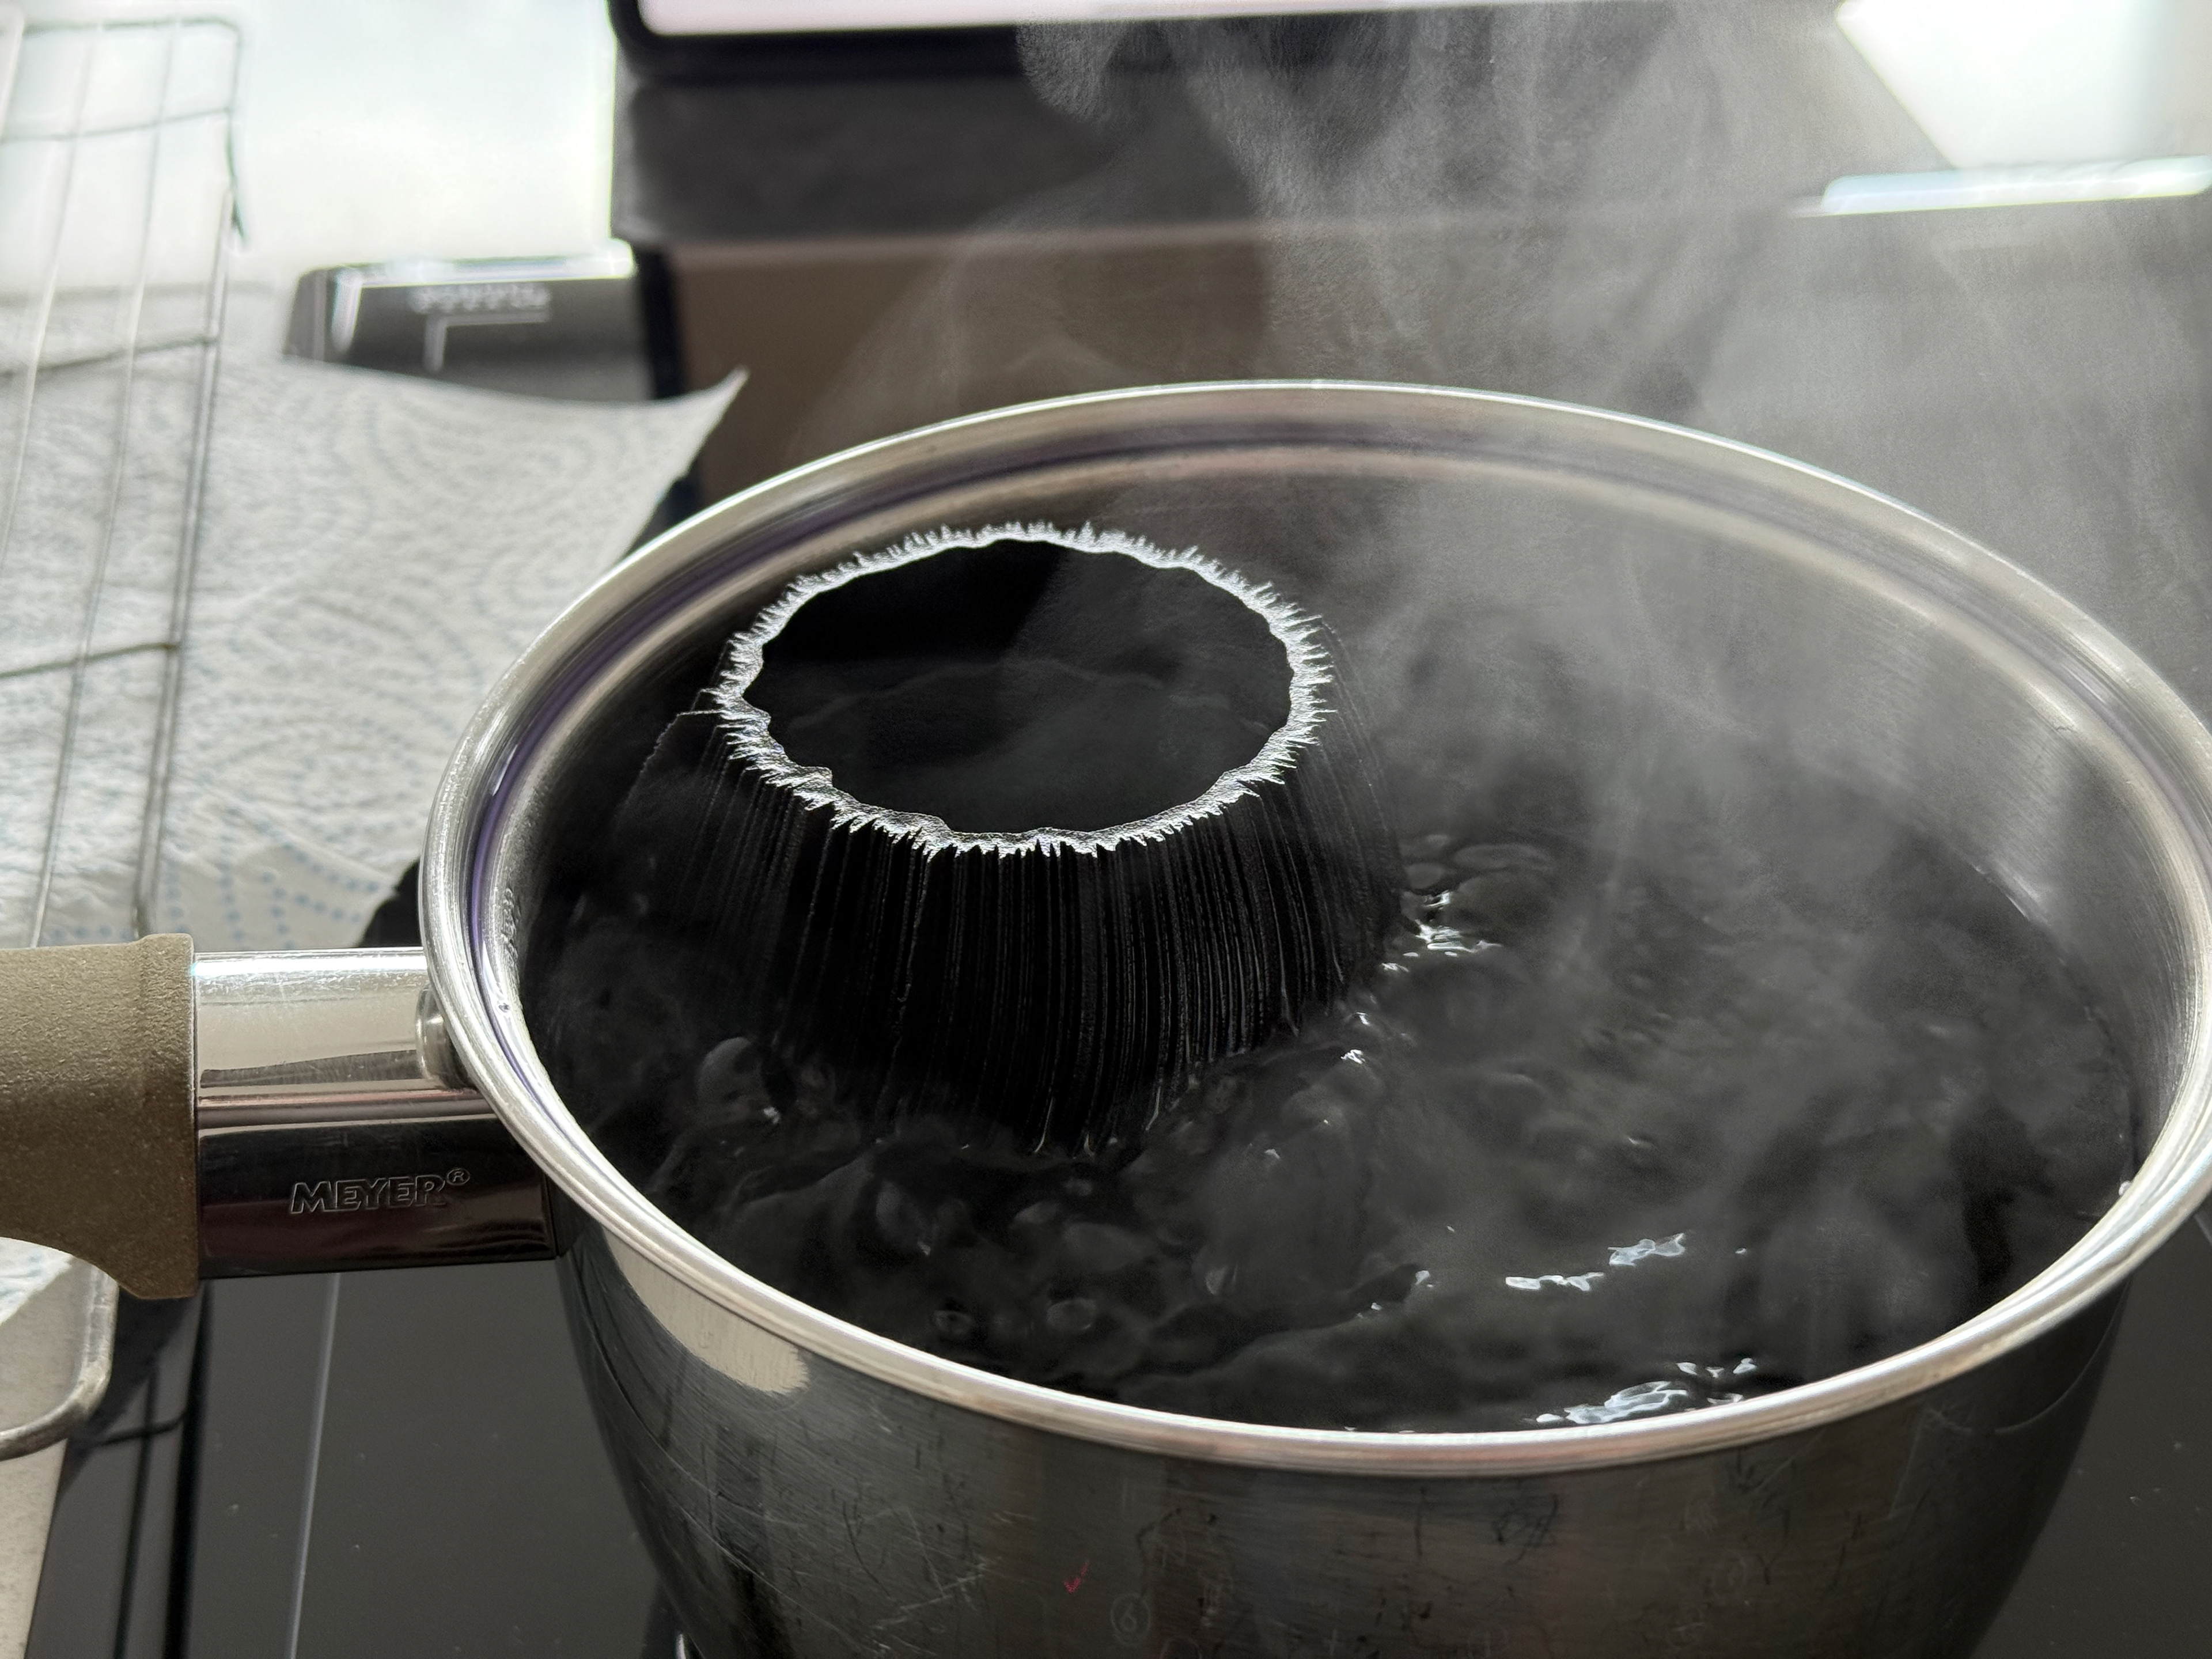
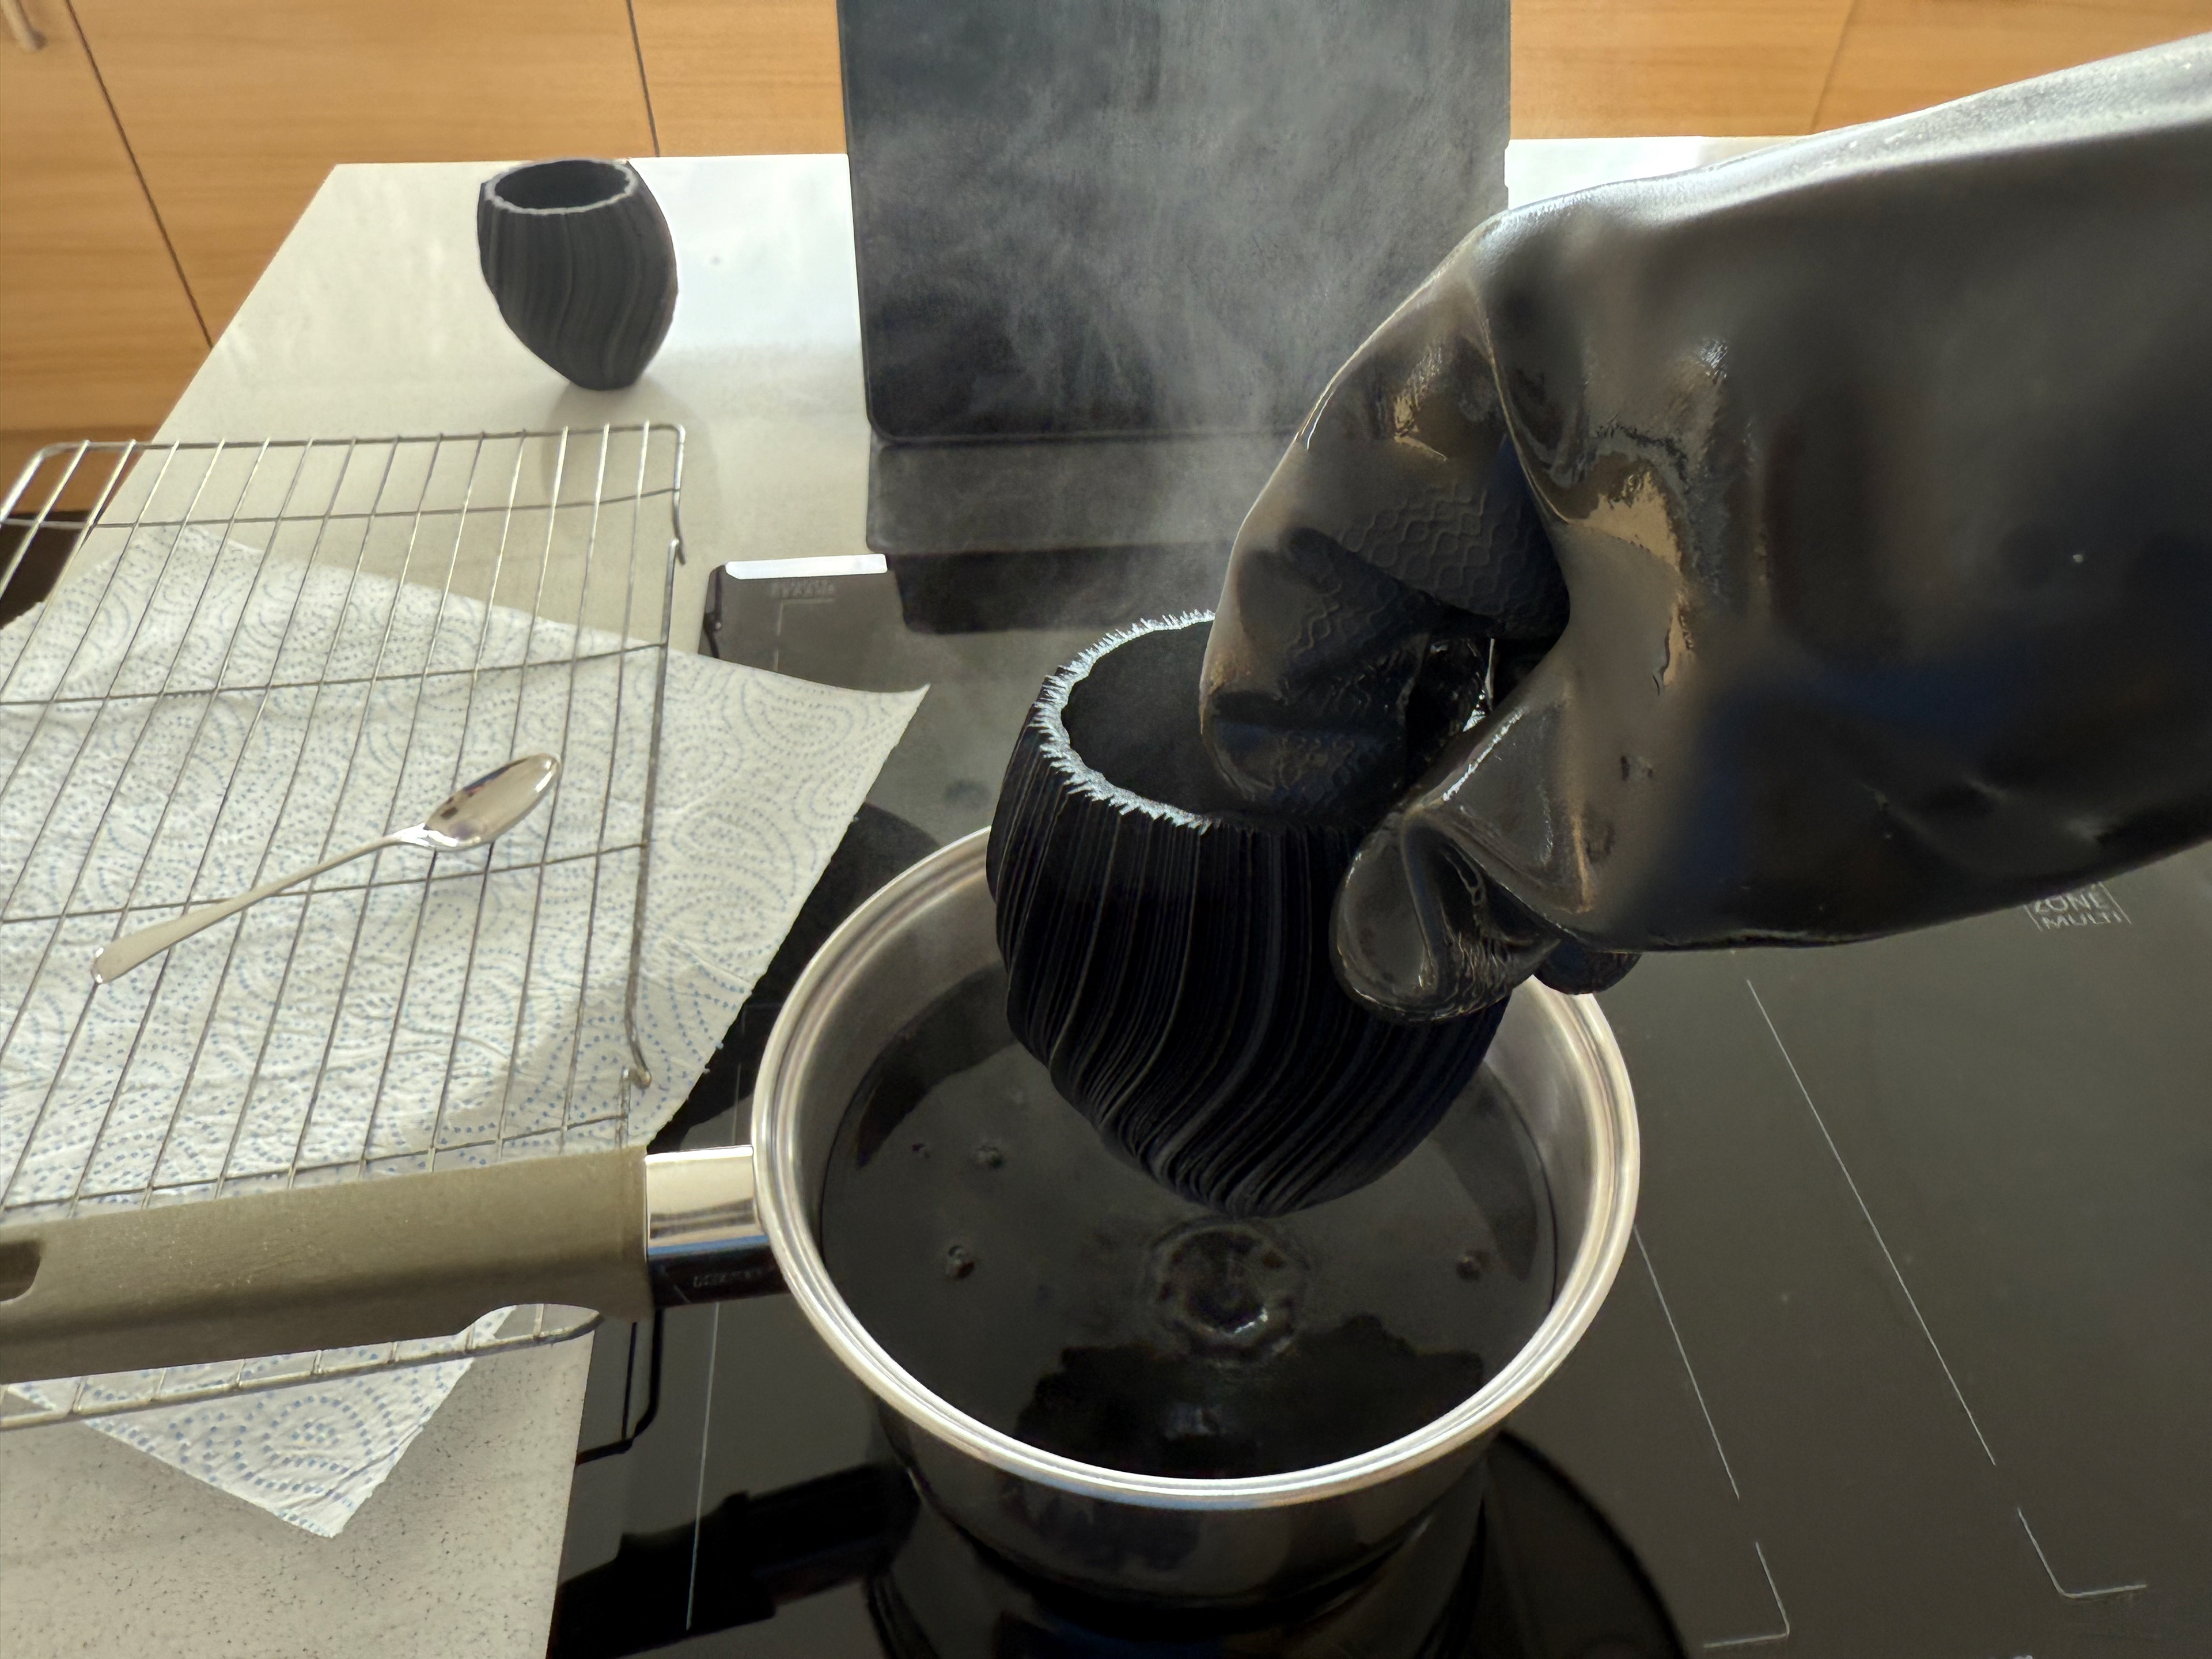
Place object in
Move object around
After 30 minutes I took it out
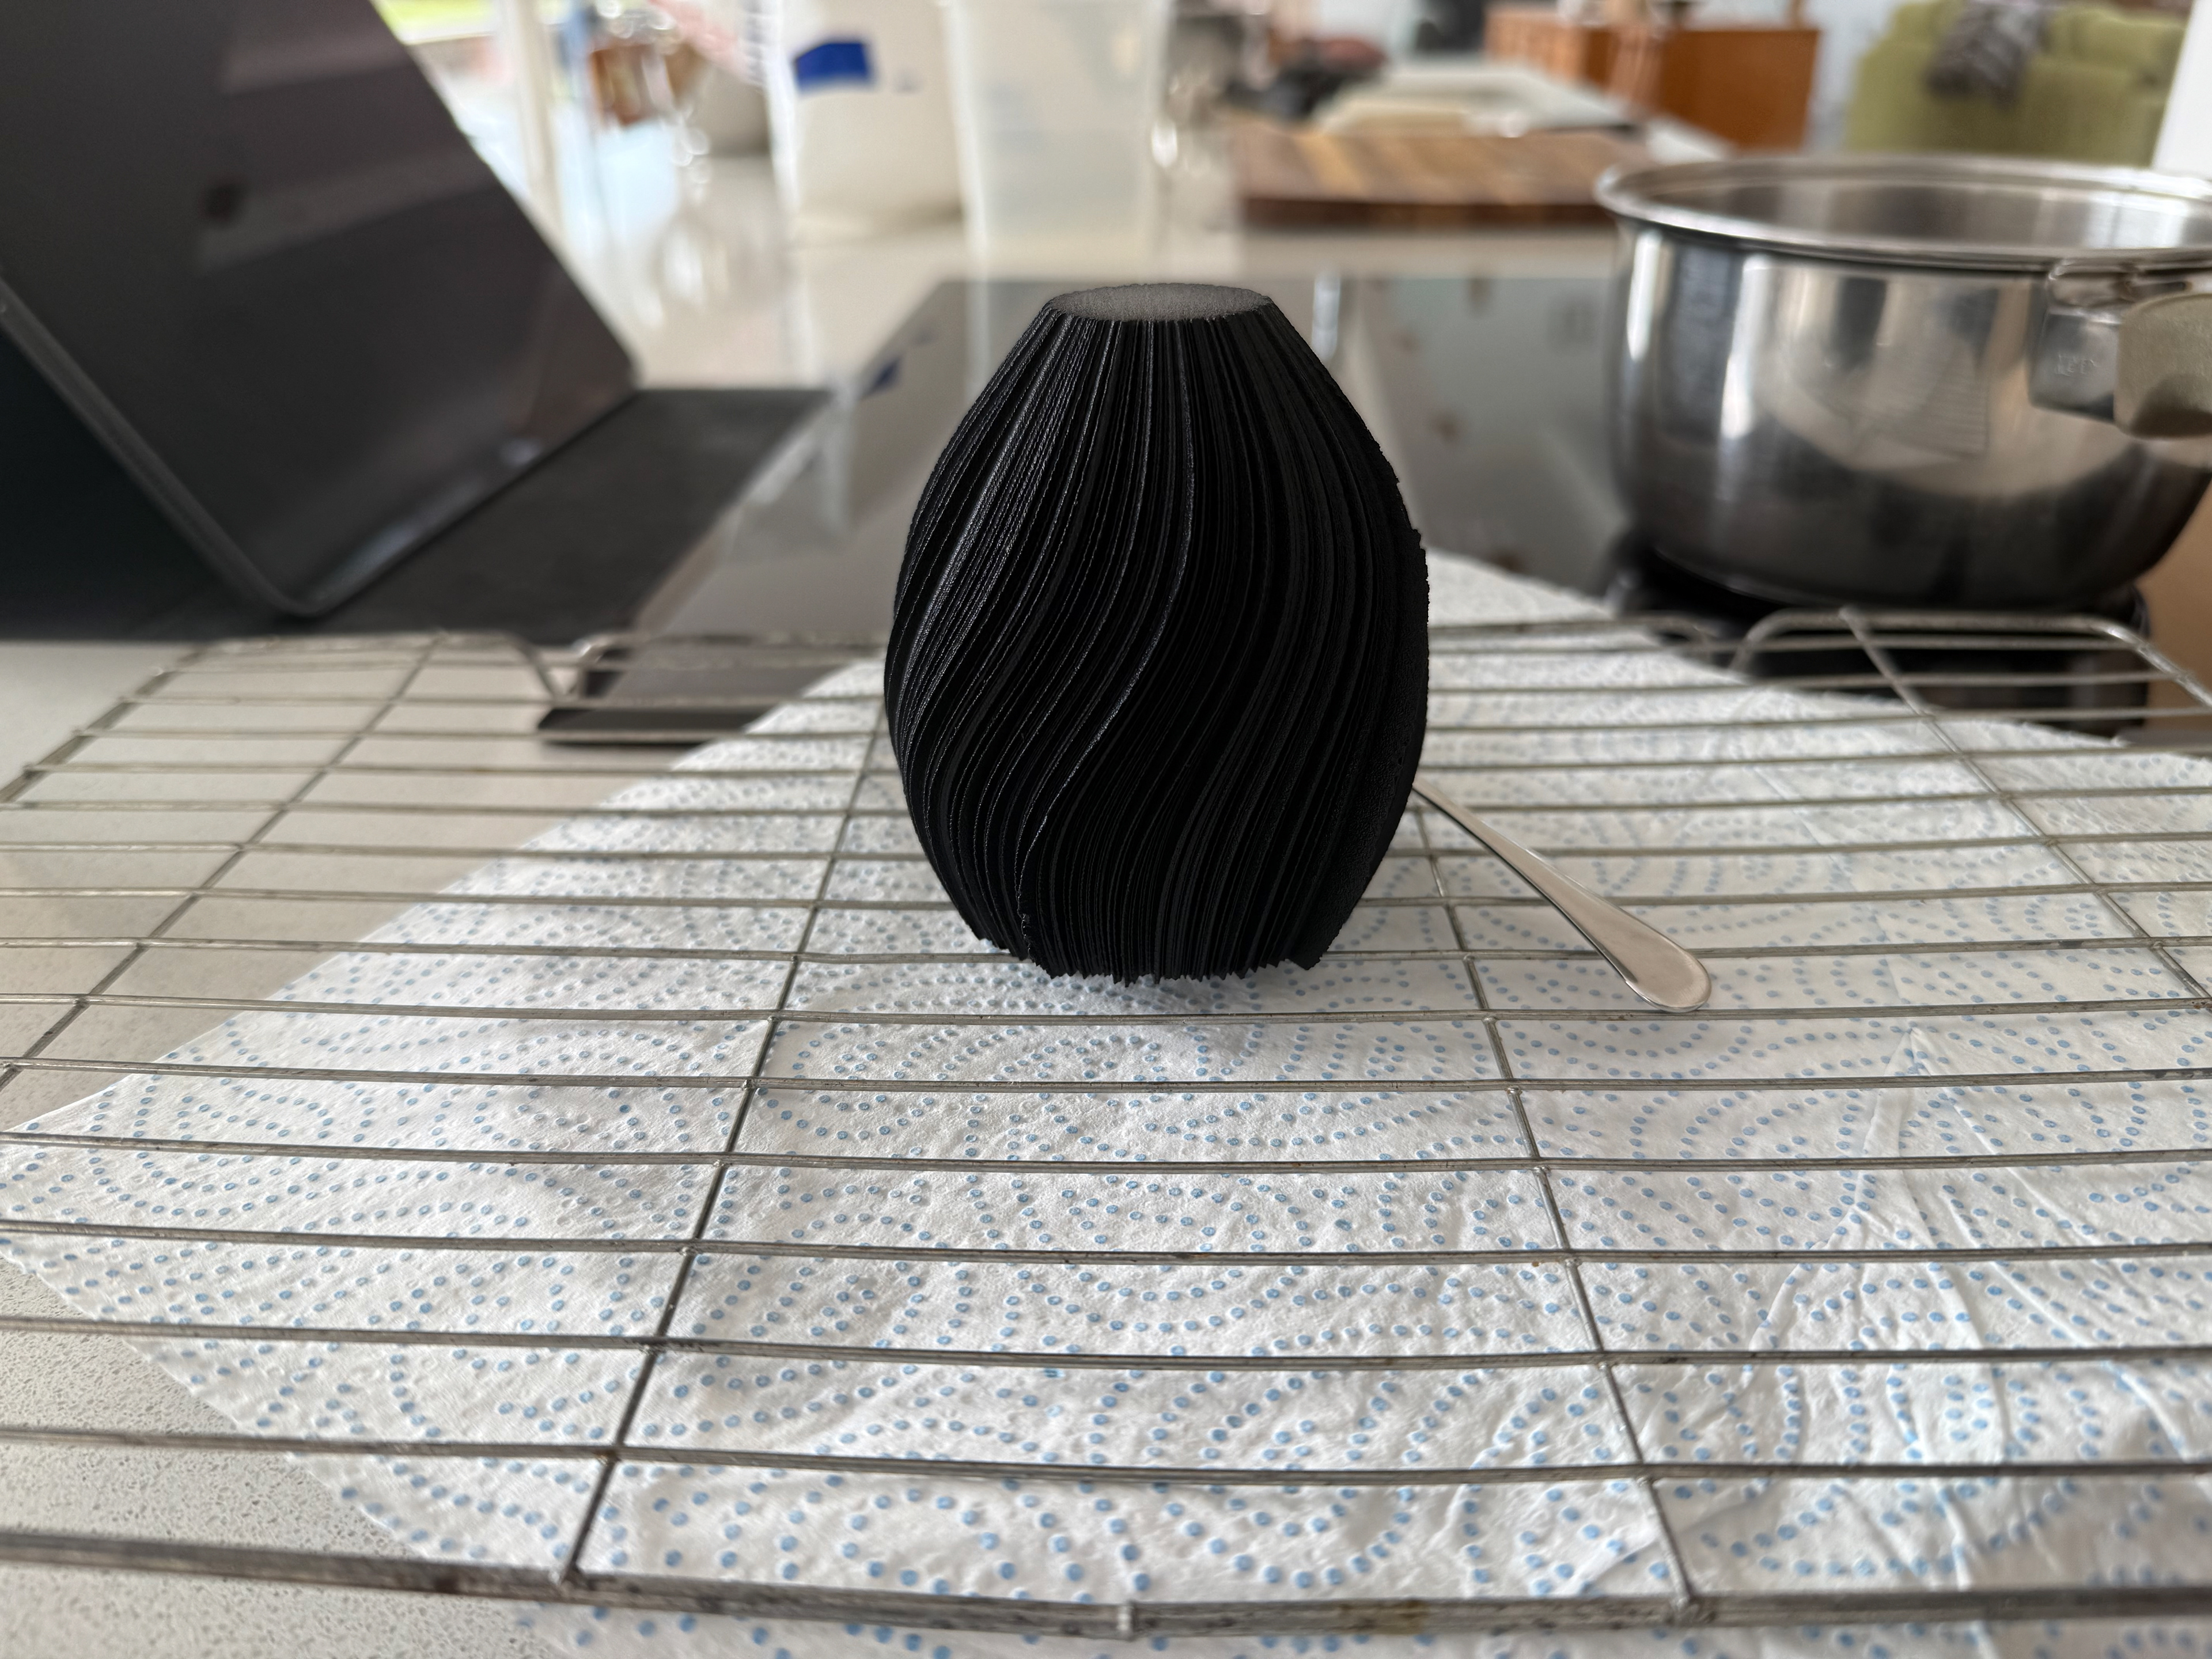
Left upside down to dry
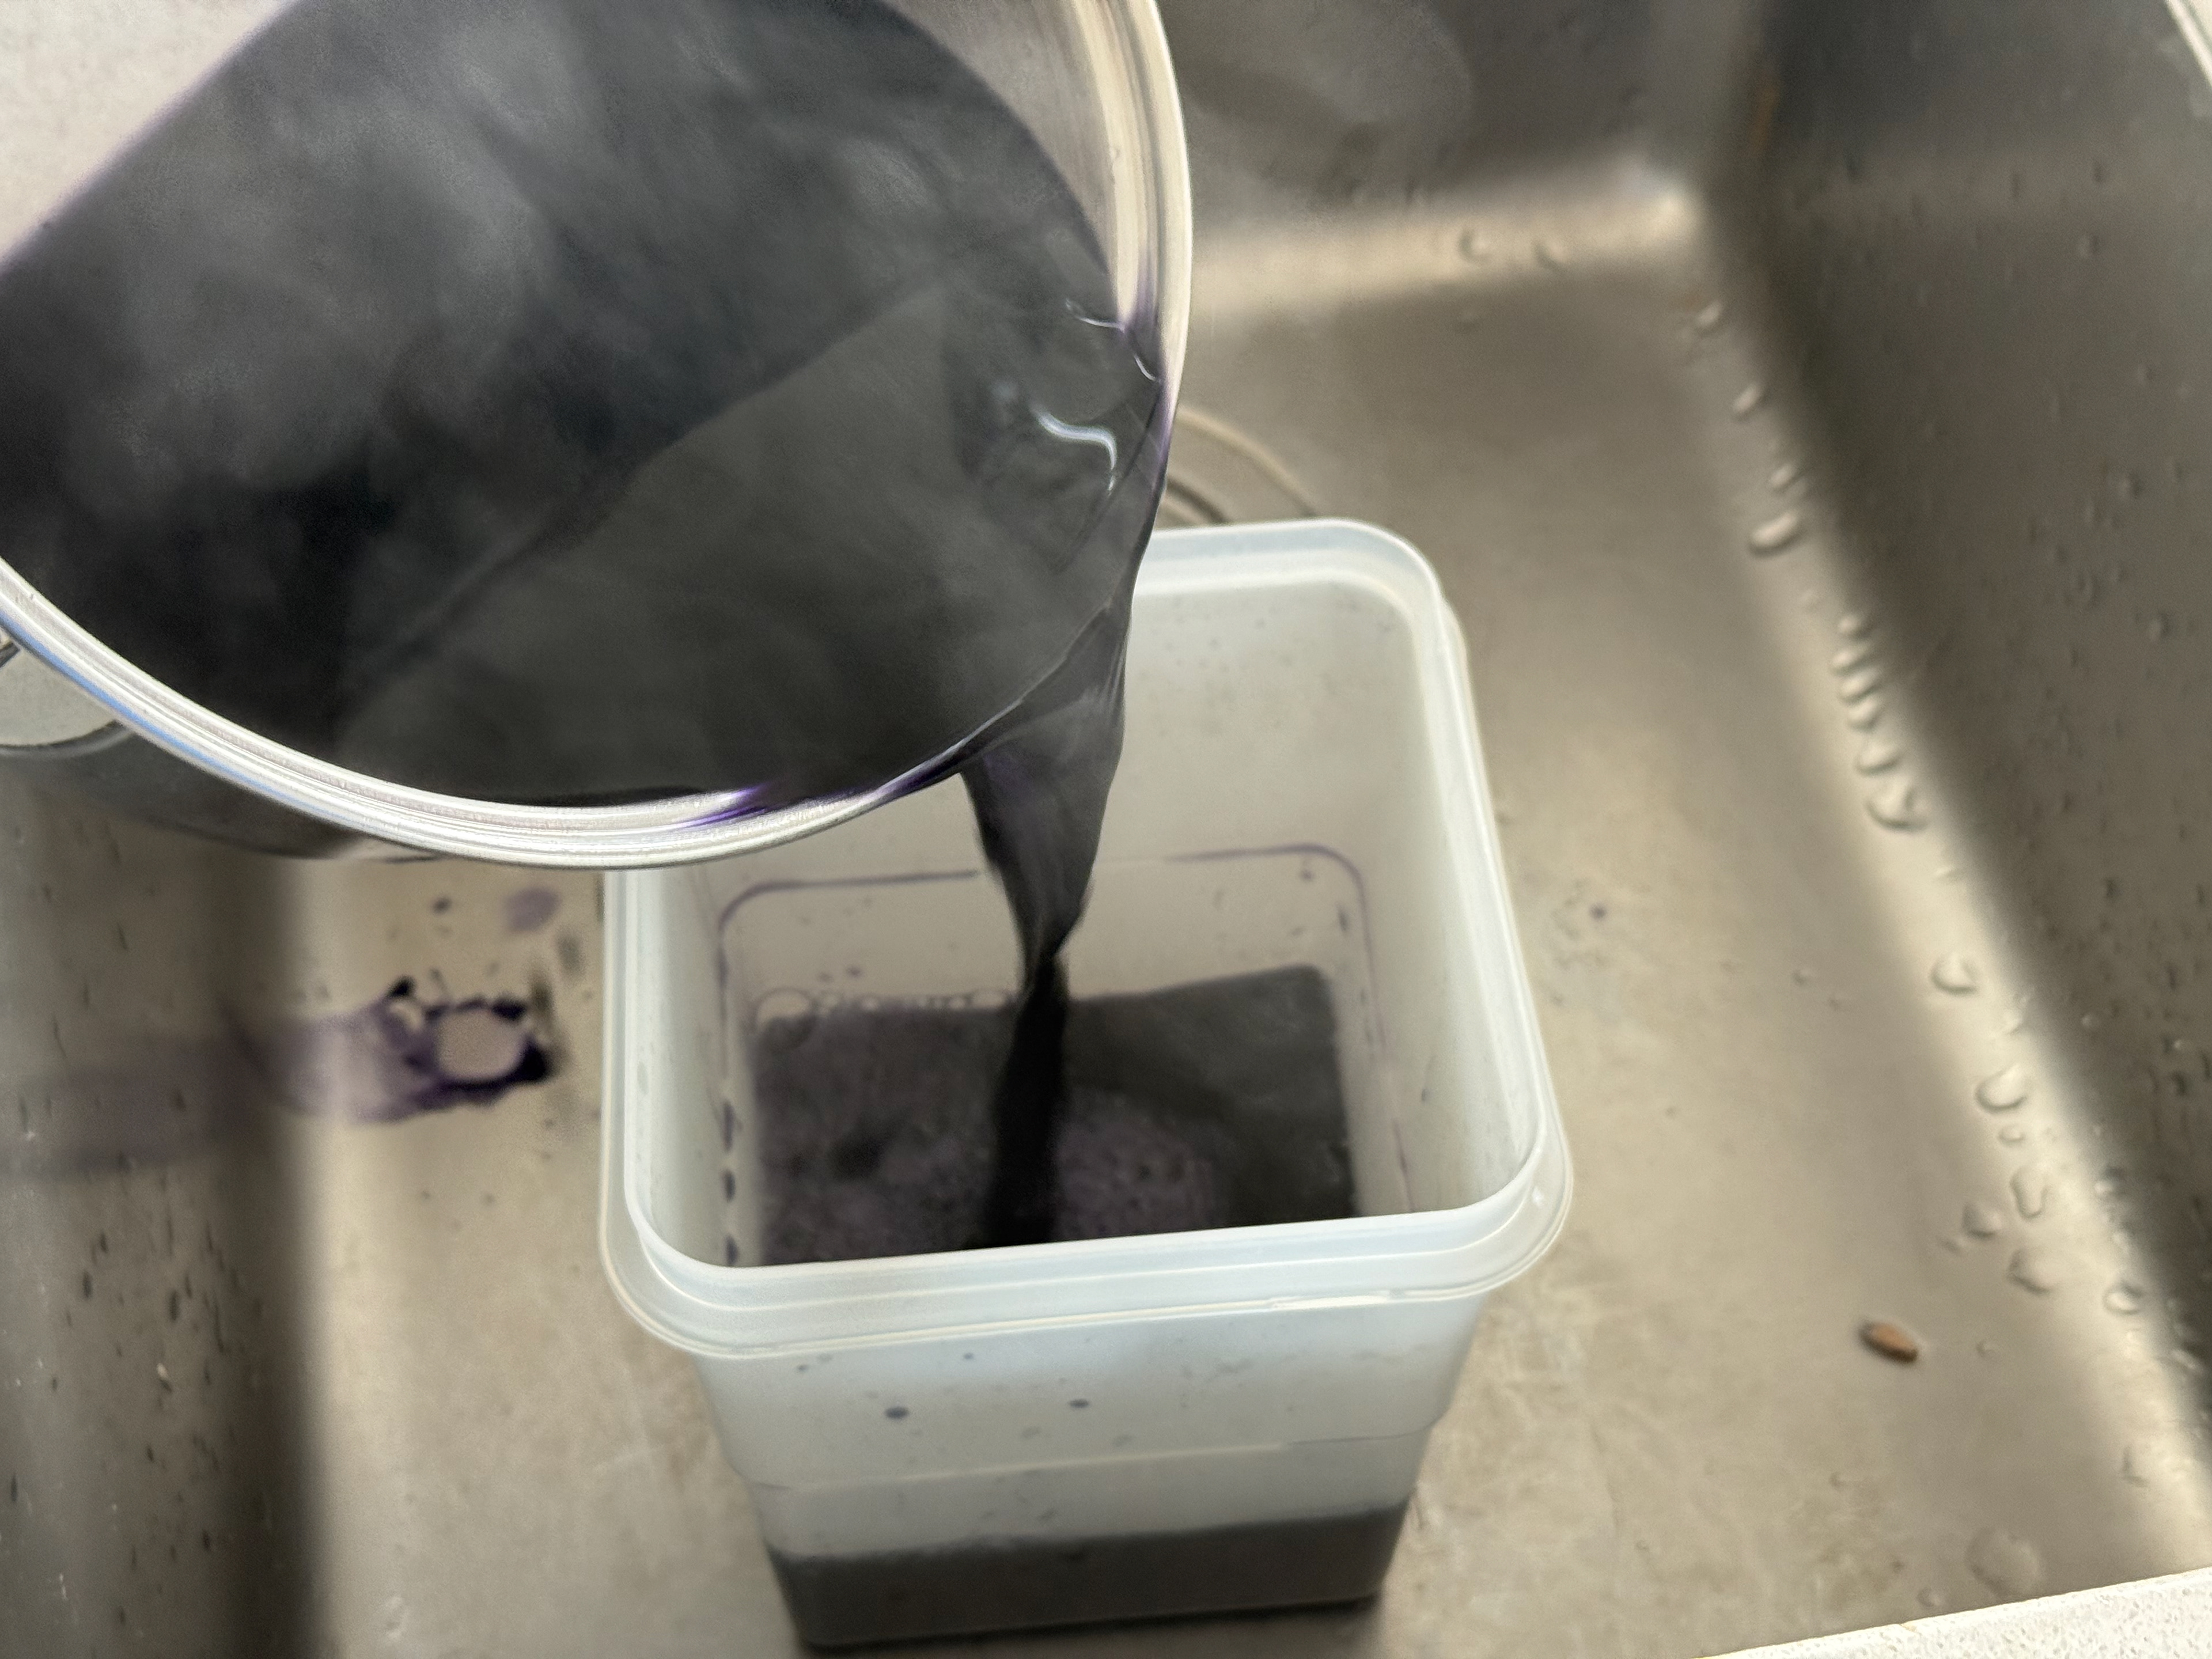
Pour liquid into container for reuse later on.

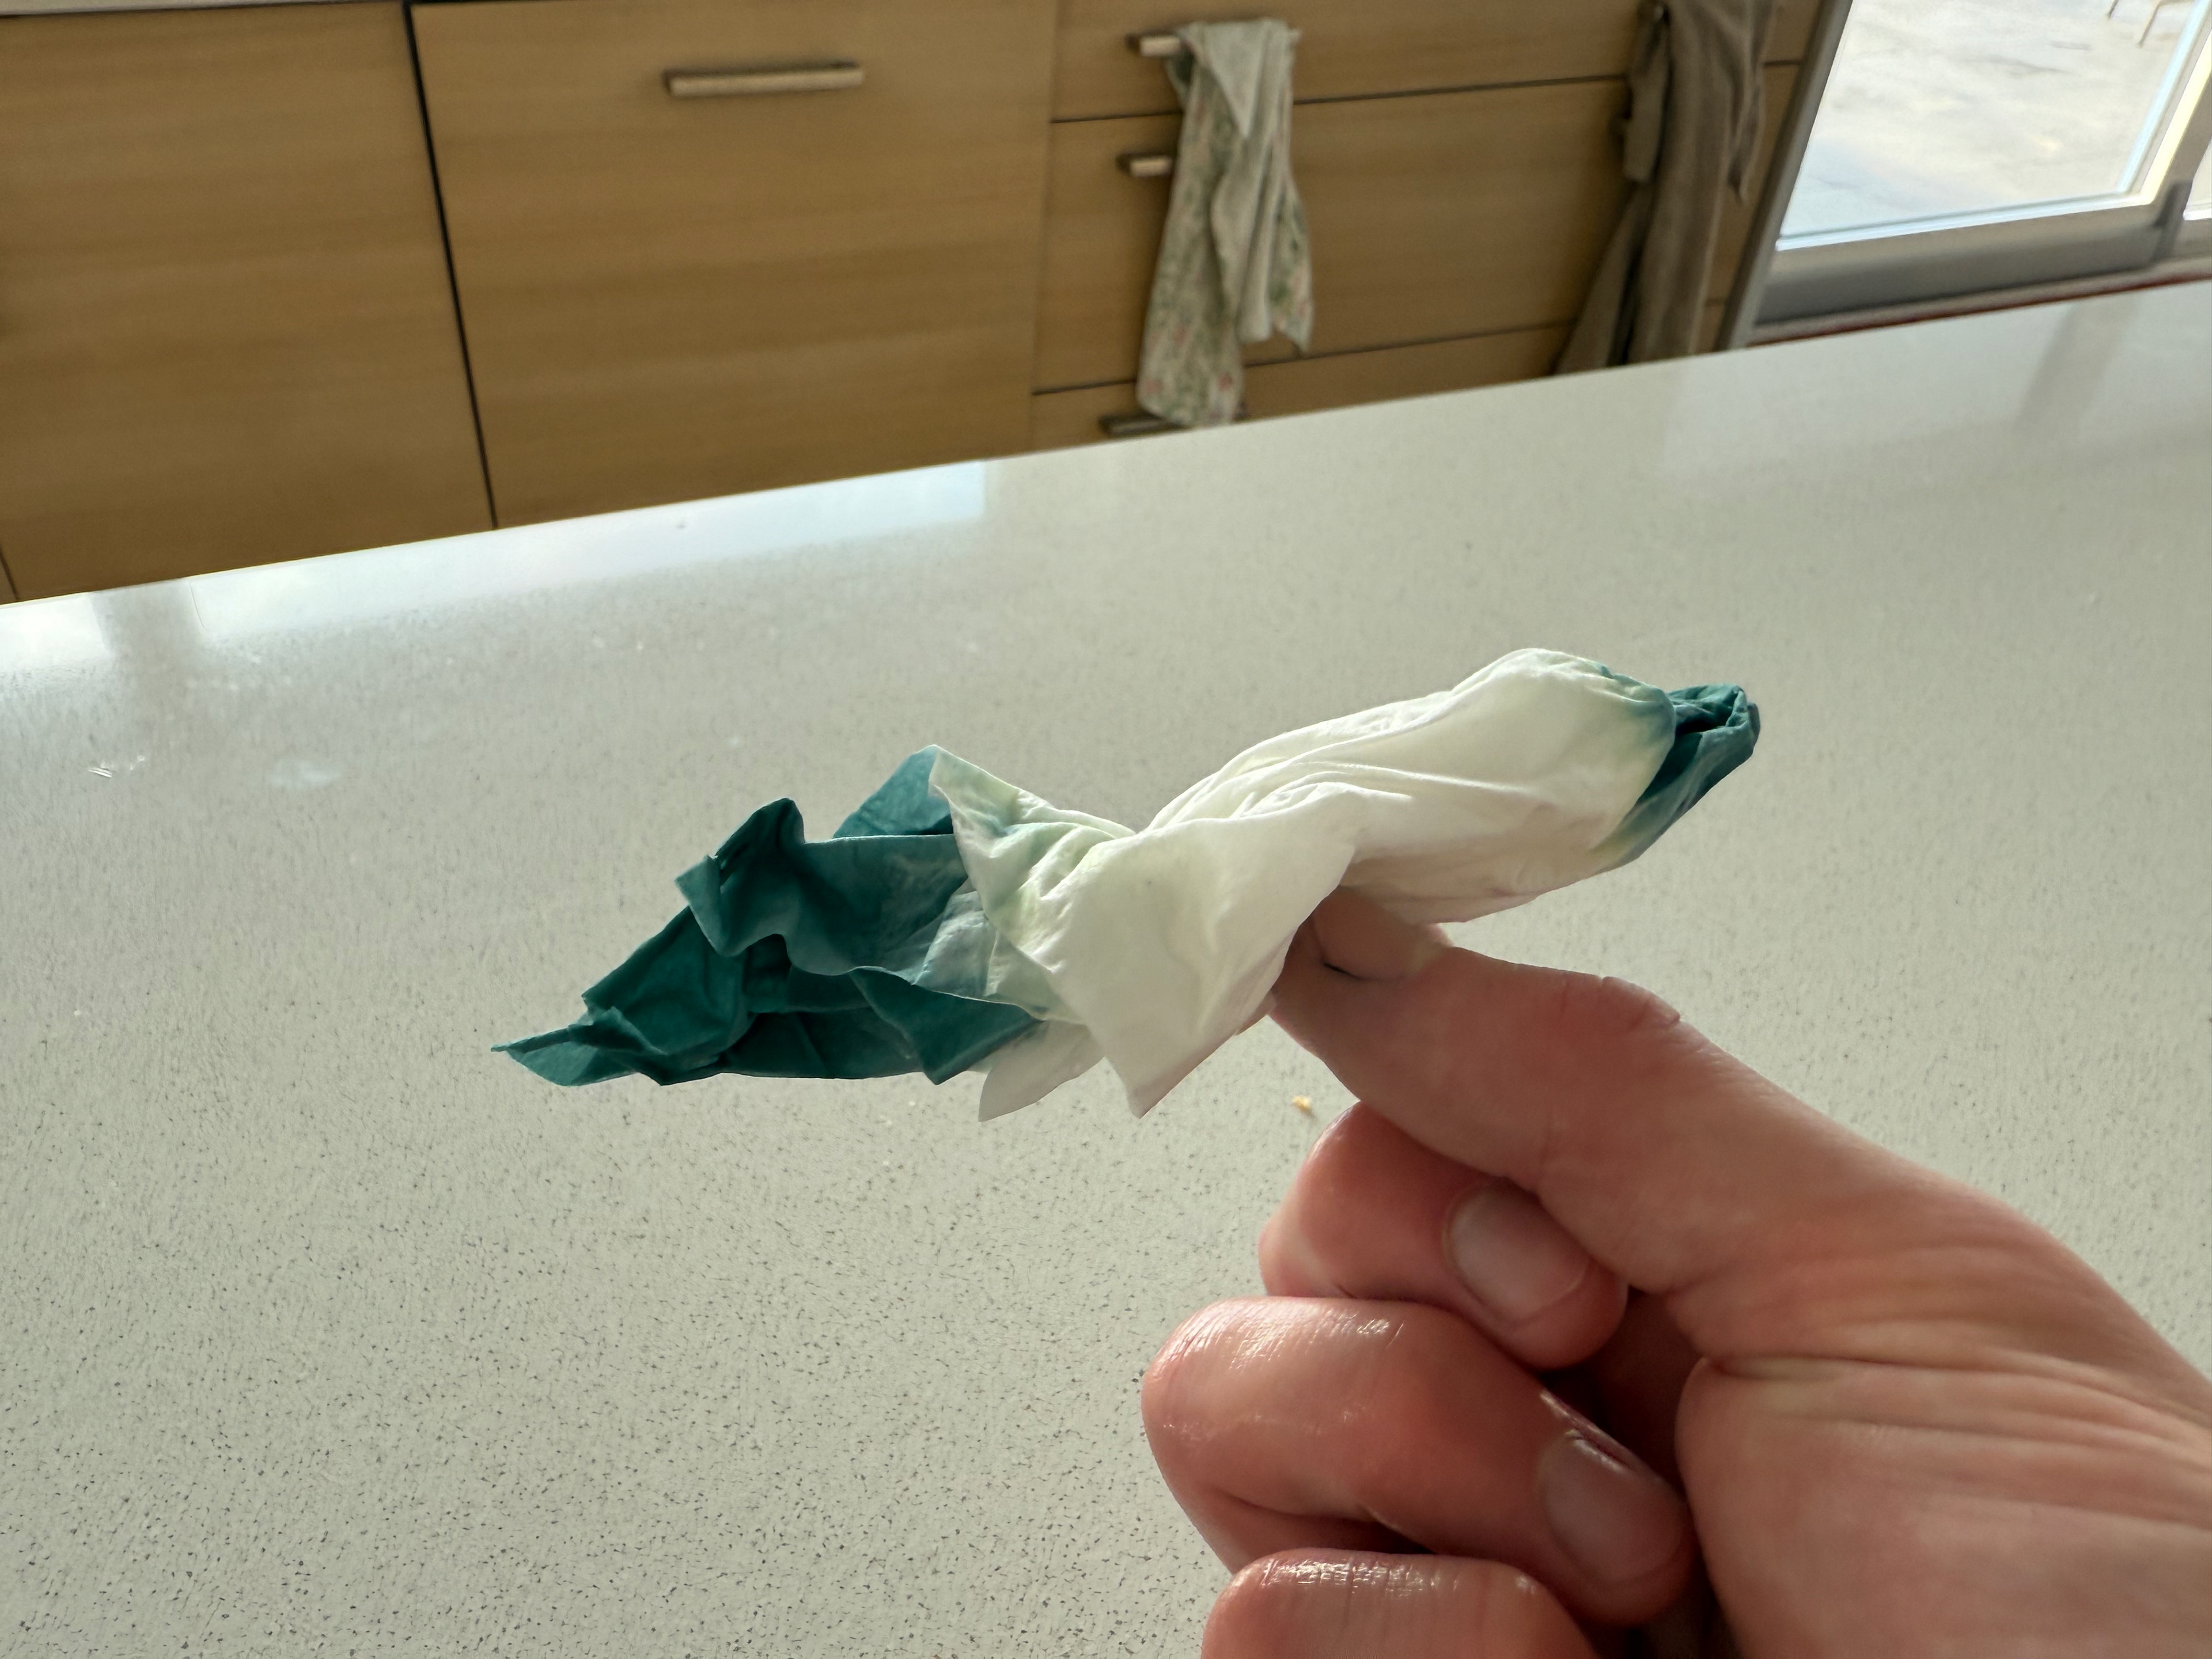
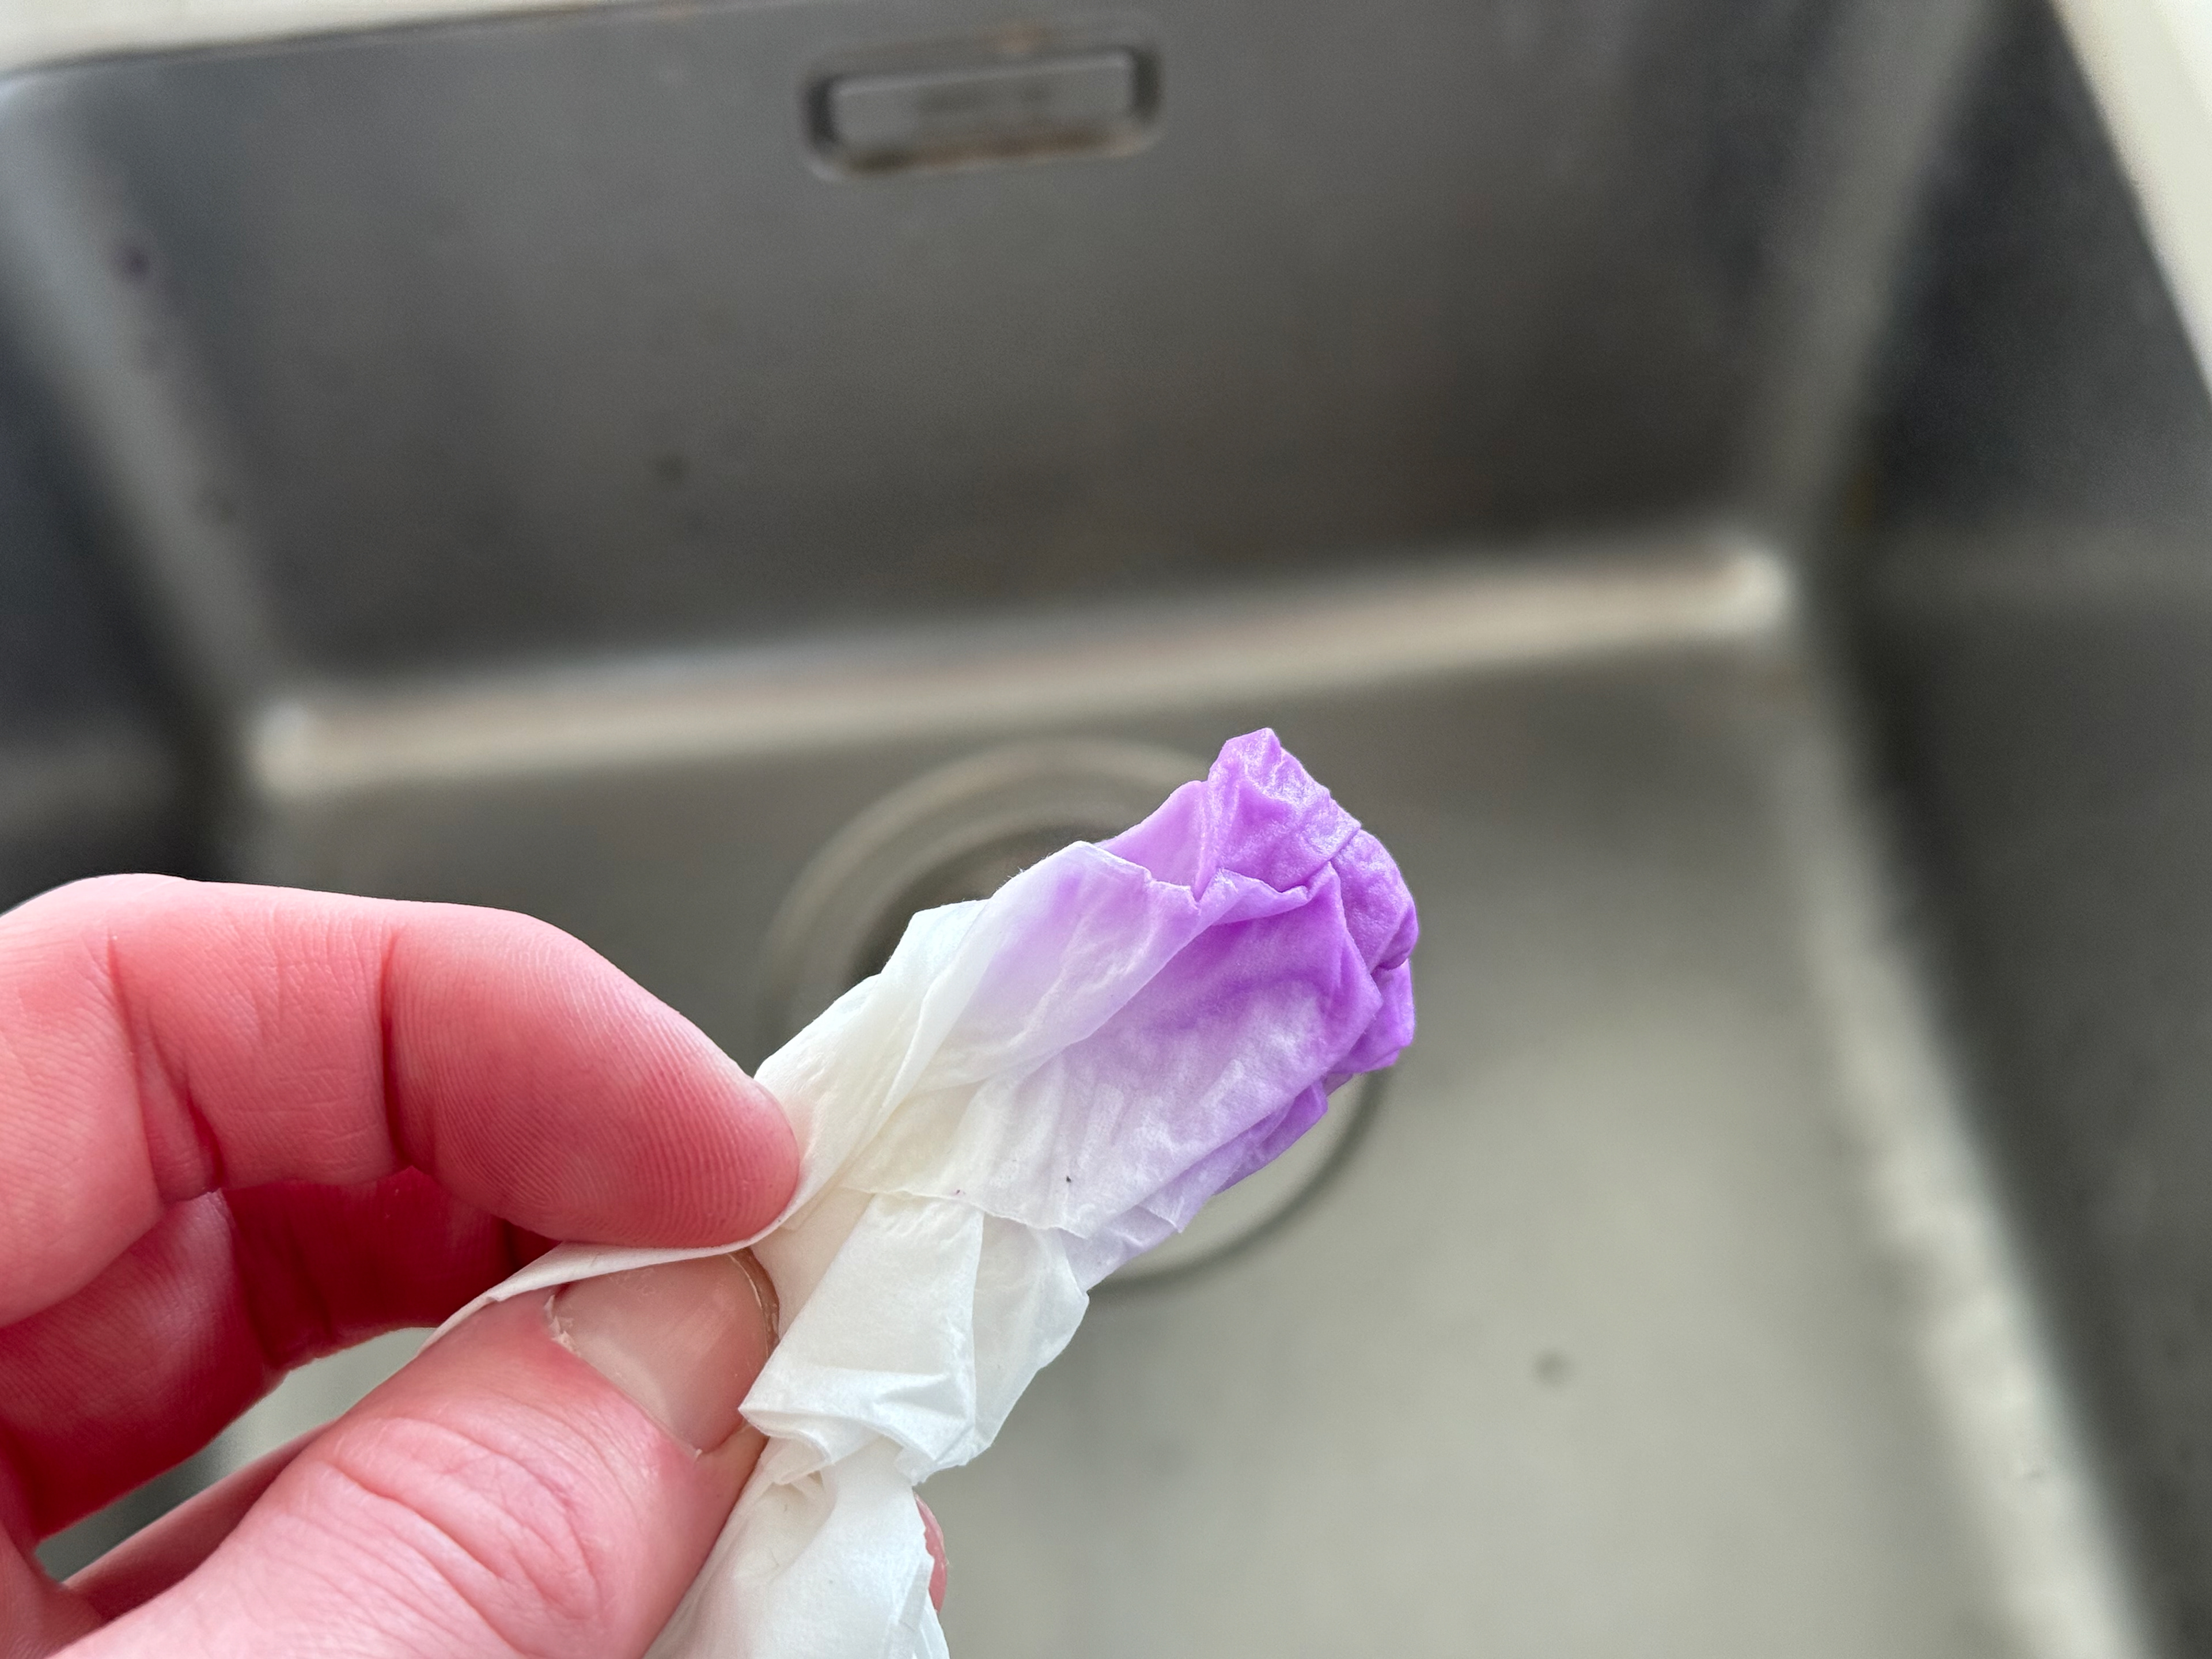
The tissue test
Drying, a small line looks like it wasn't properly submerged or the dye didn't take.
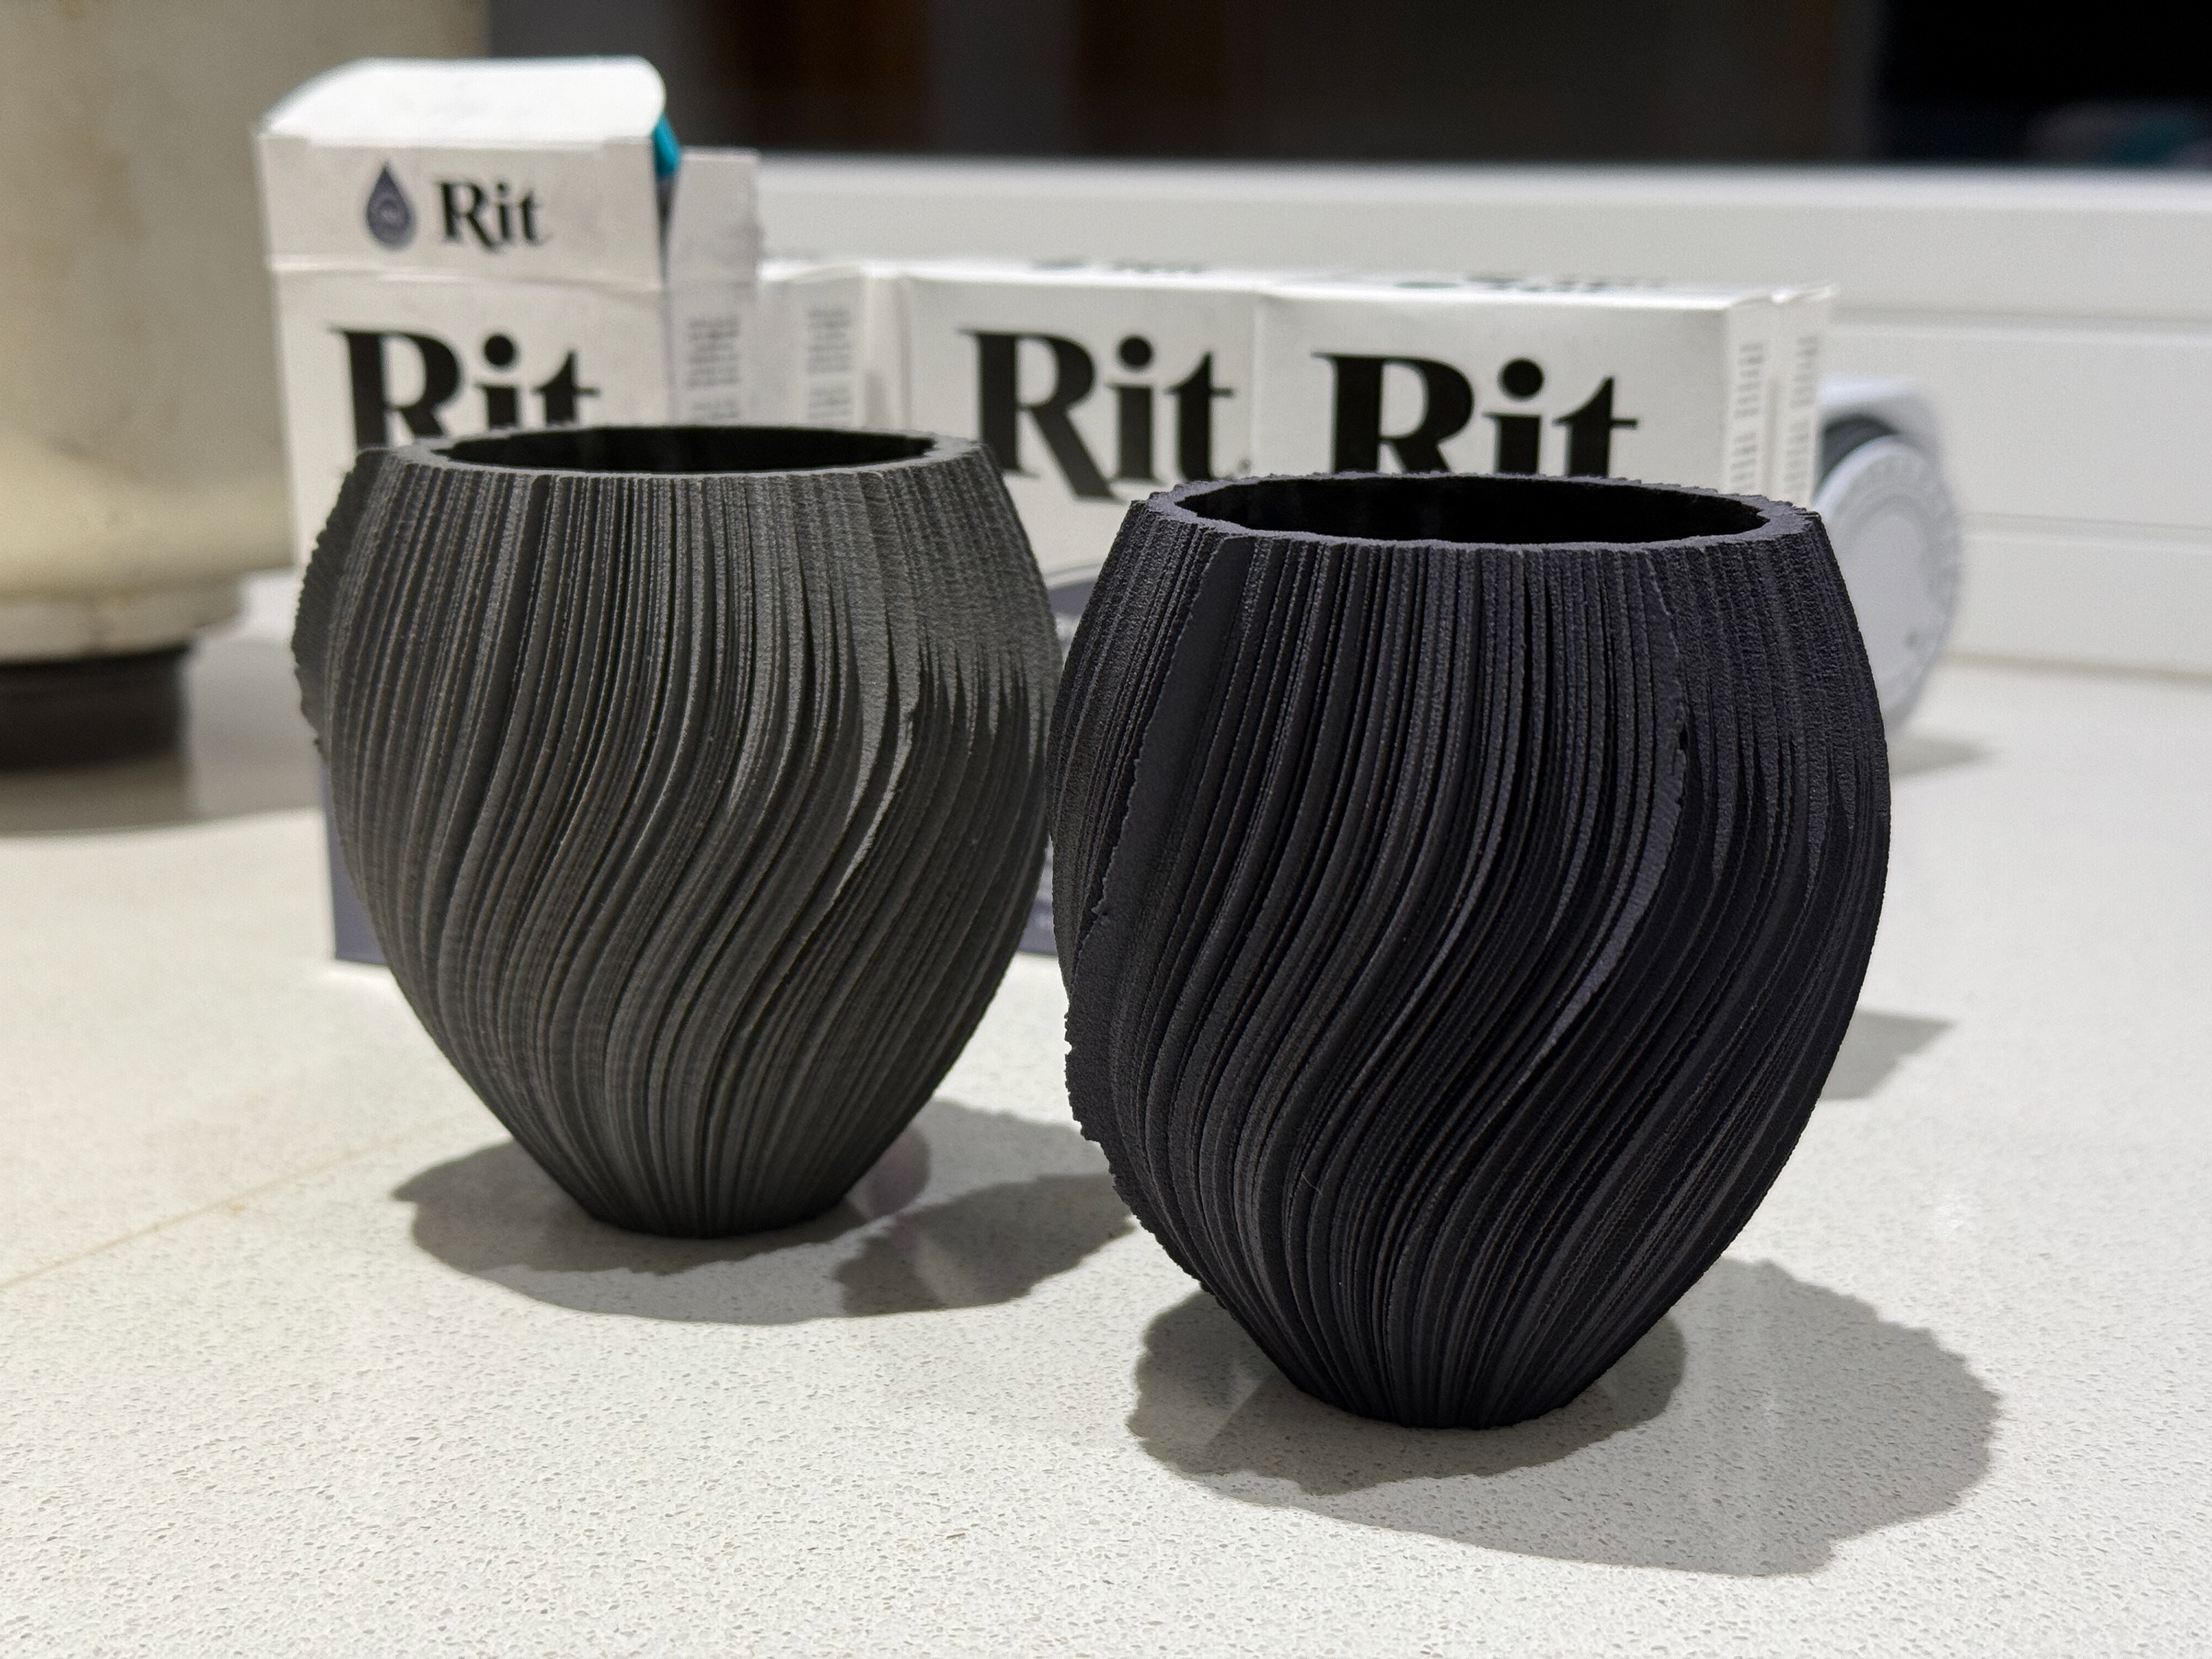
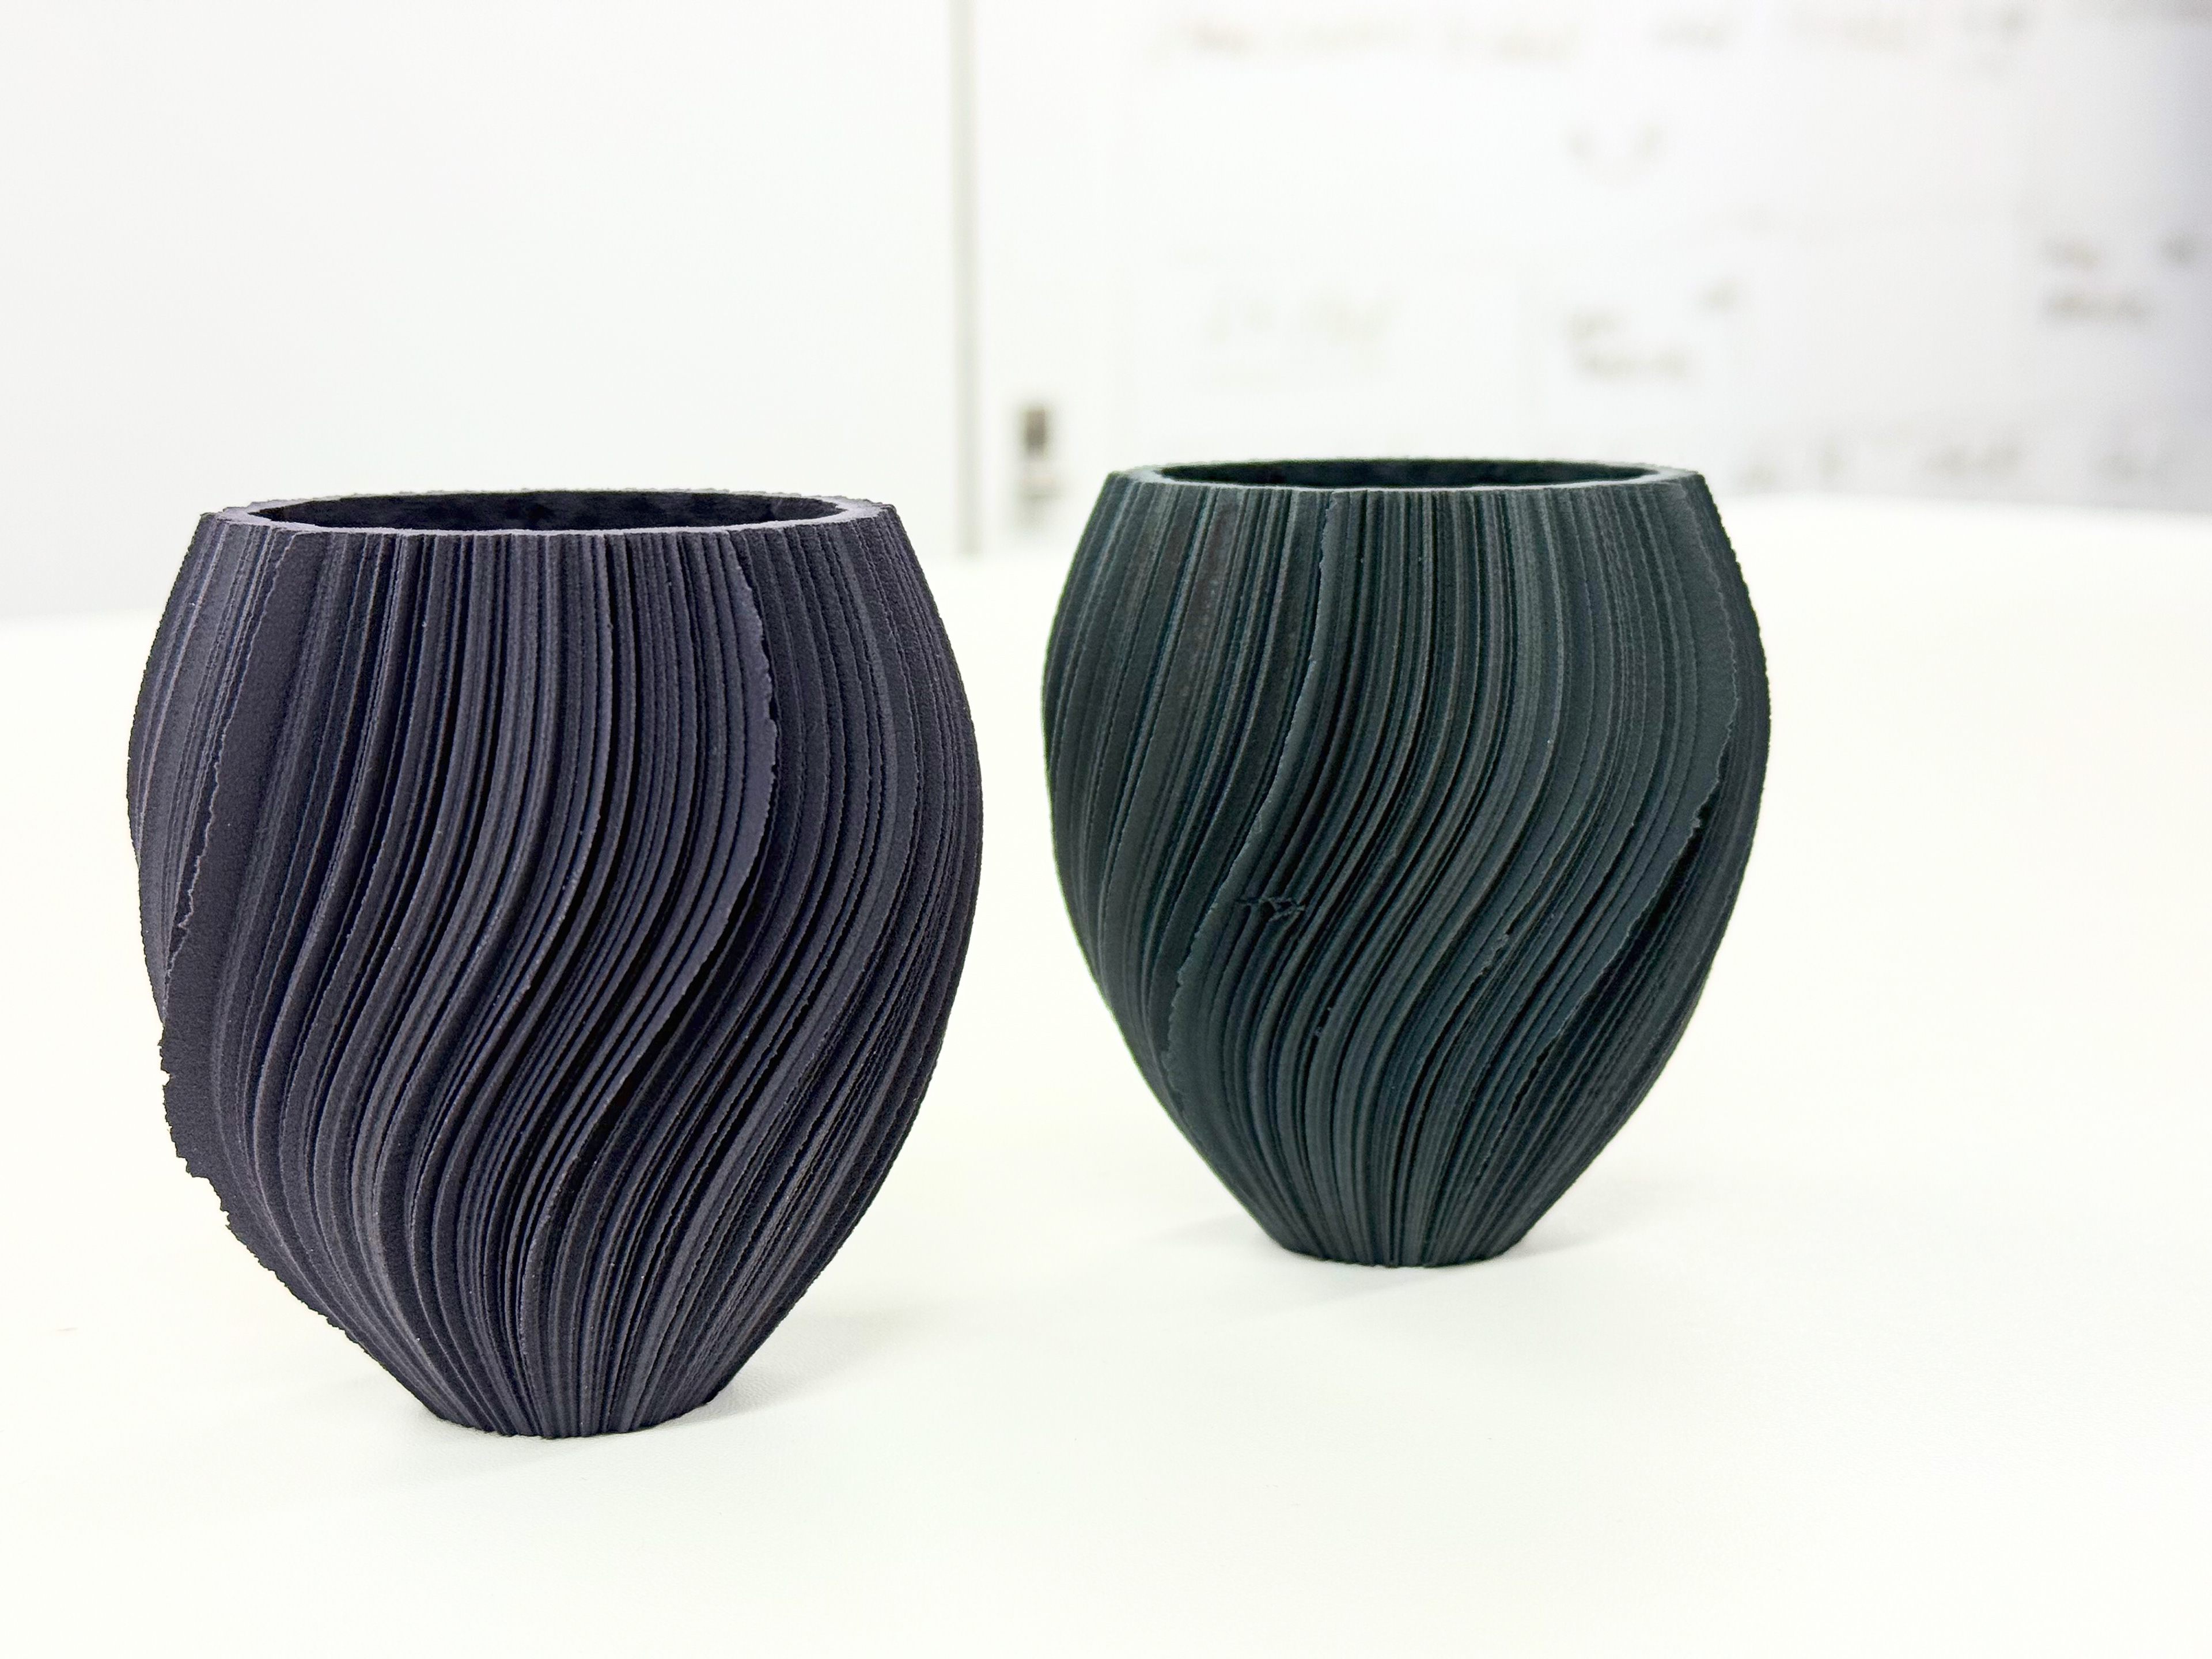
A fully dyed side
Next to the Navy Blue
In the natural sunlight
In the natural sunlight with the Navy Blue
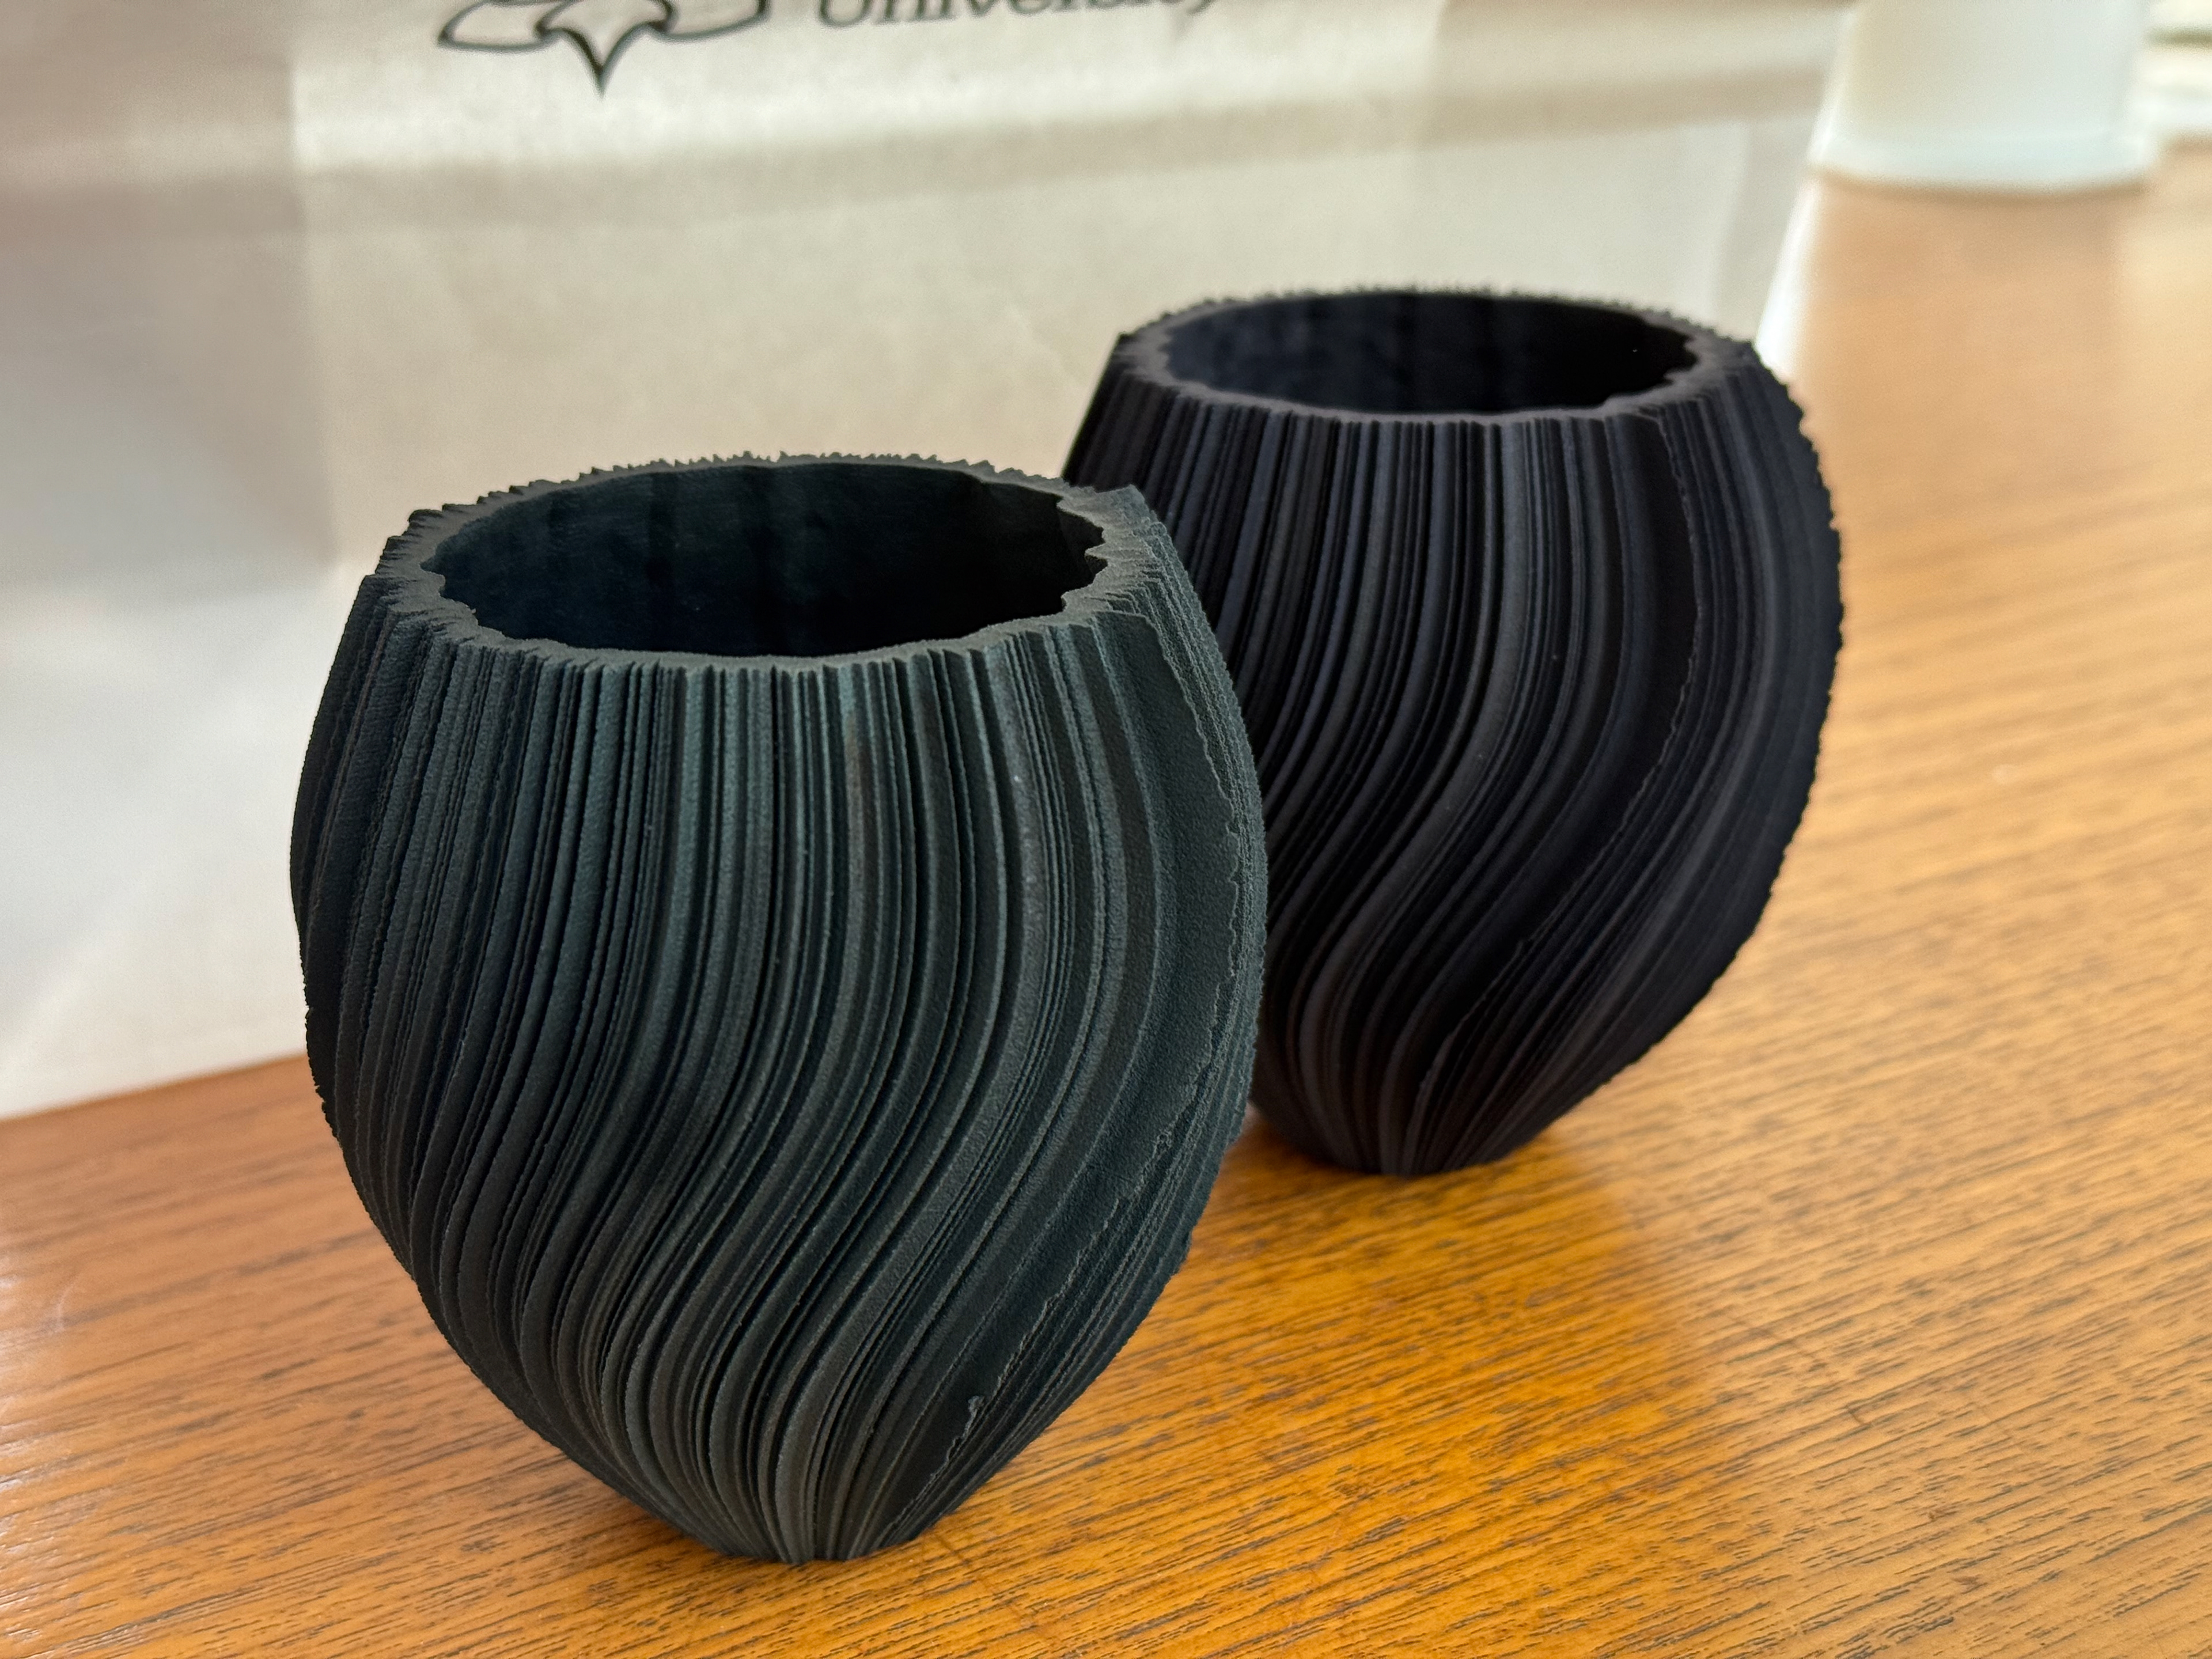
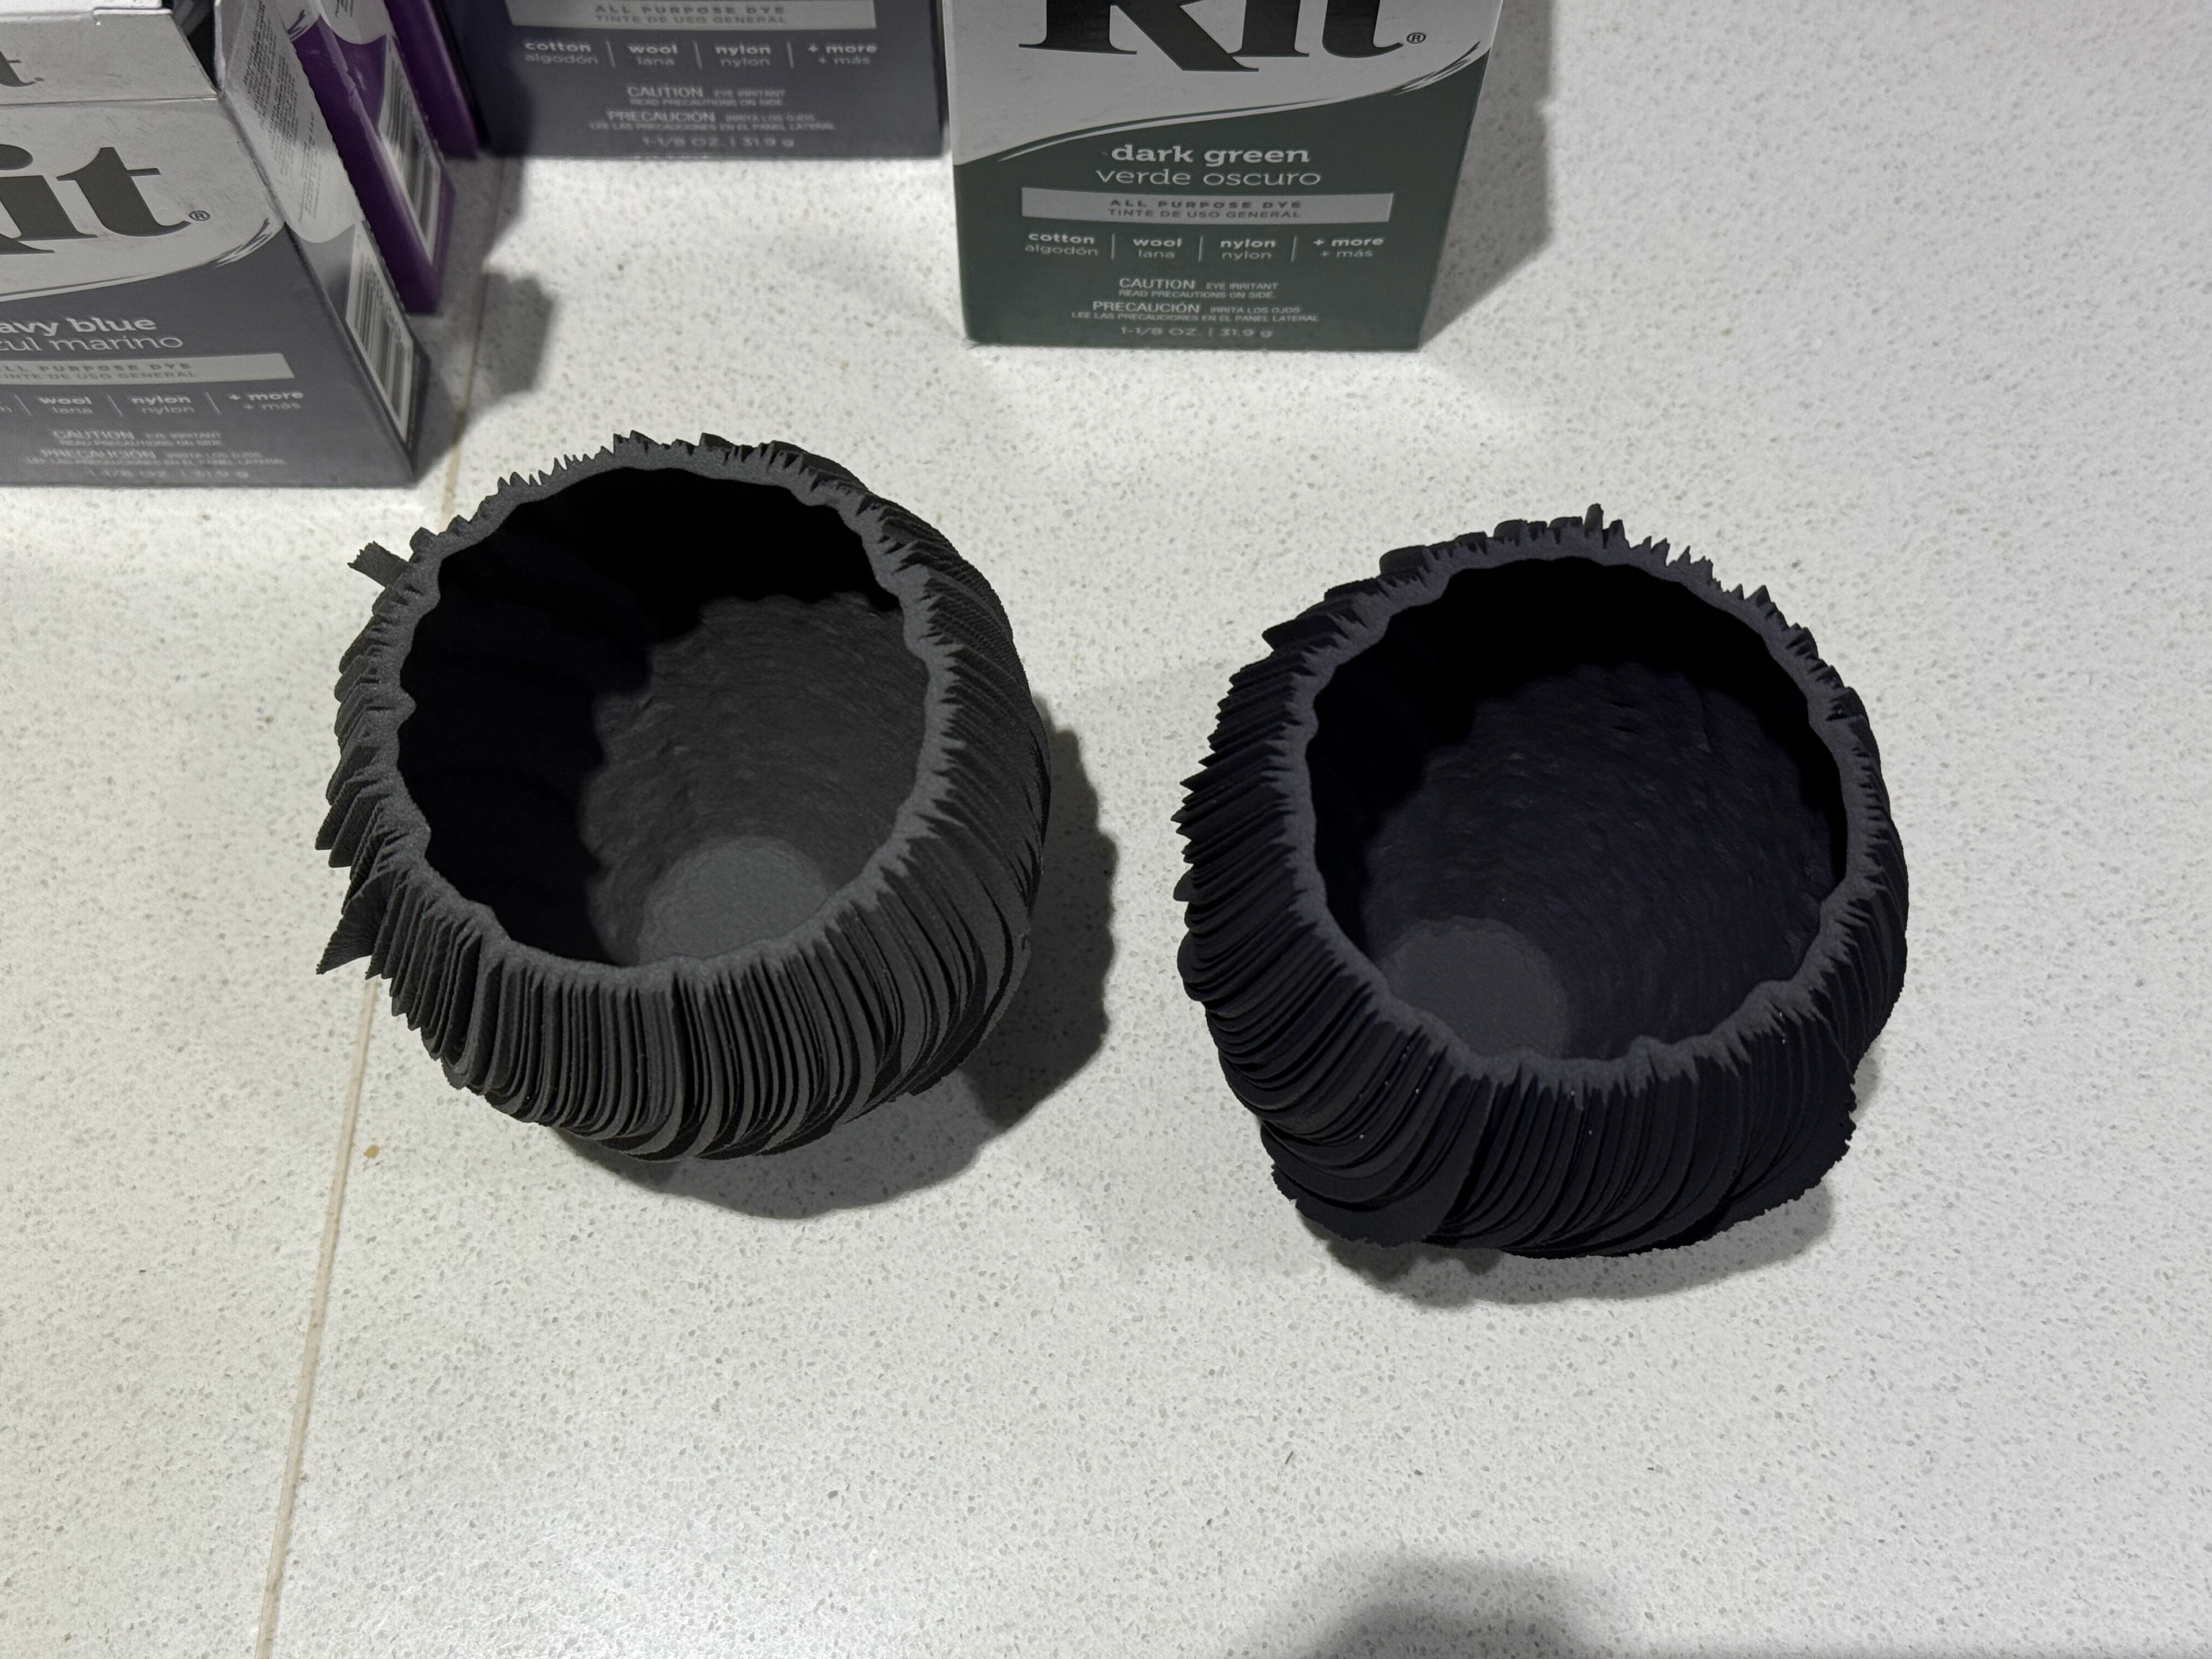
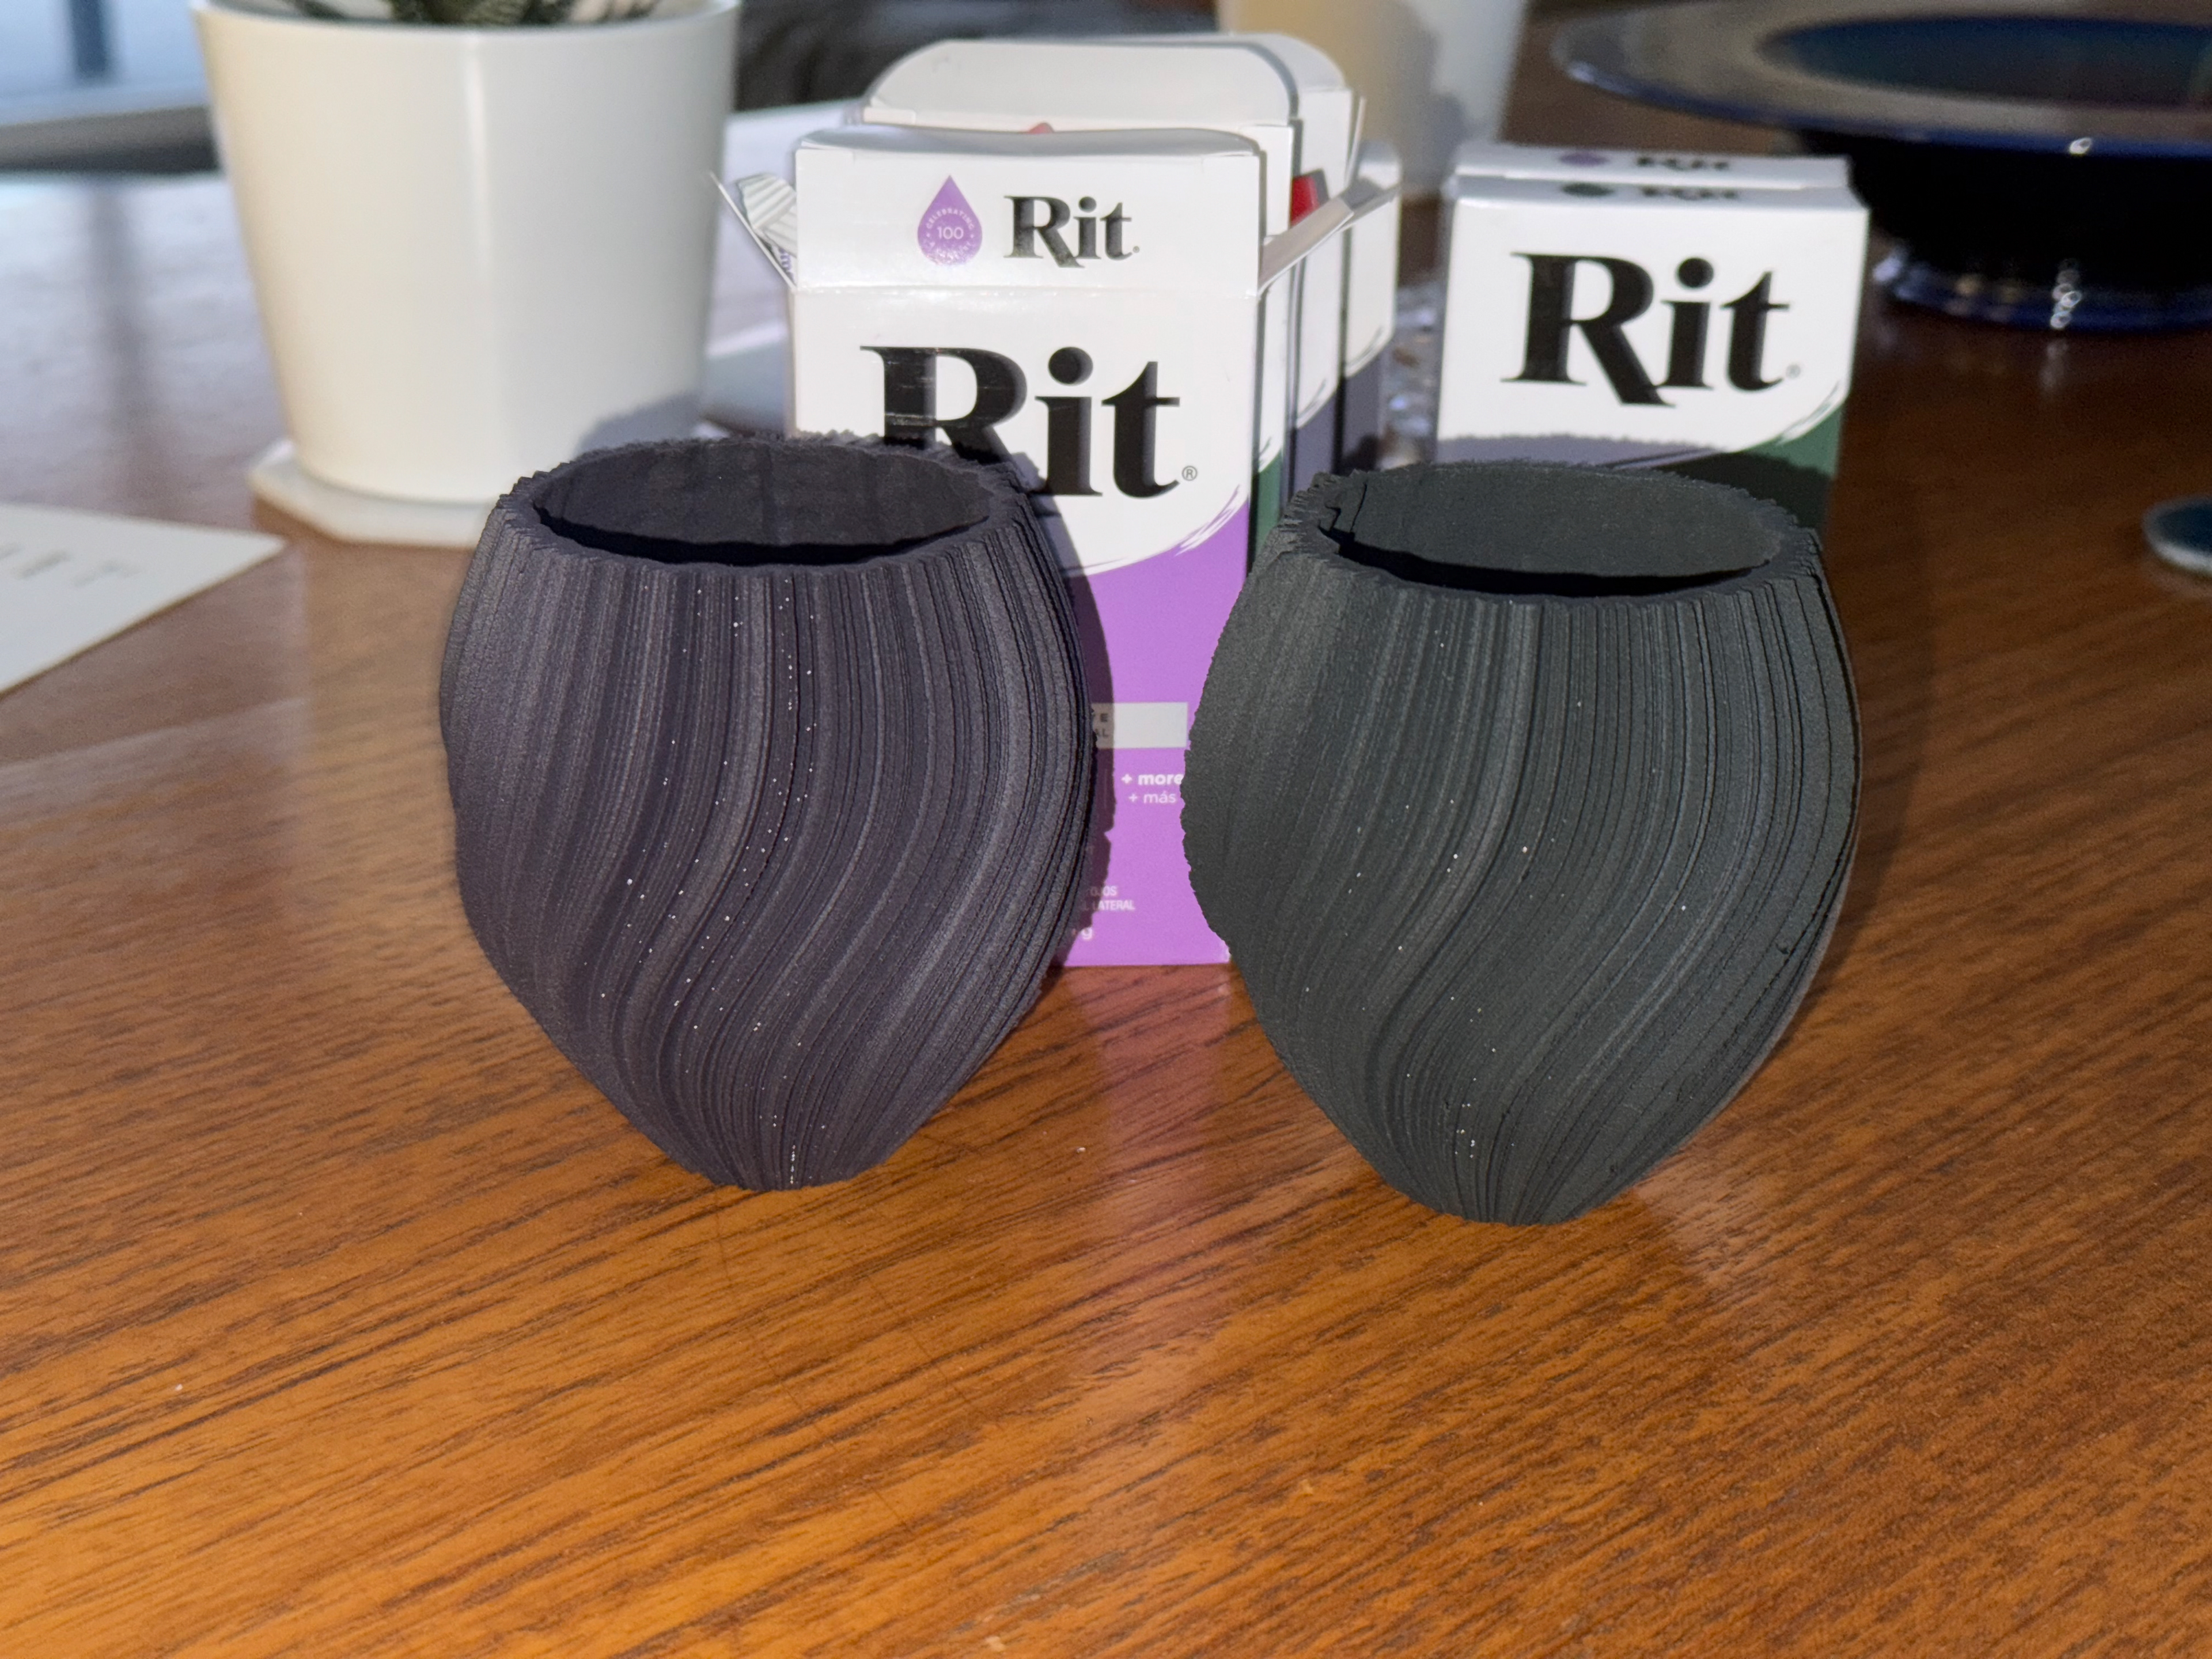
Side by side on a table
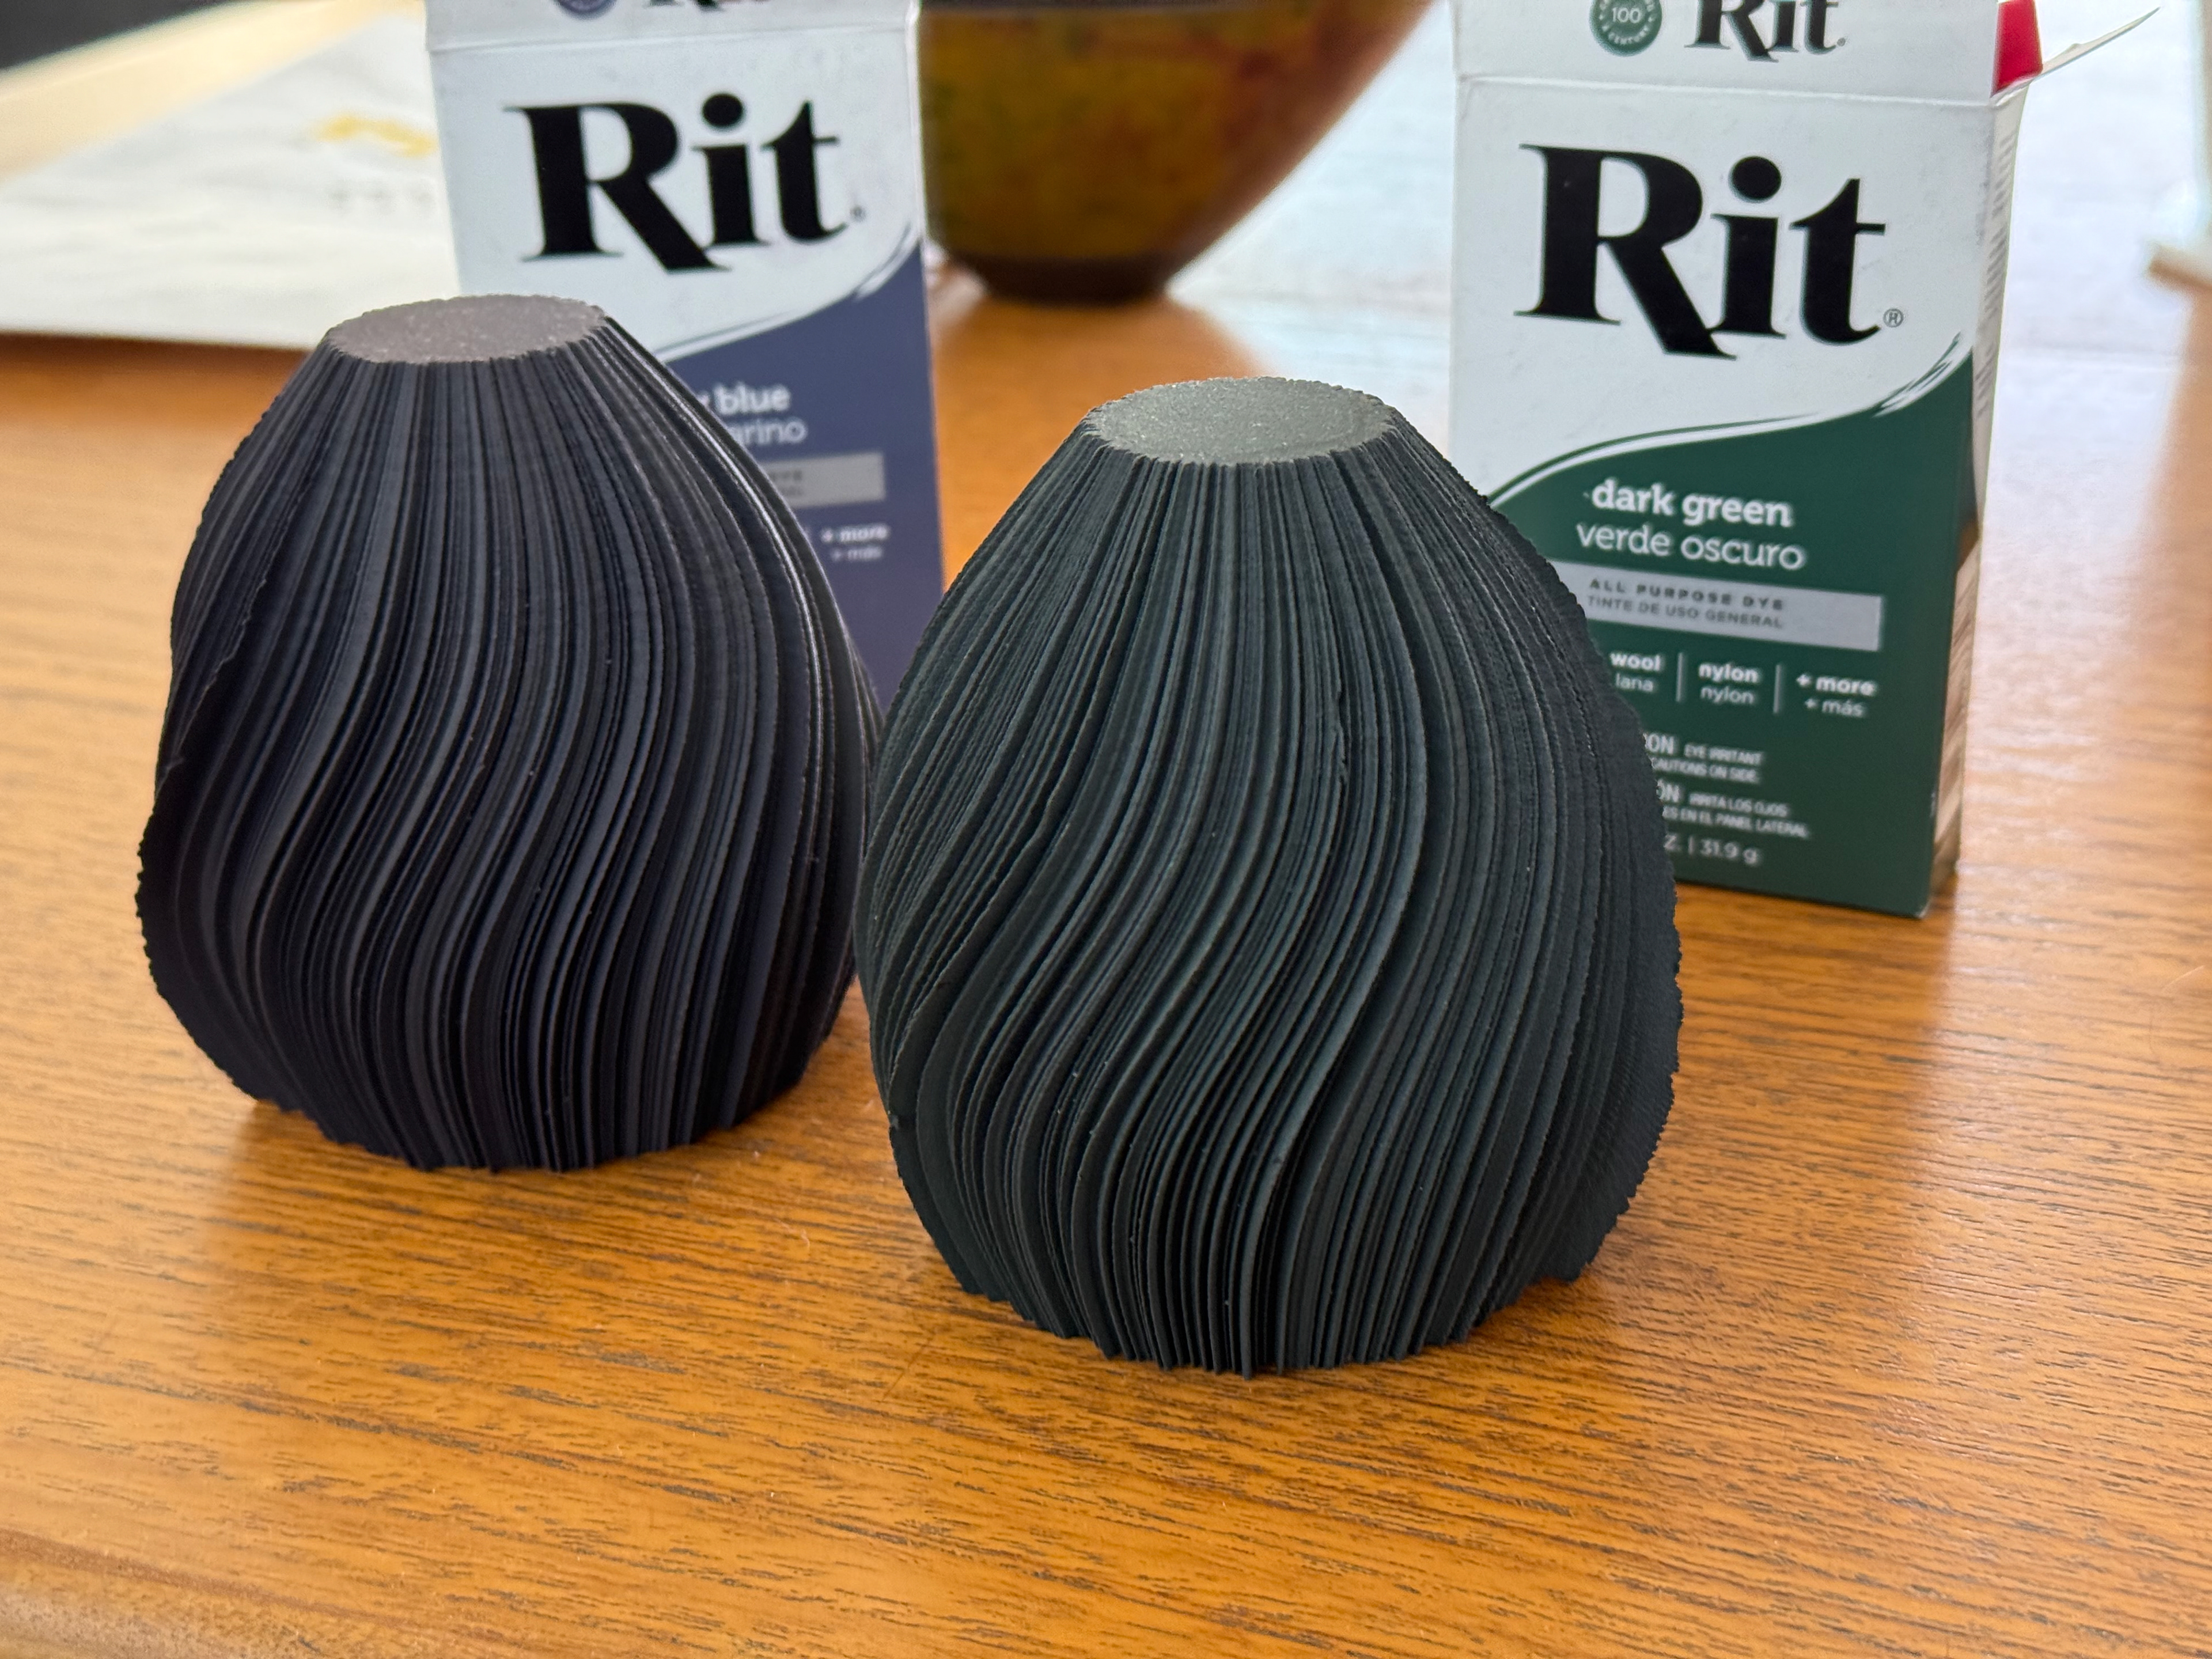
Side by side next to the dye boxes
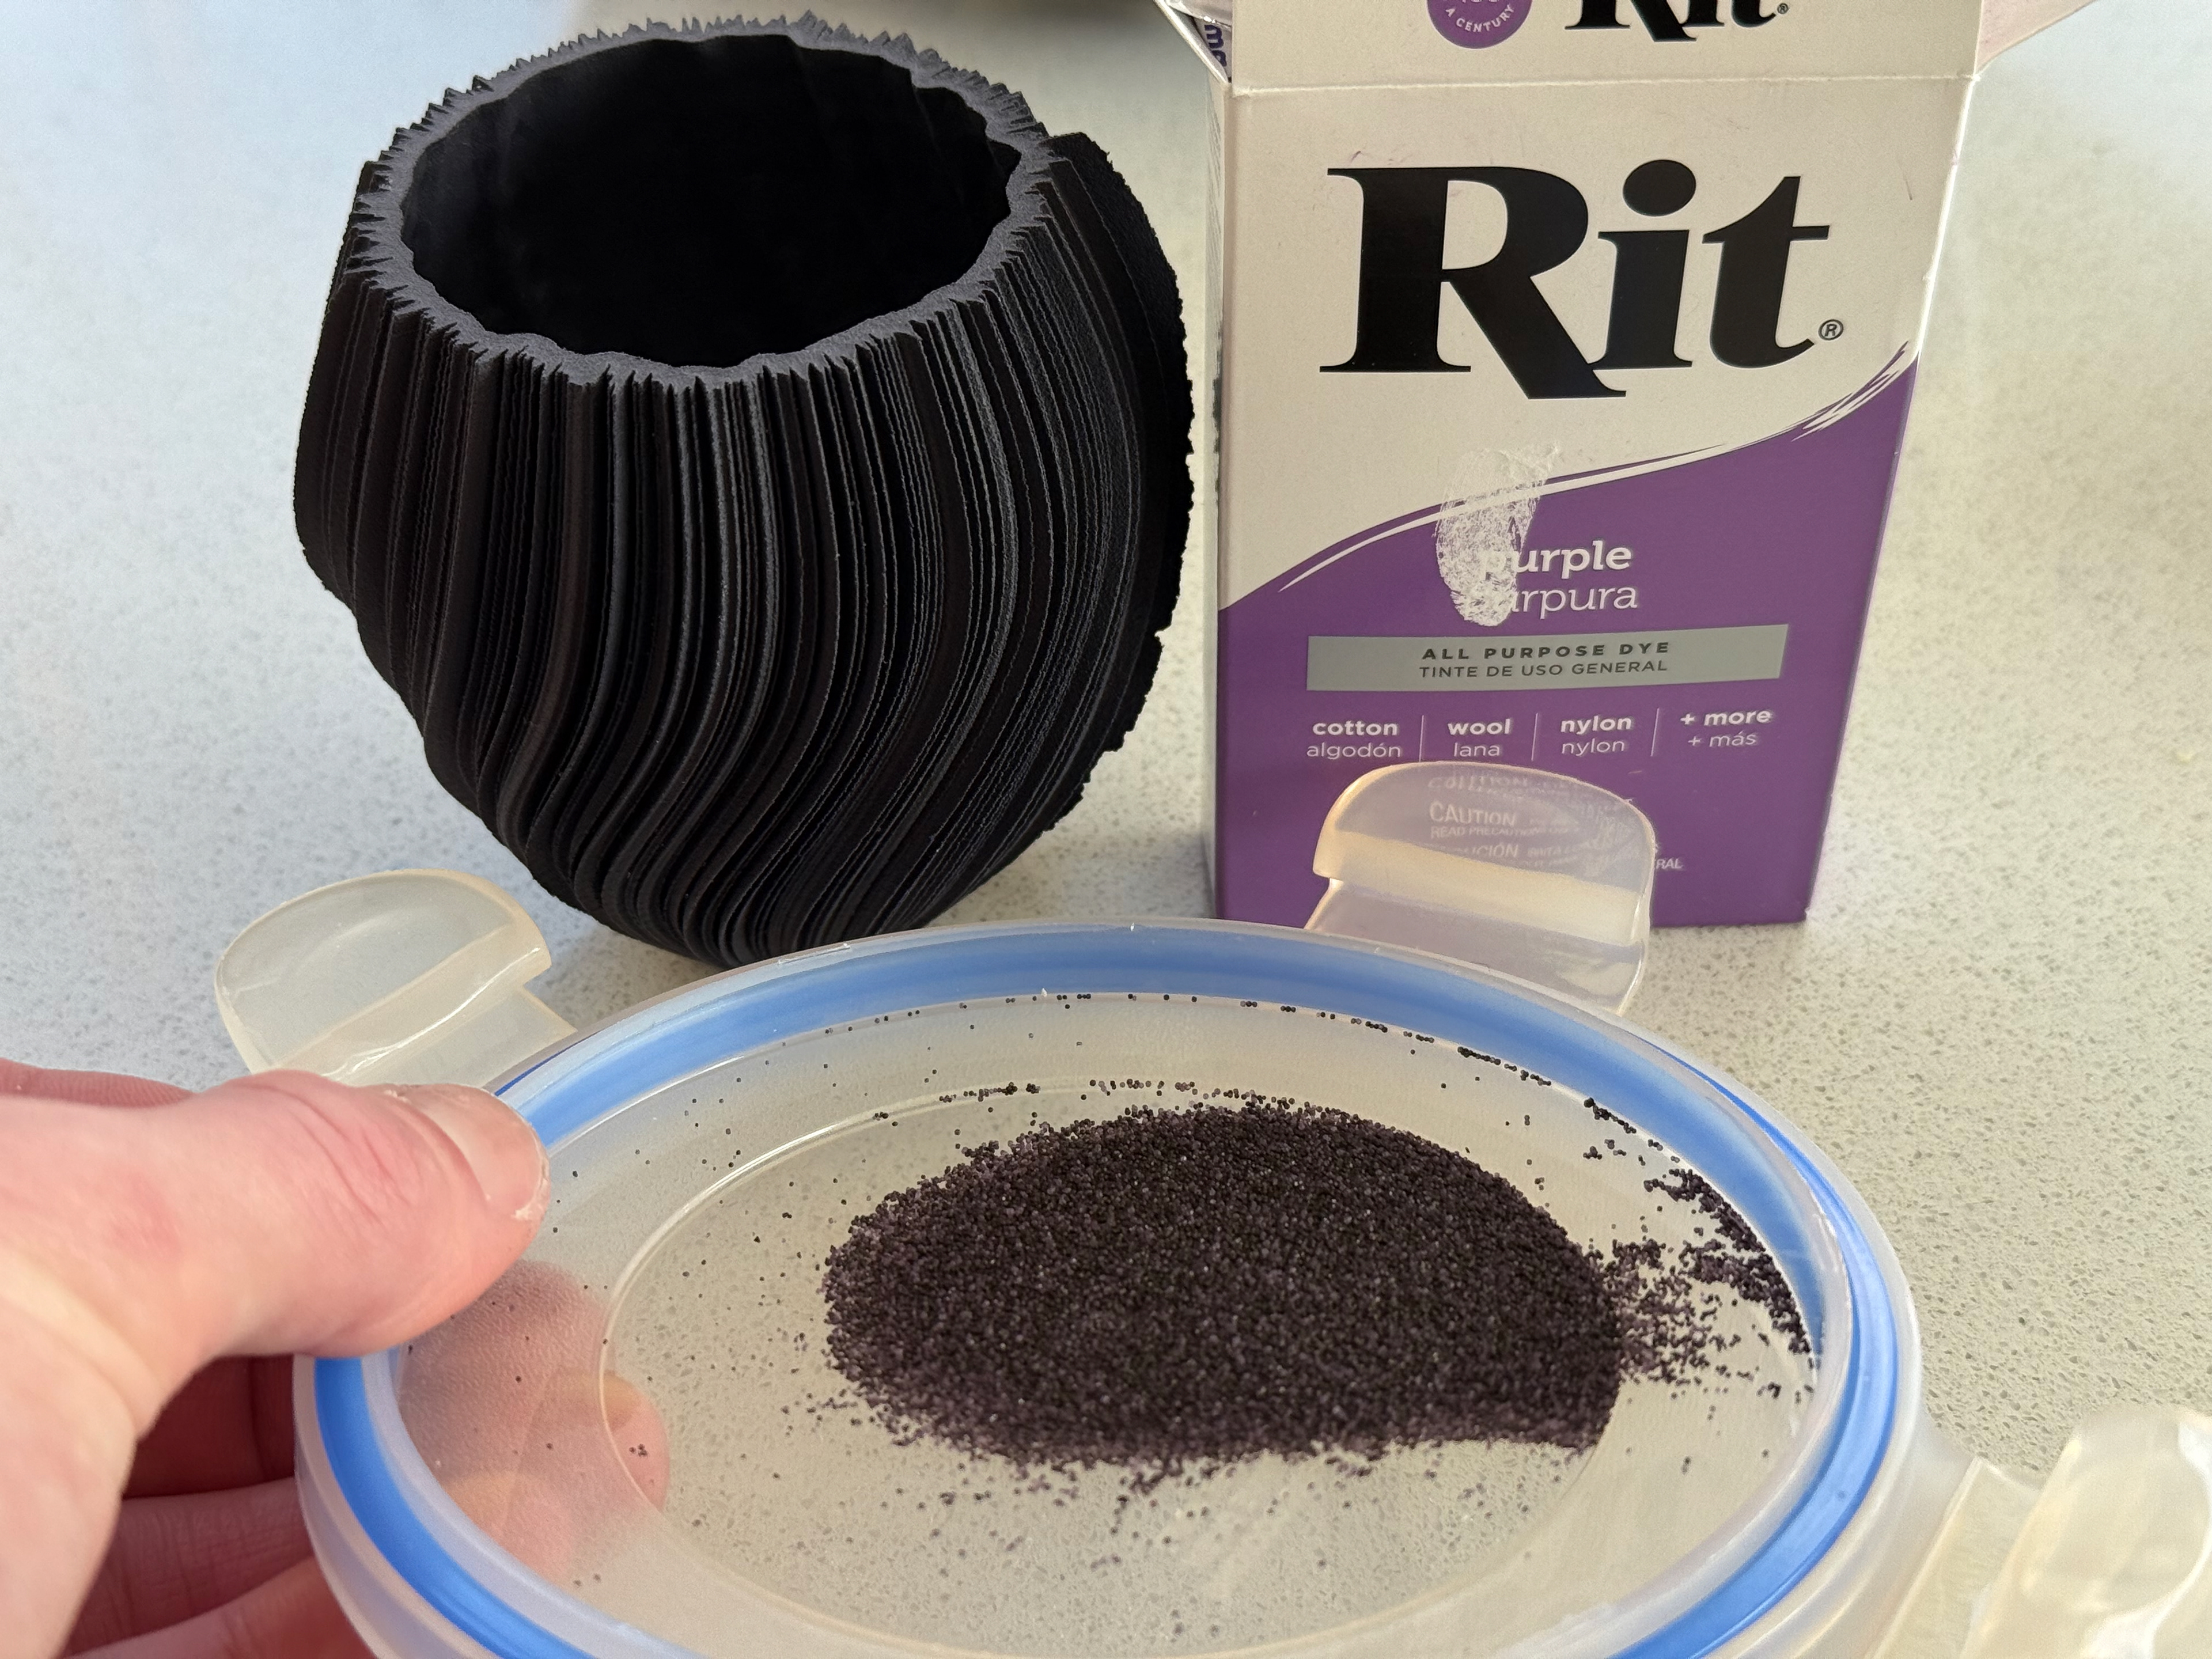
Power weighted out
Tissue colour test
Purple and Green
Purple and Green
Purple and Green
Purple and Green

Cura settings with supports
At this point in the print, I noticed a small issue - the print was flexing up which caused the extruder and casing to slightly catch on the side however it hadn't done any damage so I left it
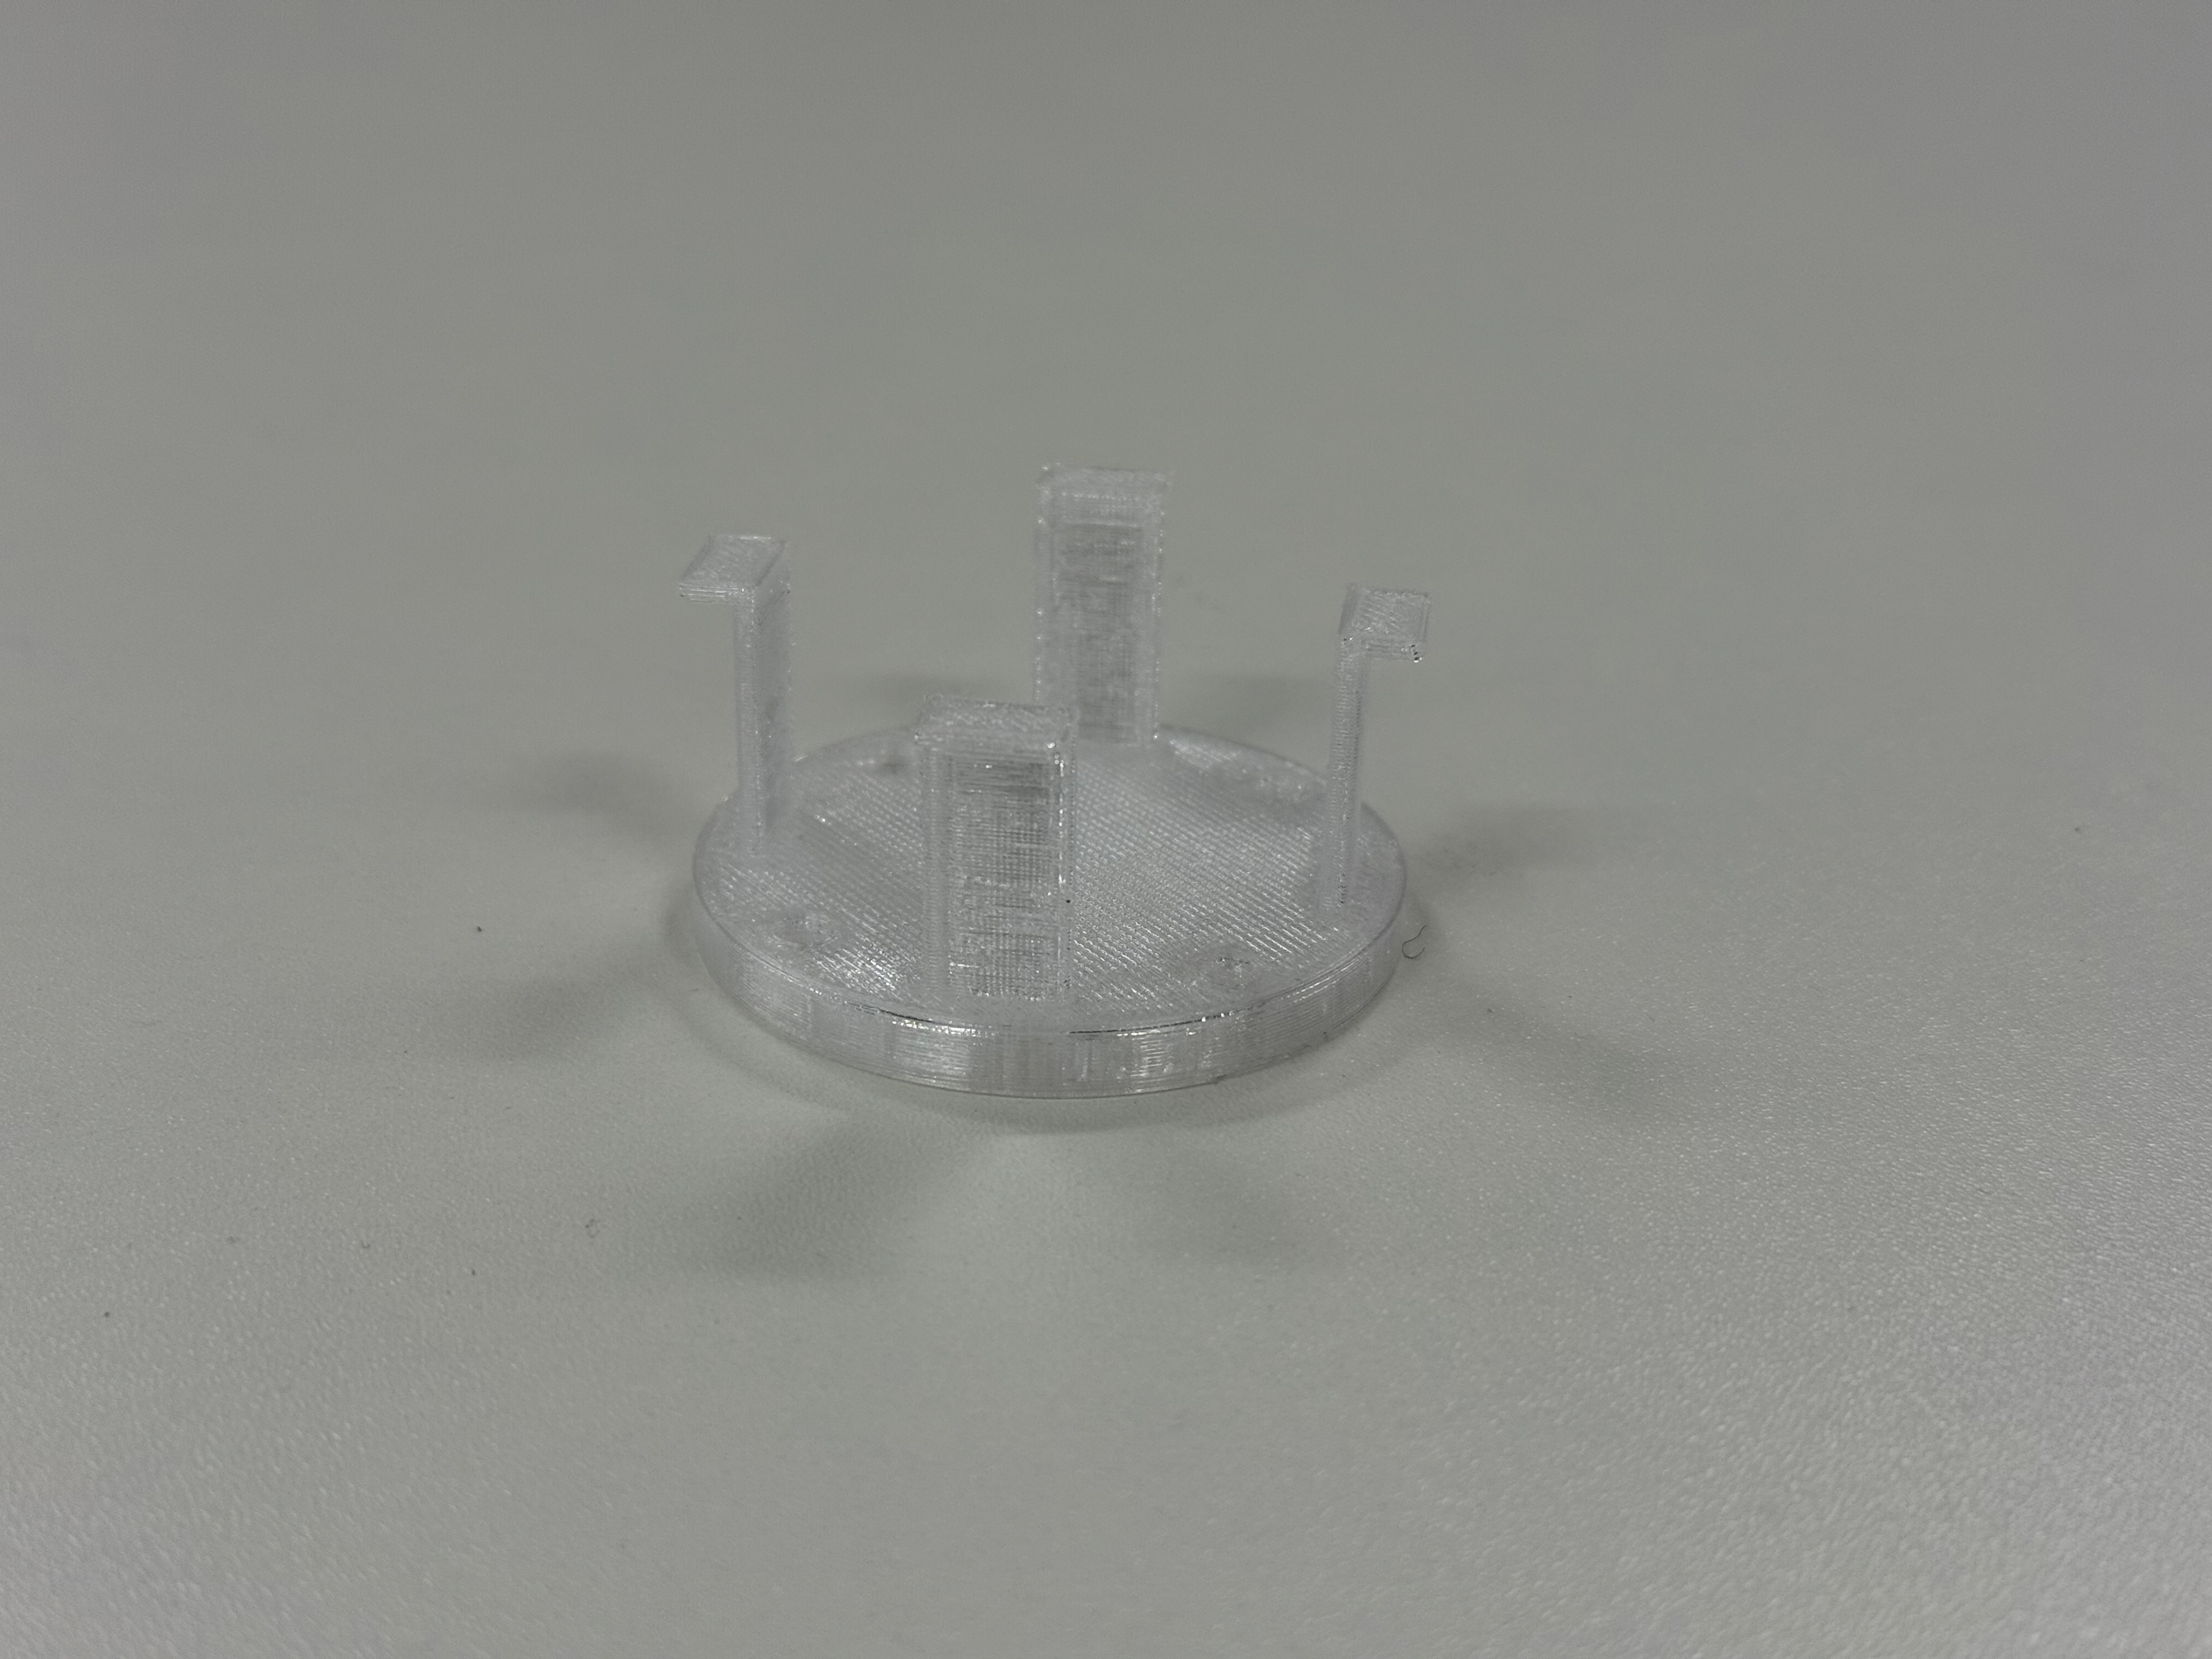
Finished Print
The support's couldn't be fully removed without casing damage
There were still sections it failed to print but considering supports didn't help, there isn't much I can do
Cura settings
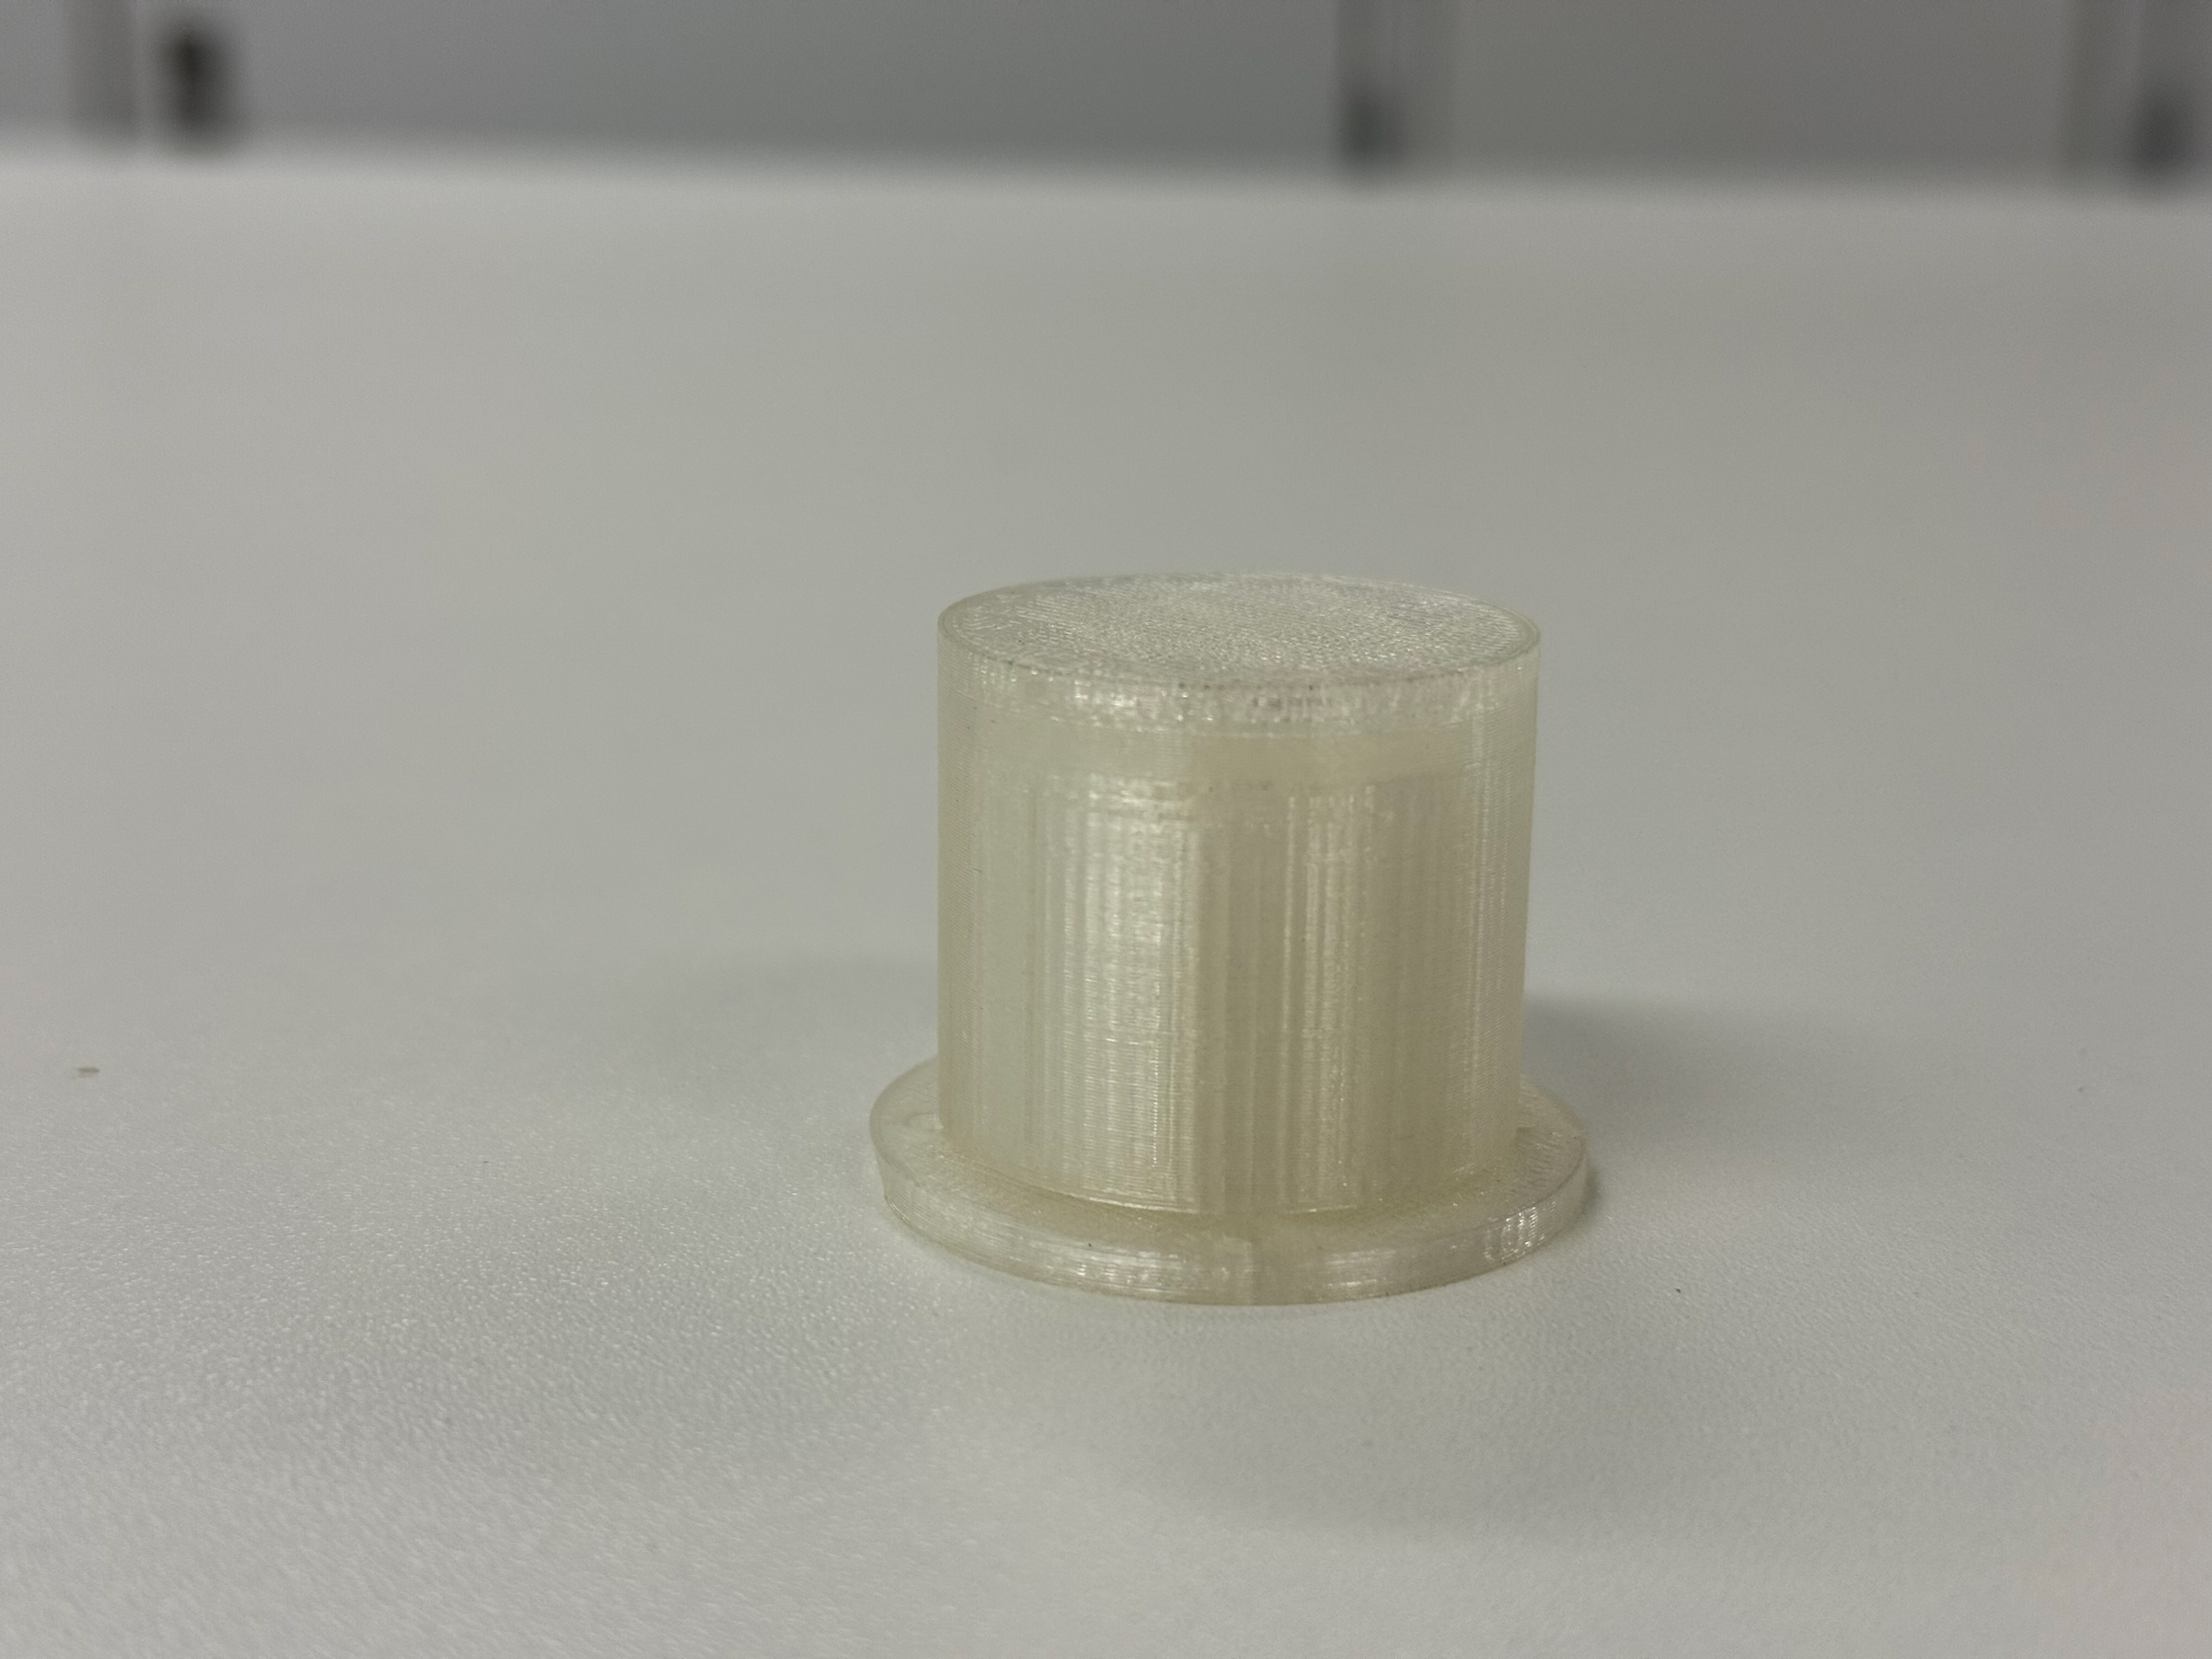
The printed piece
Piece inside the object
Doesn't hold it straight
Less tall and used the backing to stop slides
Cura Settings for both
Support block and part broken off
Support block and part broken off
Cura settings
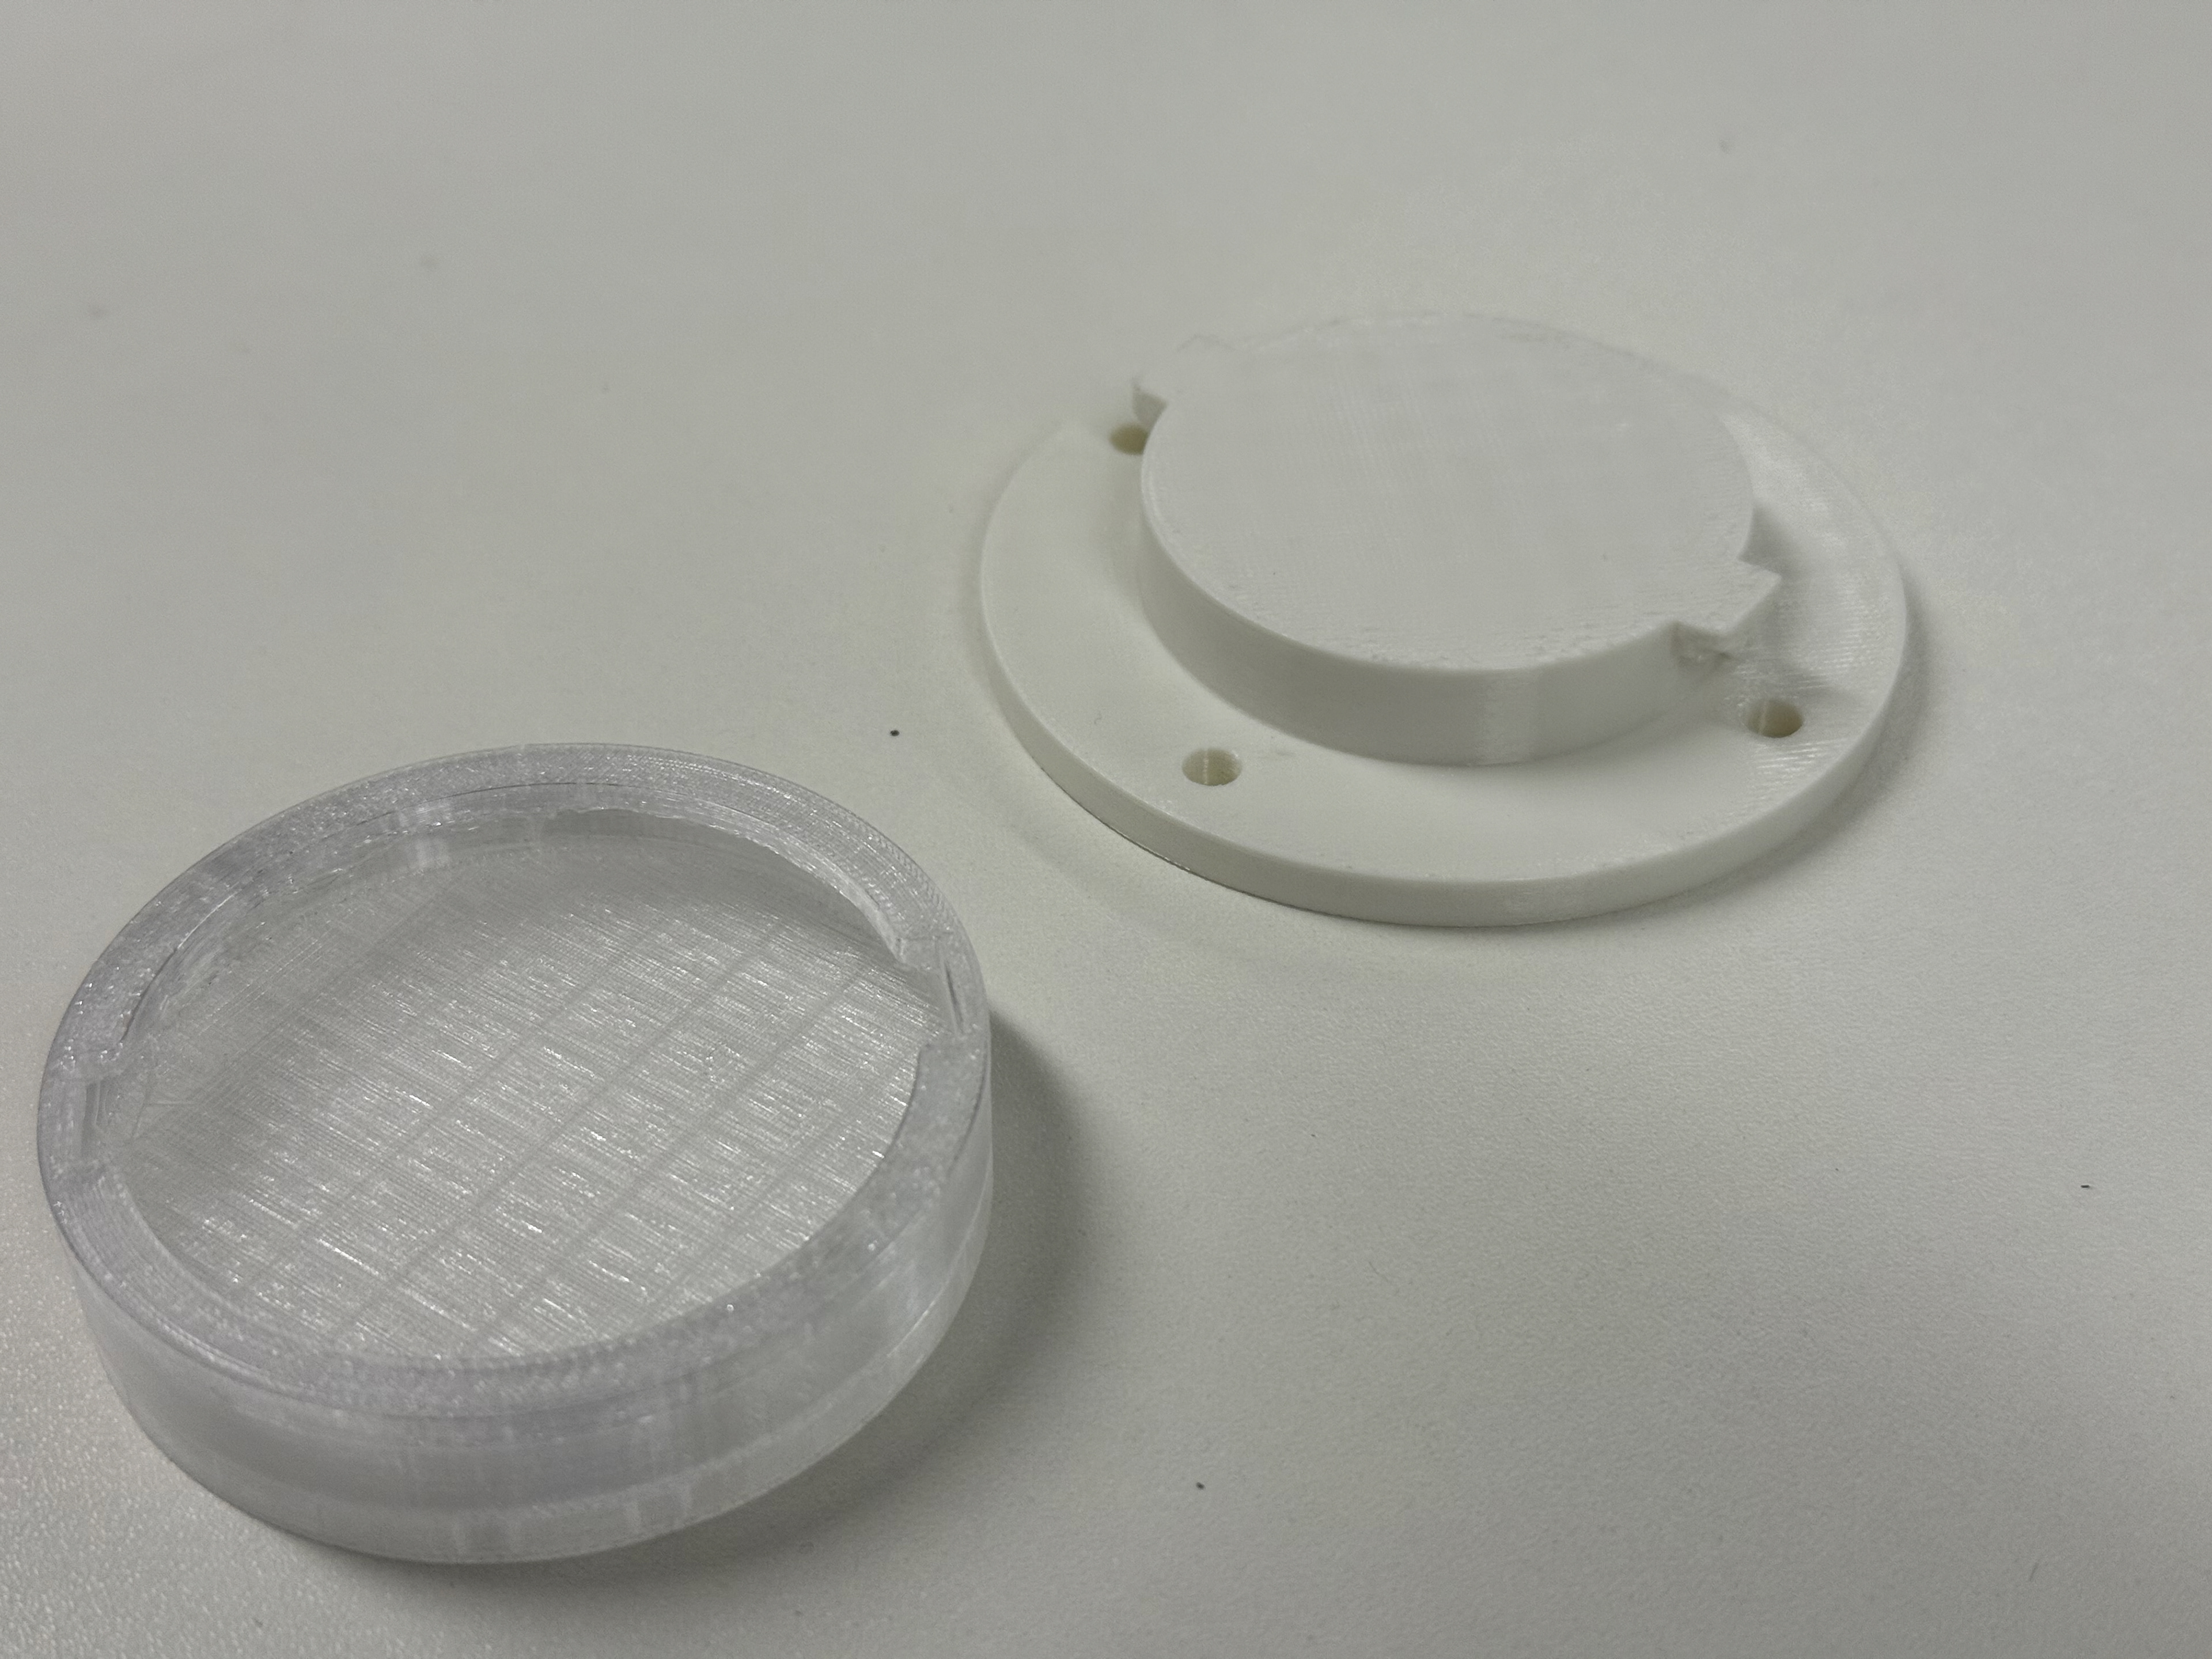
The two parts
I didn't account for tolerance
3% tolerance applied
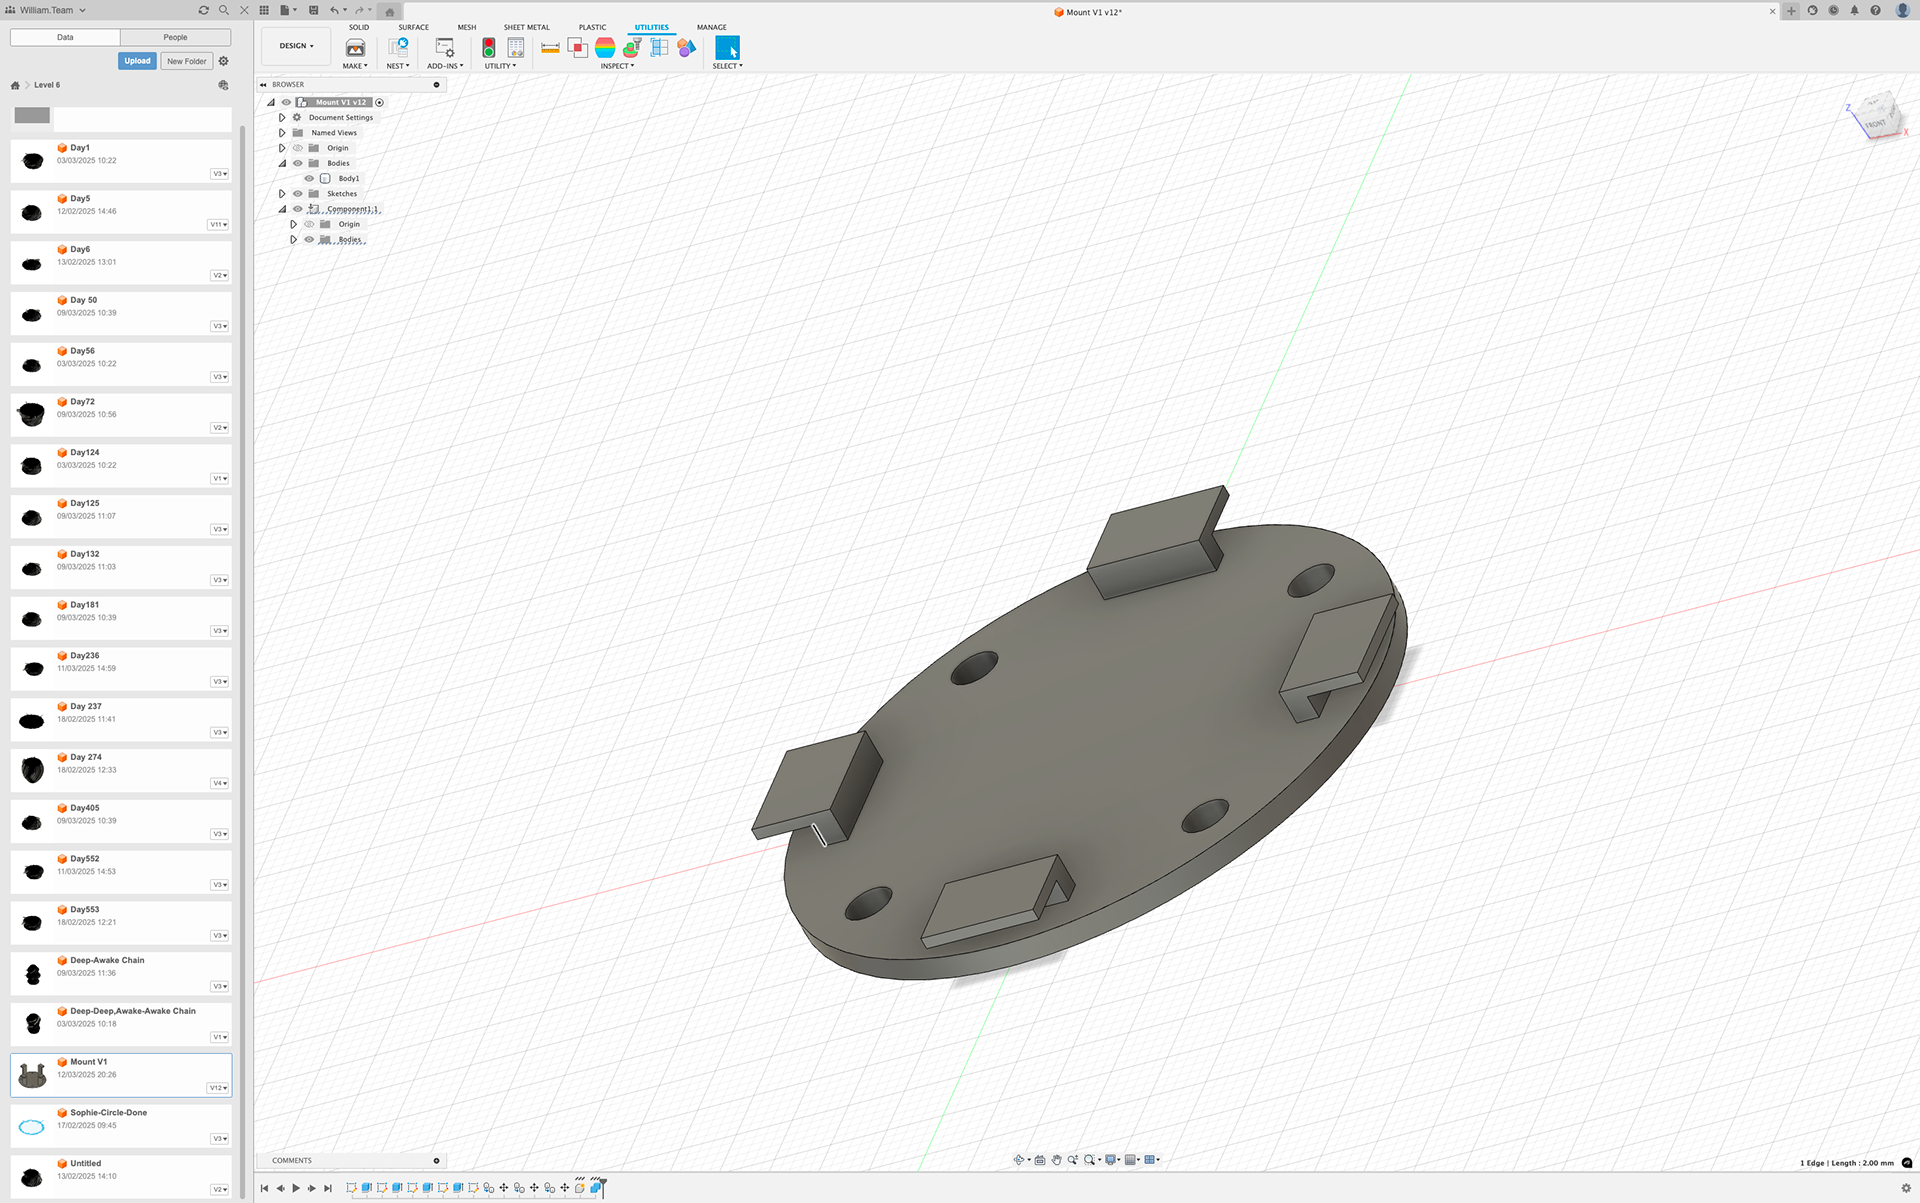
Added screw holes
the two parts
Still not enough tolerance
Cura settings
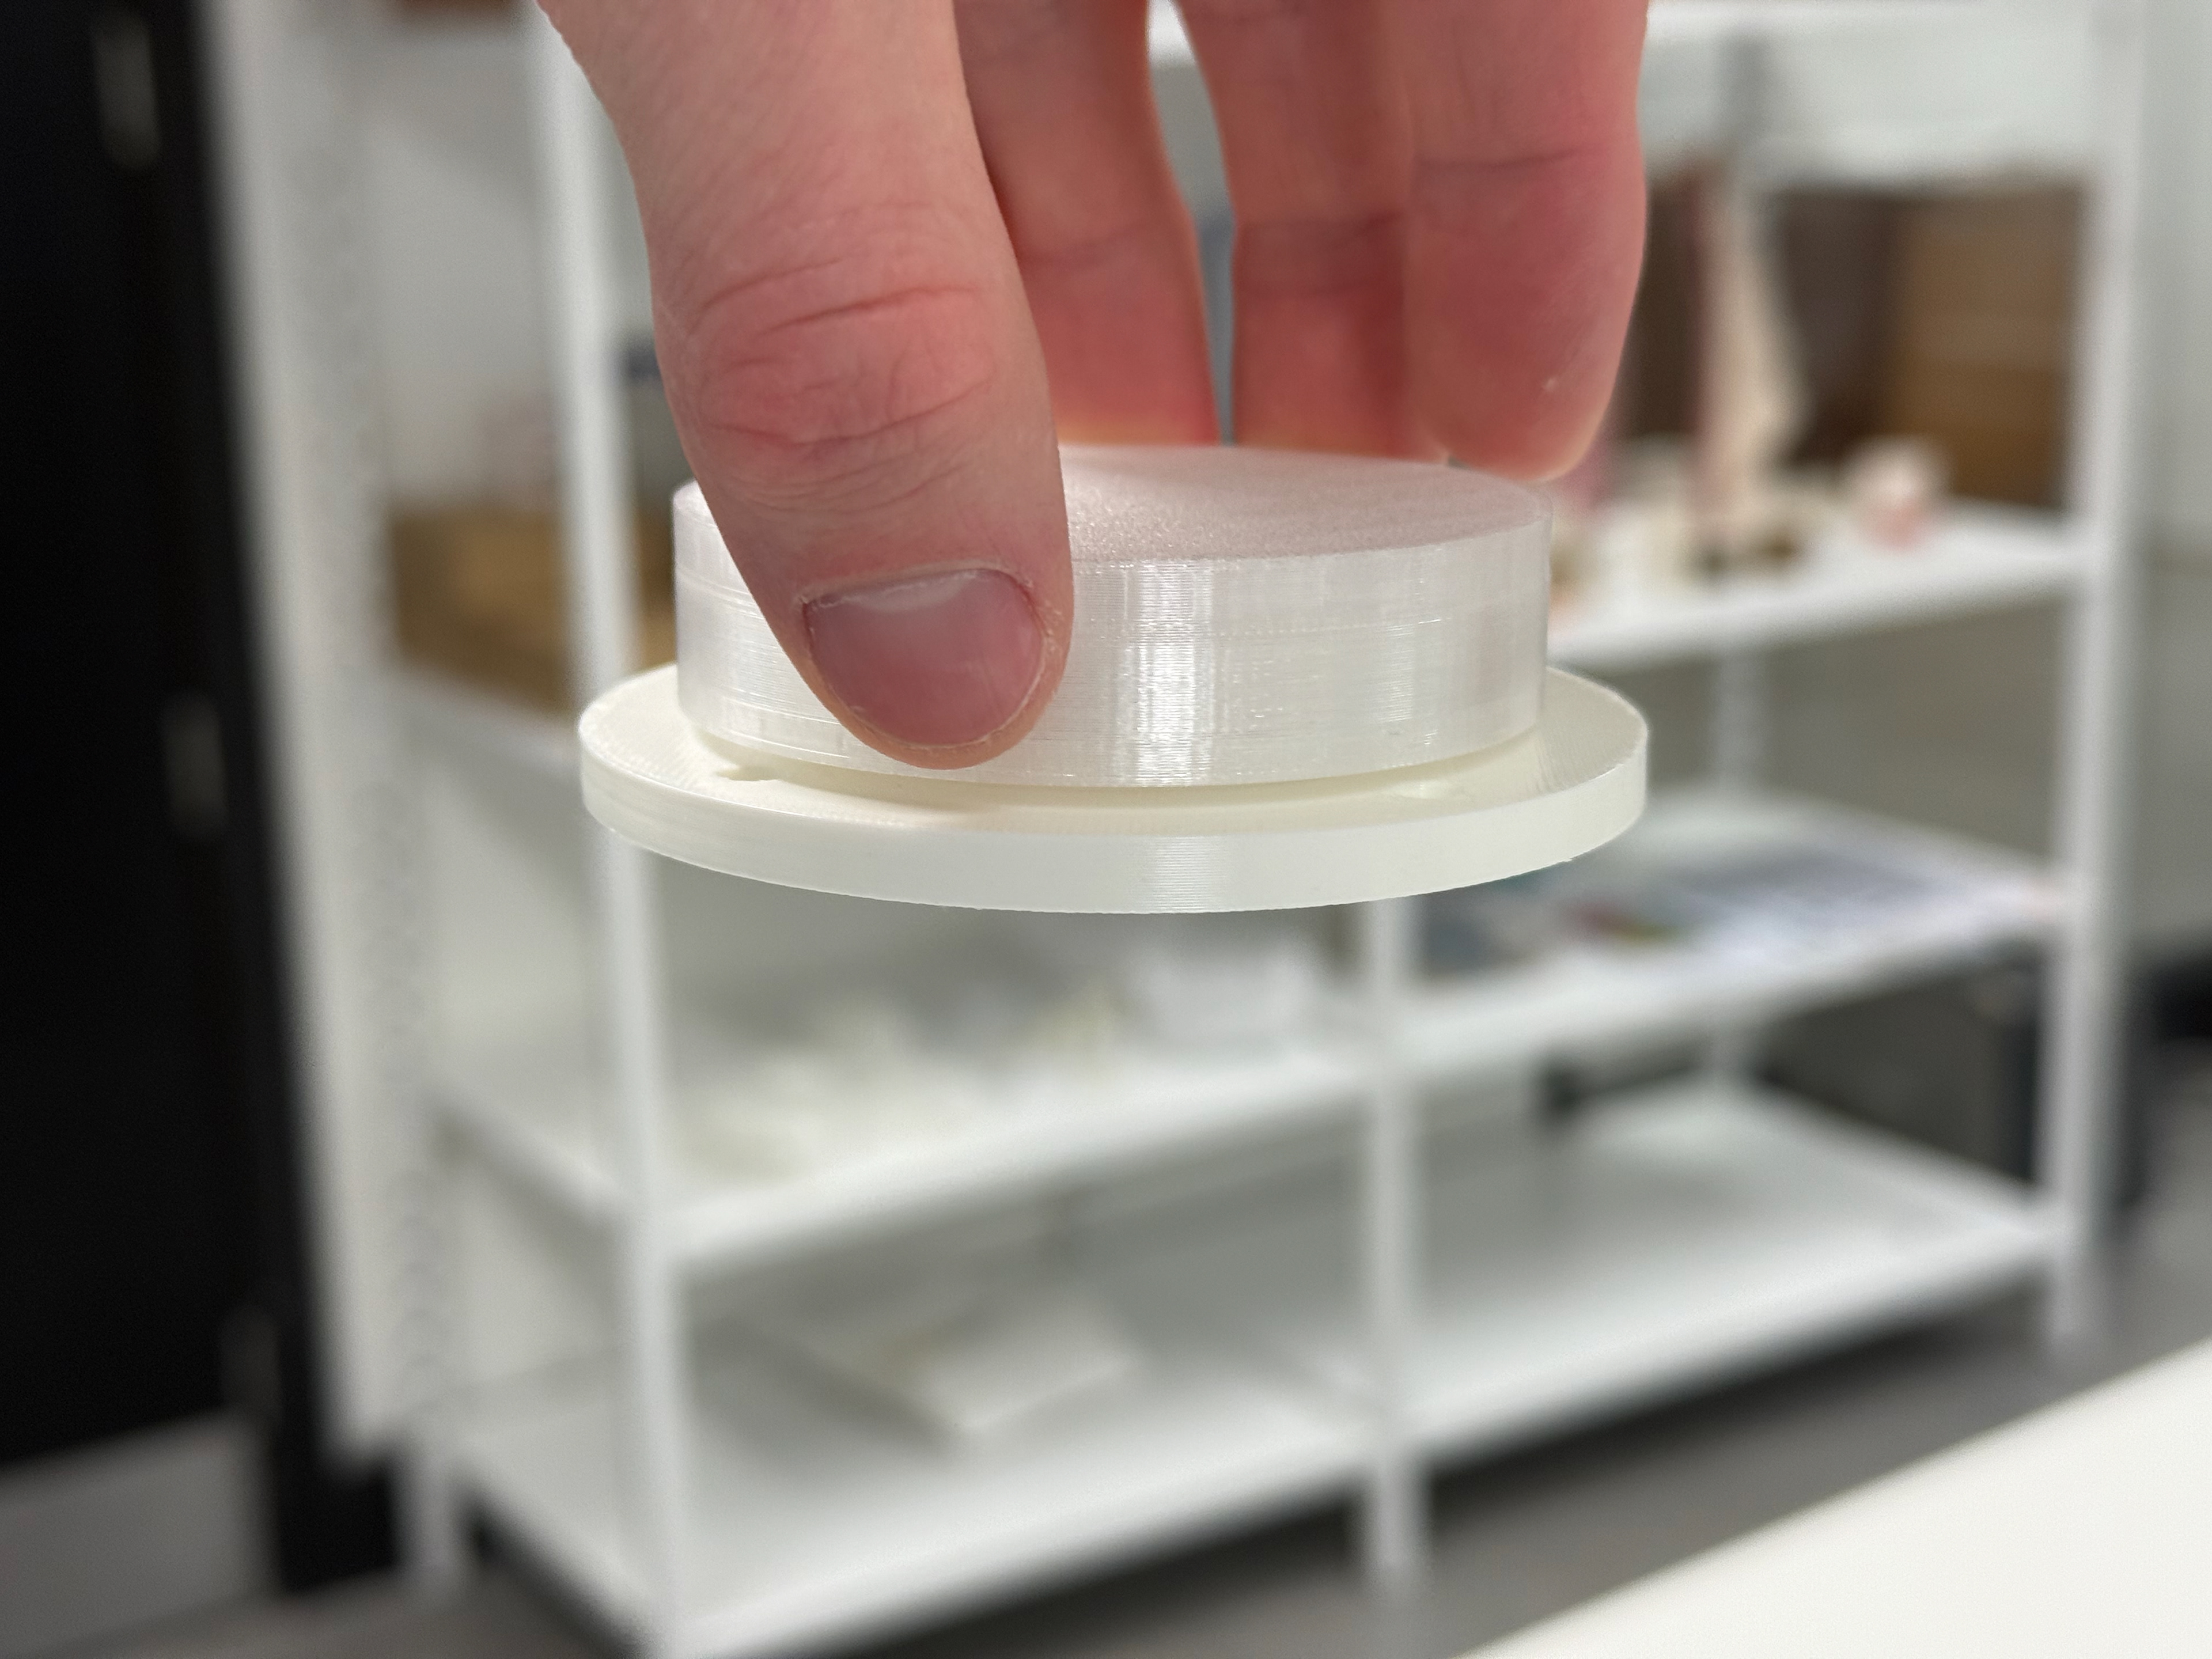
Fit together but slightly too small tolerance
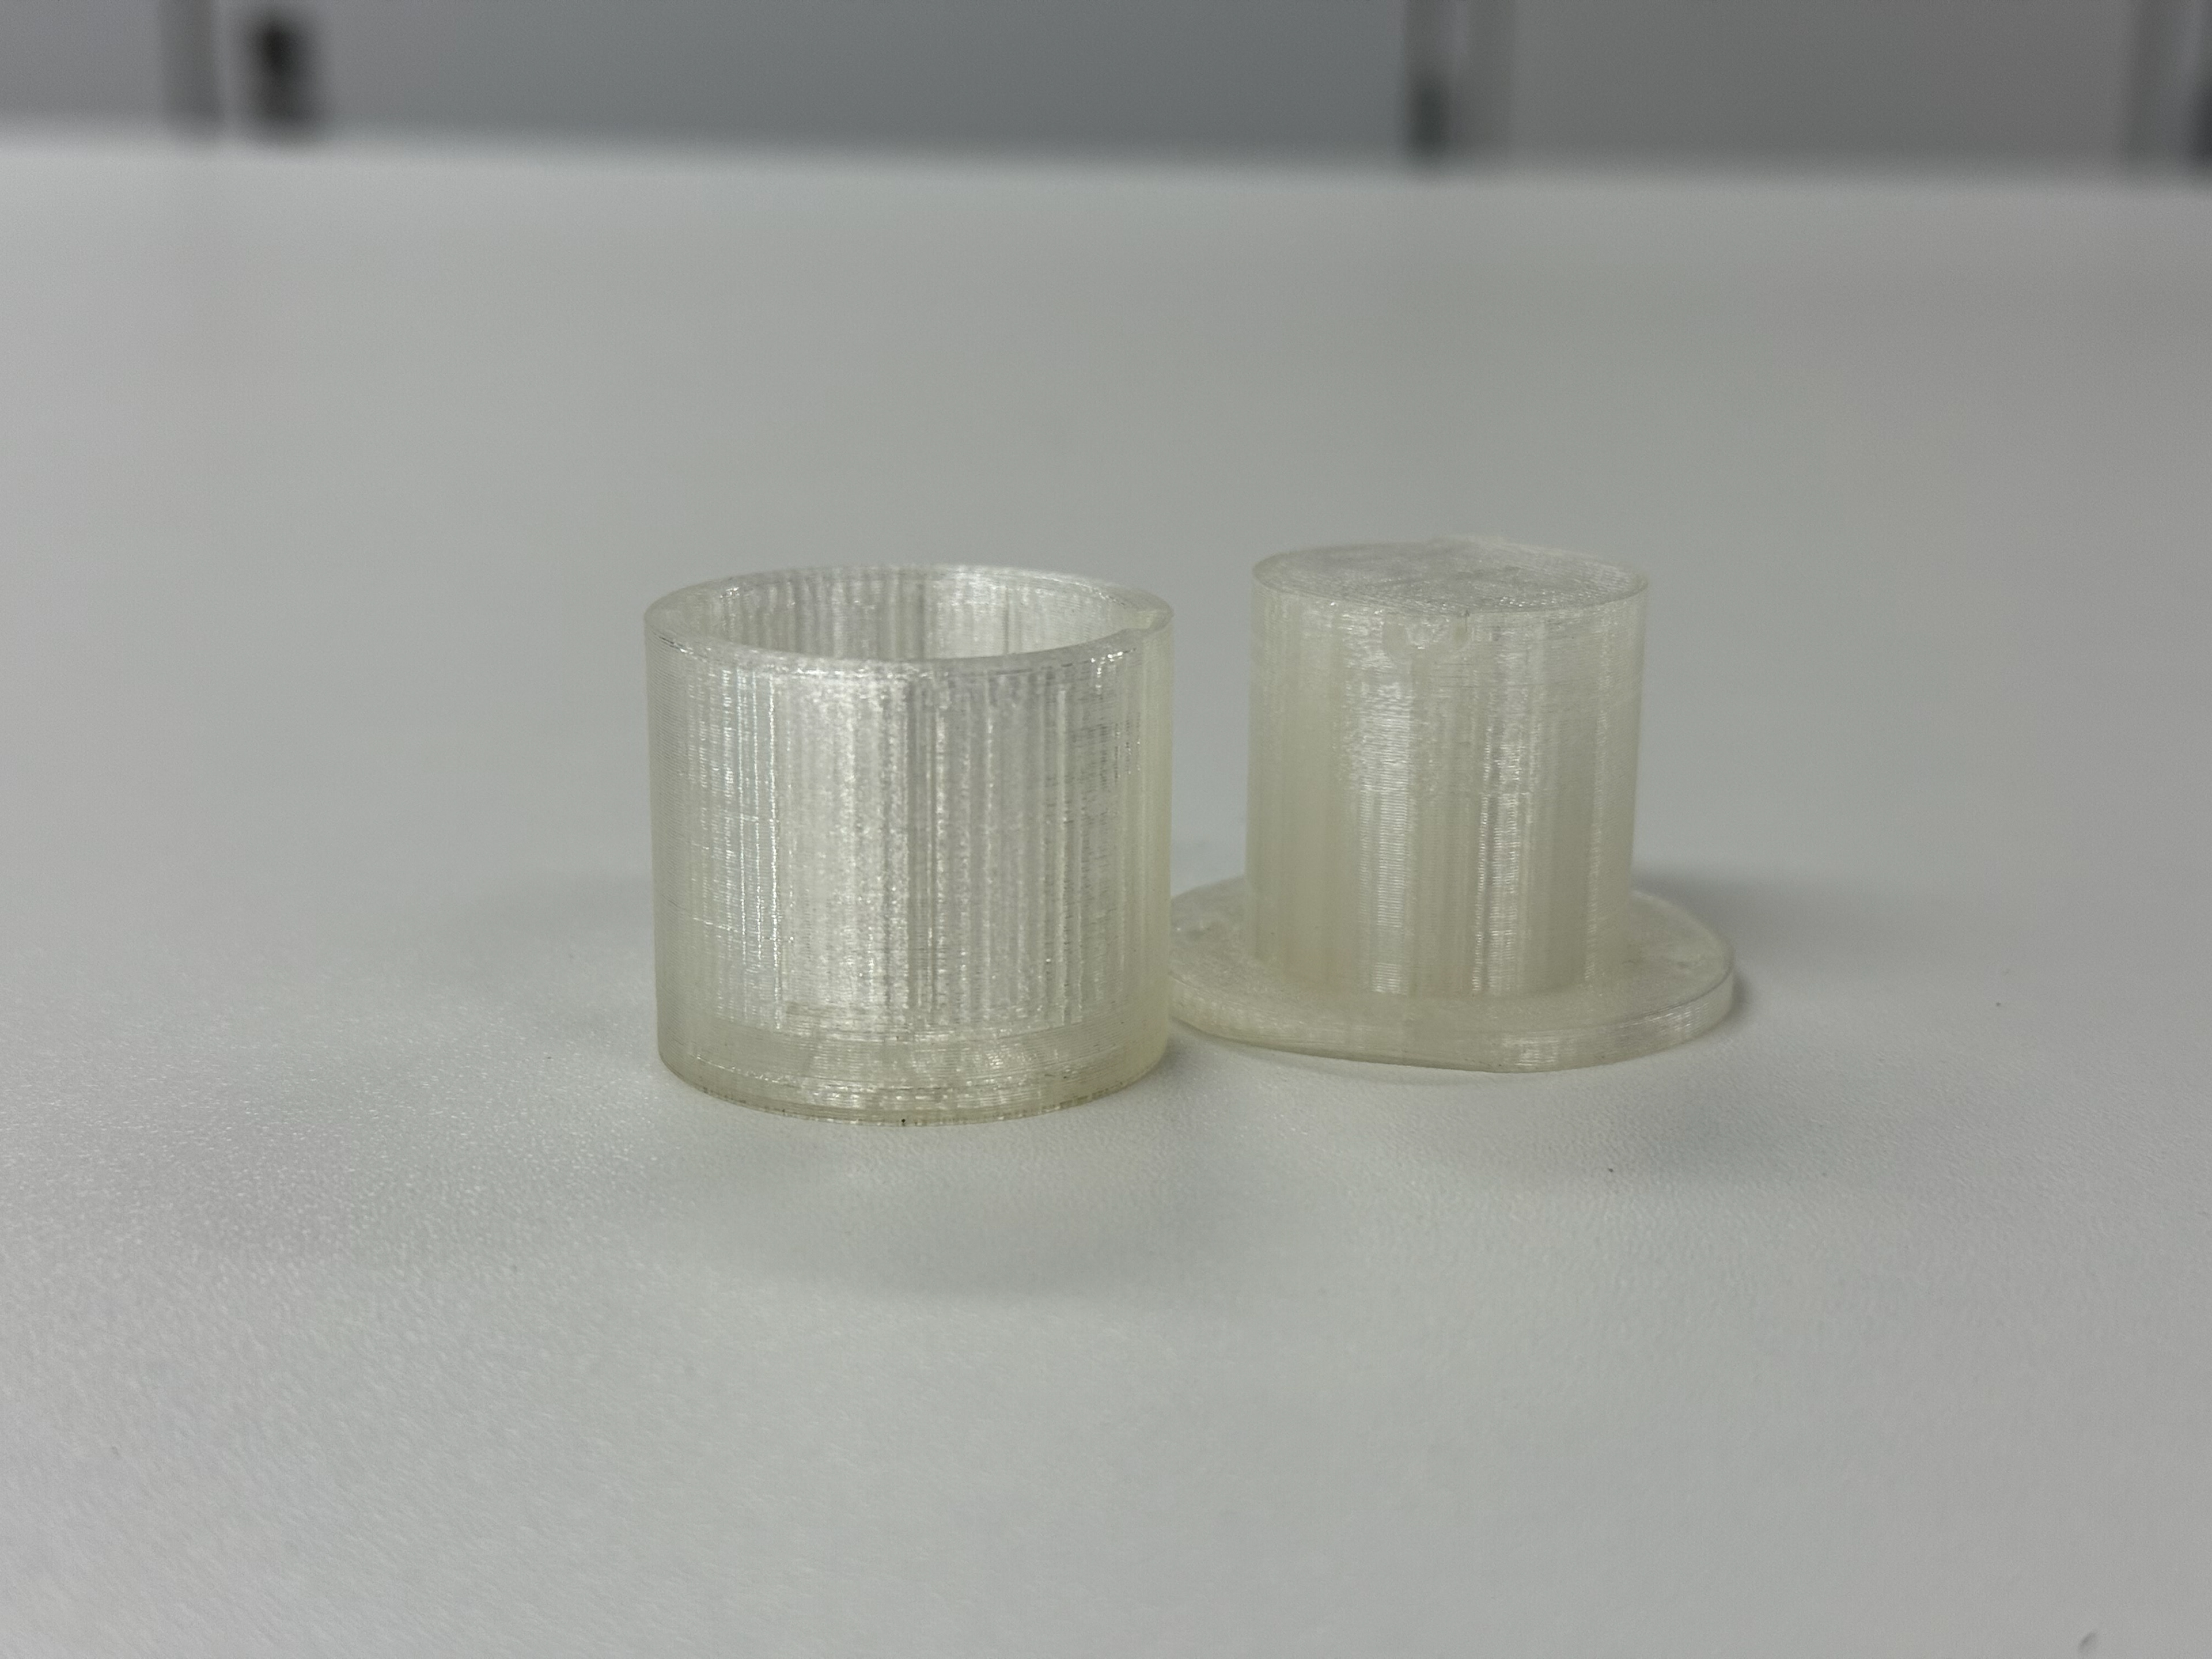
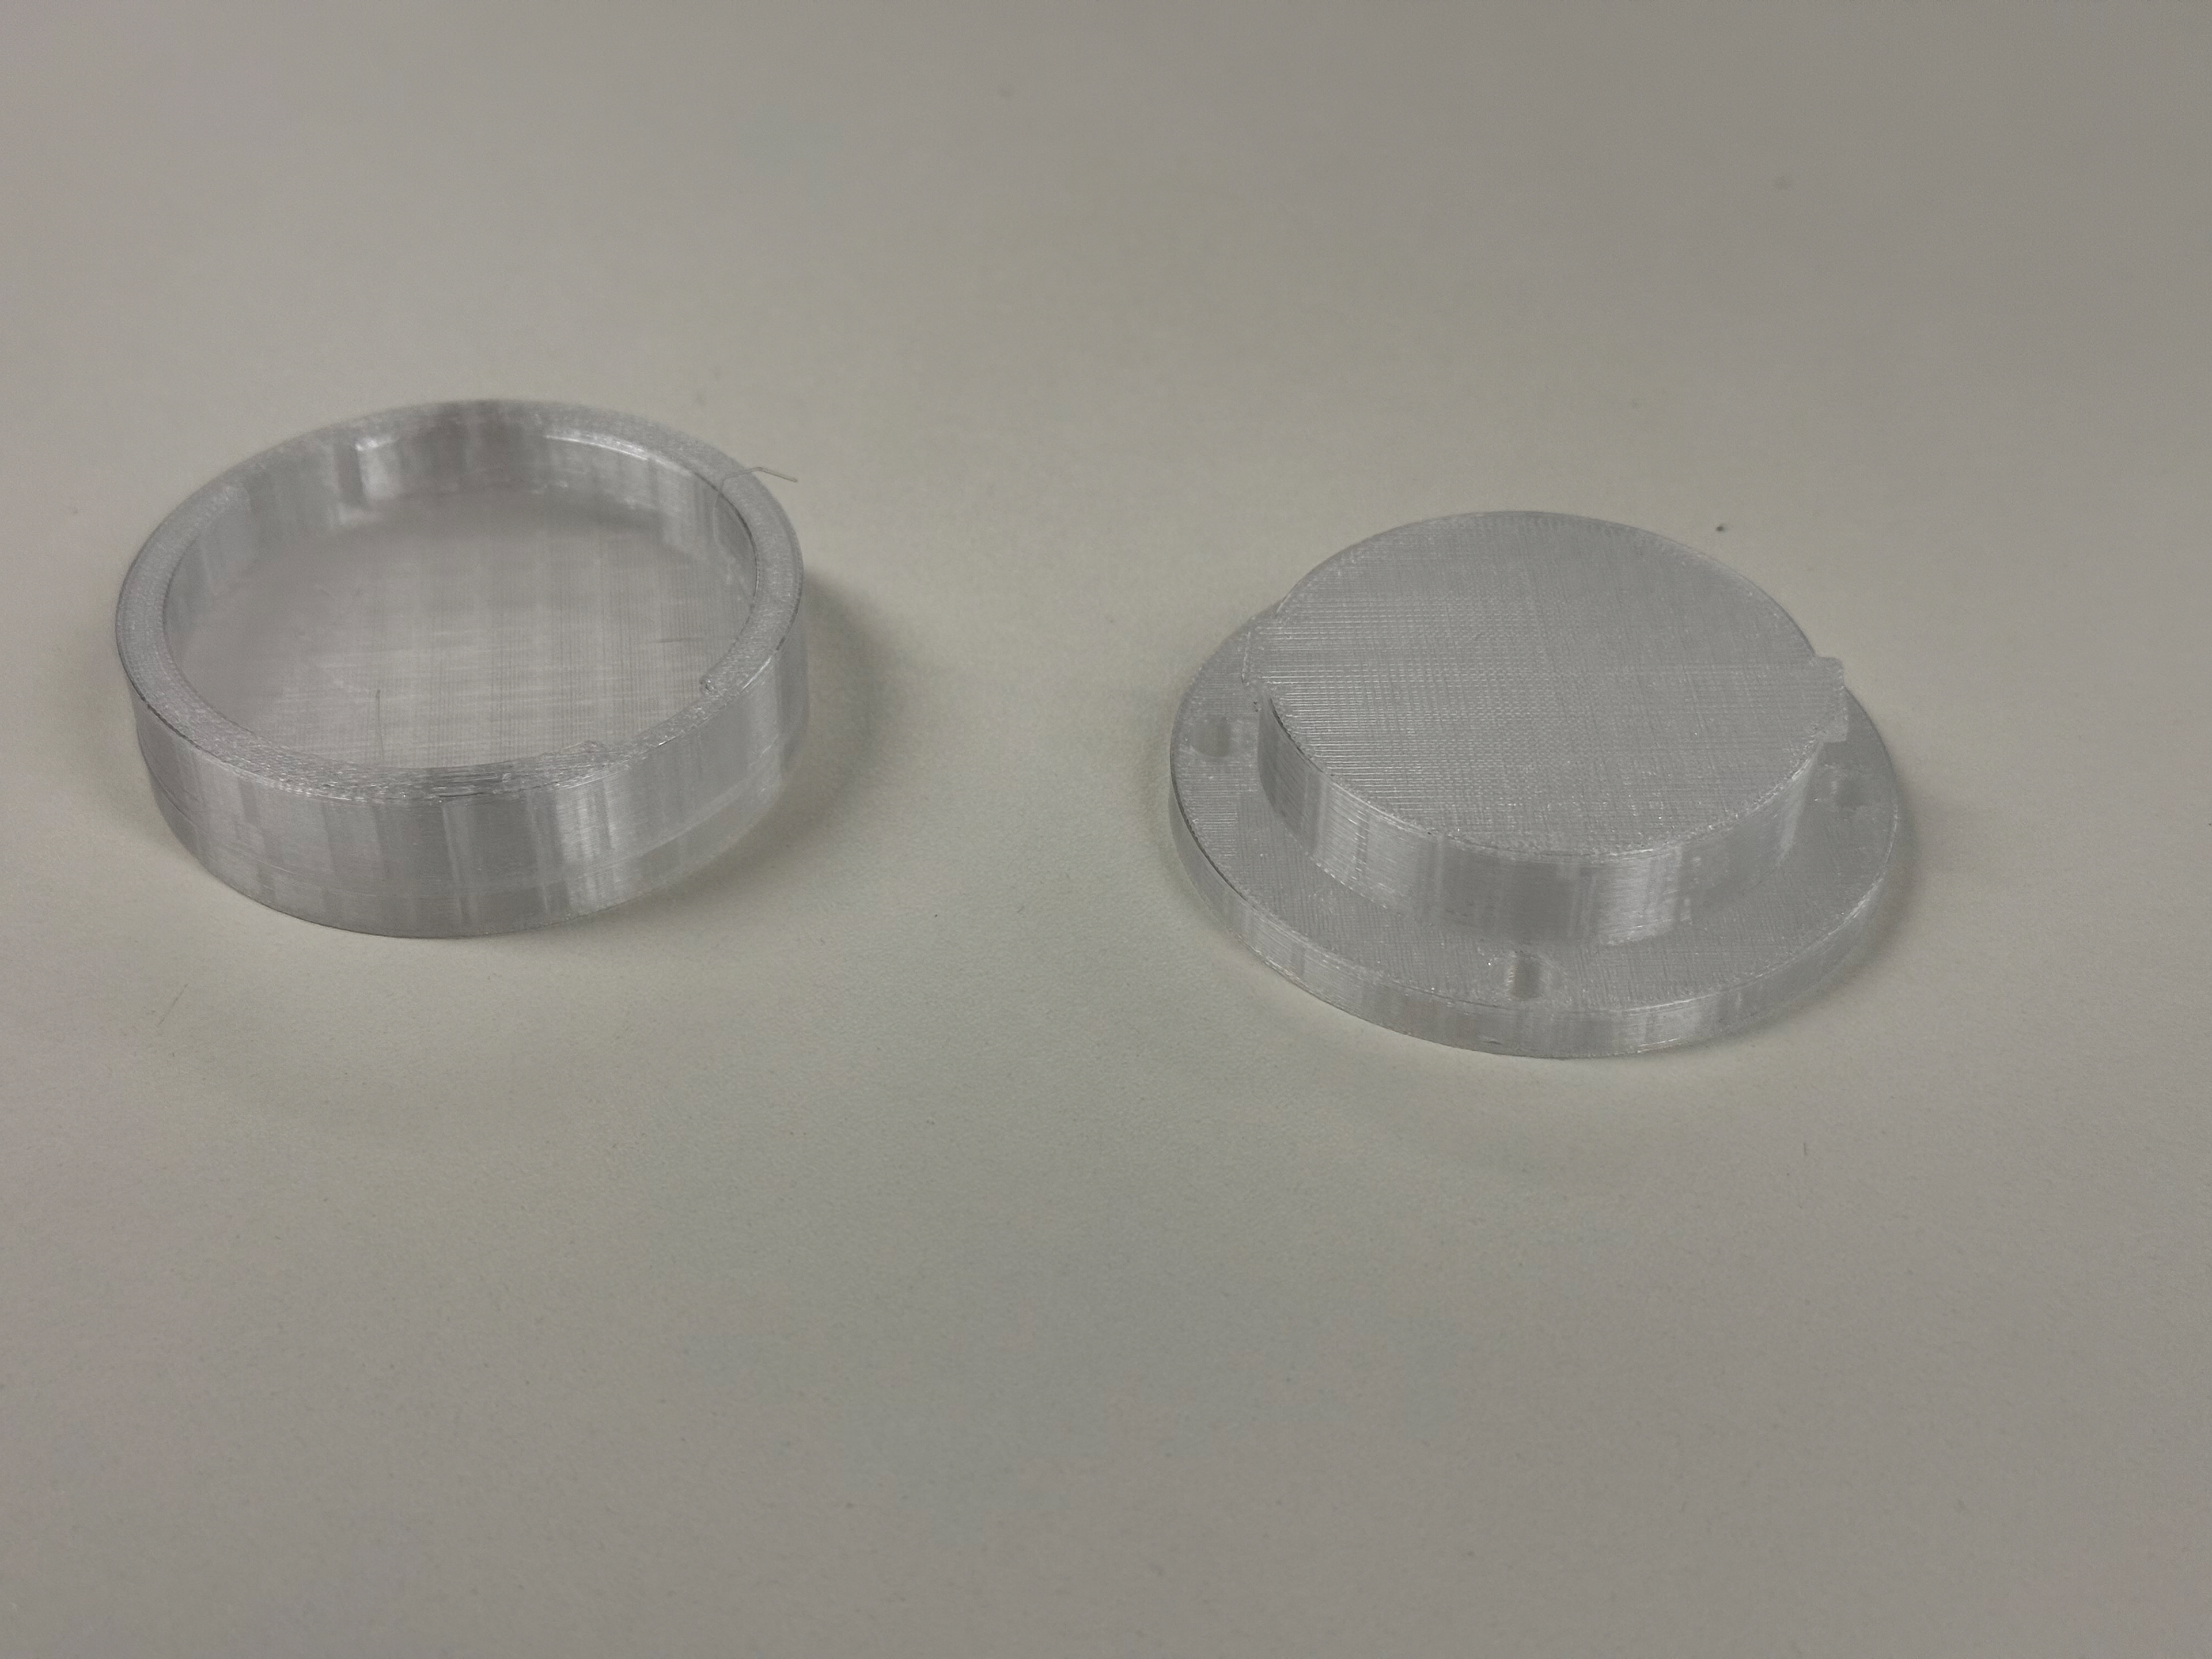
Separate parts
Rescaled for tolerance
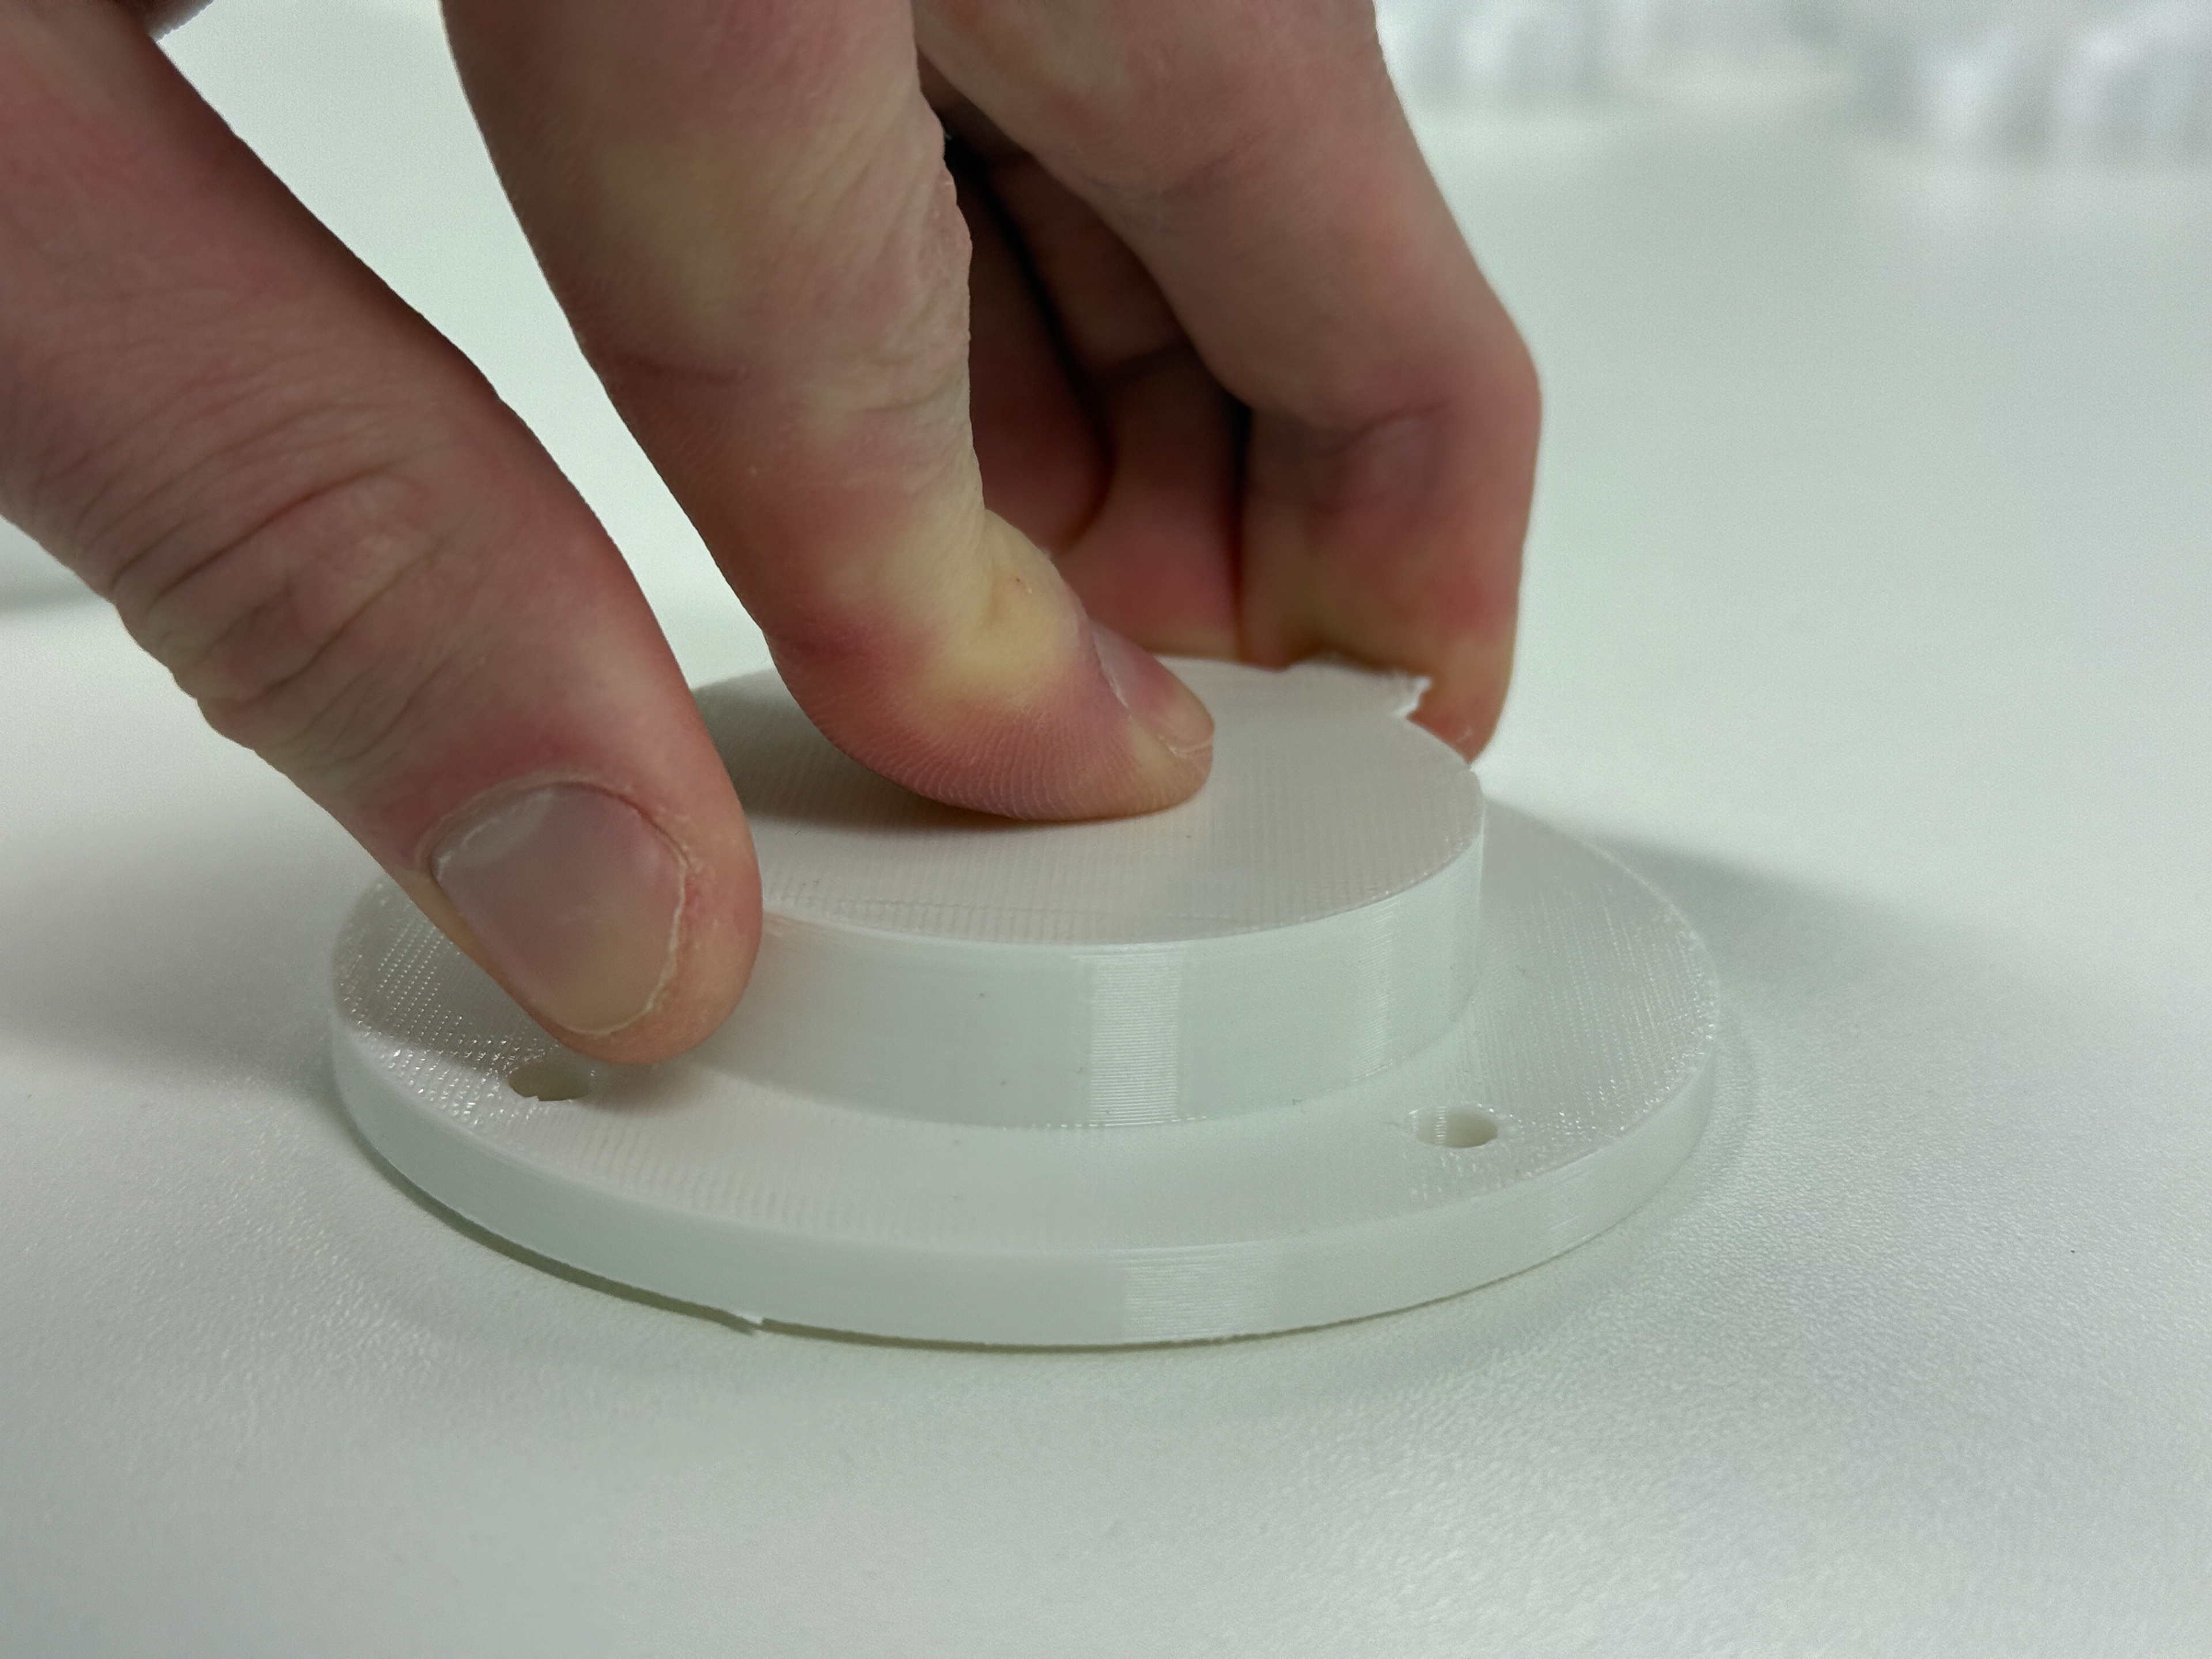
Fit together perfectly
Cura settings
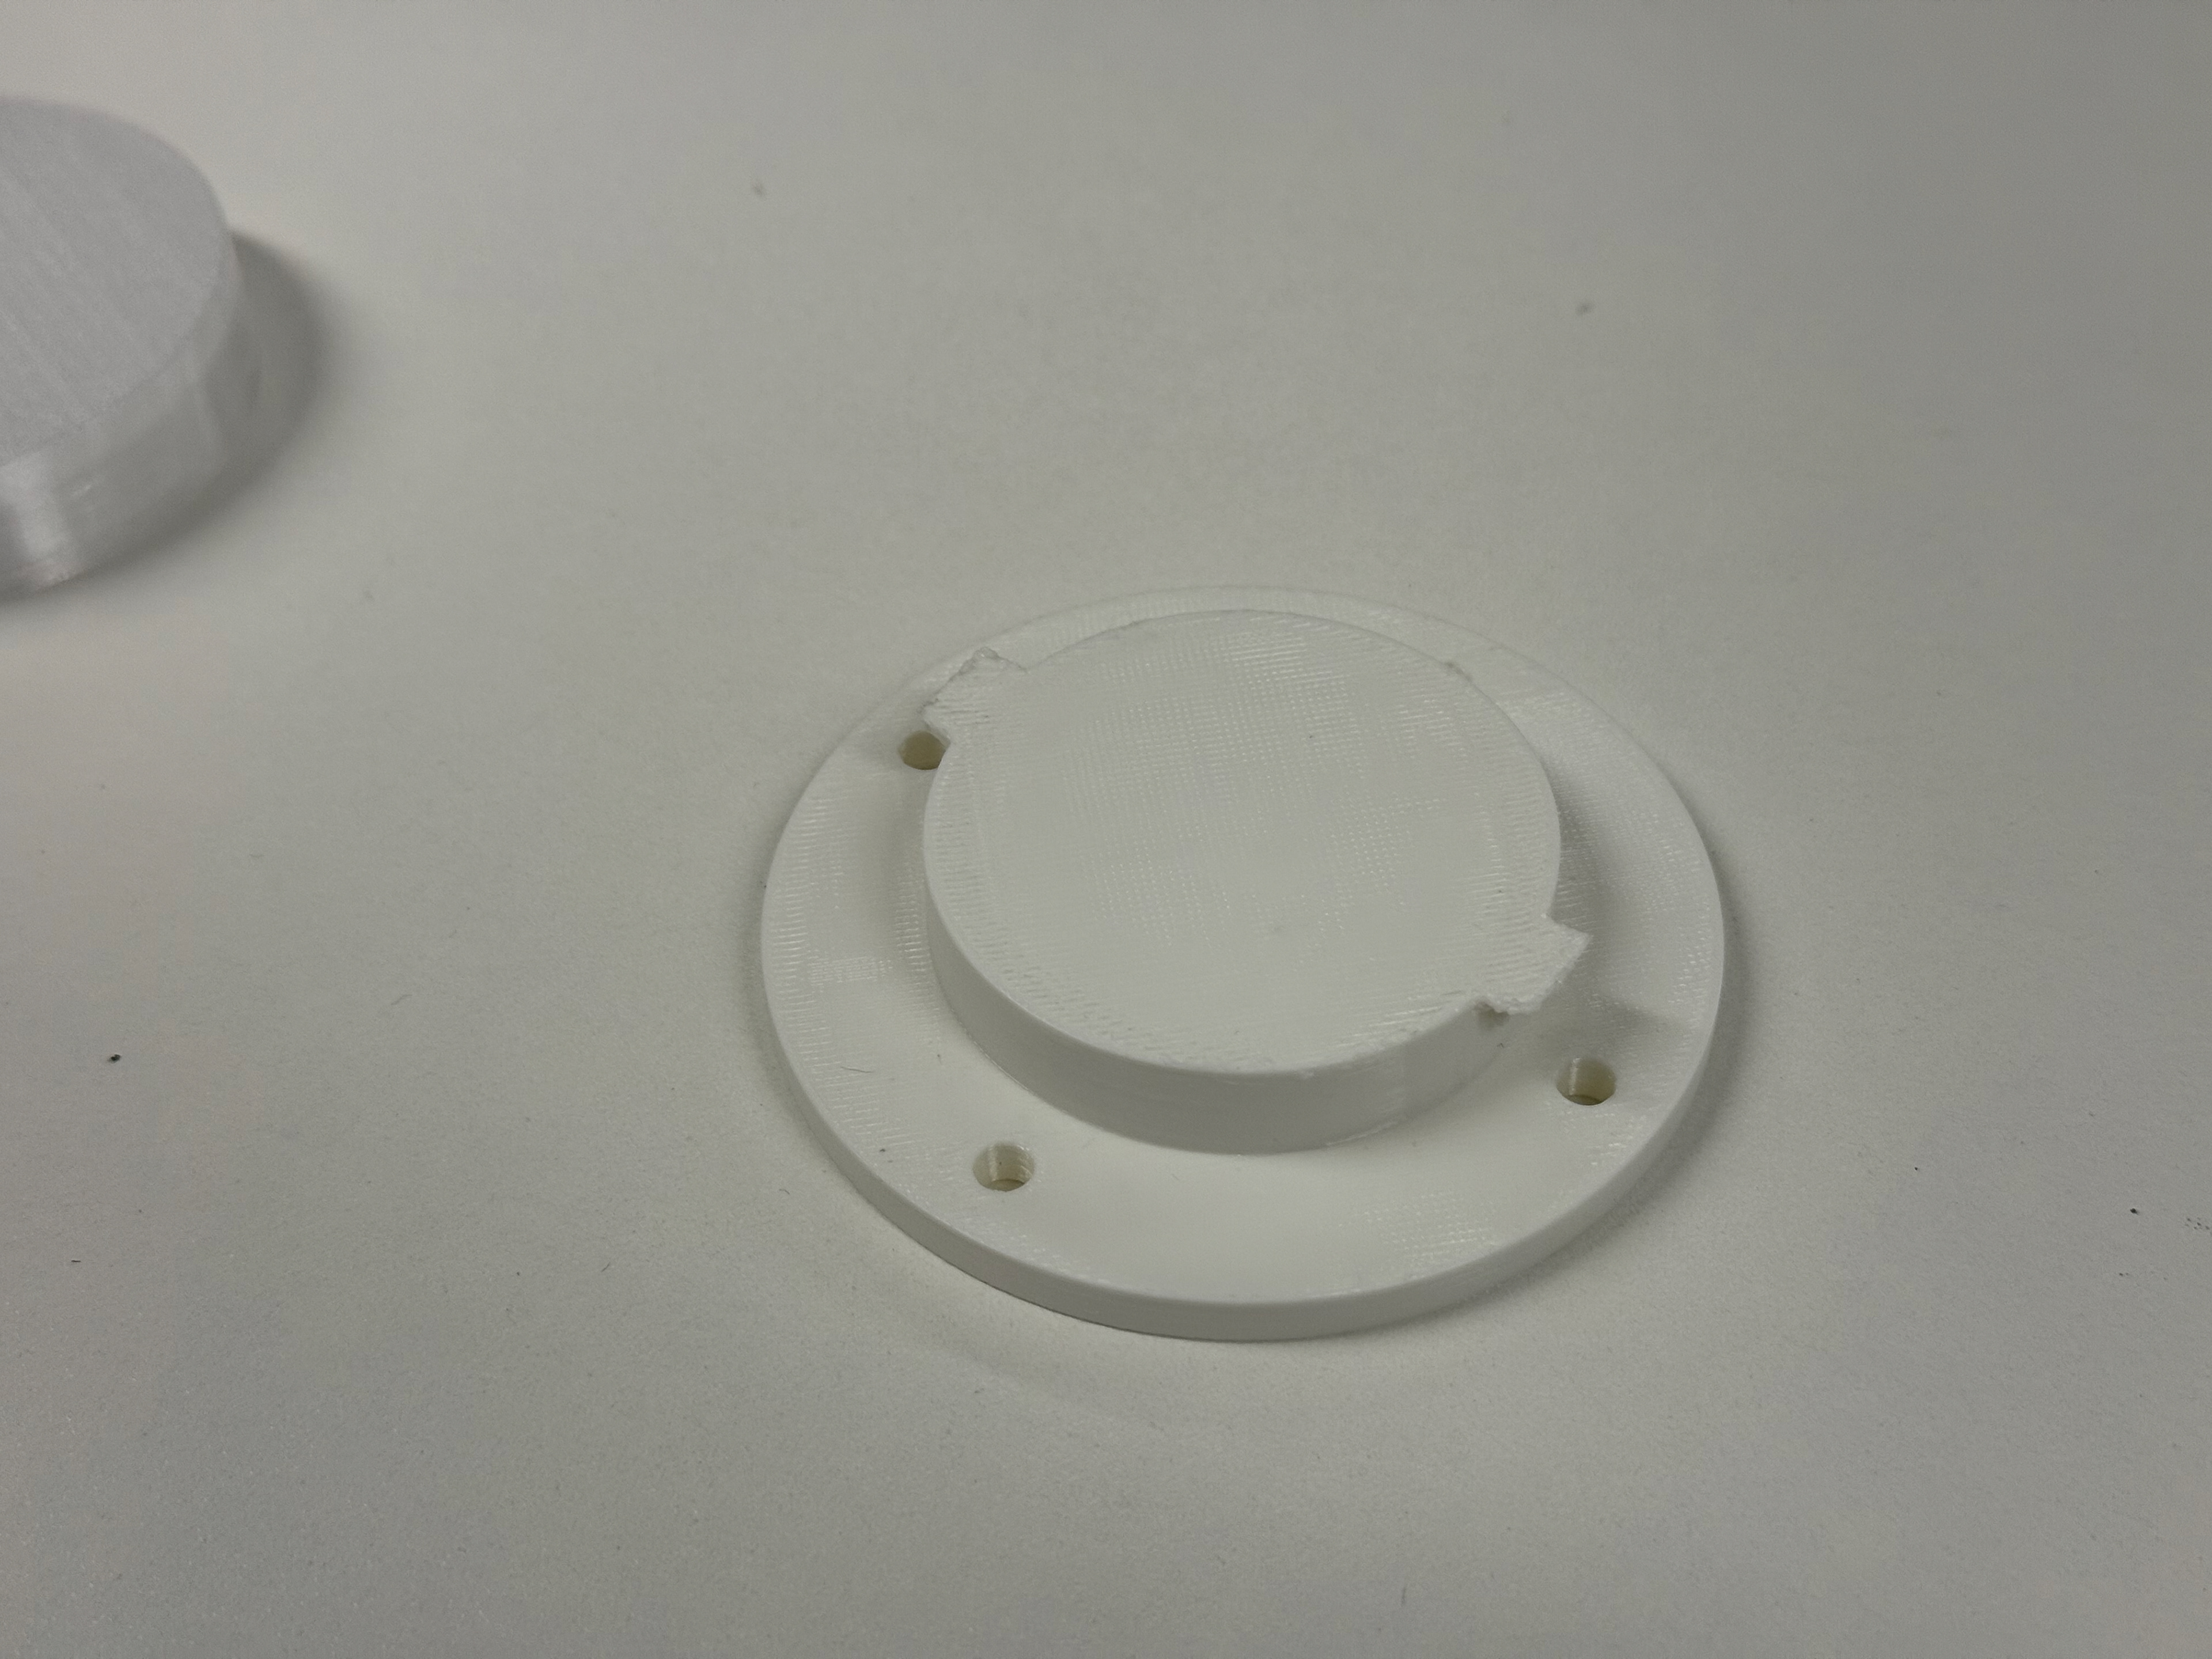
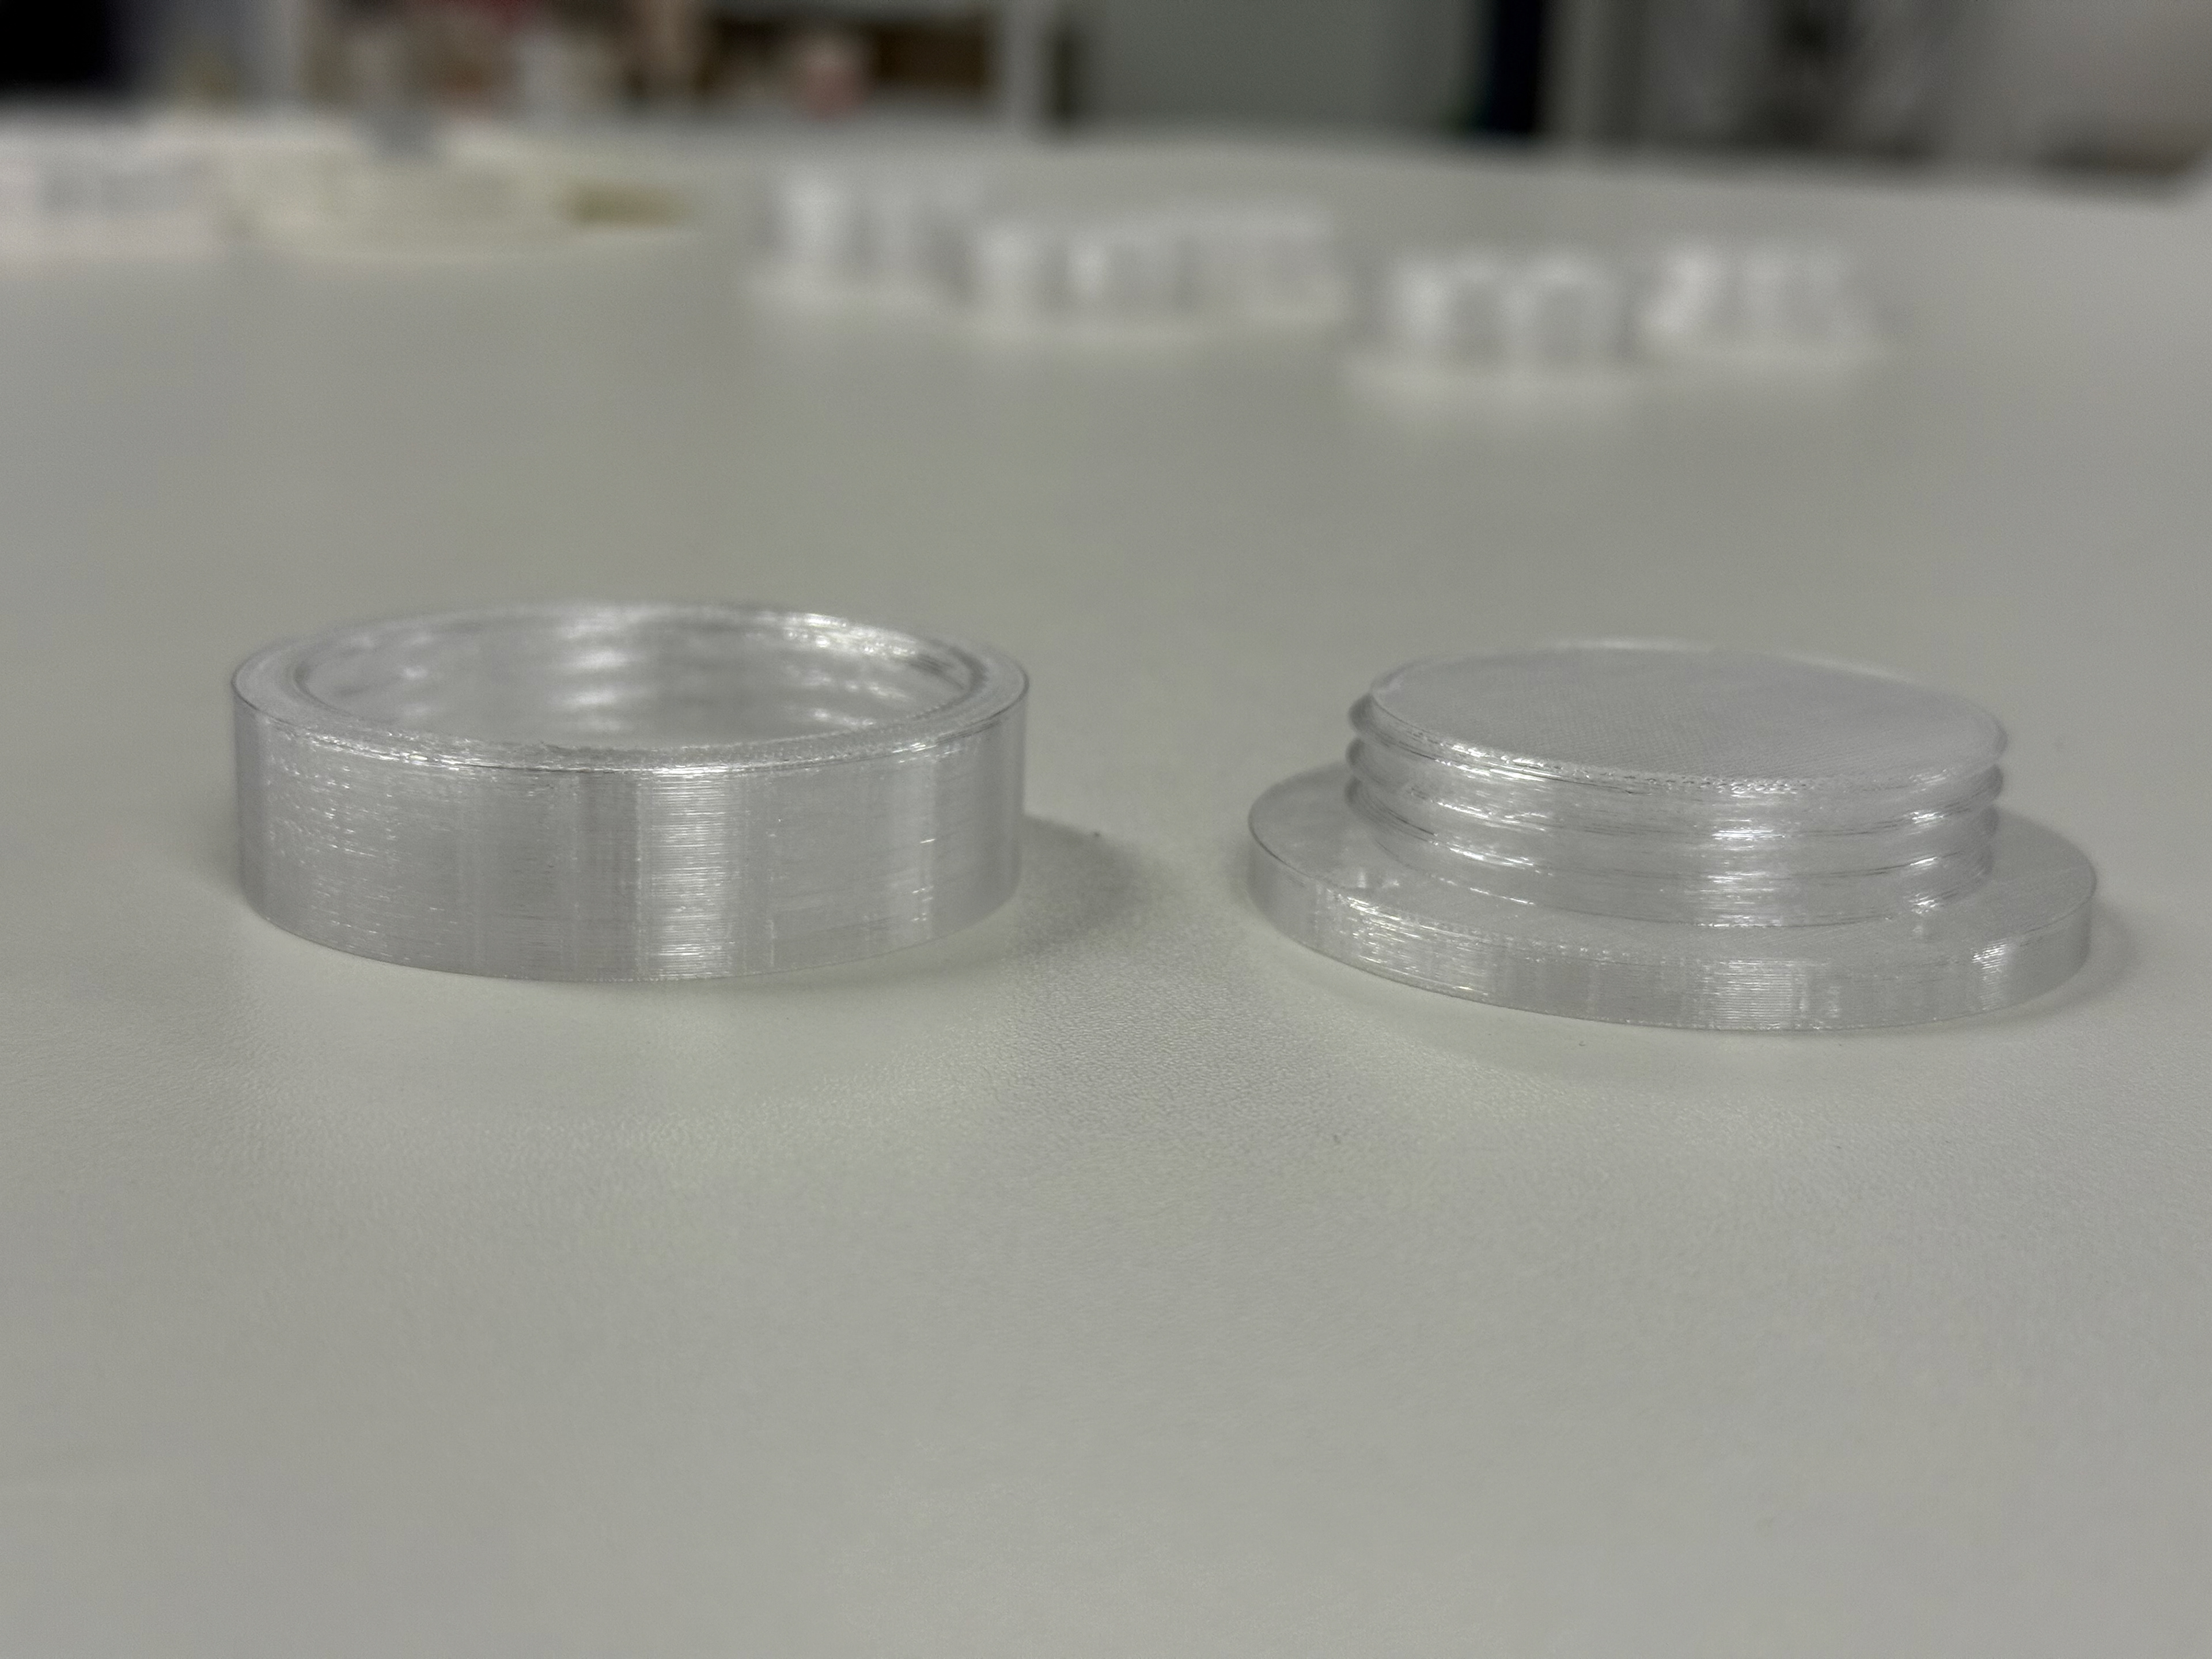
The two separate pieces
The combined piece
The gap between for the object to go into
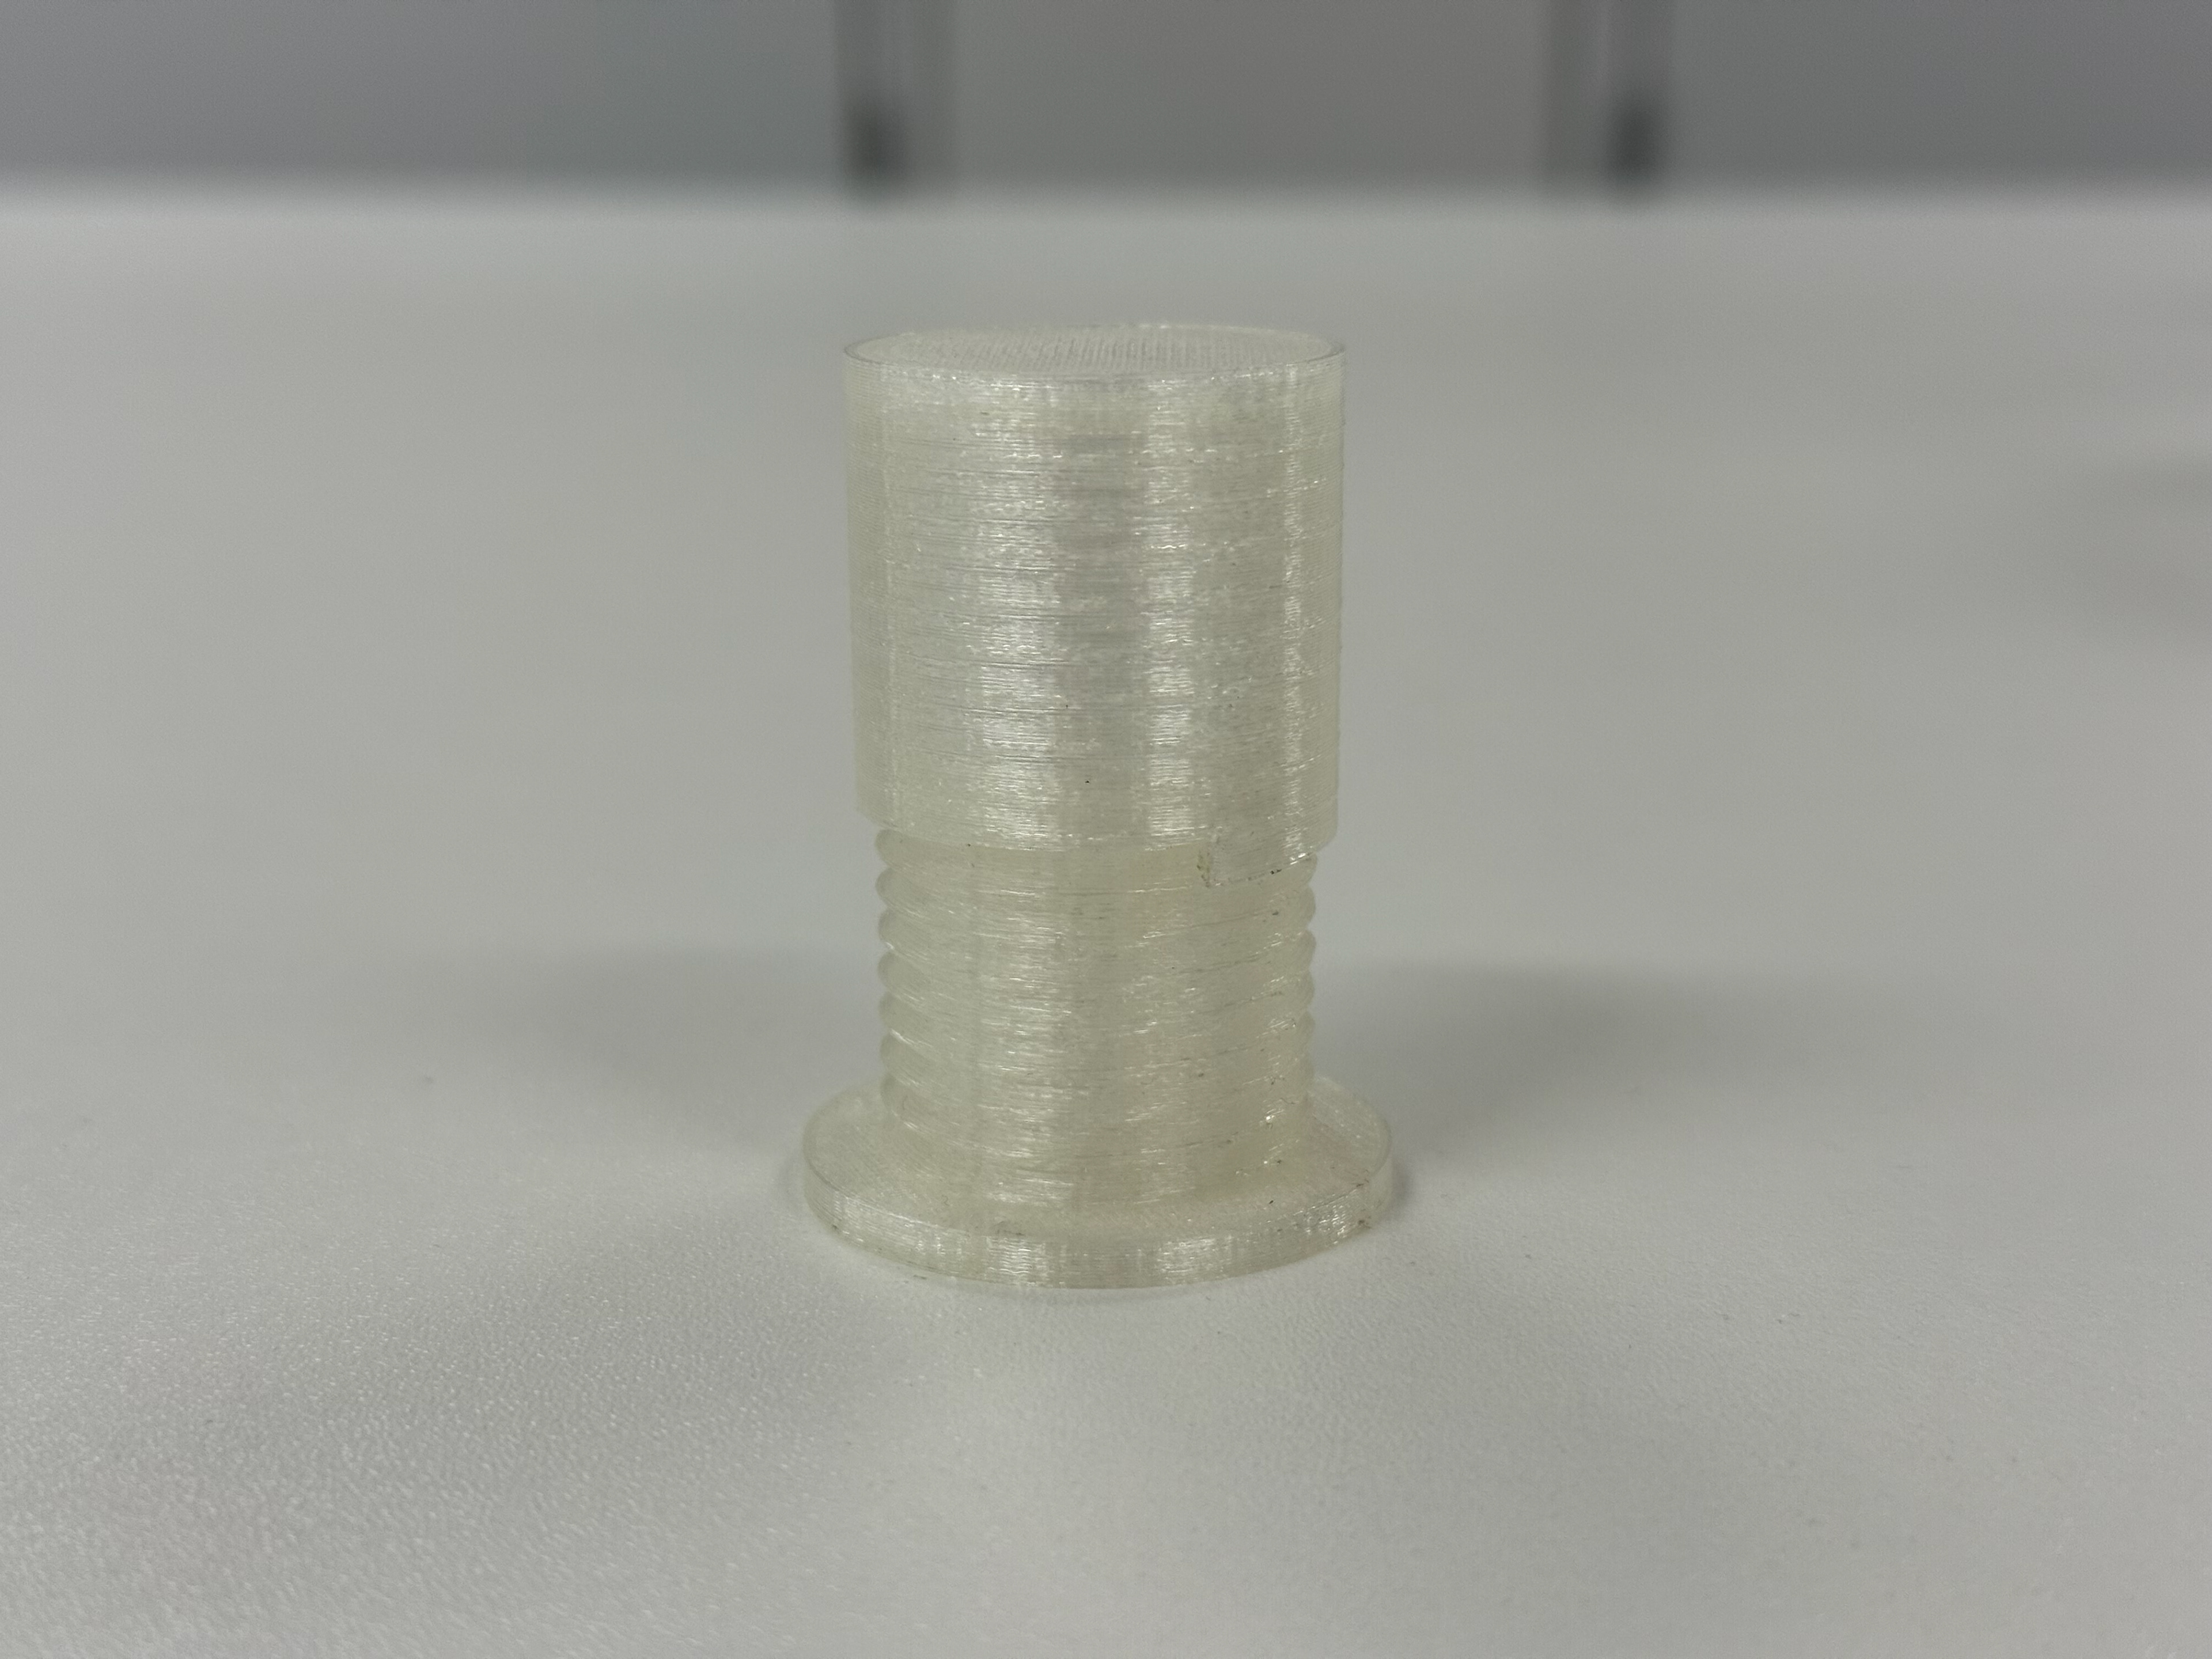
Inside fit
How well it holds the object
Slightly too large diameter which caused it to break my object
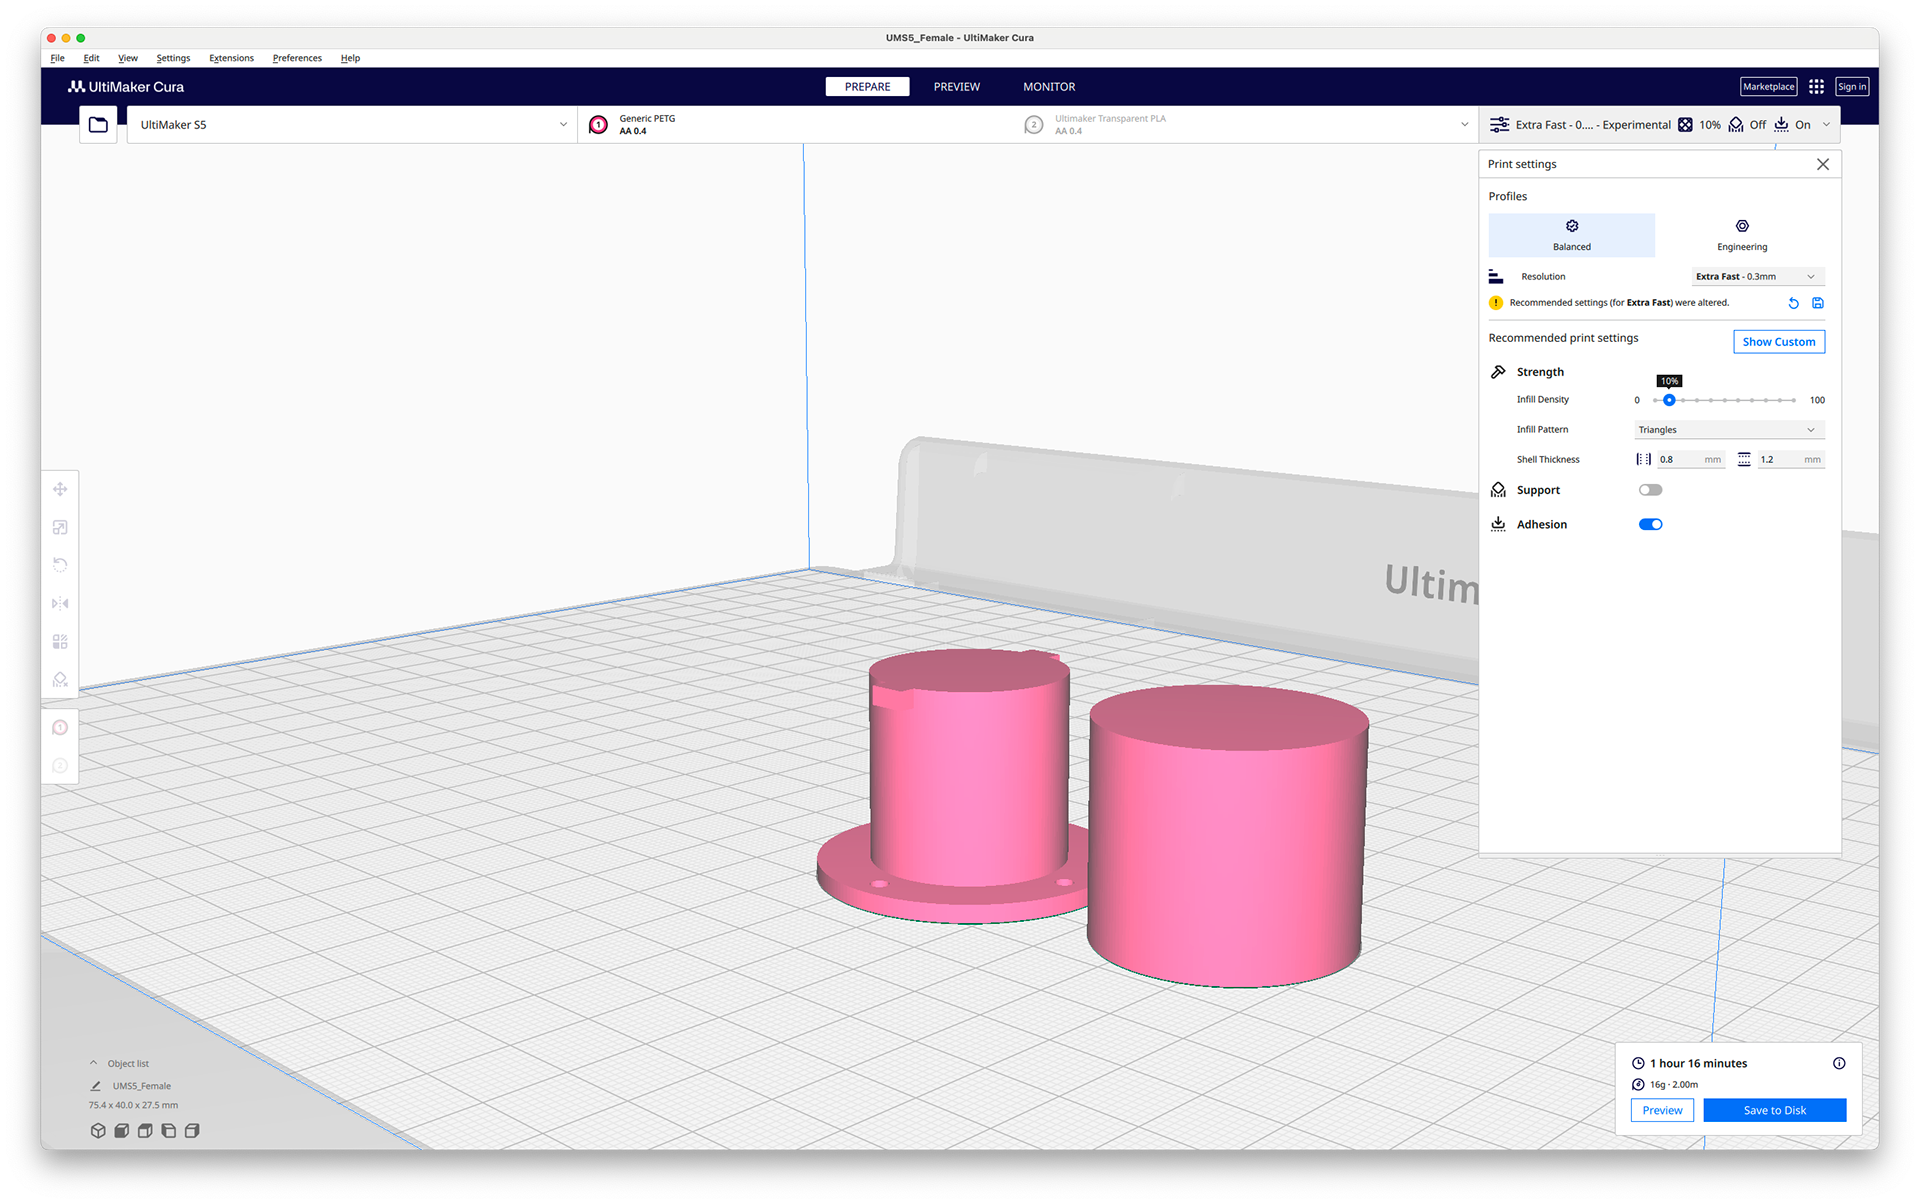
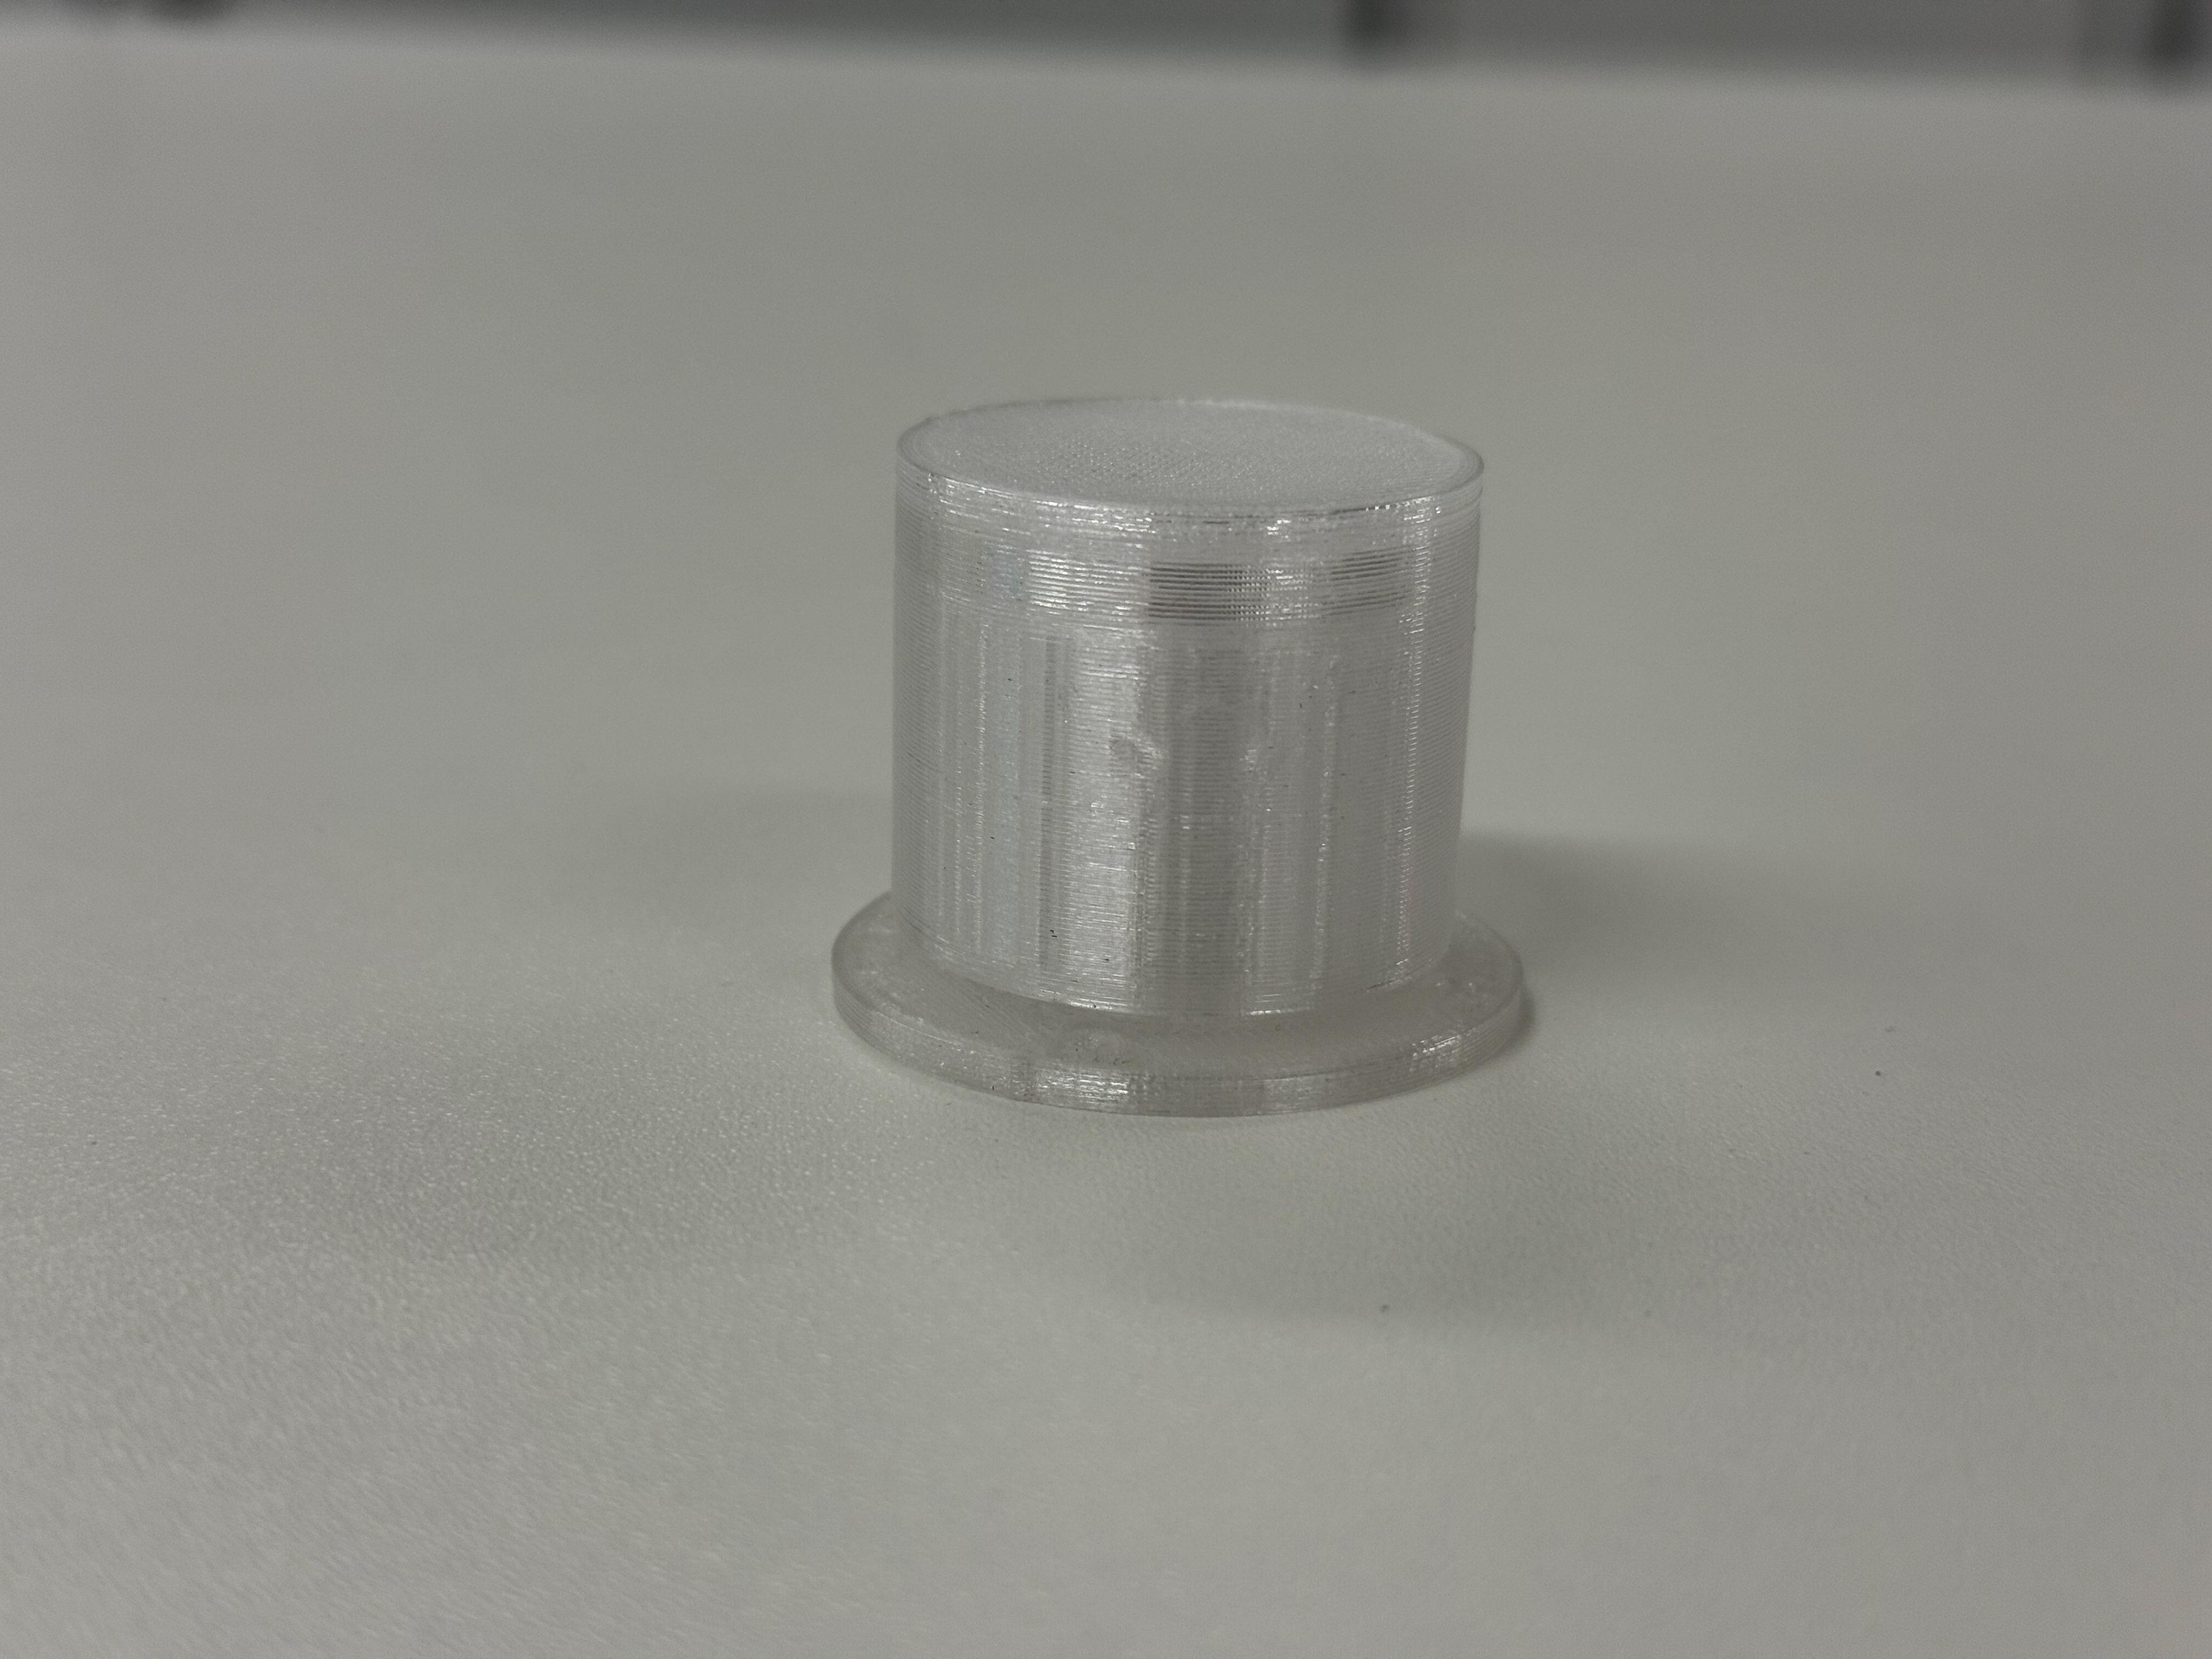
PETG top part and the 20% infill base
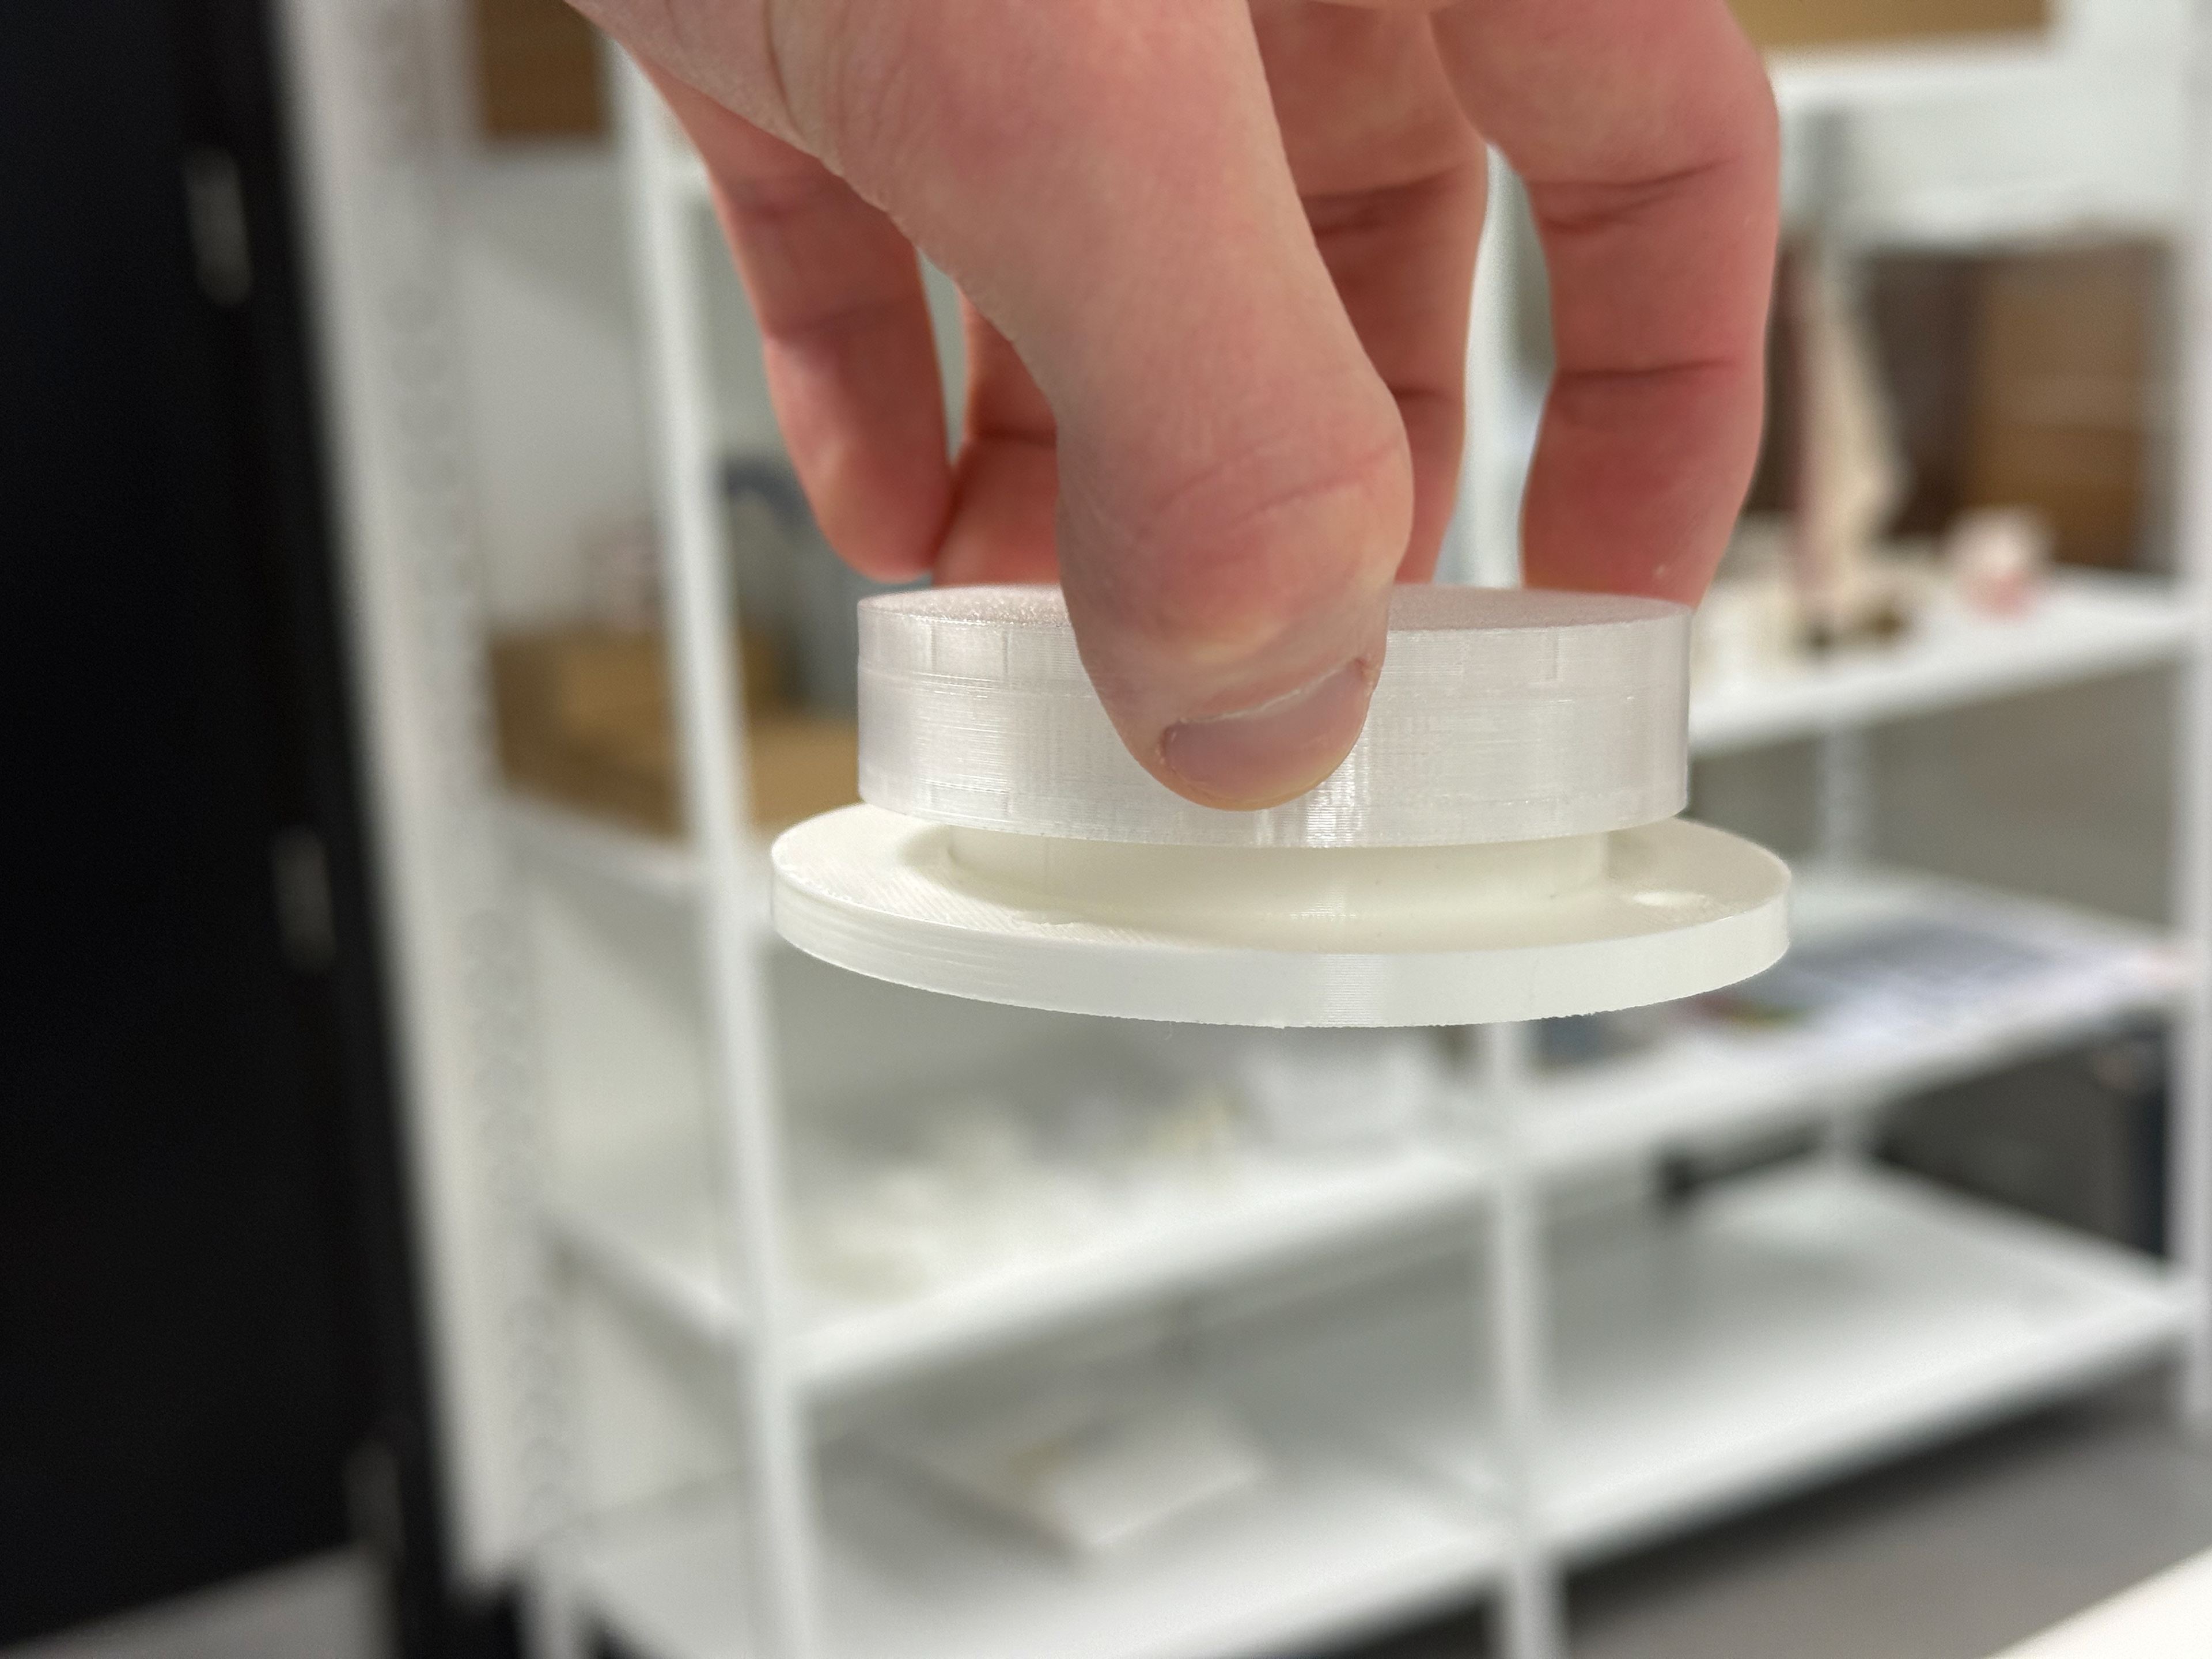
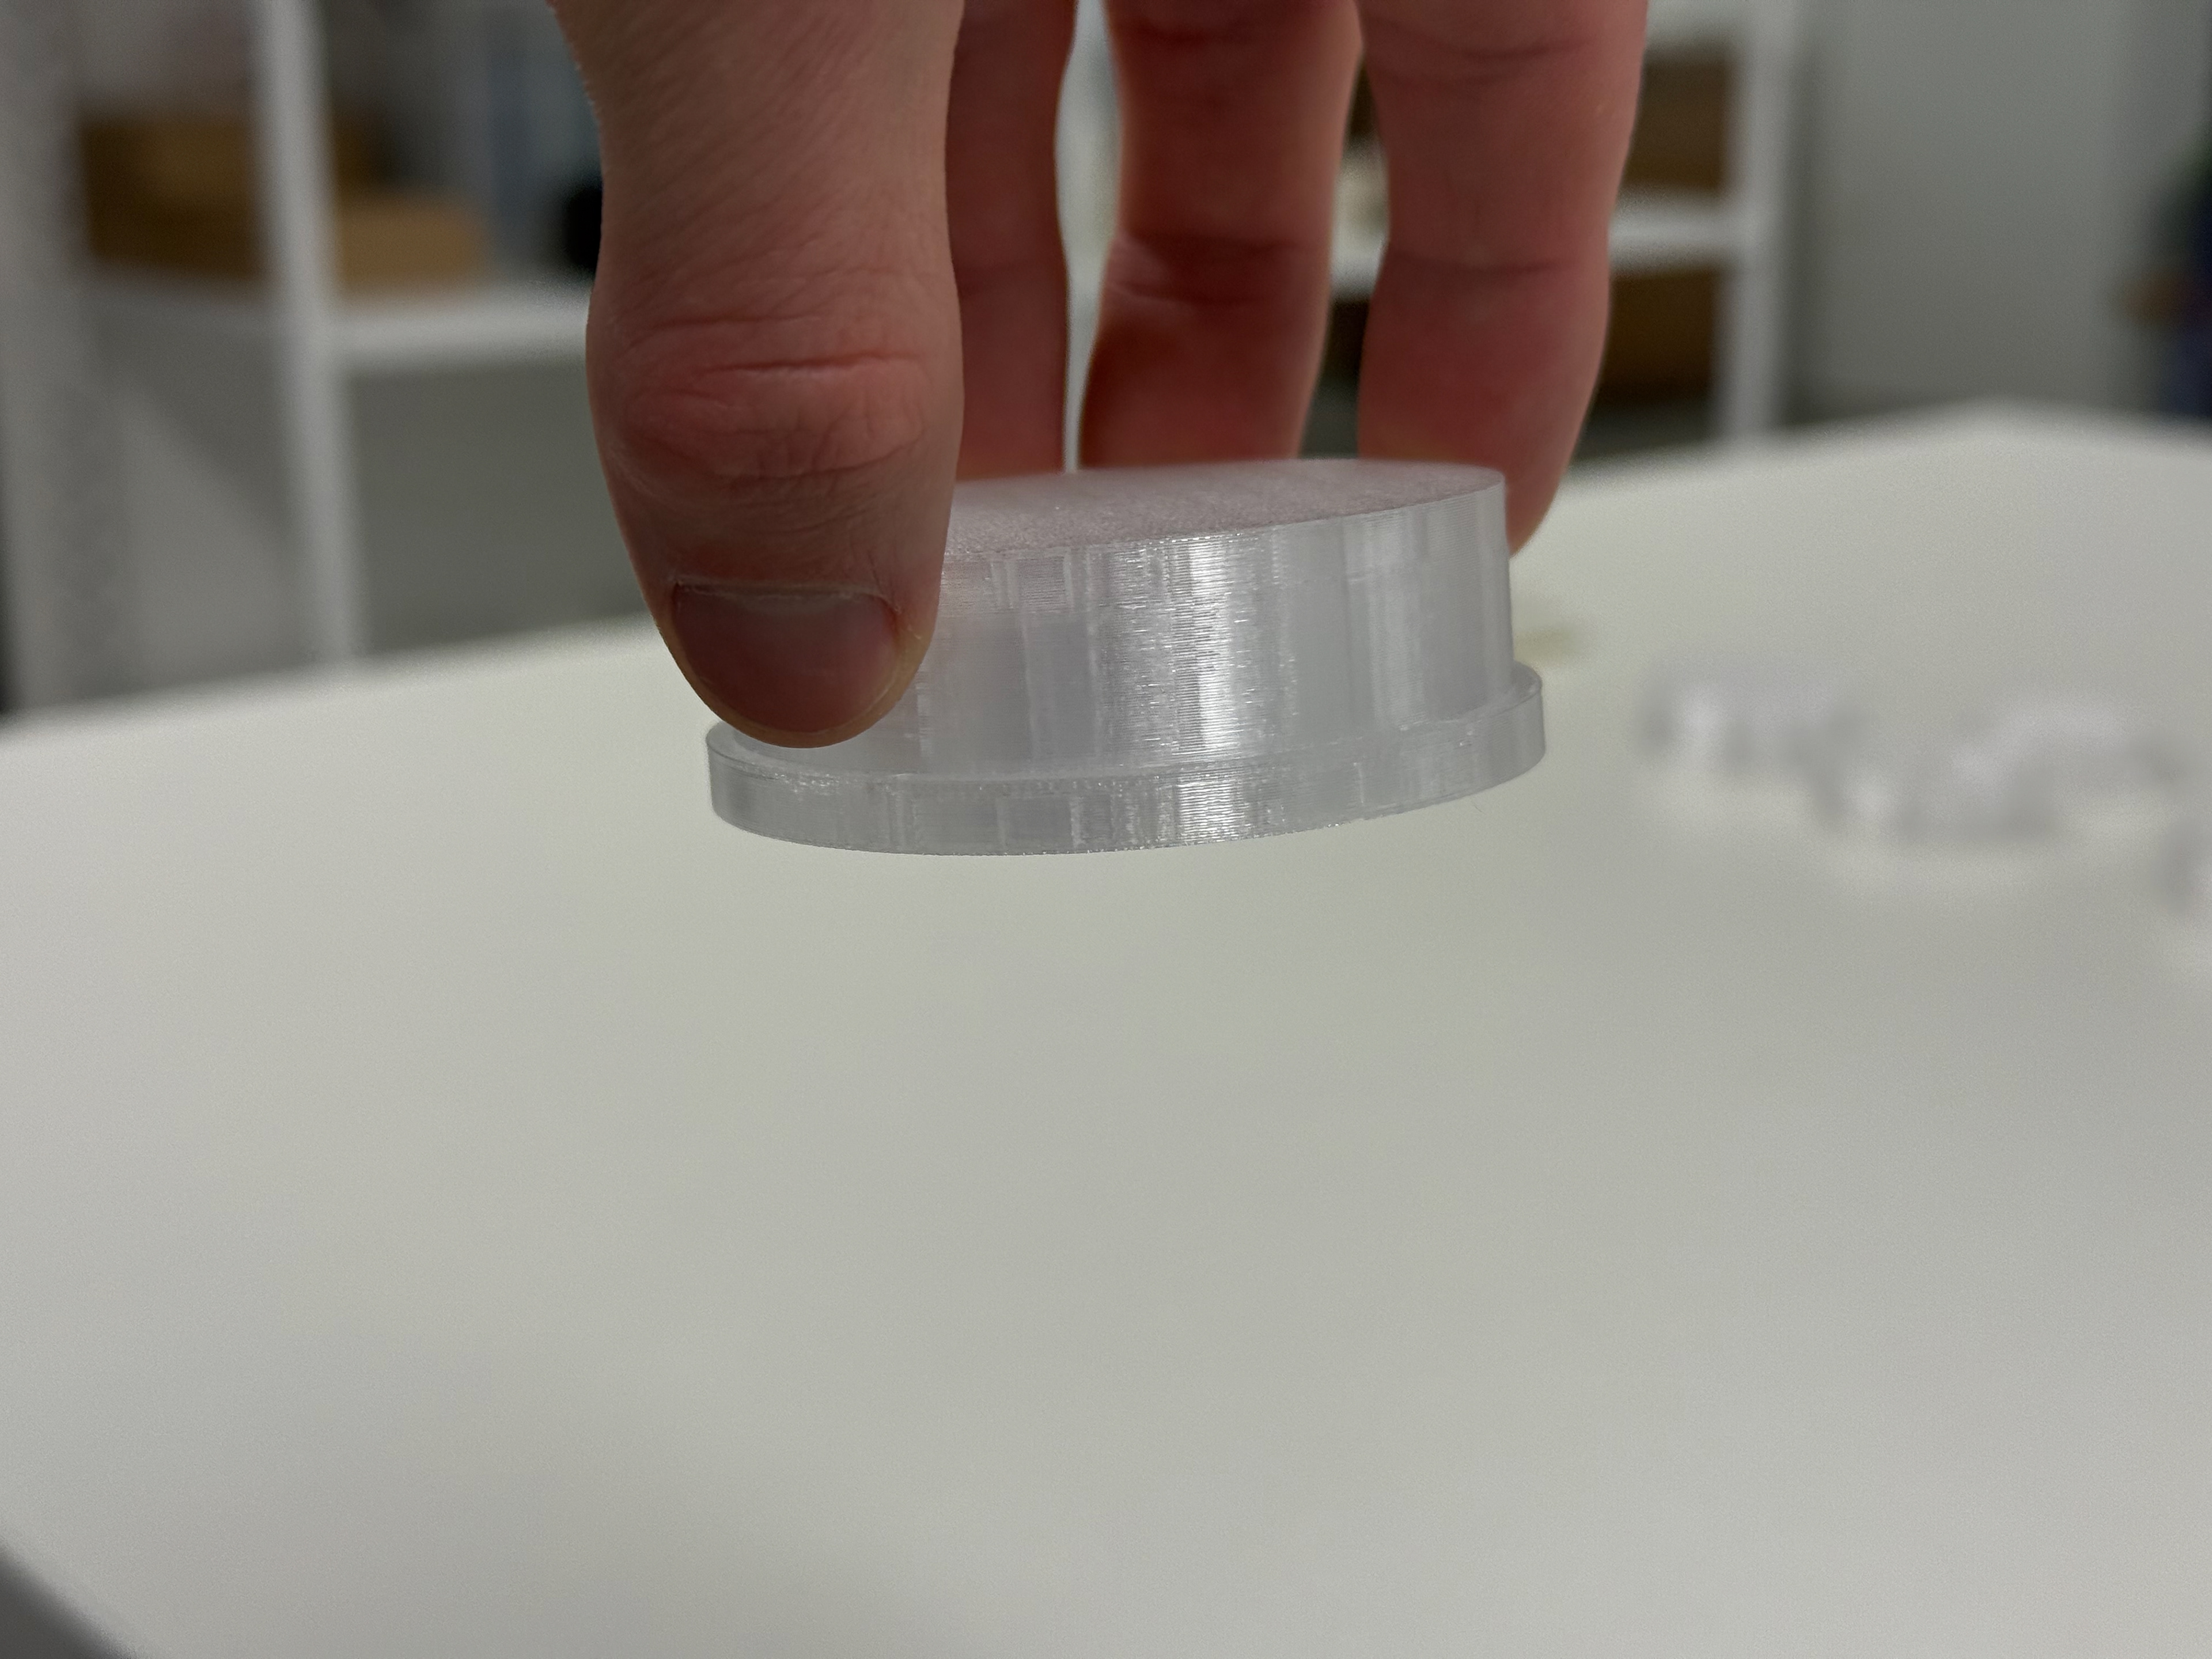
Holds together well
Very hard to move the tabs inwards
The 10% infill base
Doesn't hold together quite as well
Still very hard to move the tabs inwards
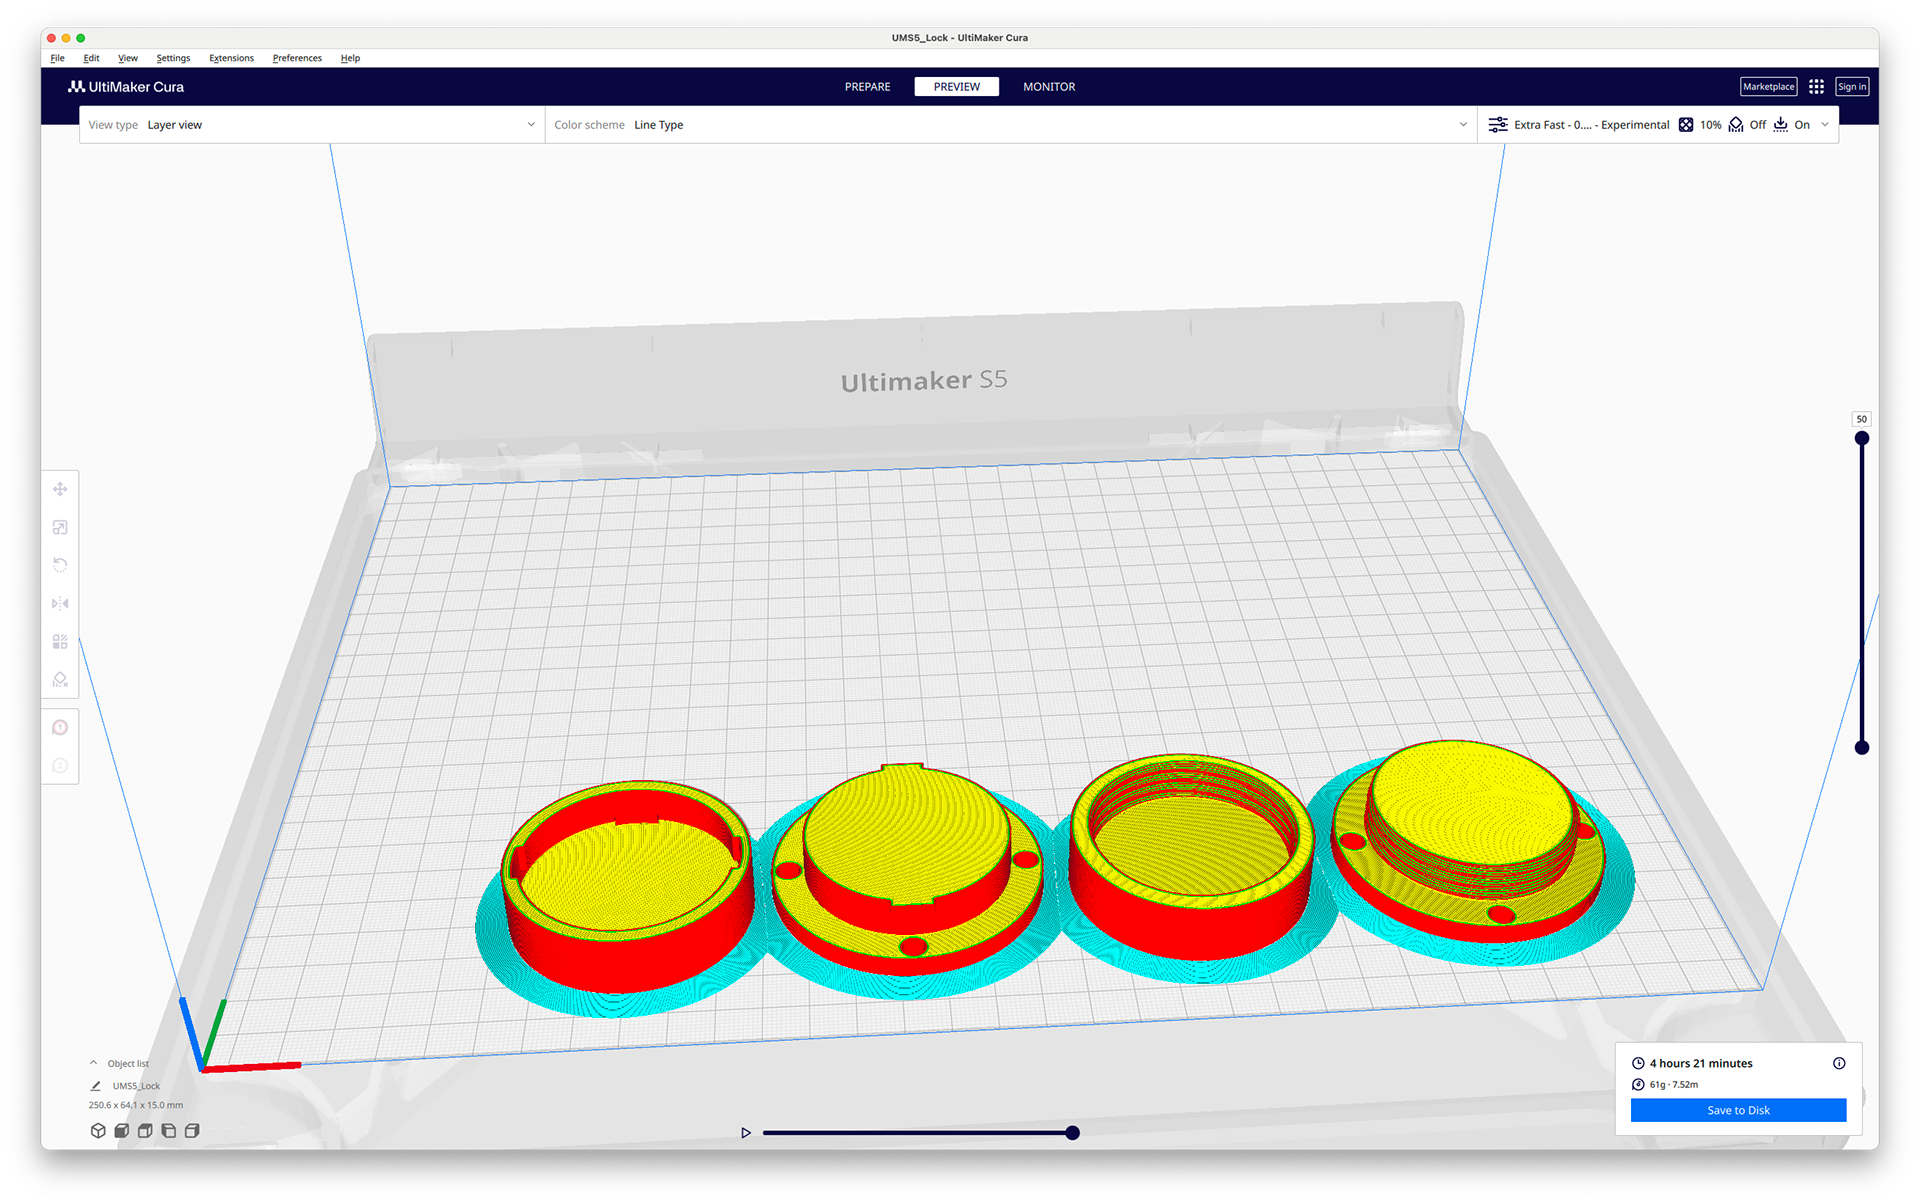
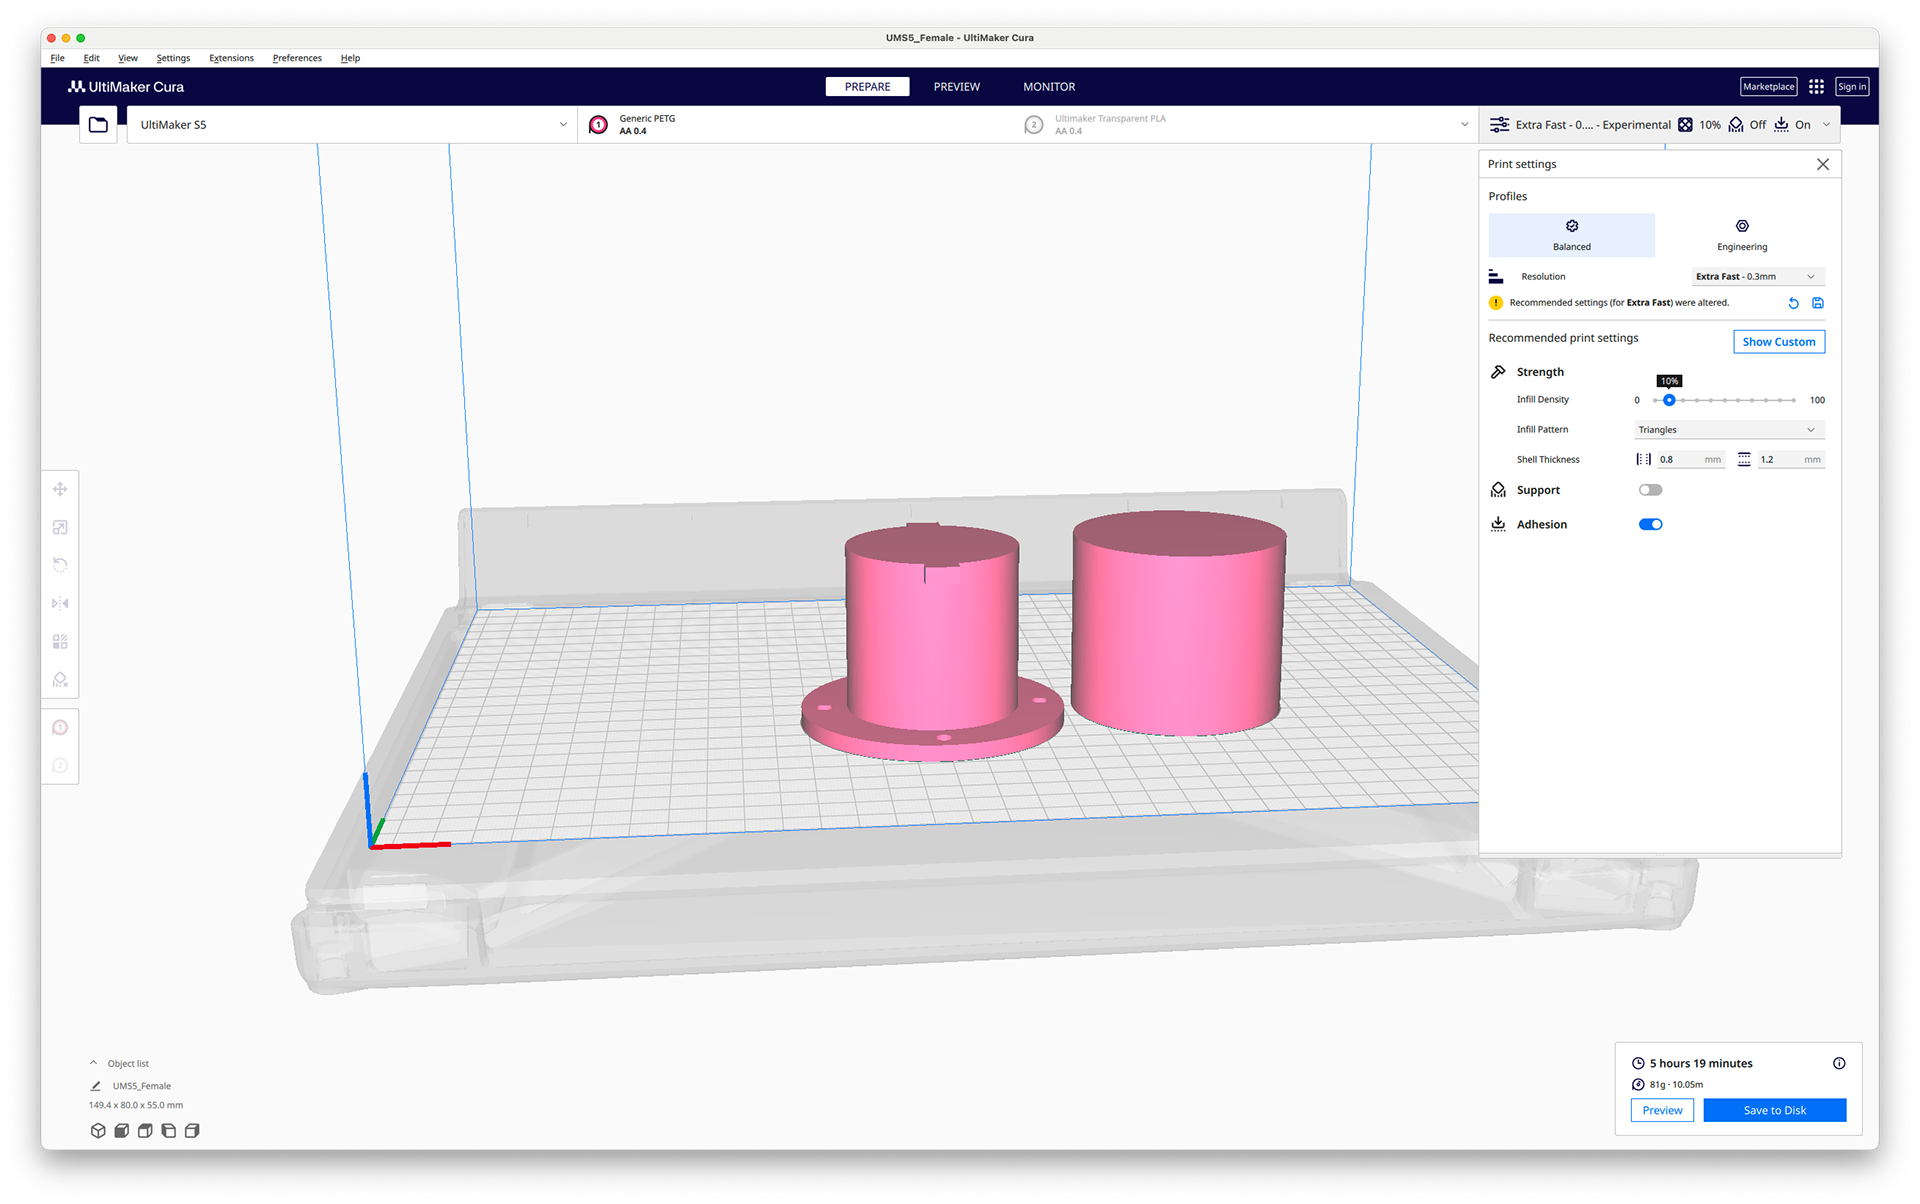
Cura layout for both prints
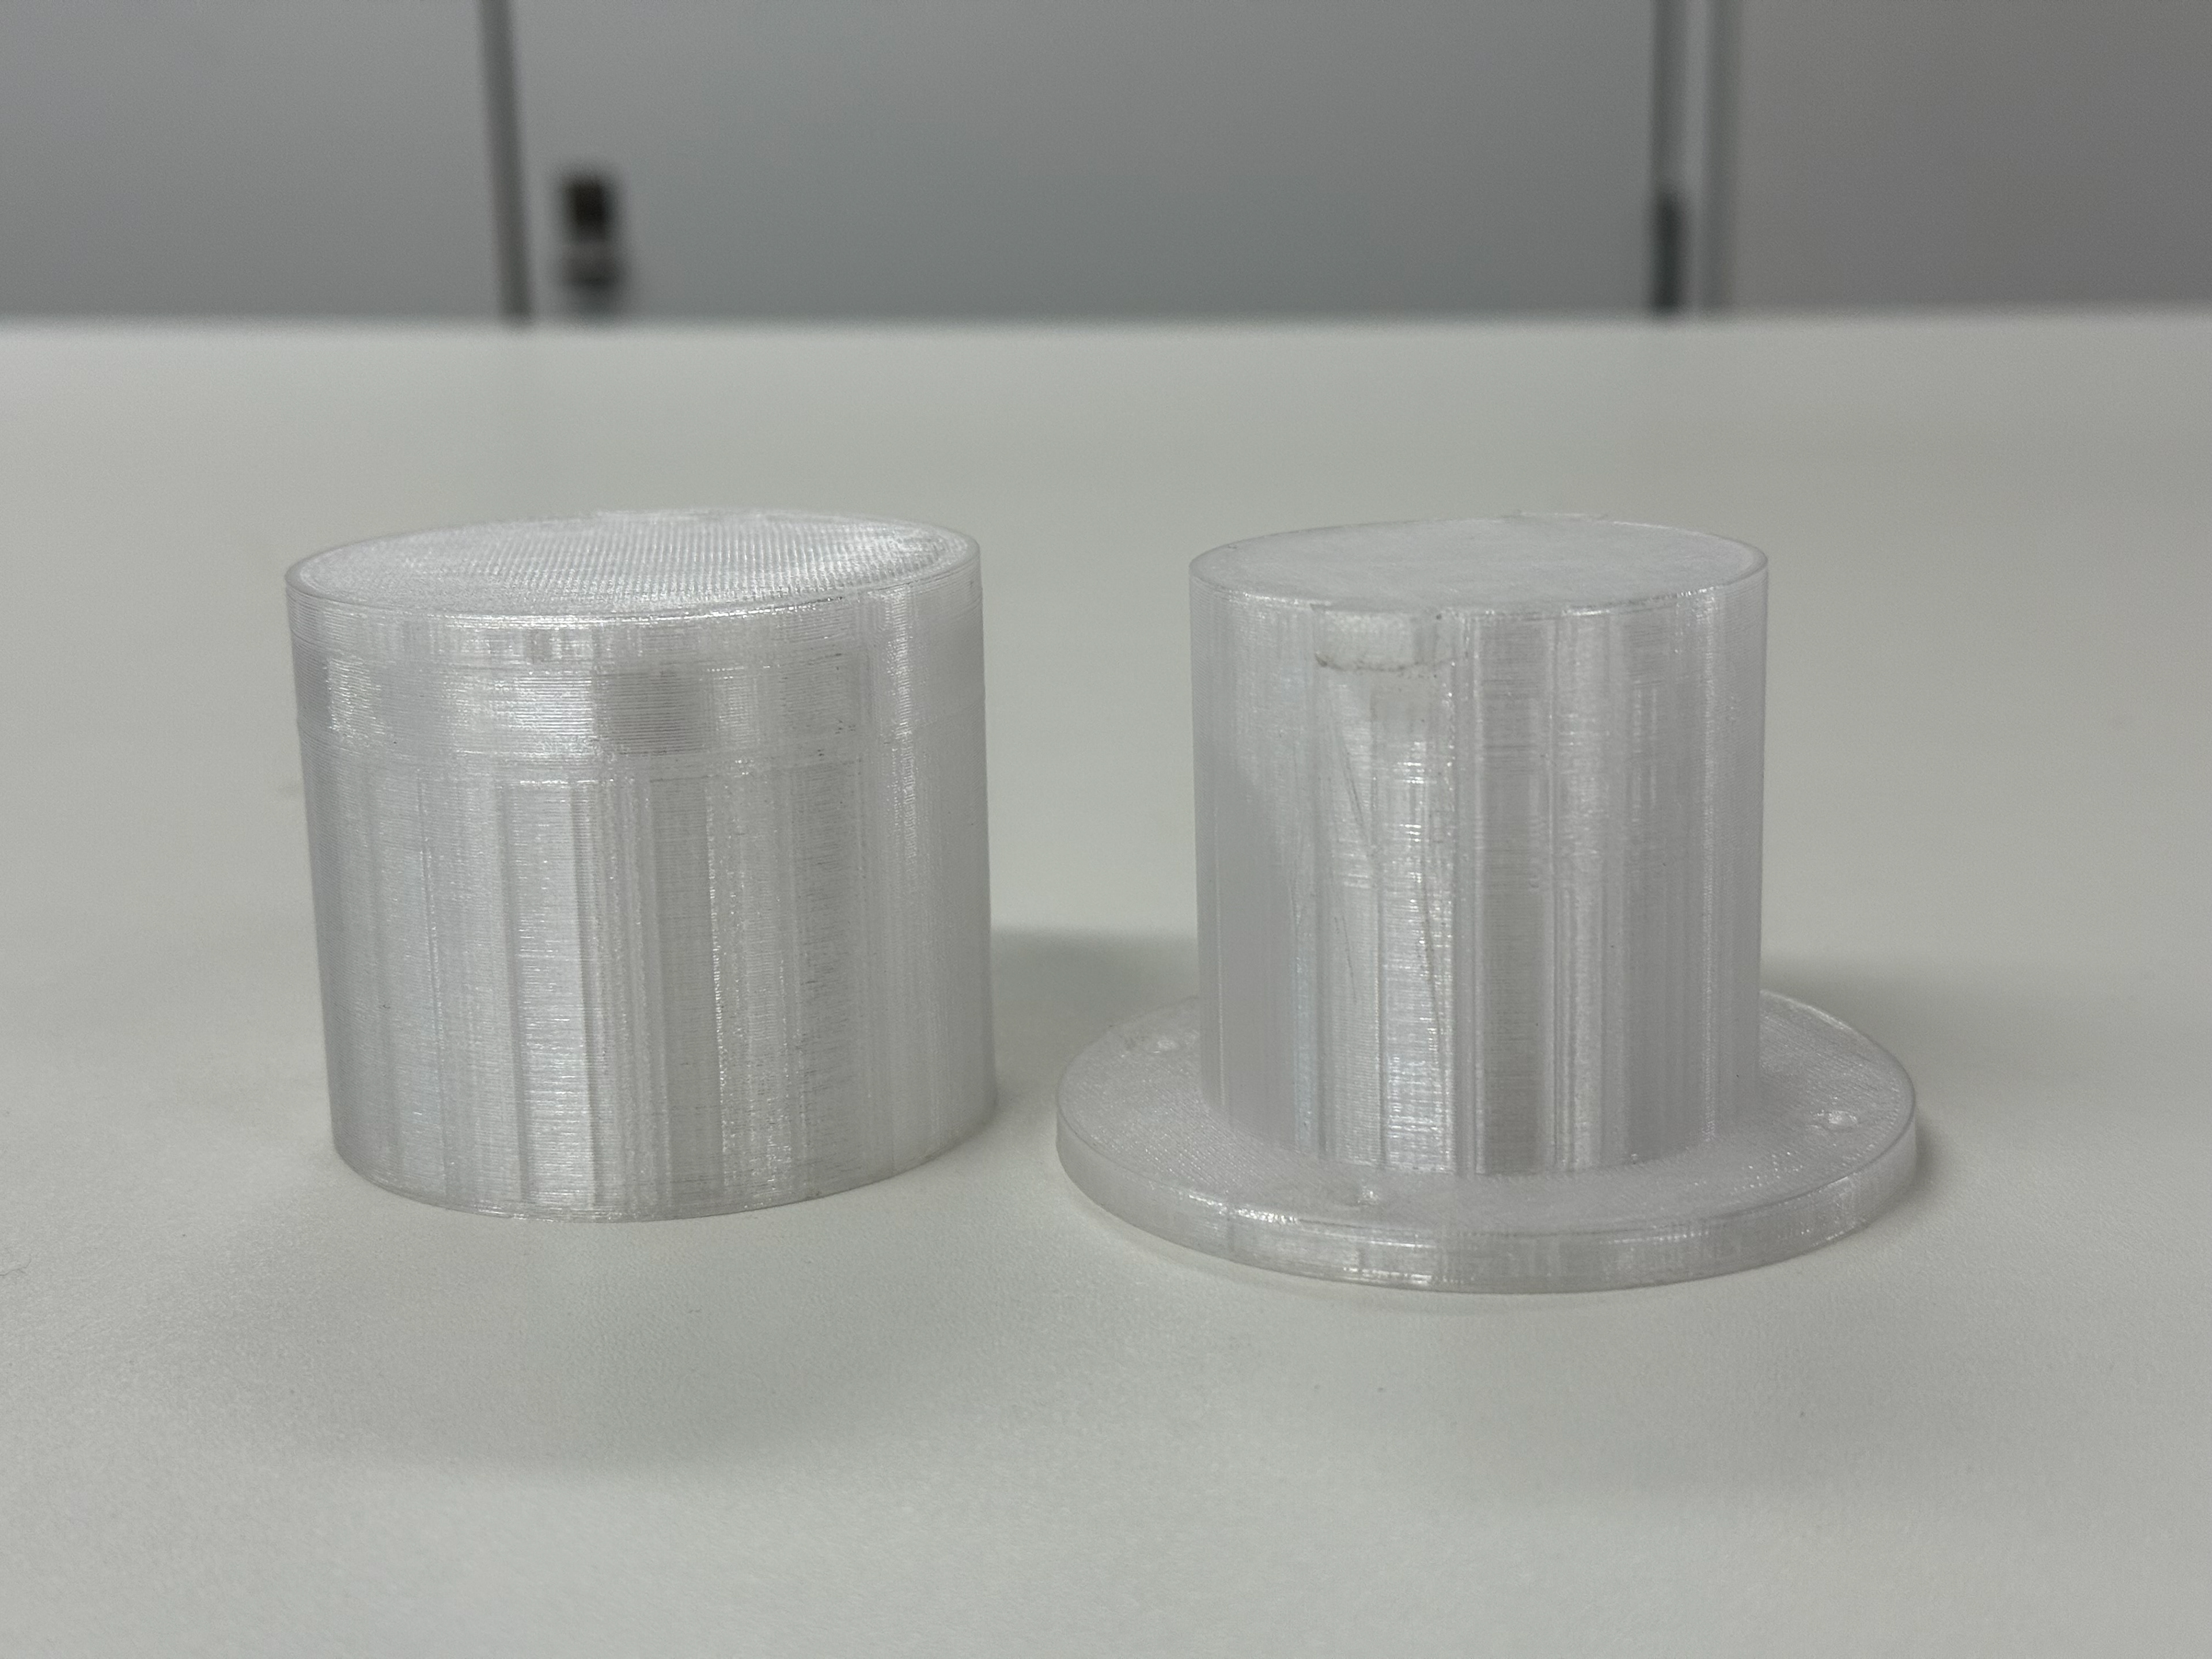
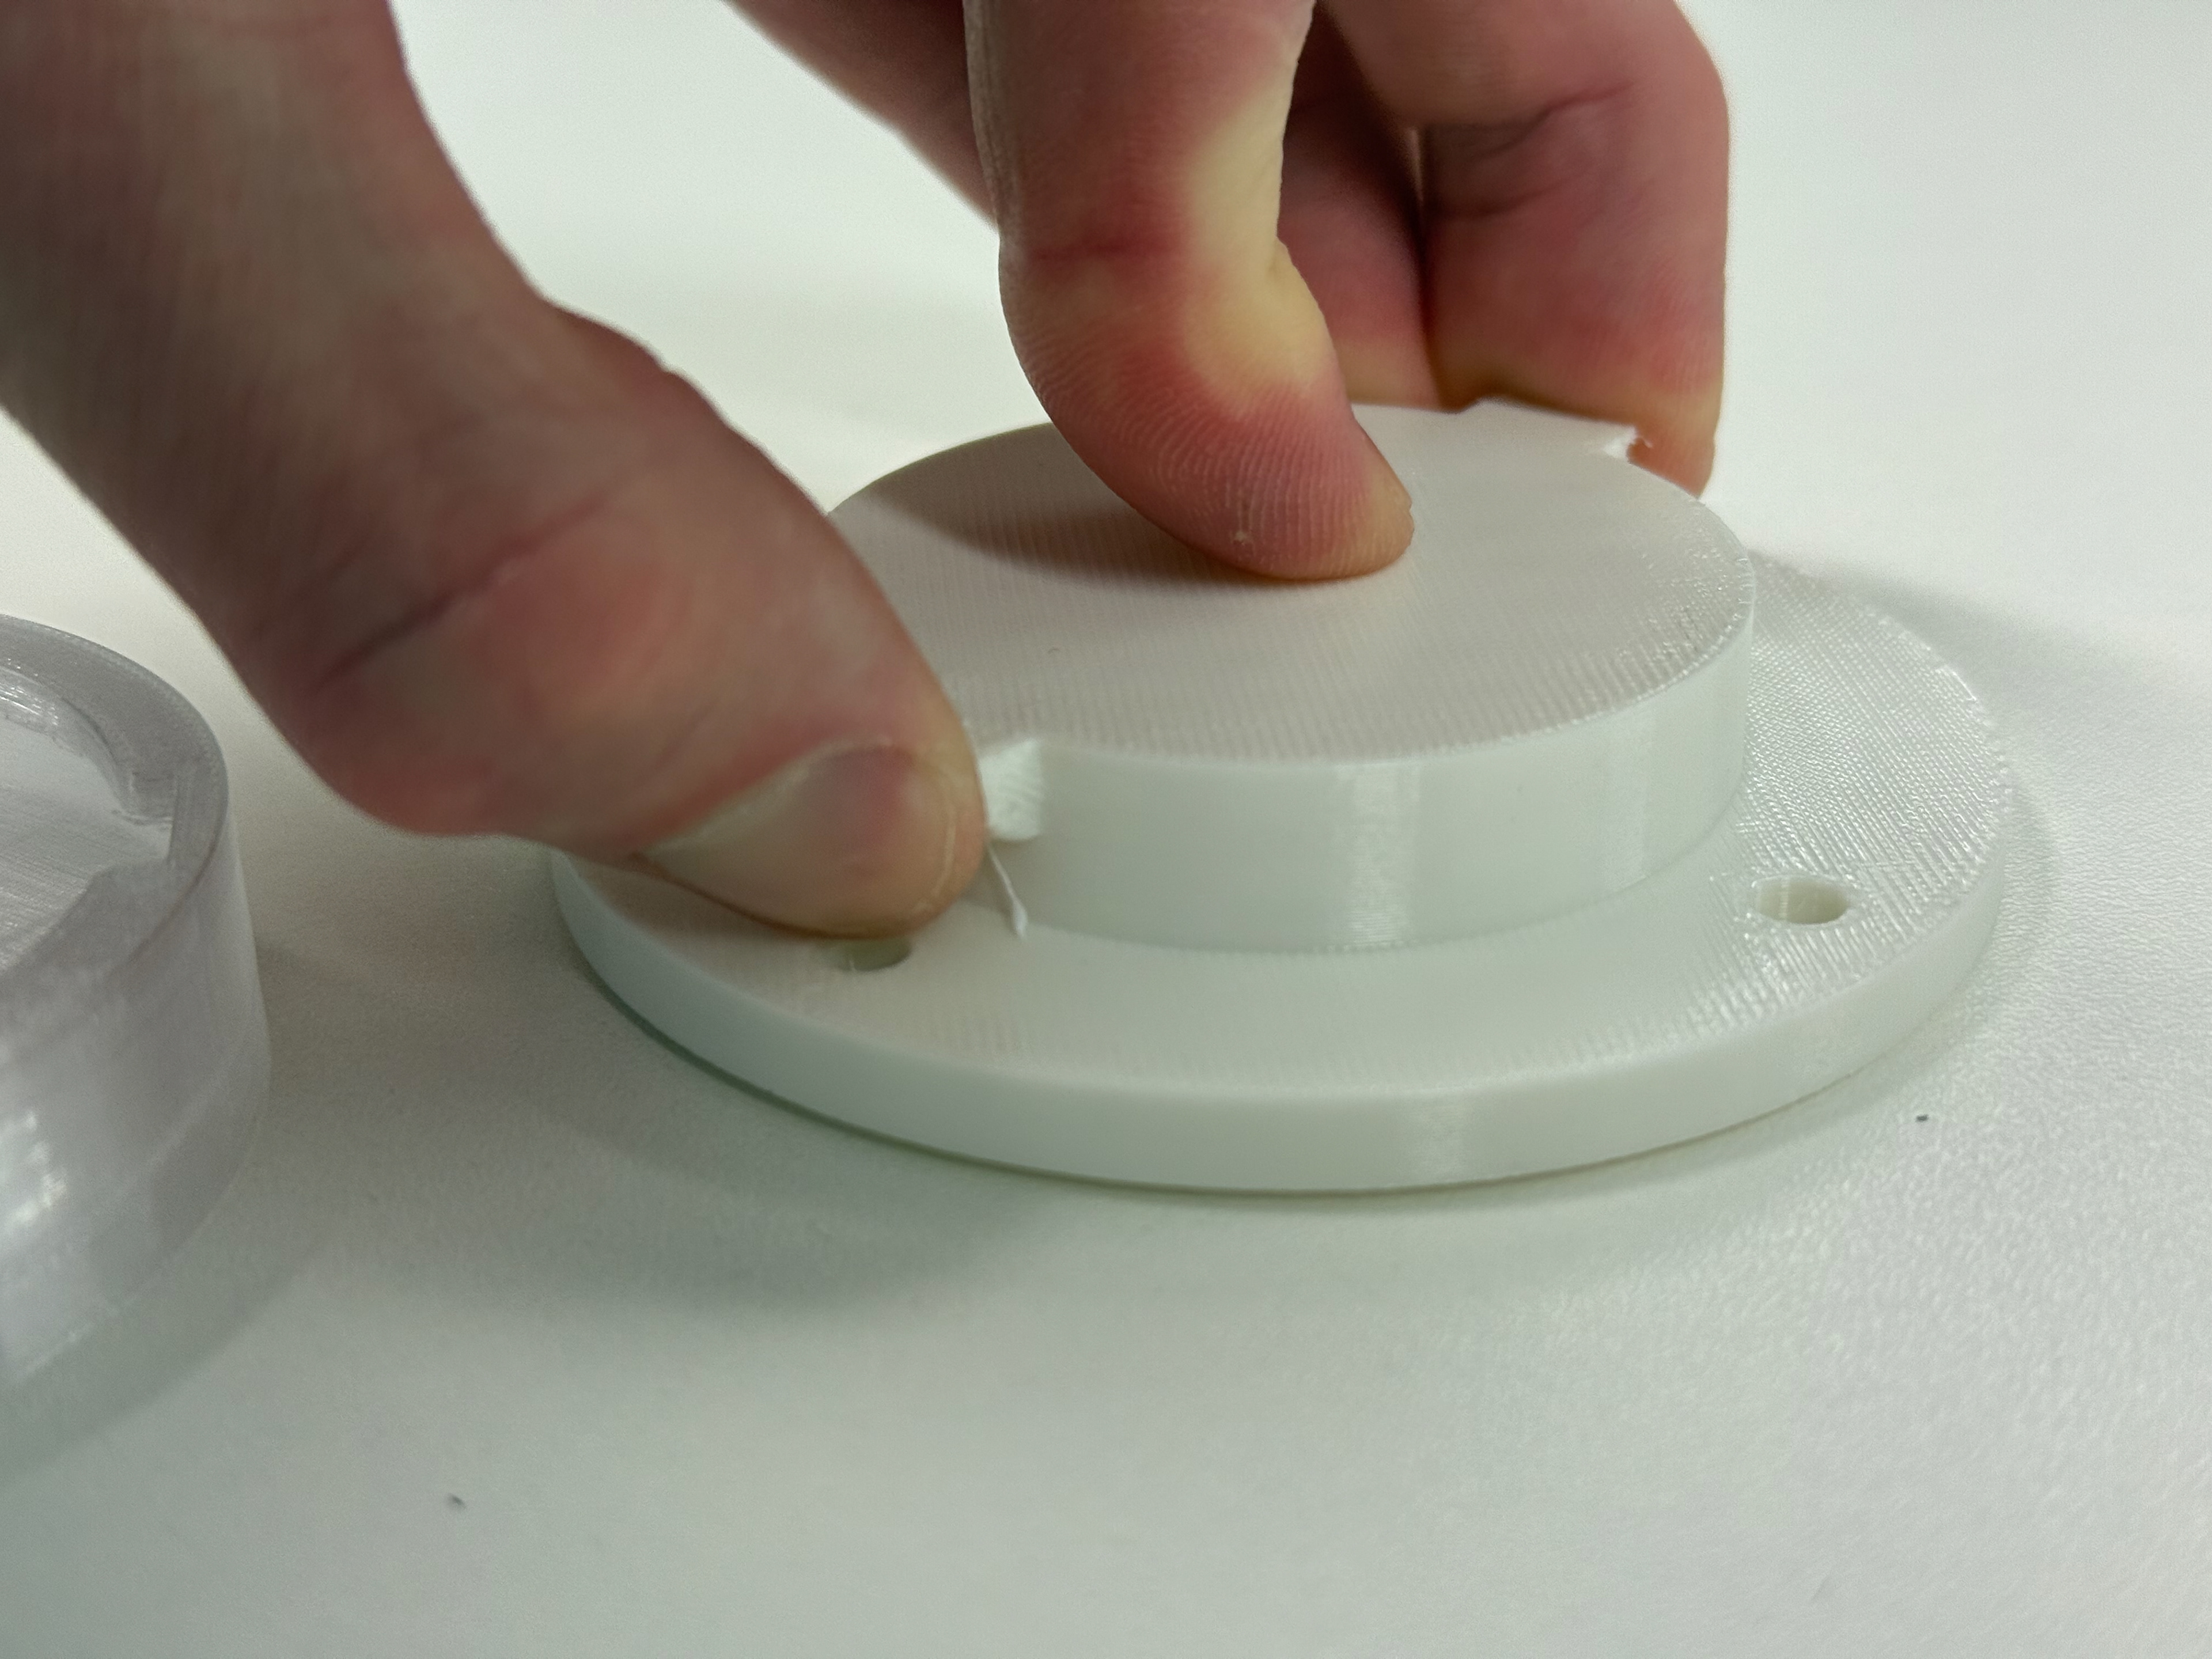
Version 9 two pieces
Holds well but with just a bit of force they come apart very easily
Version 10 two pieces