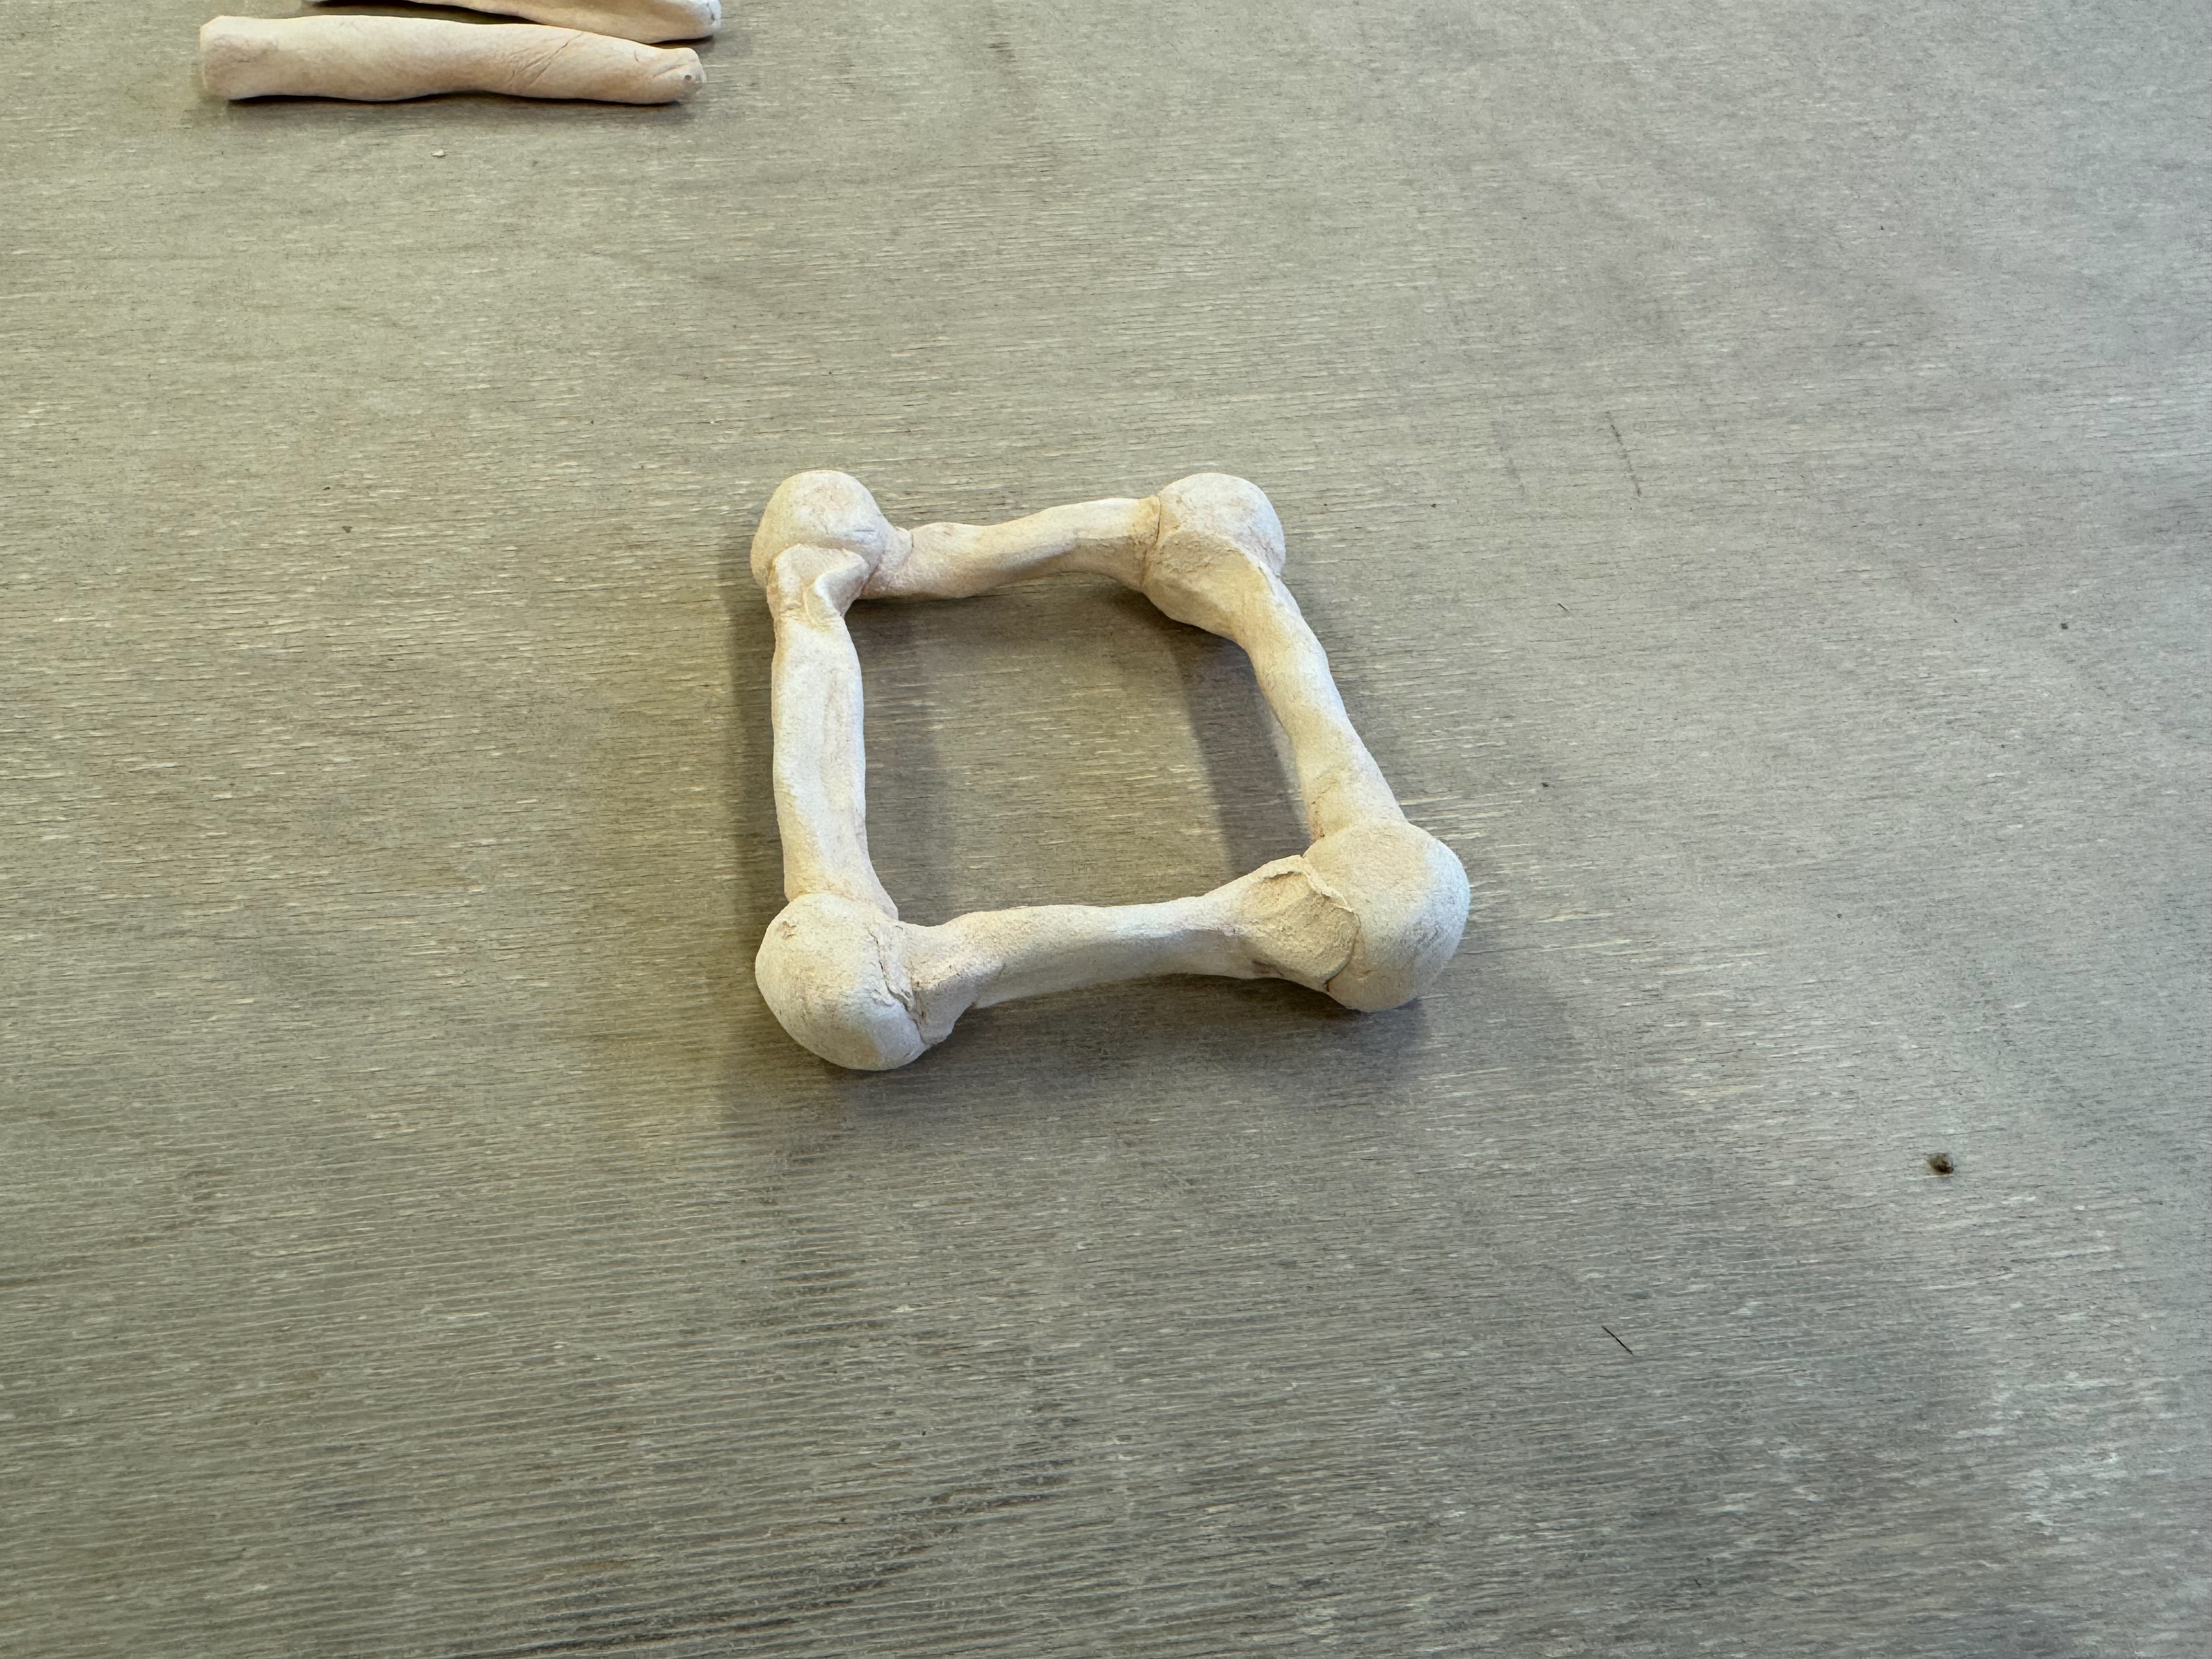
Lattice in clay:
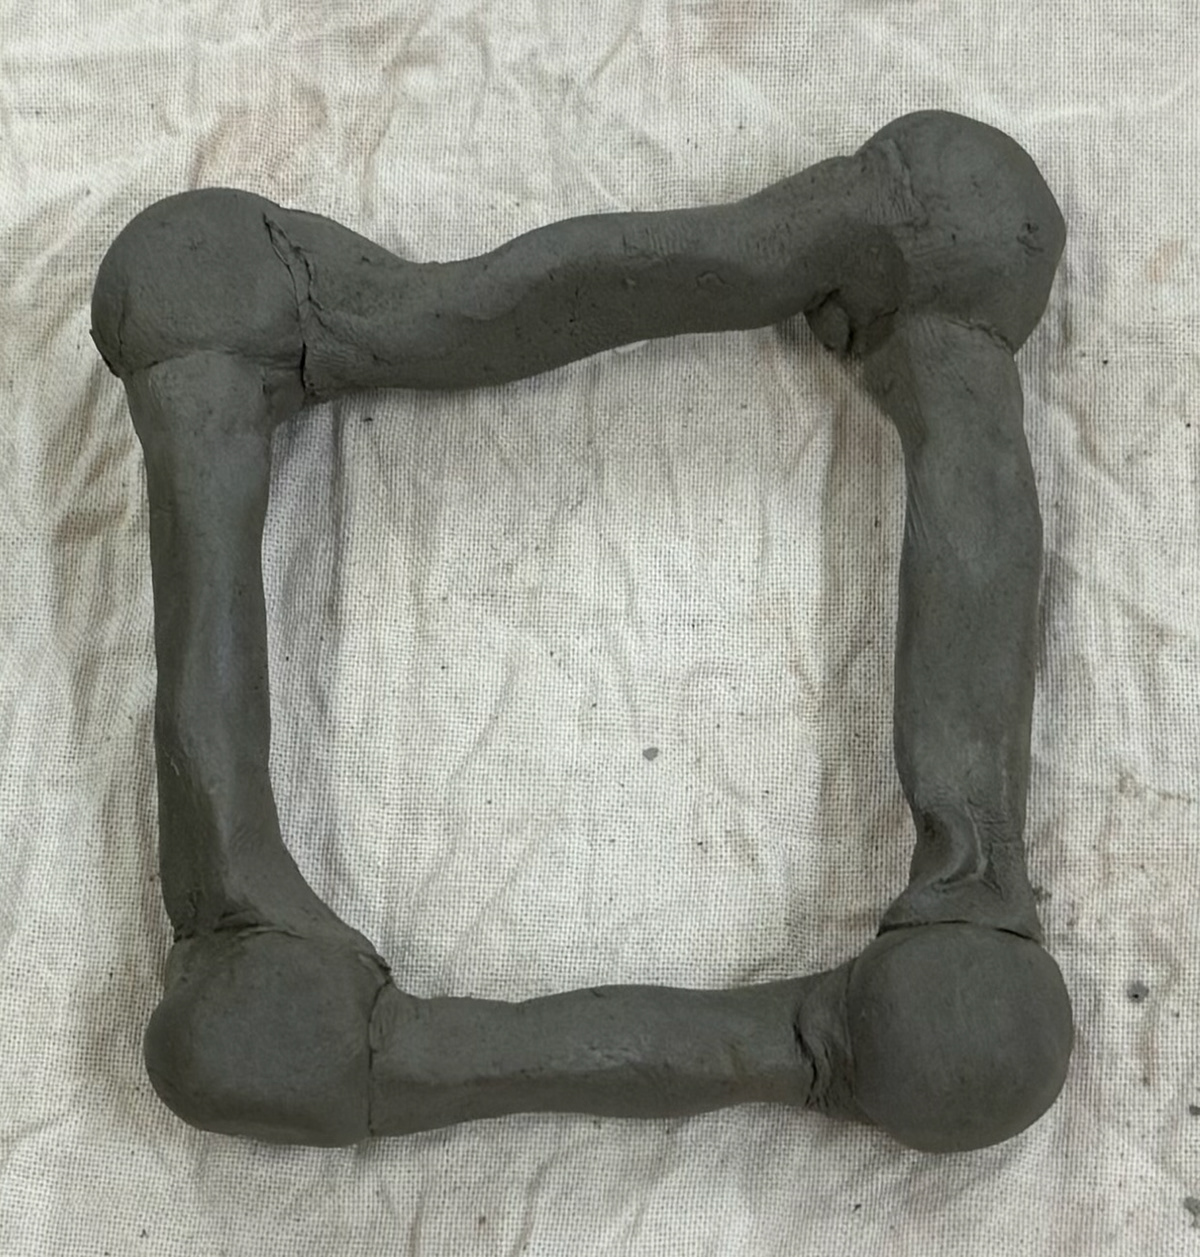
A test piece demonstrating the base of a lattice cube made from Almington clay.
A test piece demonstrating how I can add the texture of bone into clay. I decided to roll the clay in my hands to create the balls and the strip sections. By doing that my hands took moisture out of the clay and made it much harder to manipulate and work with. You can also see the strips are not joined to the balls correctly and the strips are not straight. I decided to fire this anyway to see how the final result would look.
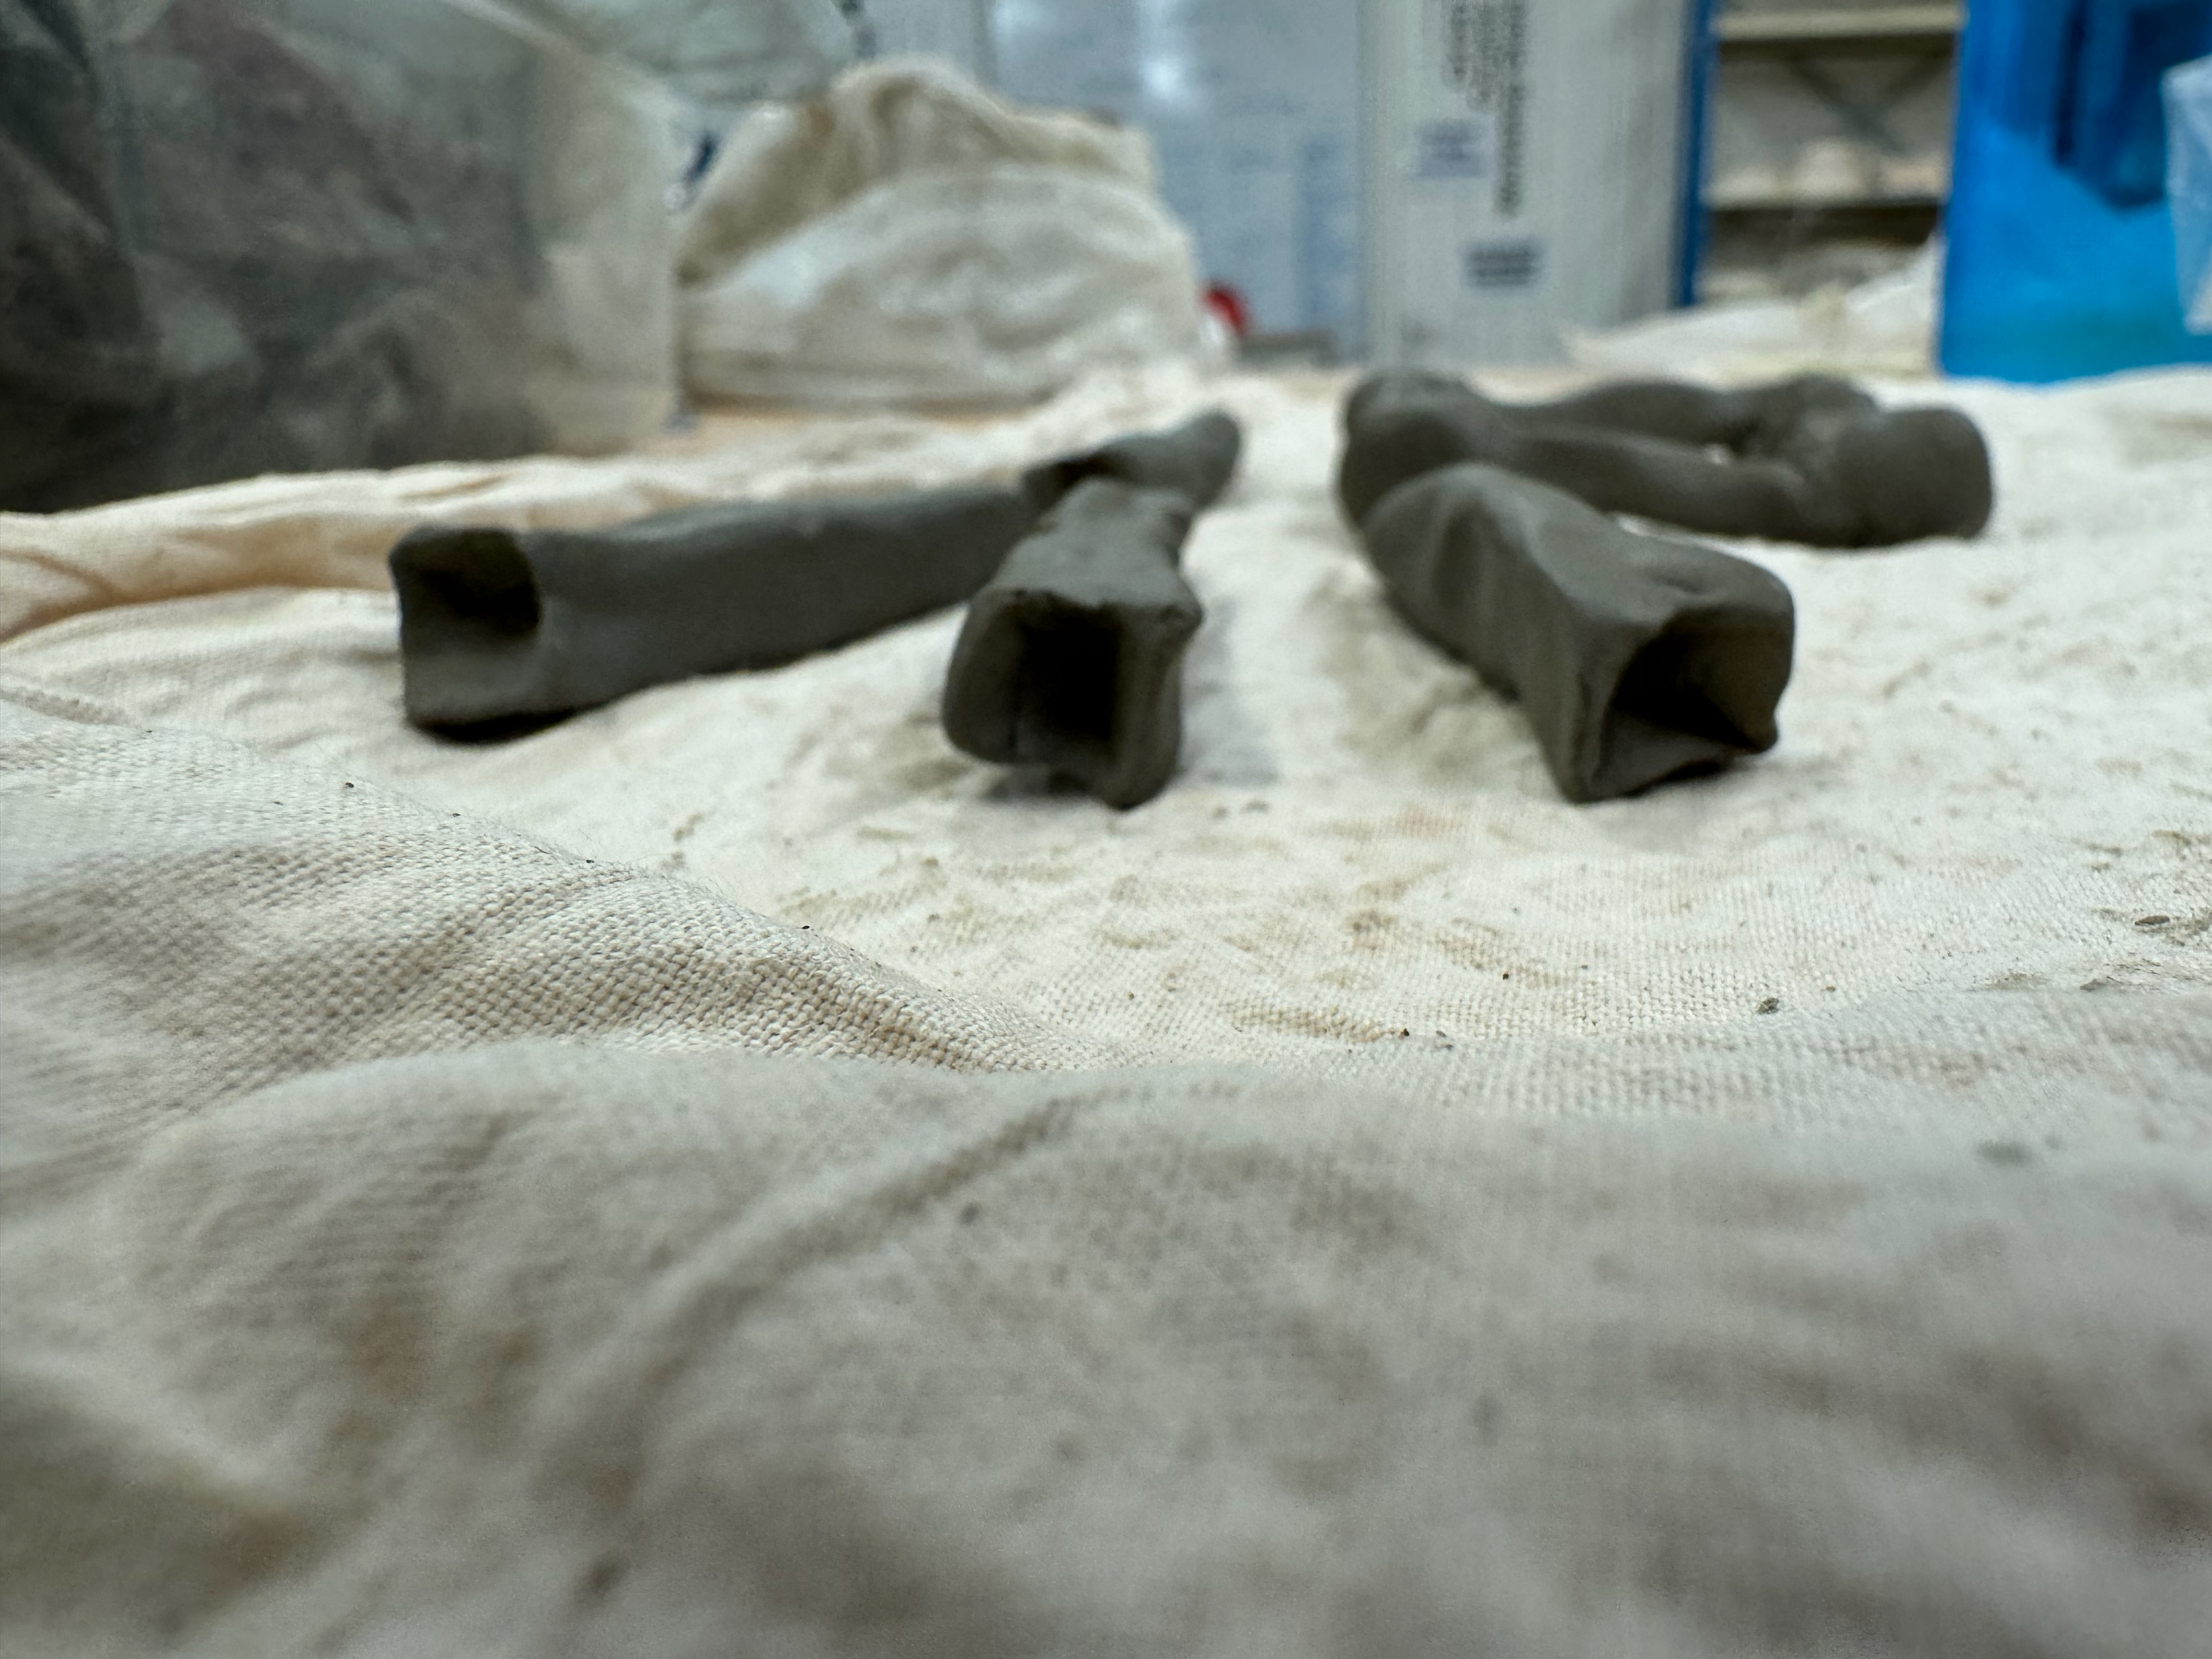
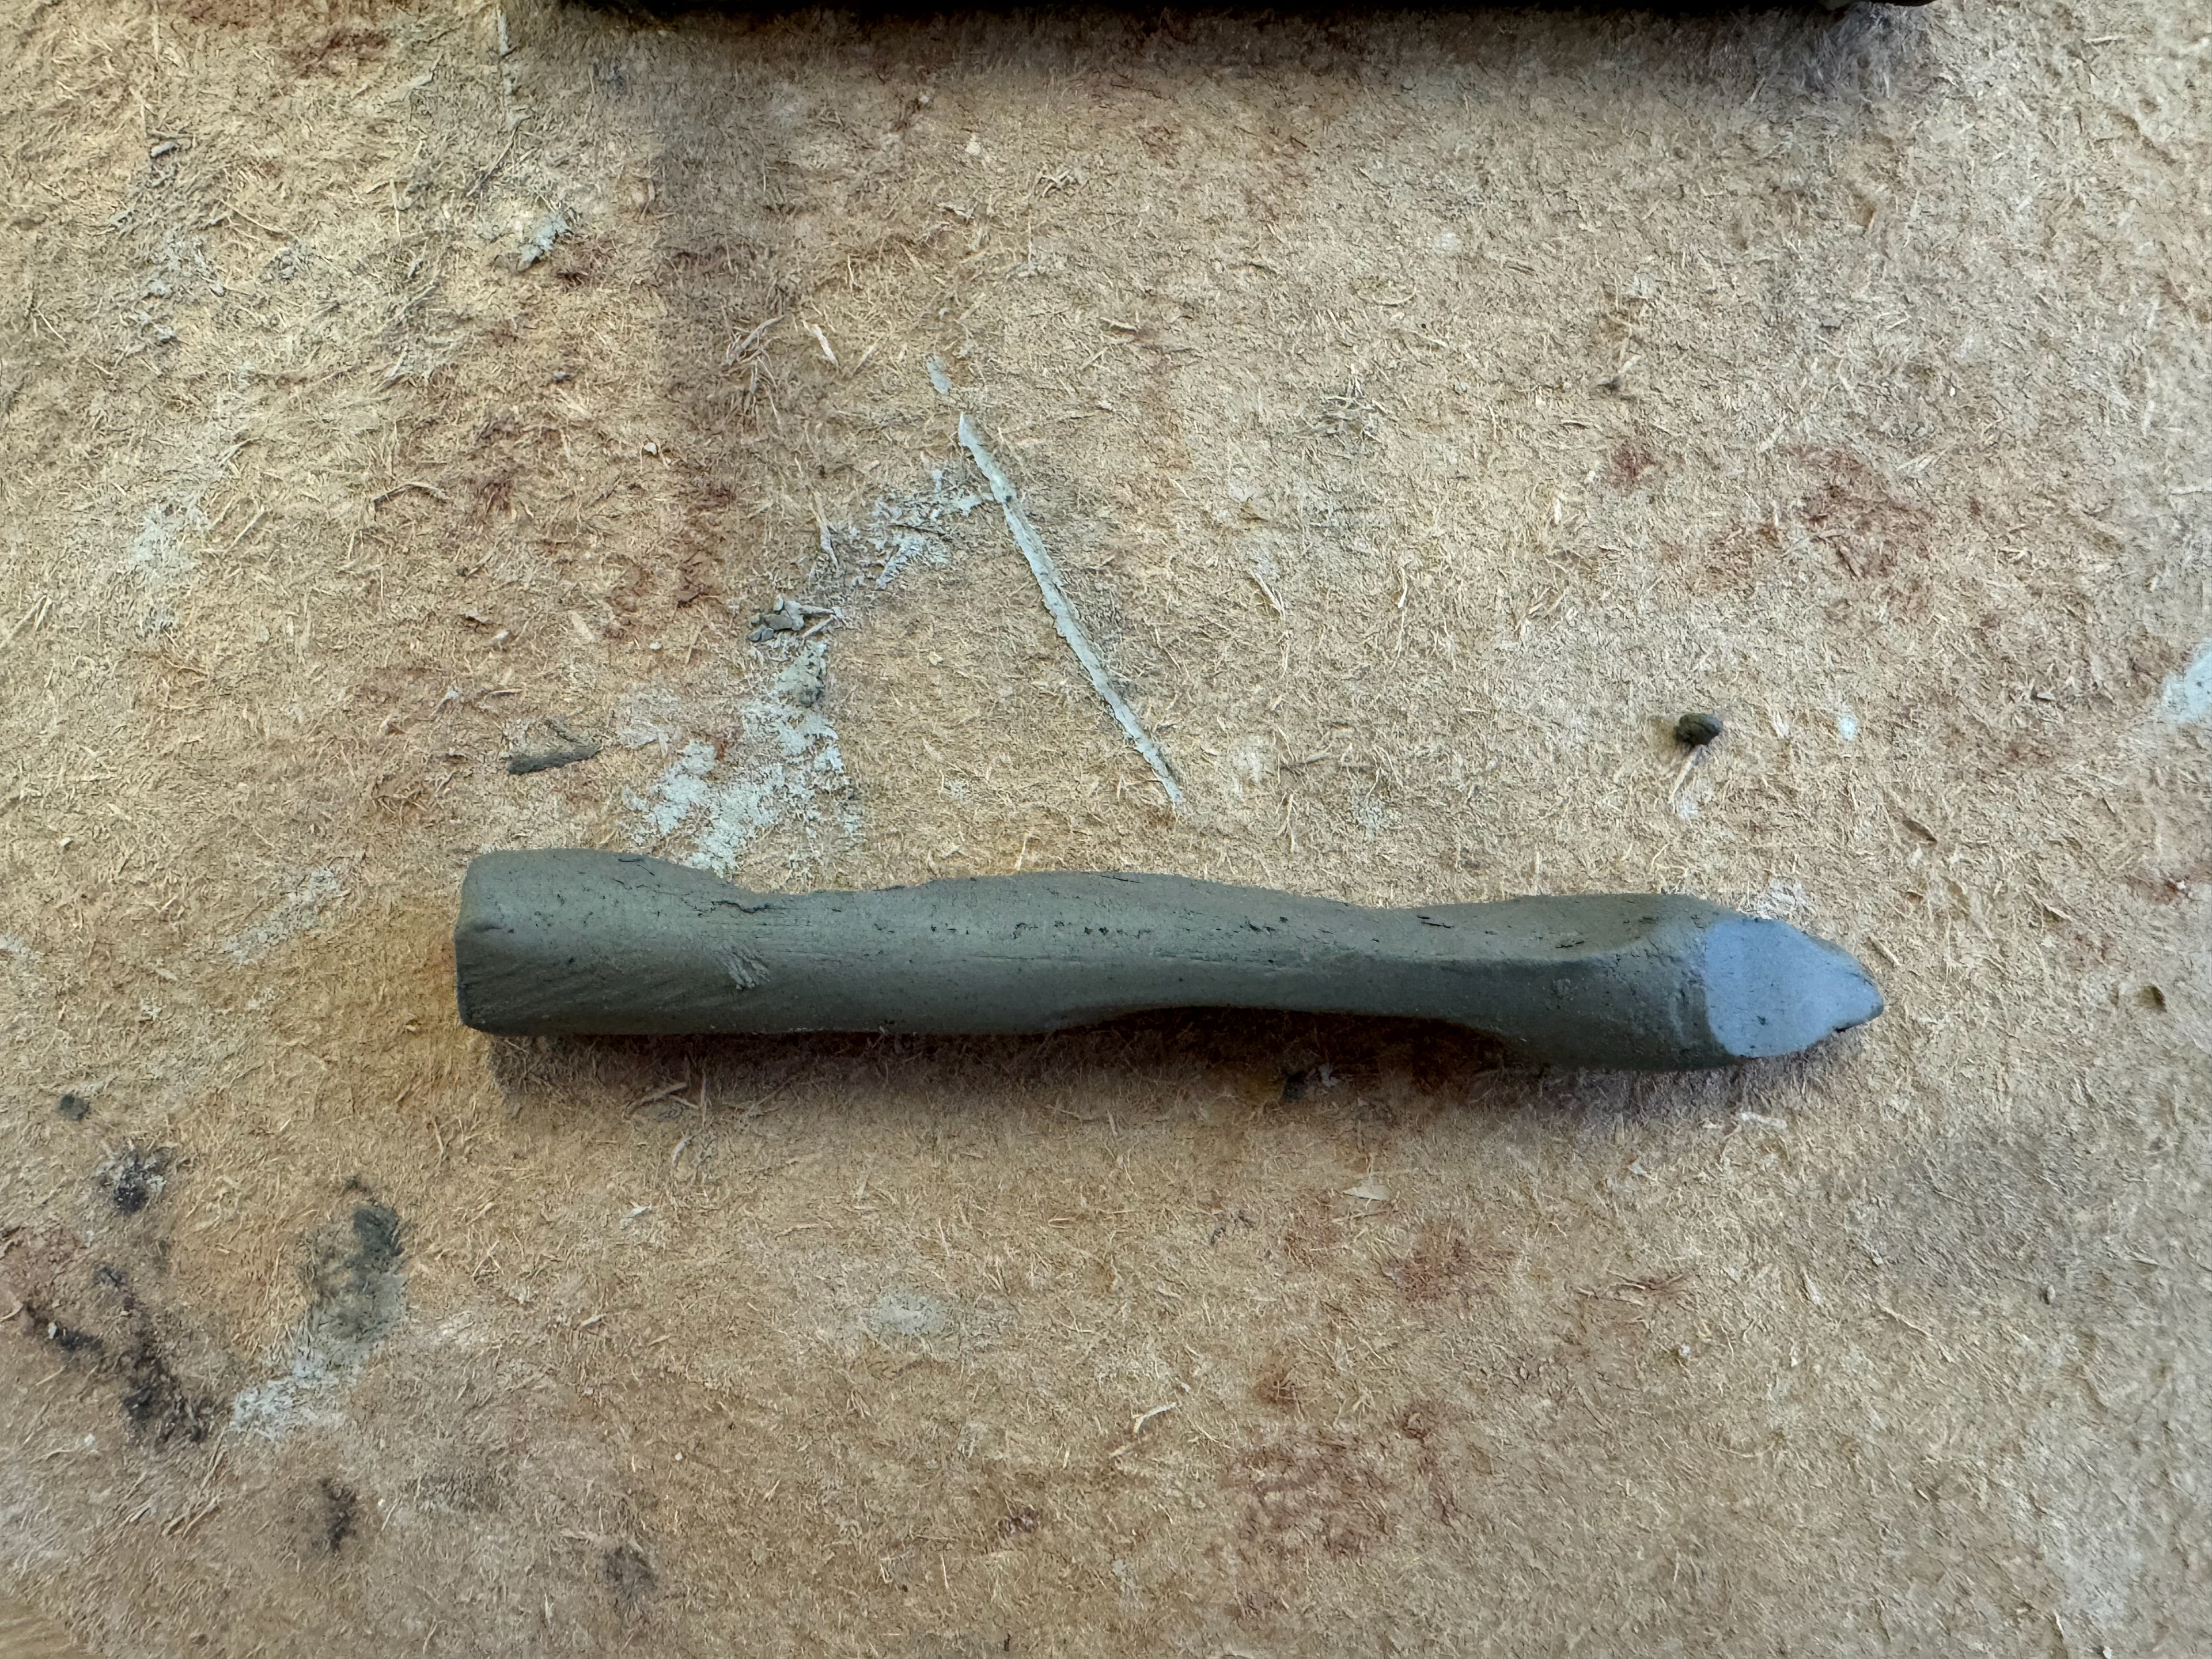
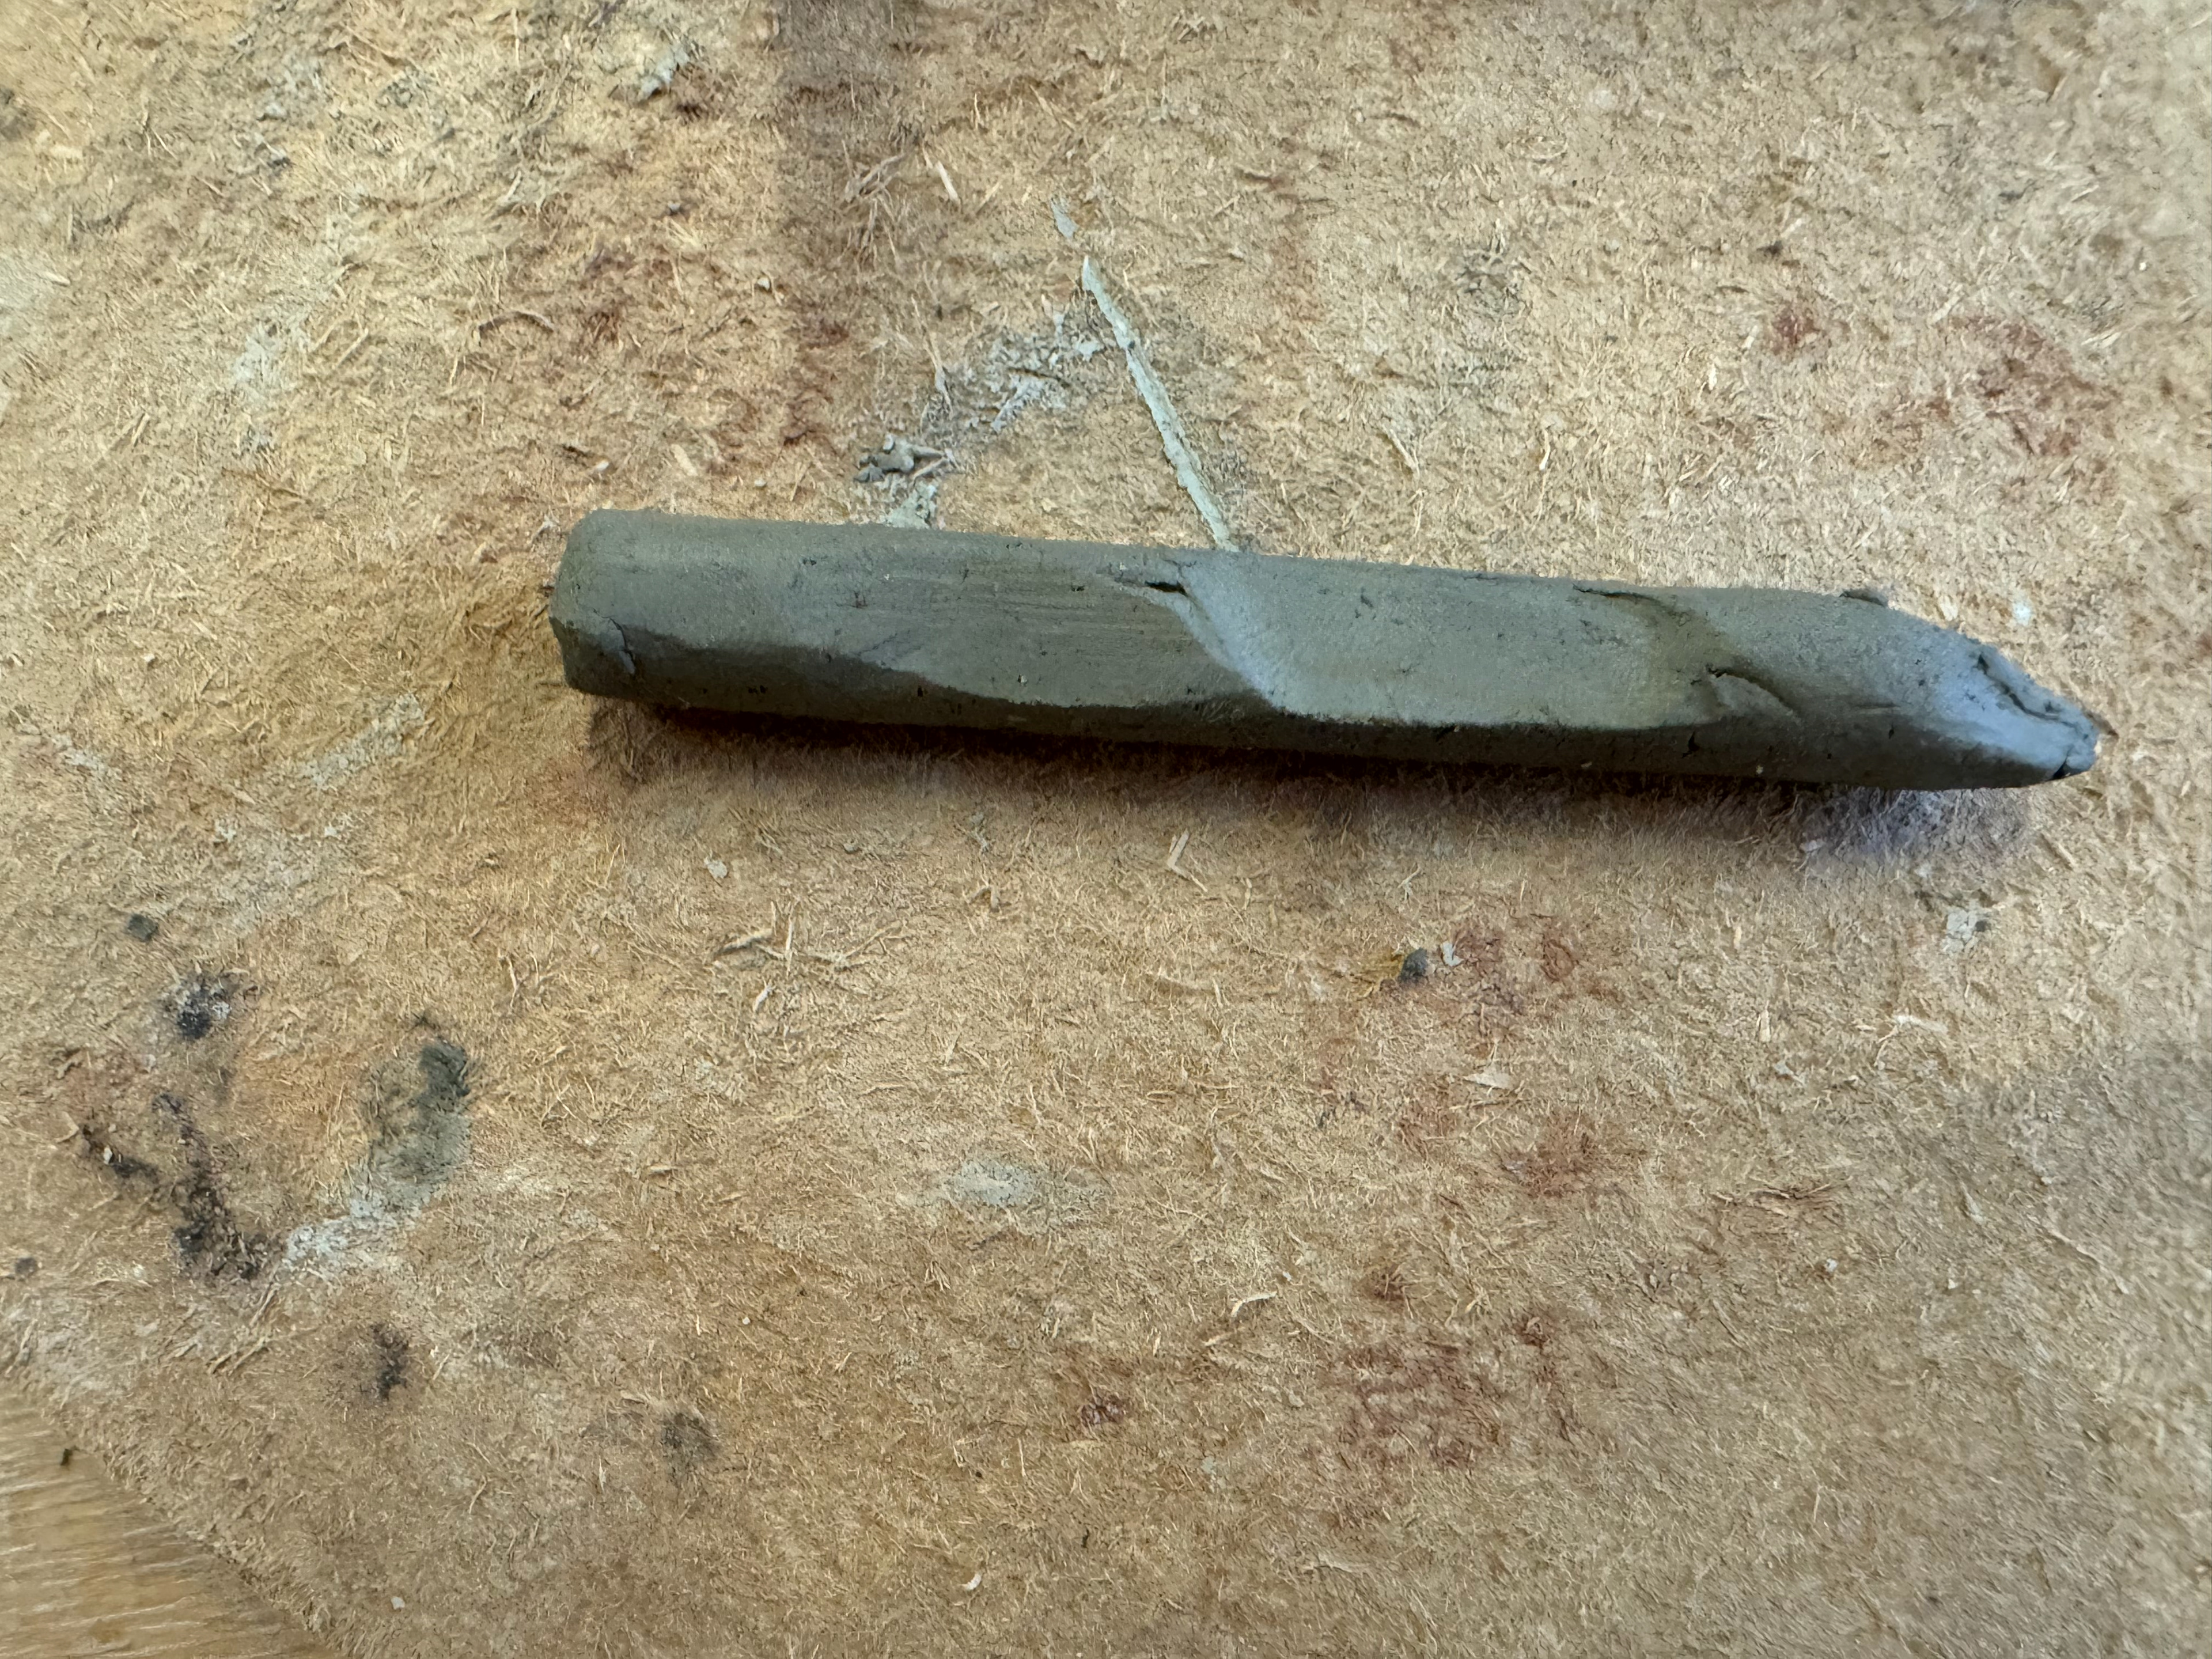
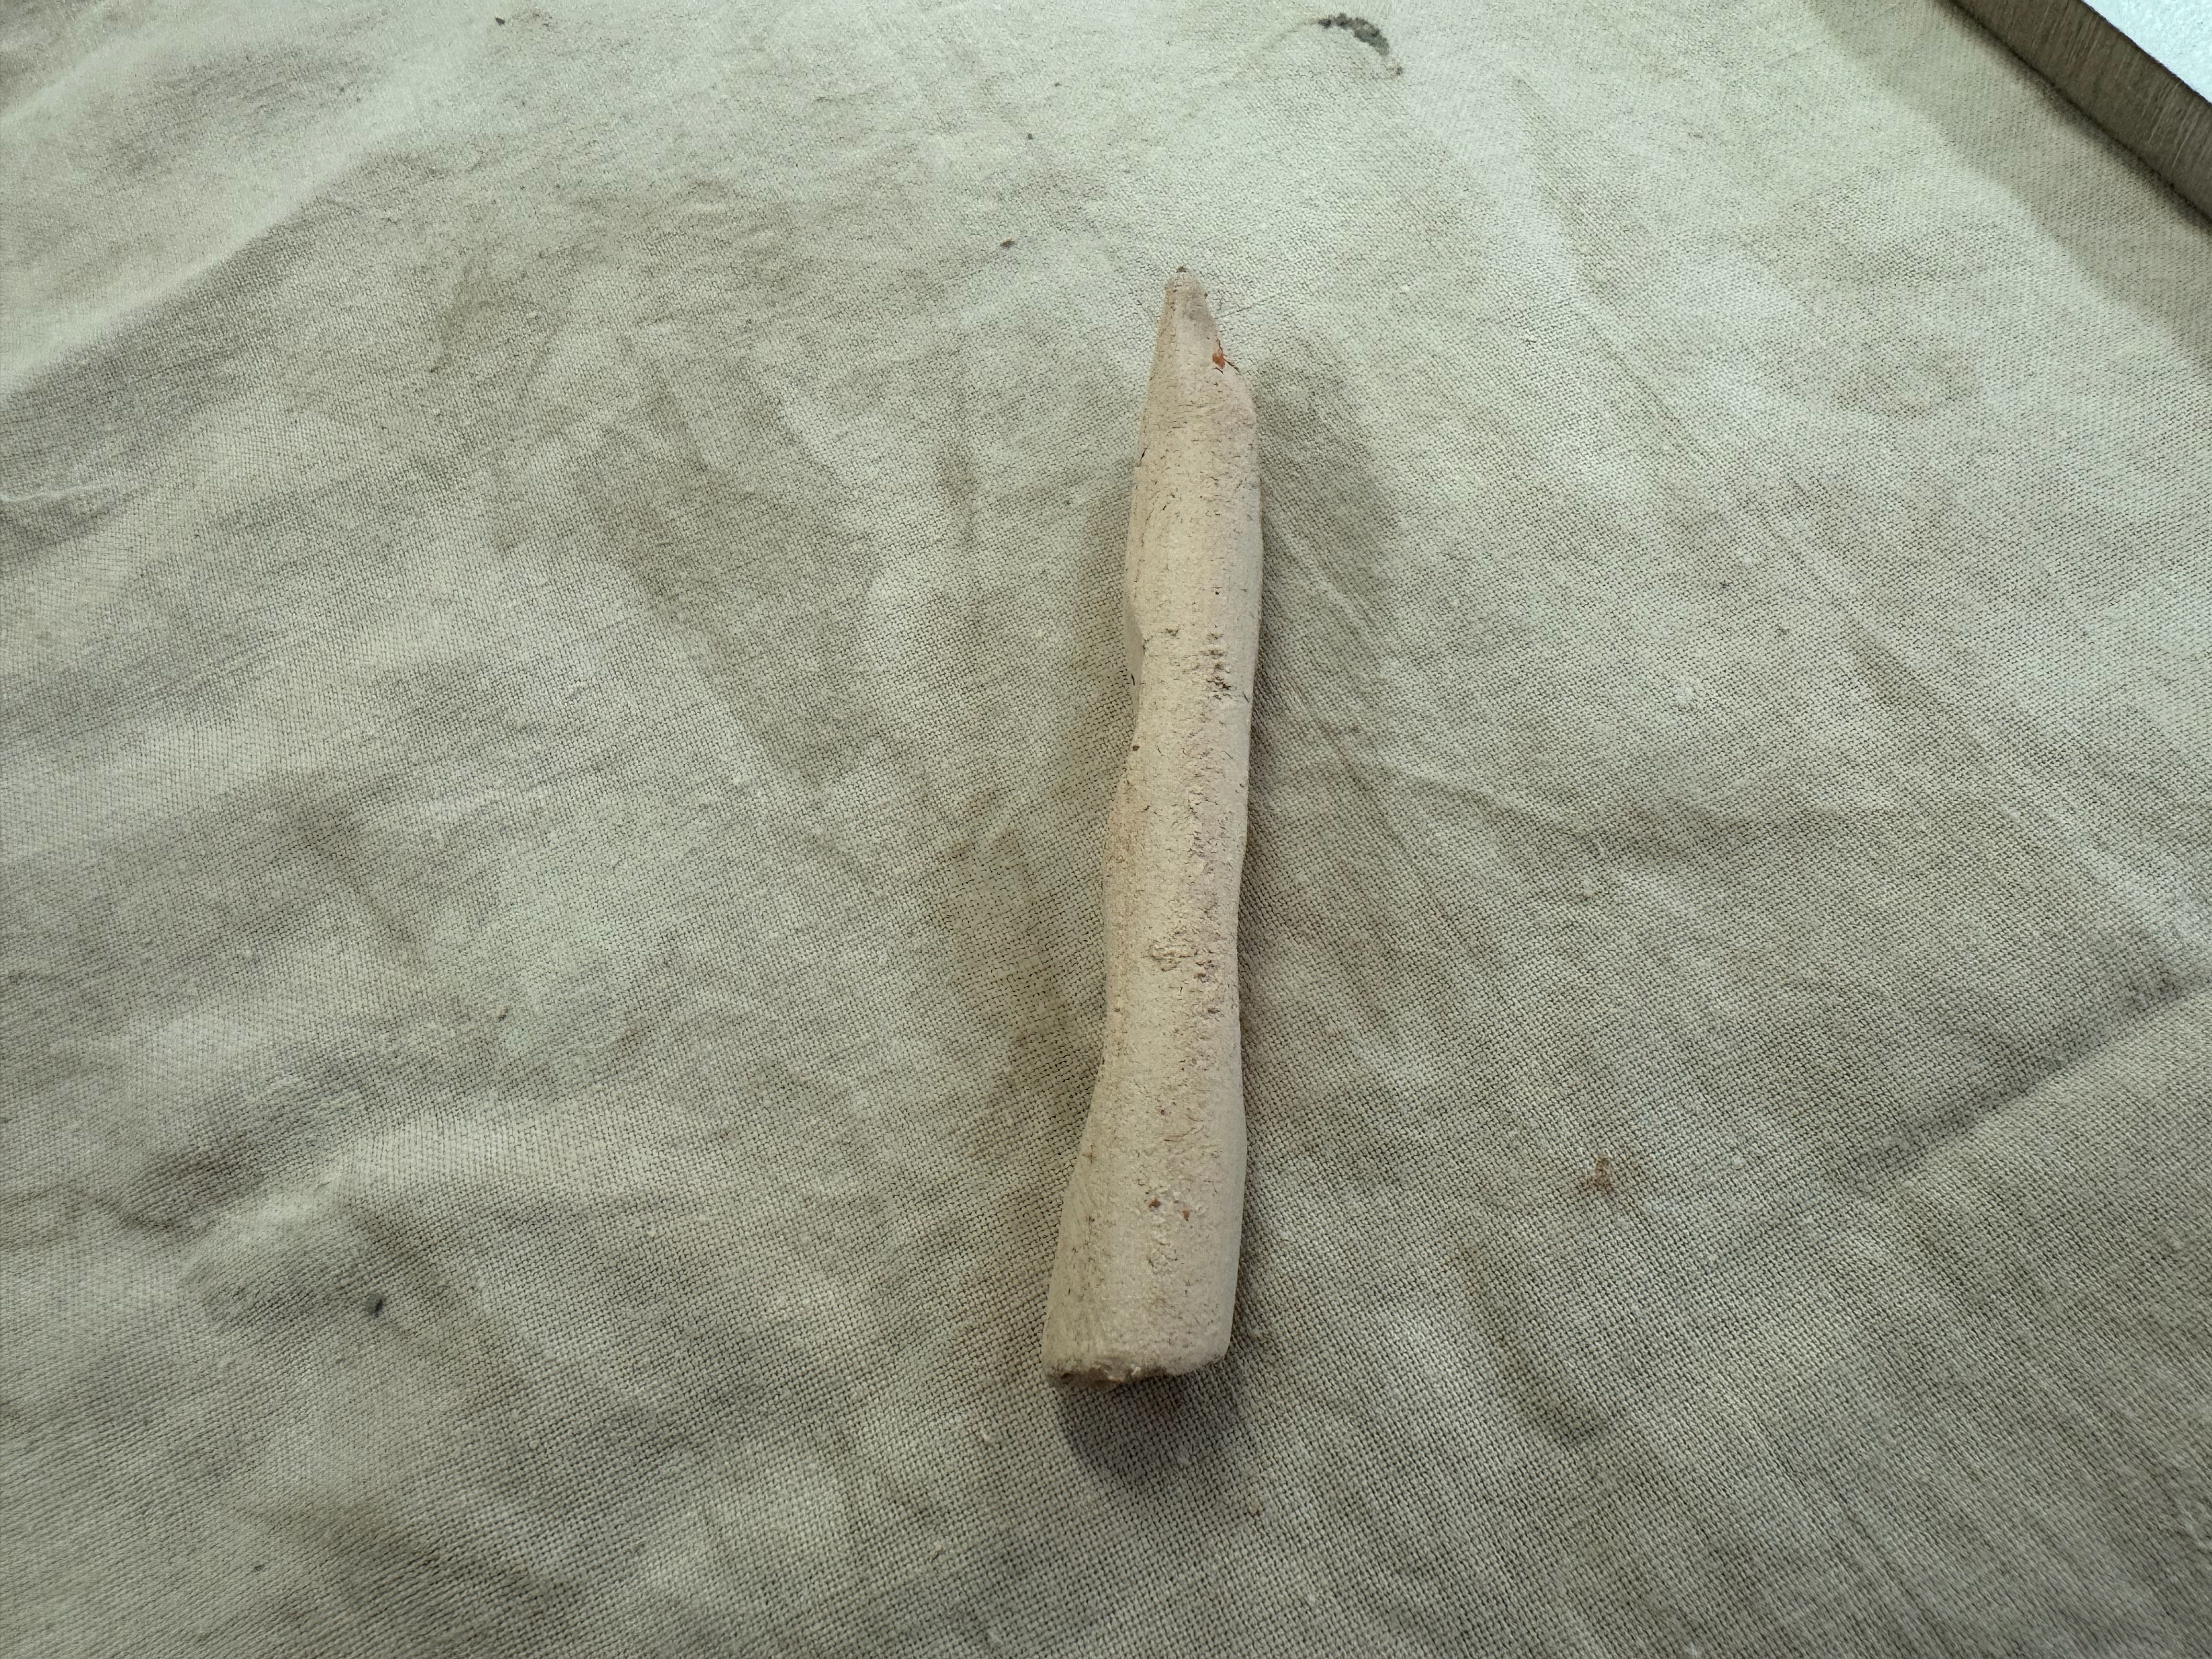
Finger pieces:
I have no finger bone replica to create a cast from. As a result I decided to, once again, roll the pieces in my hands and manipulate the shape with my fingers to resemble a bone. Once fired, I would then use a Dremel to add finer detail.
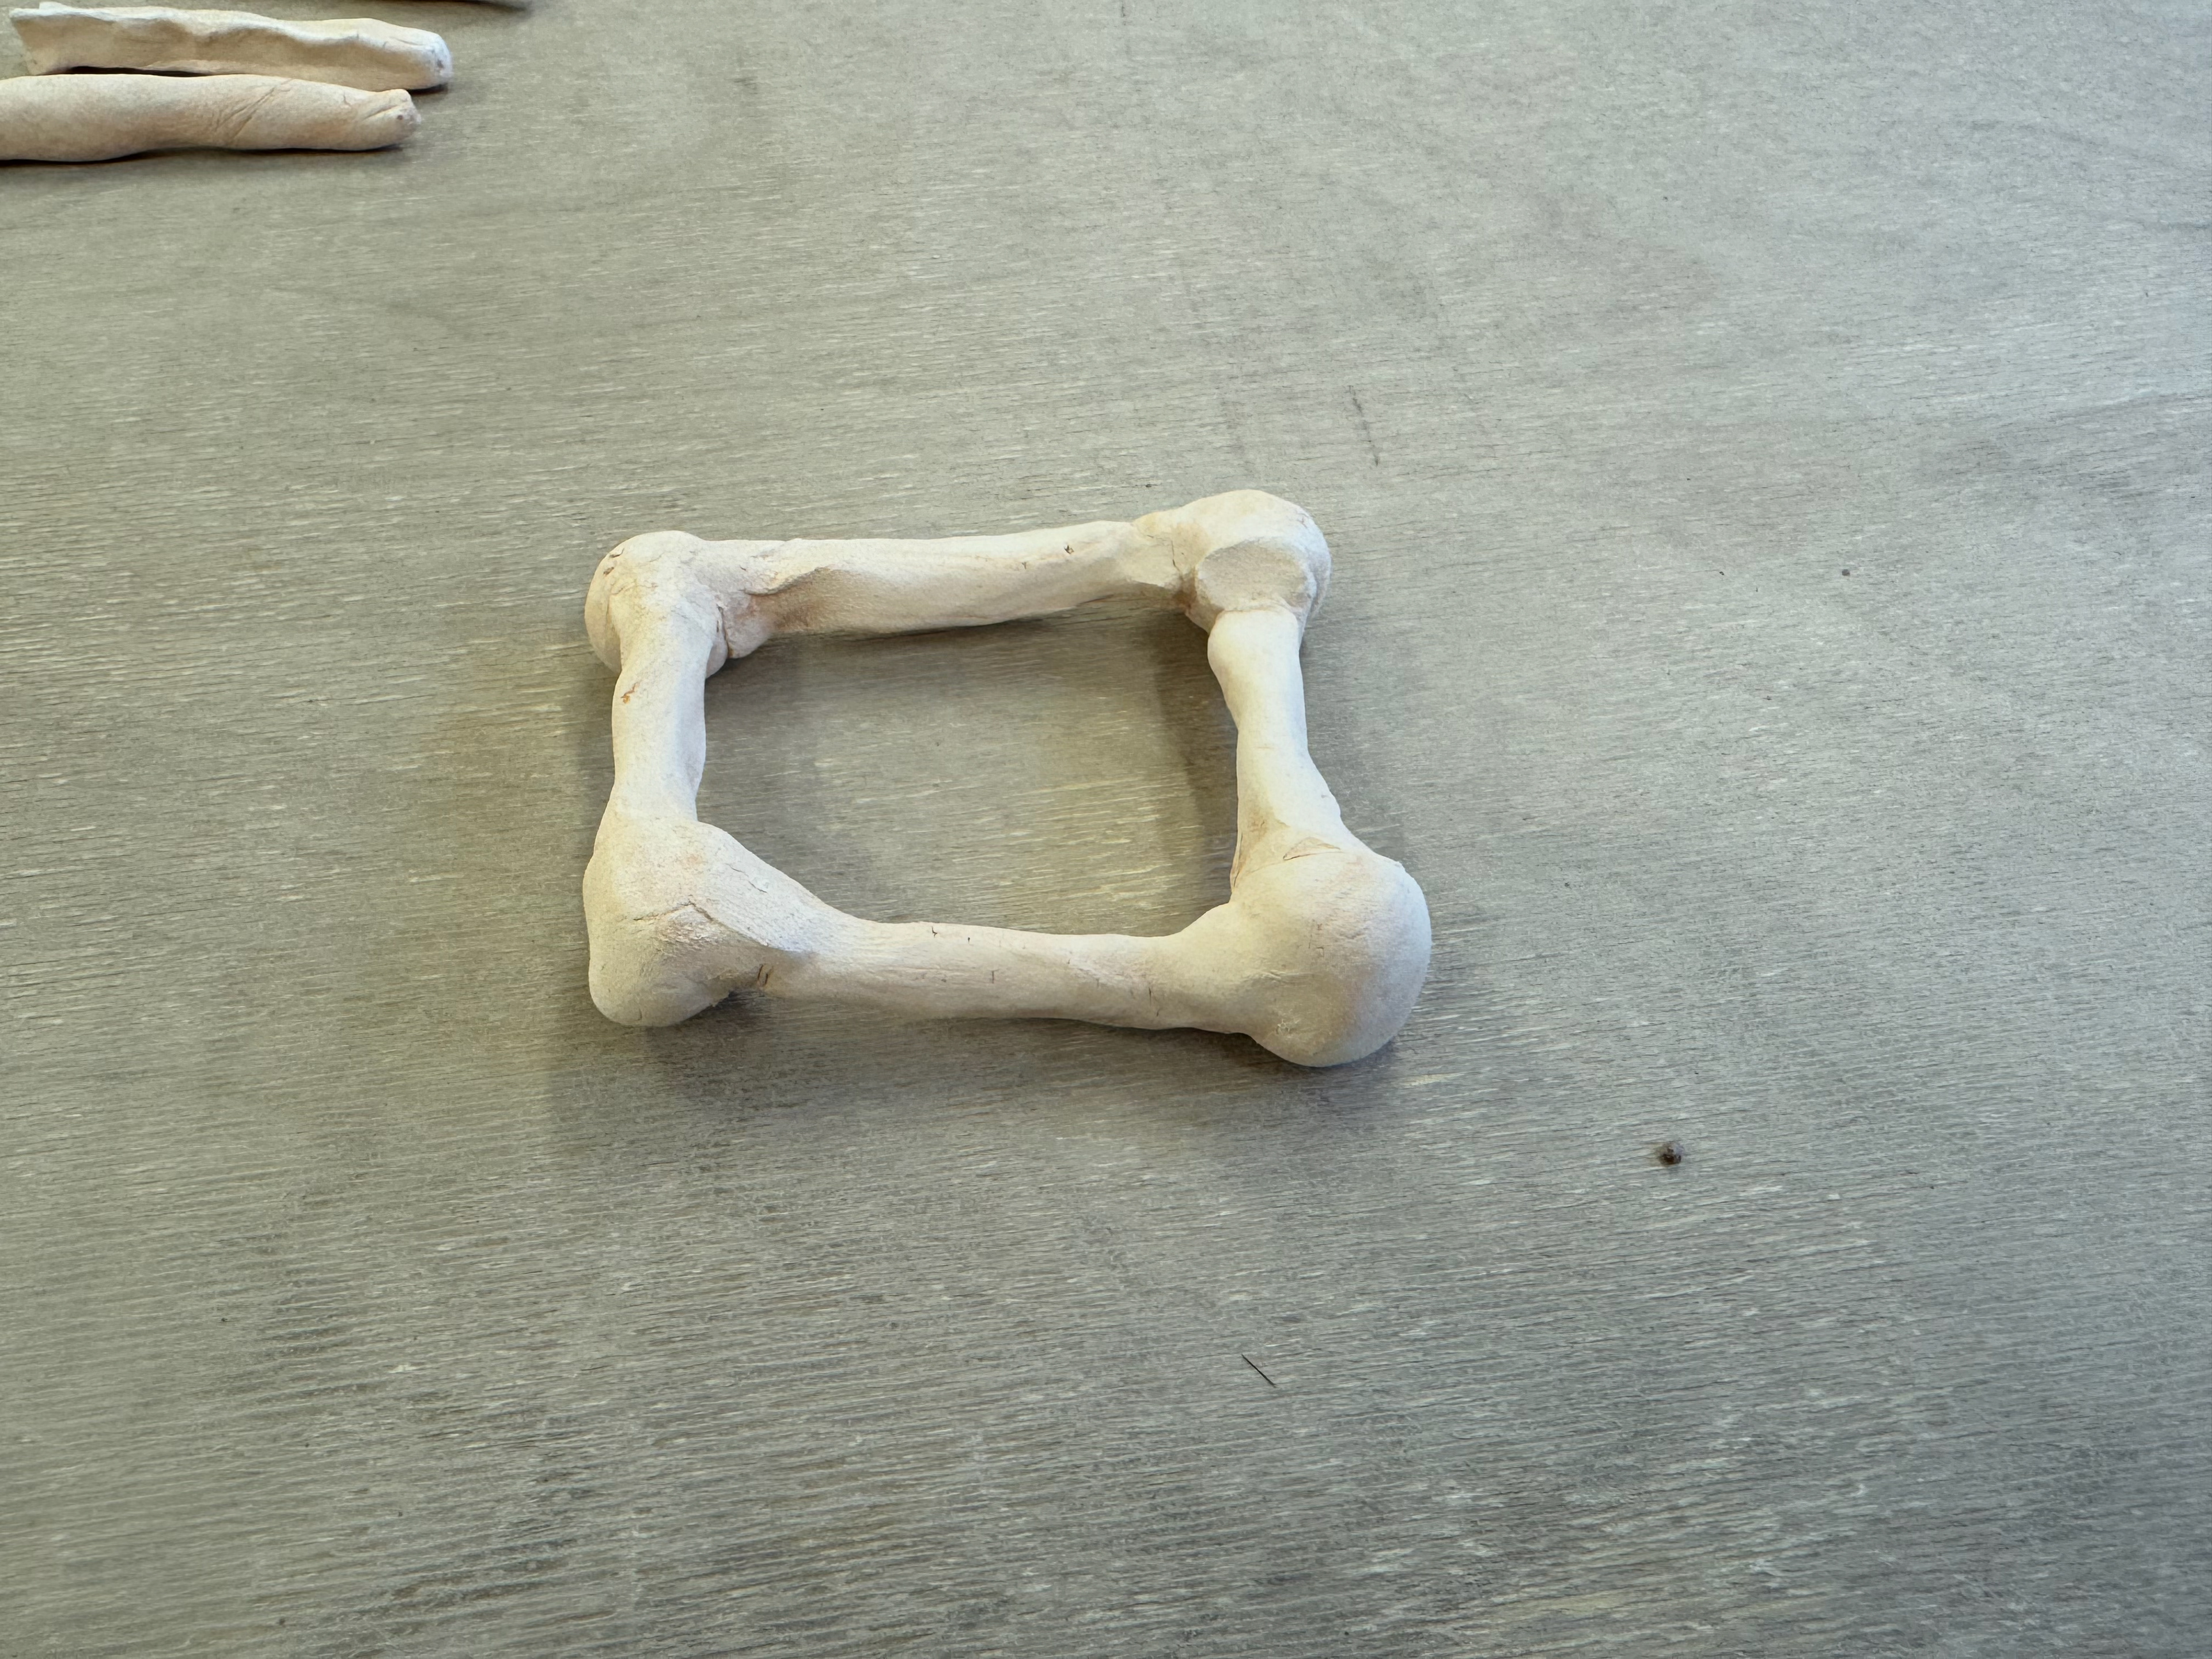
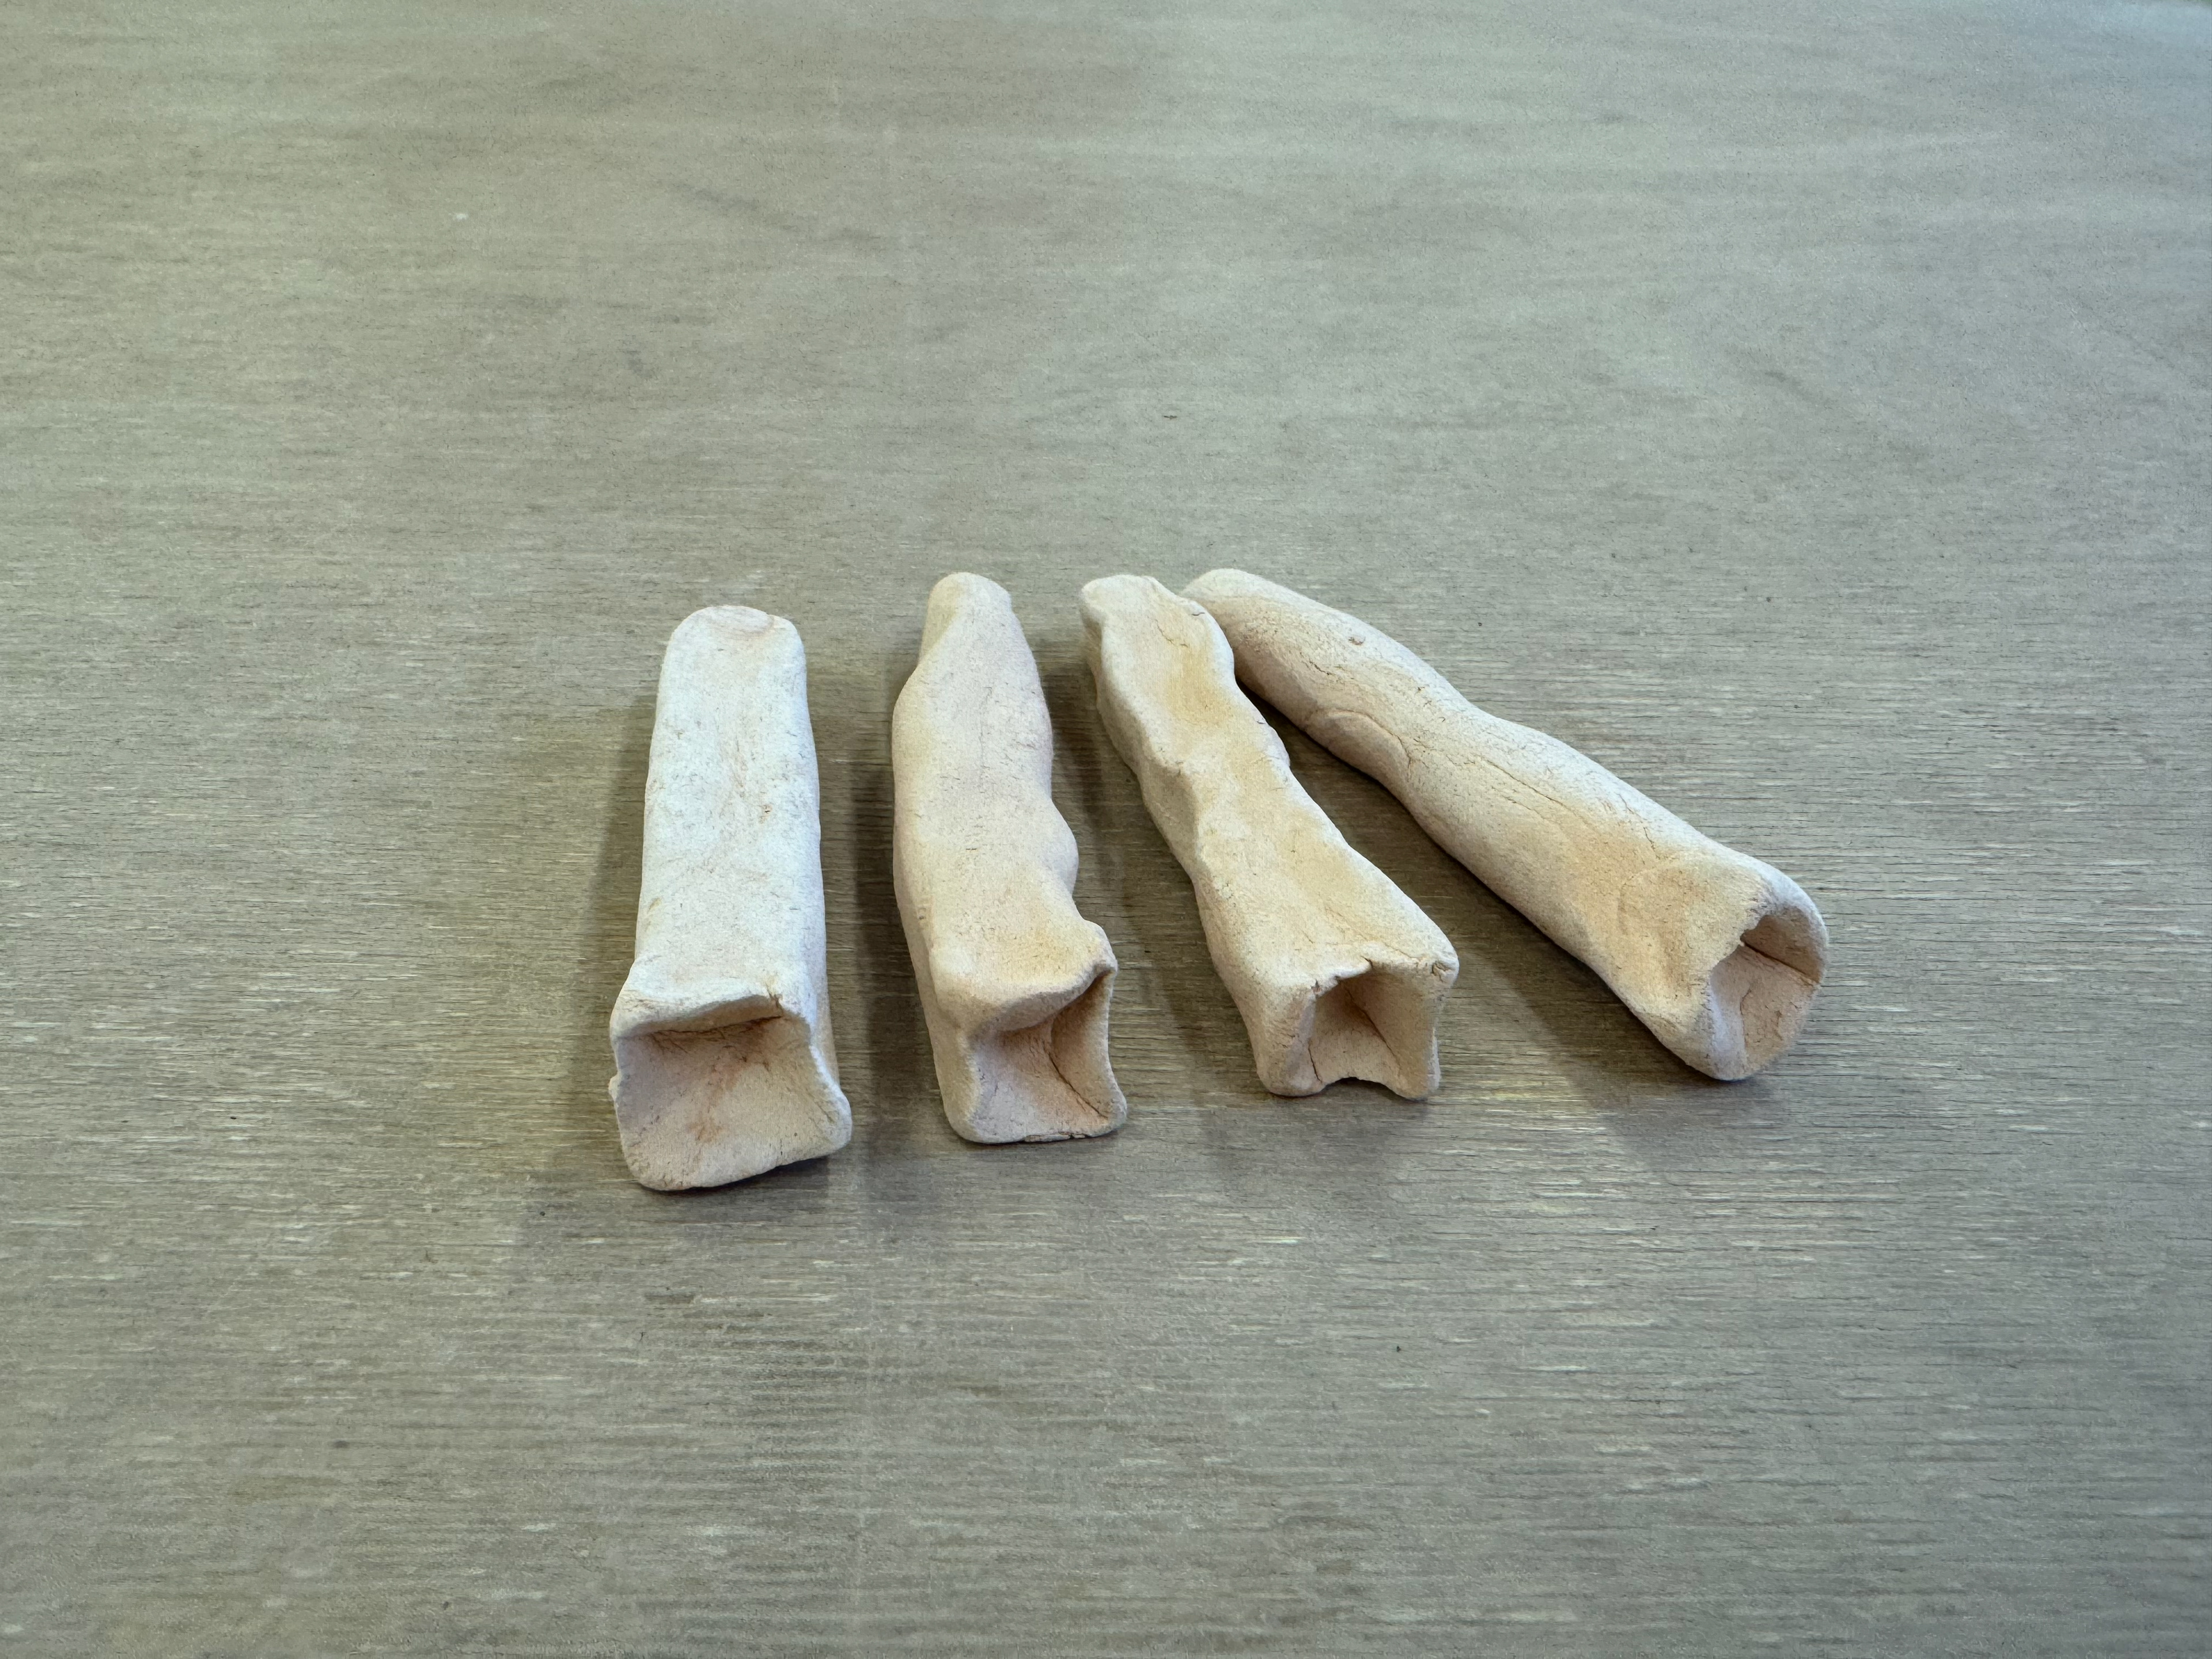
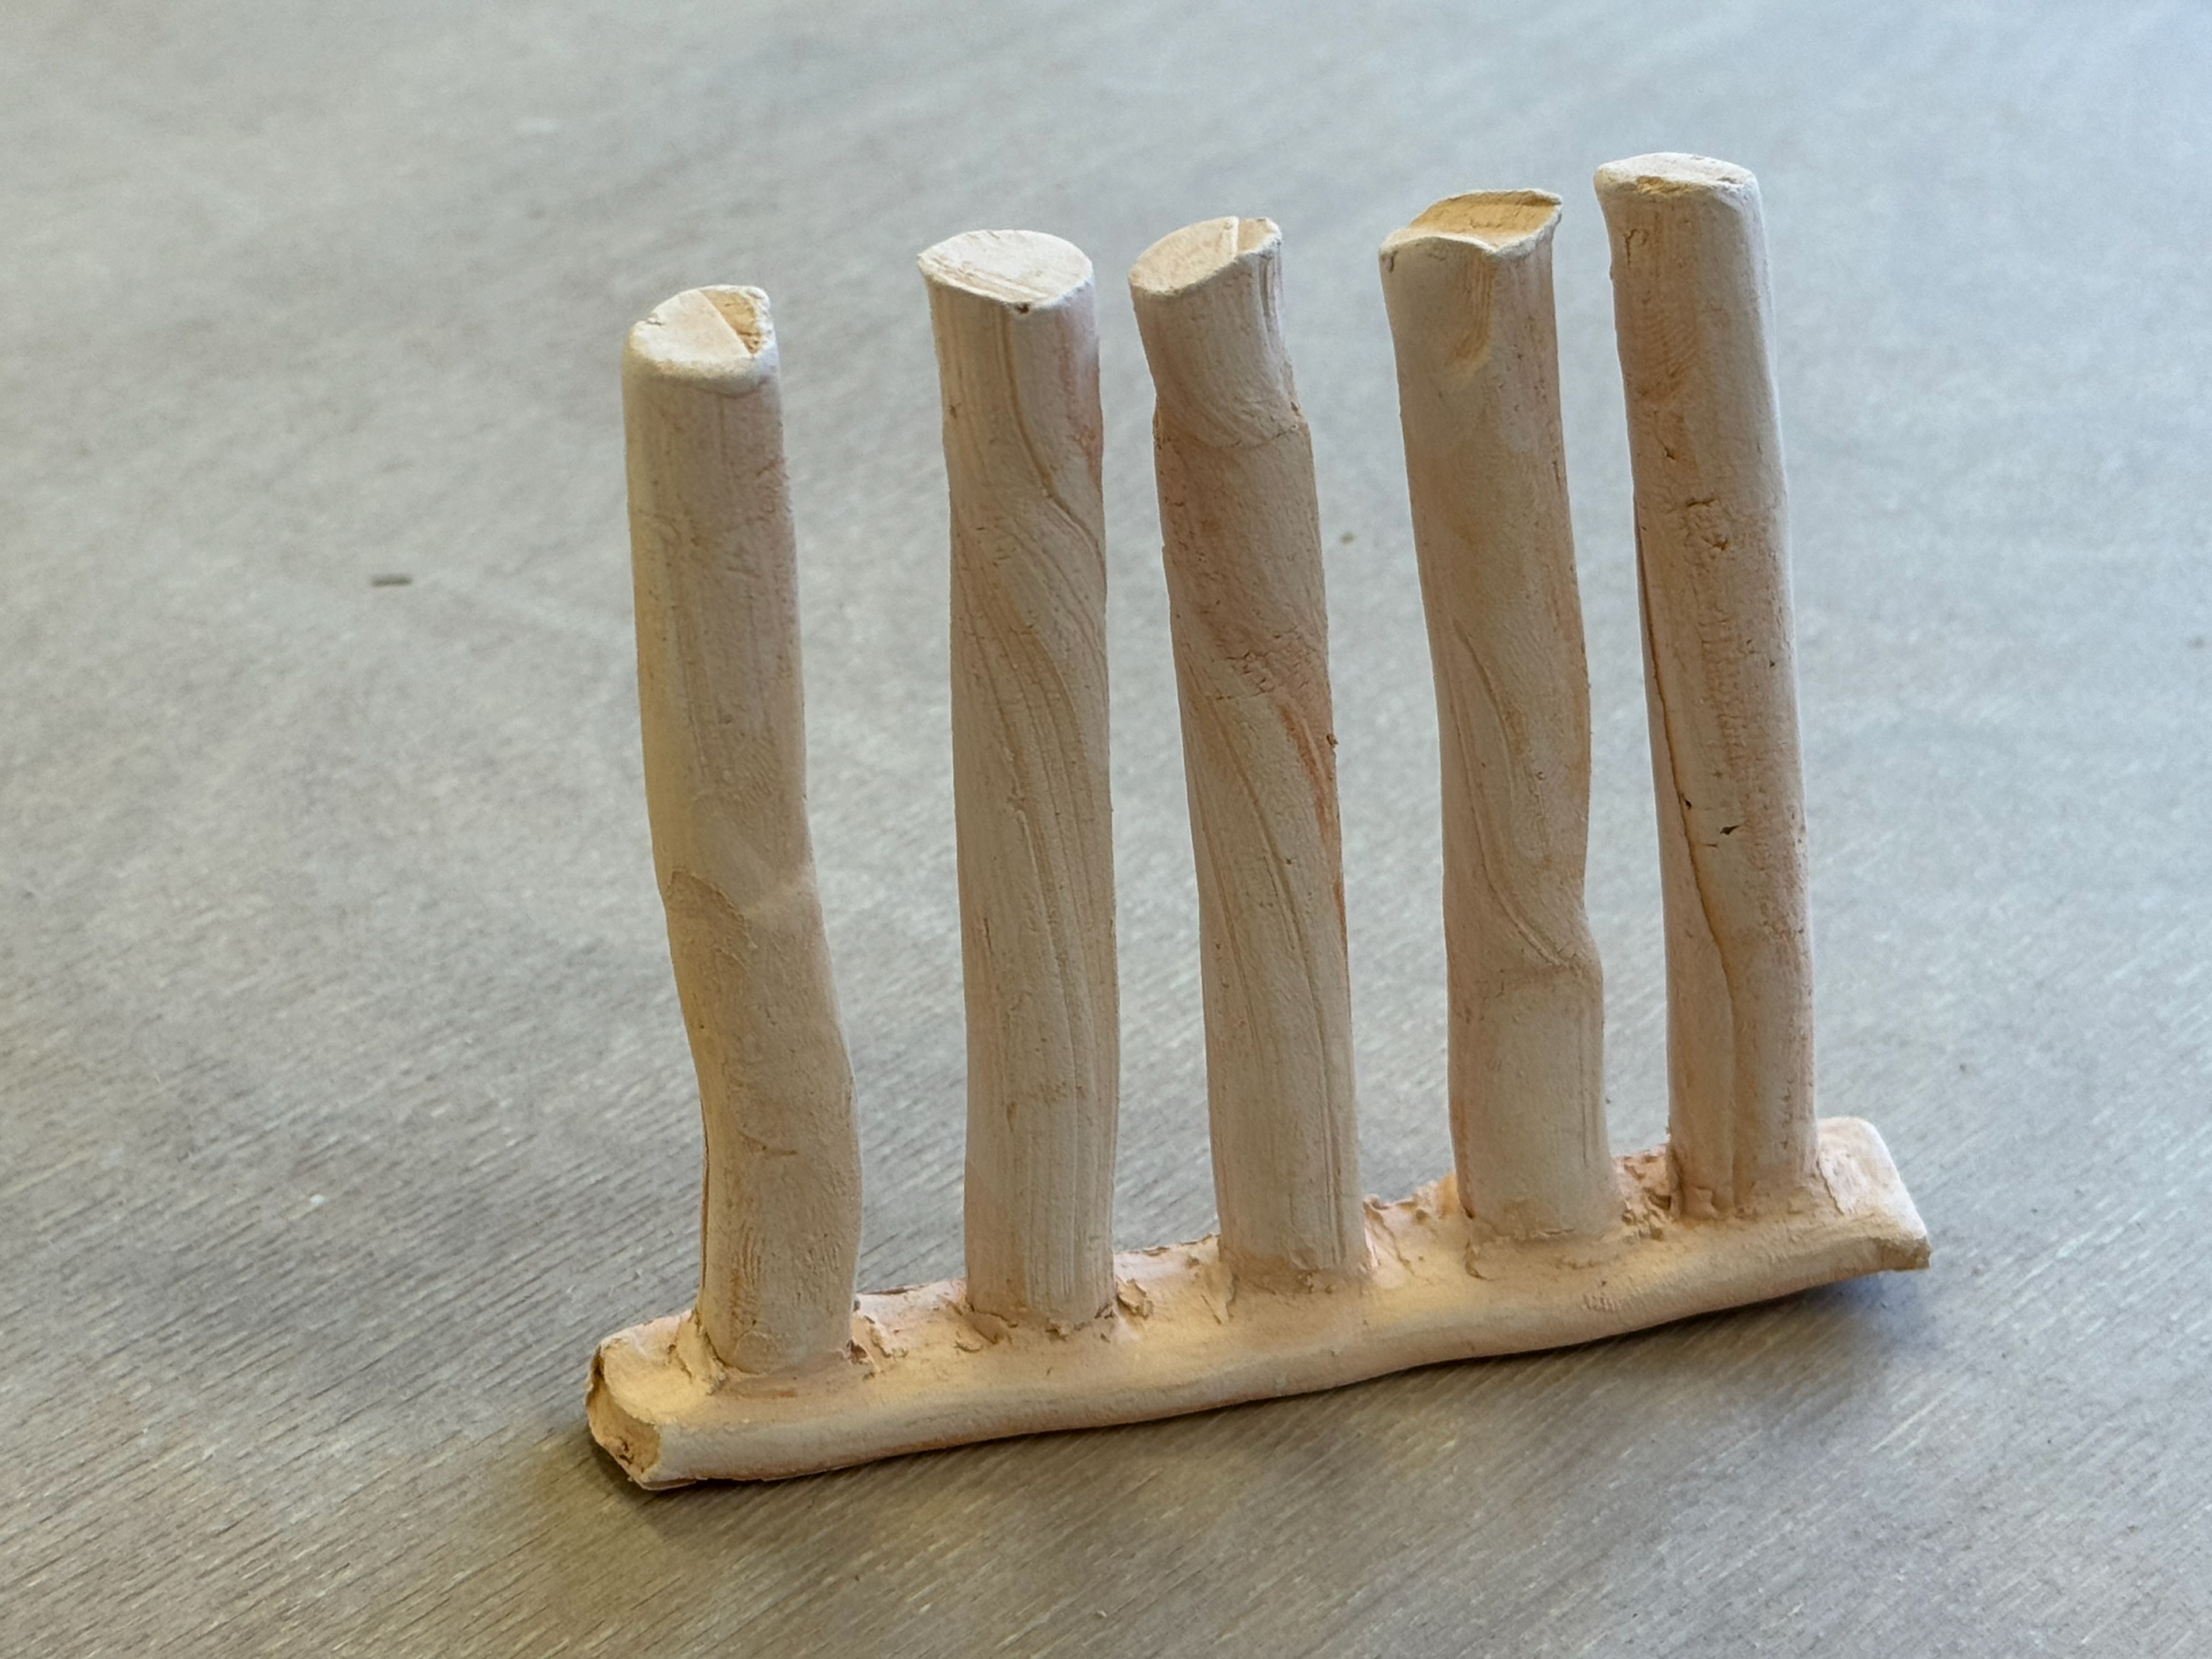
Fired pieces:
Structurally the pieces are strong but don't look well crafted or formed. The fingers varied in success with some looking more bone-like than others. I would like to take a Dremel to them at some point to try and perfect the shape.
Helix base
Fingers
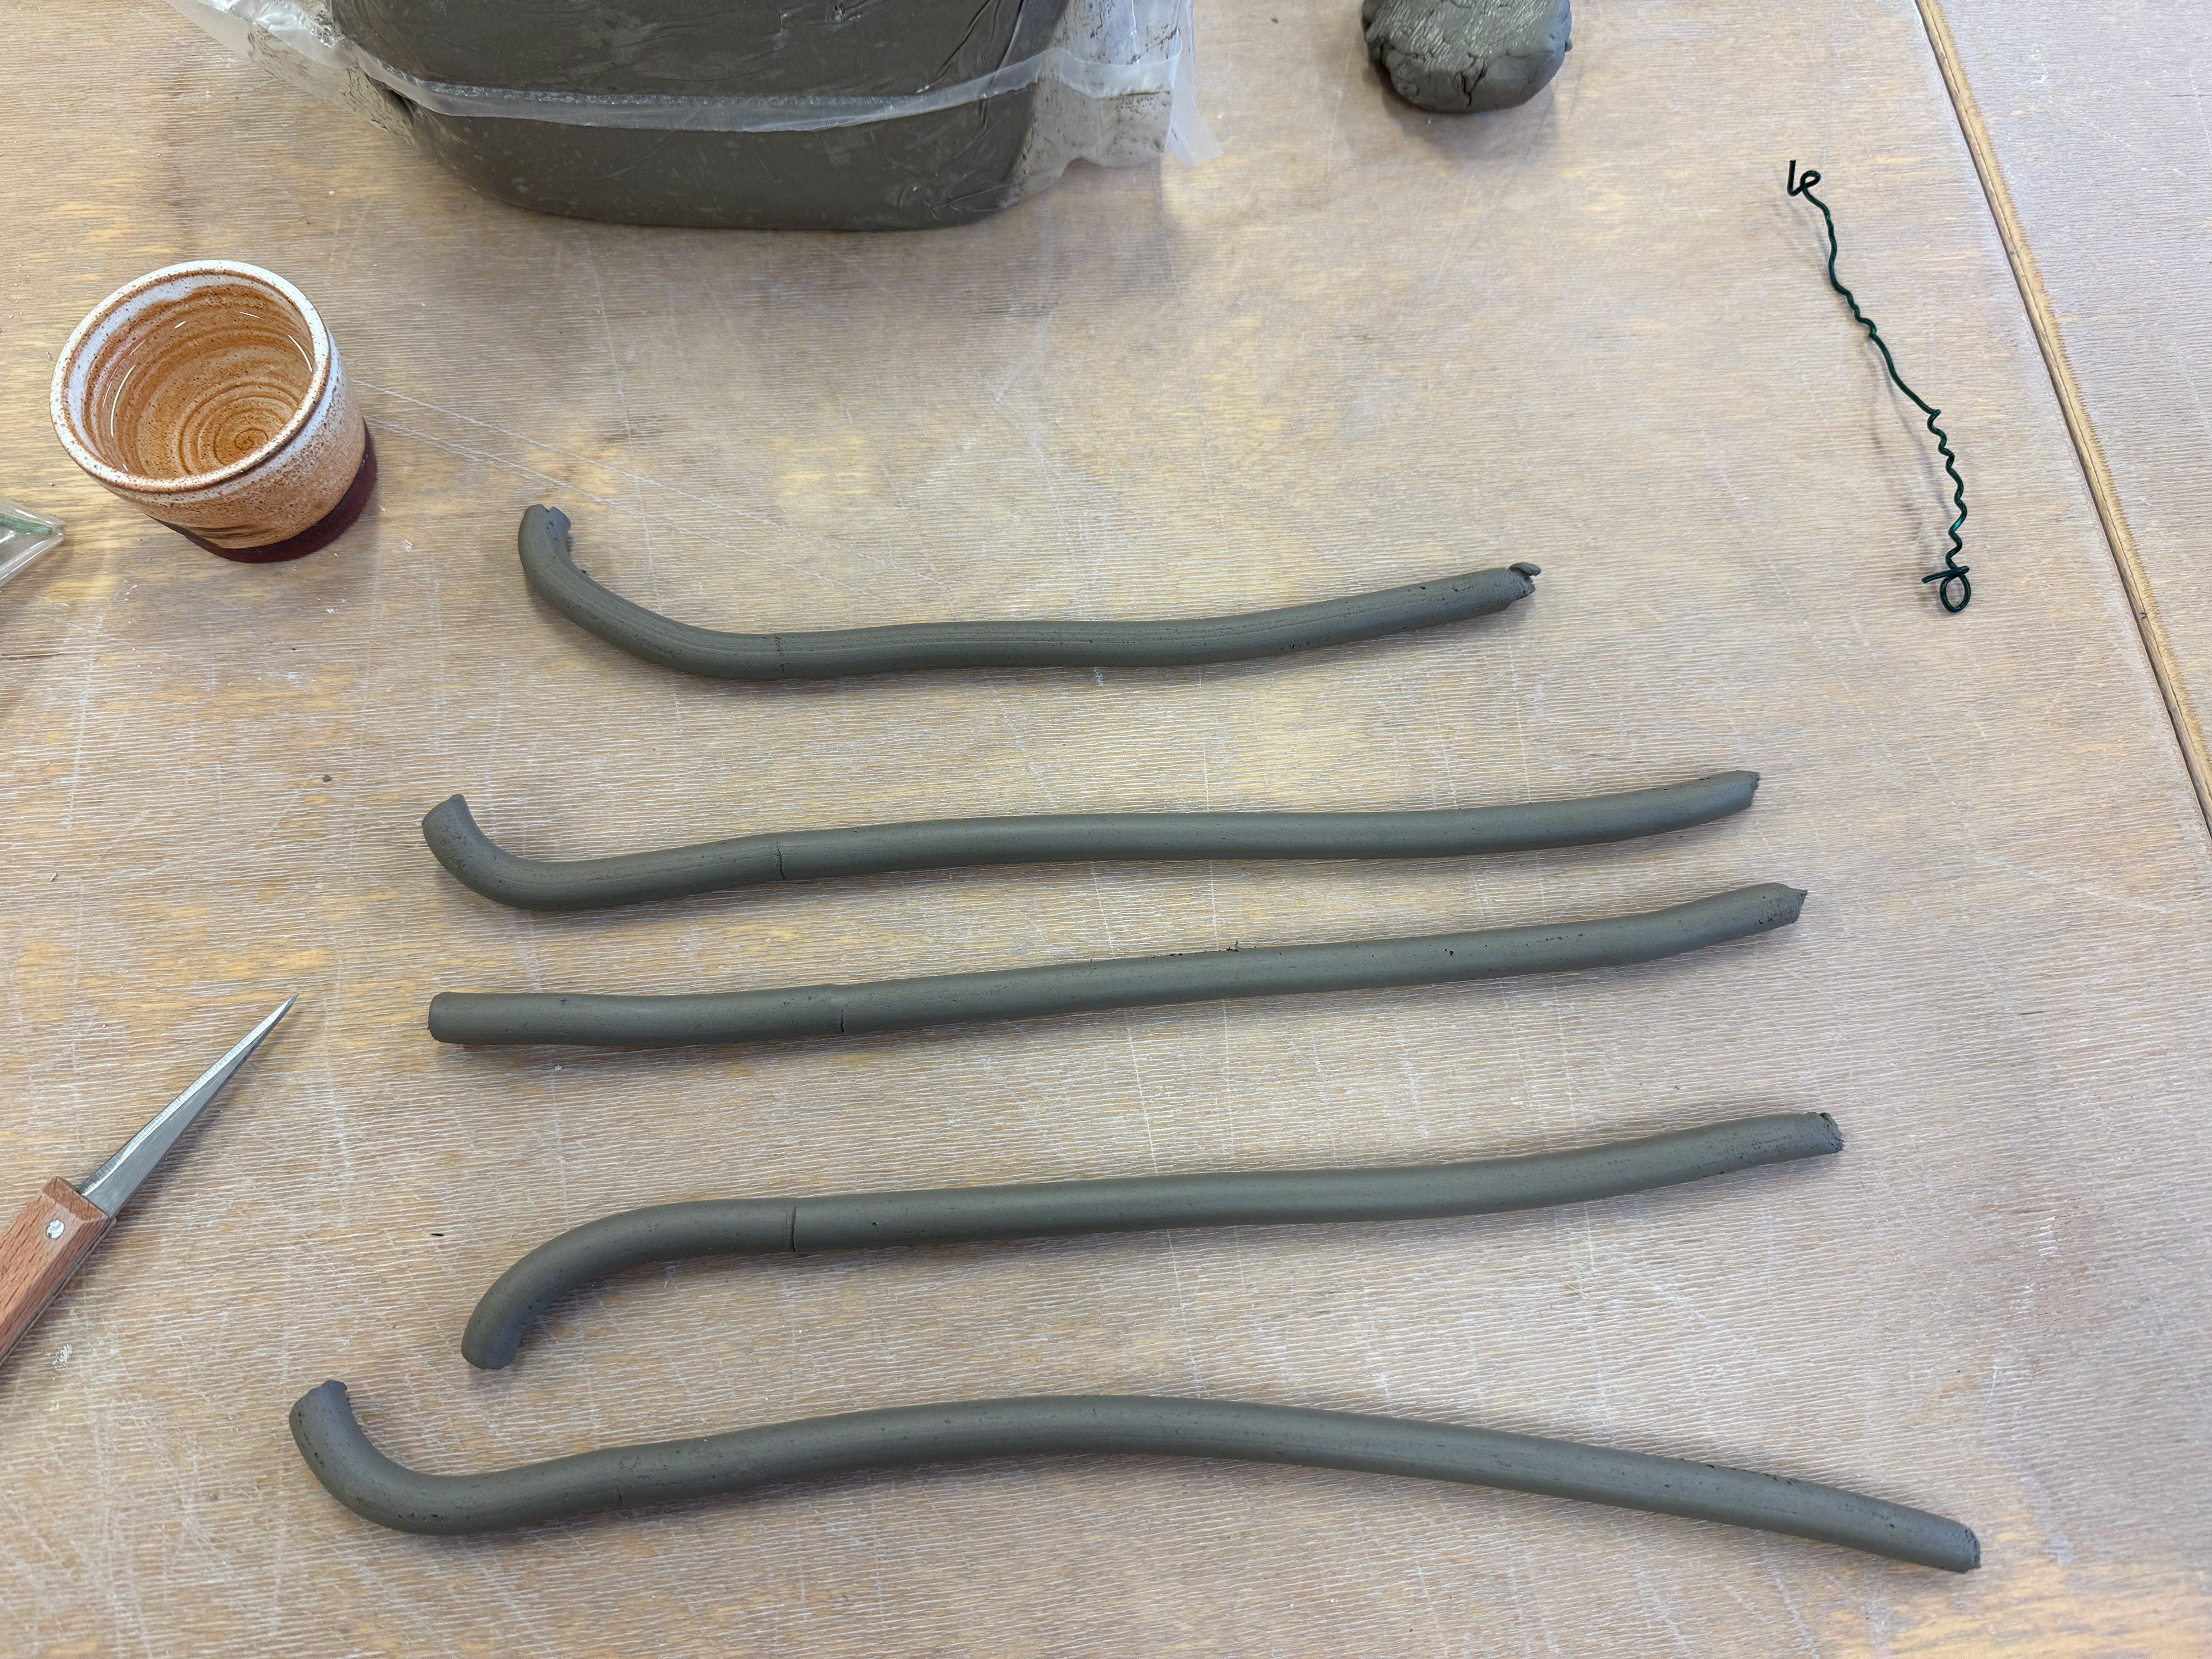
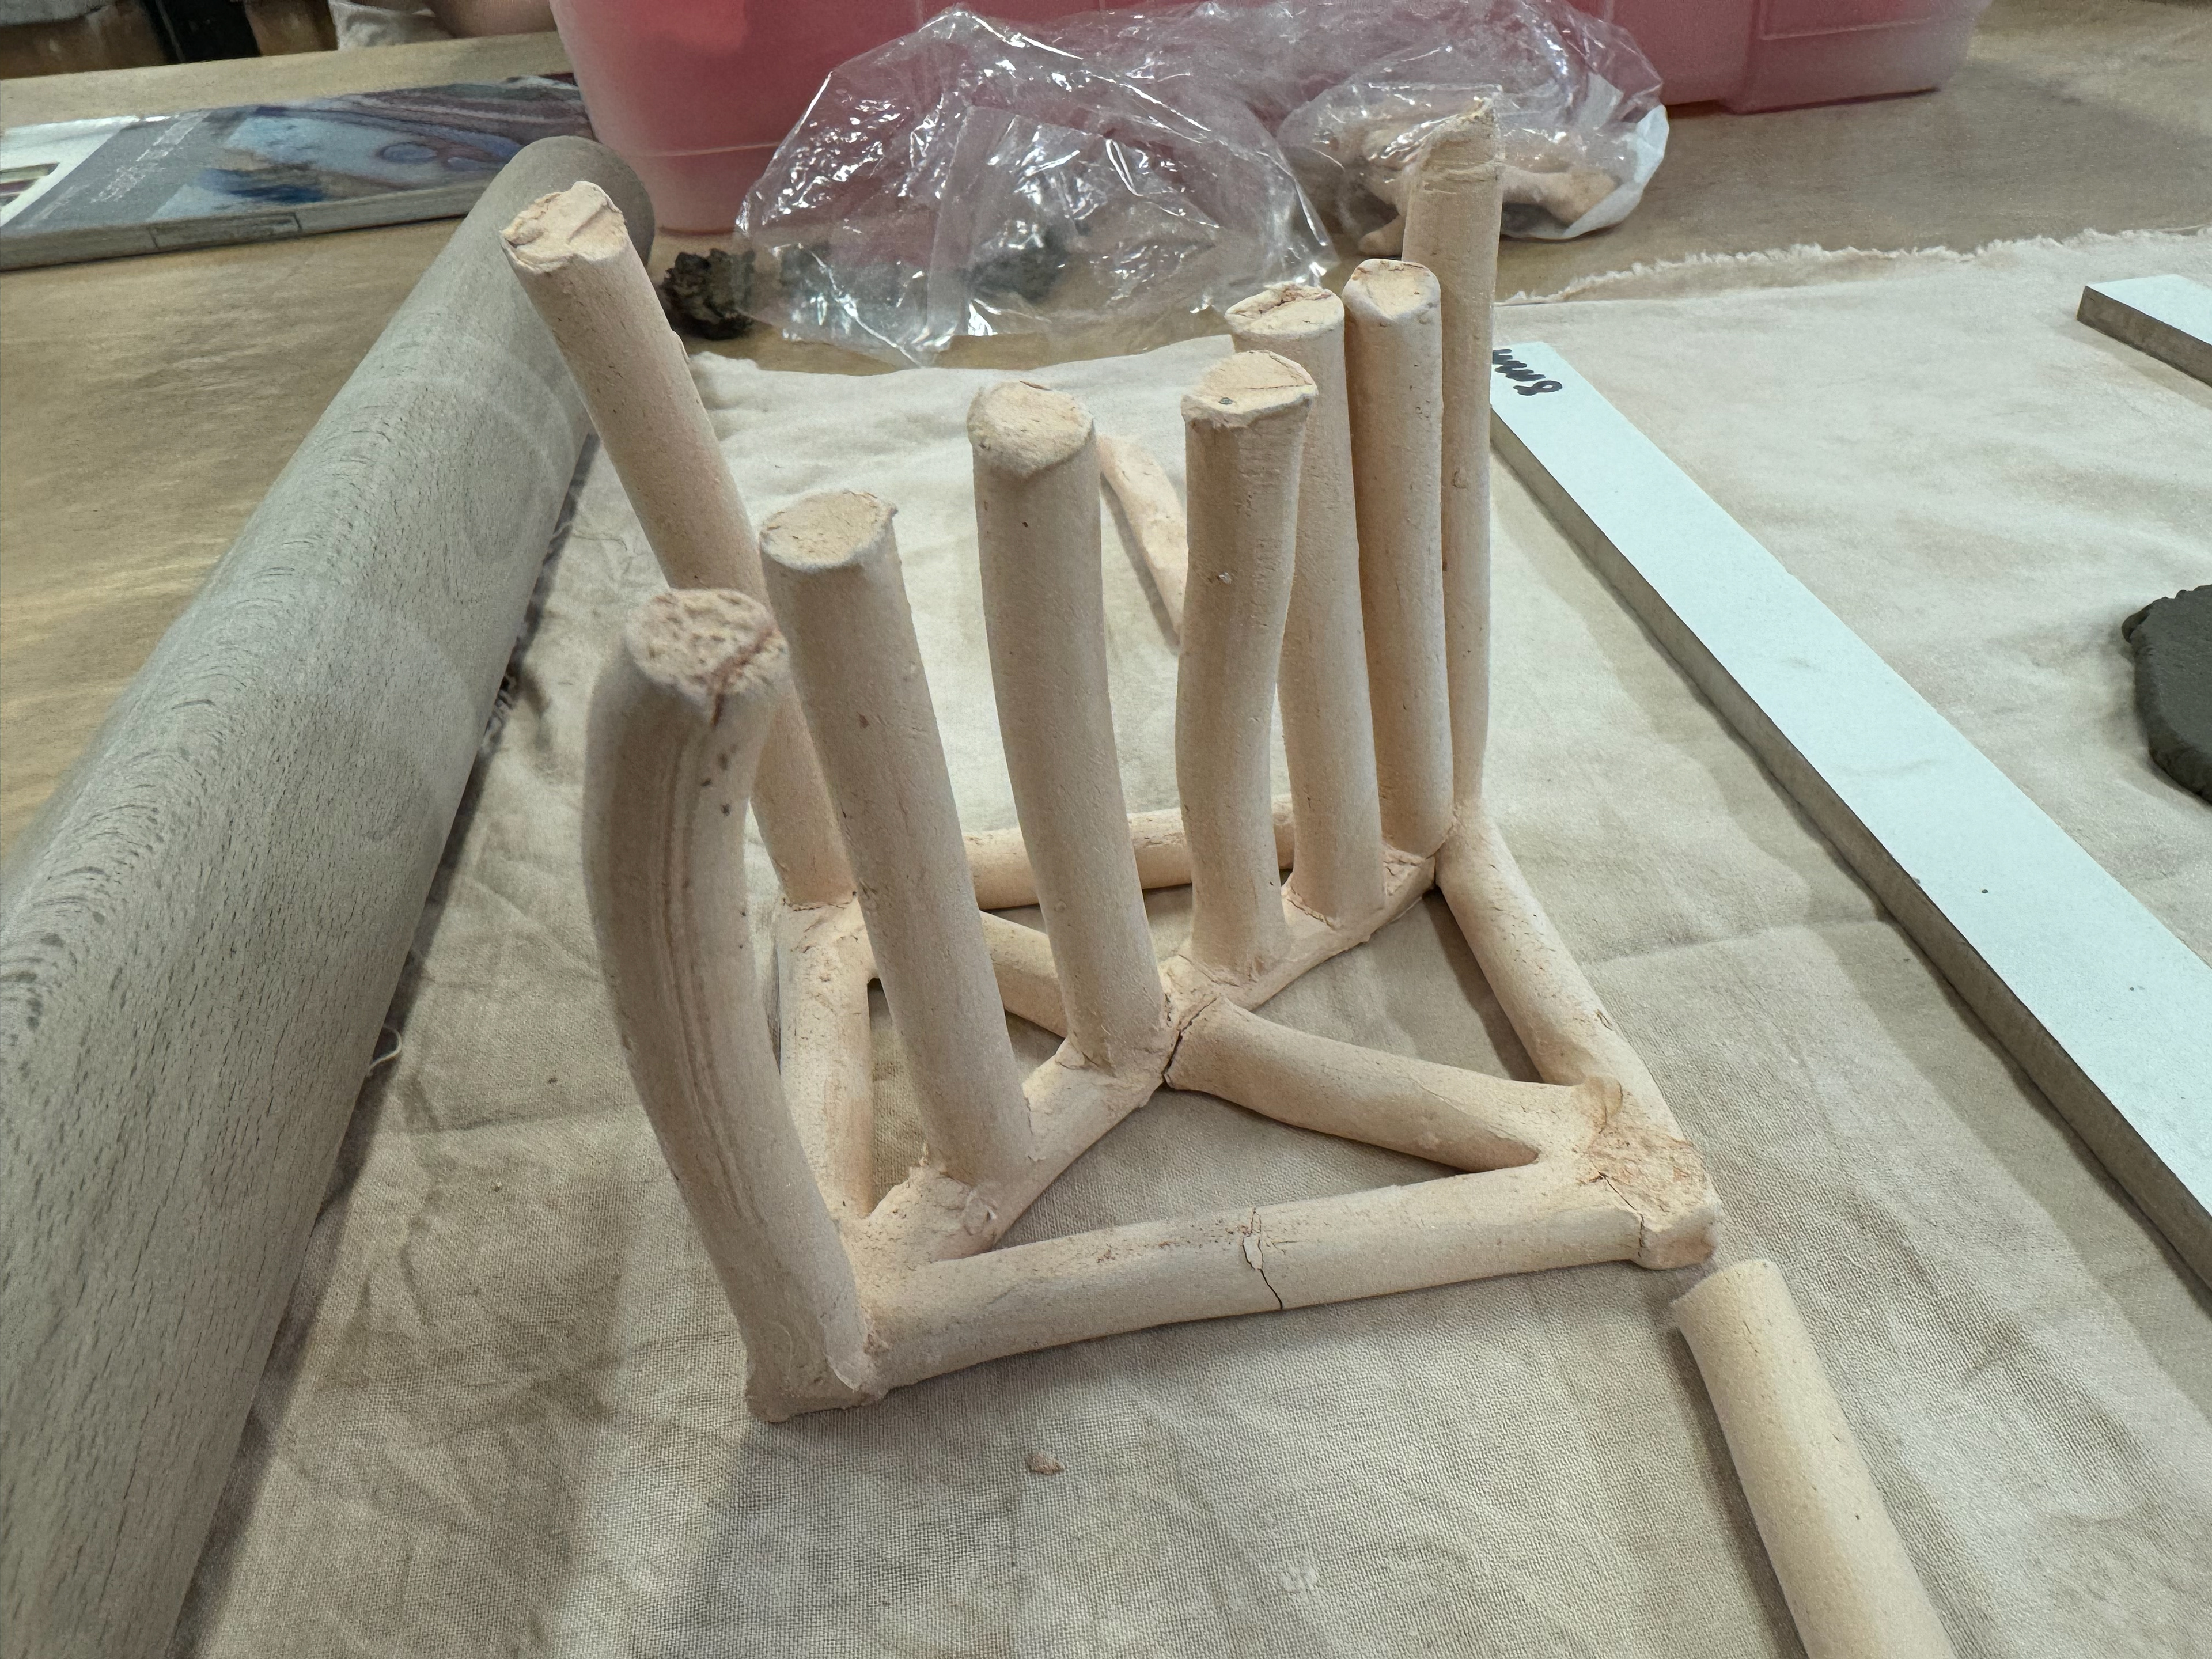
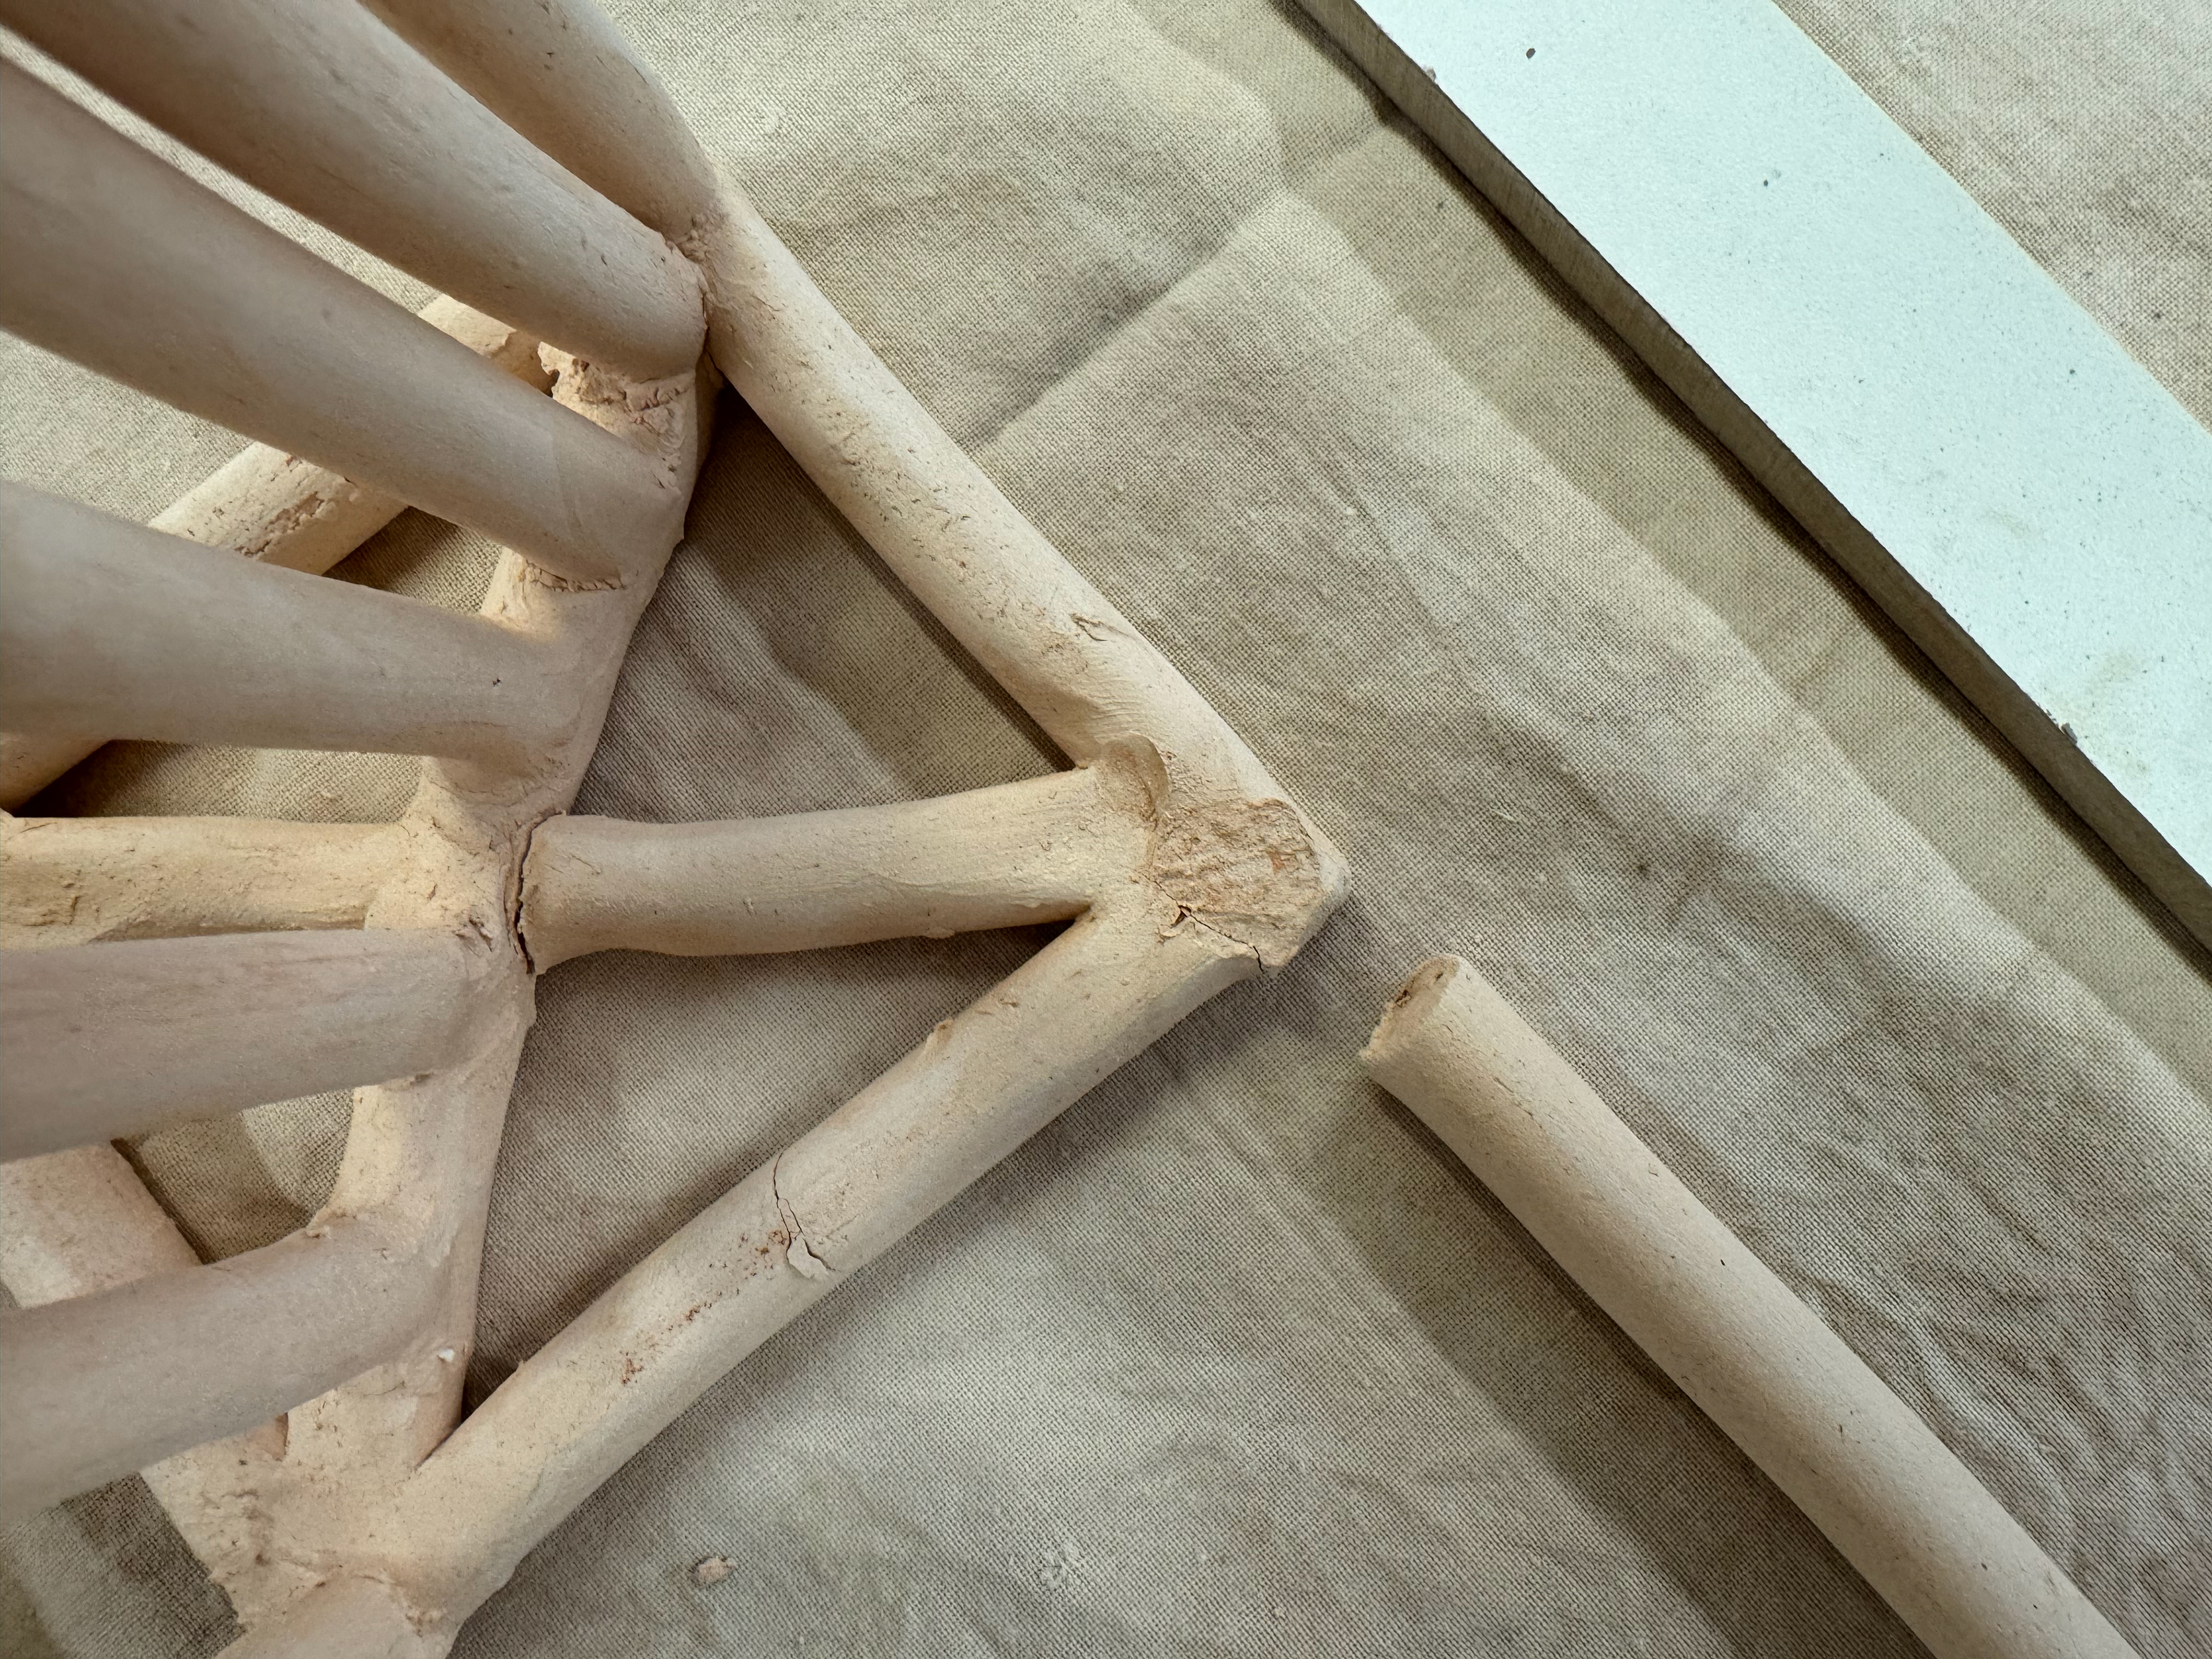
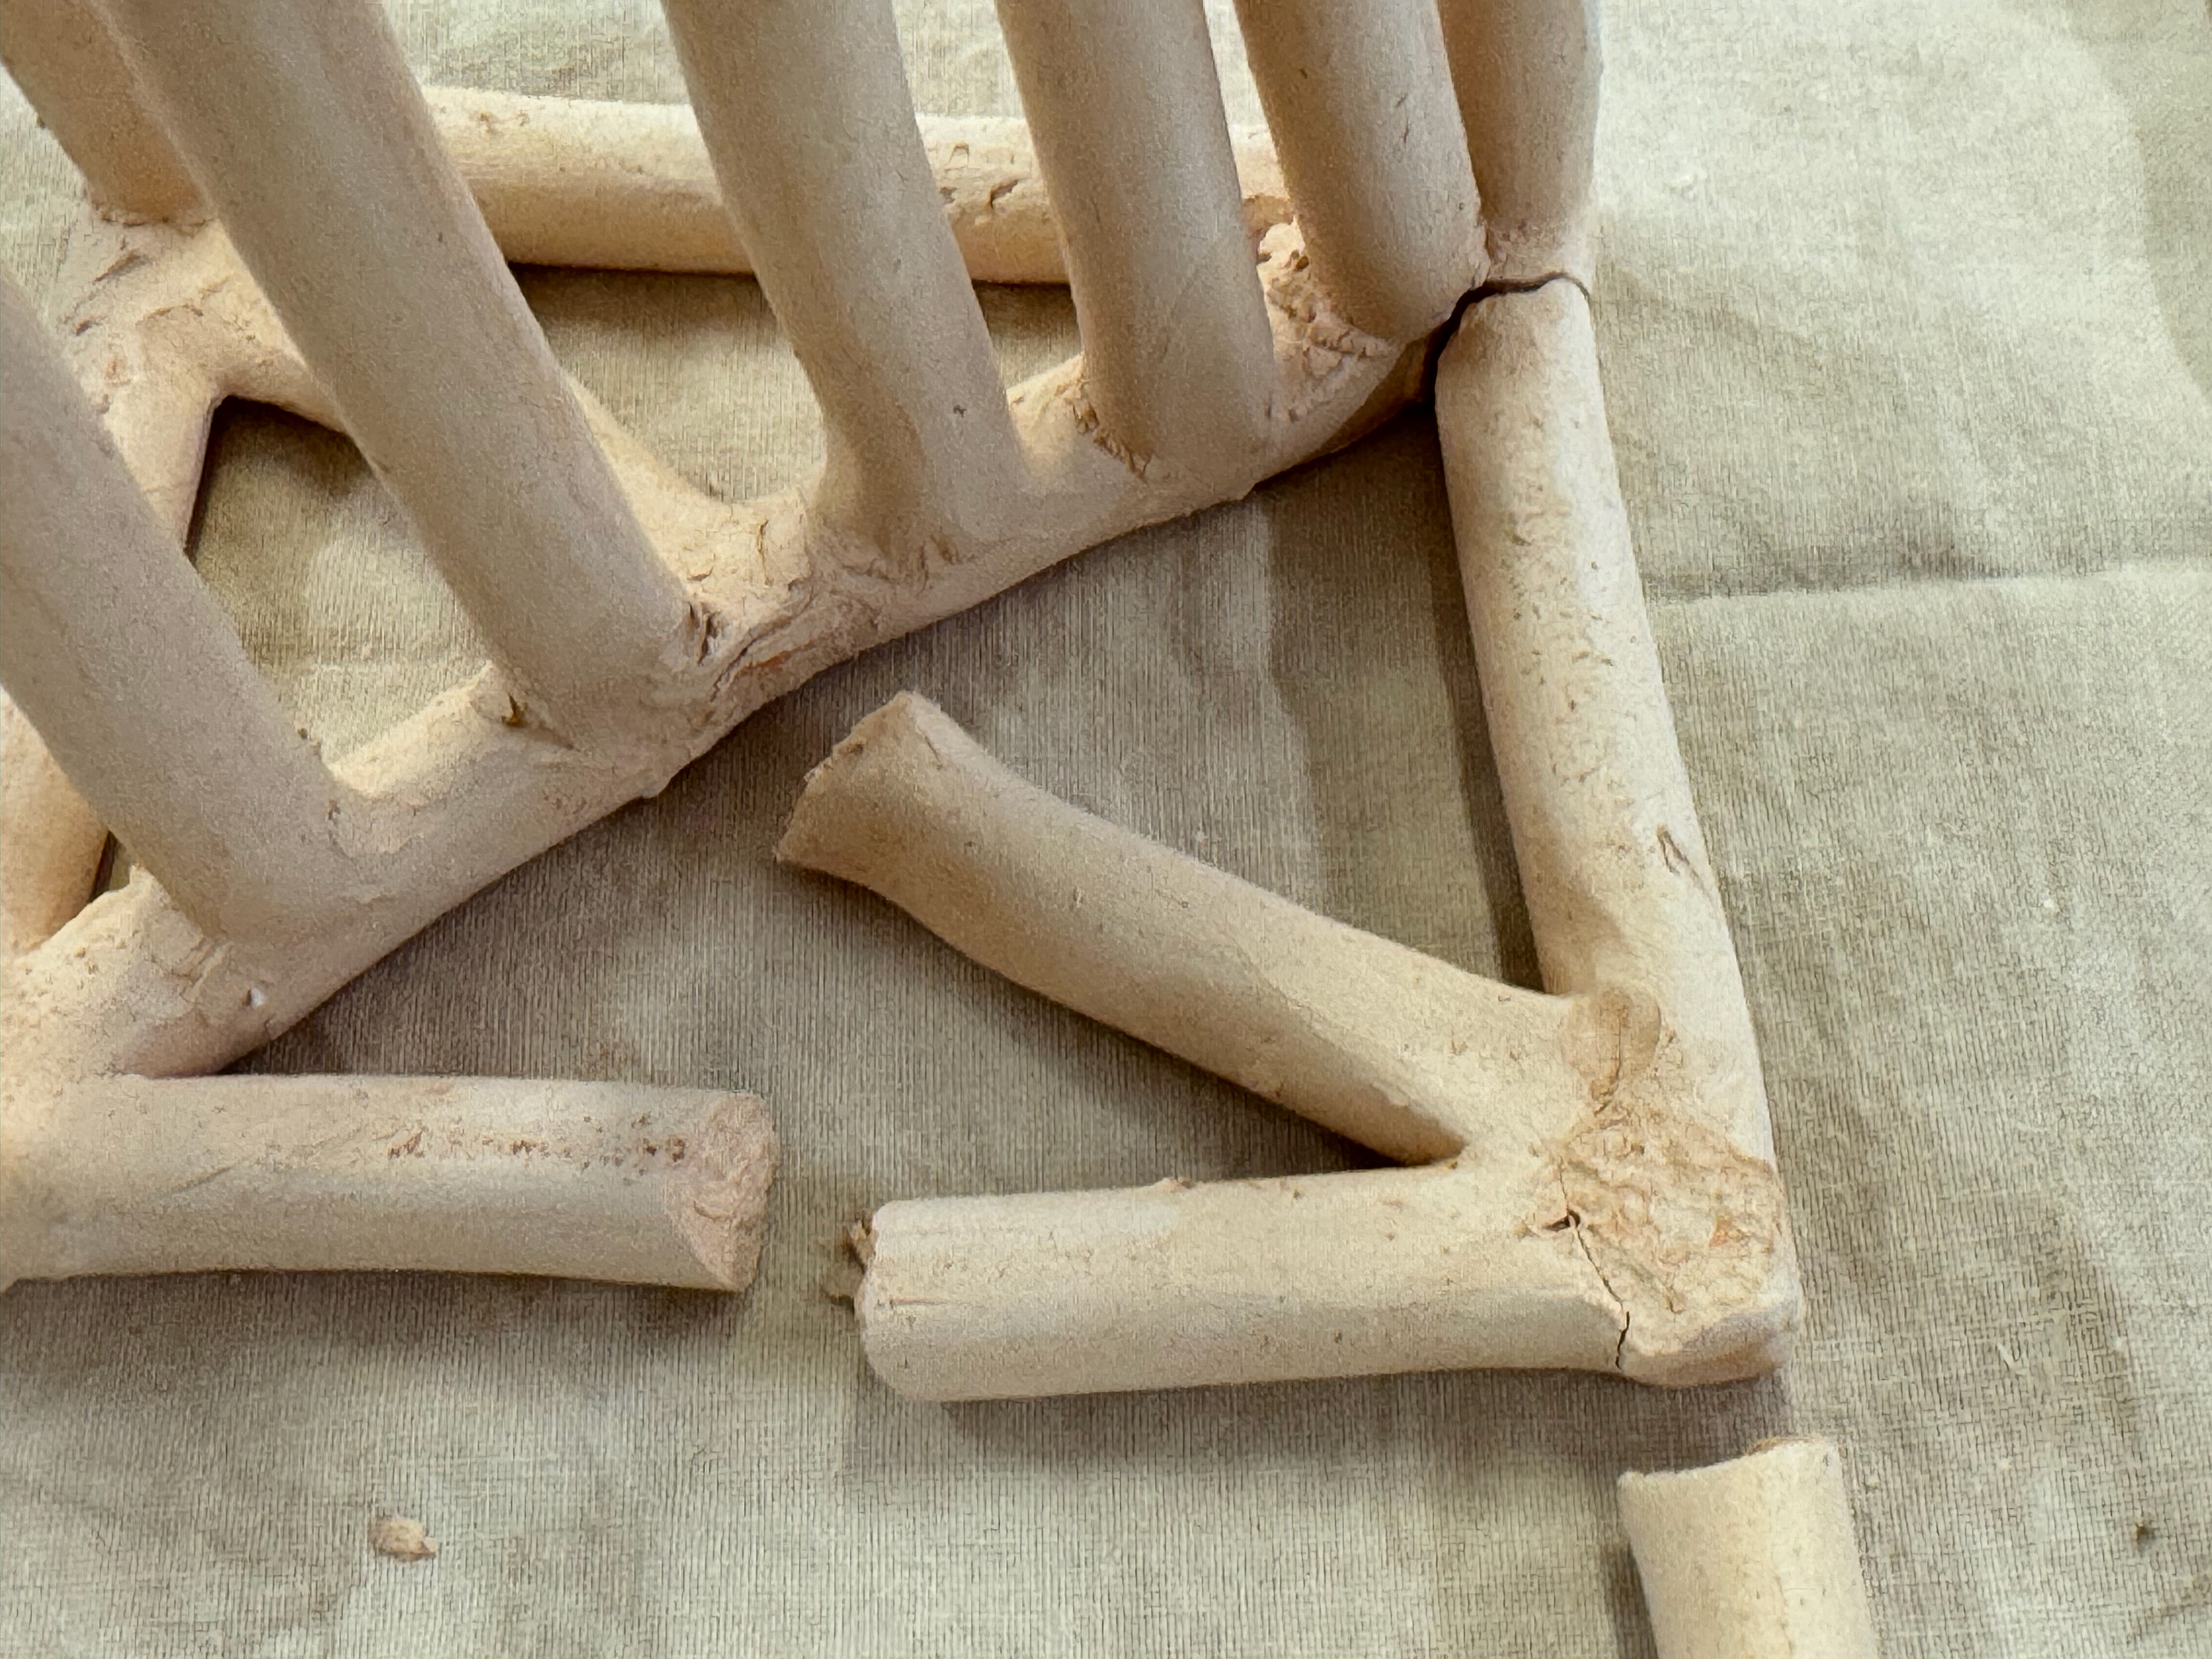
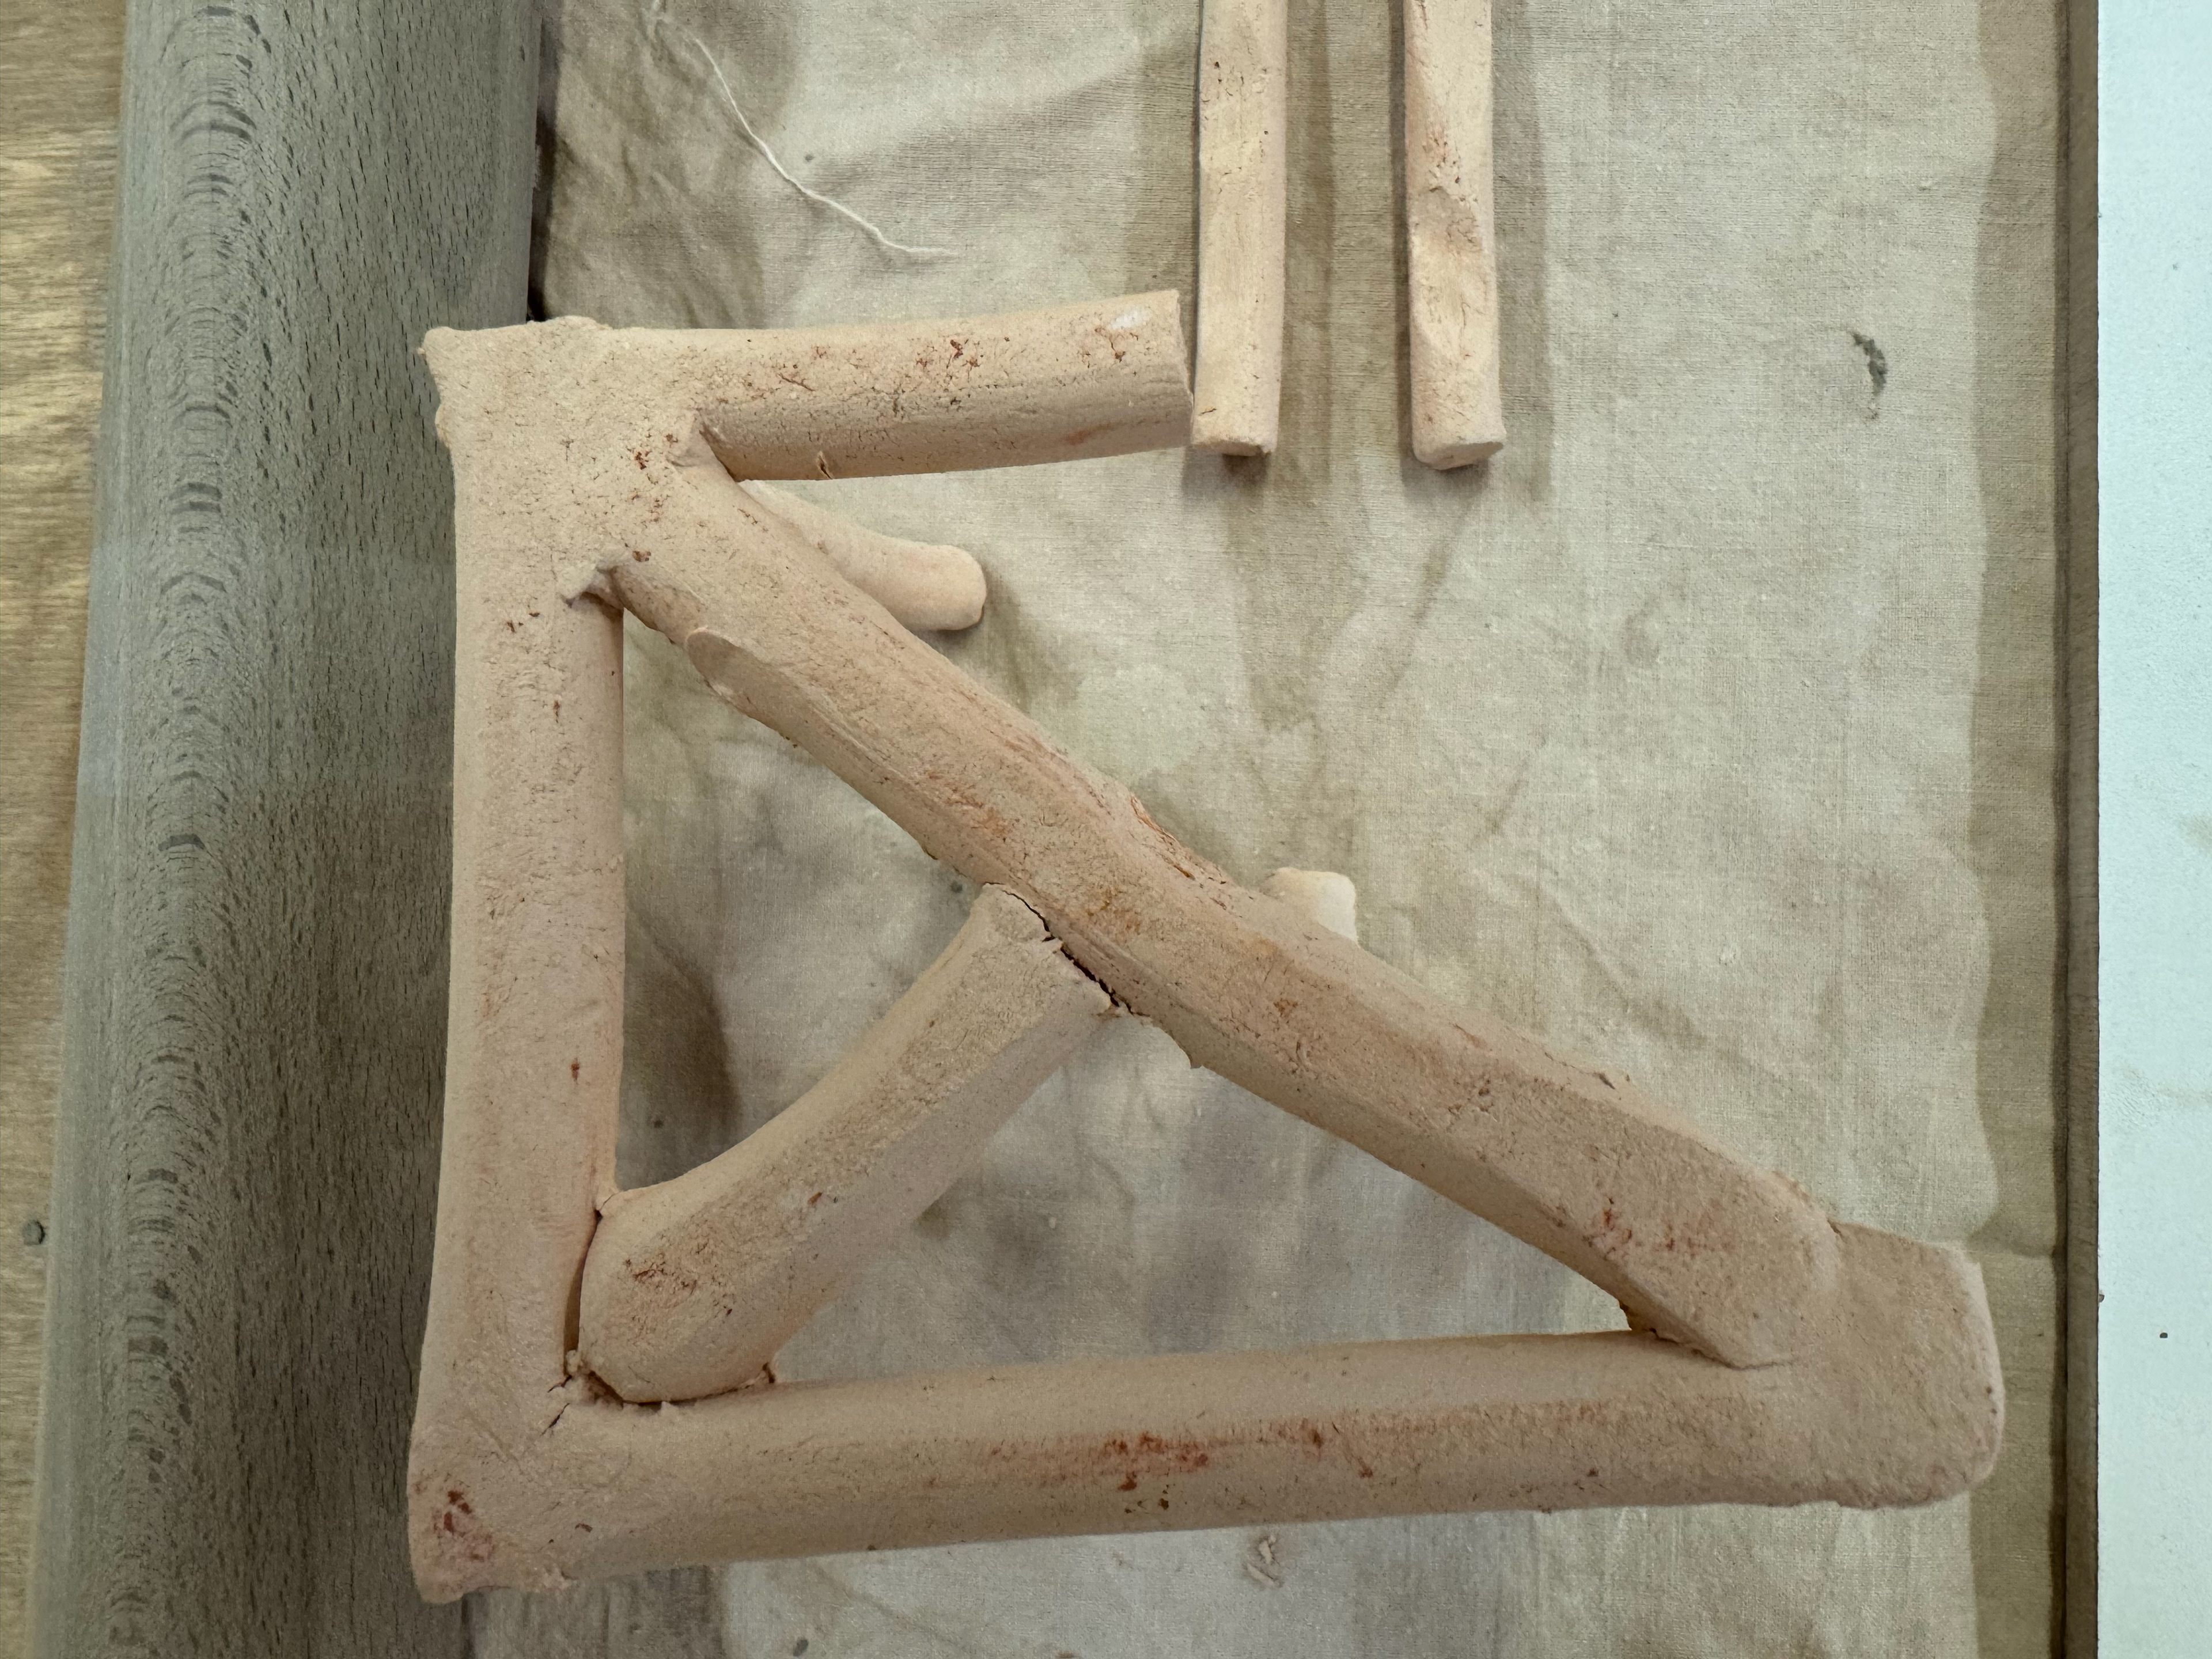
Refined lattice piece:
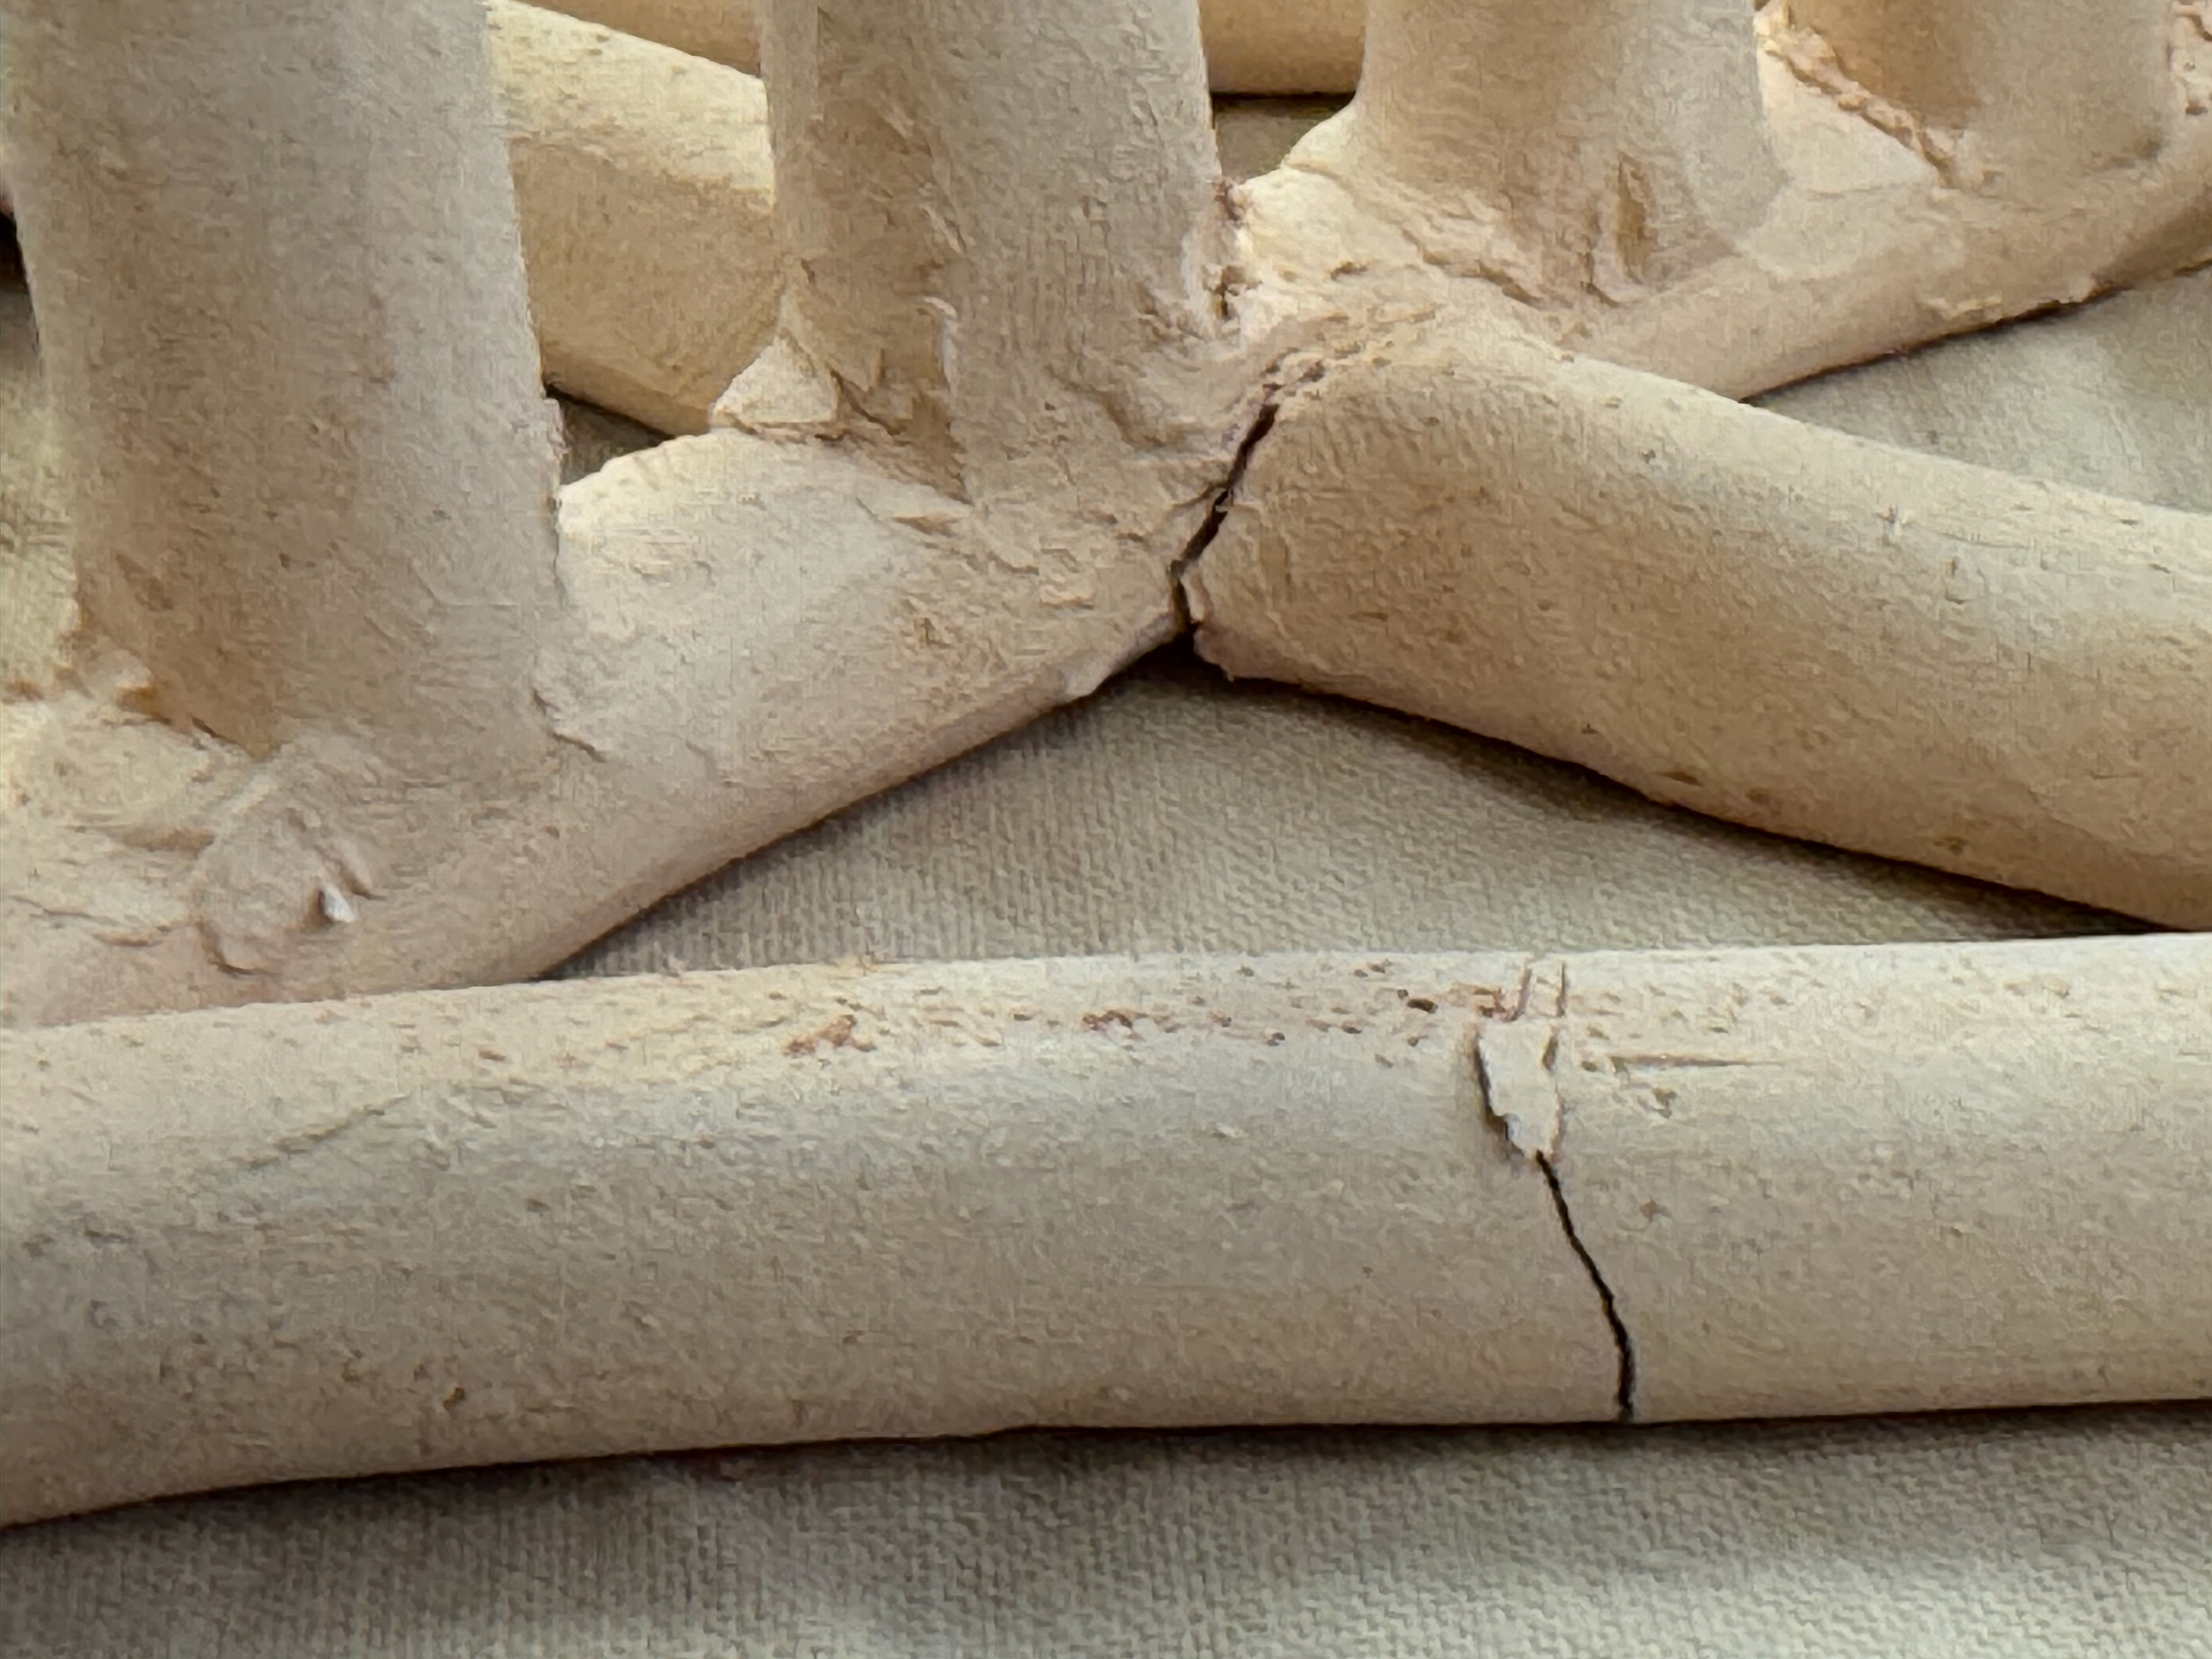
After I created the first test piece I decided to use the extruder to get even and identical strips, I created joints between the pieces, replacing the balls. This test piece was meant to for me to understand how the weight of the 'fingers' will affect the result. By using the same size pieces for the base, it would improve structural integrity. However, I did not initially place the two additional diagonal pieces which caused an issue whilst trying to join them to the main piece. I added them because whilst I was putting the fingers on the initial diagonal, it twisted and added tension where it shouldn't have been. To quickly solve the problem I cut a strip into two and joined it back to hopefully prevent any issues when drying and firing. Another refinement would see proper spacing between the 'fingers' and a cross being put into the base initially, then possibly waiting a day before adding the 'fingers'. Unfortunately someone spilt water on my board, which may have weakened some of my joints but this is just a test piece.
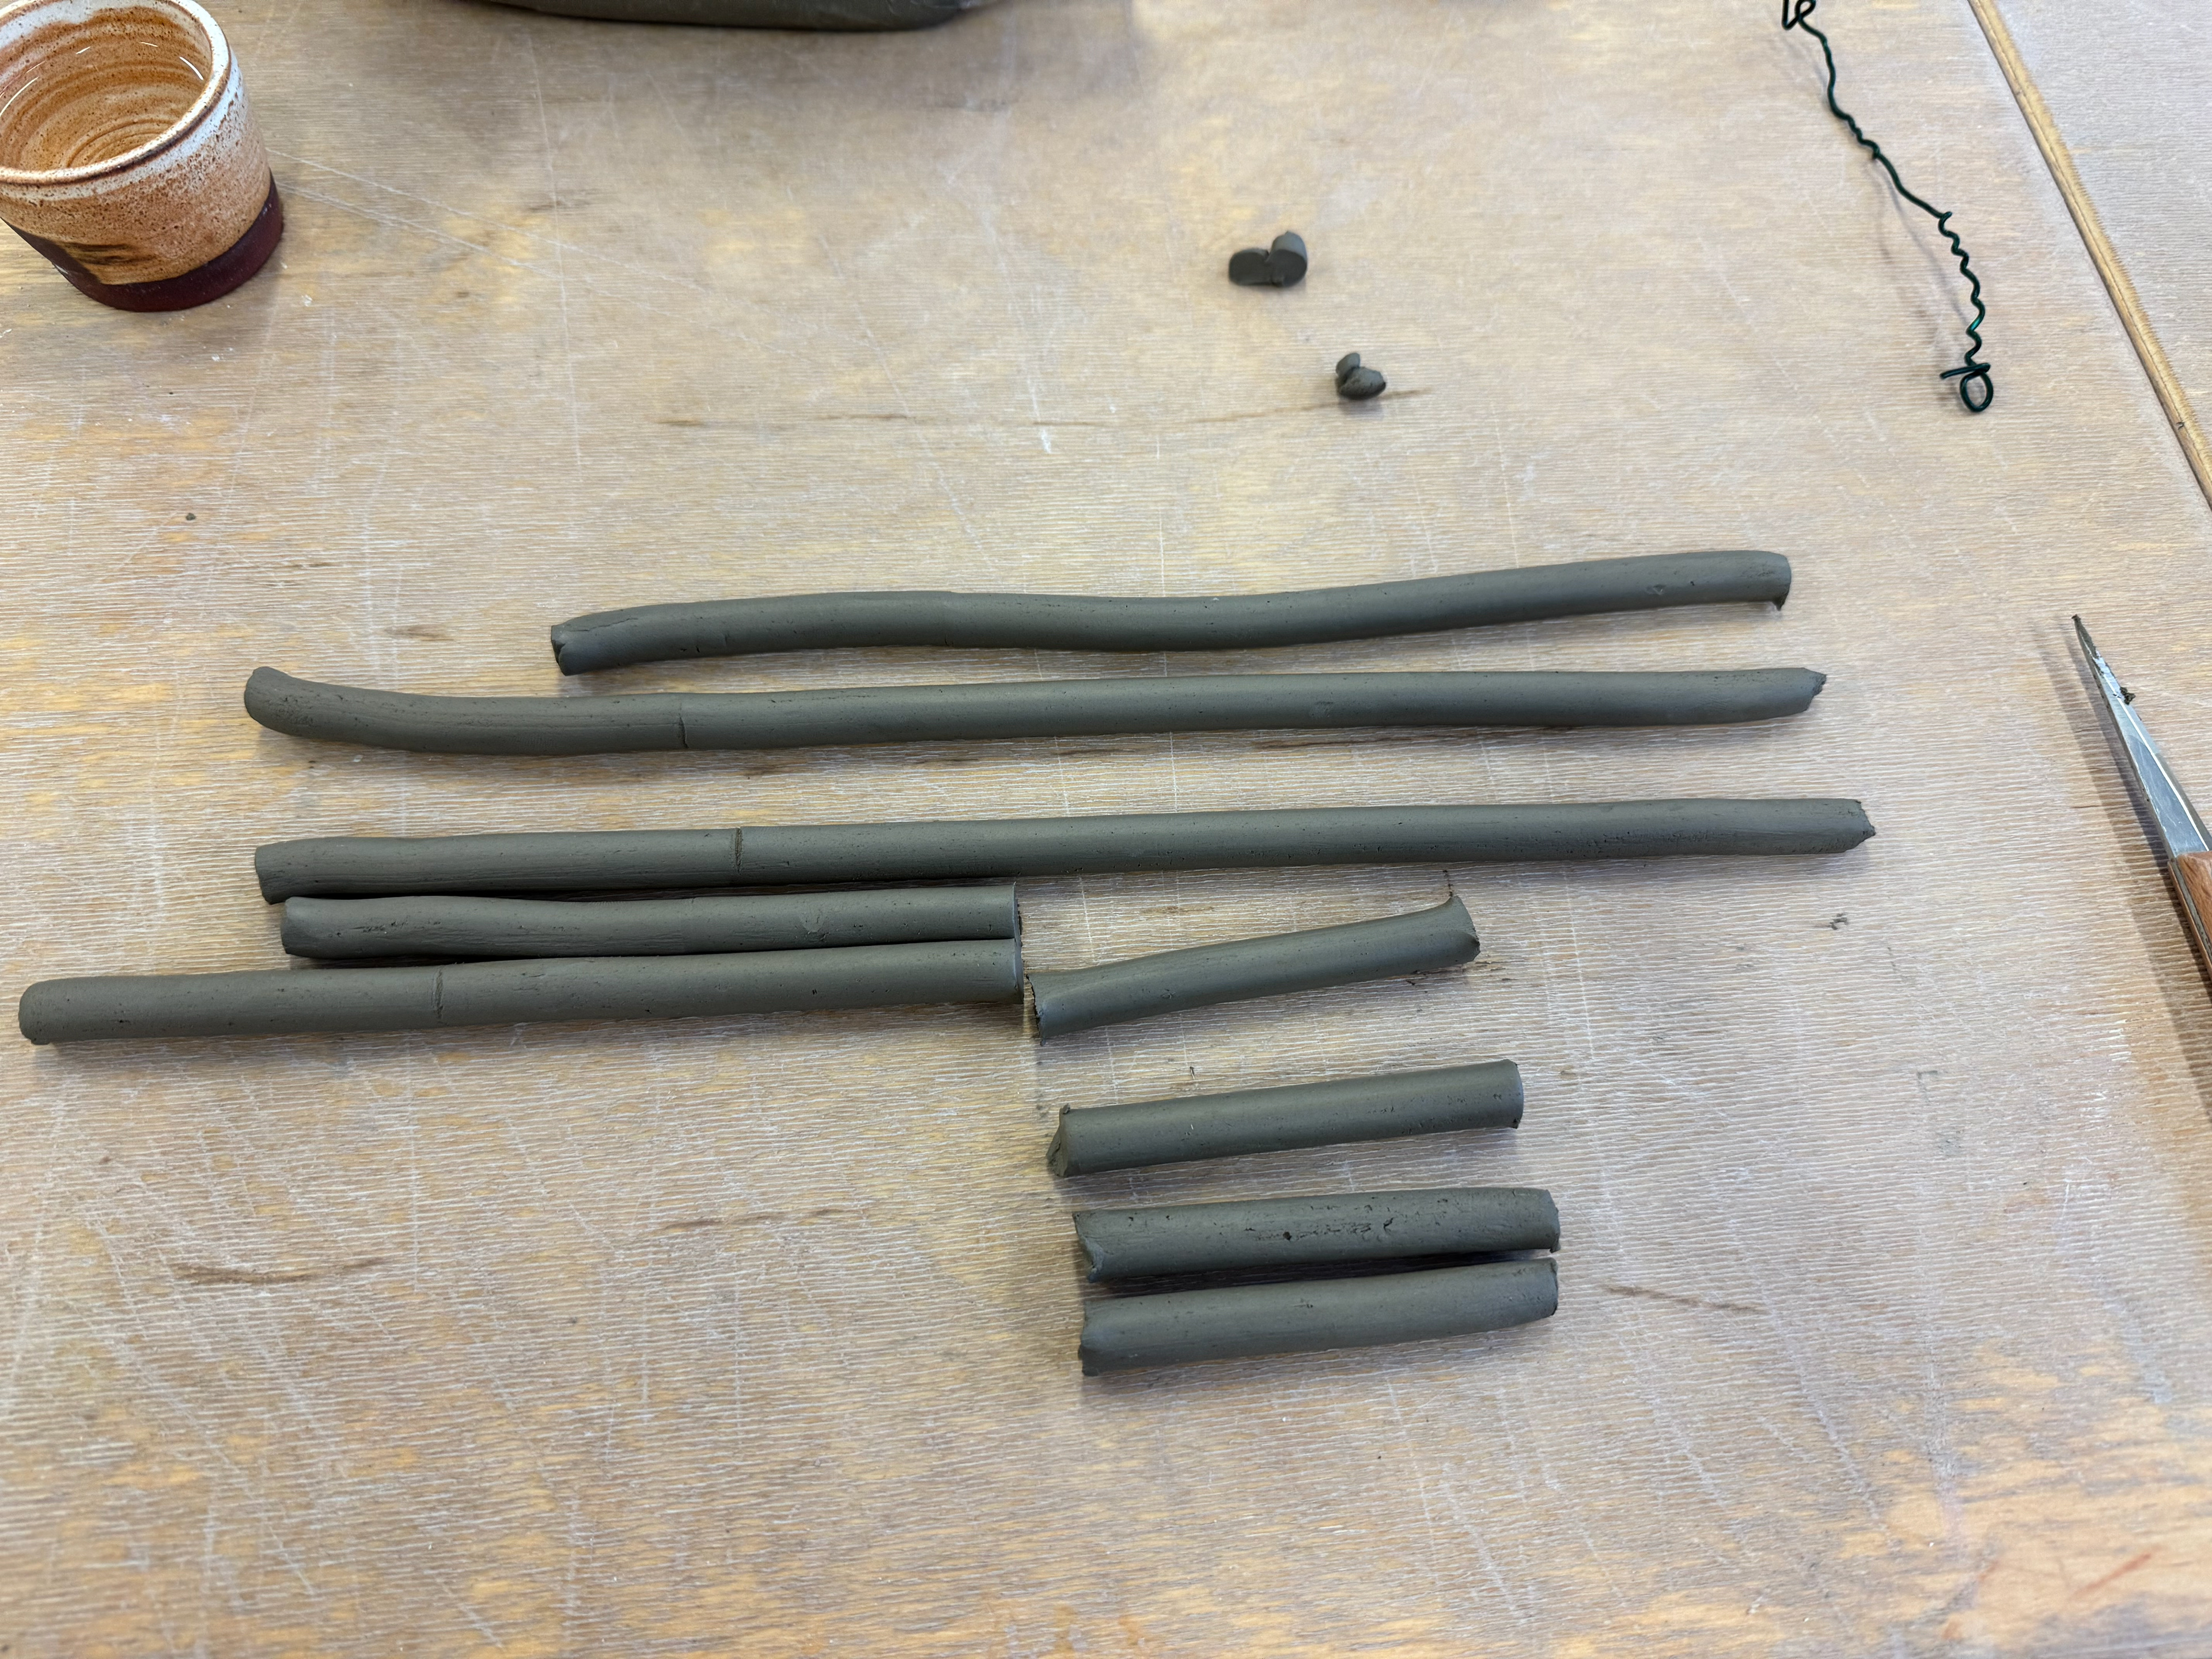
Extruded clay
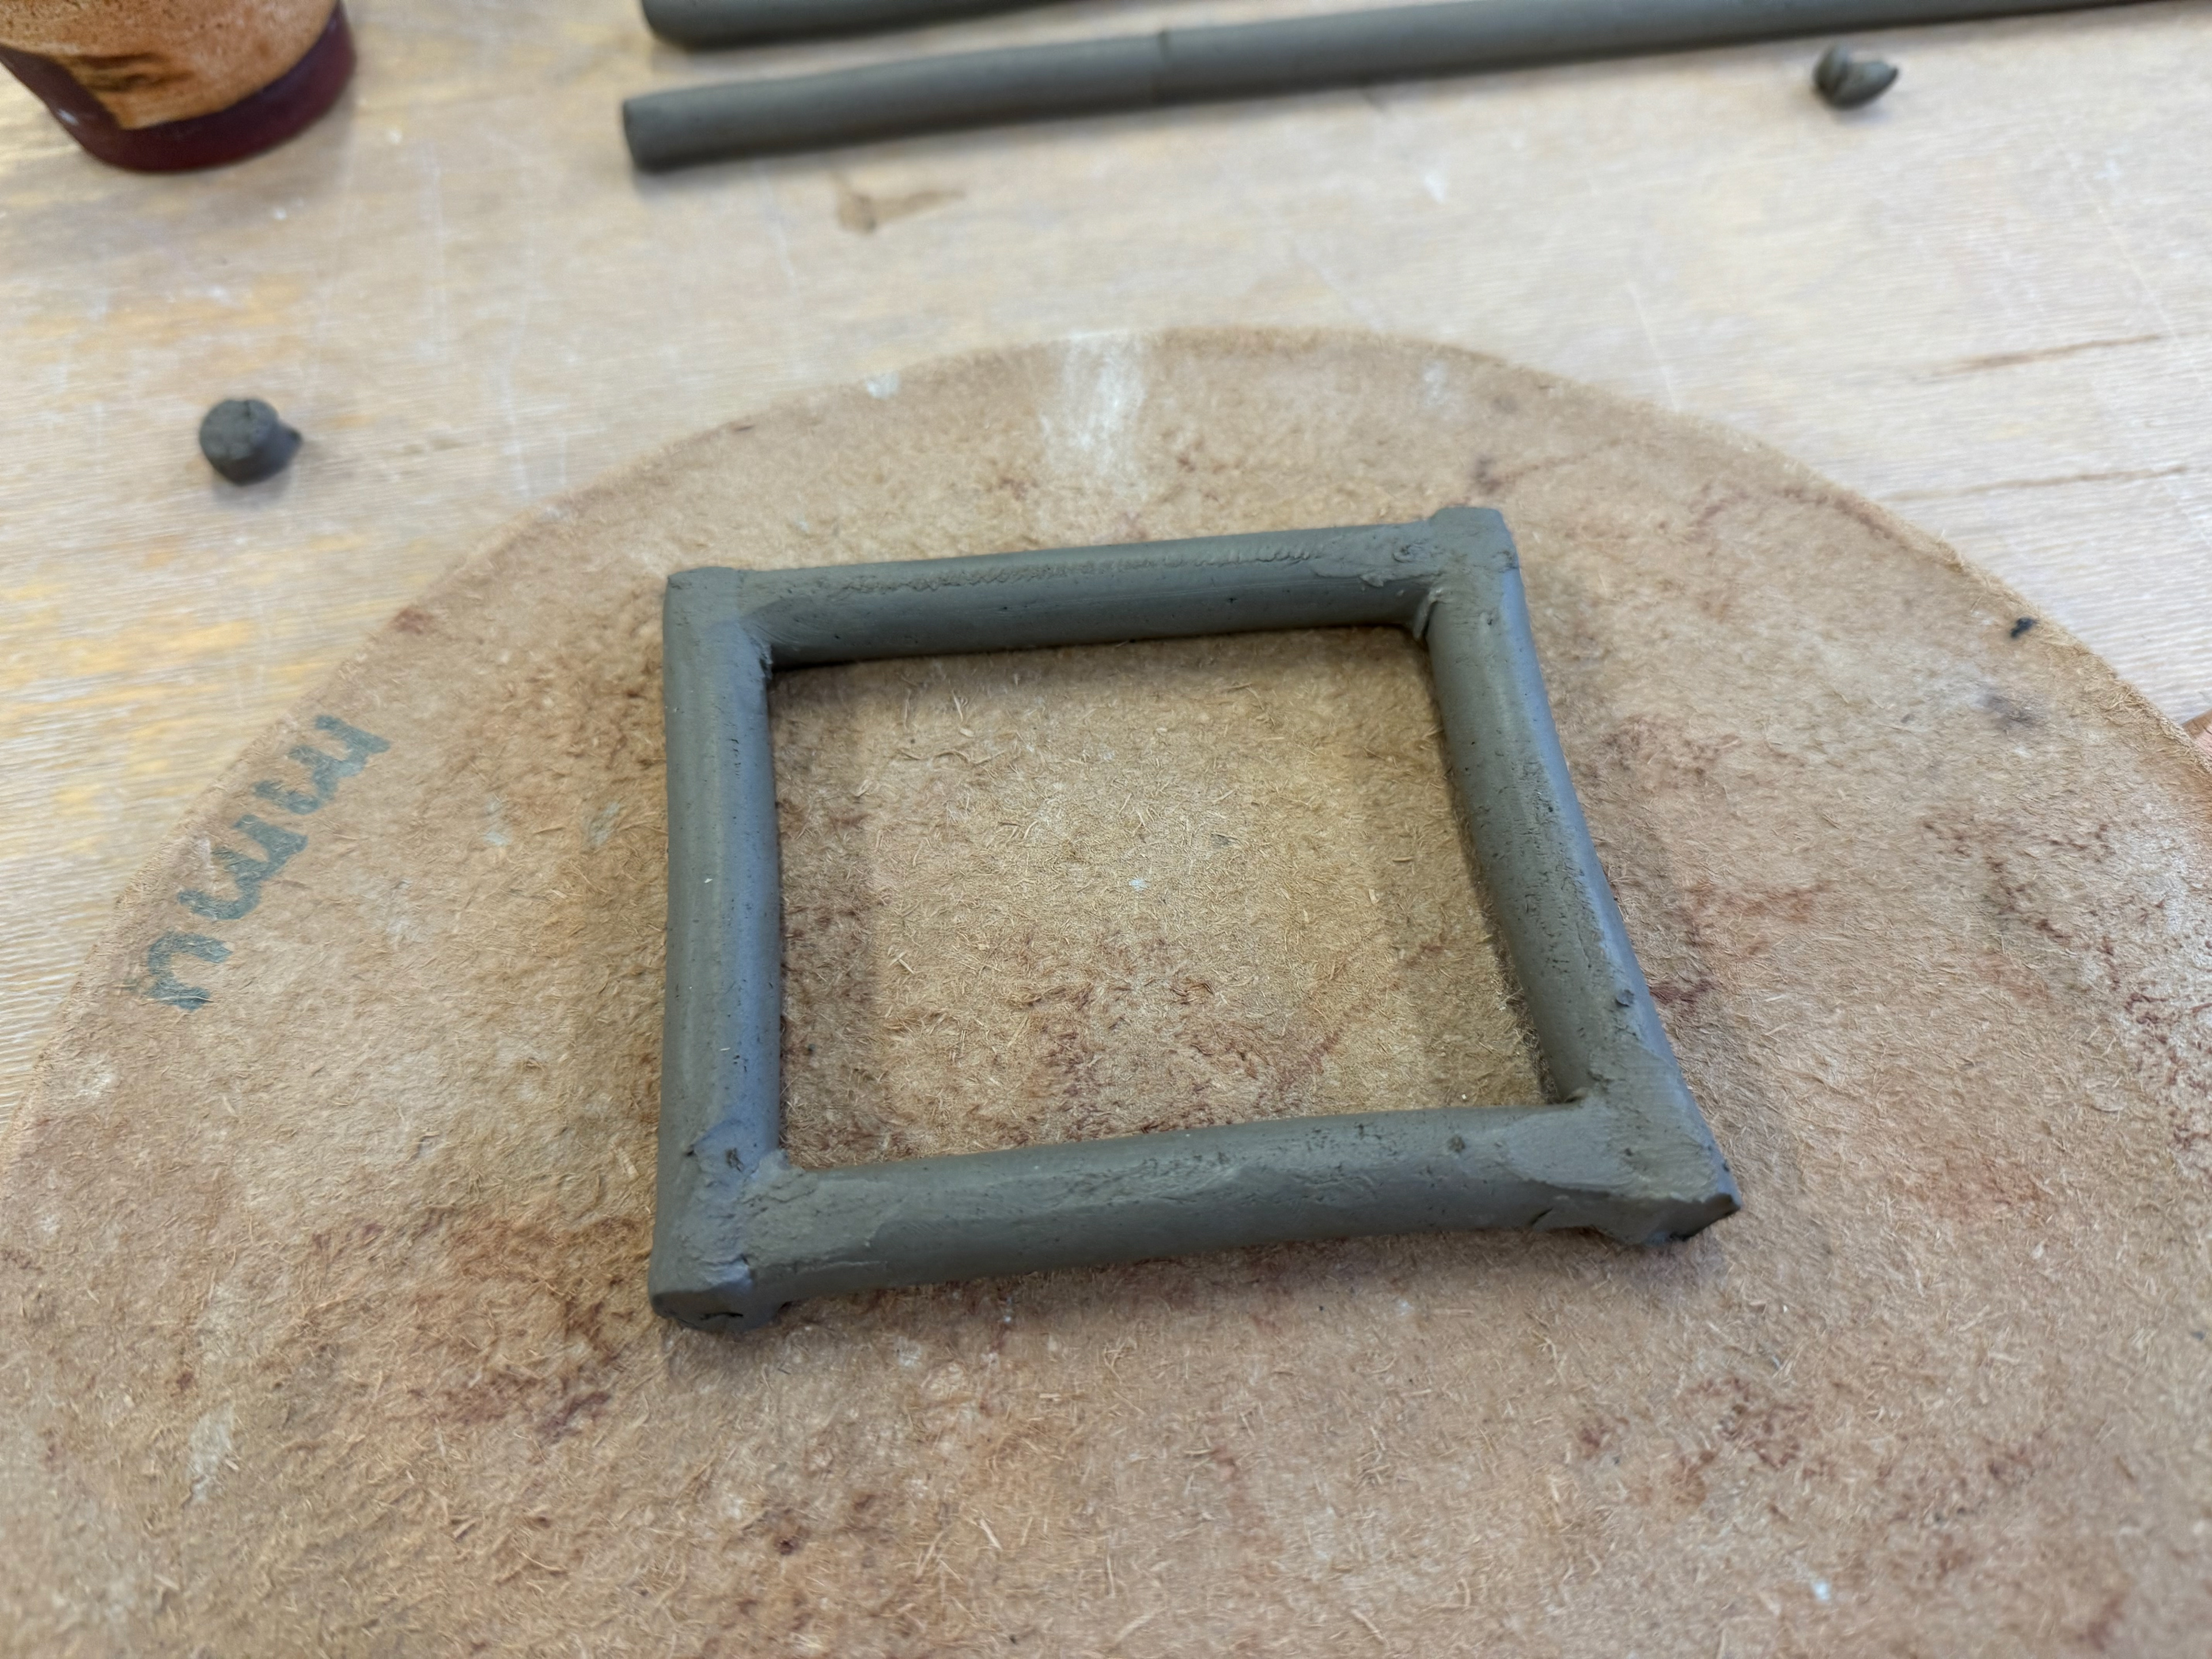
Base
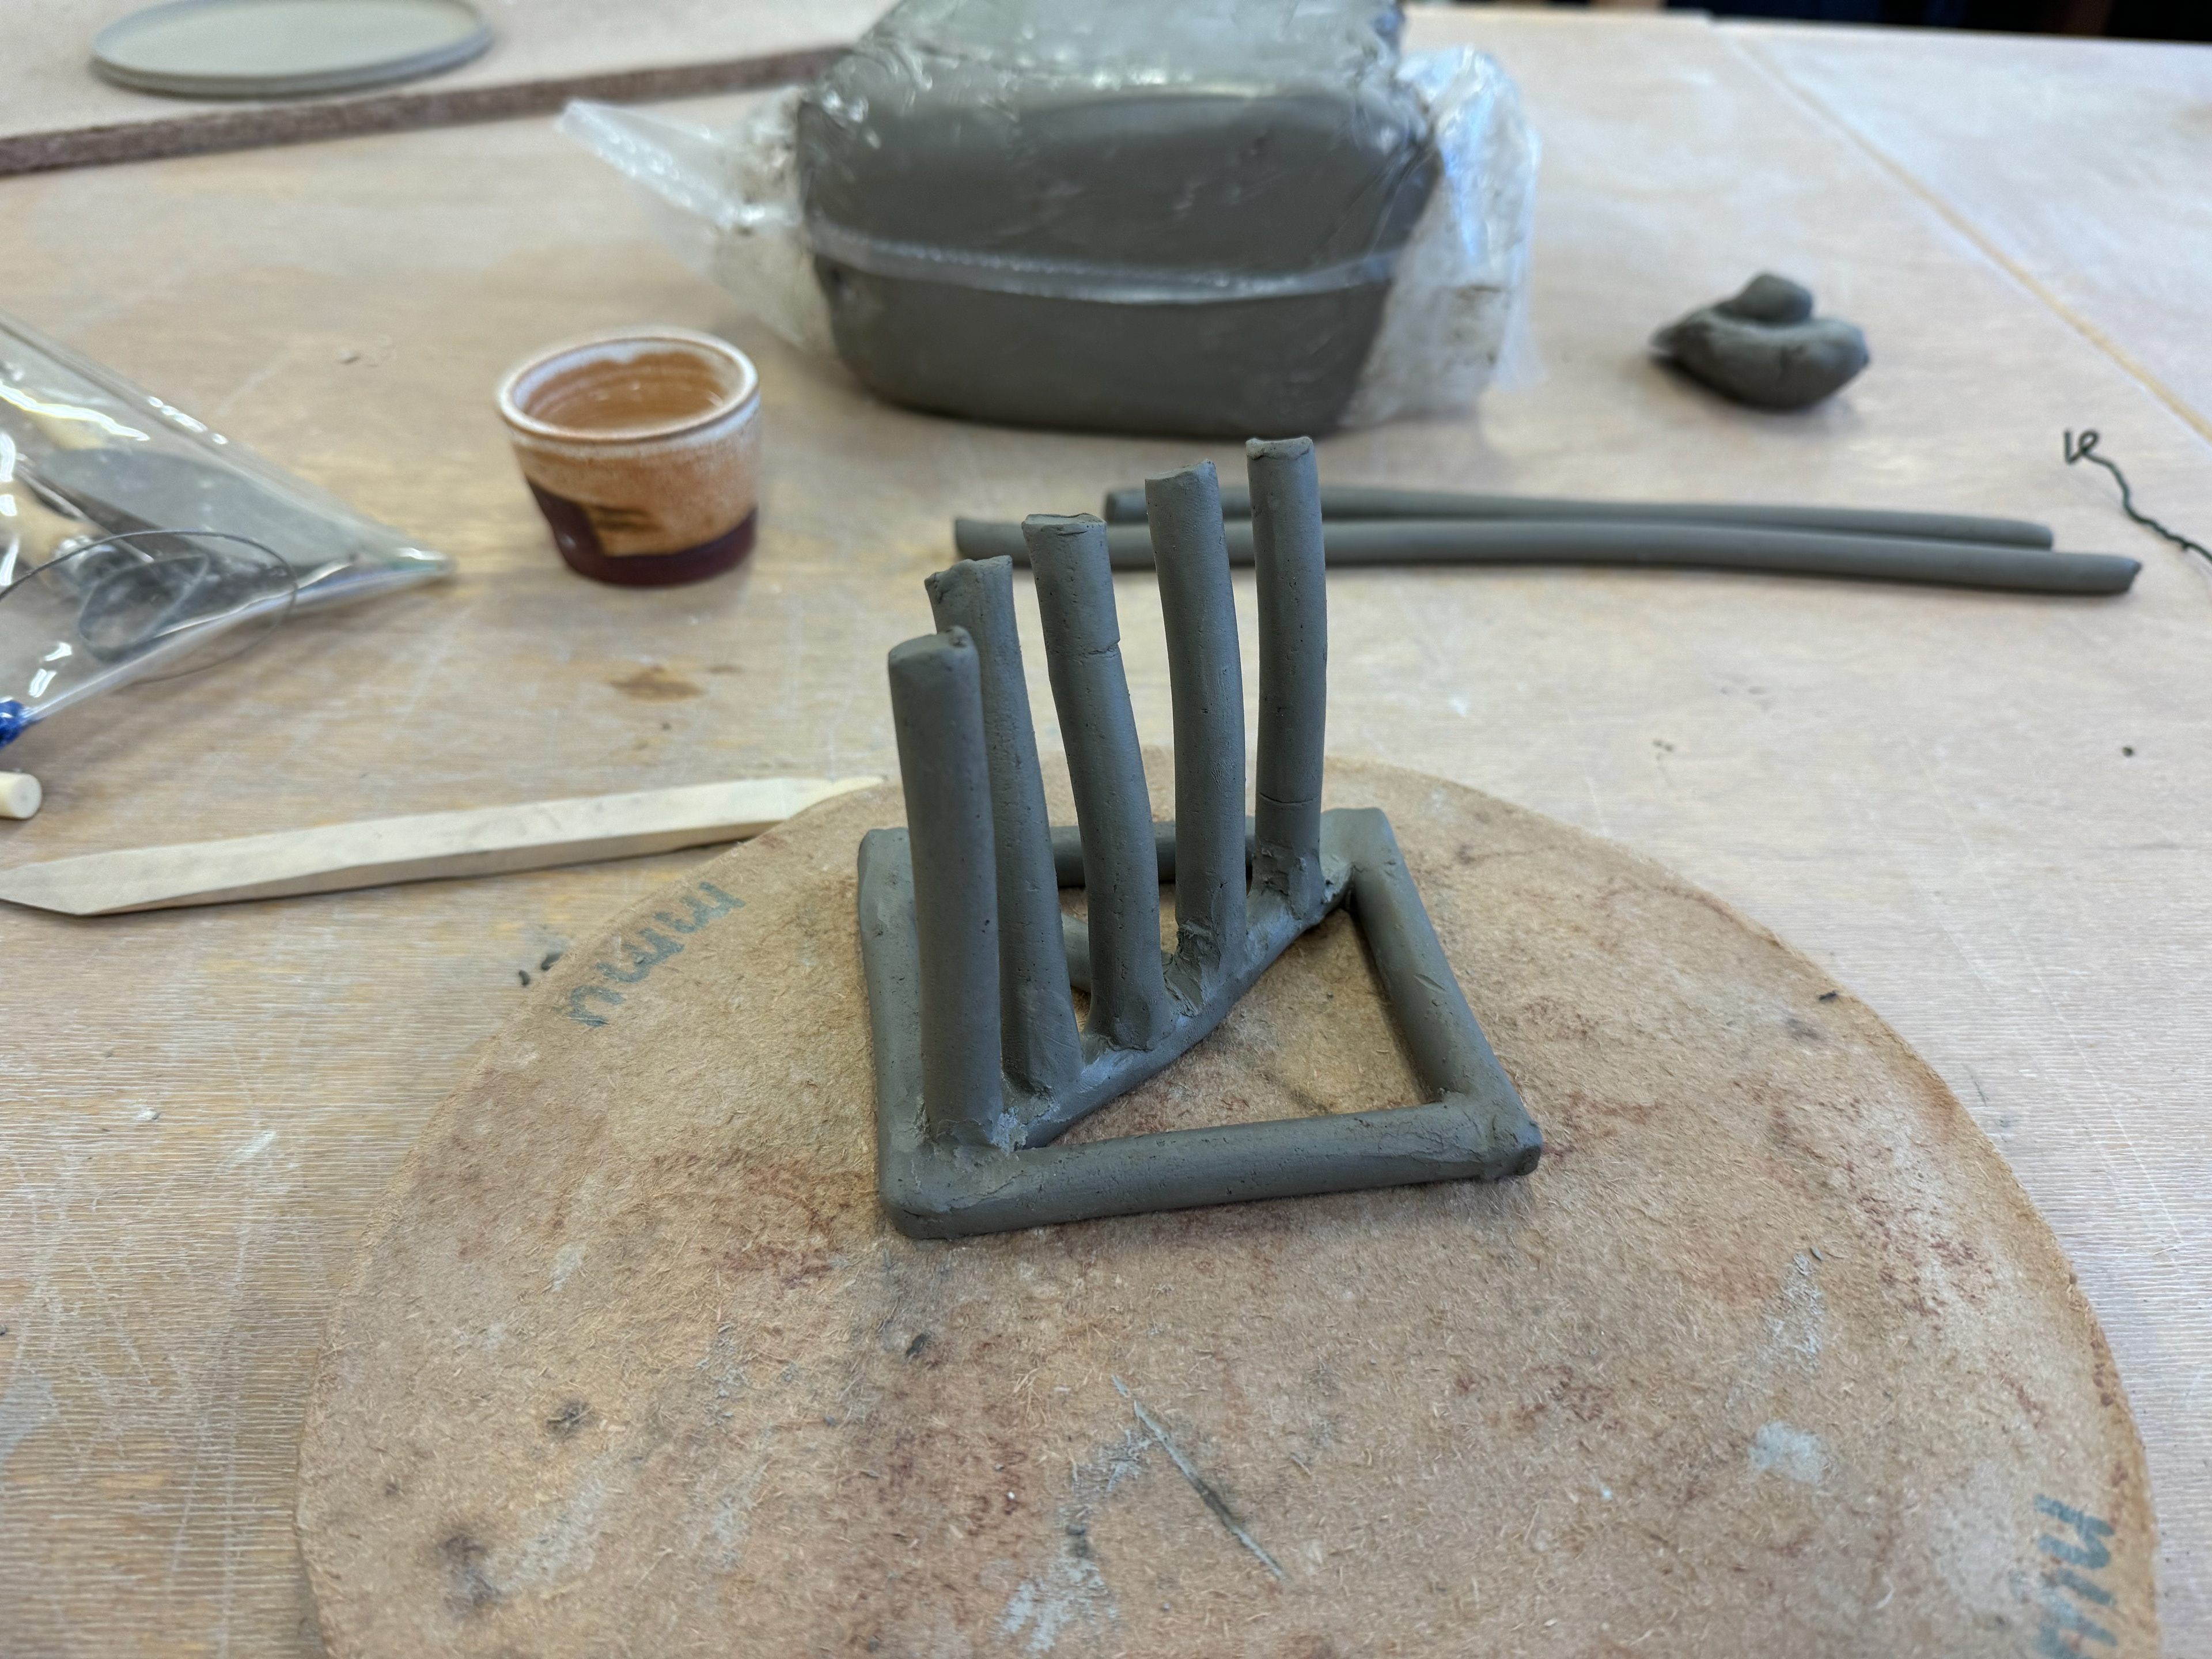
Base with finger stacks leaning over and needing support
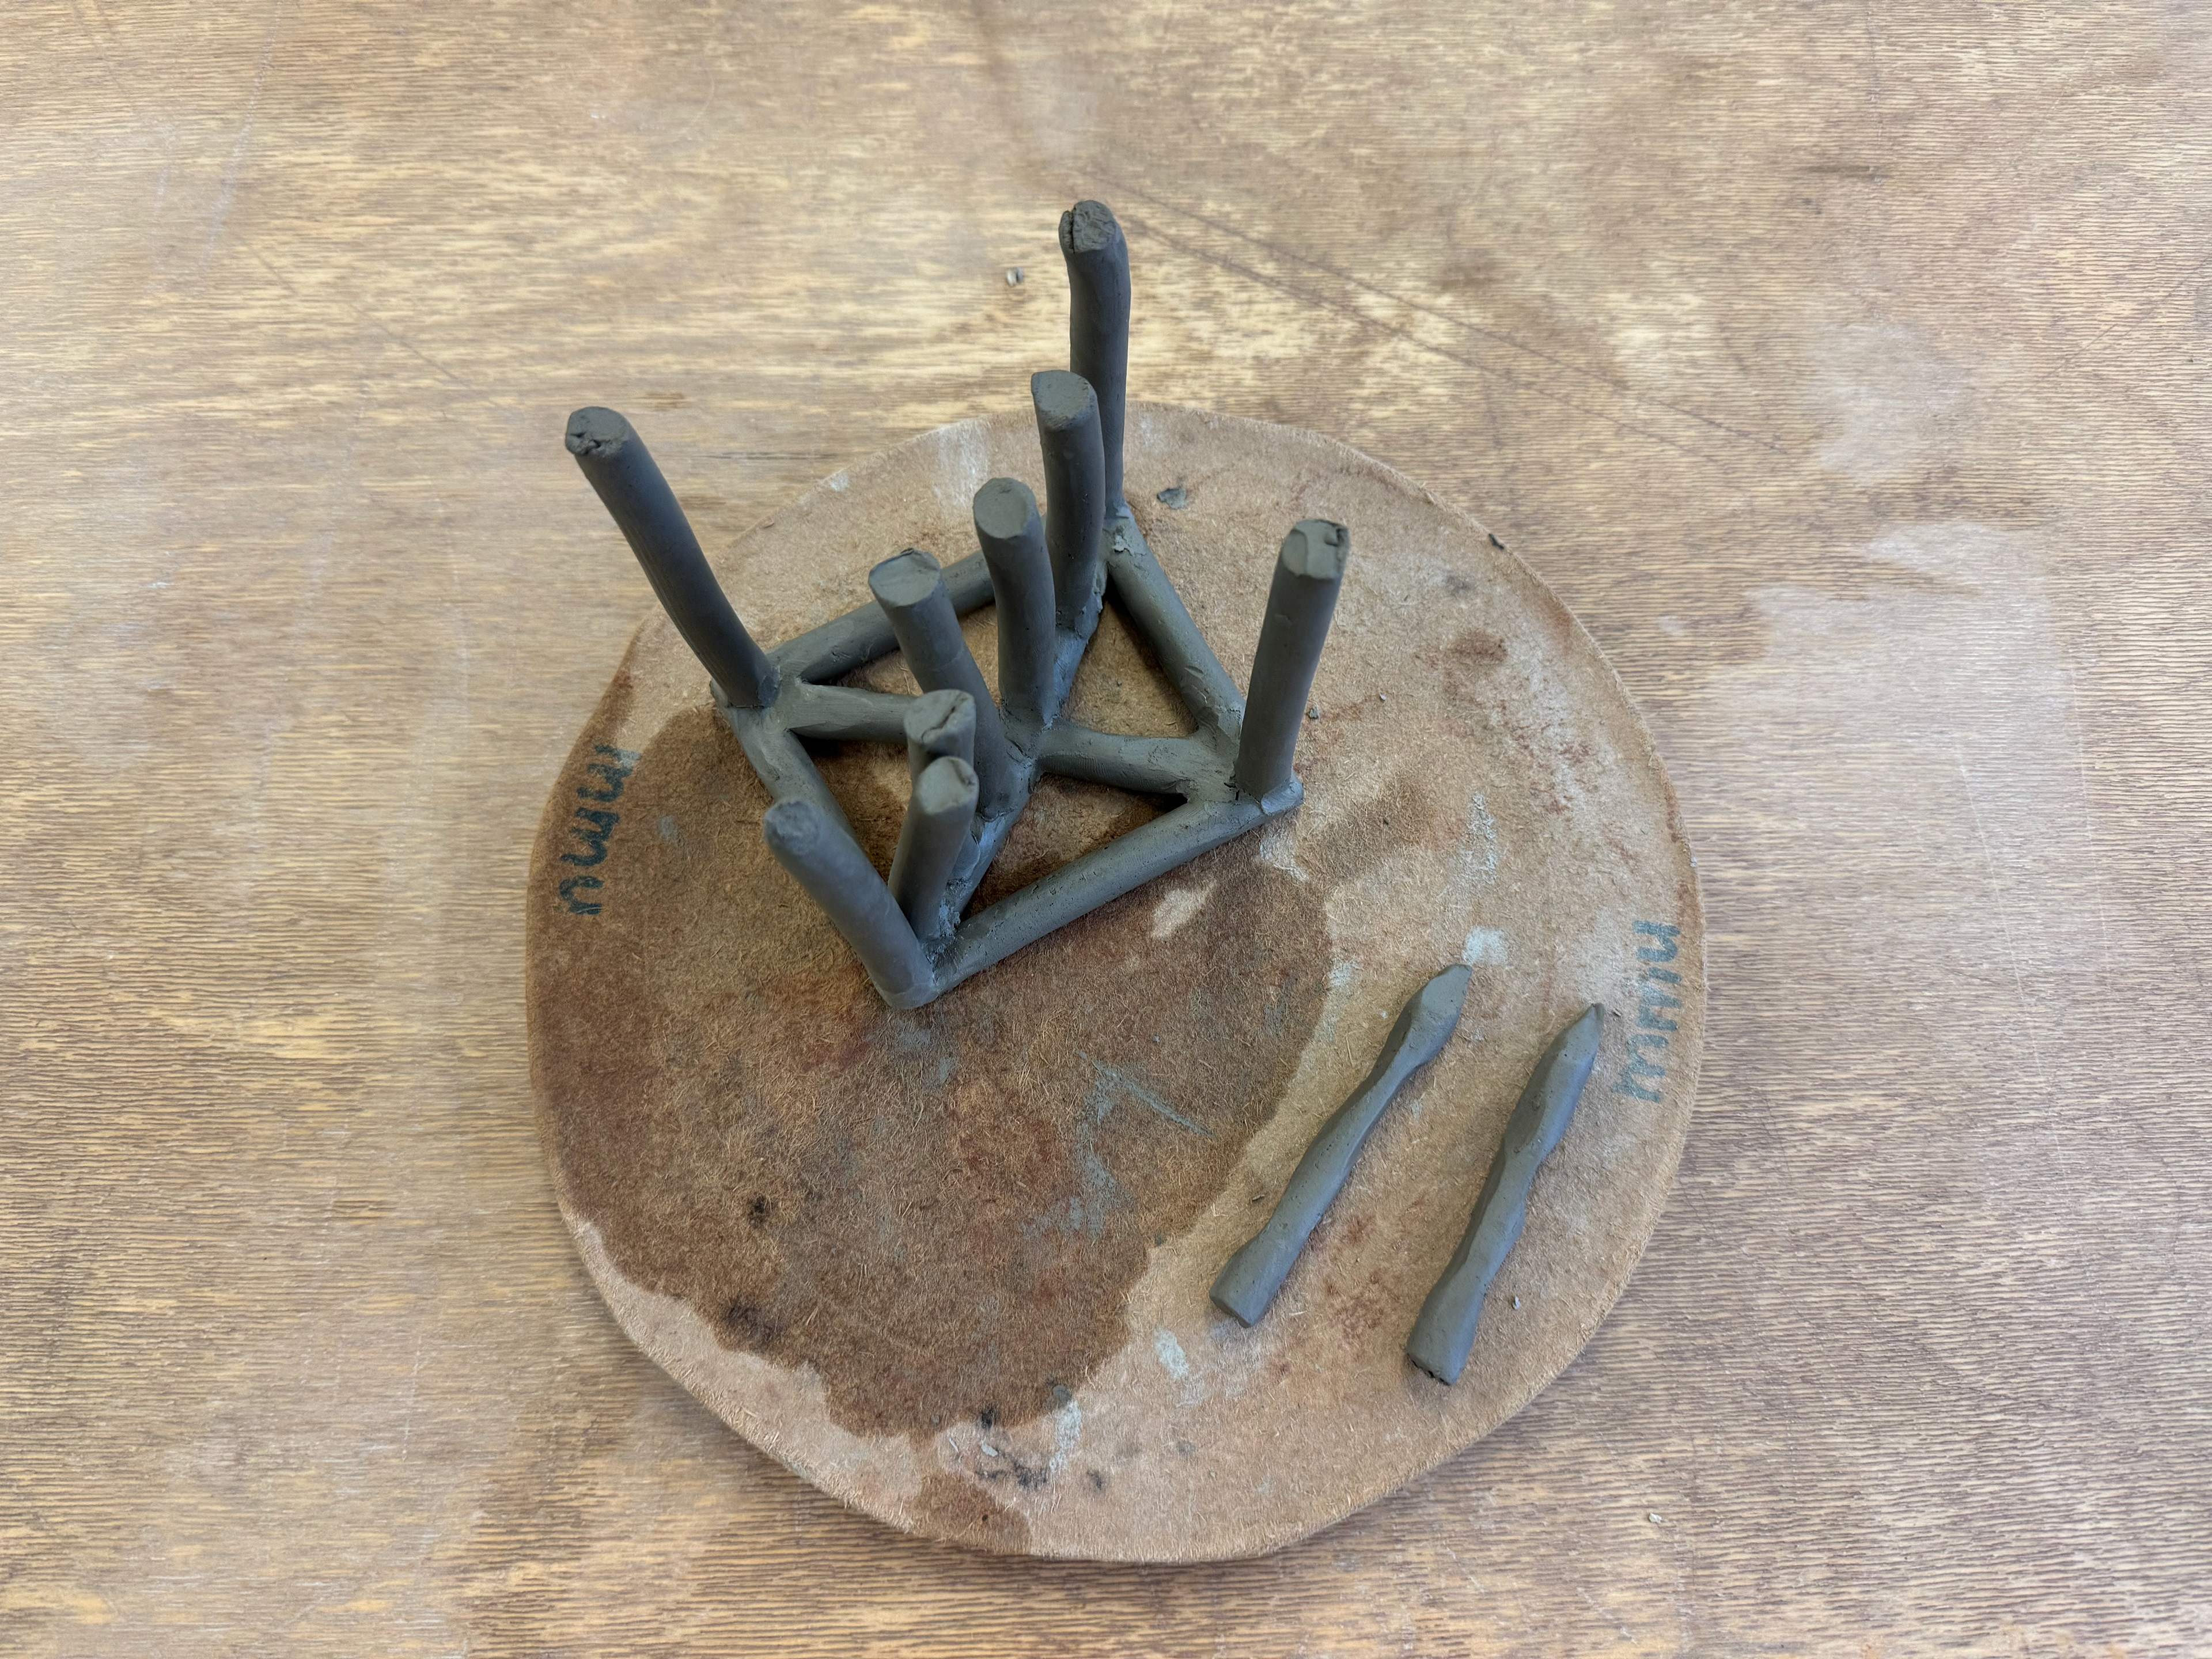
Lattice base and two fingers
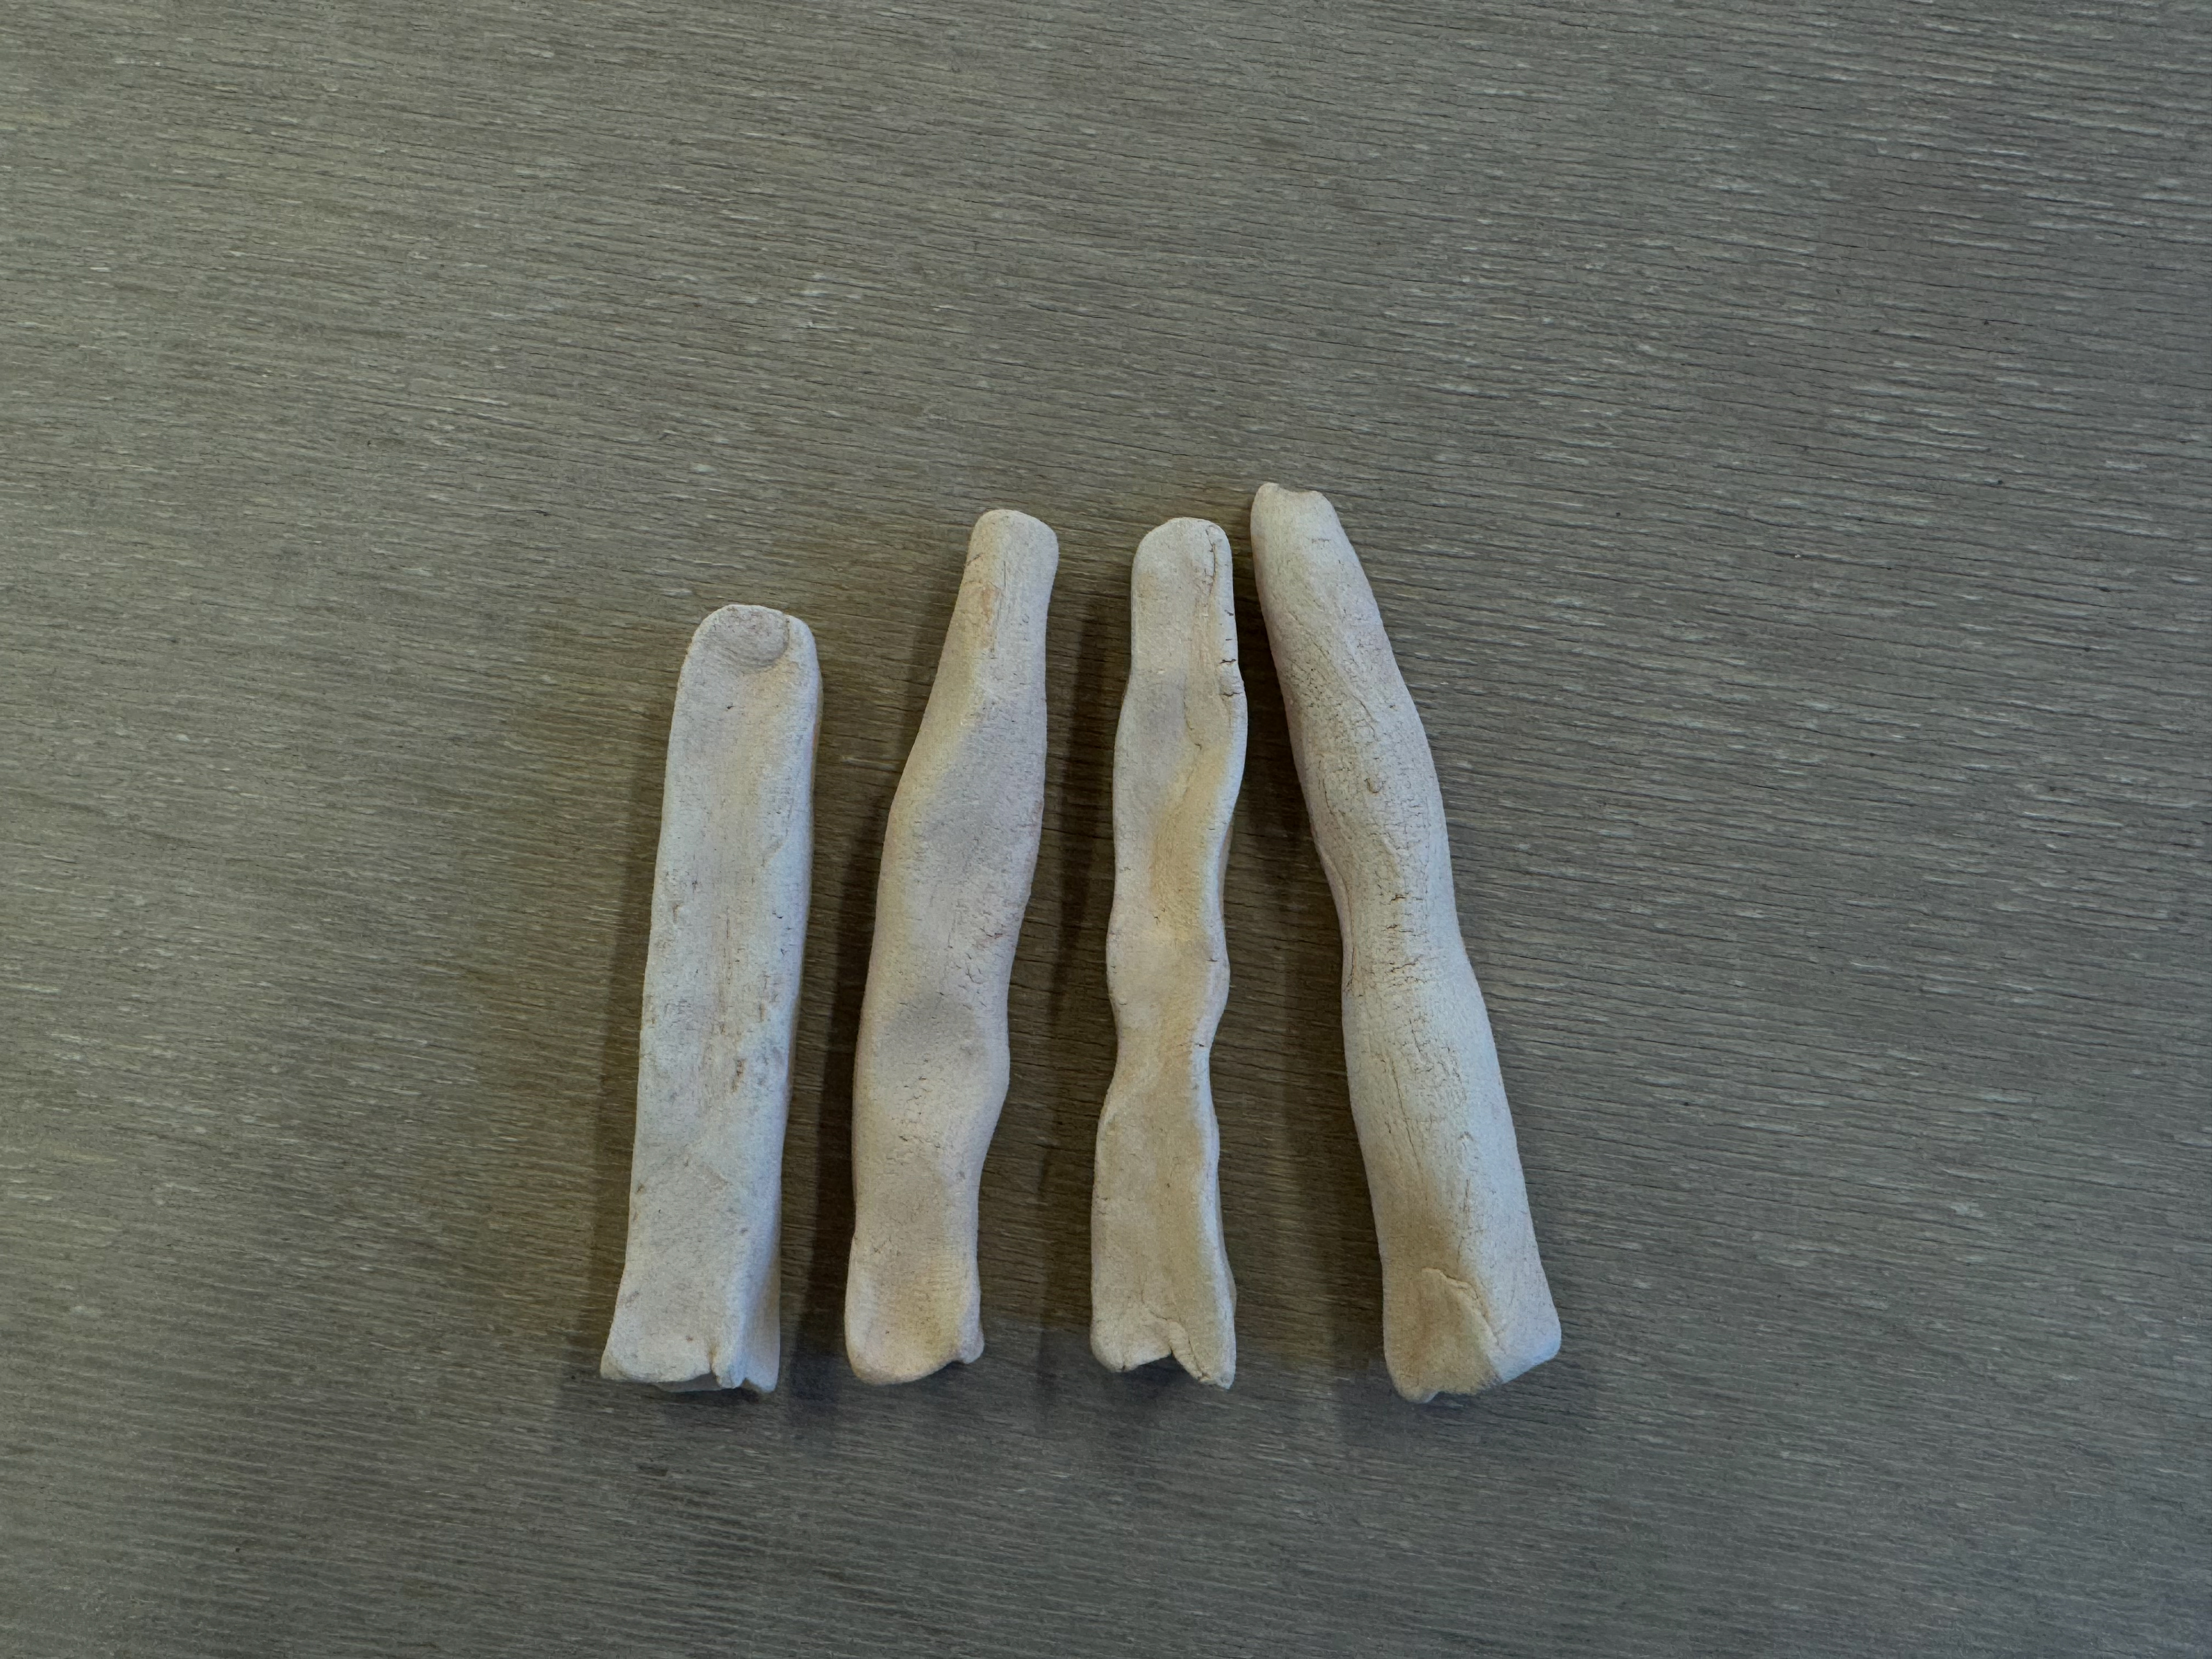
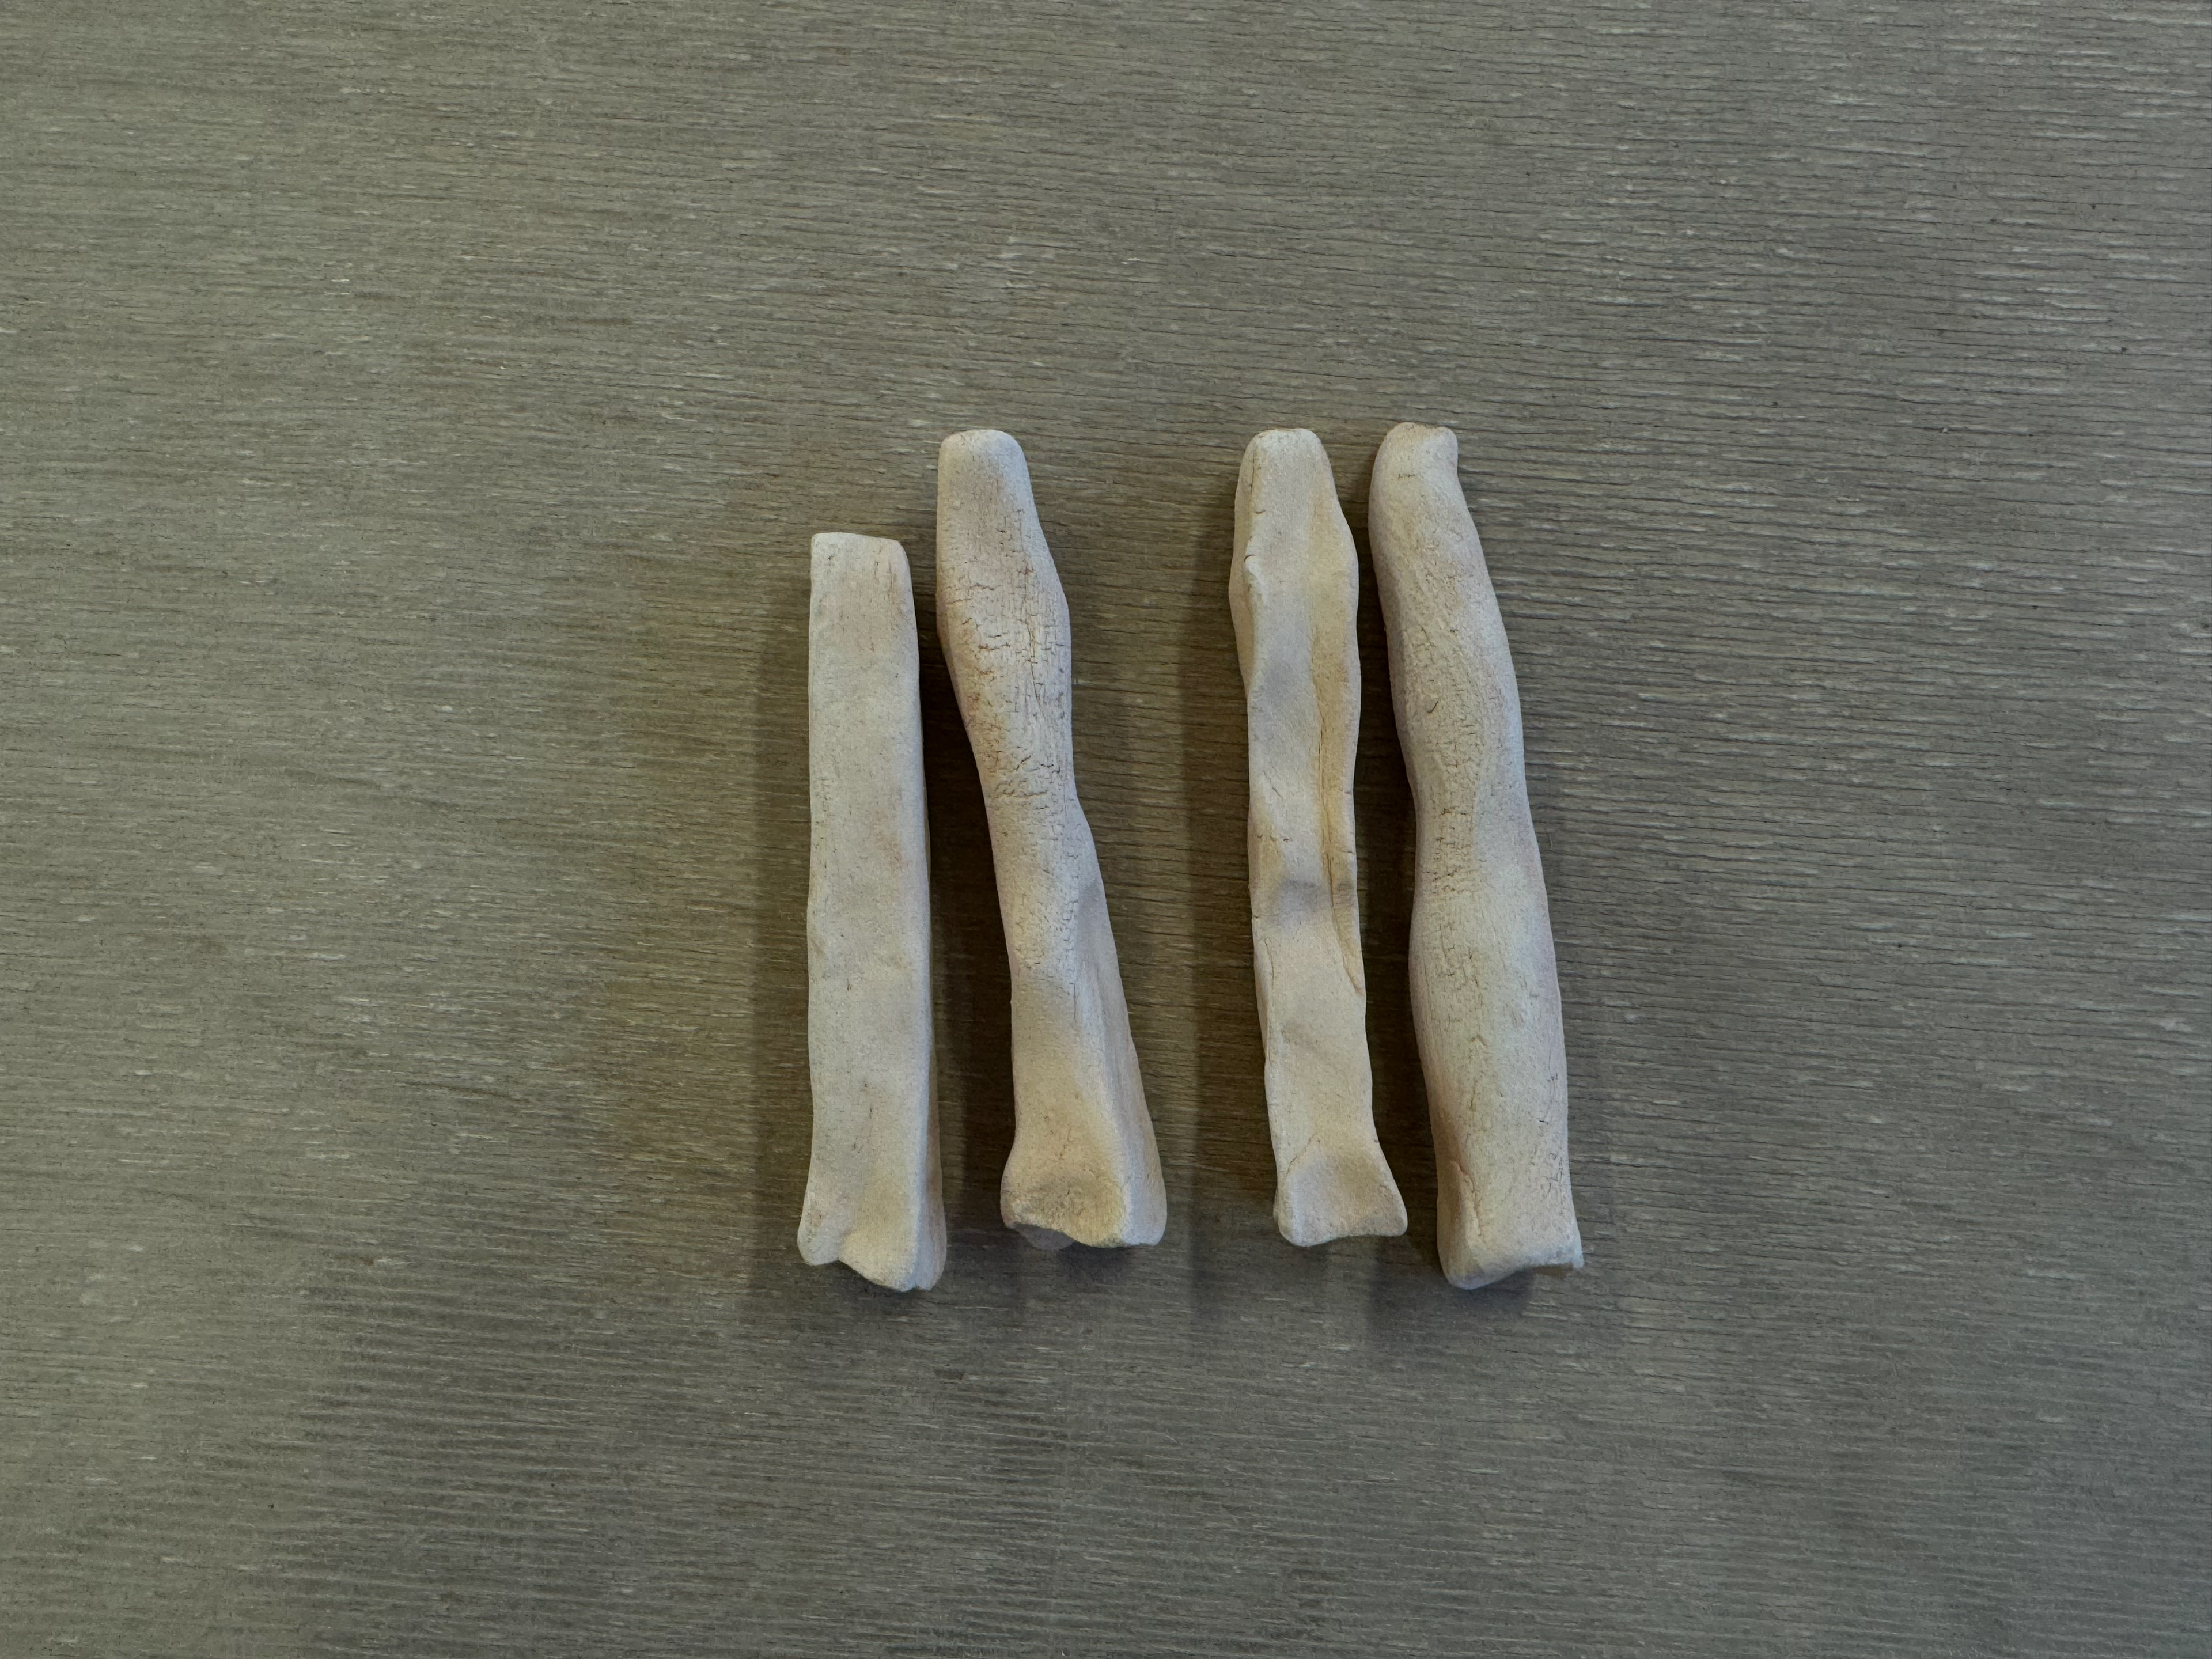
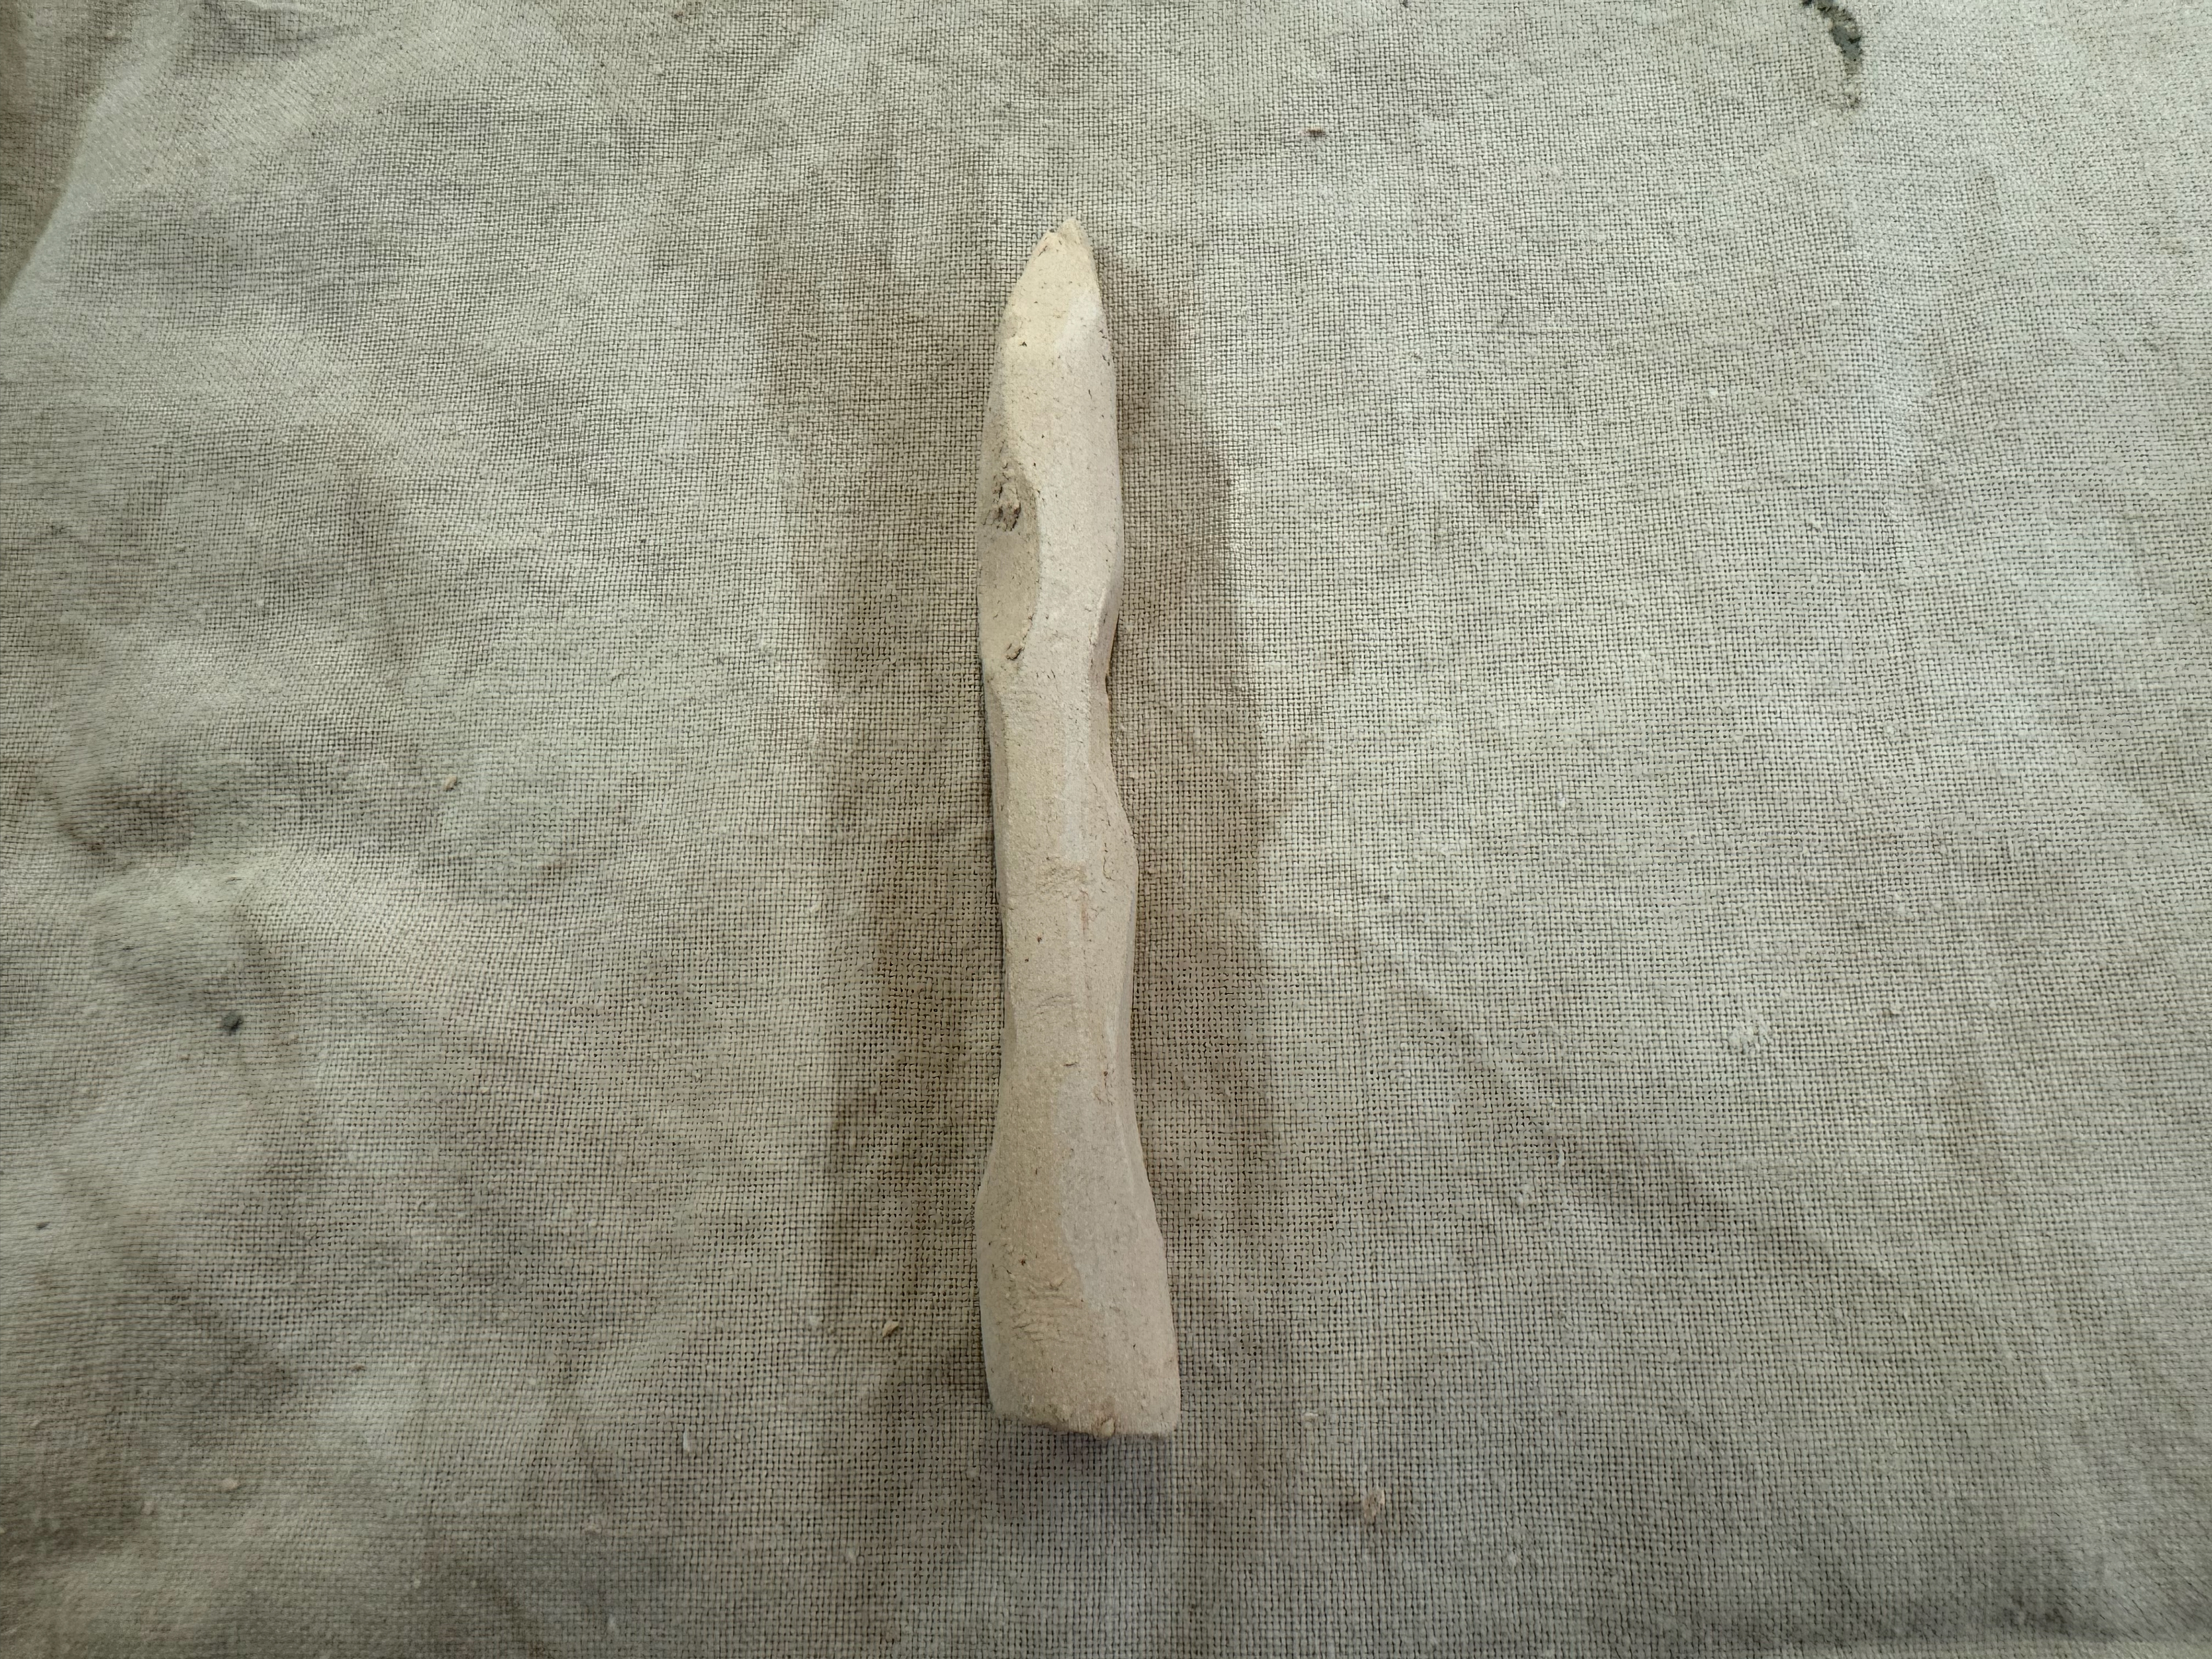
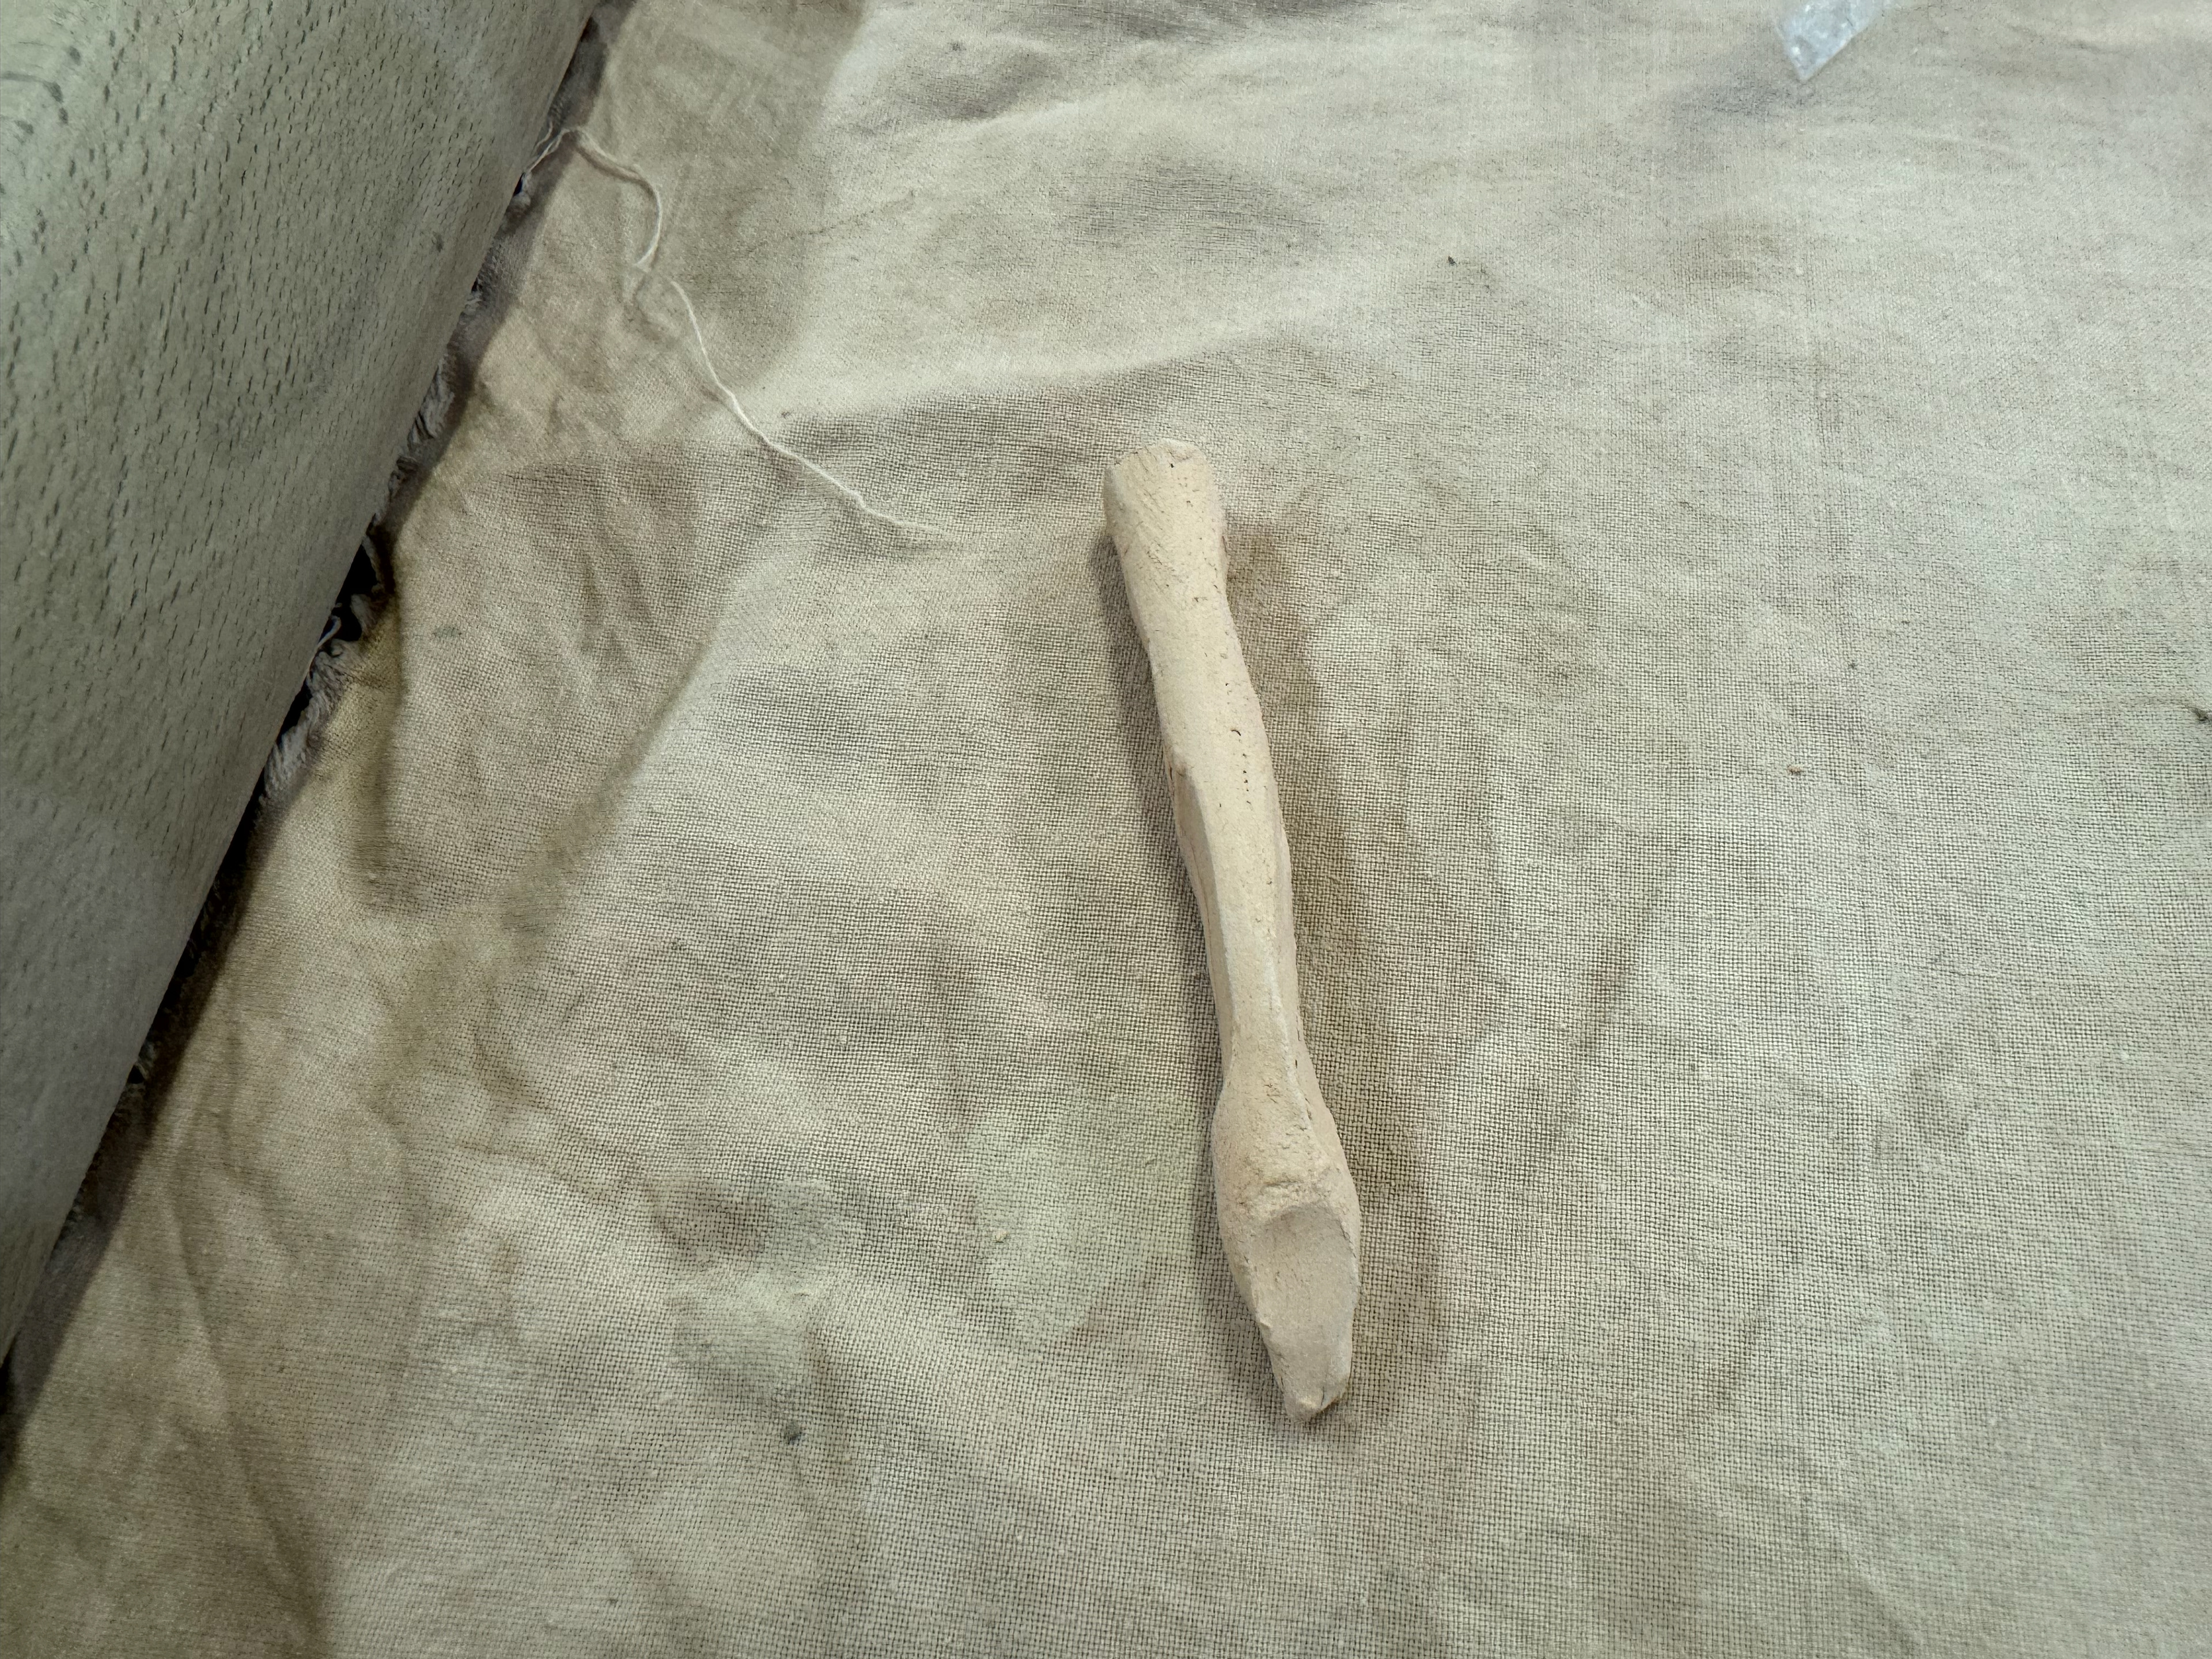
Refined finger pieces:
This time I used the remaining strips from the lattice and cut them into a rough bone size and used a knife to cut the sides to mimics the ridges and unevenness a bone naturally has. Depending how they look after being fired, I may use the Dremel to add further detail. This was much better than my initial pieces.
Extruded clay
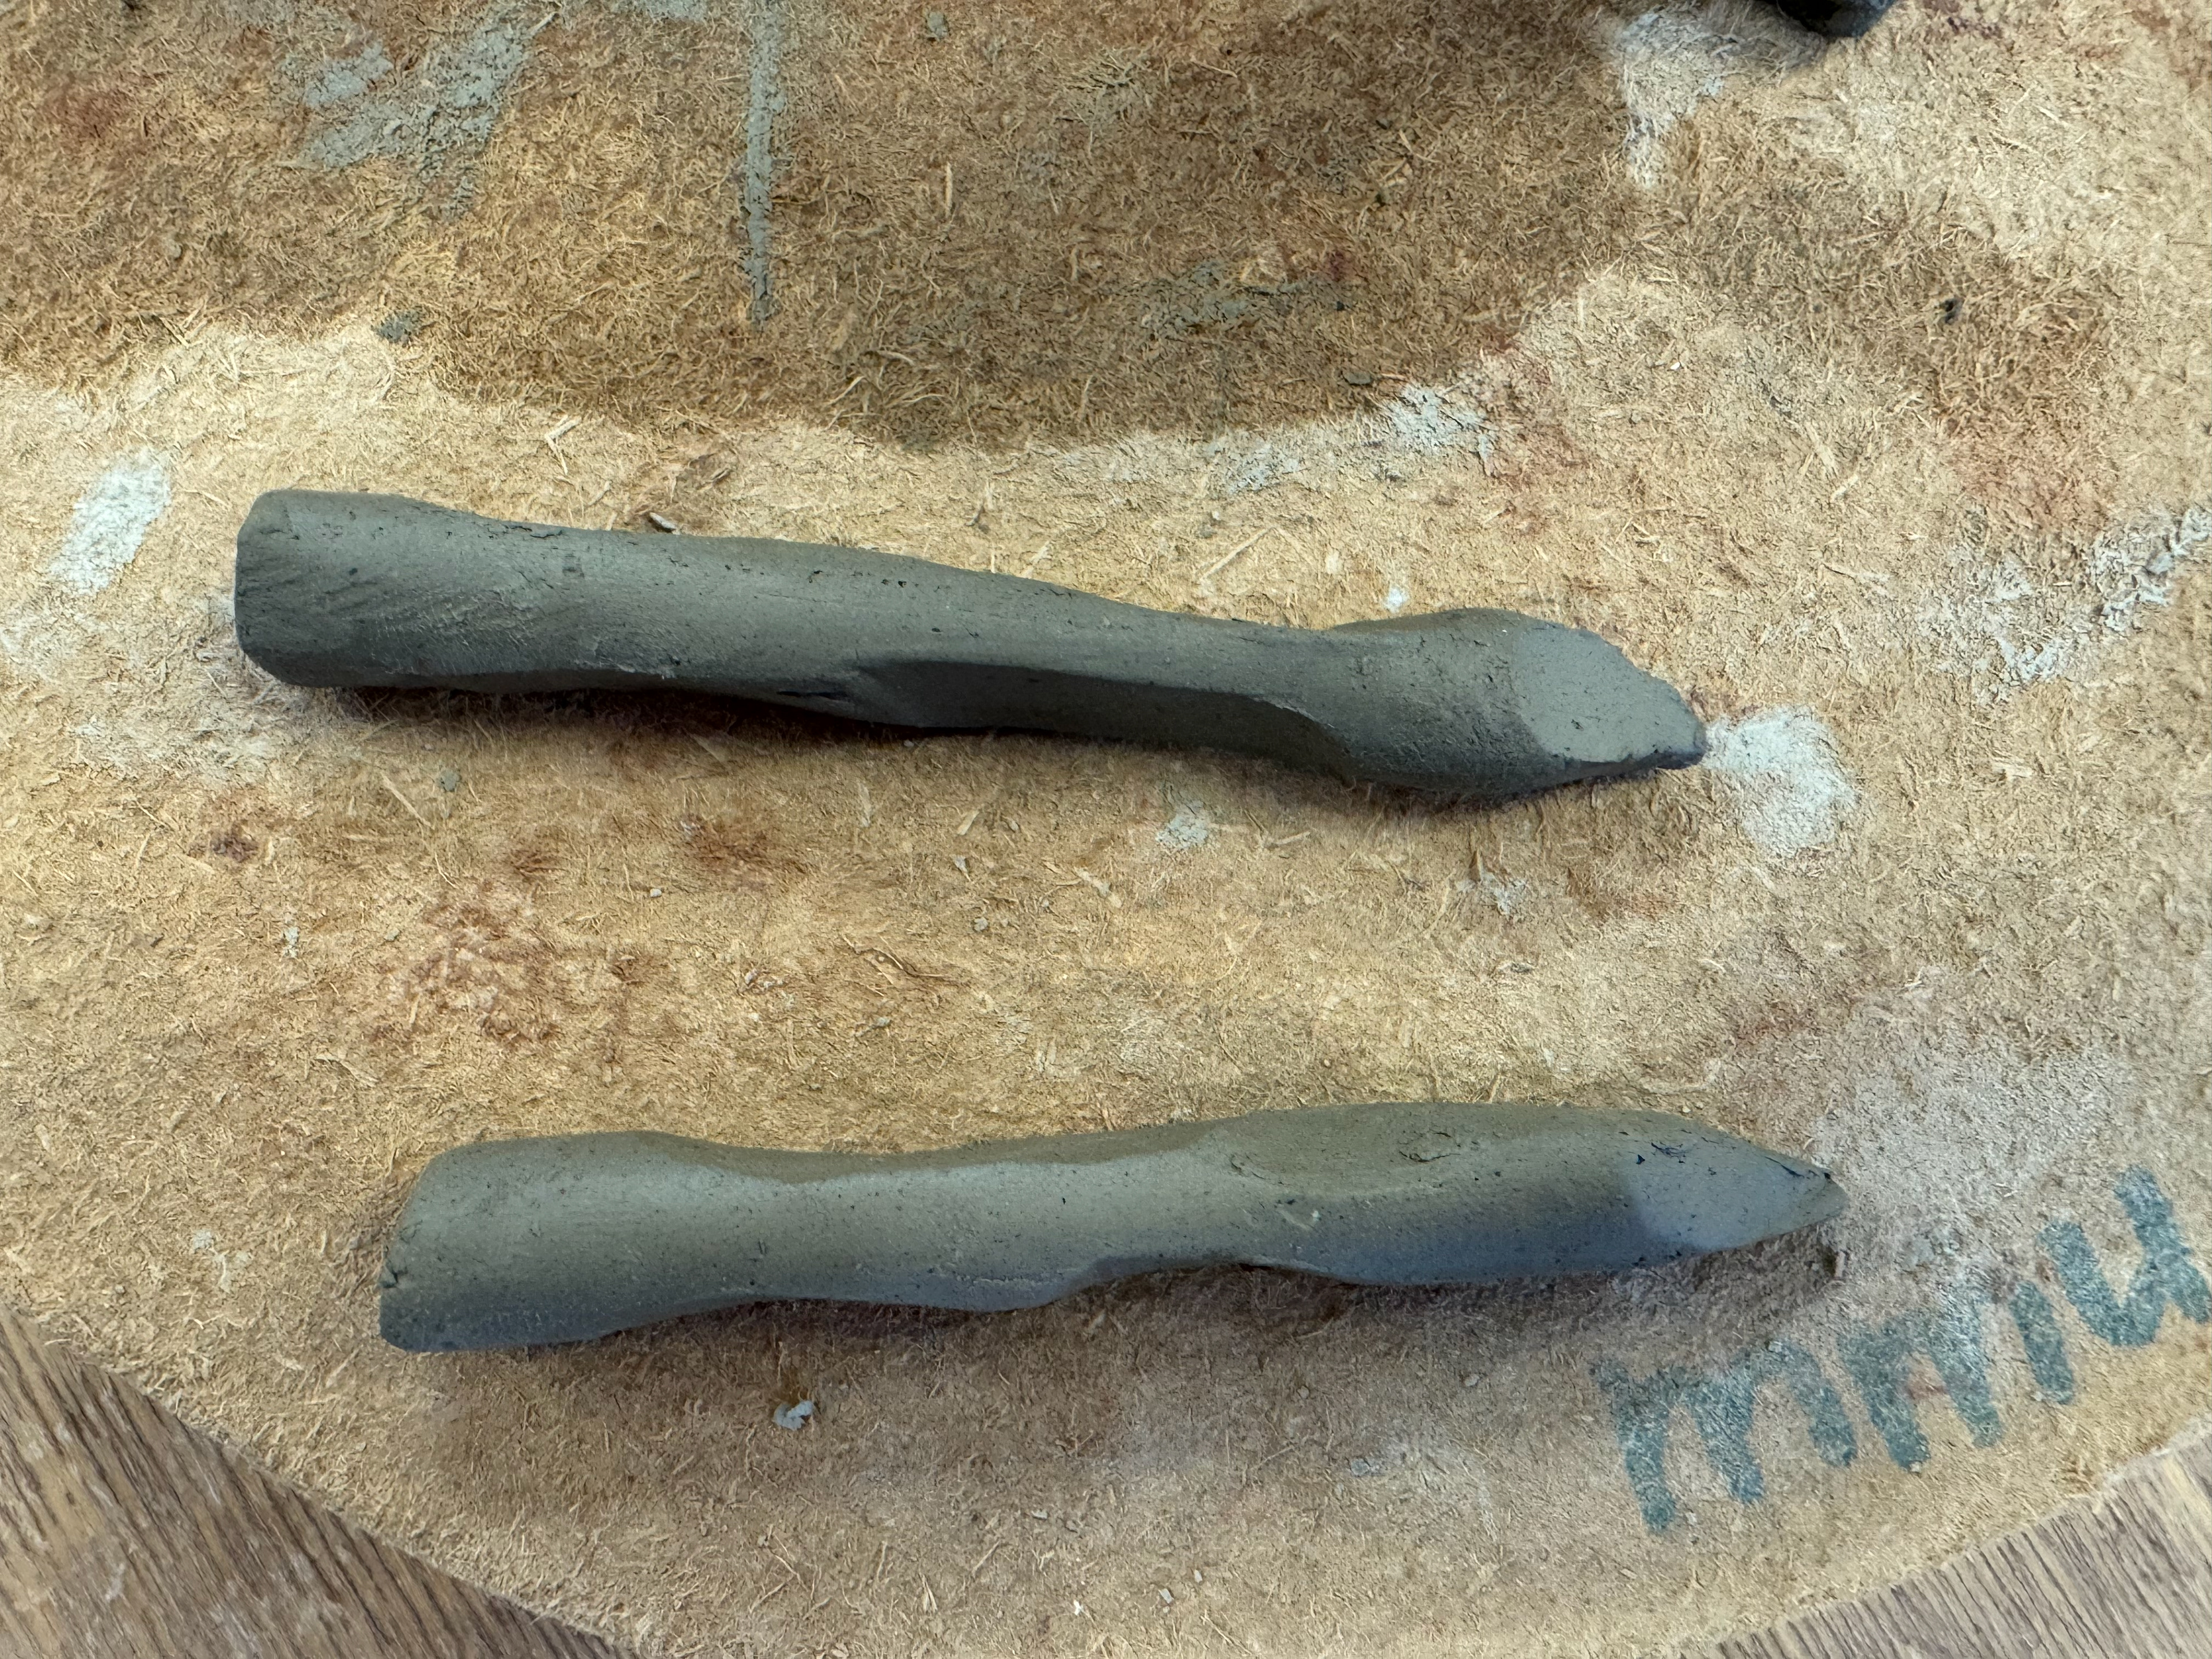
First two fingers from the top
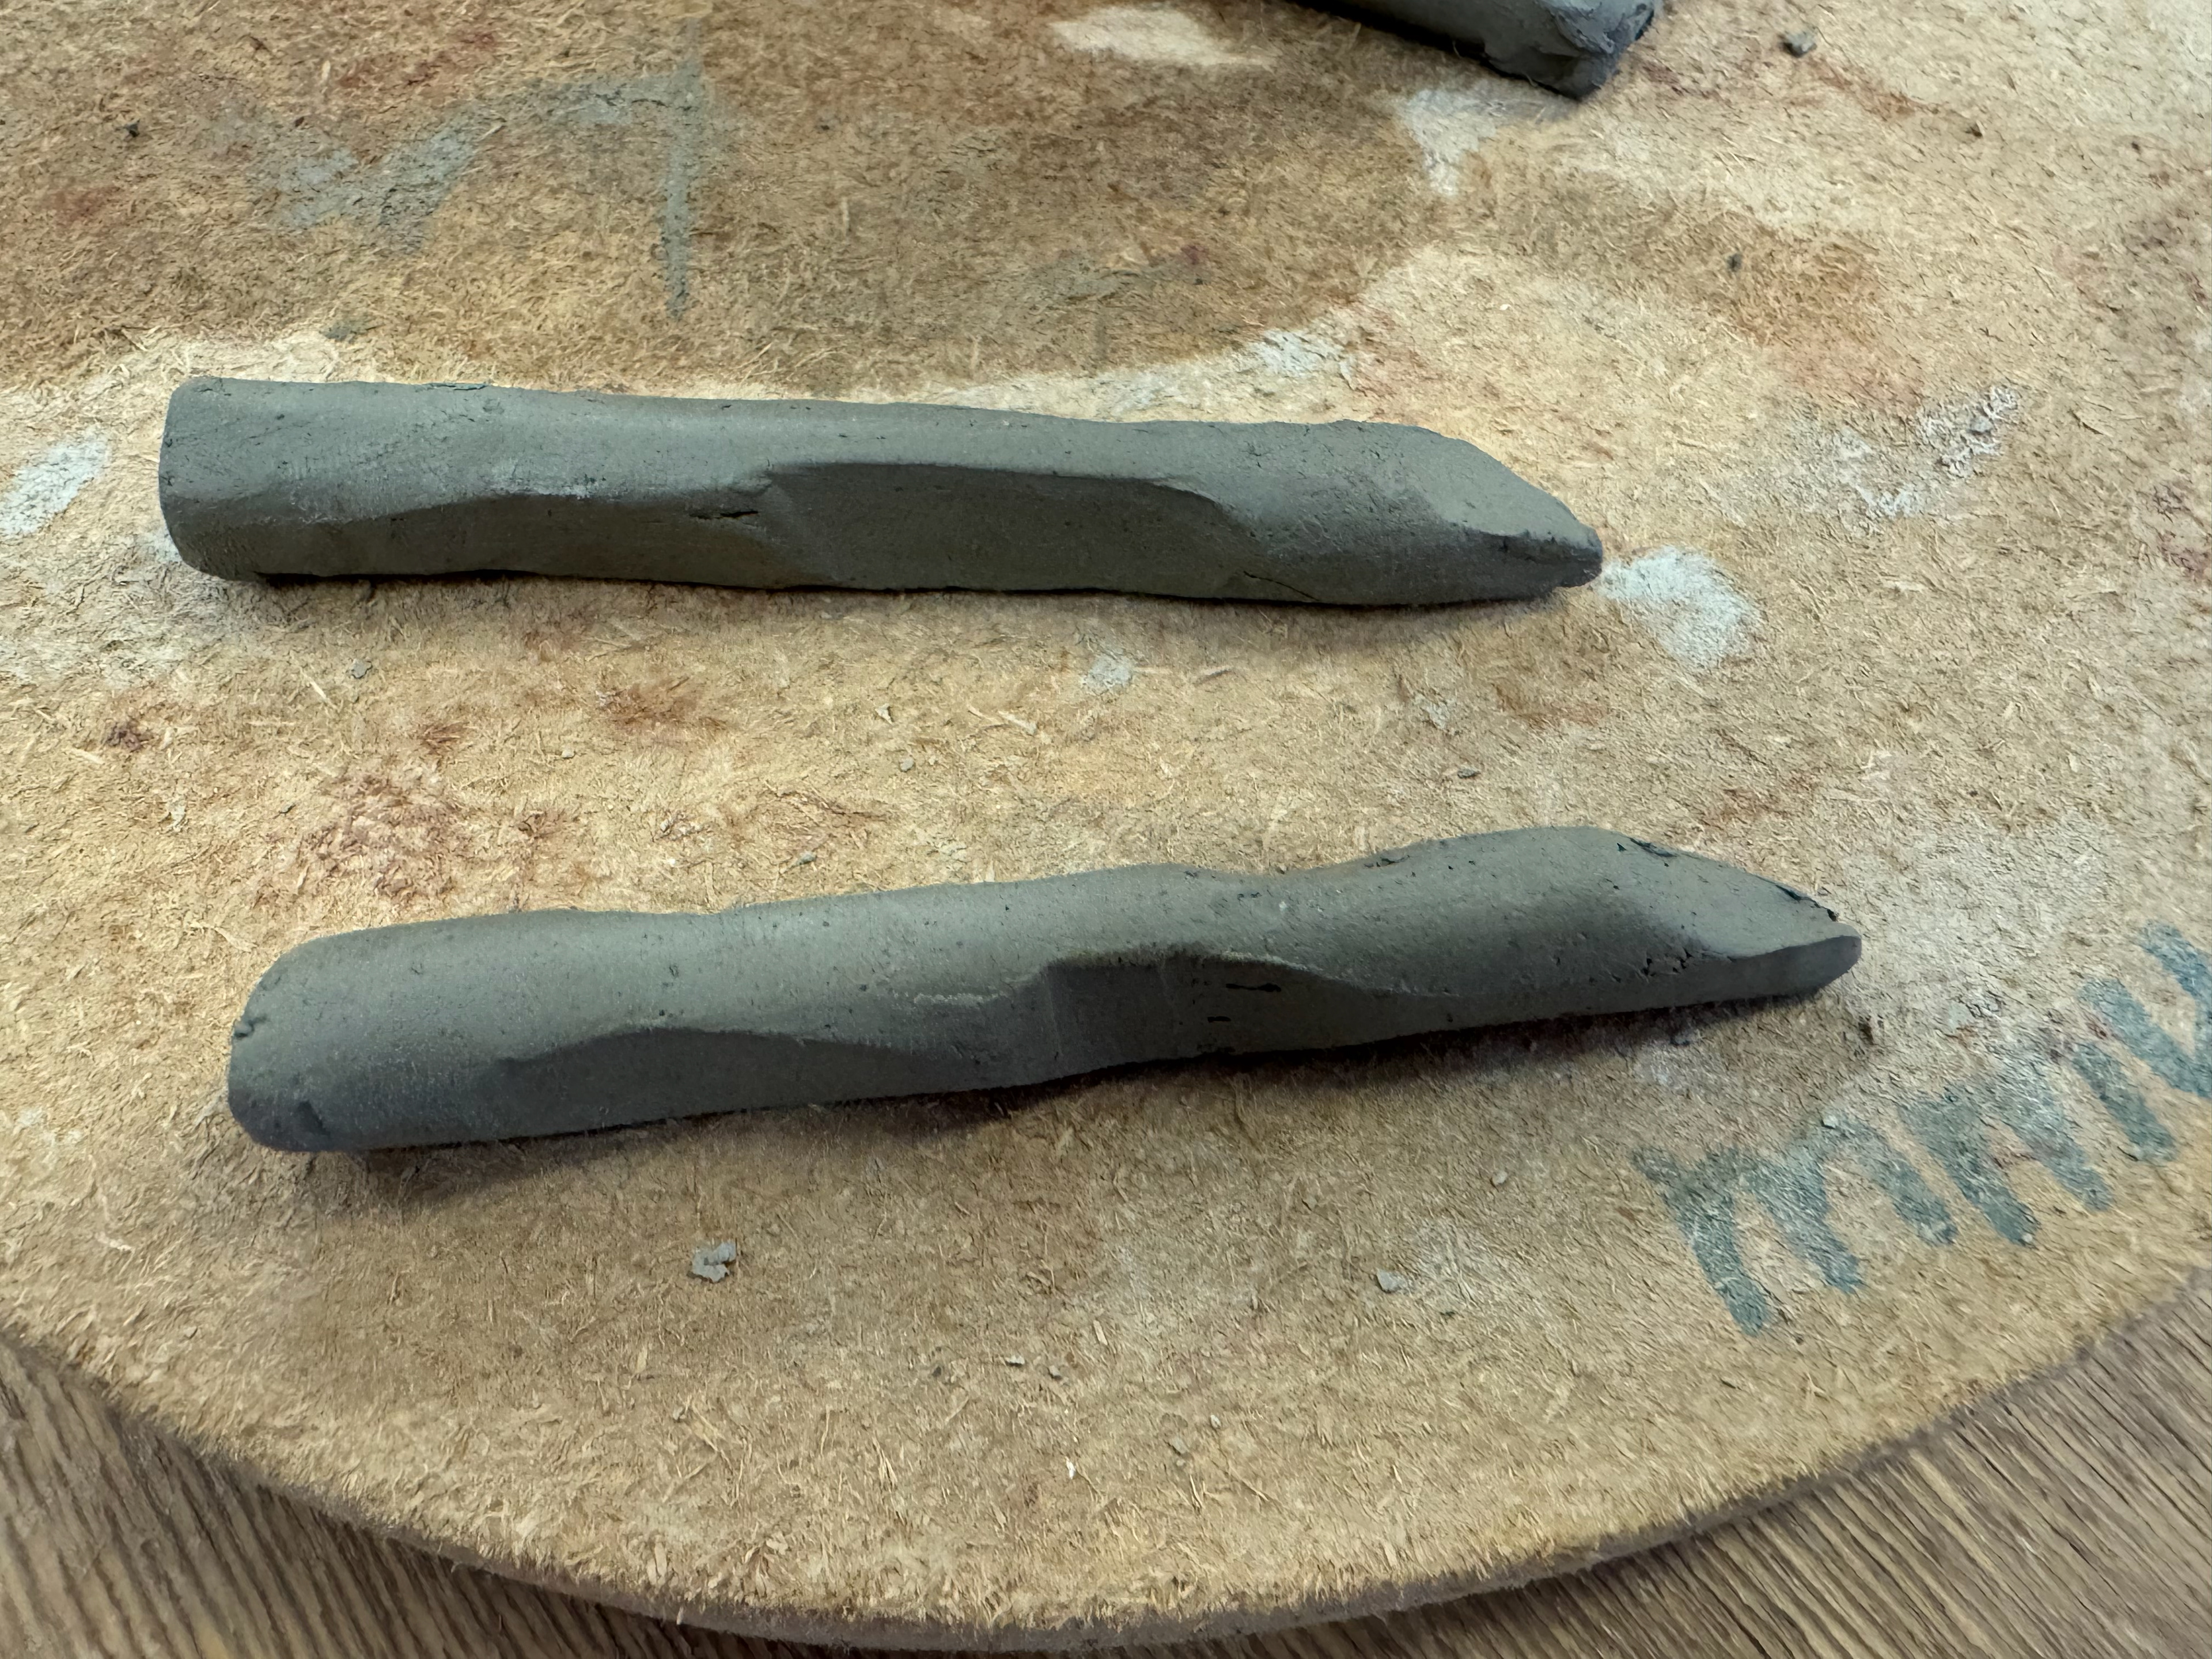
First two fingers from the side
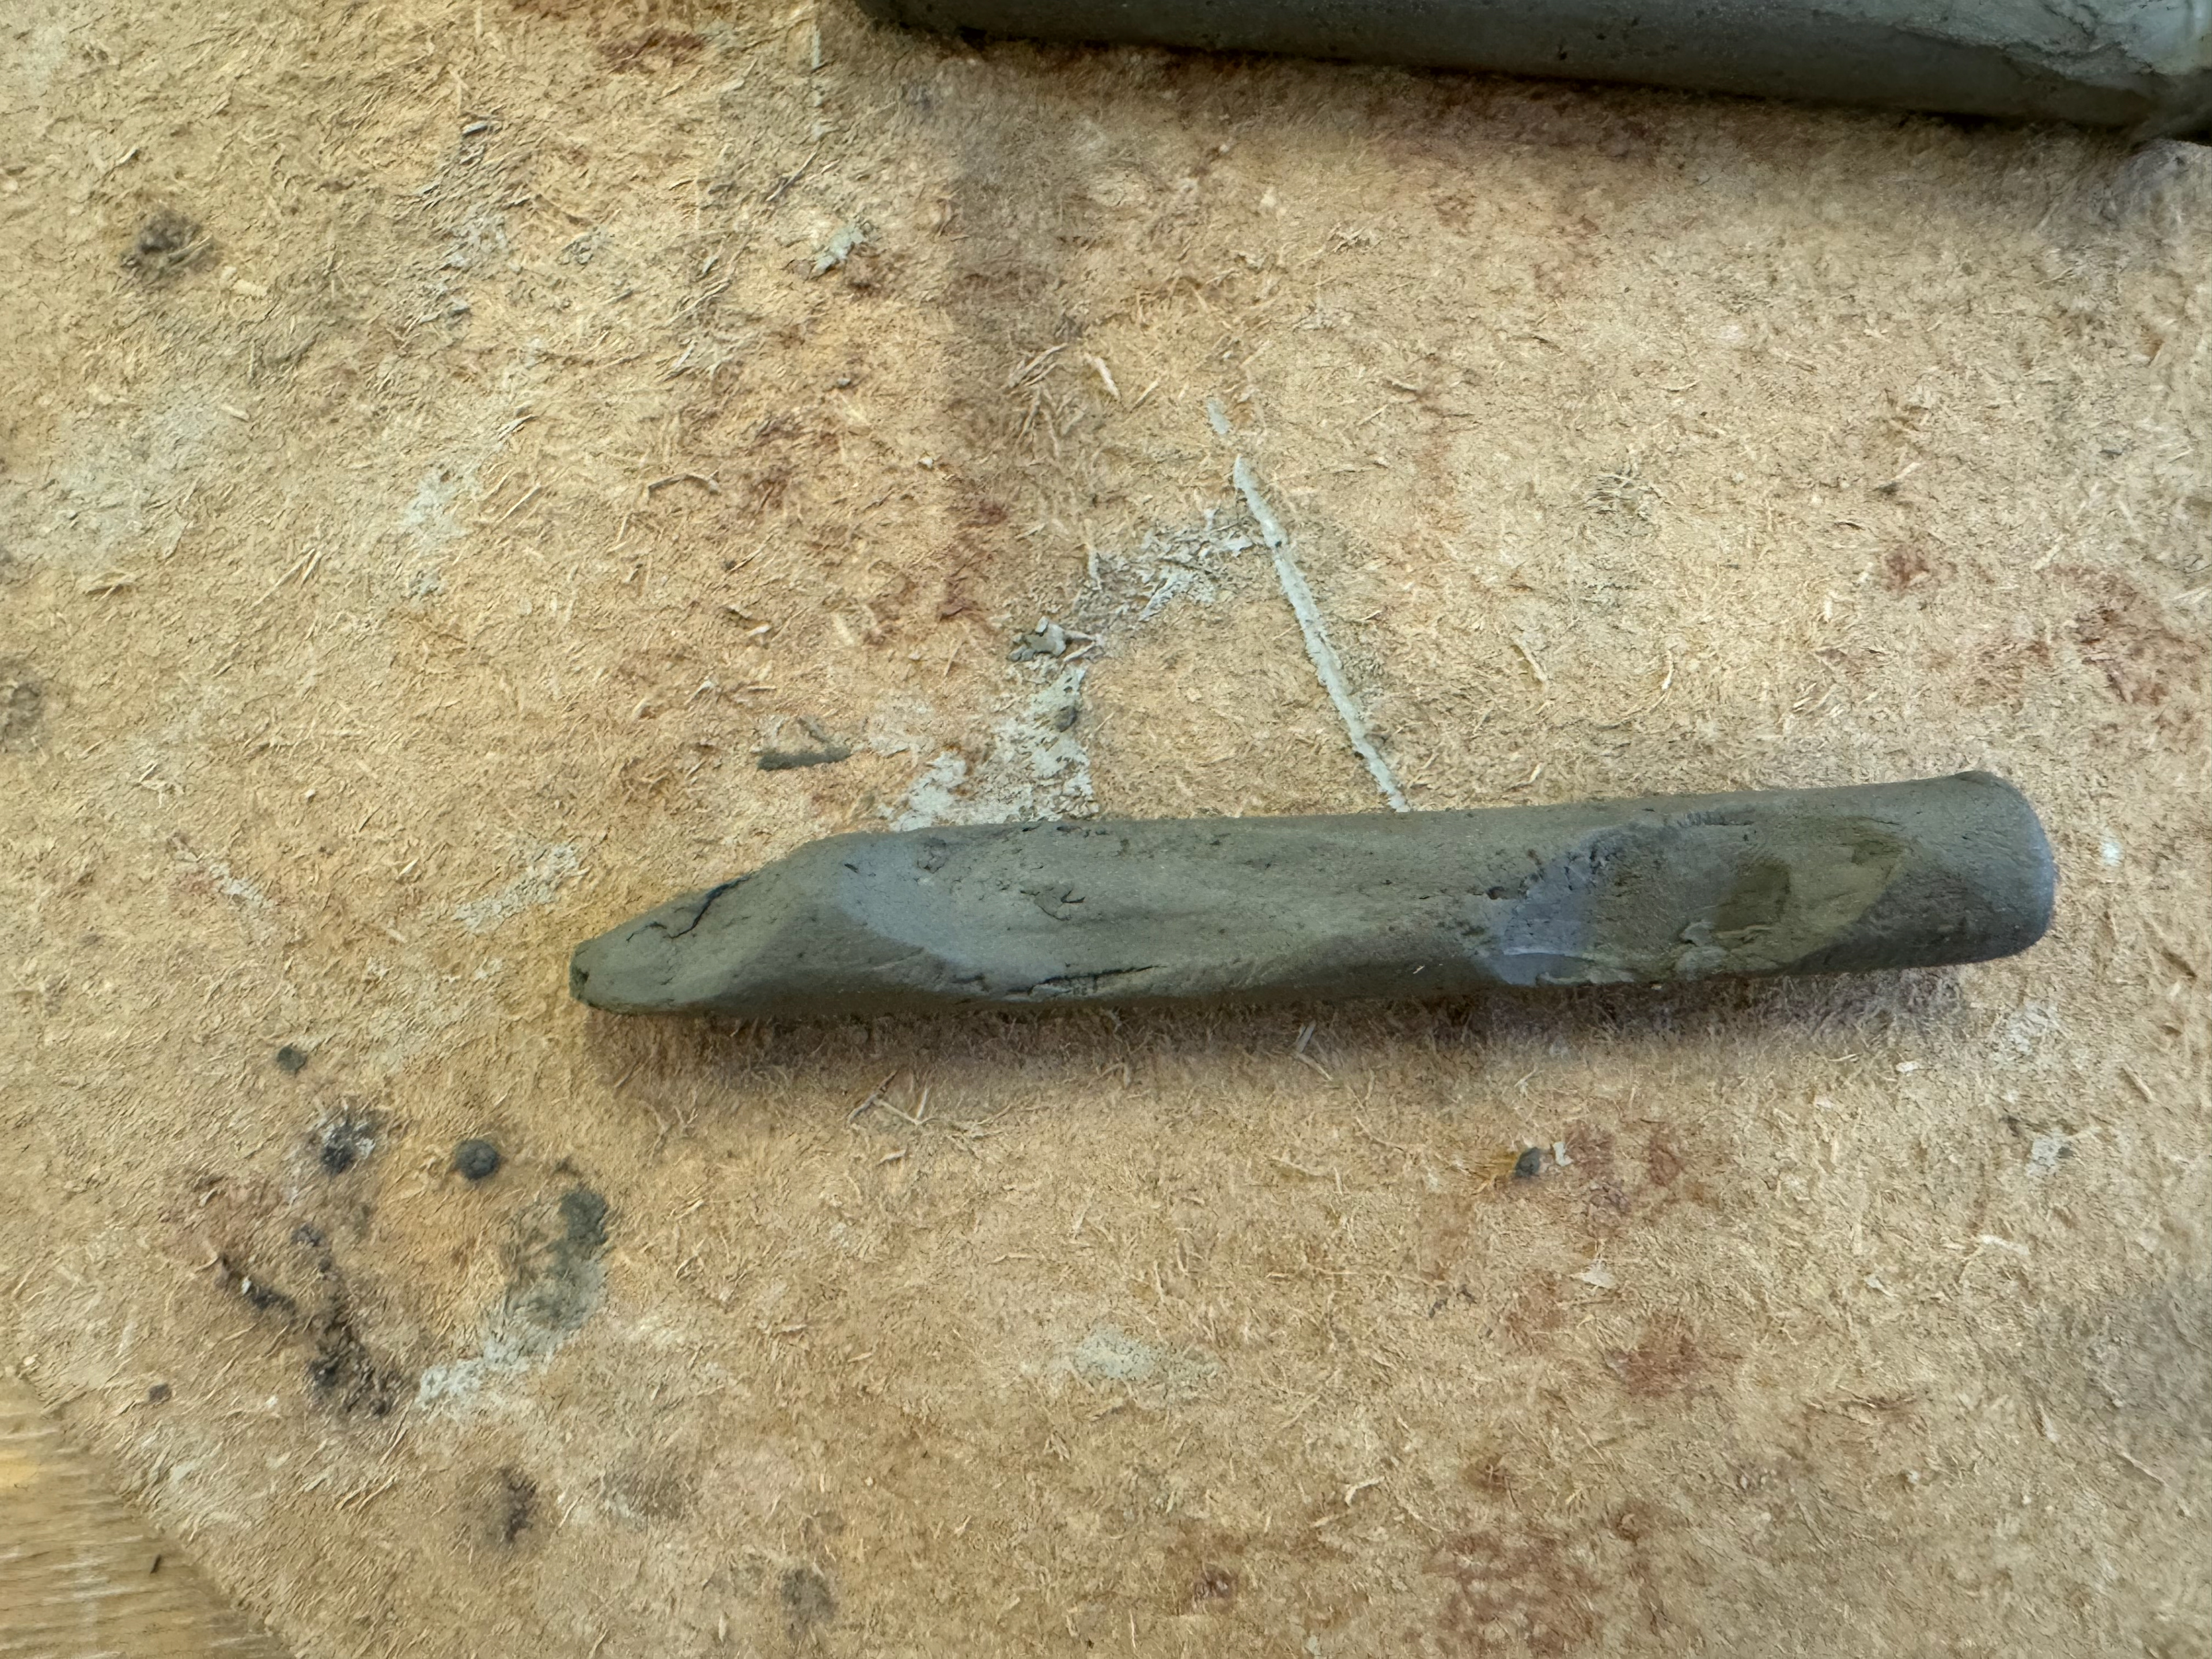
Another finger
More finger cuts
More finger cuts
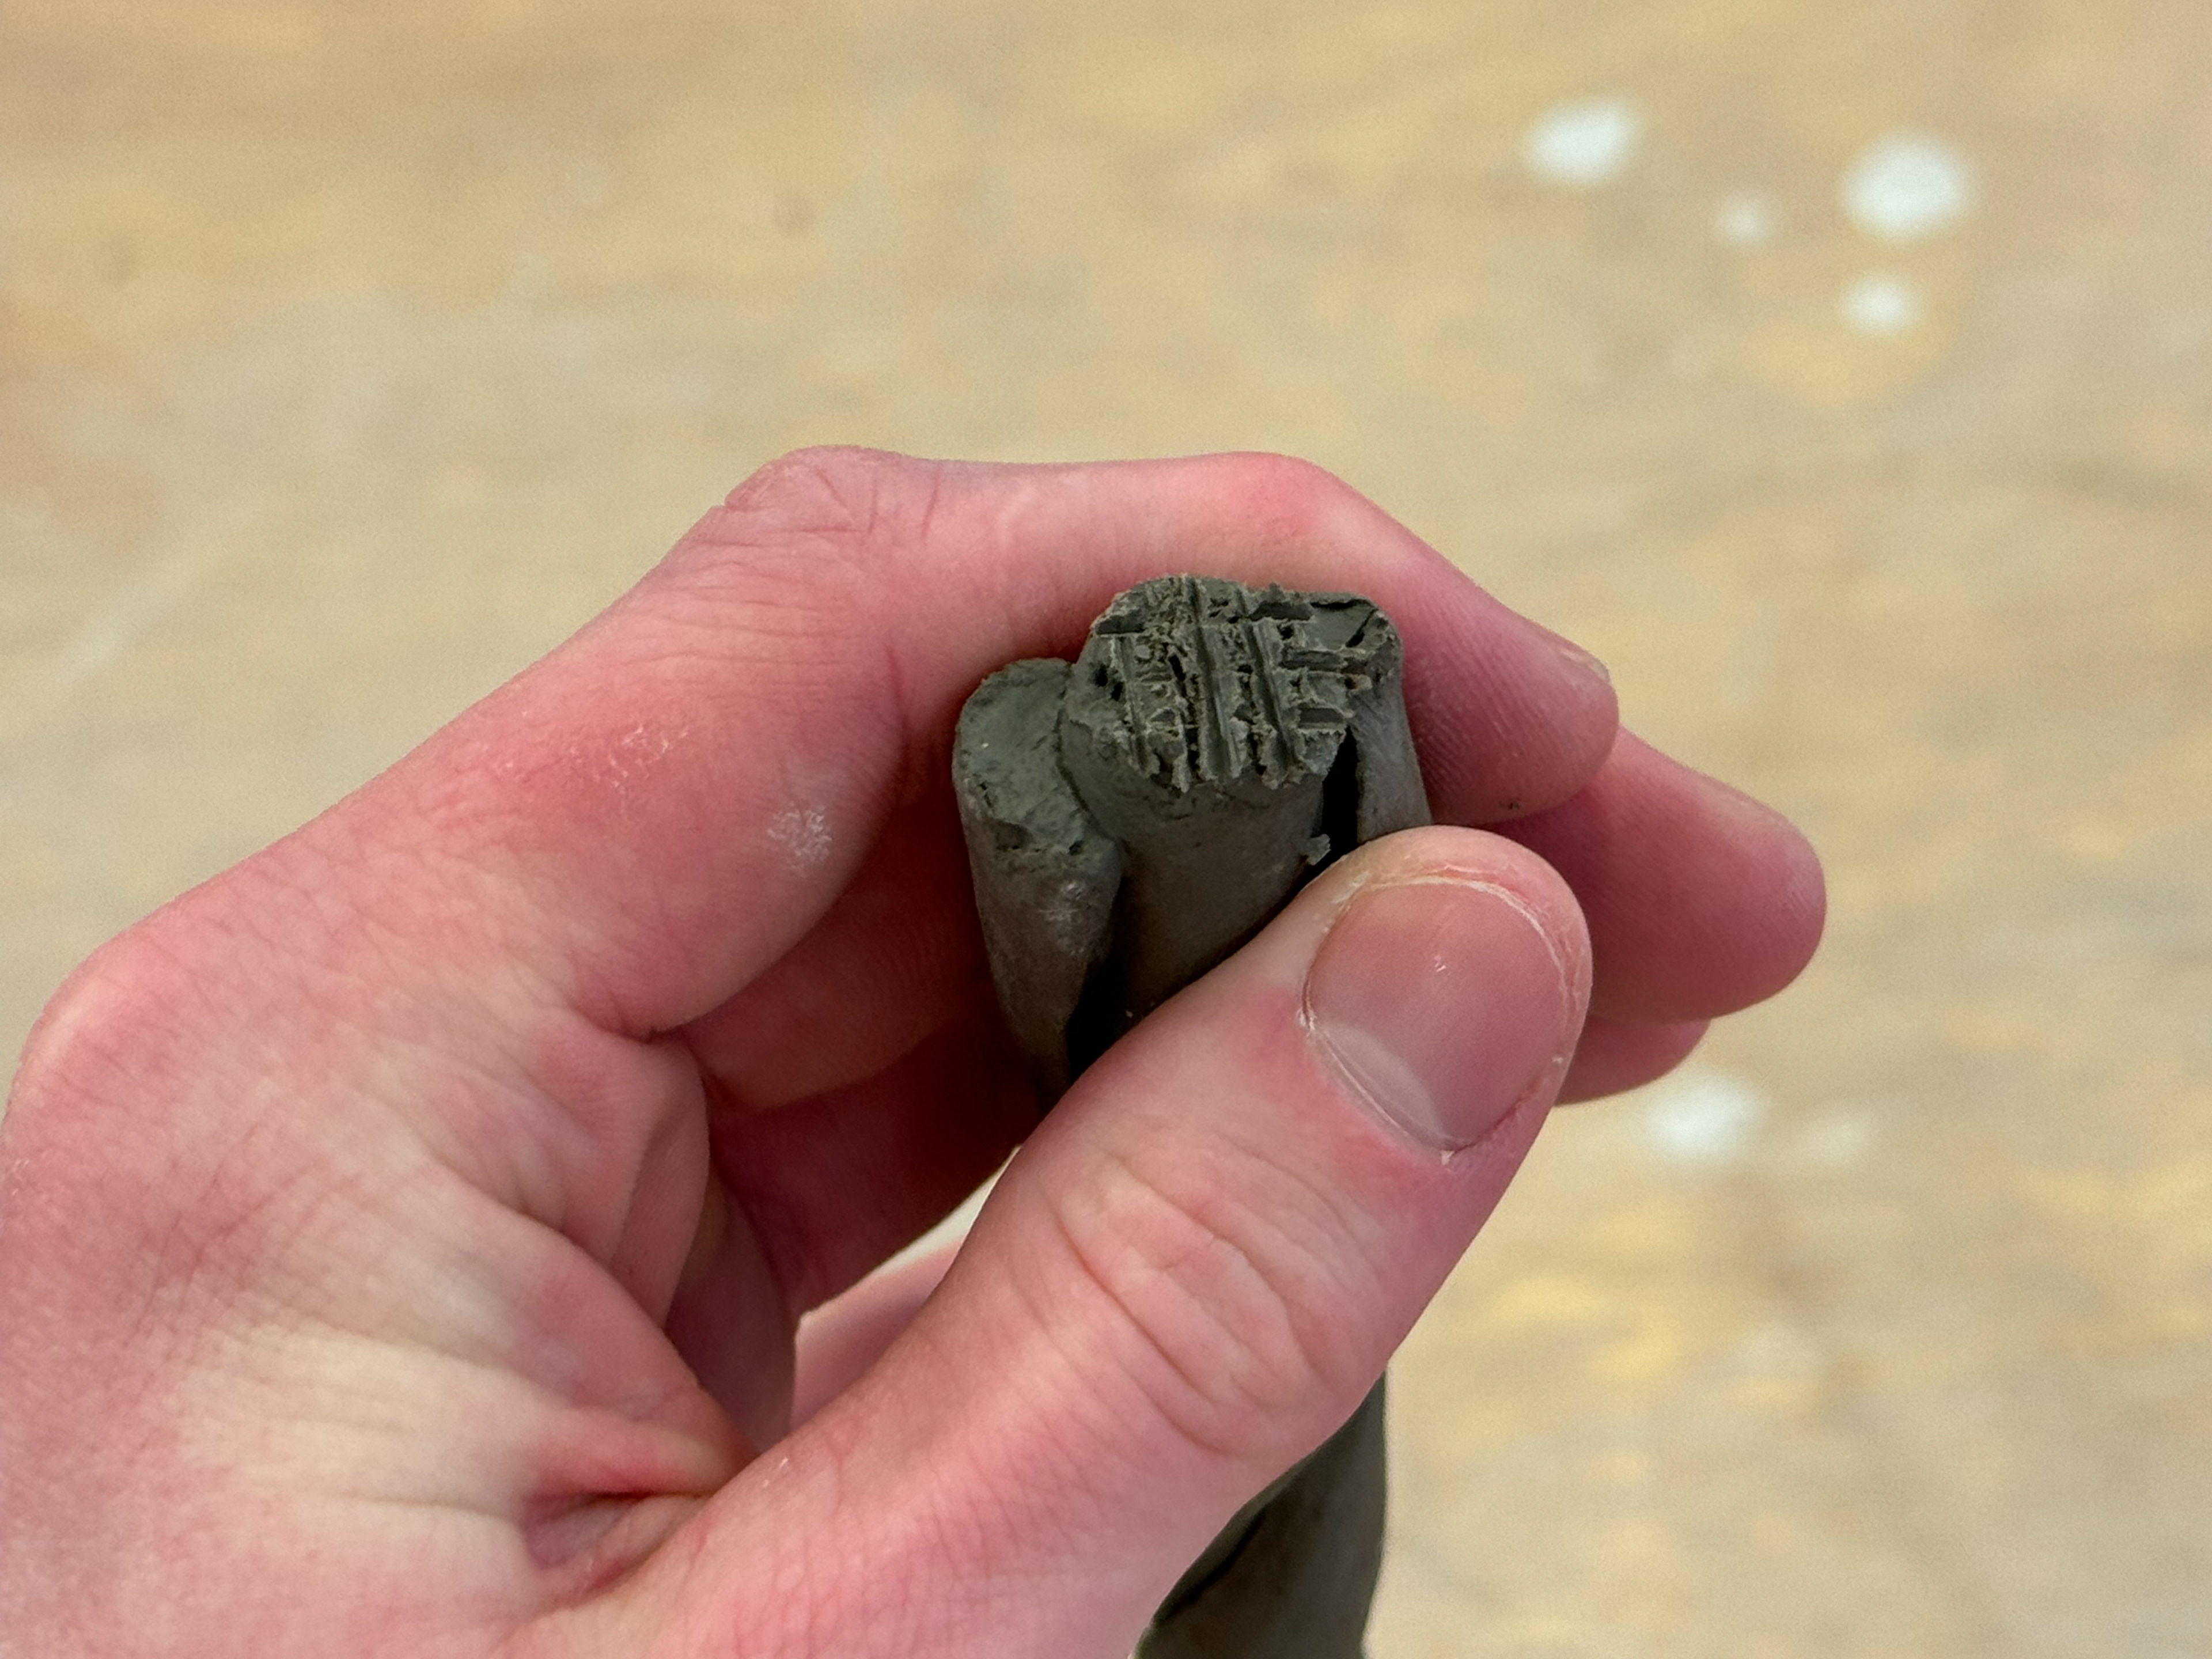
Fired pieces:
These pieces were fired but due to cracks in the clay it cracked. To prevent this I should've wet the clay before manipulating it. You can also see that the underside was not joined properly which created weak points. The fingers look better than the first iteration but could do with further enhancements with a Dremel.
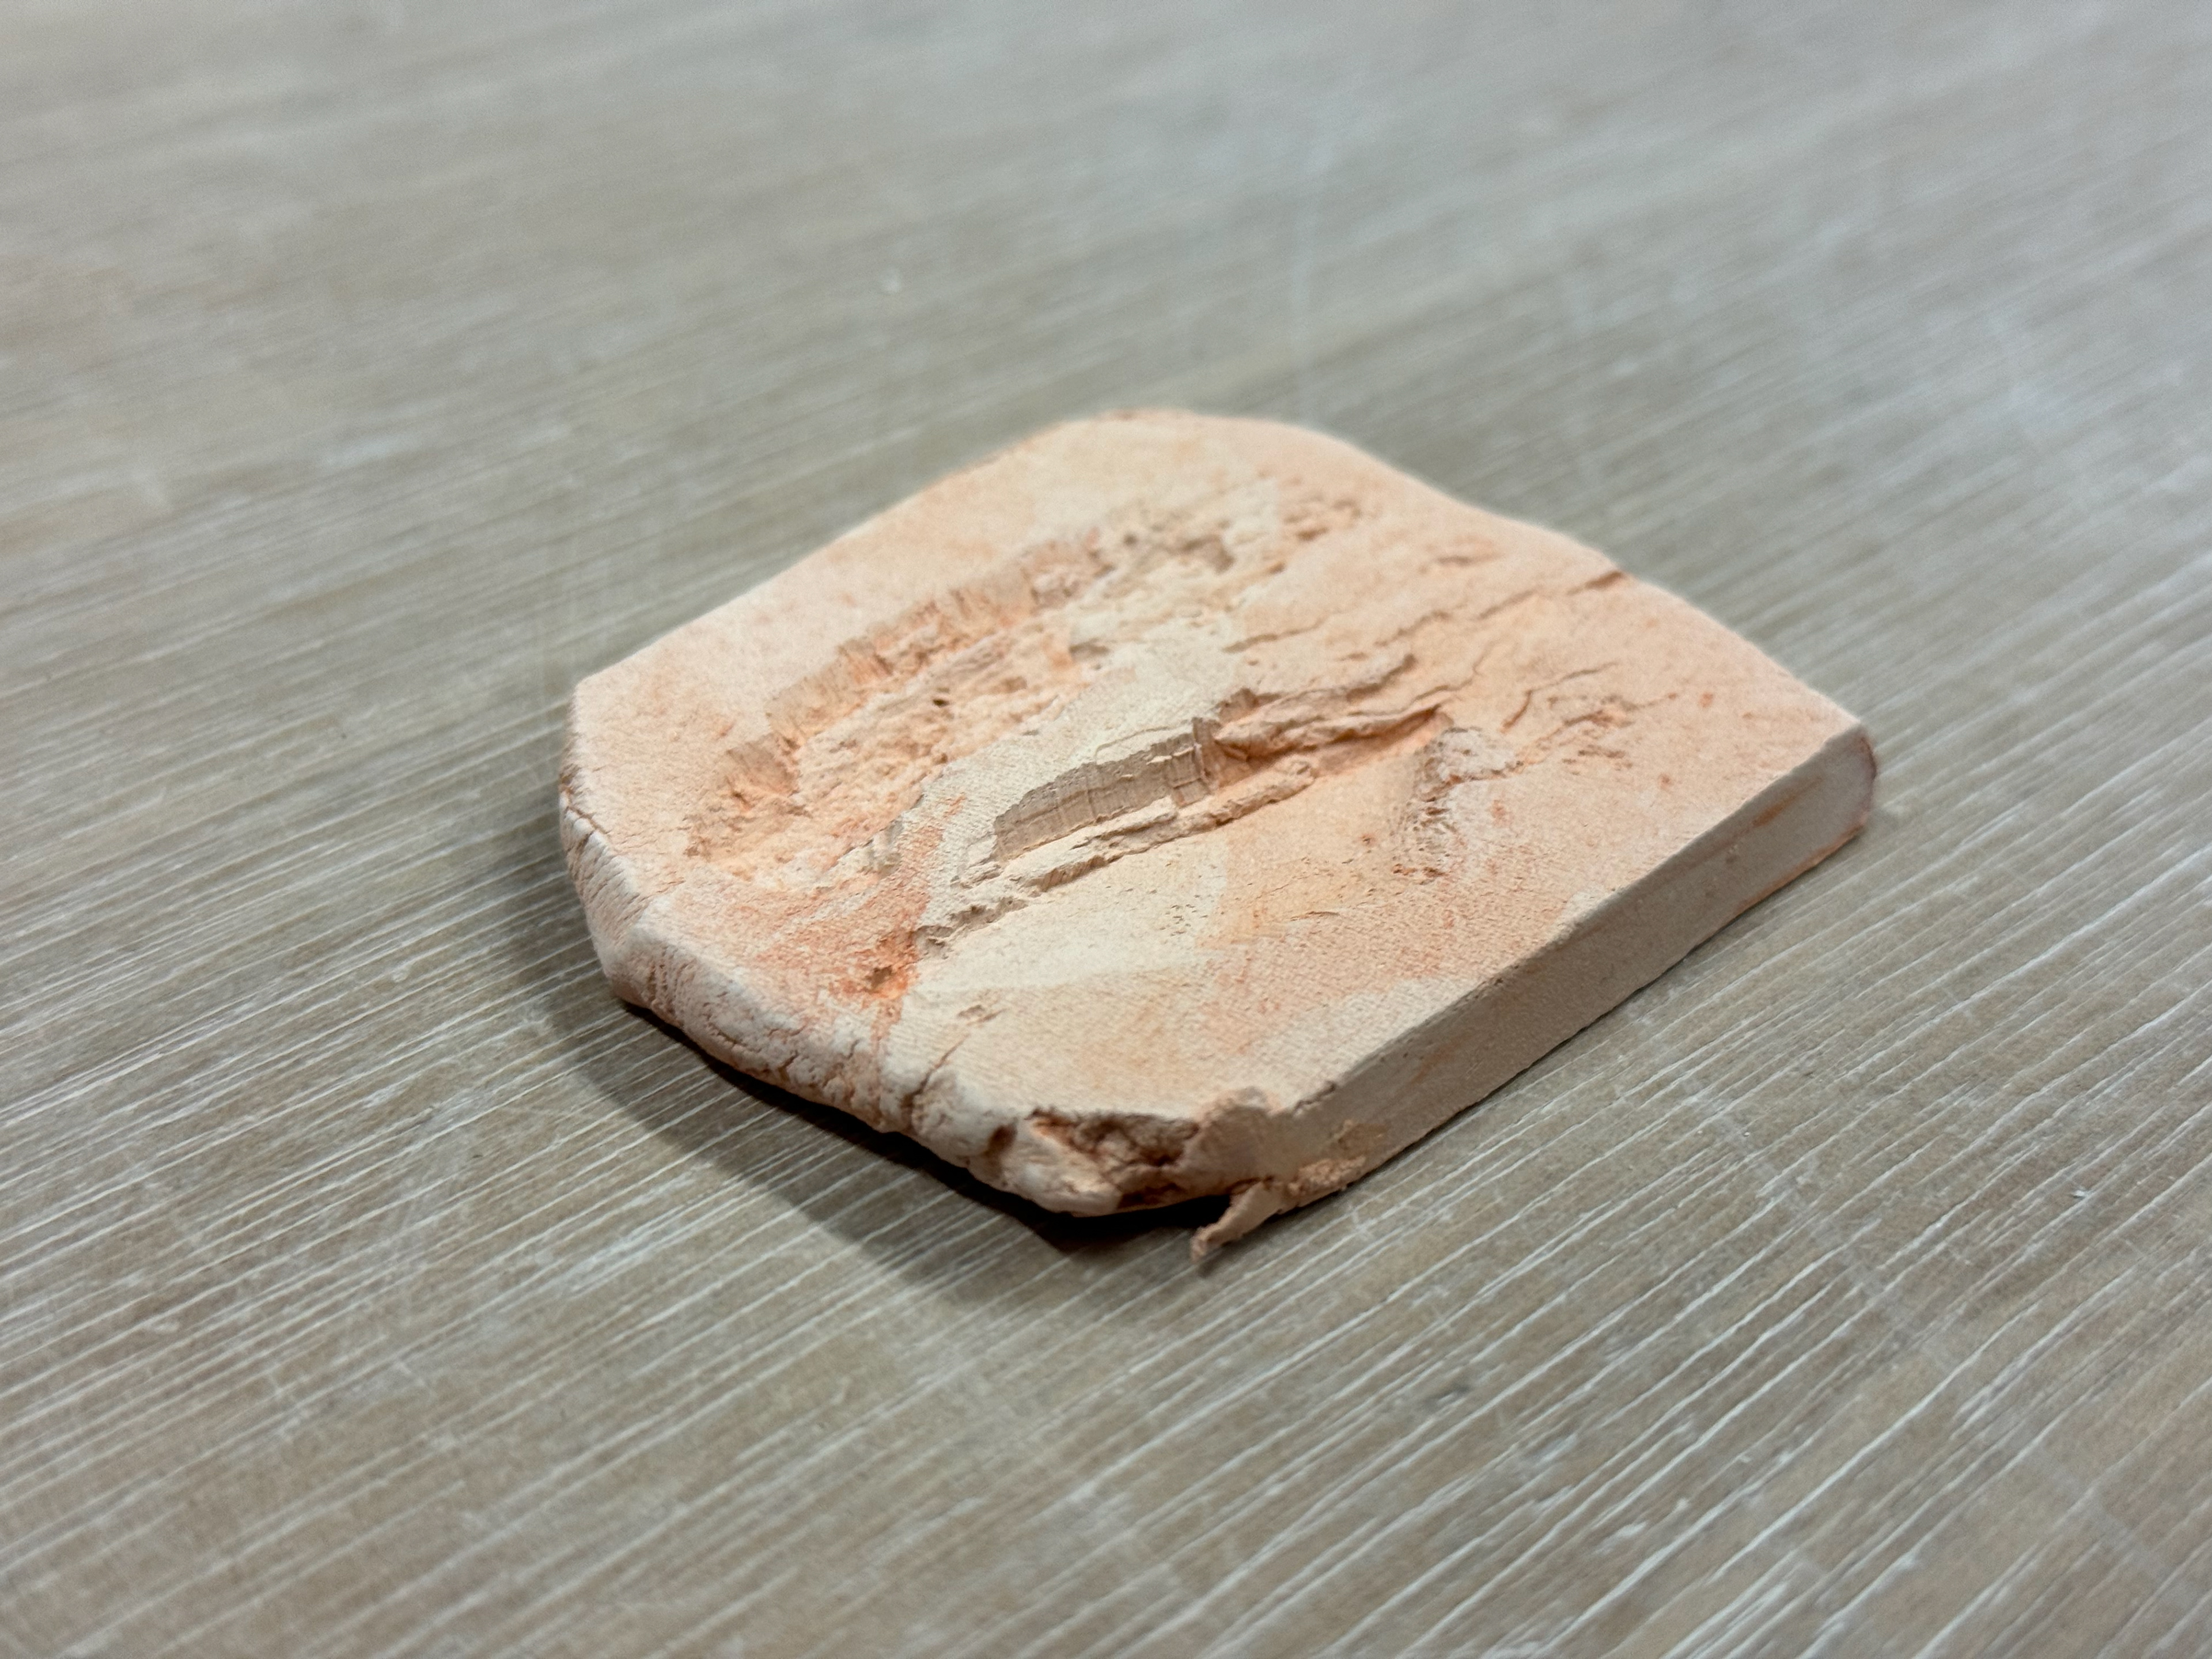
Bark imprint:
From my design in the sketchbook, I wanted to replicate tree bark and not to do carvings. This would save time and resources. I collected some bark from my wood and imprinted it clay. I did this to make sure the imprint would be both clear and precise enough whilst also making sure the bark didn't break under the pressure of being pushed into the clay.
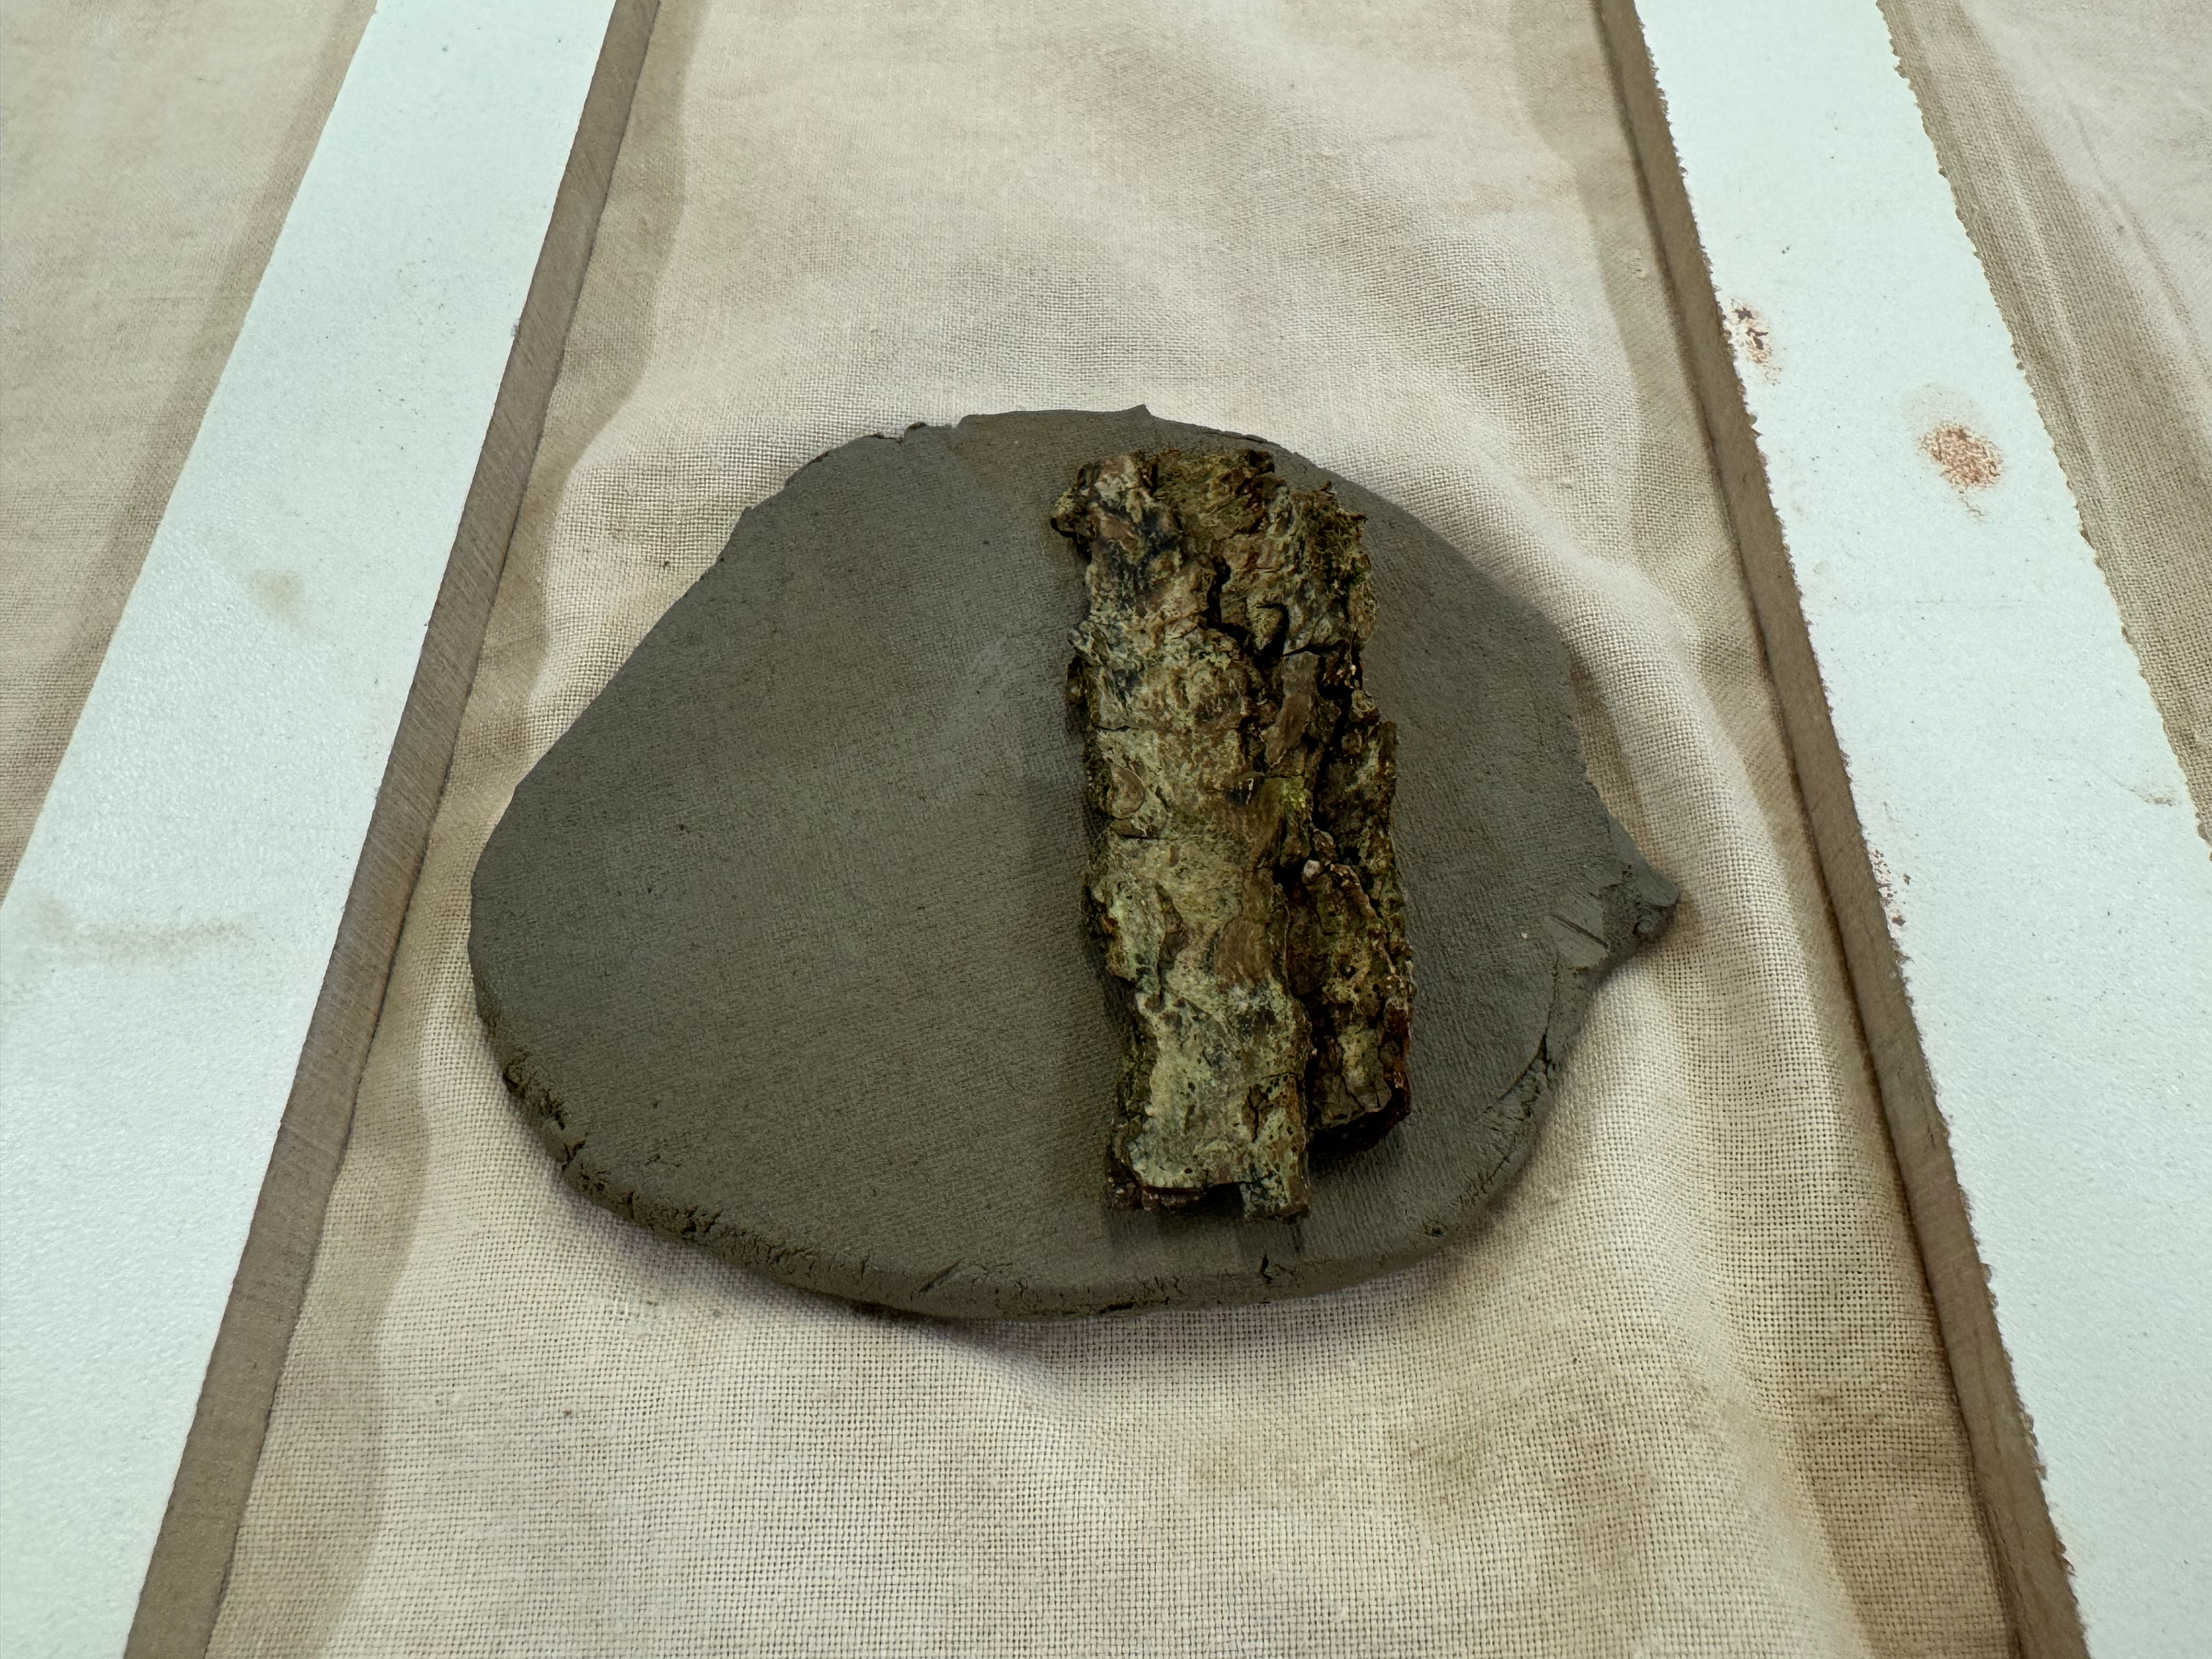
Pushing the bark into the clay
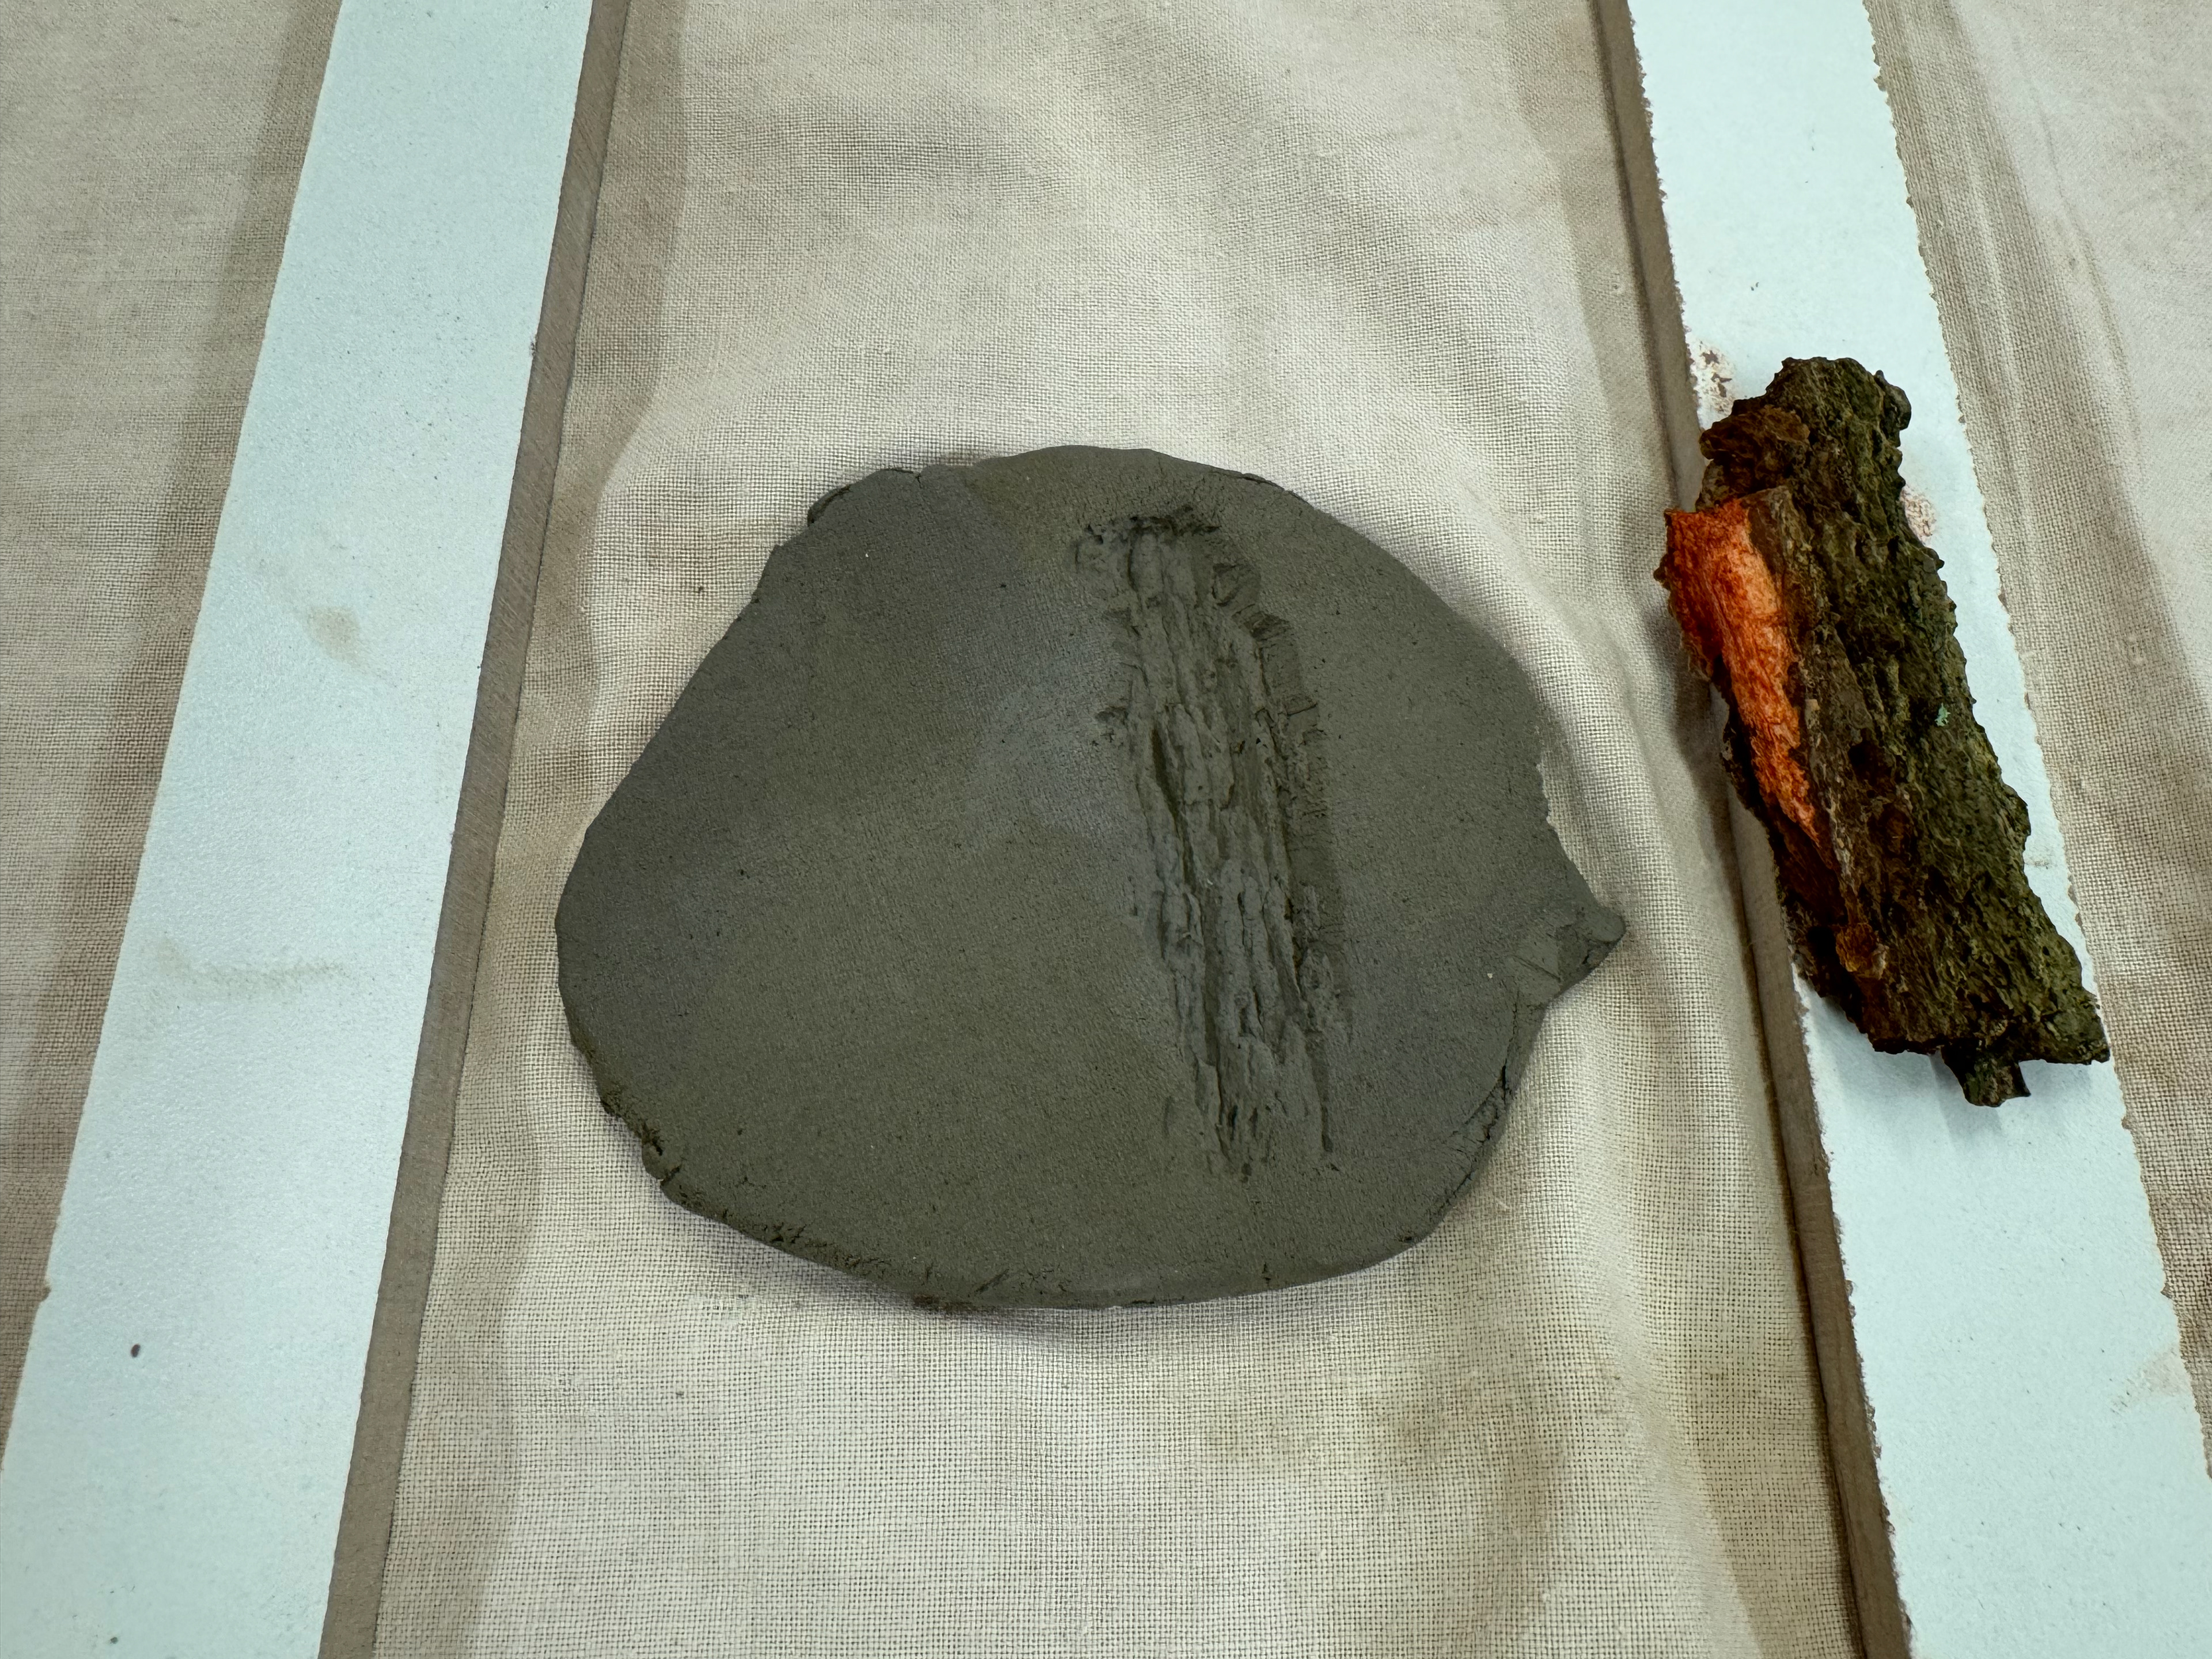
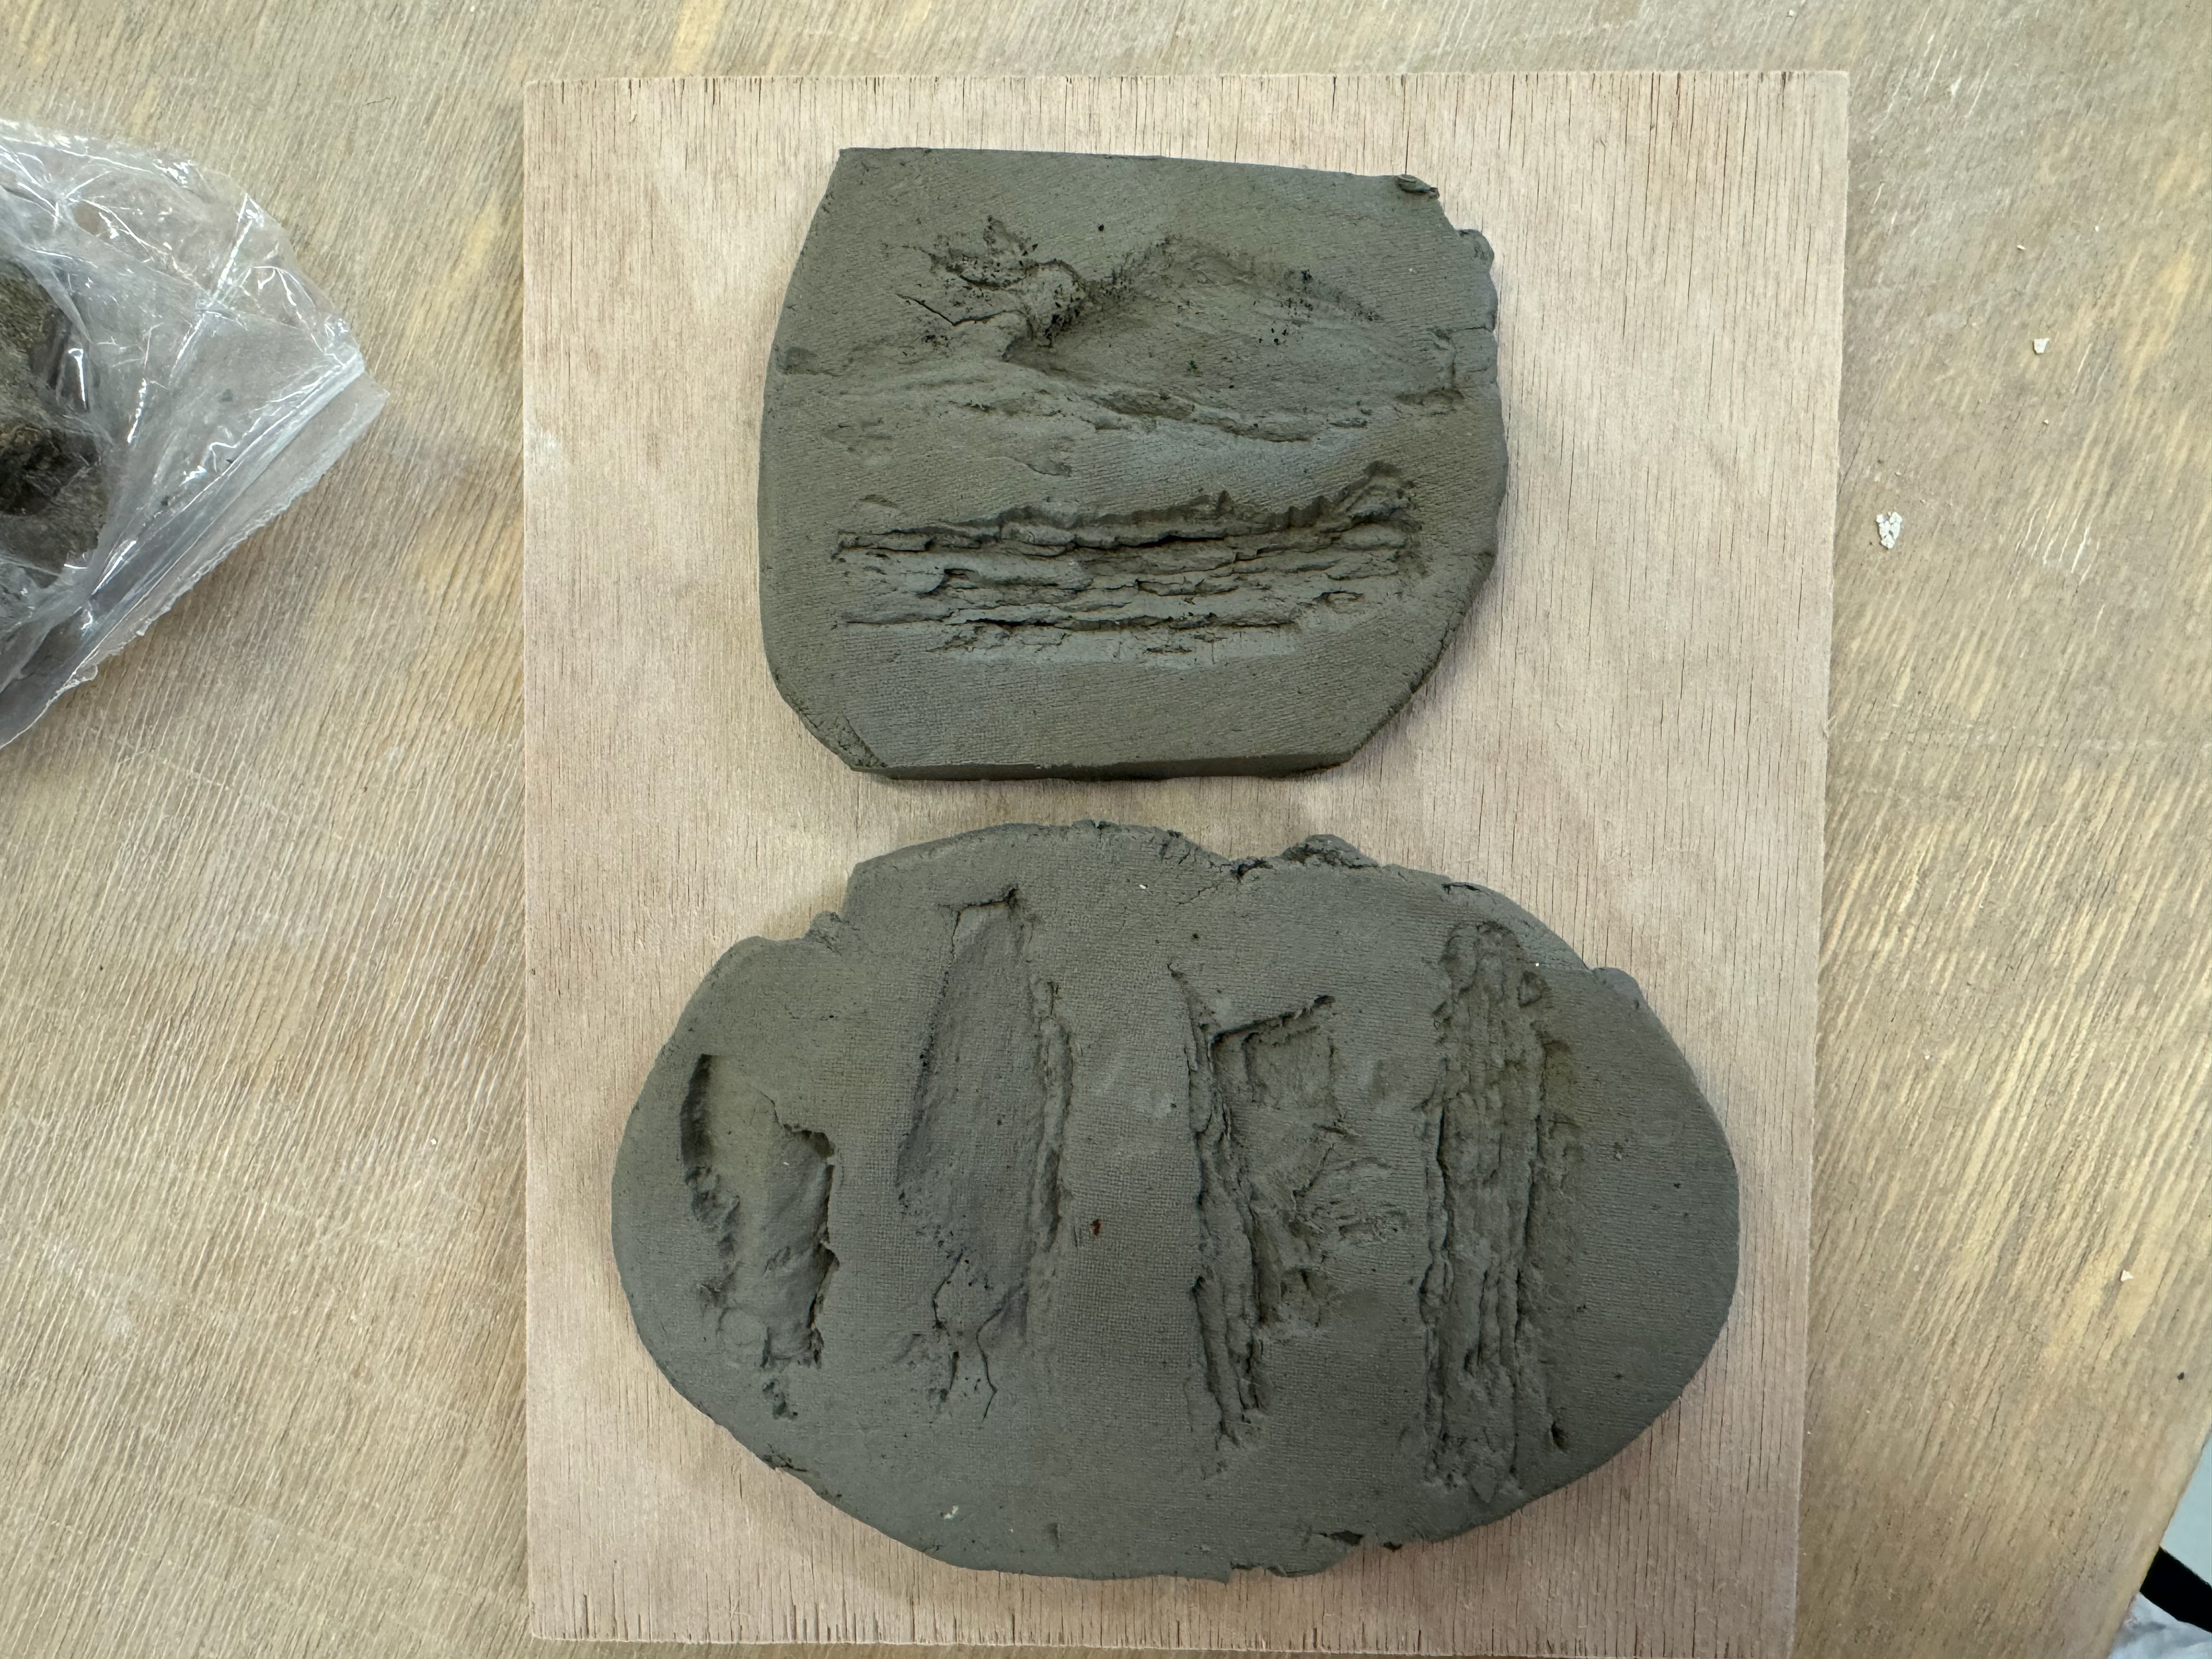
Result of the imprint
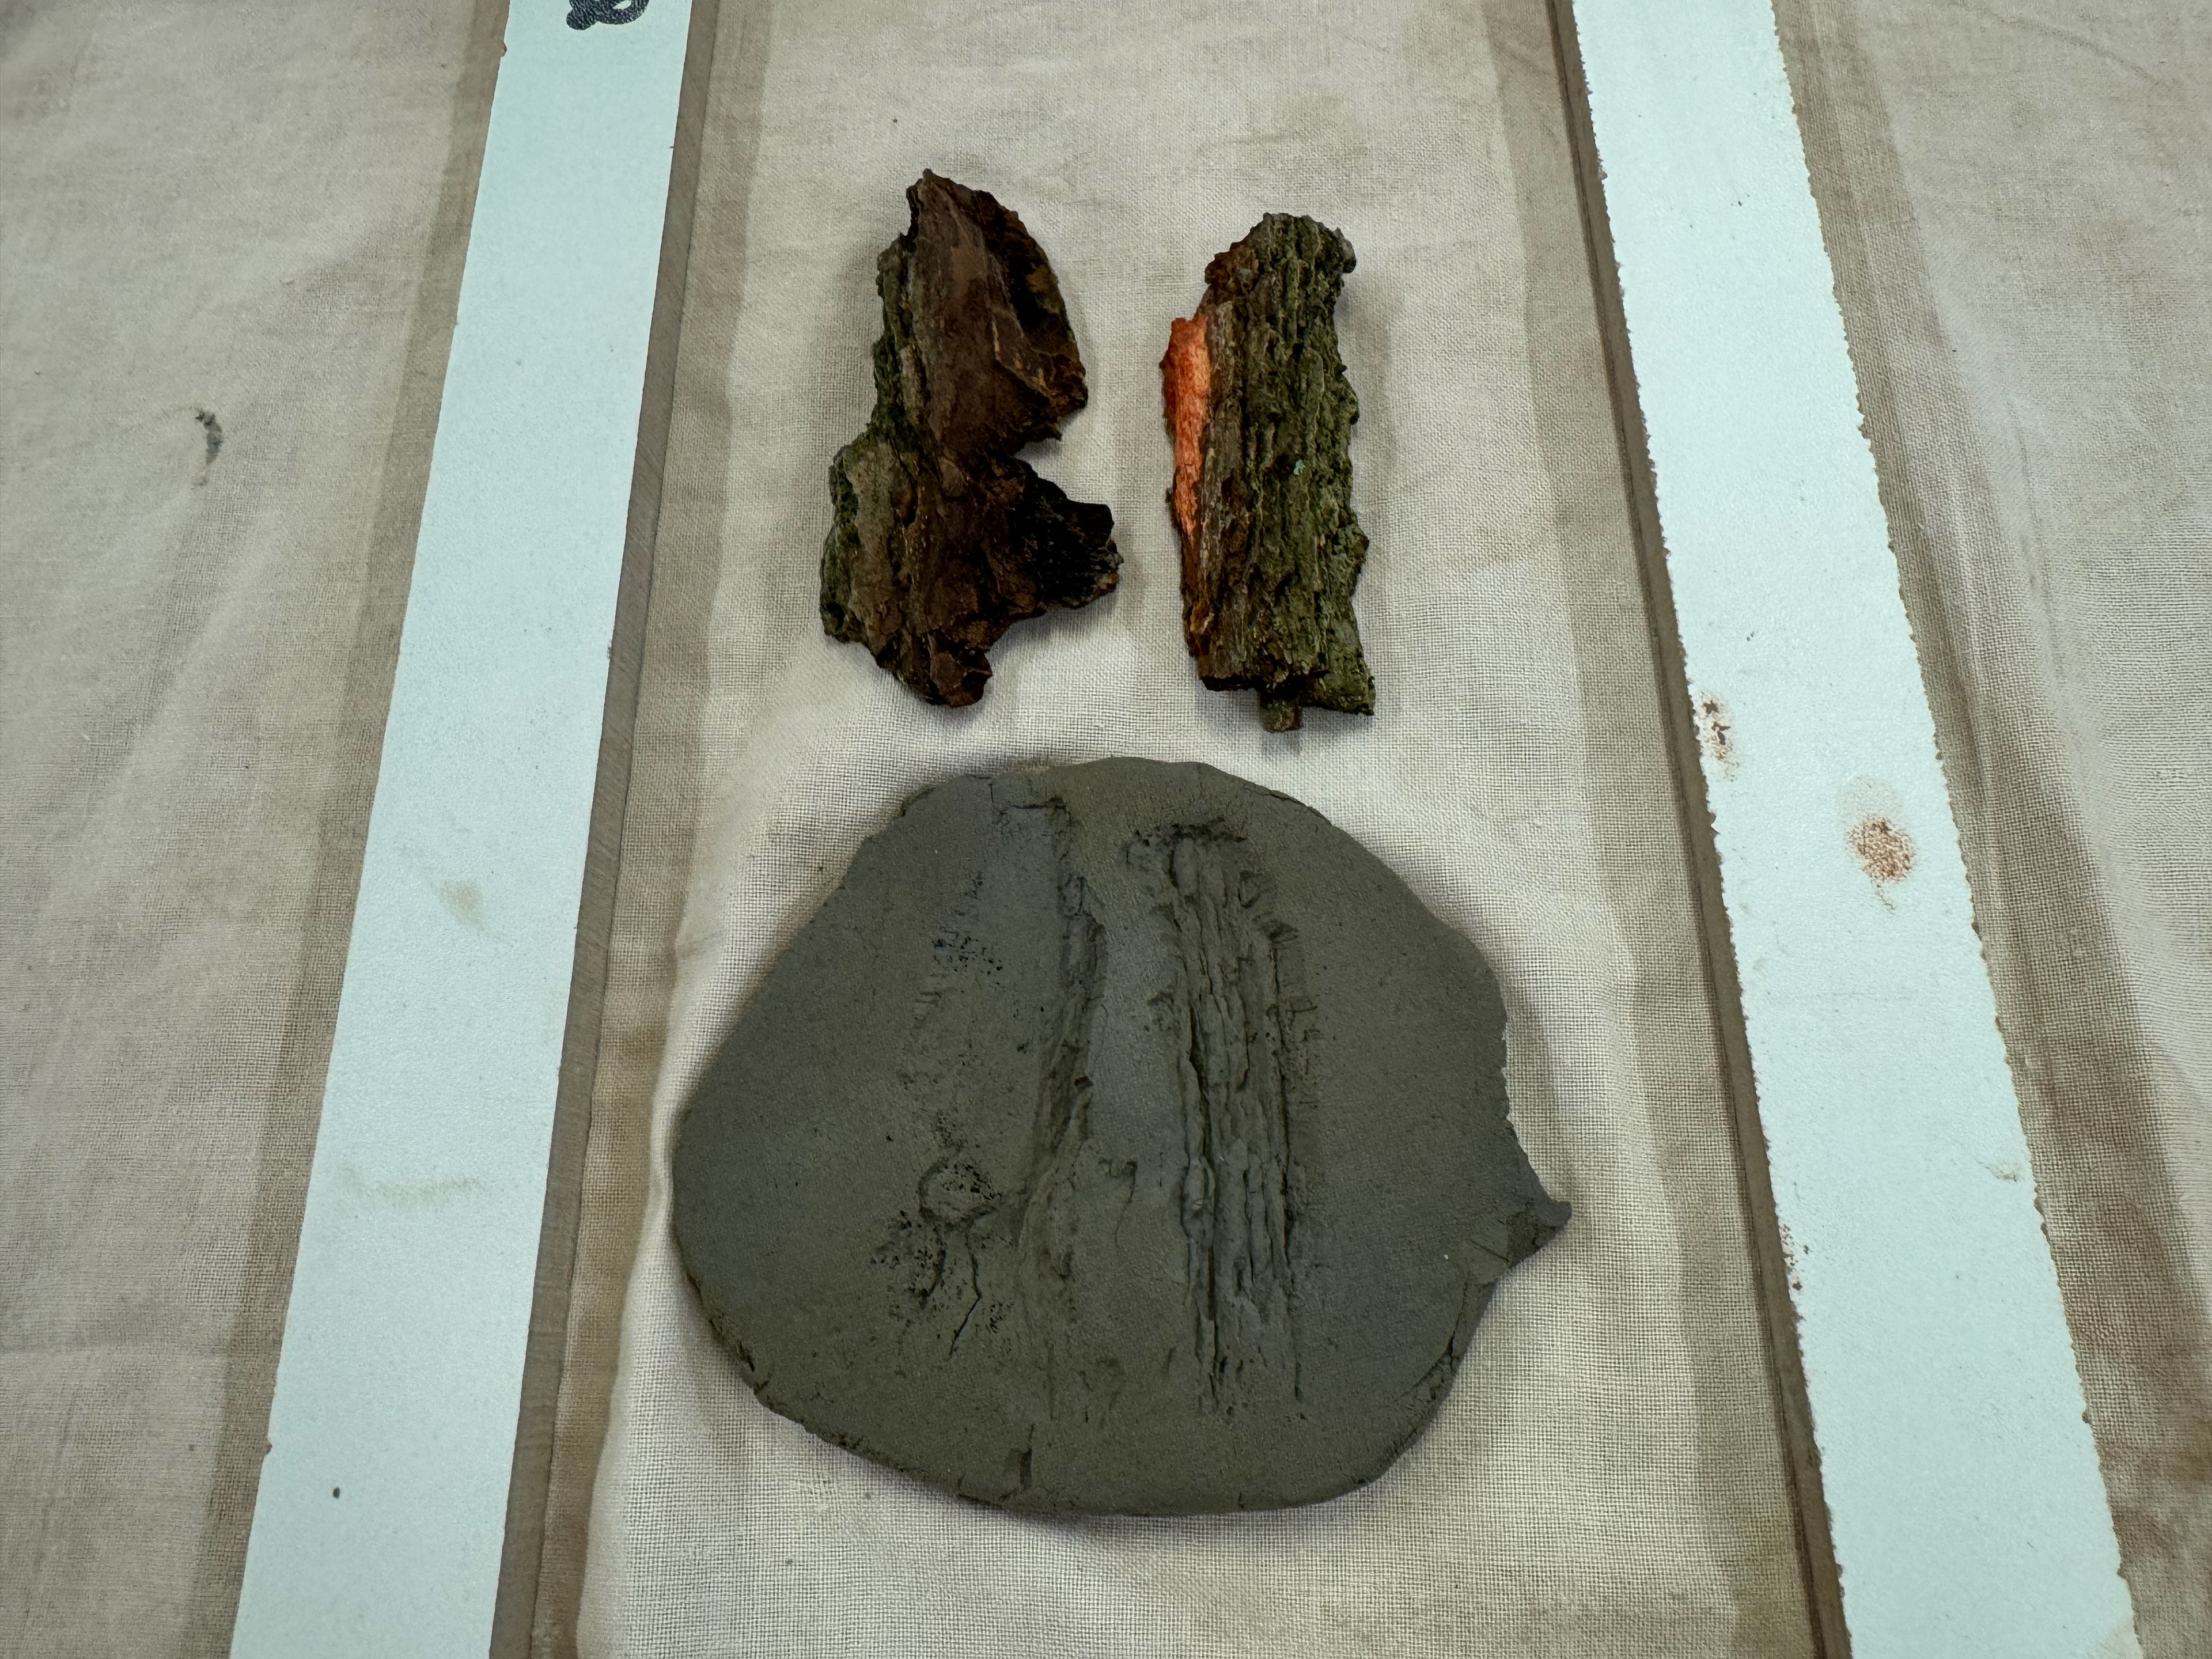
Both imprints
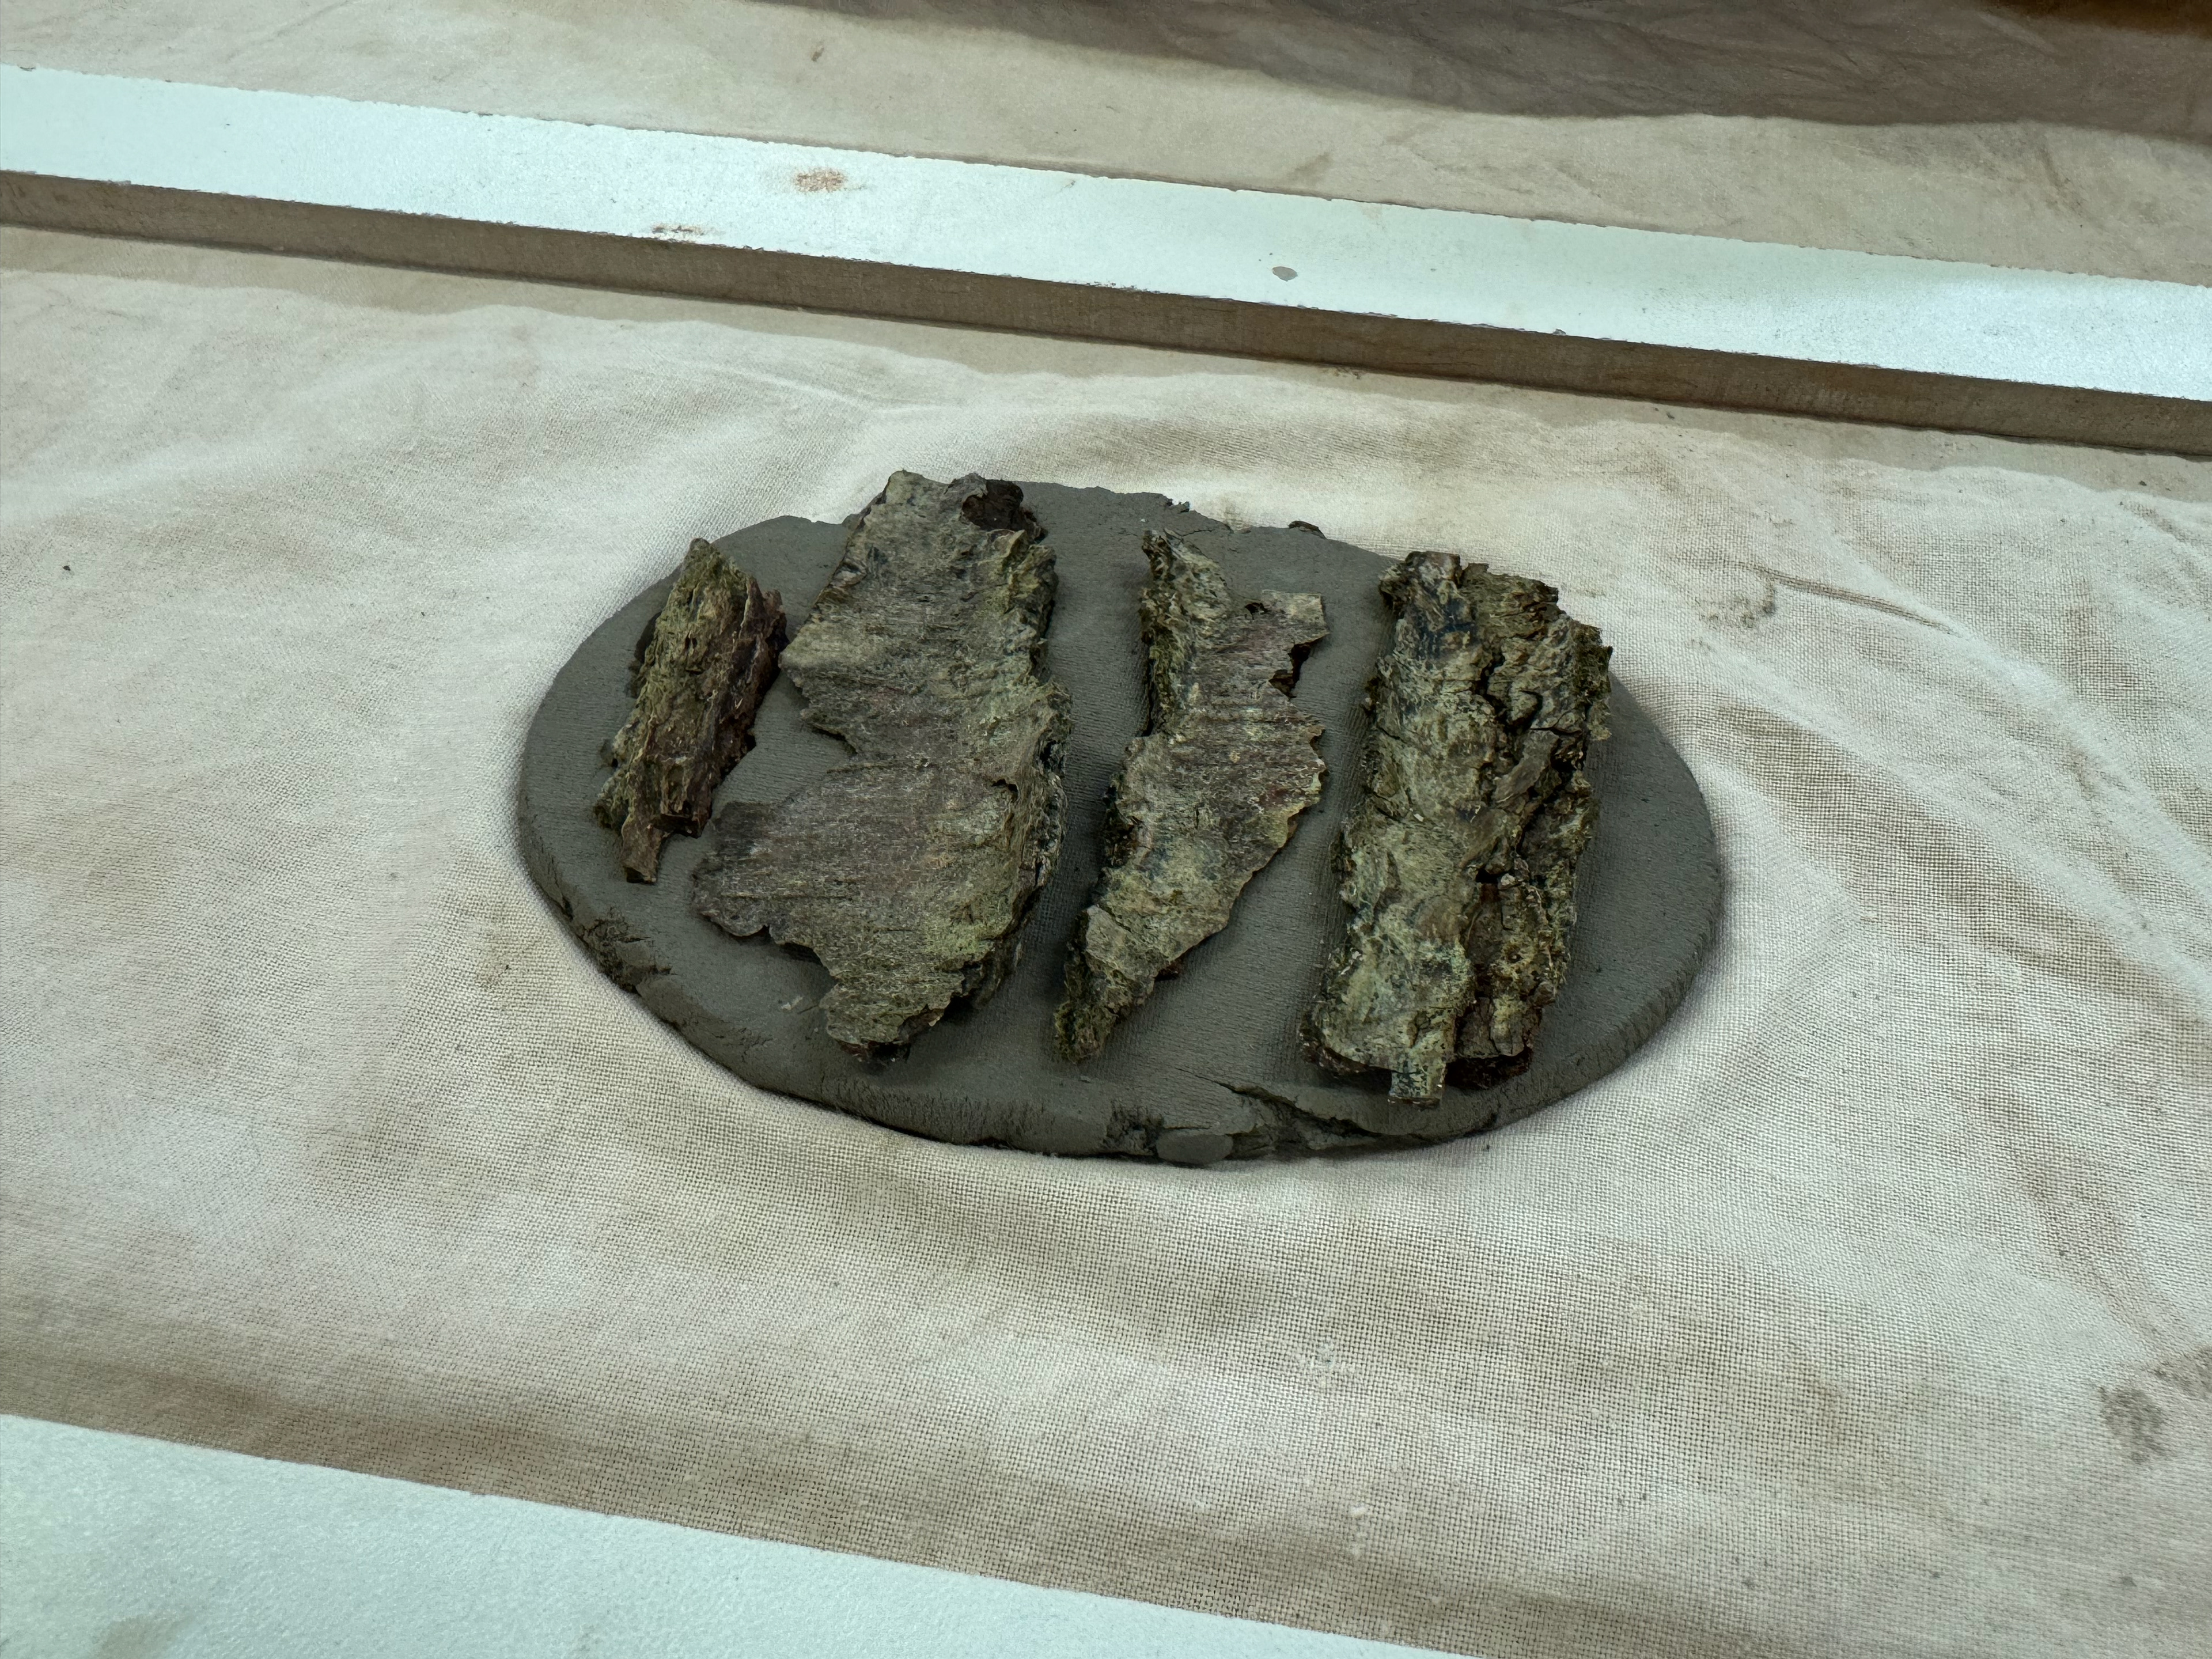
Bark ready to imprint
All imprints
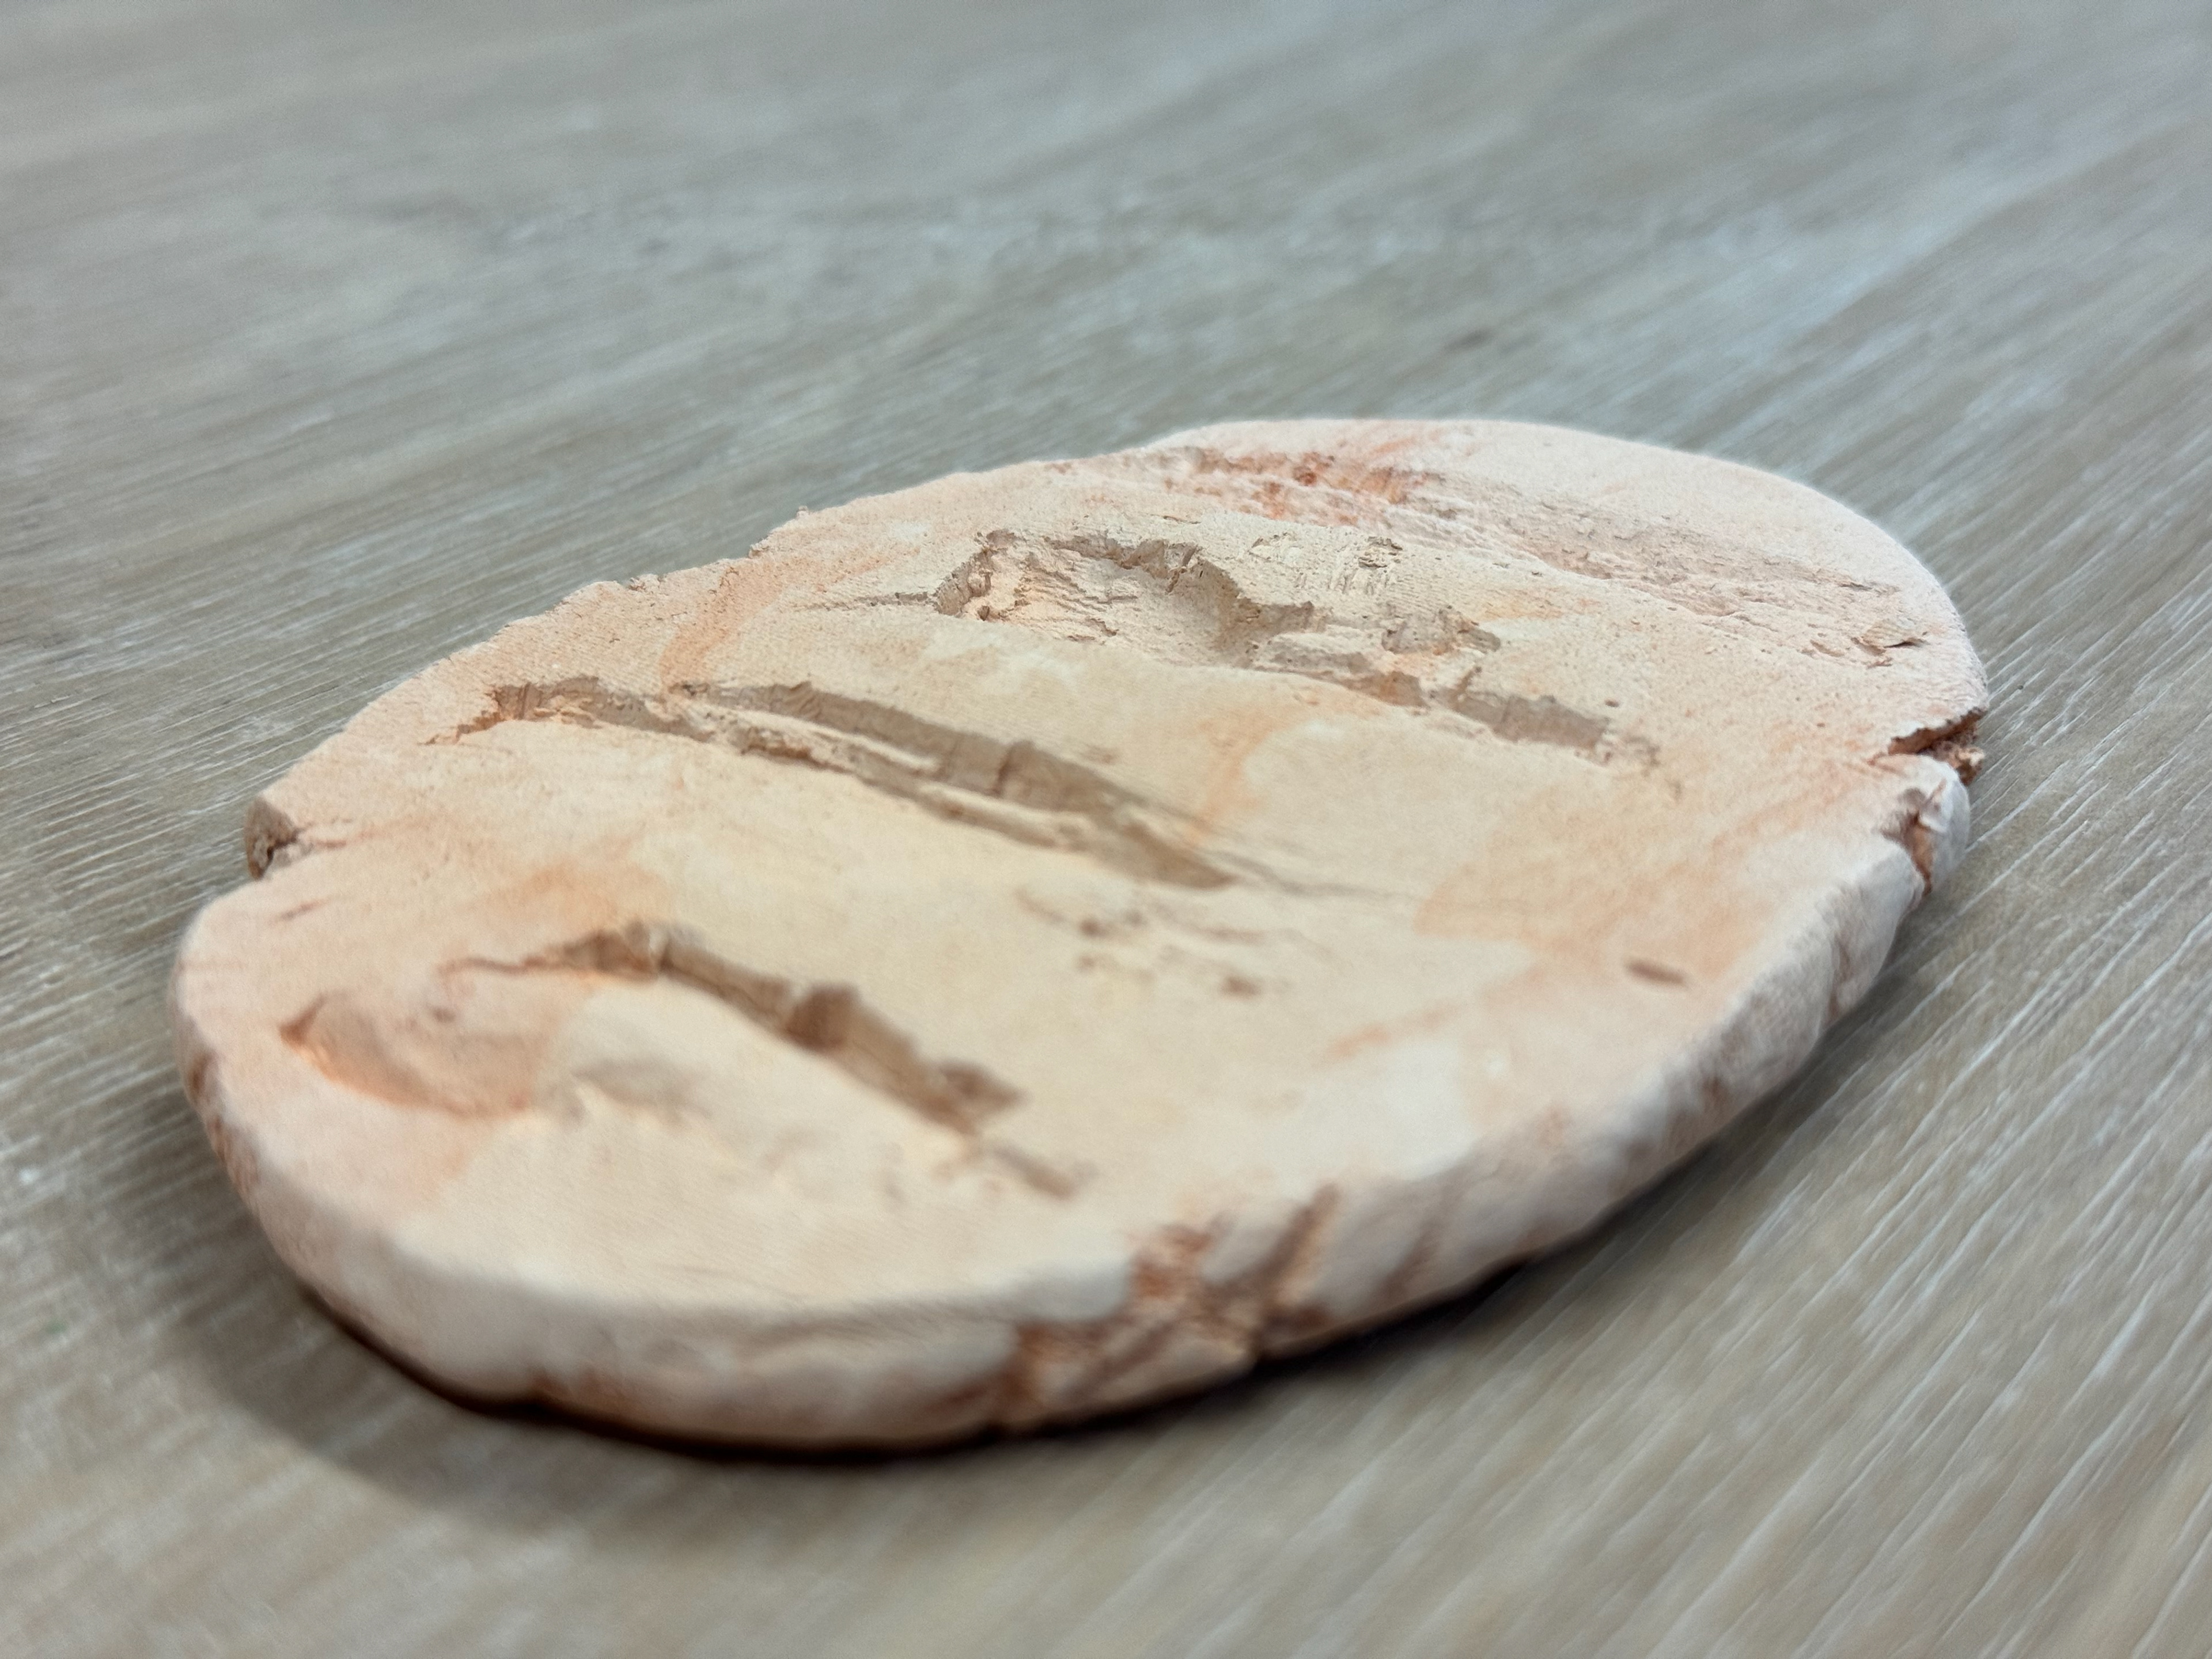
Fired result
Fired result
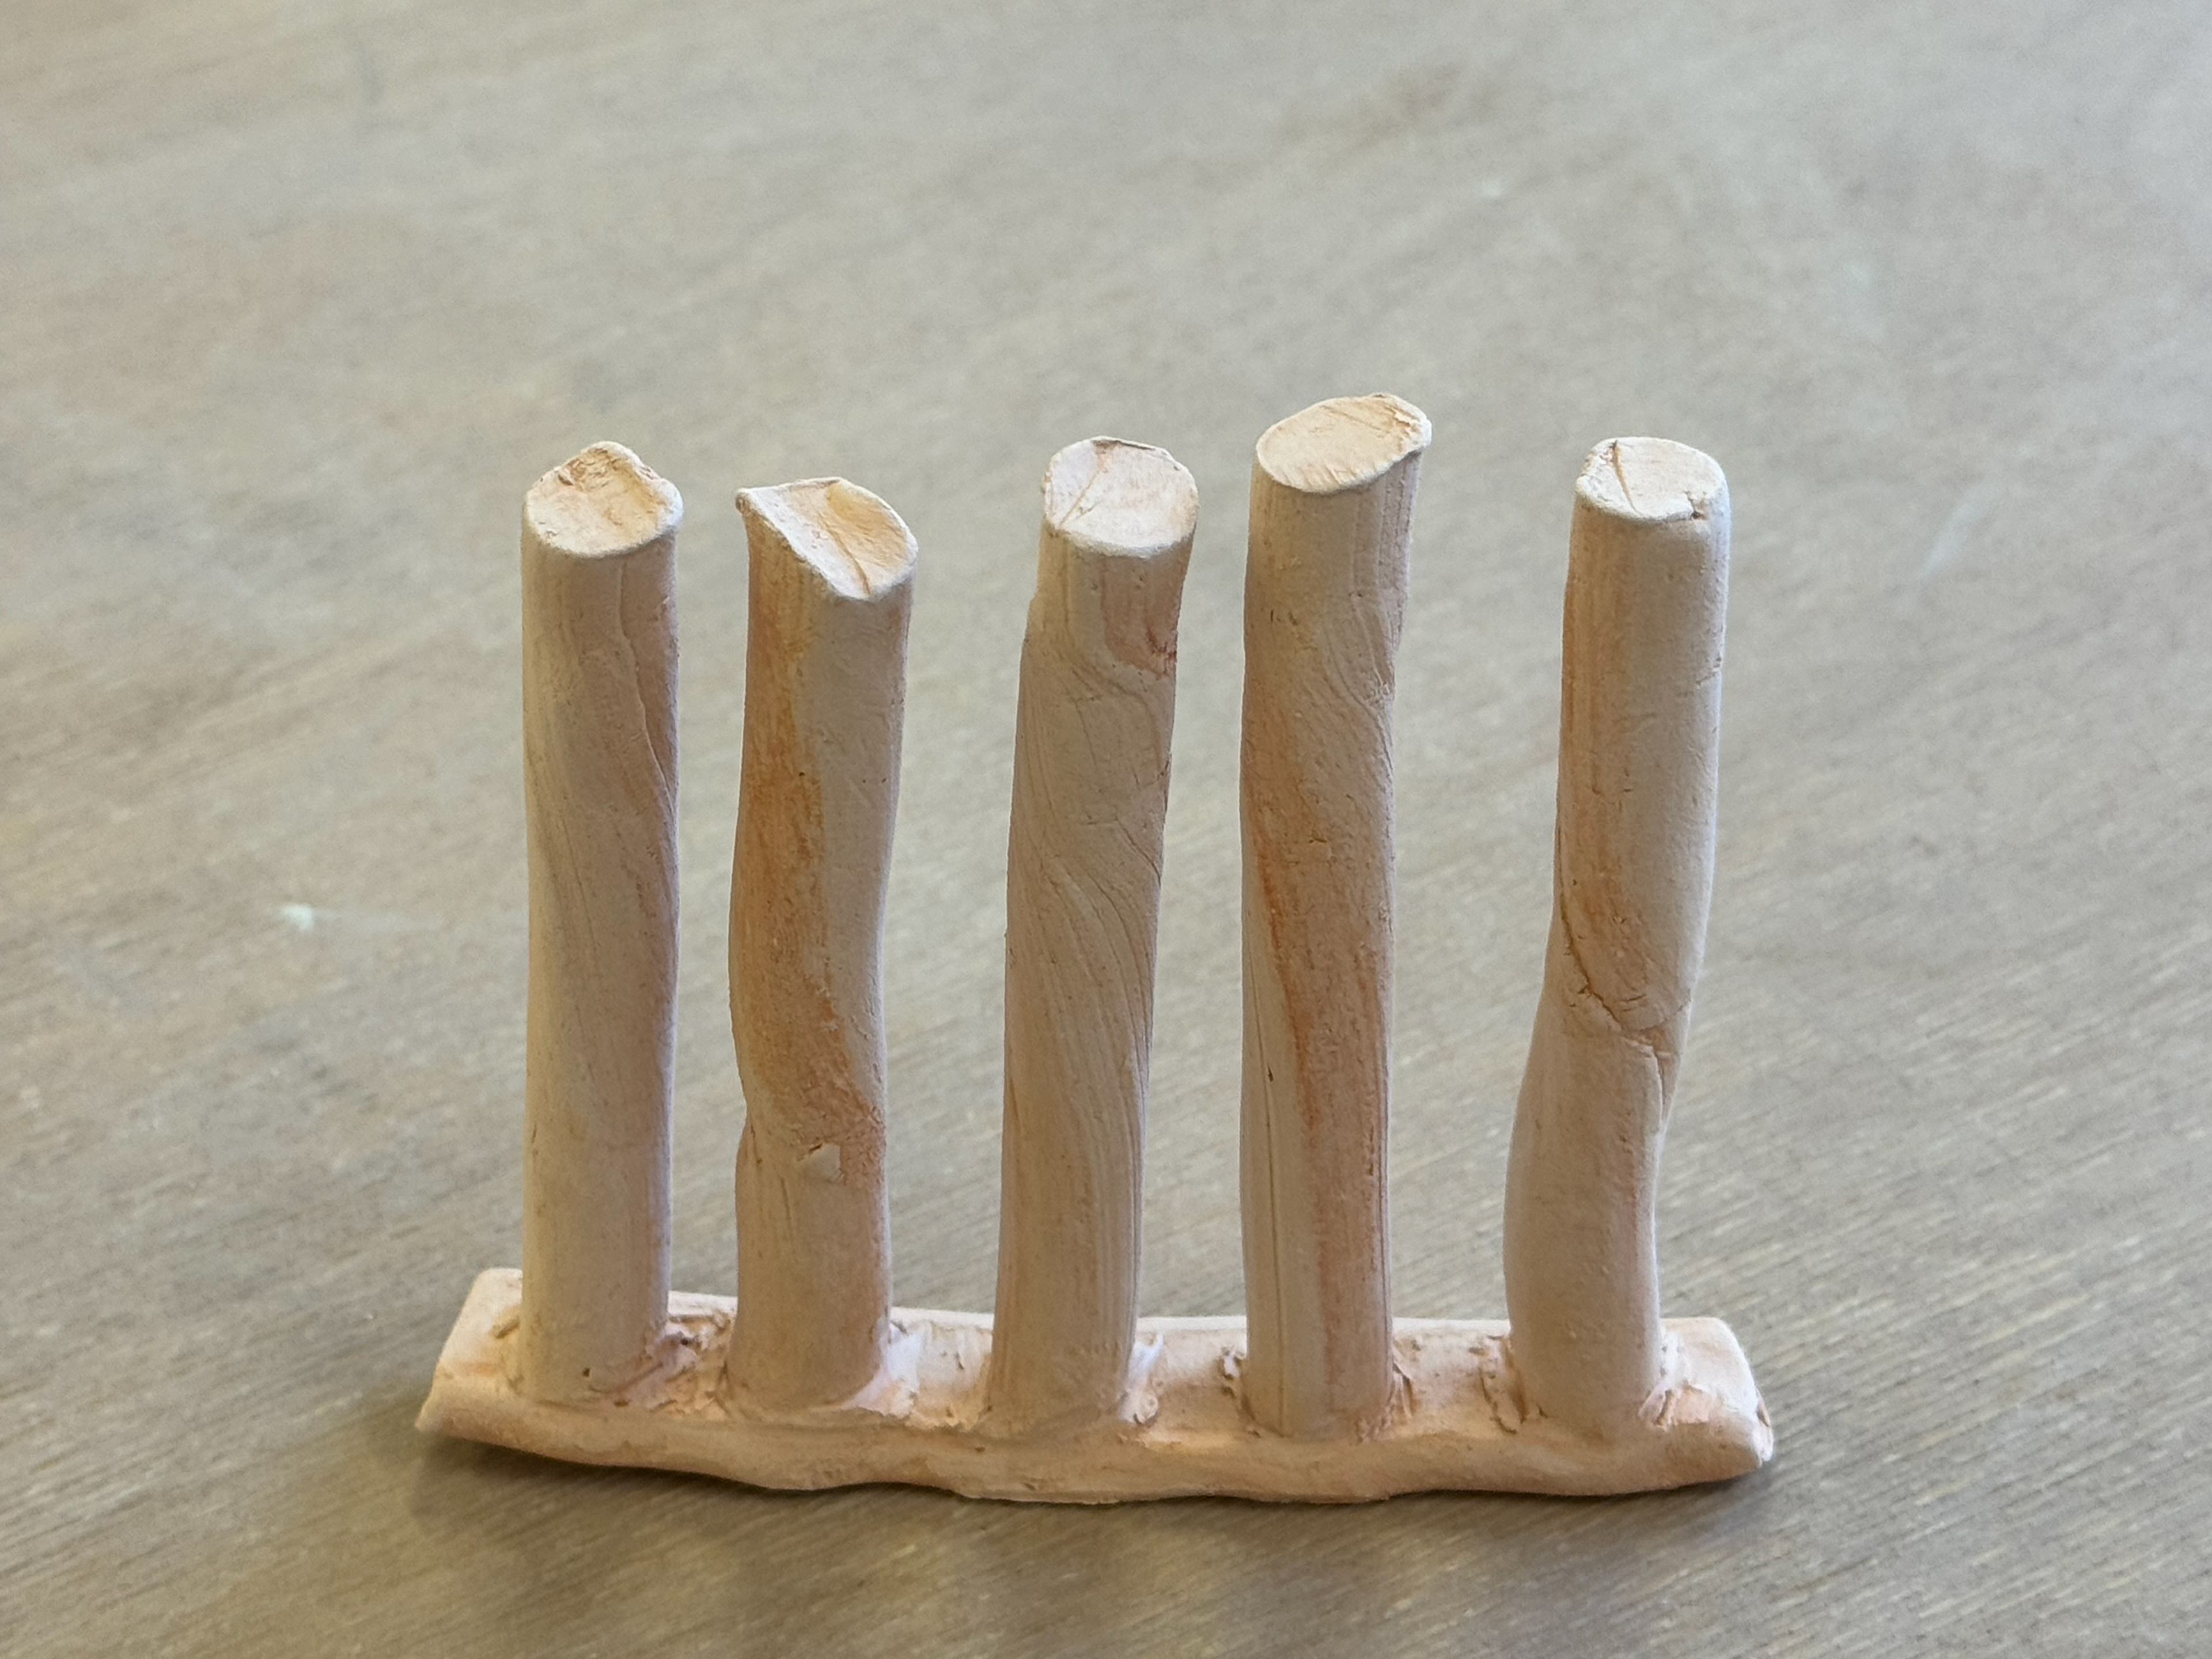
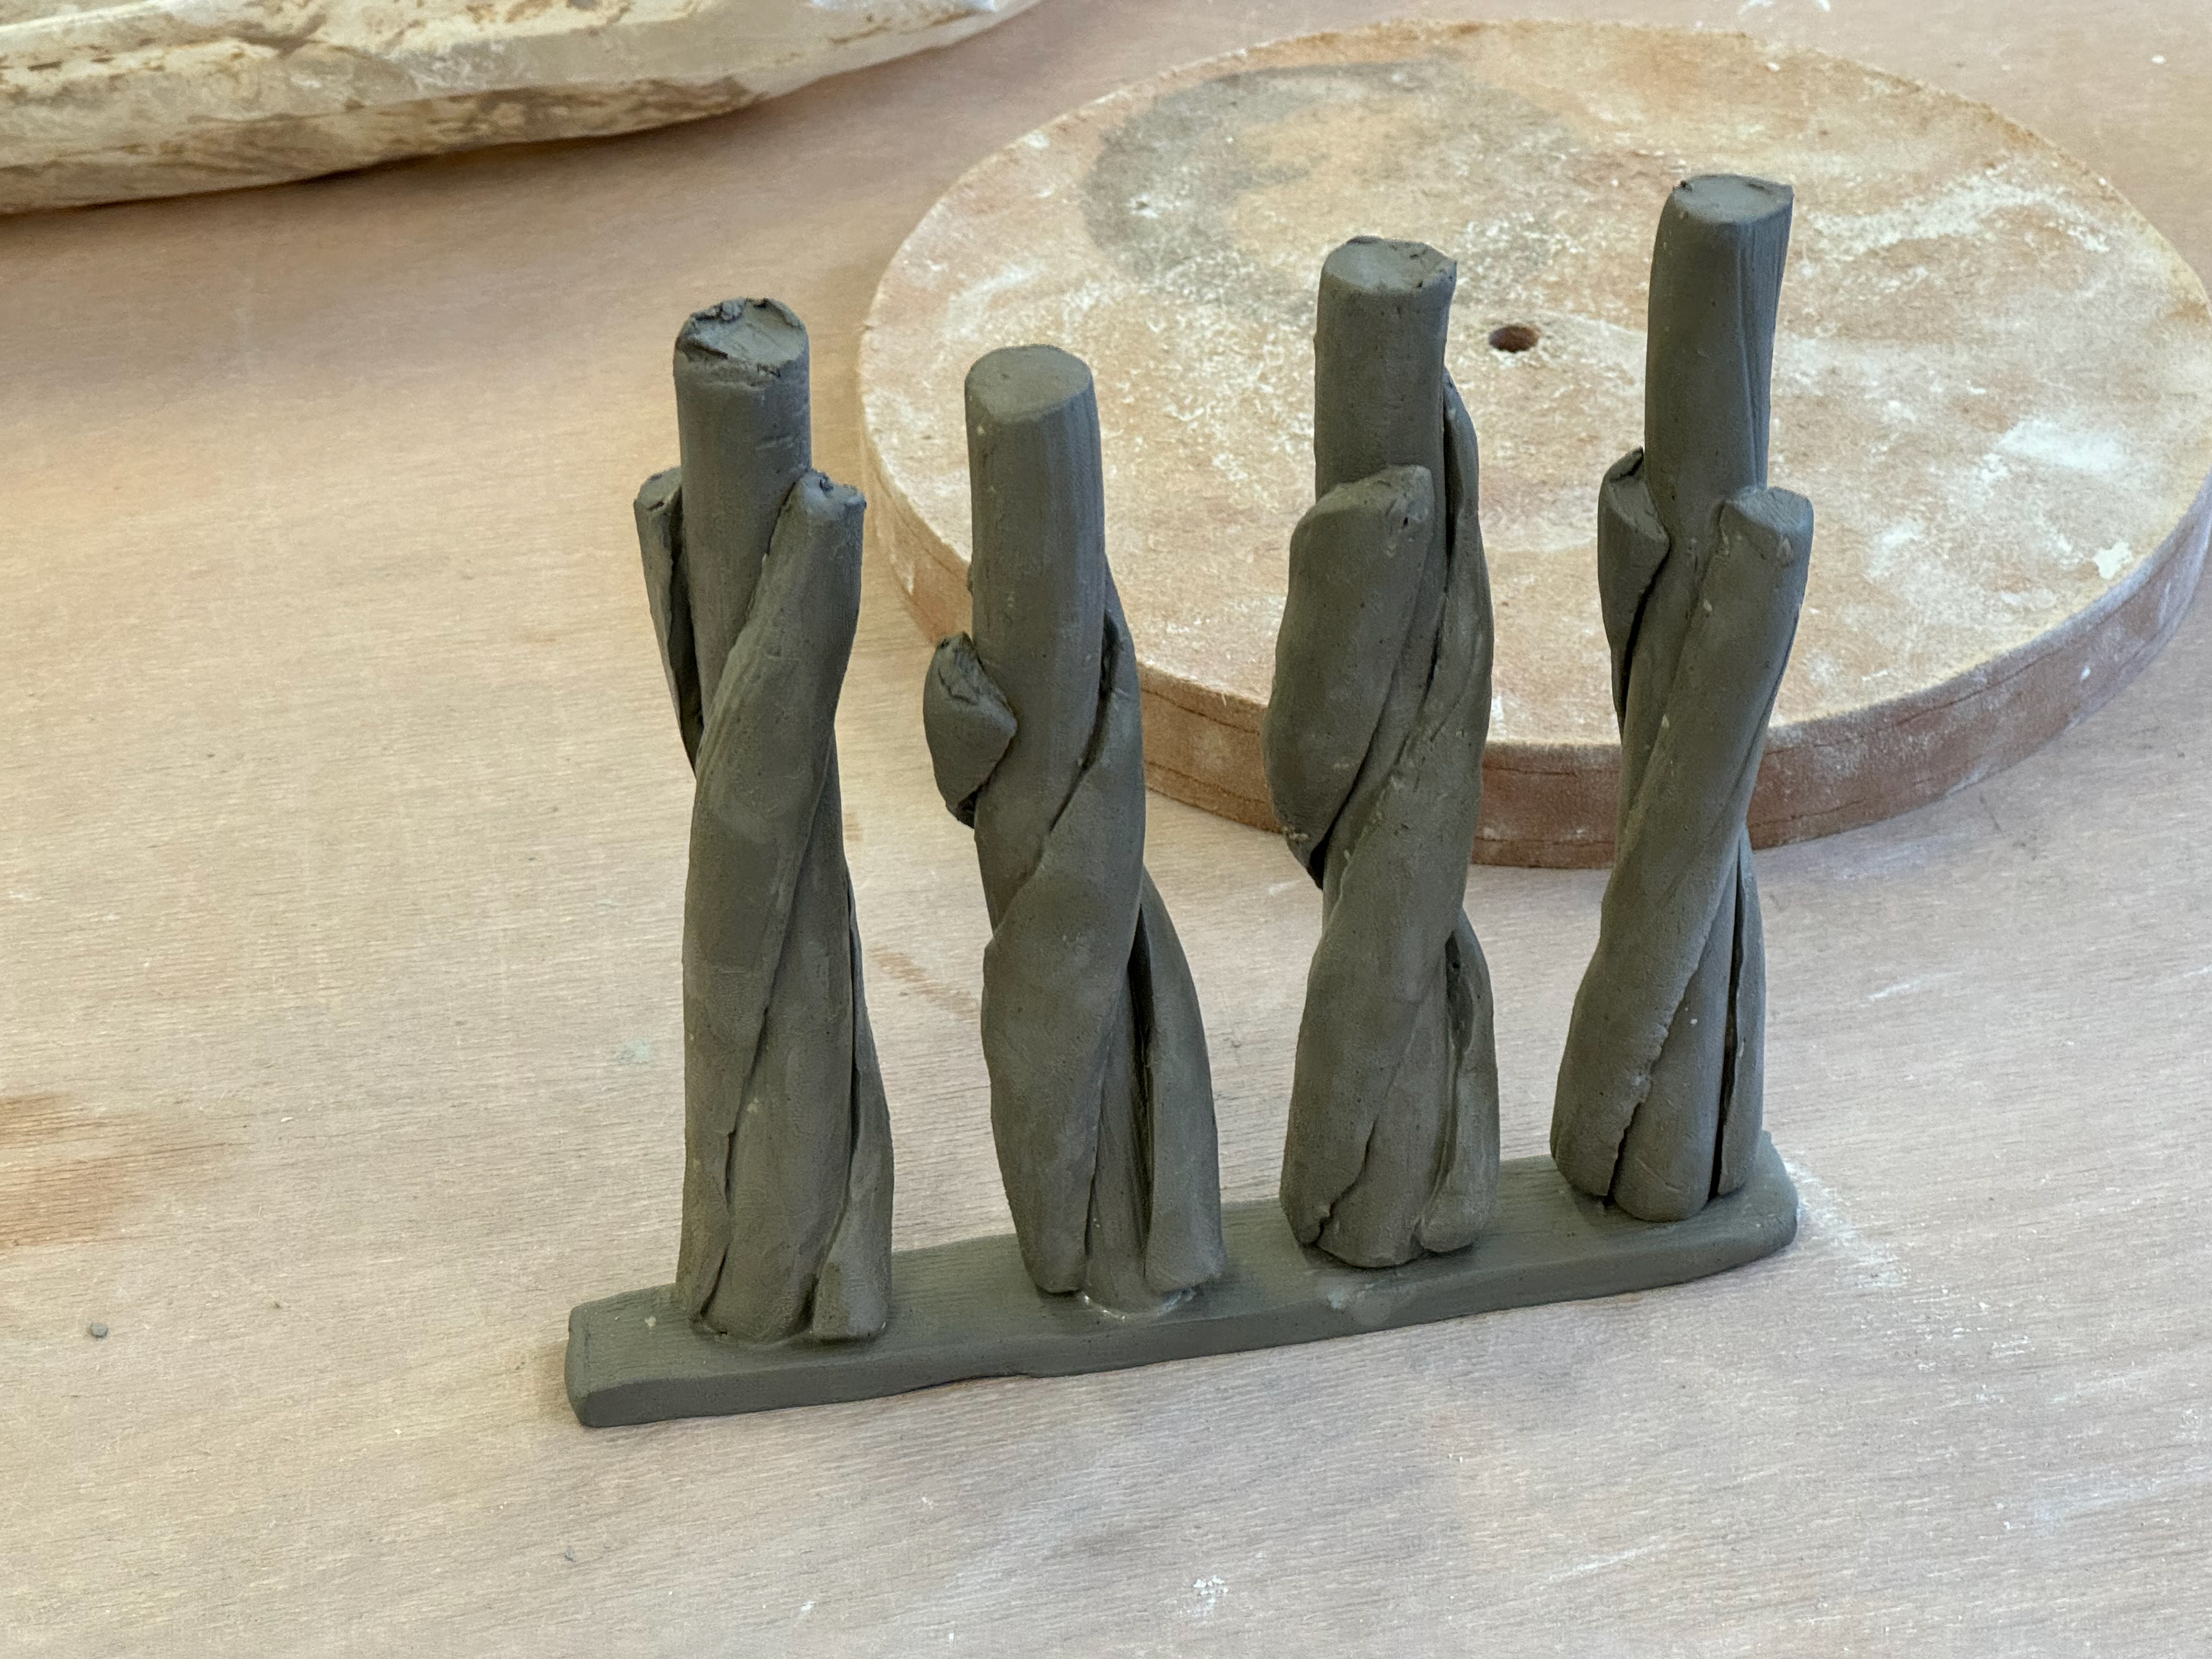
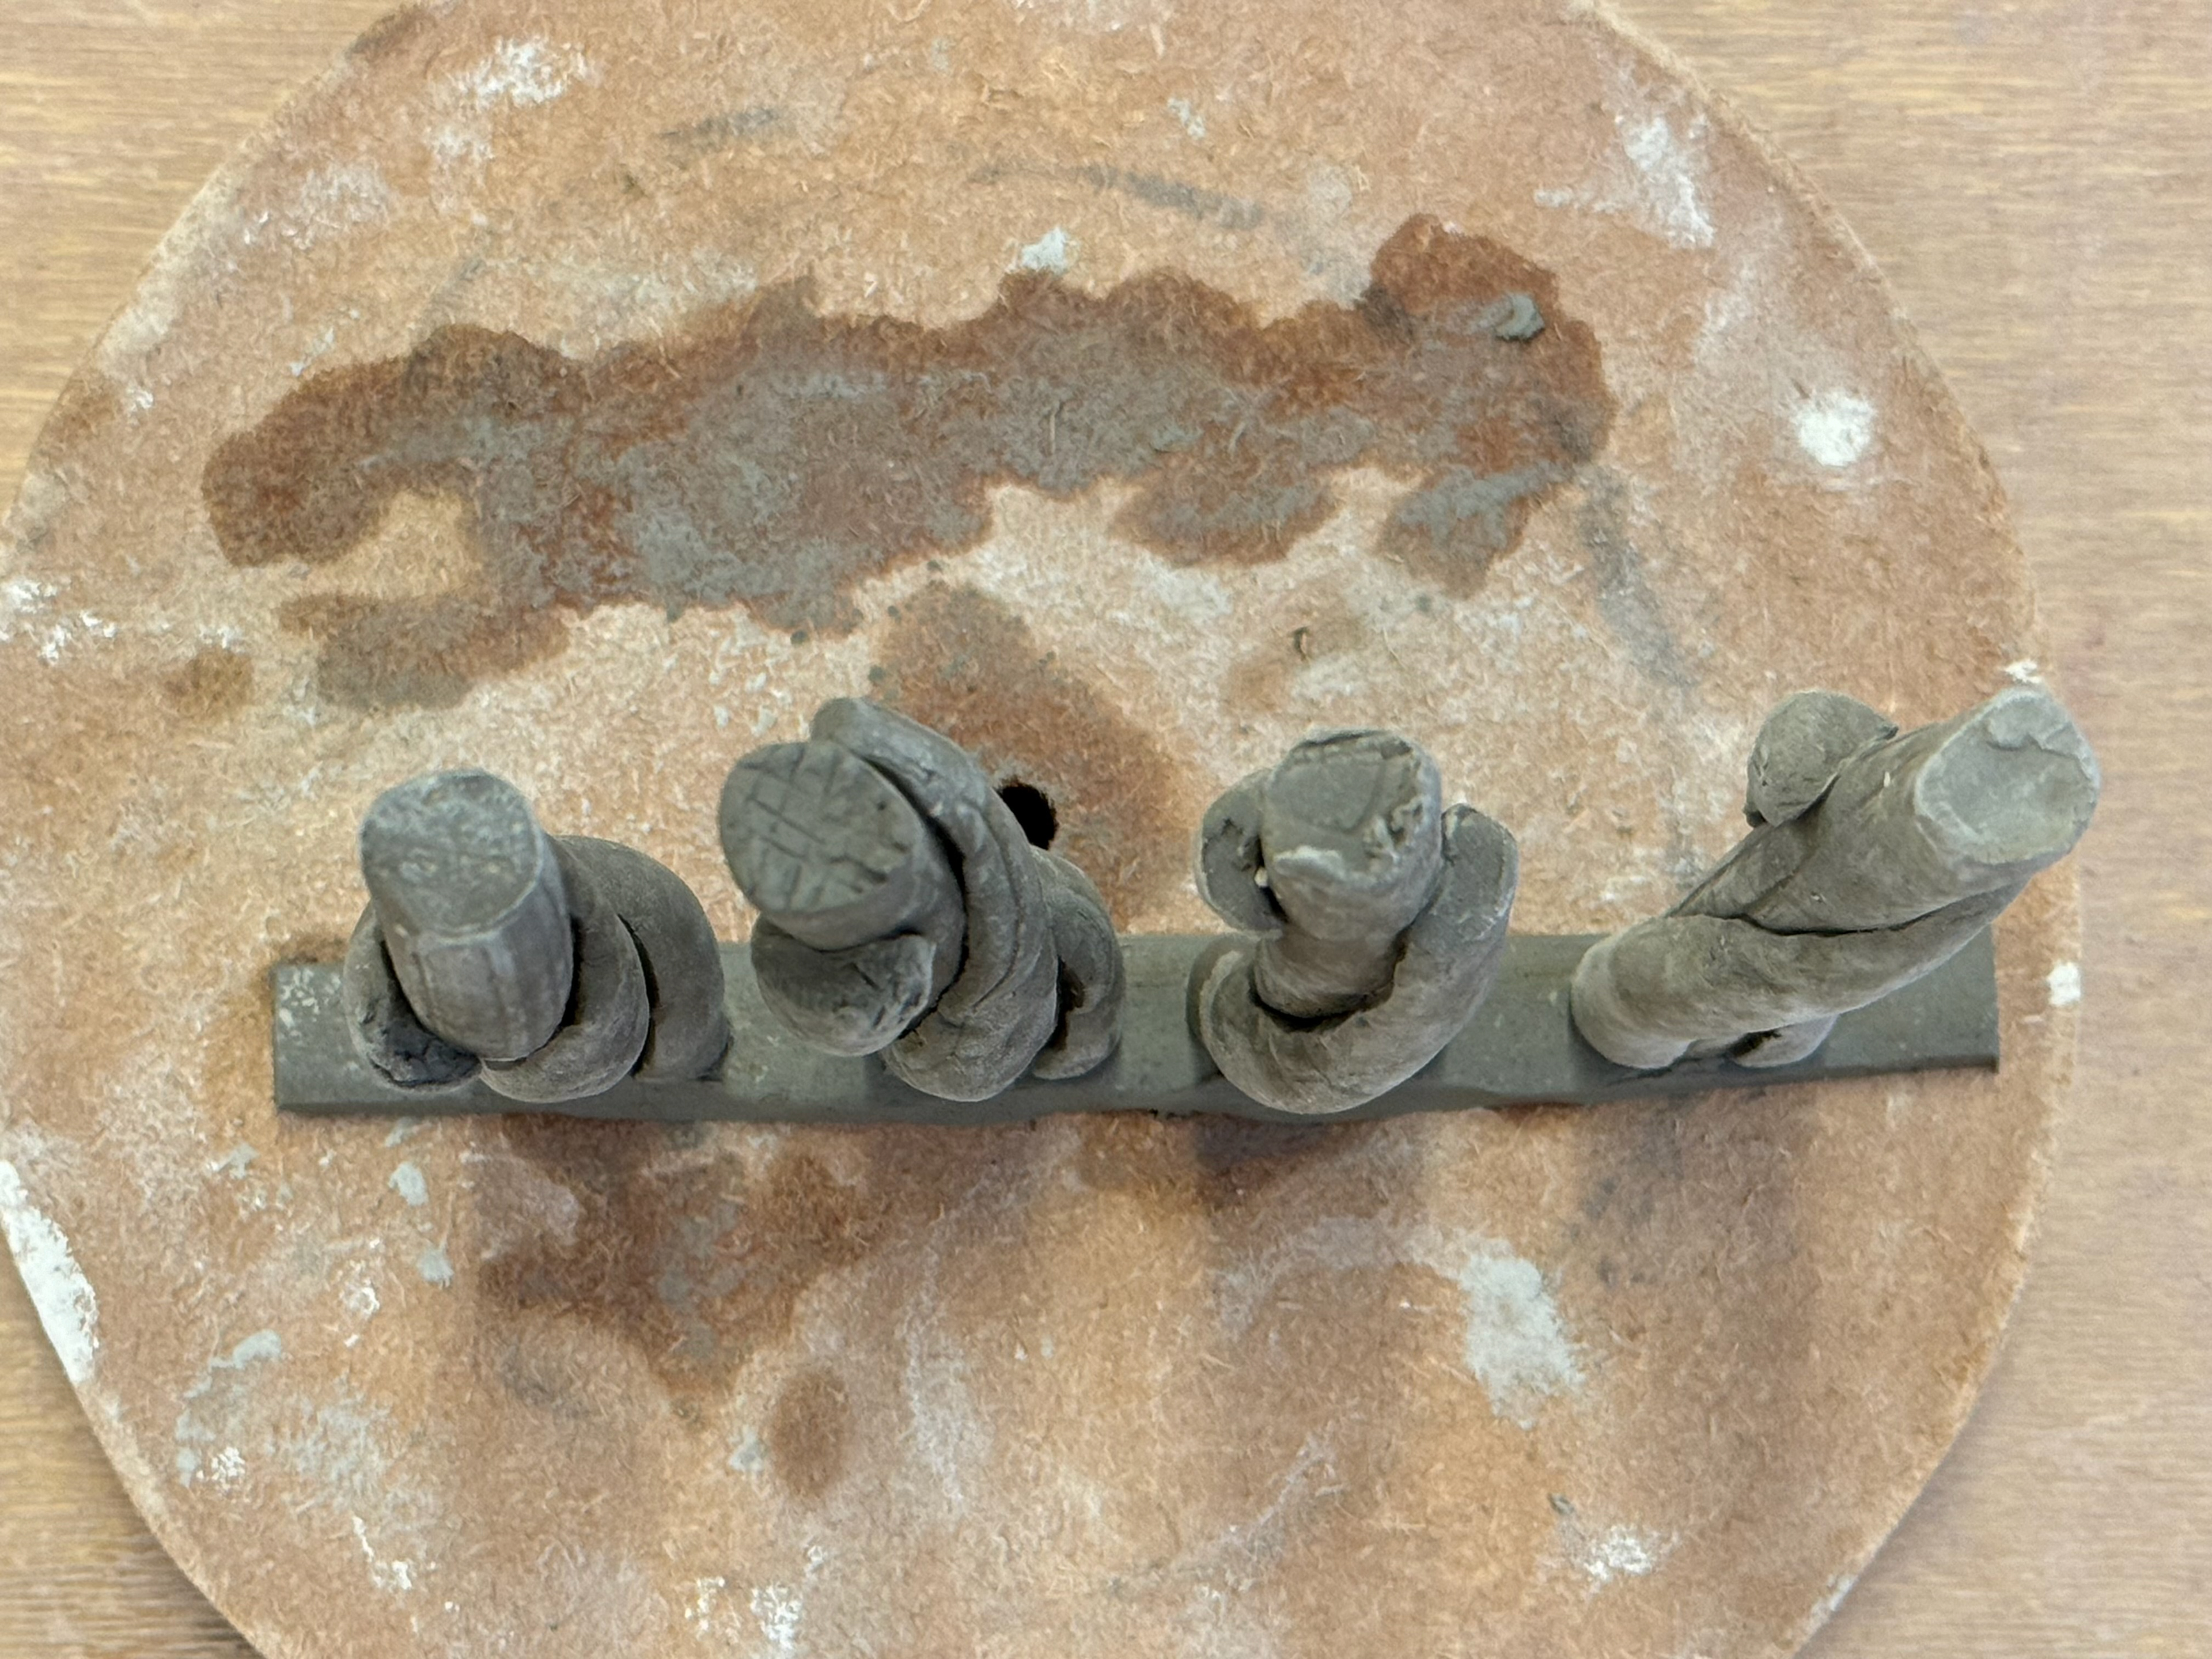
Twisted Stack:
From my previous stack testing. I discovered that the joints and overall structural strength was poor. I decided to carve out part of the base so that each stack fits into the base and is then secured by etching the bottom of the stack, dipping the bottom of the stack into water, pressing down and twisting the stack into the base. From my sketchbook, you will see my further refinement is to twist the stacks like a helix. However, twisting is difficult and doesn't provide a suitable result for me. In the fired pieces you can see the twists but it looks boring. If this had been a success the next iteration would've been twisted fingers as the stacks.
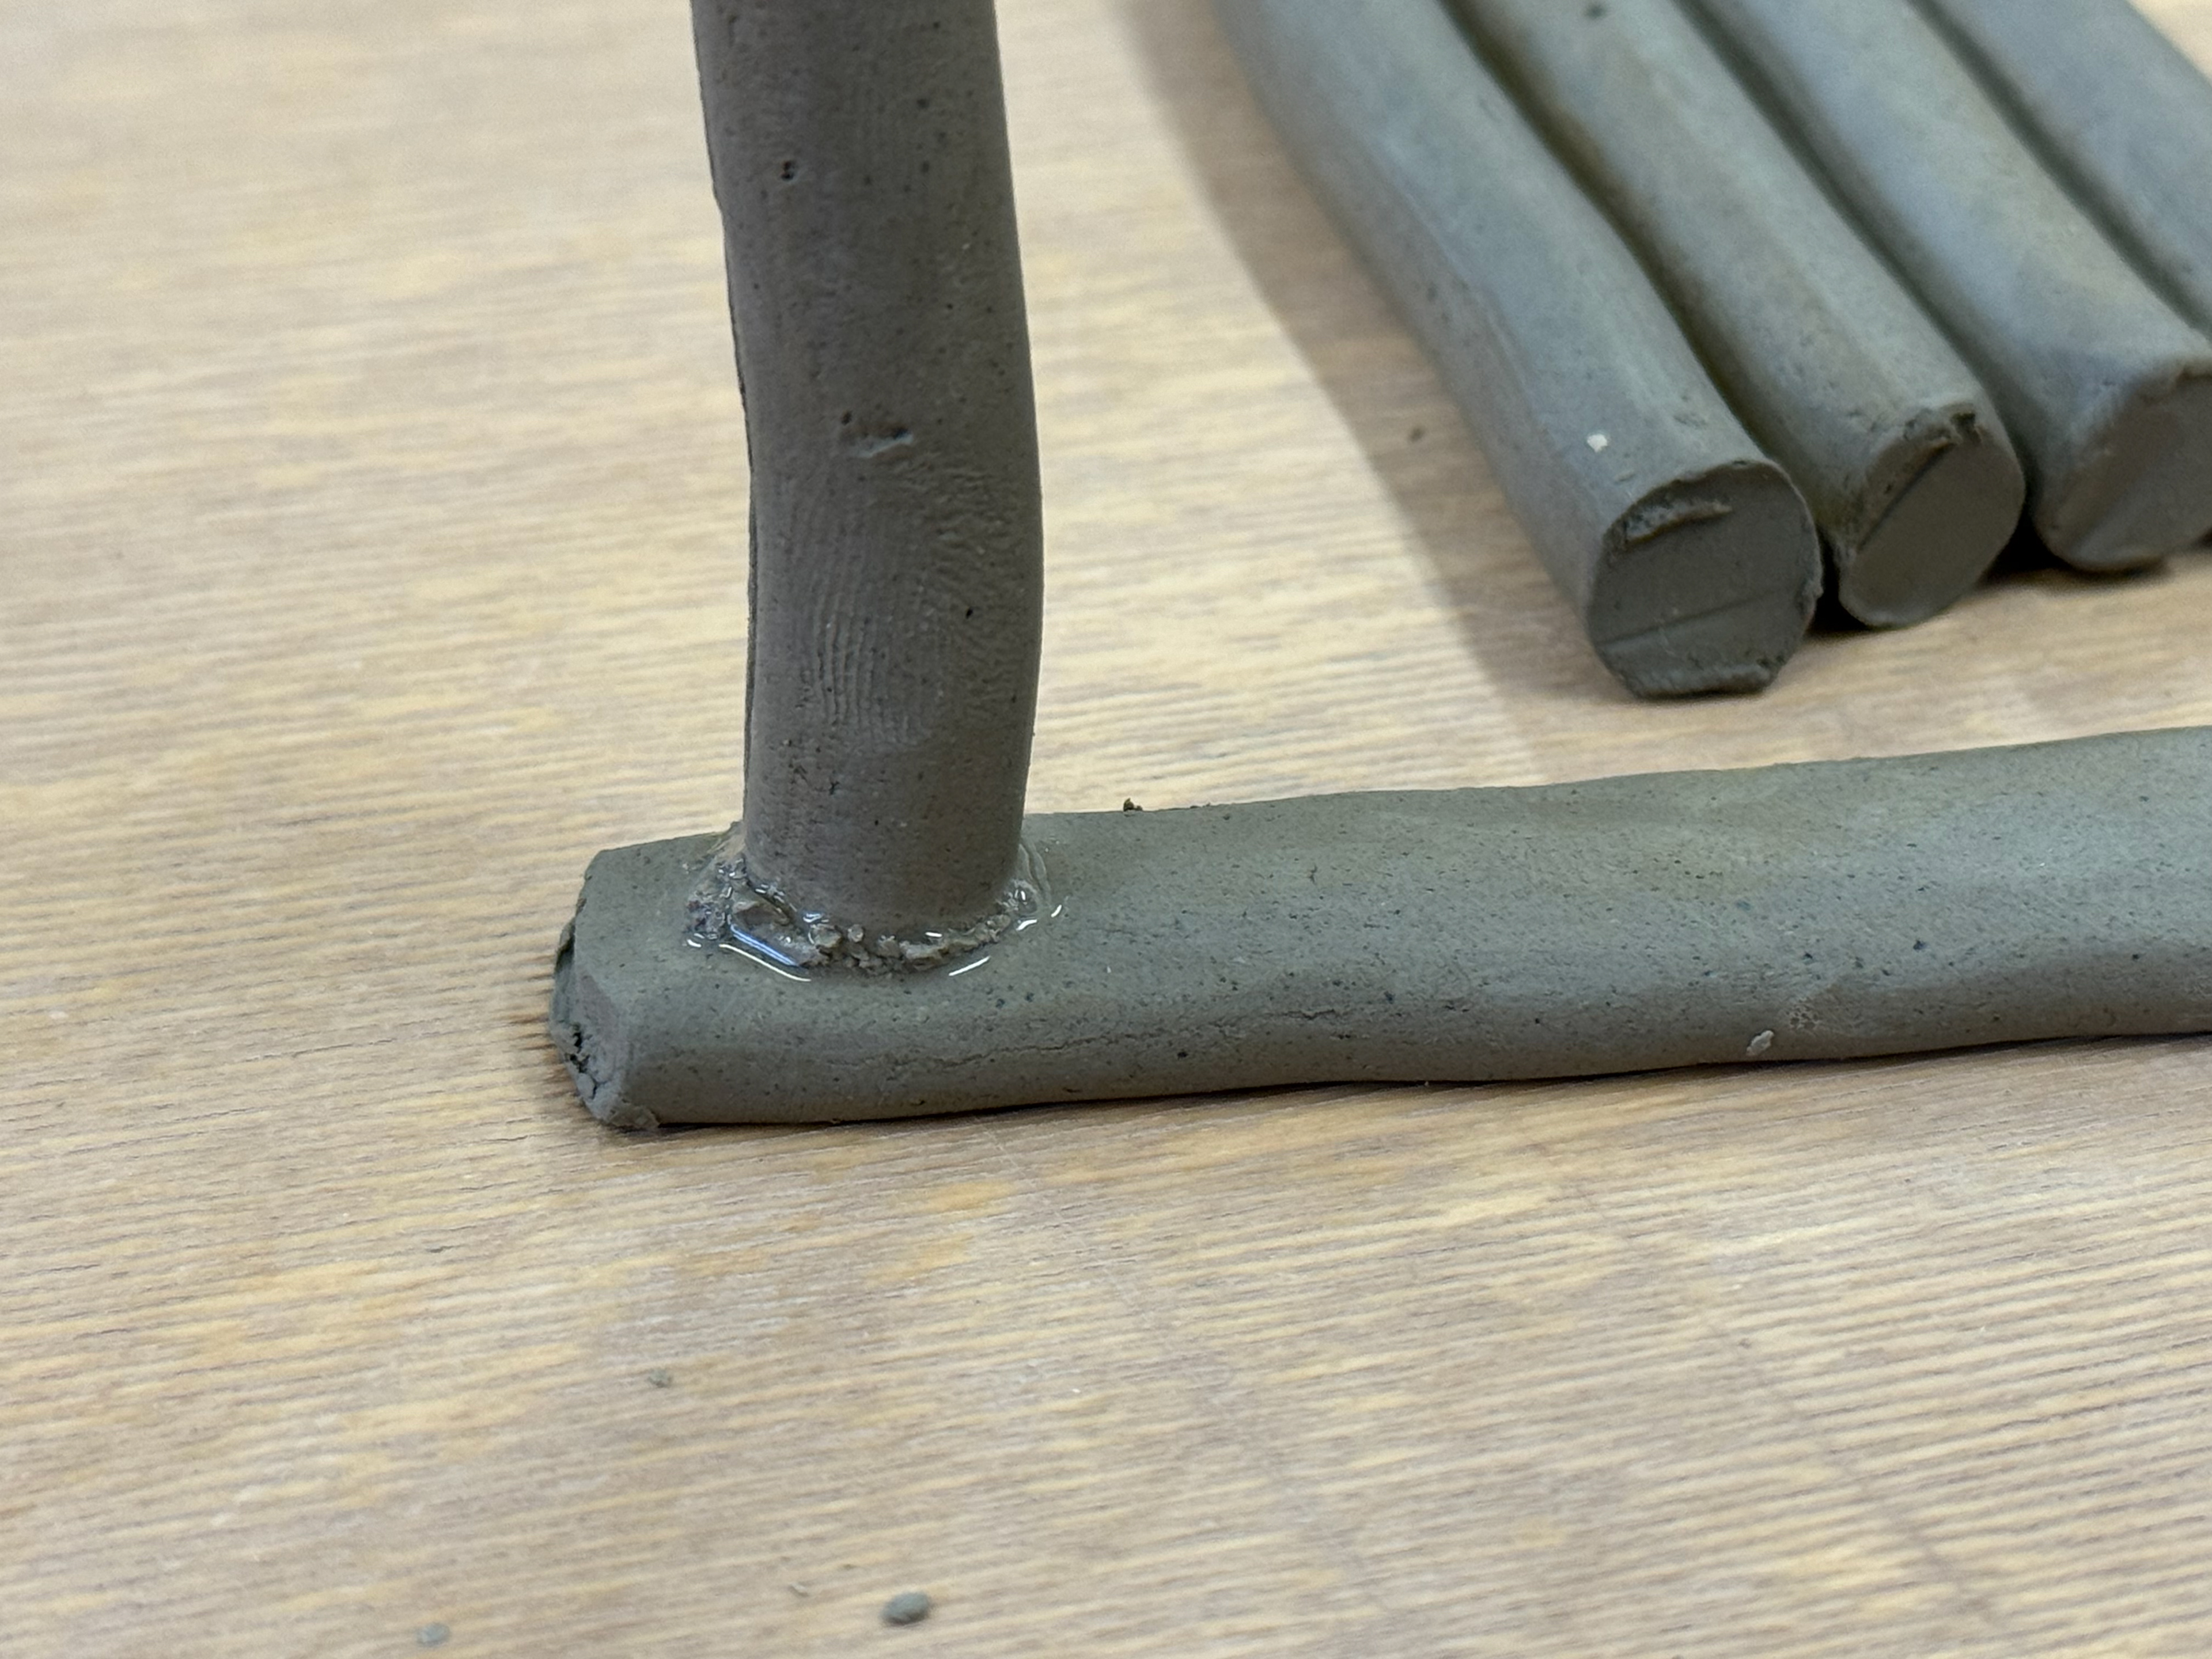
Joint
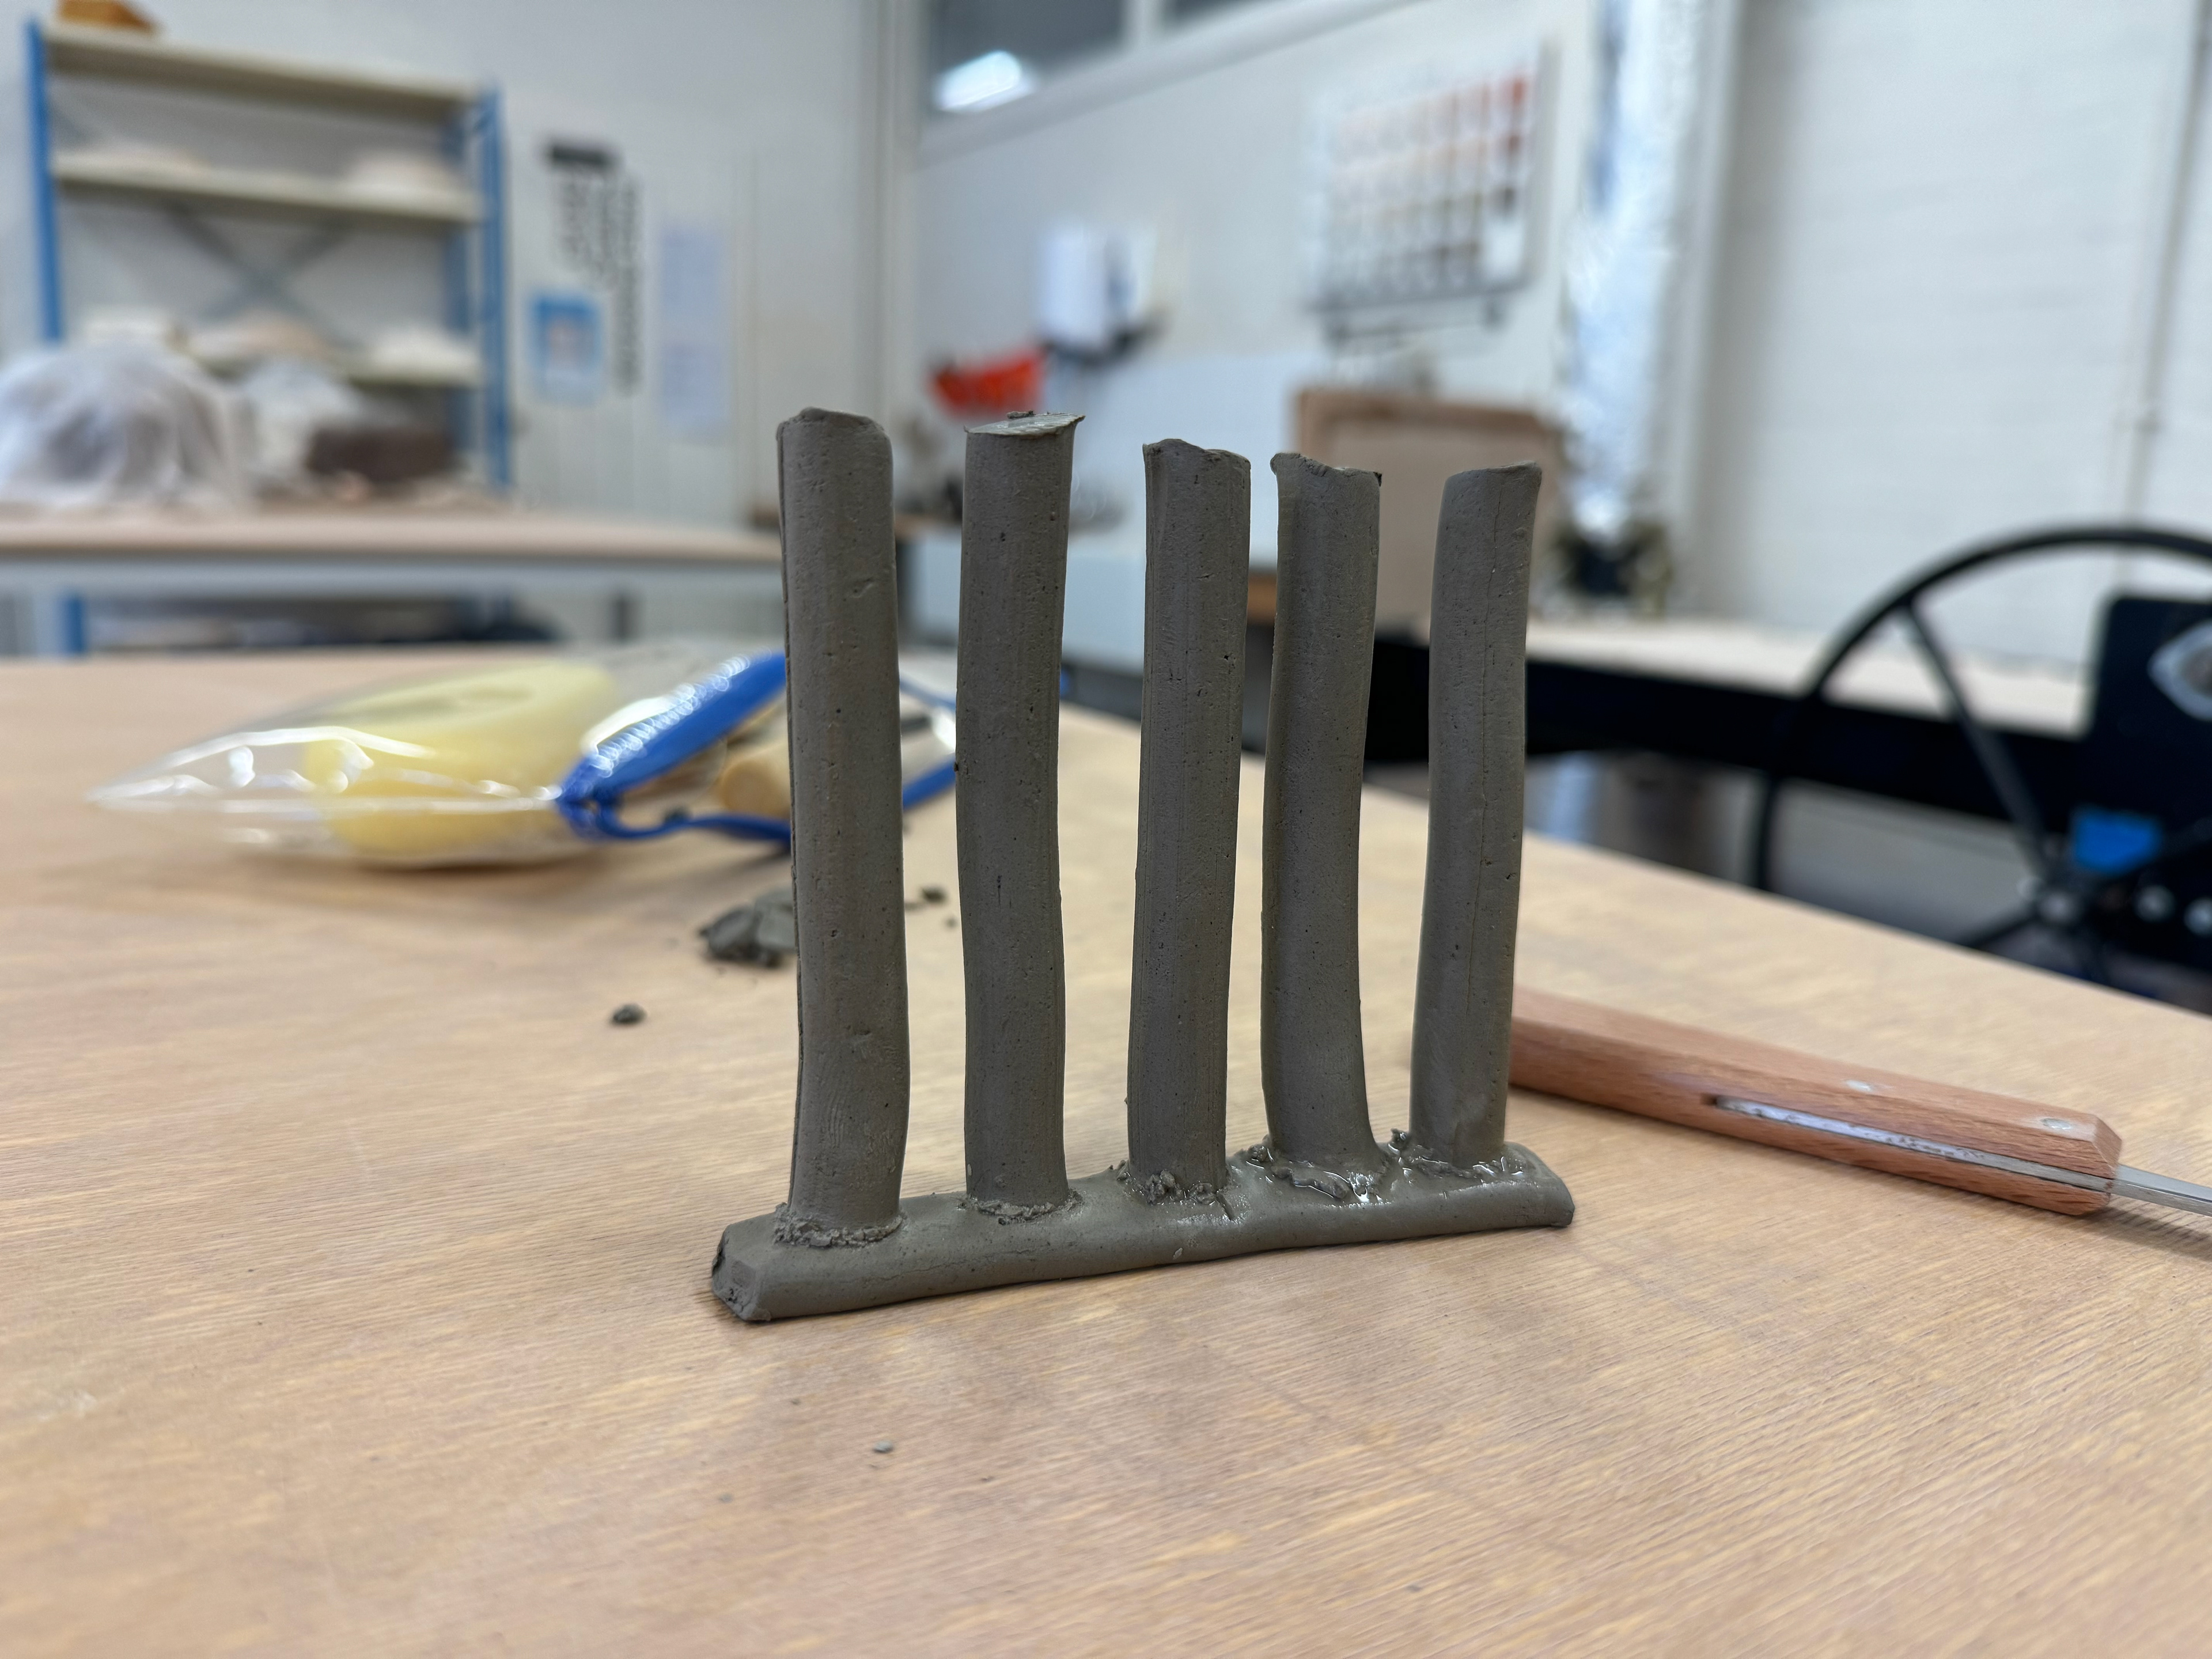
All attached

Close up of joints
You can see the twist in the clay
Another angle of the twisted stack
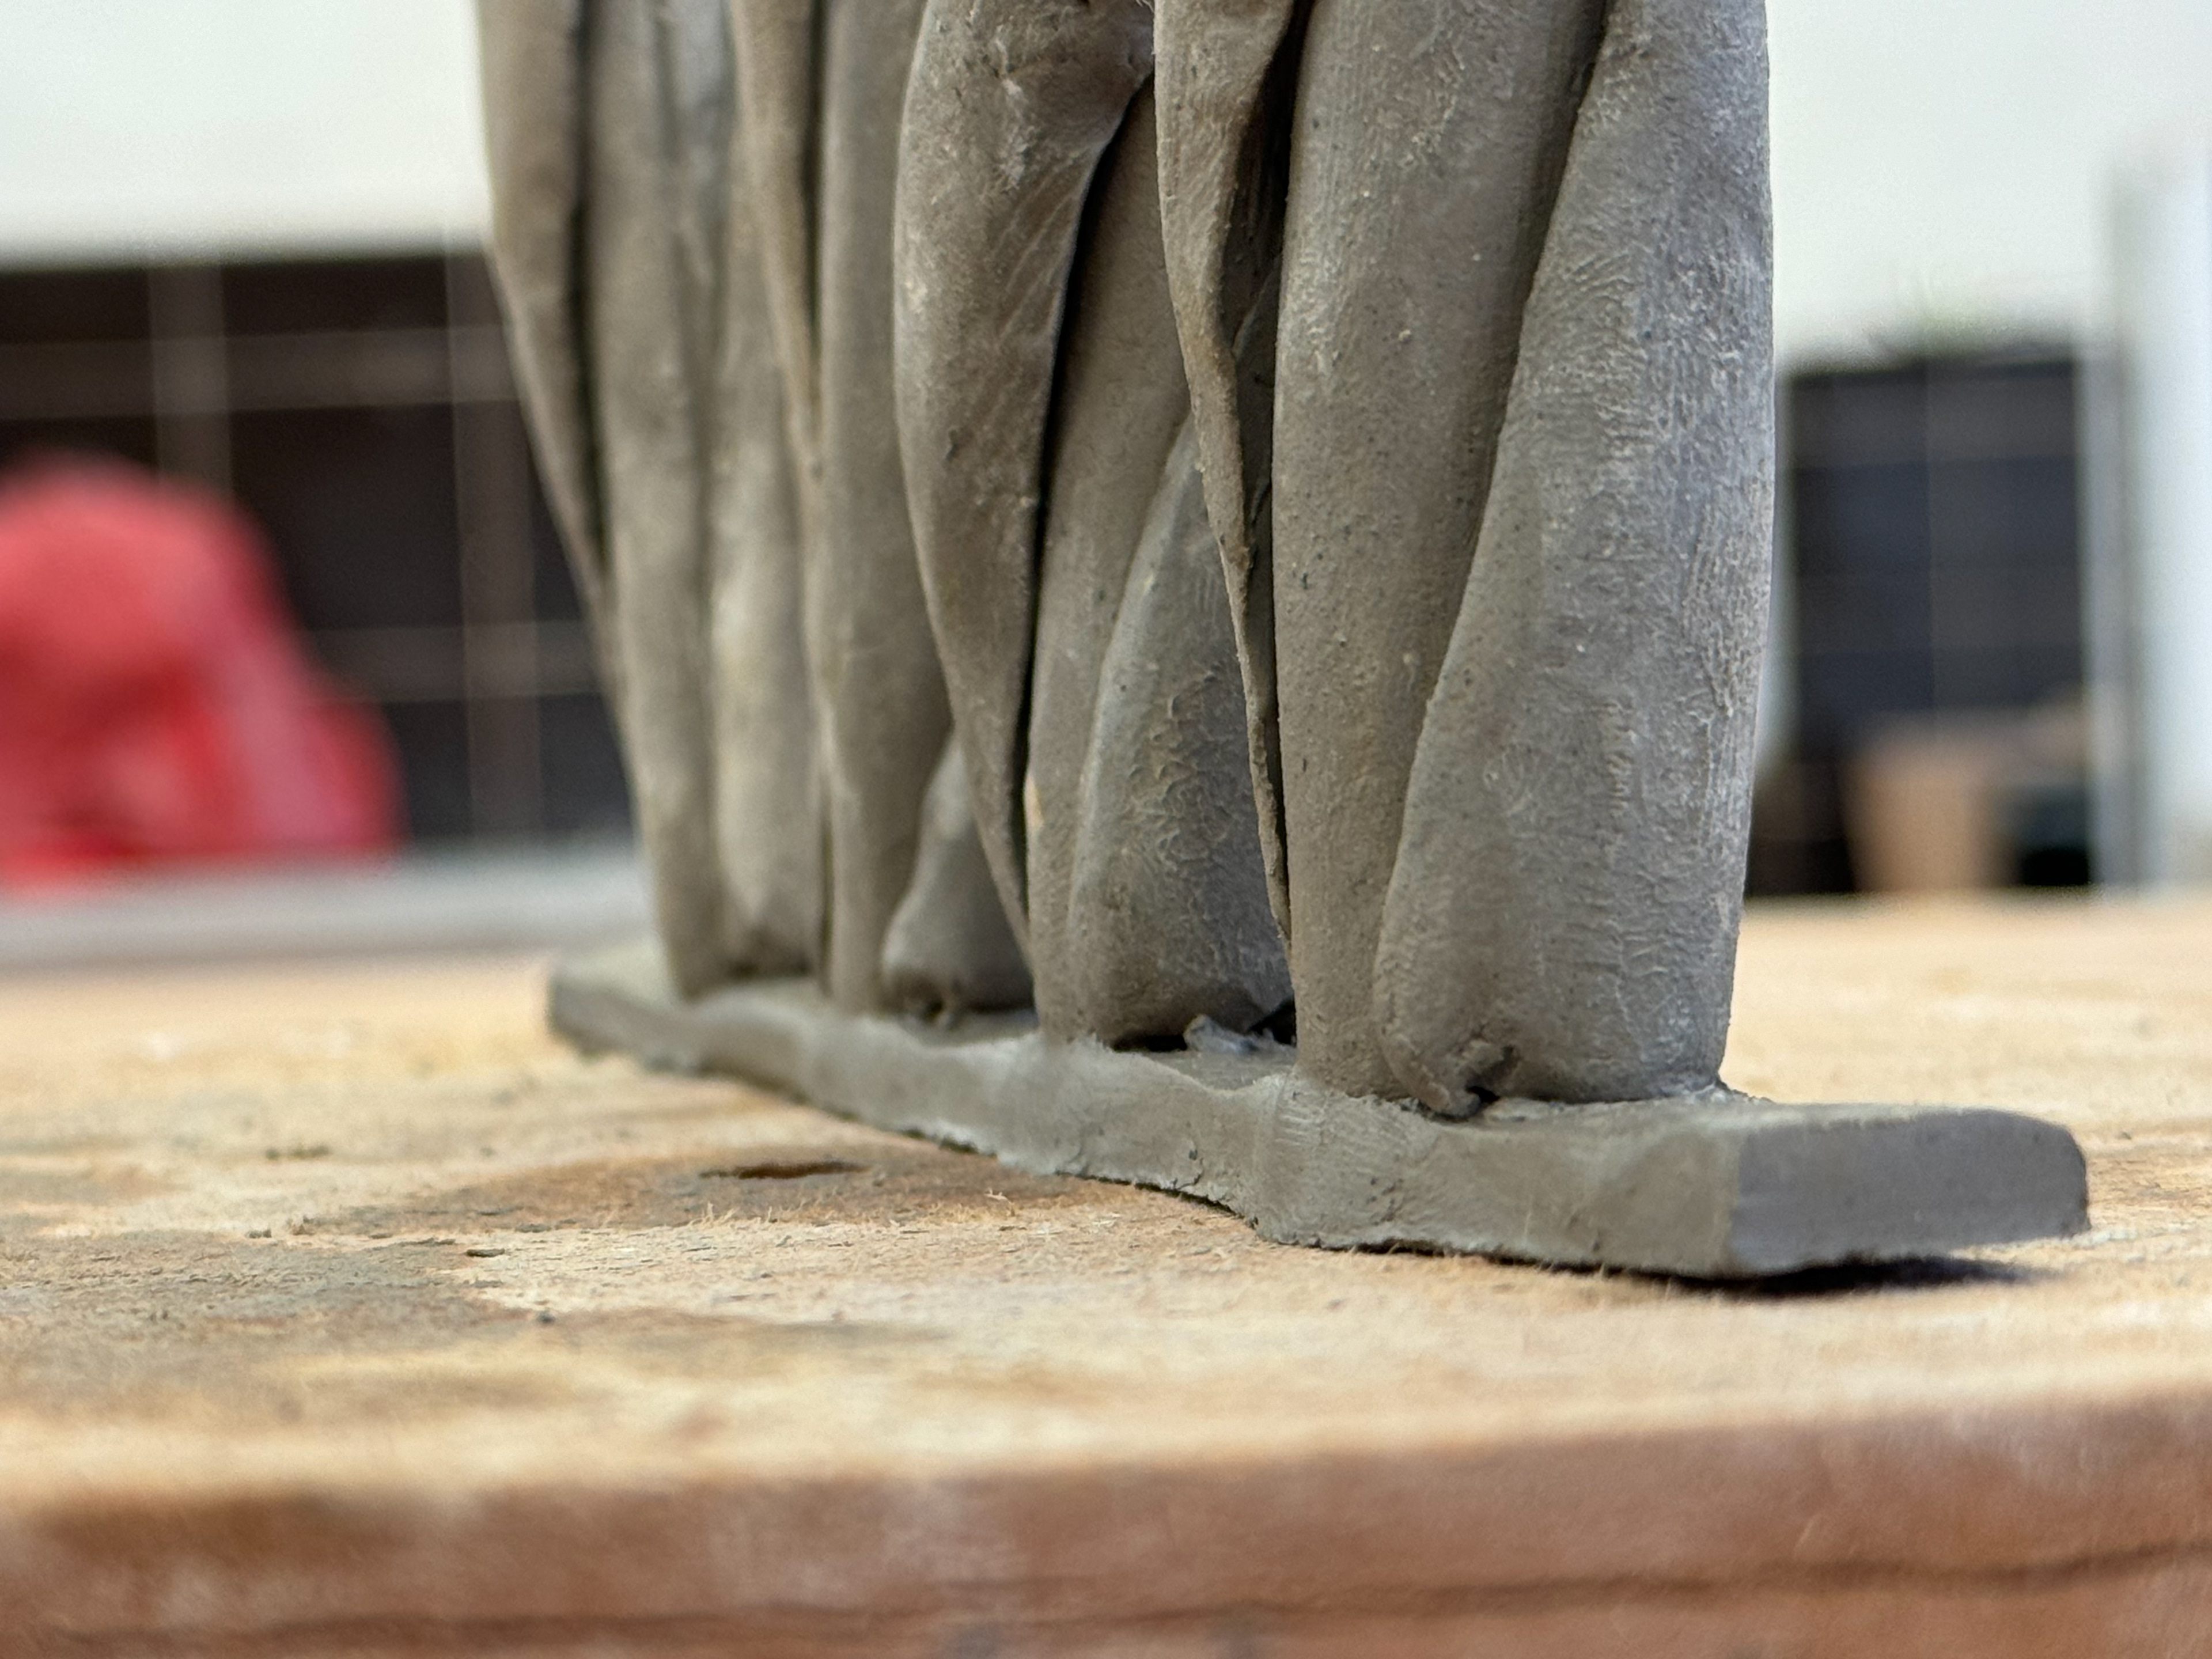
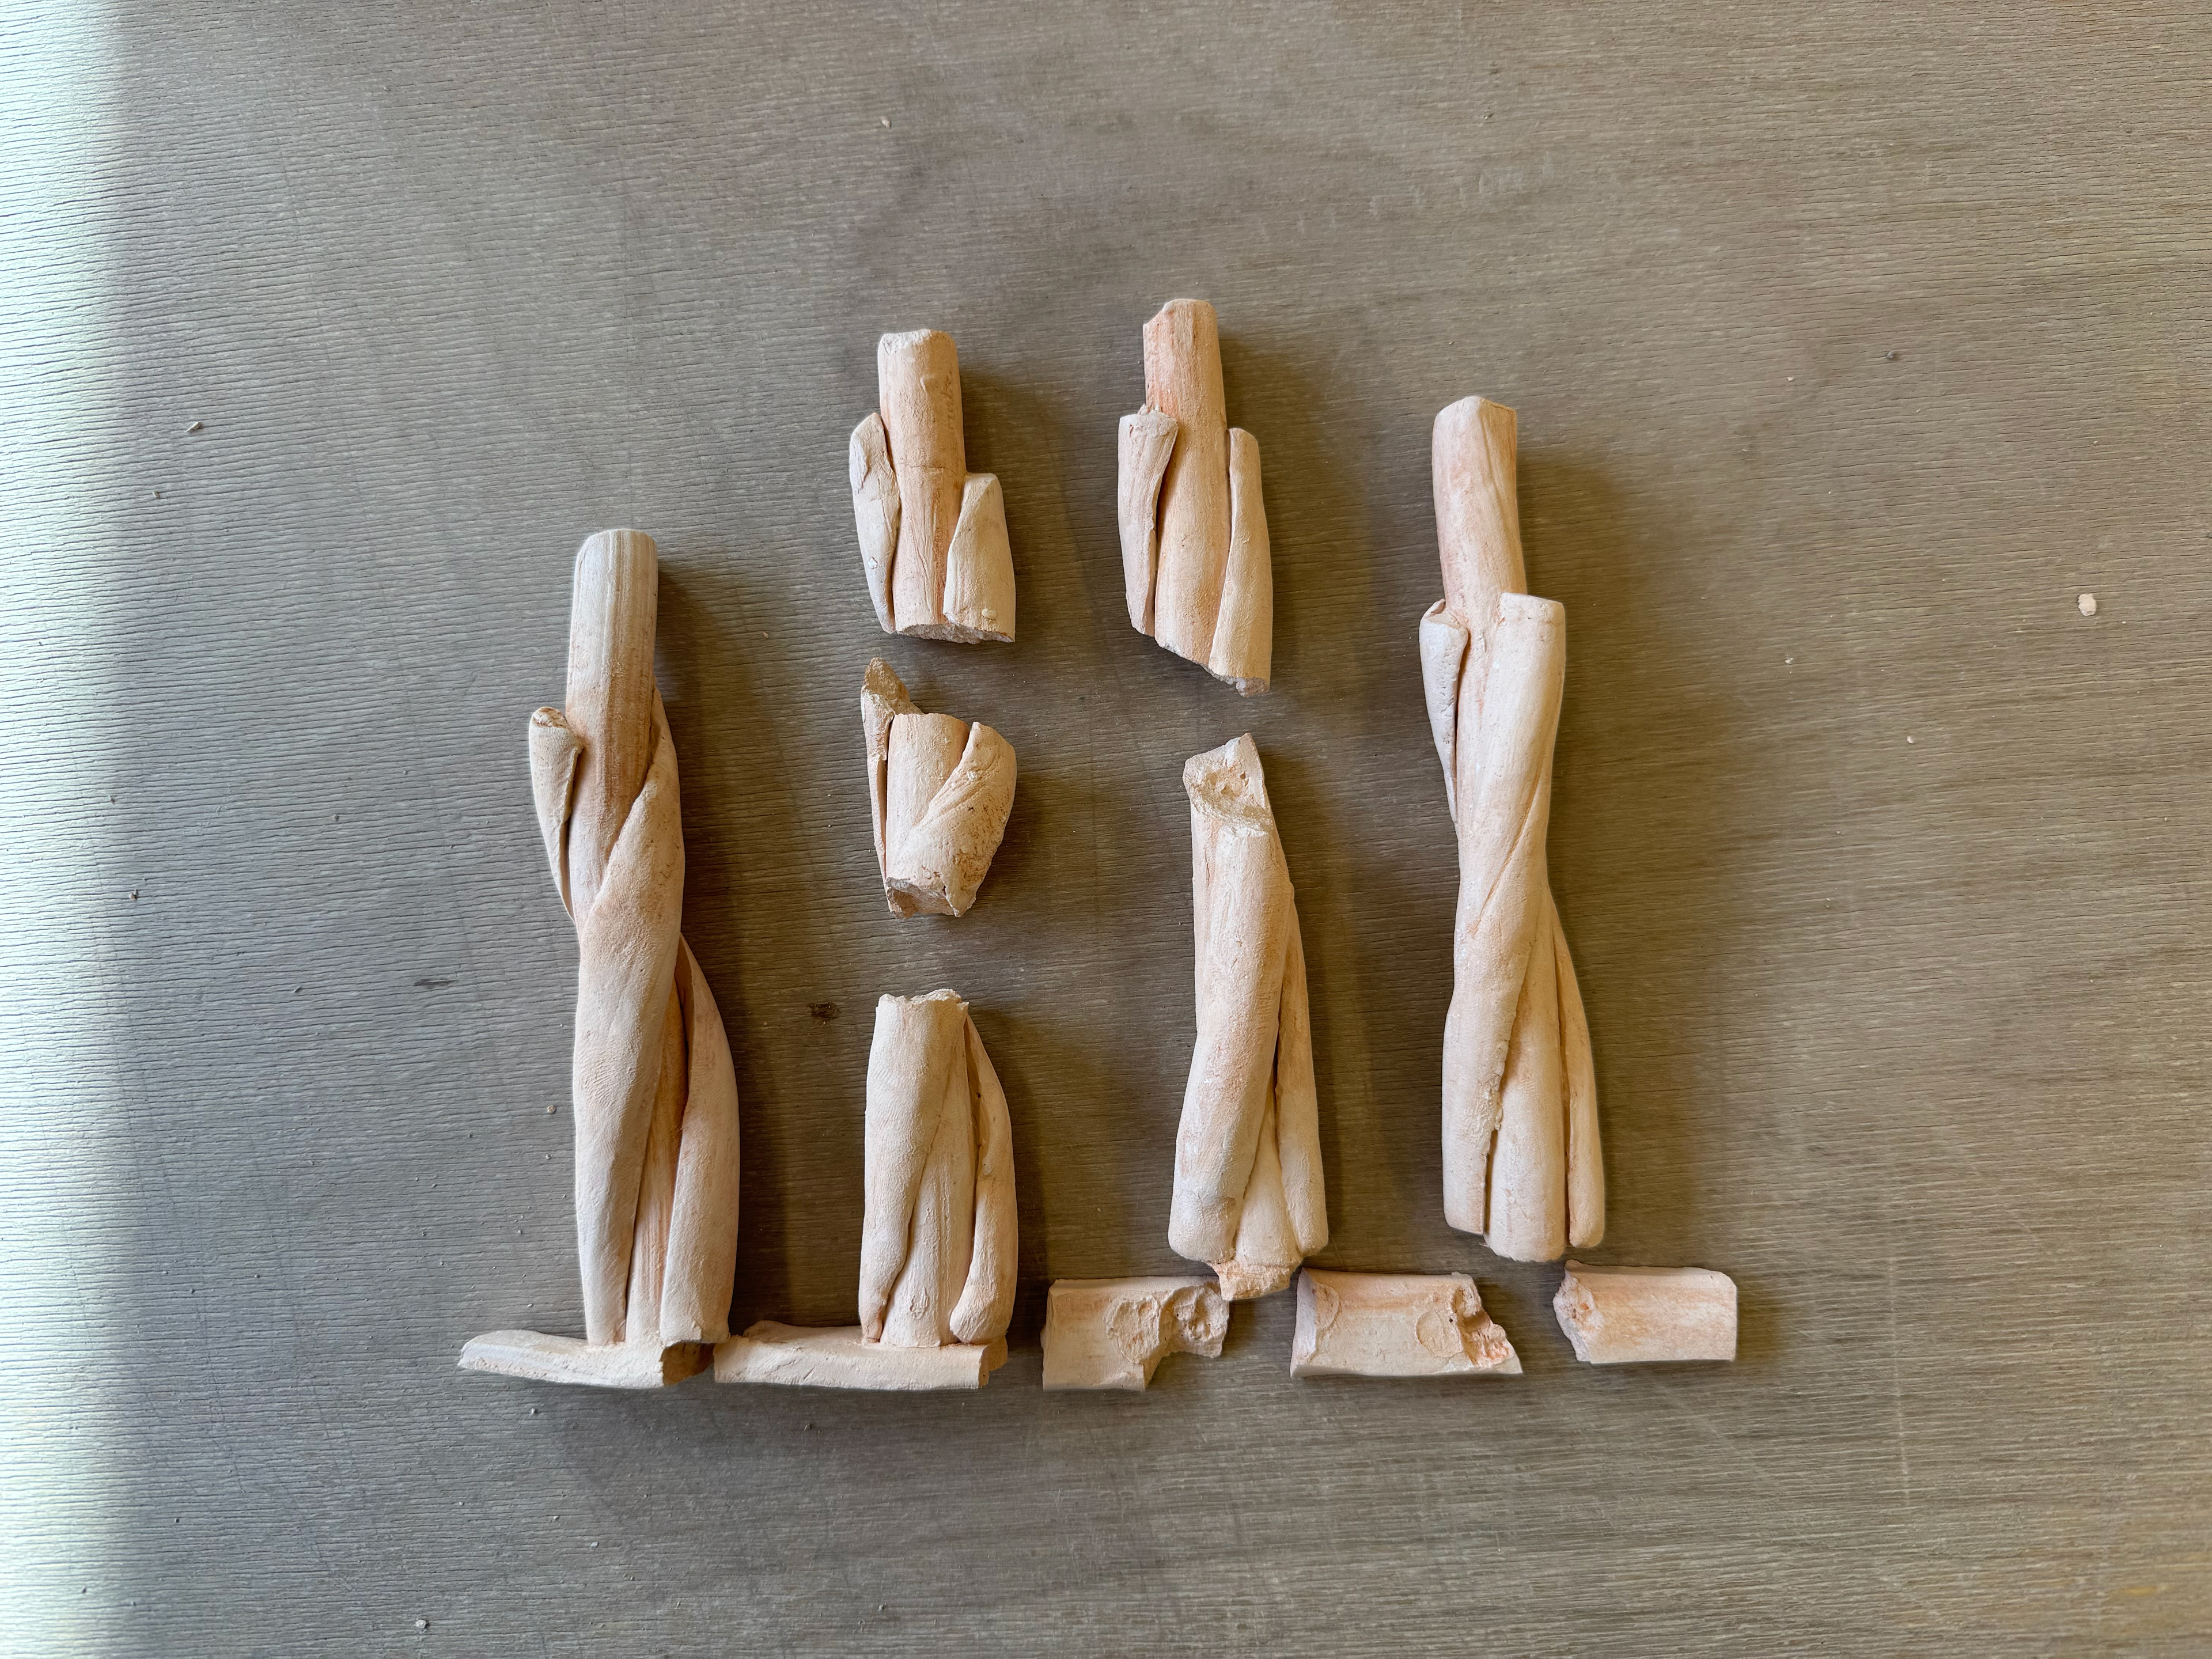
Helix around each stack:
After the result of the previous test piece. To make the twist and helix more visible I decided to add another layer to clearly show the idea. To do this I extruded clay and cut it up into two different sizes, the stack size and the twist size. I then cut the twisted size pieces in half, etch out to increase surface area, add water and then attach to the stack. From this I then left them for a day before I attach the stacks to the base. I will once again carve out part of the base and then attach them as this was very successful in the last test piece.
Unfortunately I didn't make the base thick enough to support the pieces. As a result they cracked and fell over in the kiln. I would re do this but I have been inducted into the ceramic 3D printer so I want to now create this is Fusion 360 so I can use the printer to generate this outcome.

The carved out base for the stack to join too.
Etching to increase surface area
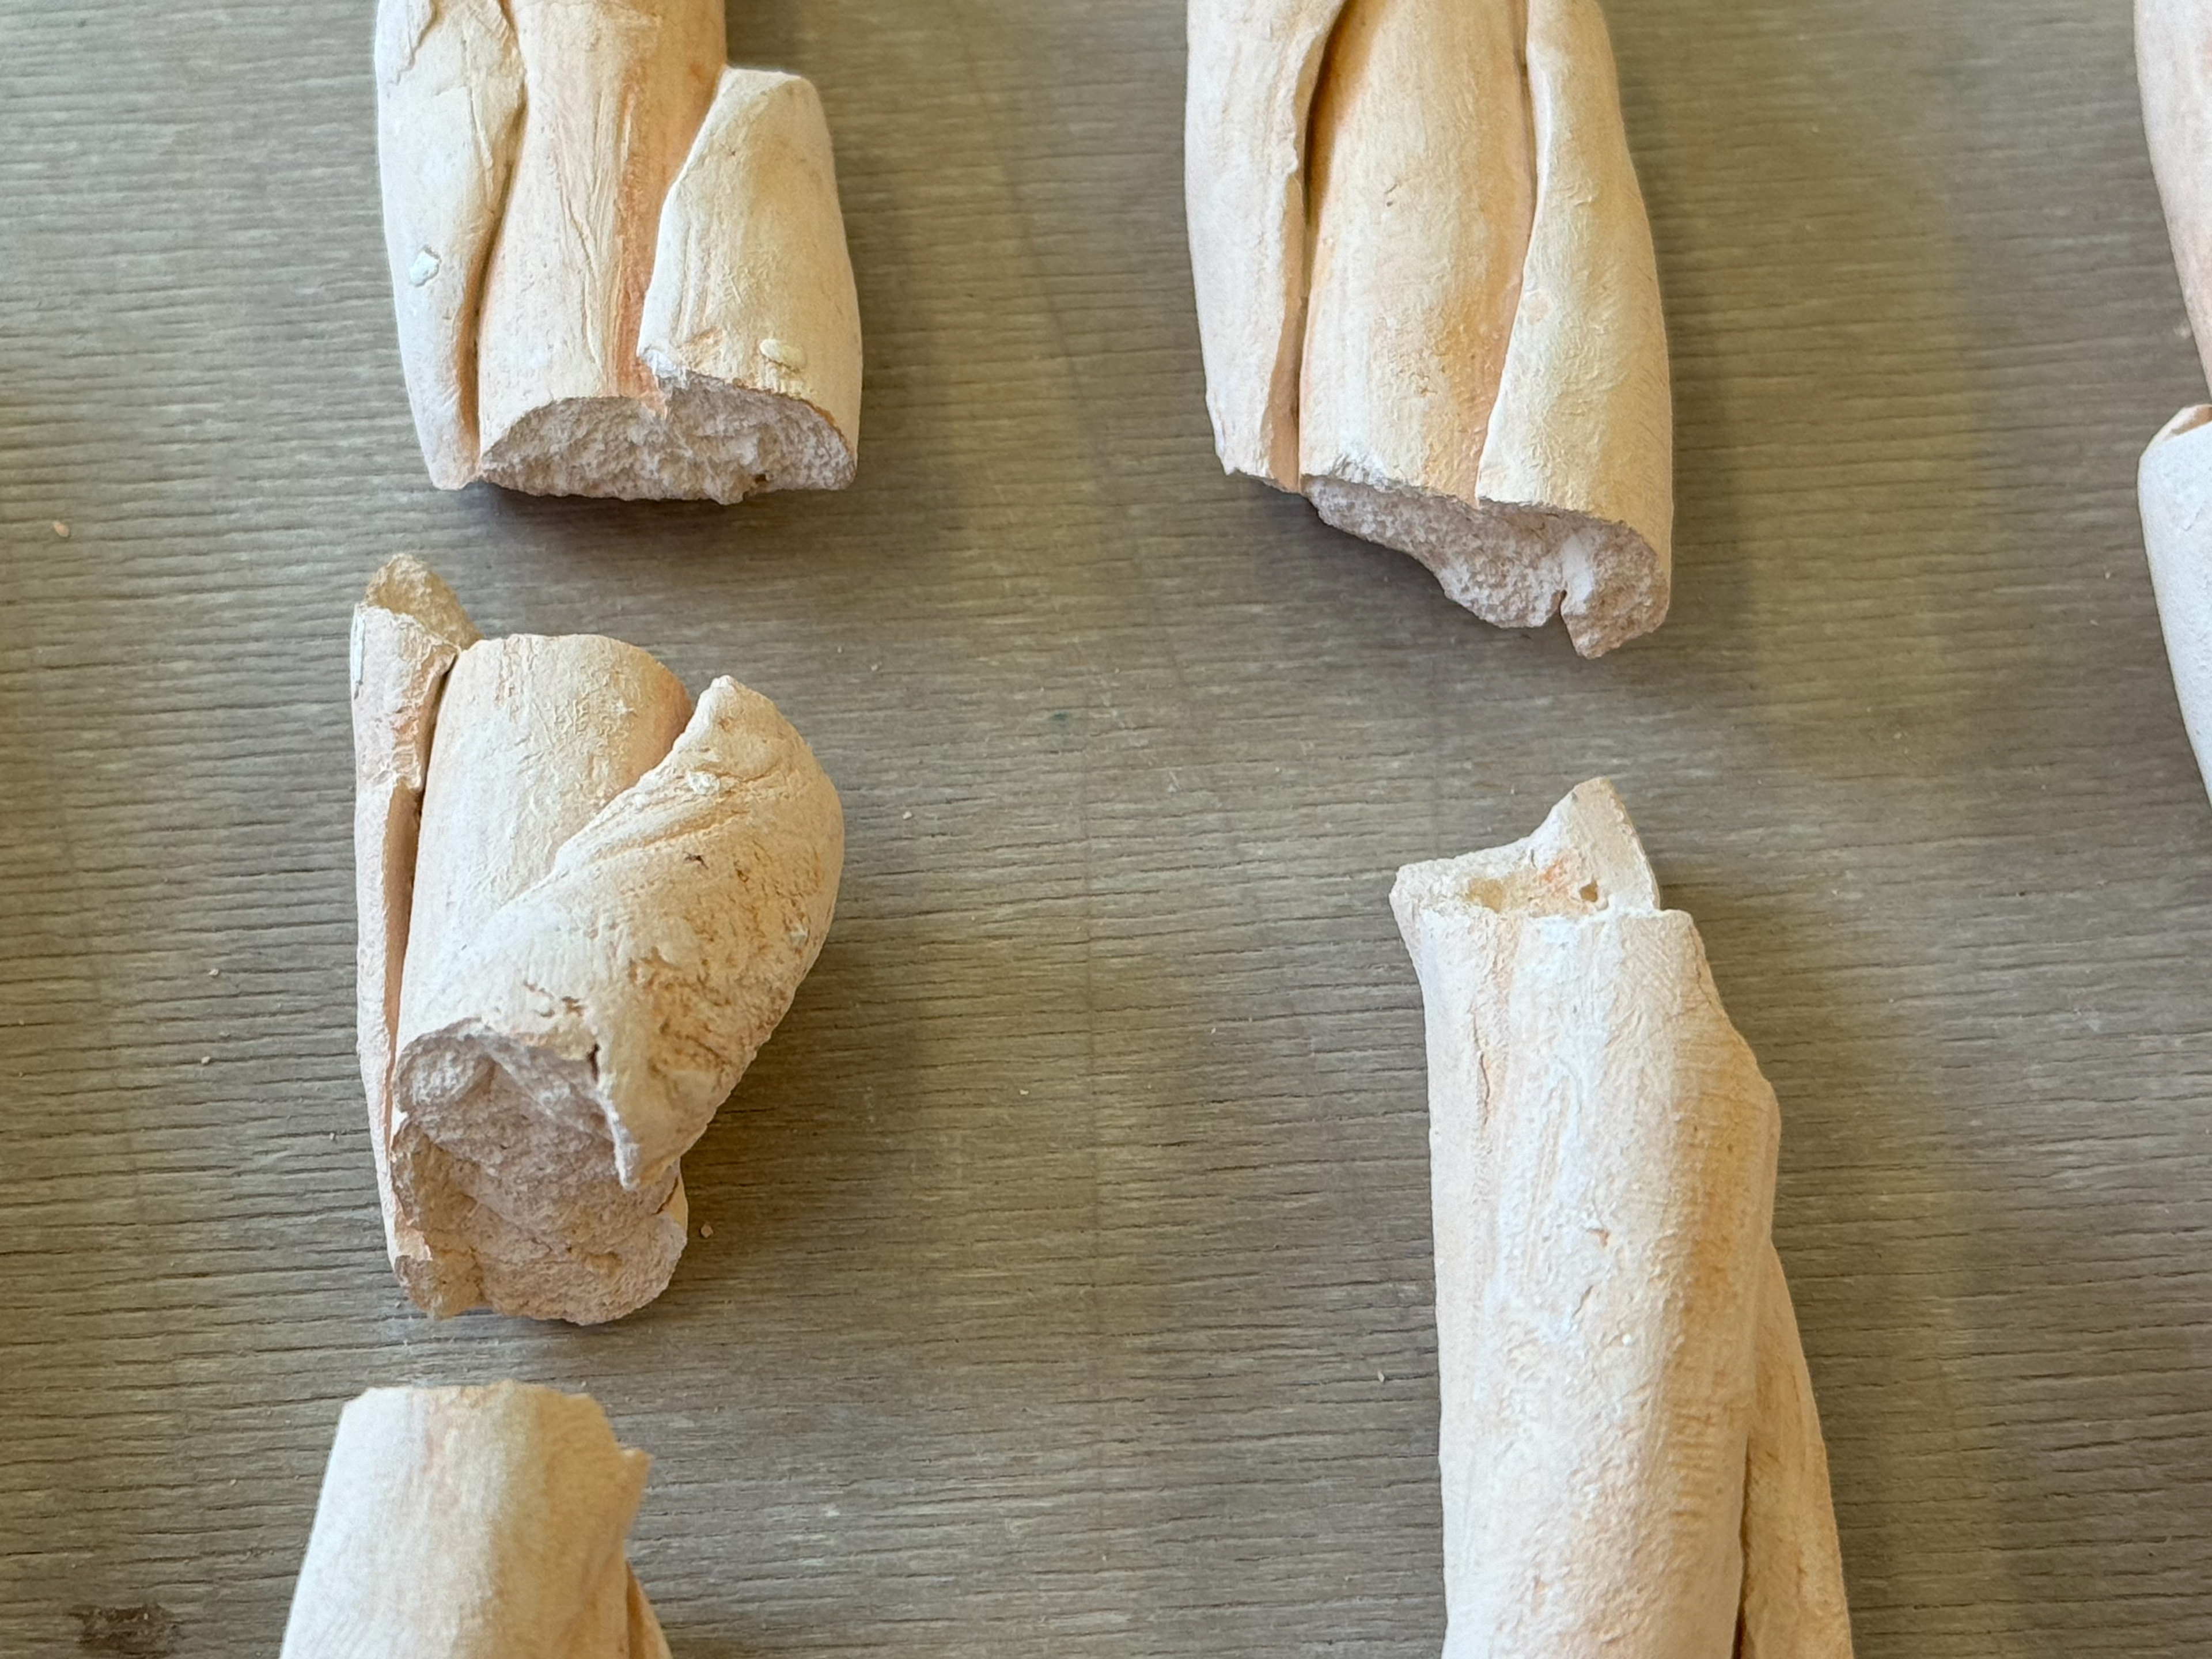
The twisted stacks
Close up of the joints
Aerial view
Fired piece broken
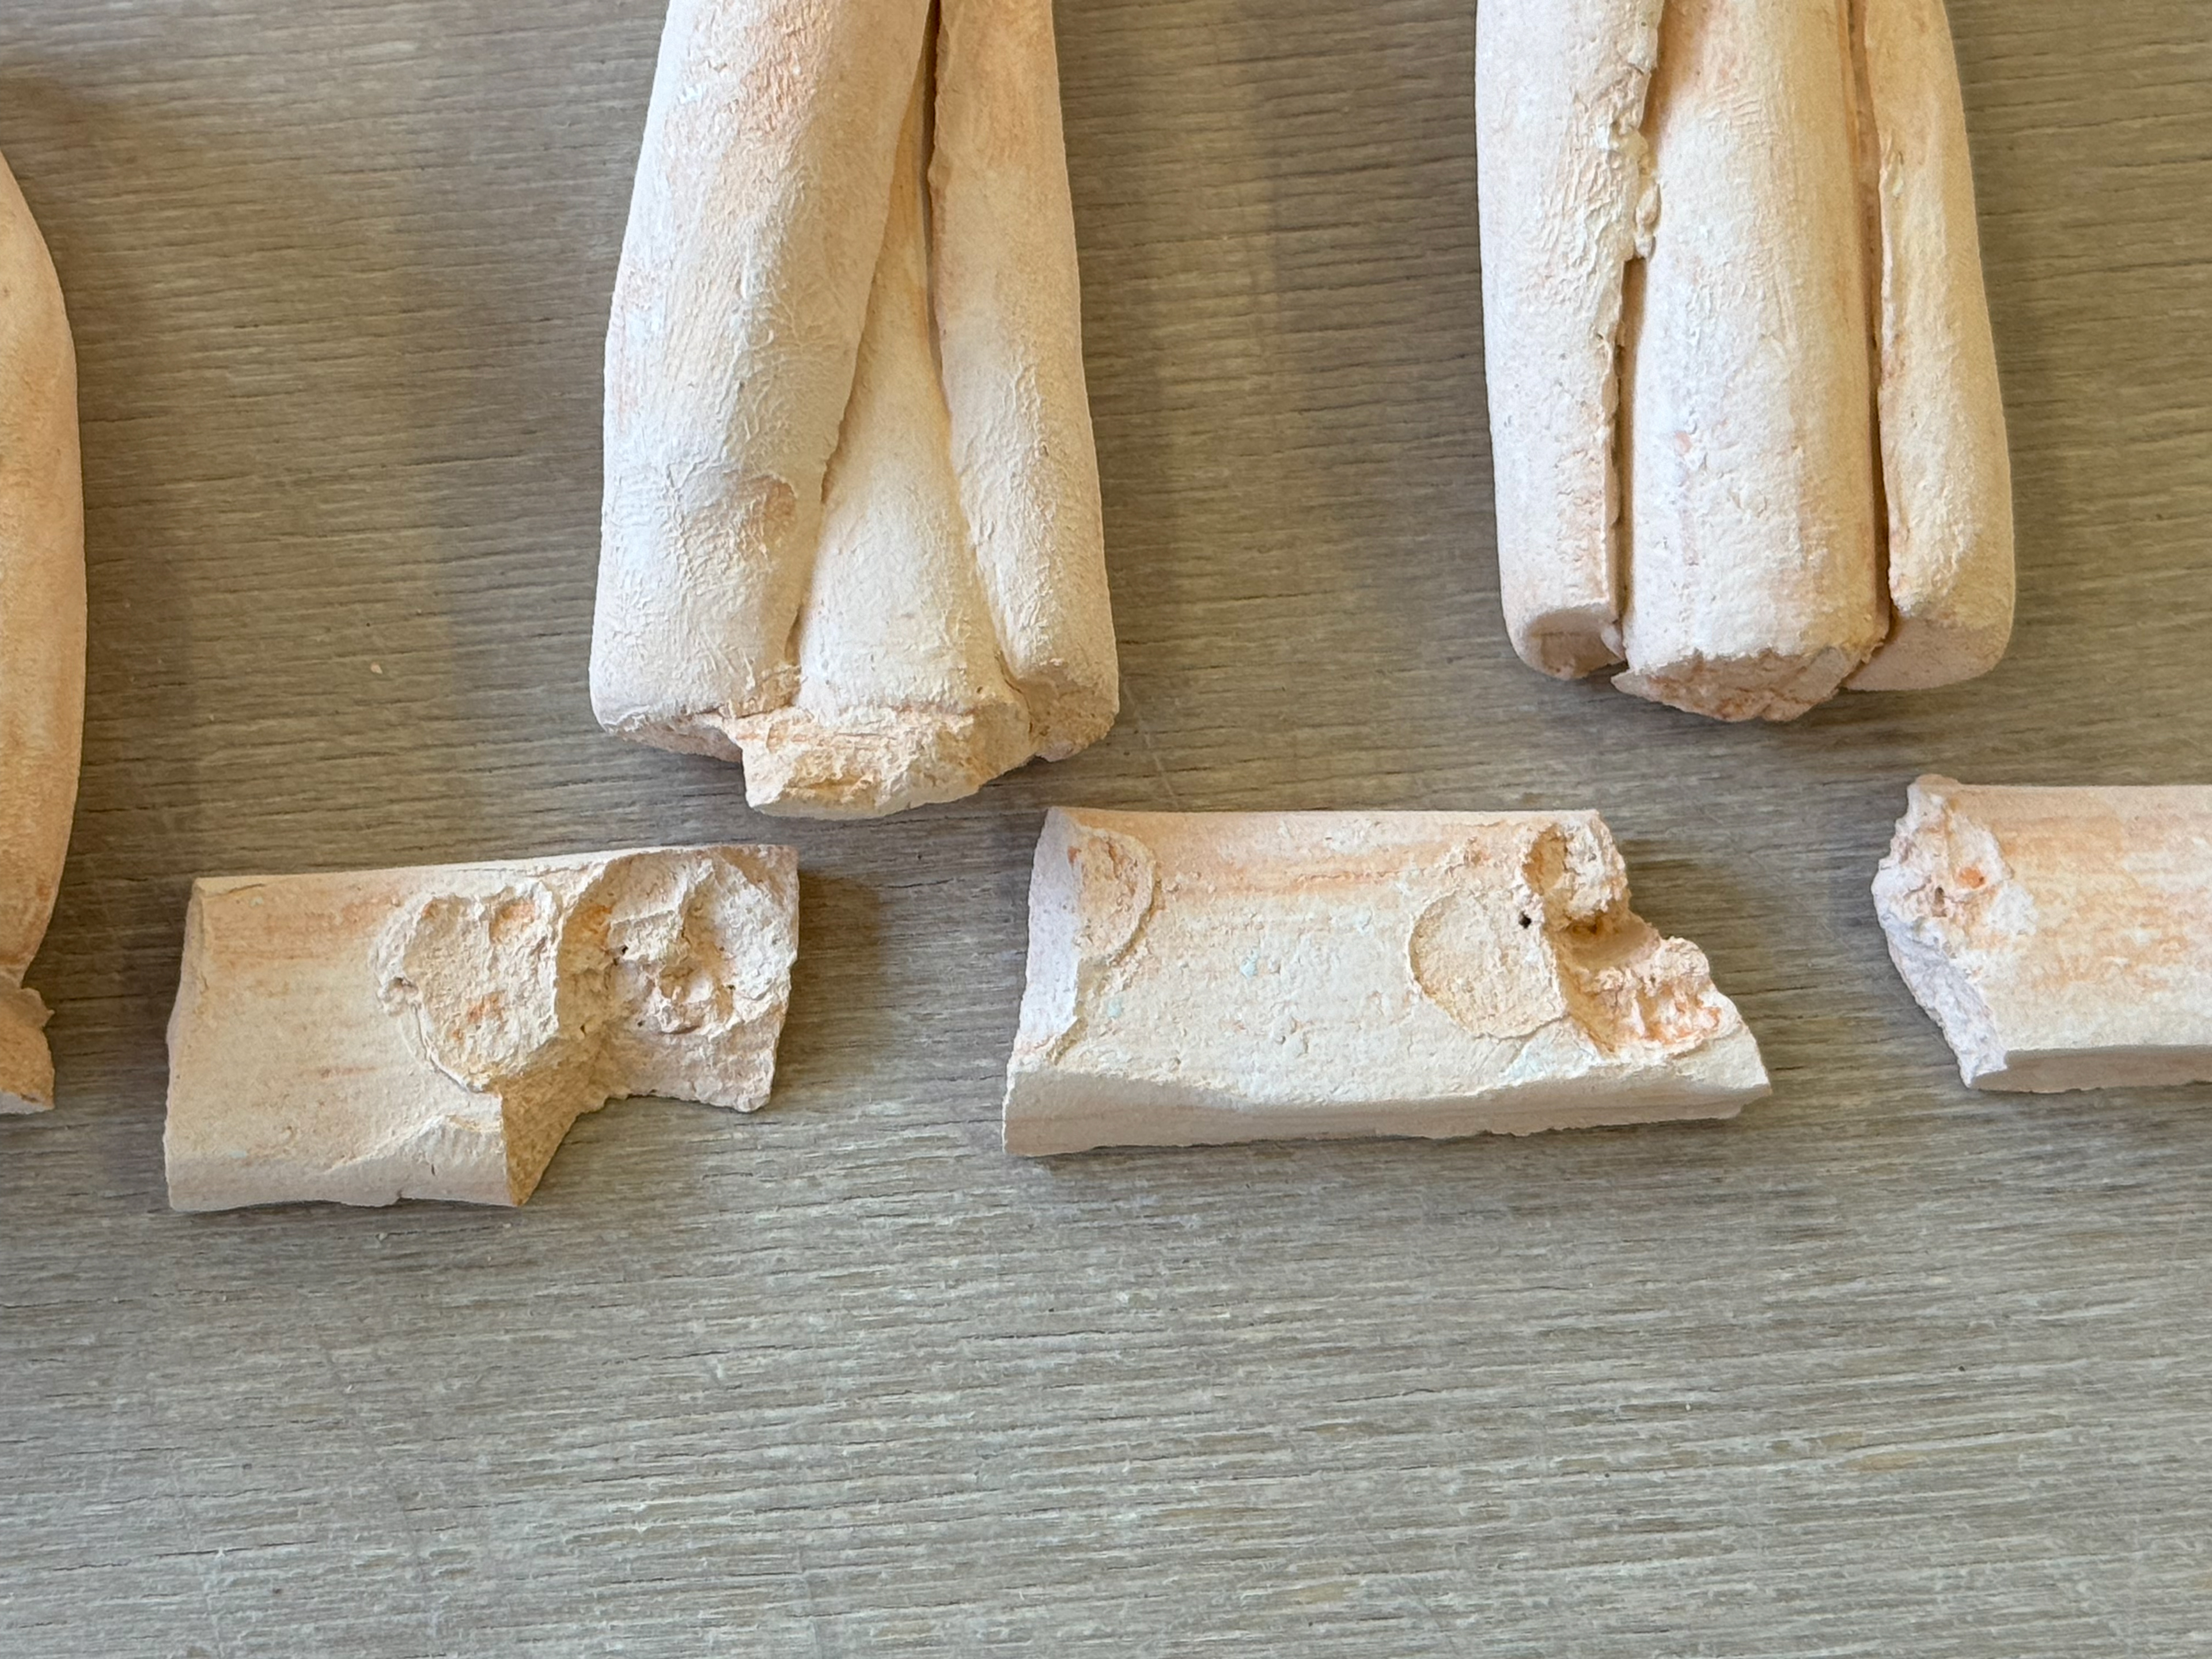
Cracked from the base
Cracked possibly when they fell from the base
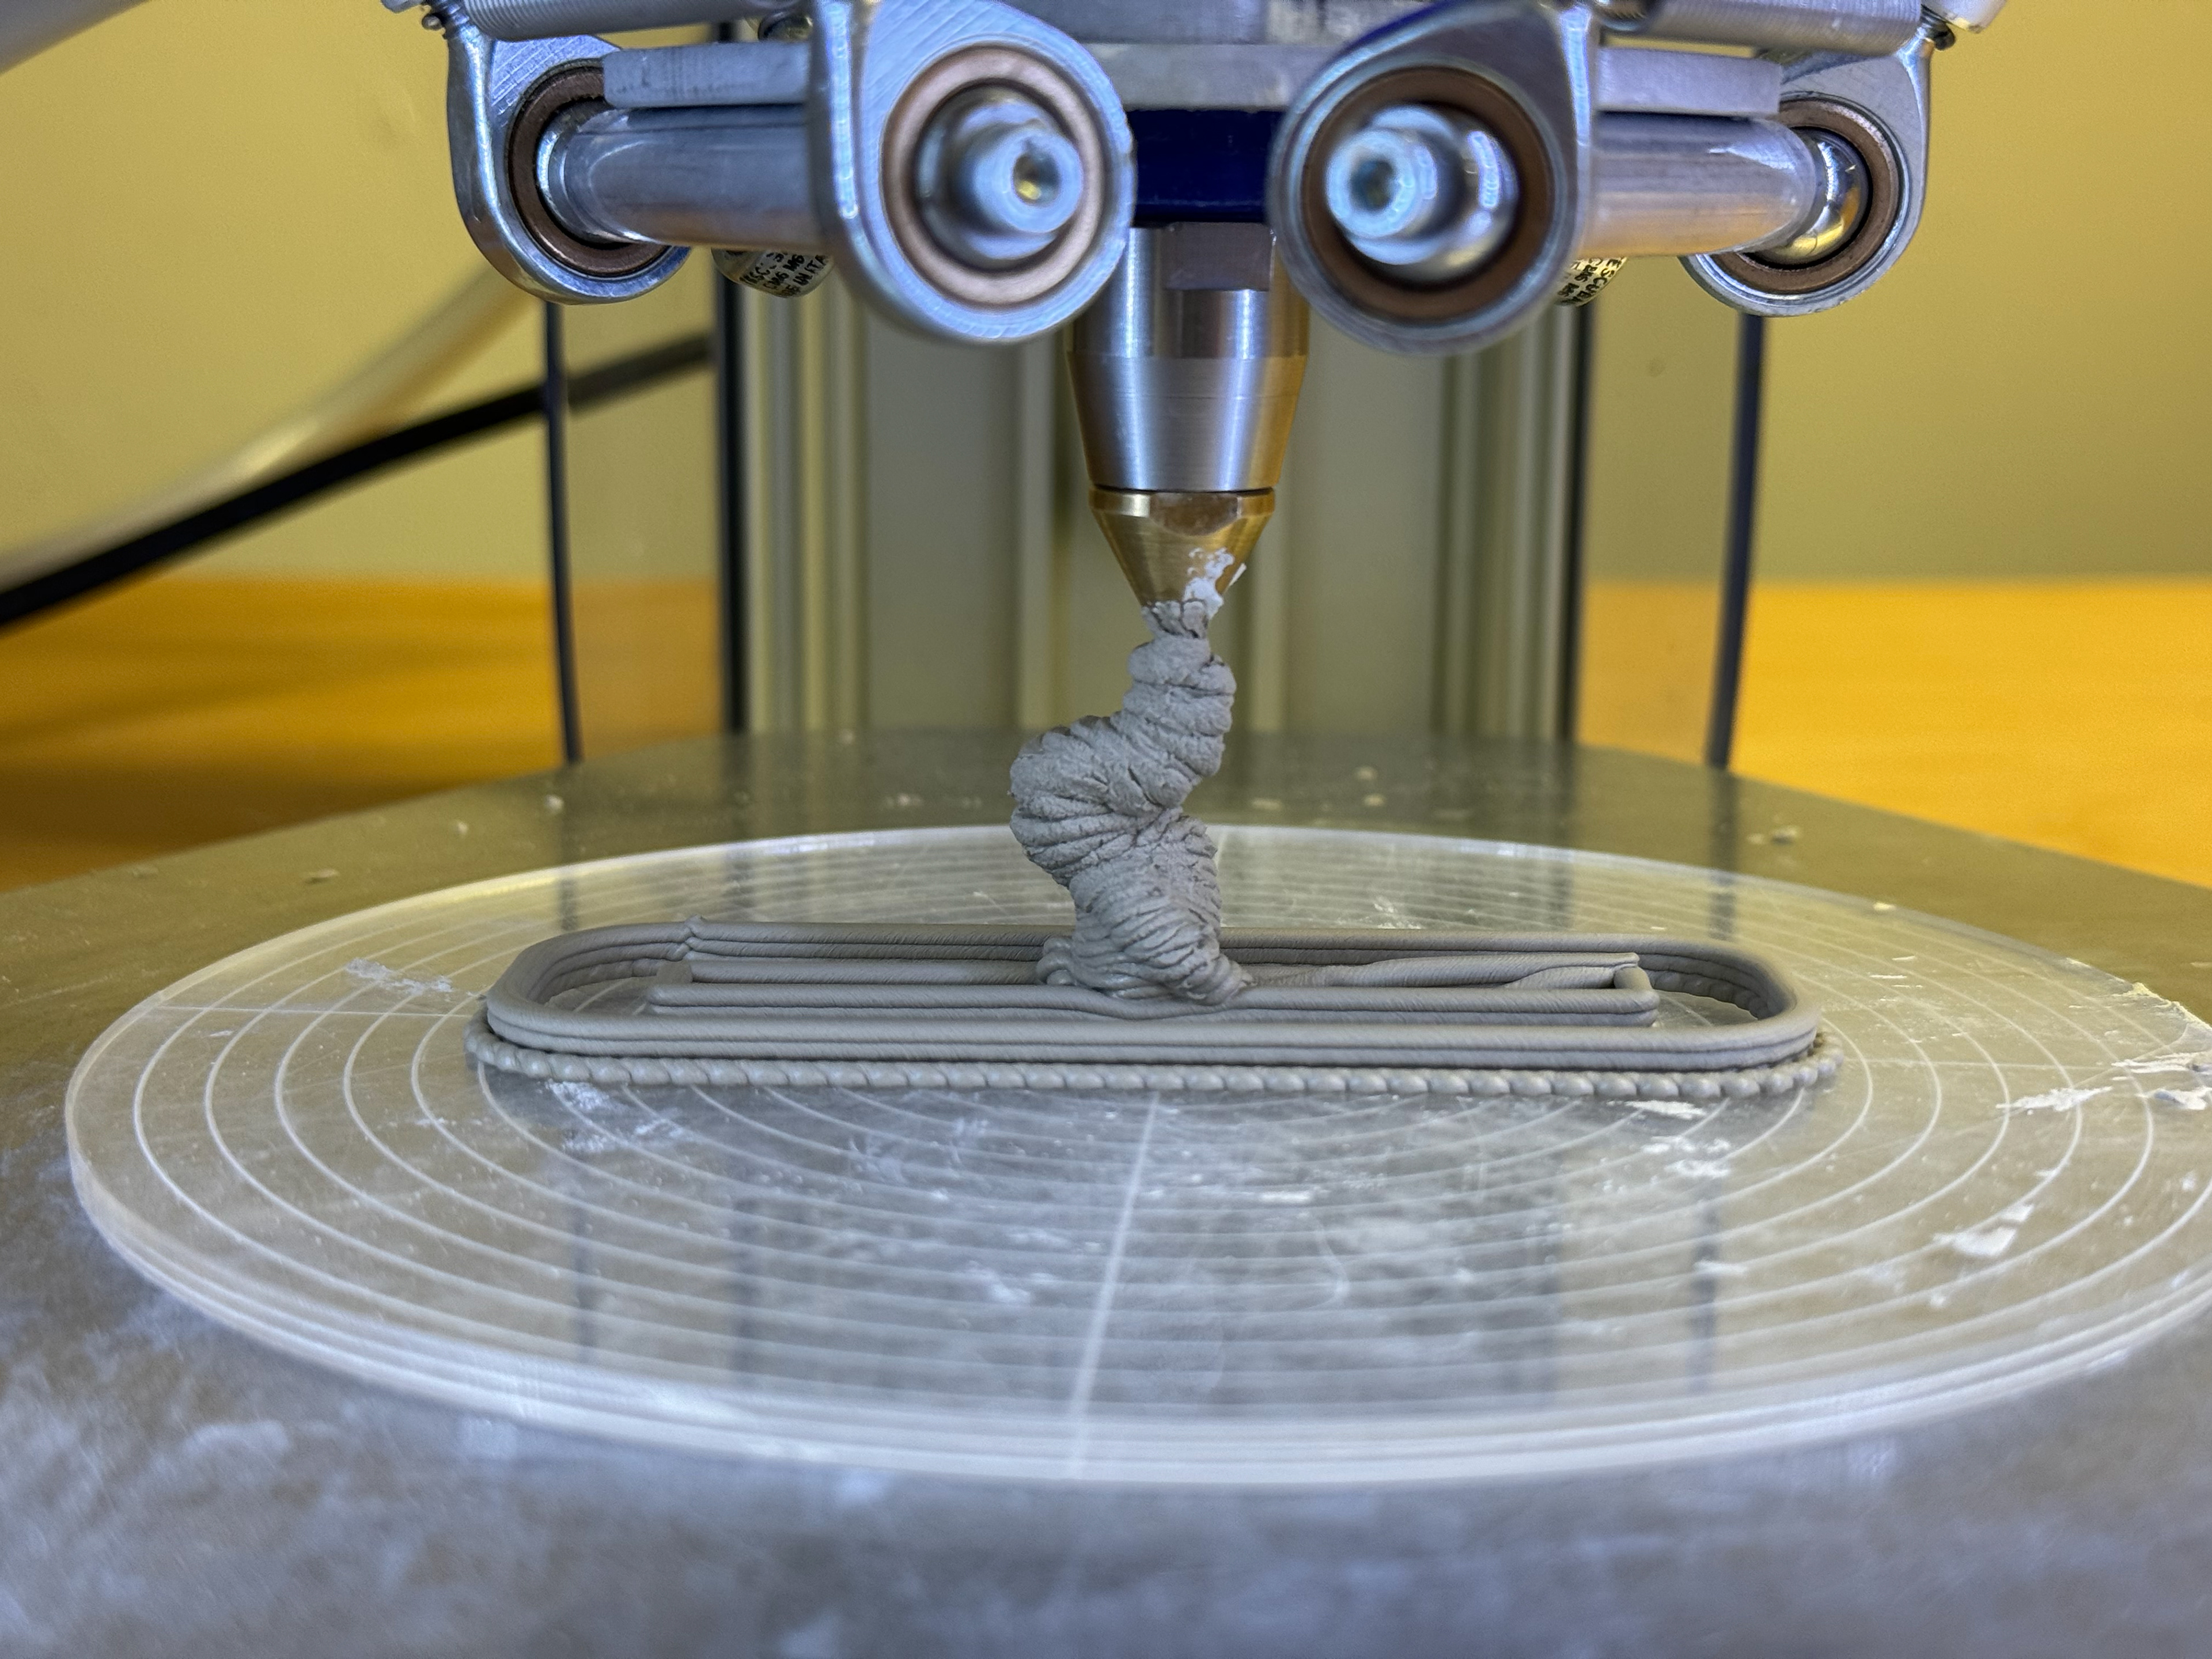
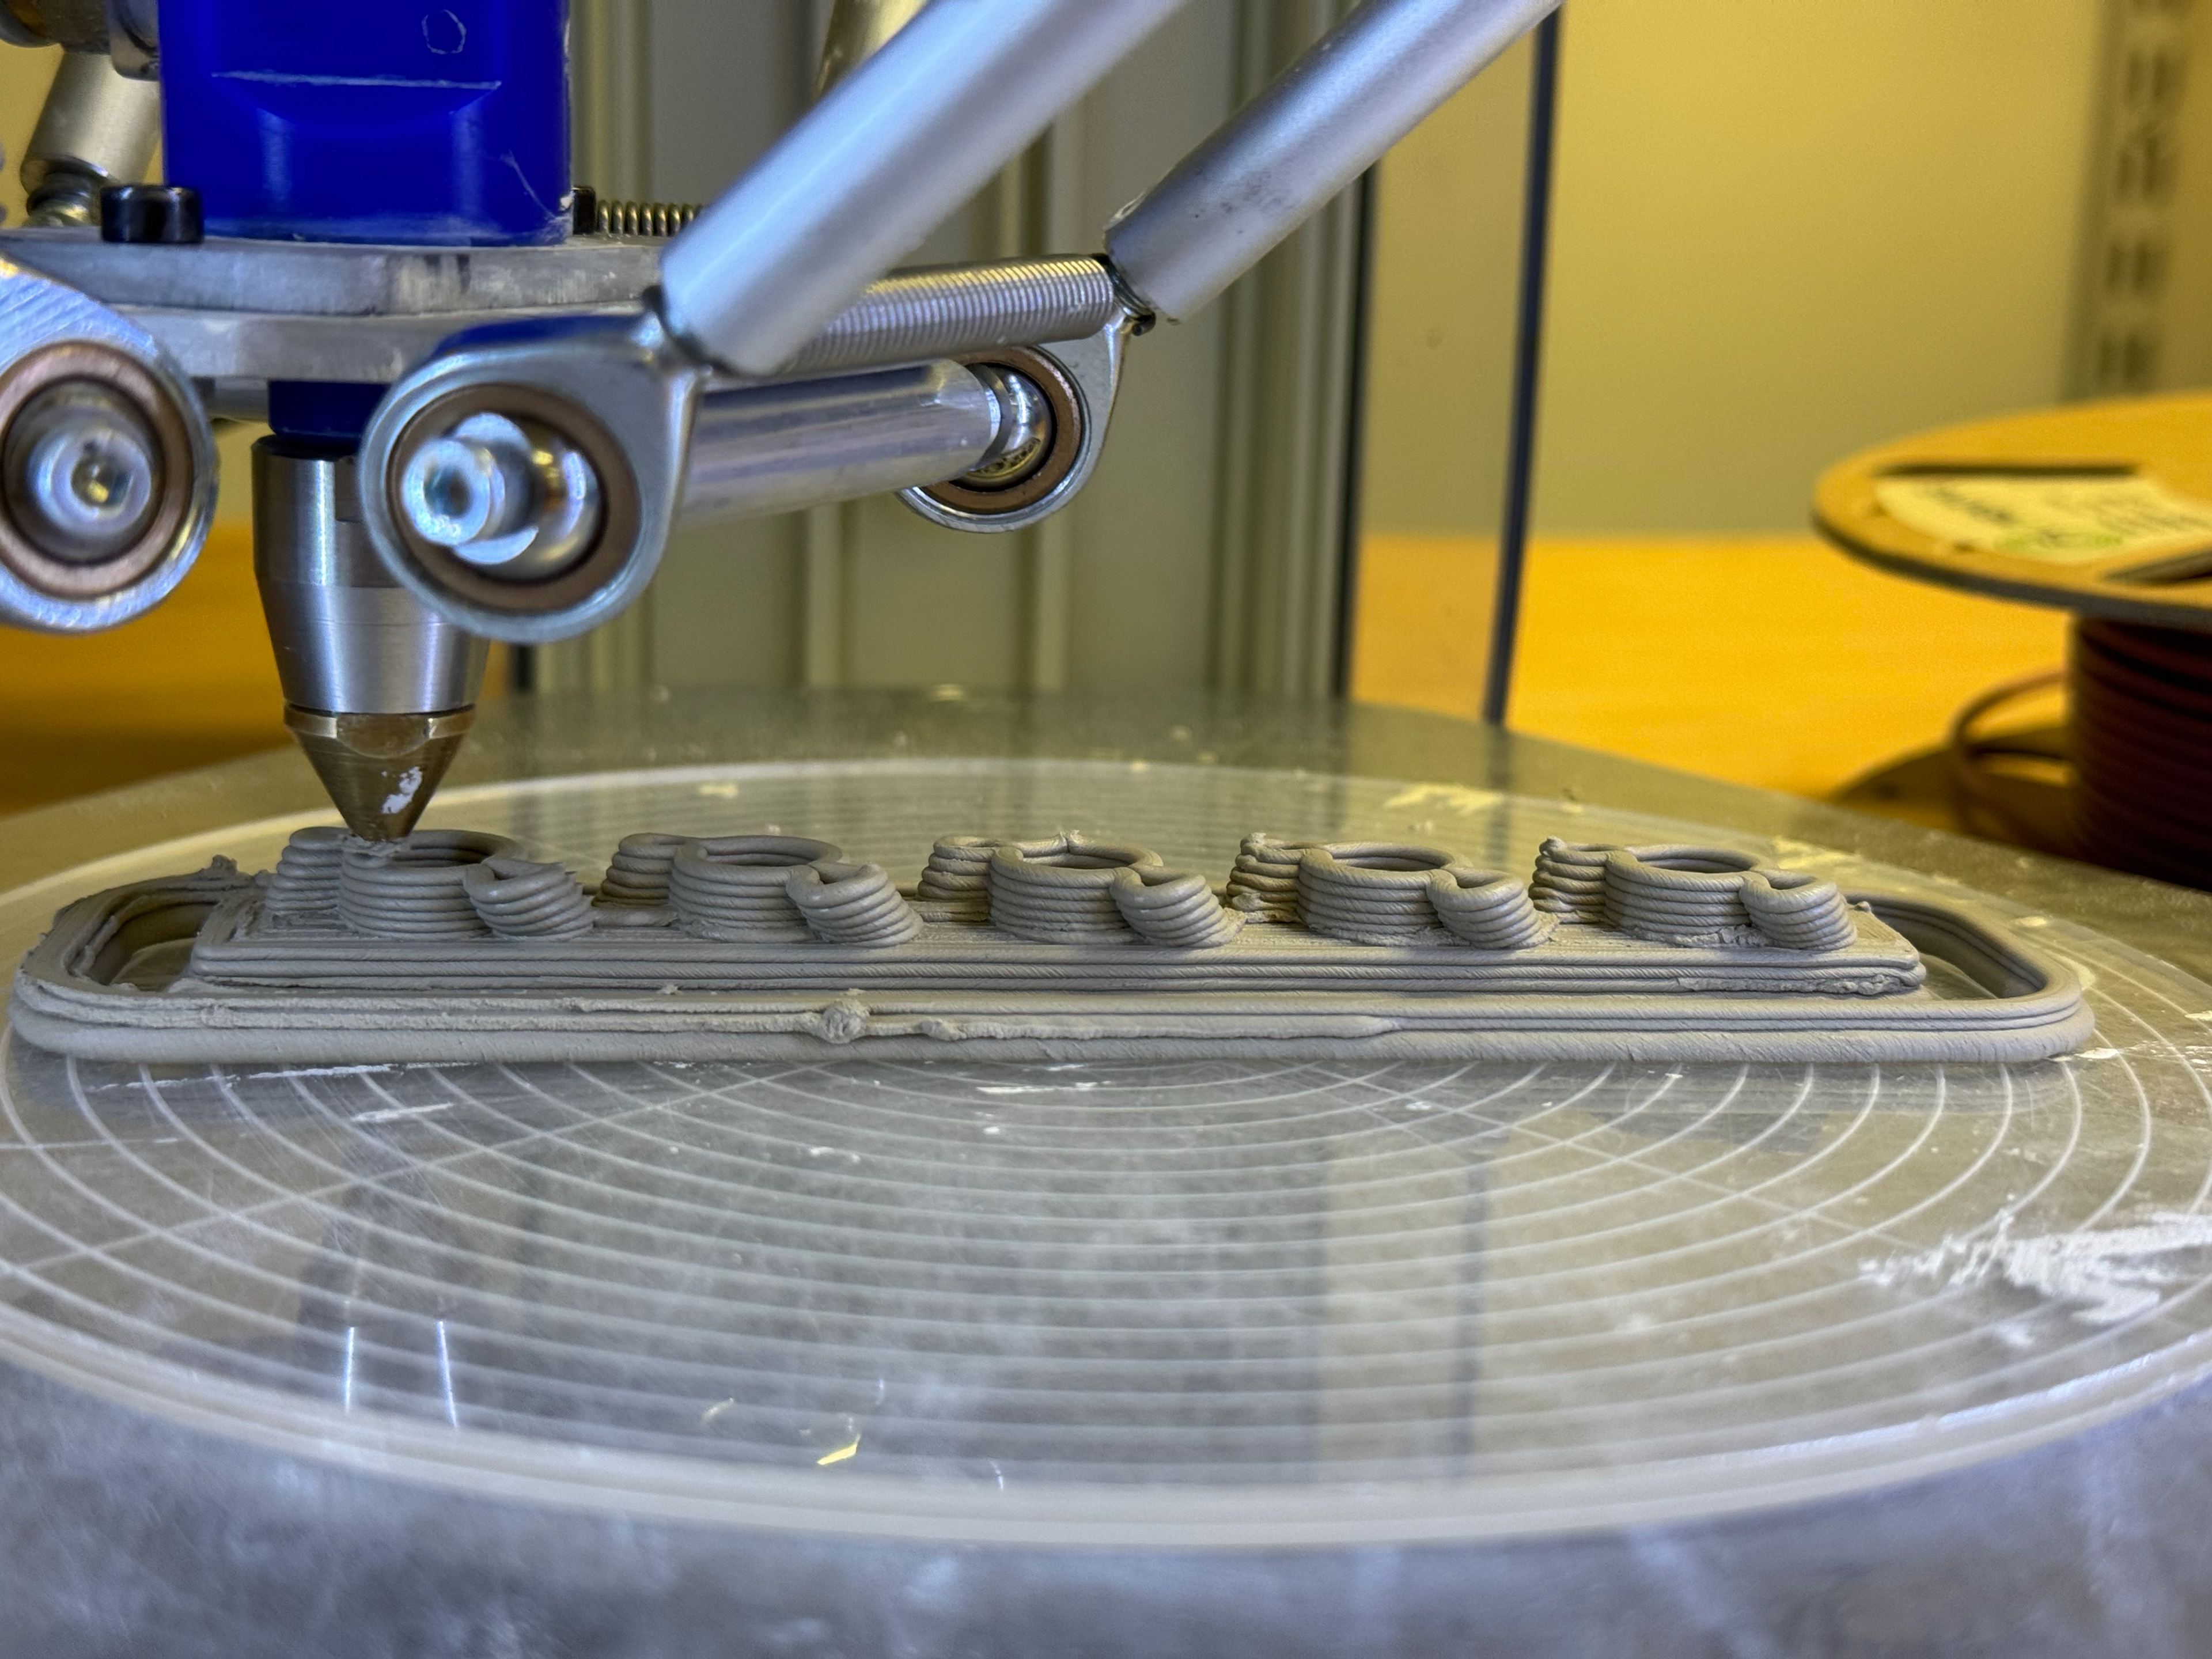
Attempt at 3D printing single stack:
This proved difficult due to the lack of fine tuning and speed:flow ratio. The stack was under constant force throughout the process and didn't have time to balance itself. After this I decided to go straight to the 5 stacks to help balance out the force.
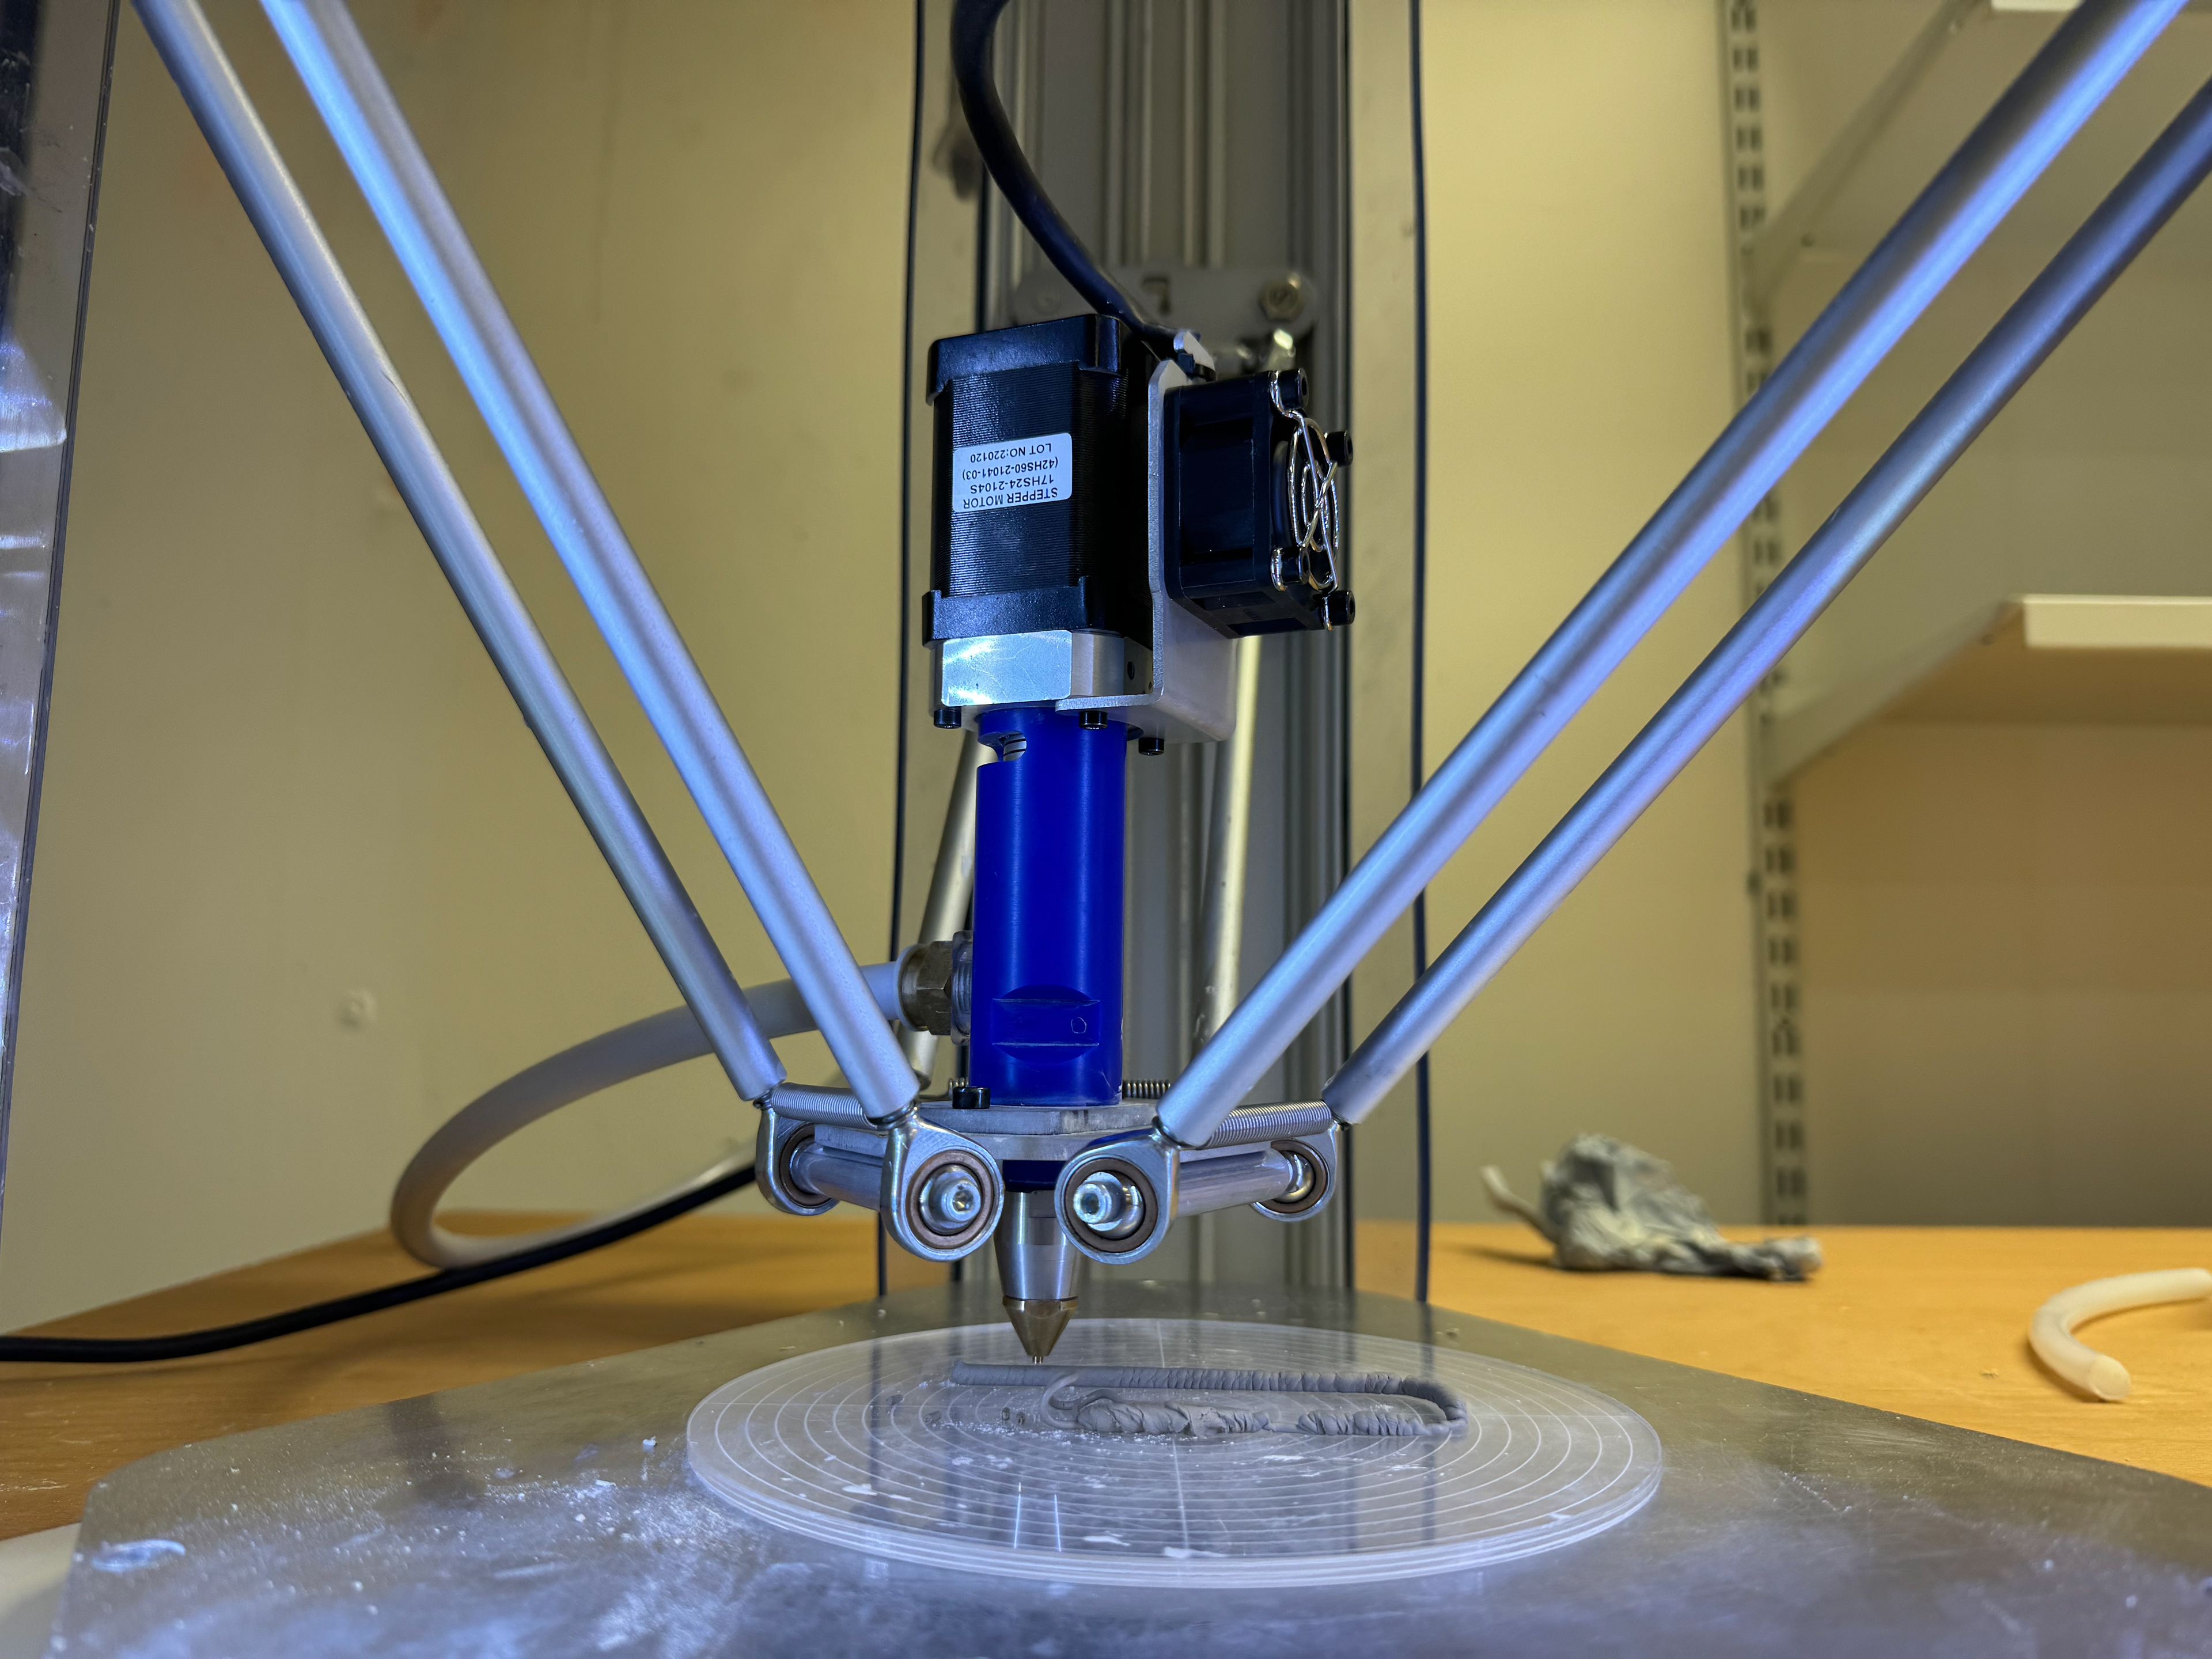
Printer extruder
Very thick single stack that started to move.
Stack collapsed under force very quickly on the second run
Second and first attempts.
Third attempt also ended in failure.
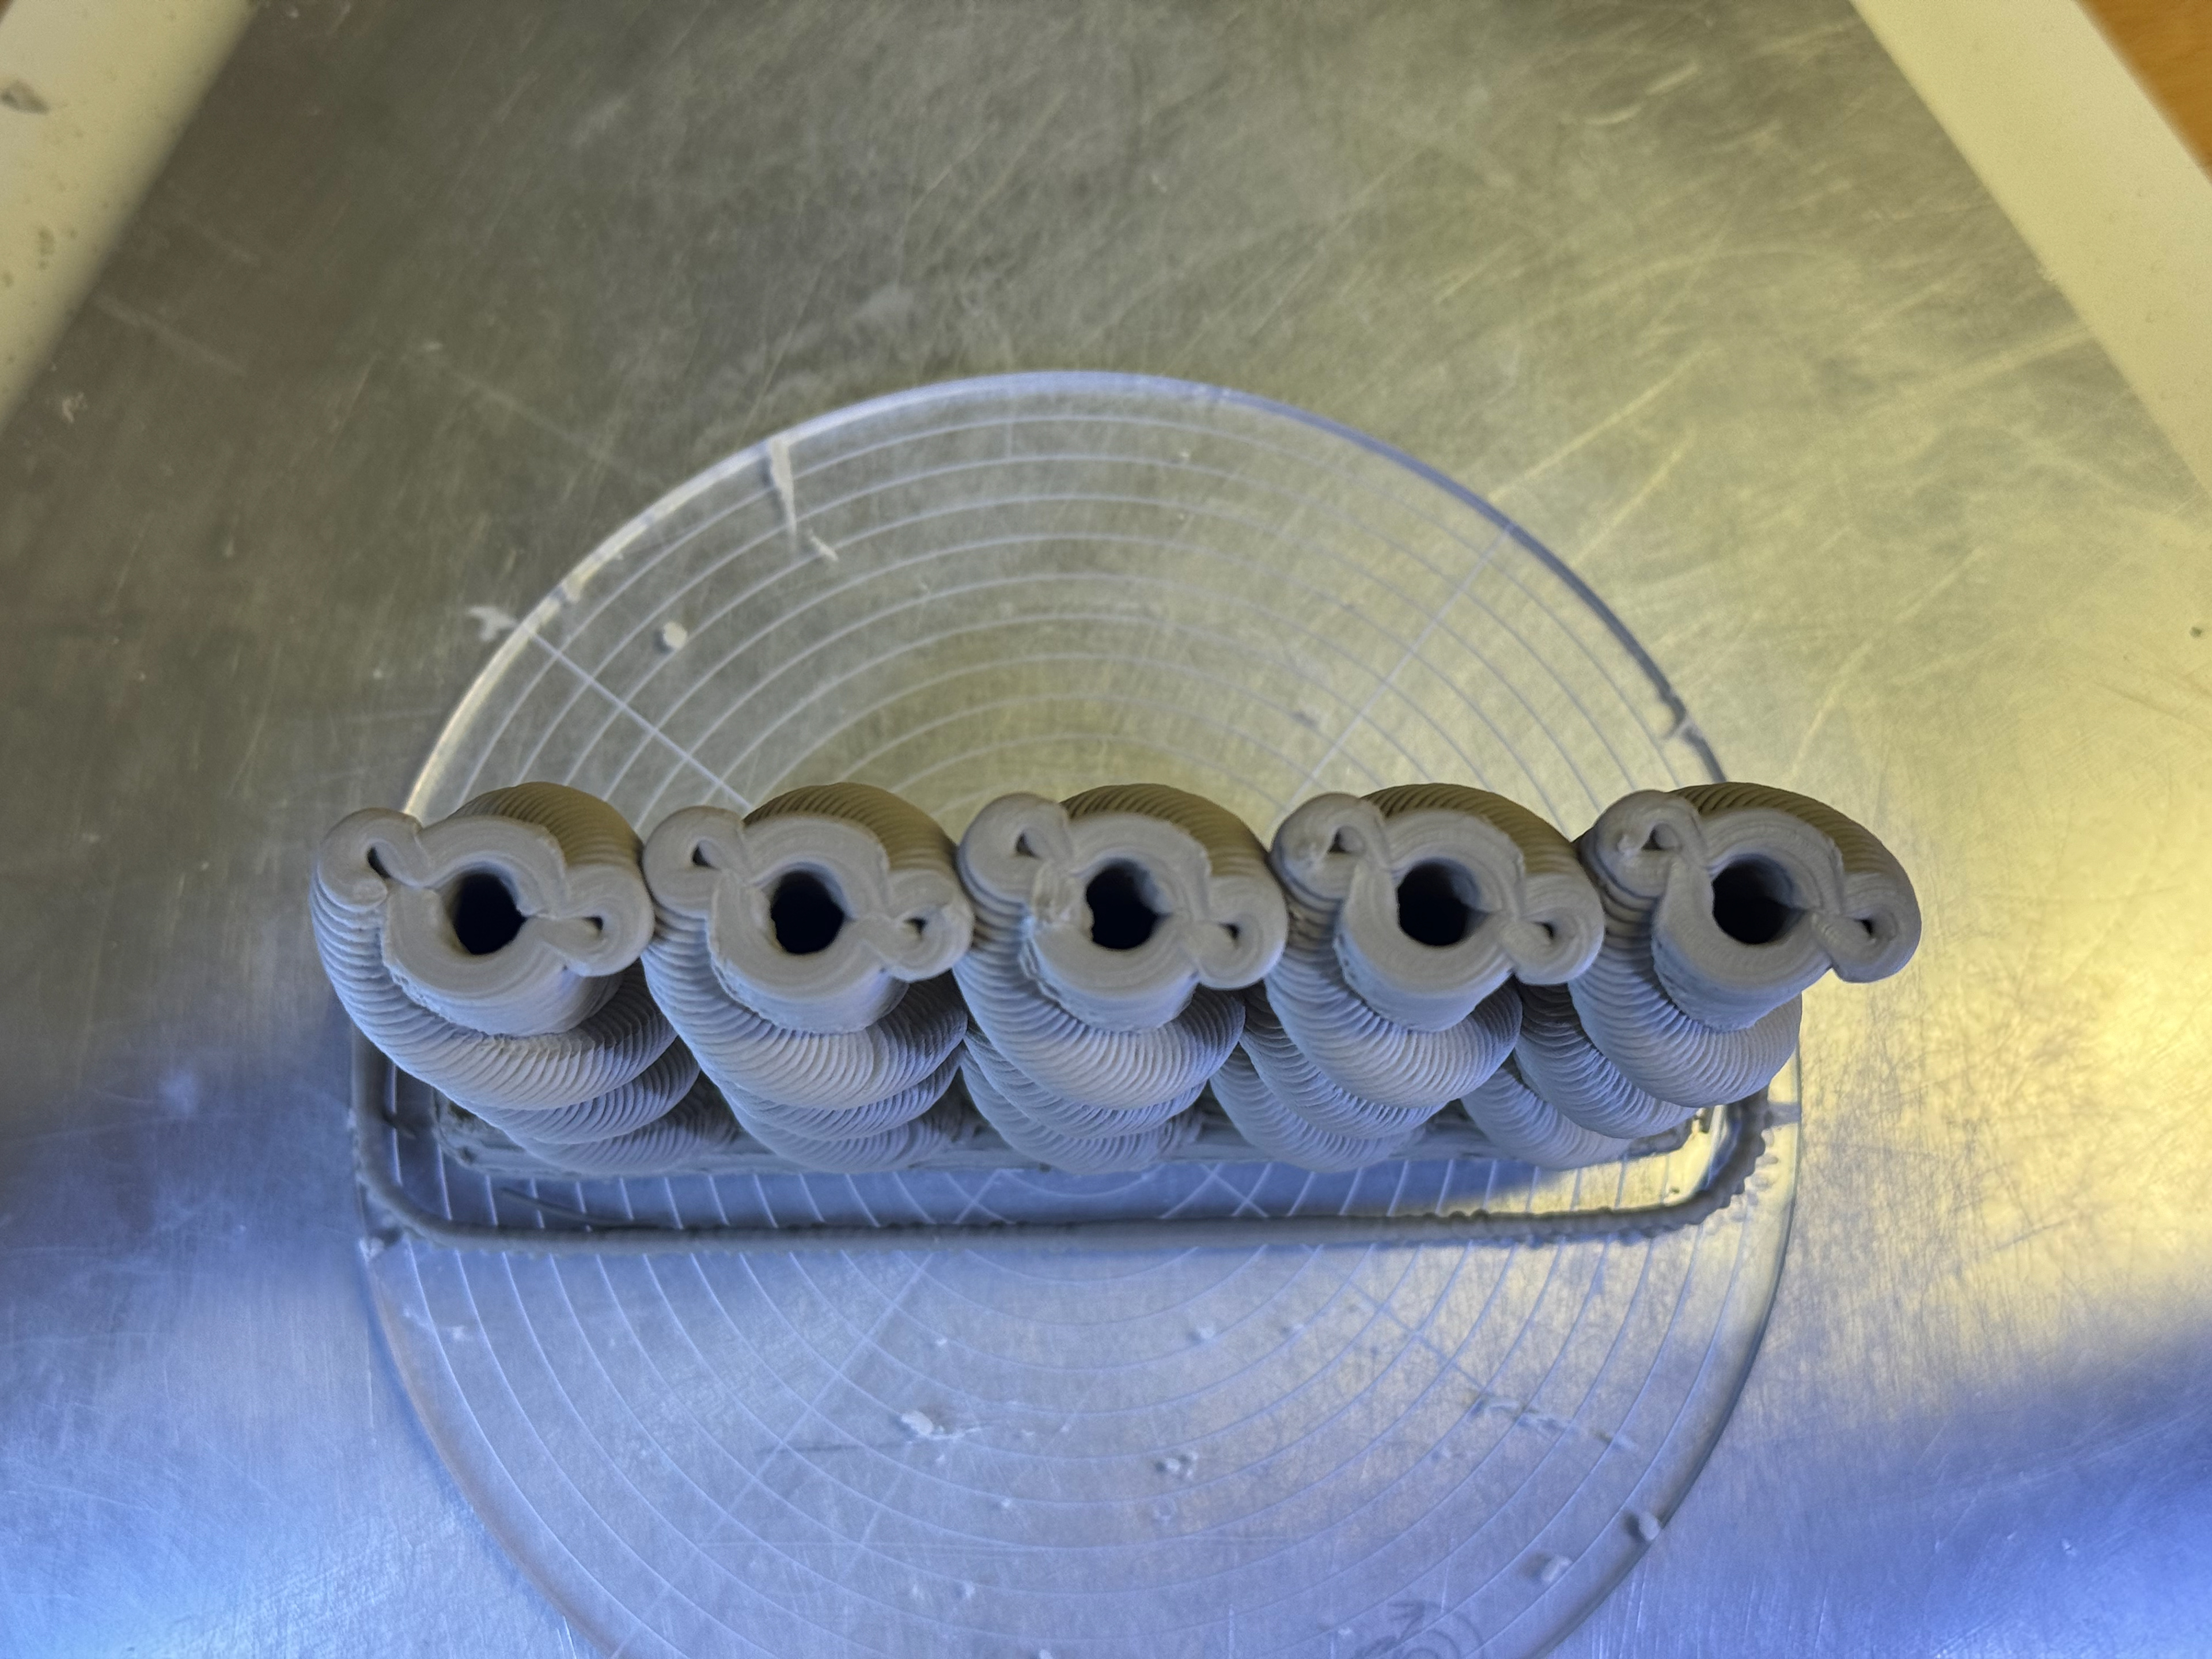
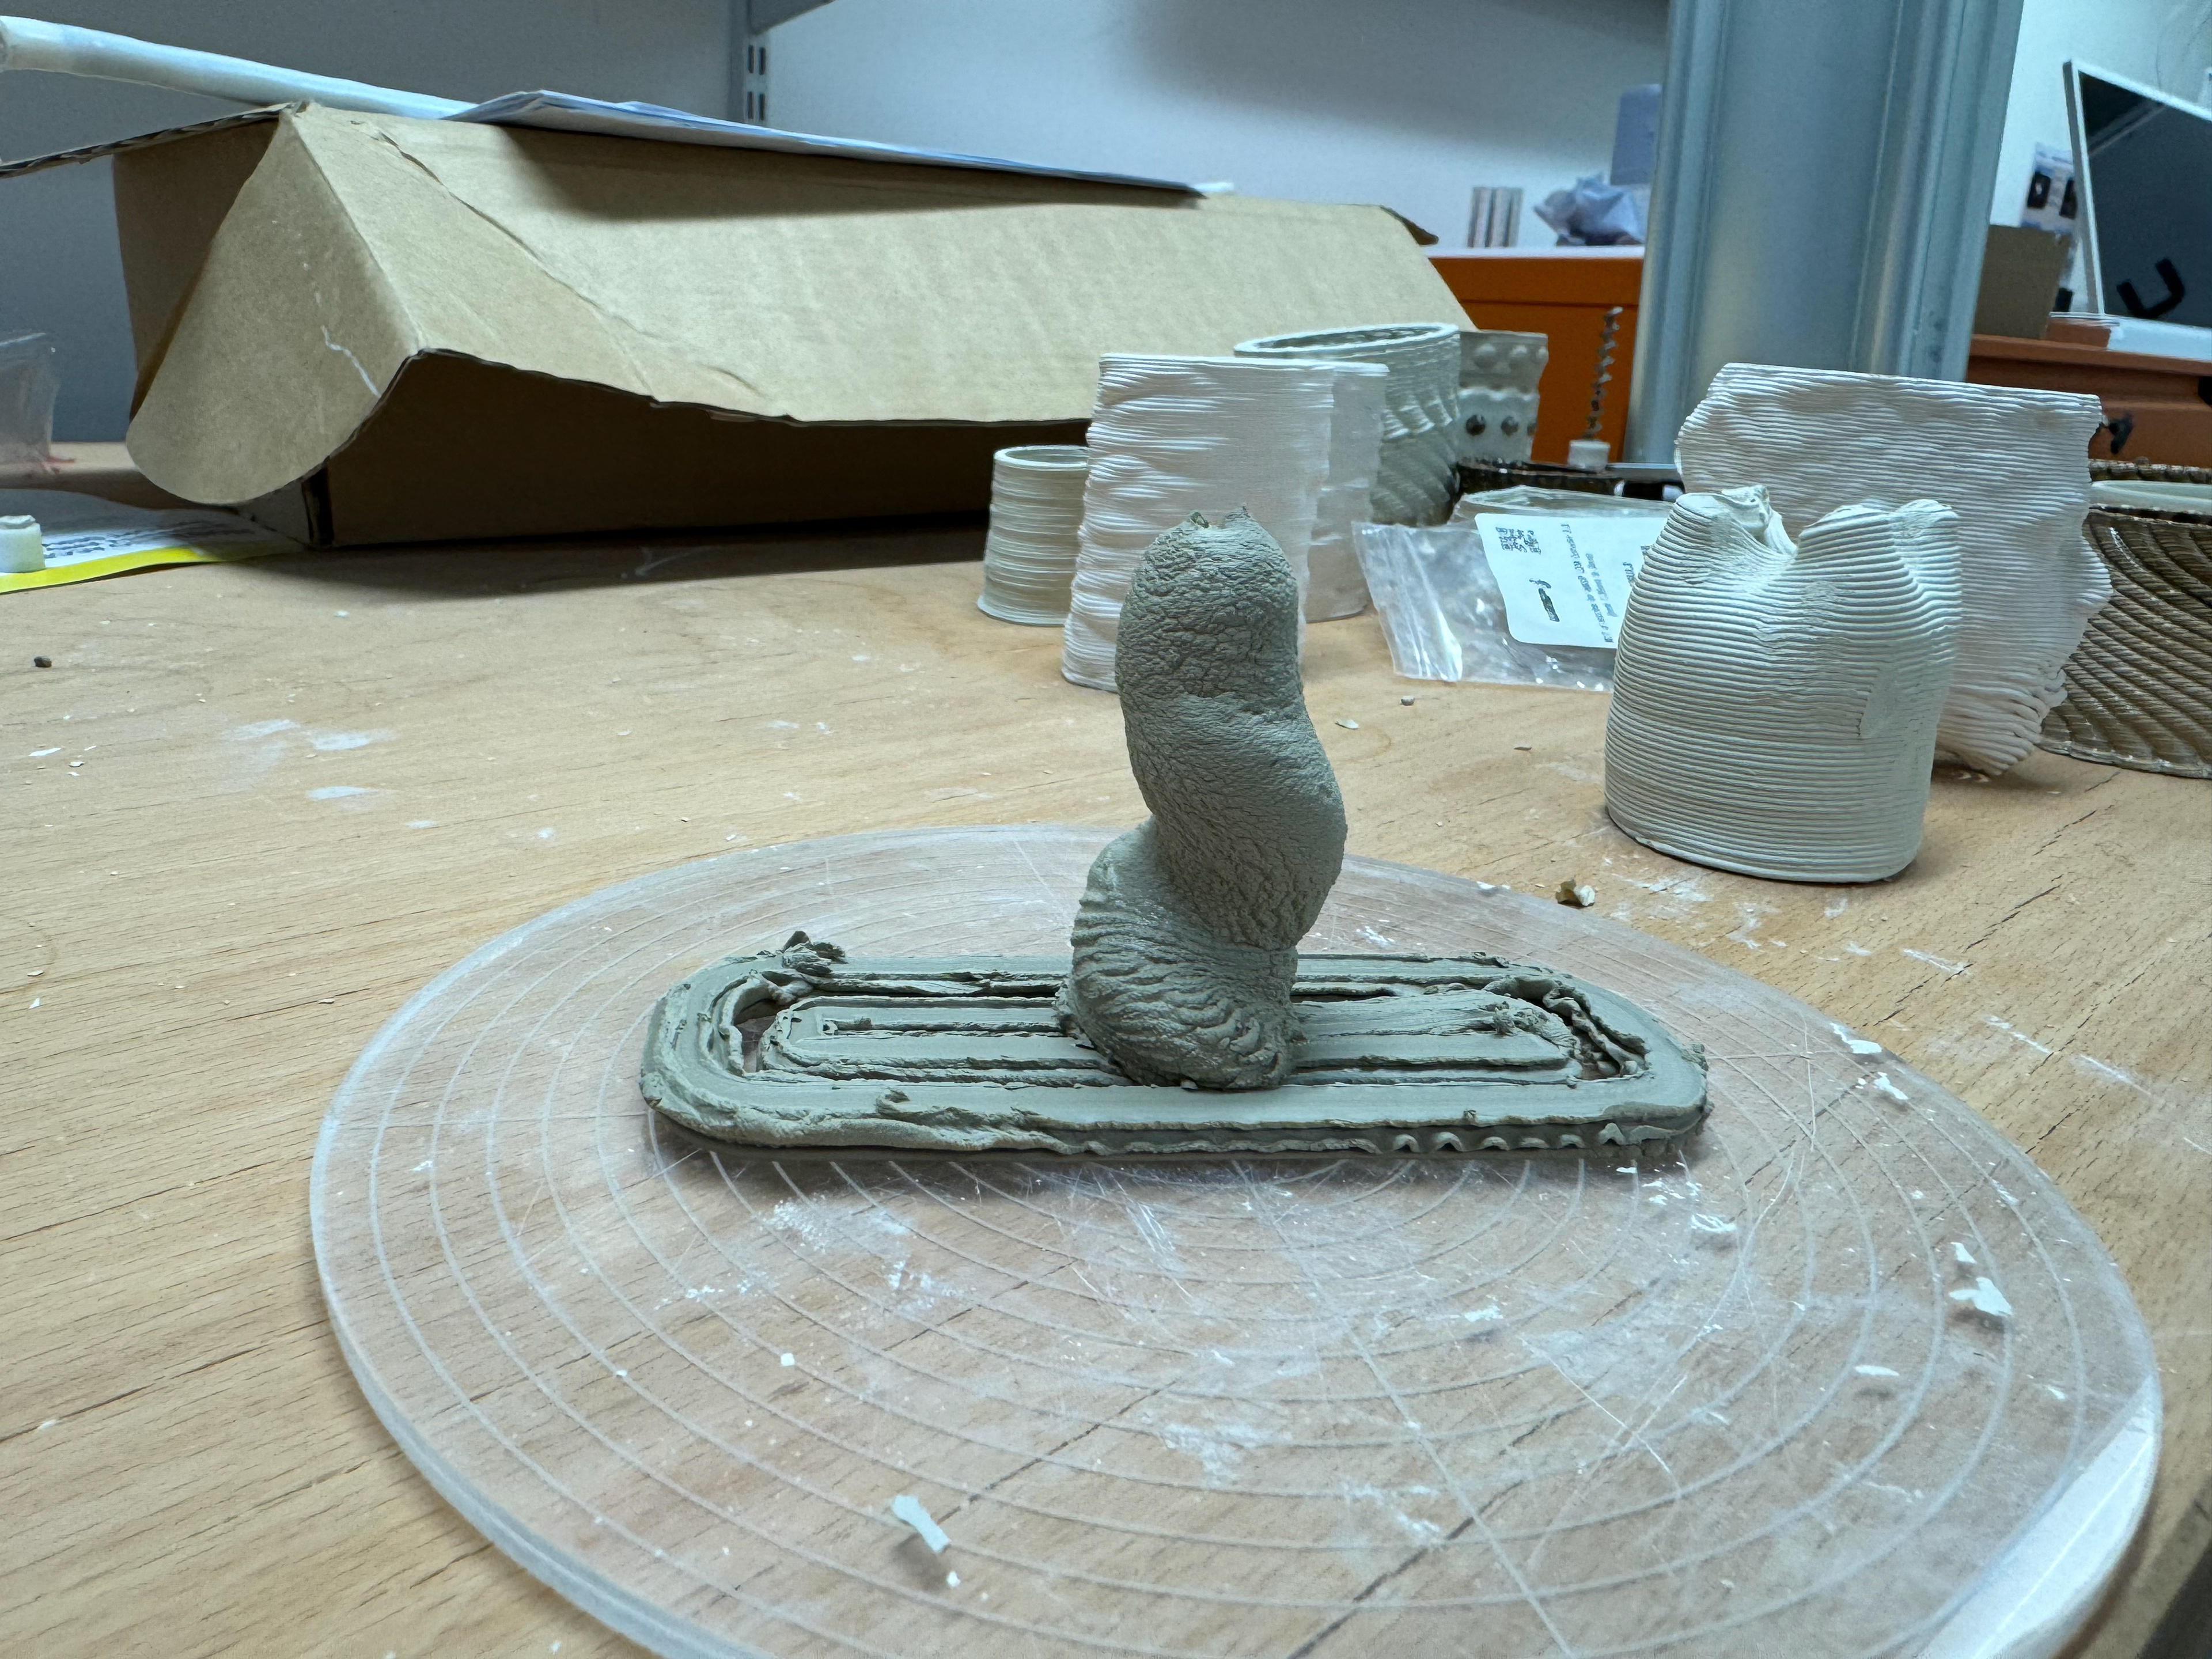
The stack at 75%:
I decided to scale down the stack for my fine tuning process to reduce the waste of the material. This was much more successful but once again my flow:speed ratio was wrong but I decided to let it continue and see the end result. It created a nice pattern that still is related to the brief and if not is more appropriate. It shows the slow decay of nature (the spirals) around the finger stacks, implying that nature is dying around humans. However, I was not prepared to give up and compromise.
Running at a high speed and low flow
Starts to fail at the top
Continues to fail
Dired pences looks cool but not as desired
Cracked at the base
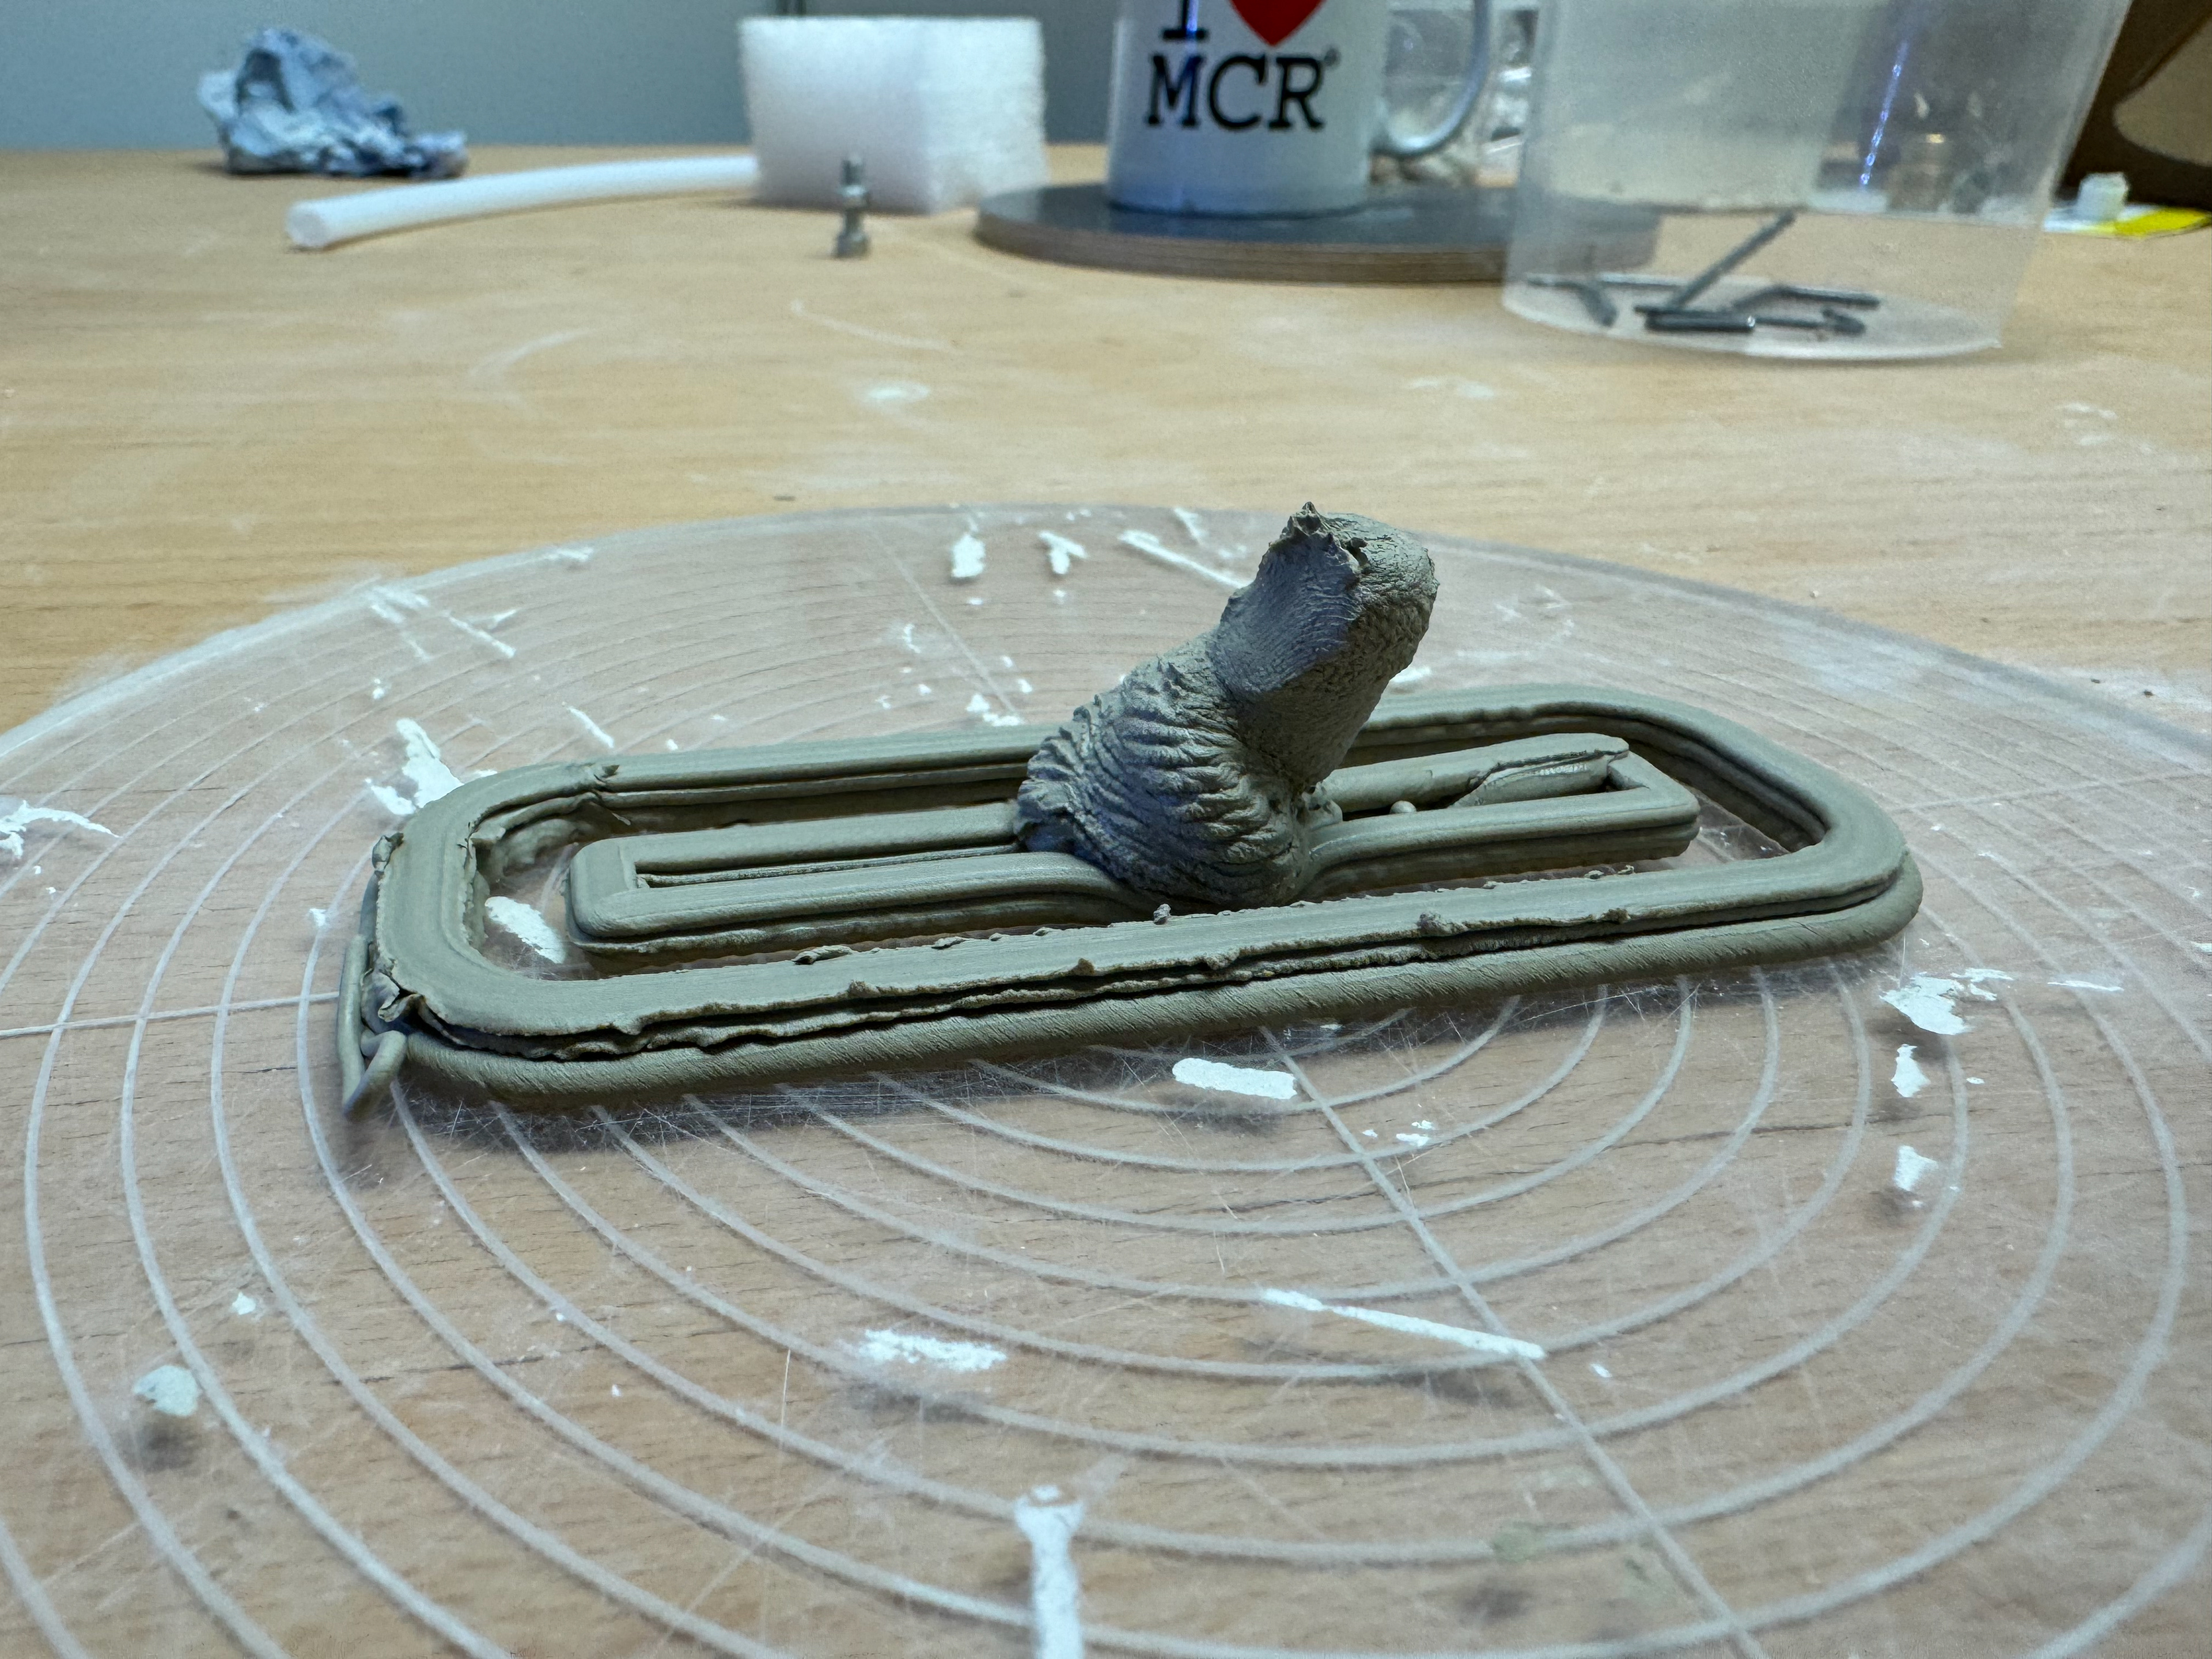
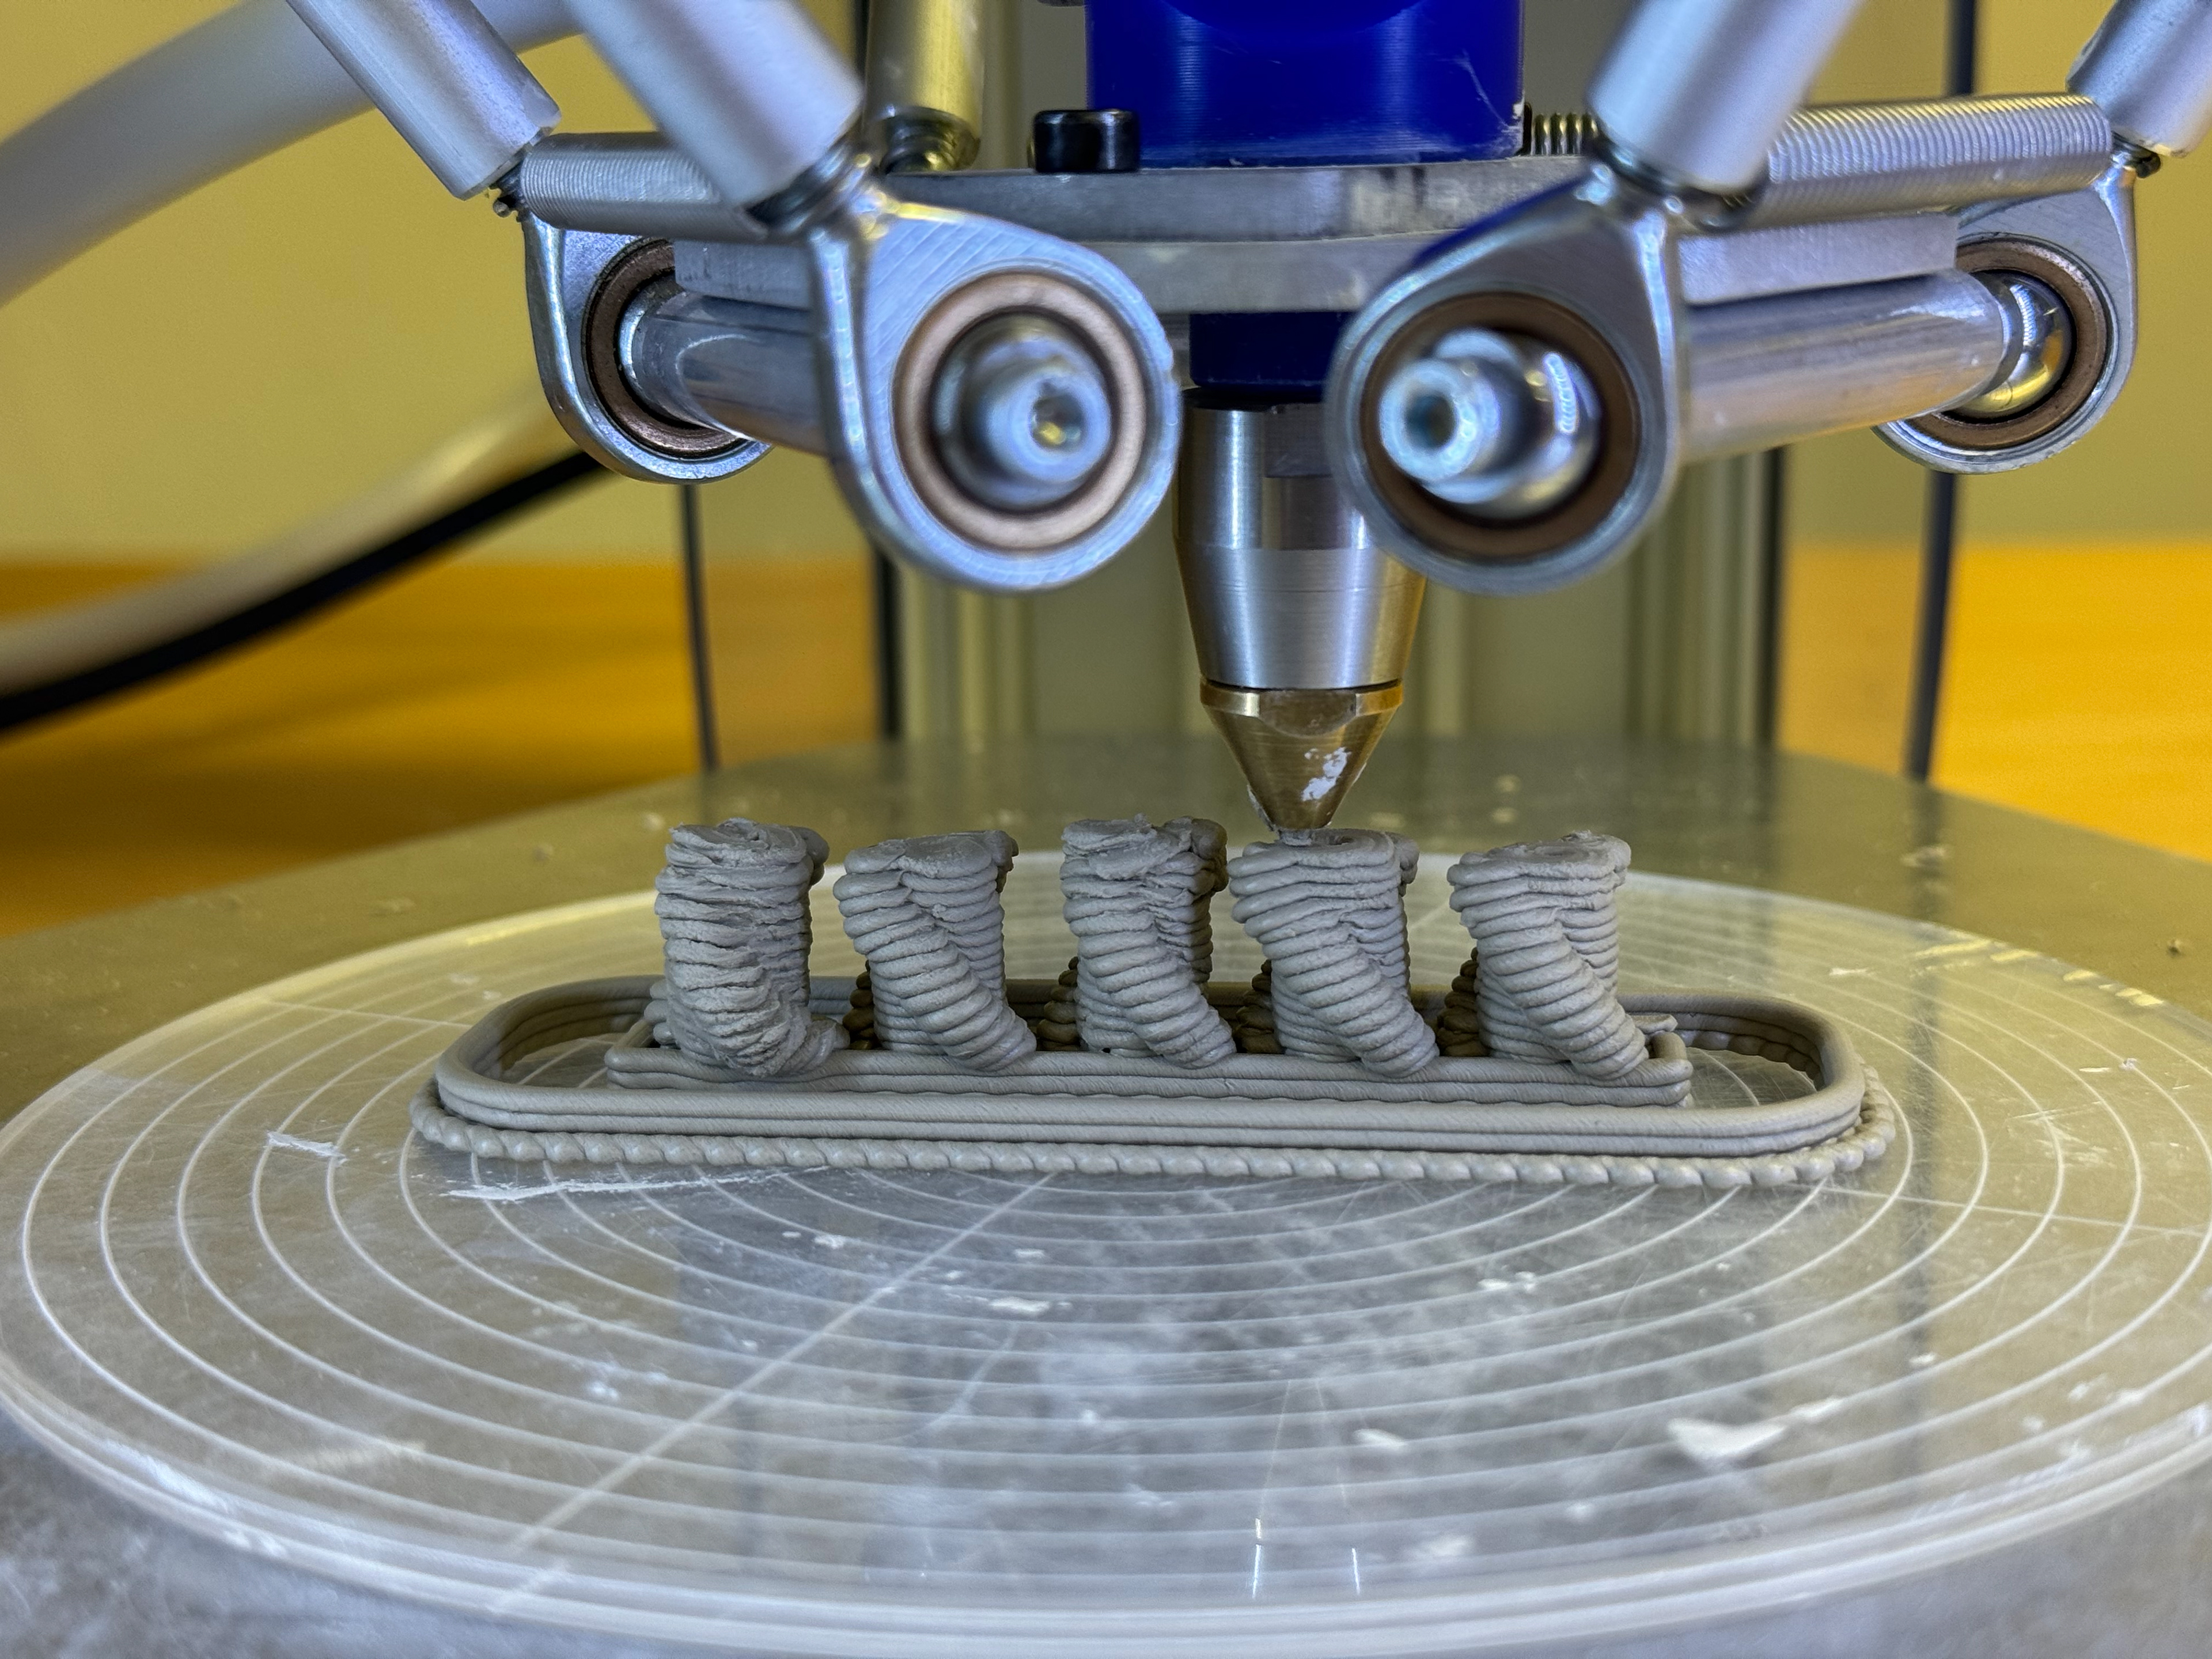
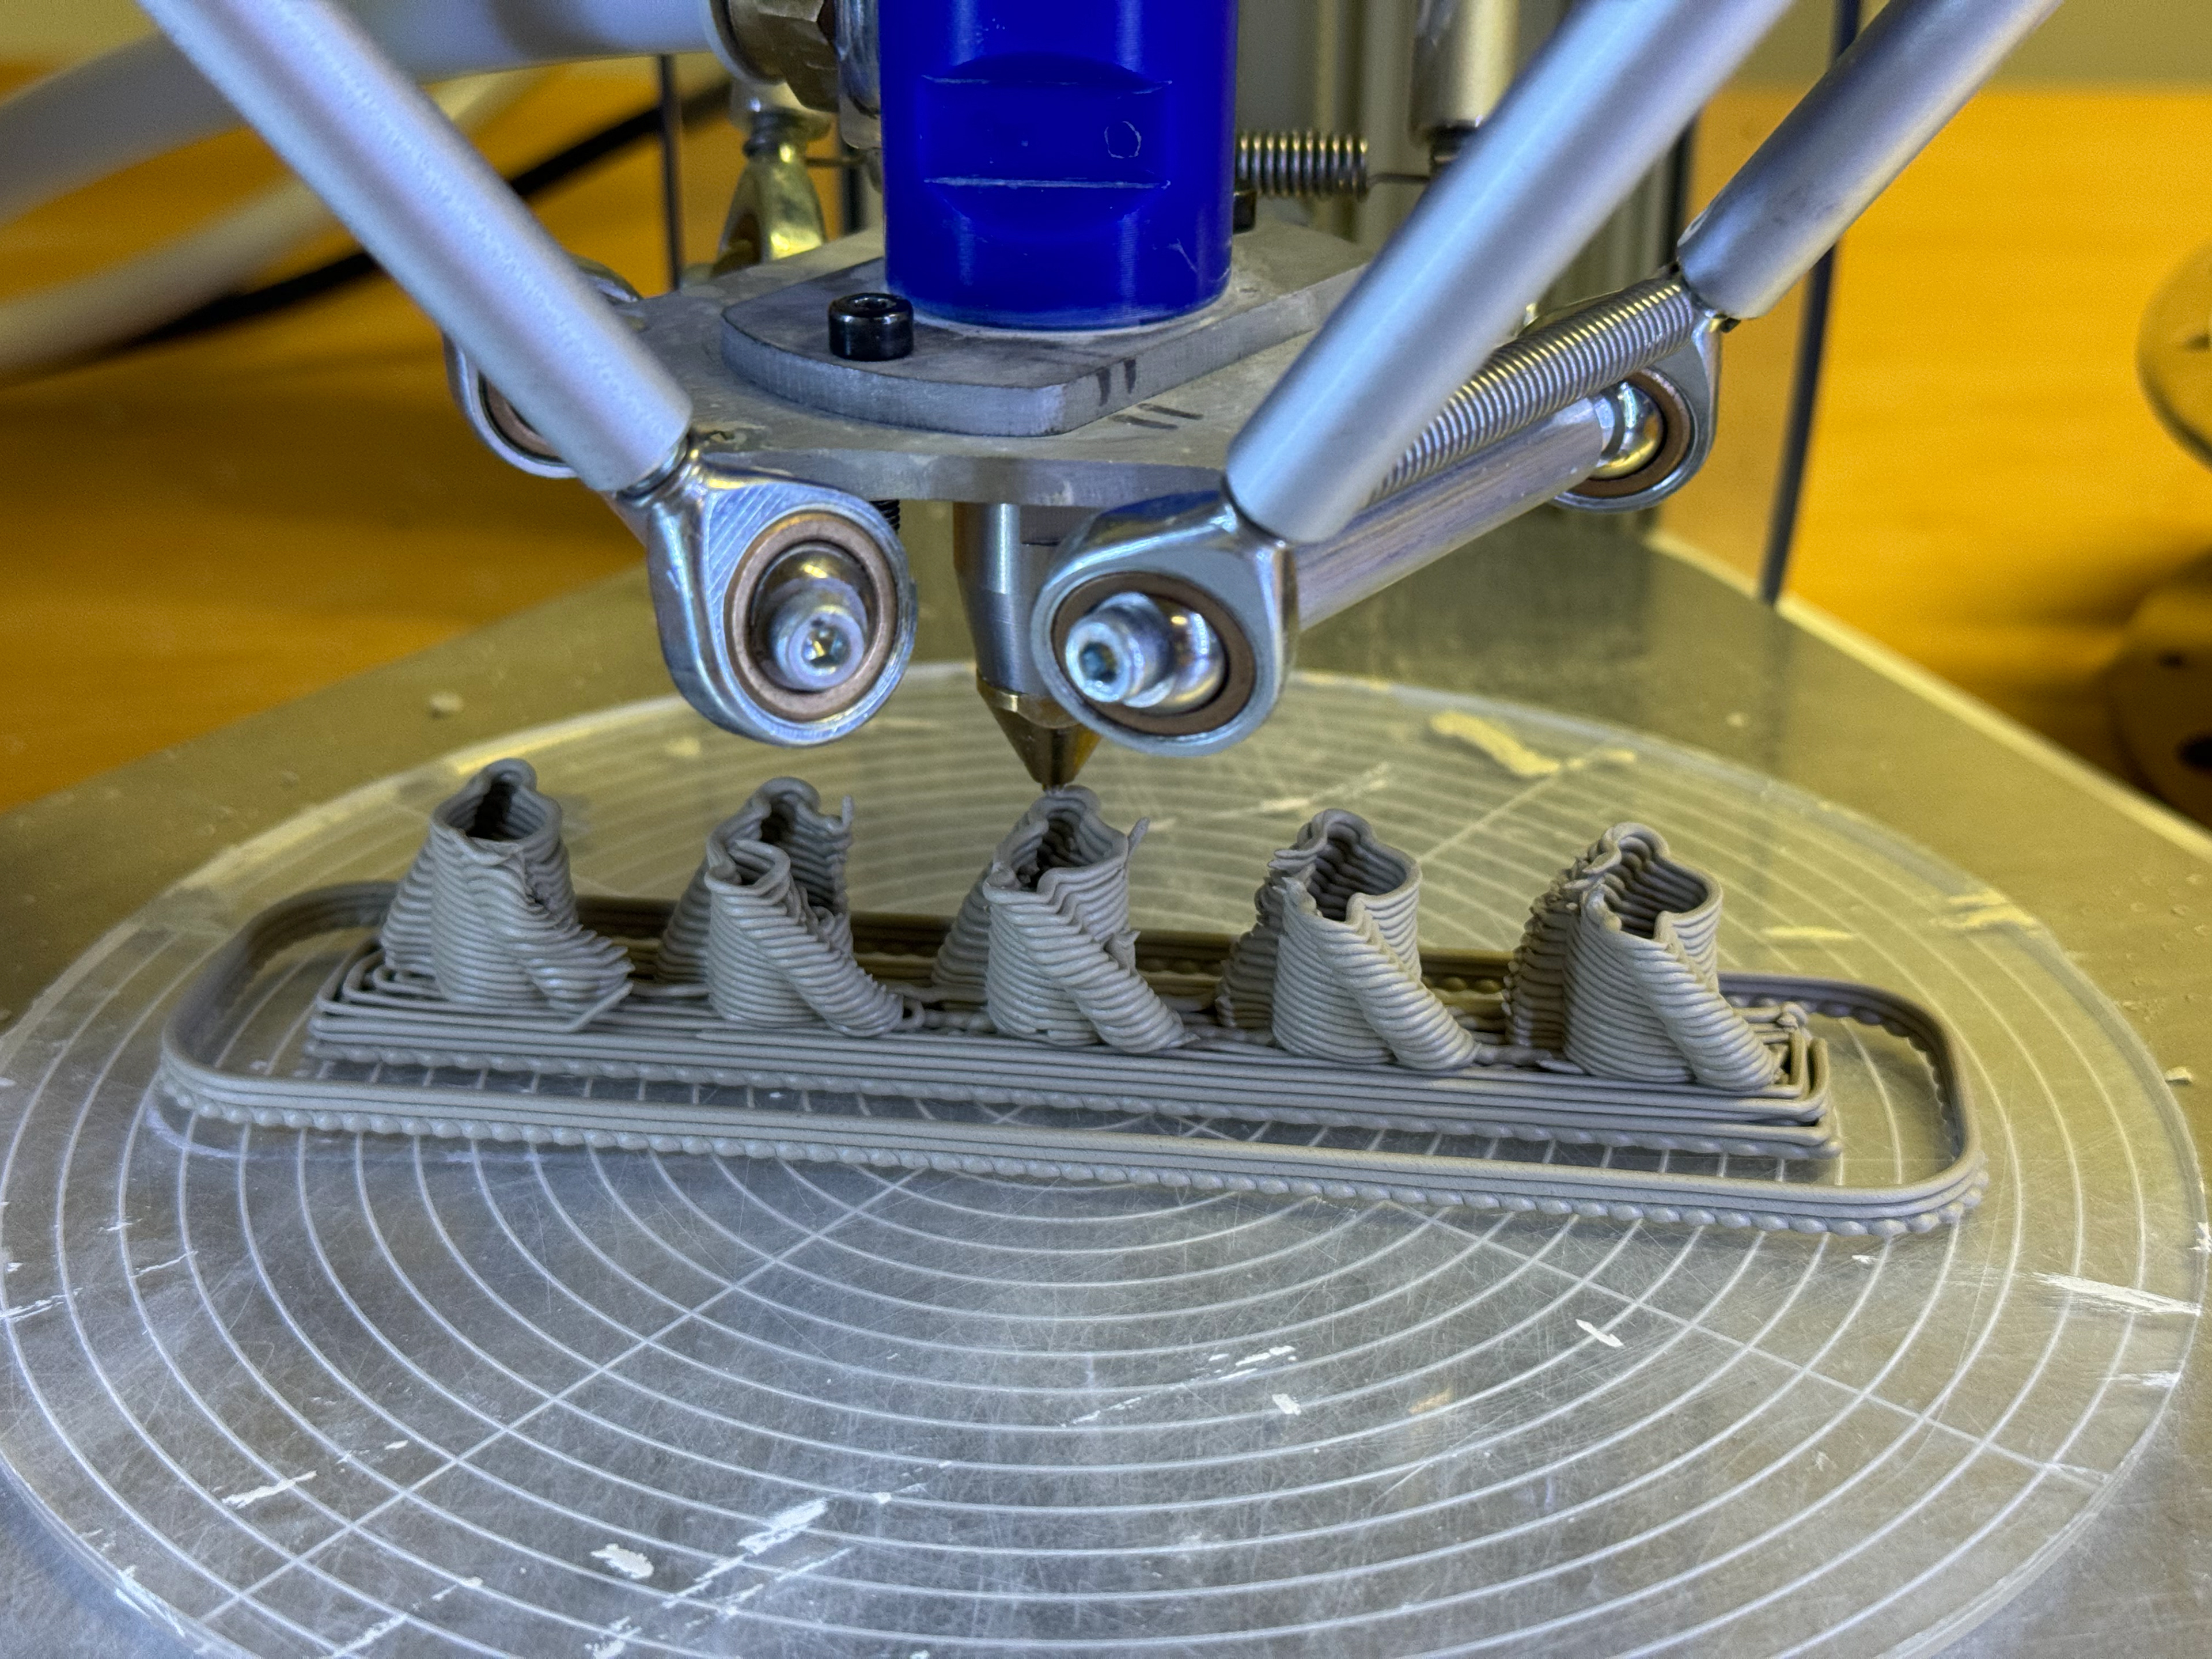
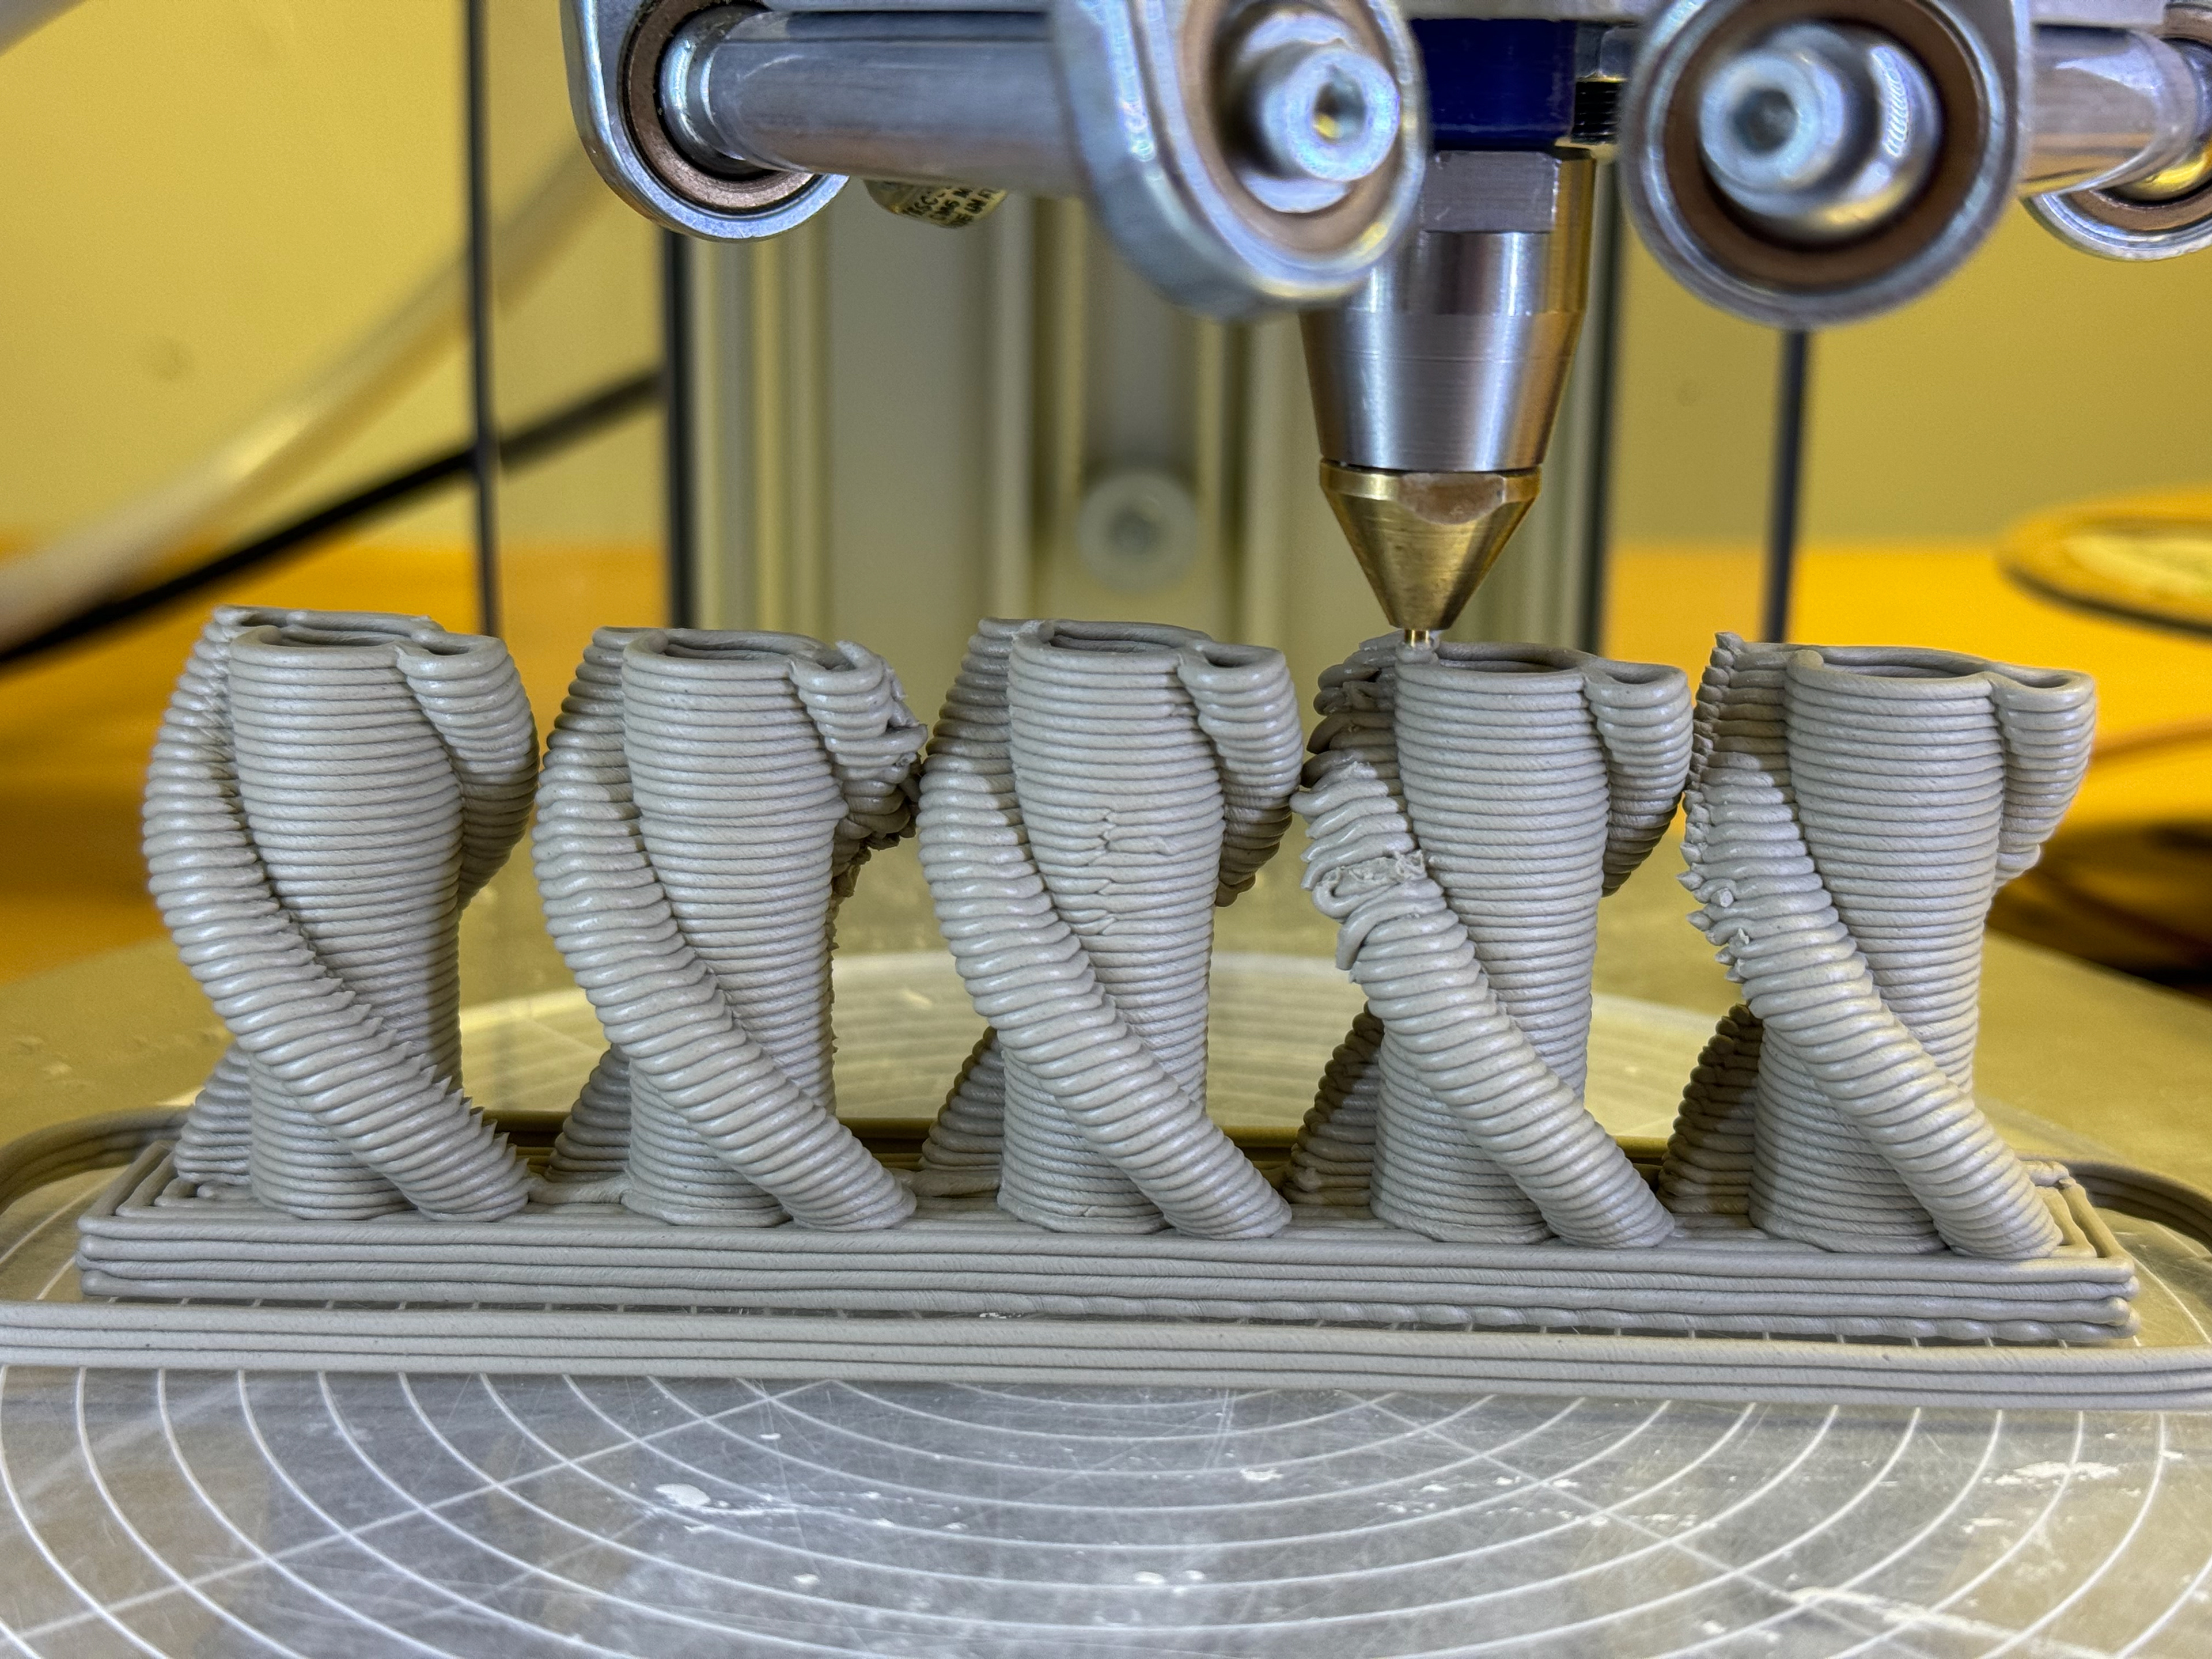
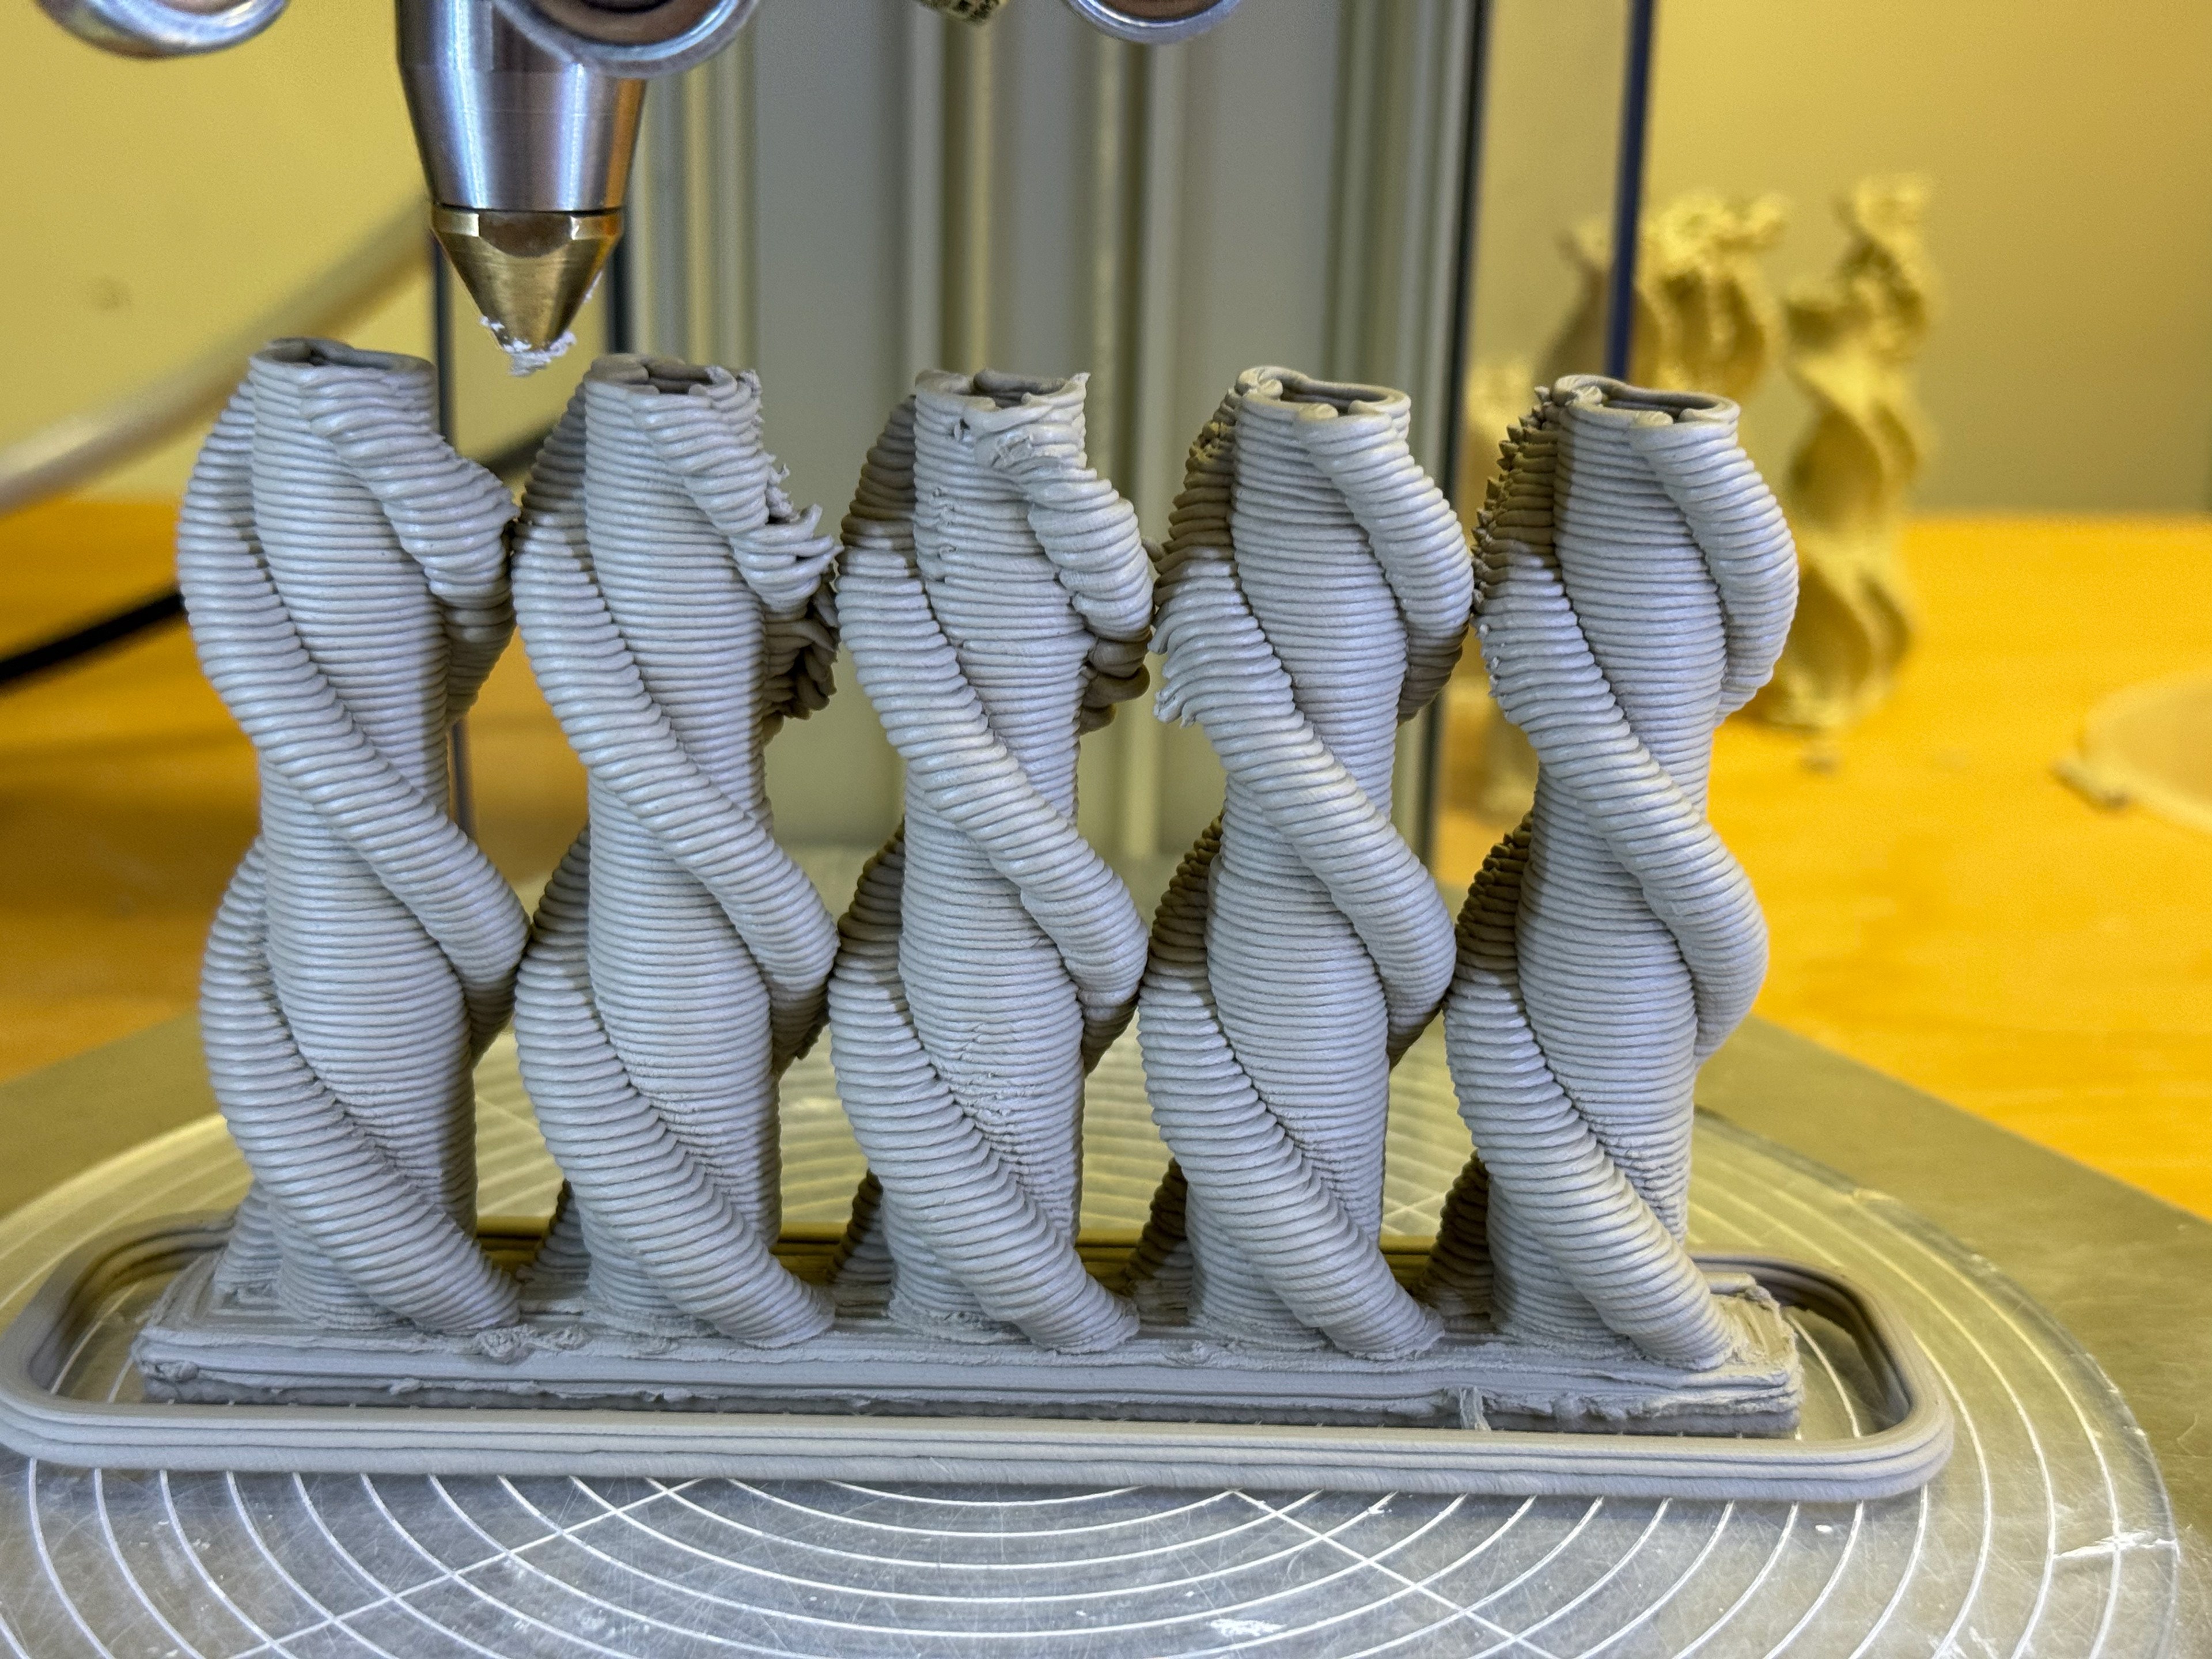
The stack at 100%:
This time I refined the flow:speed ratio and it turned out much better. The problem this time was the pressure, I had incorrectly set the pressure on the compressor. As a result it didn't consistently push out and left spaces which caused the collapse.
More refinement on flow:speed created a good base
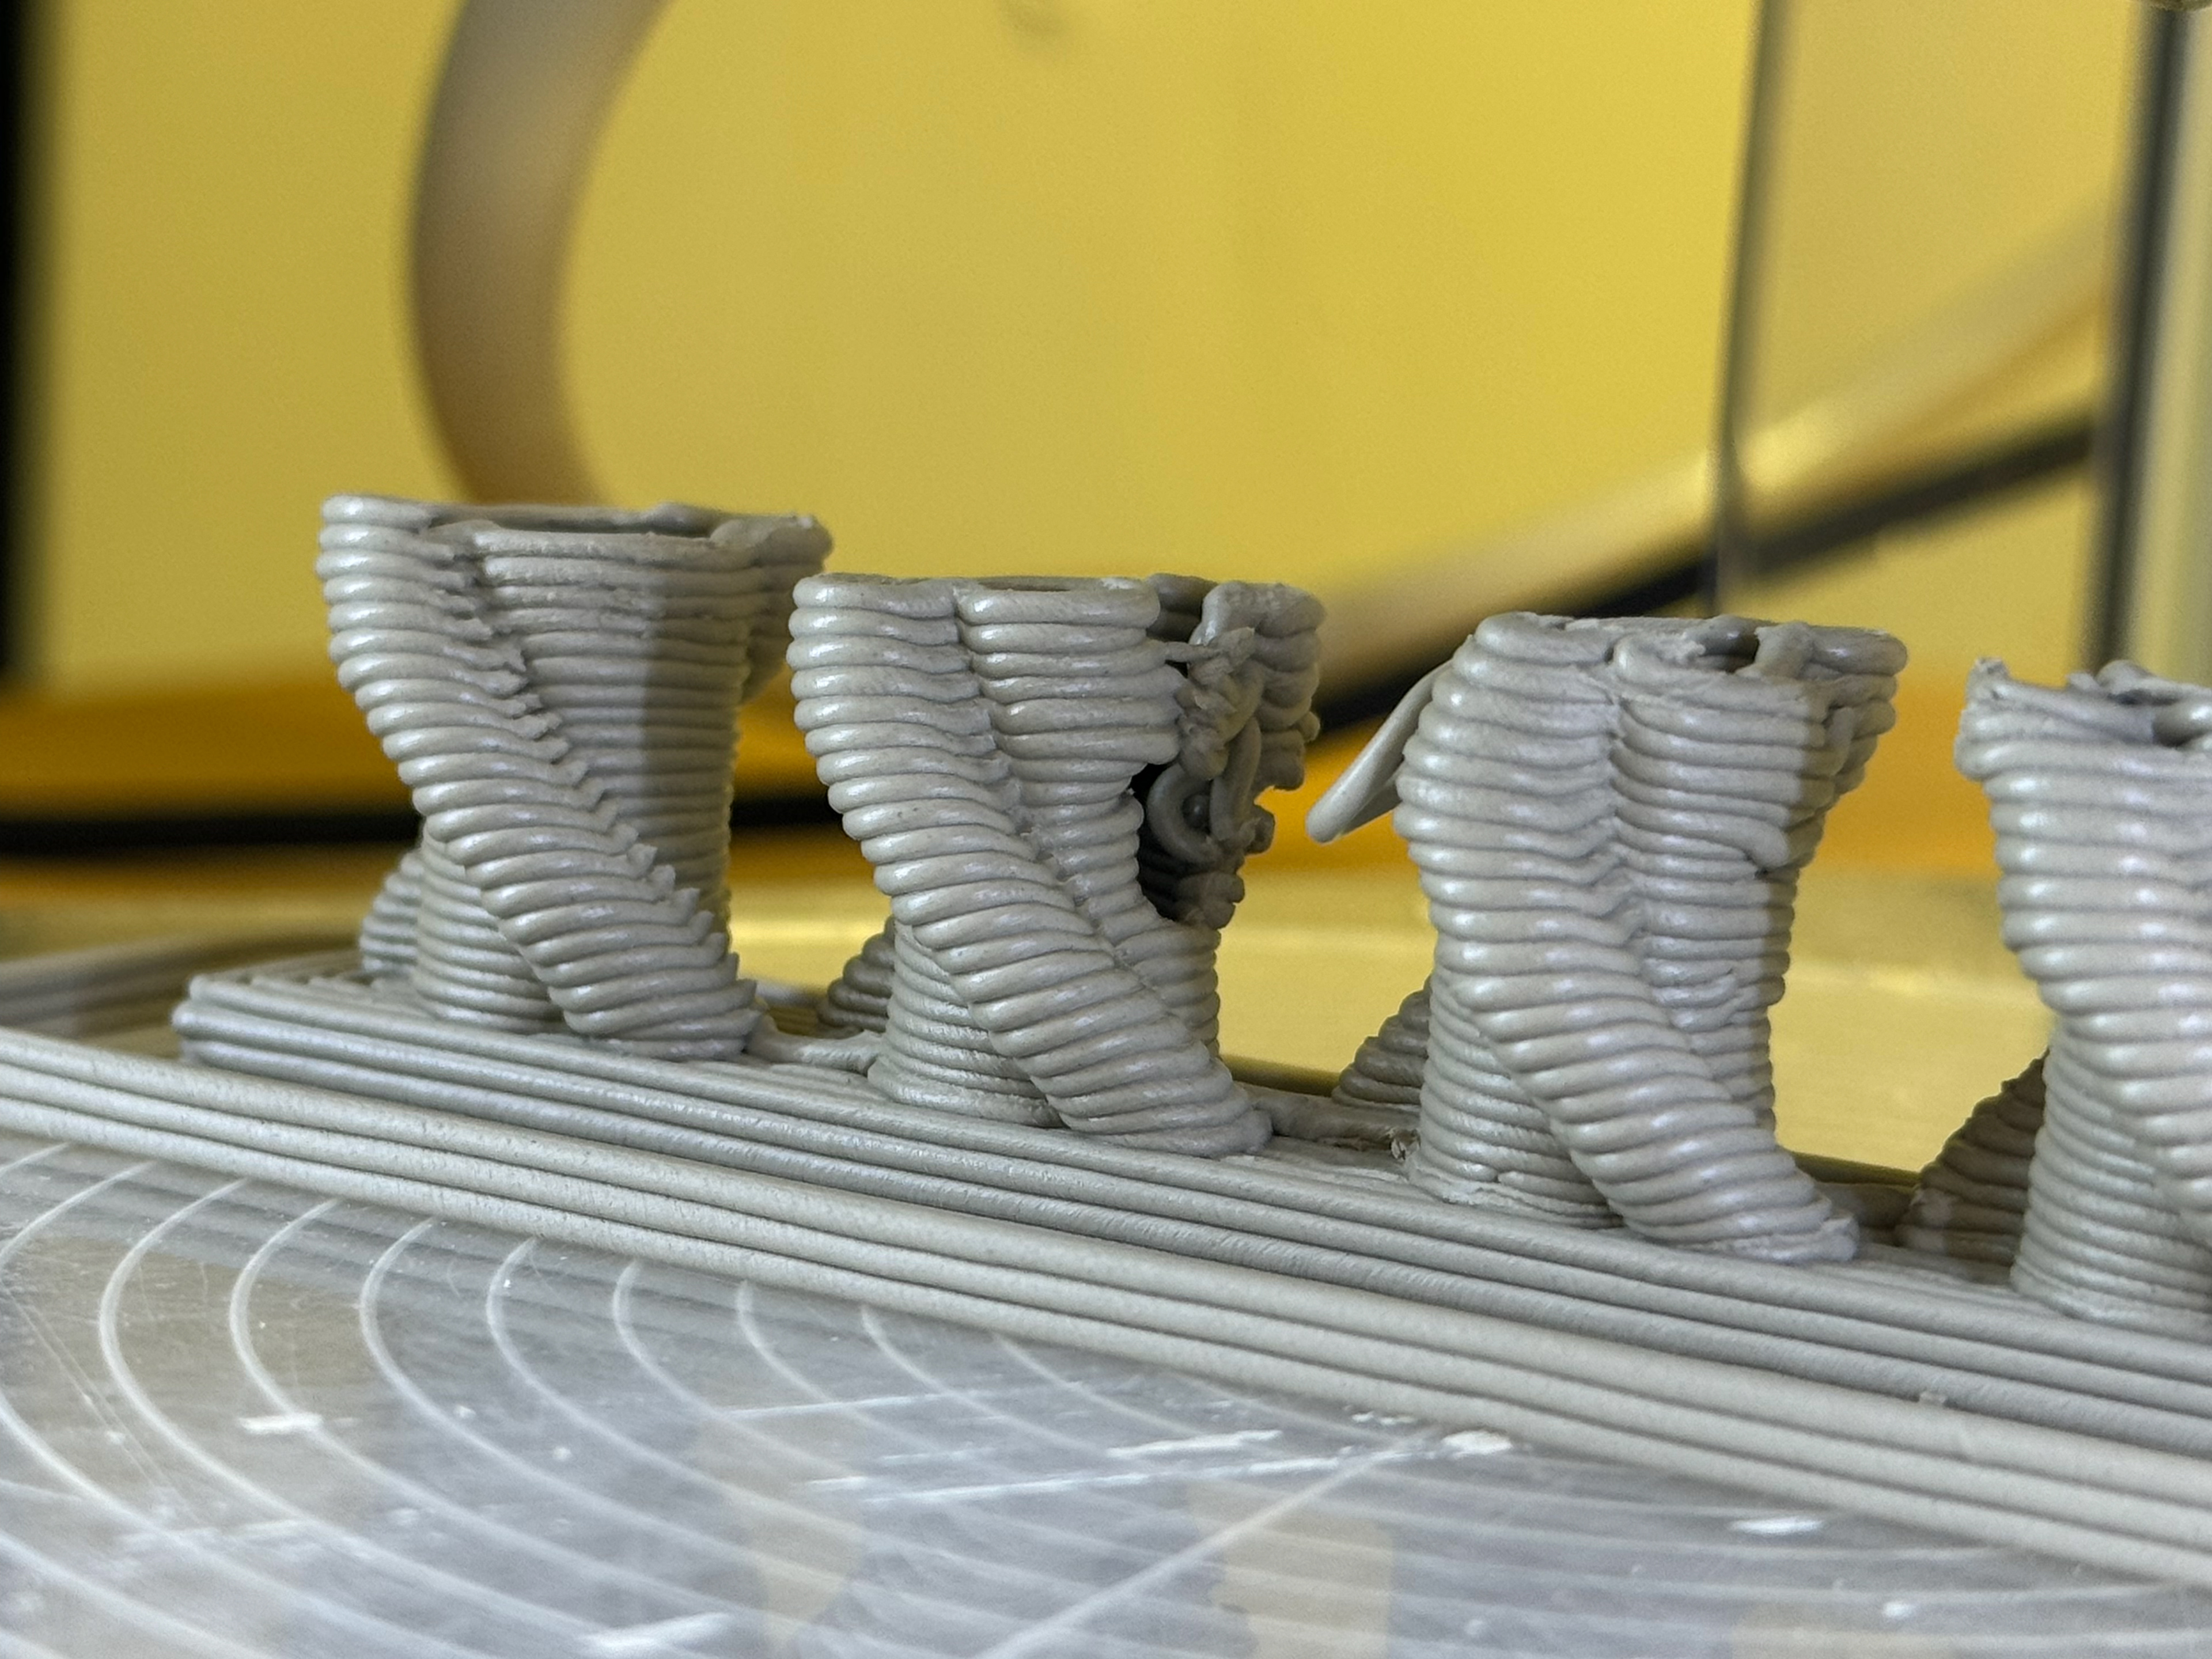
Air gap caused one of the stacks to not properly form
As soon as one part fails the rest of the piece collapses under load
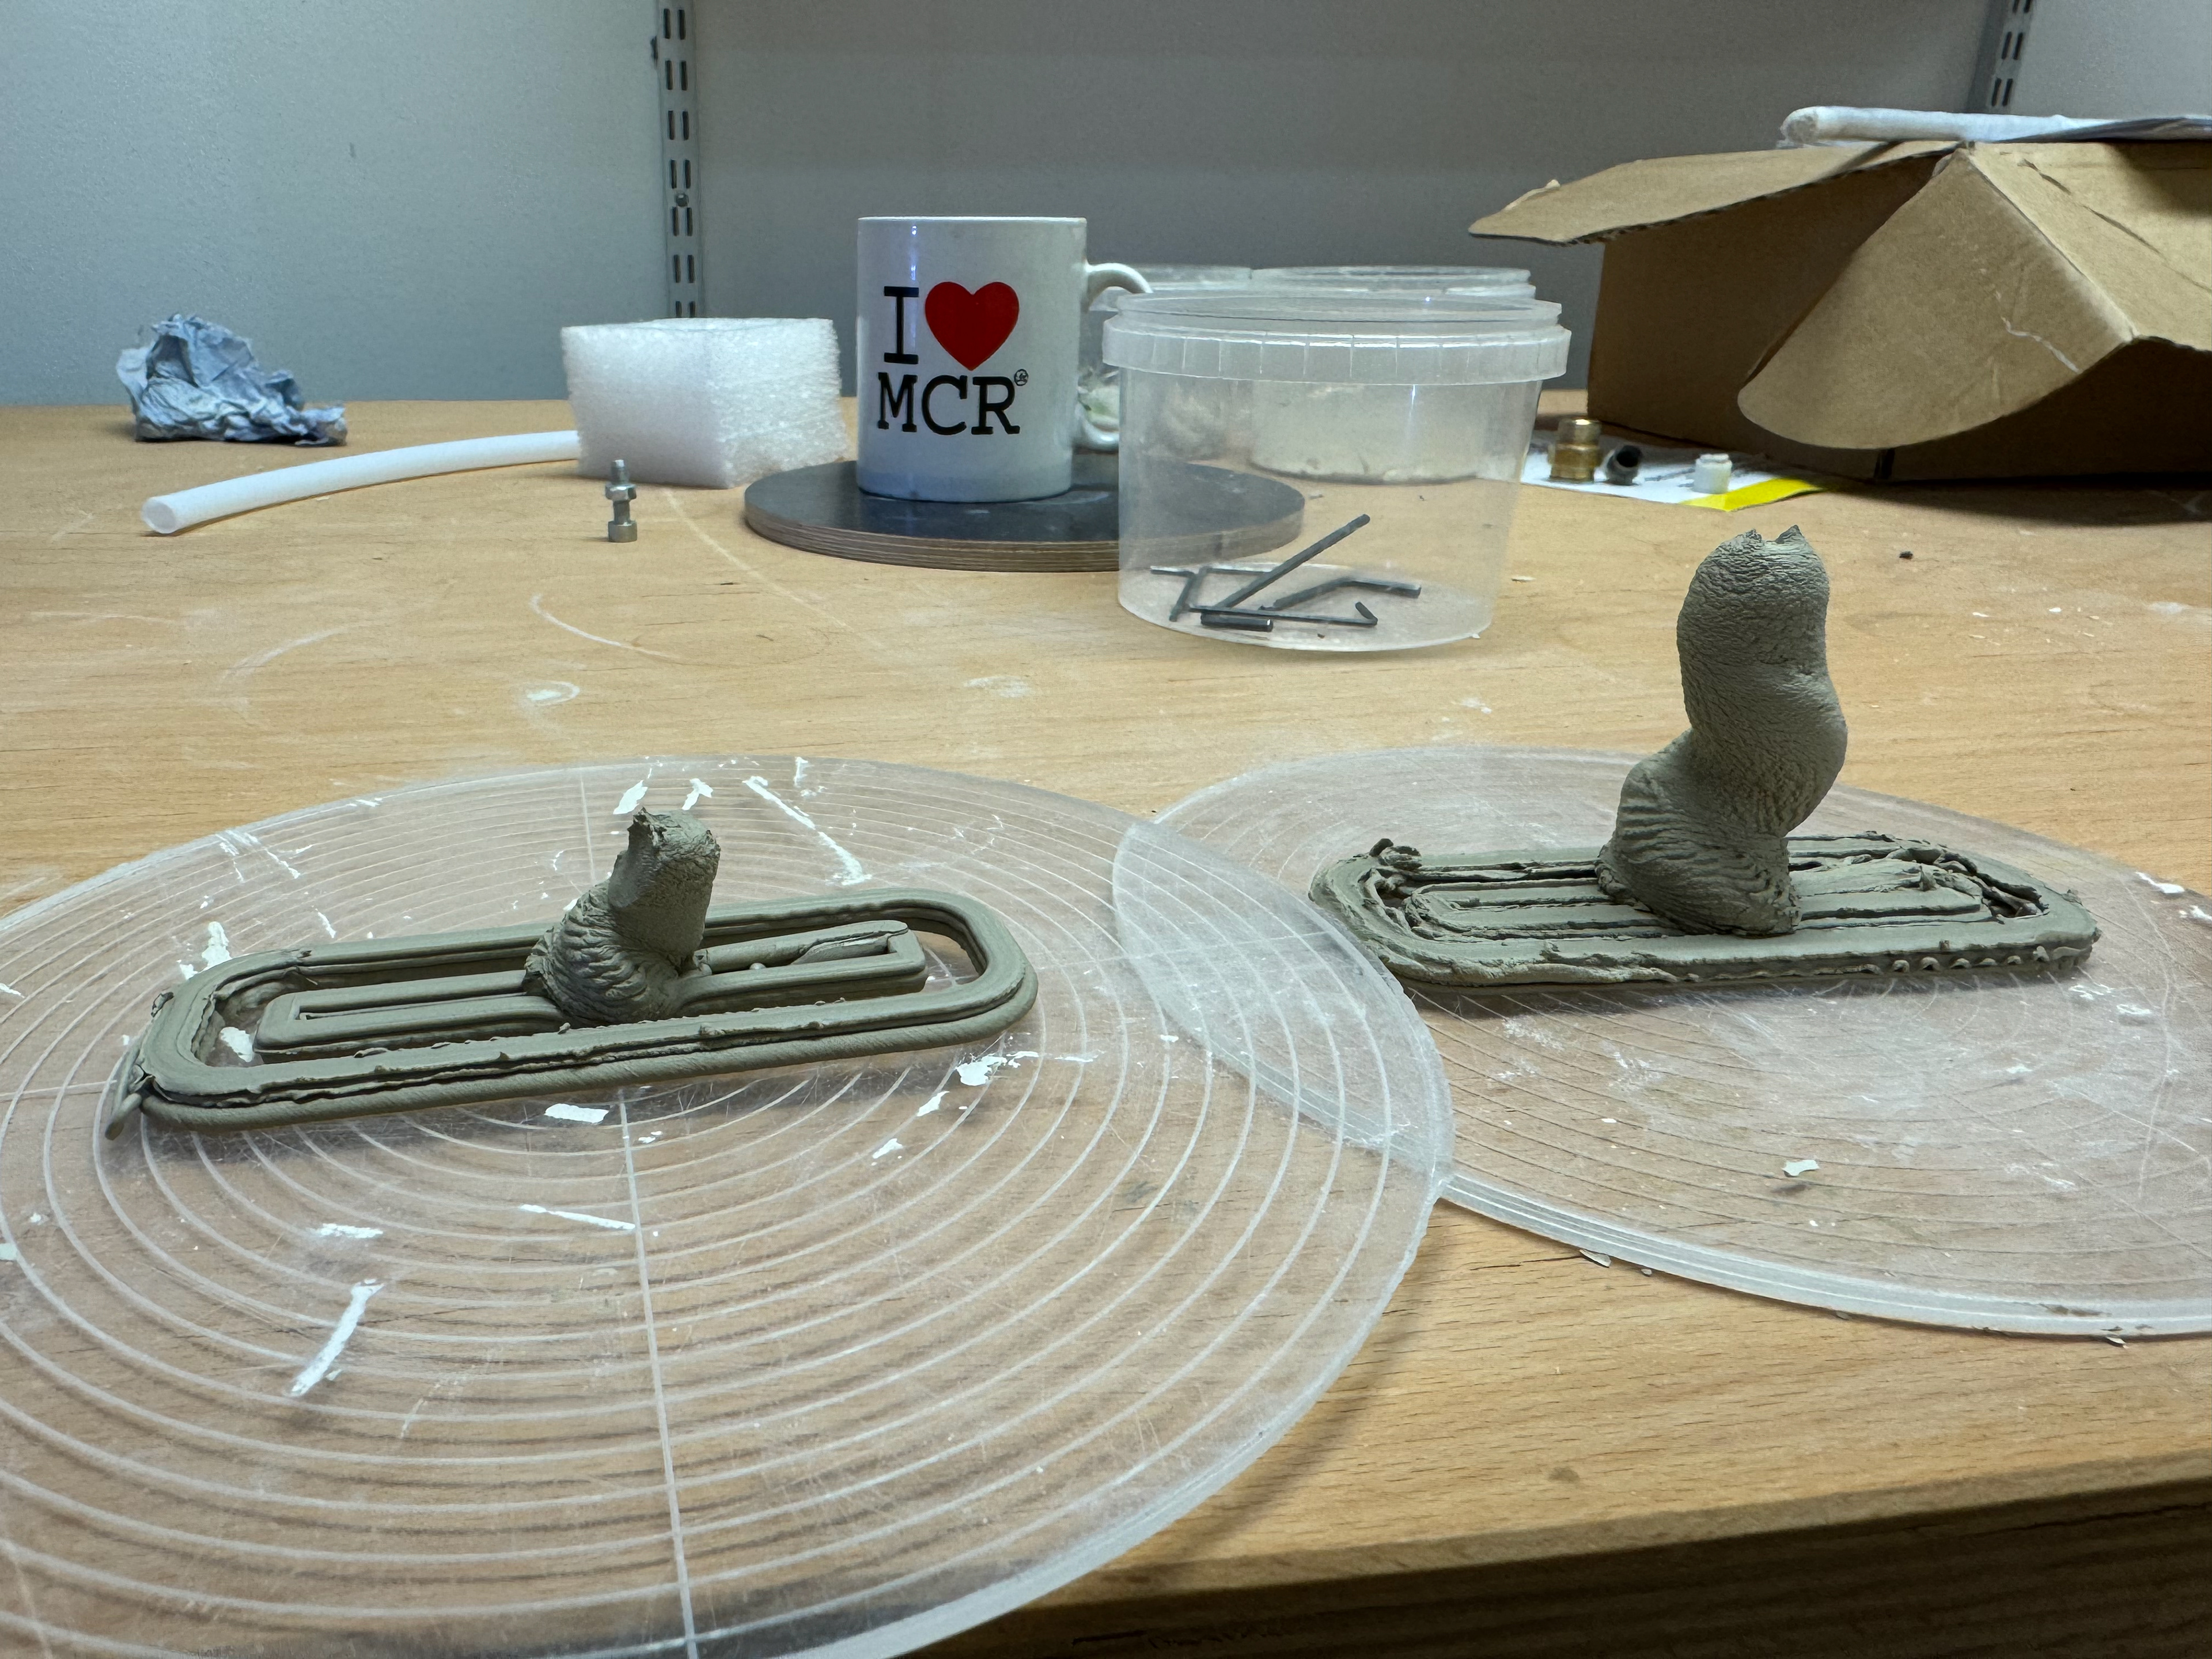
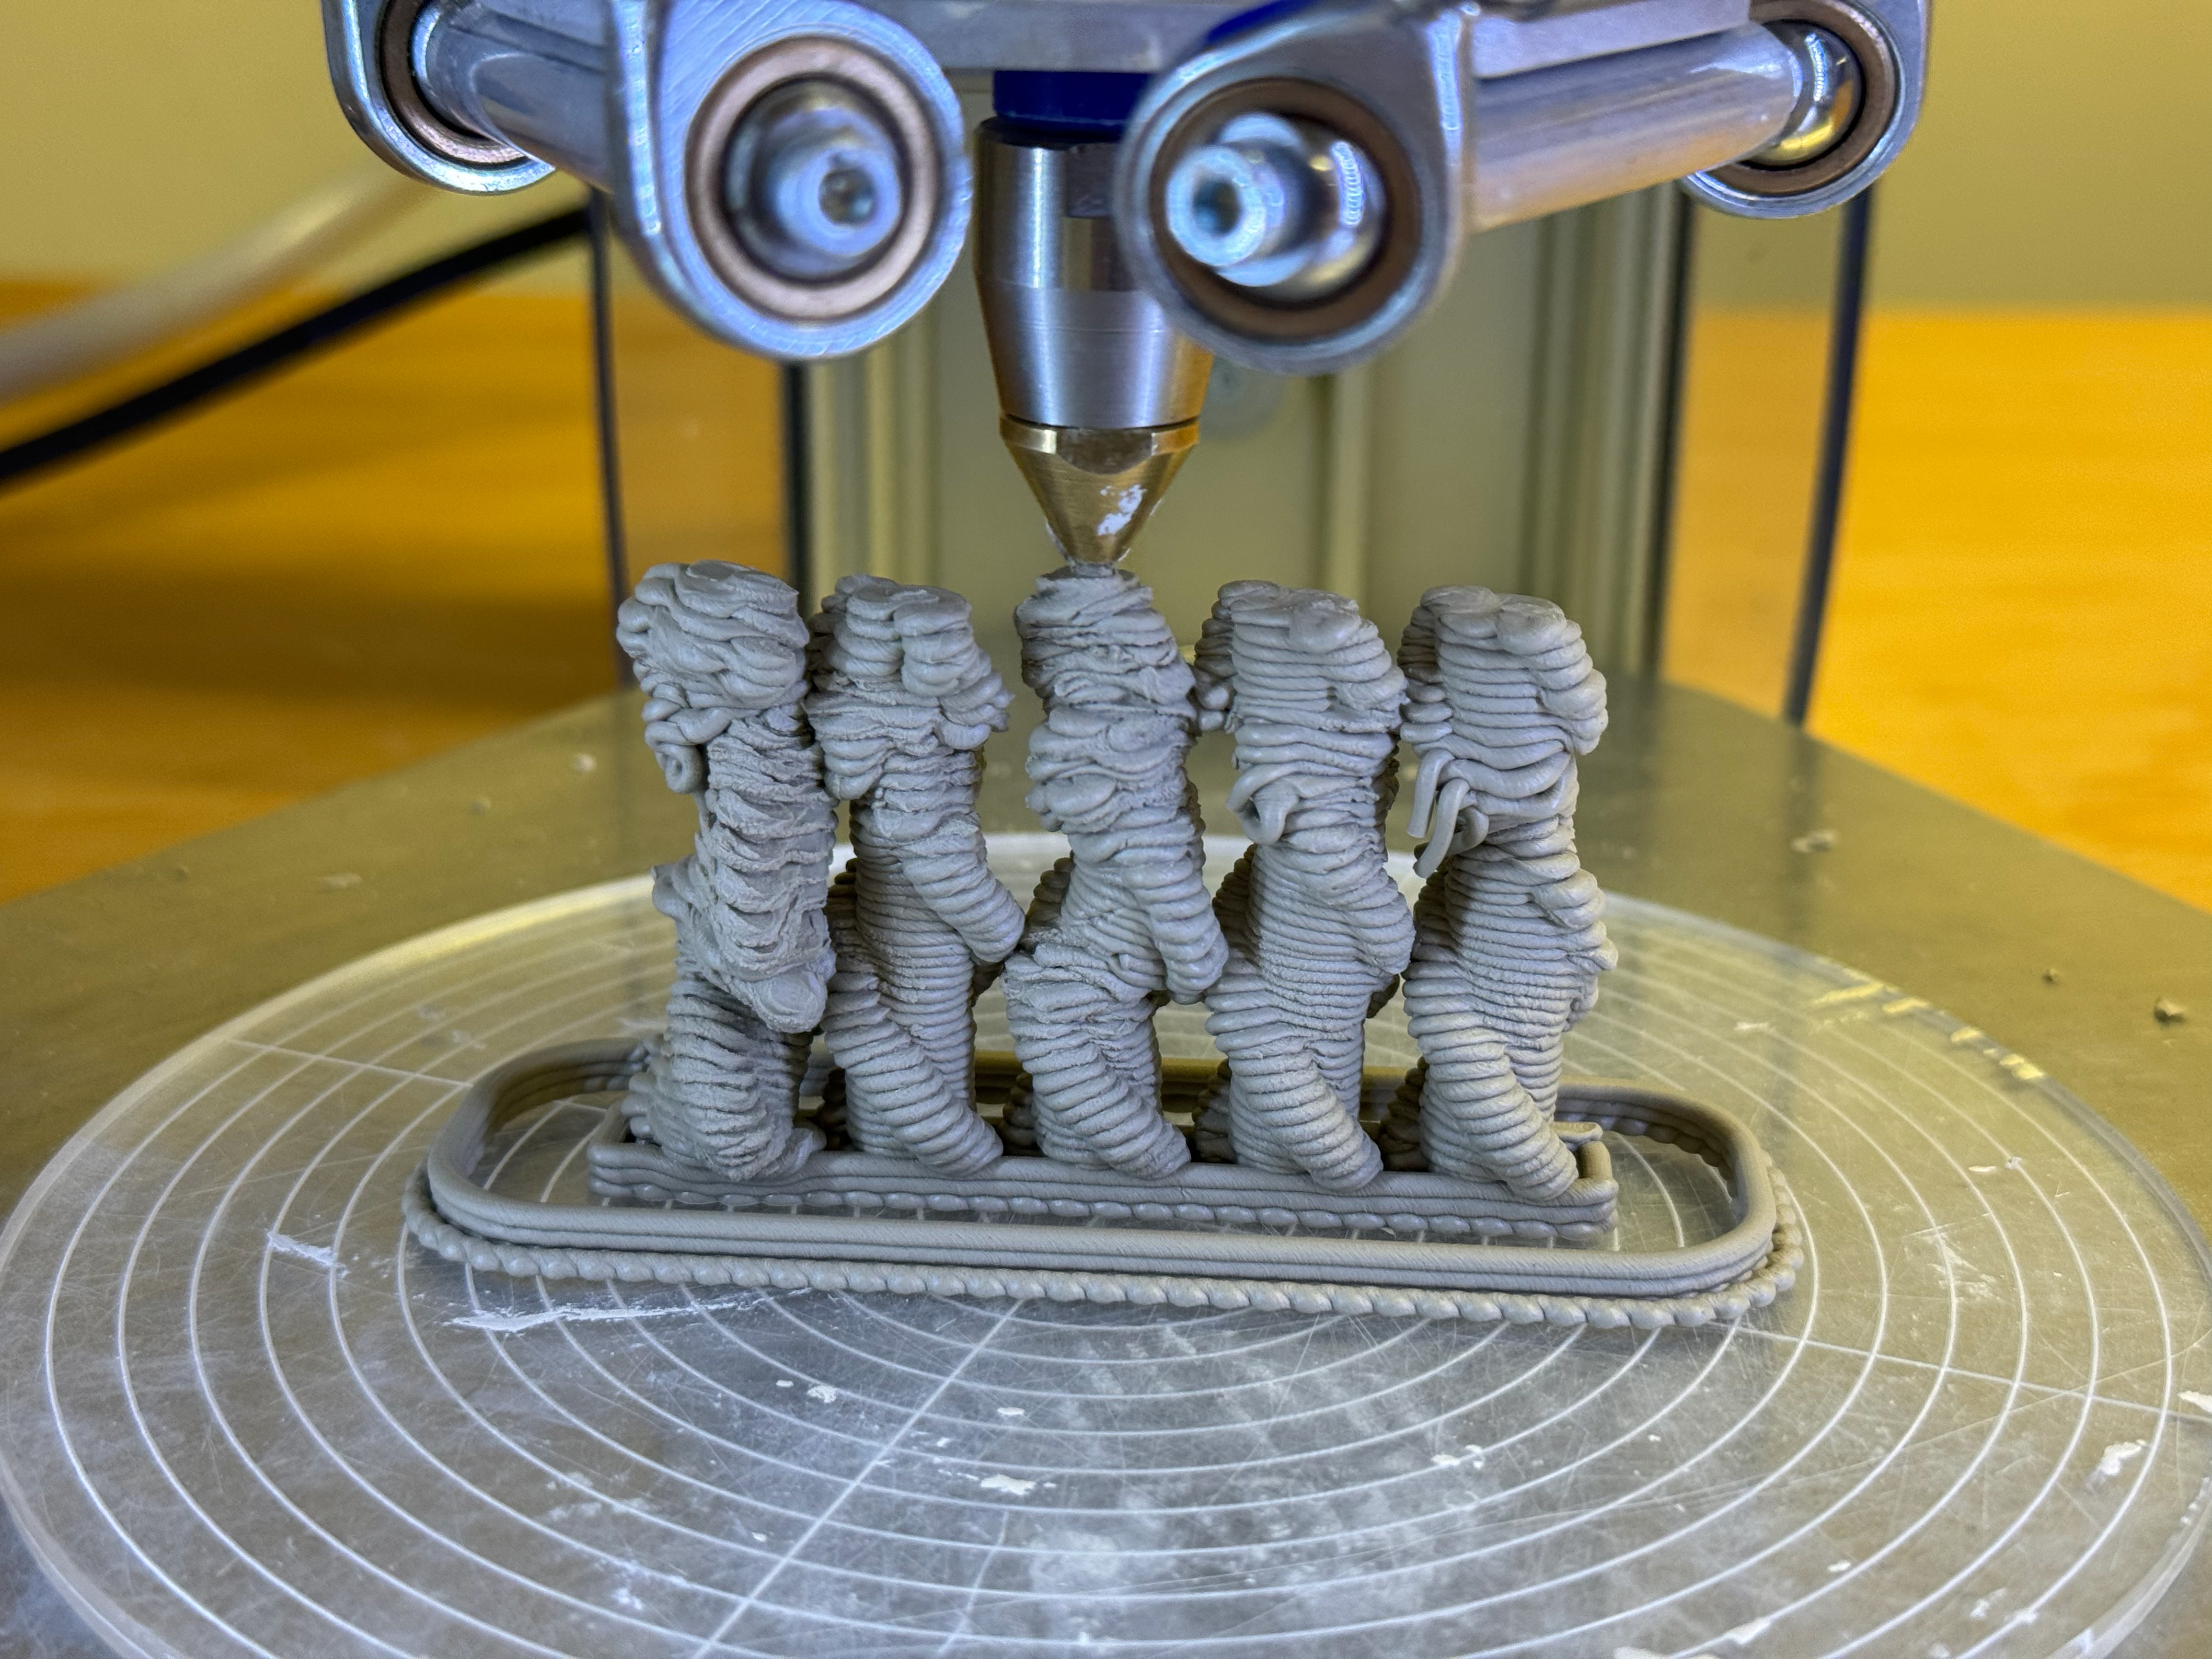
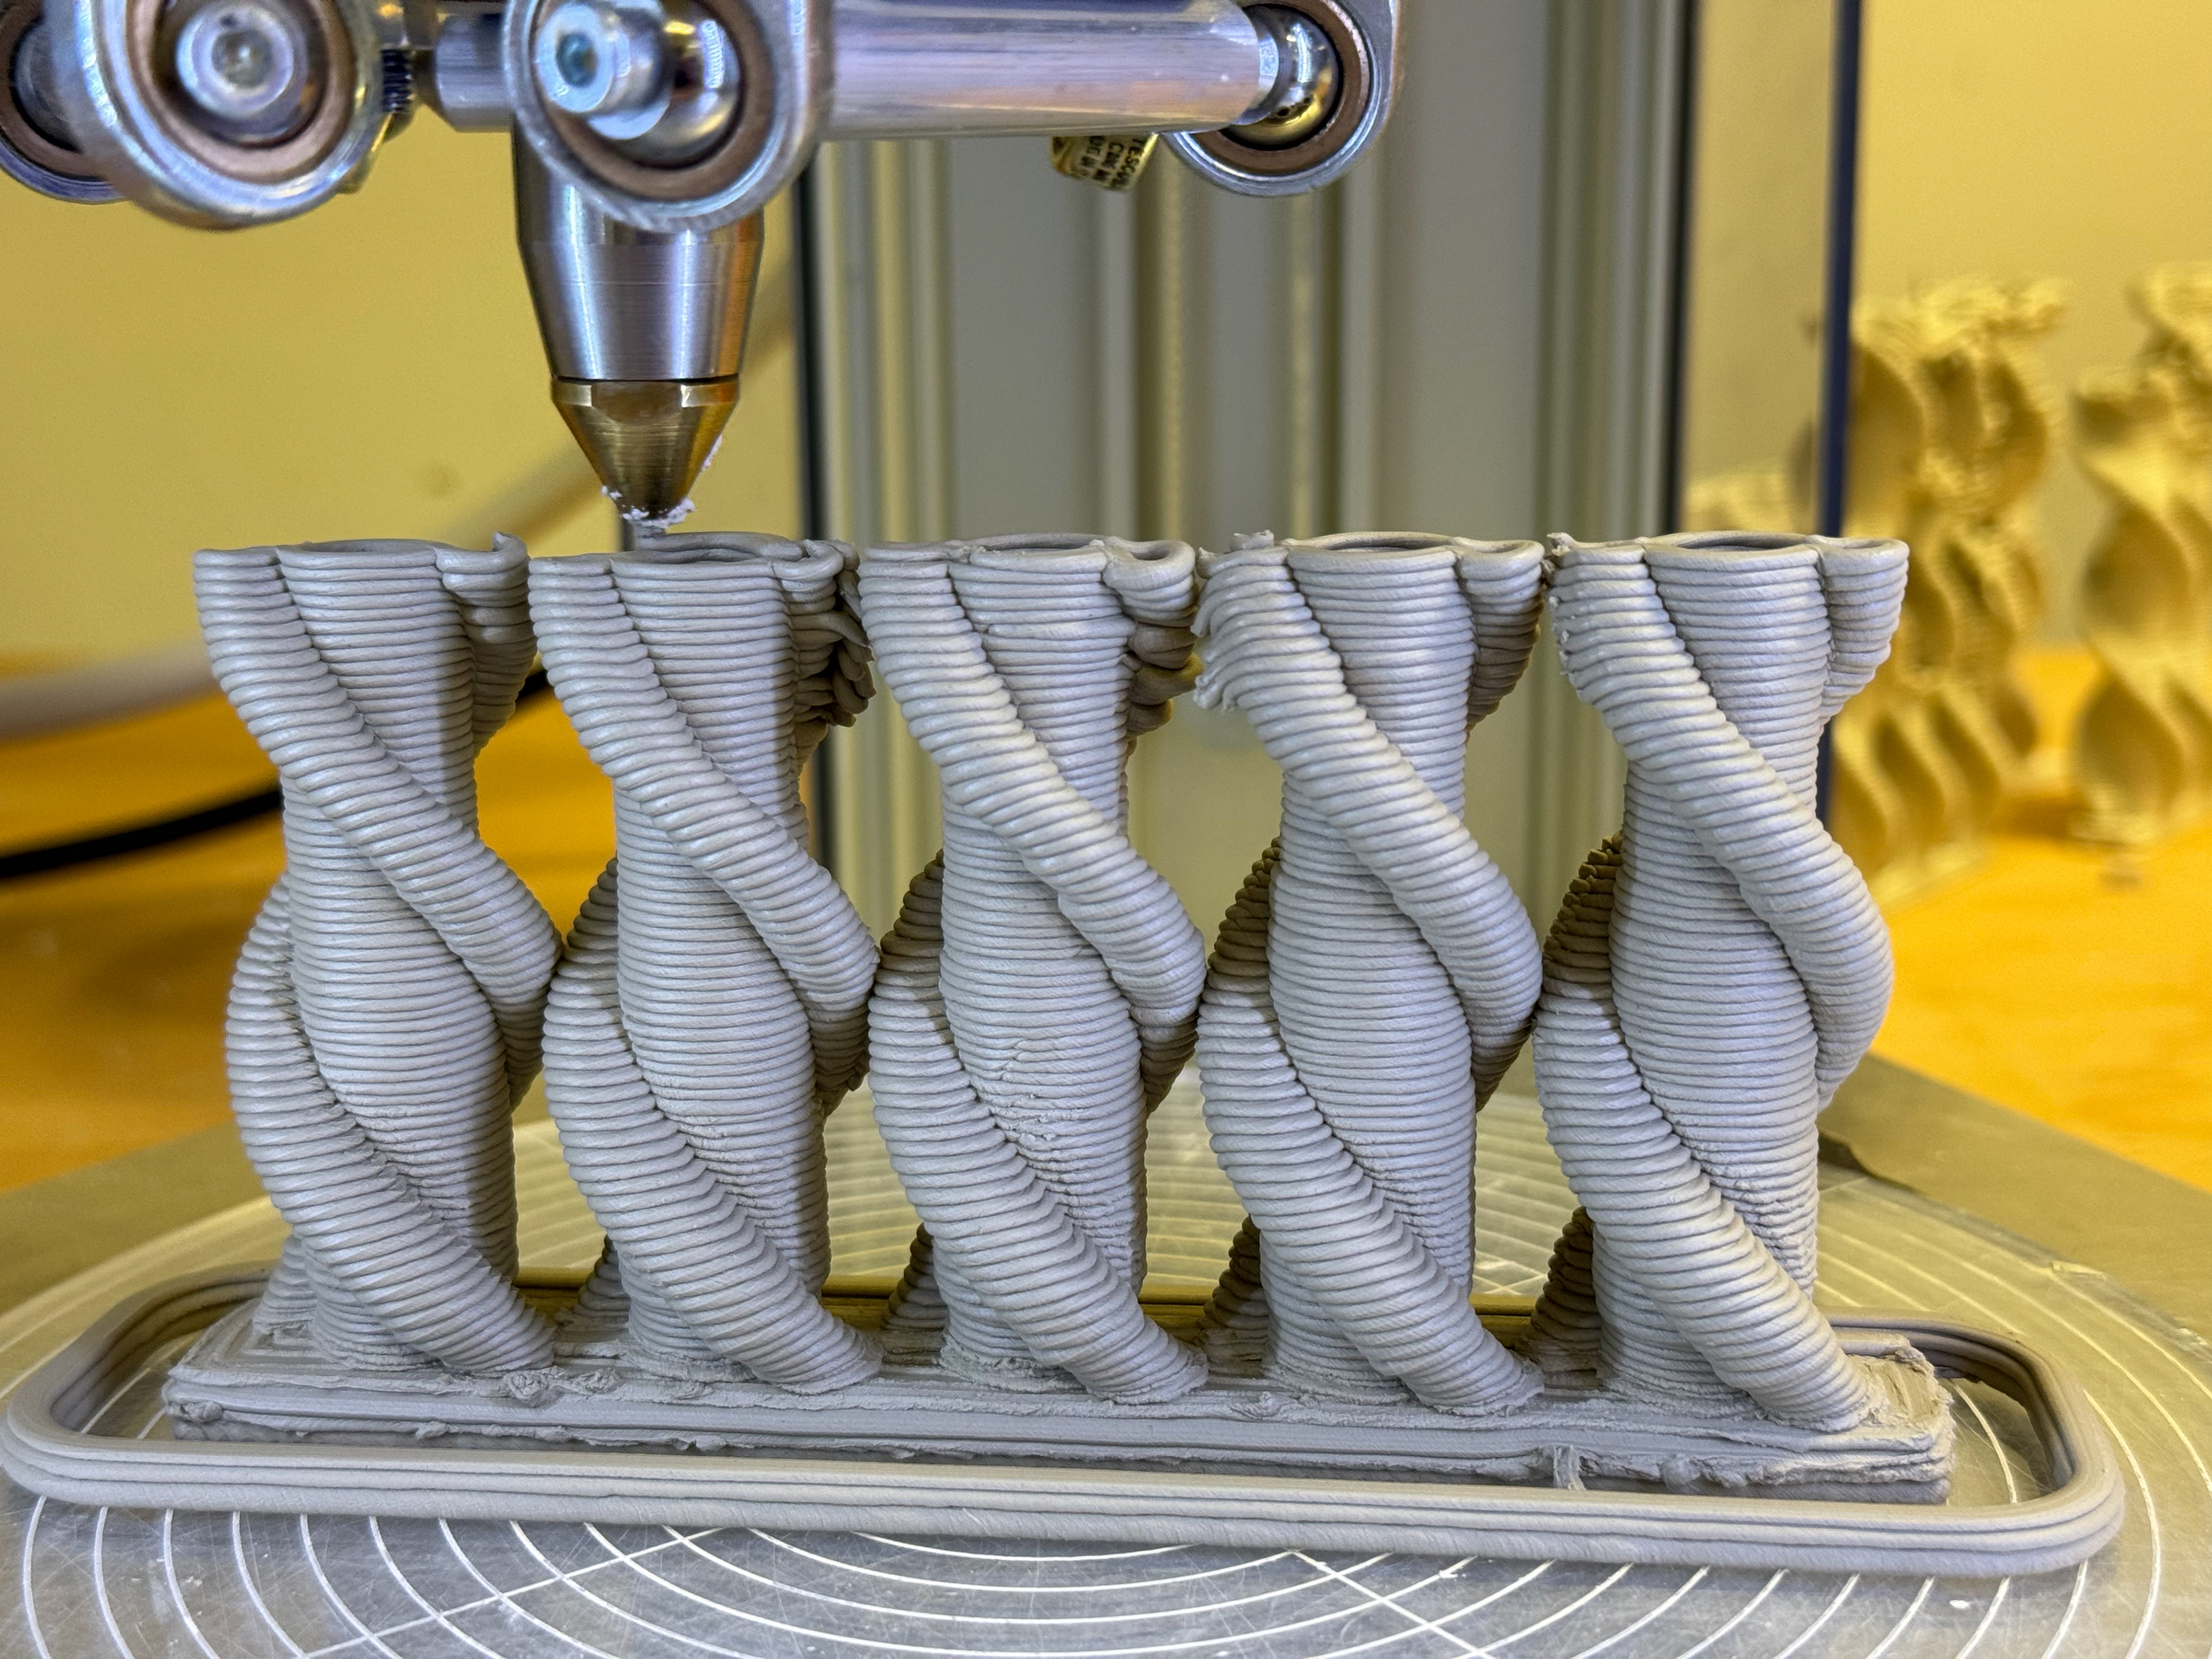
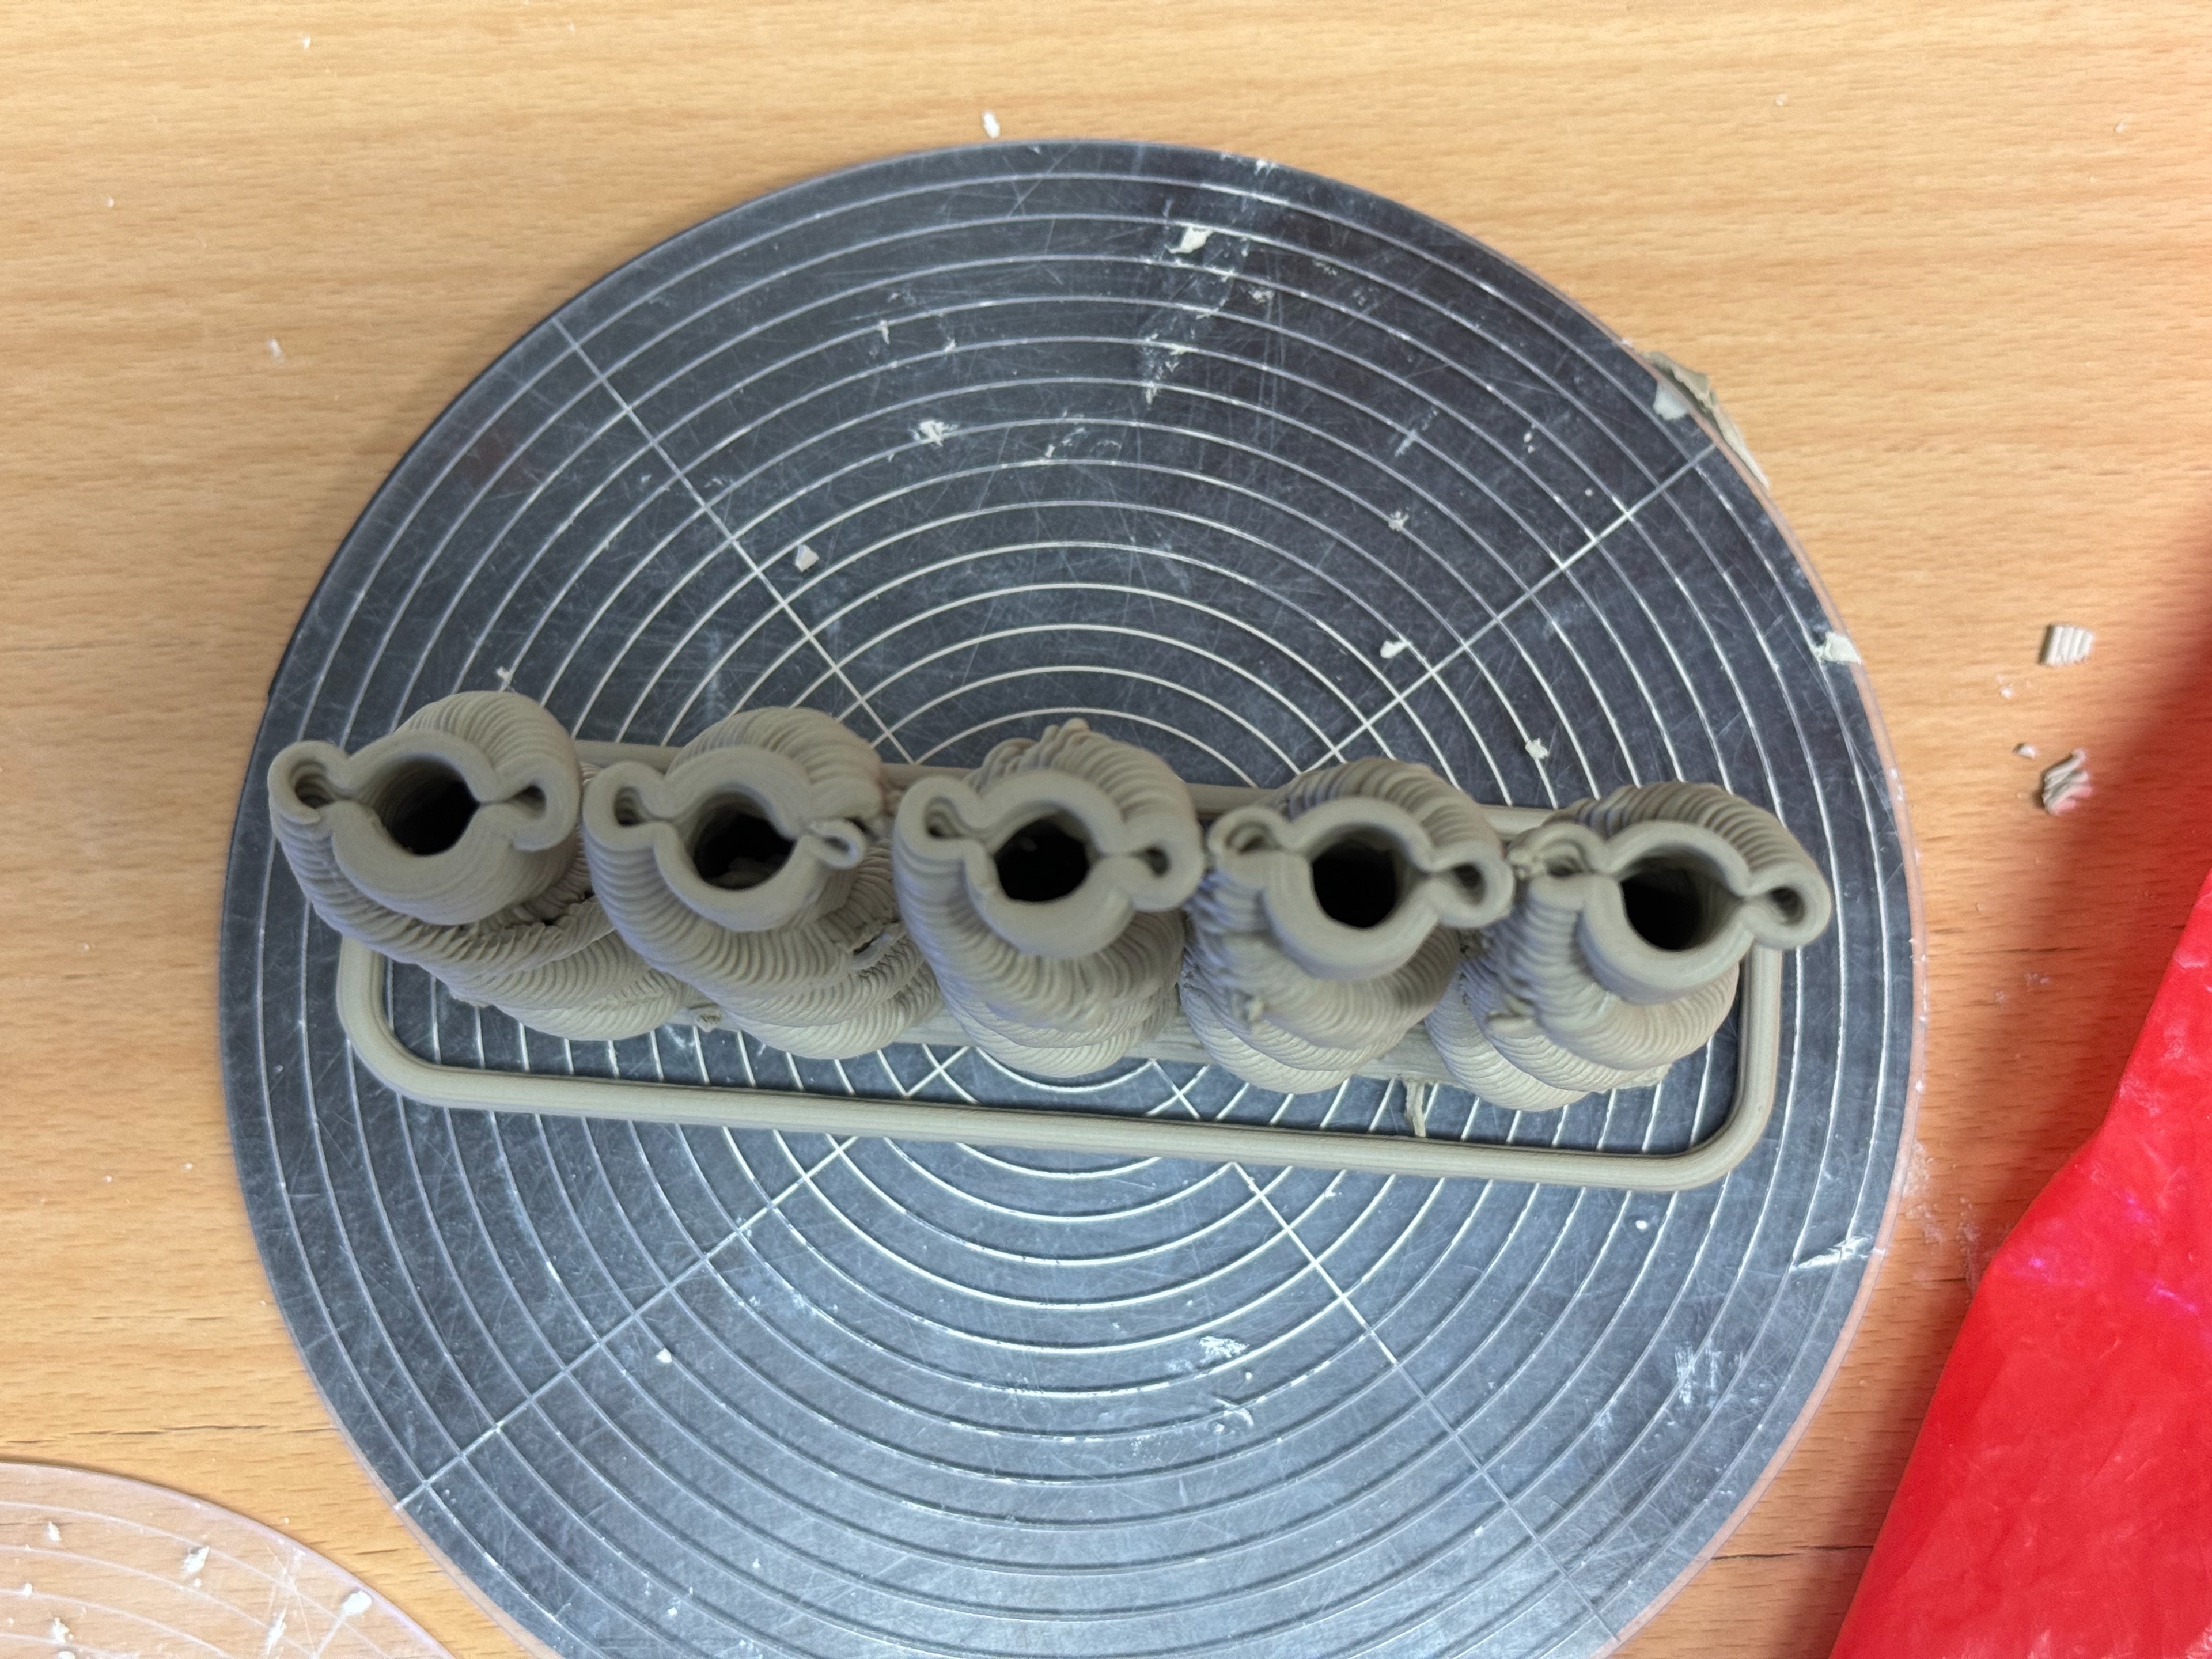
Stack refinement:
This time the pressure was correctly set but my flow rate was too little and the speed was a little fast but it was showing potential.
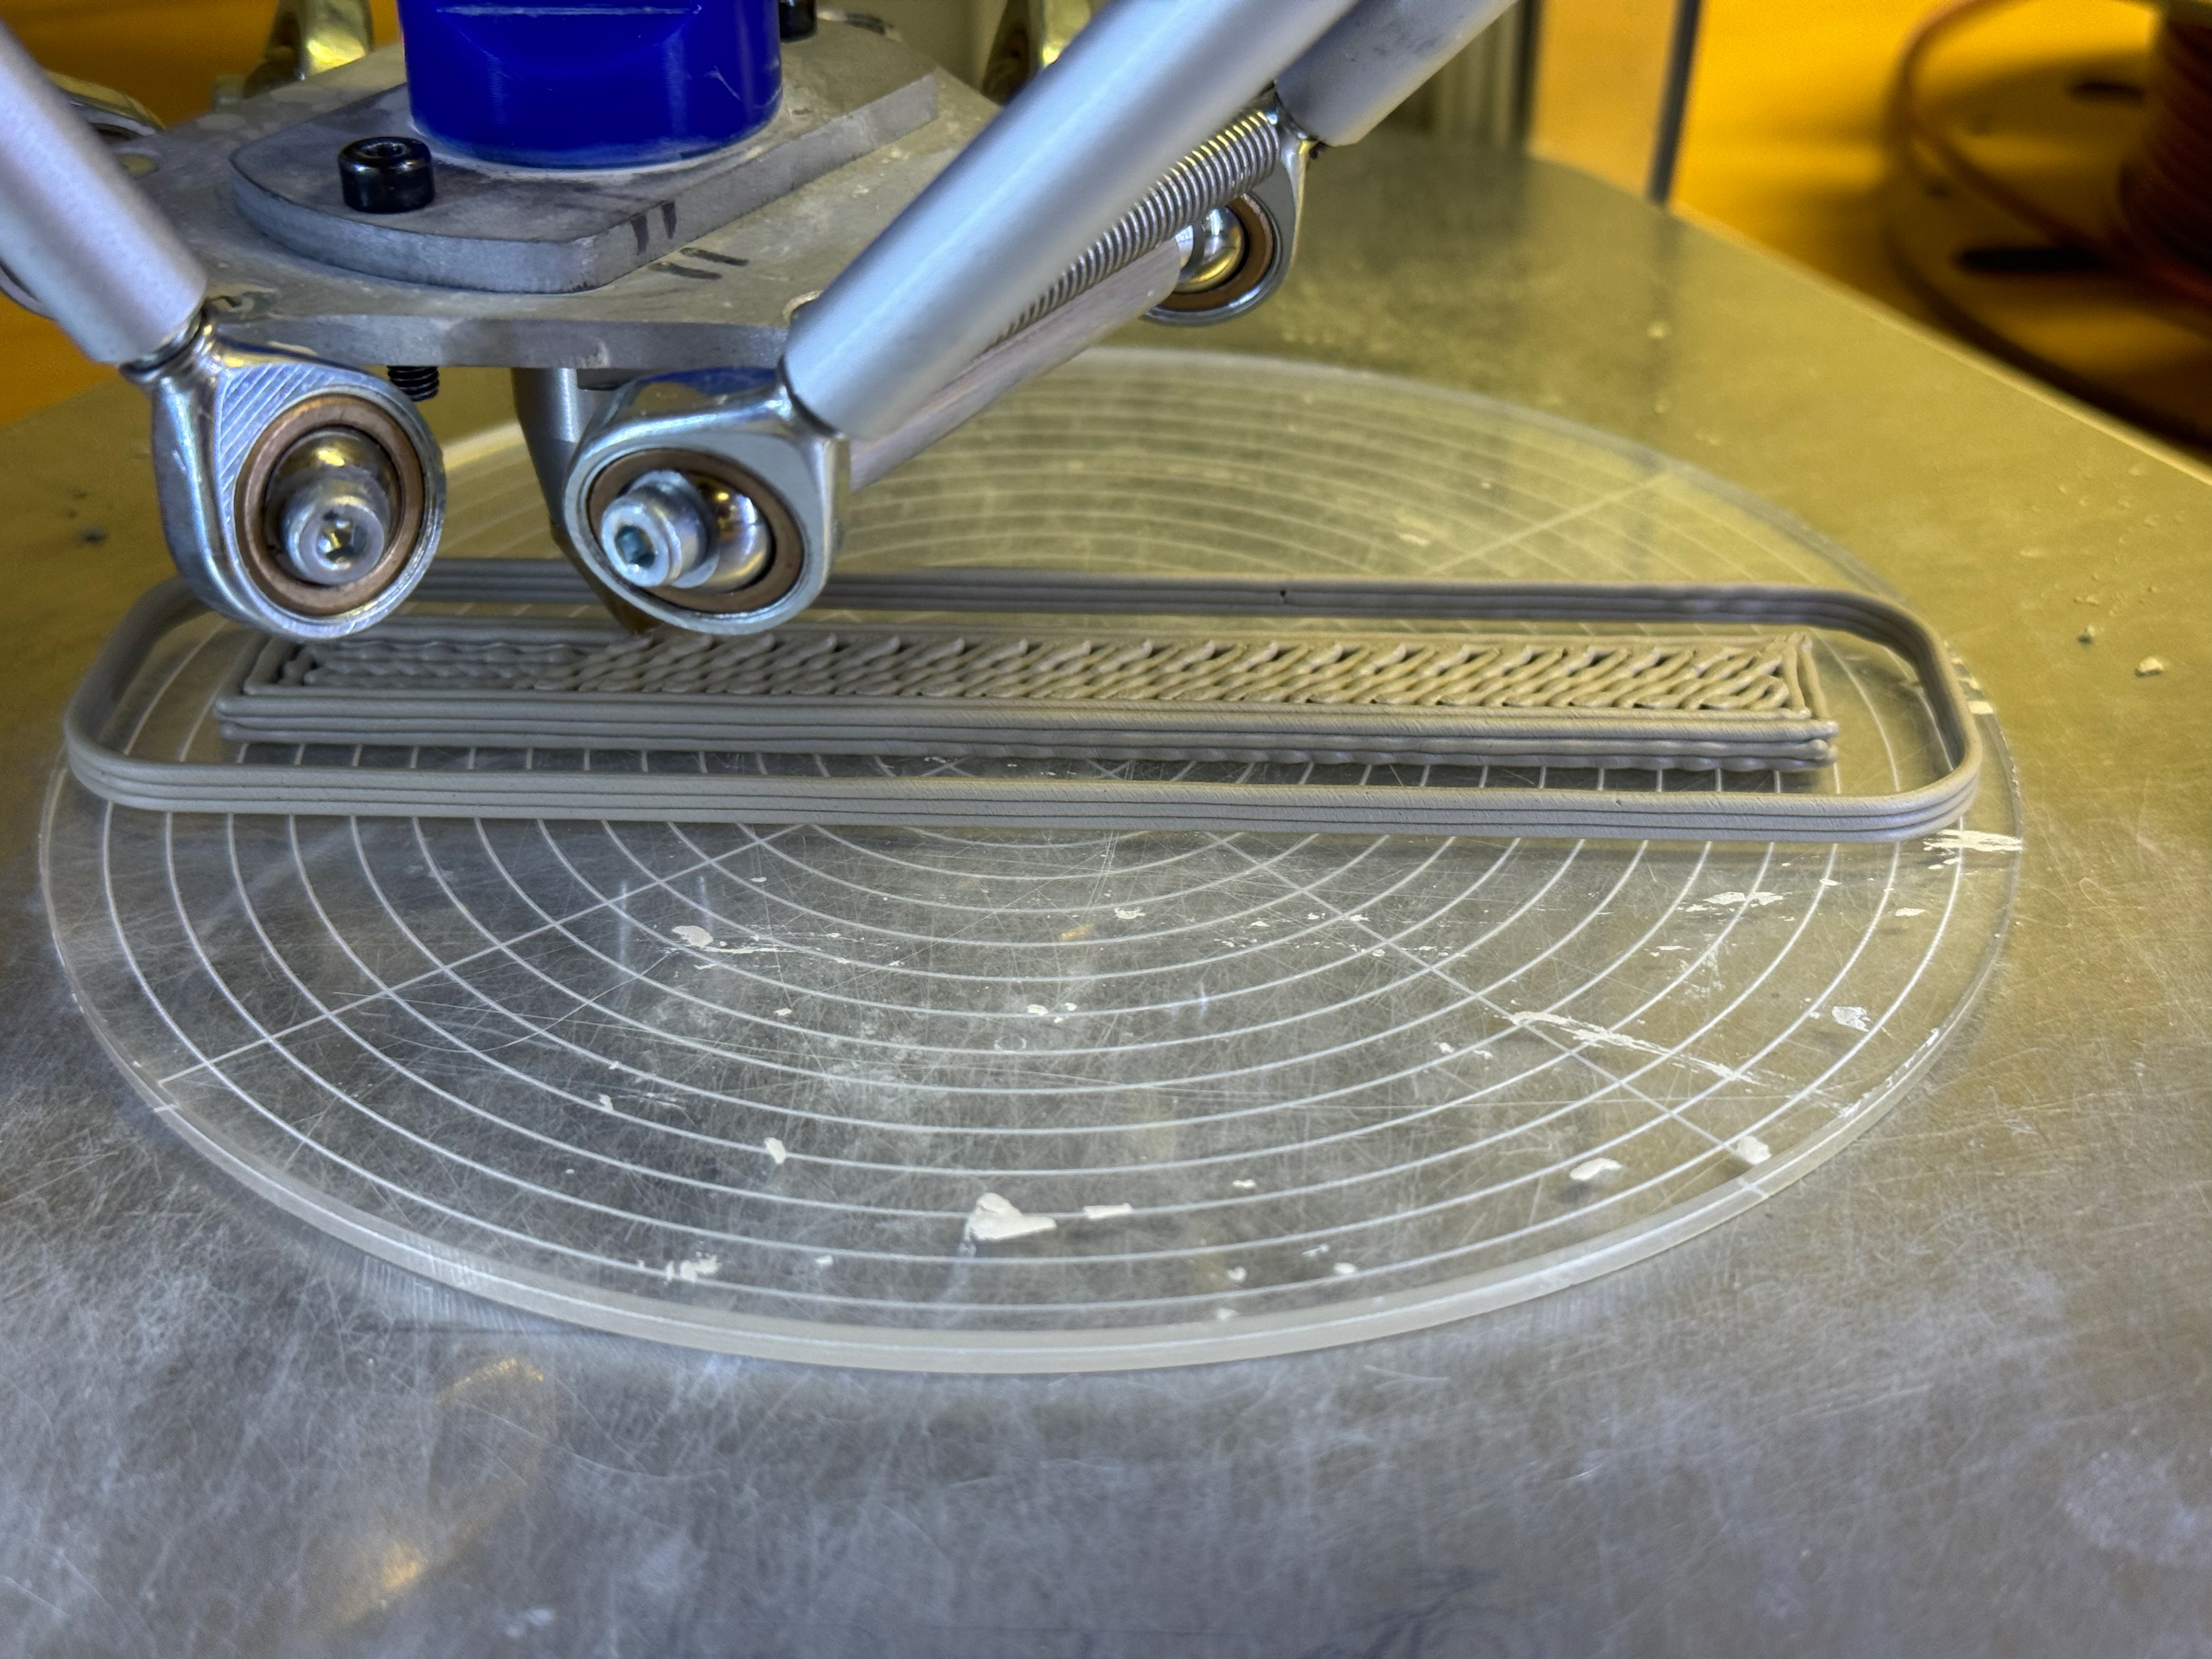
Good initial base.
Stack bases foaming well.
Nearly perfect start to the stack and spiral
Part of a spiral collapsed but it went well

Stopped the print to prevent it from collapsing but promising result.
Fired spices look good but it cracked.
Side on view
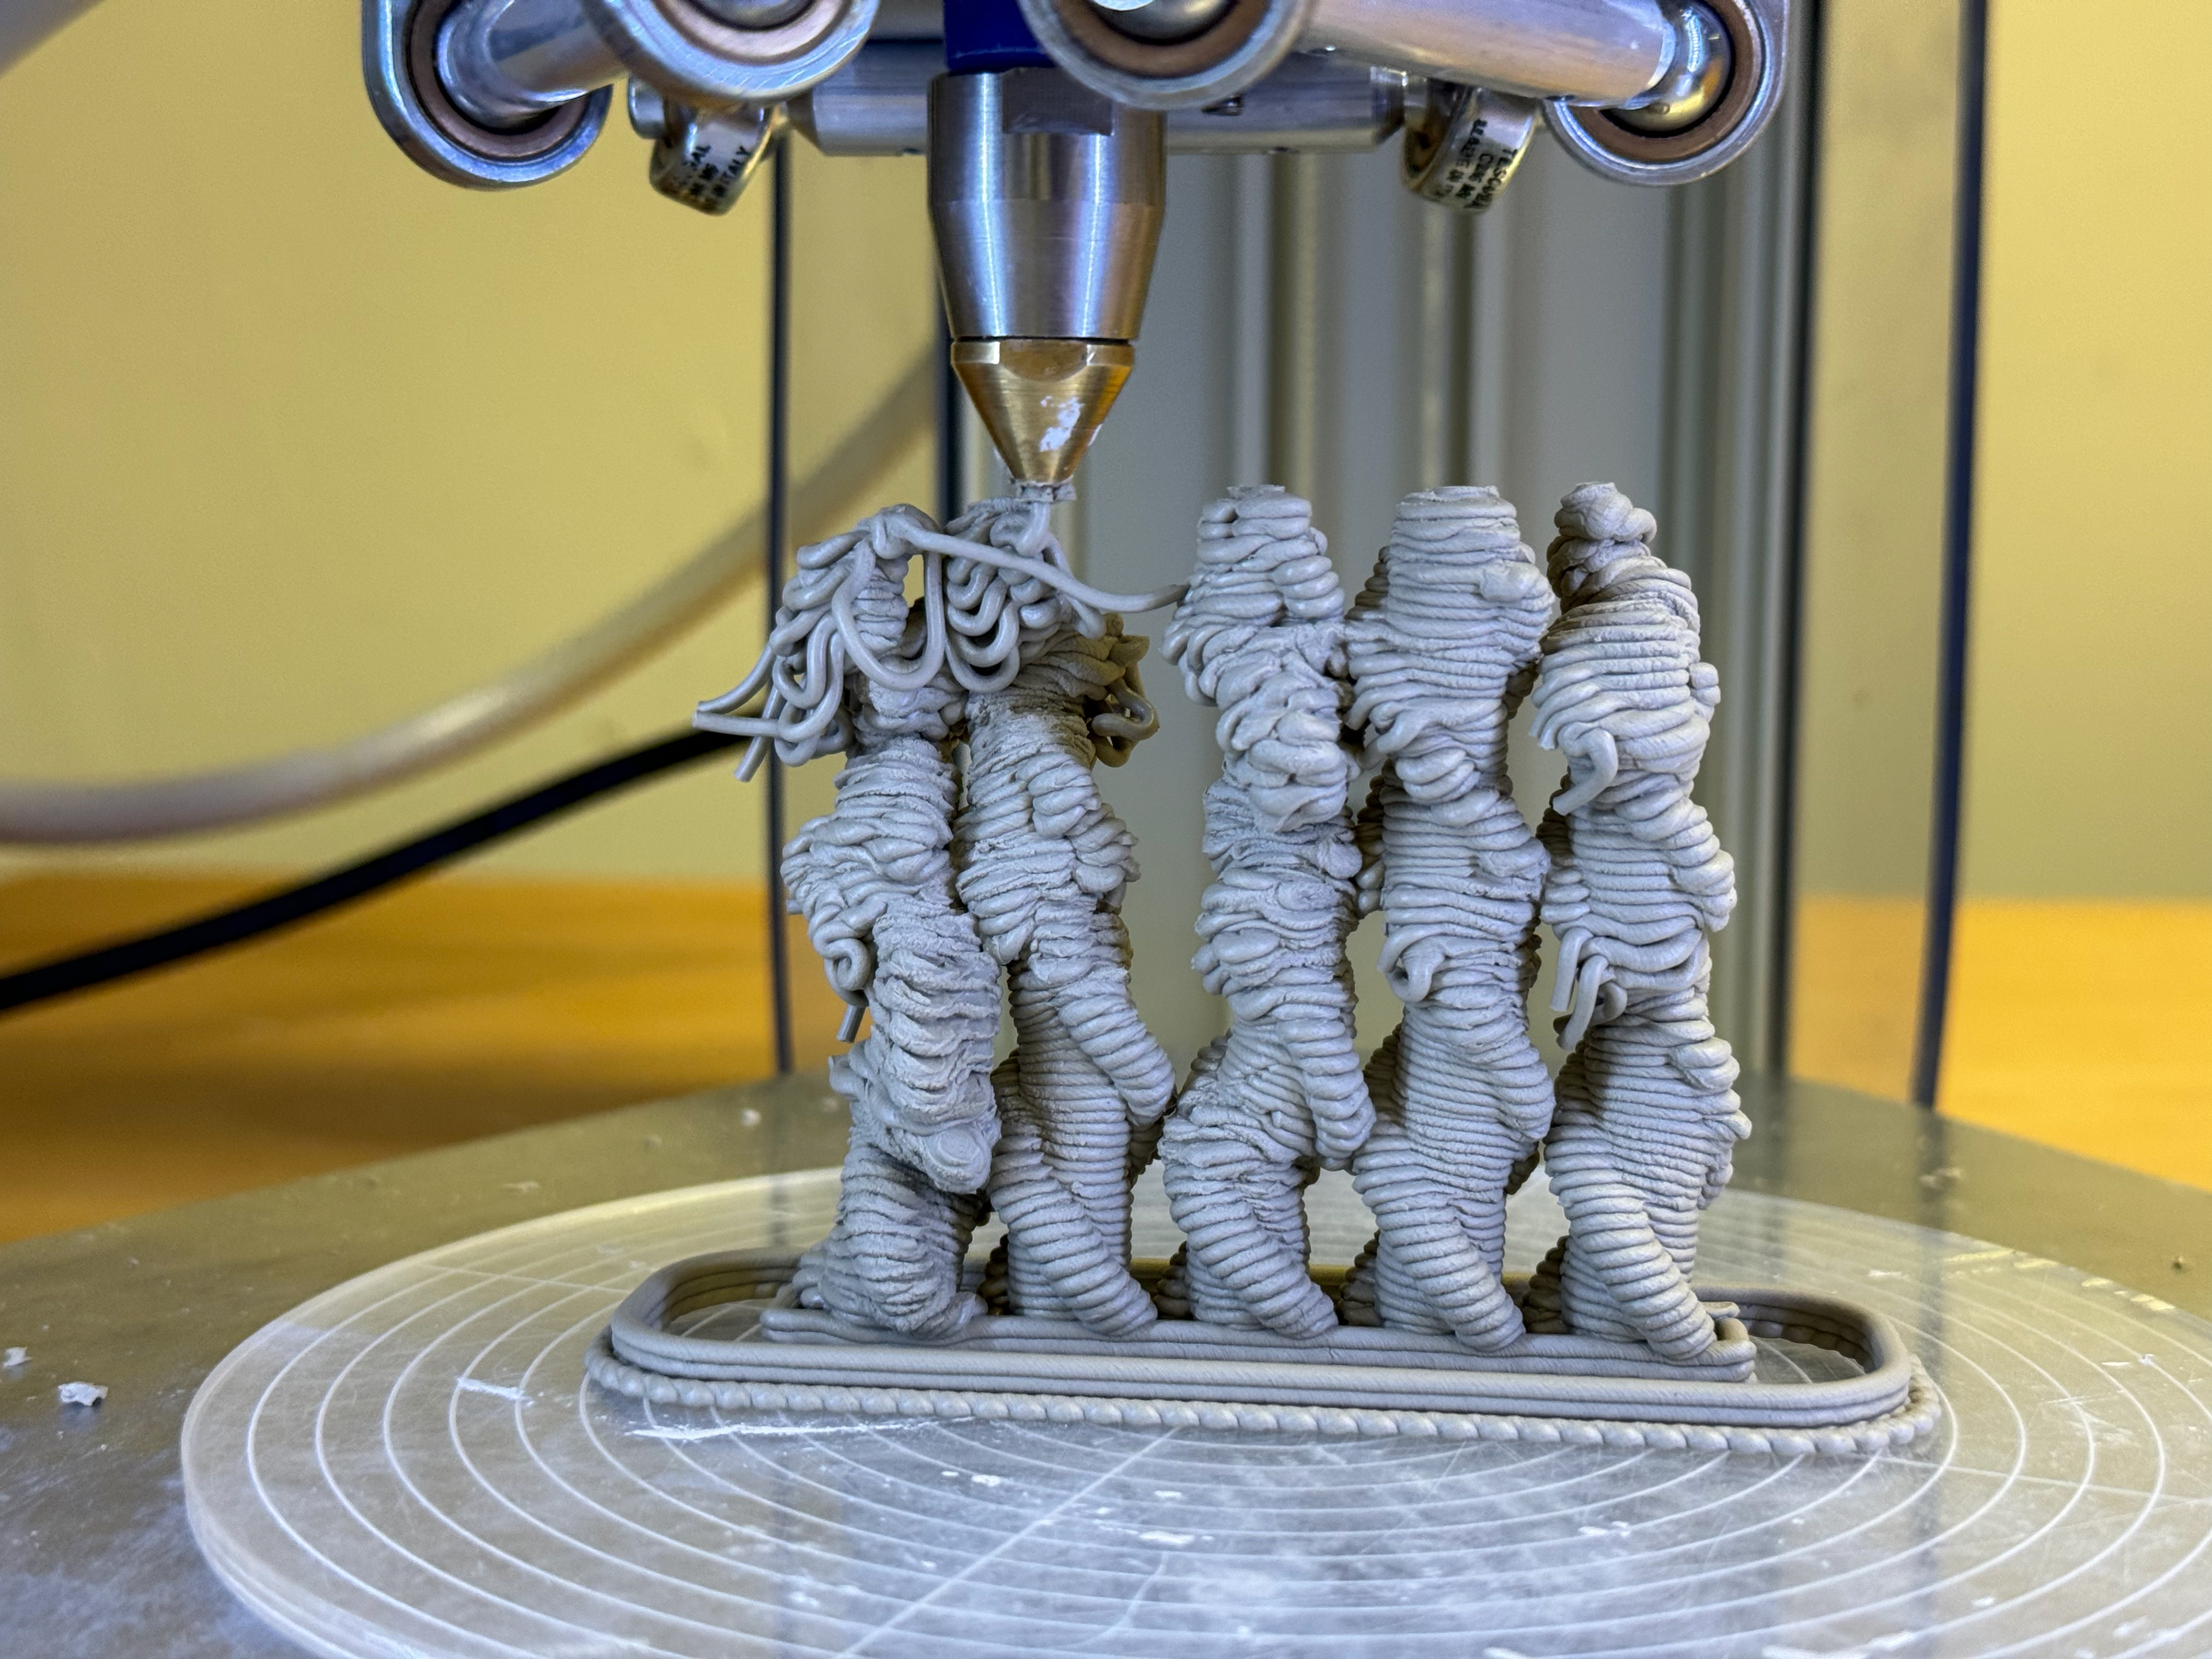
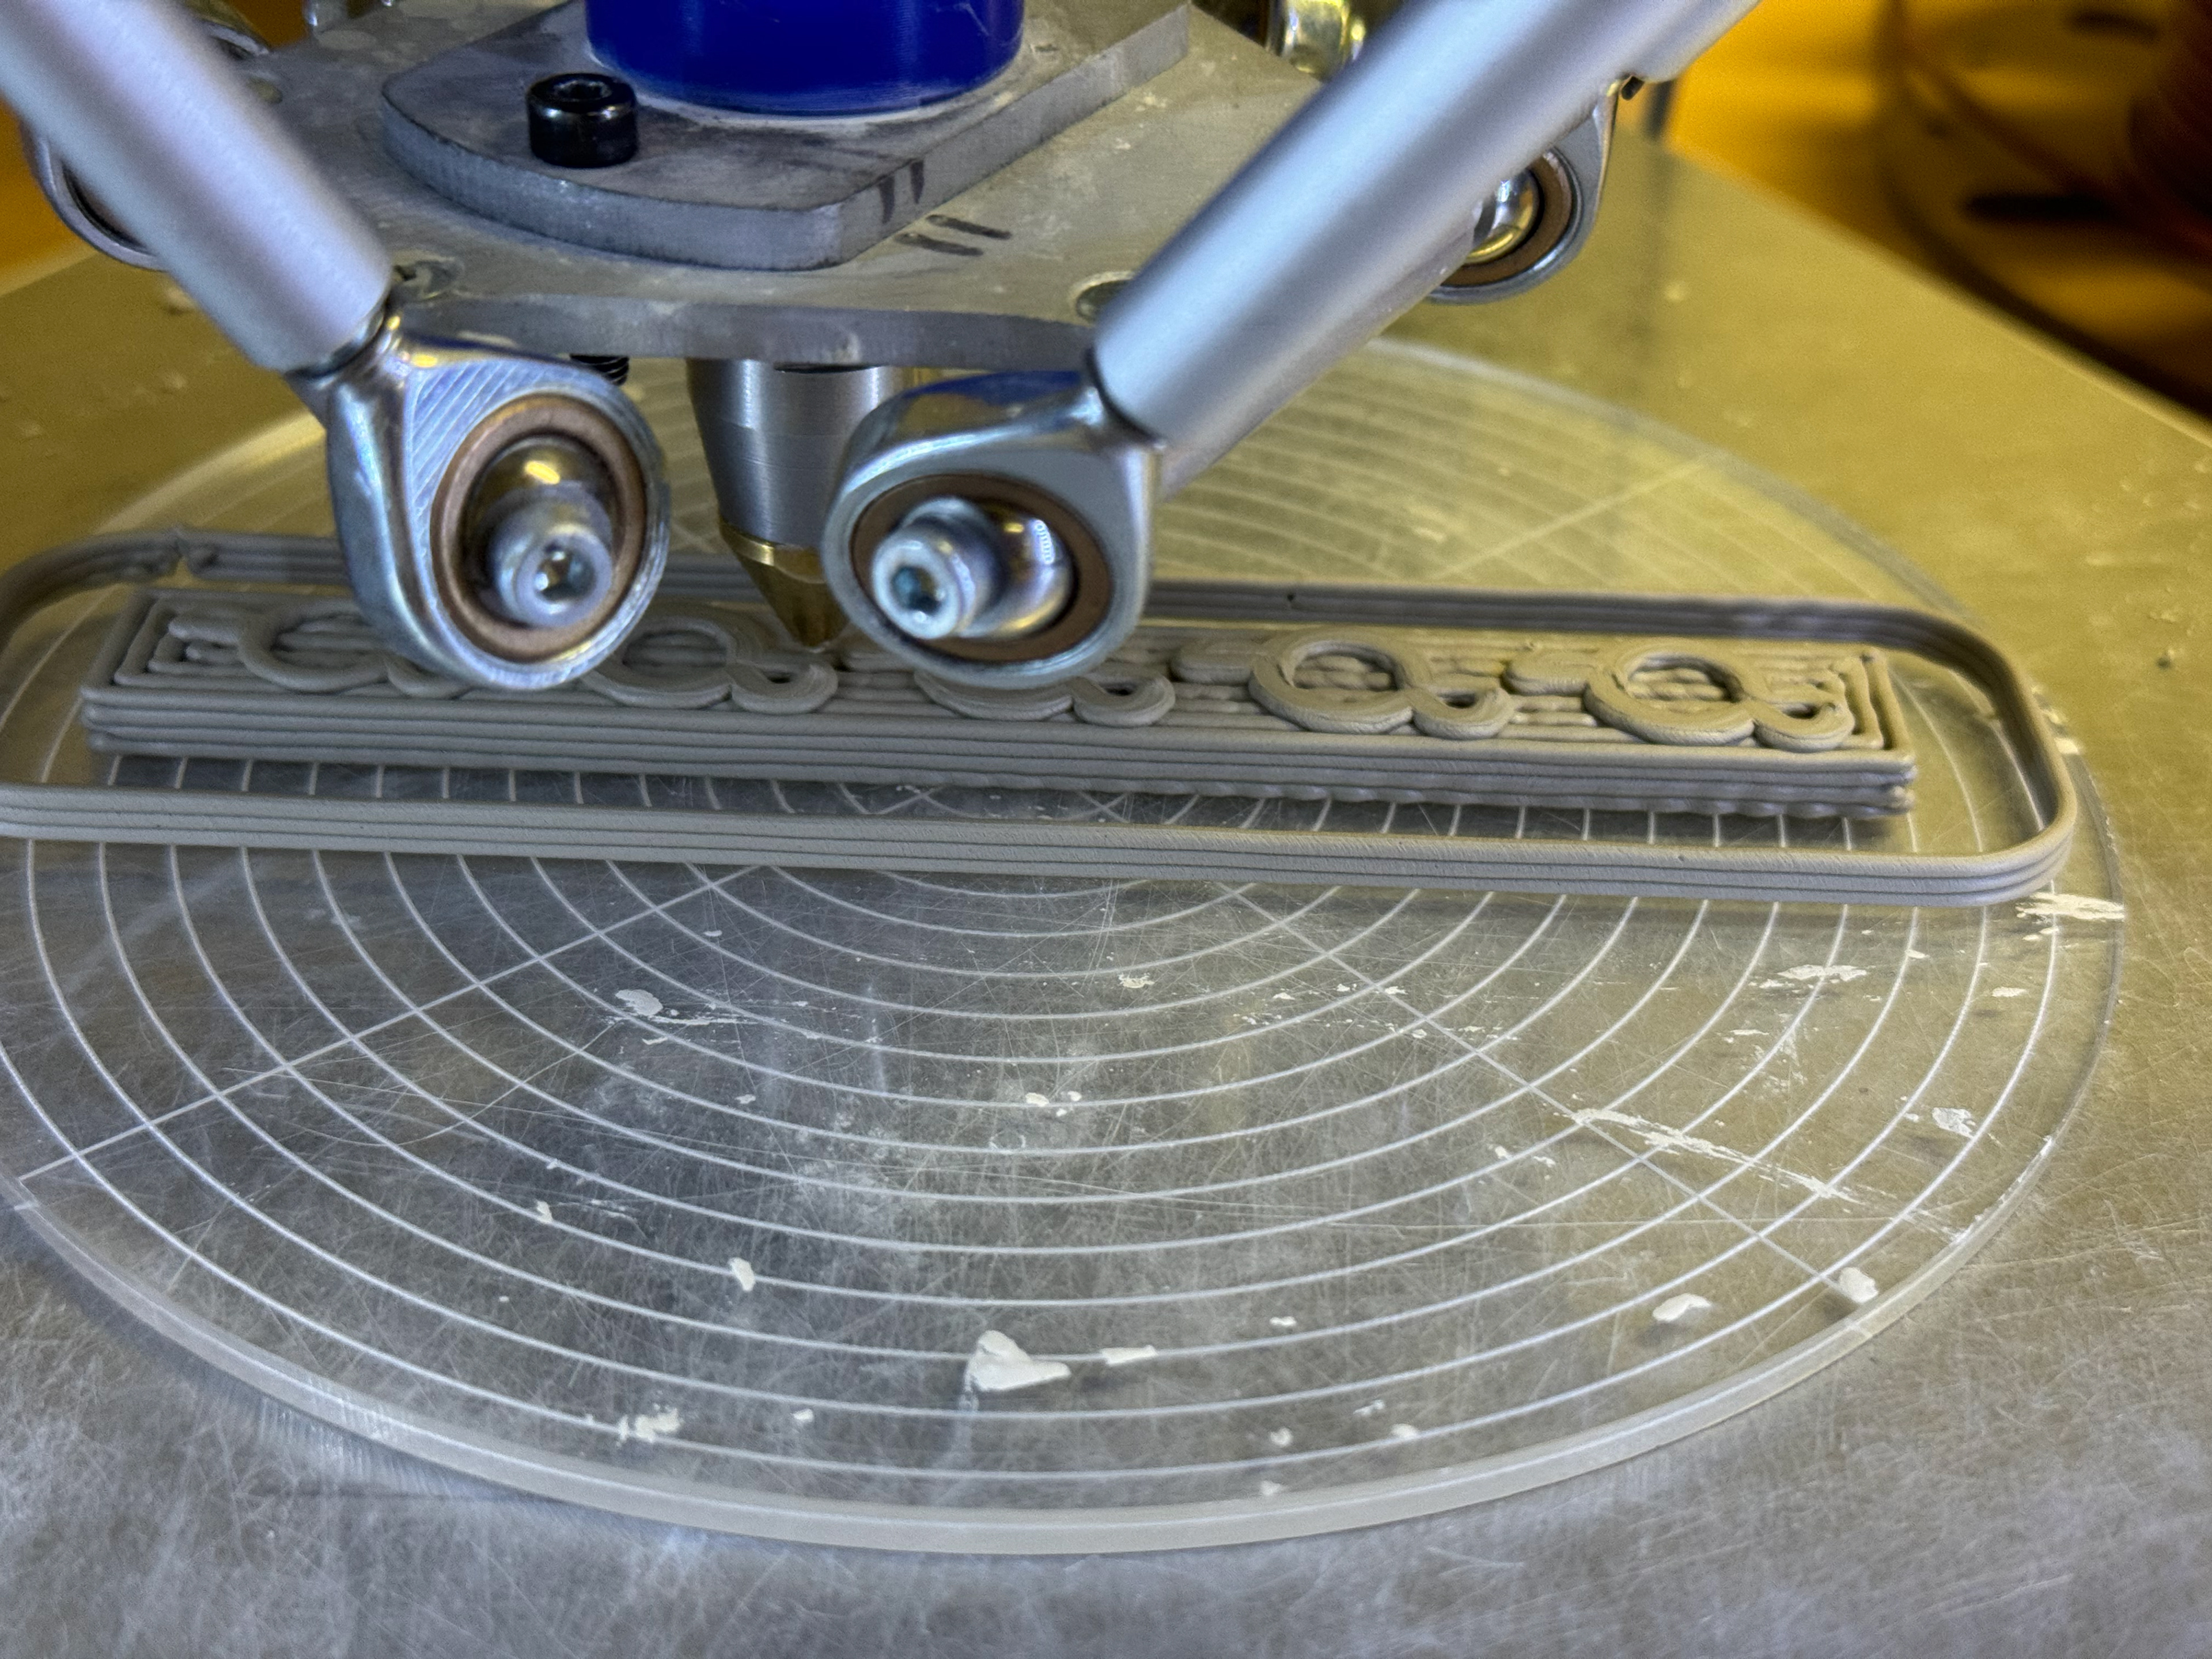
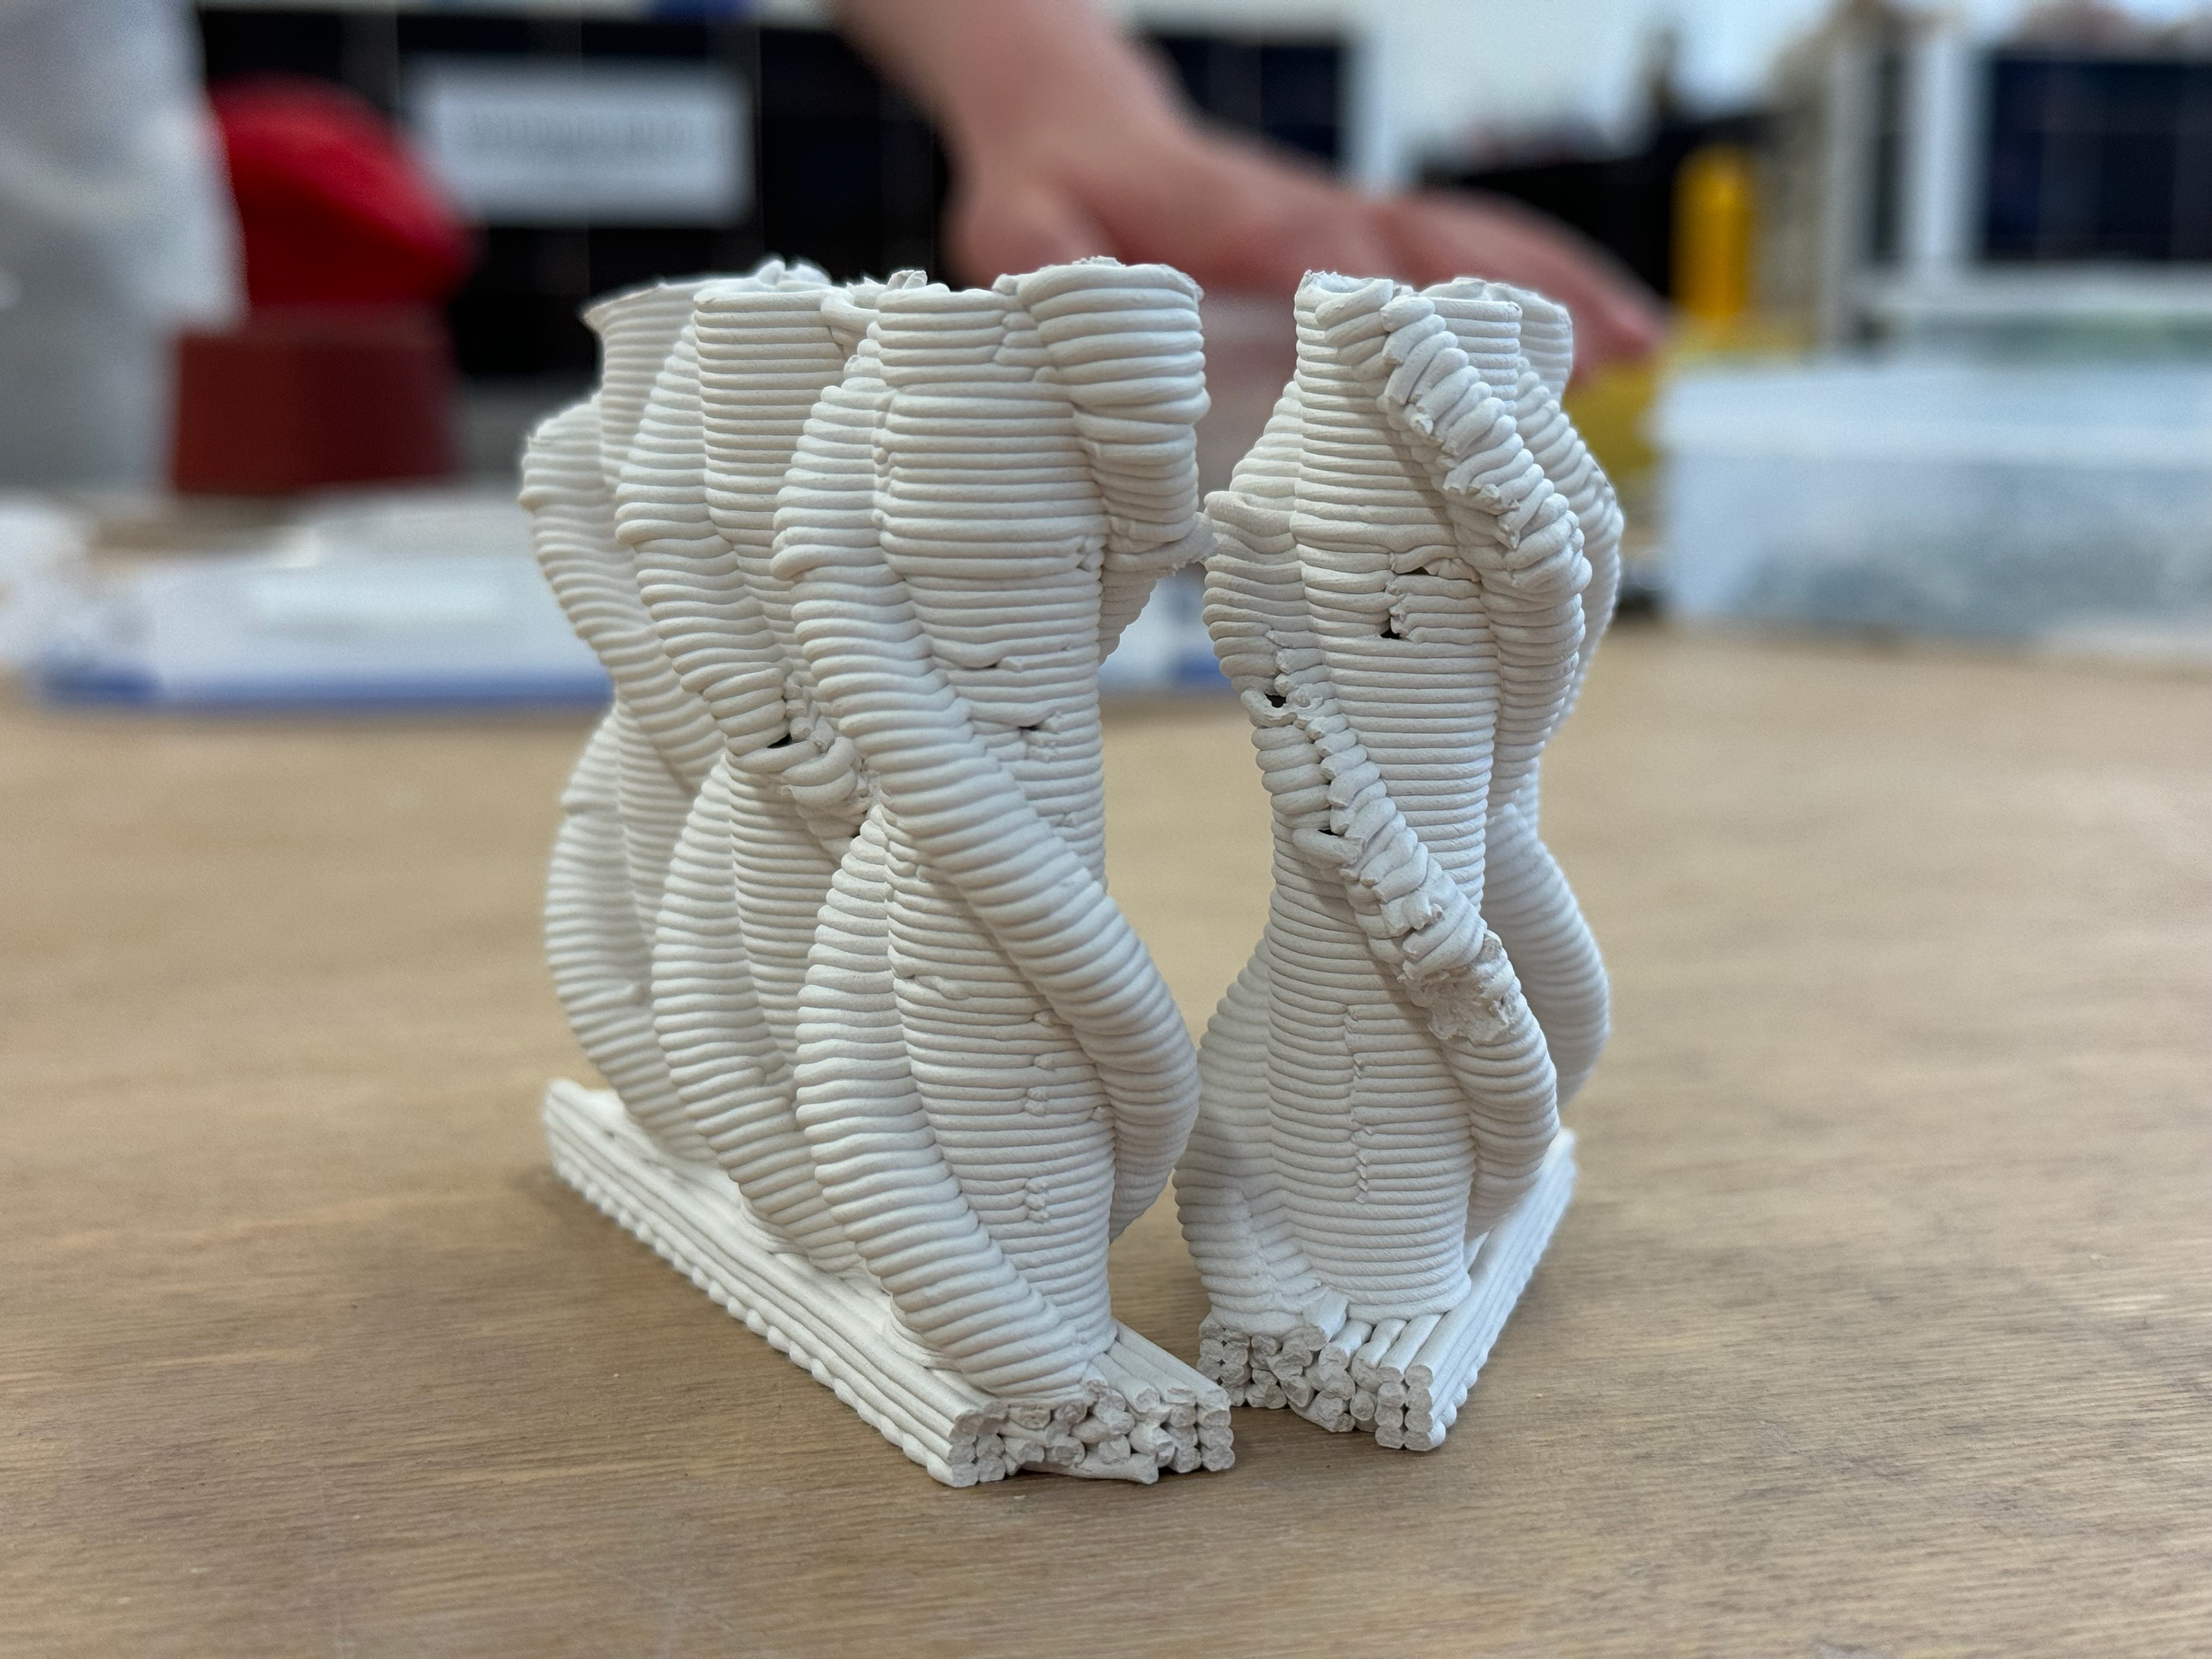
Further Stack refinement:
This time I was so close to a perfect product but once again the pressure was wrong and caused the flow rate to be inconstant. But it still was successful.

Got a good flow:speed ratio
All good at this point
Pressure started to drop off here.
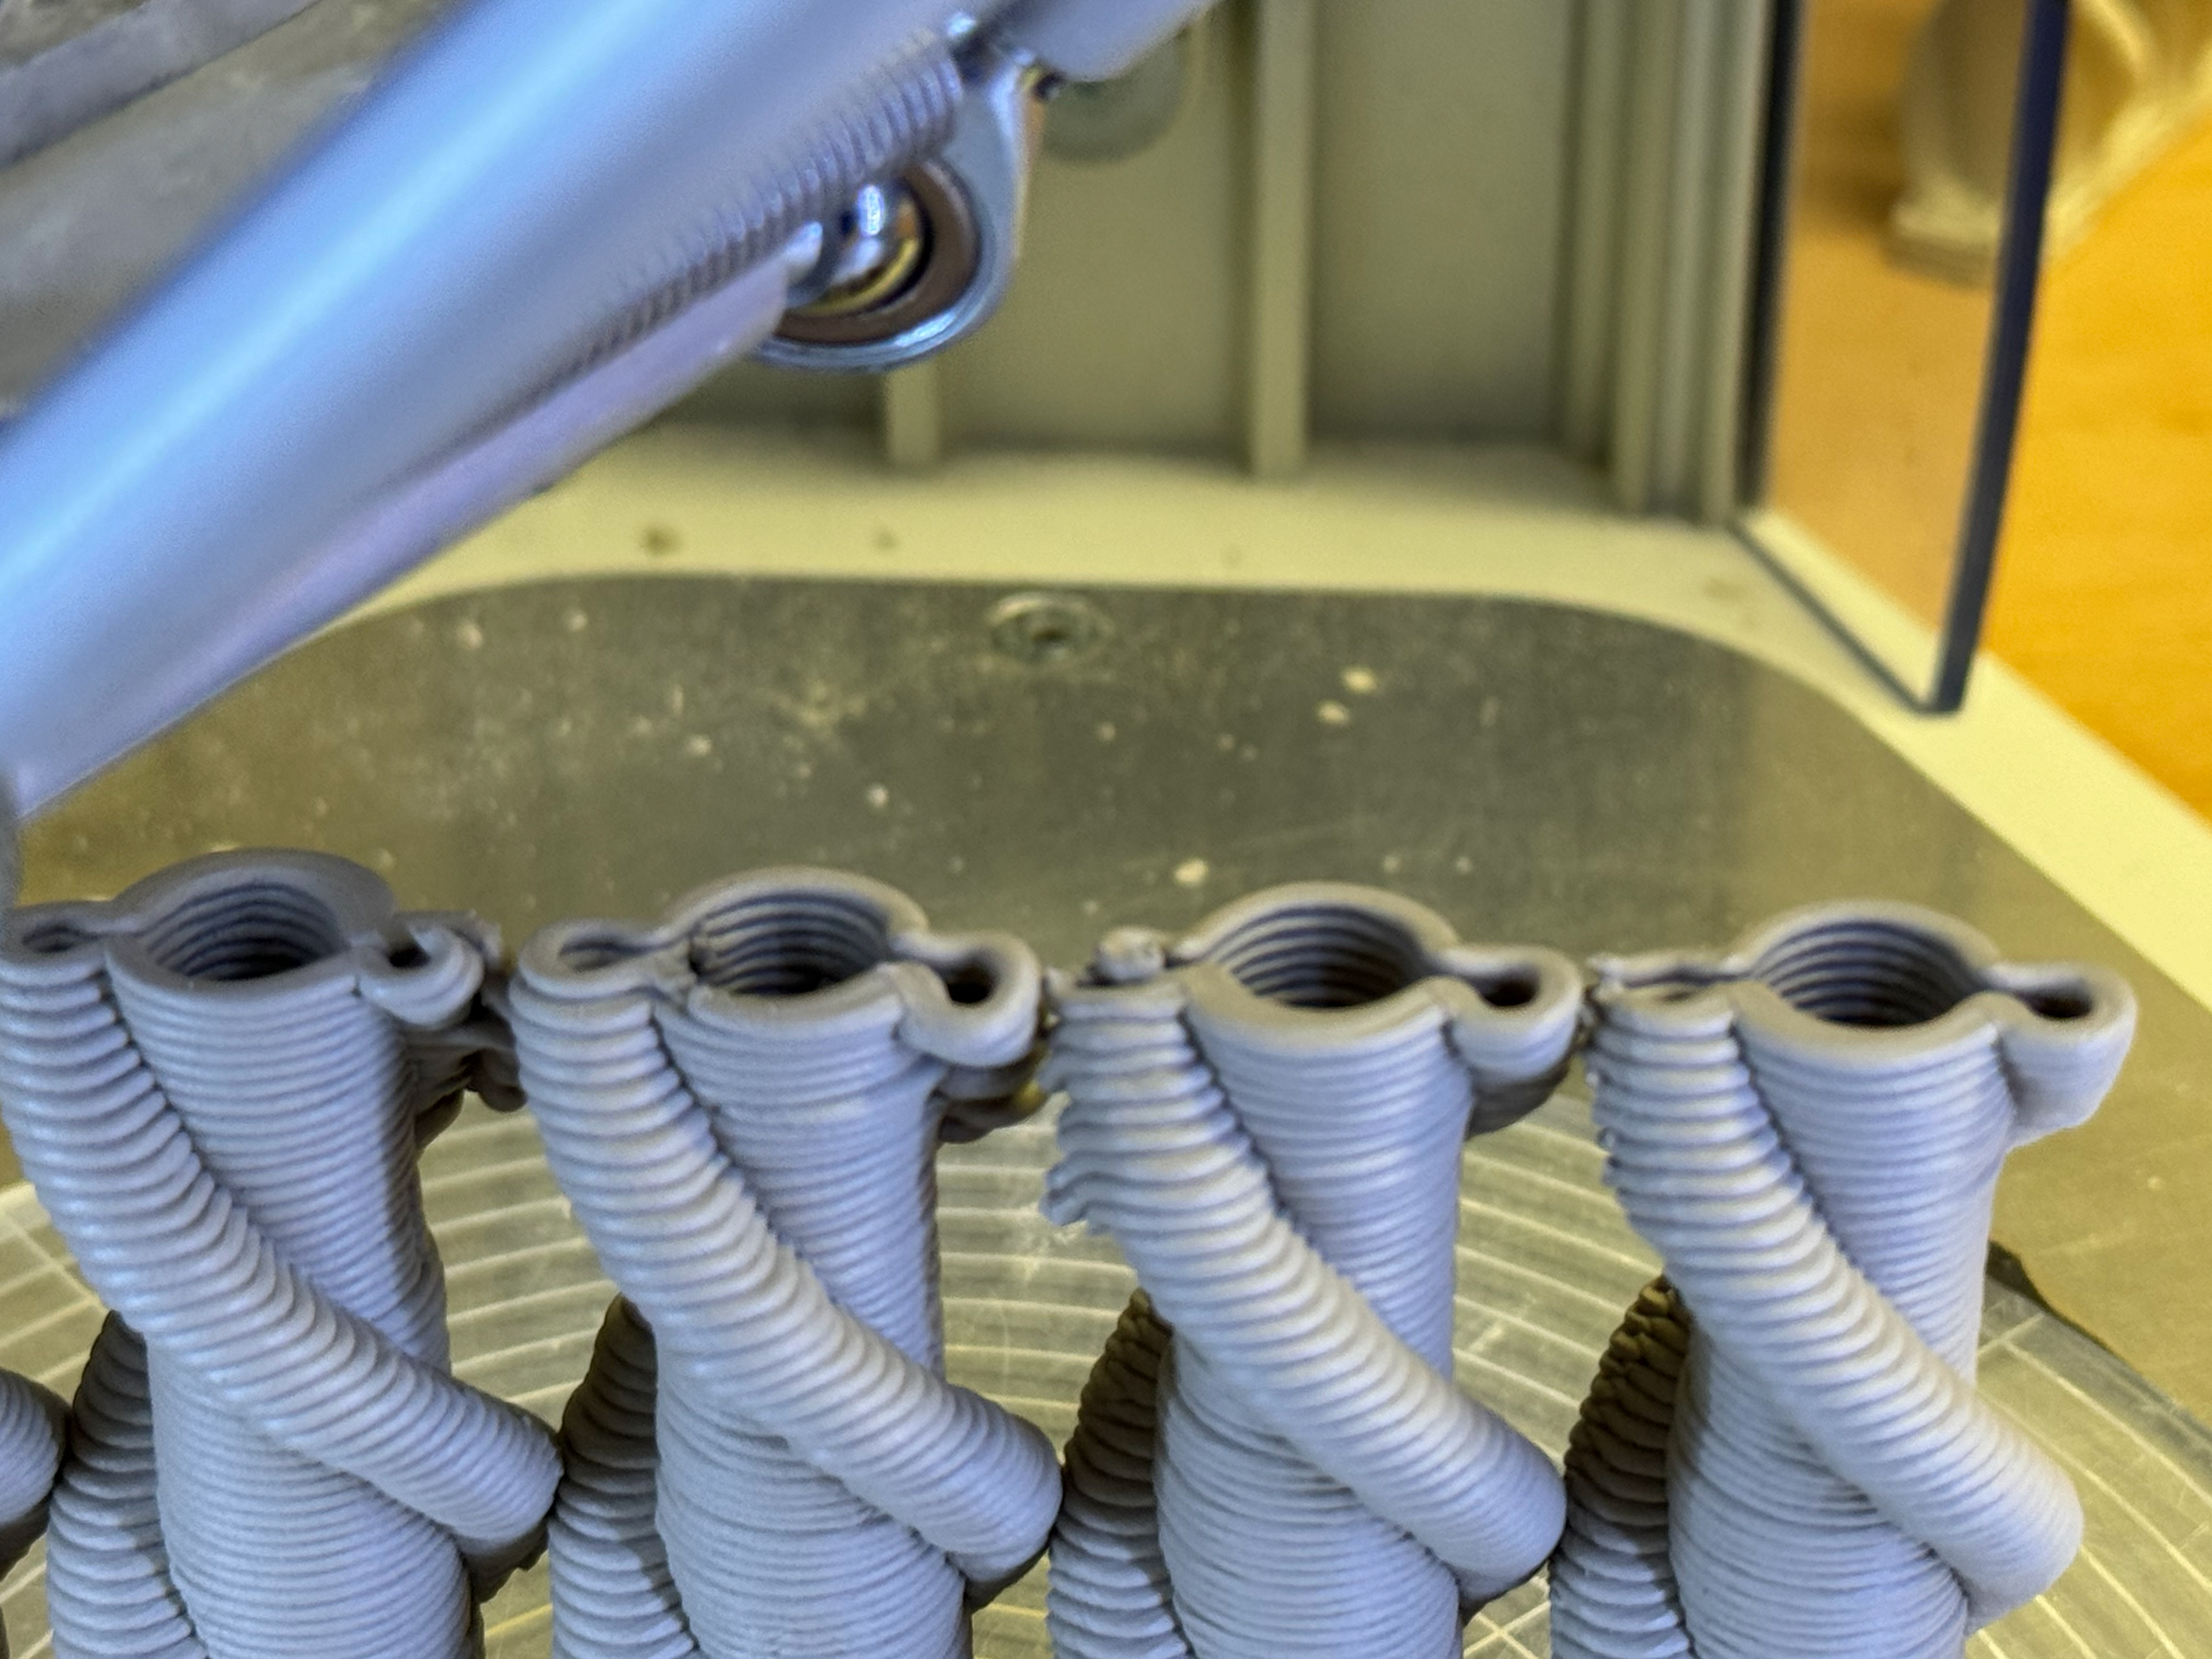
A slight issue
The issue "spiralled" into a problem.

Another okay piece but not perfect.
Good view from above.
Glazing Trial
I glazed this piece as a trial to see how well a glaze can be applied to the object. I applied it quite thickly which I thought would help with the matte texture but the result doesn't vary much aesthetically from the bisque fire of ivory stoneware so I won't do this to the final piece. I feel it's quite pointless and adds an additional cost. I wish i'd had more time to experiment with glazes and oxides because I may have been able to find a better result.
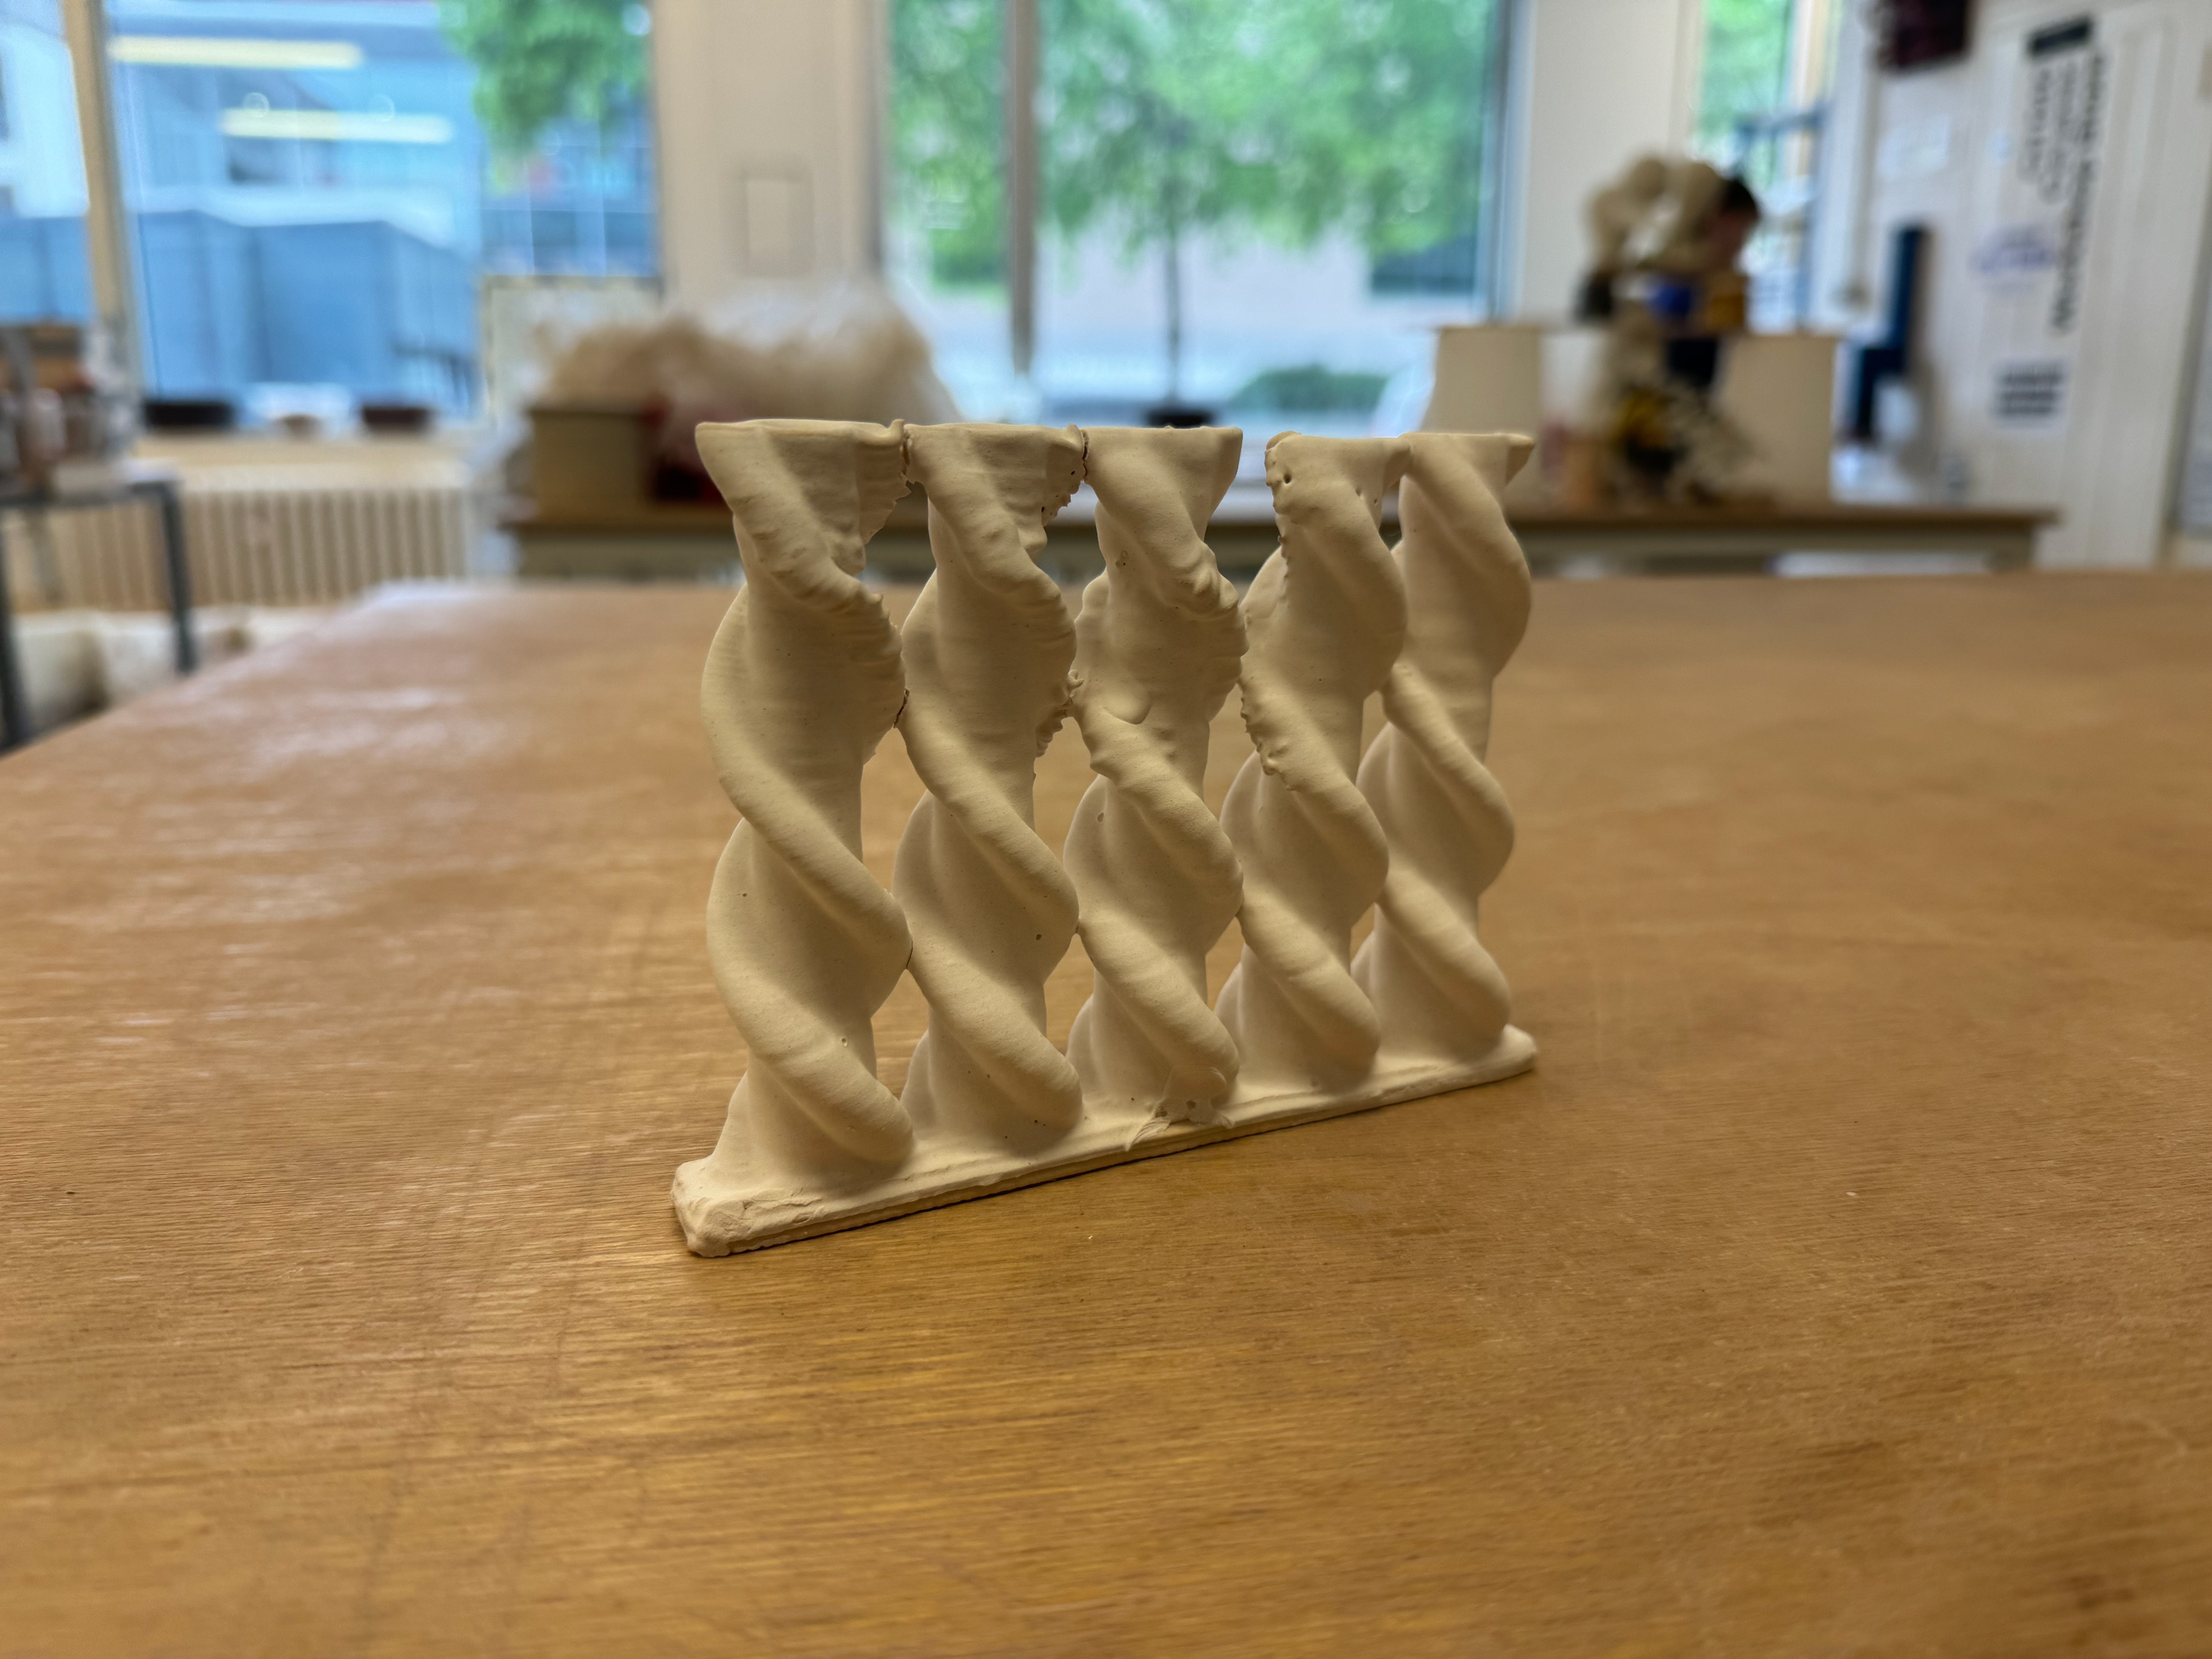
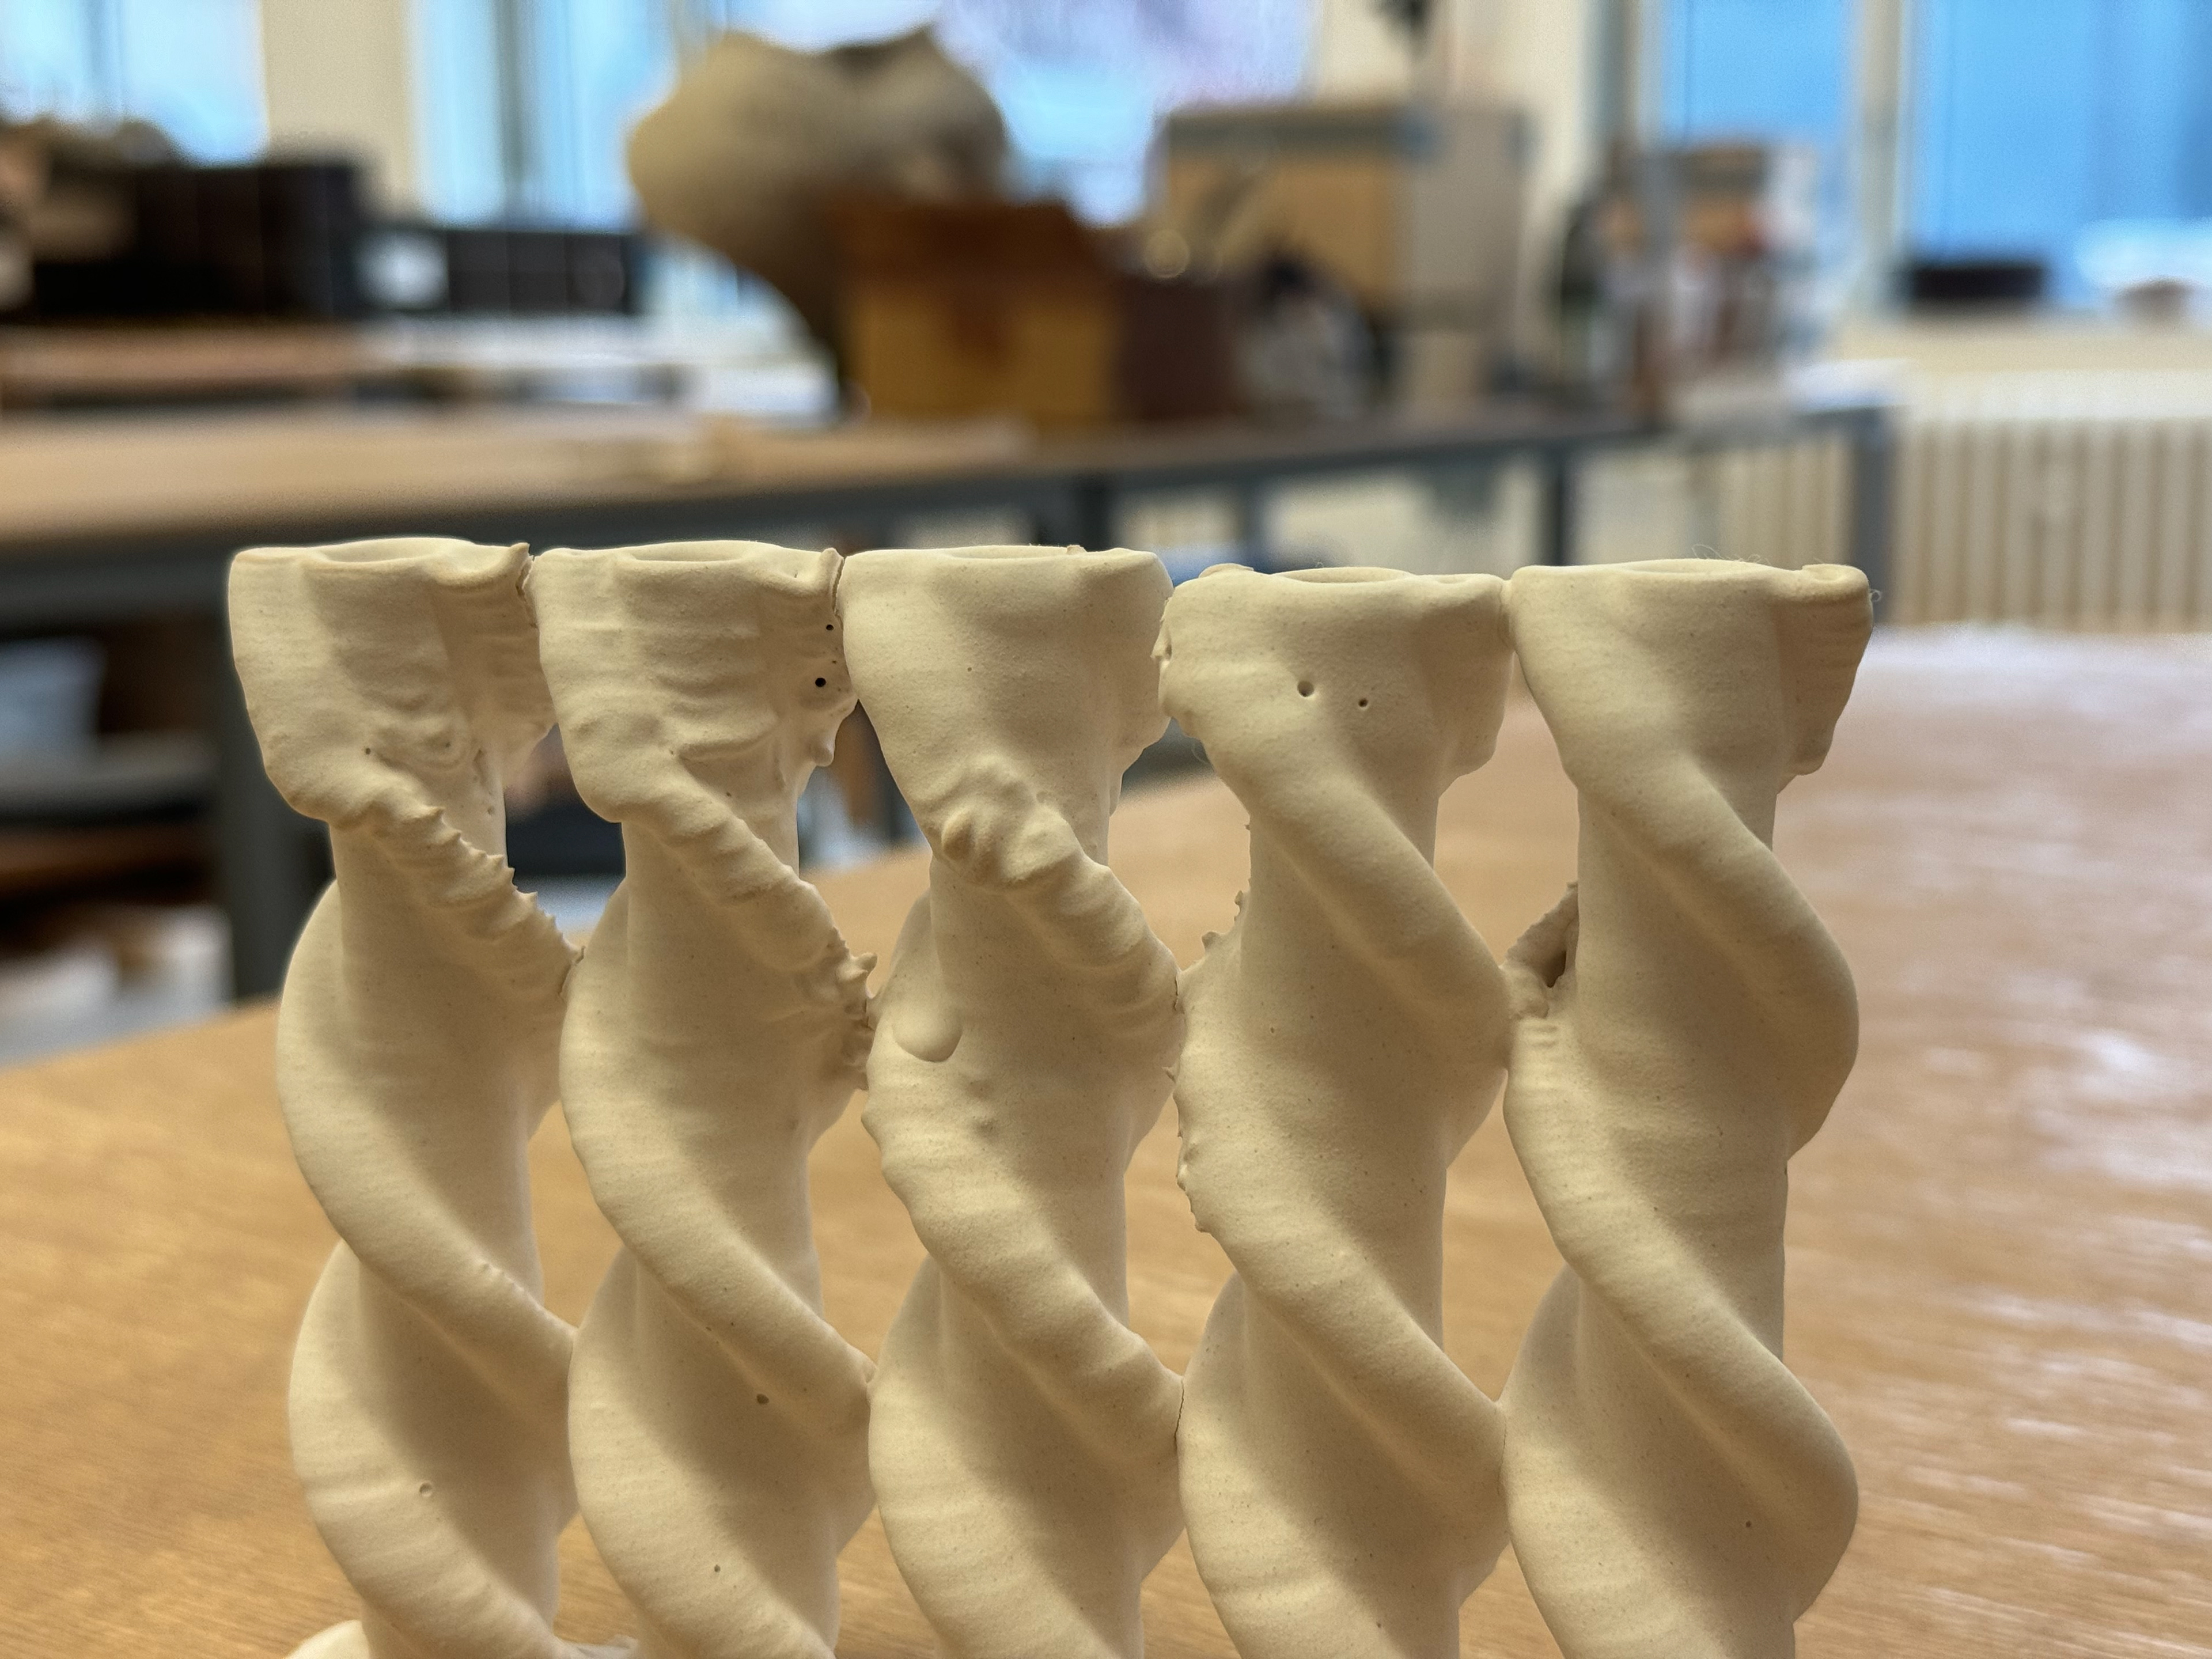
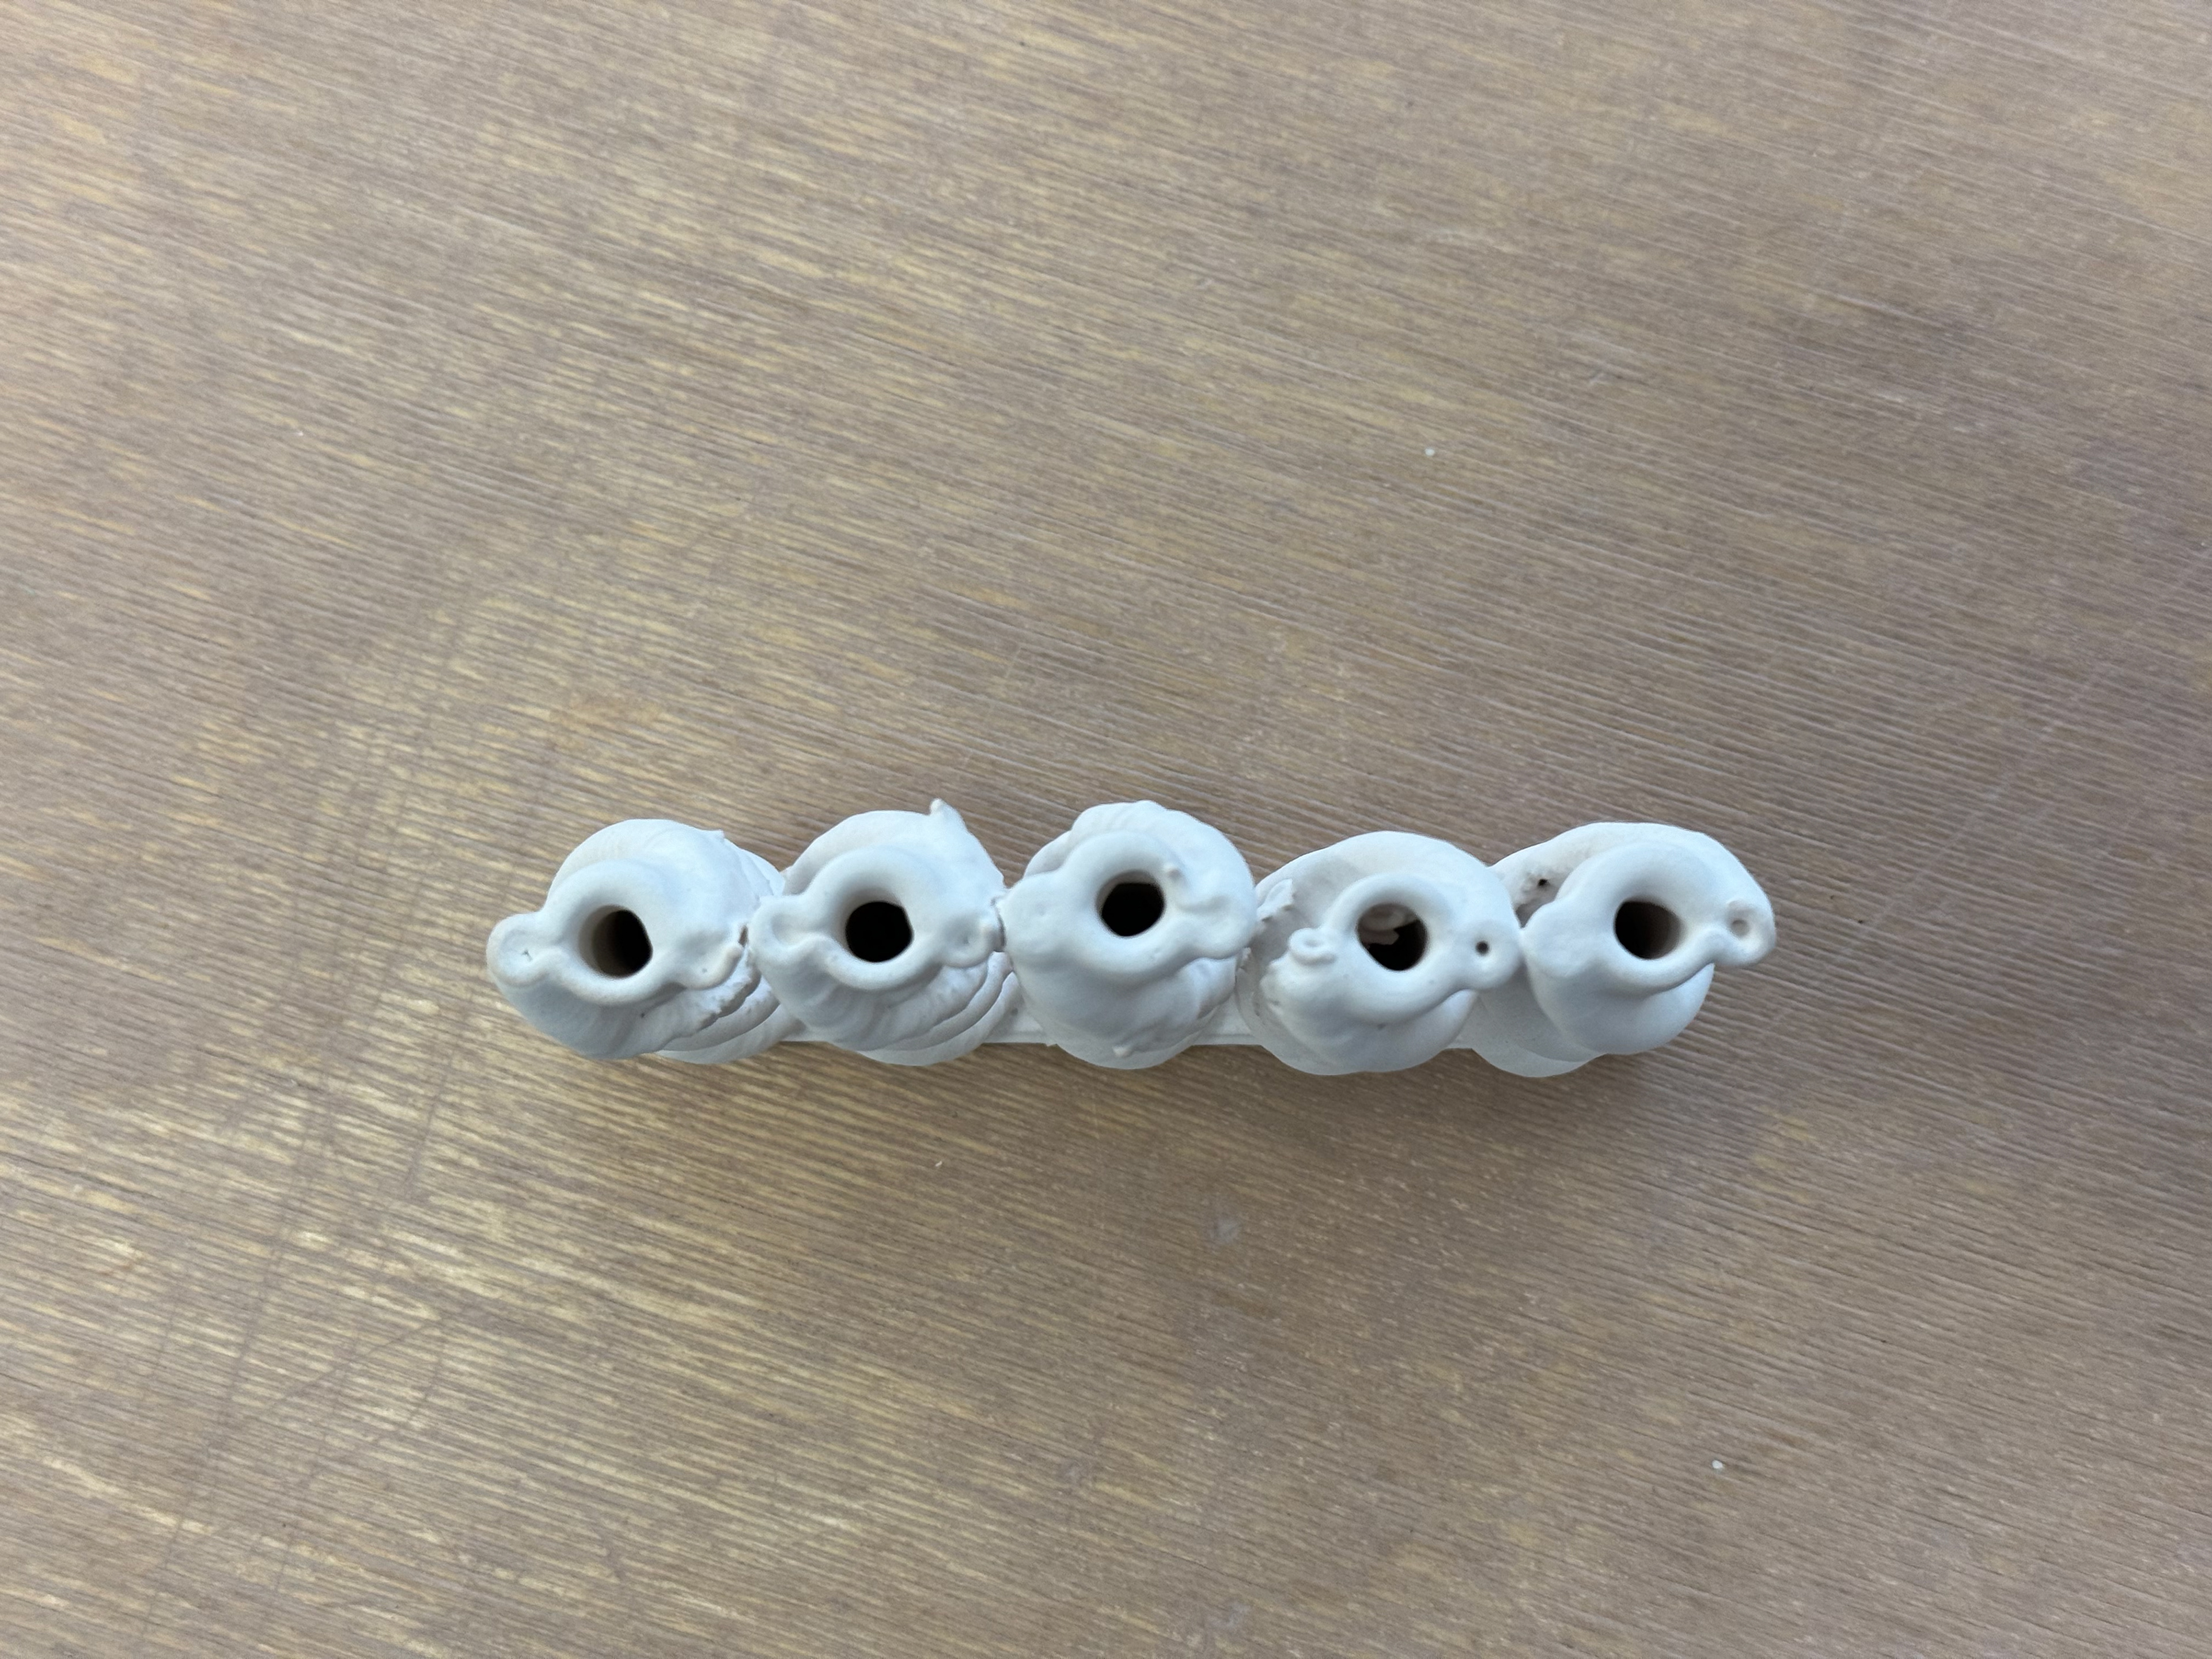
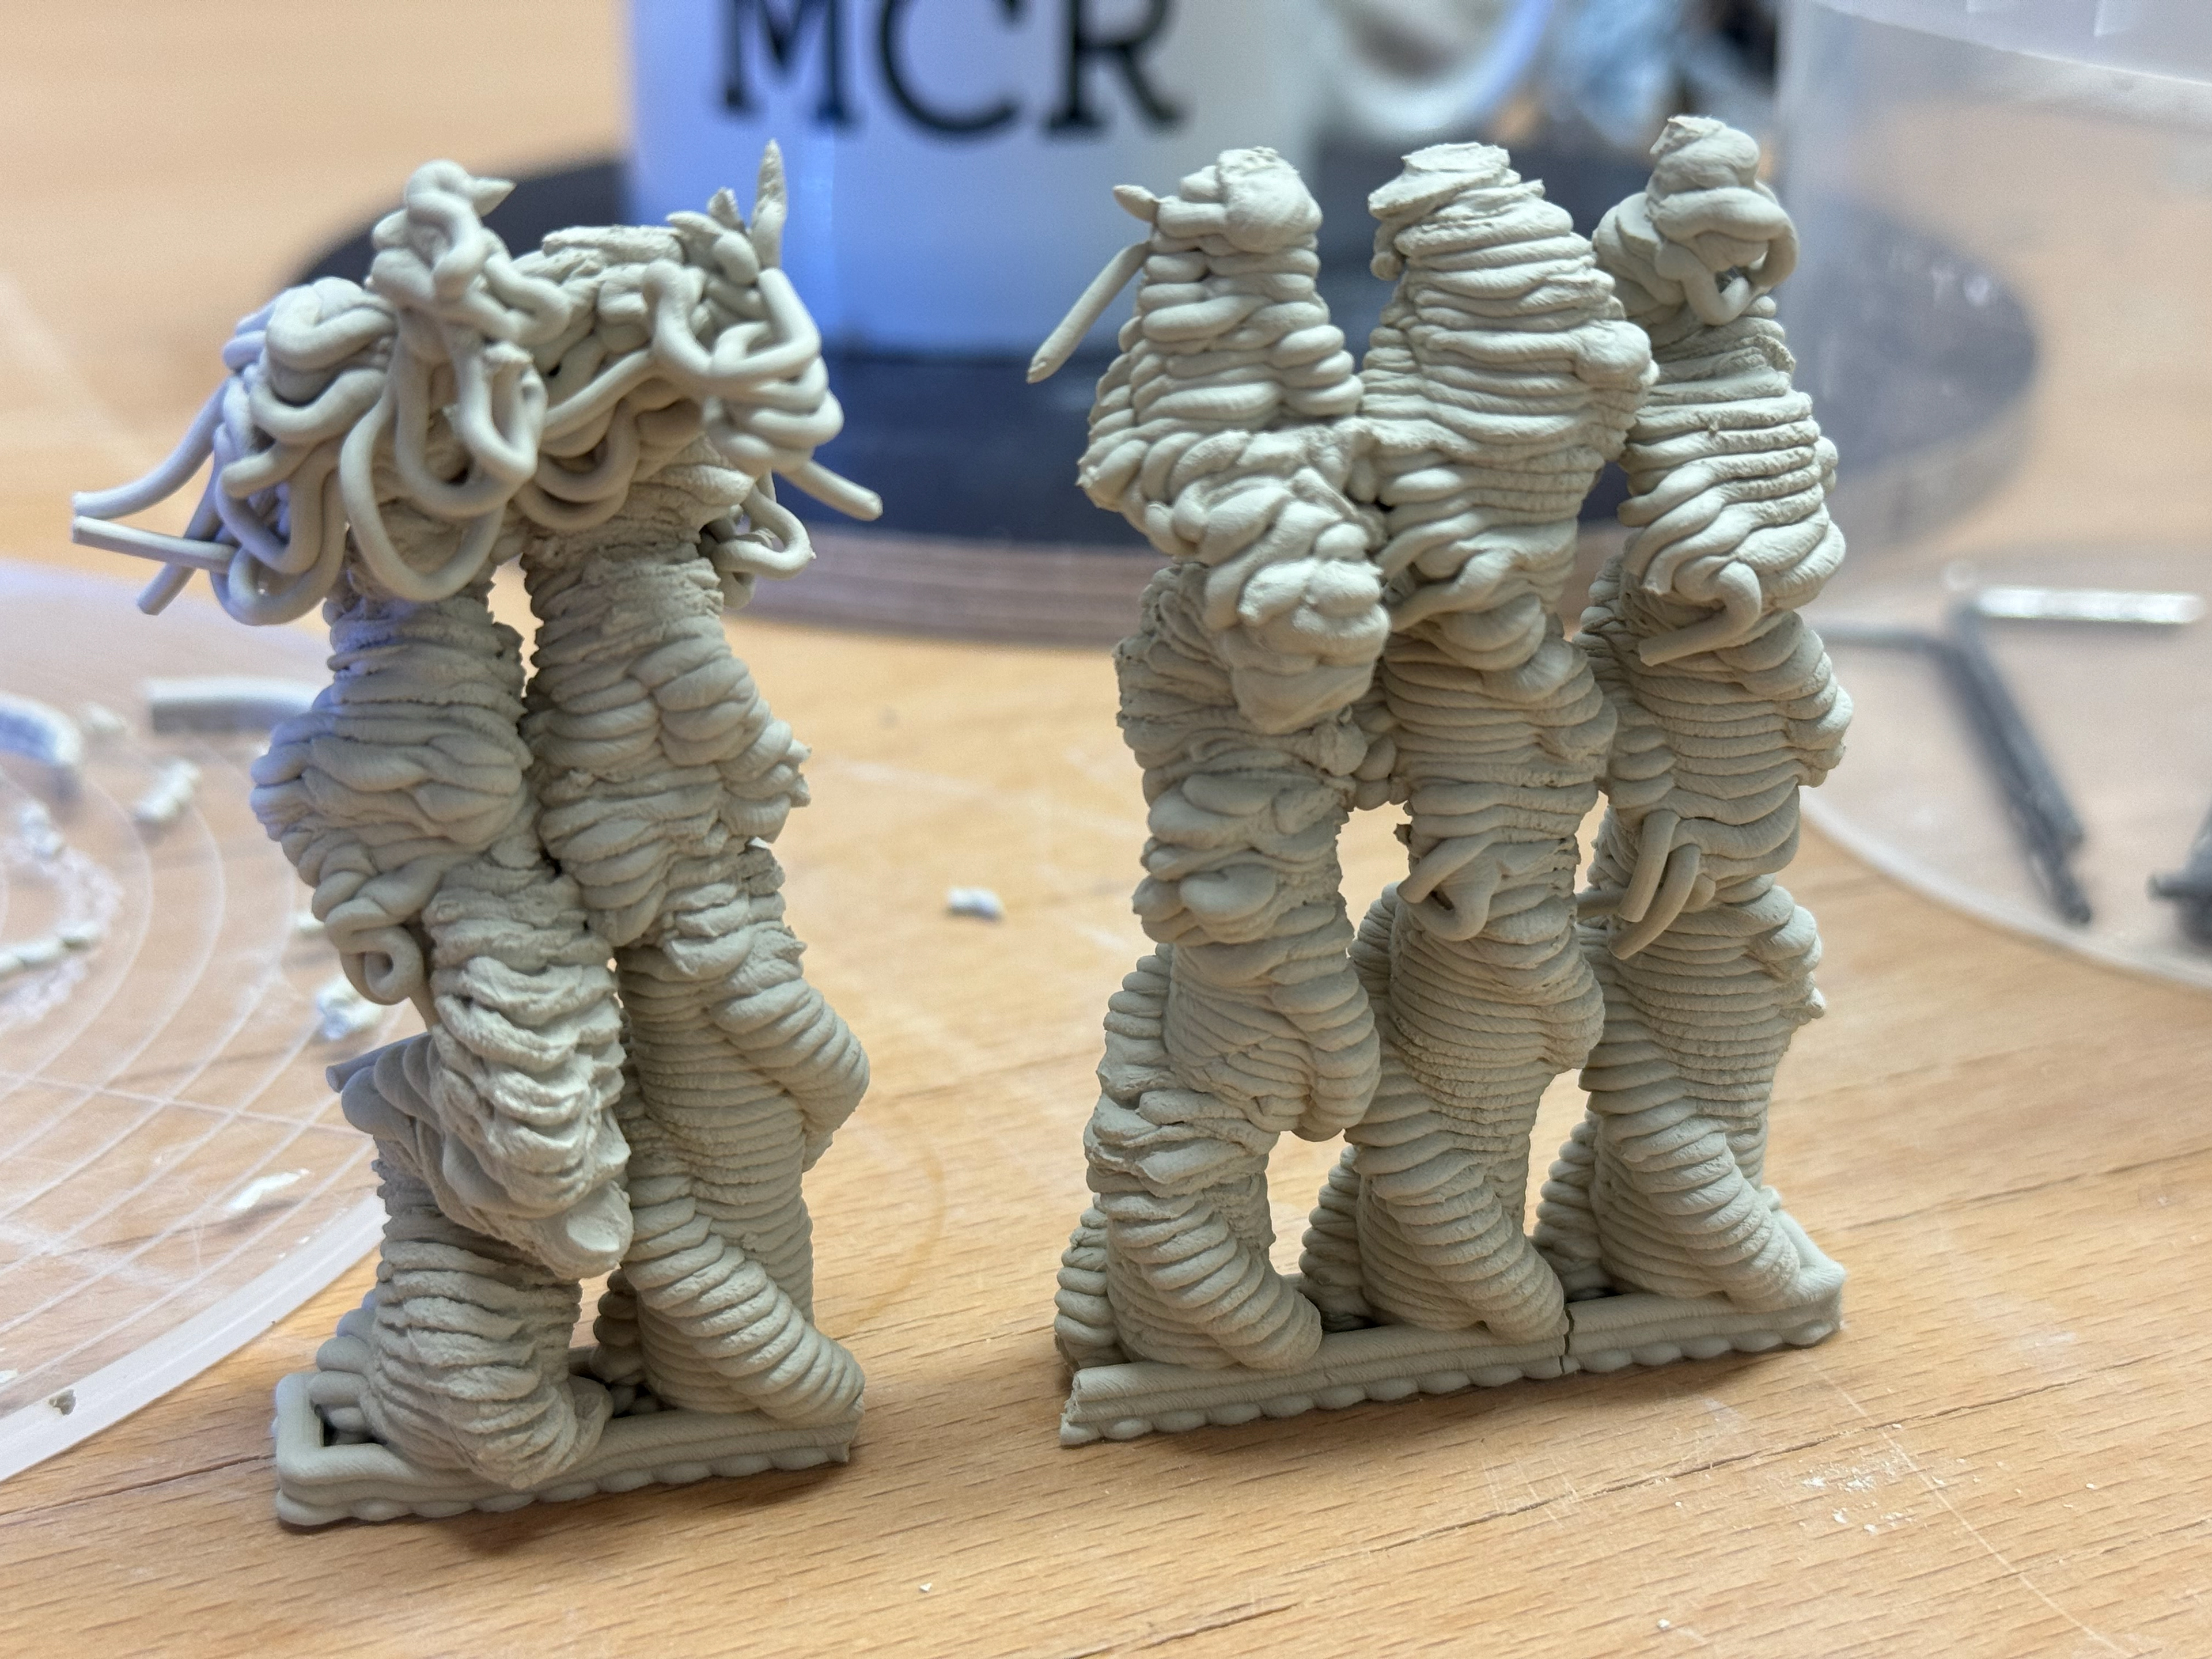
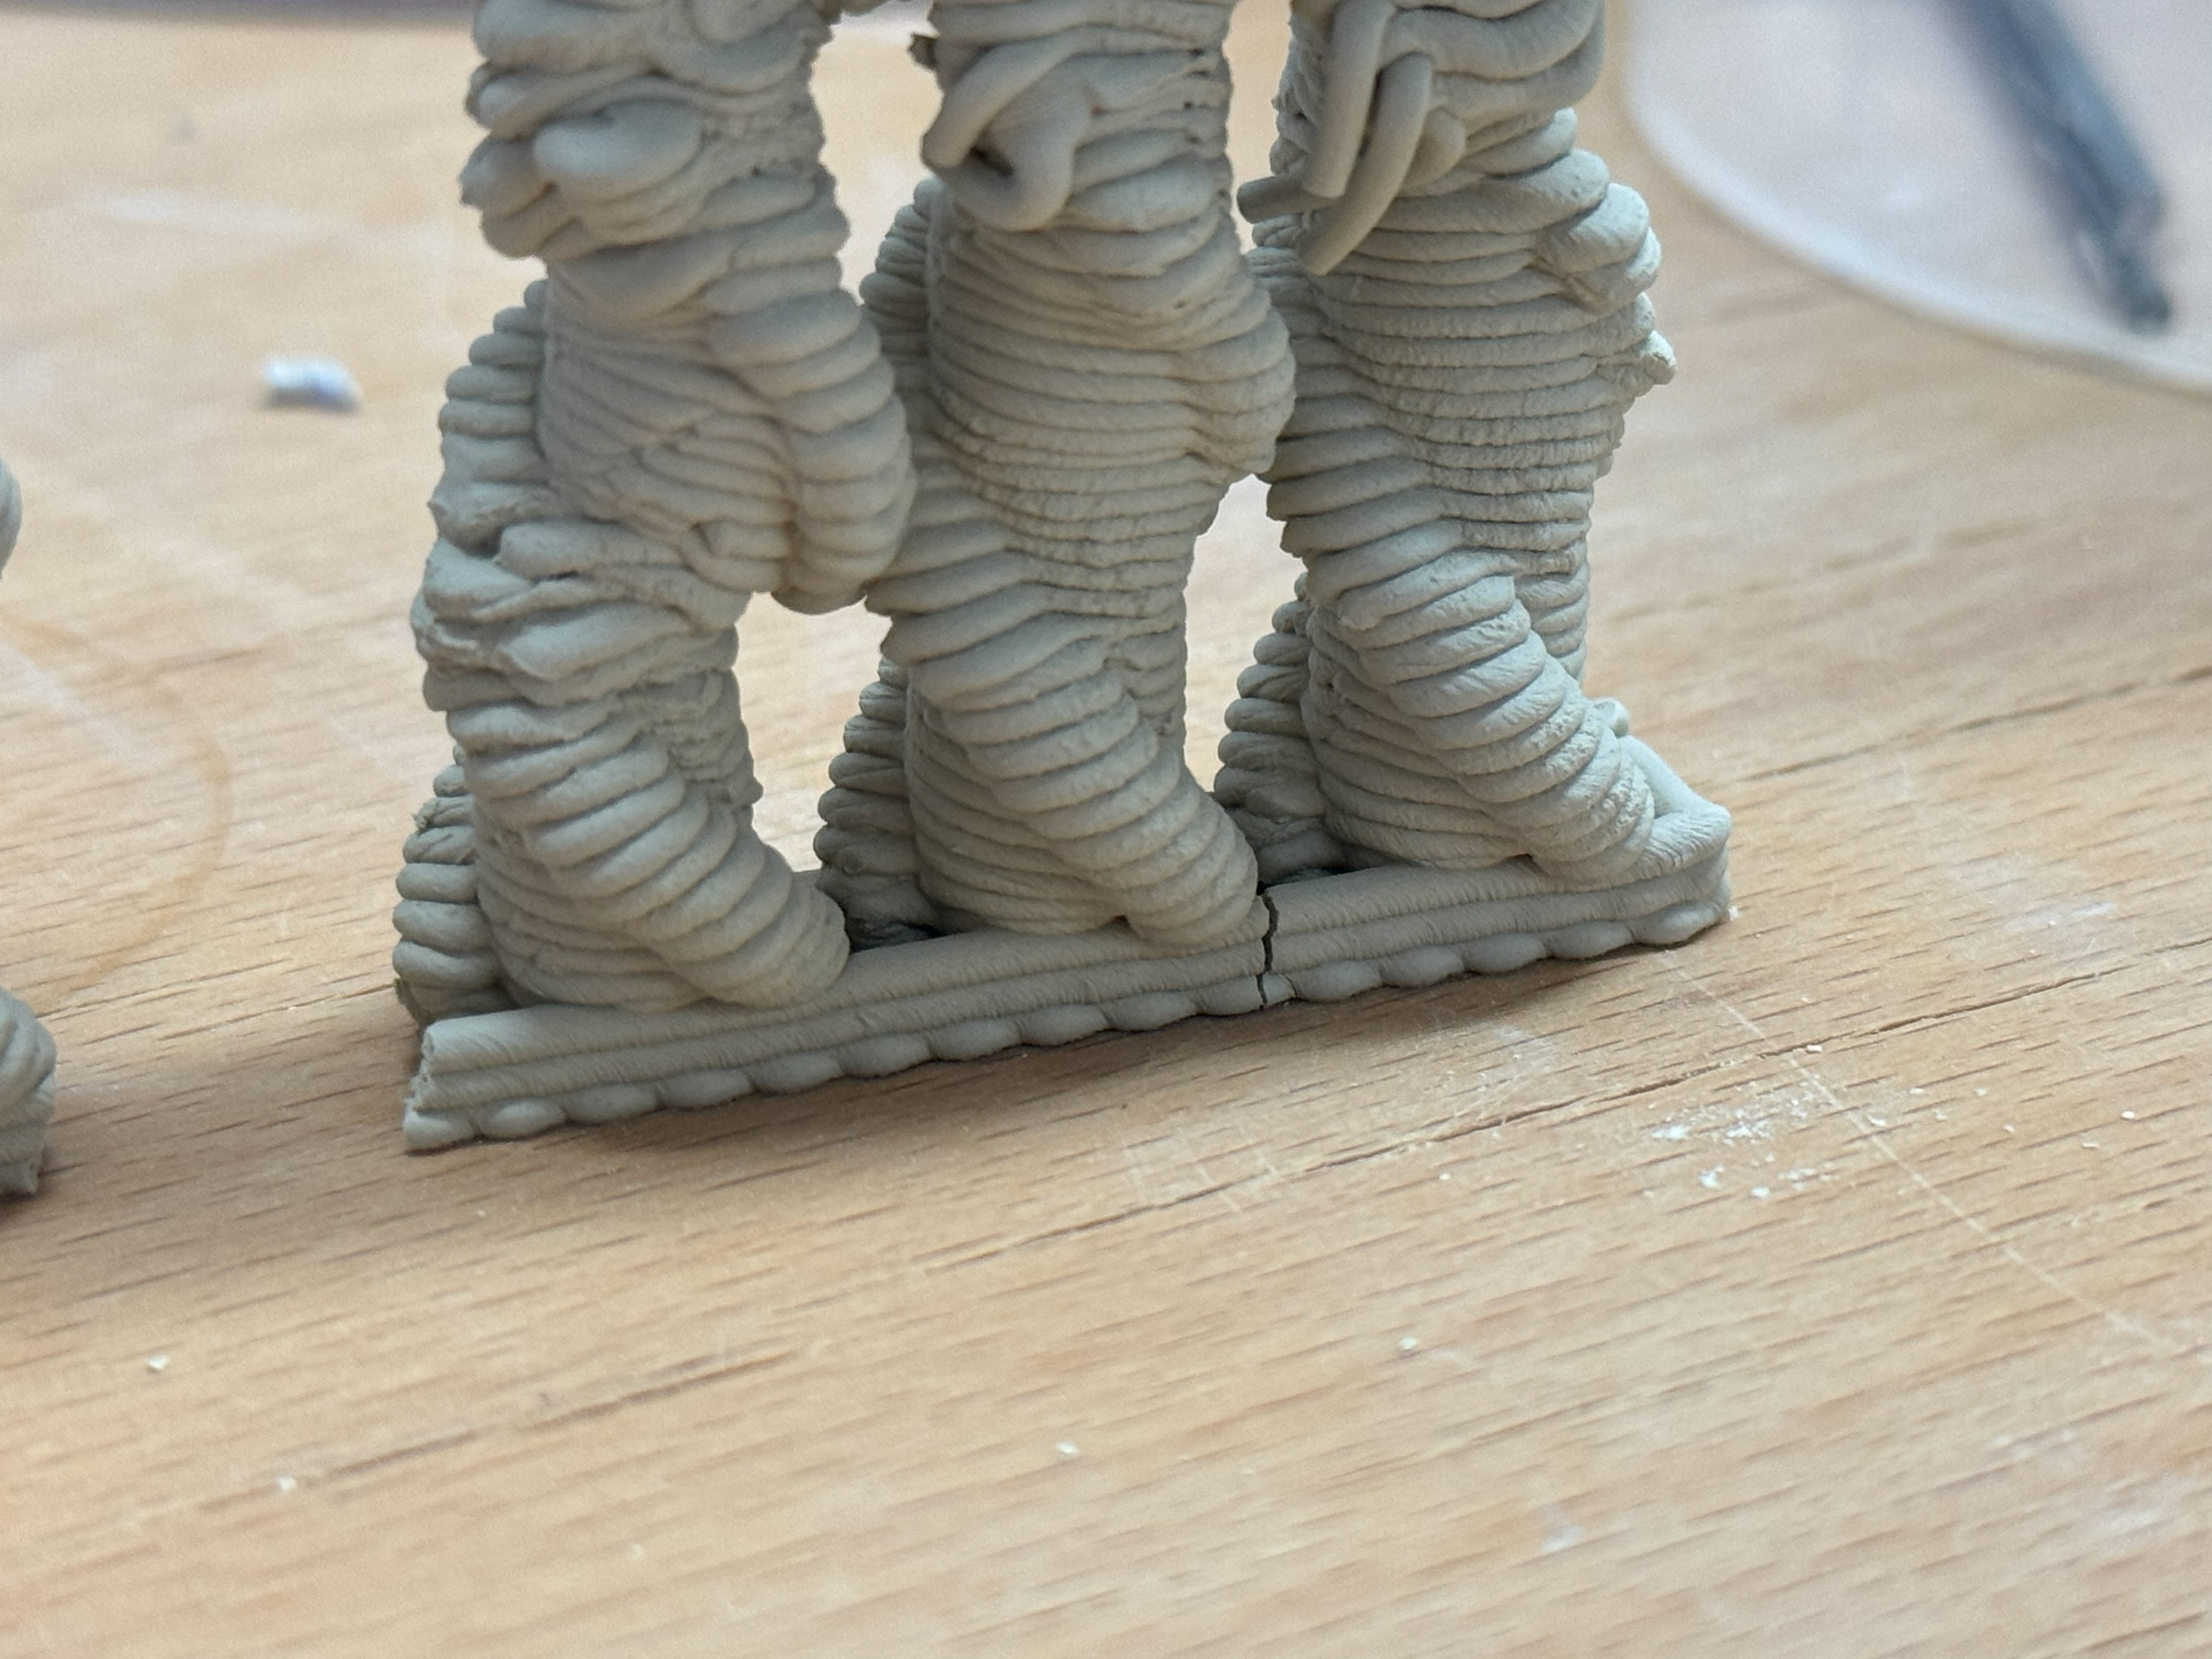
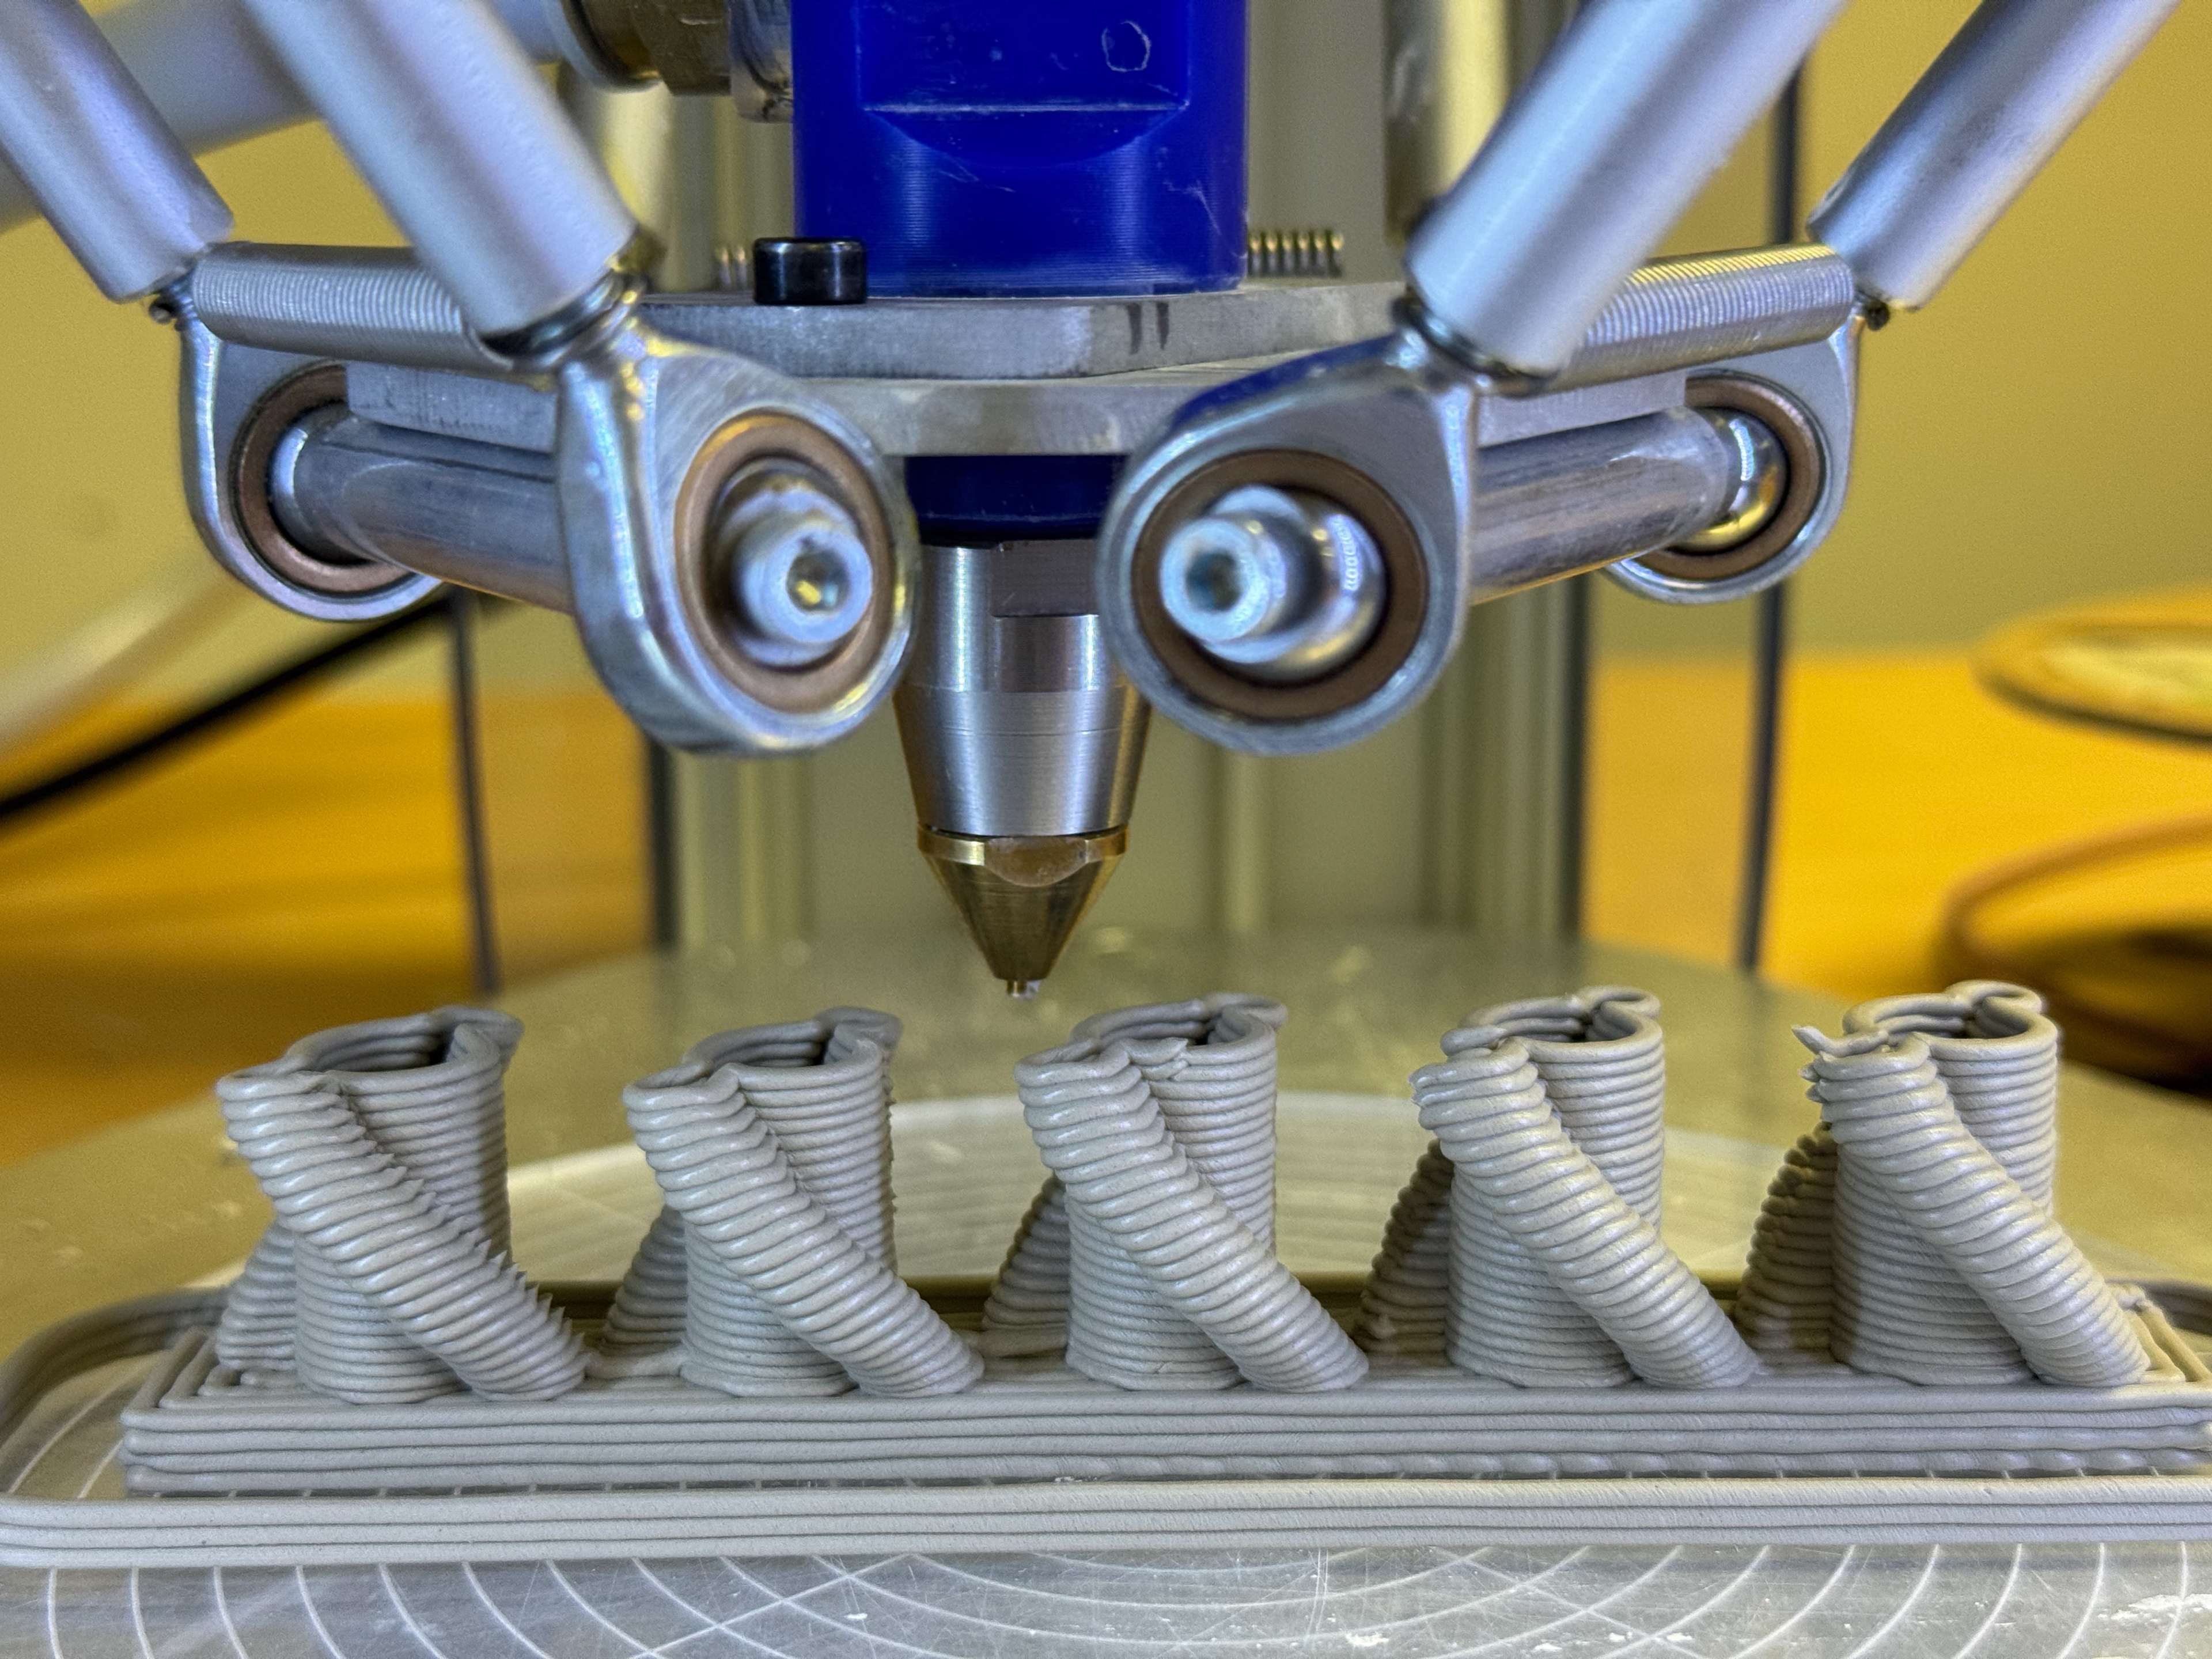
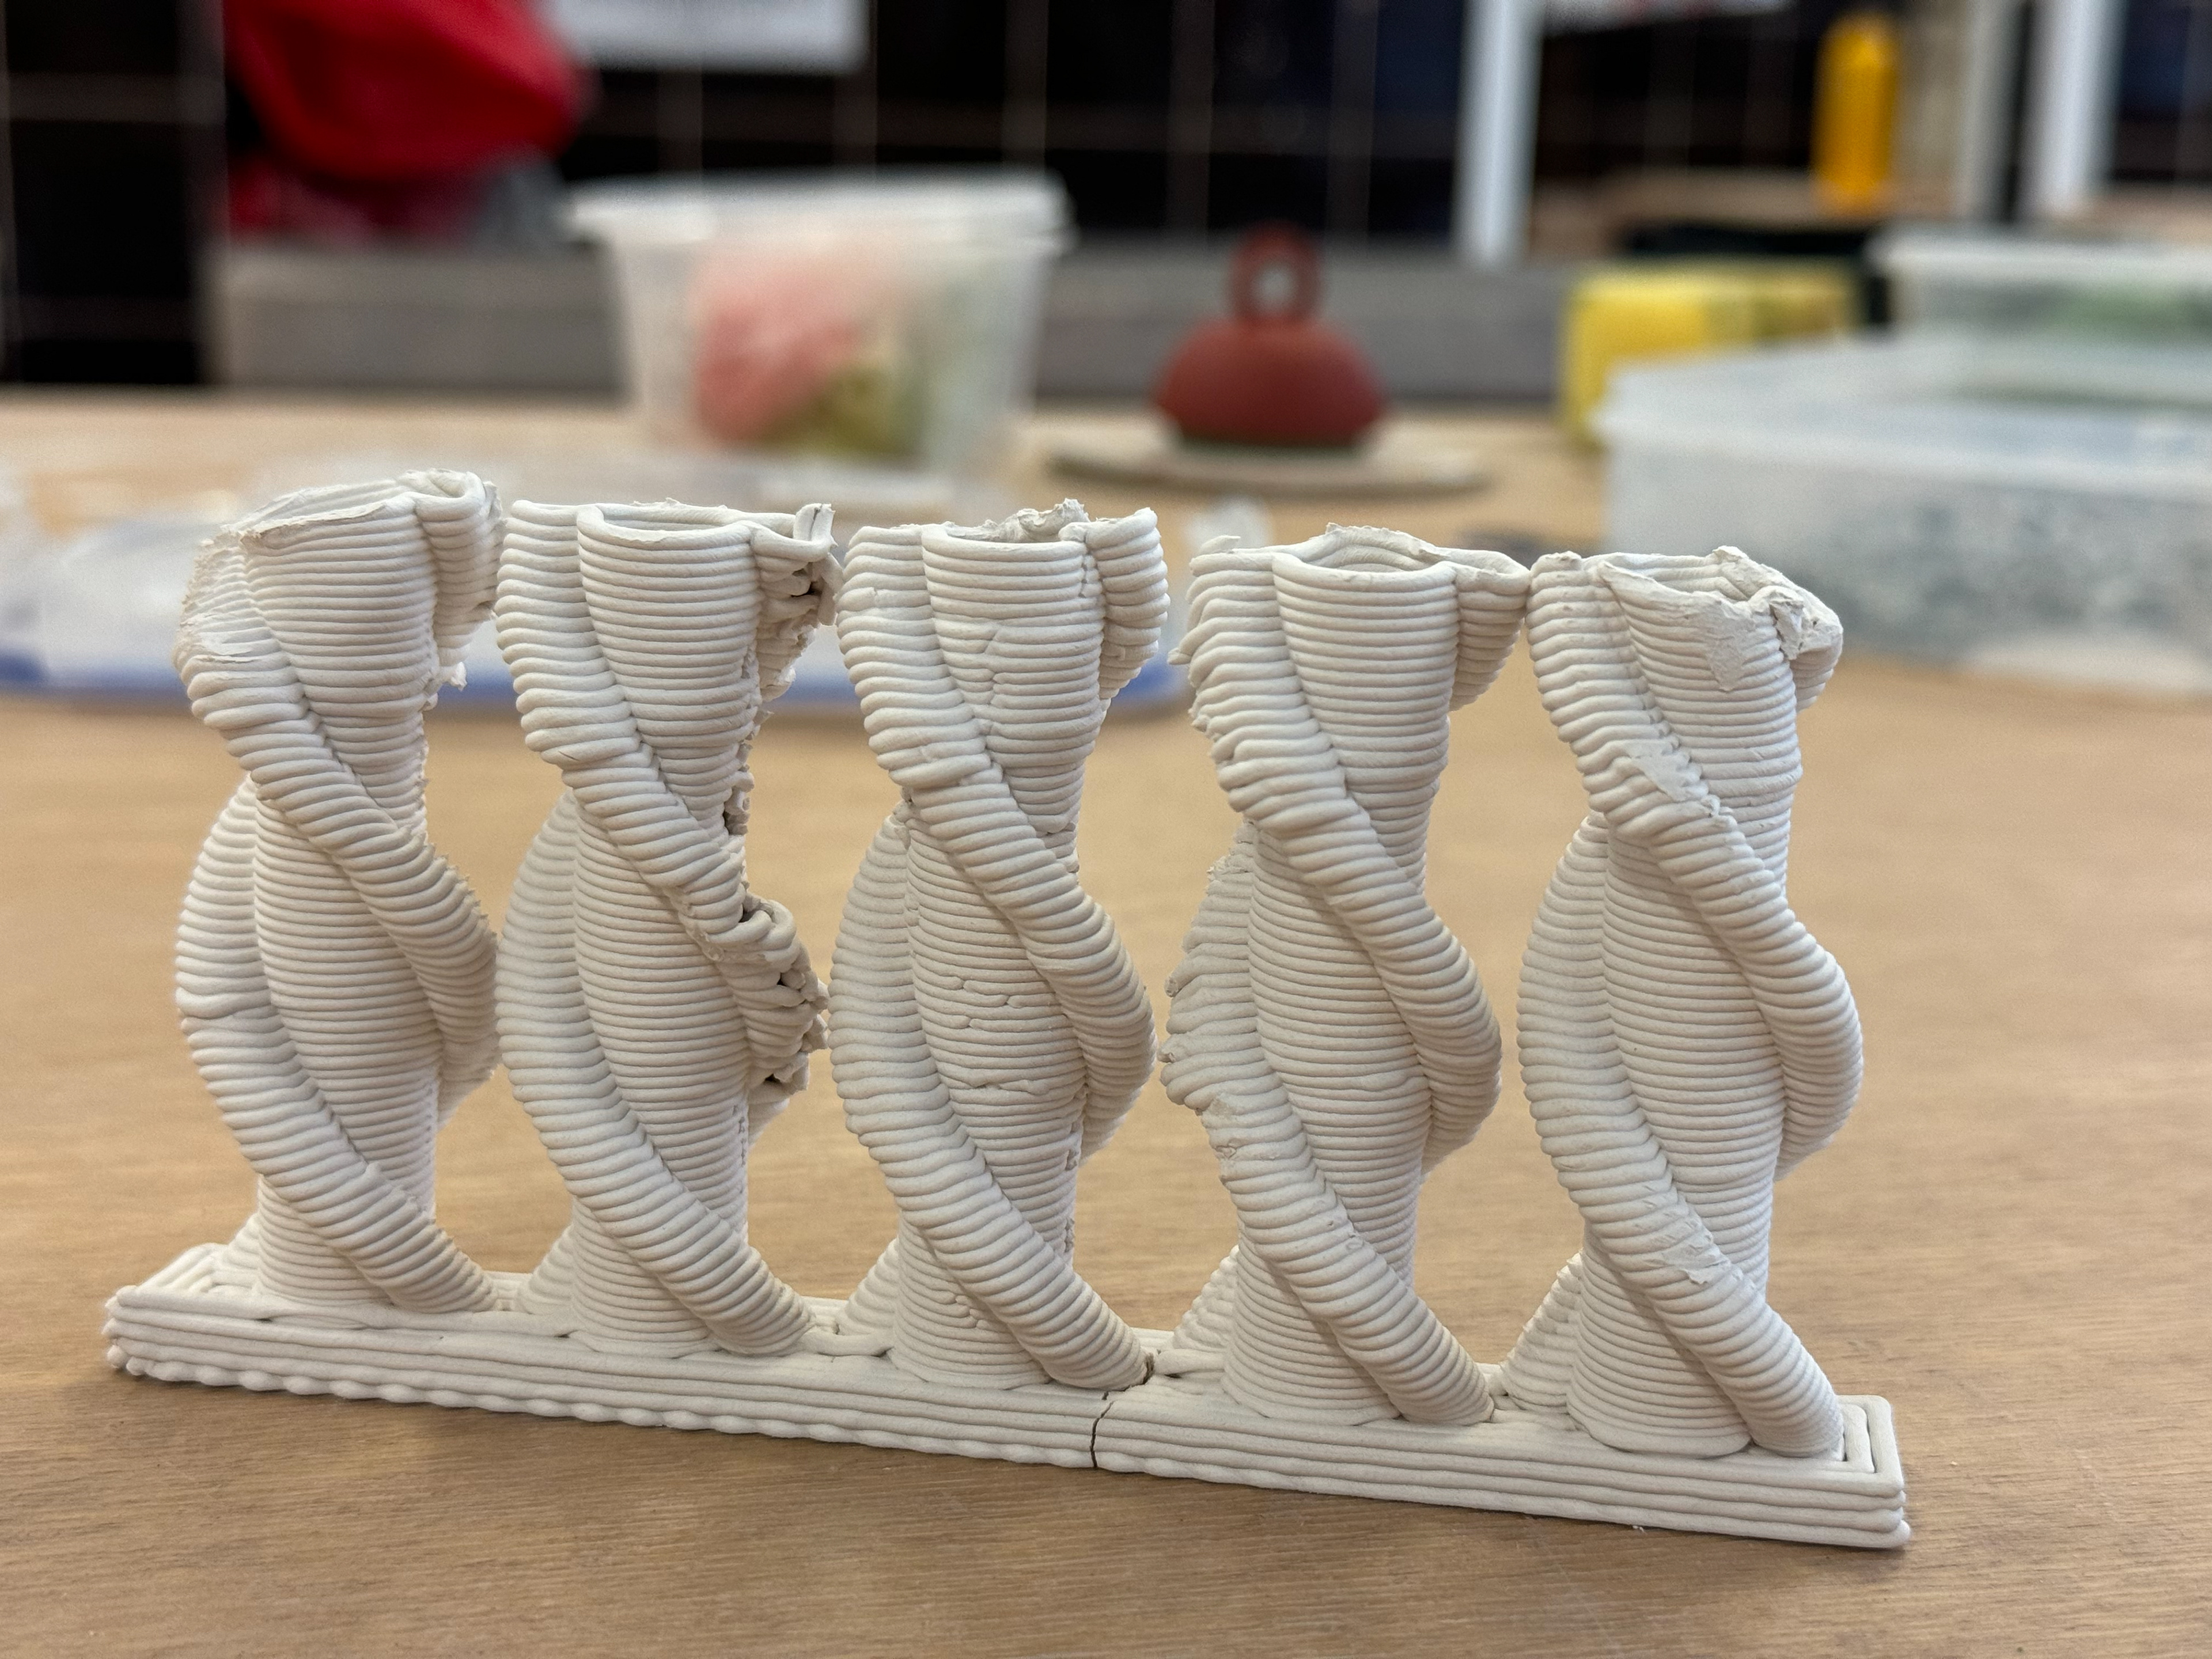
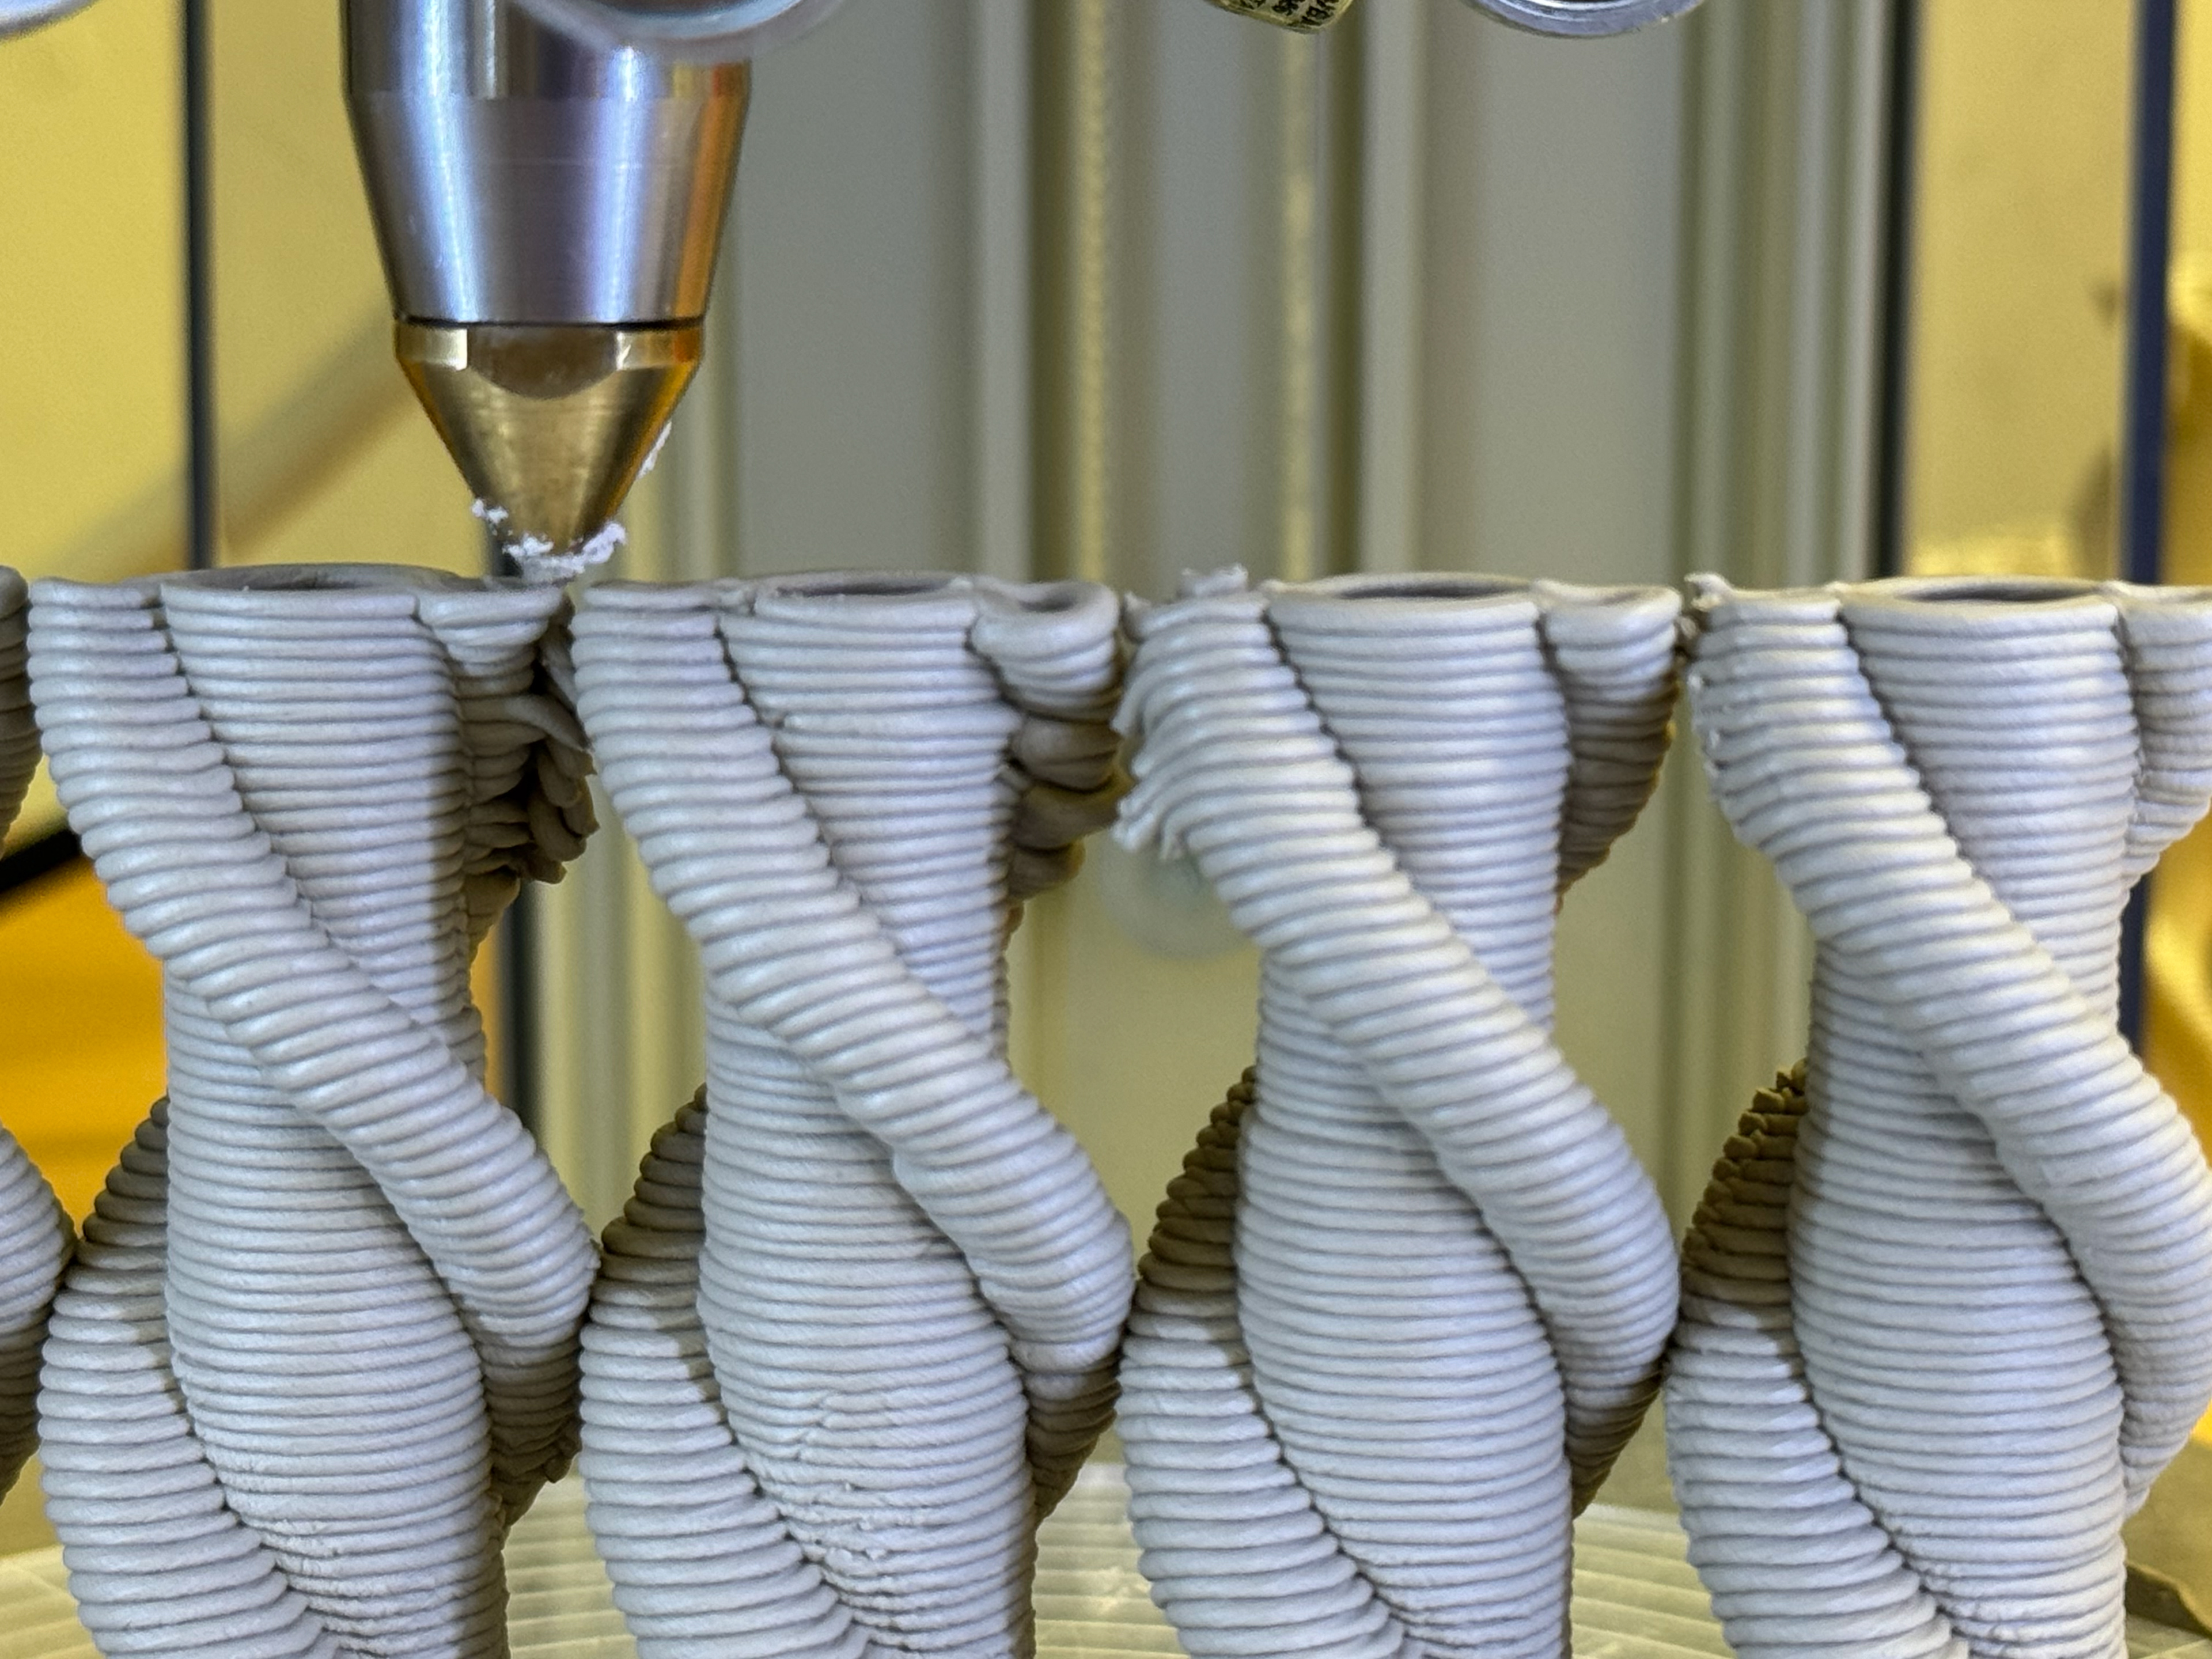
Final Stack refinement:
This time I had a the flow rate set at 20 and speed at 70. This went very well and left me with the perfect result. I decided to stop the print once I had my ideal height rather than let it continue up and risk shifting the centre of mass and looking unproportional. I couldve done this earlier in CAD but I decided it was simpler and easier to just stop the print.
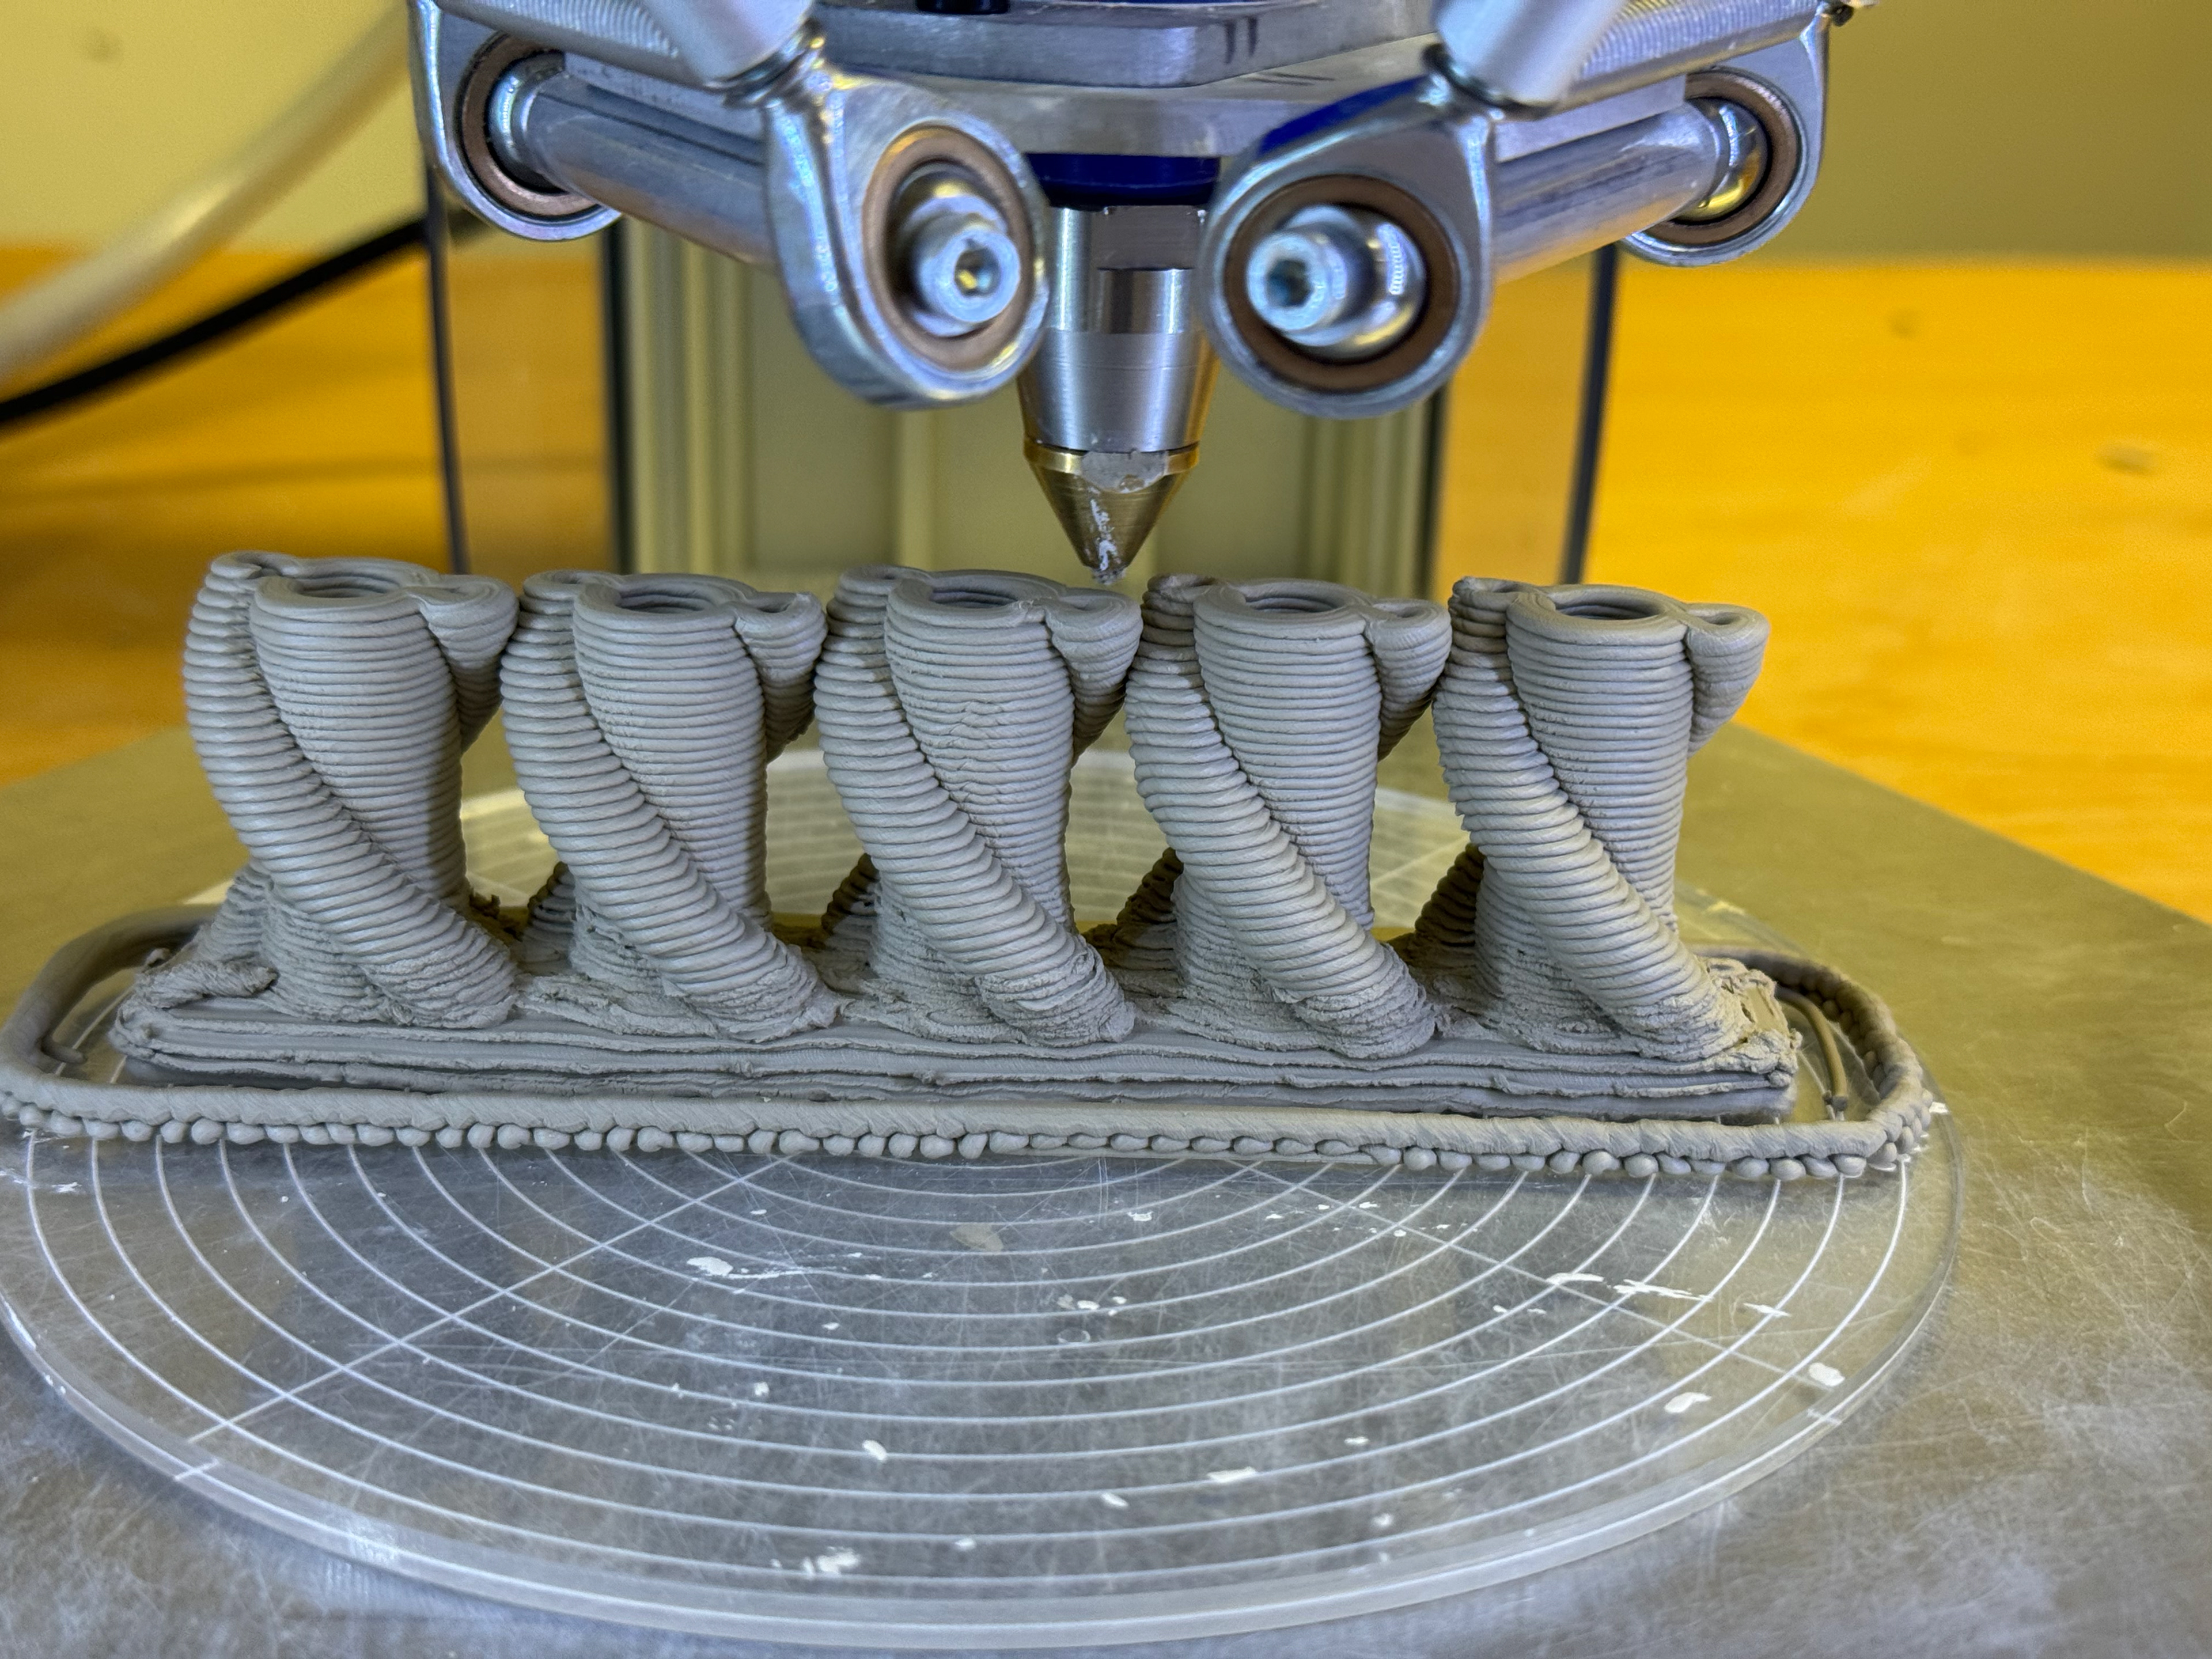
Very good pressure, flow and speed.
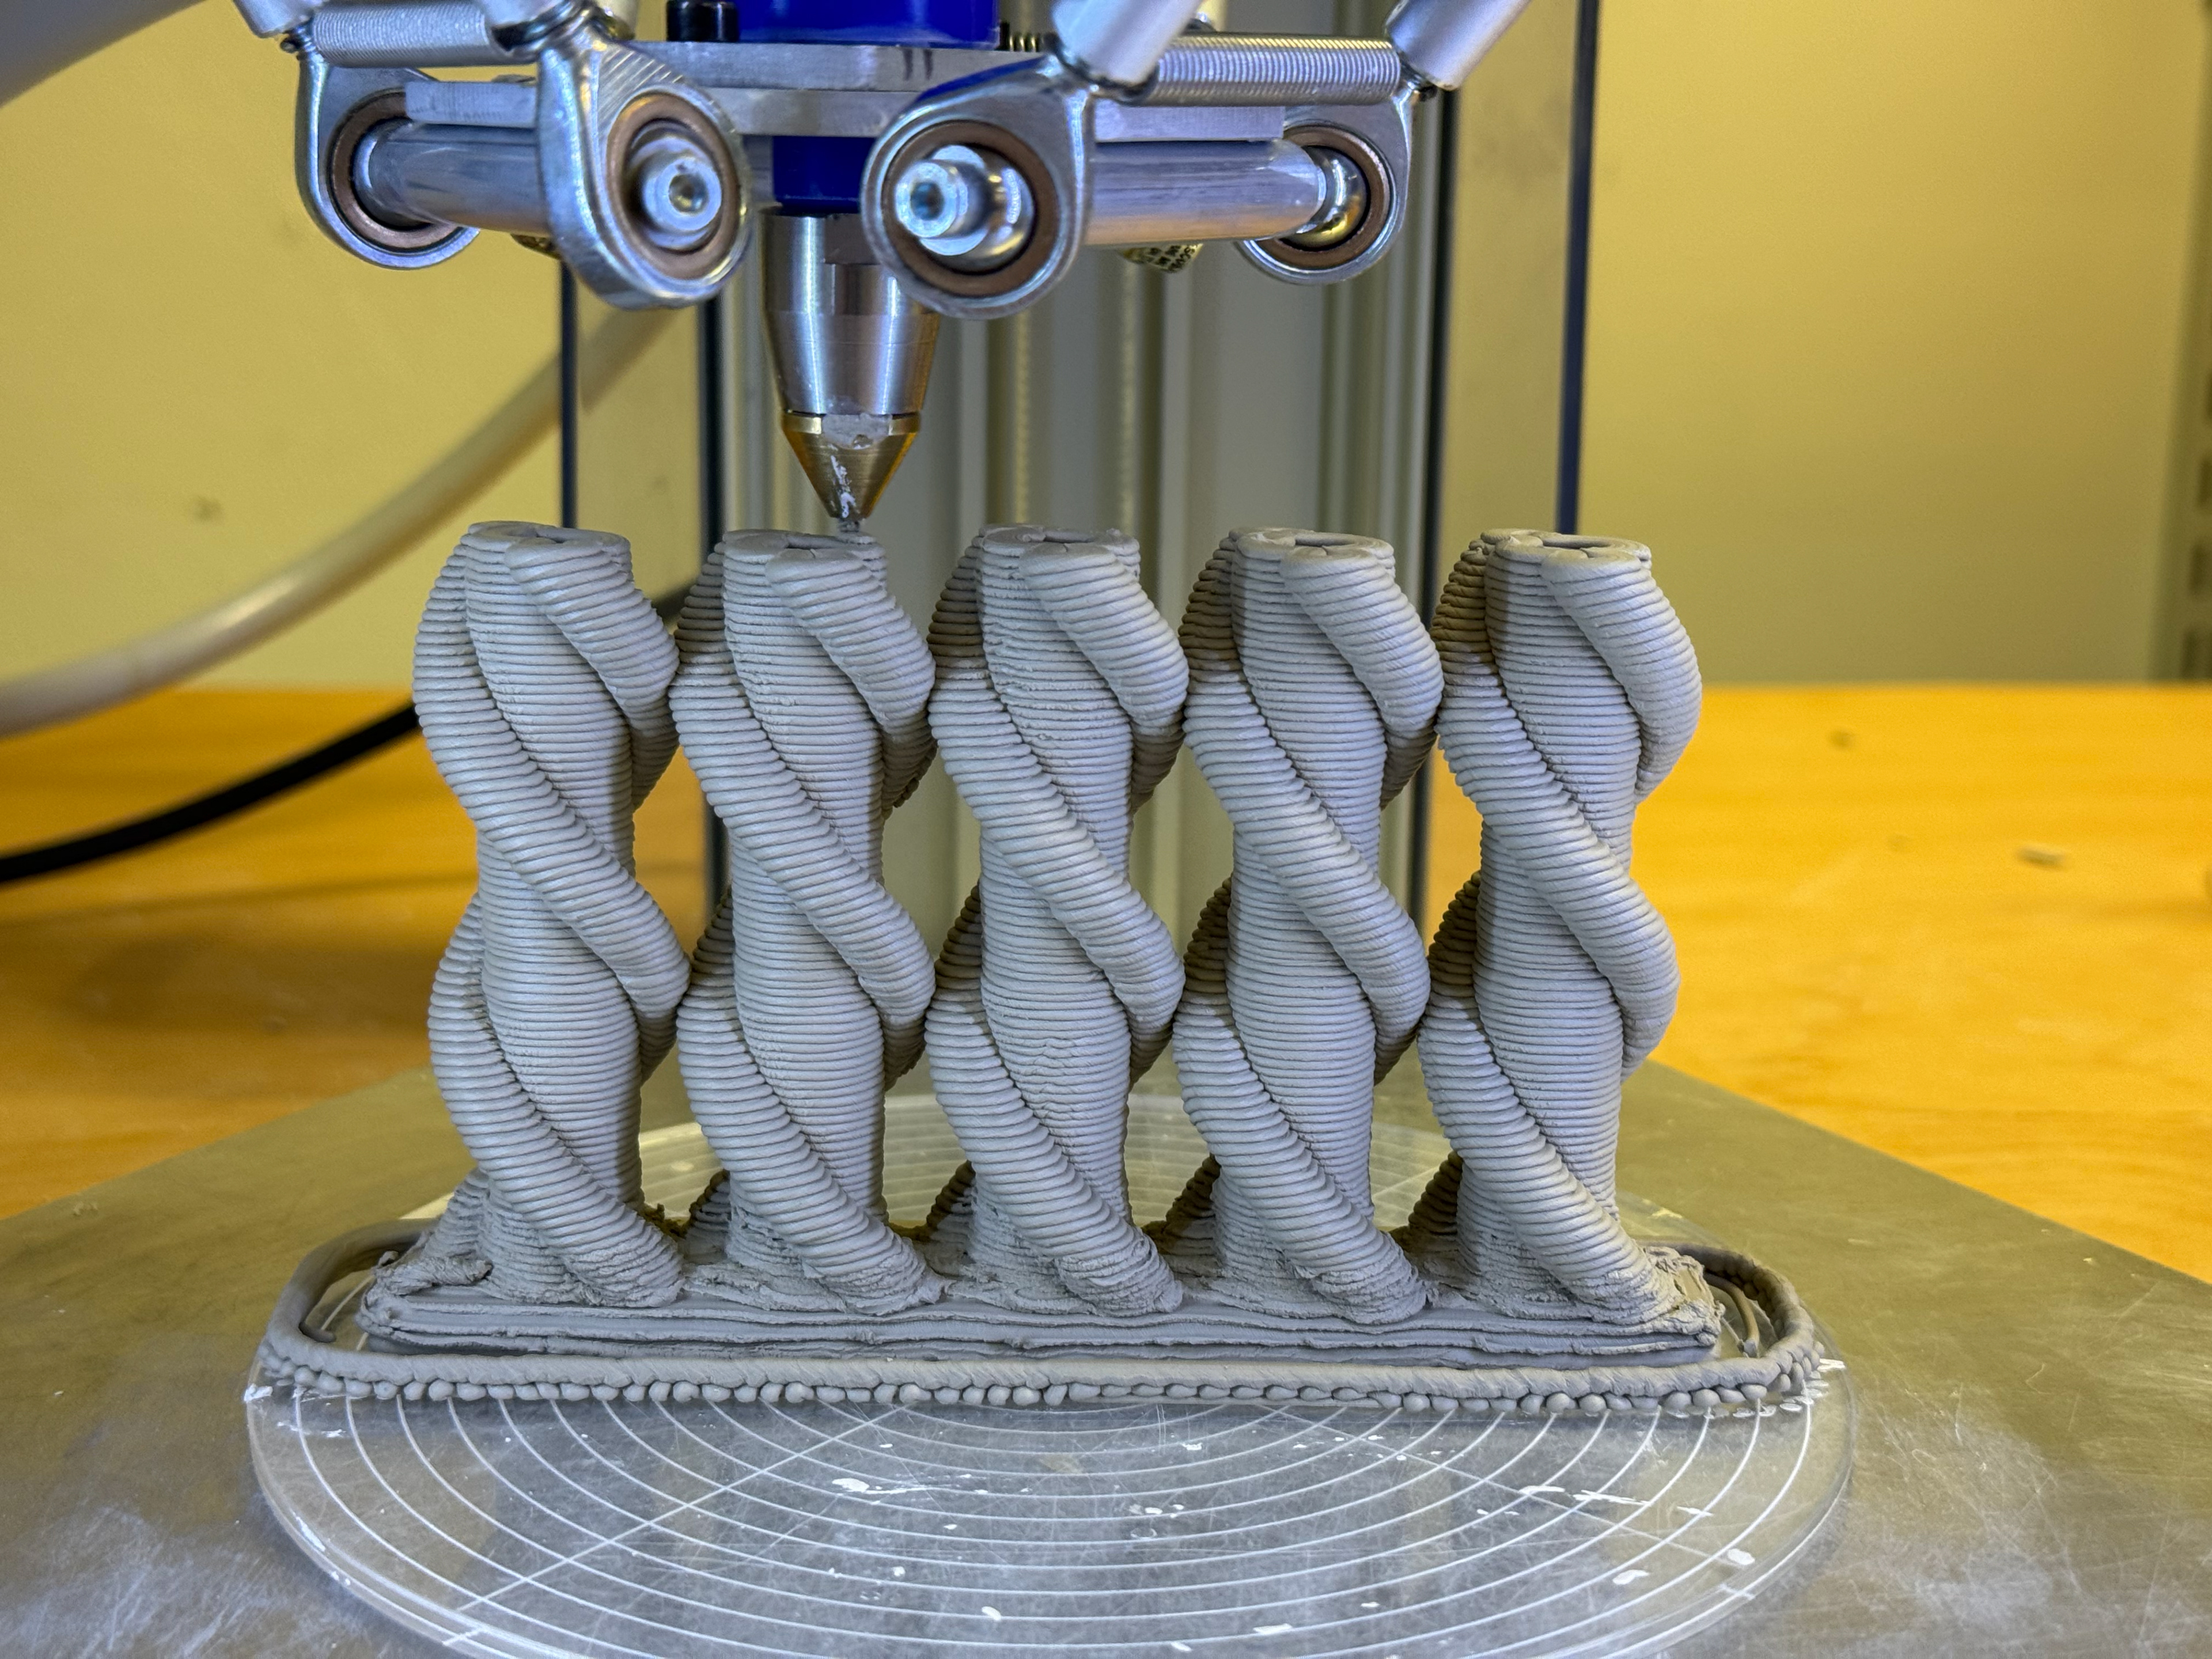
Perfect print
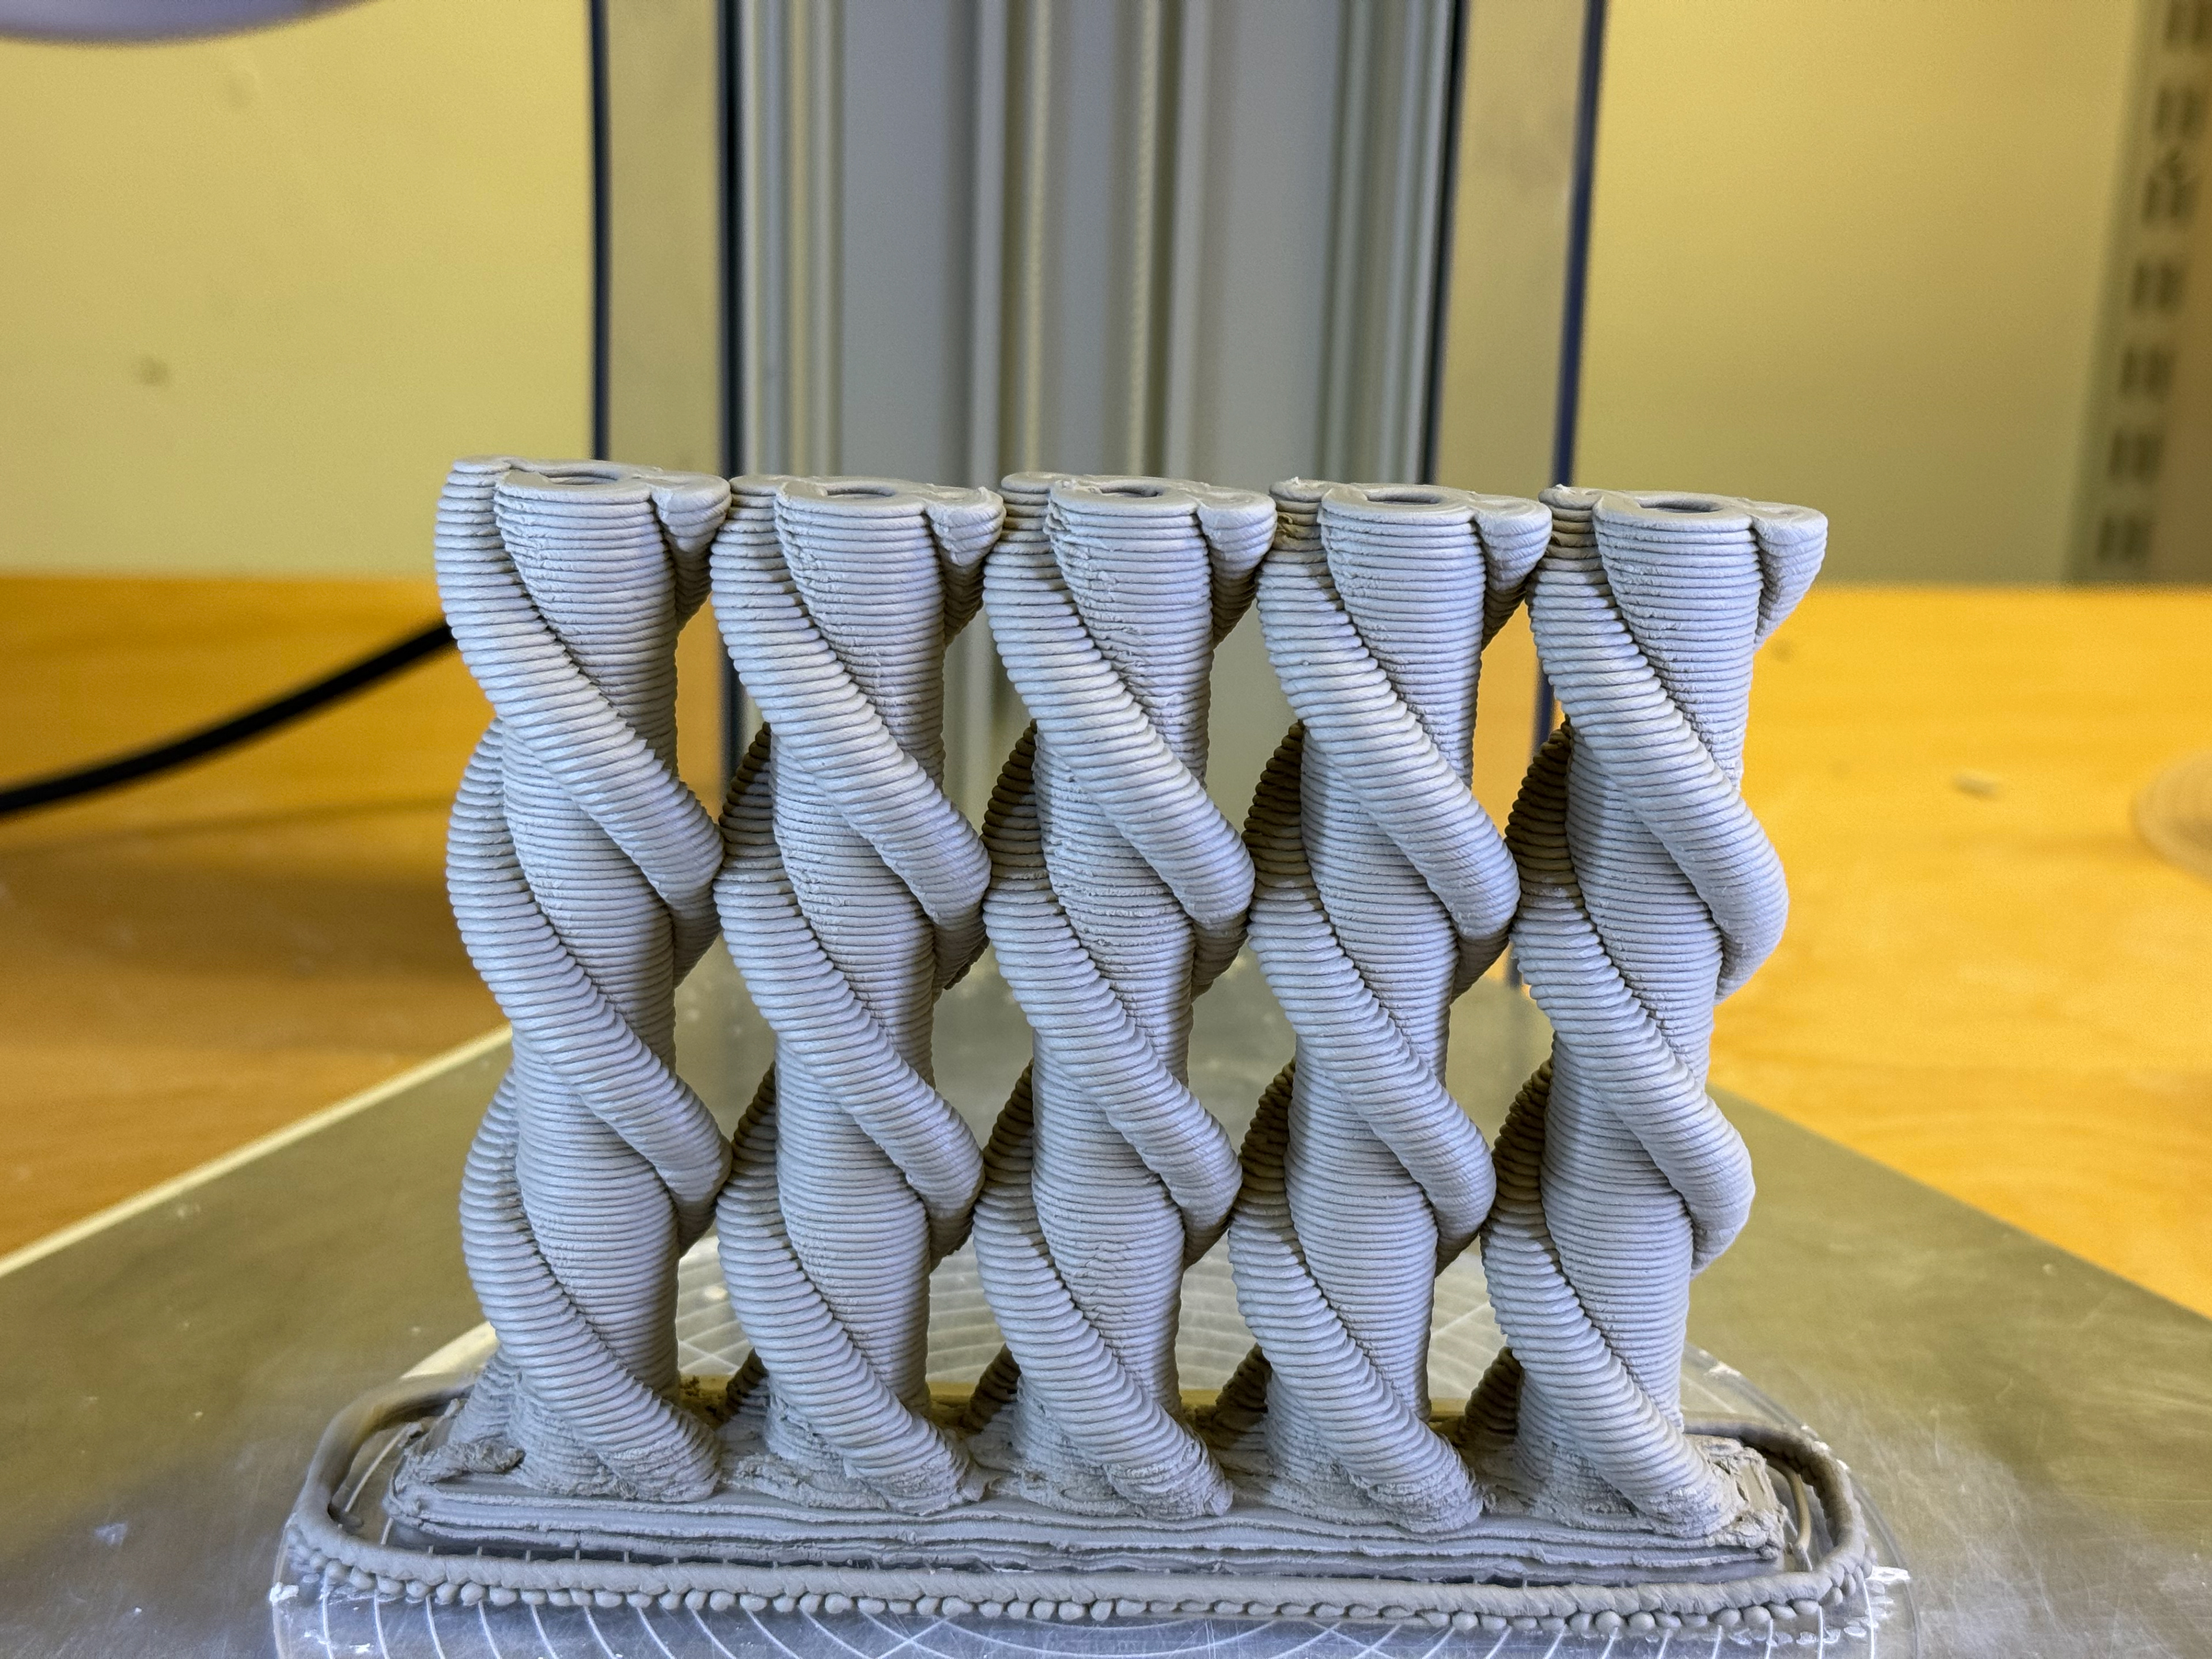
Fully finished piece.