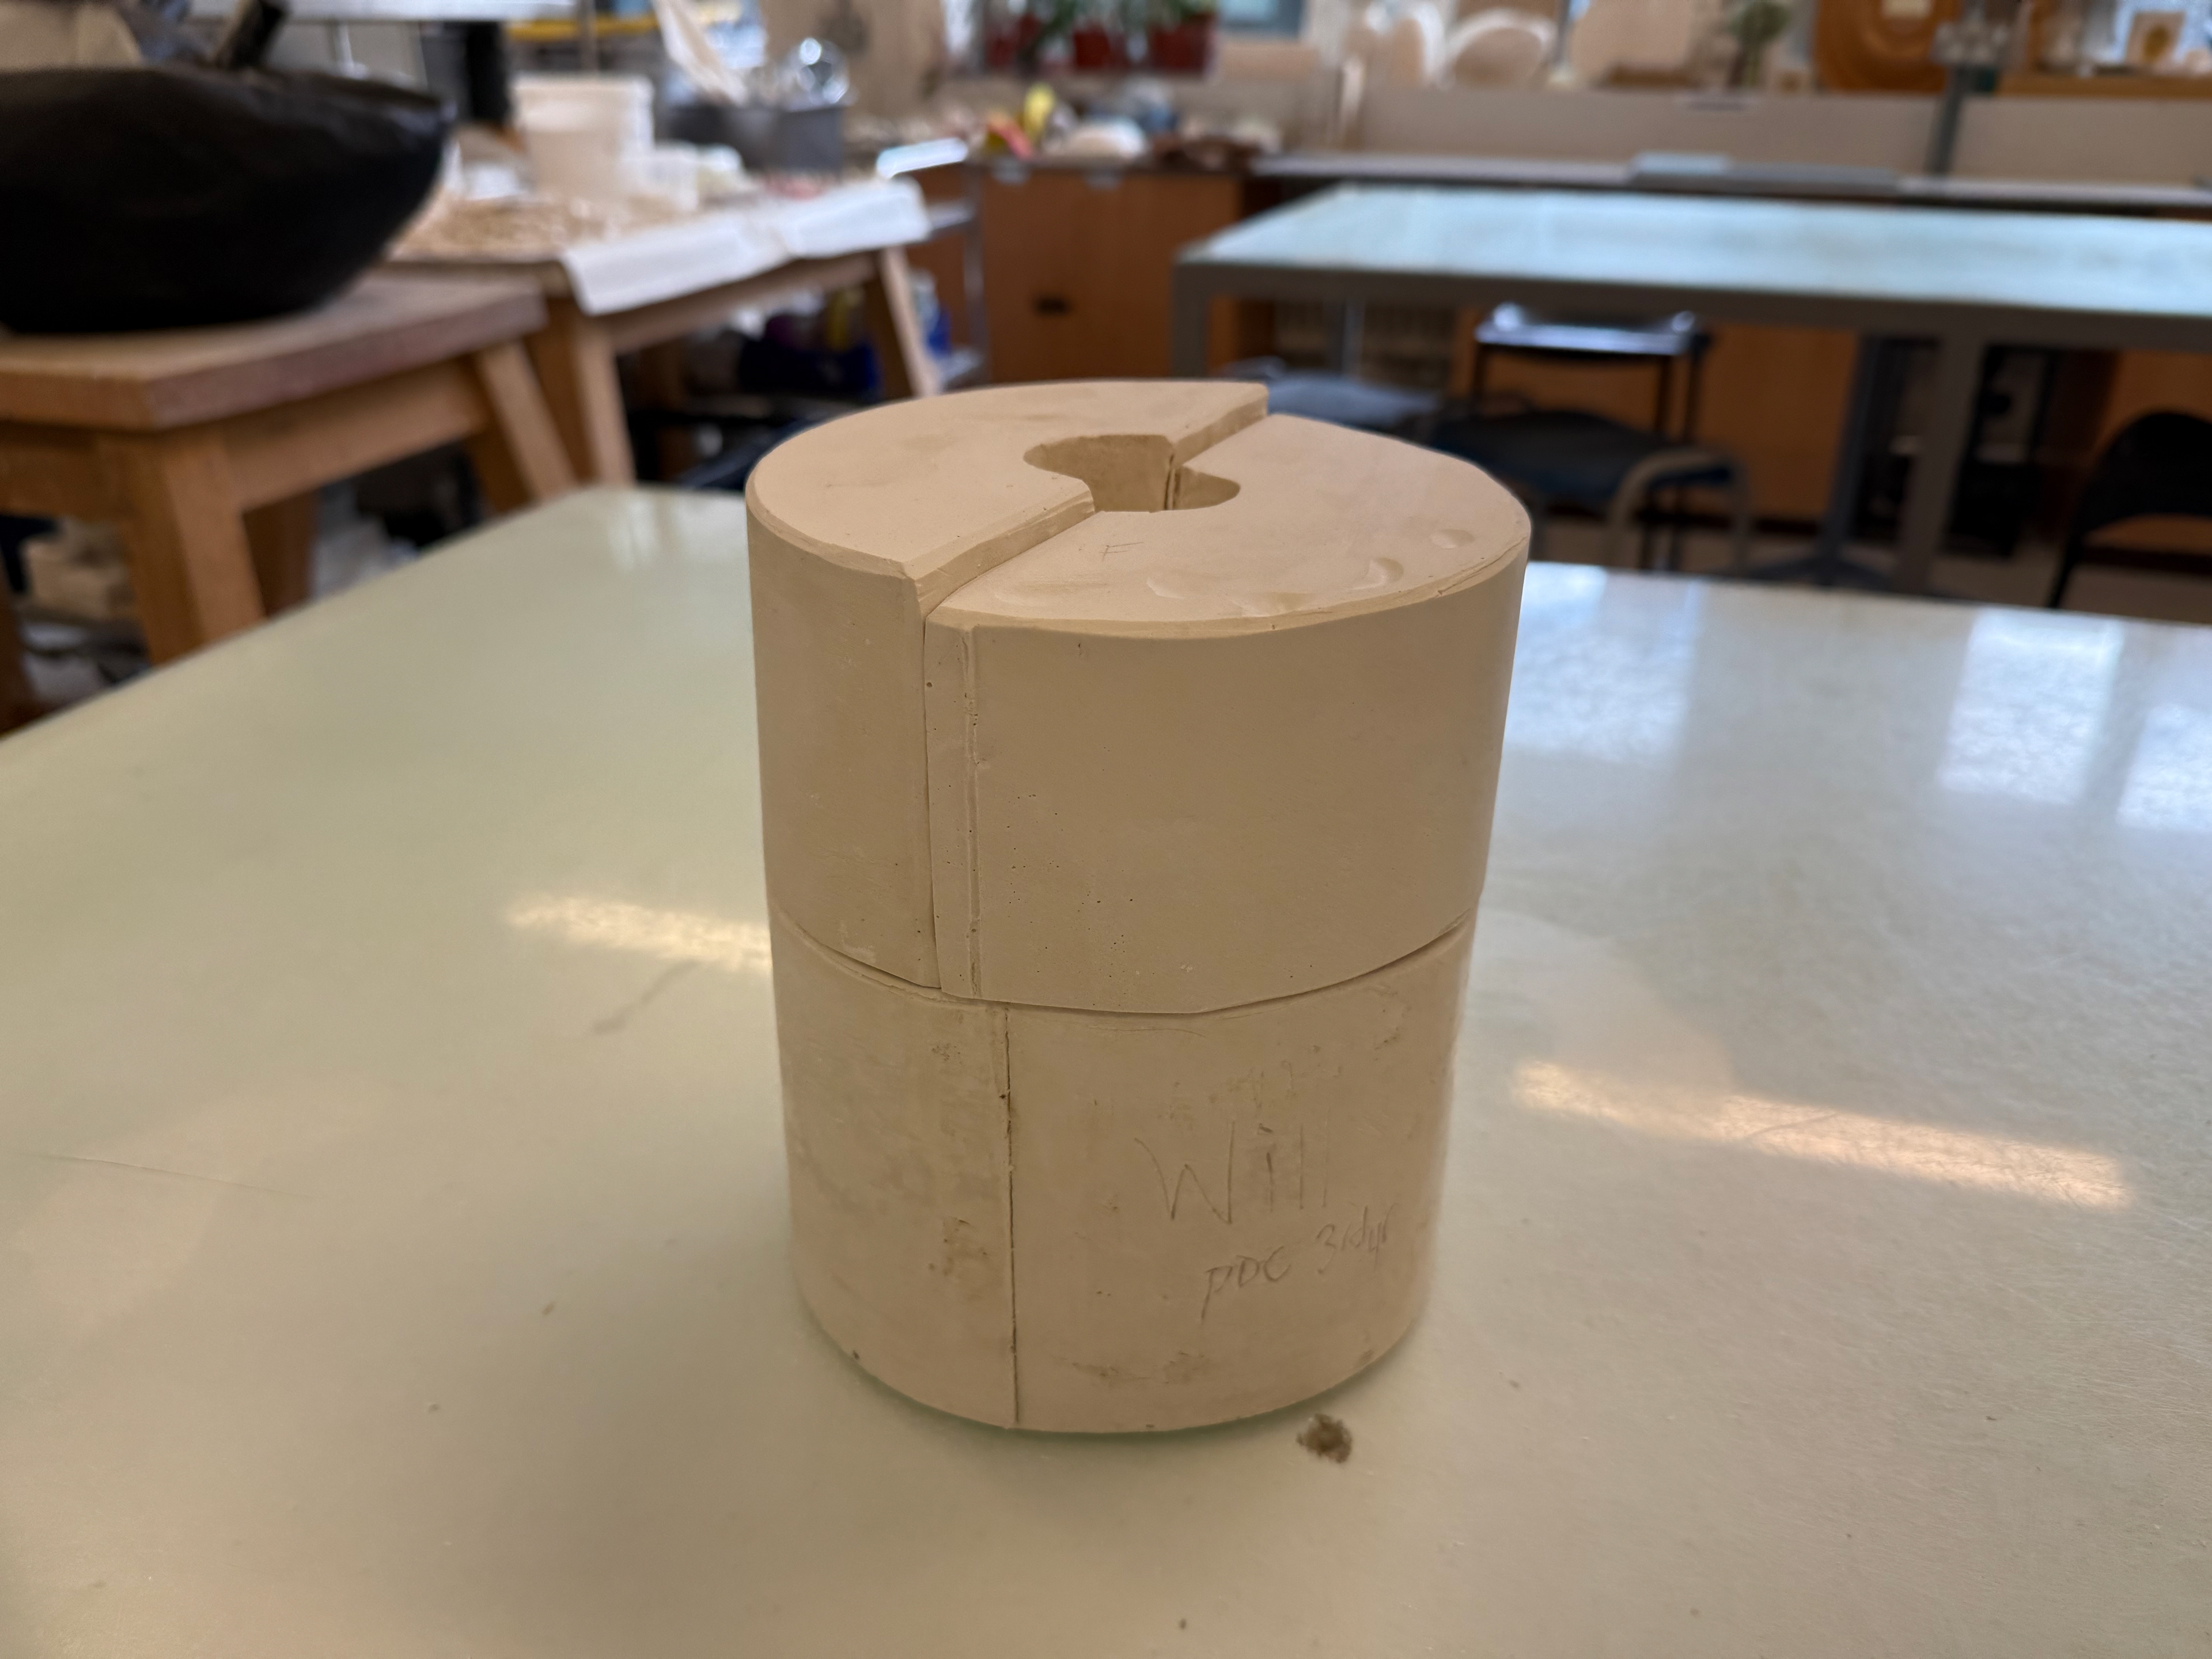
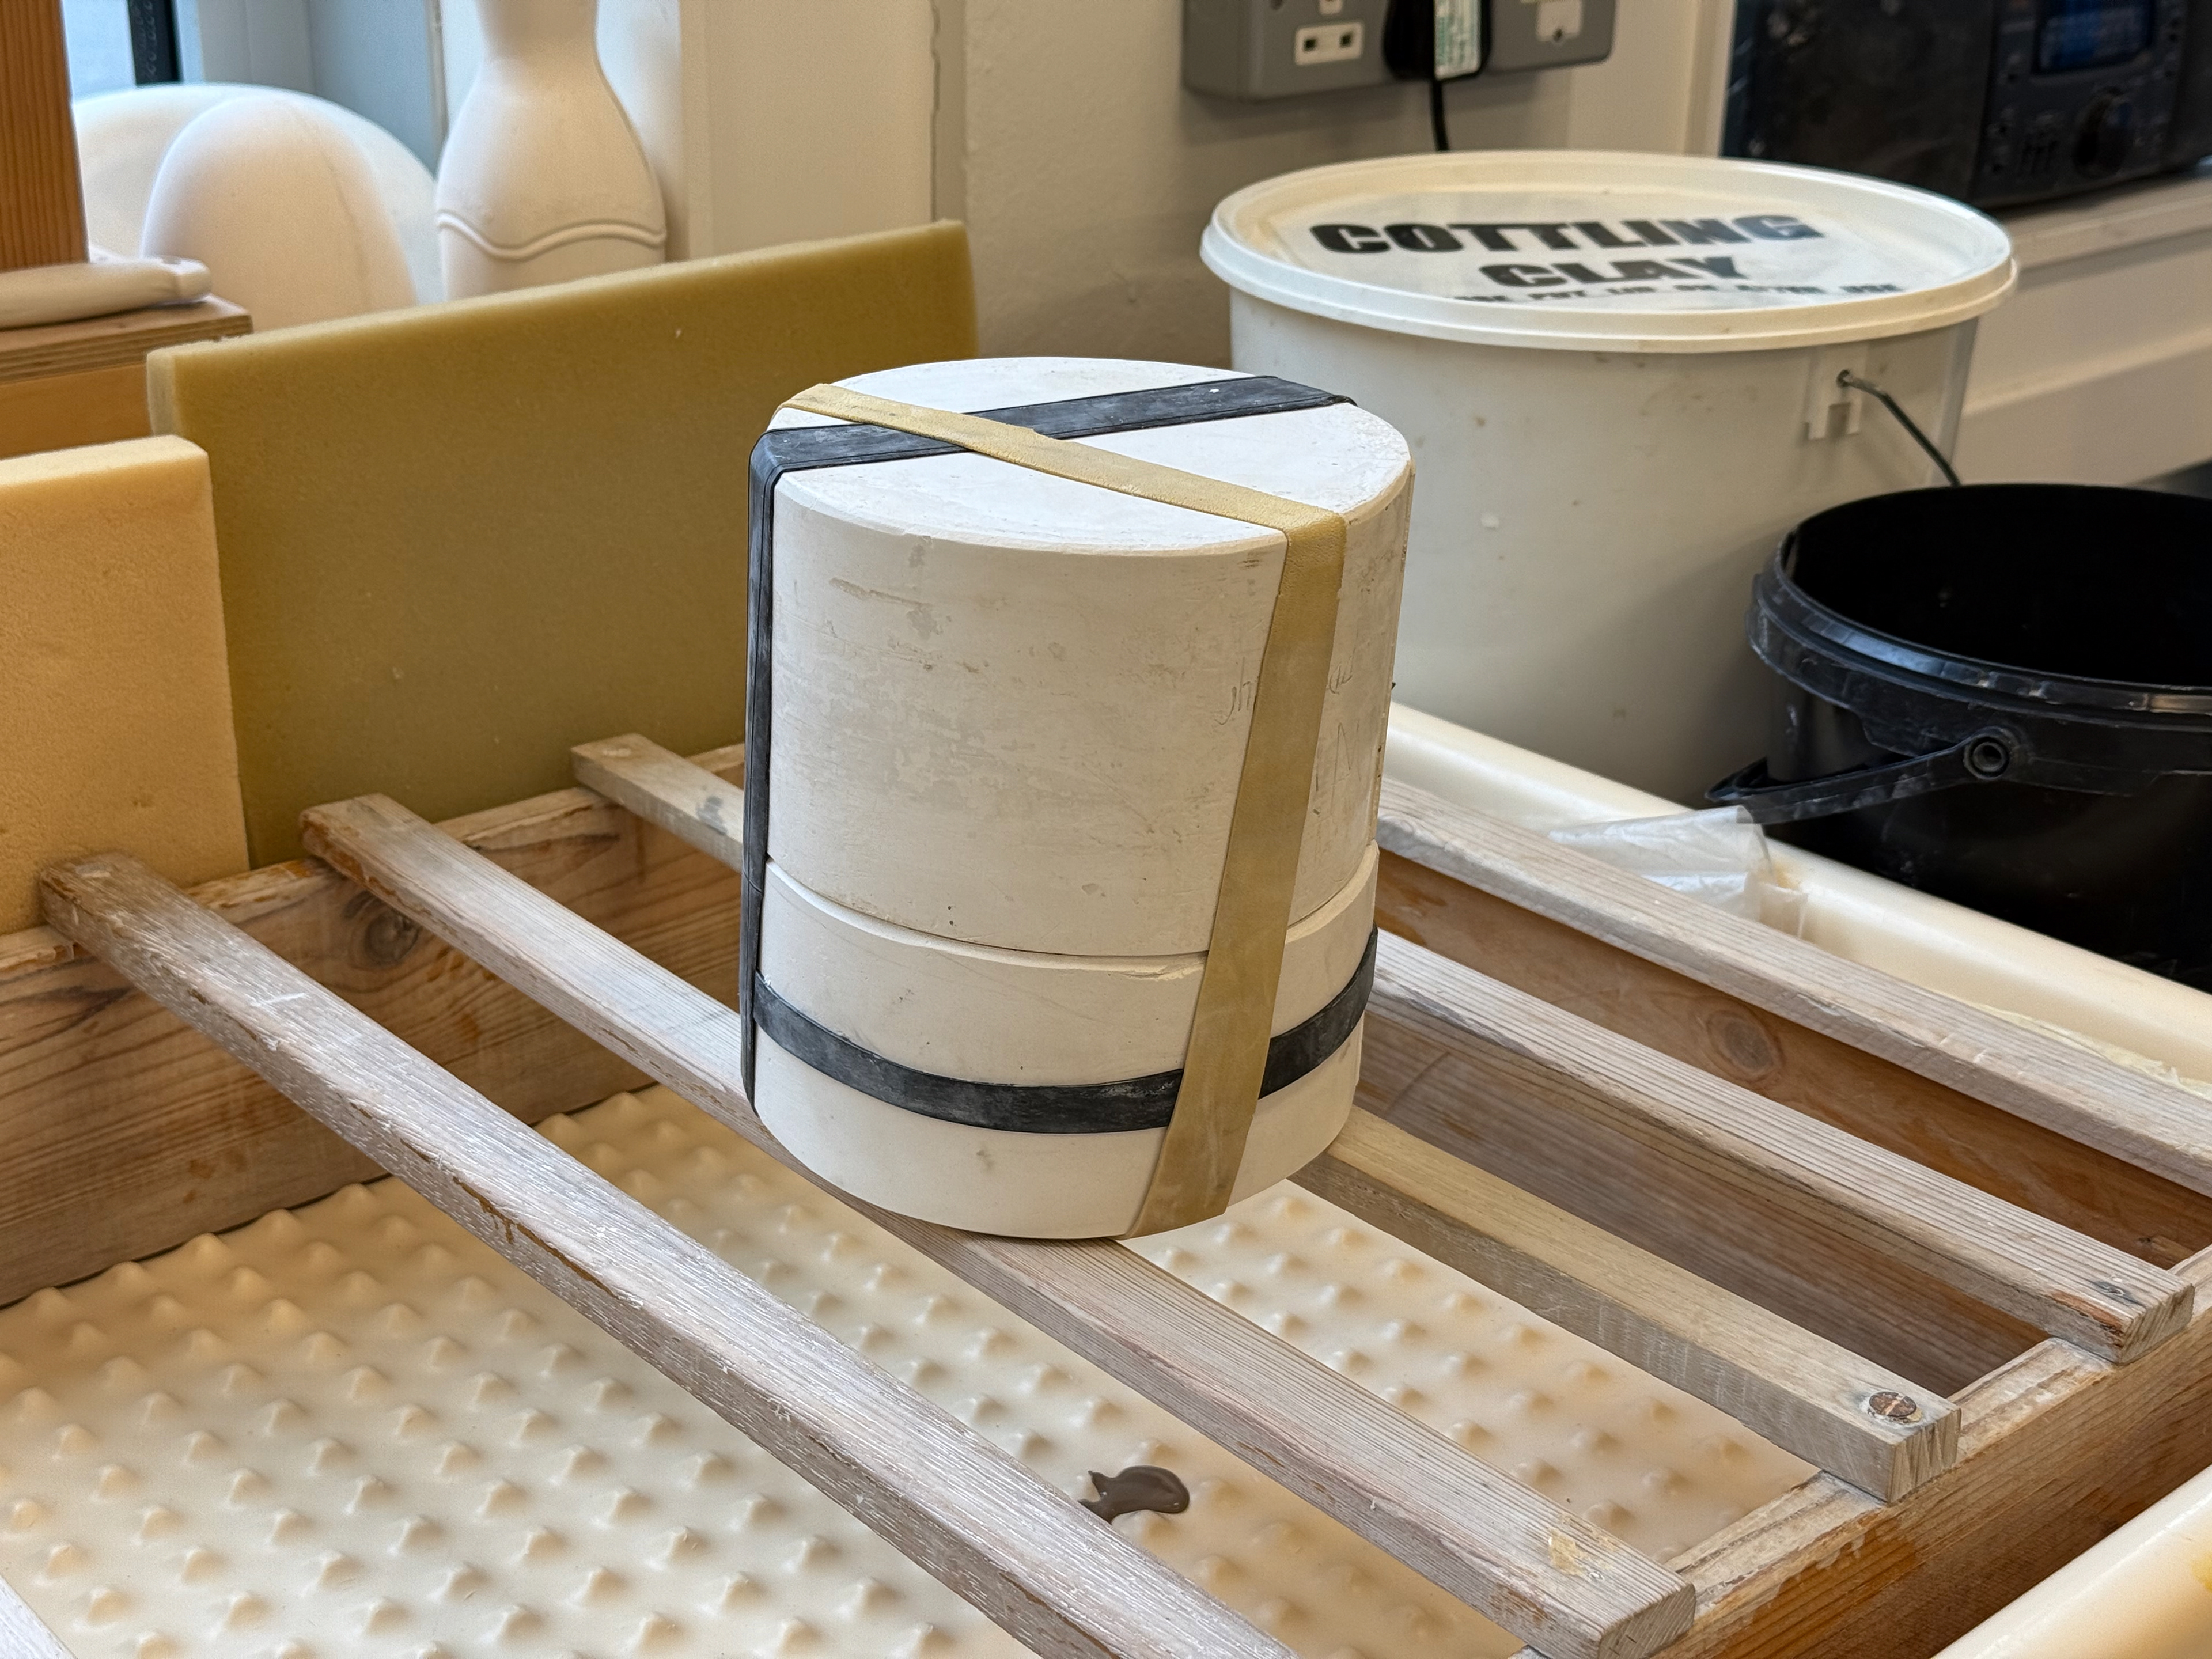
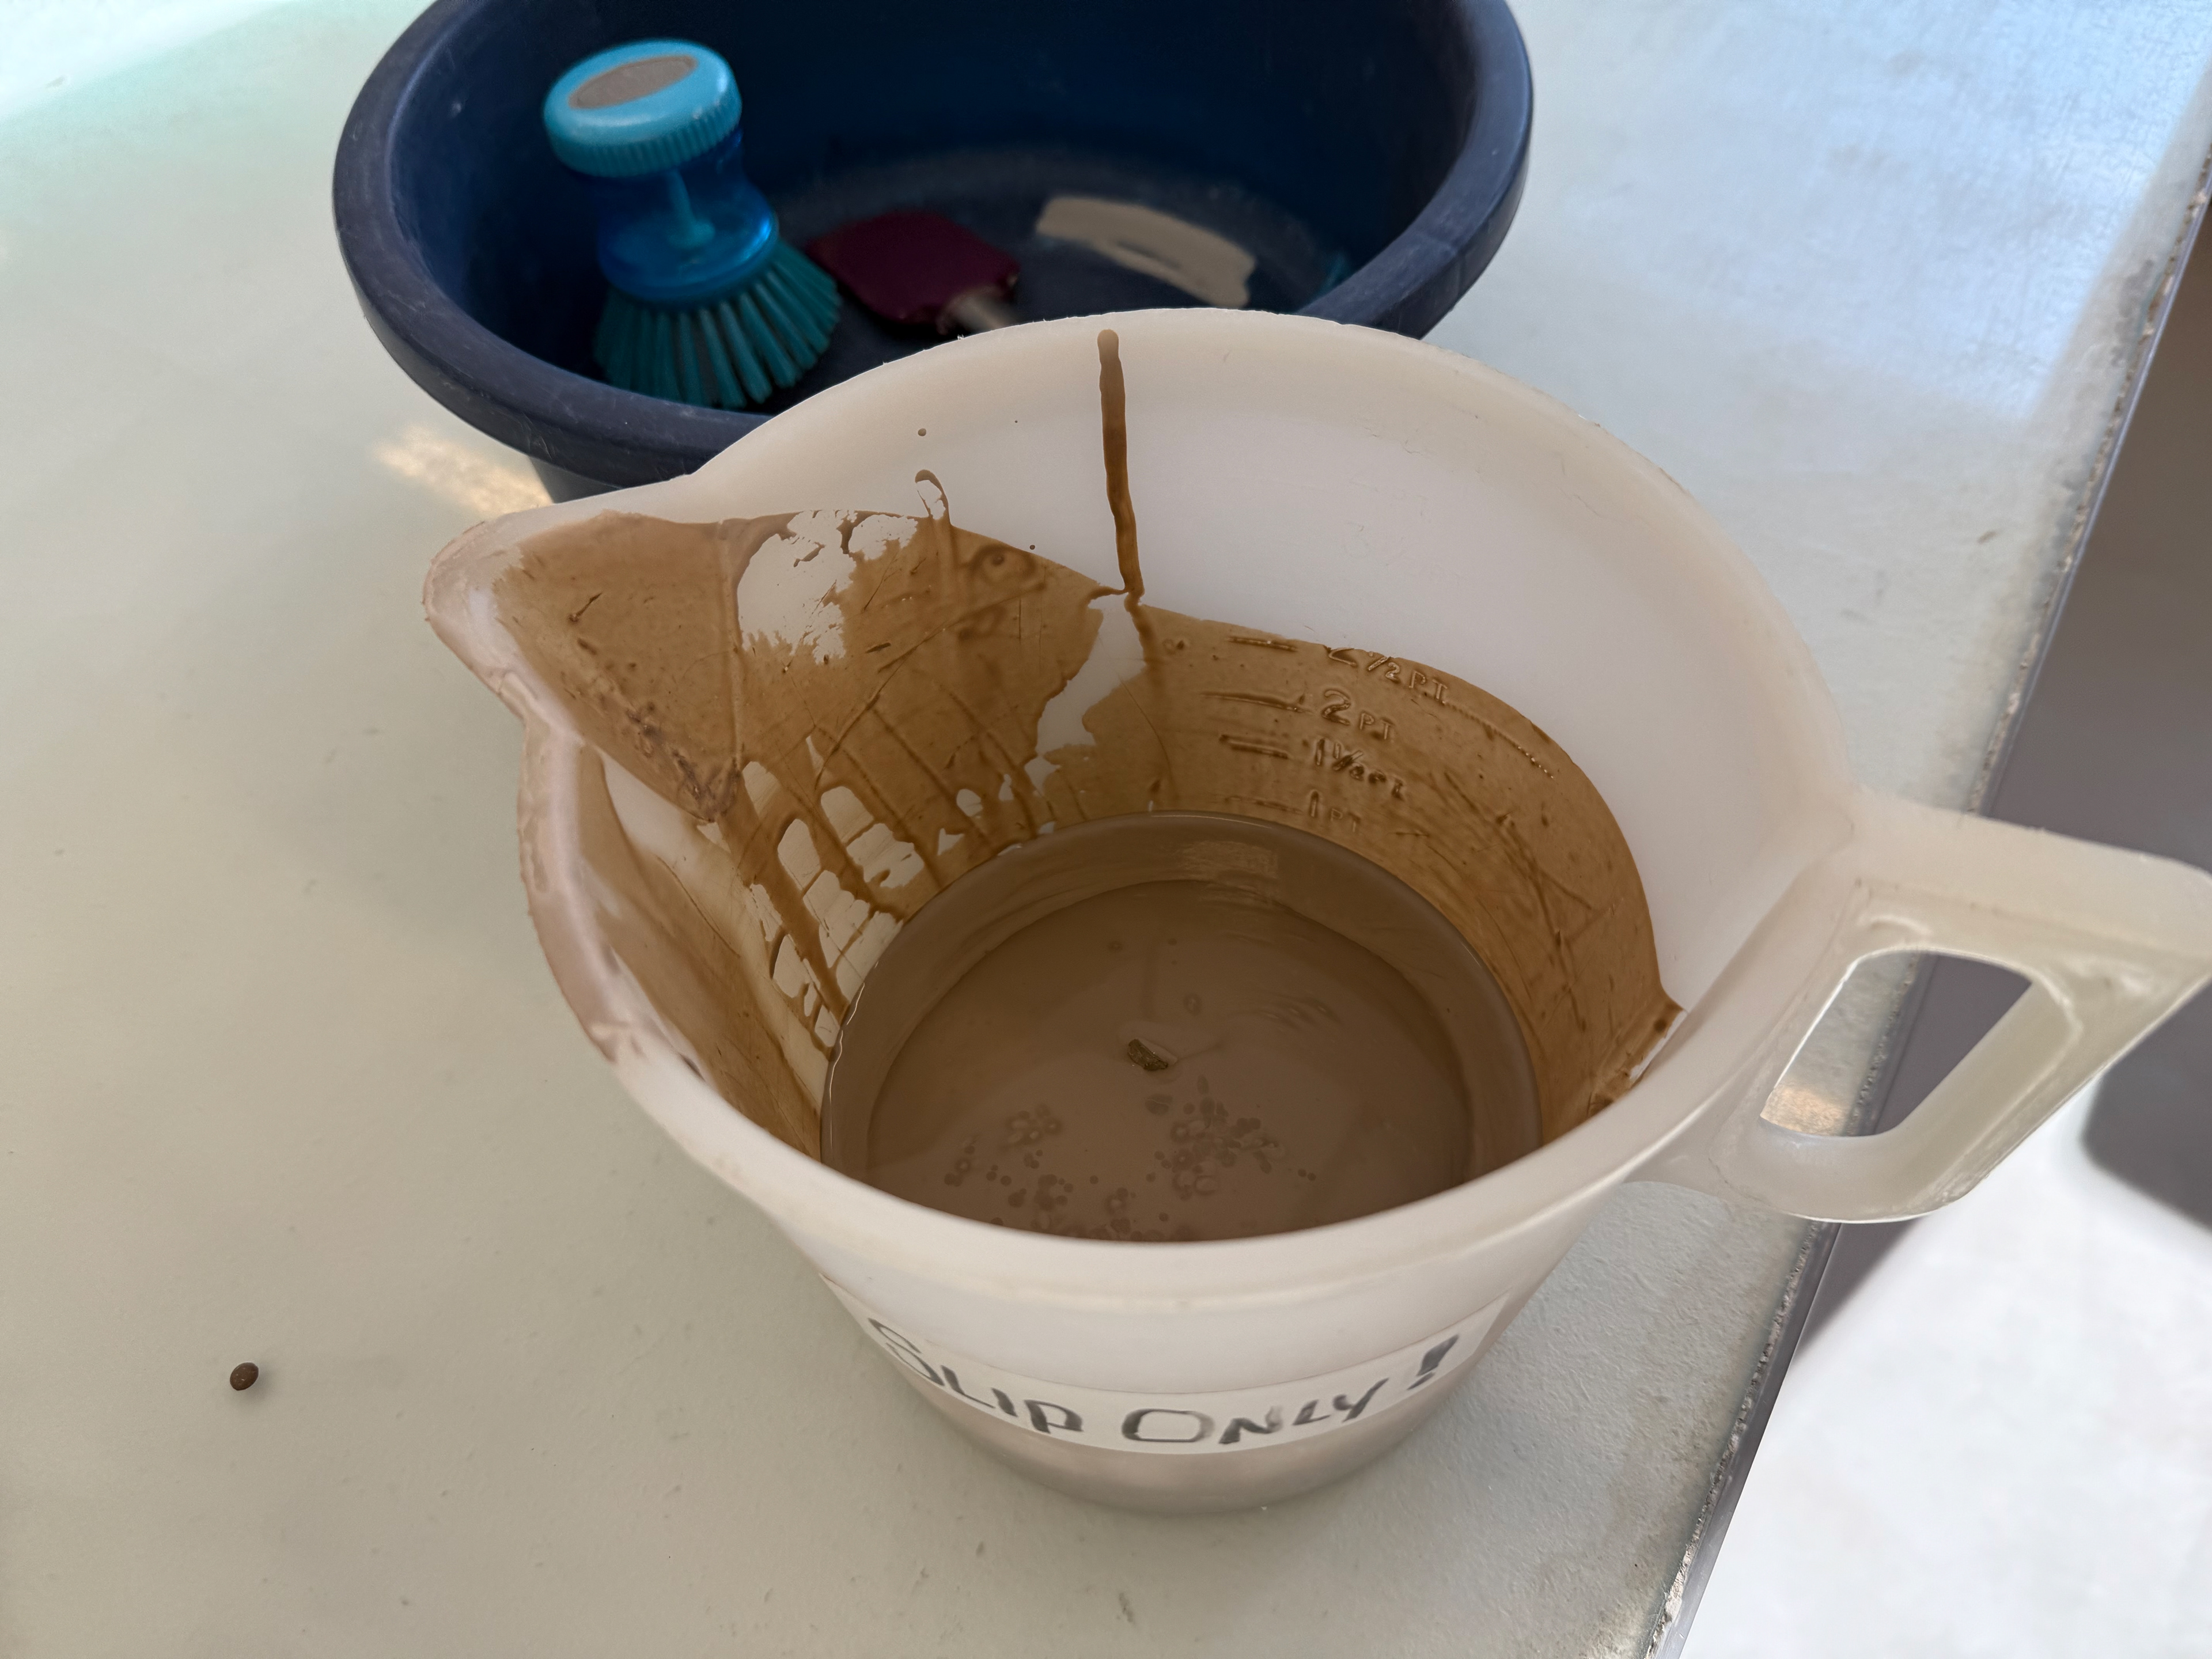
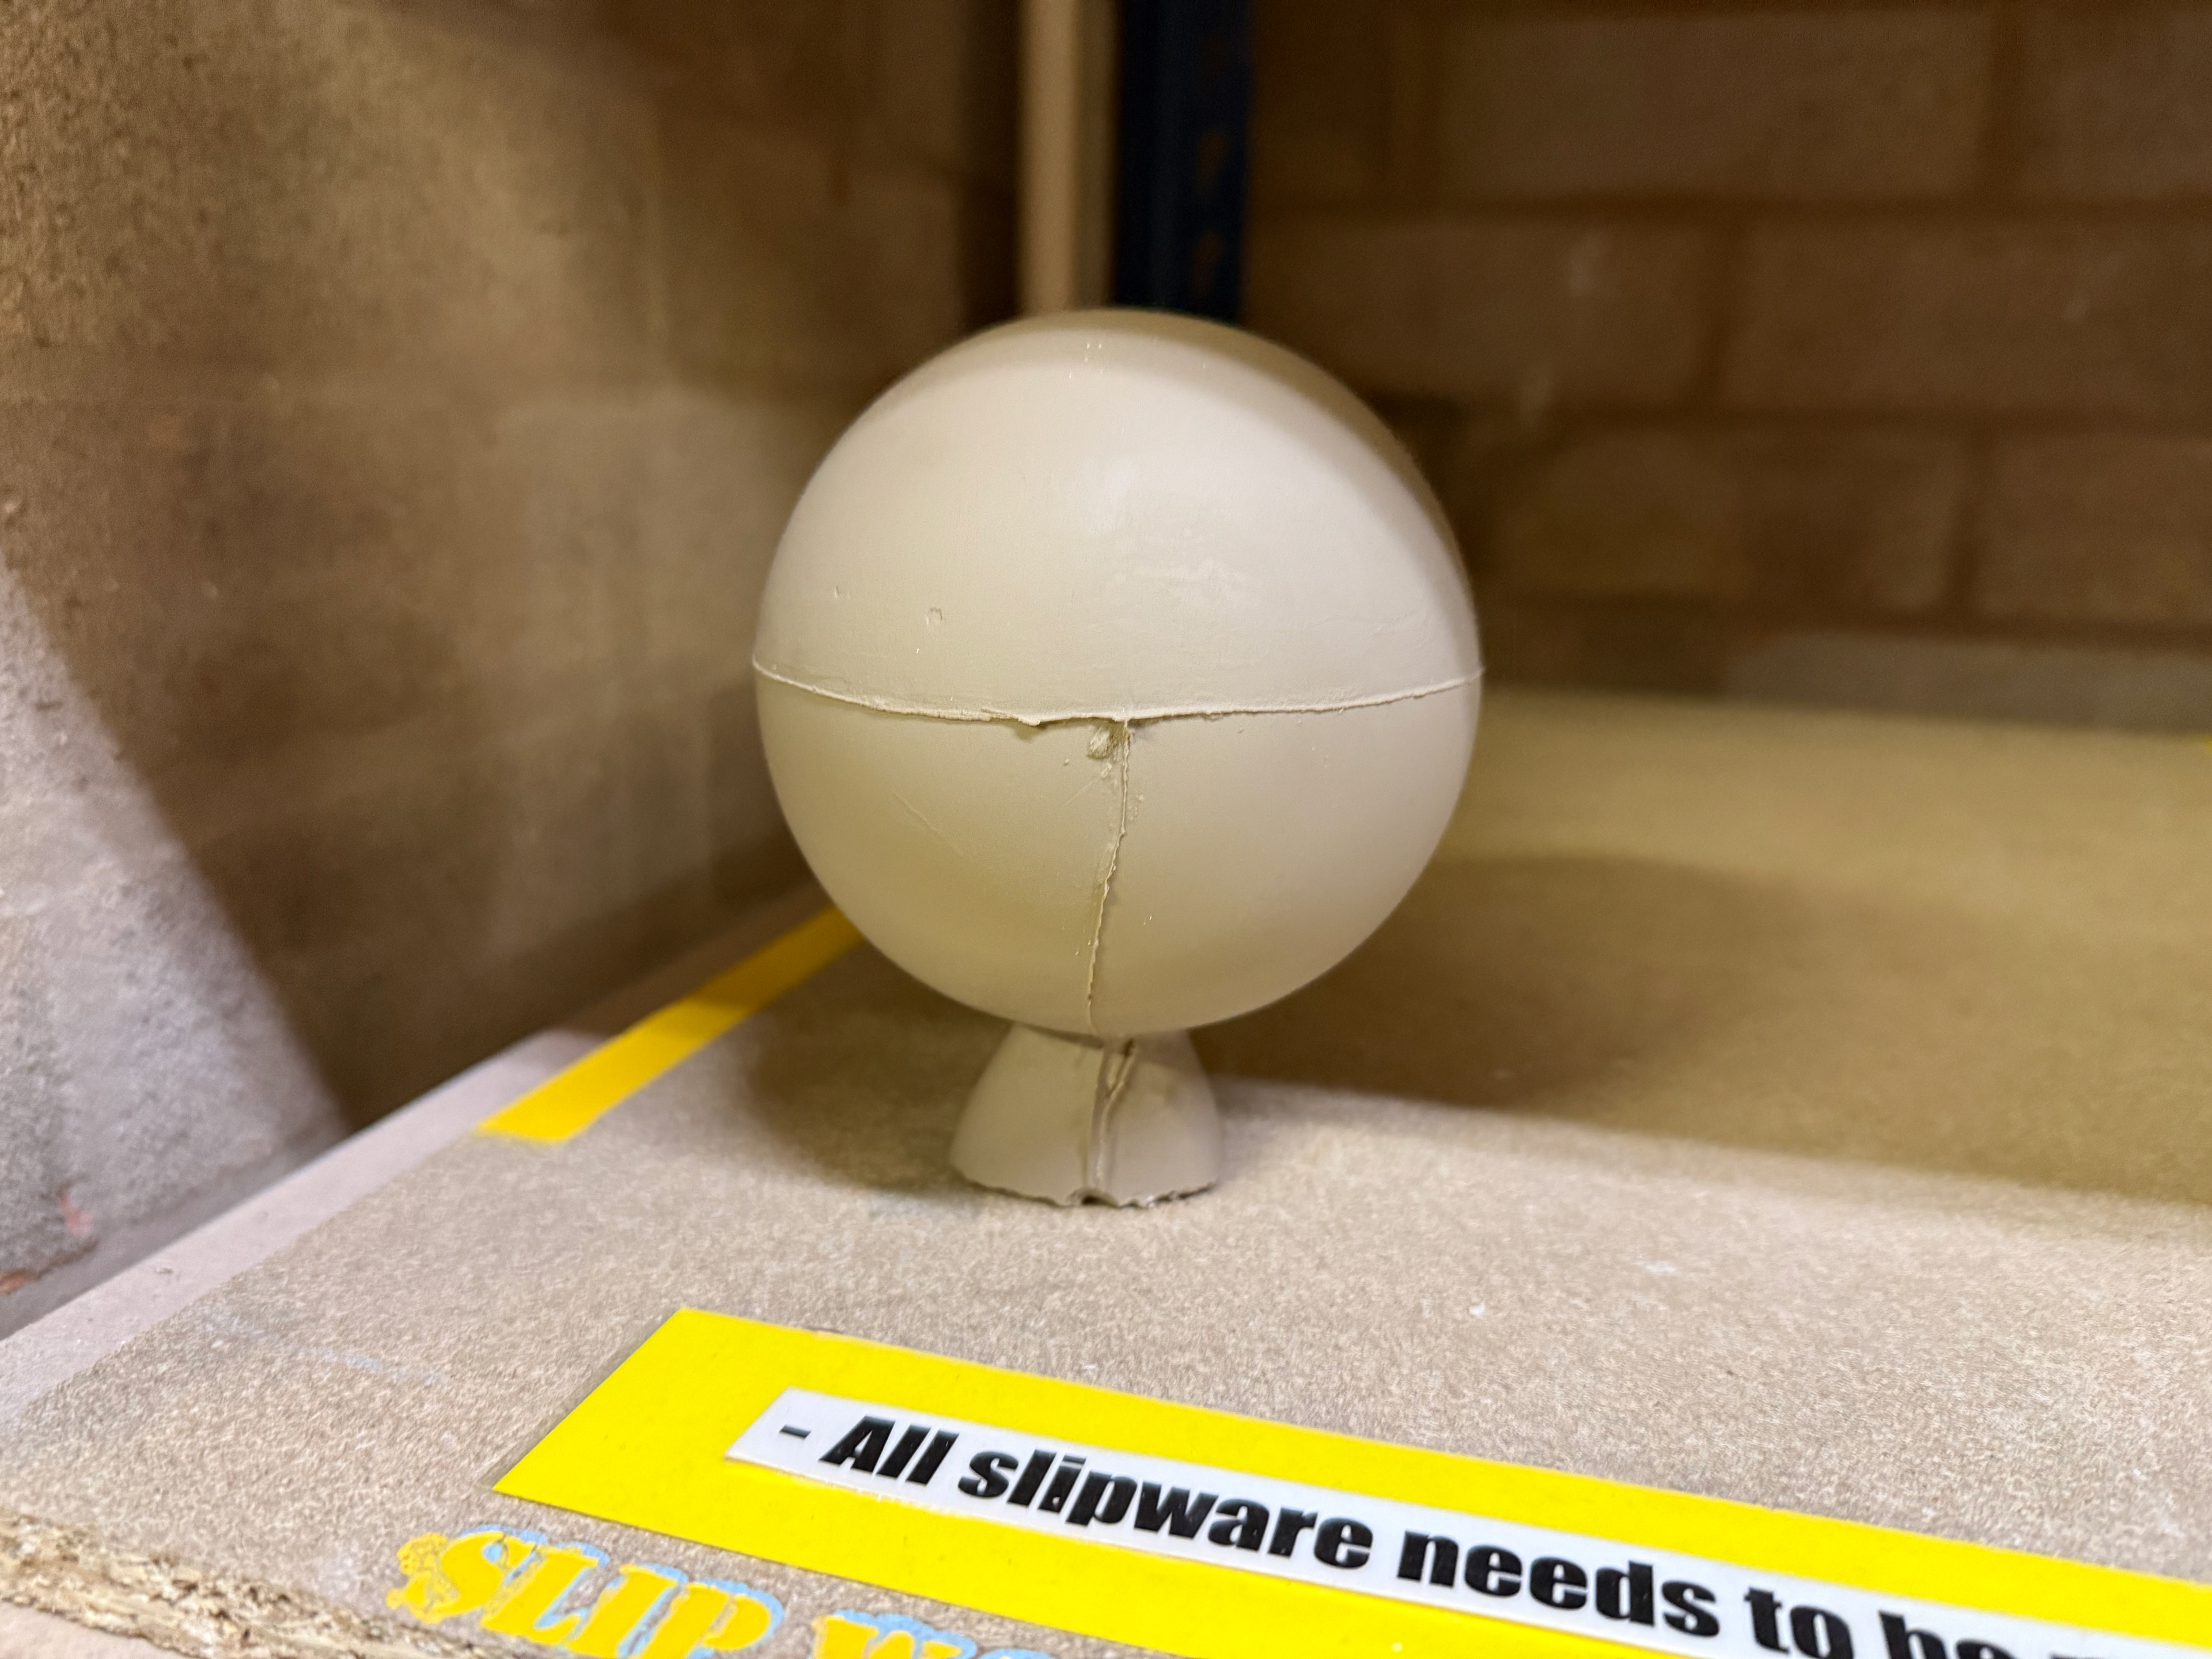
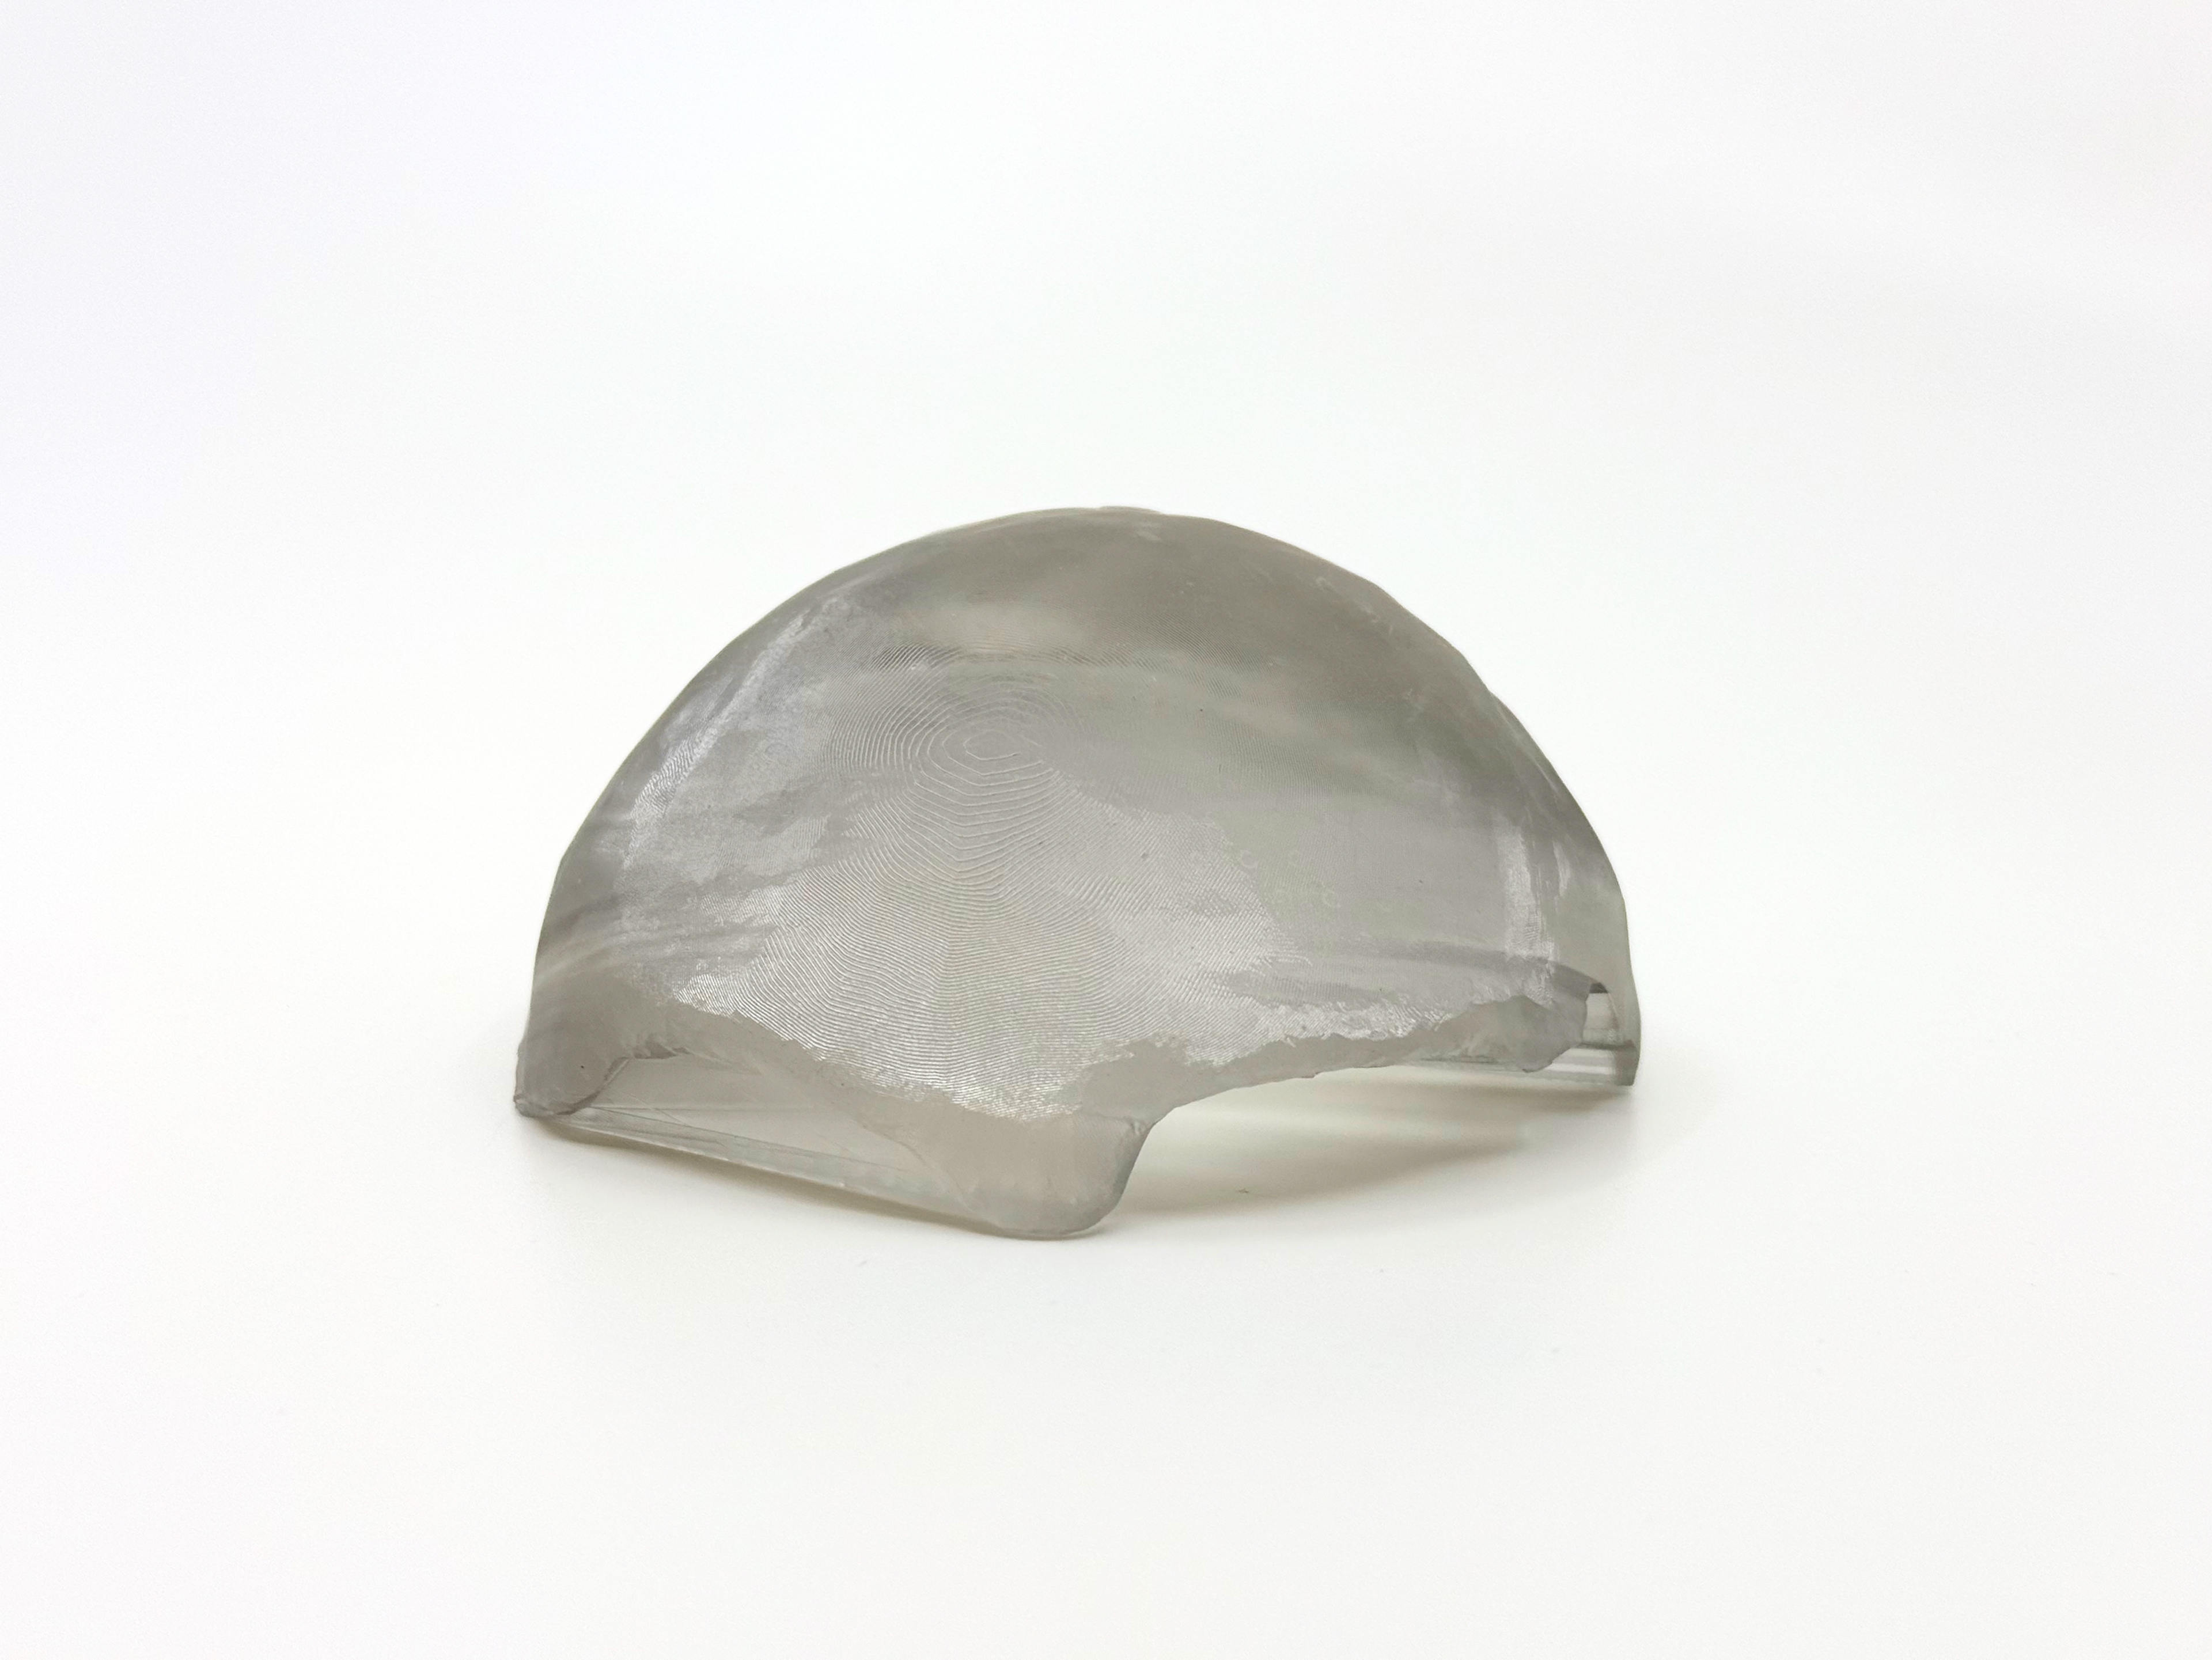
Plaster slip mould
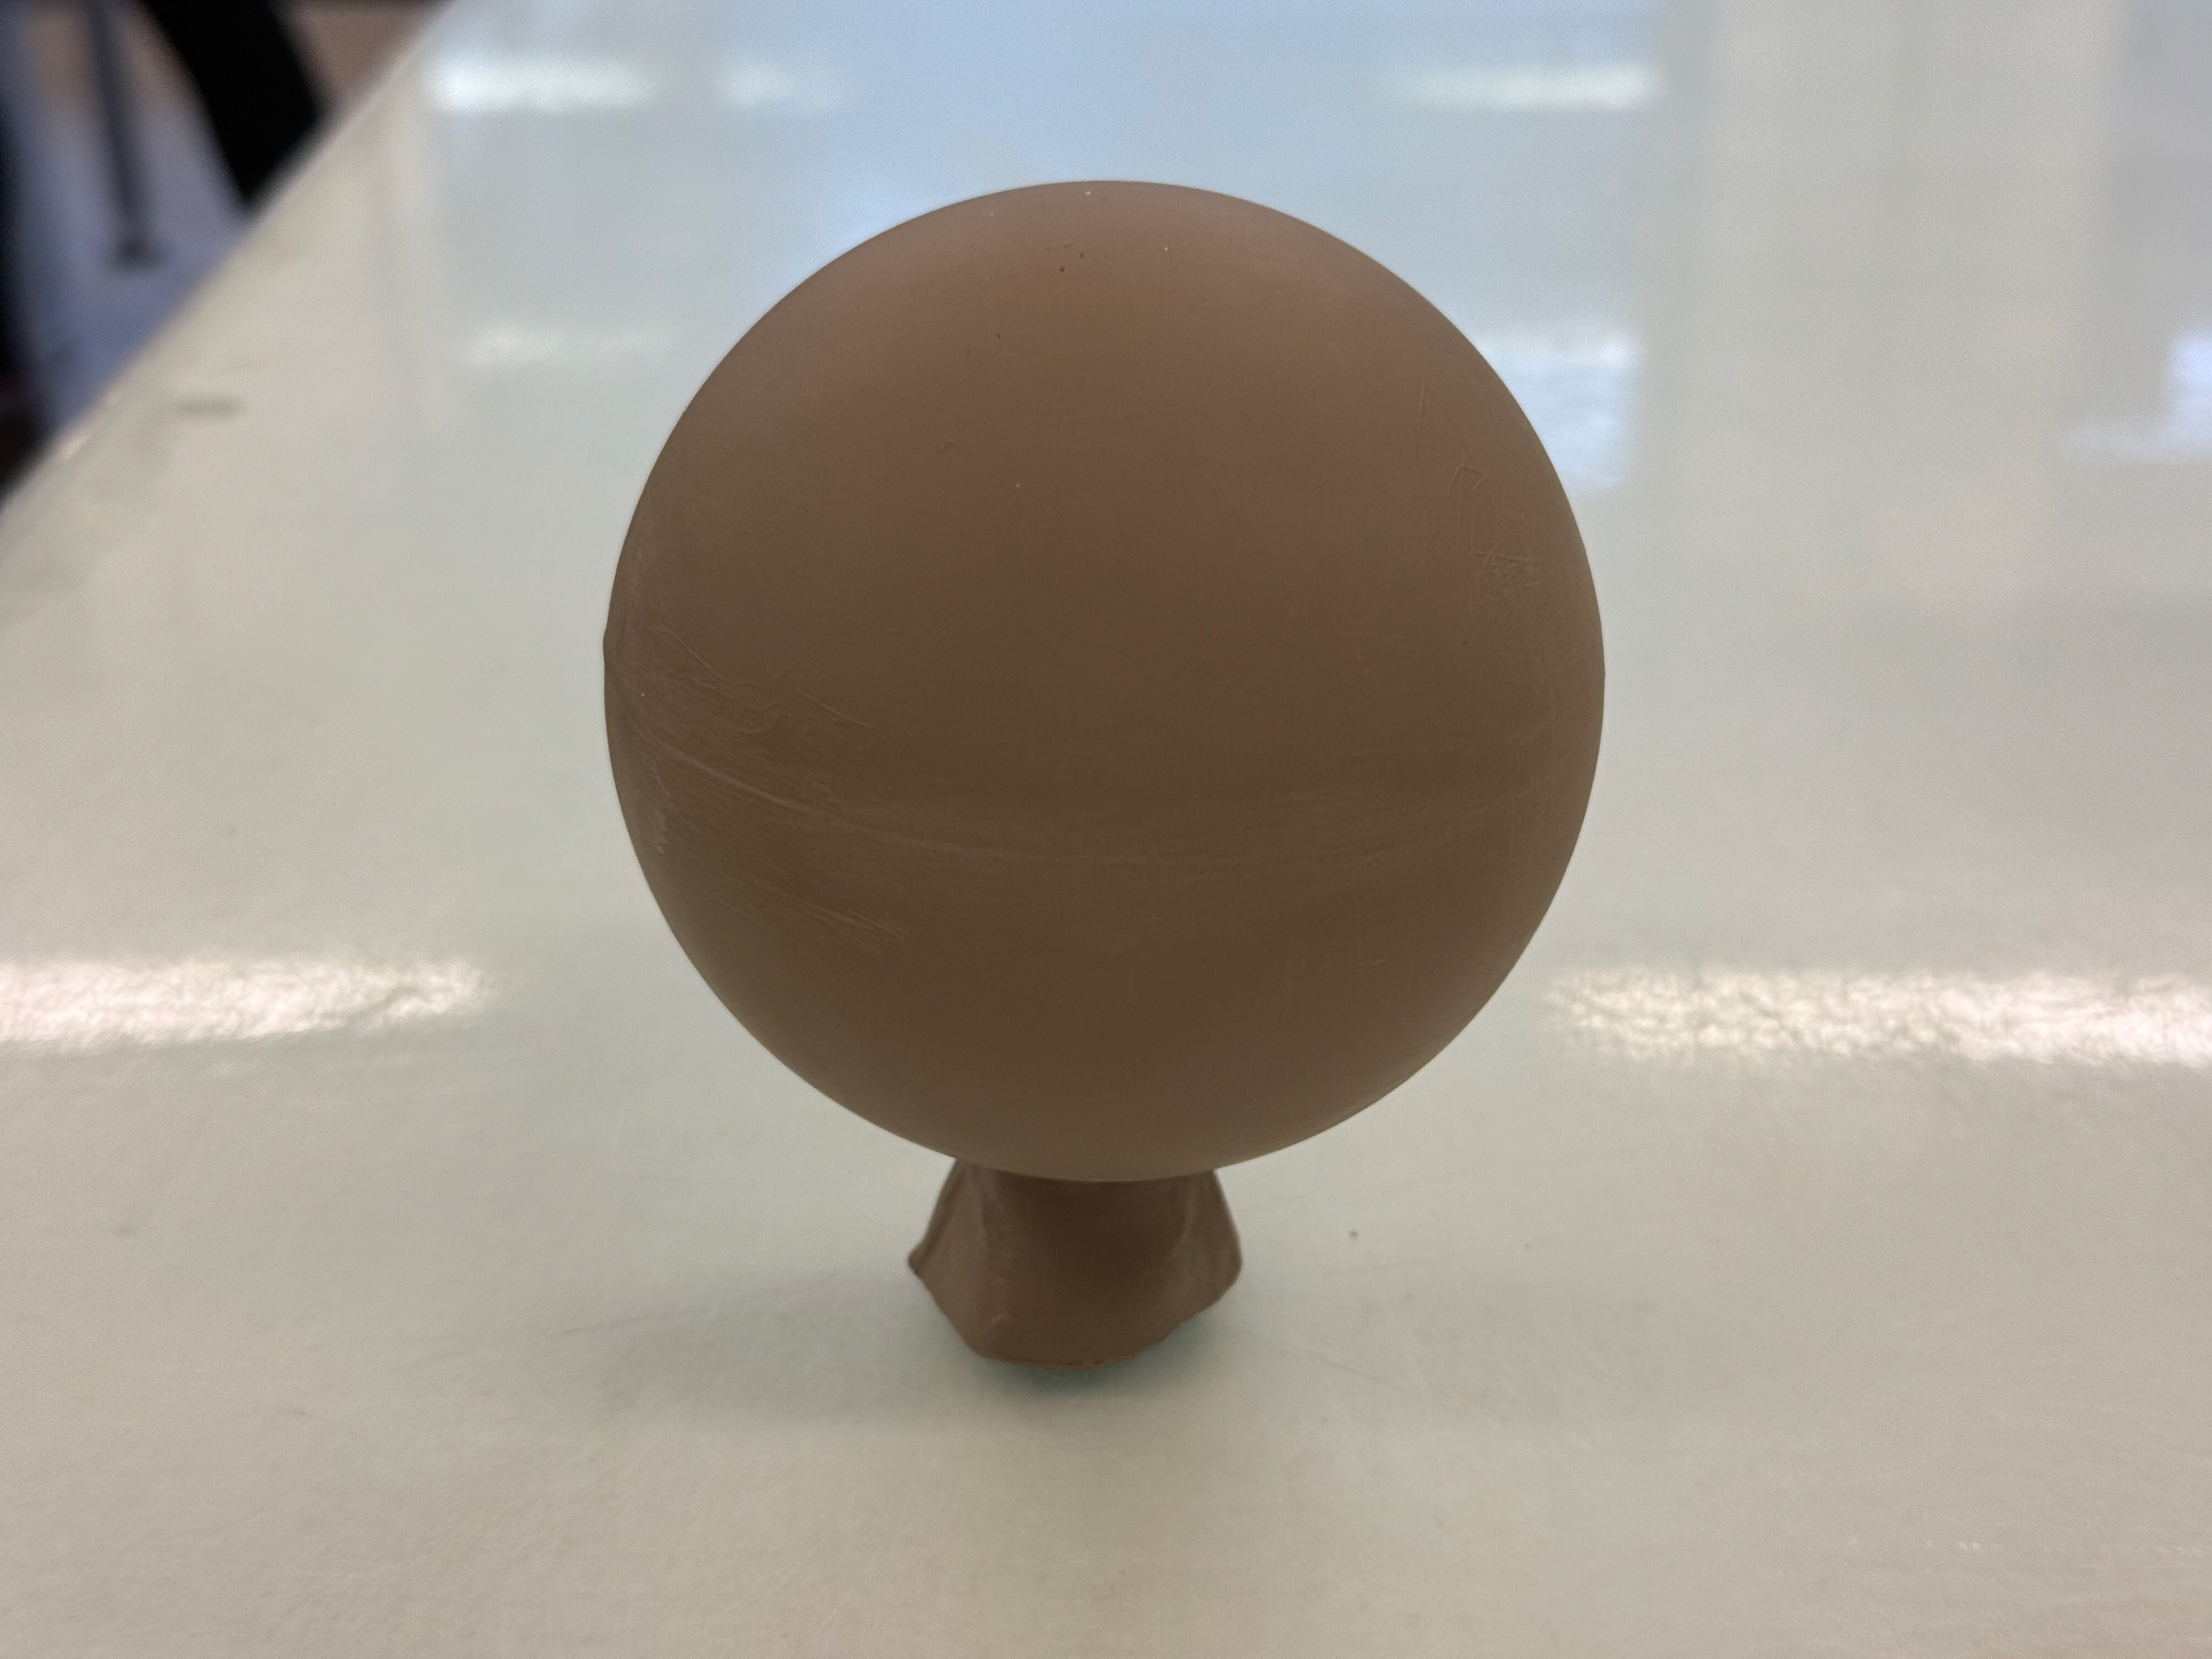
After consulting with the technician, I decided slip casting would be the most suitable method for creating a sphere. I found and used a bauble that would serve as the mould. Here is the process of the three-part mould's creation.

The bauble was placed upside down. This is so the hole was facing down. I then packed clay around it to stop it from moving and to provide a base for the cottle to sit on.
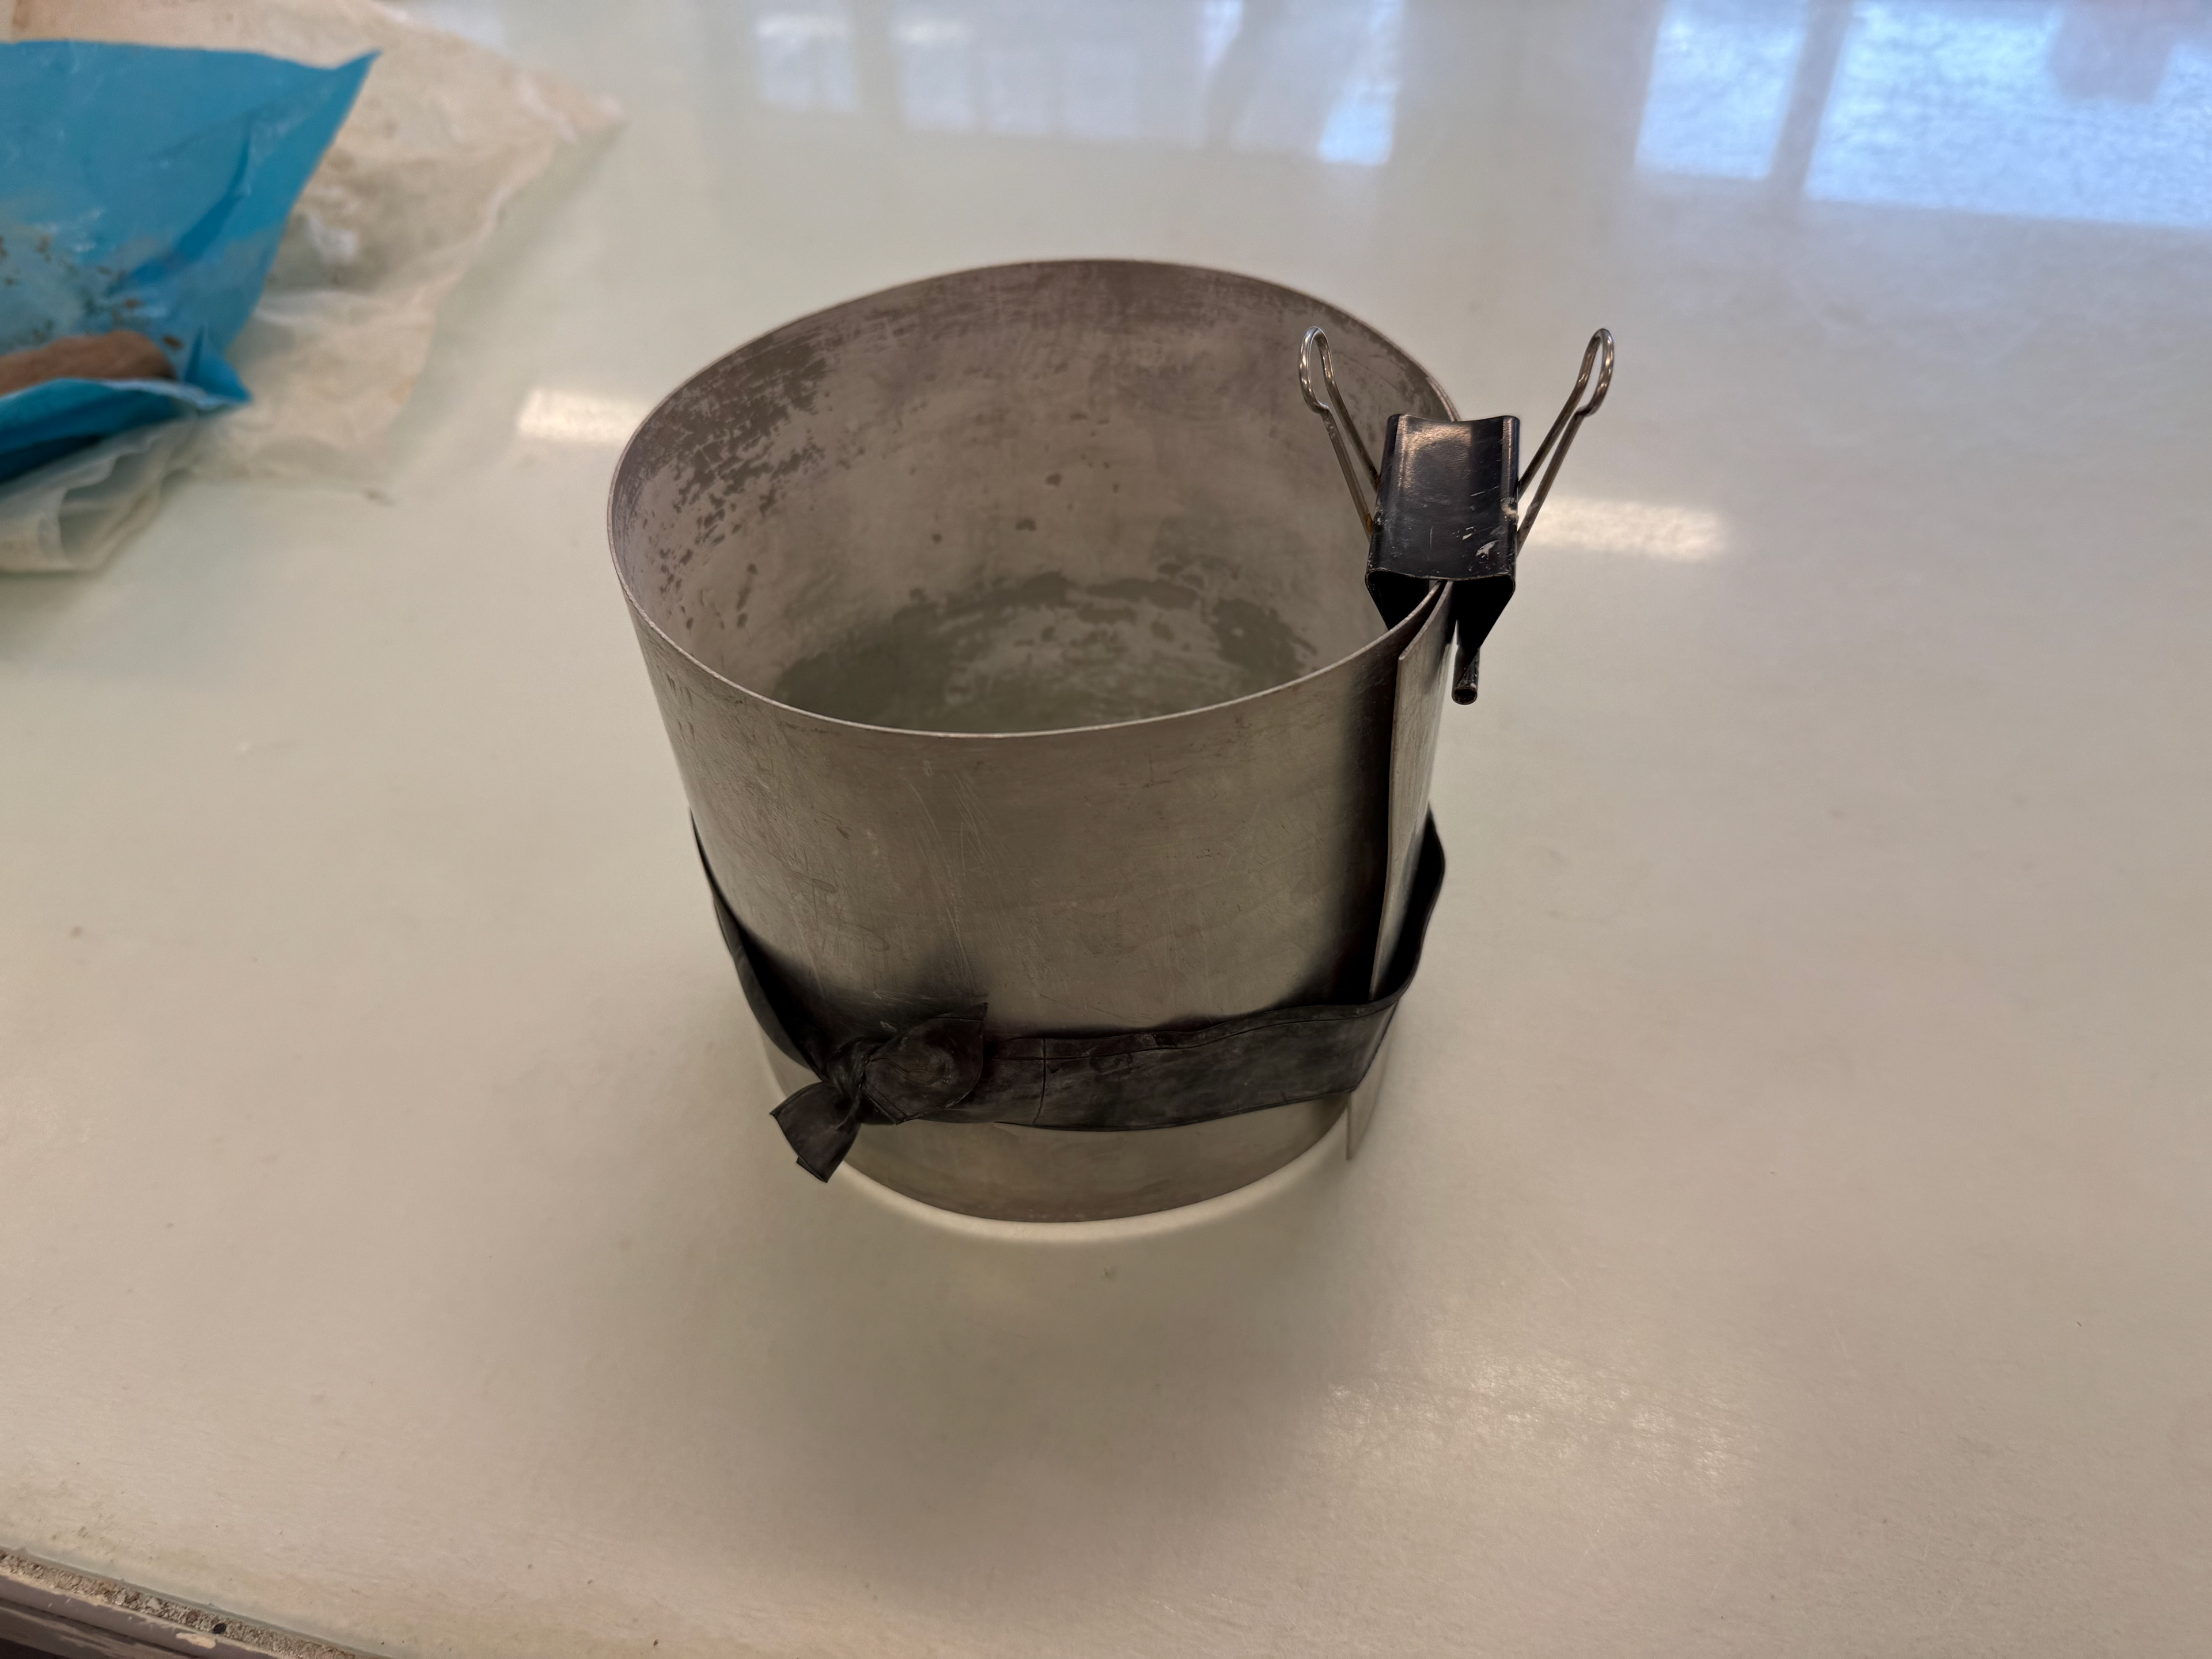
The cottle I decided to use initially.

To ensure it was roughly even all the way around, I put thick blocks of clay around. Reaching just above the middle of the bauble.
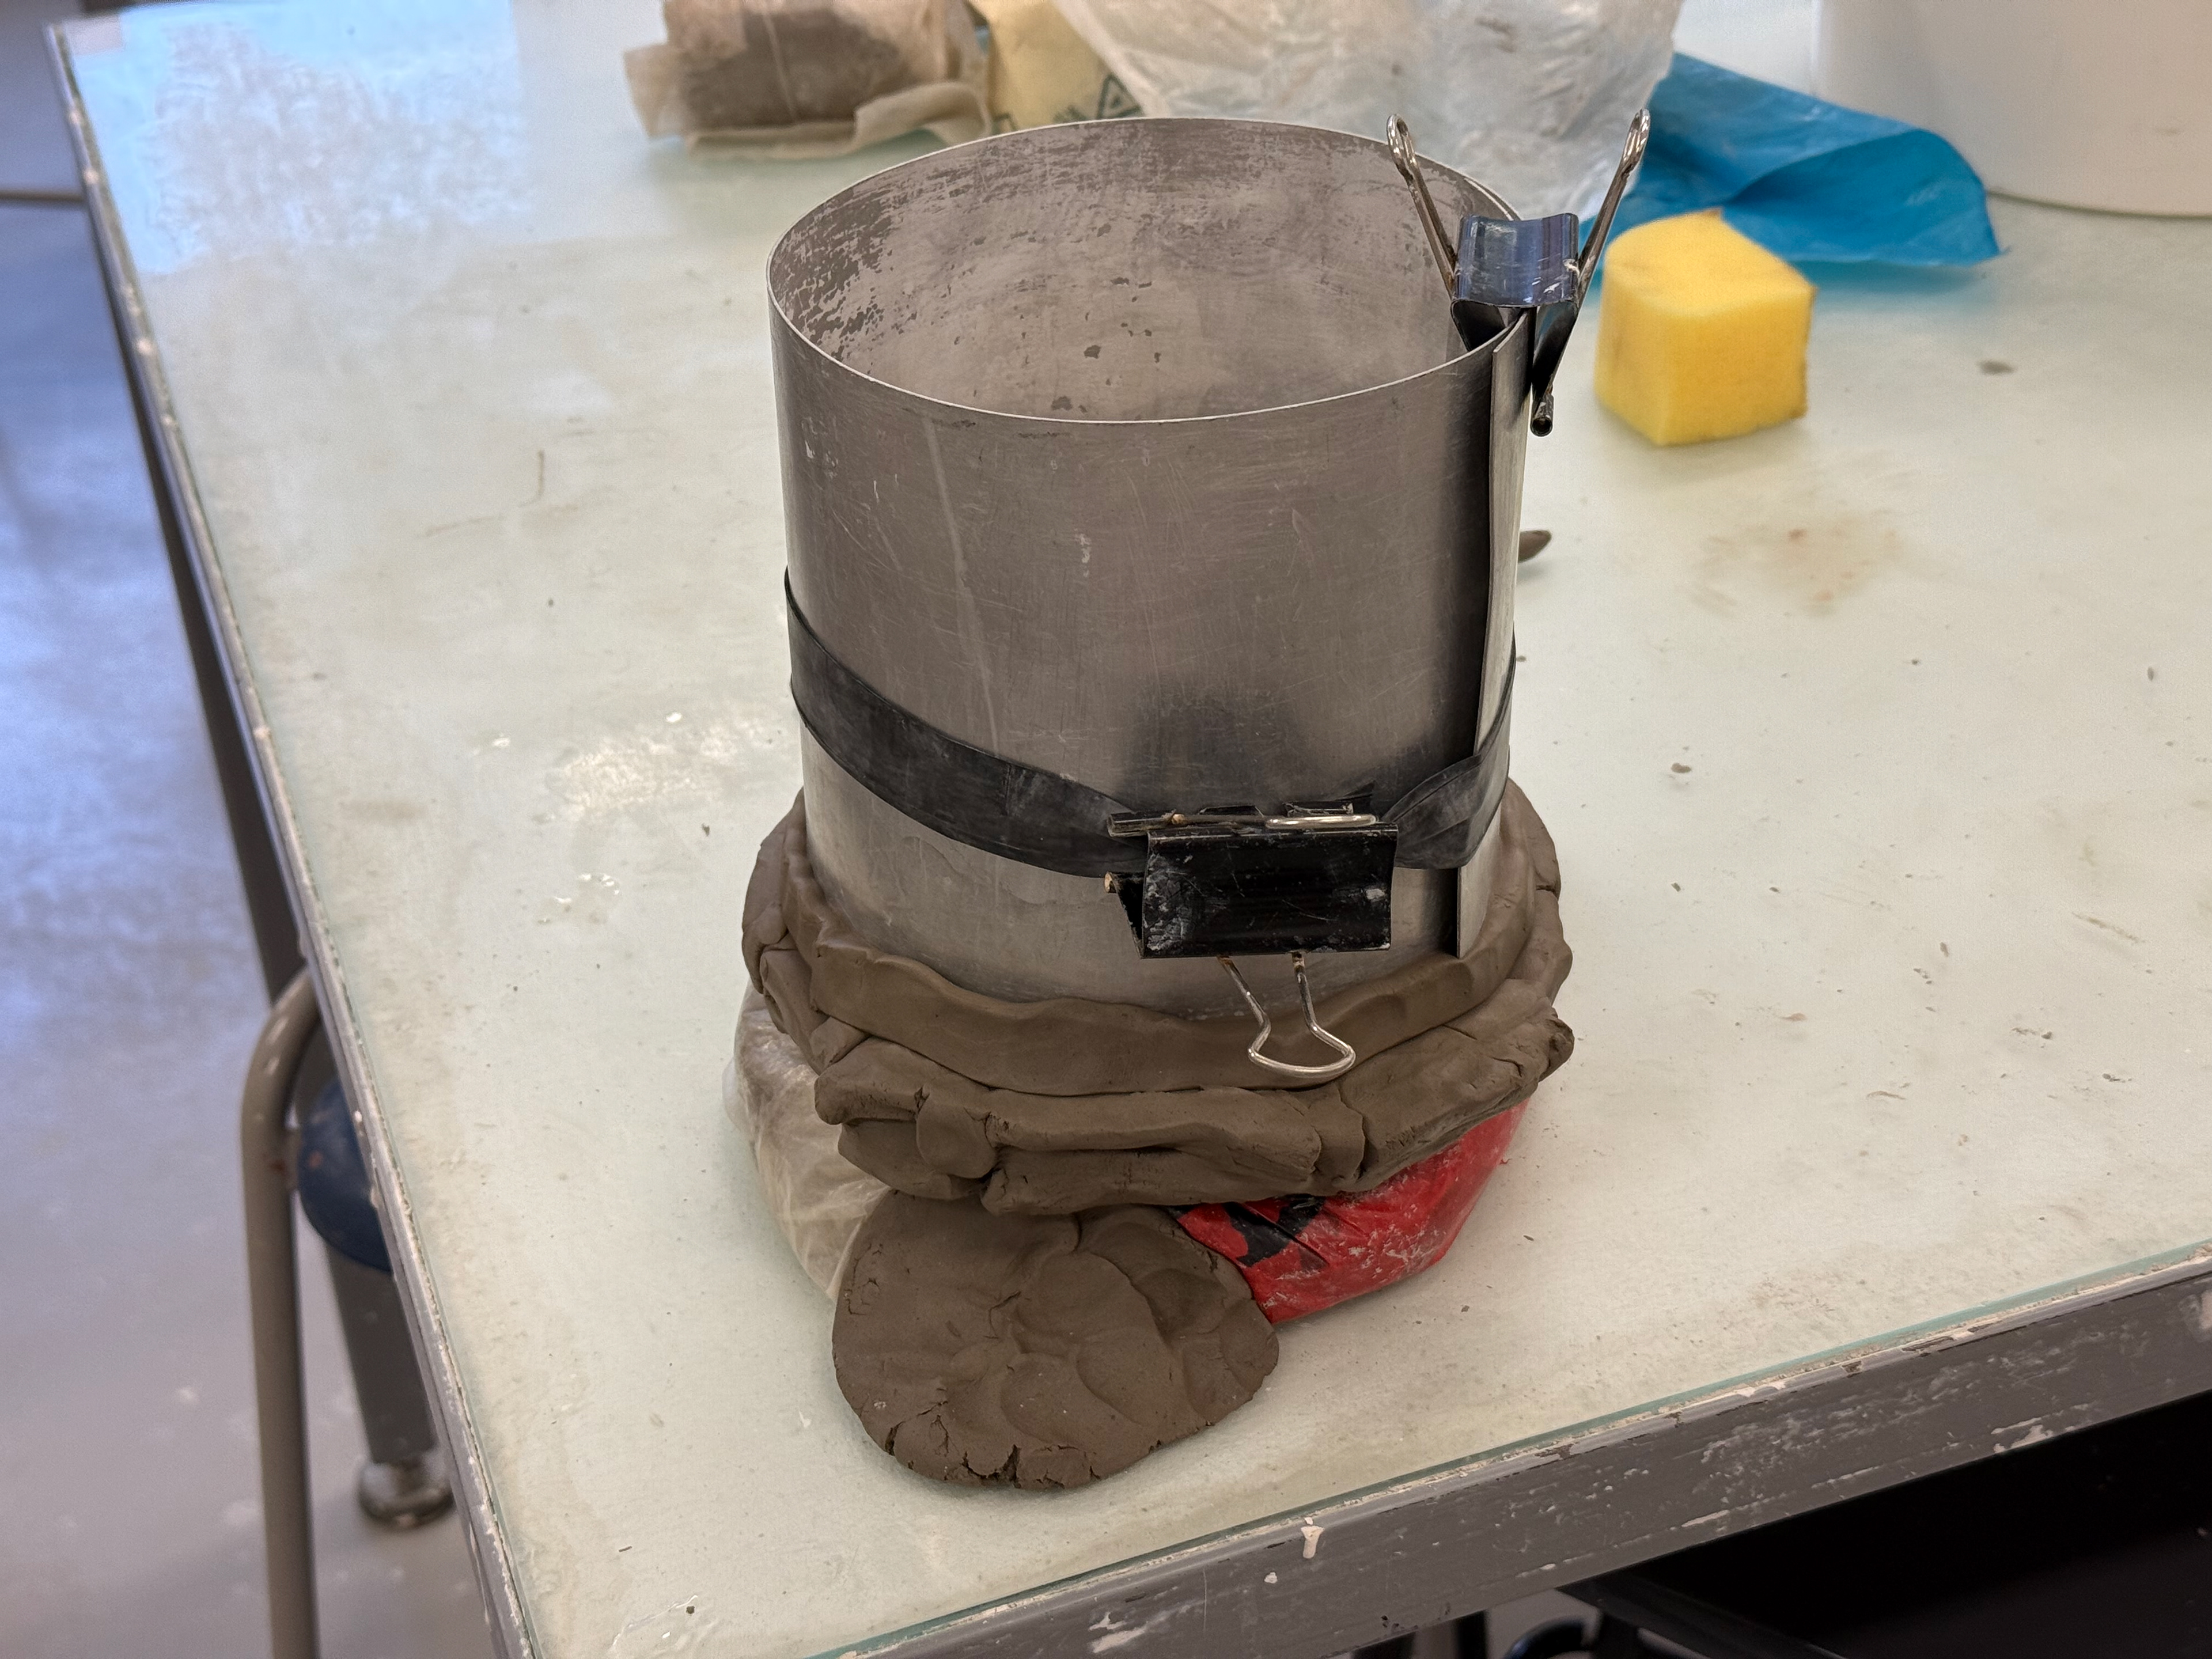
The cottle on to of the clay ready for plaster.

Plaster setting with excess to the side.
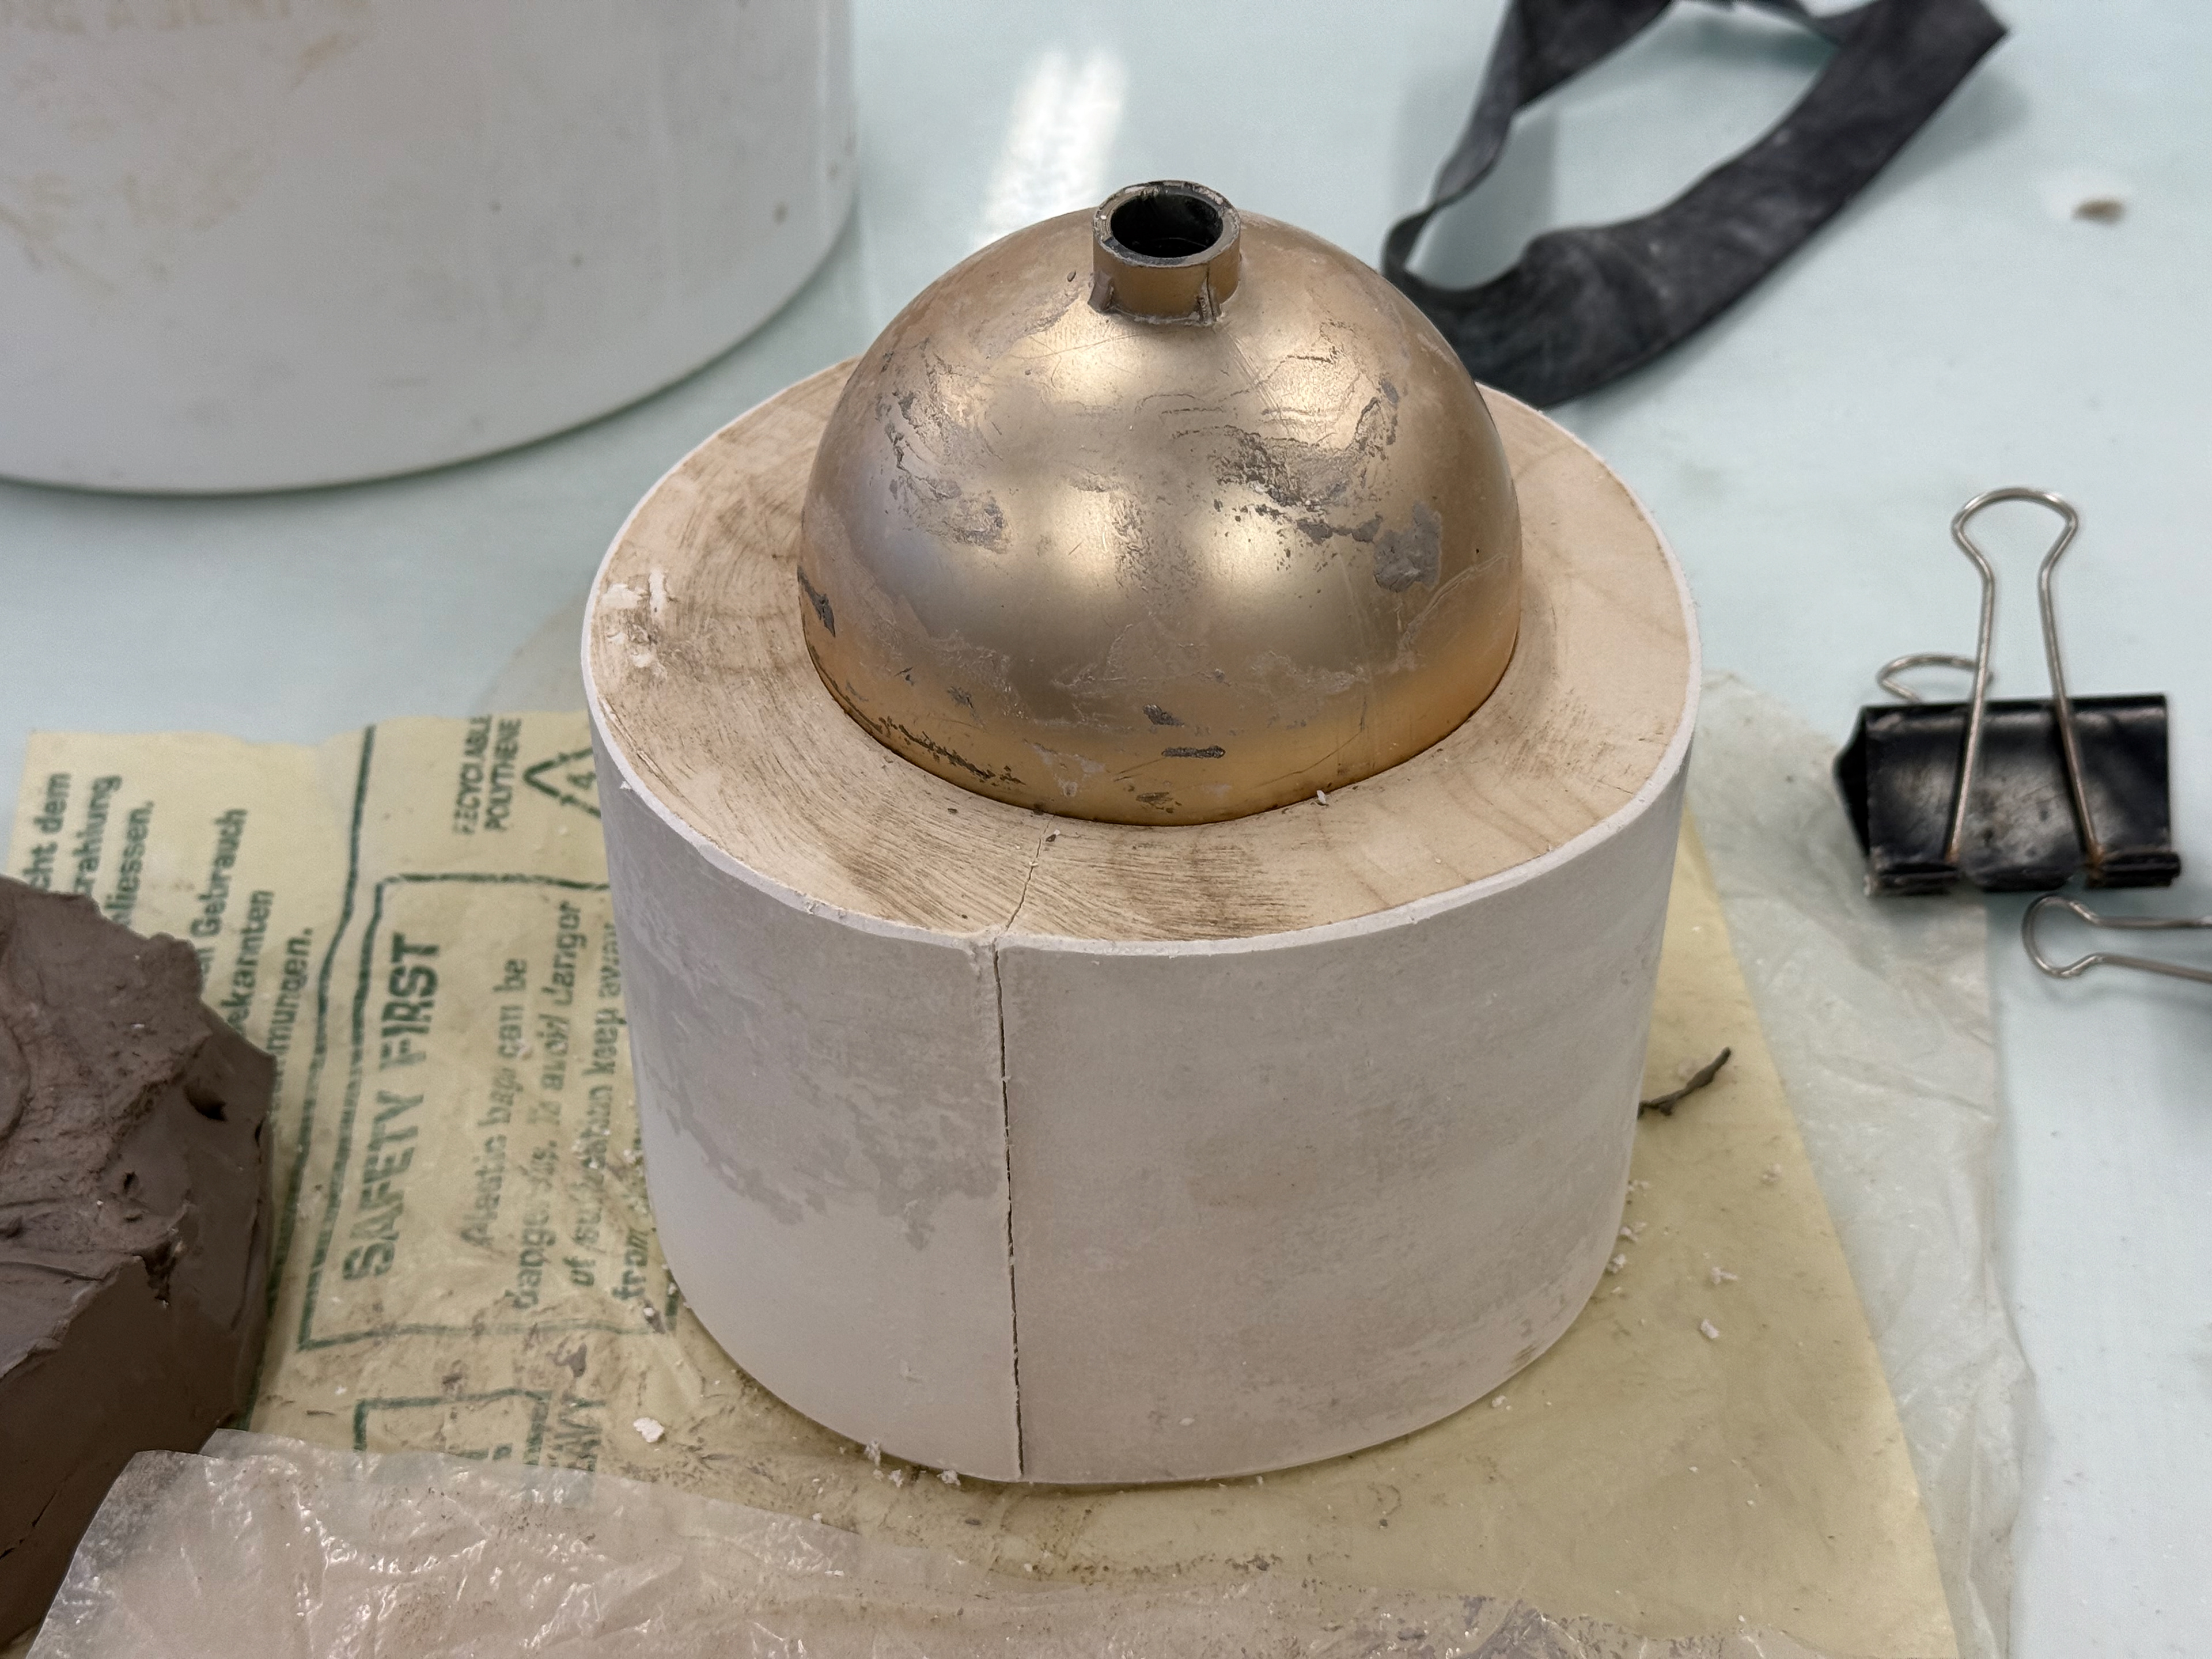
The first part of the mould.
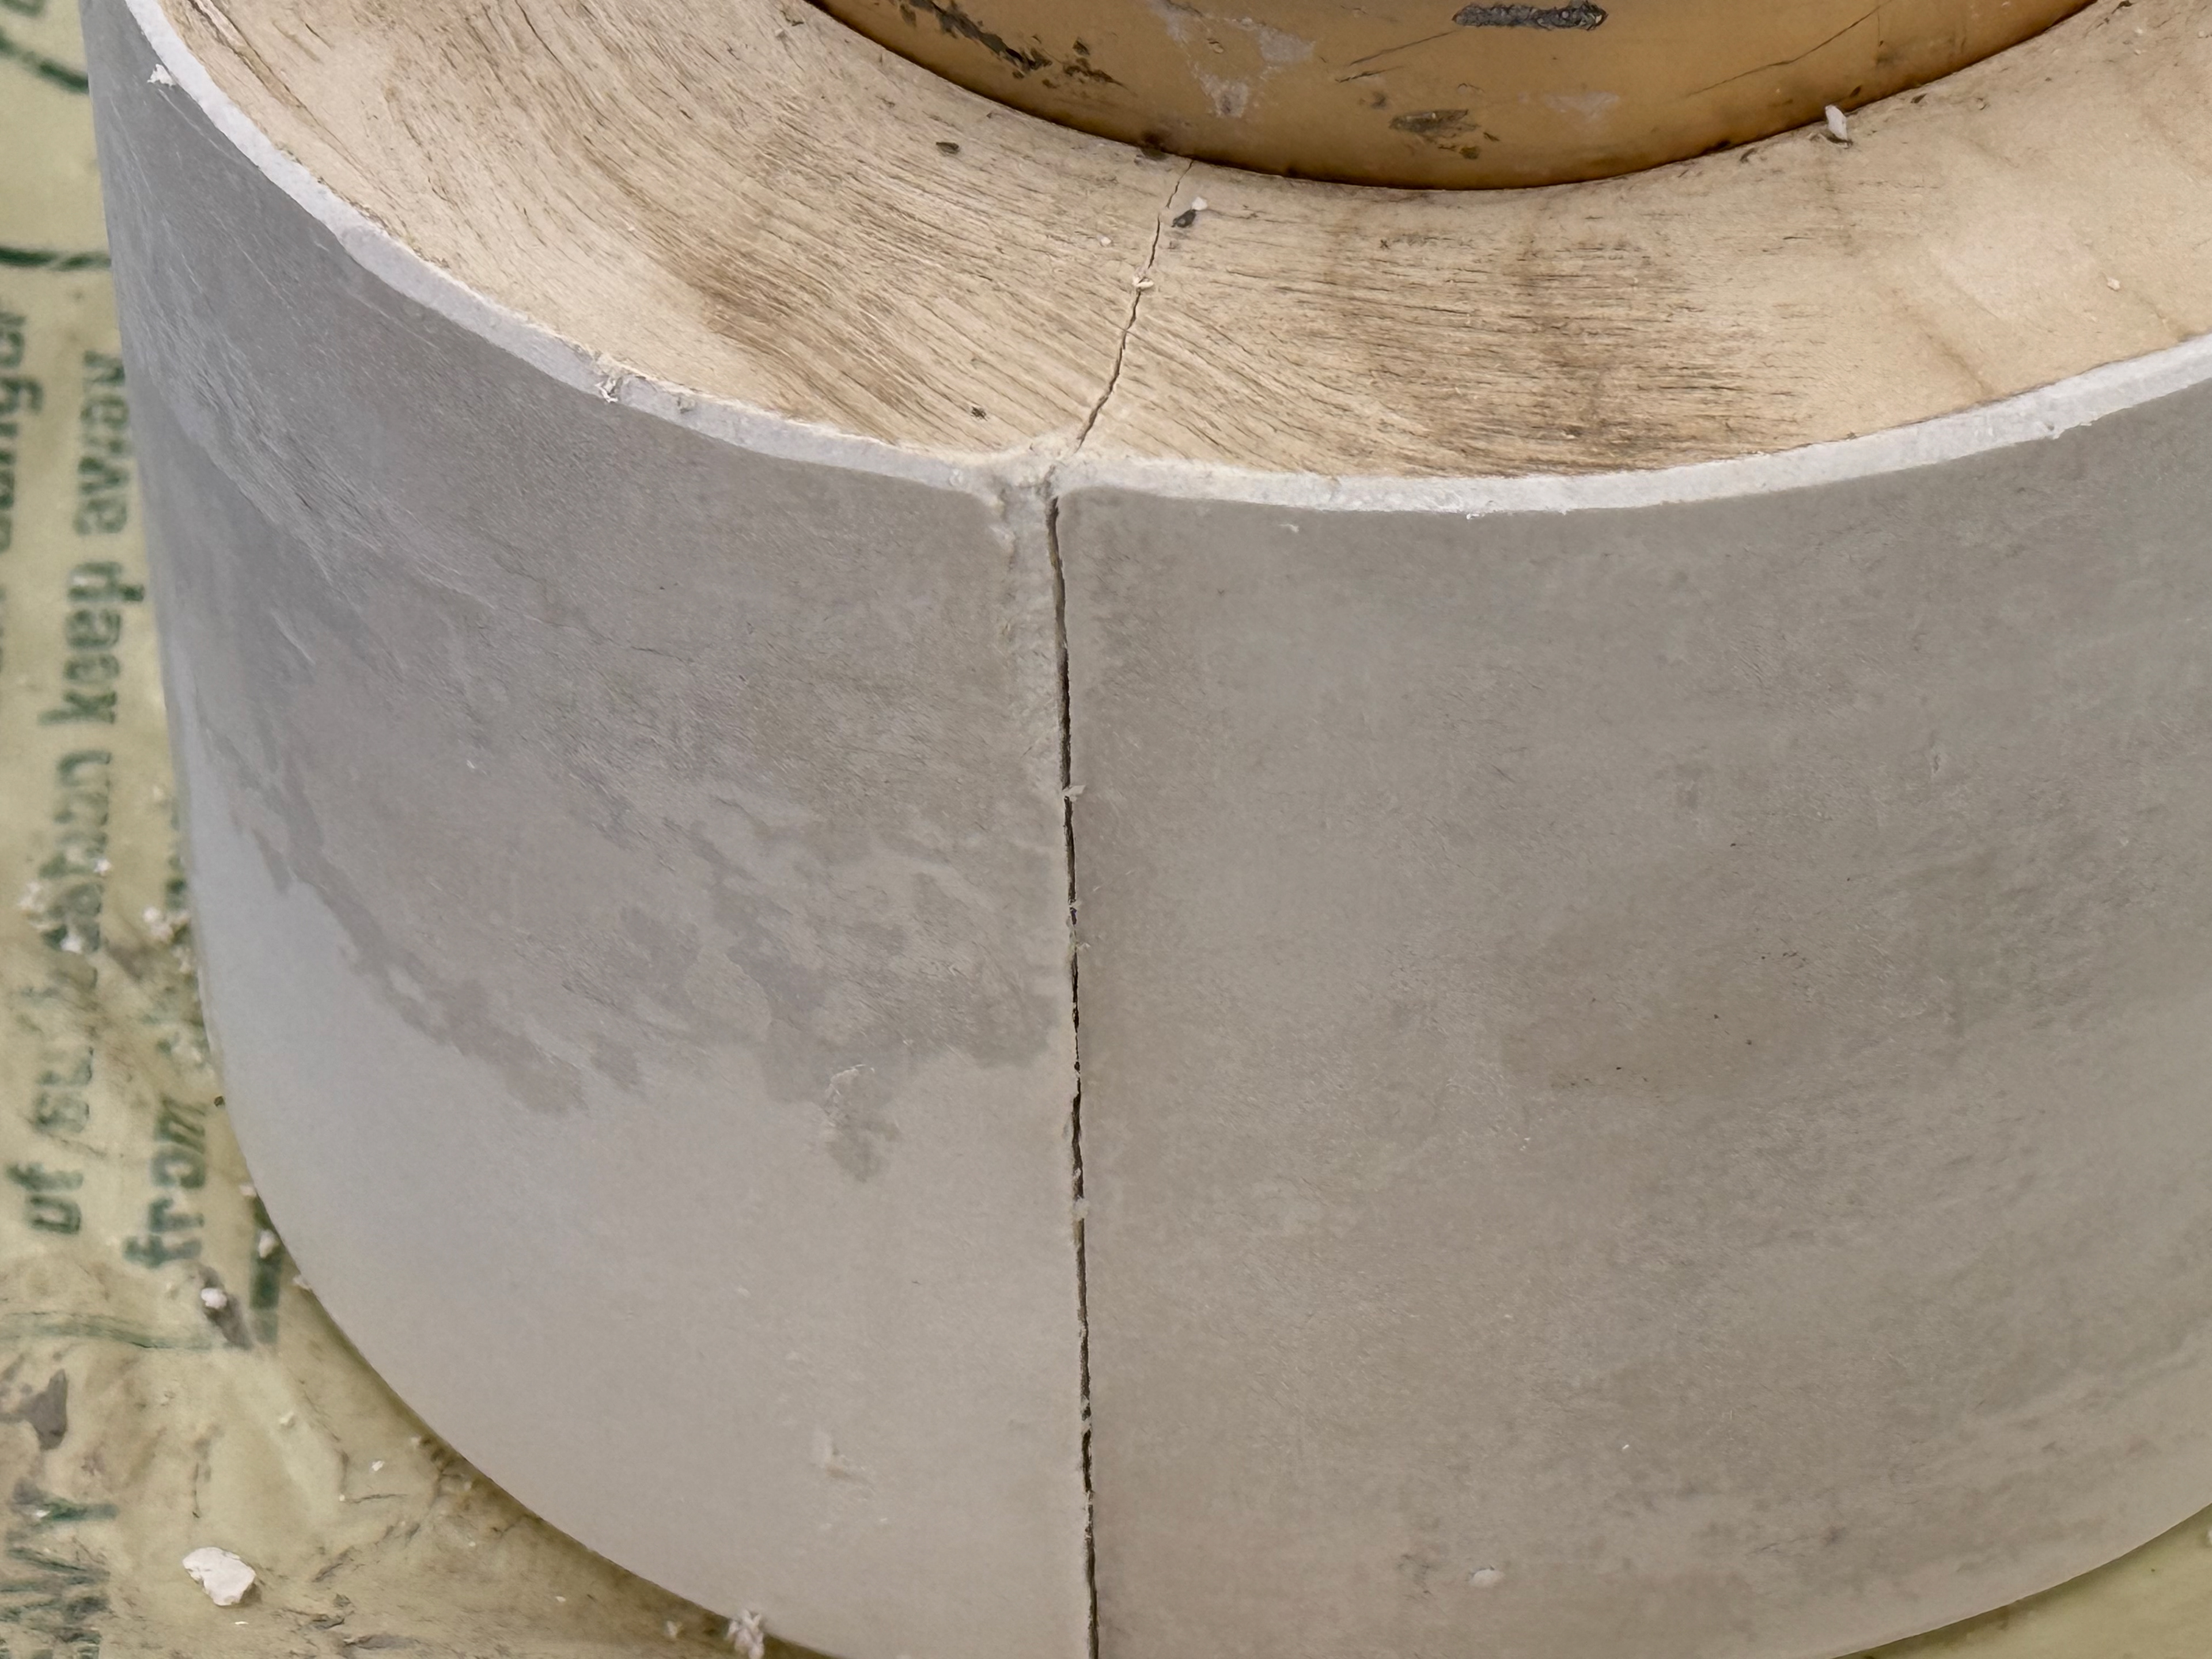
A crack developed because I waited too long to remove the cottle.
I used a spoon to carve out holes so all the pieces could securely fit together.
Soft soaped 3 times to make sure the new plaster doesn't set to the existing mould.
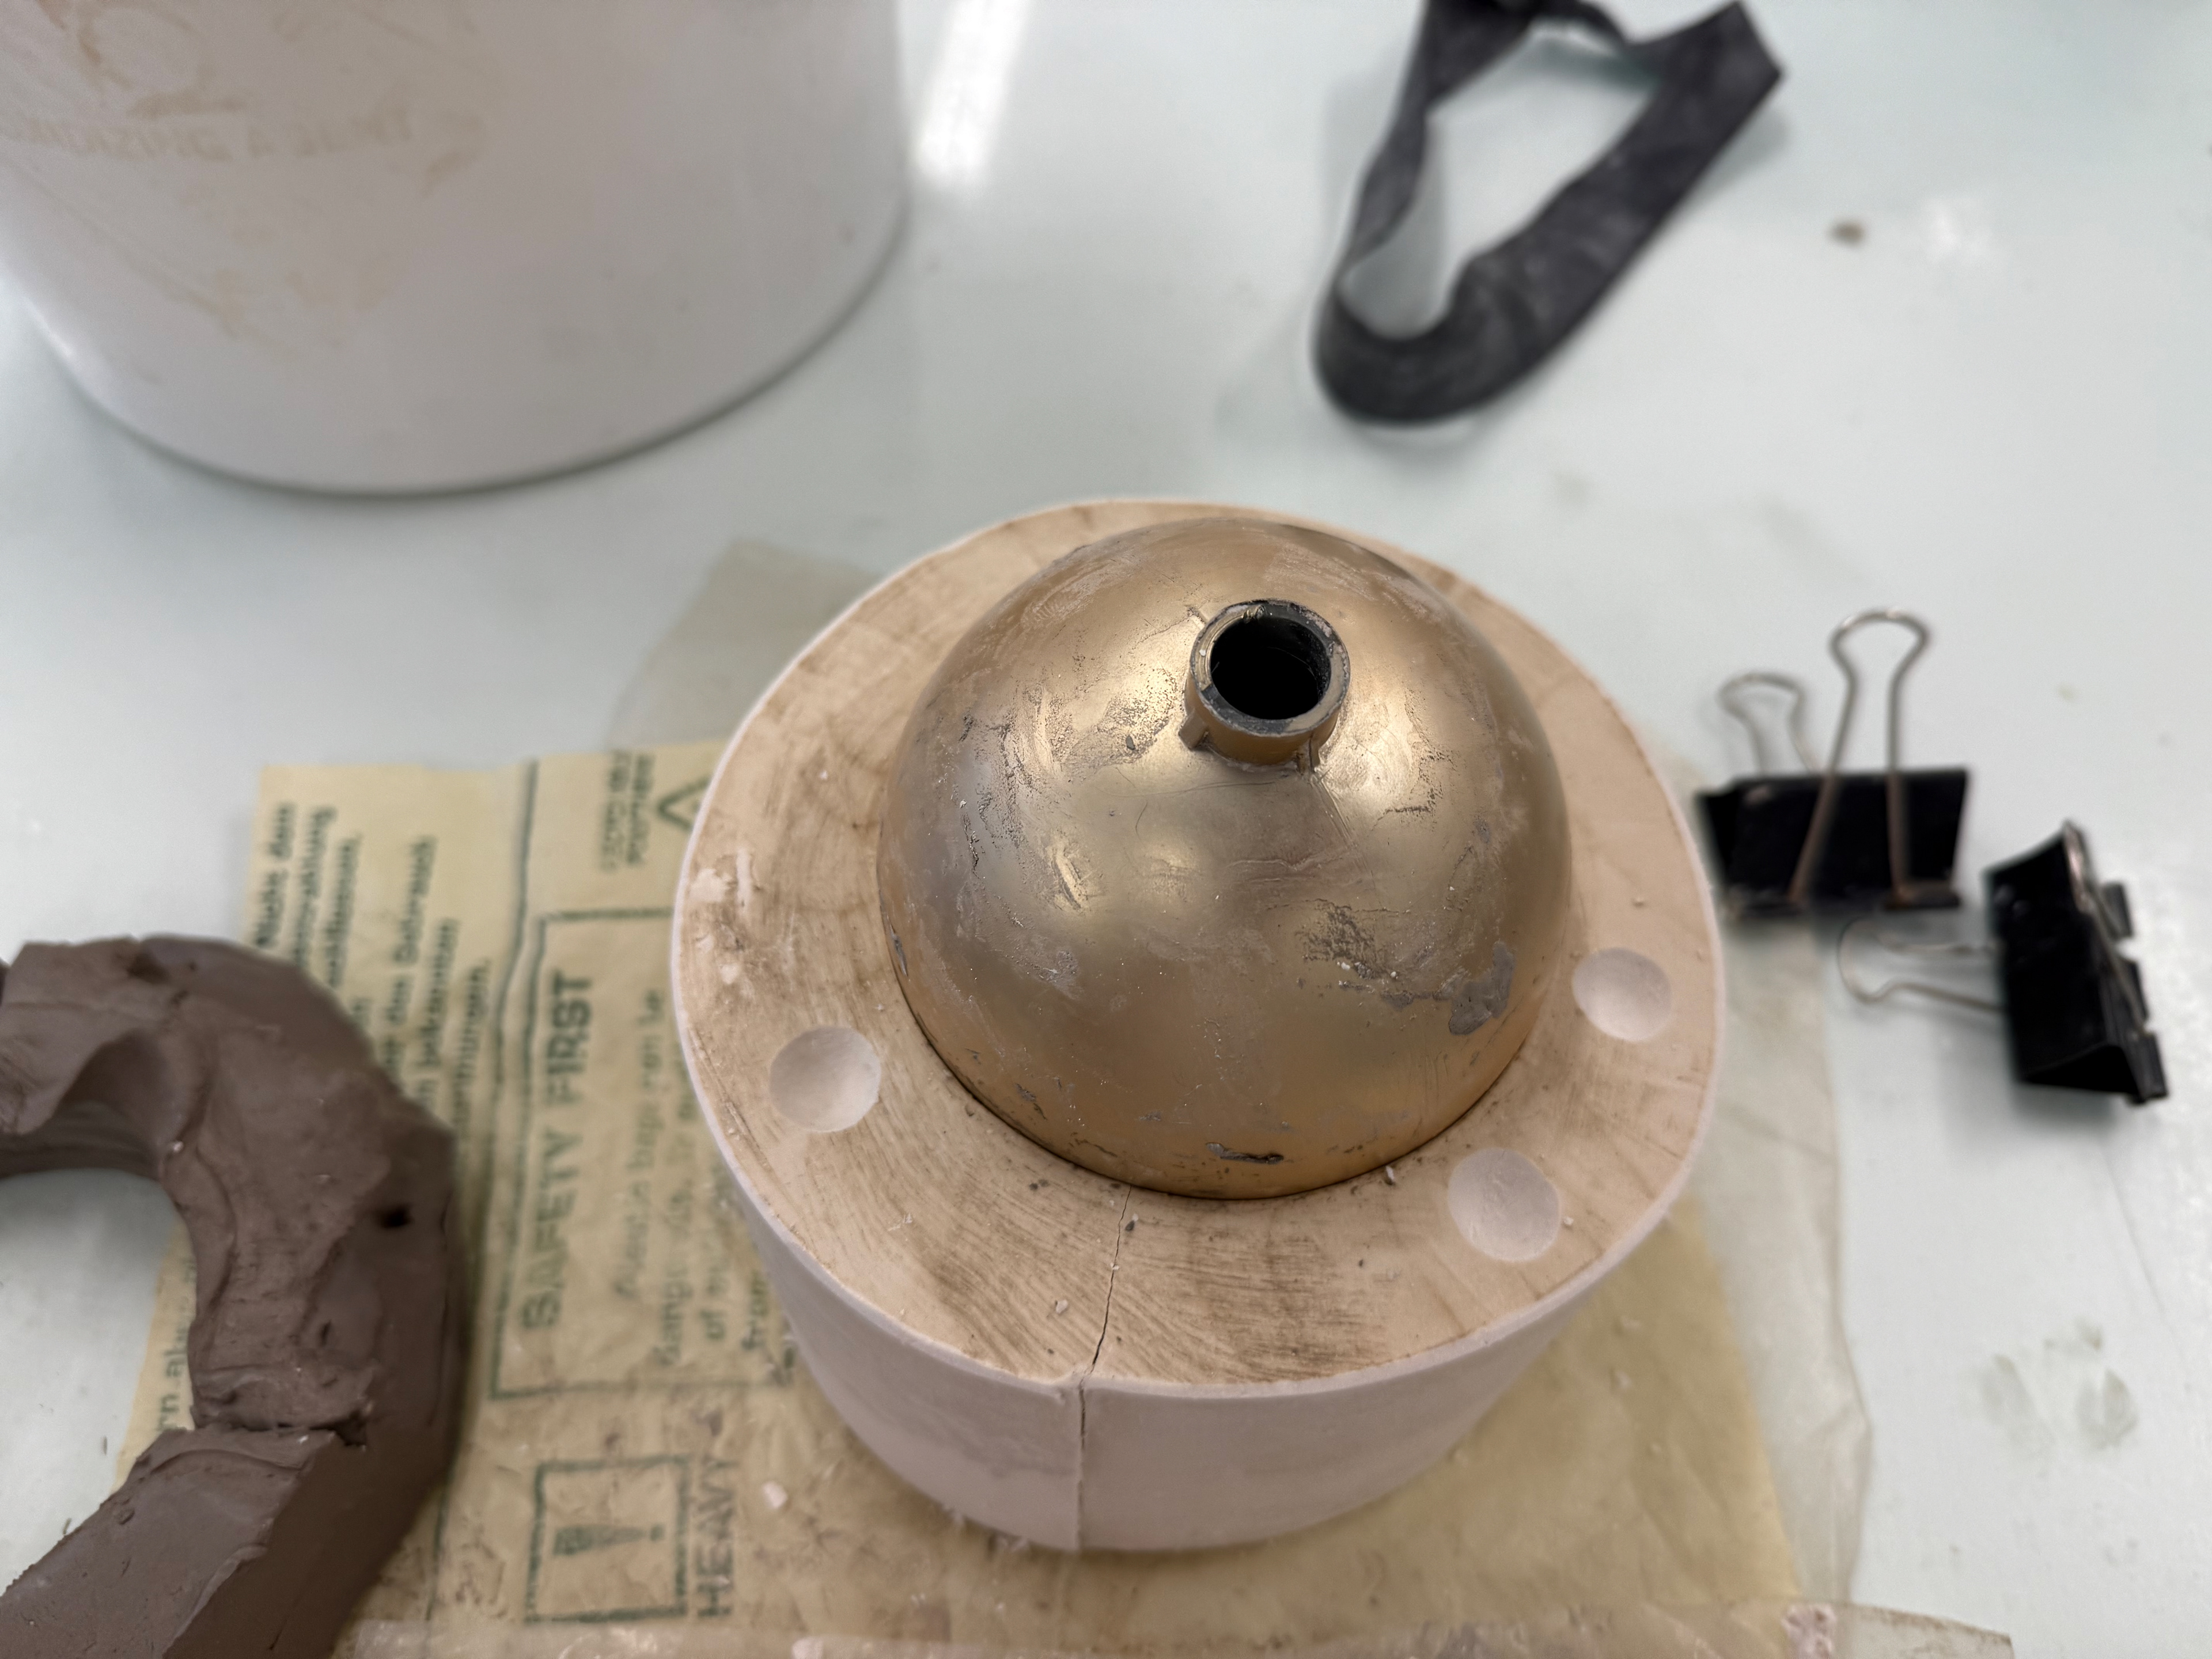
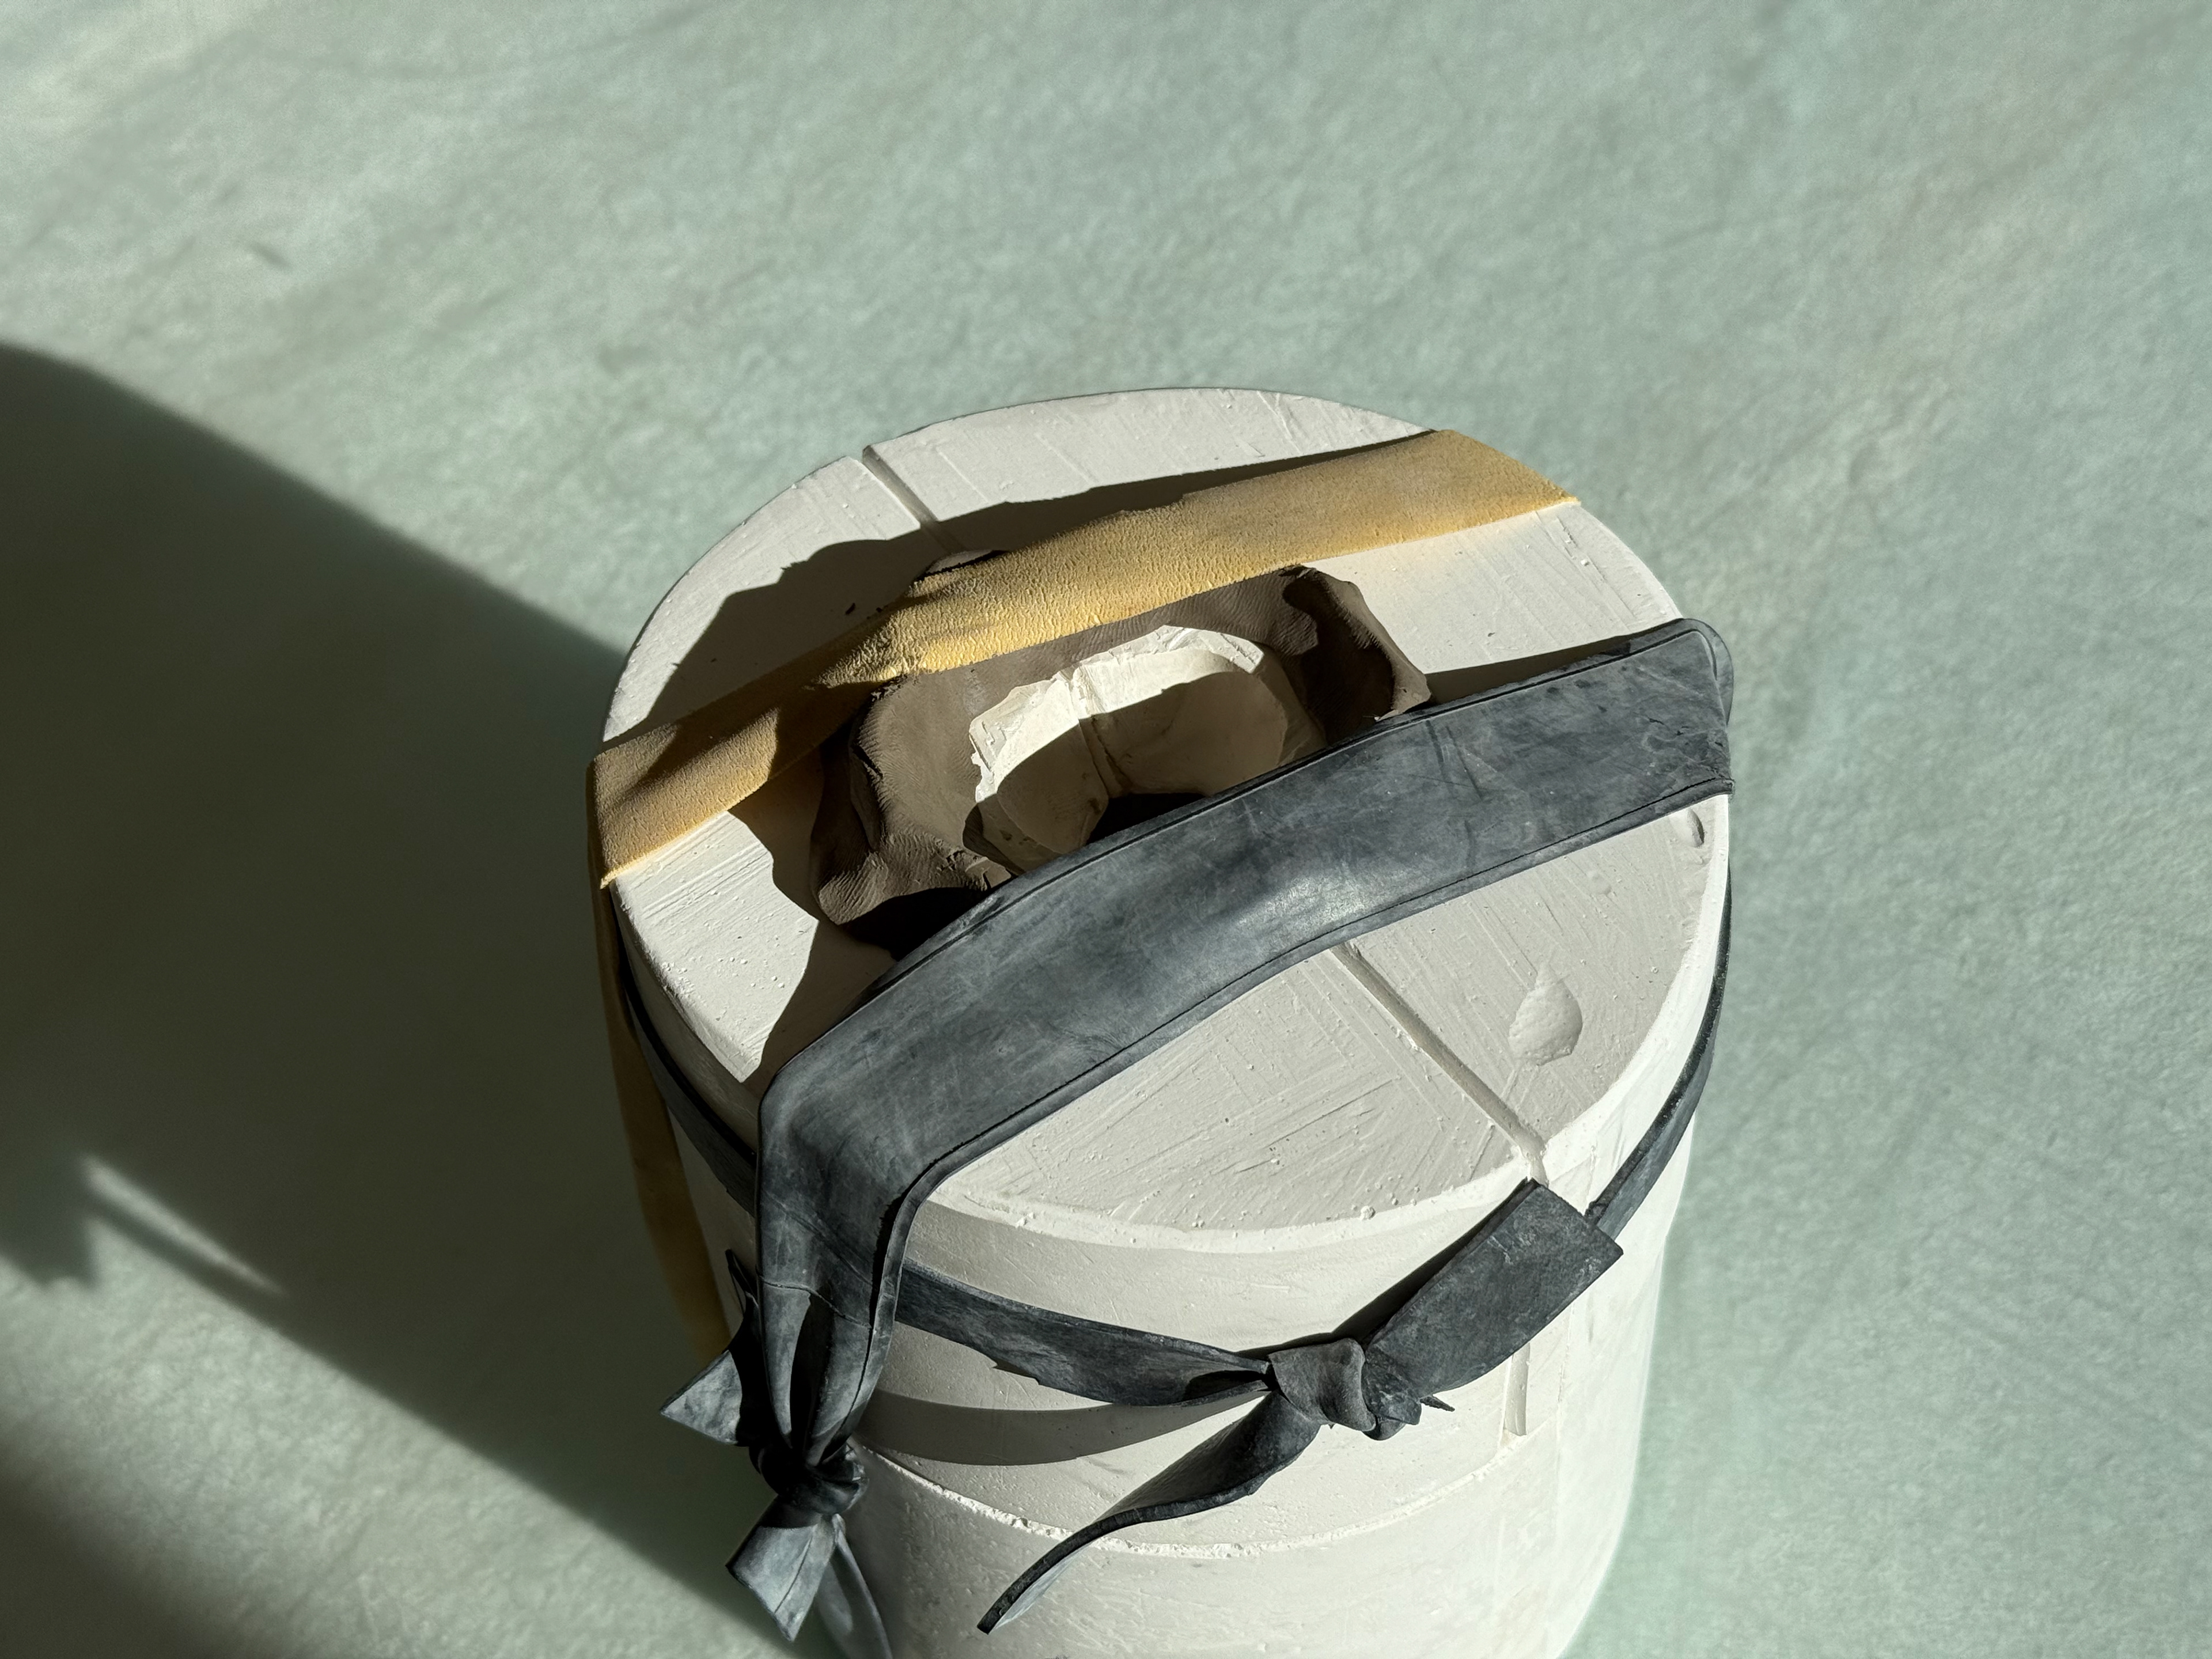
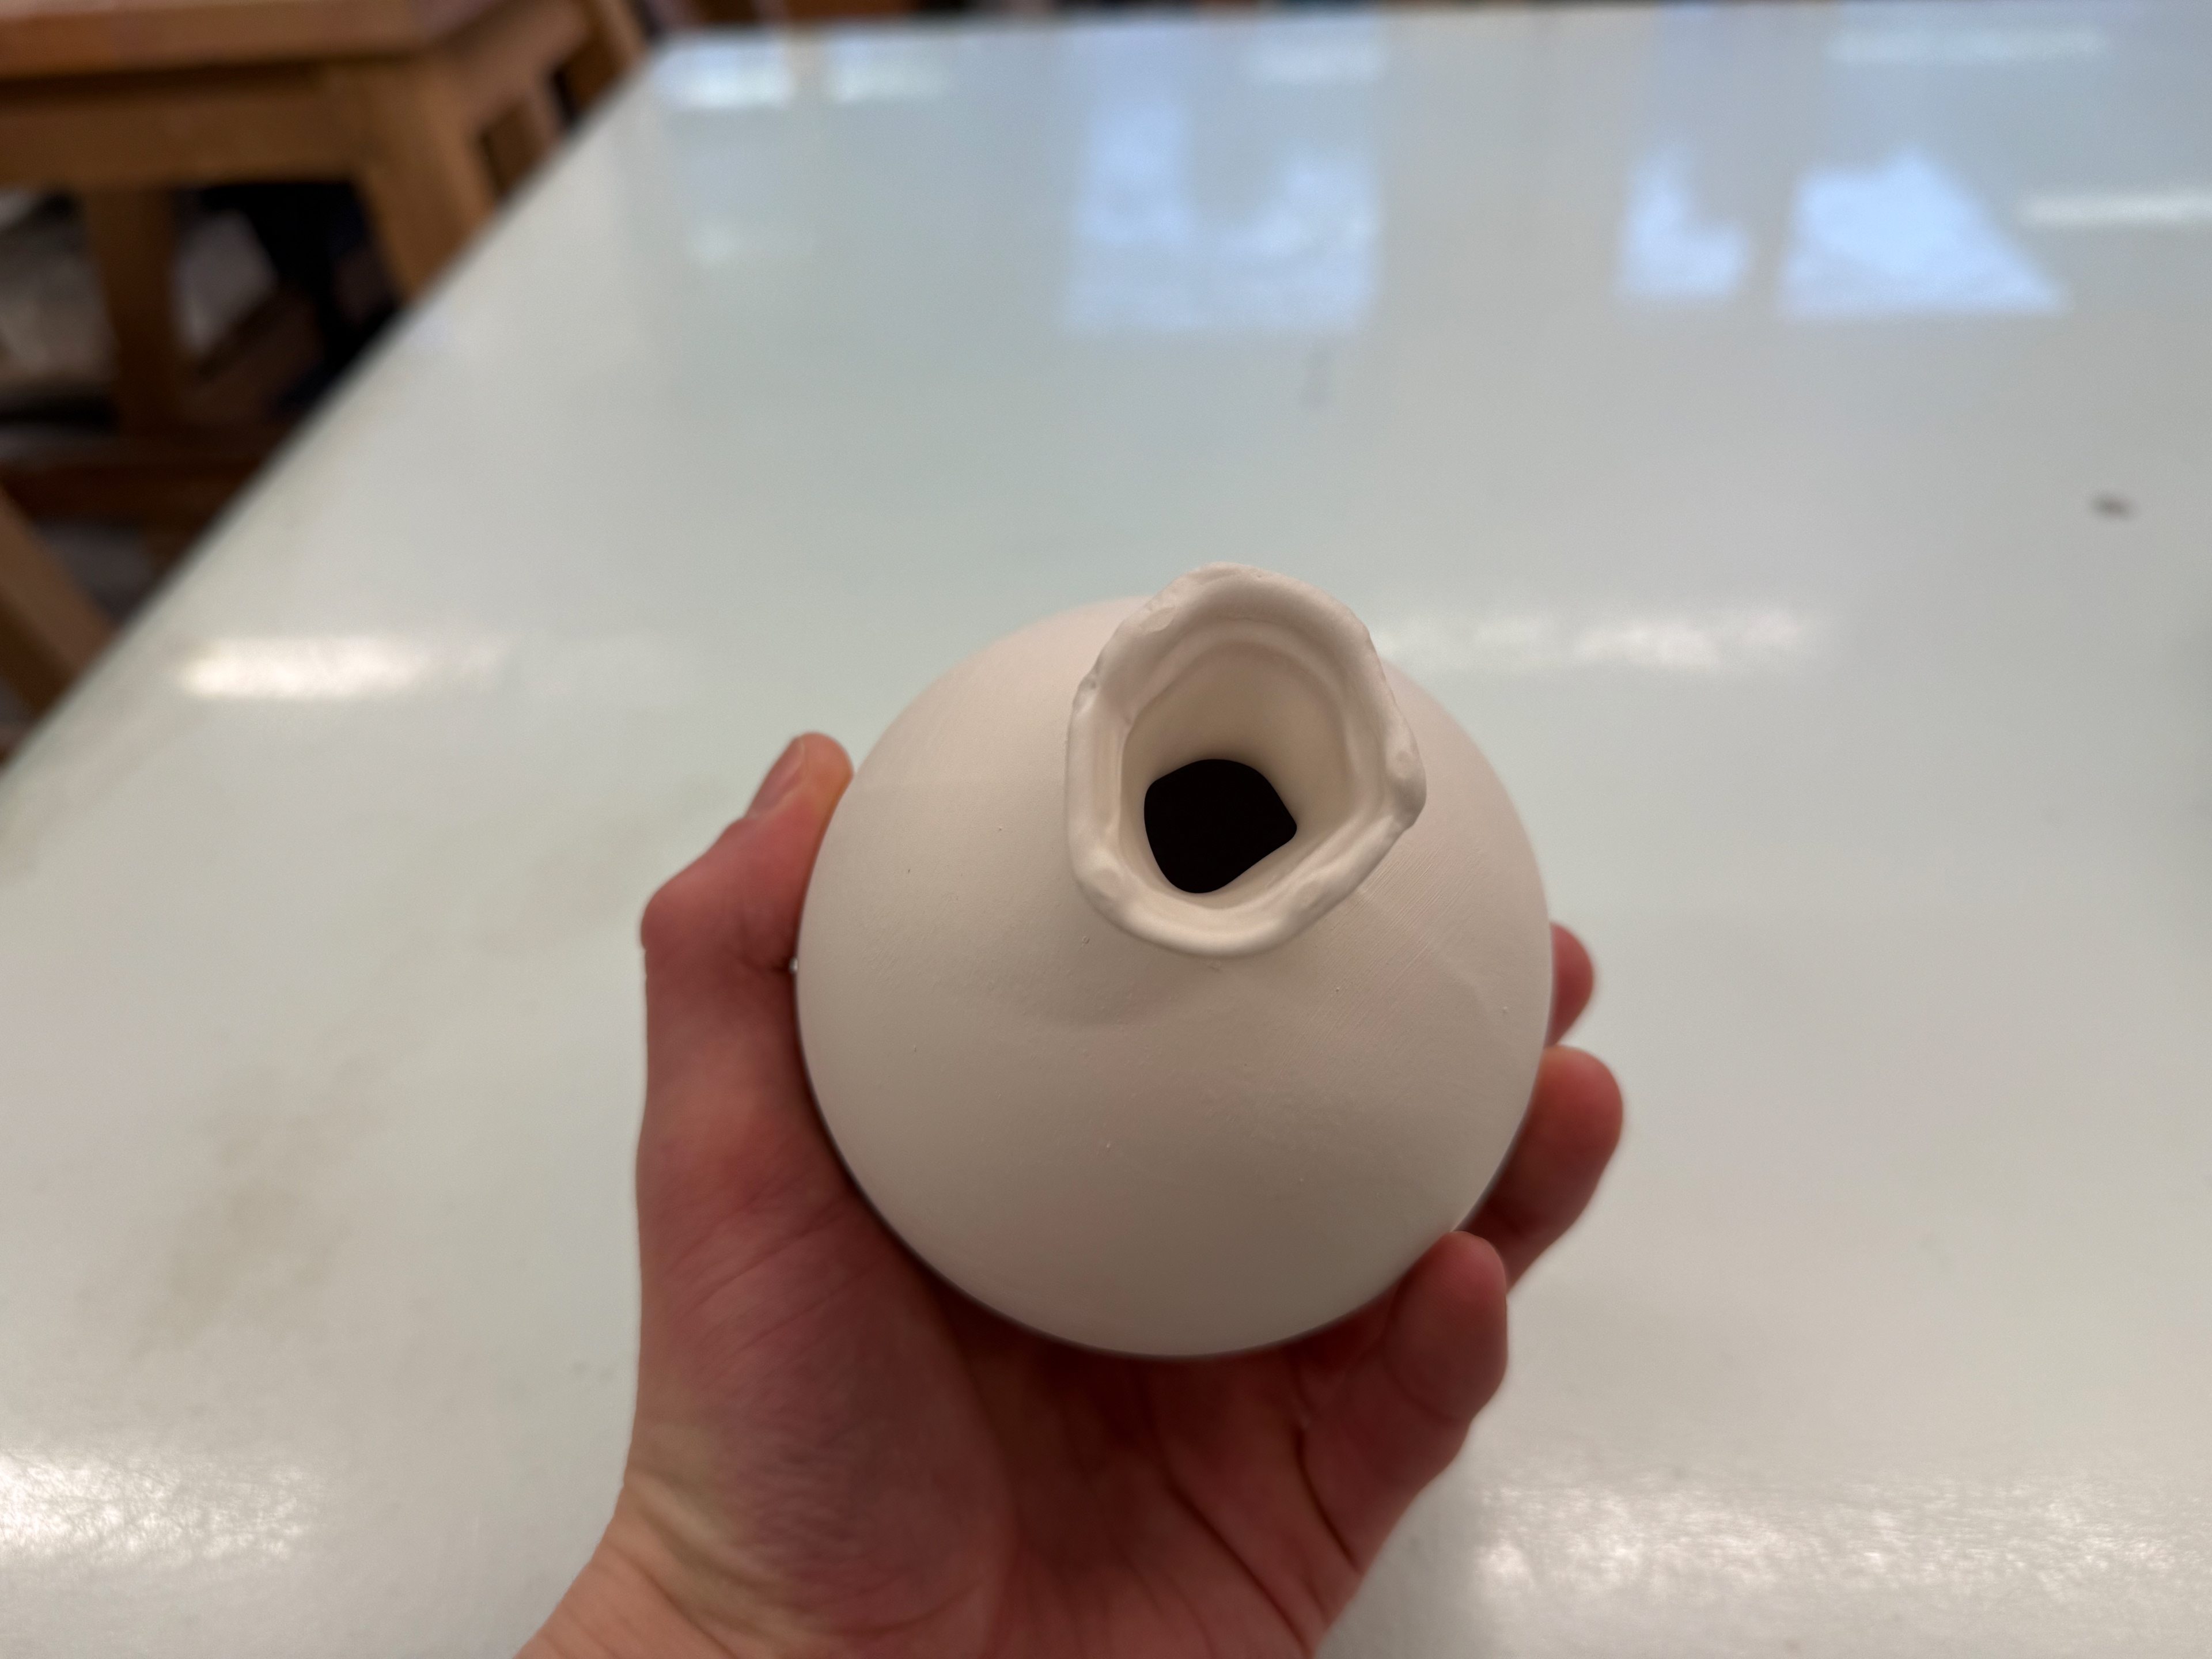
New cottle to get the flexibility and clay in the centre to make sure it is a three part mould, not two. It also has a funnel so I can pour the slip in later on.
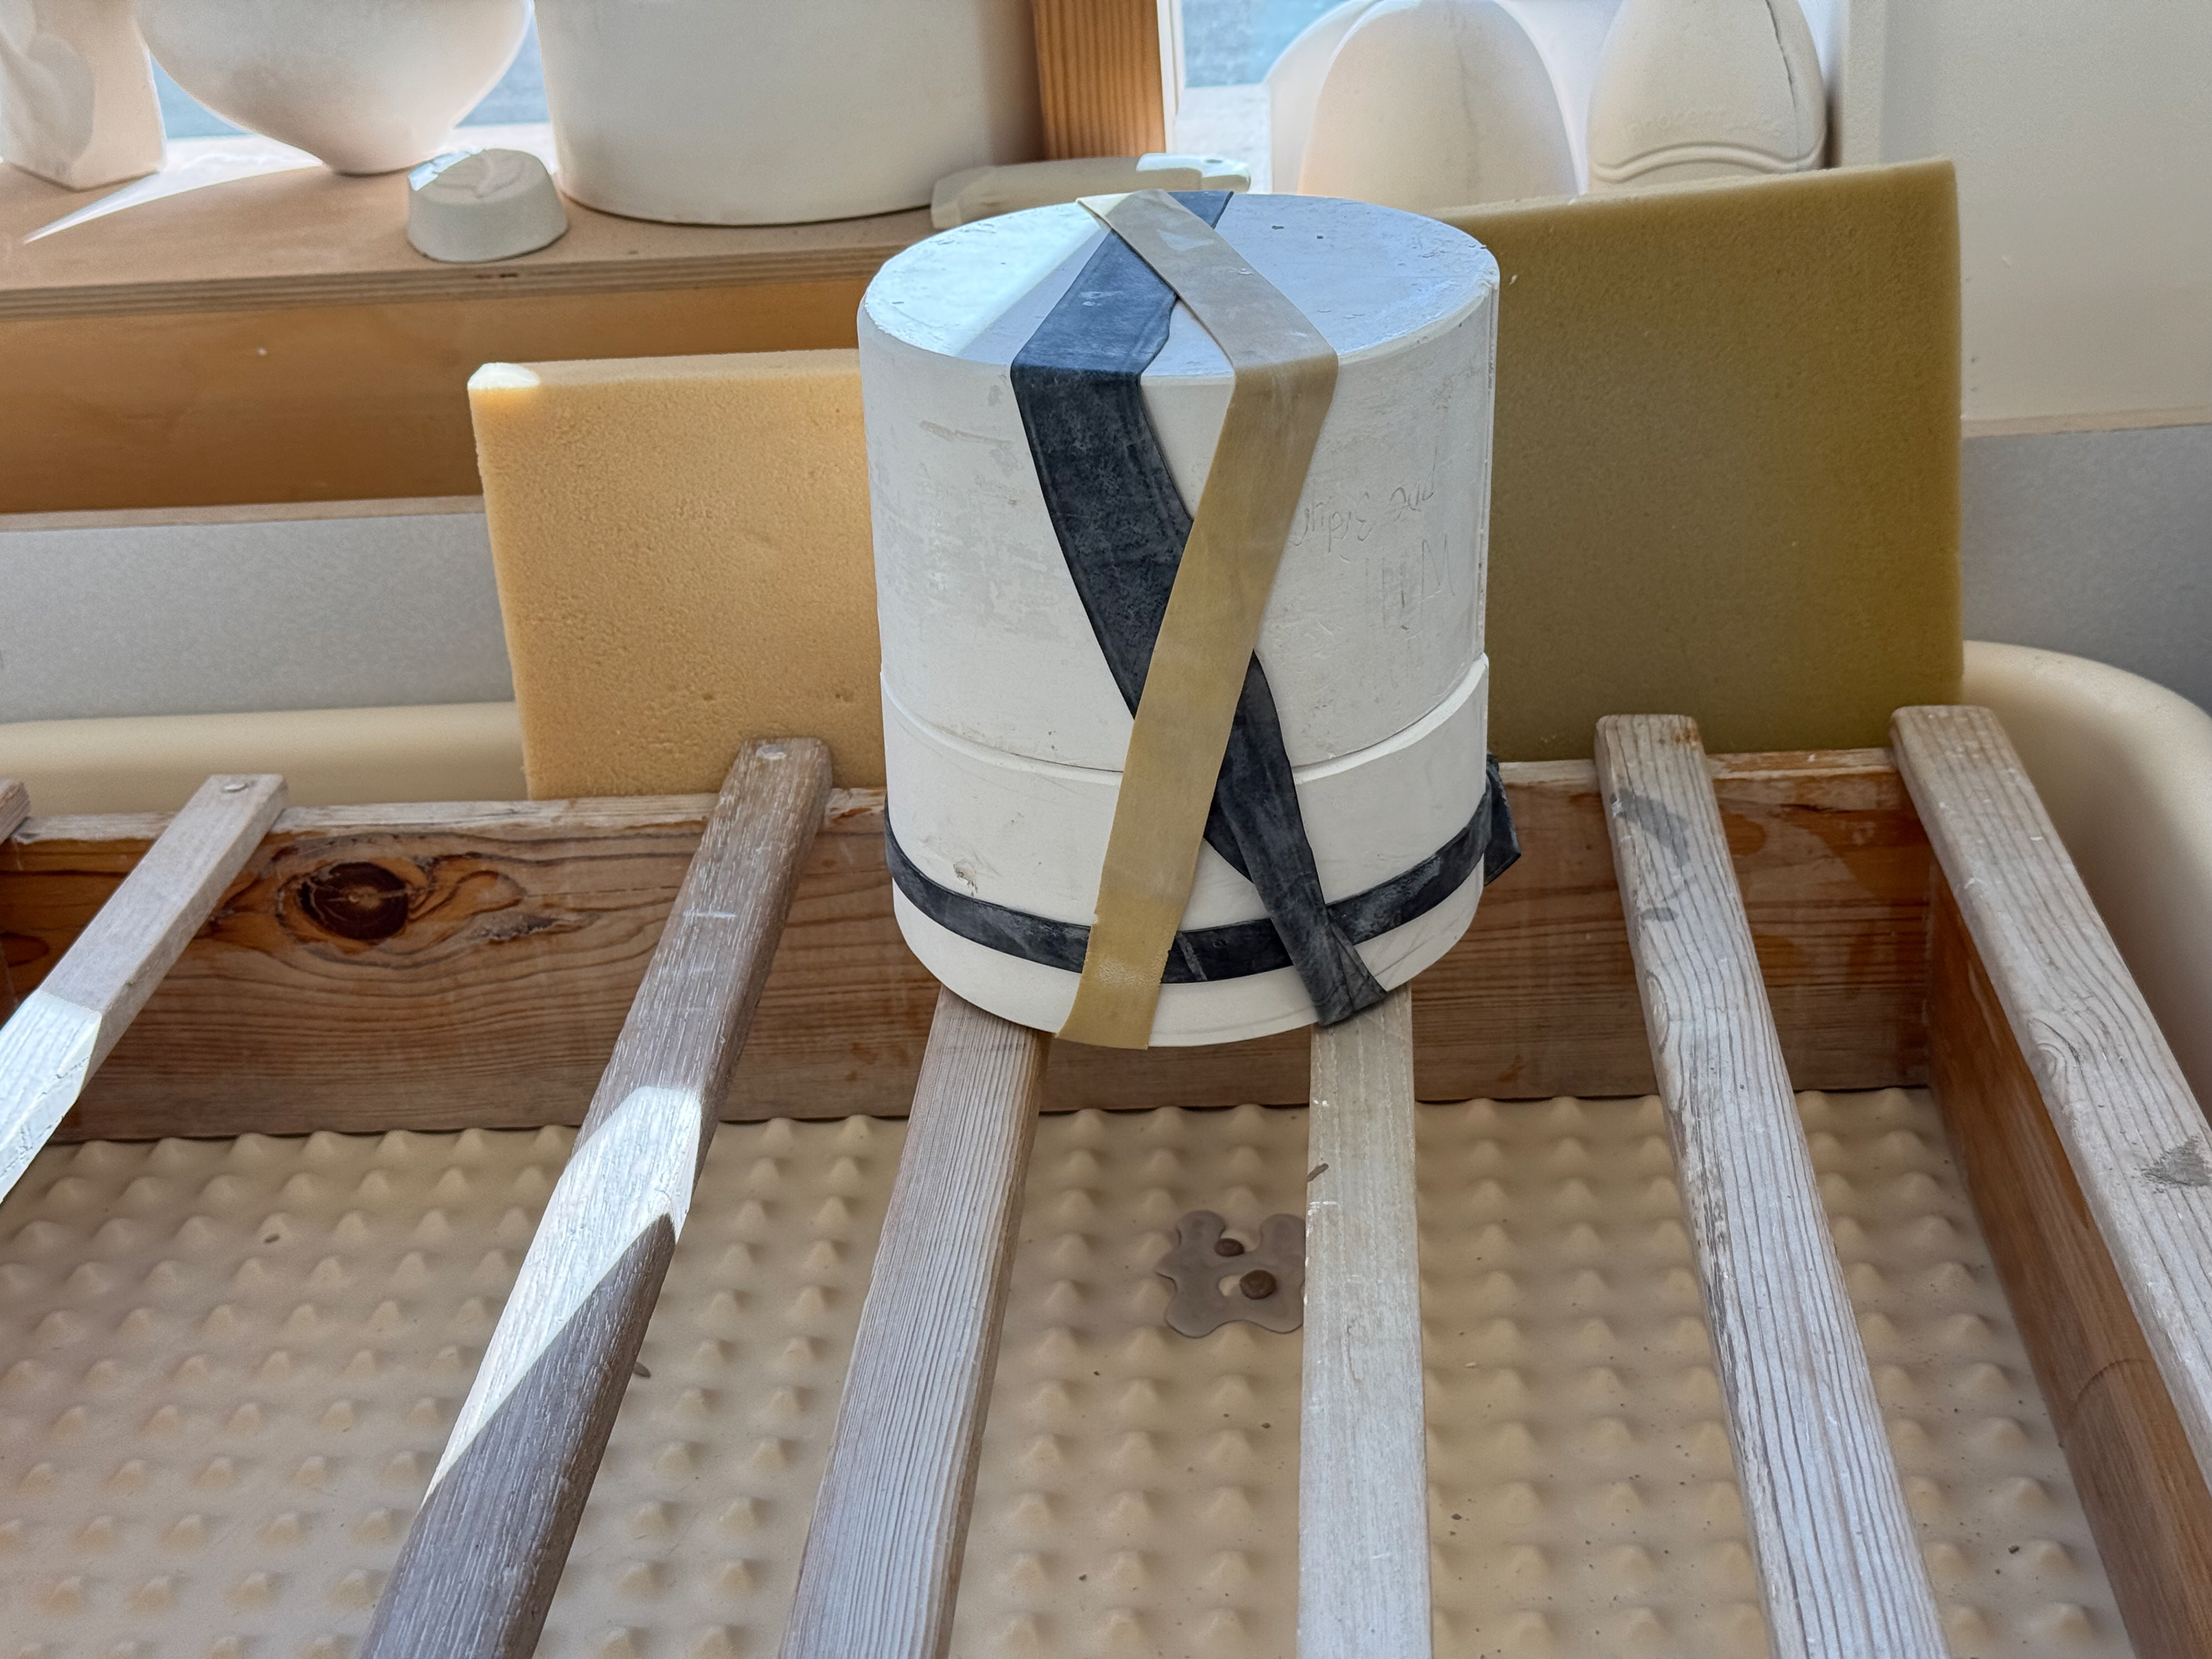
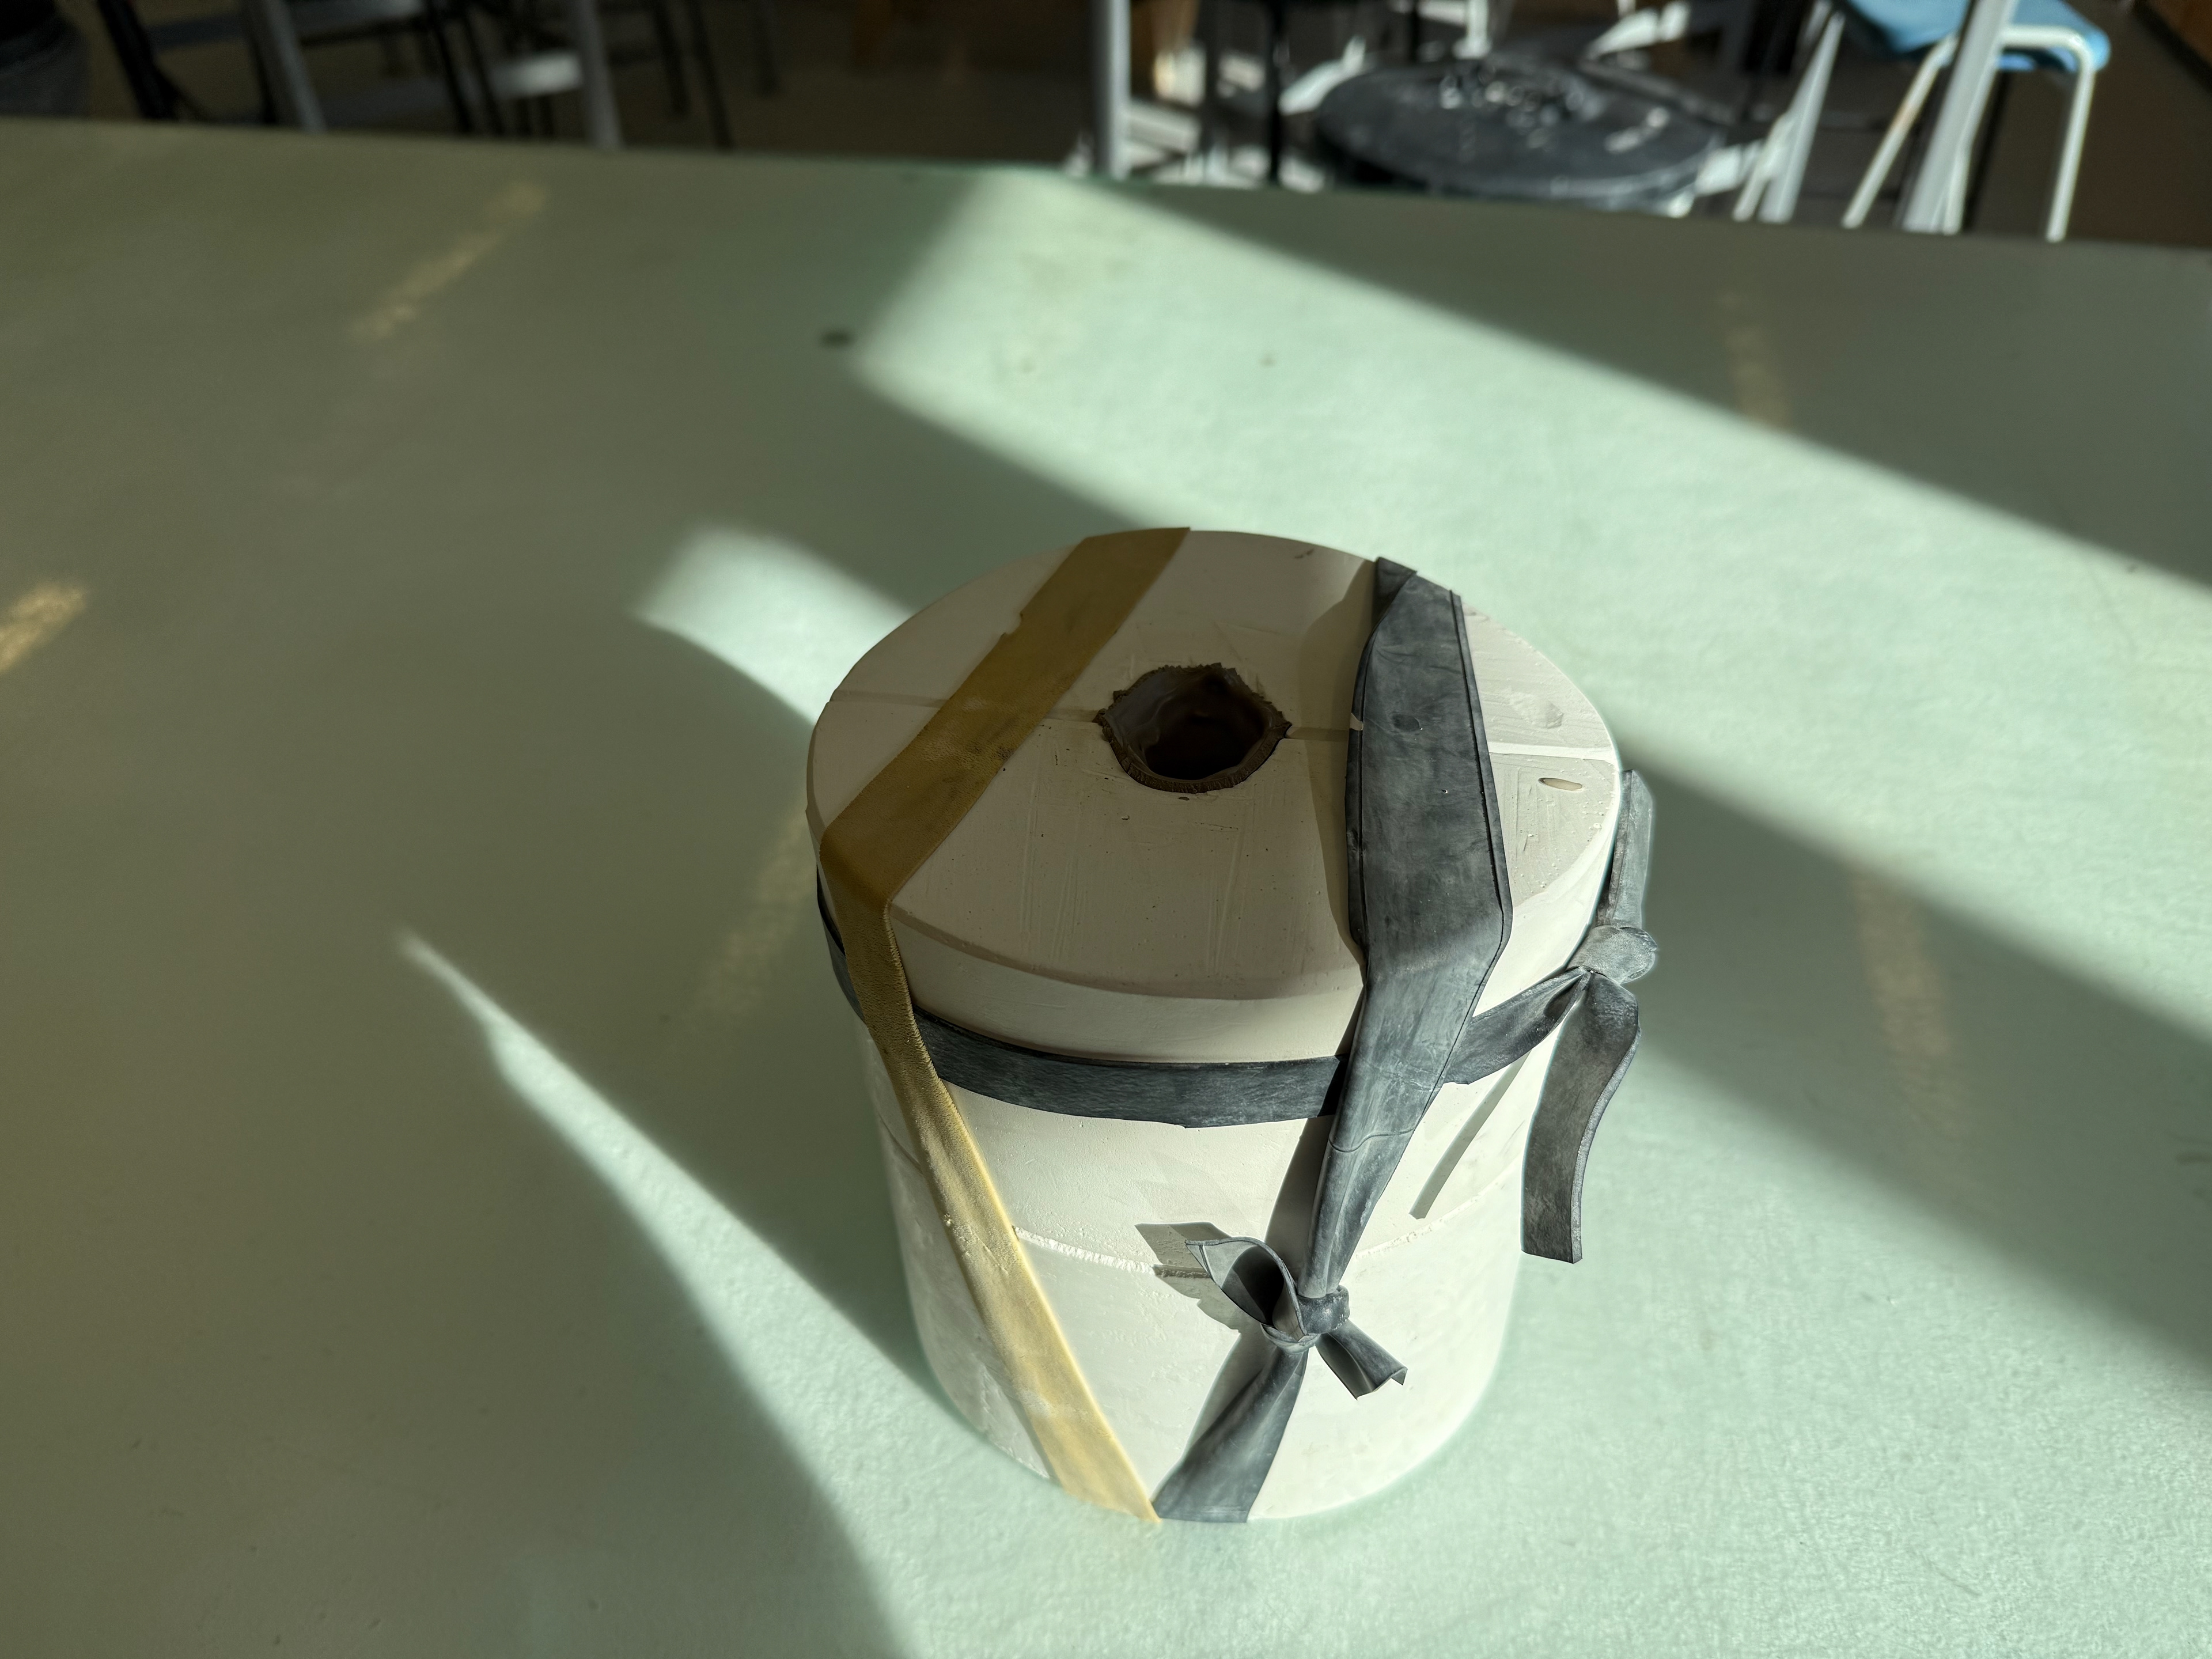
The finished three part mould.
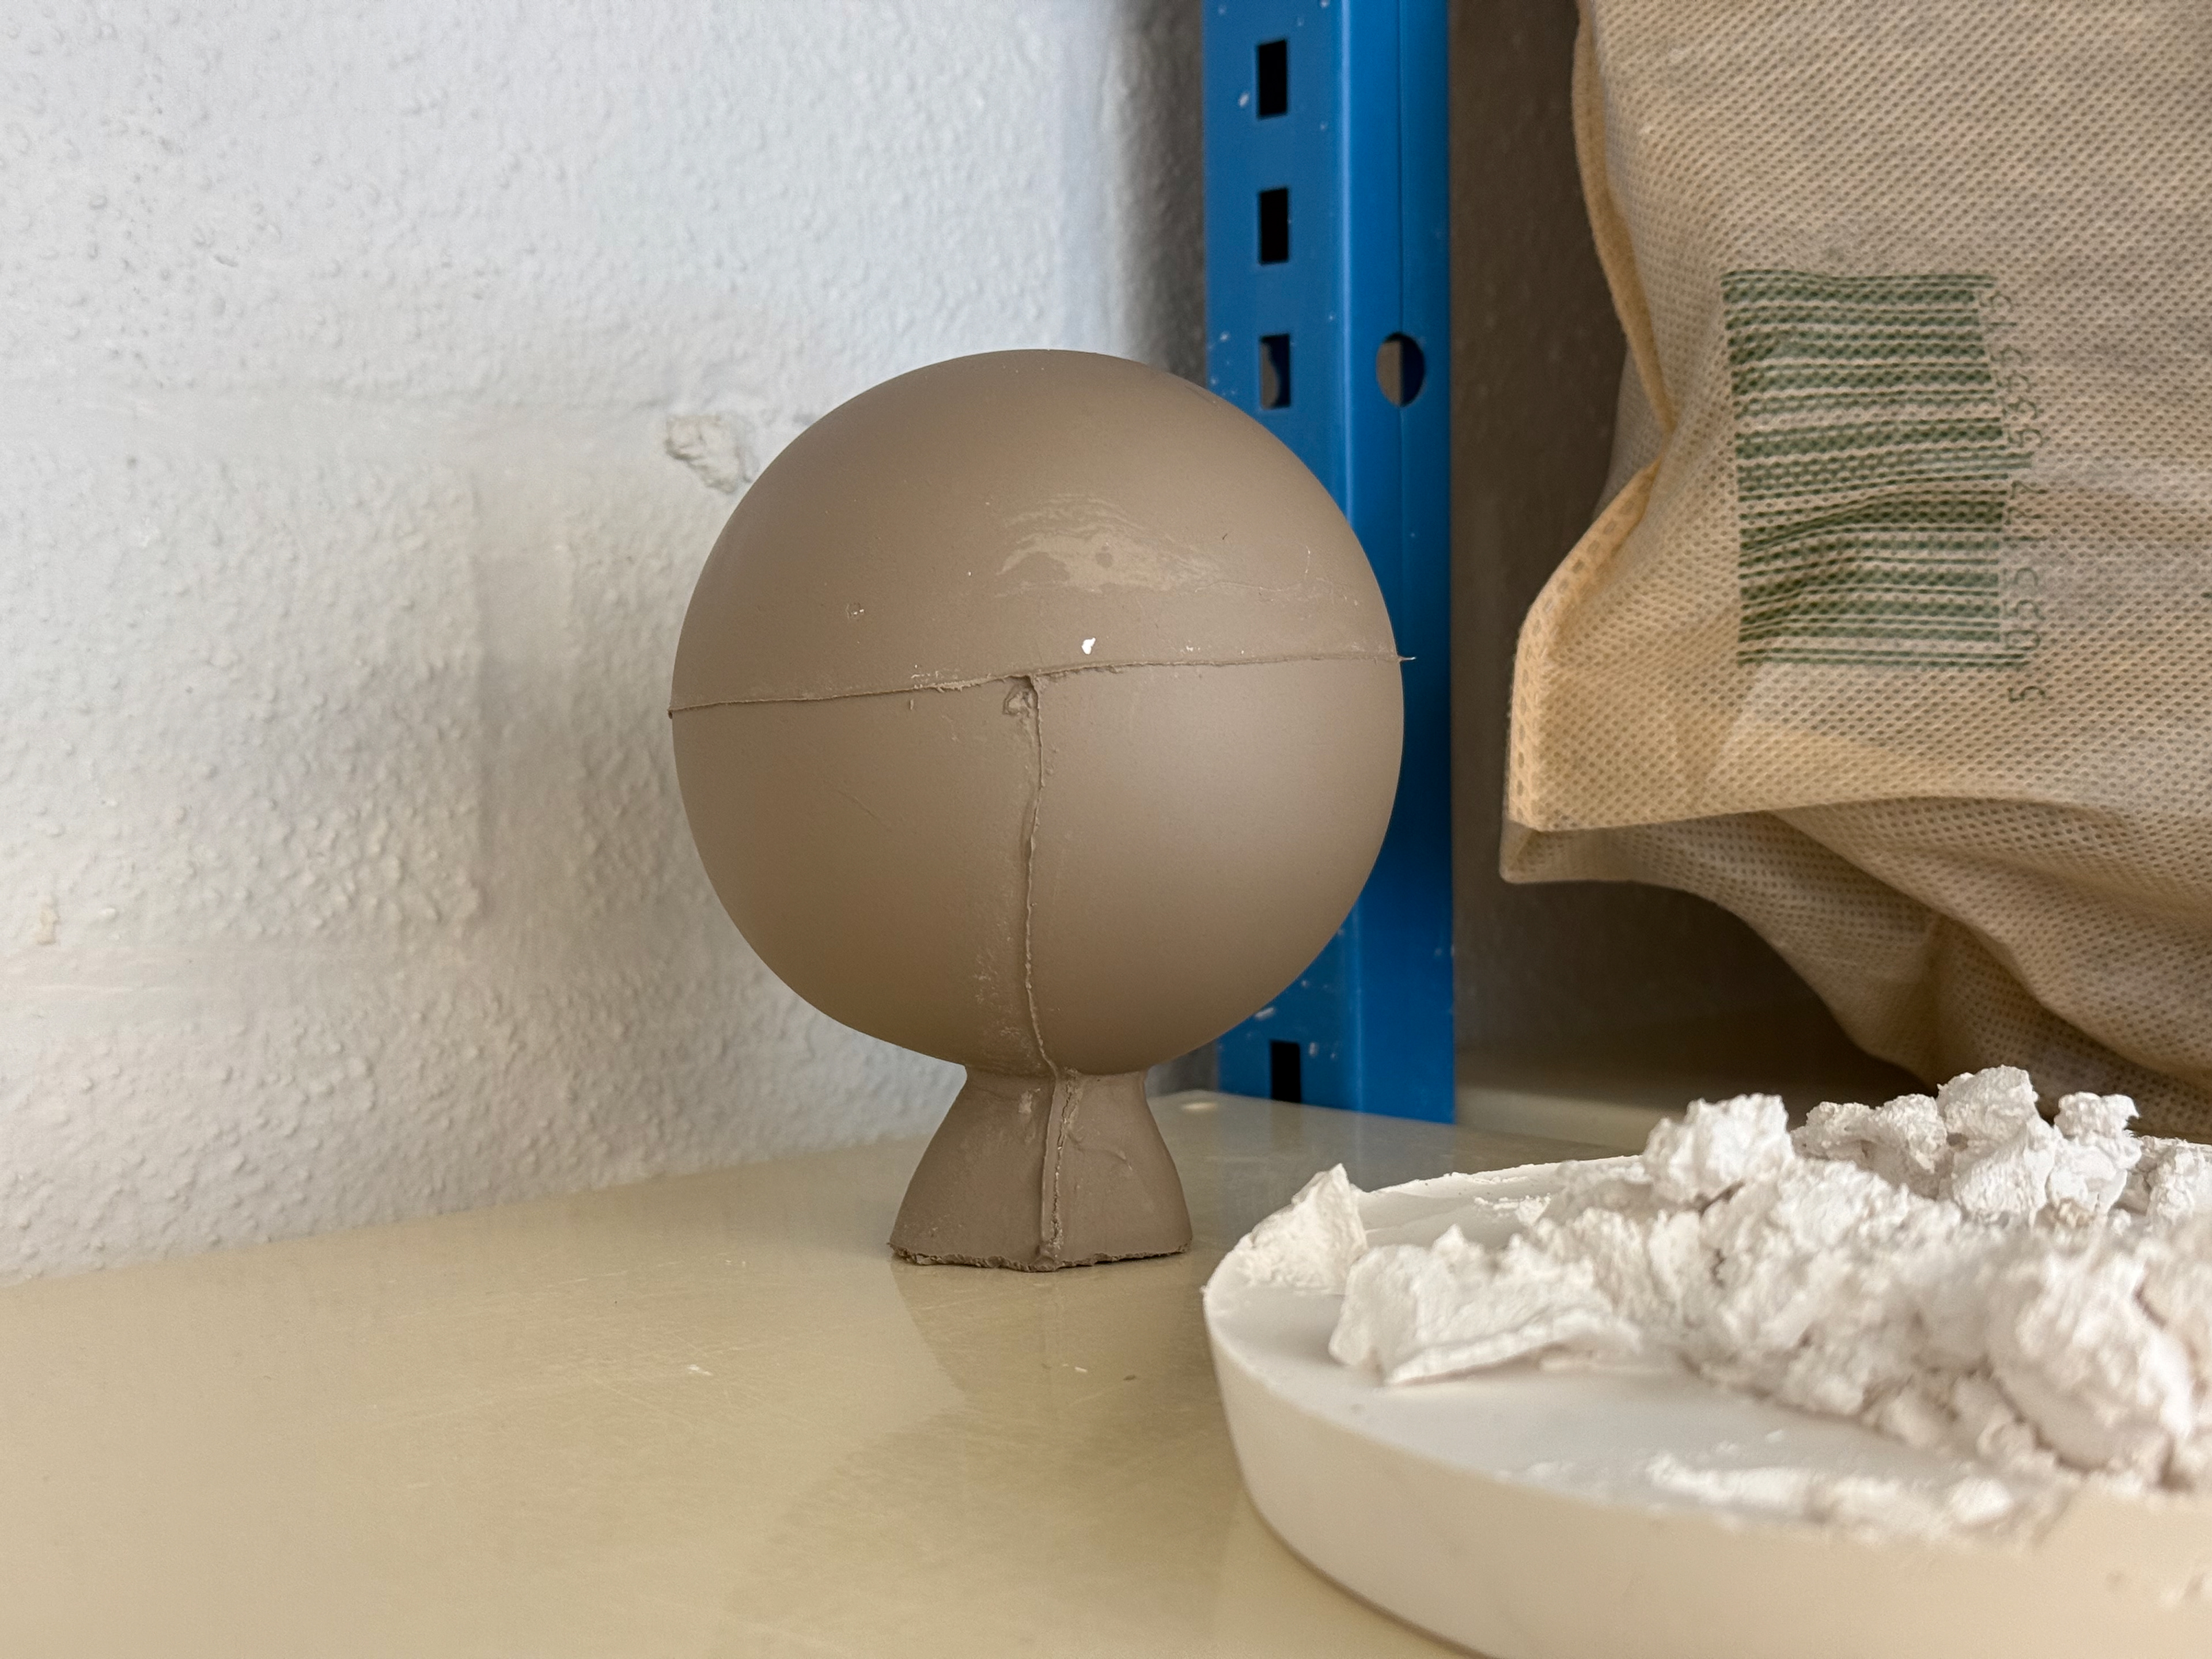
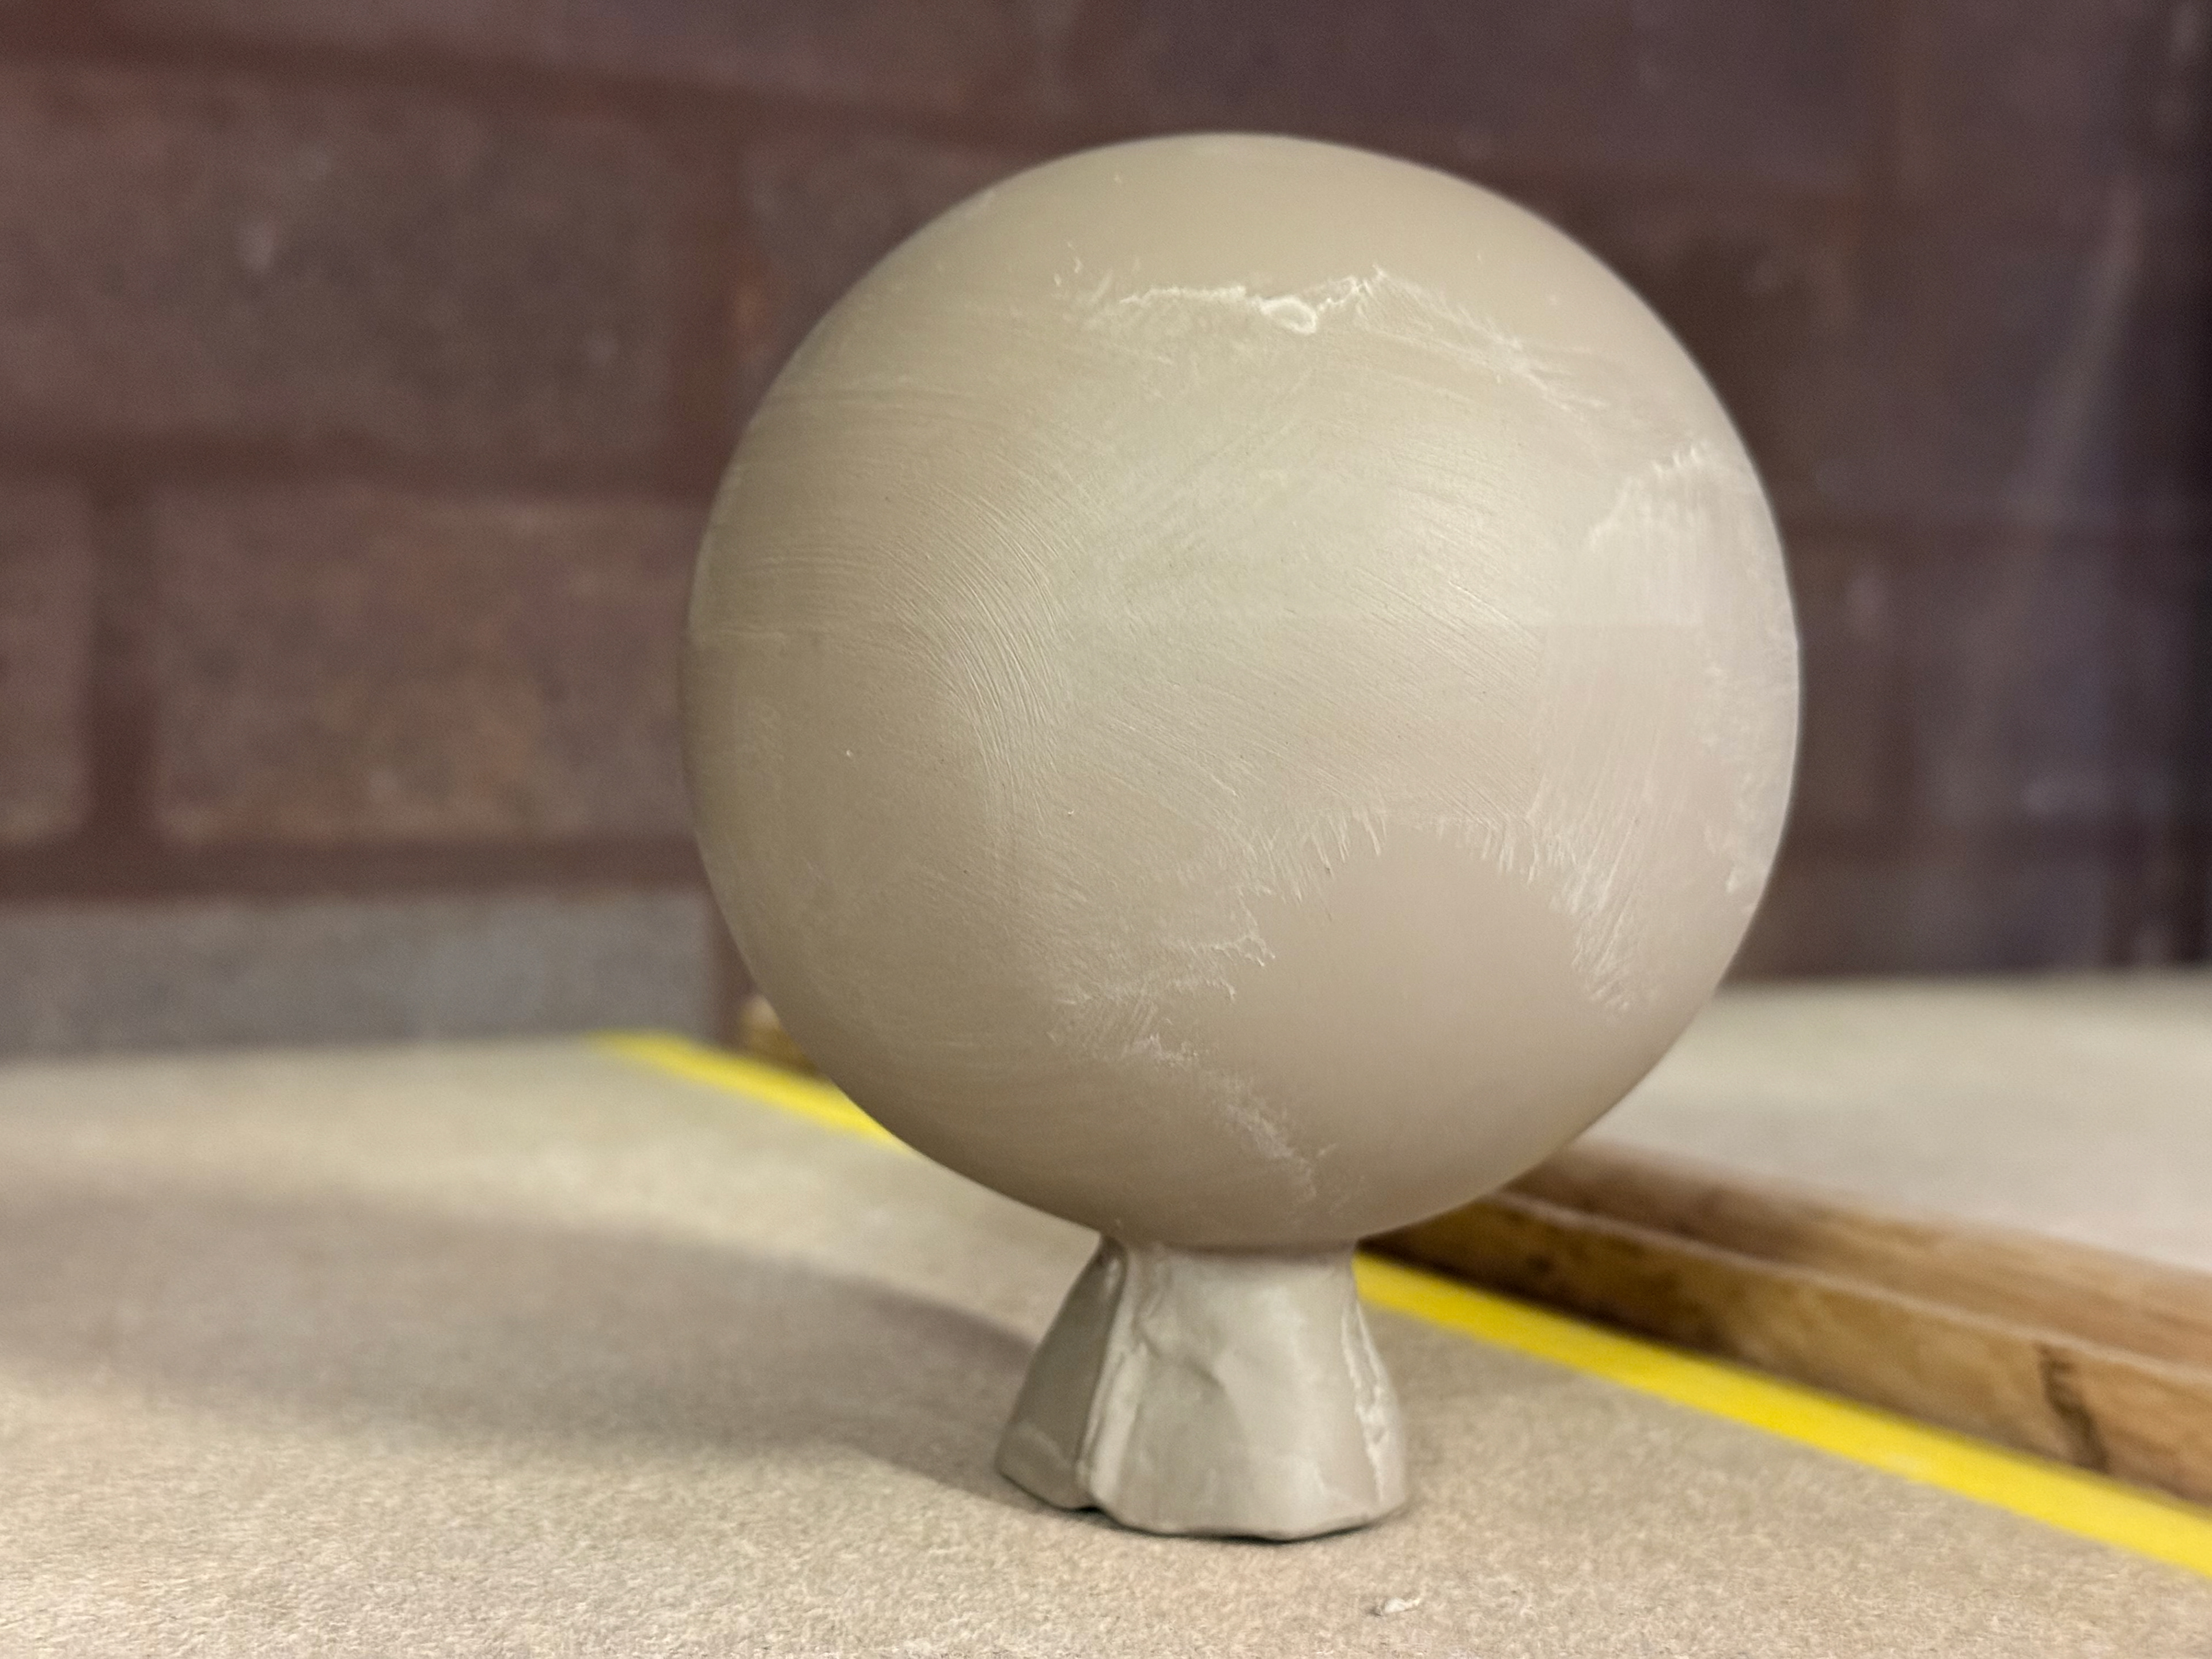
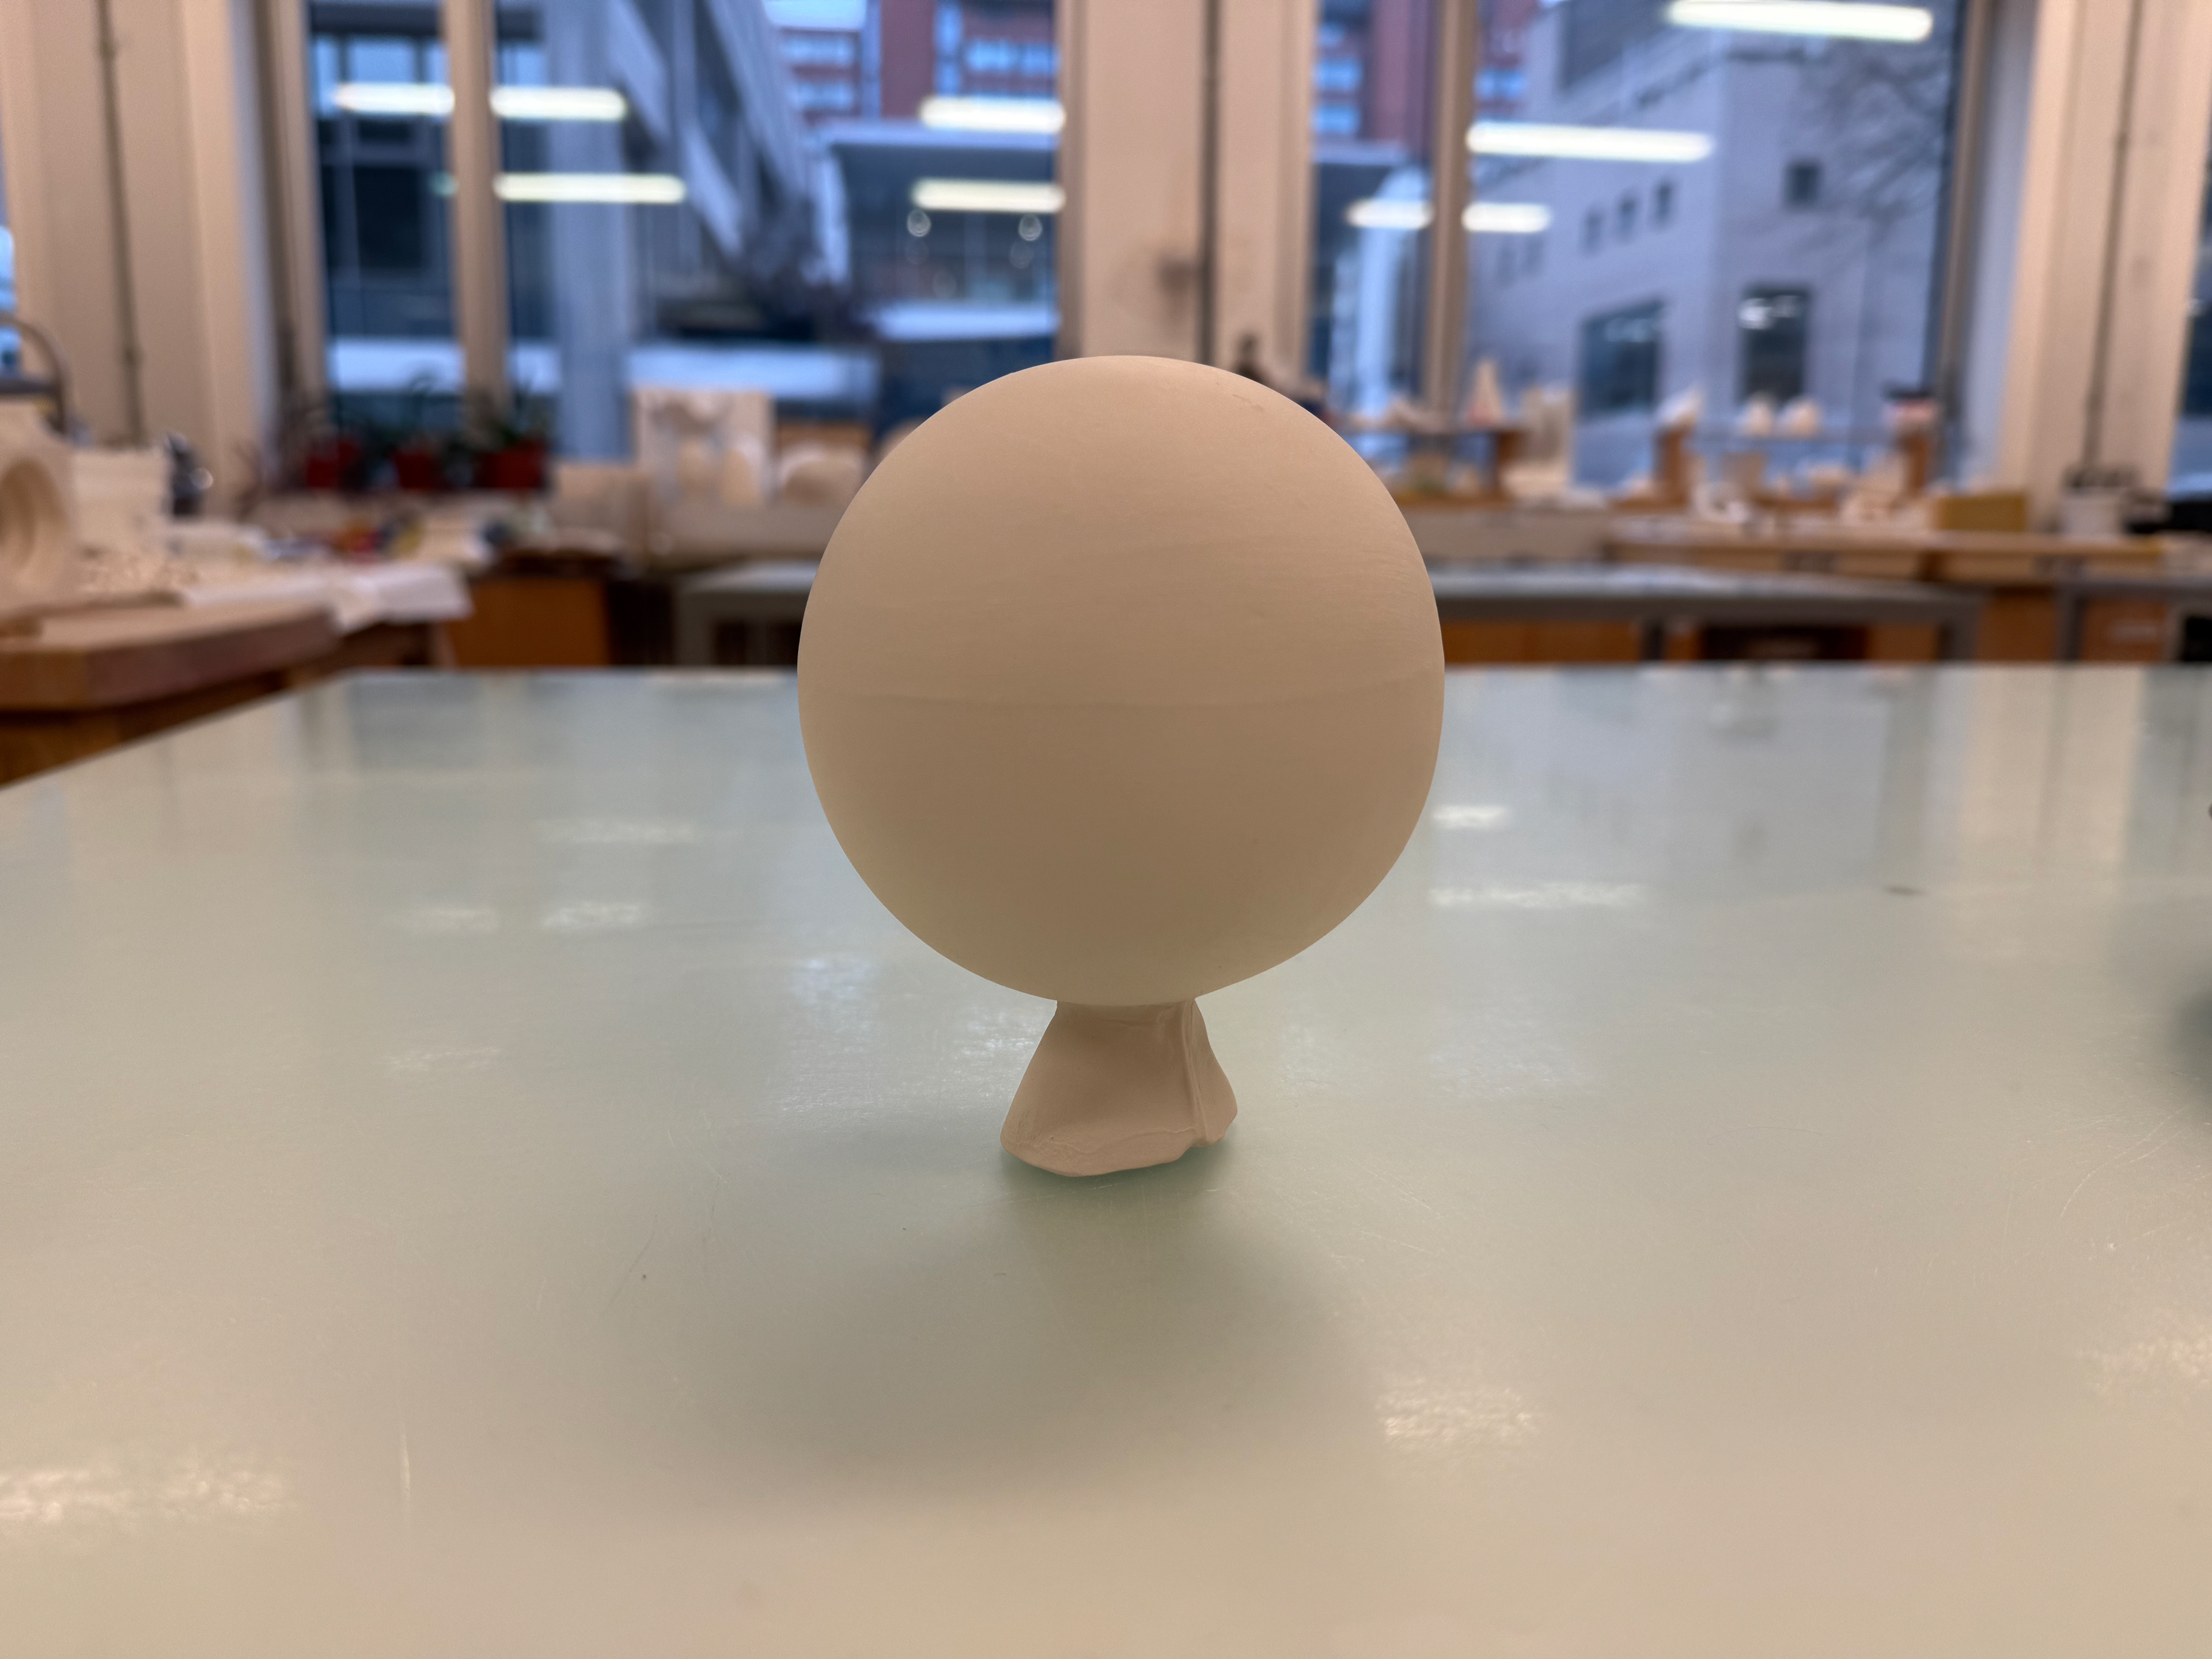
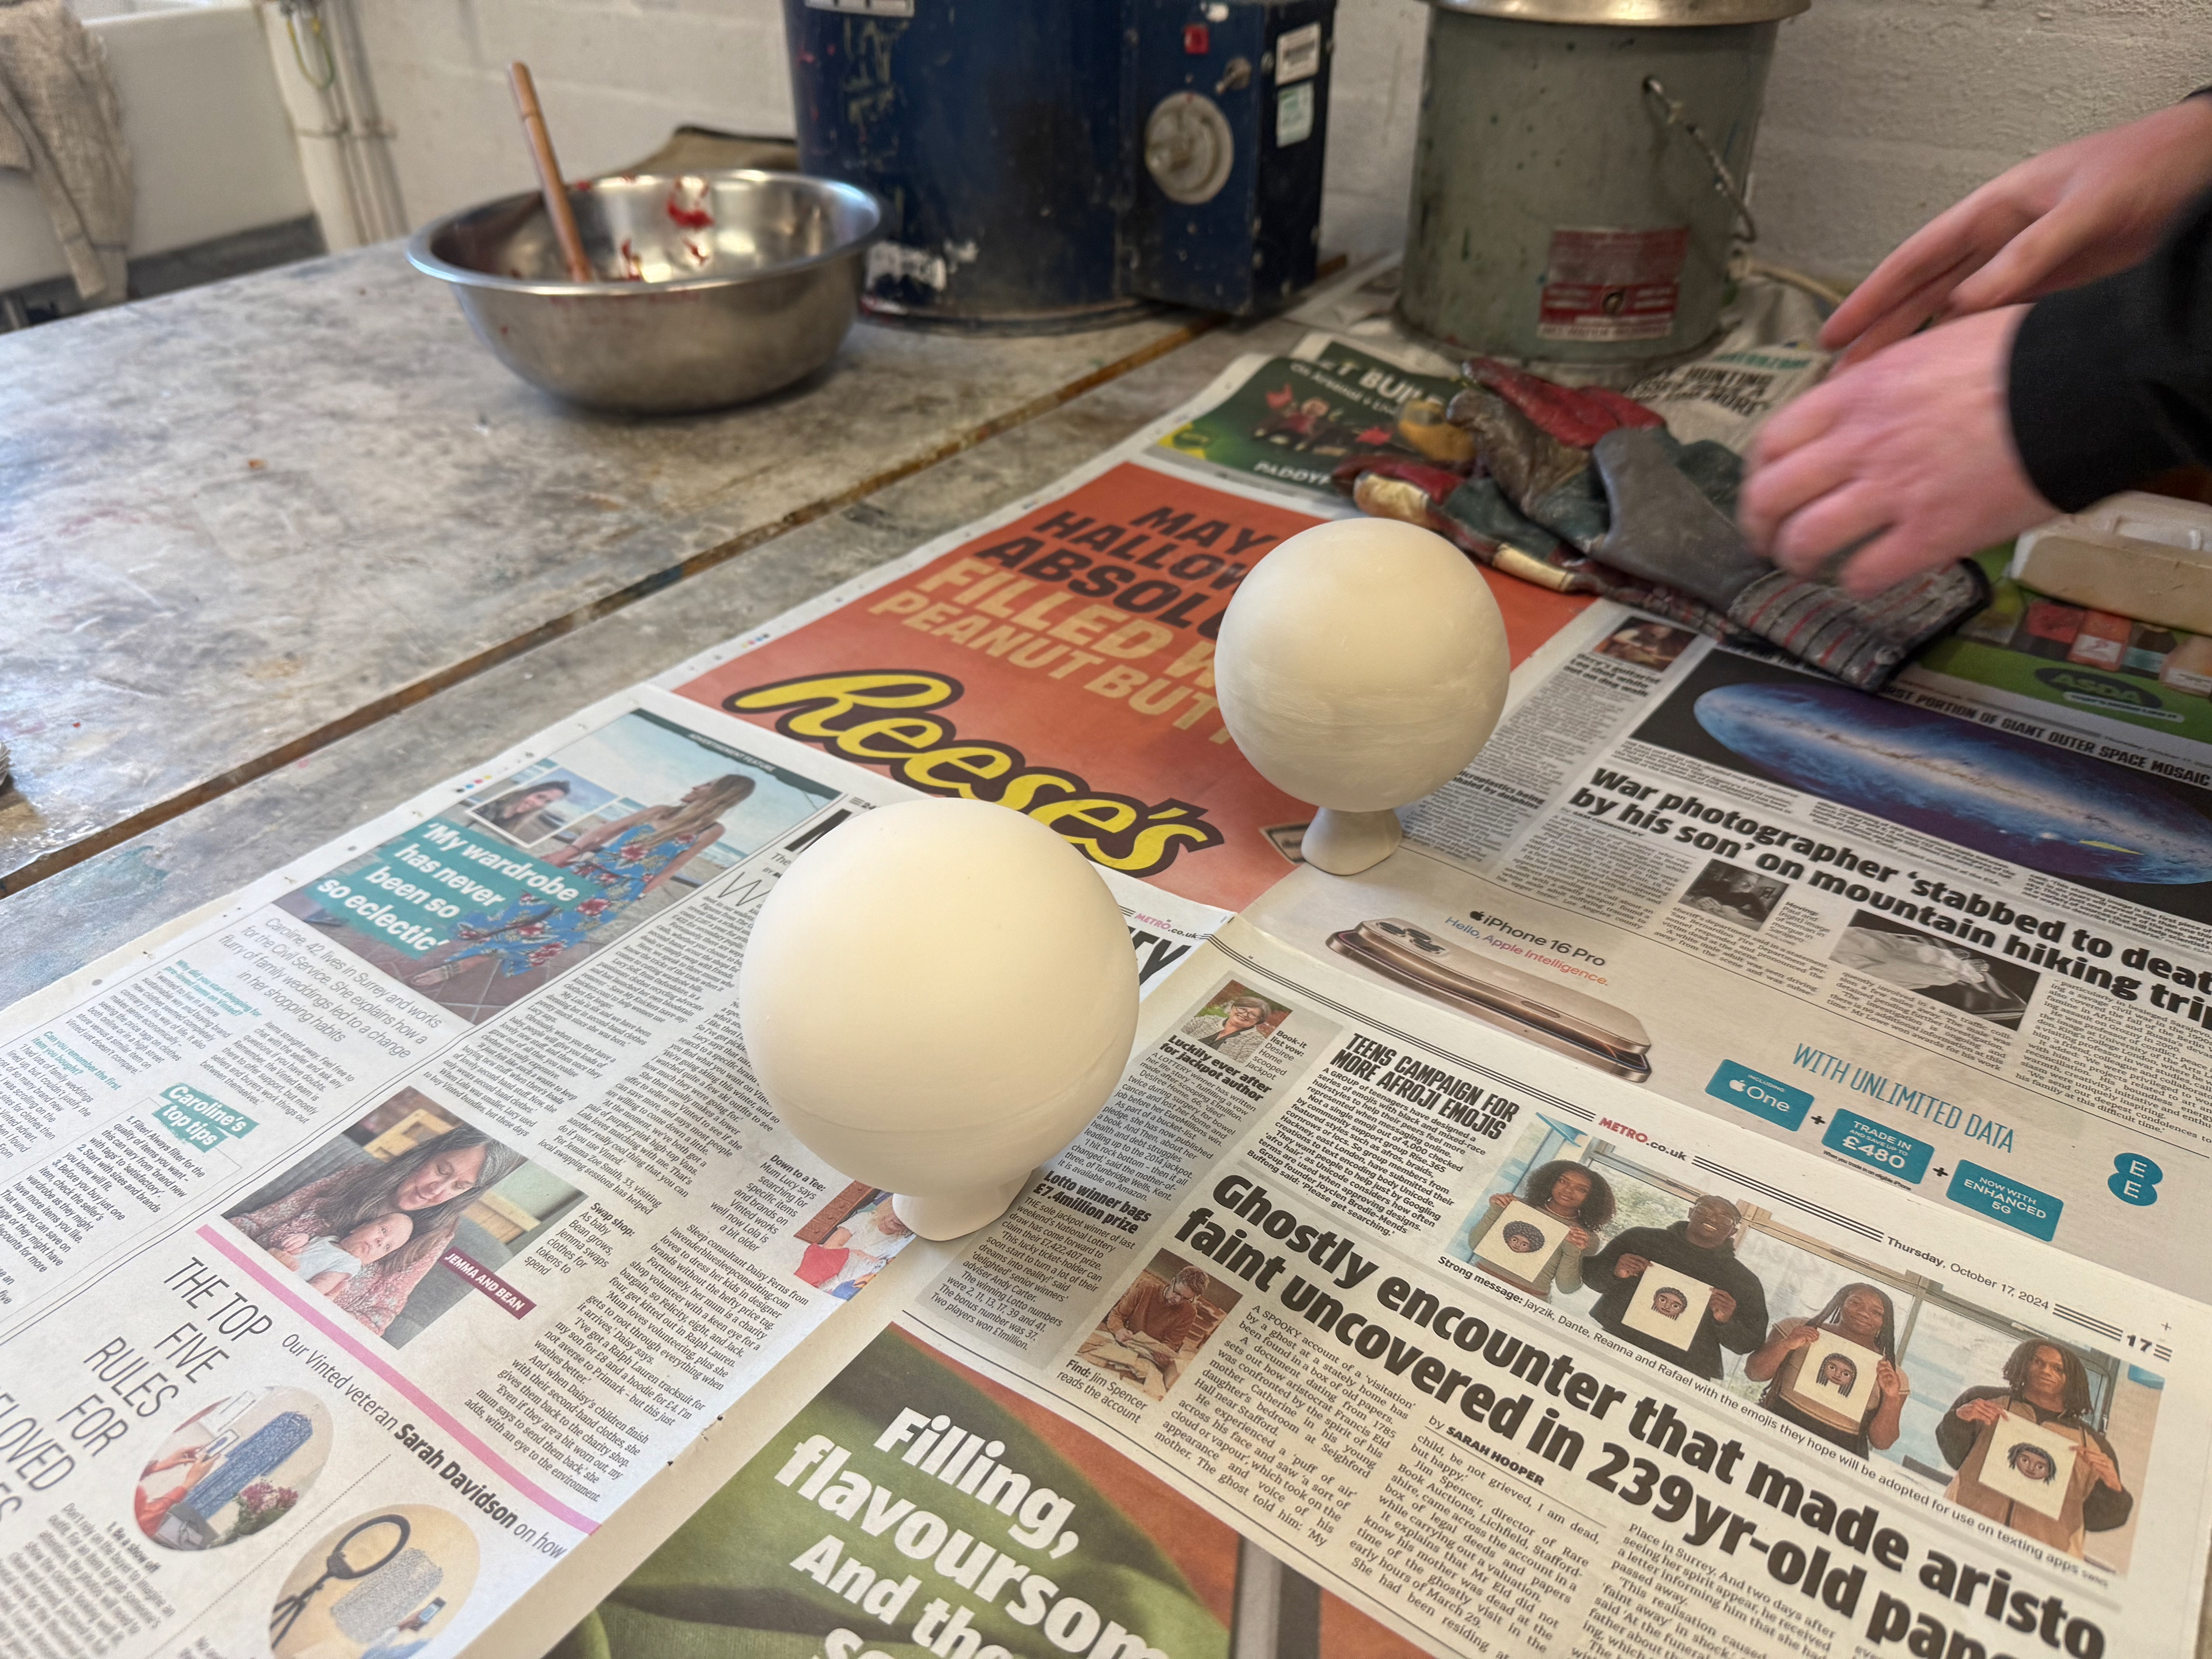
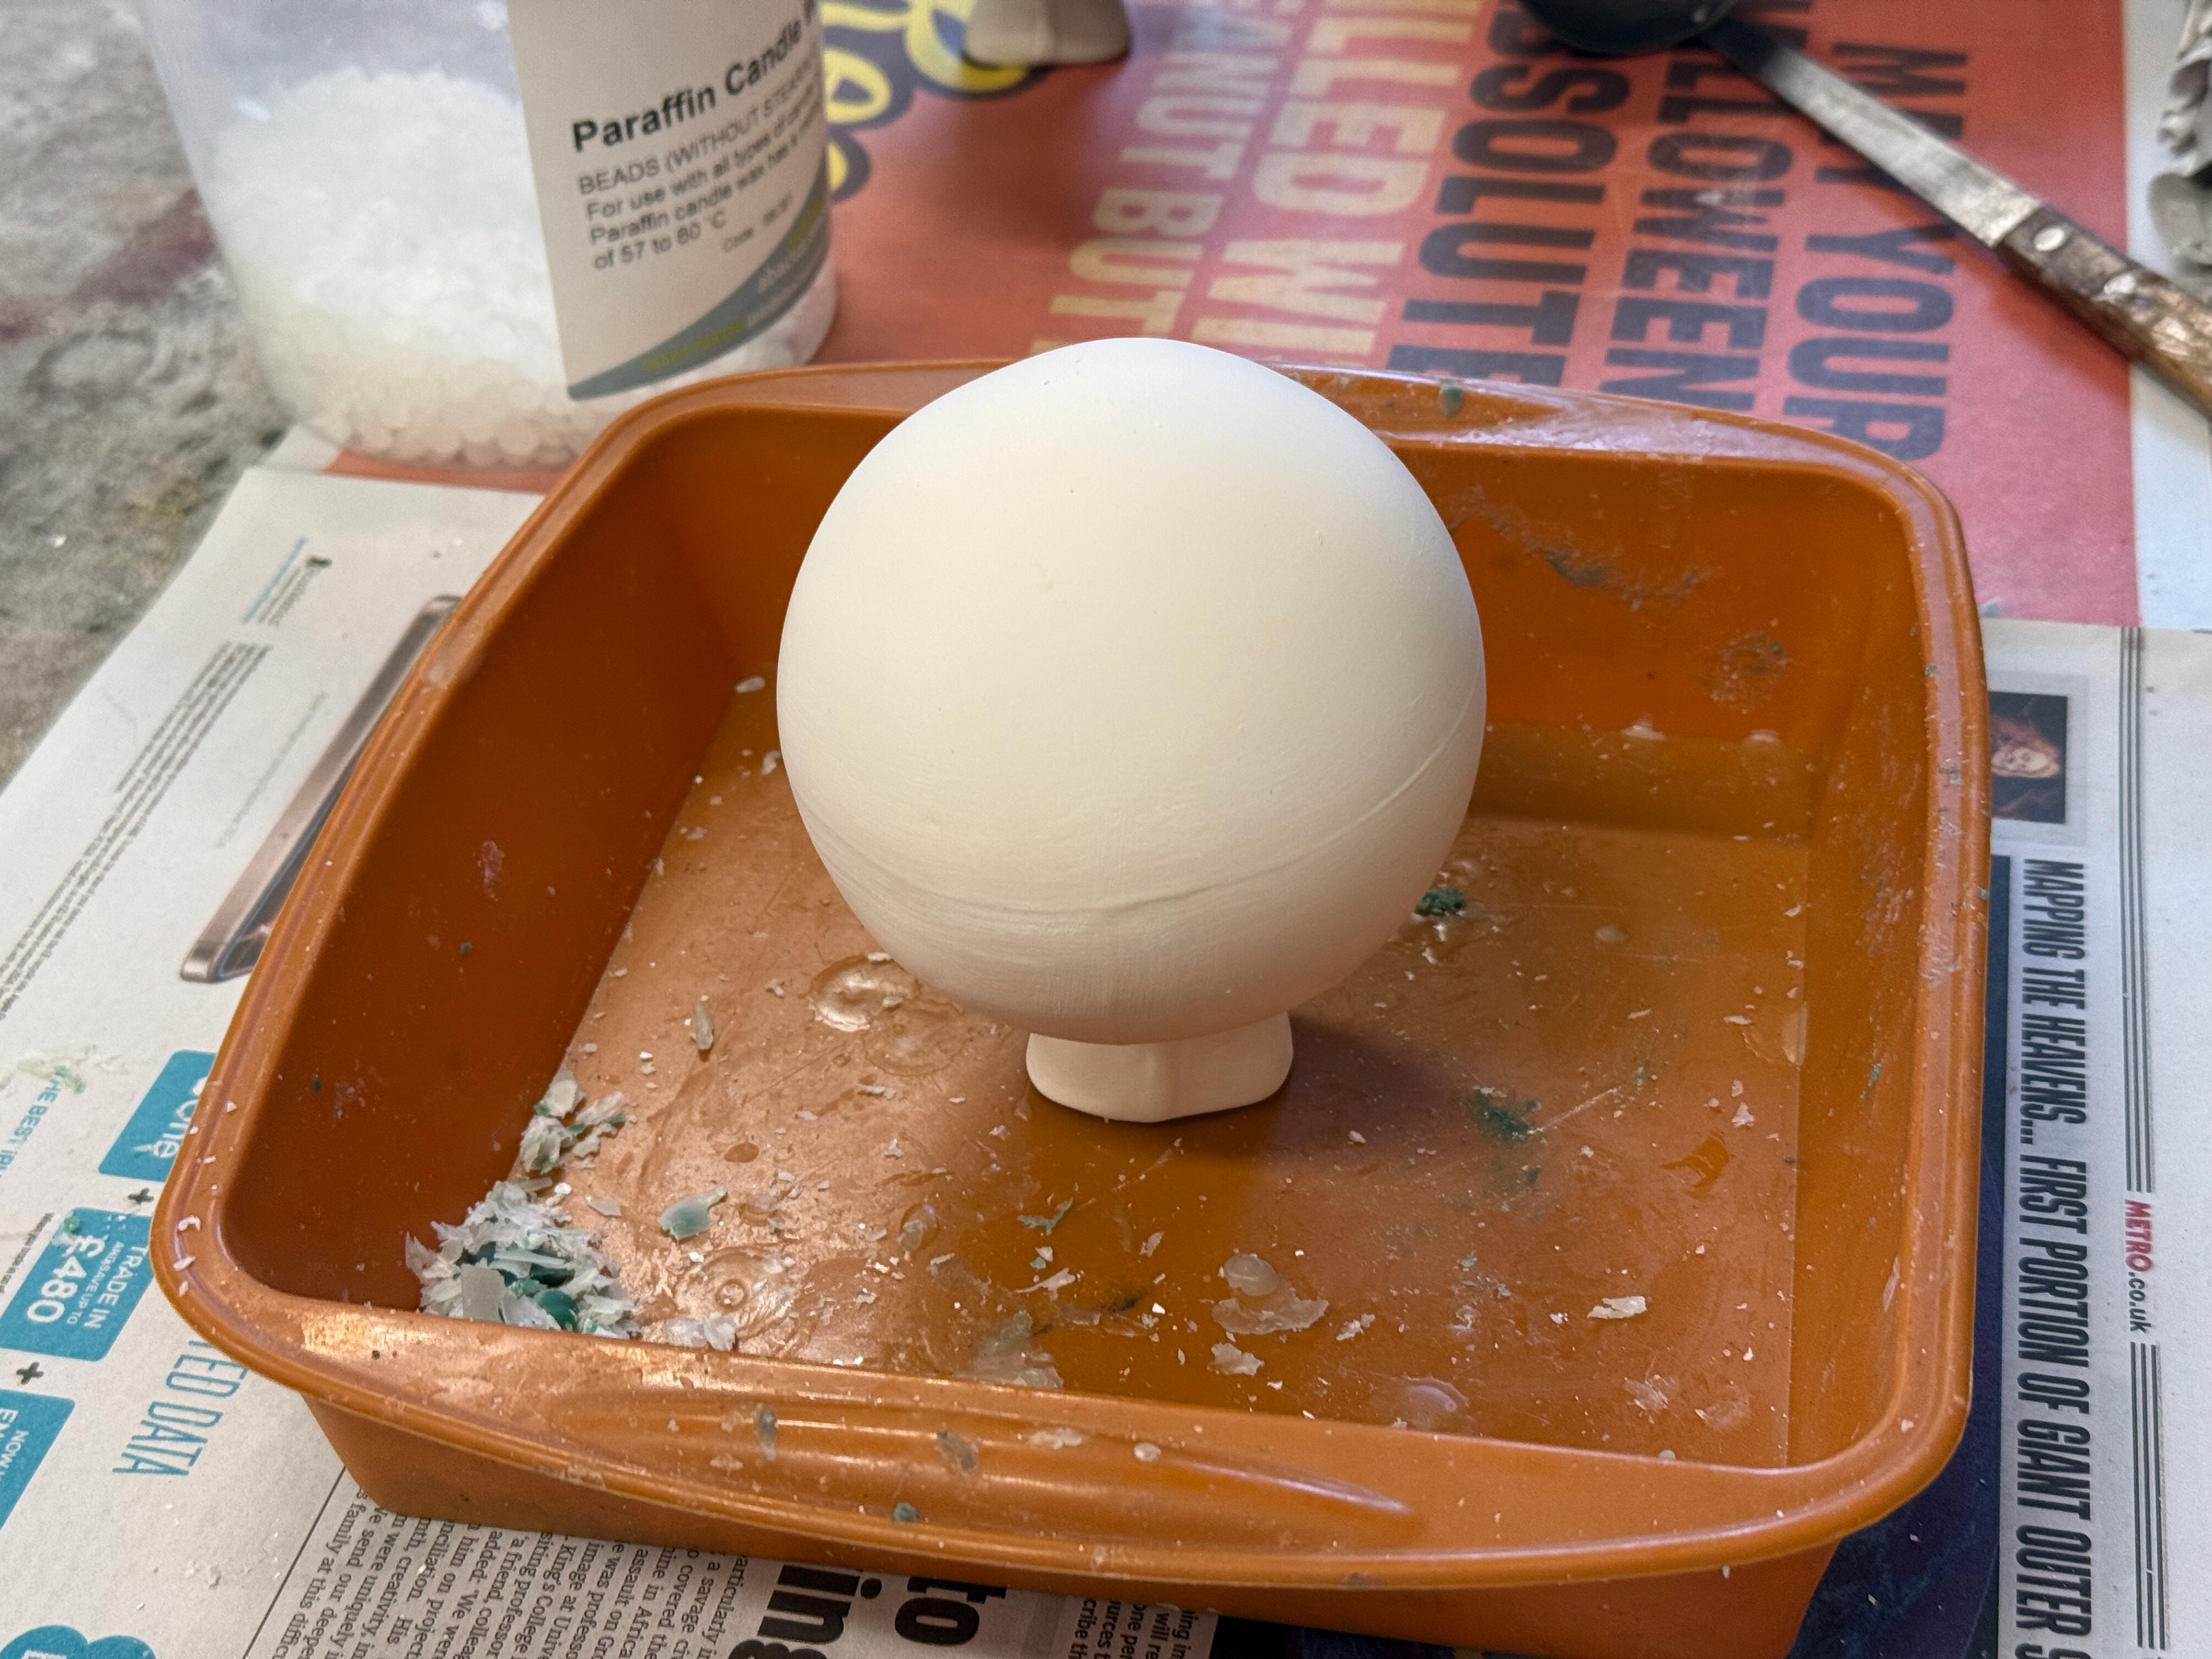
Clay Slip Ball
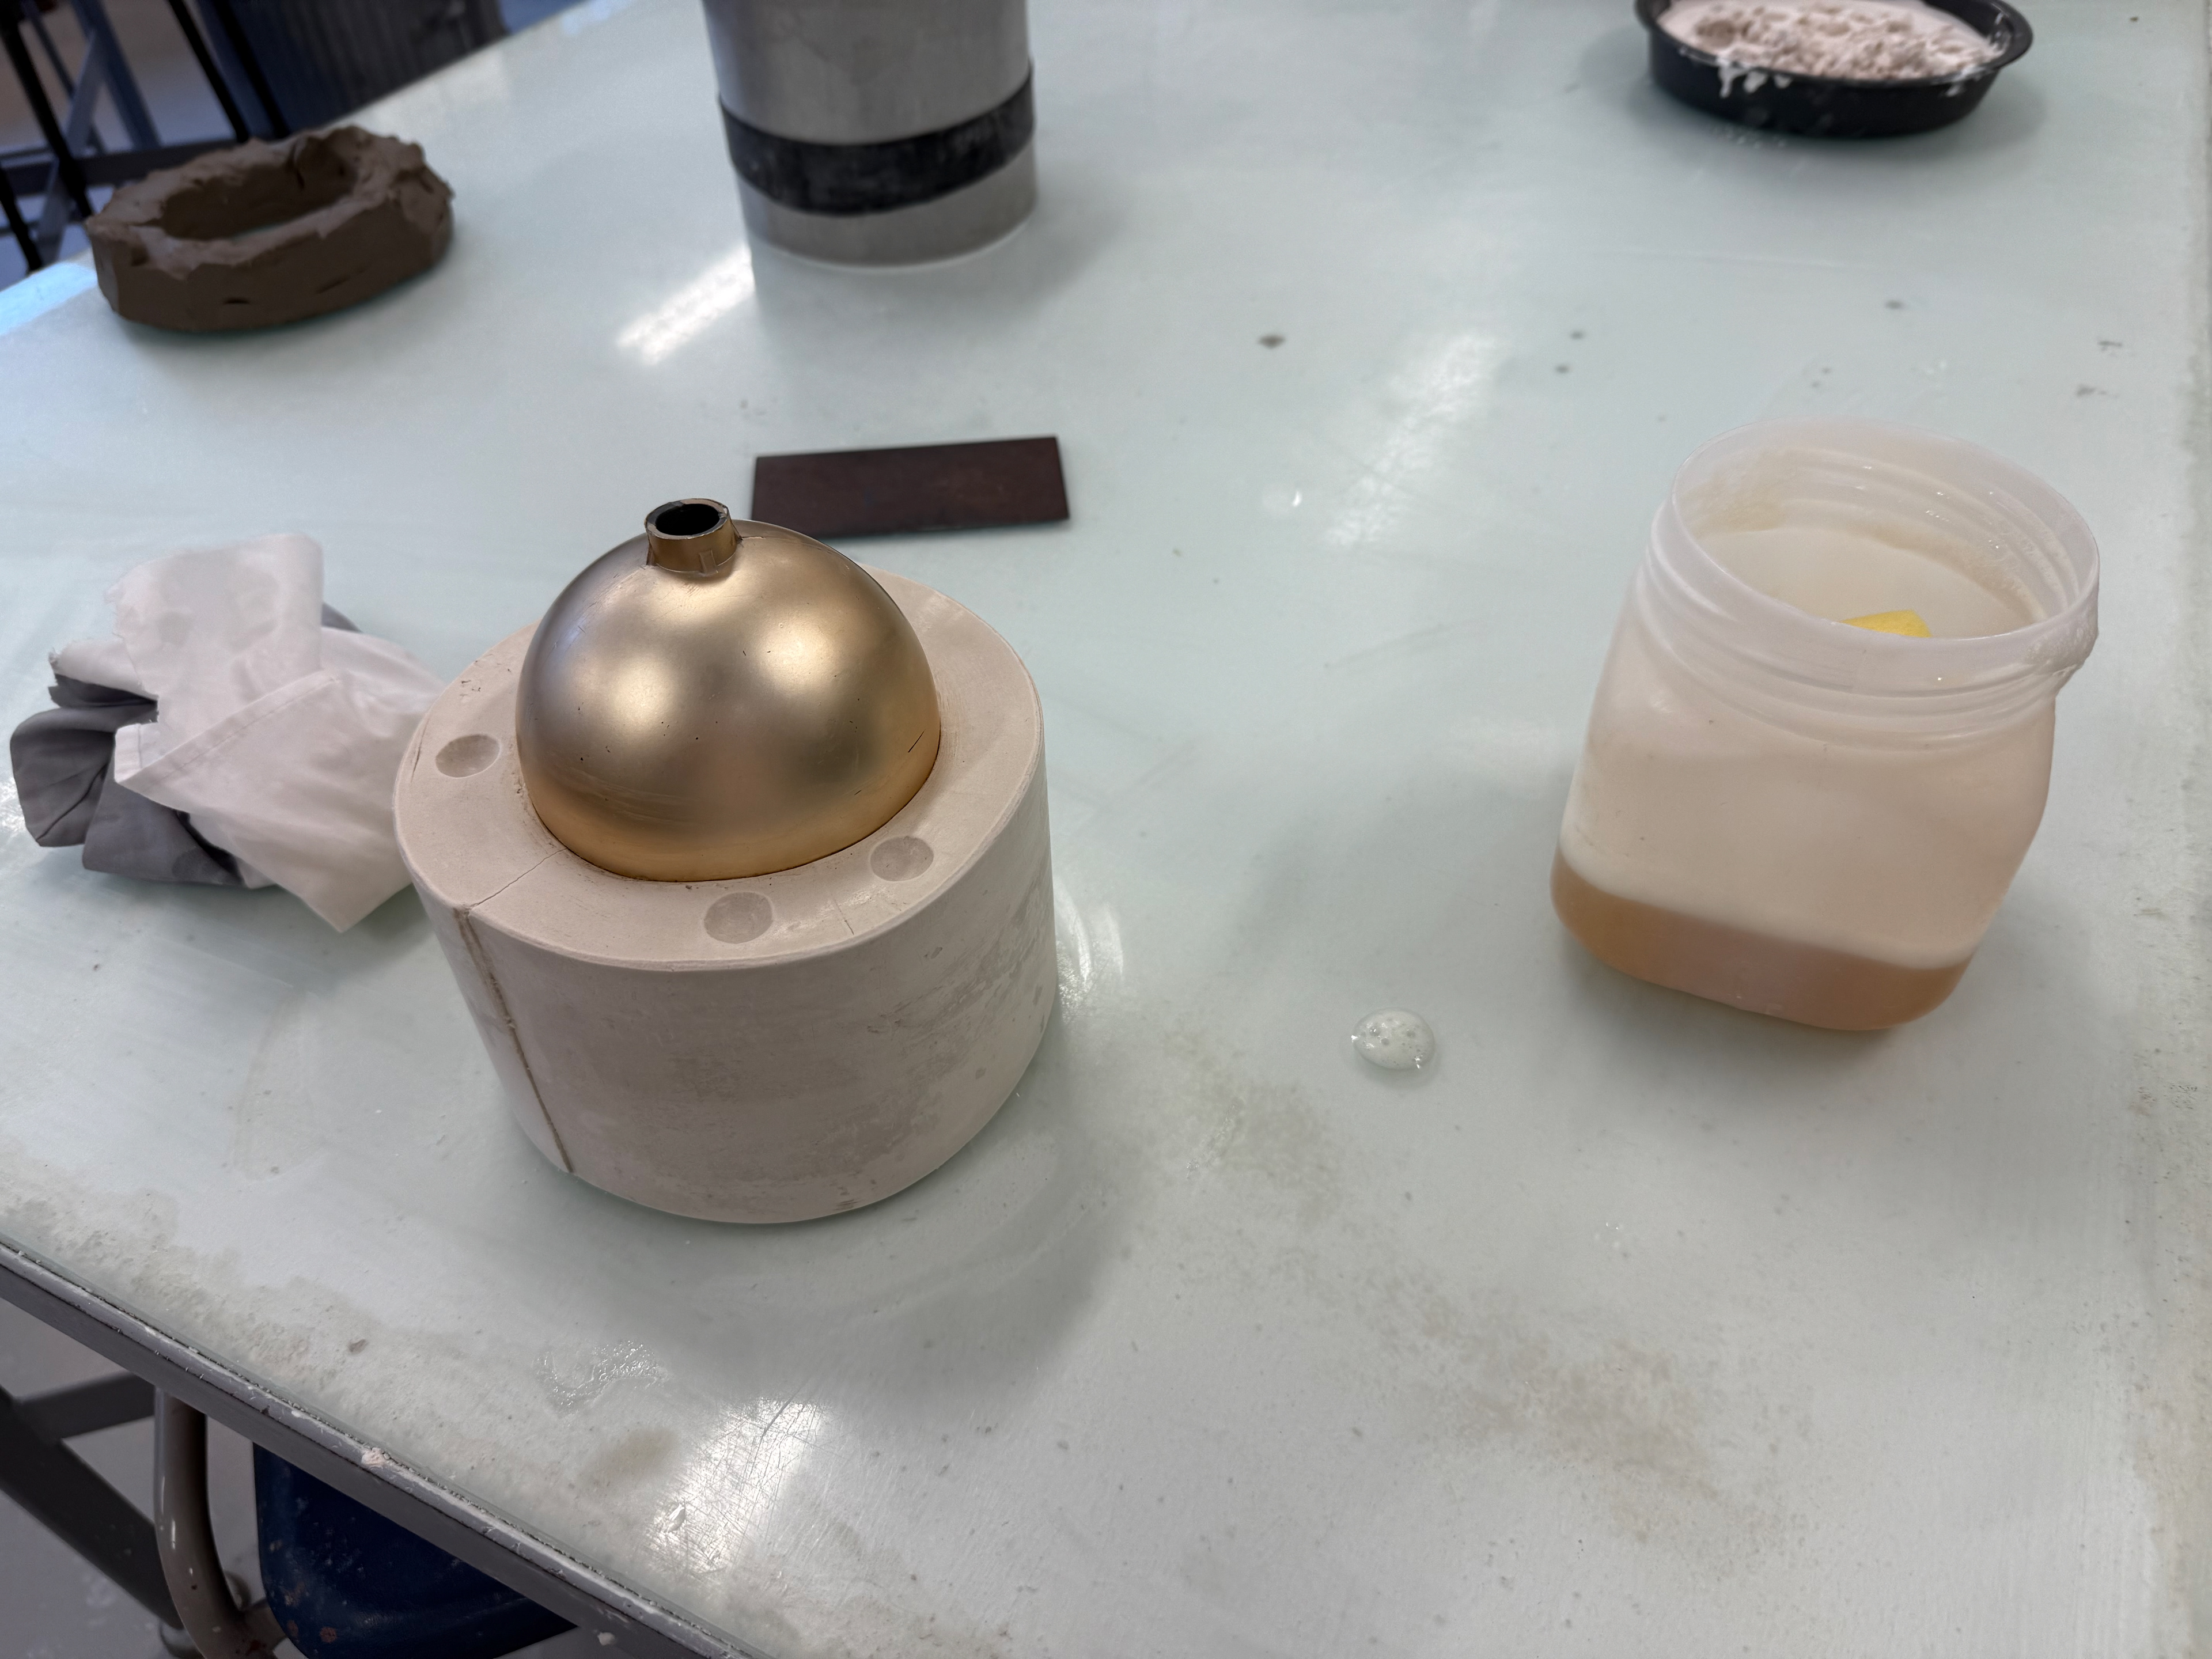
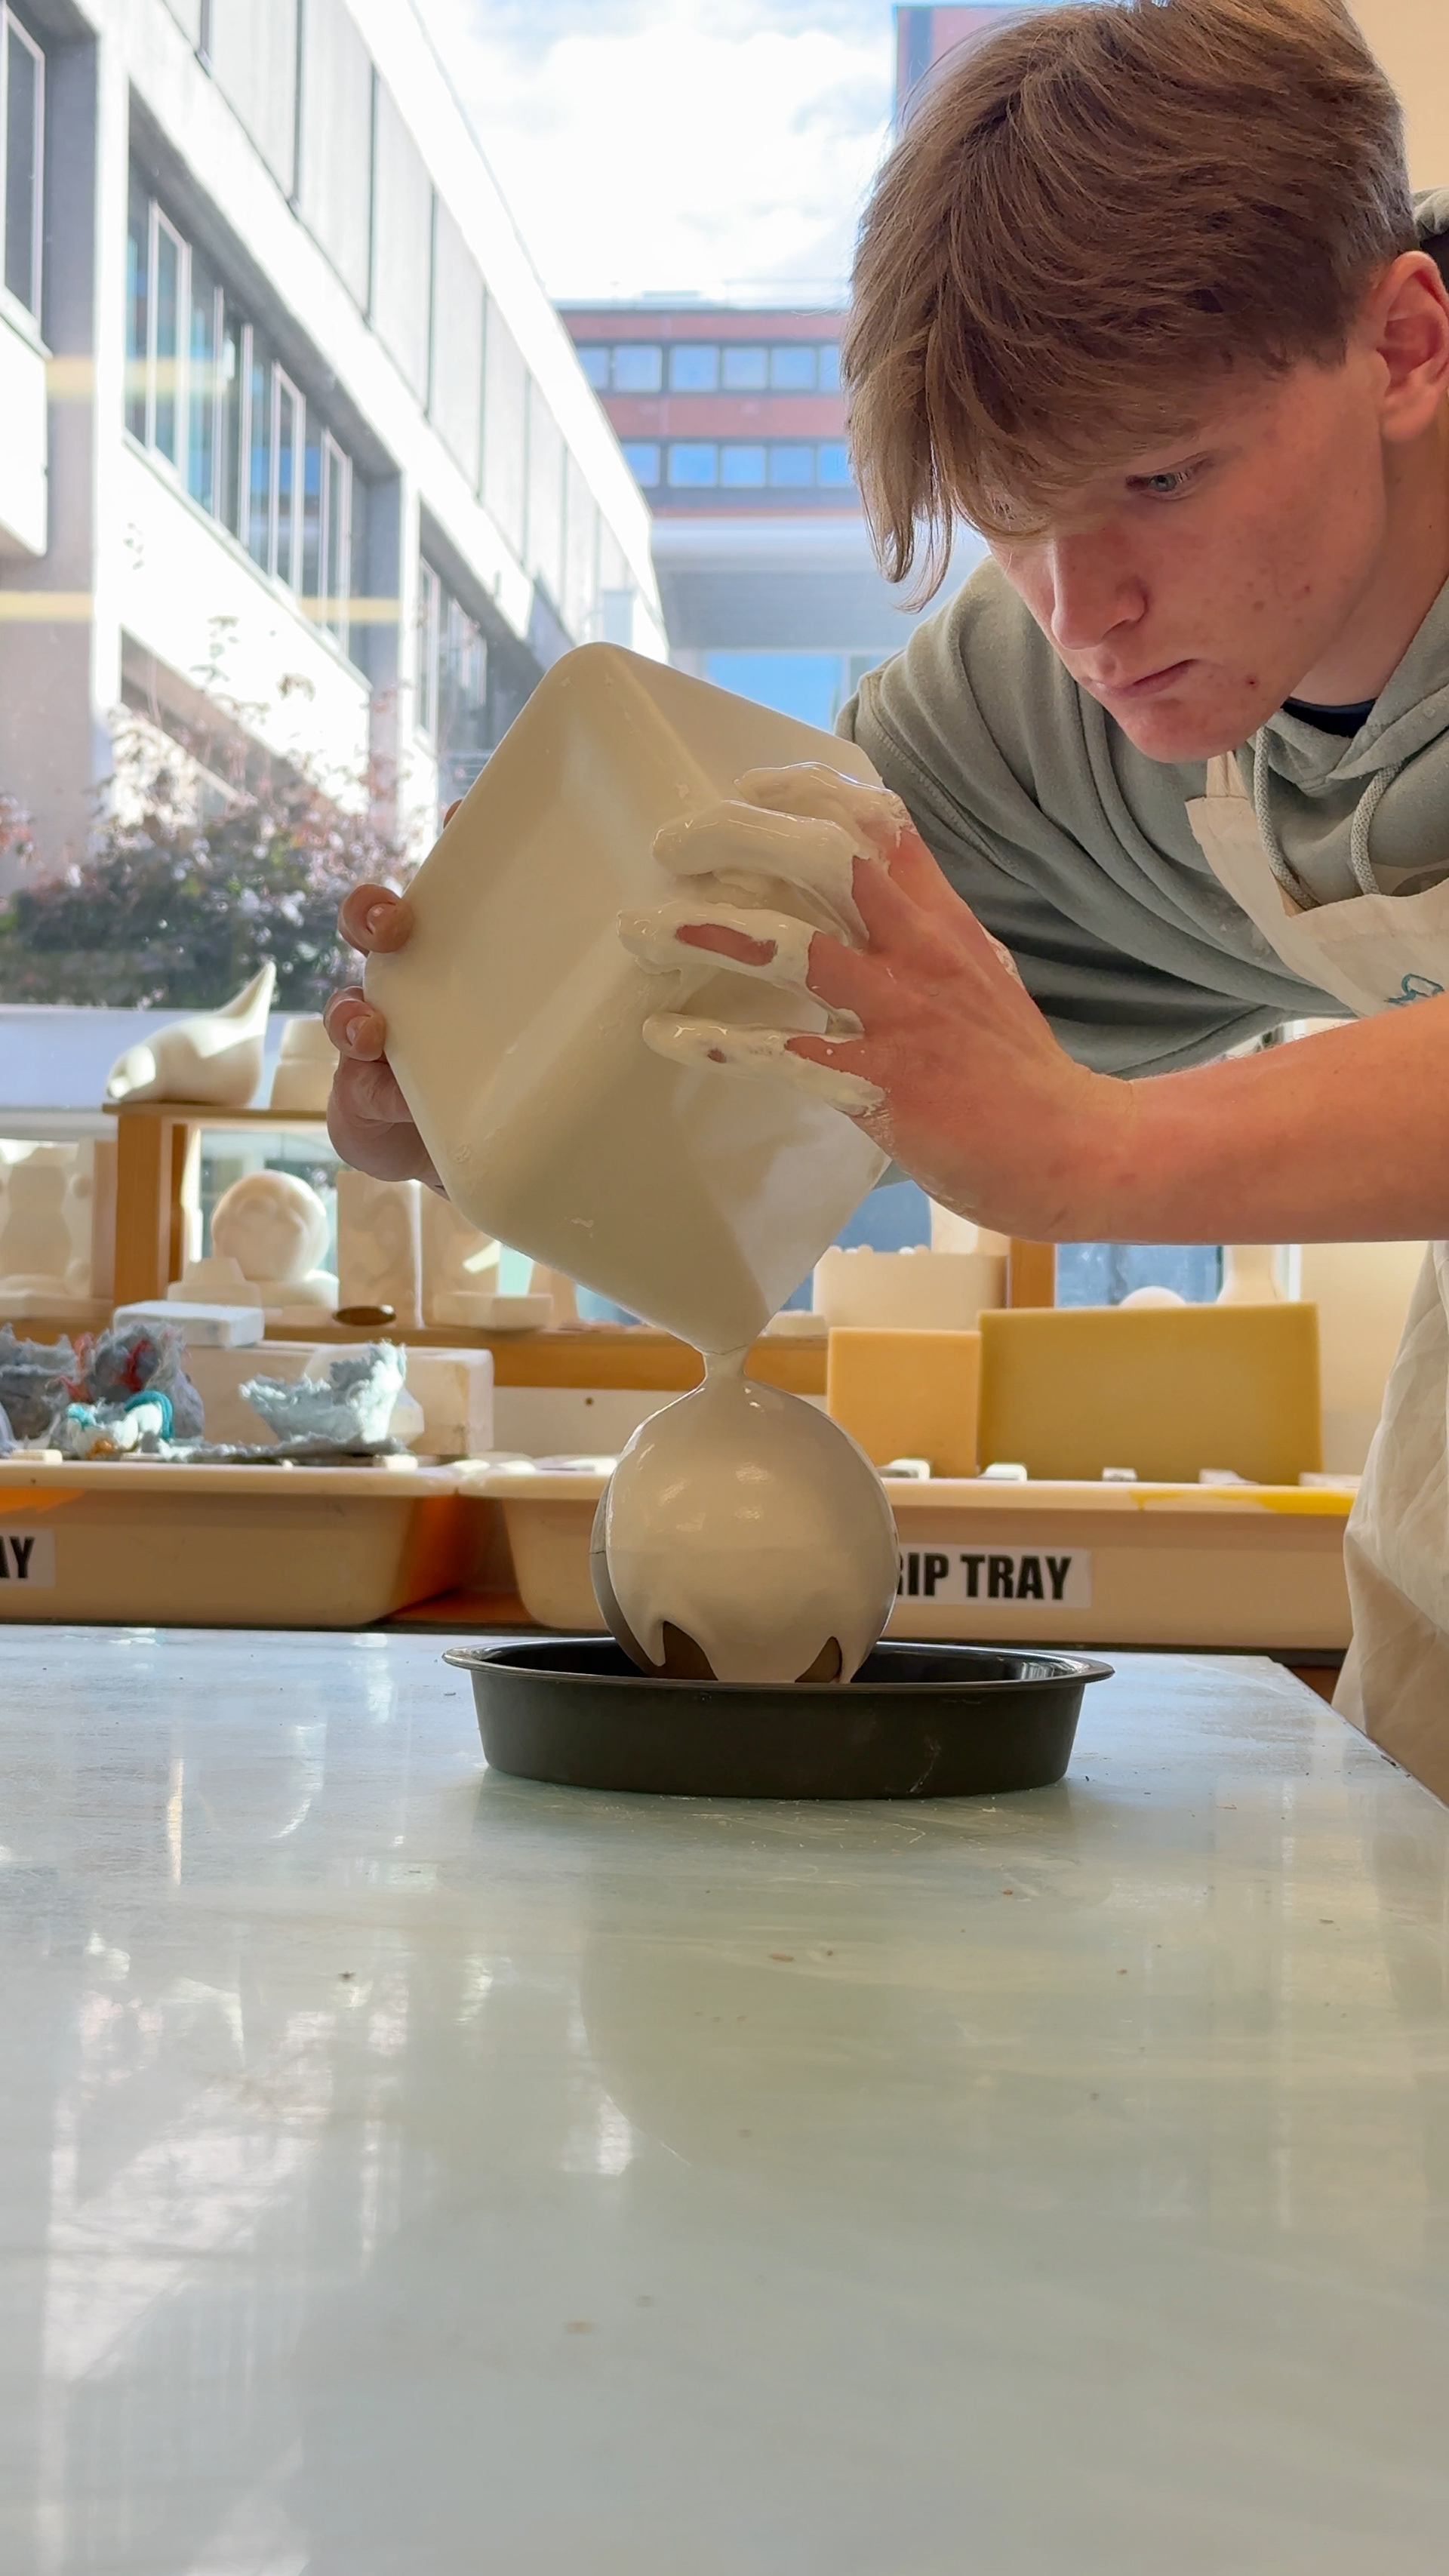
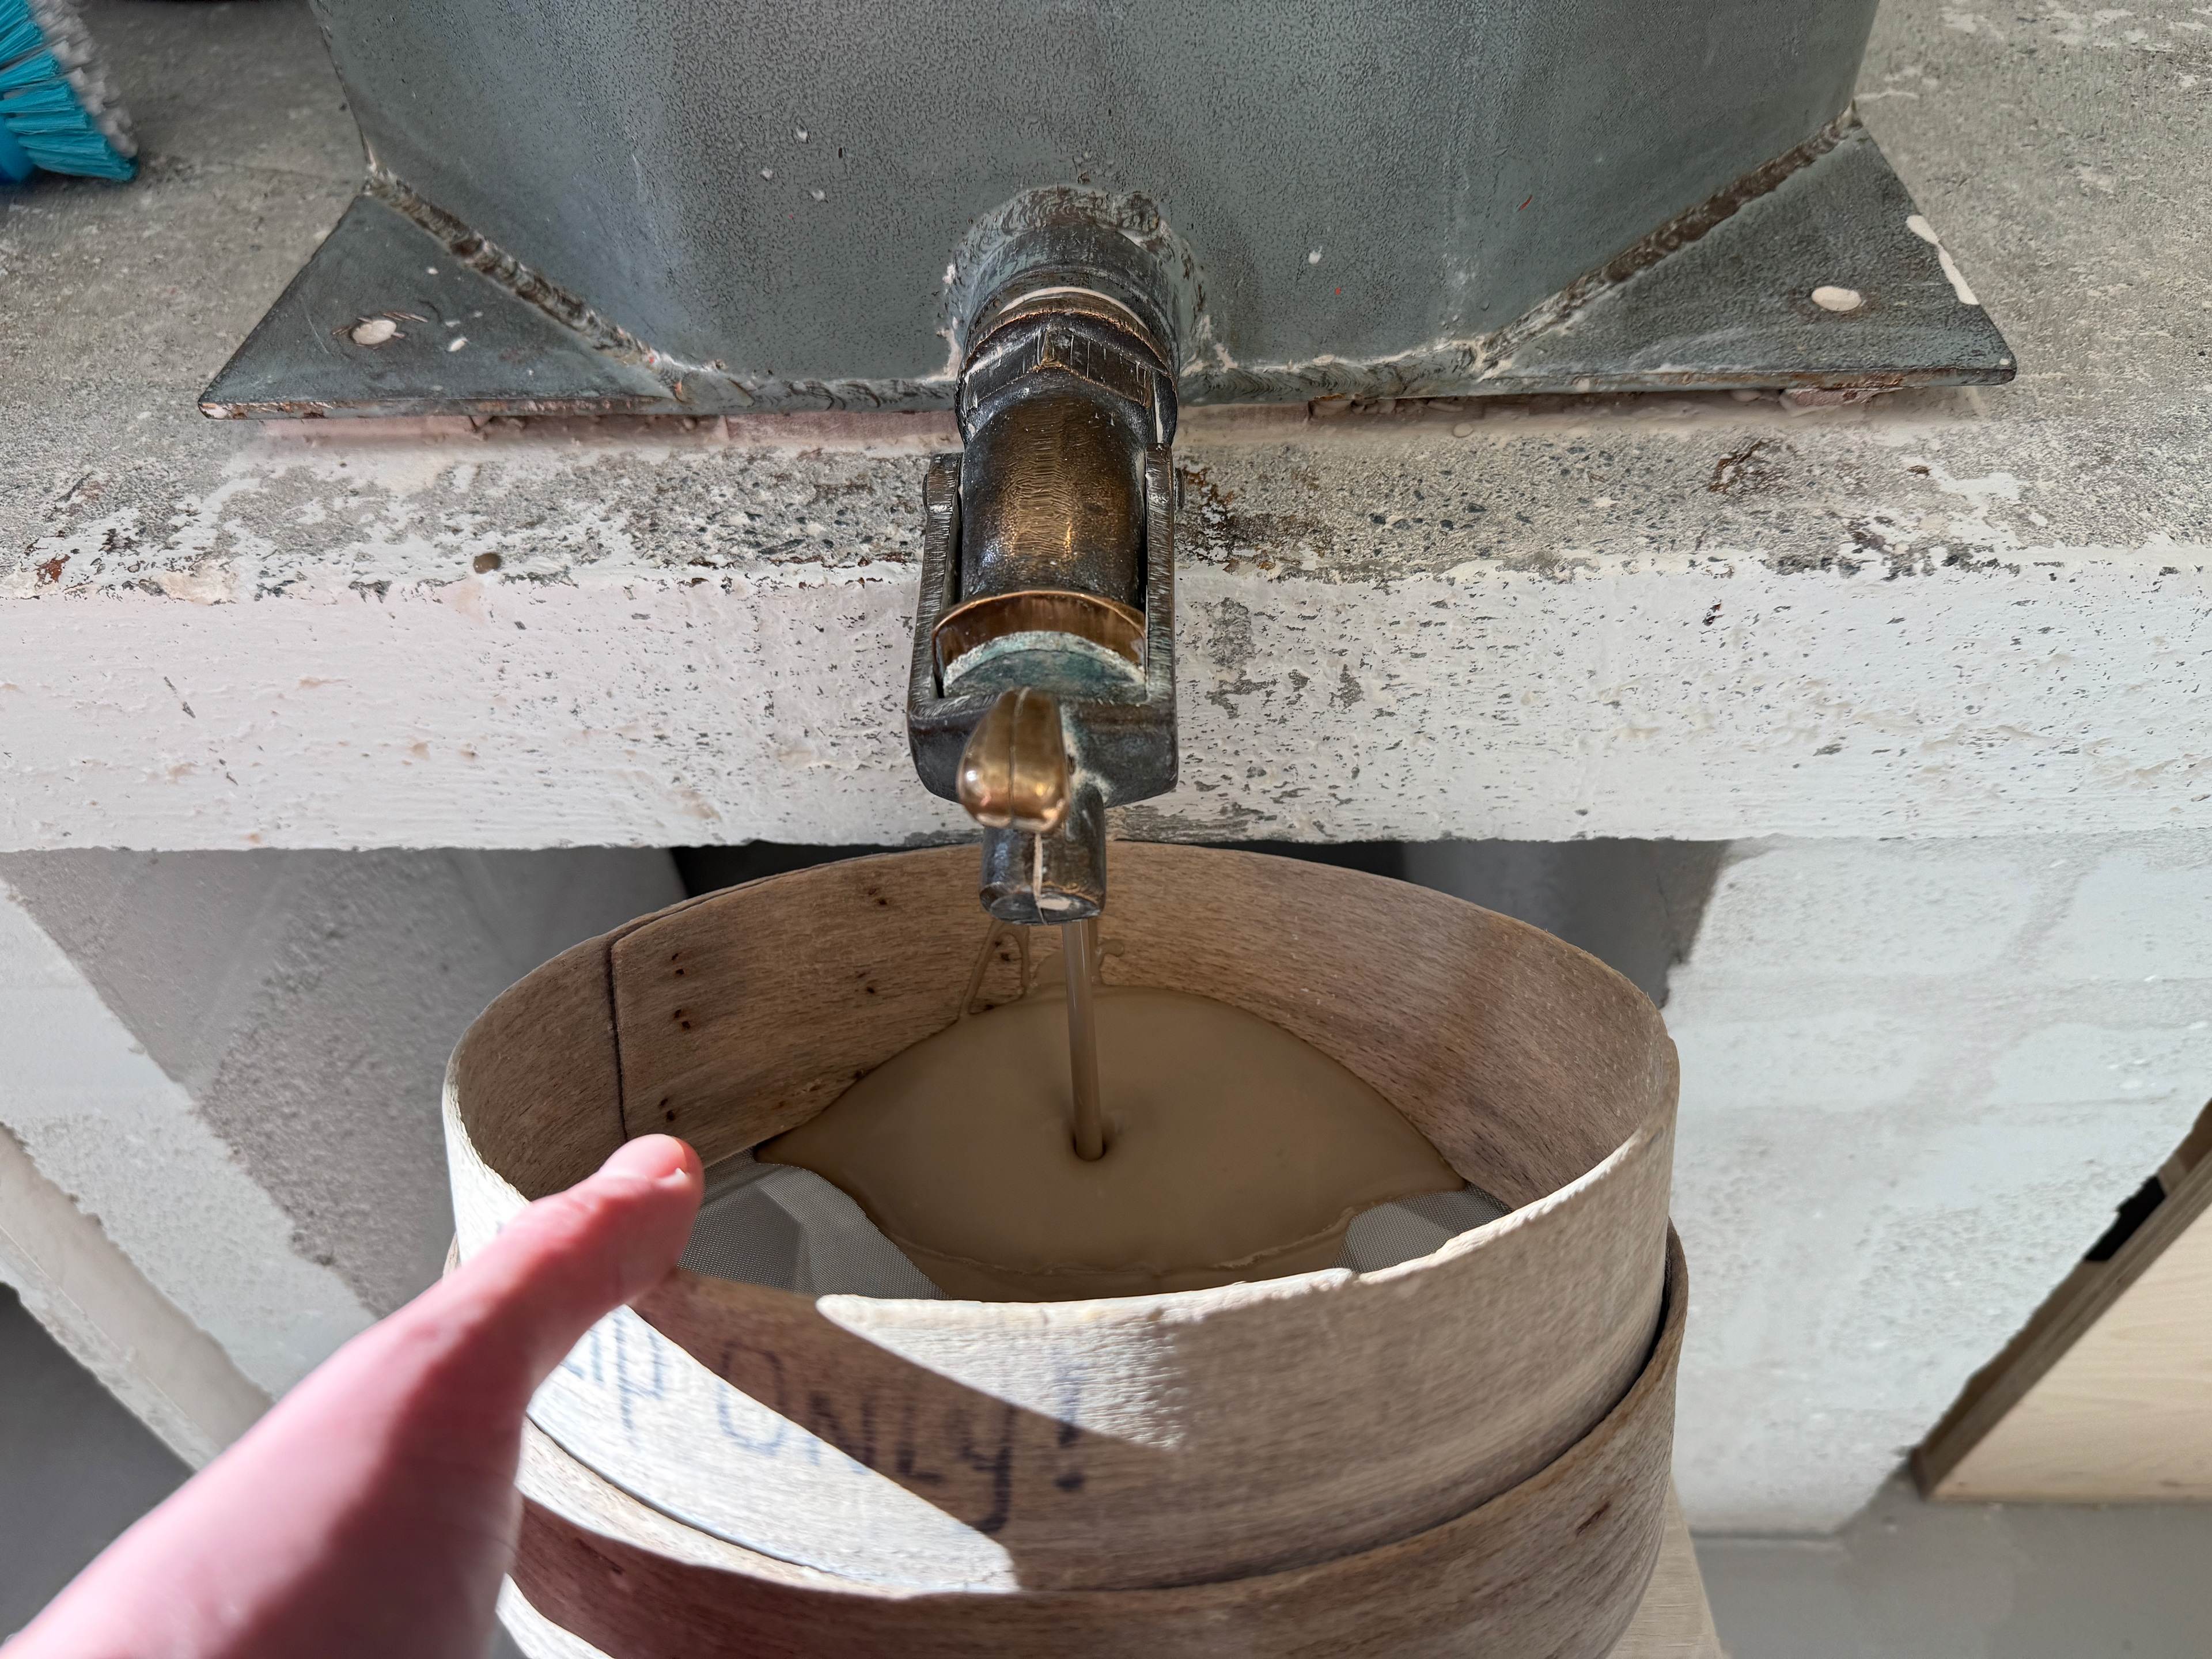
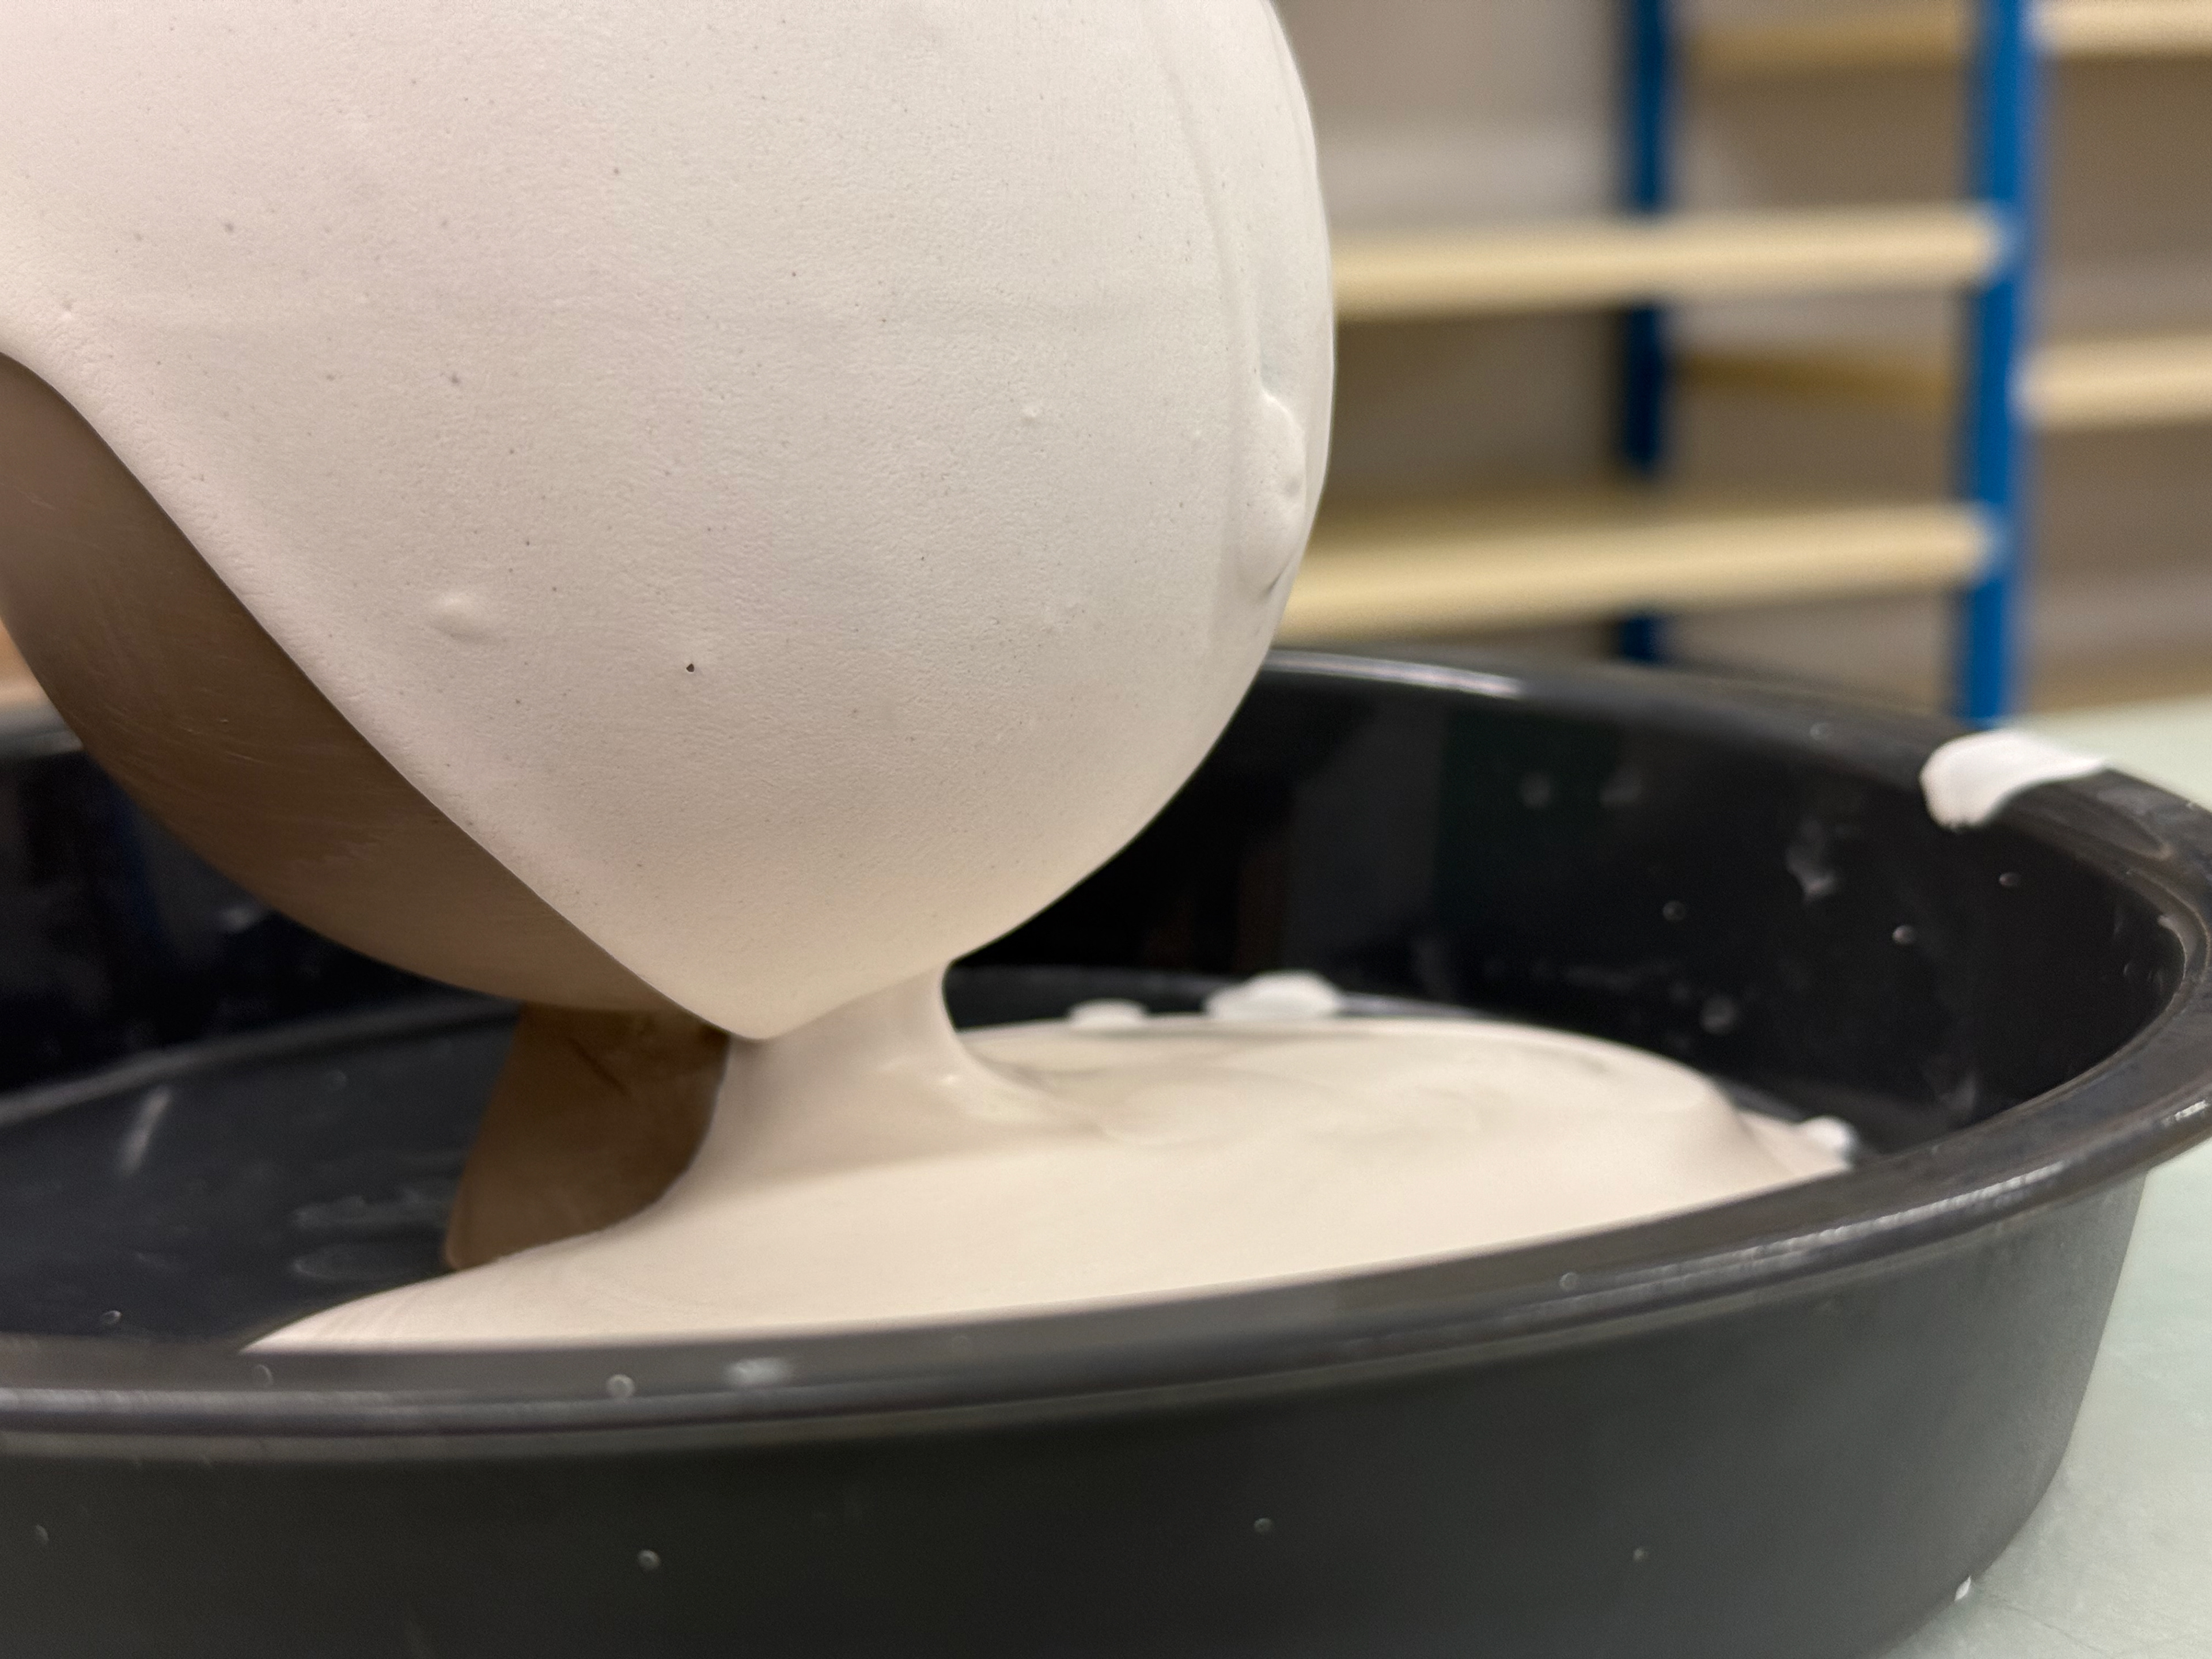
Once I had left the three-part mould to fully dry over the course of a few days, I could begin creating a slip ball. I started by planing down the mould to be even; this prevents the slip from drying too quickly on one side. Once I had done this, I poured slip into the mould, left it for 30 minutes, poured the remaining slip out, and left it for a further 45 minutes for it to drip and dry. Finally, once it was out of the mould, I immediately poured plaster over the ball.
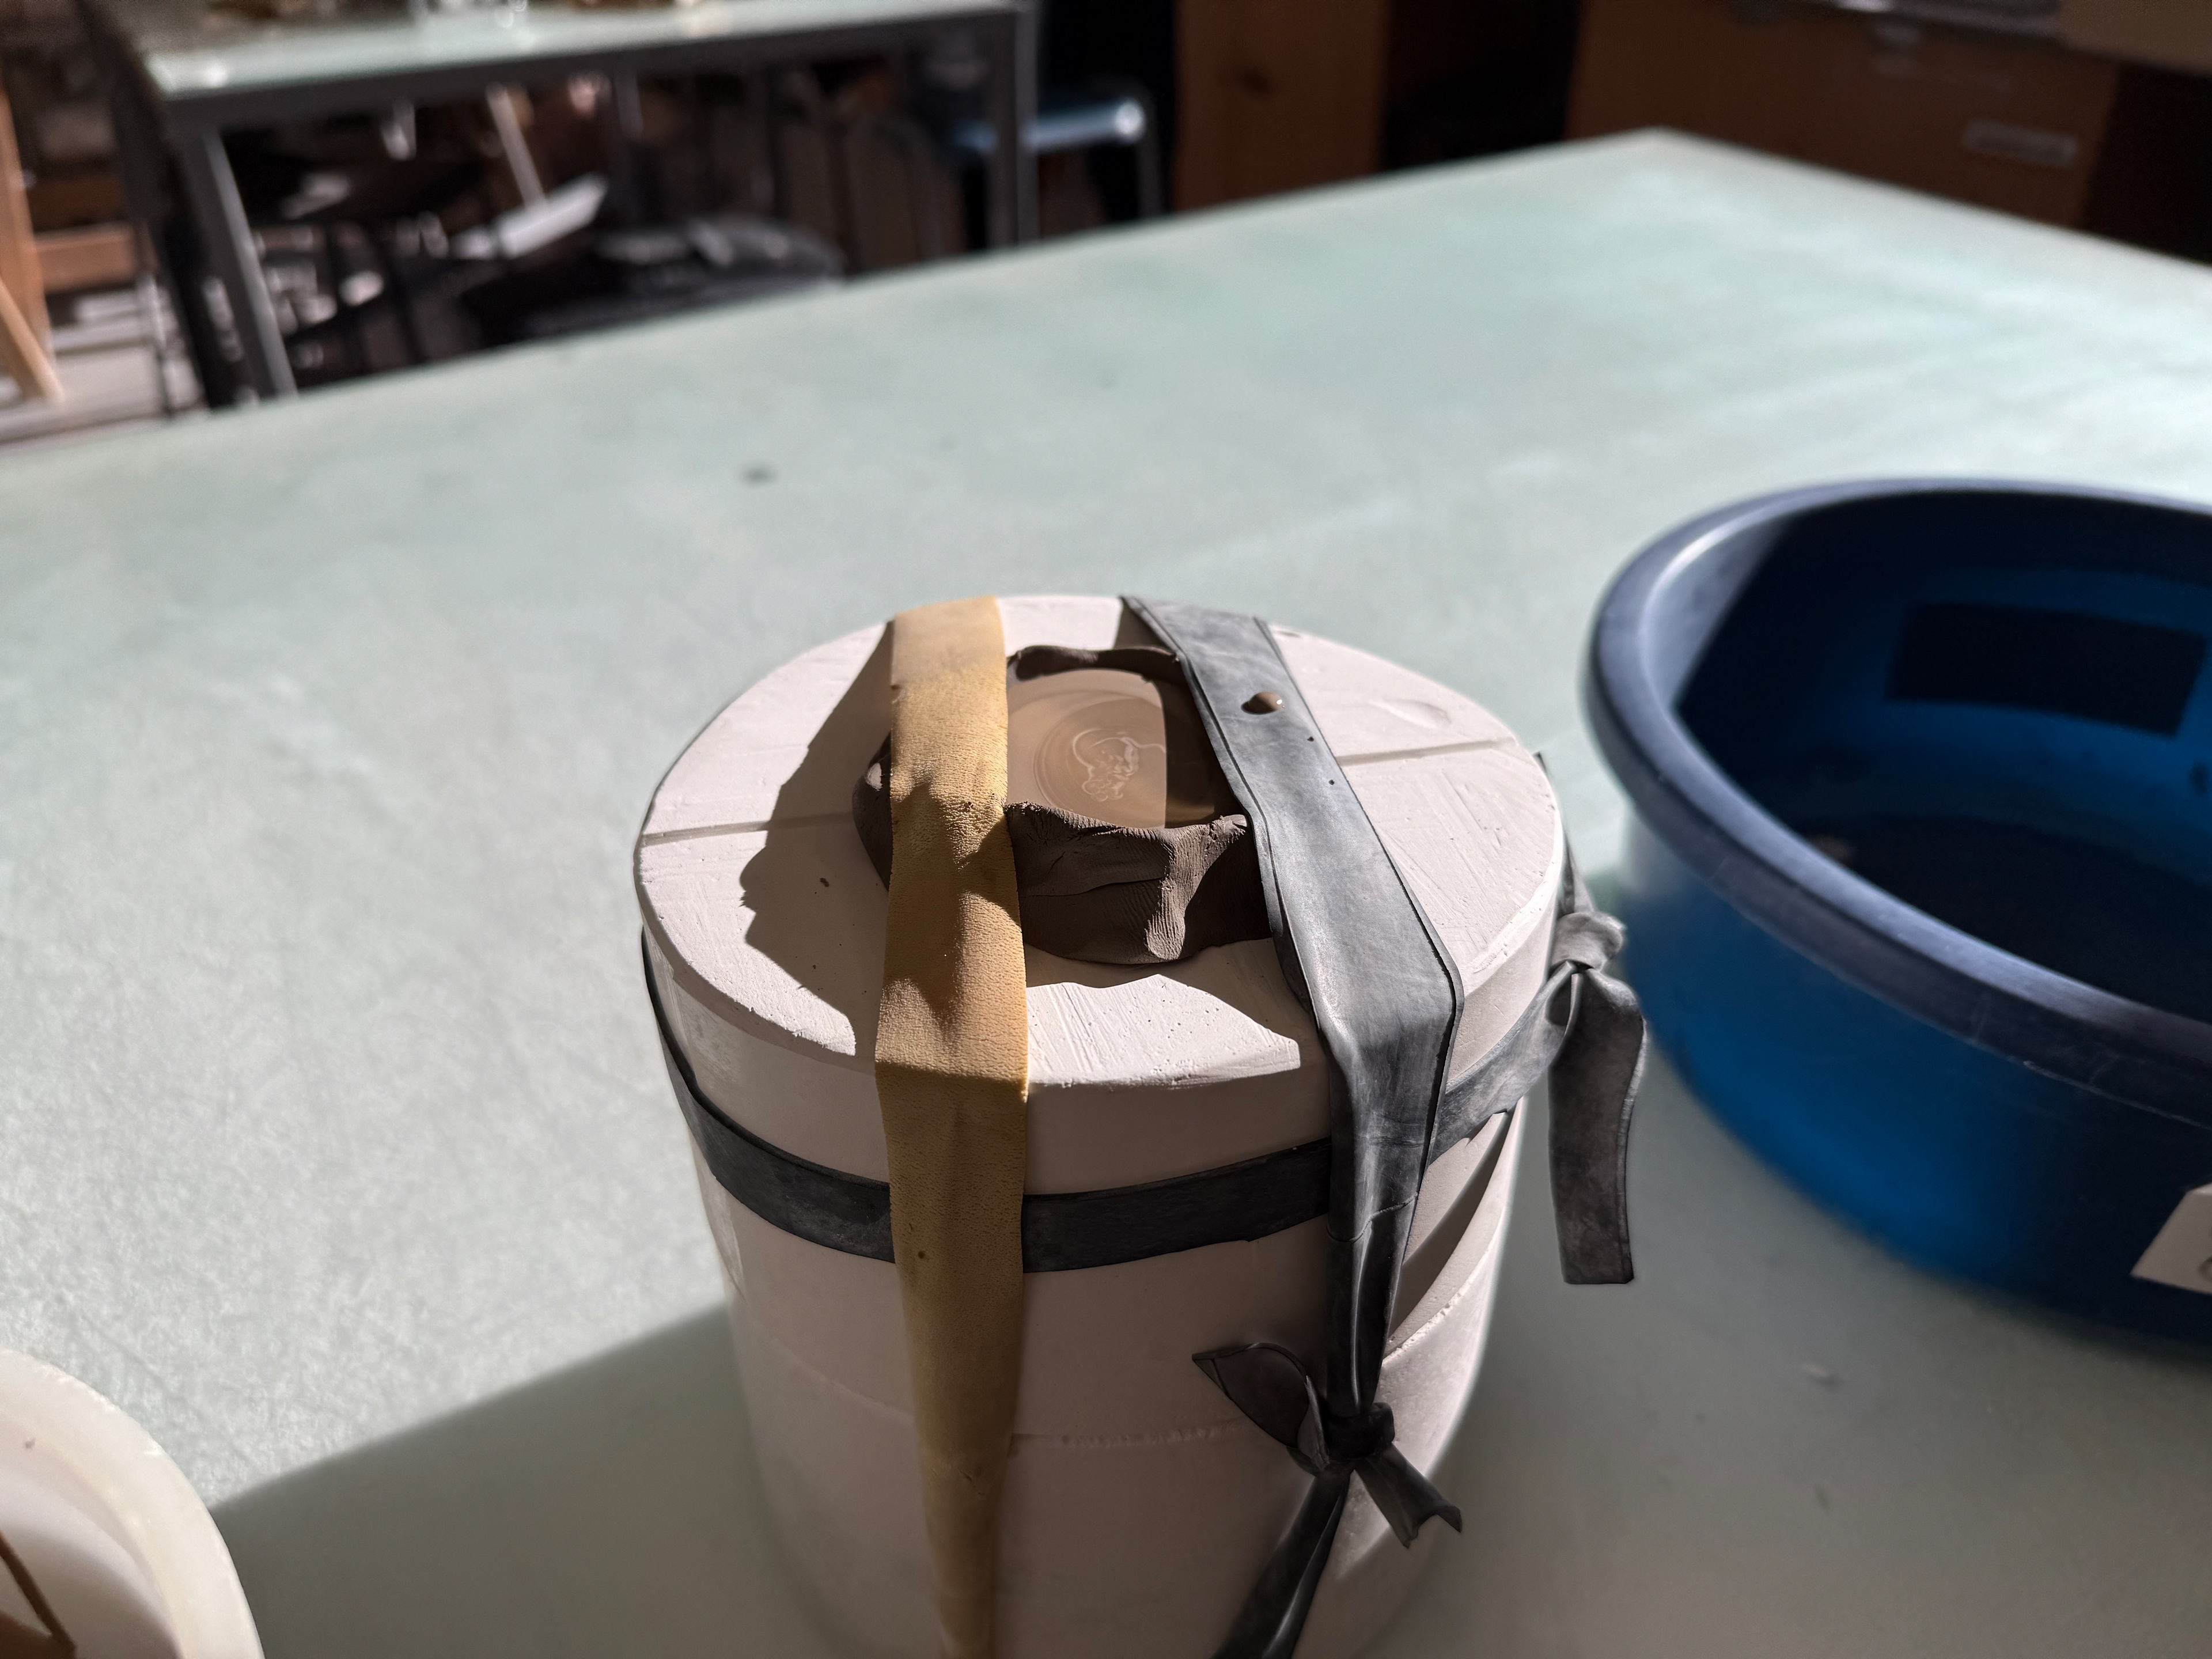
The two top parts of the mould were uneven so I had to plane it down.

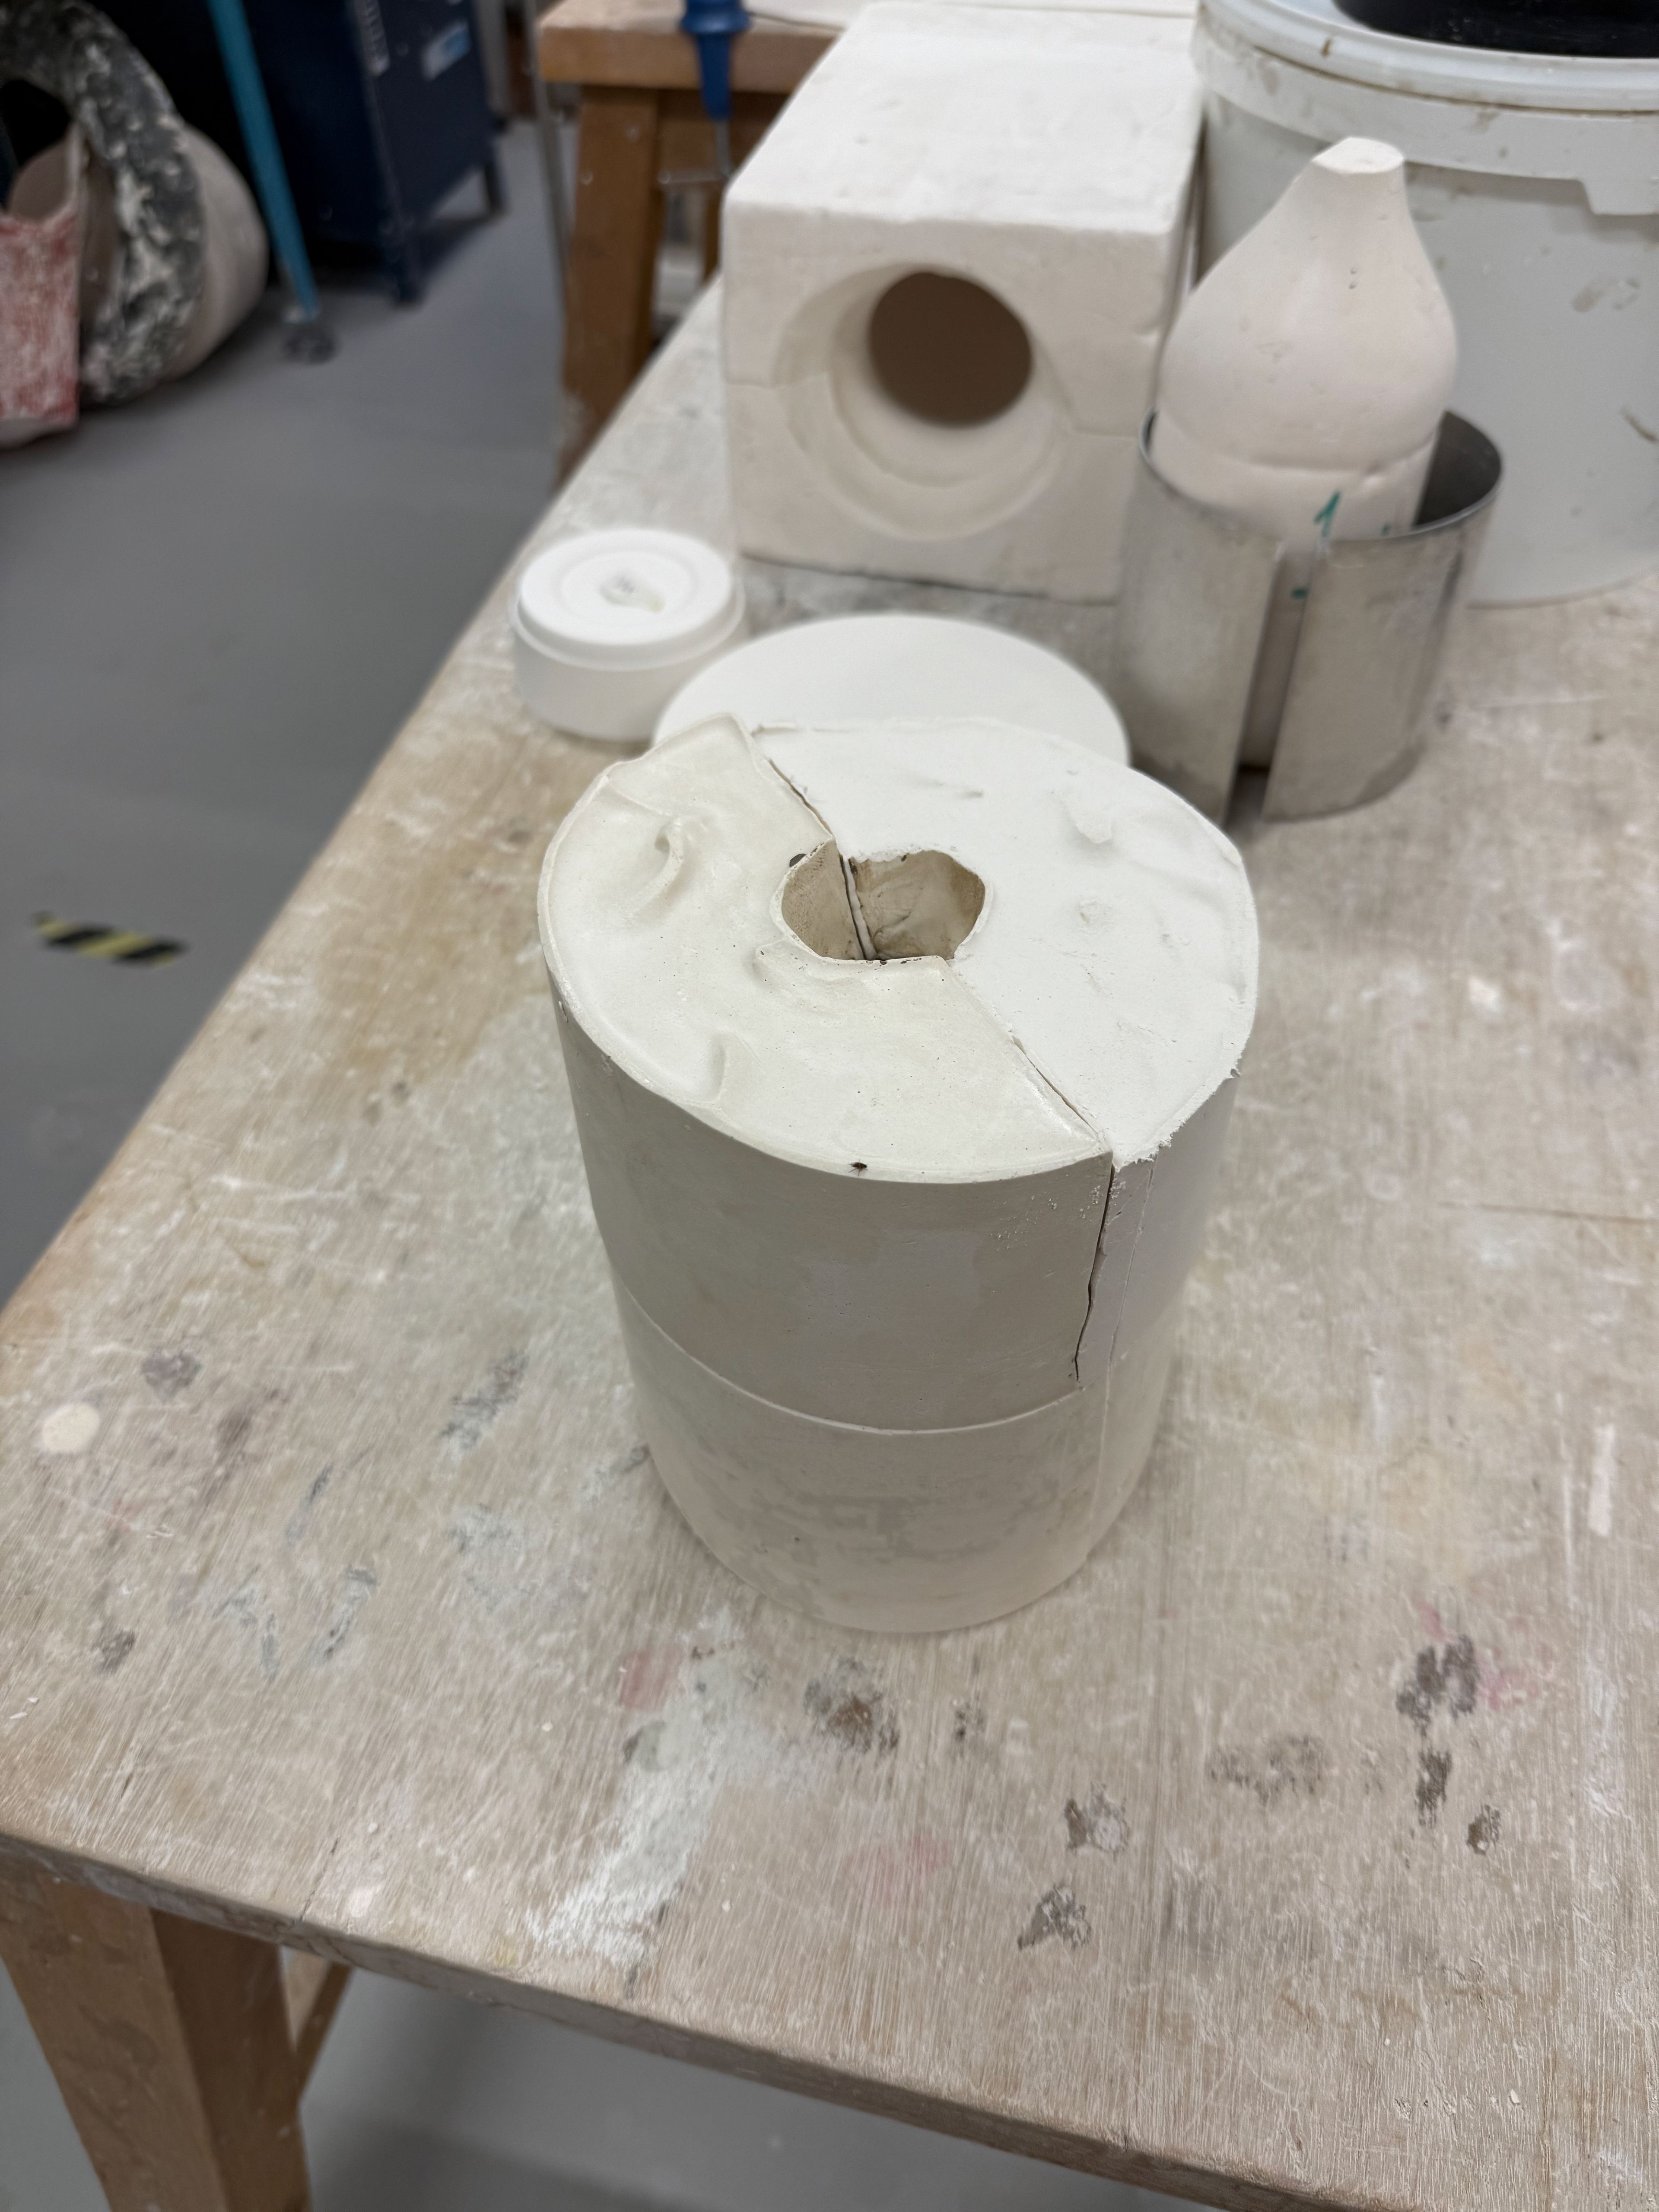
The three part mould.
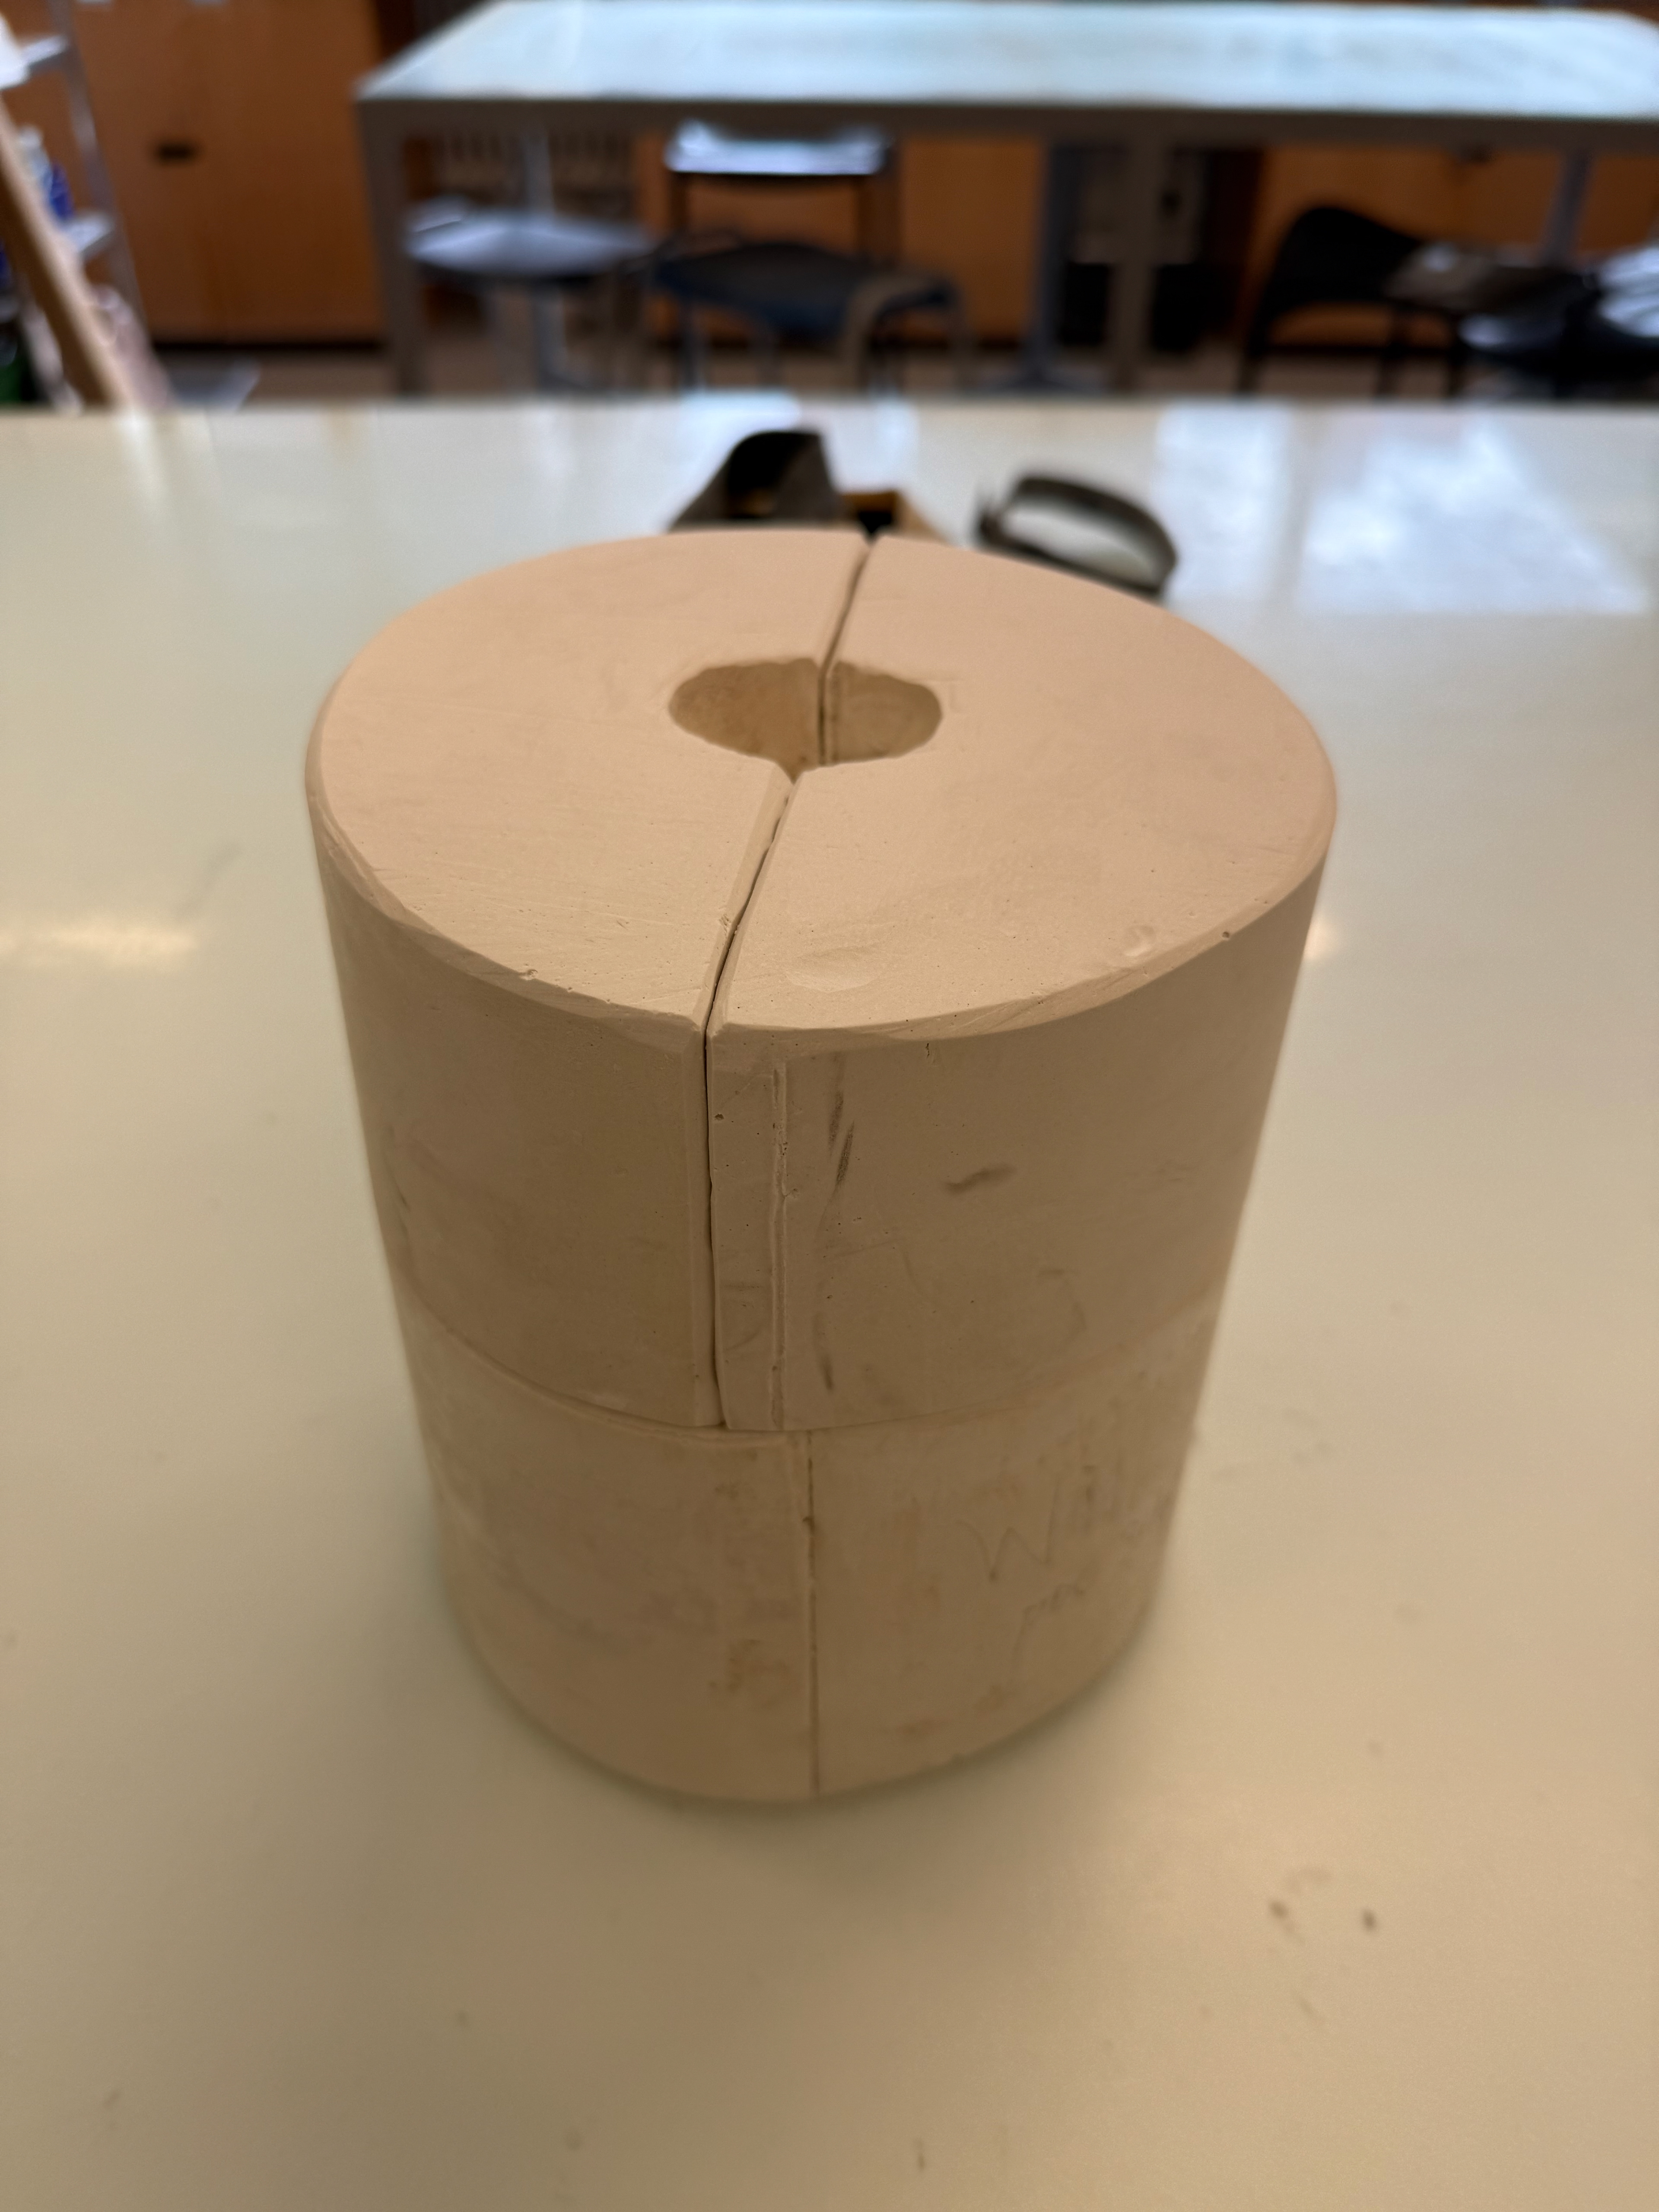
Fully finished mould.
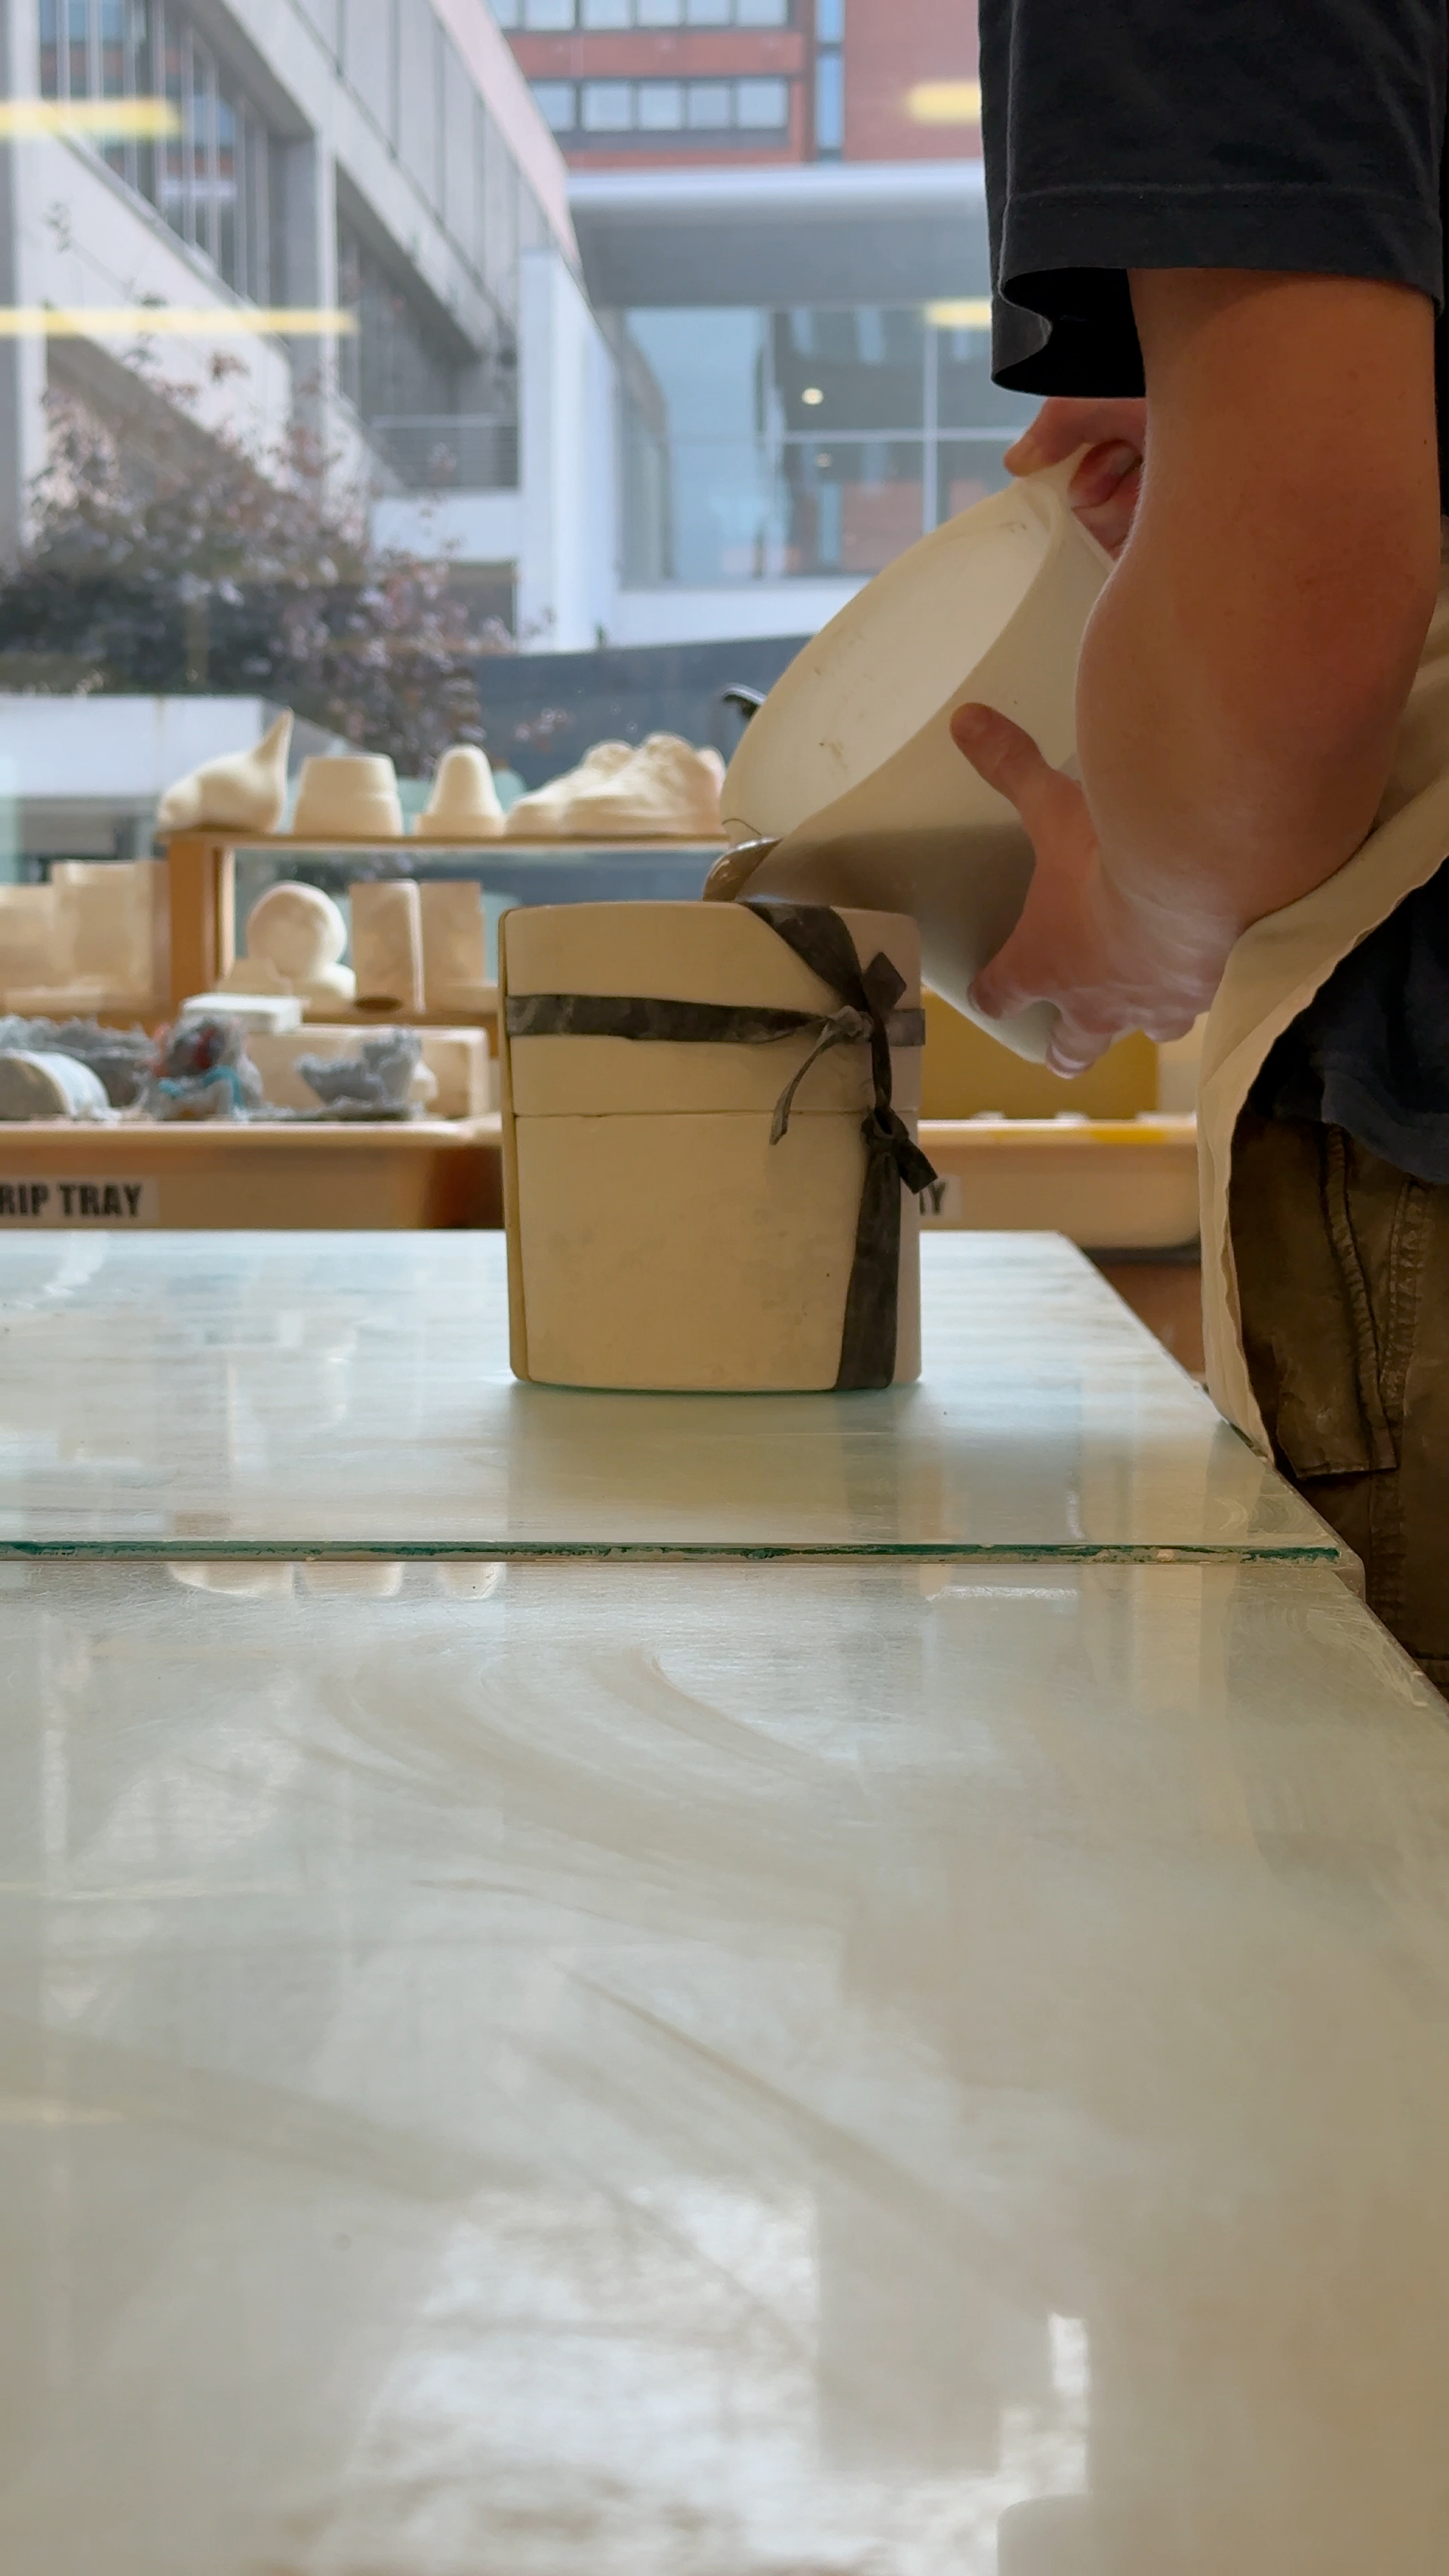
Pouring slip into the mould.
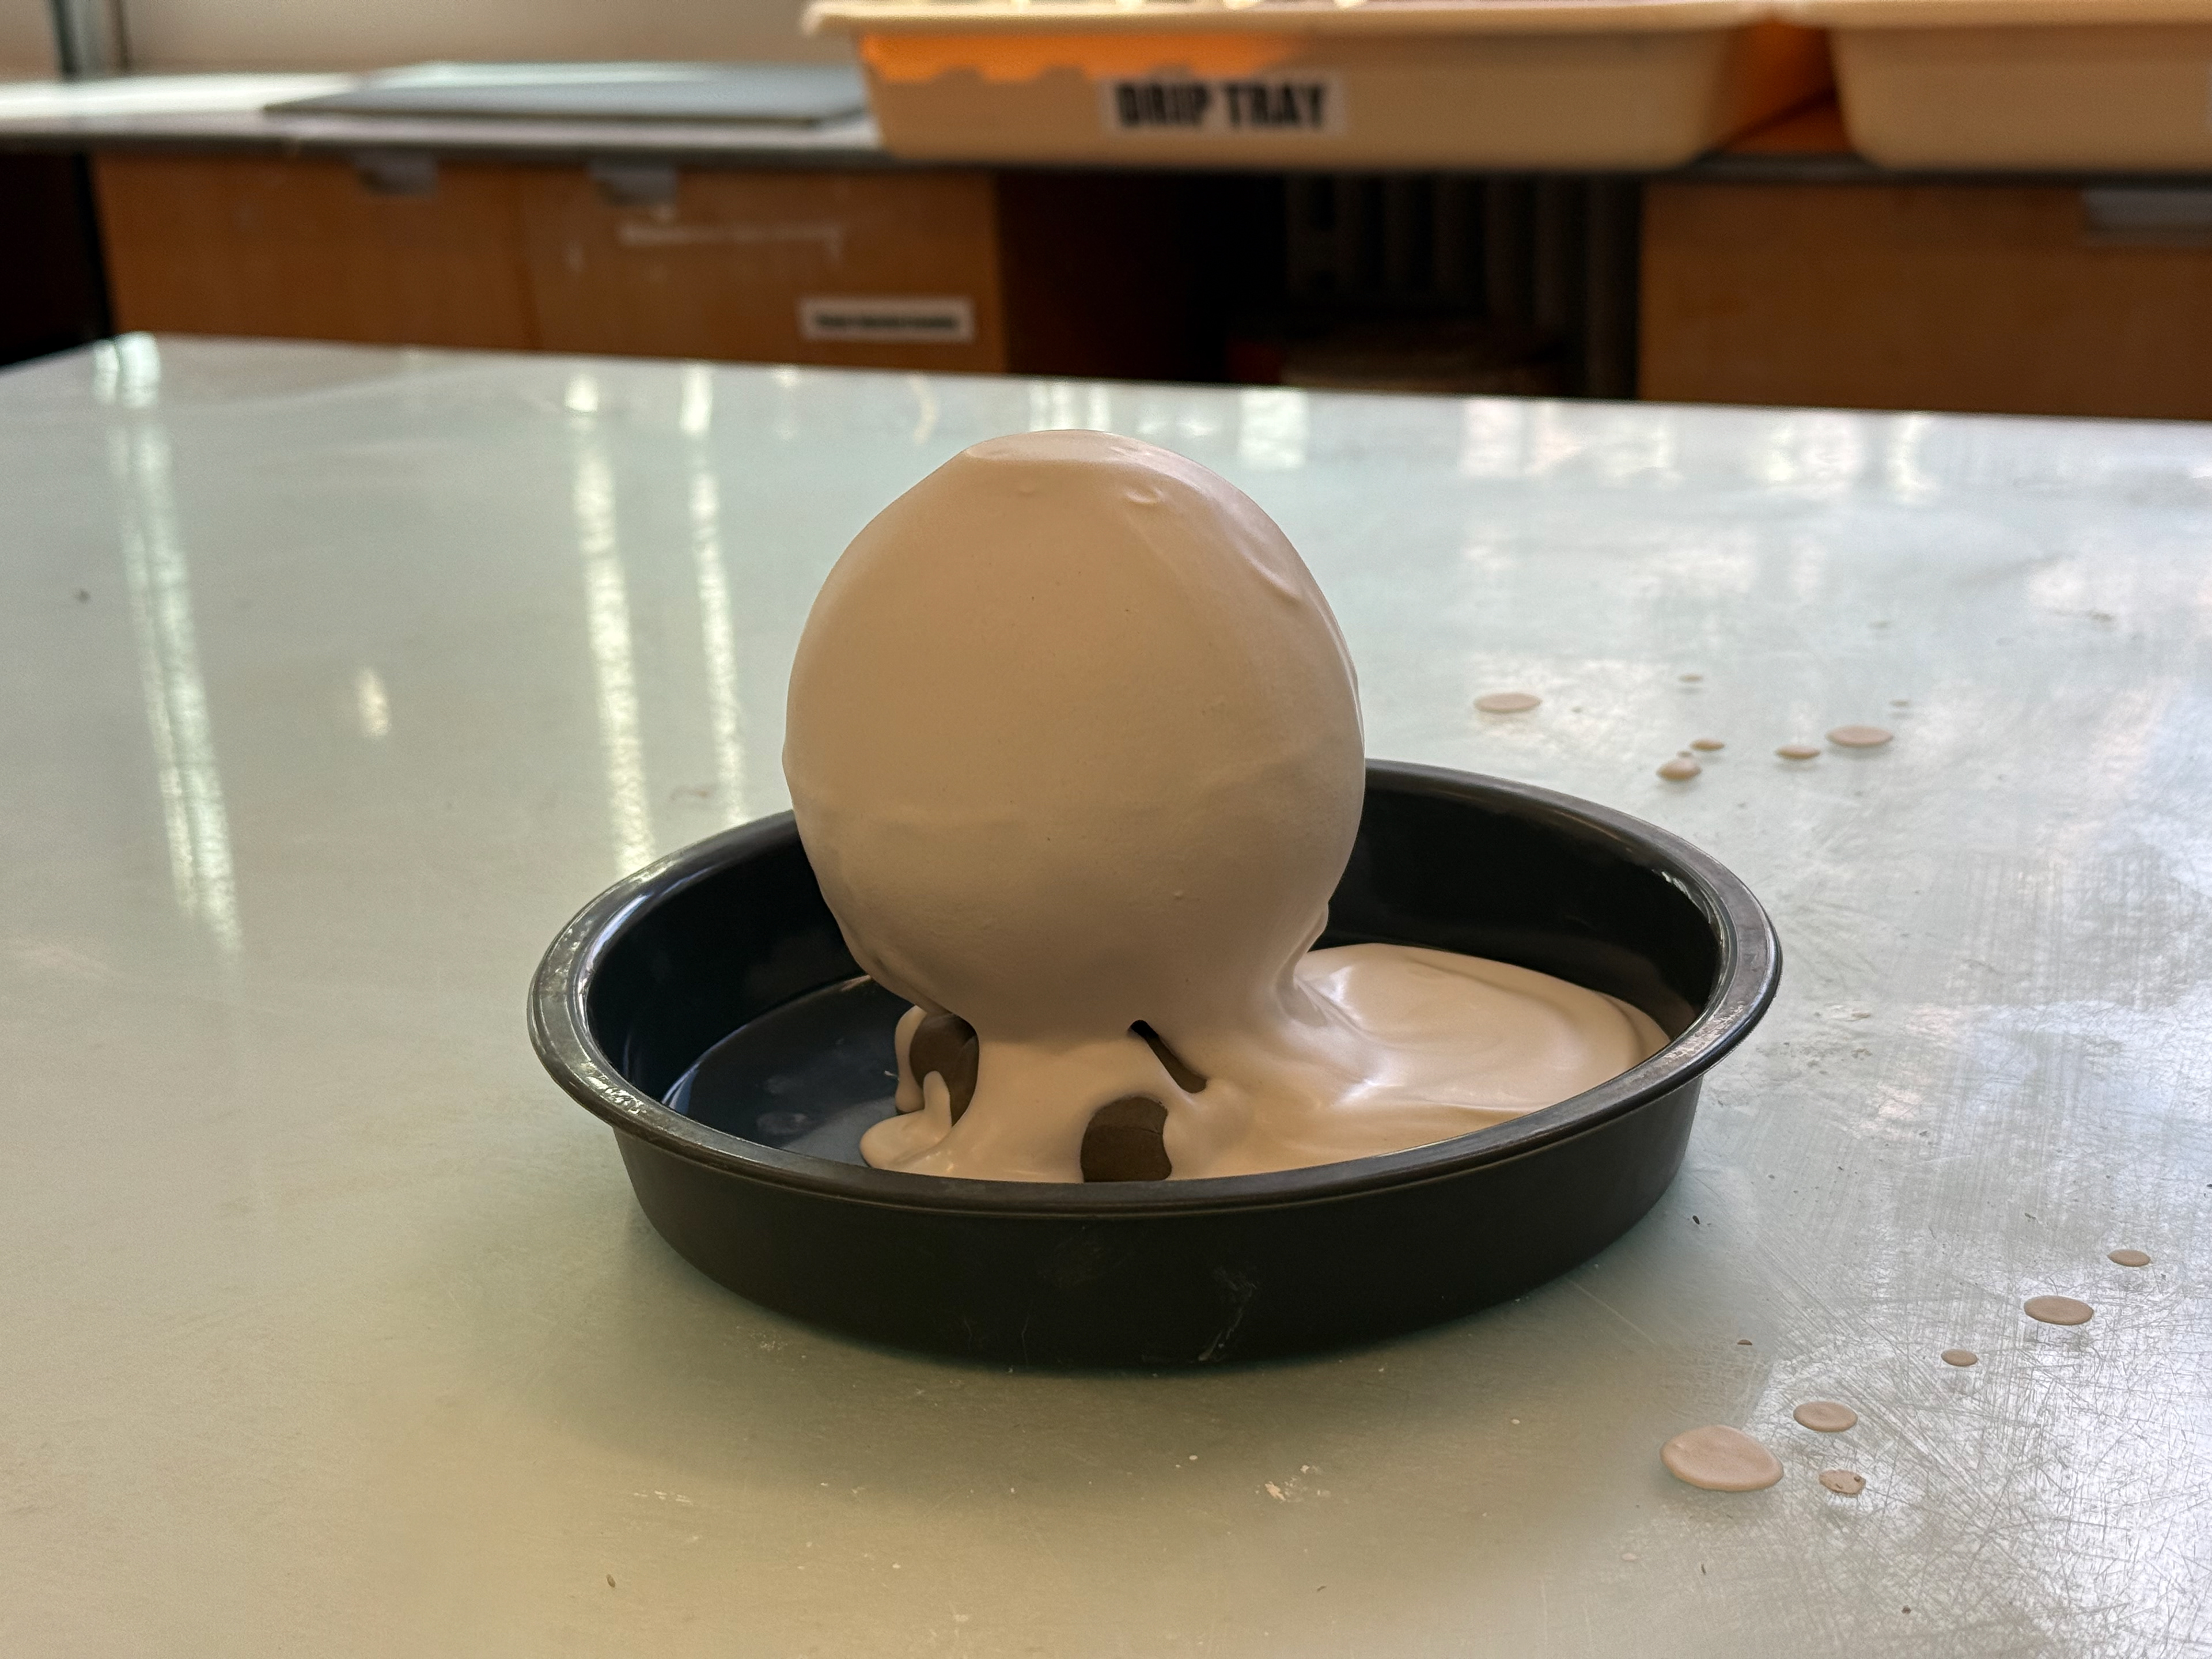
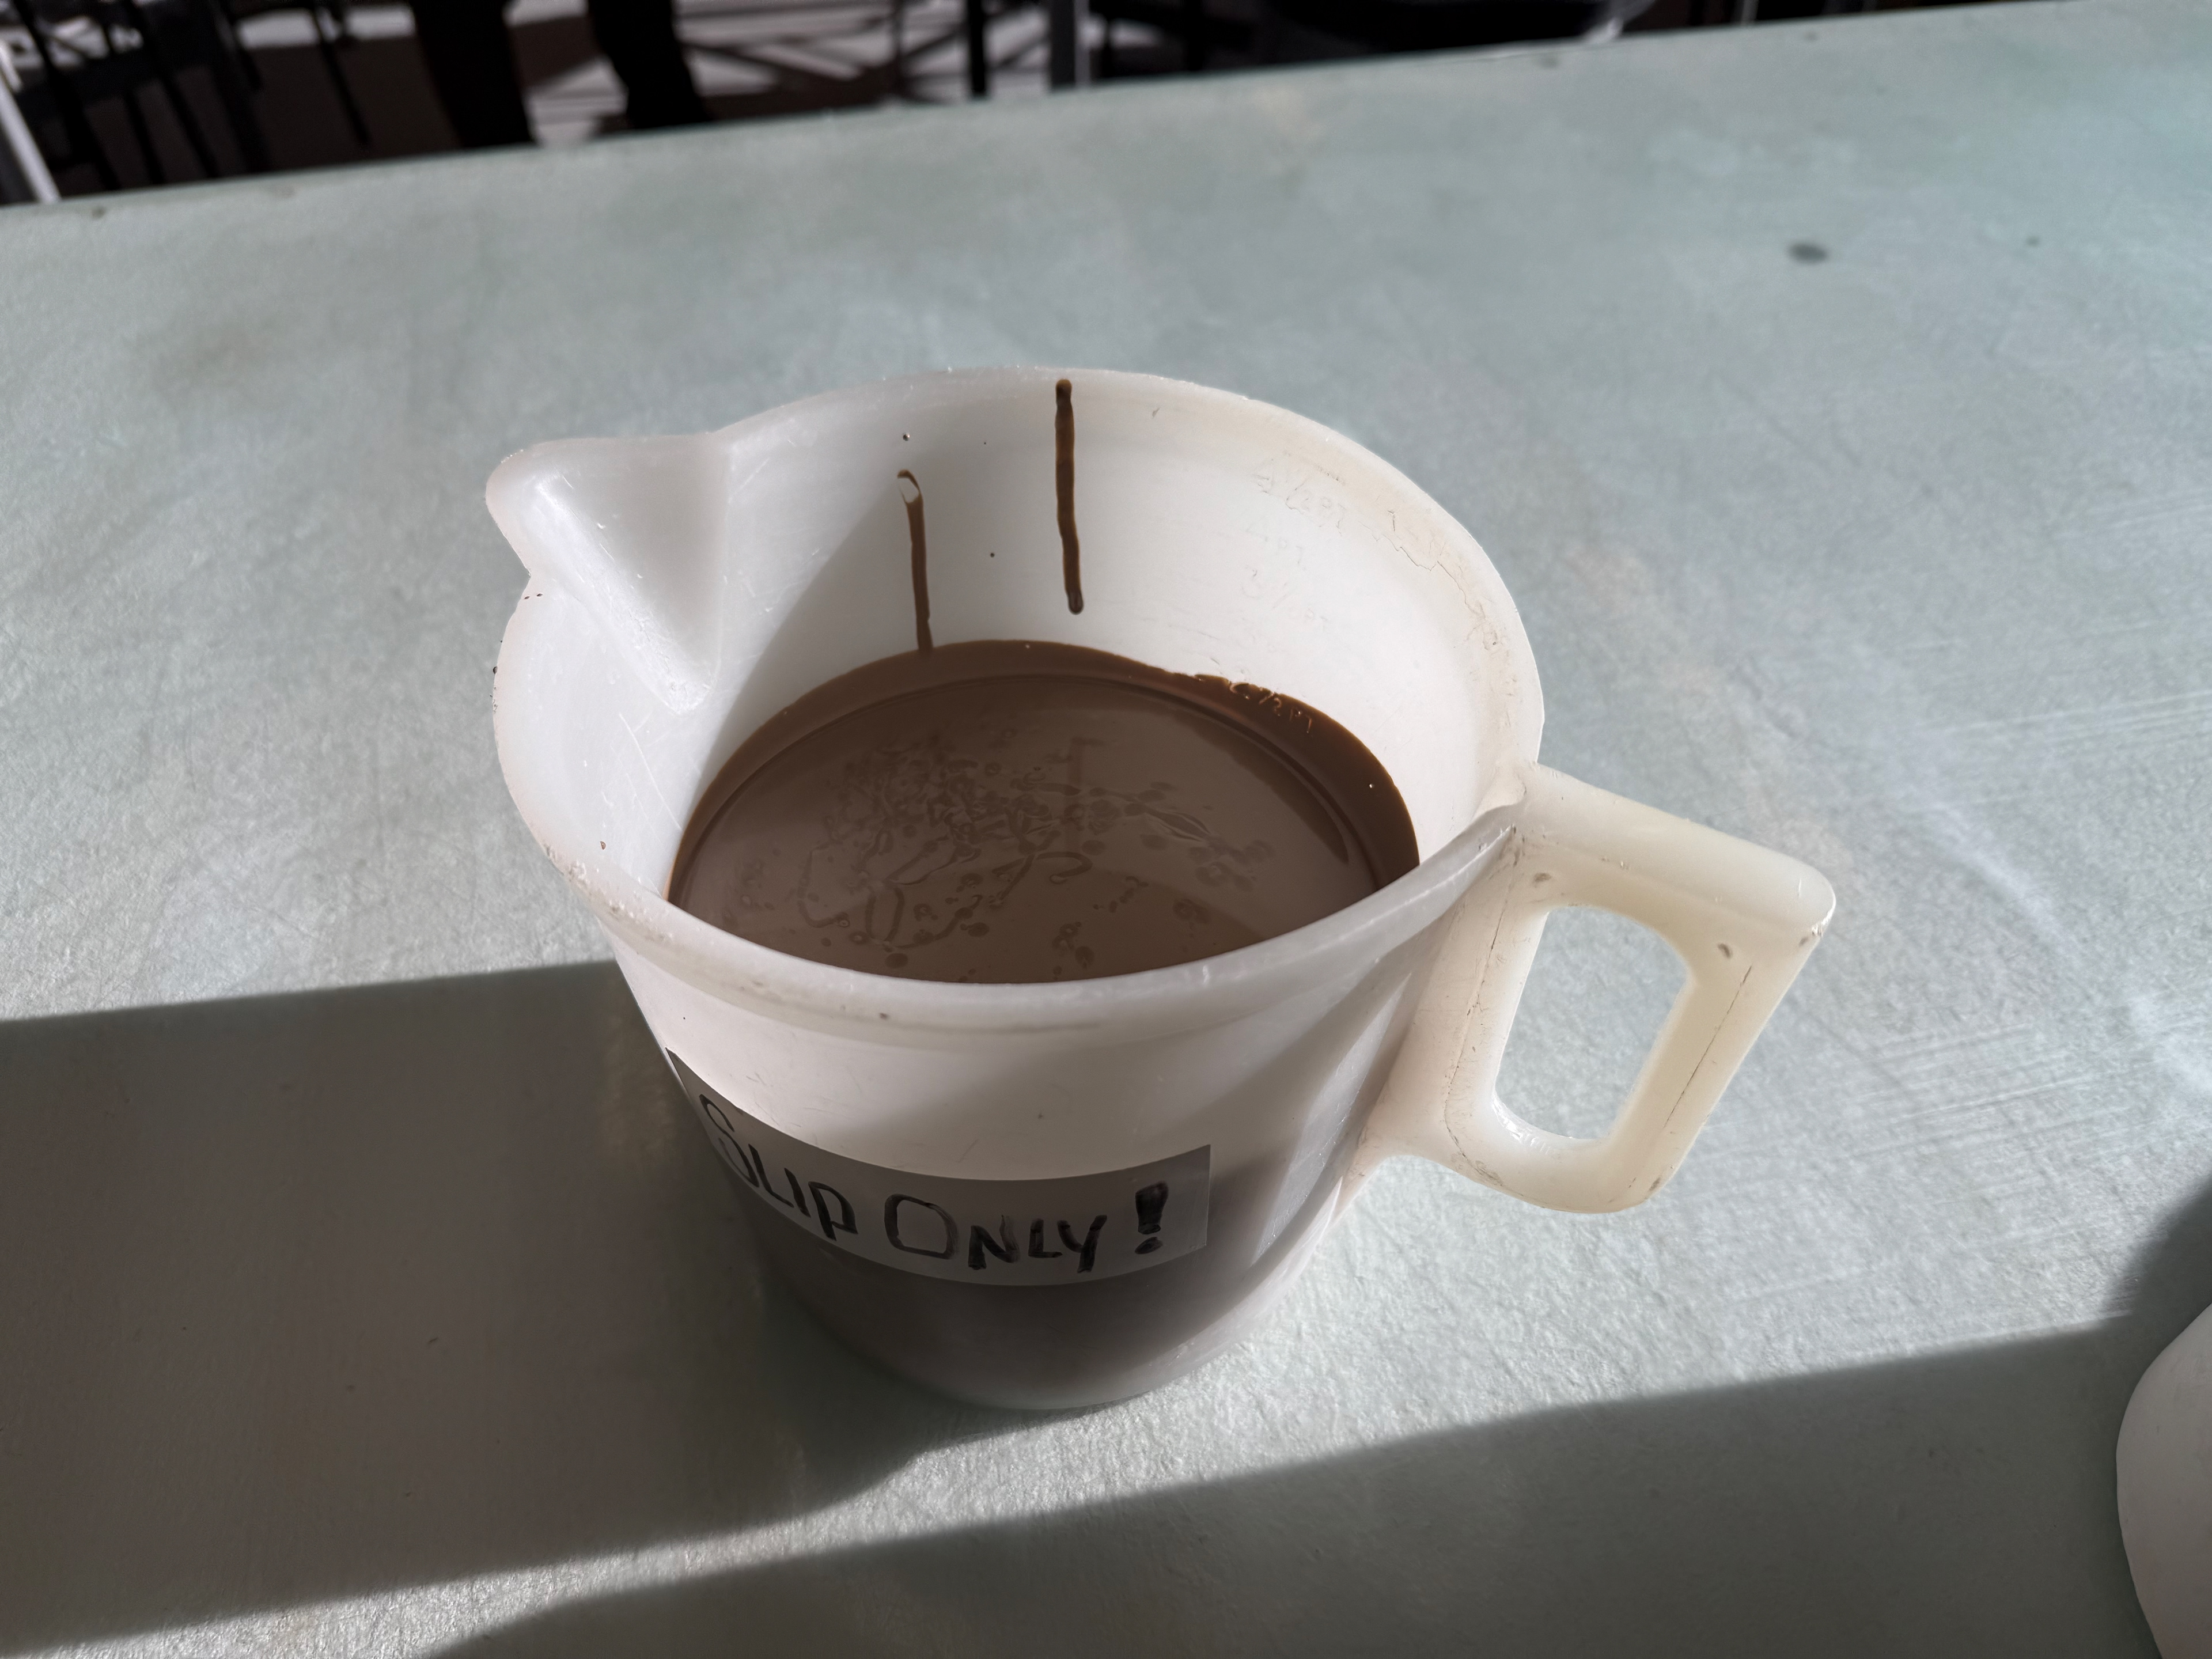
After leaving the filled mould for 30 minutes, I drained the remaining liquid slip out to help the "set" slip dry.
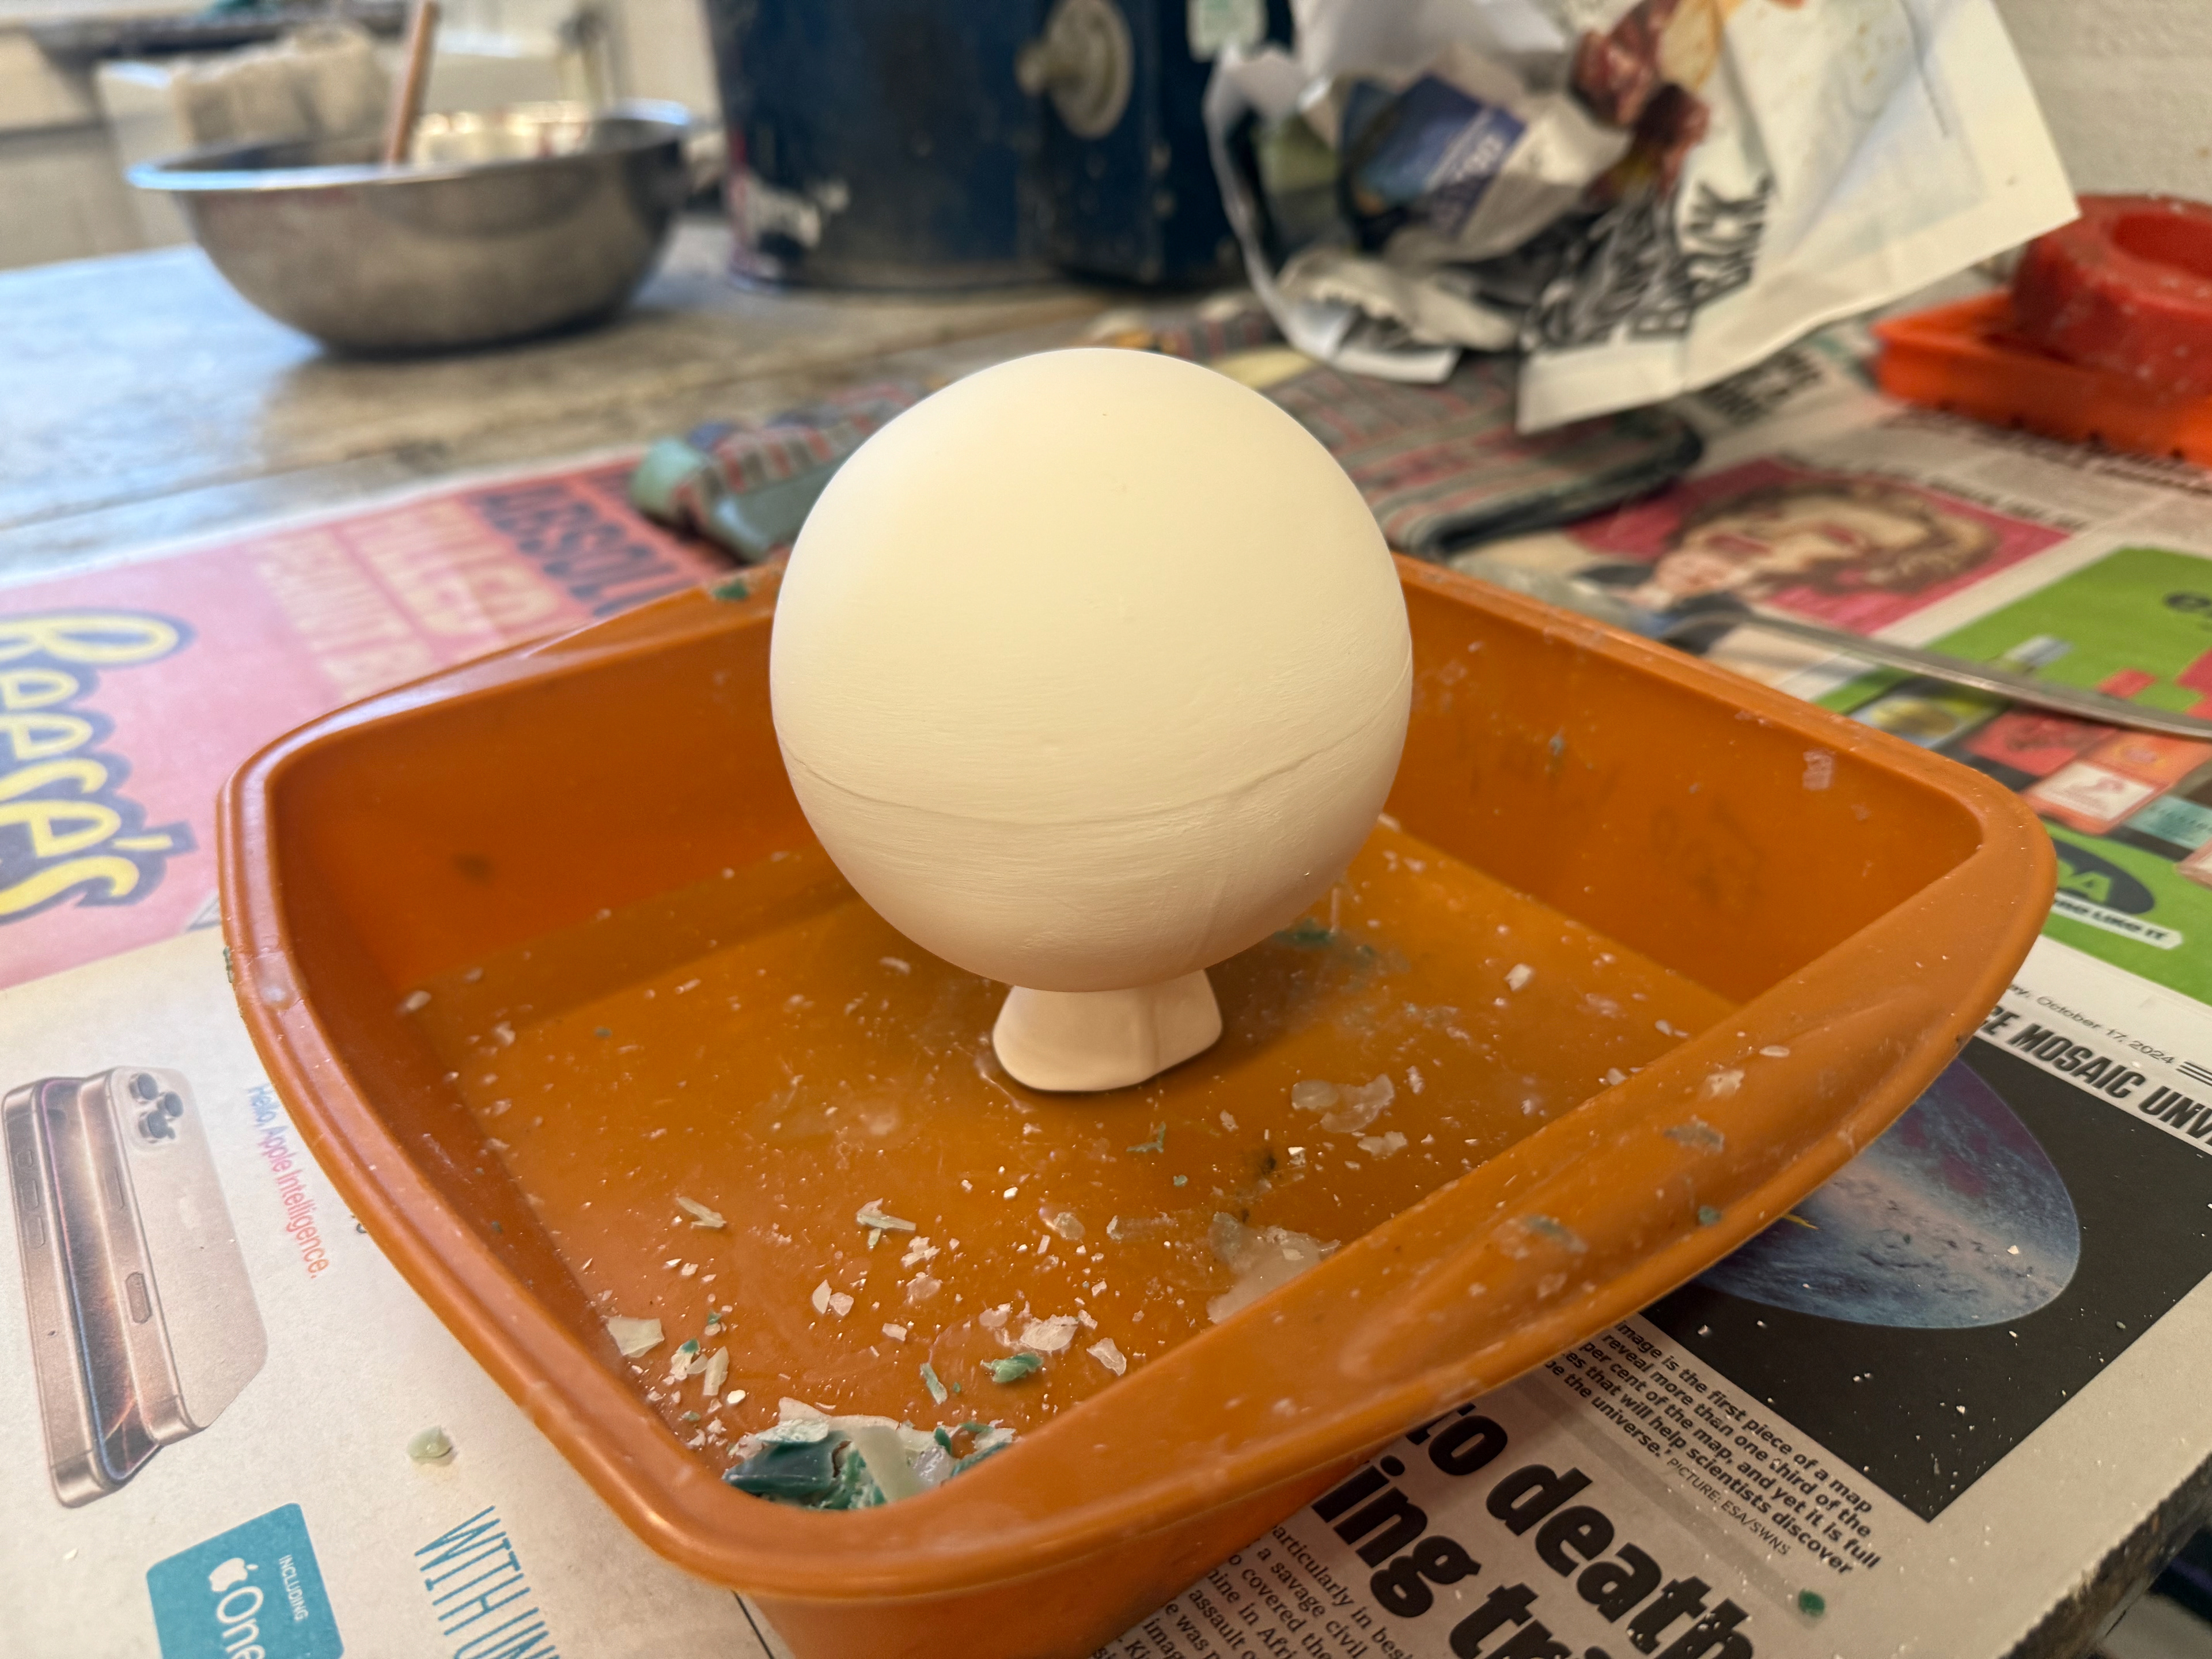
Mould left dripping for 45 minutes.
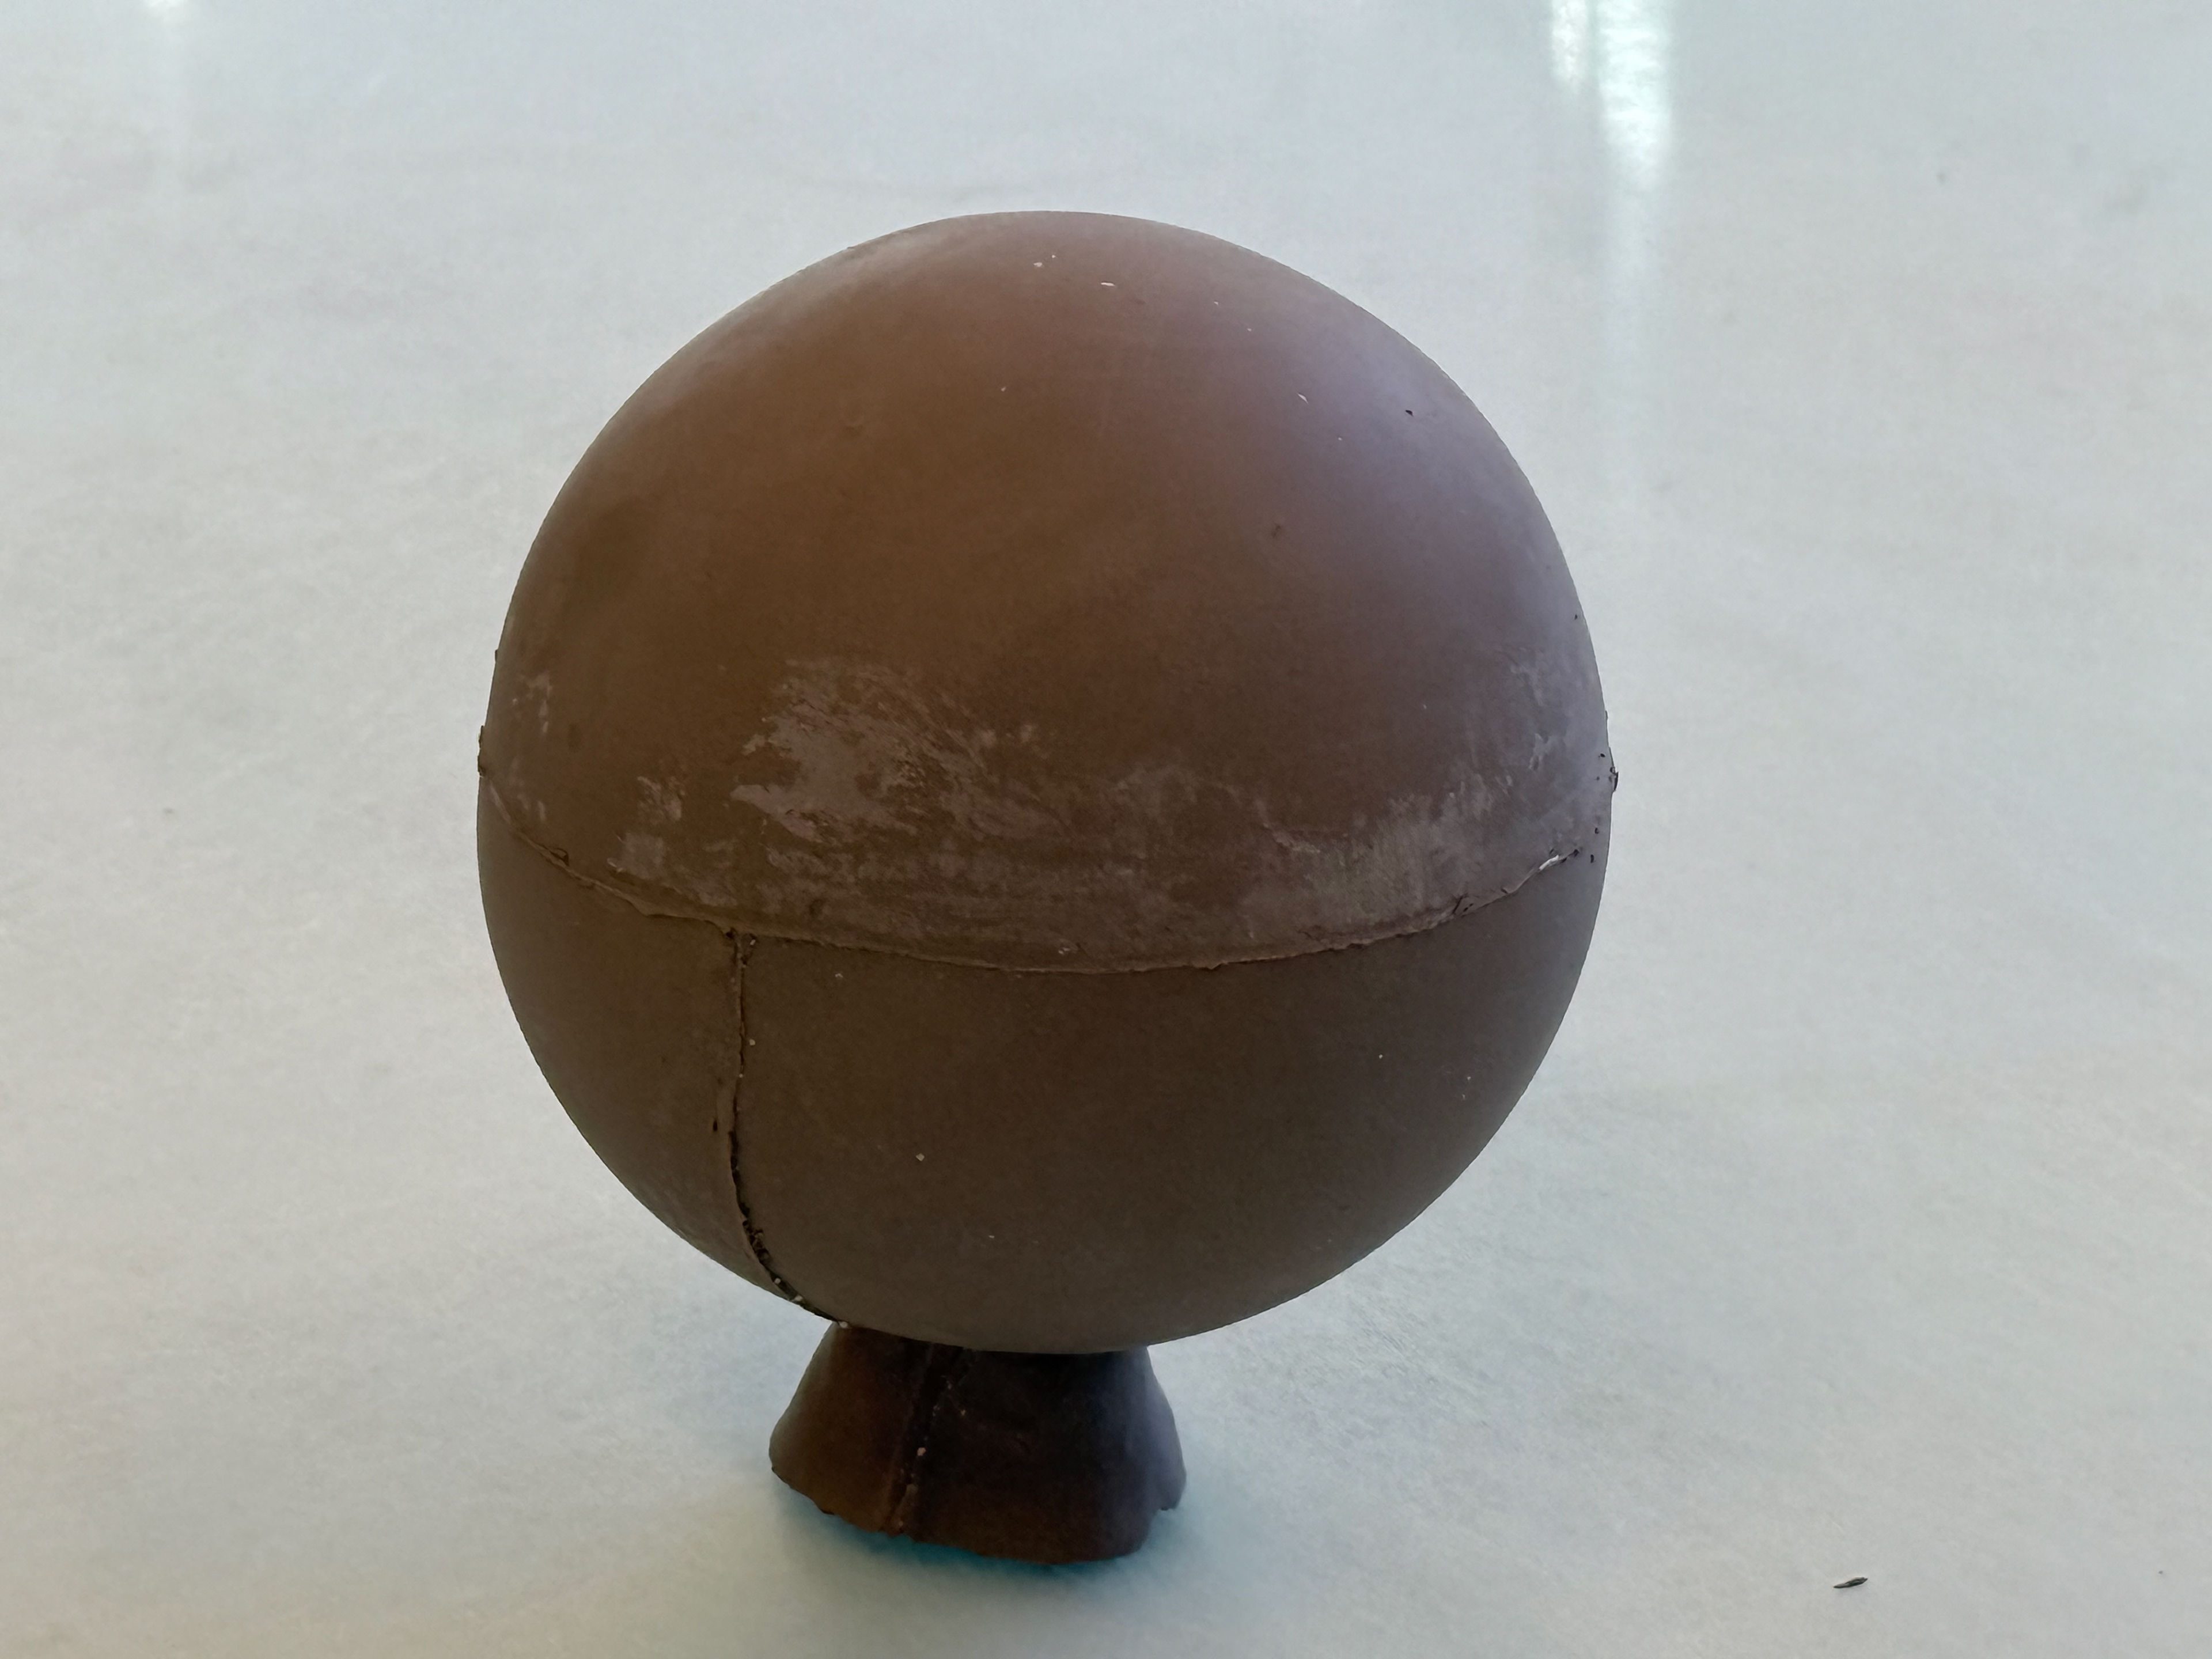
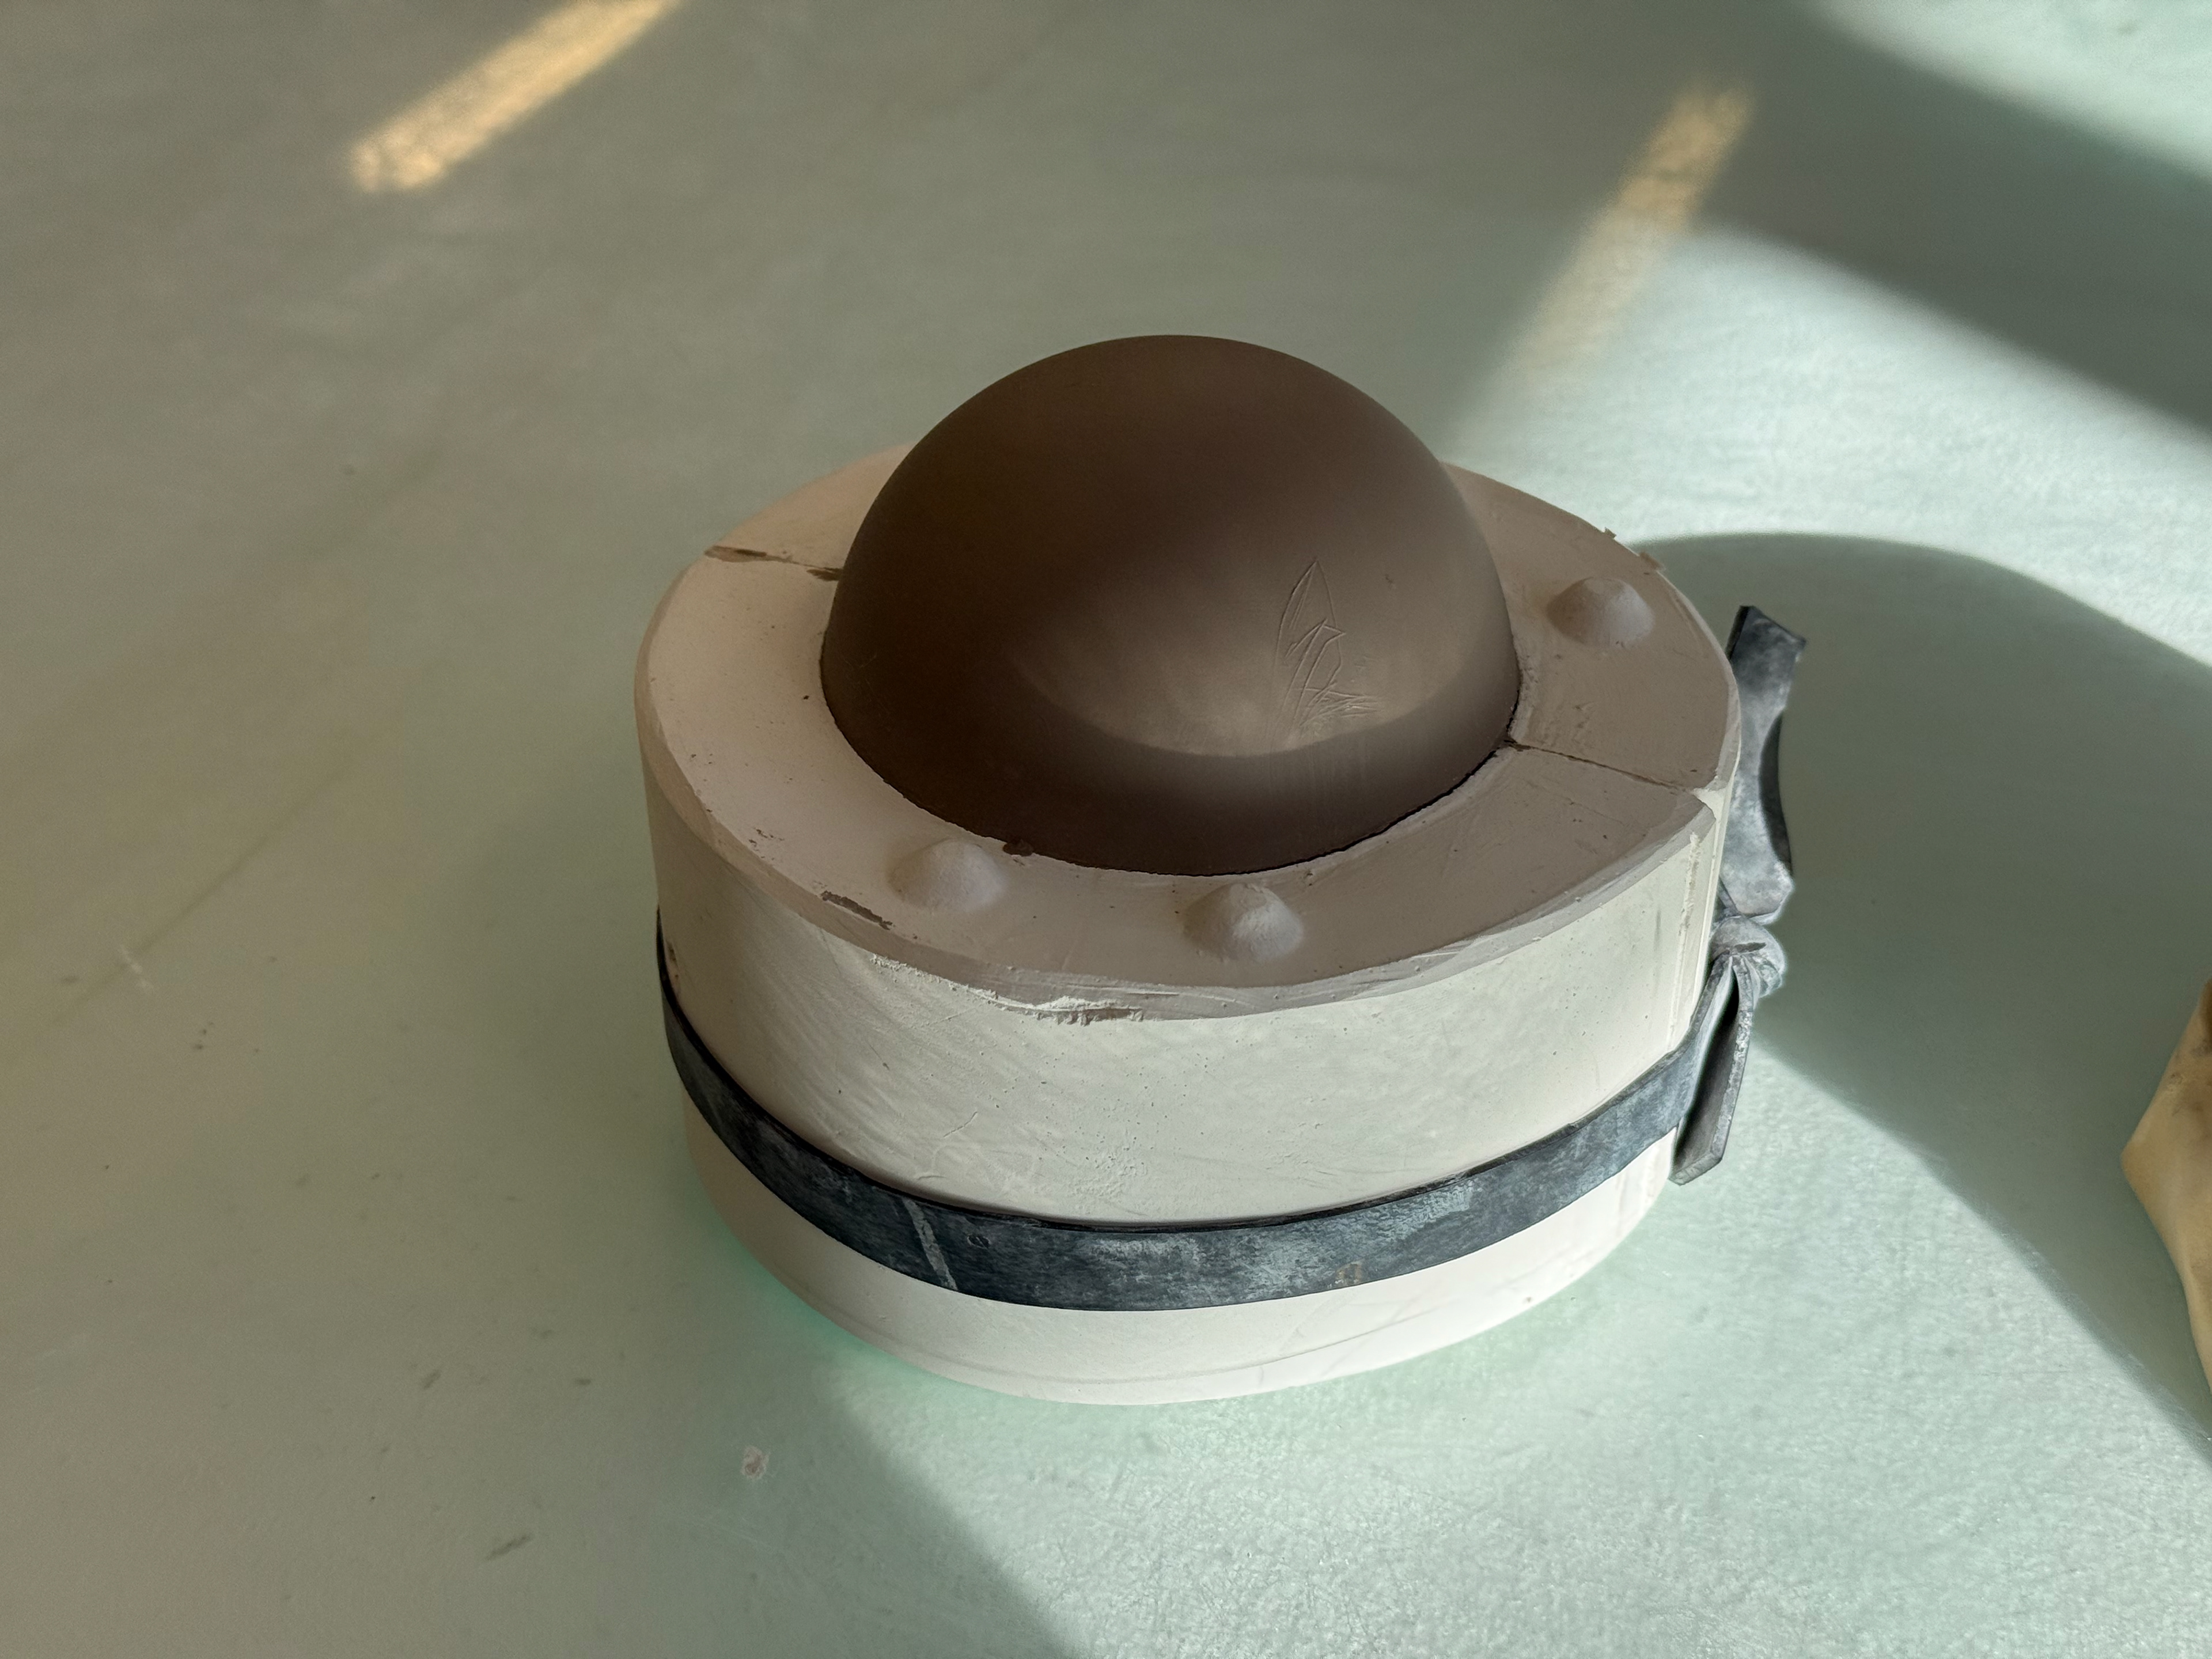
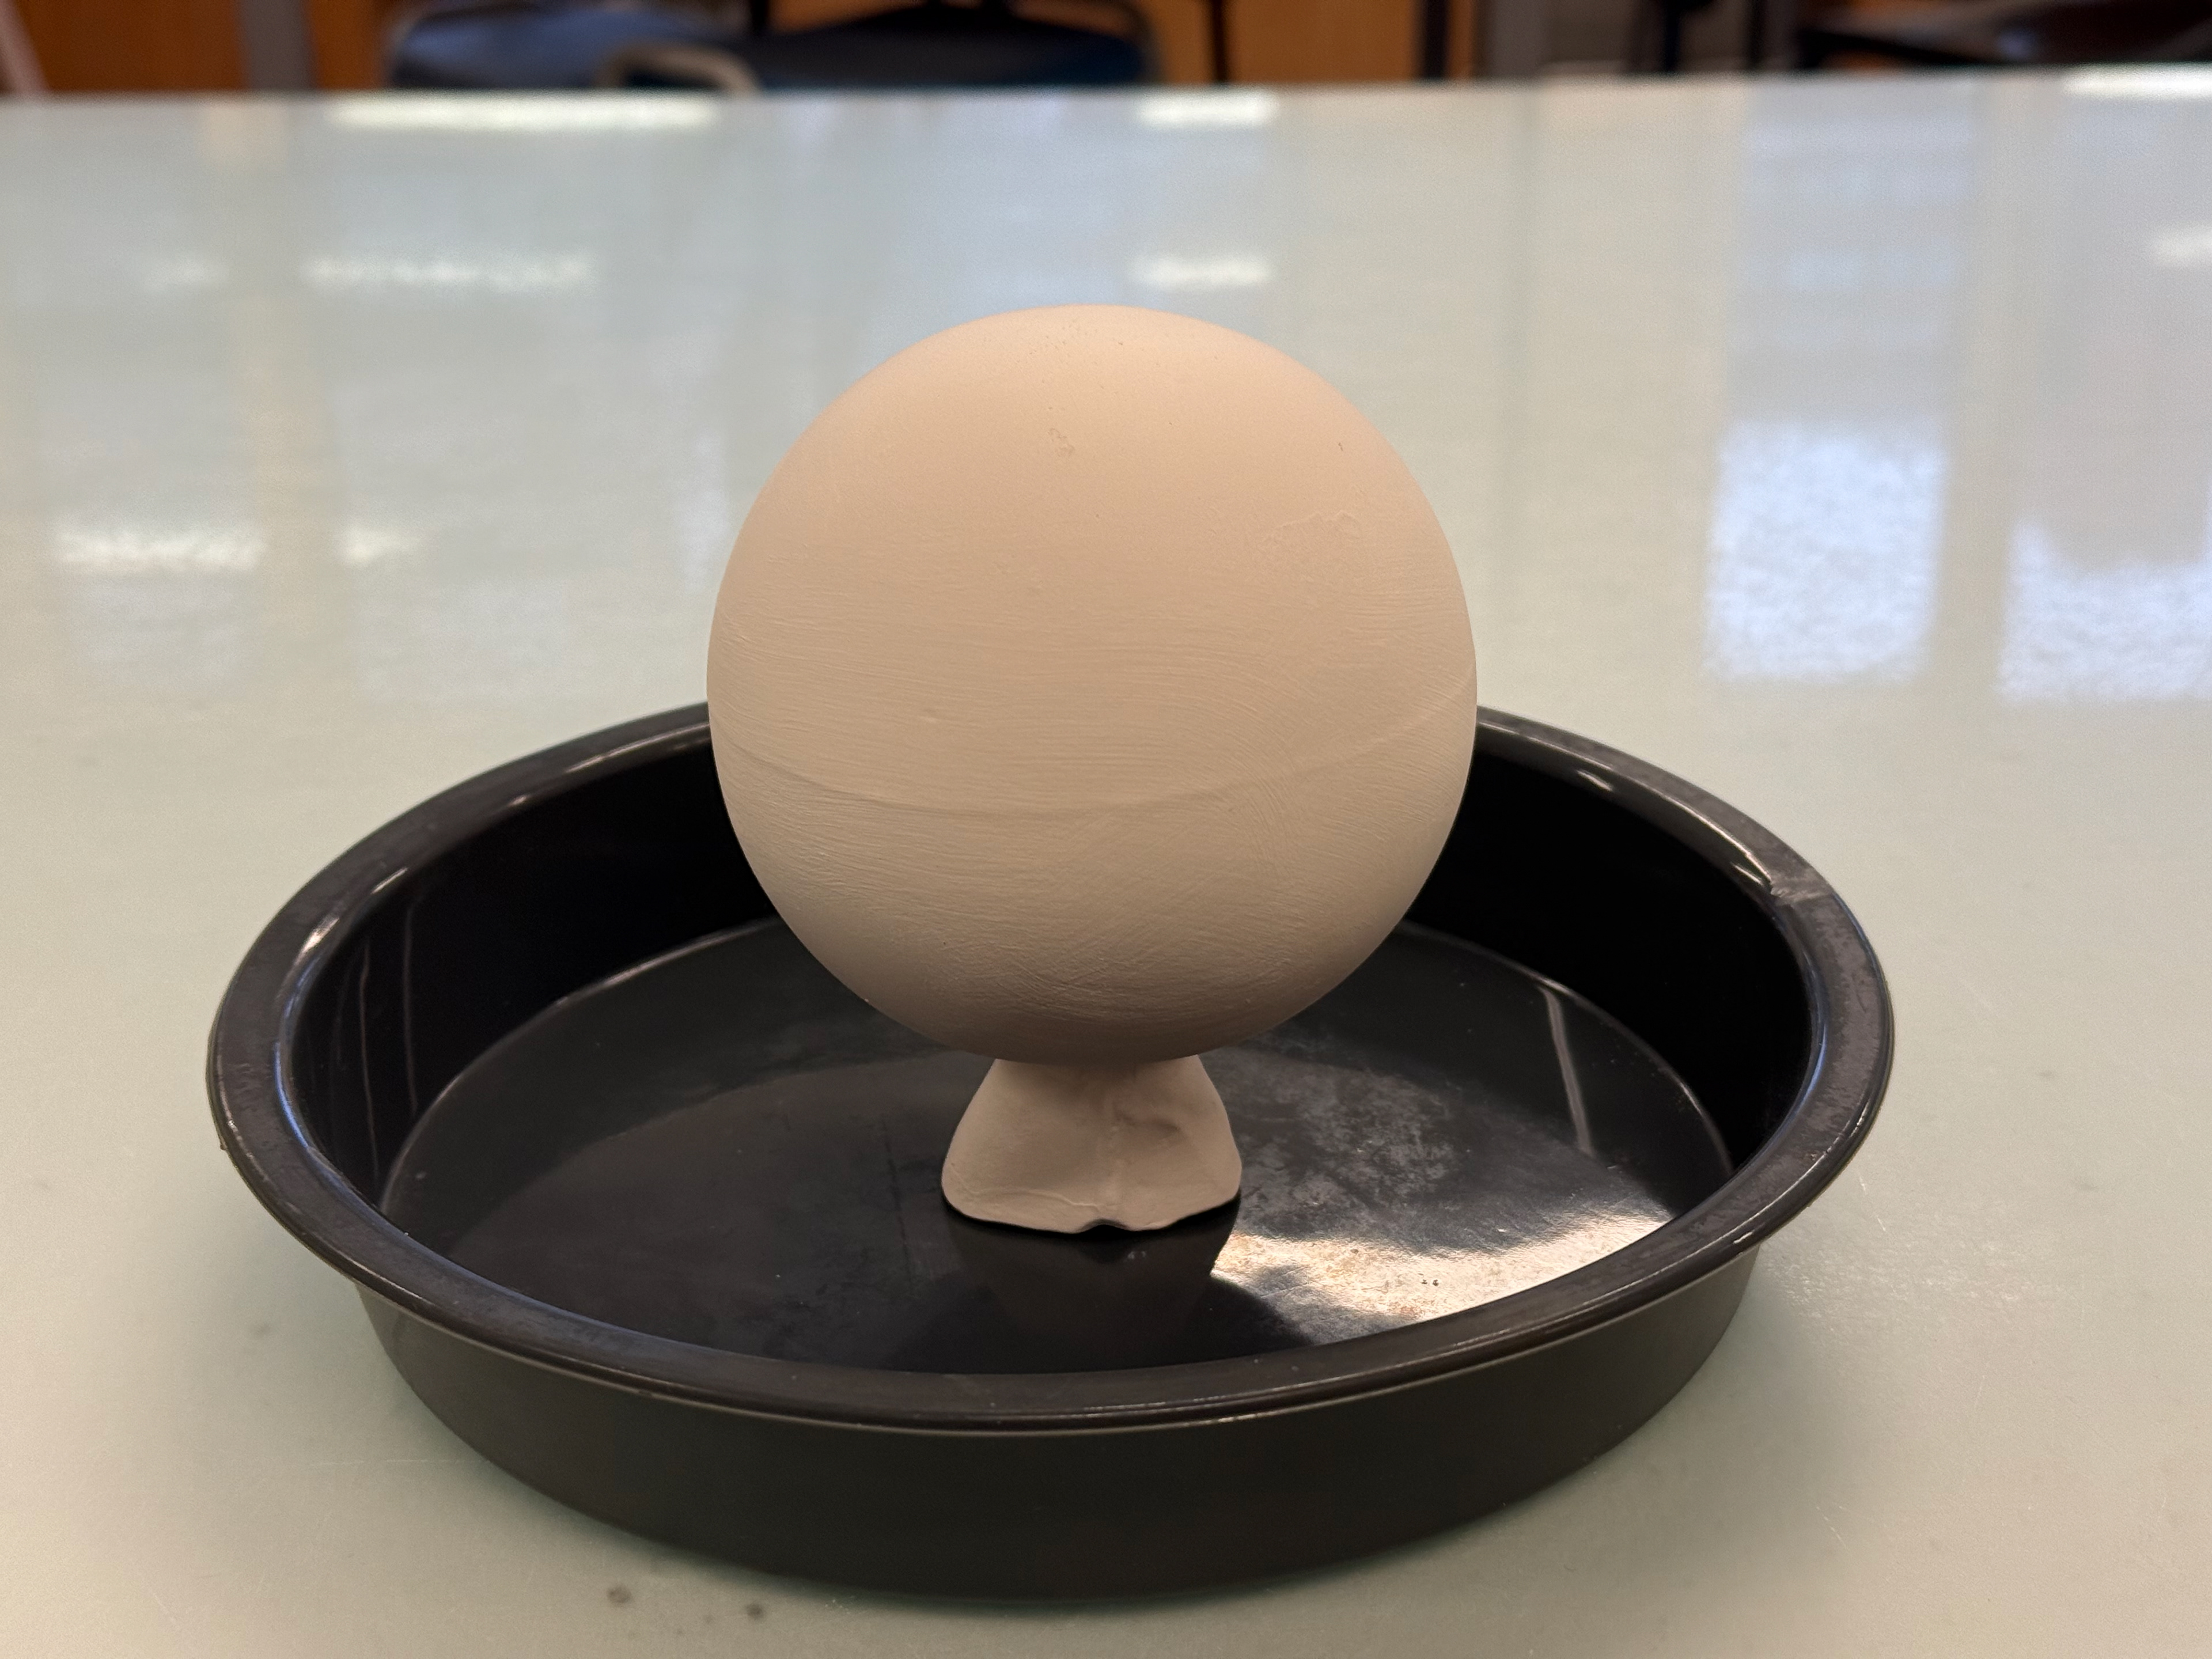
The sphere that took a total of 75 minutes from liquid to solid.
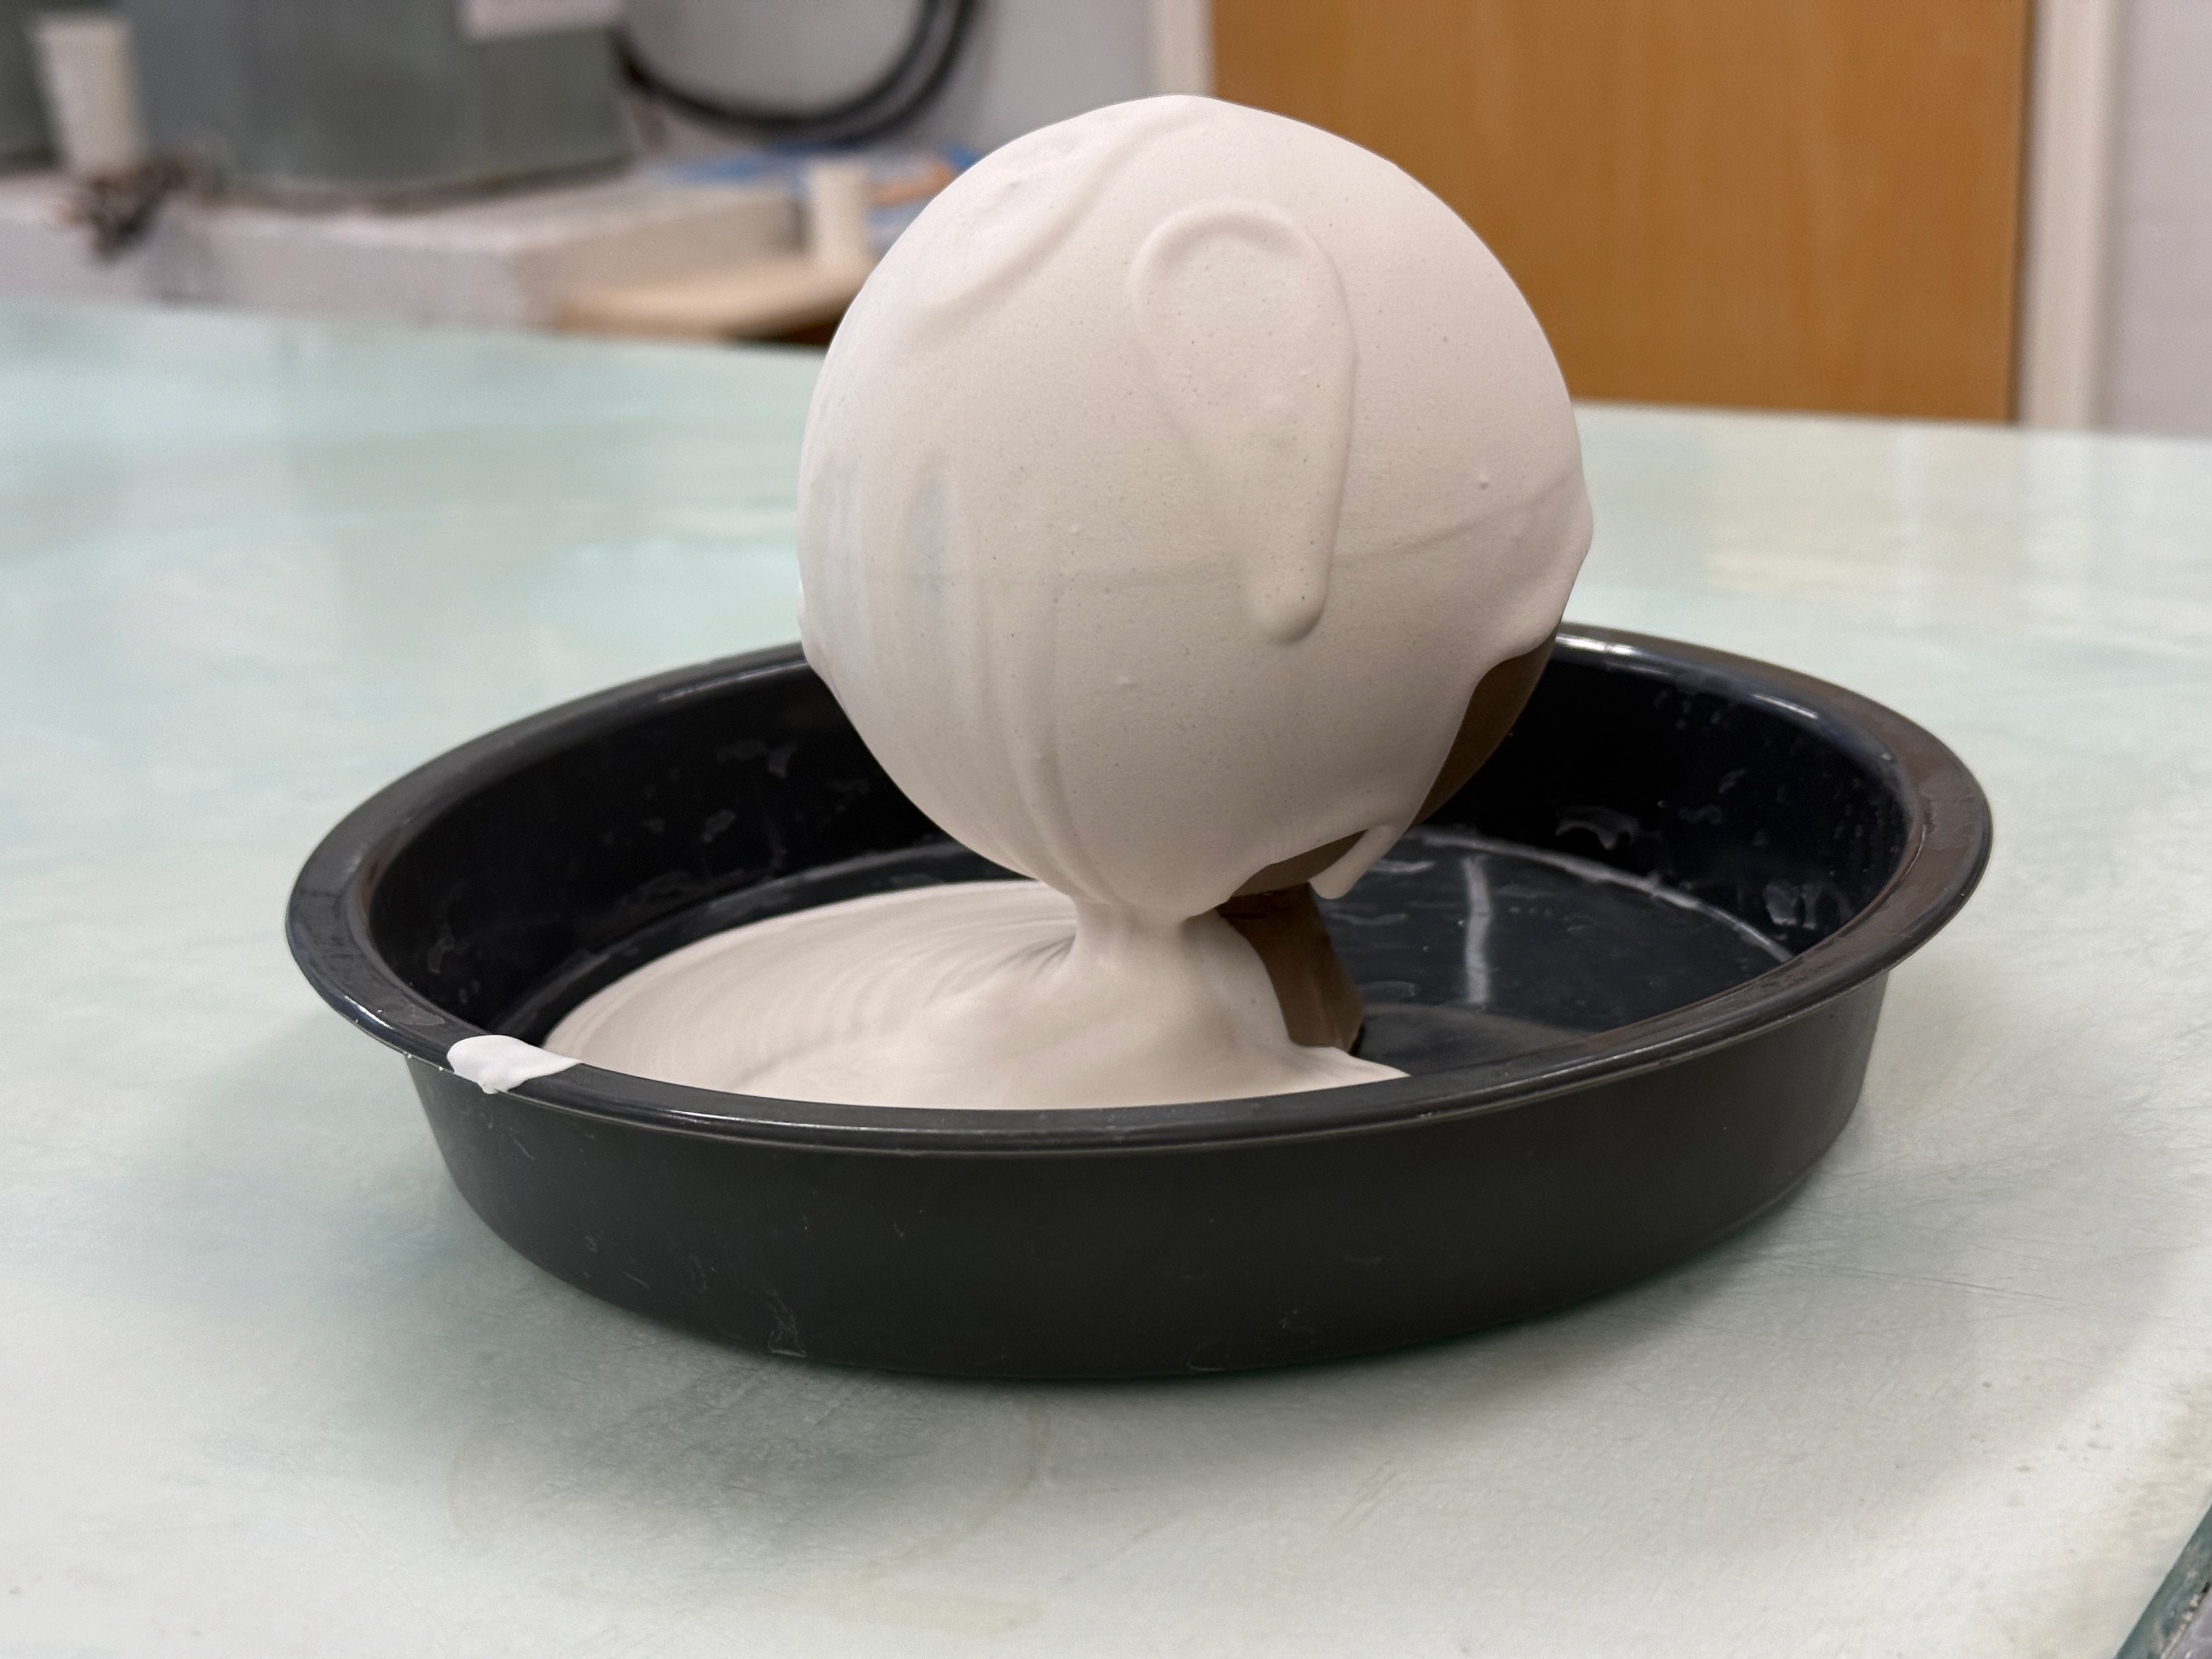
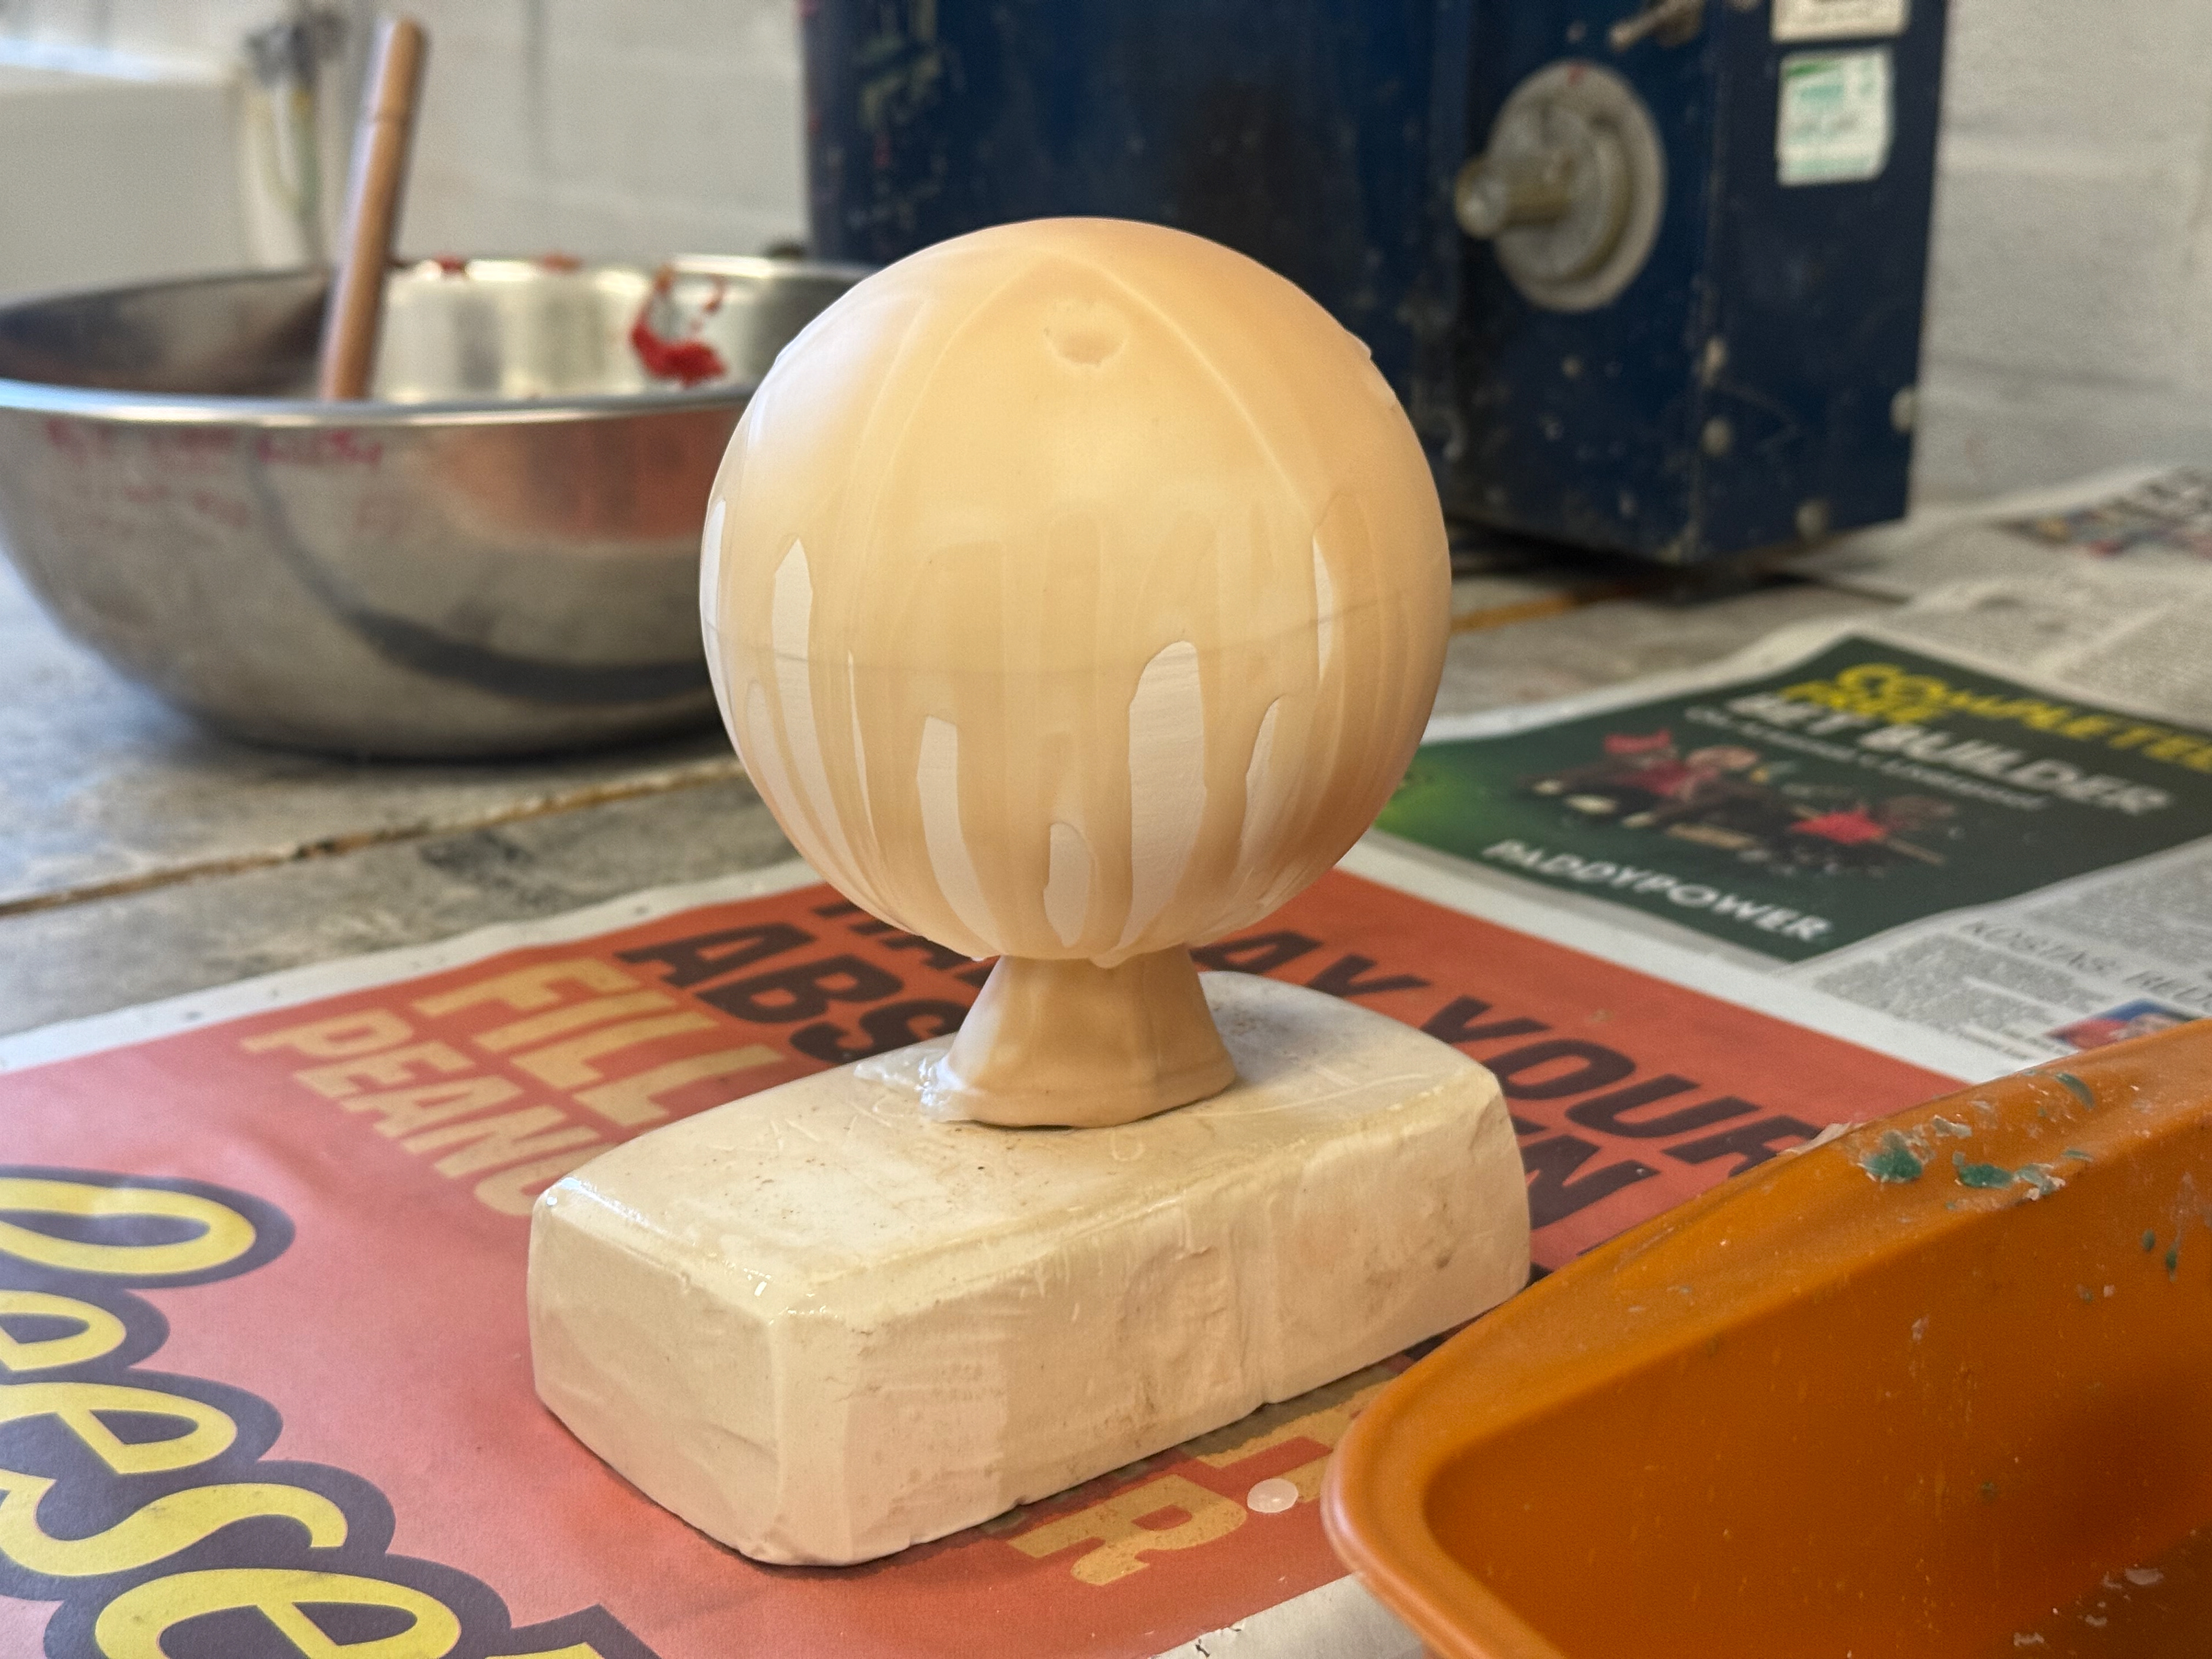
Pouring plaster onto the slip bauble.
The plaster setting.
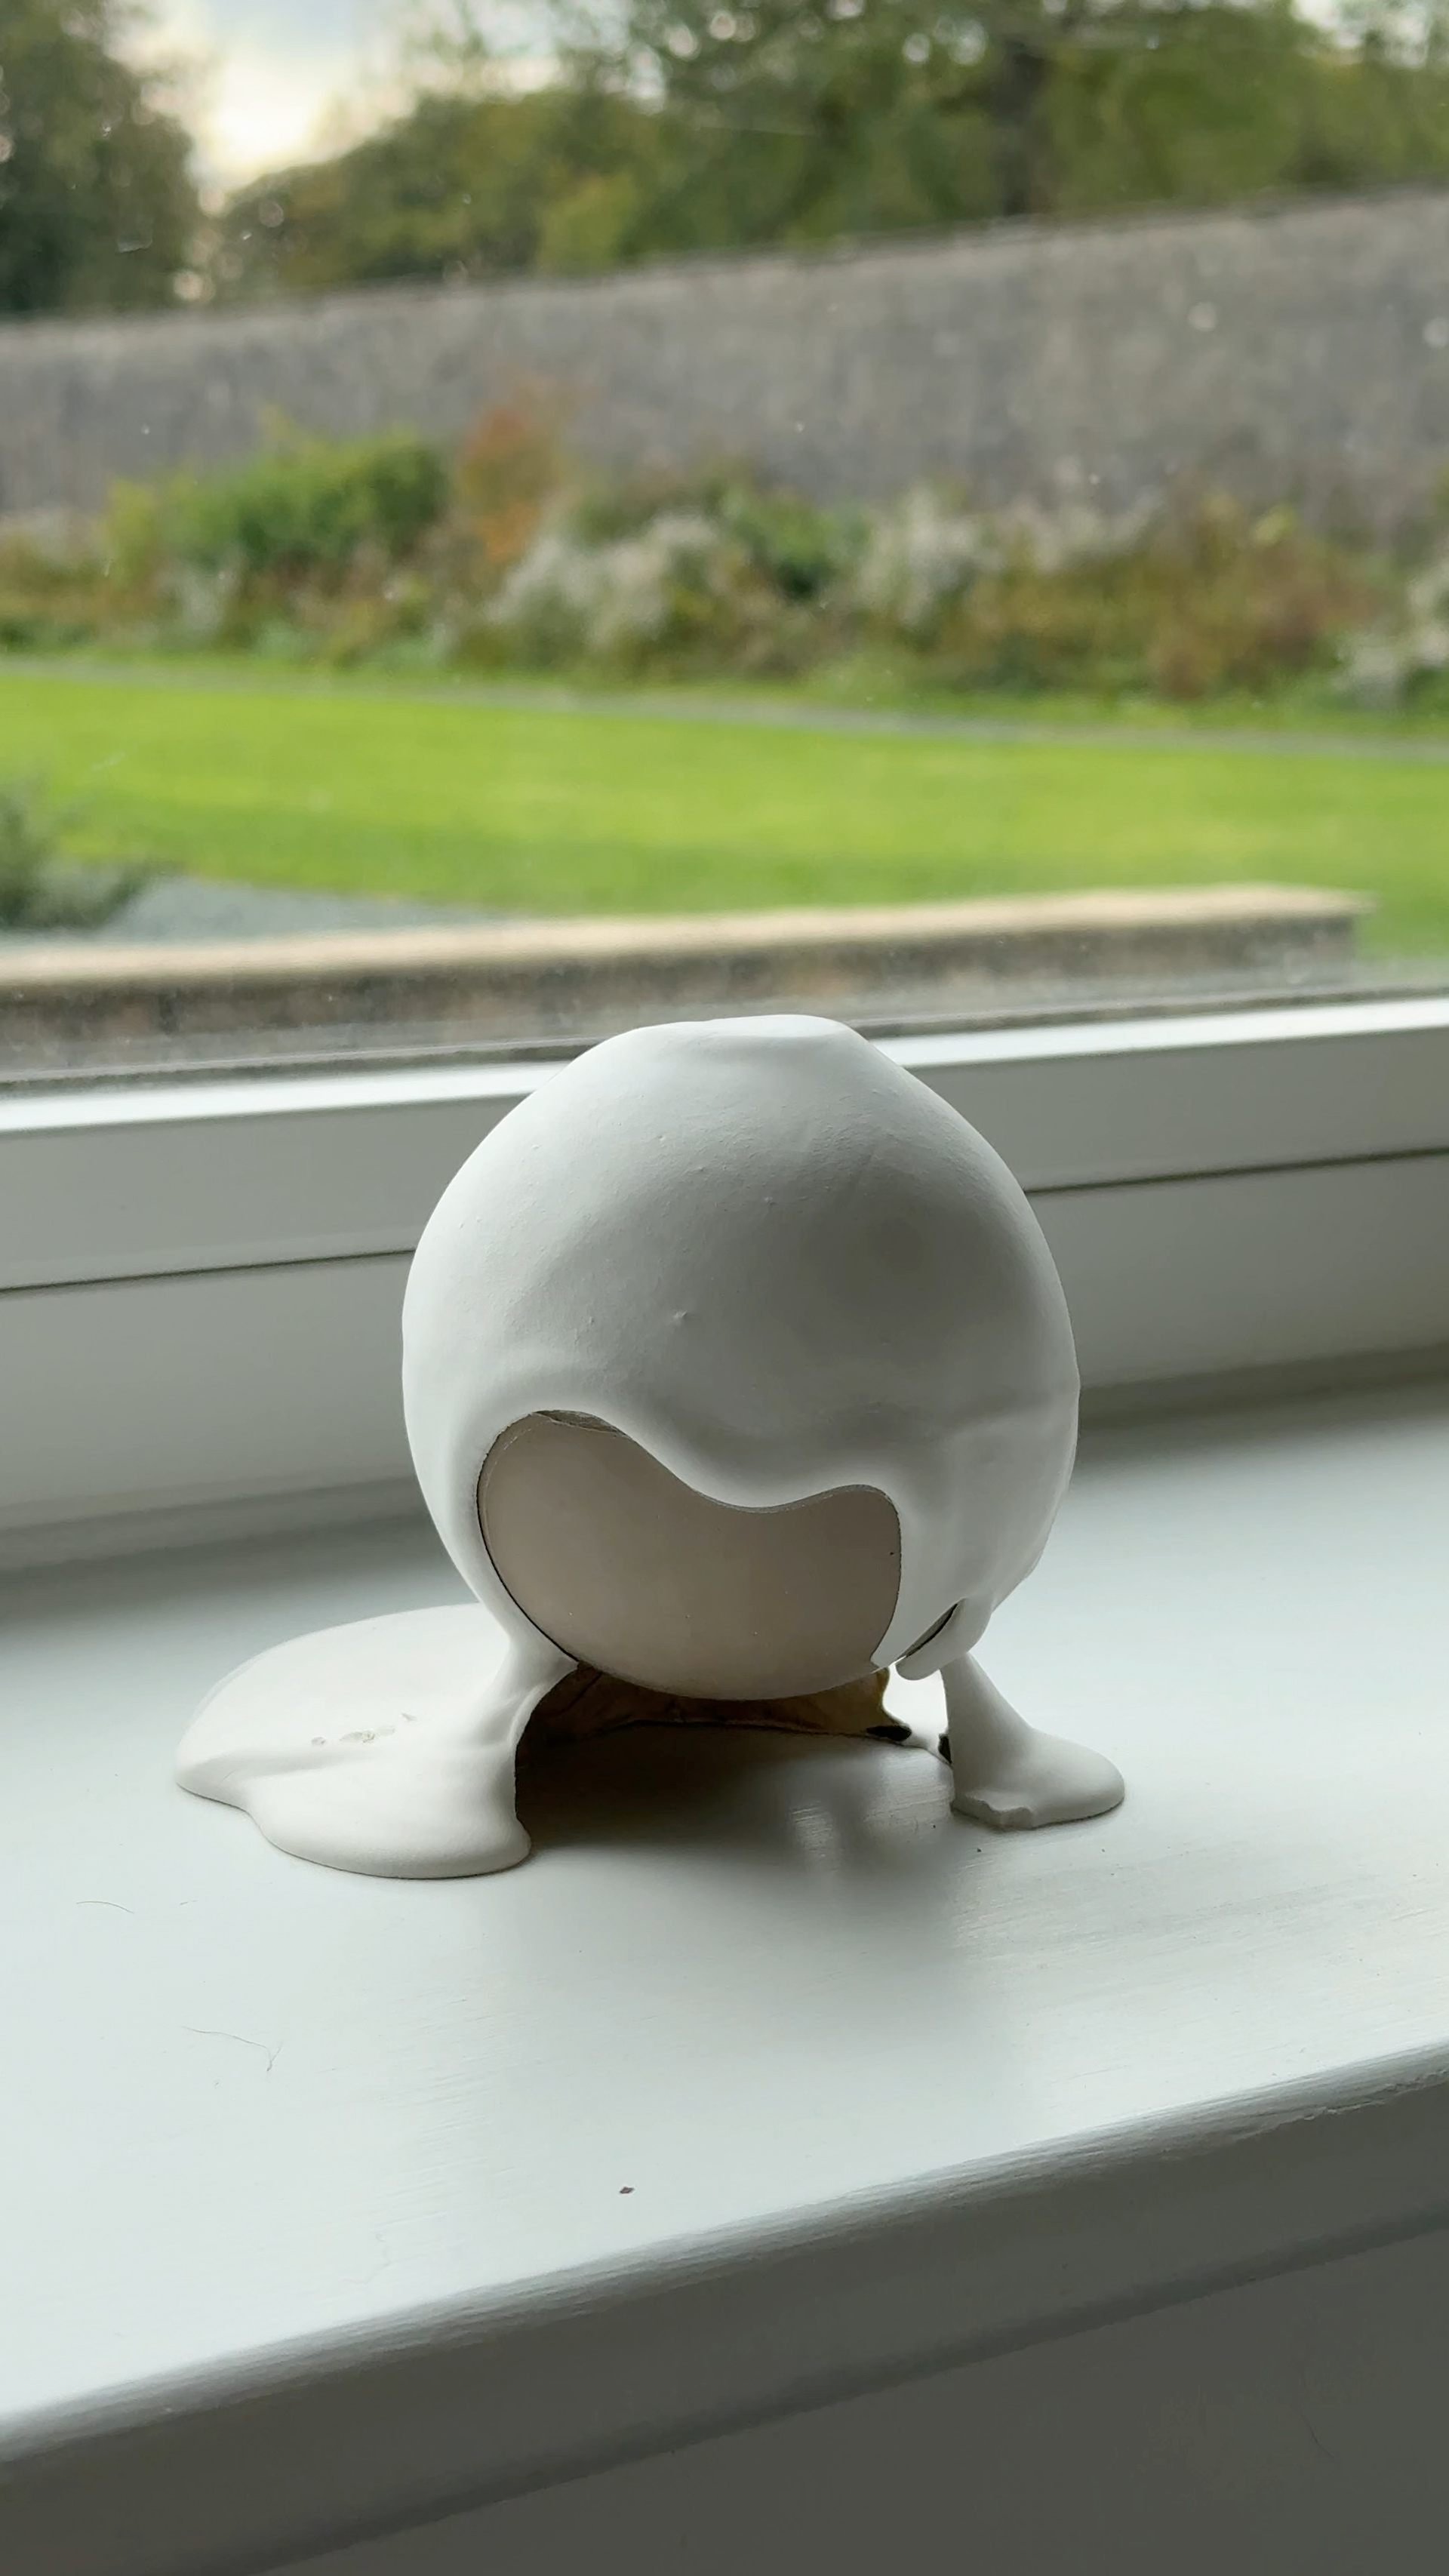
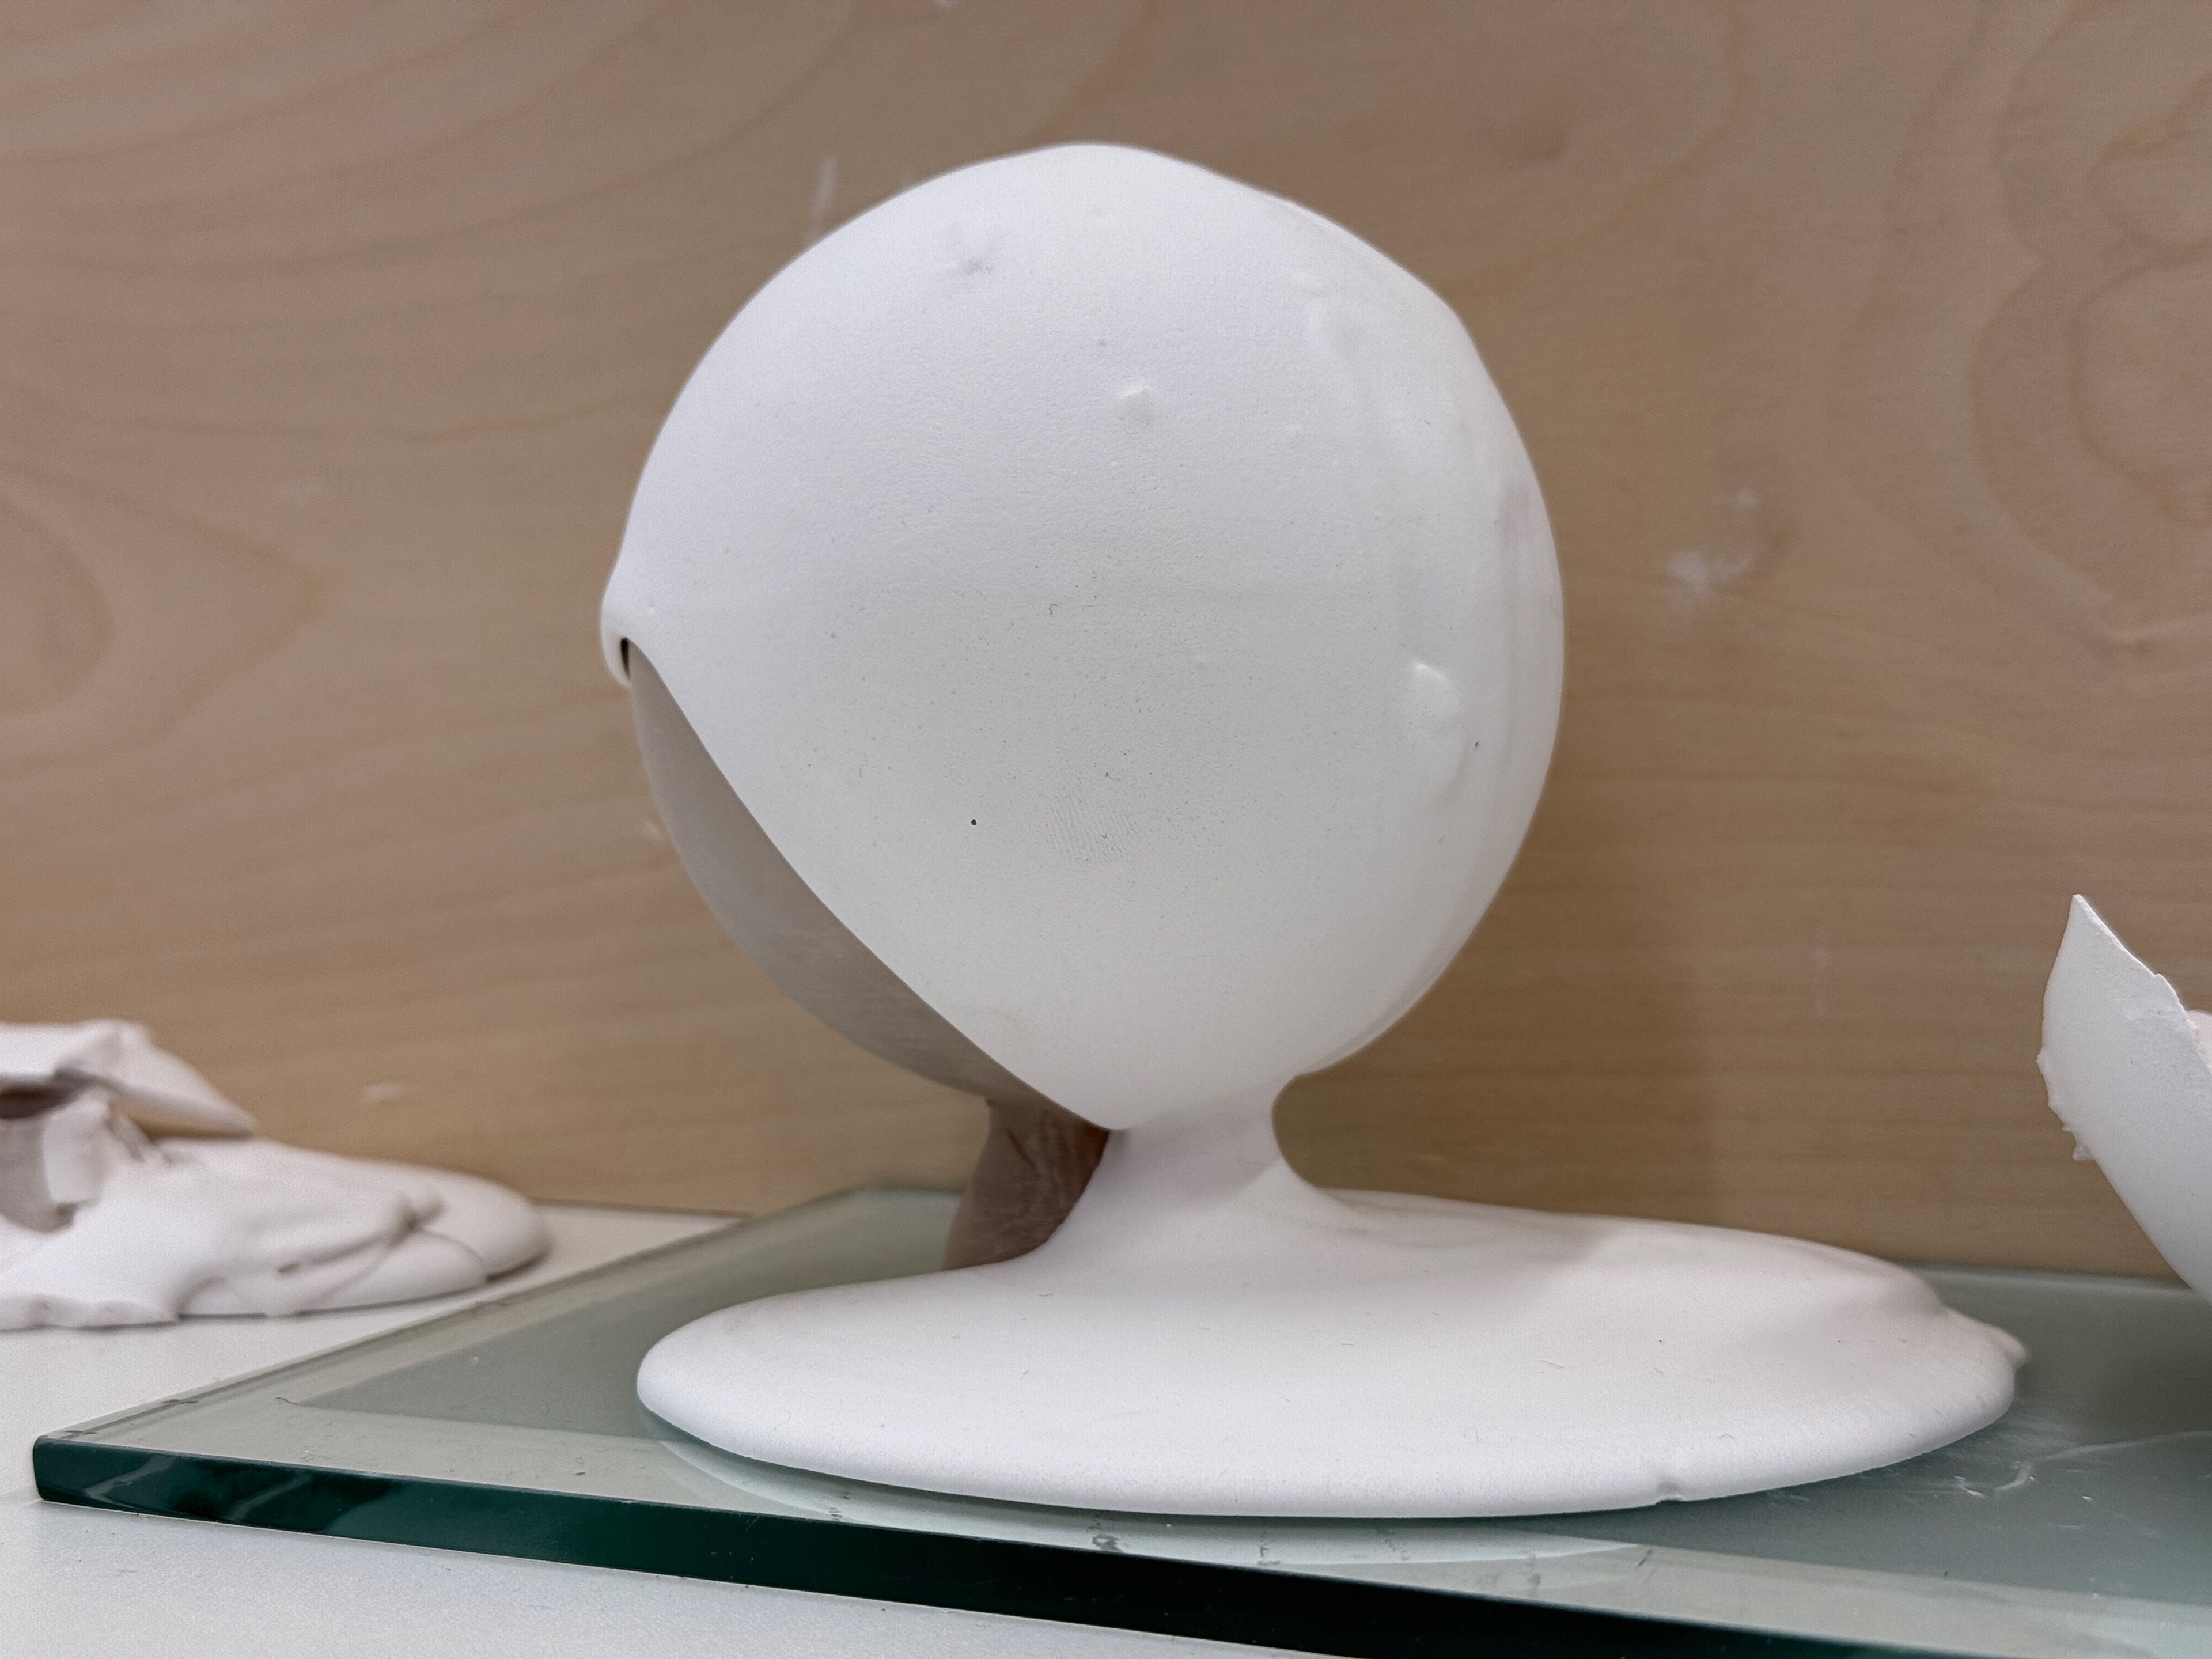
Finished sample where it would be displayed.
Process Reel
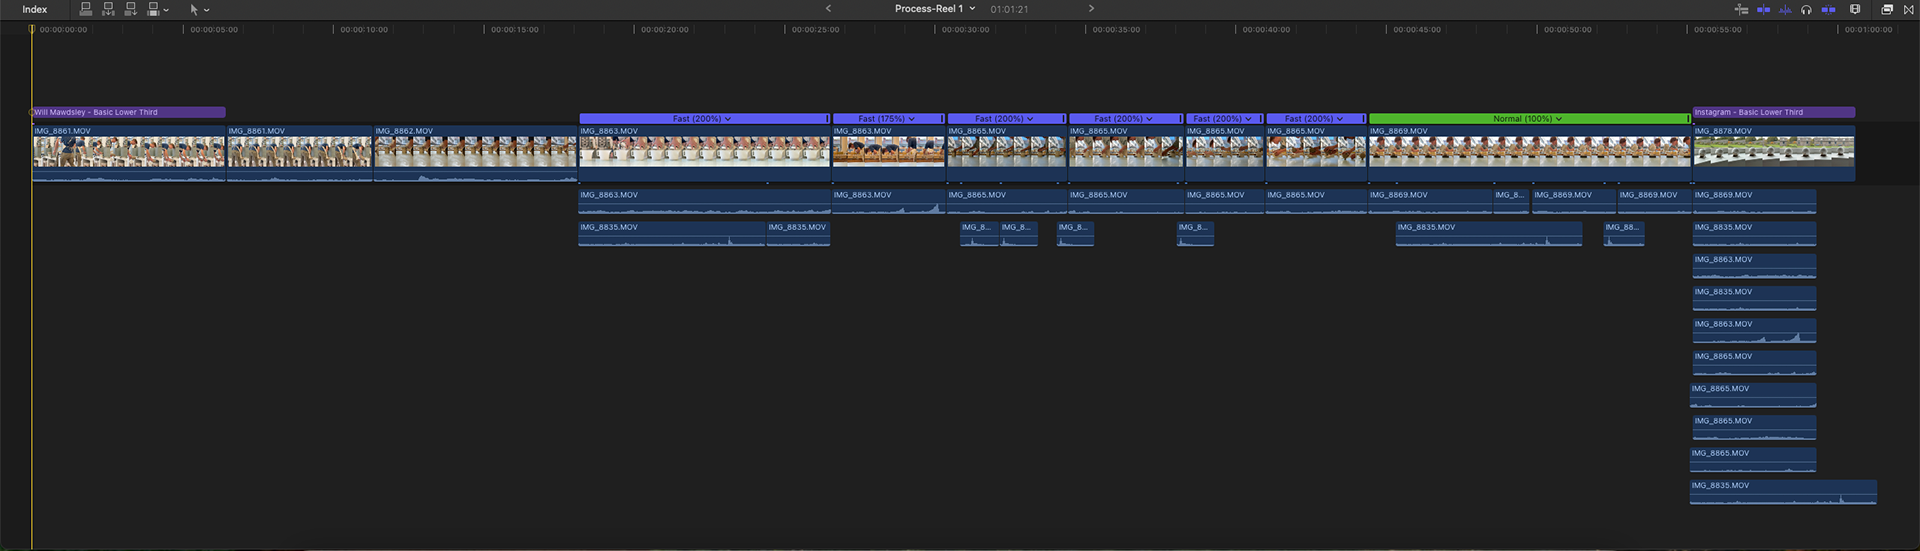
We were tasked with making a 60-second Process Reel. I wanted to explore the individual material's experience of time. To do this, I made a slip ball and poured plaster over it. Slip dries at a much slower rate than plaster does; therefore, I doubled the speed of the audio and the video. By doubling, I hope to convey that it takes more time to reach the same result when compared to plaster.
I decided to manipulate the audio to once again convey the sense of individuality. Audio is recorded with video, but they are separate entities. I decided to keep the same timing as the video but add in extra snippets and reverse the audio. These small changes ensure that the audio and video are still connected, but they have expressed themselves in a different manner and have experienced that moment differently. Here is a screenshot of my Final Cut Pro Timeline to show the adjustments to the video and audio.
process Reel
The video starts off at 100% speed. It shows the process of me setting up. When we get to the stage that the slip is drying, I speed it up. I chose 200% because it was slow enough for everyone to watch but still conveyed that time was passing quicker. The imported snippets from other clips were kept at normal speed to once again bring attention to the main recording being distorted and sped up. Once we get to the plaster, I kept it at 100% because anything less was far too slow and dragged on. The end showed the final result and has the audio from both the slip and the plaster sections, unifying the separate individuals of both slip and plaster as well as video and audio.
Slip VS Plaster 2.0
This is the second iteration of my slip ball and plaster. This time, instead of focusing on filming the process, I decided to focus on how my phone interprets the object. I did this through LiDAR scanning with the PolyCam App. I took scans during both the slip pour and plaster pouring, creating two unique scans from different times in the object’s lifecycle. As a result of the focus on scanning, I have no images of the process, only the final form and LiDAR scan result.
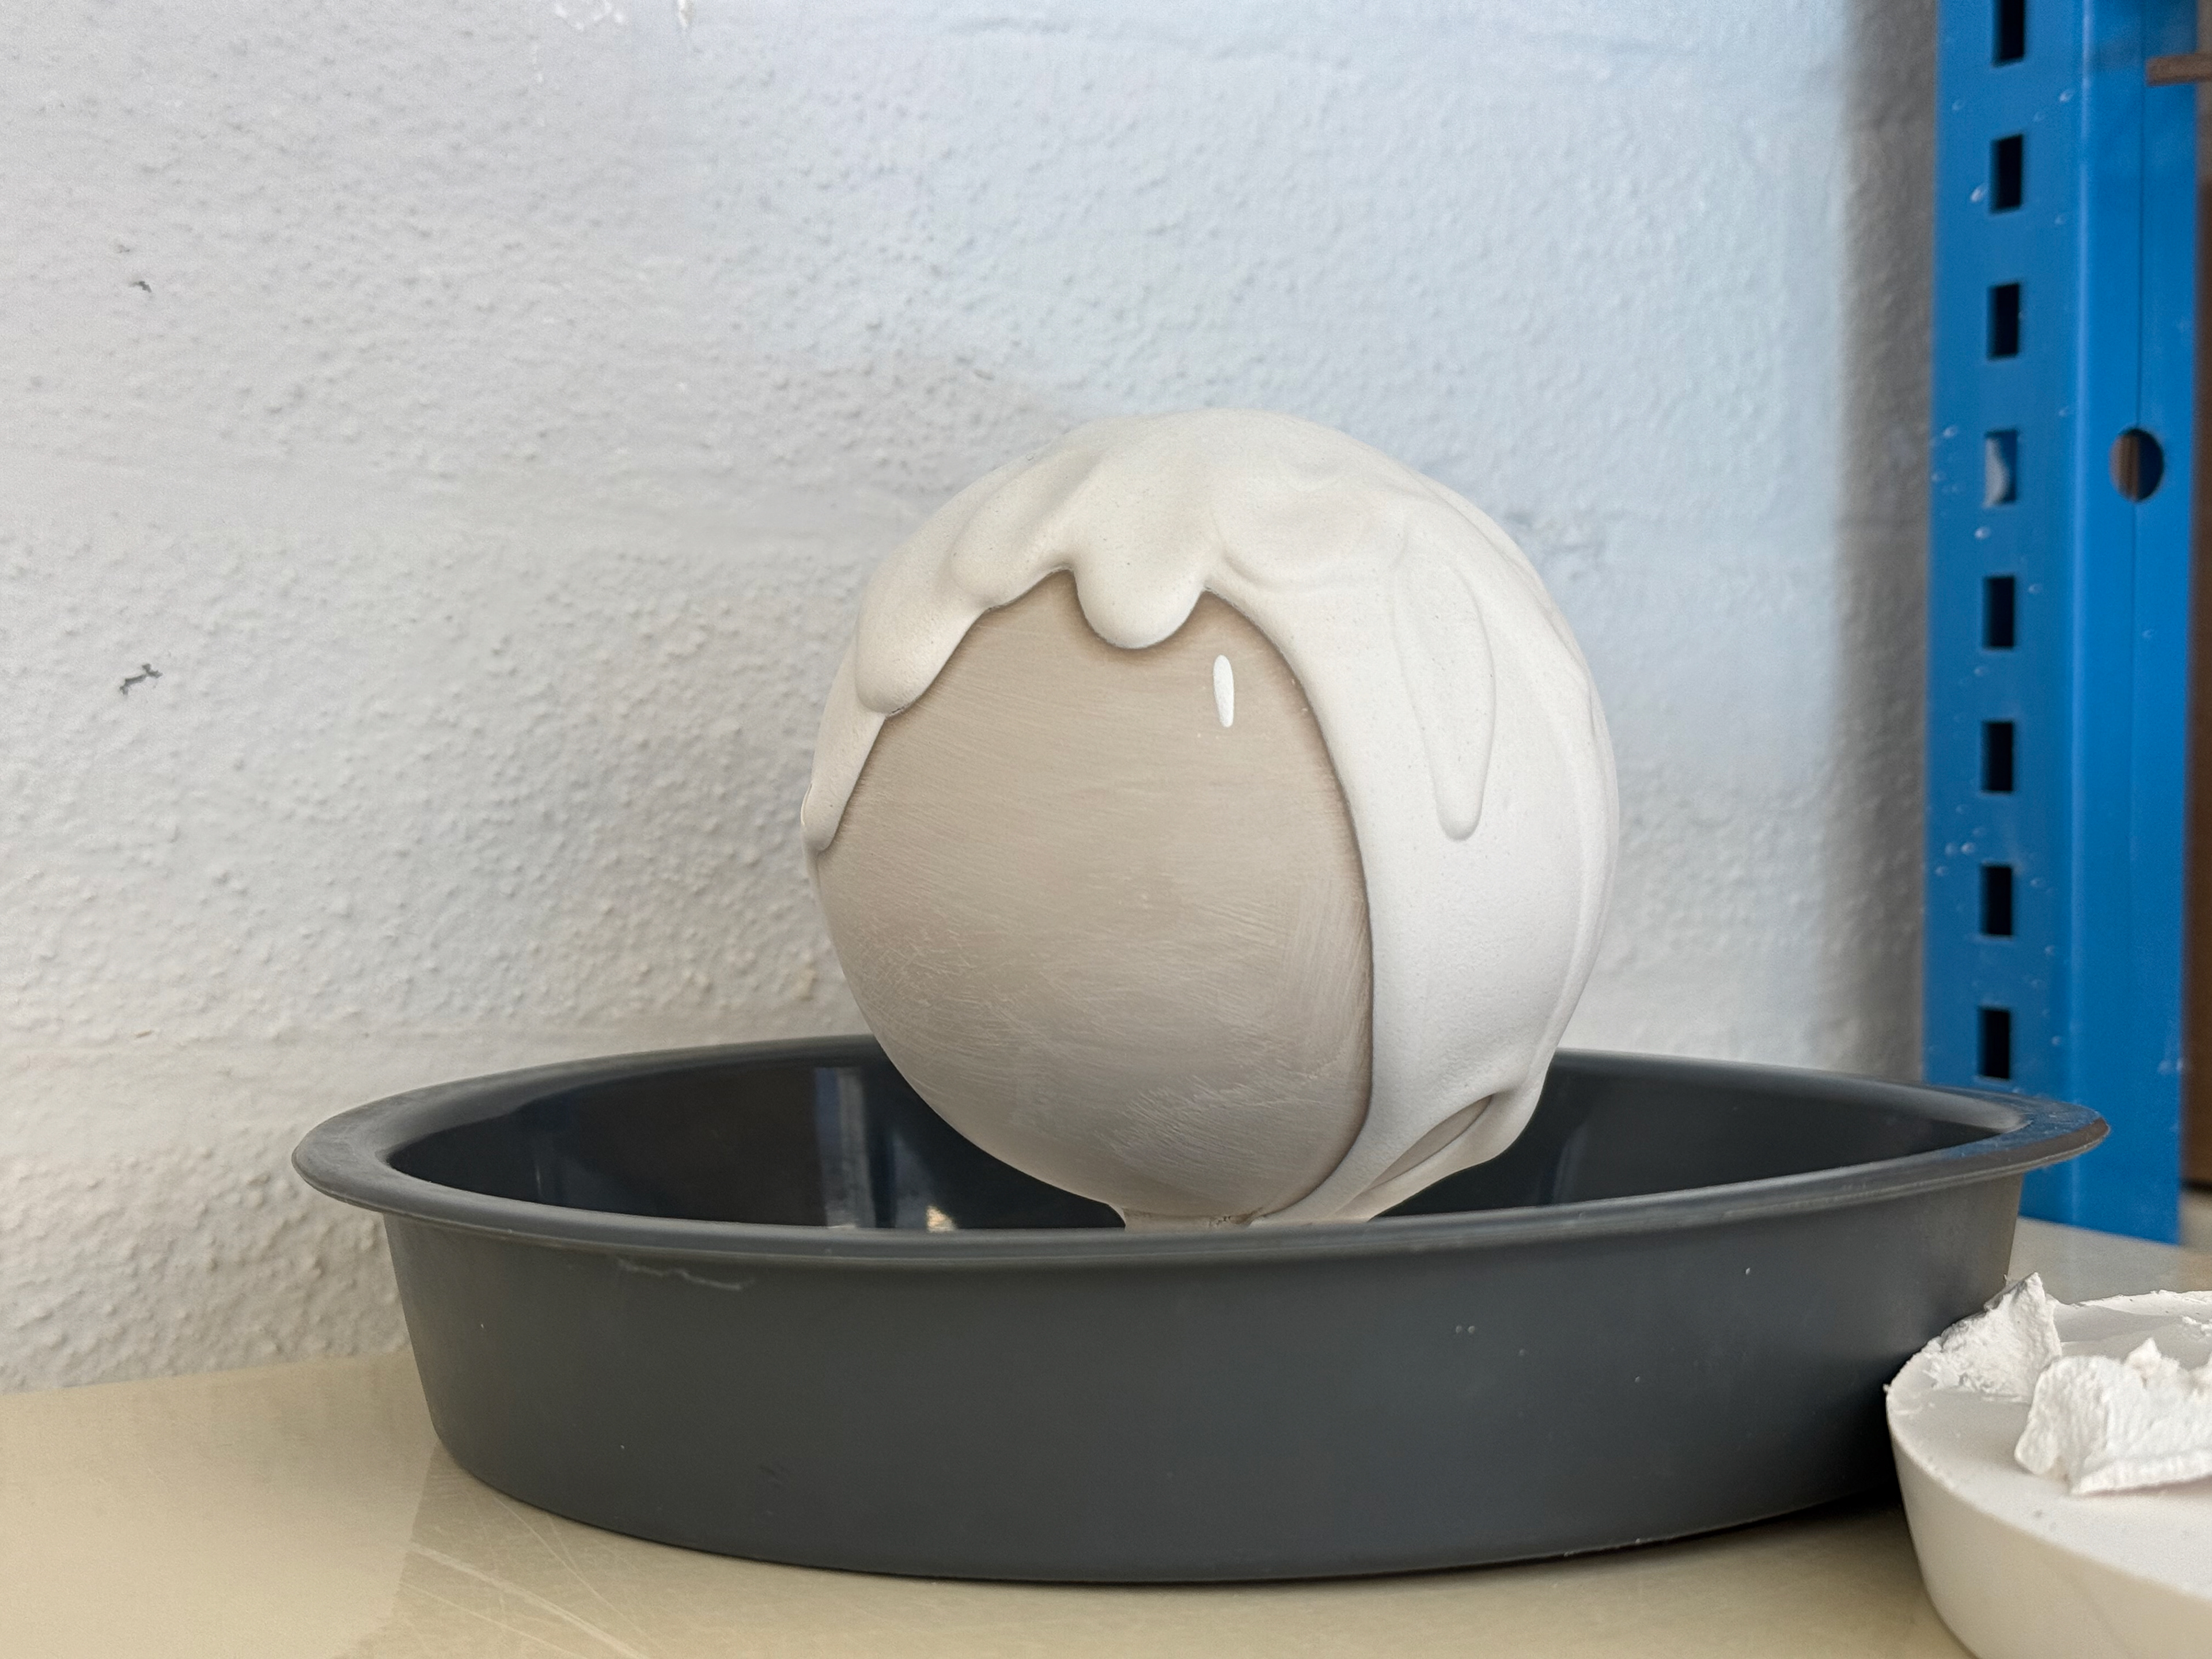
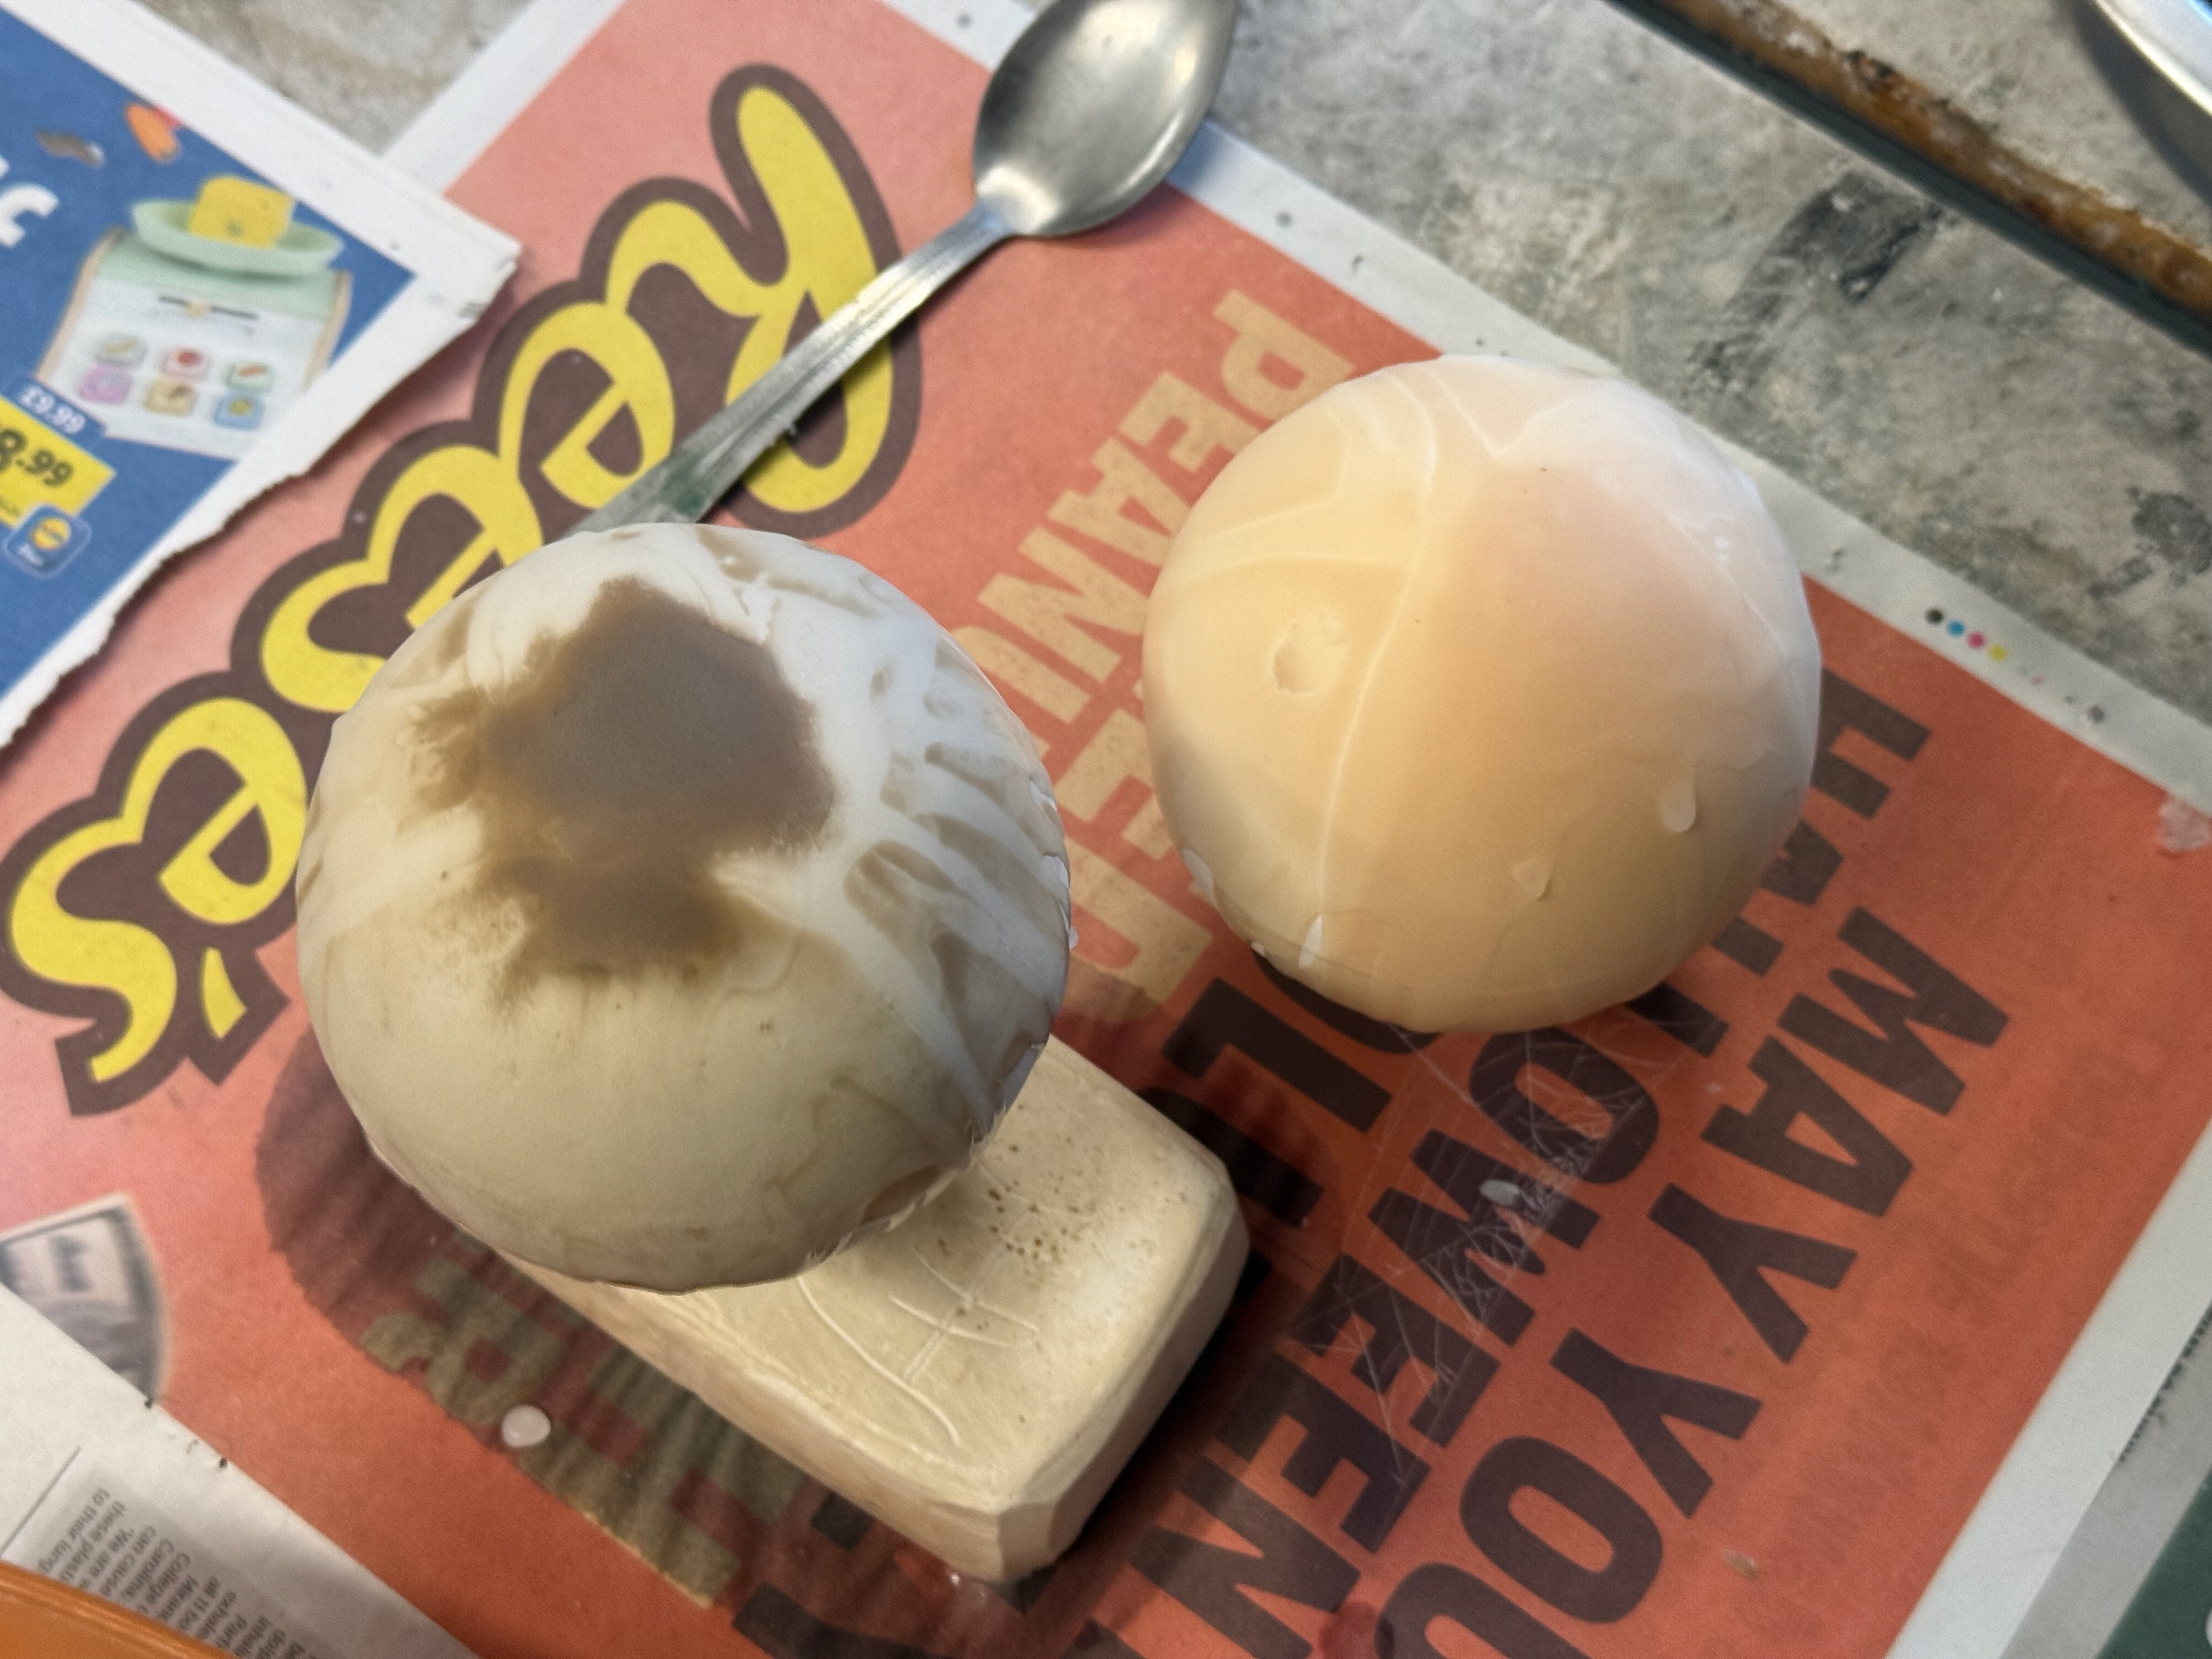
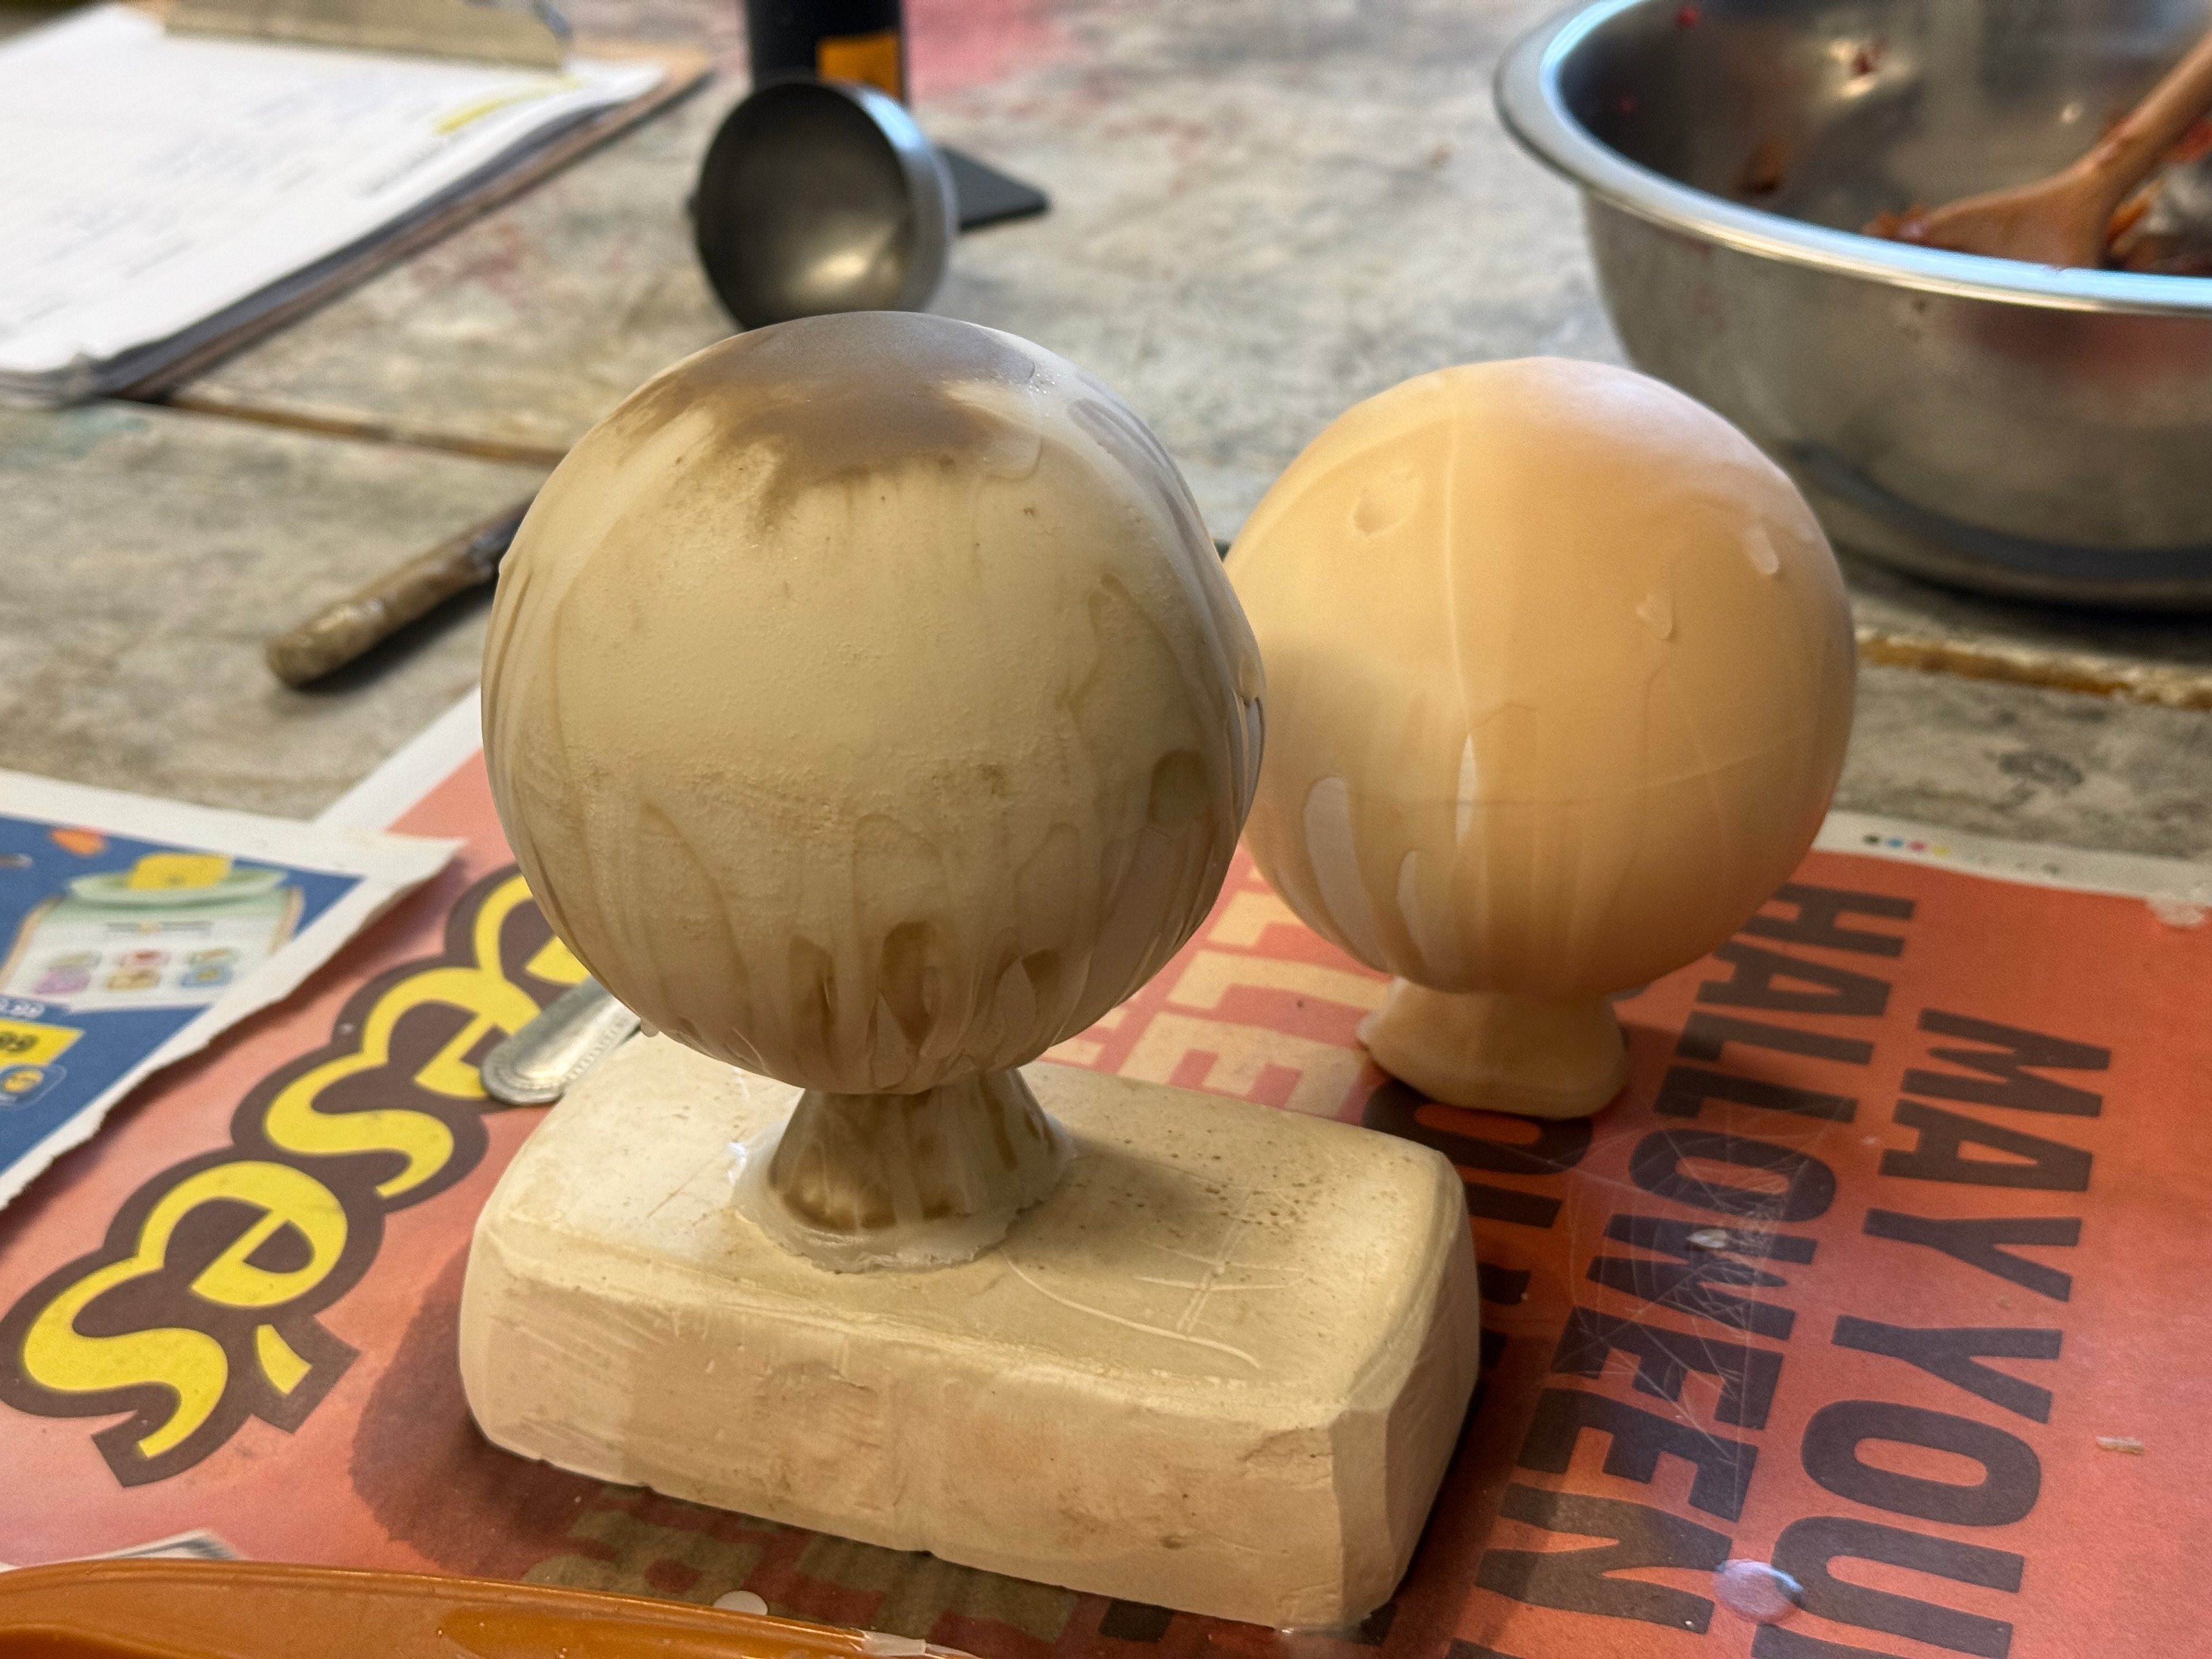
Immediately after I poured plaster over the dried slip.
The dried slip is absorbing the remaining moisture in the plaster.
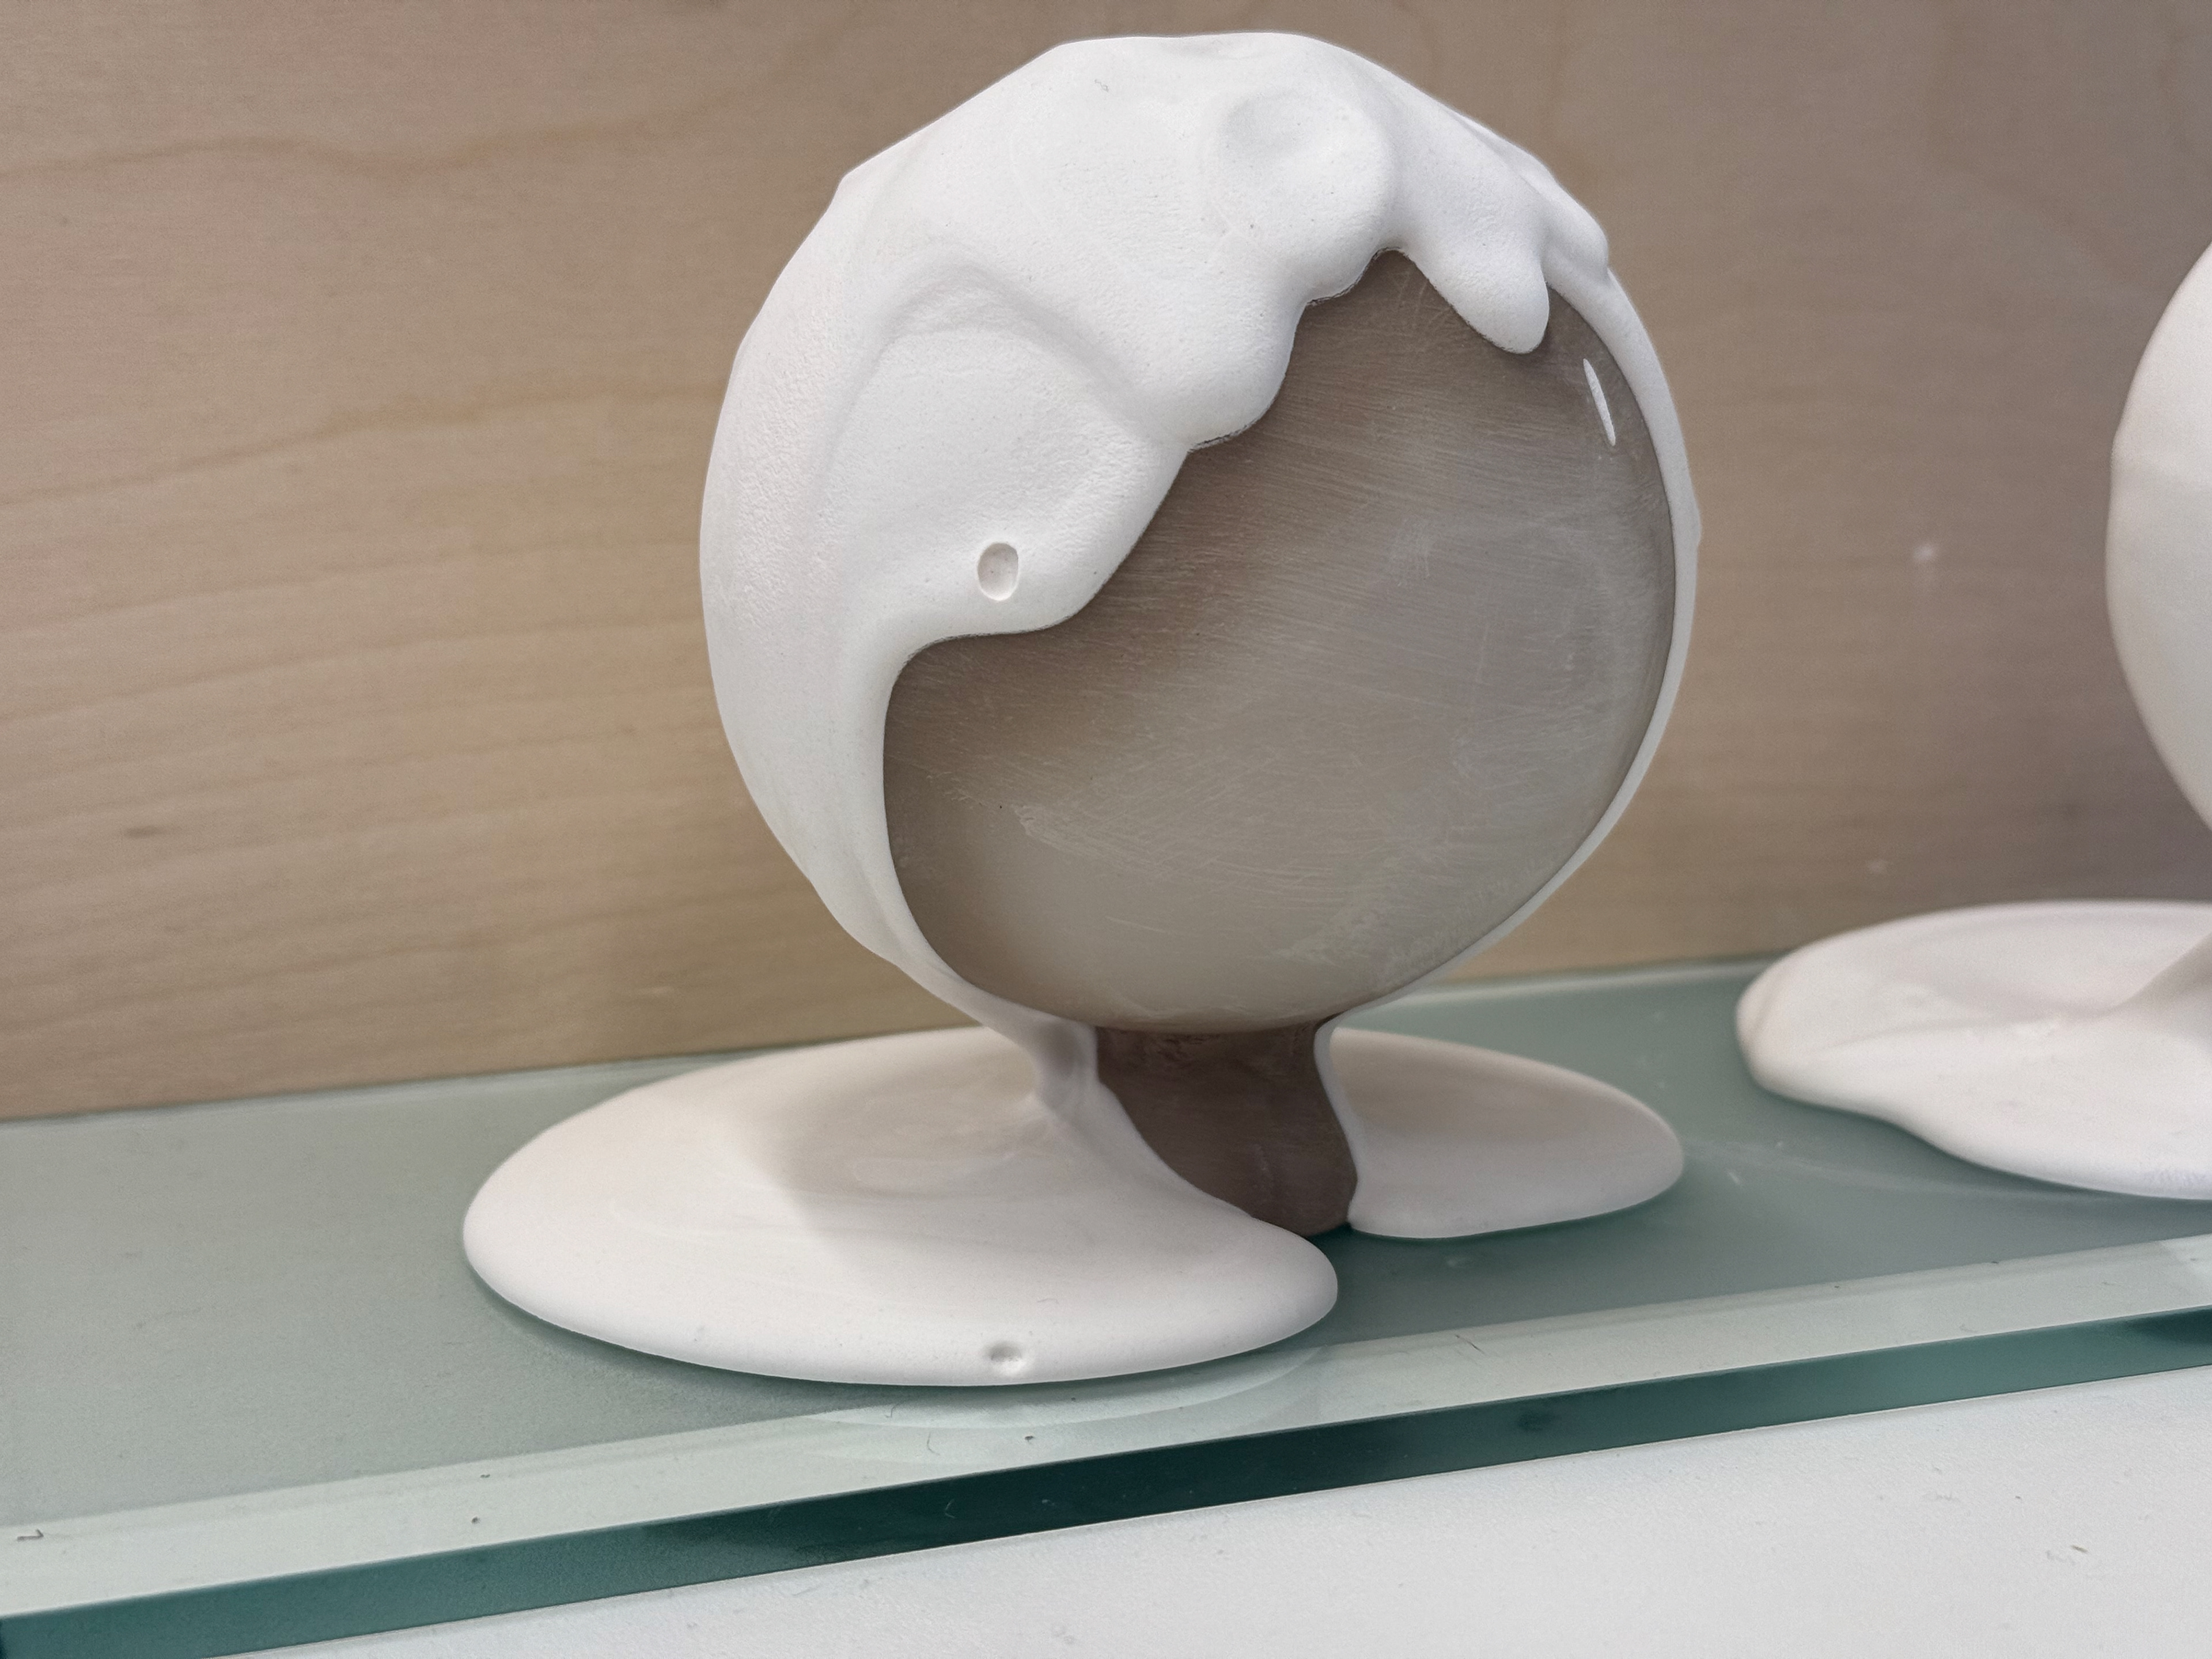
Close up of the drying line with an popped air bubble from the plaster.,
LiDAR scan
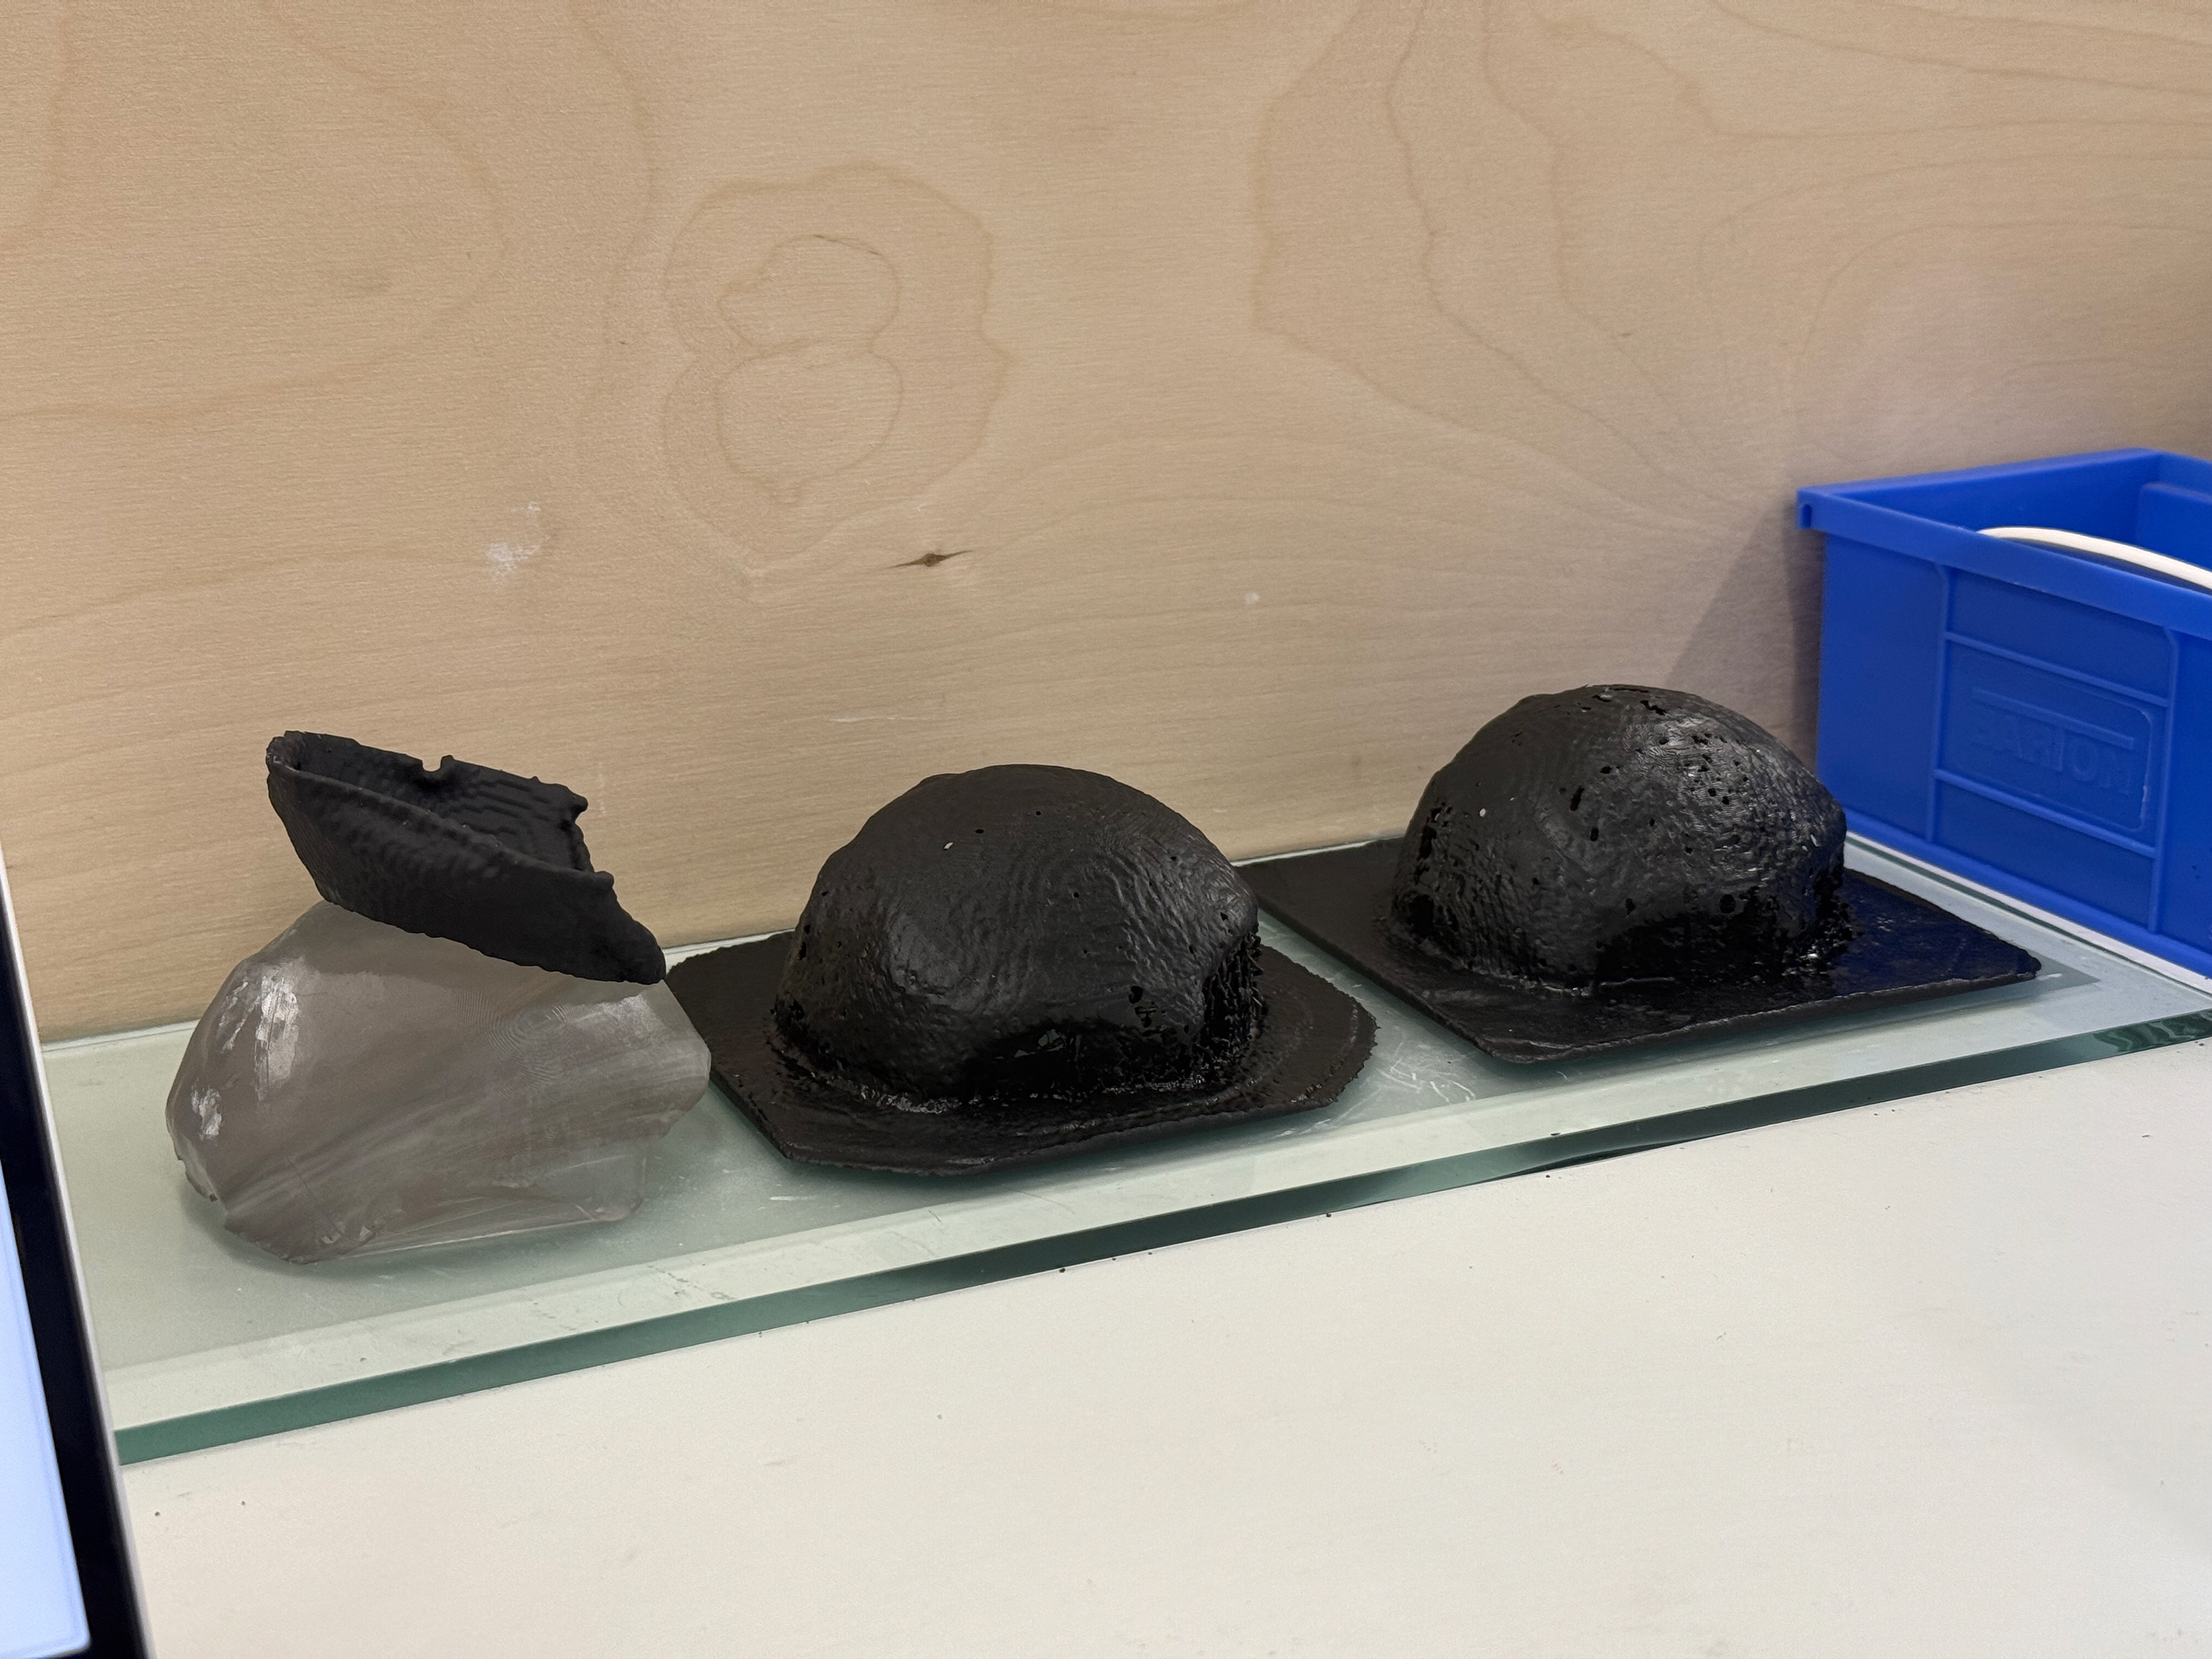
End Of Life?
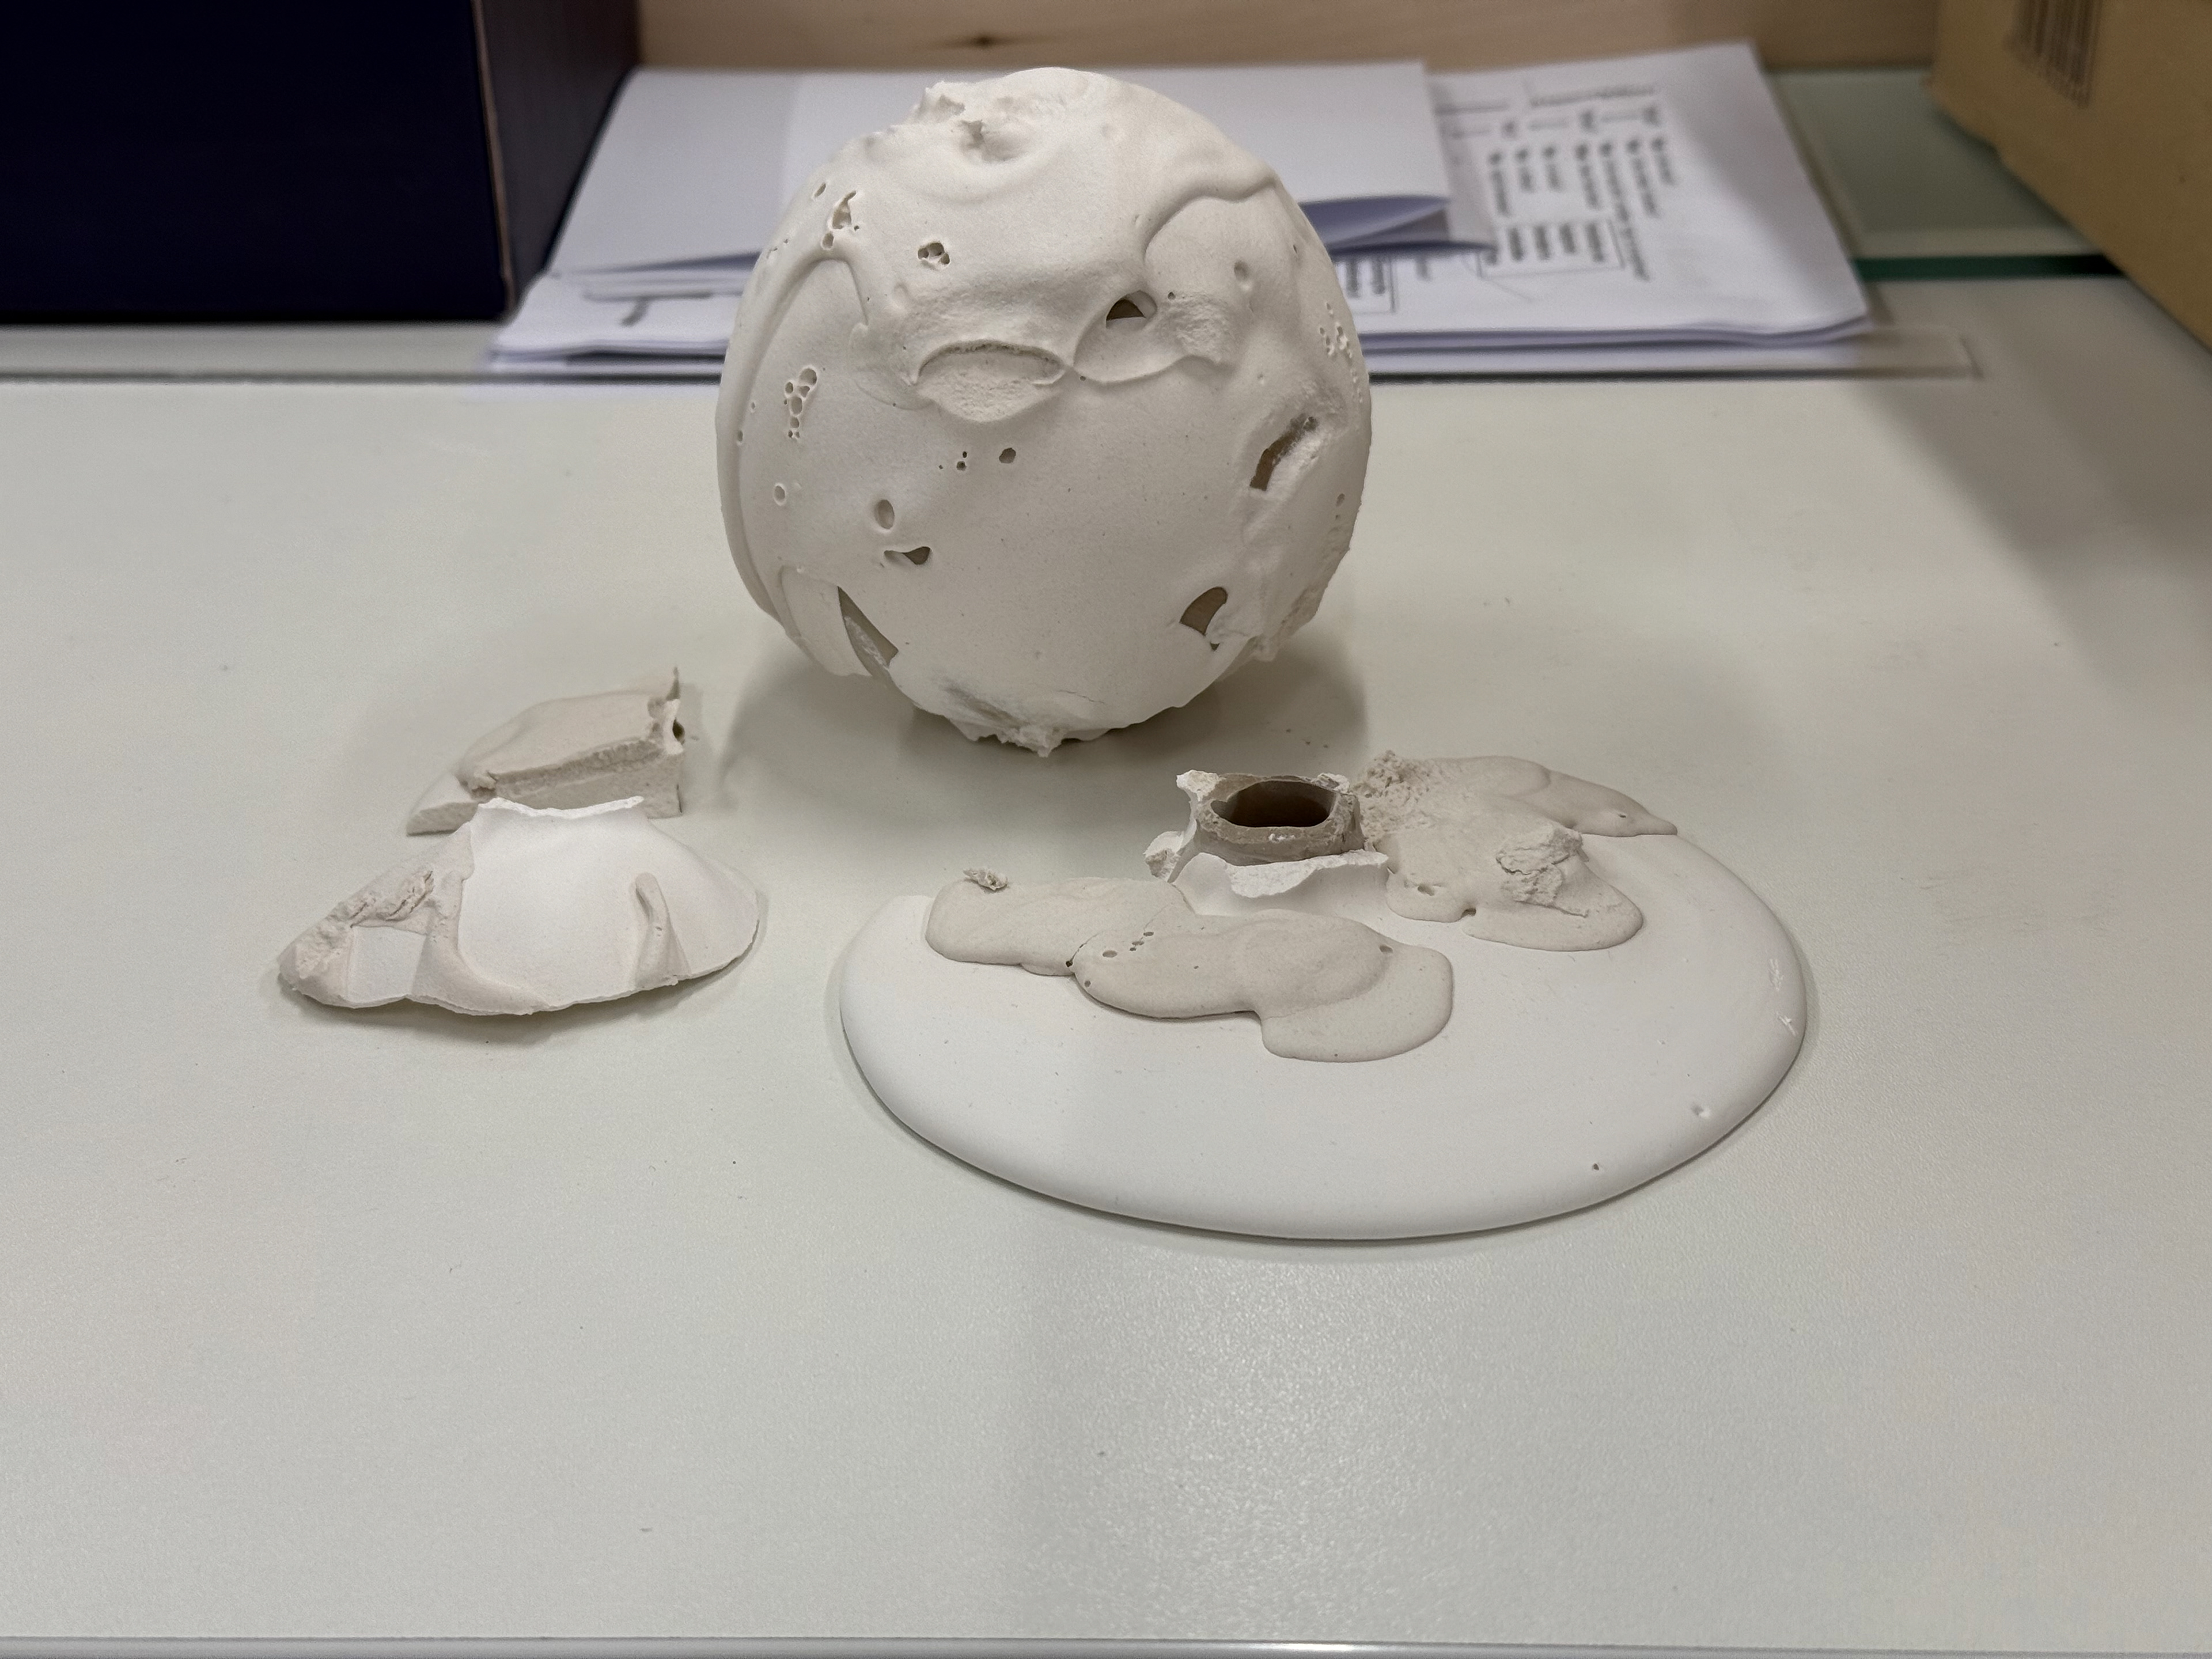
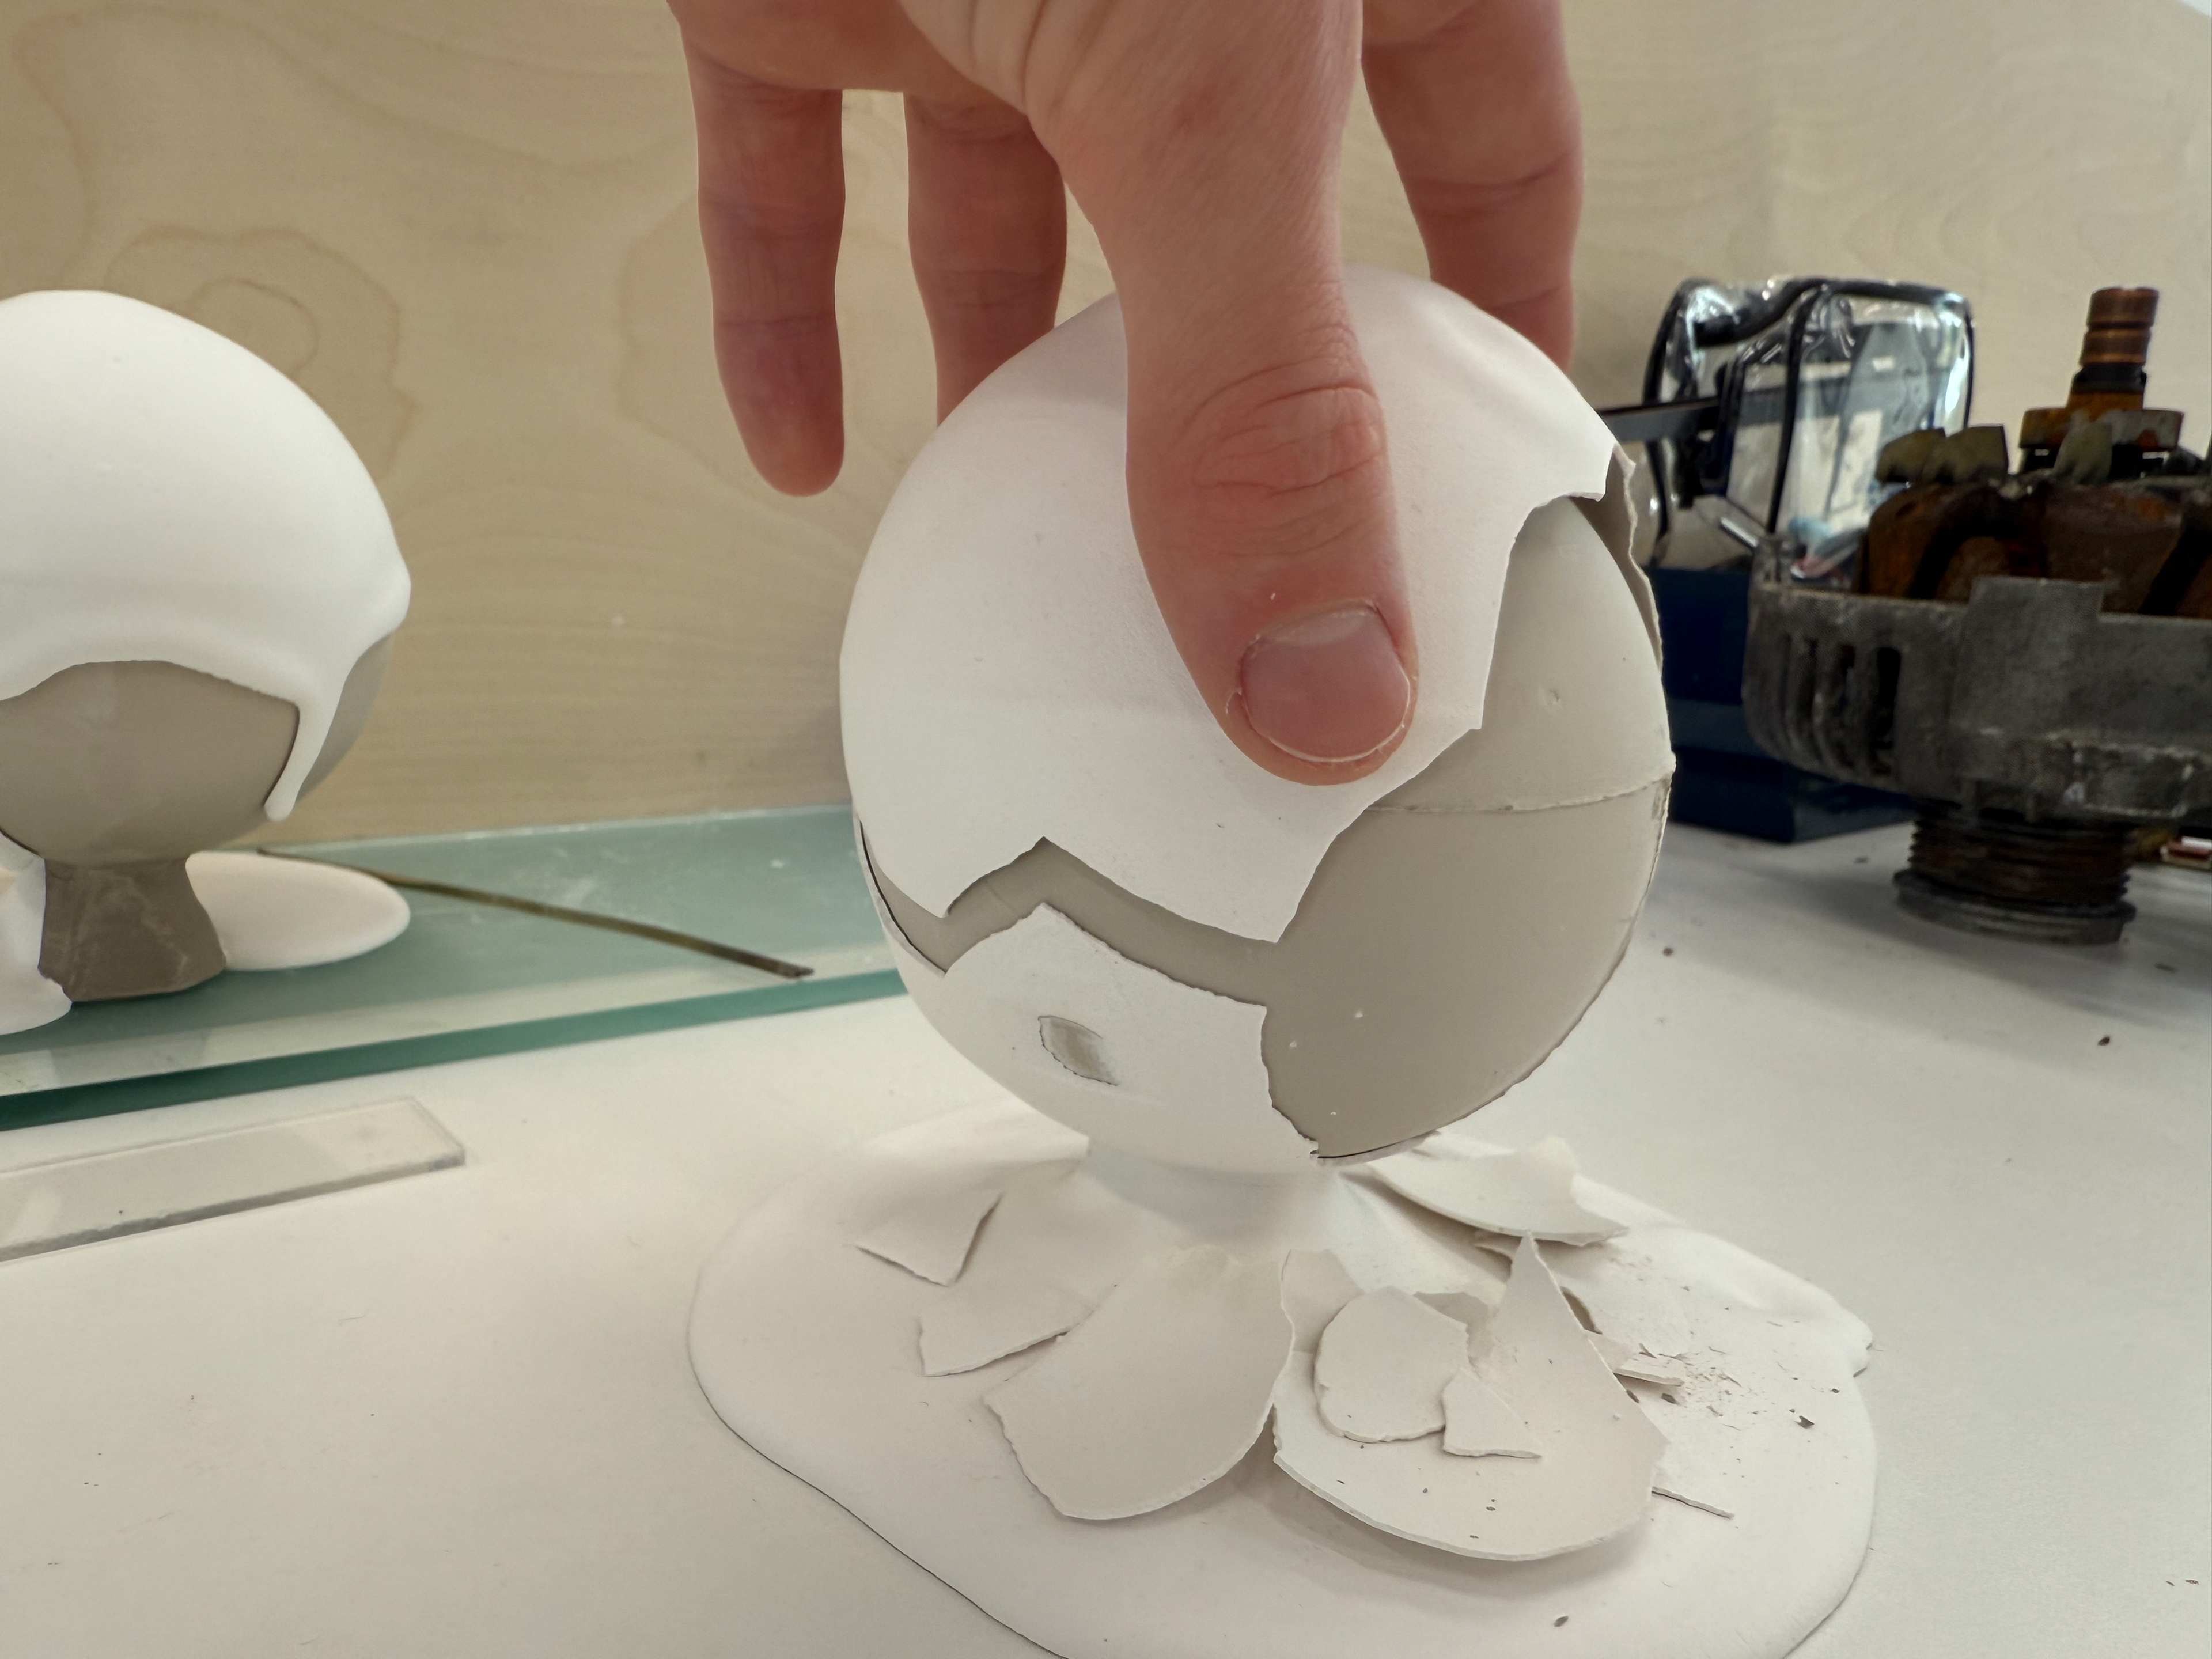
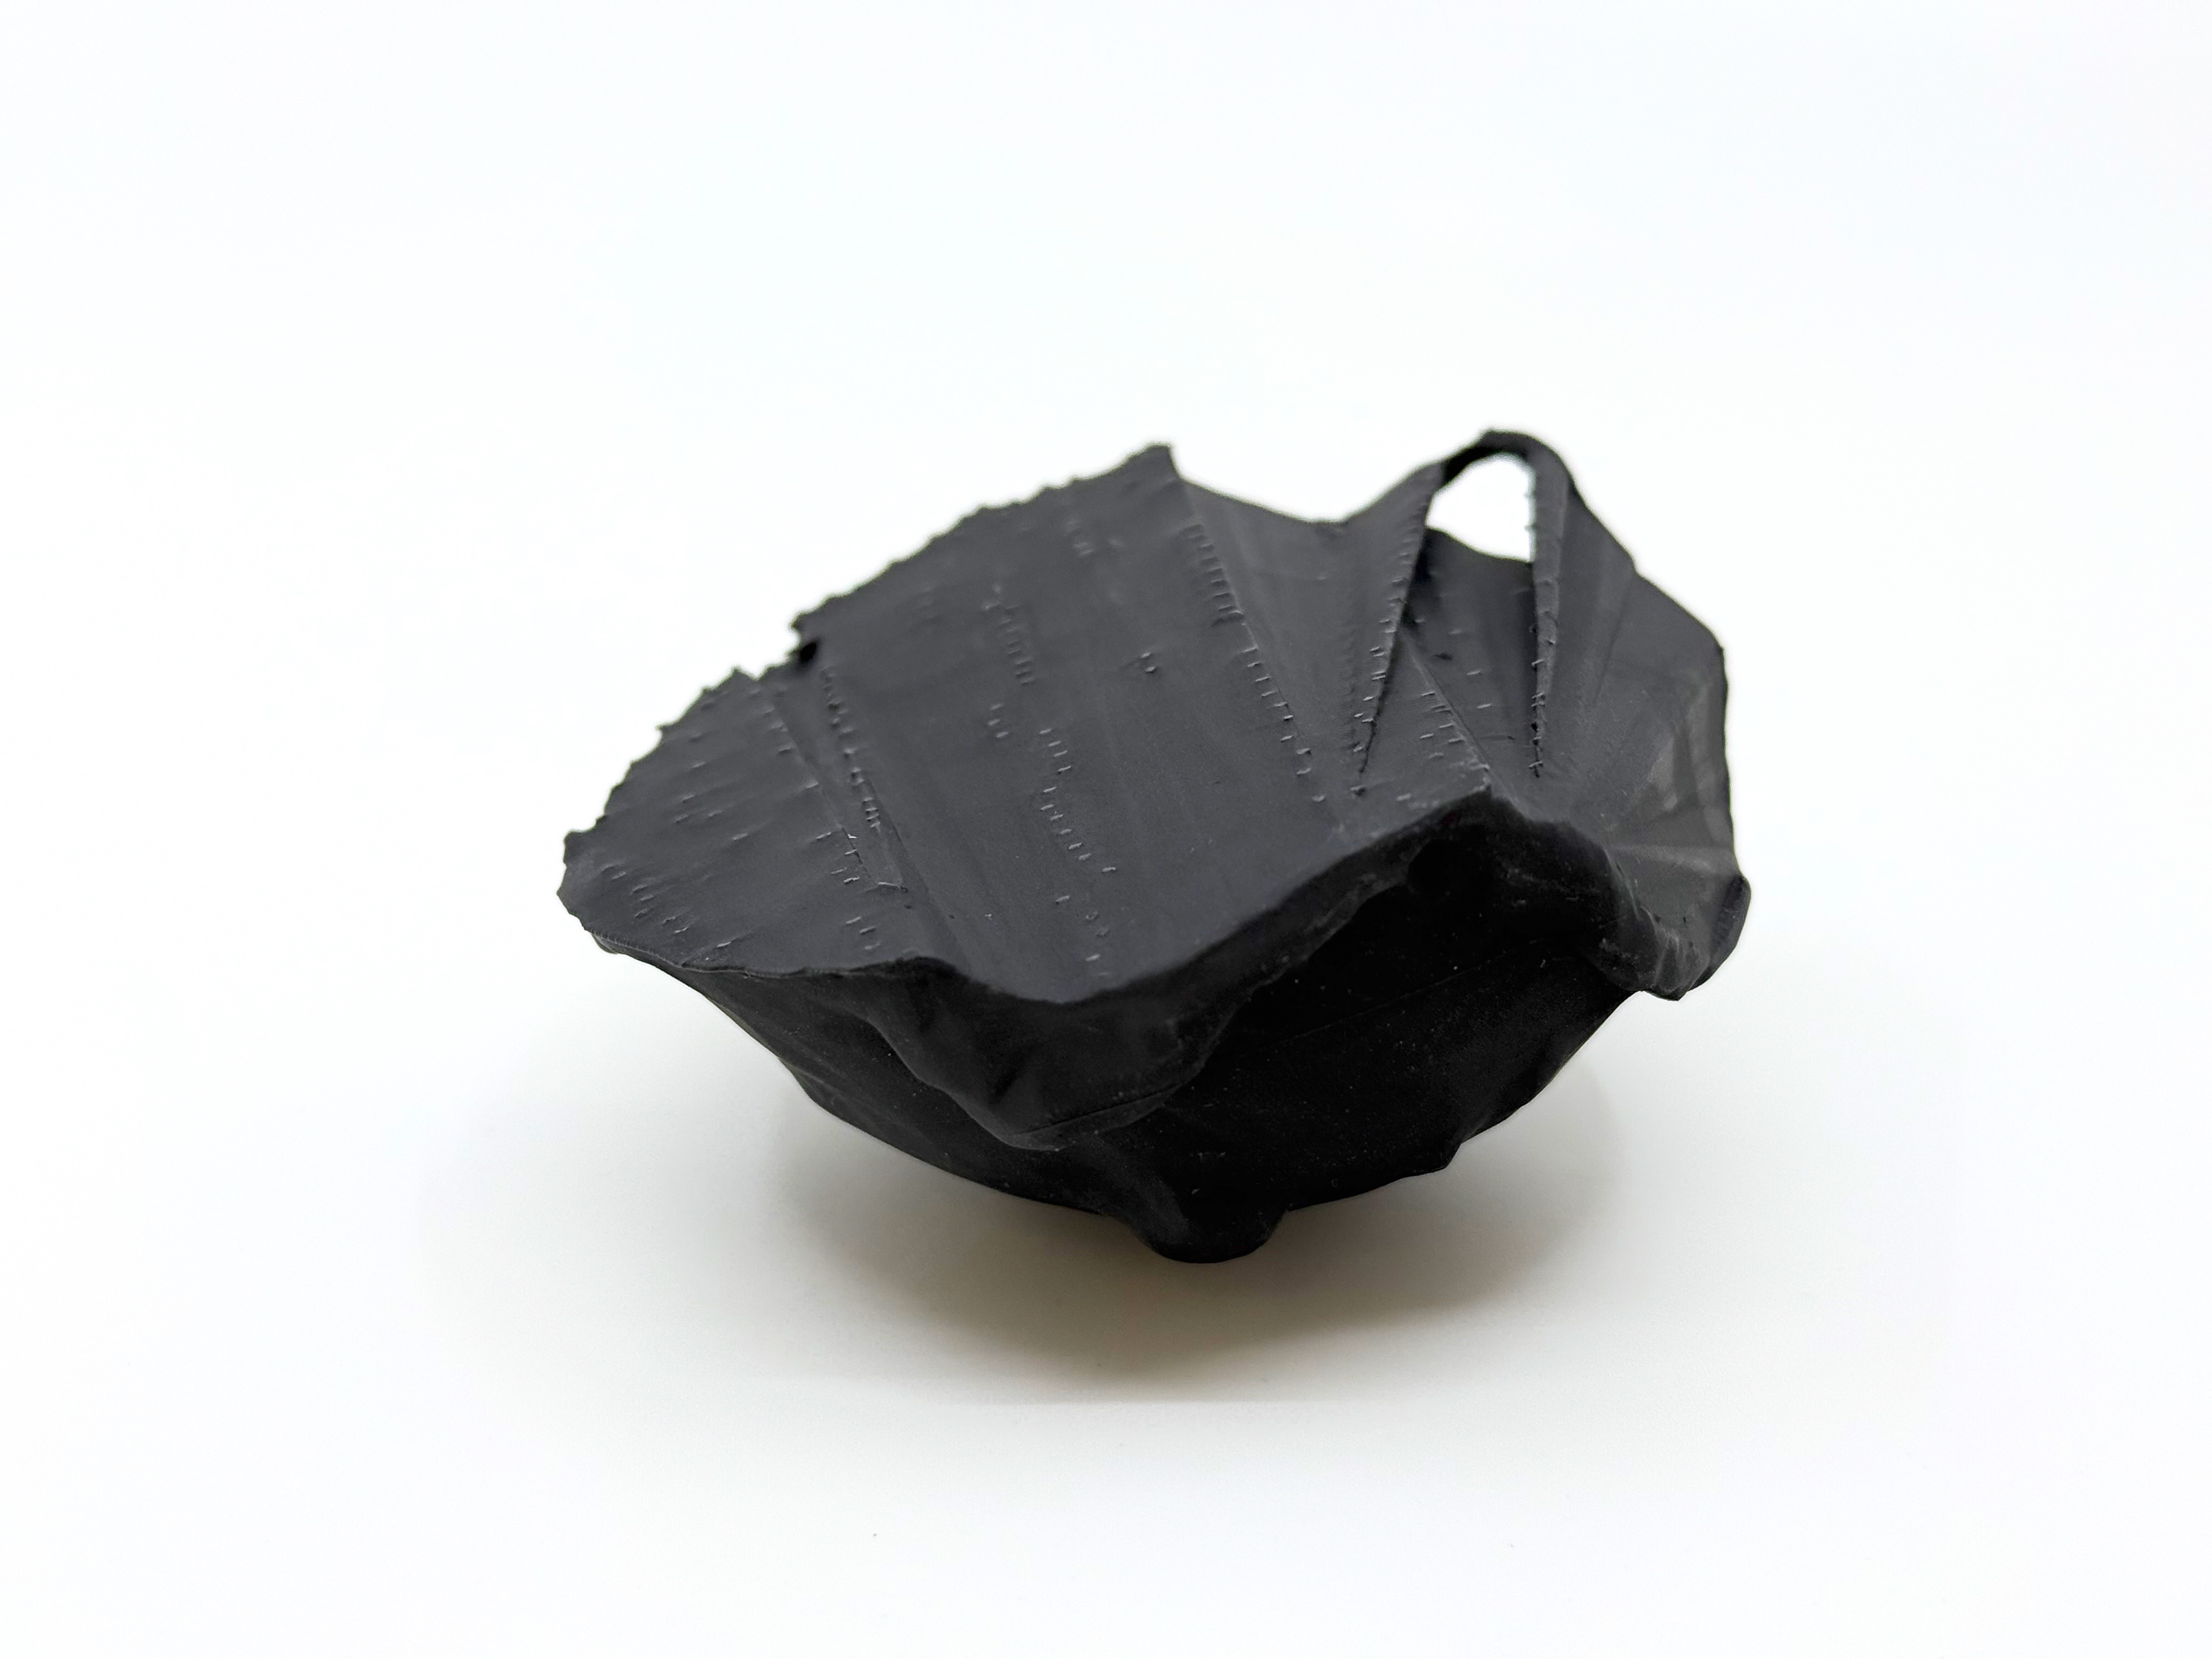
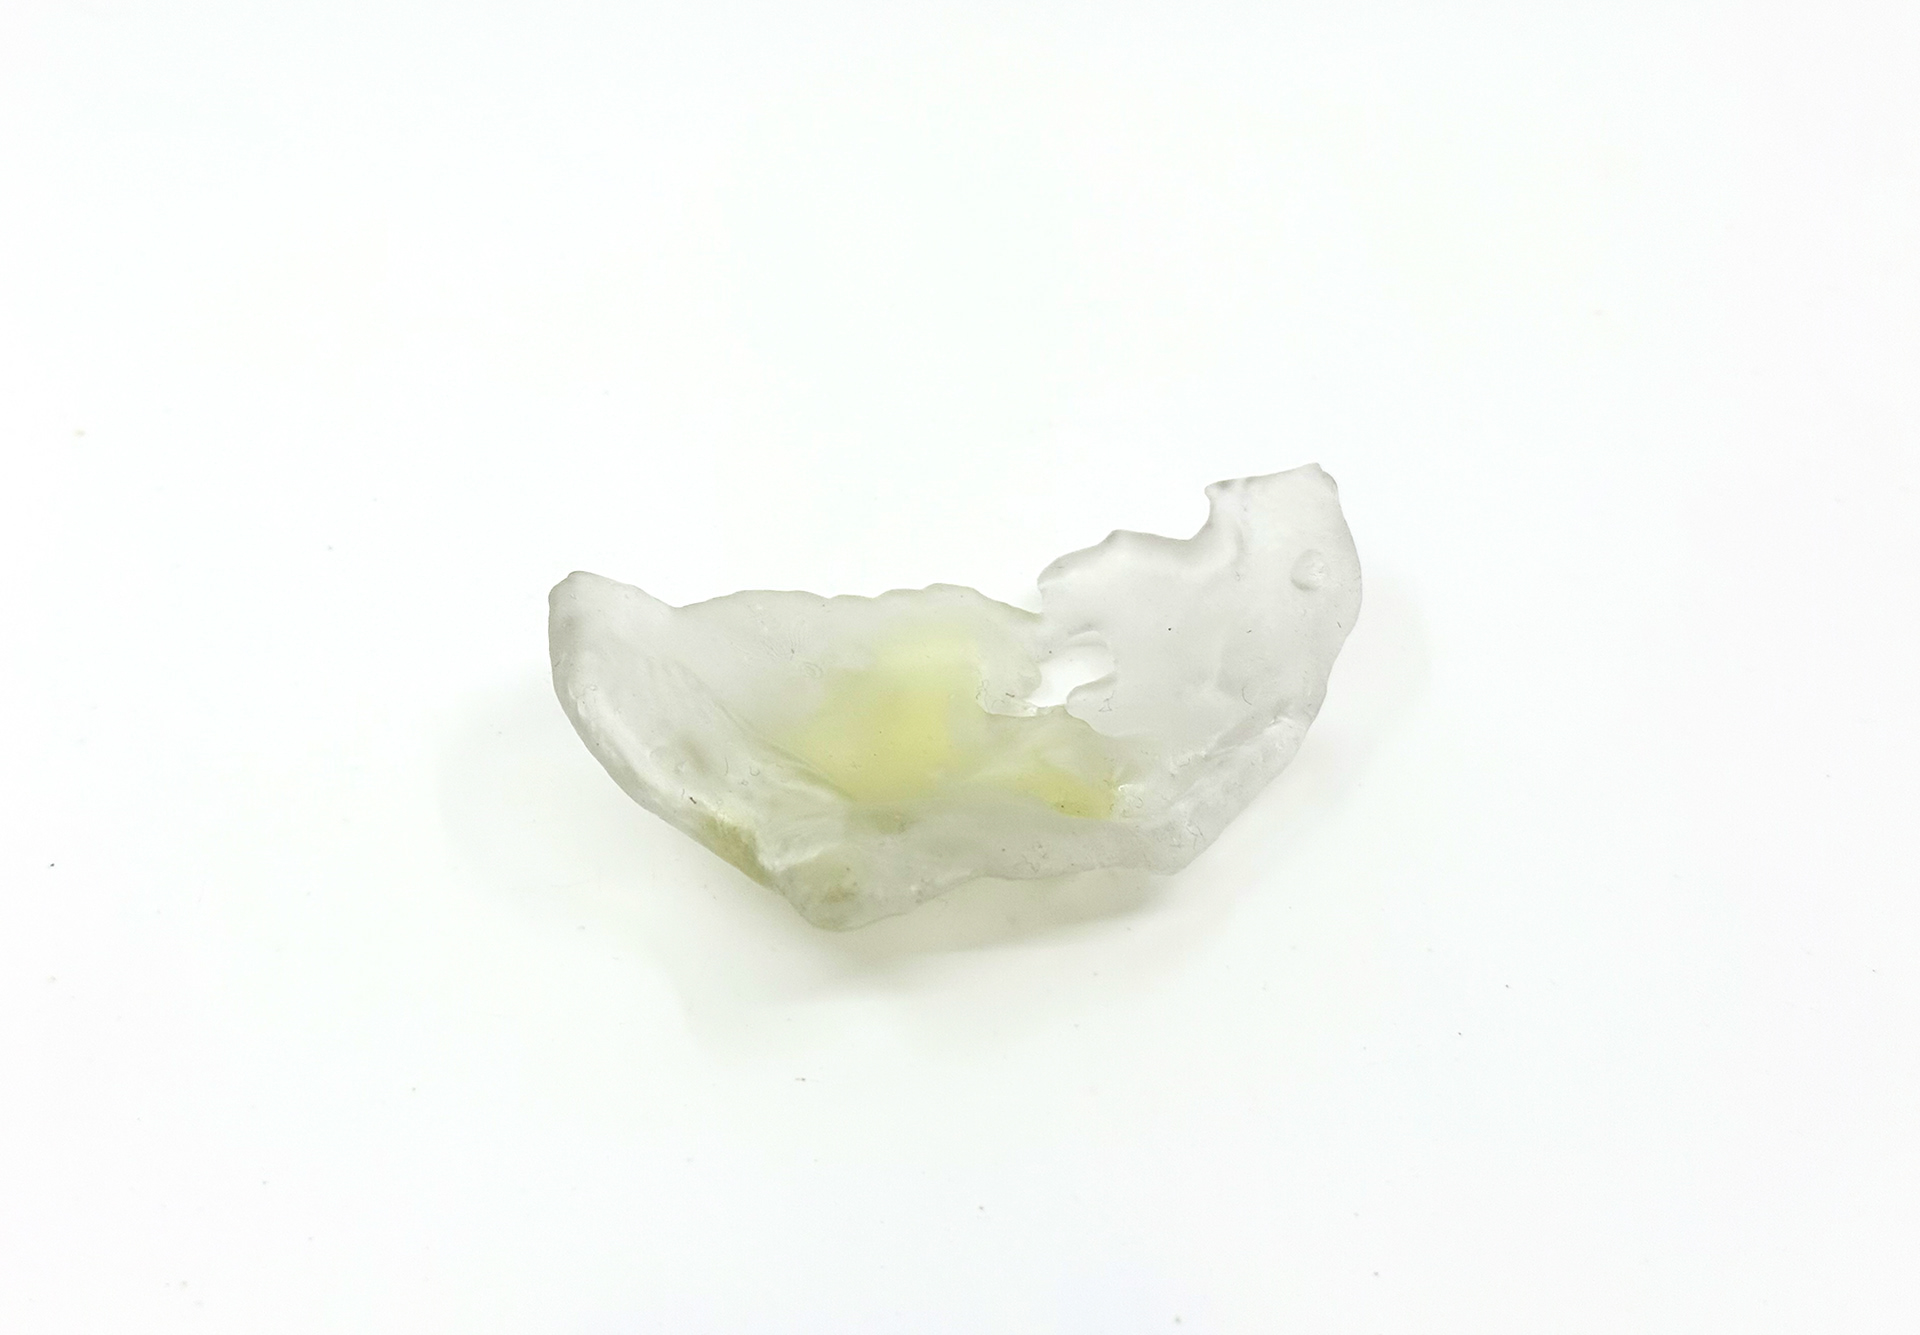
I knew the end of life would eventually come, but I didn't think it could be this soon. I had packaged it for the Great Northern Contemporary Craft Fair (GNCCF), but I had not adequately protected it, and so someone pressed down on the box, and it broke. Although the piece was broken, it wasn't destroyed. The duration of the piece was between 94 and 97 hours. Although disappointed, it represented the cycle of life and how it, as an individual, experienced the duration of life. Some people are given a second chance in life; I attempted to give this piece that opportunity.
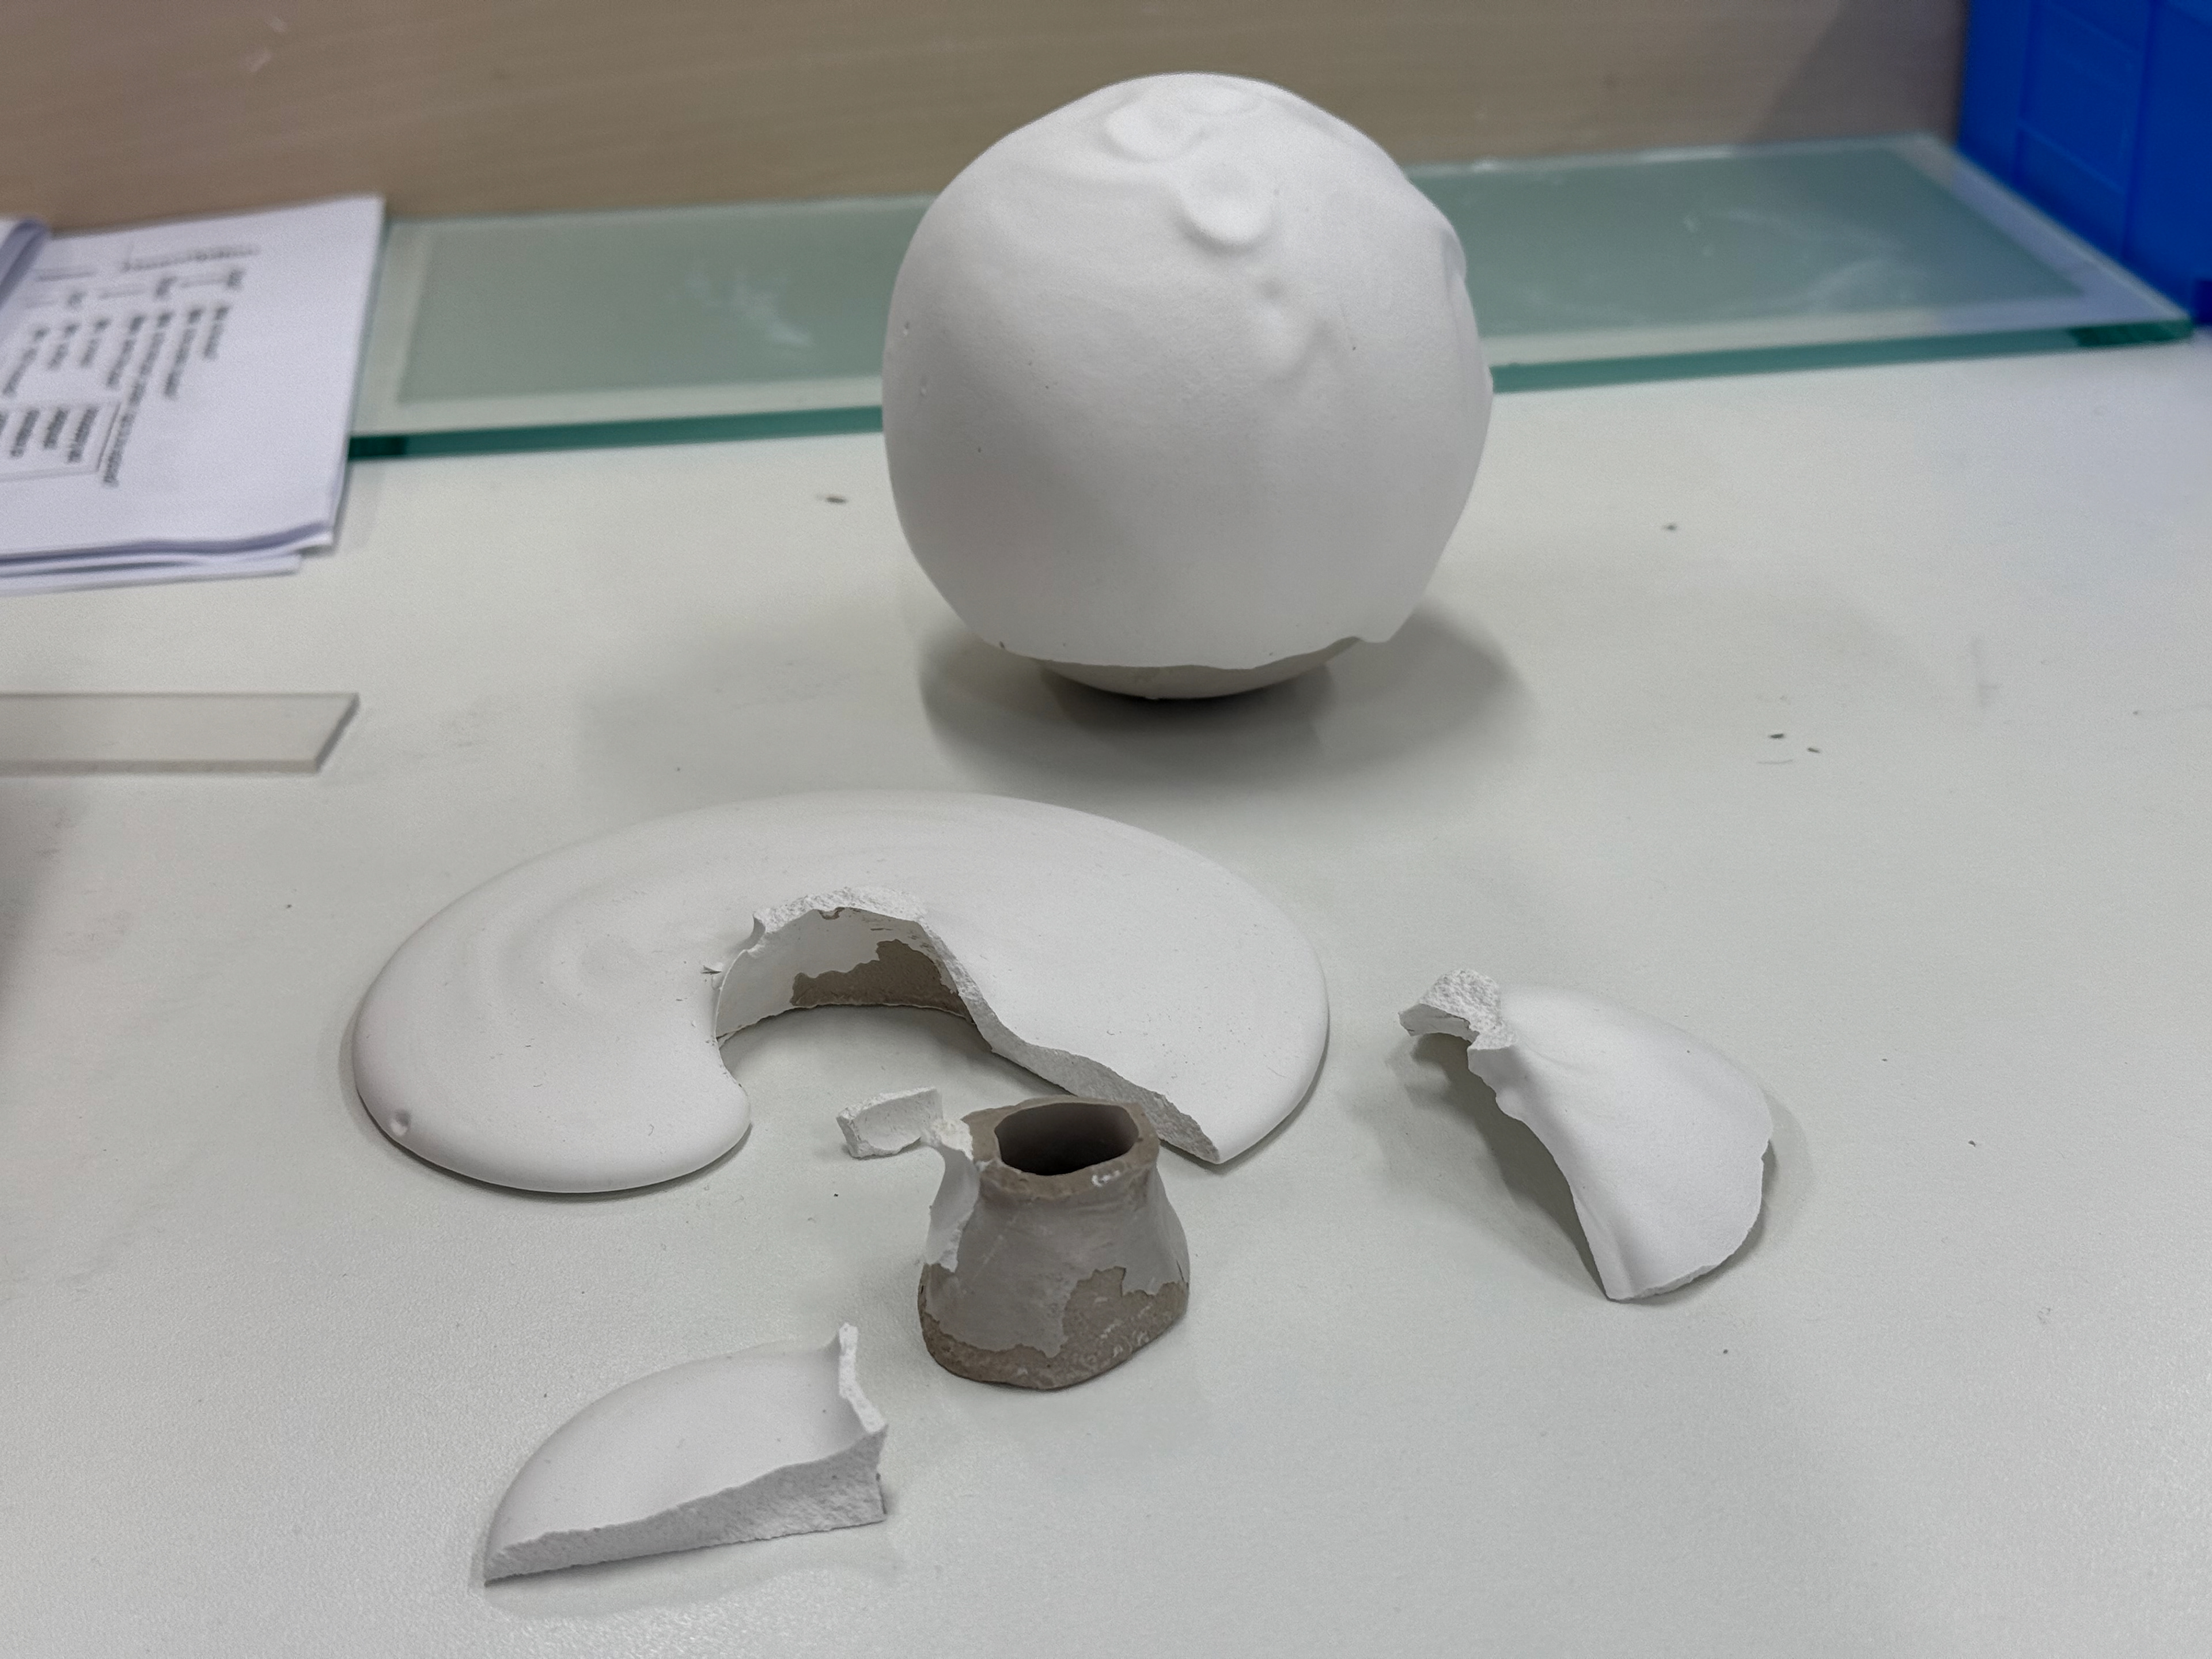
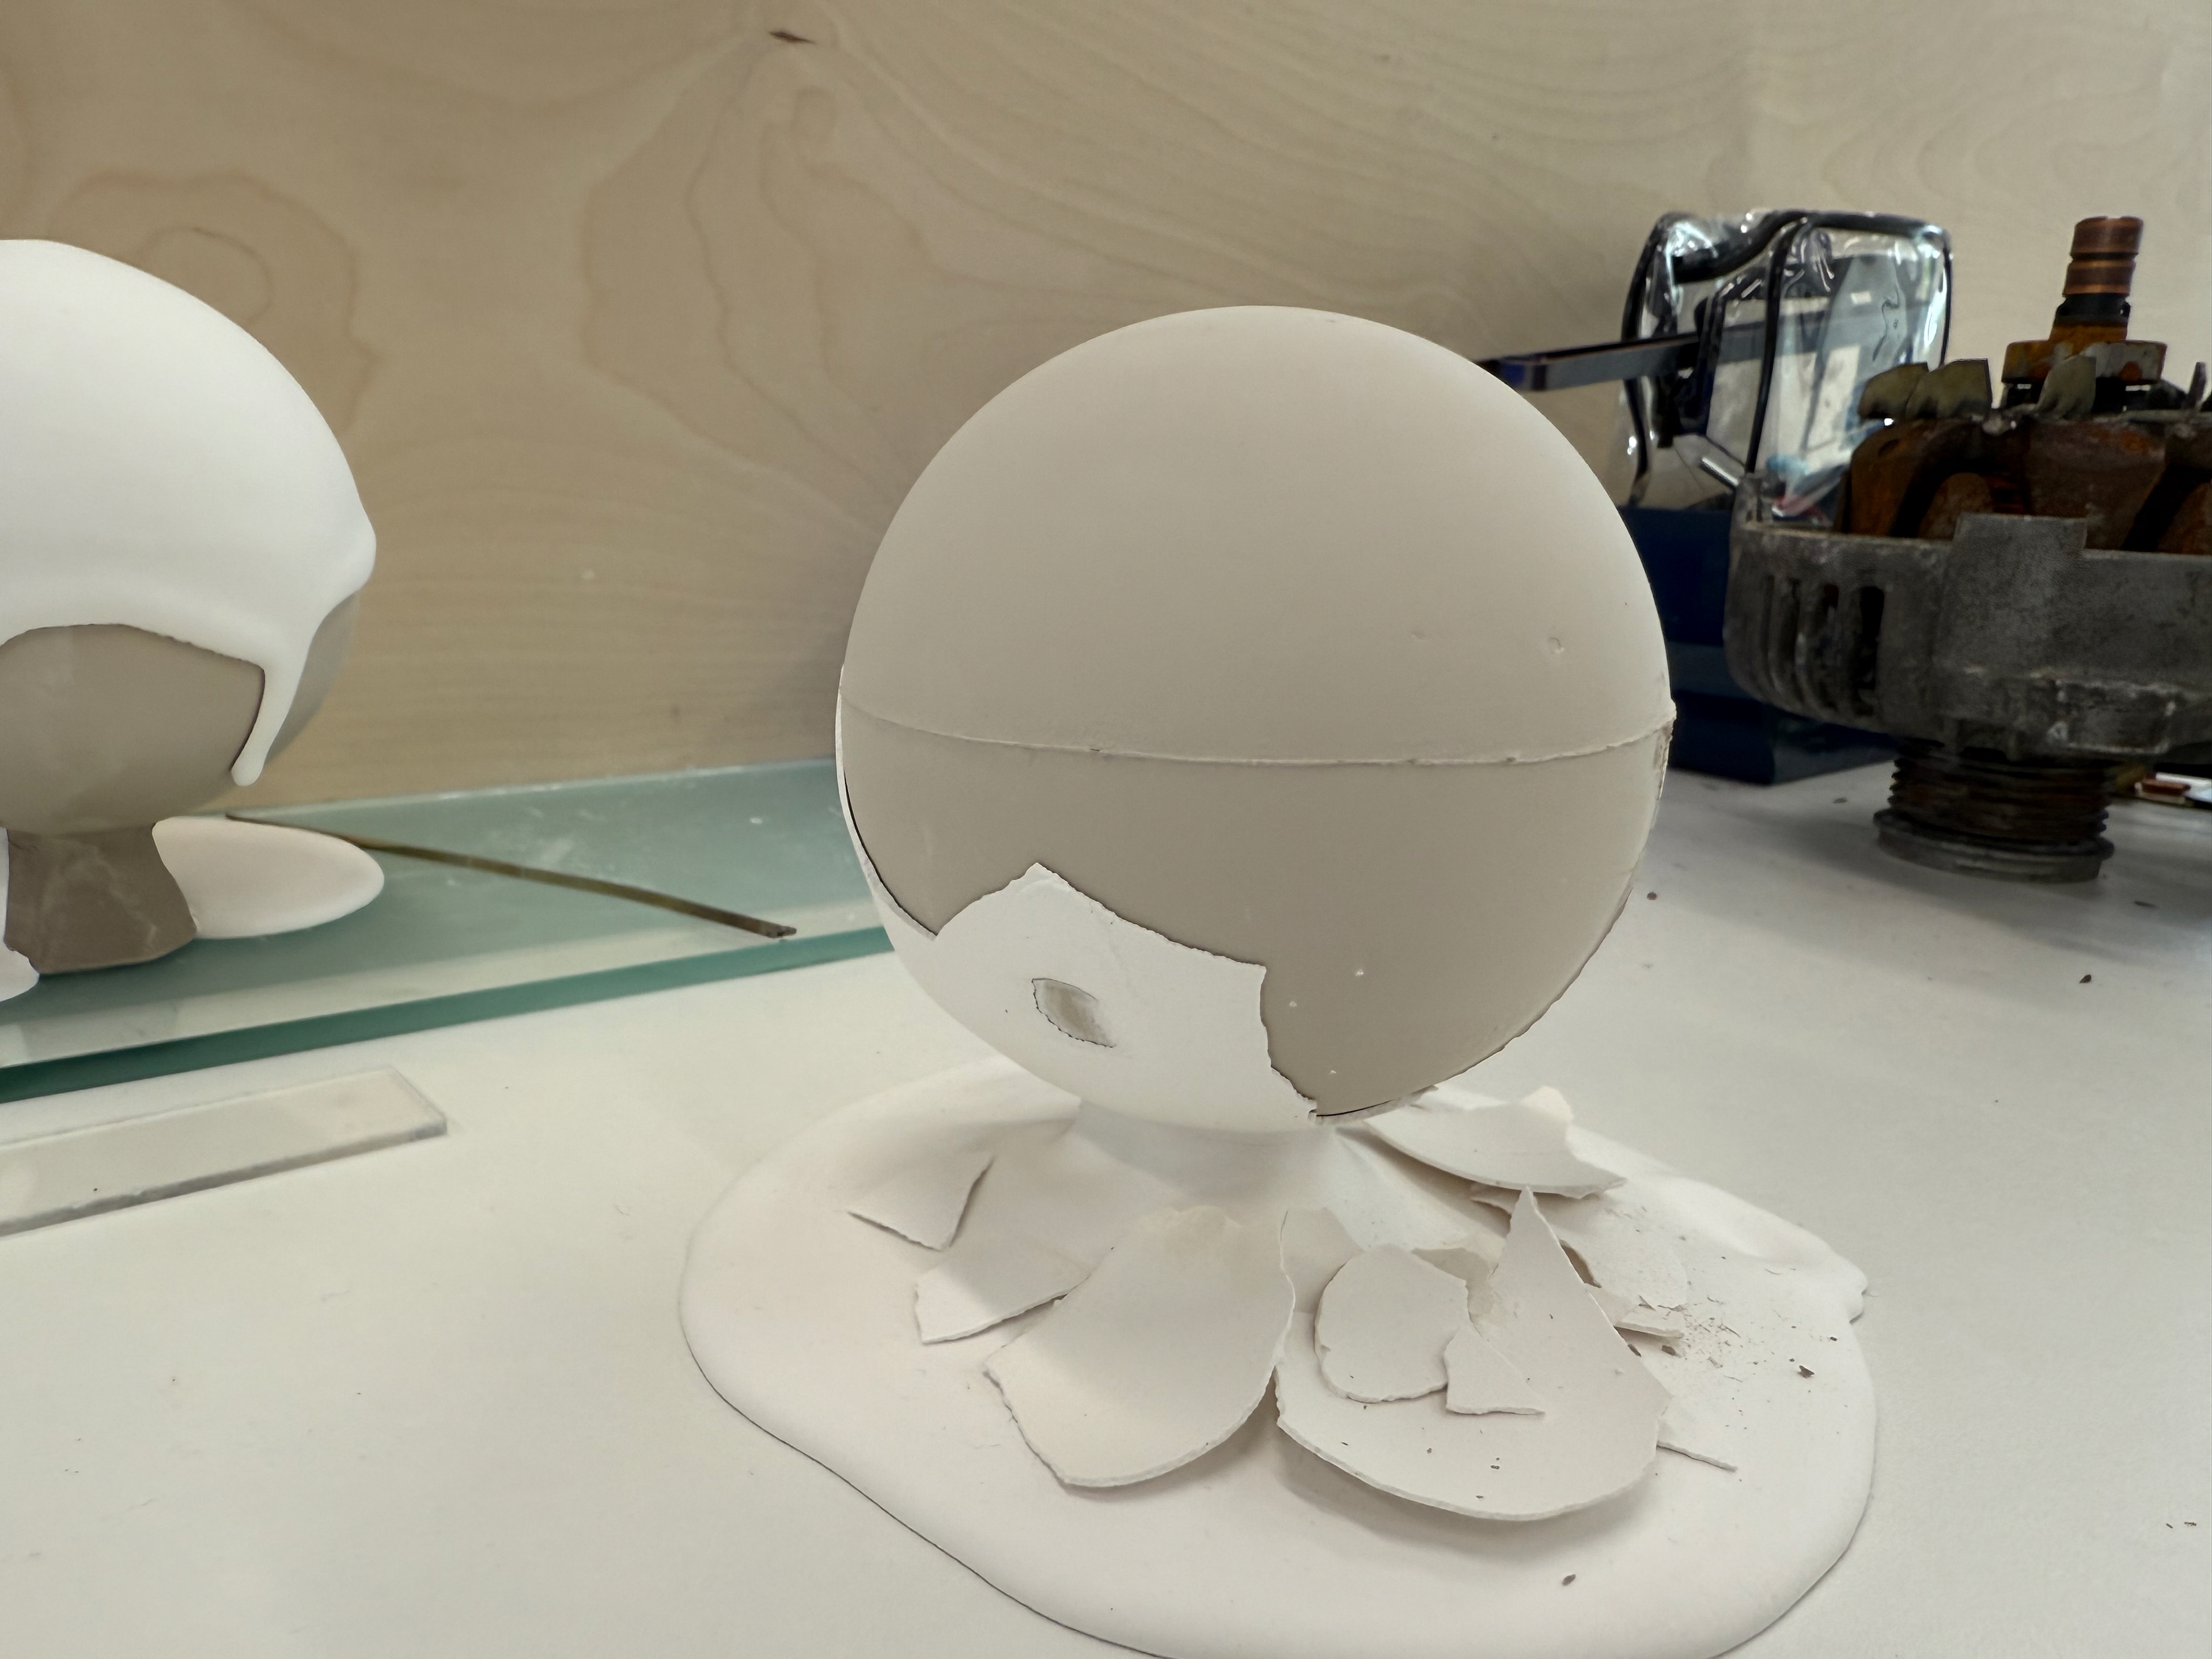
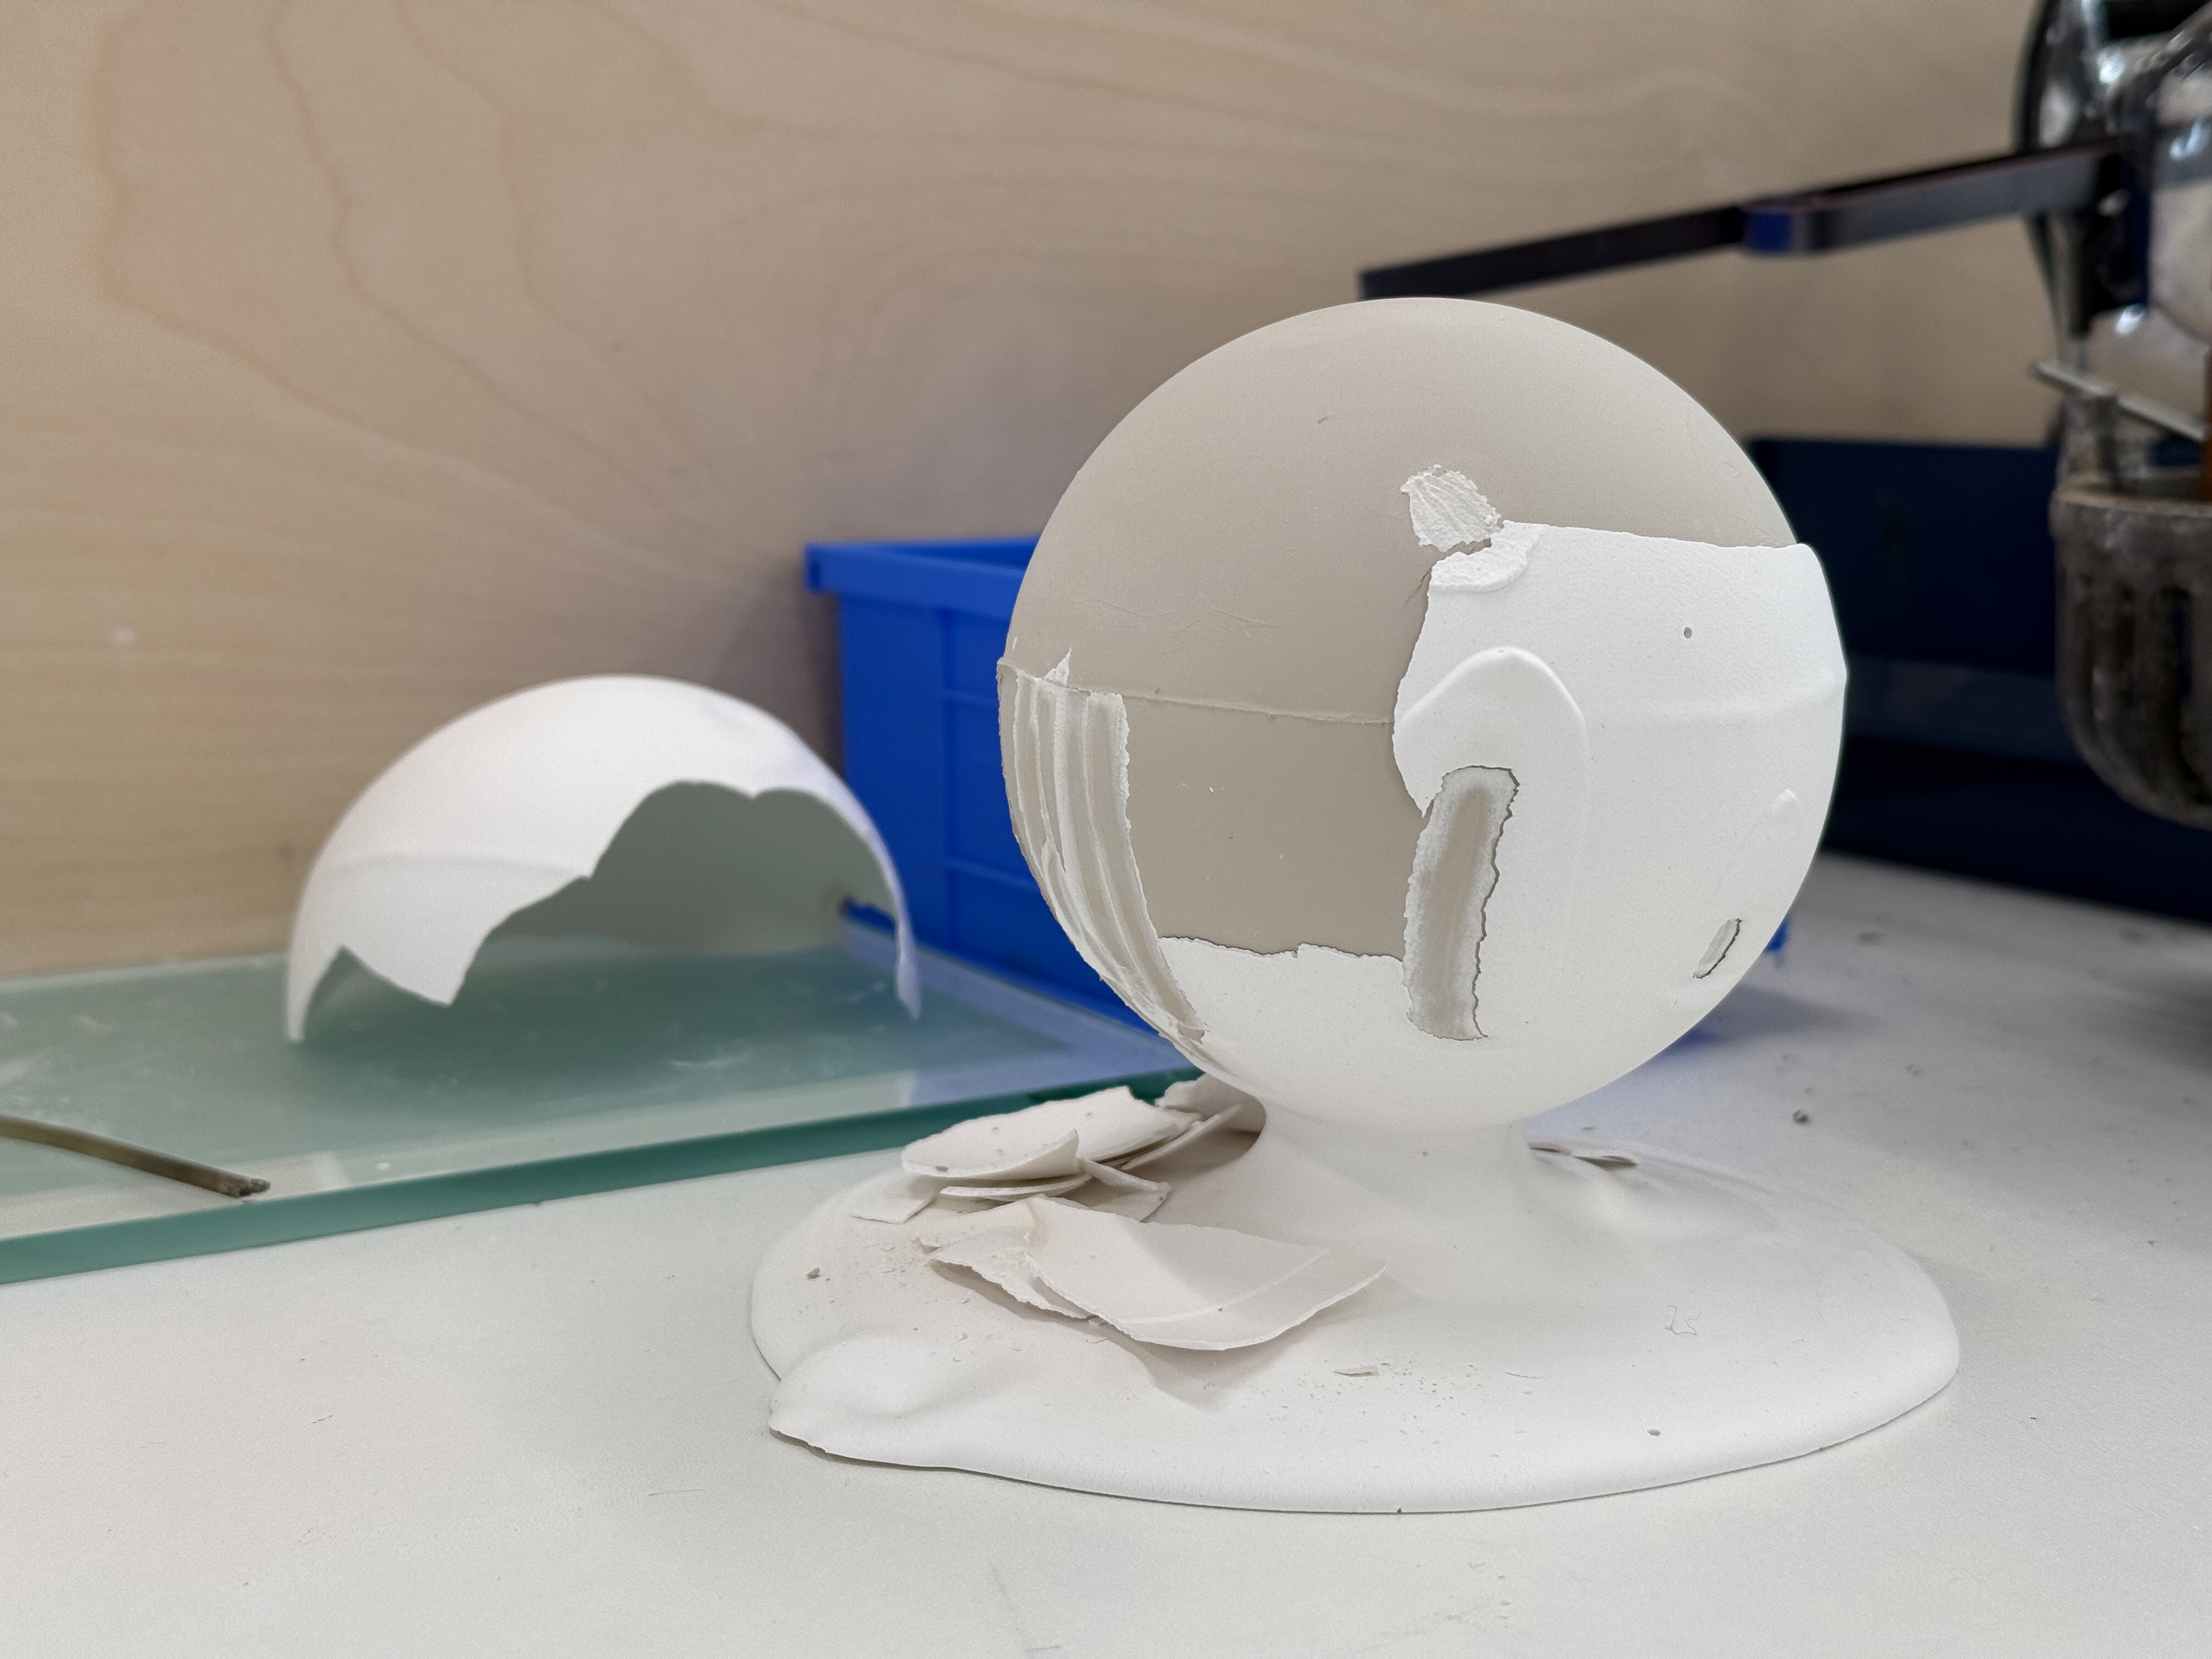
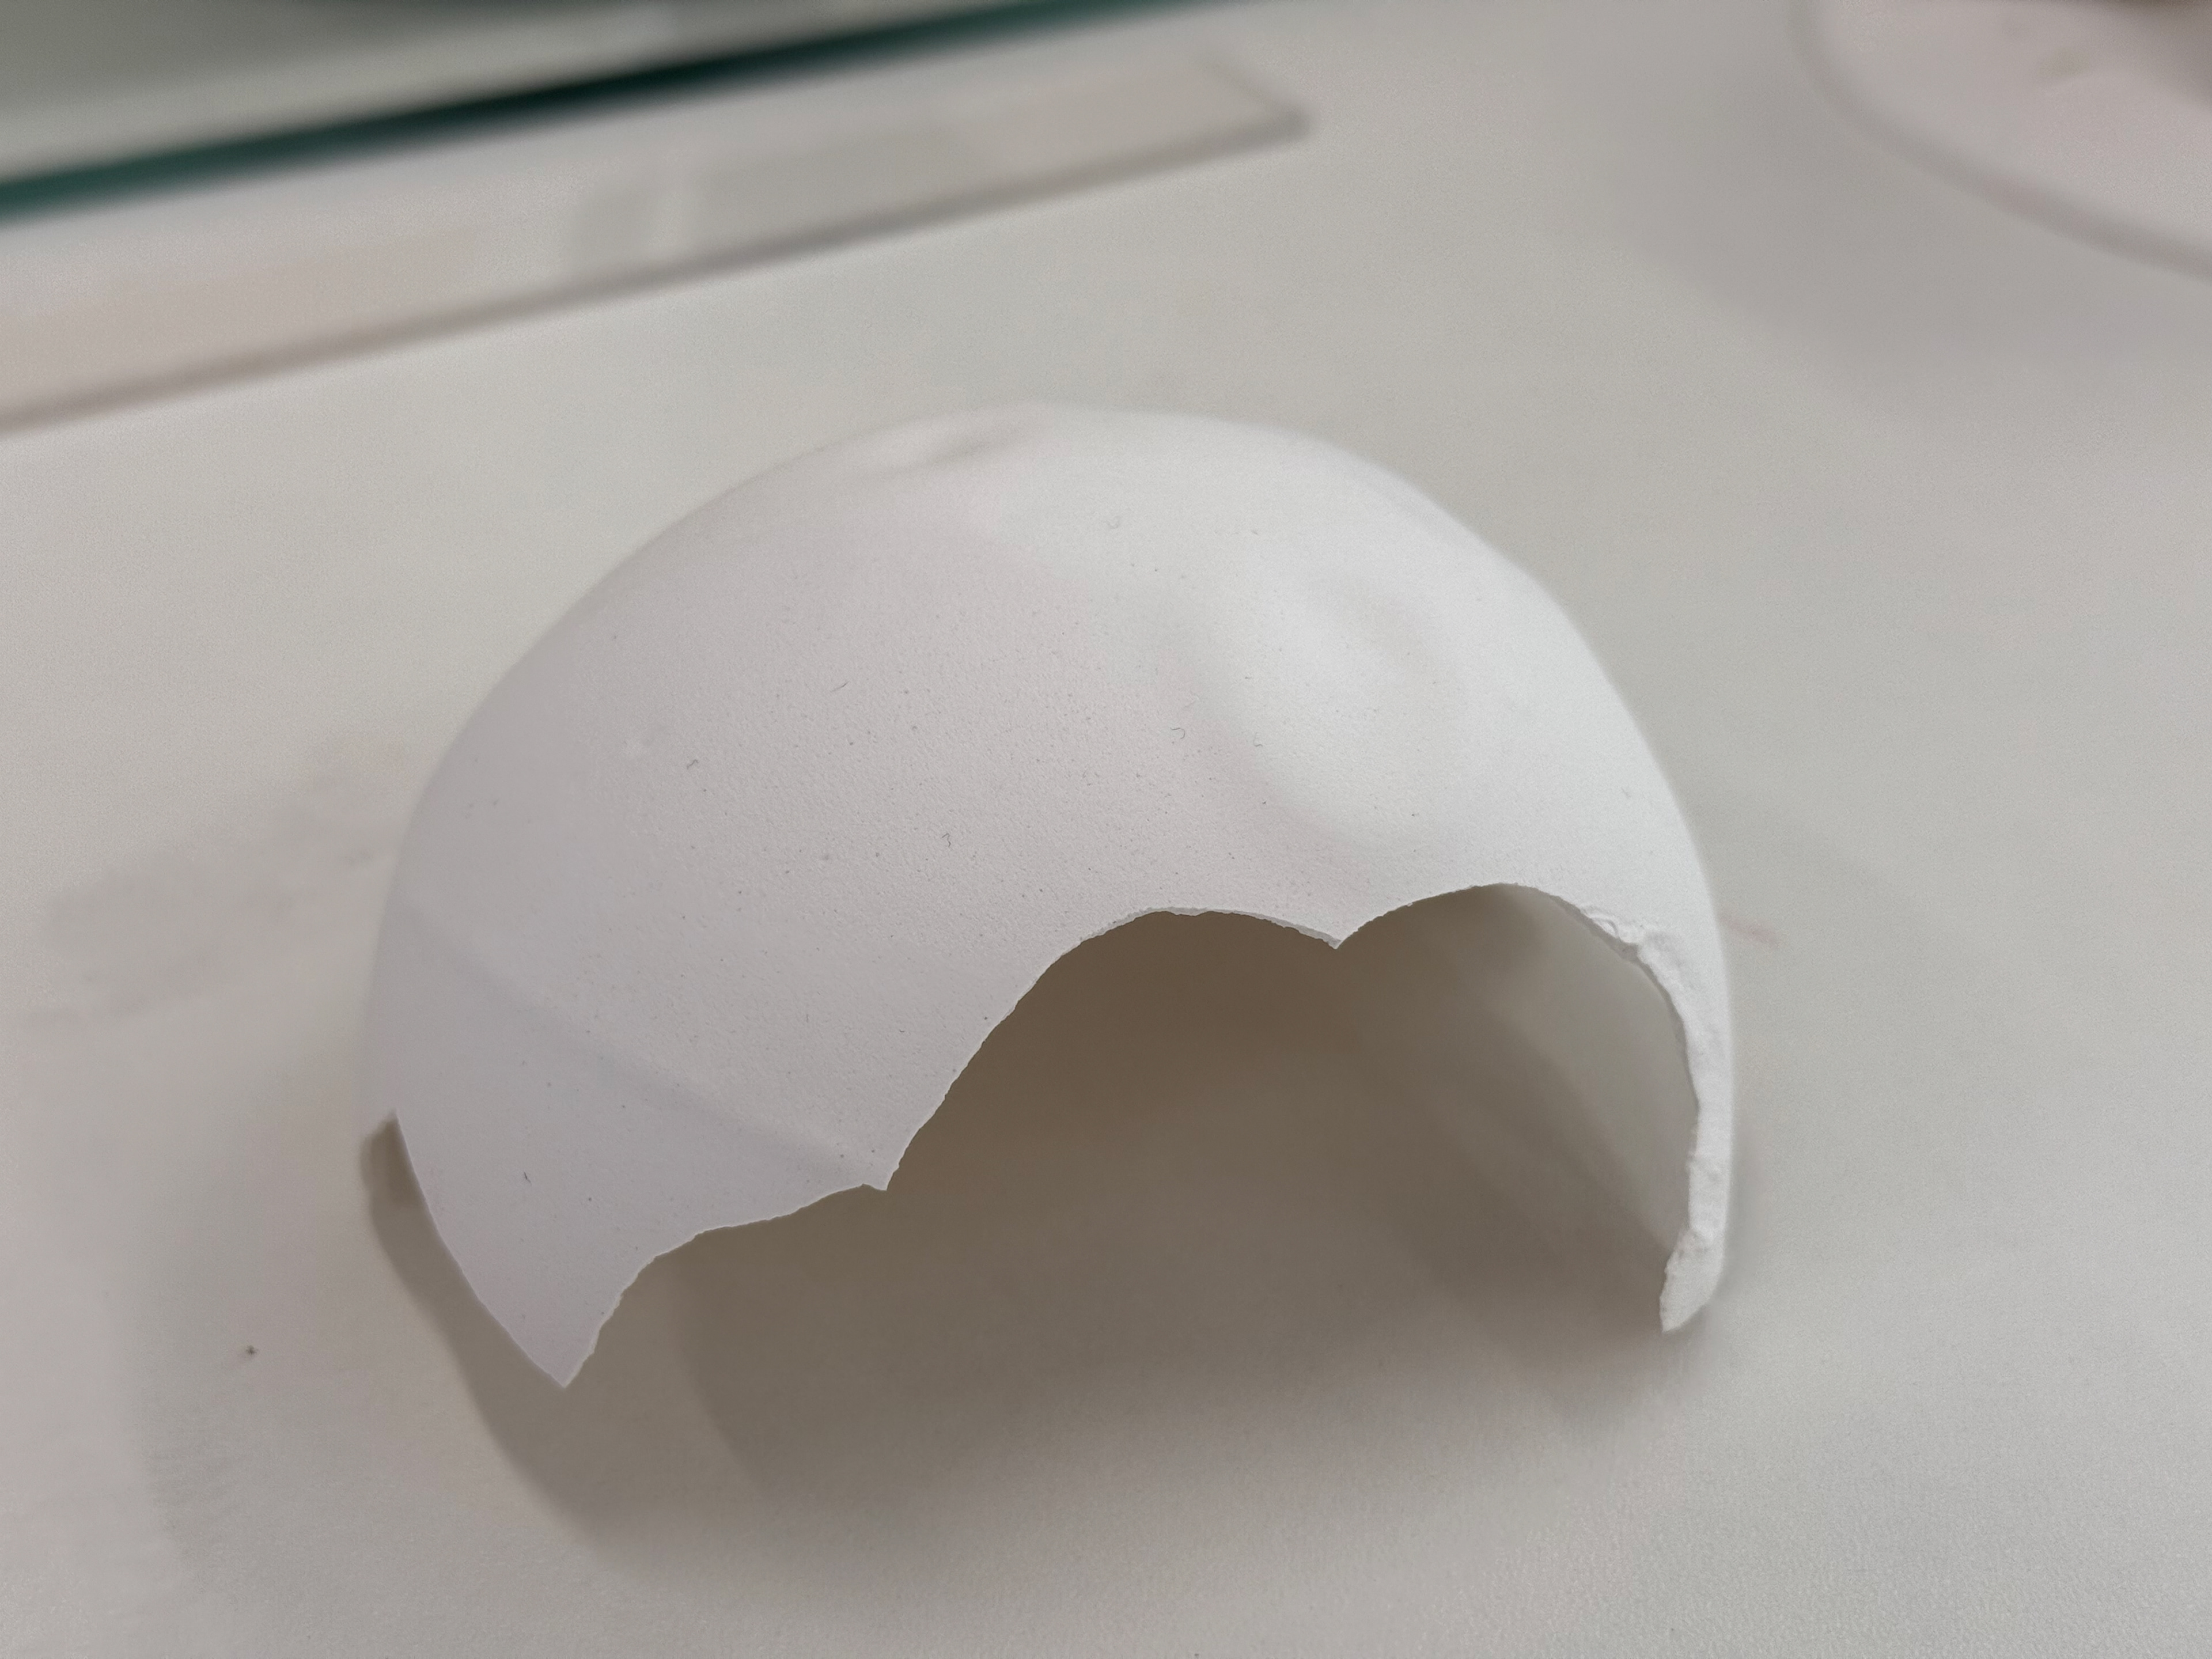
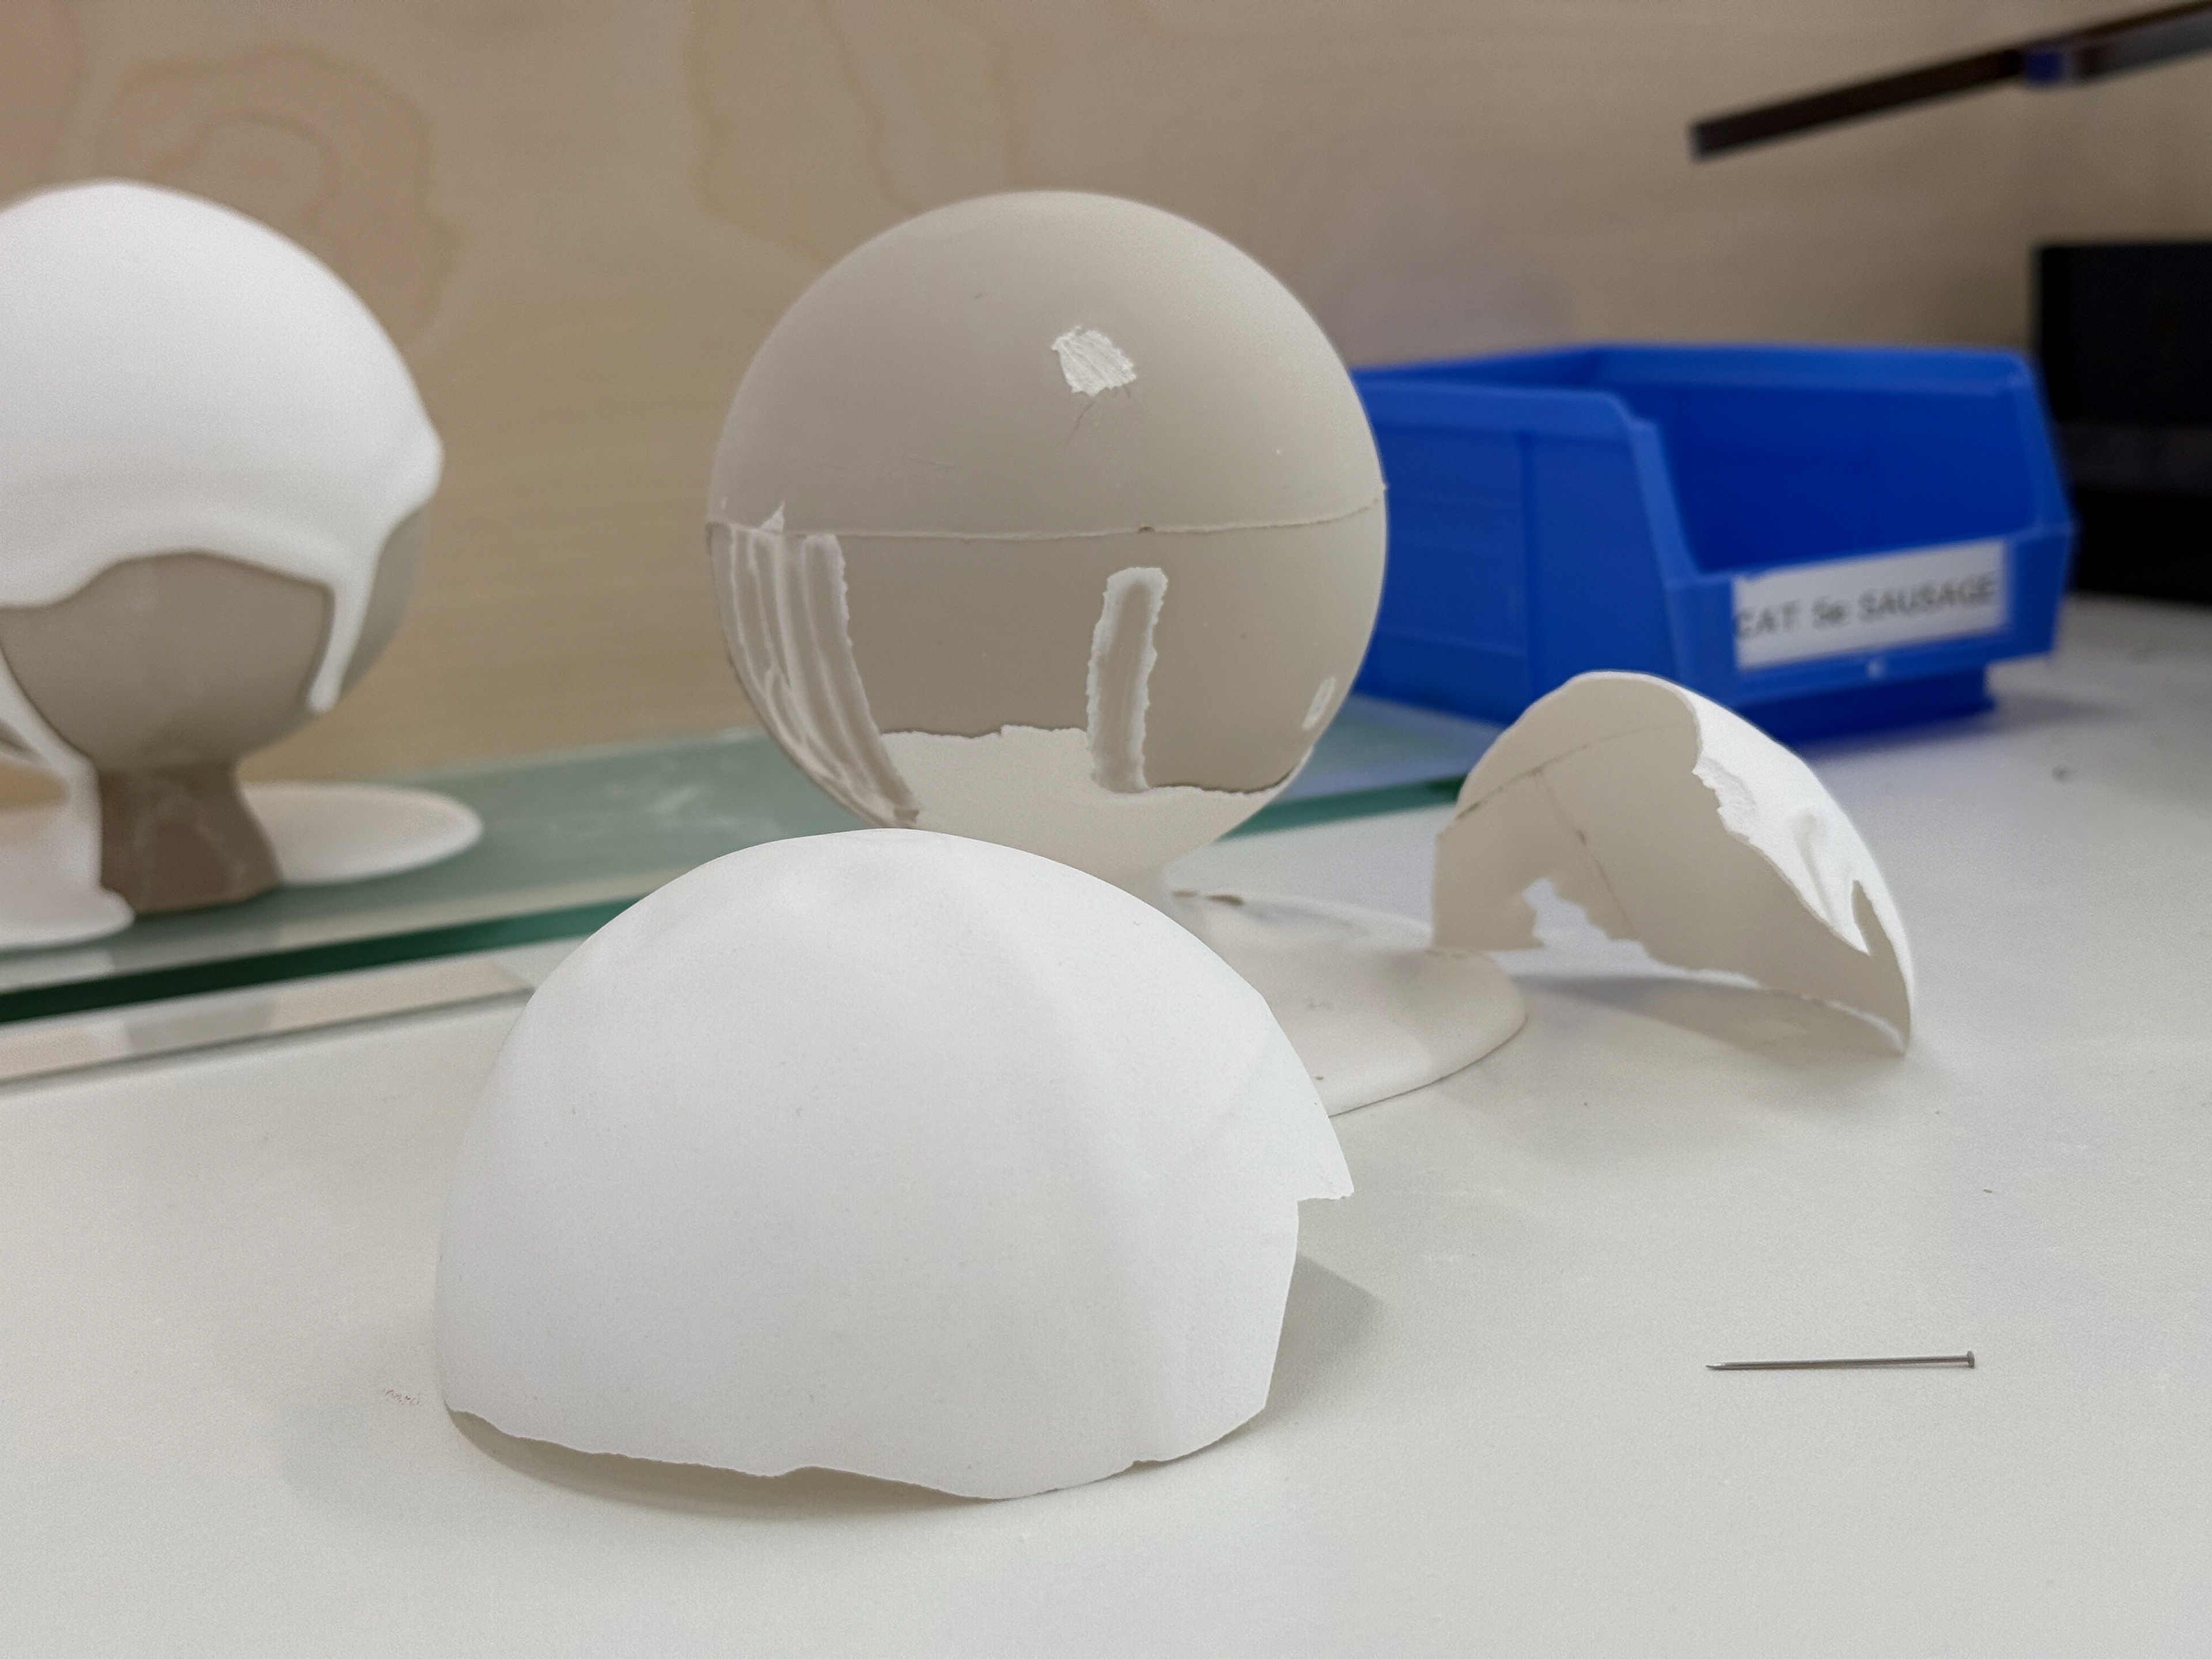
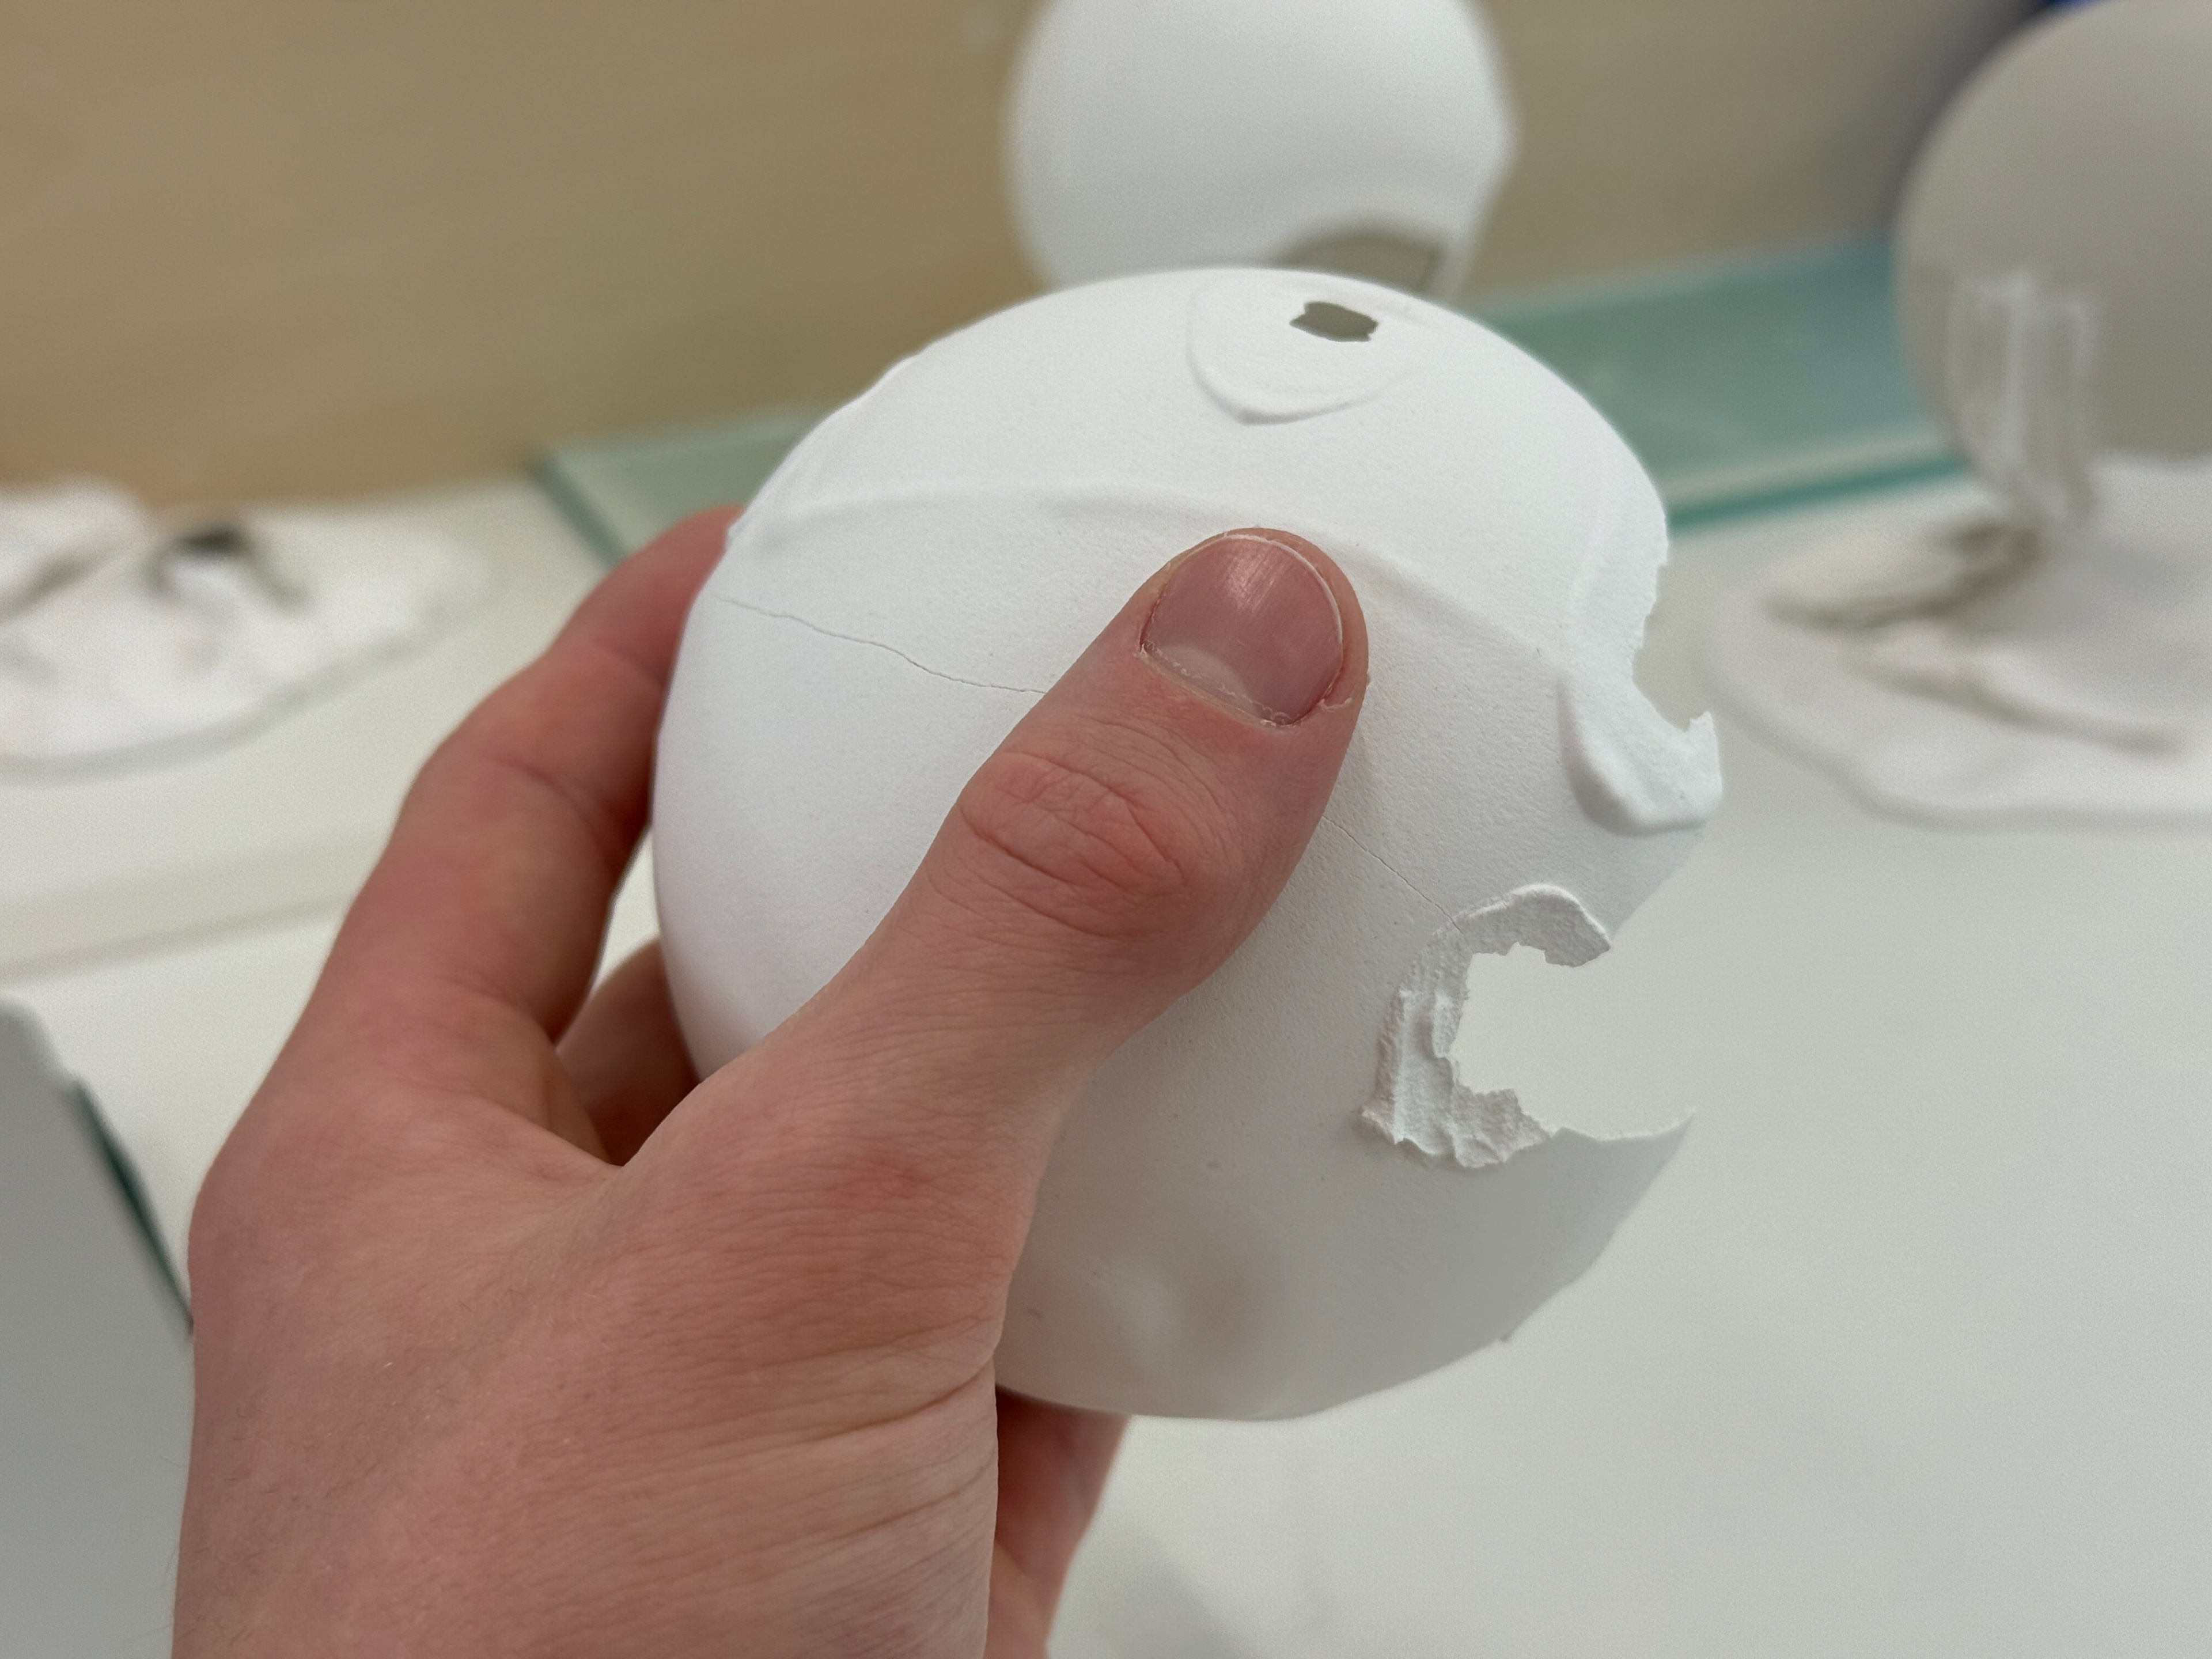
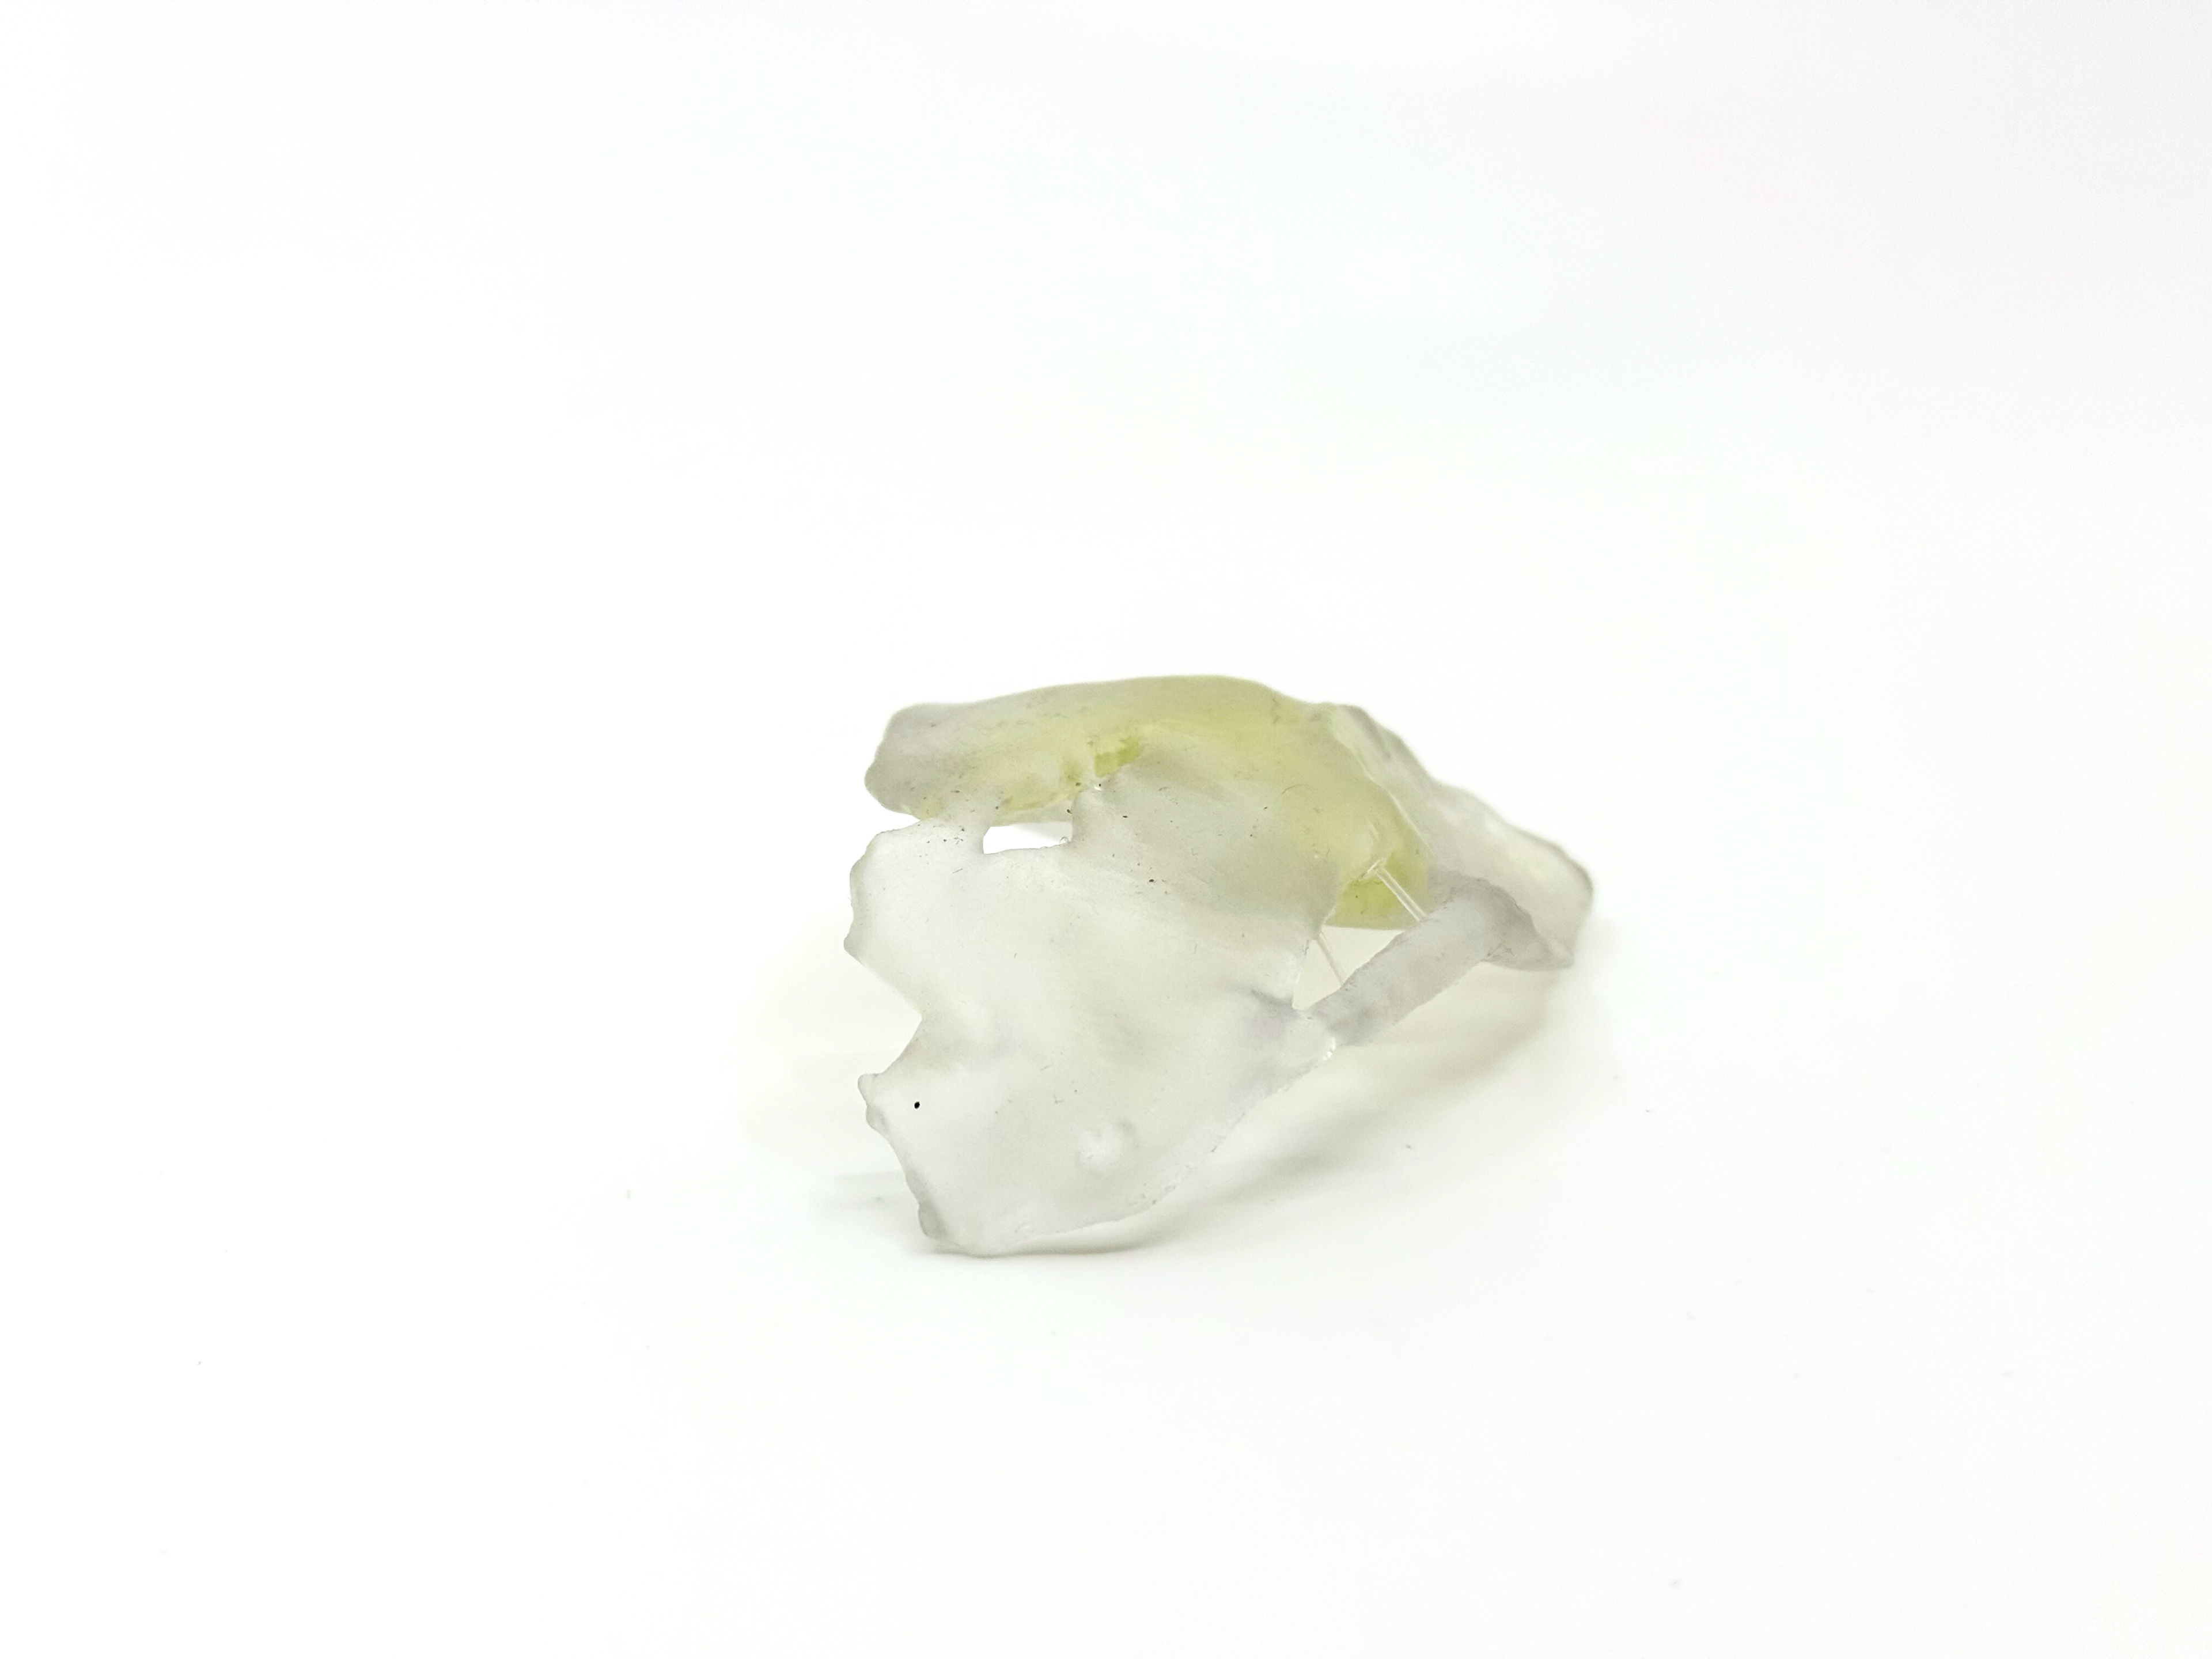
The fragmented piece.
The fragmented piece.
The fragmented piece.
The fragmented piece.
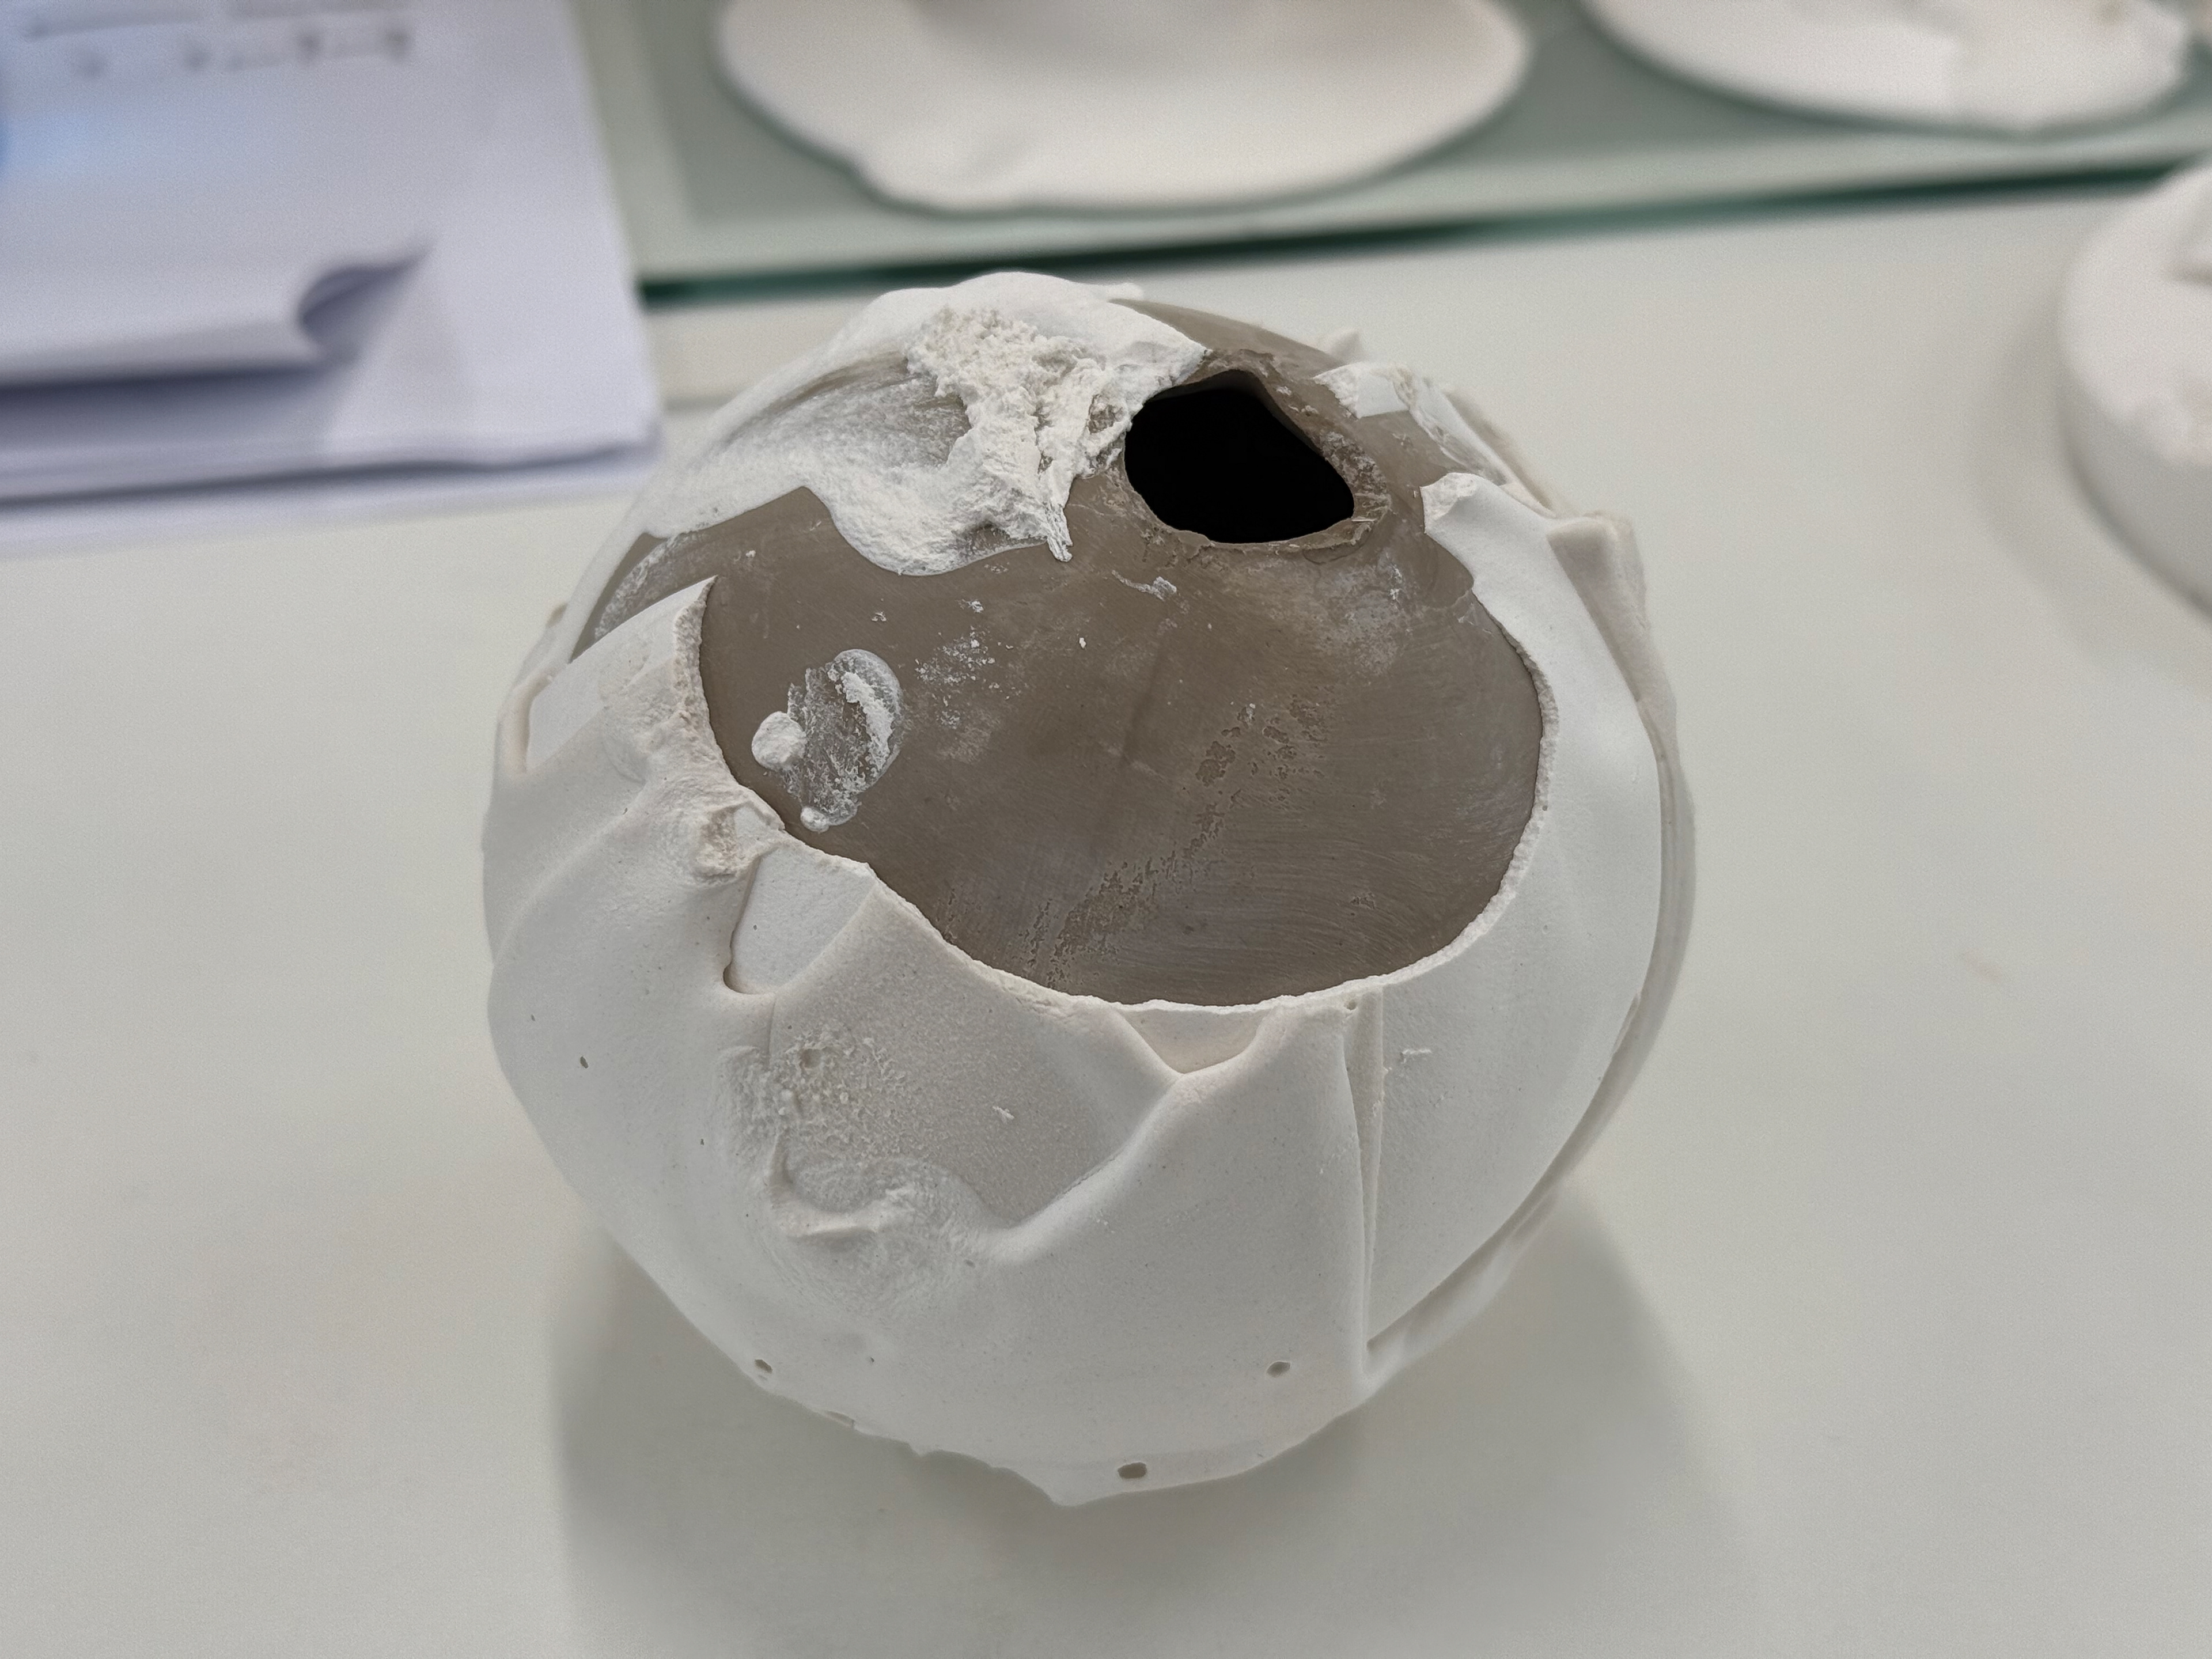
The fragmented piece rebuild ready for plaster to pour over it.
After the plaster poured over it.
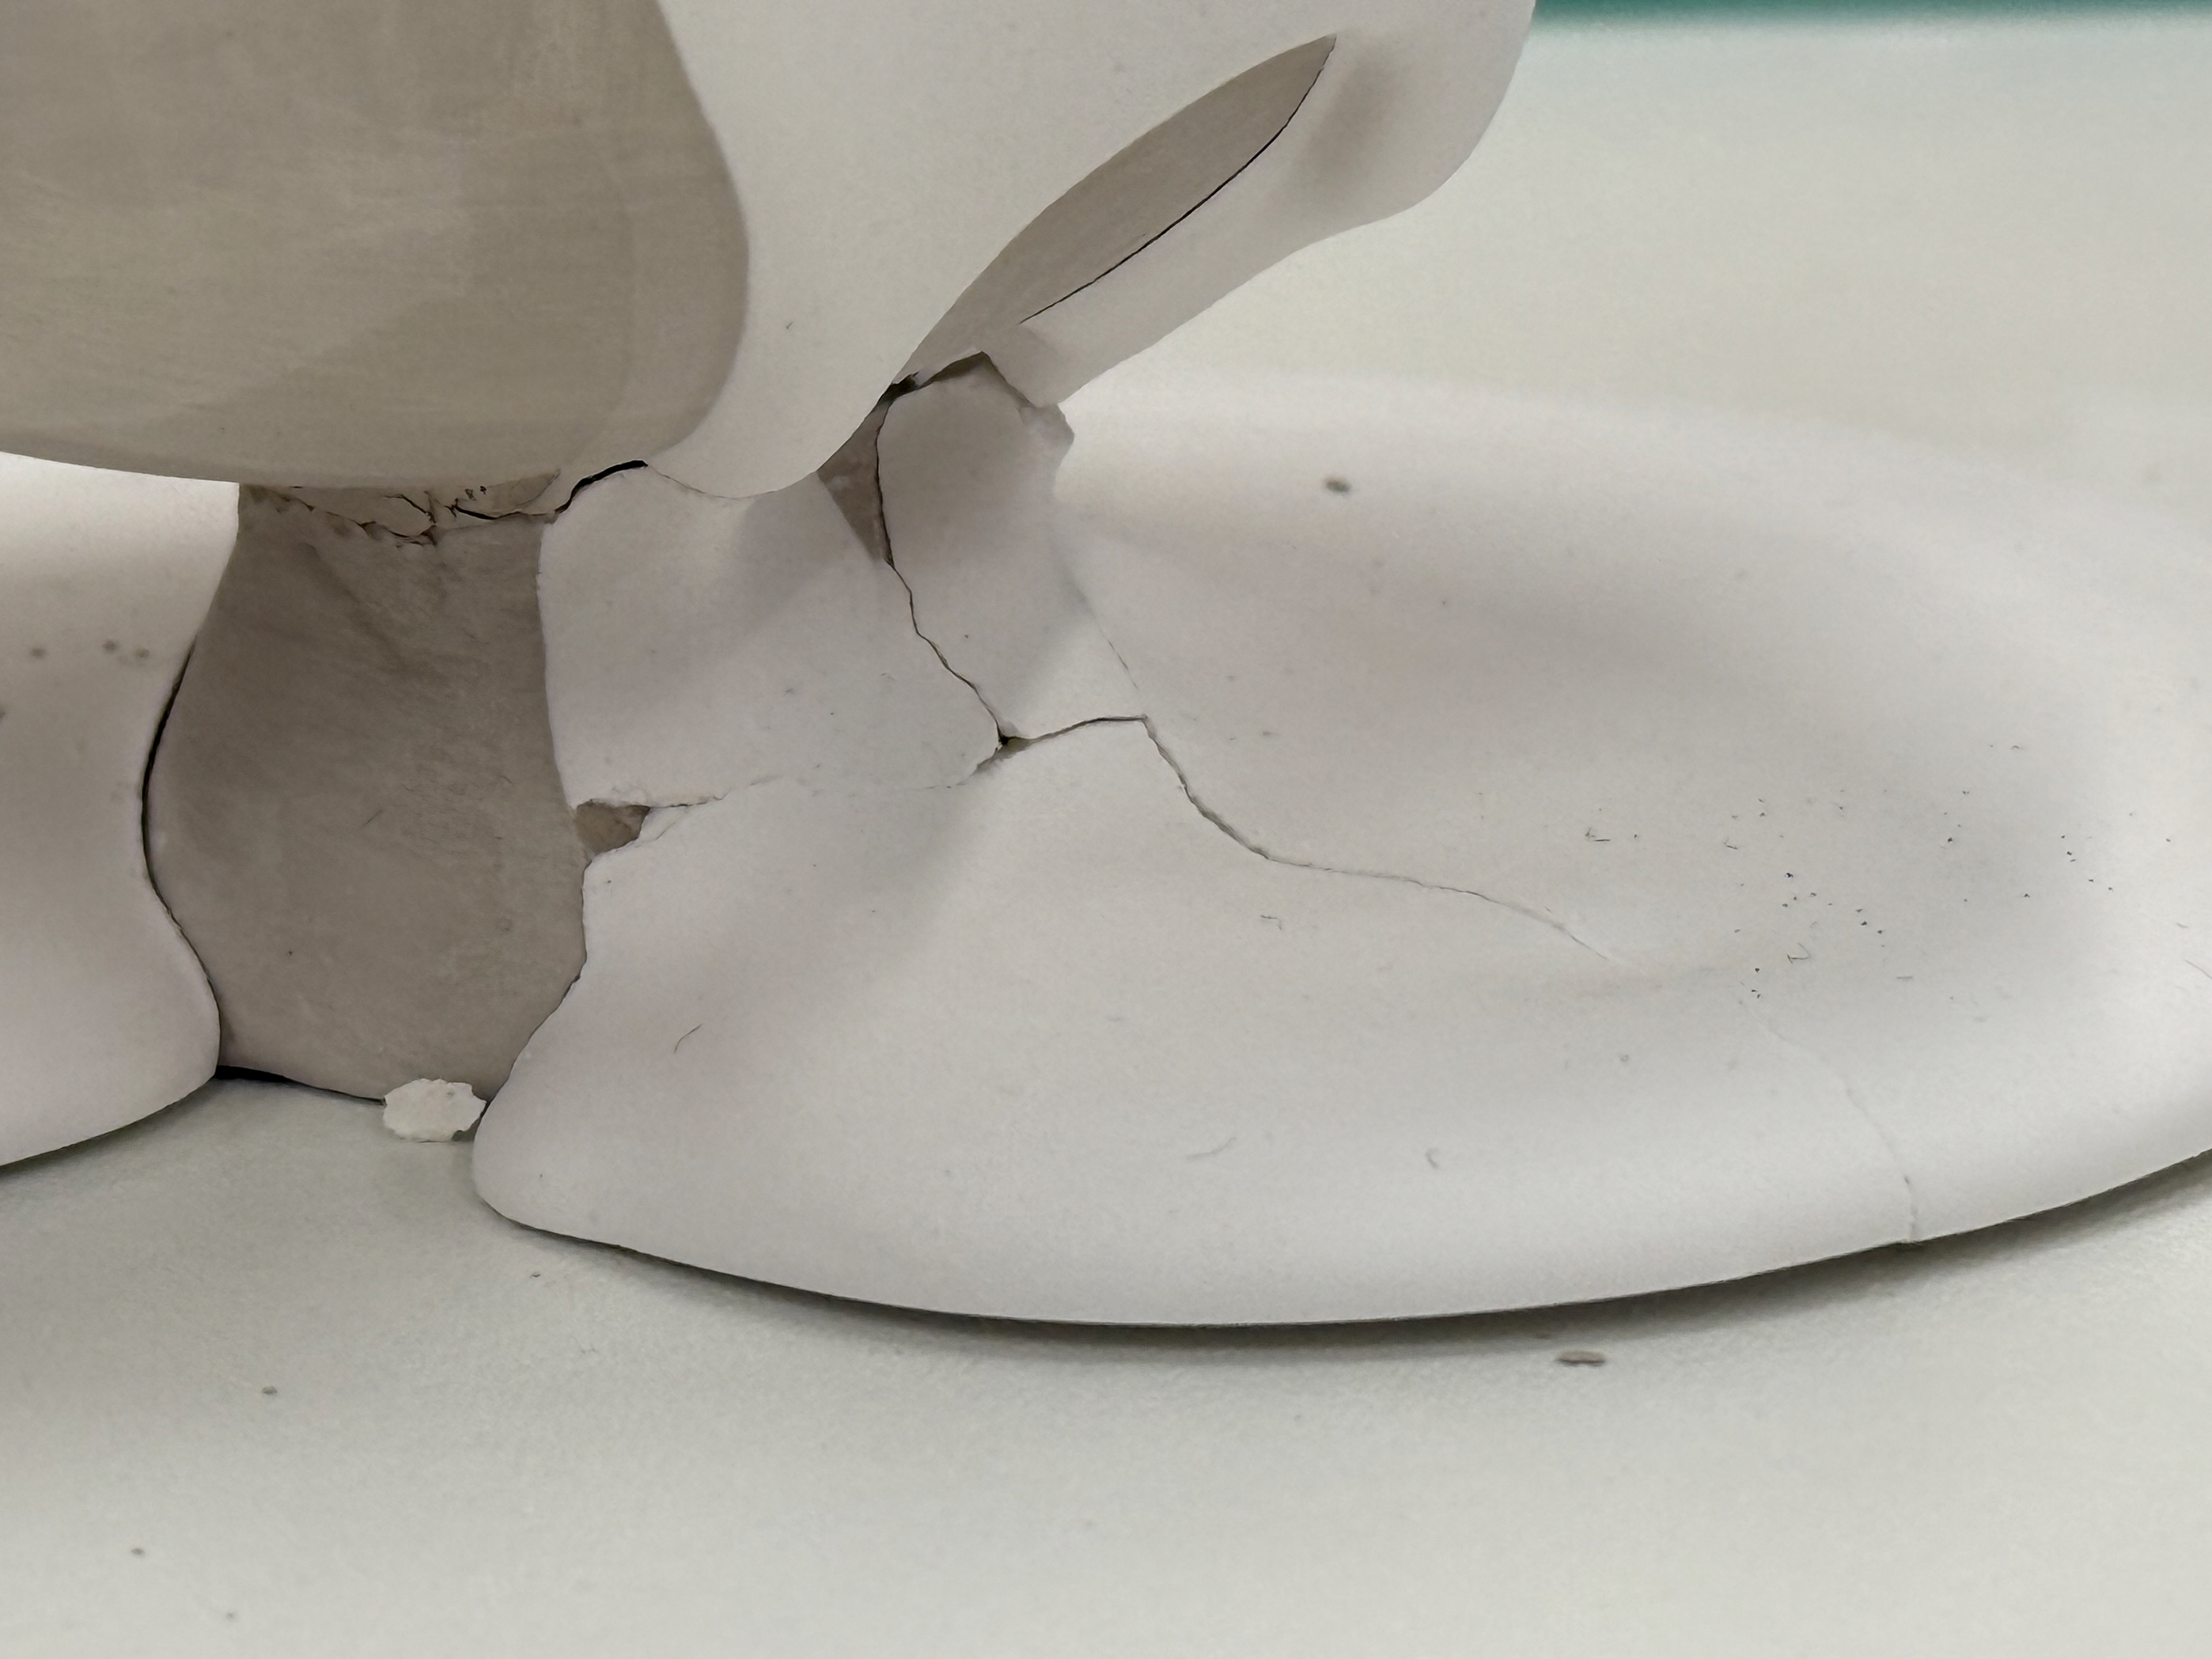
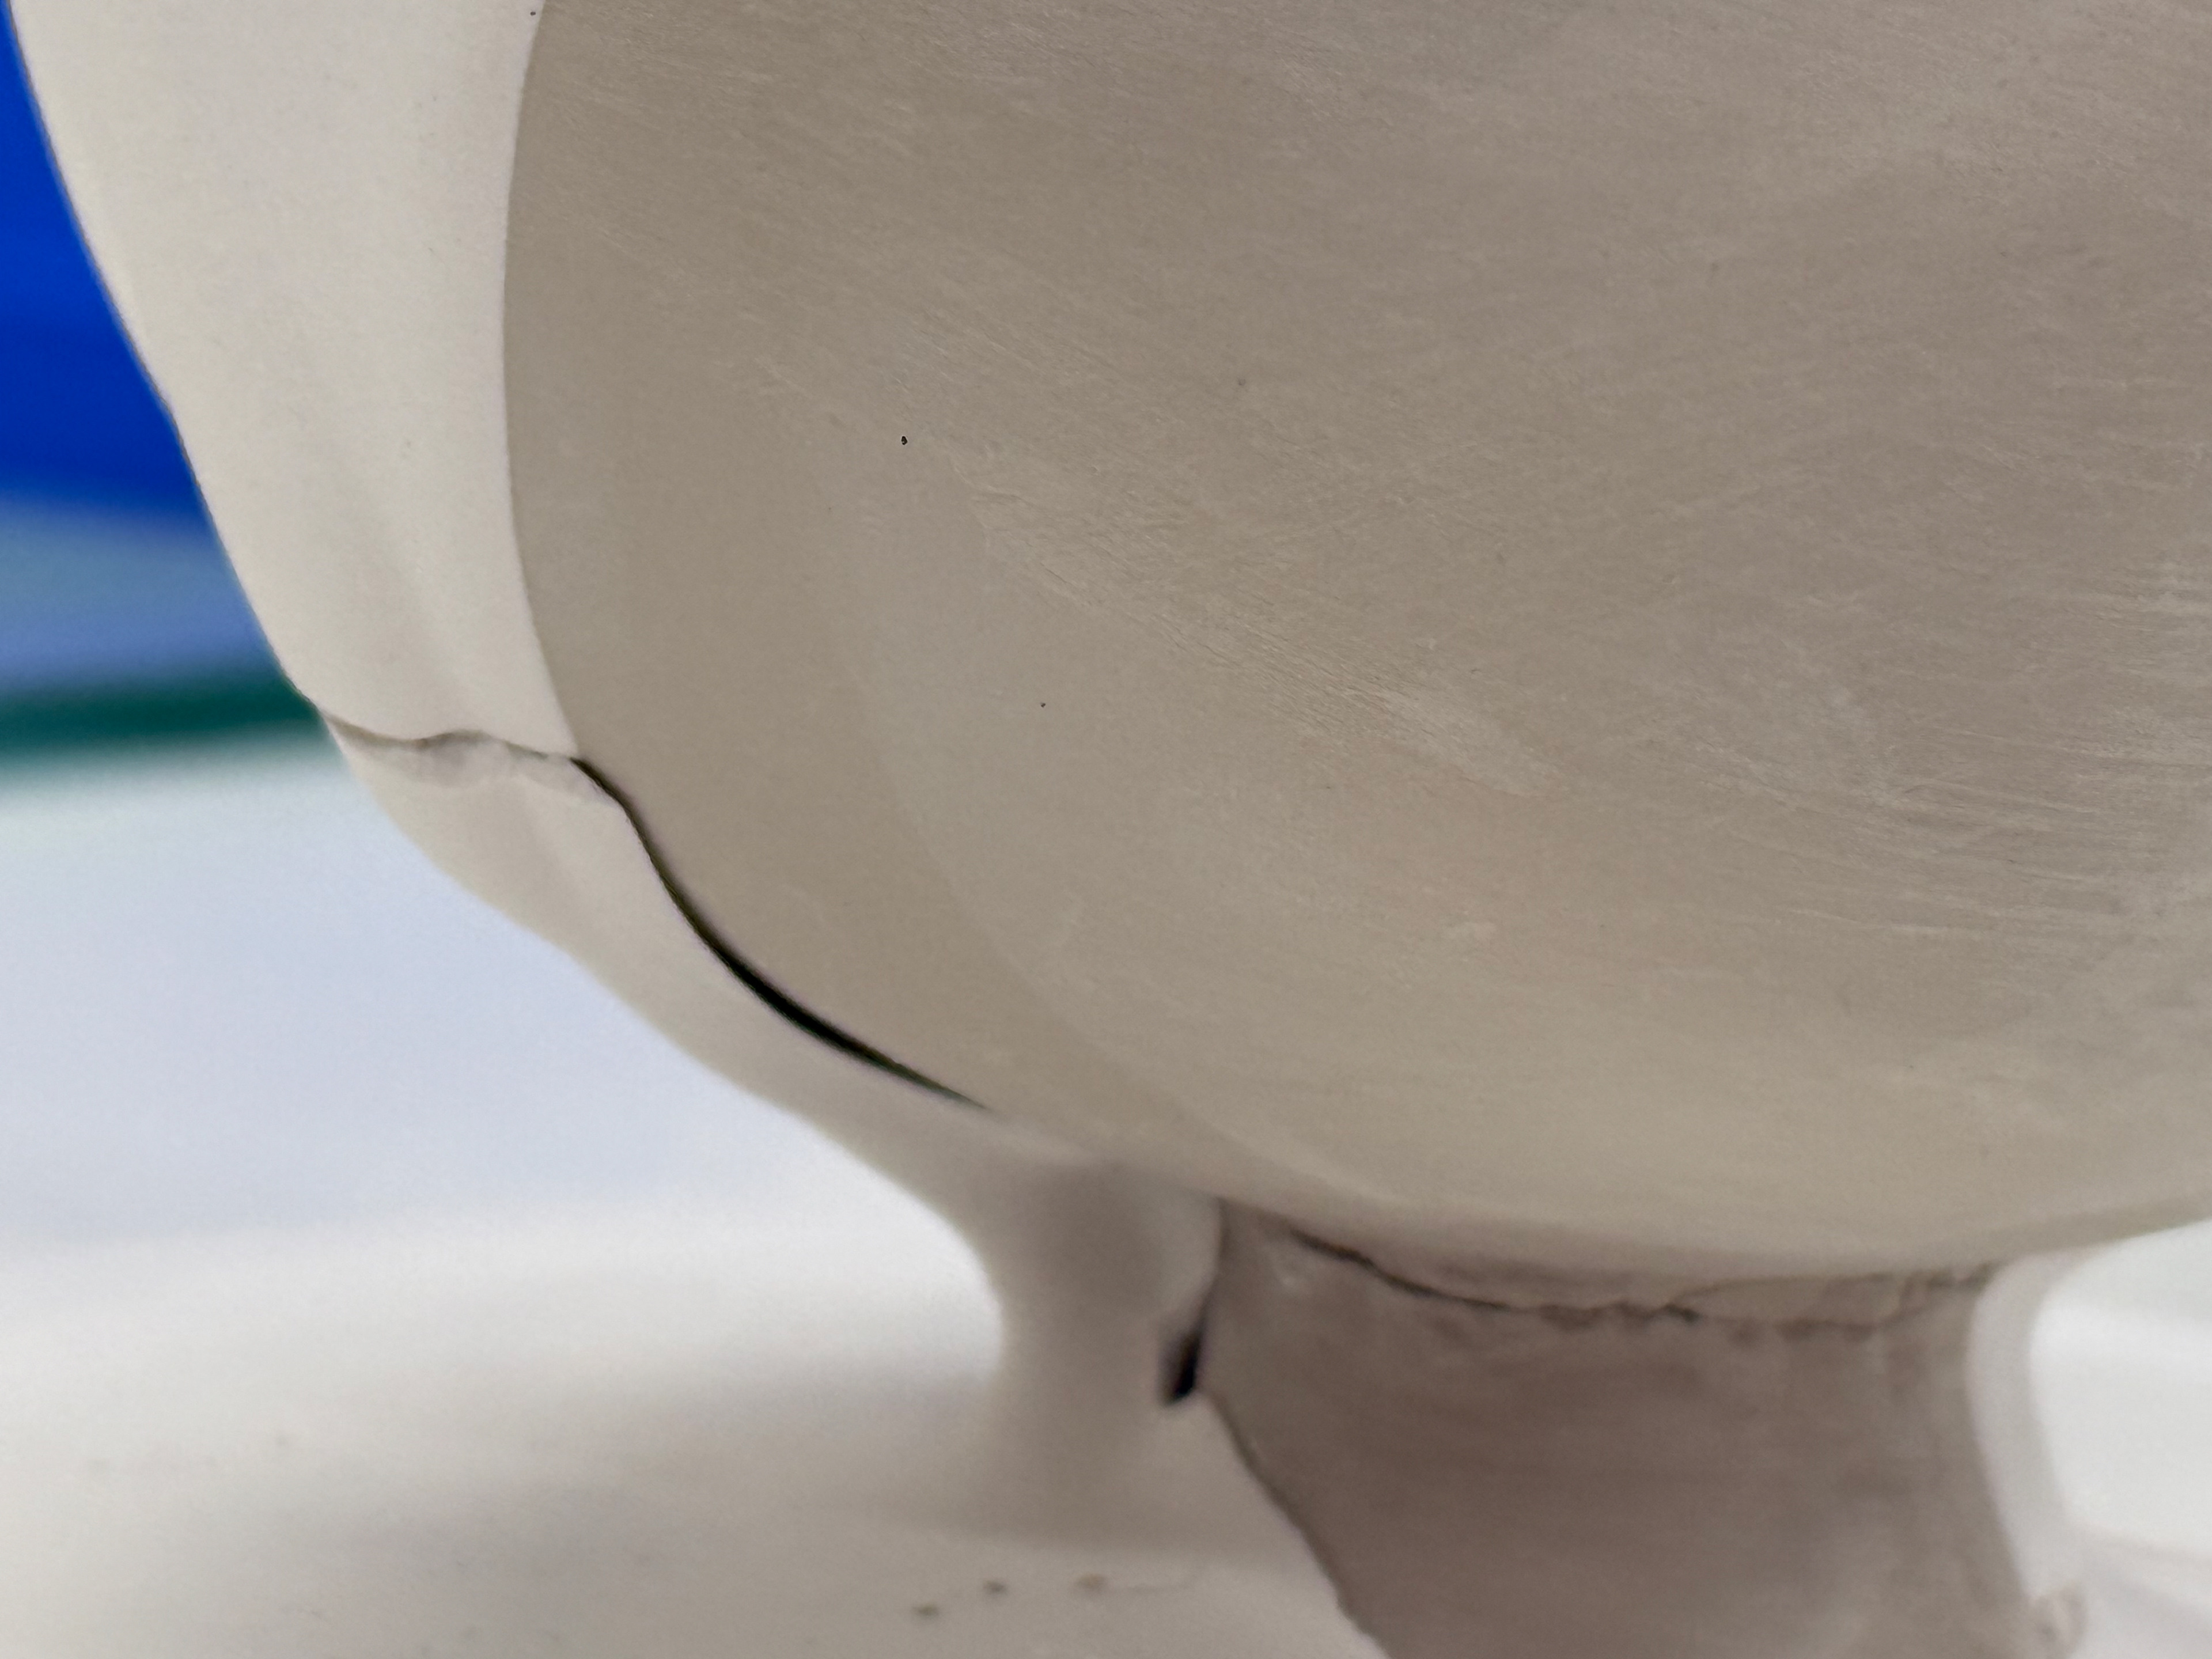
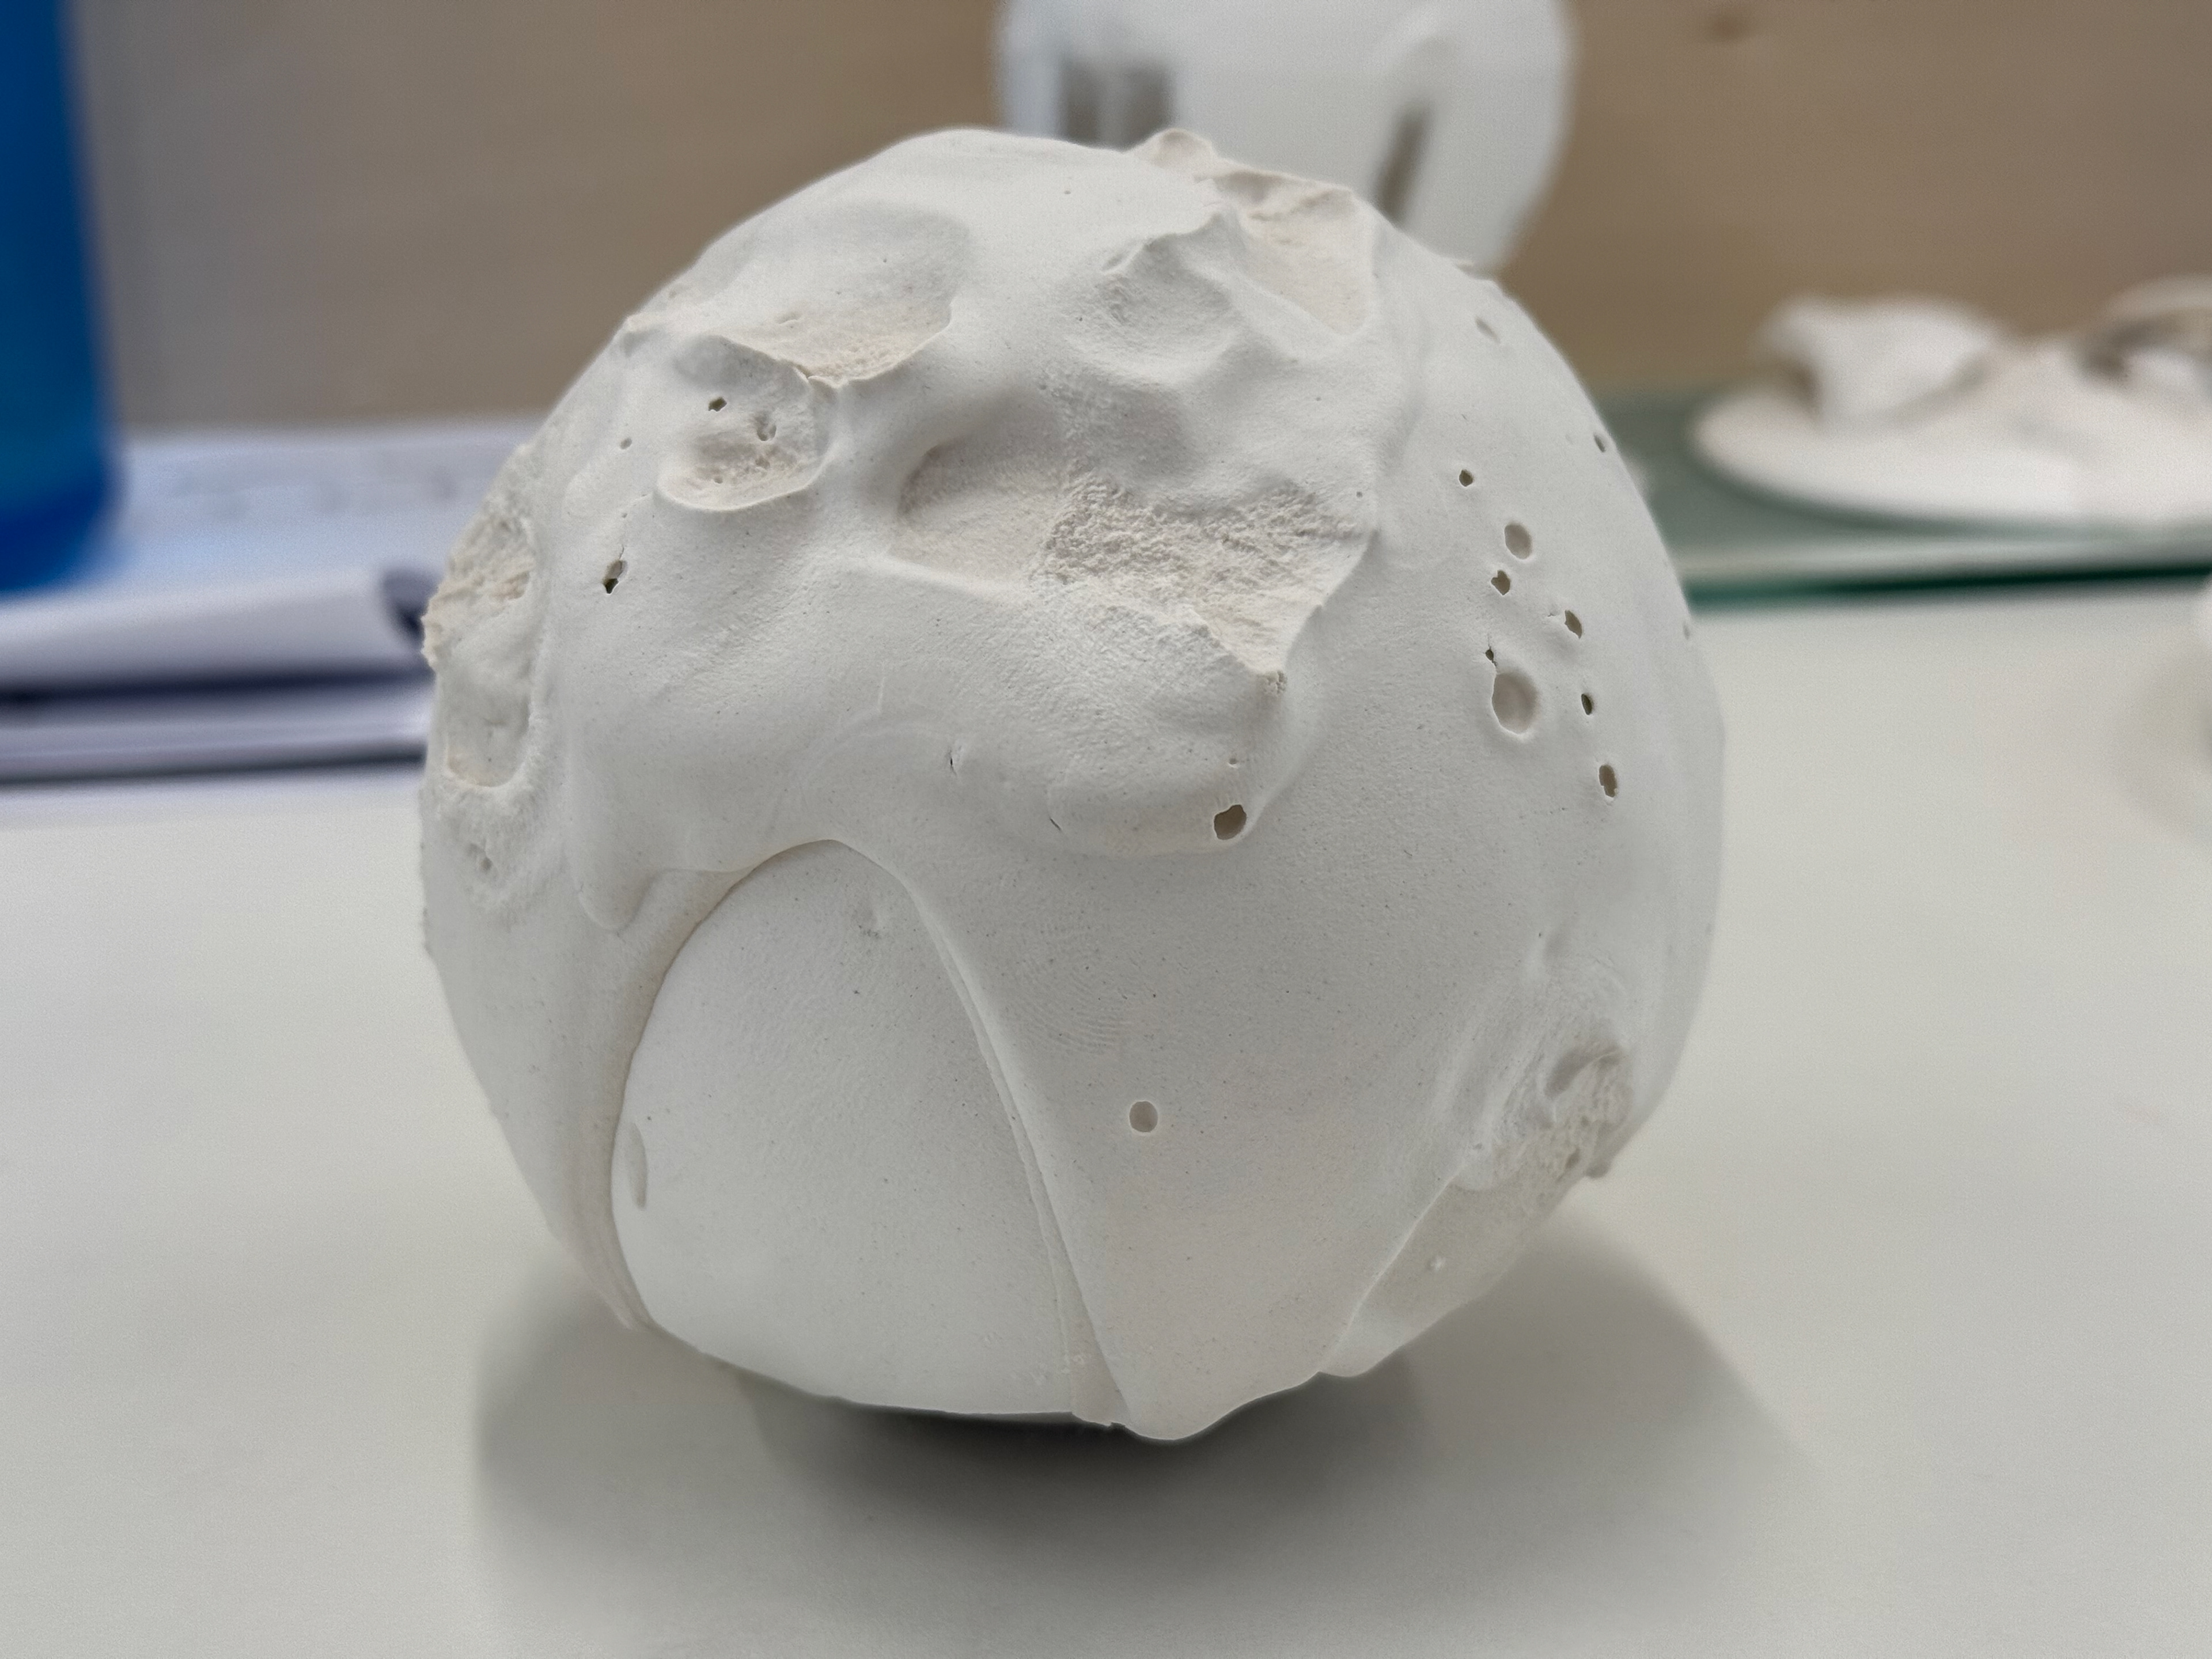
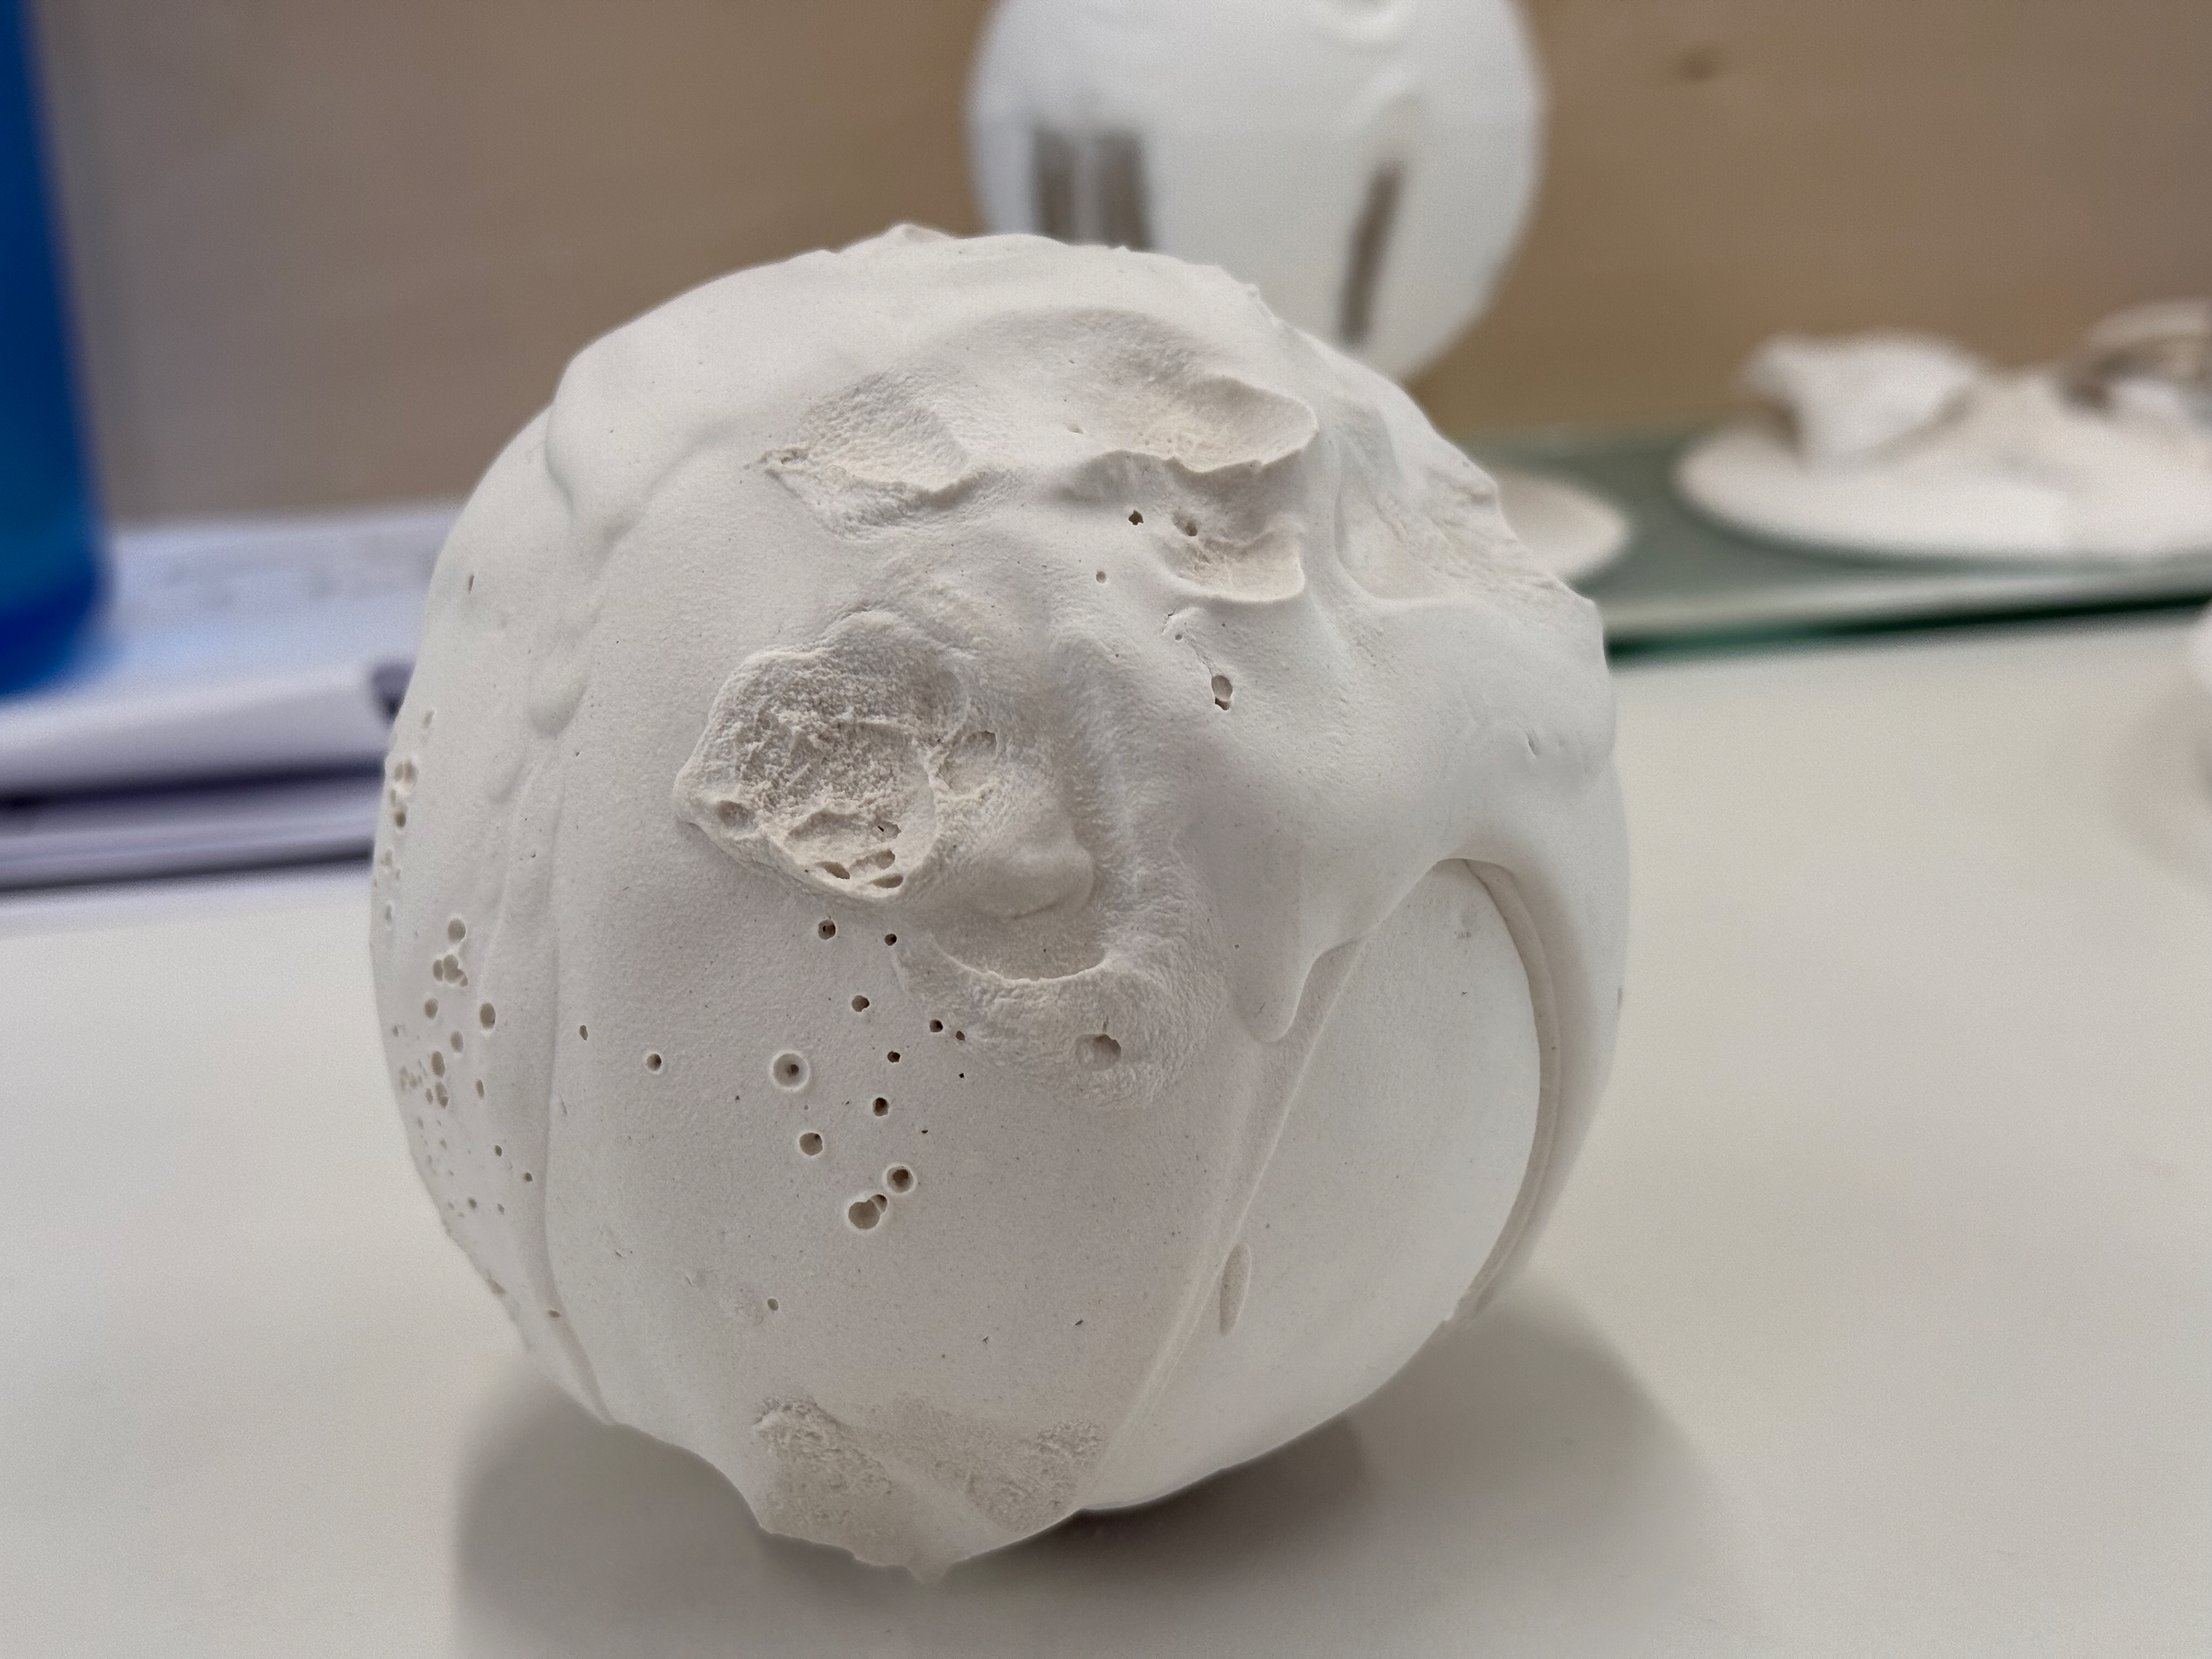
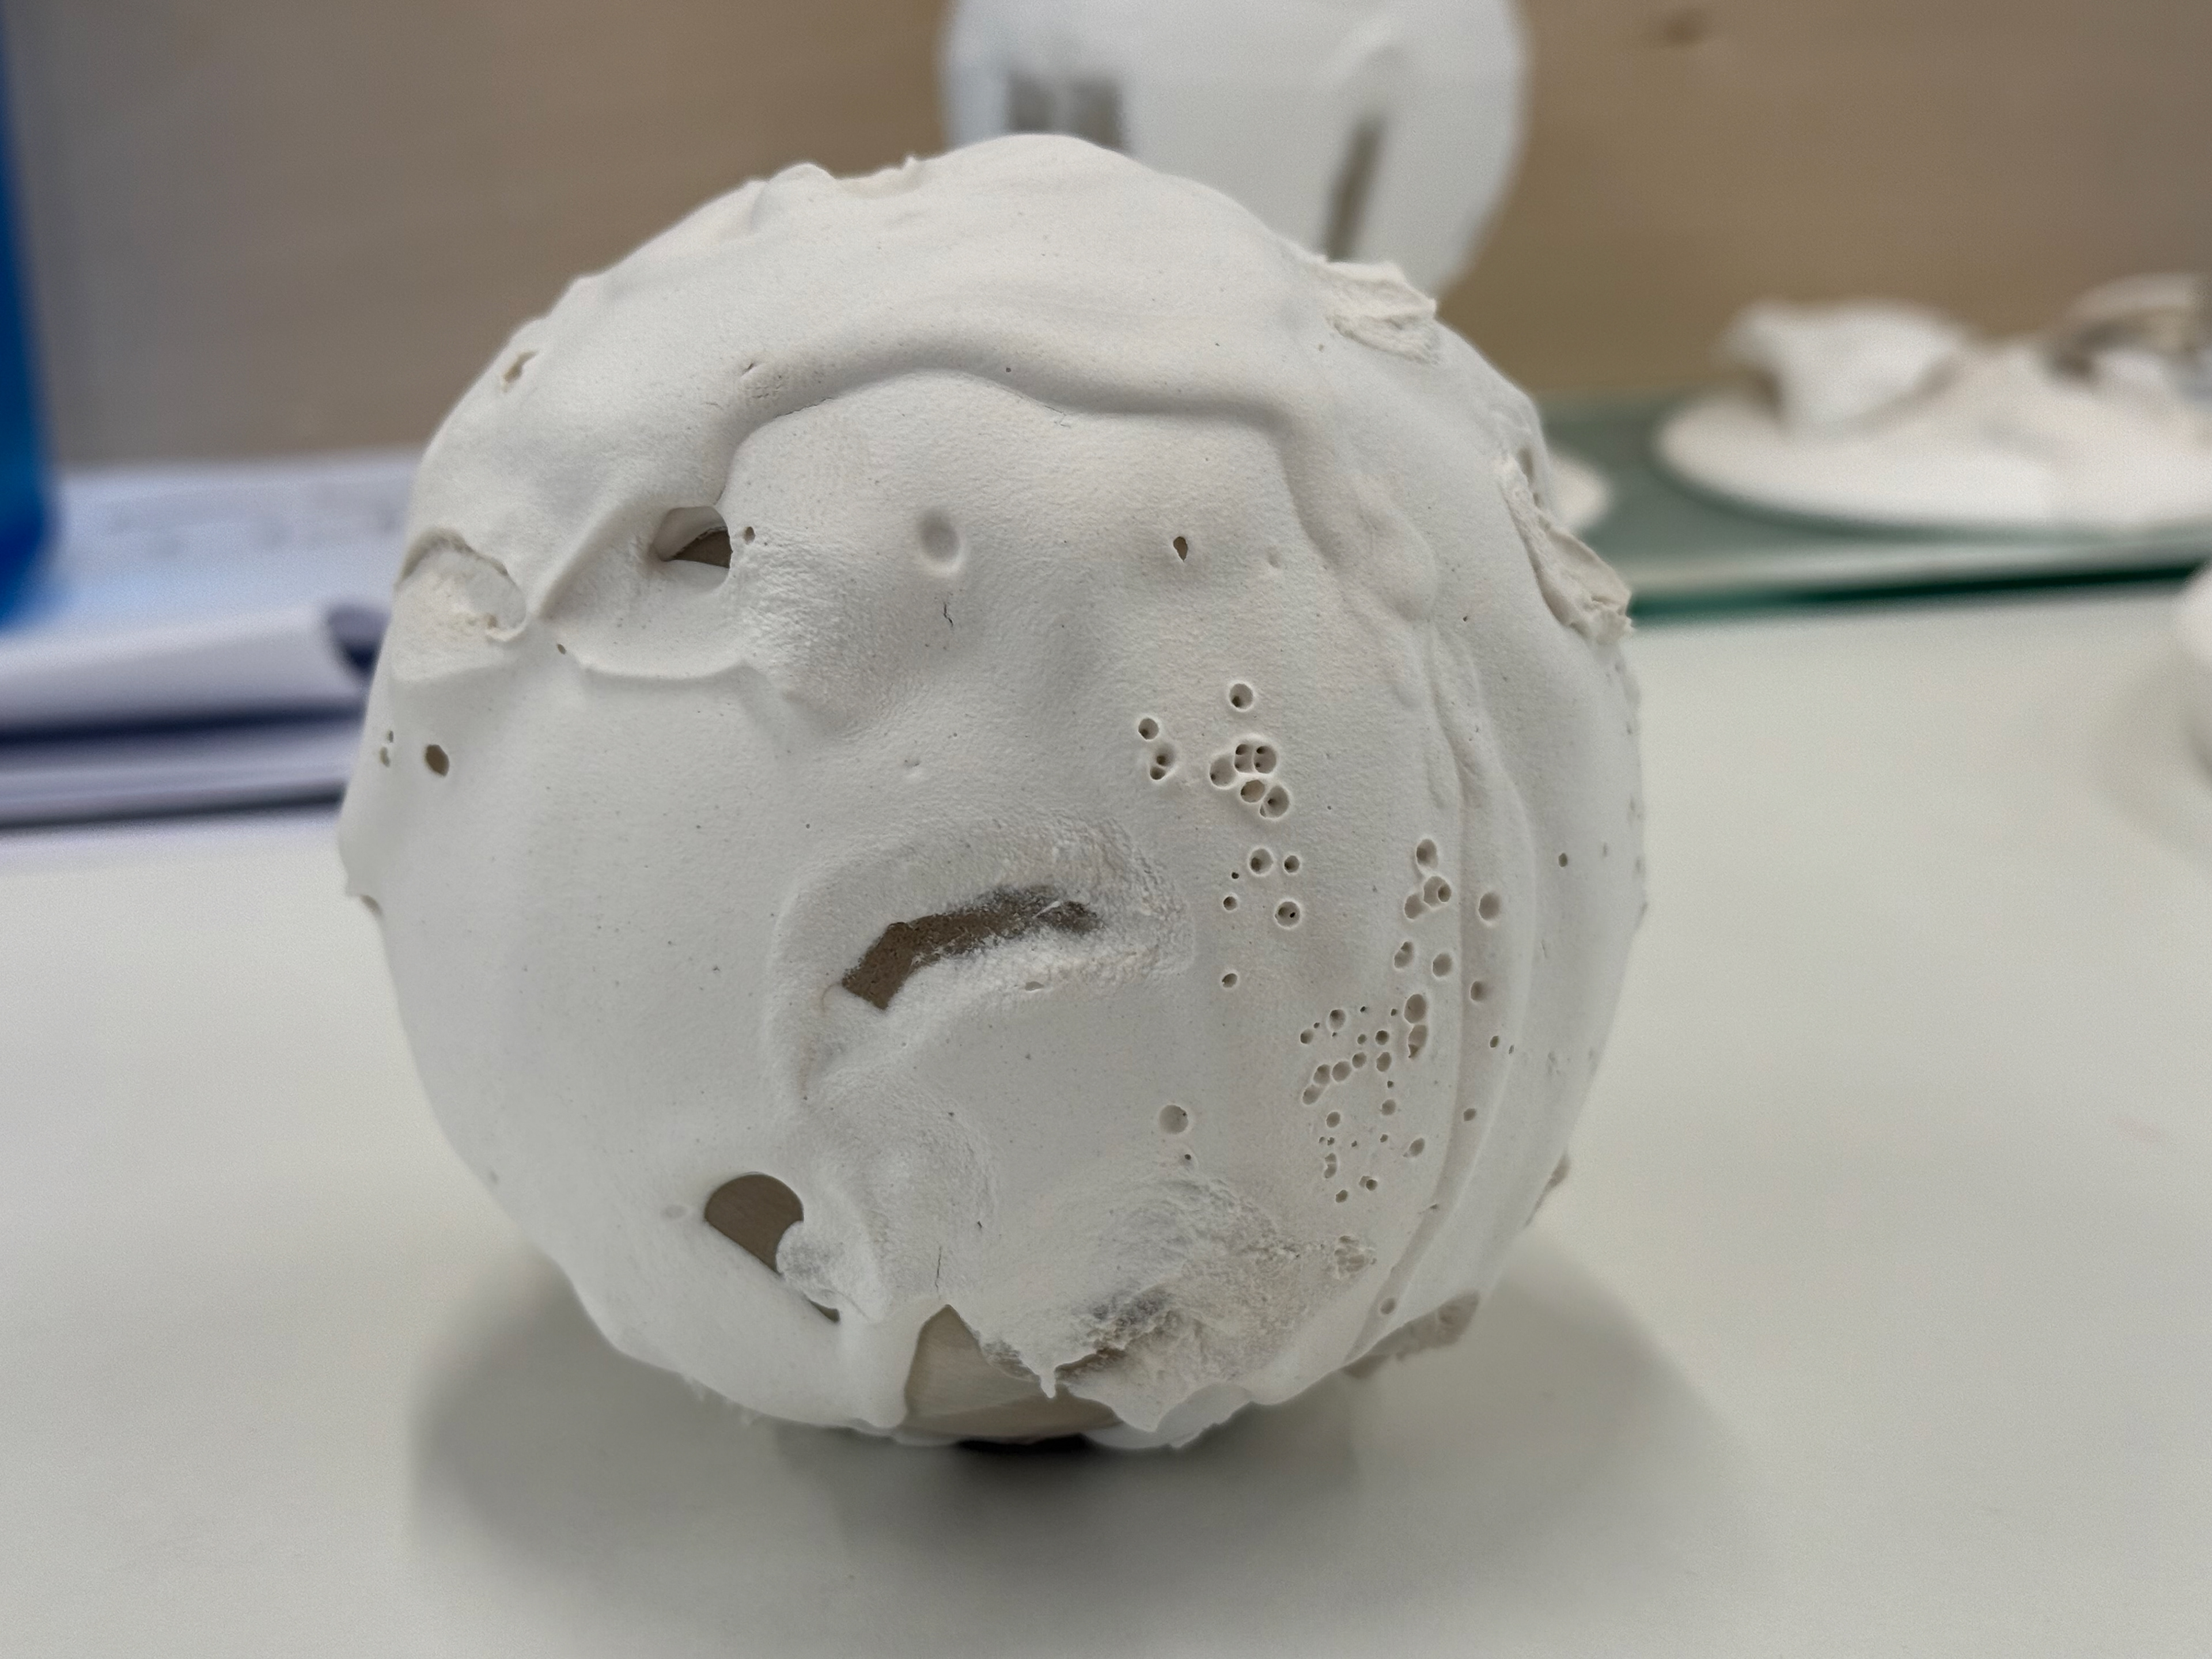
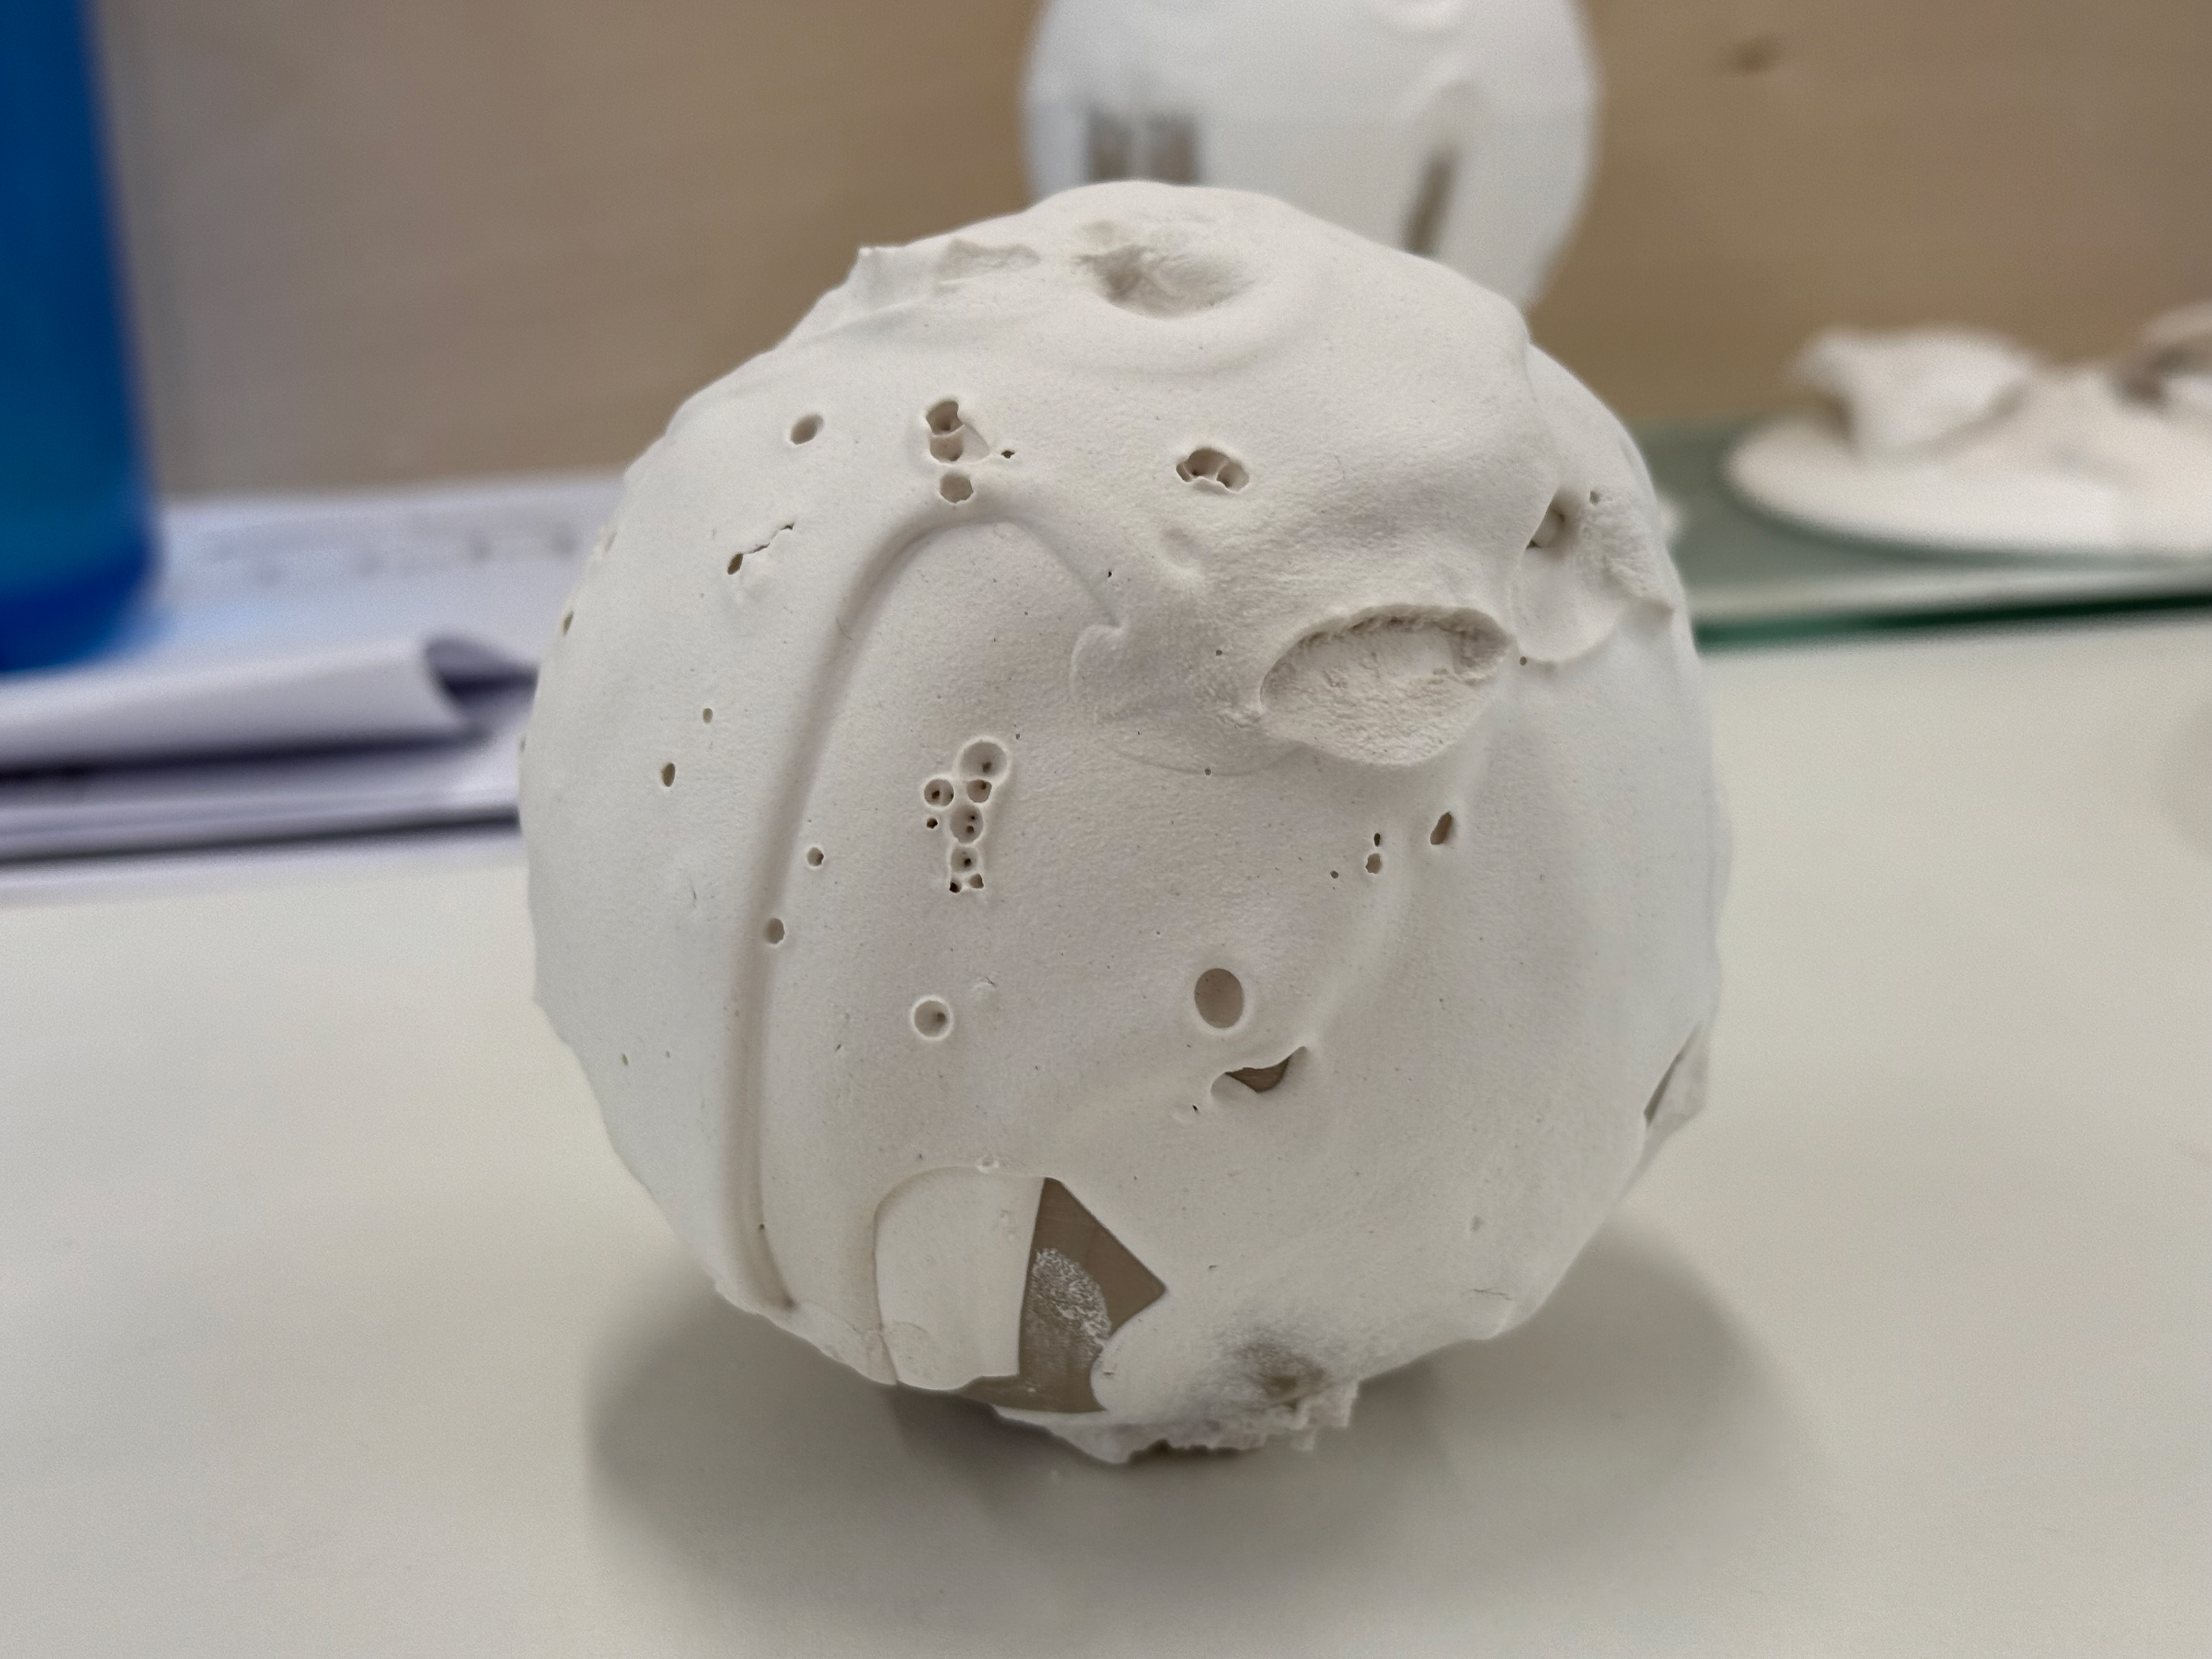
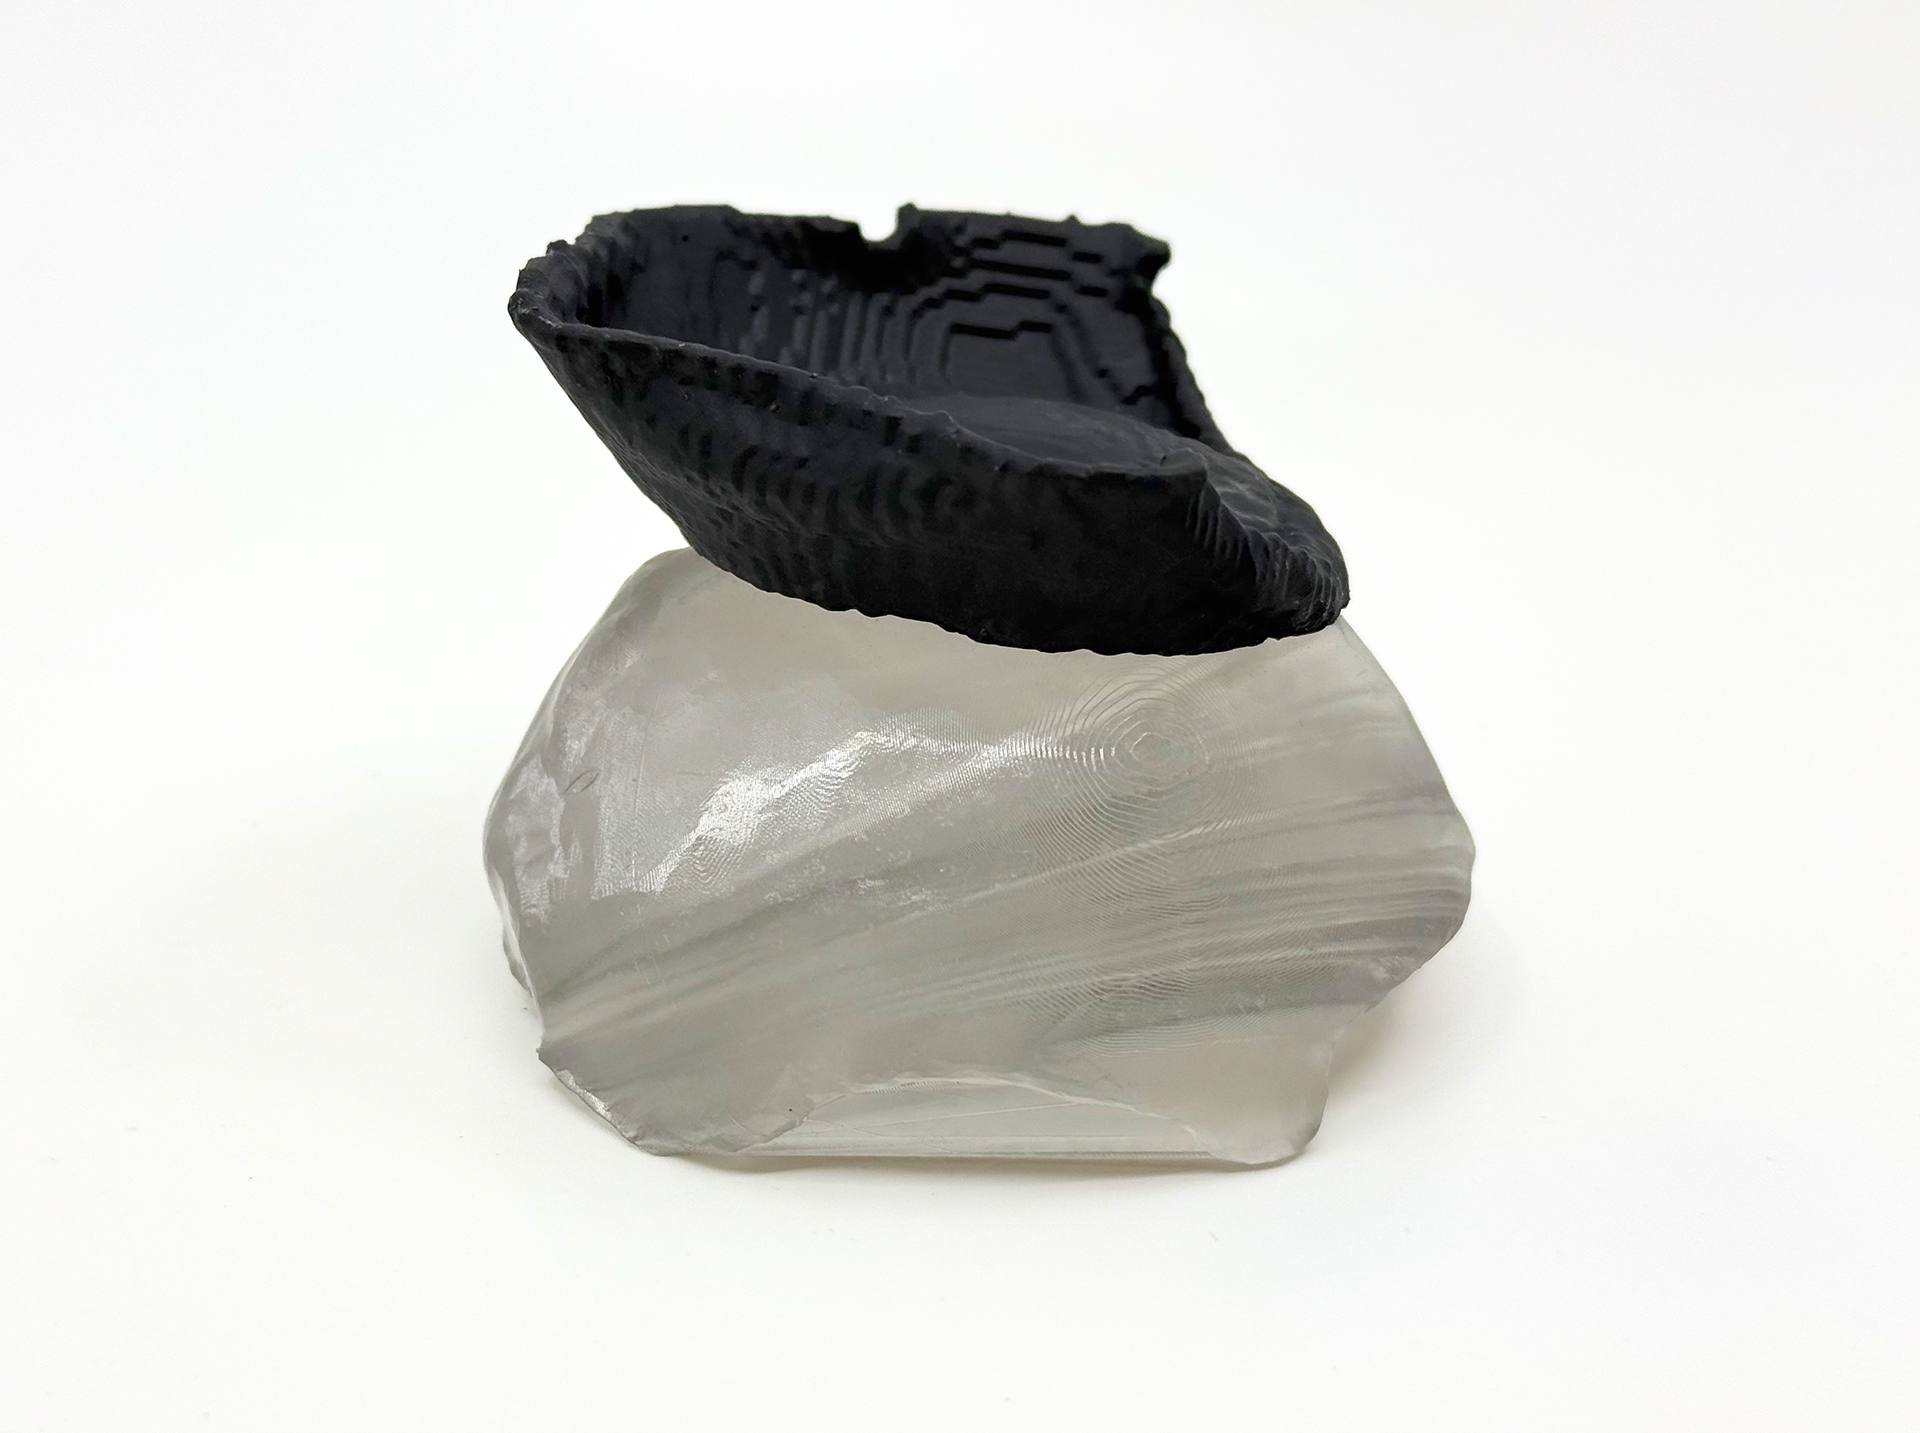
In an attempt to give the piece a second chance at life, I returned to the plaster workshop and poured a fresh layer over the broken fragments, hoping it would hold everything together. Essentially, I was giving the piece an eternal cast. However, I poured a bit too late, resulting in a thick pour, which when it hit the ball knocked it off the pedestal. This led to the failure of resuscitating the original piece but did result in a reincarnation. The new version perfectly captures the “non-linear” process of this piece through the inability to control the outcome, a happy accident. As a result, the piece has visible fingerprints, air holes, and complete distortions of the plaster dripping down. By truly removing control from myself and keeping the result completely individual, I’ve created a piece with completely unique and bizarre textures. The plaster now clings and fuses to the slip ball rather than melting over it. I think it will probably be the most interesting and eye-catching version I will do and all by pure accident.
The base after it fell off.
Slip Vs plaster 3.0
For the third version, I set out to document my actual process, like a process reel, but in photo format. Unfortunately, this didn't go to plan when I was pouring the plaster, so the documentation only is of the slip ball.
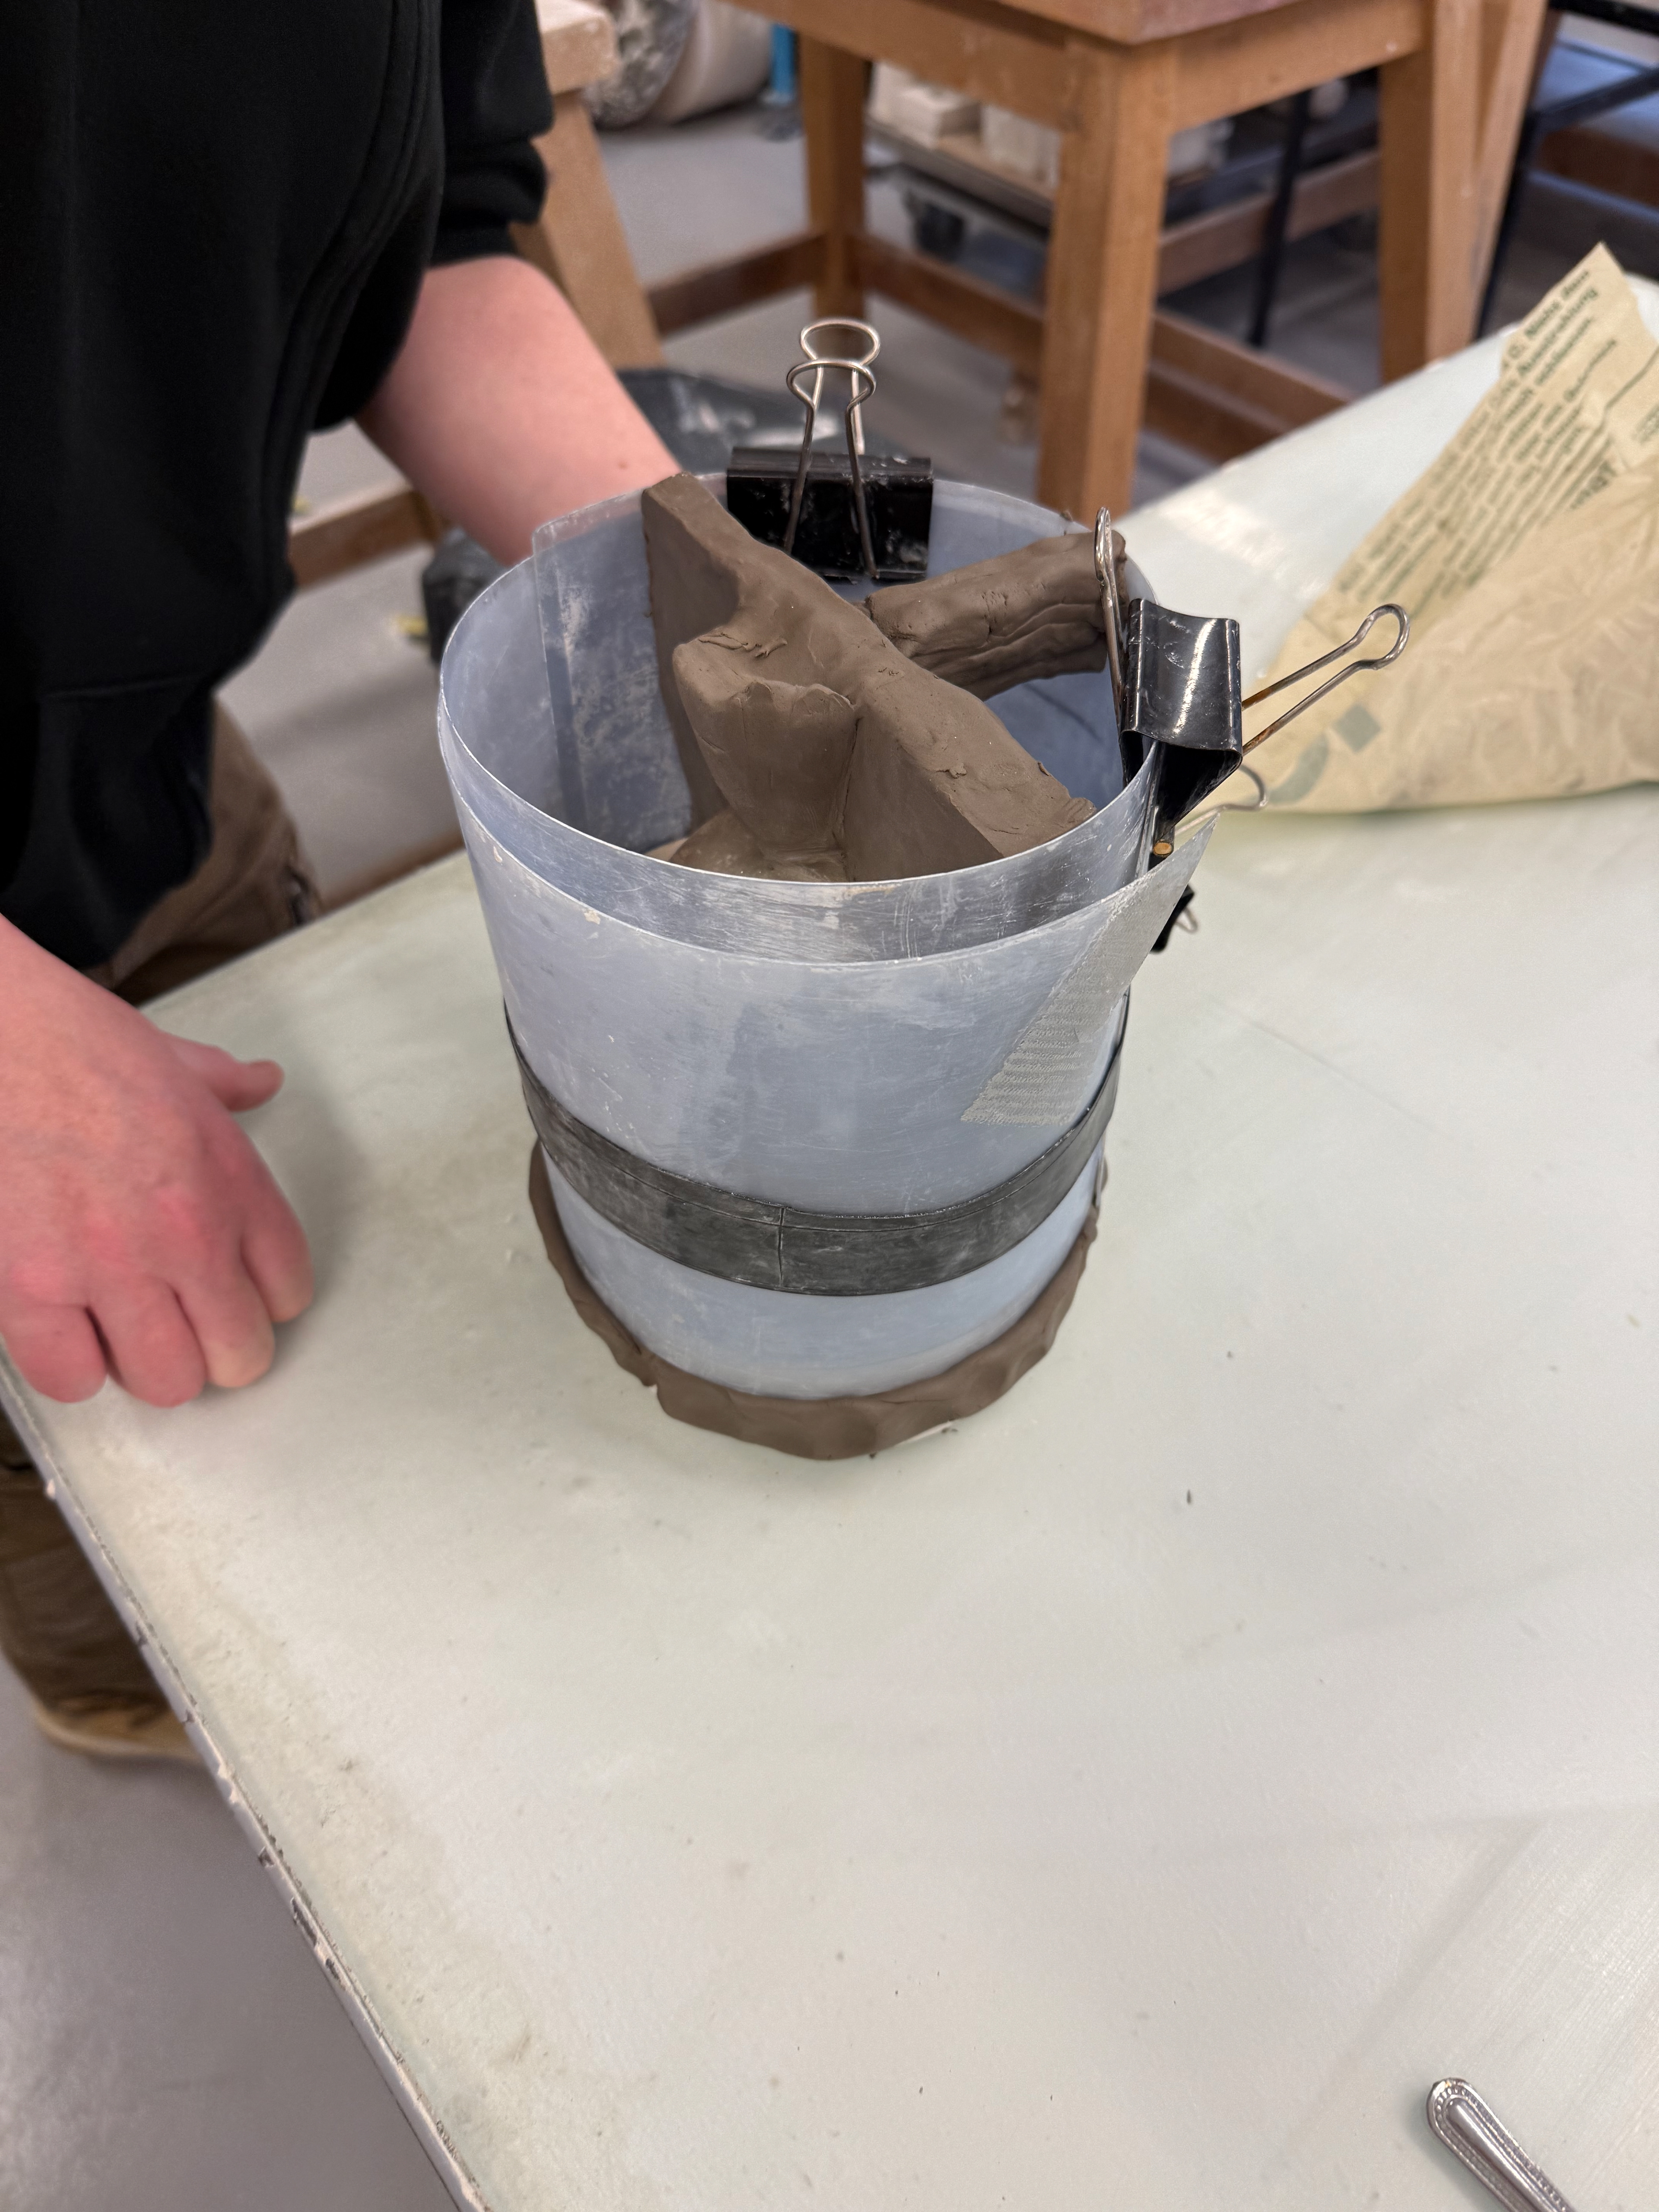
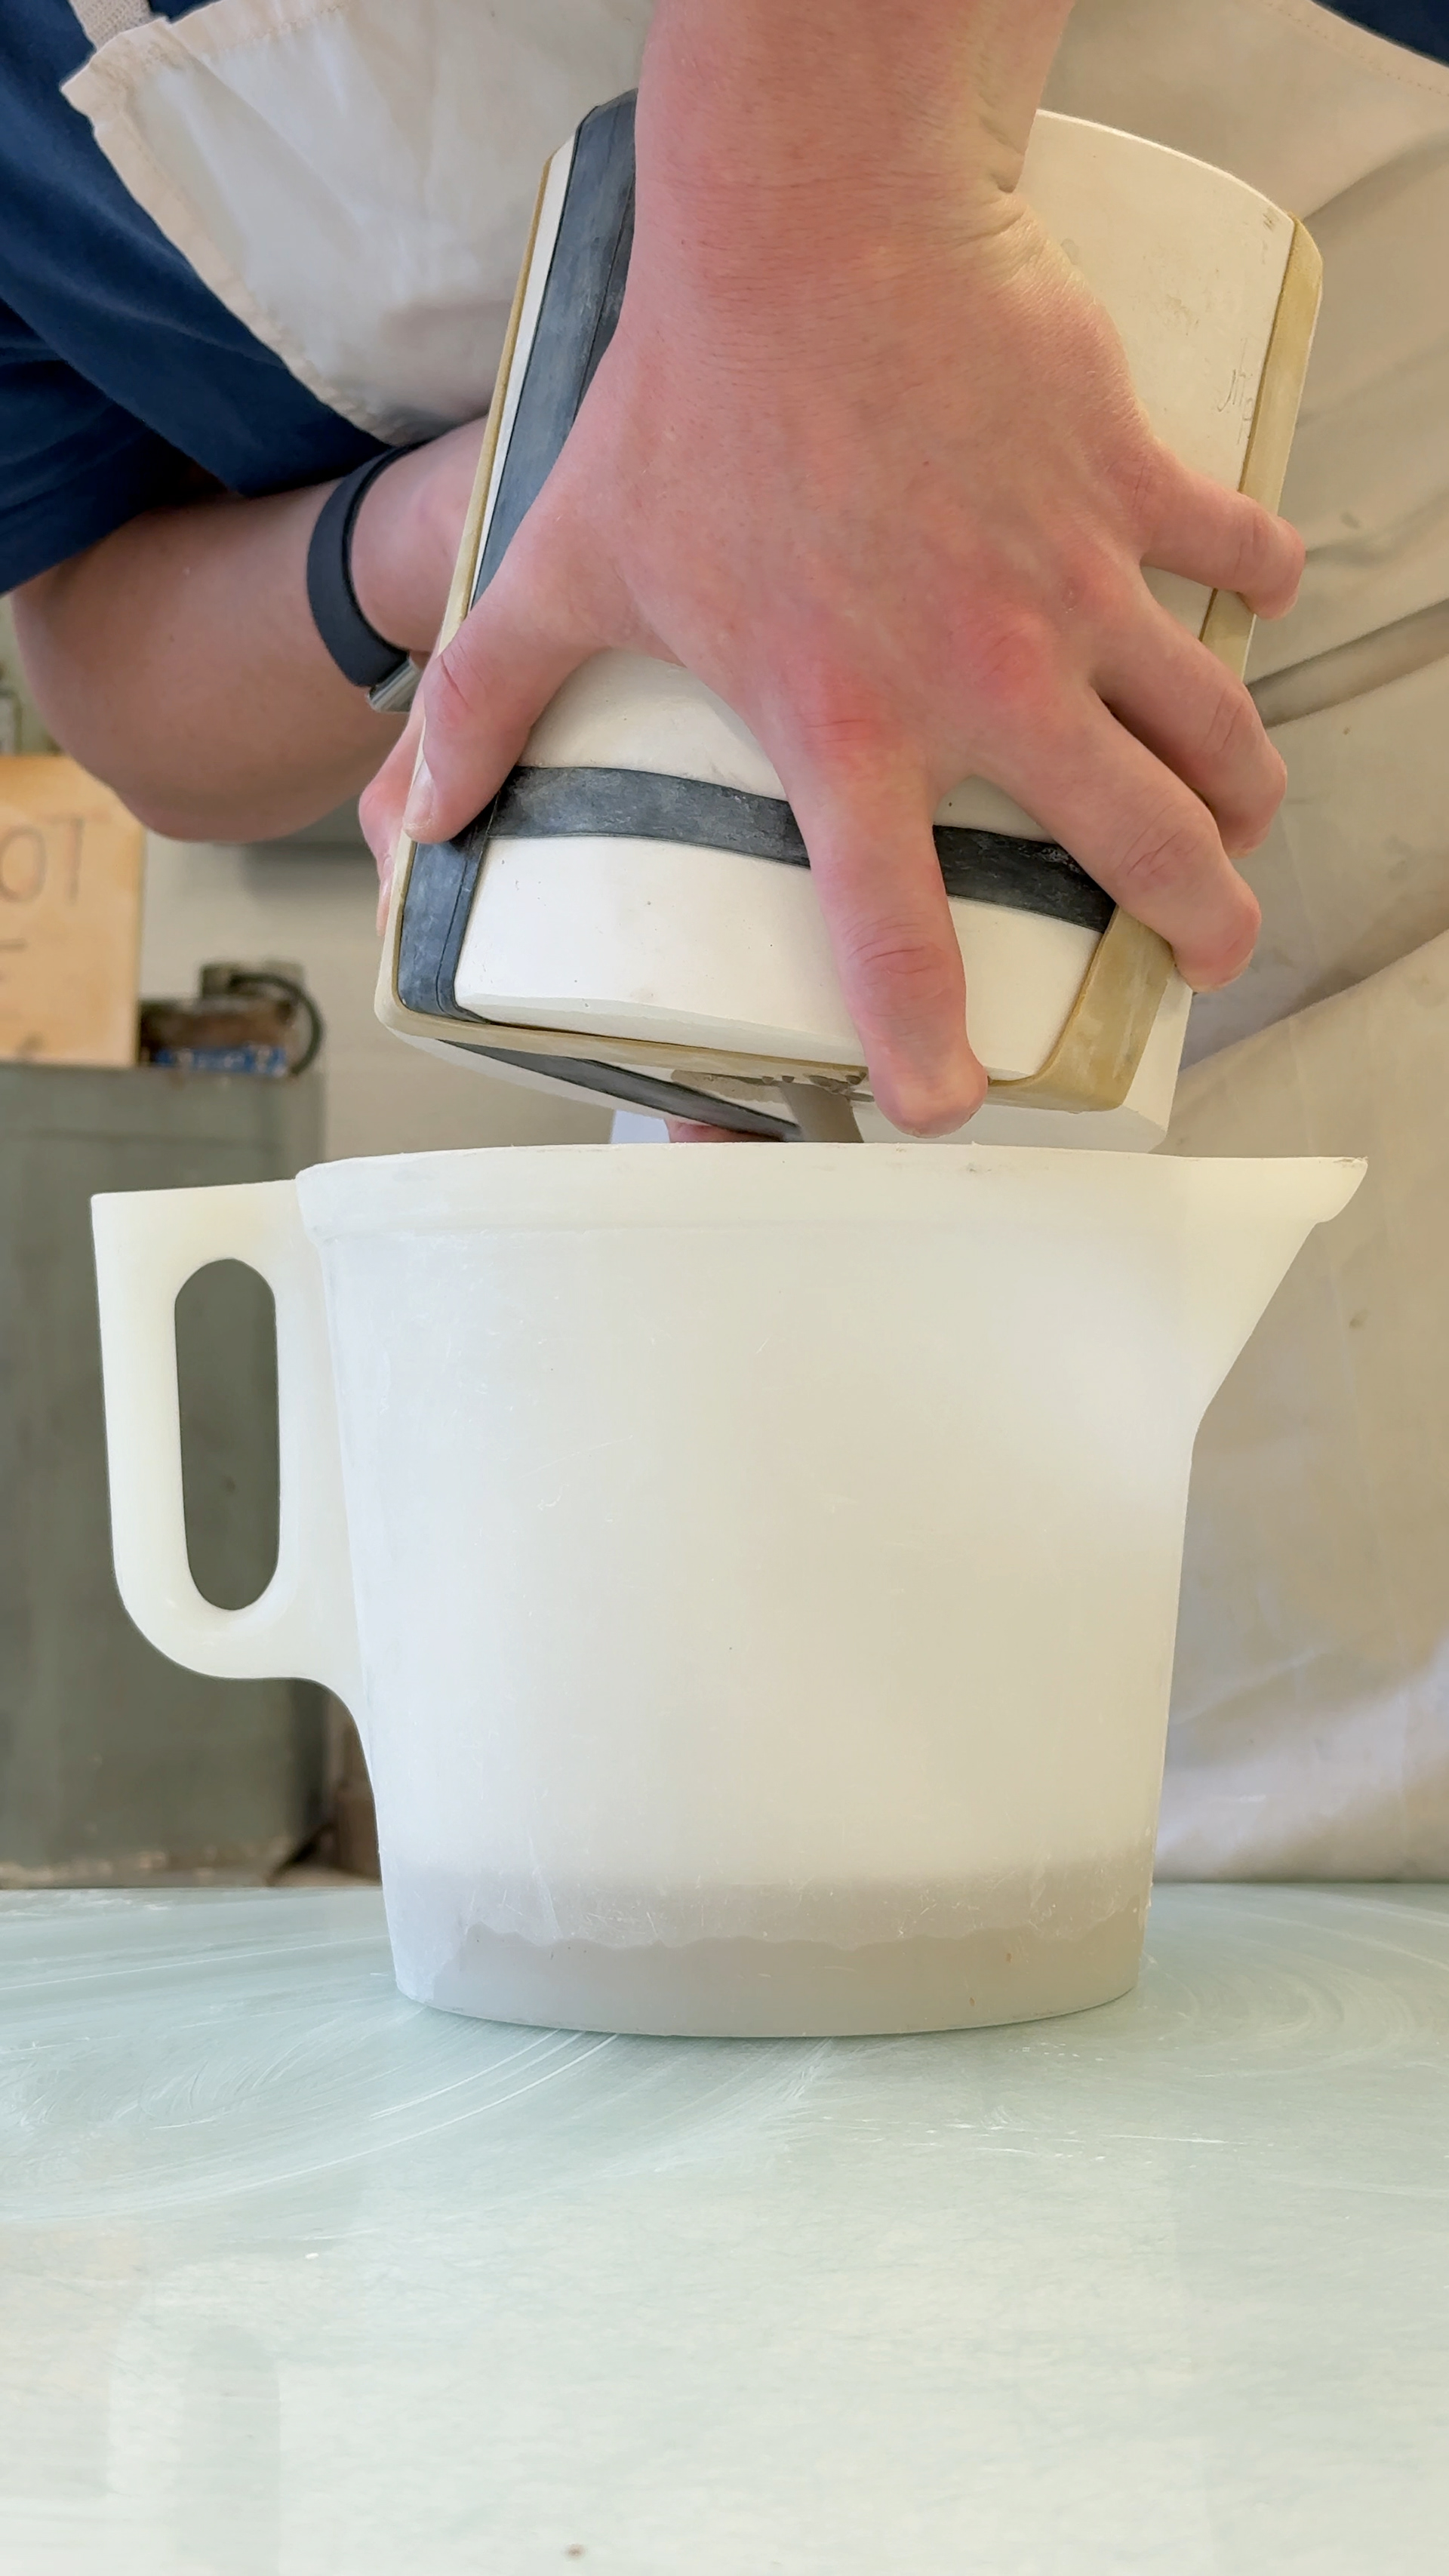
Cottling clay around the top to allow for overpowering.
Slip into sieve into container.
Slip in container.
Poured up to the top of the cottling clay. I left this for 45 minutes.
The remaining slip for inside the mould.
On the slip tray to let it drip and for the plaster to absorb the moisture from the slip.
After an hour I came back and it was done.
Top of the ball.
Drying in the air waiting to have plaster poured onto it.
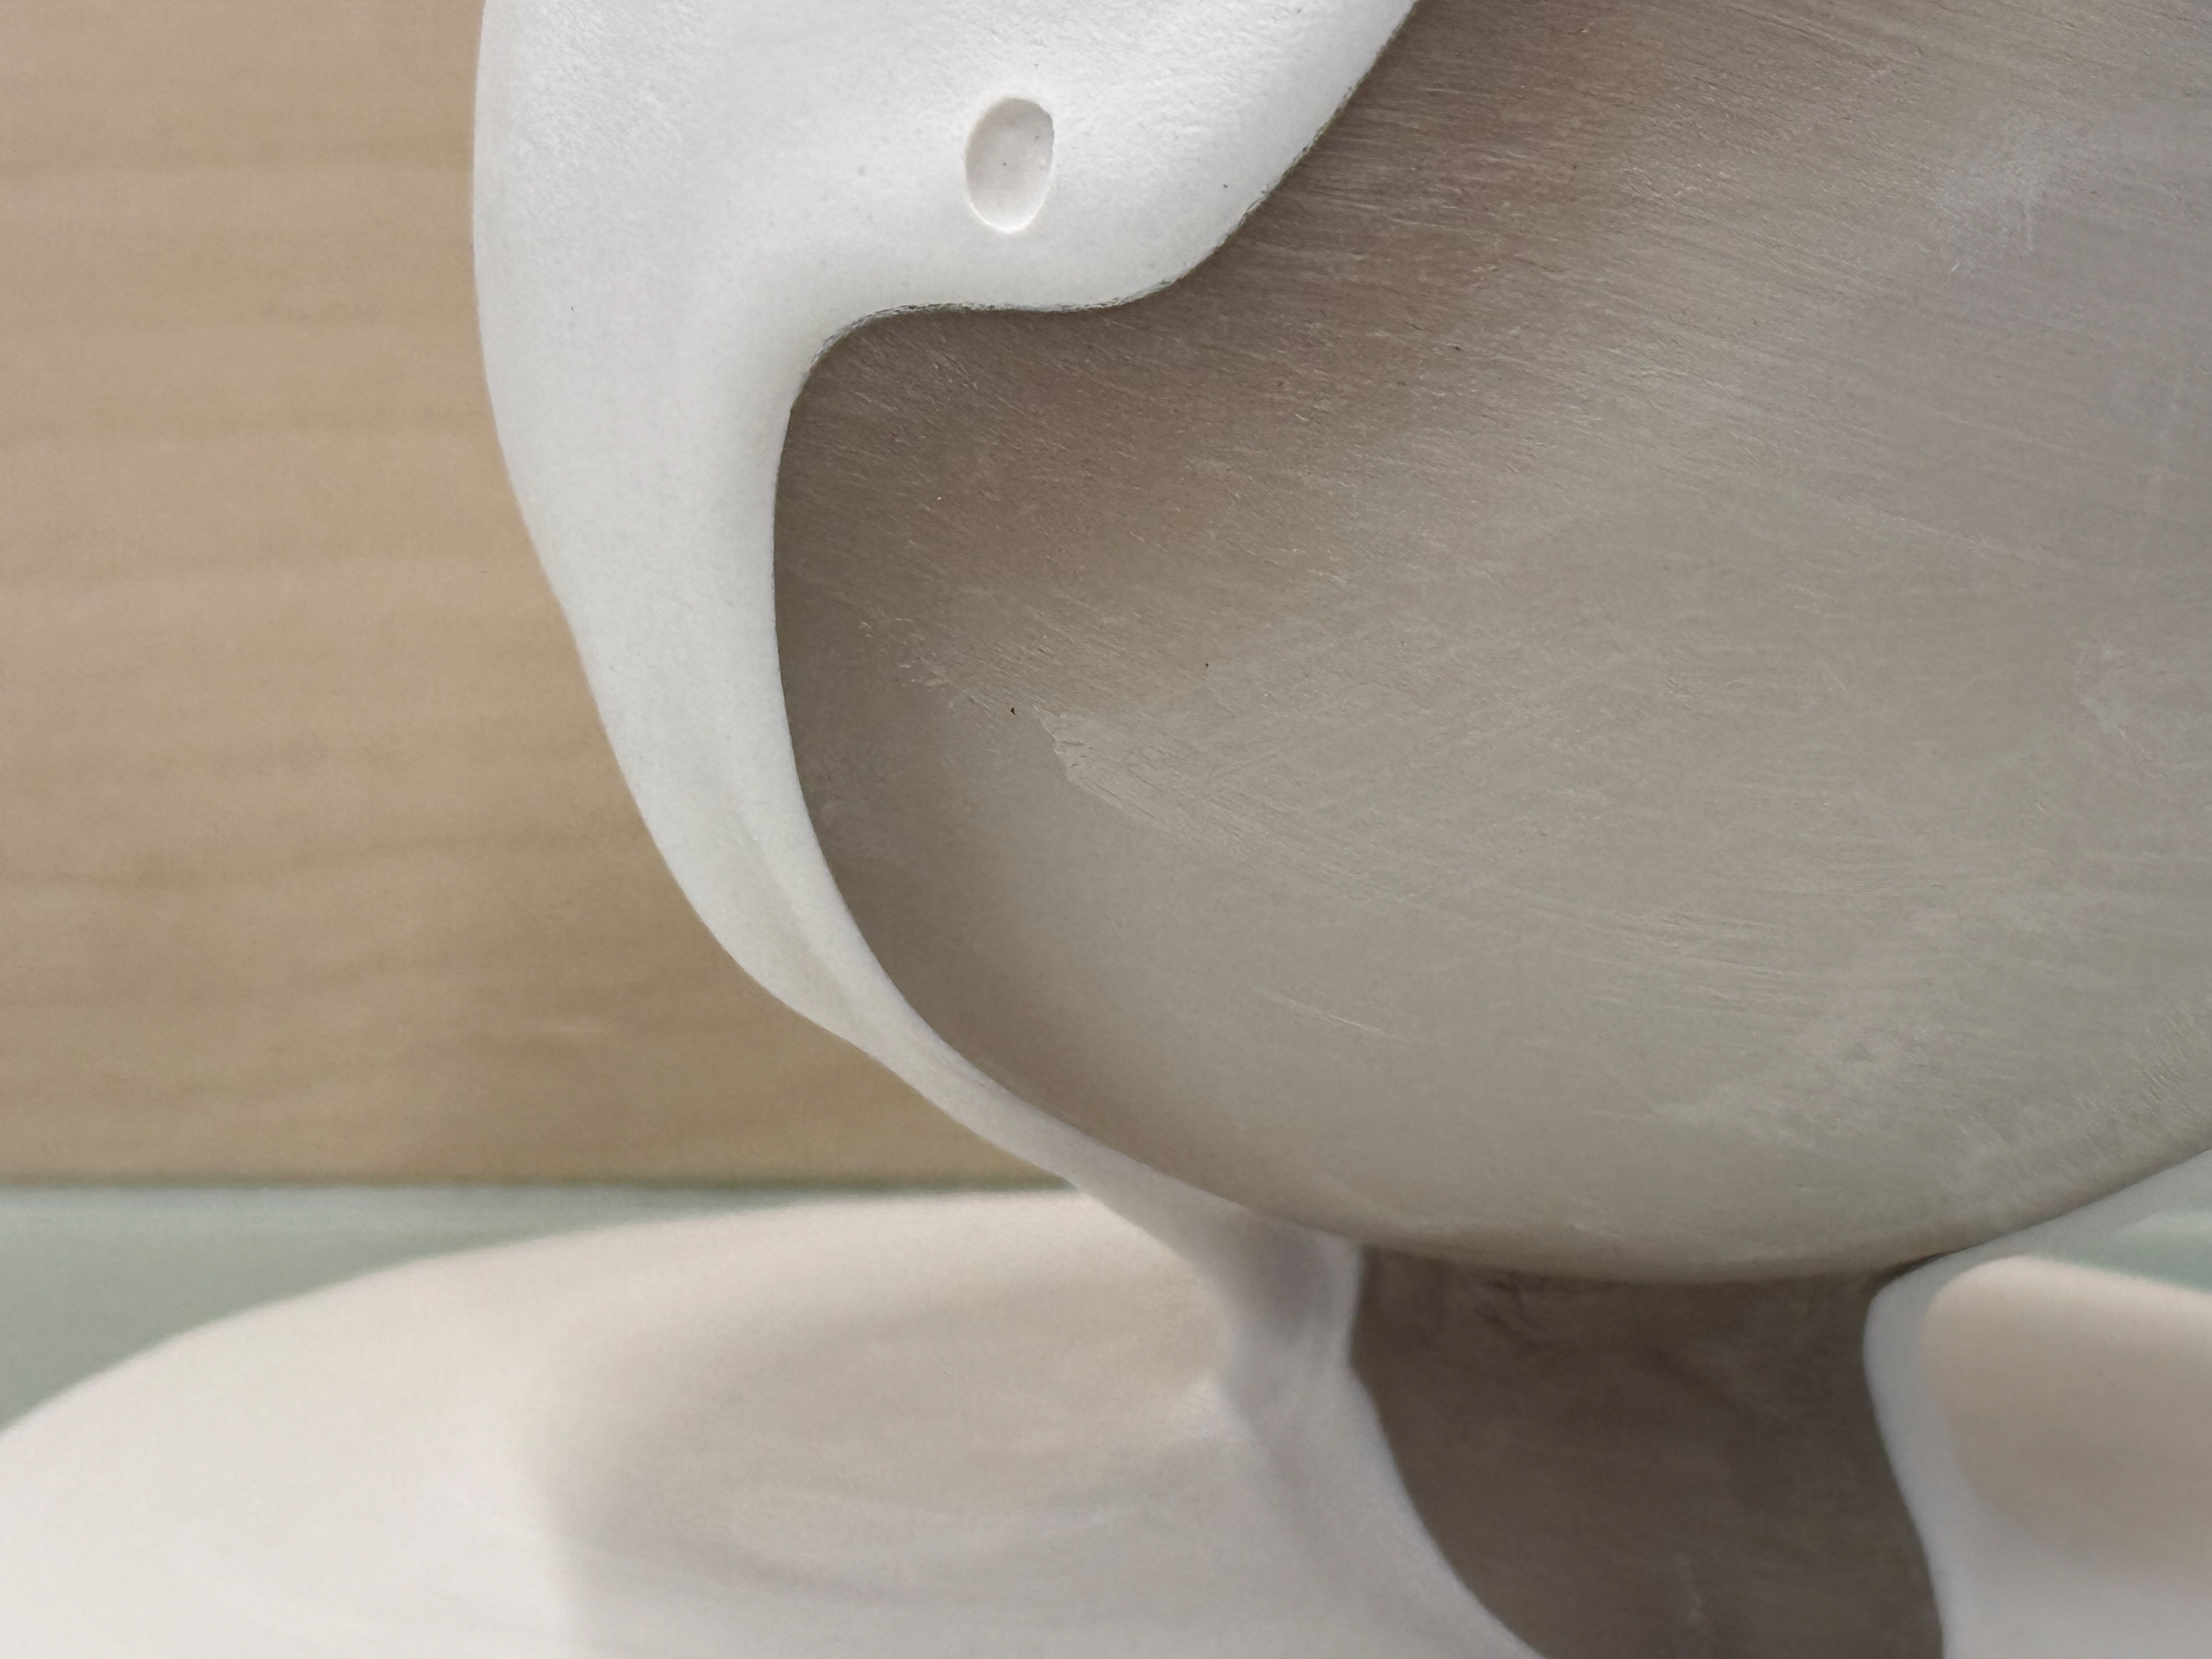
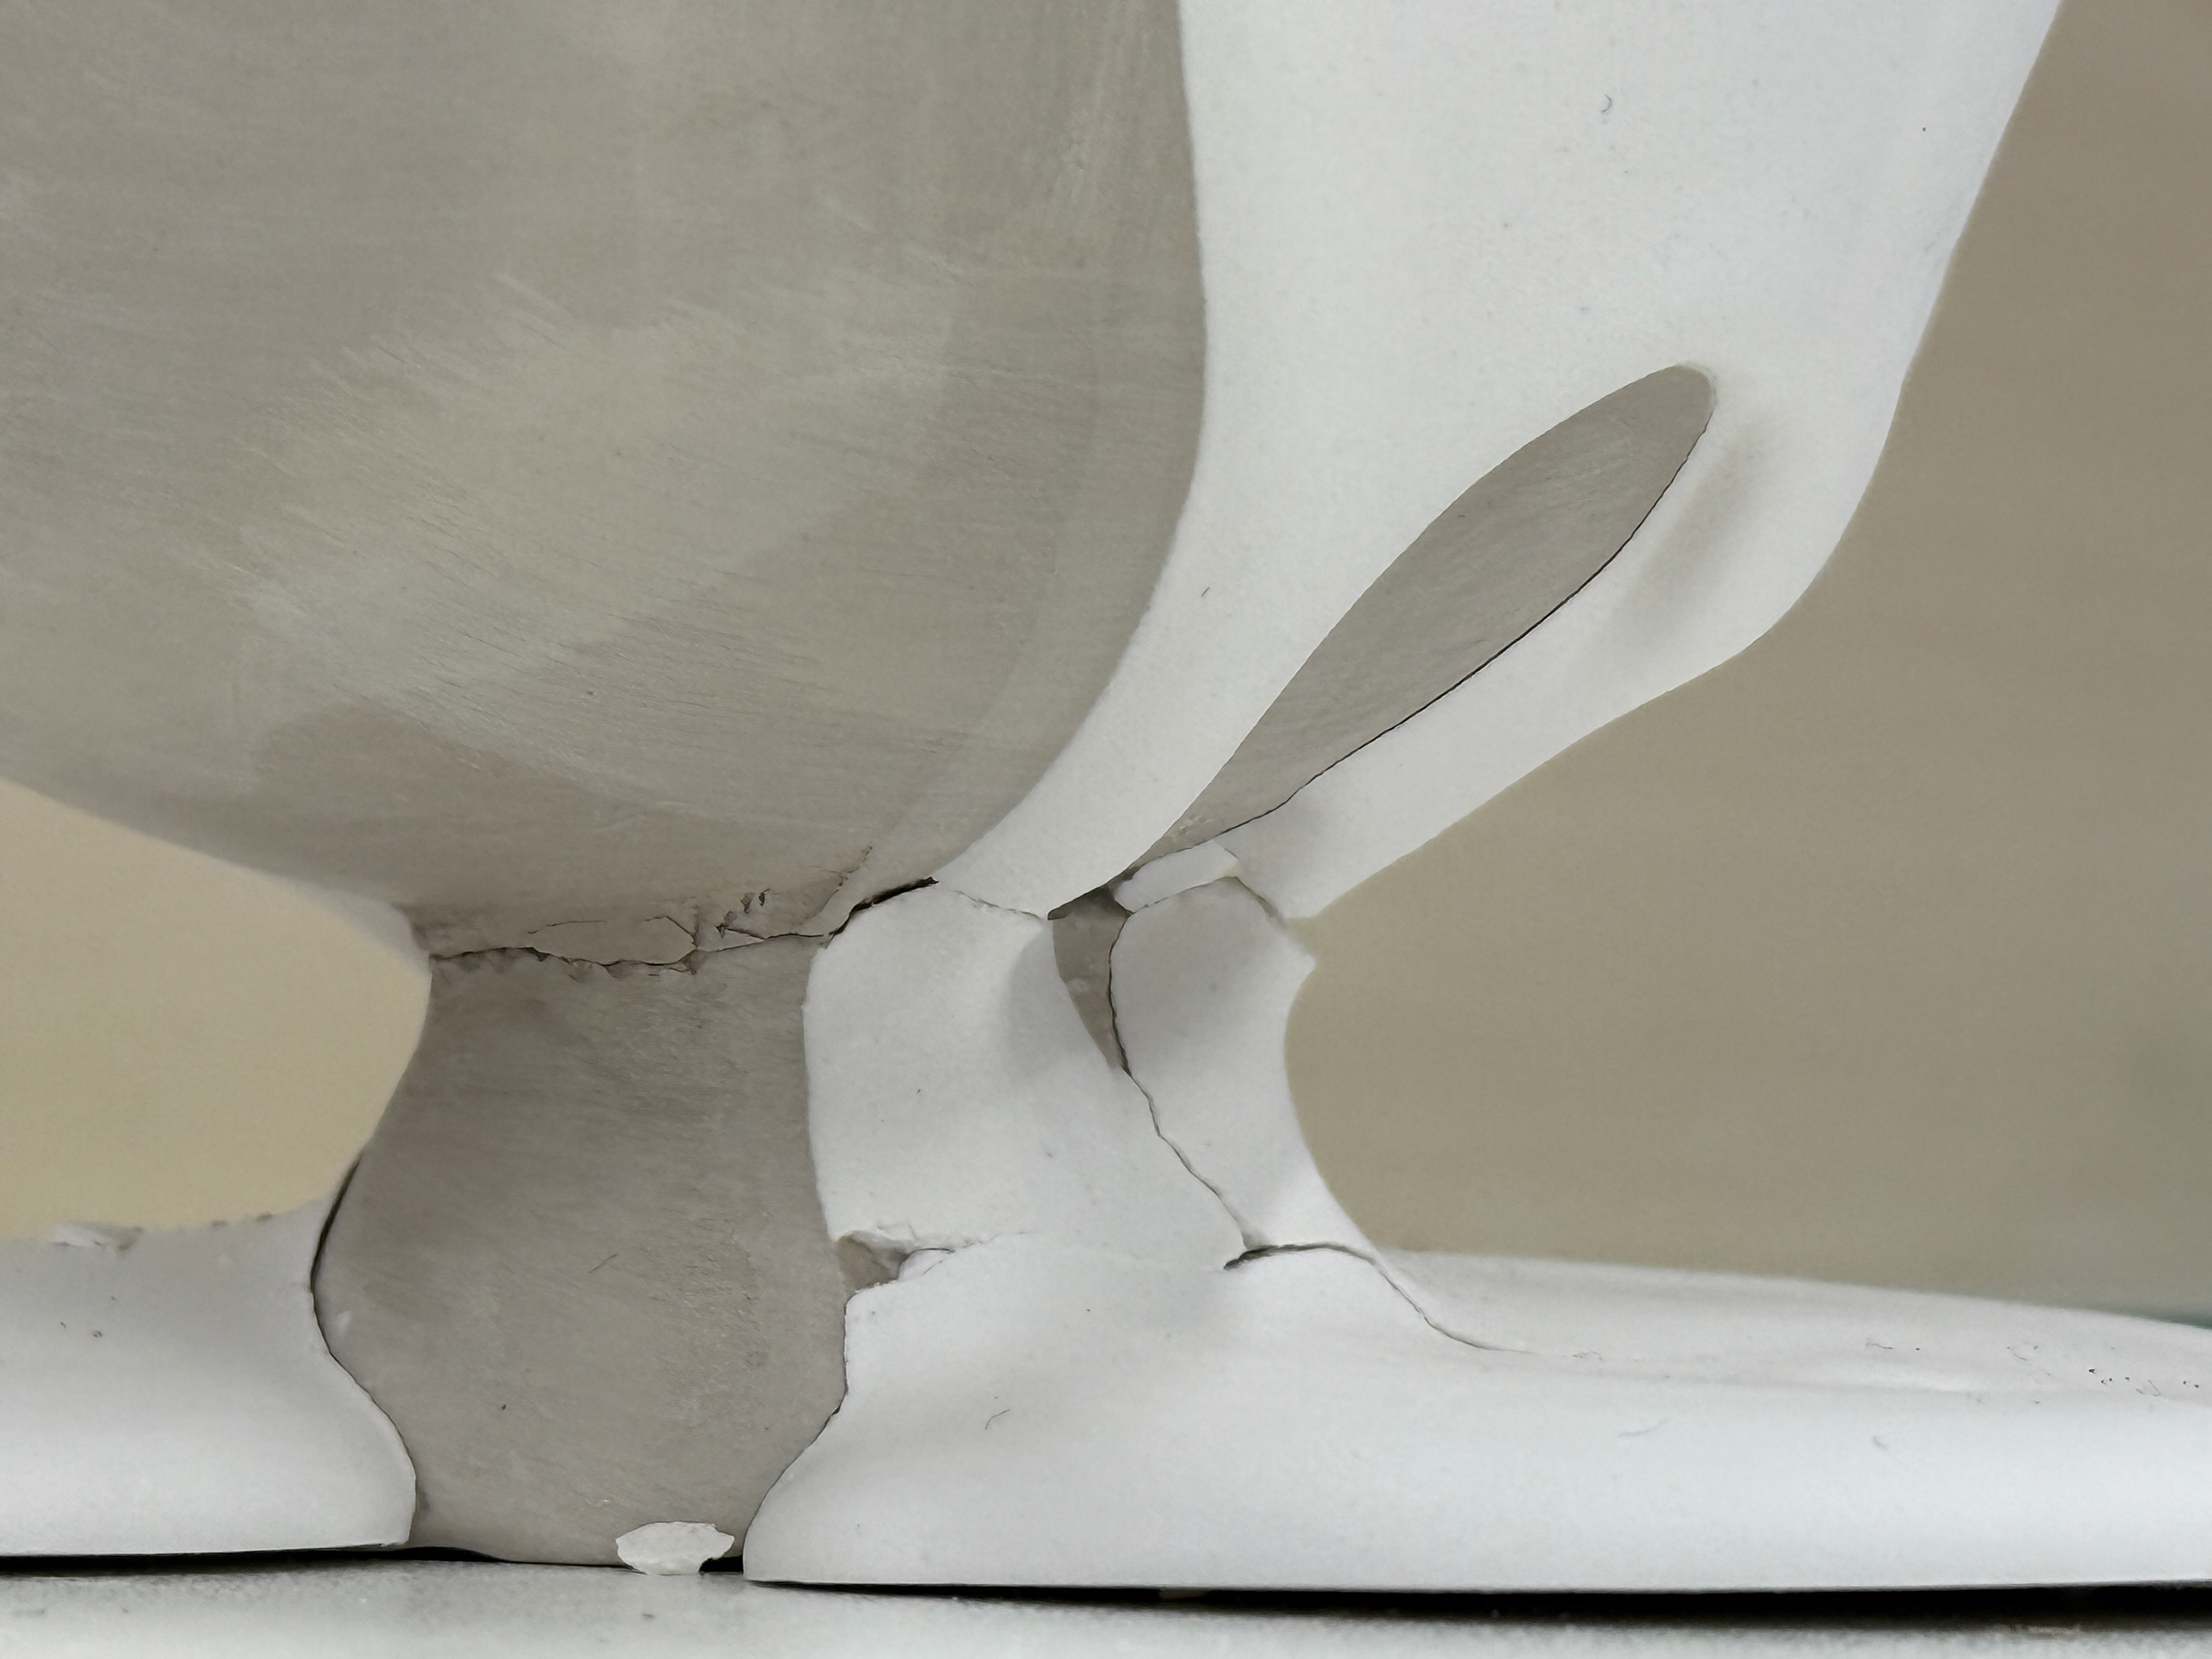
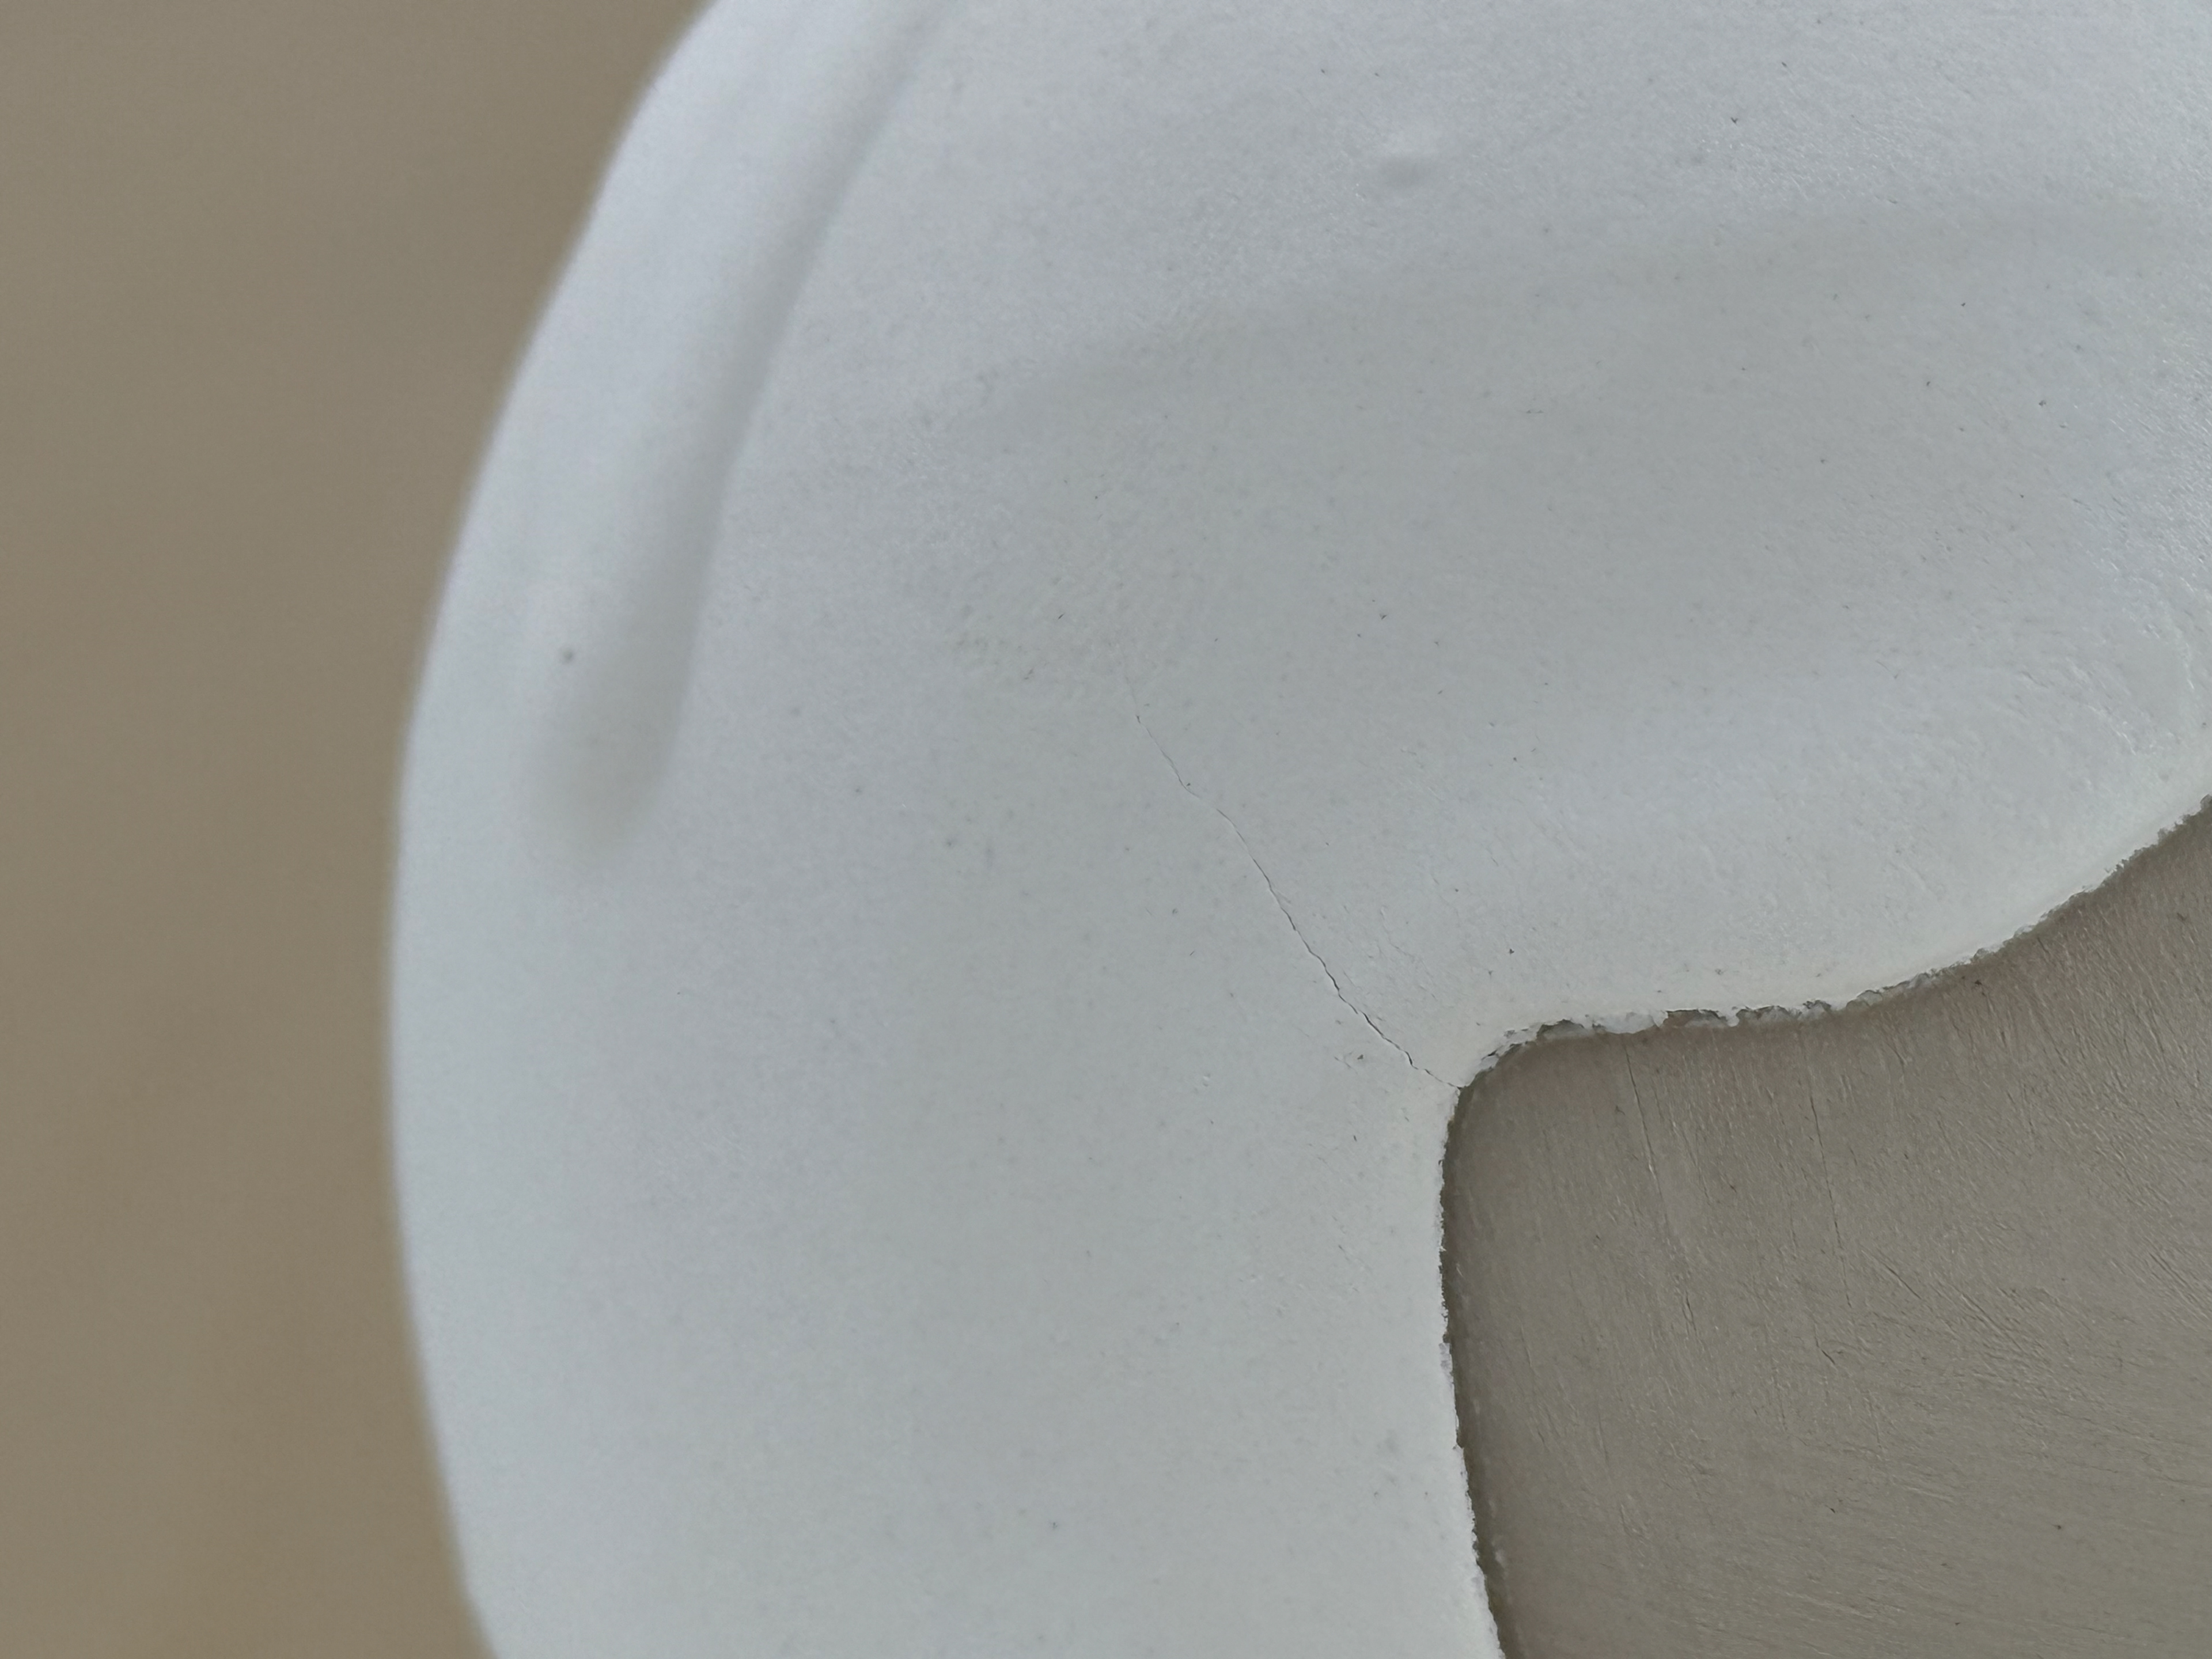
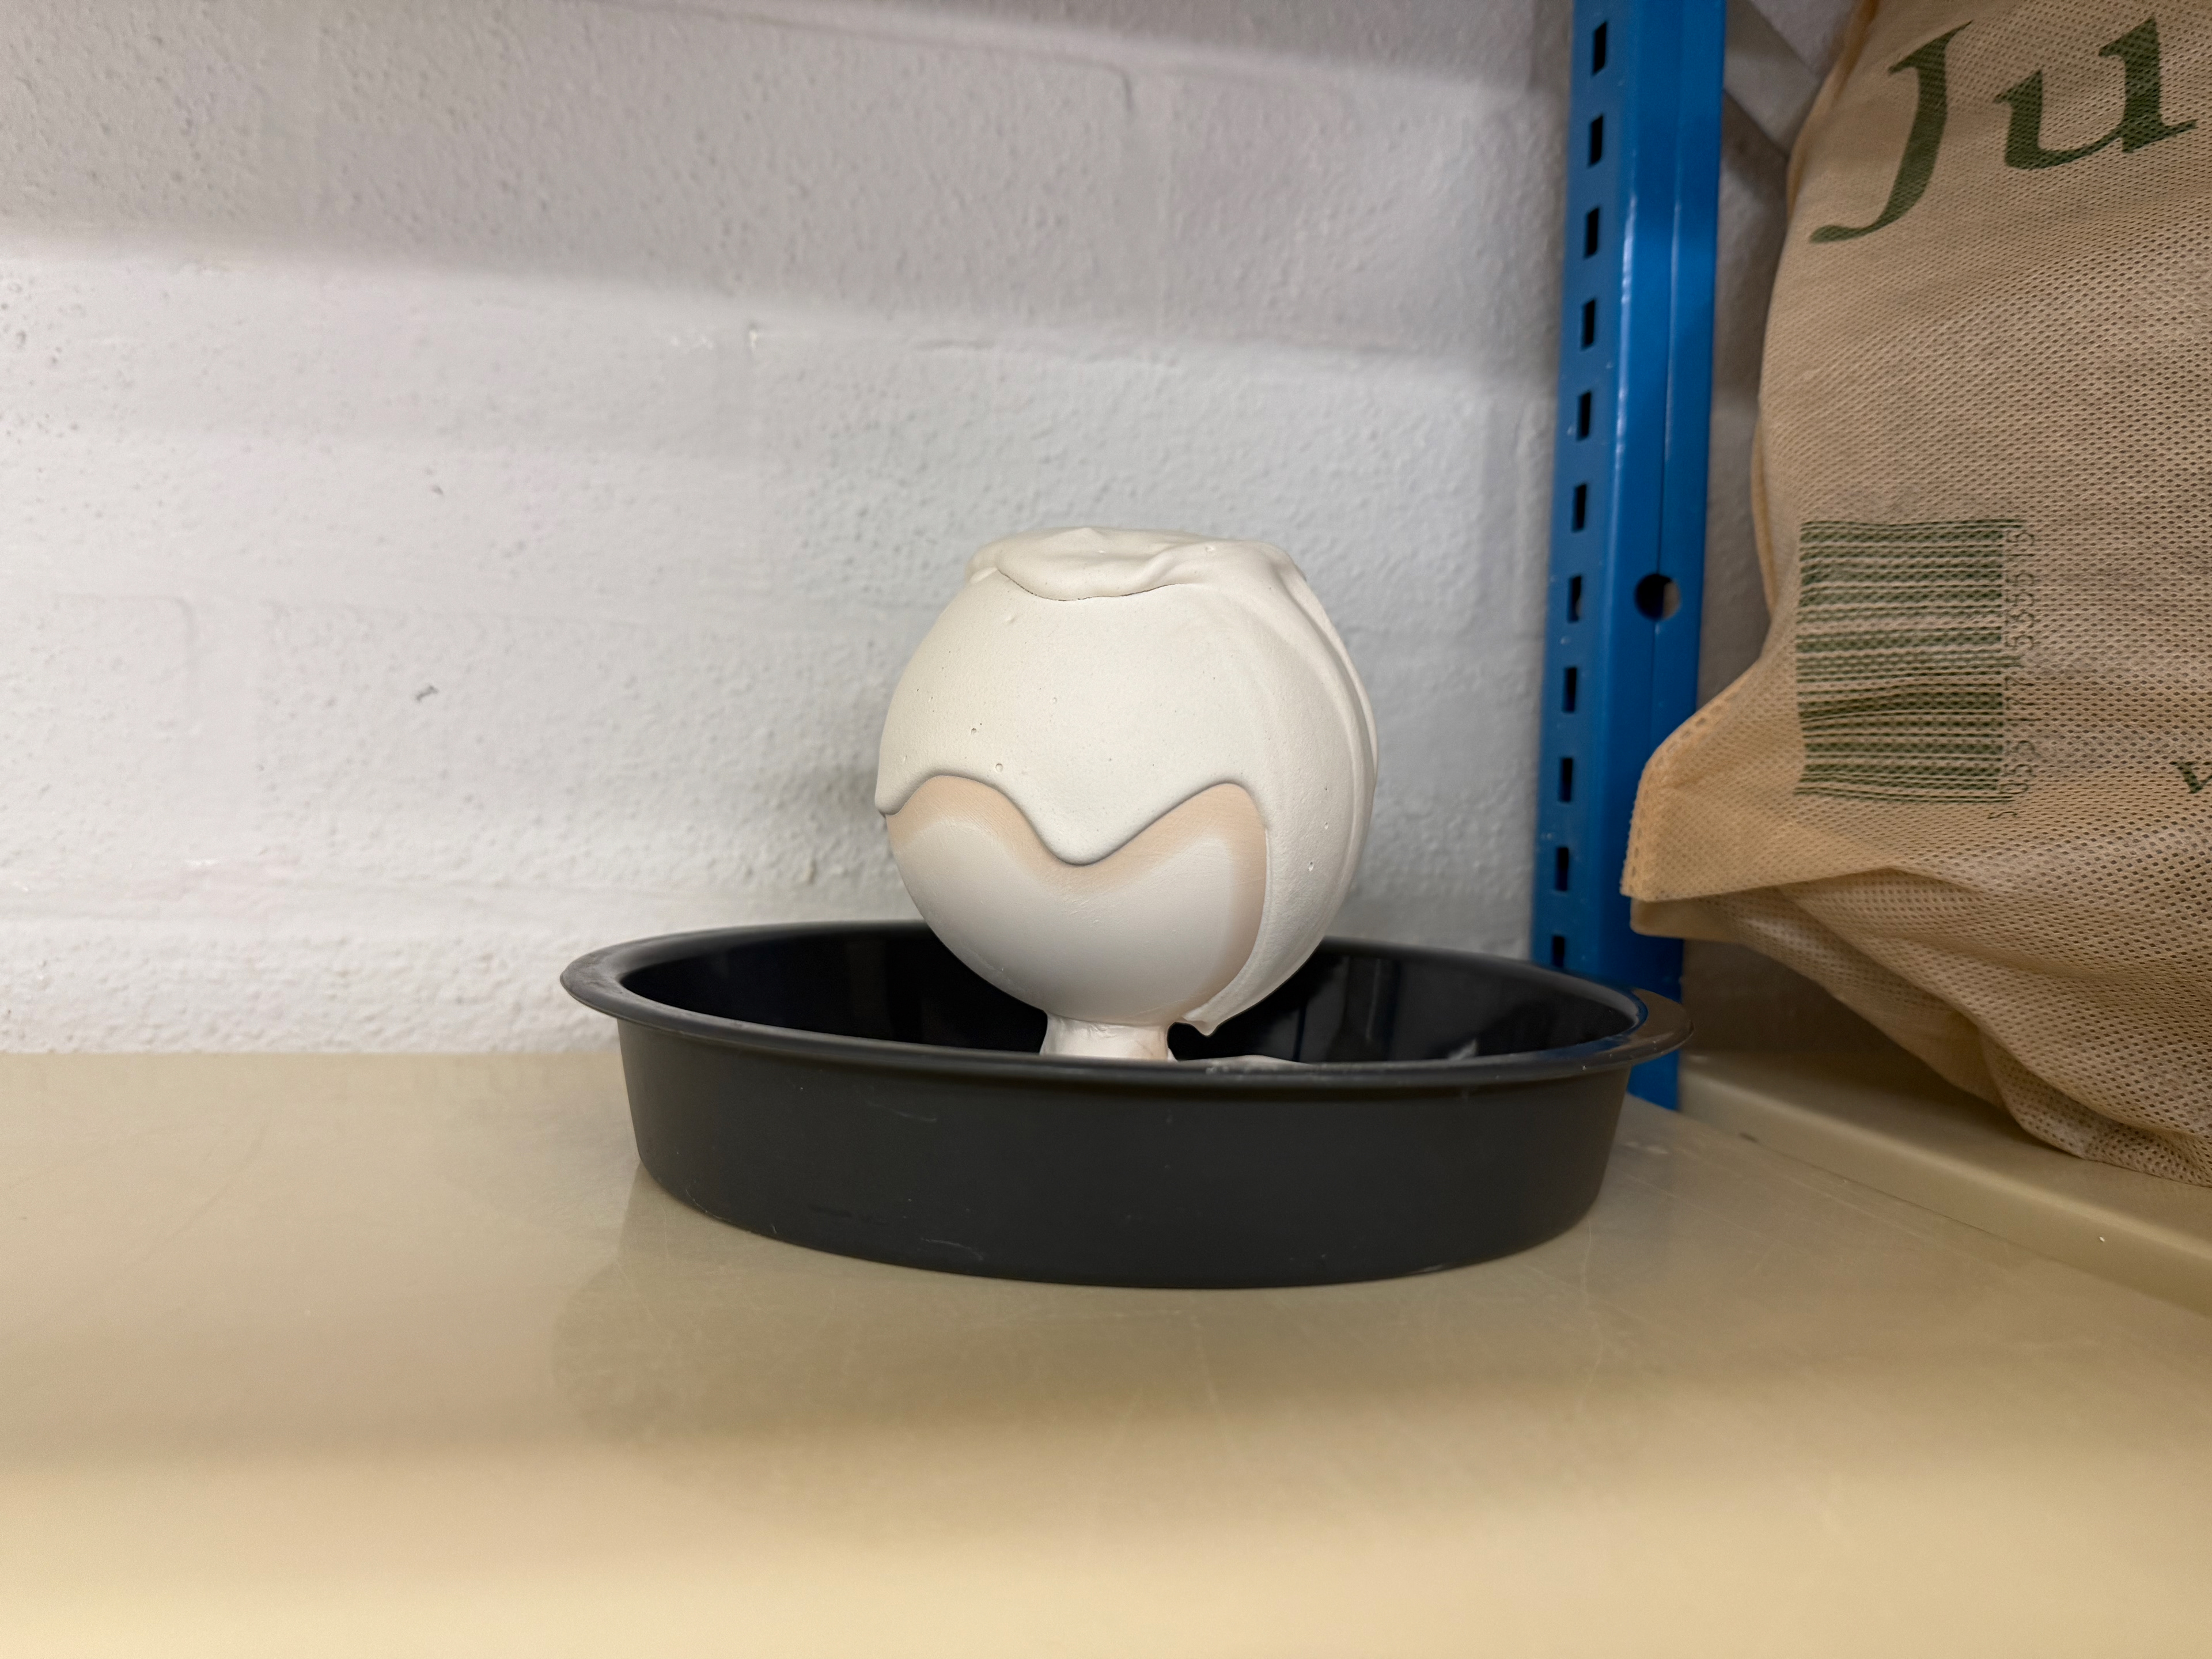
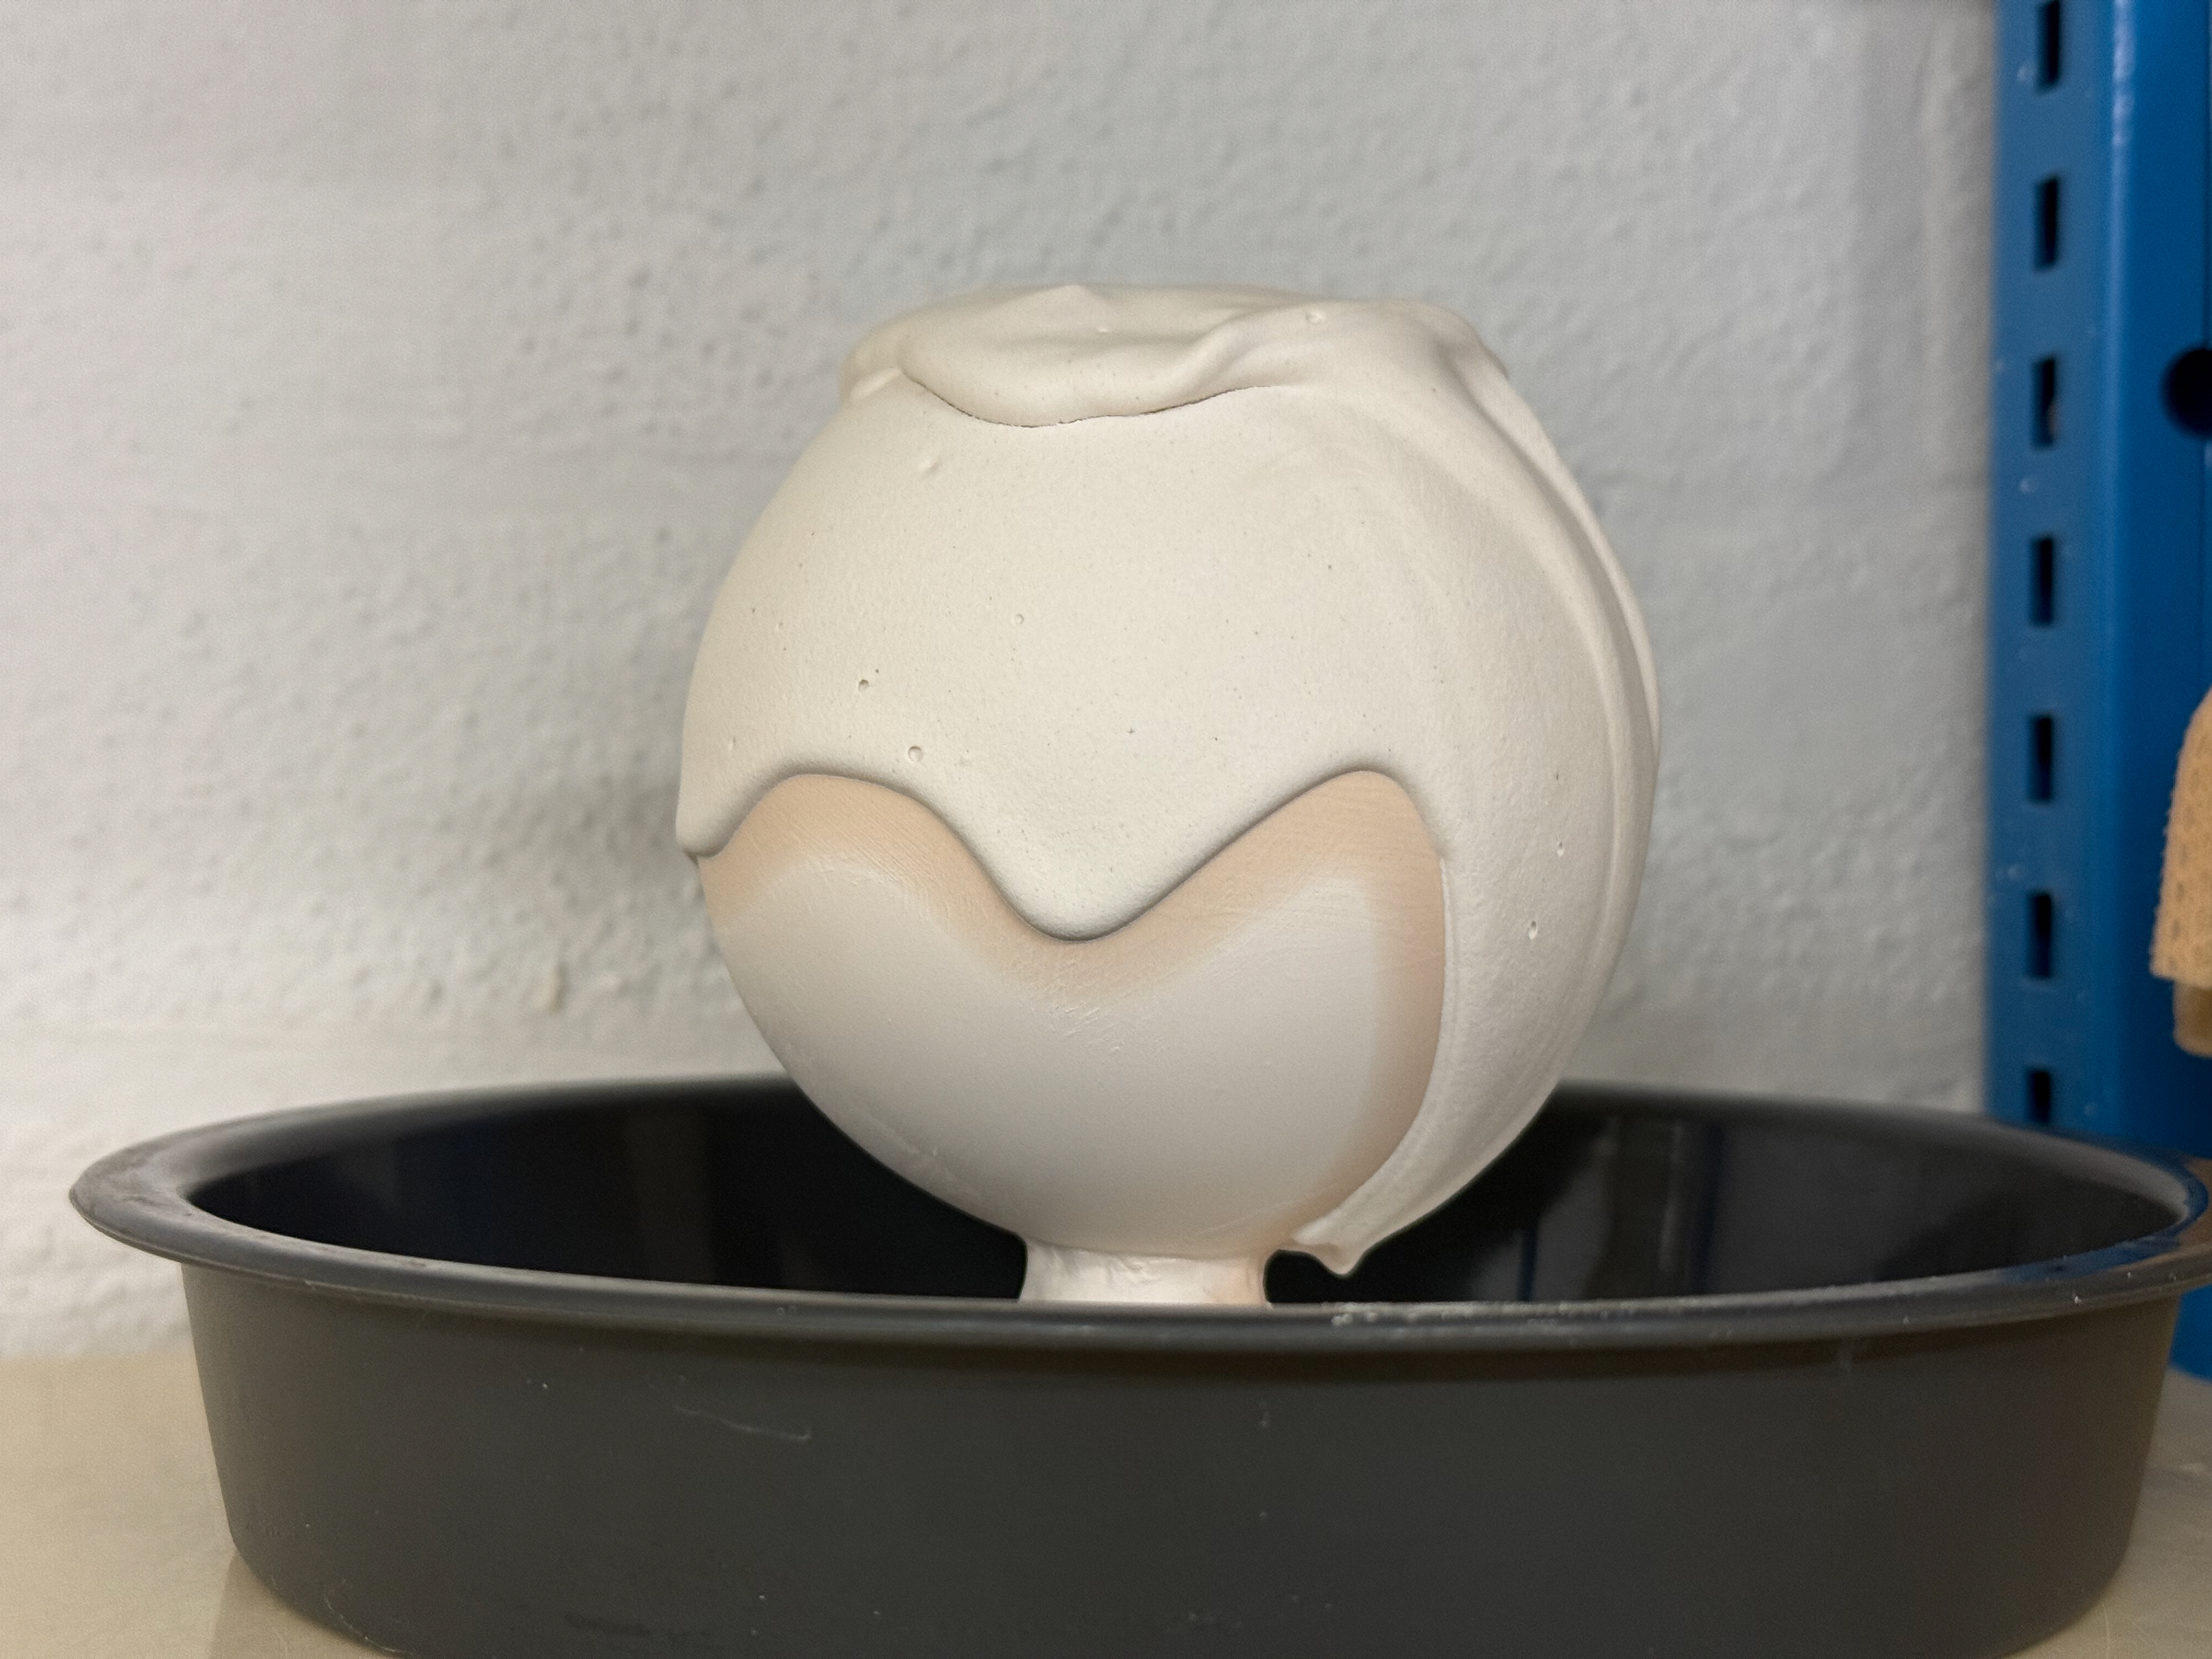
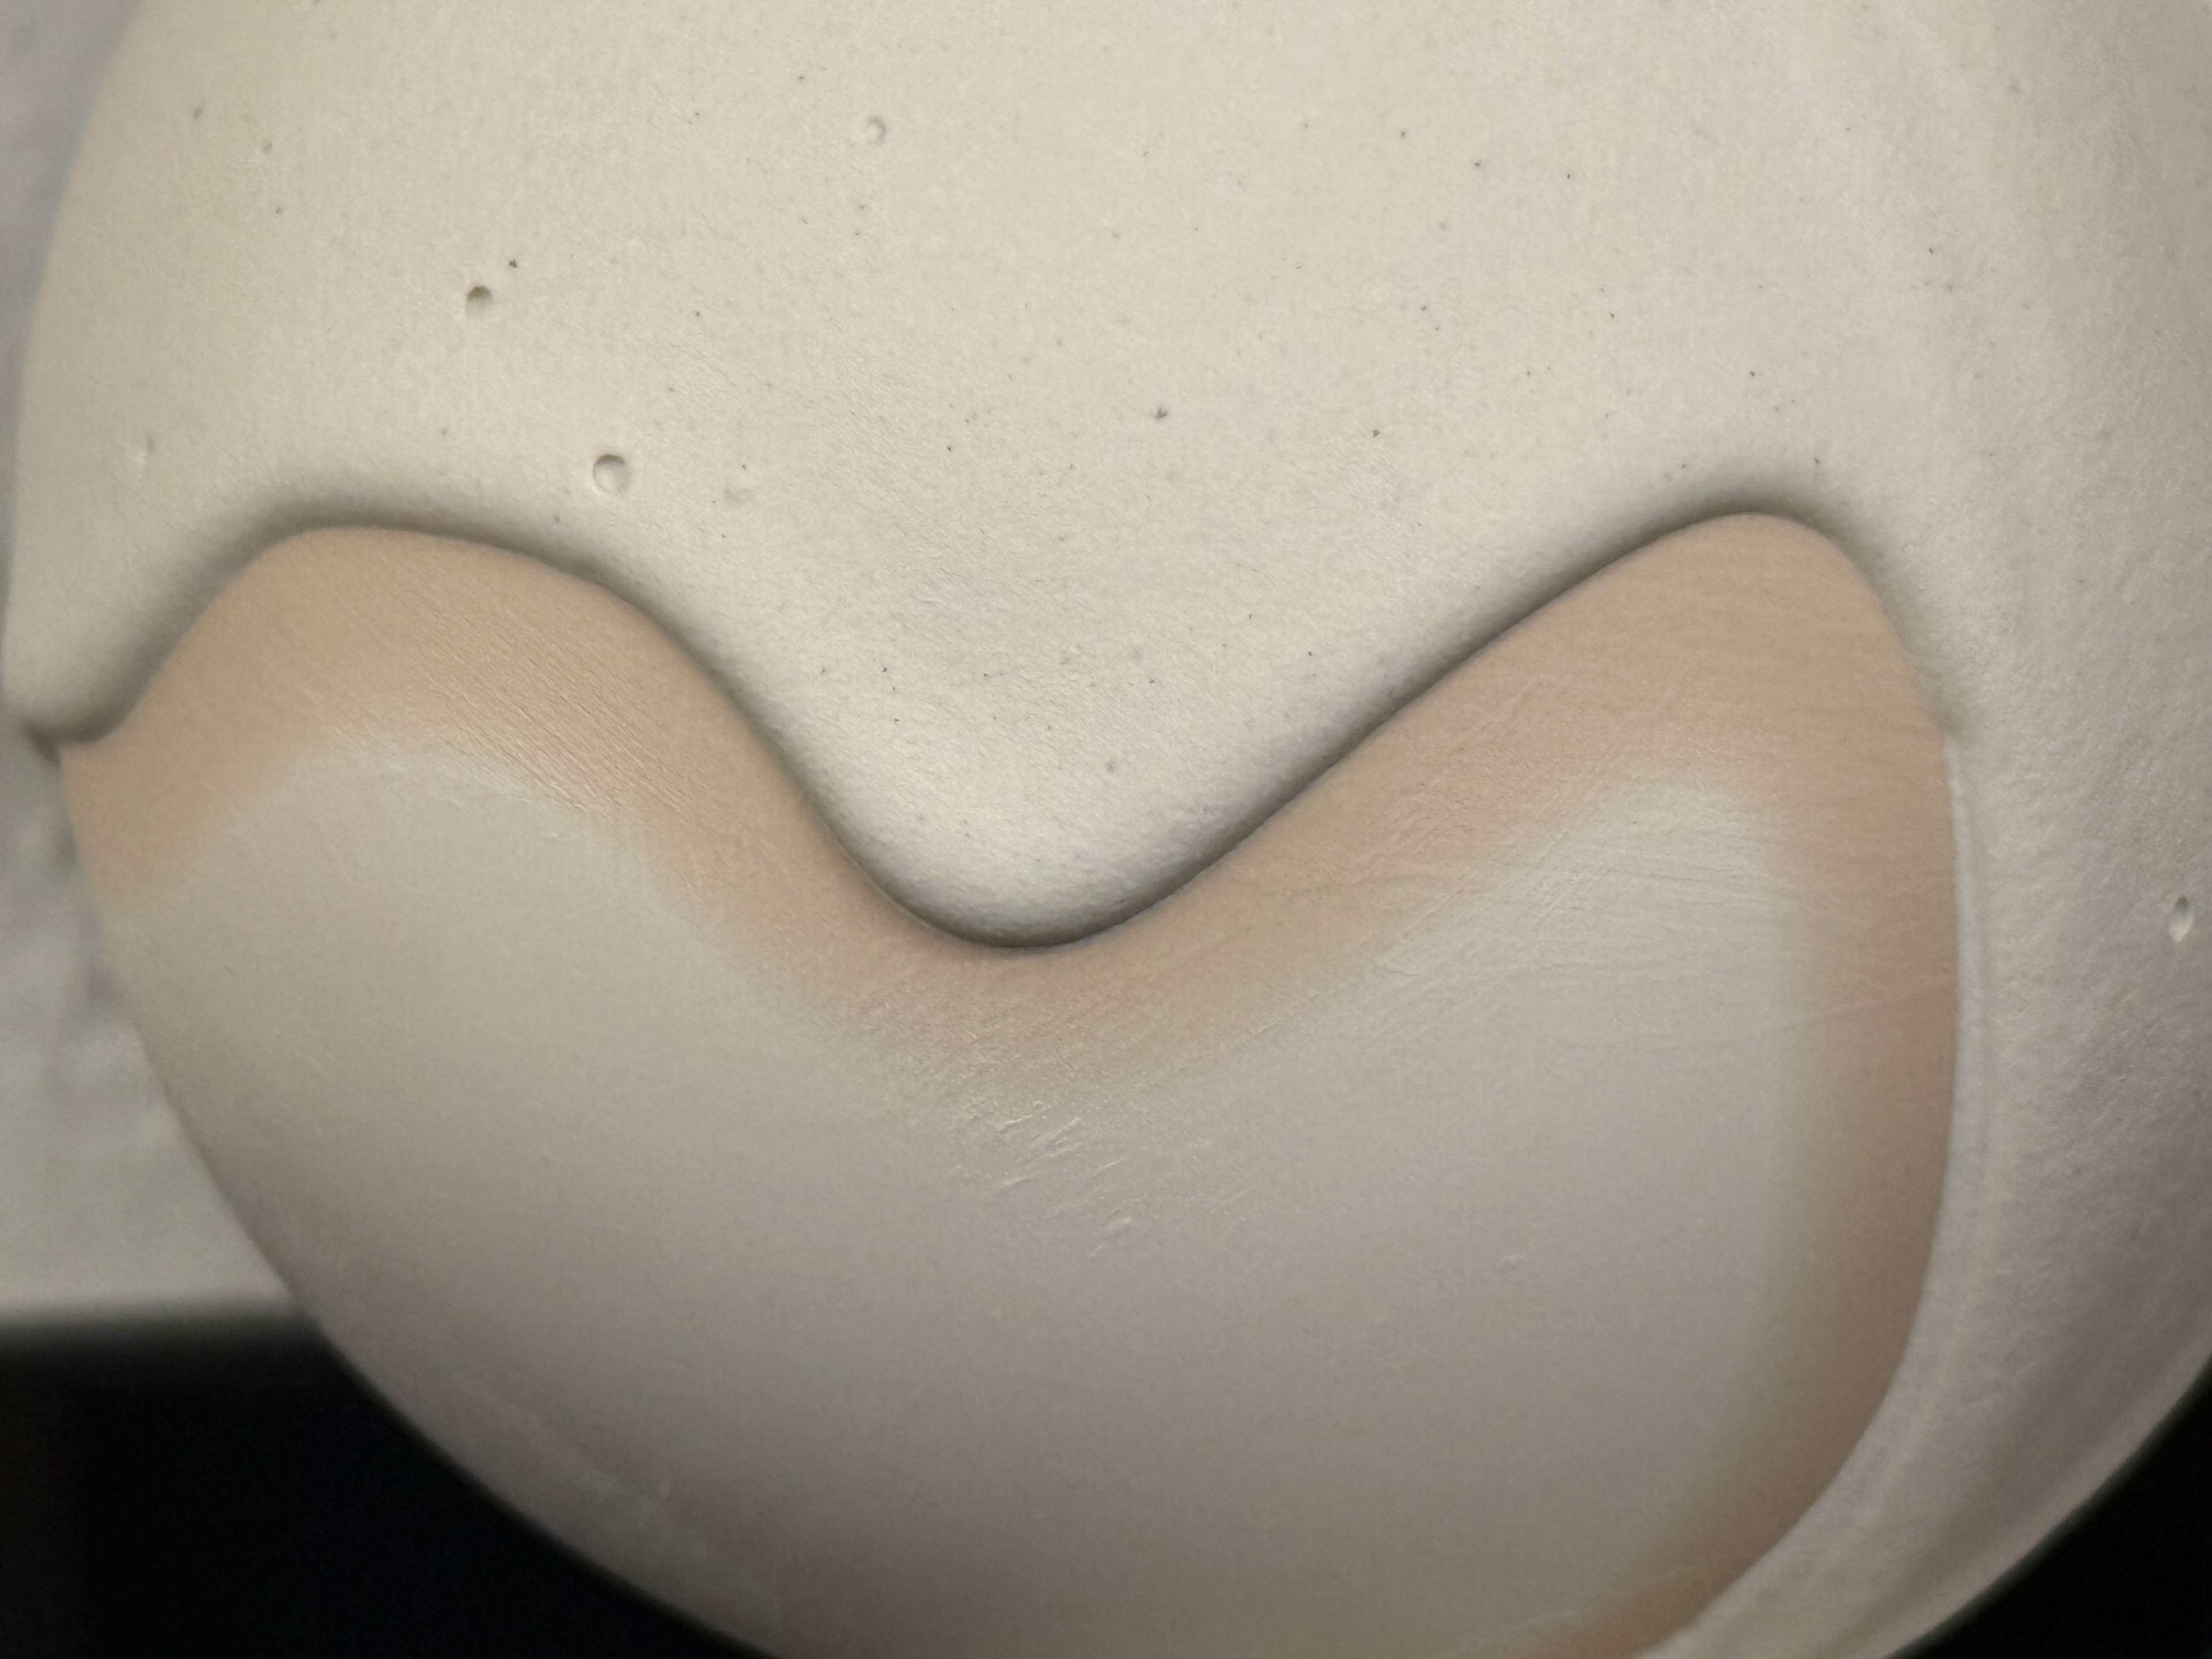
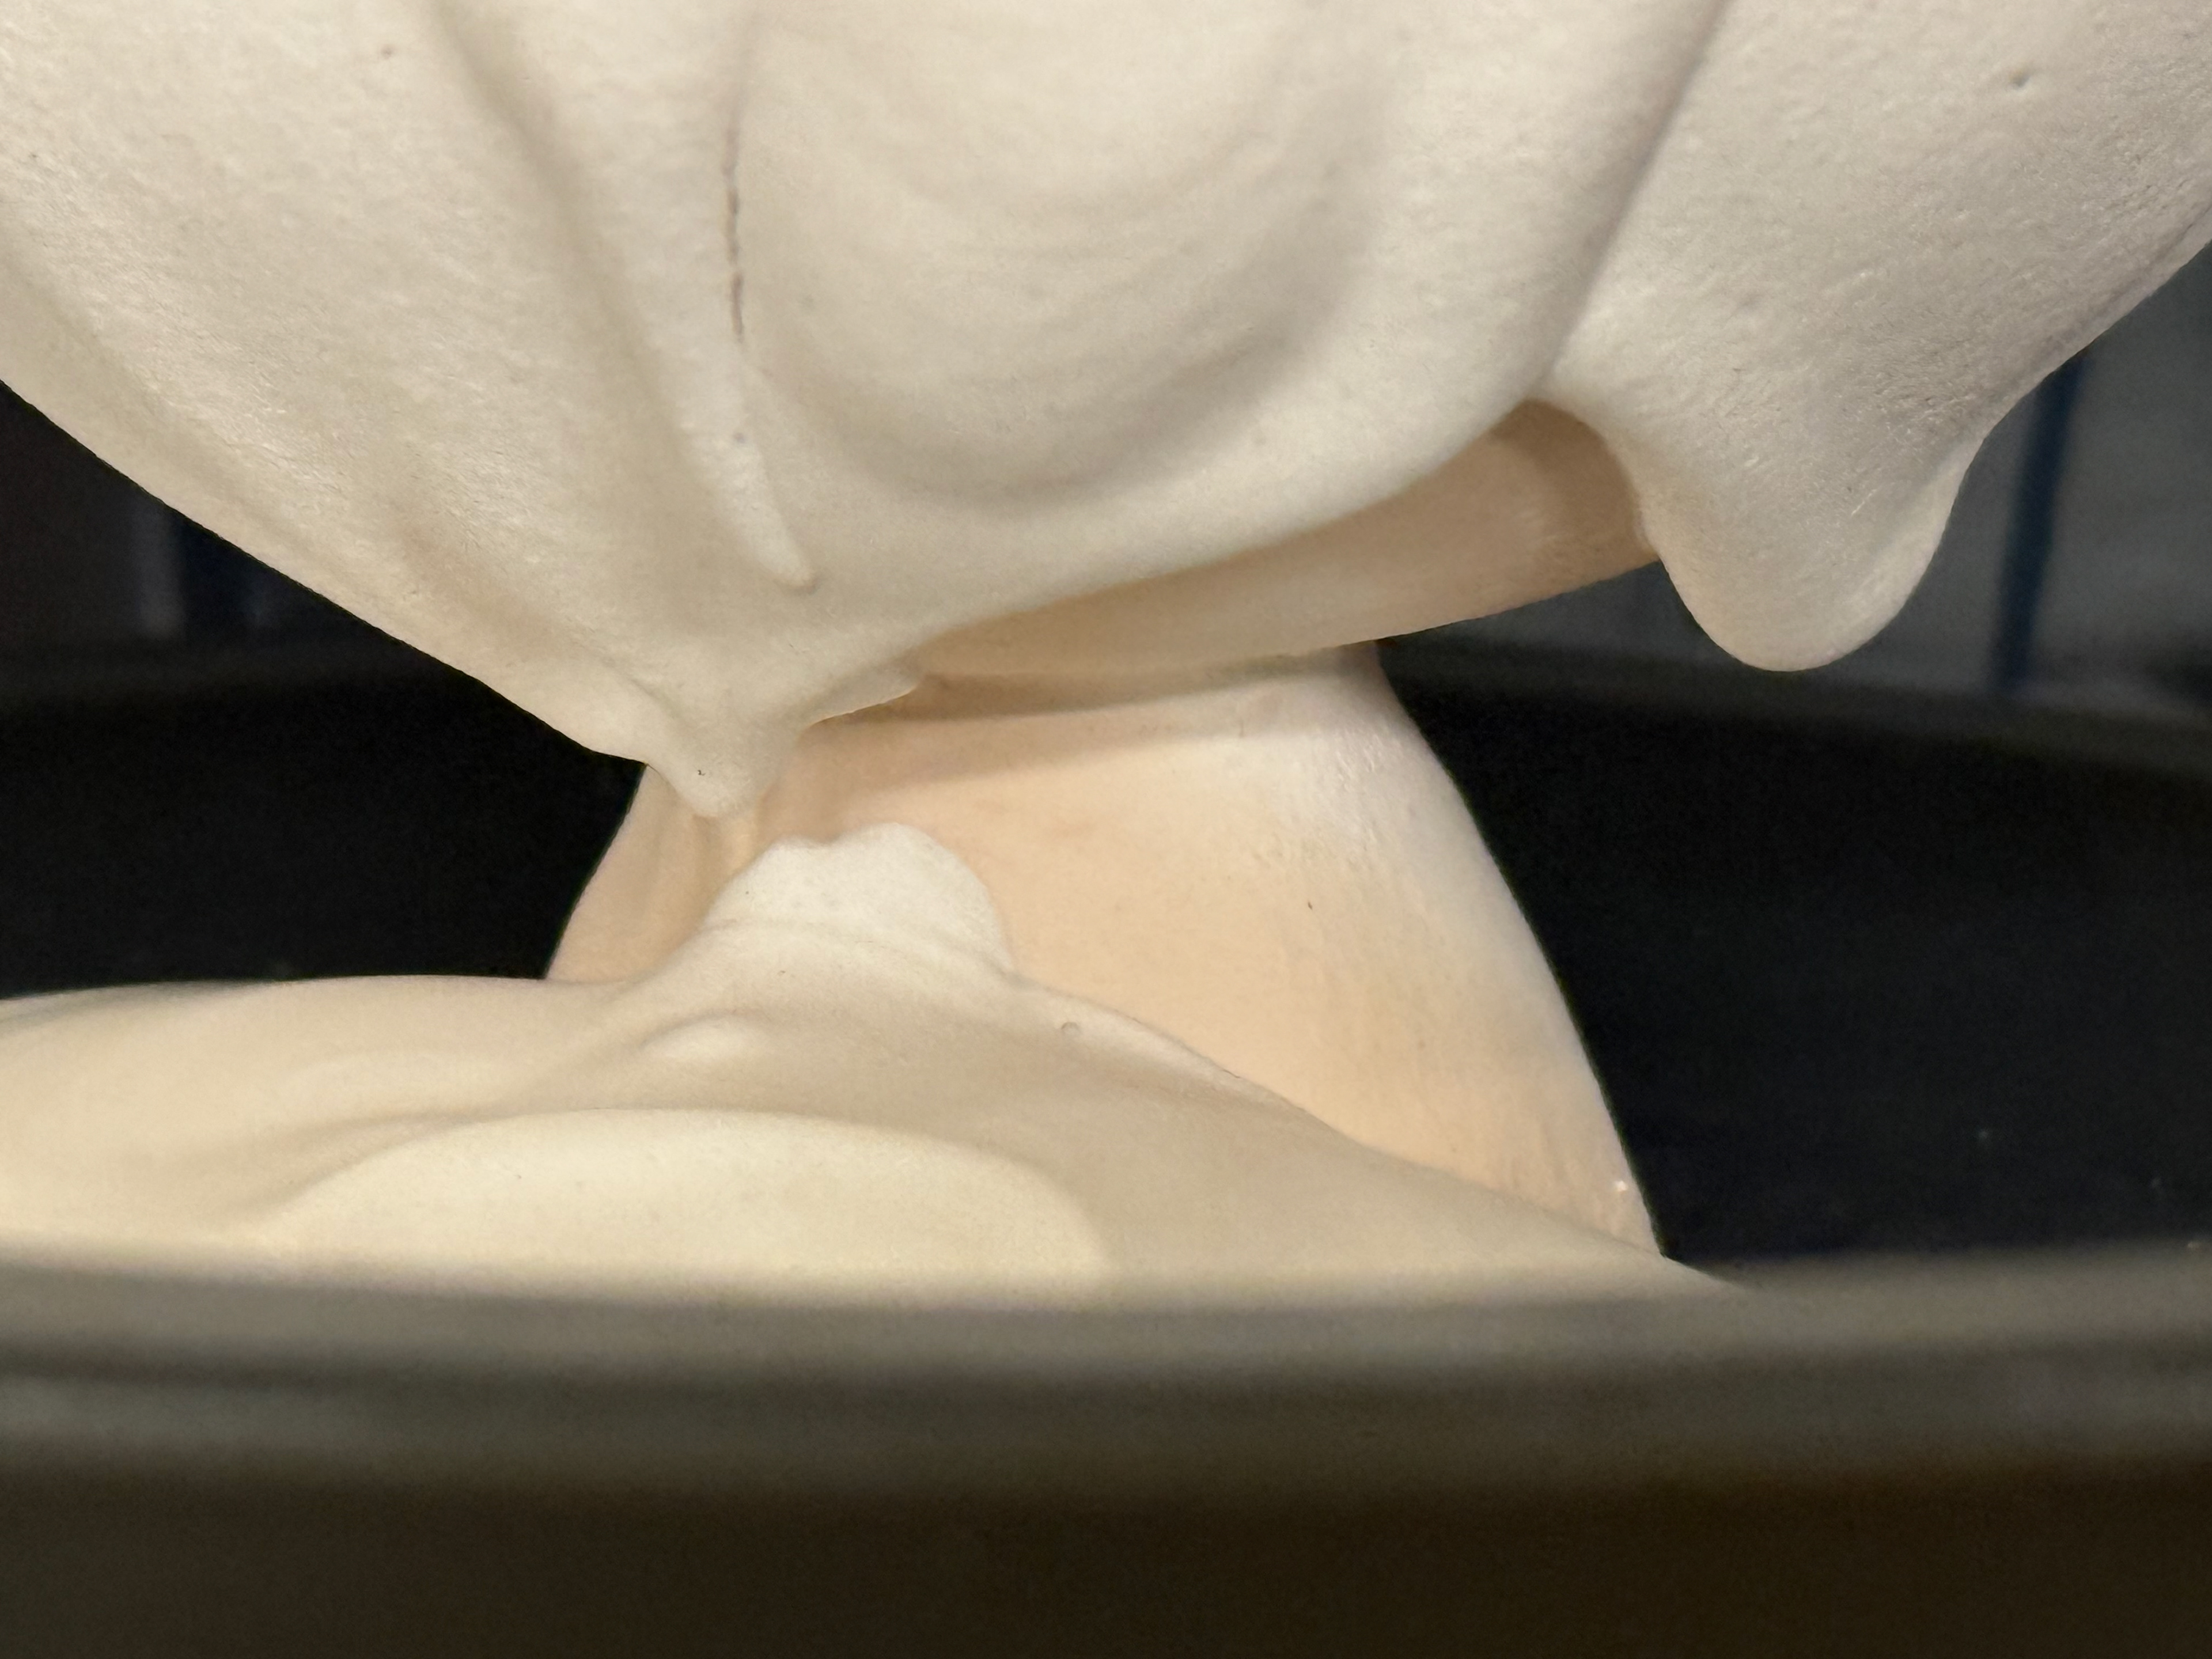
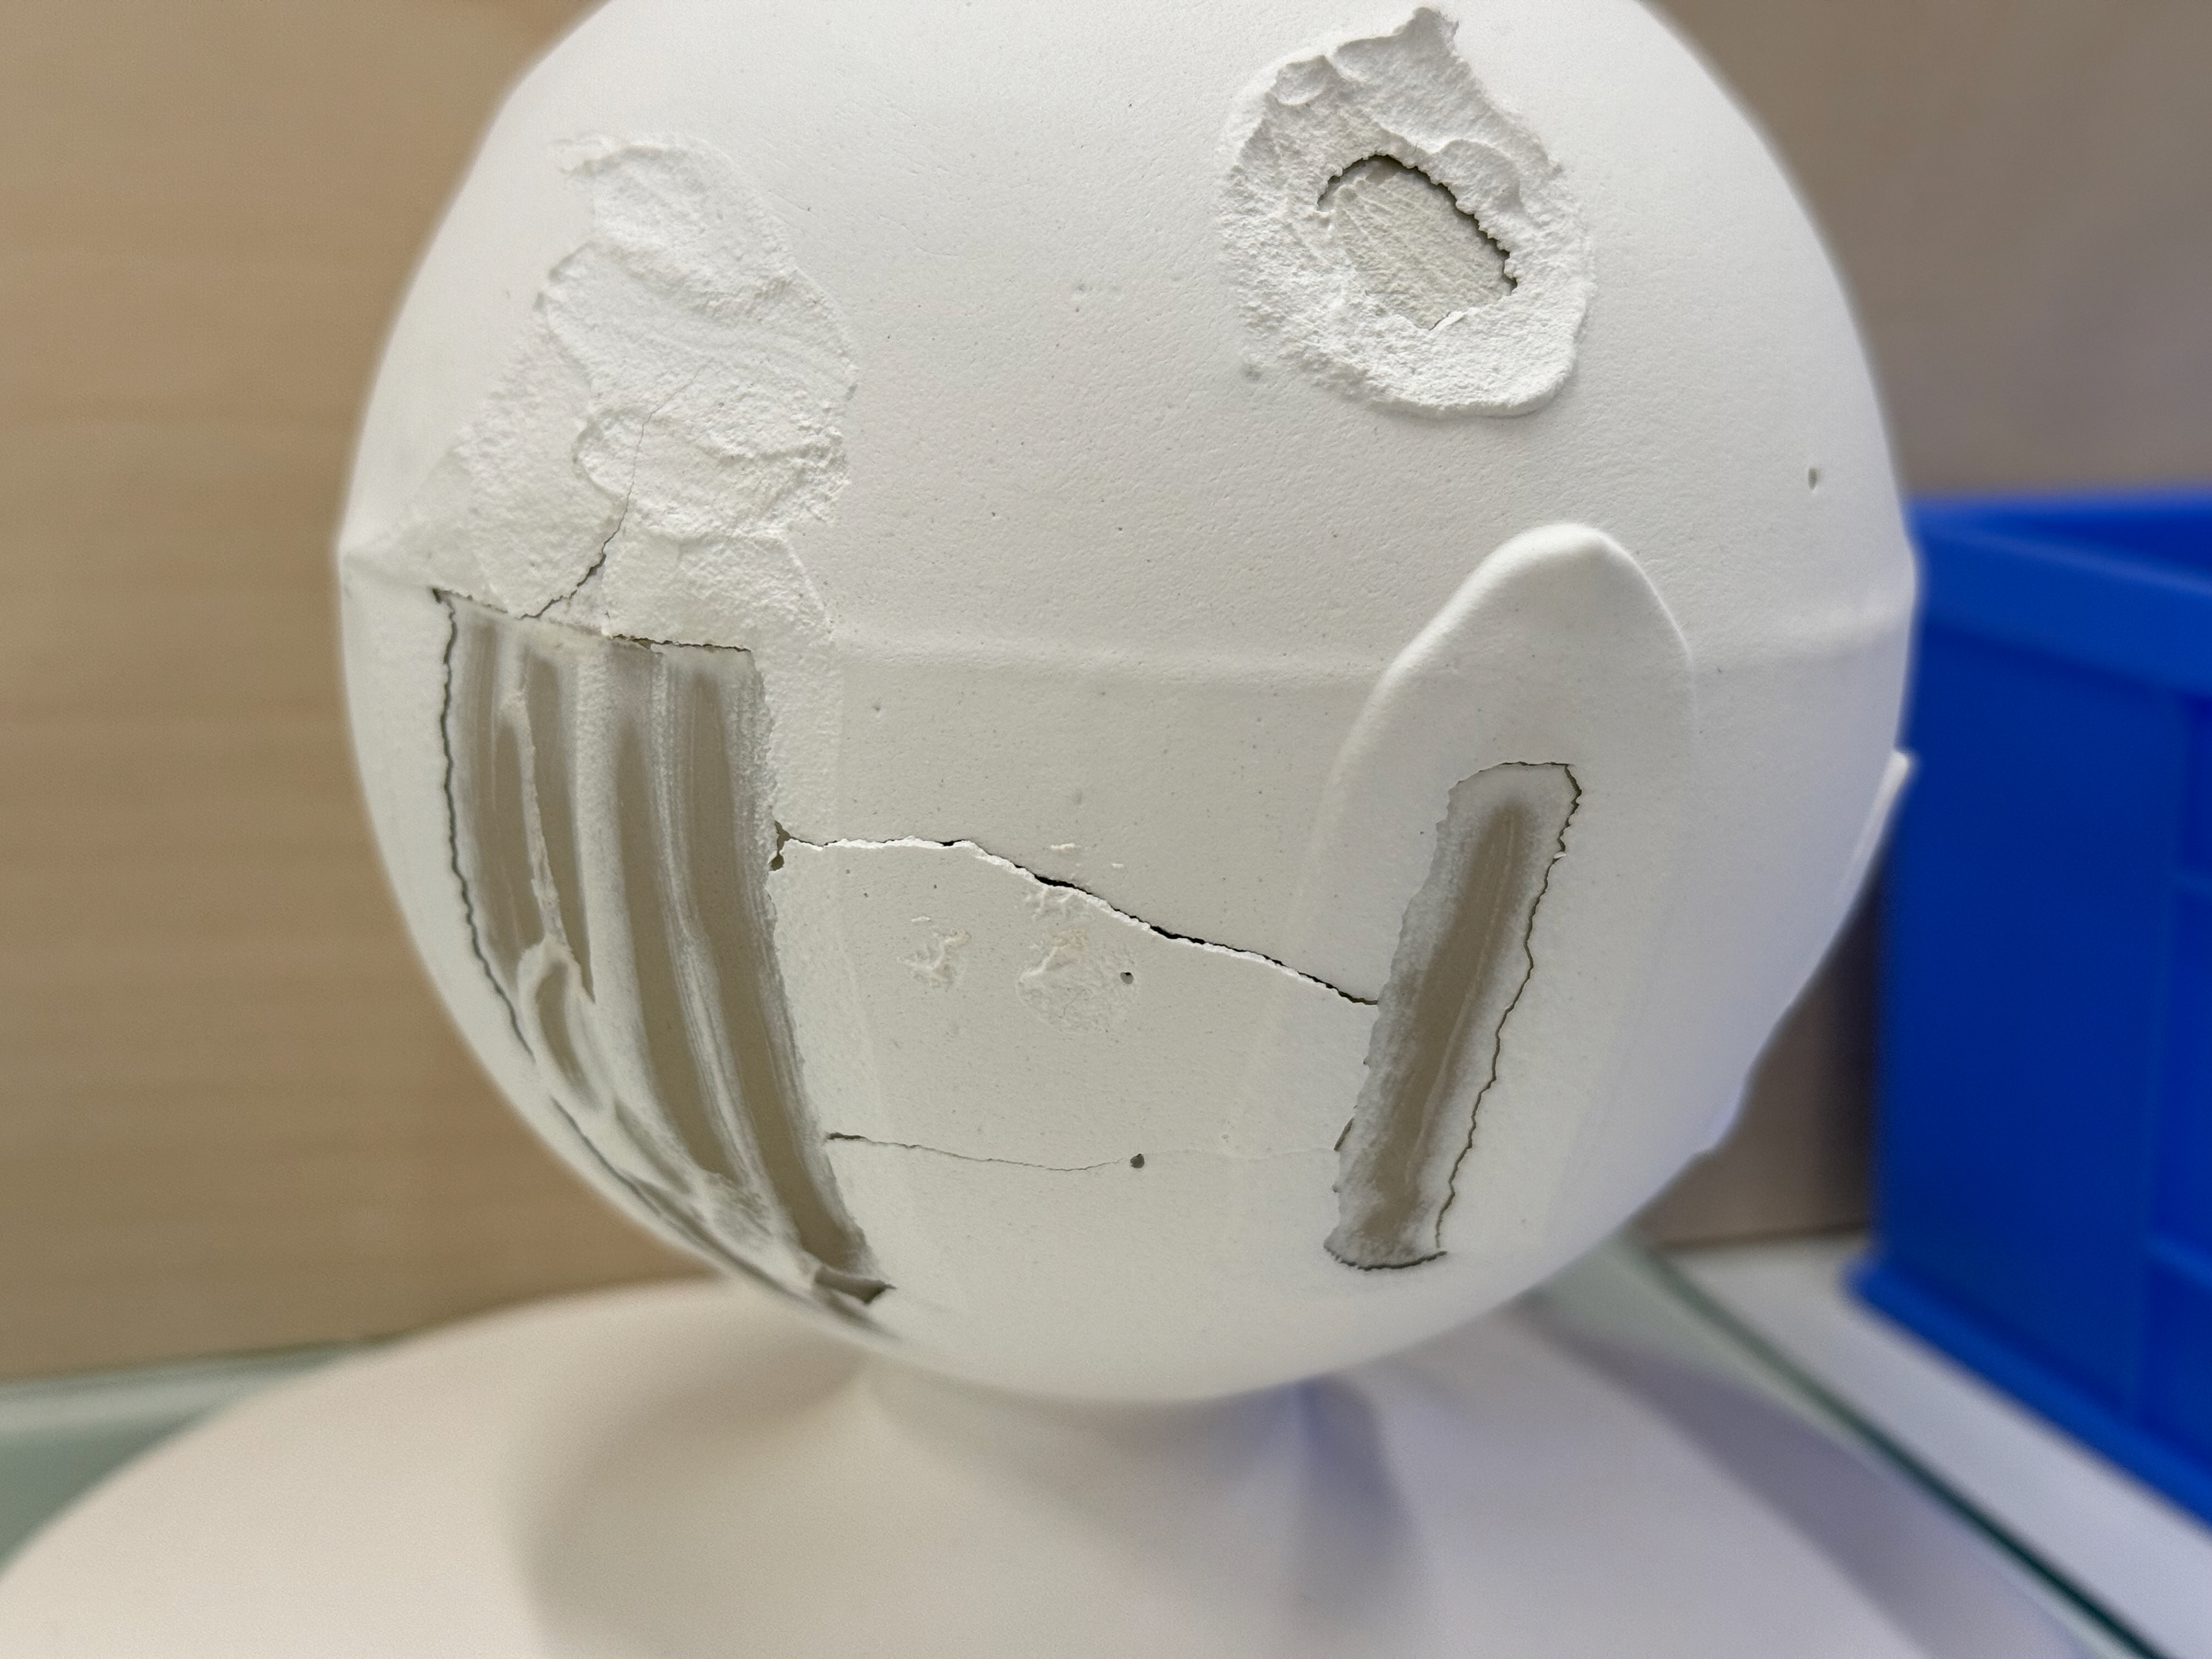
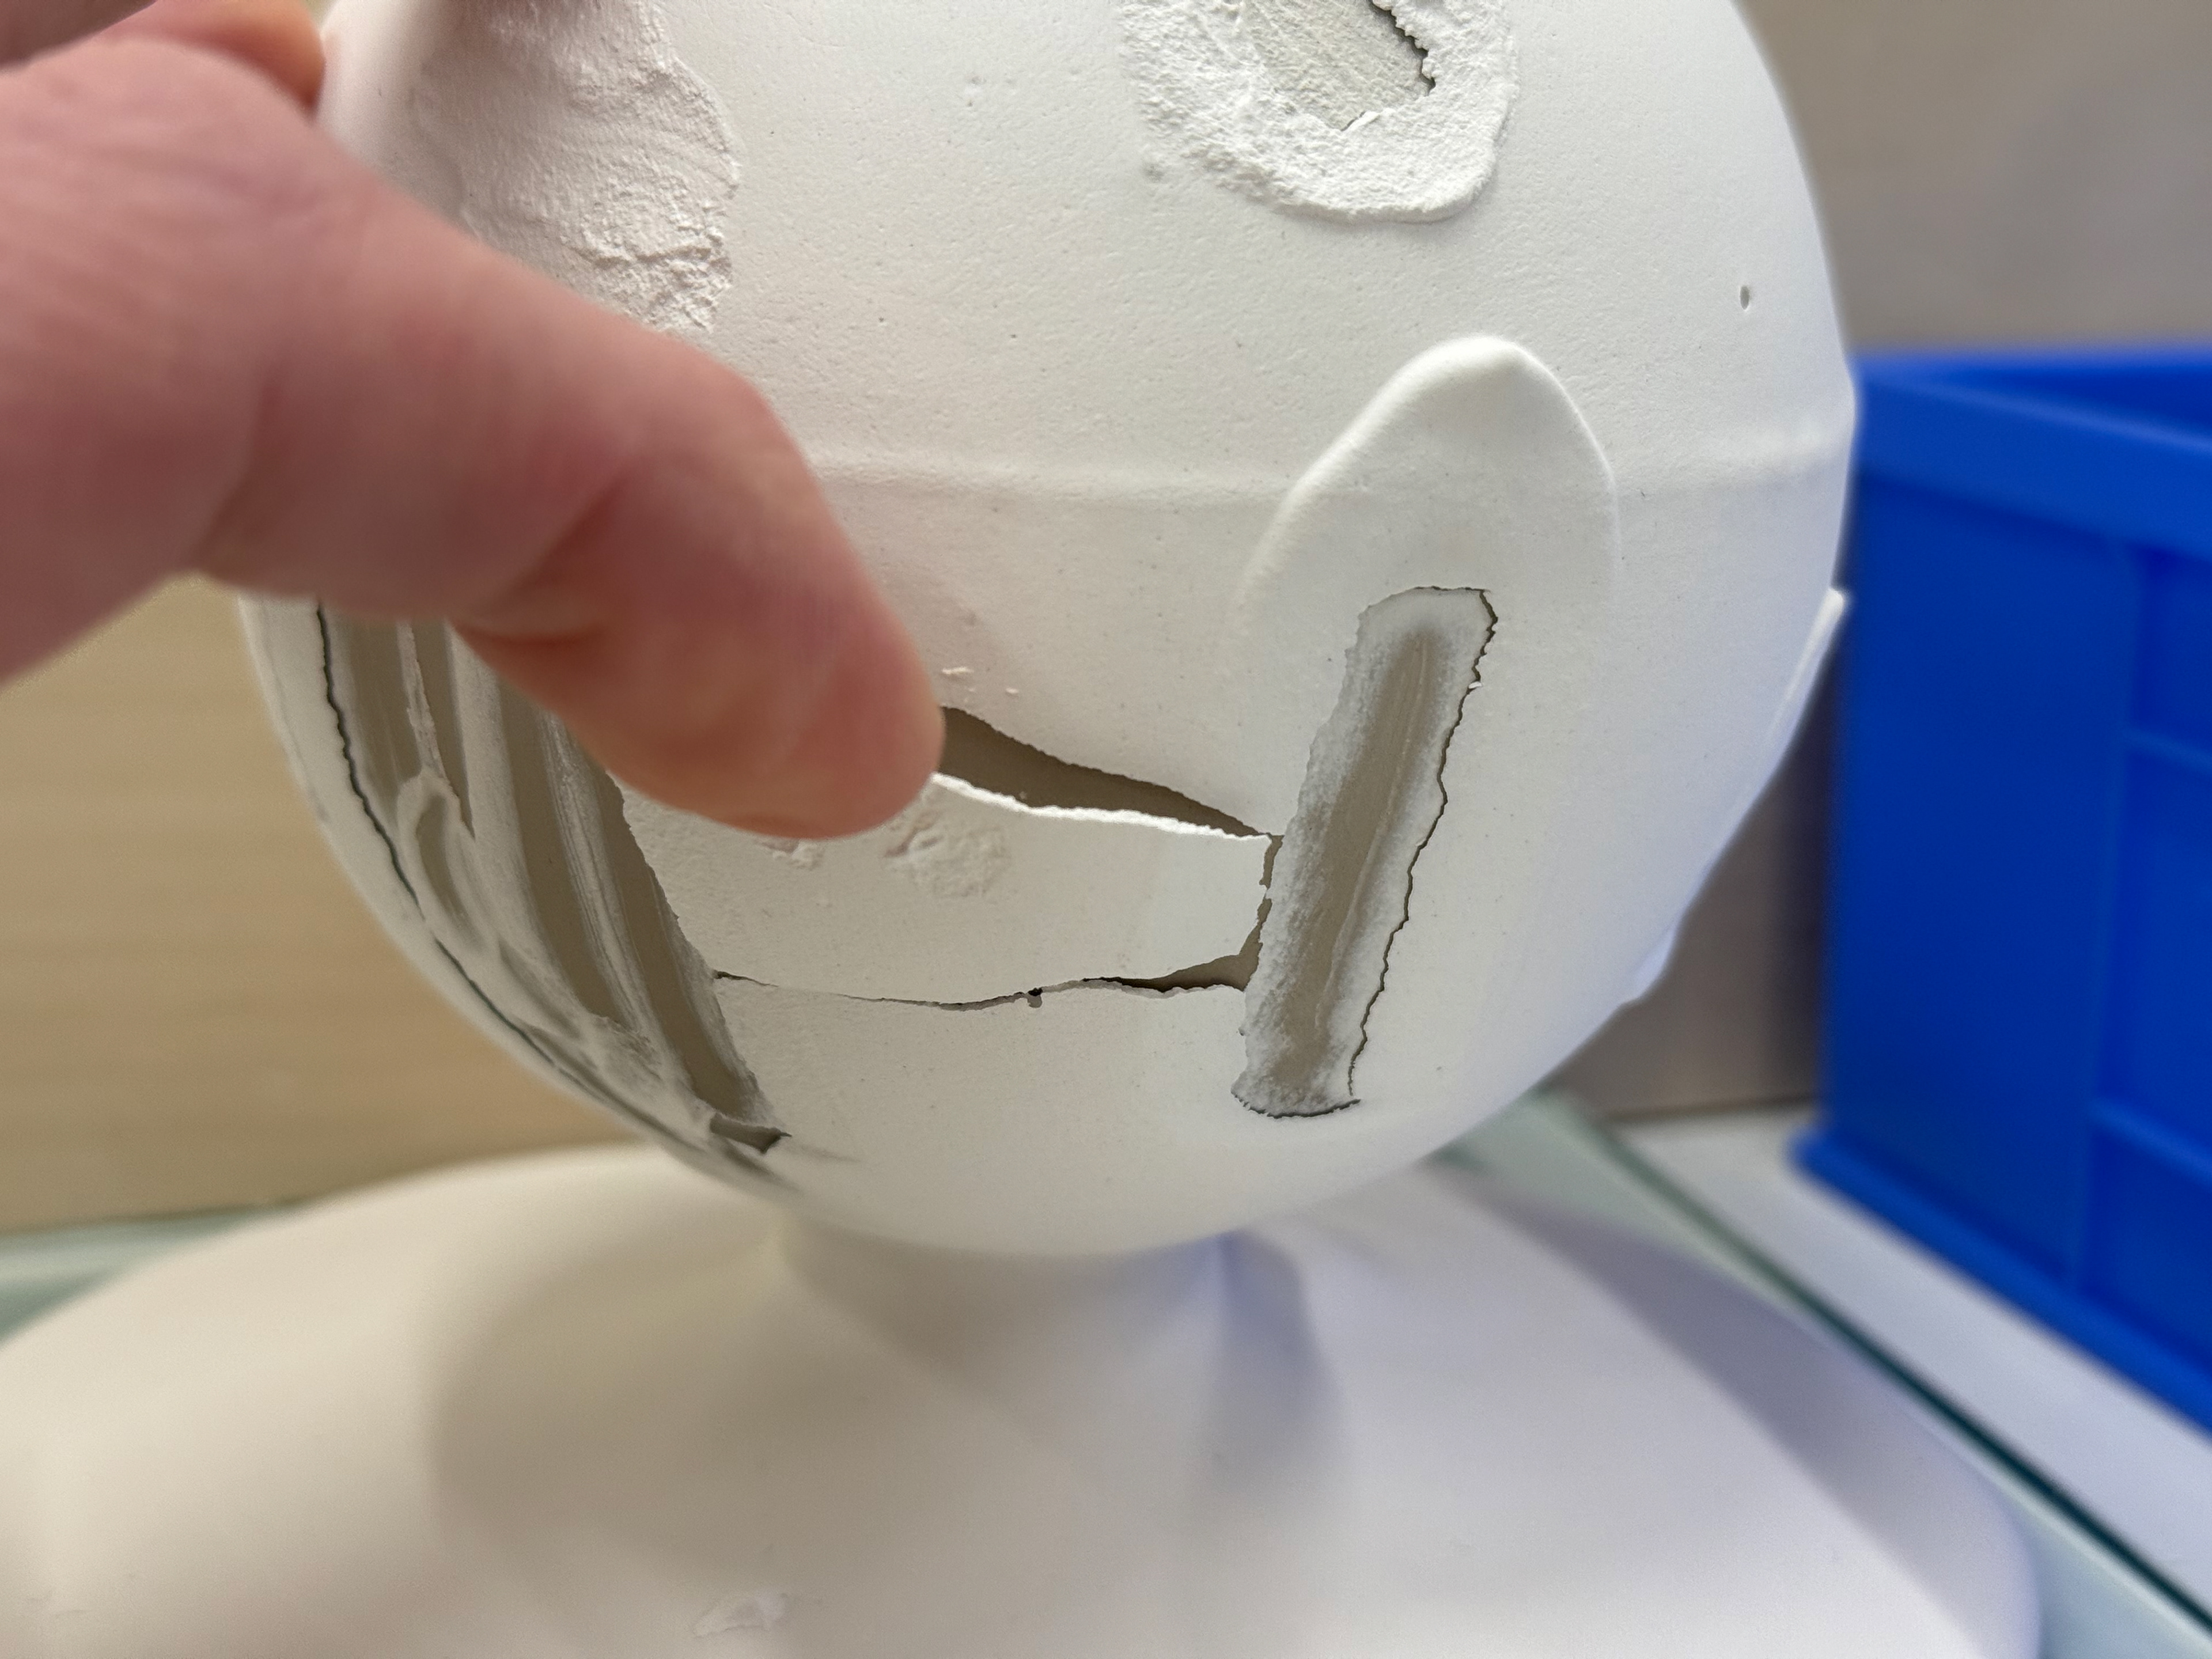
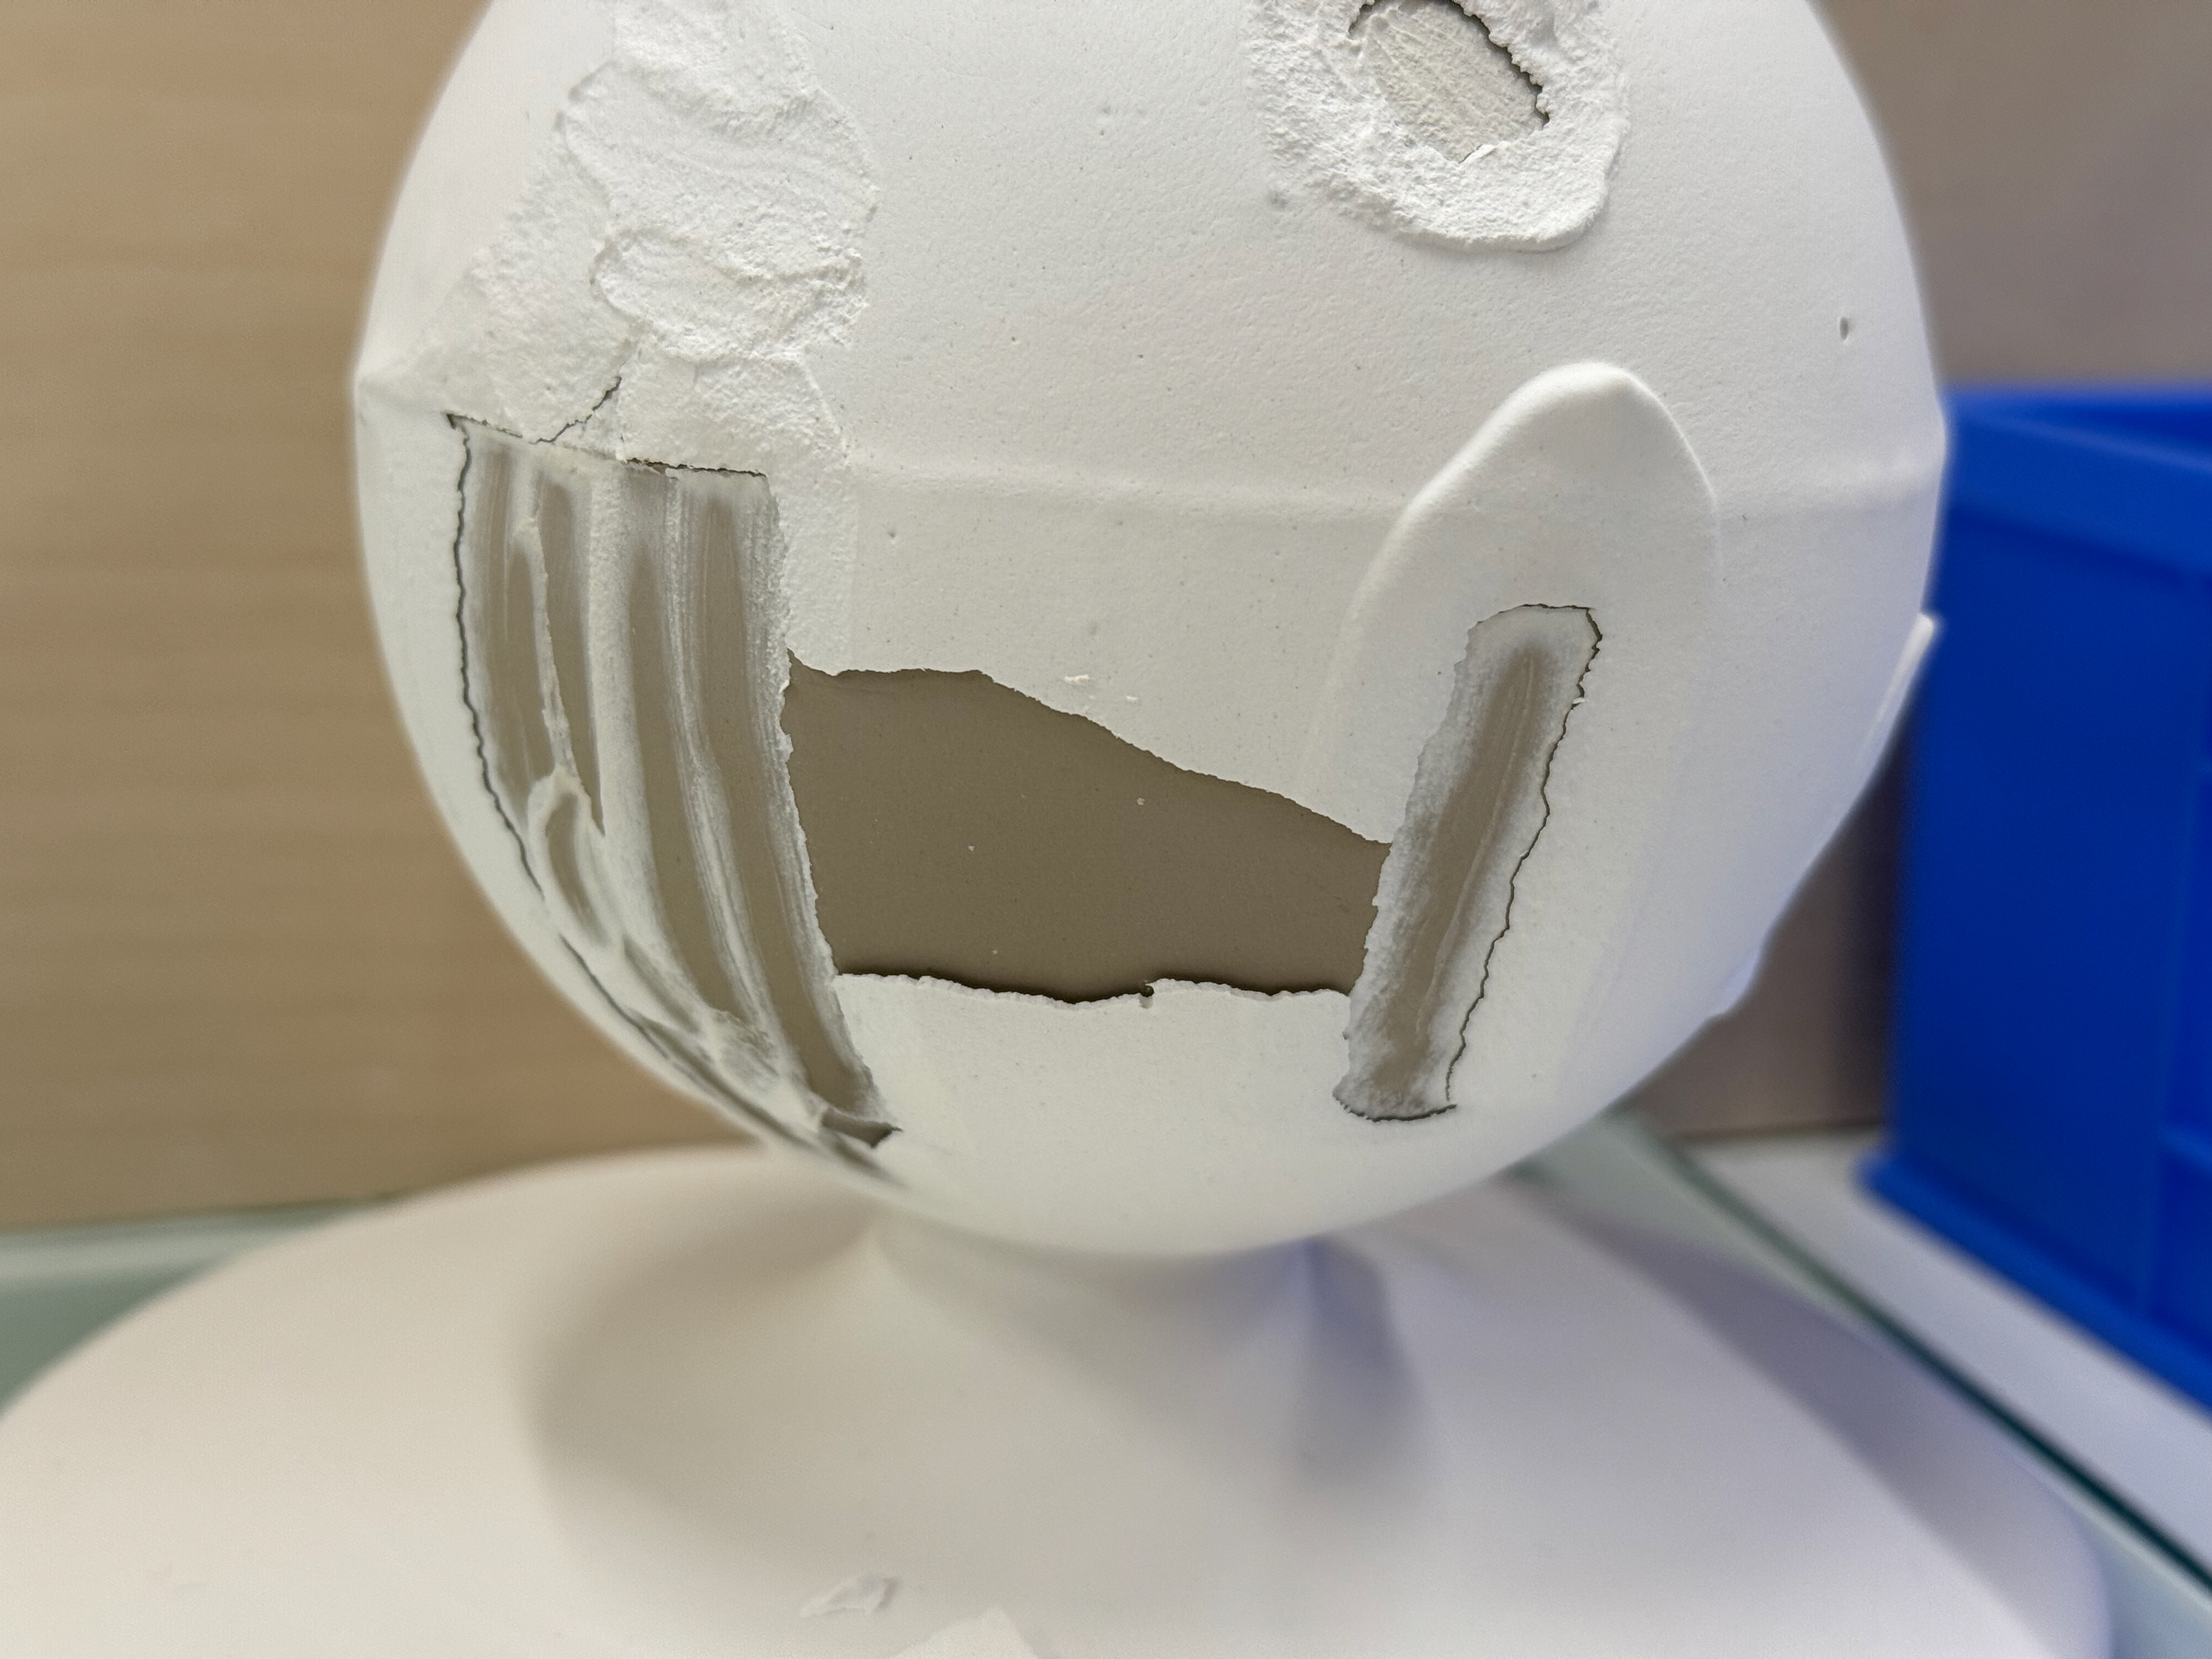
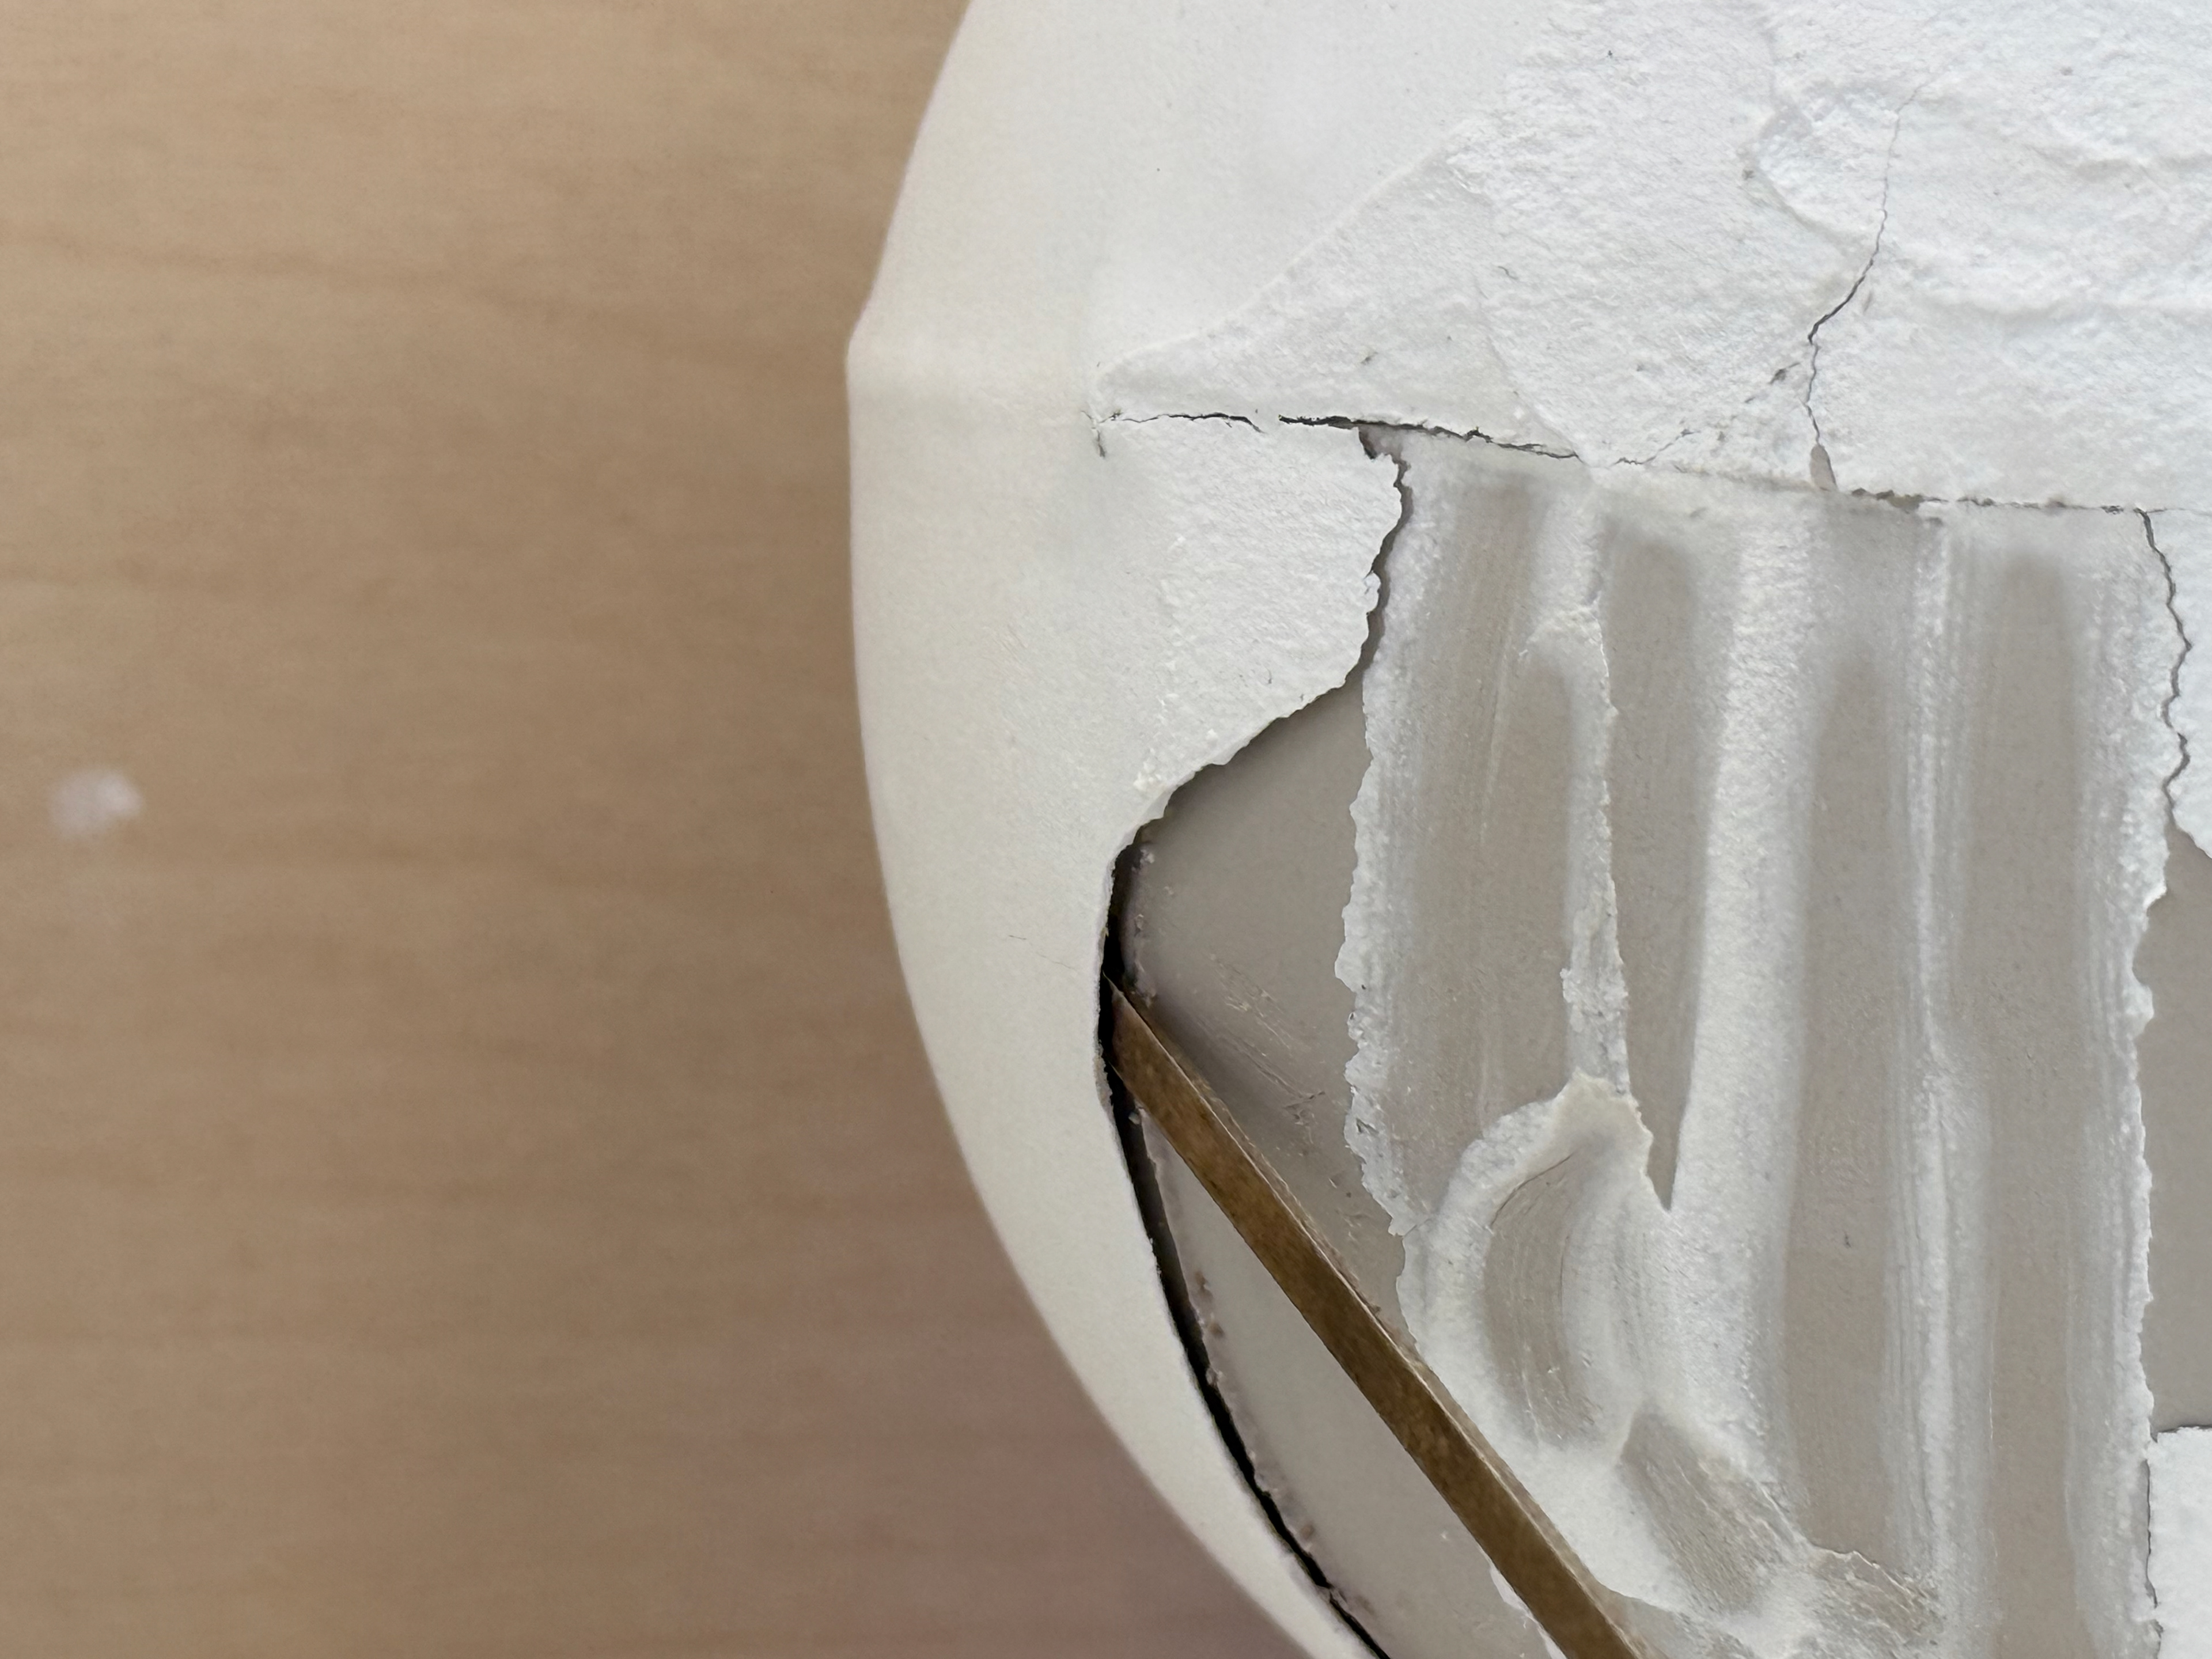
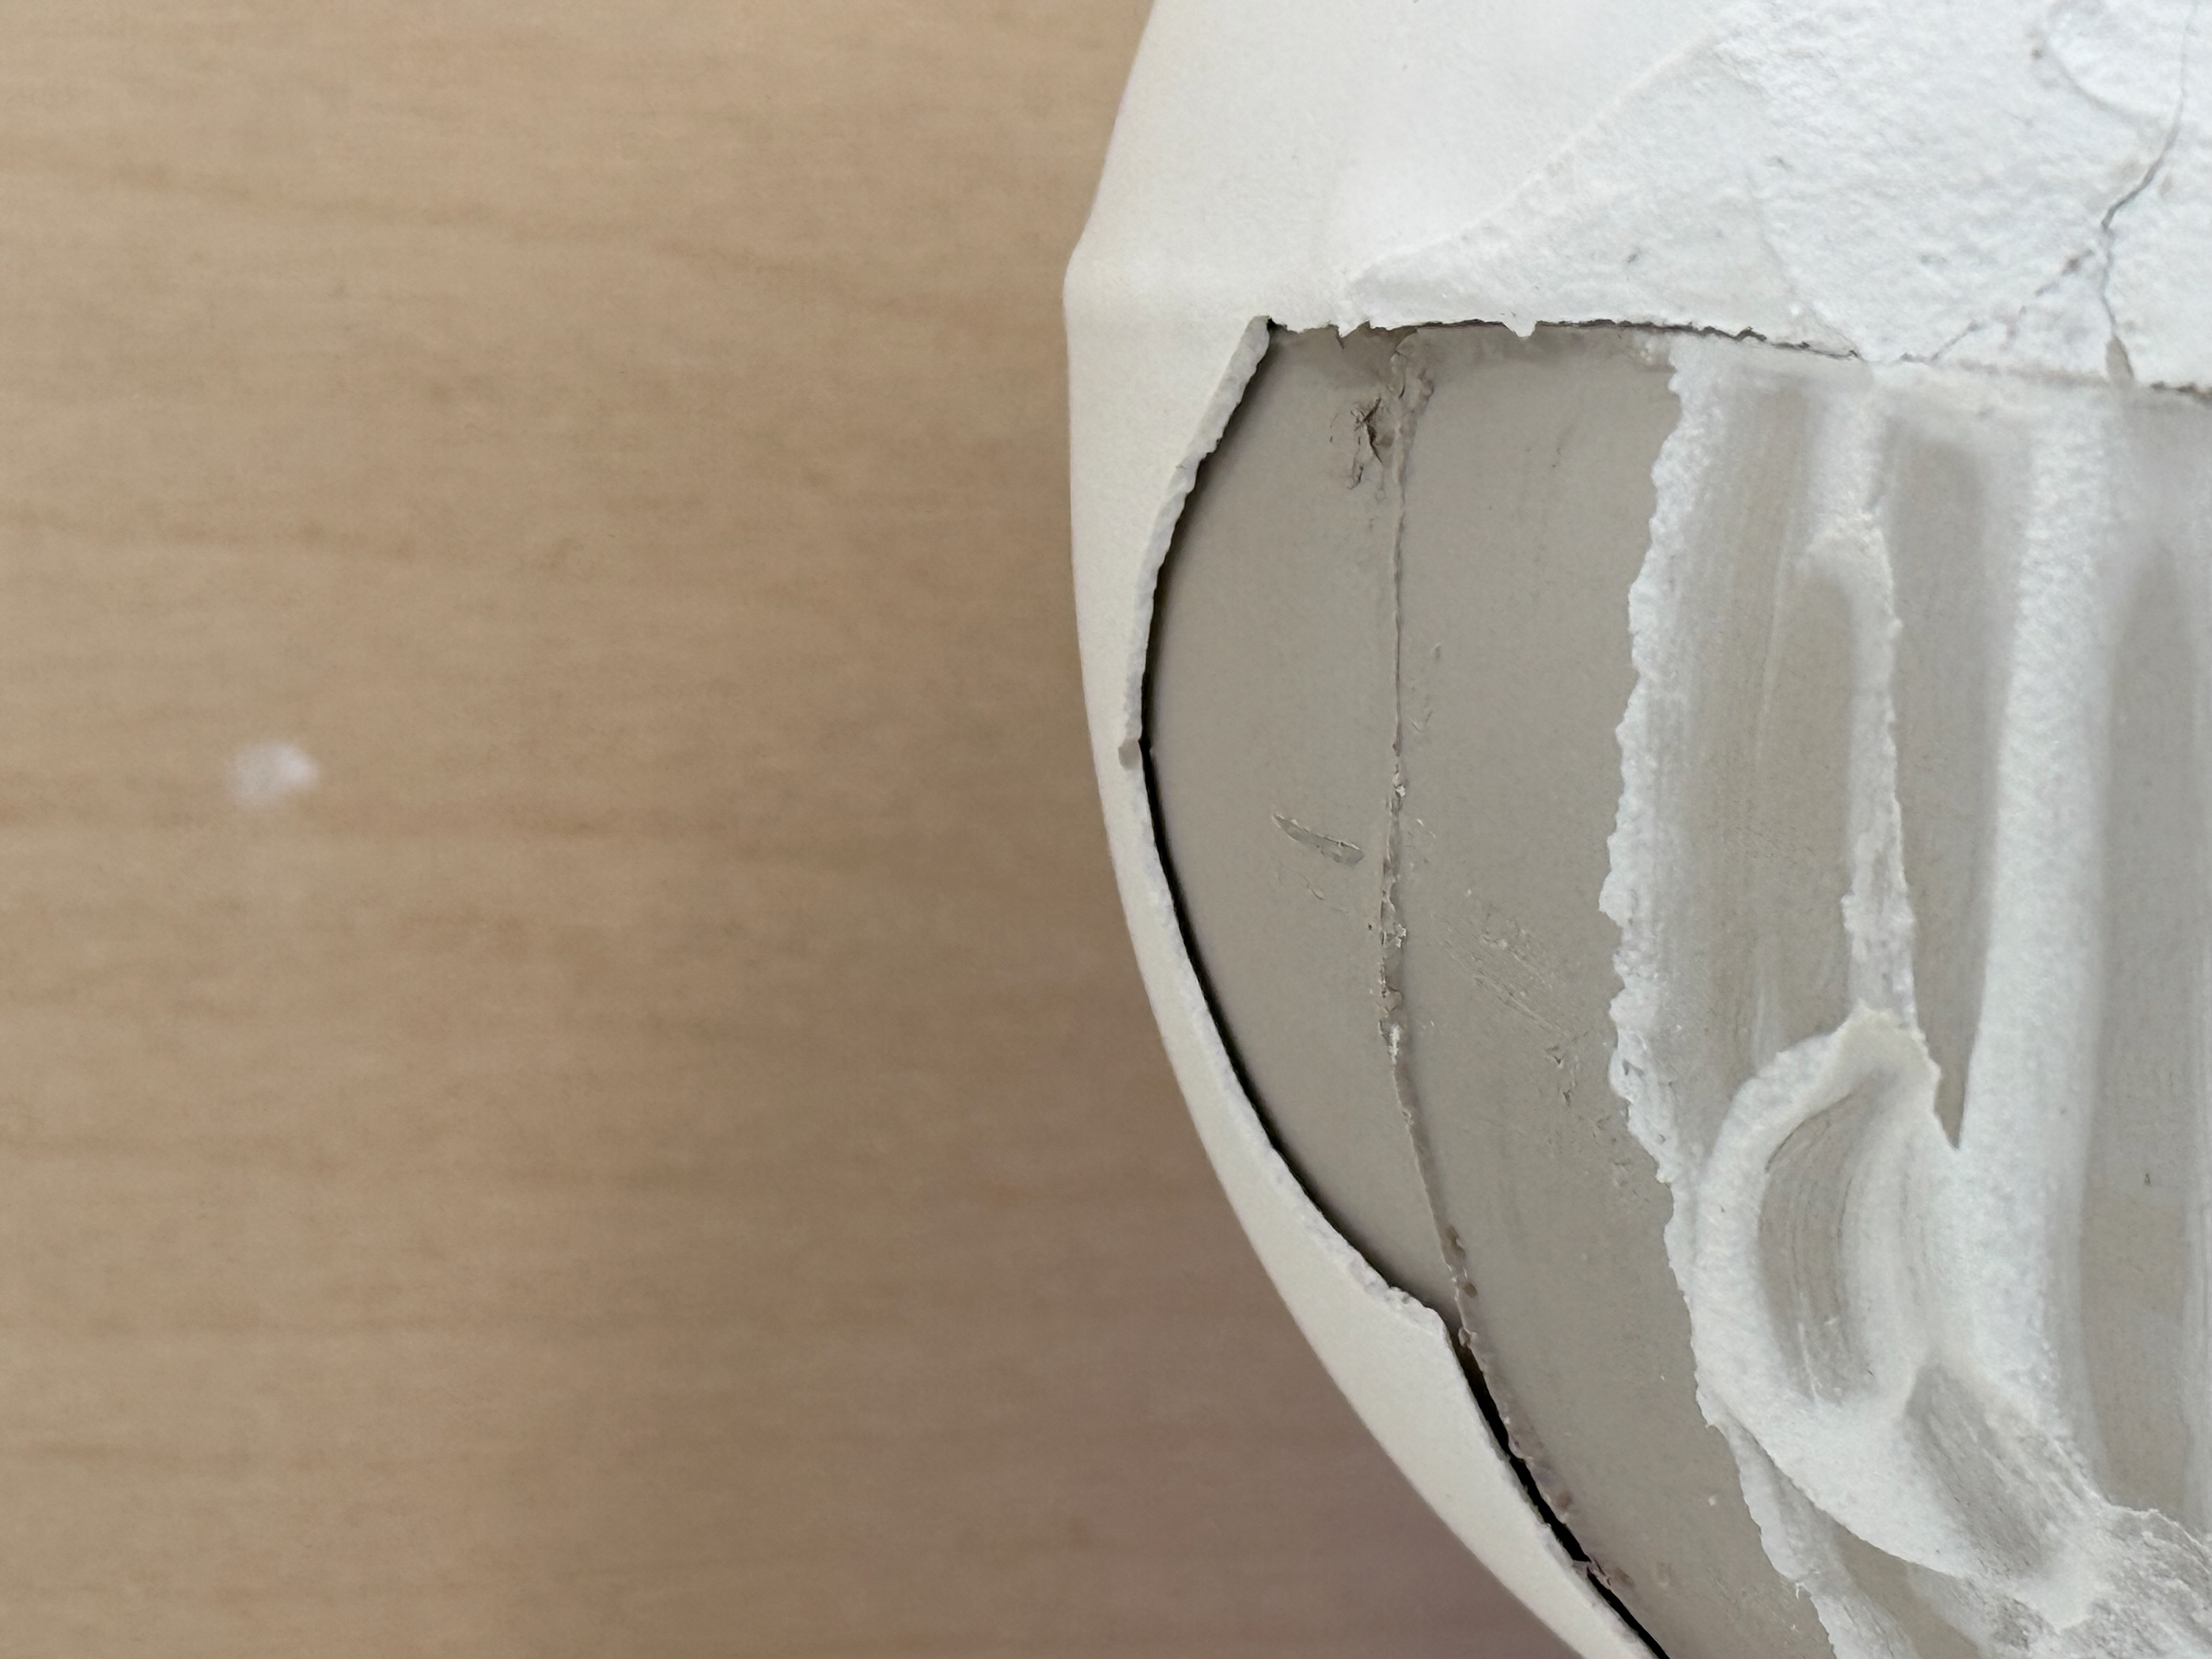
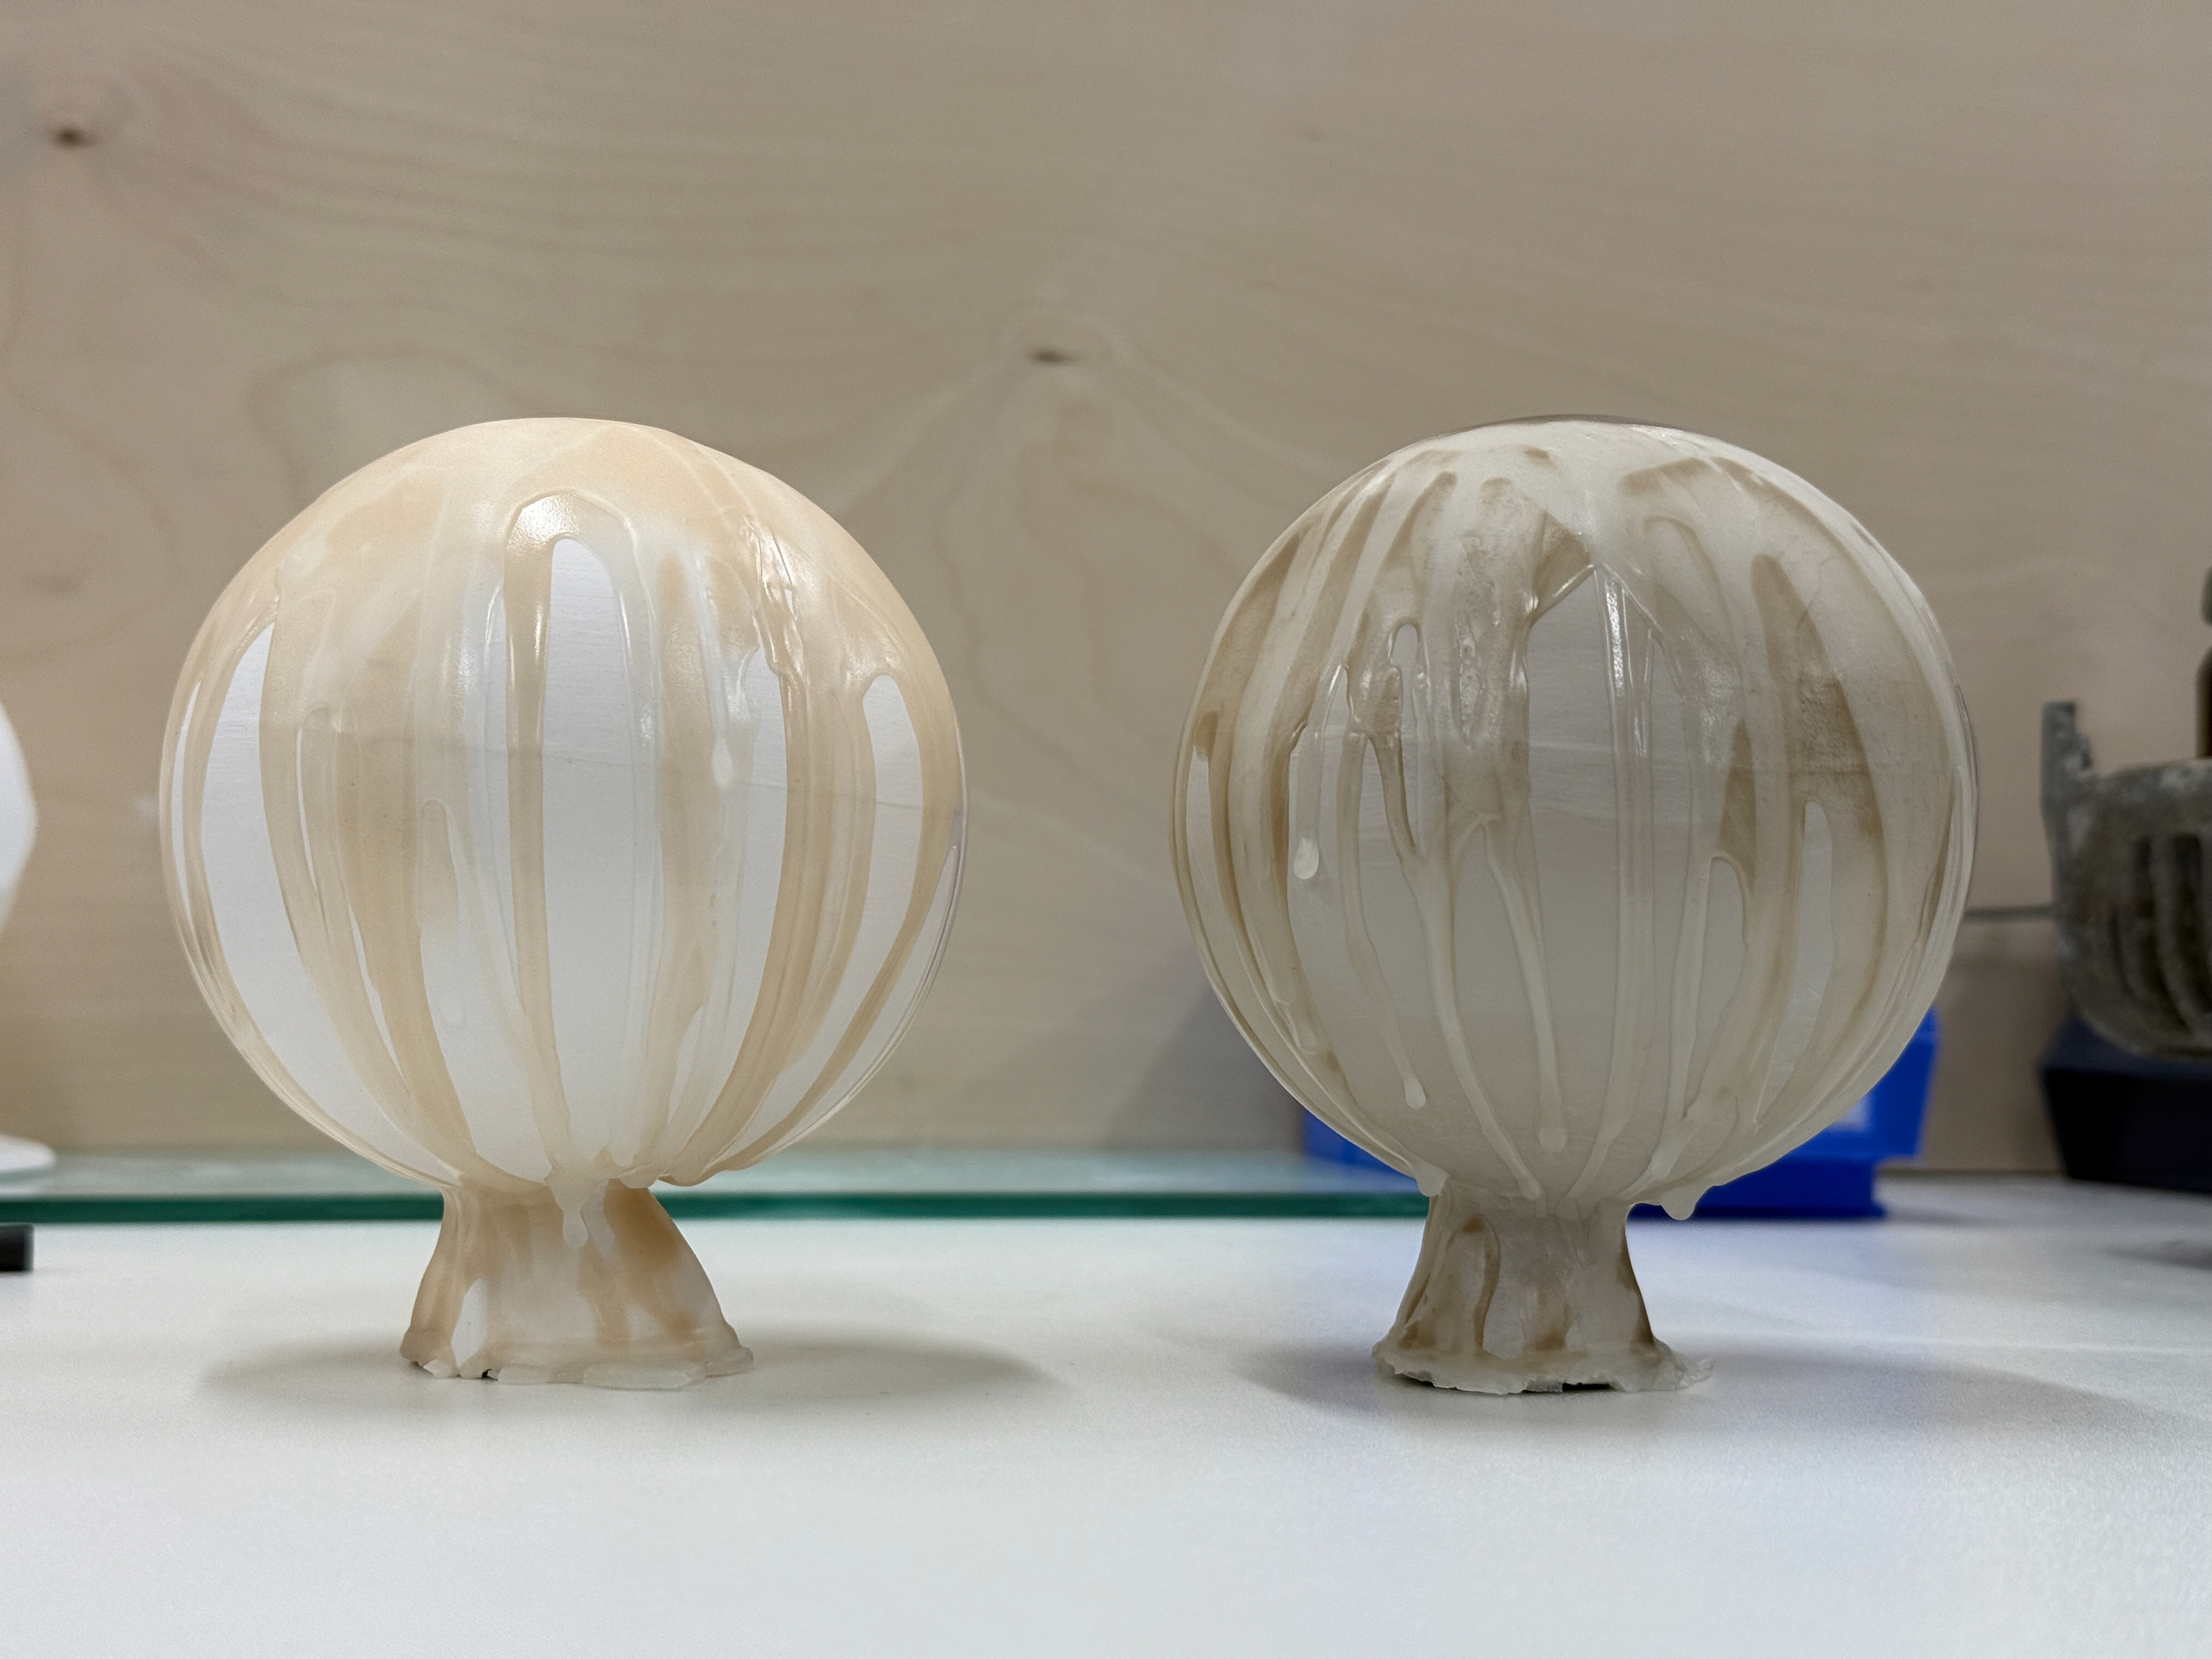
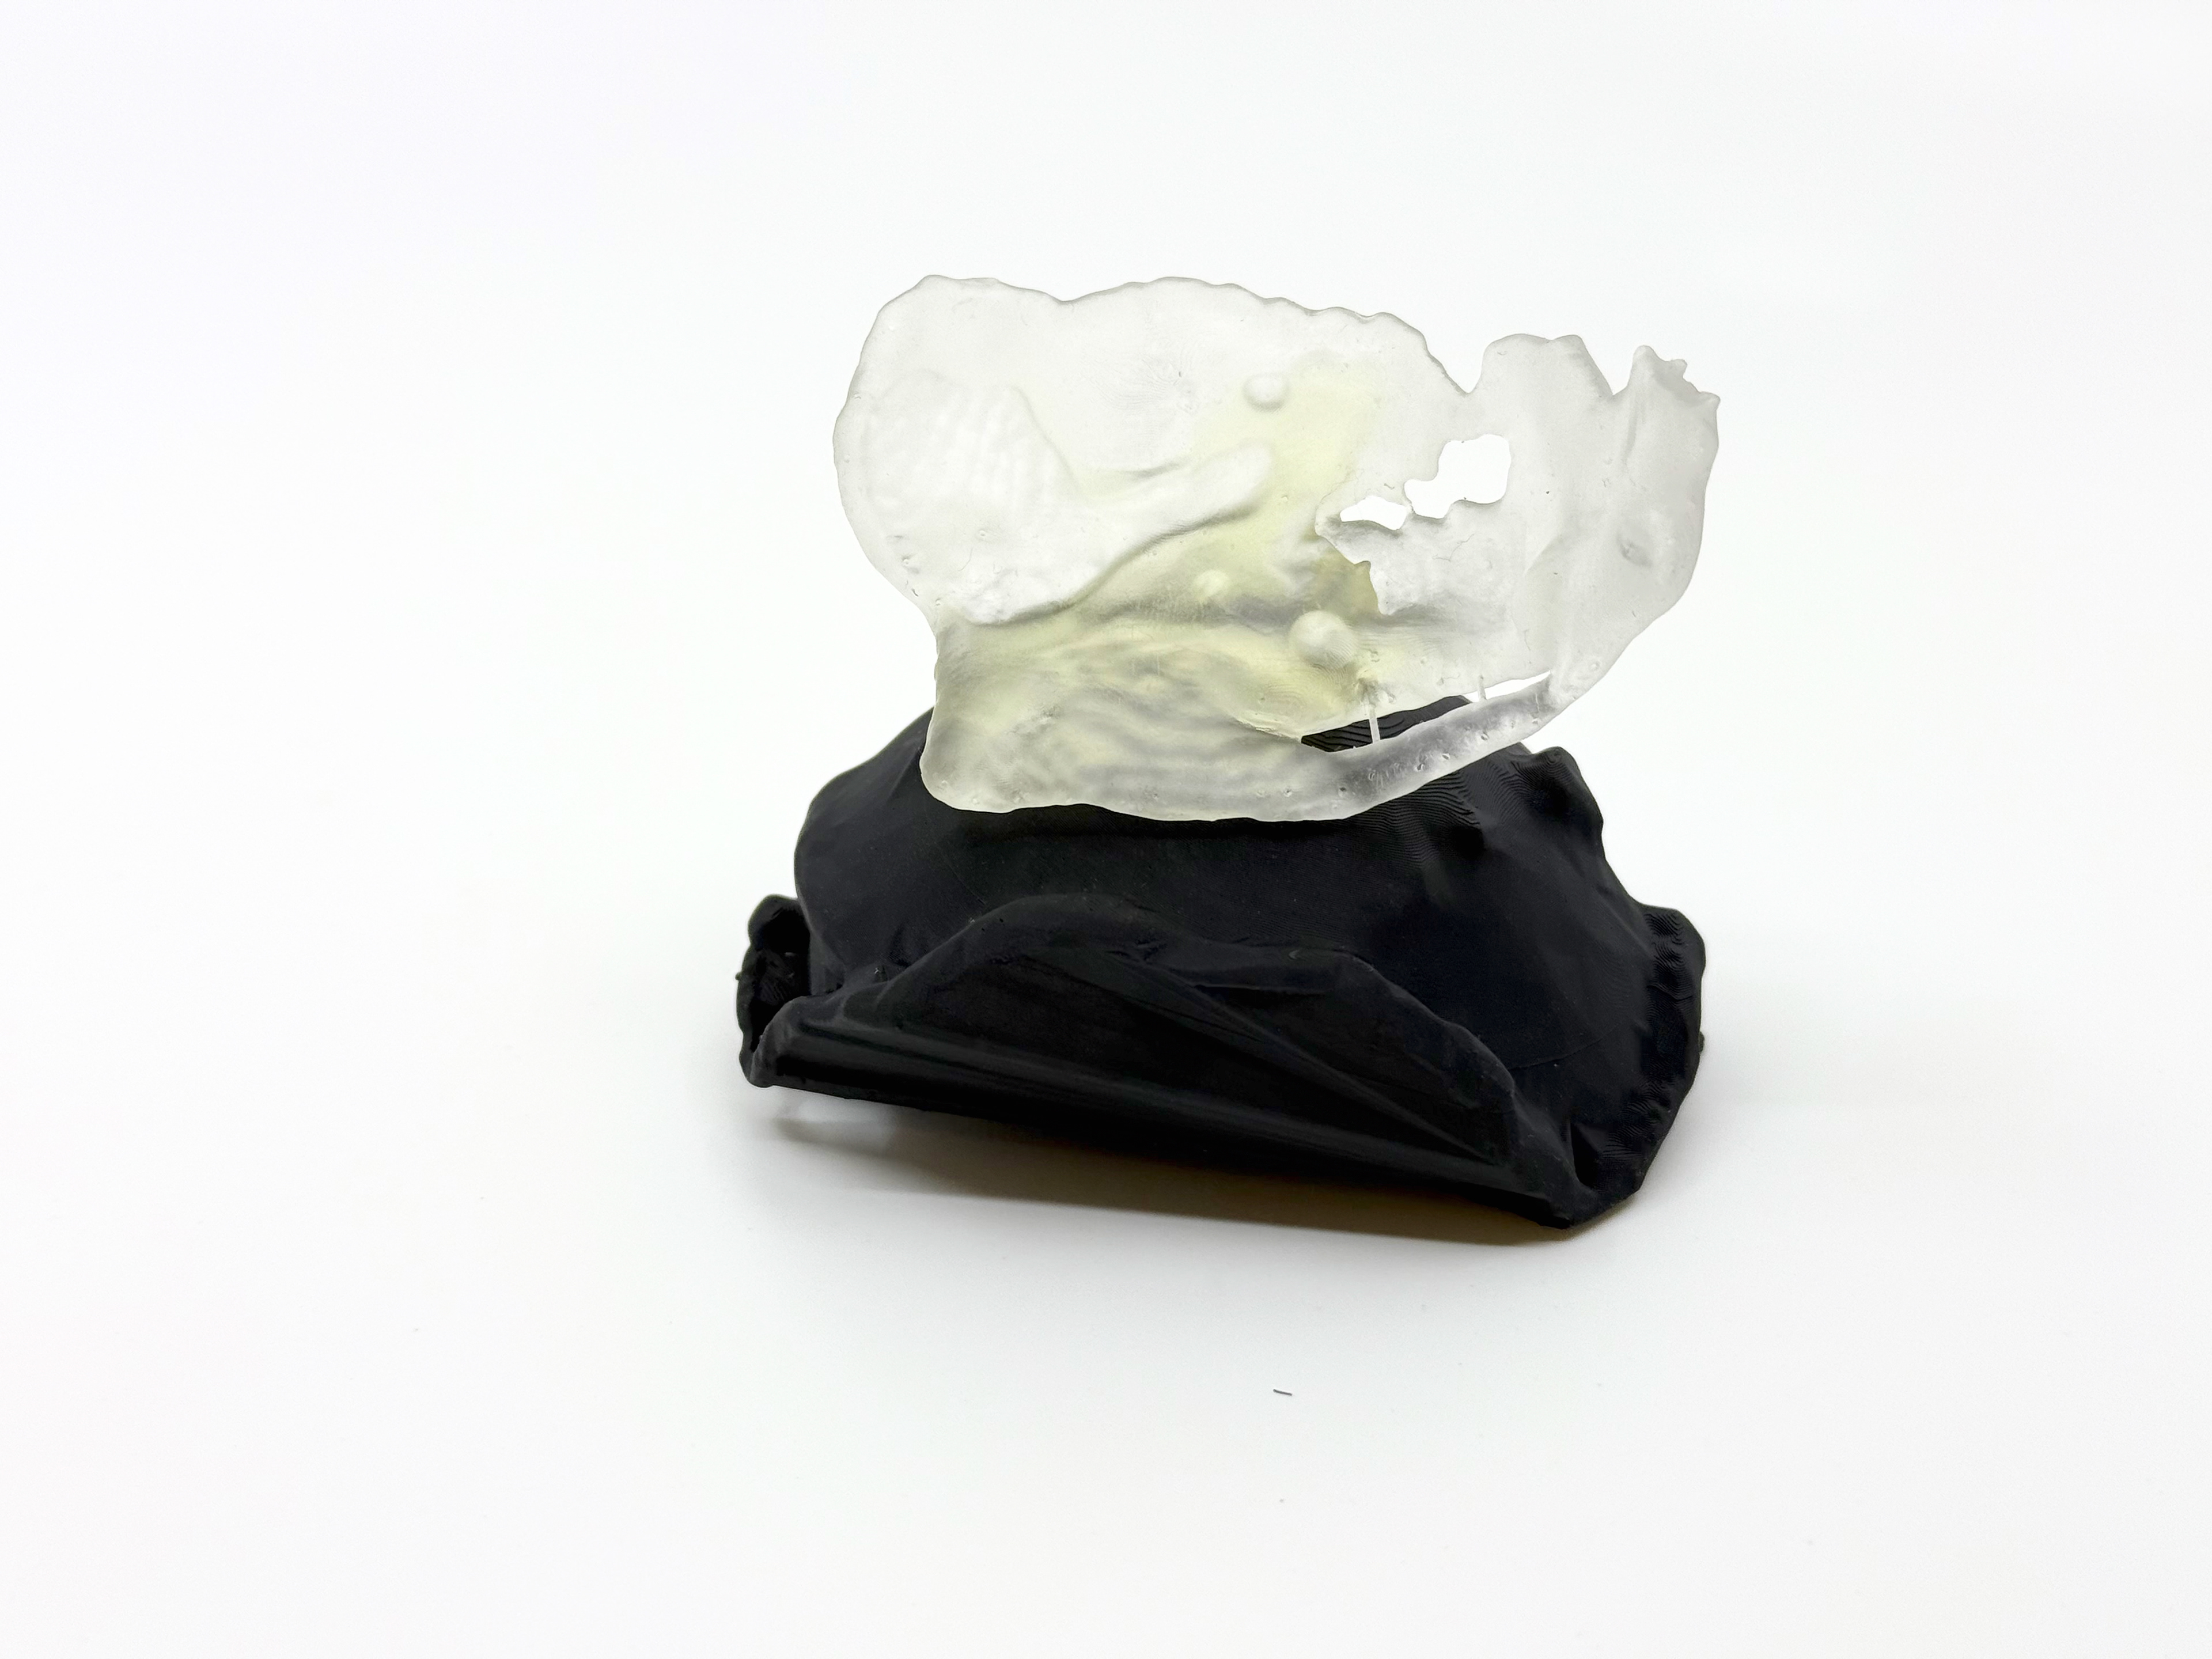
Going against Bergson's definition, I wanted to experiment with including some control, so I let the plaster pour down the ball but then used a flat edge to carve out areas to reveal the slip ball. Initially, I wasn’t pleased with the result, but after leaving it for 24 hours, I’d grown to like it. The slip ball has shrunk, leaving a thin, weak plaster coating that’s prone to cracking. As before, we can observe aging through different environments and how the object gradually flakes away. My having an impact during the pour stage, I thought, would interfere with the heterogeneous aspect, but because of the cracking and separation, it still remained heterogeneous.
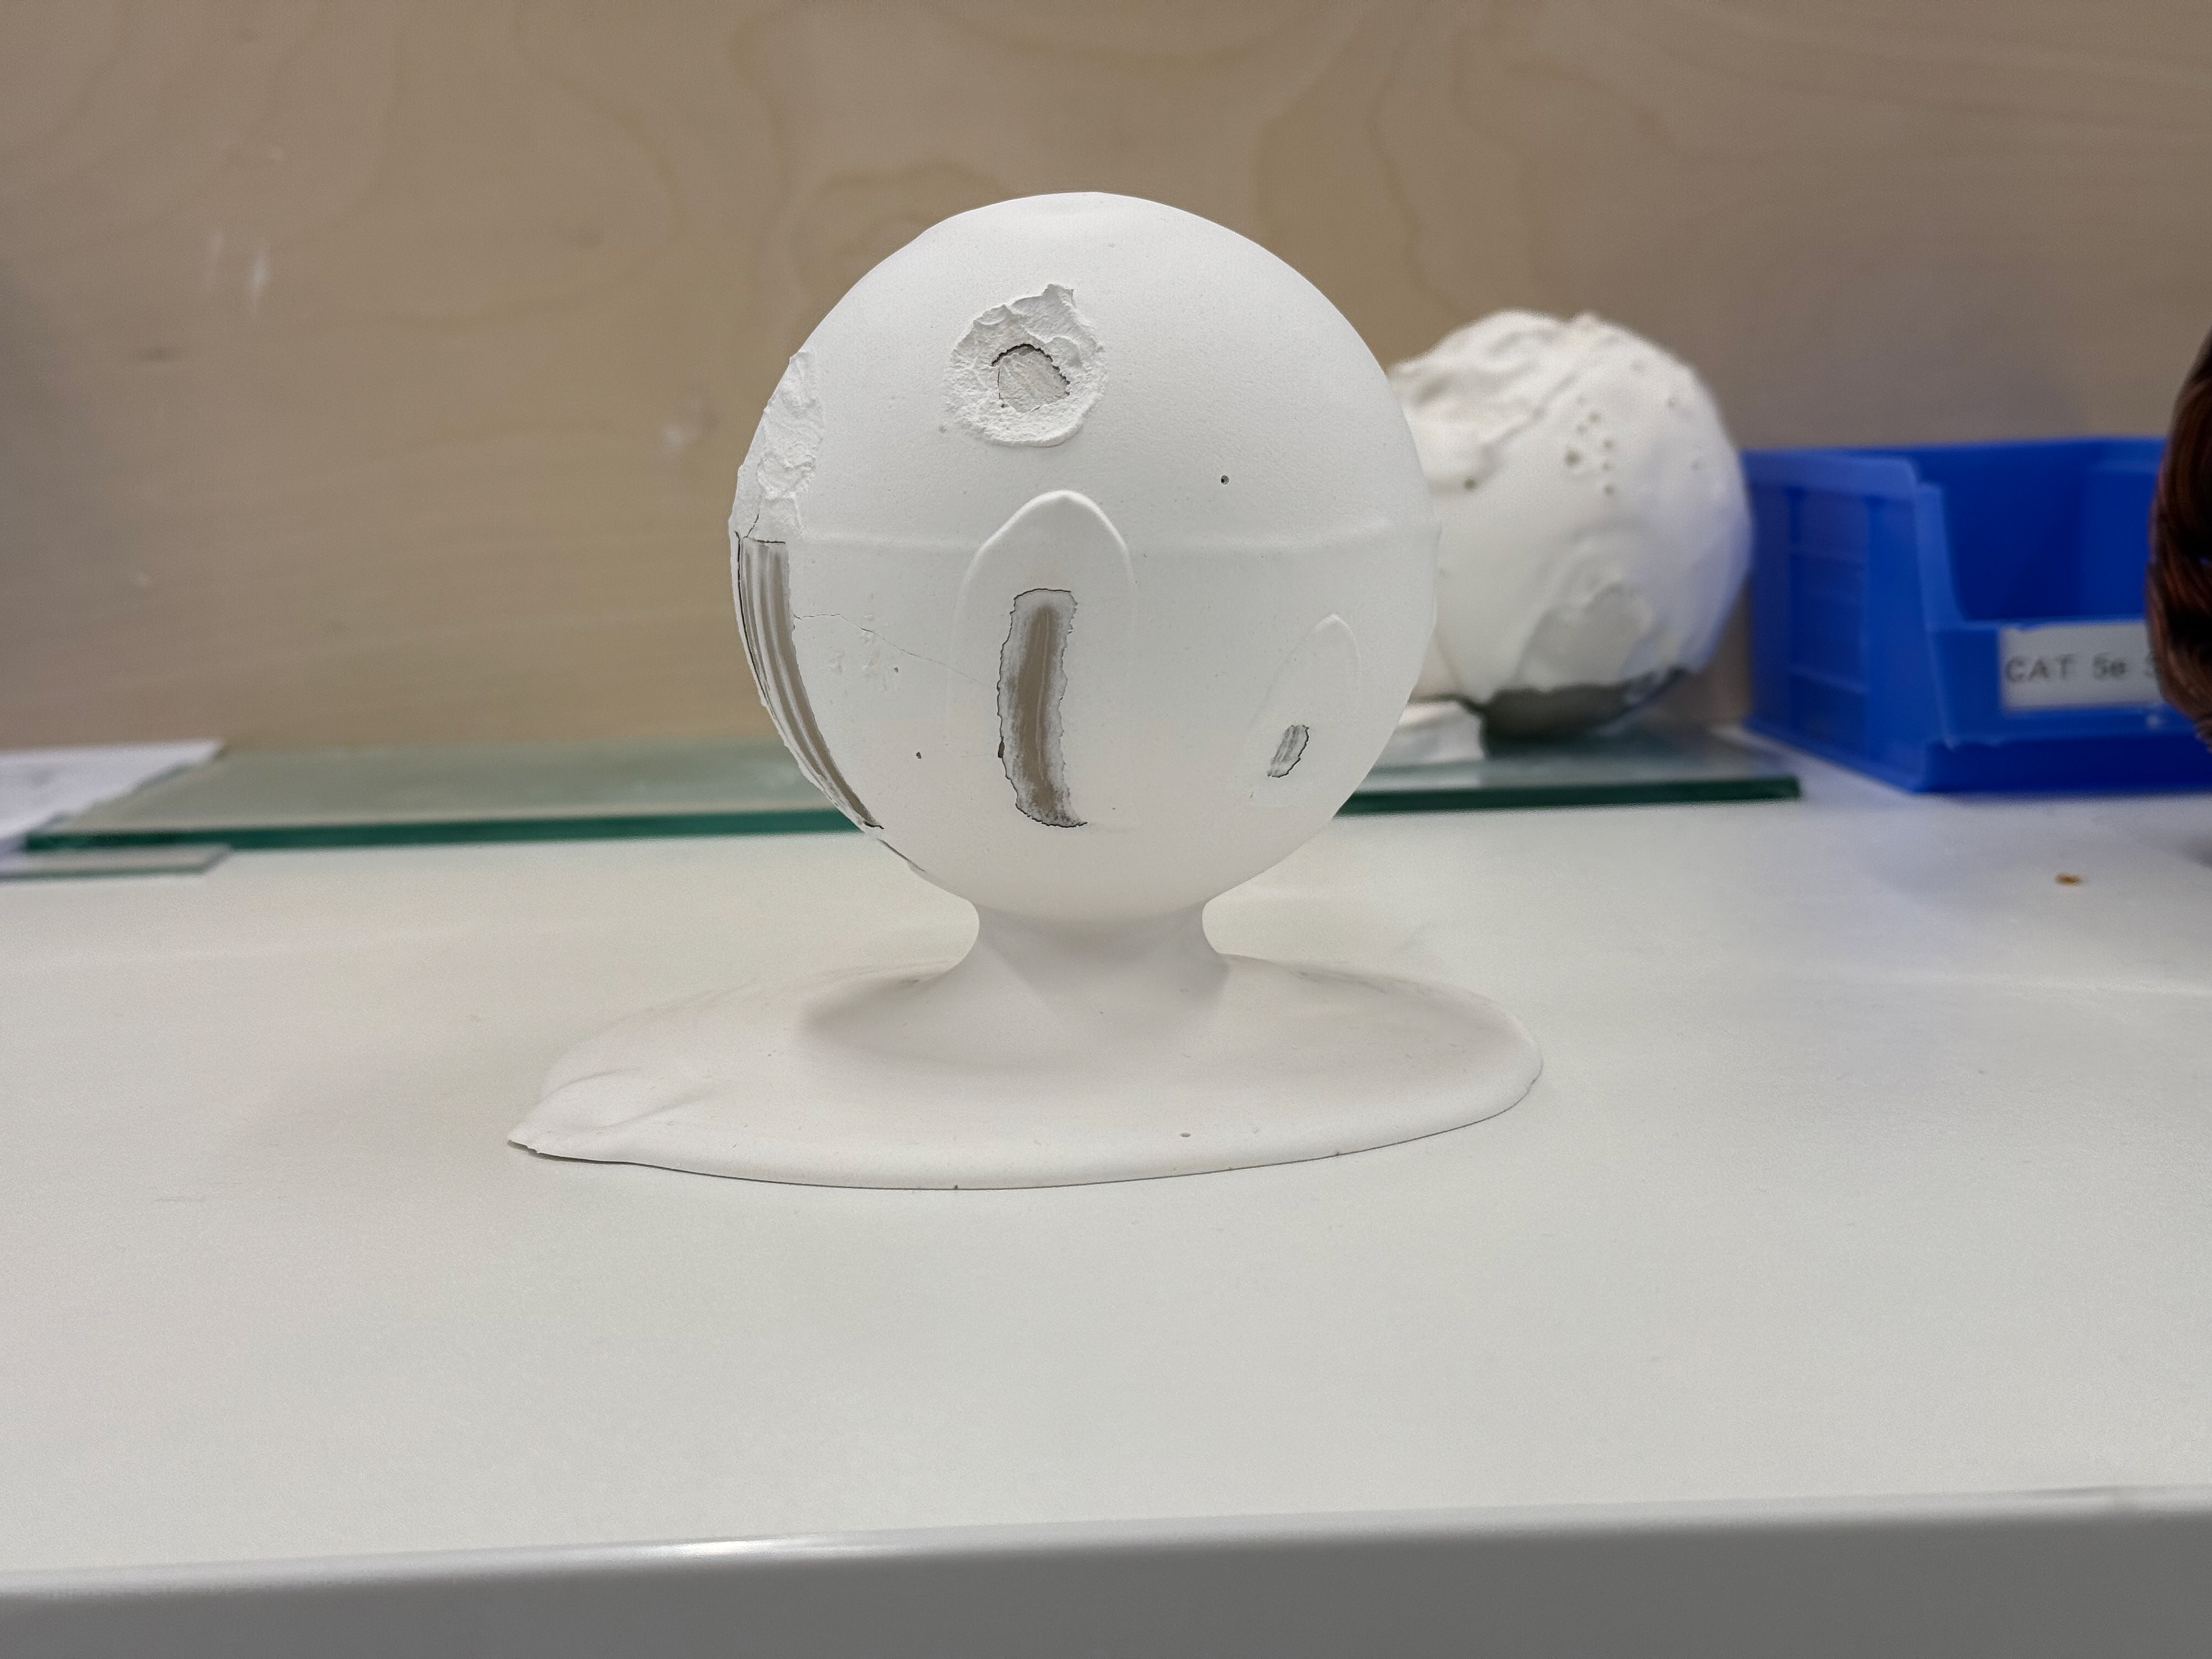
Side view
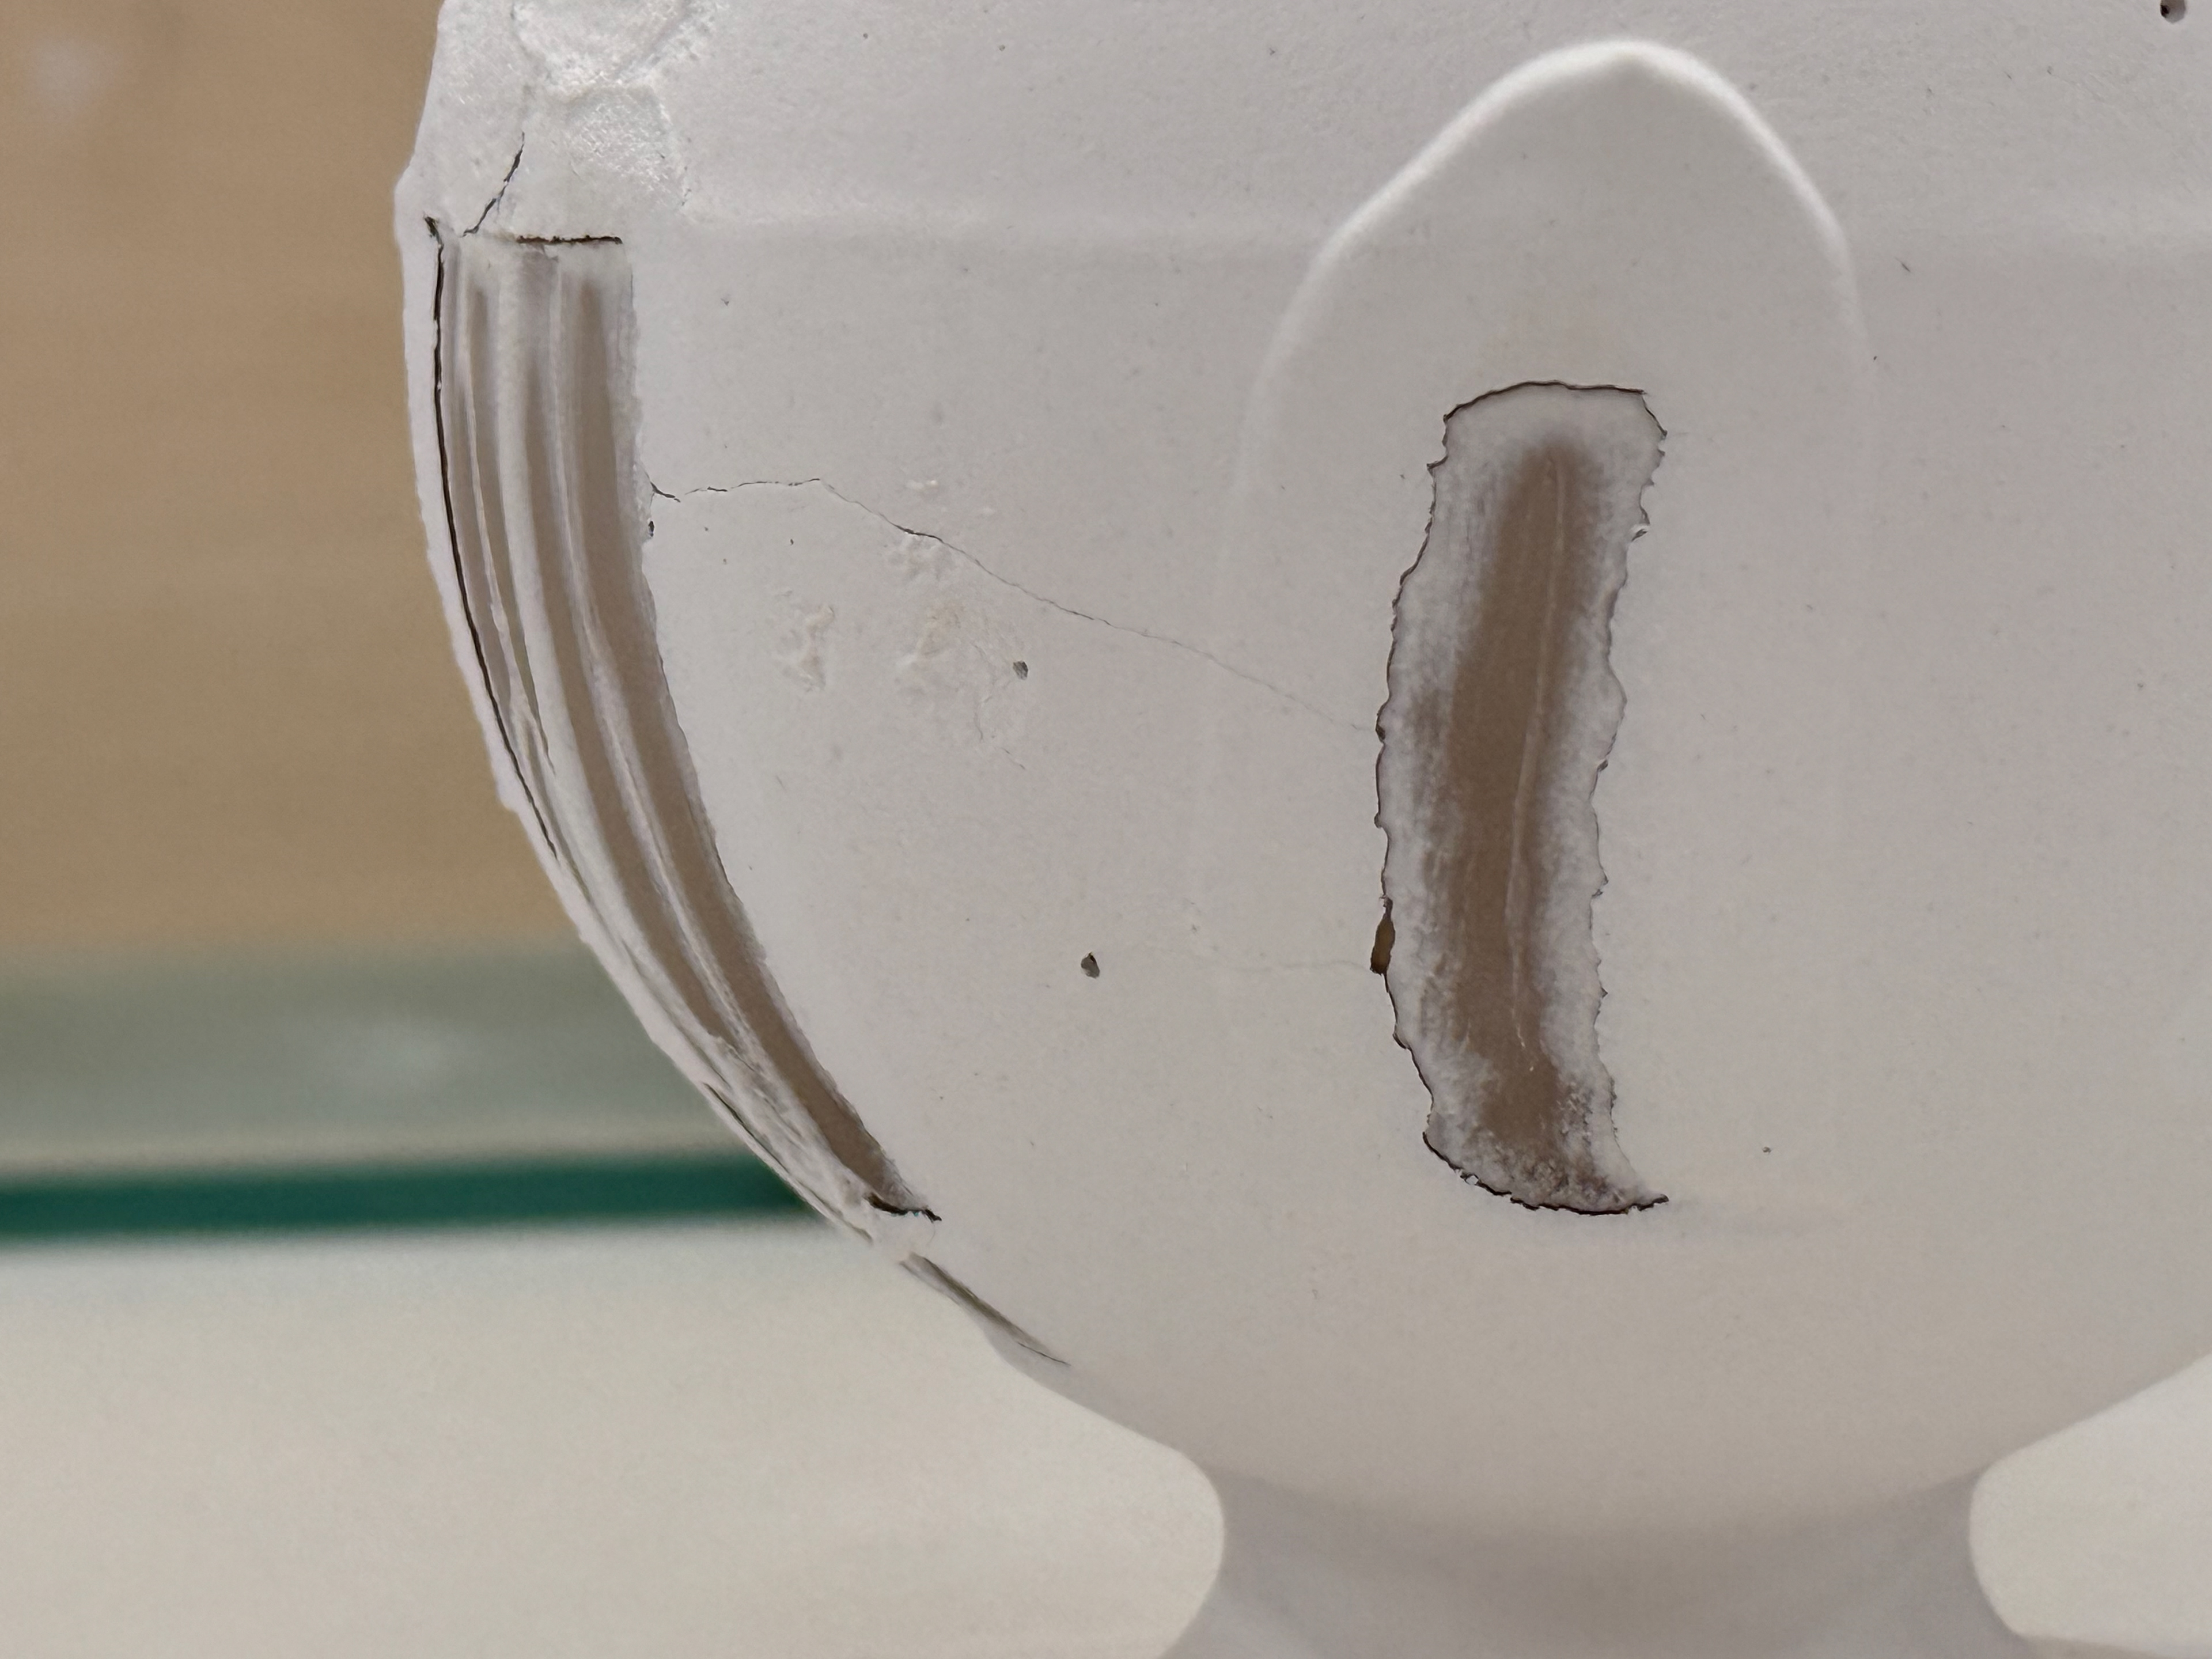
Close up of a crack that formed.
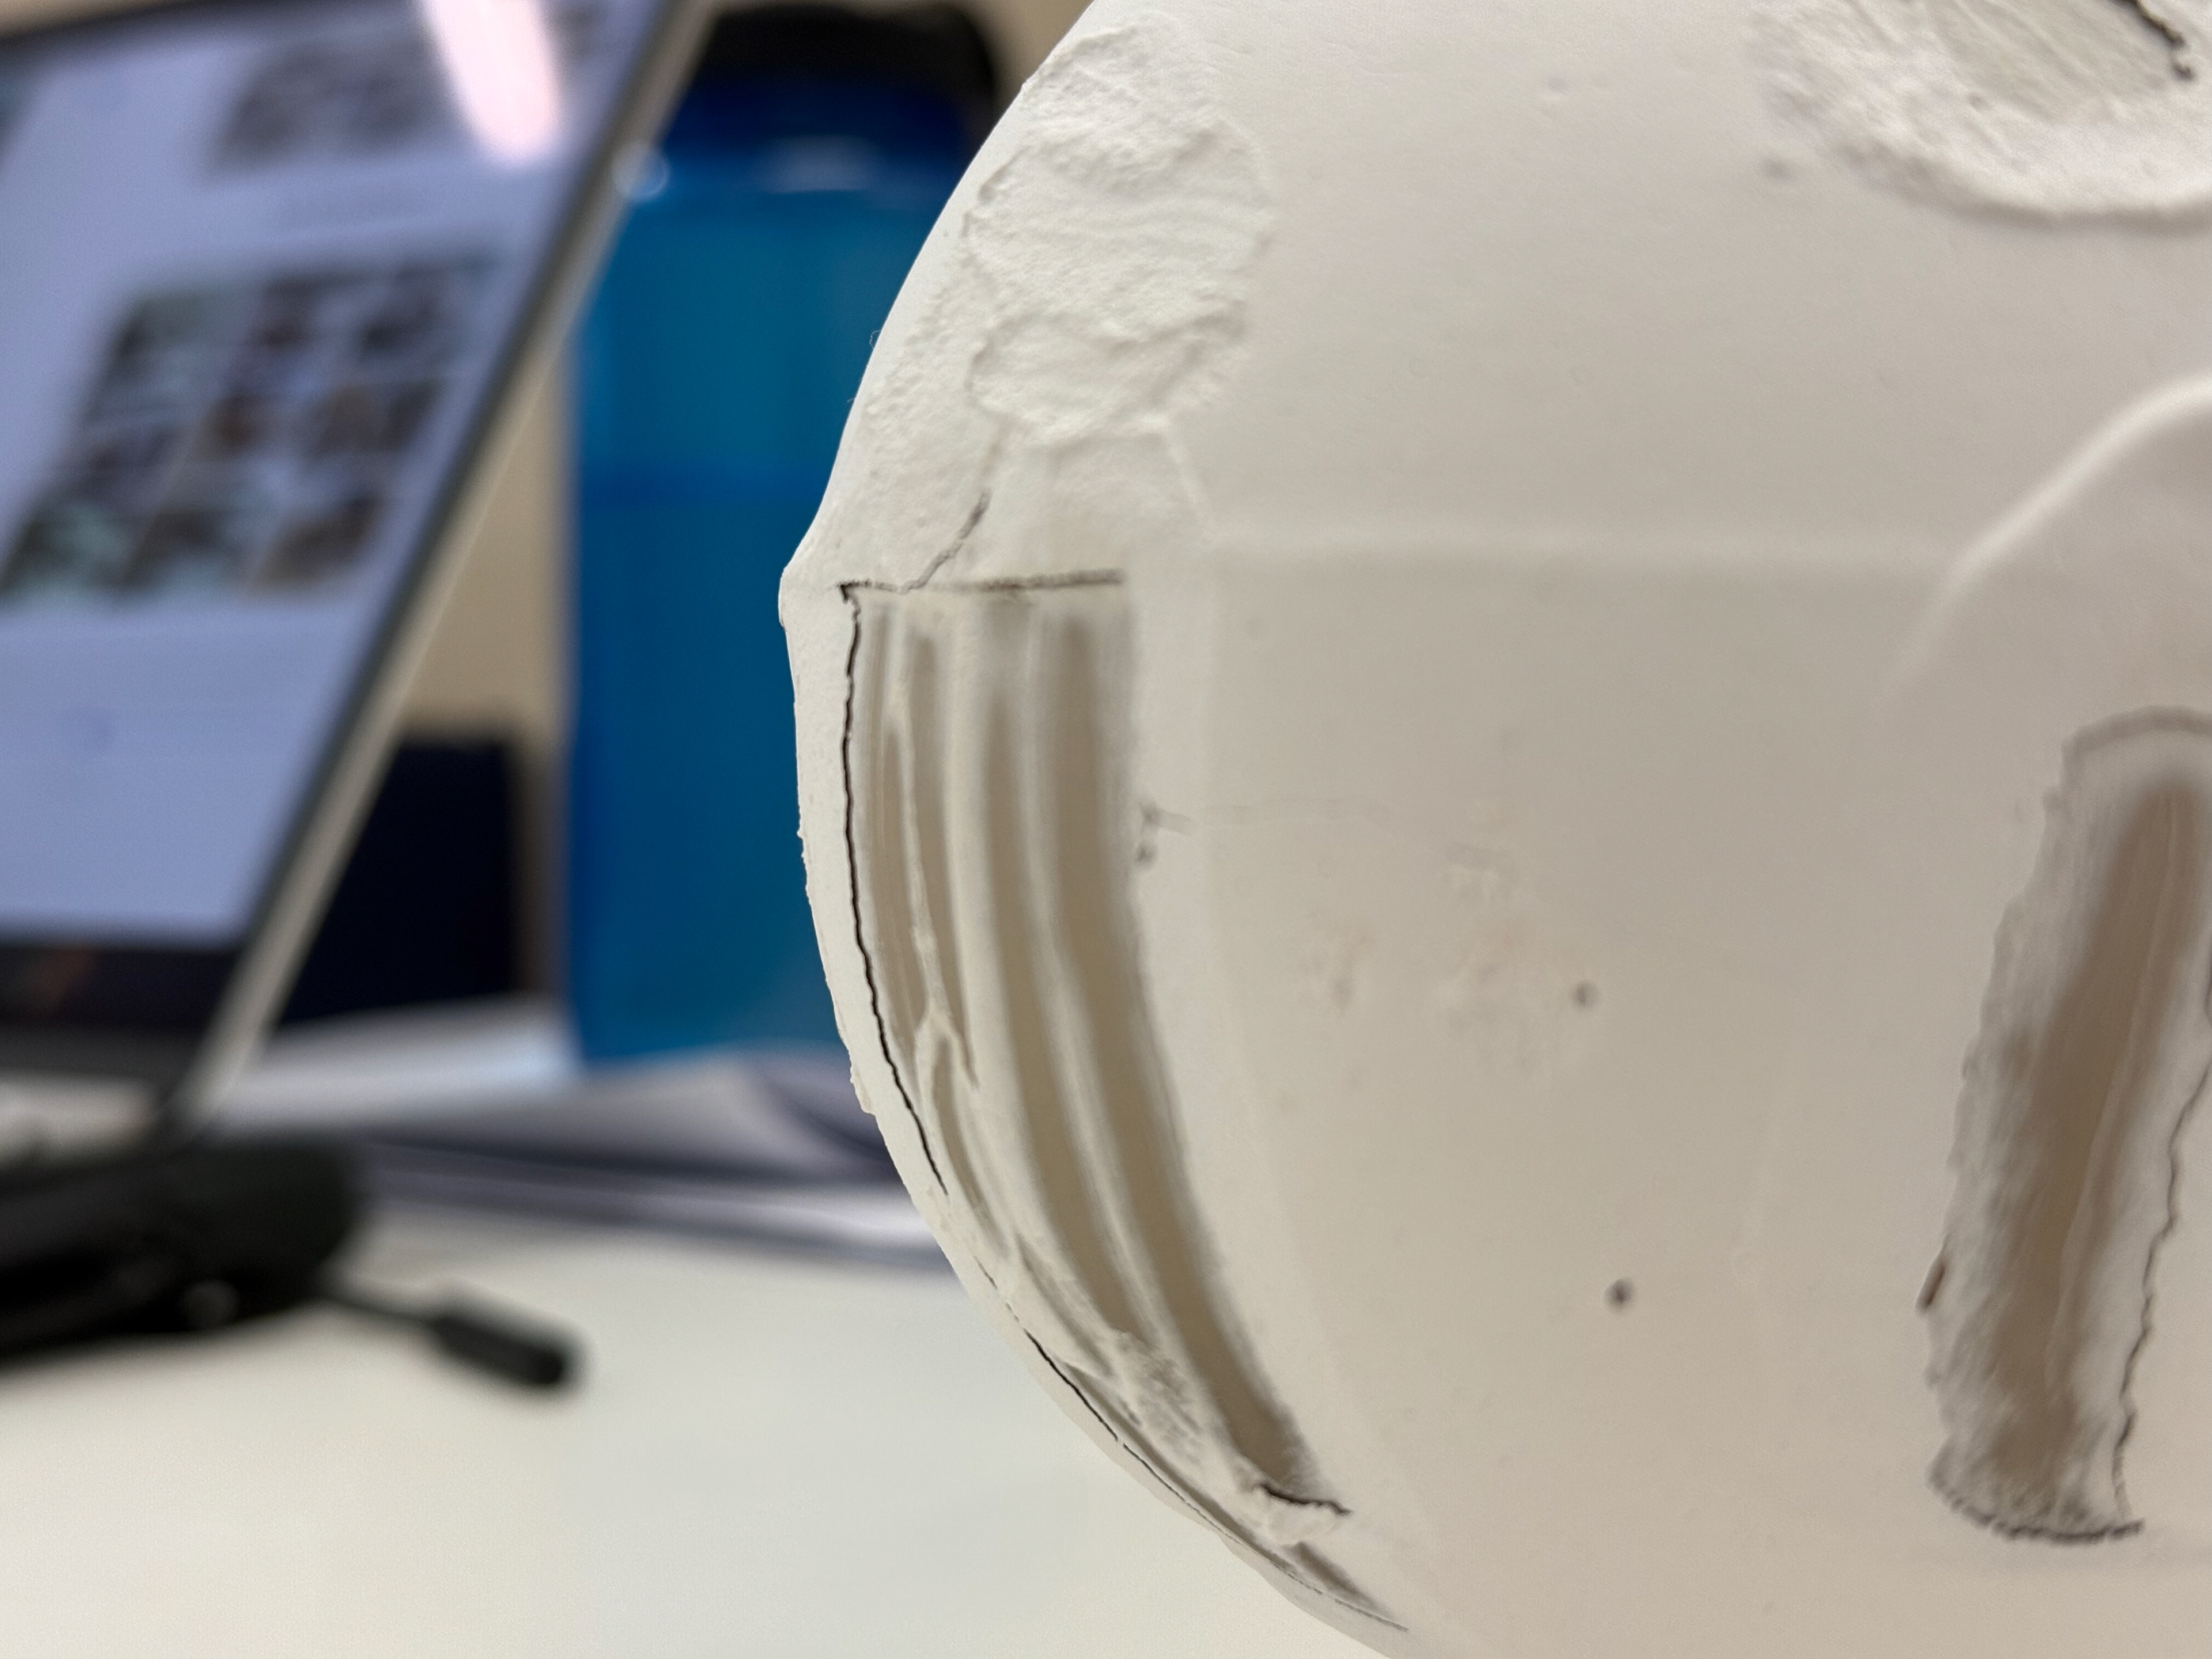
The clay shrinking means a nice gap has opened.
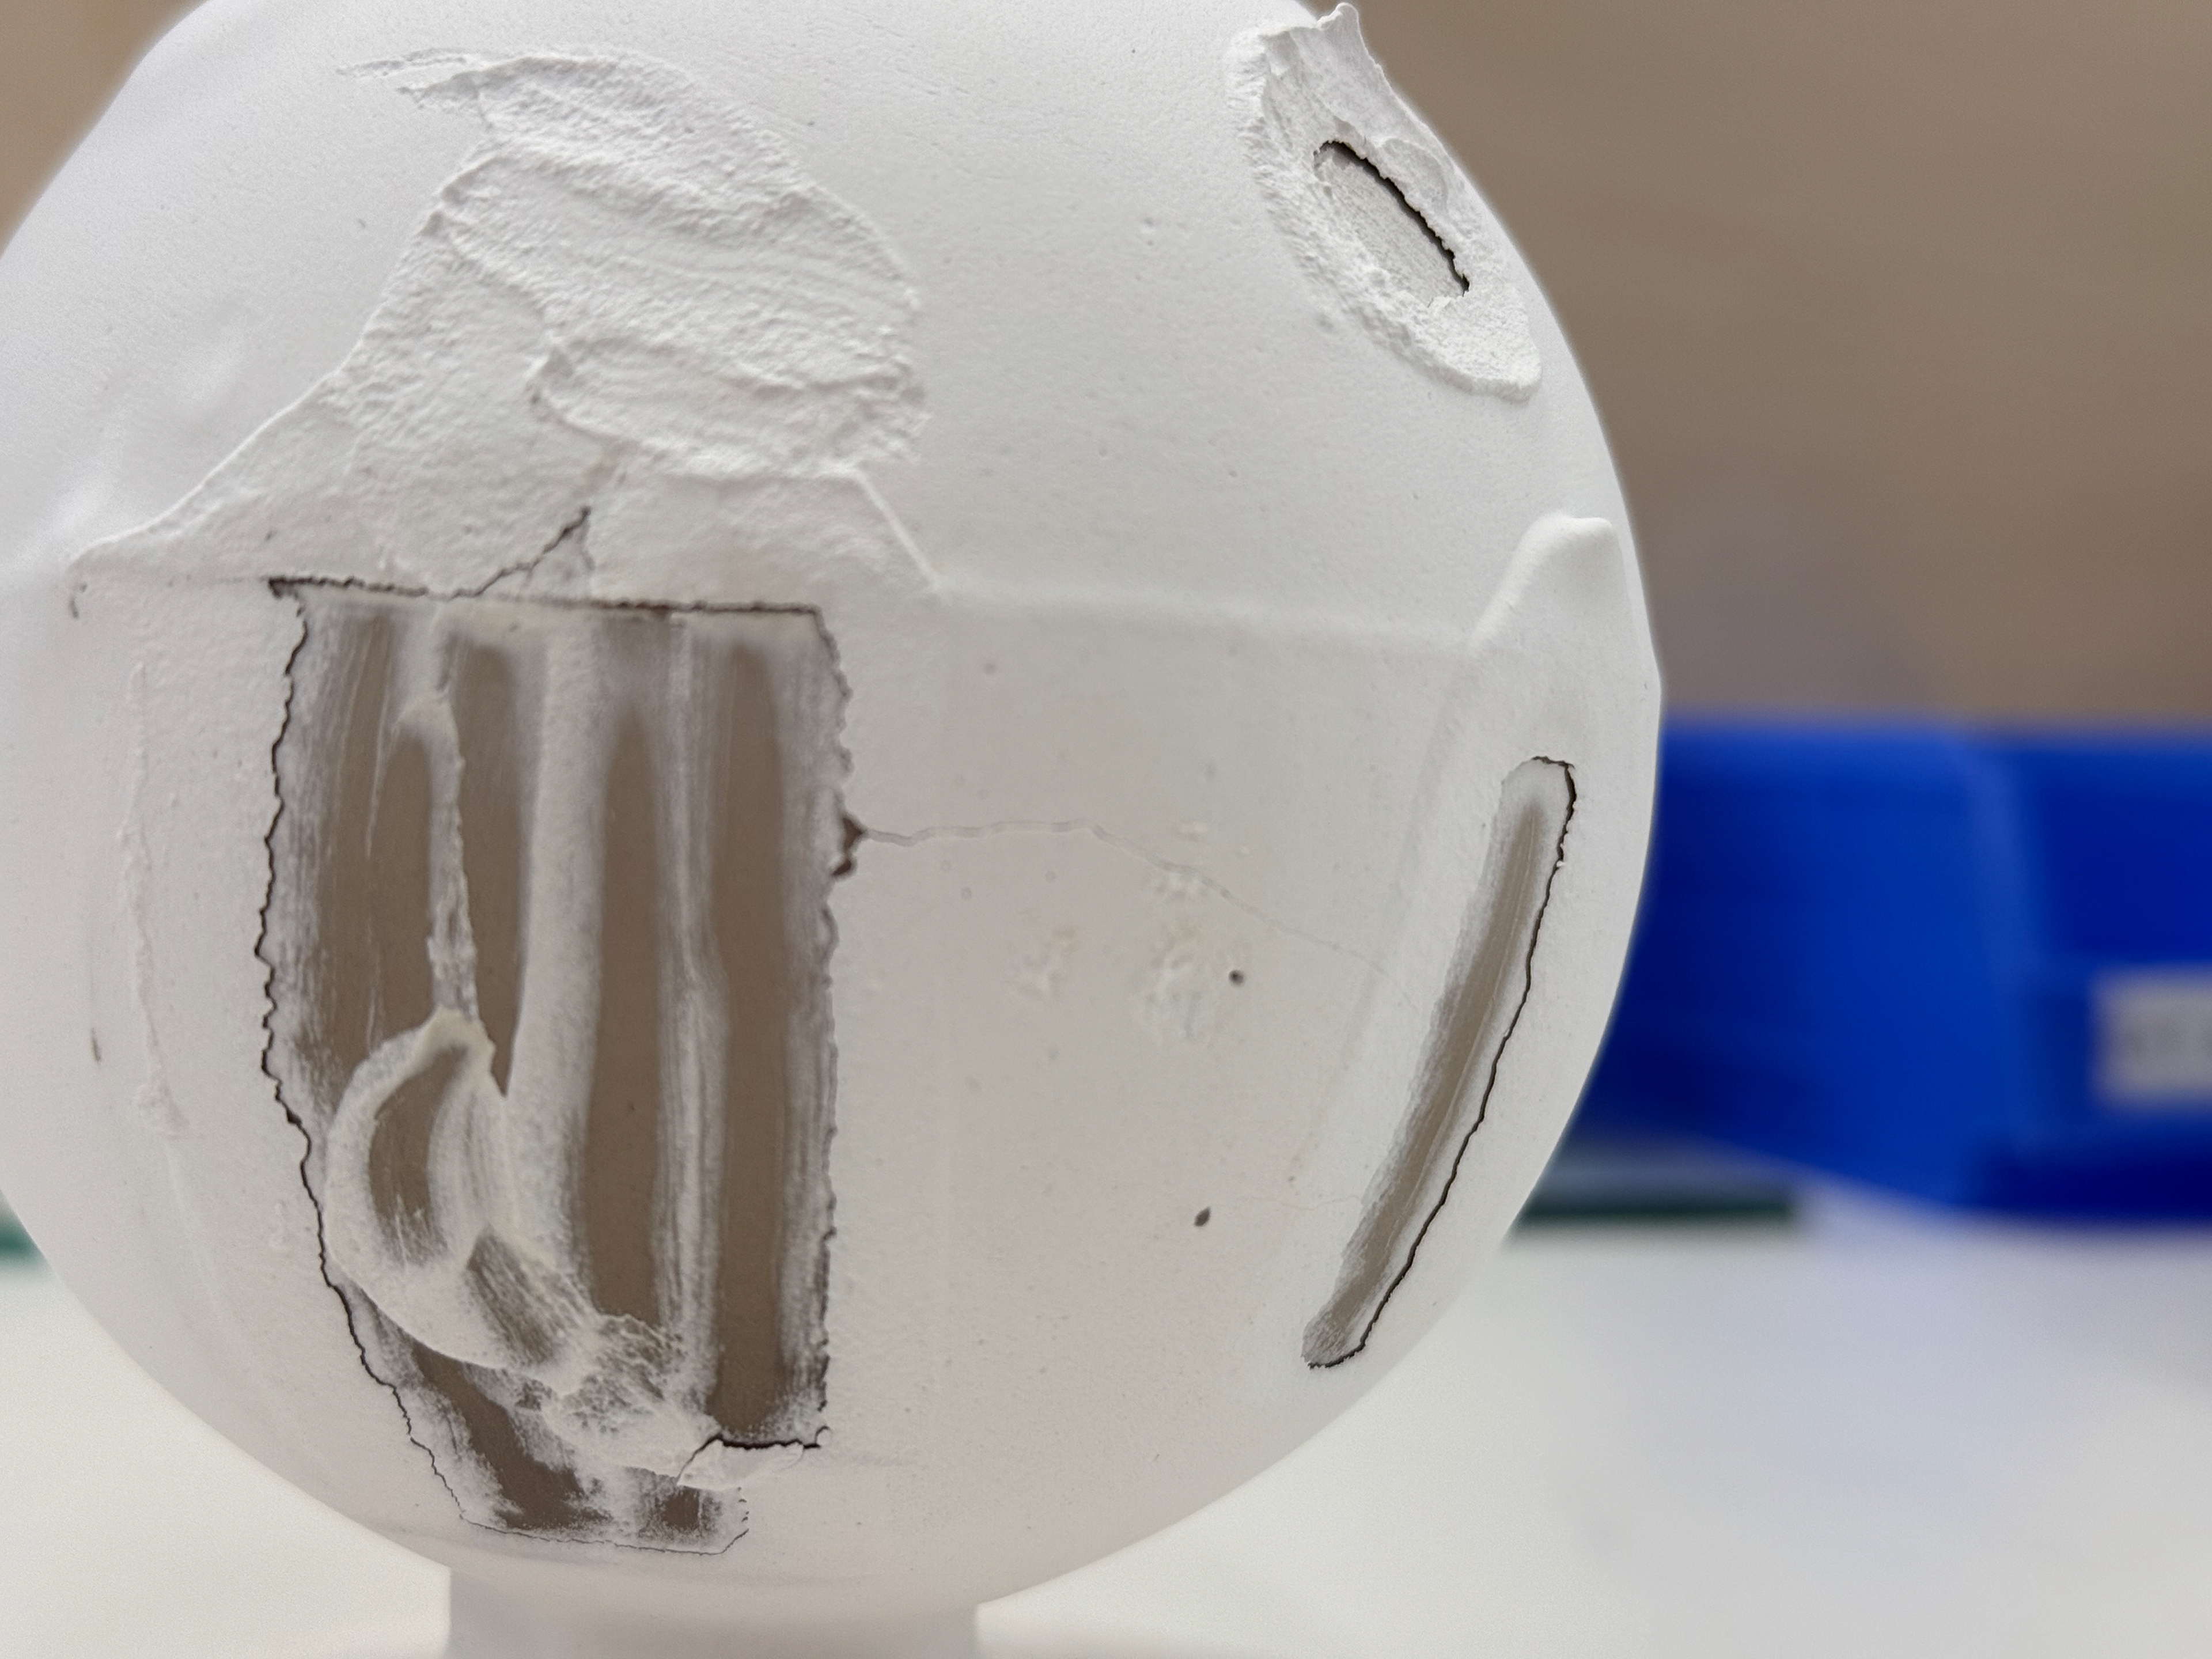
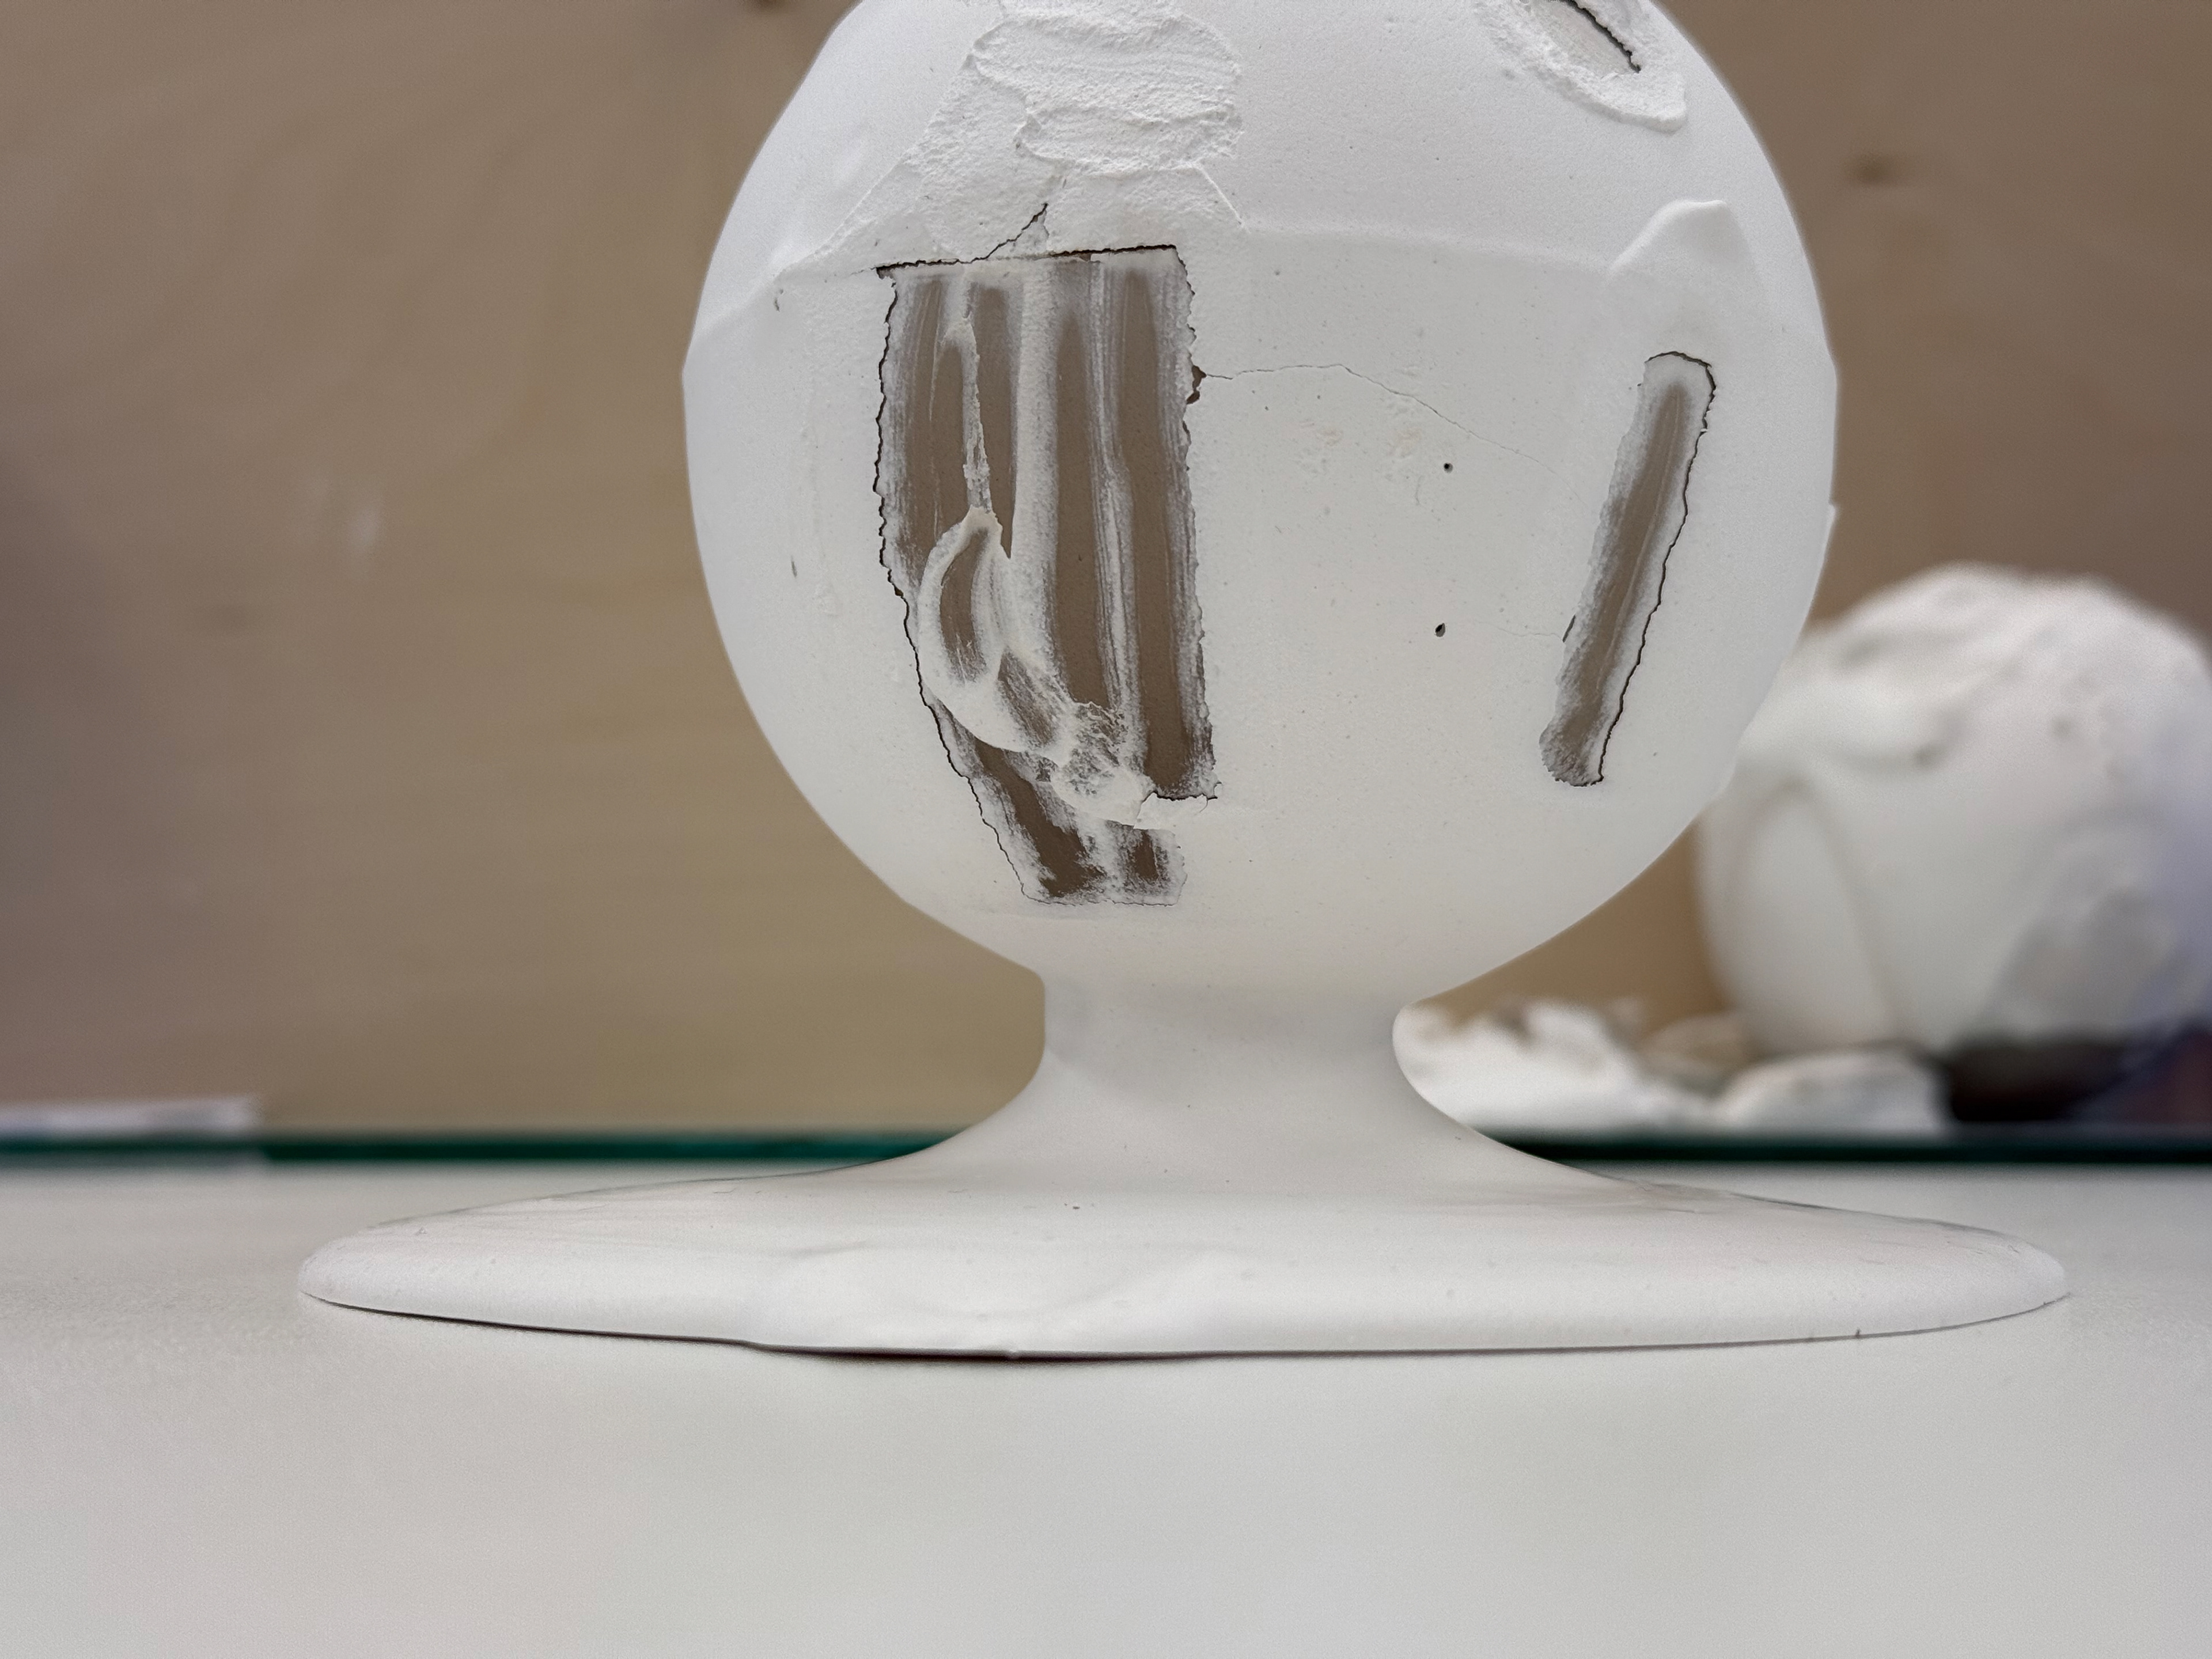
The "equator" is visible.
Top View
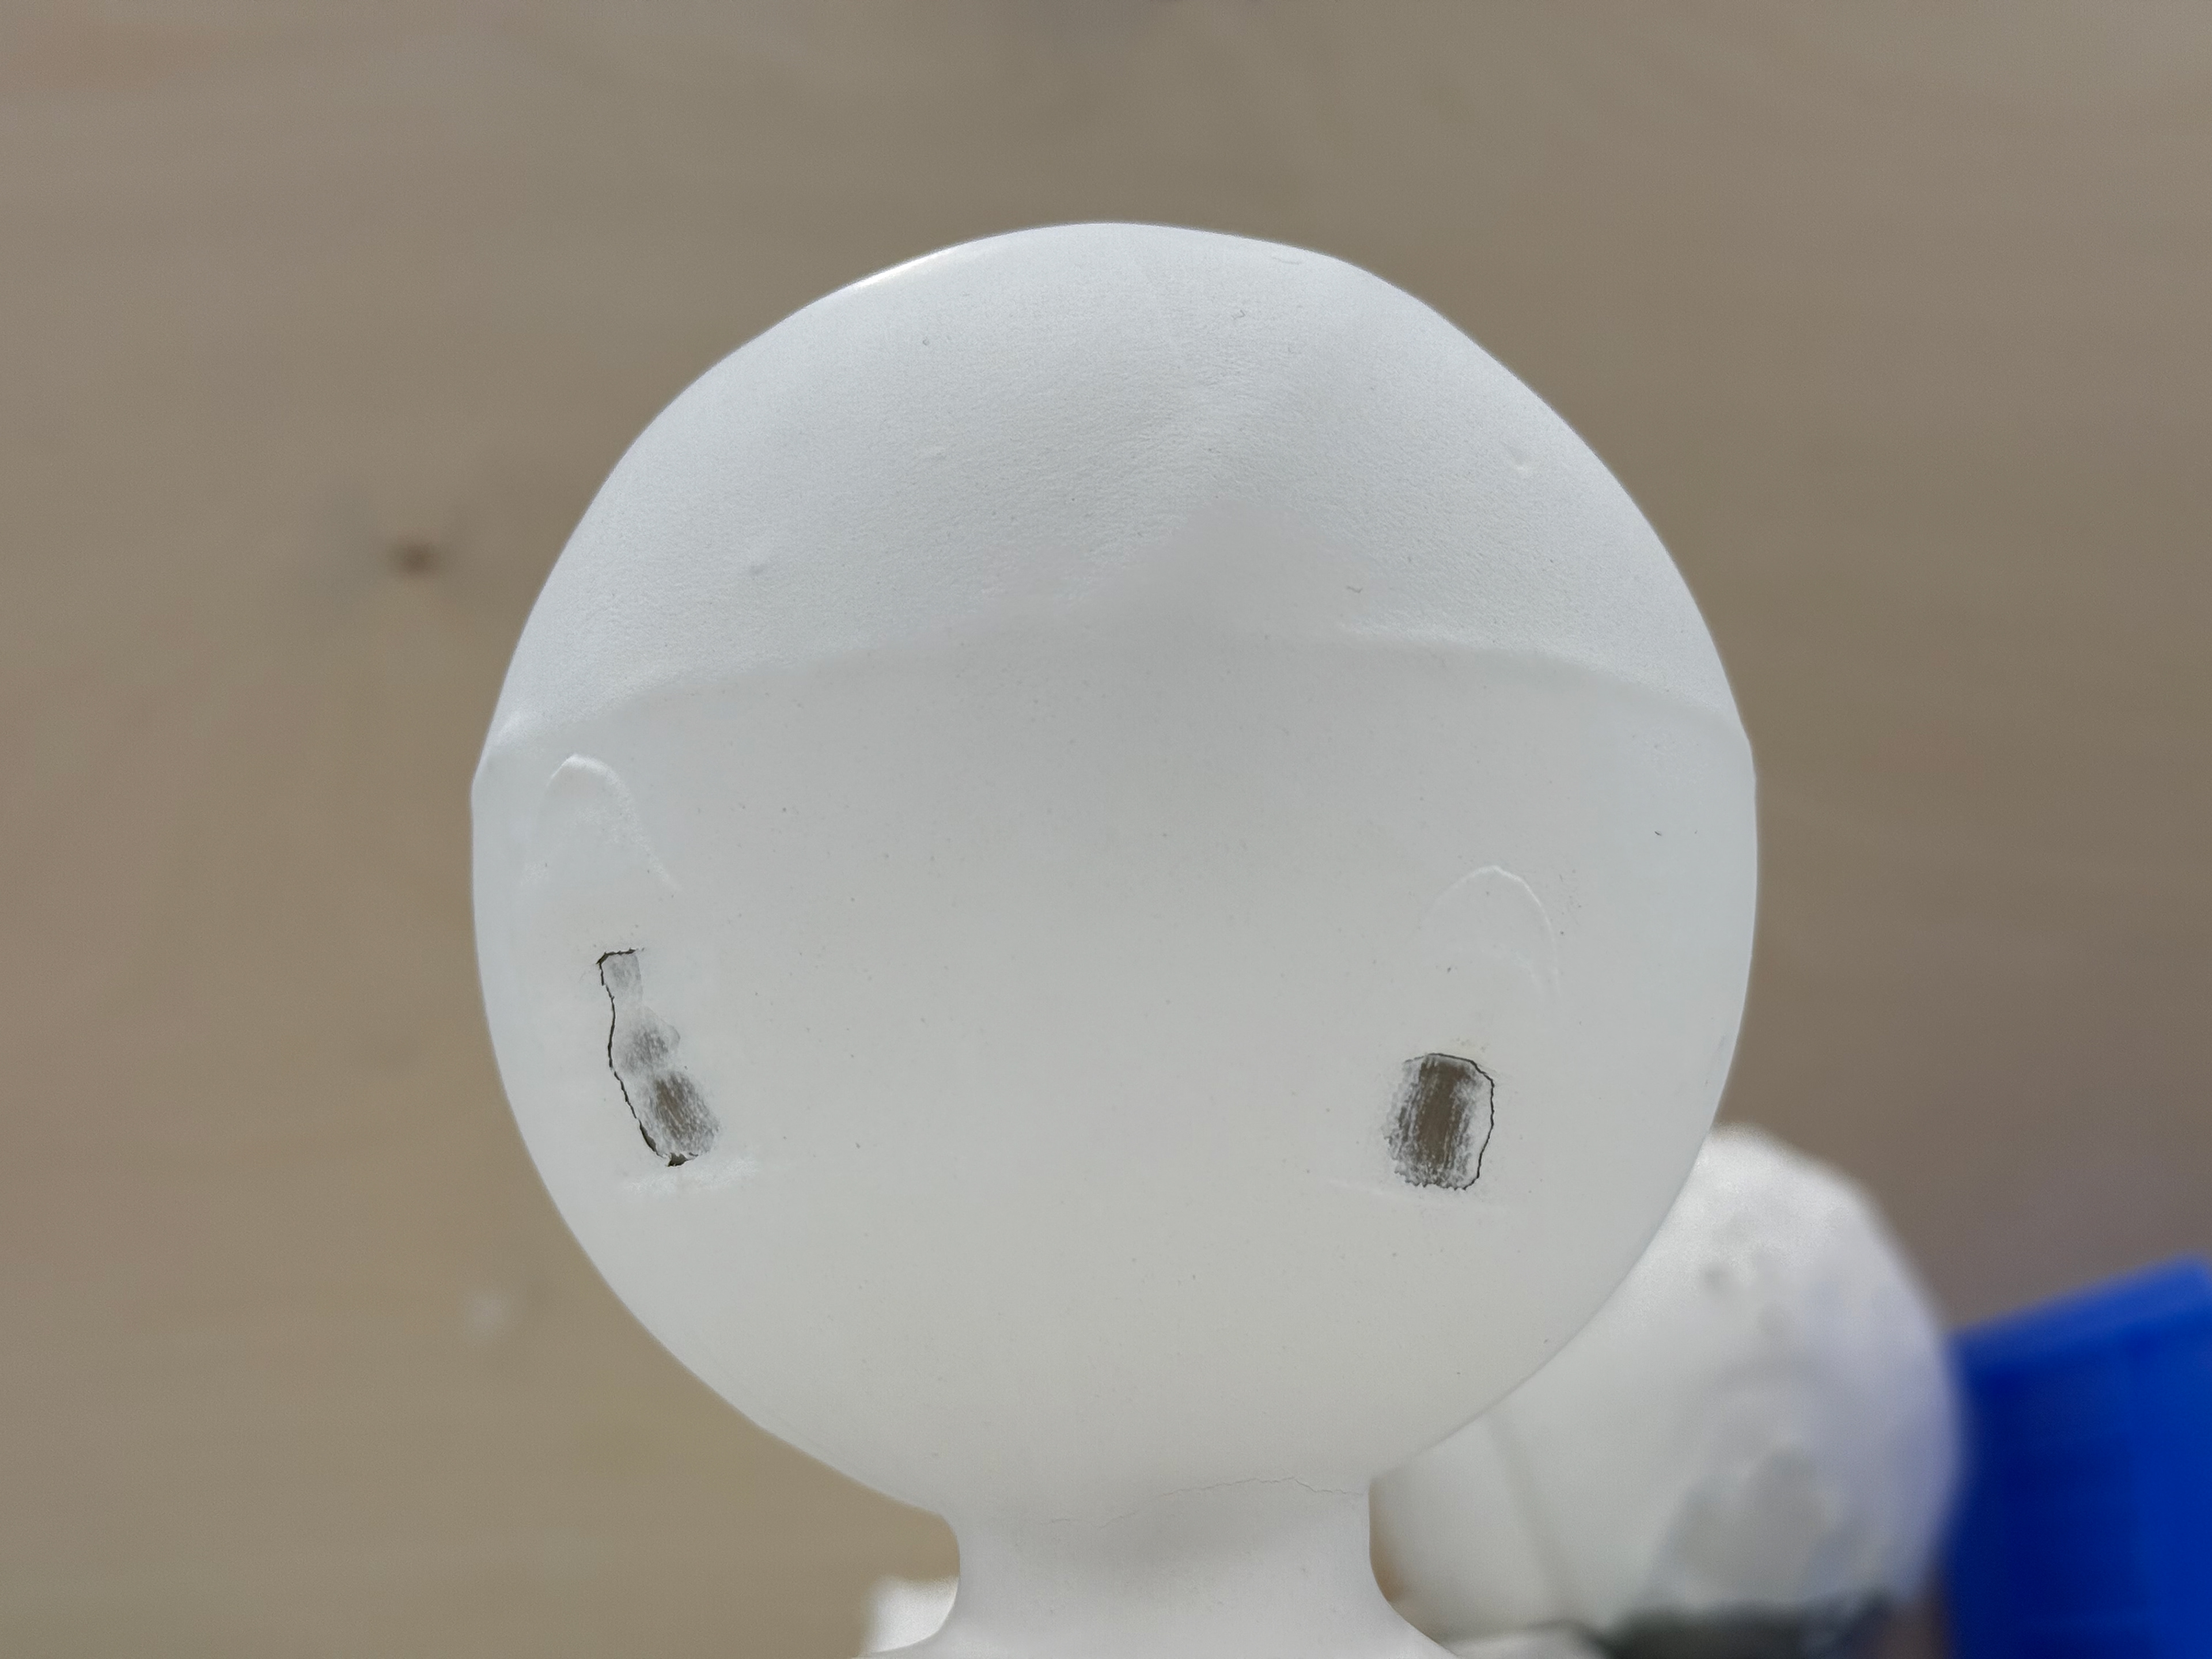
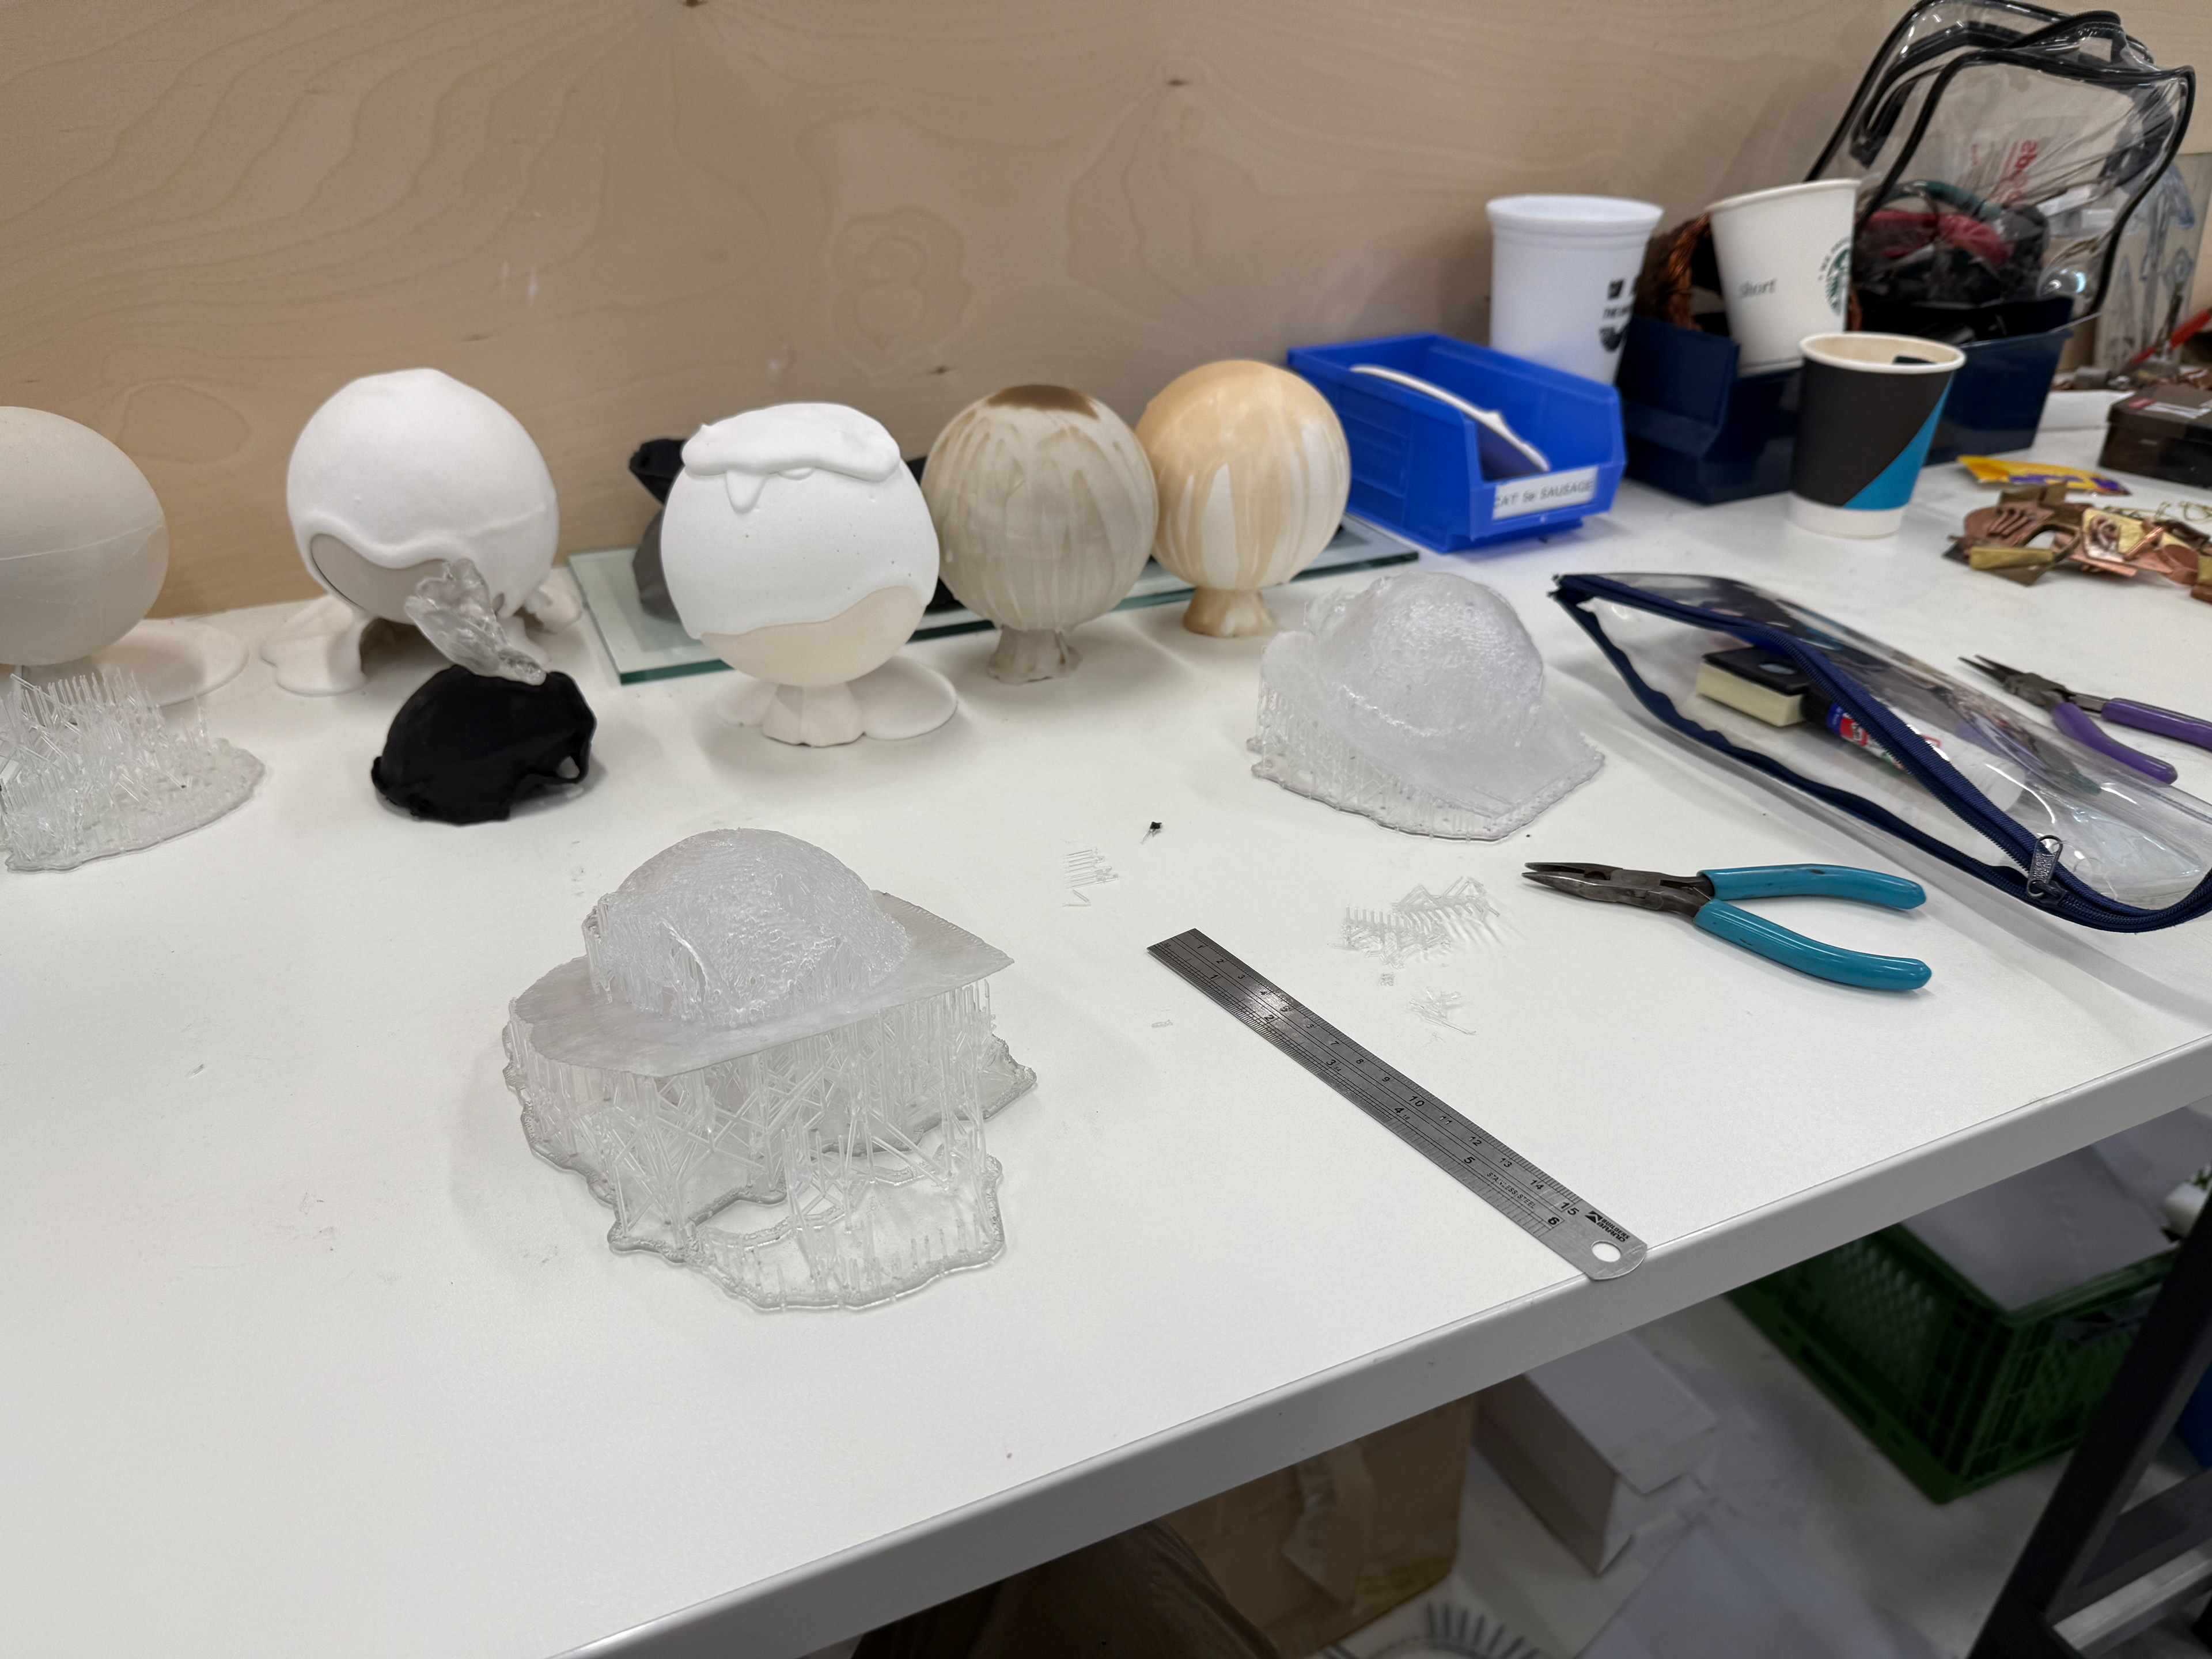
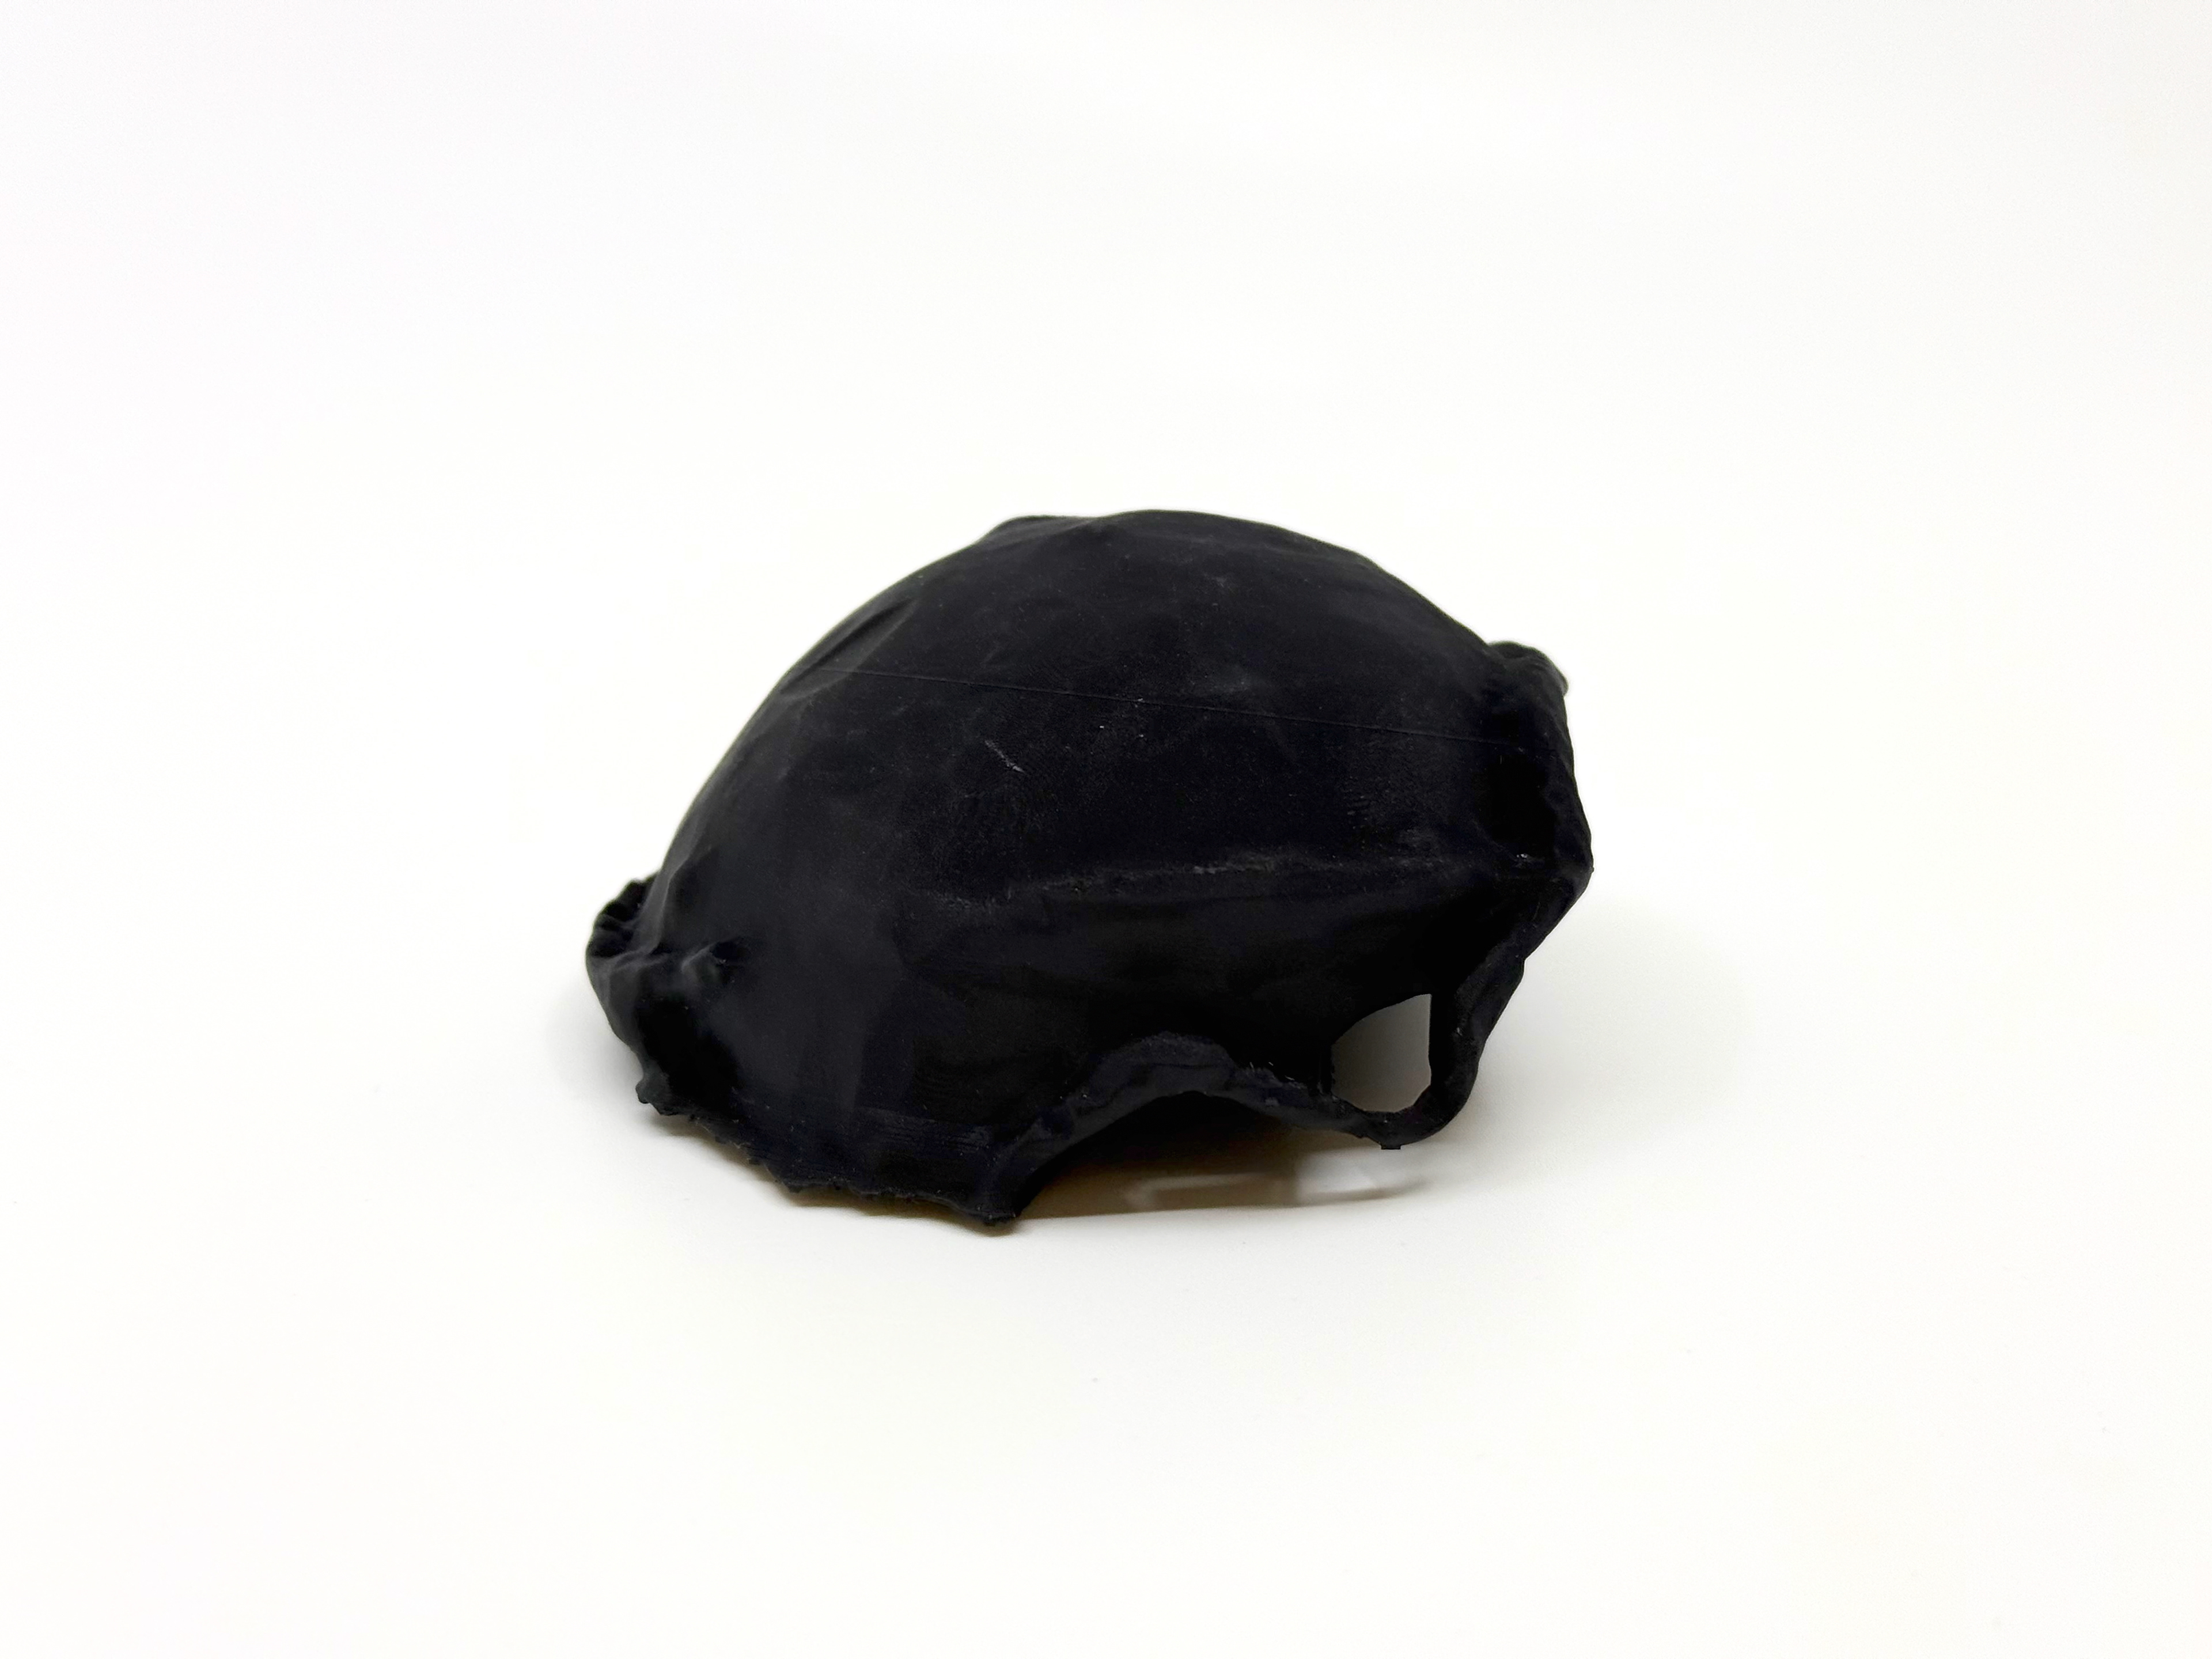
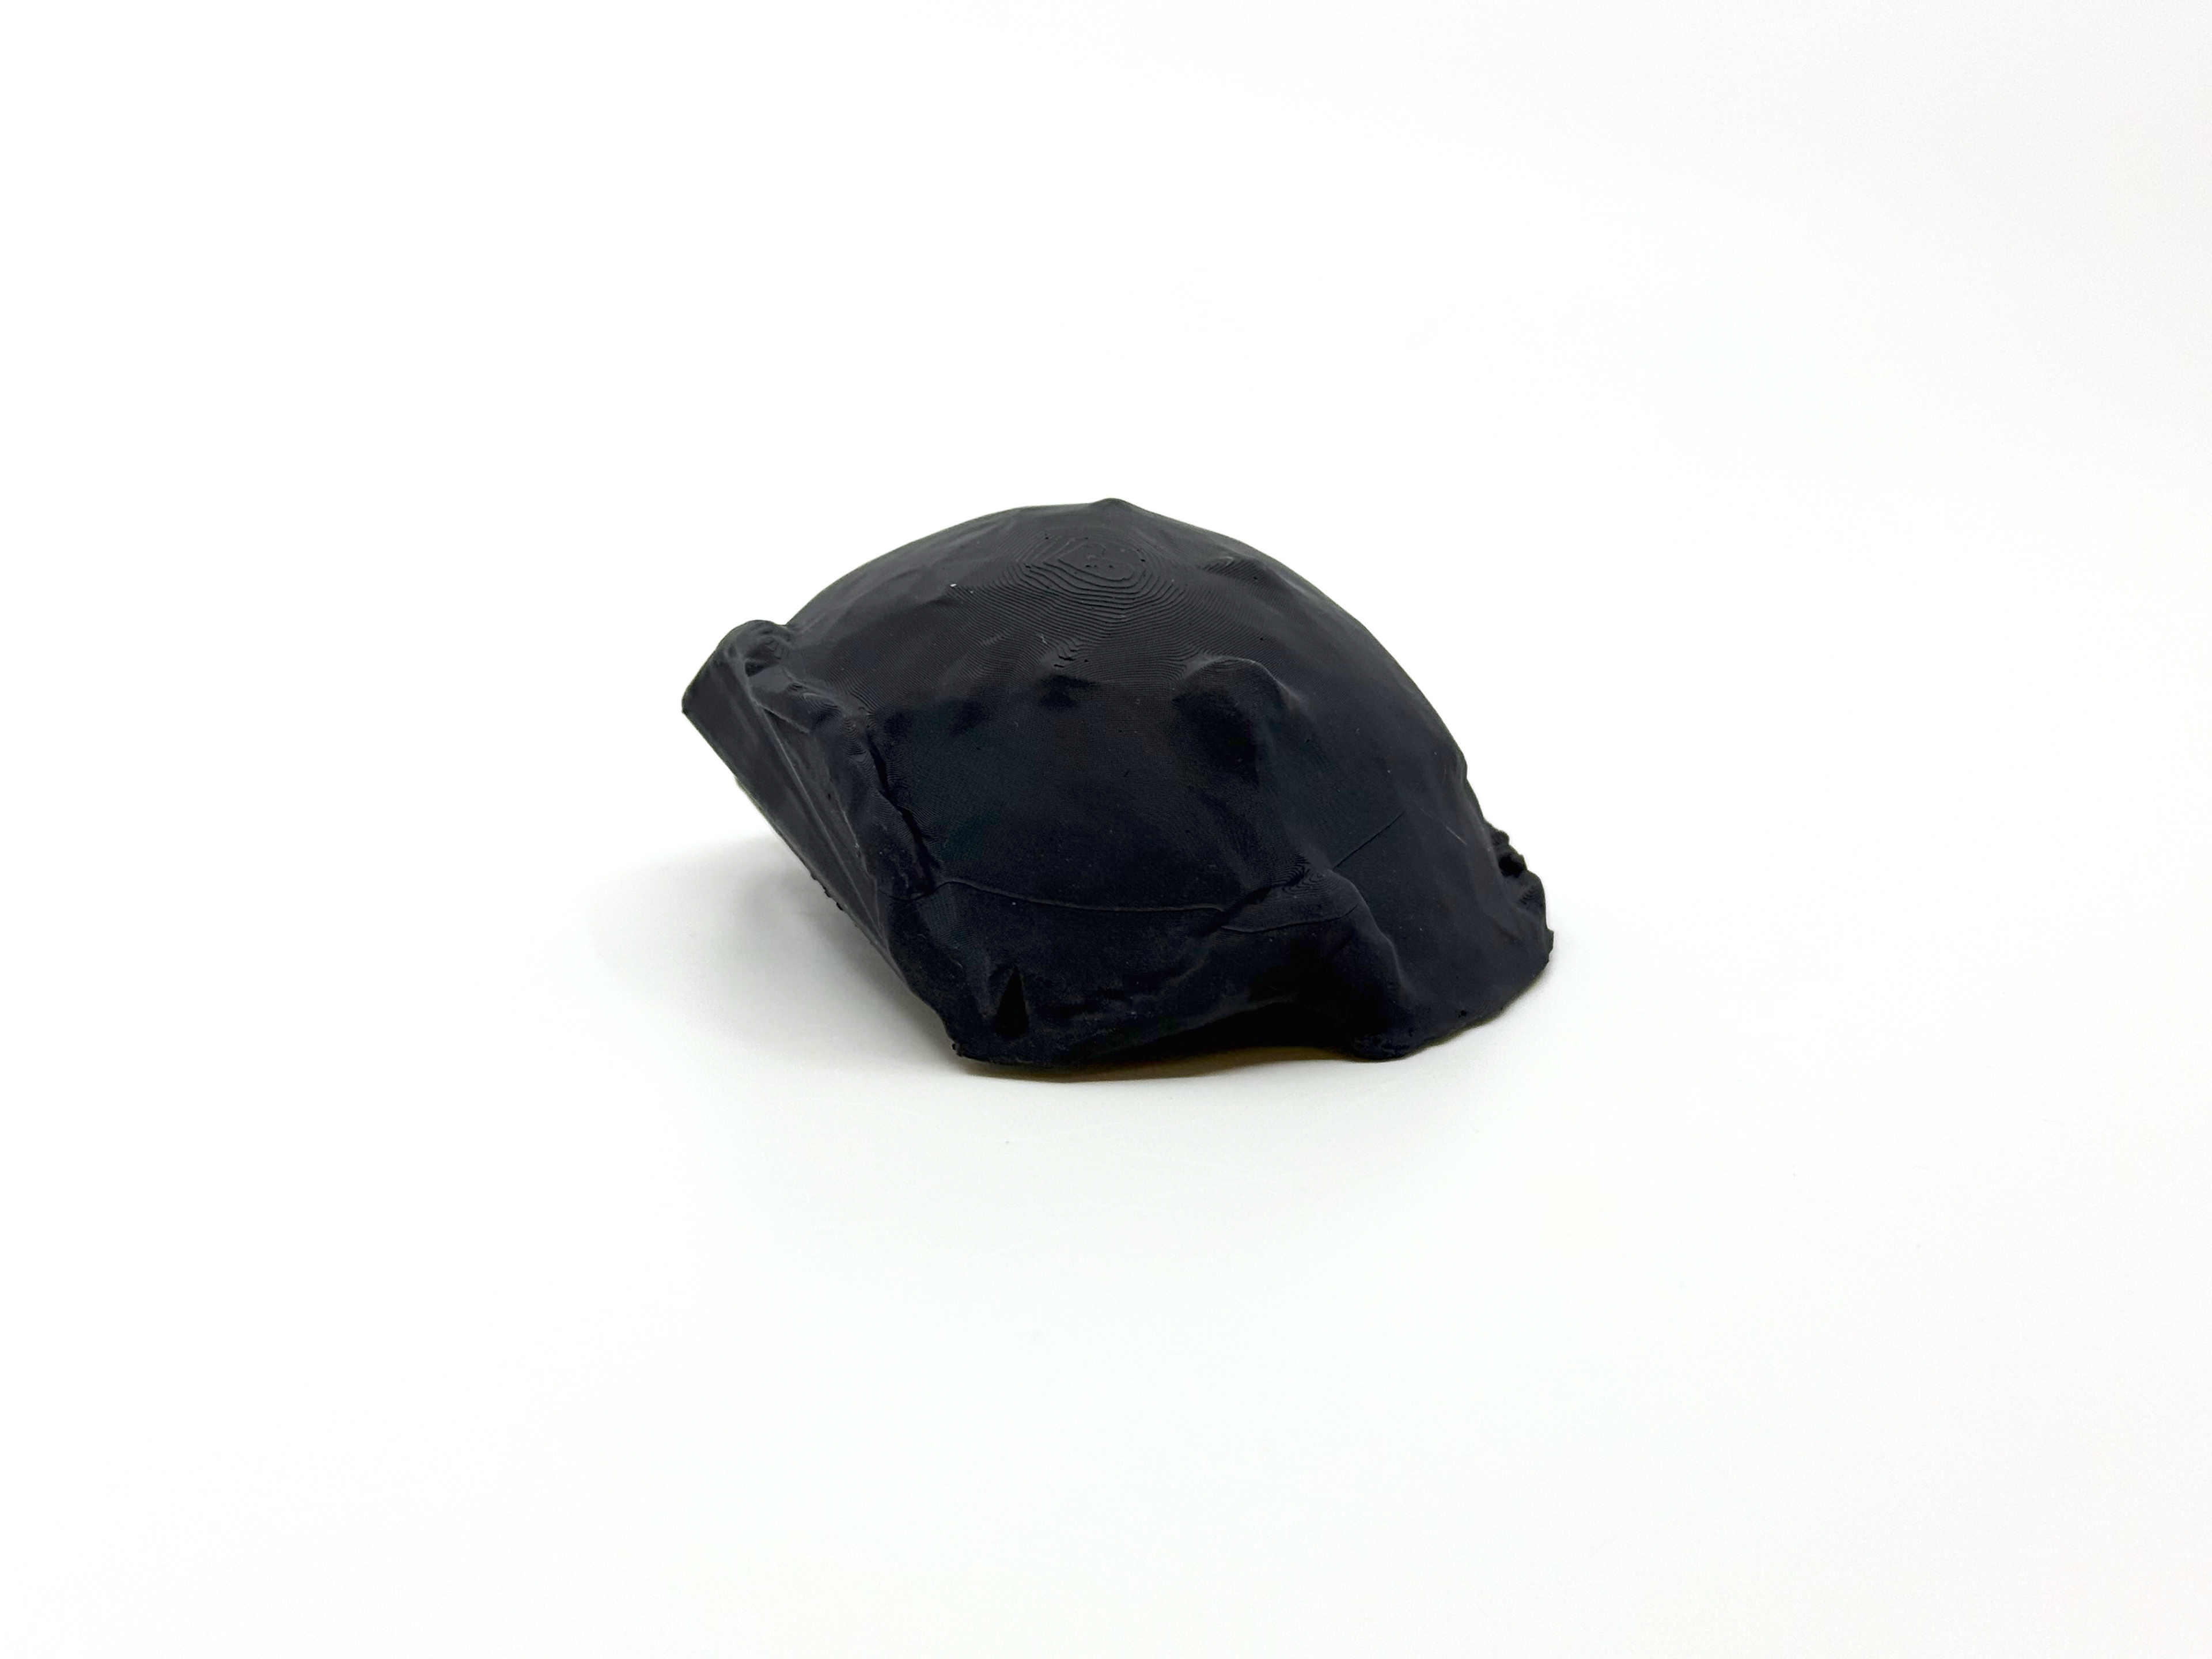
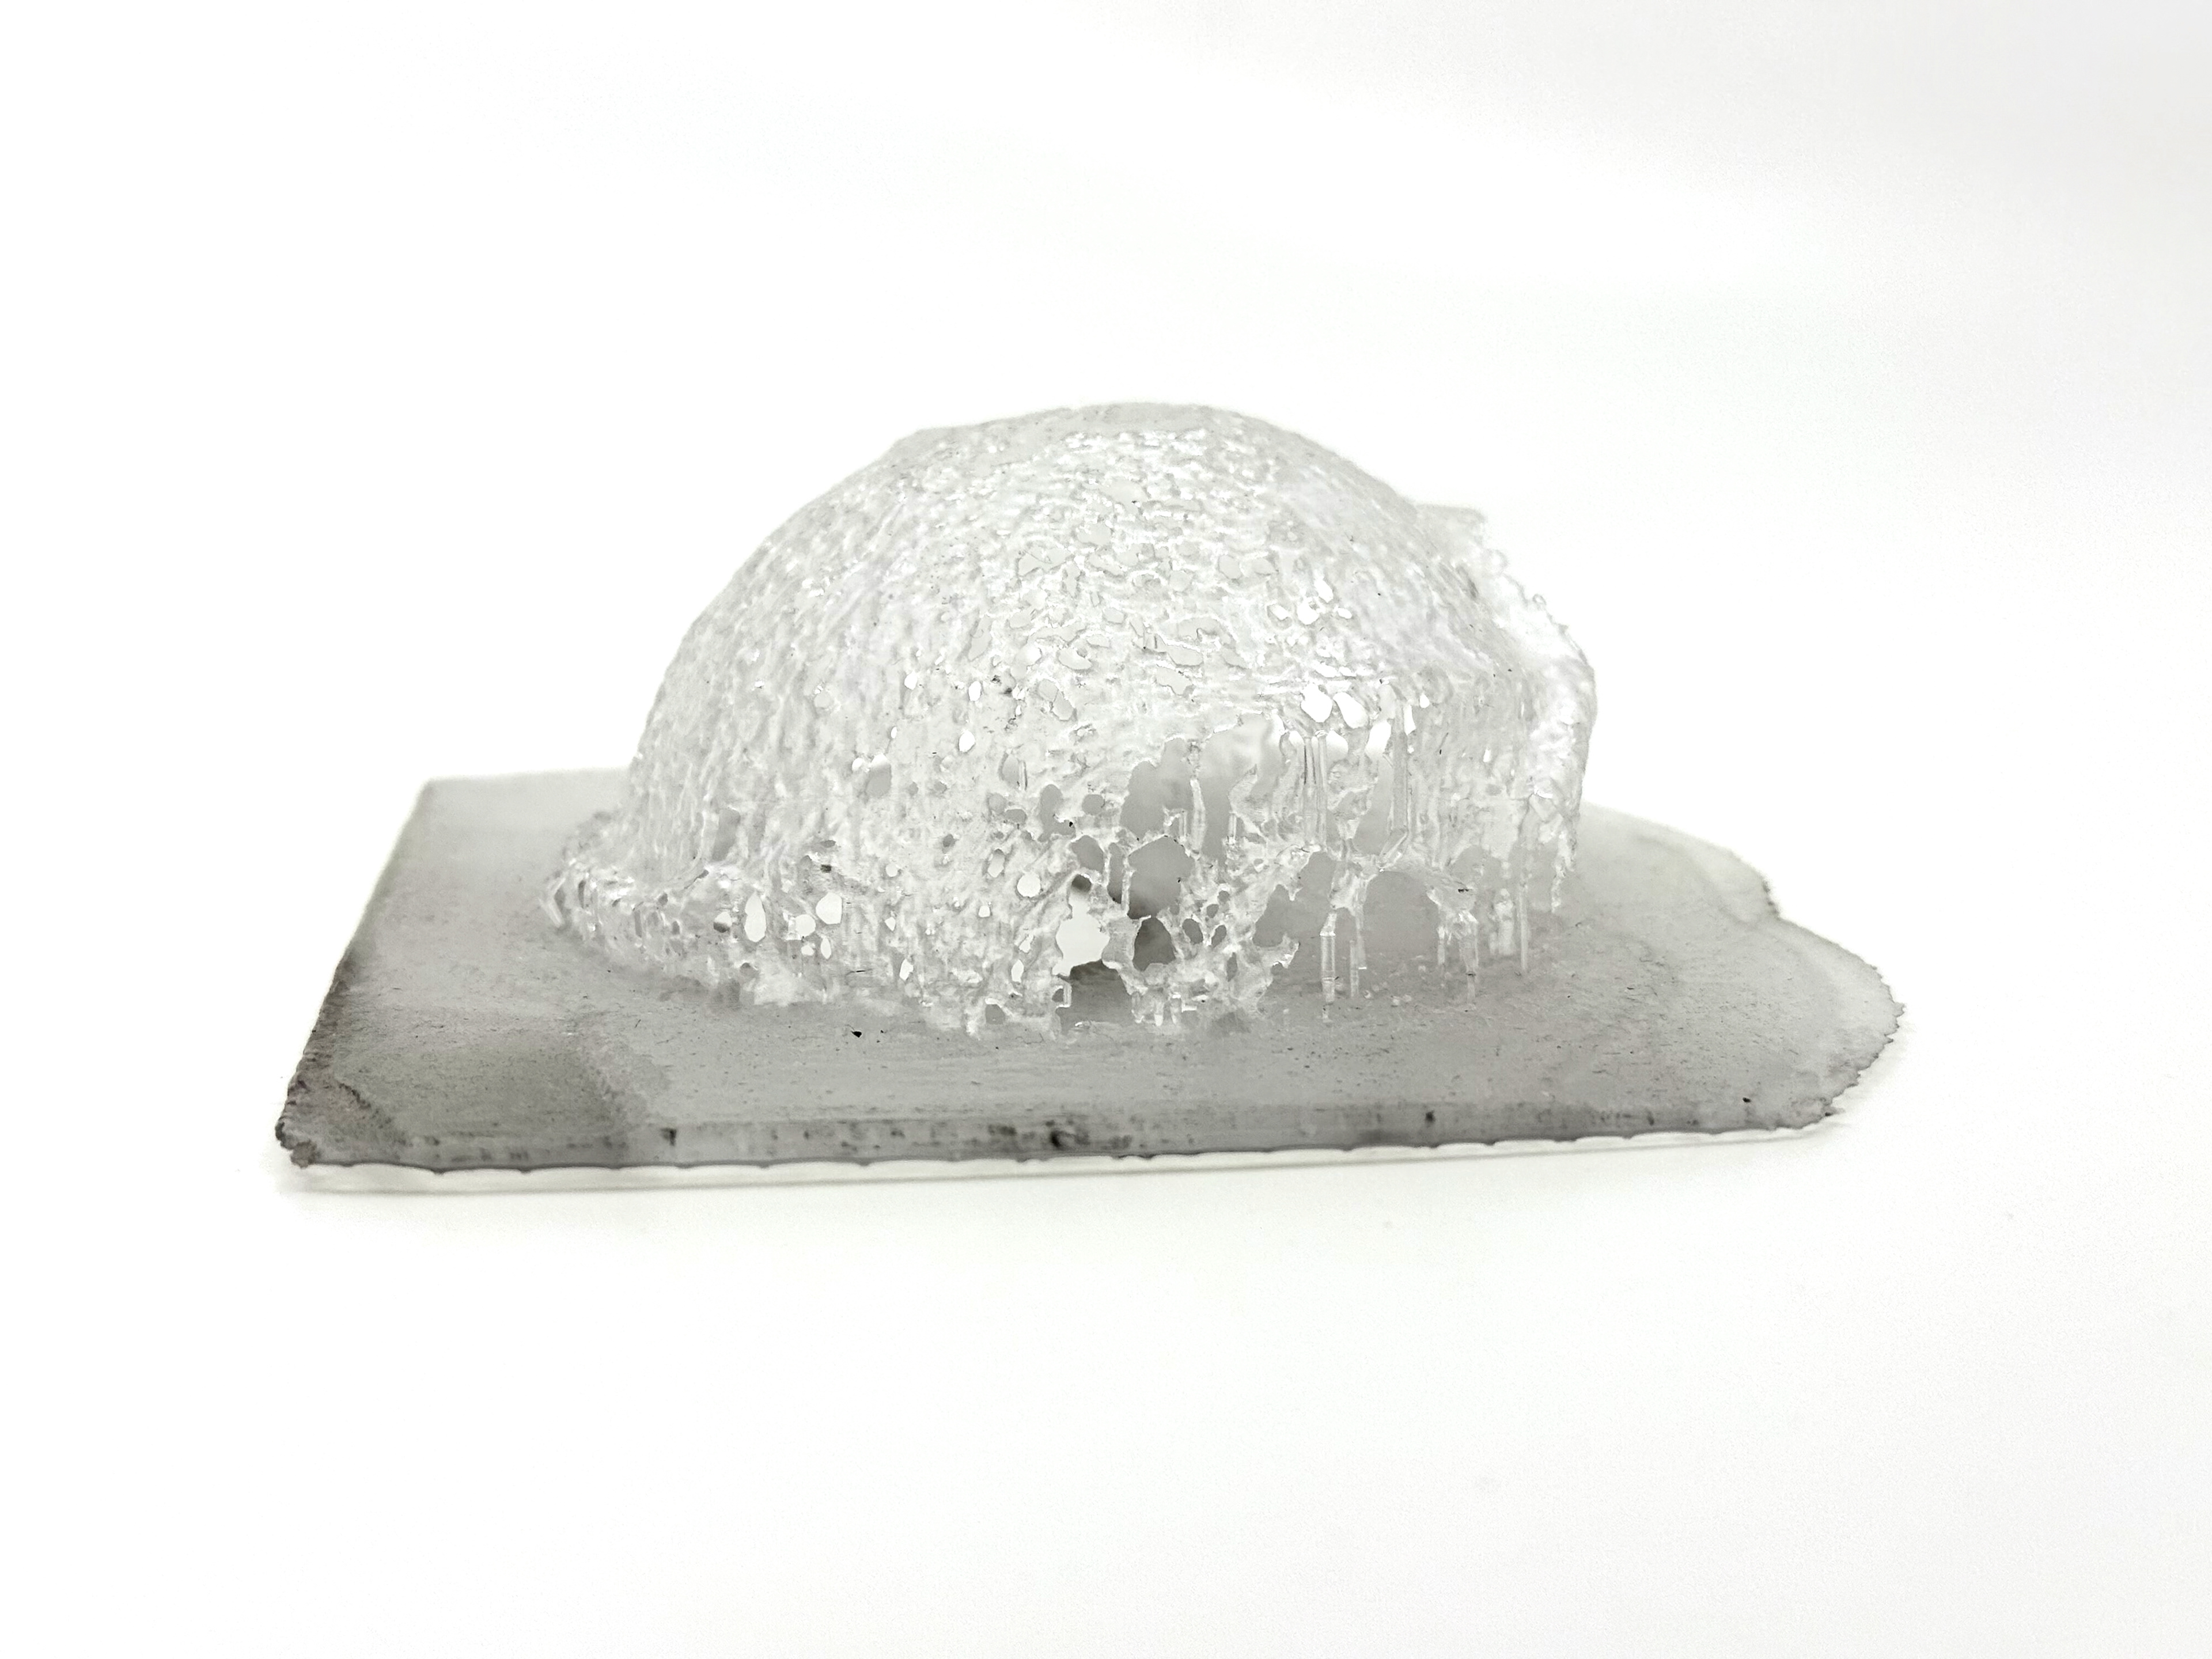
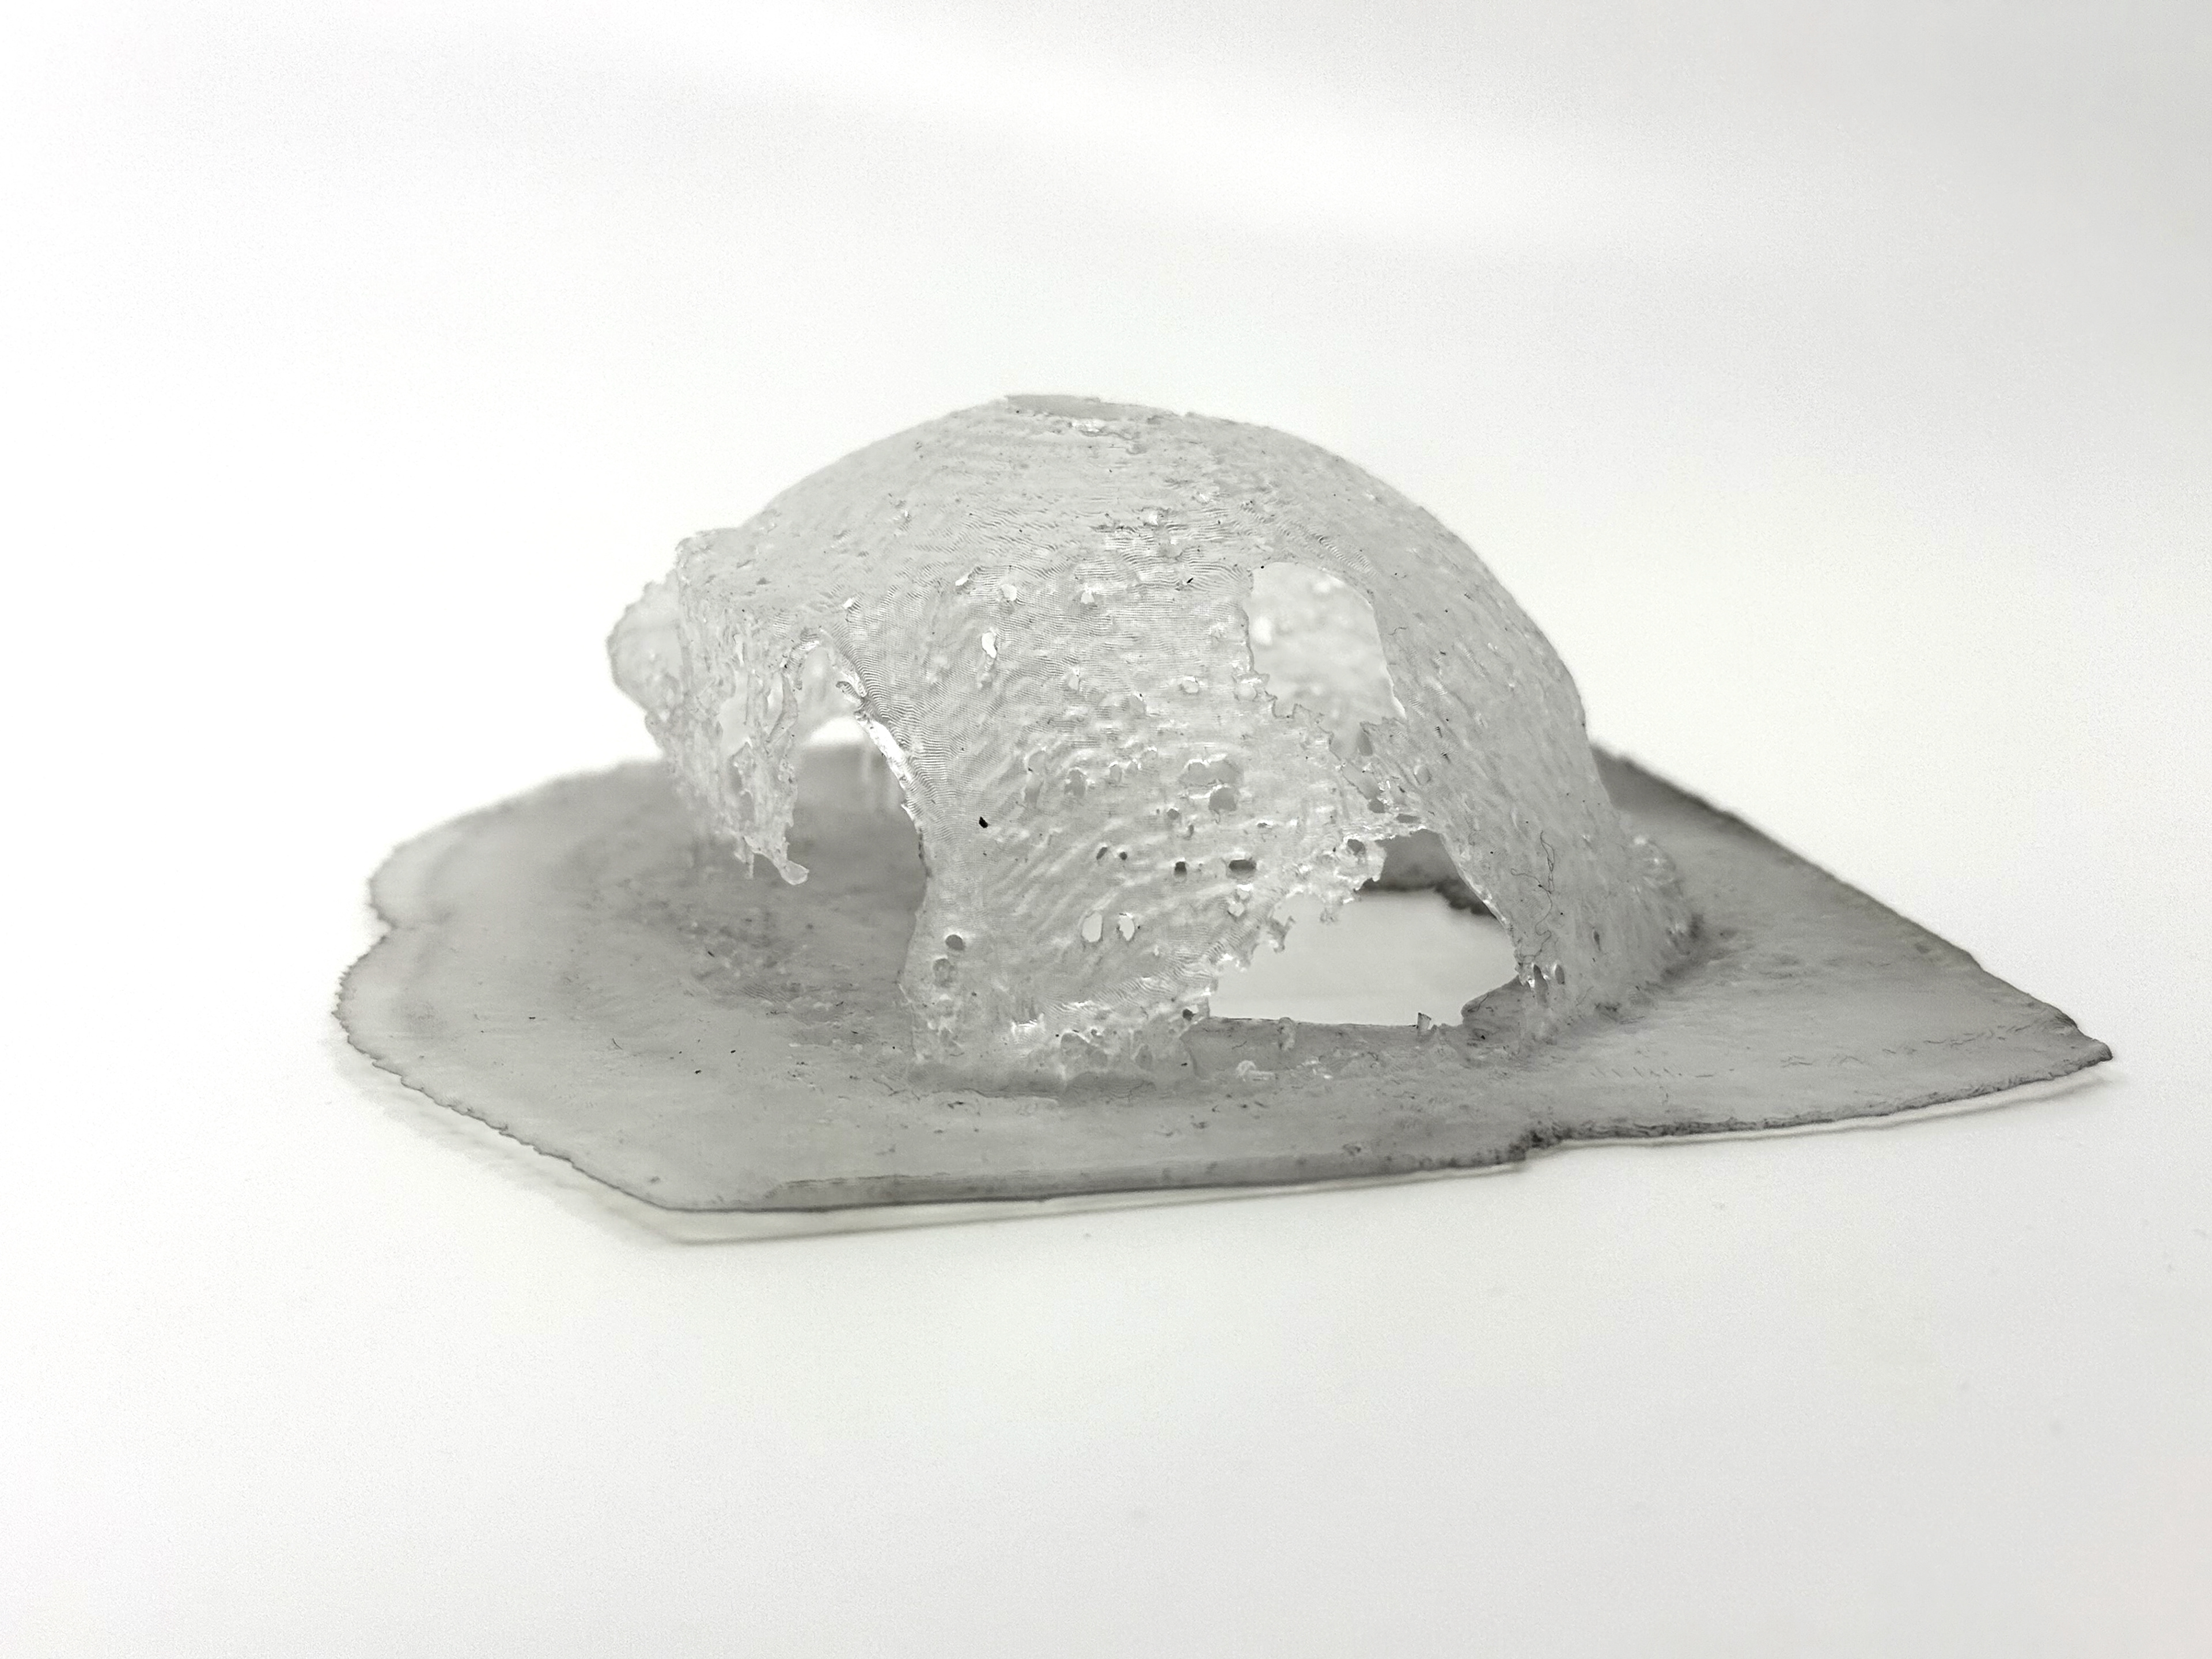
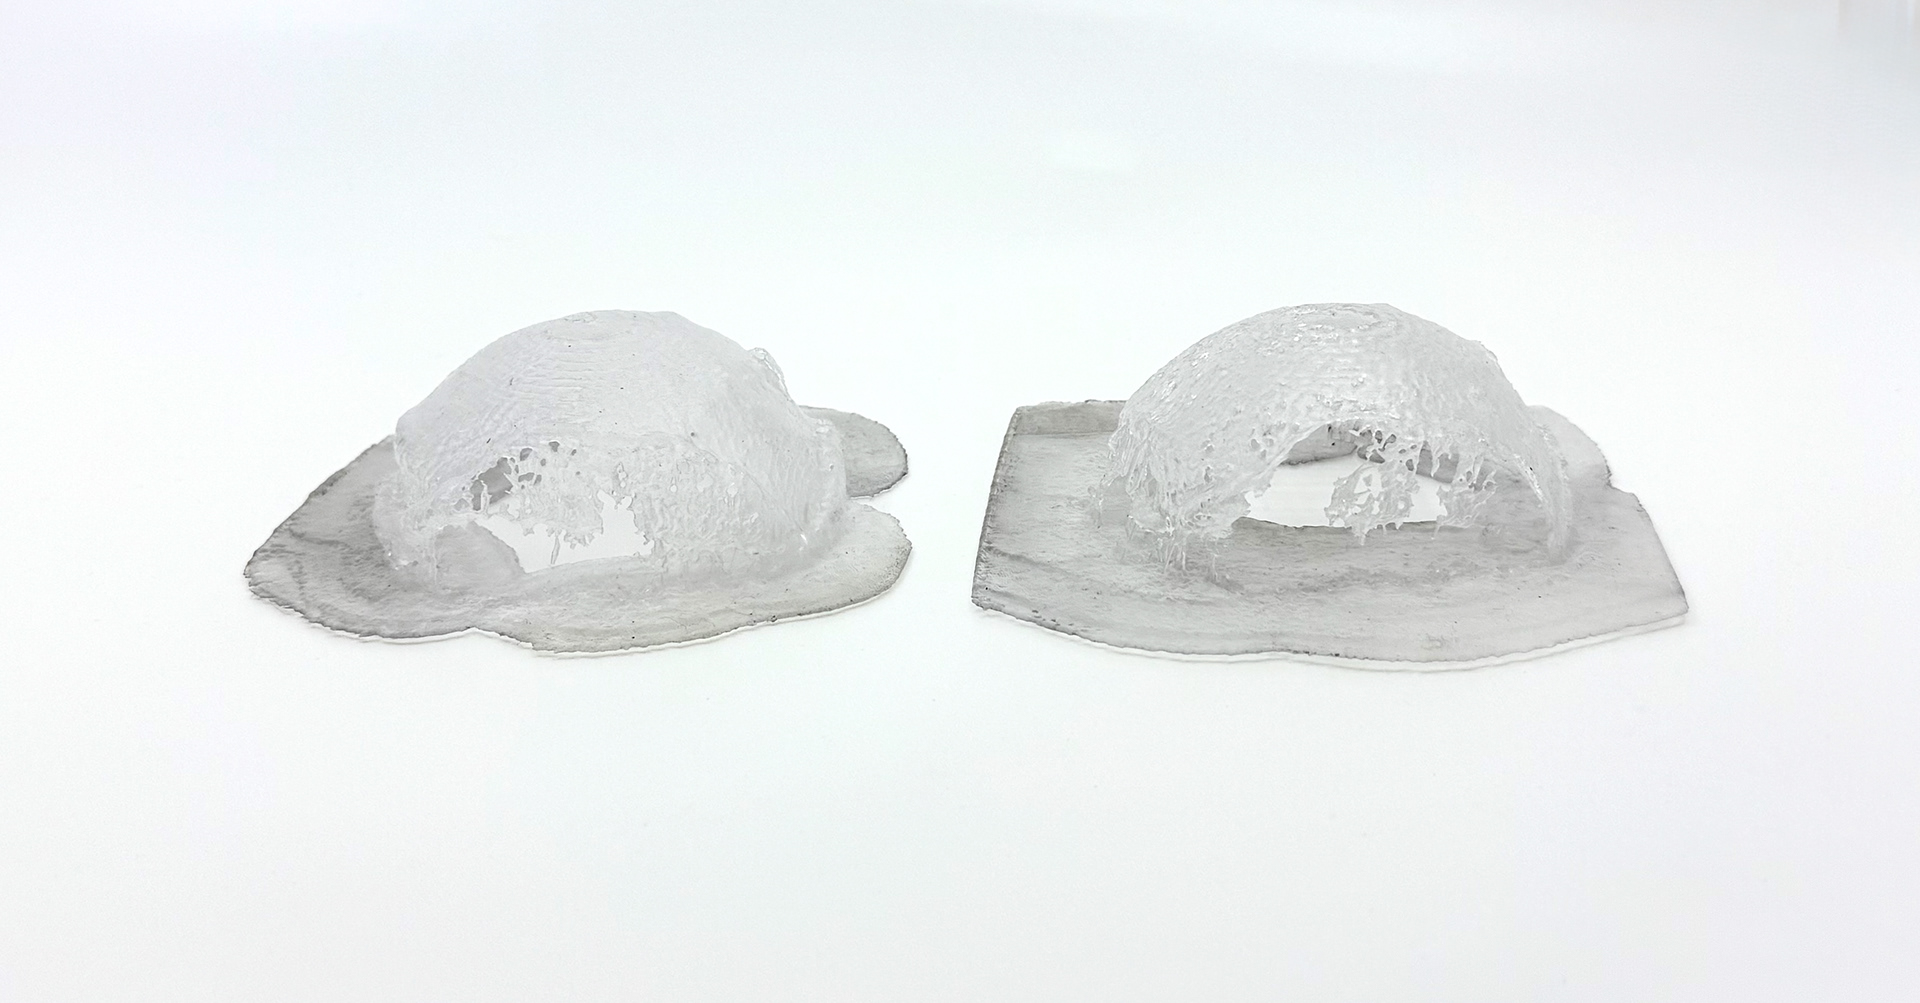
Slip Vs Plaster 4.0
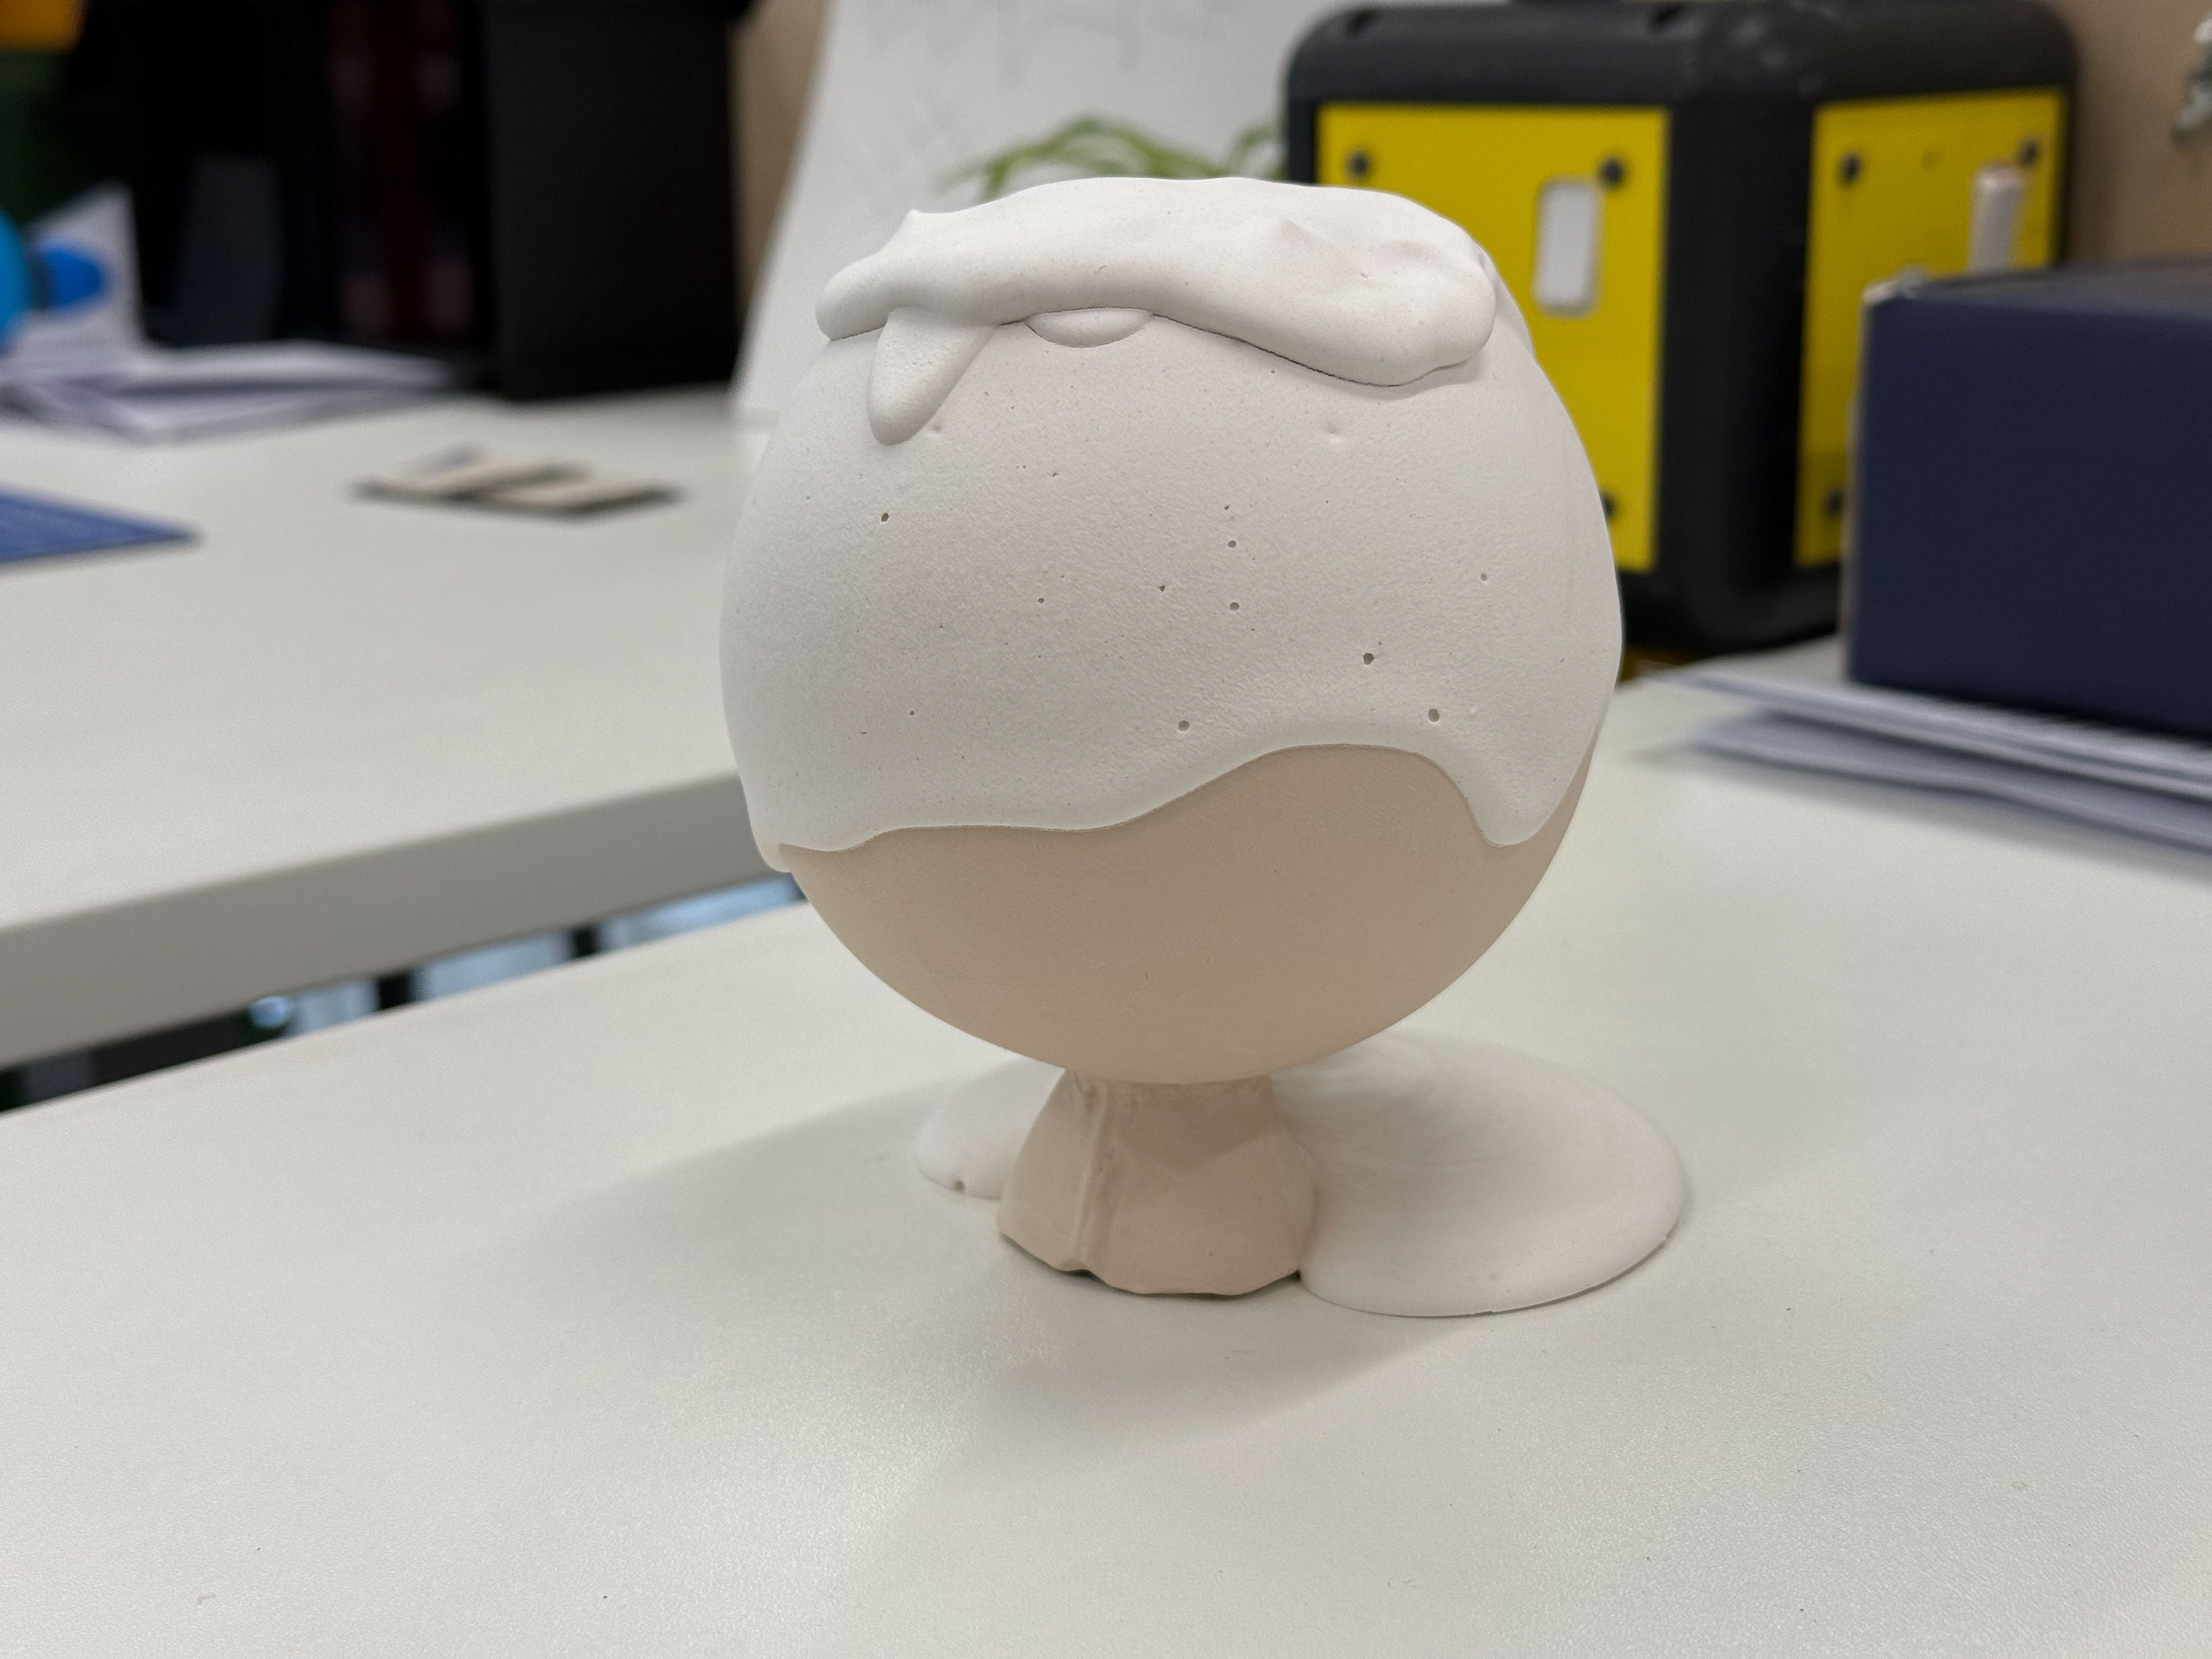
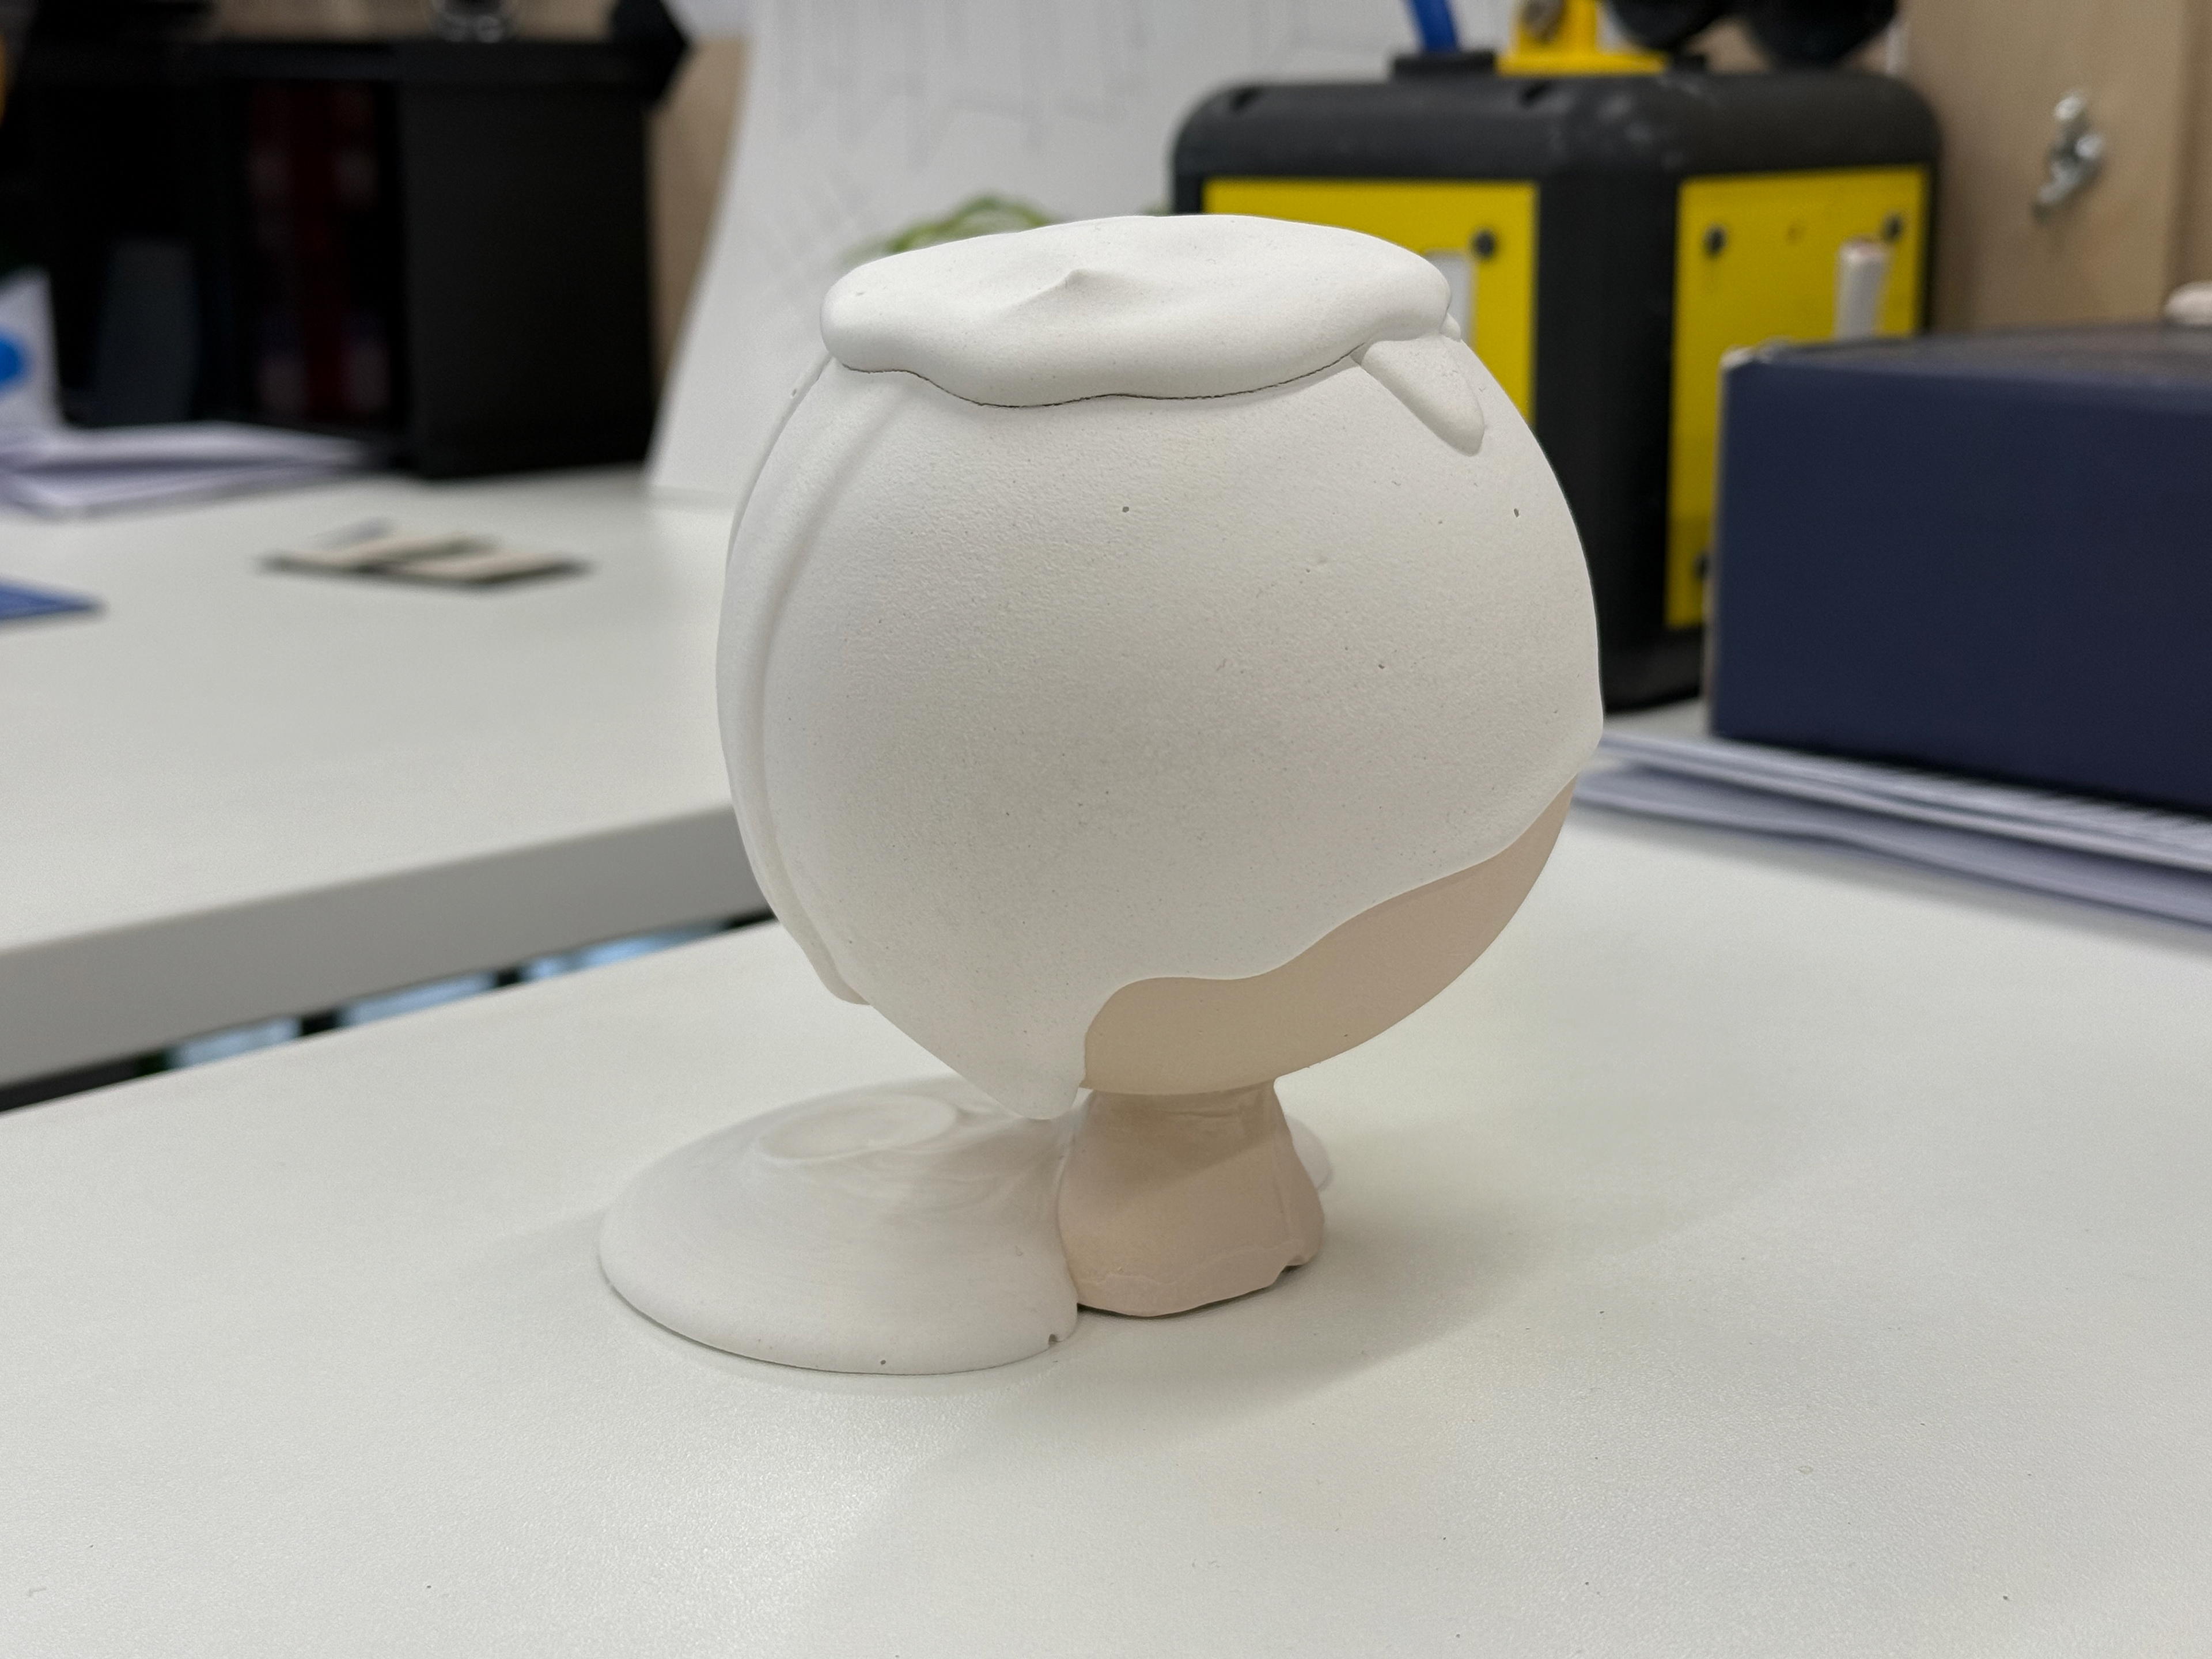
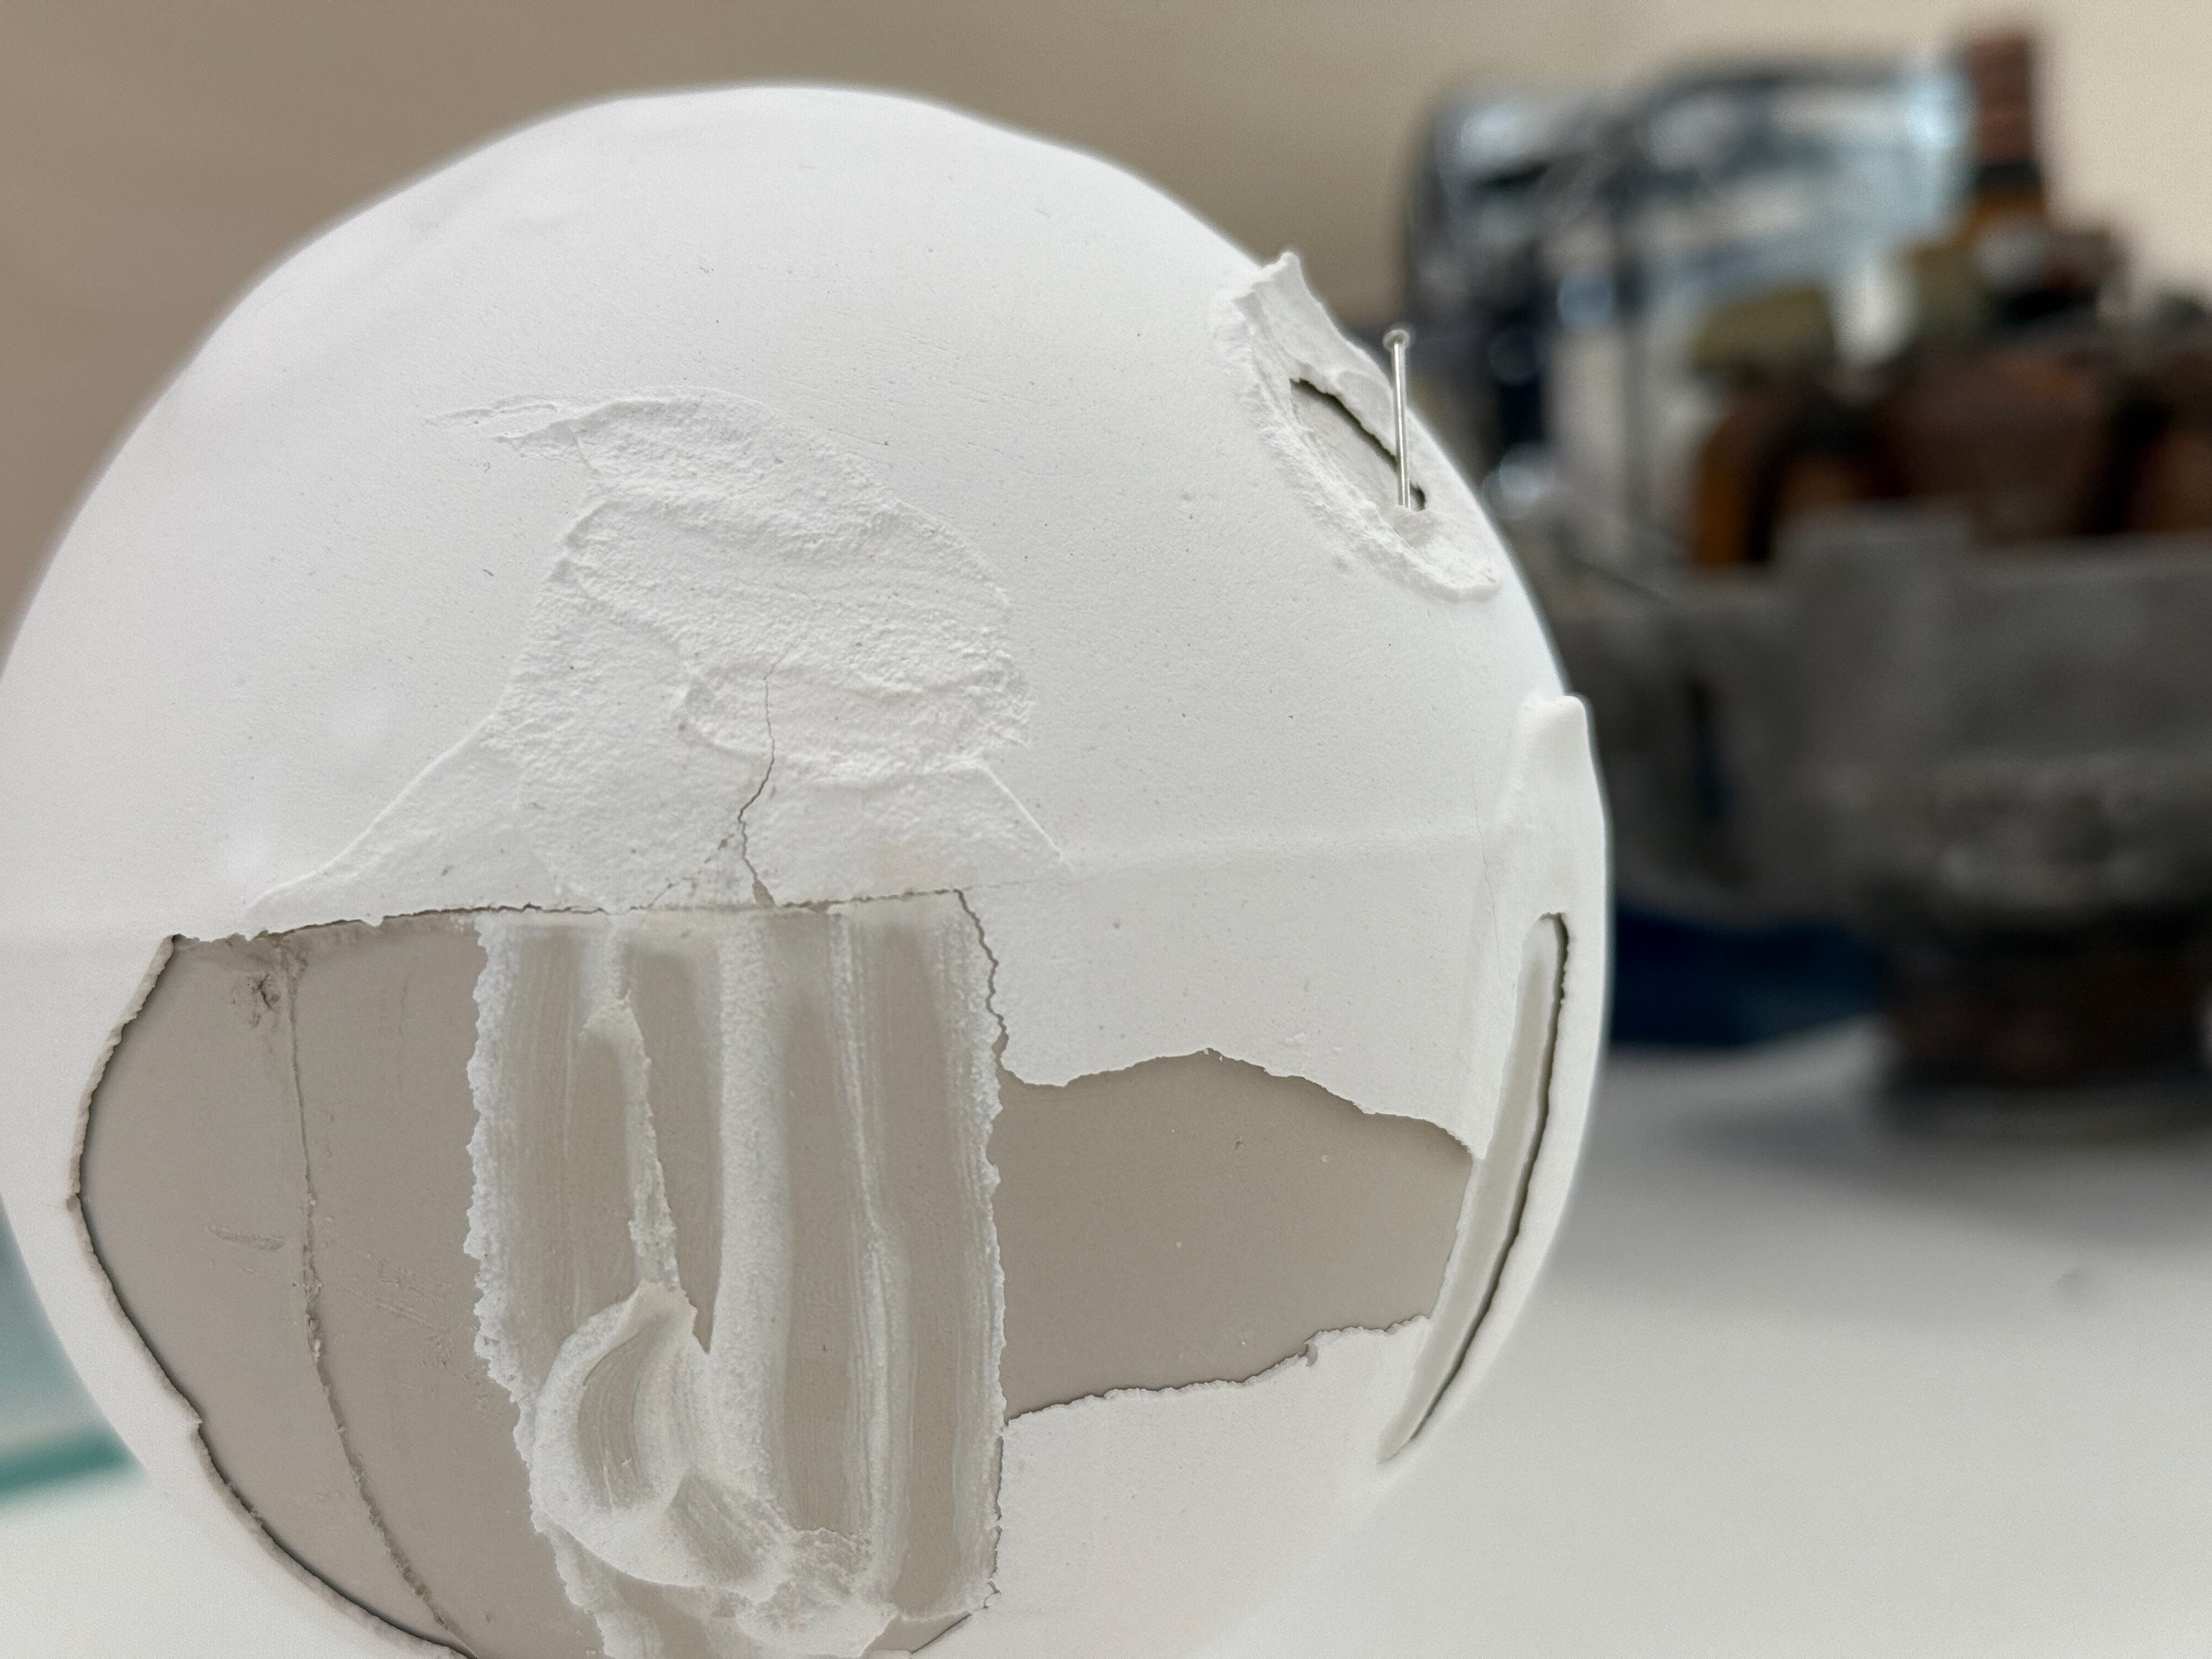
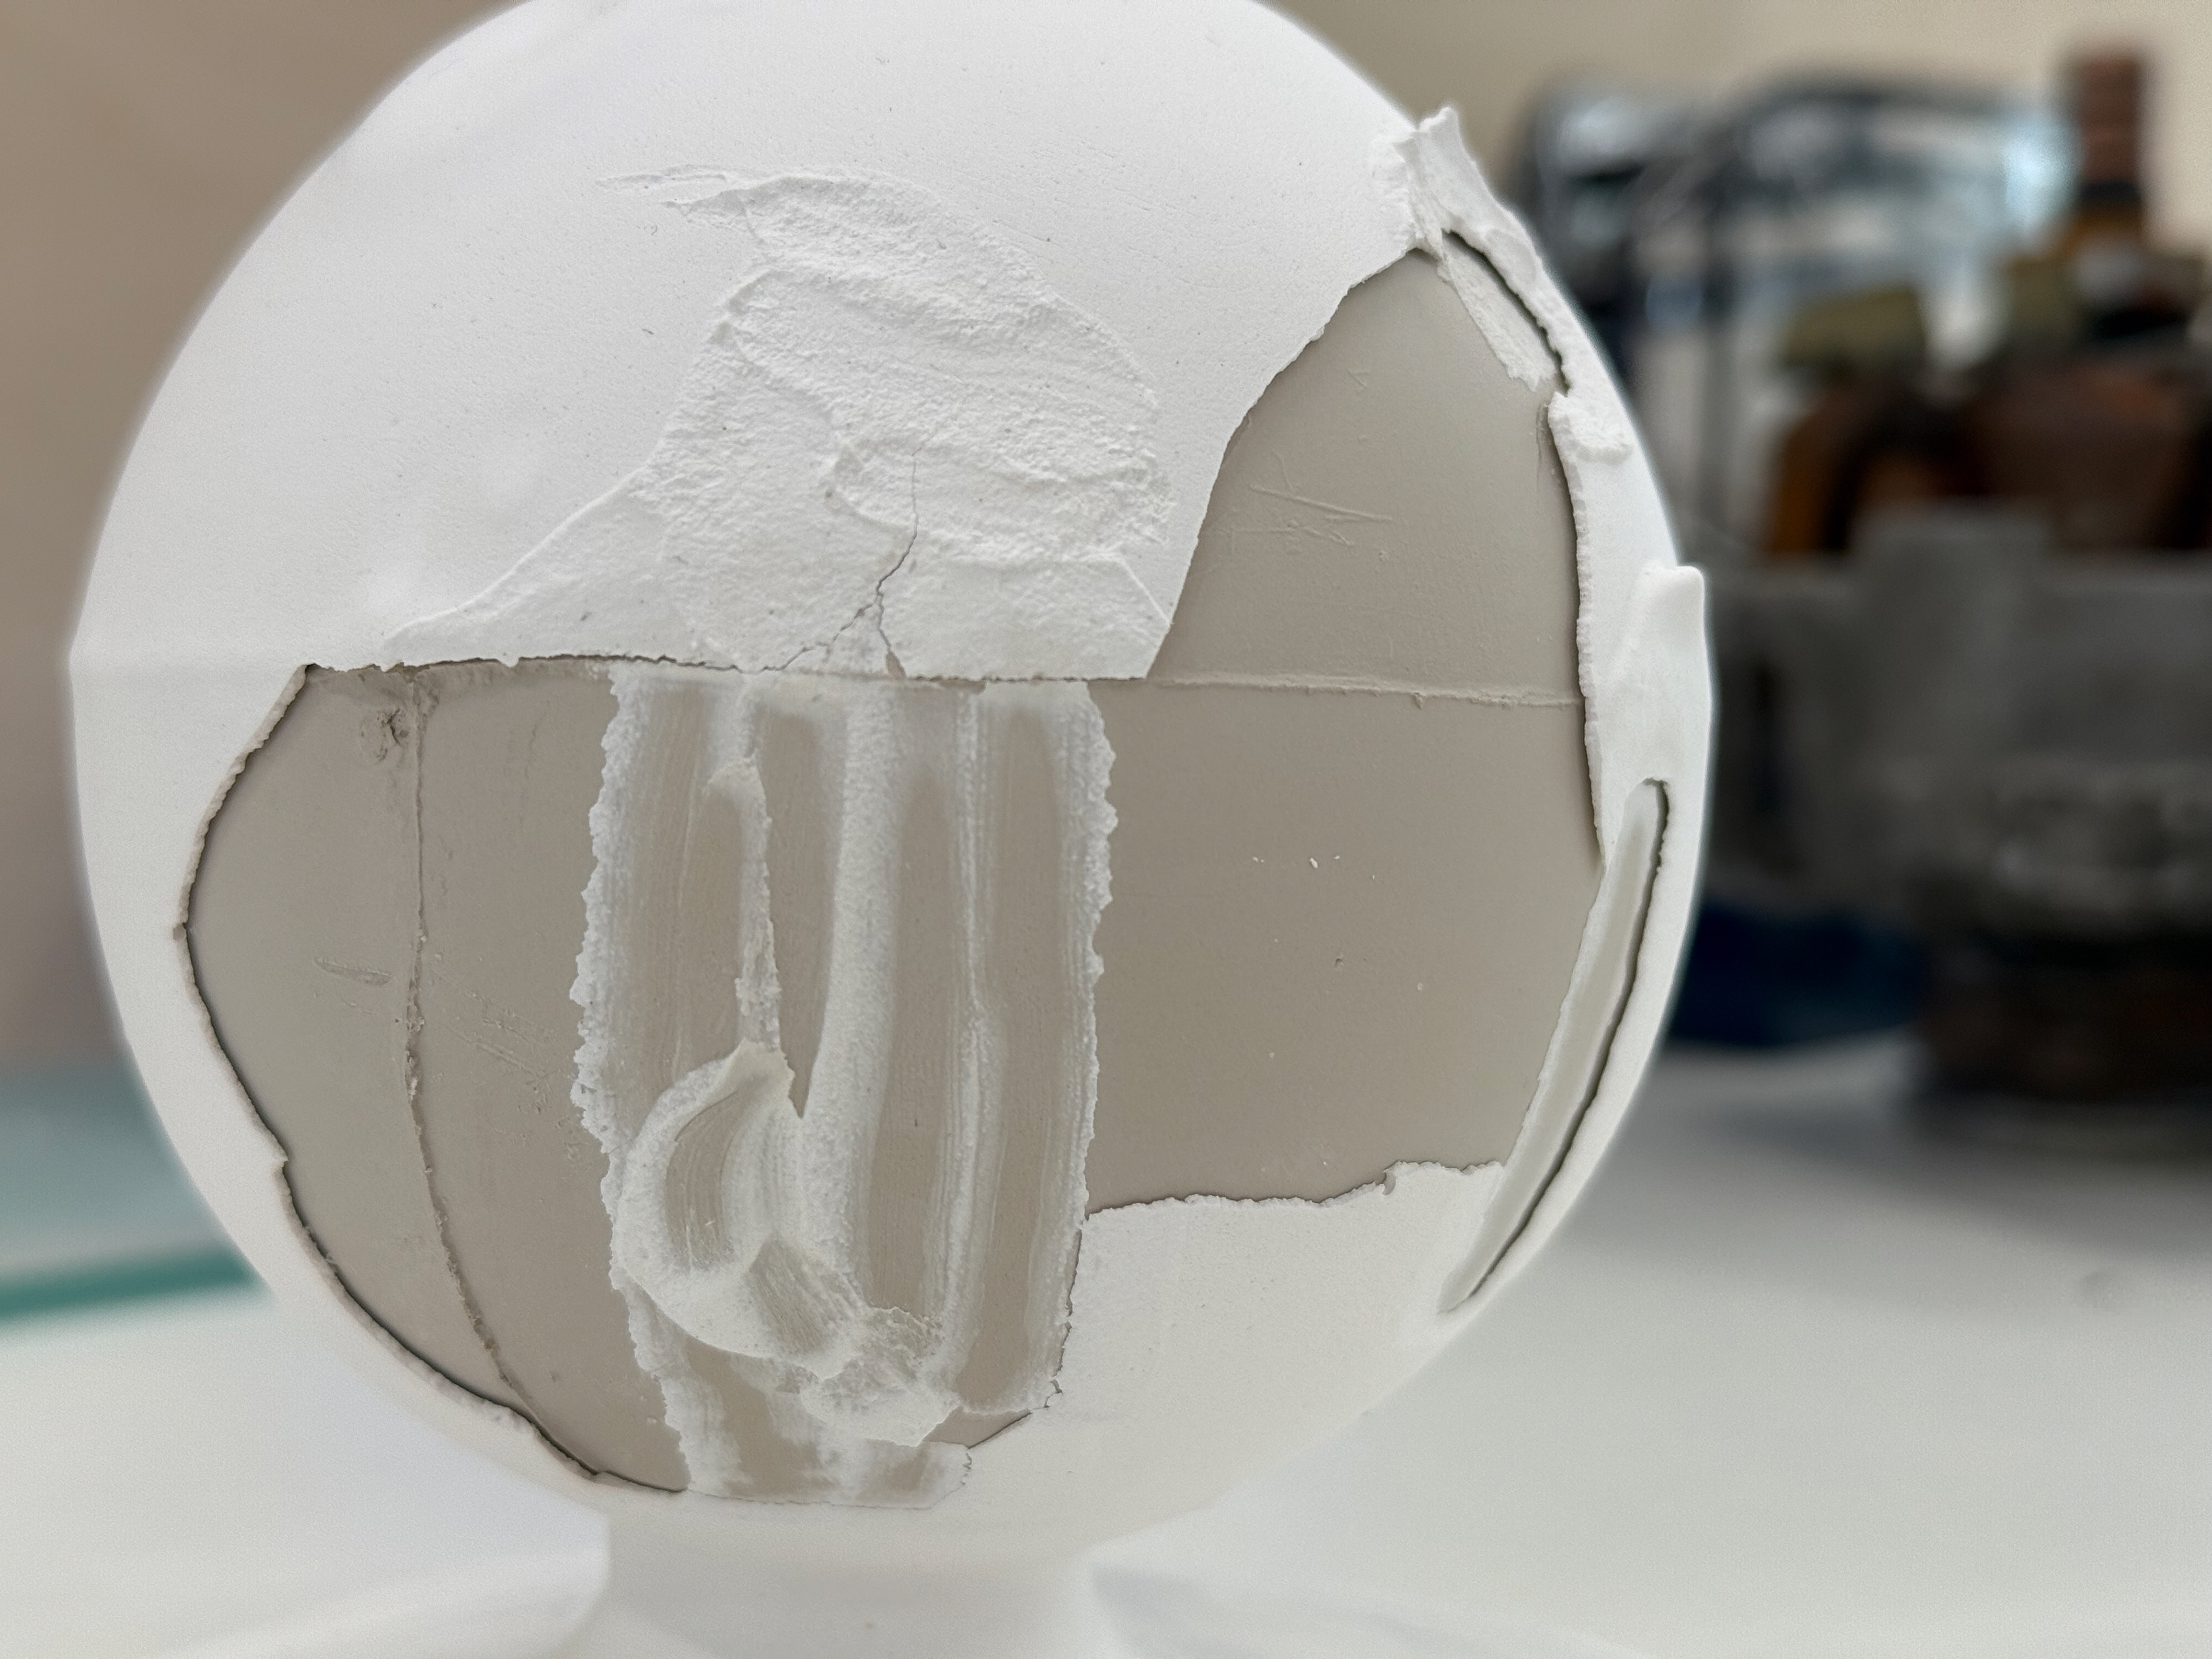
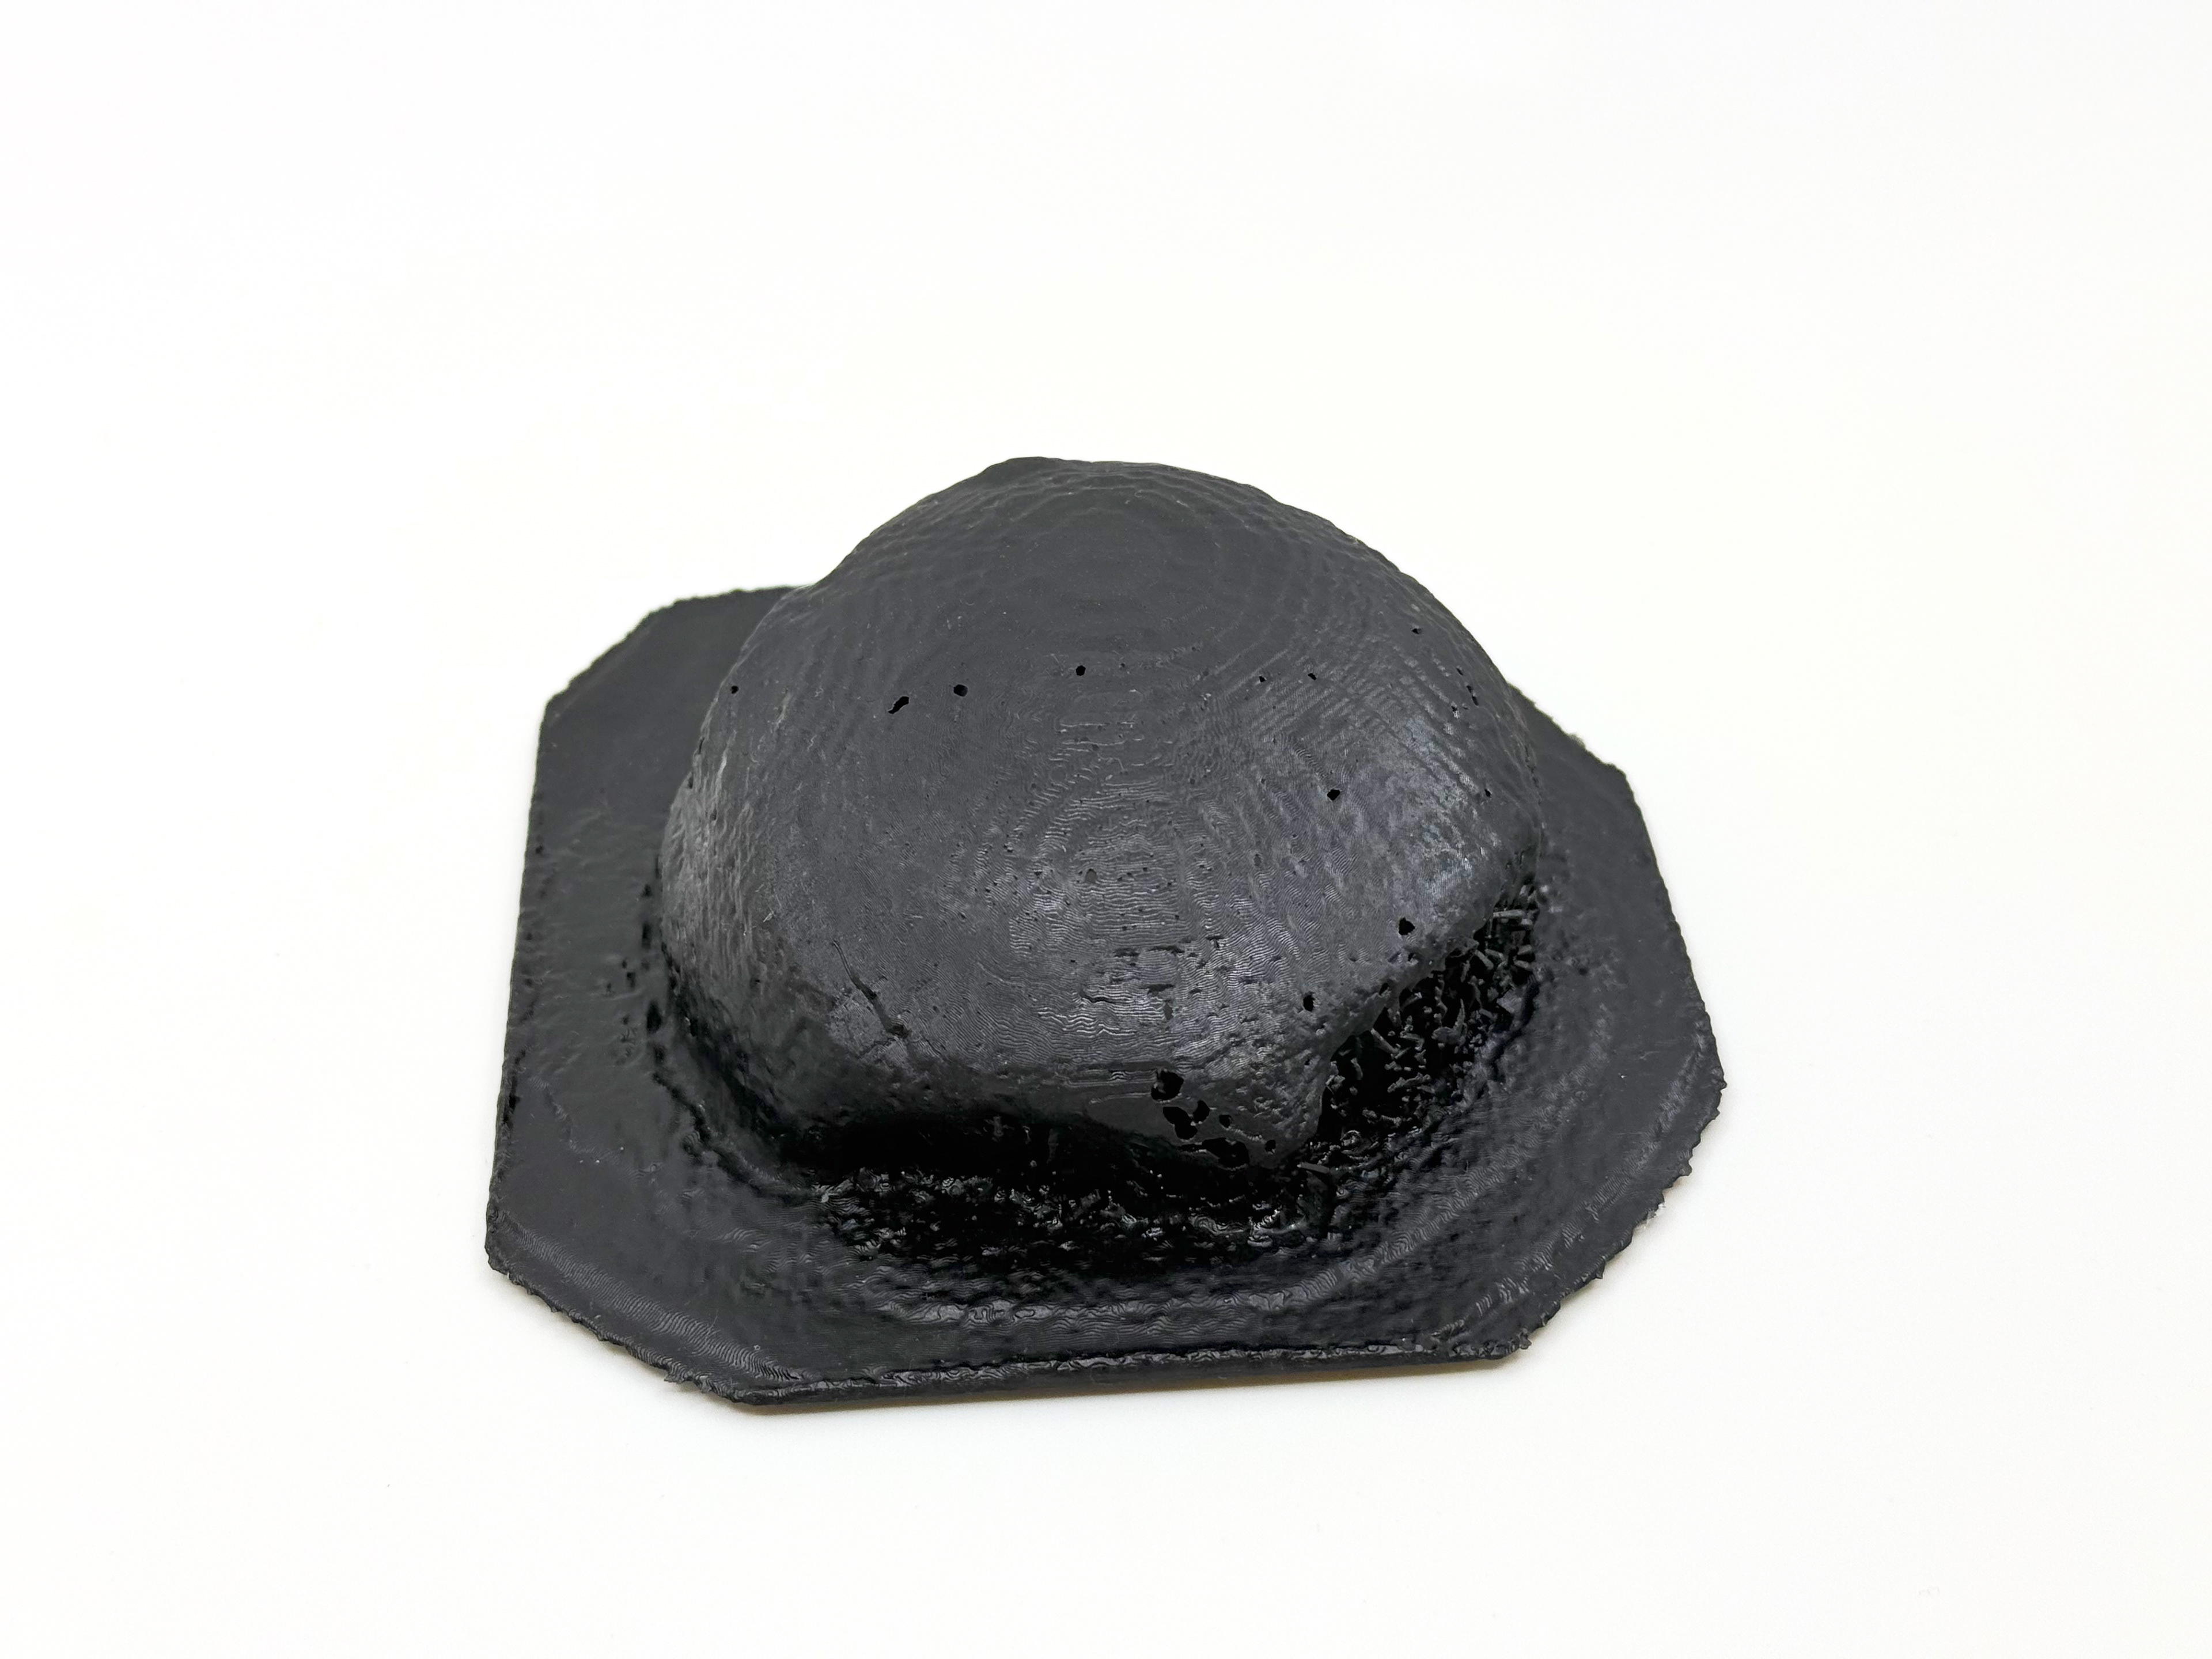
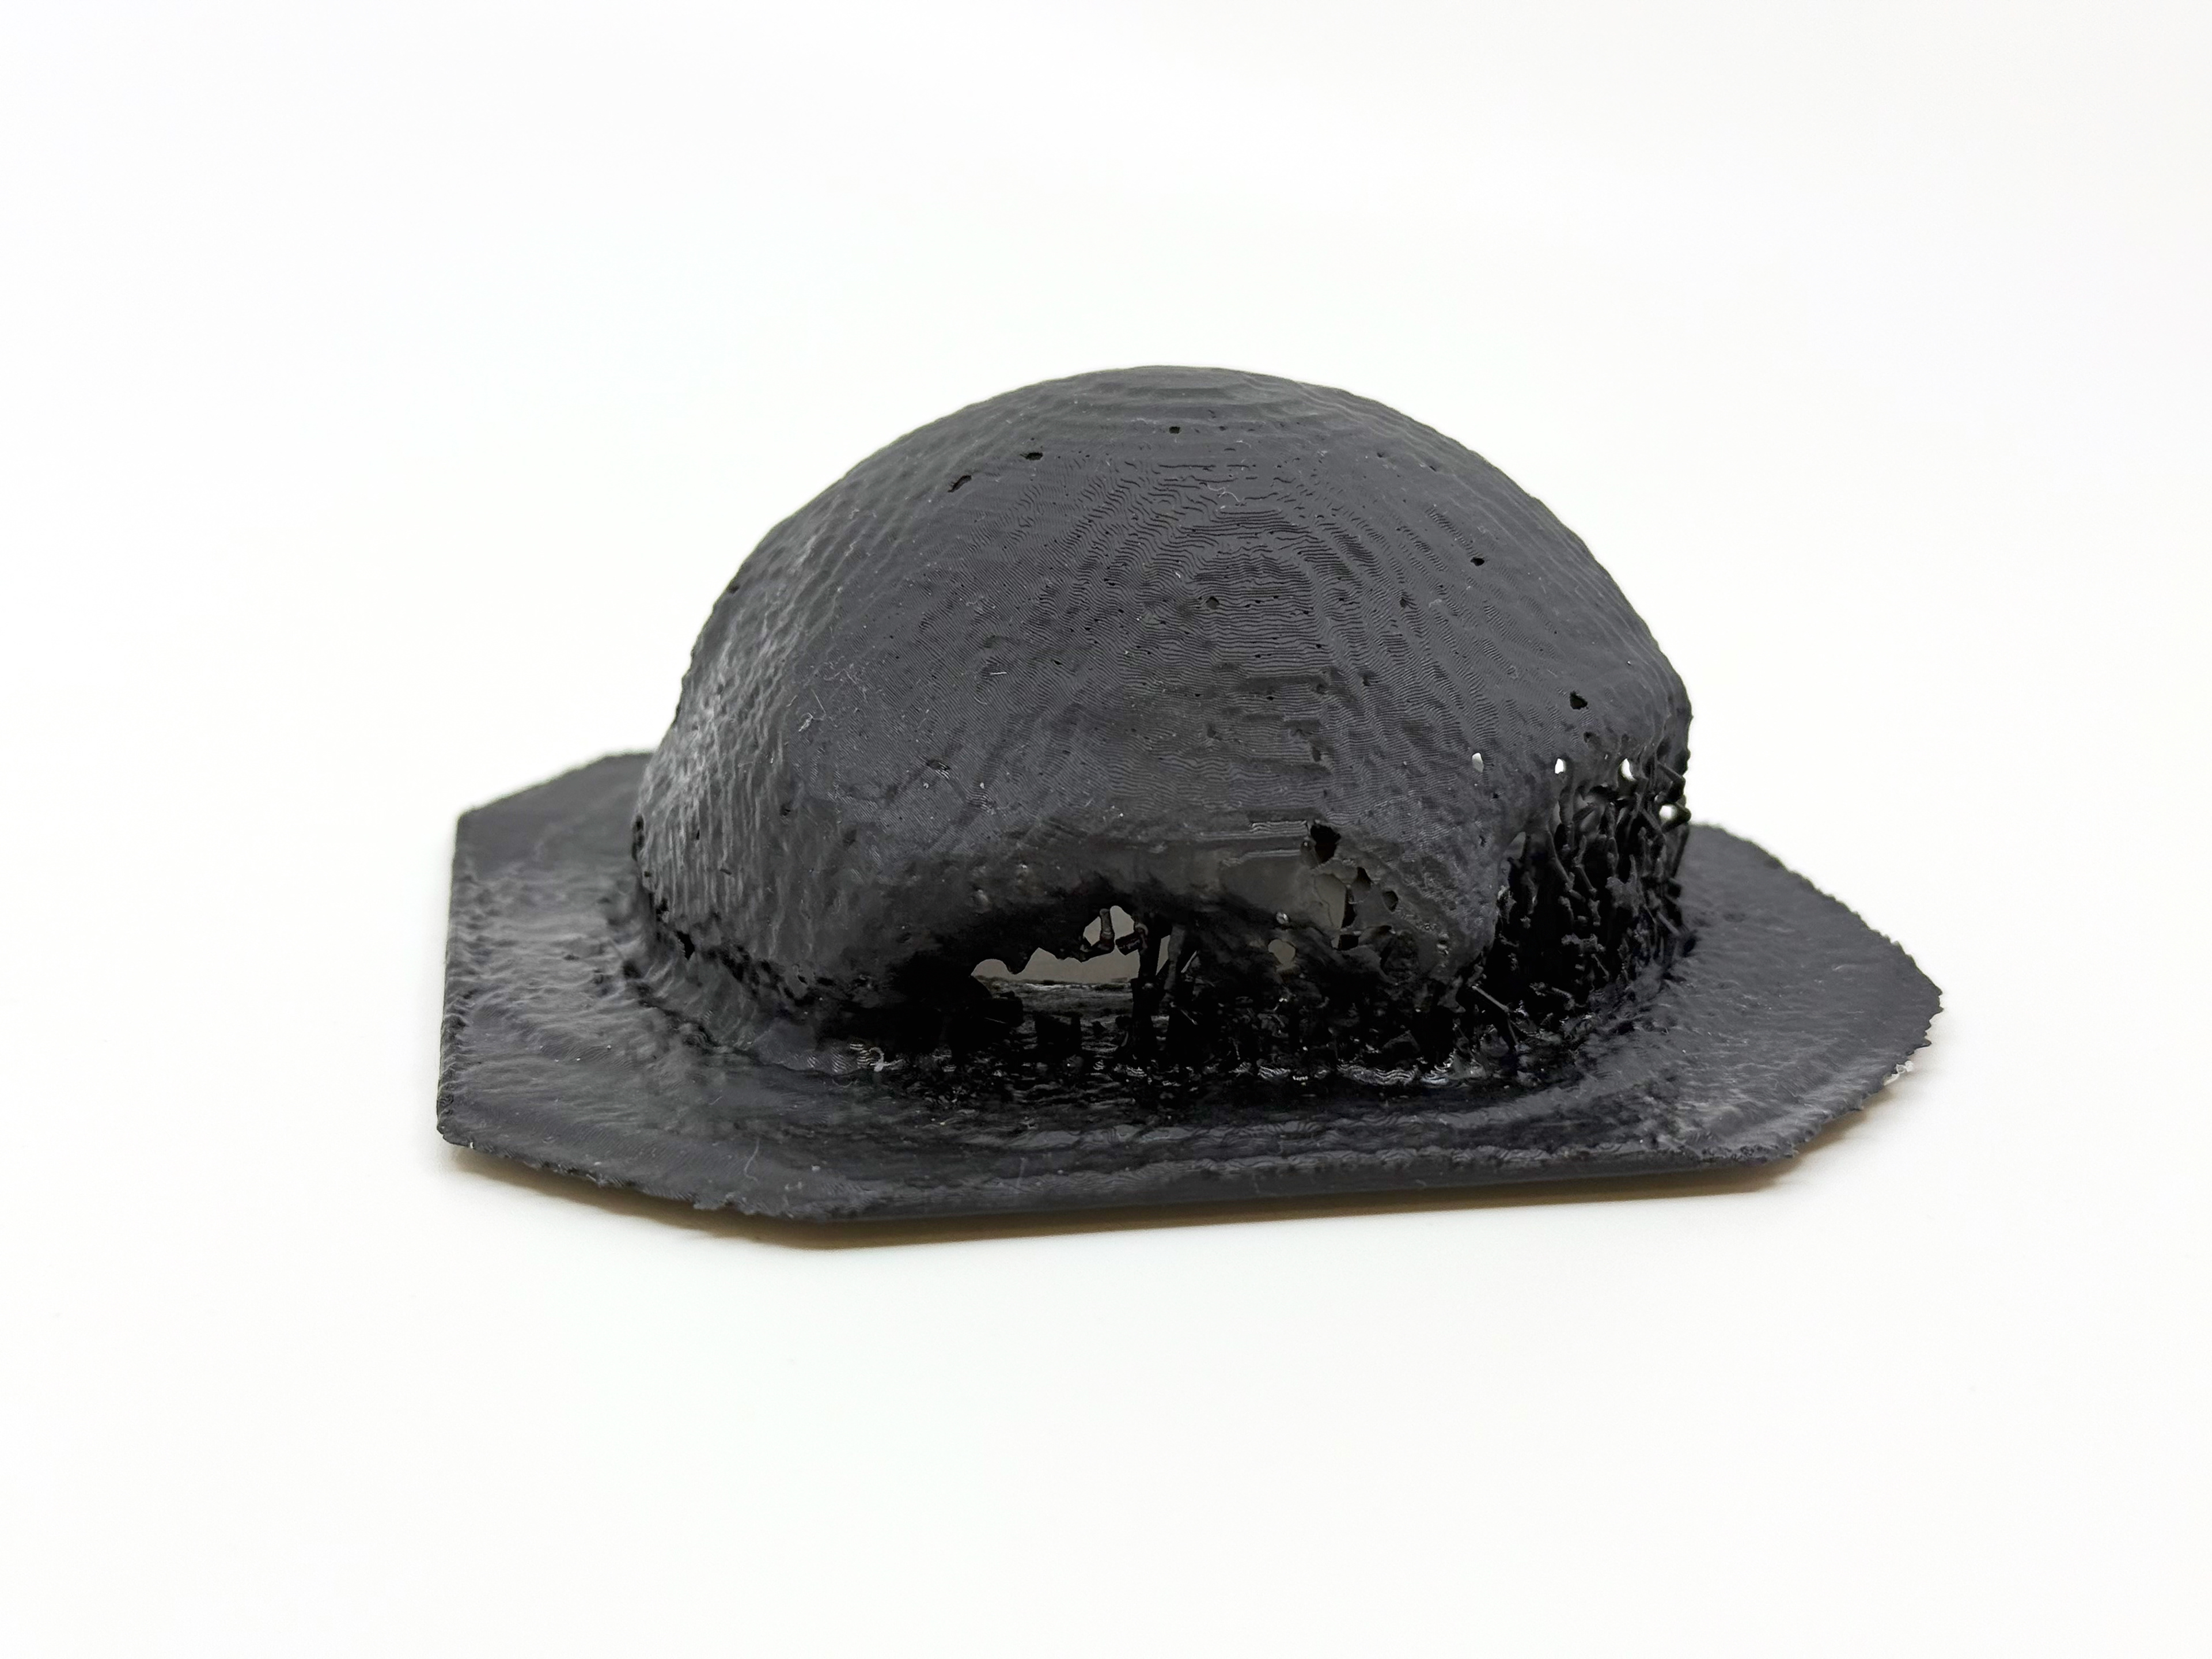
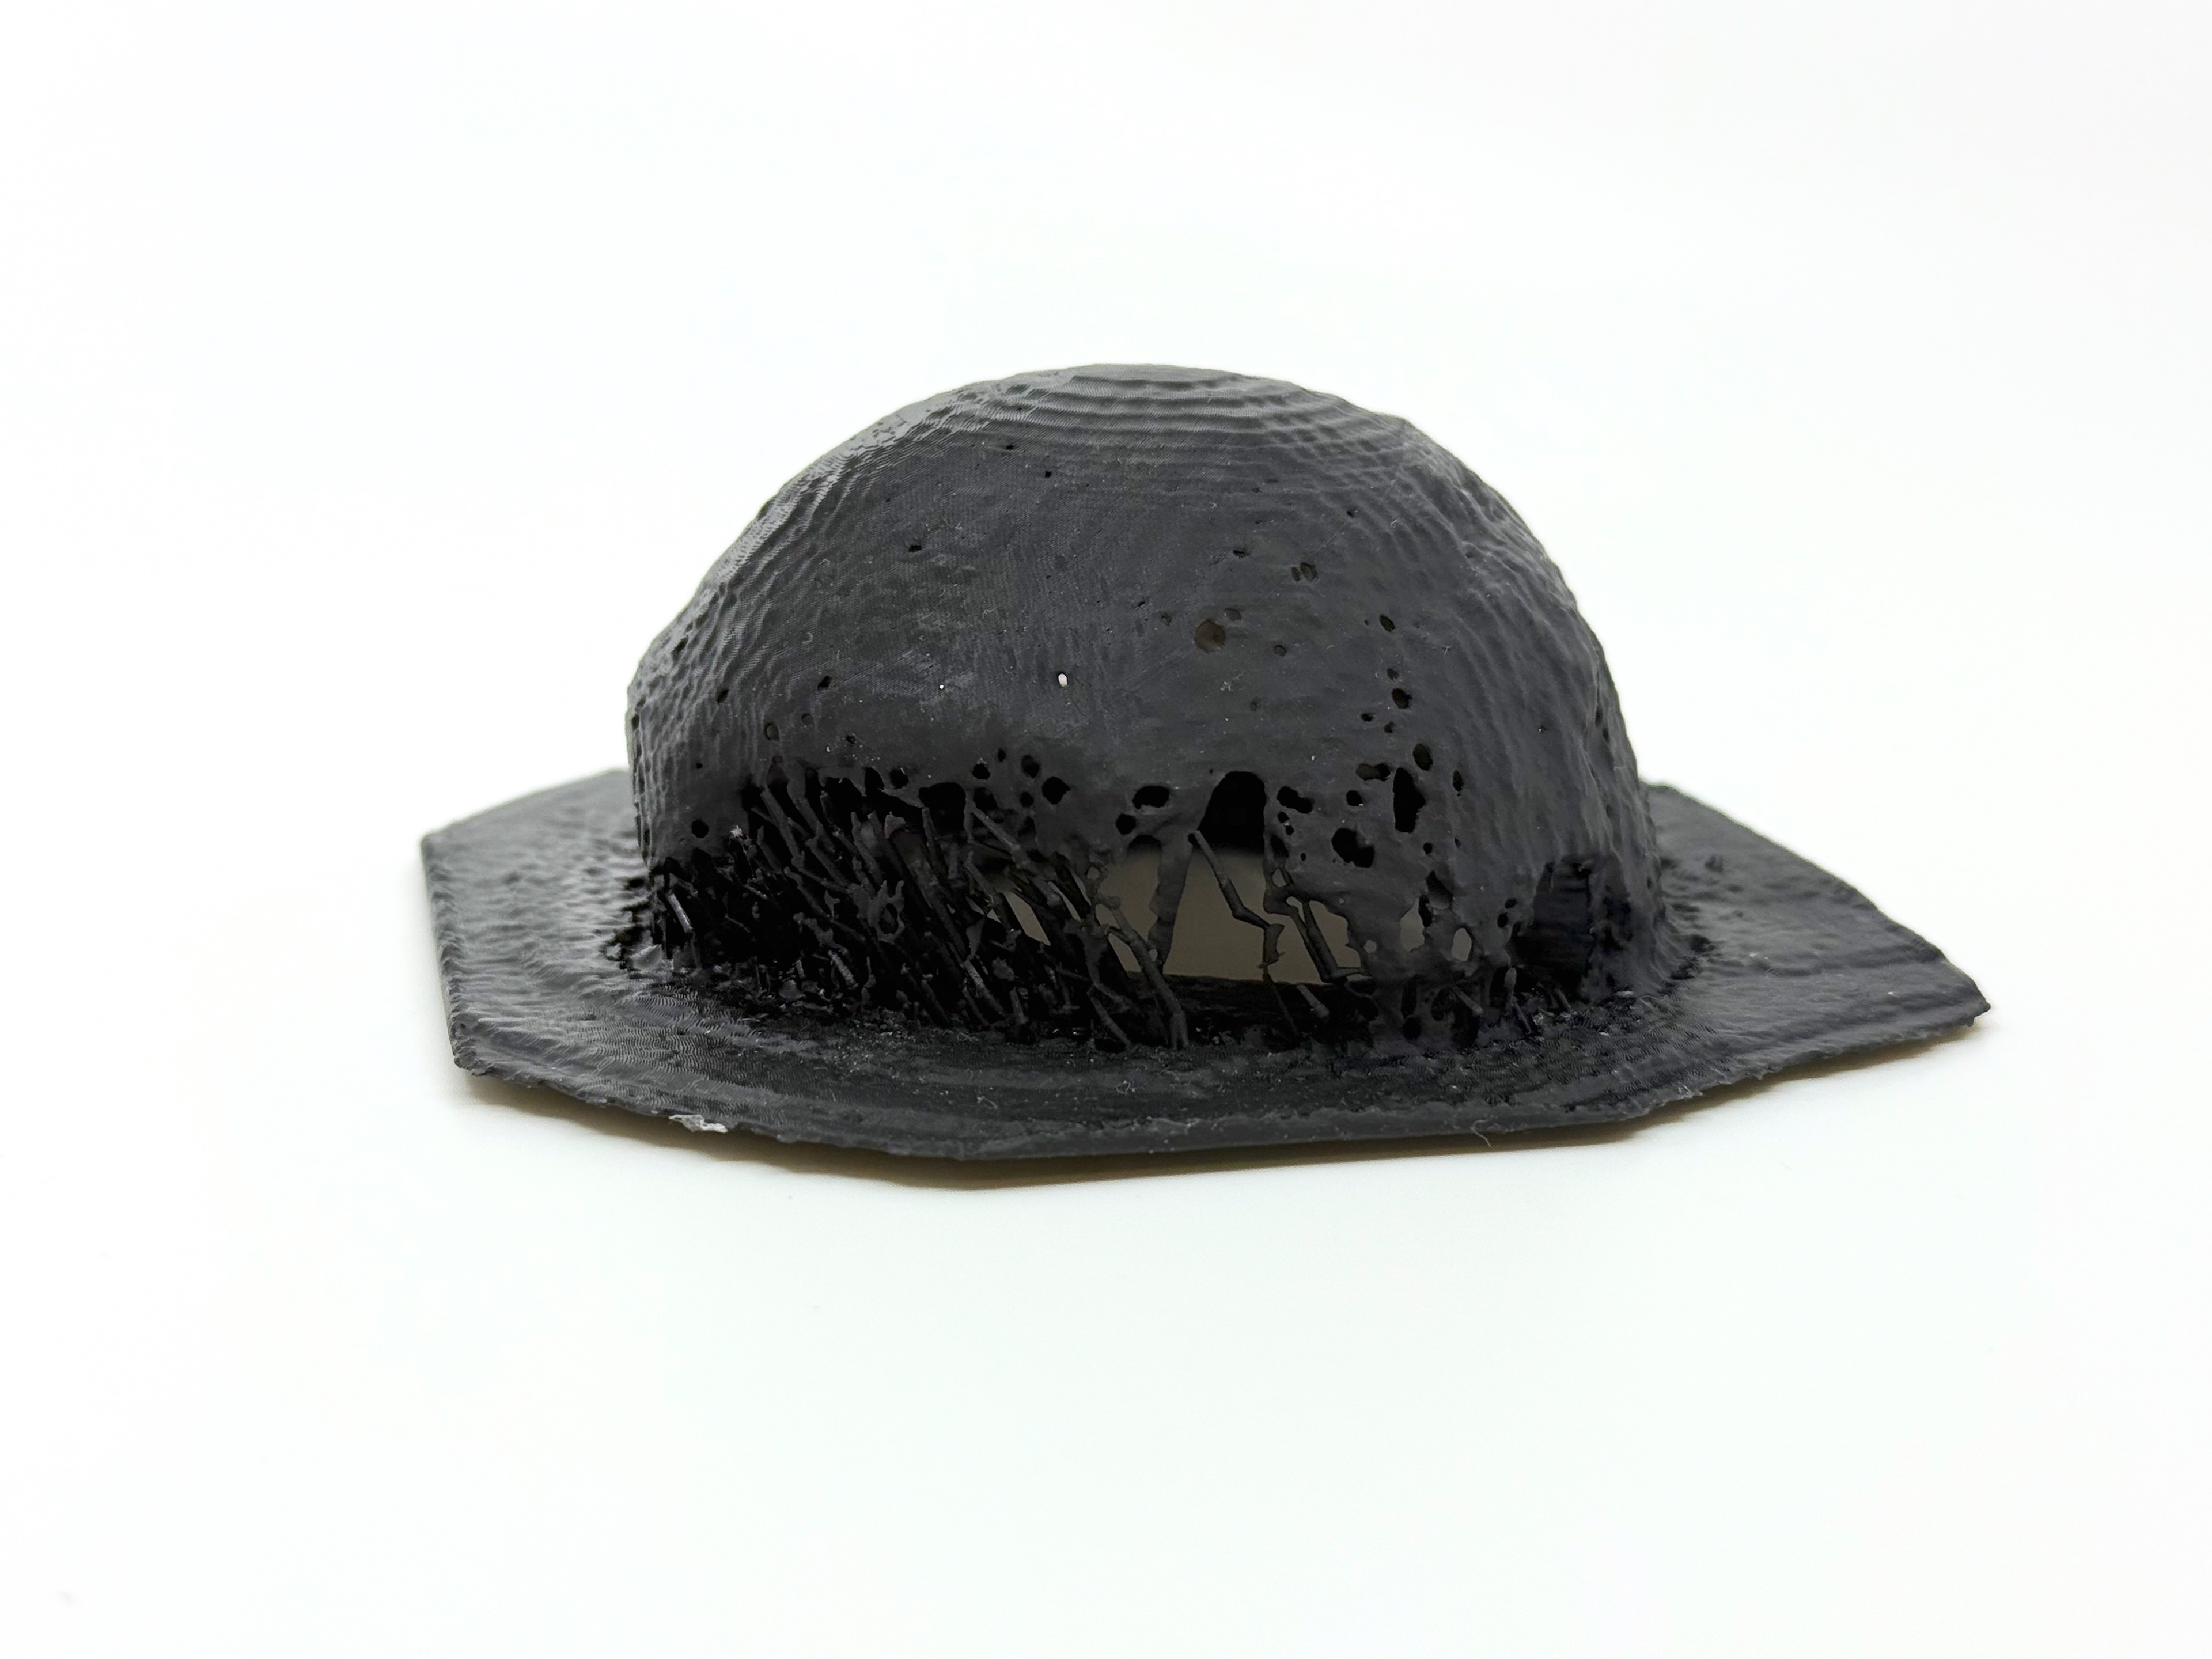
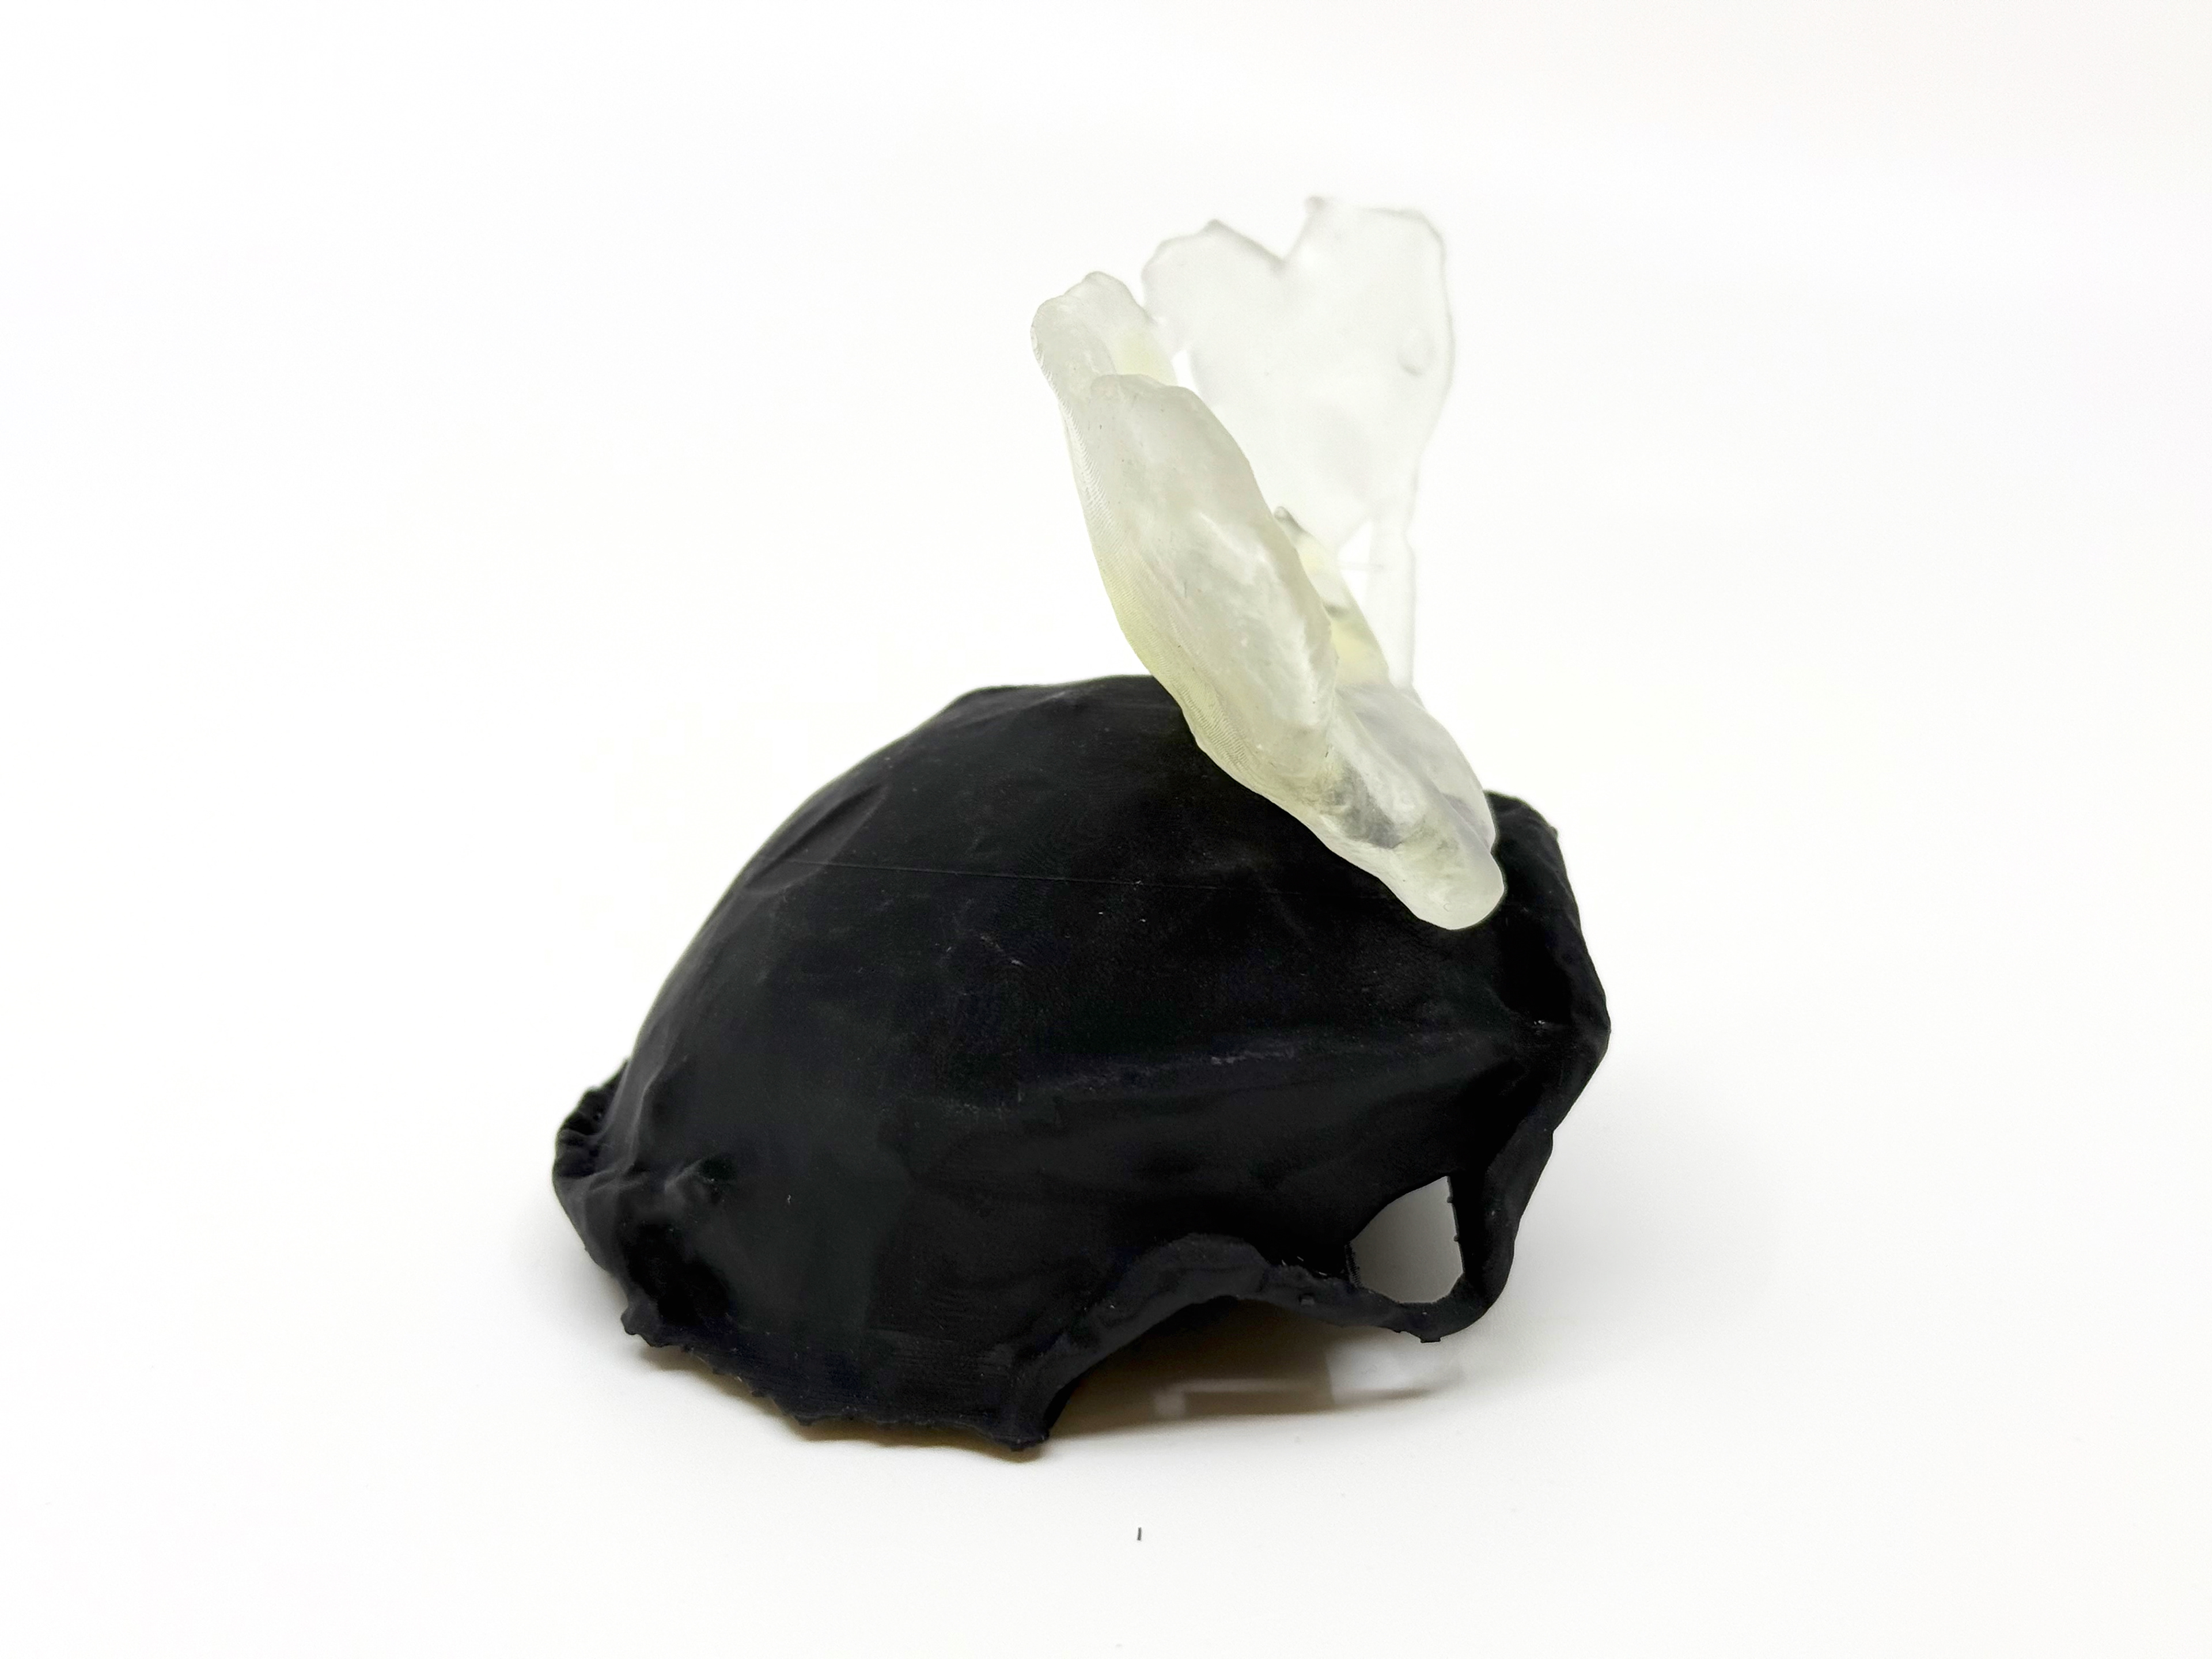
I liked the idea of the heterogeneous cracking, so I did another, but hoping the plaster wouldn't choose to cover the whole ball in this version. This was incorporating the design and flow of V1 and V2 but with the shrinkage and cracking aspect of V3.
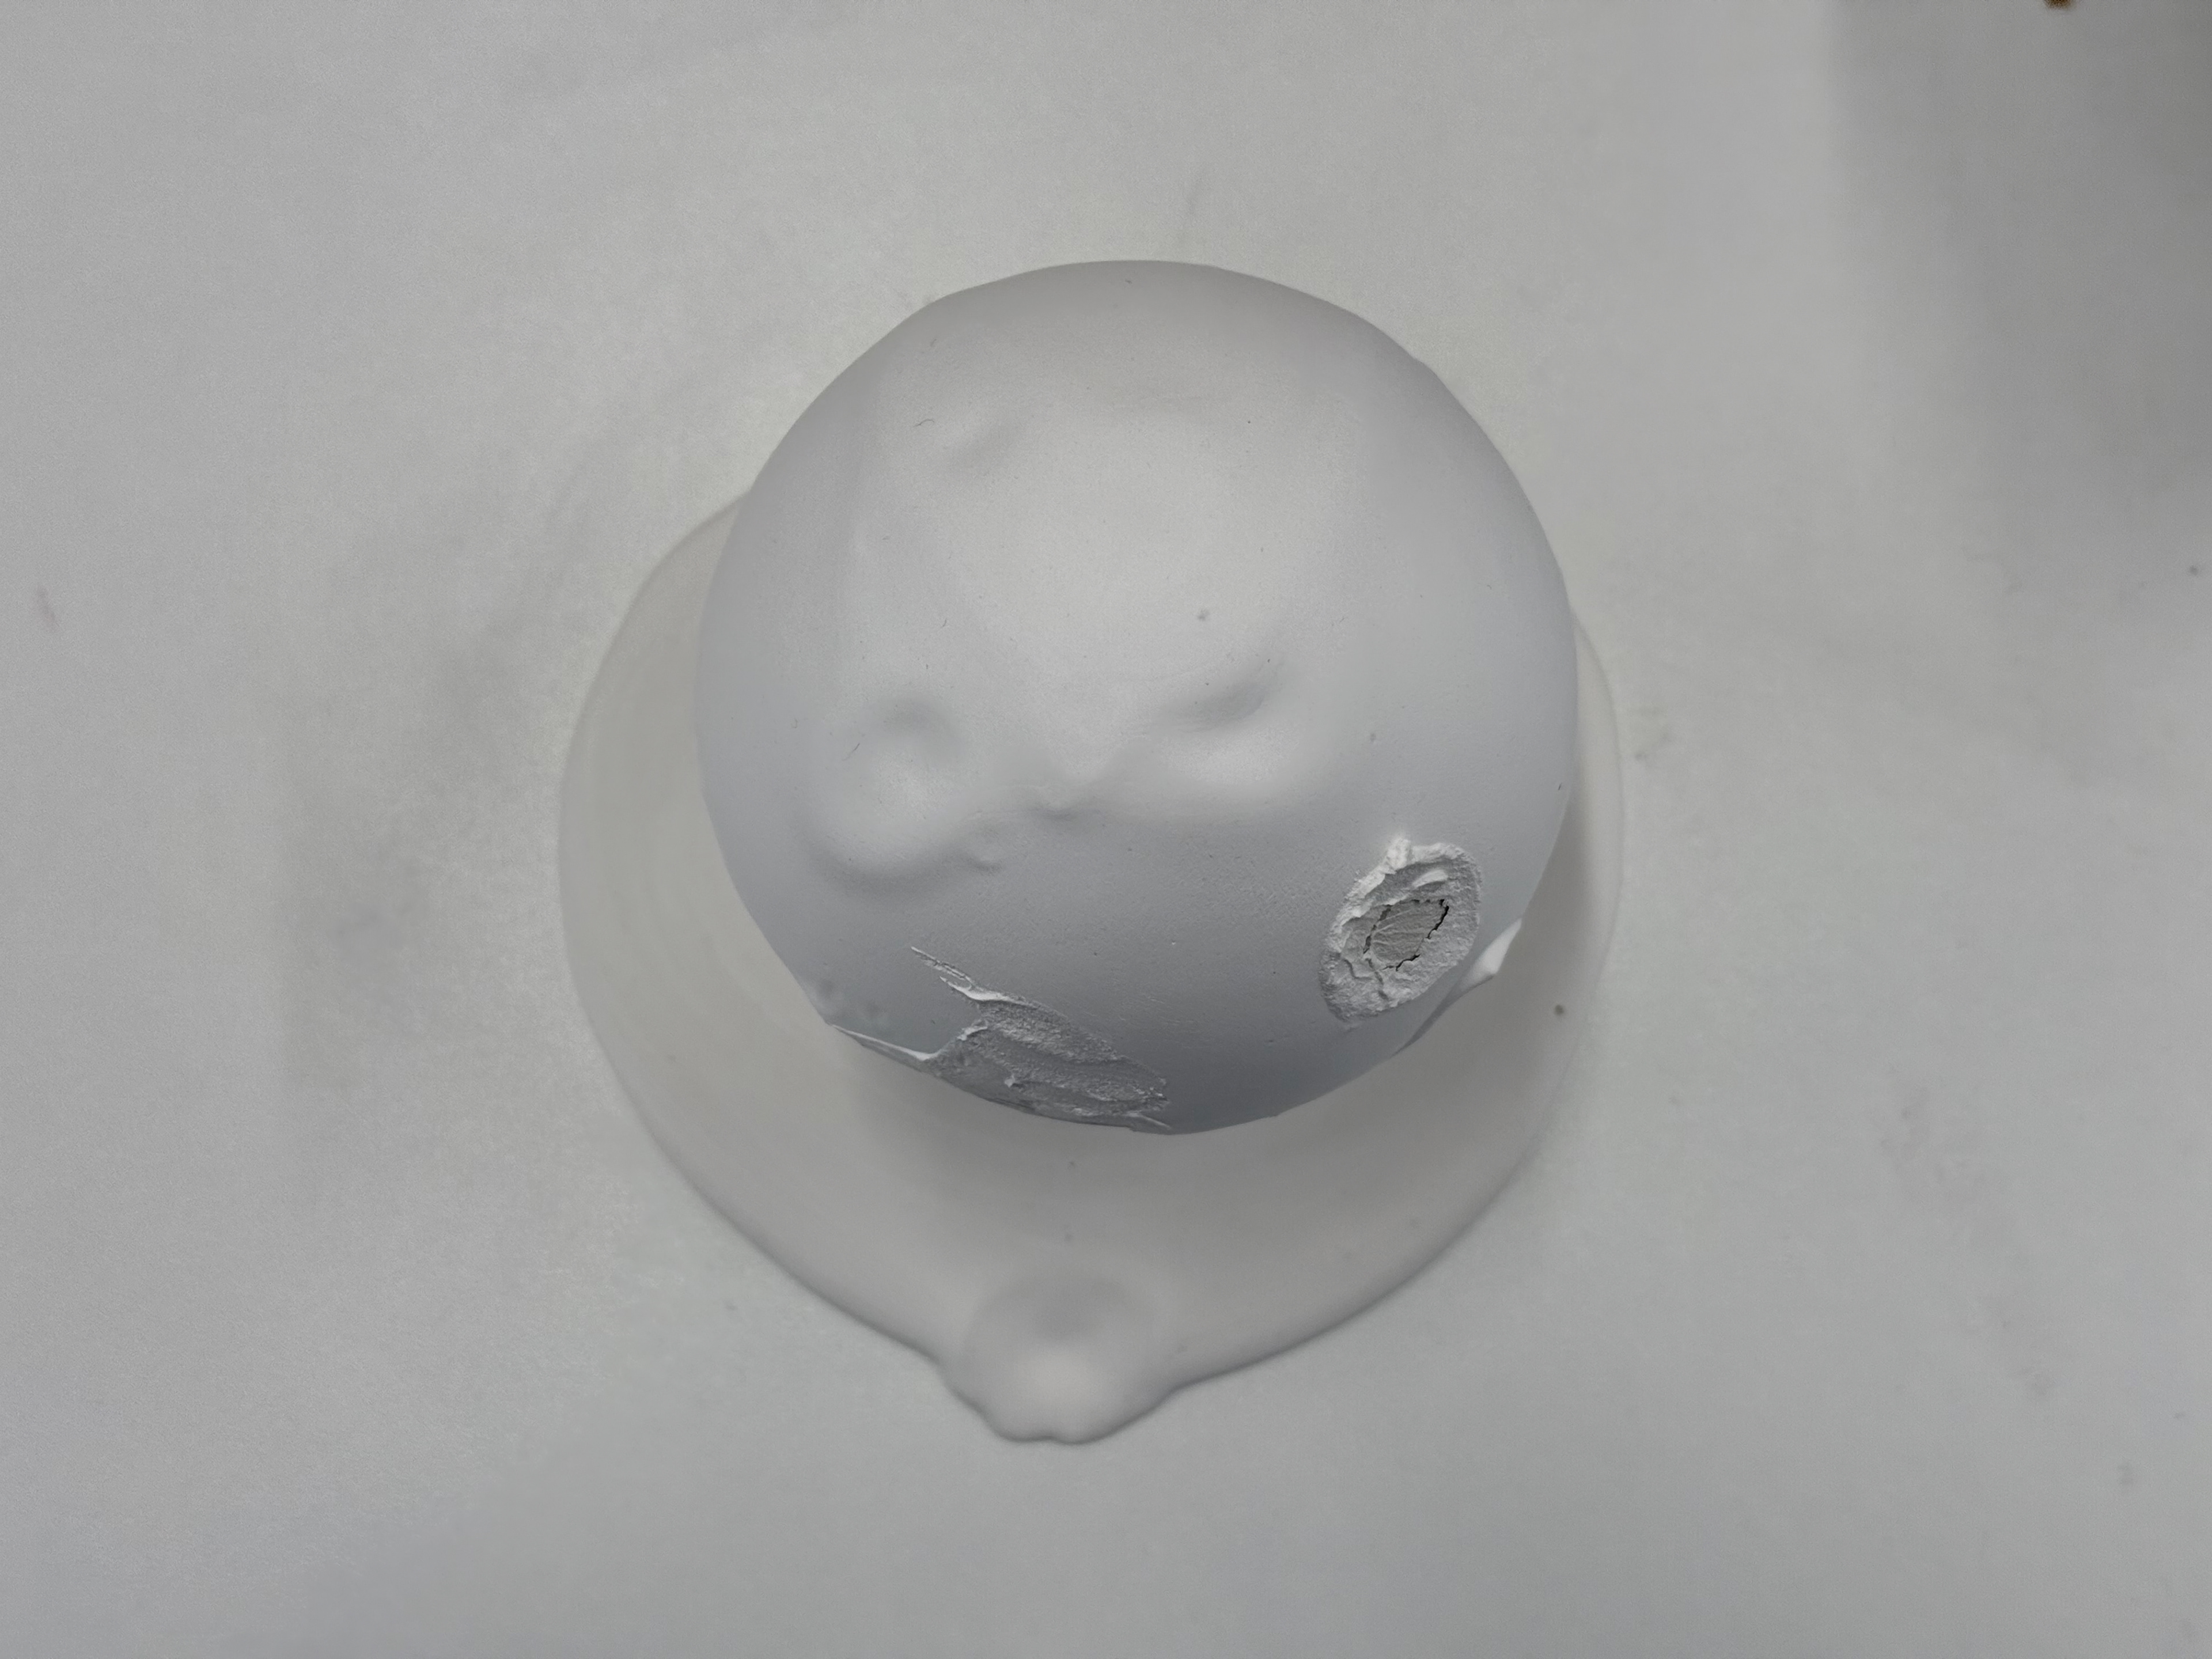
Bare ball.
Pooling of the plaster.
Indents of the plaster.
Cracks starting to form.
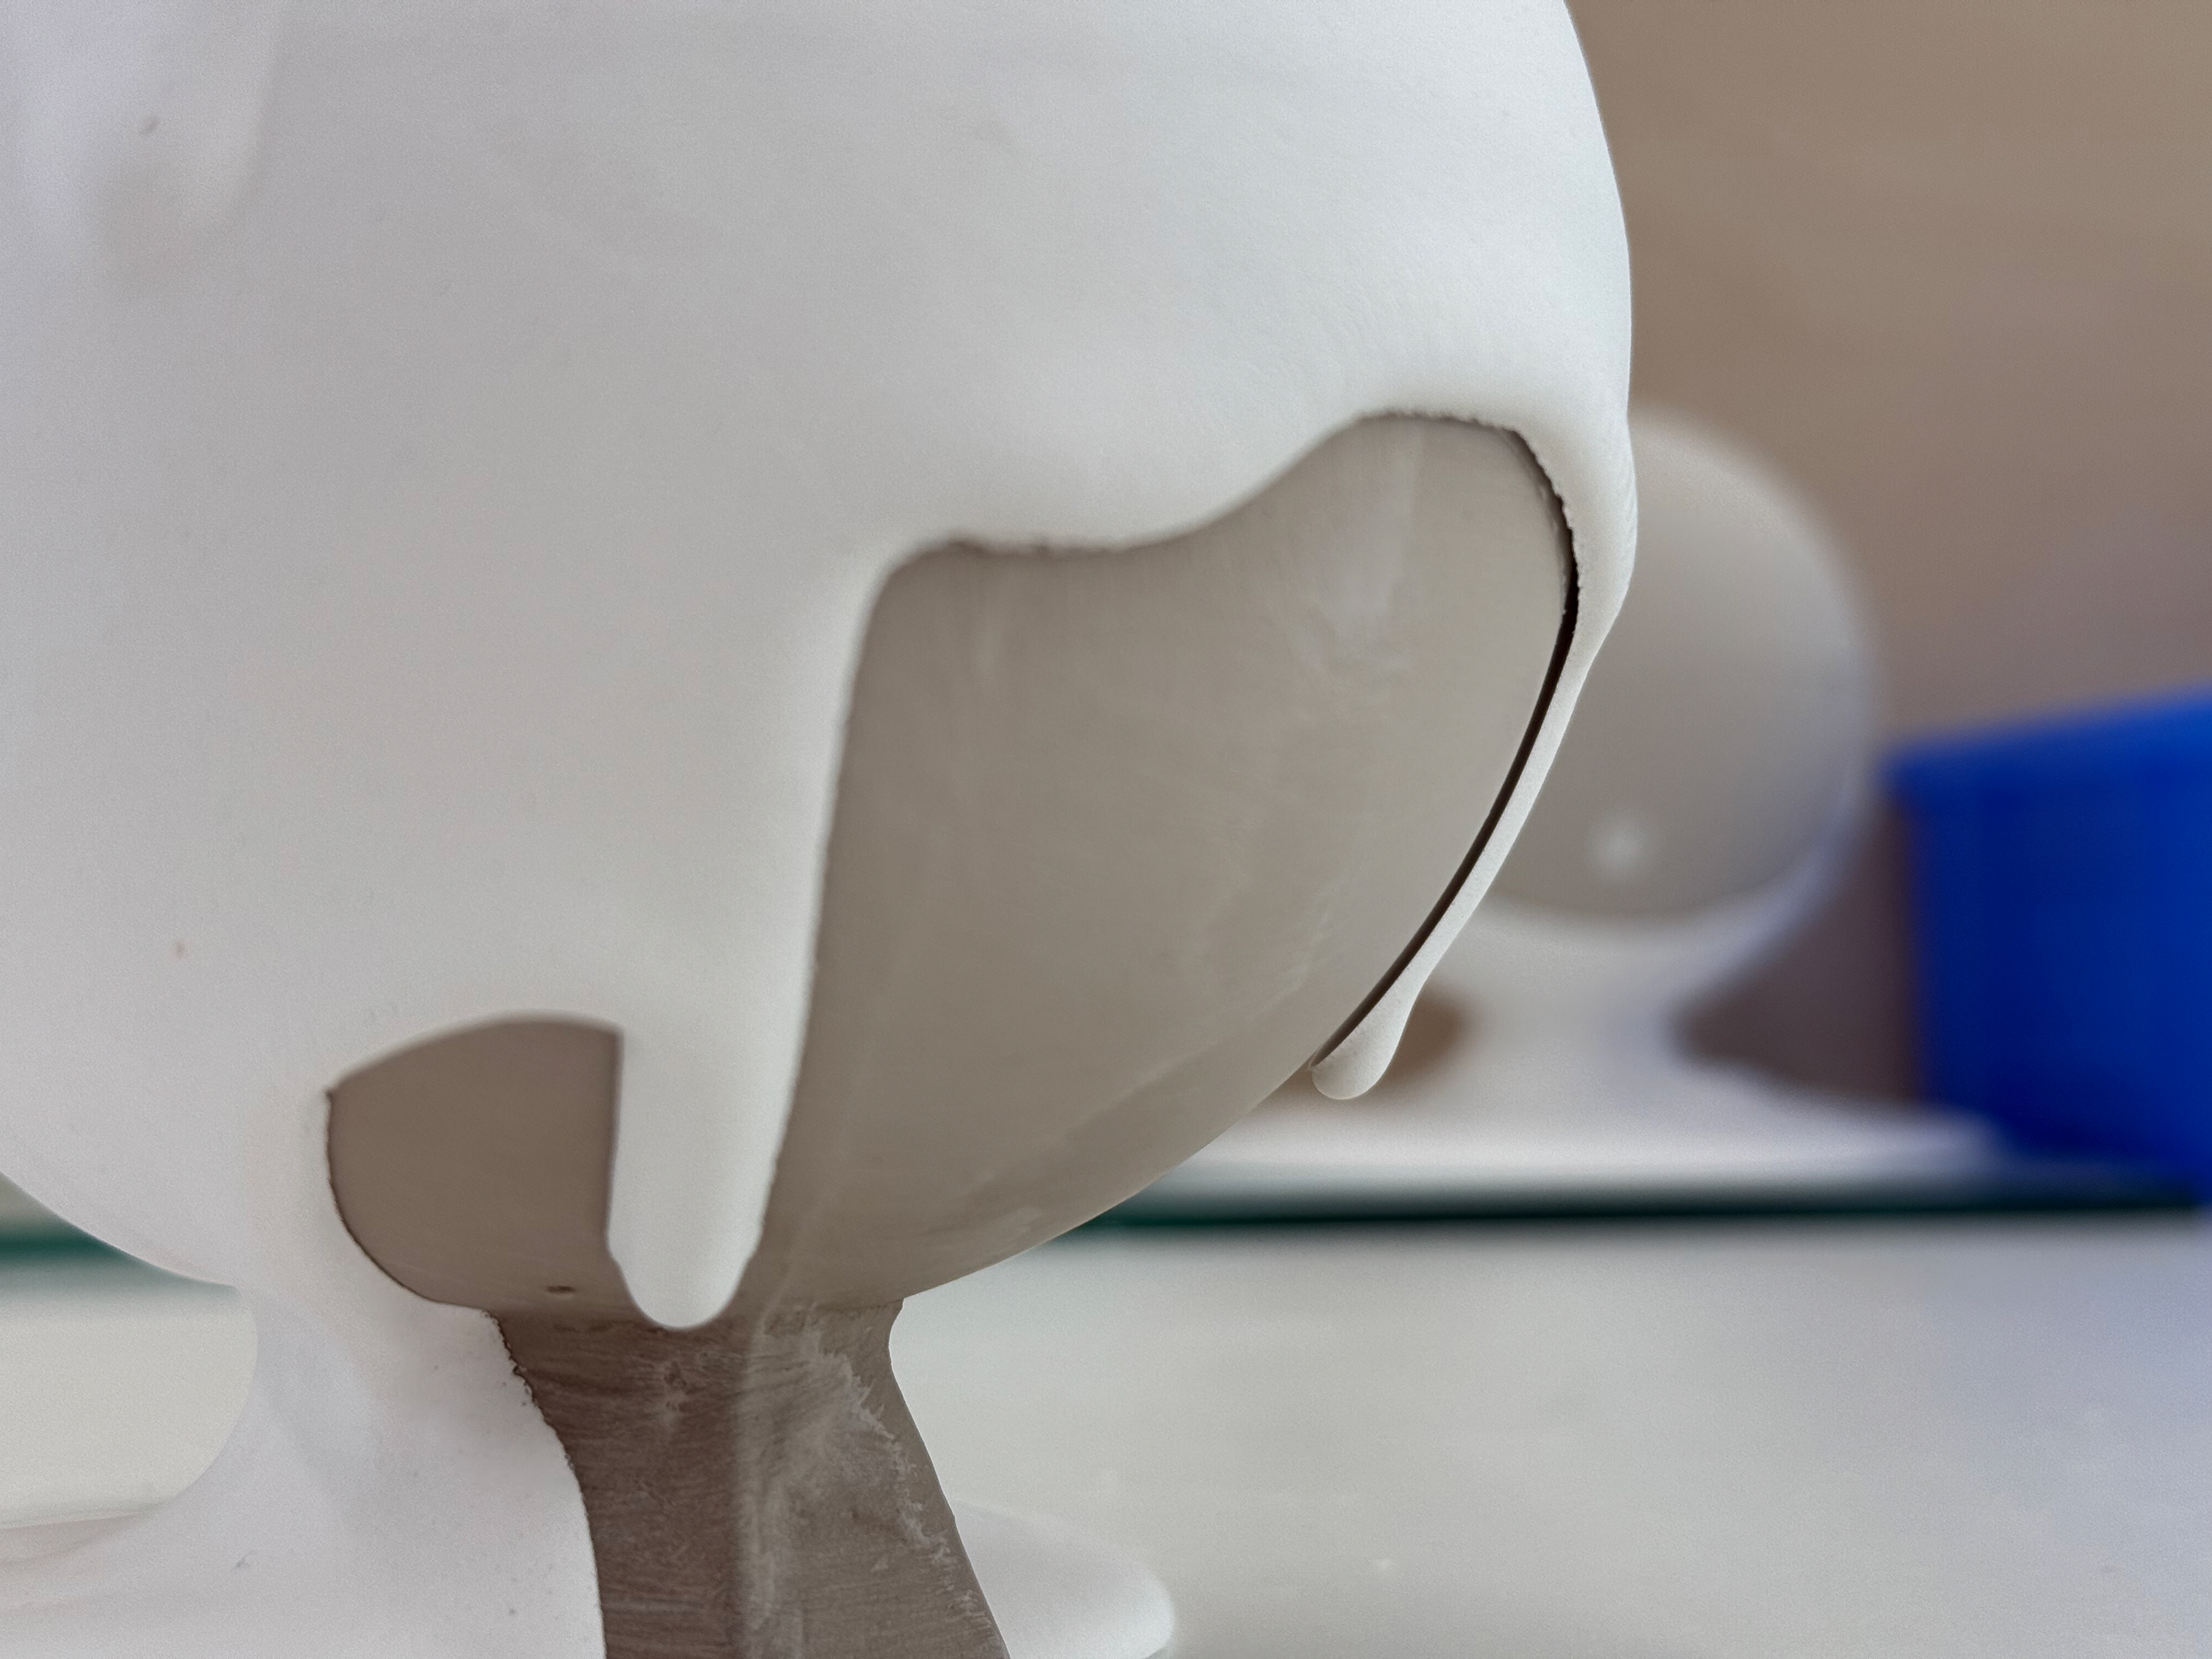
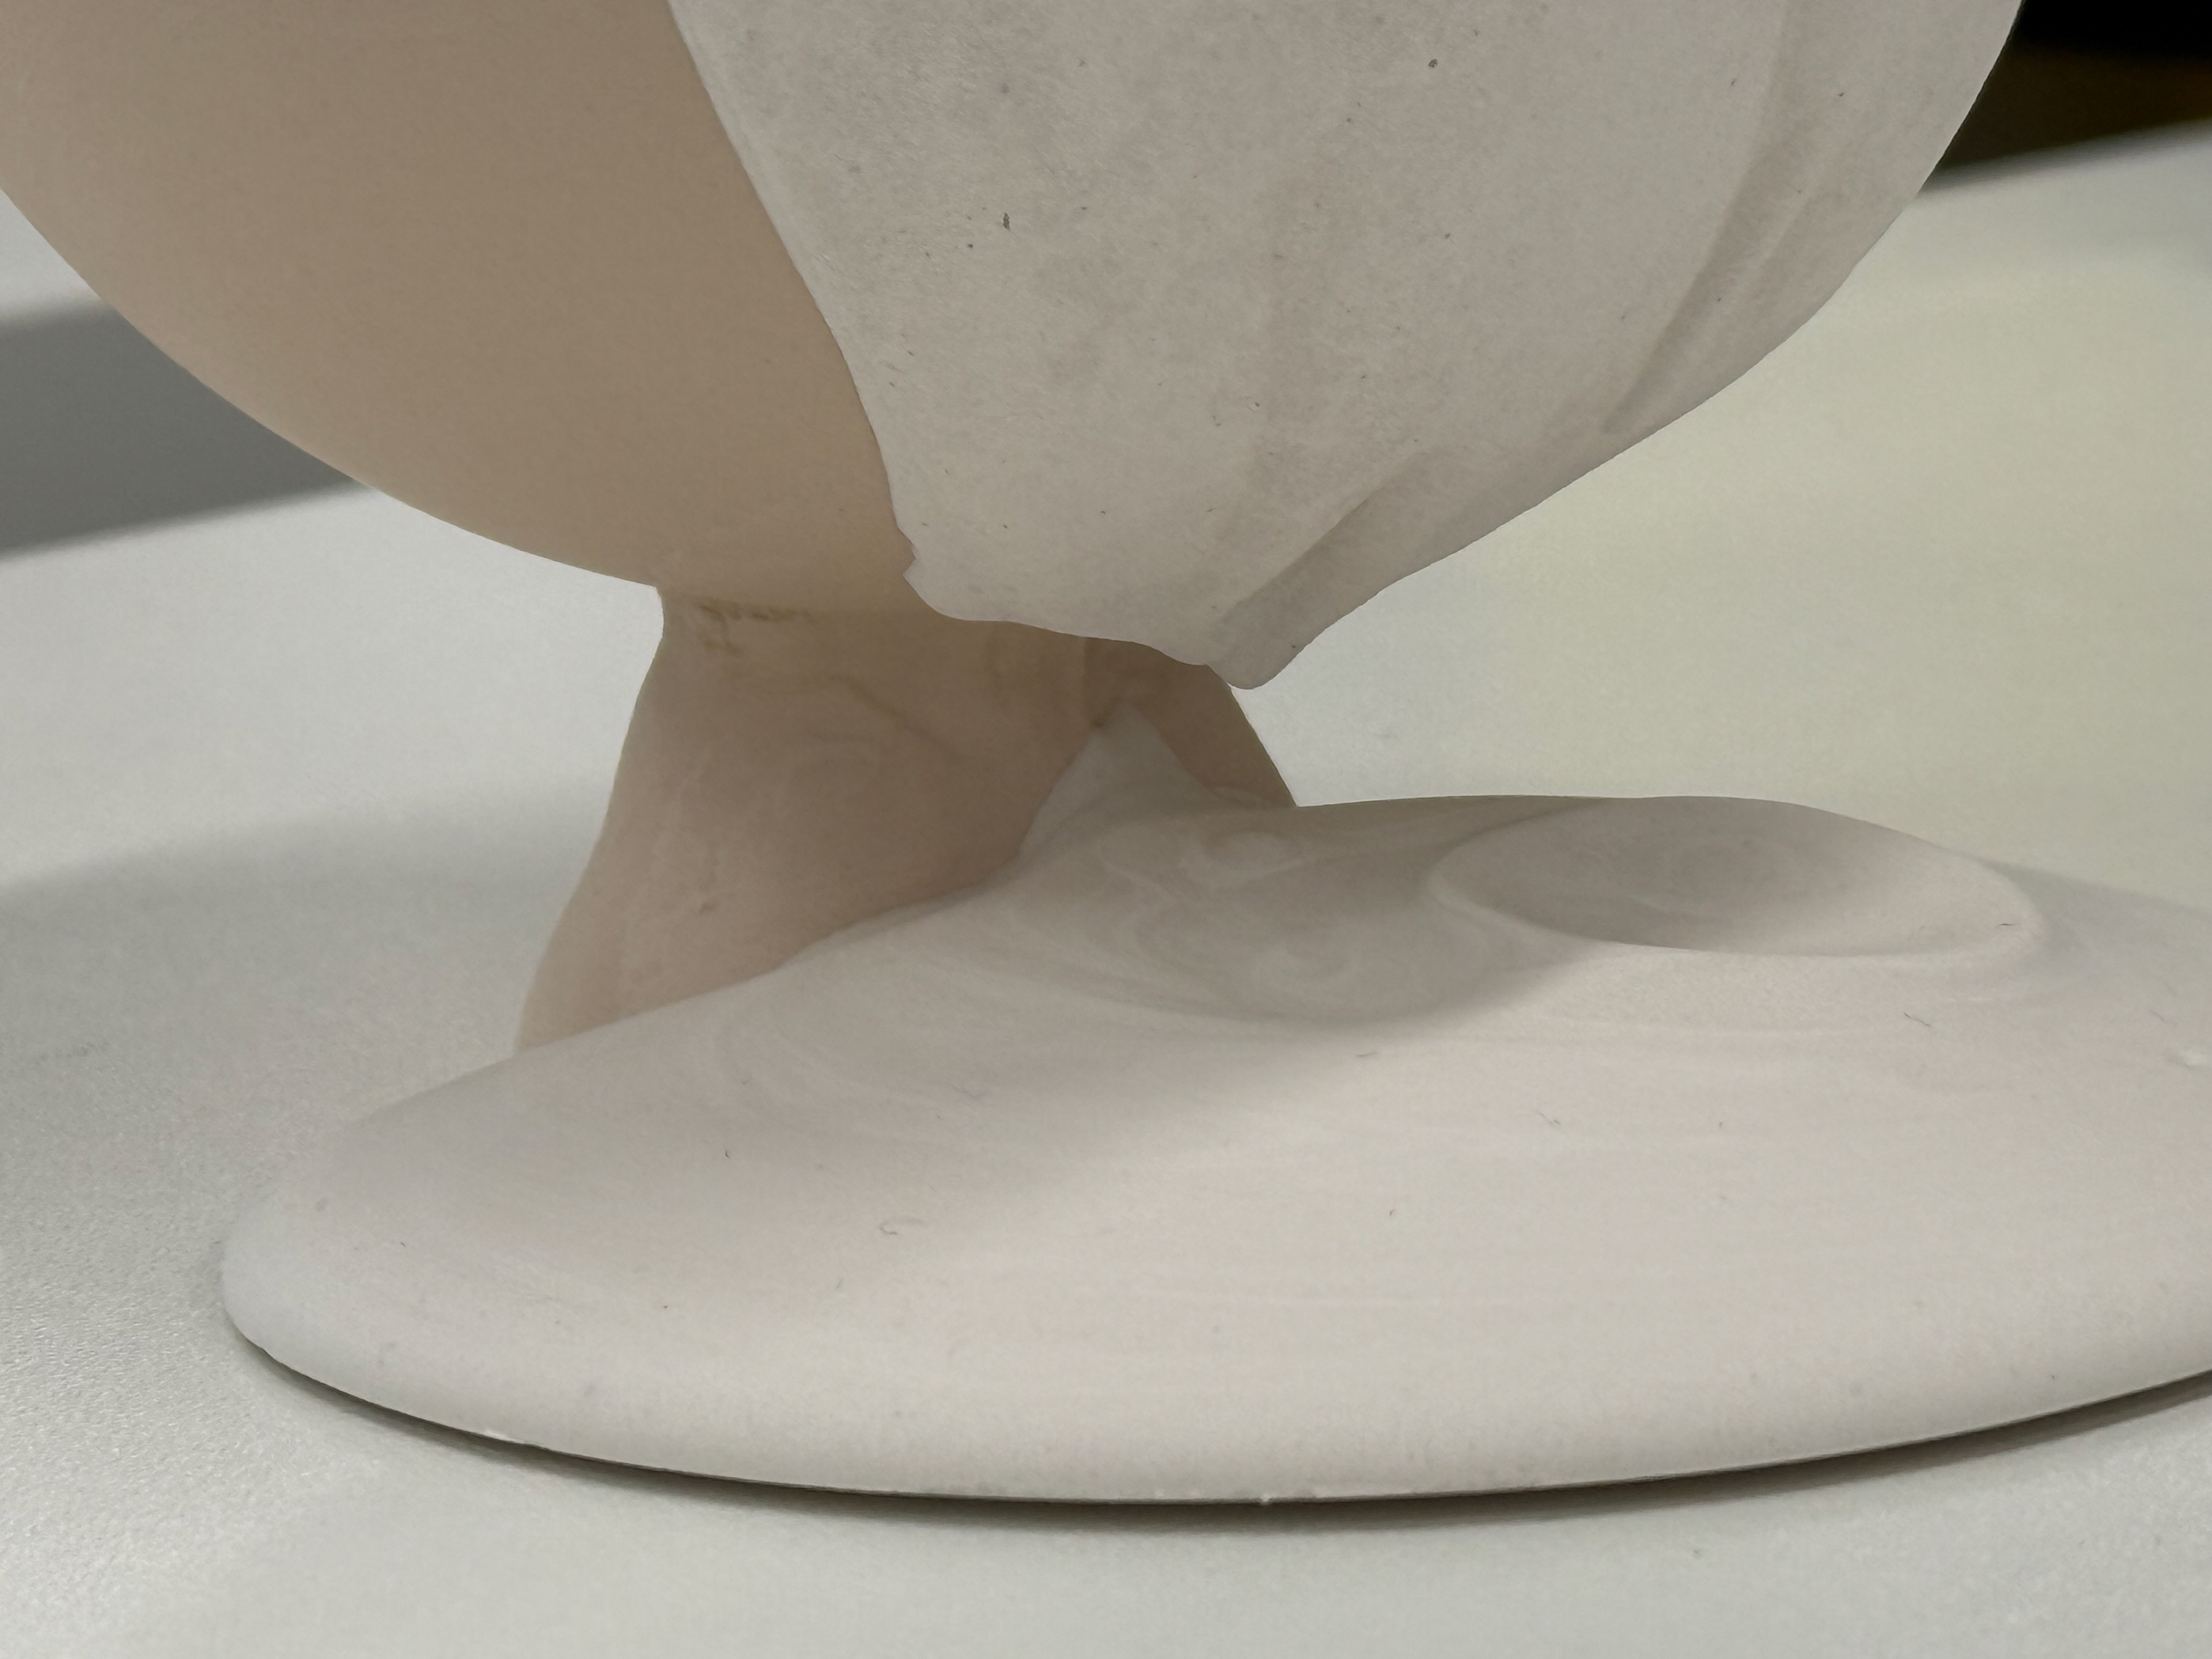
Gap between Slip and Plaster.
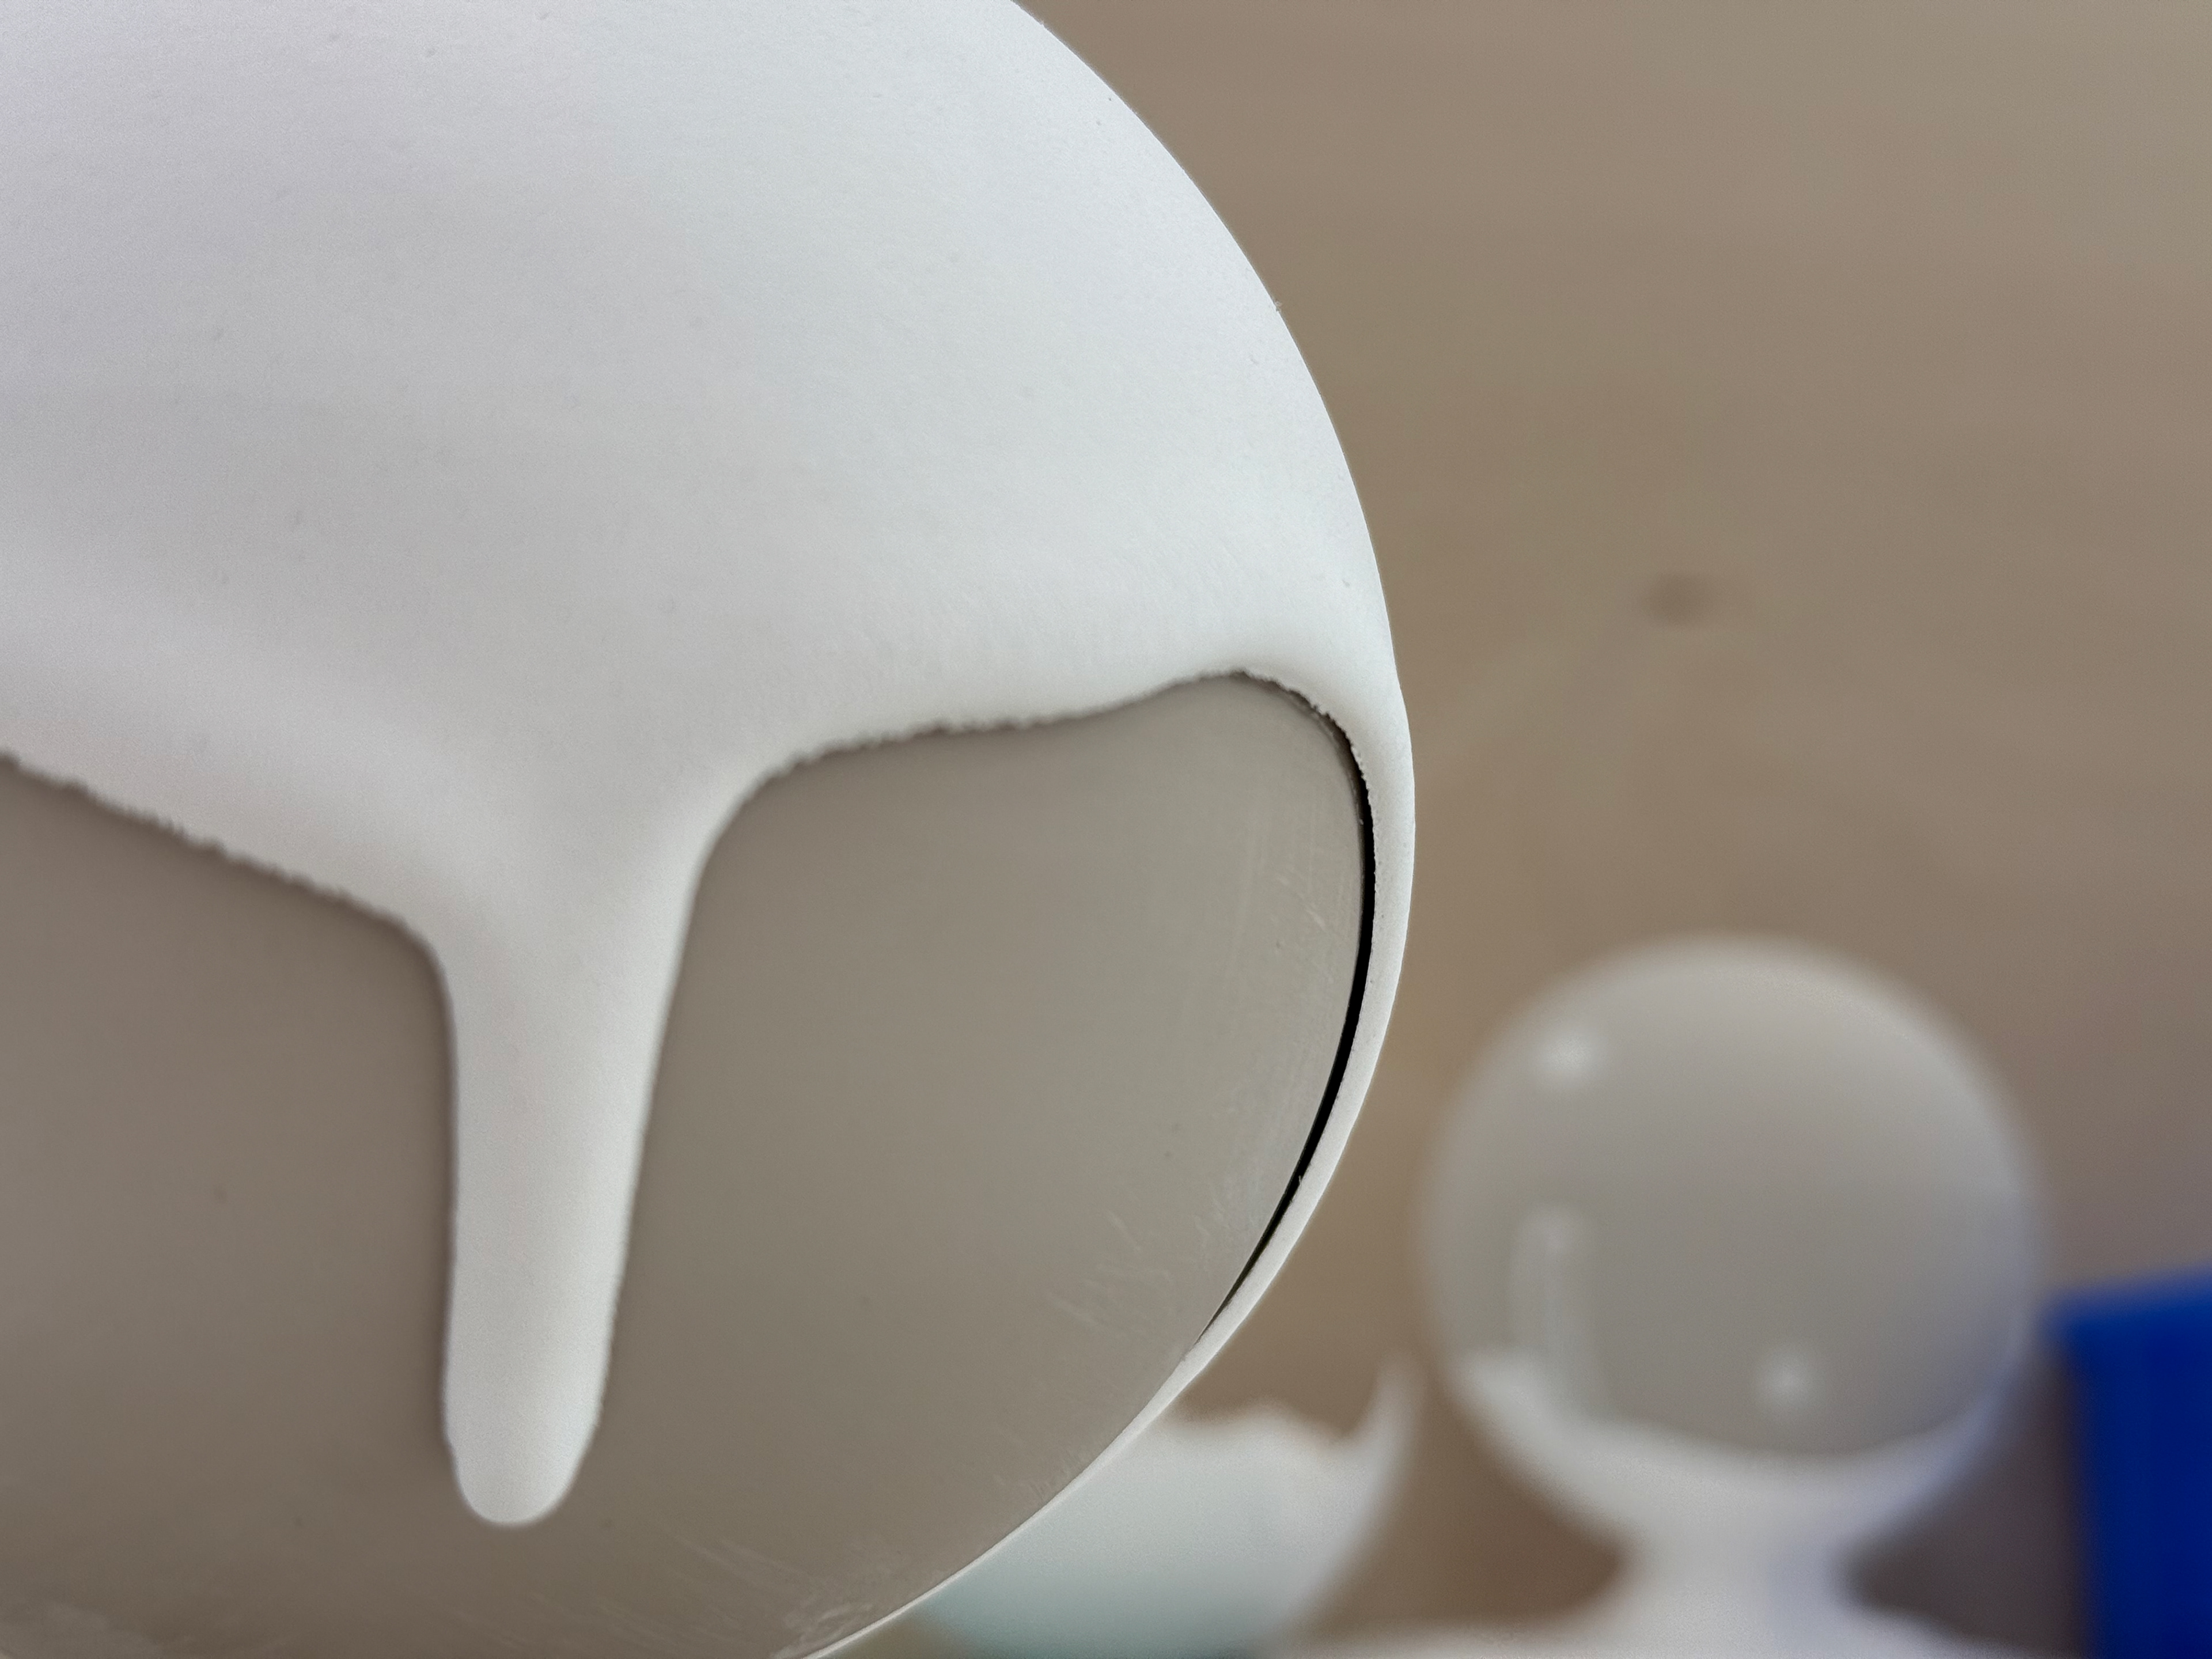
Gap between Slip and Plaster.
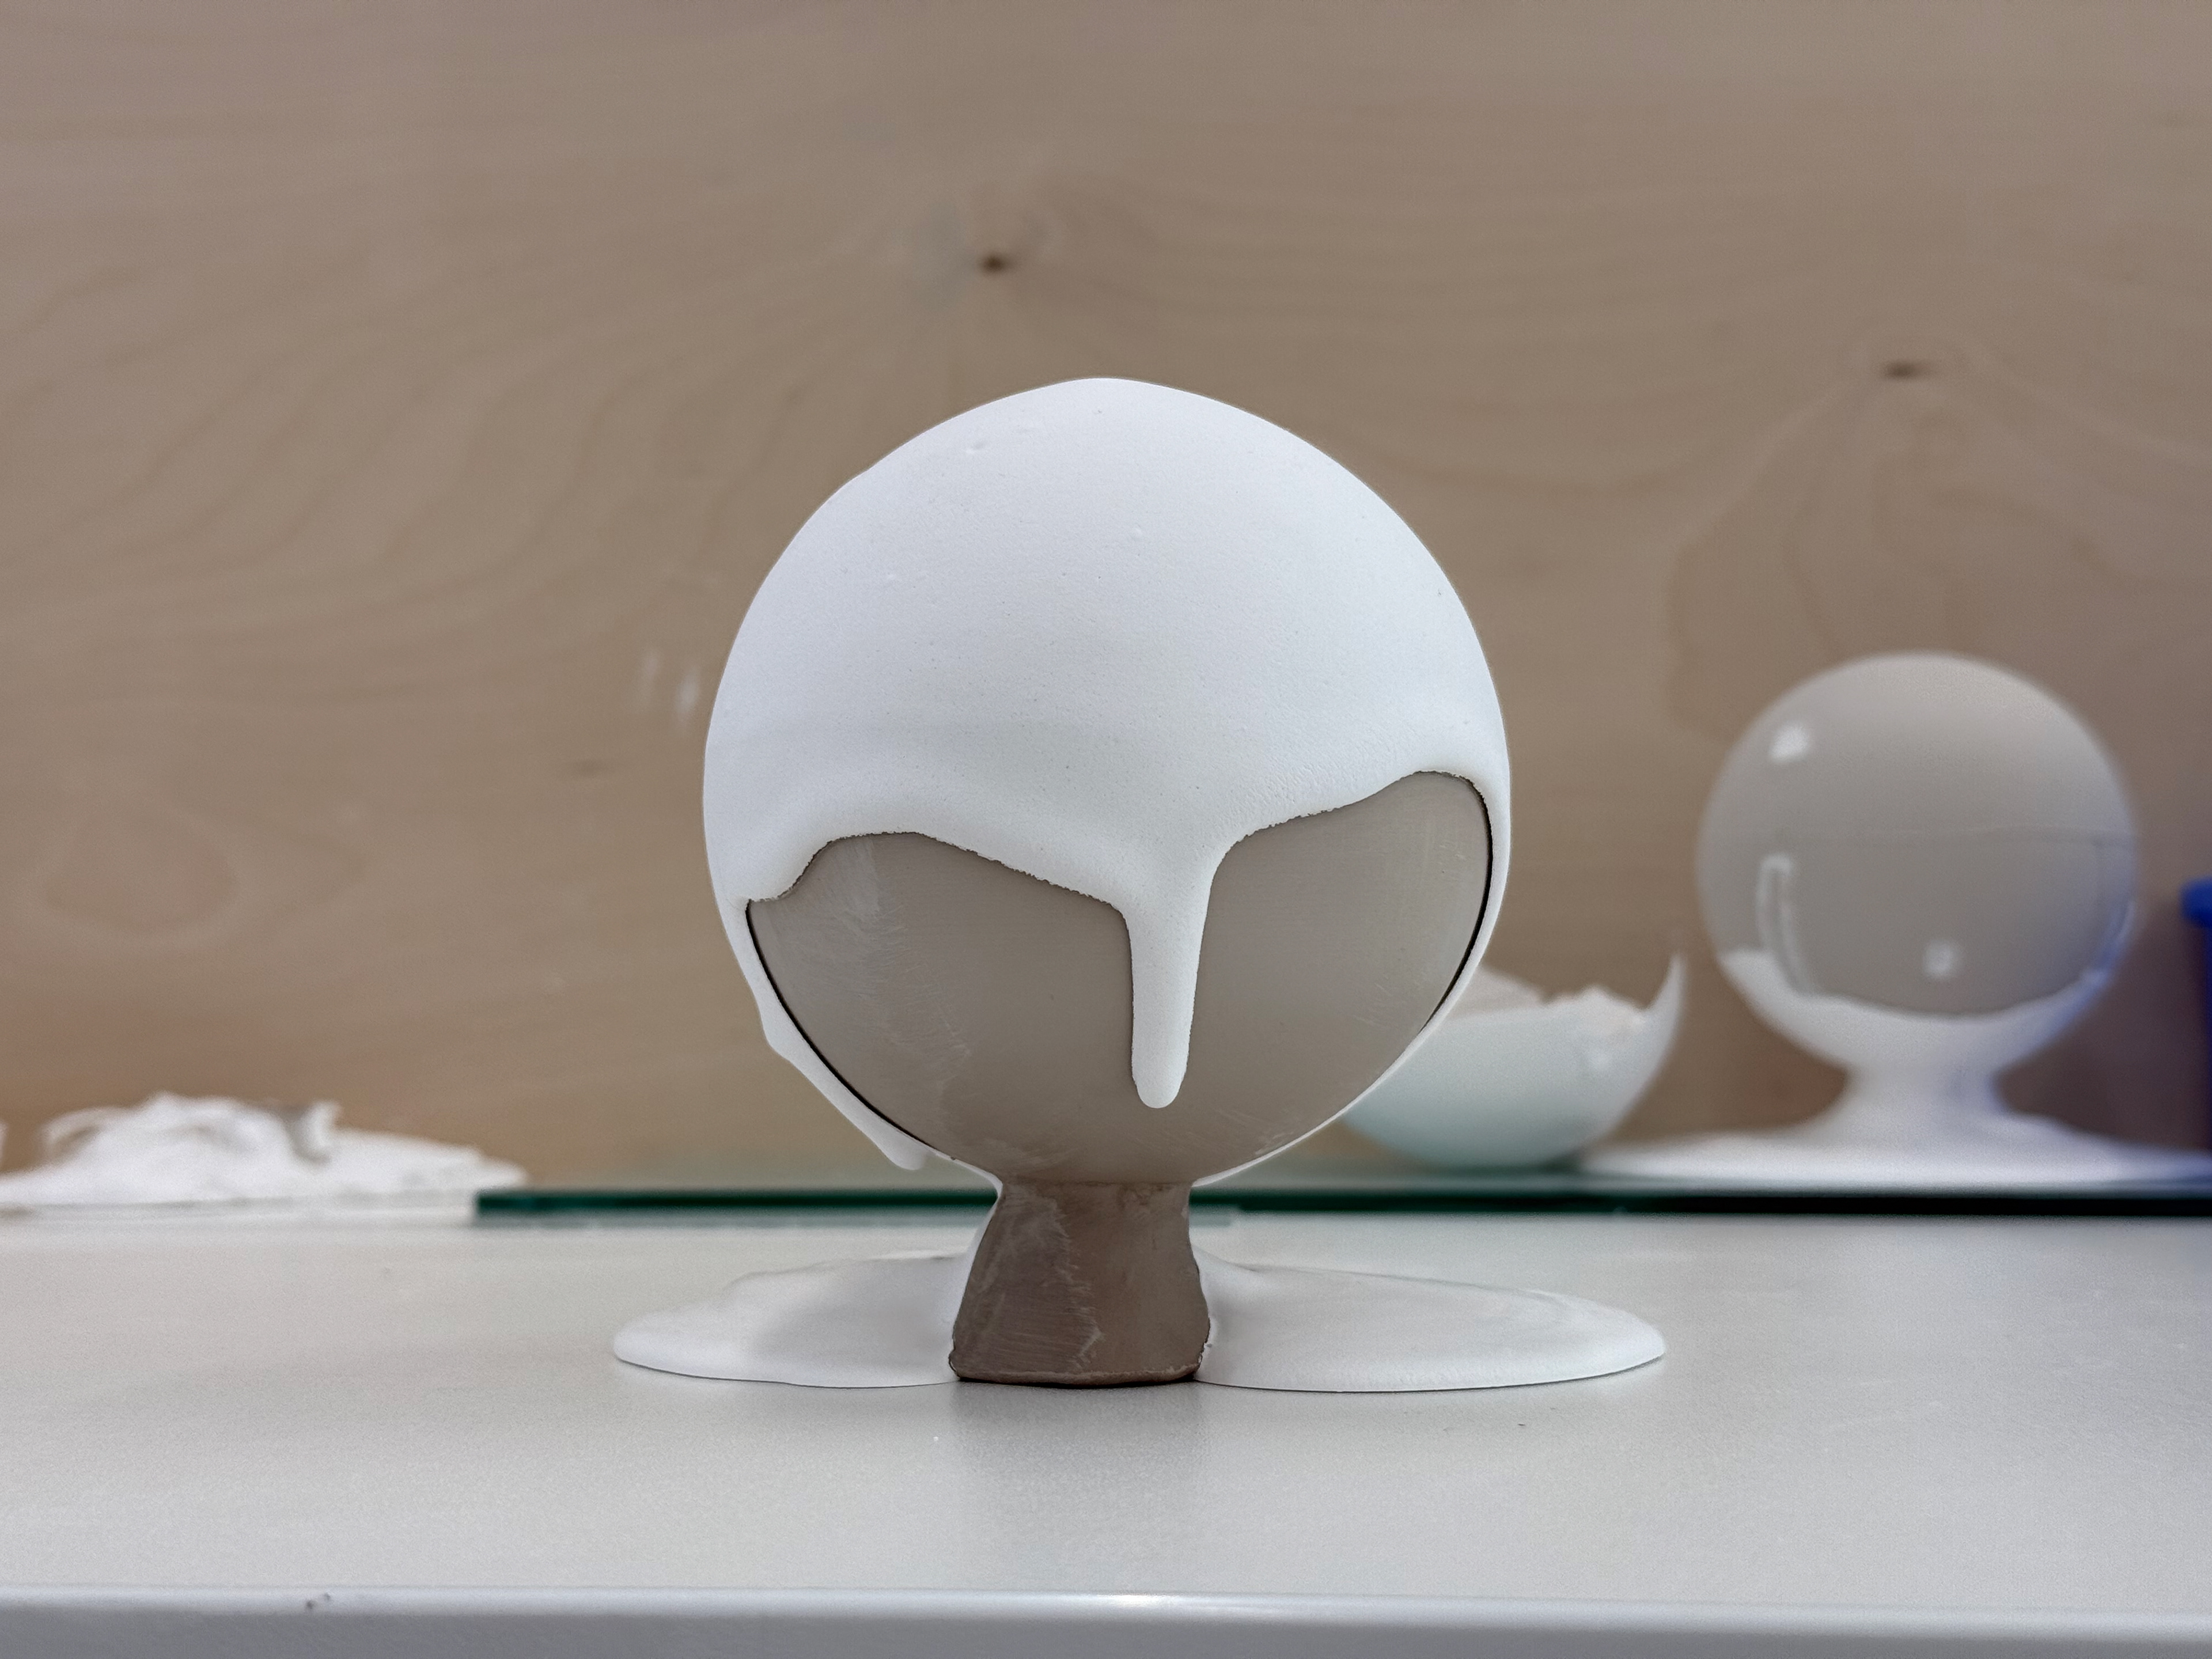
Helmet of plaster over the ball.

Top view.
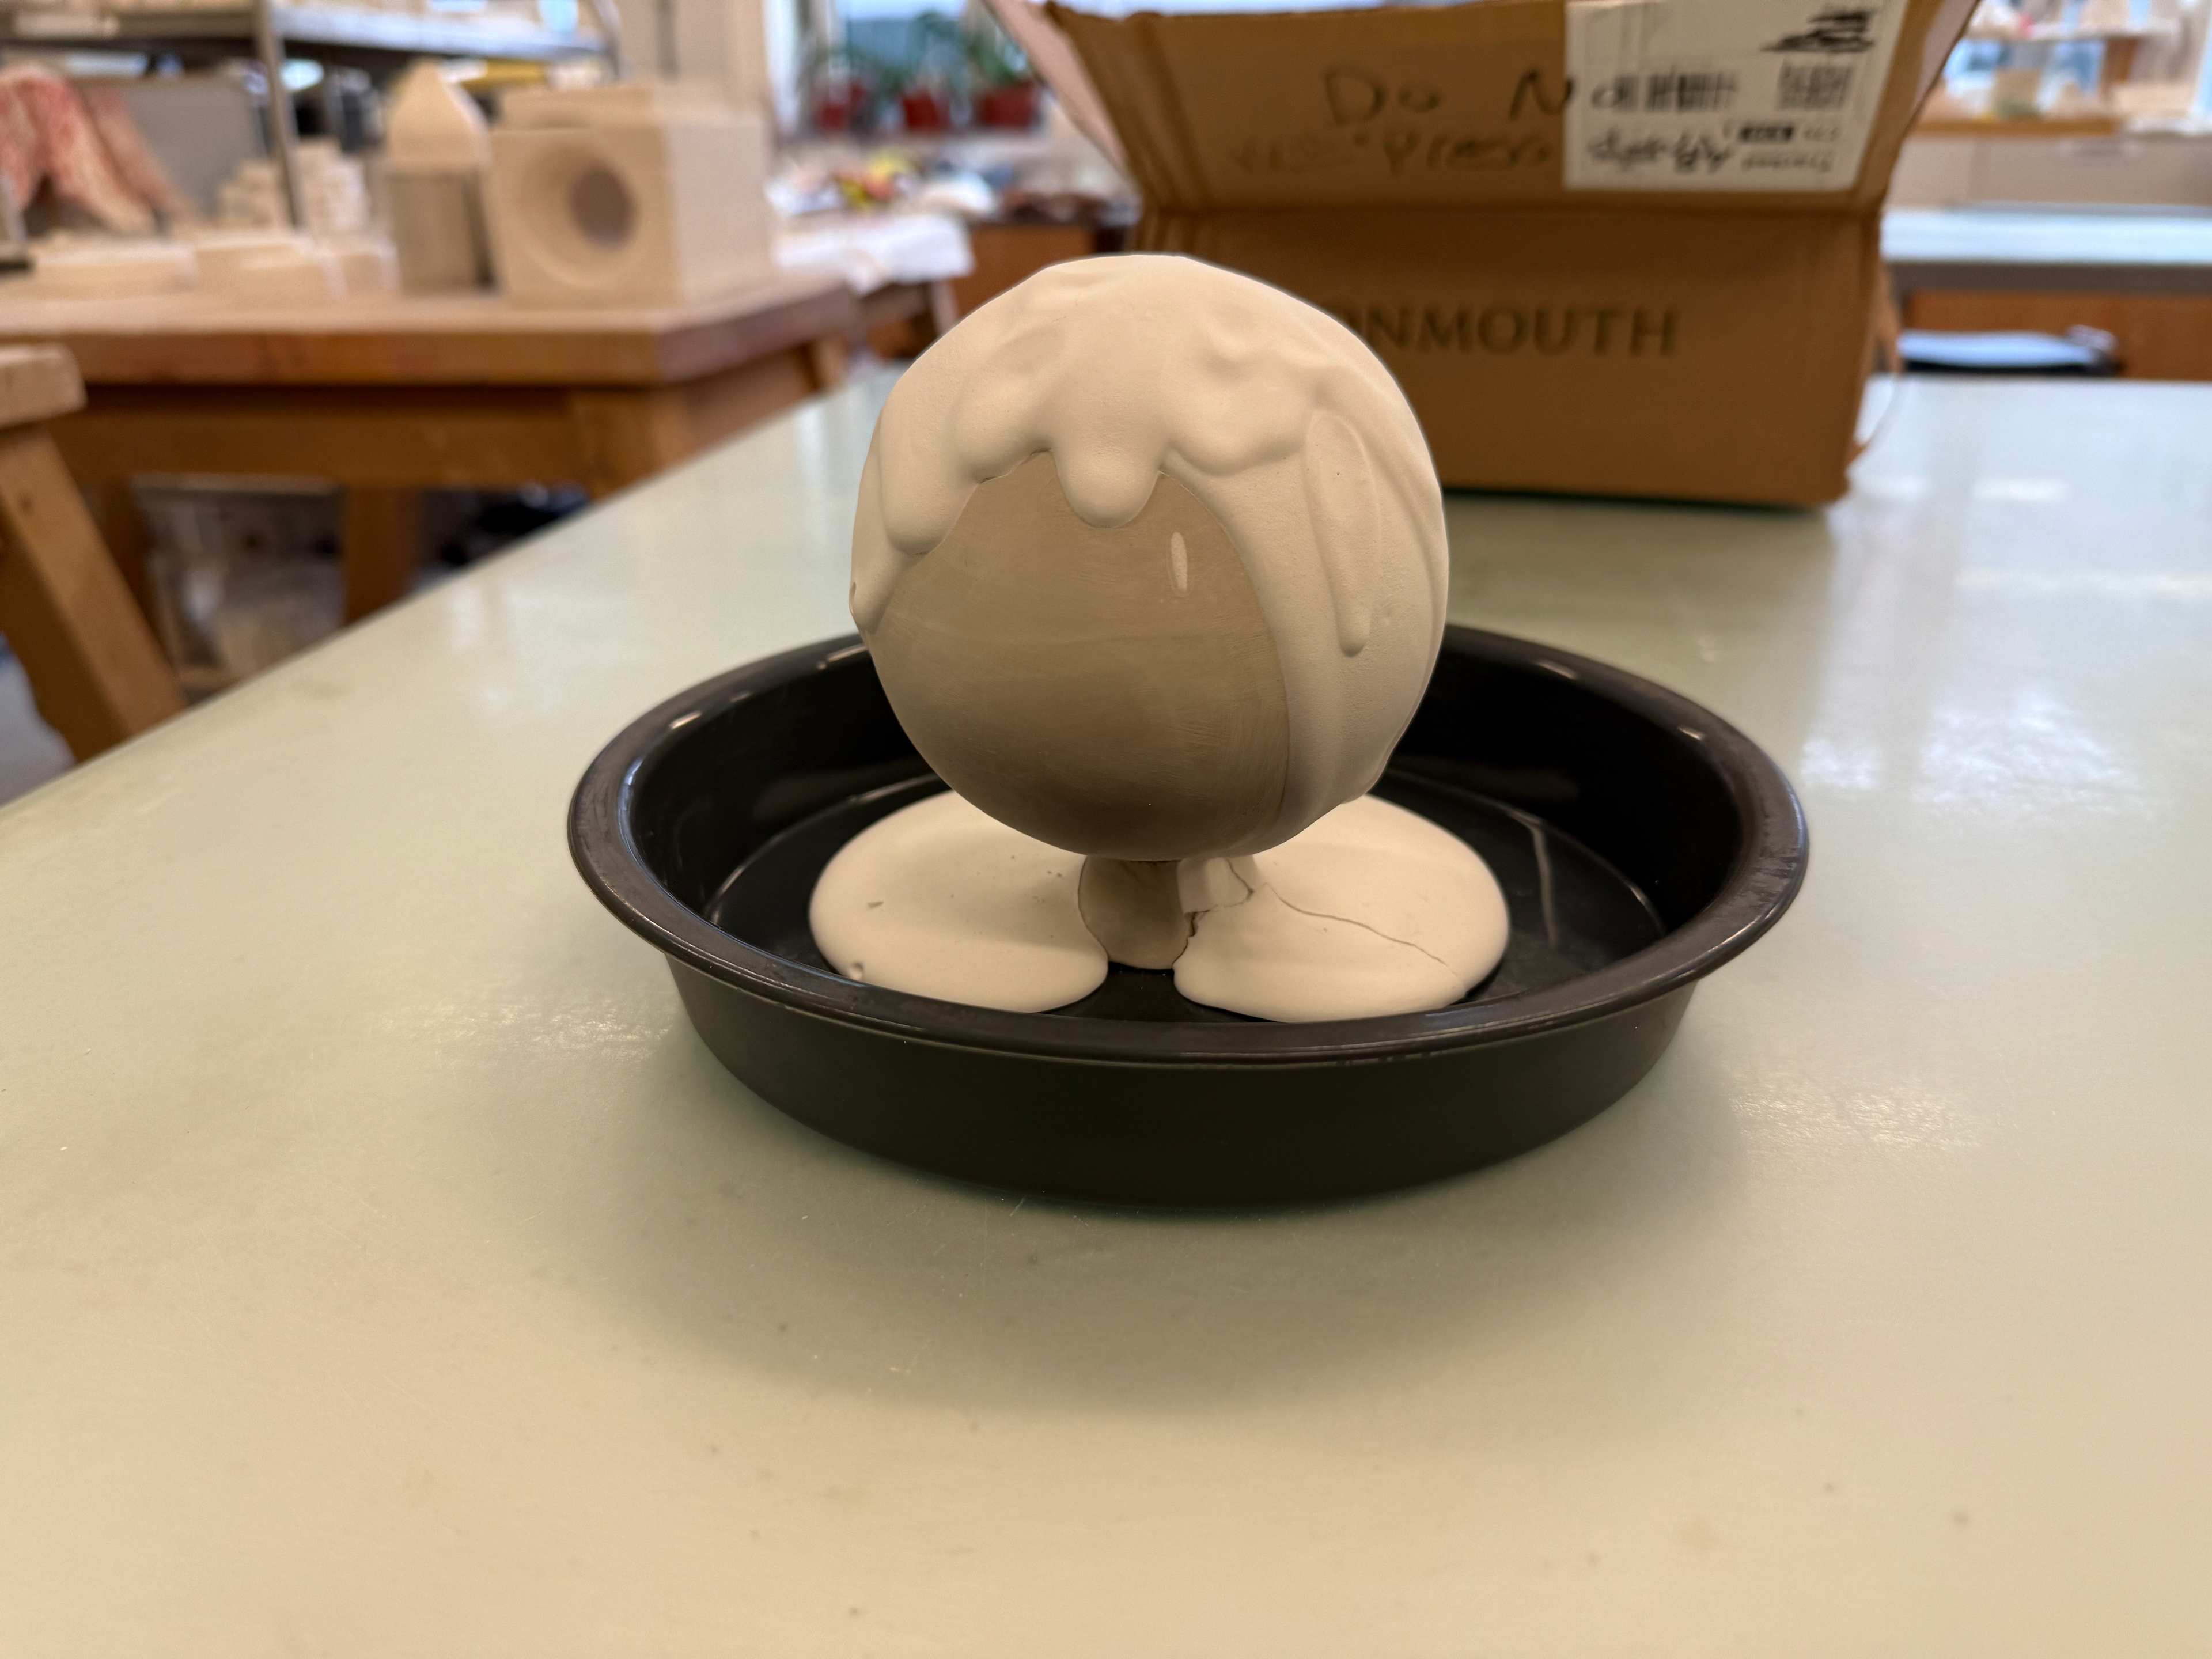
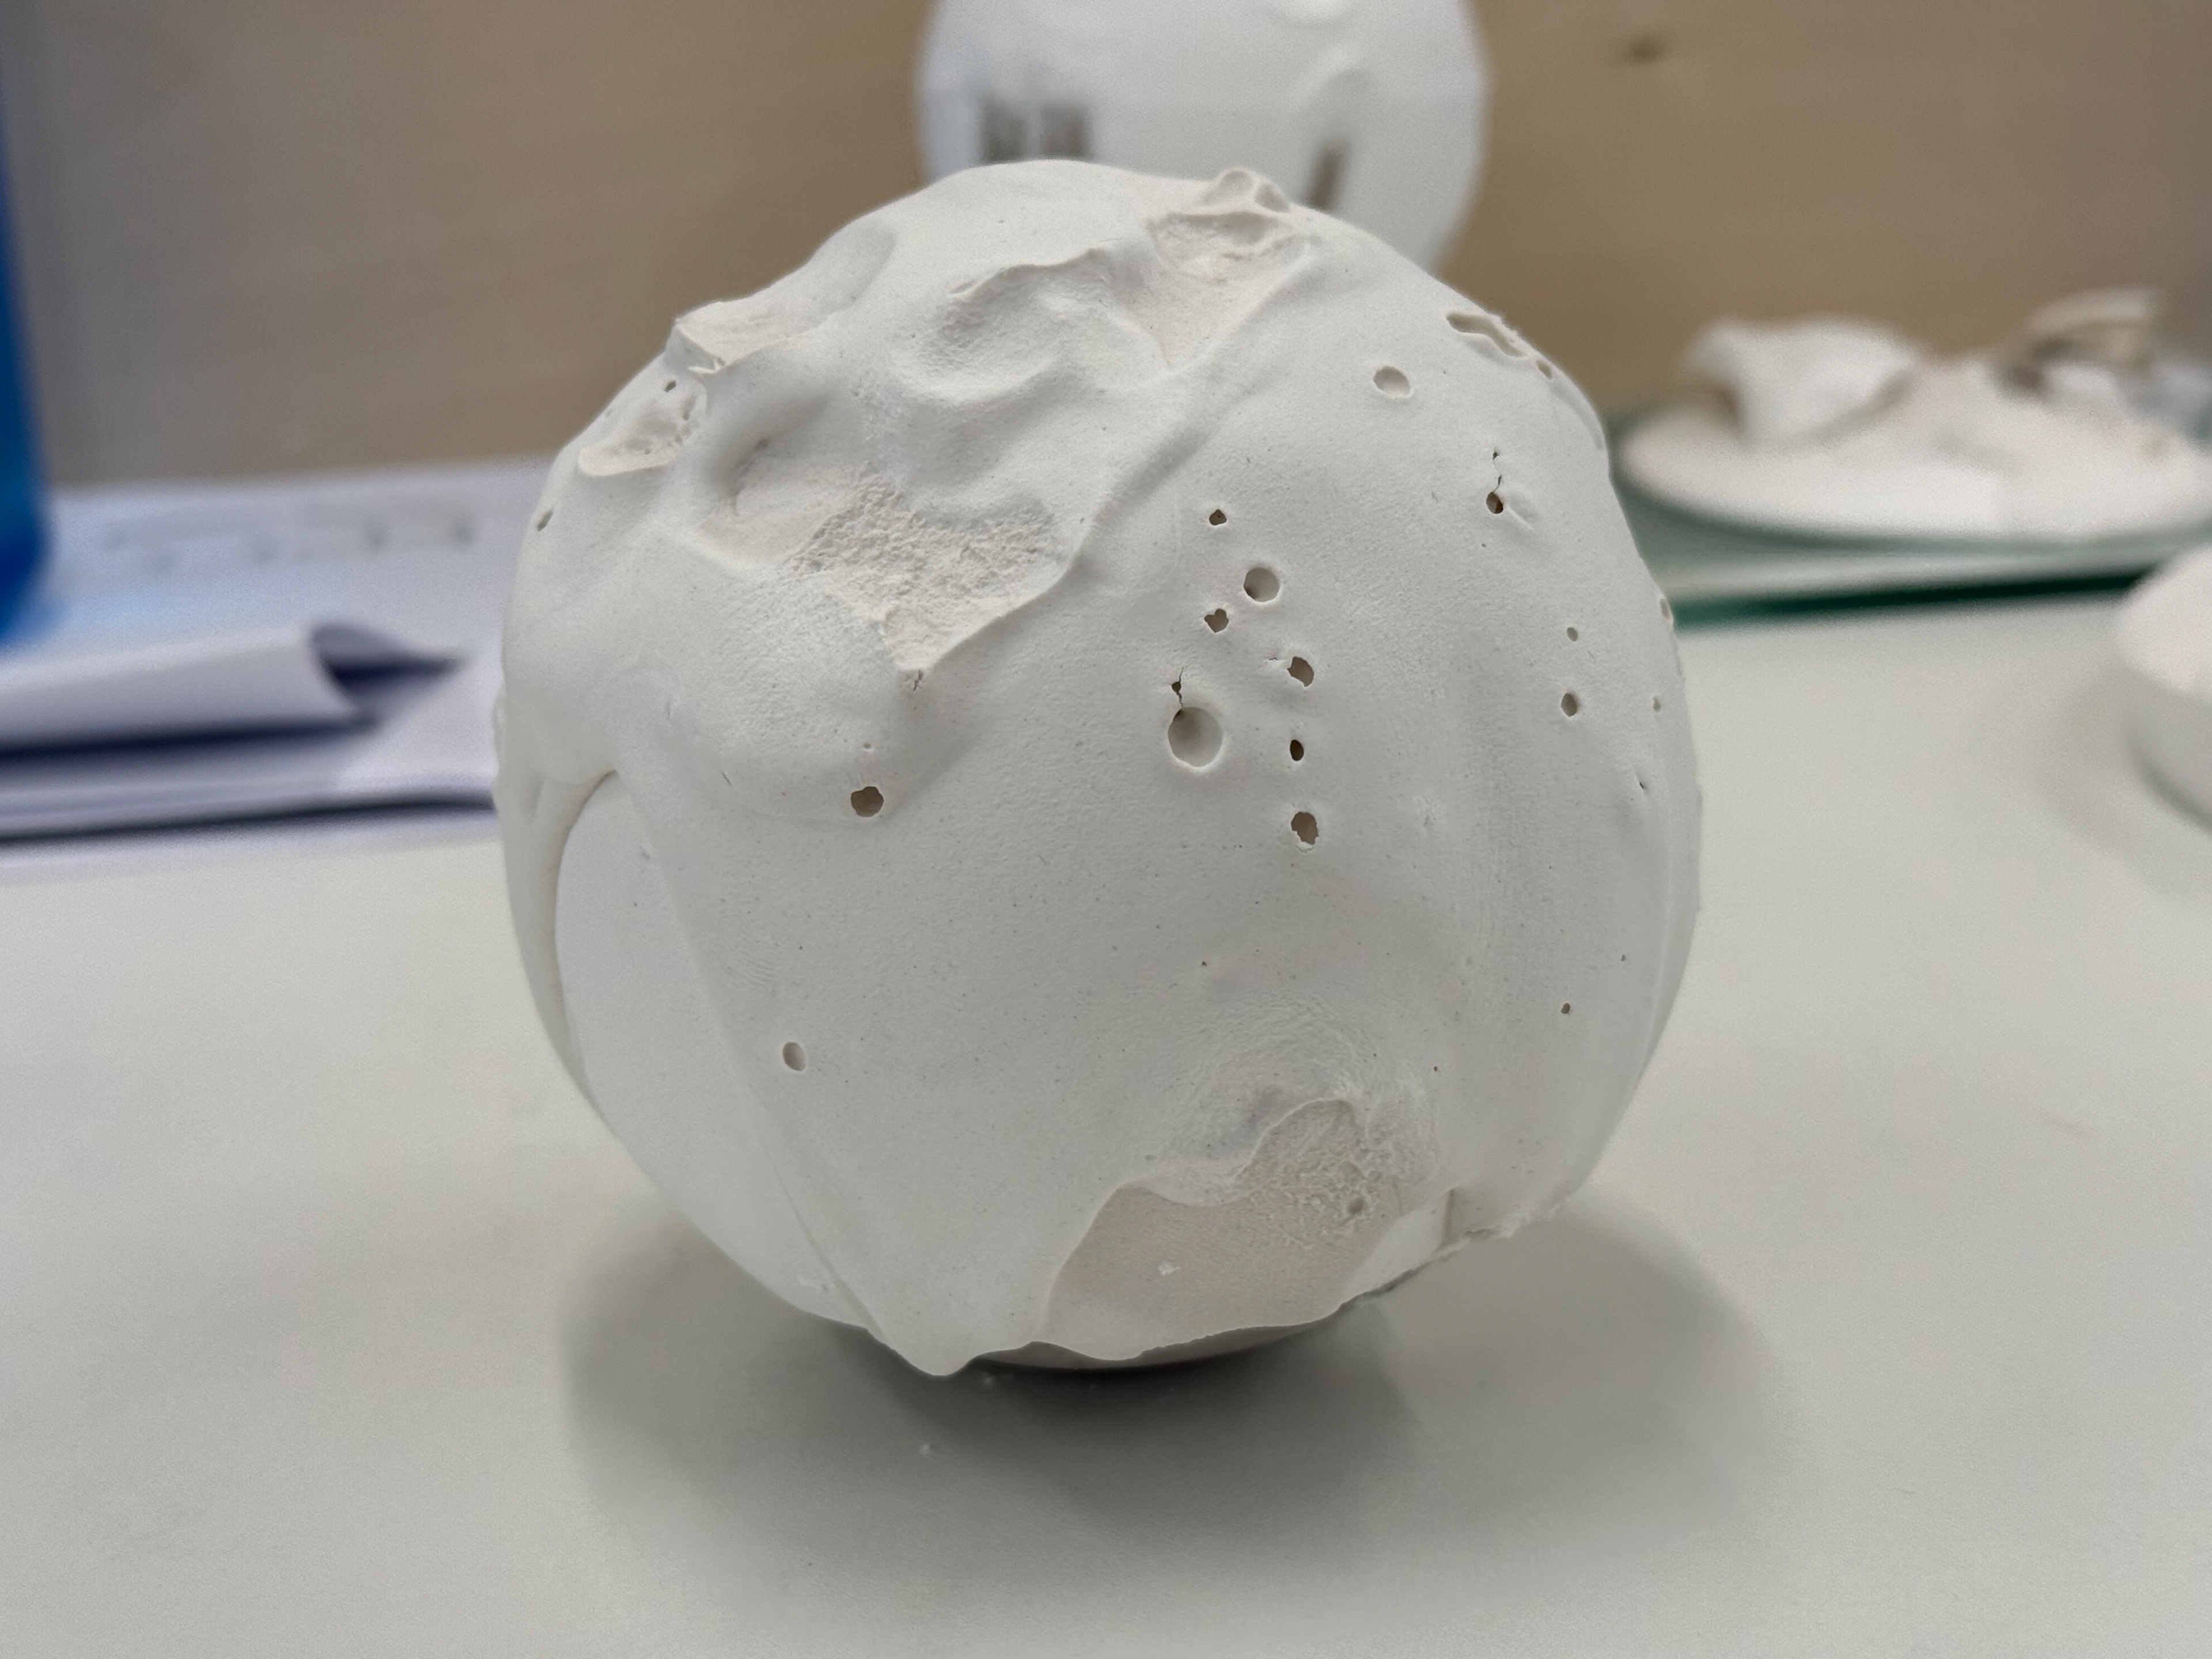
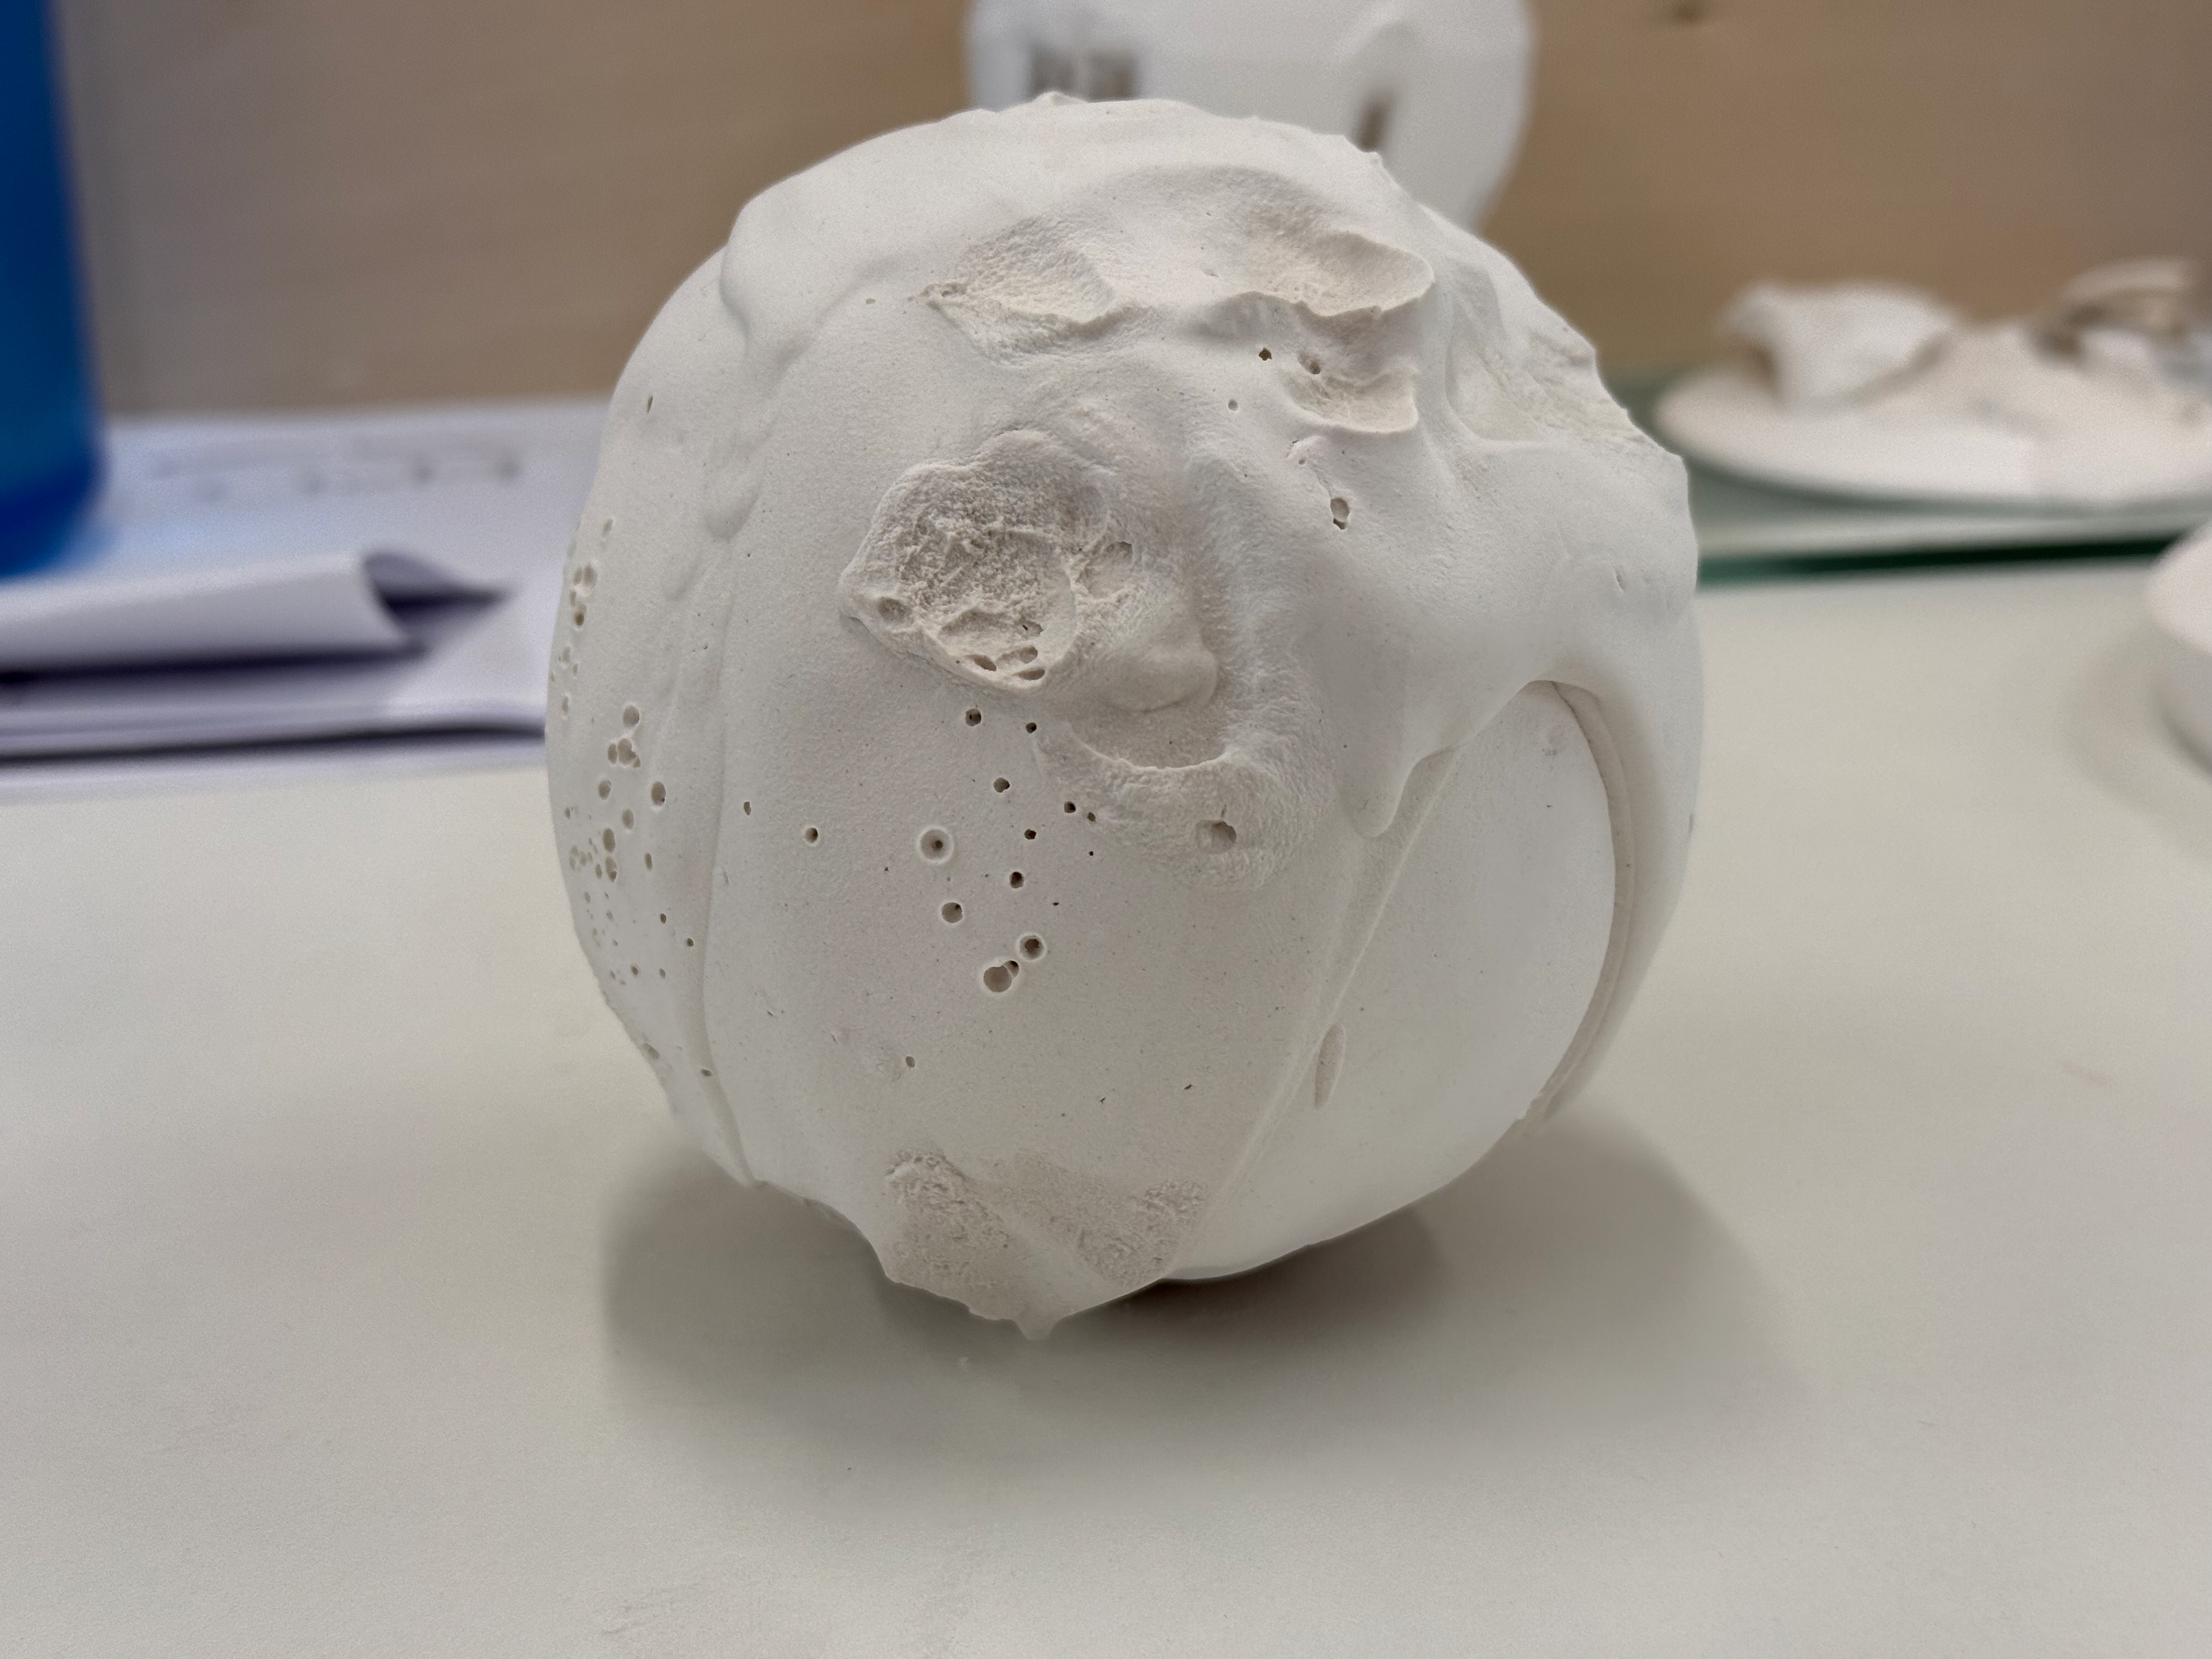
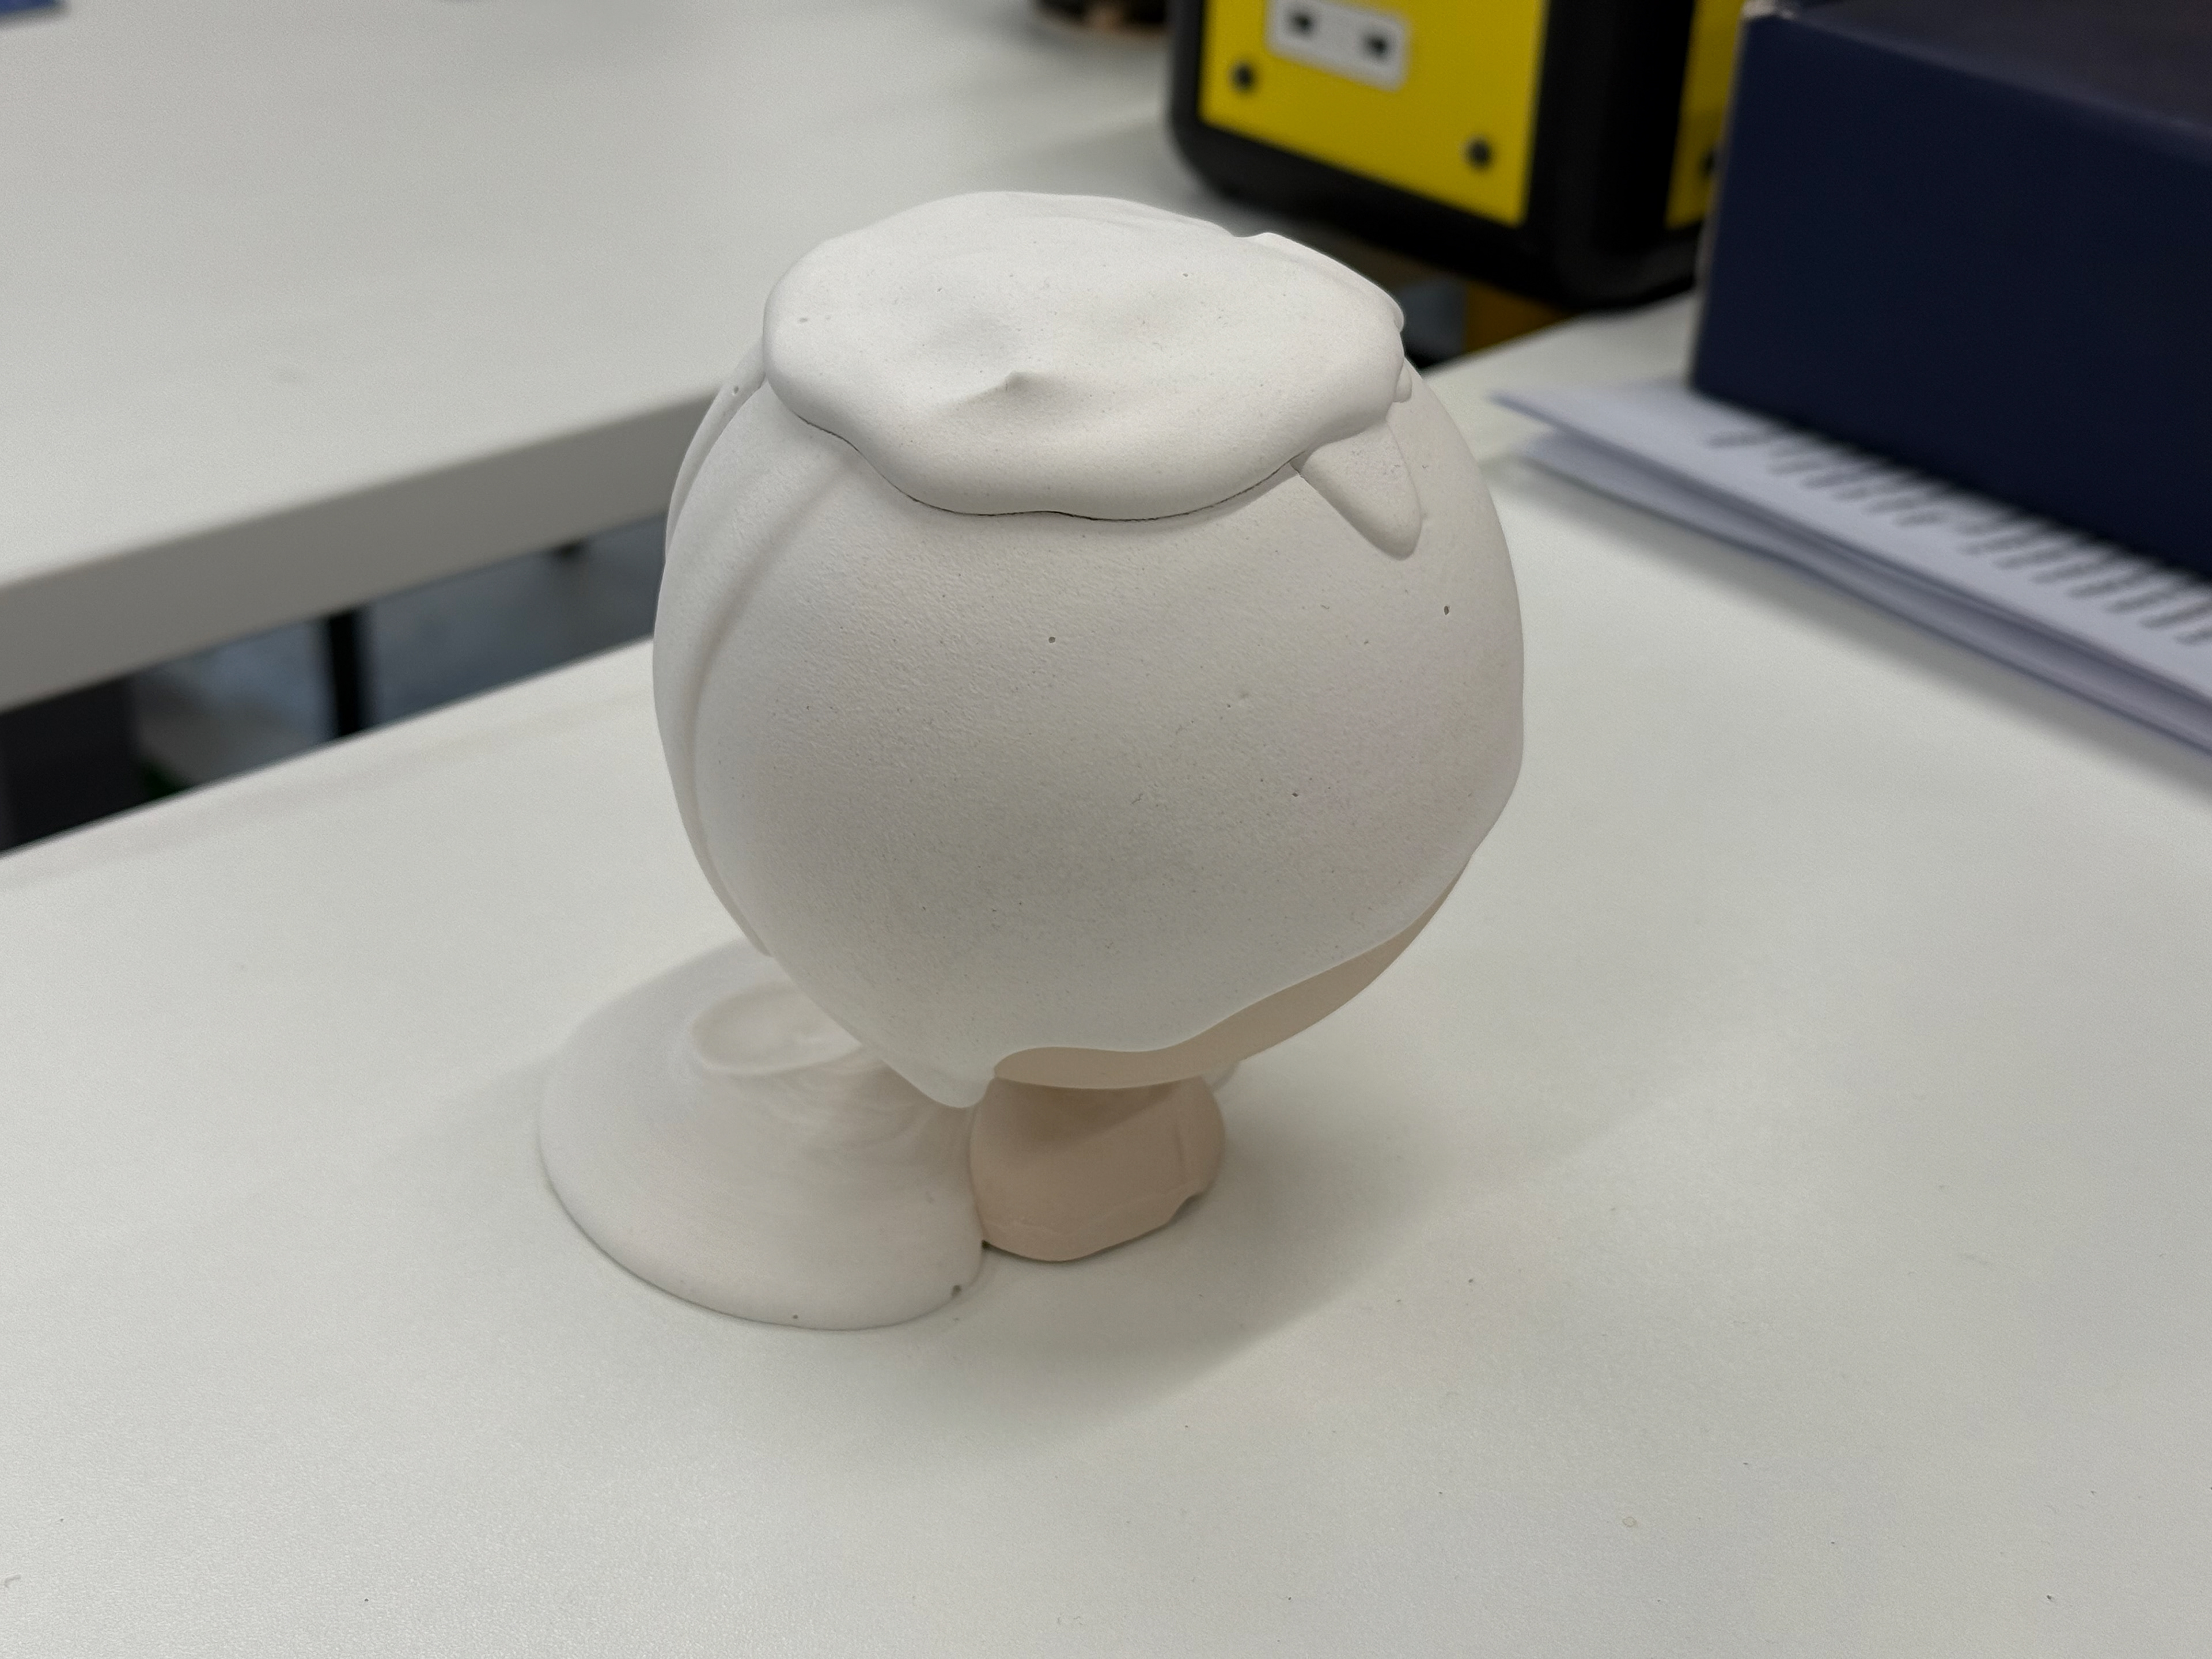
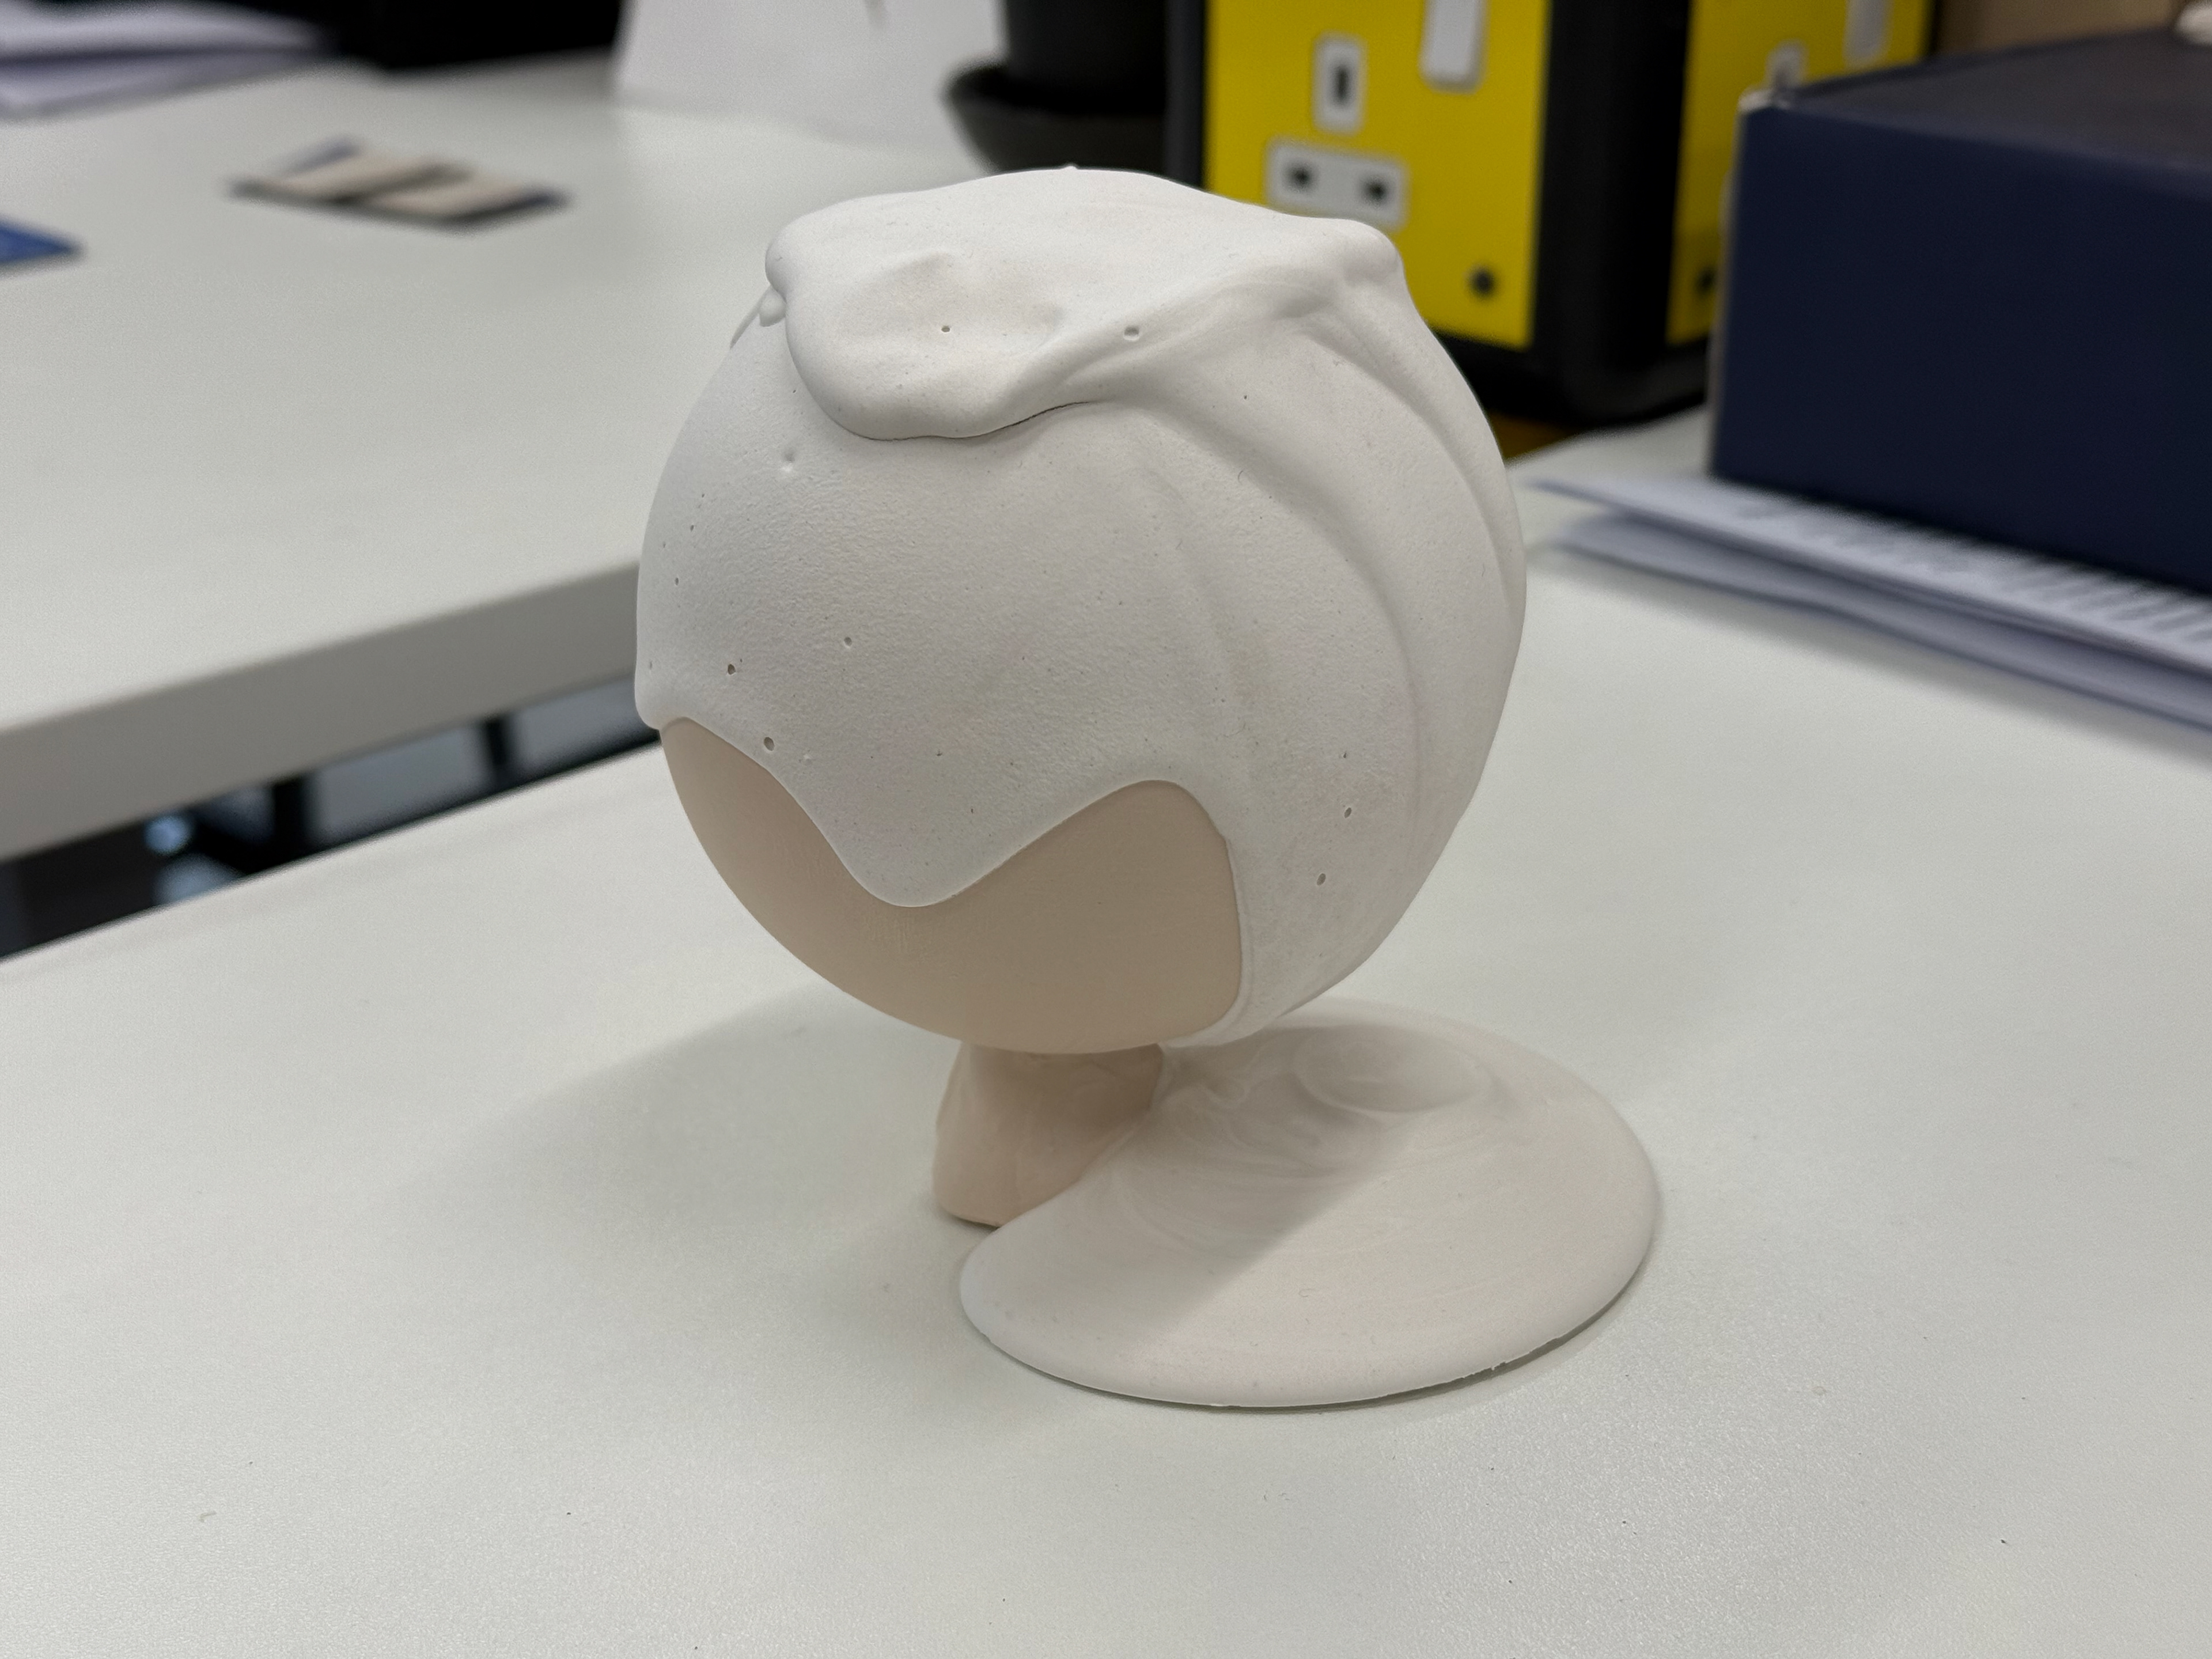
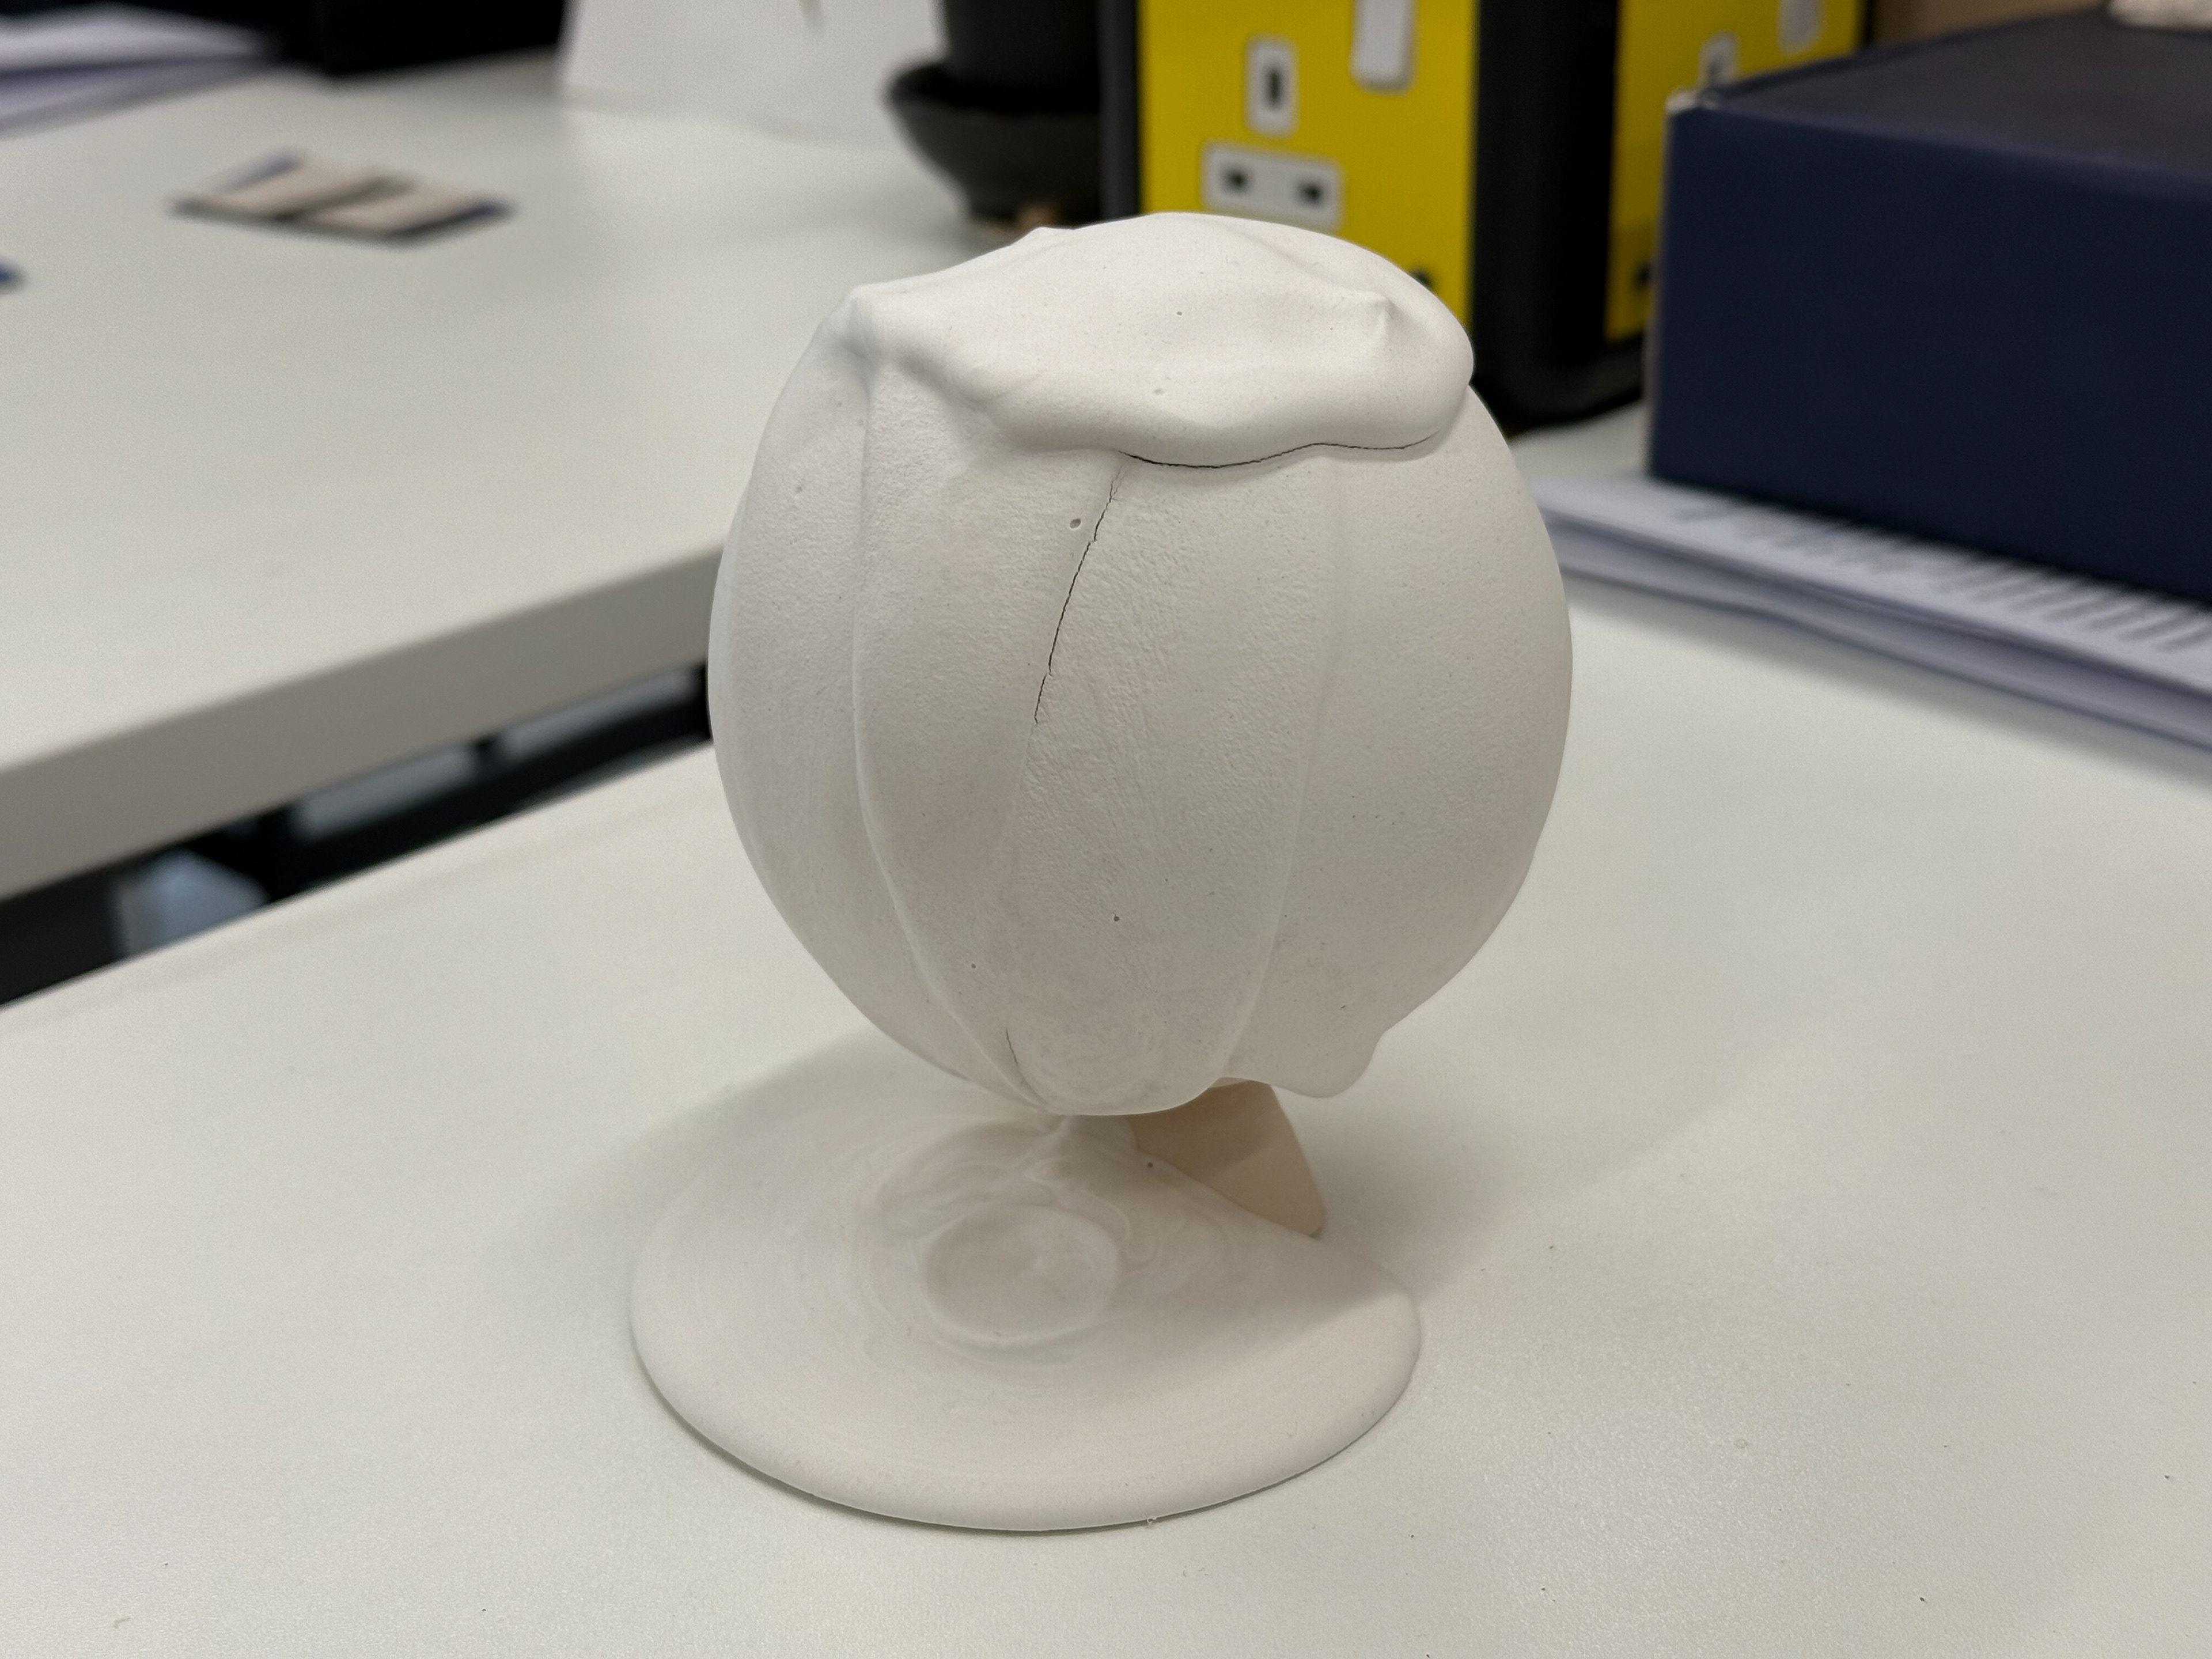
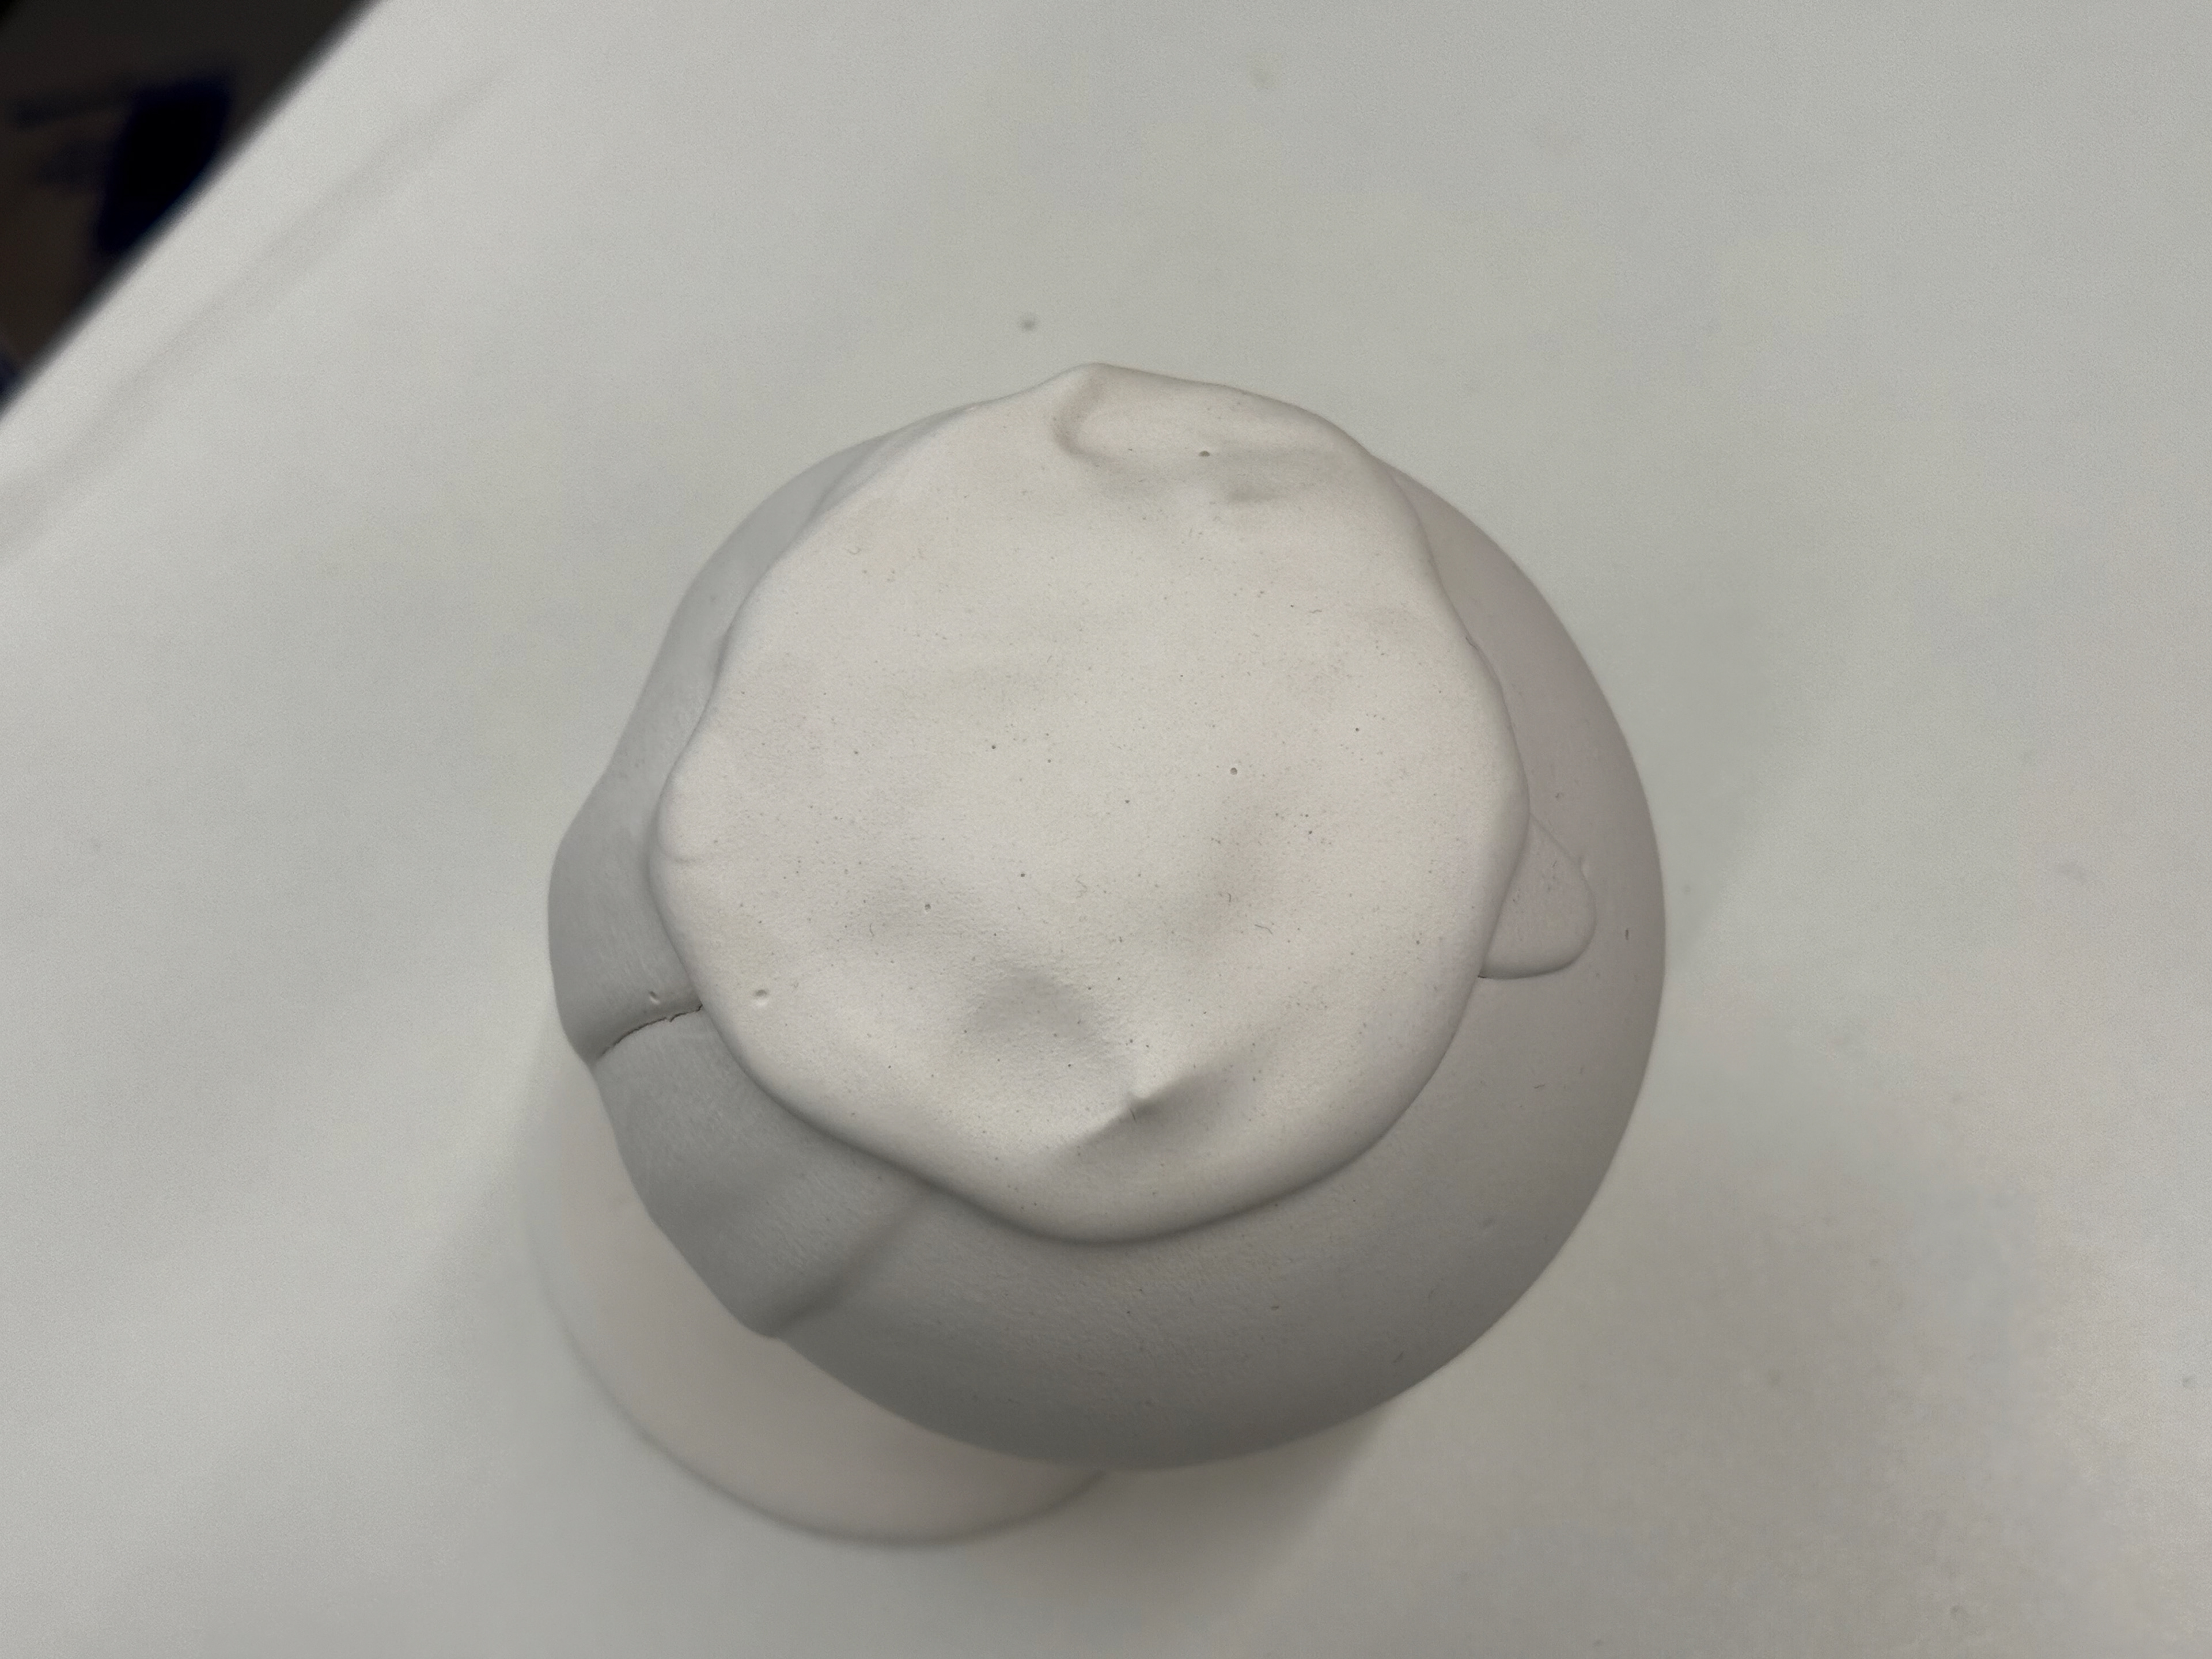
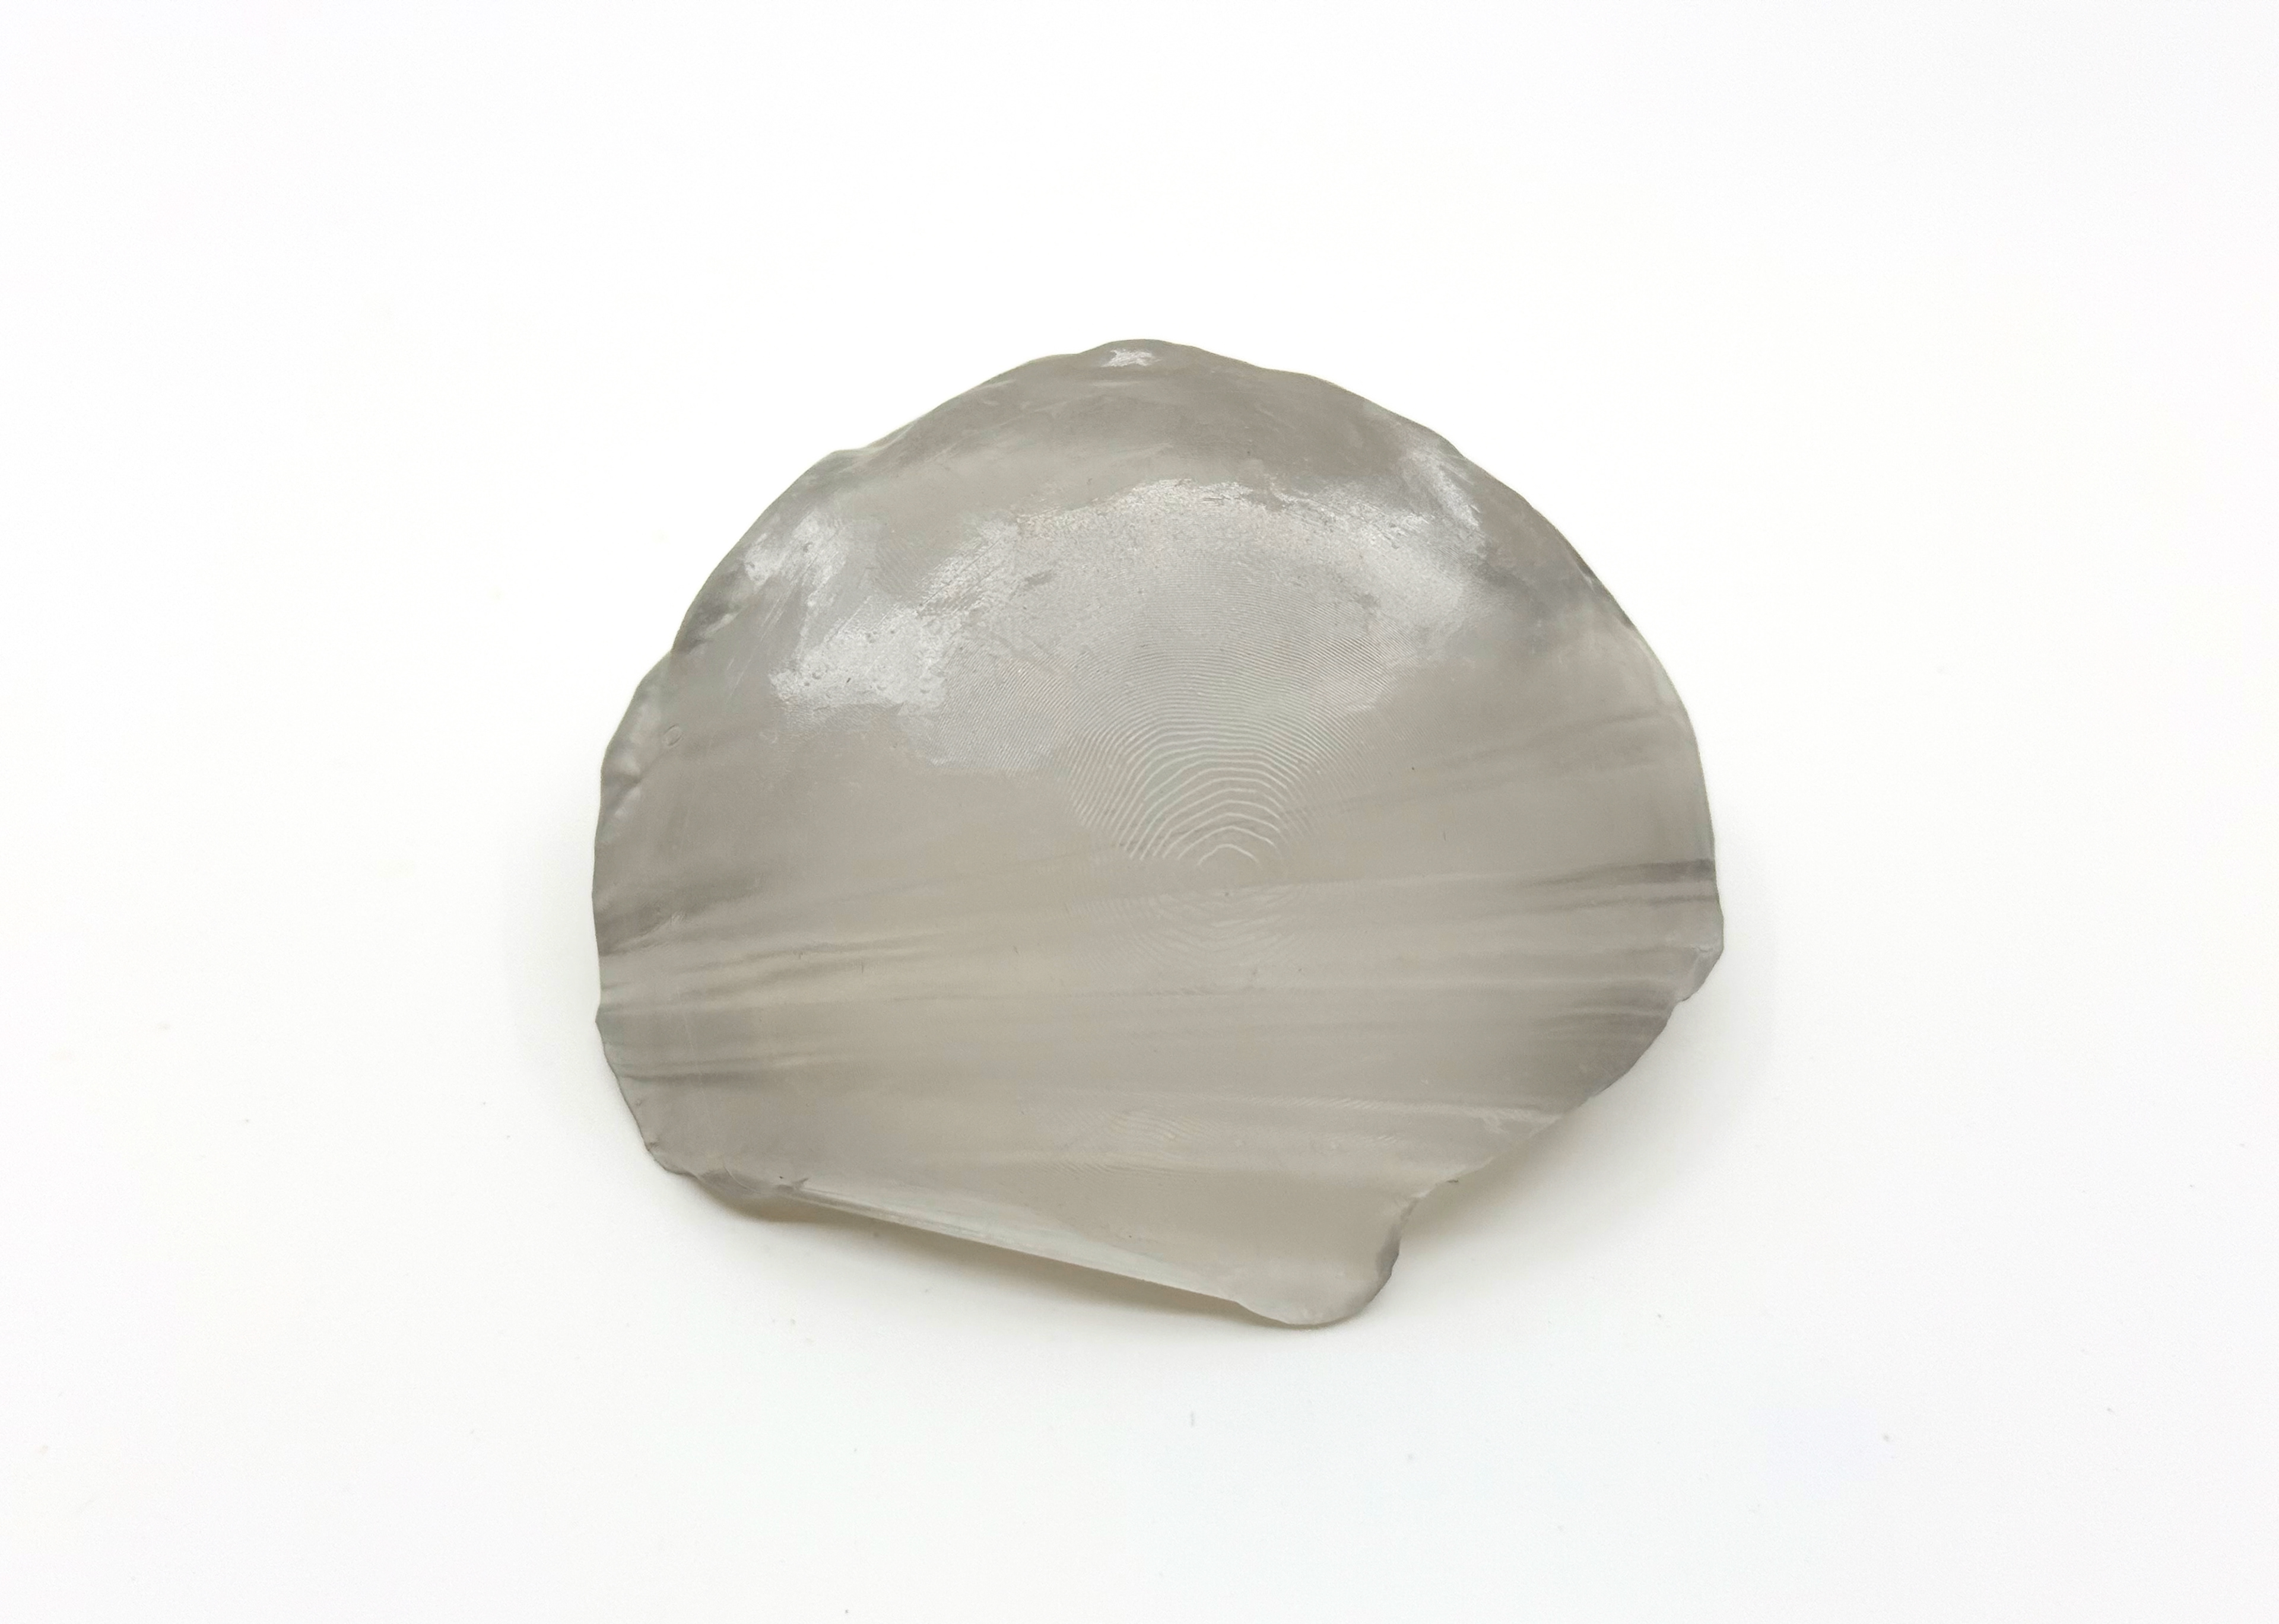
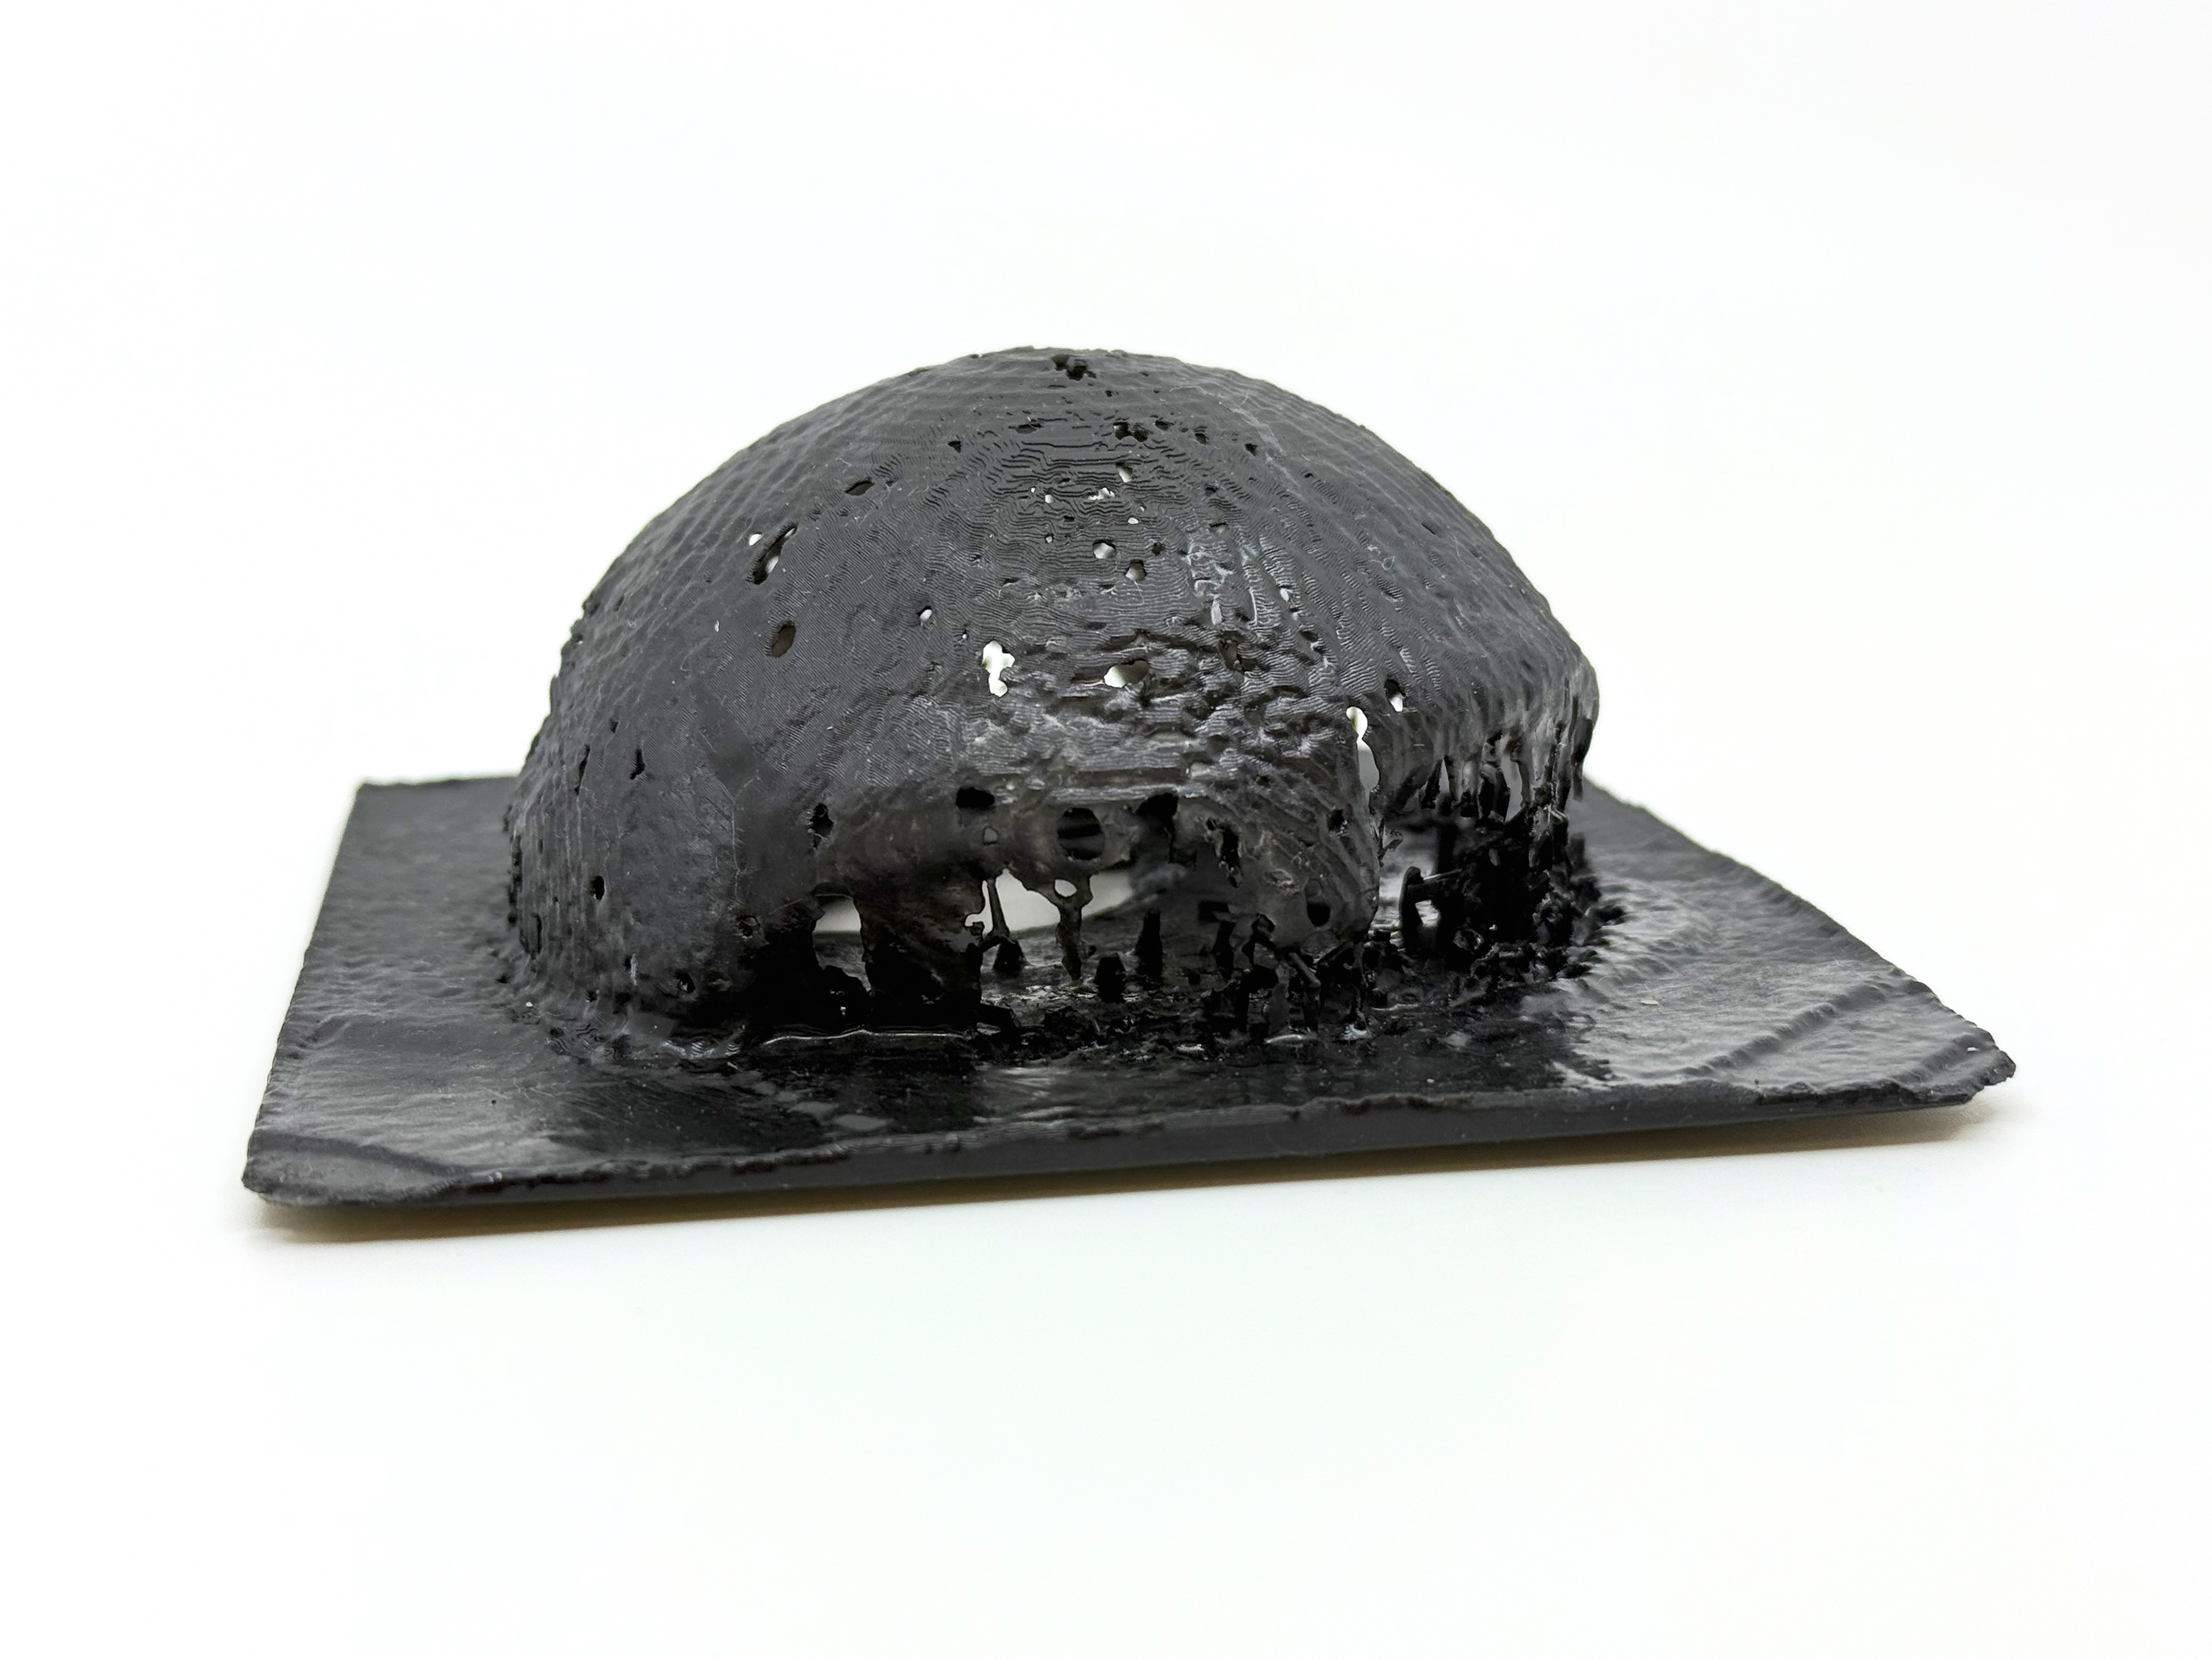
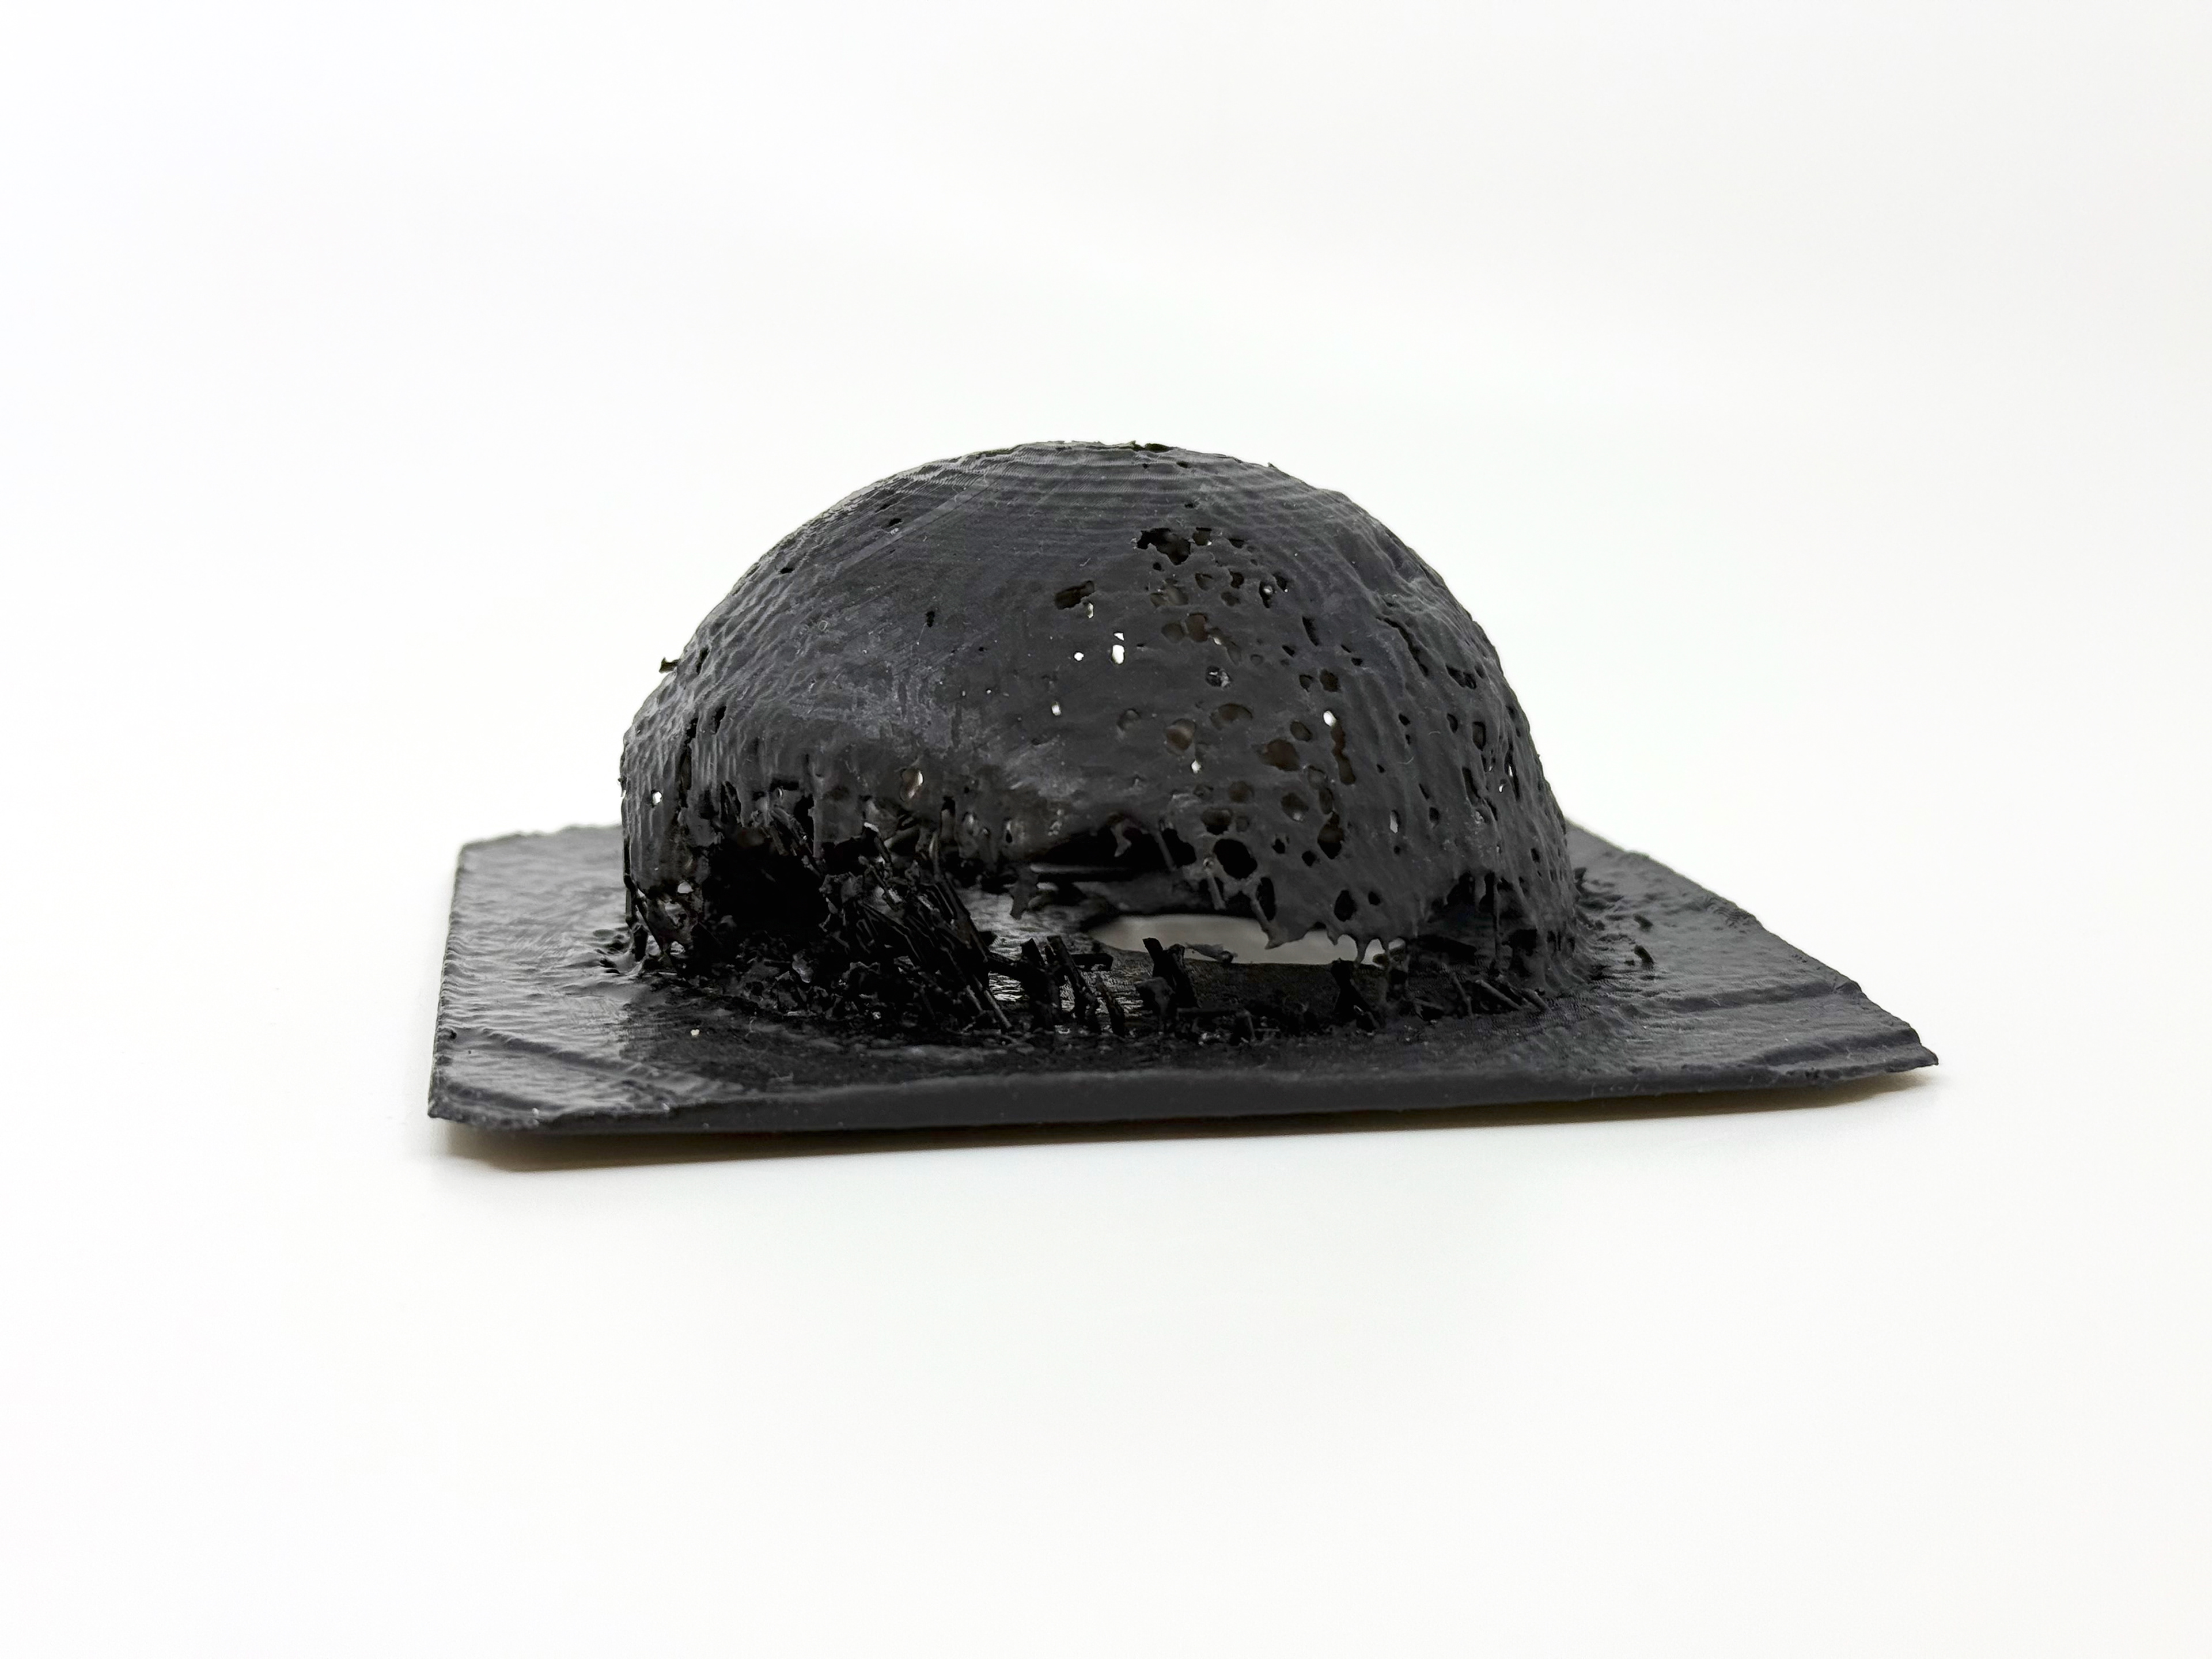
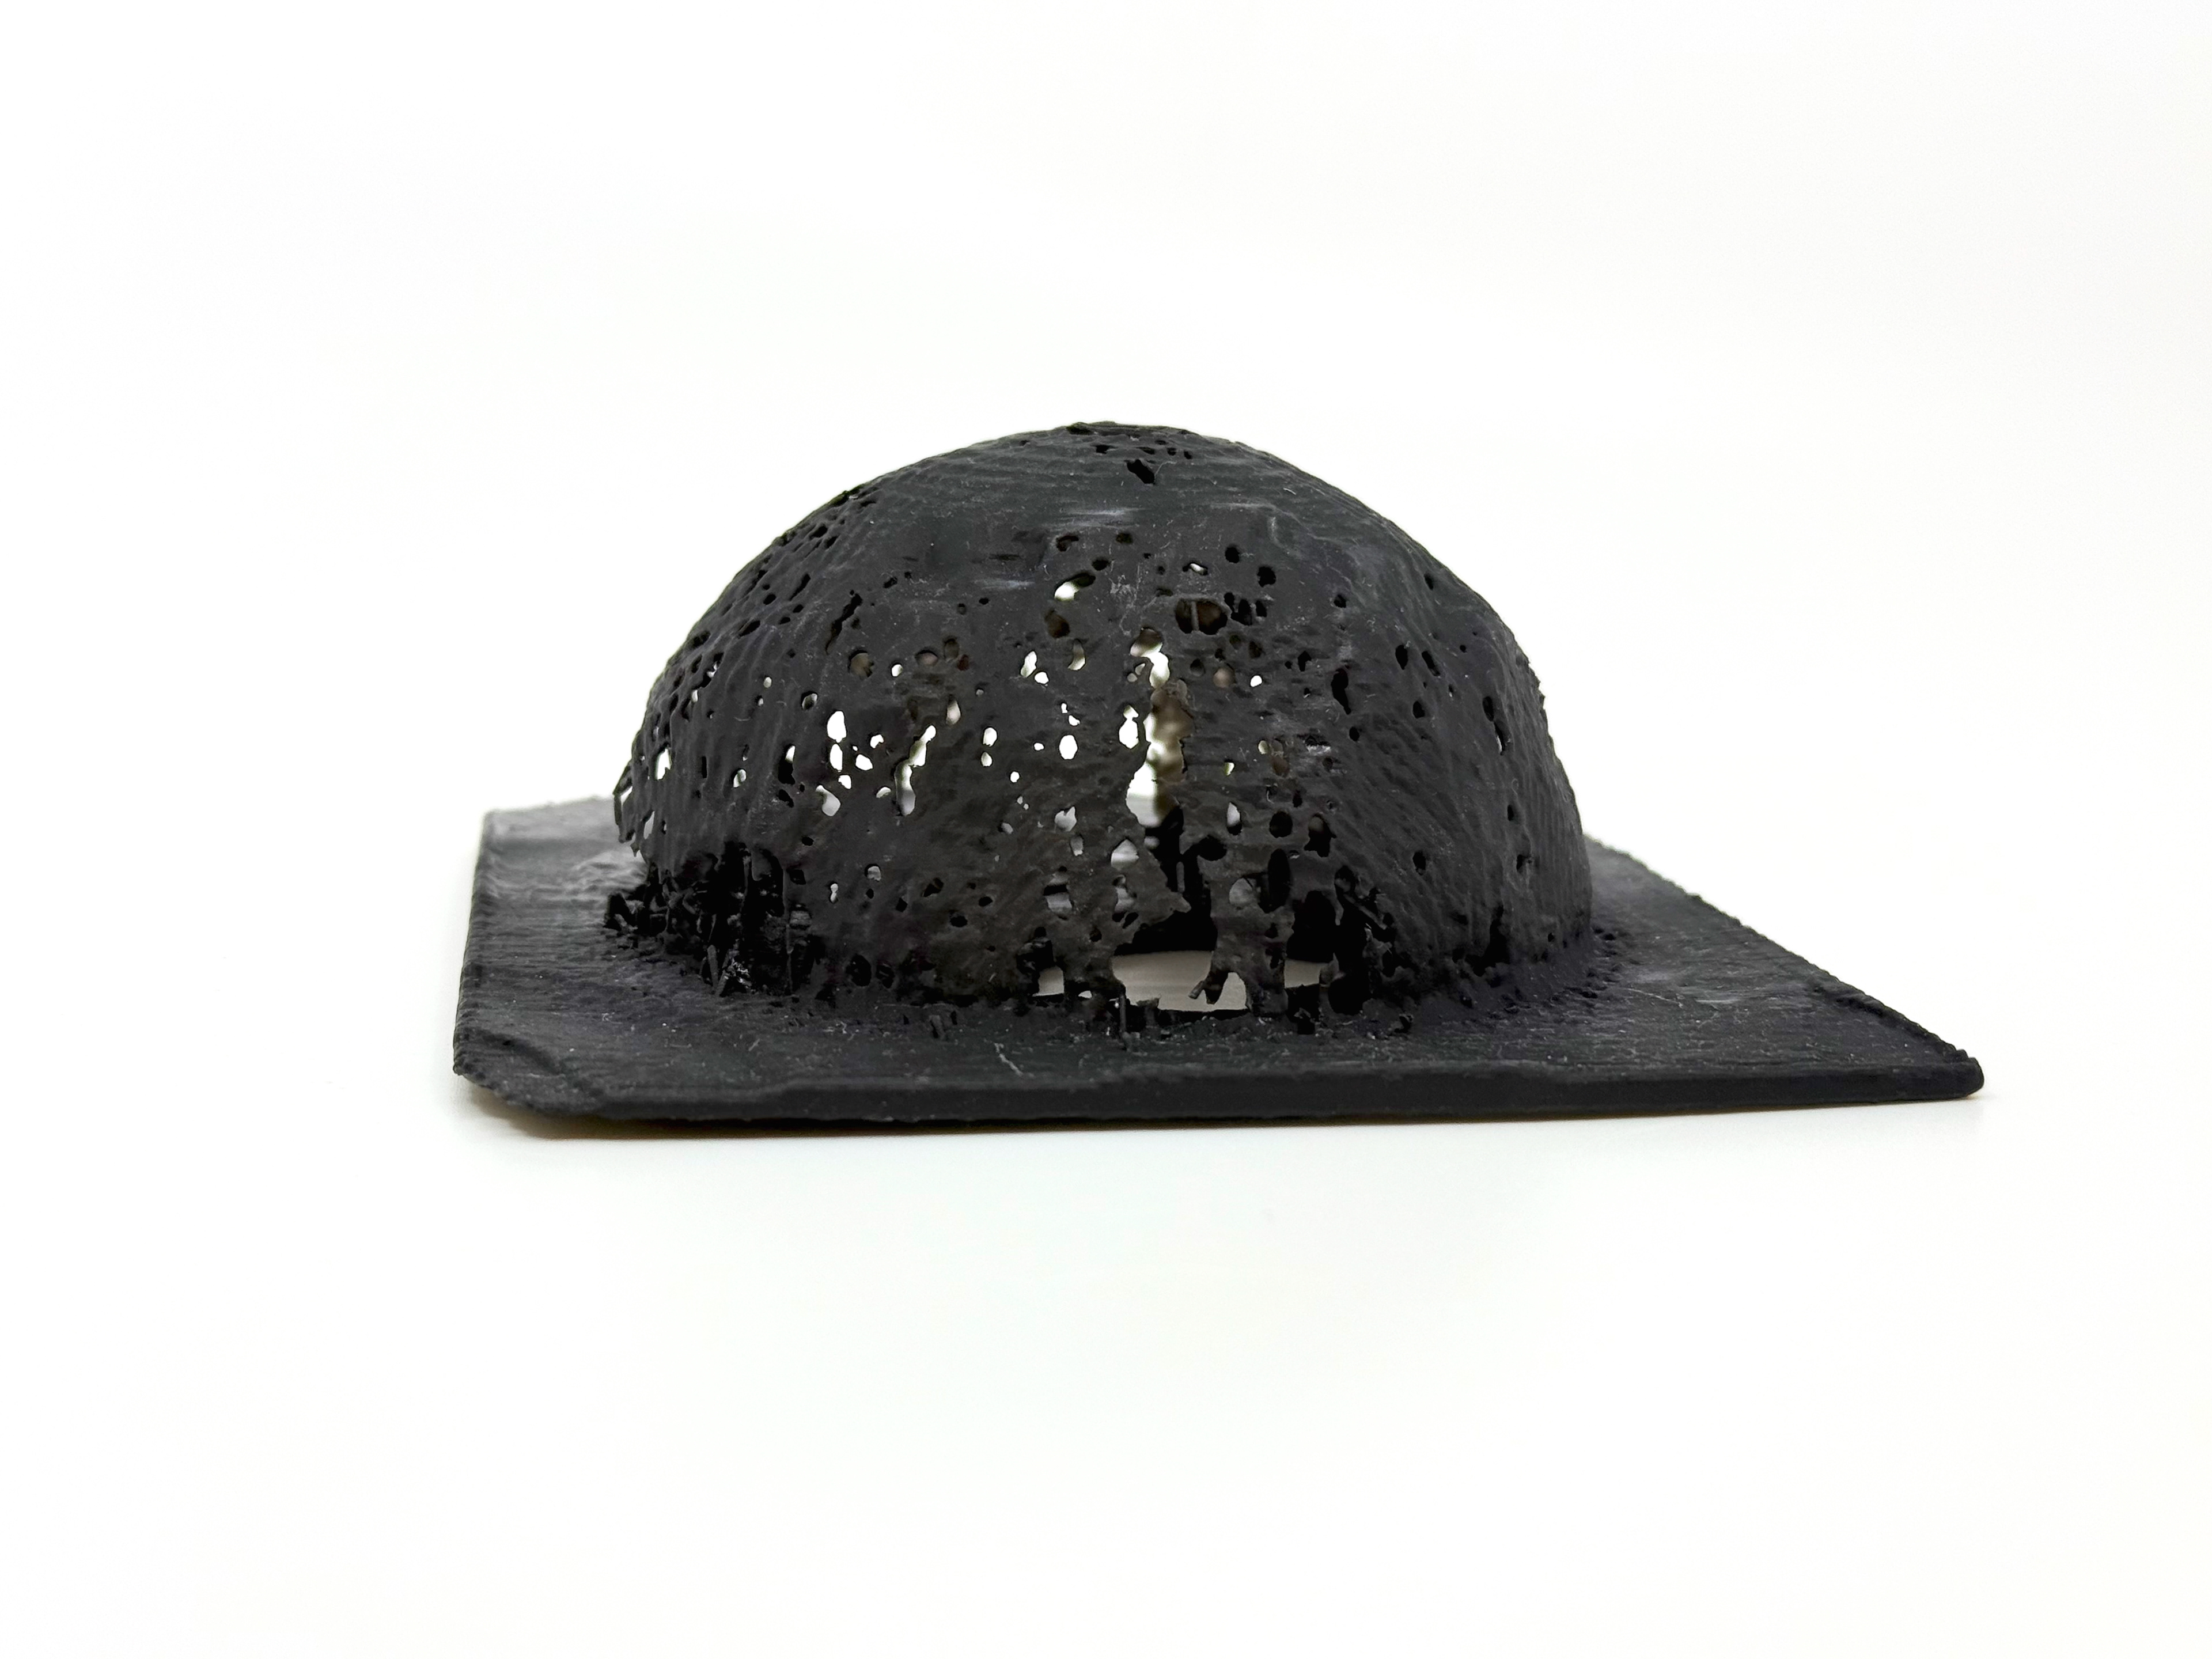
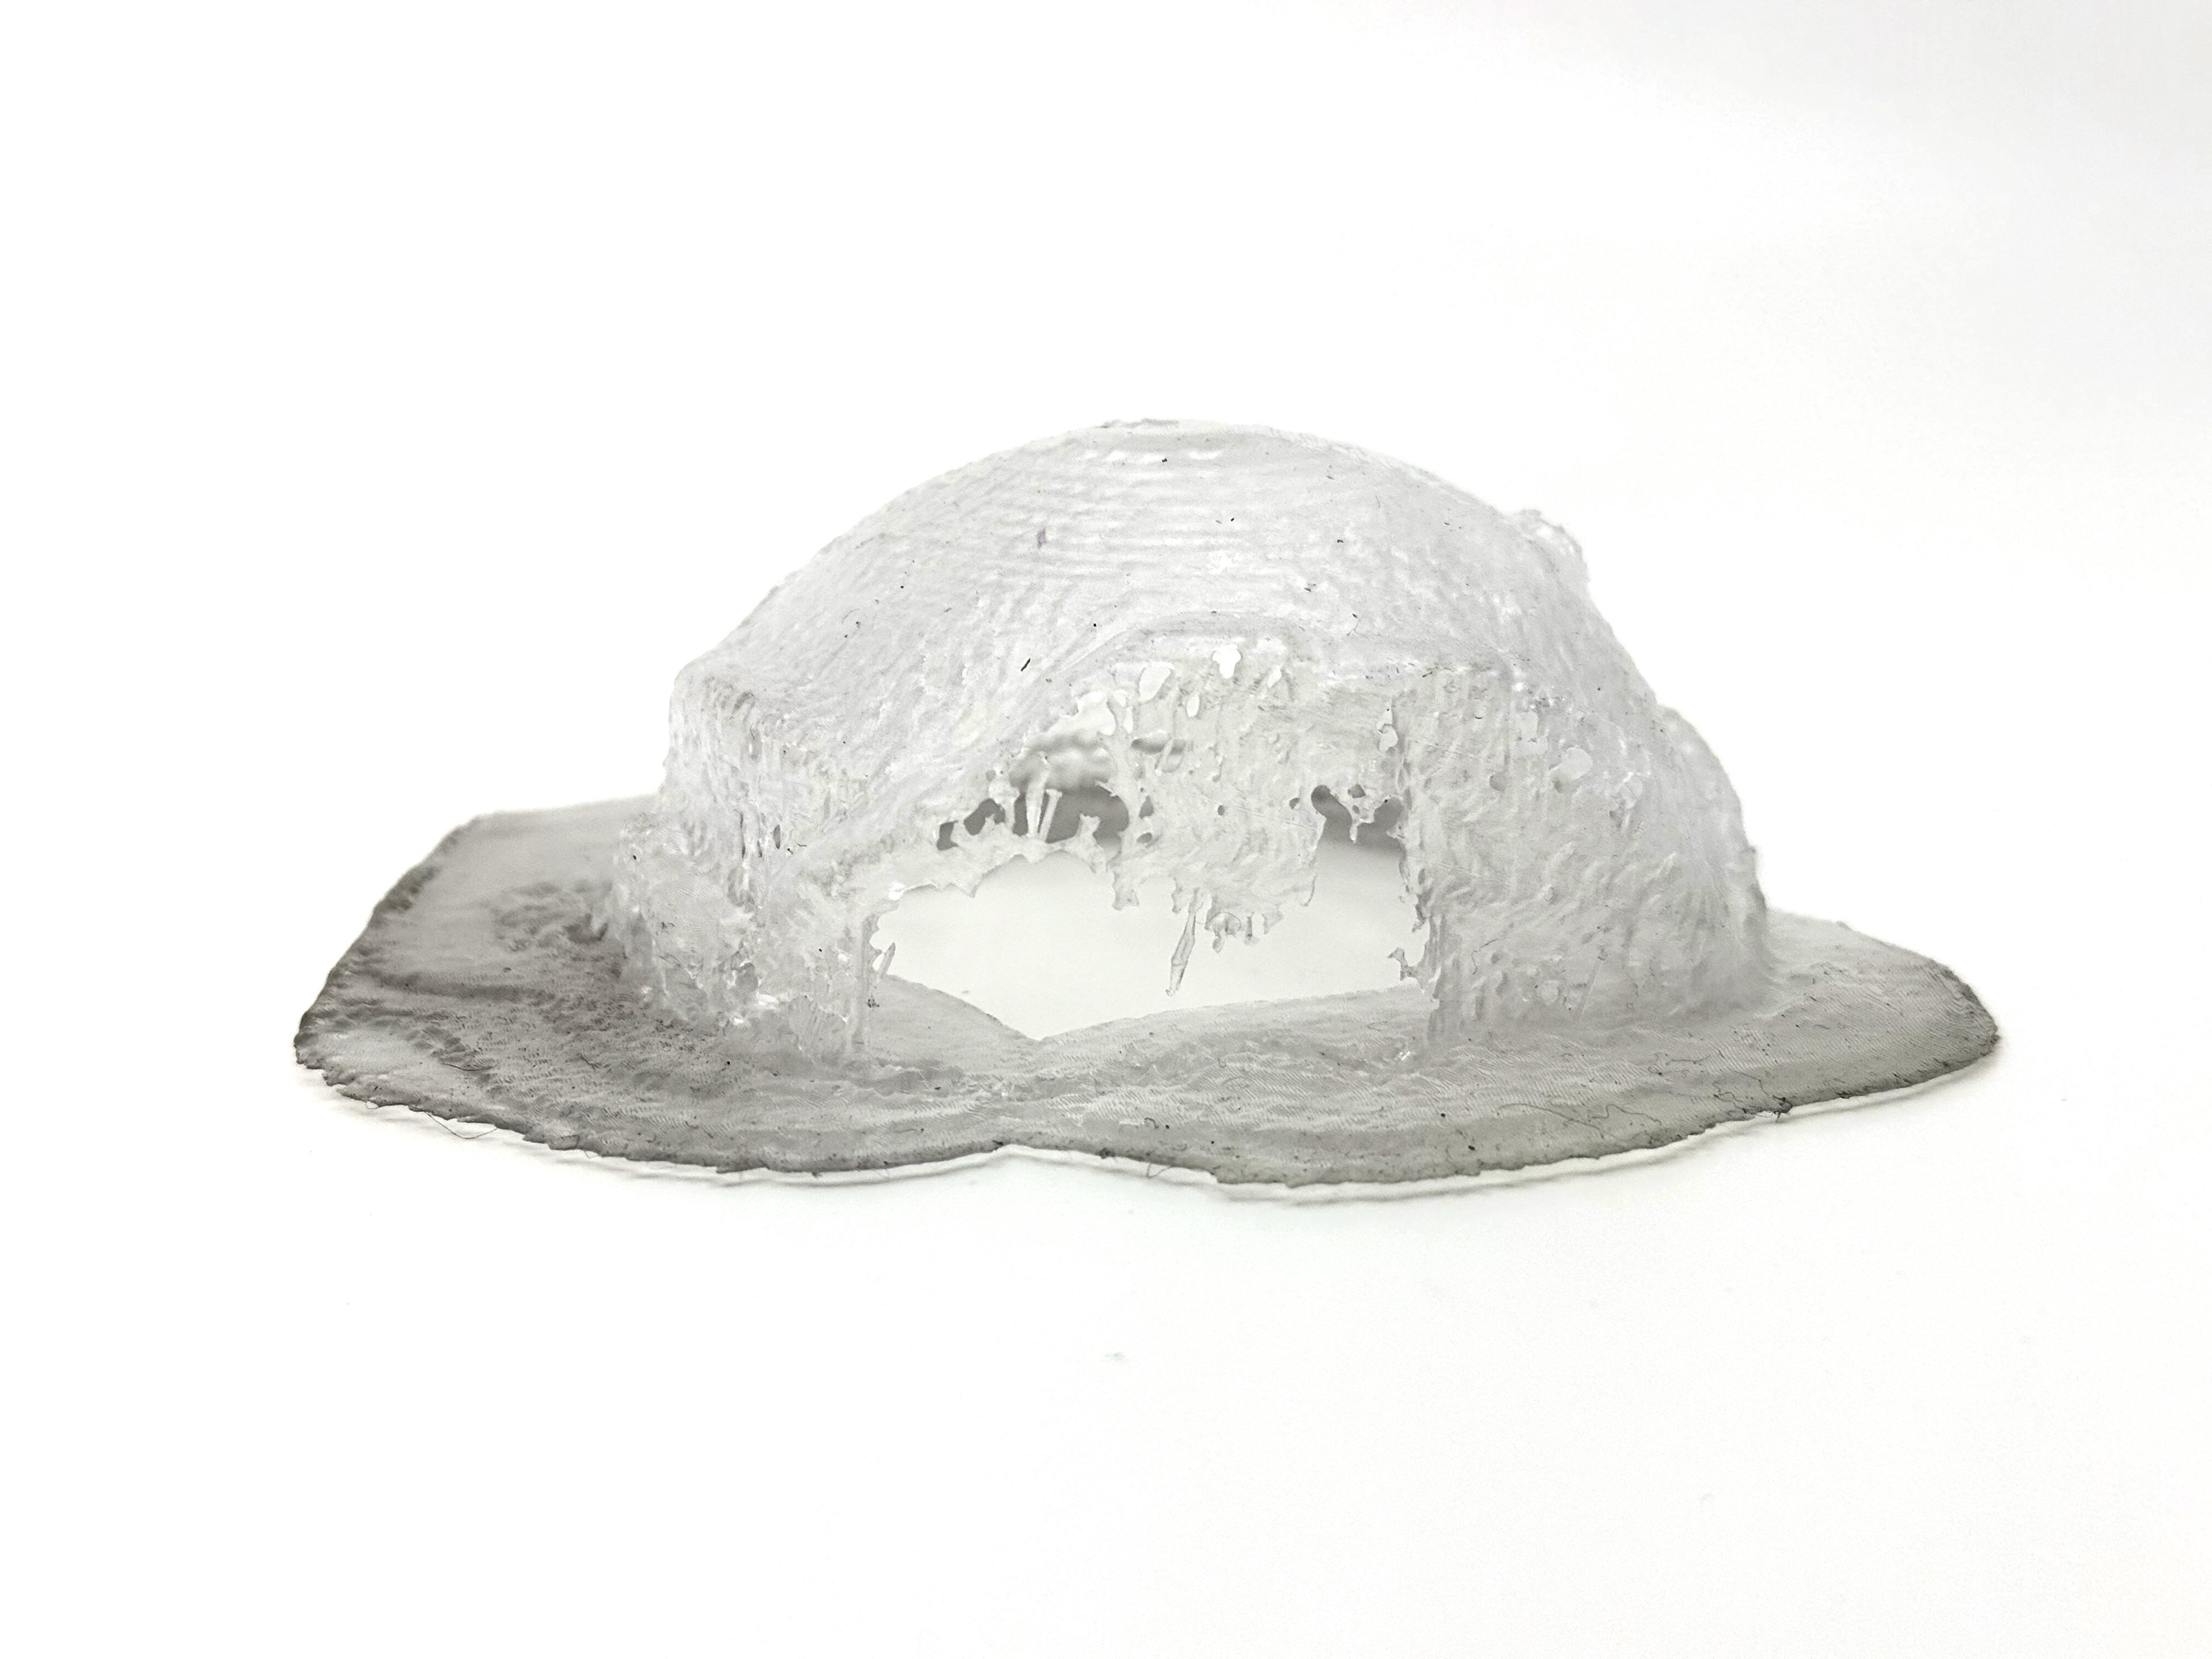
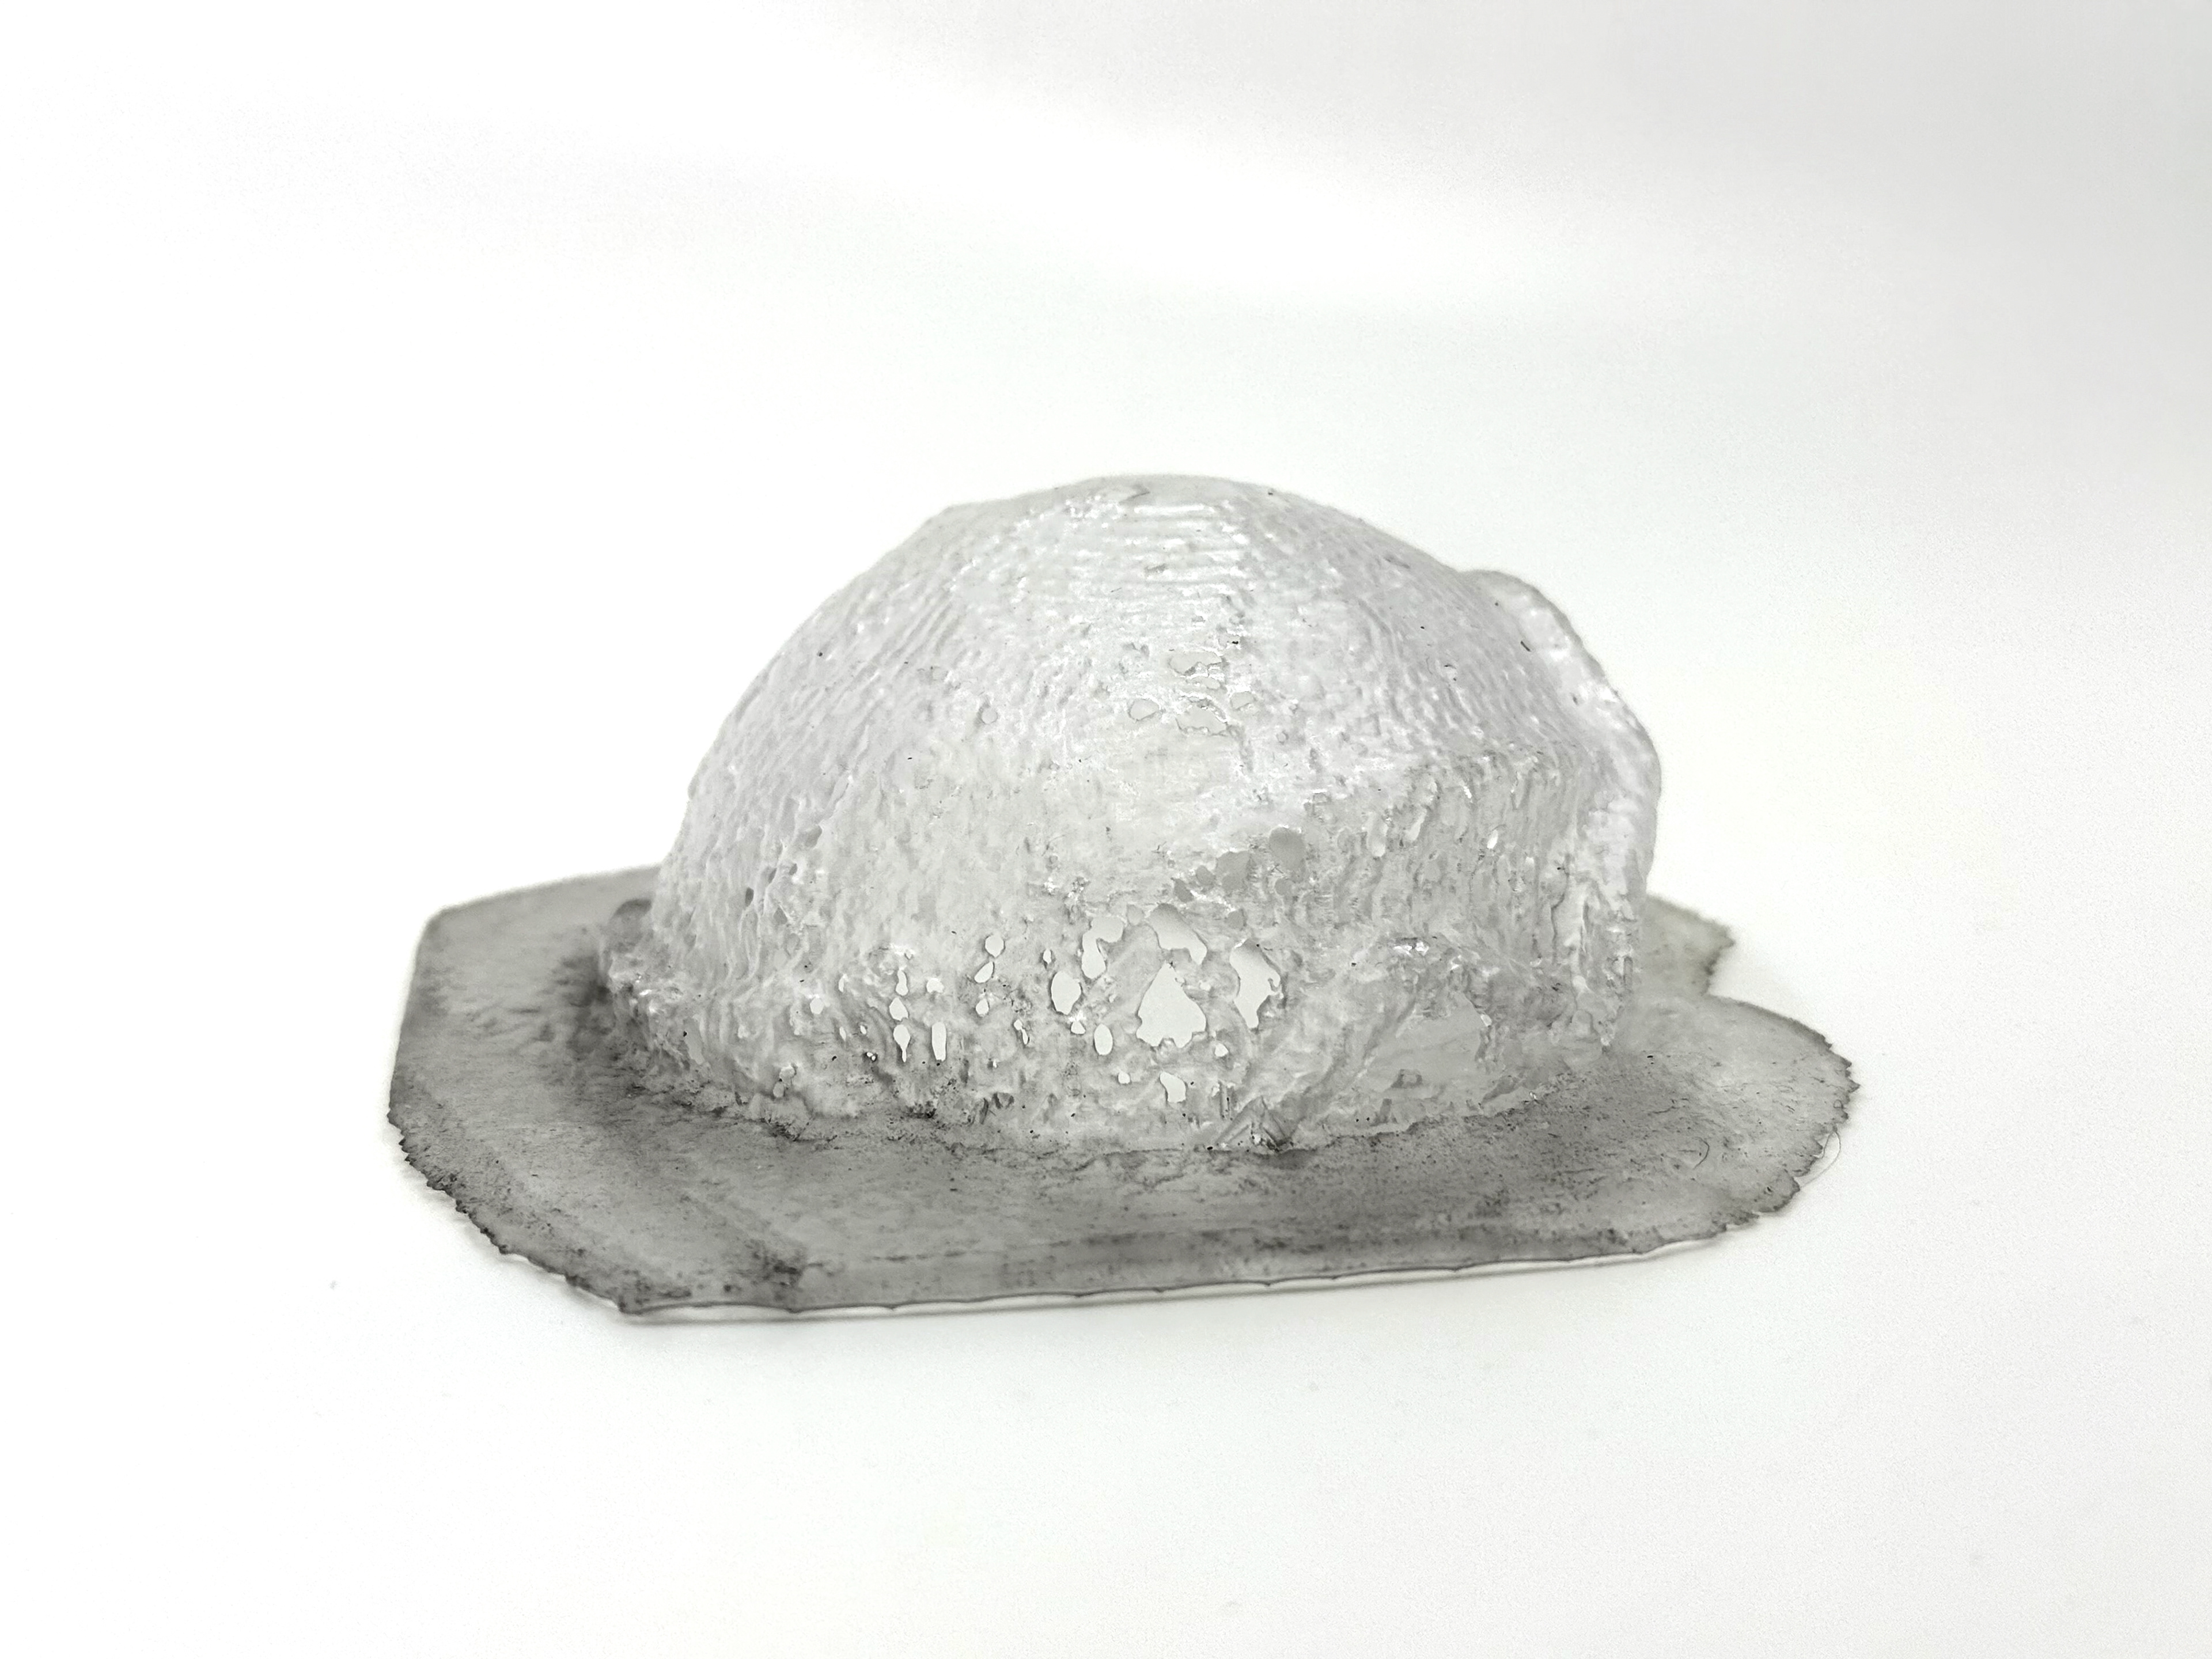
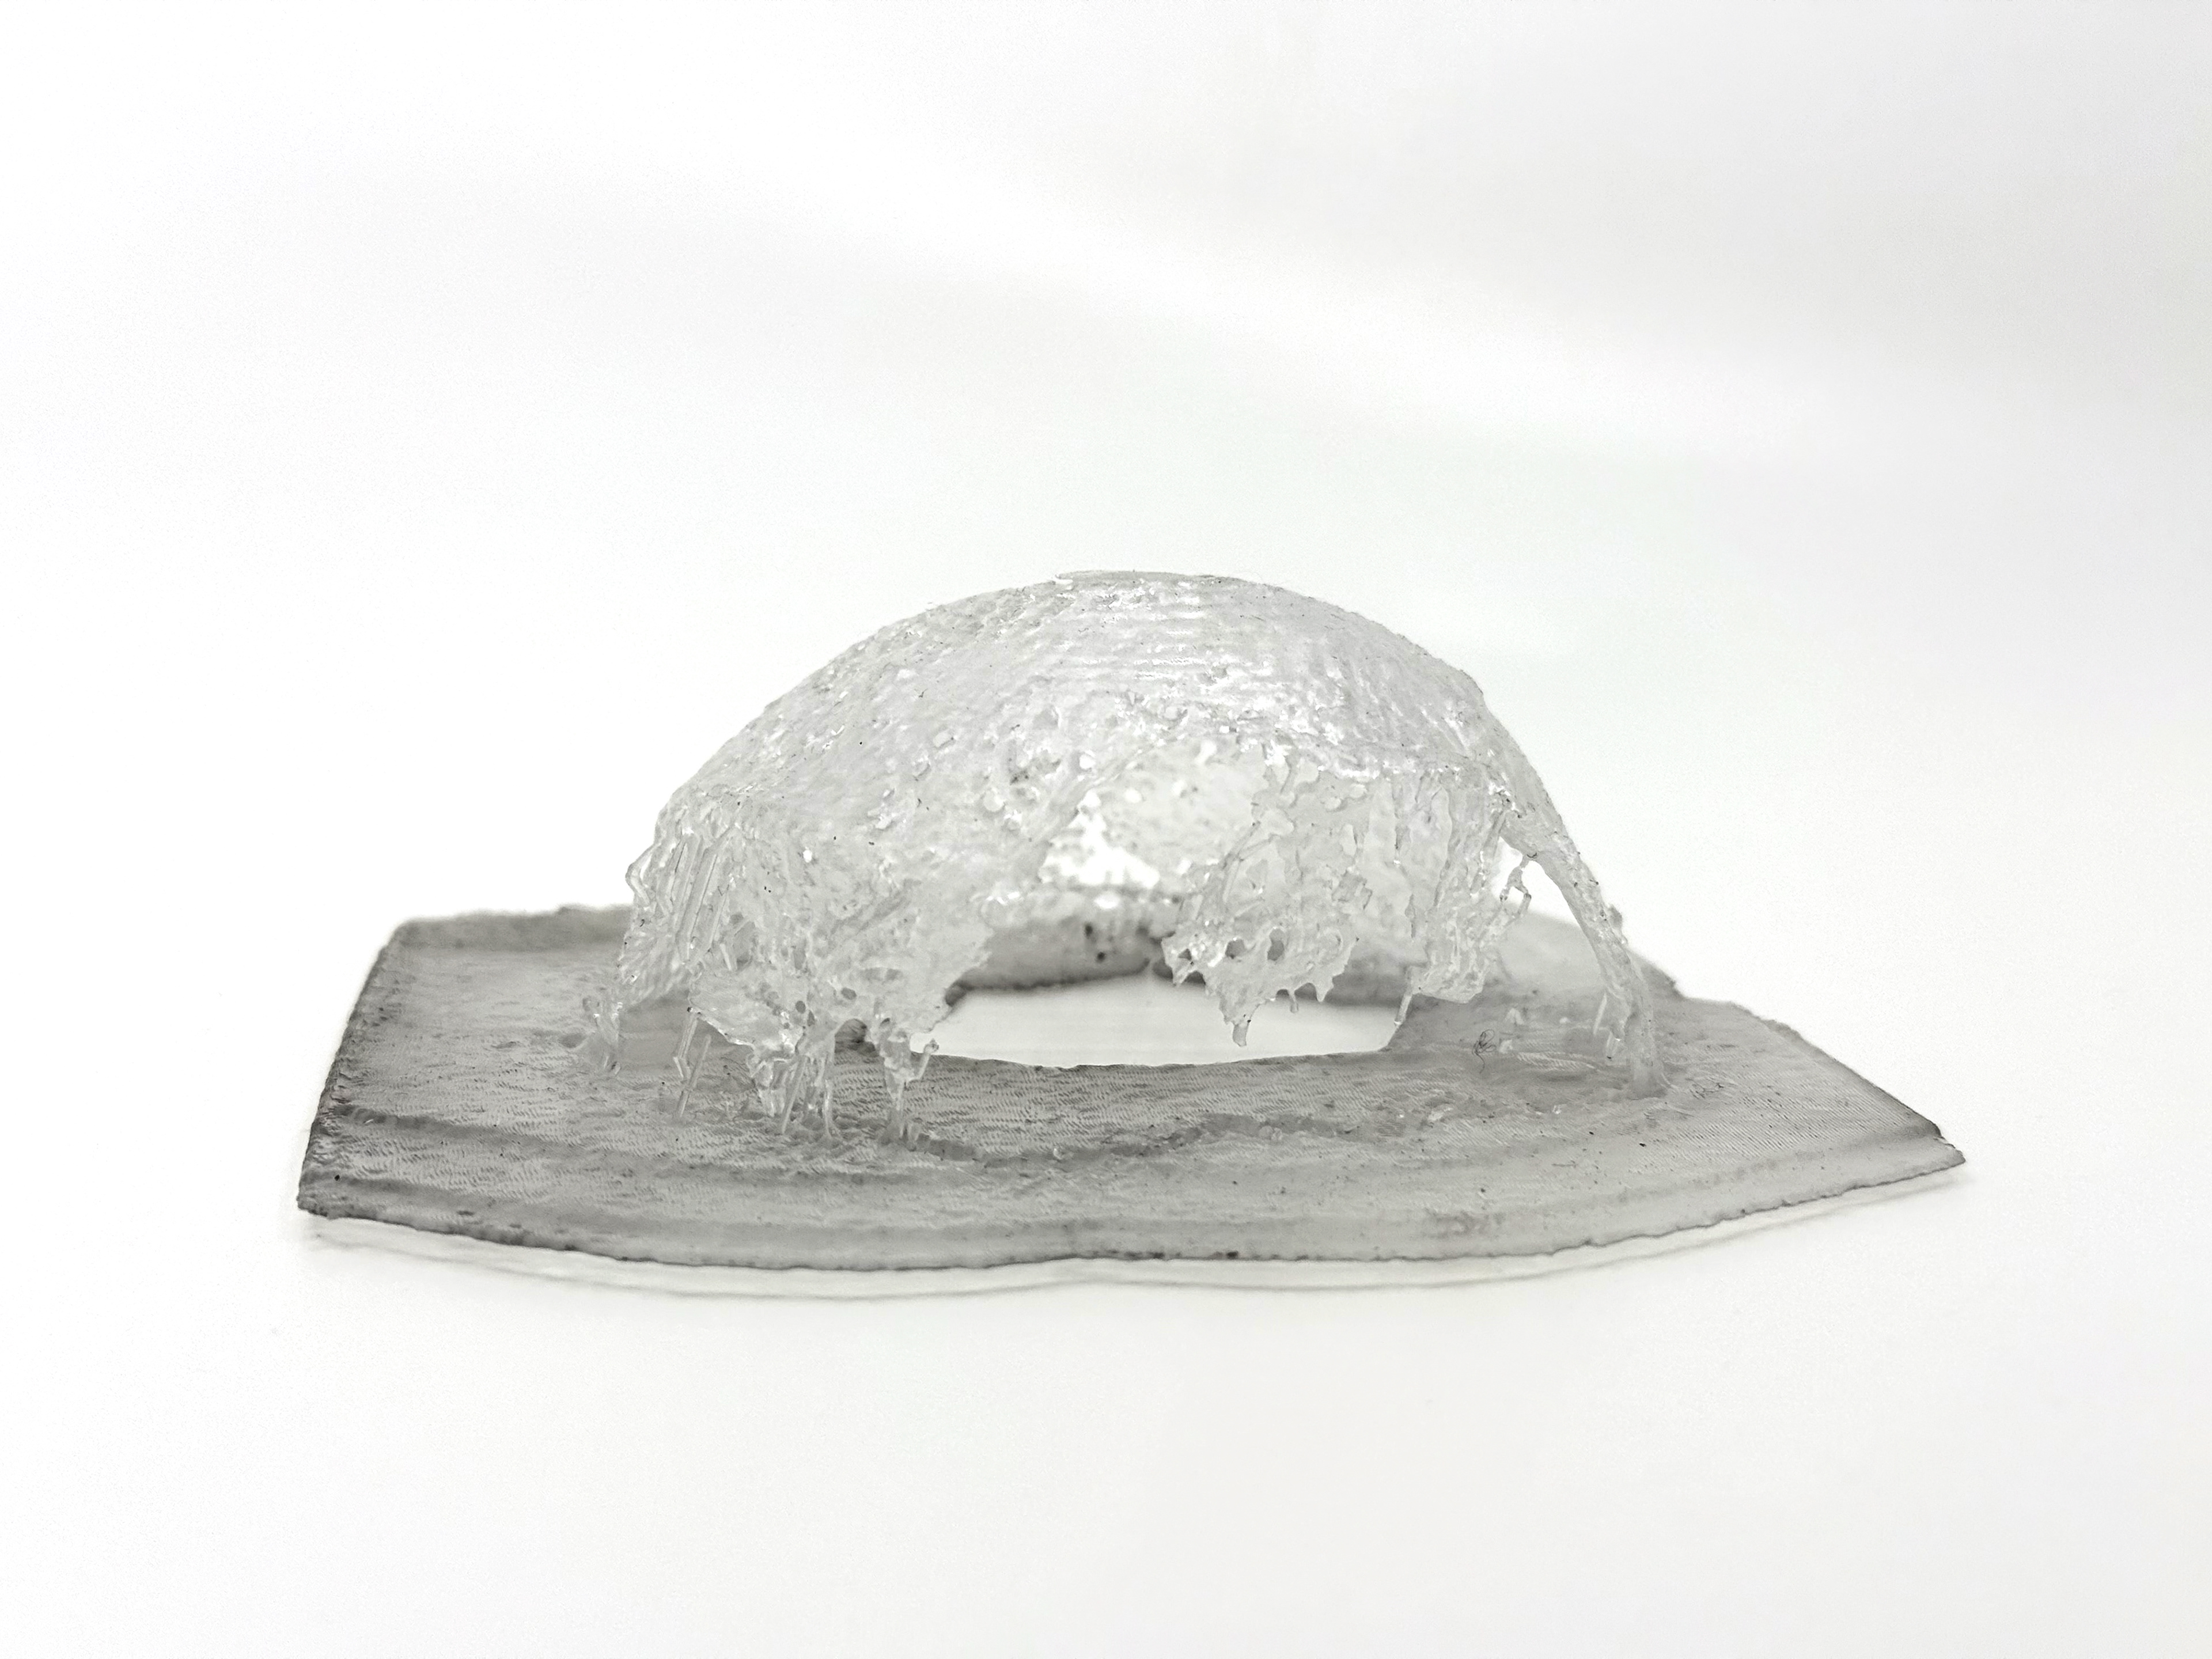
Slip Vs Plaster 5.0
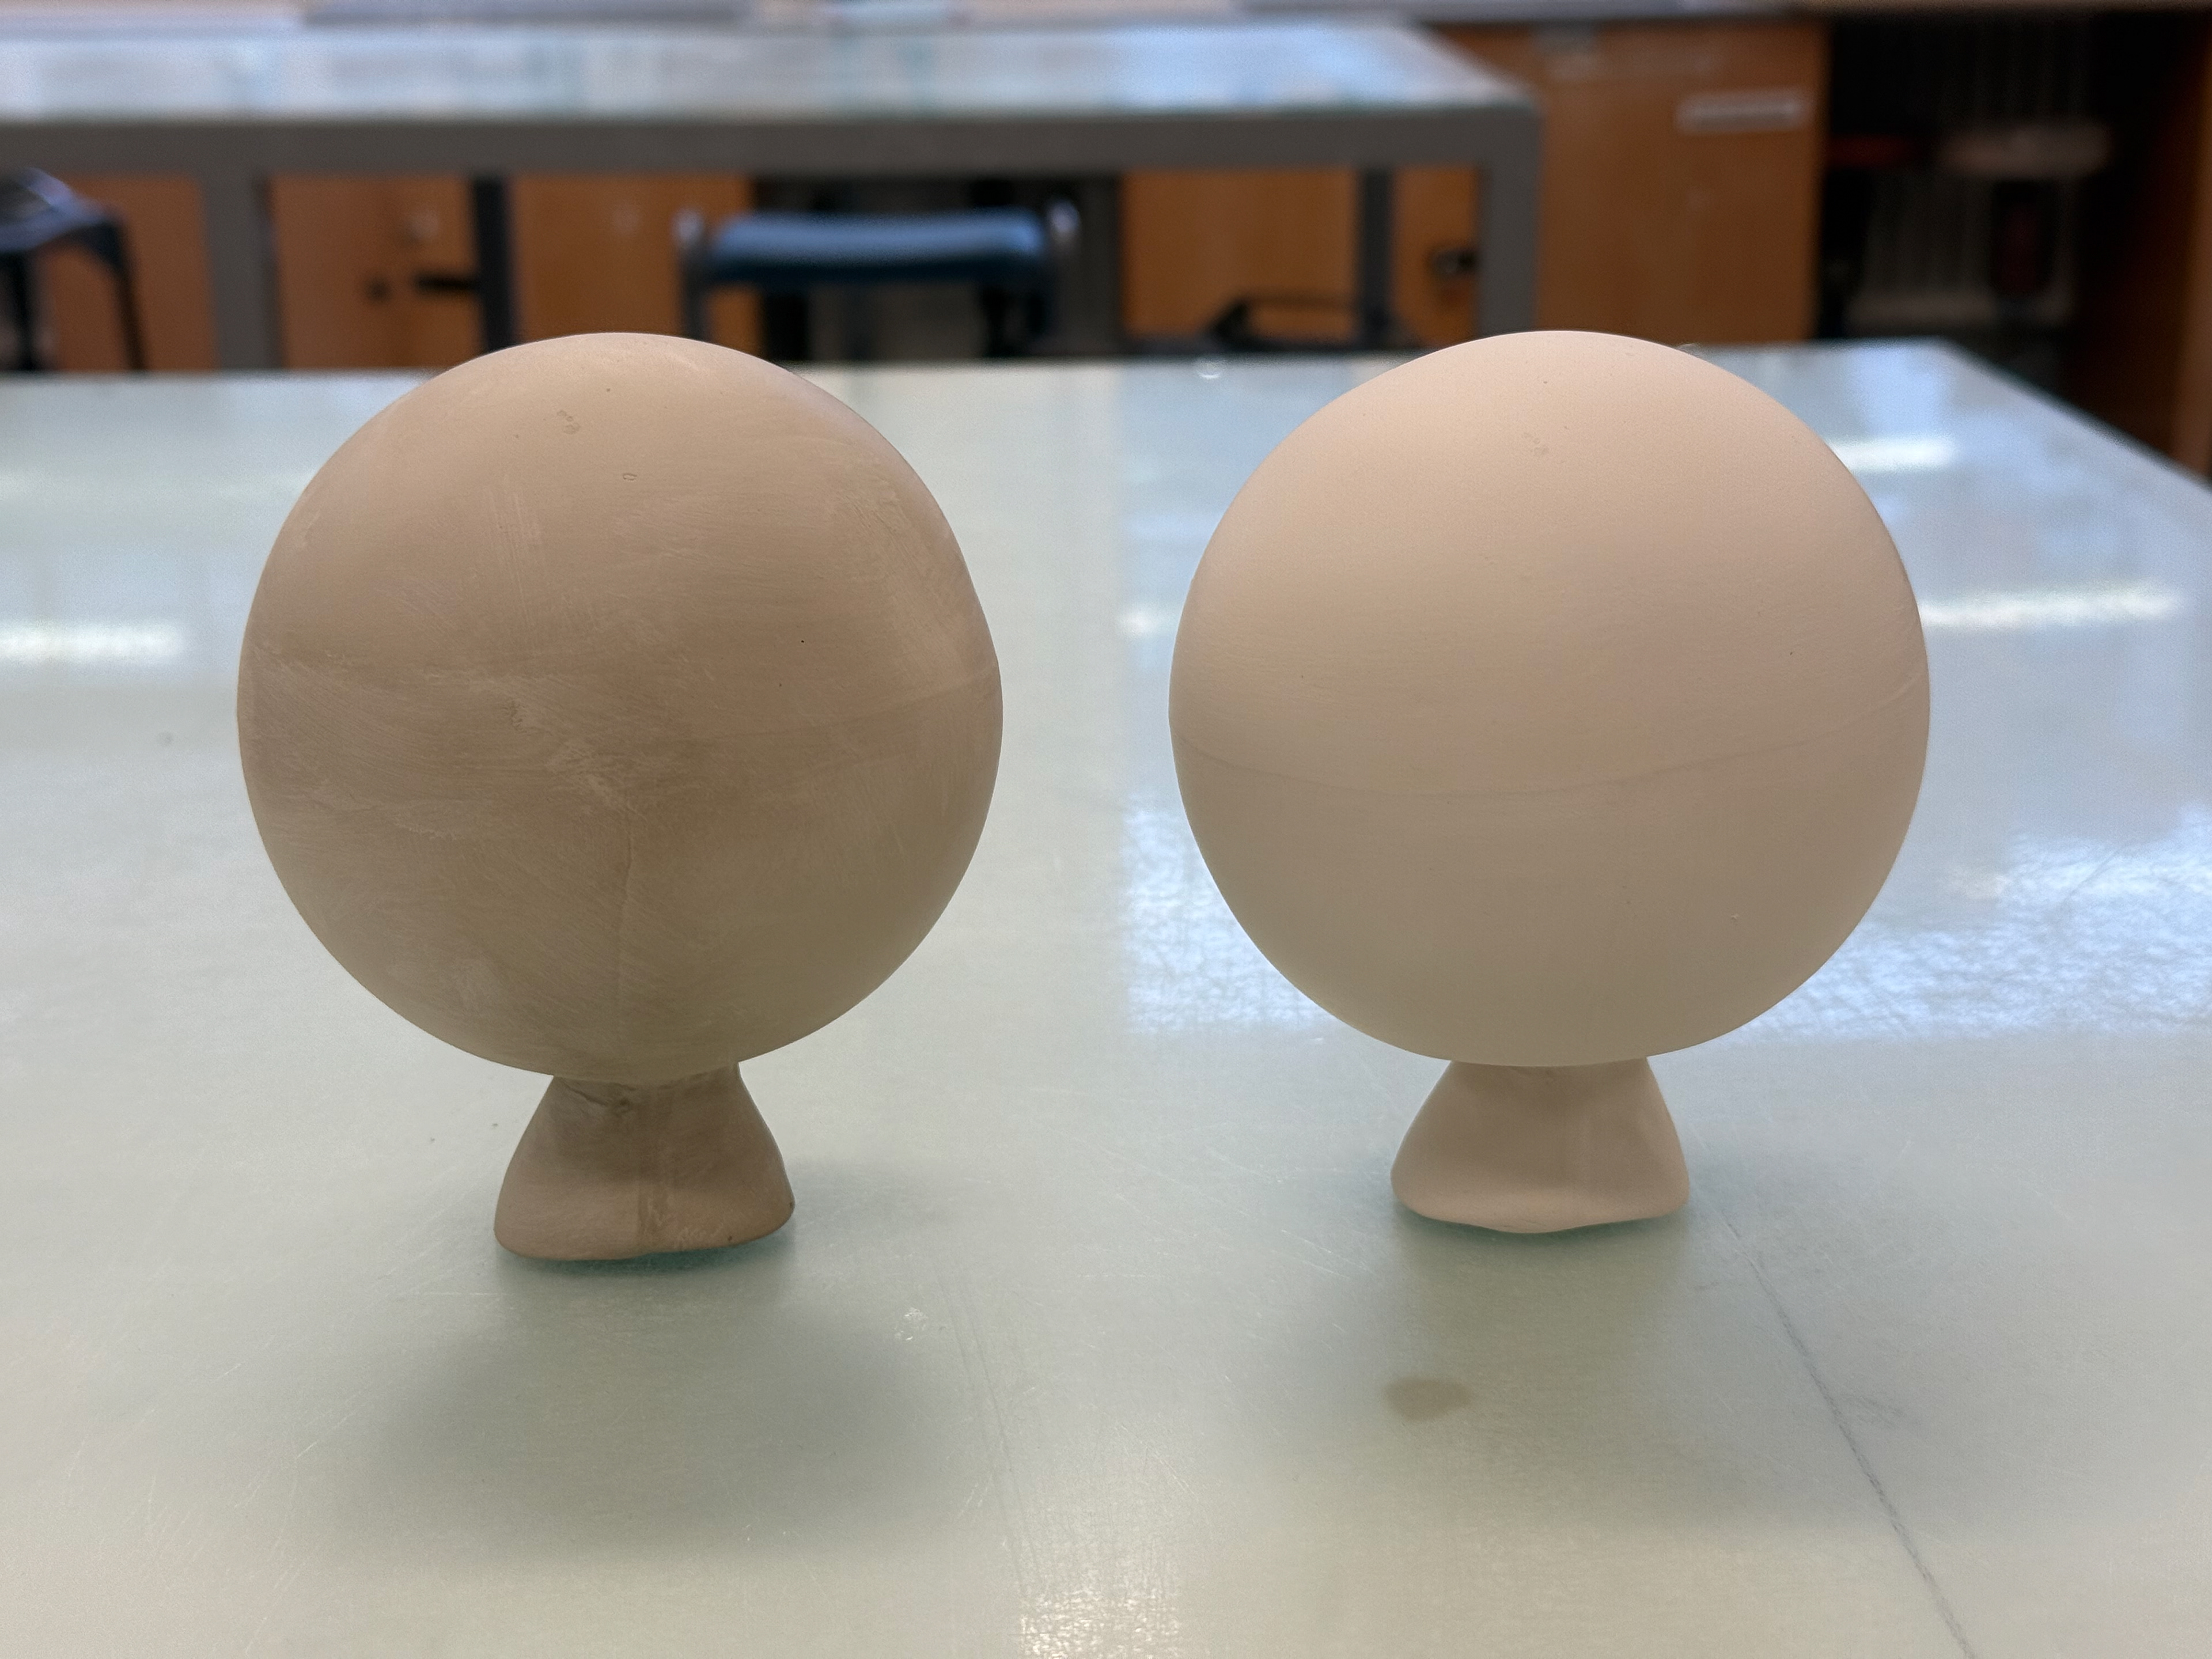
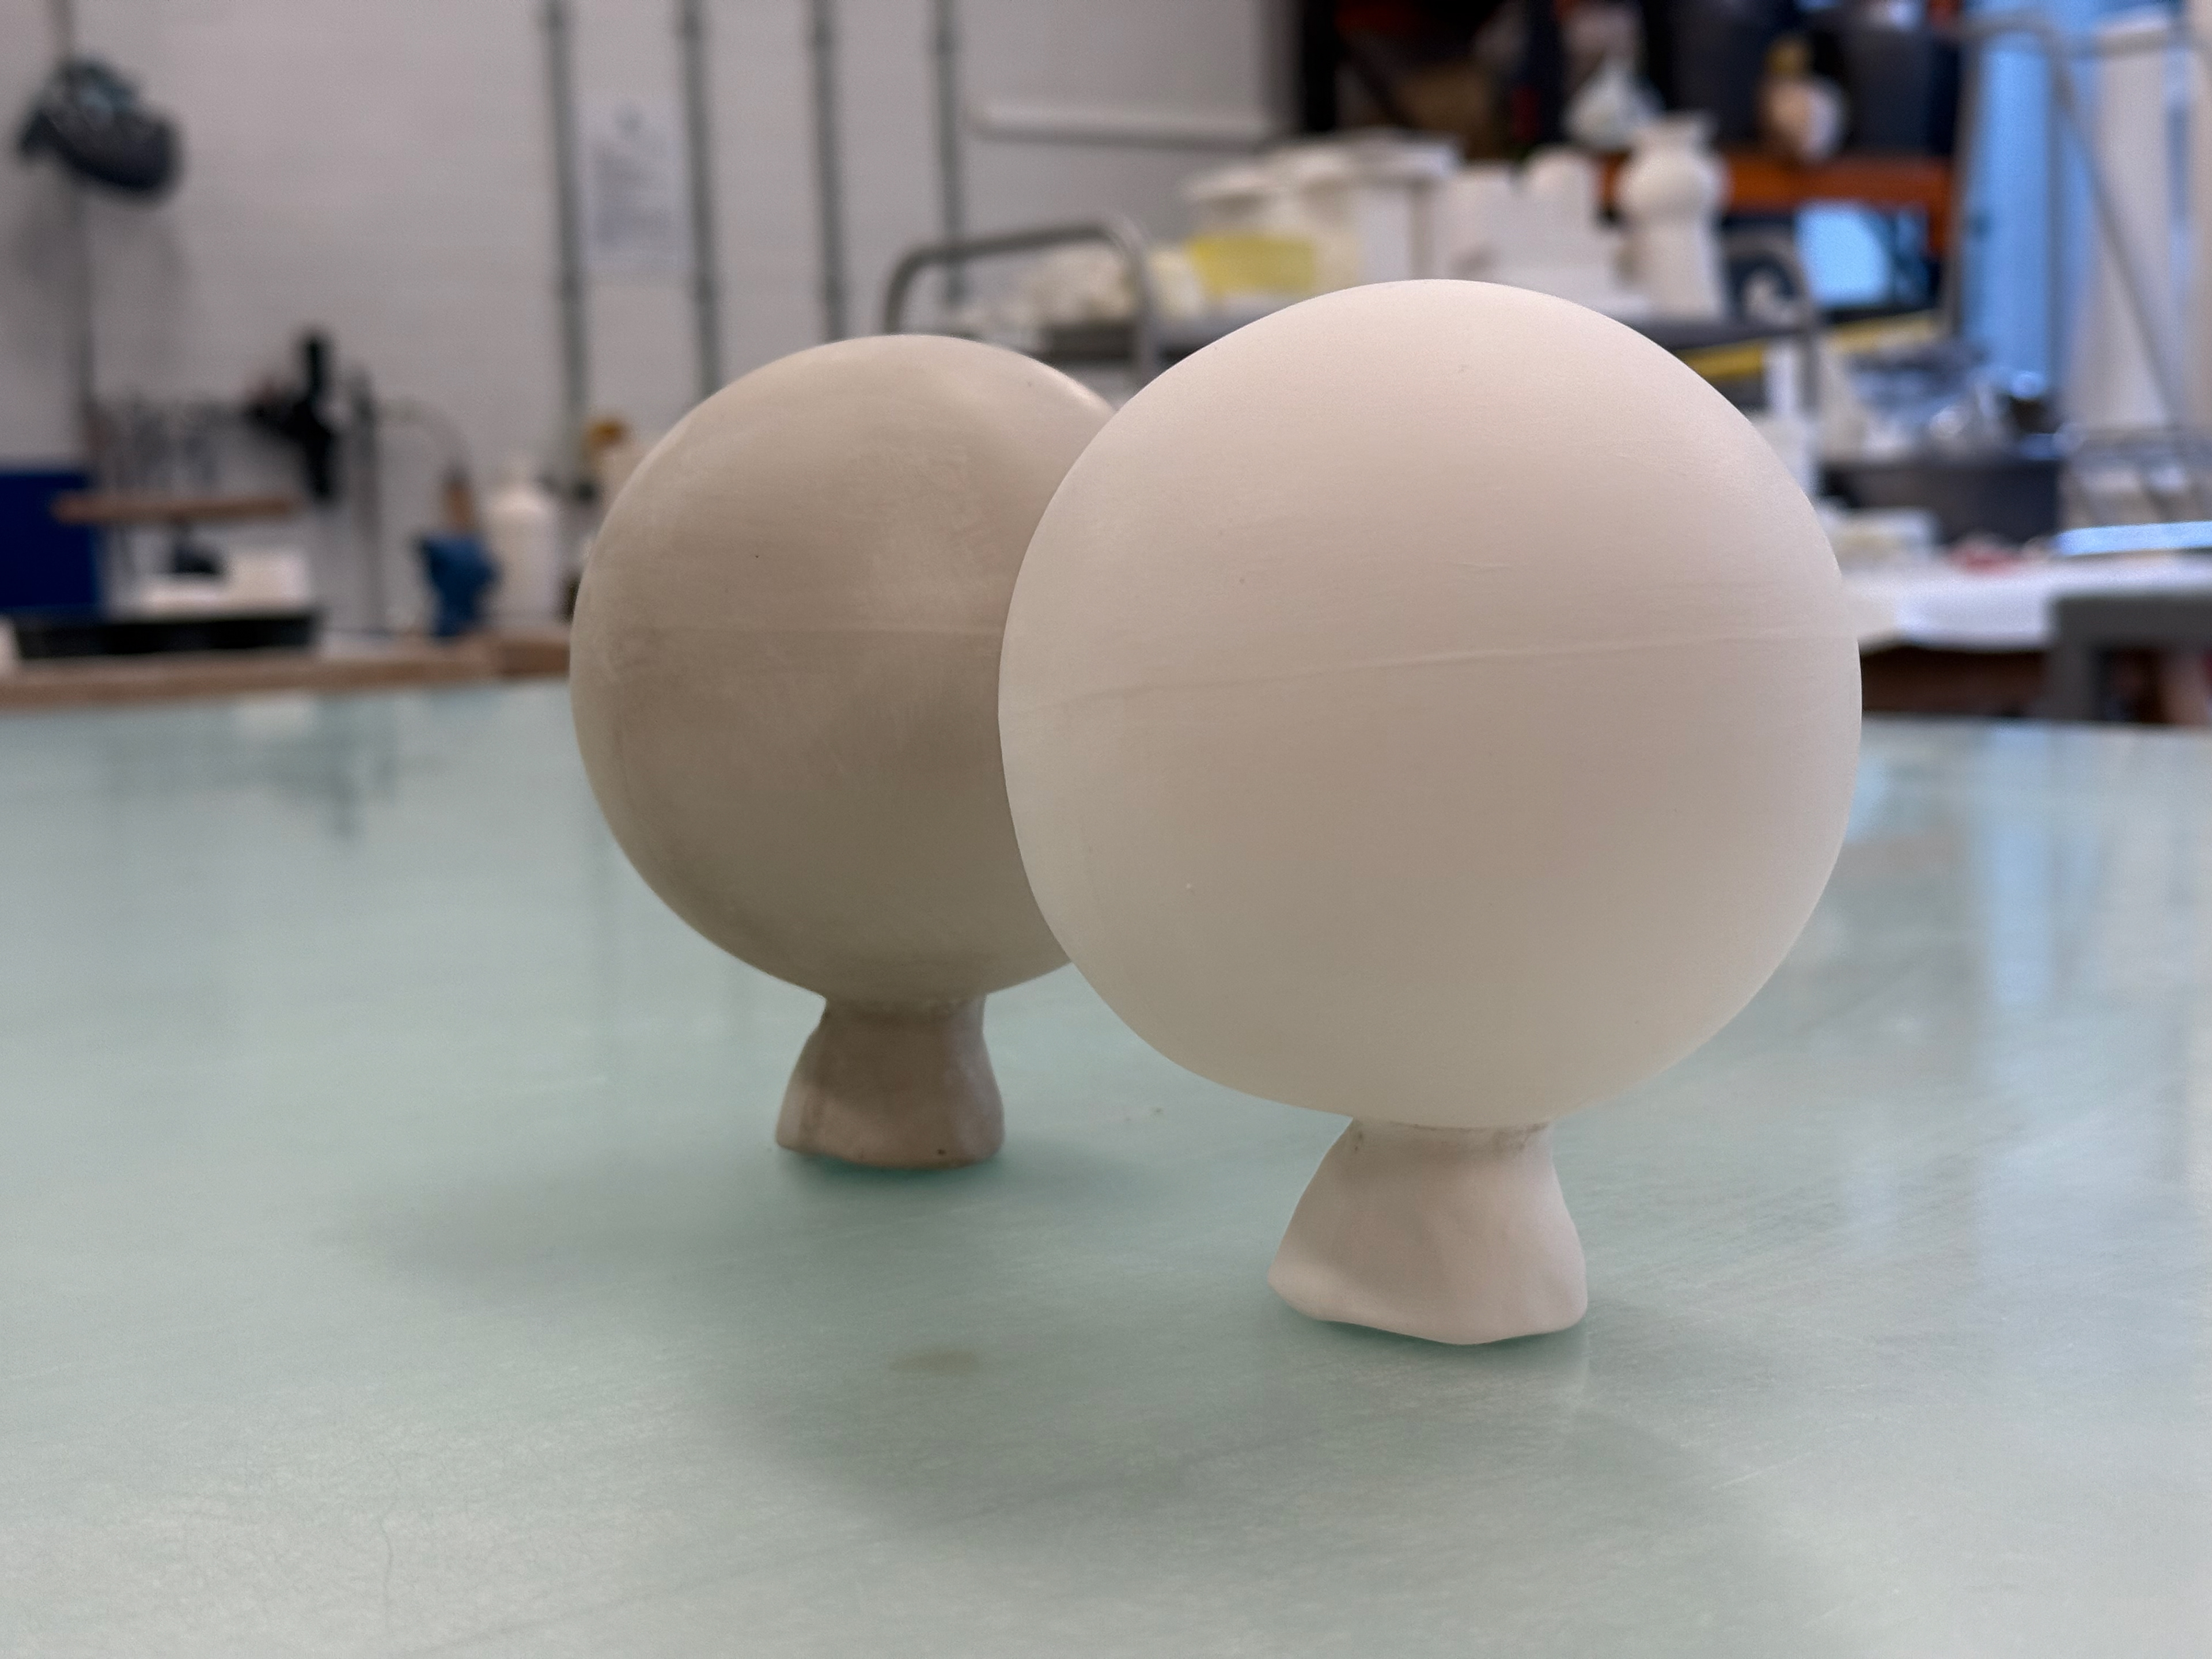
Once I determined that the shorter dry time of the slip meant the more the plaster cracked and came away from the slip, I wanted to try the opposite: fire the slip. The result was that the plaster clung to the slip much more than the previous versions, even the air-dried piece. The effect of firing looks like it 'ages' the clay; this would imply that its experience of duration is much quicker than plaster because it "aged" in far less time than the plaster did.
Unfired and unrefined.
Unfired but refined.
Fired ready for plaster.
Smooth base.
In container ready for plaster pour.
Plaster setting.
Beautiful colour as the slip removes the moisture from the plaster.
Close up.
Same with the base.
The plaster doesn't connect to the base.
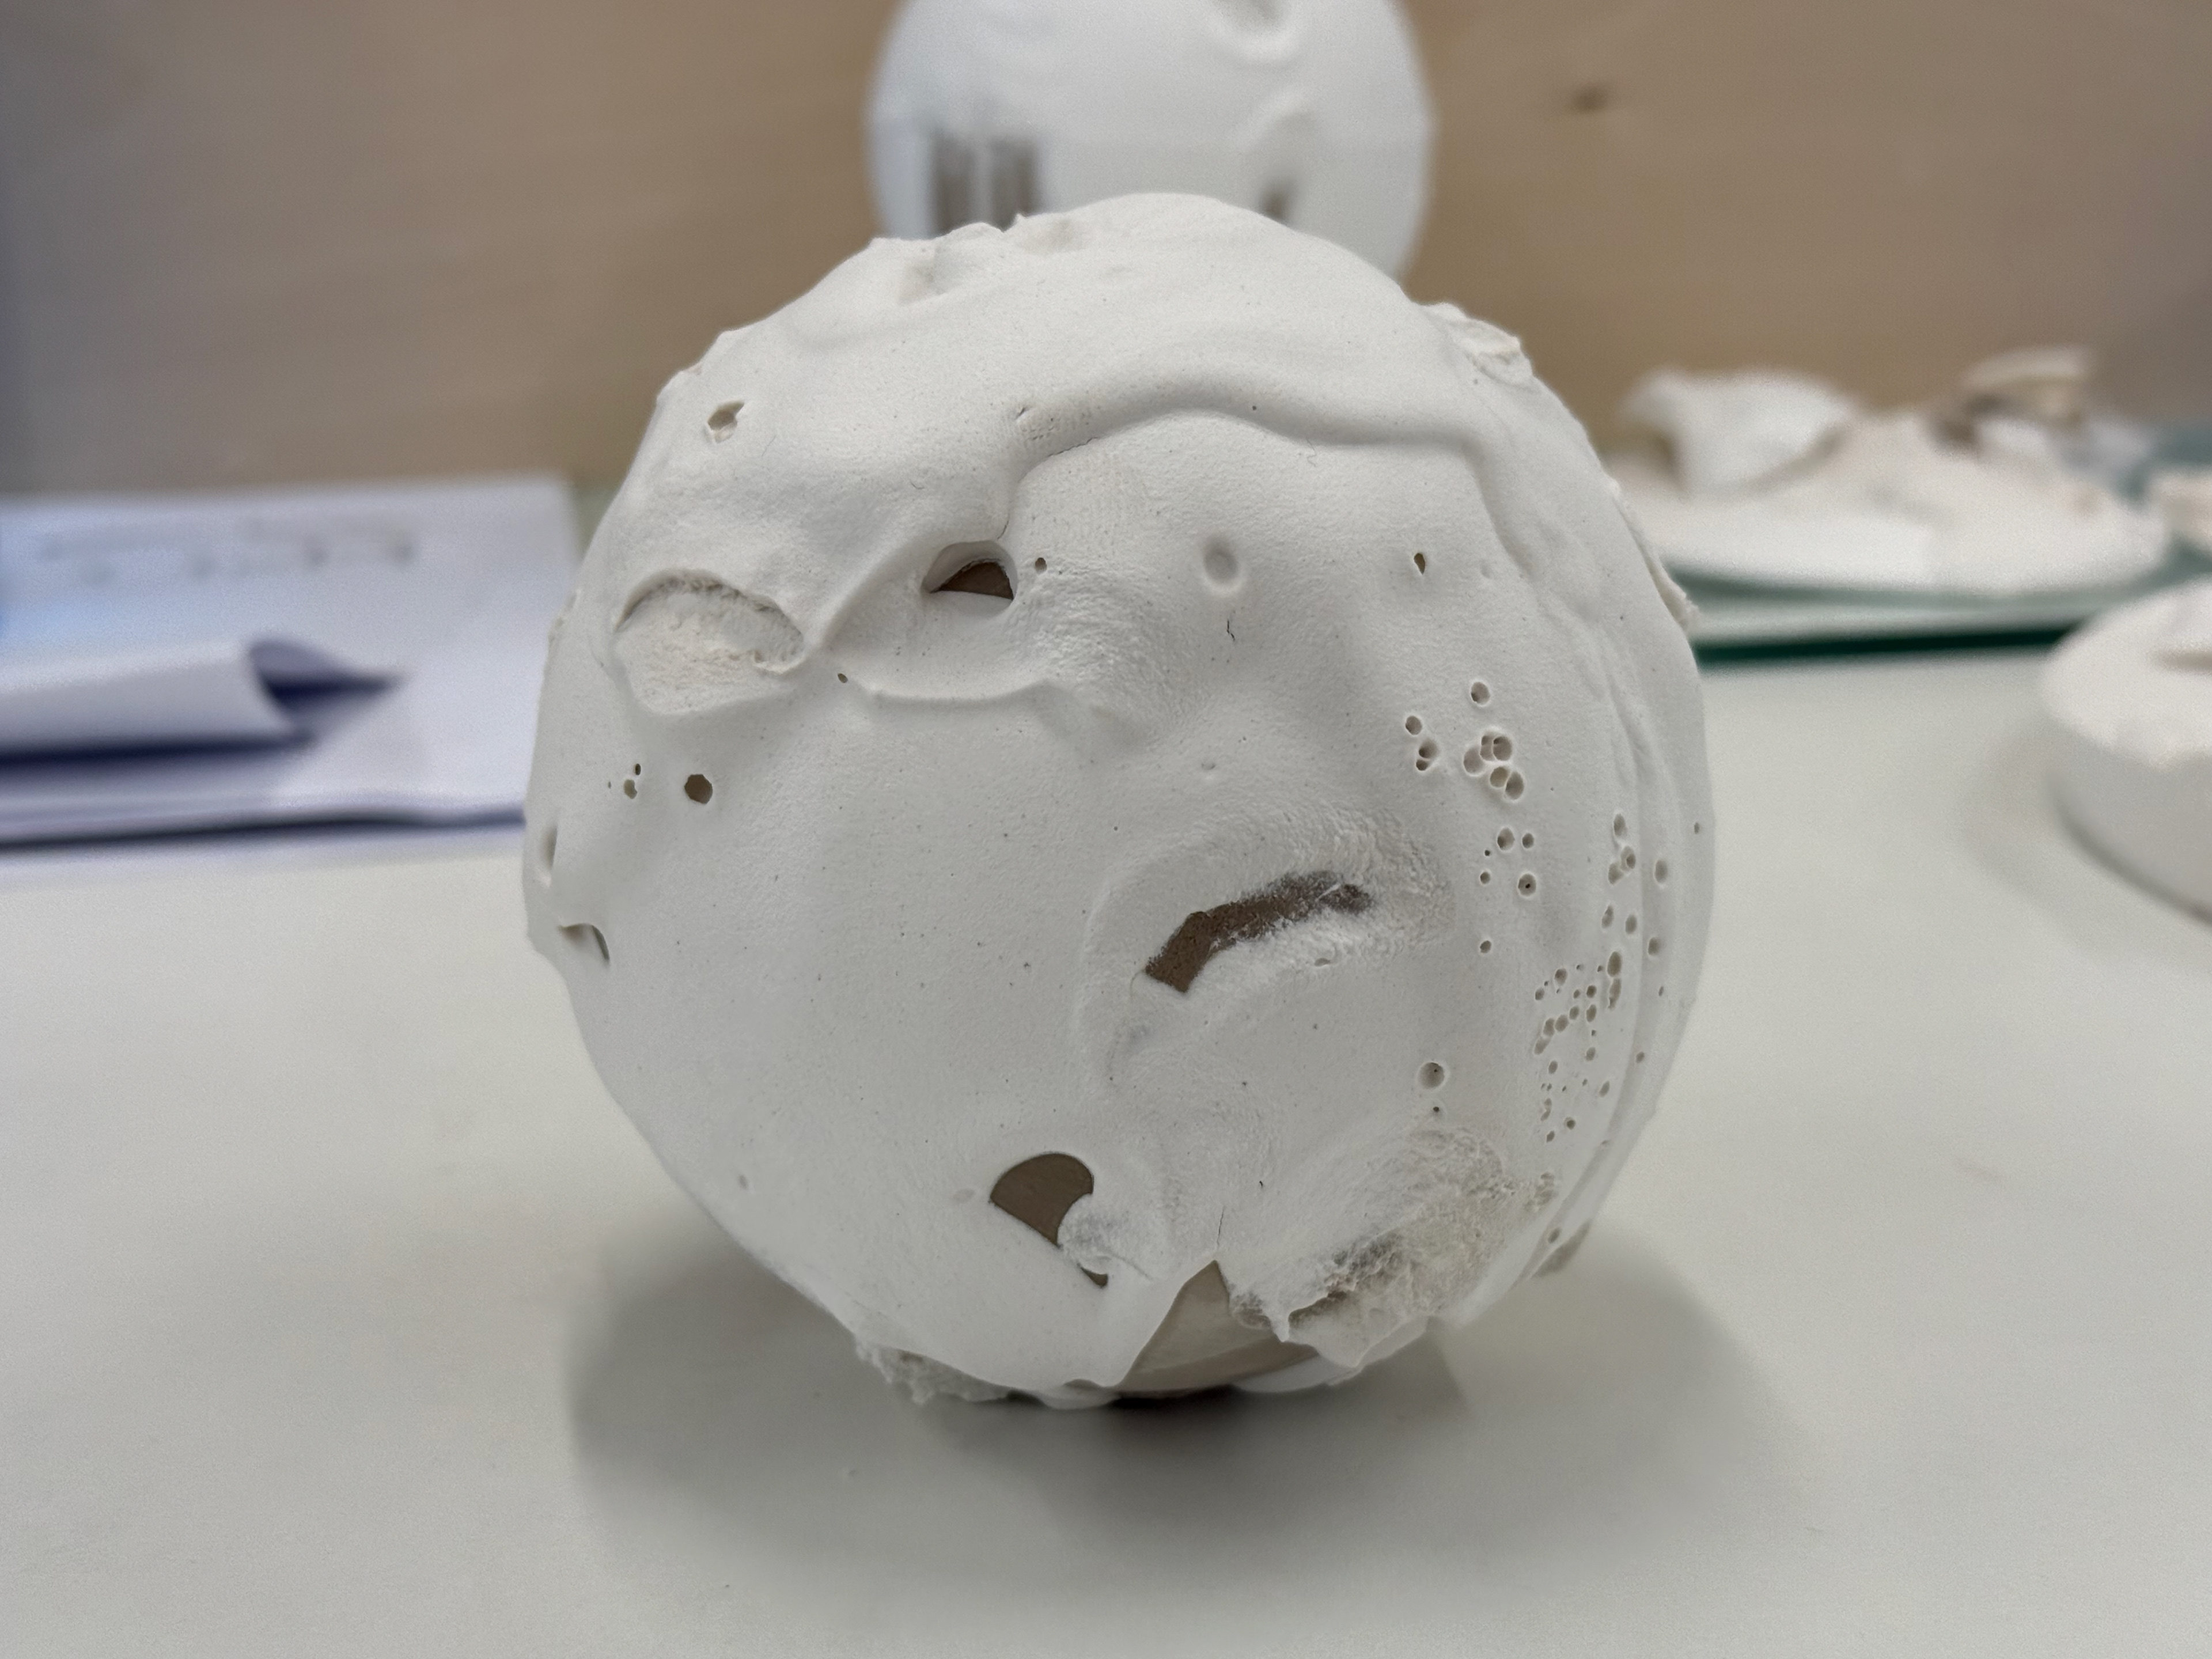
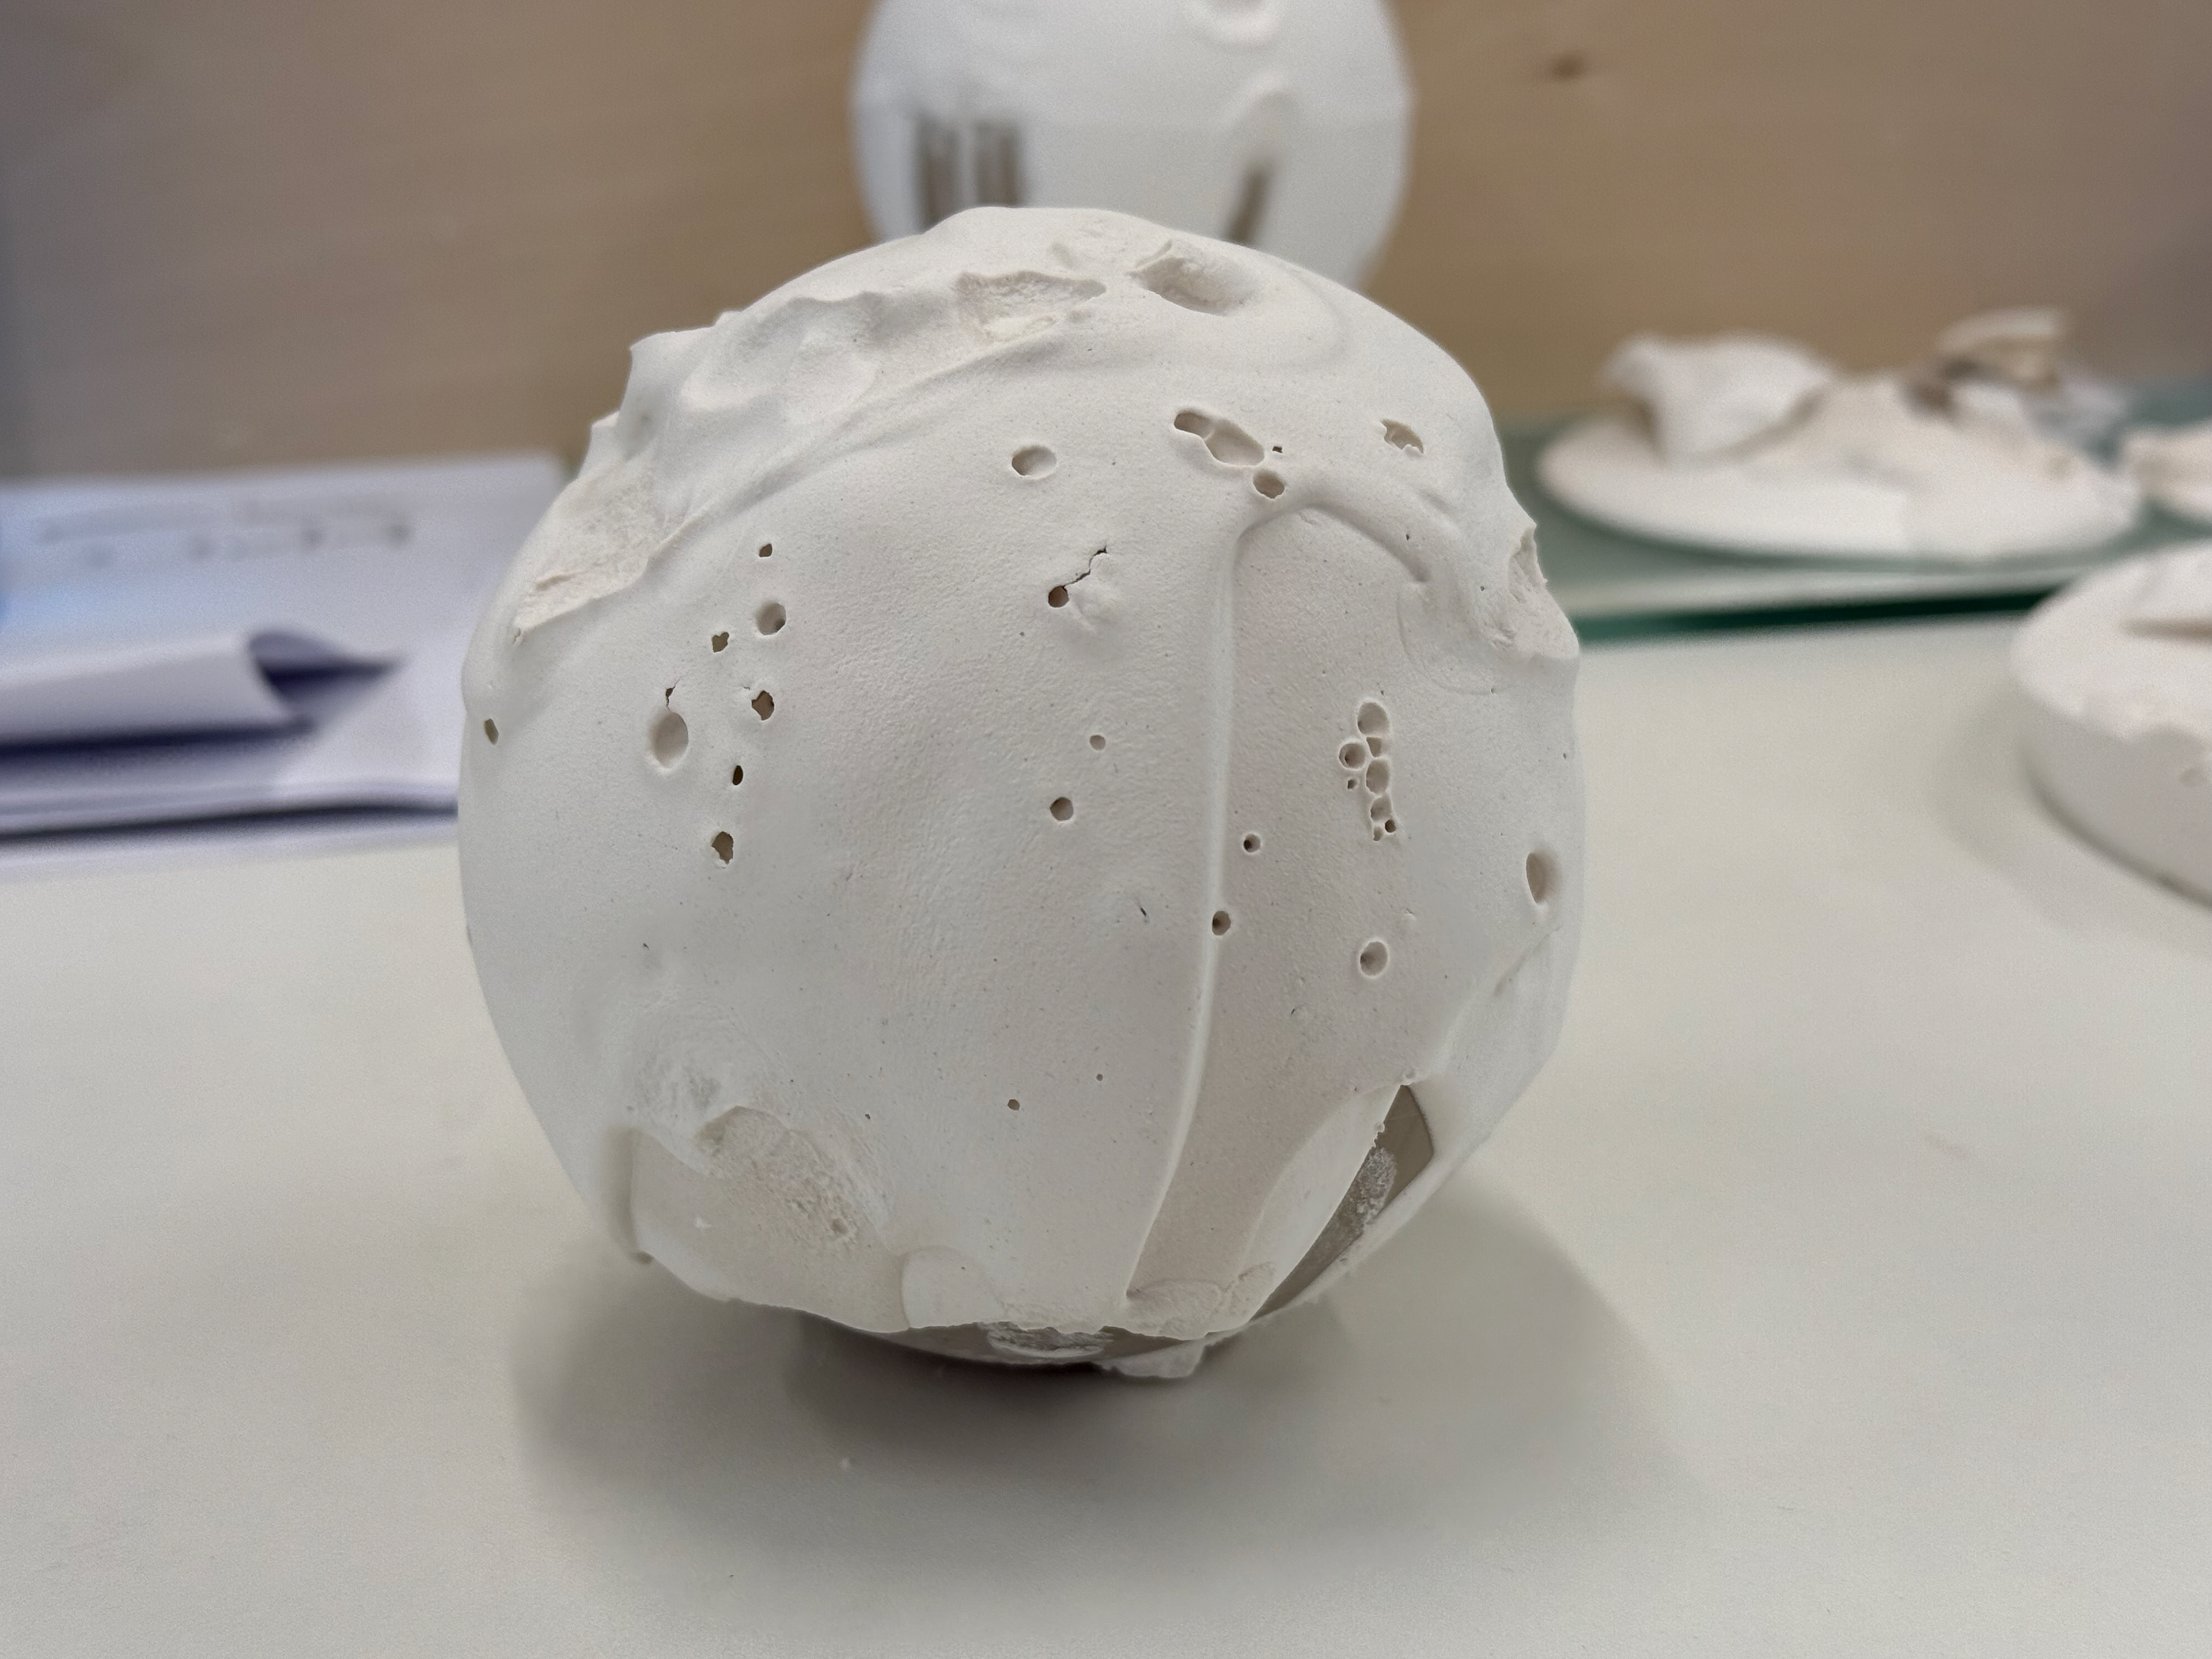
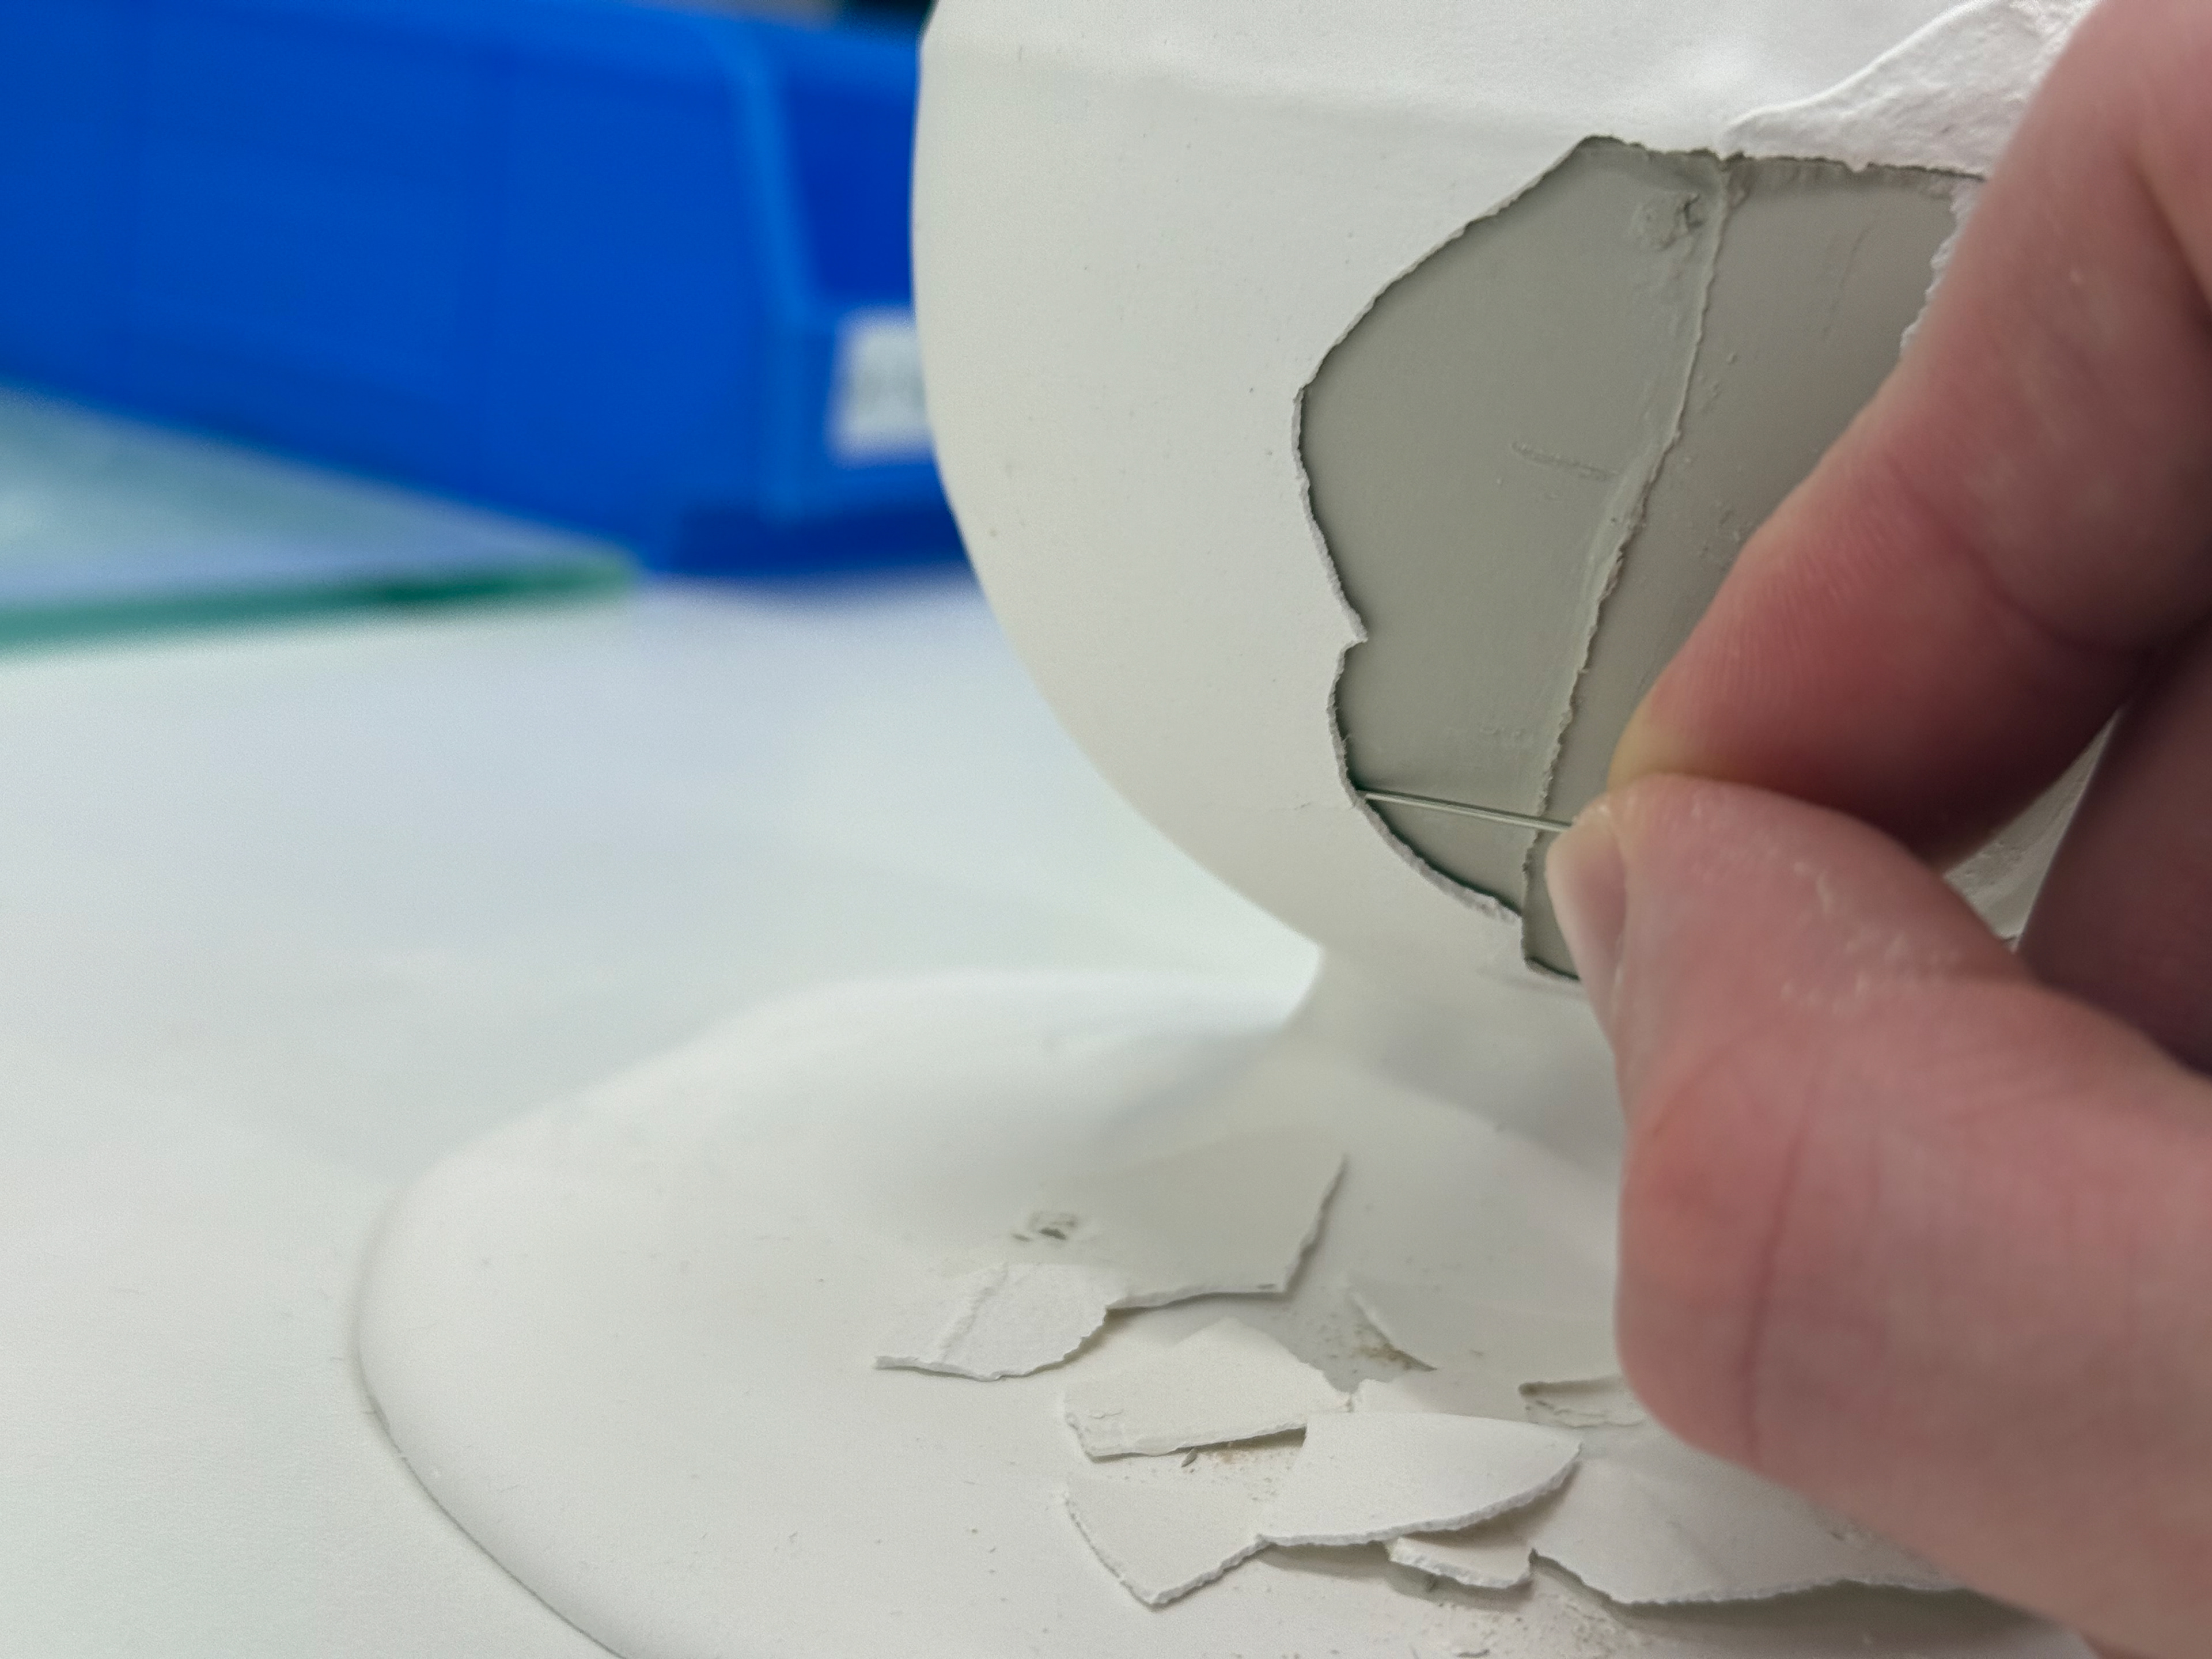
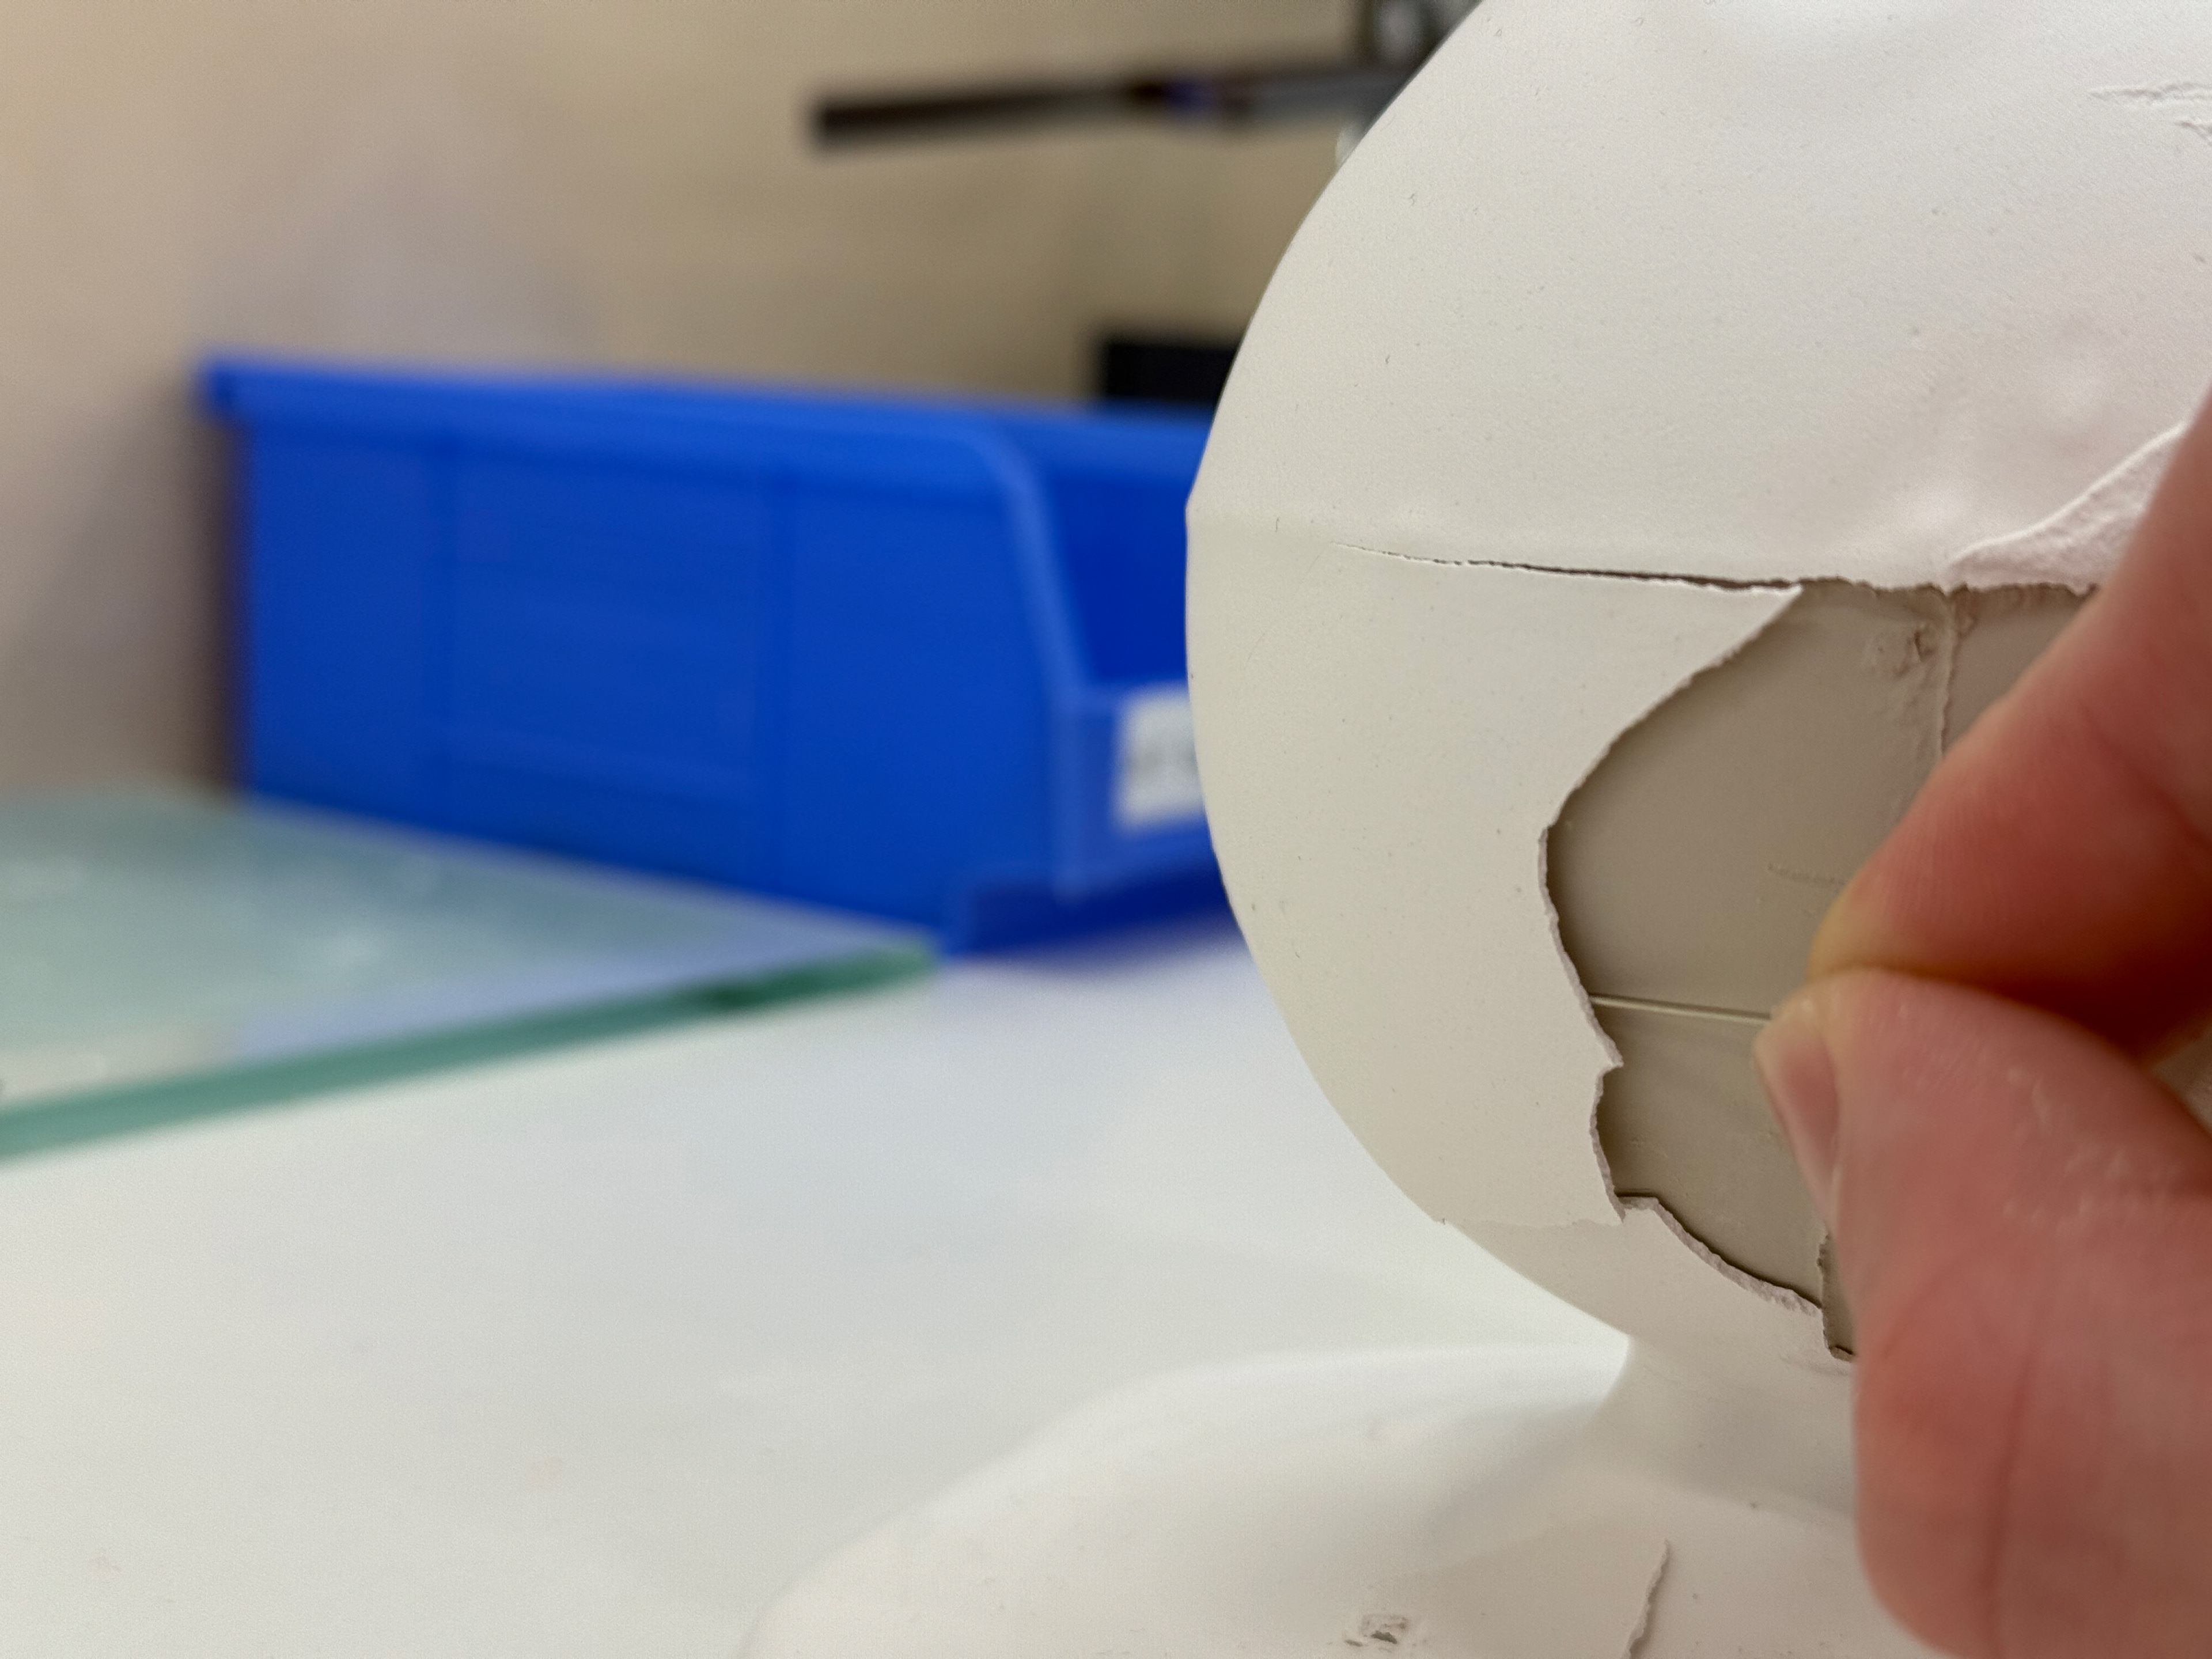
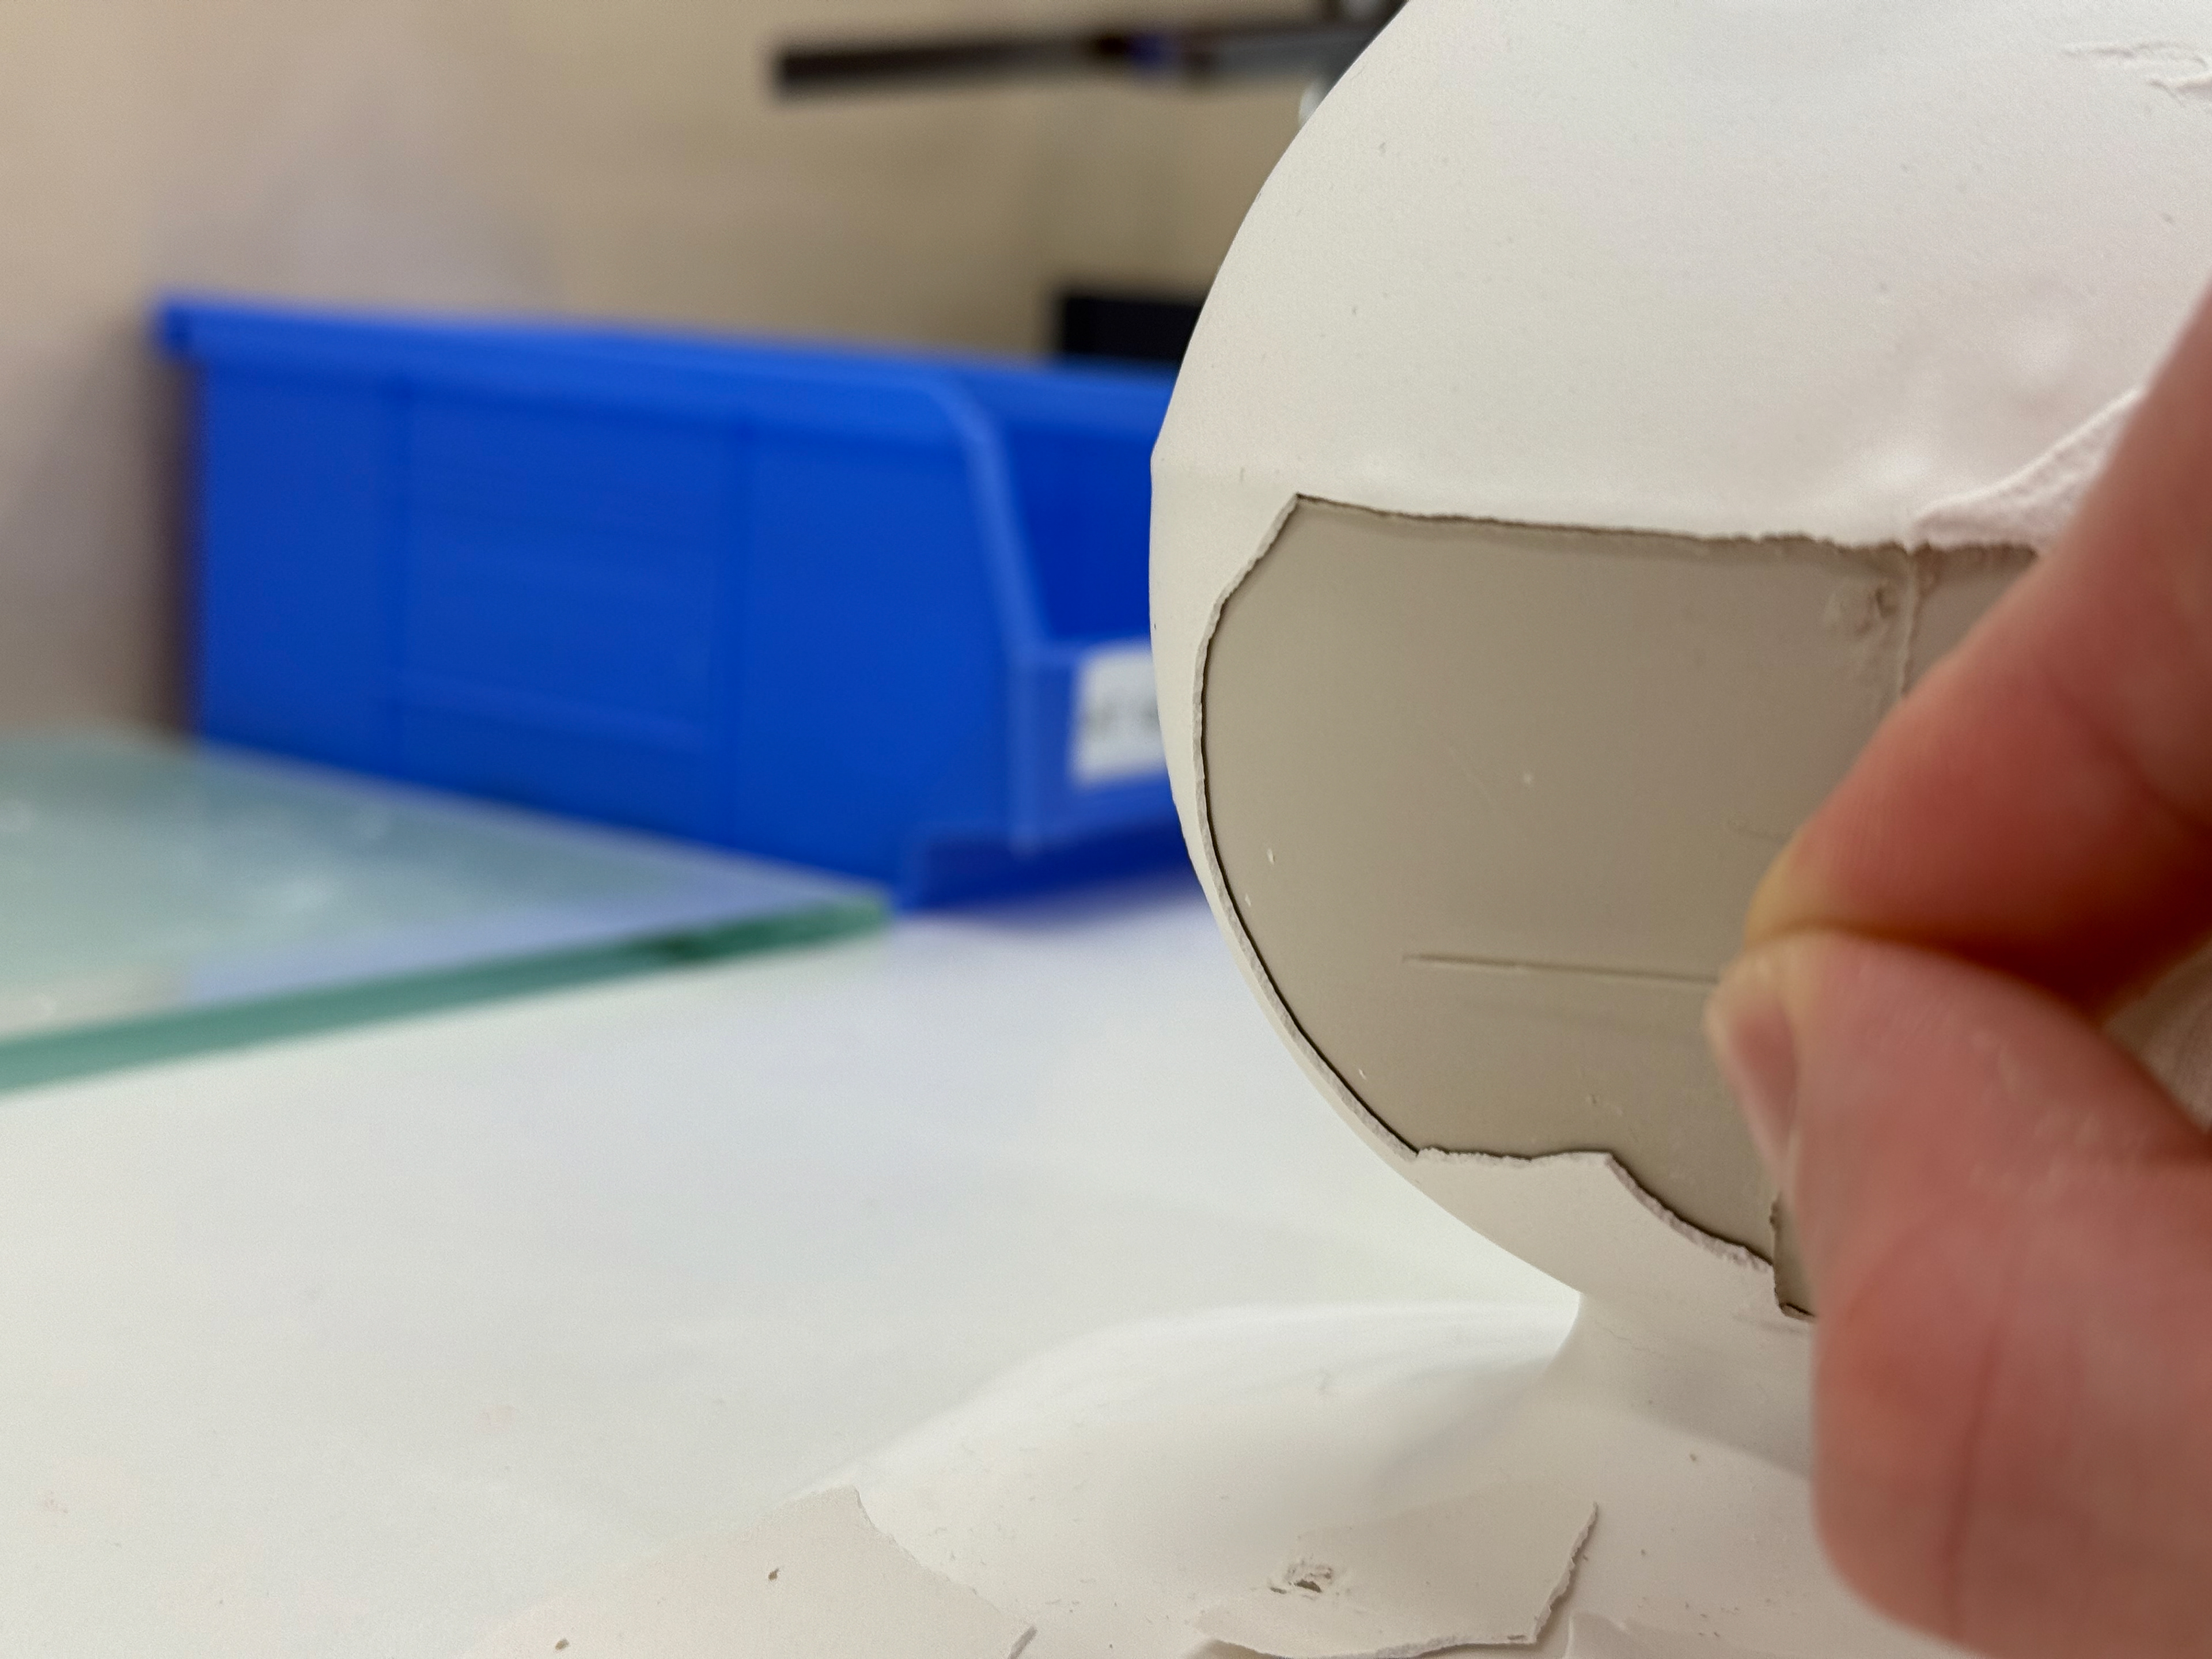
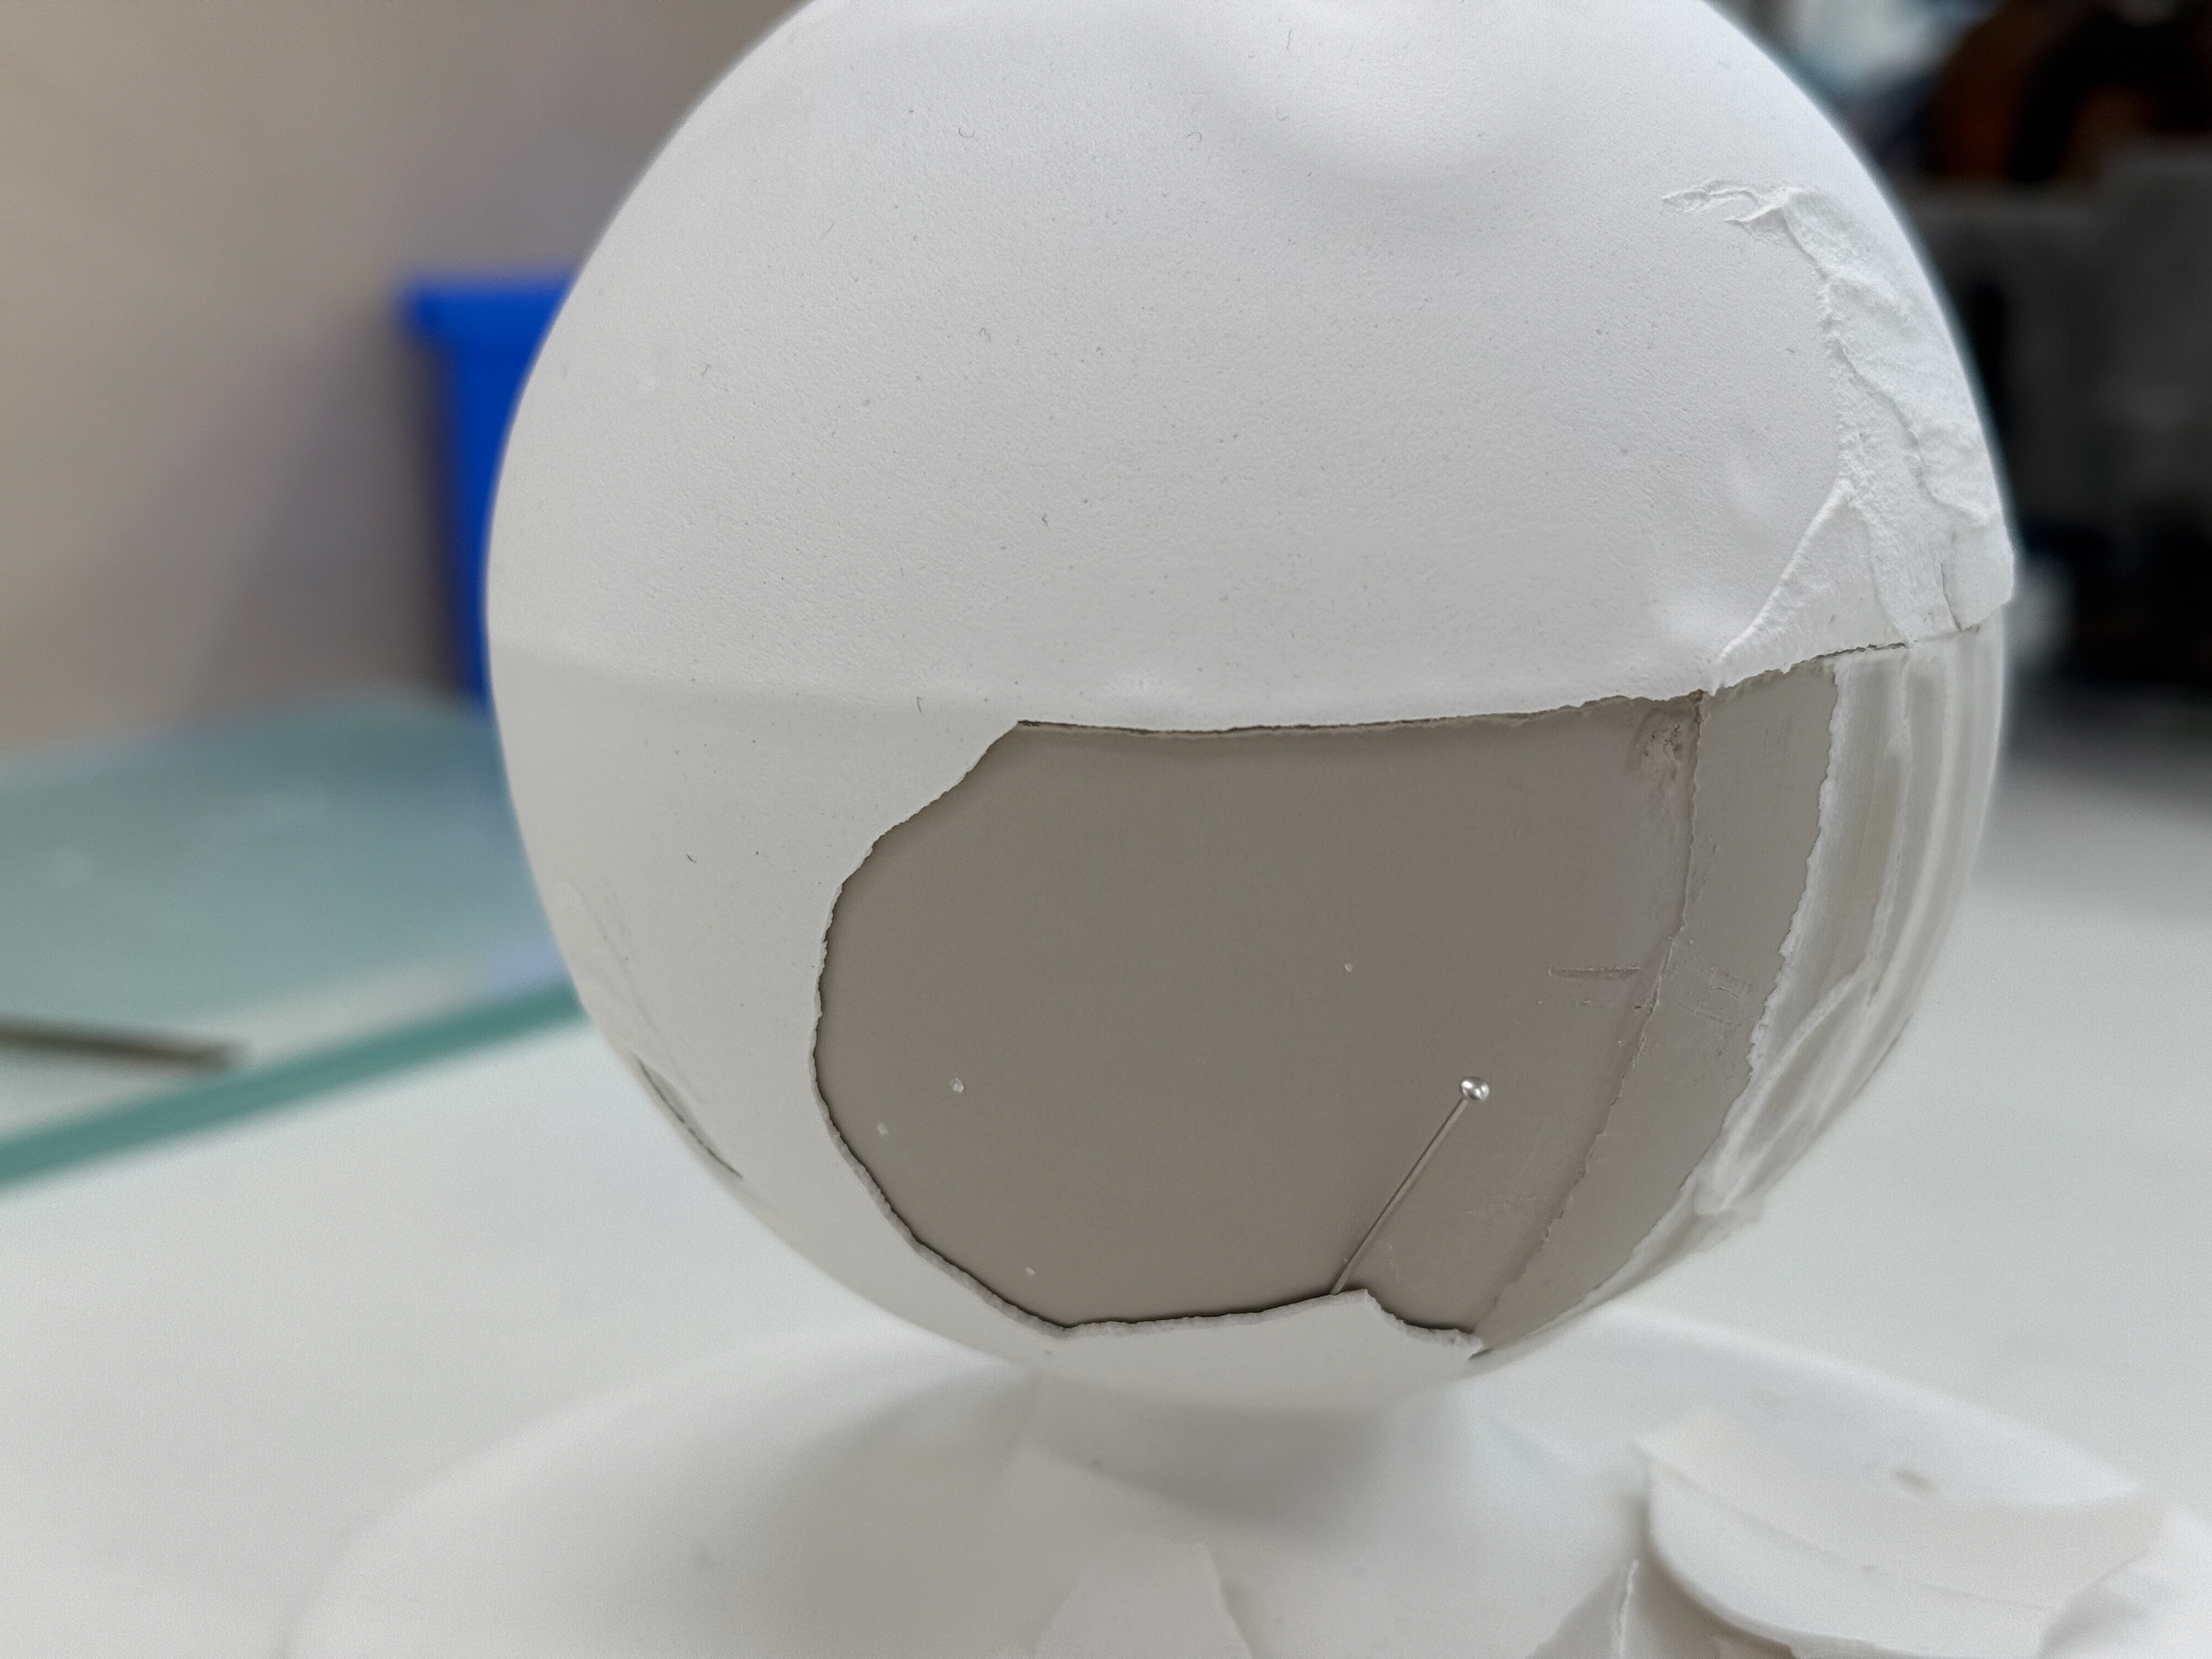
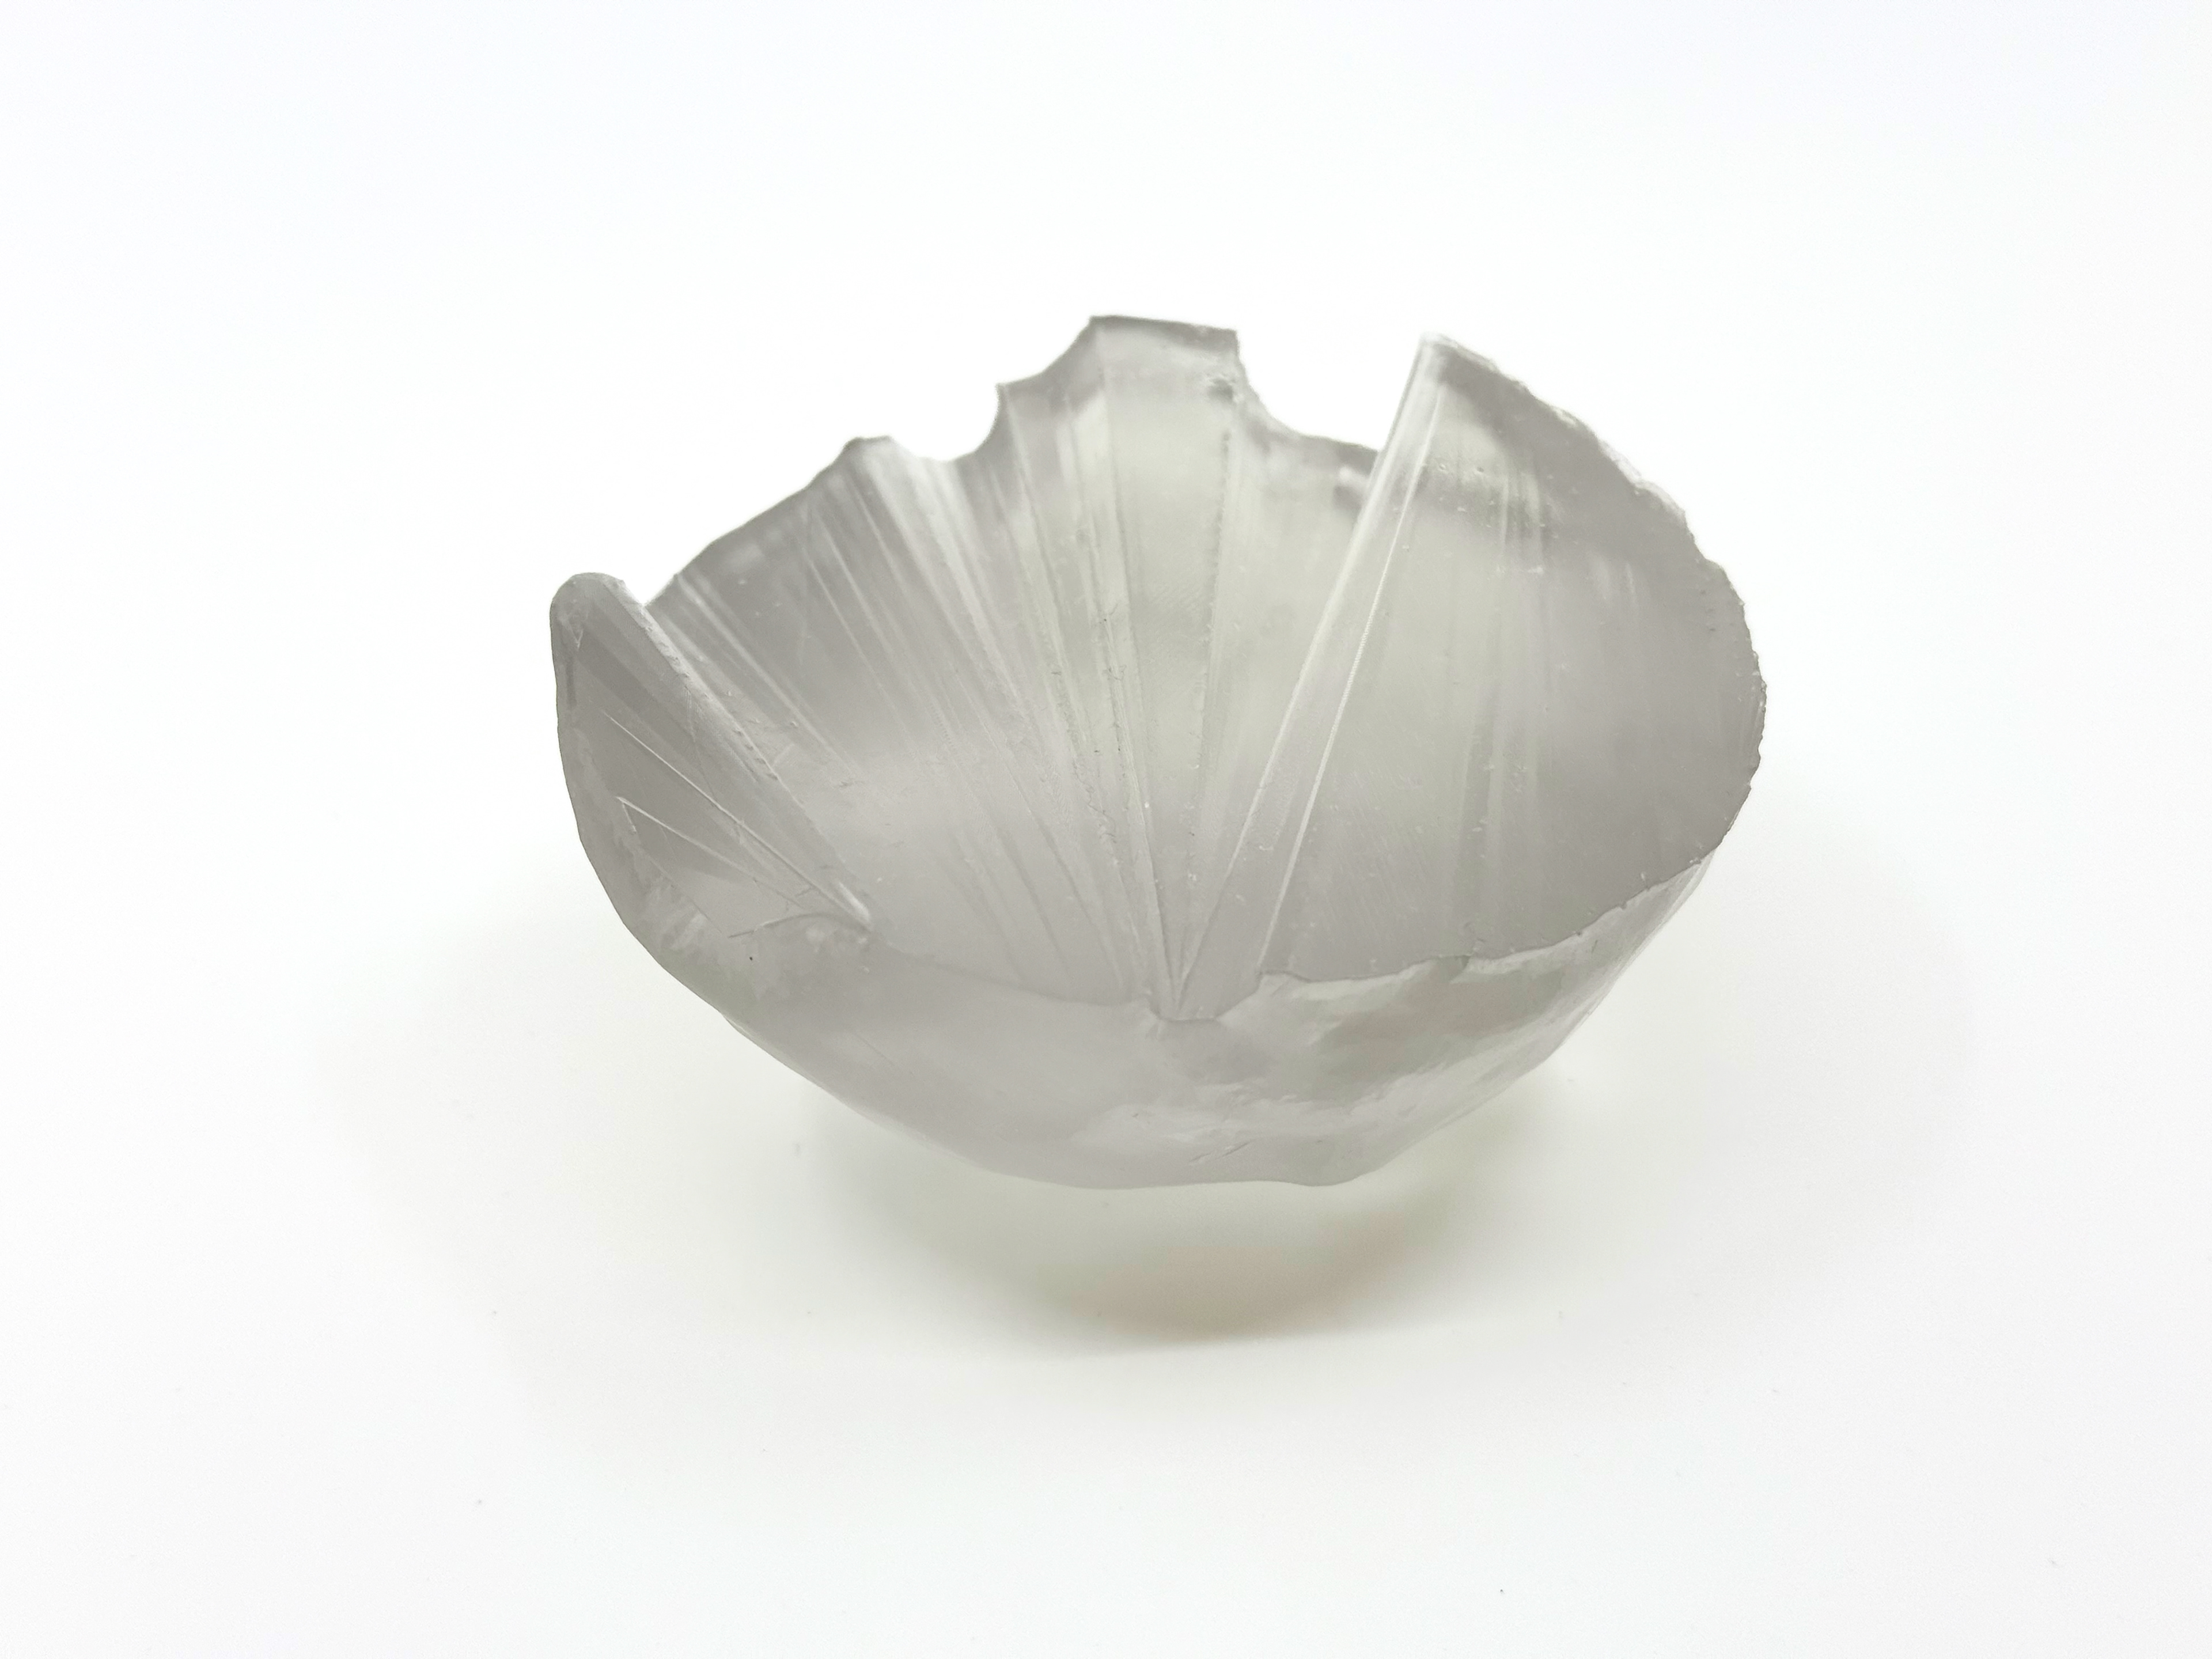
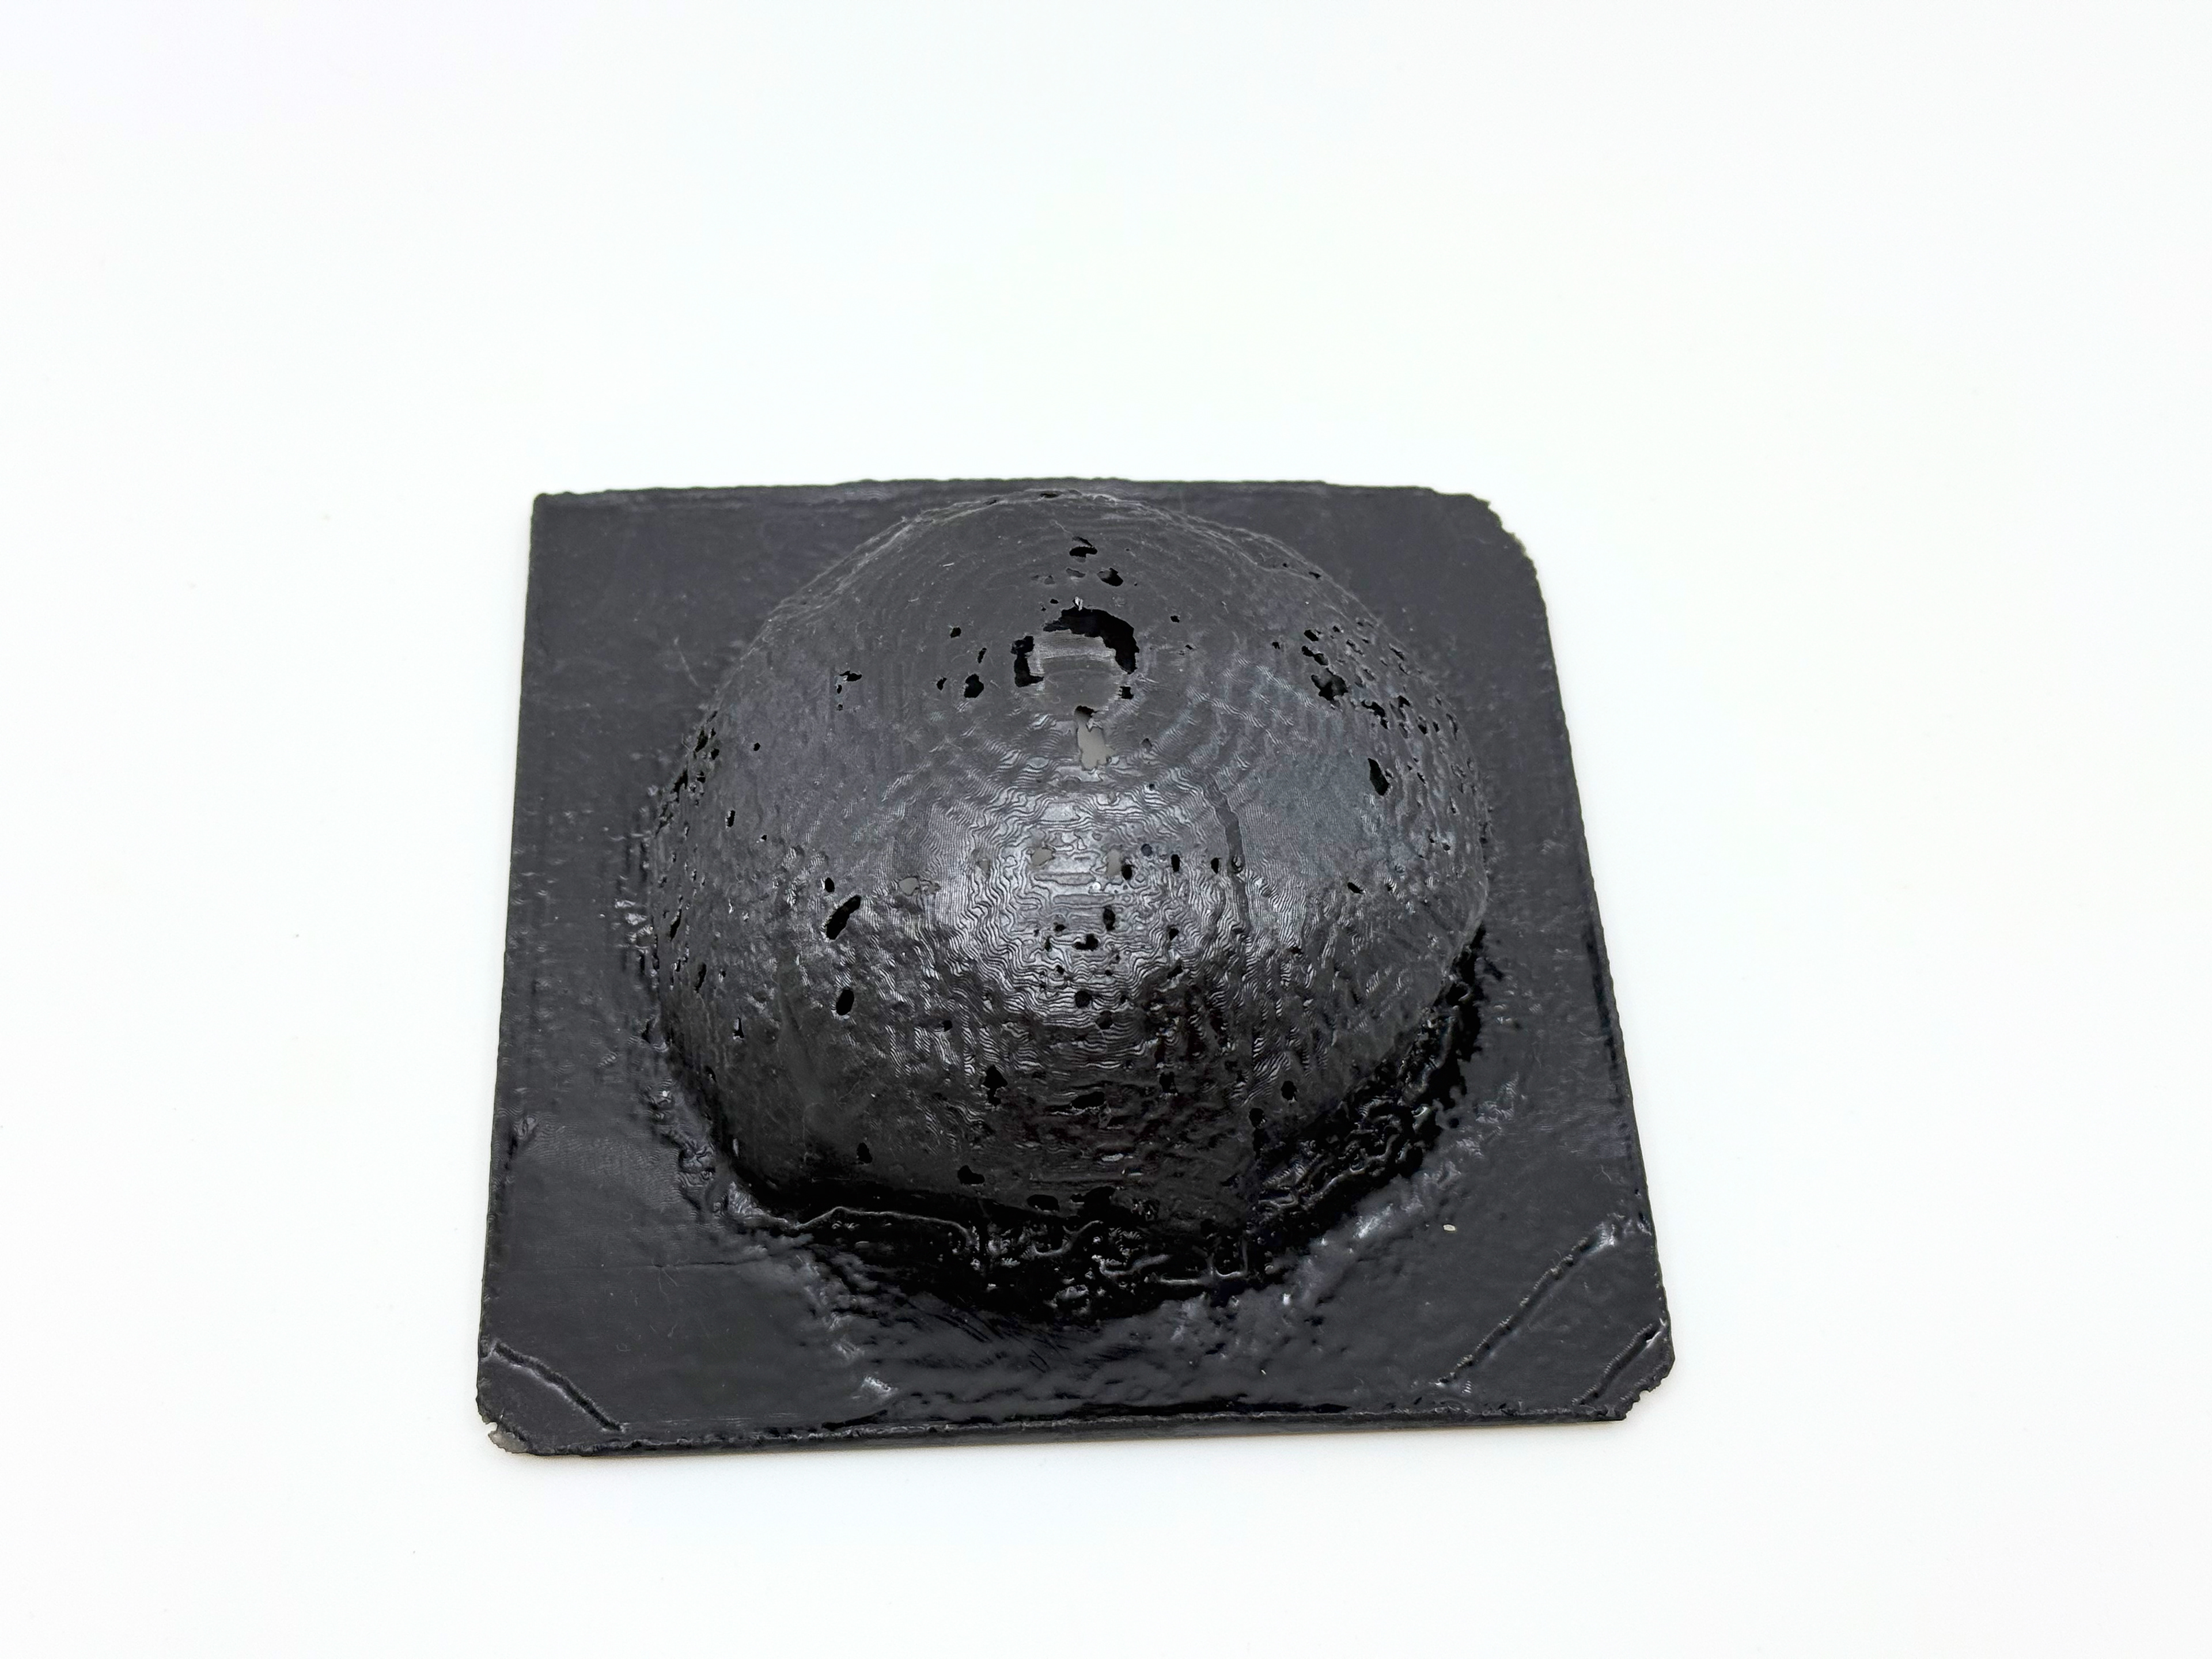
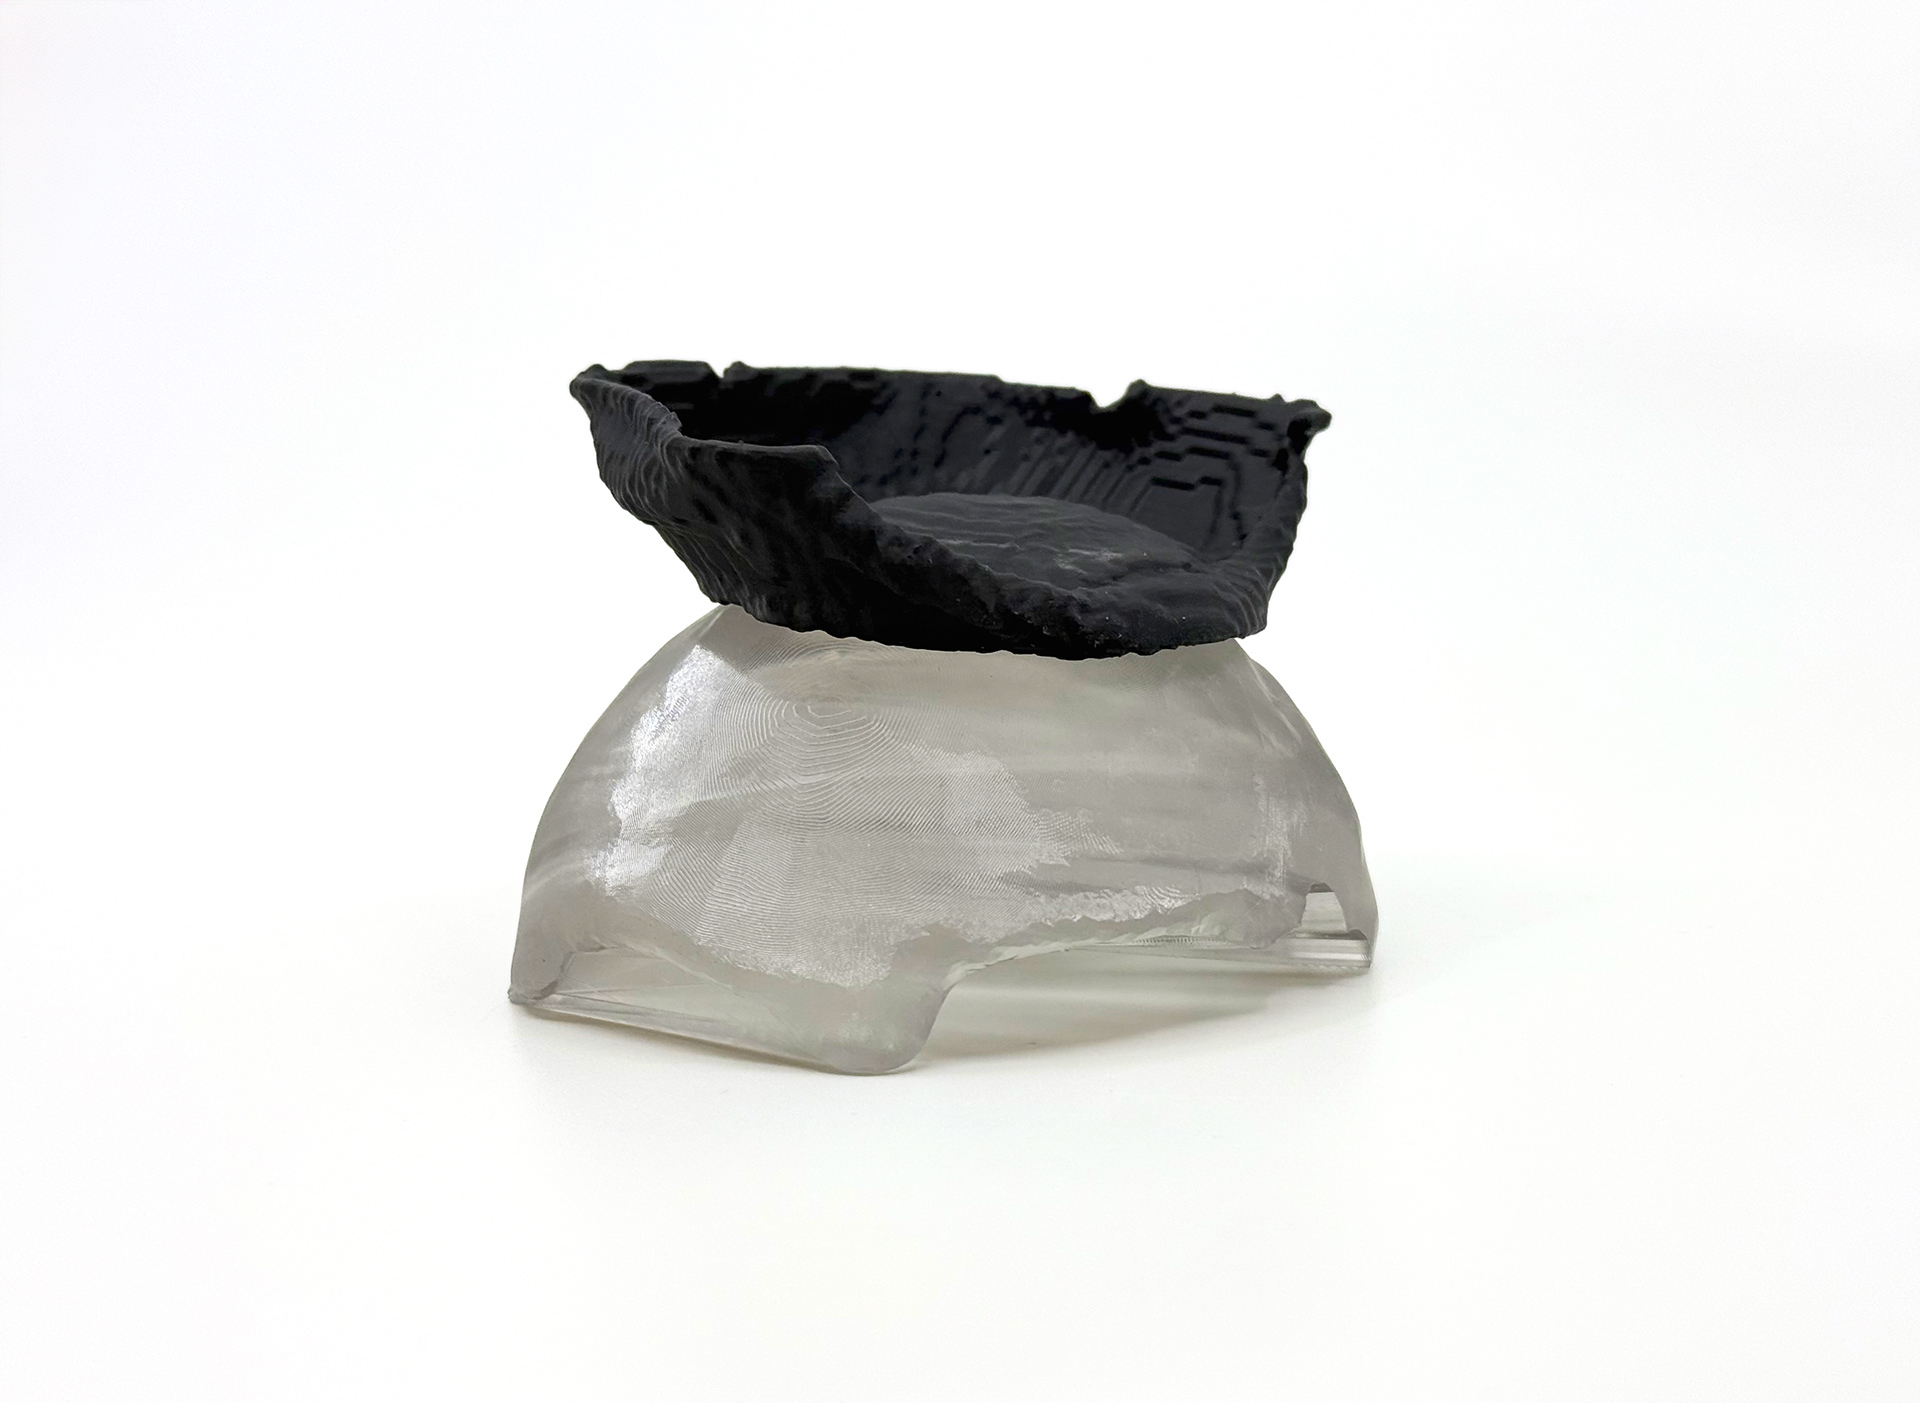
Purposeful Plaster Cracking
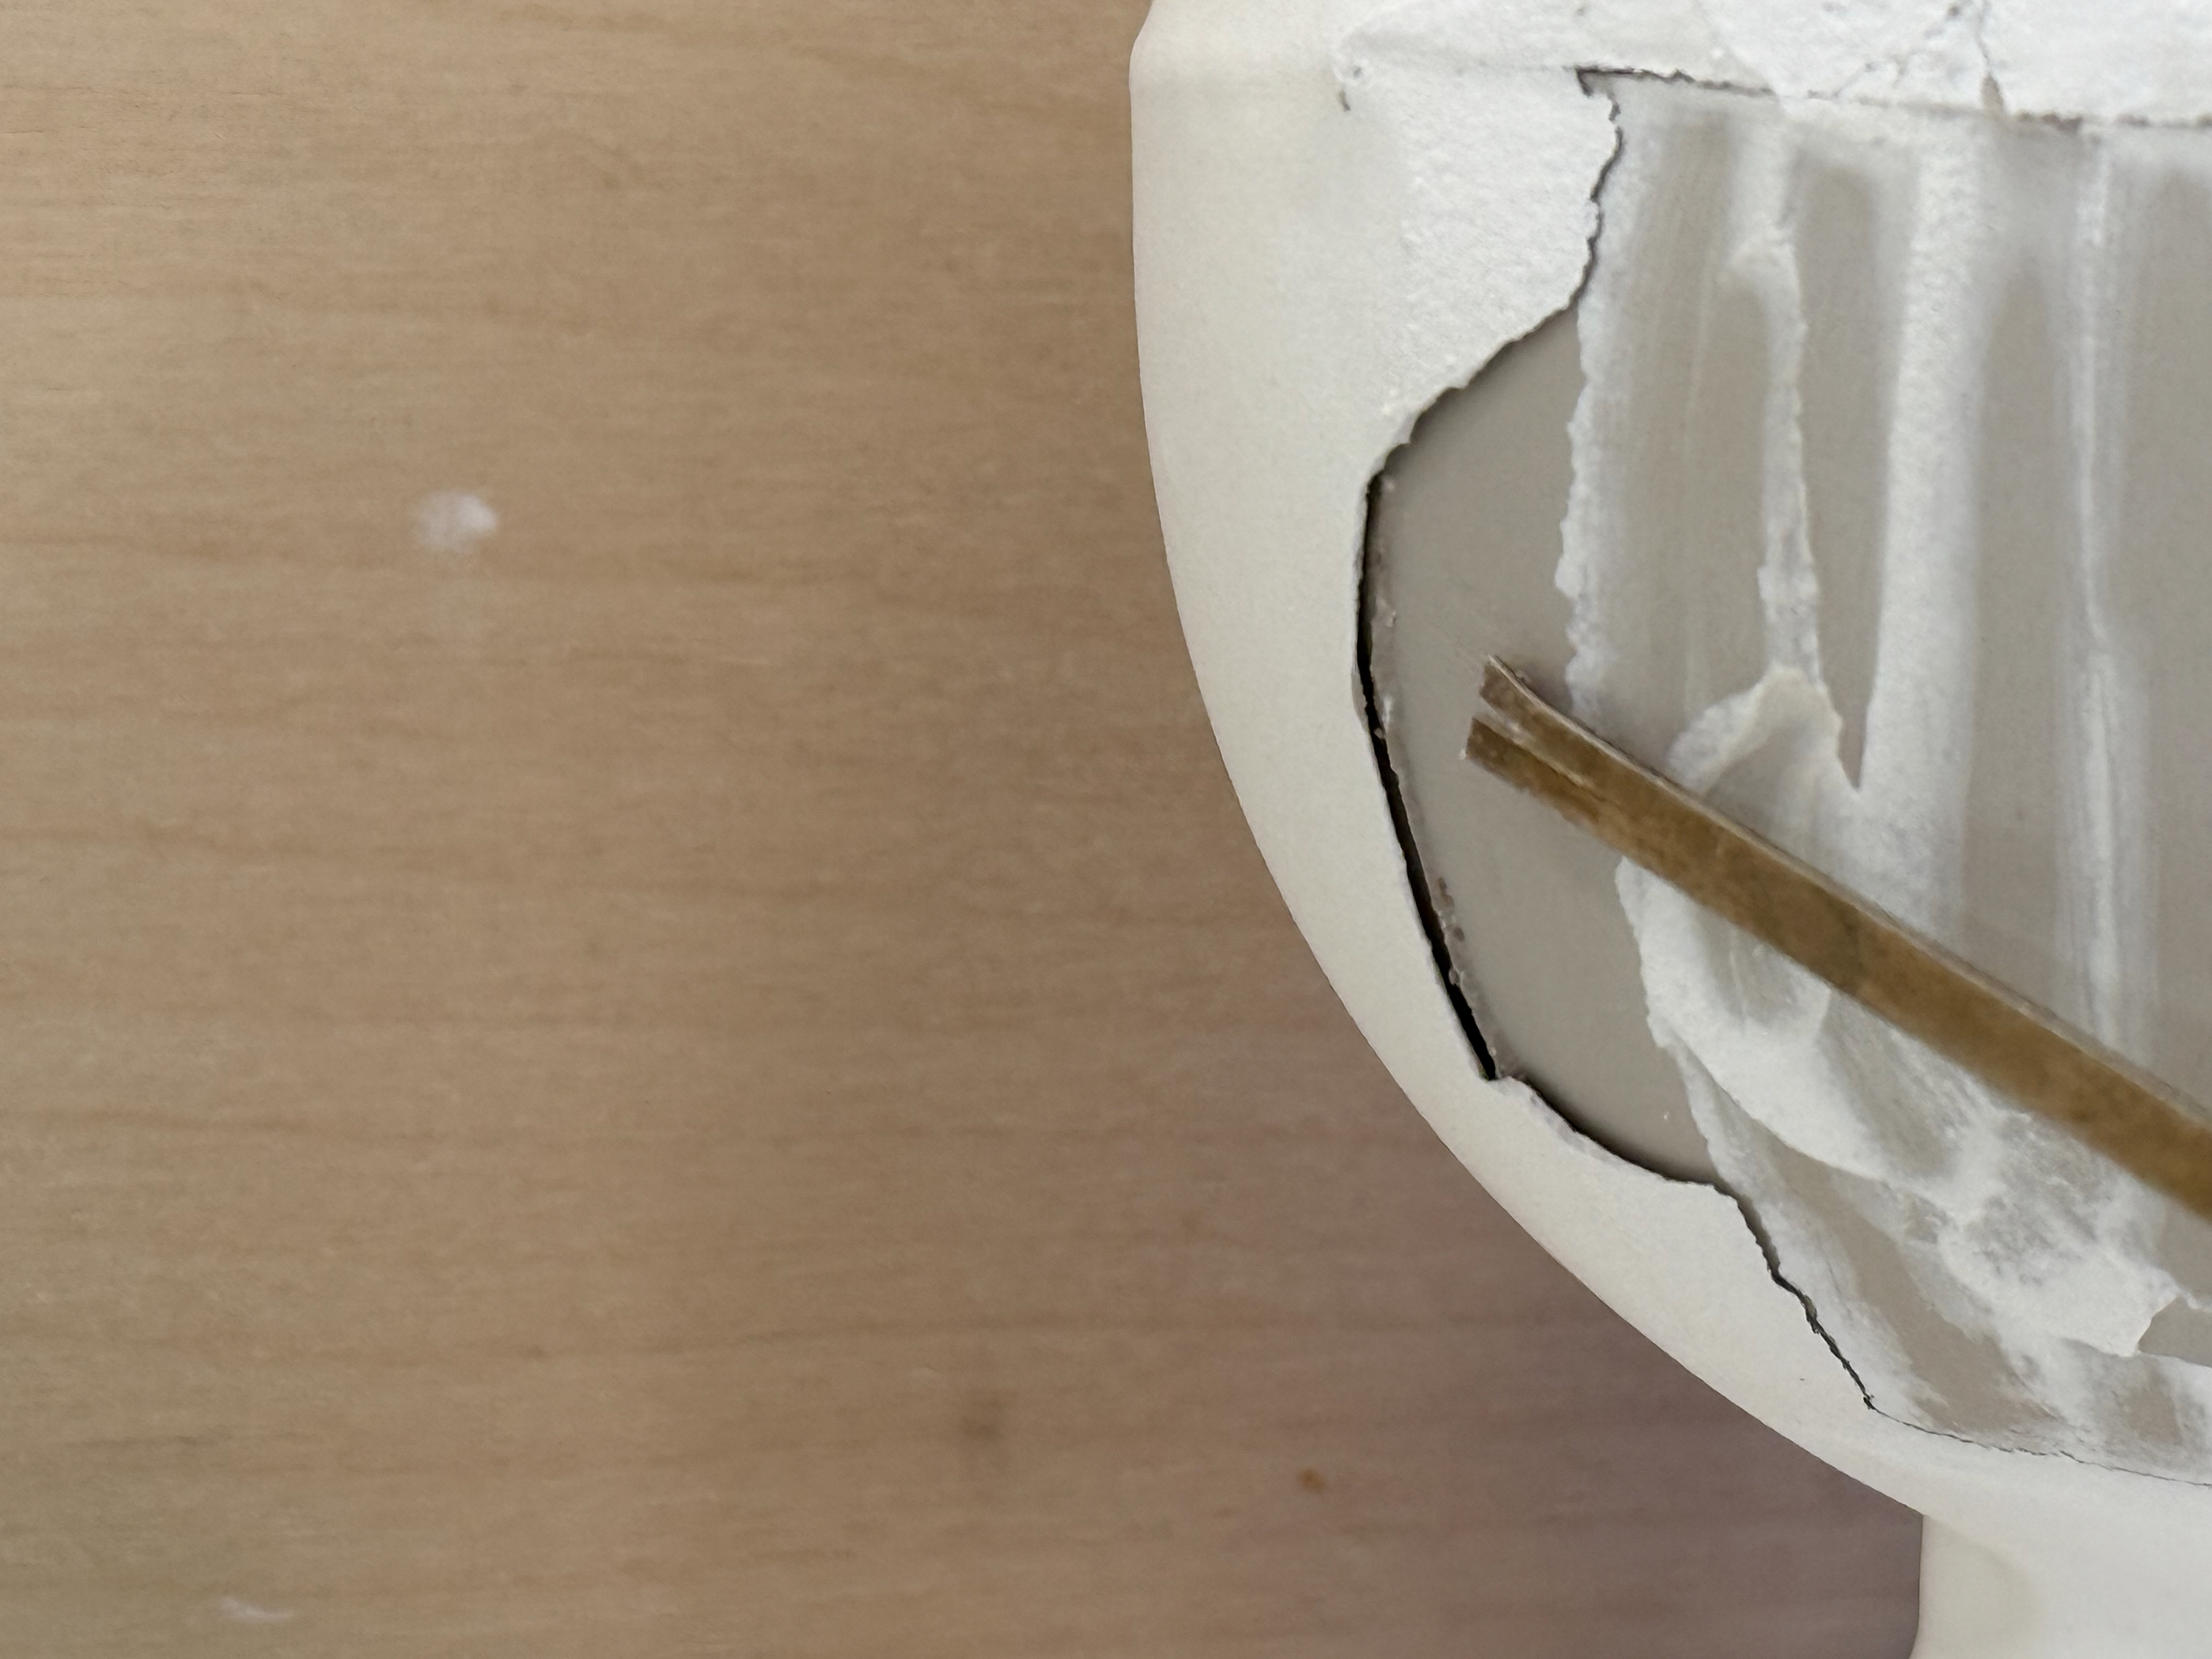
Once I left the piece for a few days, I noticed the plaster start to crack, and I couldn't even pick up the piece because it would just keep cracking. However, I realised that the cracks were uncontrollable and, as a result, were heterogeneous and made the piece random. I used a spare piece of thin metal wire and then a pin tool to start the cracking process. The following is my actions in order and how the plaster slowly unveils the ball underneath. The spontaneity of myself doing this aligns with Bergson's view of 'true duration’, and it resulted in two separate pieces that still relate to each other.


Wax Pouring
From the tutor's feedback, I decided to give wax pouring a go. It would help me expand out of plaster and into a new material. I liked the idea that it is much less viscous than plaster, but it sets much quicker. As a result, I thought it would create a completely different result. This was also treated as an induction, so in the future, I can return and not be limited by technicians’ availability.
I poured over two slip balls, one fired and one air-dried. I wanted to compare the plaster to the wax once they have fully dried. A key element I wanted to see was how the slip's absorption of moisture worked when interacting with wax. Would it shrink like it did with the plaster? Would the heat of the wax dry the slip? Would the wax stain the slip? These were some of the questions I wanted to know the answer to.
The two refined objects prior to wax pour.
The two refined objects prior to wax pour.
Place objects onto newspaper.
Place piece to be poured into silicone tray.
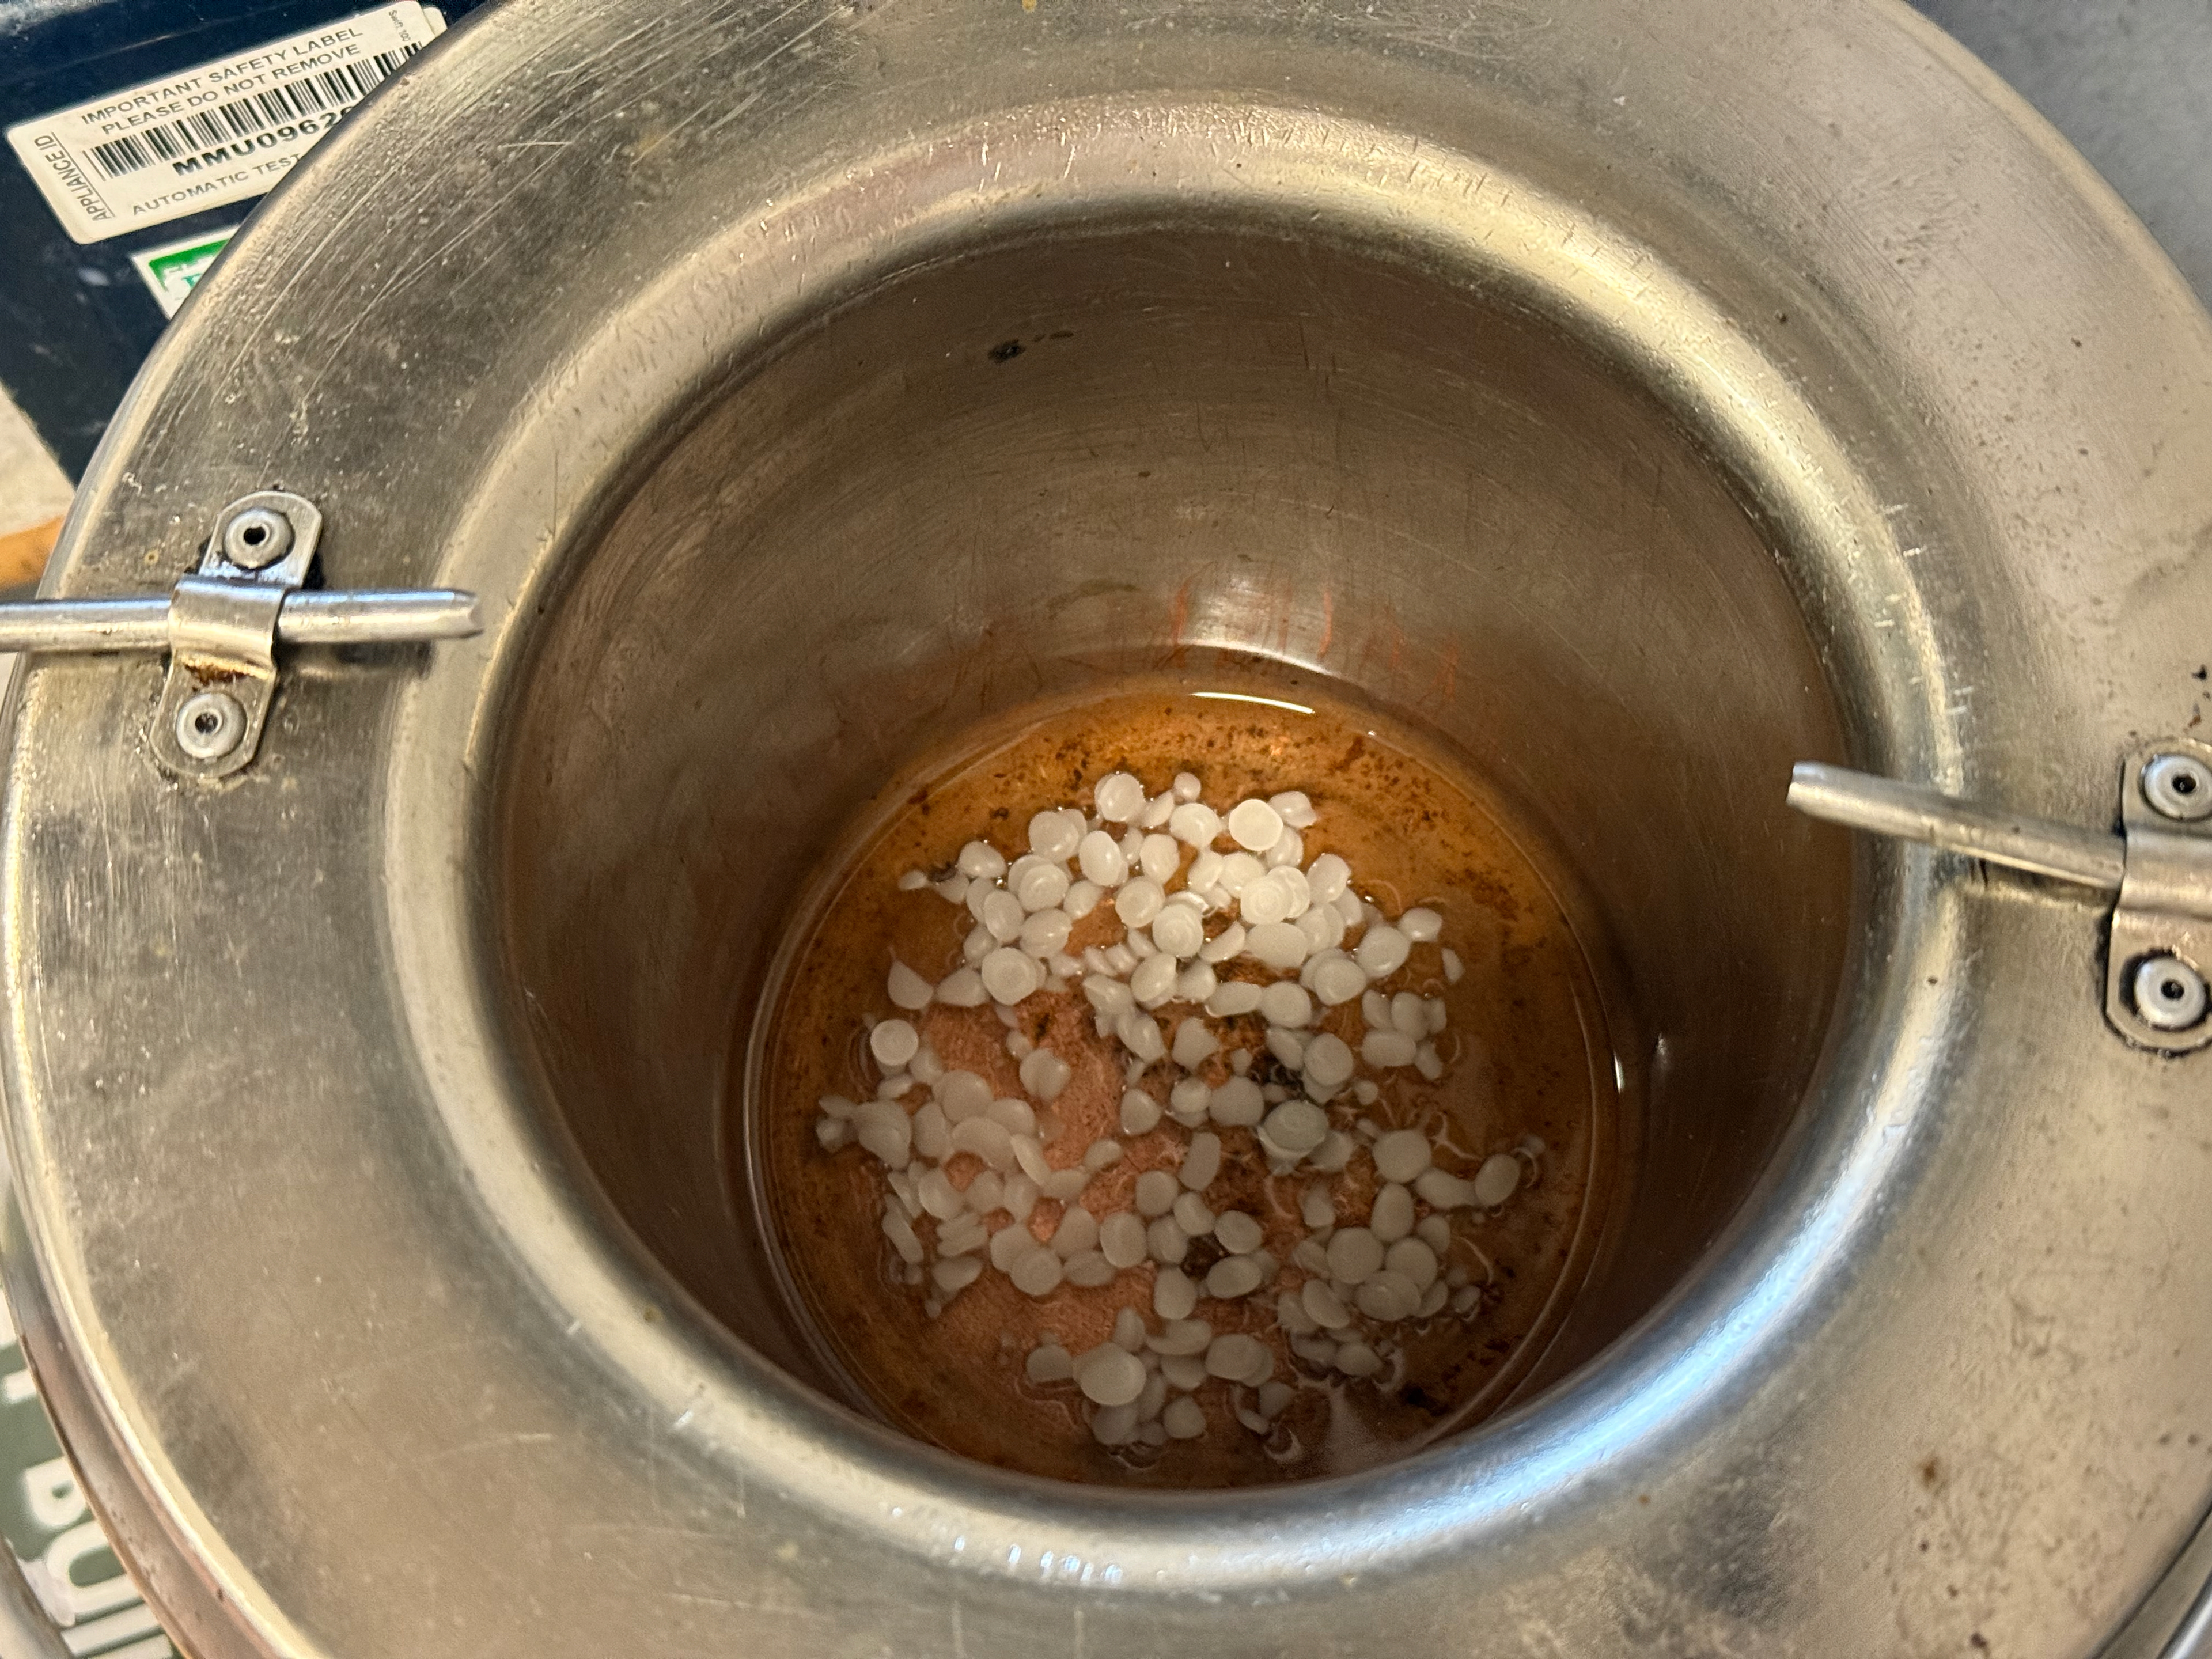
Add Paraffin Wax to heating pot.
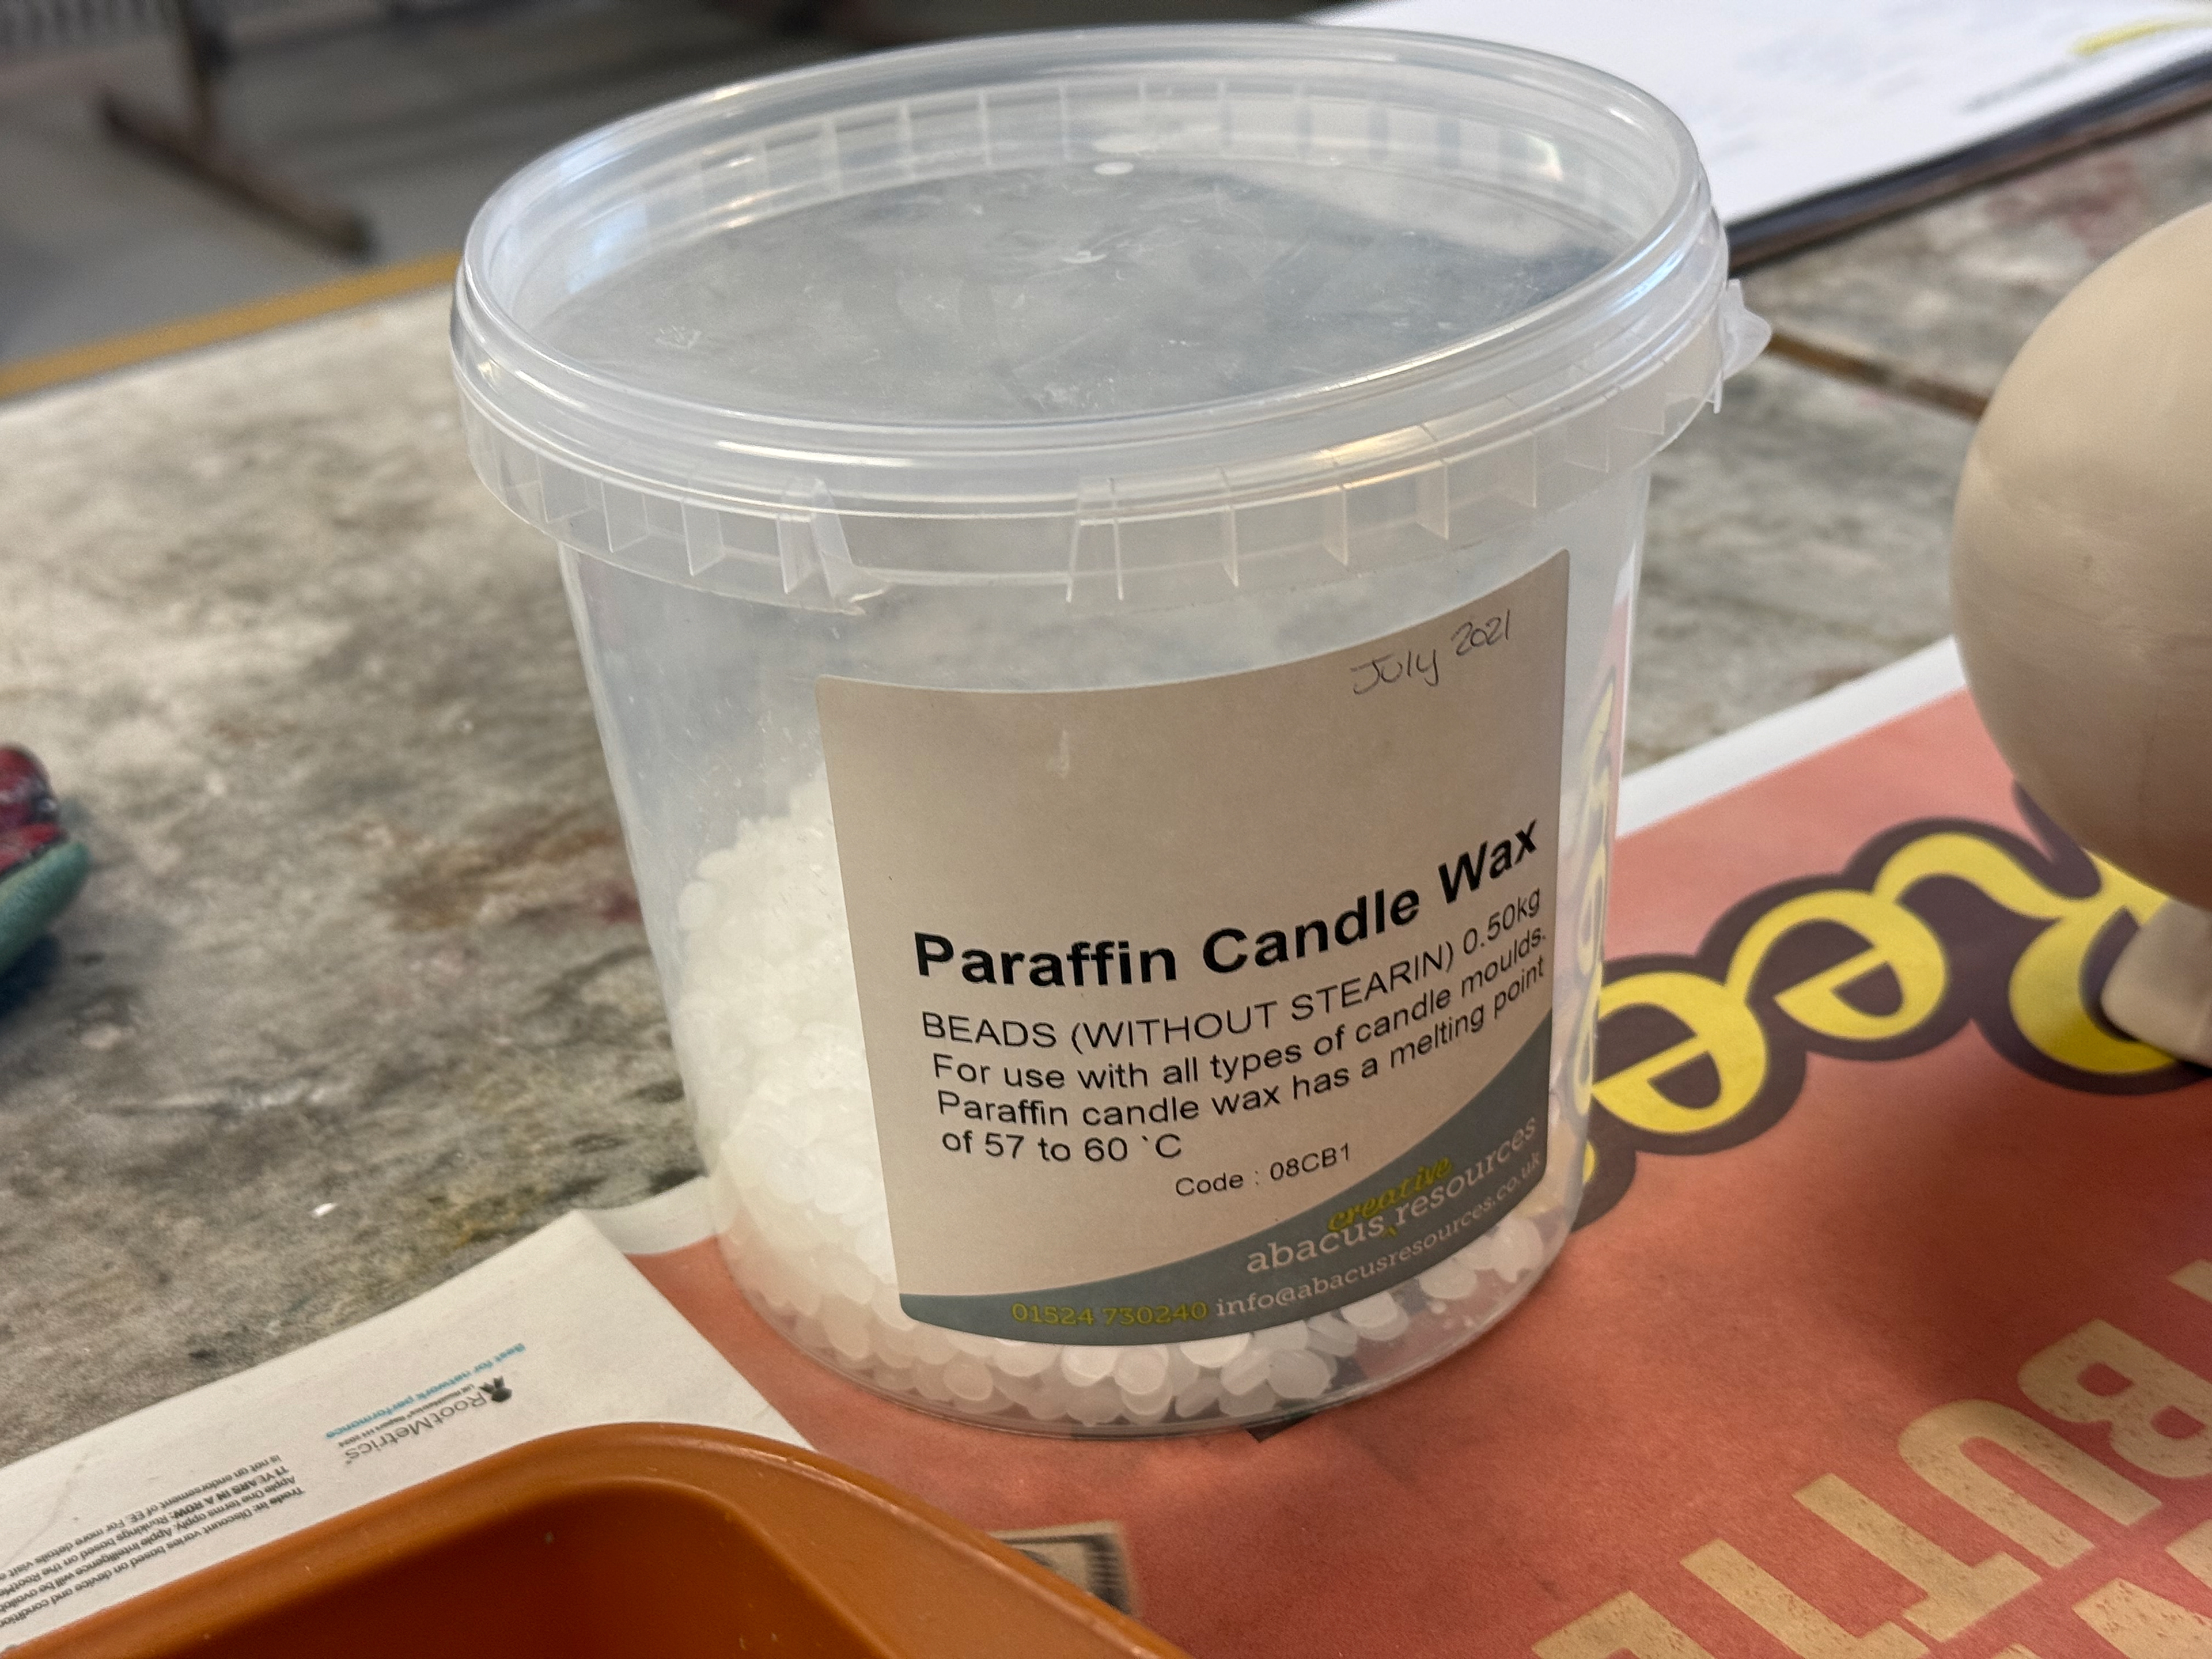
The Paraffin wax used.
Object ready to have wax poured over it.
Place object on plaster block after wax pour.
Two objects immediately after wax pour.
Two objects immediately after wax pour.
After being left for a few days to fully dry.
Object Scanning
To scan the plaster pieces, I will use my iPhone 16 Pro with the PolyCam application. Although the LiDAR scanner on the phone was not built for this purpose, PolyCam has acceptable meshing software which compensates for the low point cloud density that iPhones have. Ideally, I would be able to do a full 360-degree scan, but PolyCam is unable to do that, and I am not inducted to use the scanners in Print City. iPhones aren’t great at scanning smaller objects, so immediately I was limited to the largest fragments of plaster.
I decided to take the two largest pieces from both V3 and V4 plaster fragments because attempting to scan the smaller pieces provided unworthy results. The scanning process and the processing of the scan are very intensive, which causes iPhones to lose battery rapidly and heat up significantly. Having that in mind, from my test scans, the little pieces were just not being scanned at the detail I envisioned, and rather than scanning each piece 5+ times to get a good scan, I decided to focus on the two largest fragments. I was able to position the objects in a good orientation that allowed iPhones to capture most angles, which reduced the amount of mesh editing required later on.
Once I scanned the objects, the surface I placed the plaster pieces onto was also visible. To remove this, I imported them into Fusion, following the refinement process.
Object Refinement
These steps were repeated across all four parts.
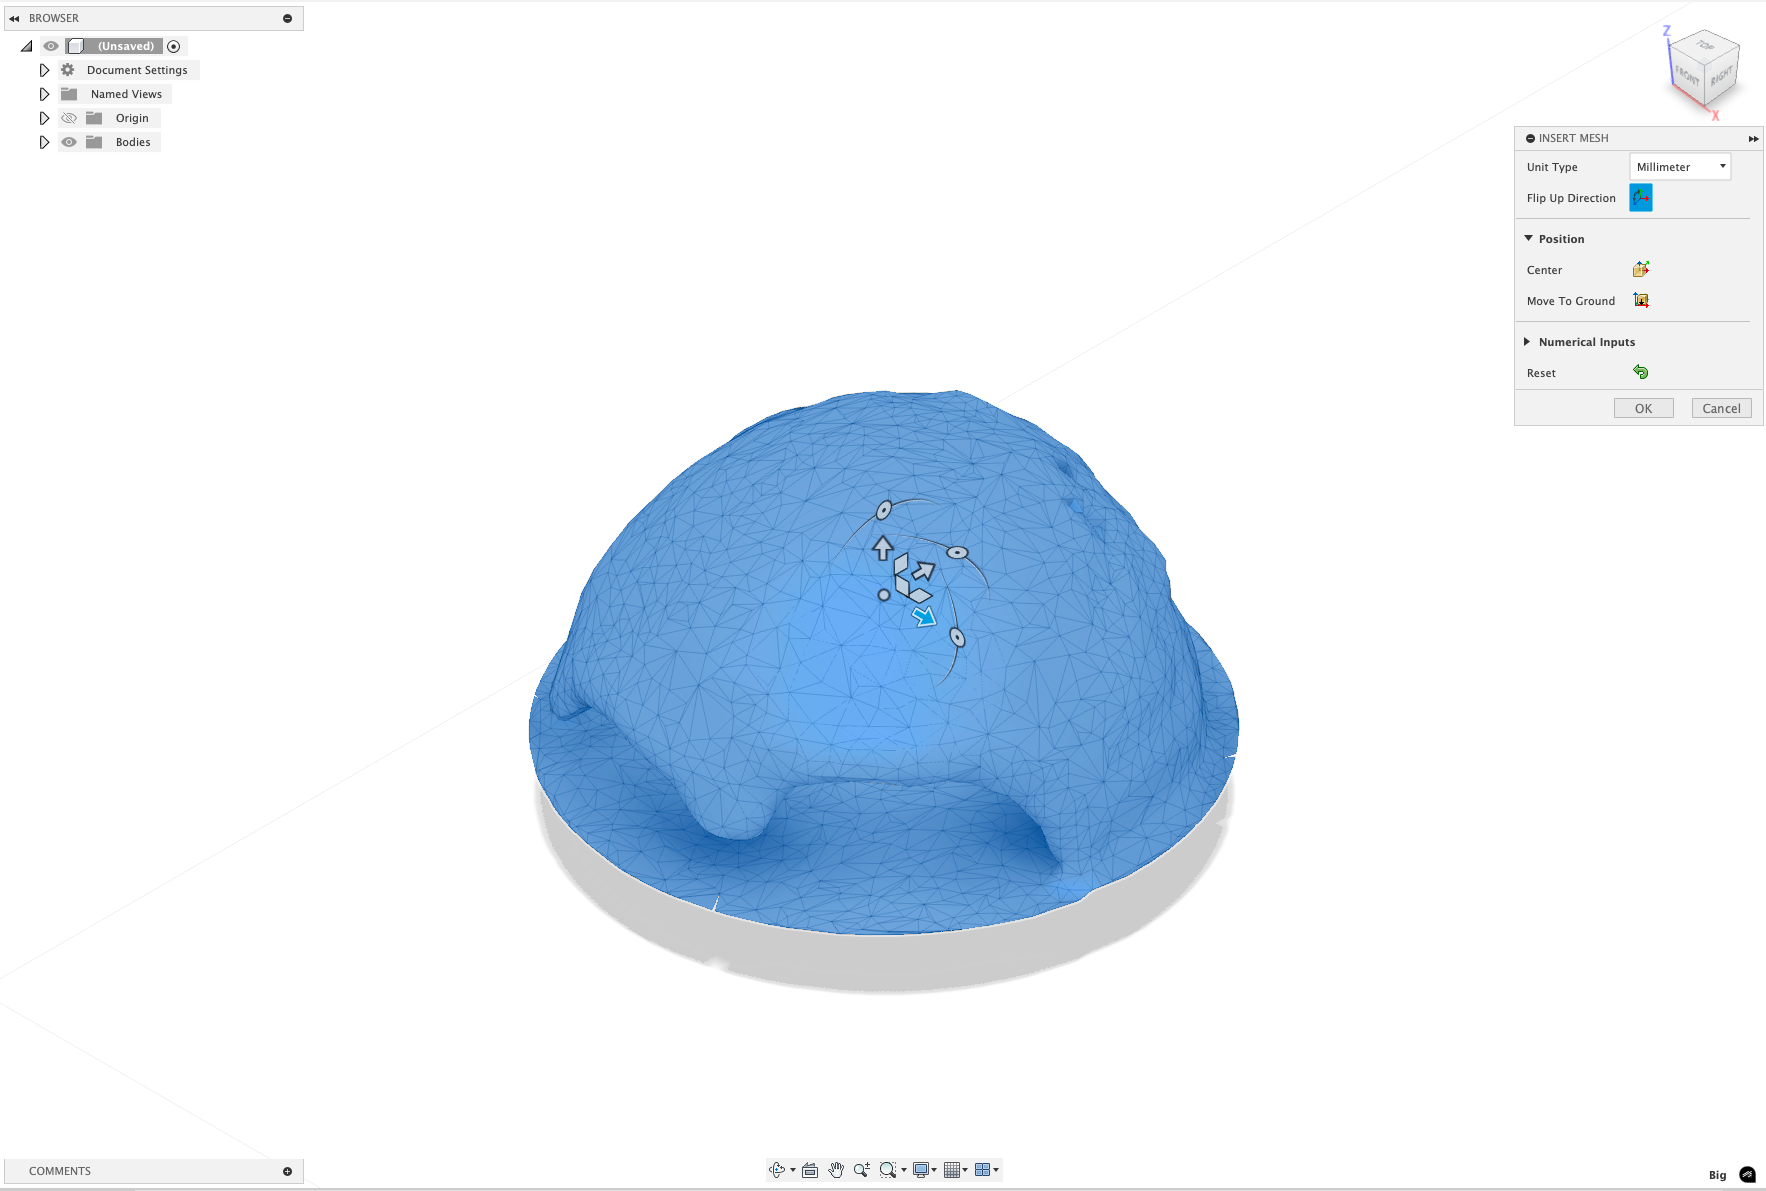
Step 1: Insert the mesh into Fusion via the Mesh tab and select "Flip Up Direction". This imports the object and orientates it correctly.
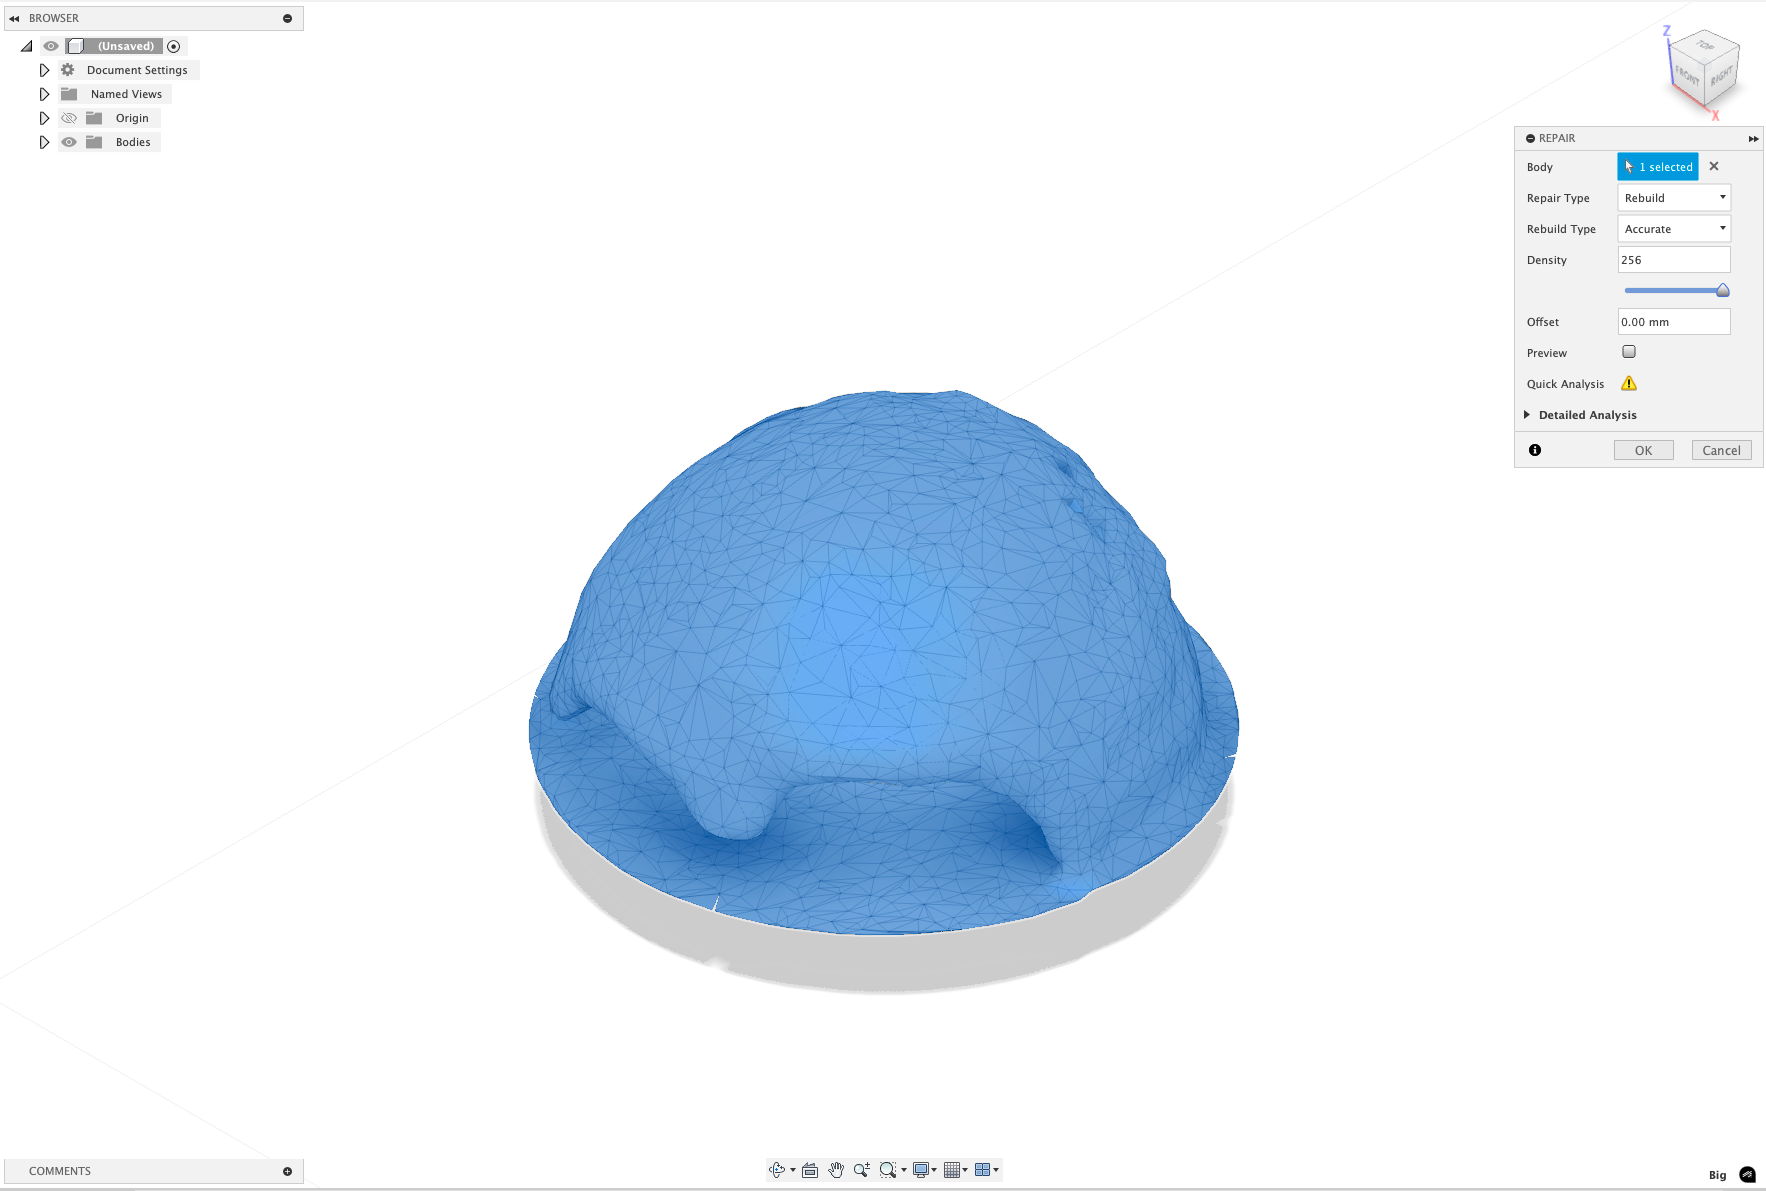
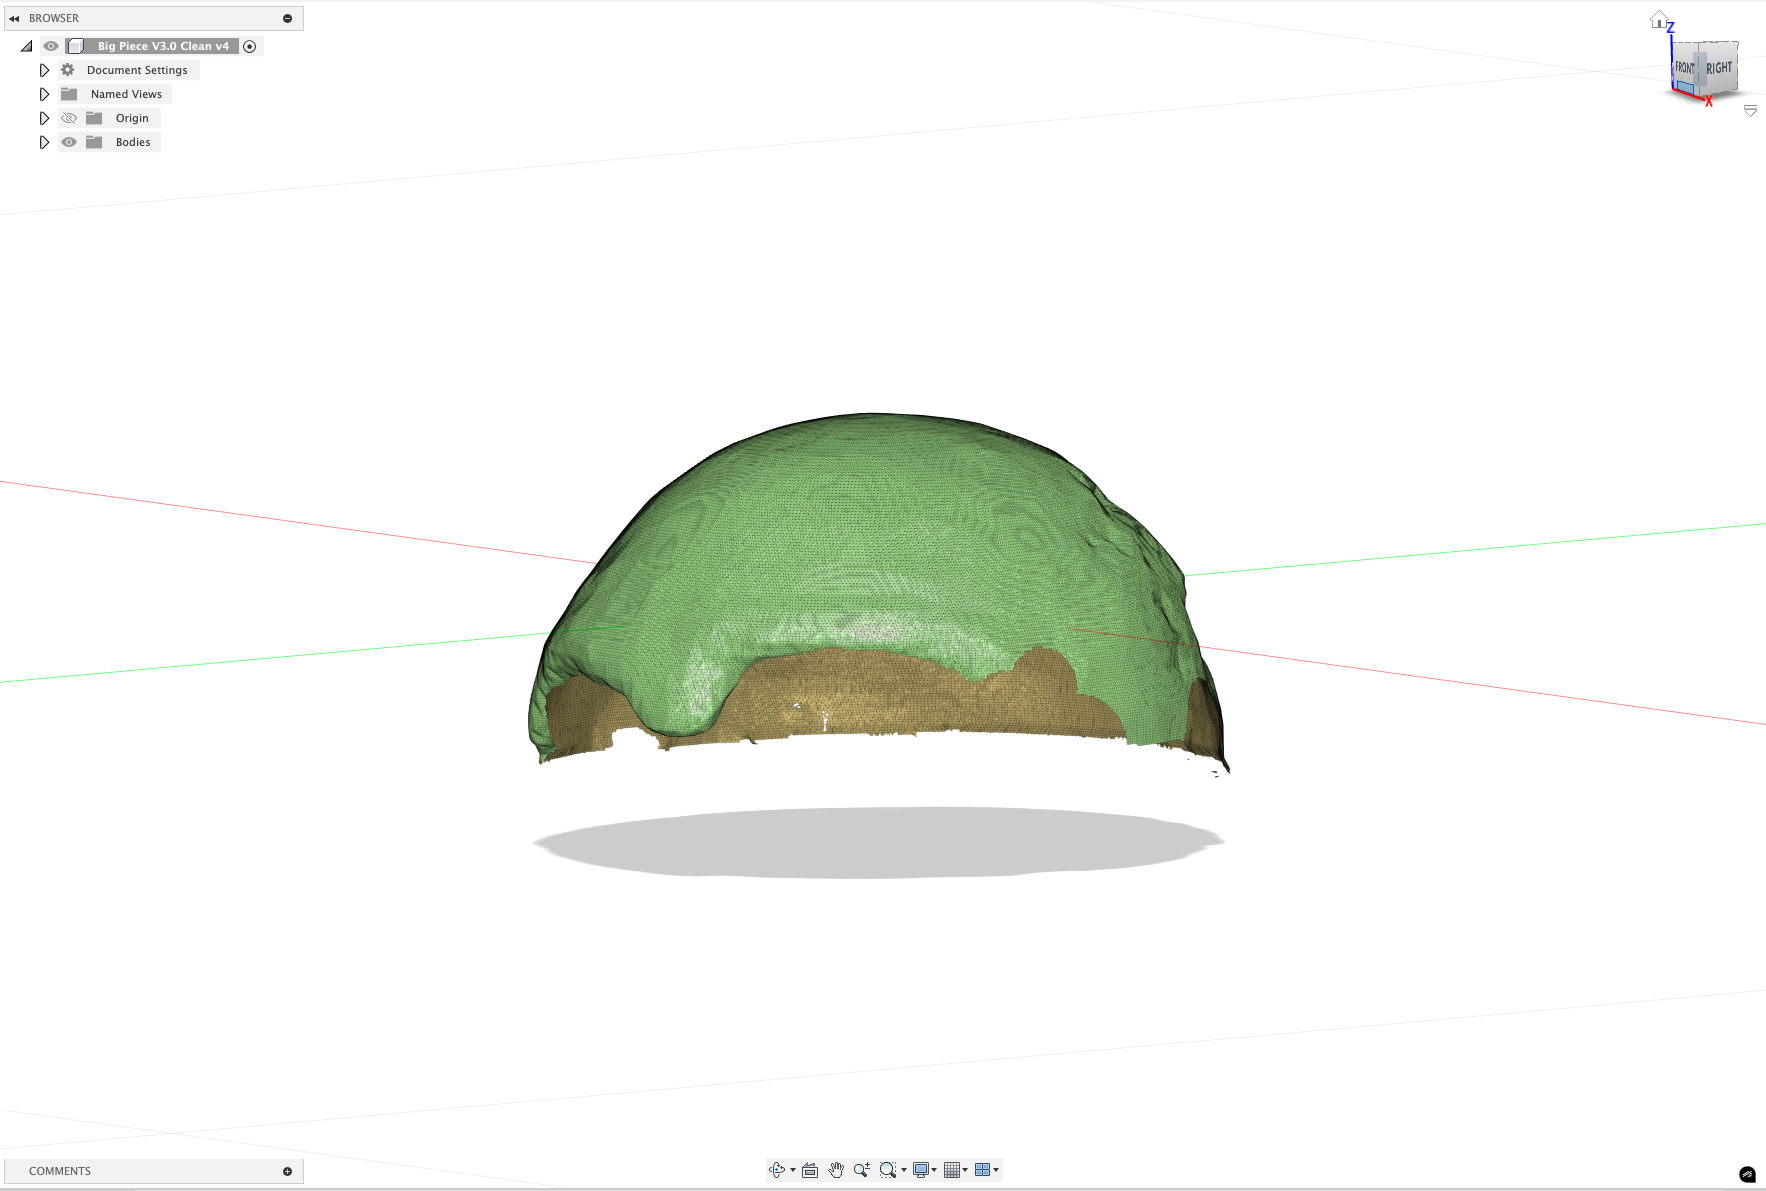
Step 2: Repair the body and select "Rebuild" and then choose "Accurate" and increase the "Density" to the maximum. This just refines the PolyCam mesh process by adding more points to allow for more detail changes later down the line.
Doing the rebuild also removed a lot of the base that I didn't need.
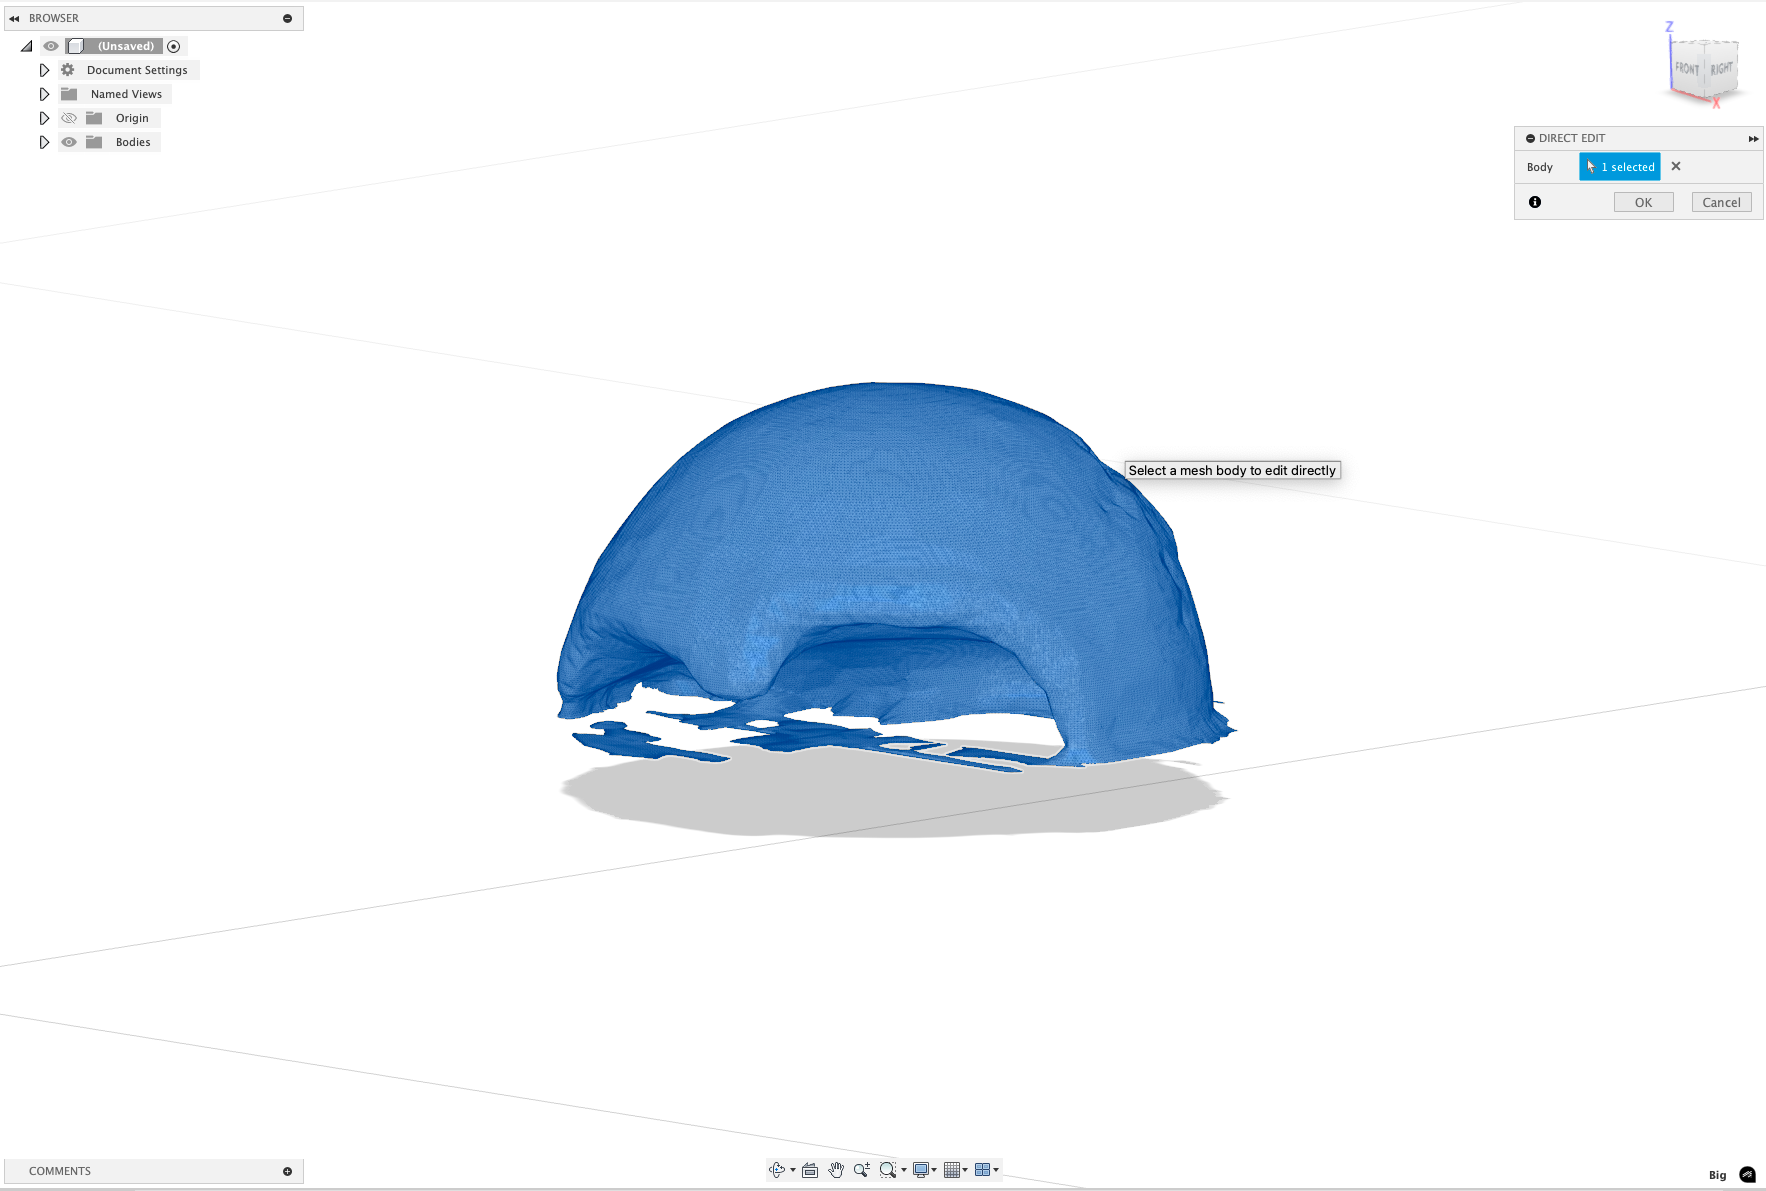
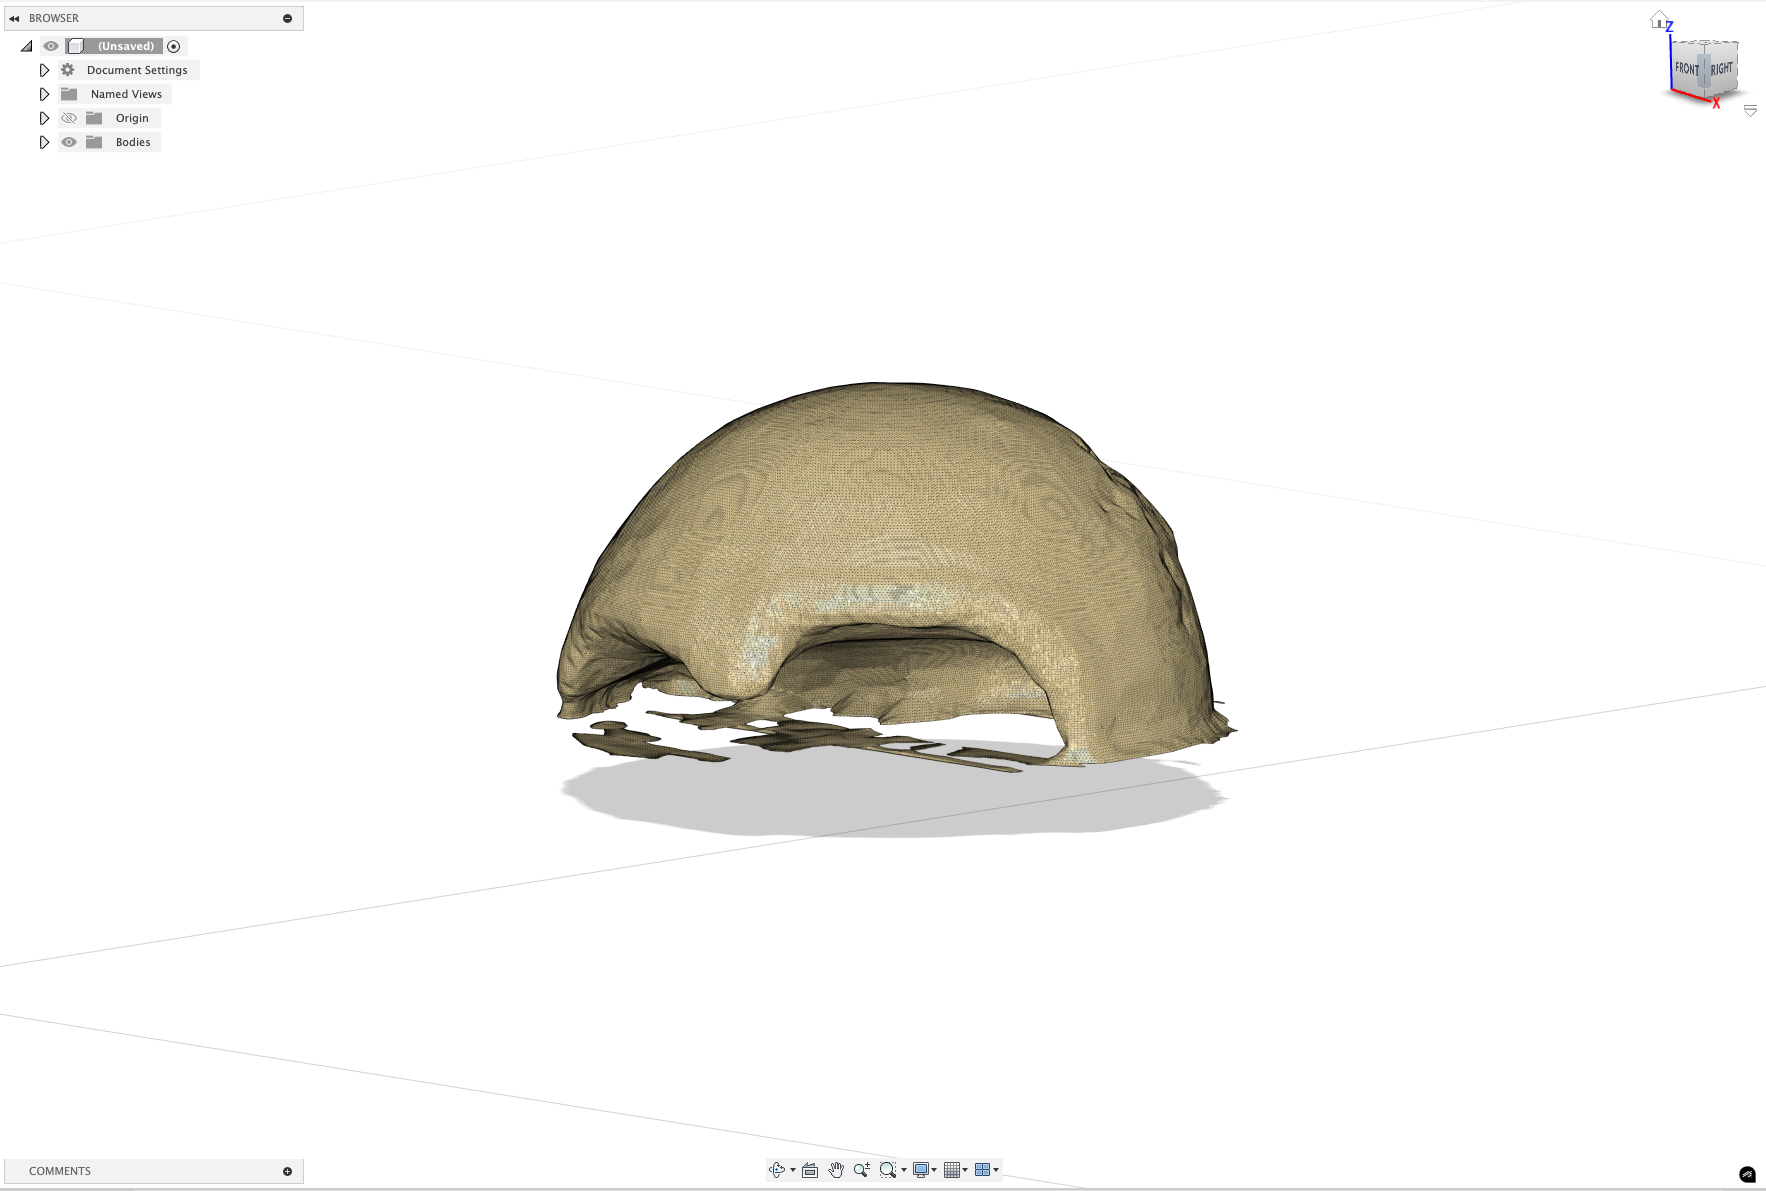
Step 3: Use the "Direct Edit" tool to select the body that I want to edit.
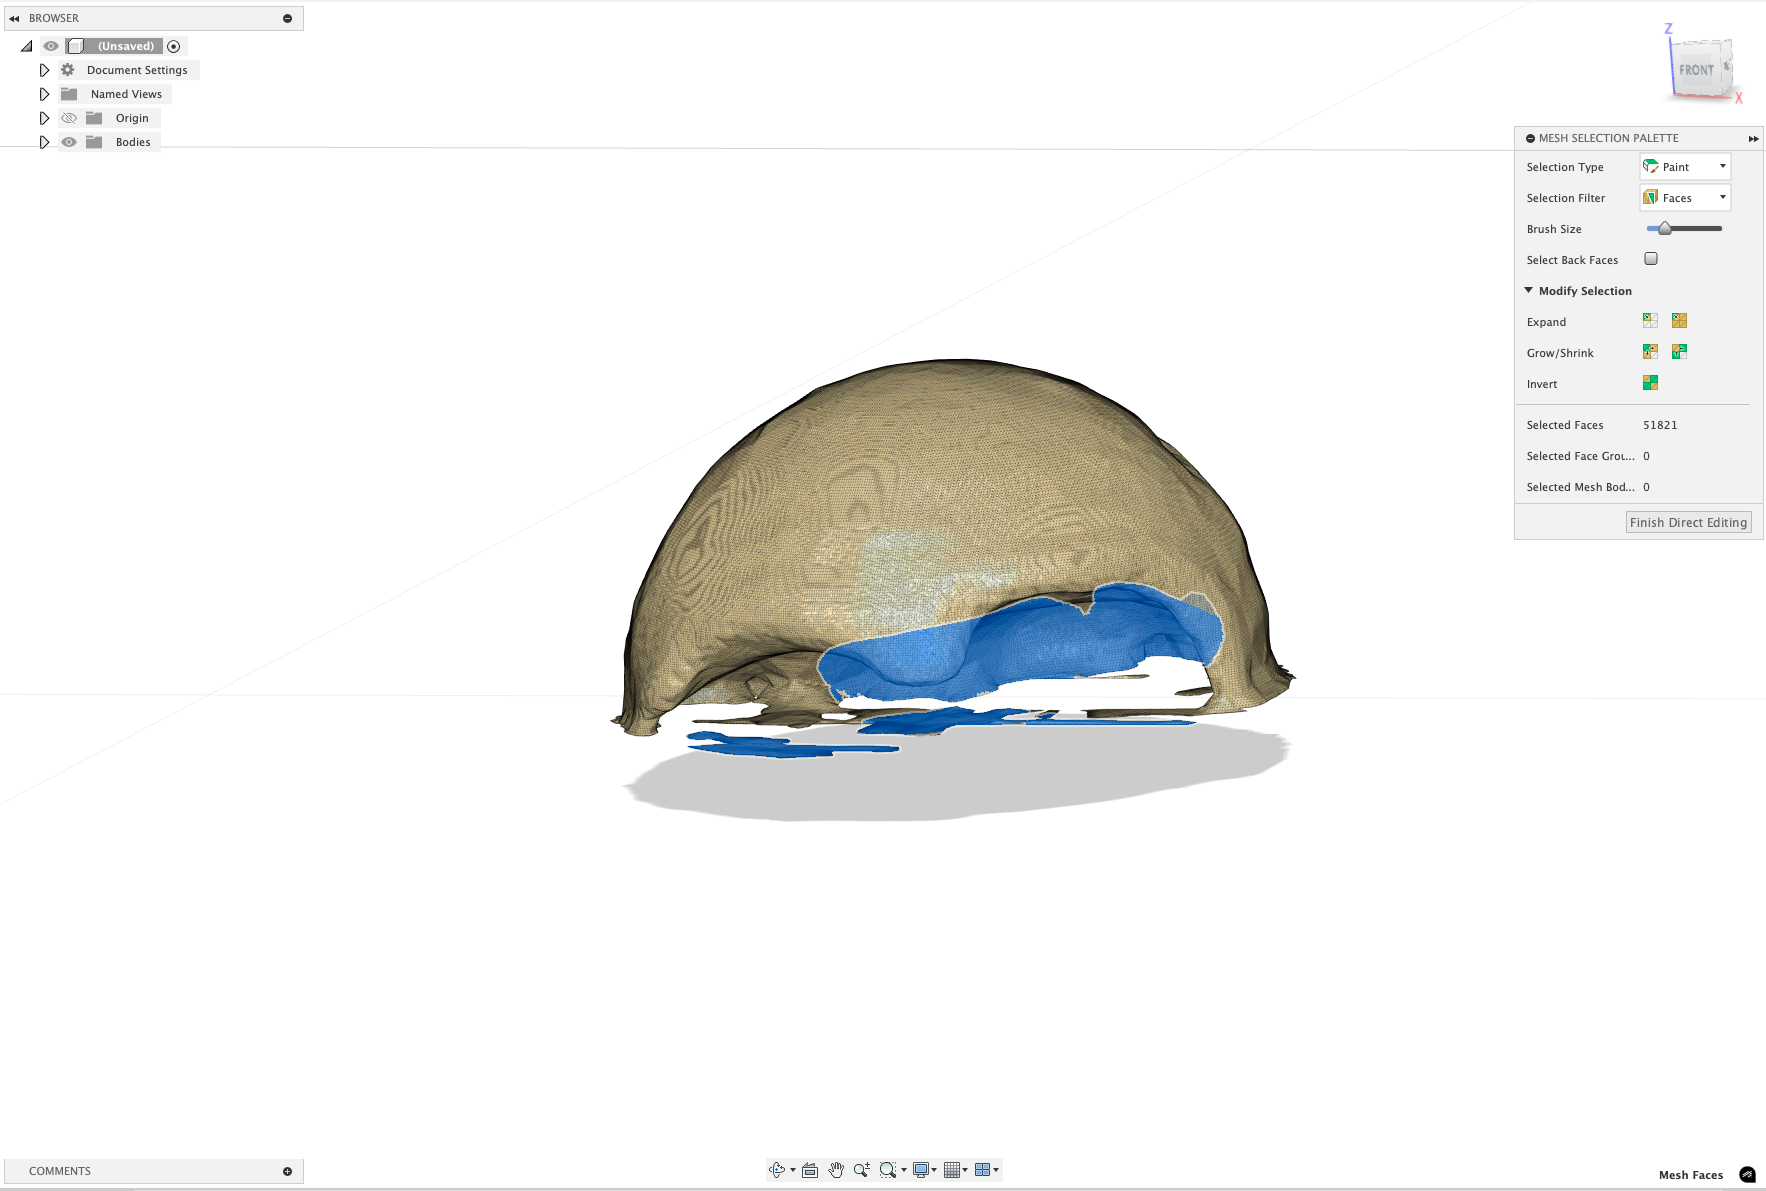
Step 4: Use the "Mesh Selection Palette" to highlight the areas I want to delete. It acts like a brush and selects an area around where I click.
This is a refined piece. However, if I were to import this into Blender, it doesn't contain enough mass for the liquid domain to recognise it. A solution I found was to close the mesh.
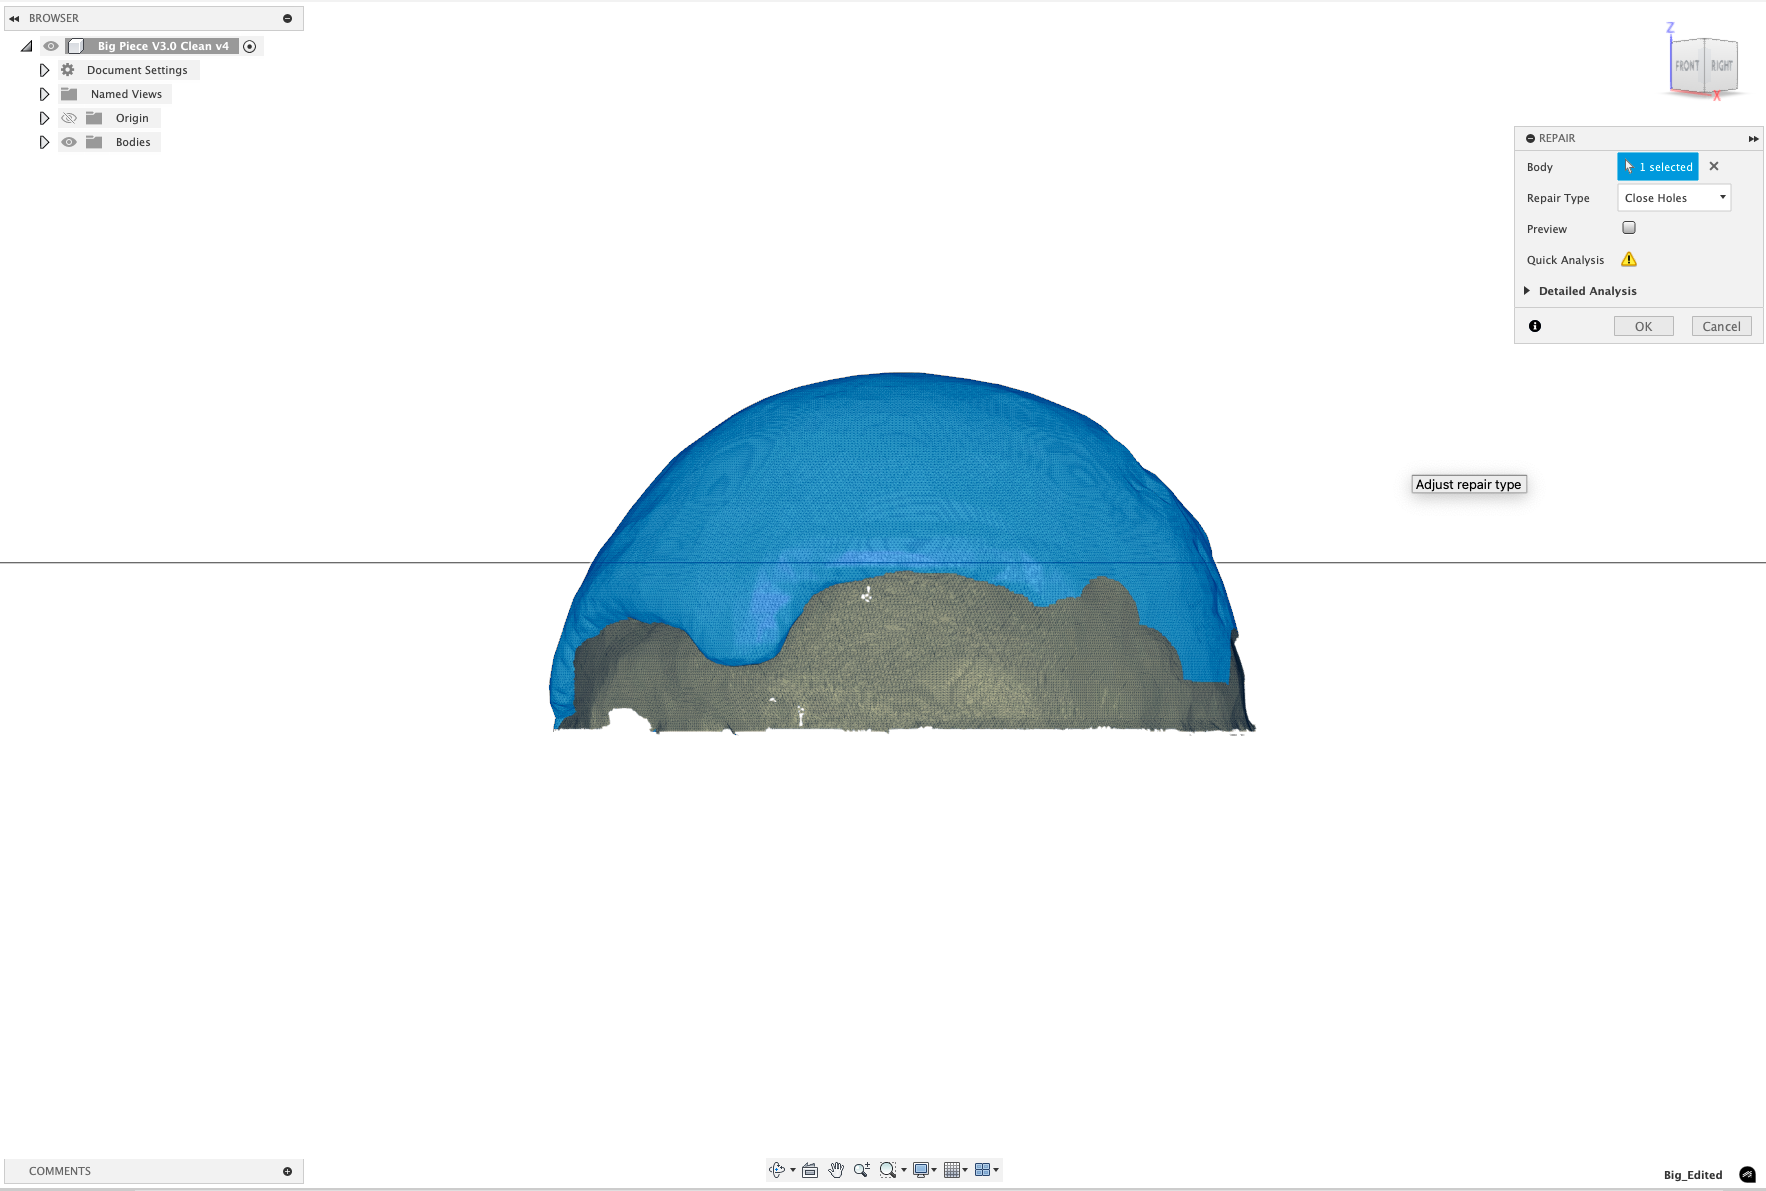
Step 5: Use the "Repair" tool to "Close Holes".
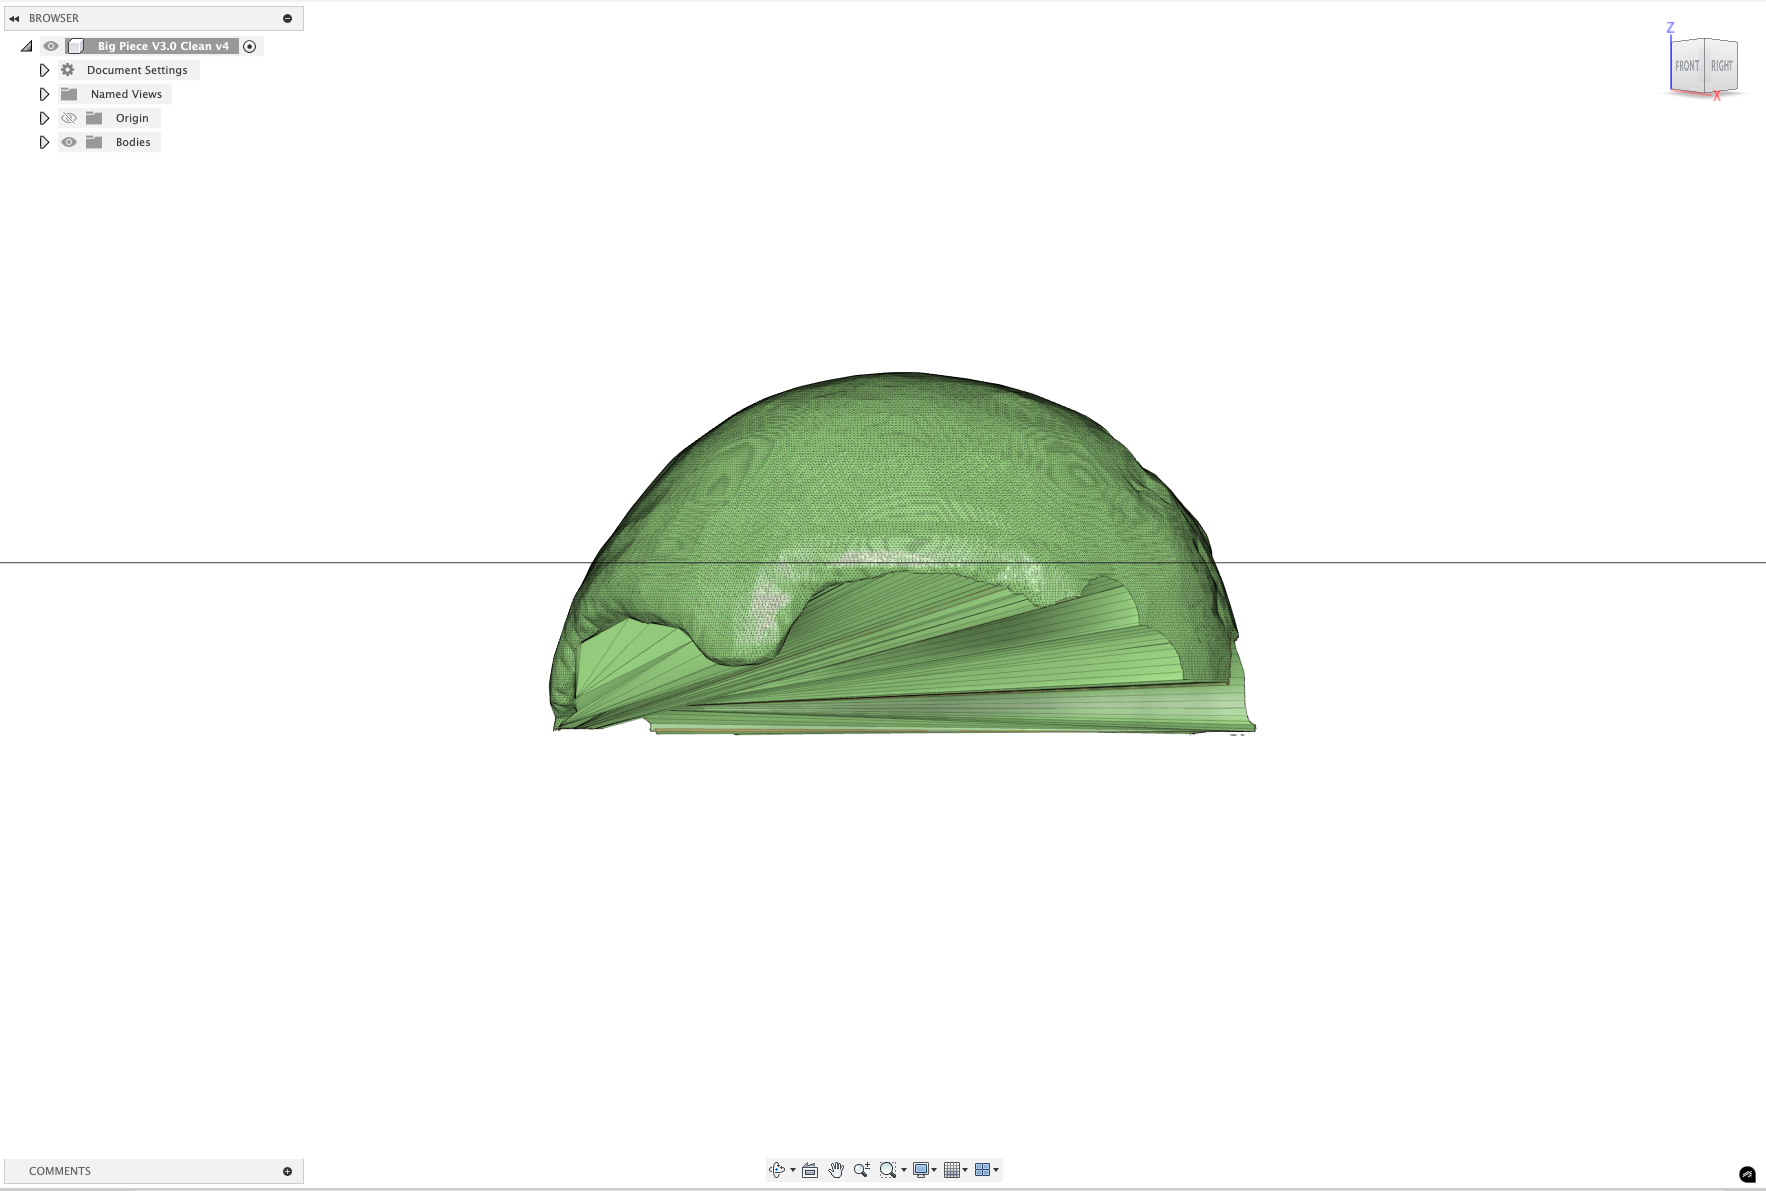
The software joins the sides via the most direct route, which leads to an odd form, but it doesn't matter for what I intend to do. I also quite like the look of the form; it's smart but simple.
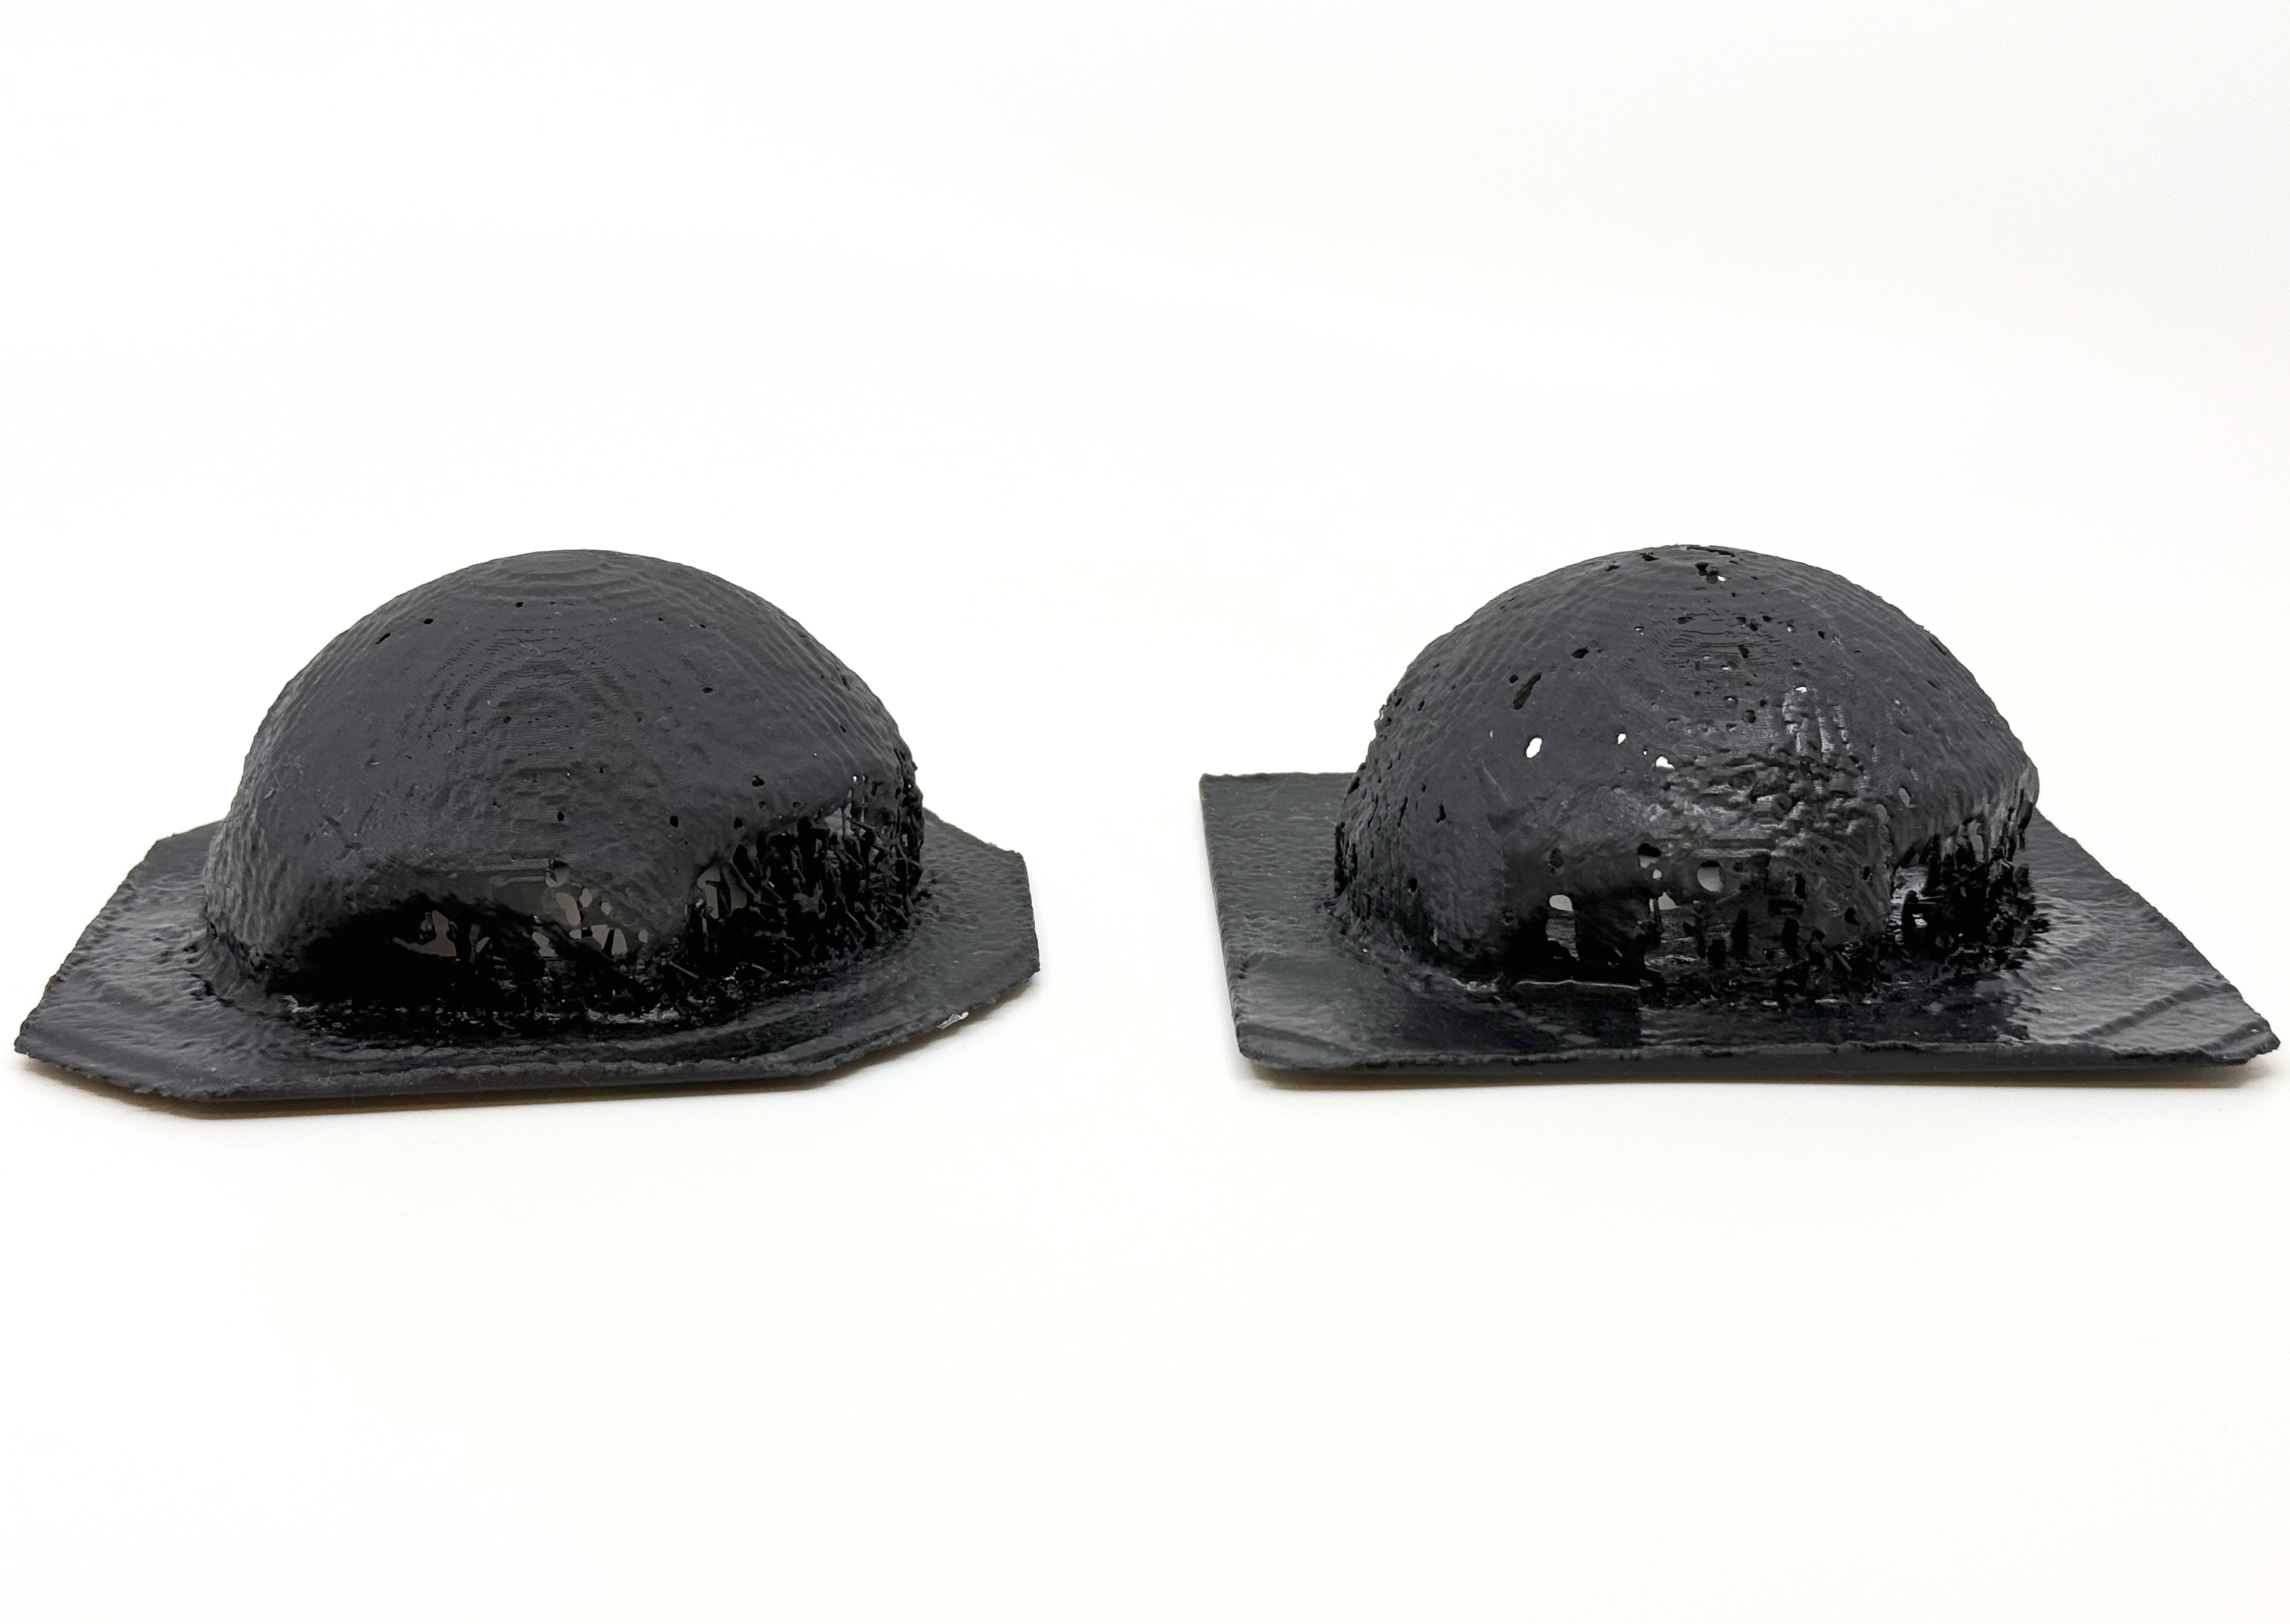
V3 Scans
V3 Big
V3 Small
V4 Scans
V4 Big
V4 Small
Blender
I have never used Blender so understanding how it works took some time. I followed a lot of Youtube Tutorials, each using a different method to simulate liquid forms. The main issue I discovered was that Blender didn't treat an imported .stl file the same as a form made within the application. This lead me to do Step 5 in the Object Refinement. Once I had closed the object, Blender recognised it.
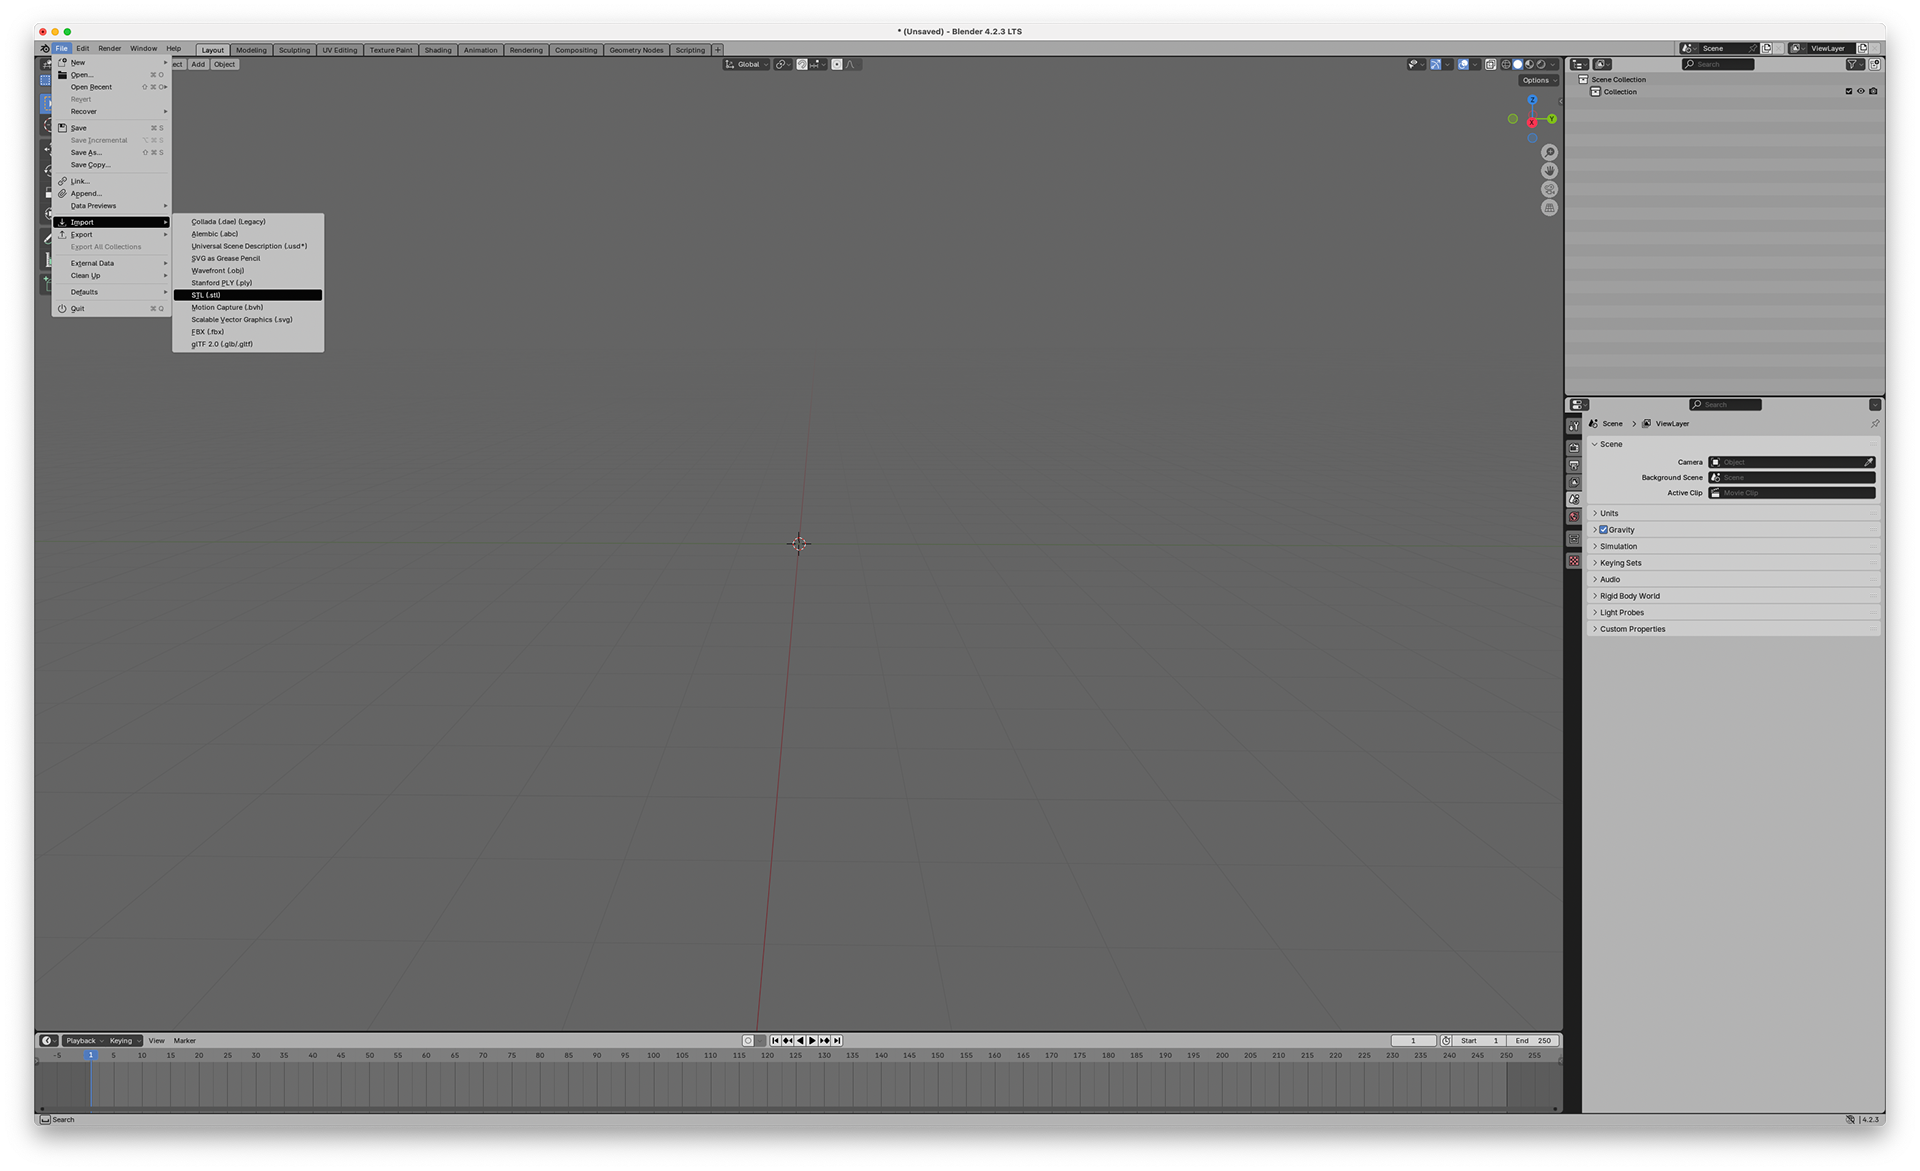
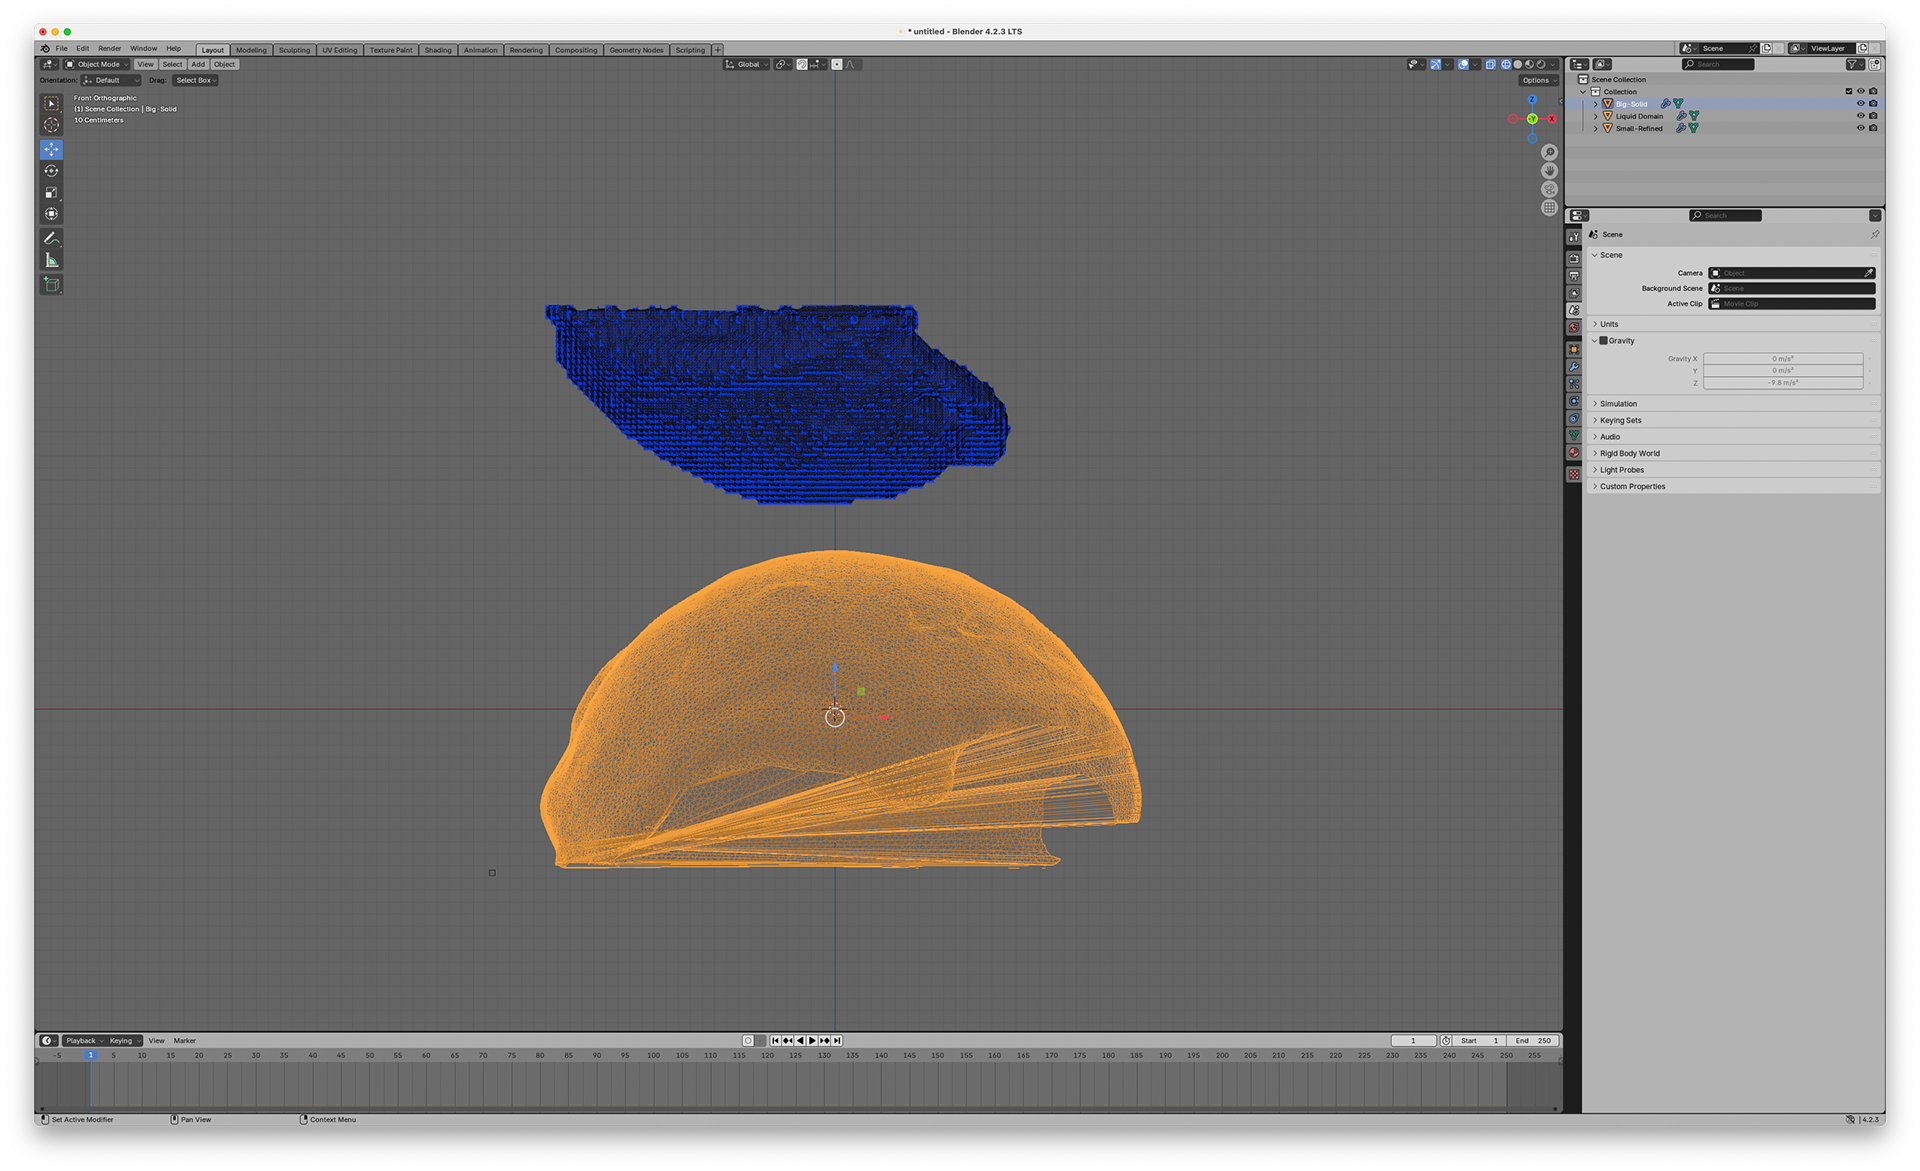
Step 1: Import the .stl files into the world.
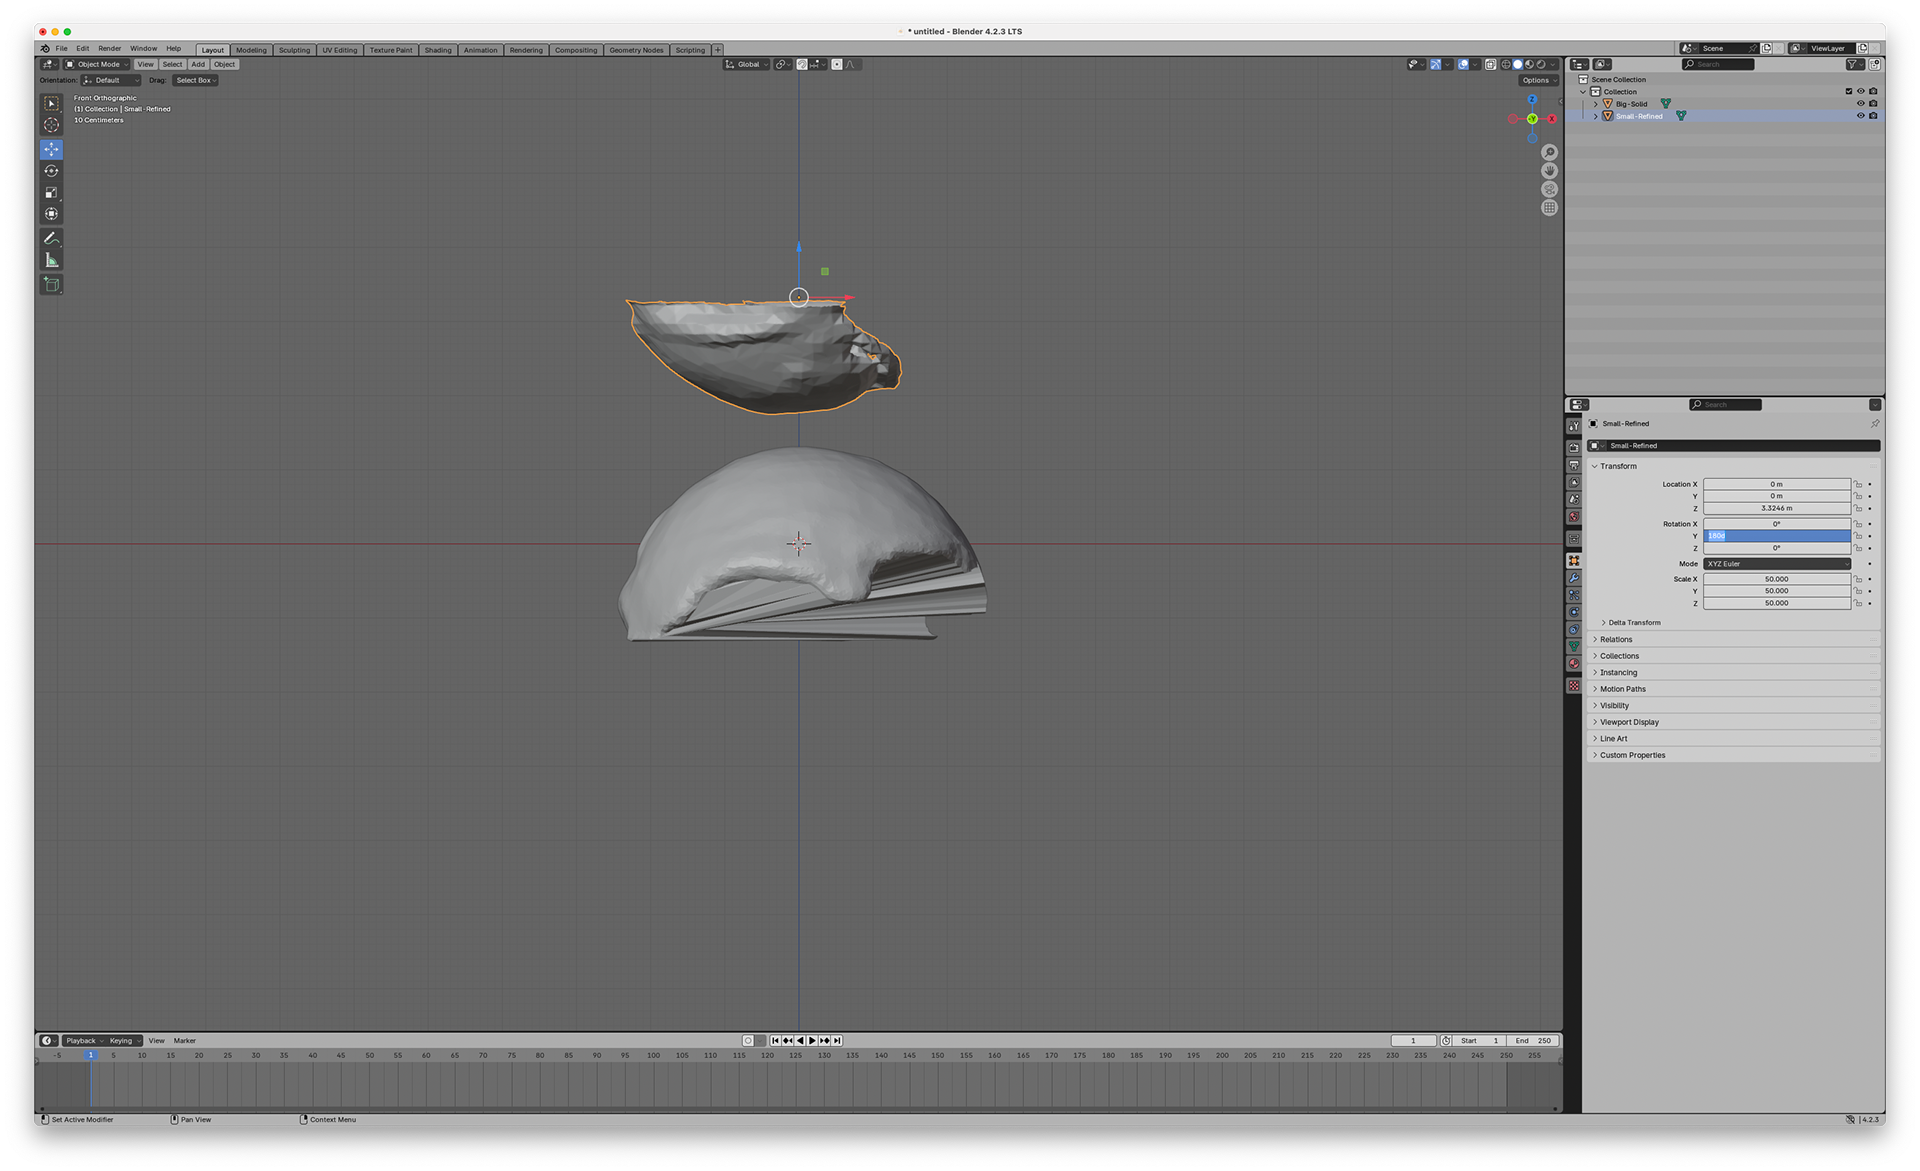
Step 2: Rearrange them for the bigger object to be central and the smaller object above it.
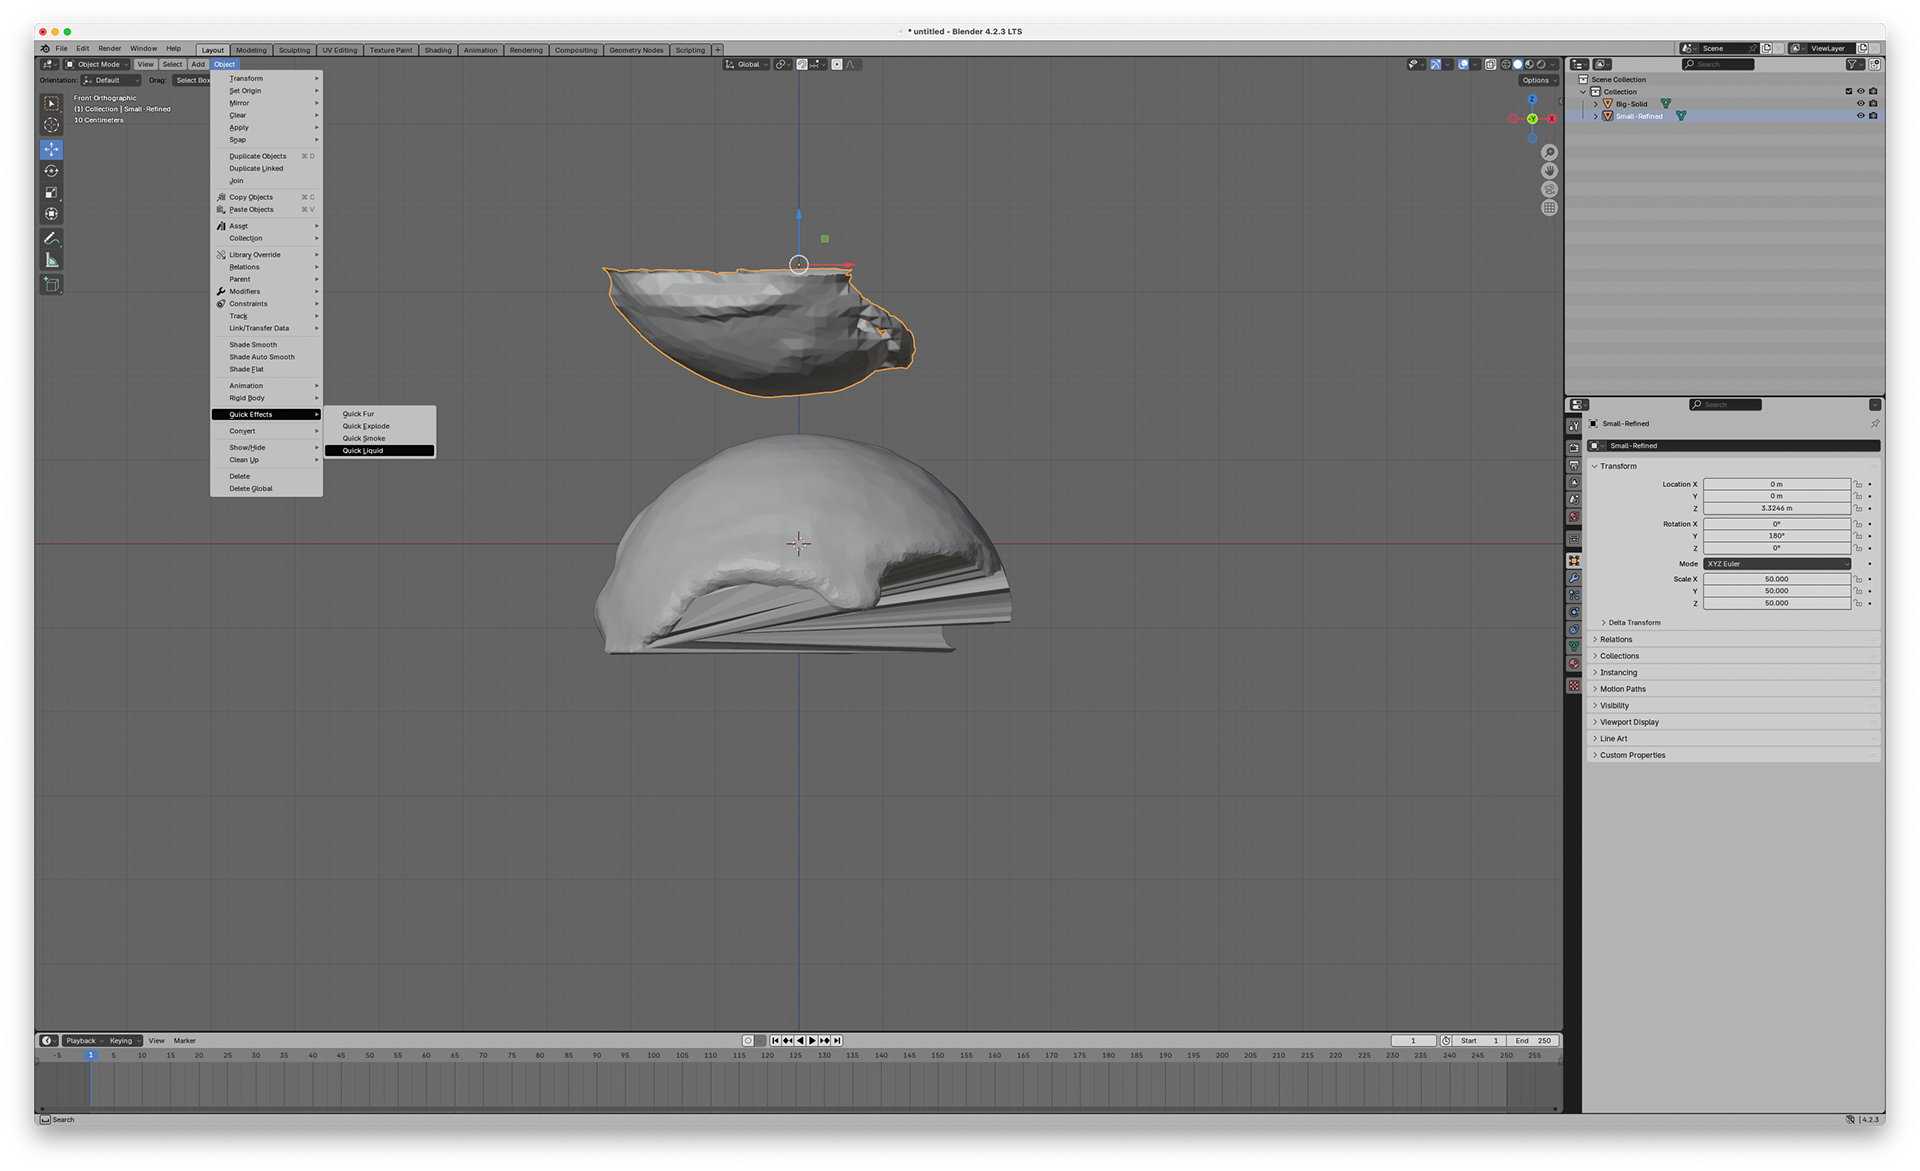
Step 3: Ensure the small object is selected and use the "Quick Liquid" function.
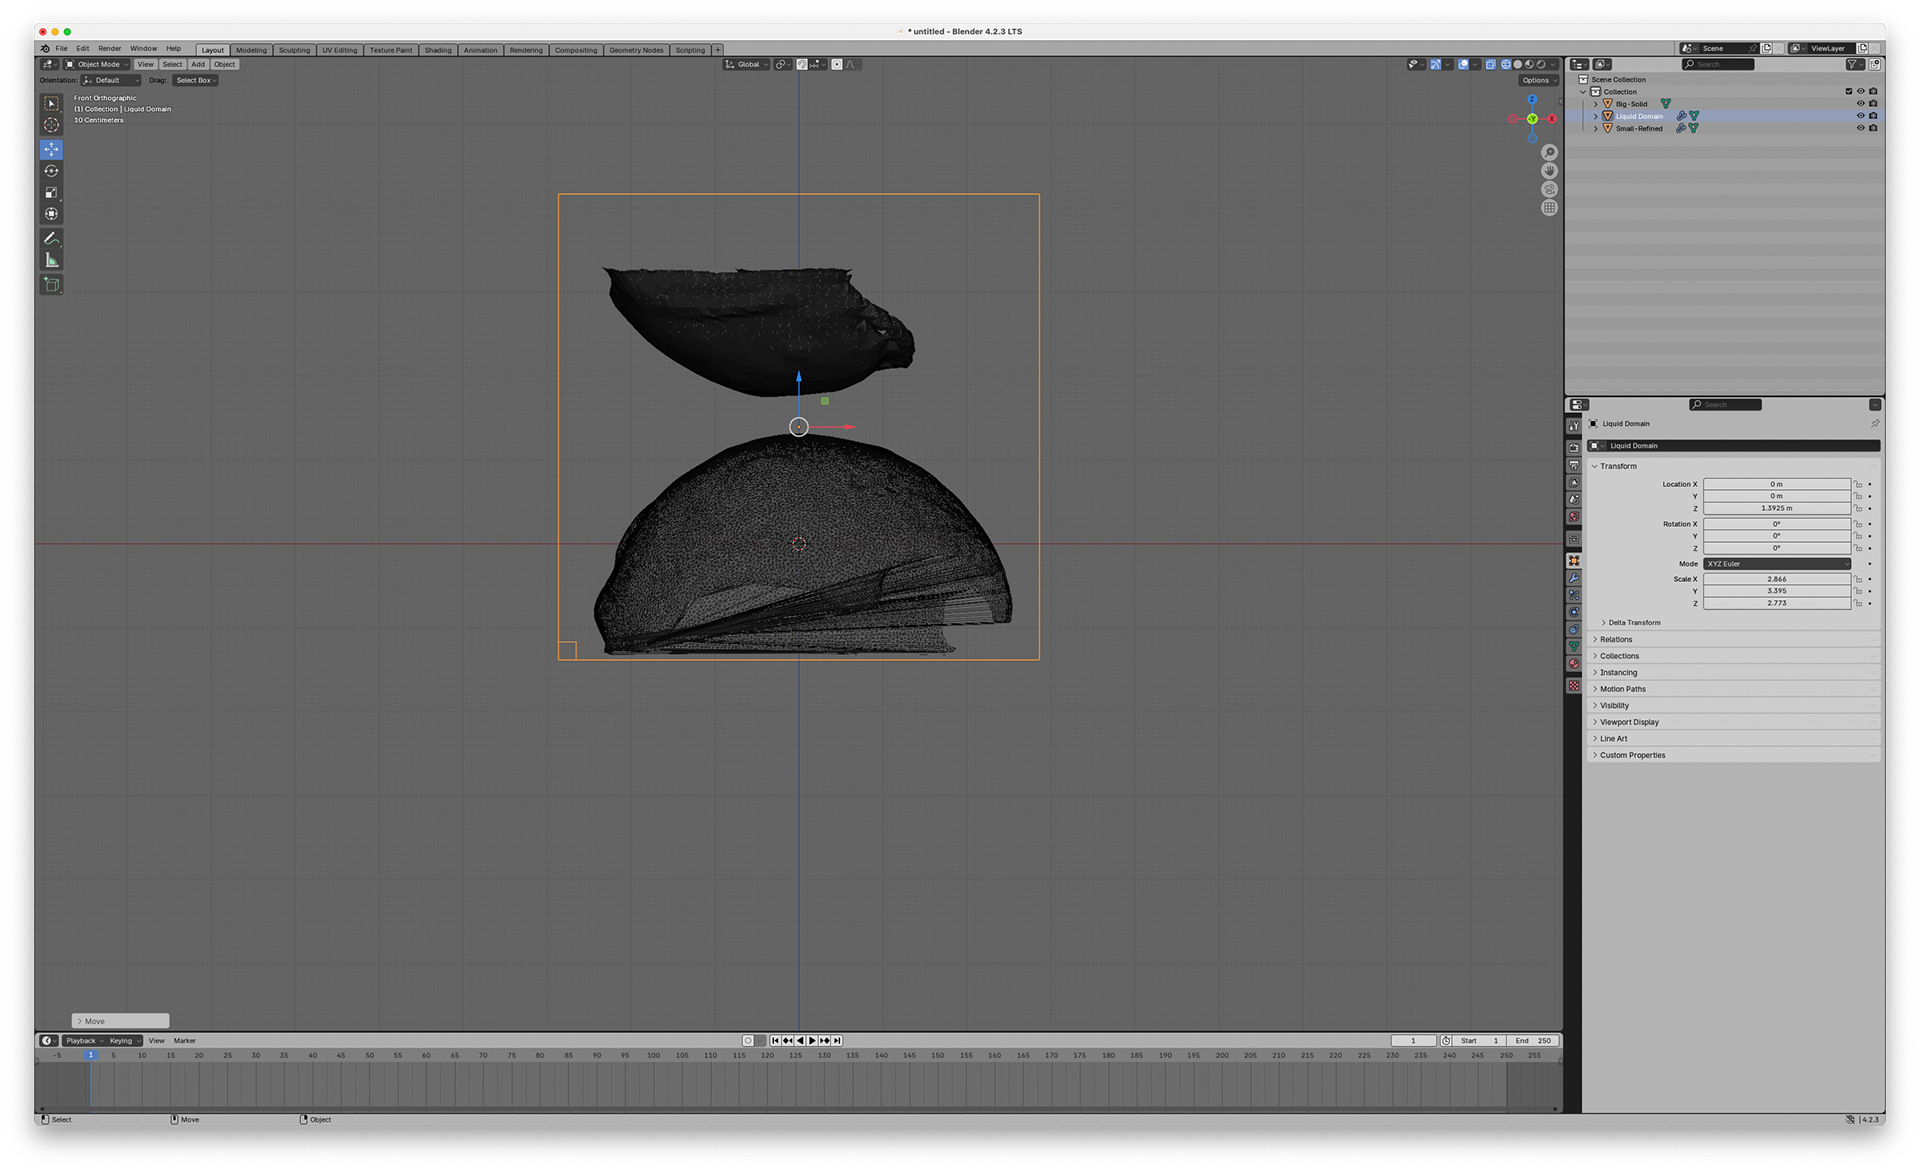
Step 4: Resize the "Liquid Domain" so it encompasses both the smaller and bigger objects.
Step 5: Tick "Is planar".
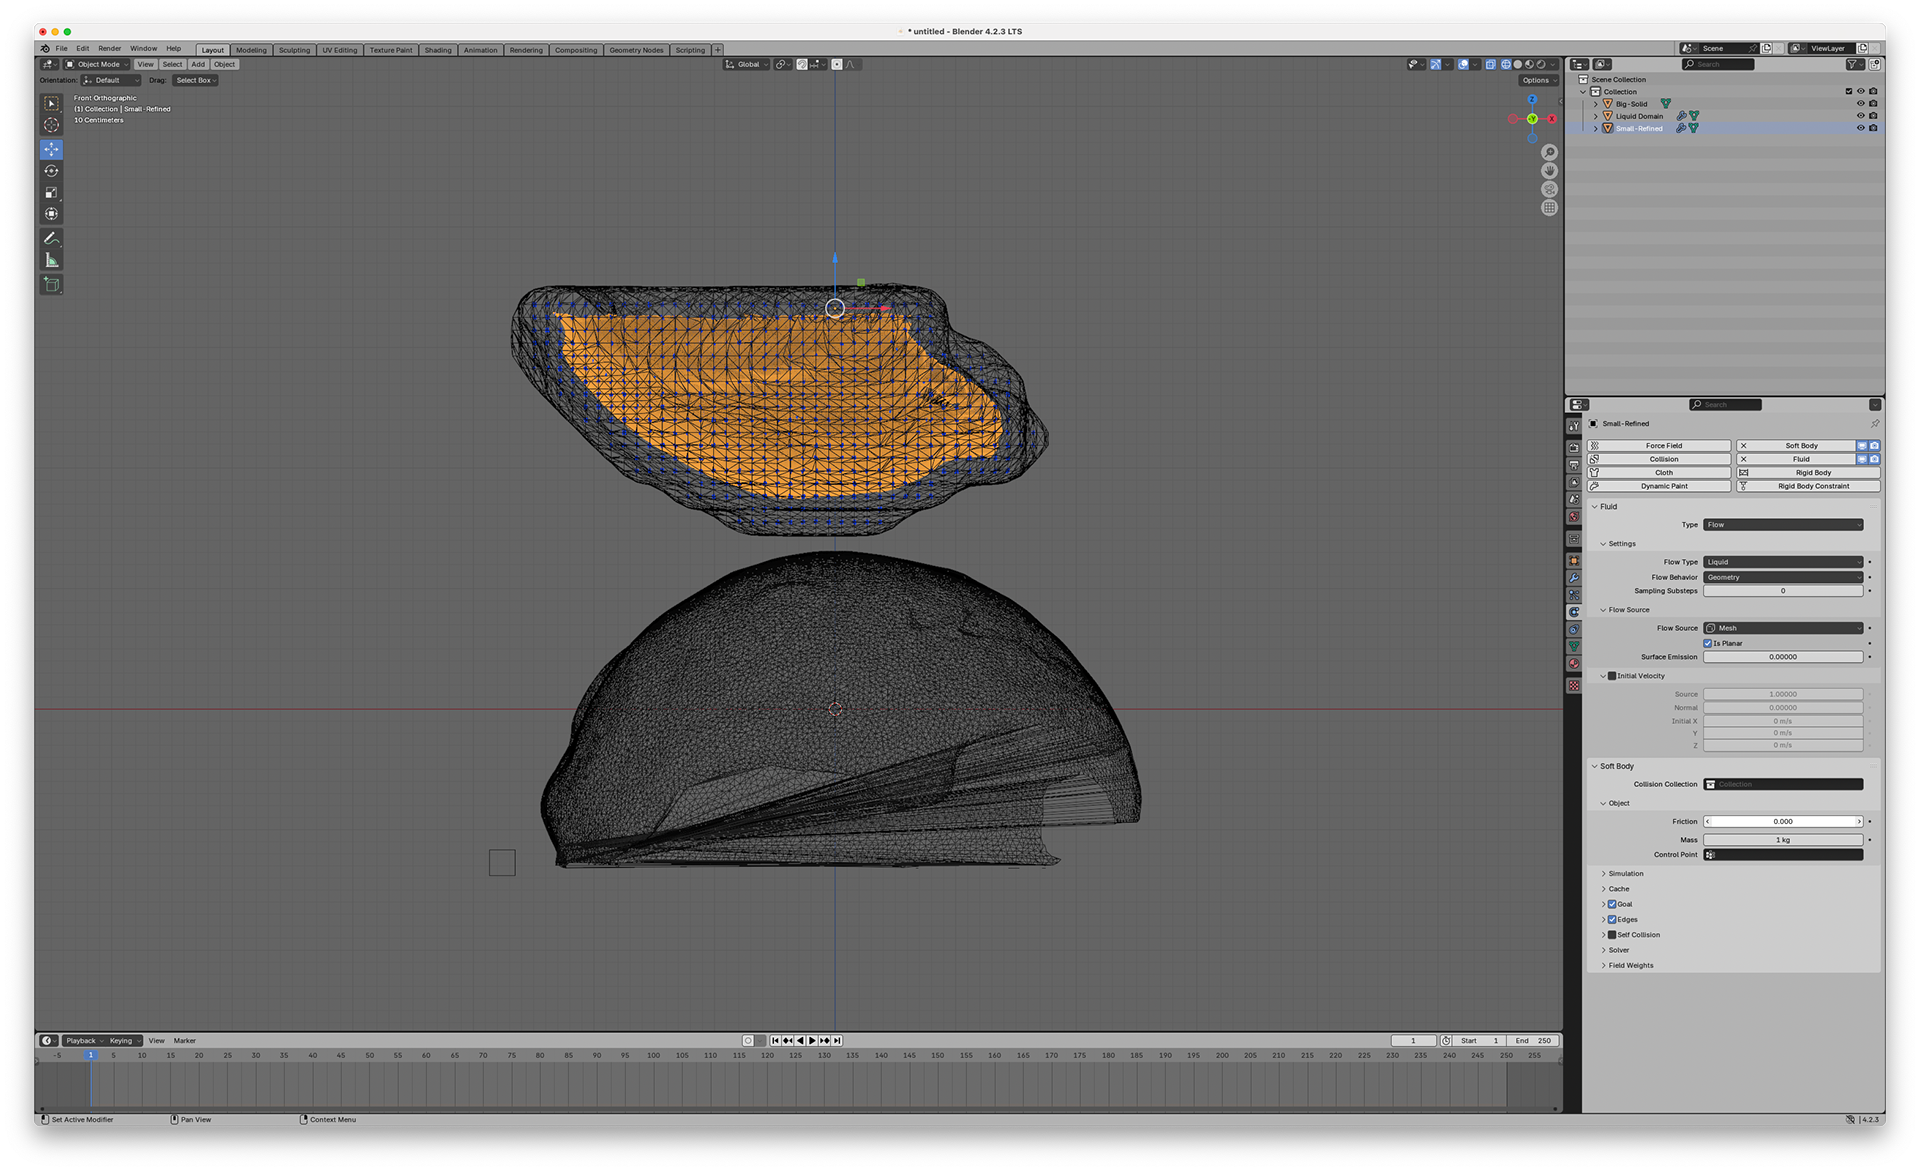
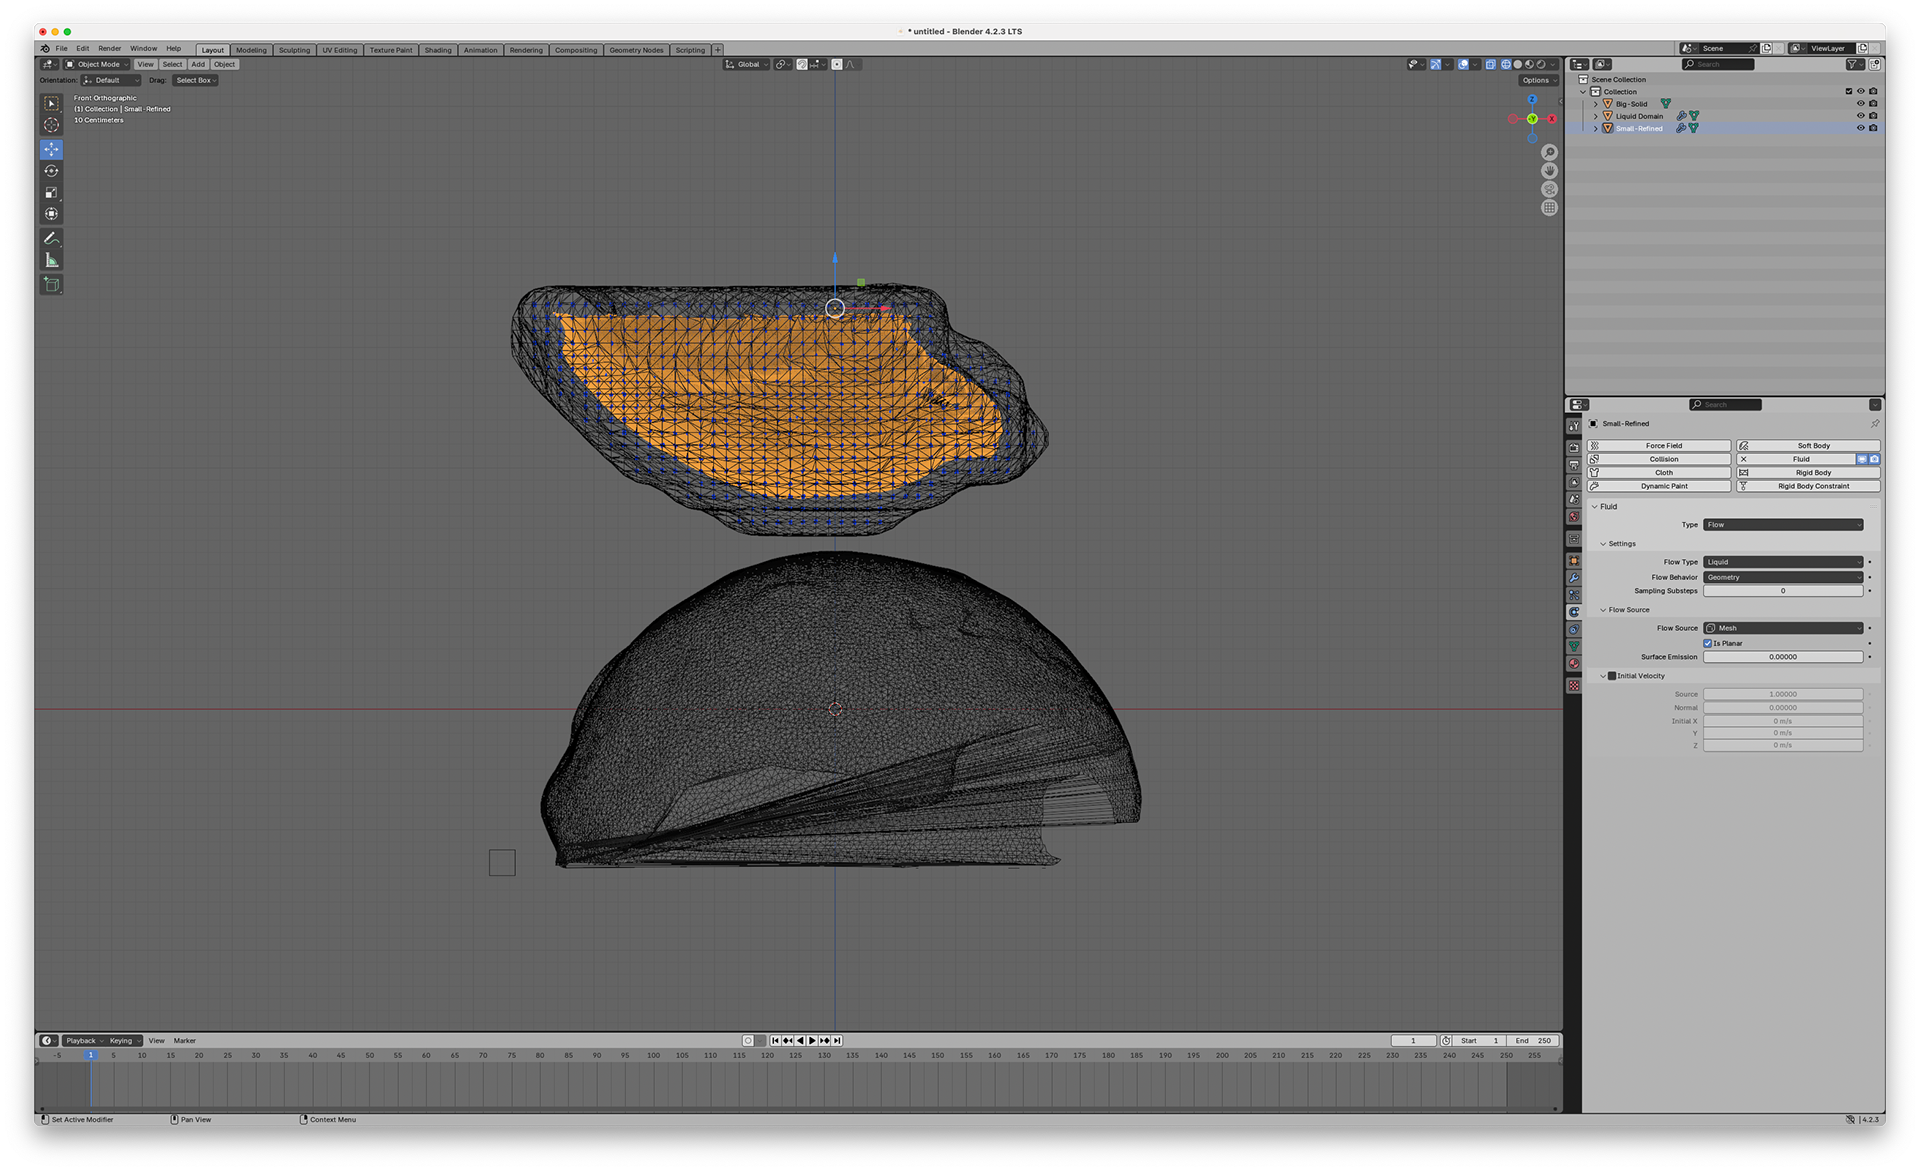
Step 6: Give "Soft Body" properties to the smaller object; otherwise, it won't be recognised by the liquid domain due to its density and set "Friction" to 0.
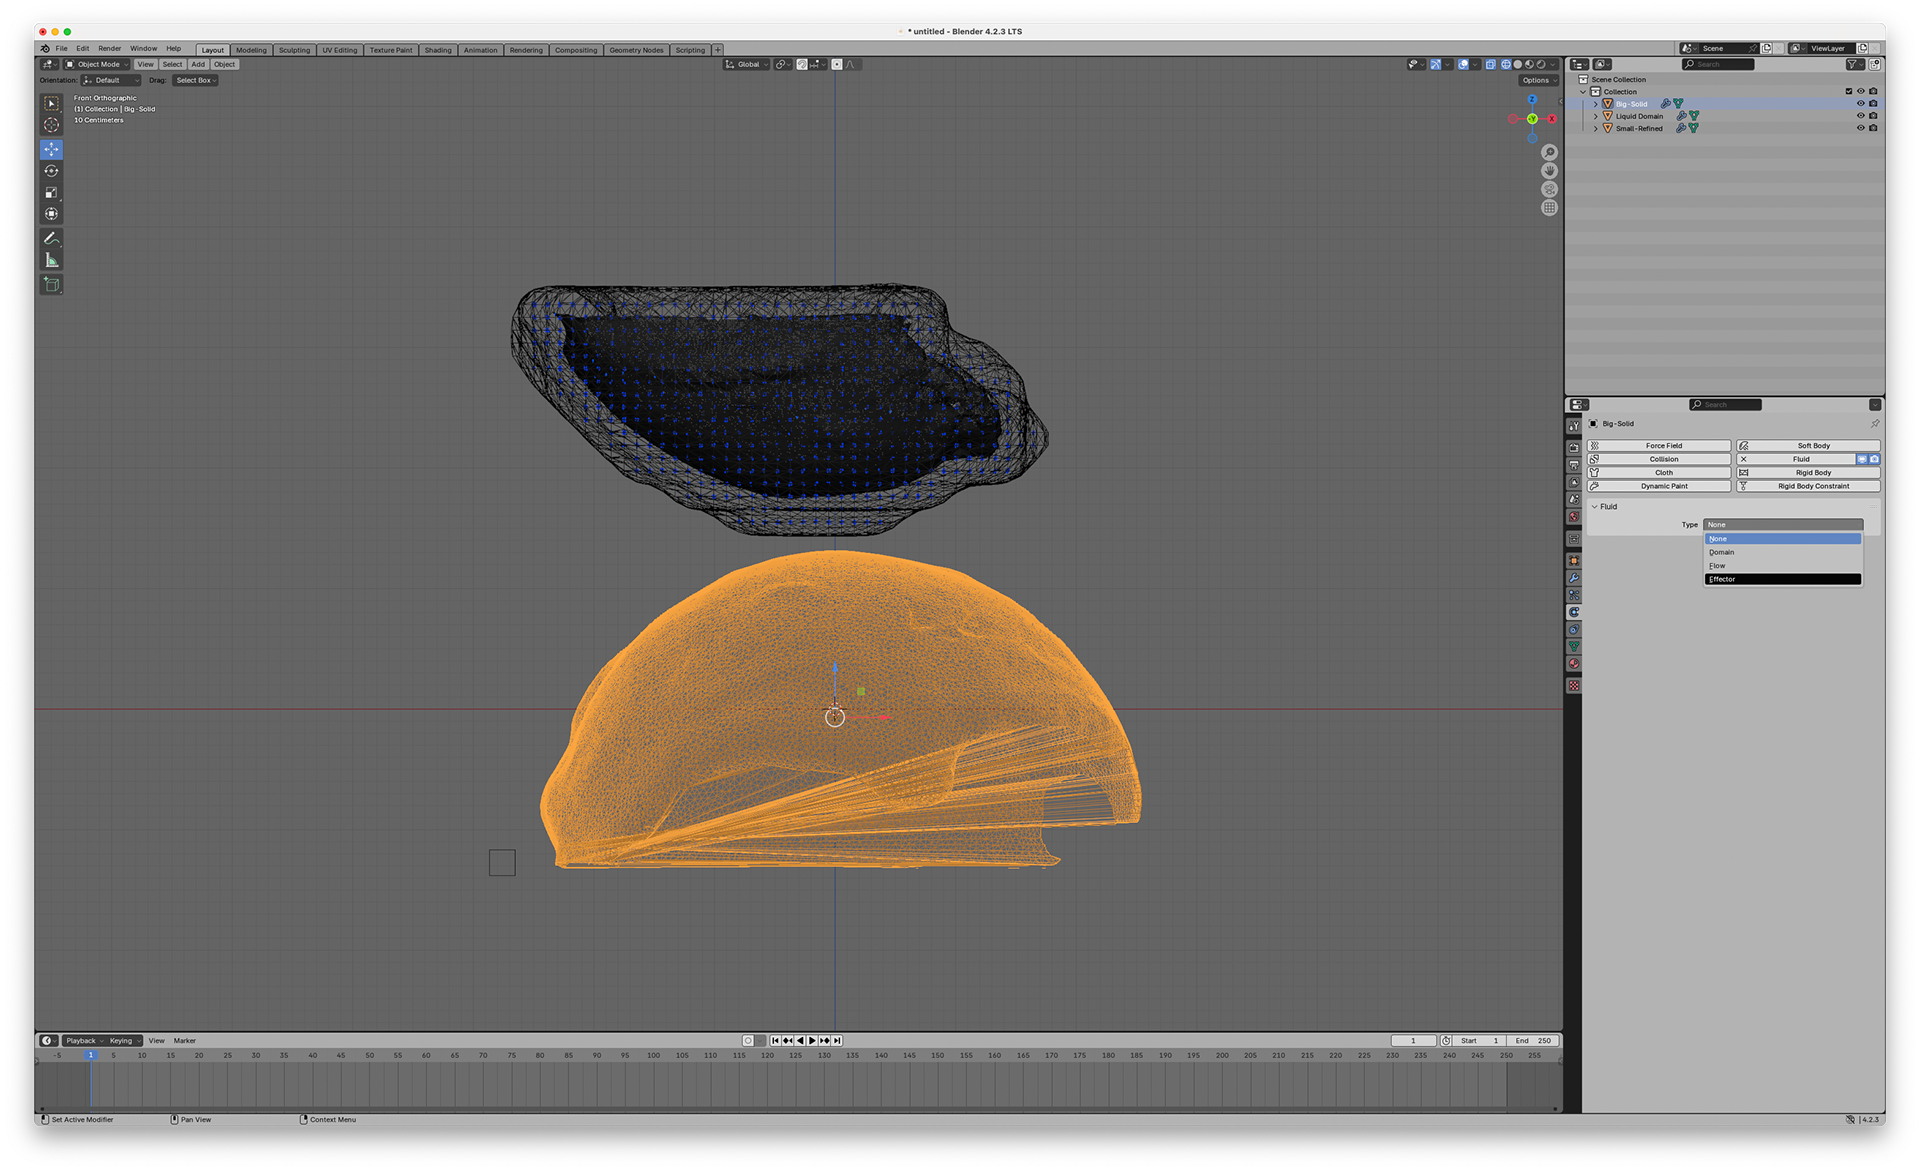
Step 7: Now select the body object and add the "Fluid" modifier, set to "Effector".
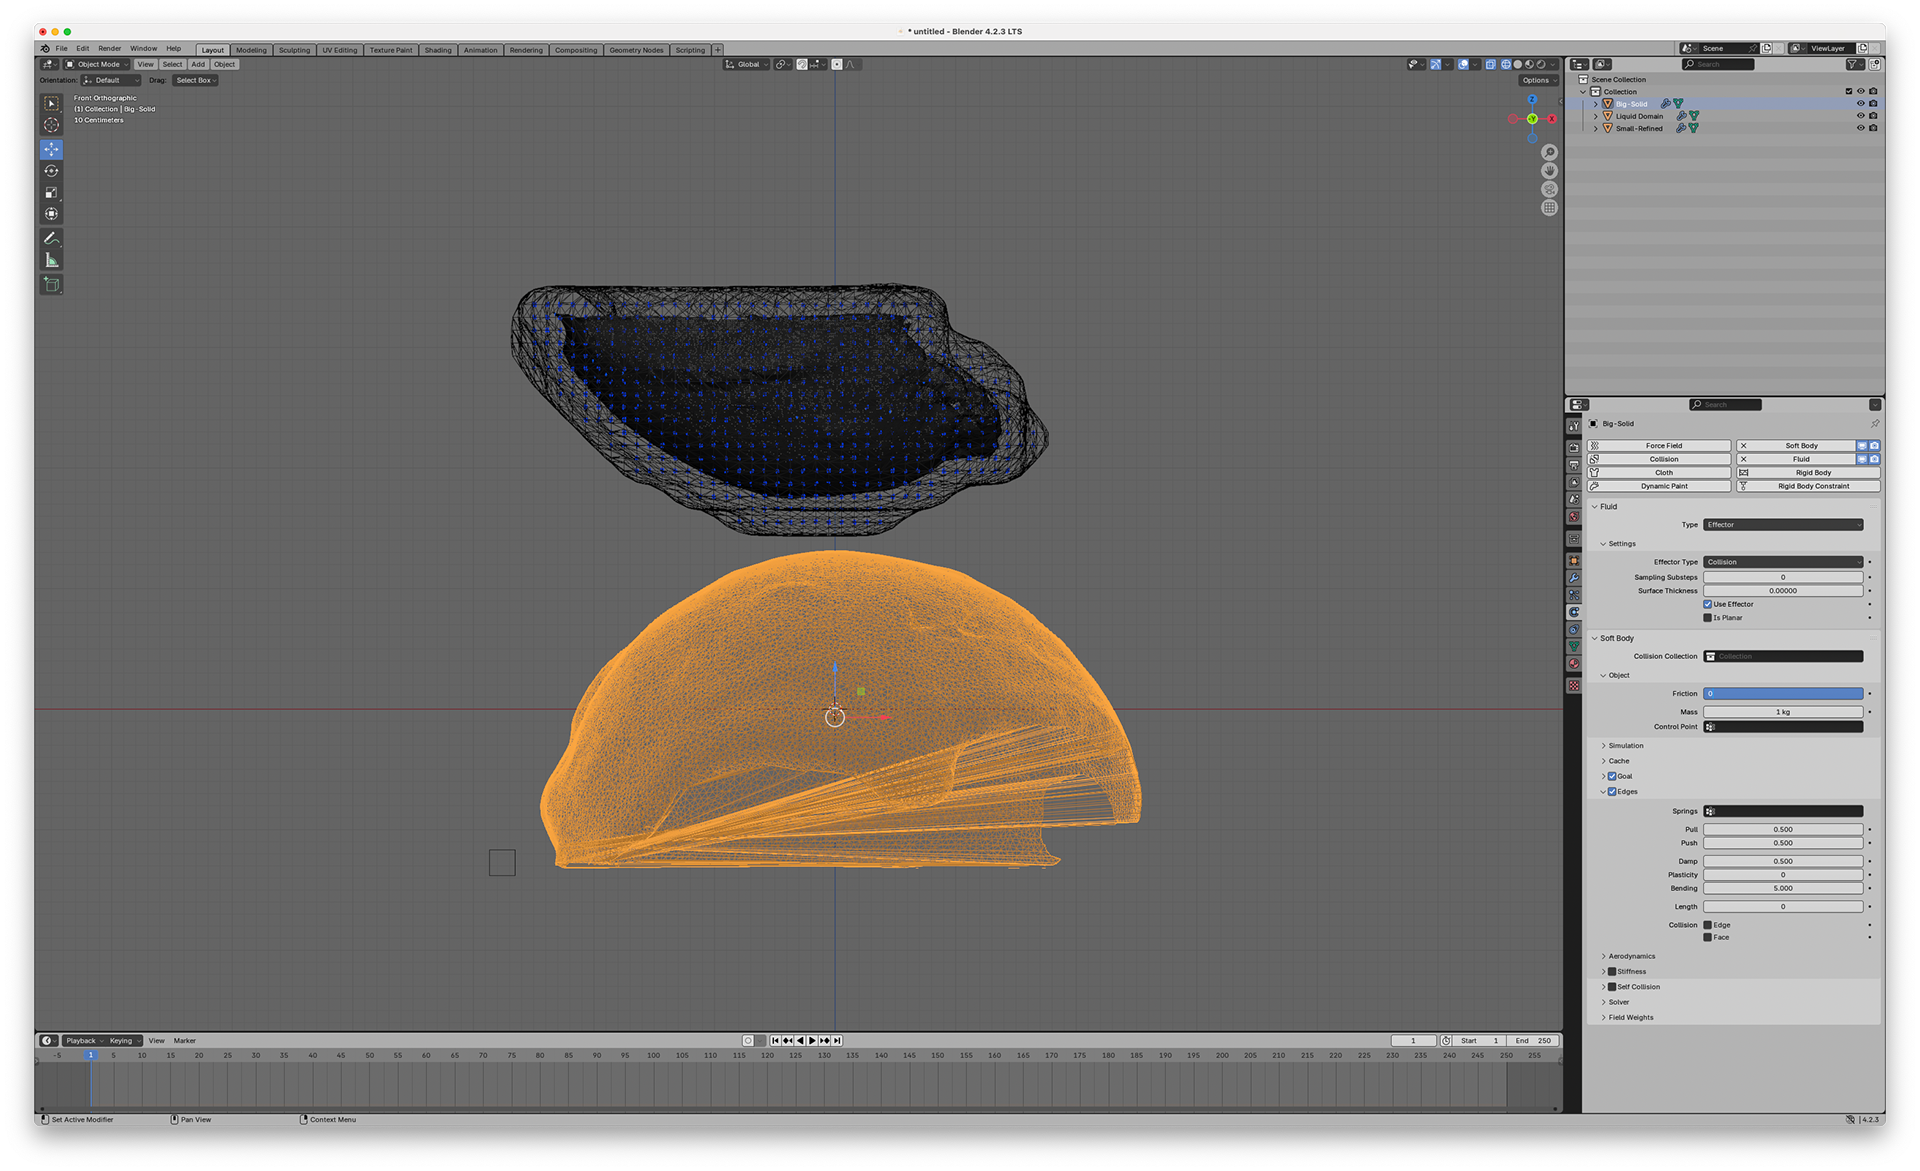
Step 8: Give "Soft Body" properties to the bigger object and set the values to be the same as the image.

Step 9: Select the "Liquid Domain" and set the values to be the same as the image.
Step 10: Change the view in the top right of the object view.
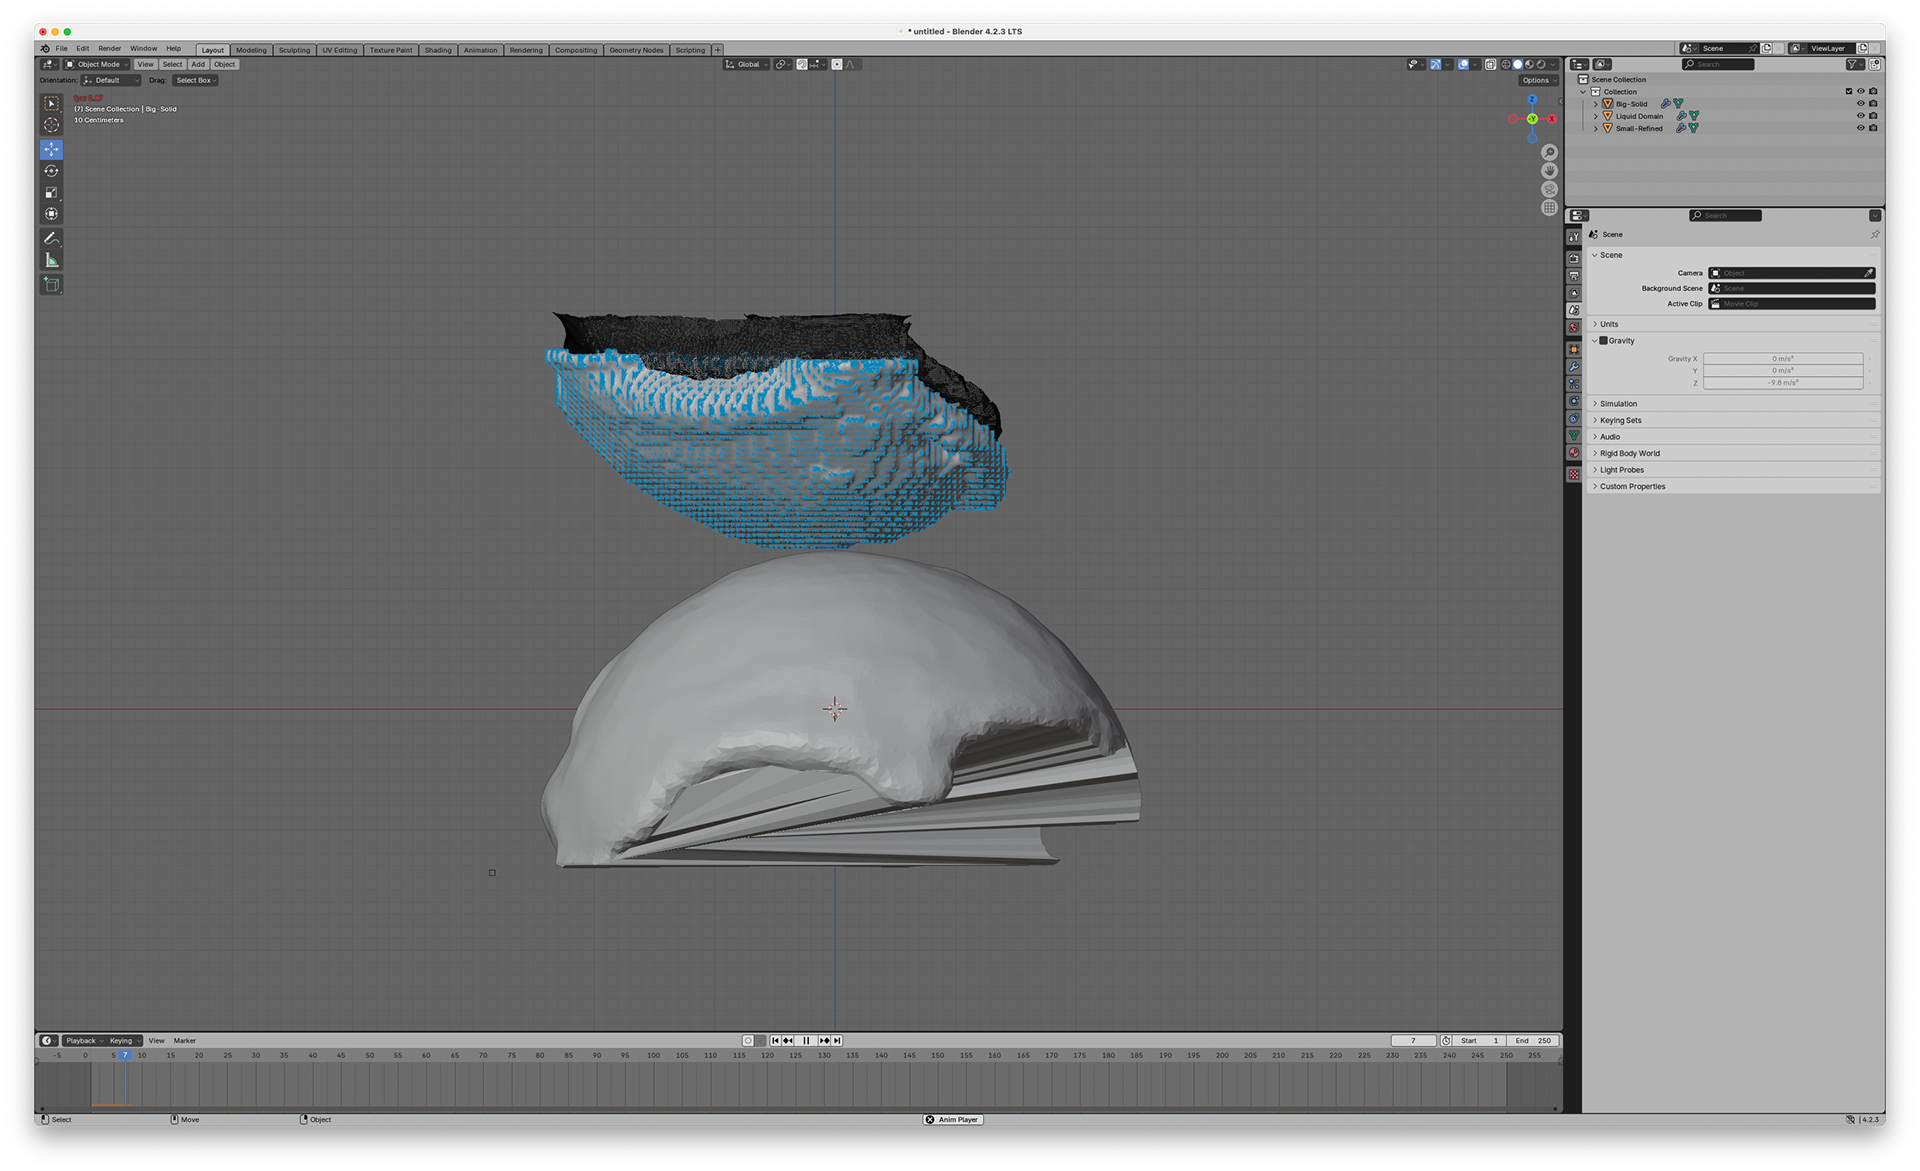
Step 11: Press the play button at the bottom to start the simulation.
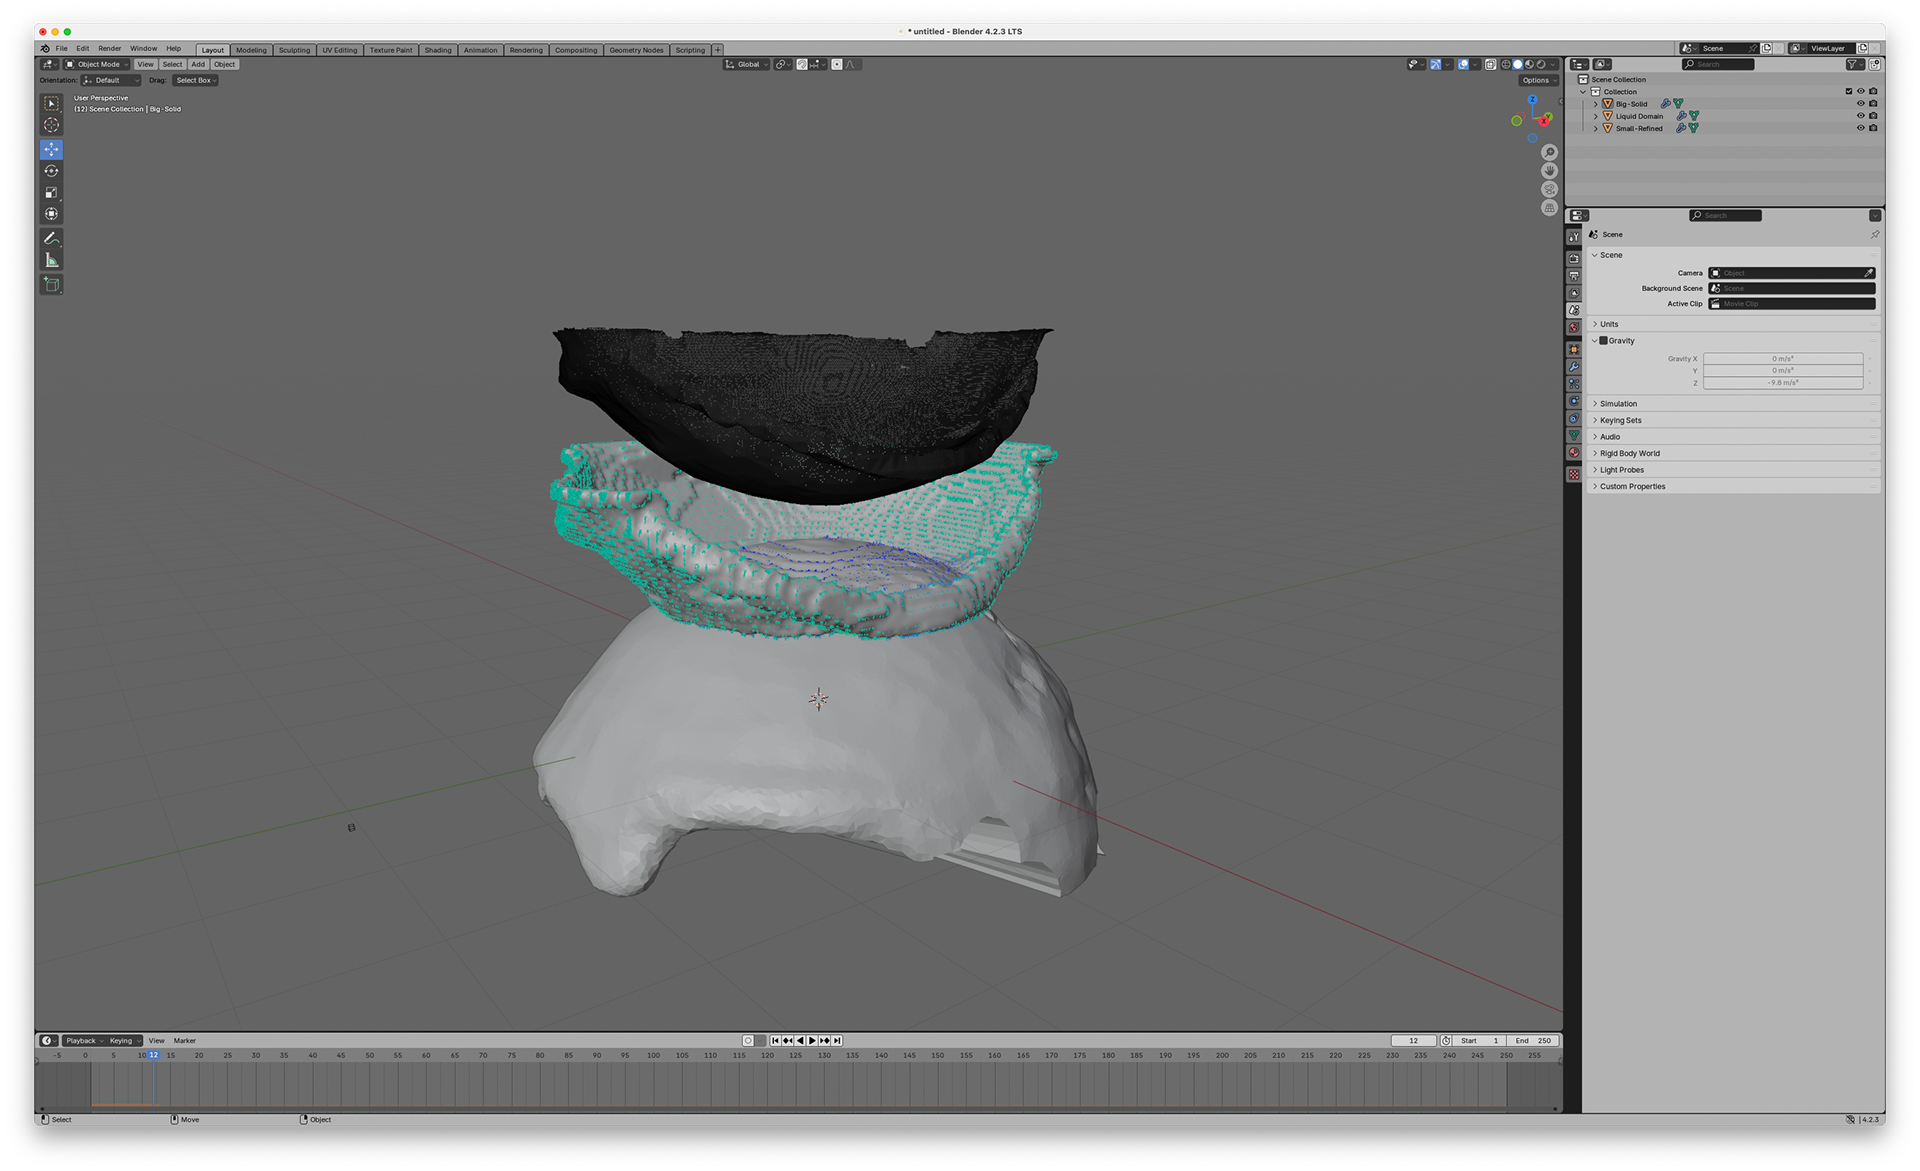
Step 12: This is frame 12 of the simulation. If I wanted to export this frame, I would pause and select the specific object I want to export, either the Liquid Domain or the Big object. Once selected, go to "File", "Export", then select "Selection Only".
V3 250 frame simulation
V4 250 frame simulation
Frame Selections
In Blender, the default length of animation is 250 frames. I decided not to change this as it was long enough to capture what I wanted whilst still taking around 15 minutes to render all the frames. Since I was trying to capture three stages of life: early, mid, and late, I tried to find an interesting and fitting frame for each. These turned out to be frames 13, 140, and 249. To keep consistency and fairness, I chose the same frames across both sets.
V3
Control Object
Frame 13
Frame 140
Frame 249
V4
Control Object
Frame 13
Frame 140
Frame 249
Refining the prints
Once I received the prints from Print City, I needed to remove the supports/scaffolding and remove any uncured resin. The supports exist to prevent the prints from collapsing during the process, but once cured, they can be carefully removed.
The supports that need to be removed.
More supports.
All V3 supports removed and the tools I used.
The simulation result and the final product.
All V3 prints in order of frames.
For the V4 I used a ruler to help separate the supports from the flat base which sped up the process.
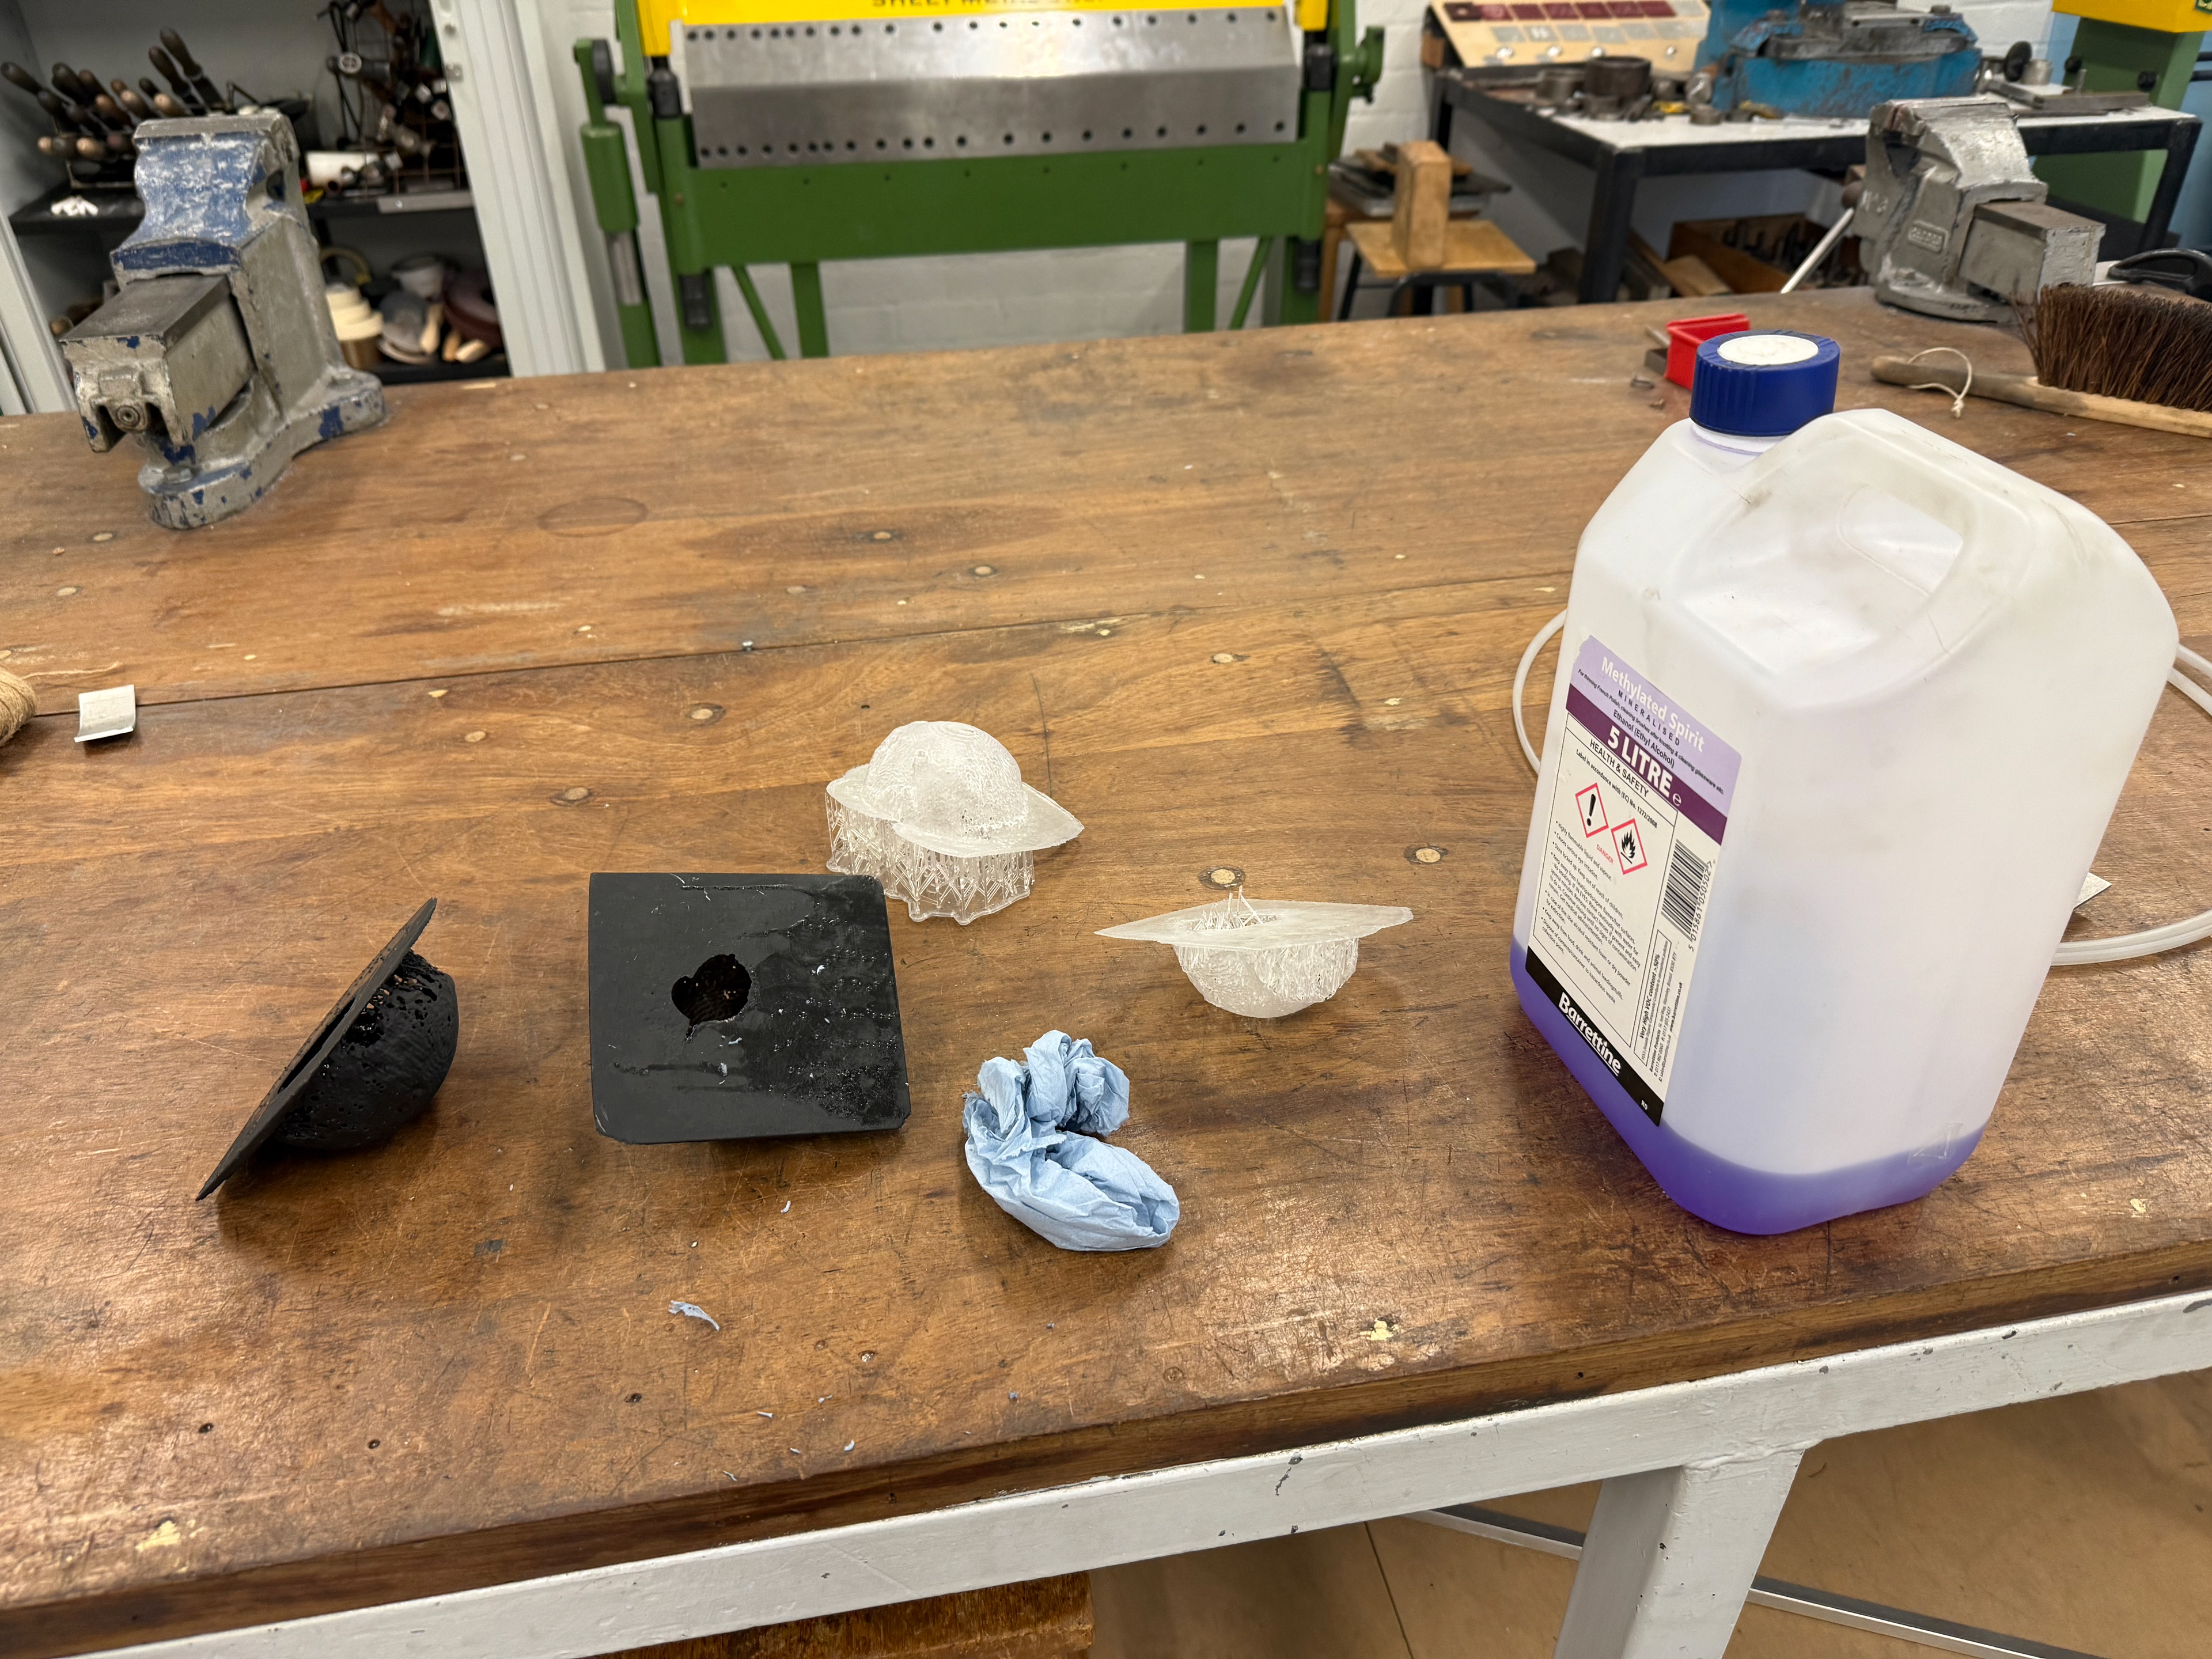
Using Methylated Spirit to remove the uncured resin which will remove the stickiness of the objects.
Refined Prints
Control/V3-Big
Control/V3-Big
Control/V3-Big
Personal/V3-Frame-13
Personal/V3-Frame-13
Control/V4-Big
Control/V4-Big
Control/V4-Big
Personal/V4-Frame-13
Personal/V4-Frame-13
Personal/V3-Frame-140
Personal/V3-Frame-140
Personal/V3-Frame-140
Personal/V3-Frame-249
Personal/V3-Frame-249
Personal/V3-Frame-249
Personal/V3-Frame-249
V4 Frame 140 and 249
Personal/V4-Frame-140
Personal/V4-Frame-140
Personal/V4-Frame-249
Personal/V4-Frame-249
Personal/V4-Frame-249
V4 Frame 140 and 249
Final Piece Set
Artist Statement
My work is the result of a journey through various artistic processes, driven by the interaction between physical and digital realms. The project began with an exploration of Bergson’s philosophy, particularly his definition of duration as being heterogeneous or homogeneous. I conducted a material-based research to understand how two different materials perceive duration.
The transition into the digital world occurred as a result of this research. Much like philosophy, I wanted to remove the physical constraints imposed onto the materials by the laws of physics. I utilised 3D scanning to capture my organic plaster objects and place them in a digital space. This digitalisation enabled a new level of manipulation, where simulation became a pivotal tool.
Further research into human experience of duration and time led me to develop my own definition that guided the final outcome. Everyone must conform to something, and ultimately, it is this central object that we must mould ourselves around. In the virtual world, I was able to replicate this observation using the 3D scans in a simulation. The selection of frames from the simulation are chosen to represent the beginning, middle, and end of life. Each output illustrates how much we are controlled; the early years are characterised by newness and lack of responsibility, the middle years are heavily controlled by these responsibilities, and the control is gradually relinquished to us in our later years.
The final piece consists of both central objects and the first frames from each set. Each solid resin block exhibits remarkable texture and elegant lines. The partnering pieces, providing context and contrast, enhance the beauty of the solid ‘control’ object.