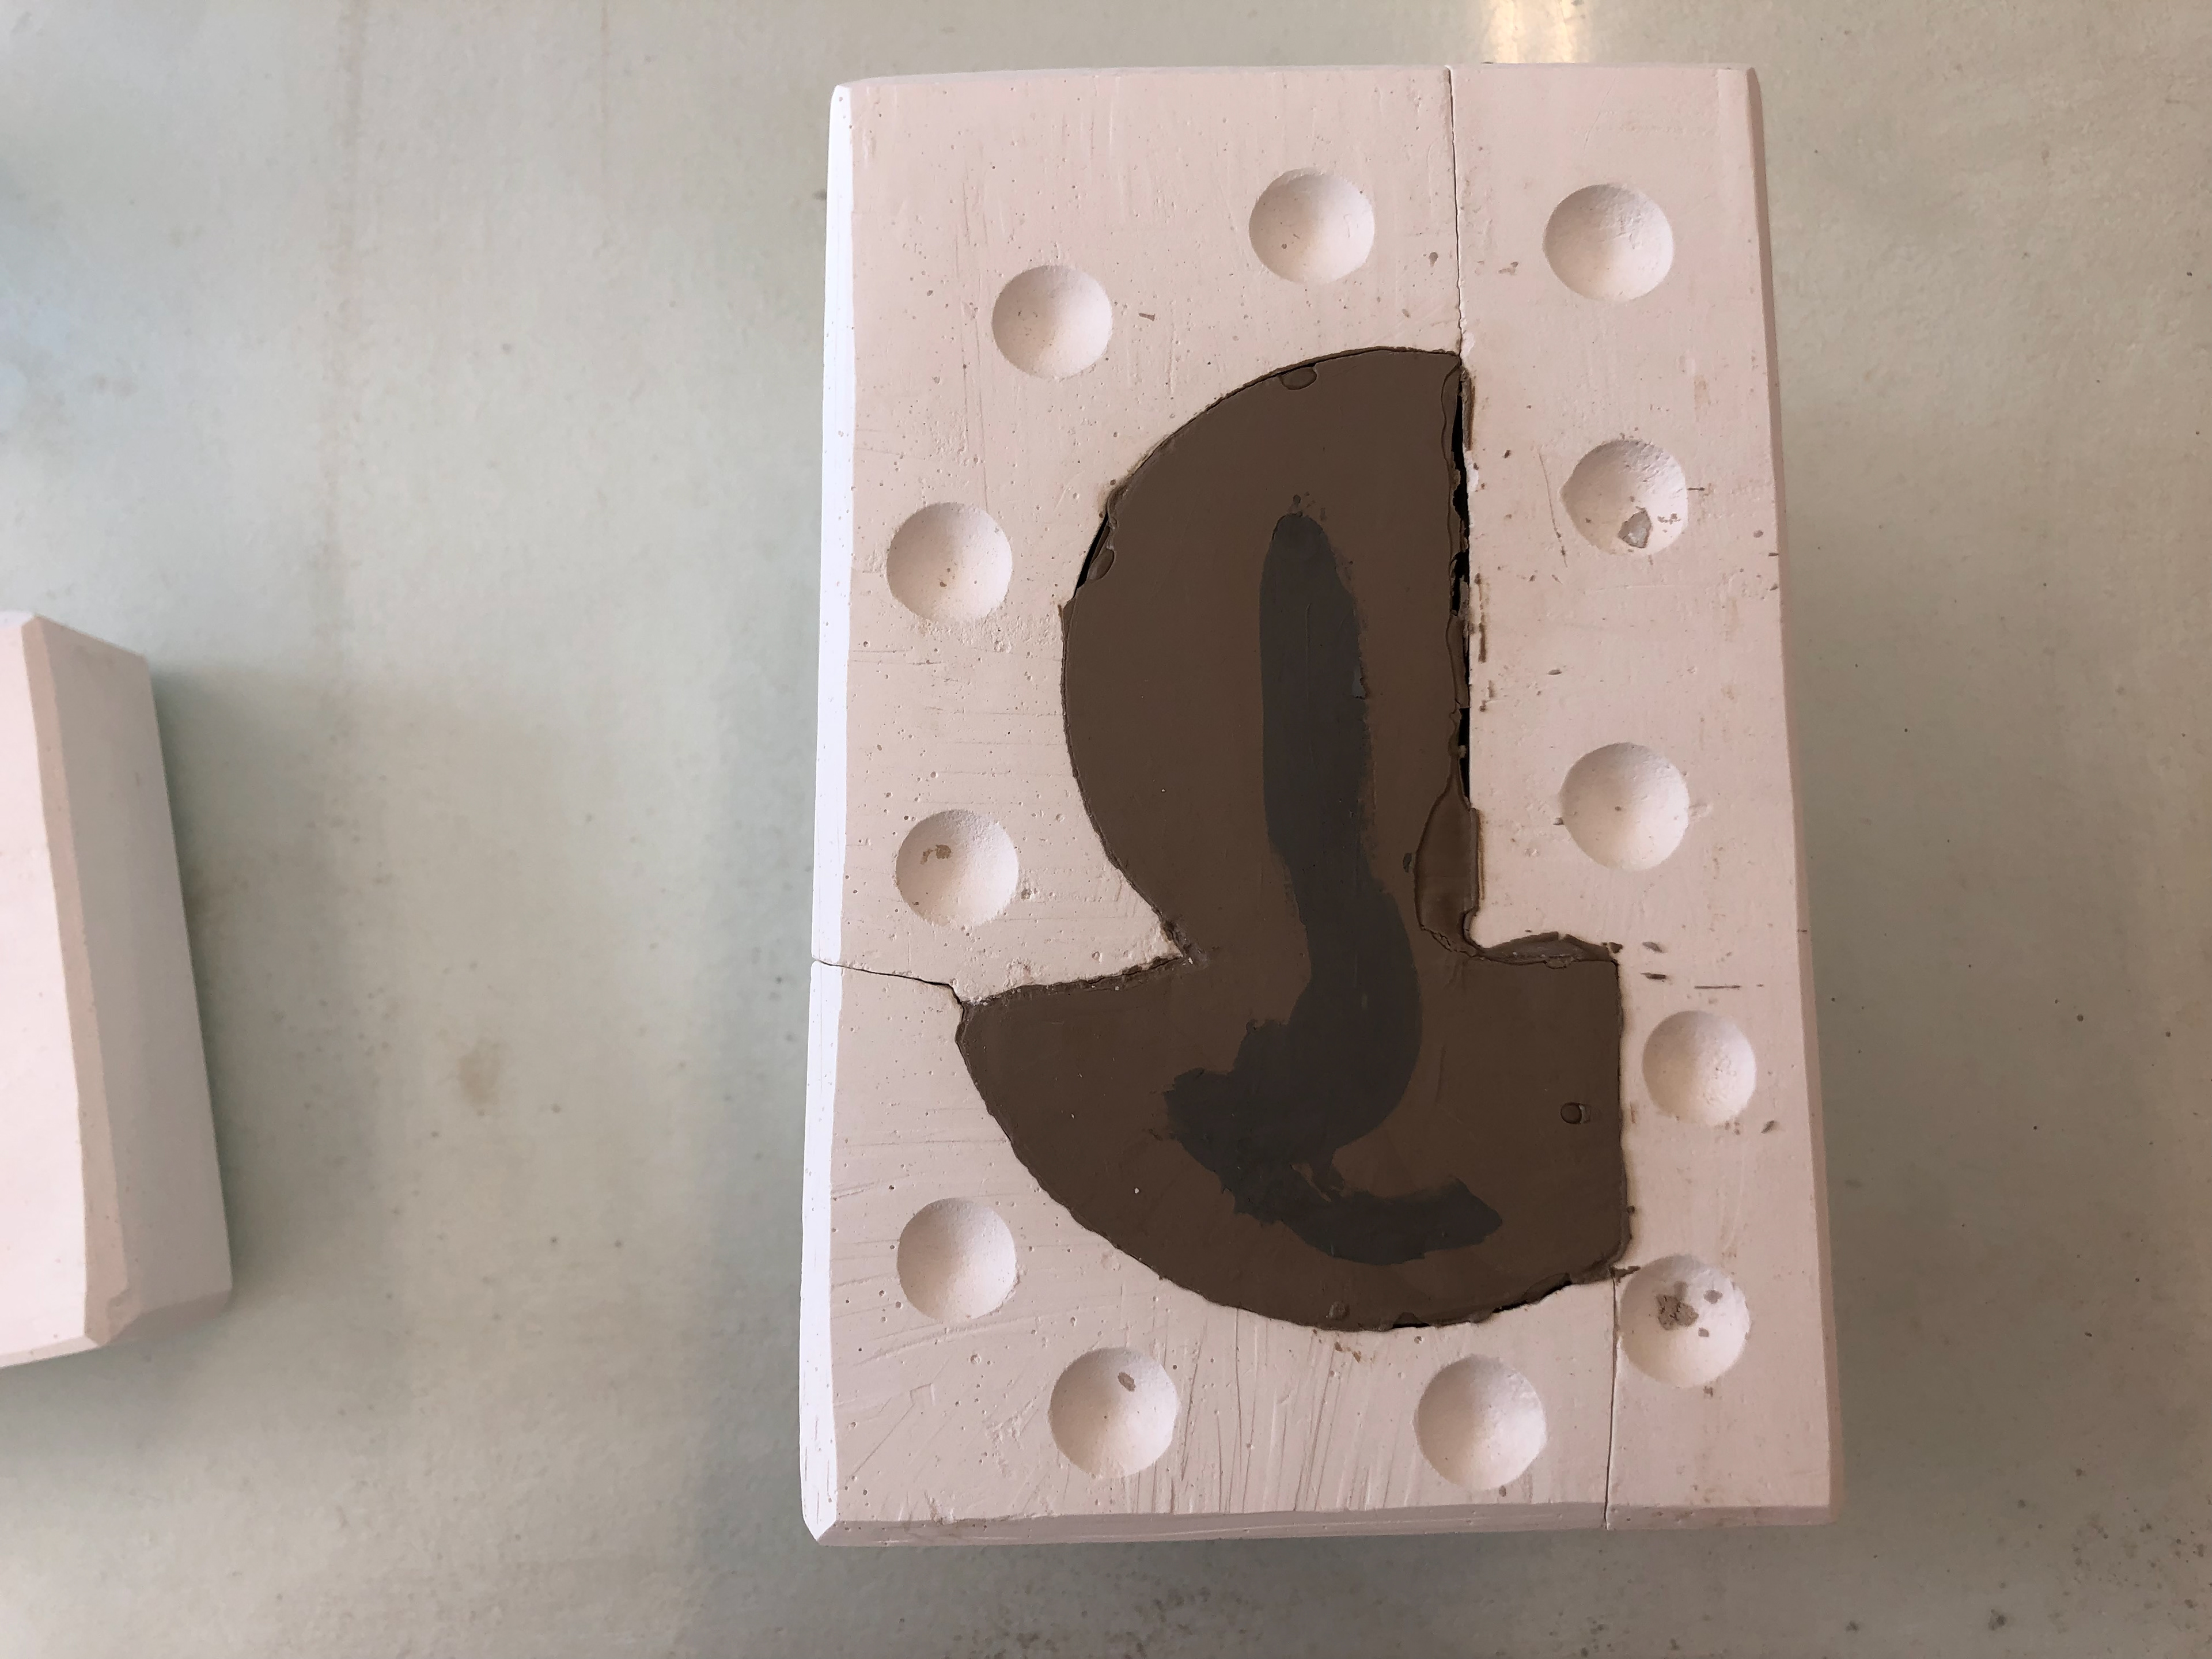
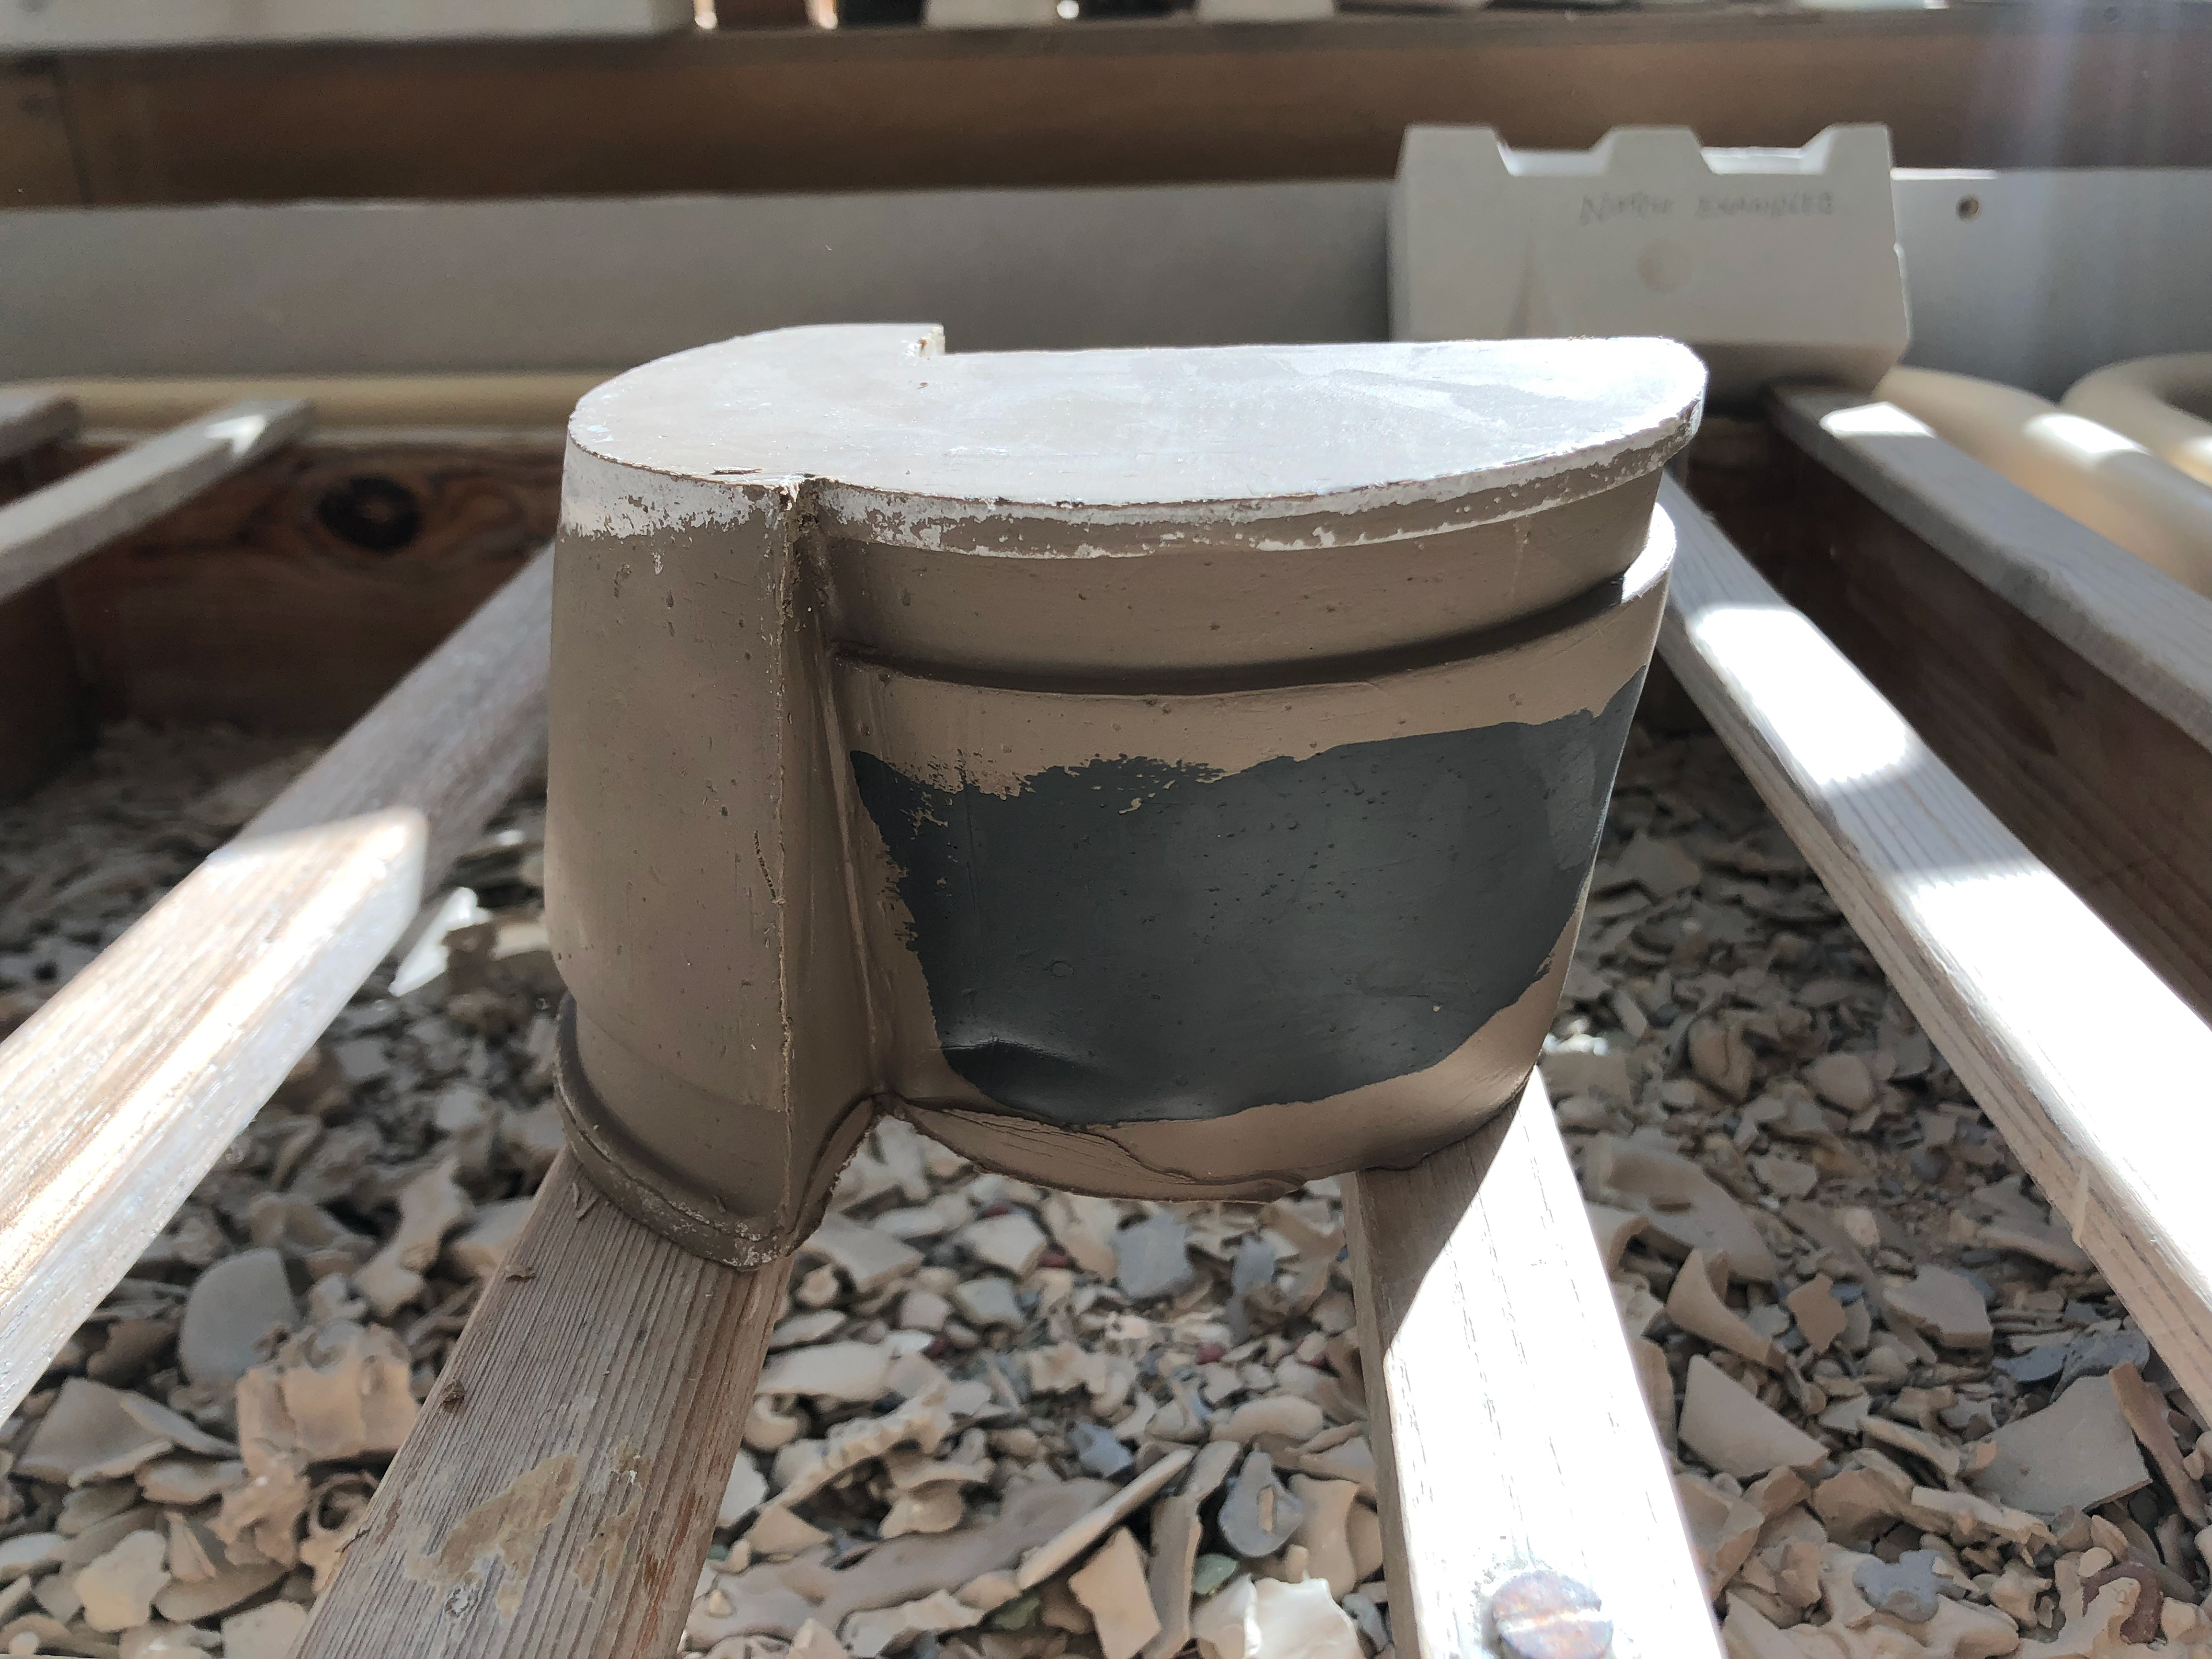
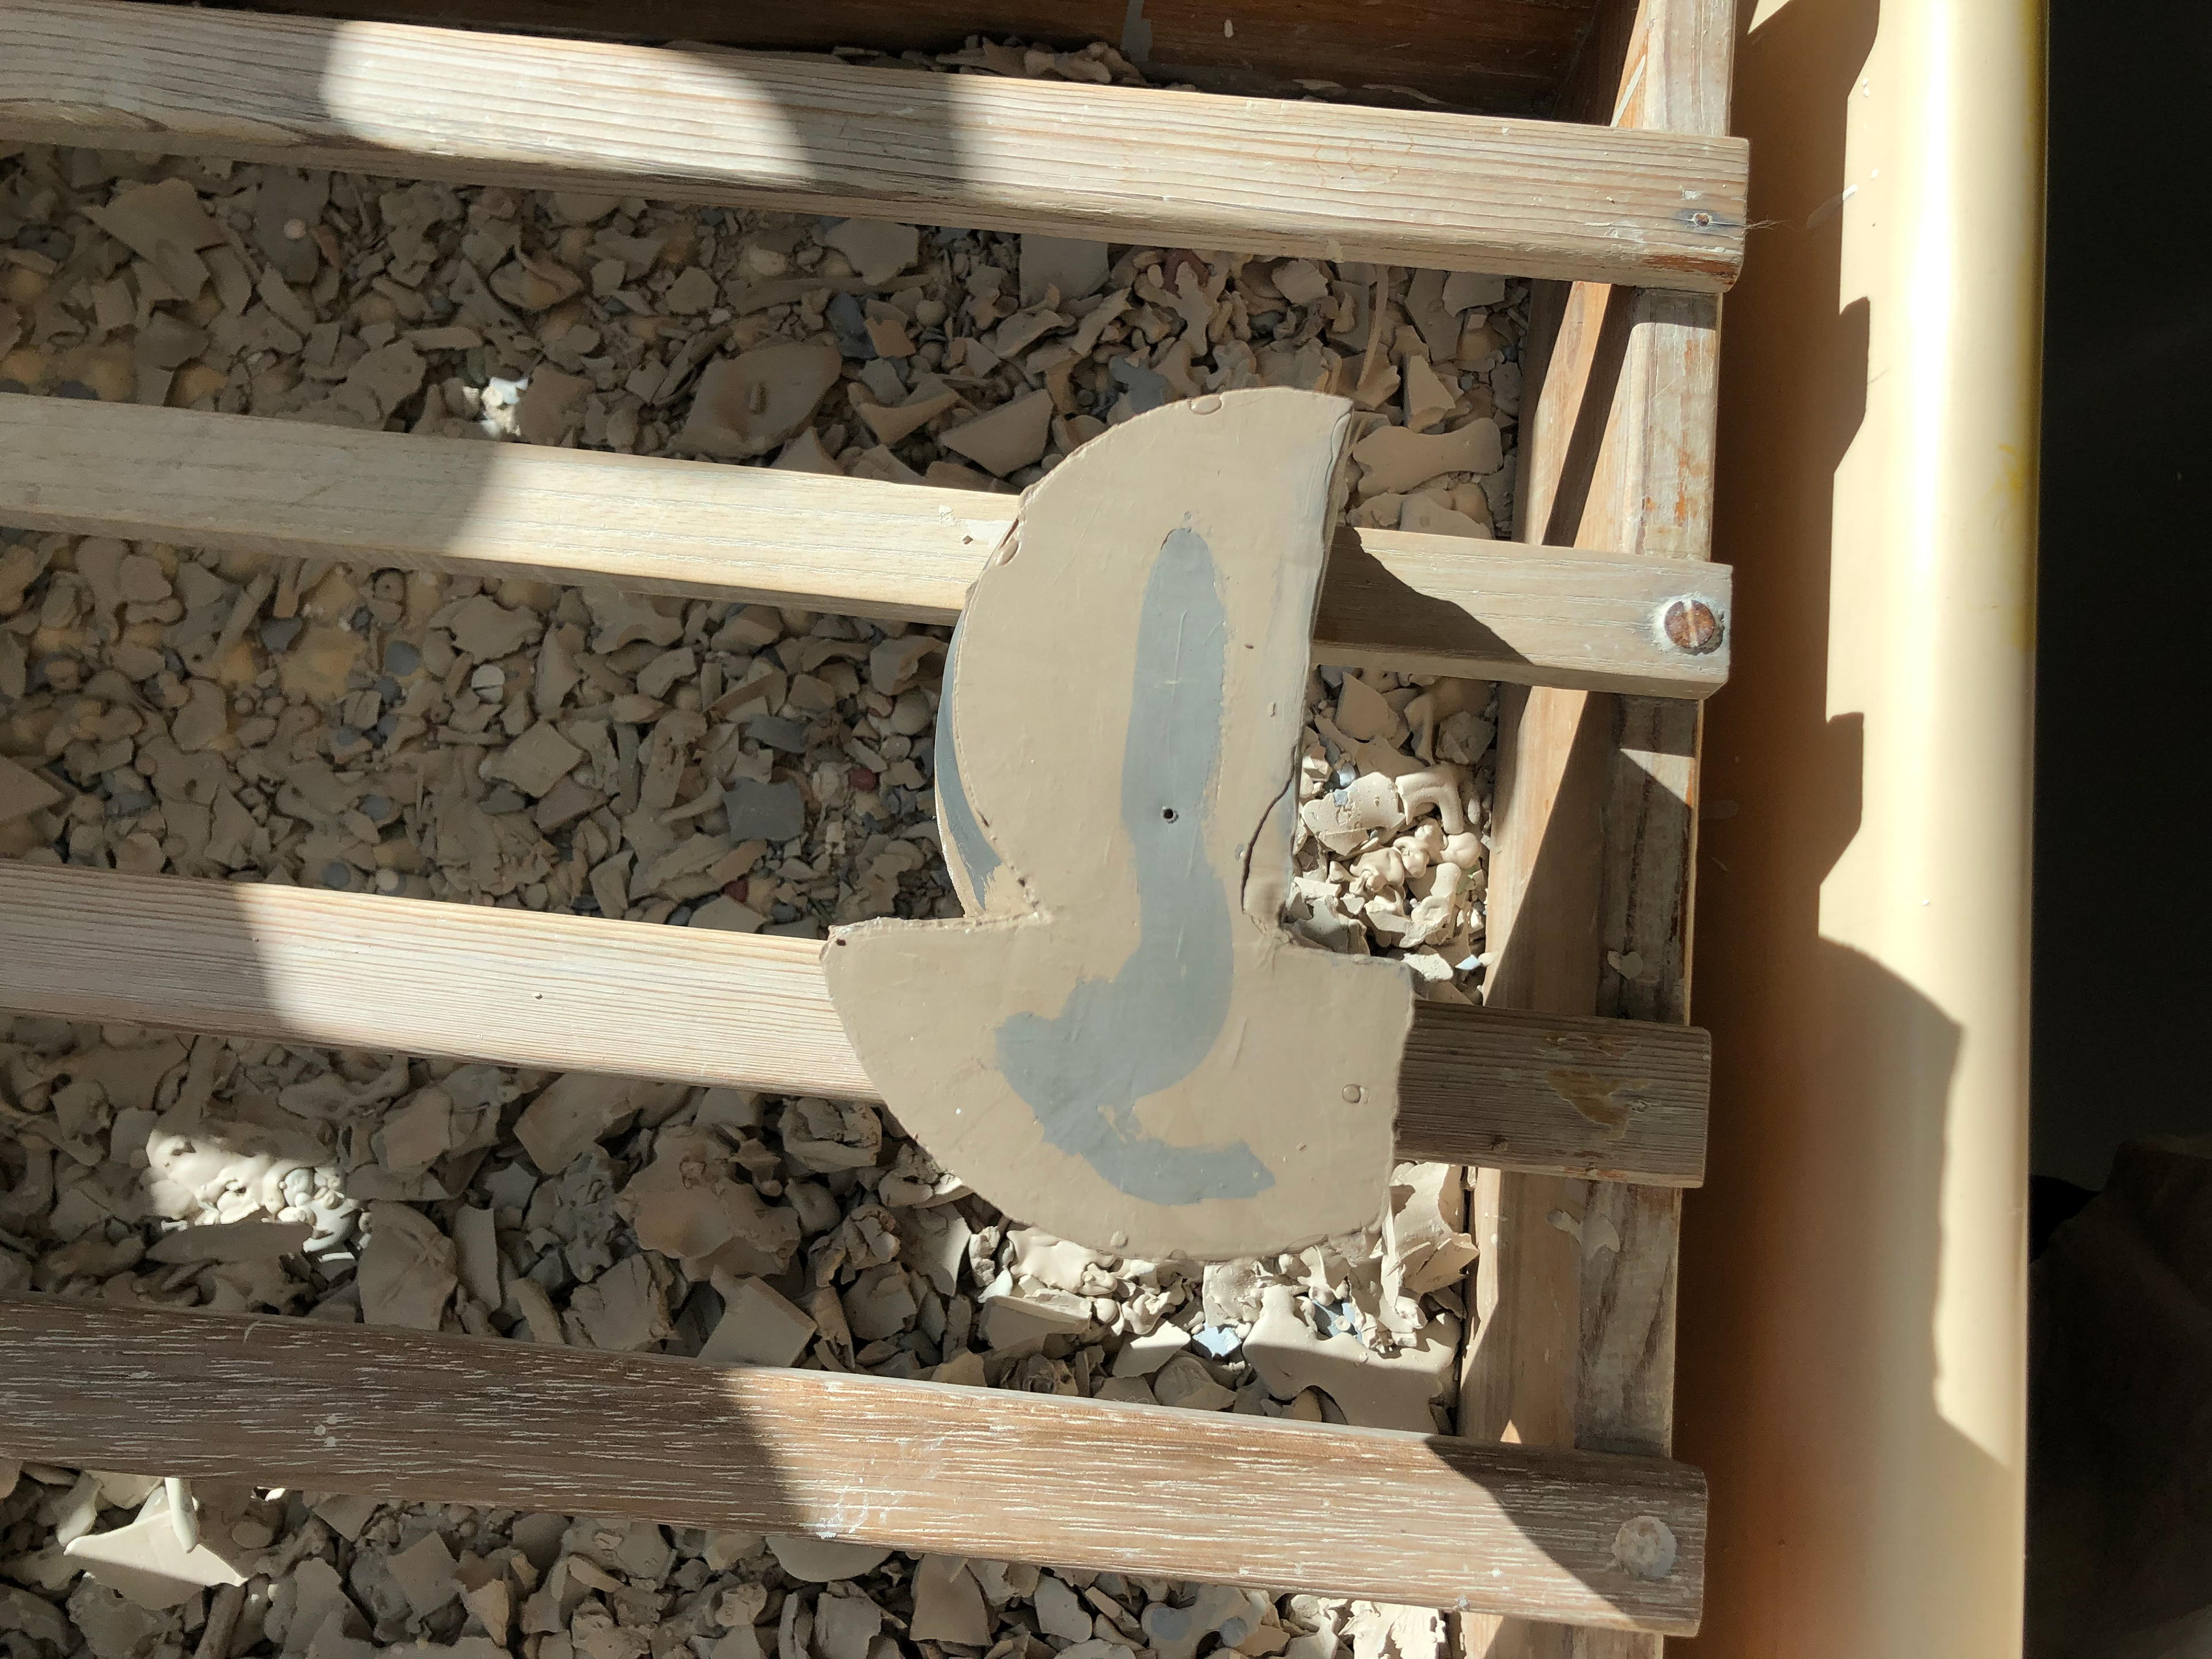
Multicolour Slip Casting
Taking inspiration and the same design from my work in 'Investigation and Application', I used different coloured slip to think about creating boundaries of colour and then also mixing these boundaries to see the effect.
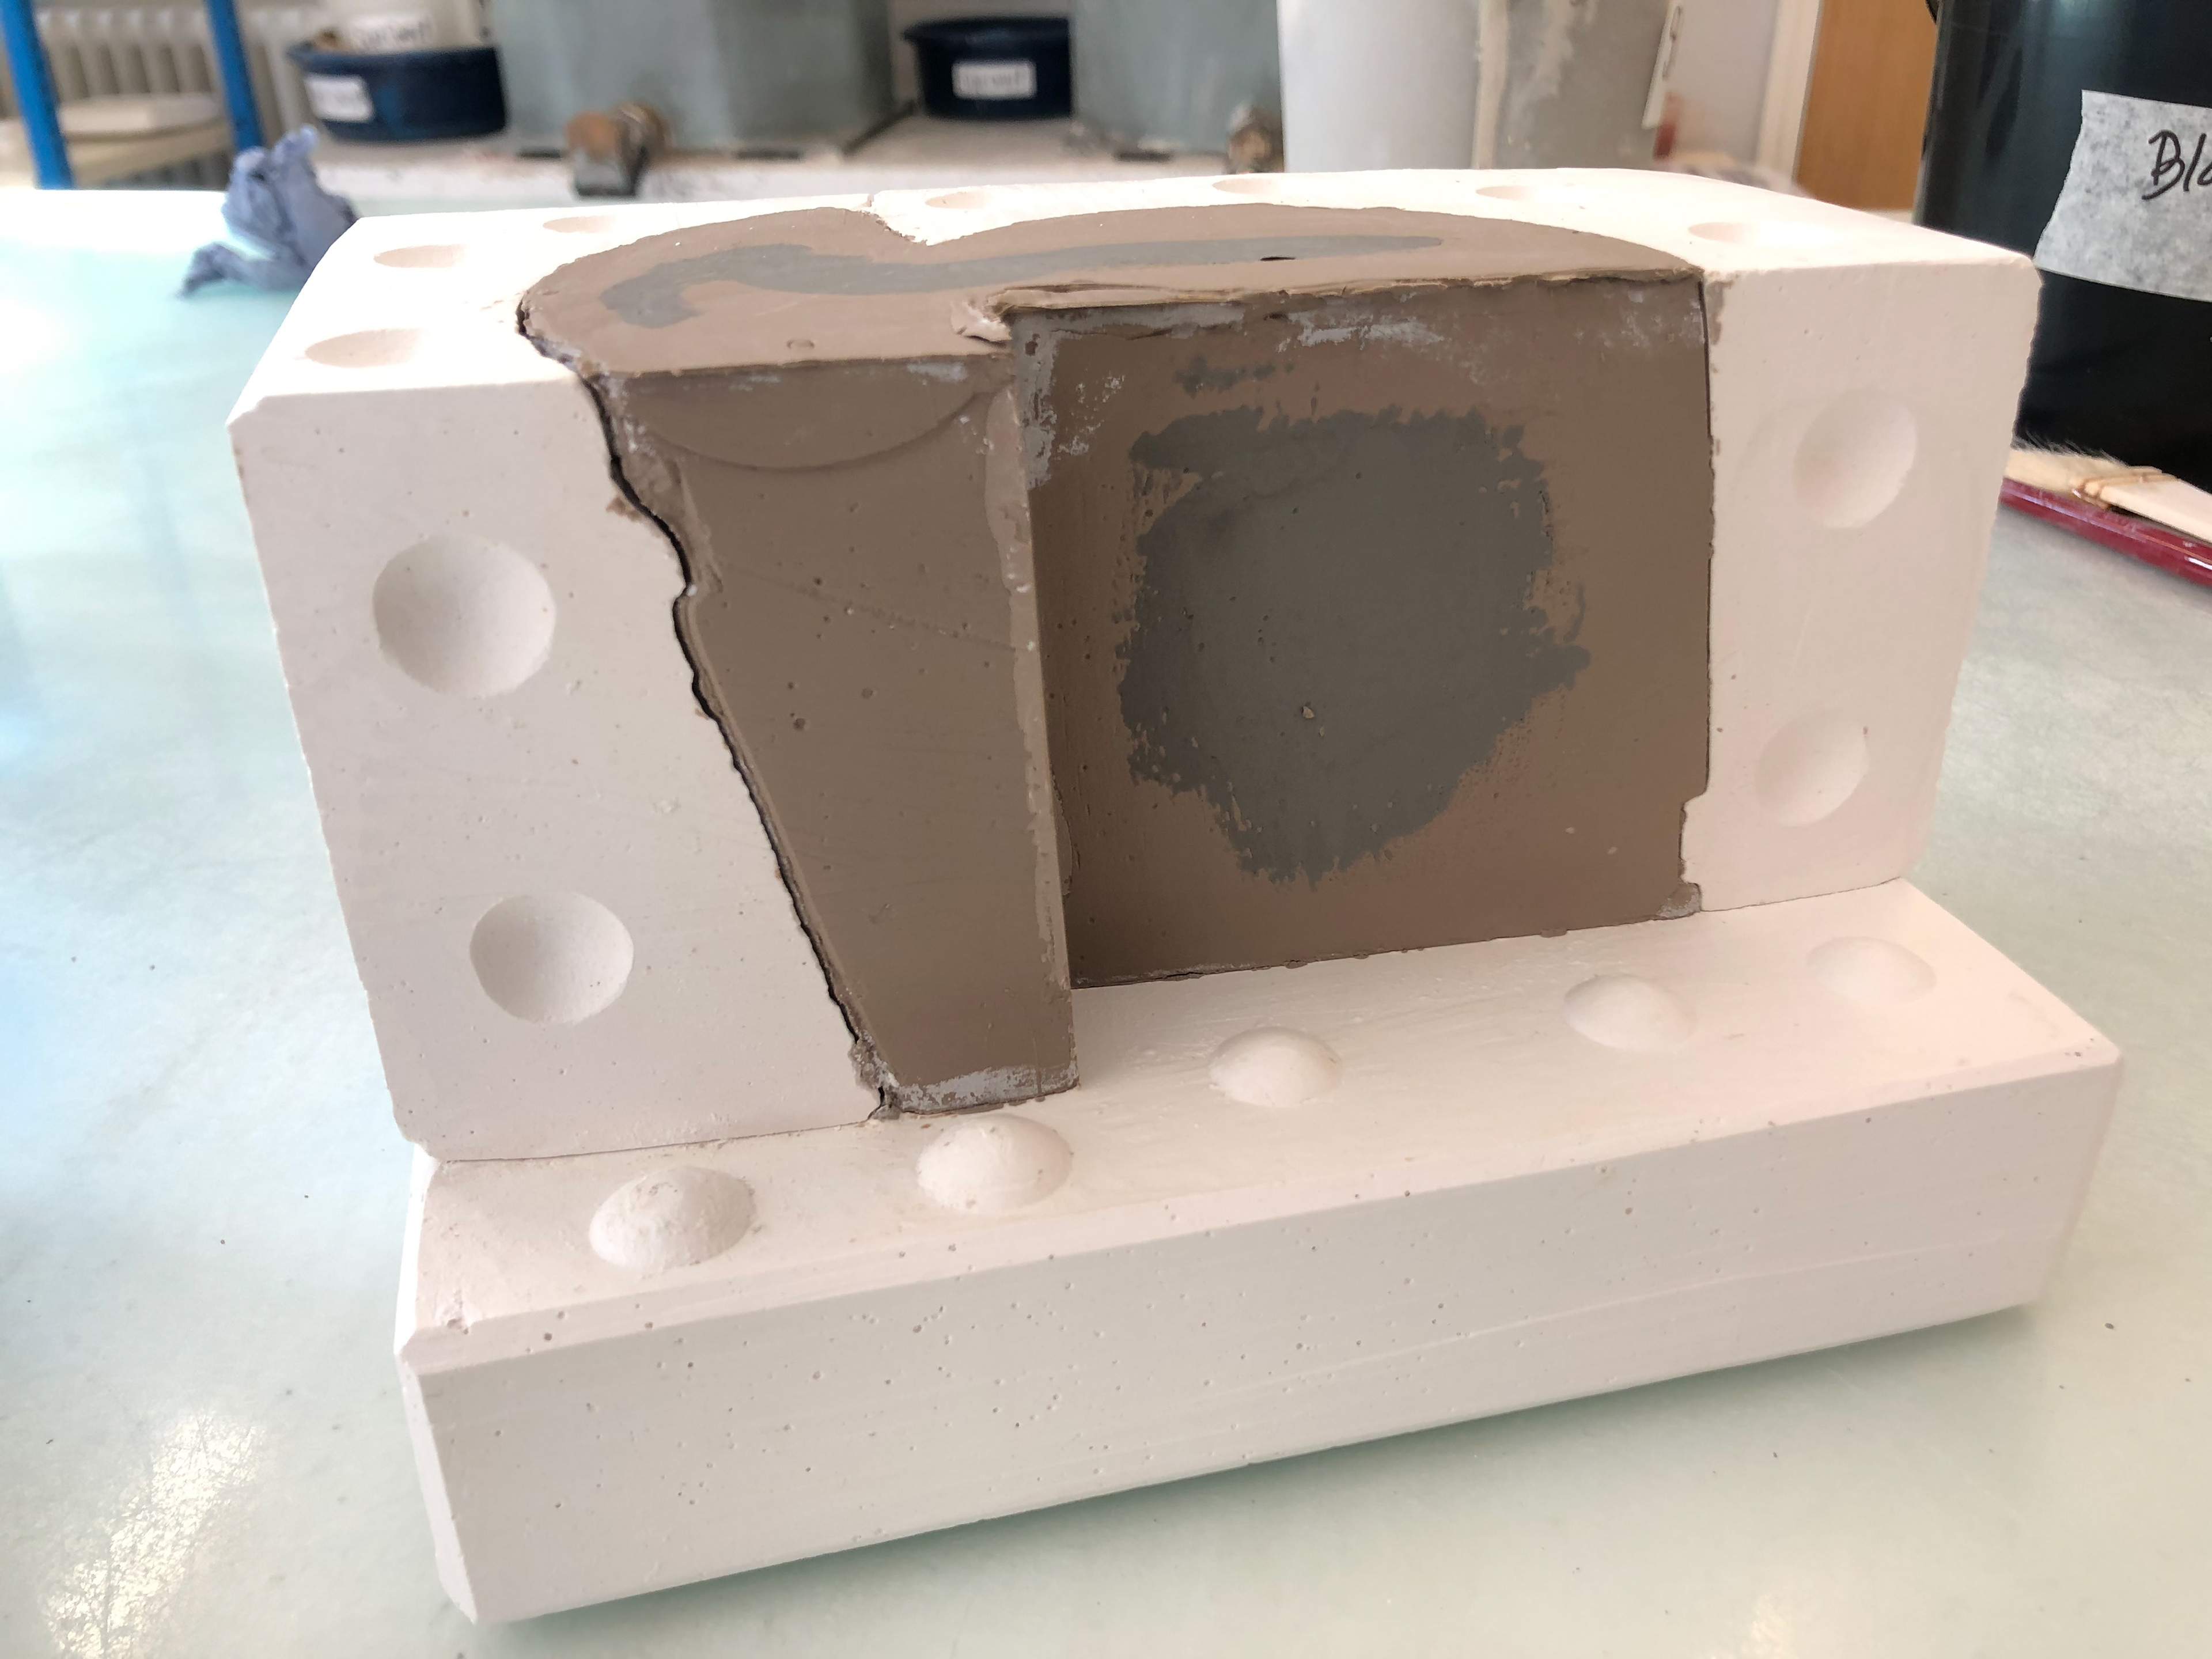
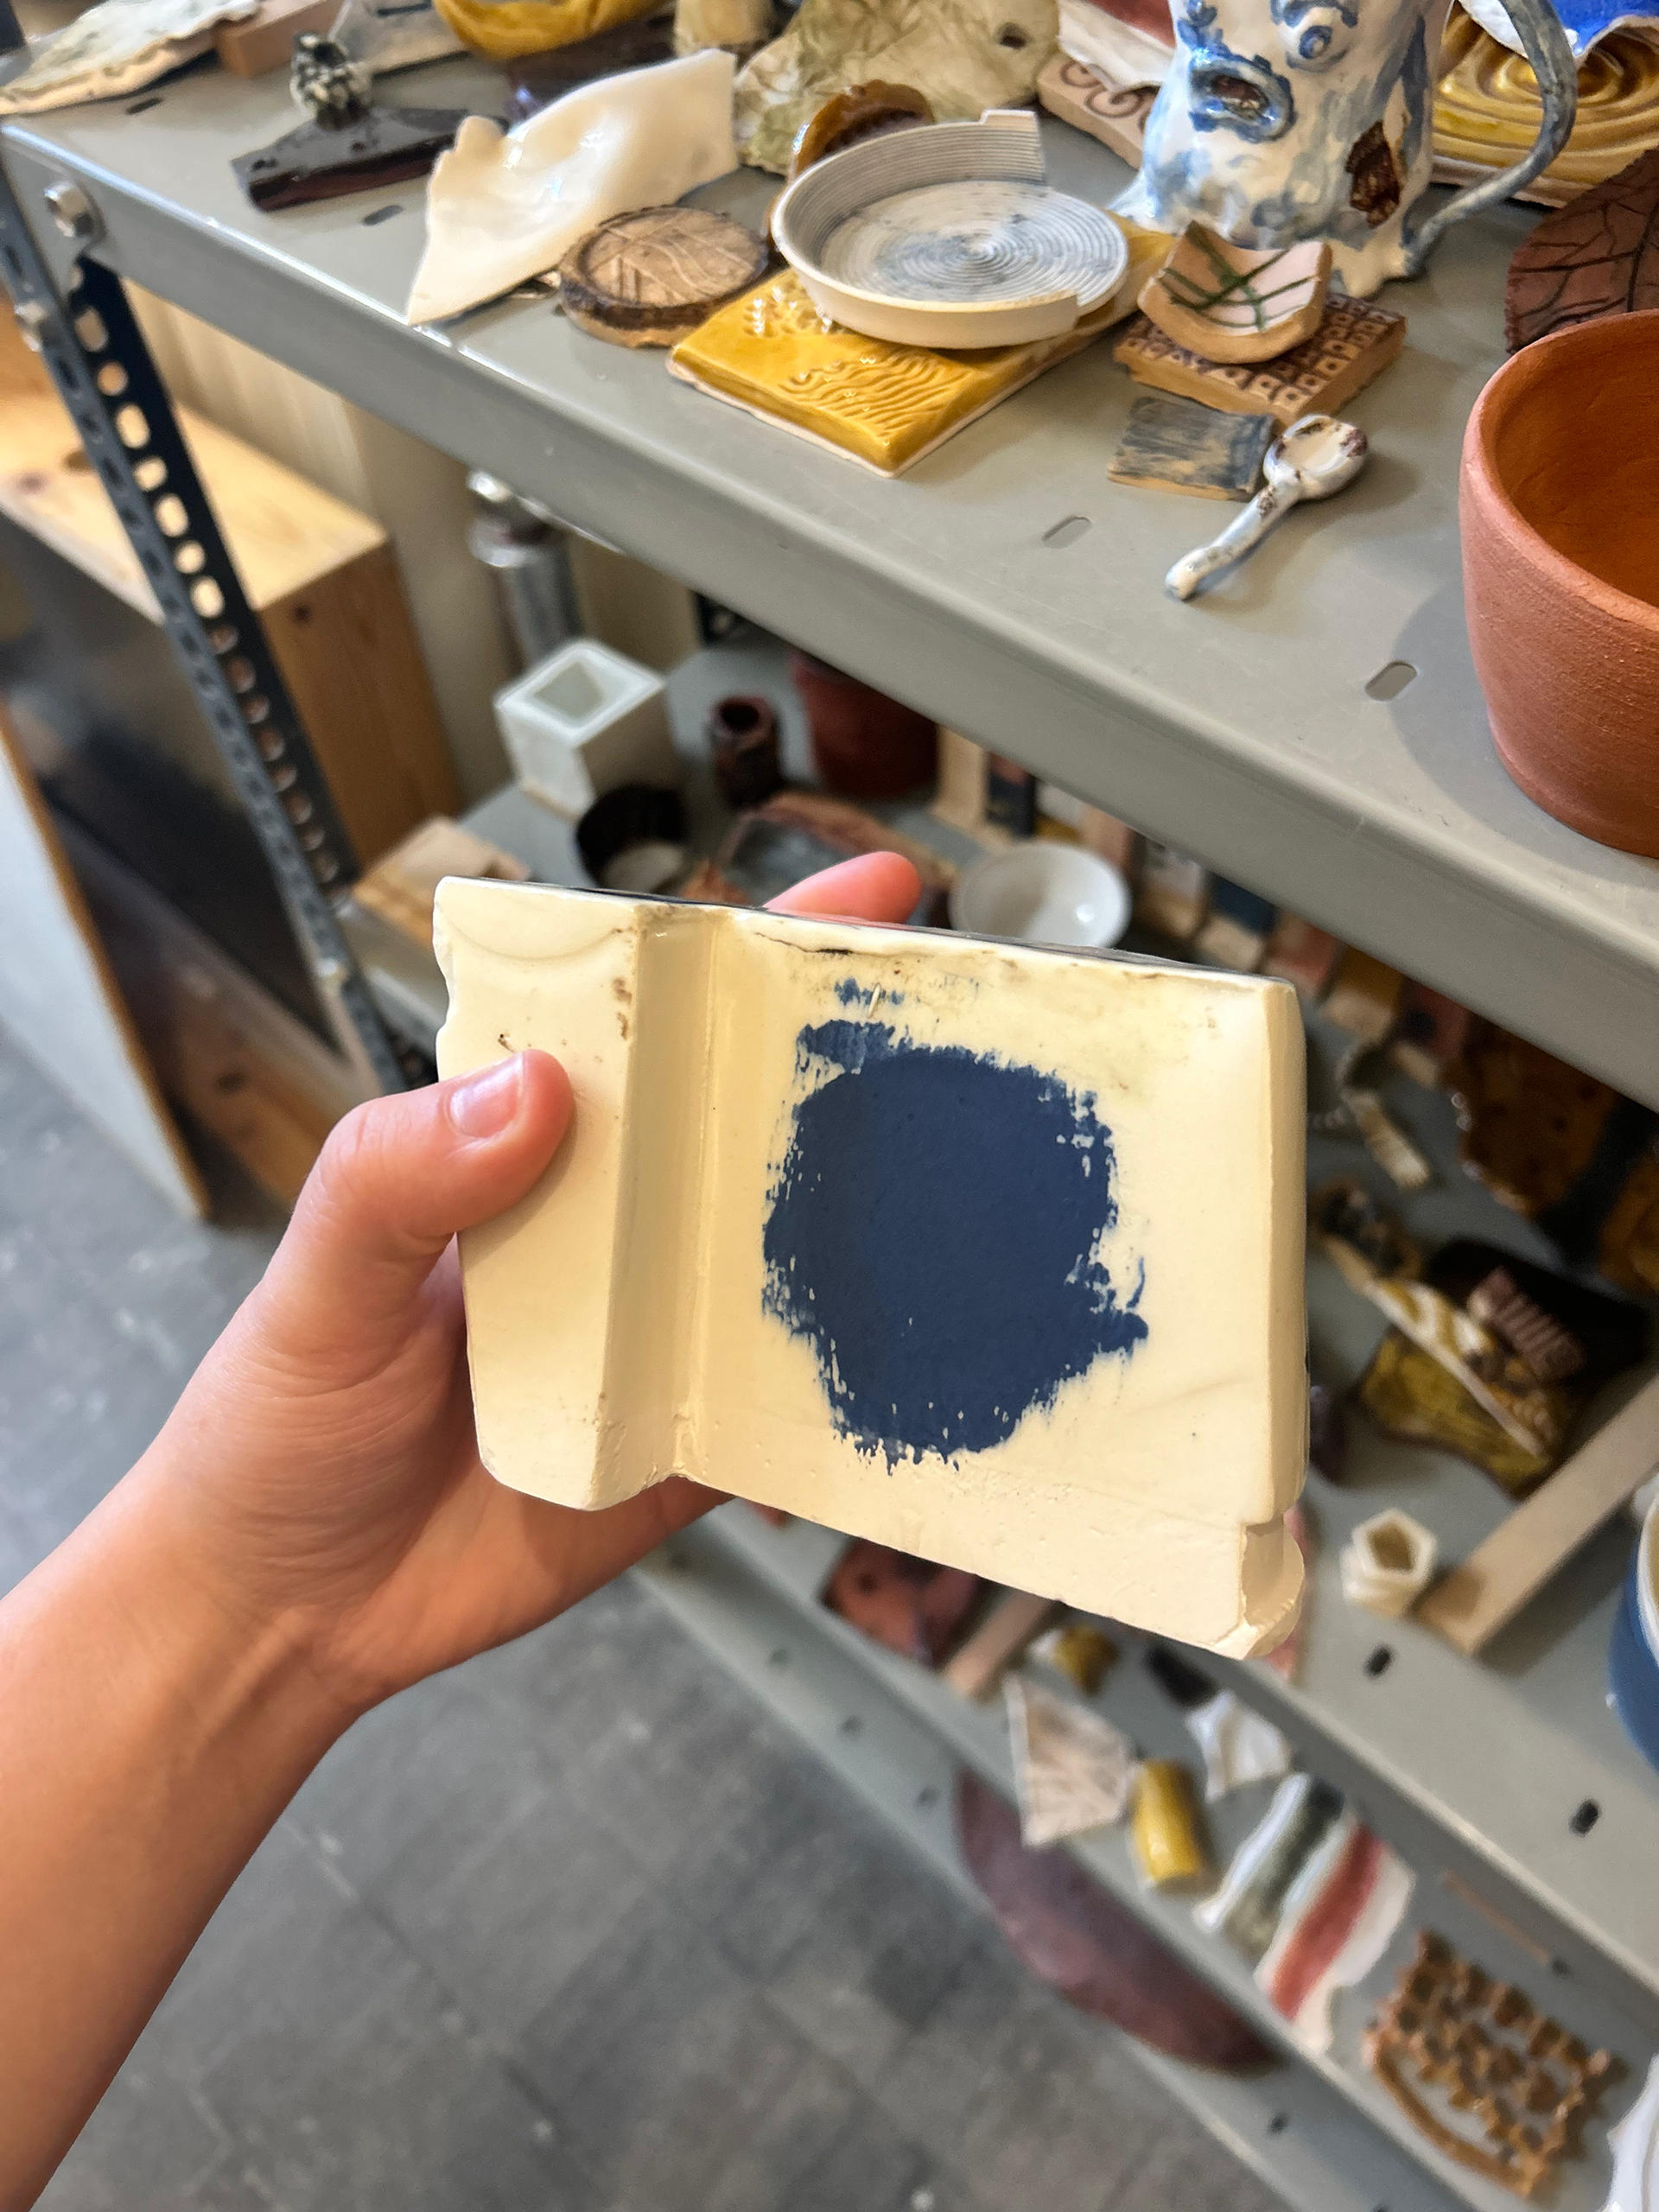
Blue slip painted onto the right side of the mould.
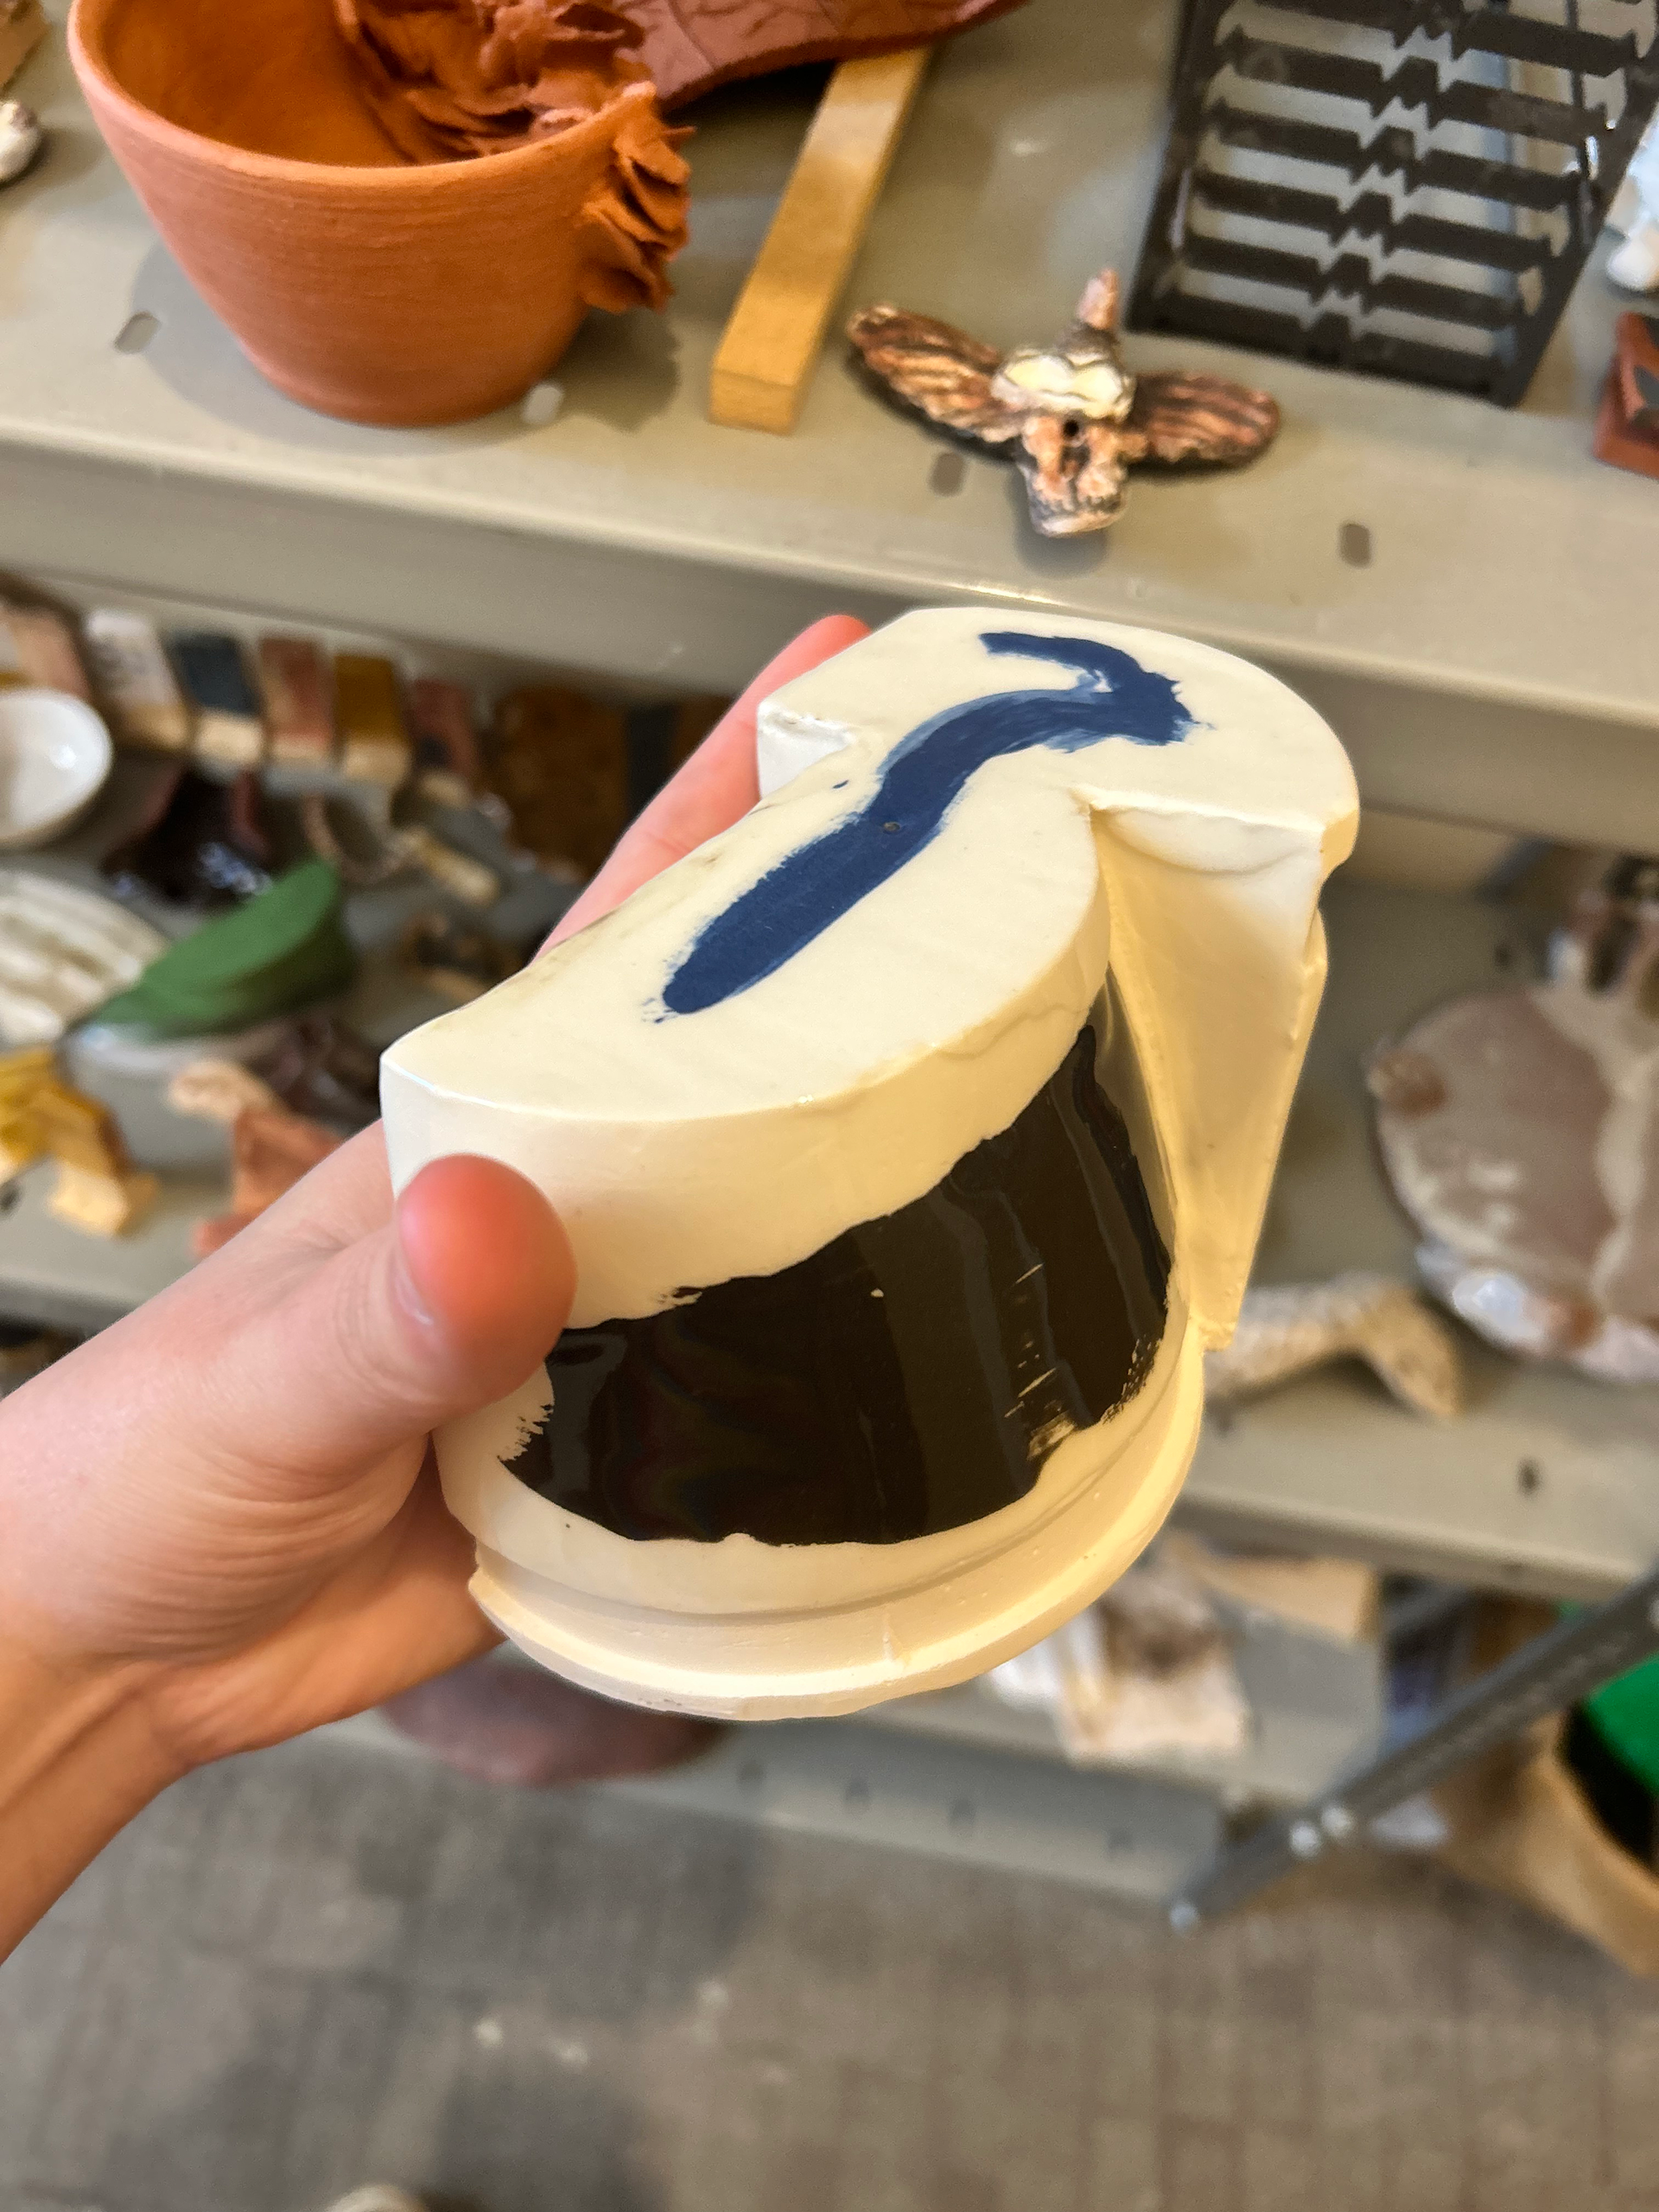
Black slip painted onto the left side of the mould.
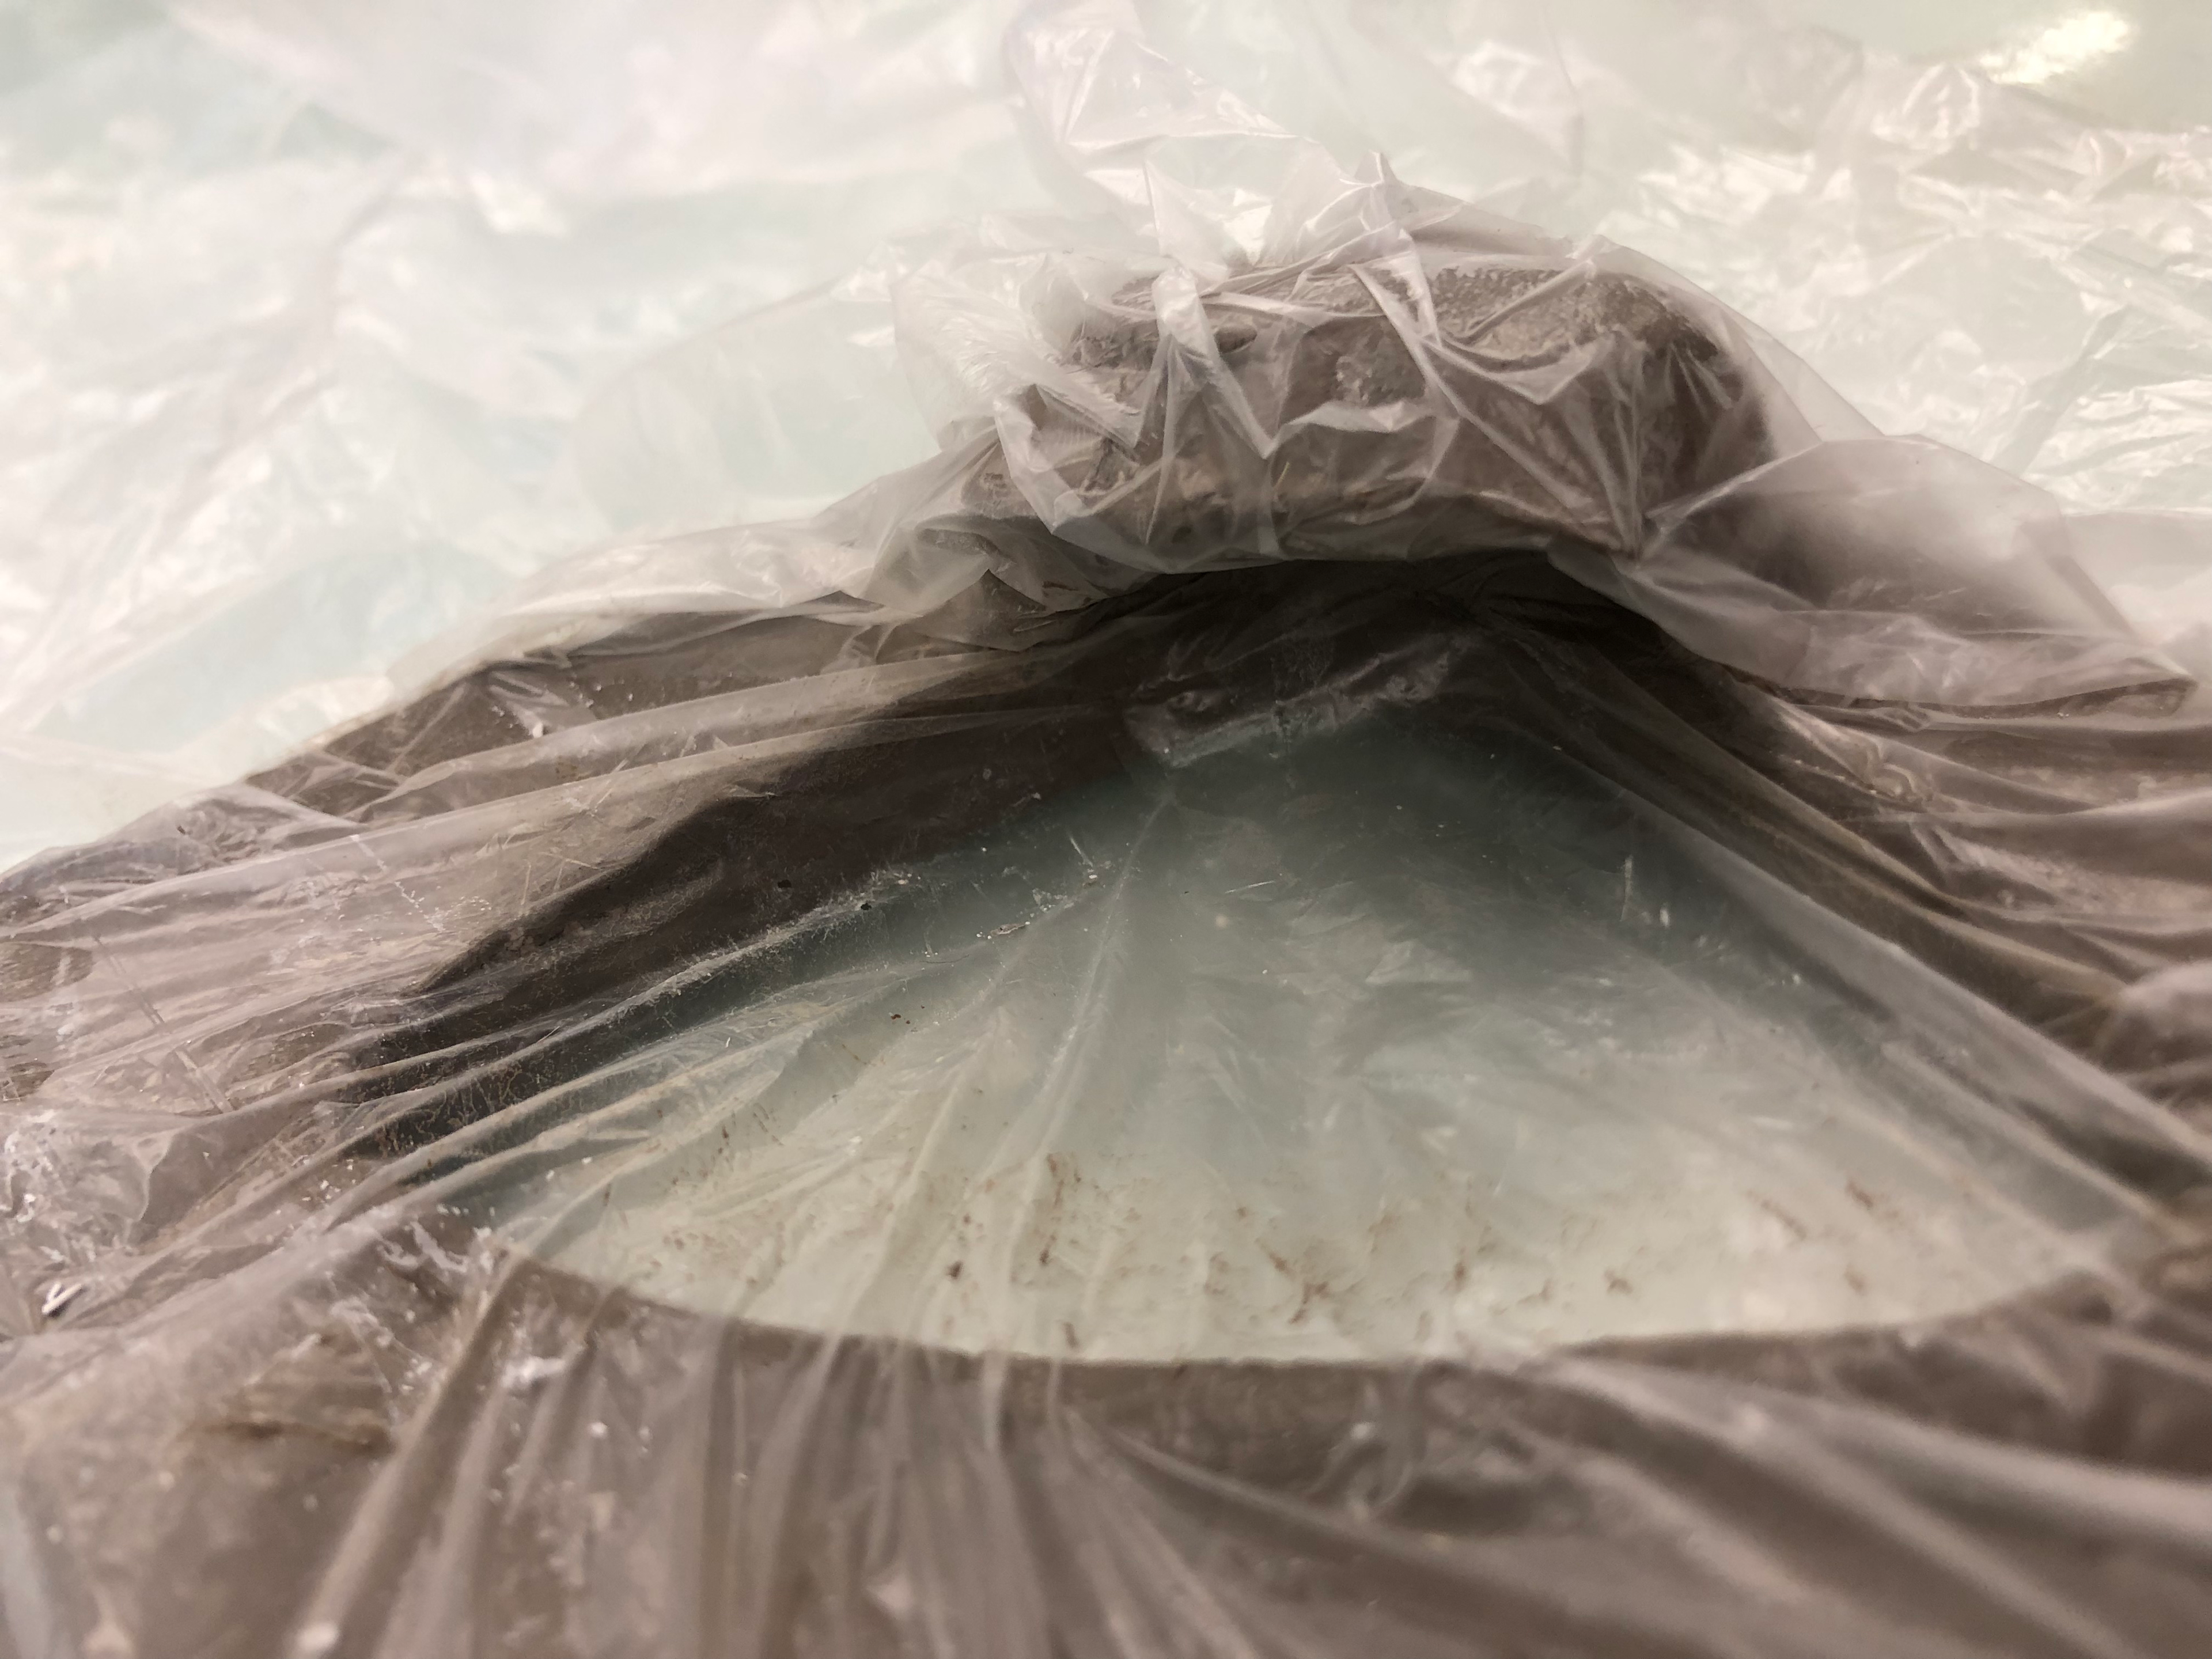
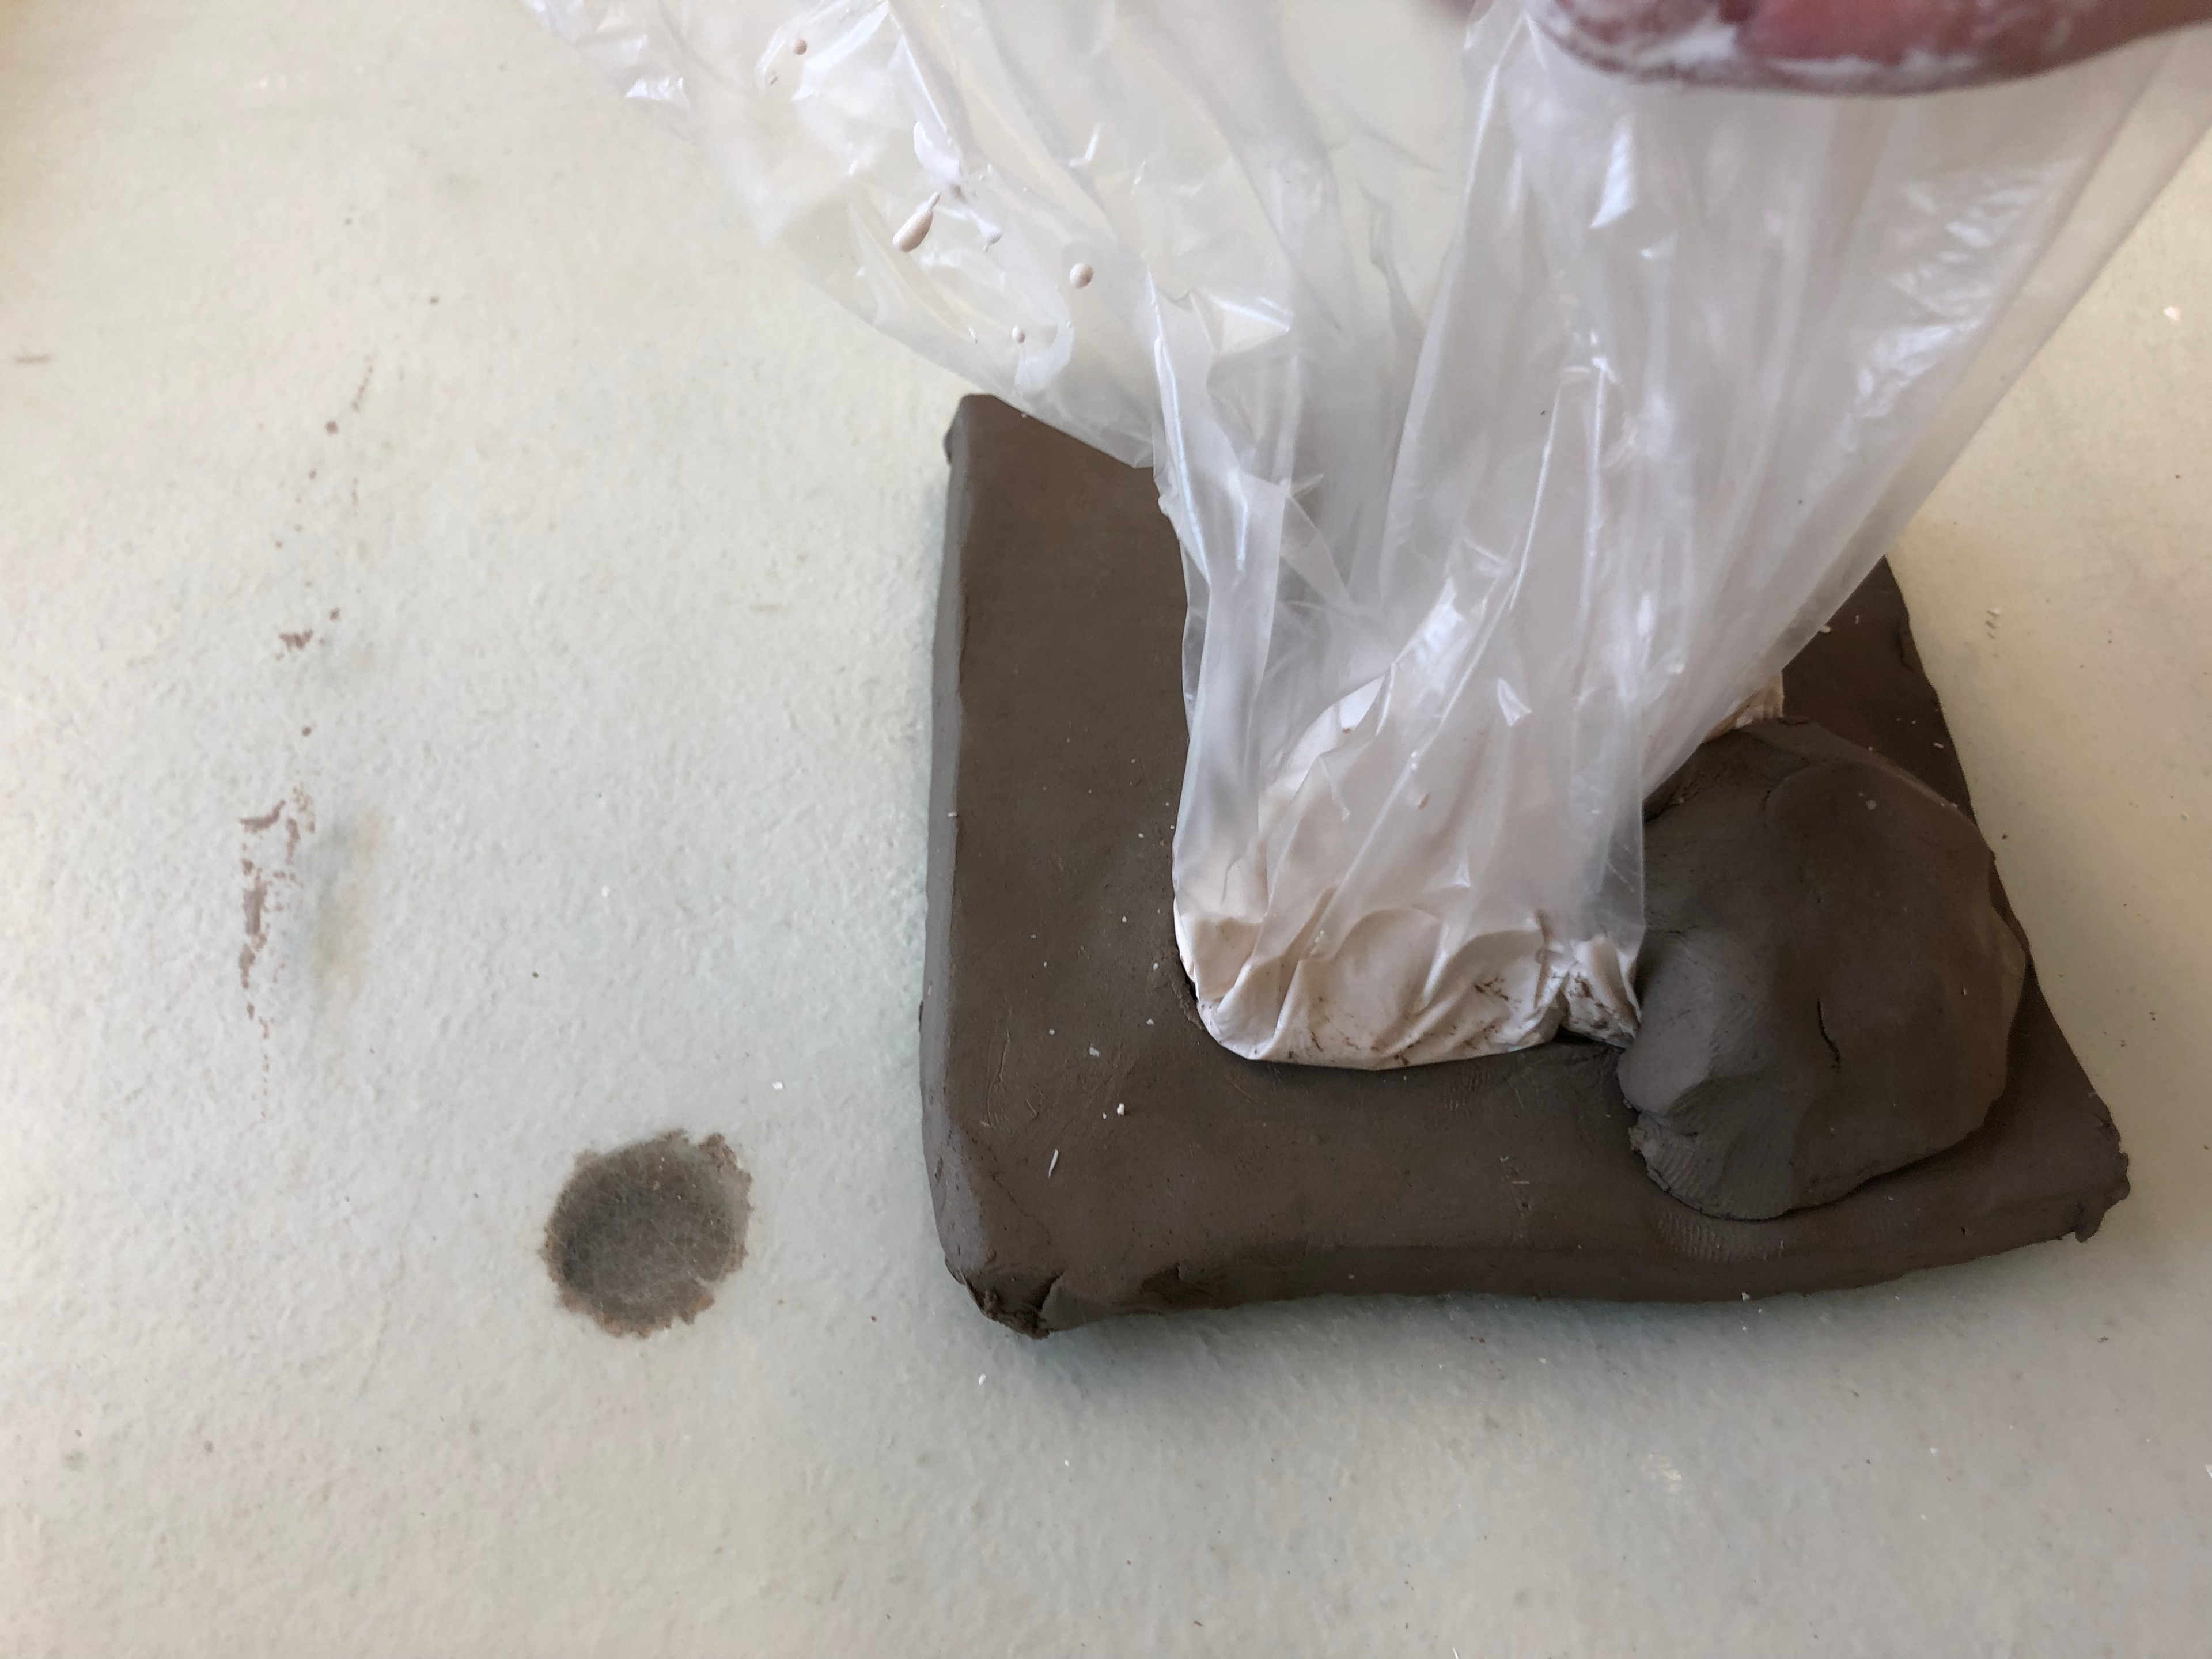
Mould filled with slip.
I painted the top of the mould so the second slip pour would incorporate it.
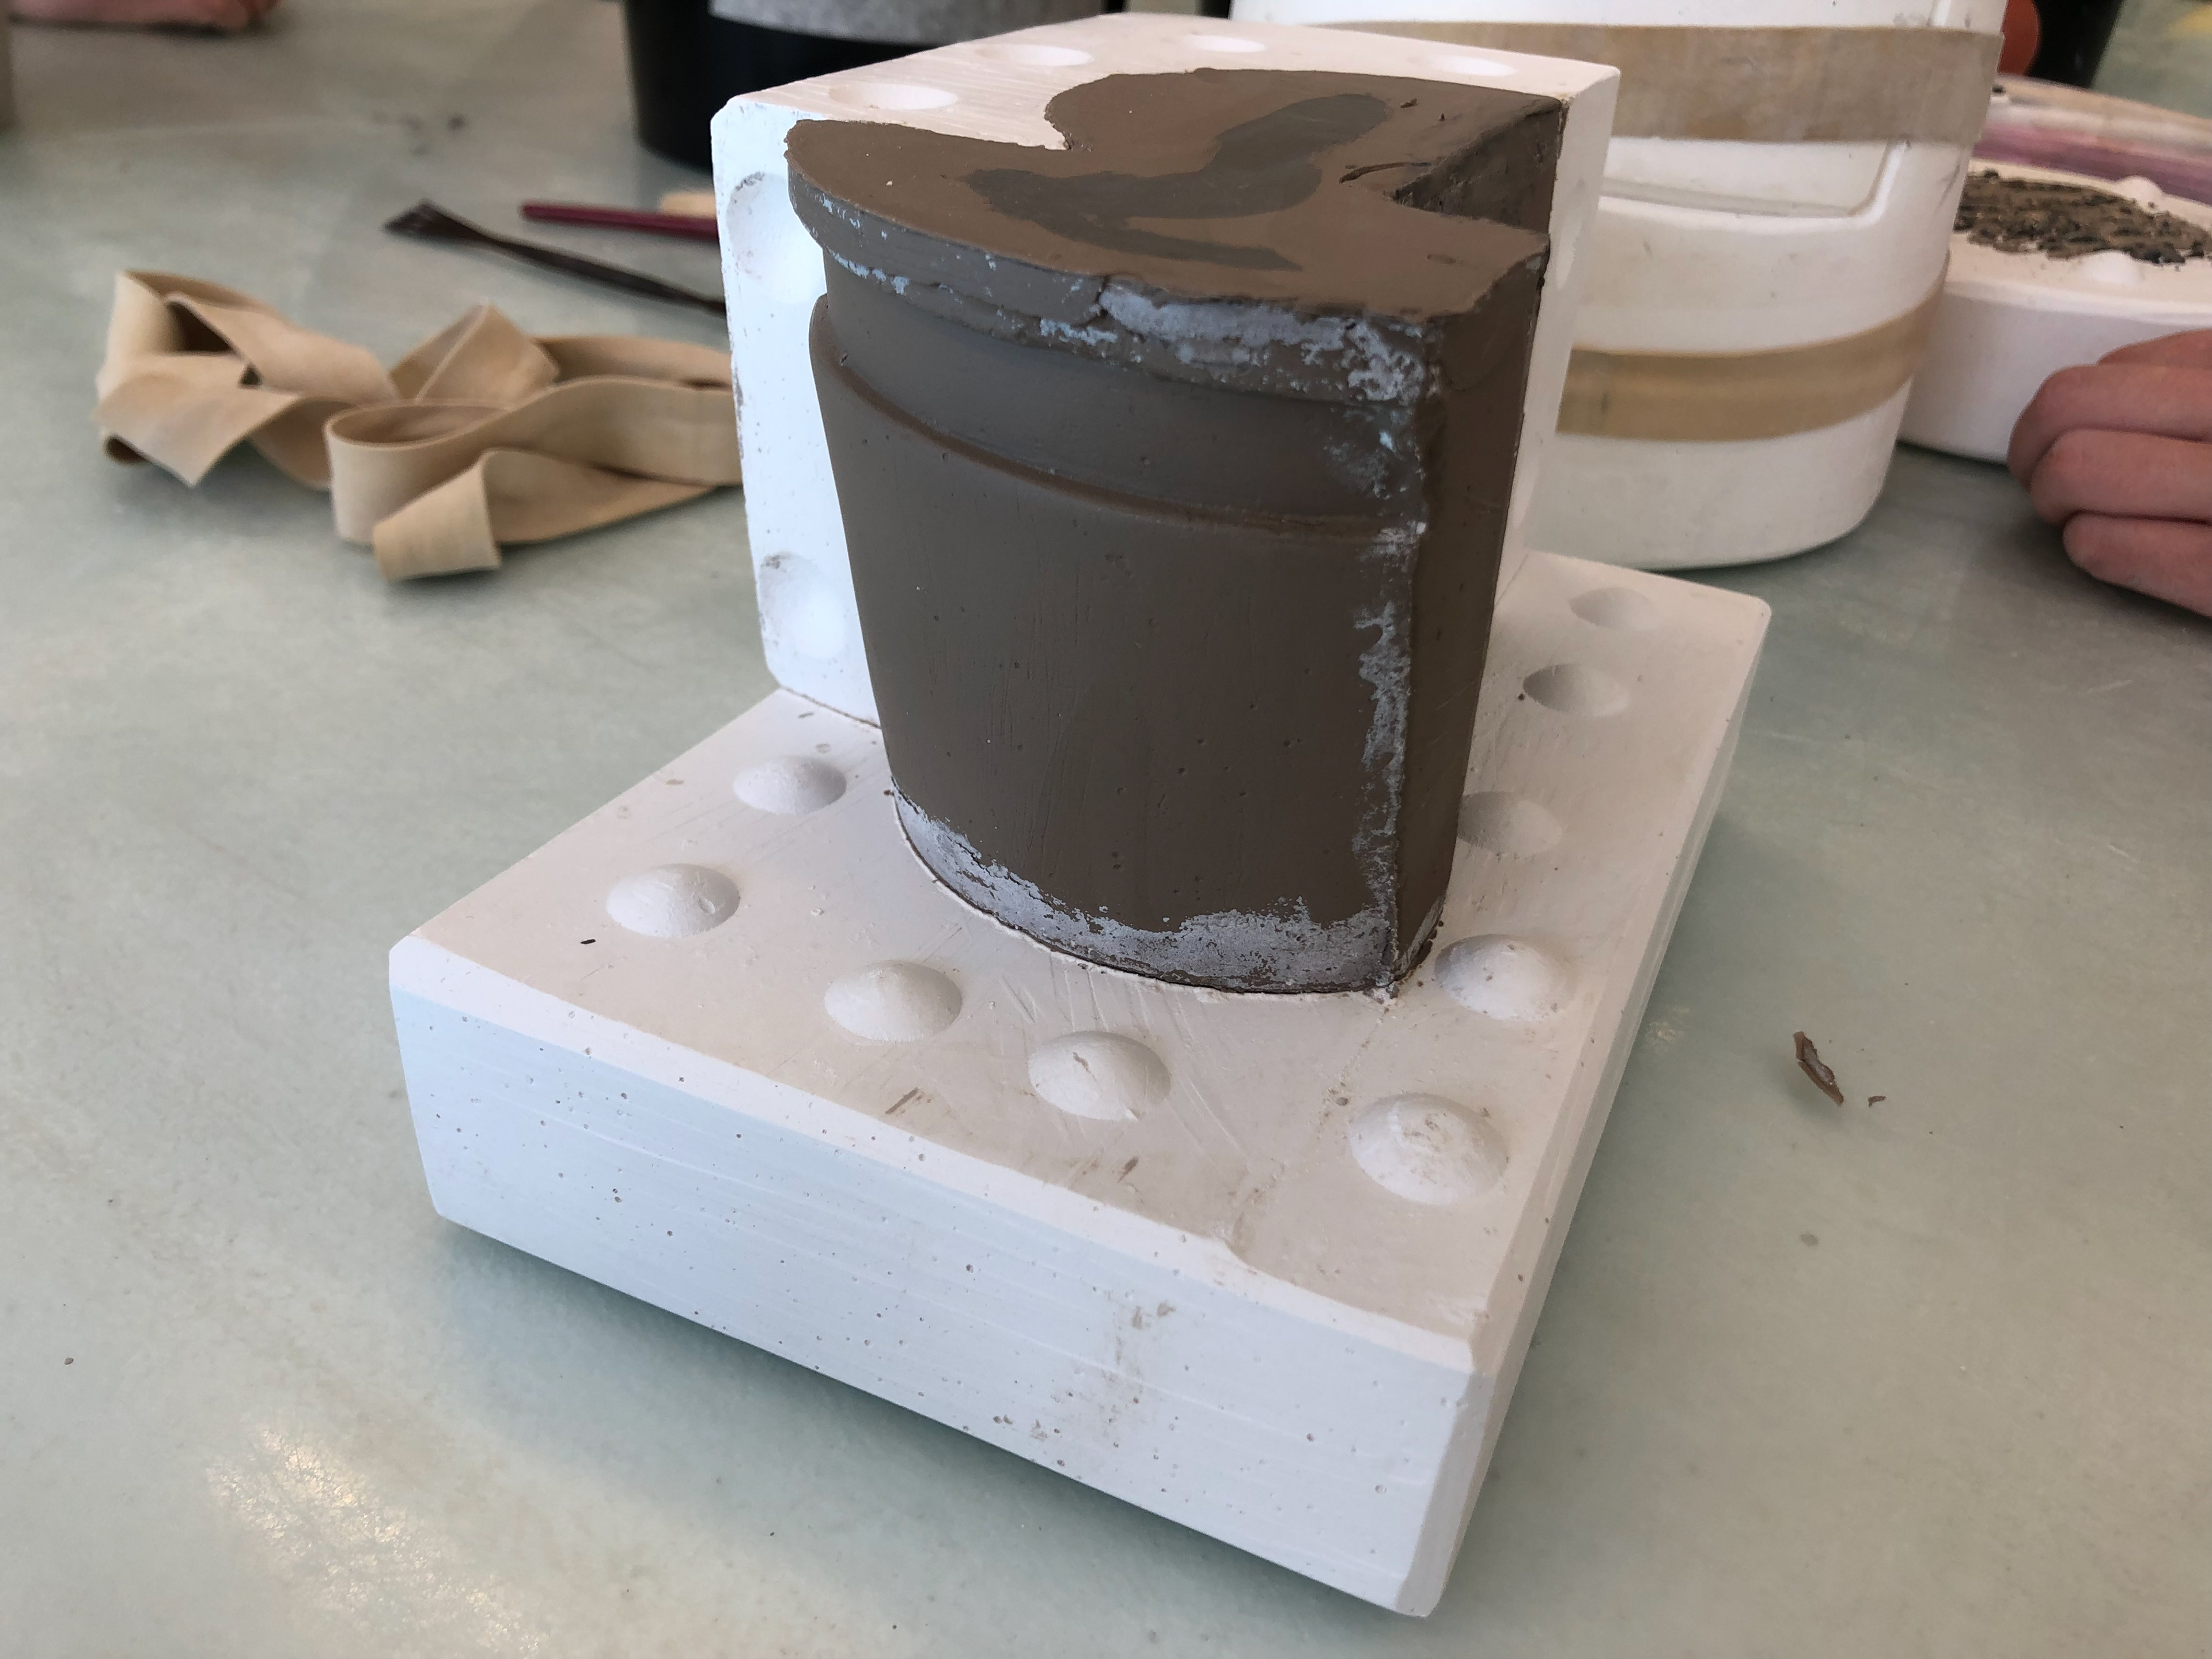
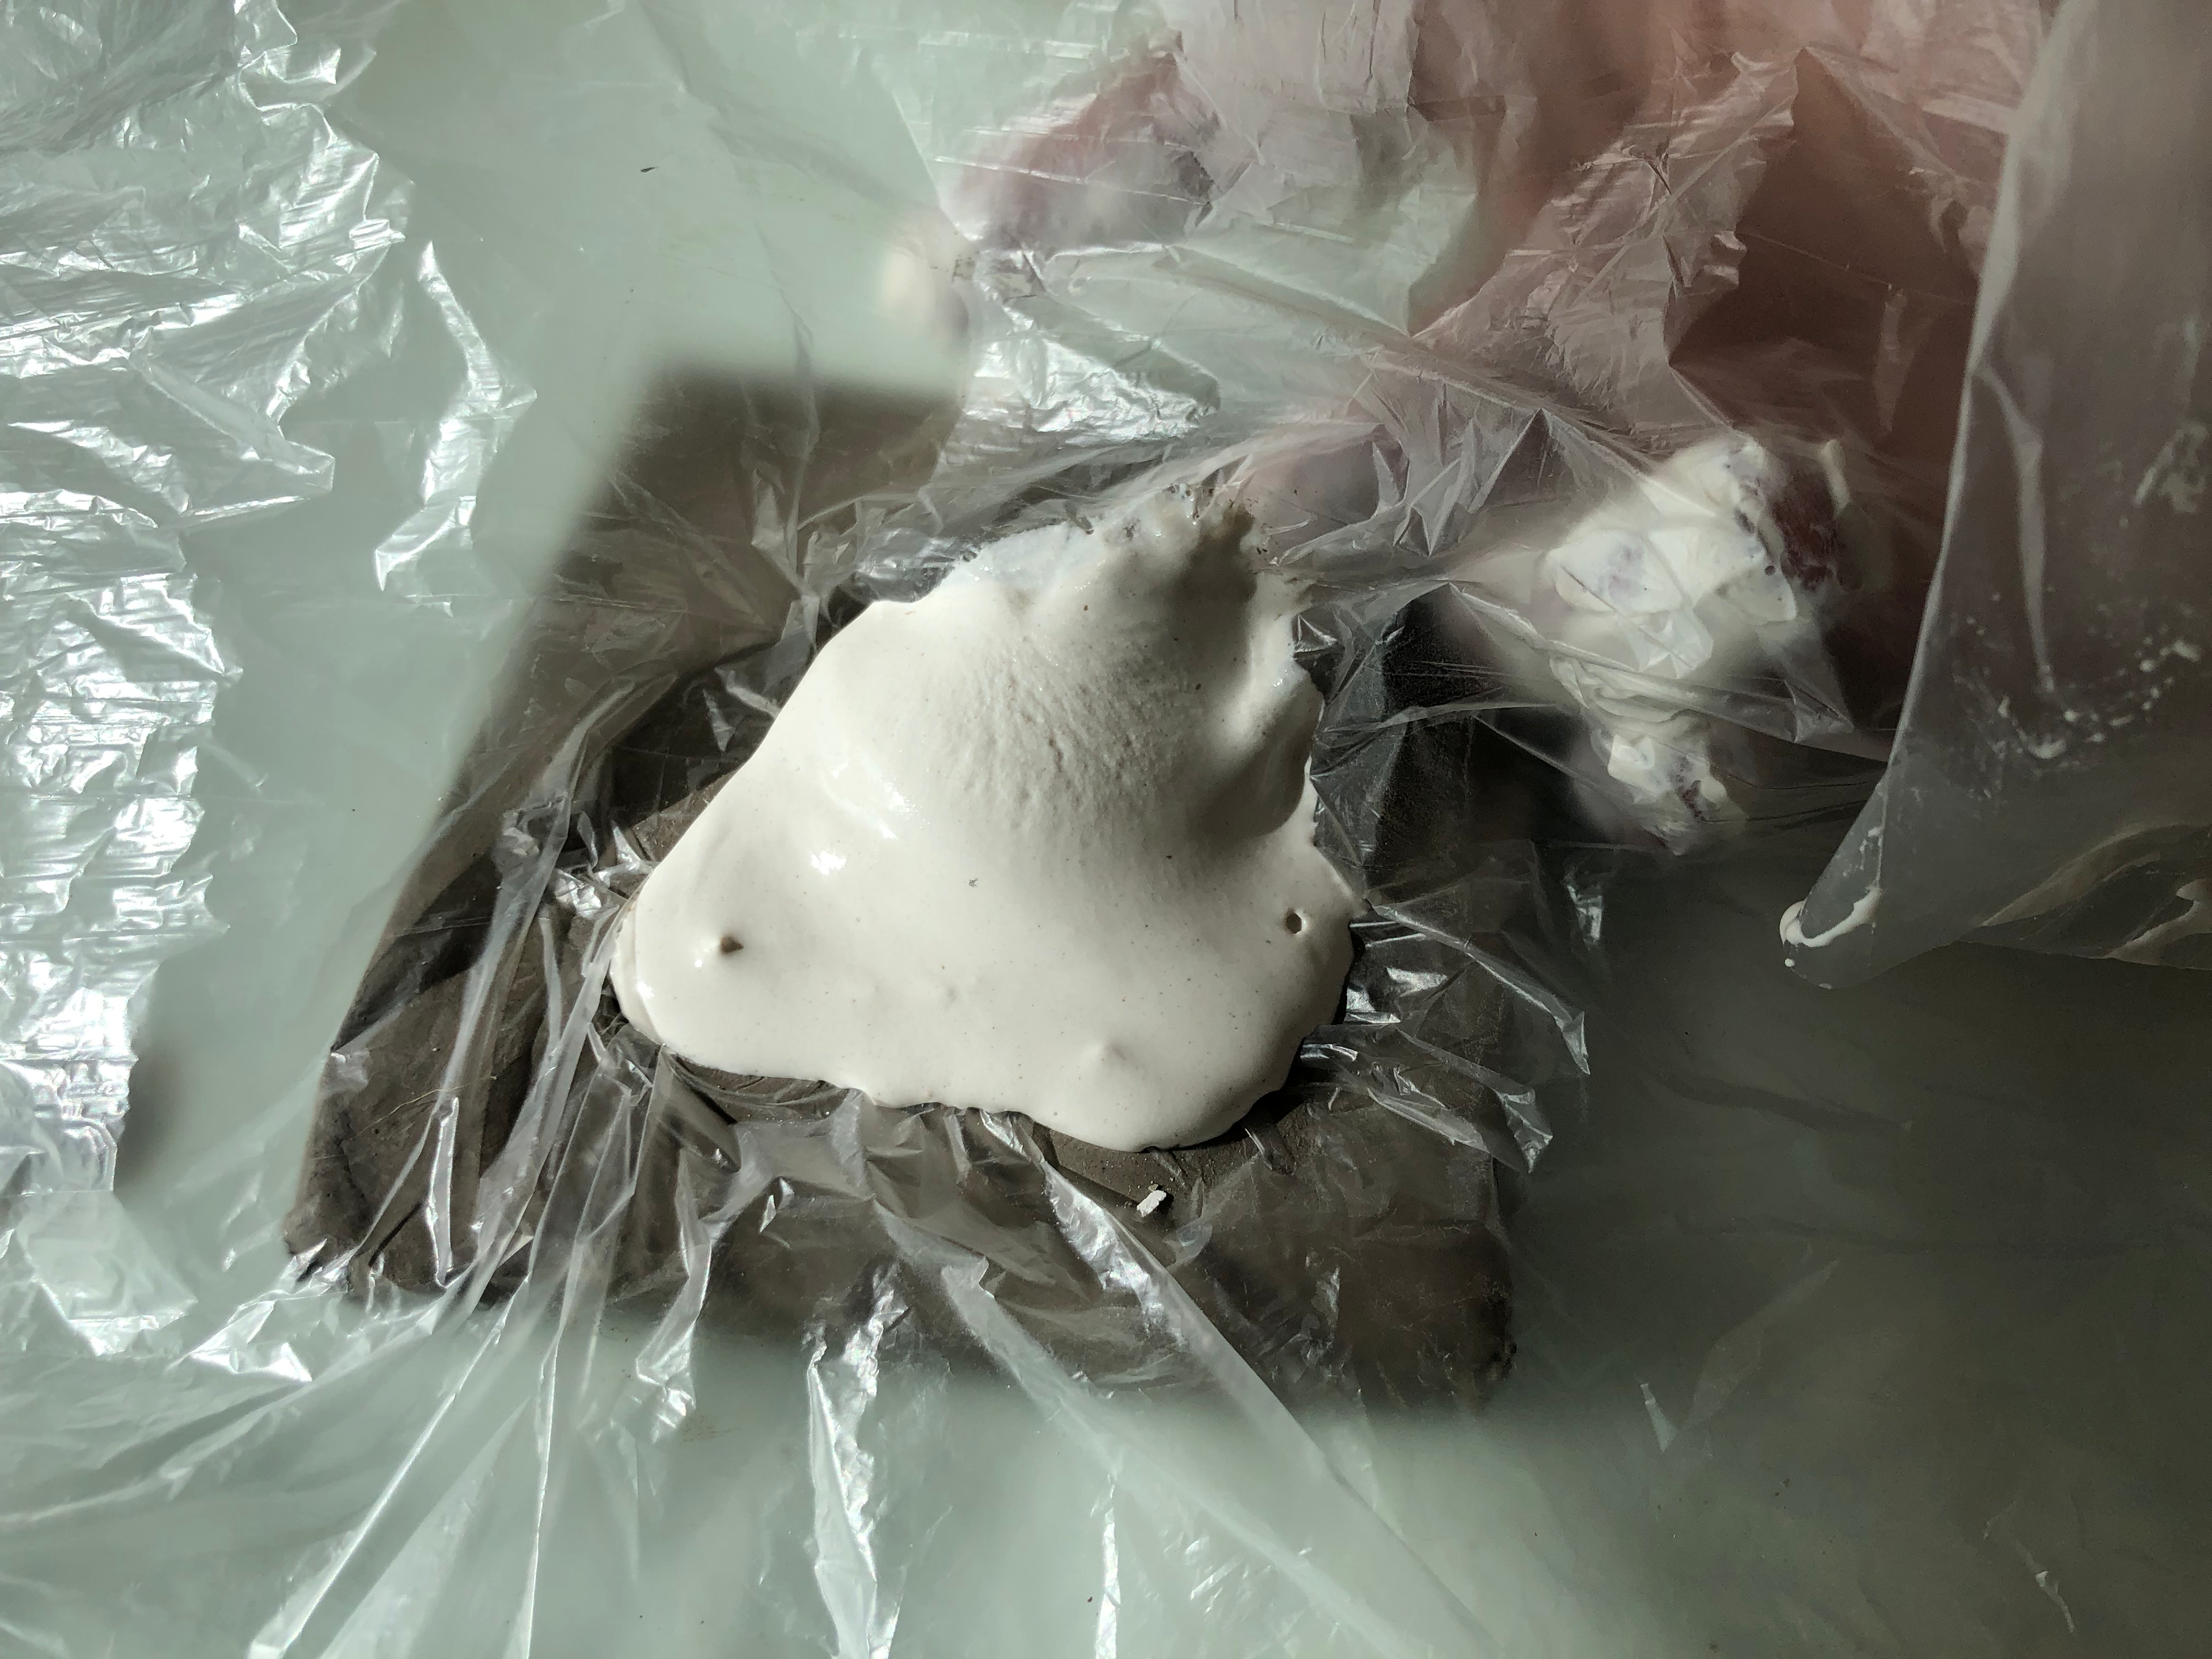
The blue slip.
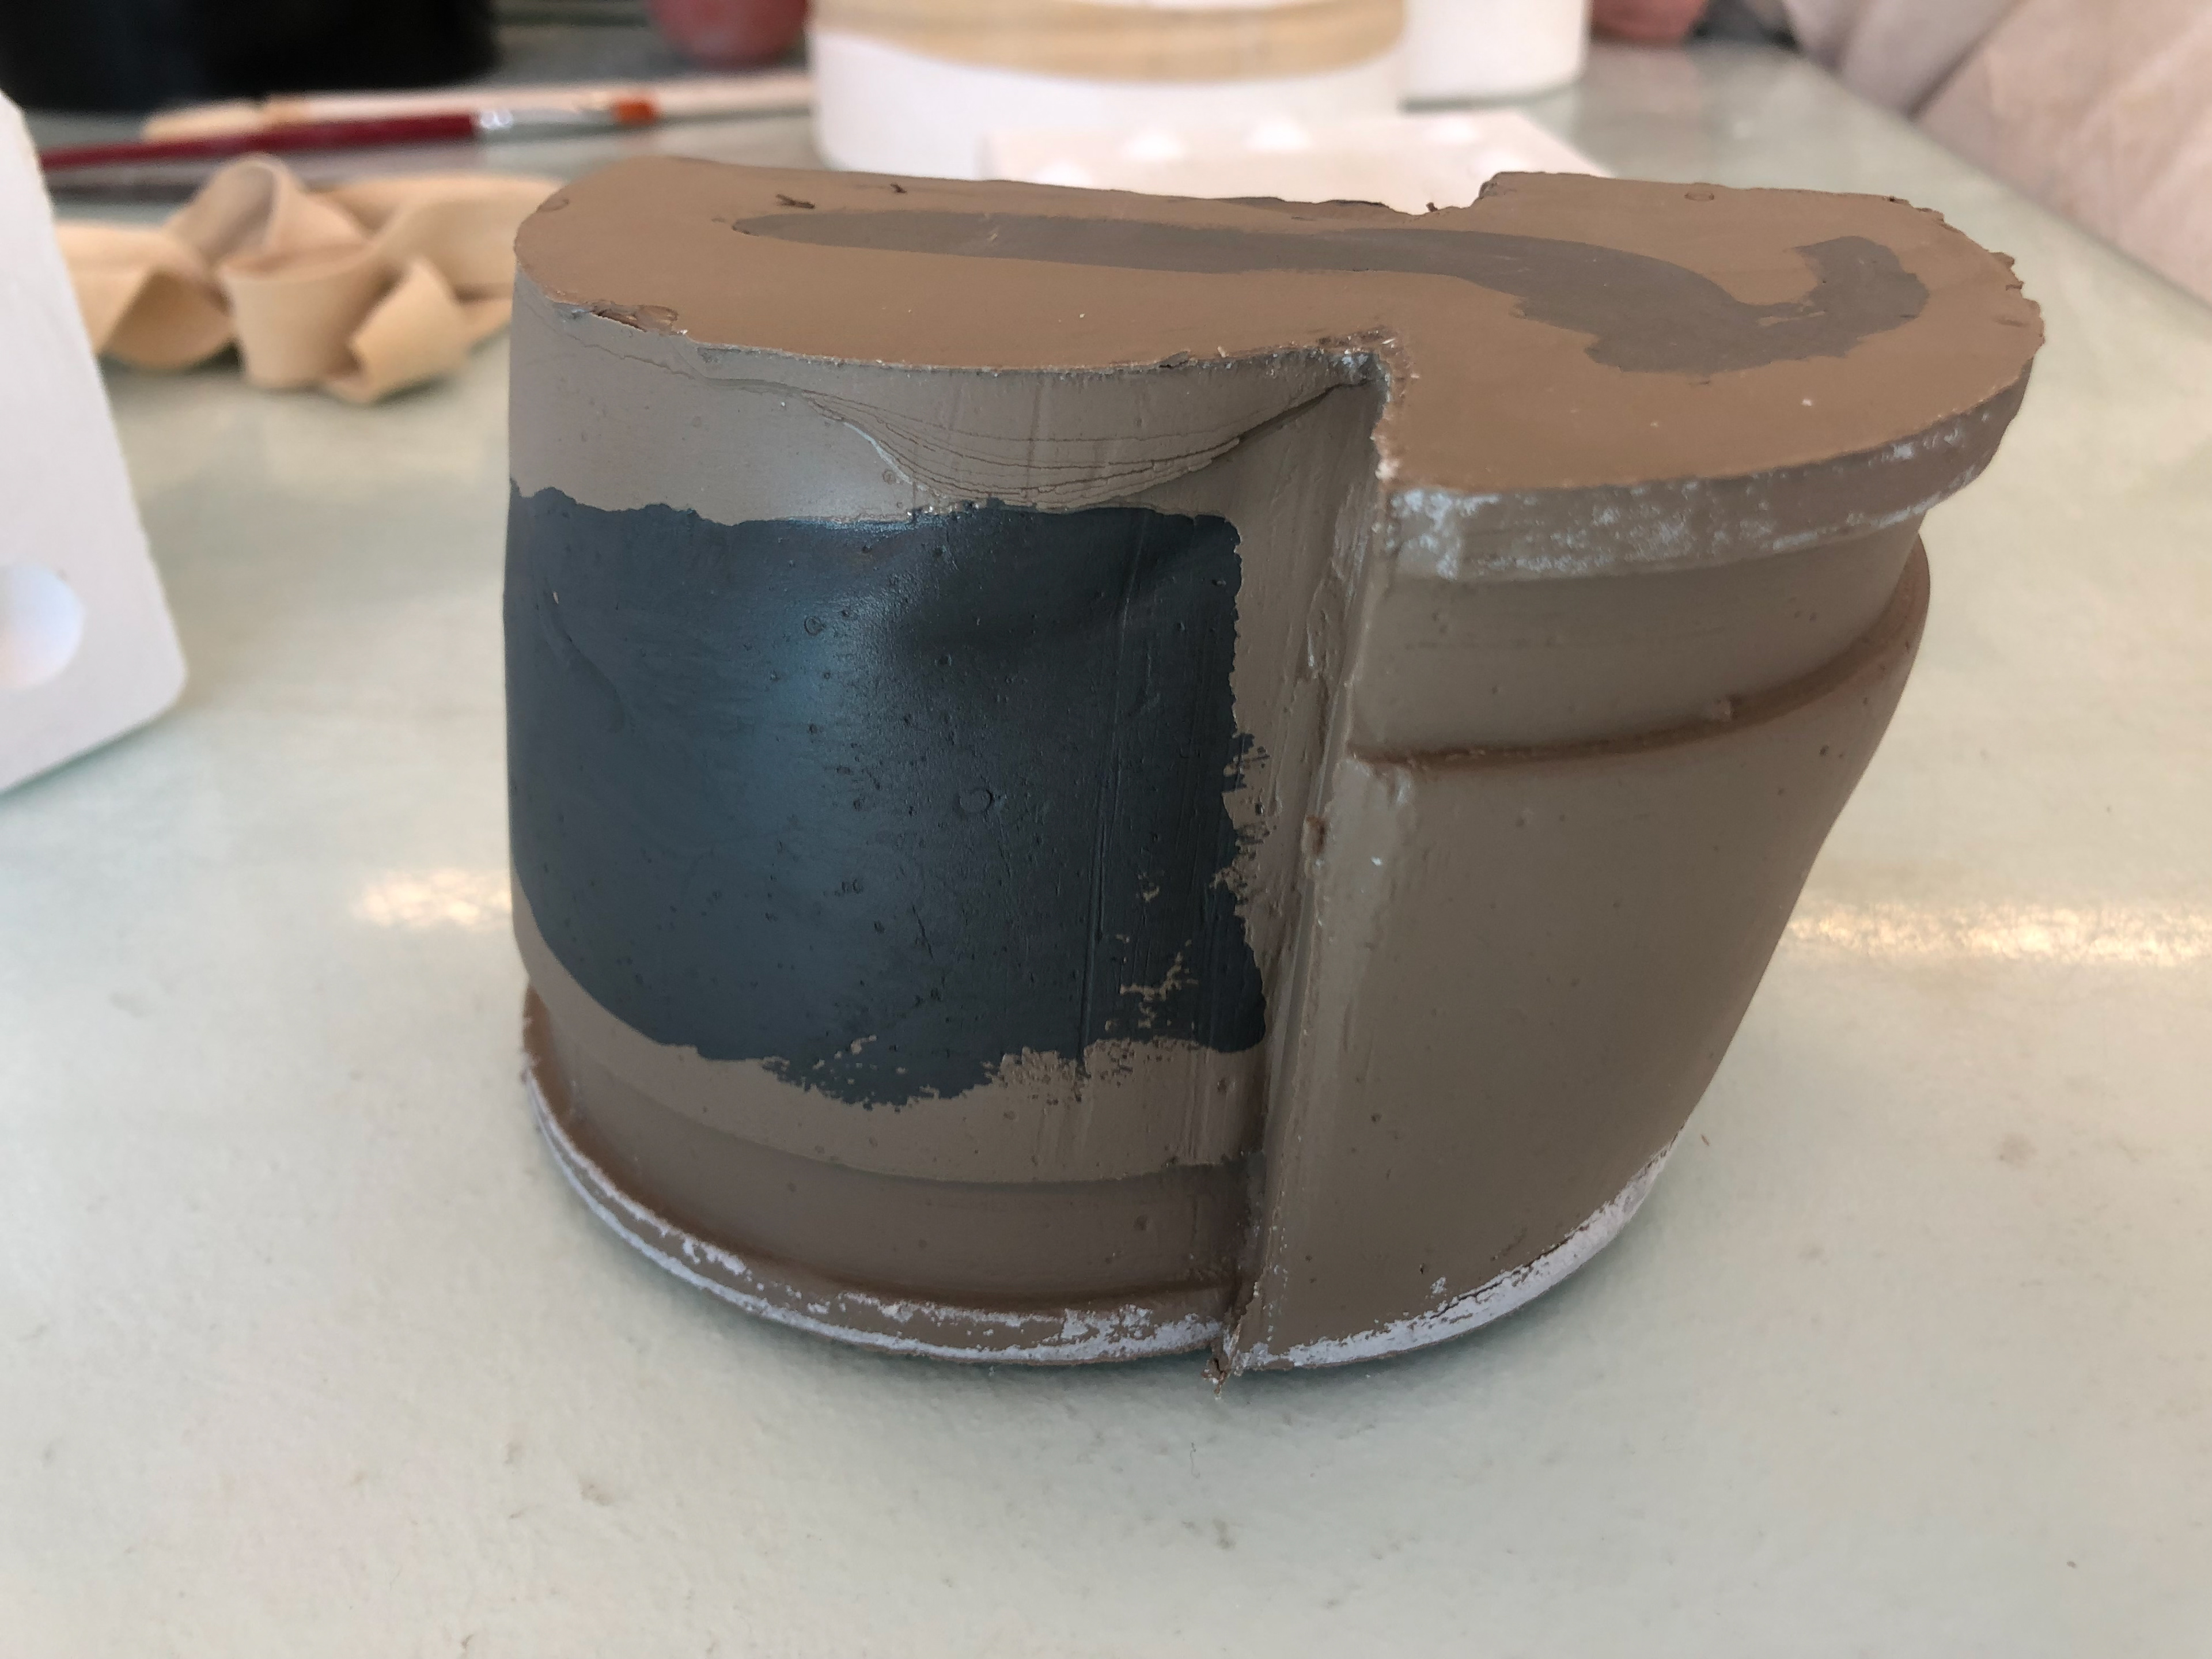
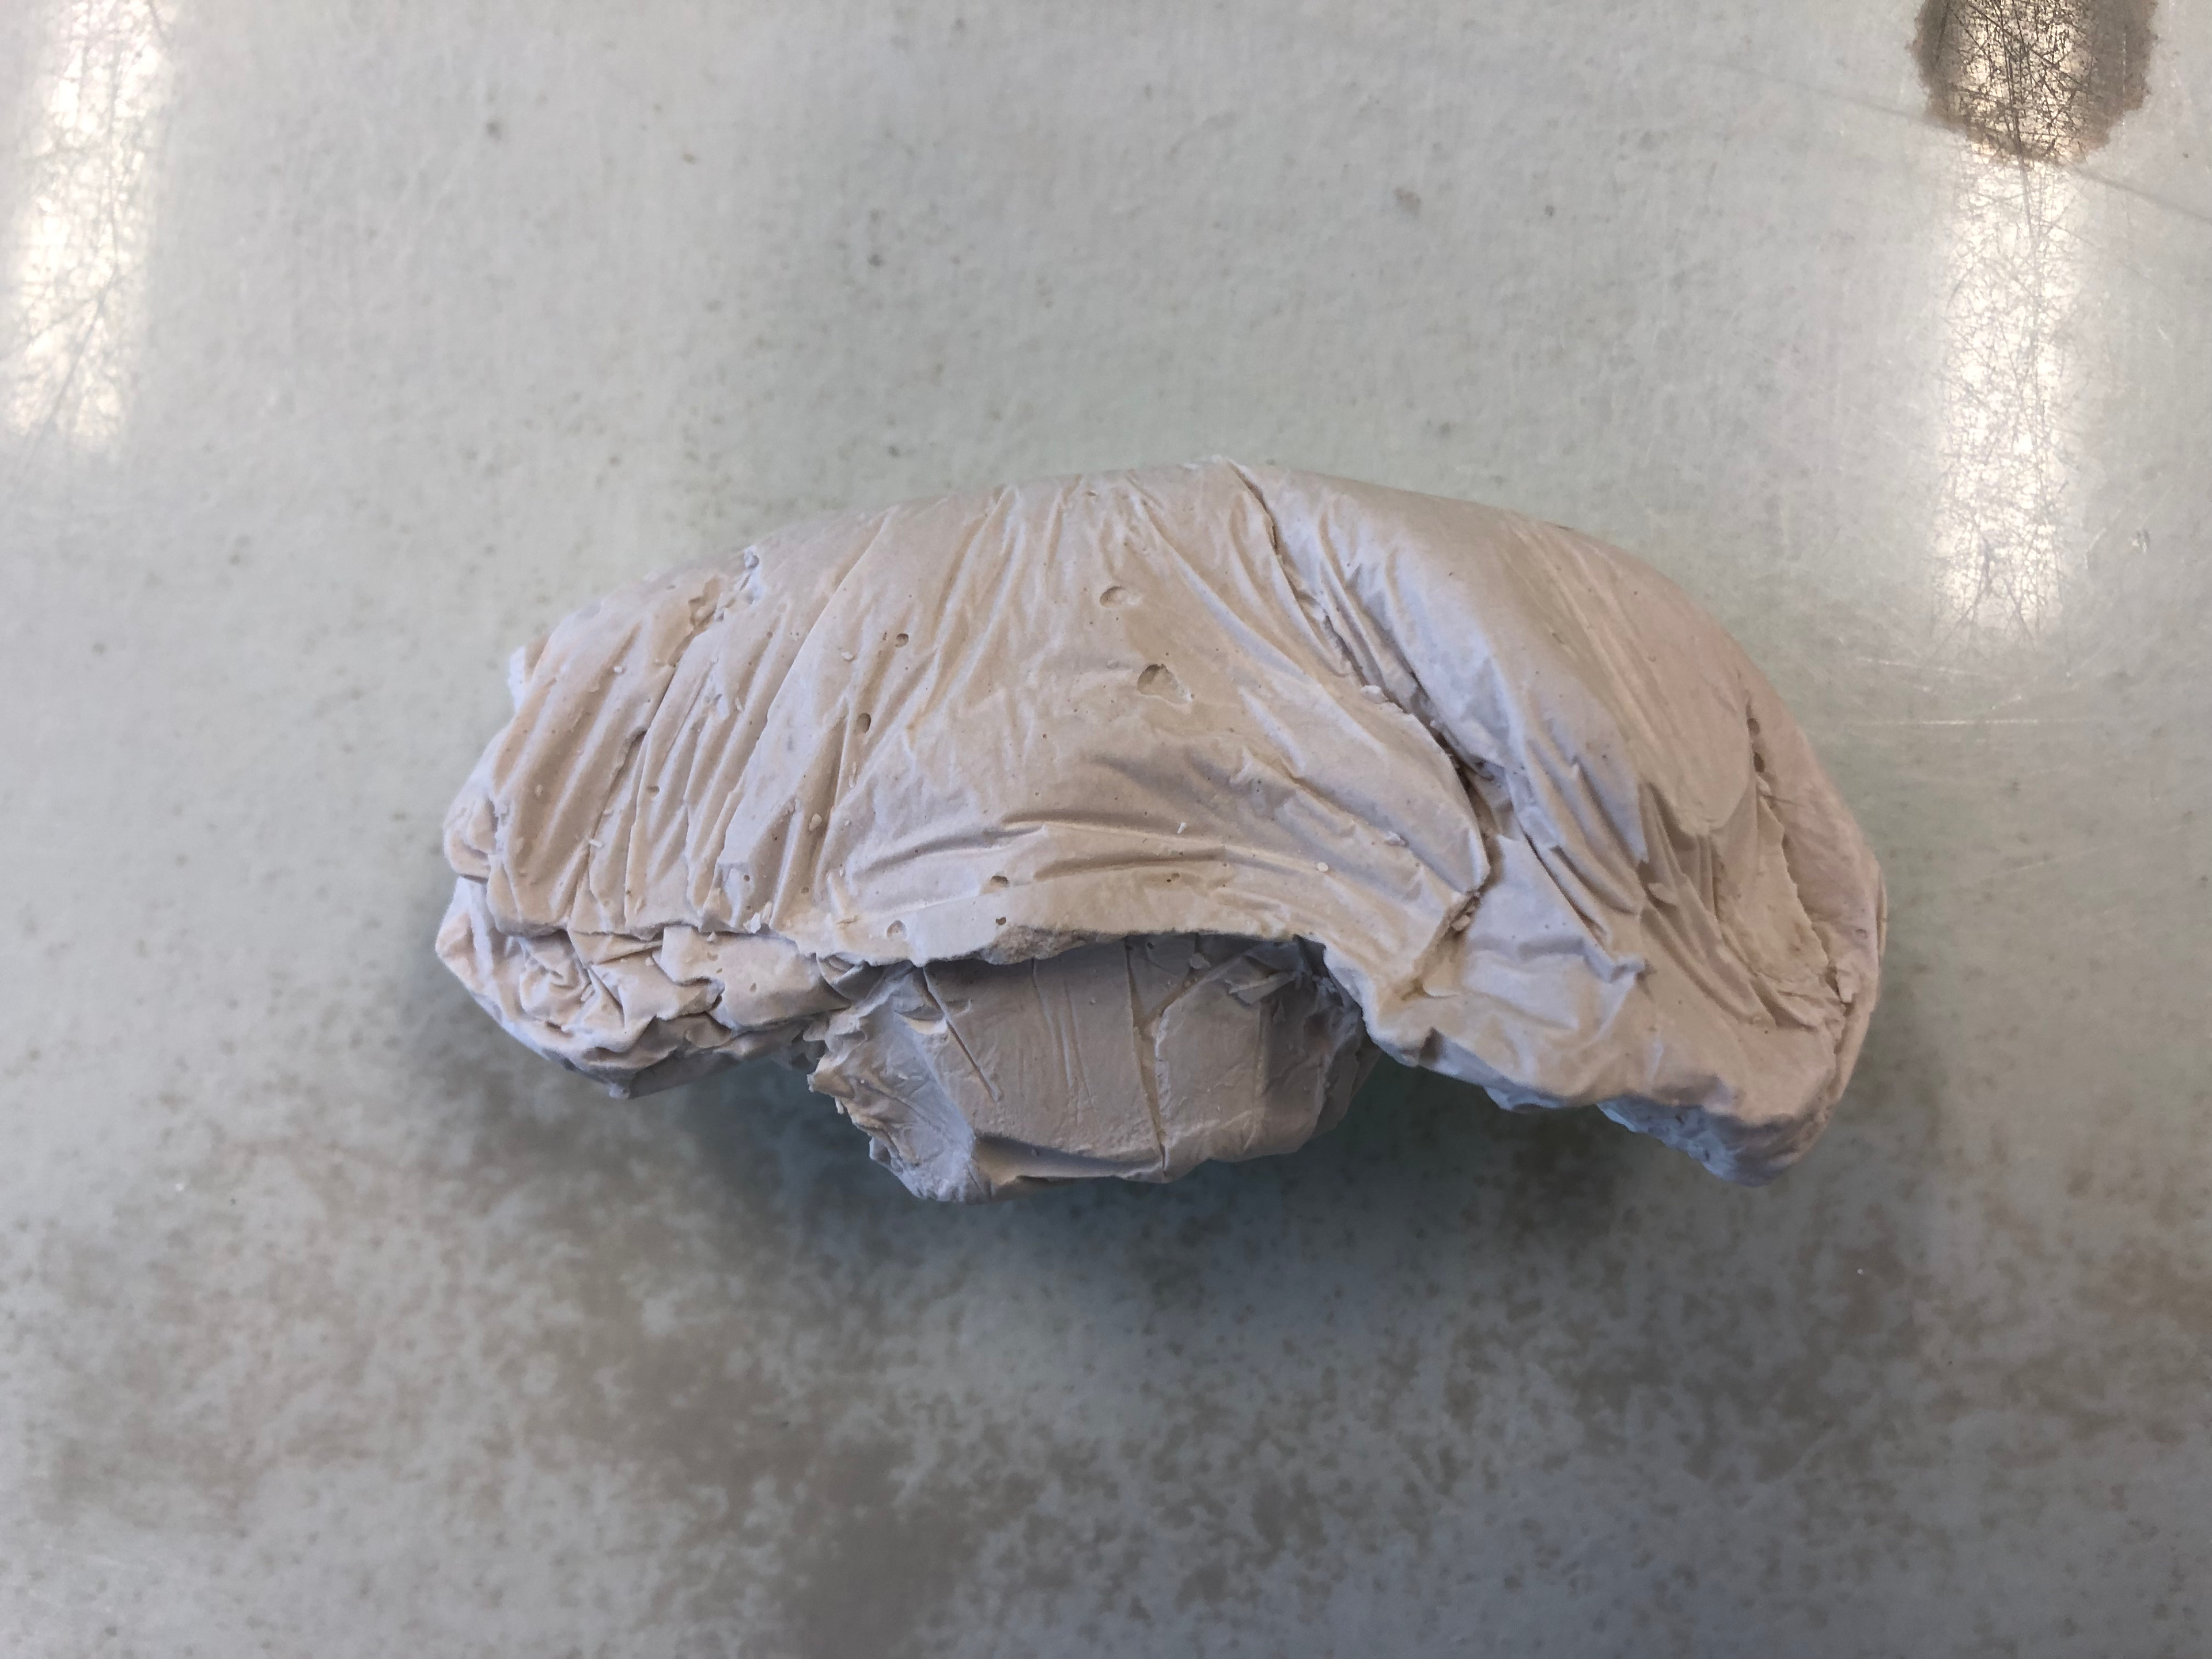
One side was still taking off some of the loose plaster form the mould.
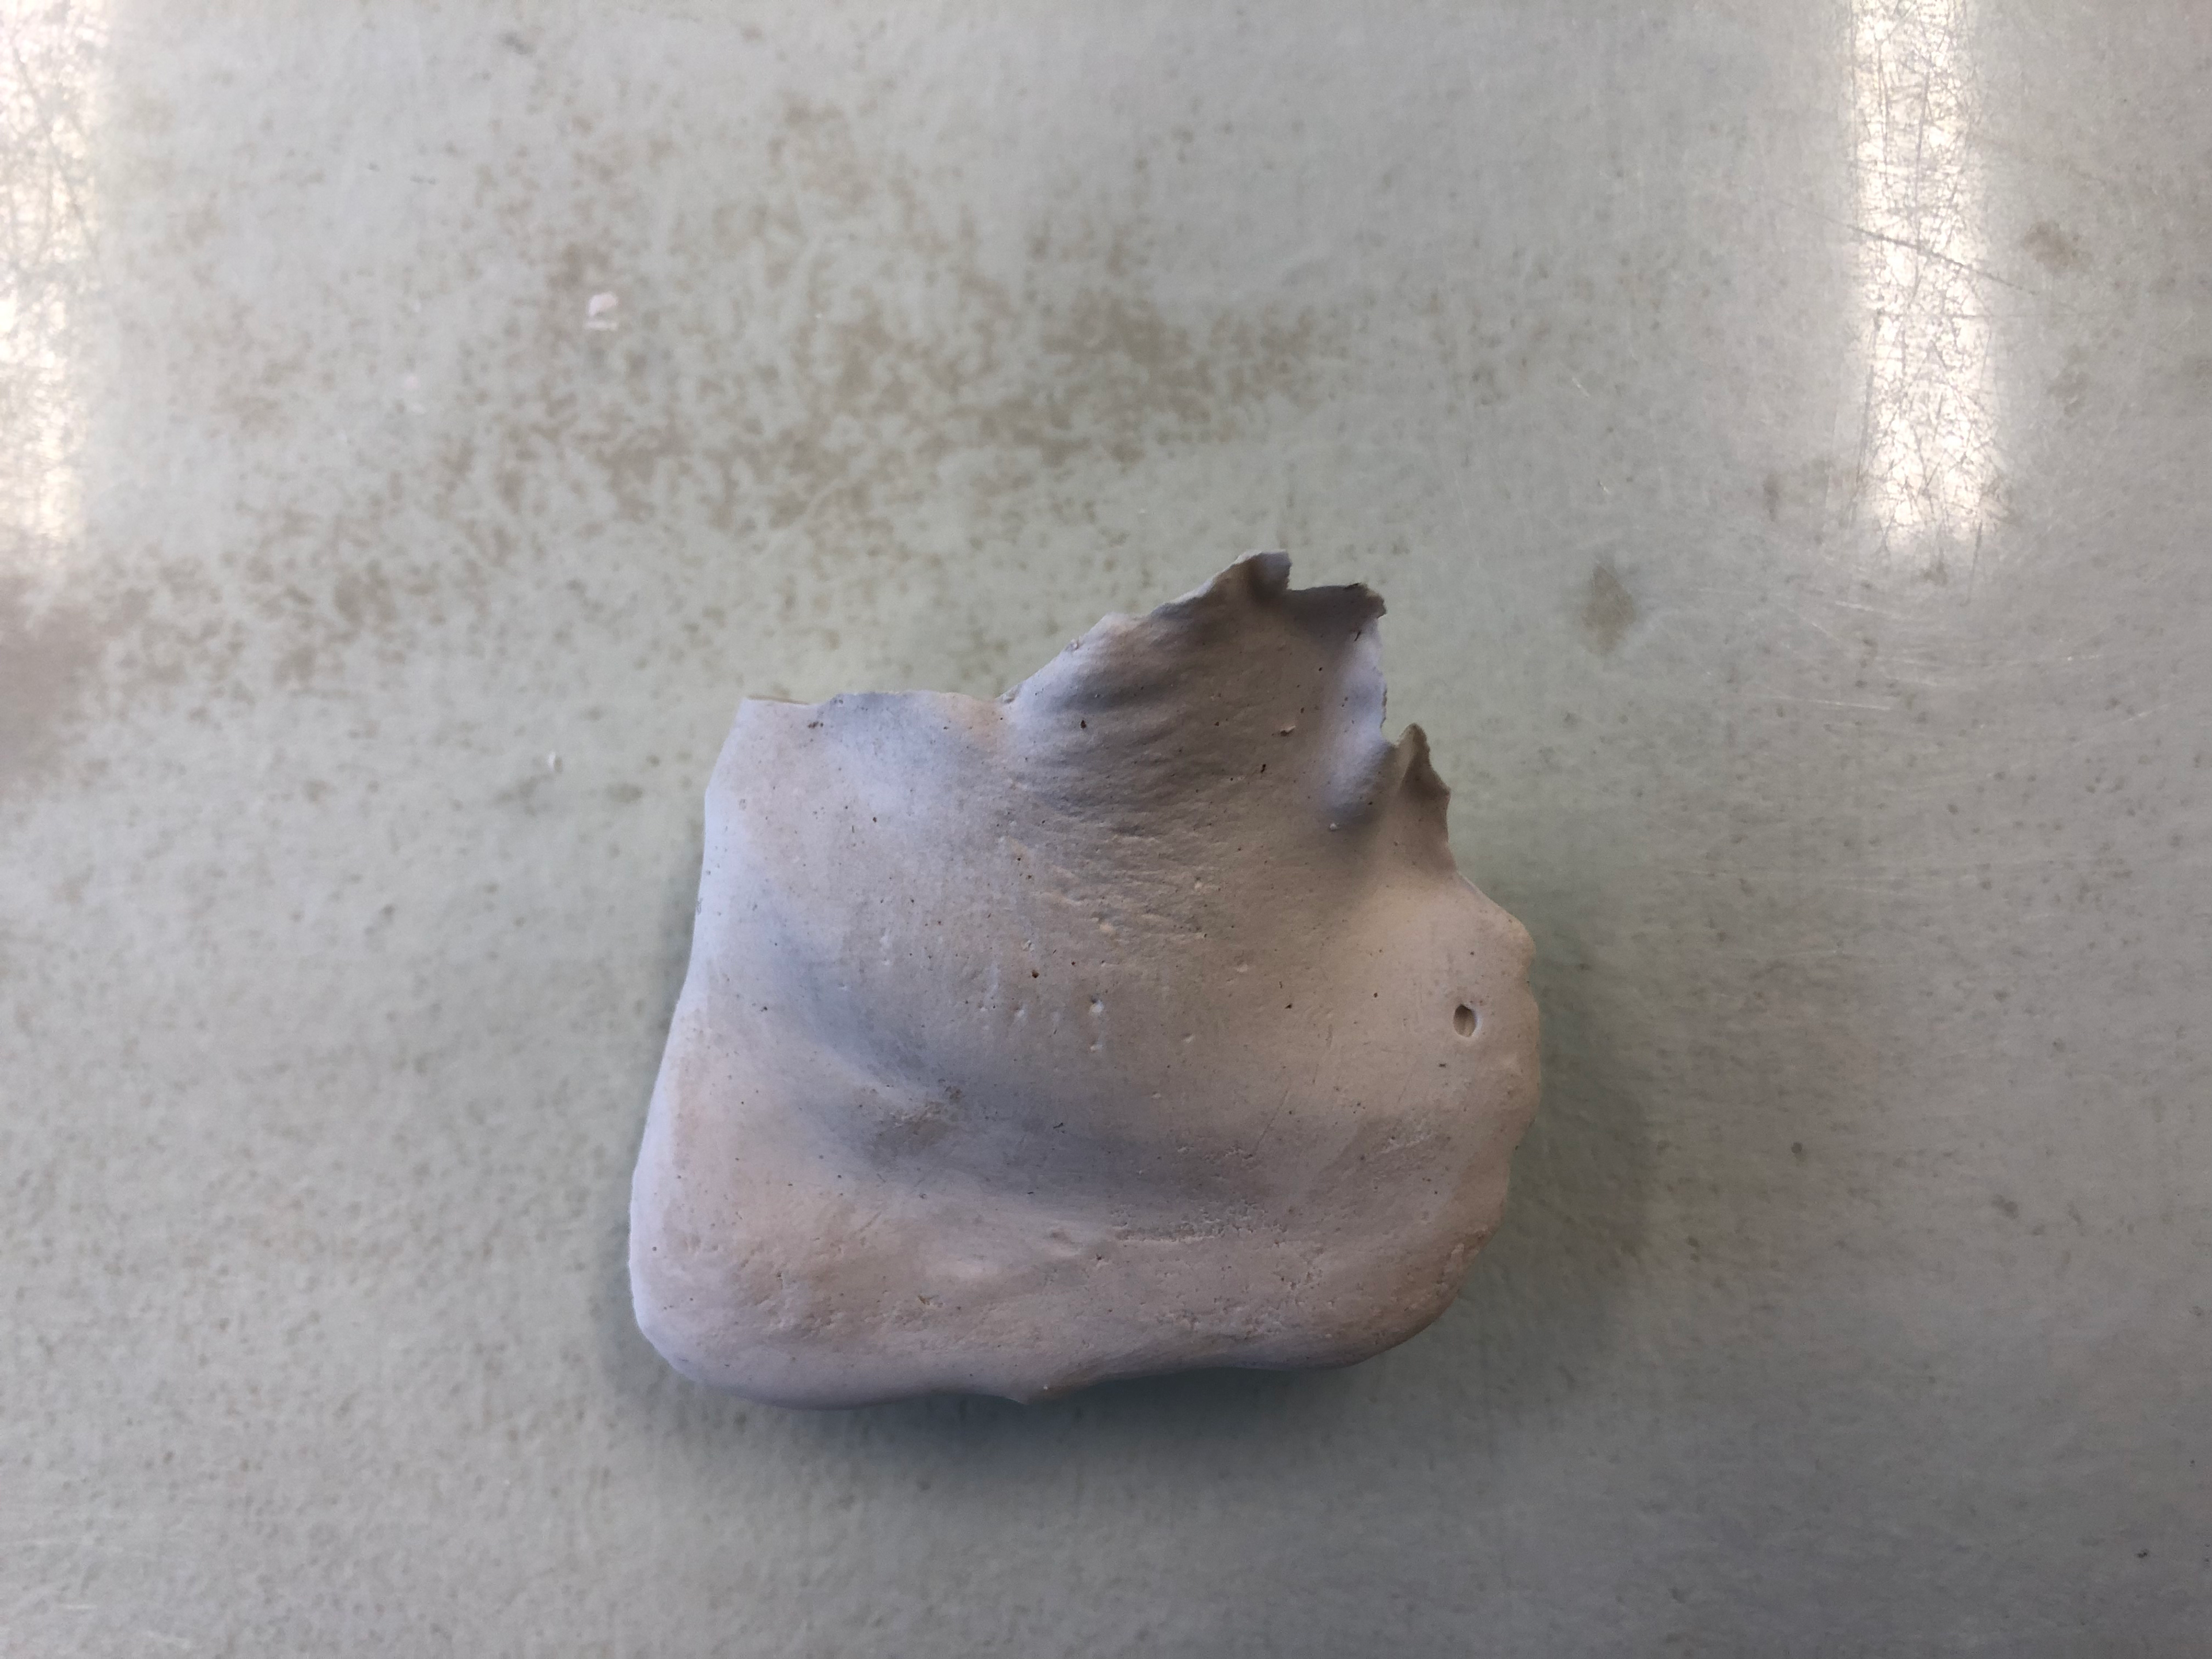
It was very soft and delicate at this point so I accidentally dented it when taking it out the mould.
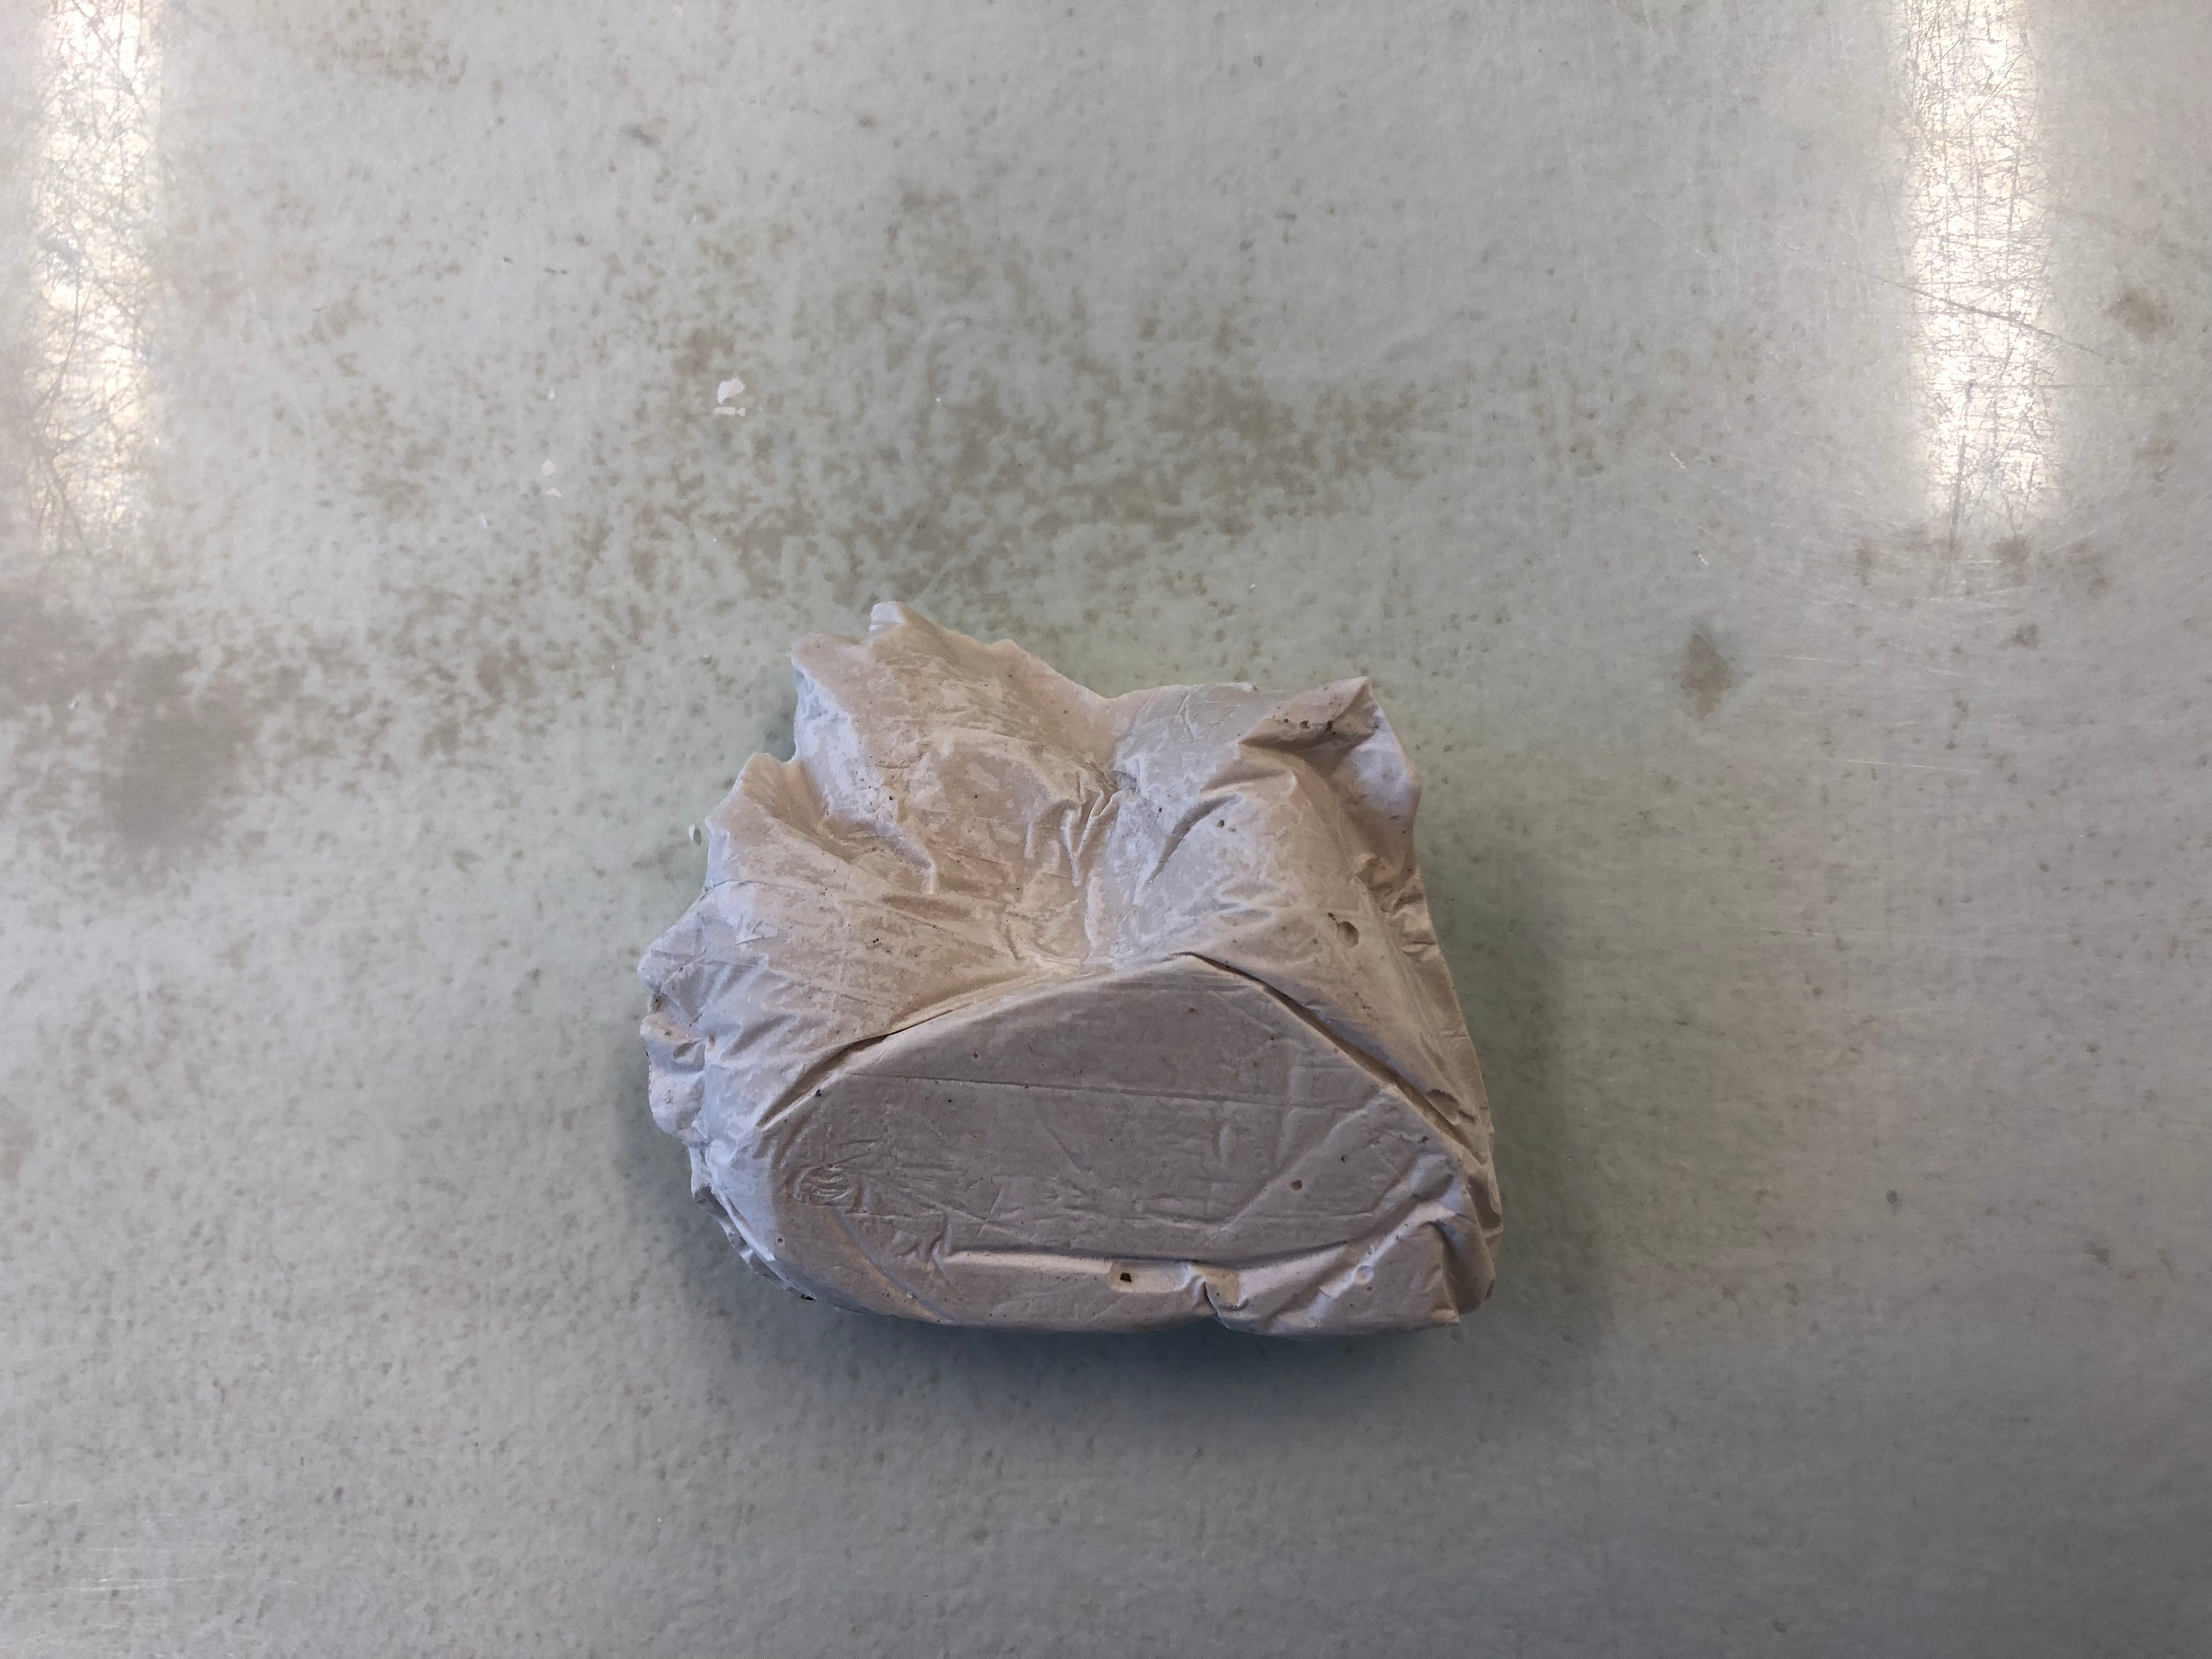
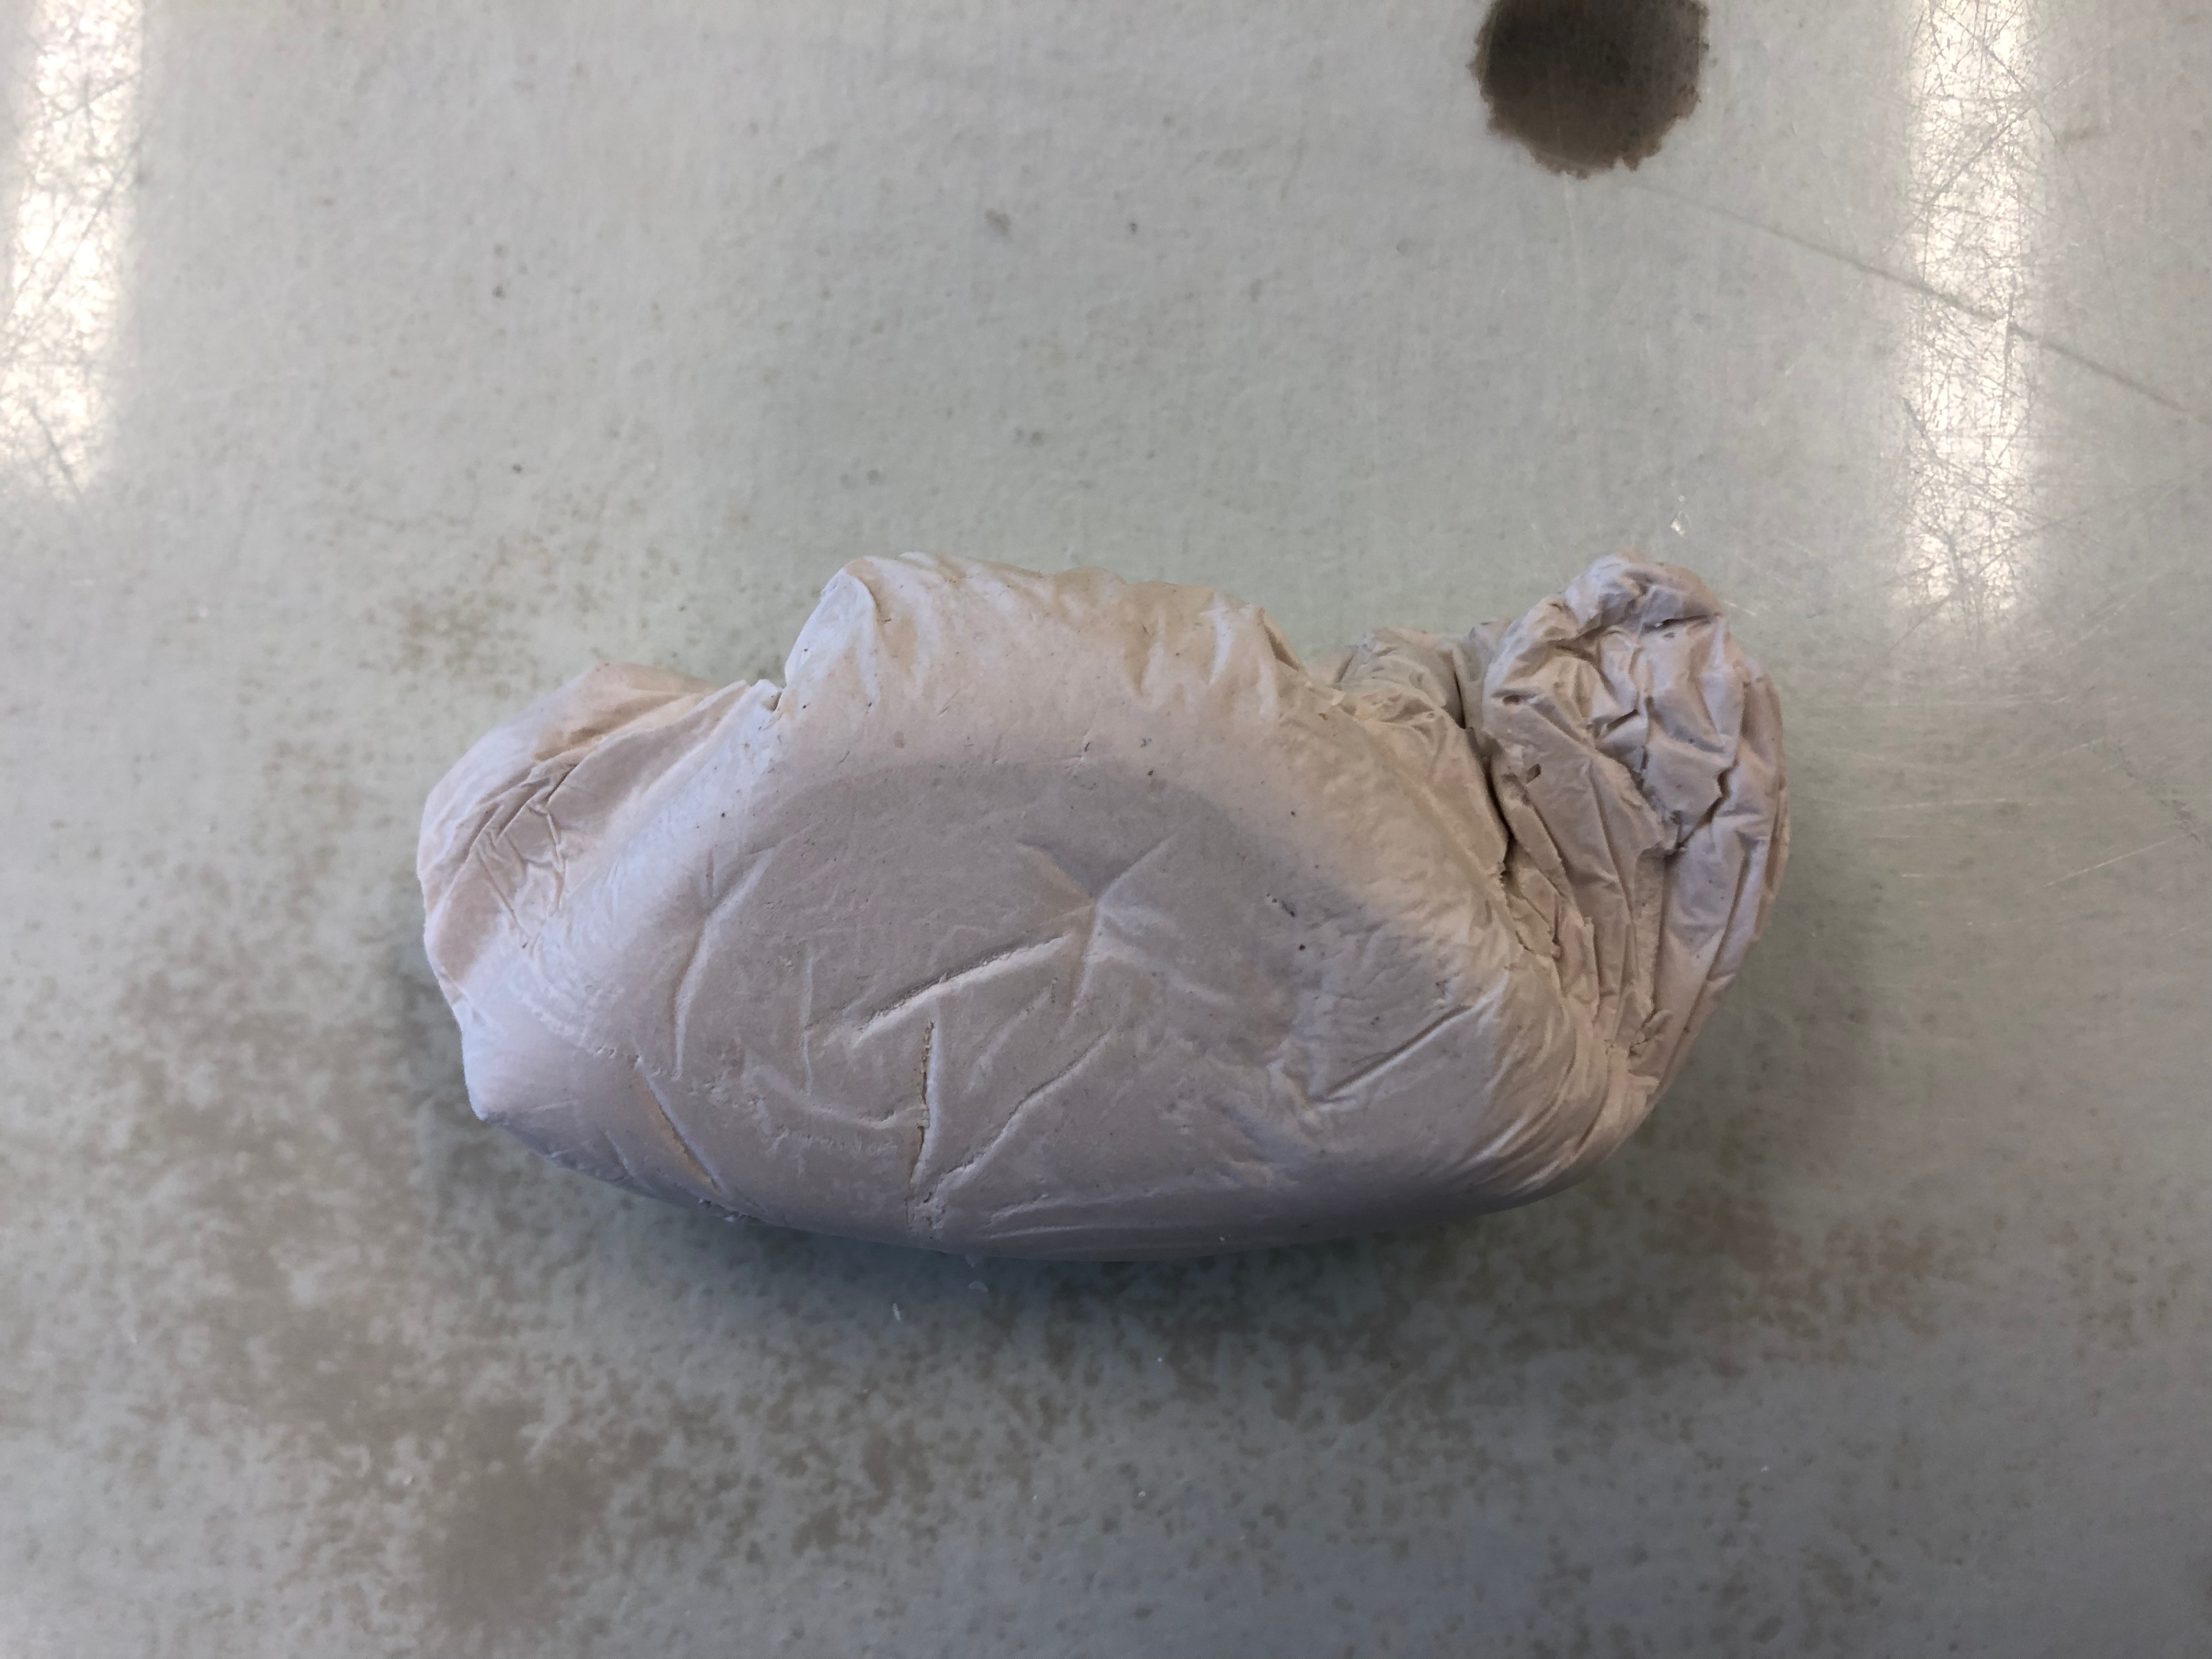
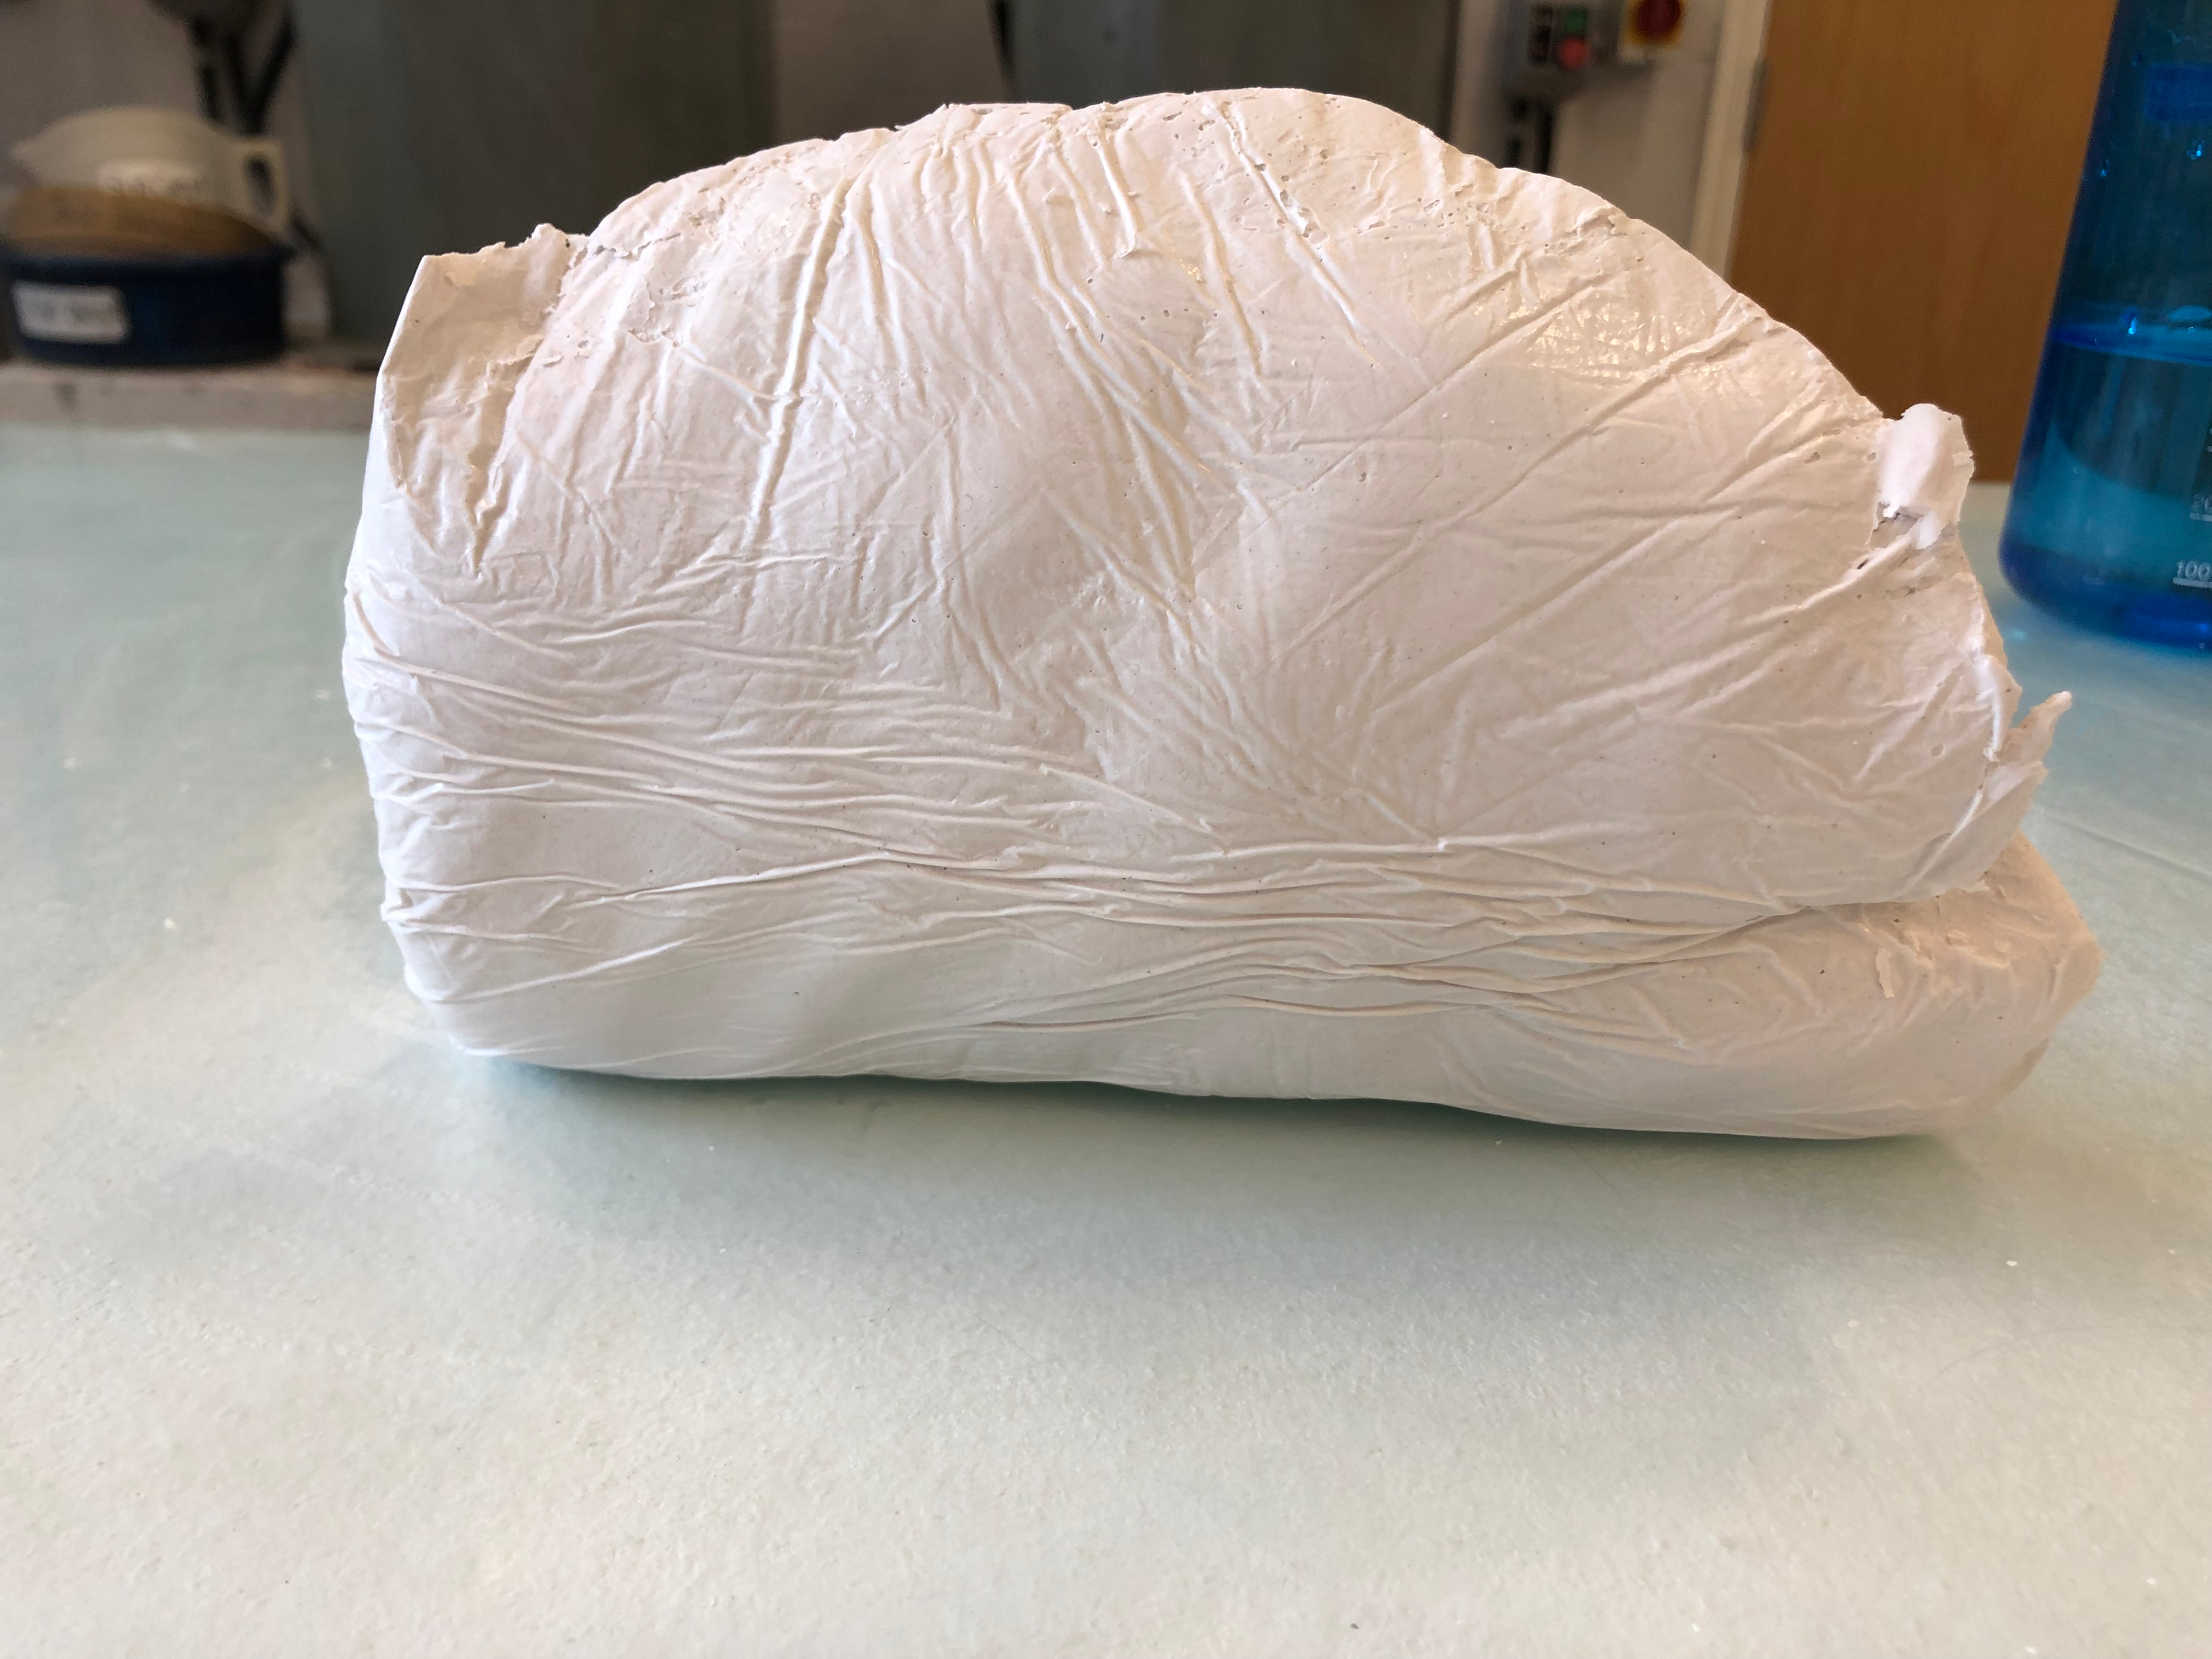
On the drying area to dry further.
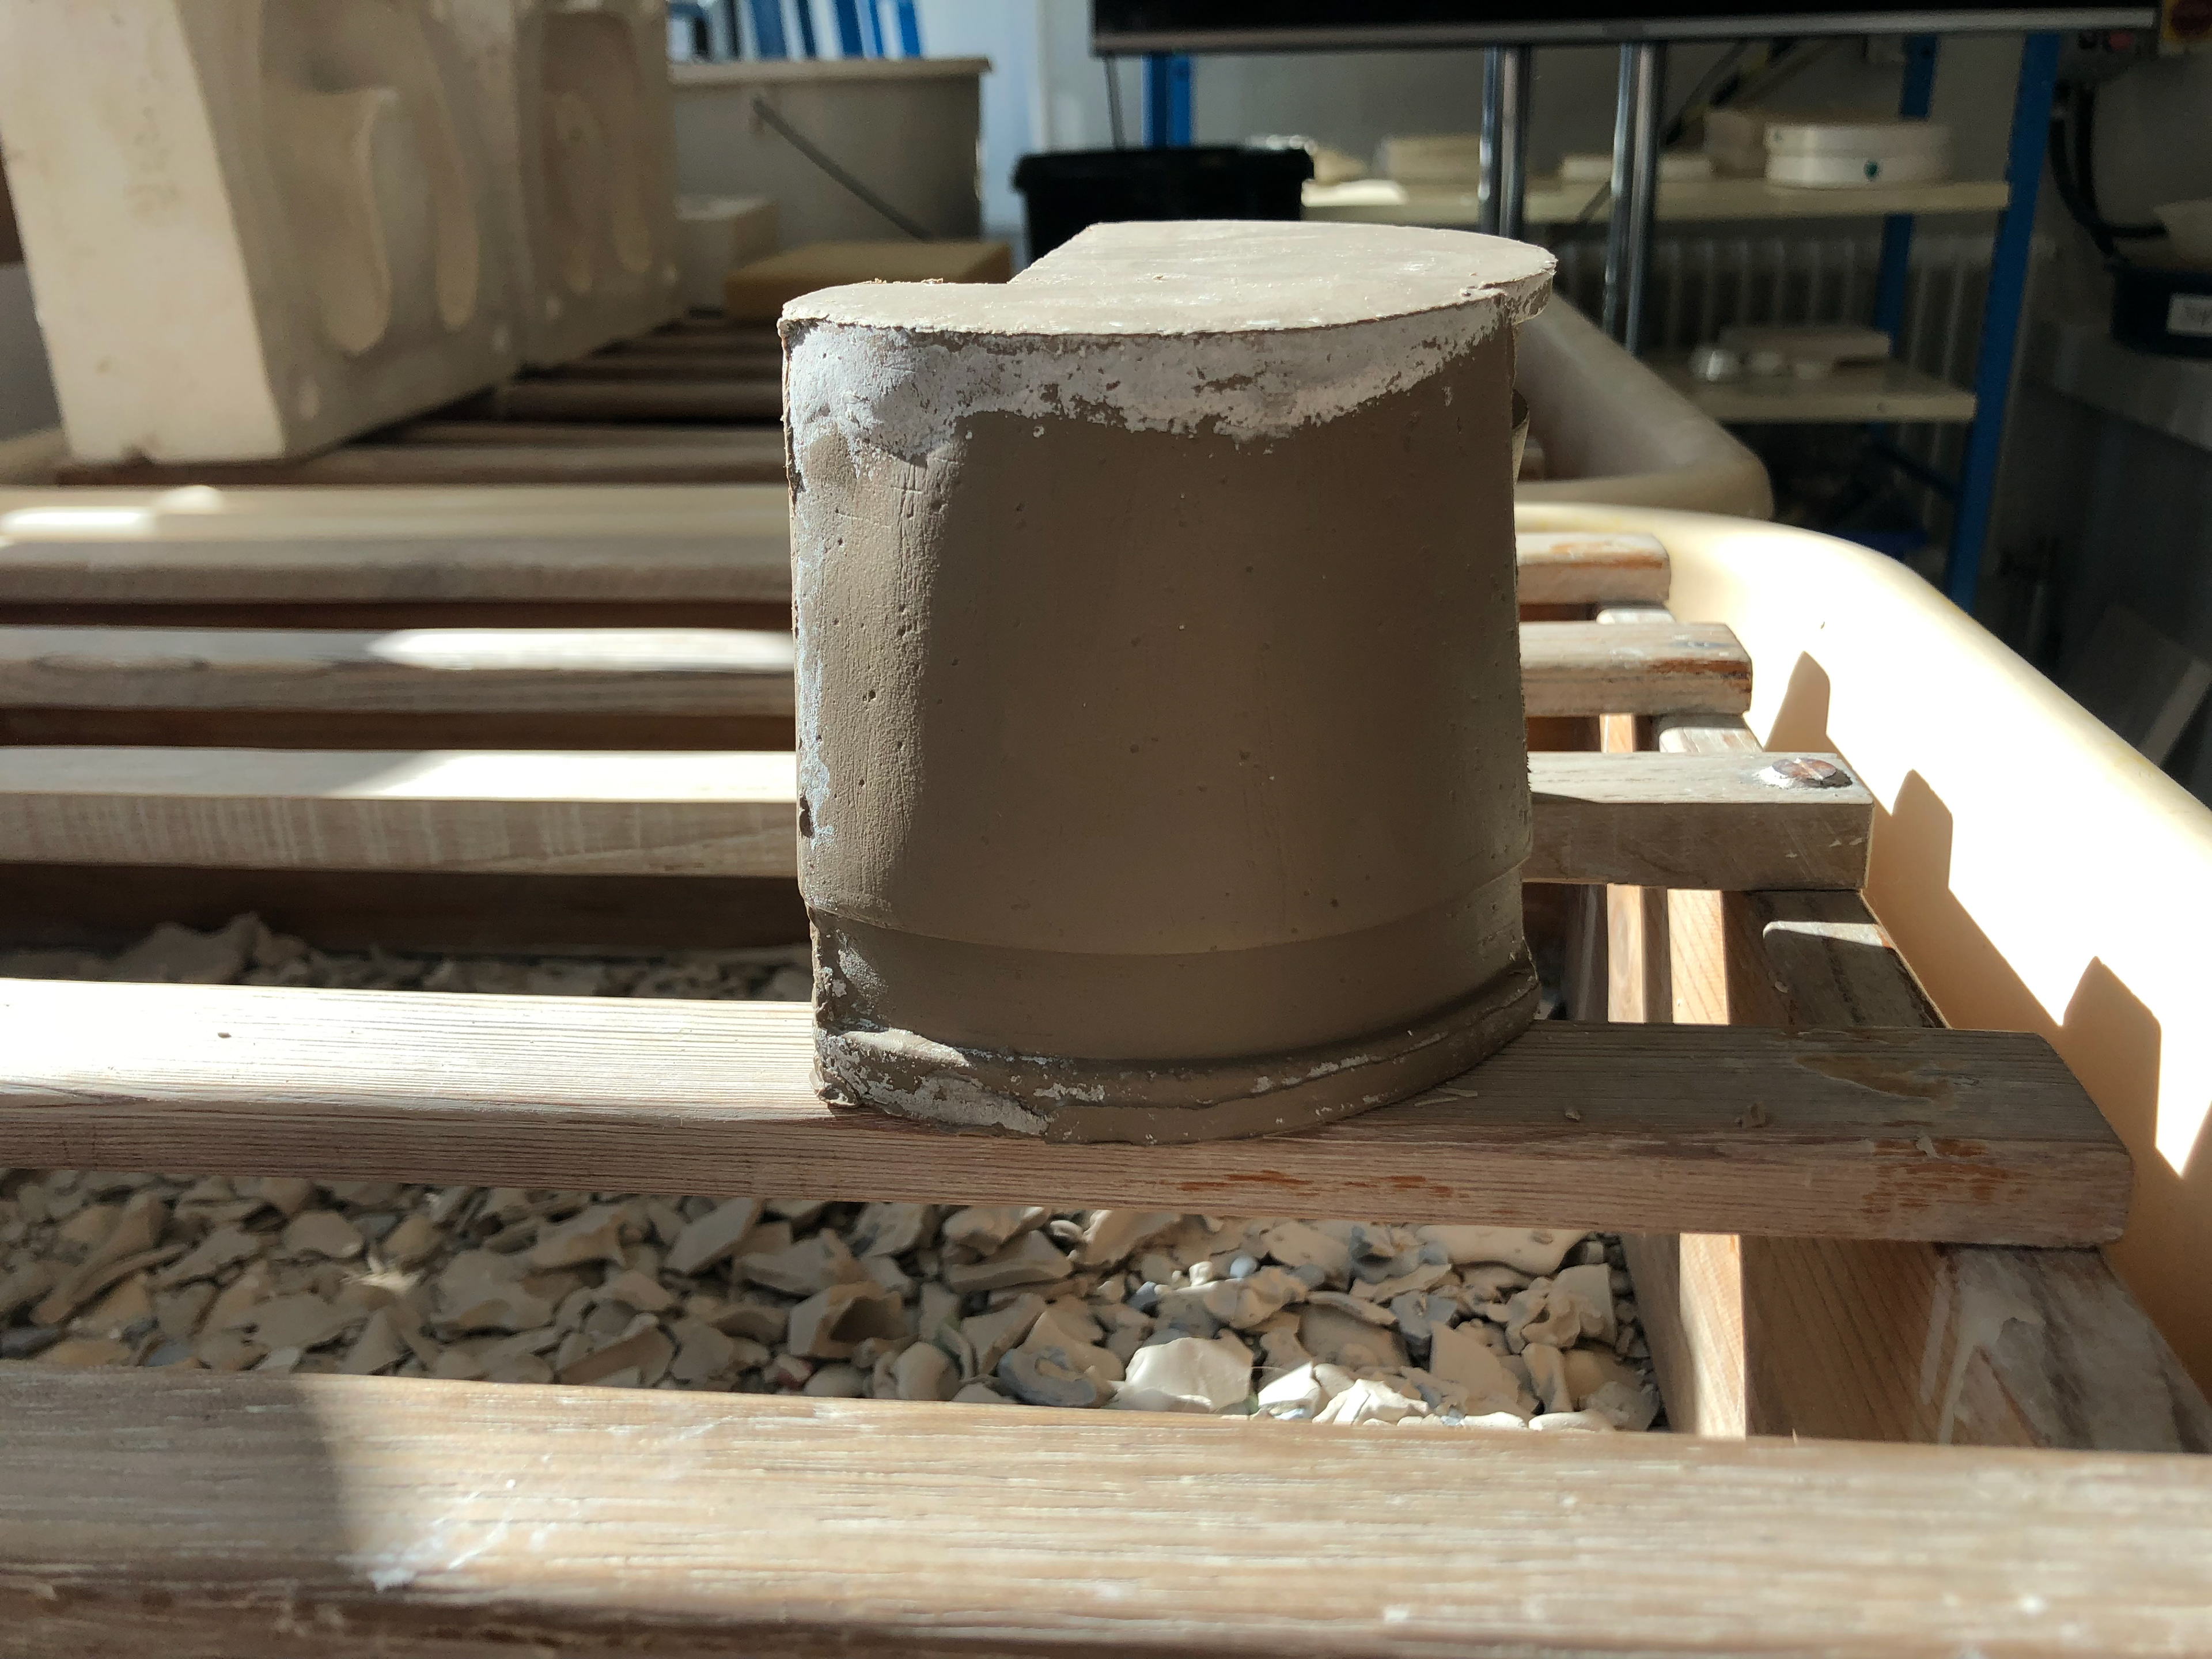
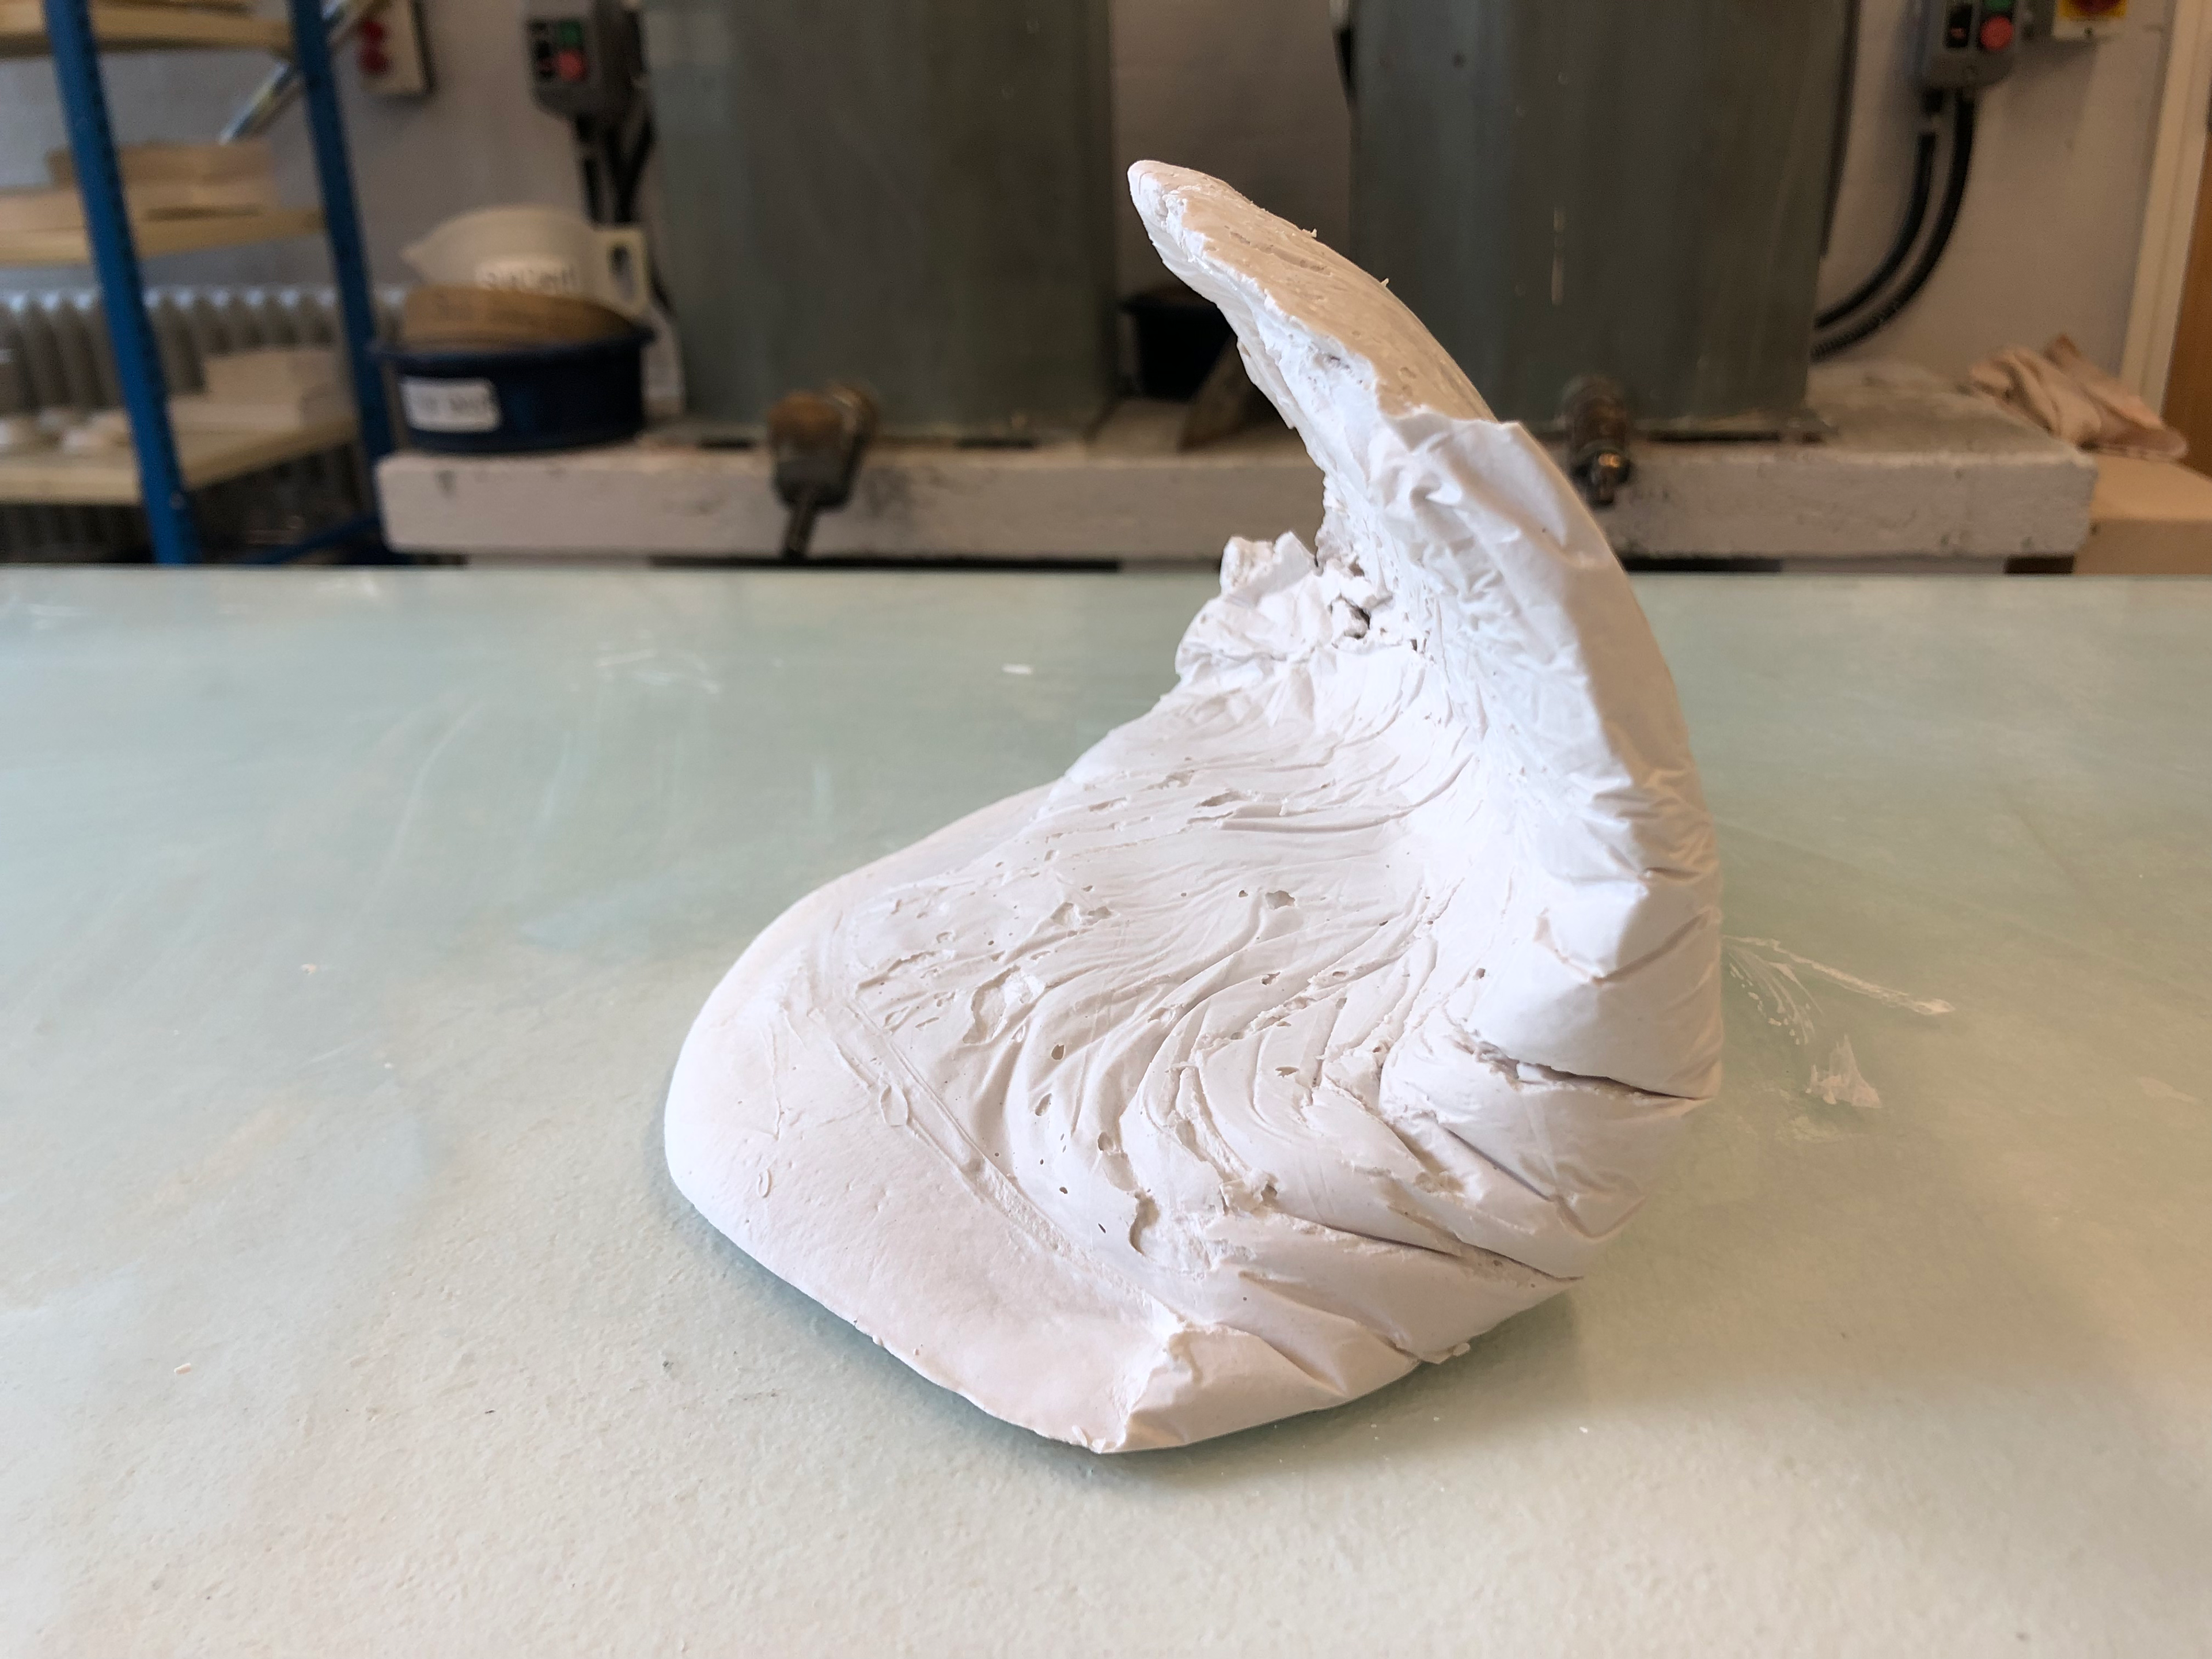
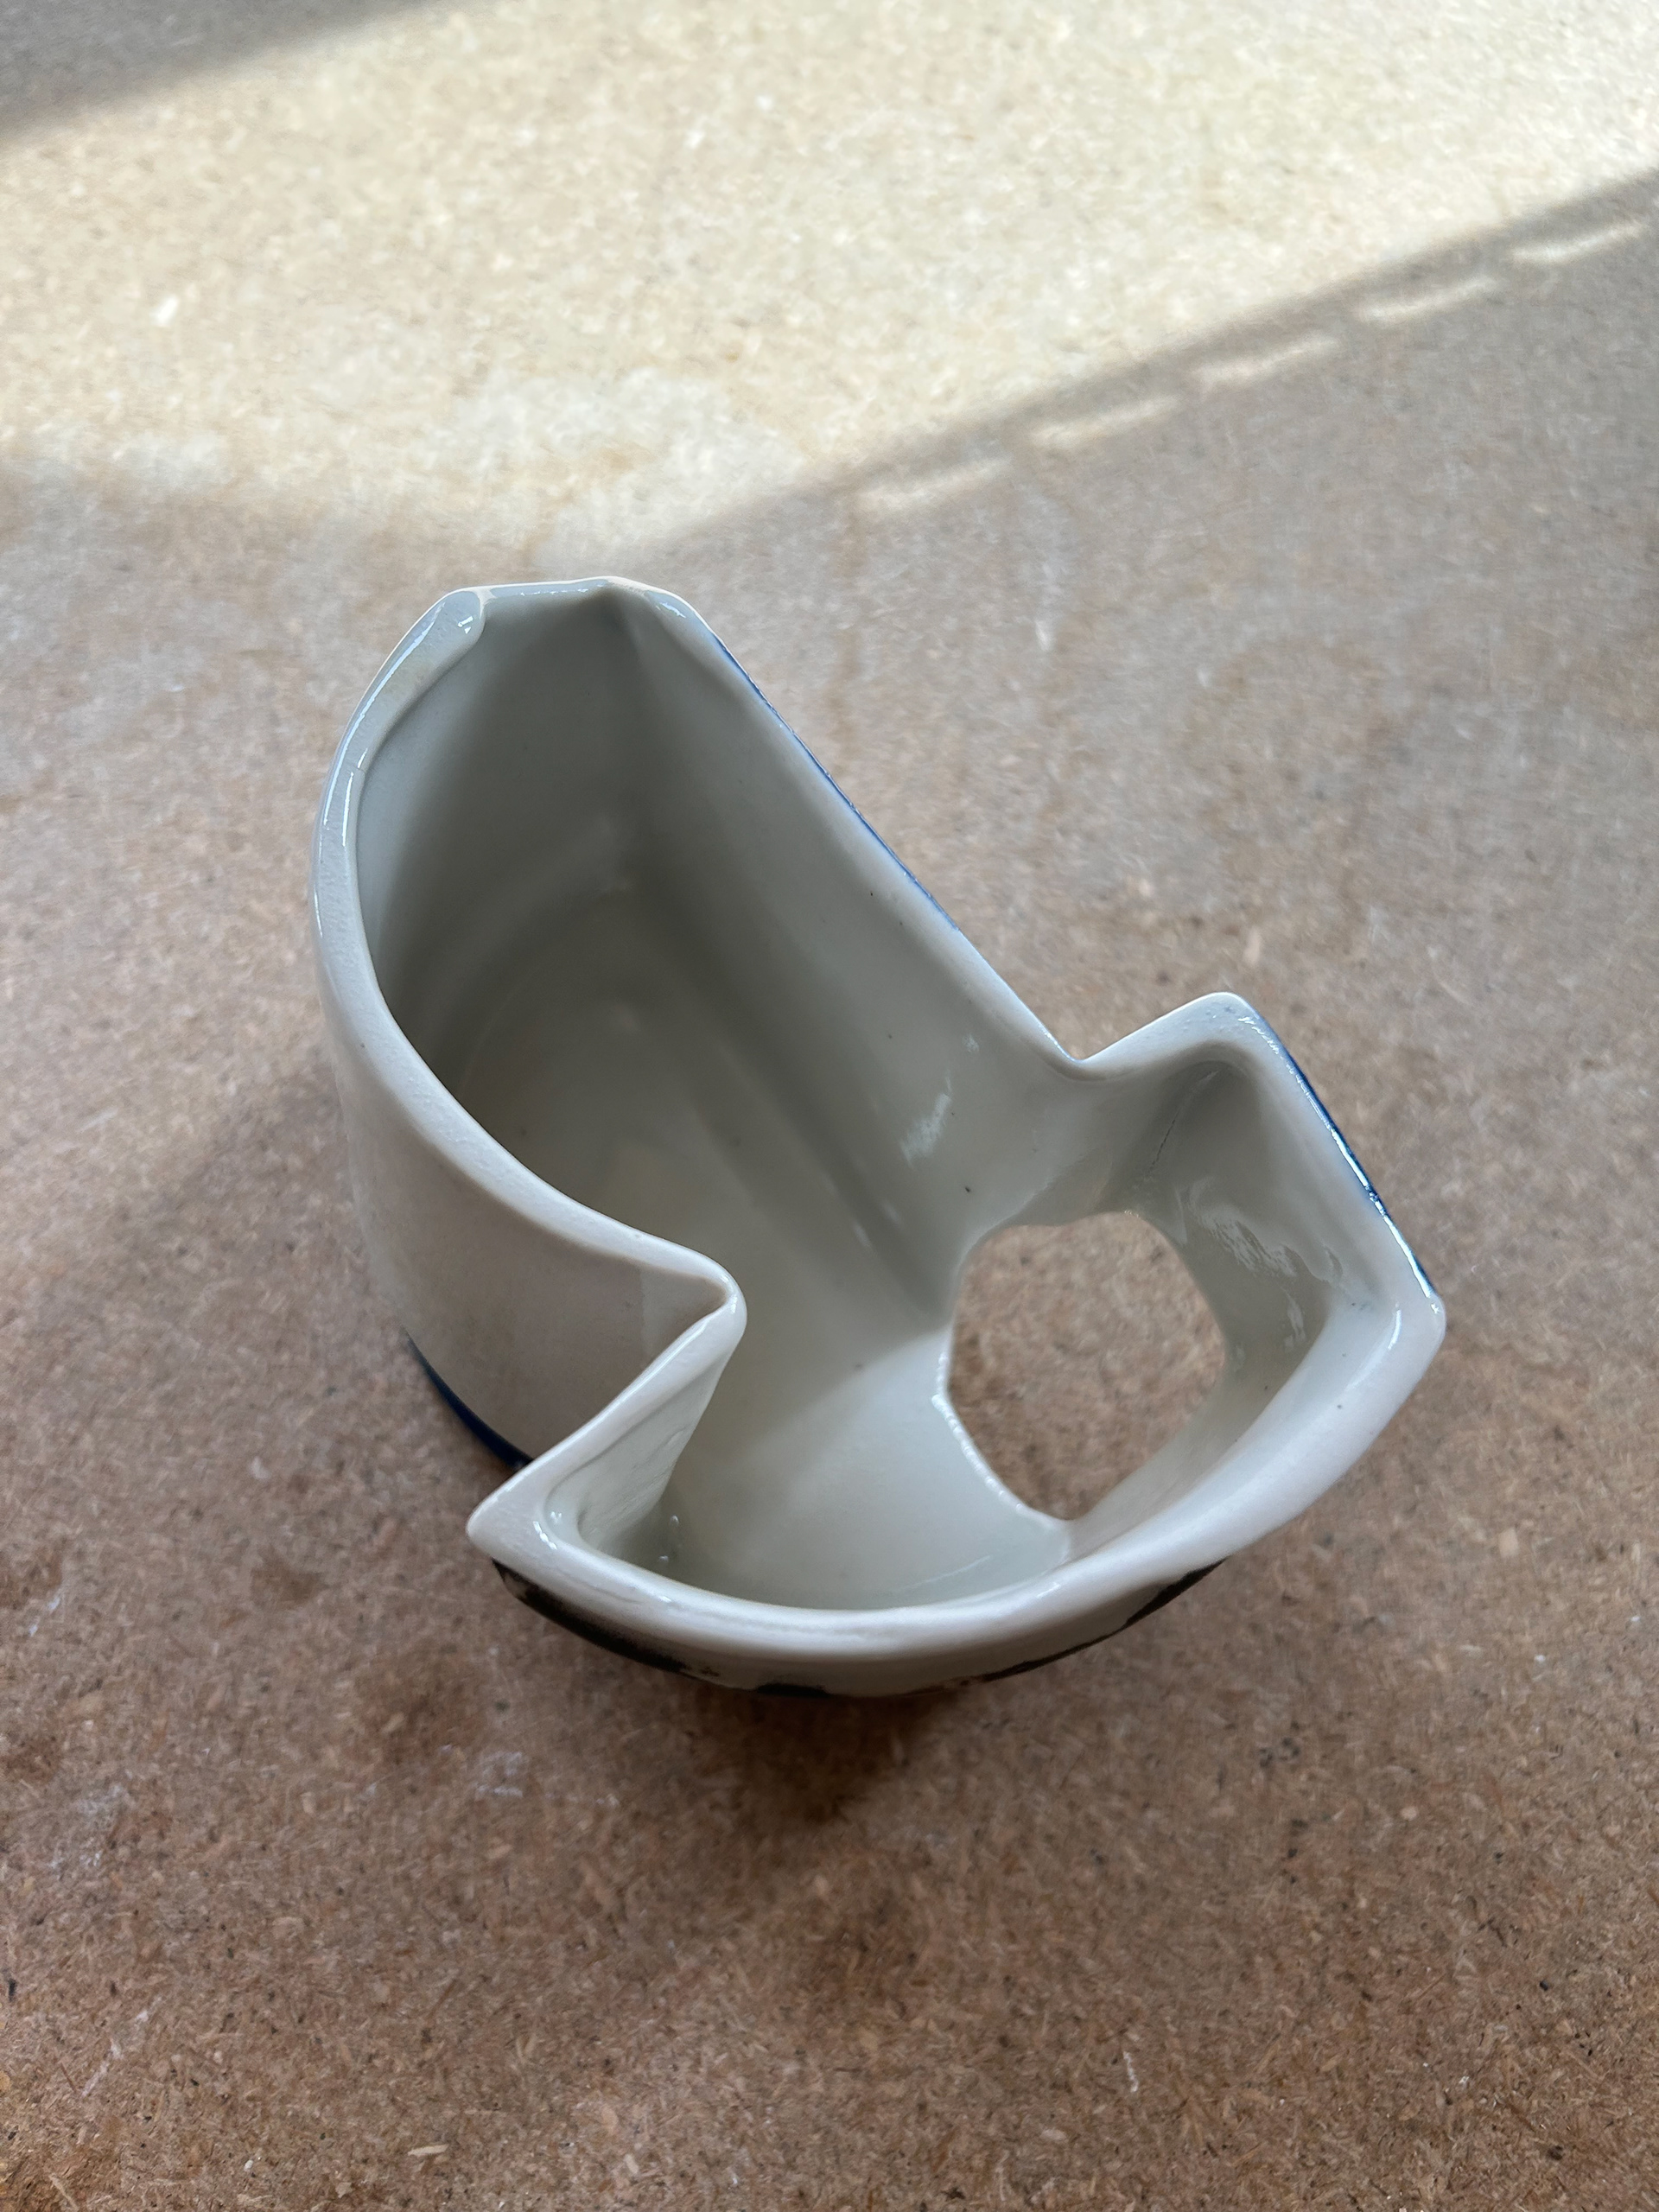
Side view.
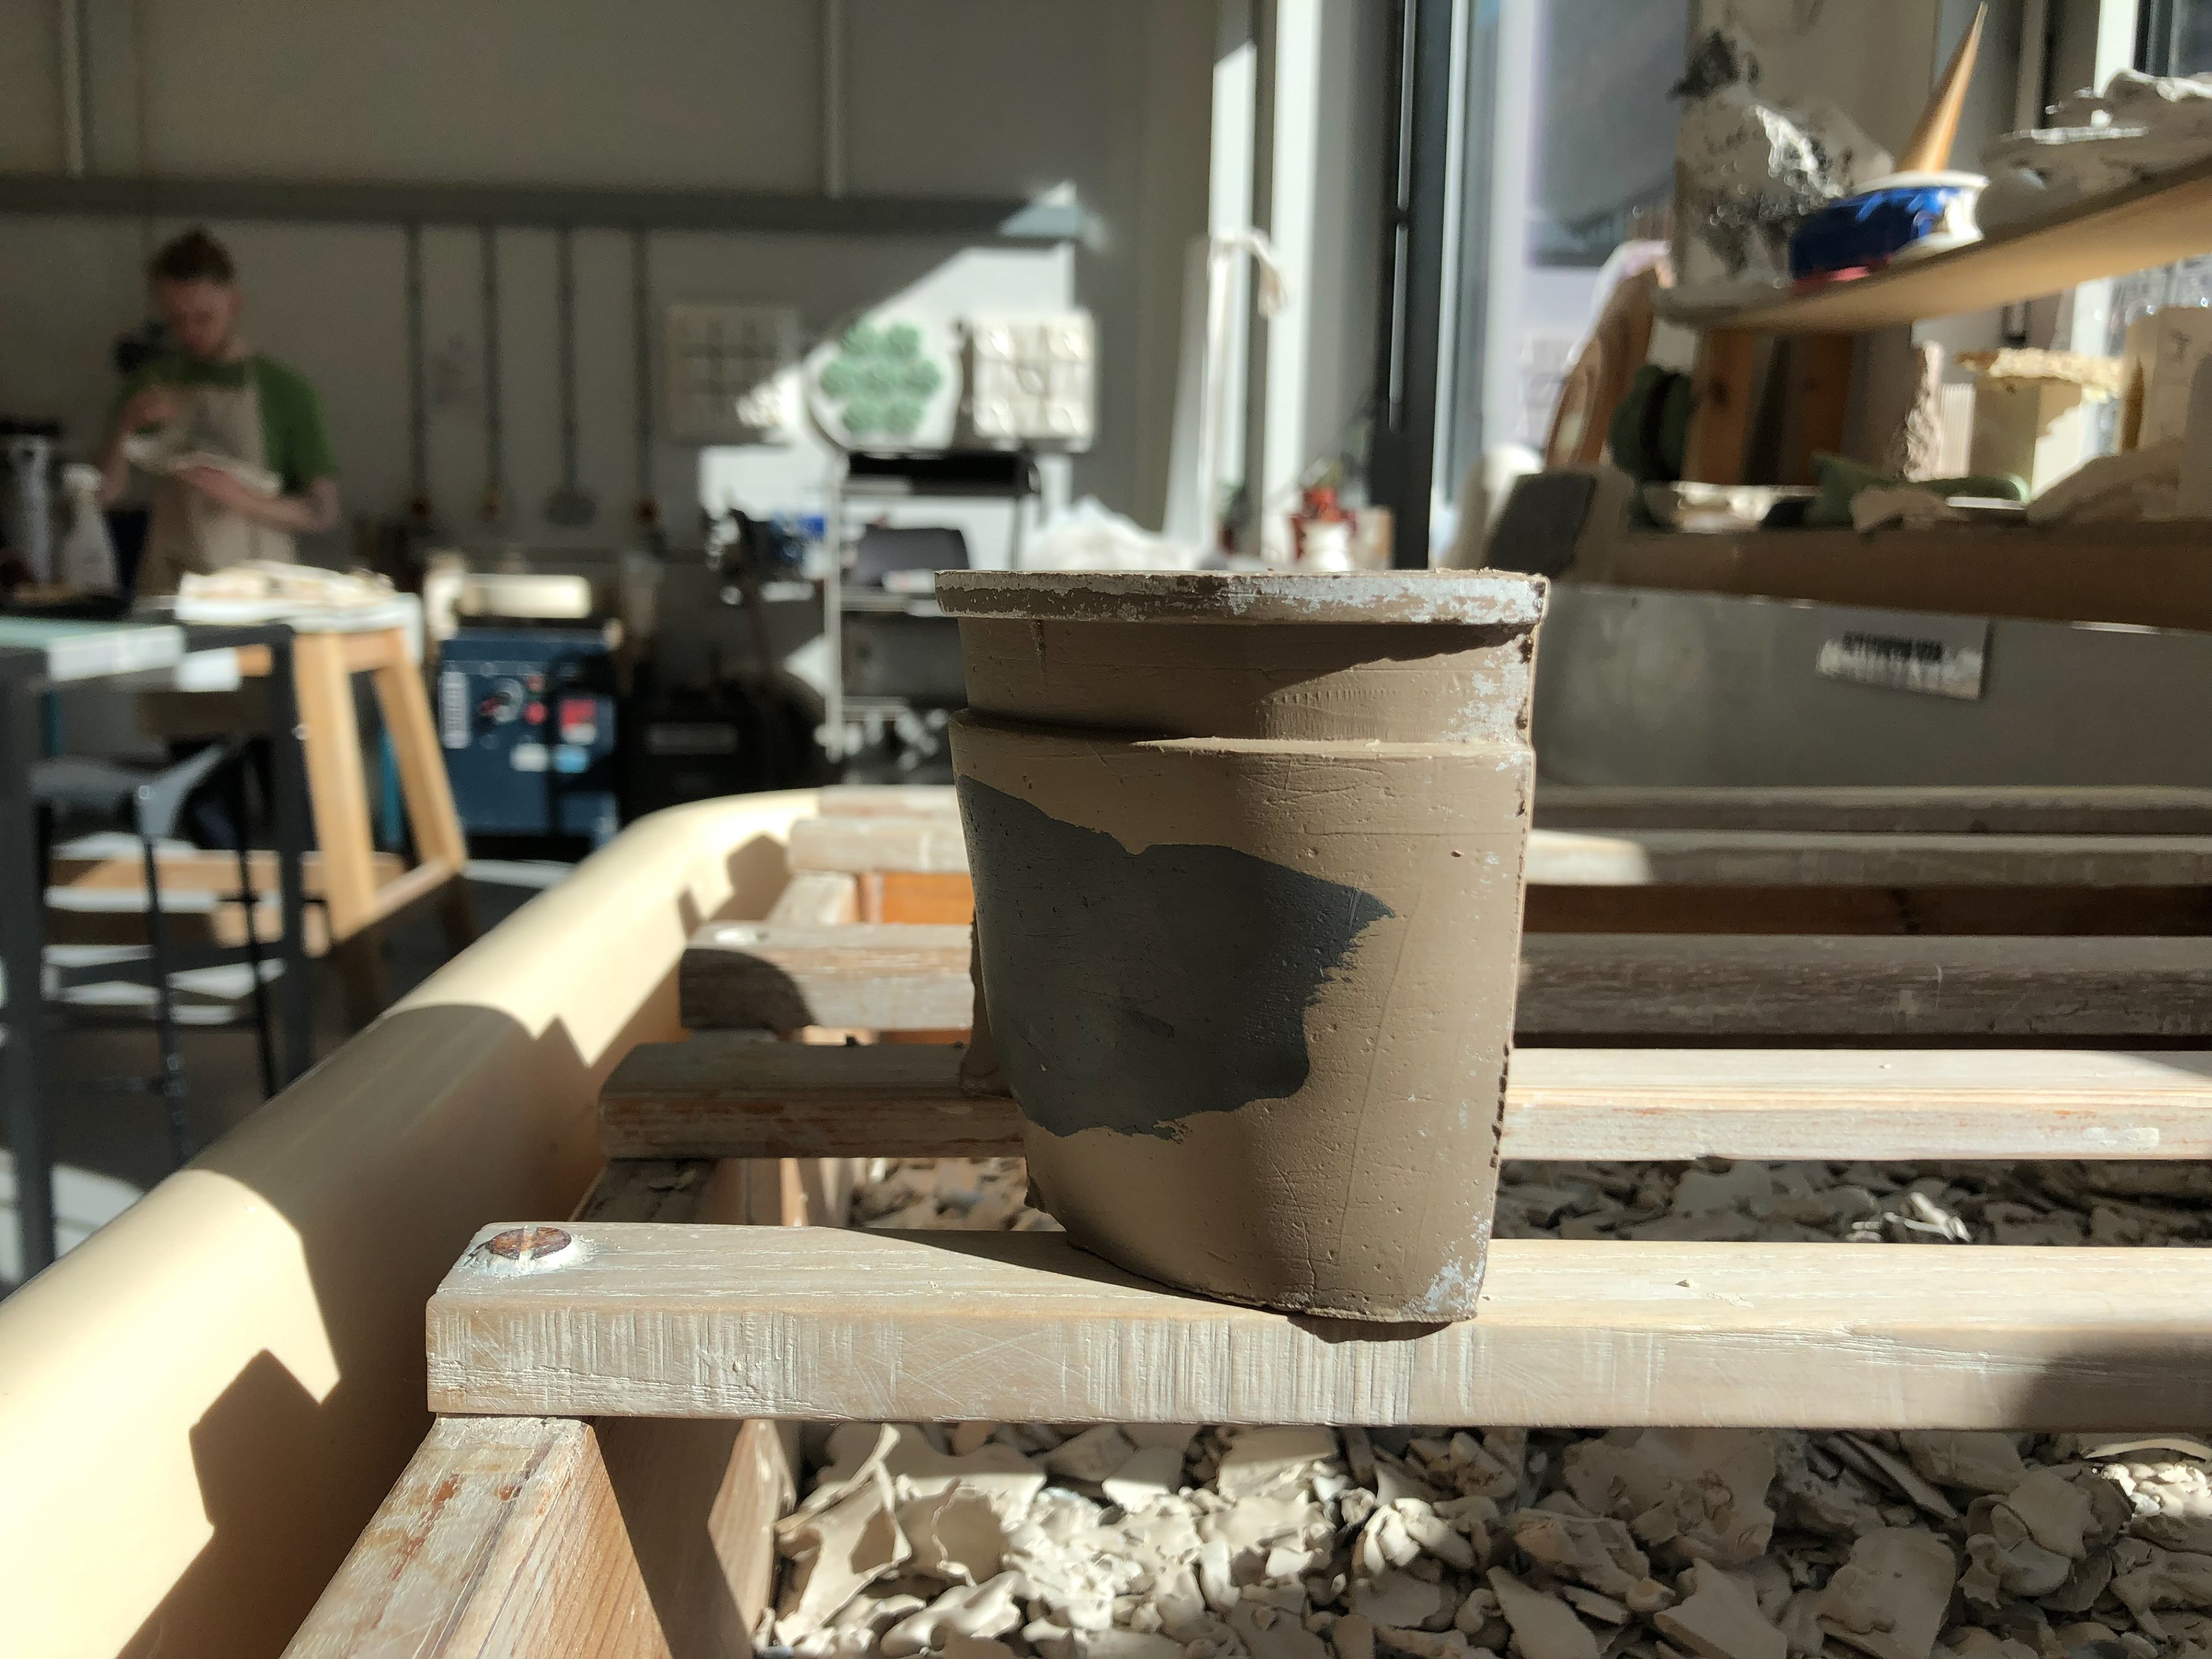
Another side view.

Bottom view
View from the top.
After a clear glaze and firing.
After a clear glaze and firing.
Tower from Aluminium mould
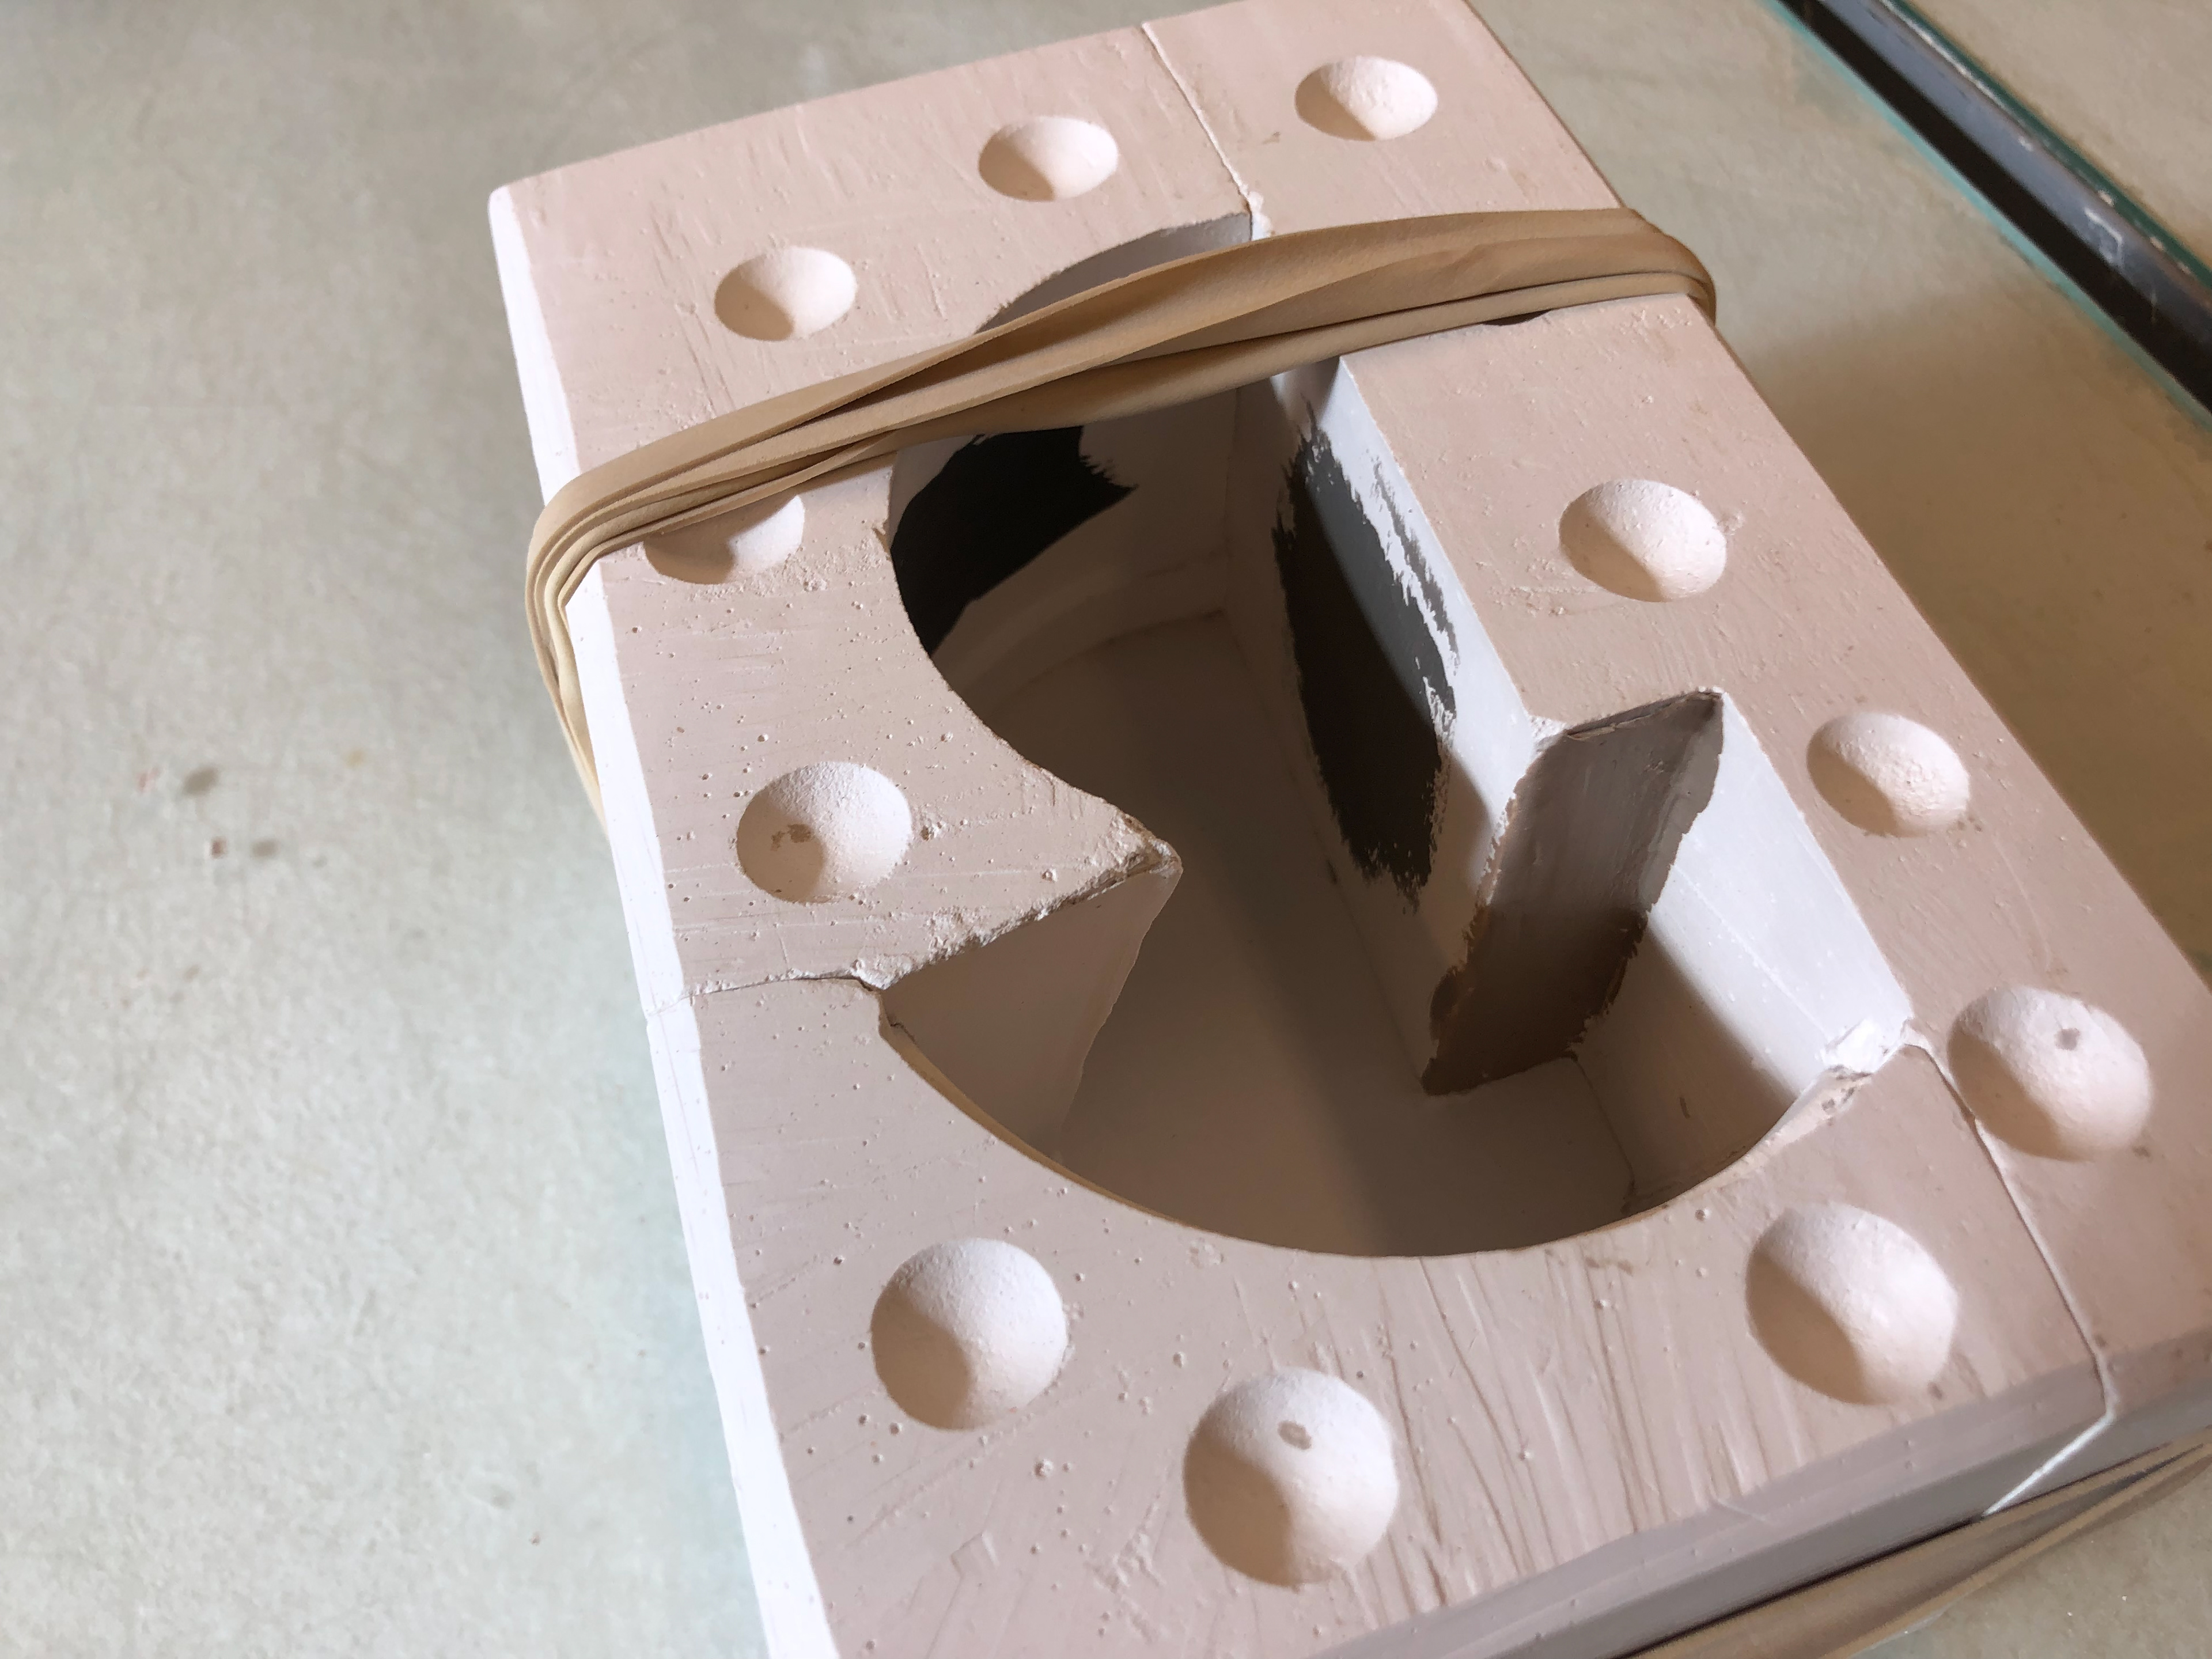
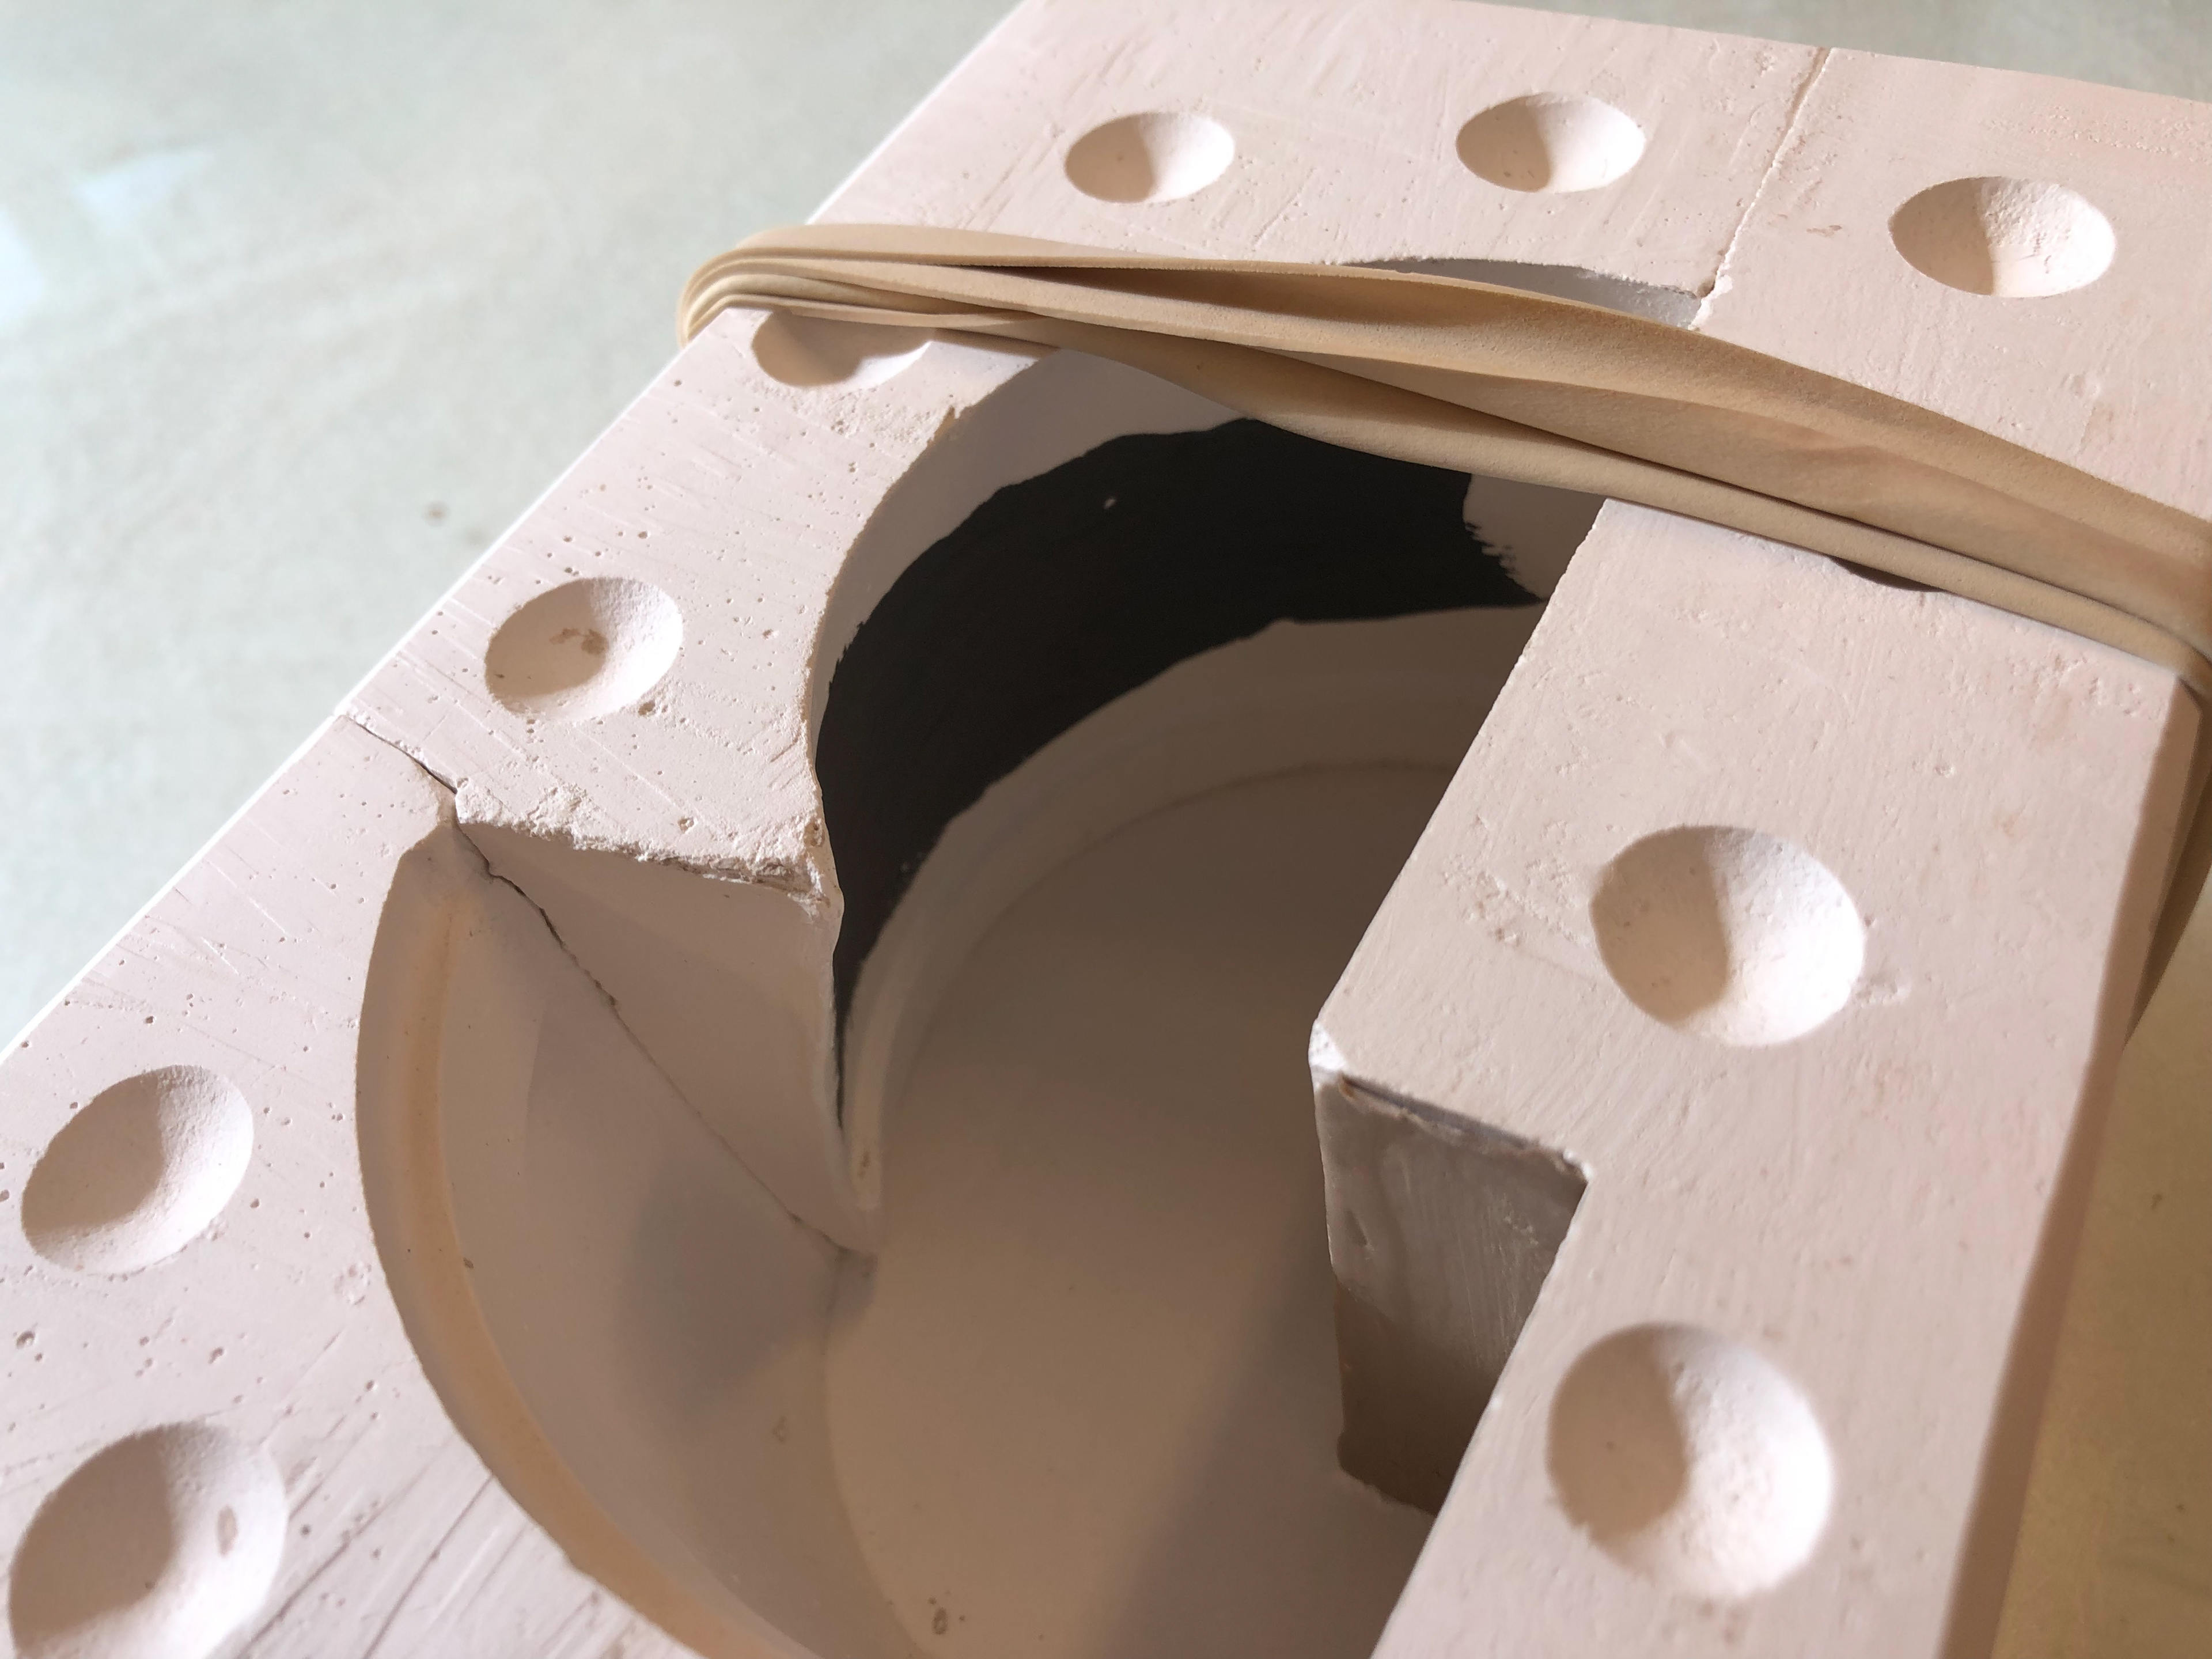
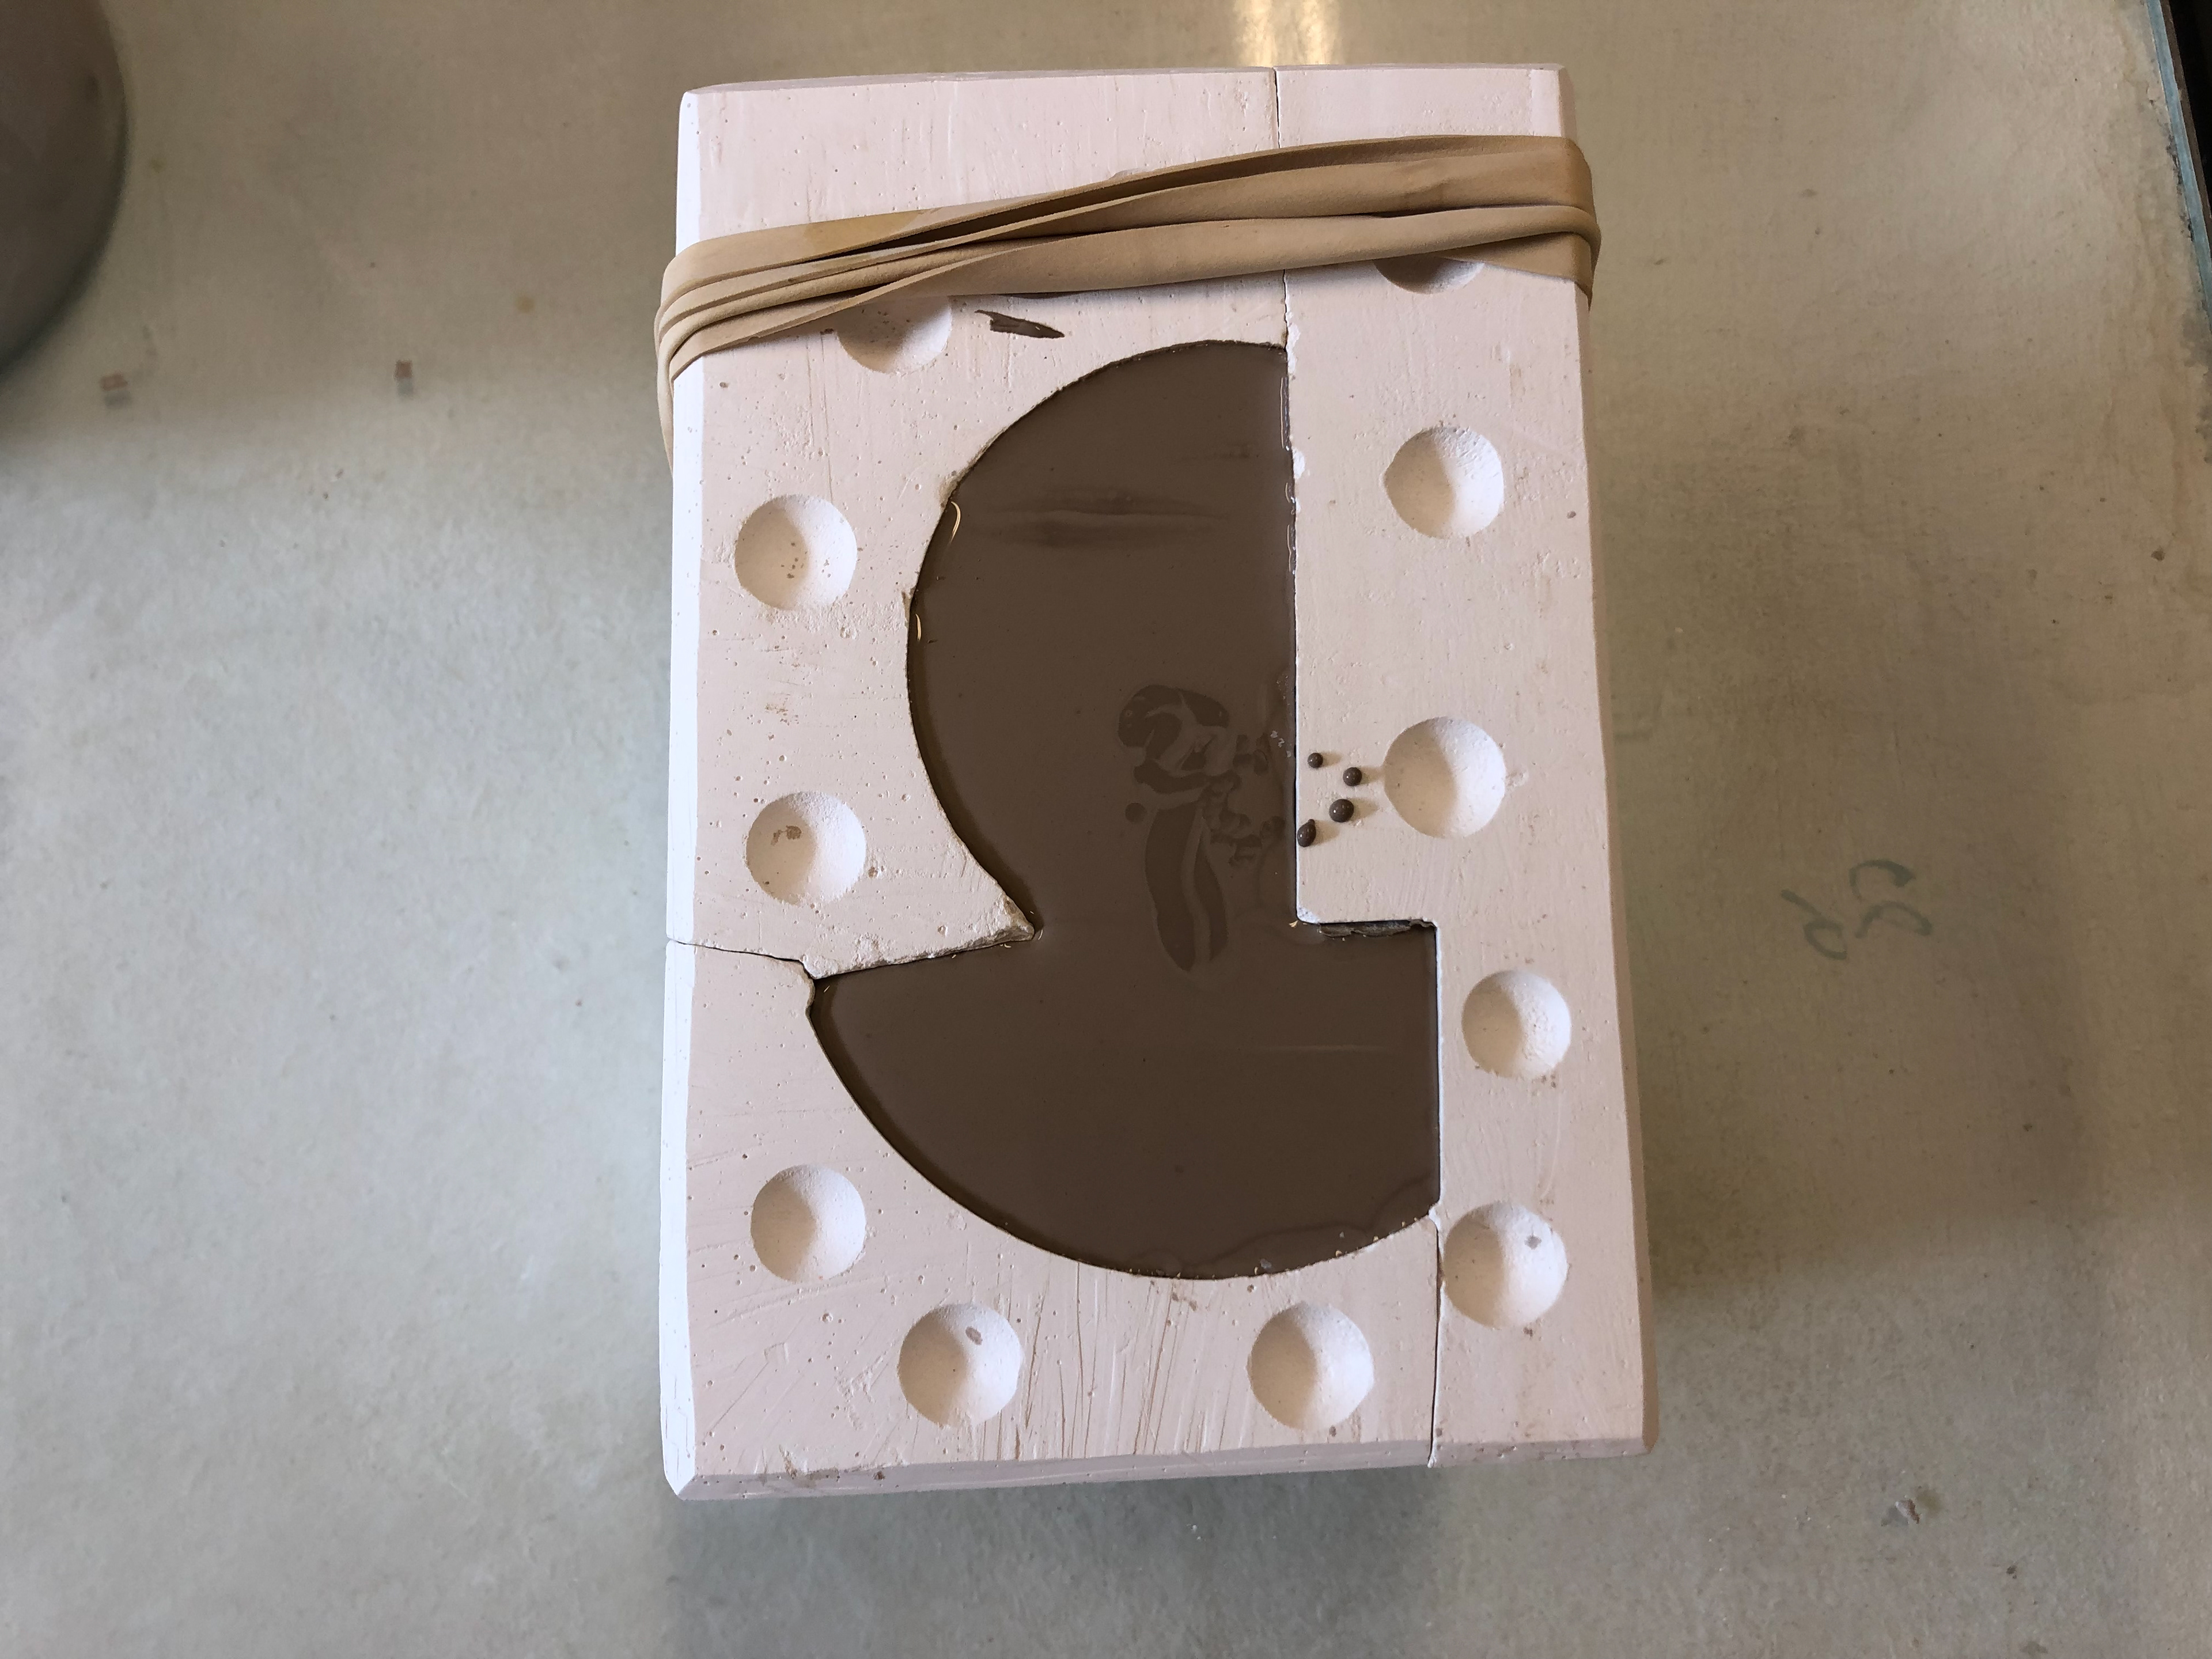
I used the Aluminium I bent at NOMA as a cottle and poured plaster into it. I then created a clay mould around the set plaster for another pour to make a tower. The tower was then cut down and each piecer was reused to make a spiral tower.
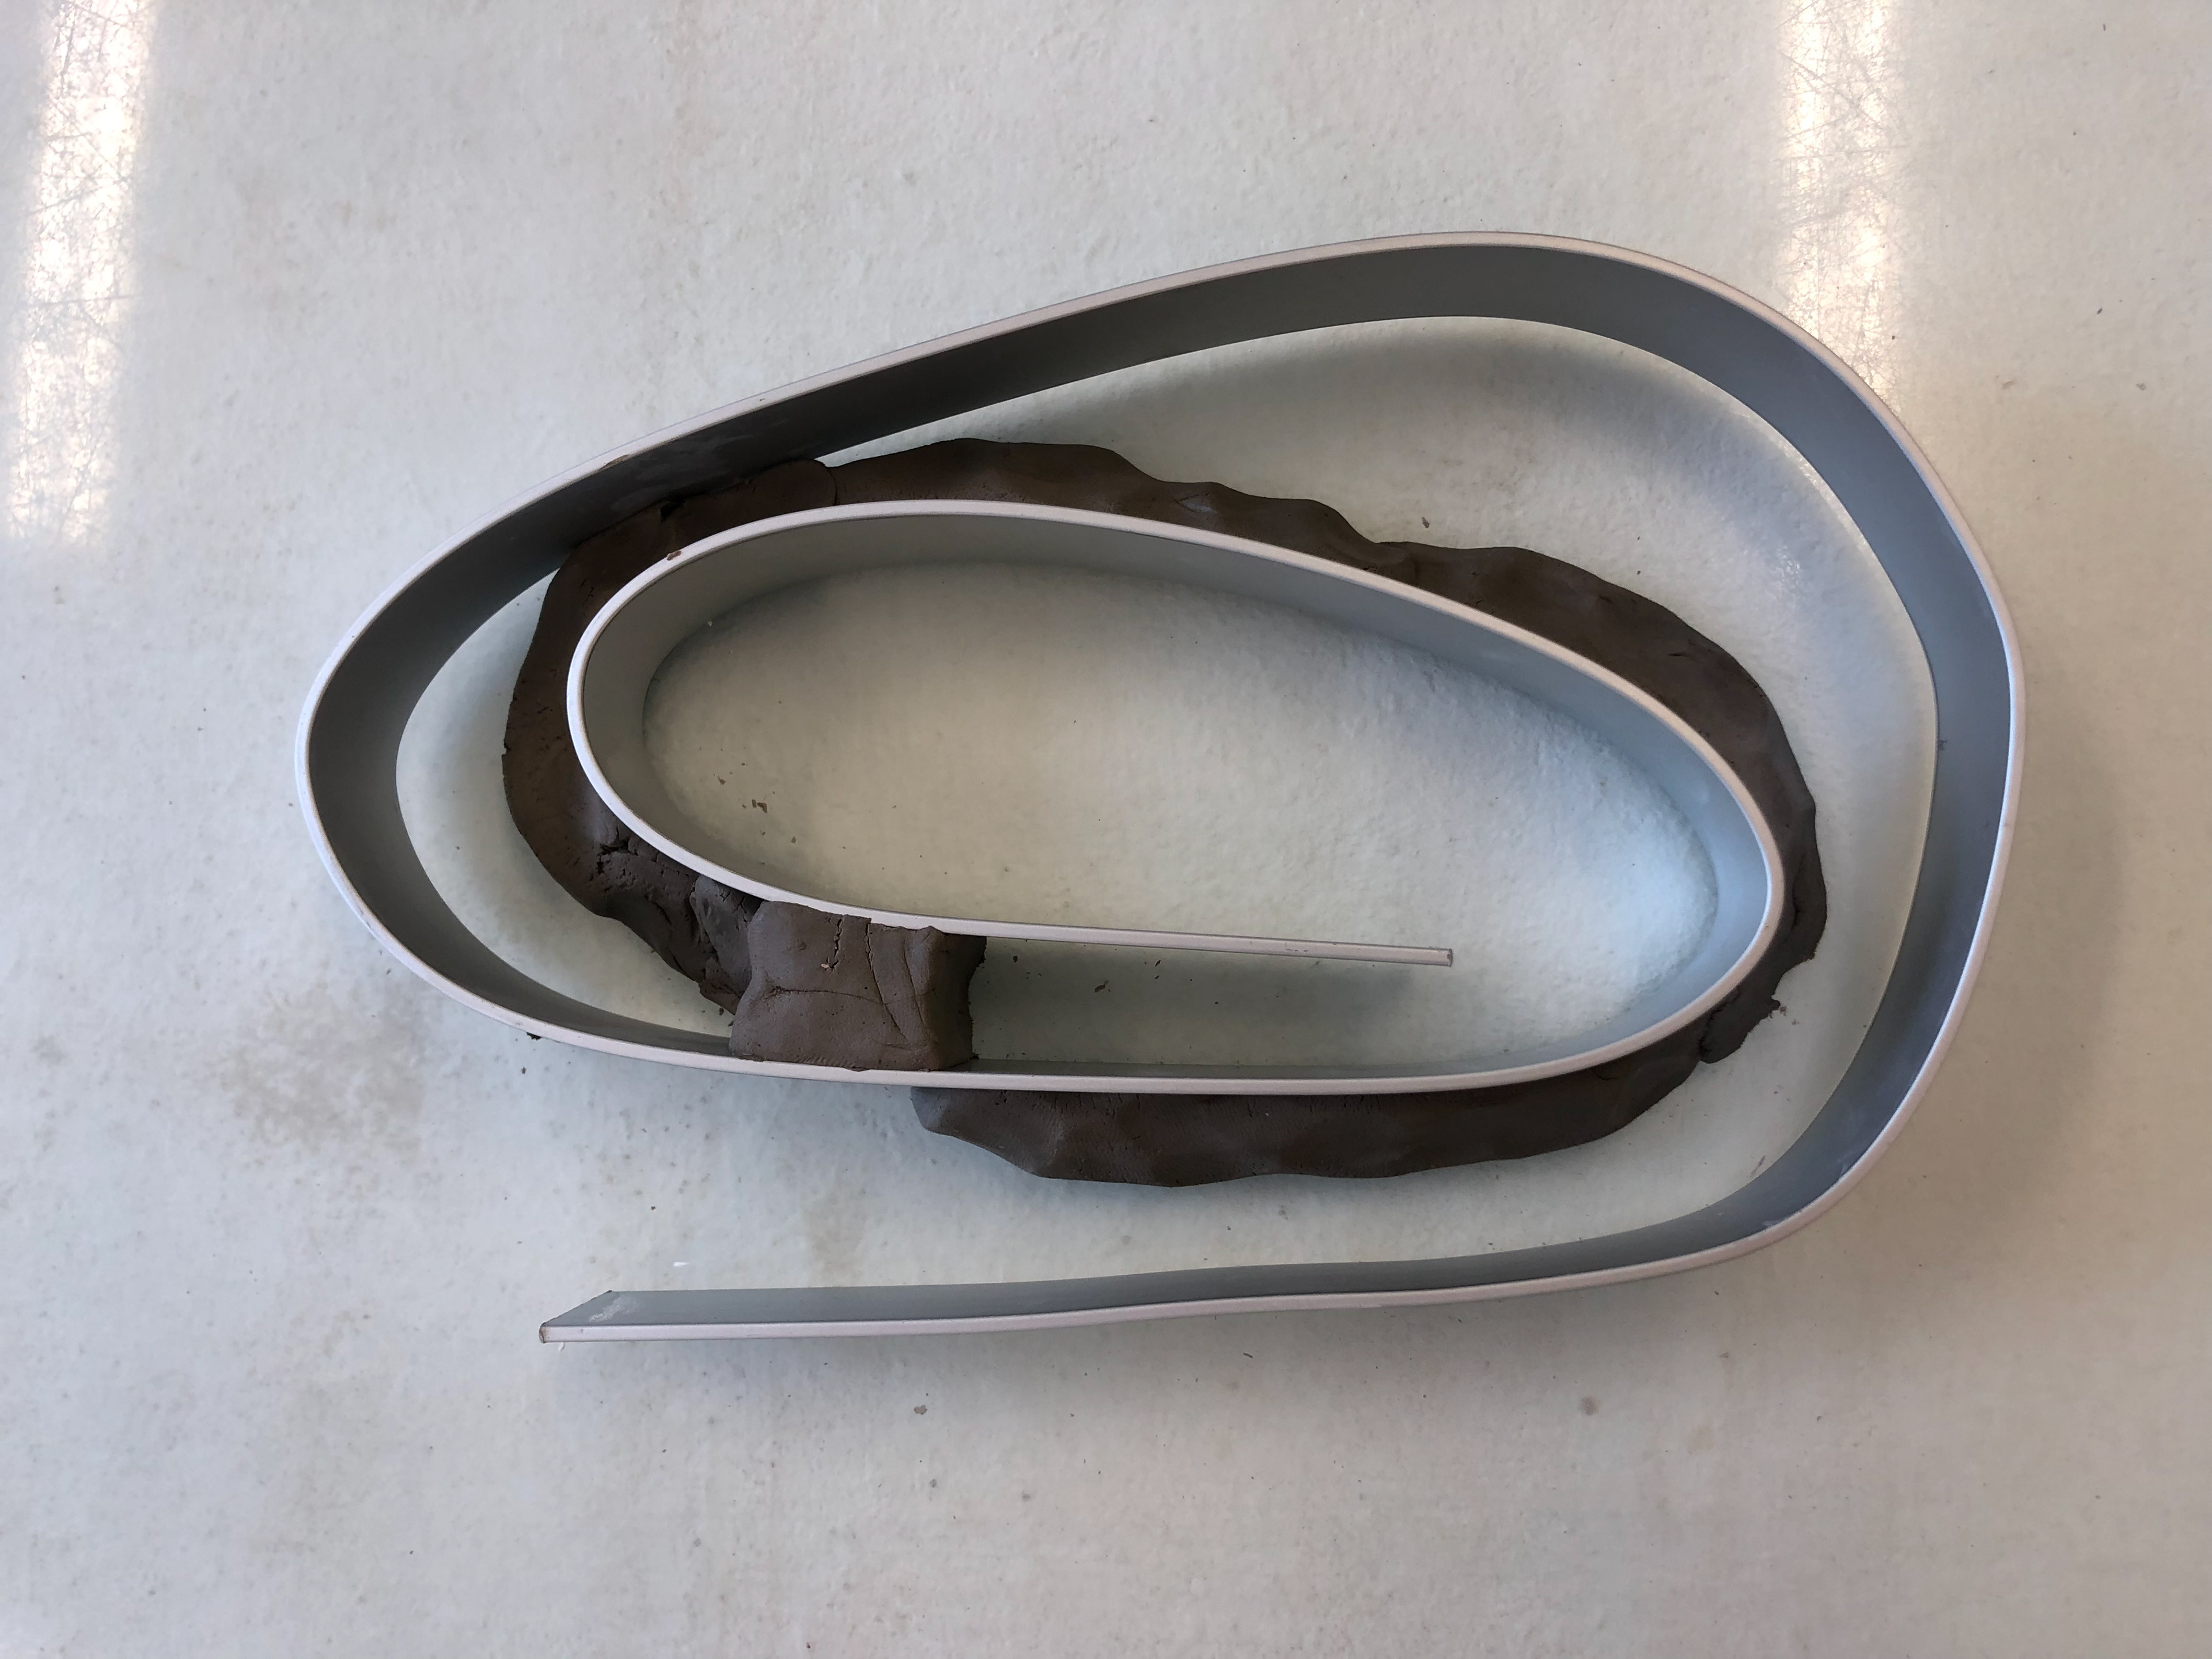
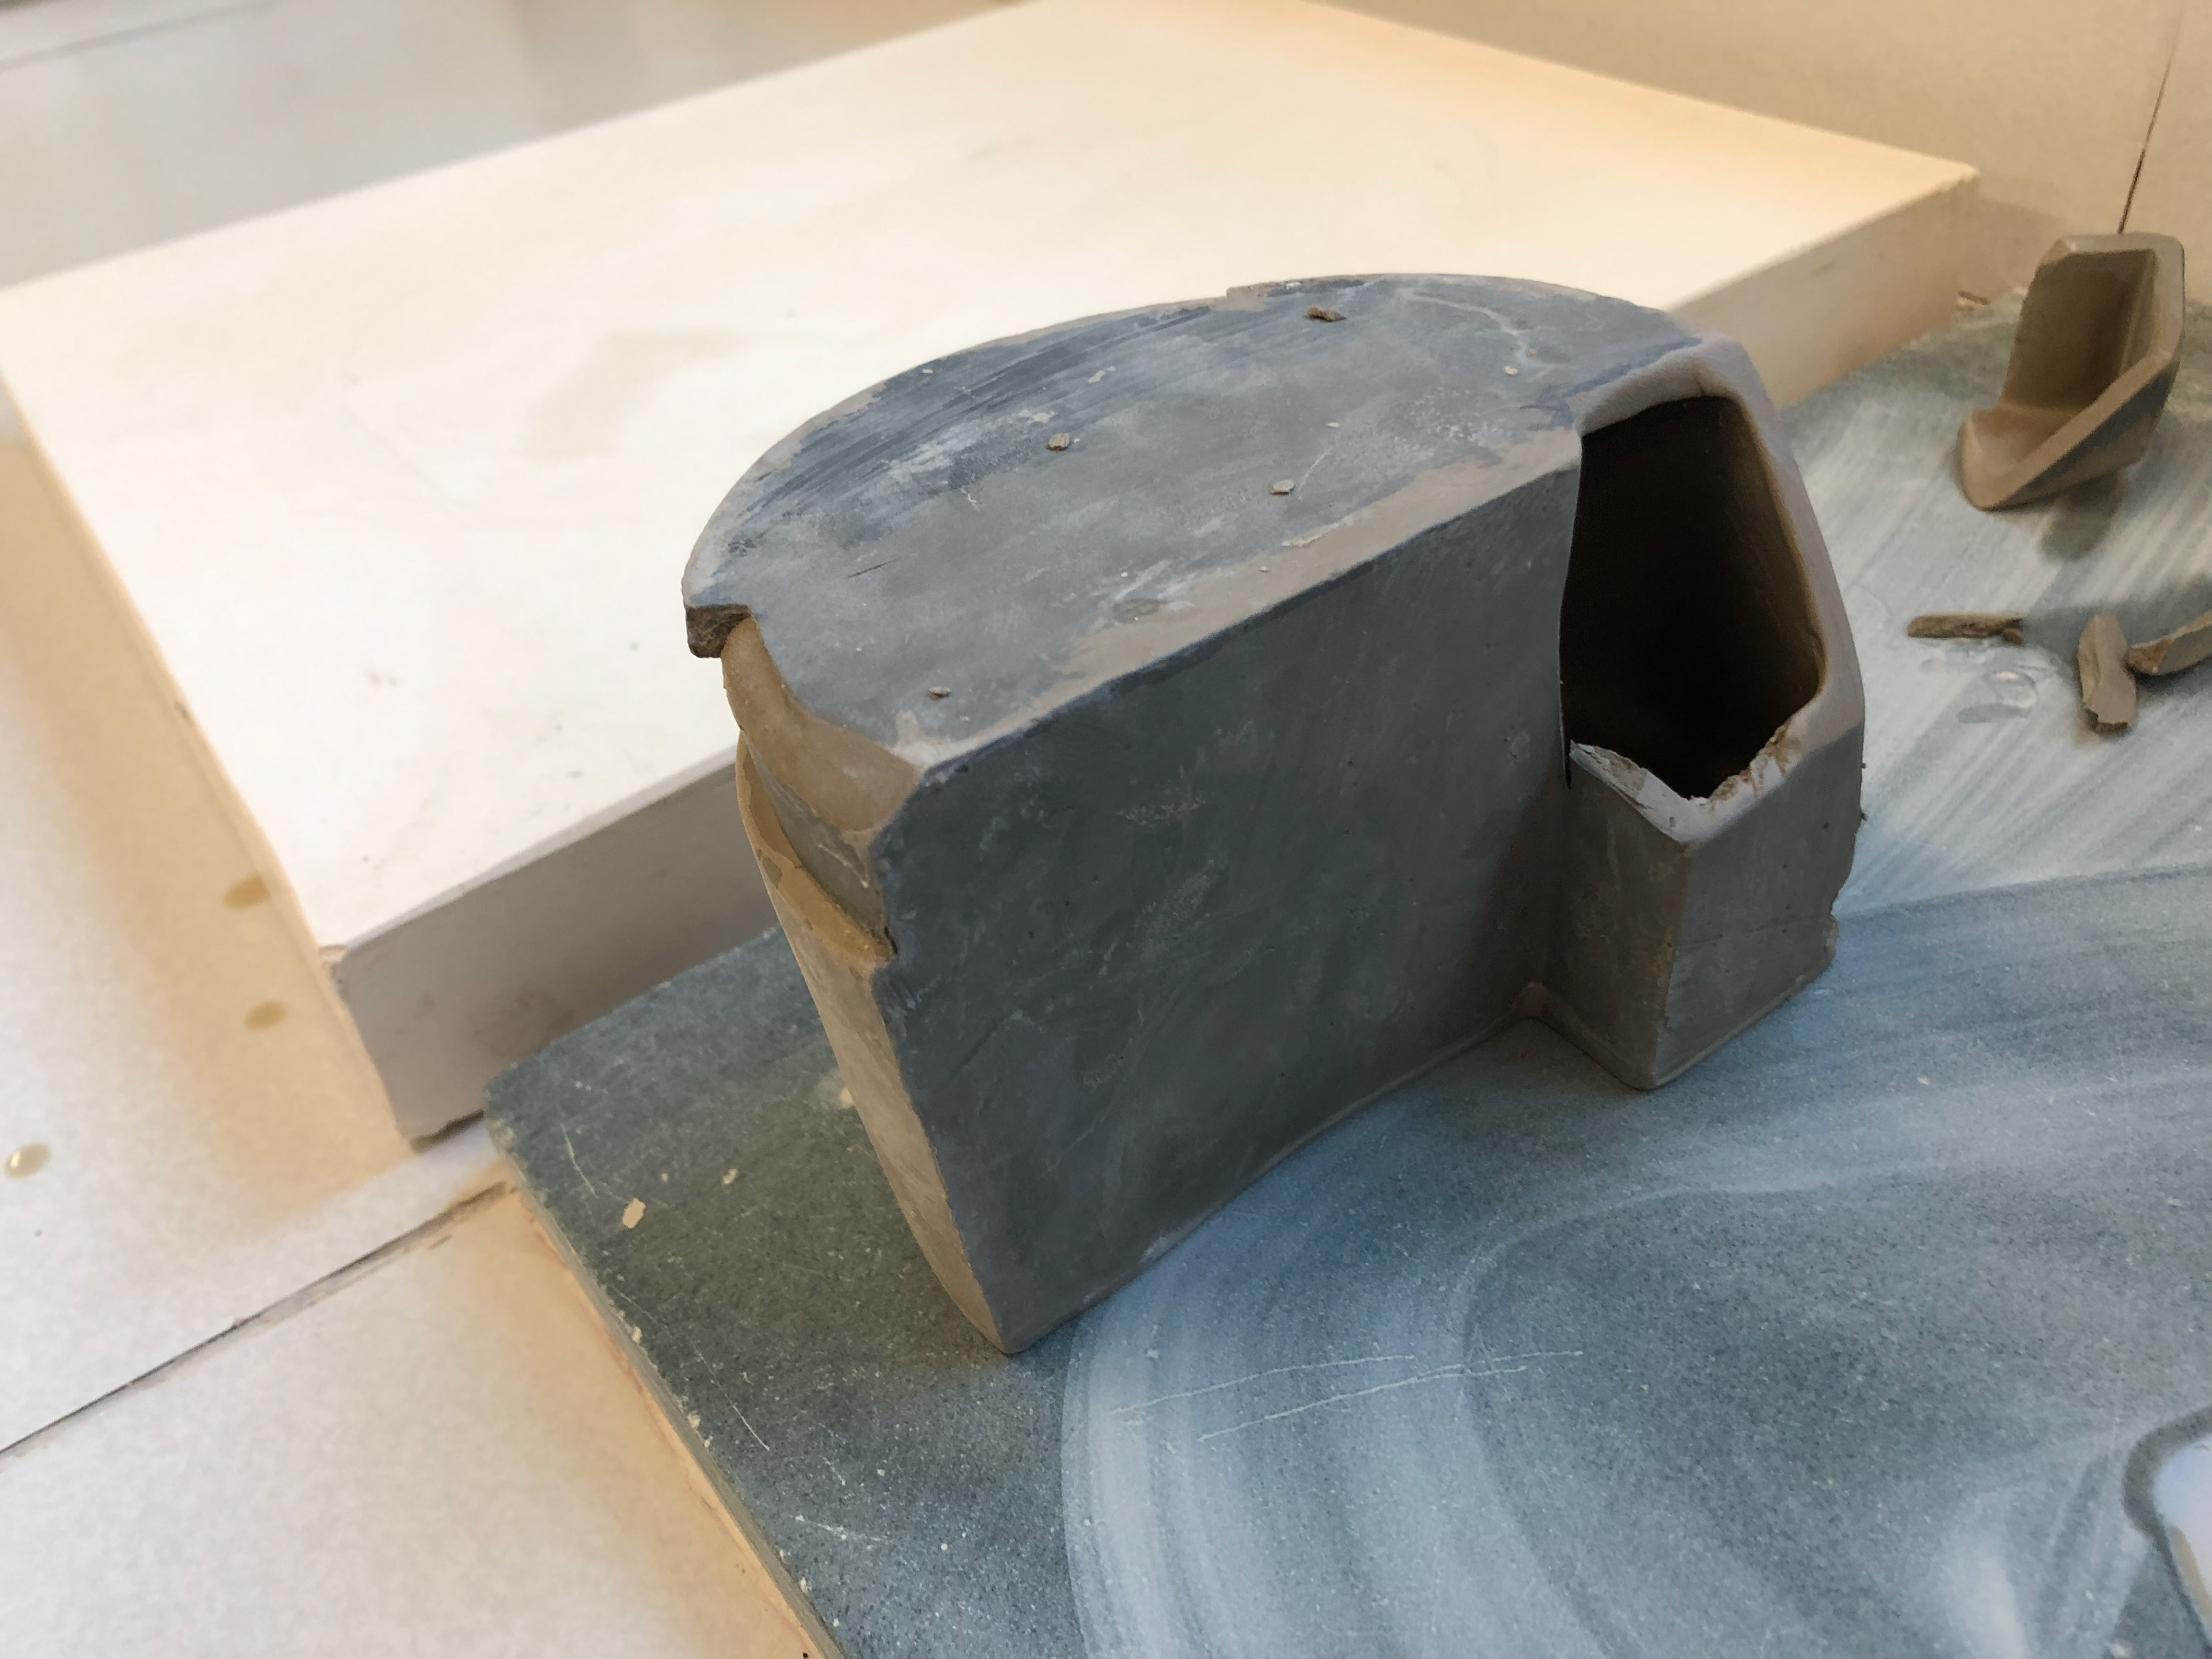
Cottle.
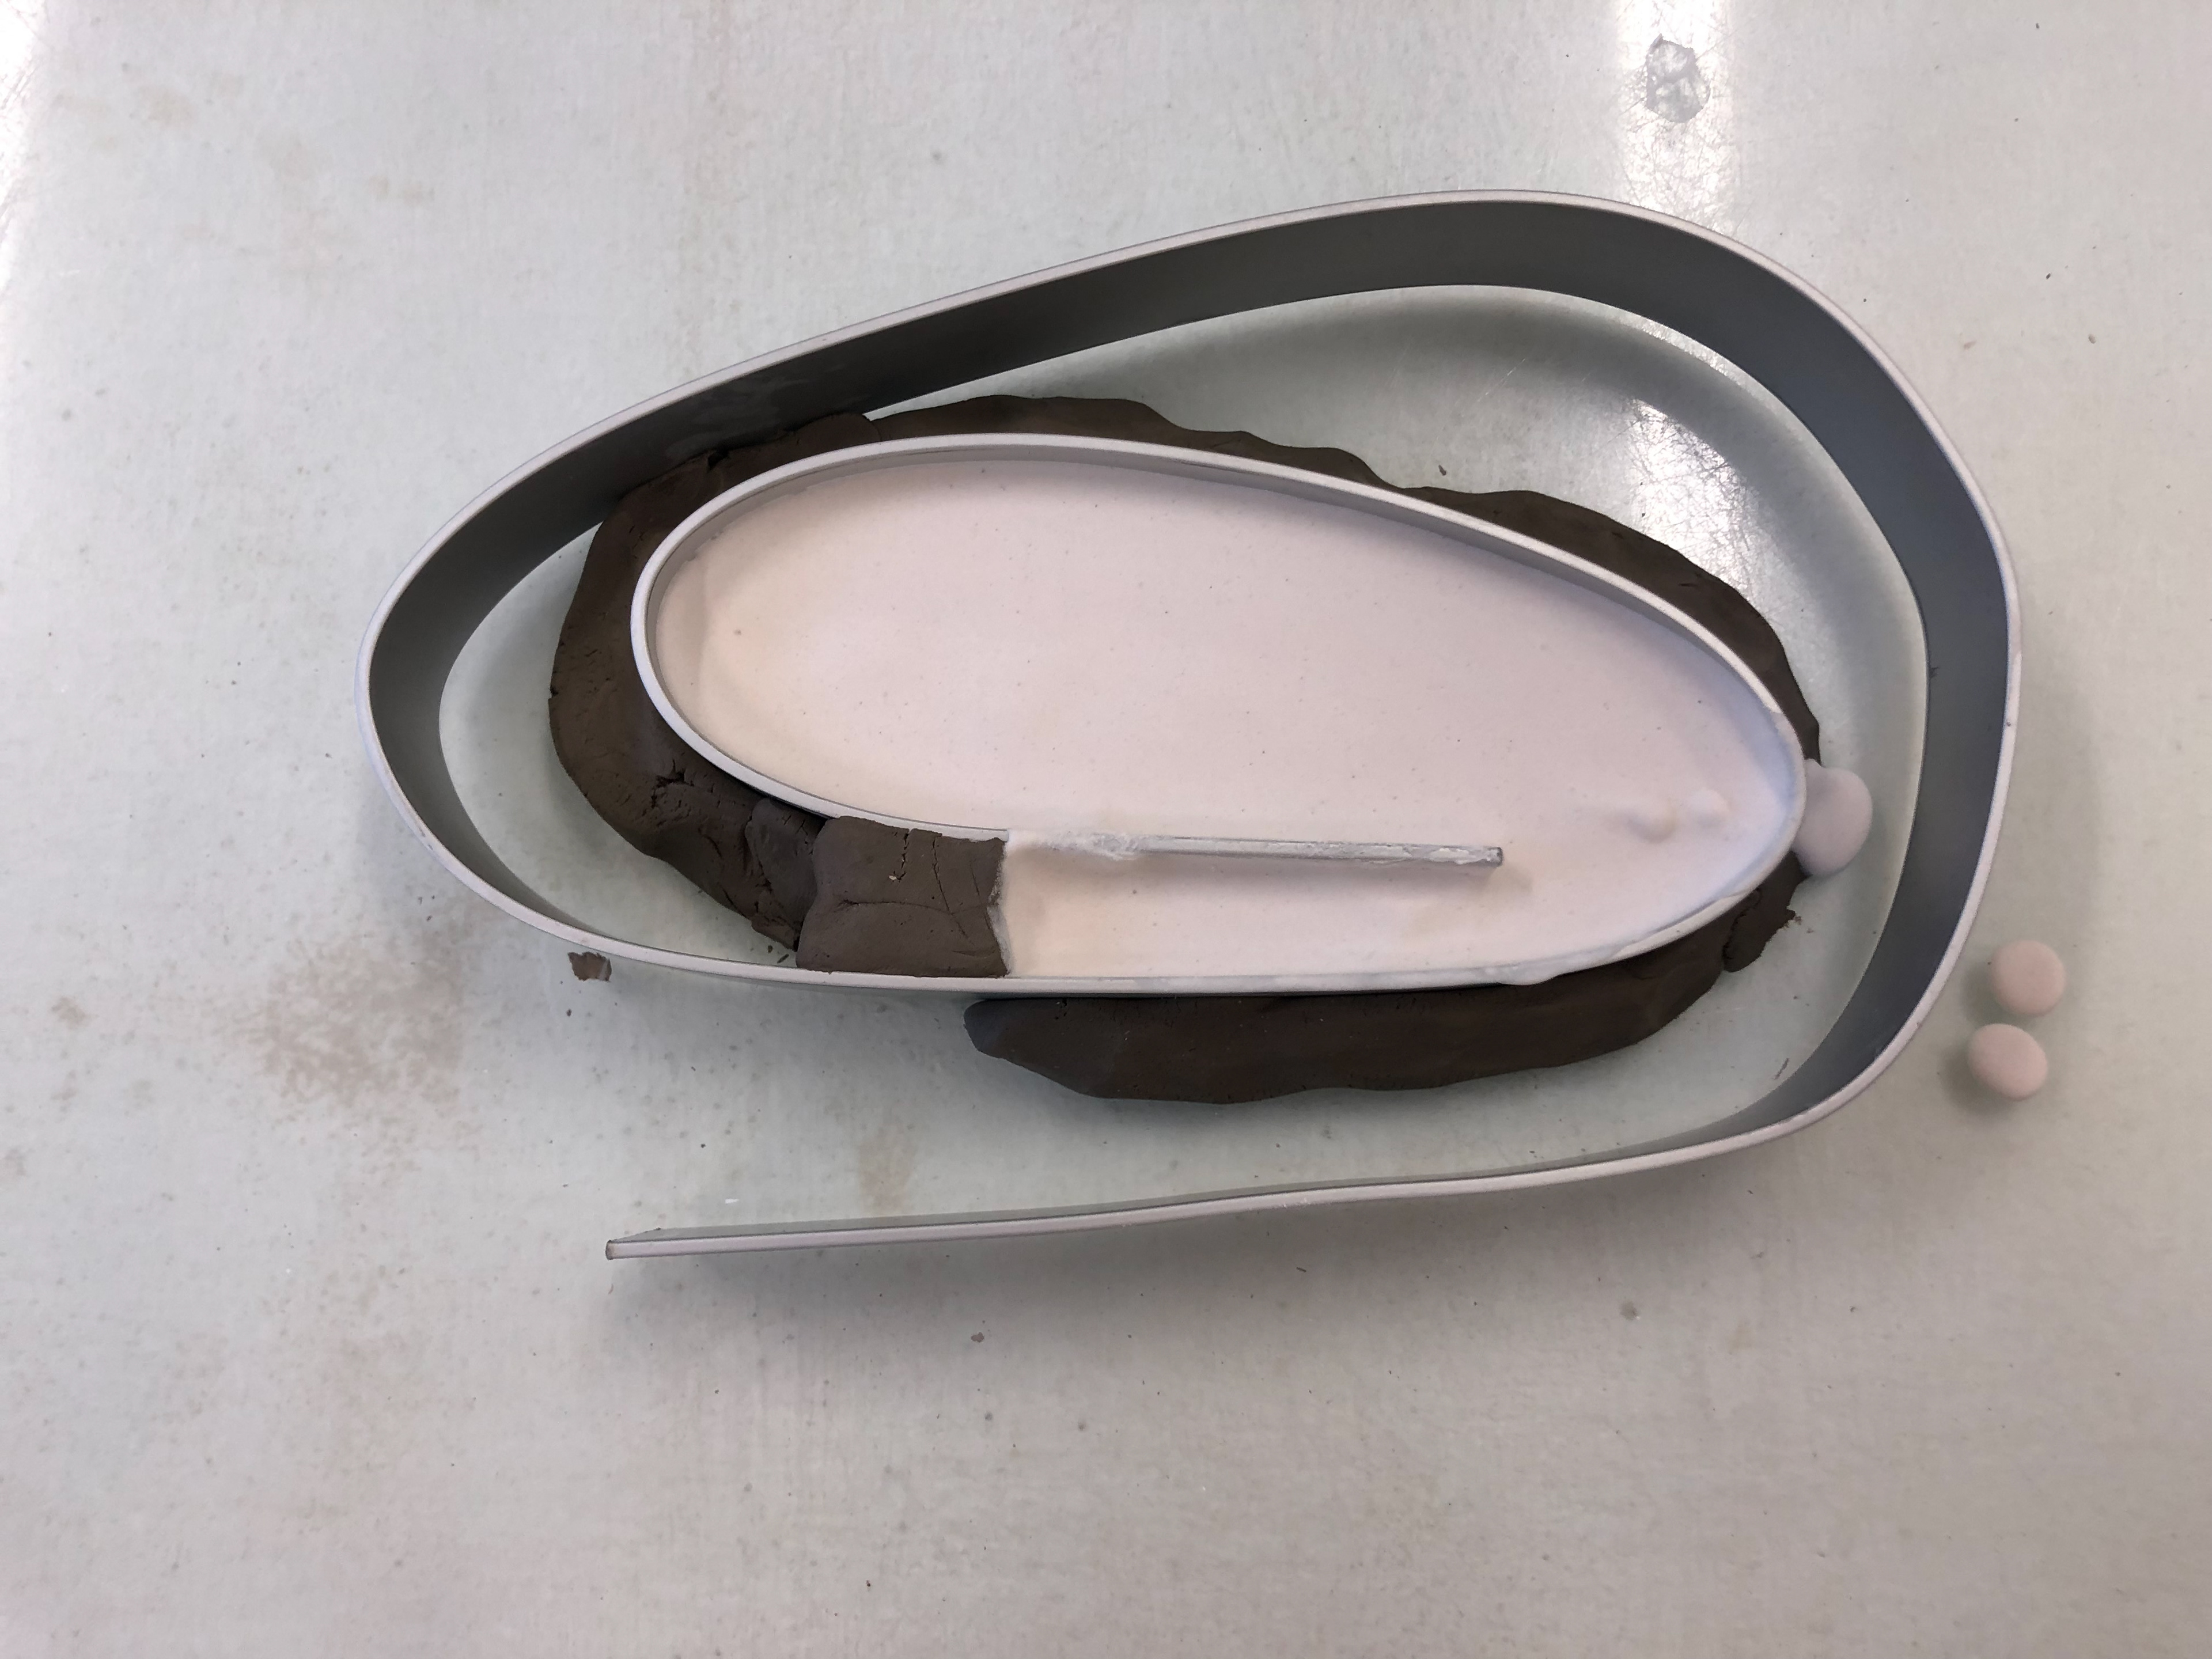
Plaster poured.
The little leg of the plaster cracked off.
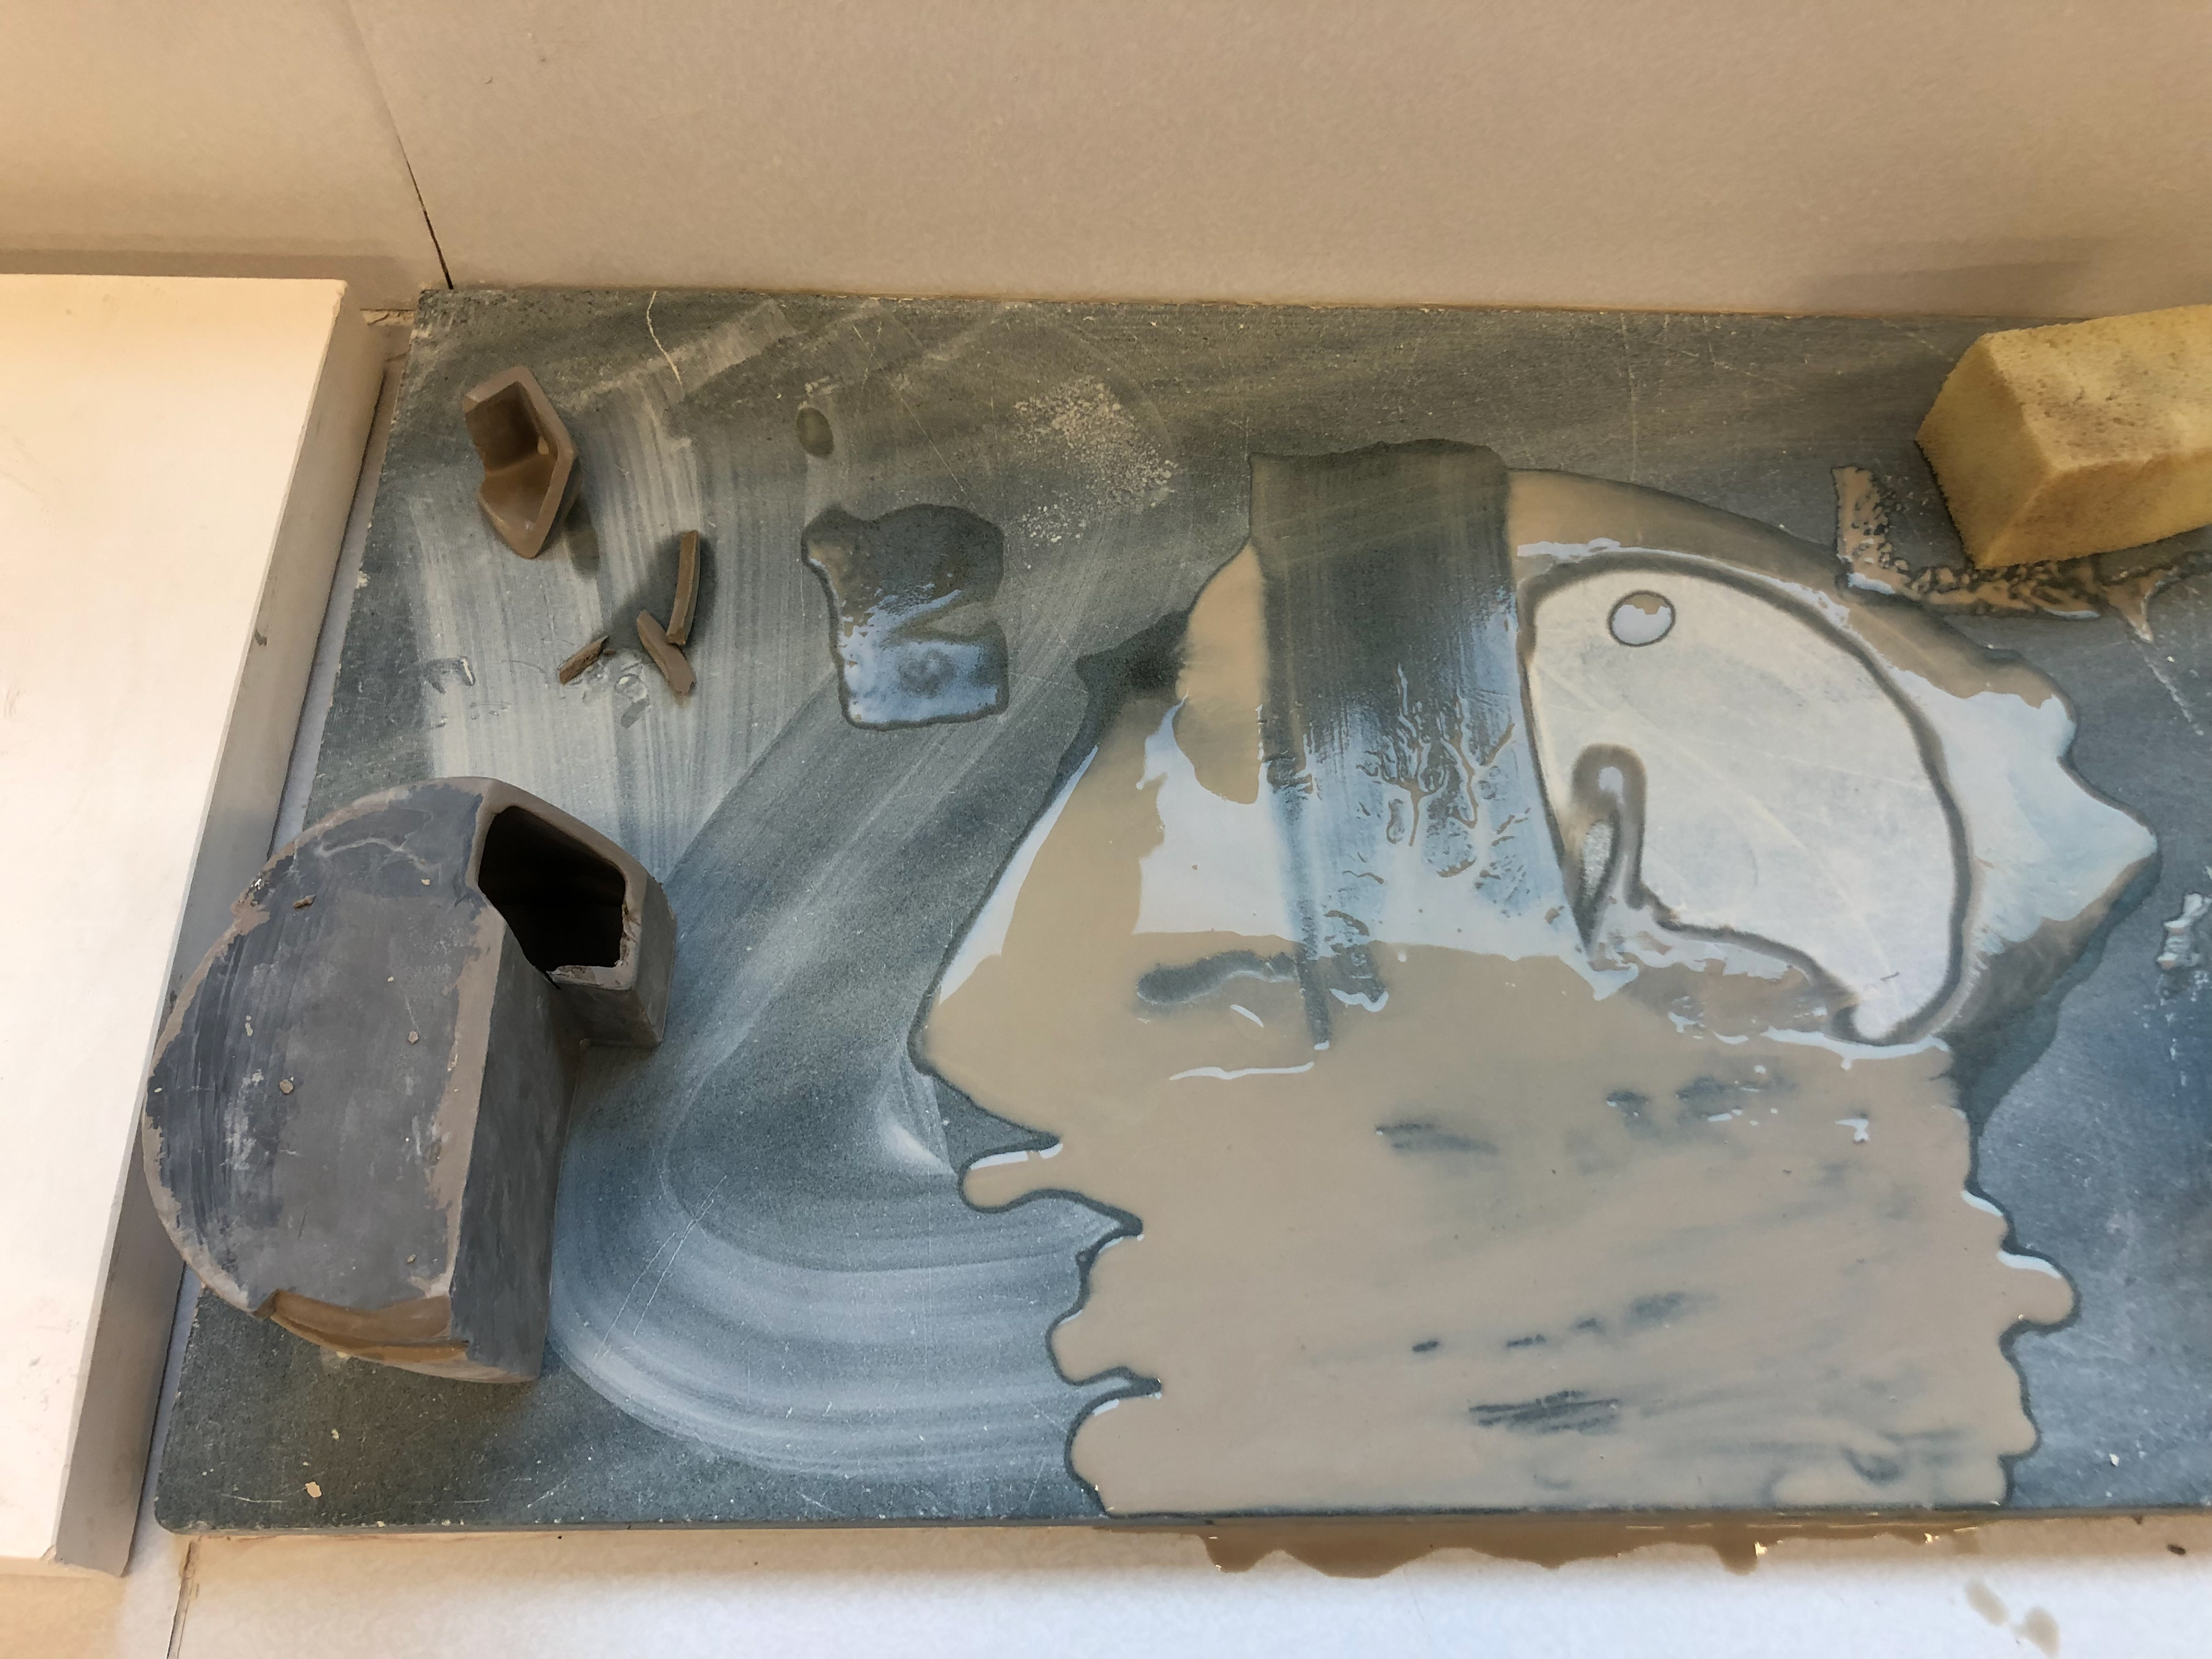
The plaster piece.
Clay mould with soft soaped plaster design.

Manipulation of the clay whilst the plaster sets.
Set plaster tower.
Plan view of tower.
Base view of tower.
Initial piece and tower.
Tower cut down.
Town cuts after grinding and smoothing.
Finished spiral tower.

Finished spiral tower.

Finished spiral tower.
Finished spiral tower.
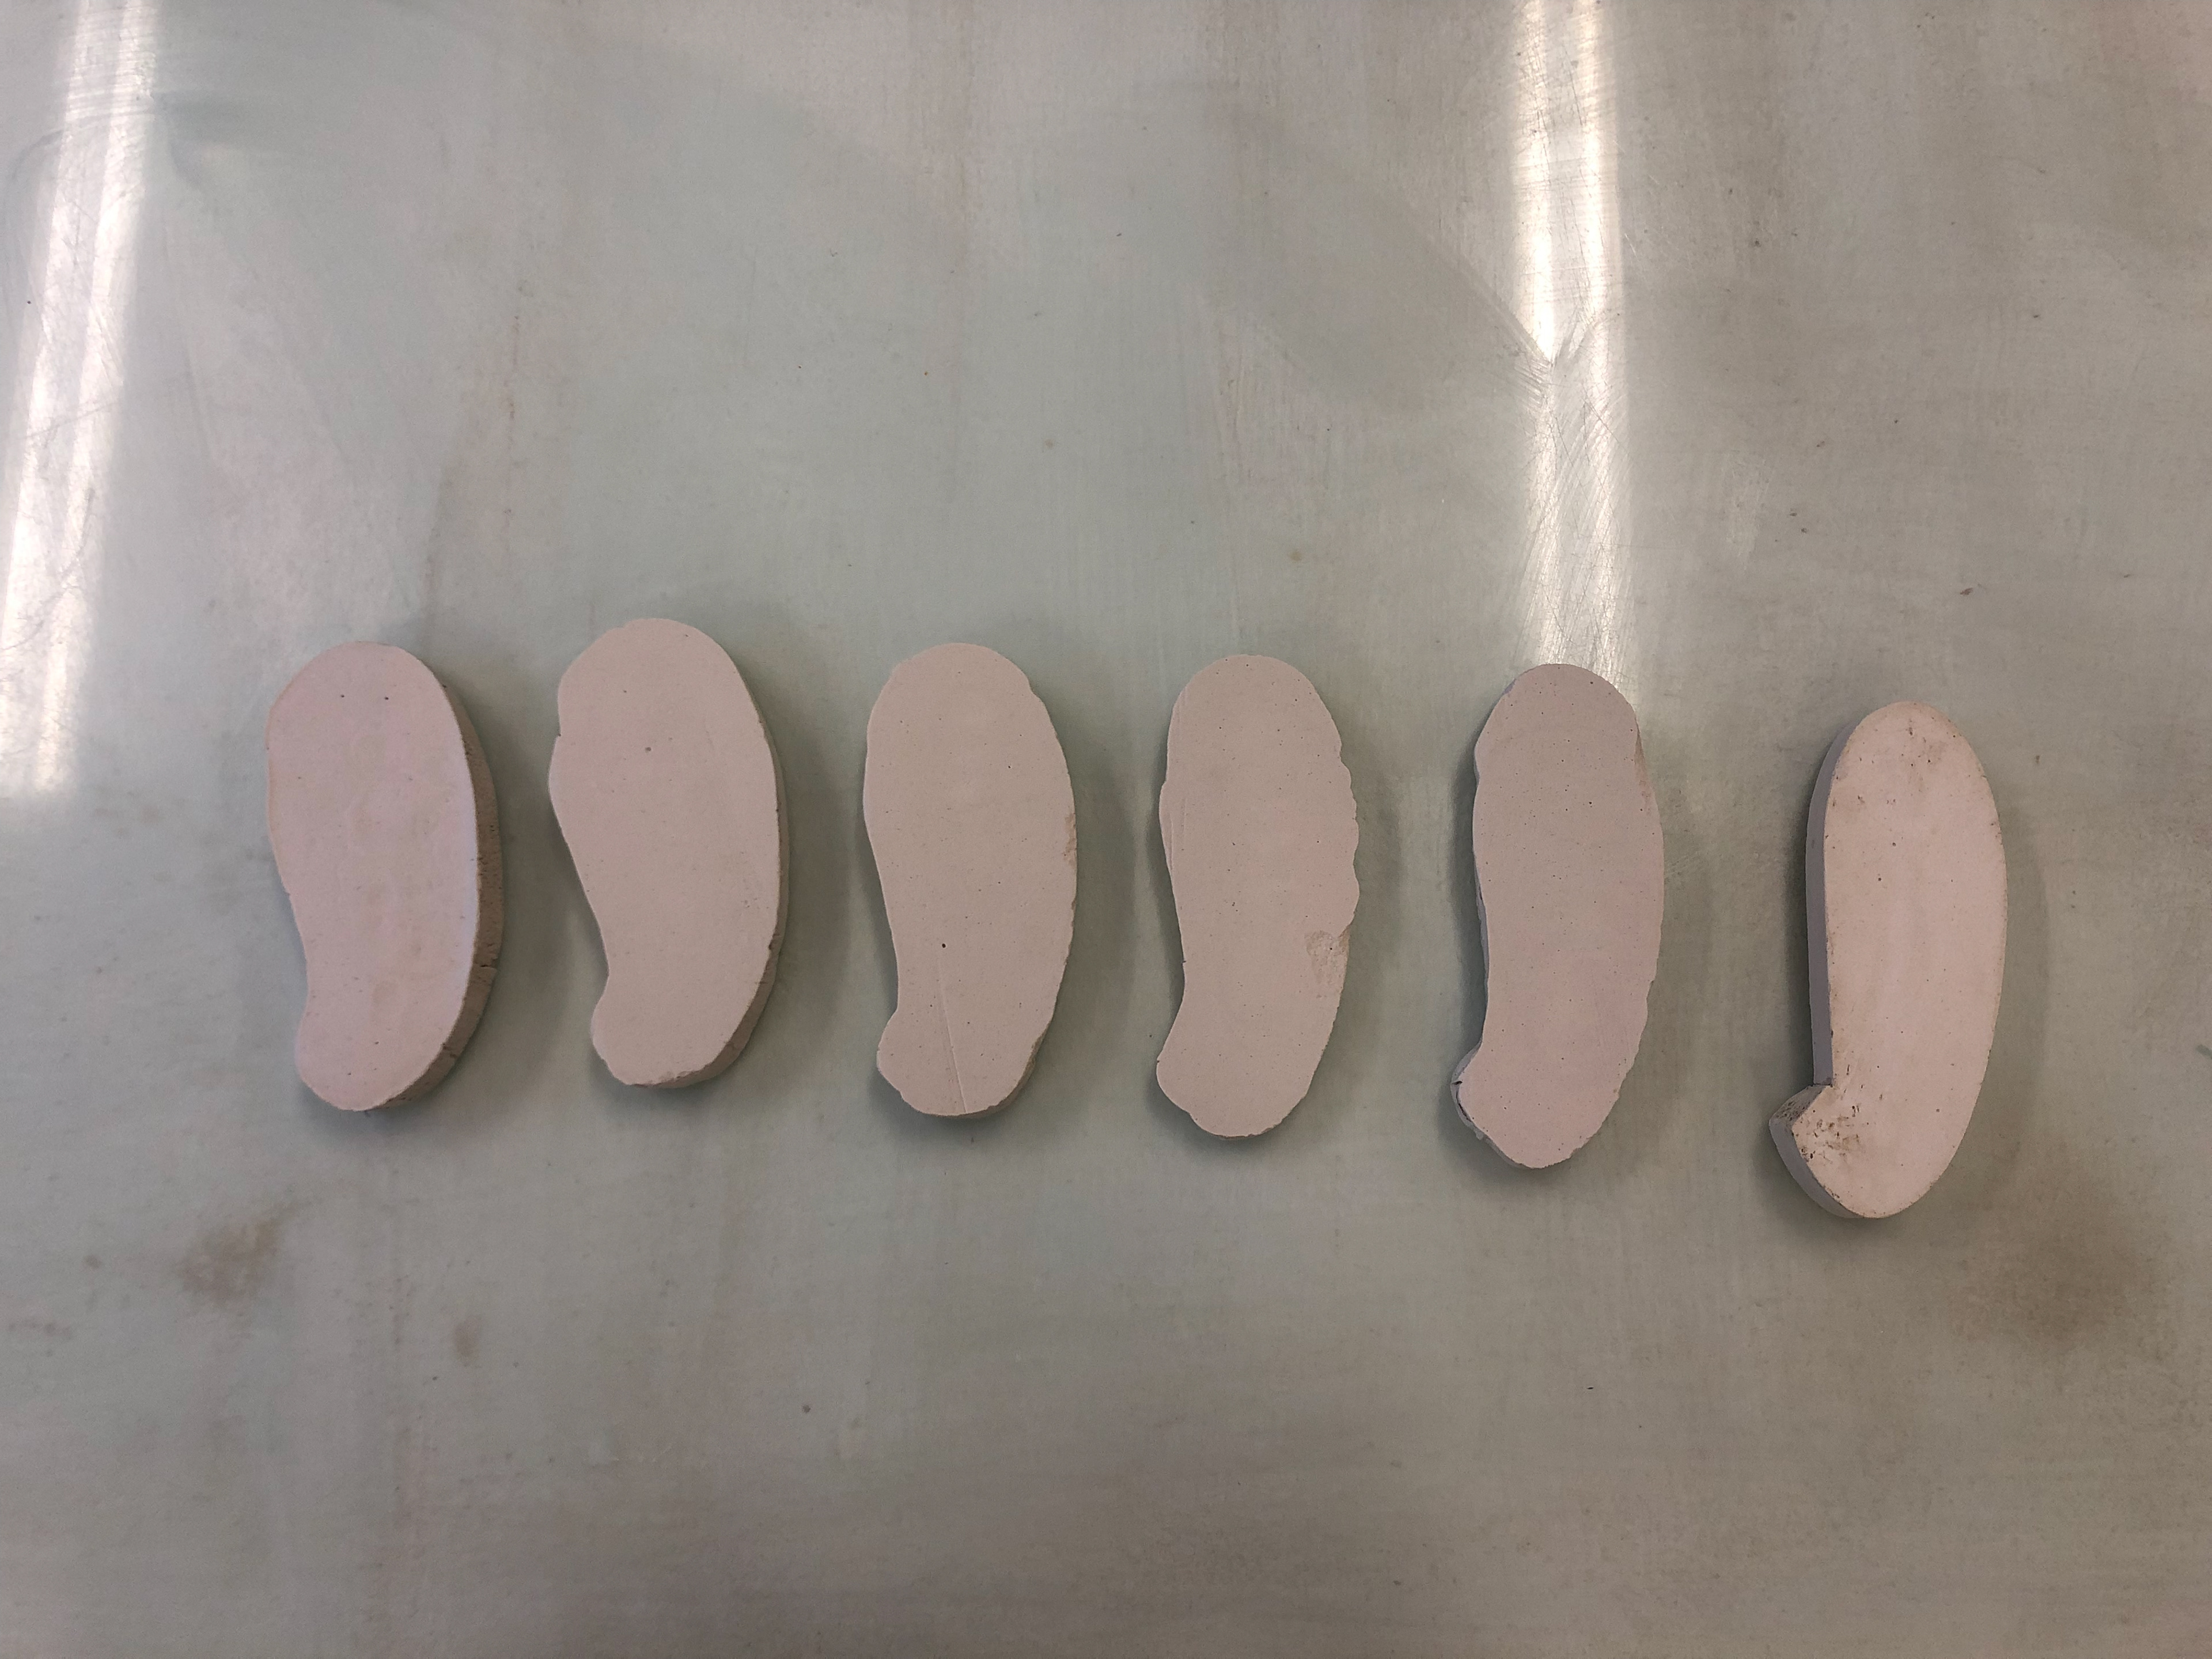
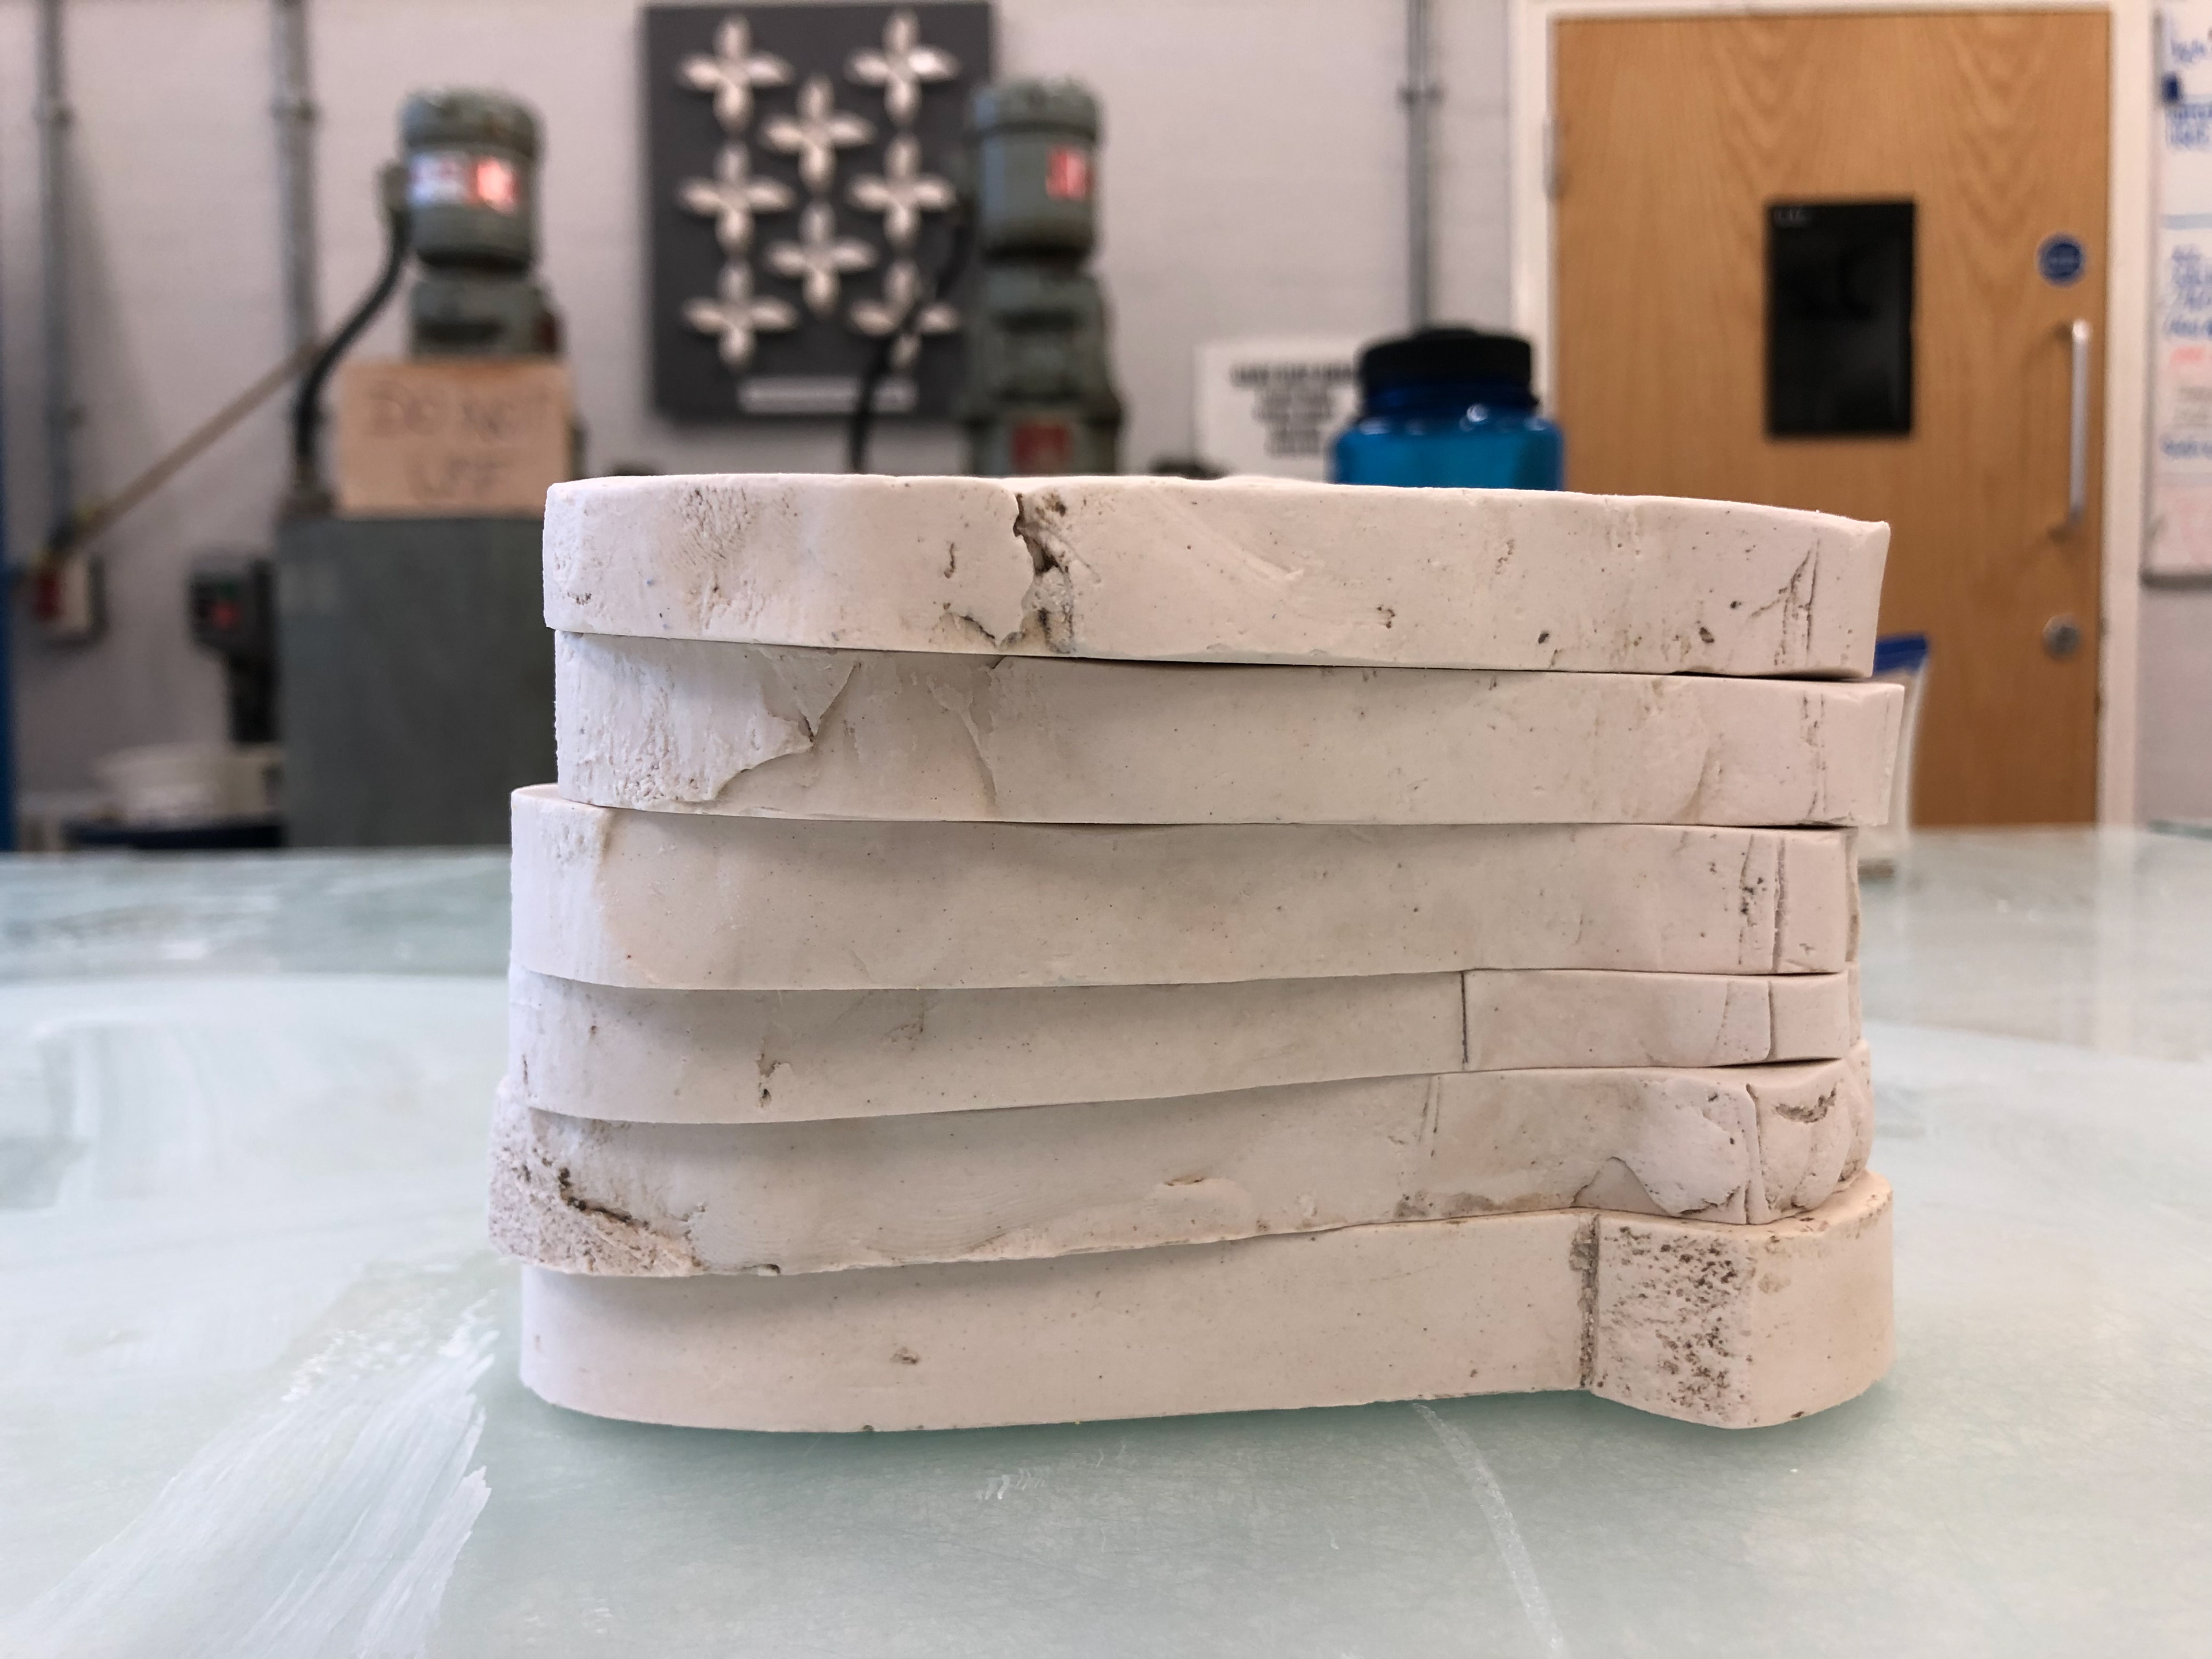
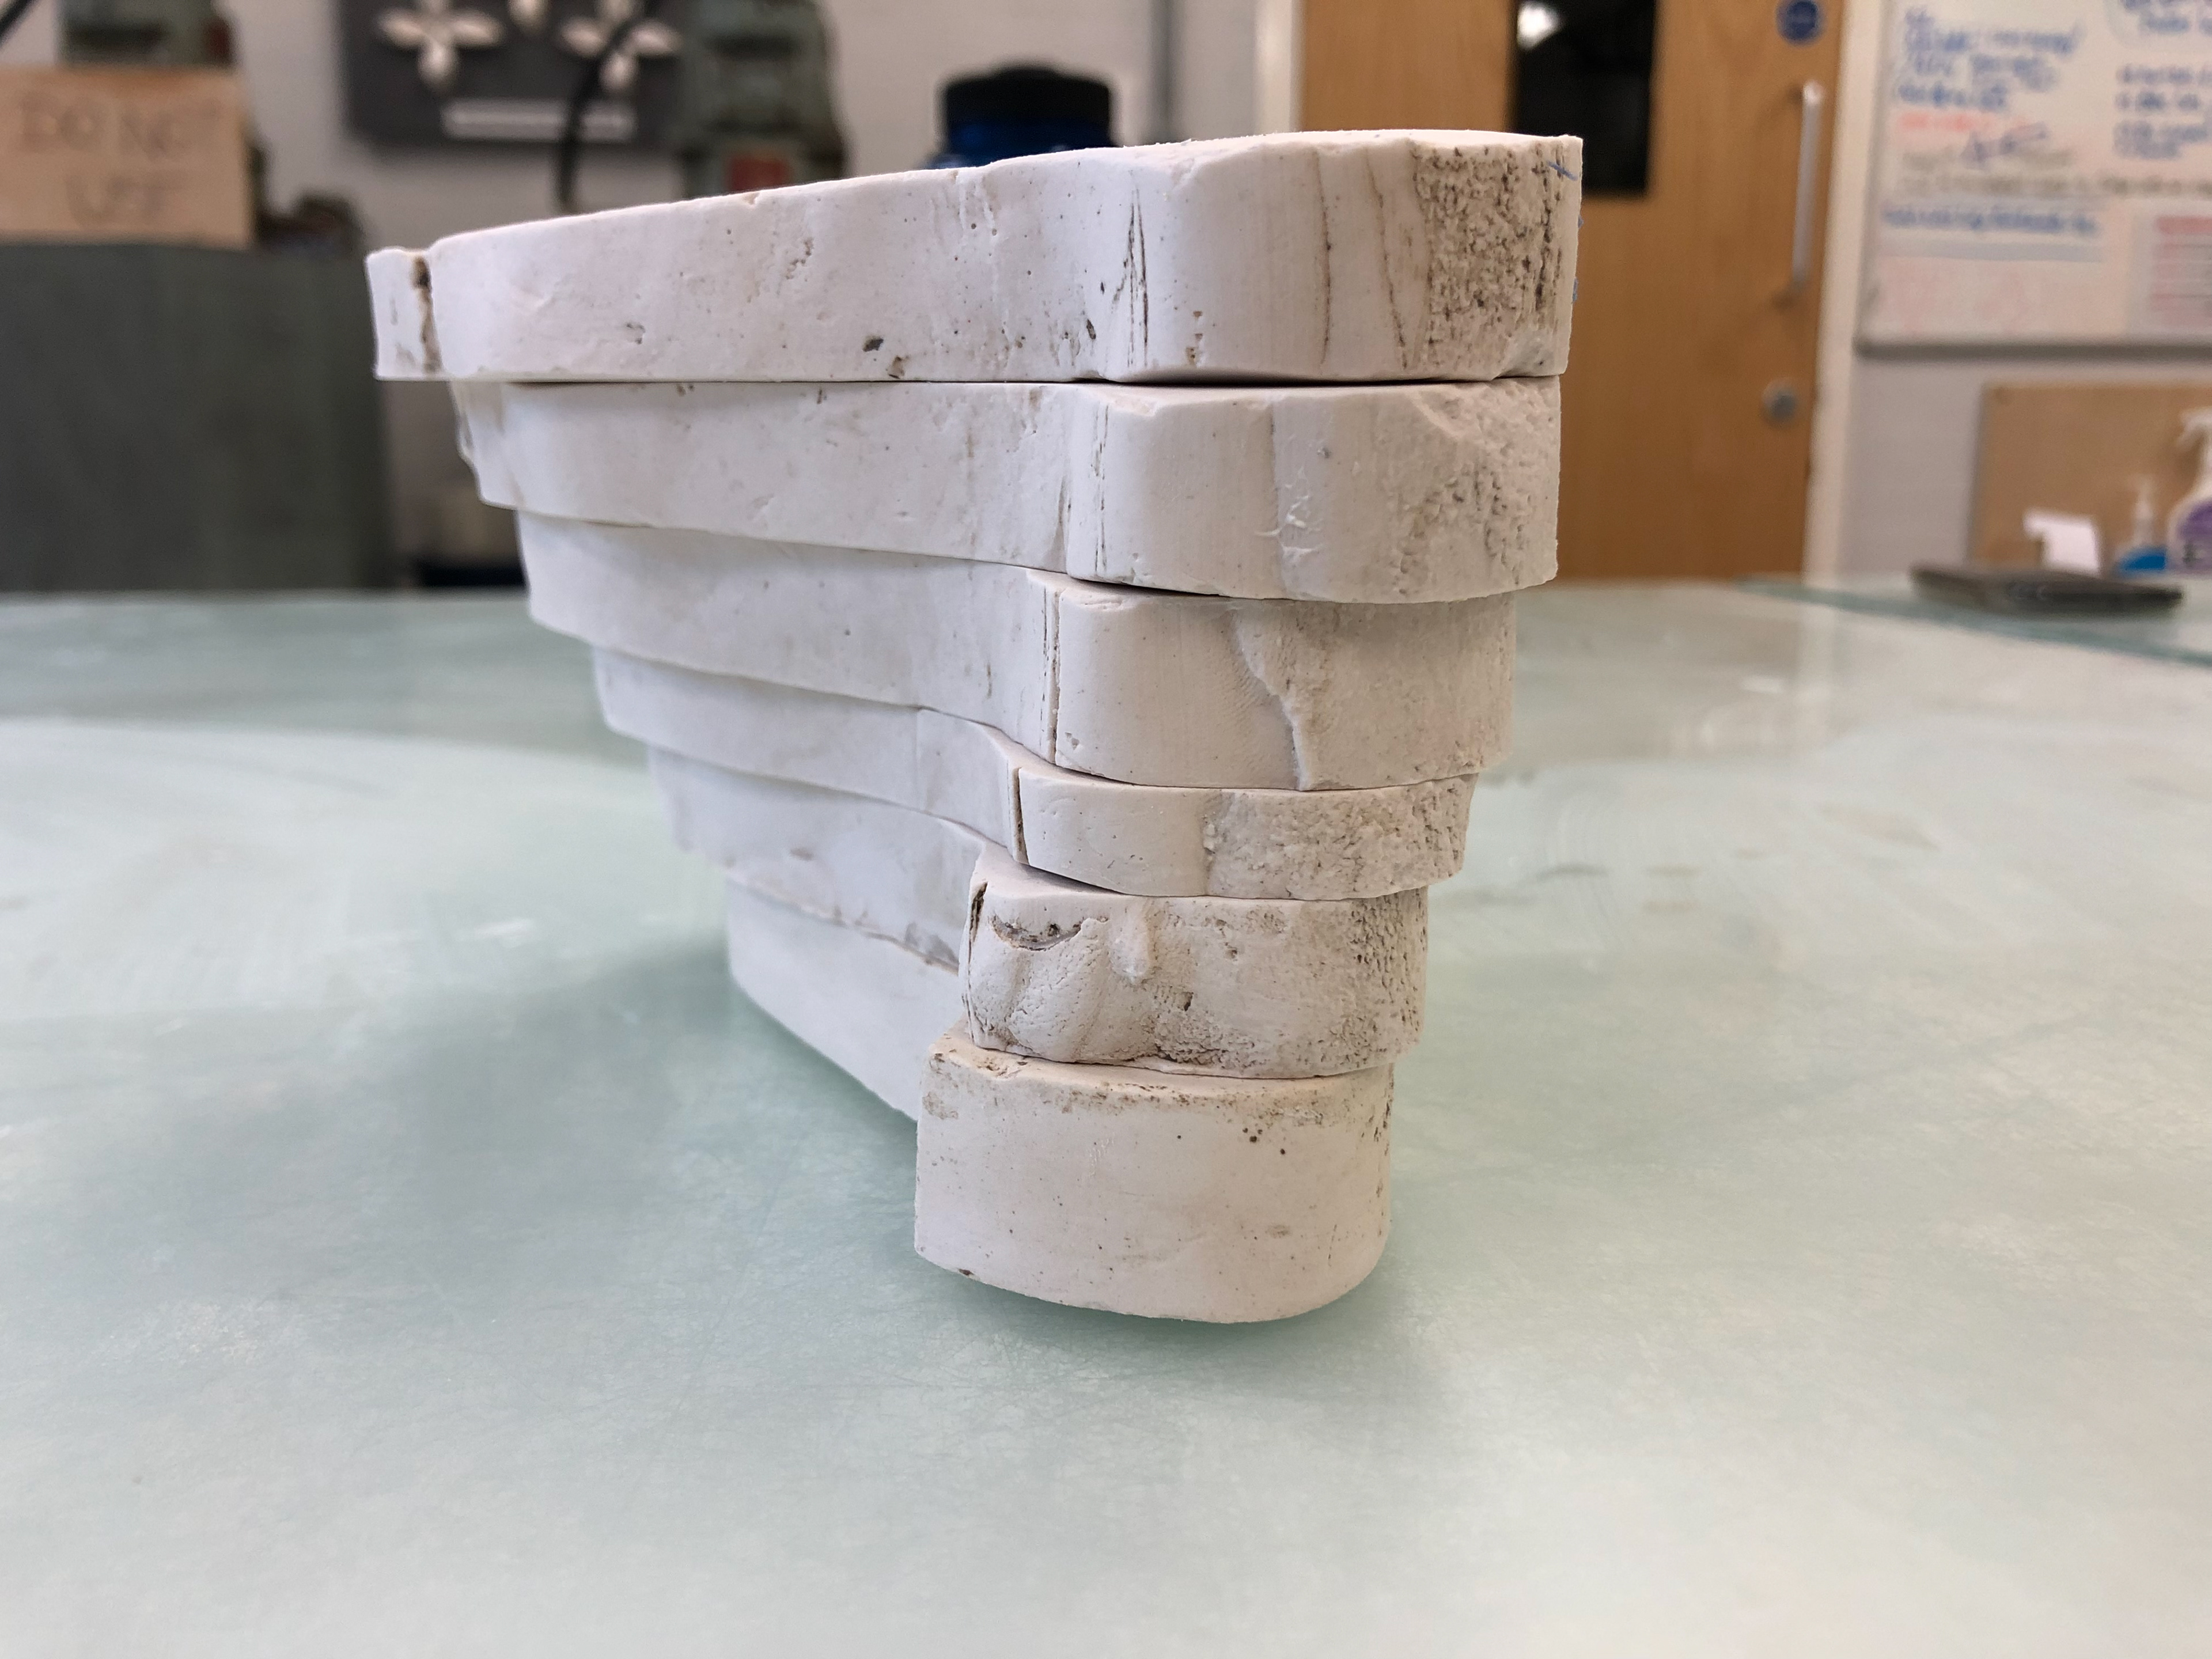
Folds
We were asked to produce five objects that incorporate folding. I produced four in plaster and threw one.

Taking the design from one of my paper drawings using words linked to NOMA.
Putting plastic in the hole.
After pouring plaster and waiting for it to nearly set I lifted and created folds.
Plan view.
Lots of little folds.
For the second one I added a curved edge.
Used the plastic to get the plaster to fold and hit the curved edge.
Folds on the bottom.
Folds on the top.
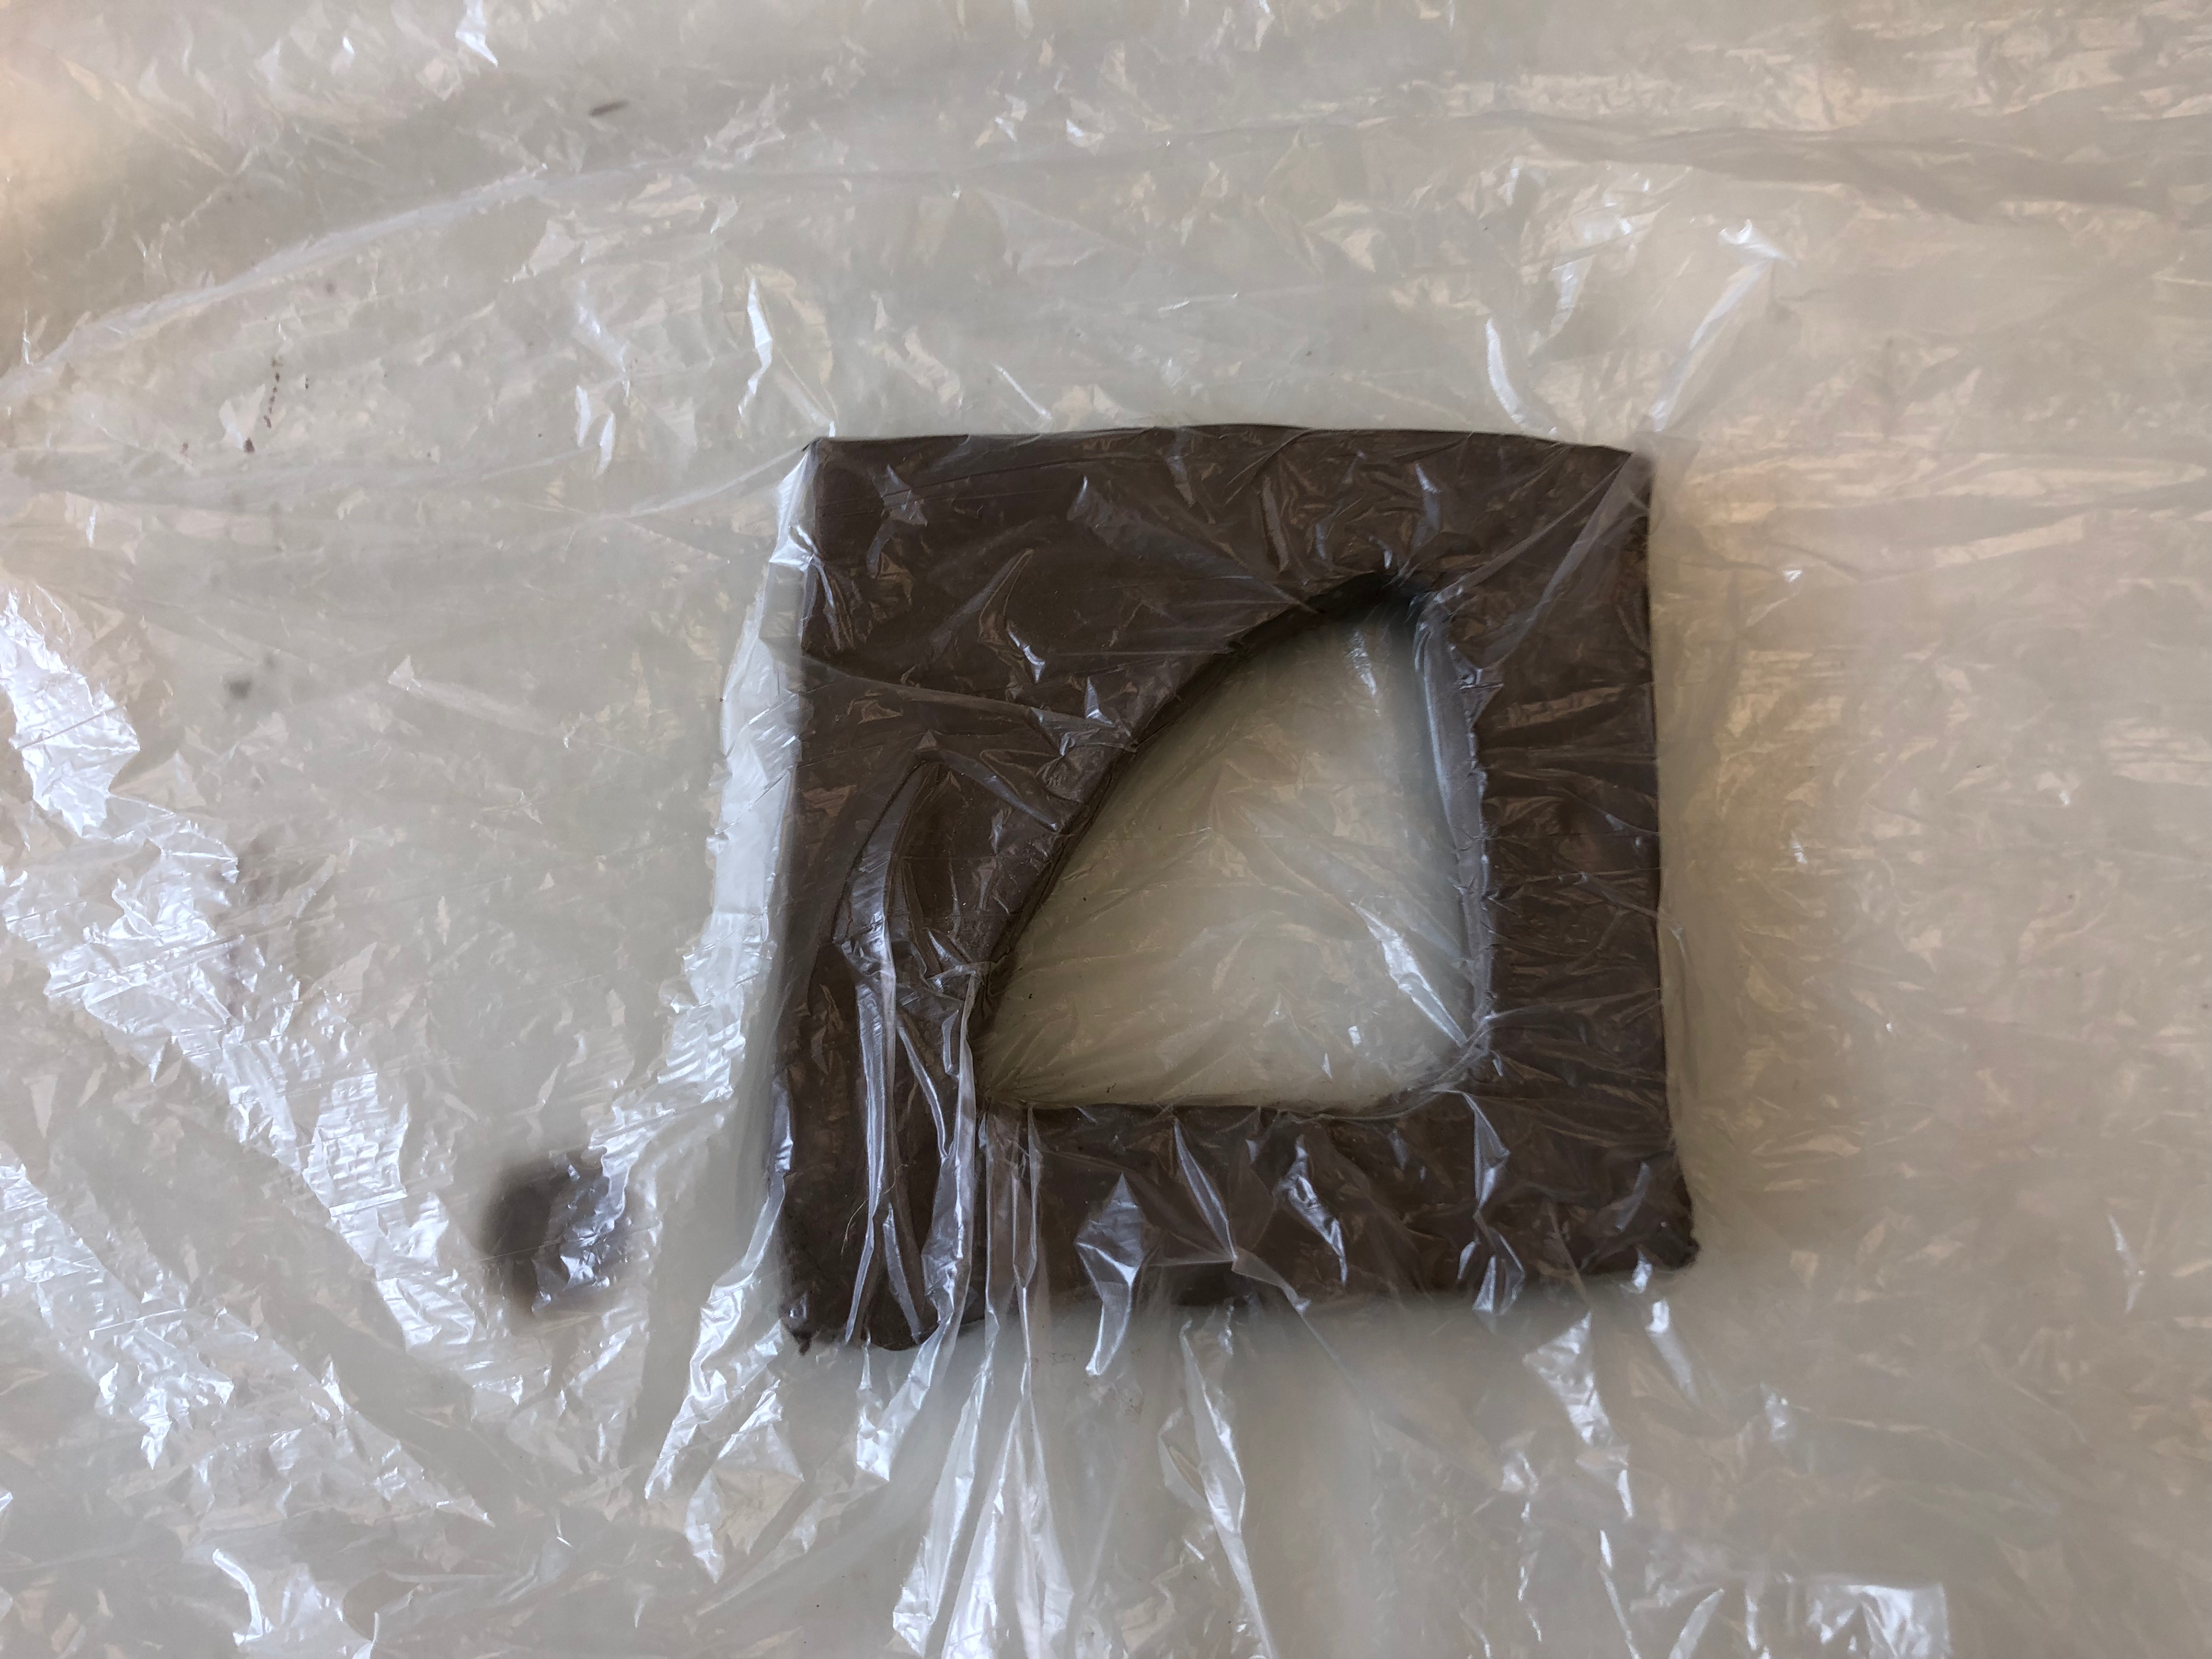
For the third one I played out a plastic sheet and poured plaster onto it to attempted to create a fold.
Lifting to plaster.
It was still too runny so it didn't fold as expected.
The edges did produce some small folds.
The edges did produce some small folds.
For the fourth one I reattempted a proper fold.
It cracked a little but did not cause a problem.
The fold.
The fold.
Smaller creases from the plastic.
Artist research response
My response to the research I conducted of Jill Shaddock. I made more of the Multicolour Slip Casts as it was an existing object that allowed me to communicate, in the best way, the style i found within some of Jill Shaddock's work.
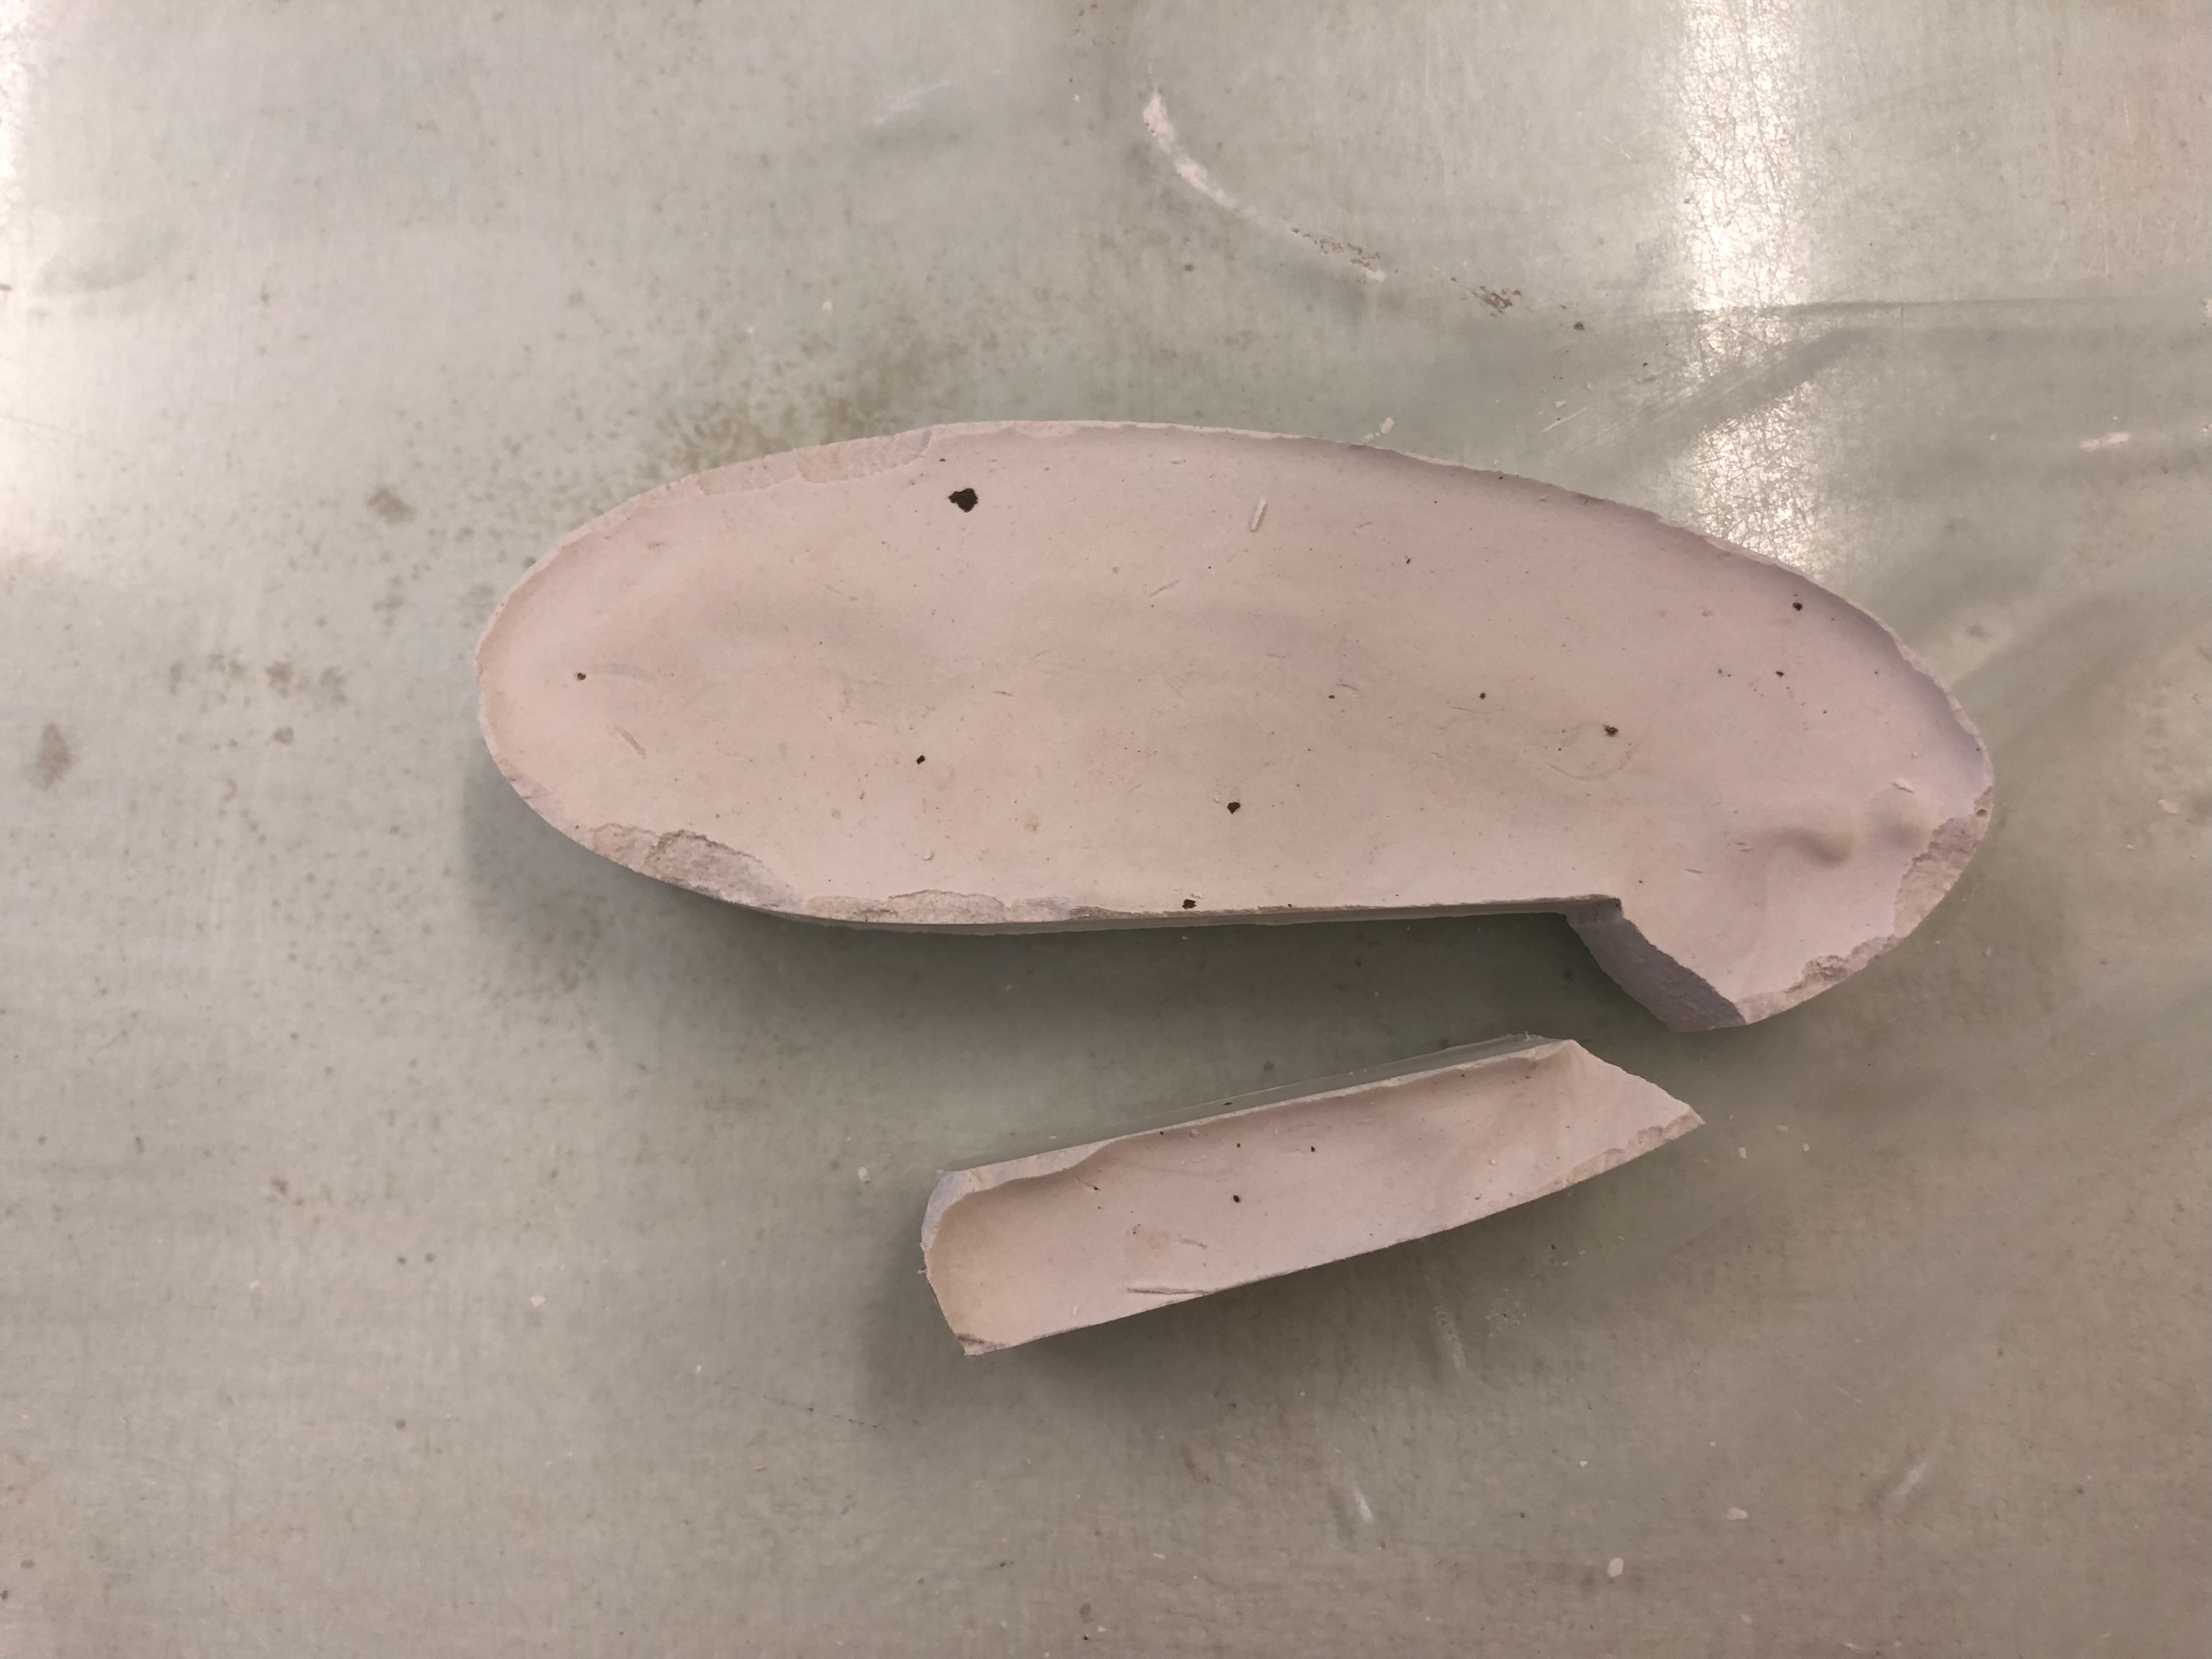
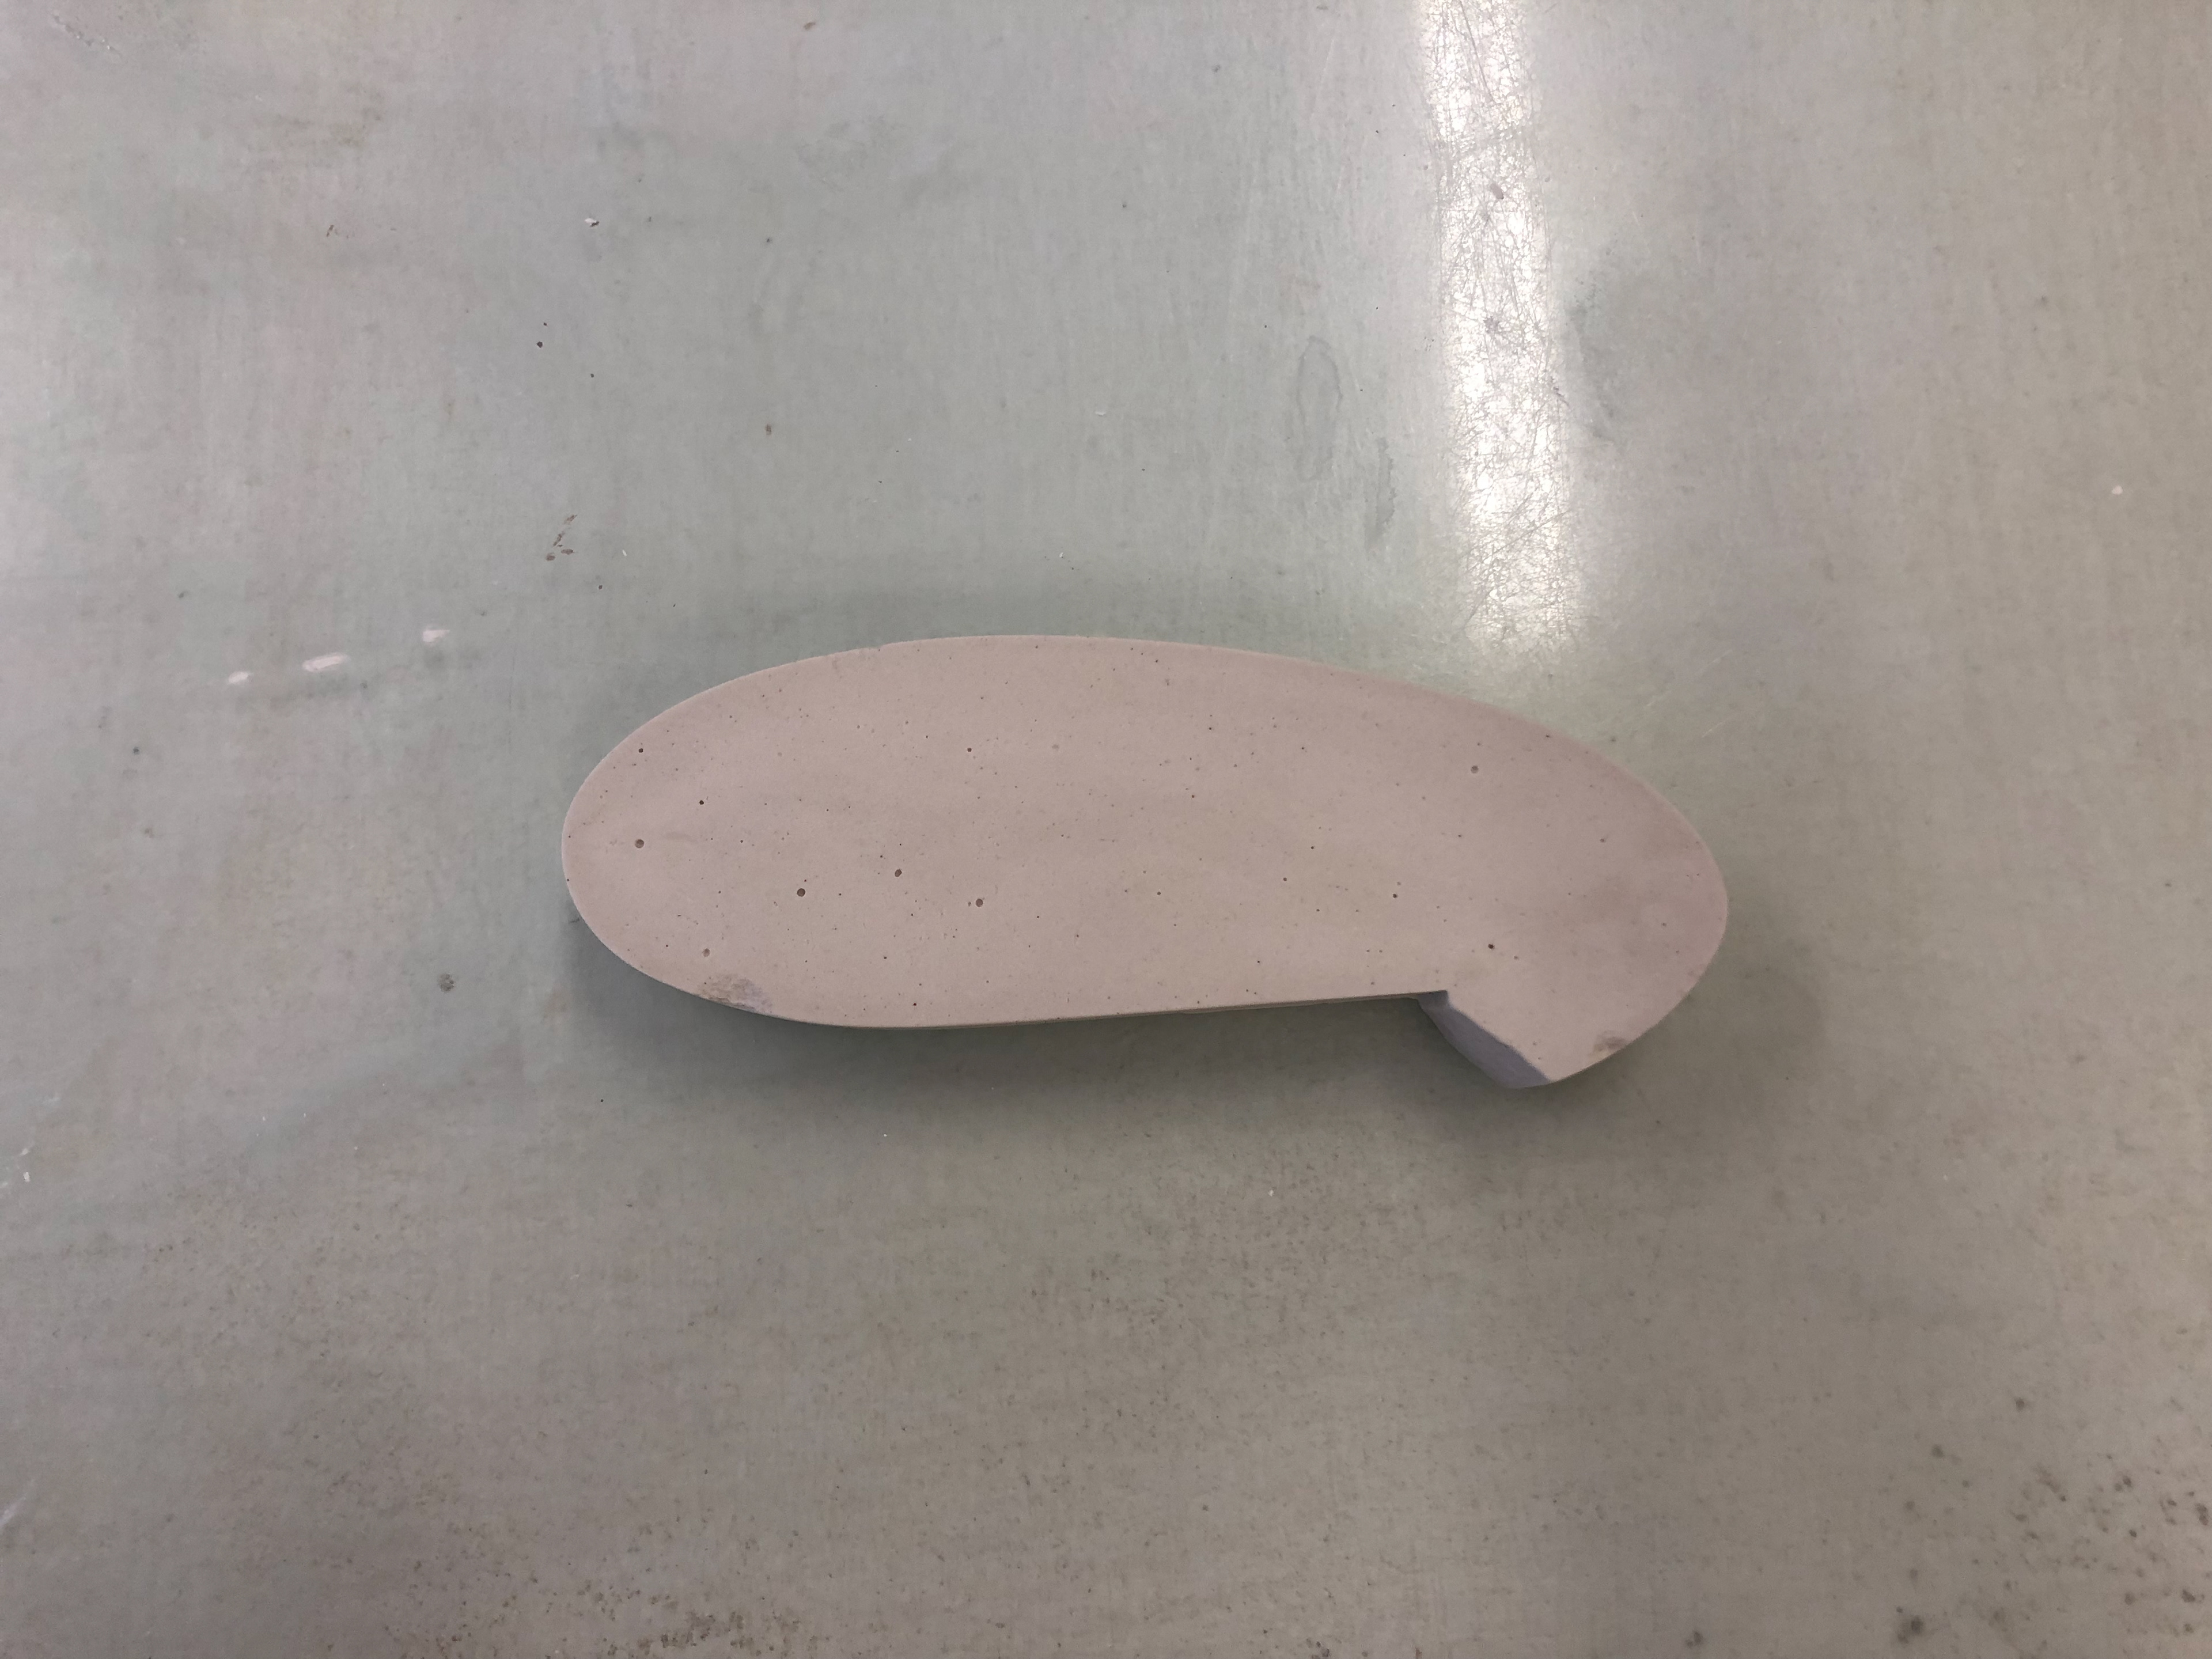
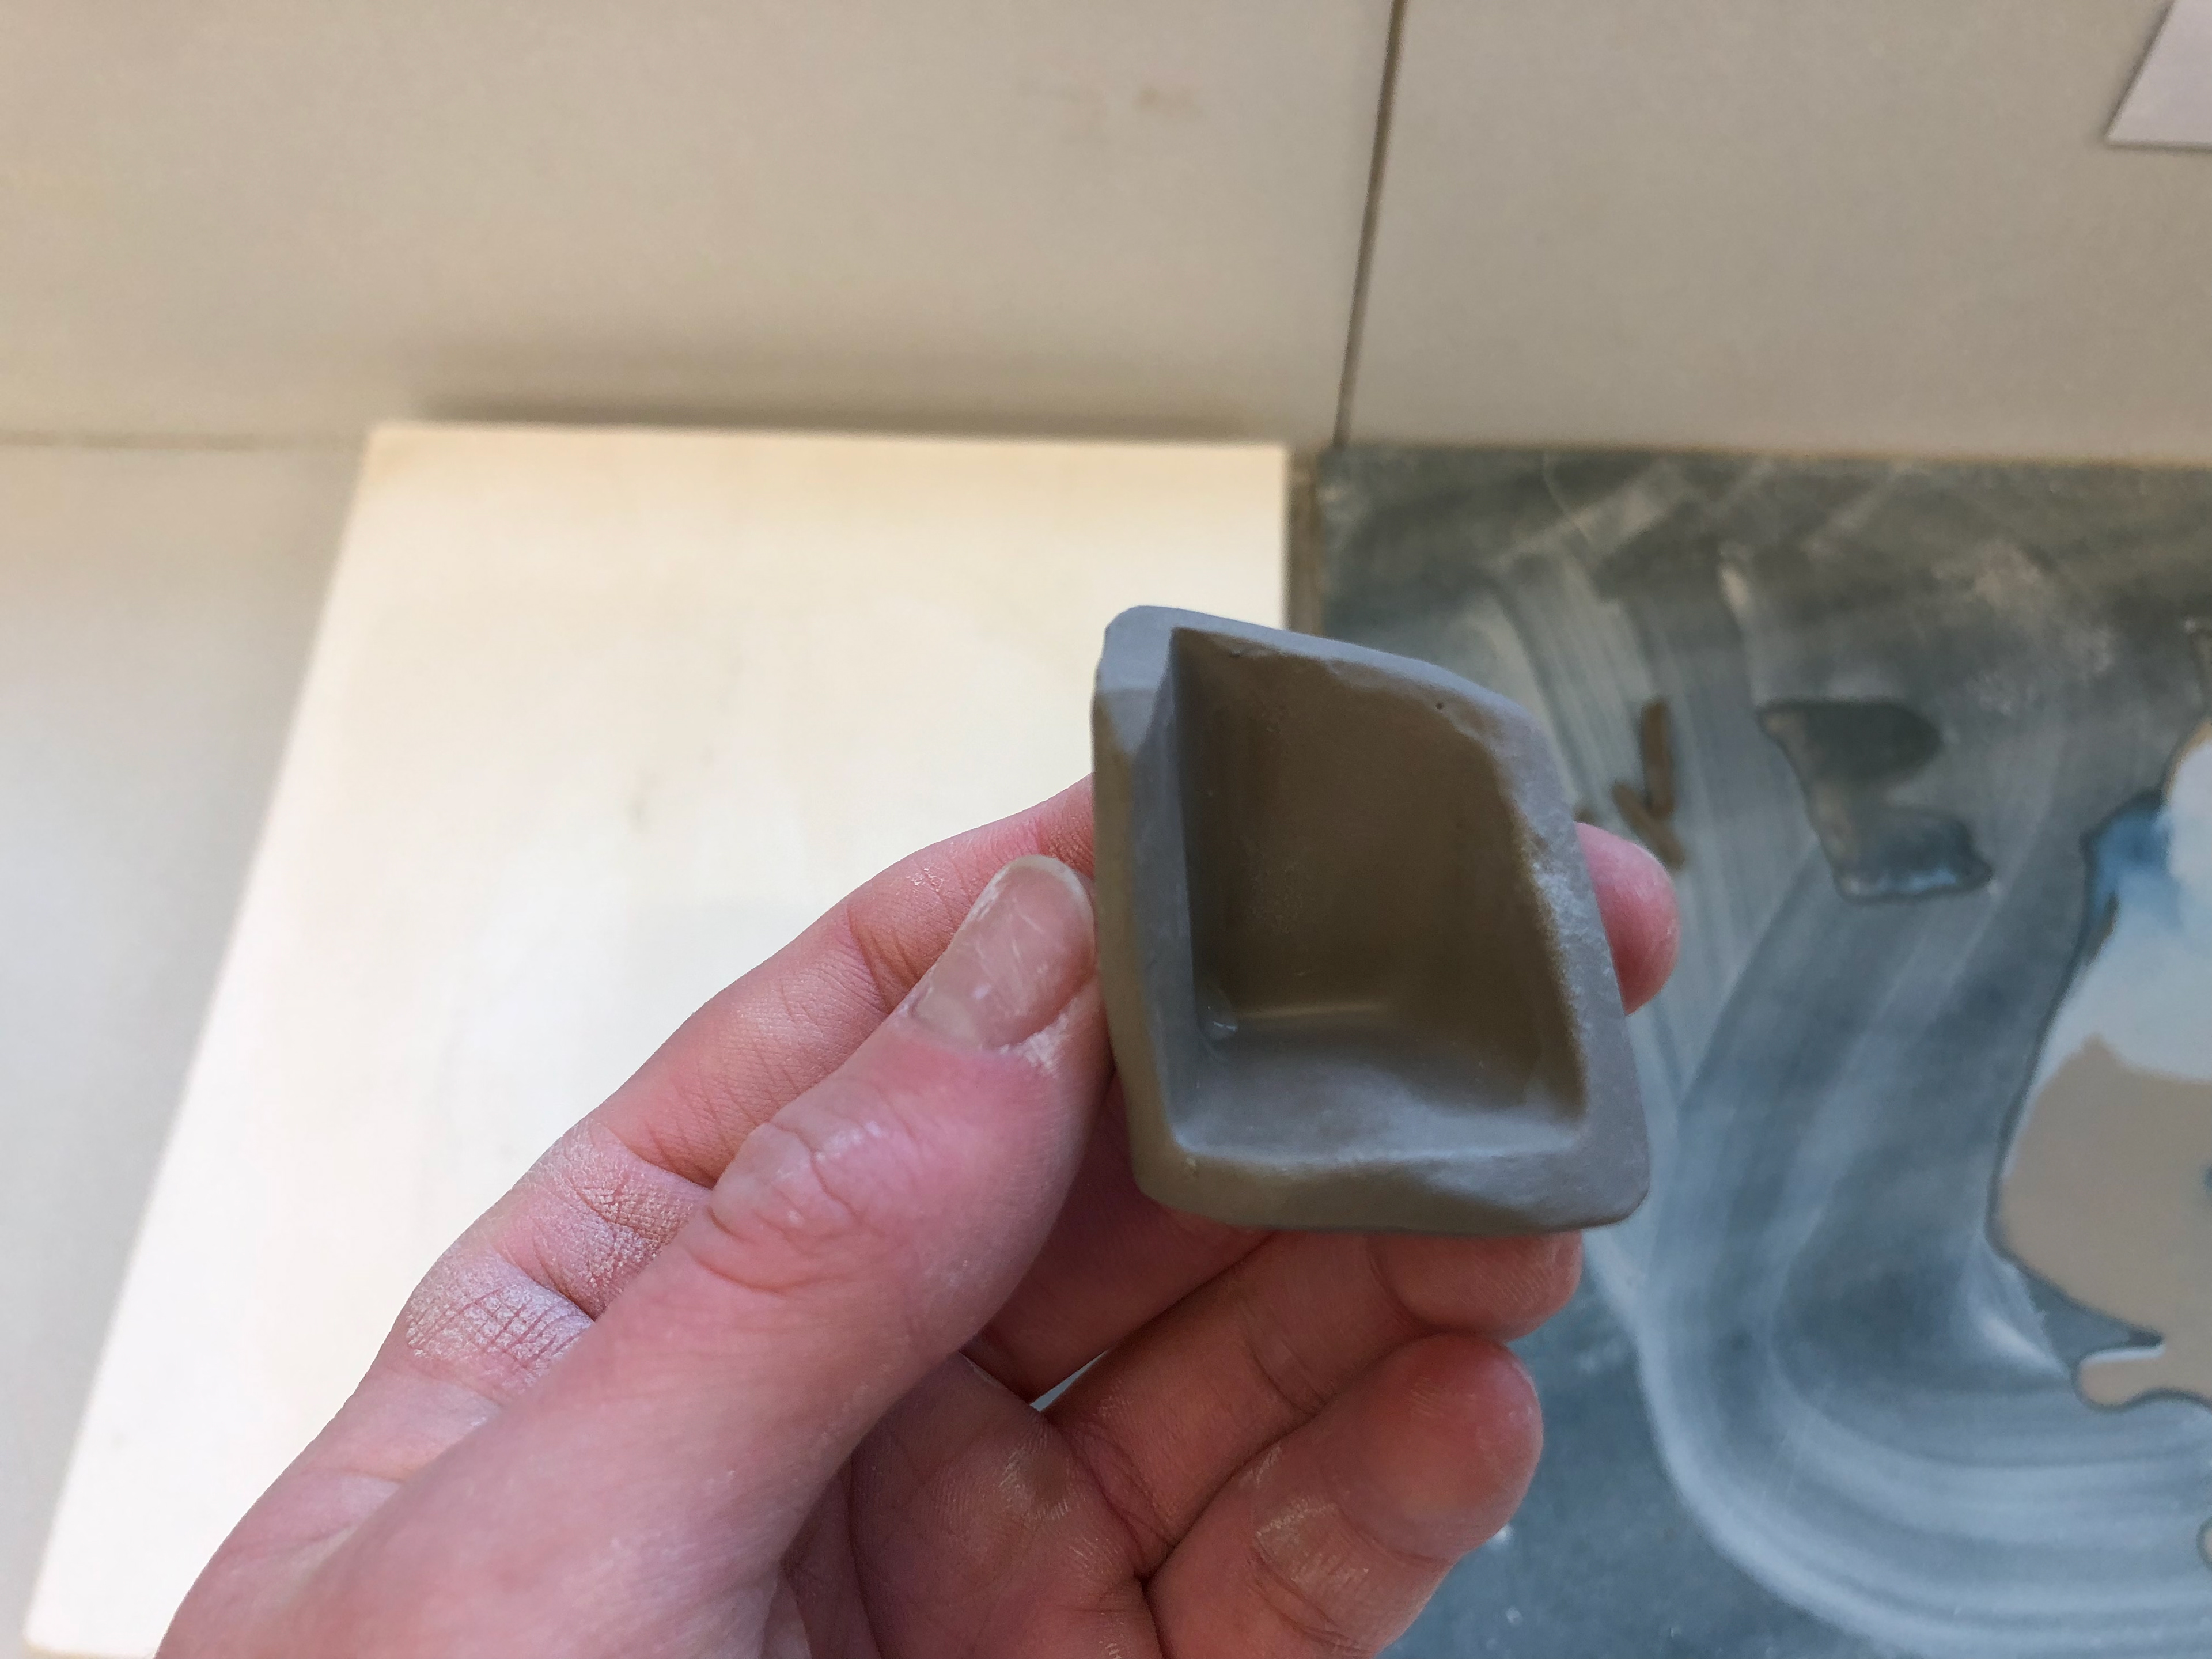
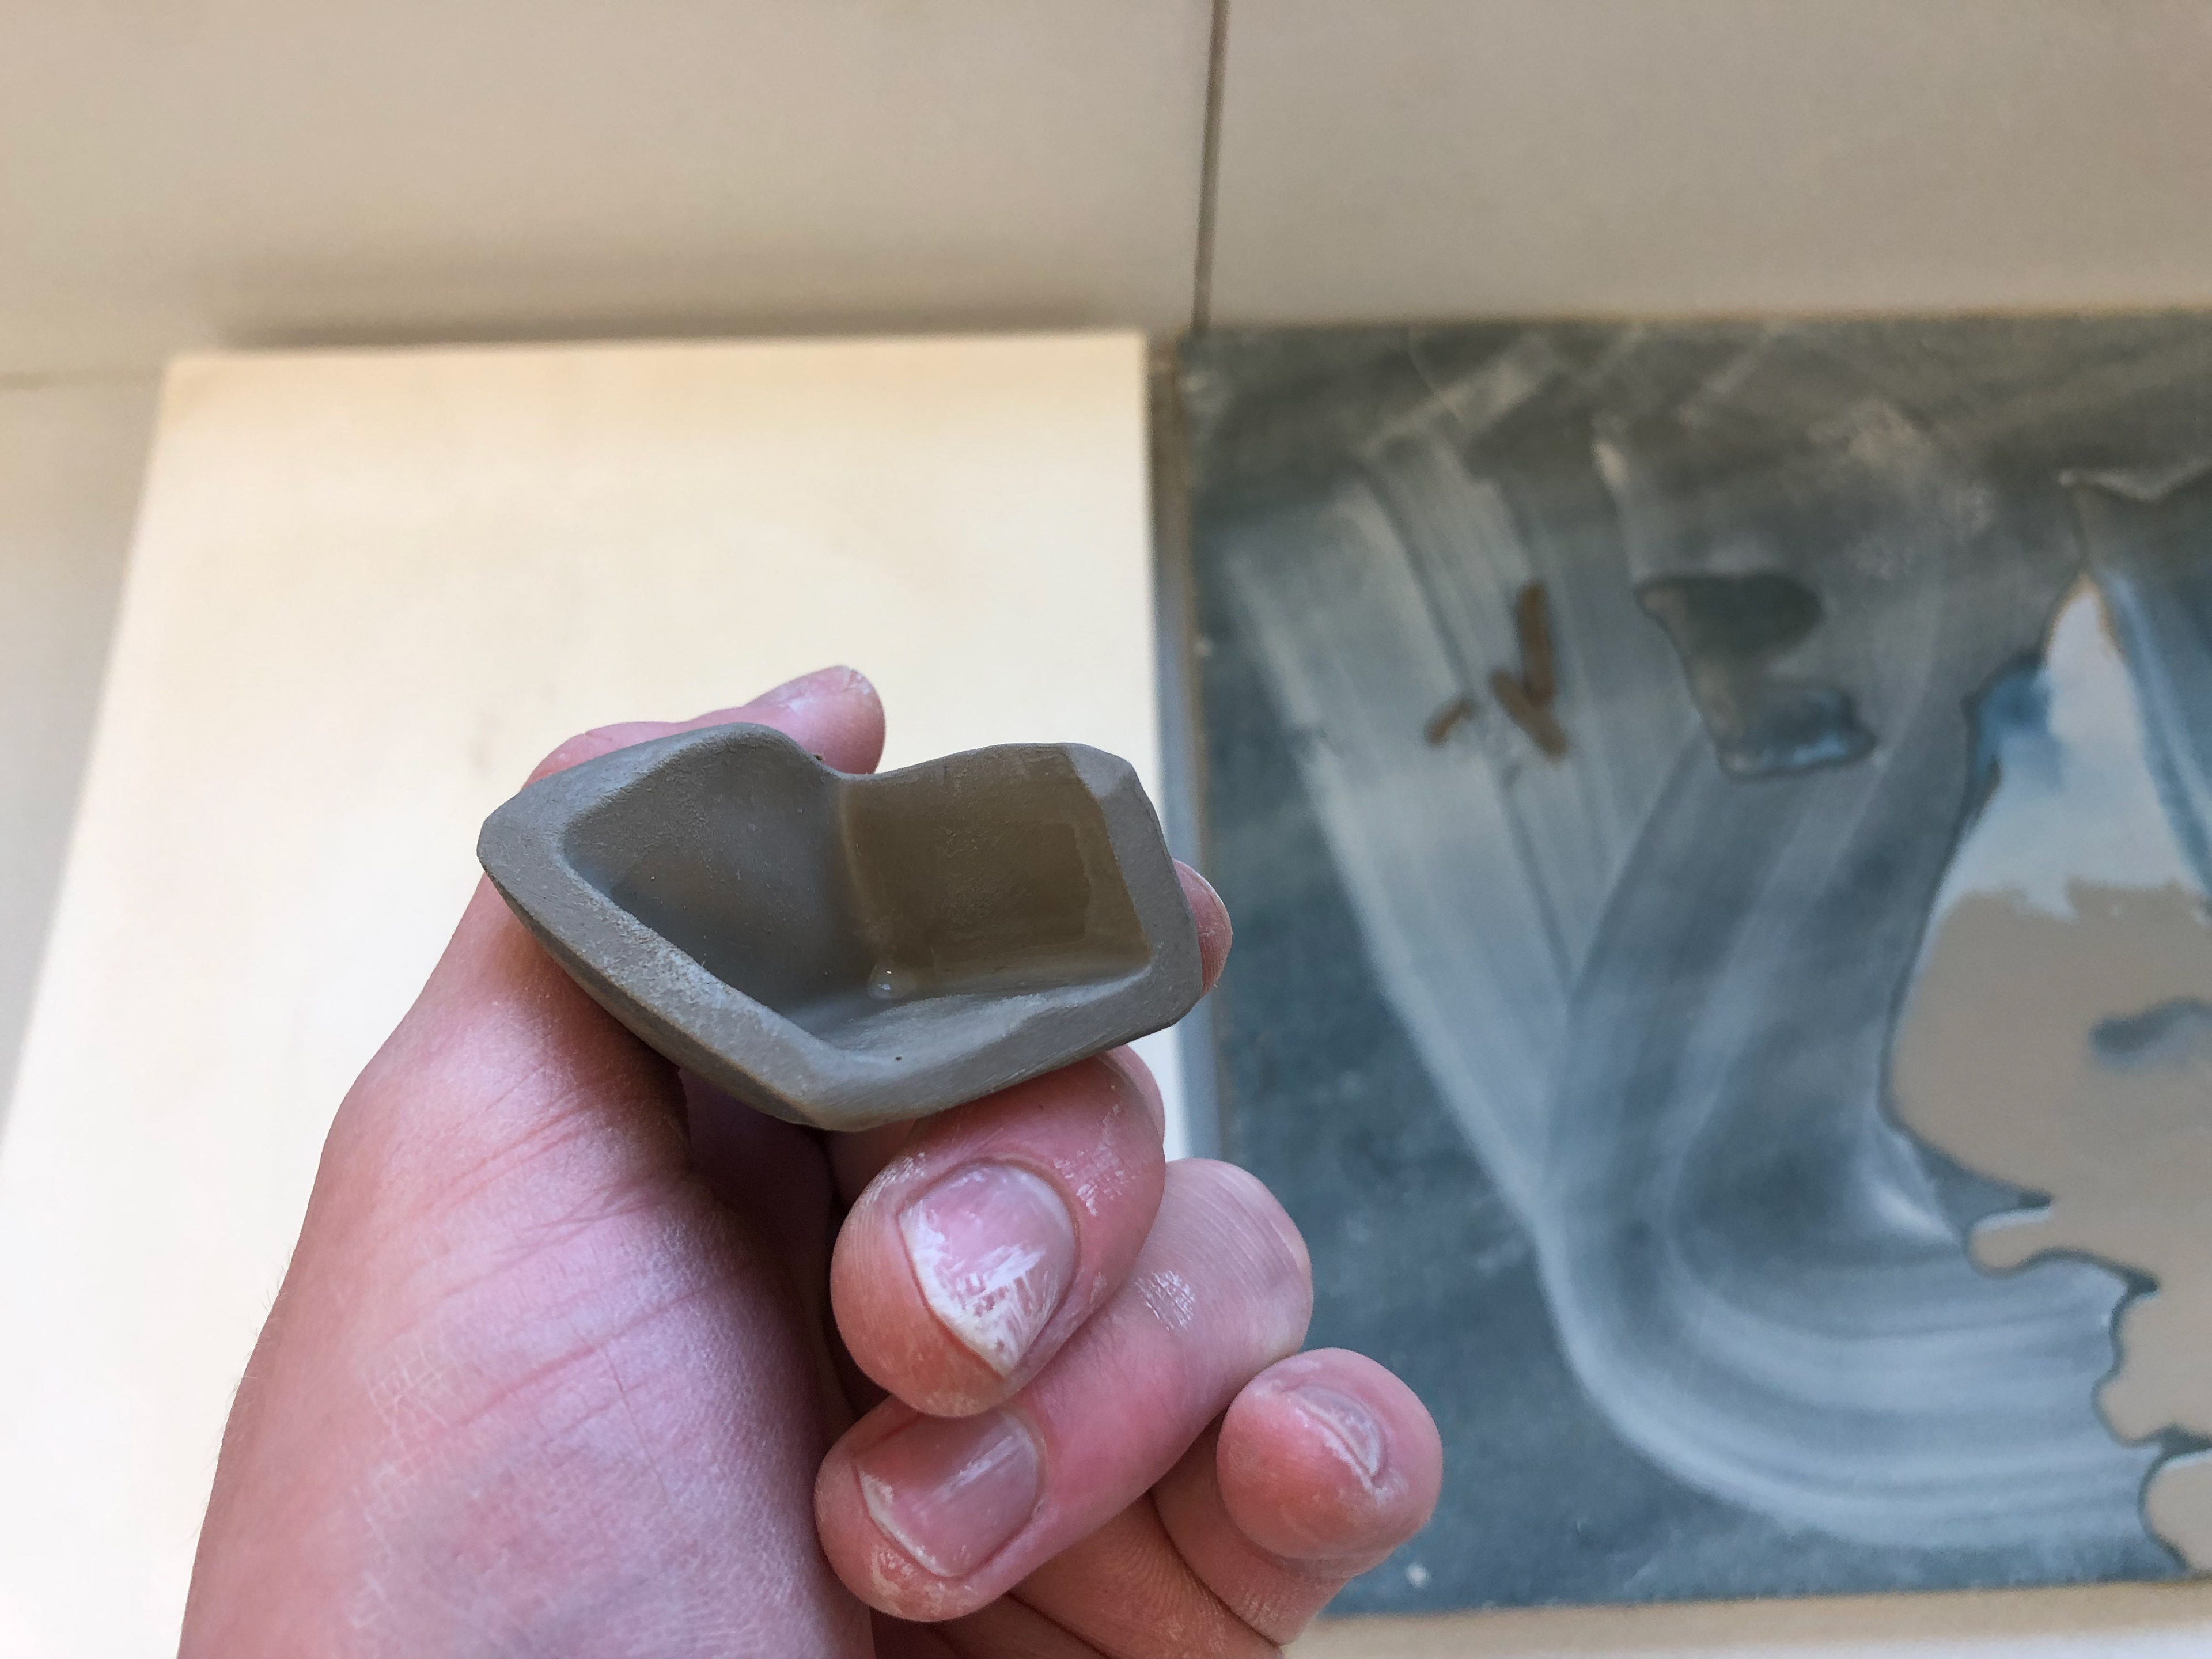
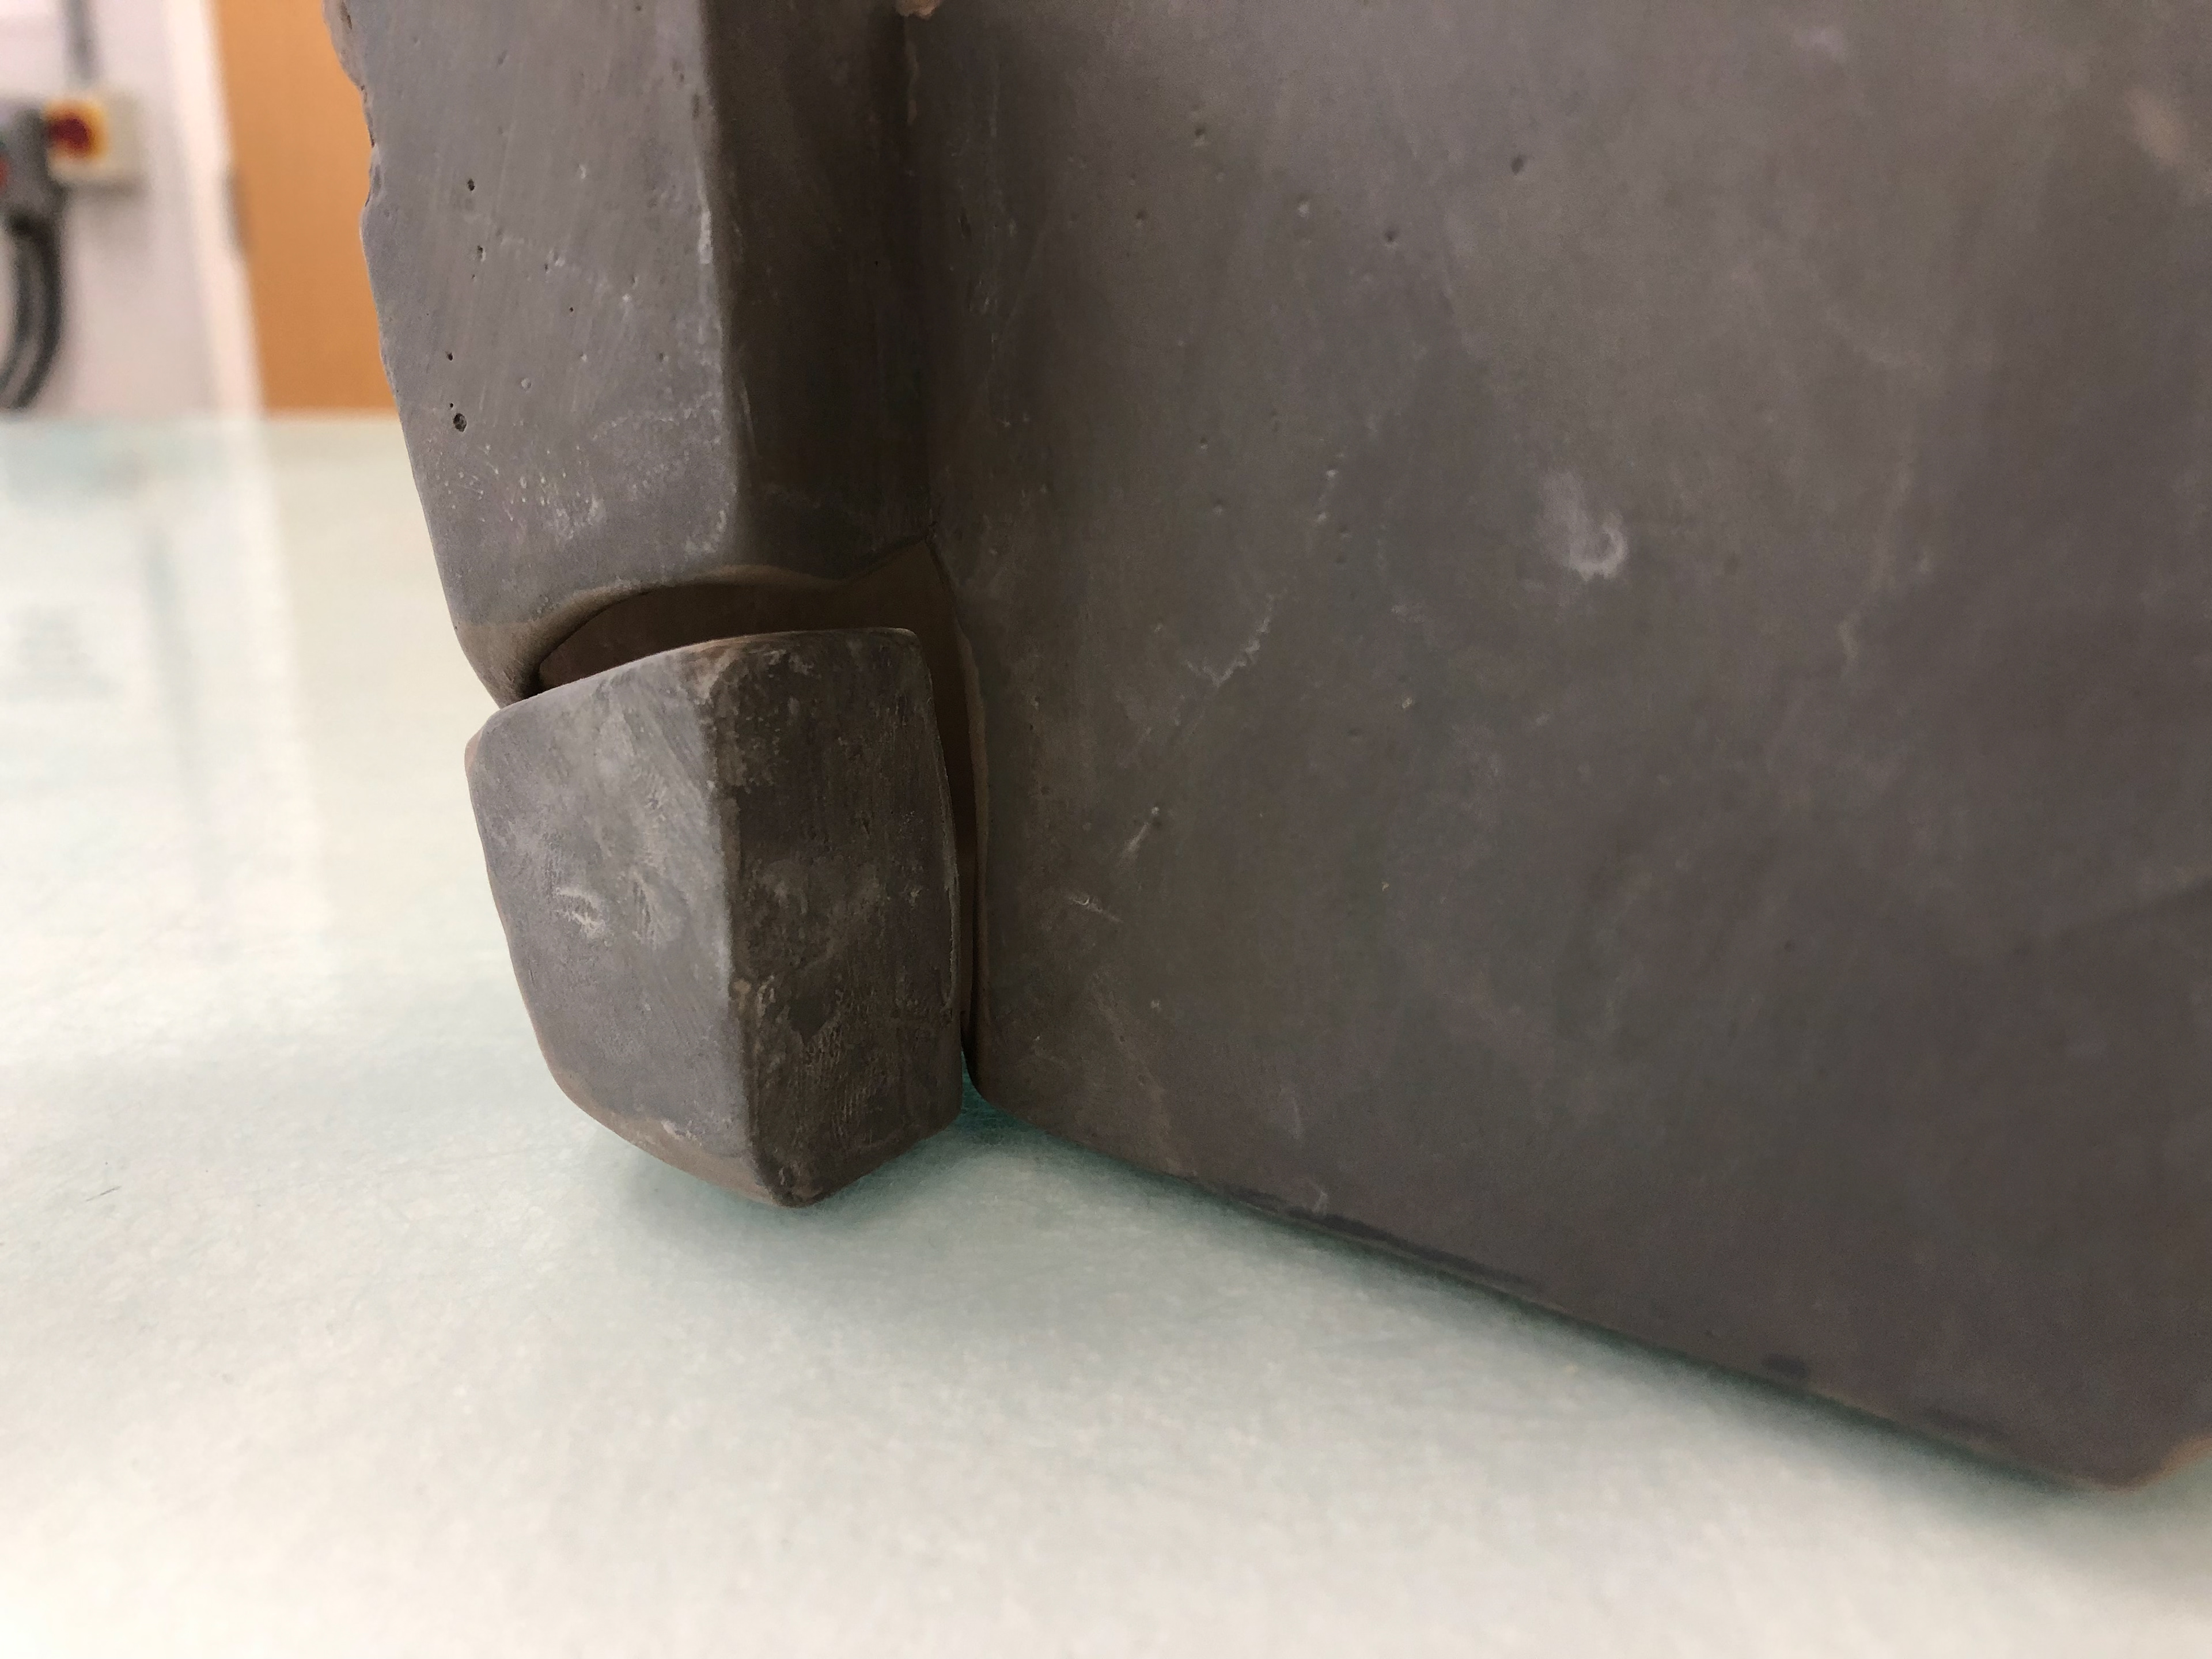
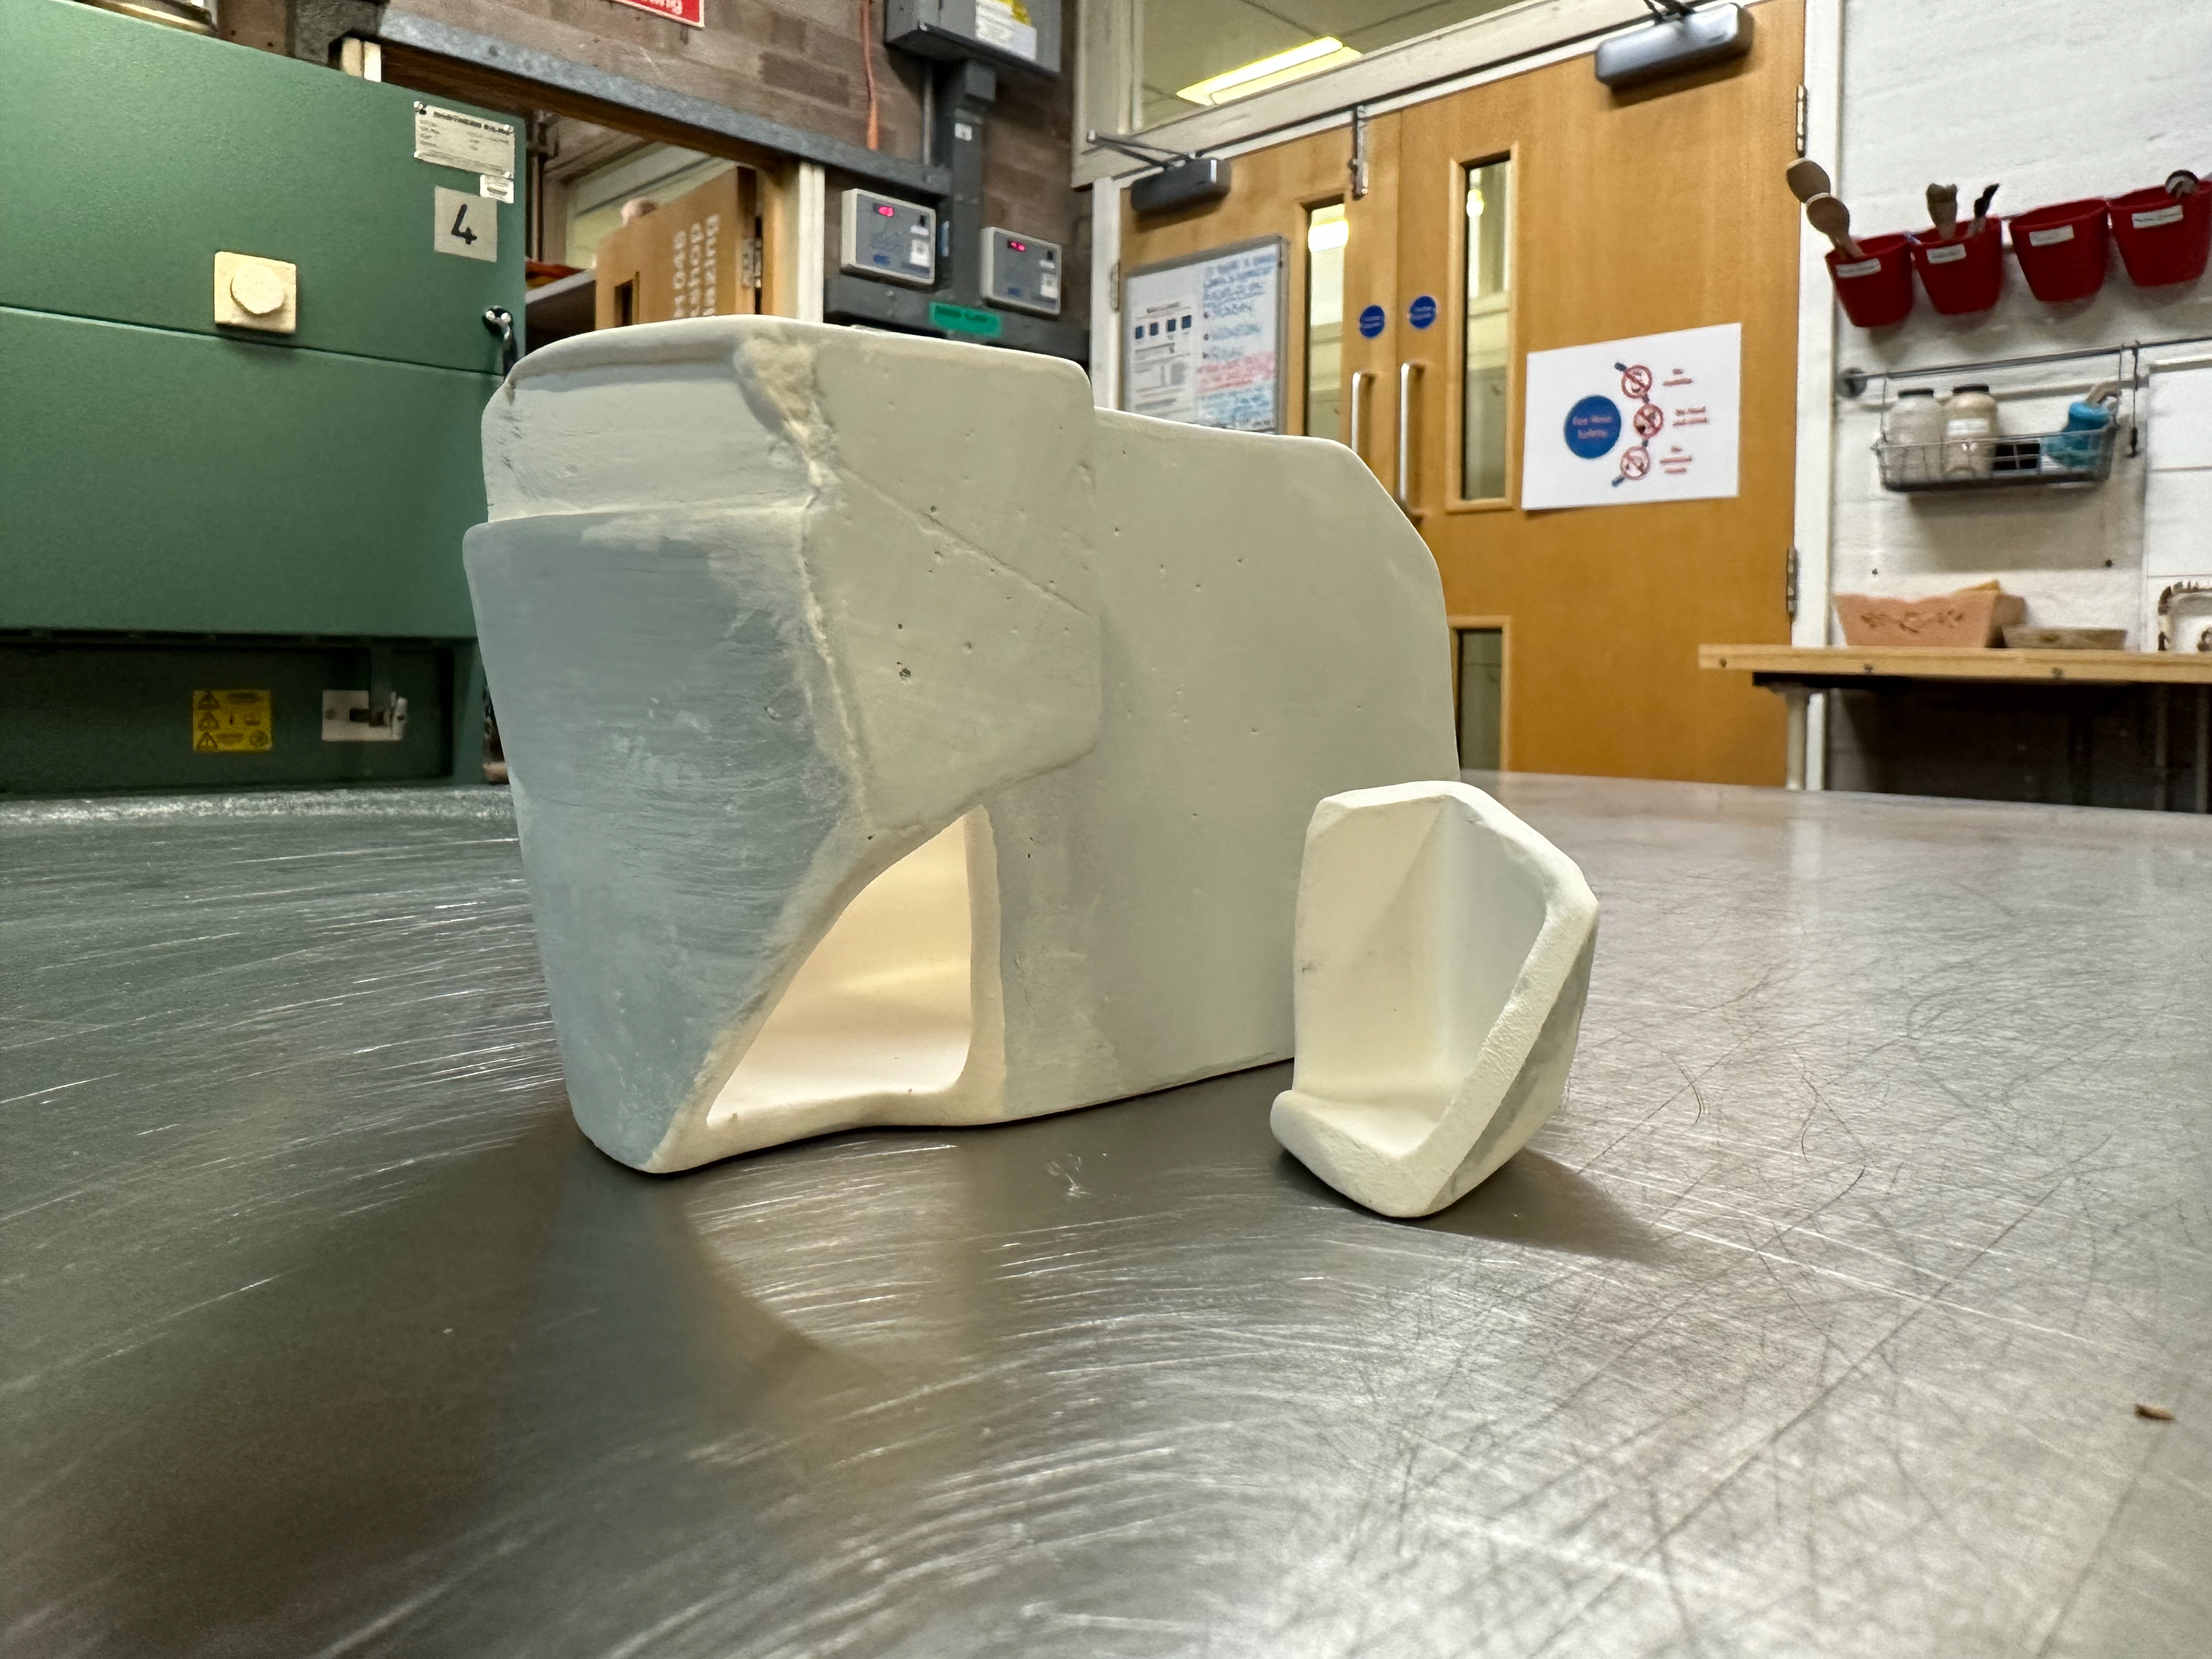
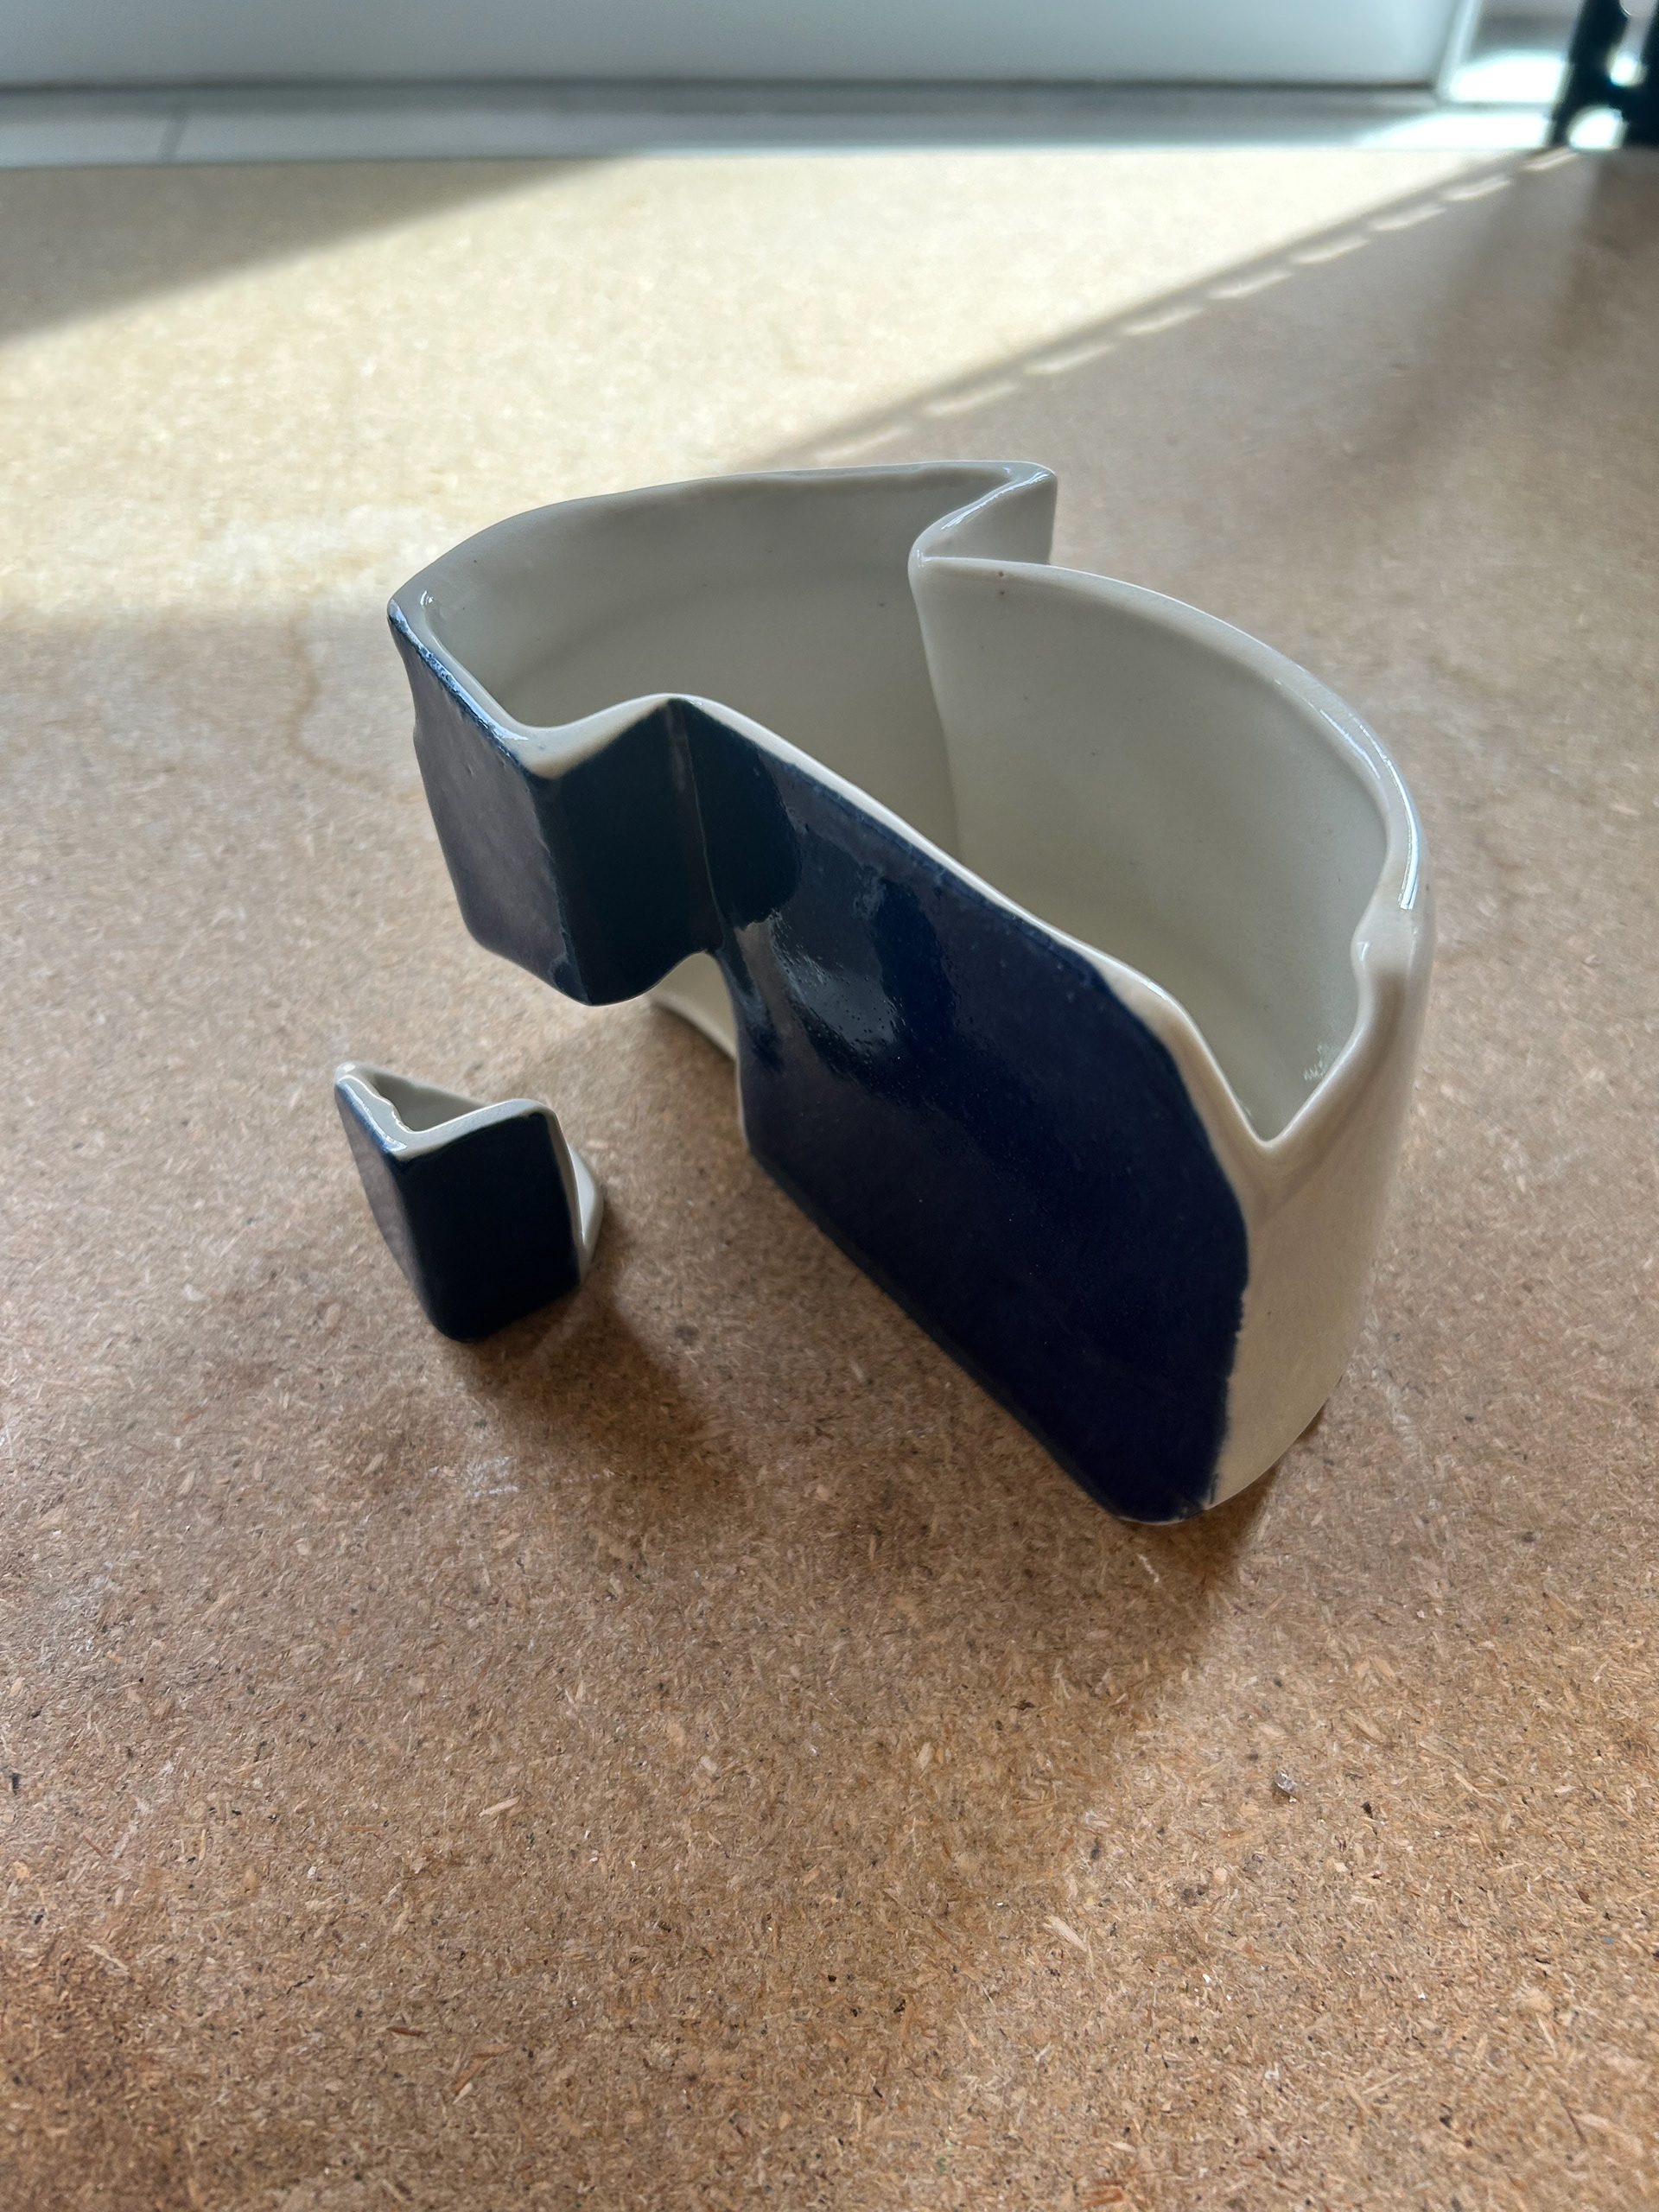
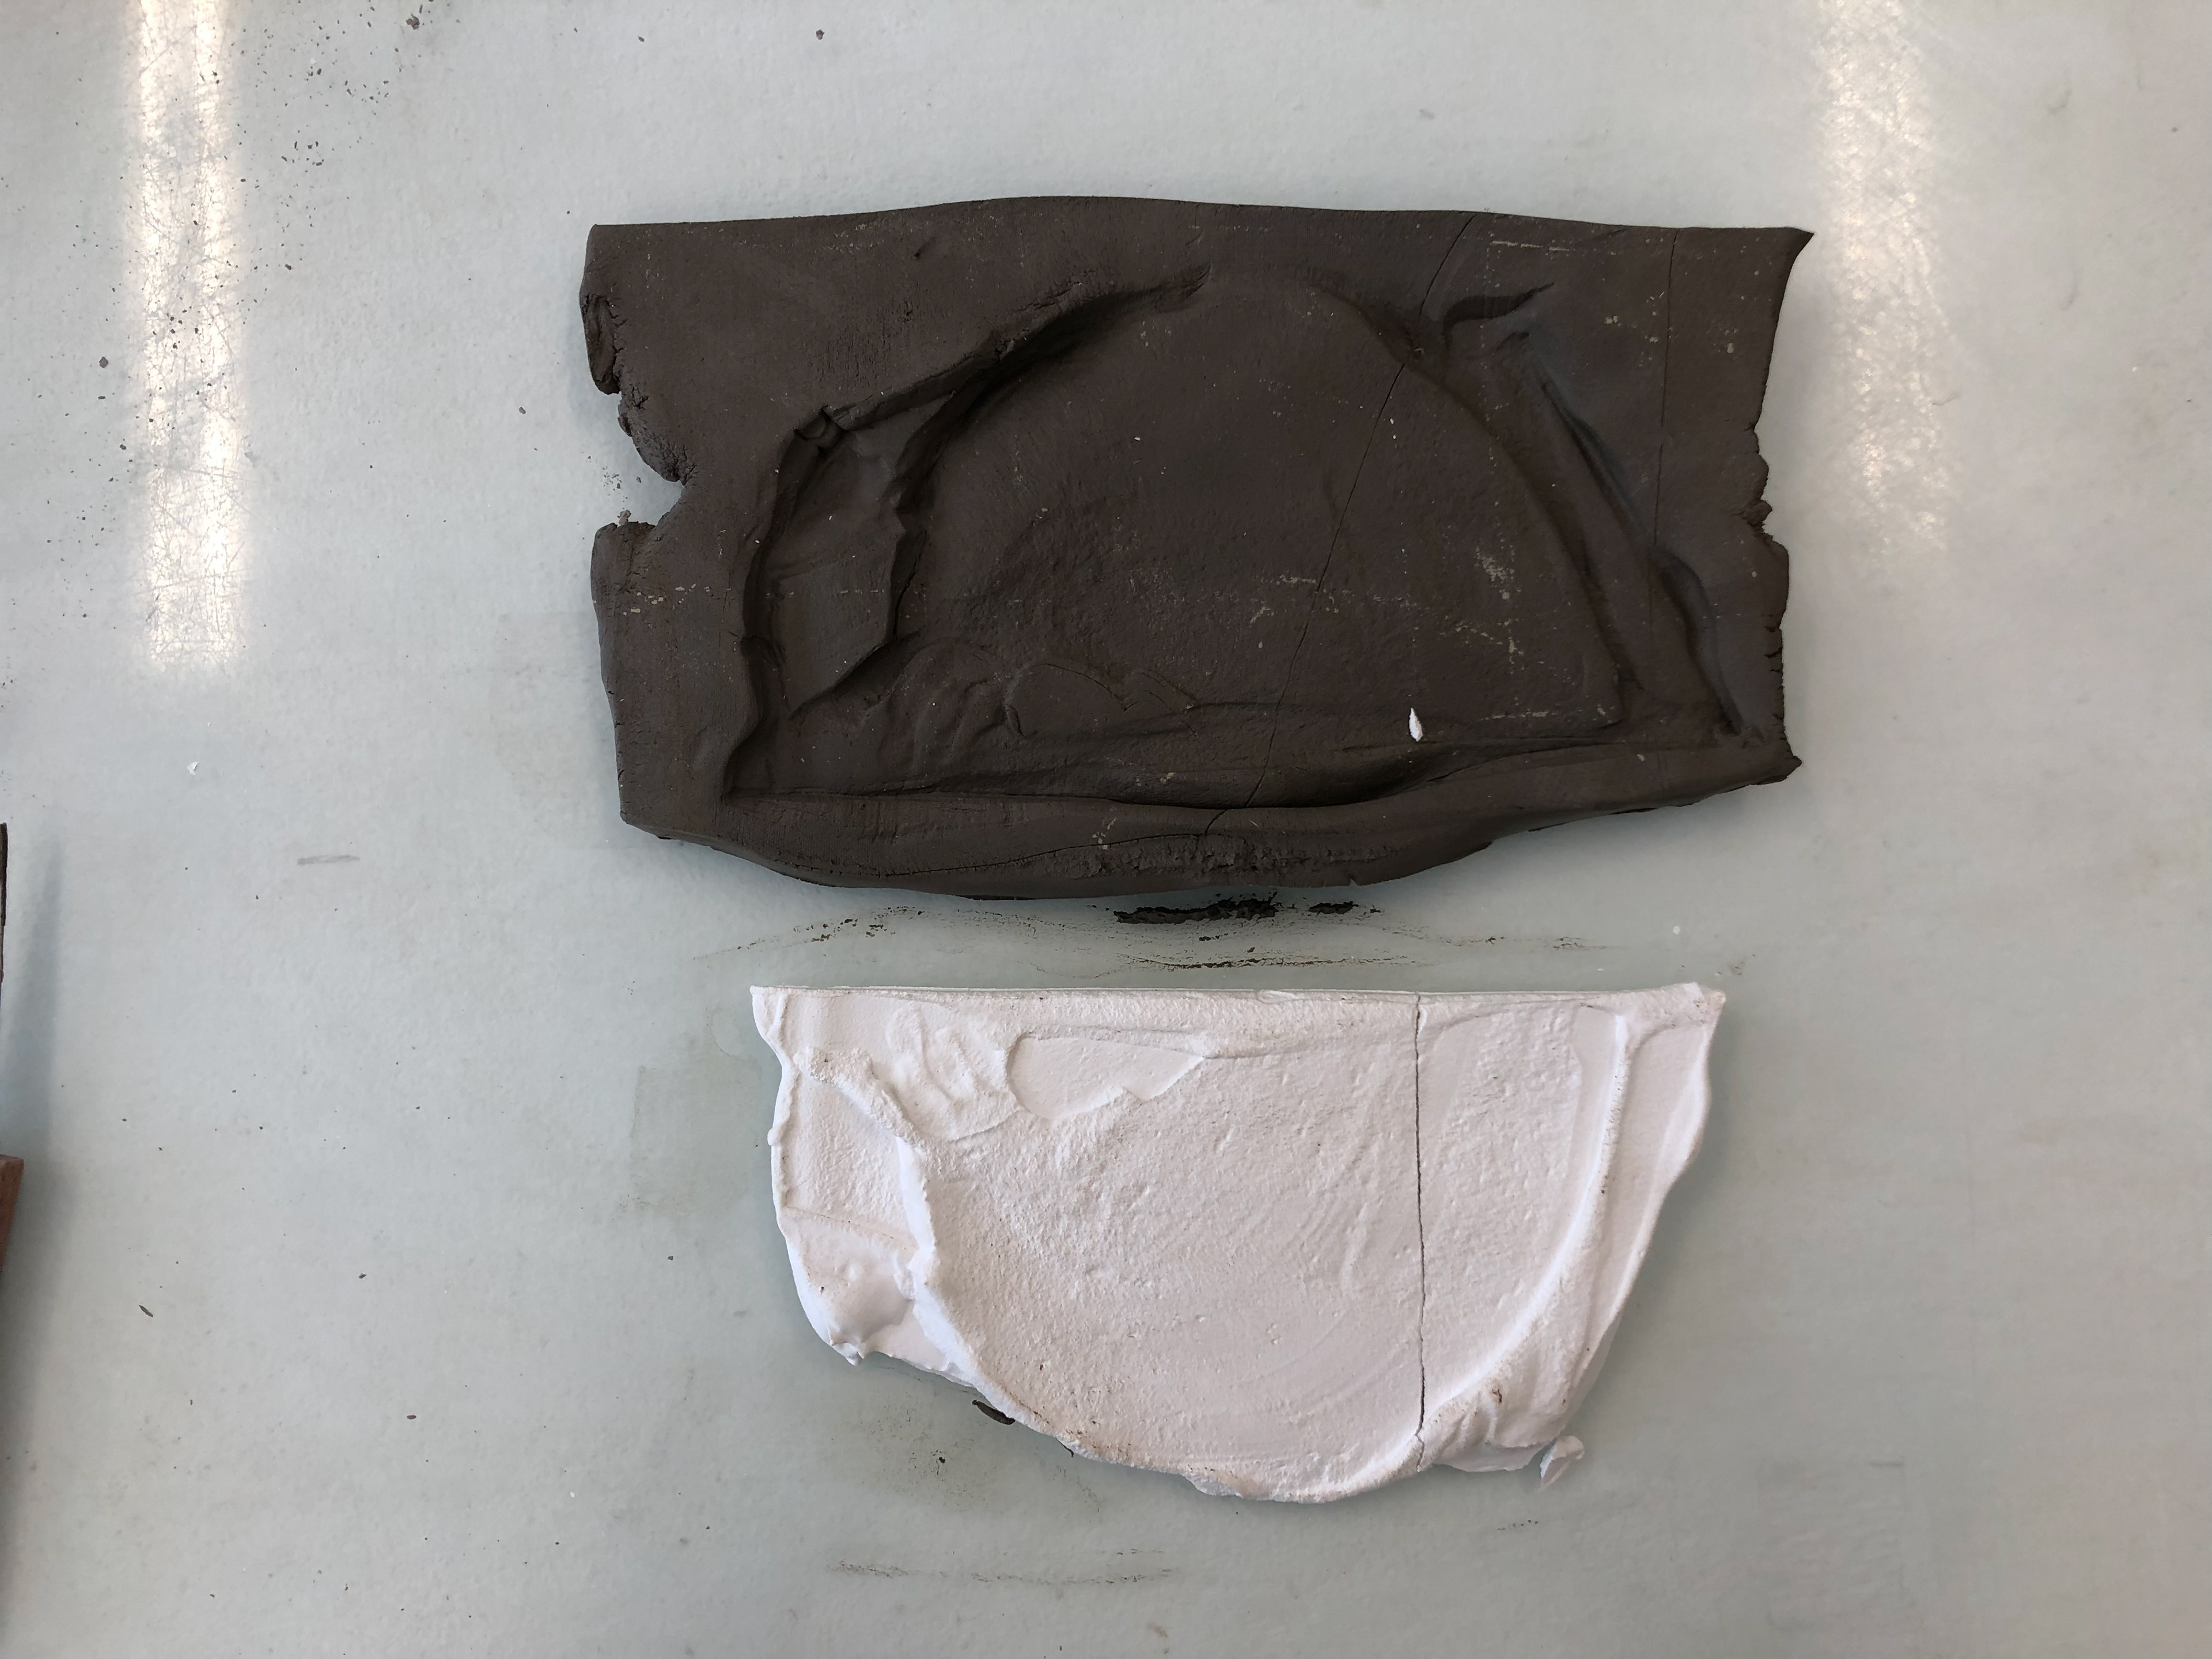
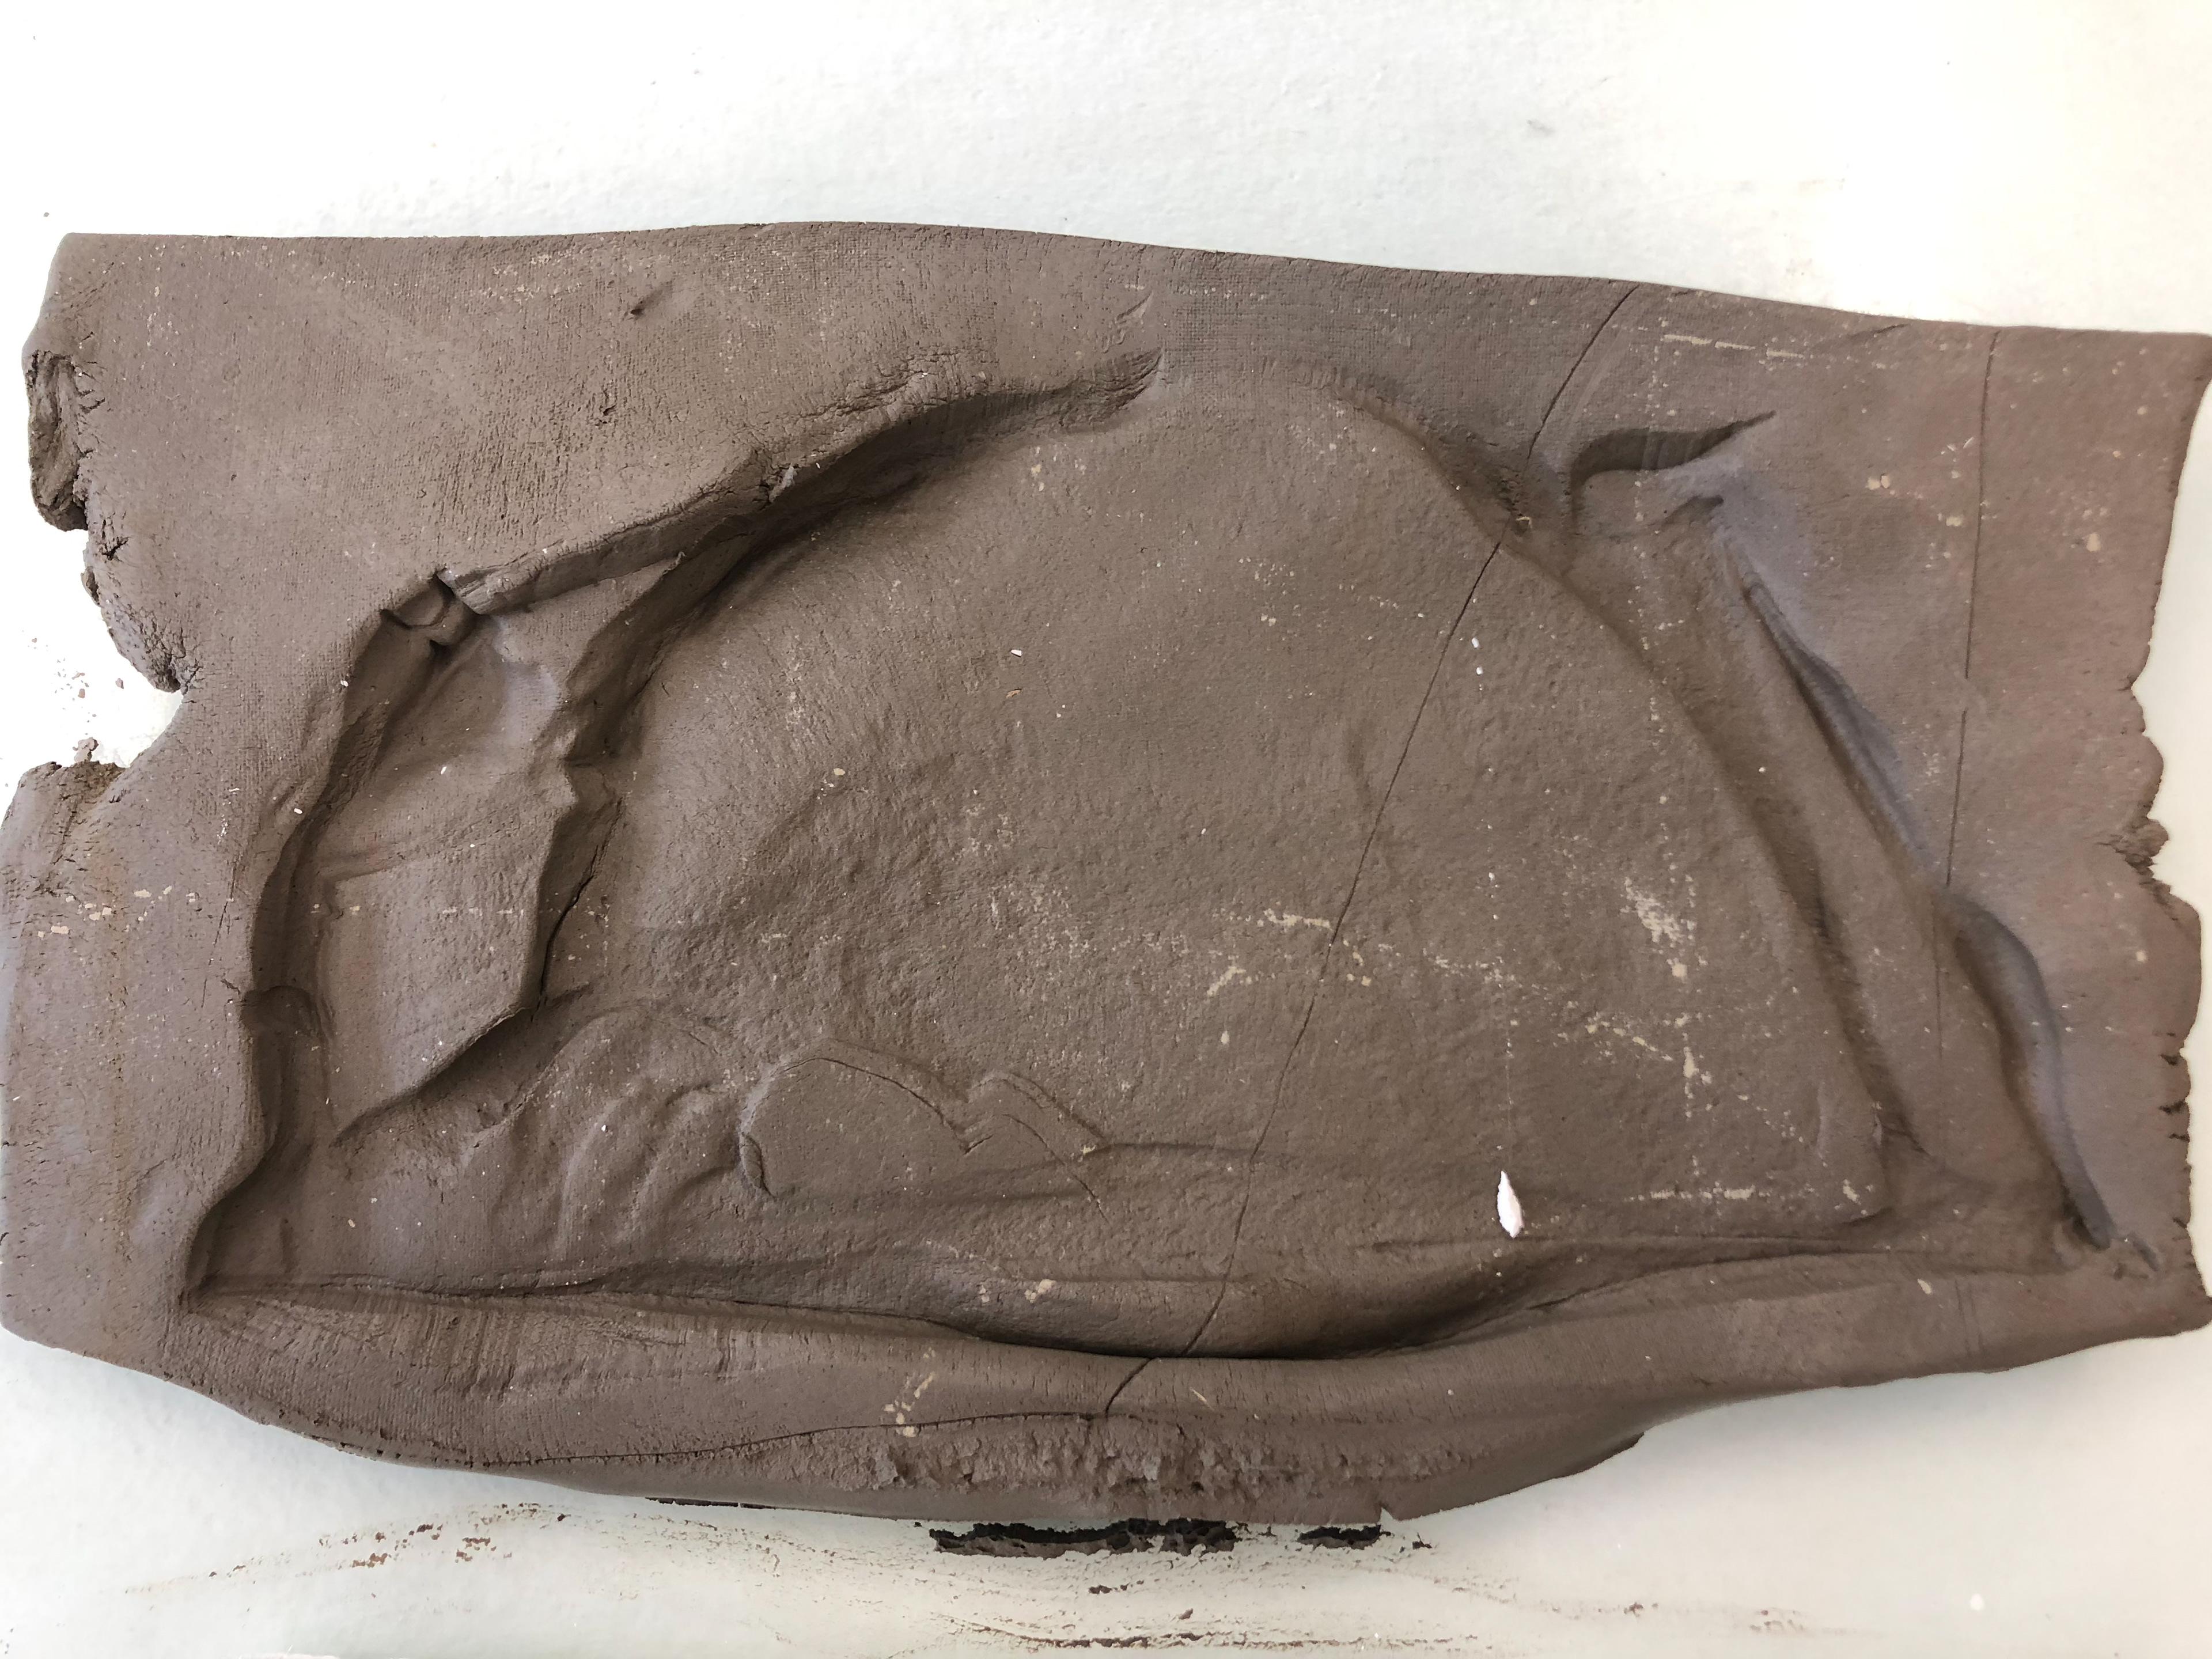
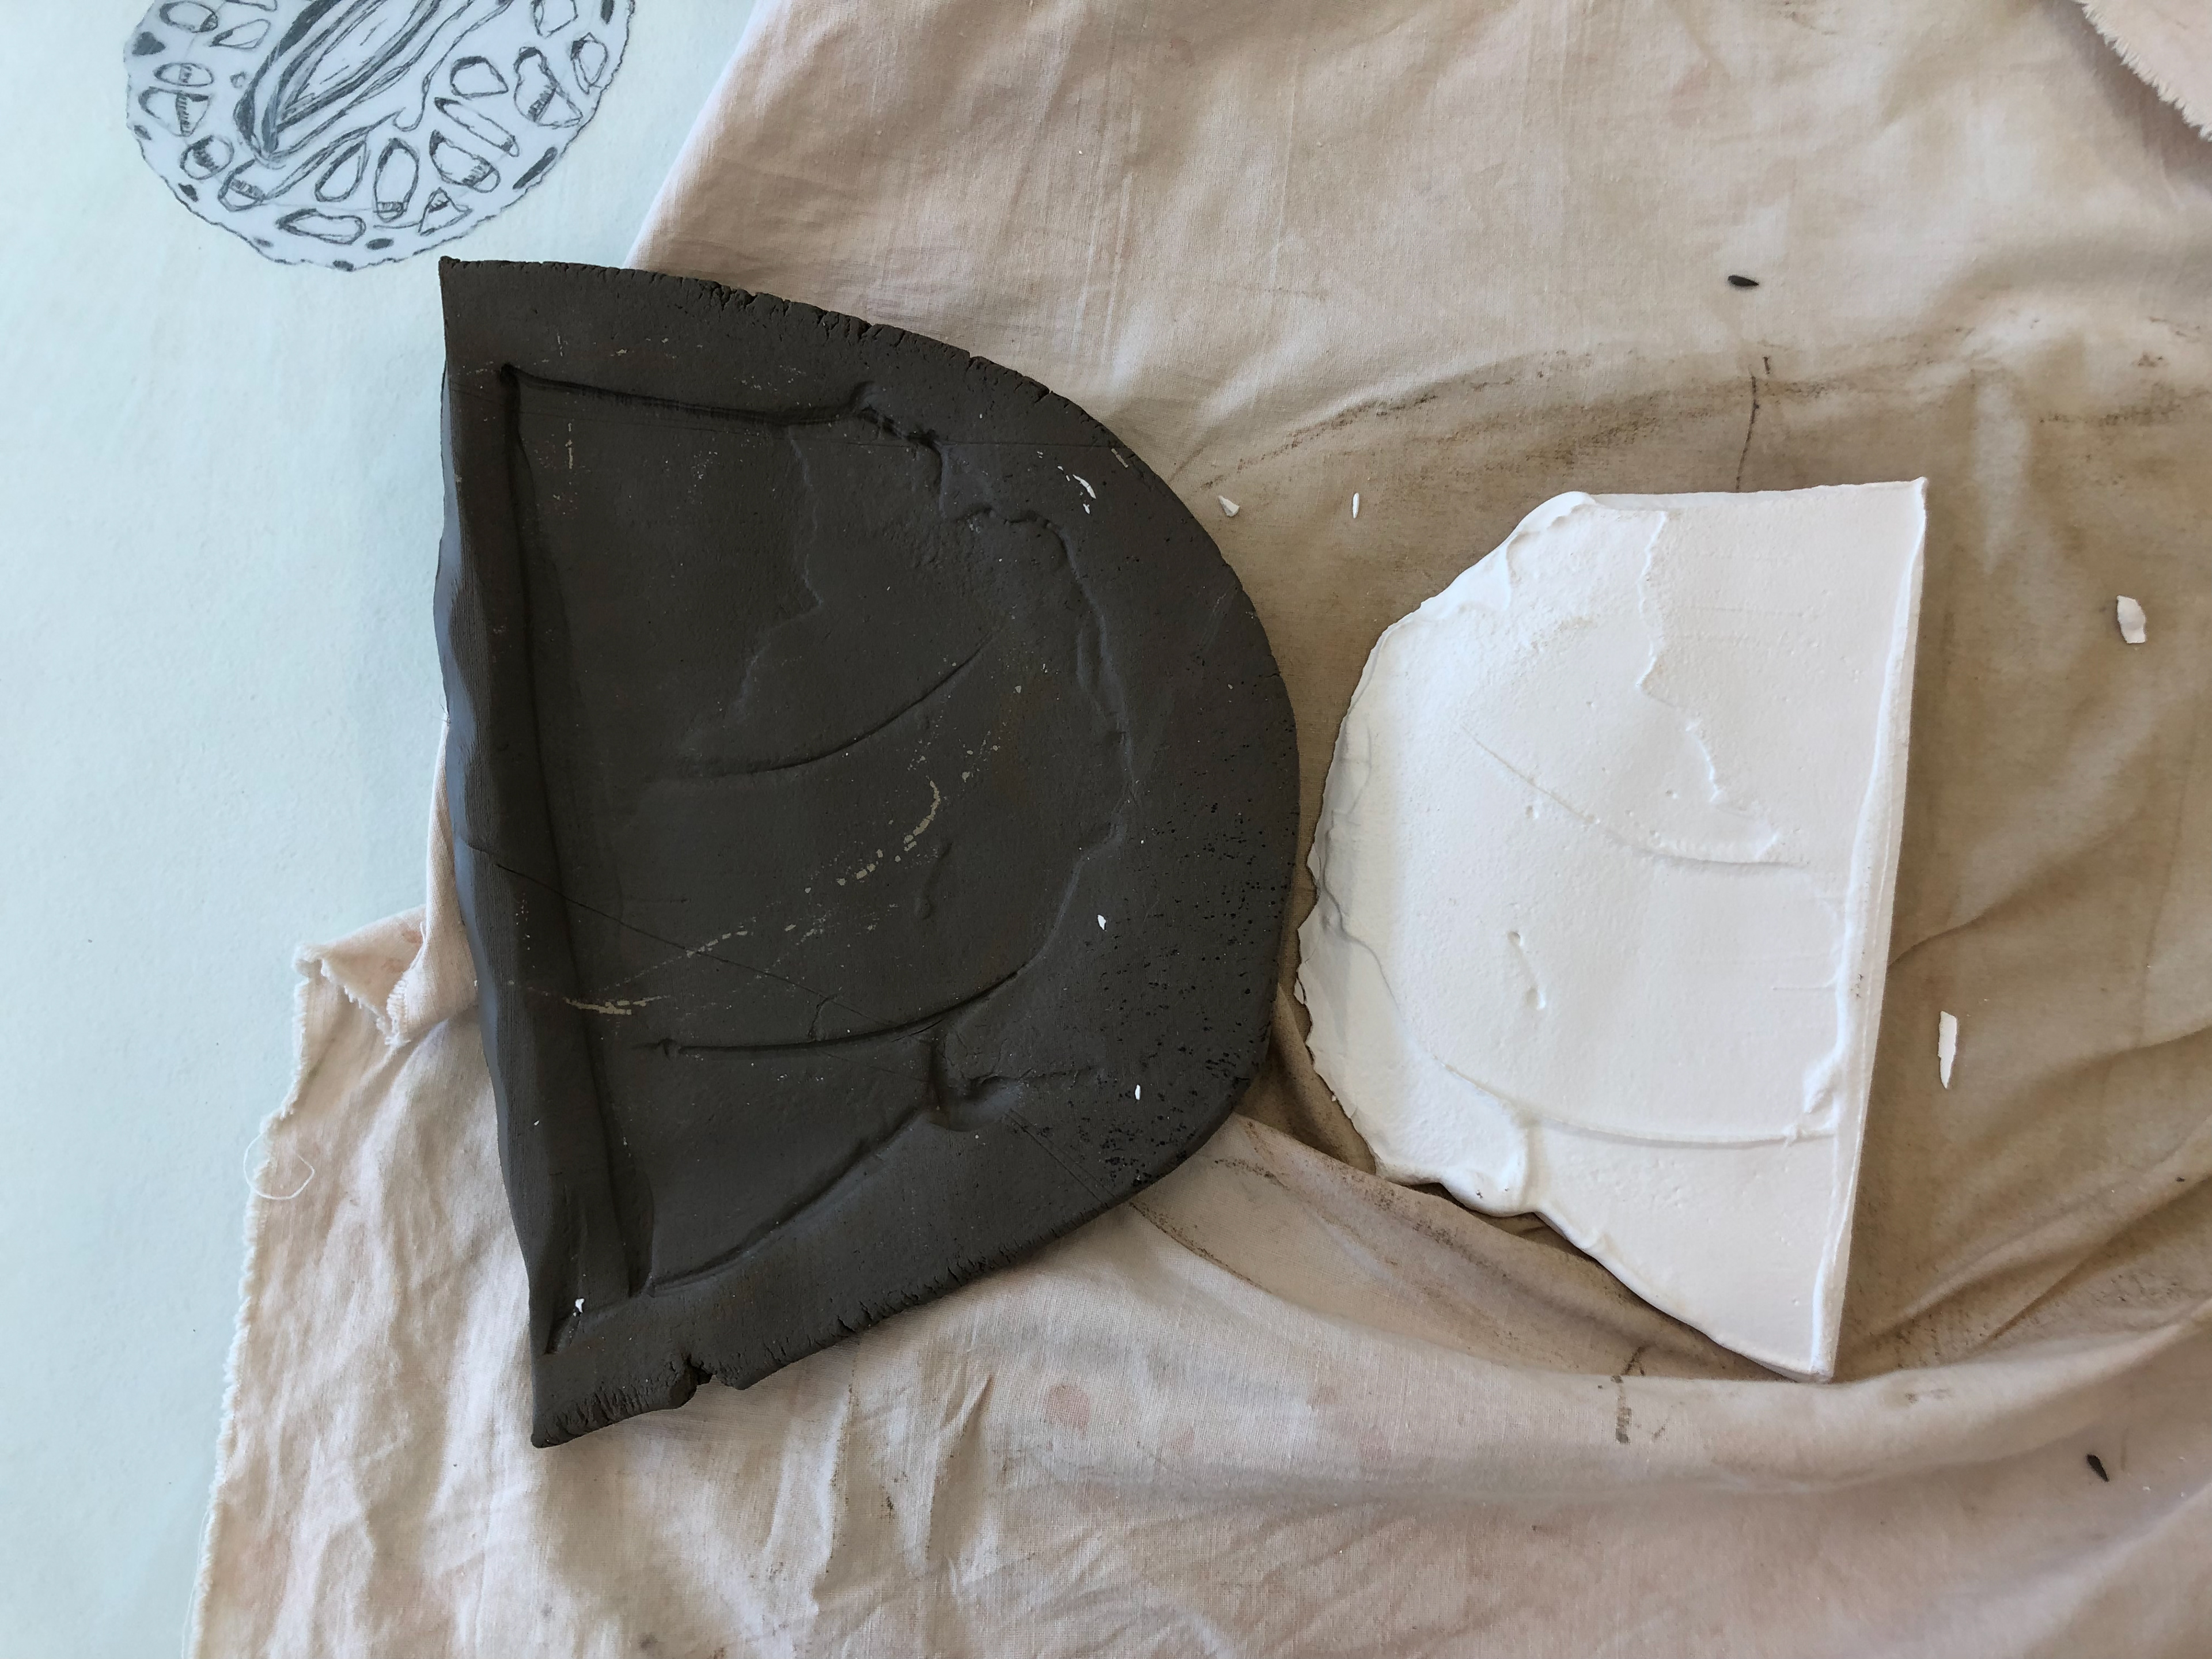
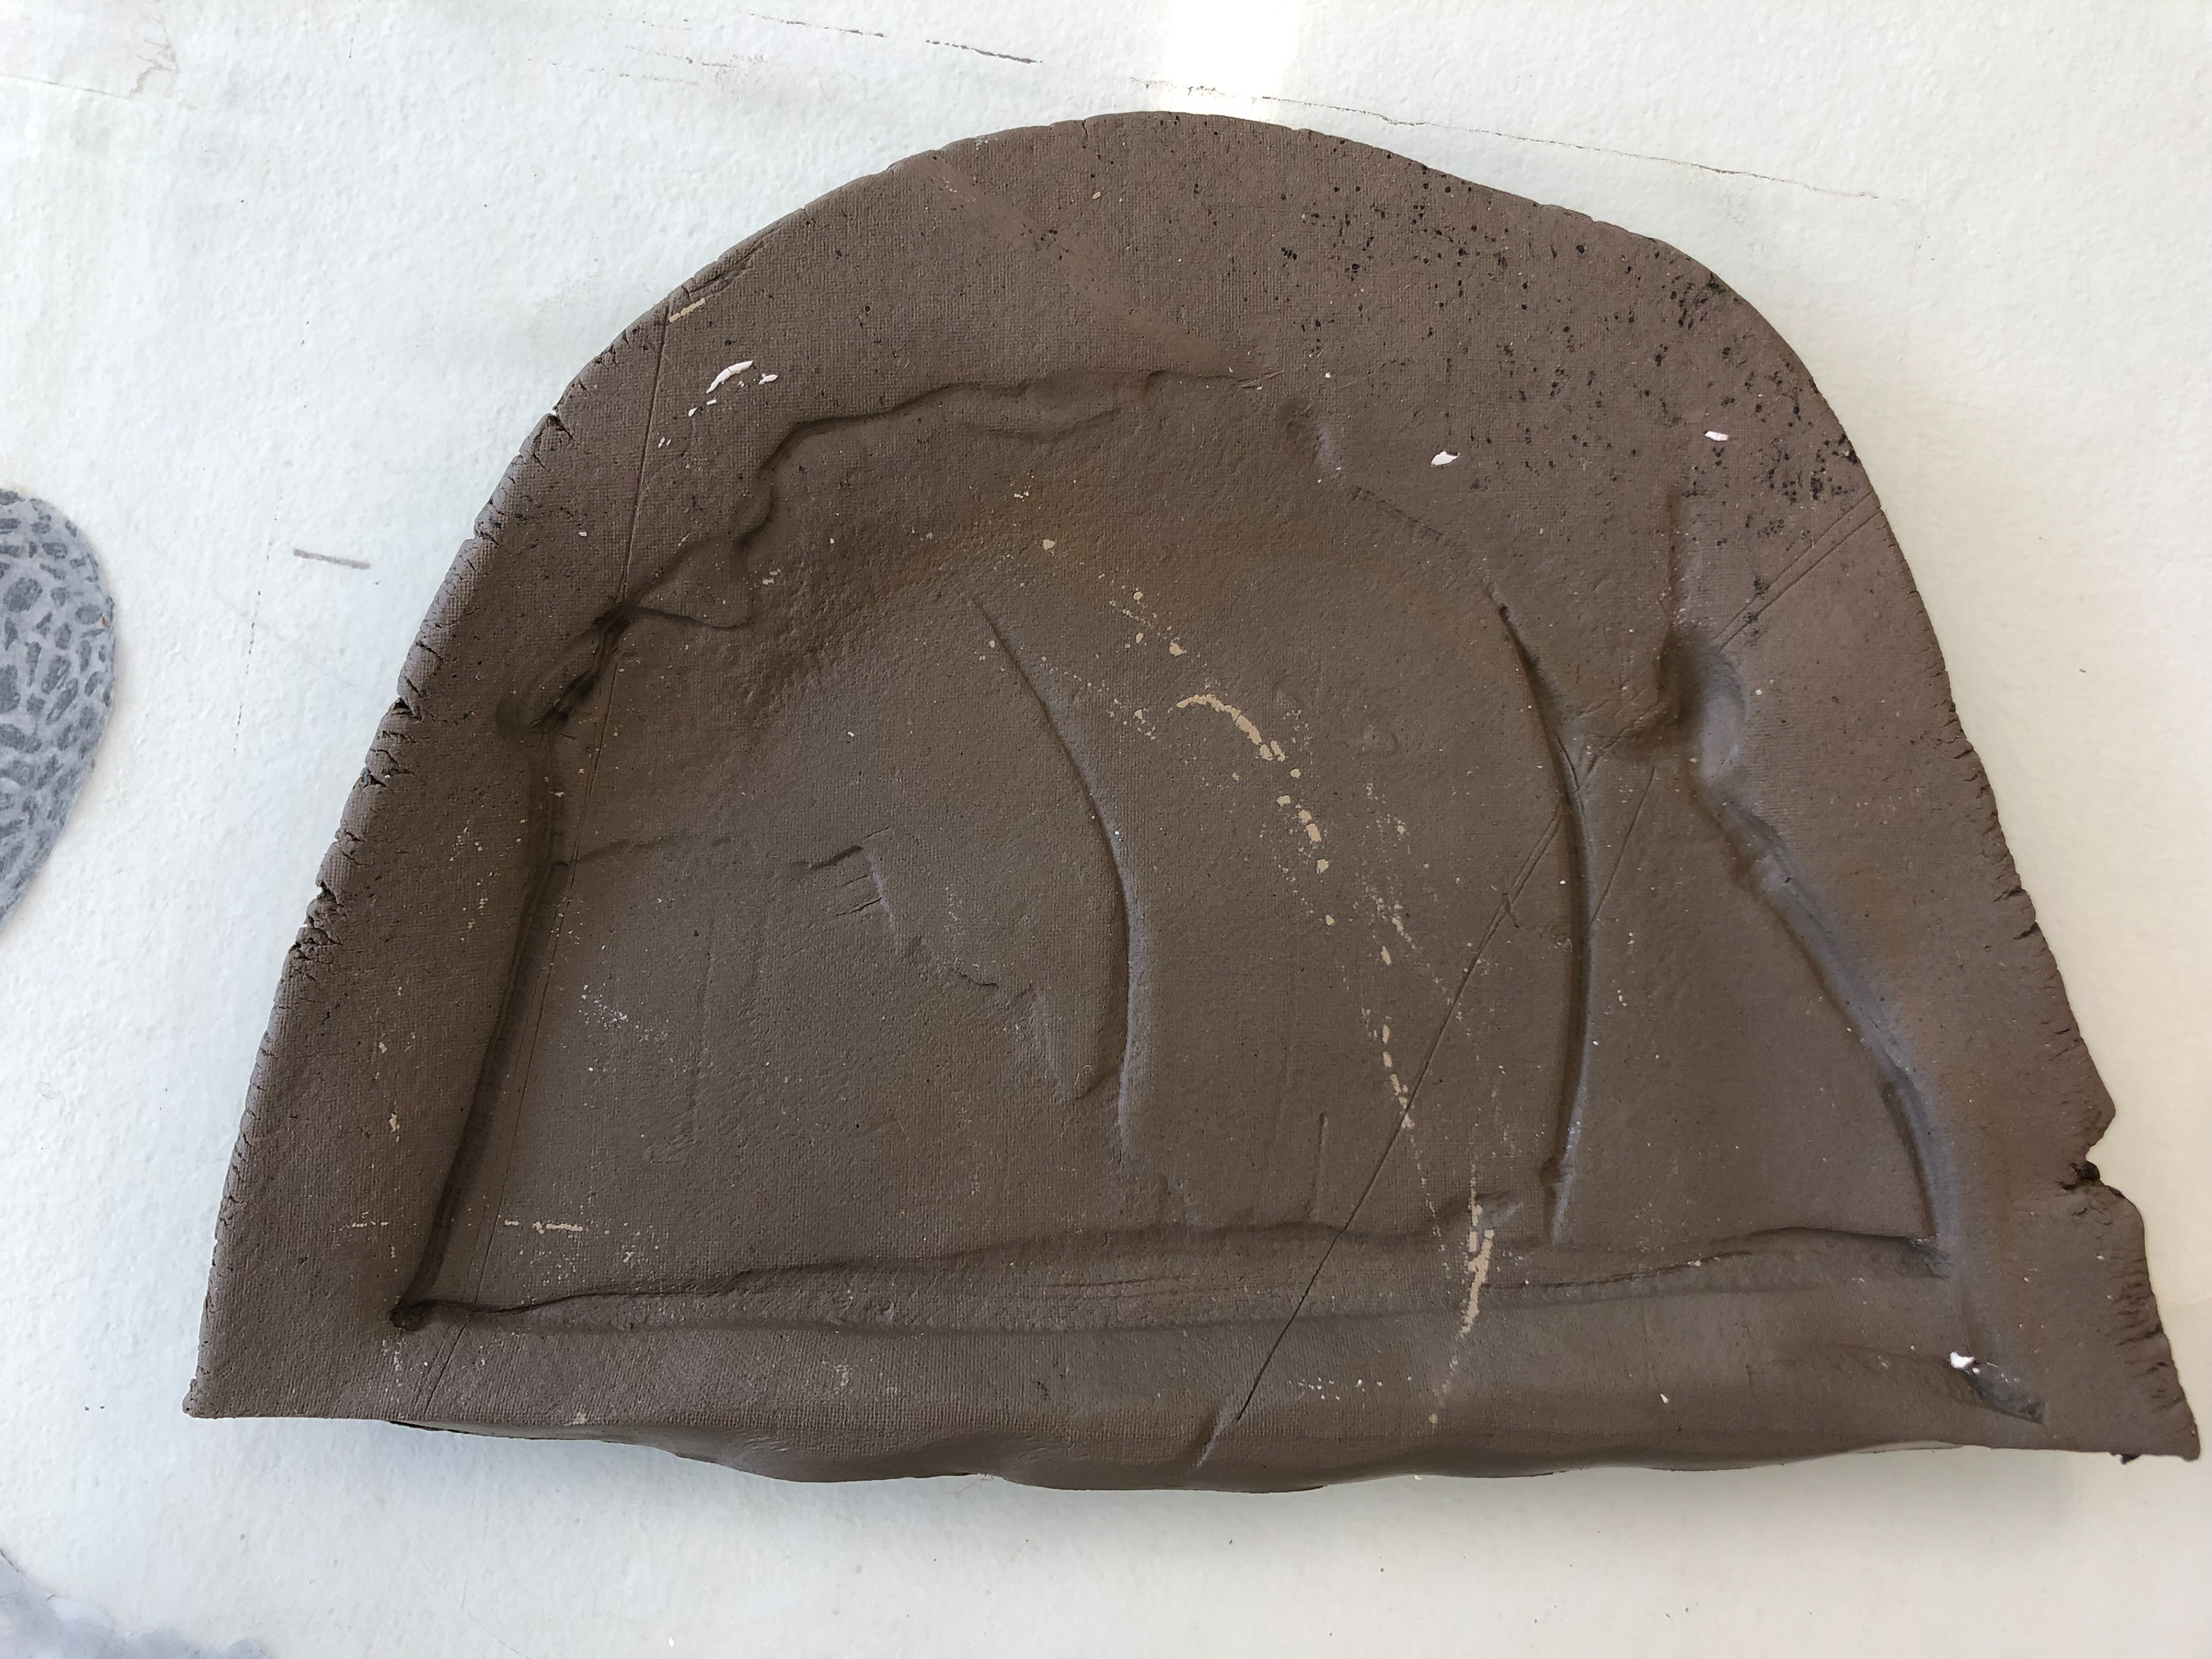
I decided to once again use the same mould from the 'Investigation and Application' but incorporate the style that Jill Shaddock has. I felt it was a perfect pre-existing mould because of how unusual the shape is. It would allow me to cut down all sorts of edges and corners. I got very adventurous and cut an entire corner away. I wanted to preserve this corner and make it an accessory to the main vessel. When placed back with the vessel it has a very visible boundary and at no point do they touch each other.
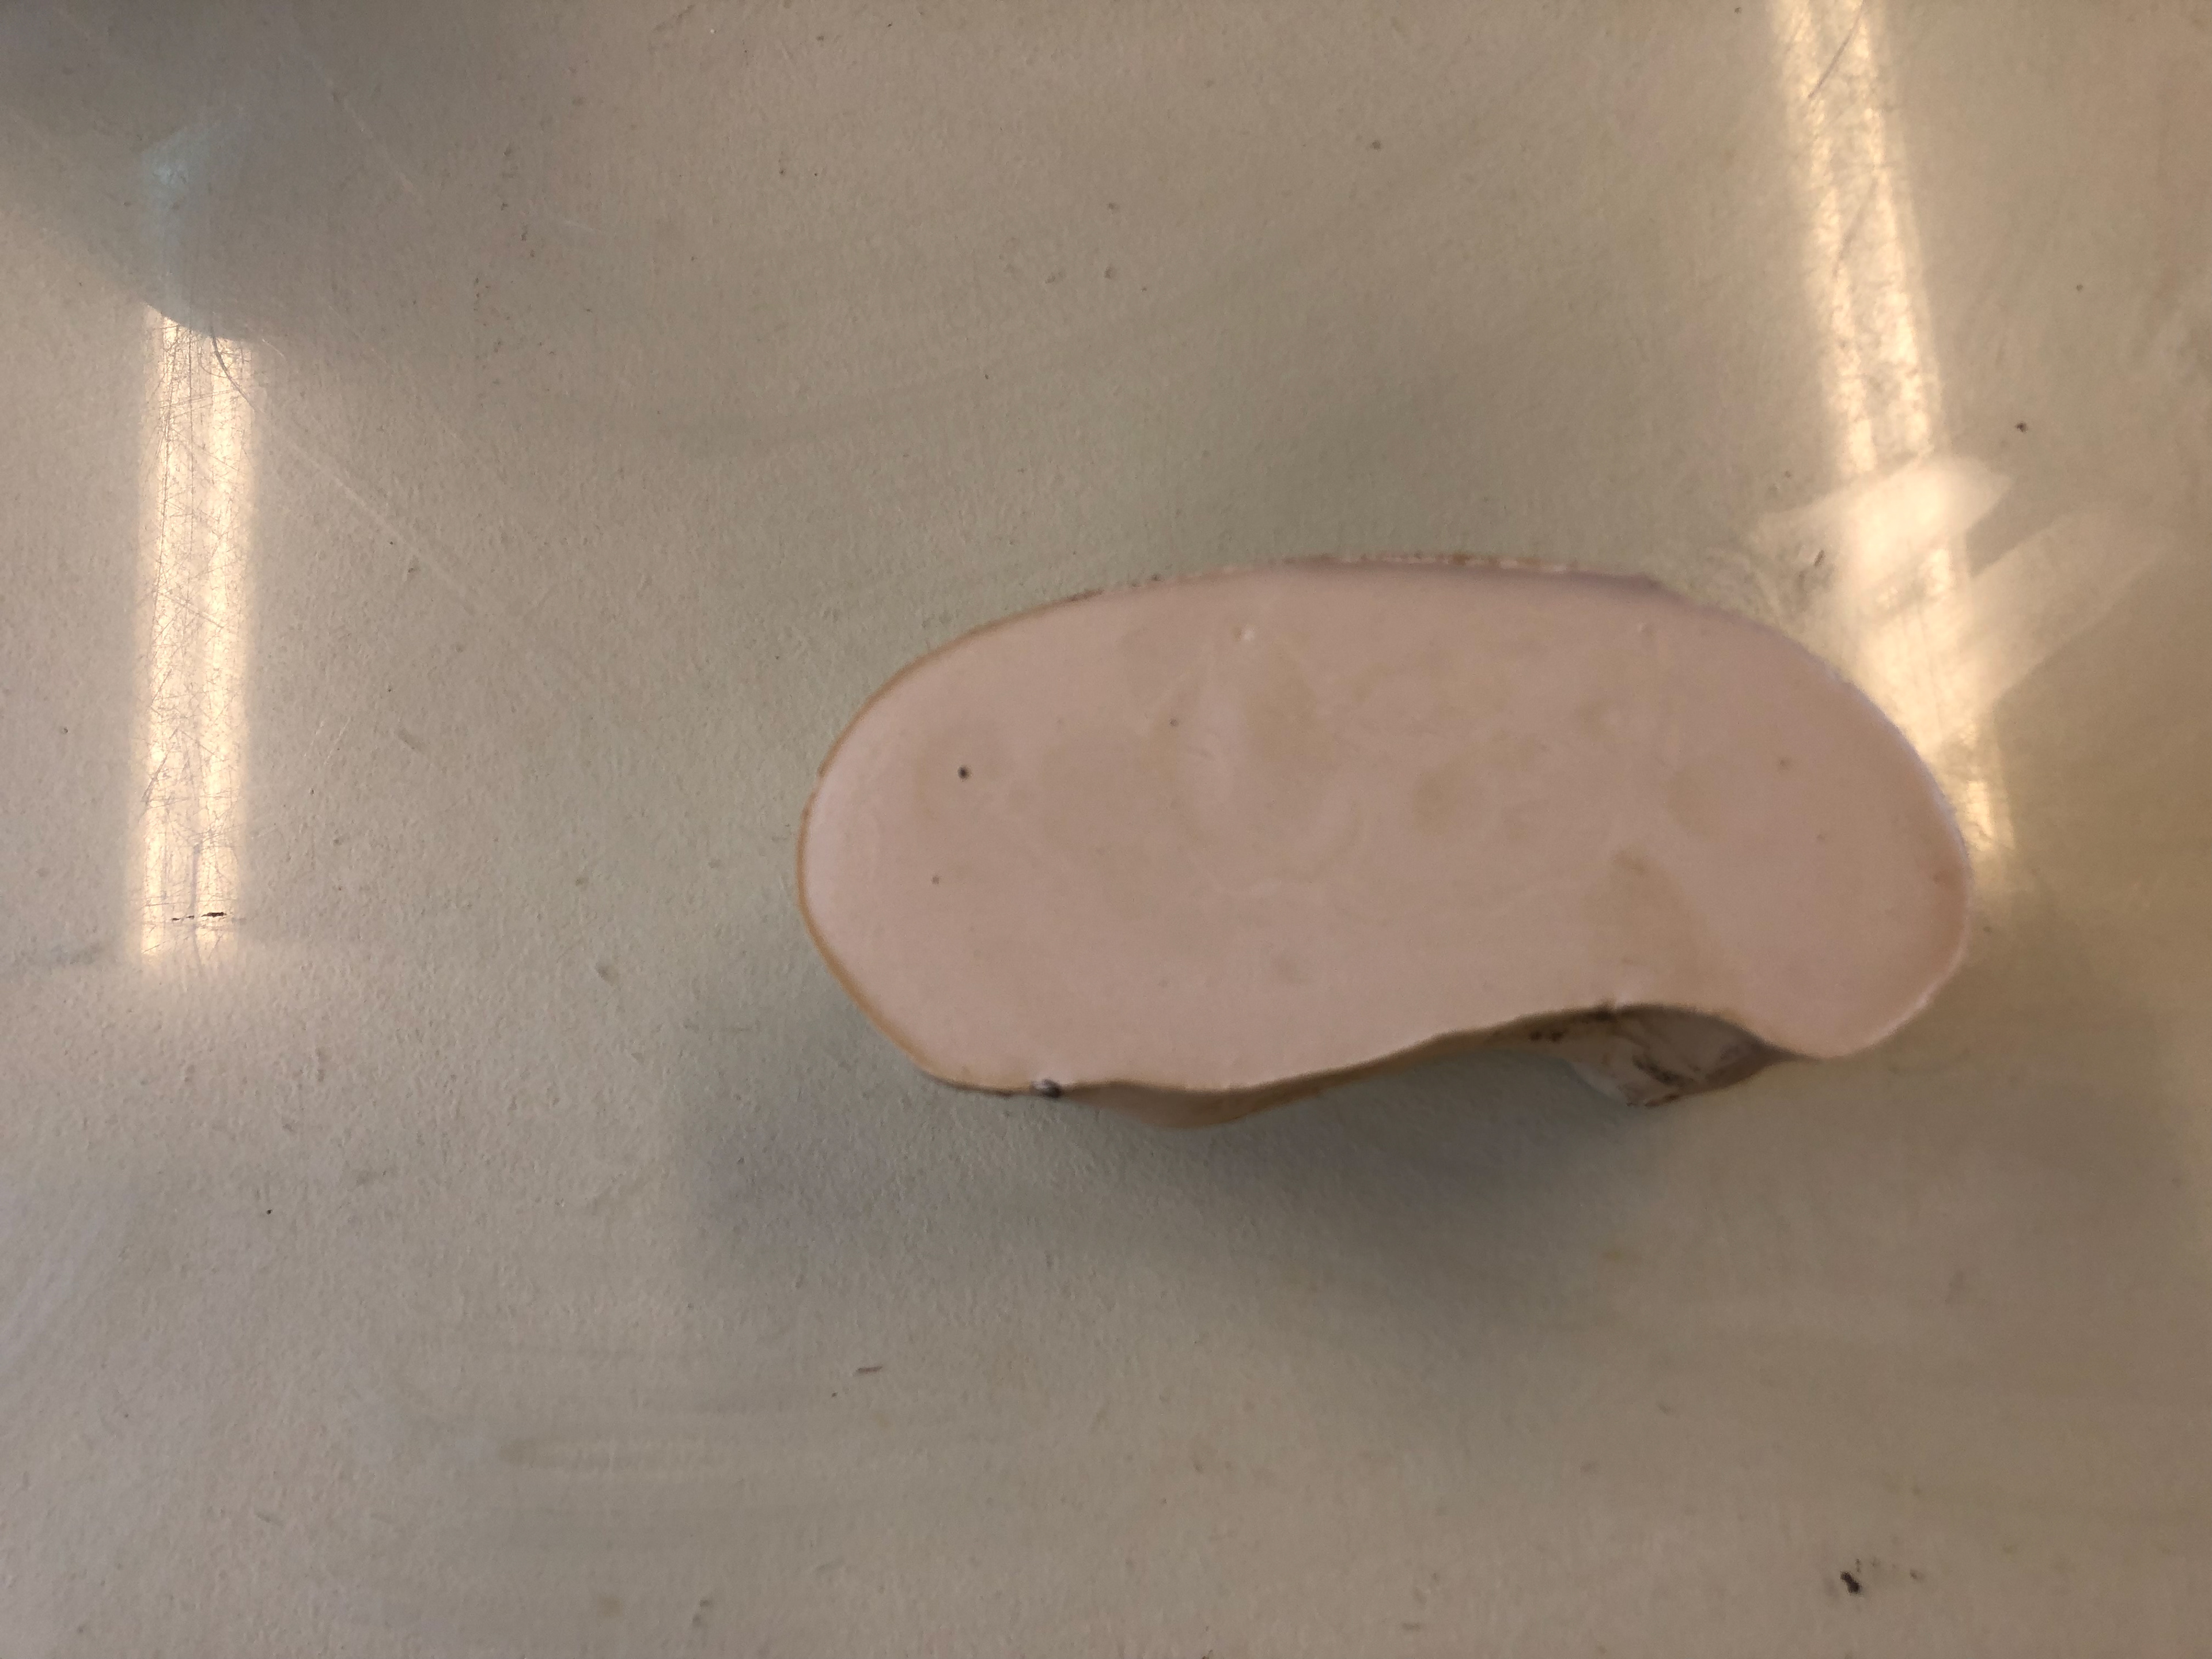
Similar to Shaddock's Vessels I cut away a corner to make a angled edge.
Smoothing the piece on the grinder.
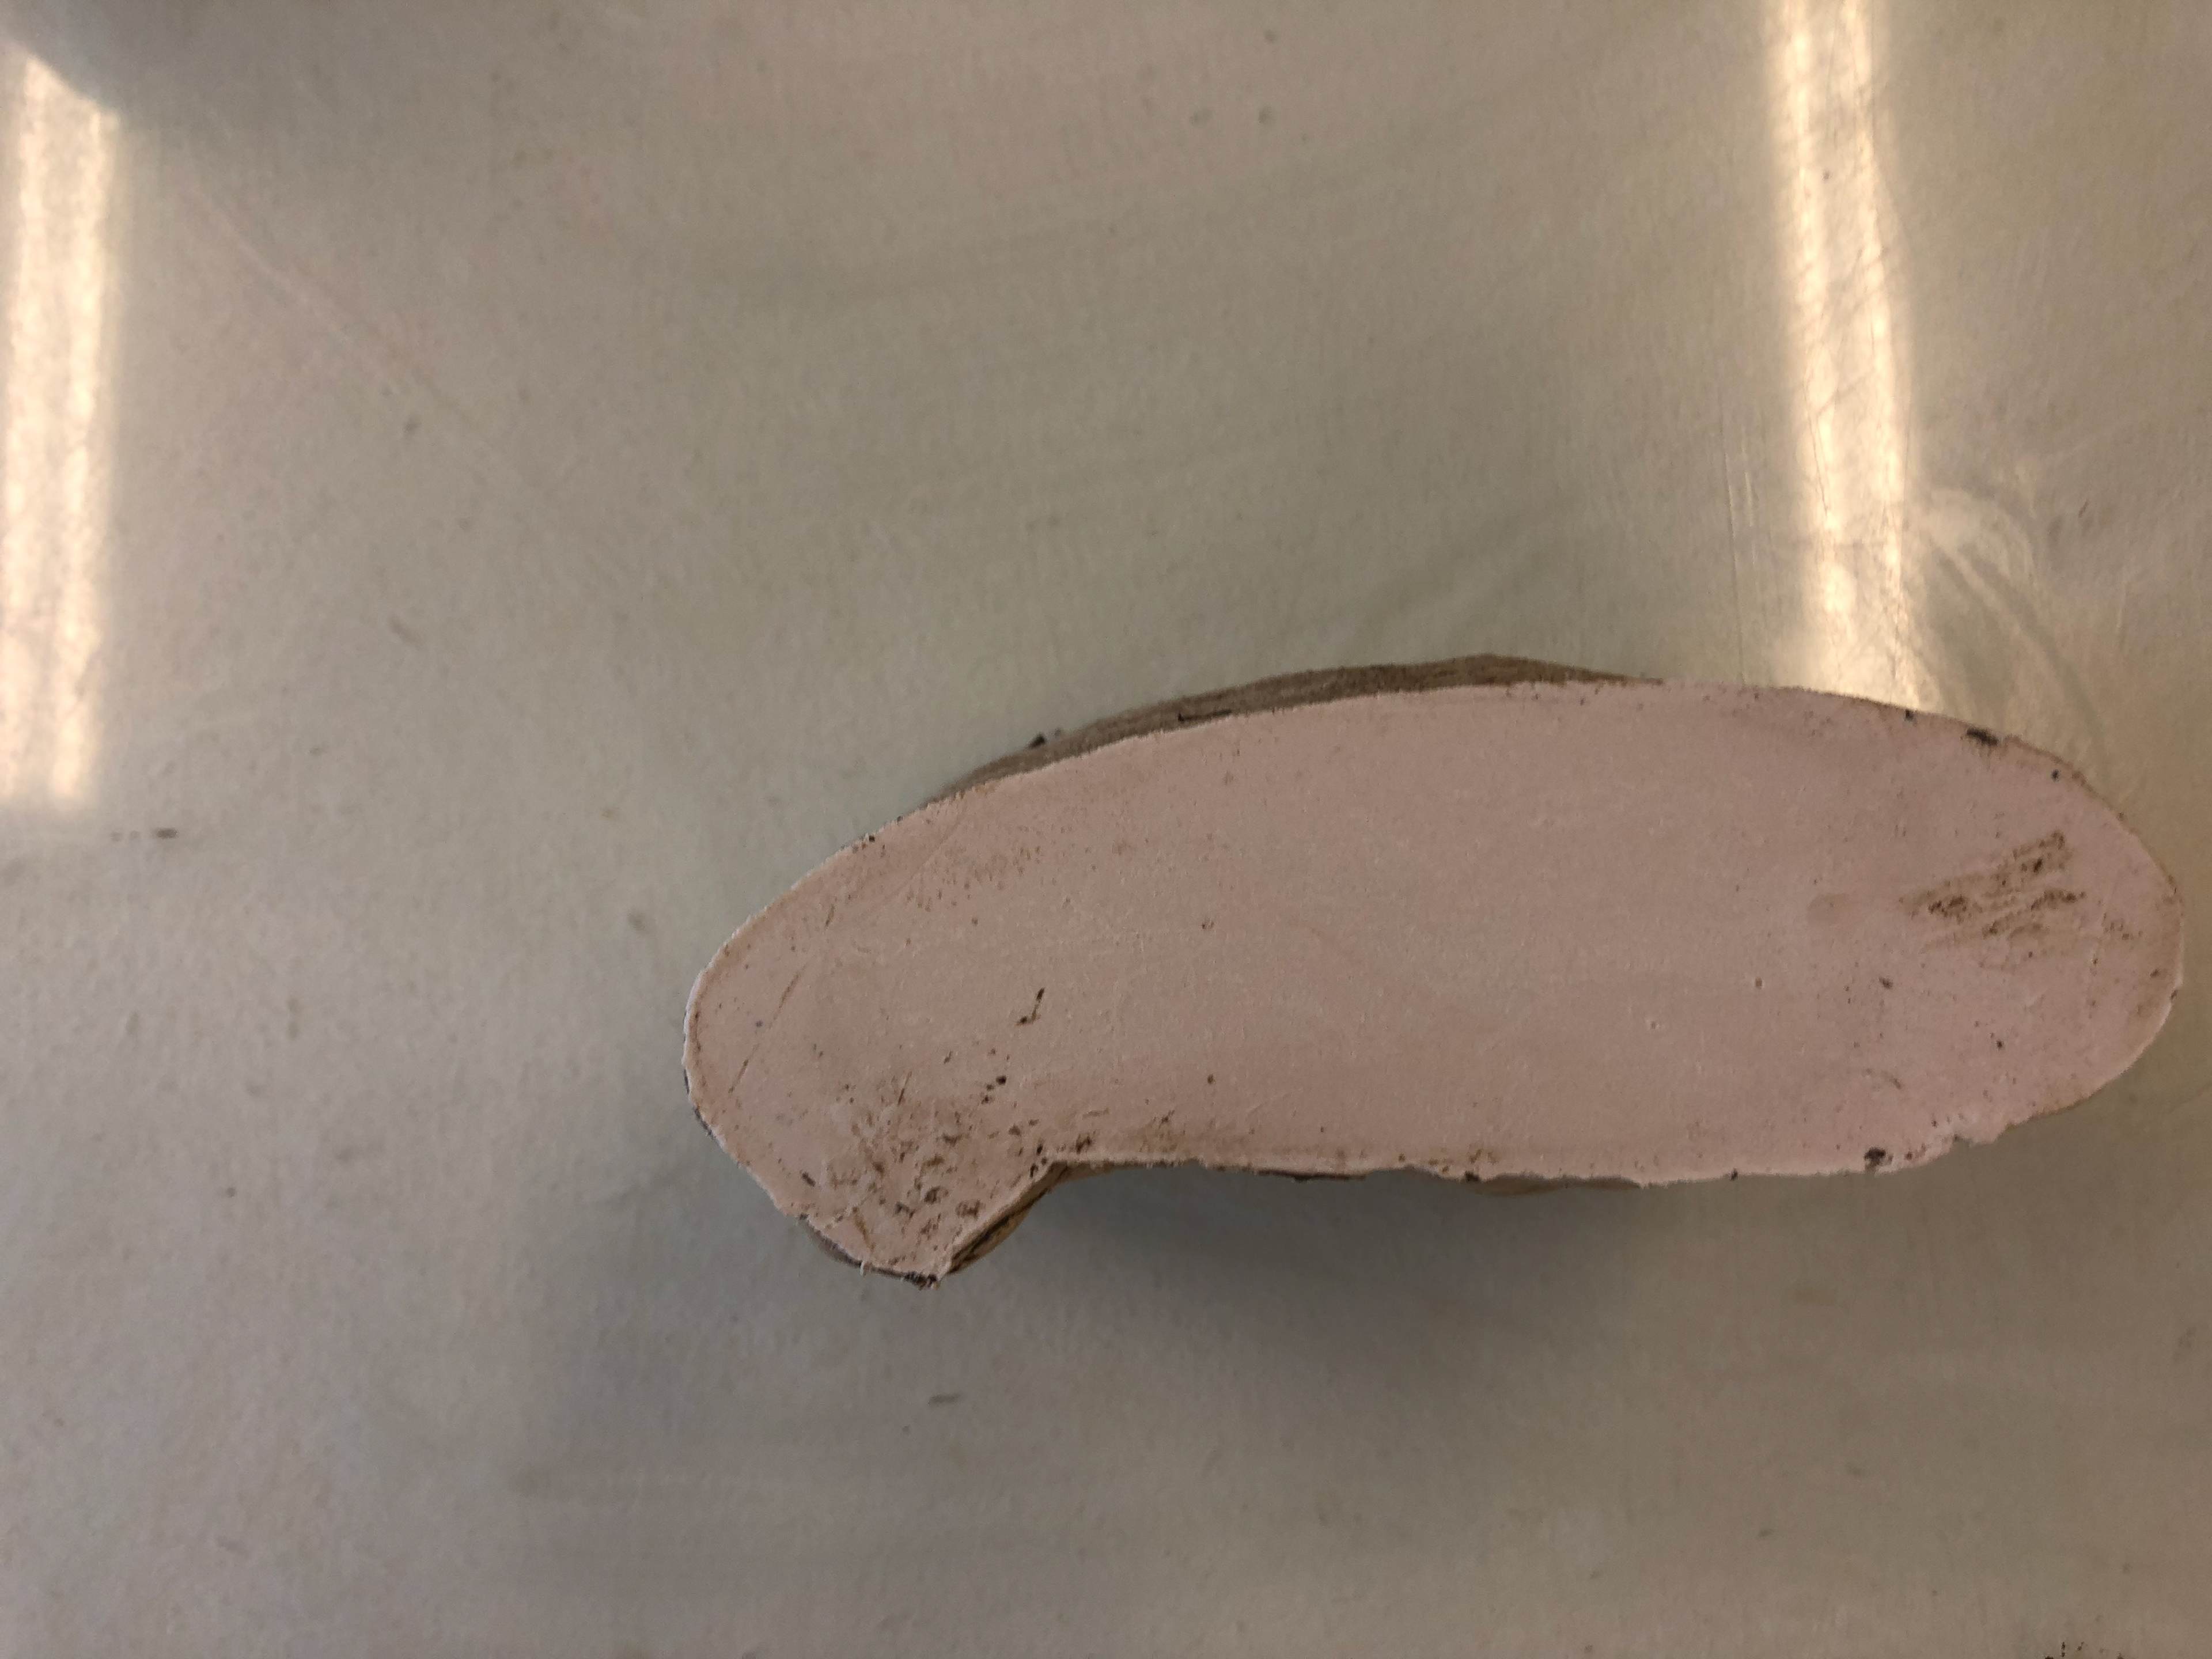
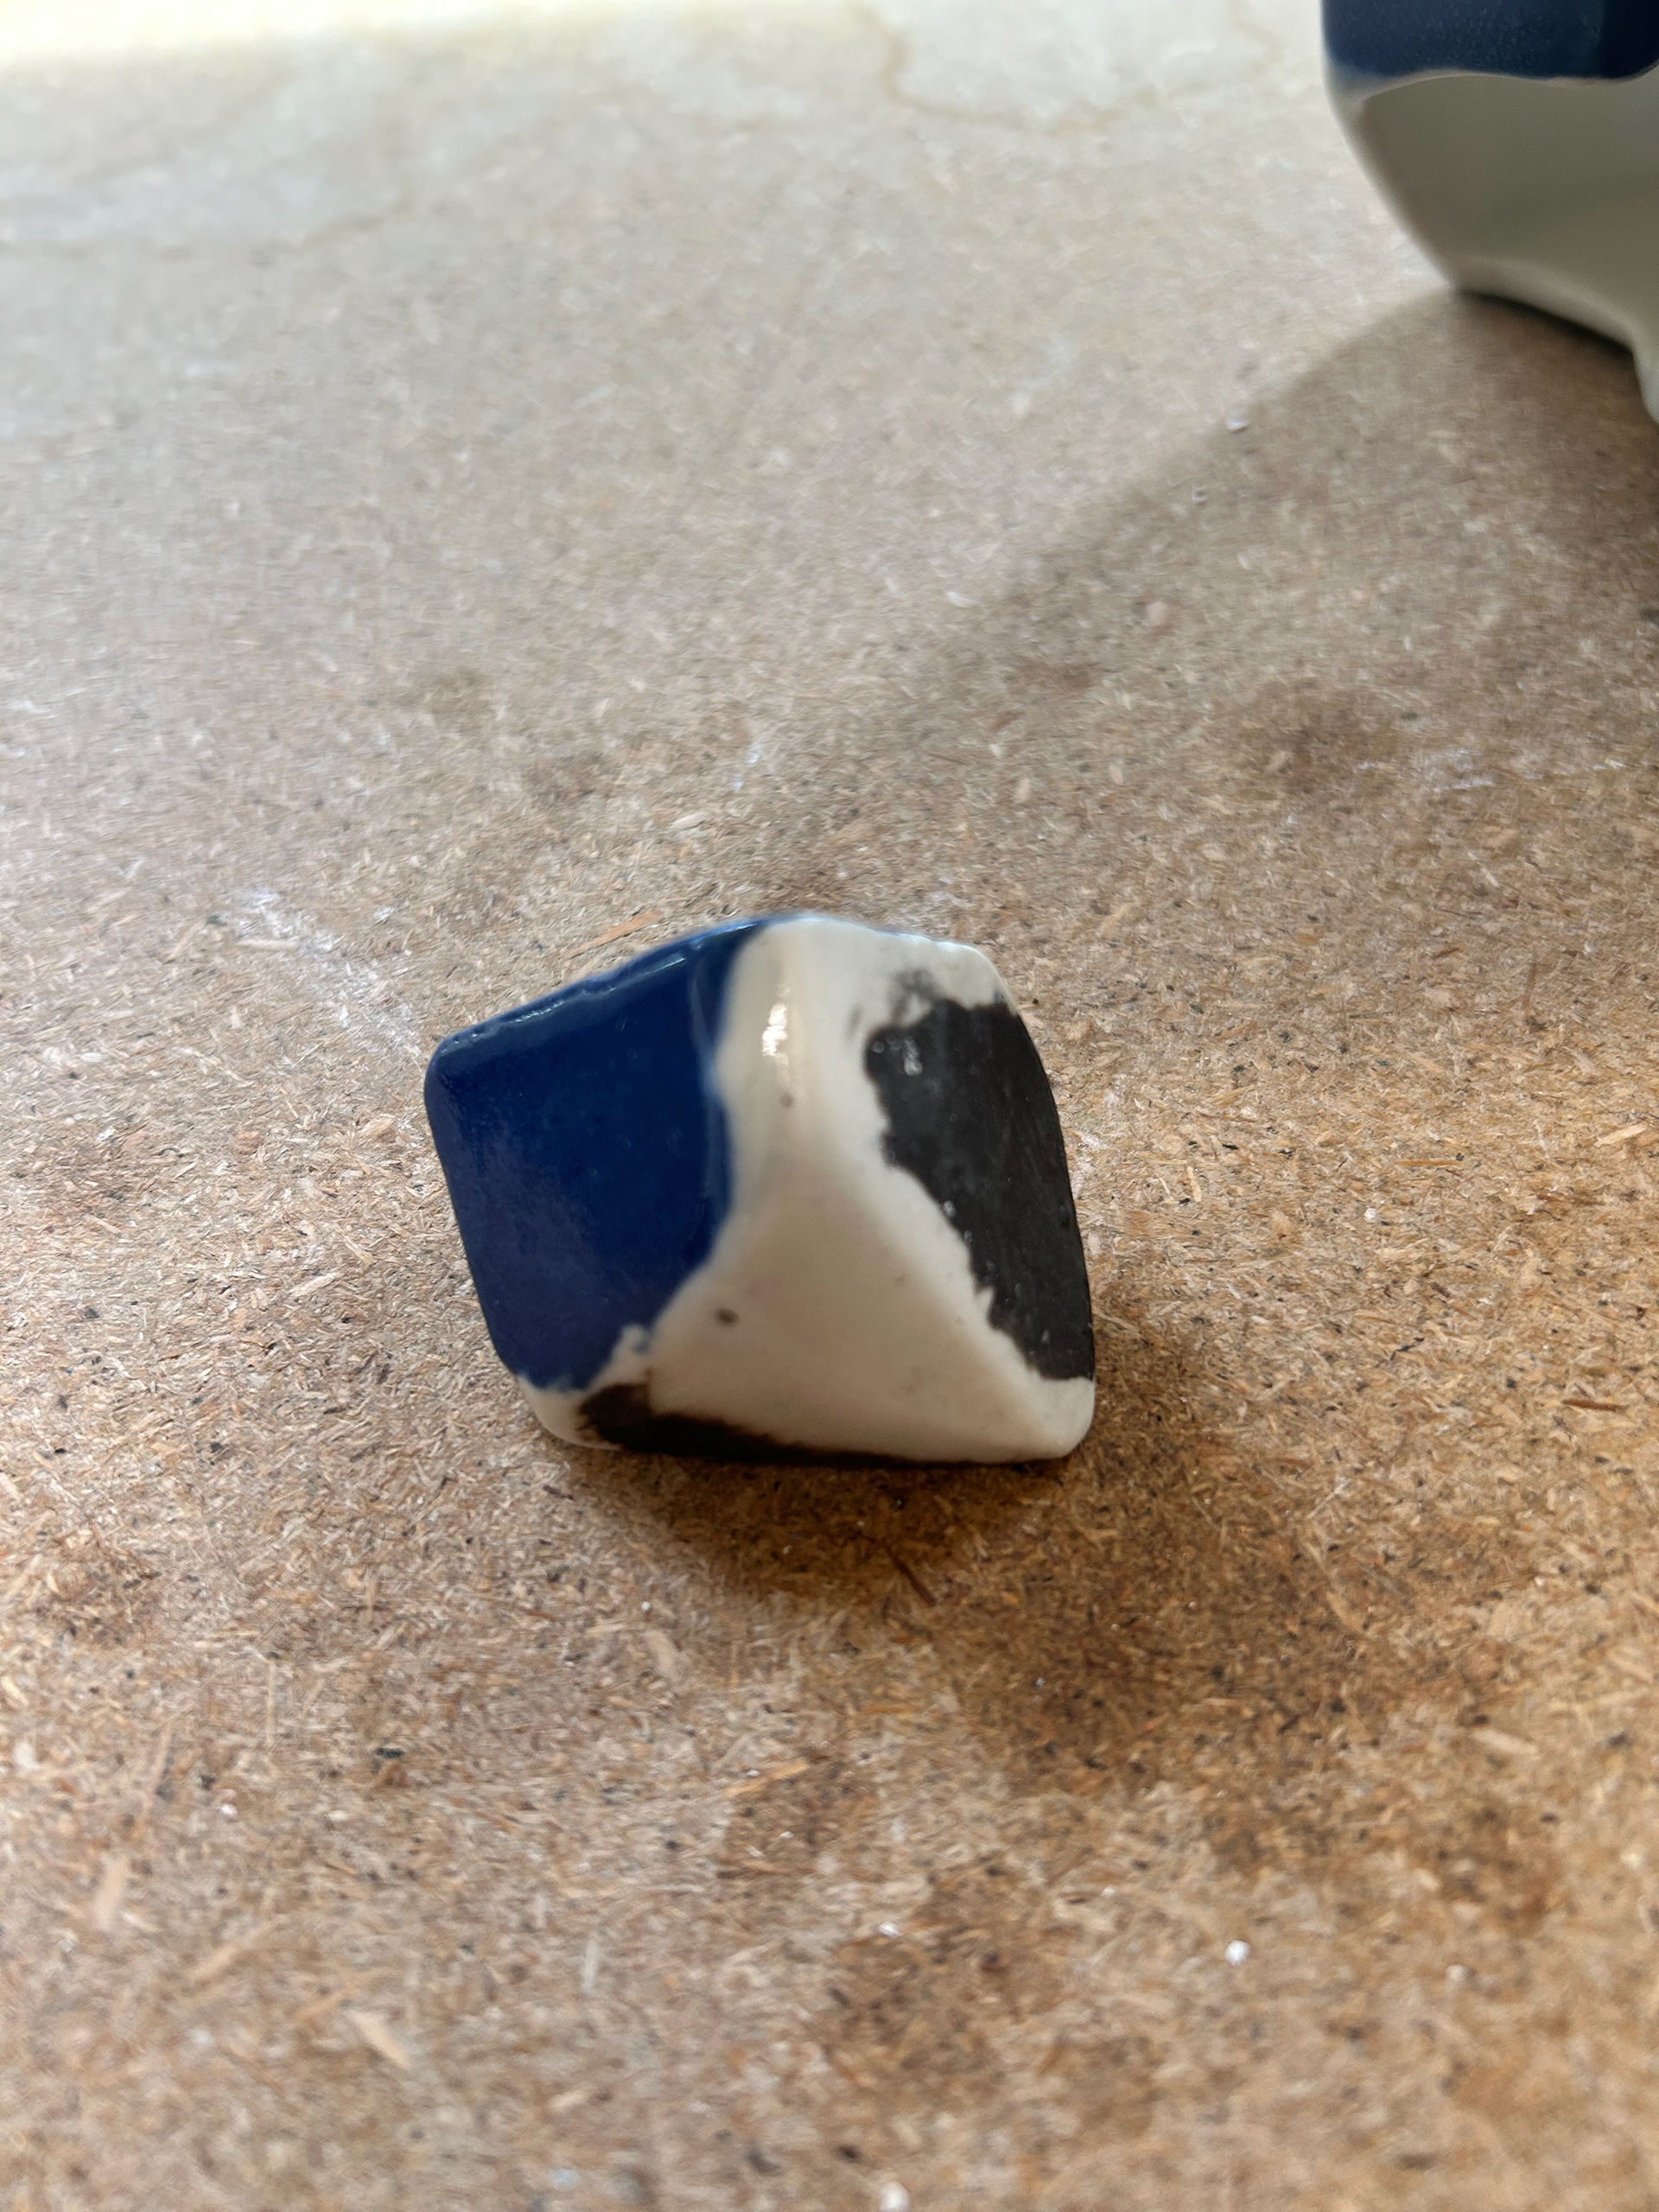
The off-cut
The off-cut
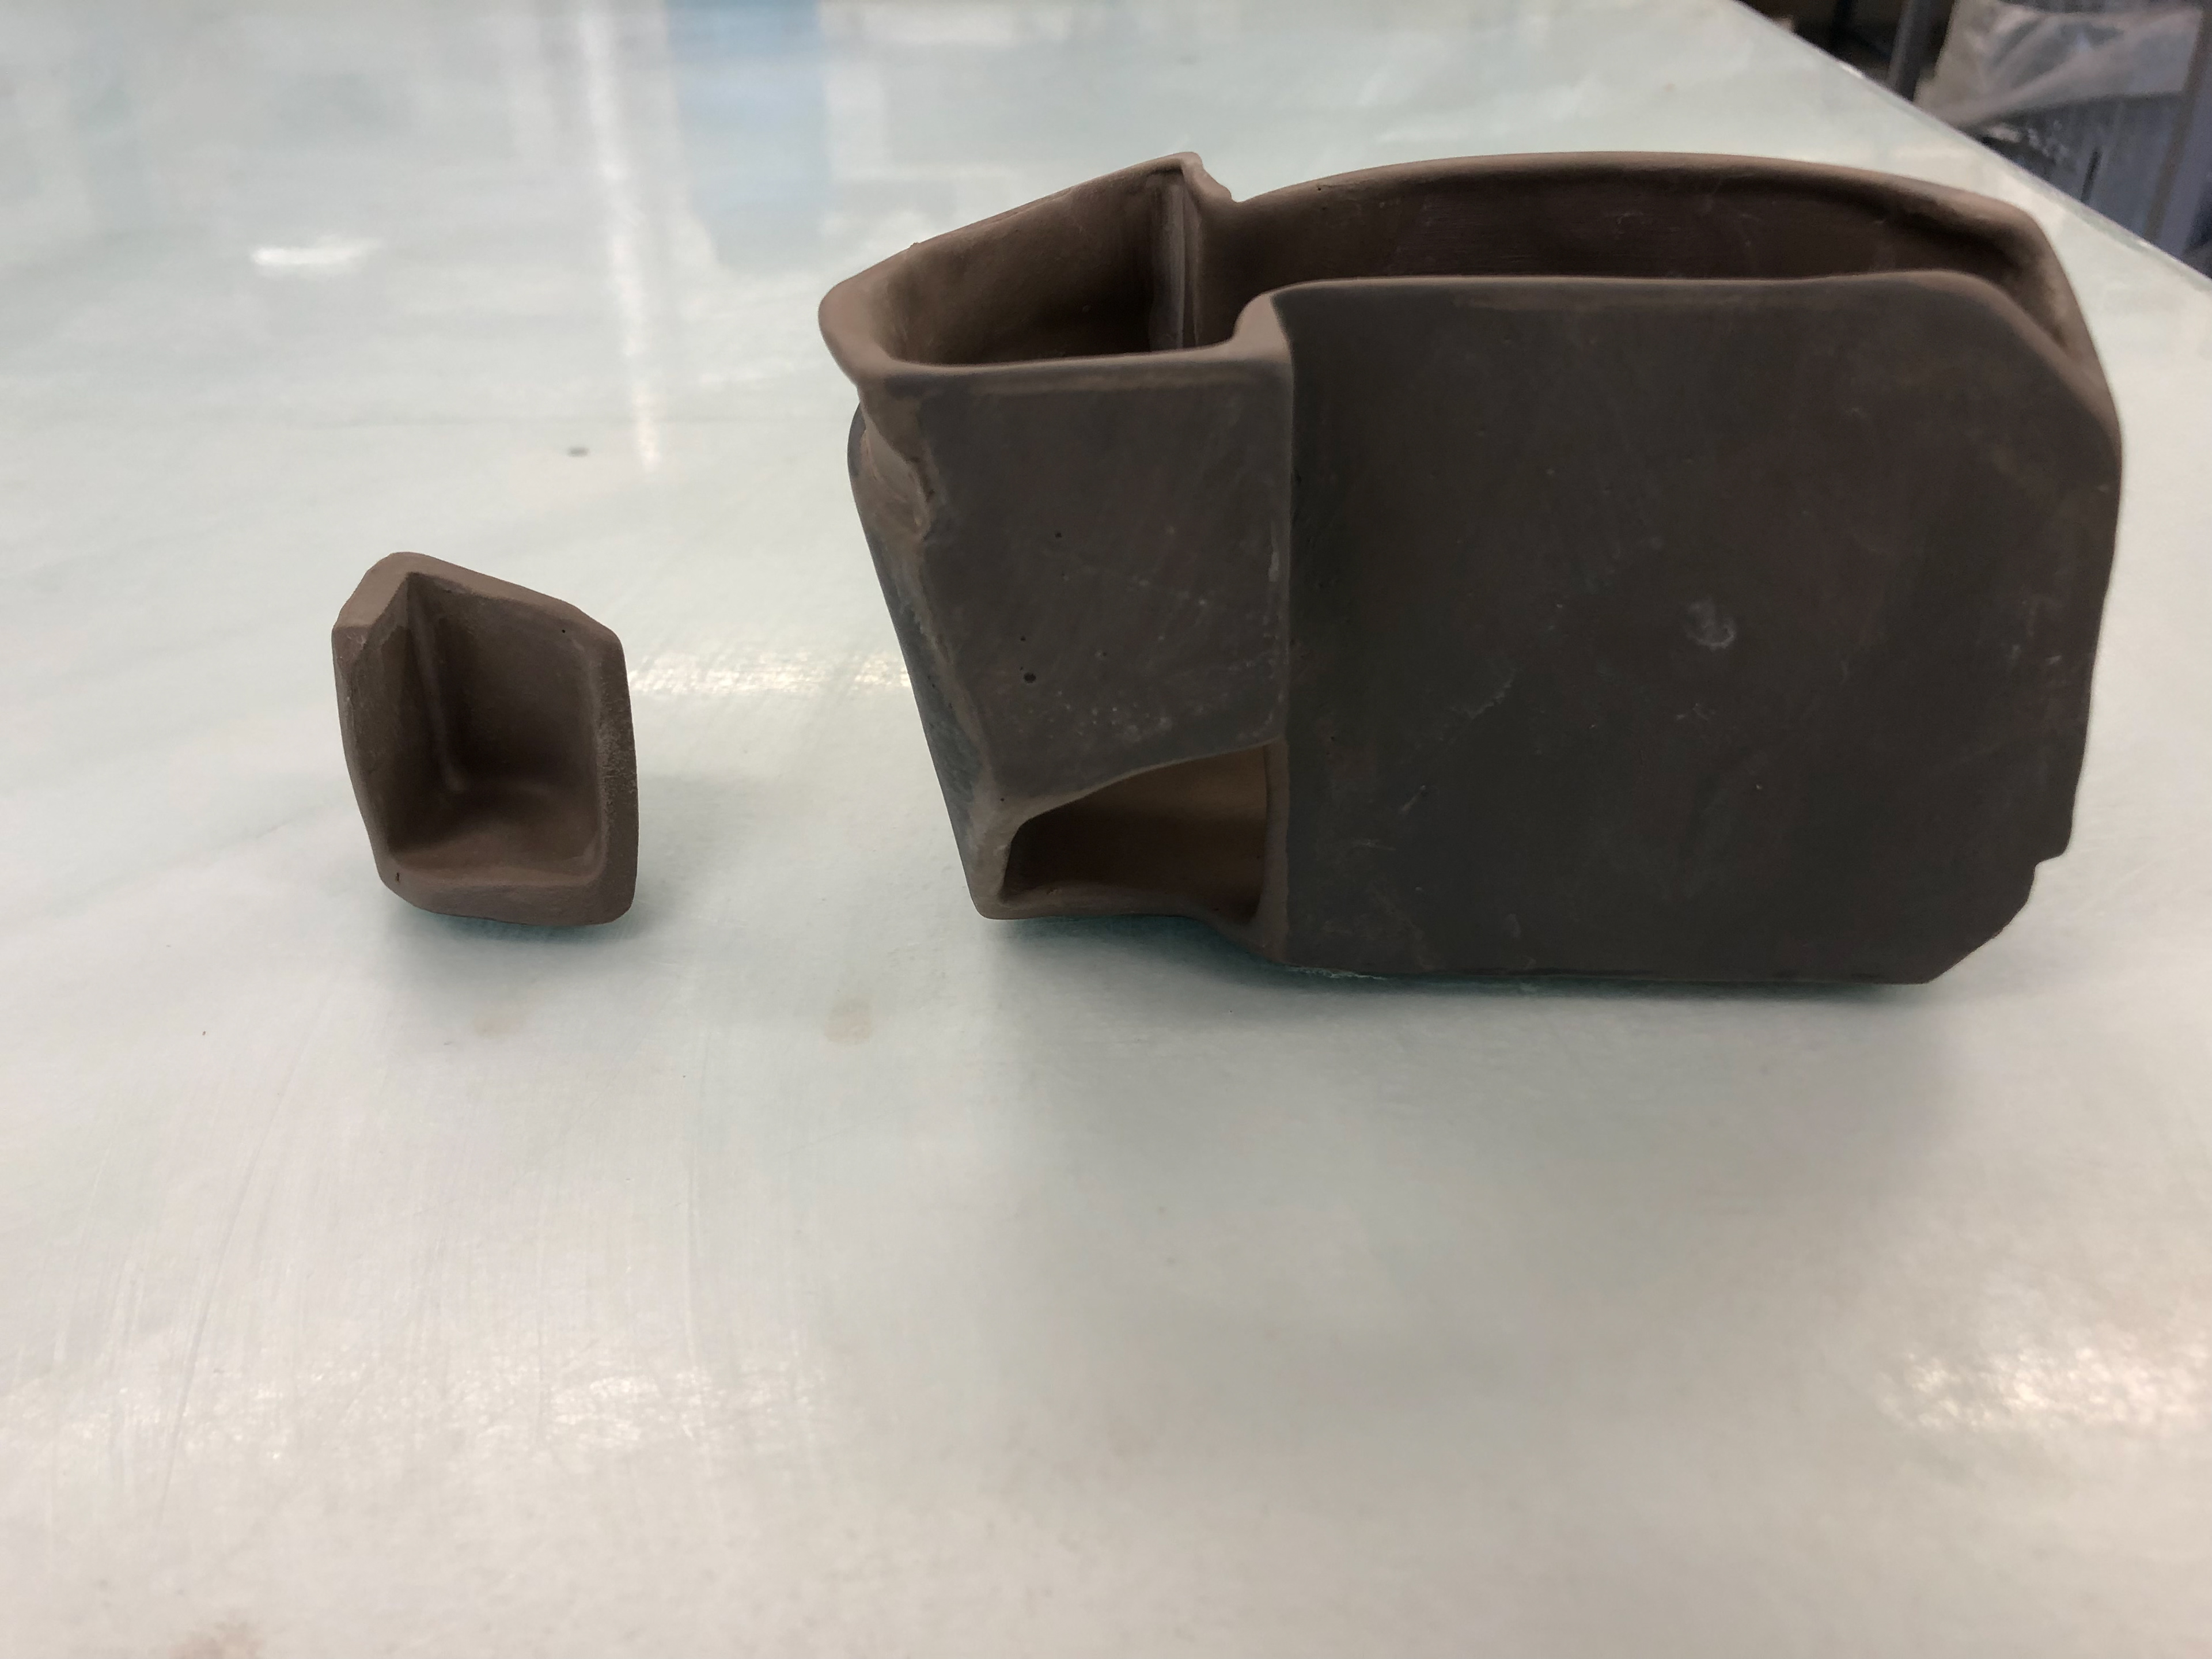
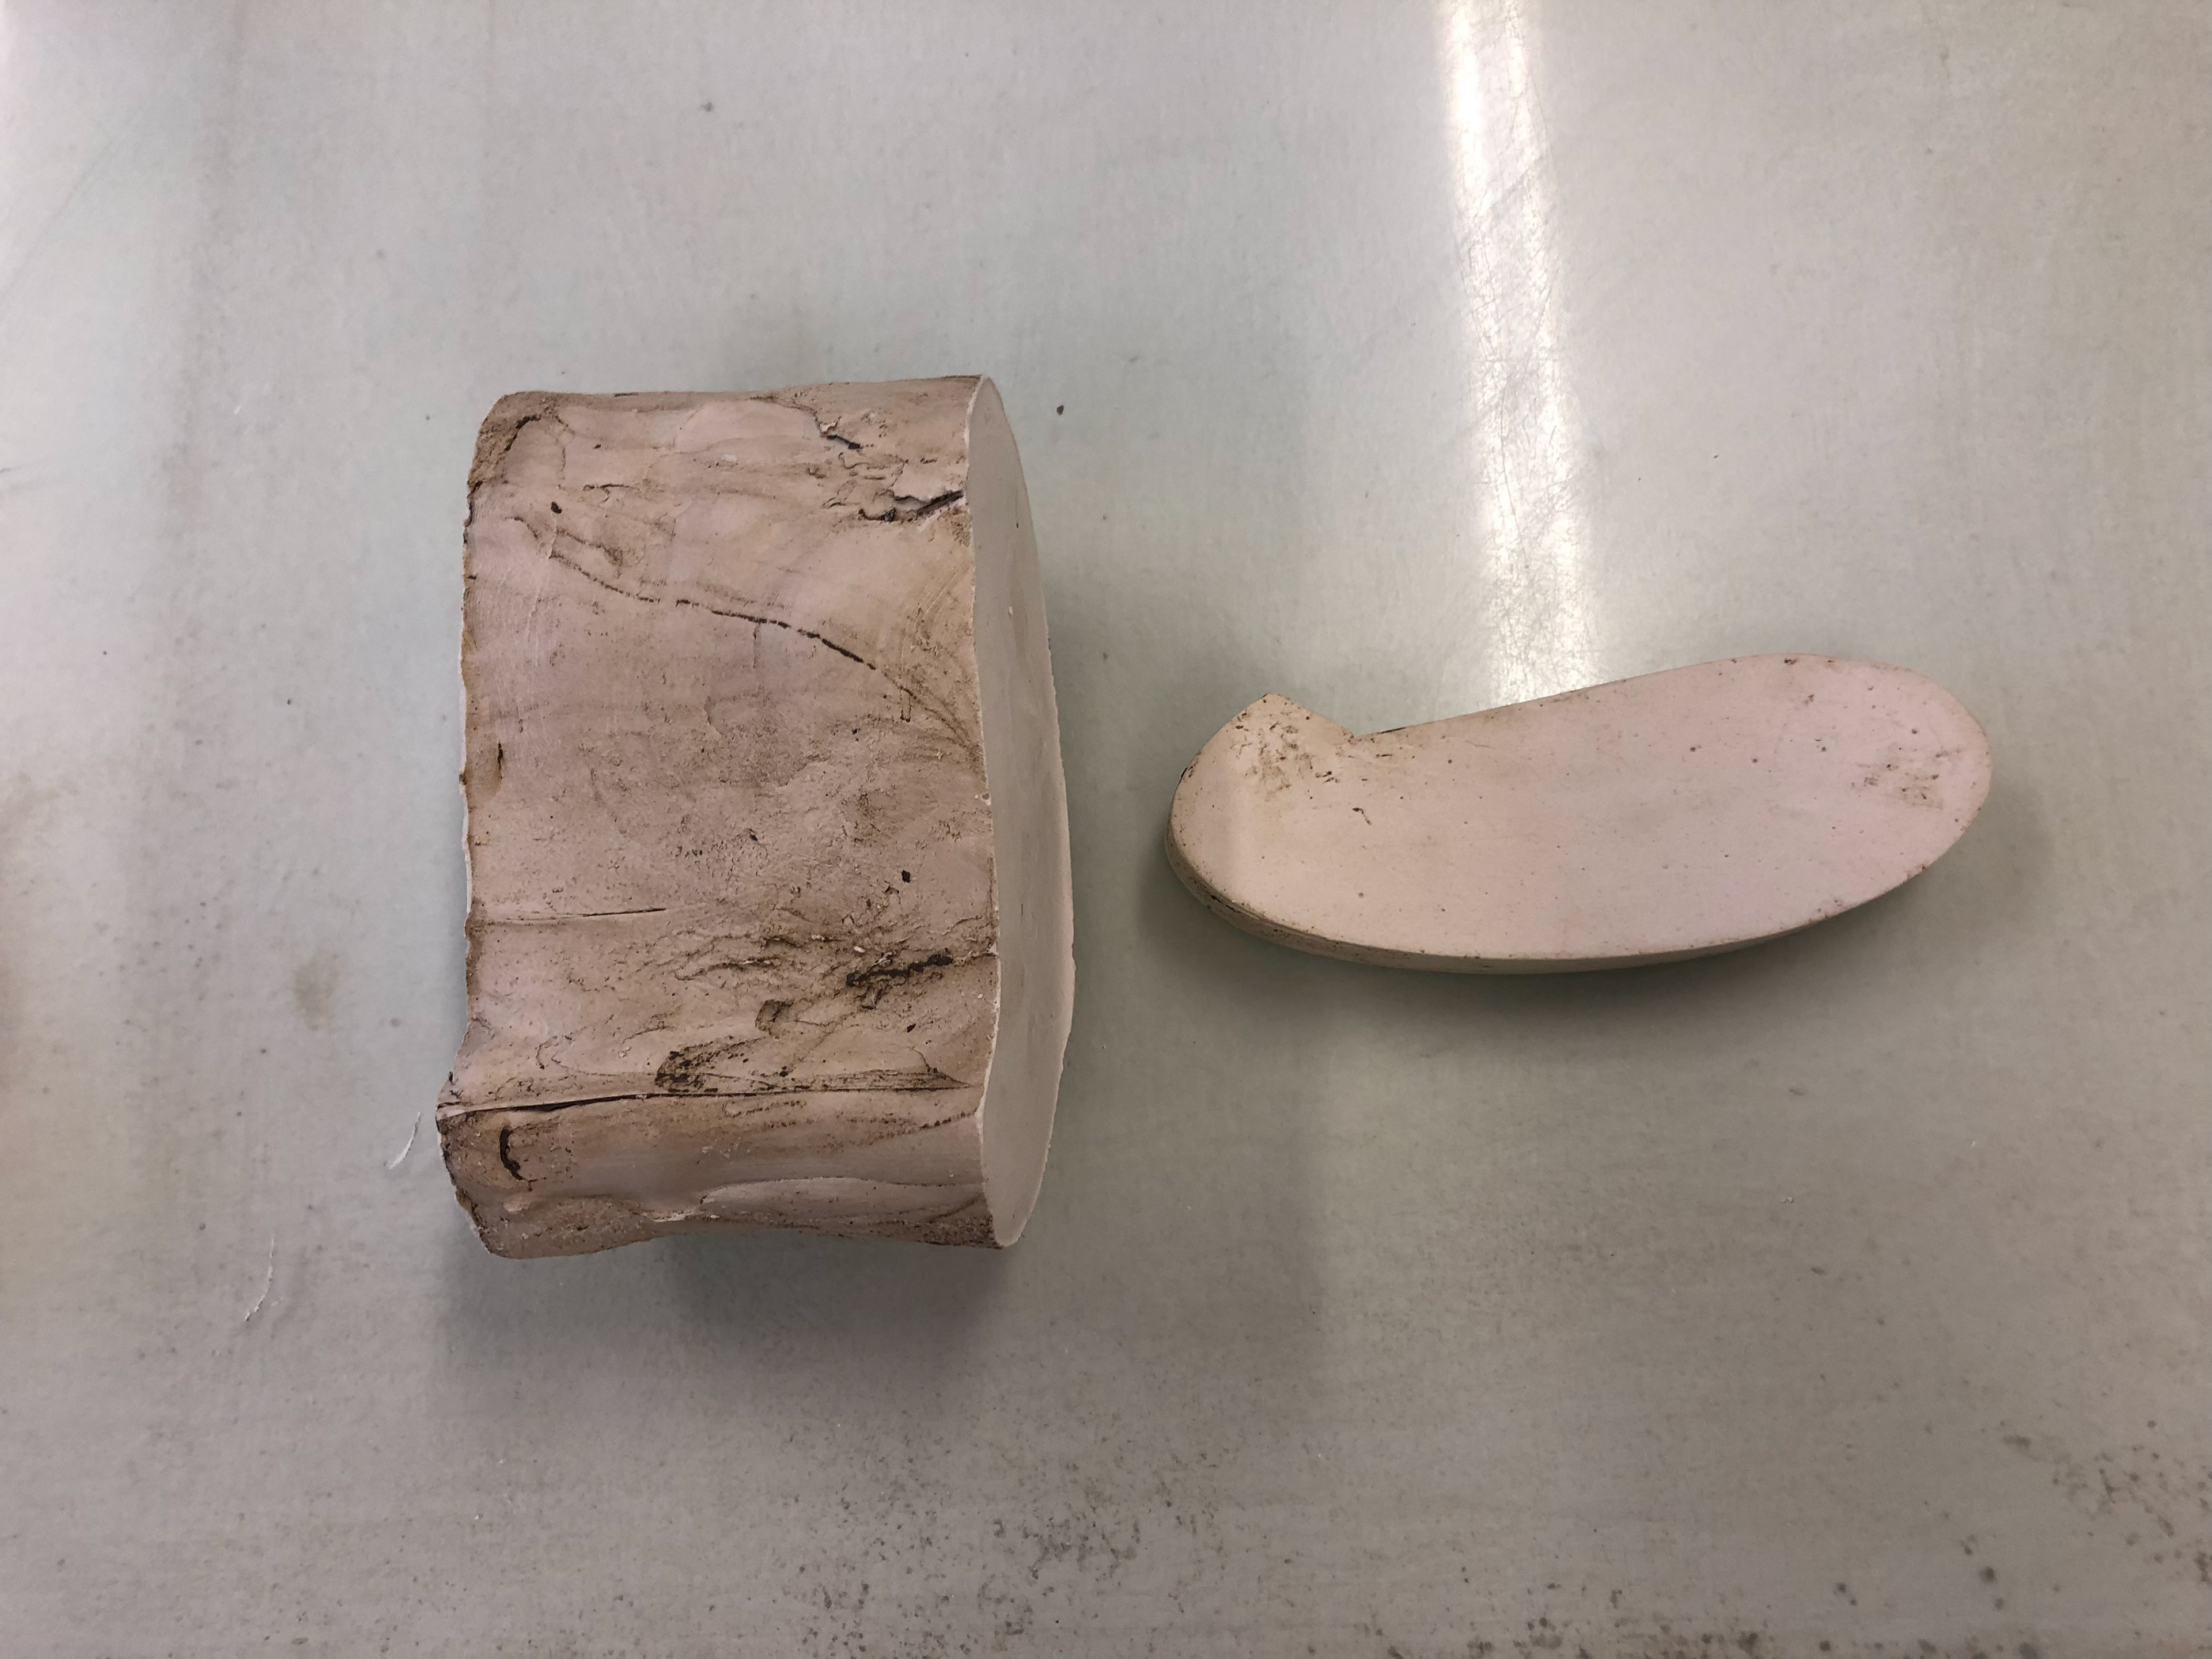
The two pieces before glazing
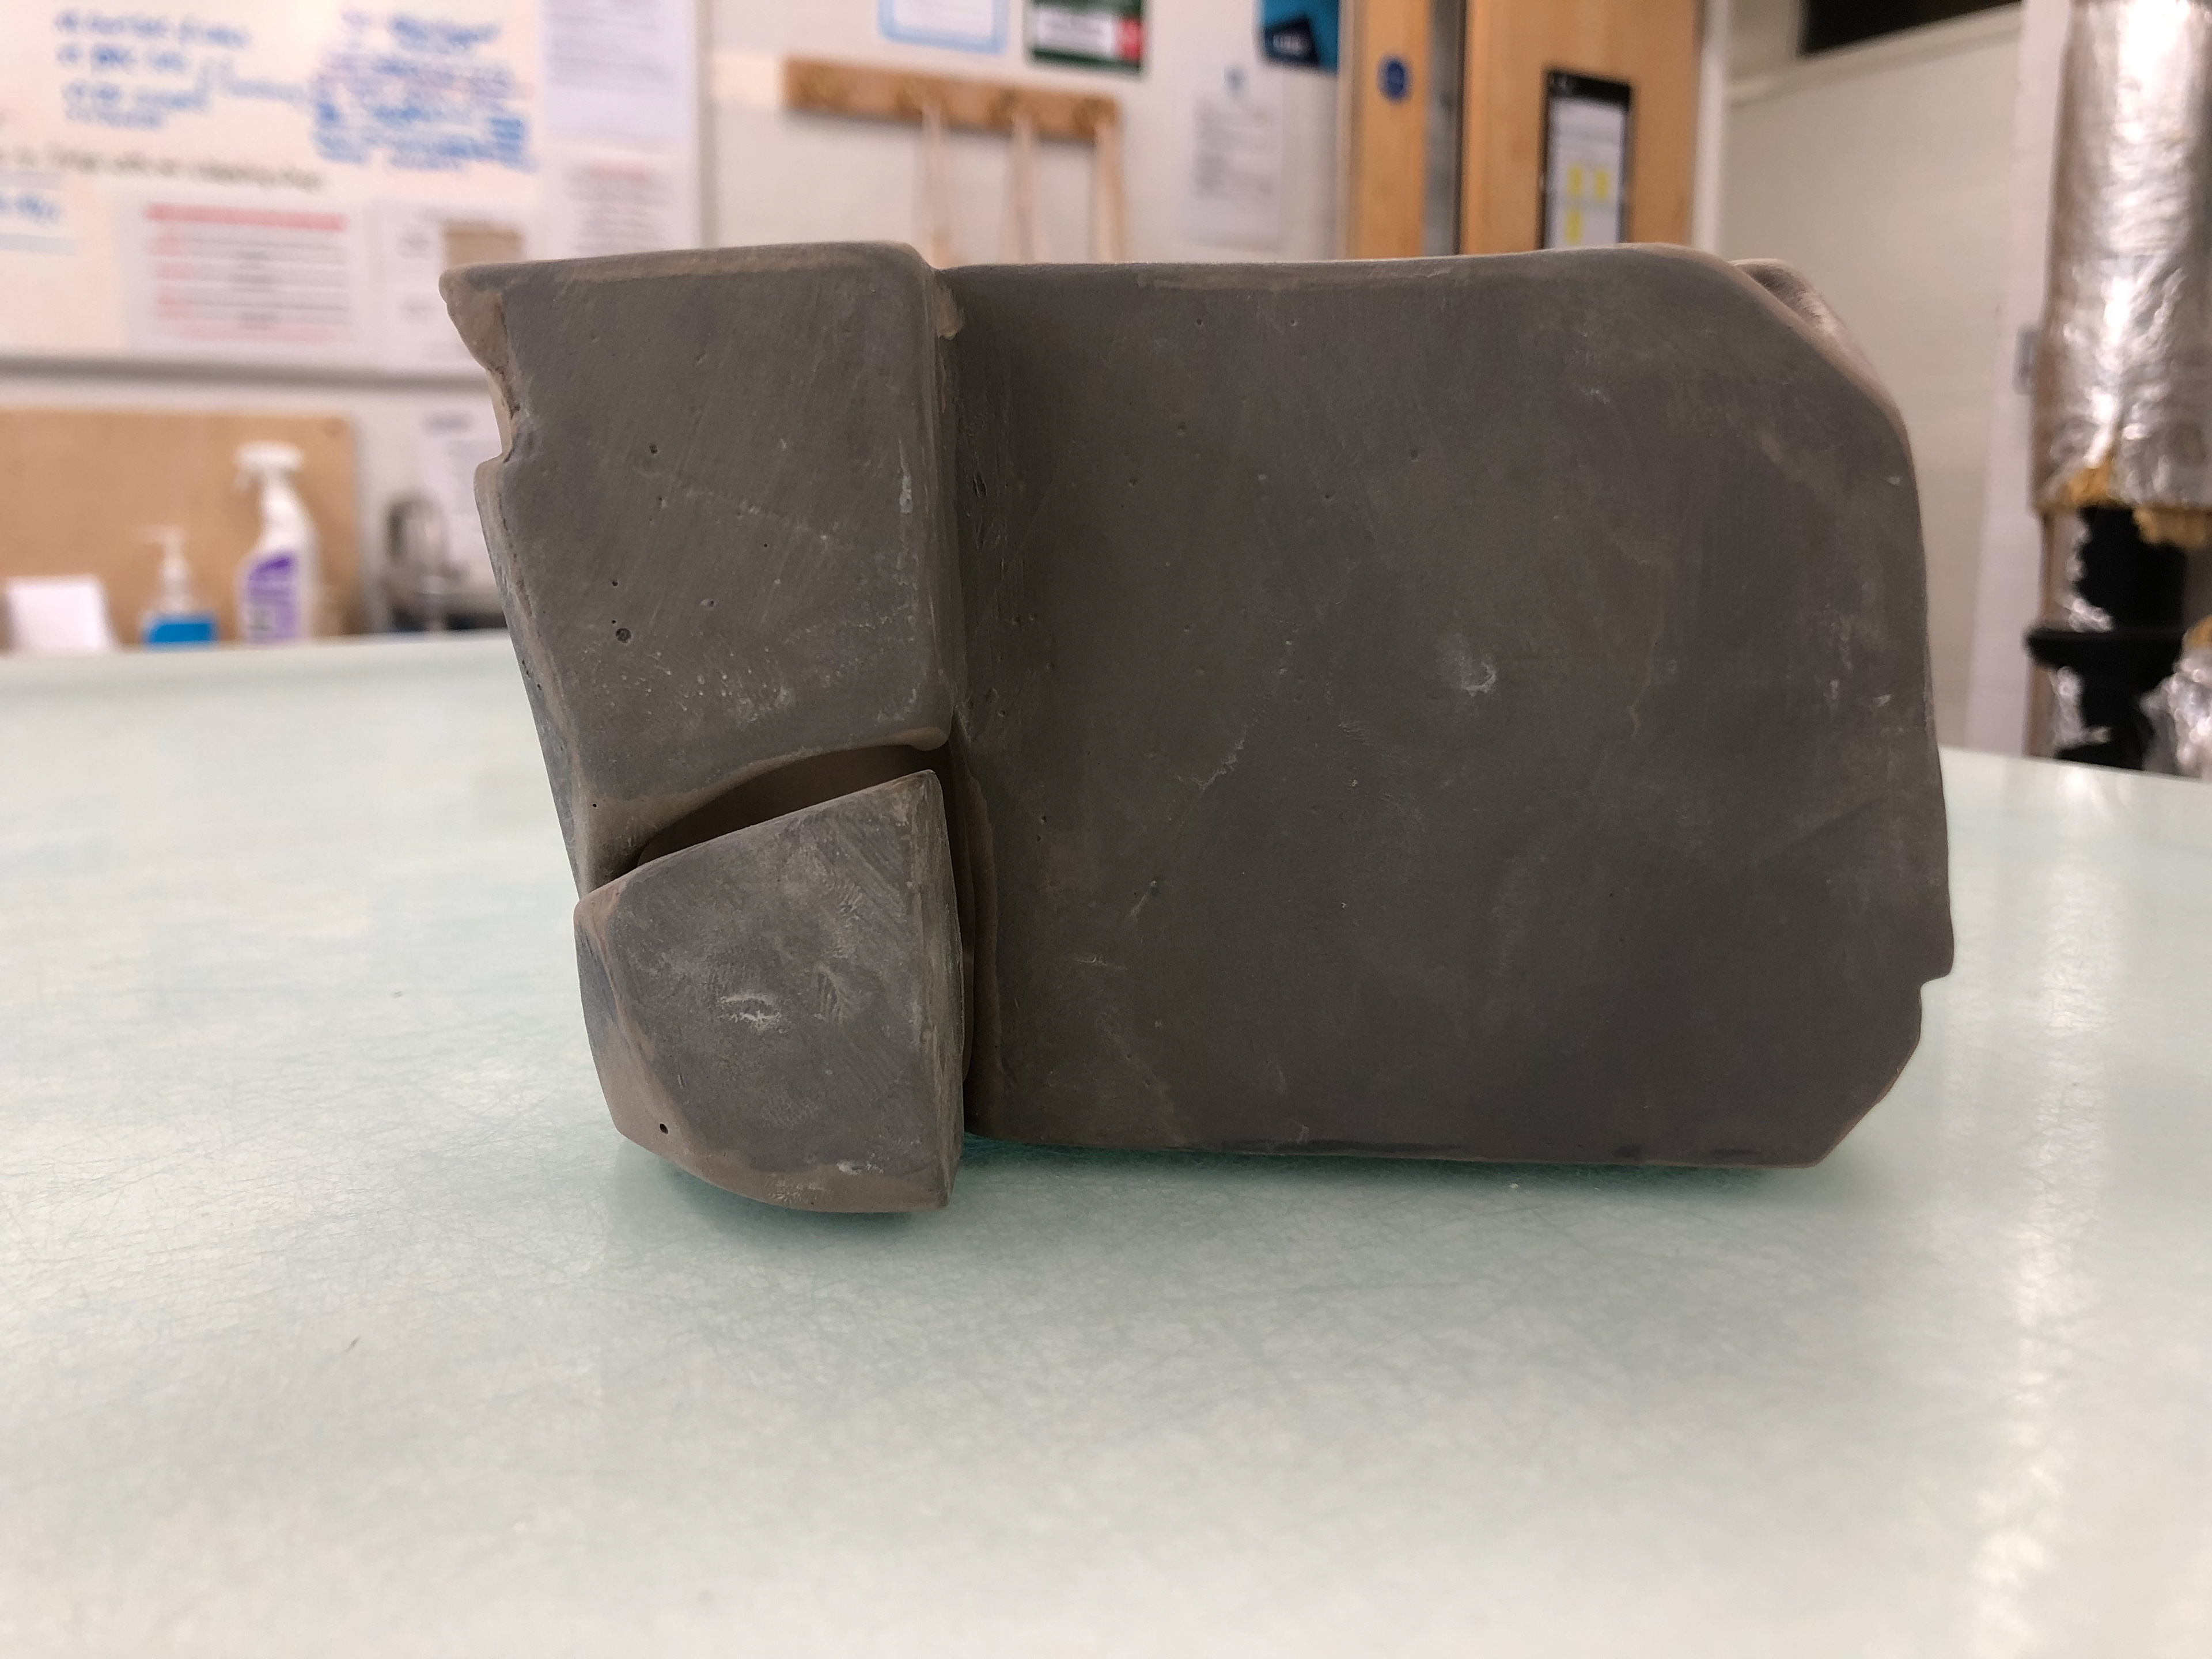
When put together they look like they fit perfectly but we are left with a boundary between the two.
After the glaze is applied.
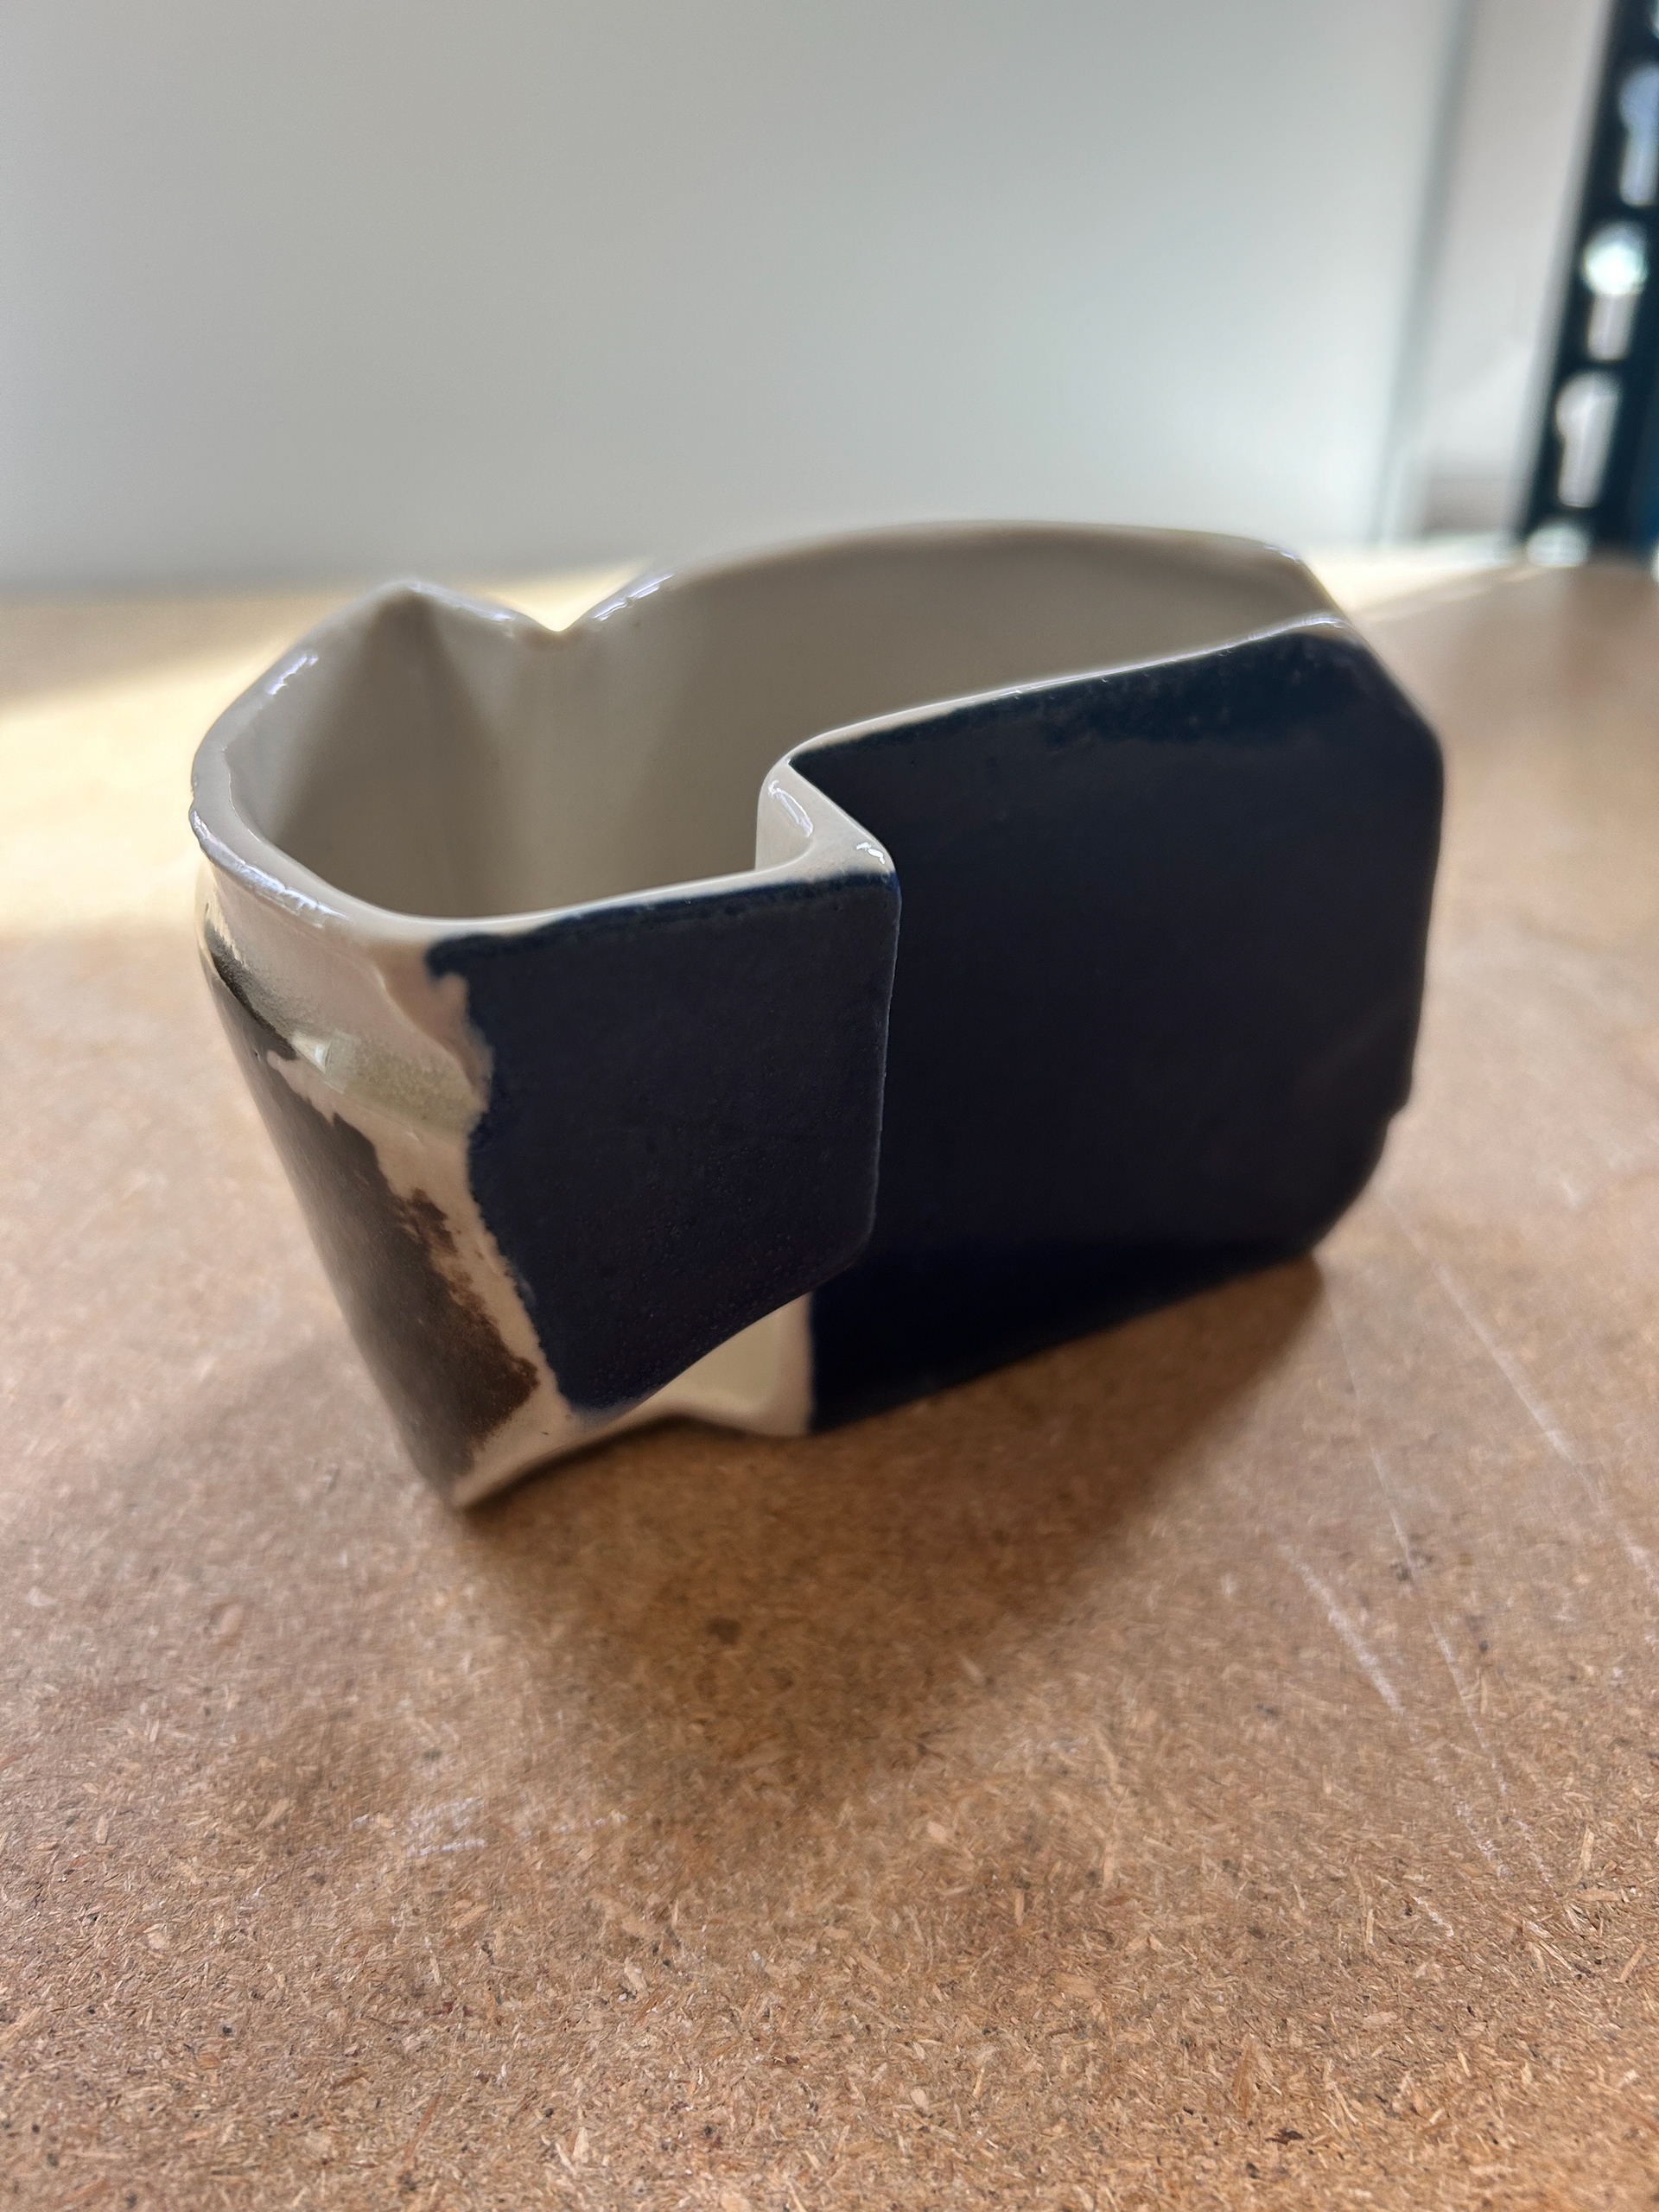
Final piece.
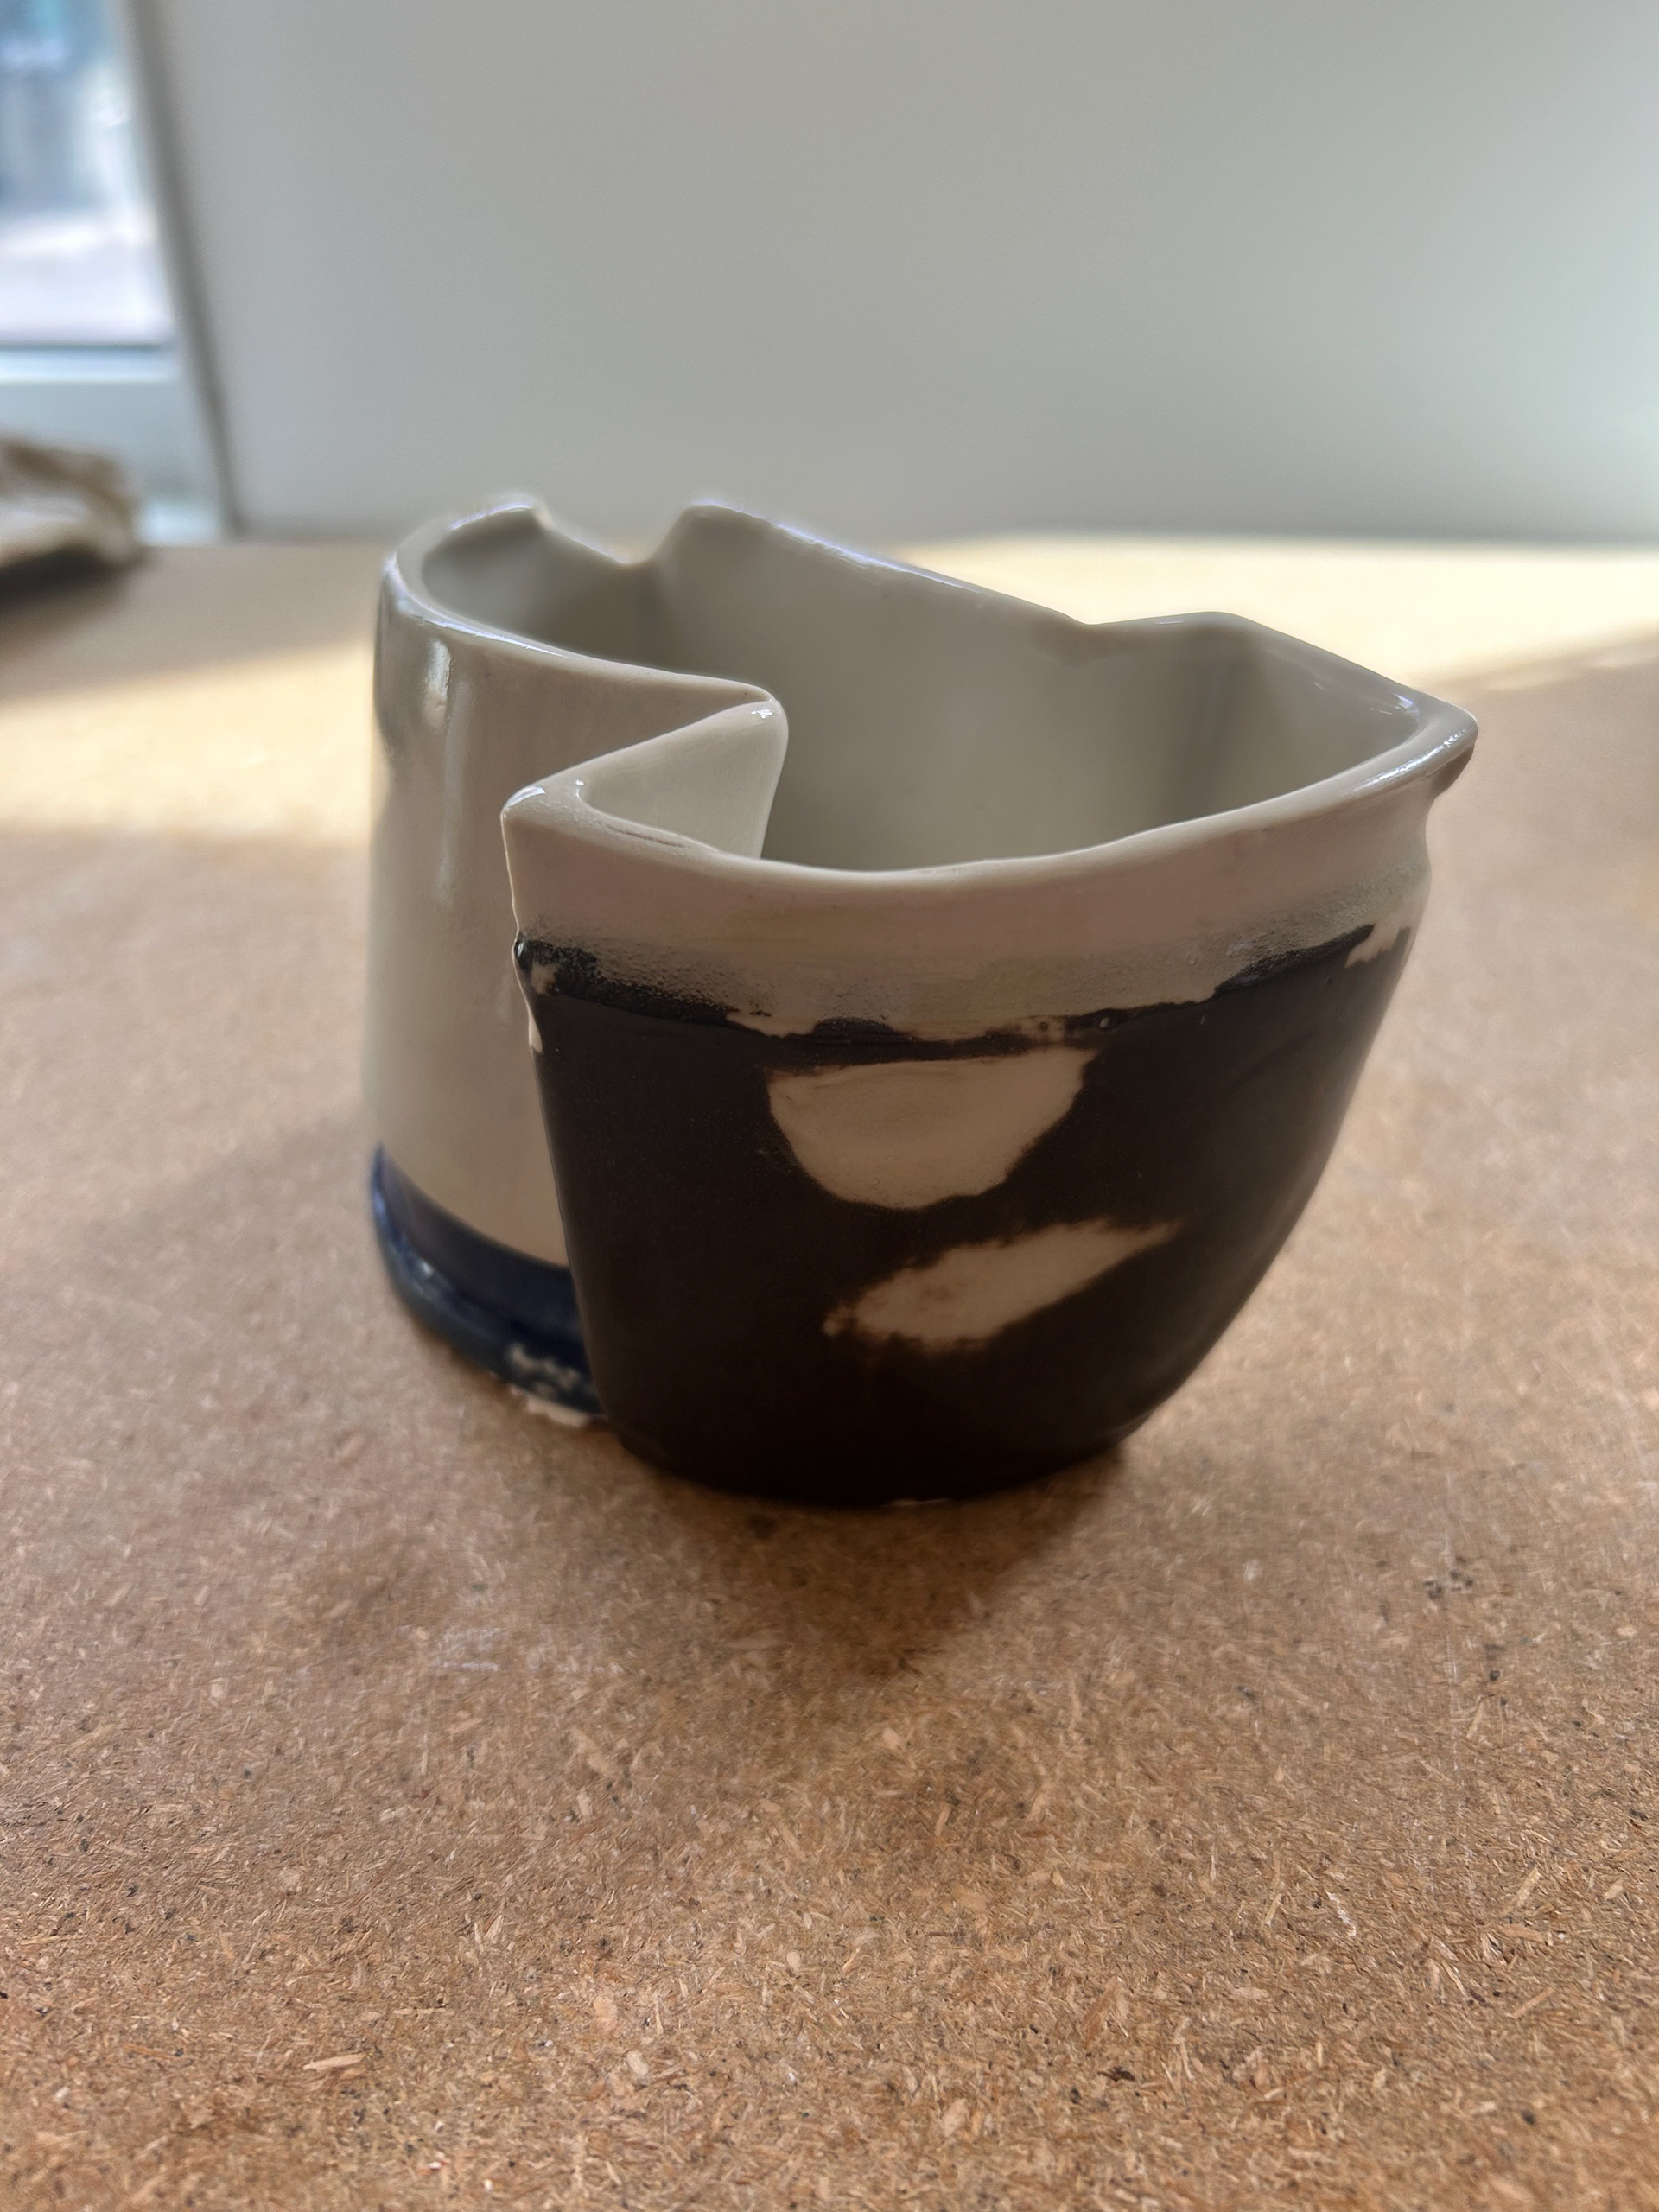
The unglazed area is where I attempted to add bumps for texture. It didn't turn out too well.
Final piece.
Final piece.
Final piece.
Response to Sketchbook.
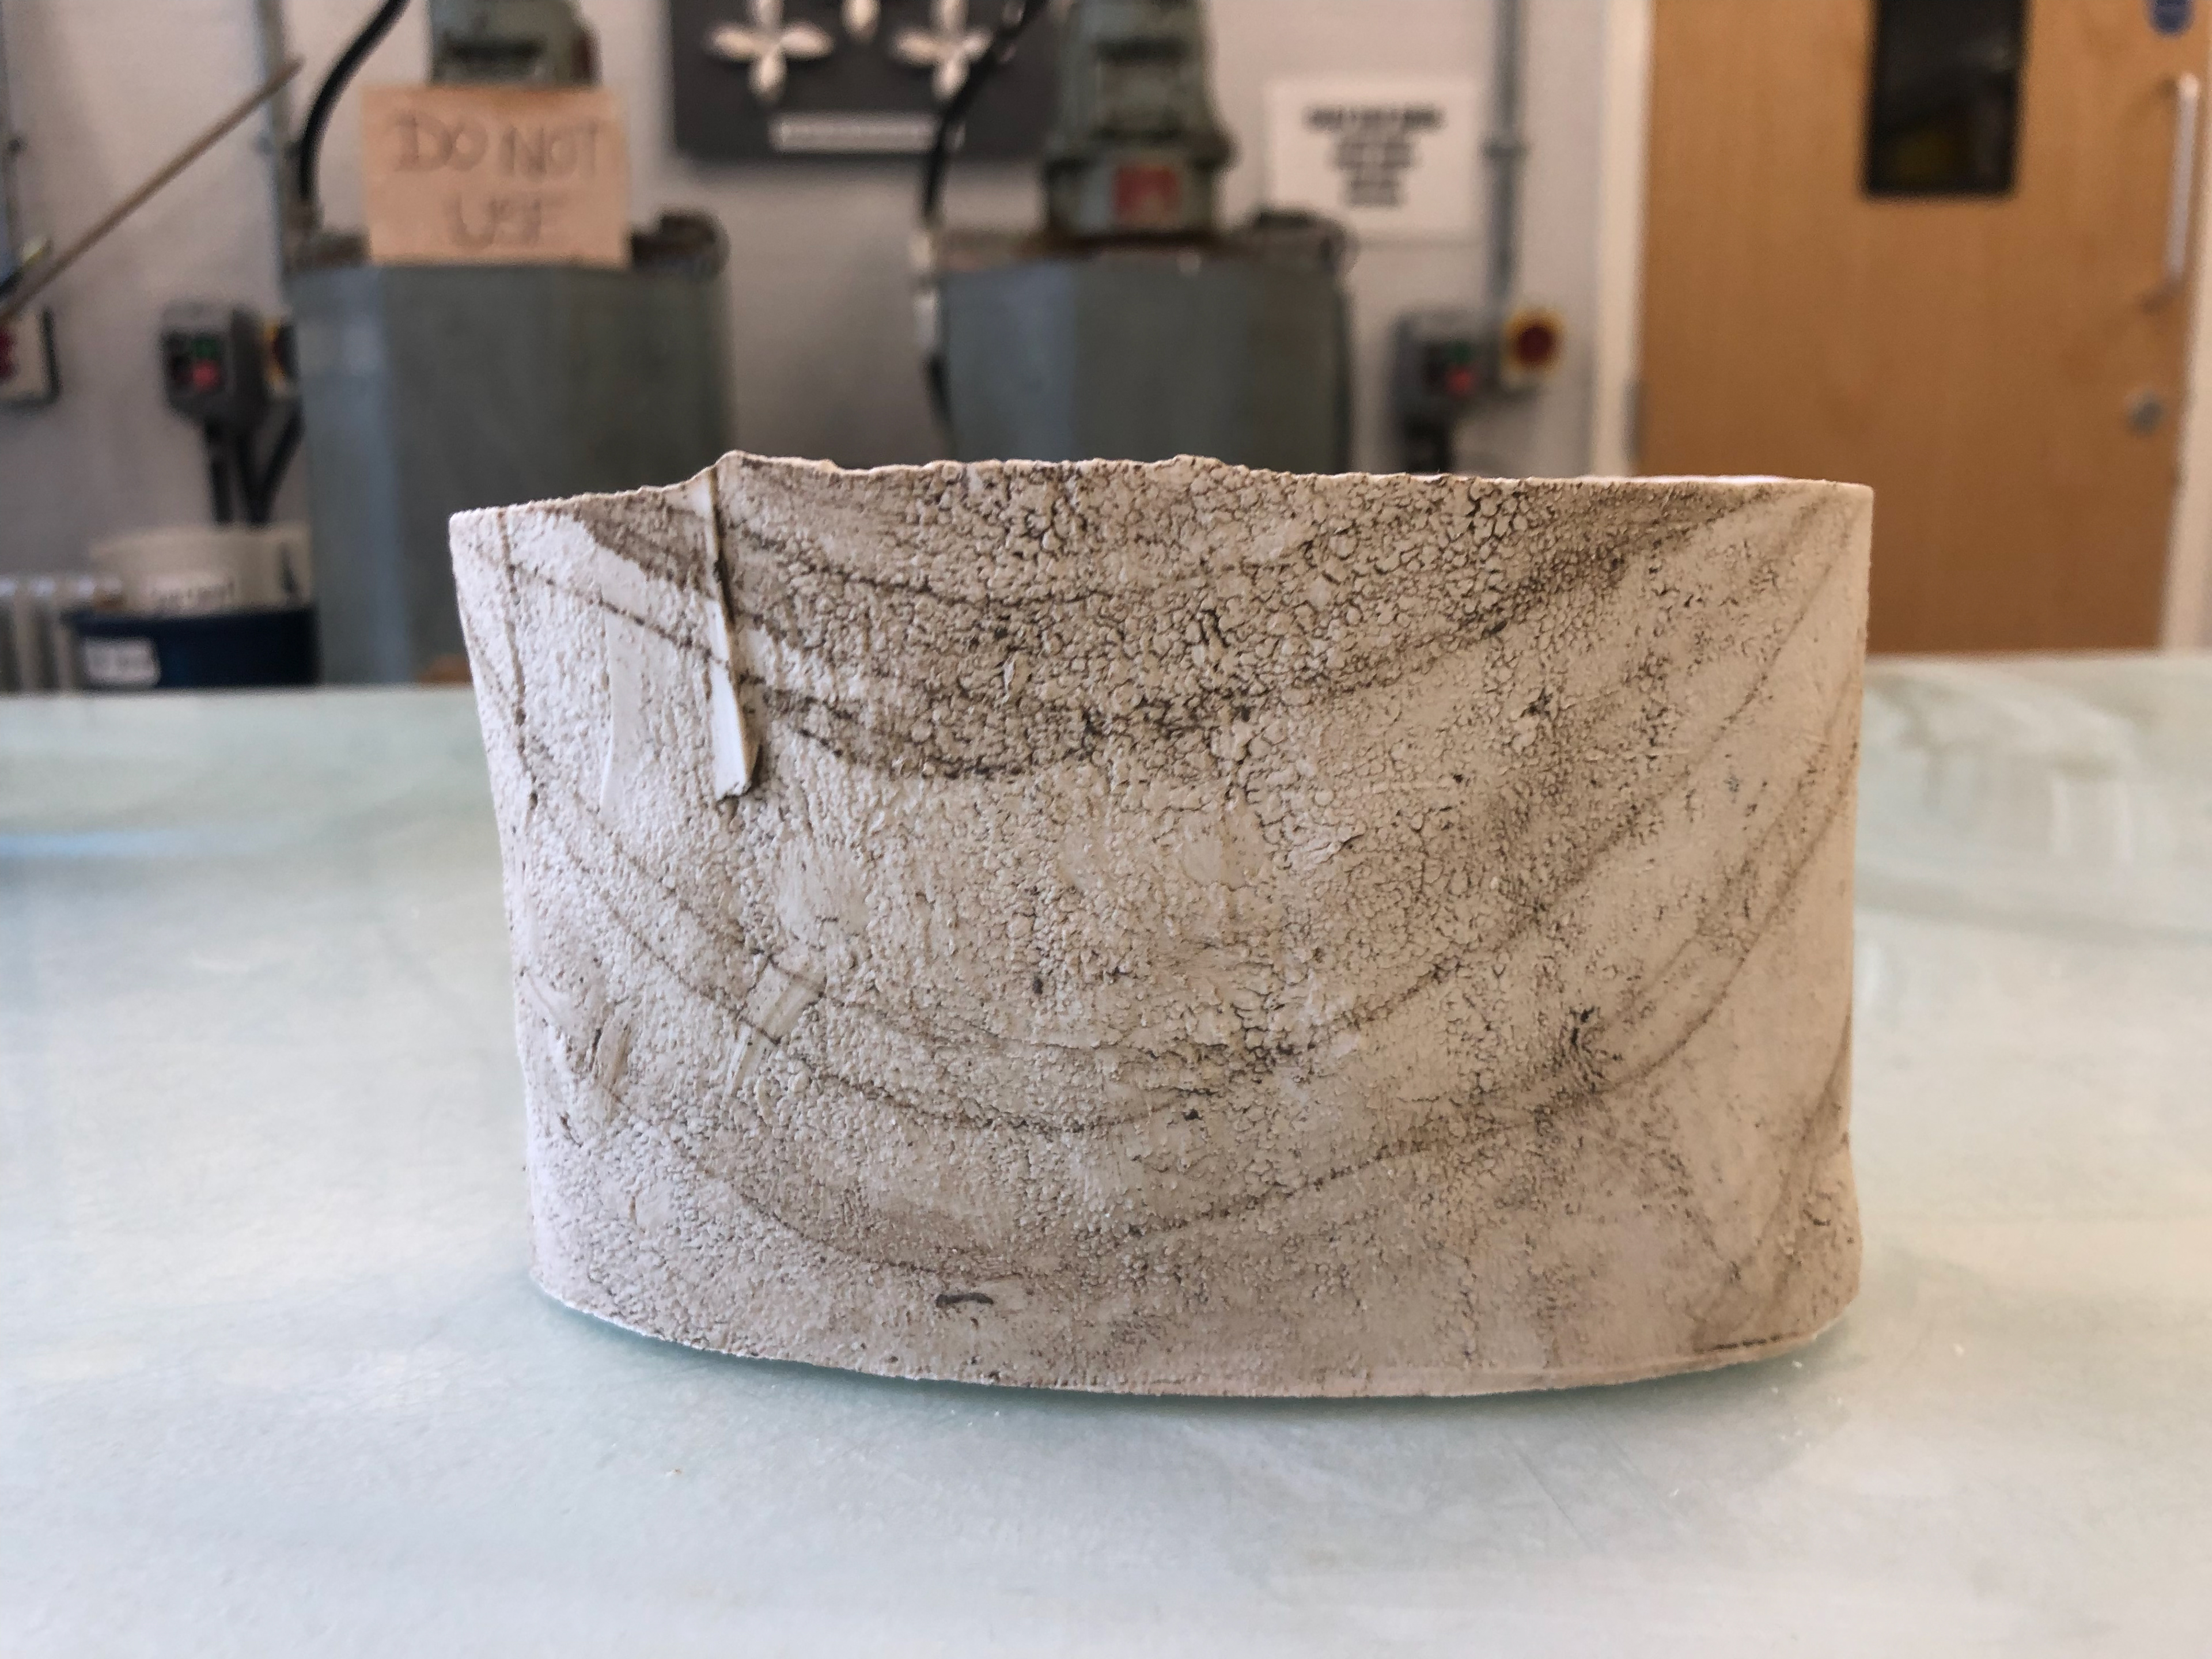
I took a very literal approach in the response. From the shadow work, I liked the roller and ink piece. I decided to repeat this in plaster. I poured plaster onto a flat sheet and took a scraping tool to do the job that the roller did. I did this twice, each time creating a similar pattern.
Initial piece: Part 1
Initial piece: Part 2
Second piece
Second piece: Part 1
Second piece: Part 2
Second piece: Part 3
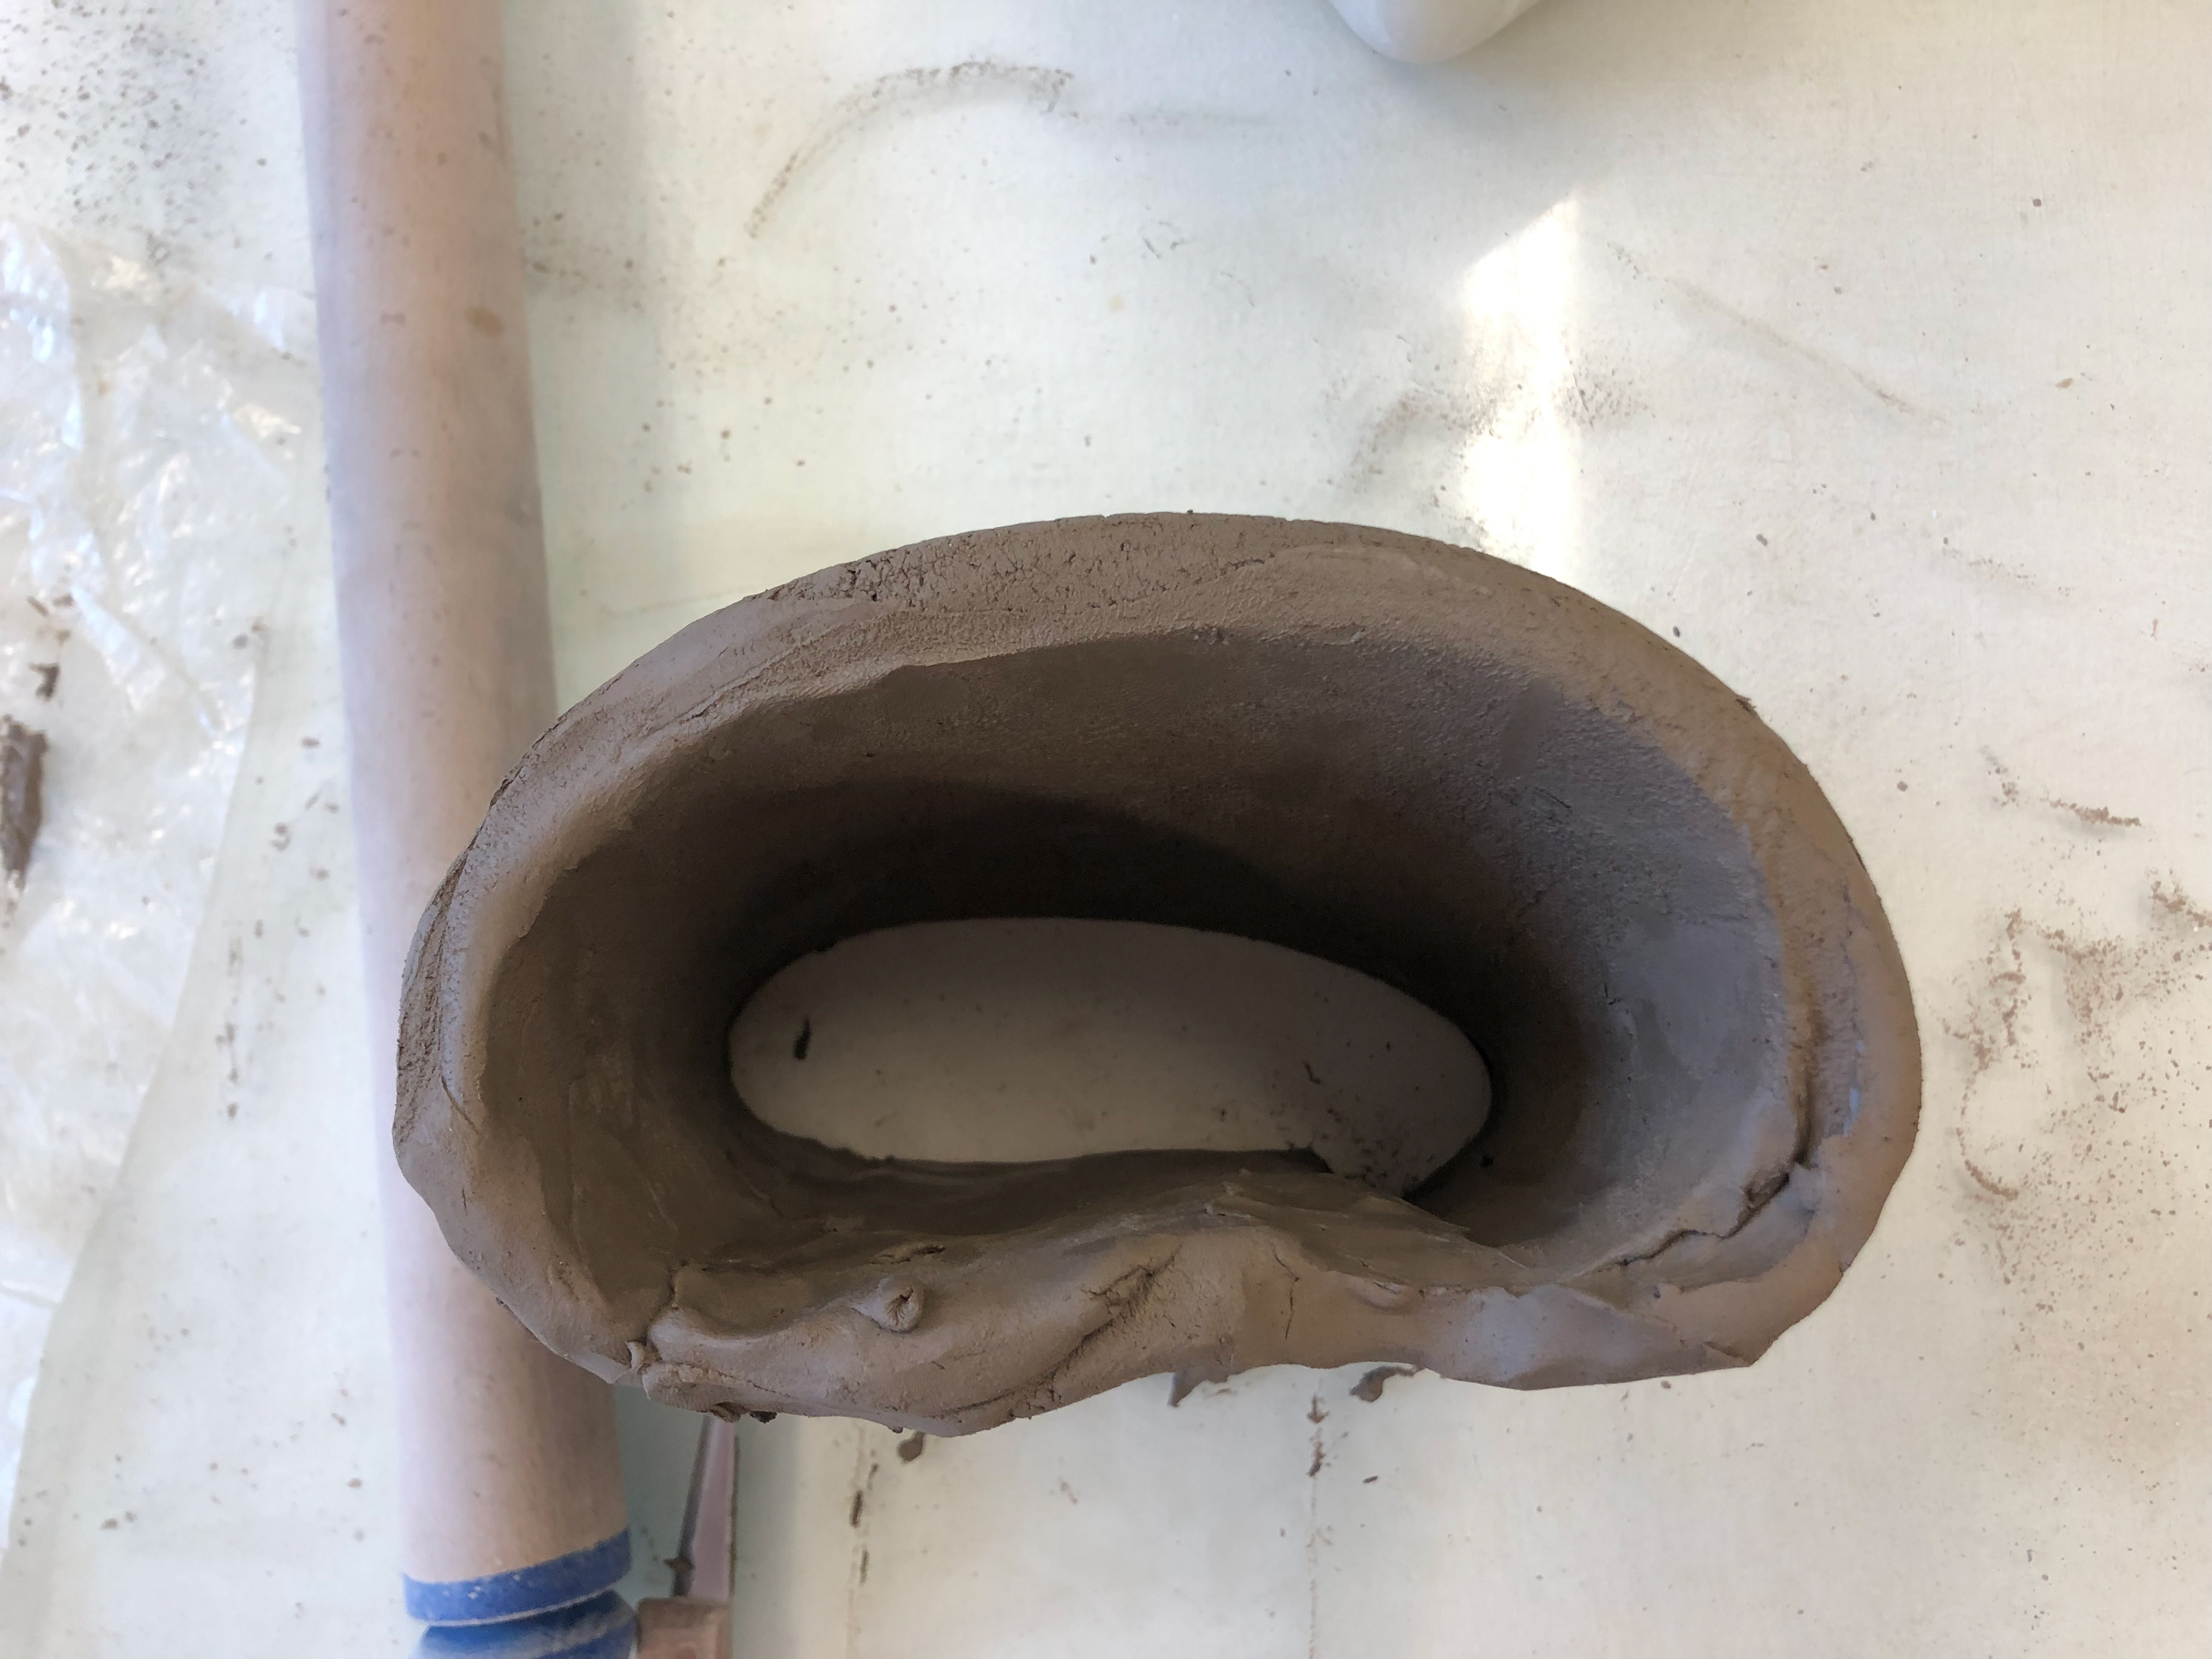
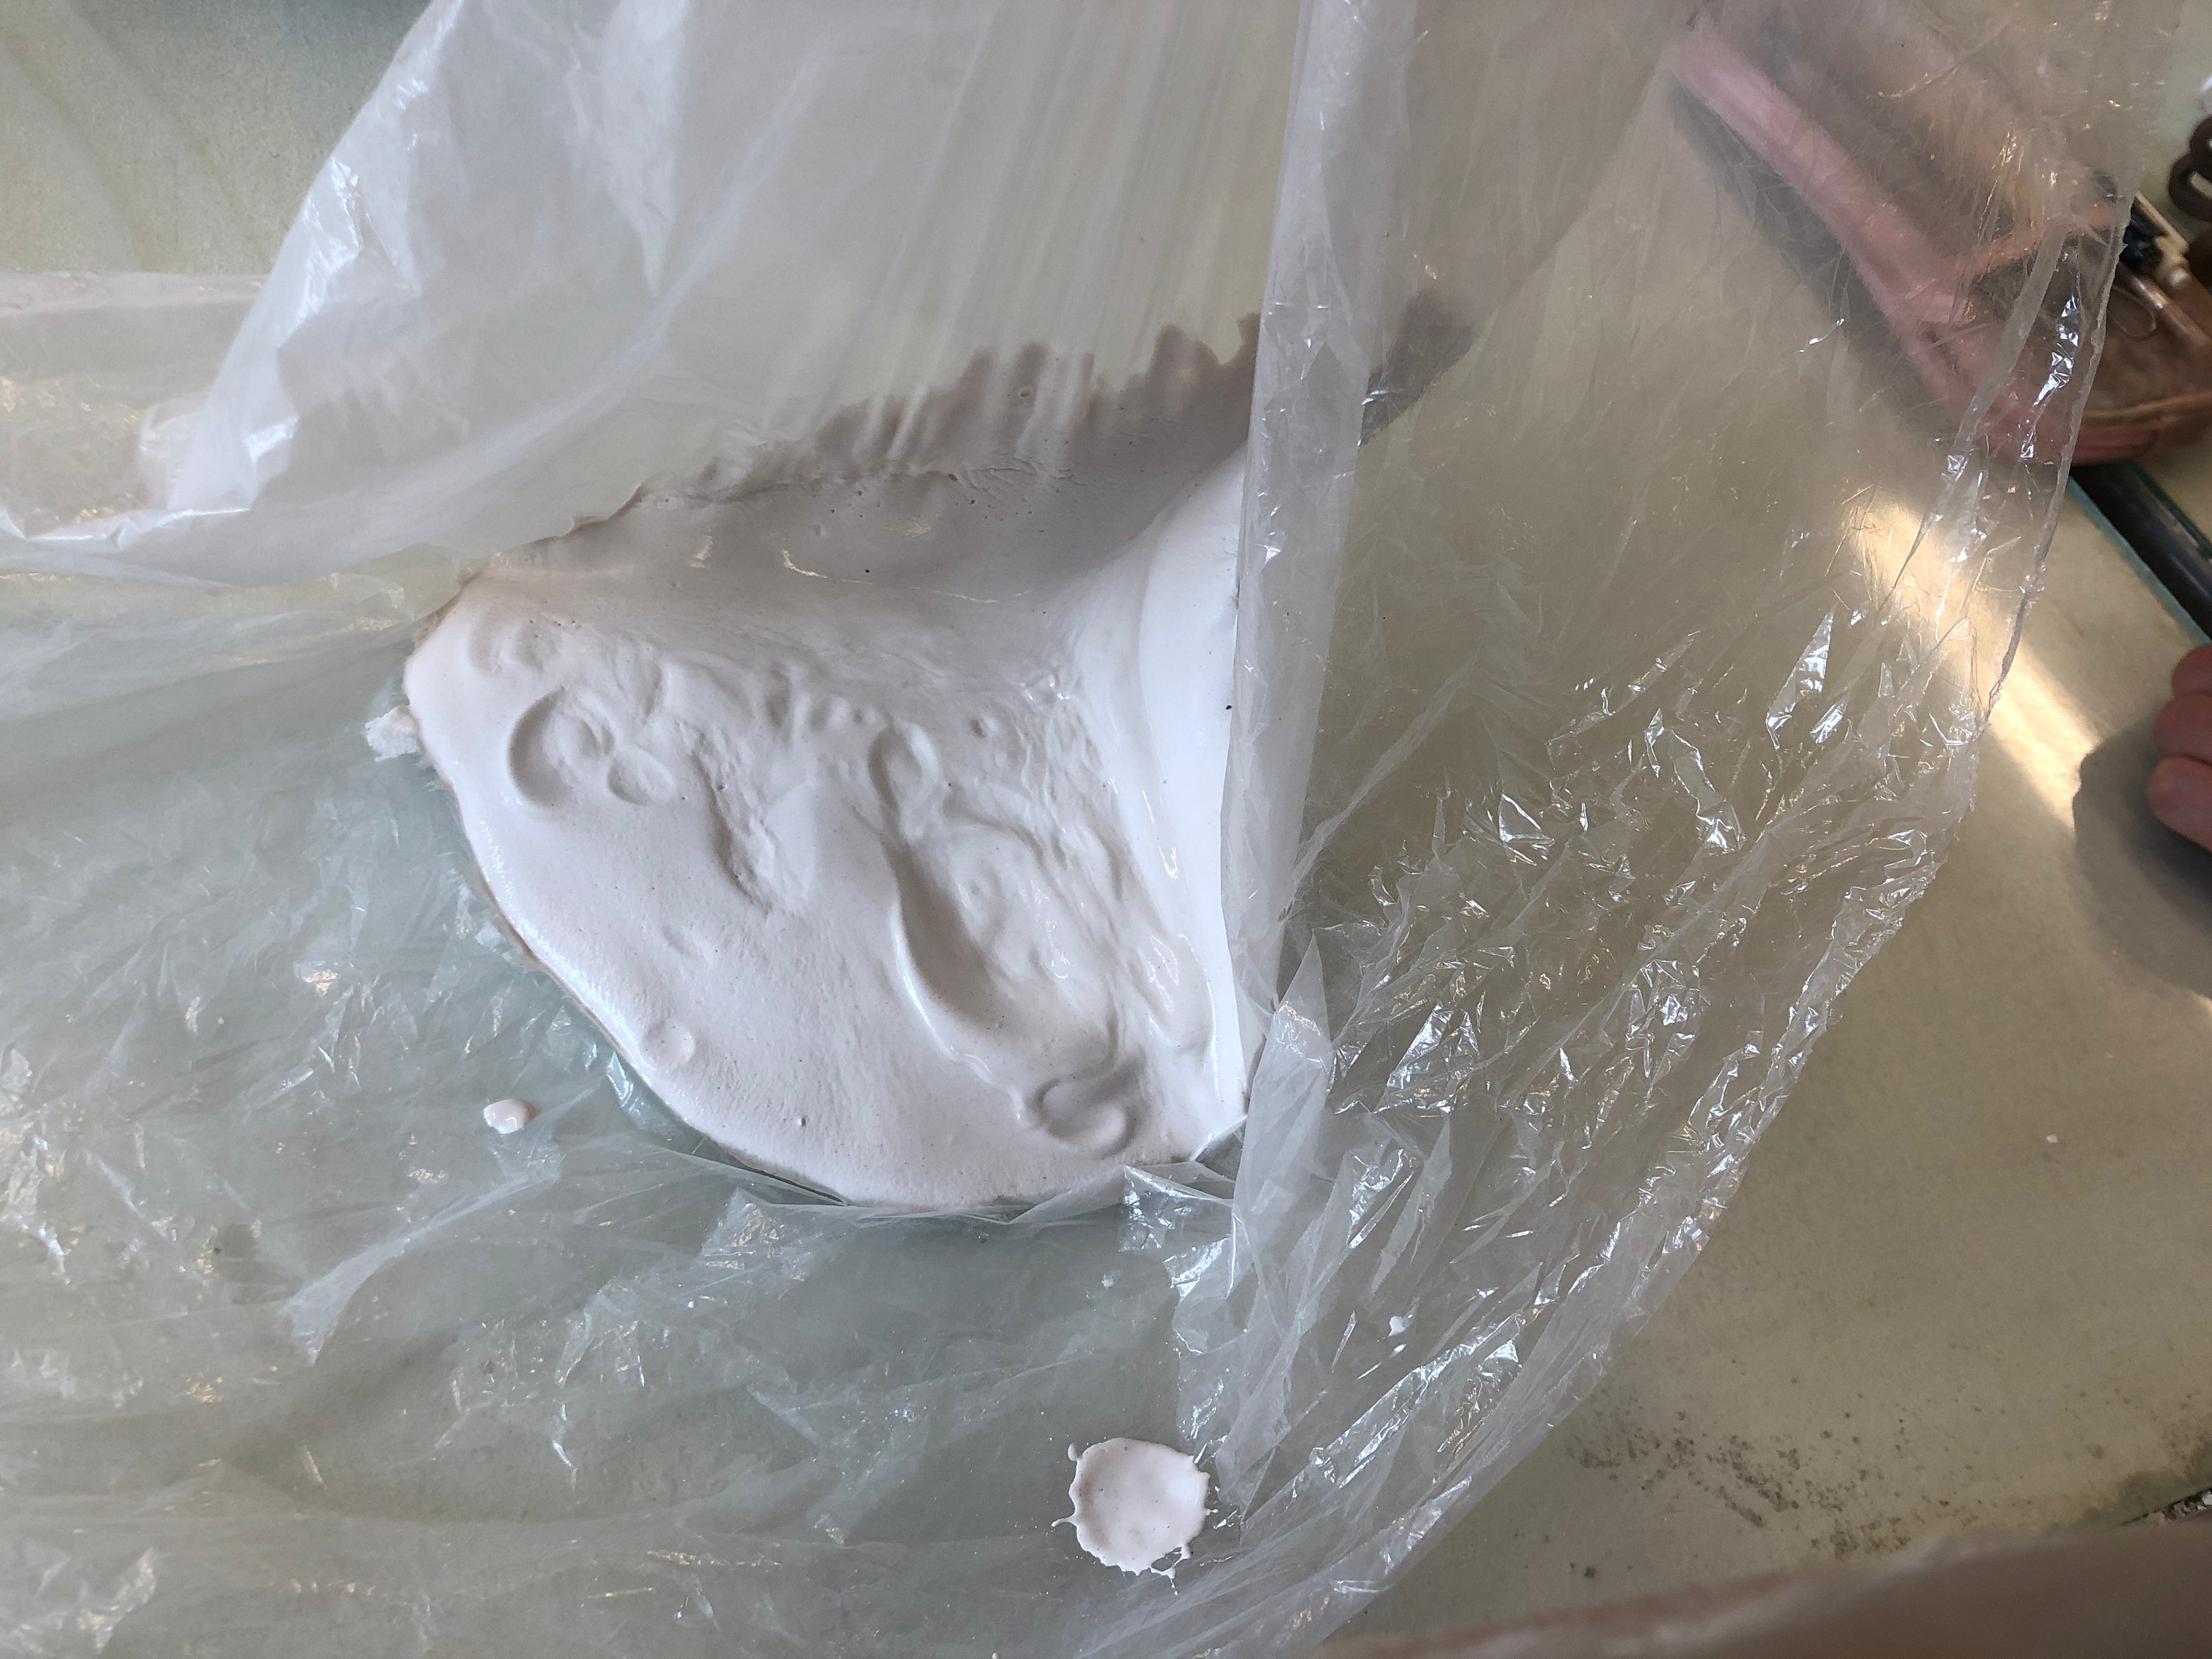
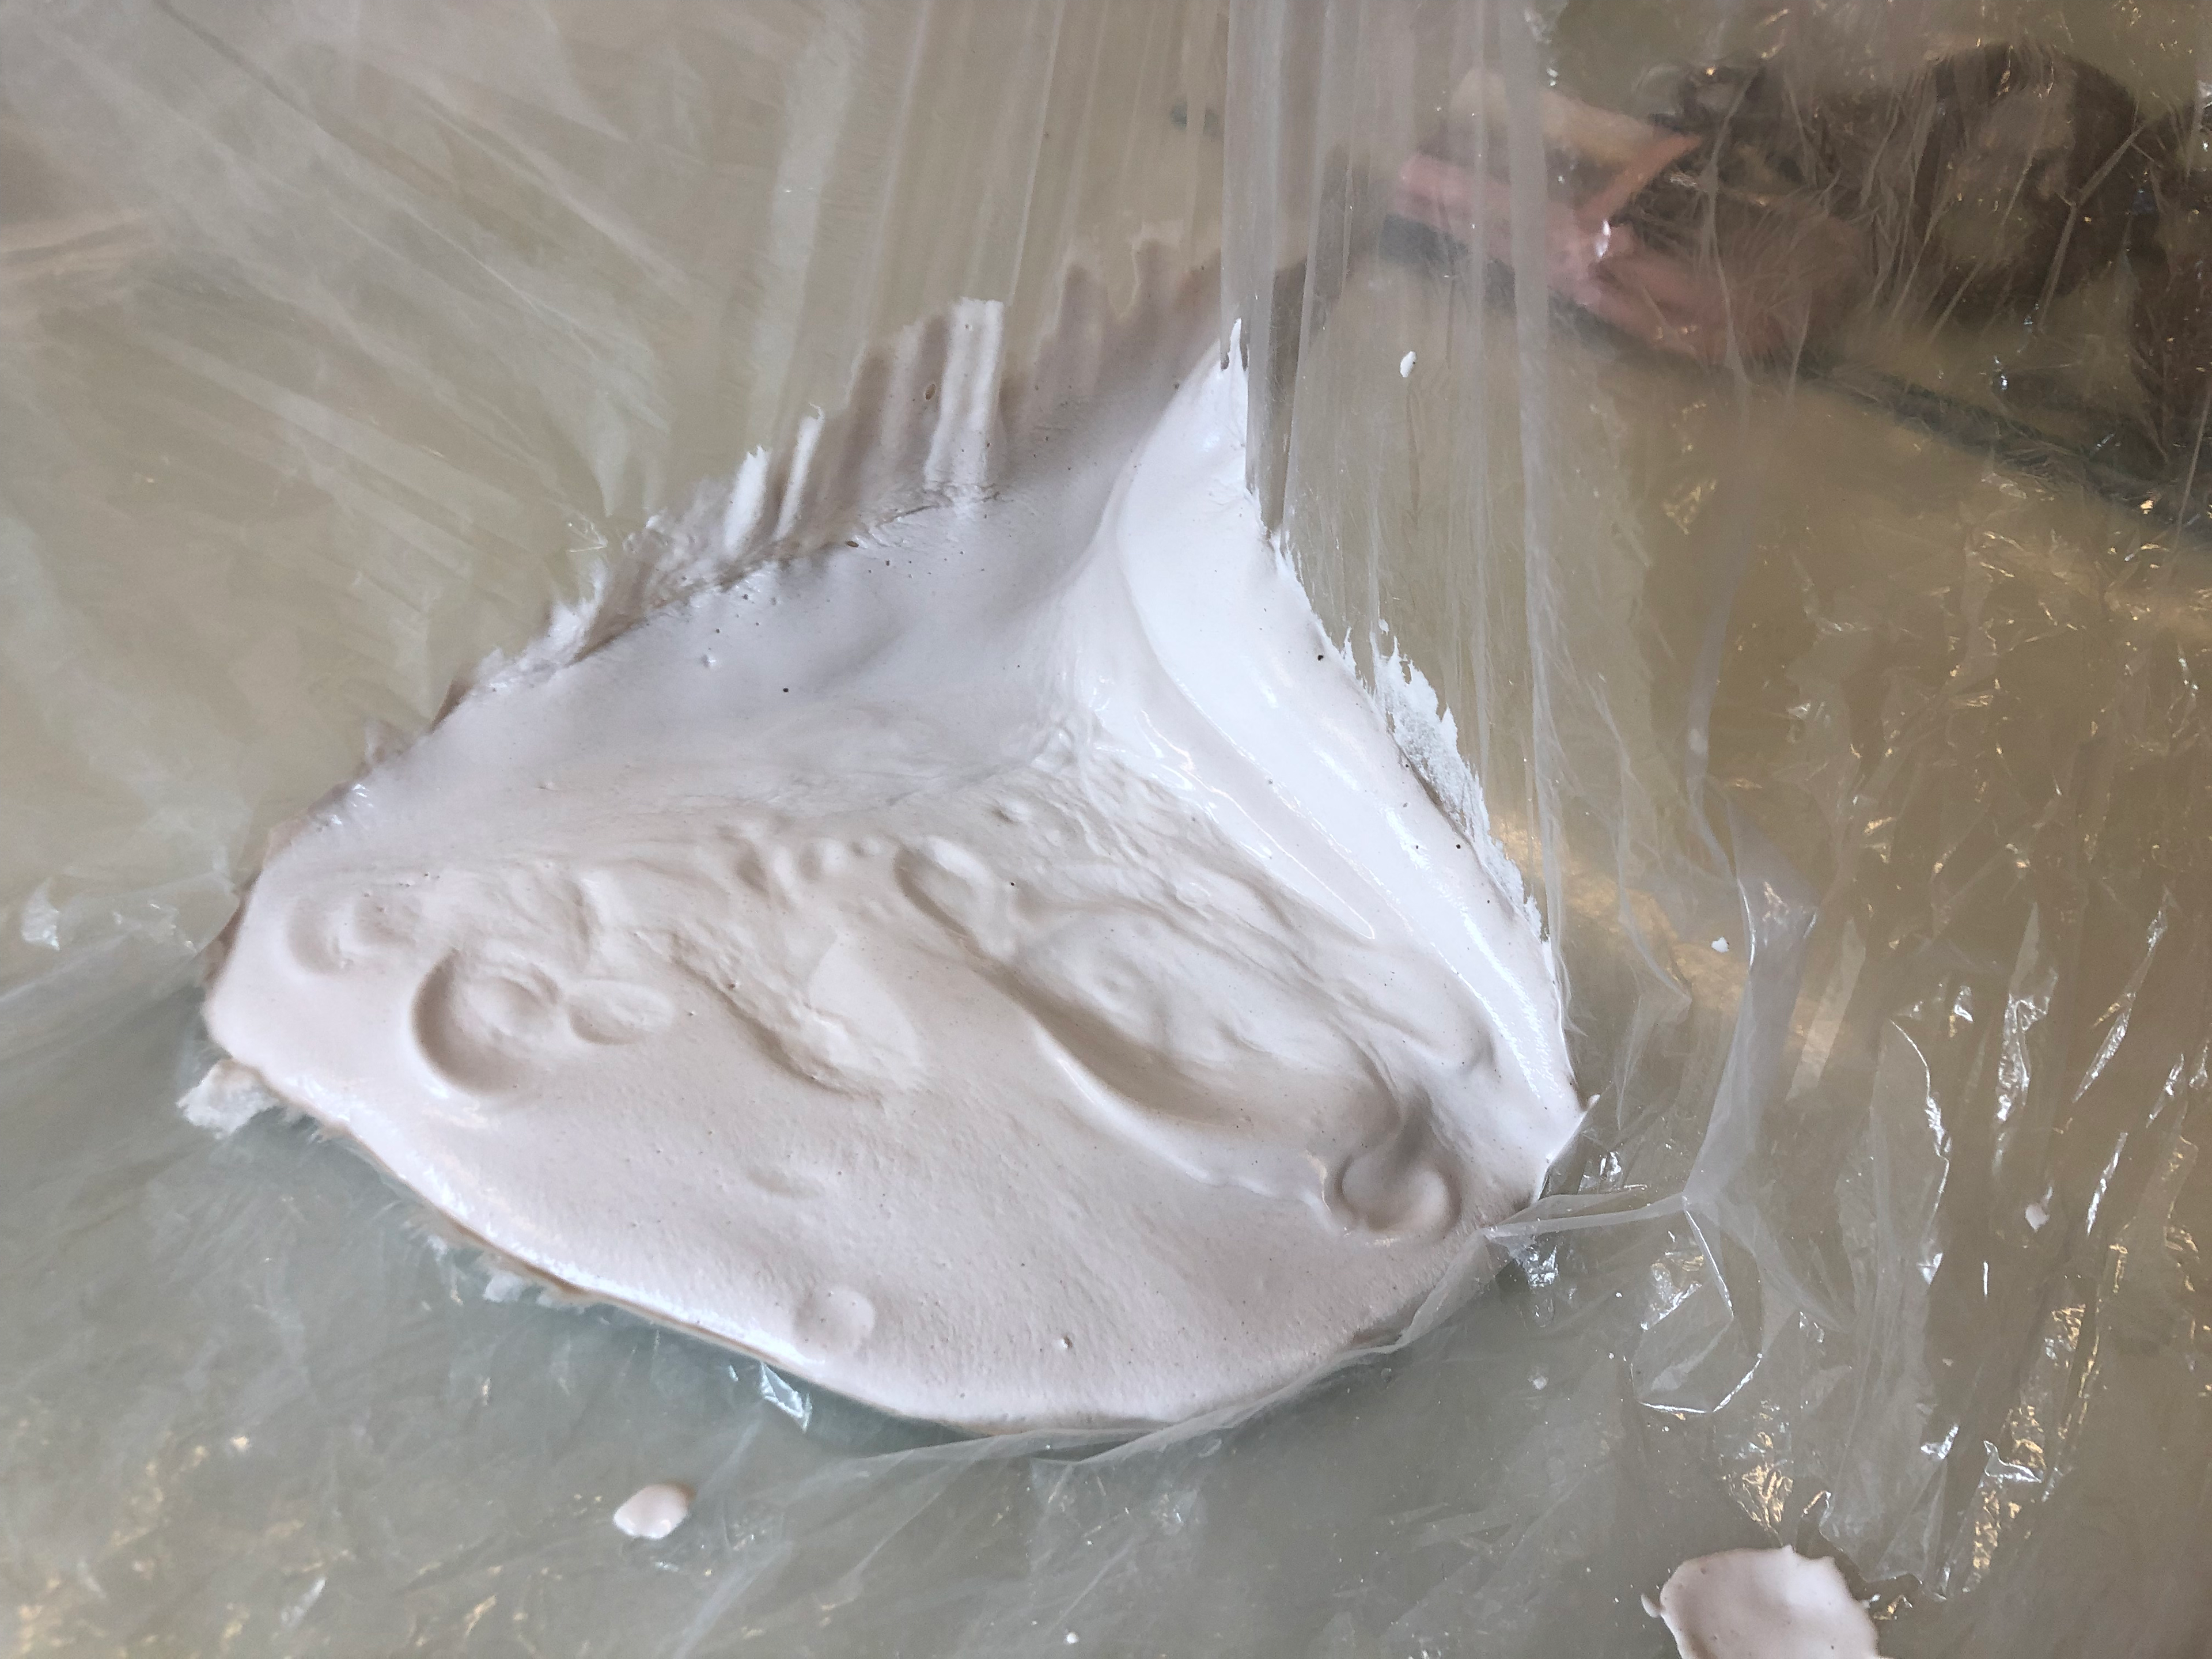
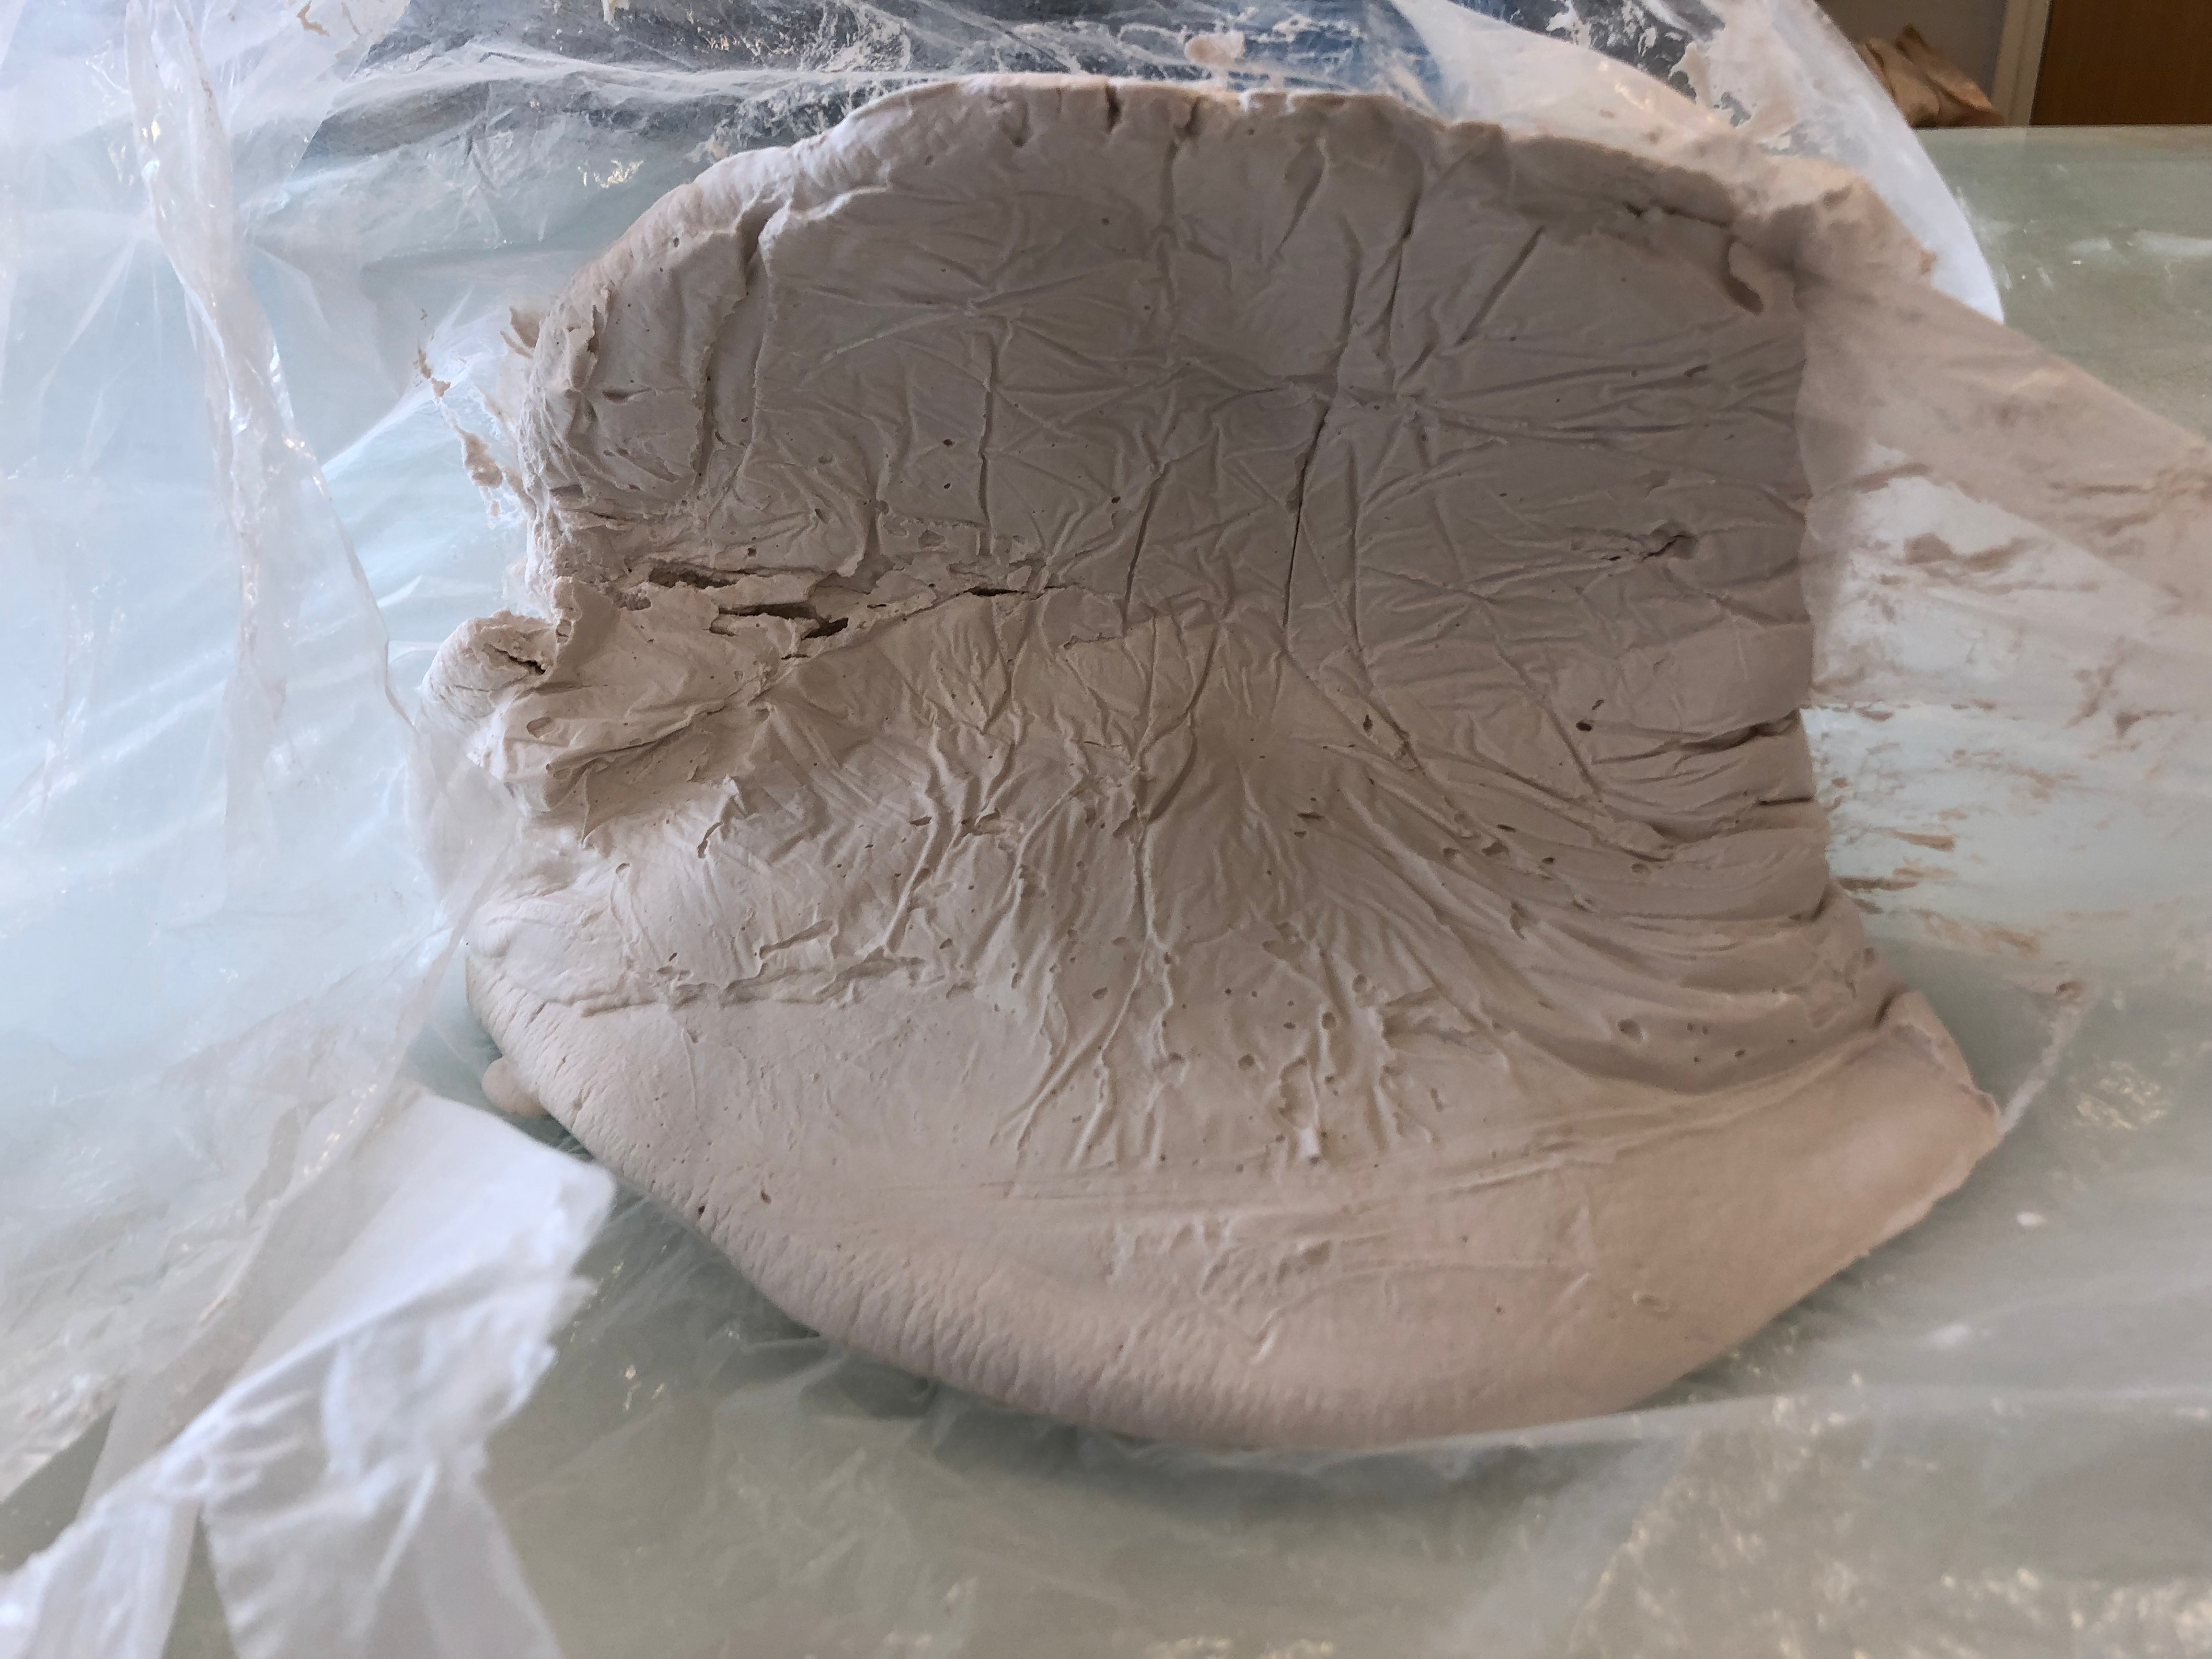
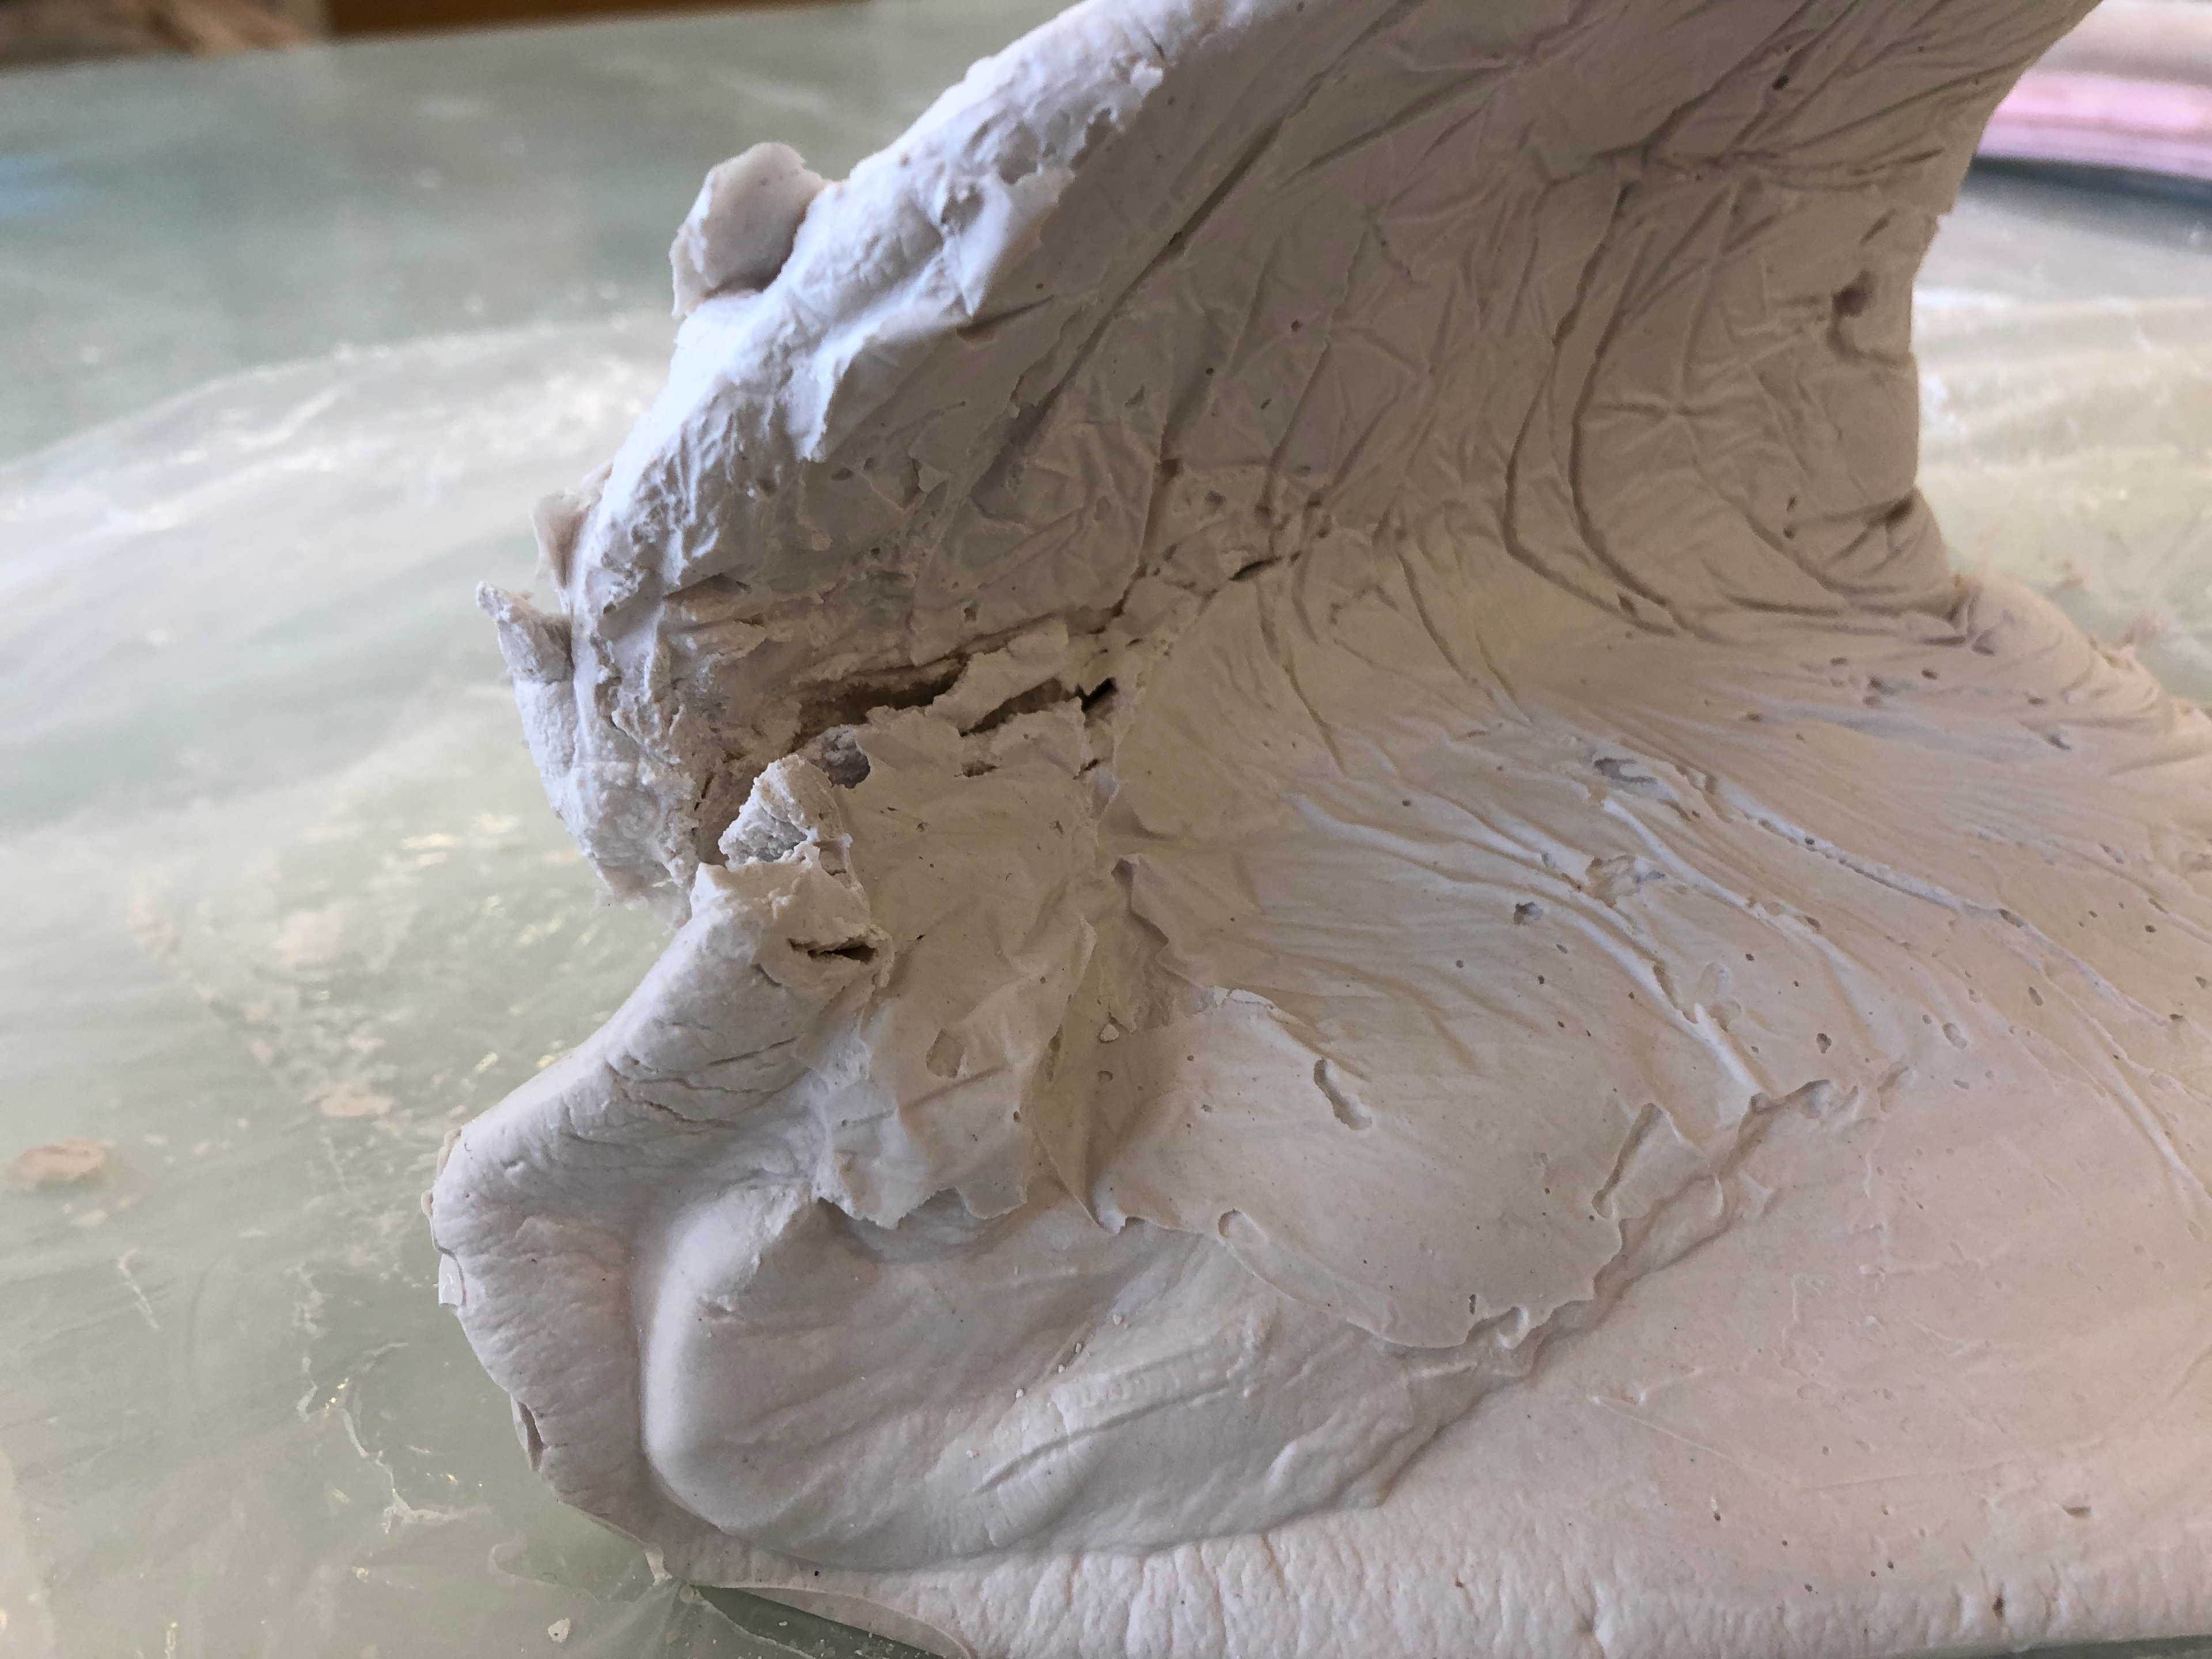
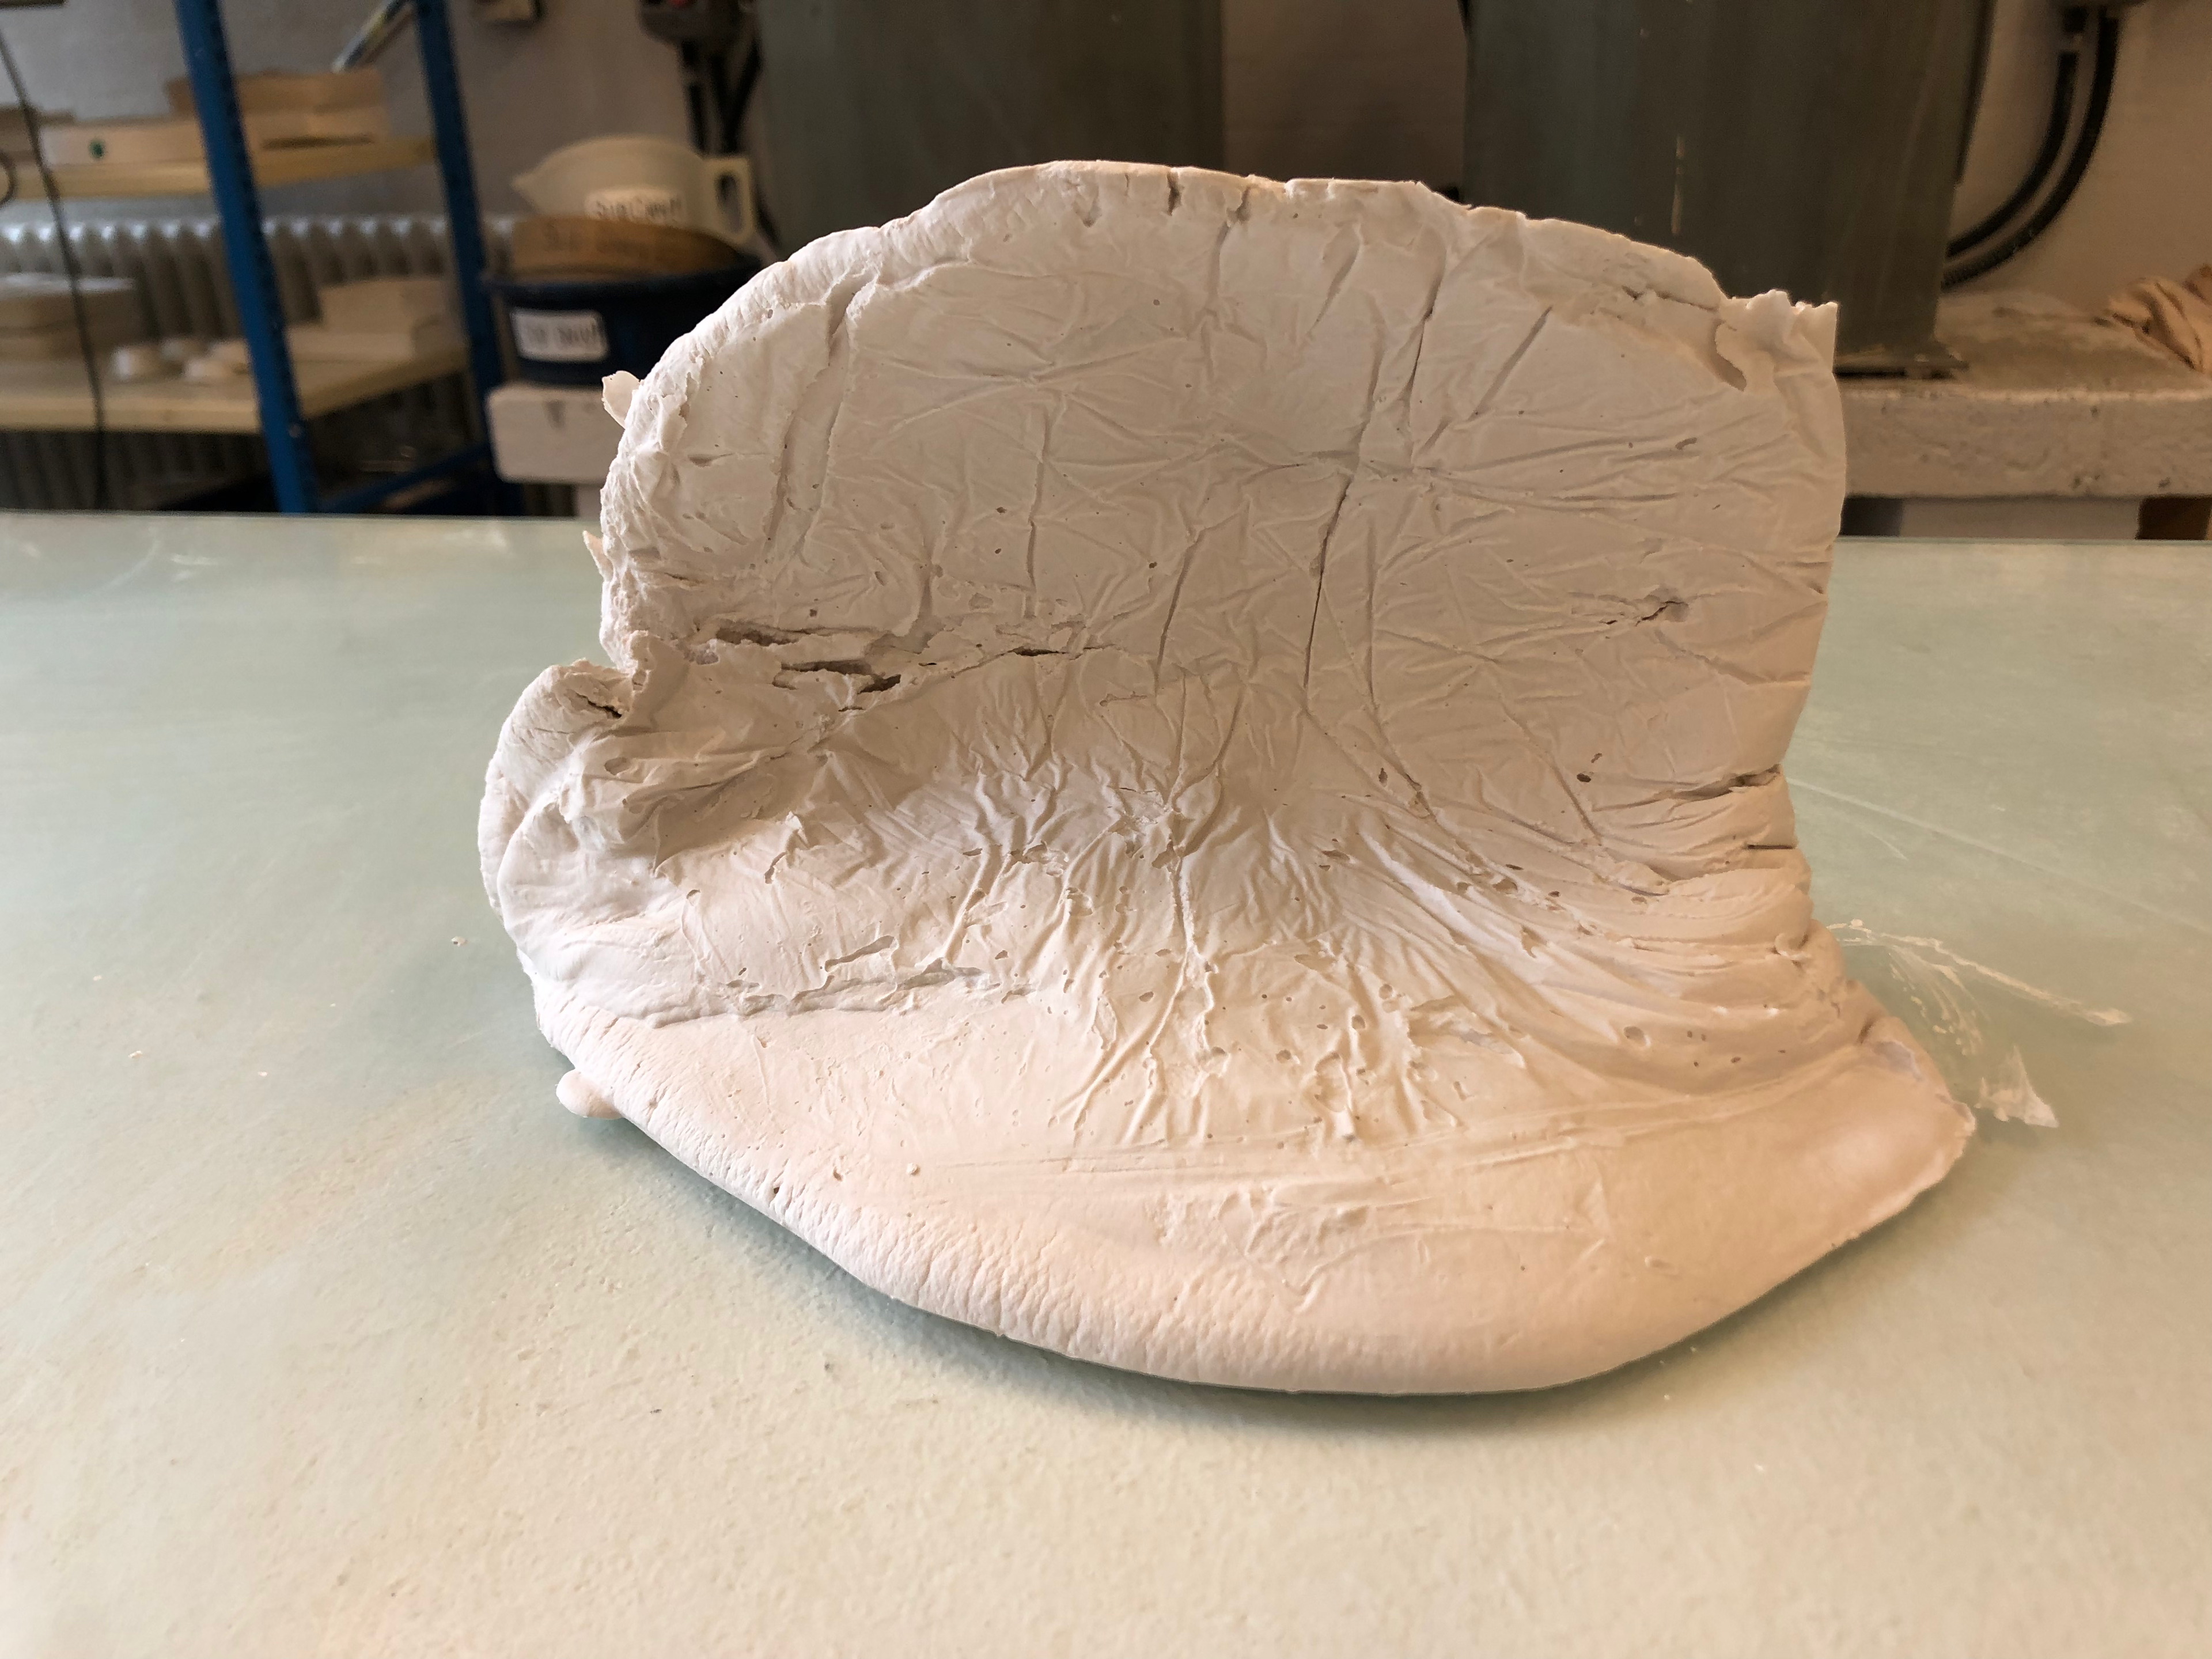
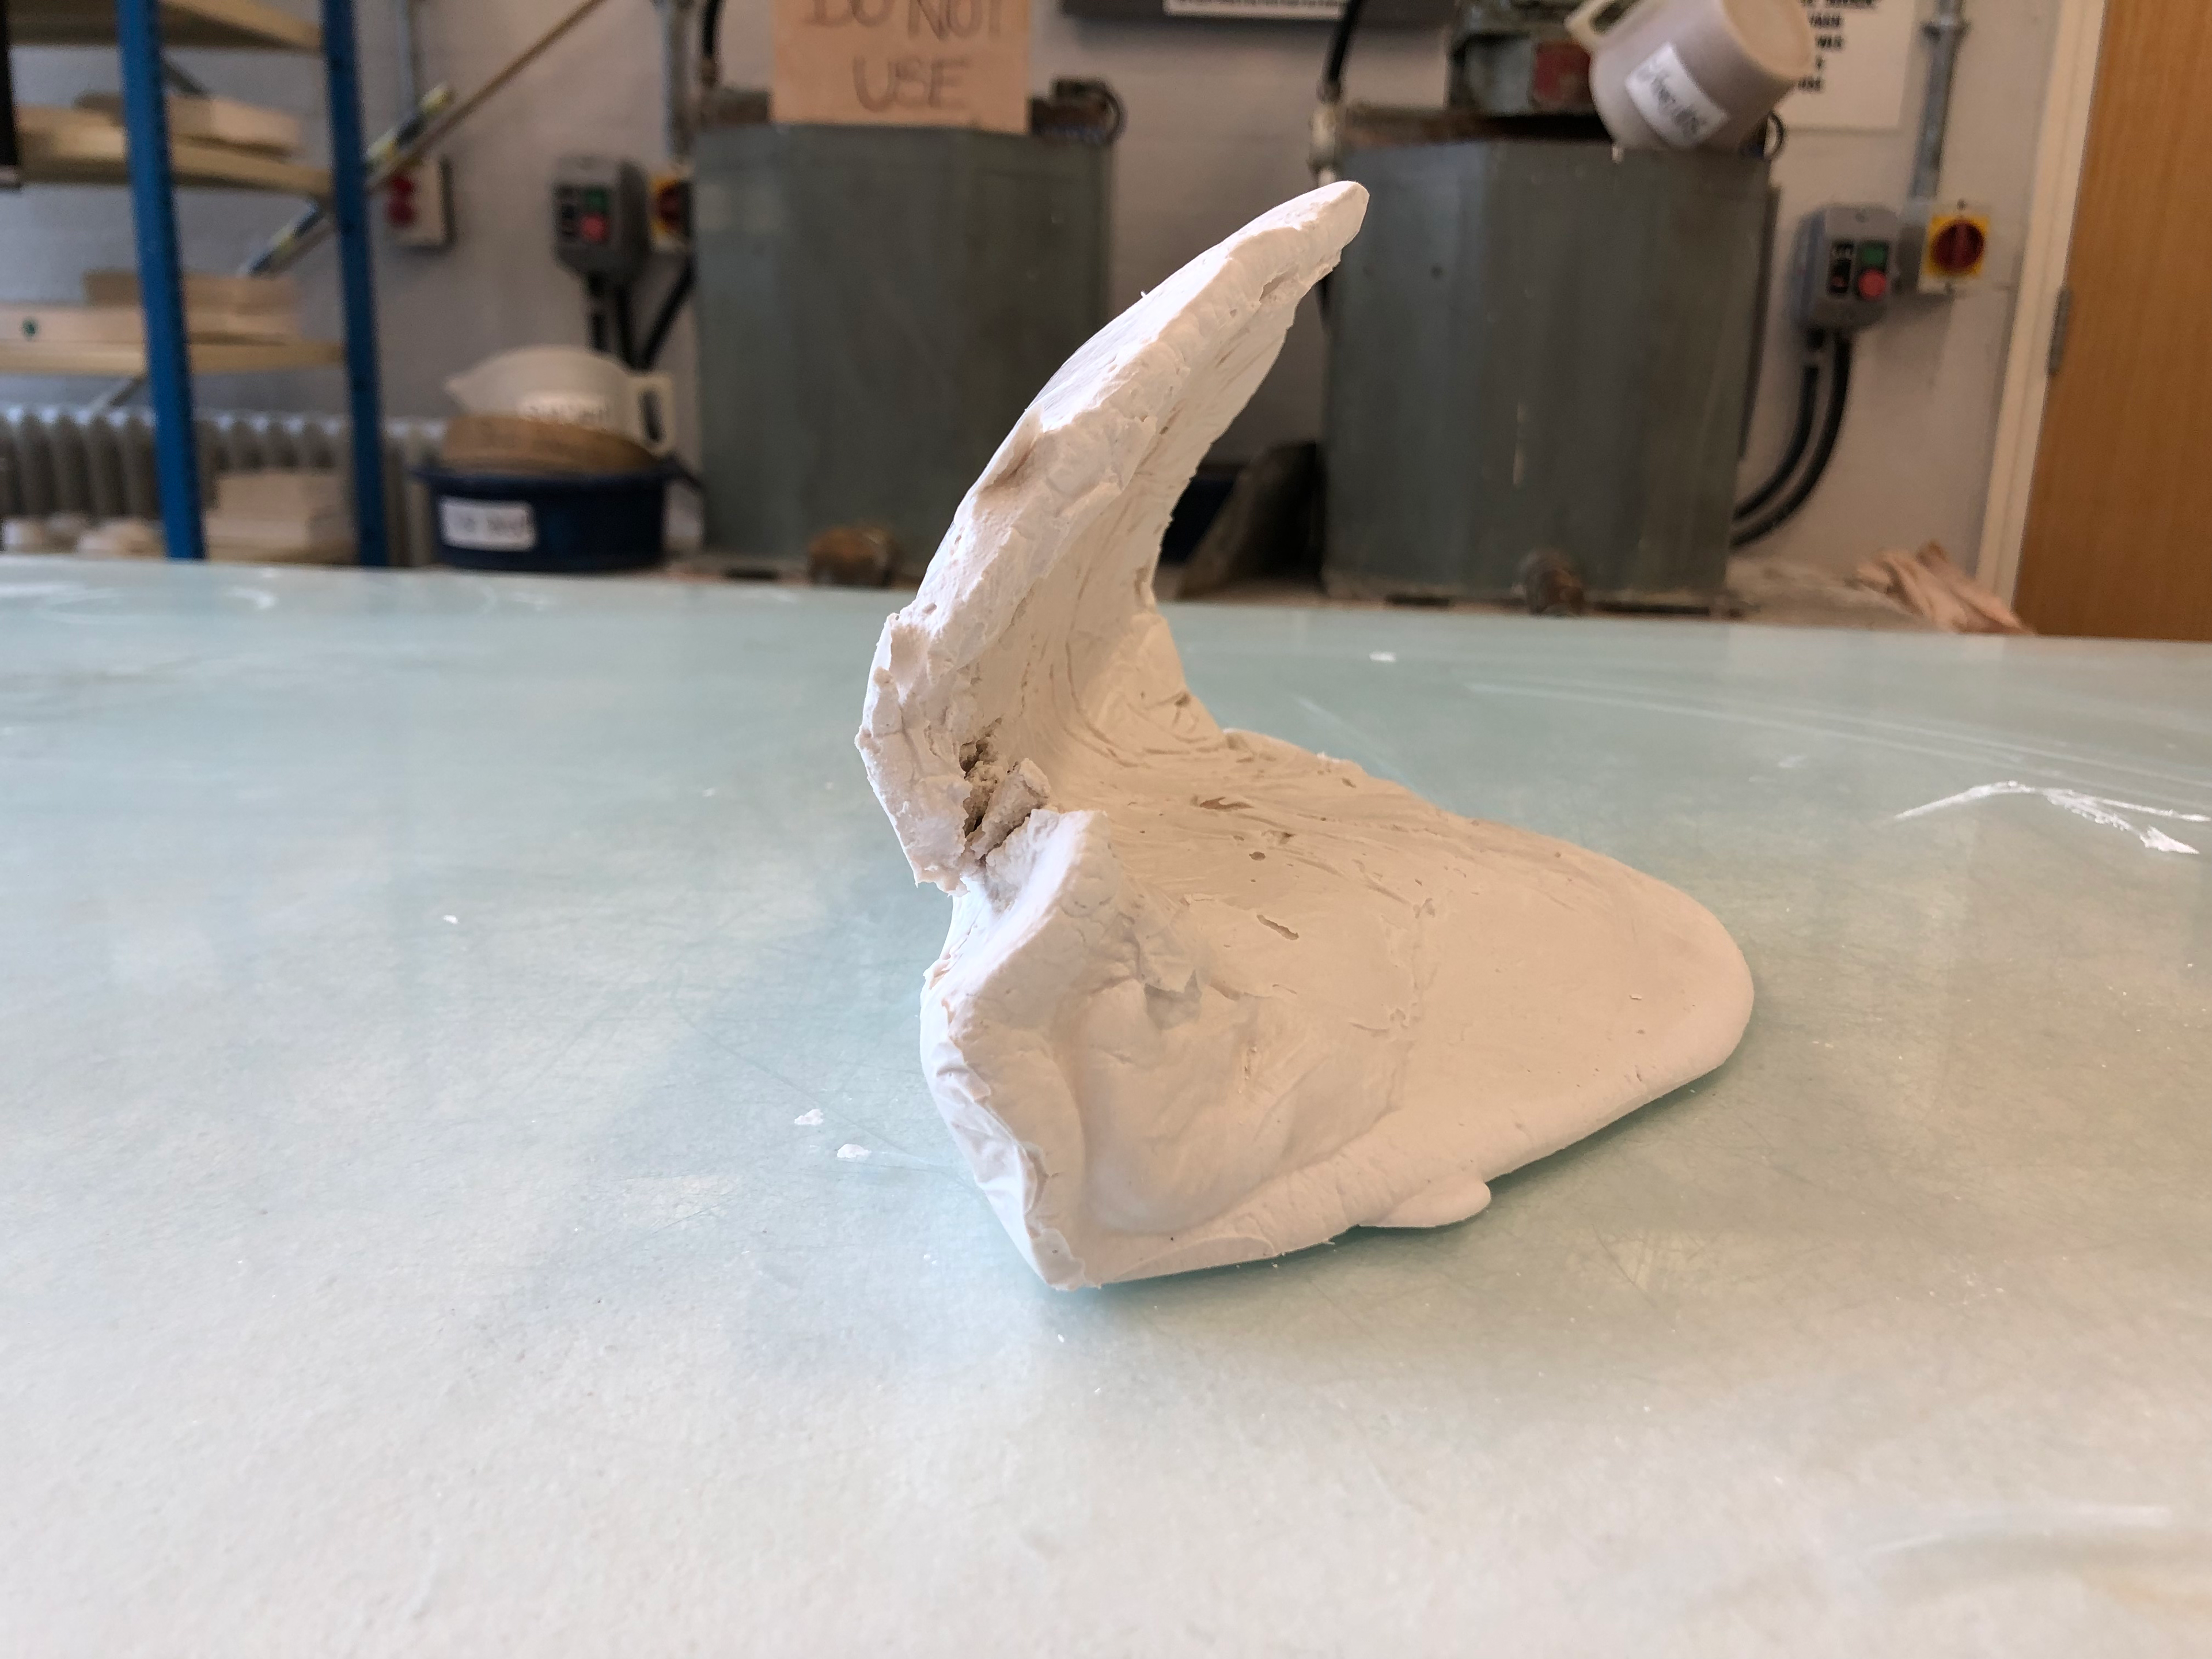
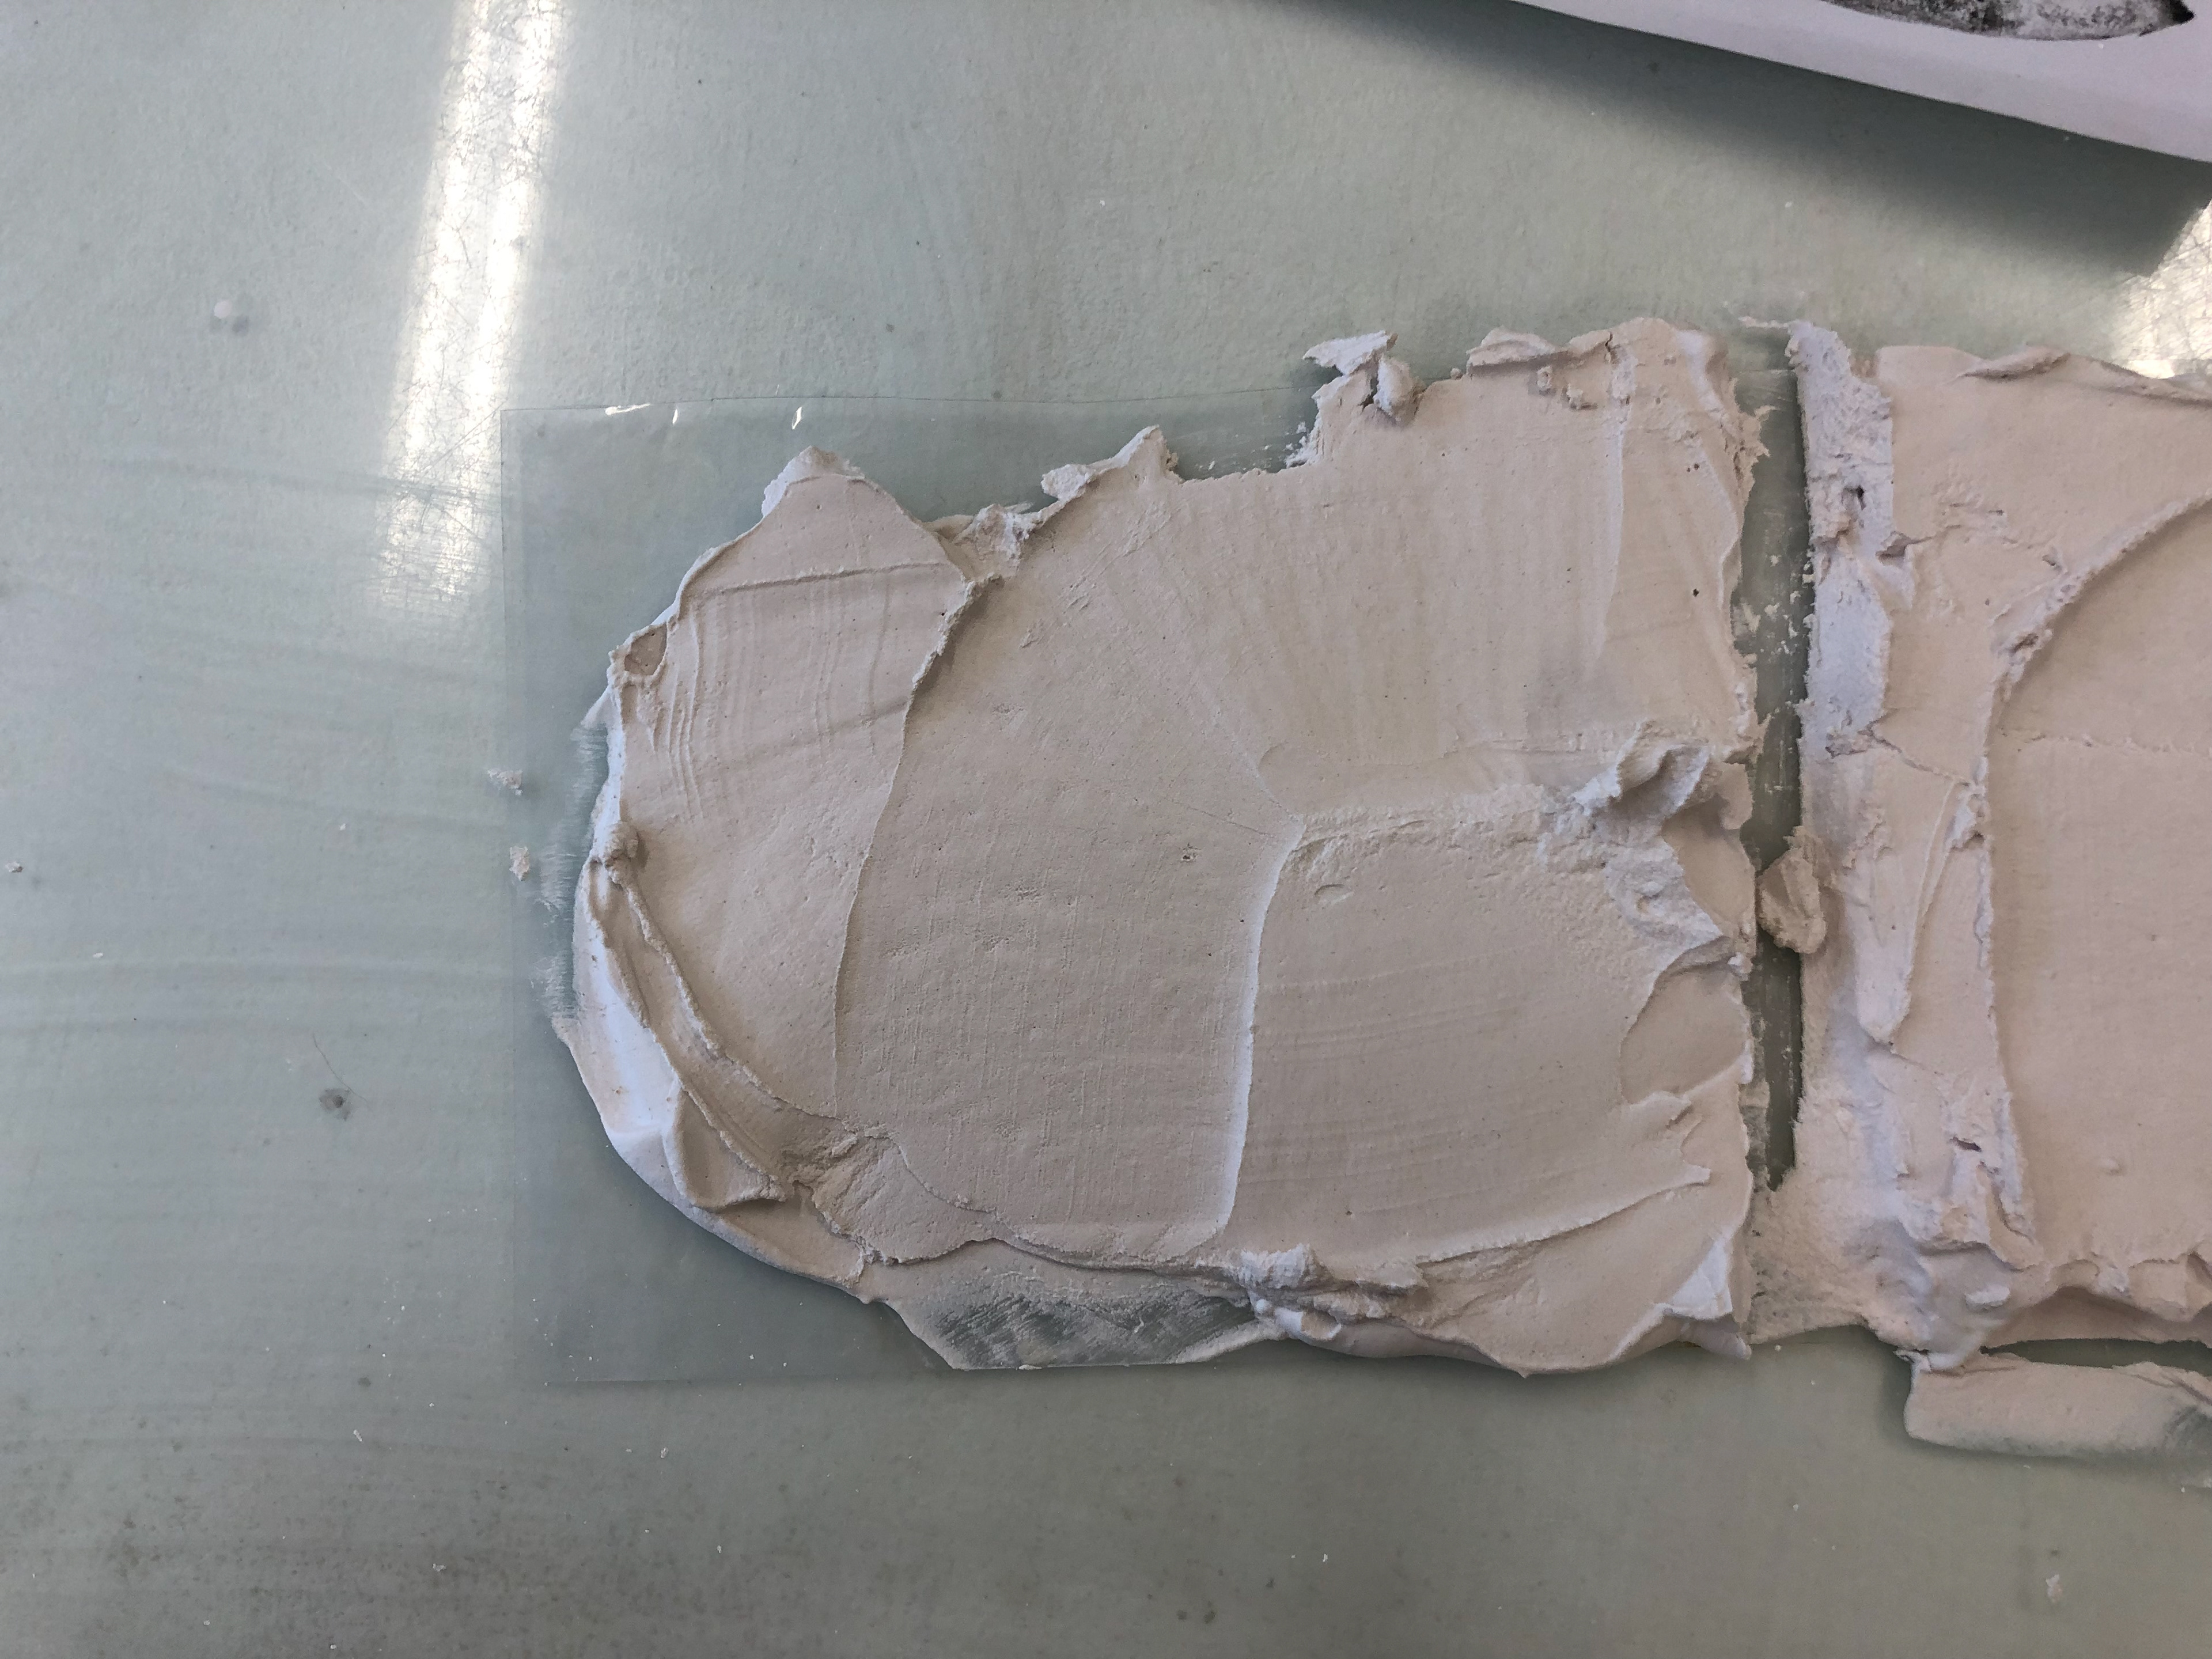
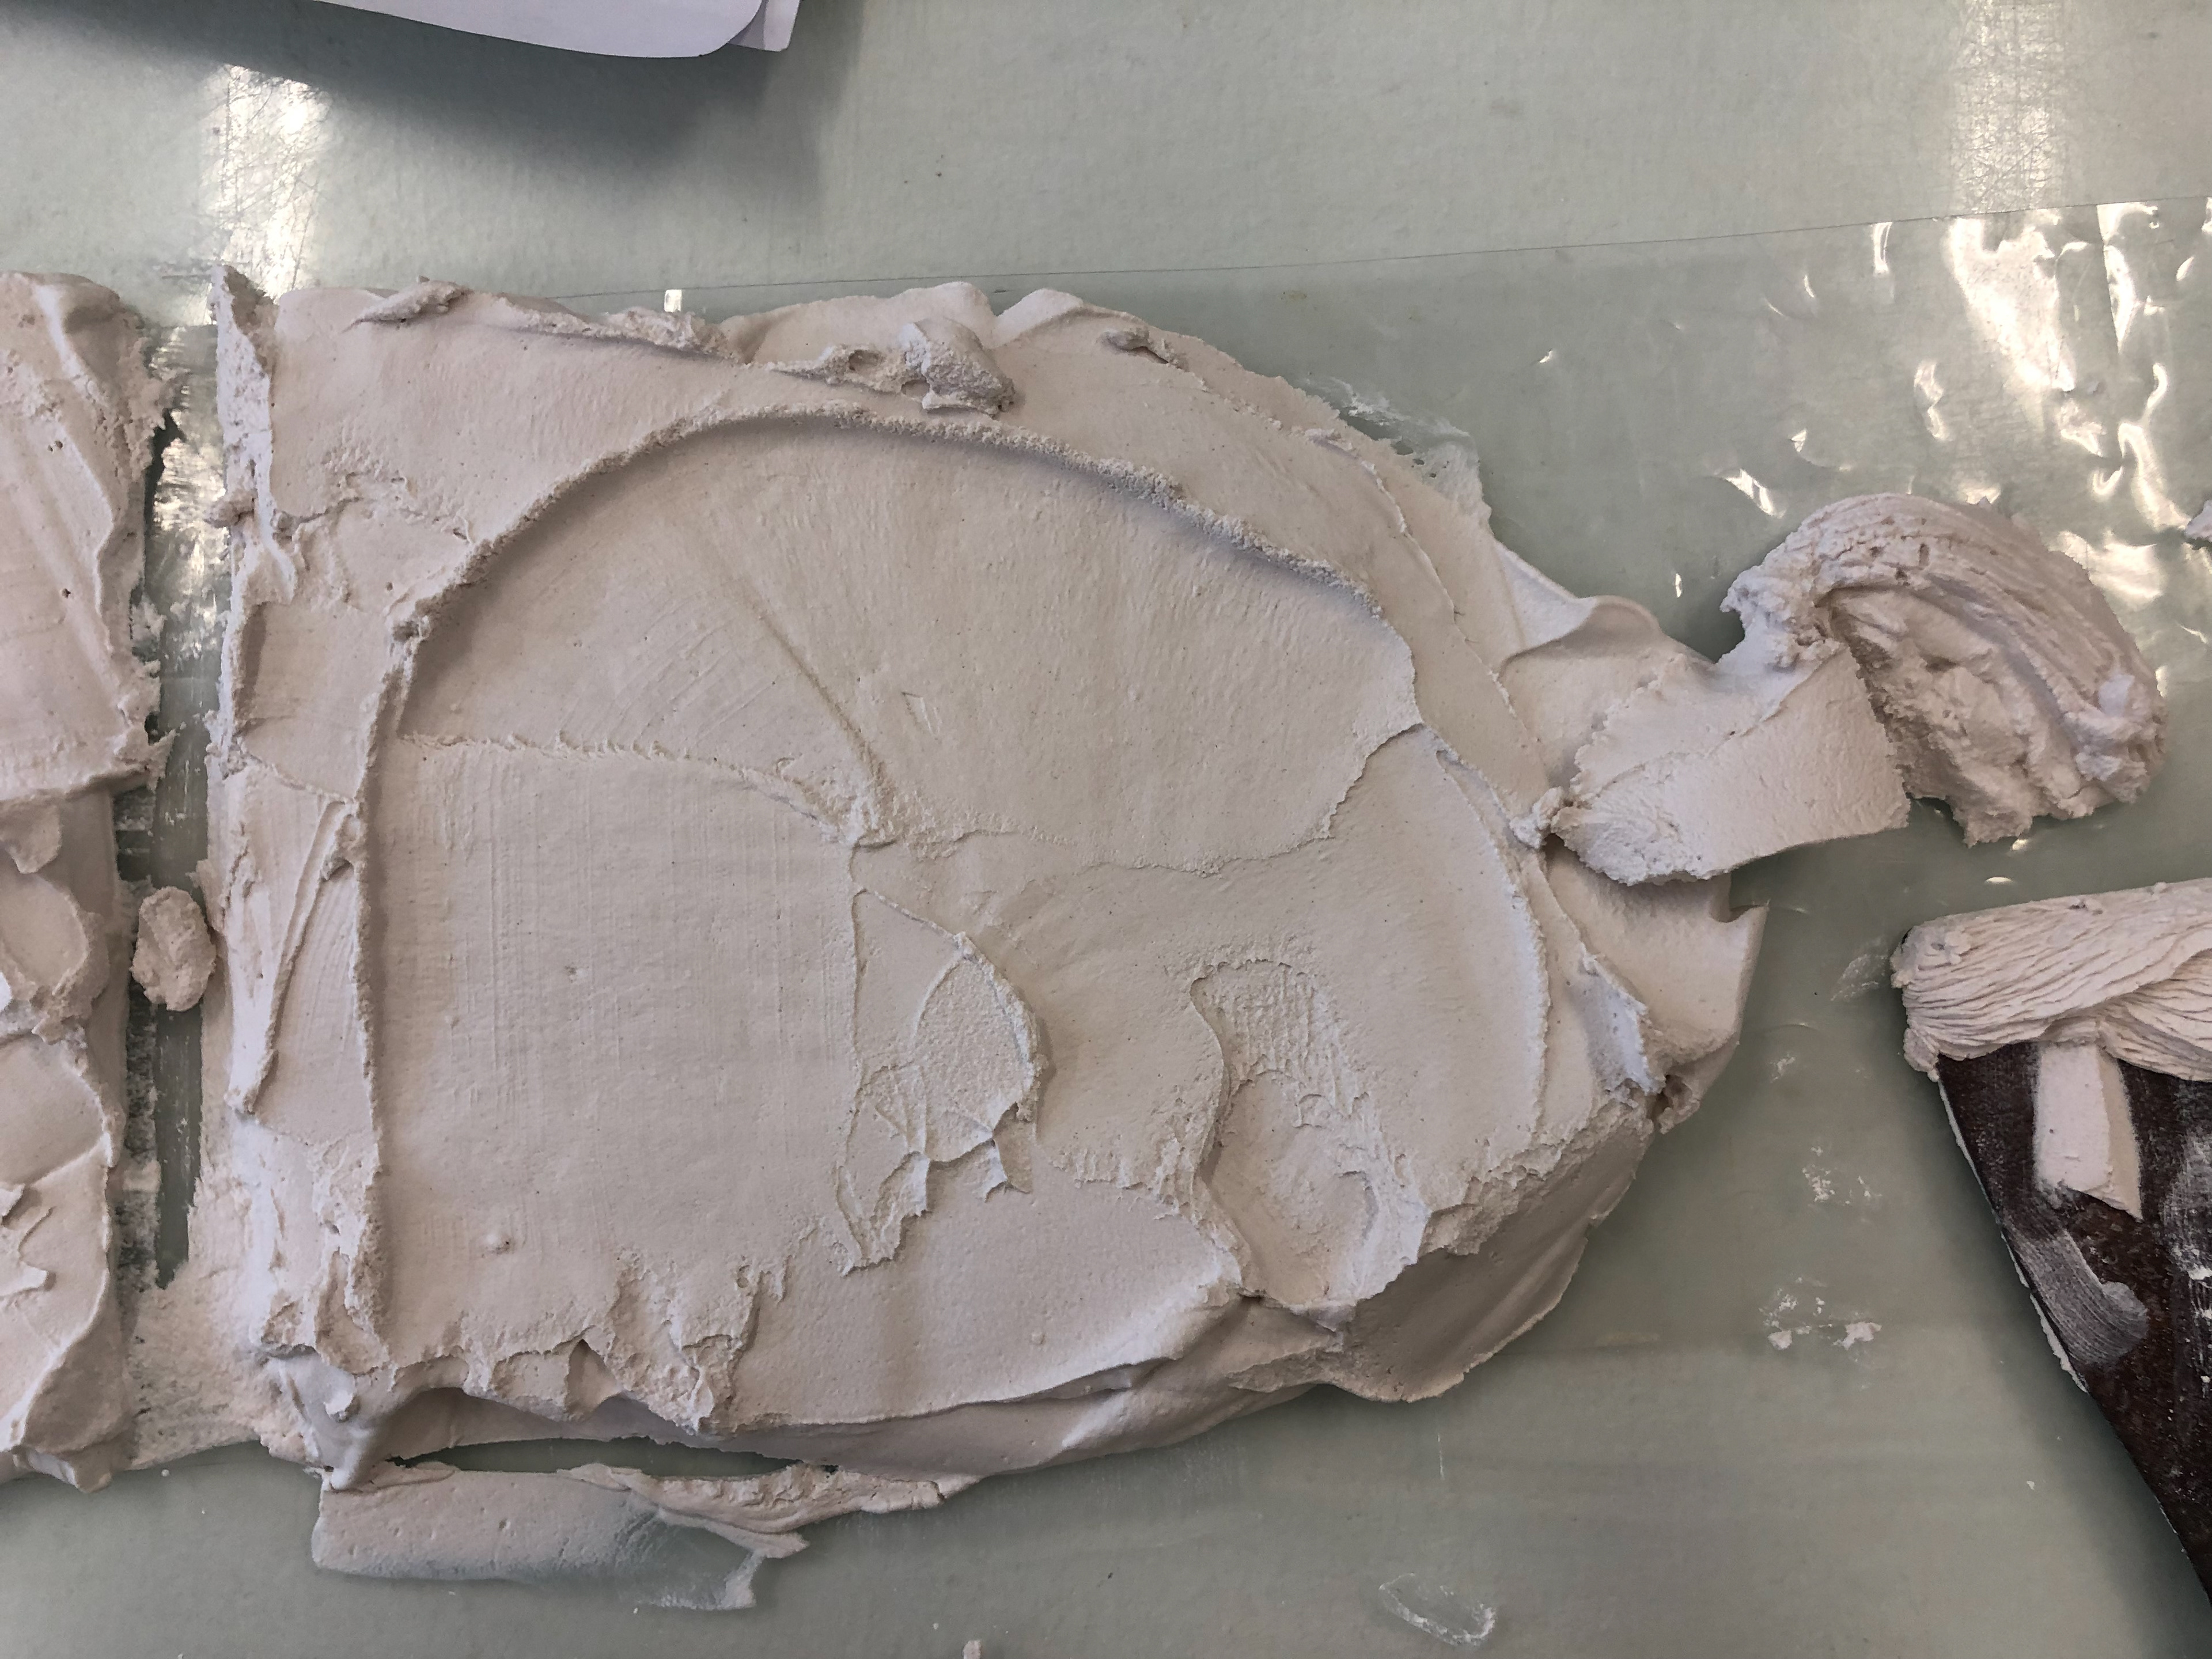
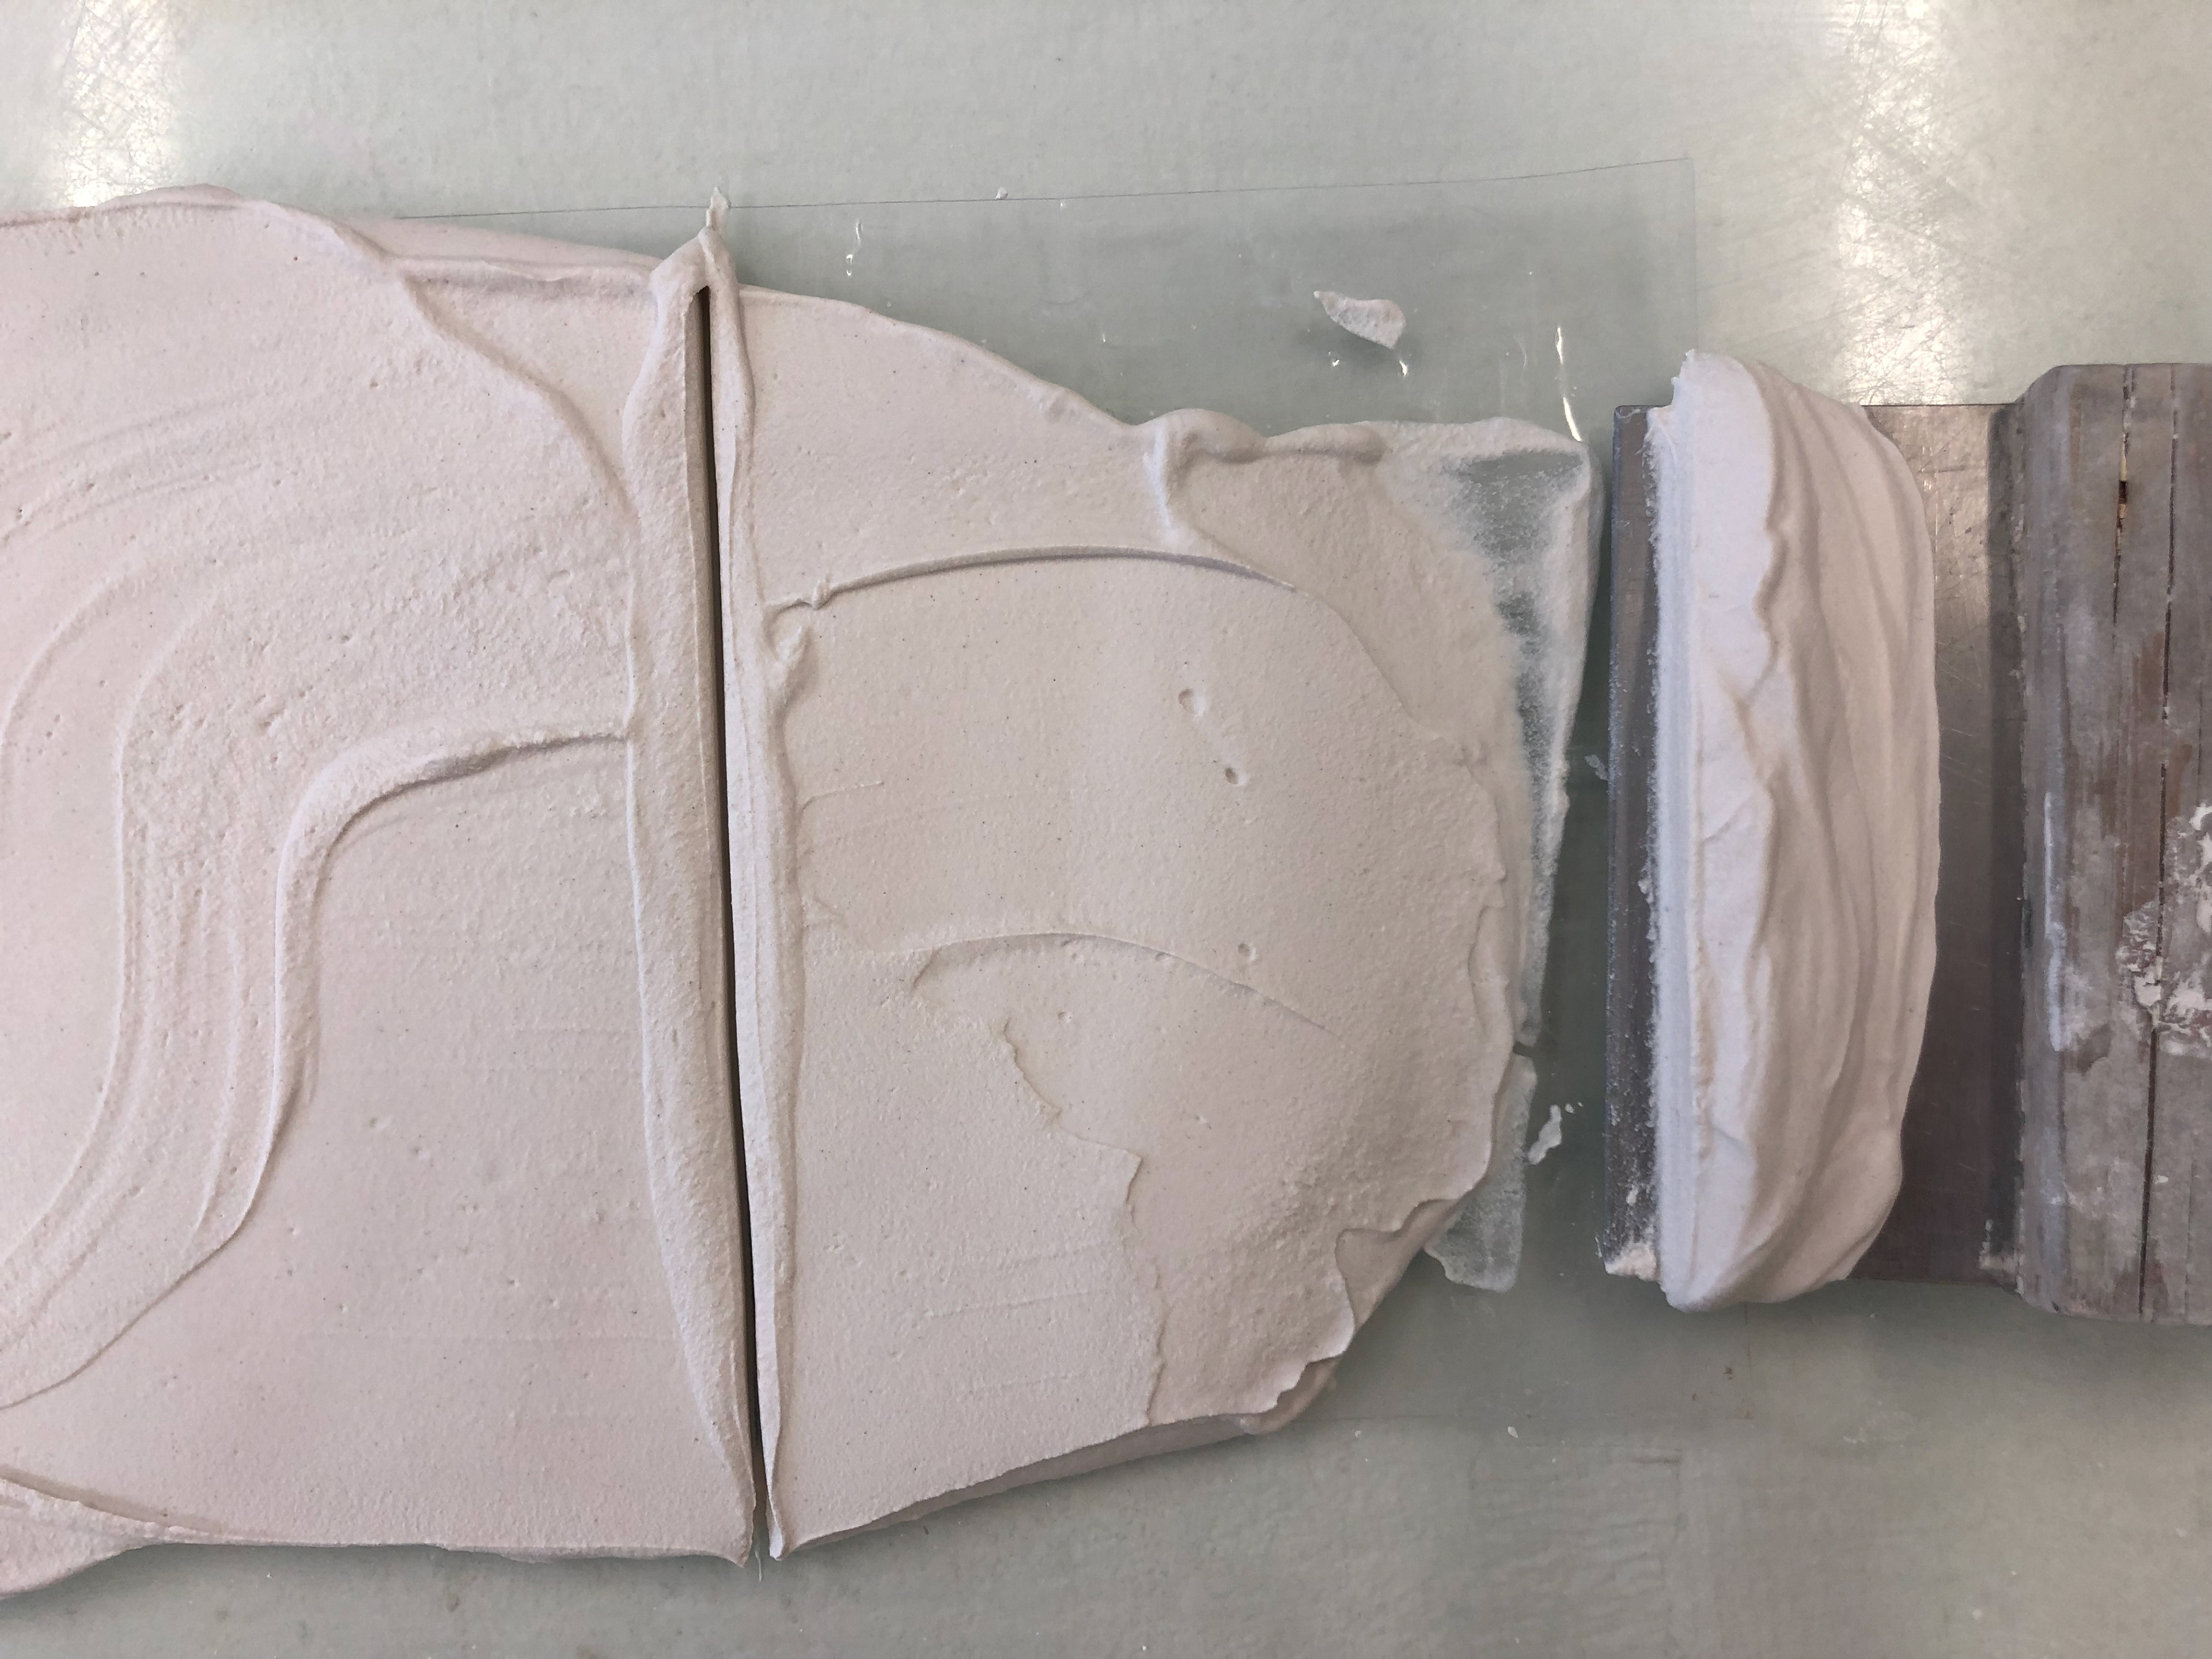
I then decided to try and extract this pattern and the best solution was to imprint into clay. I rolled out a slab of clay and firmly pressed the clay into the plaster. As a result this broke the plaster but I got fantastic results in the clay.
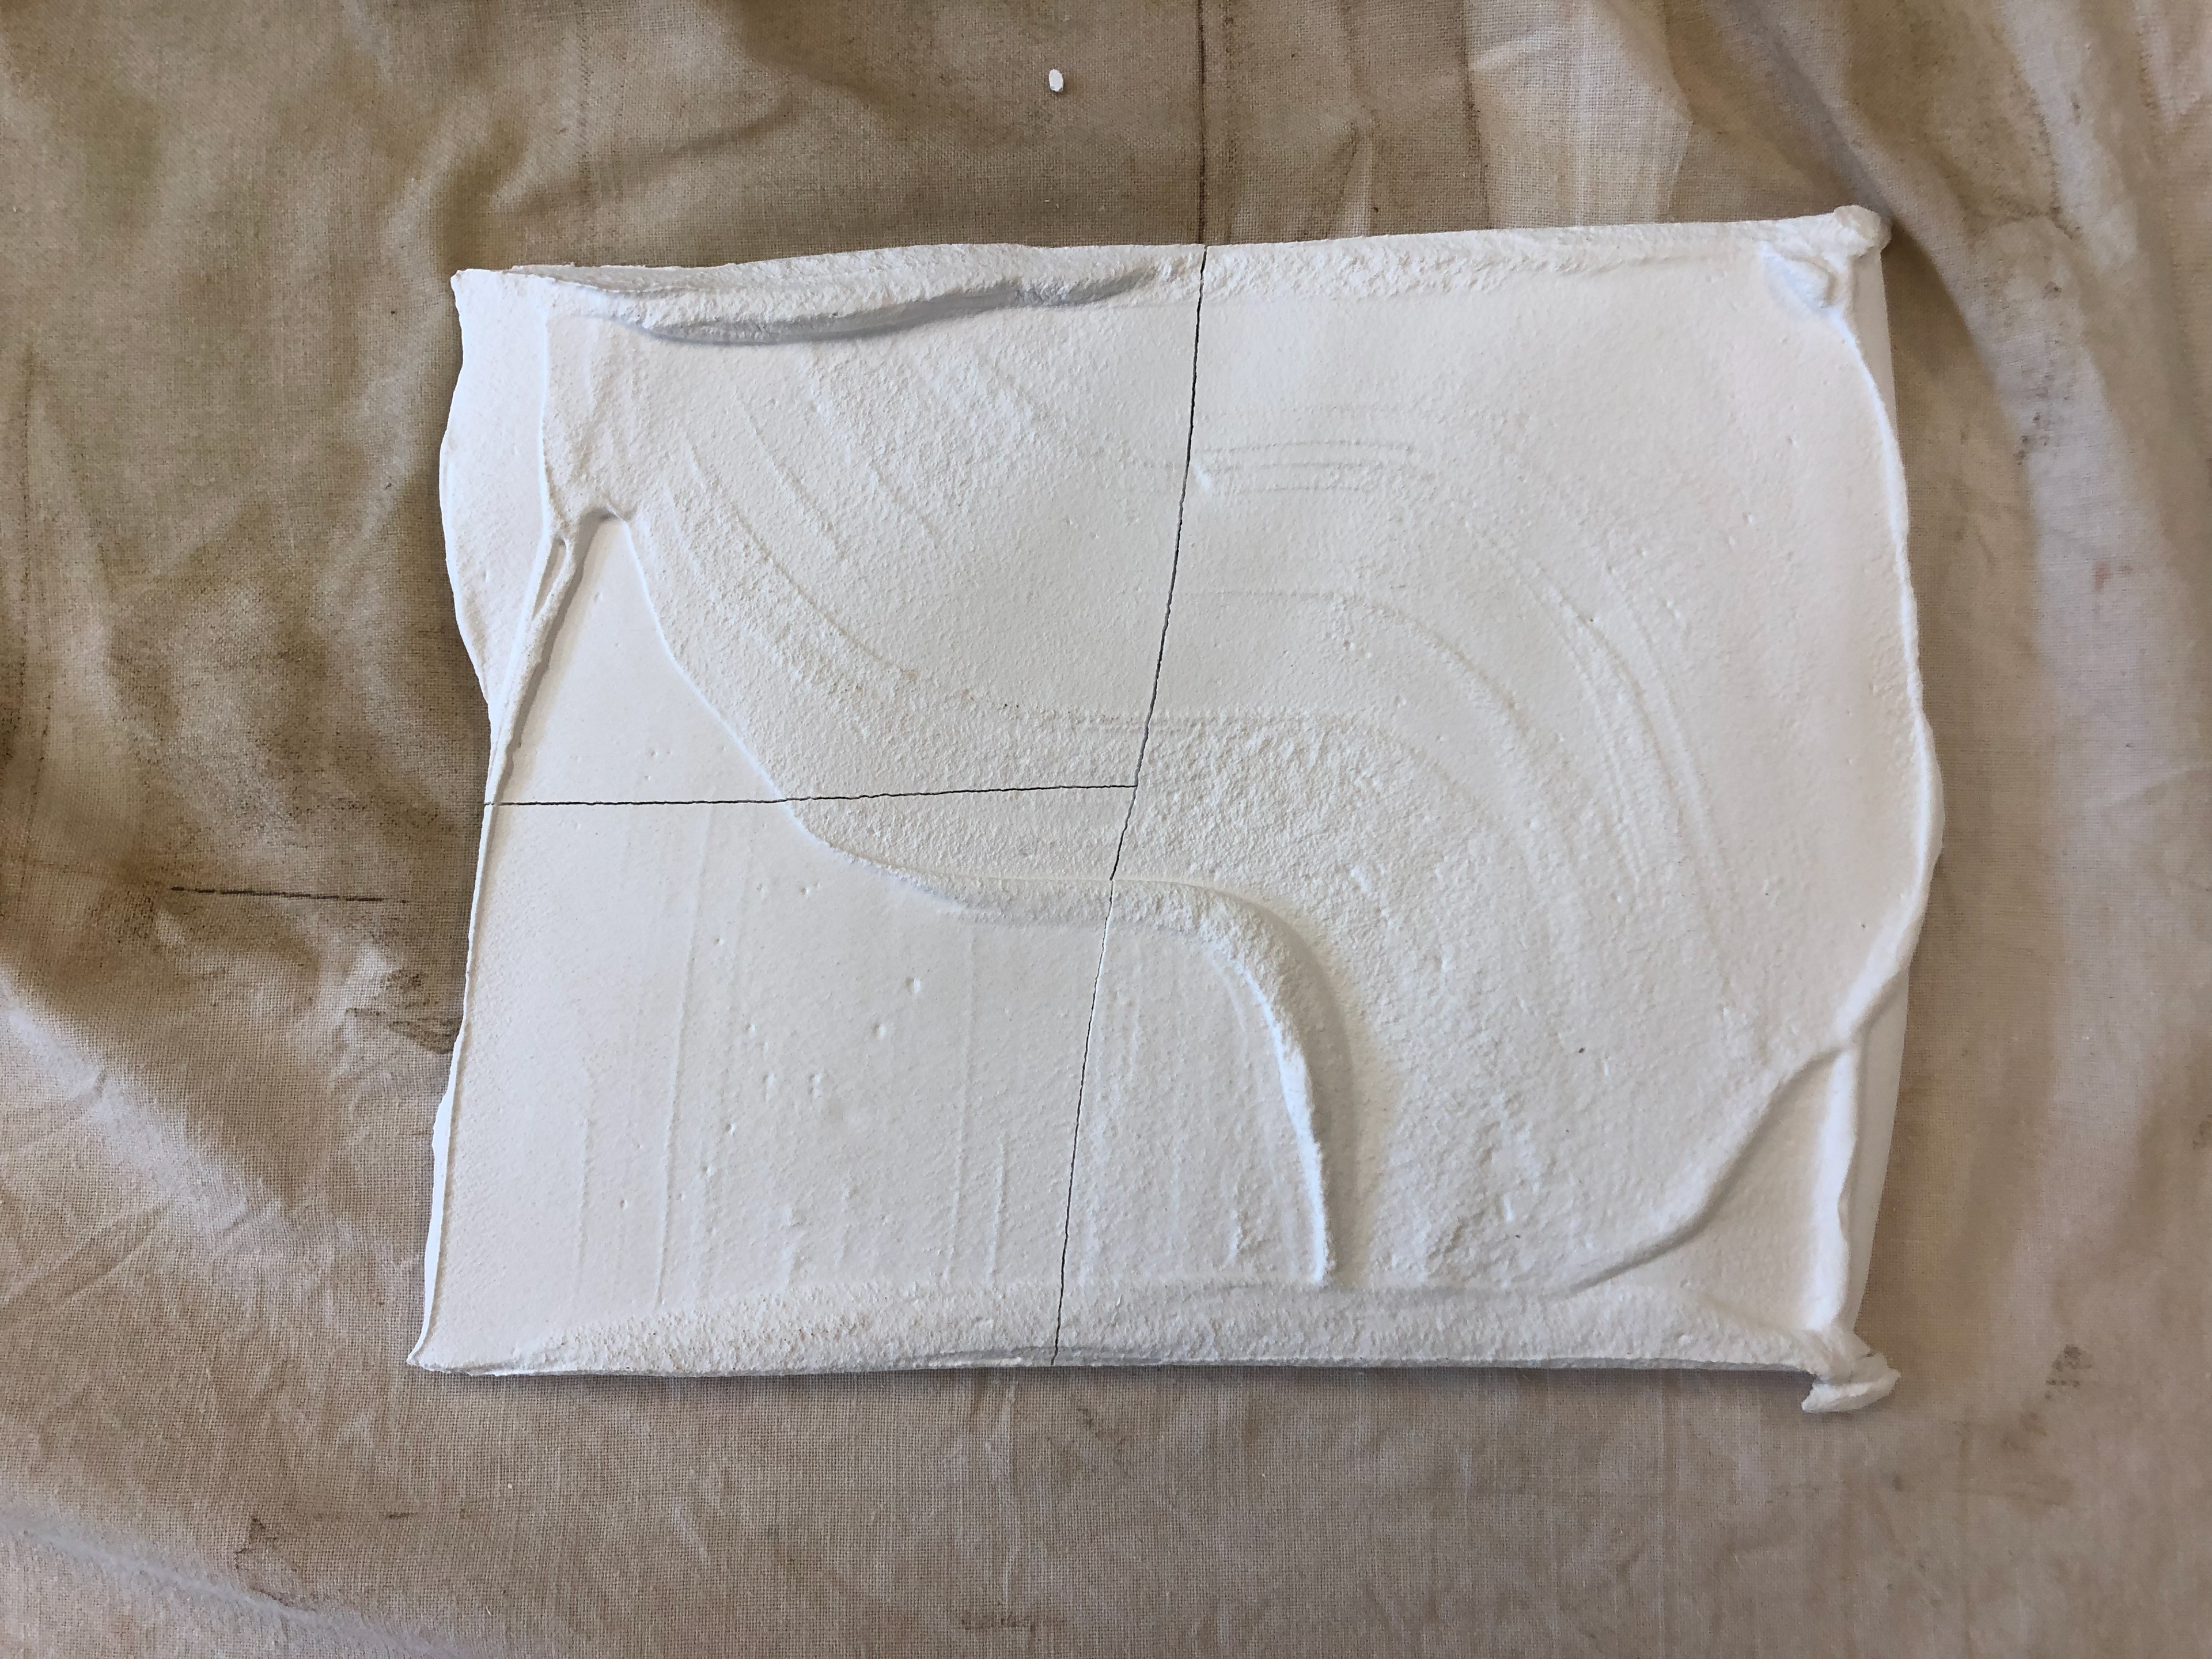
Cracked plaster
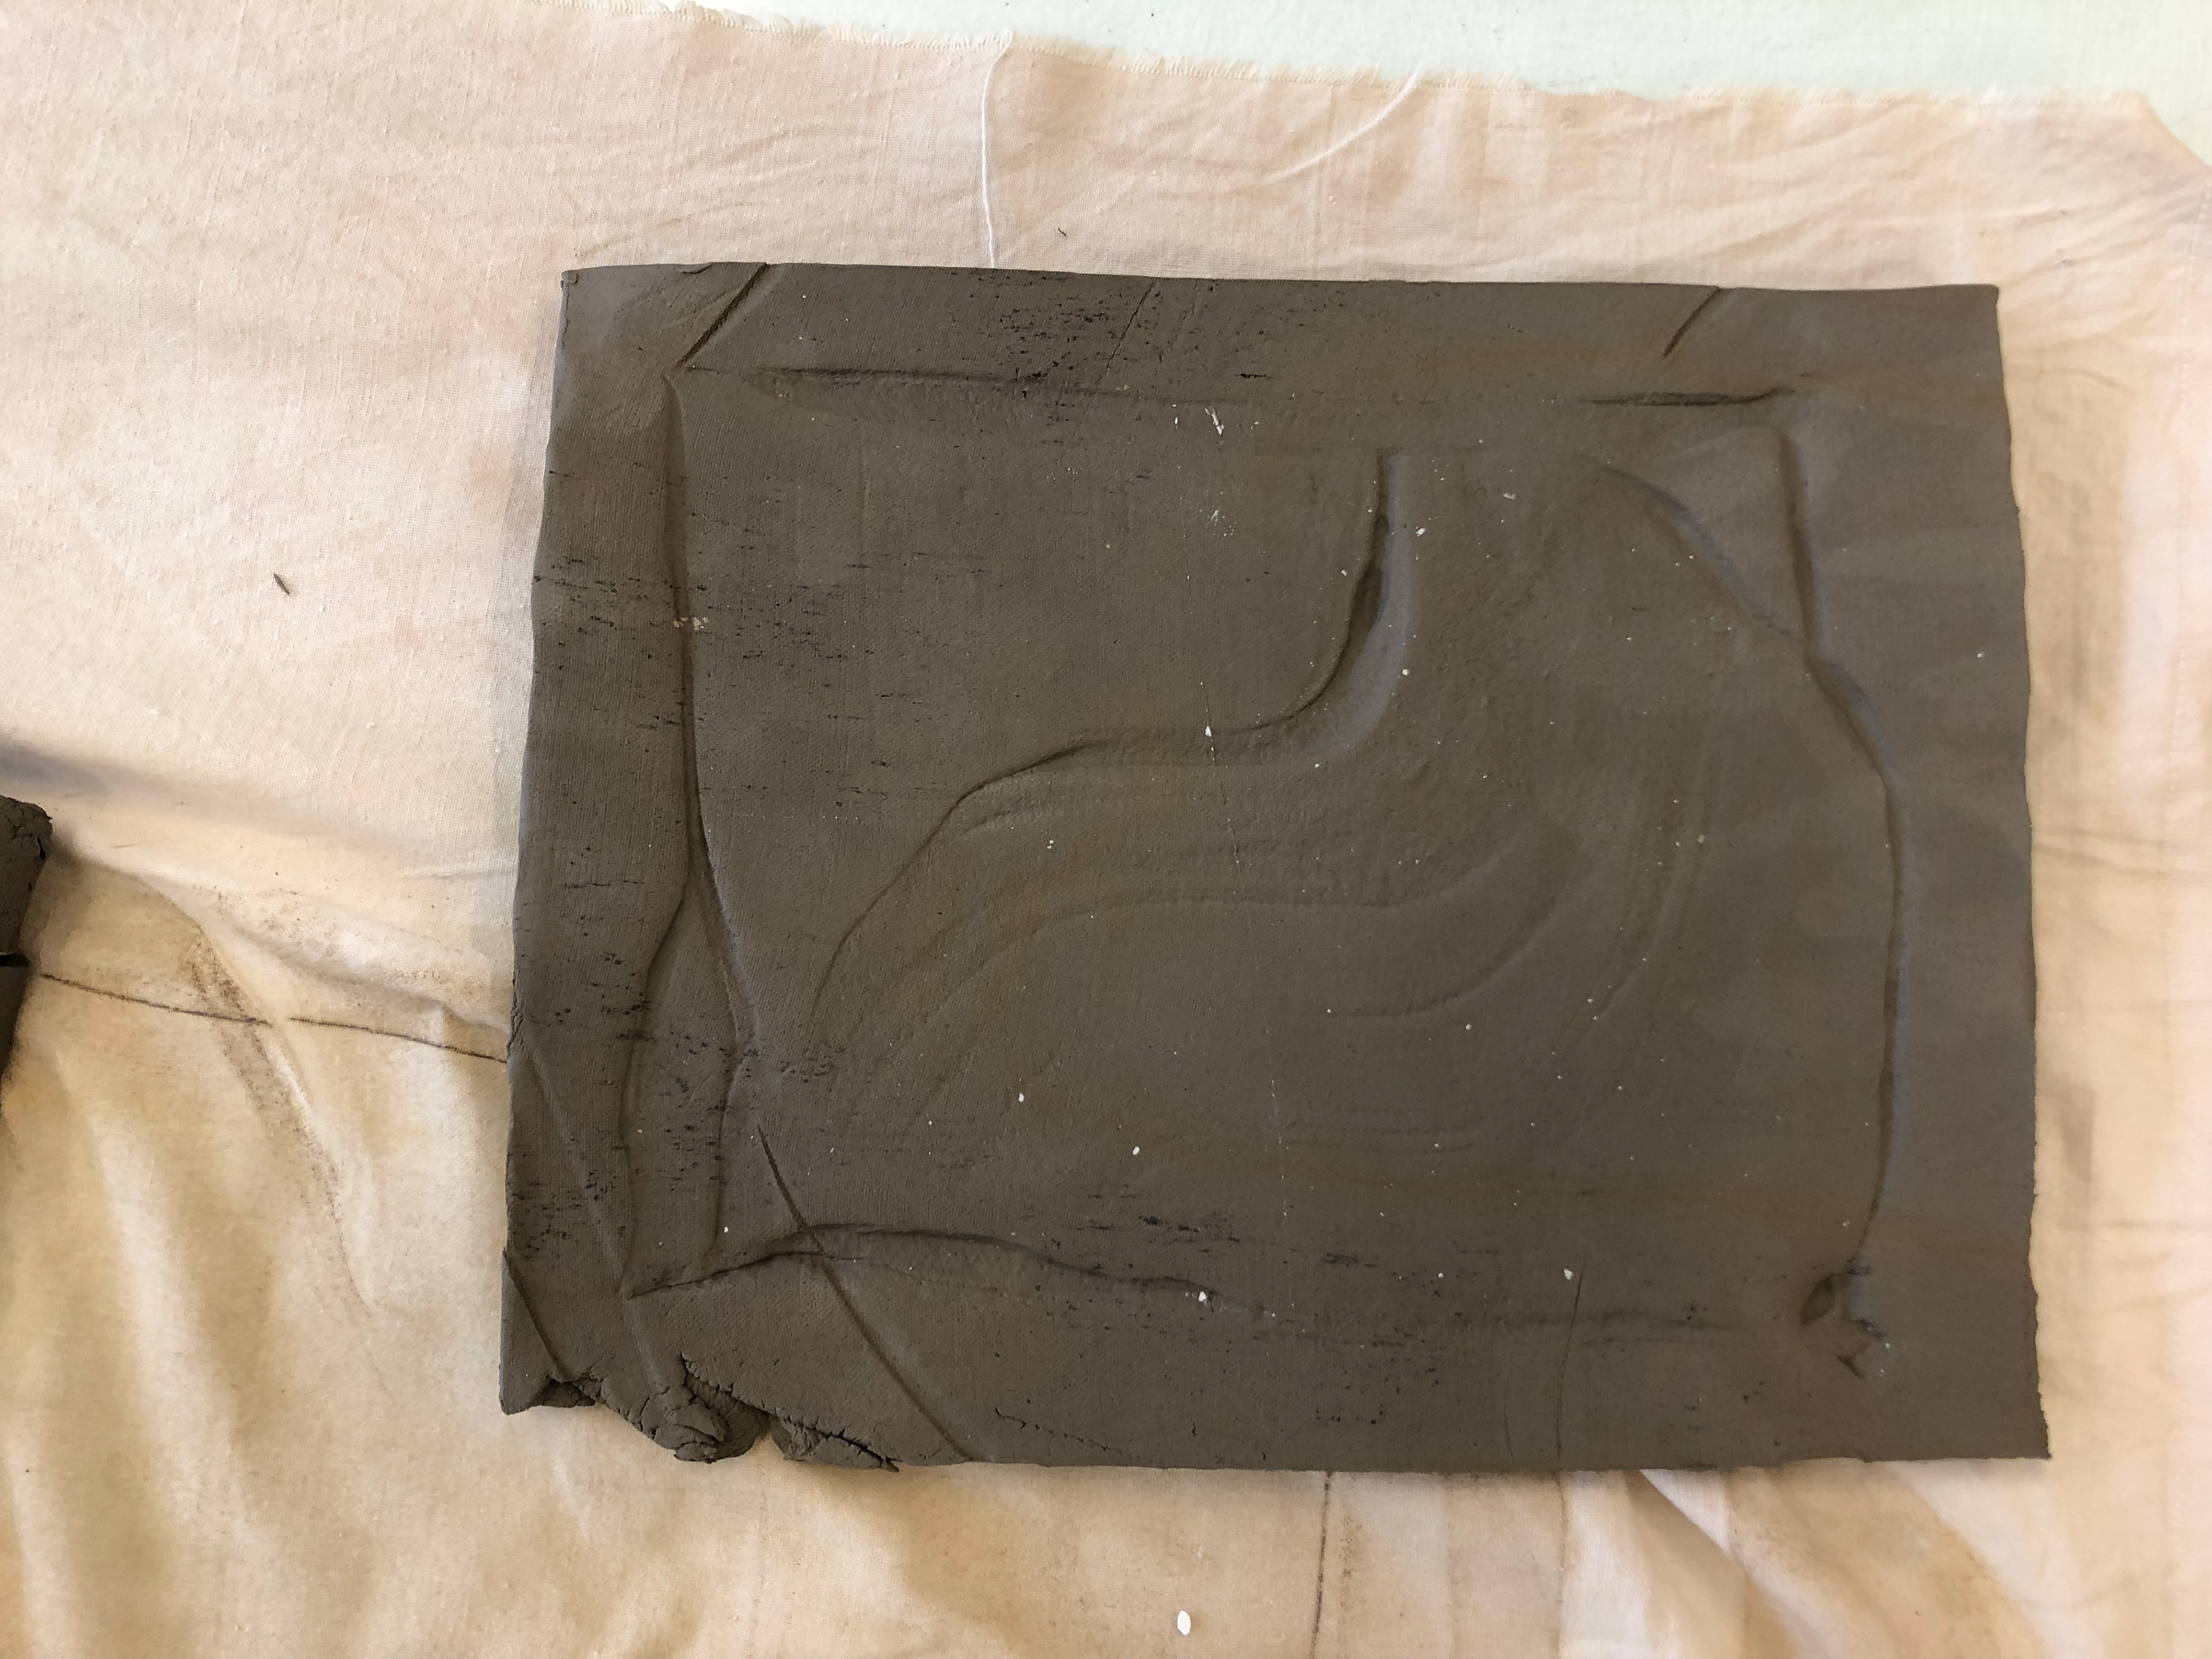
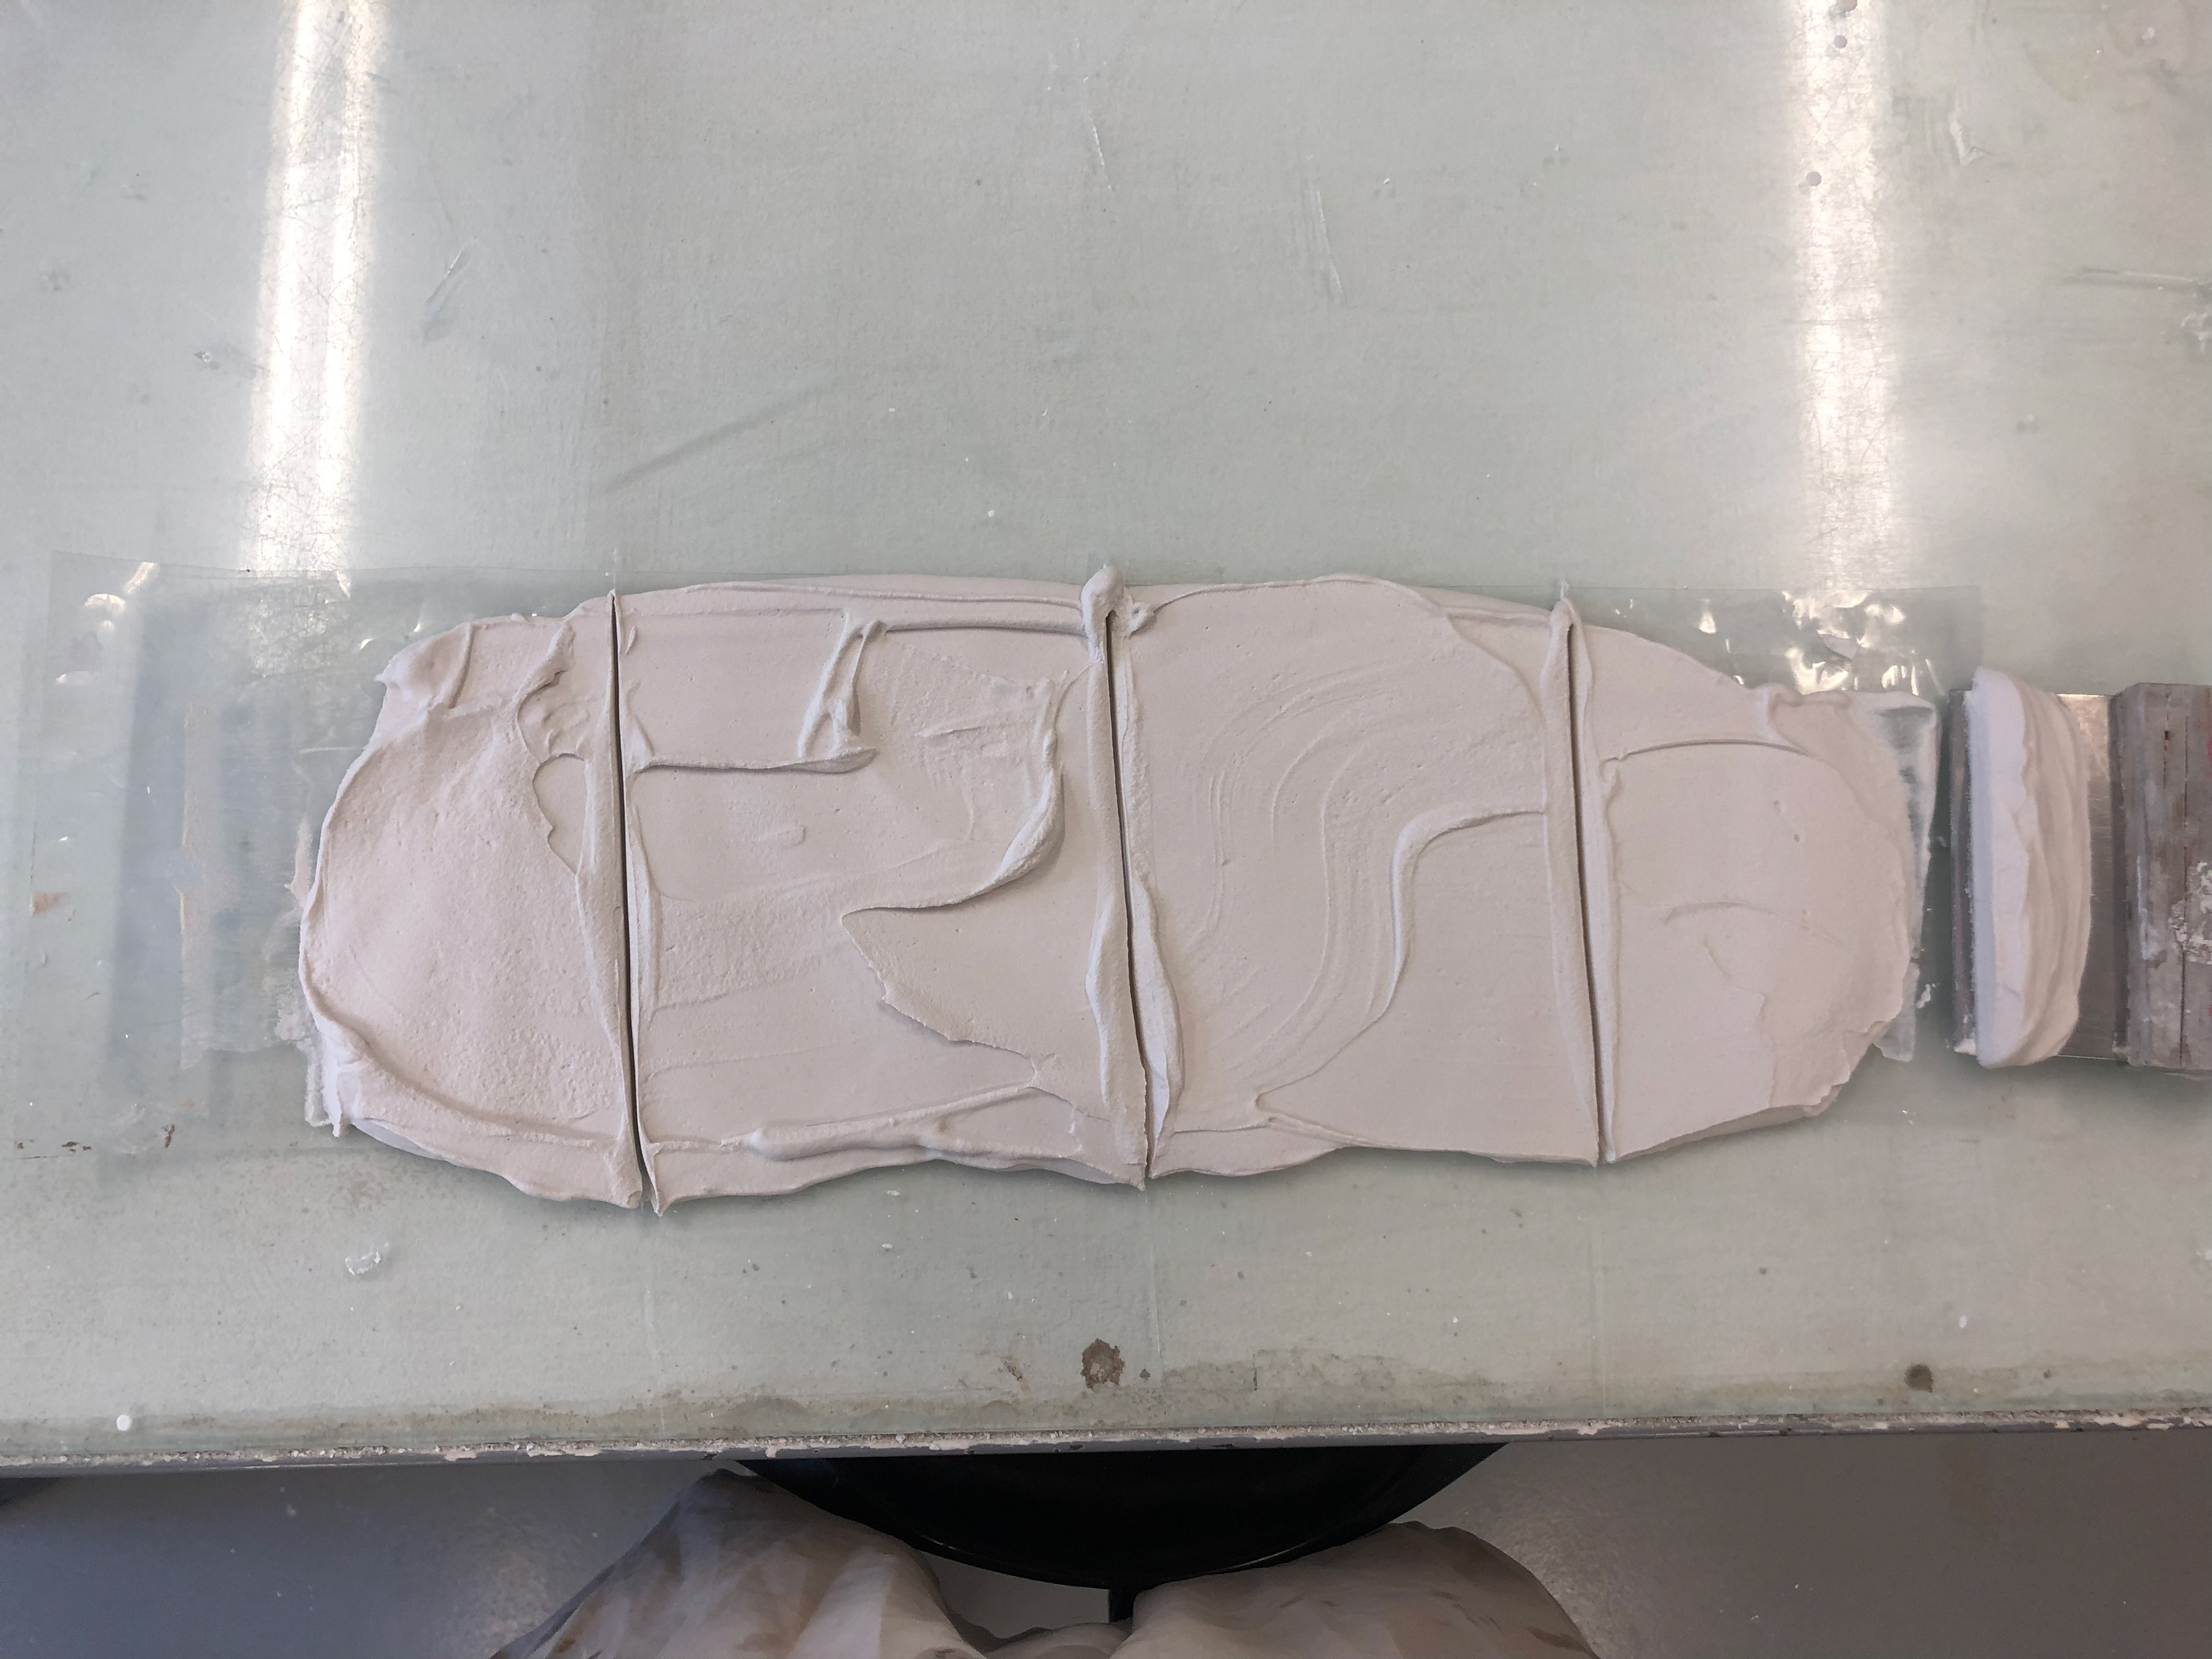
1st imprint
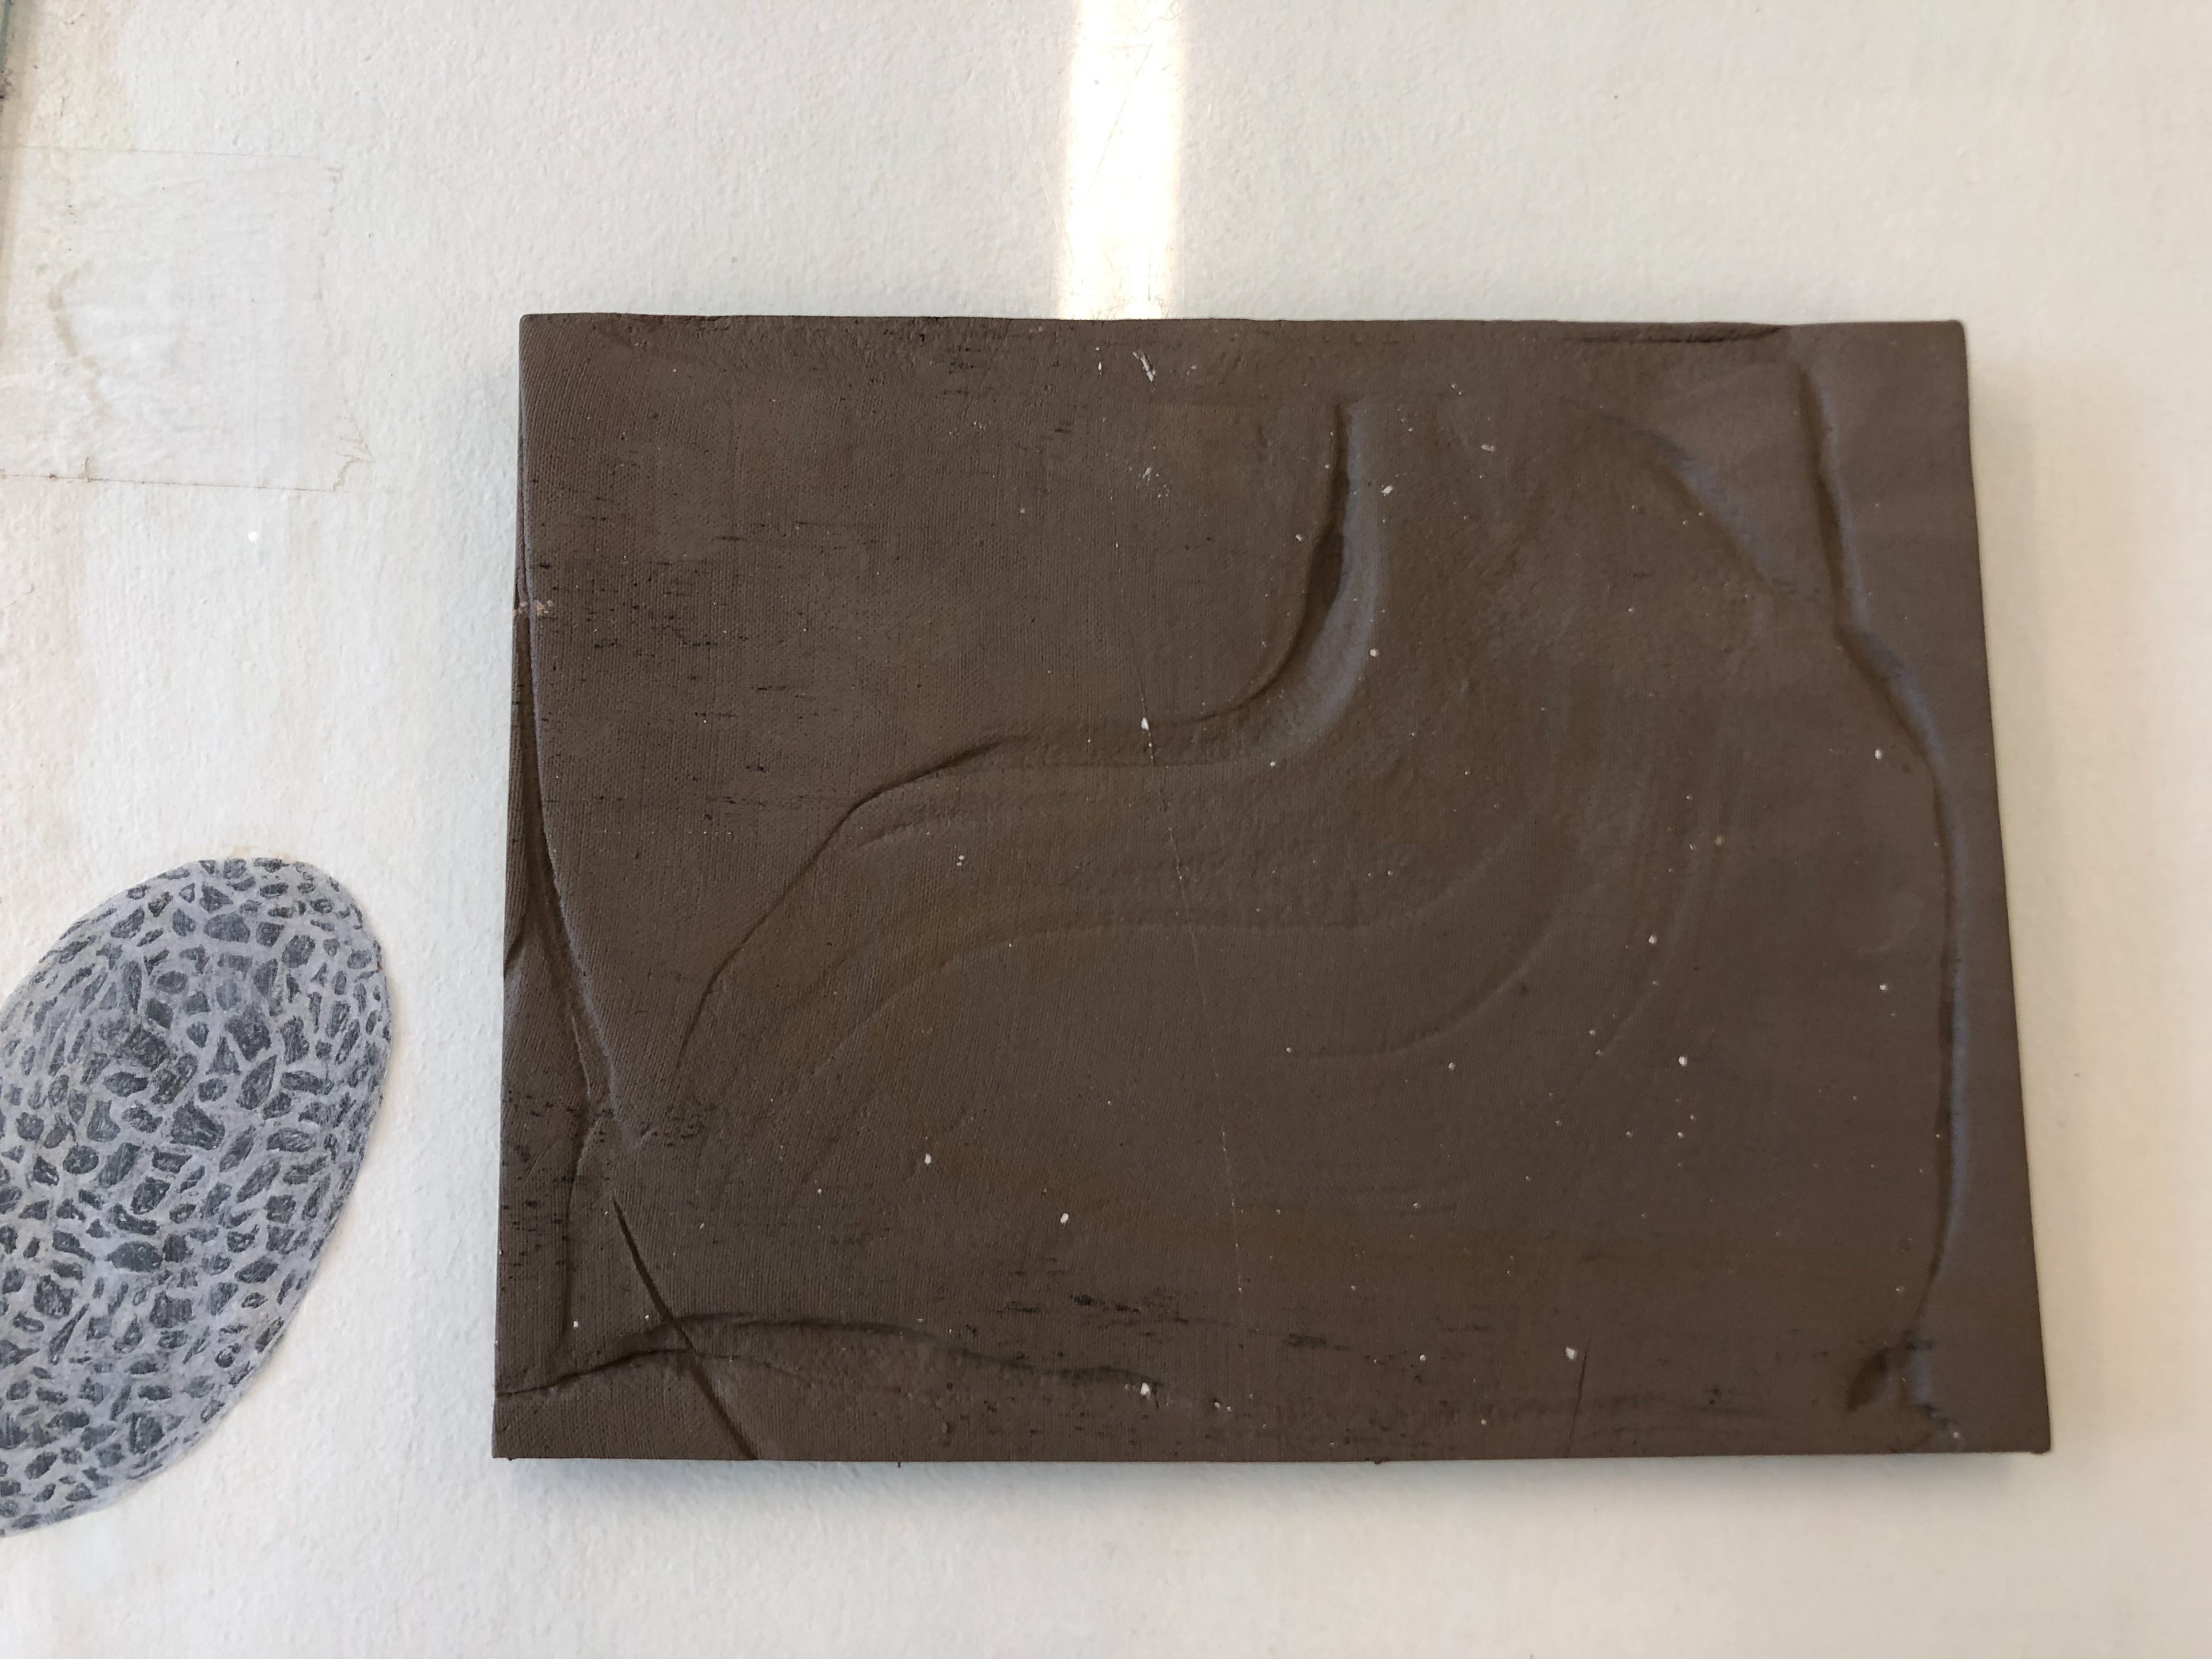
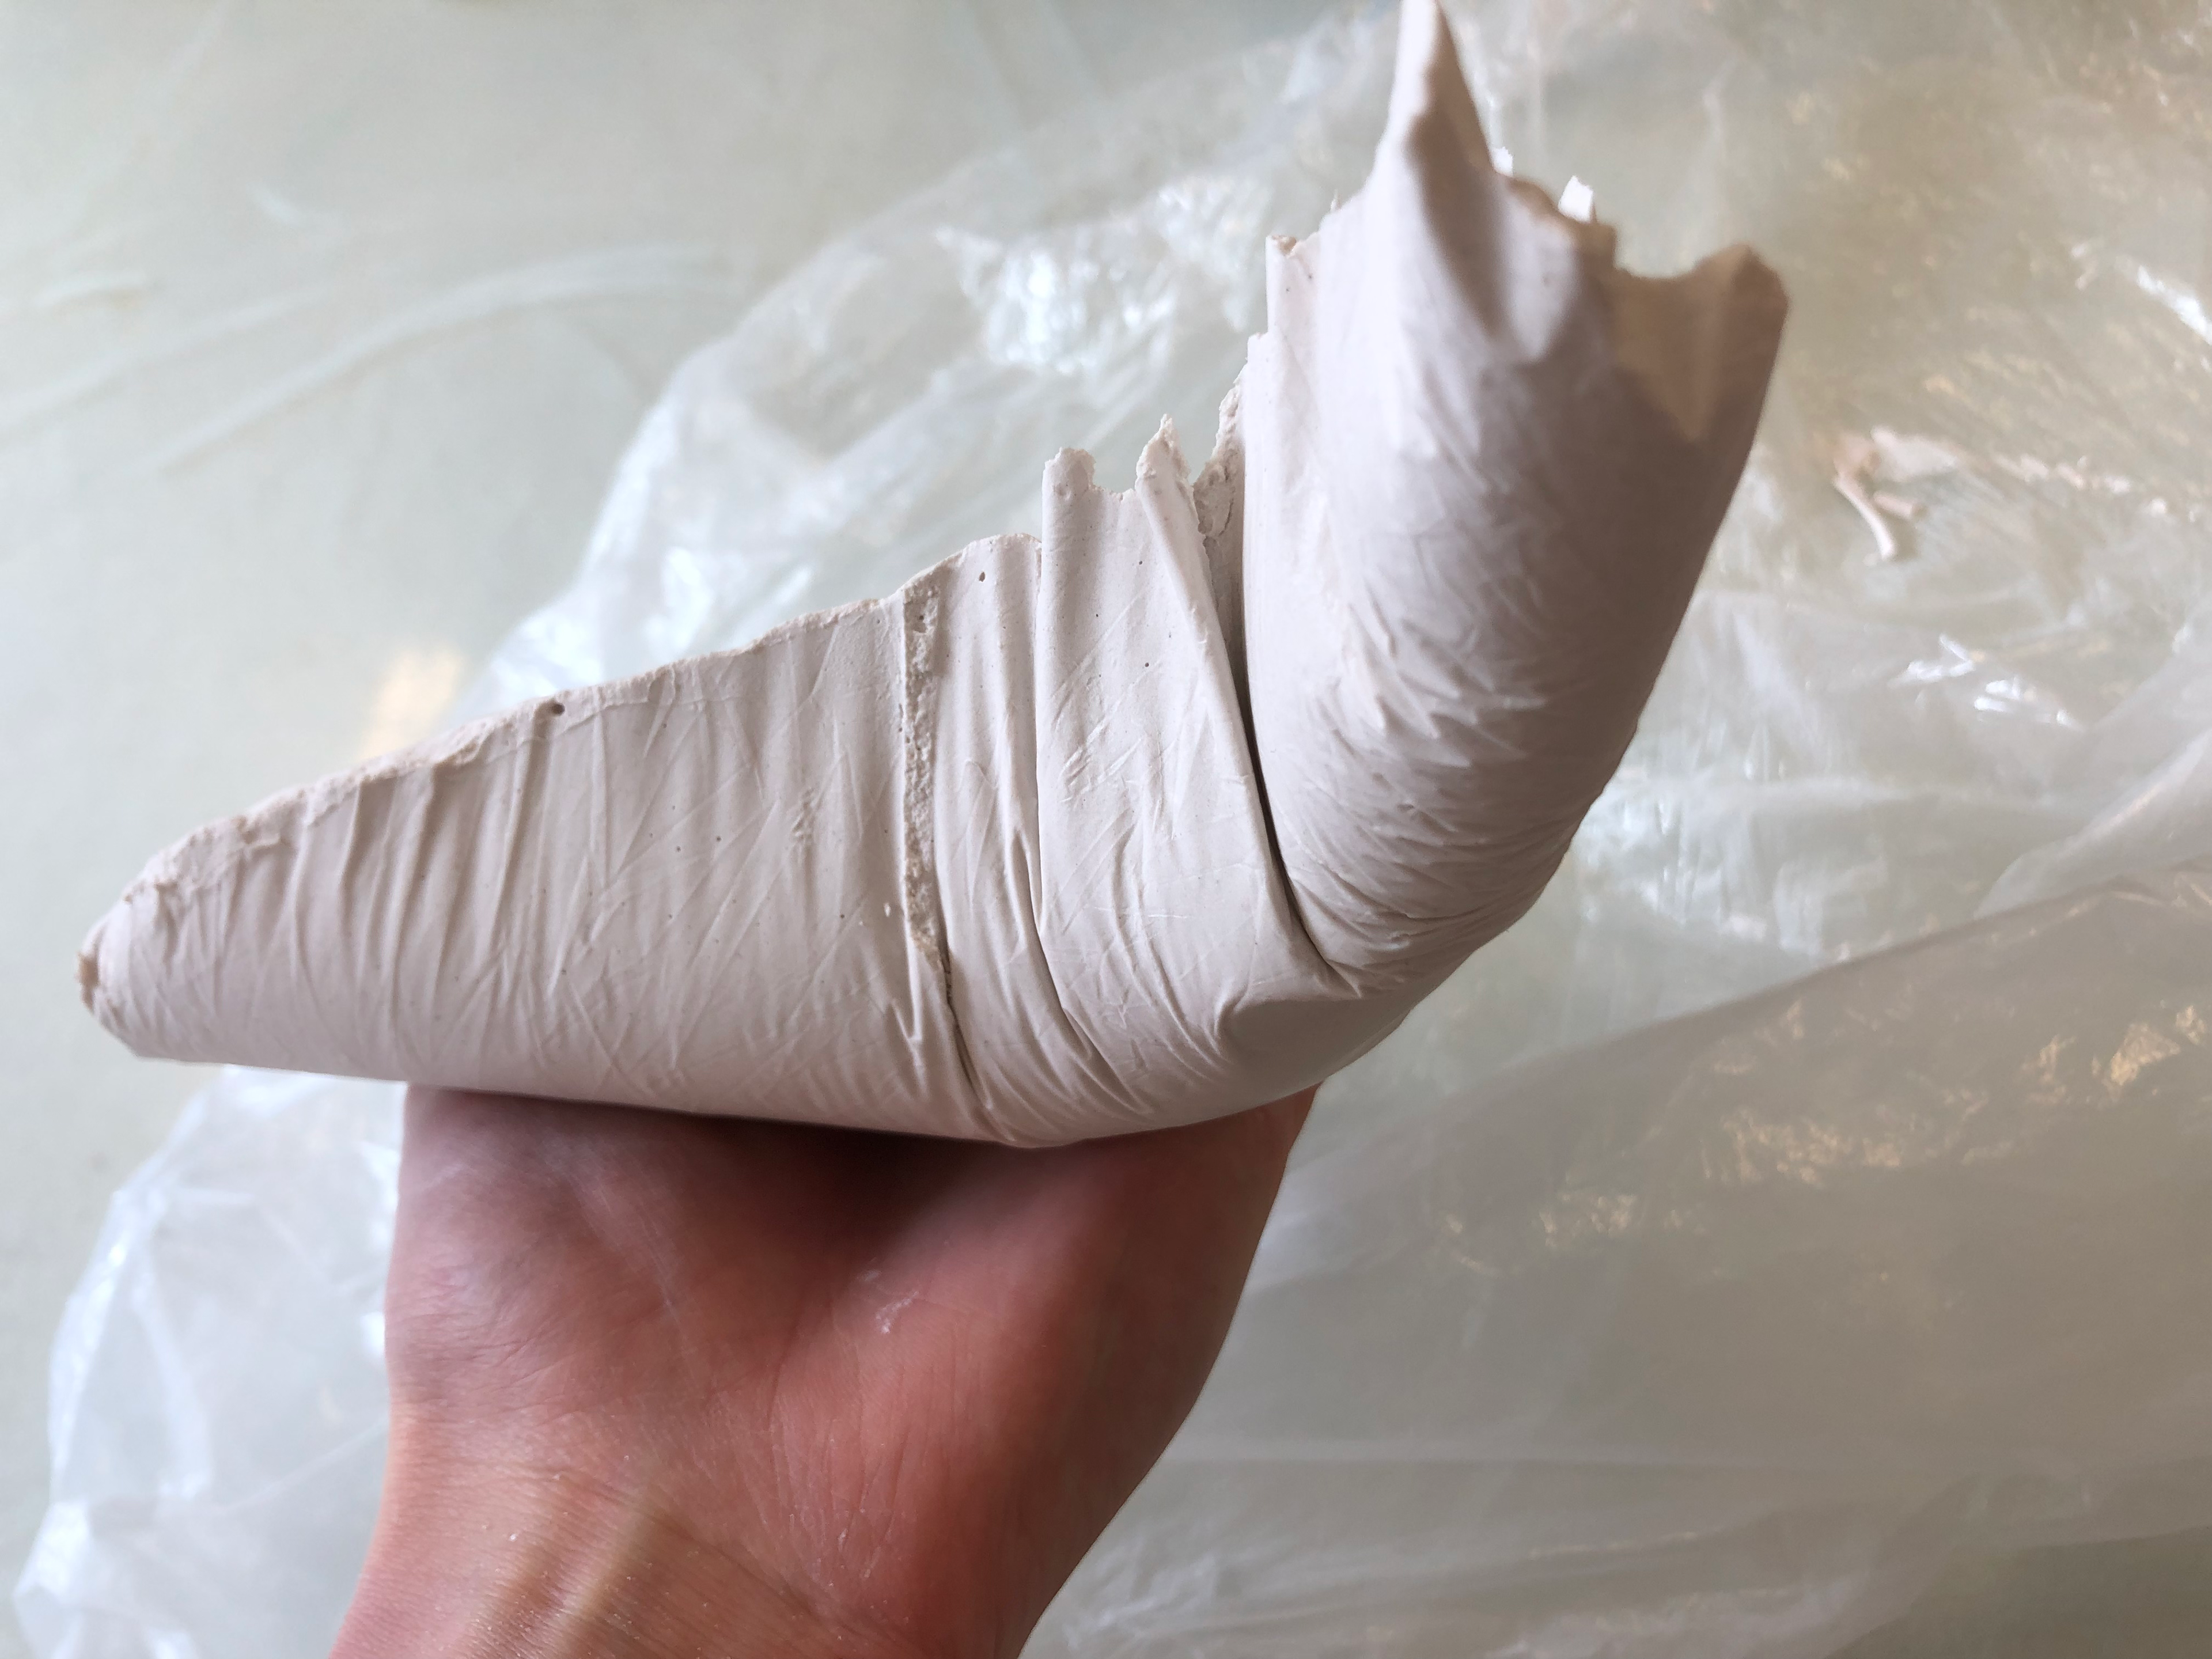
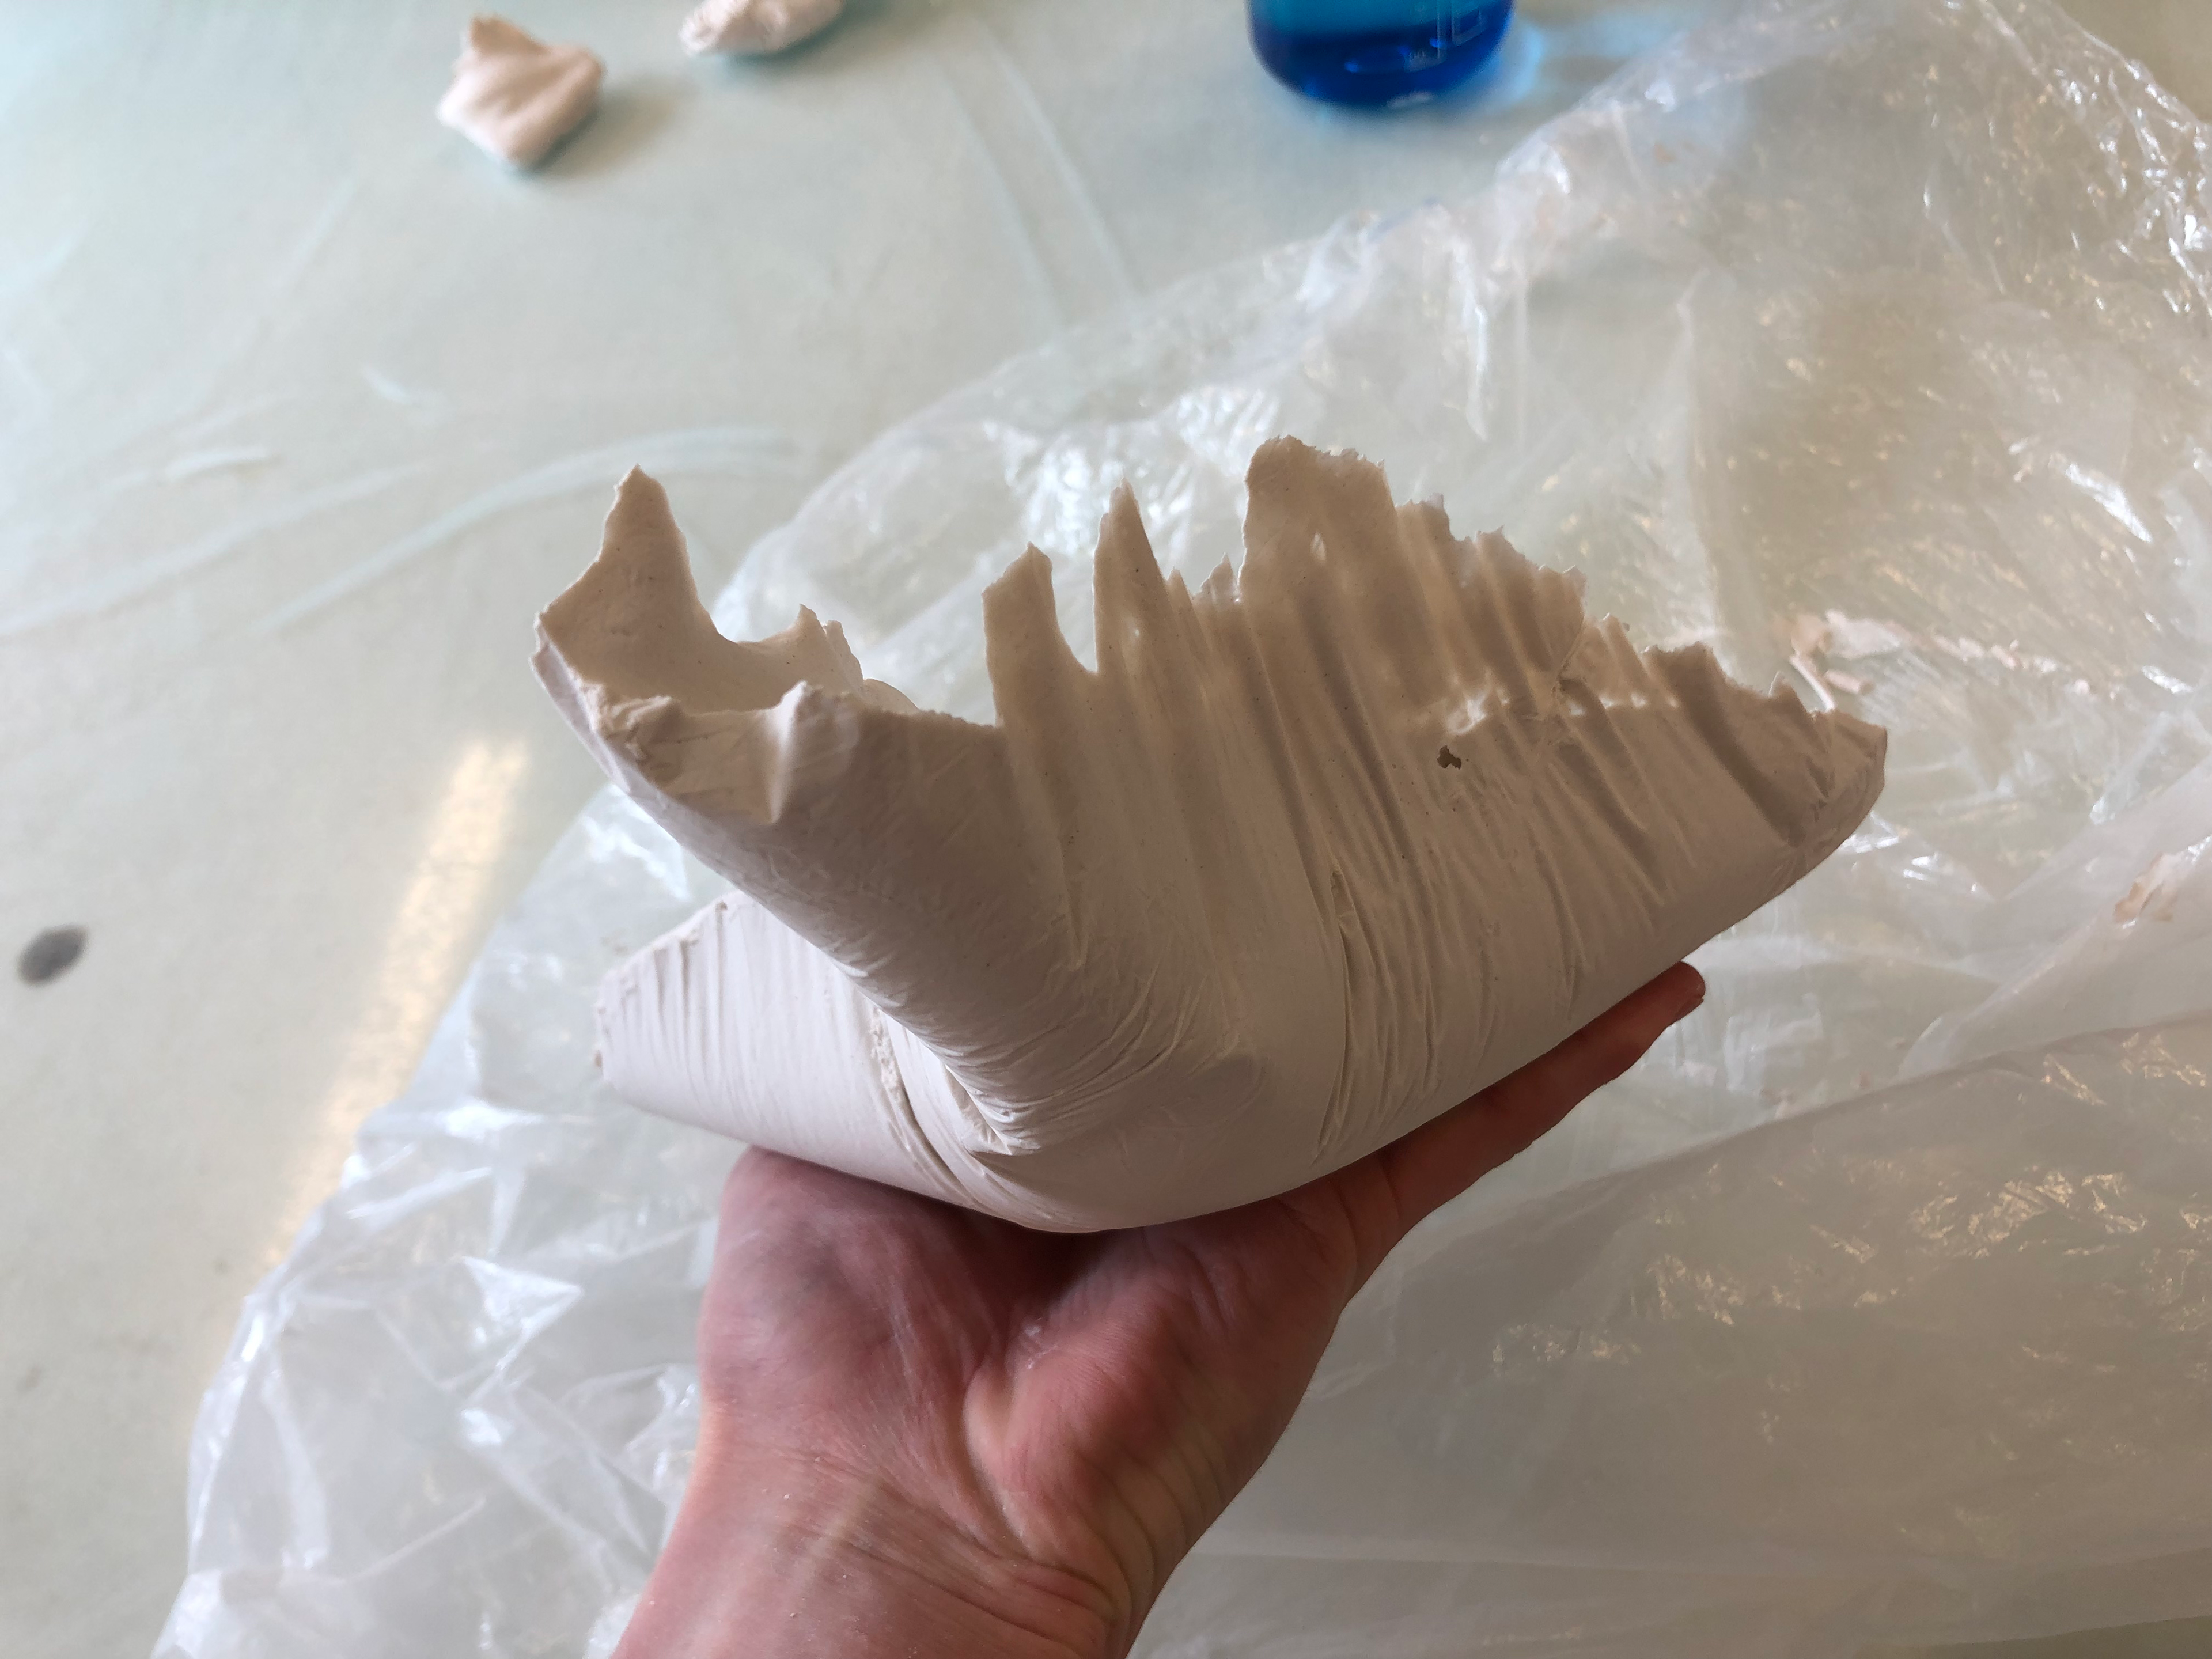
1st imprint trimmed
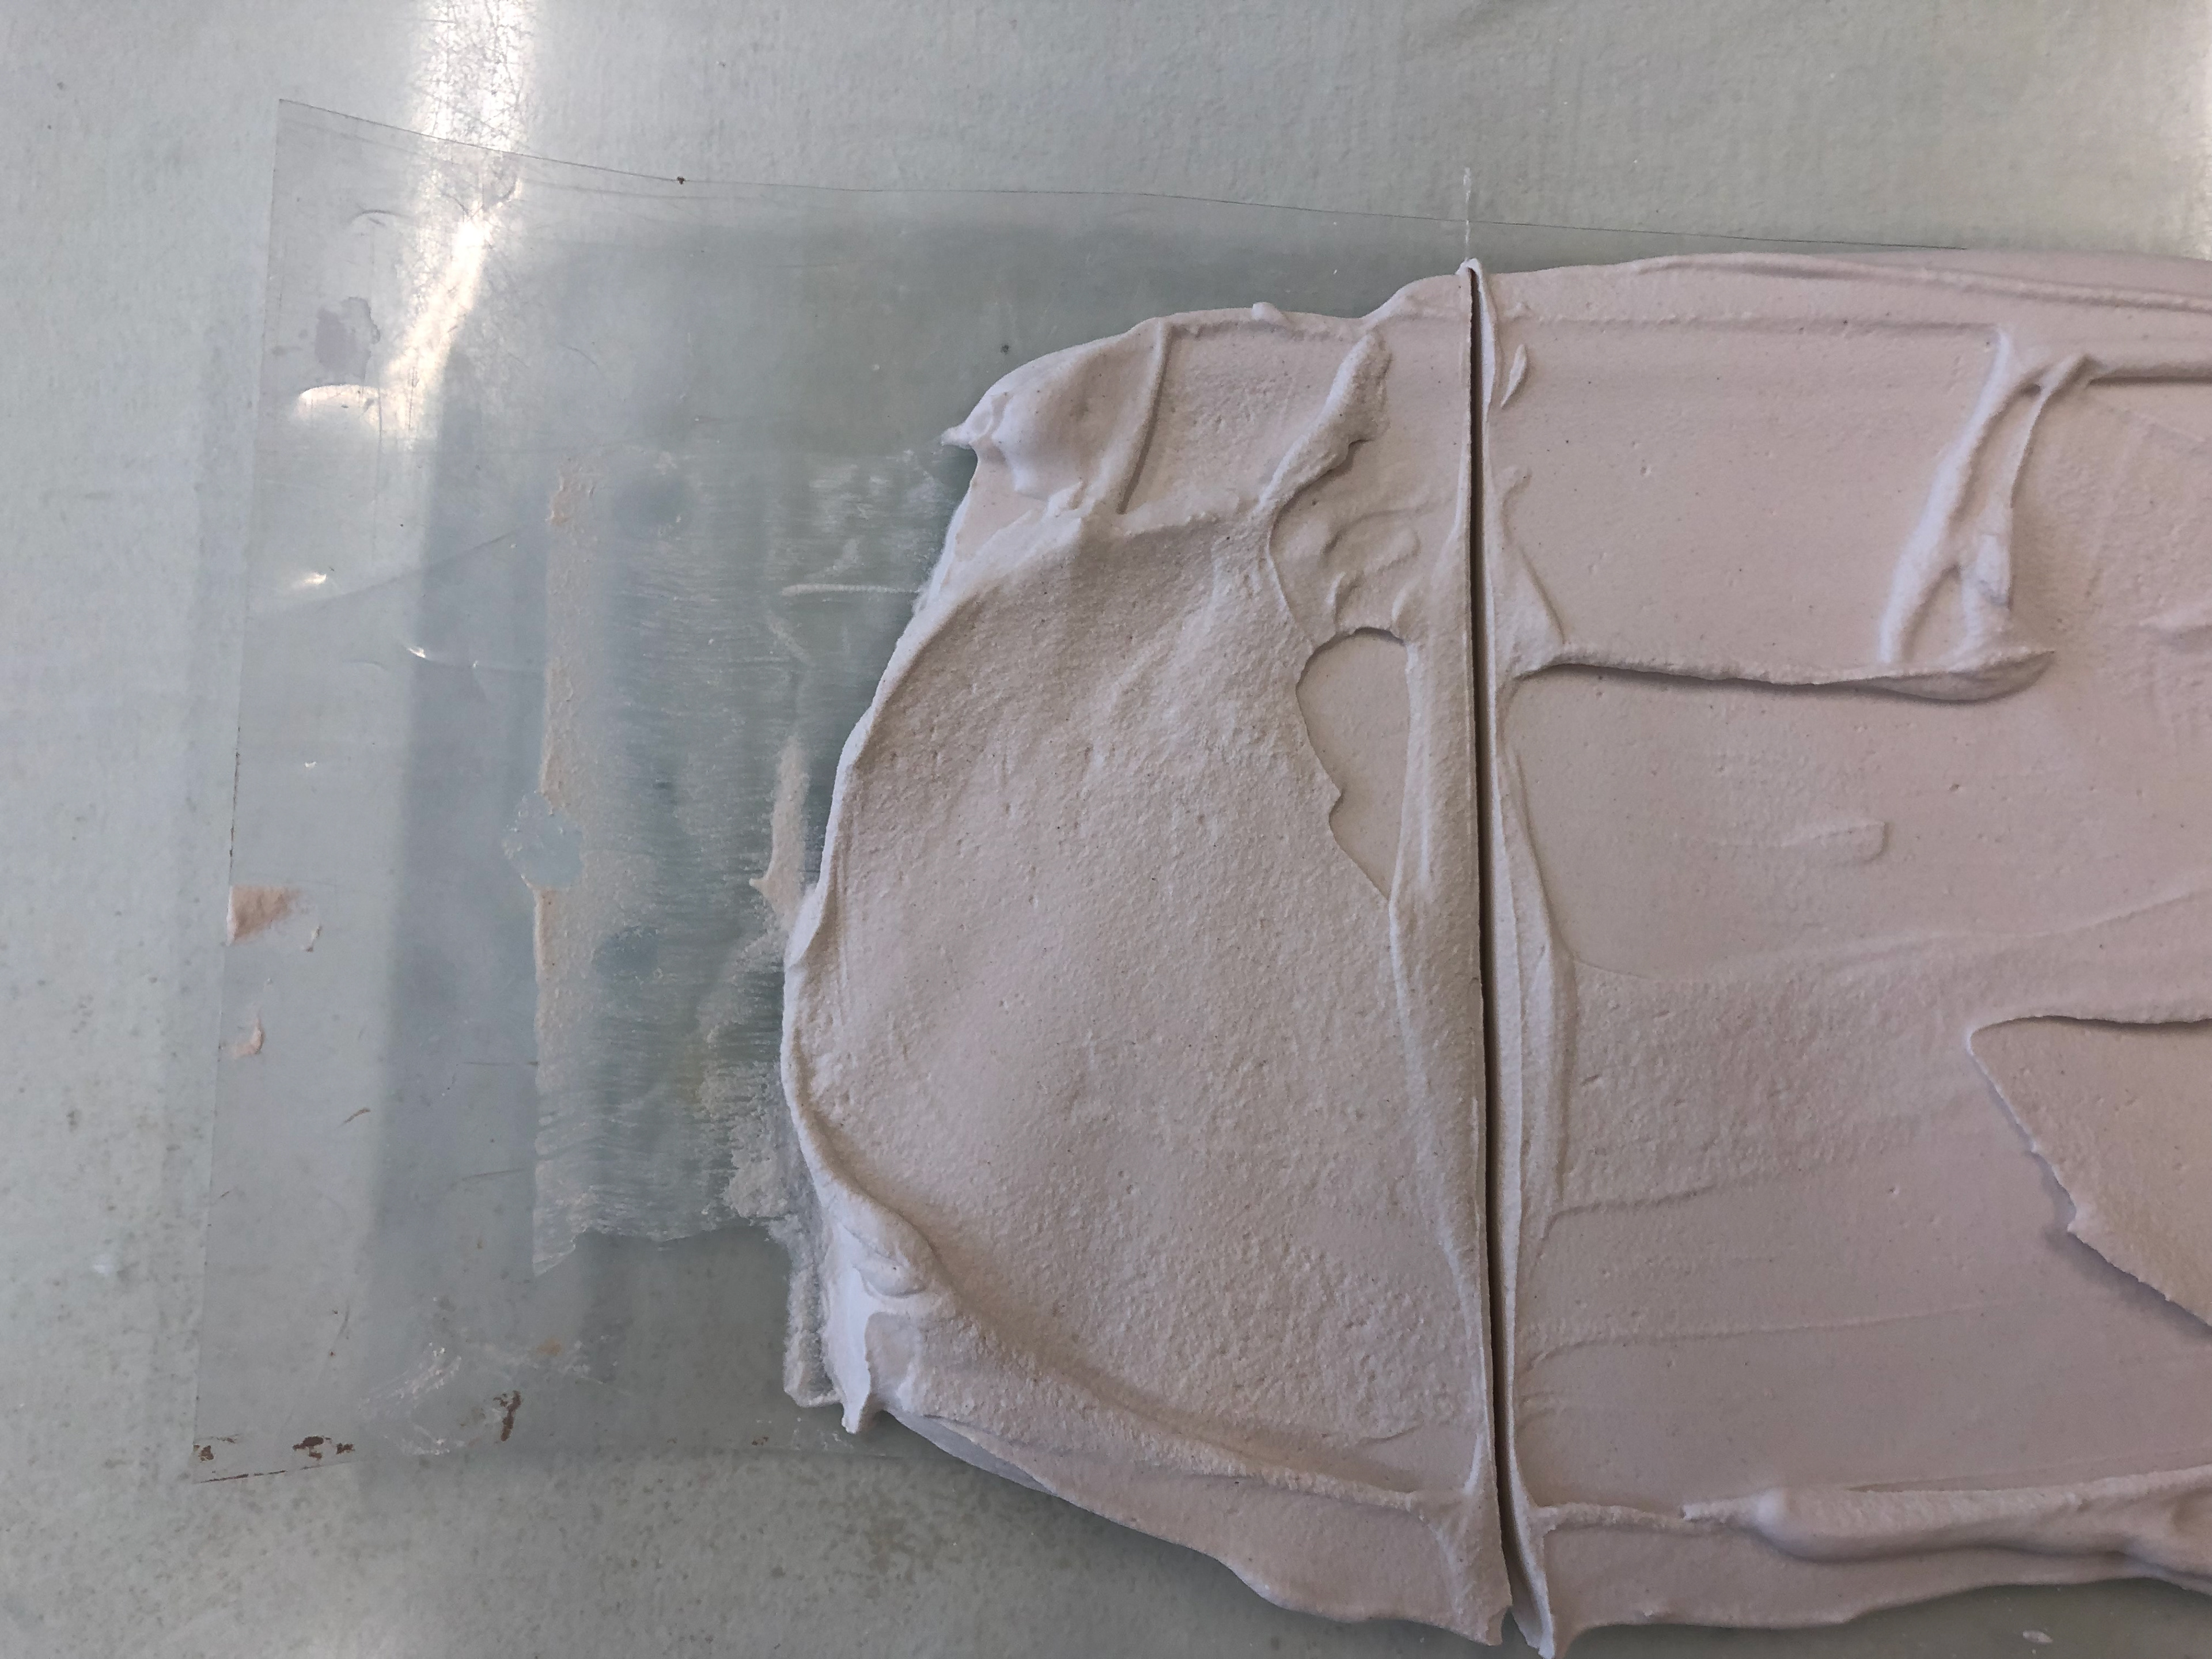
2nd imprint
2nd imprint up close
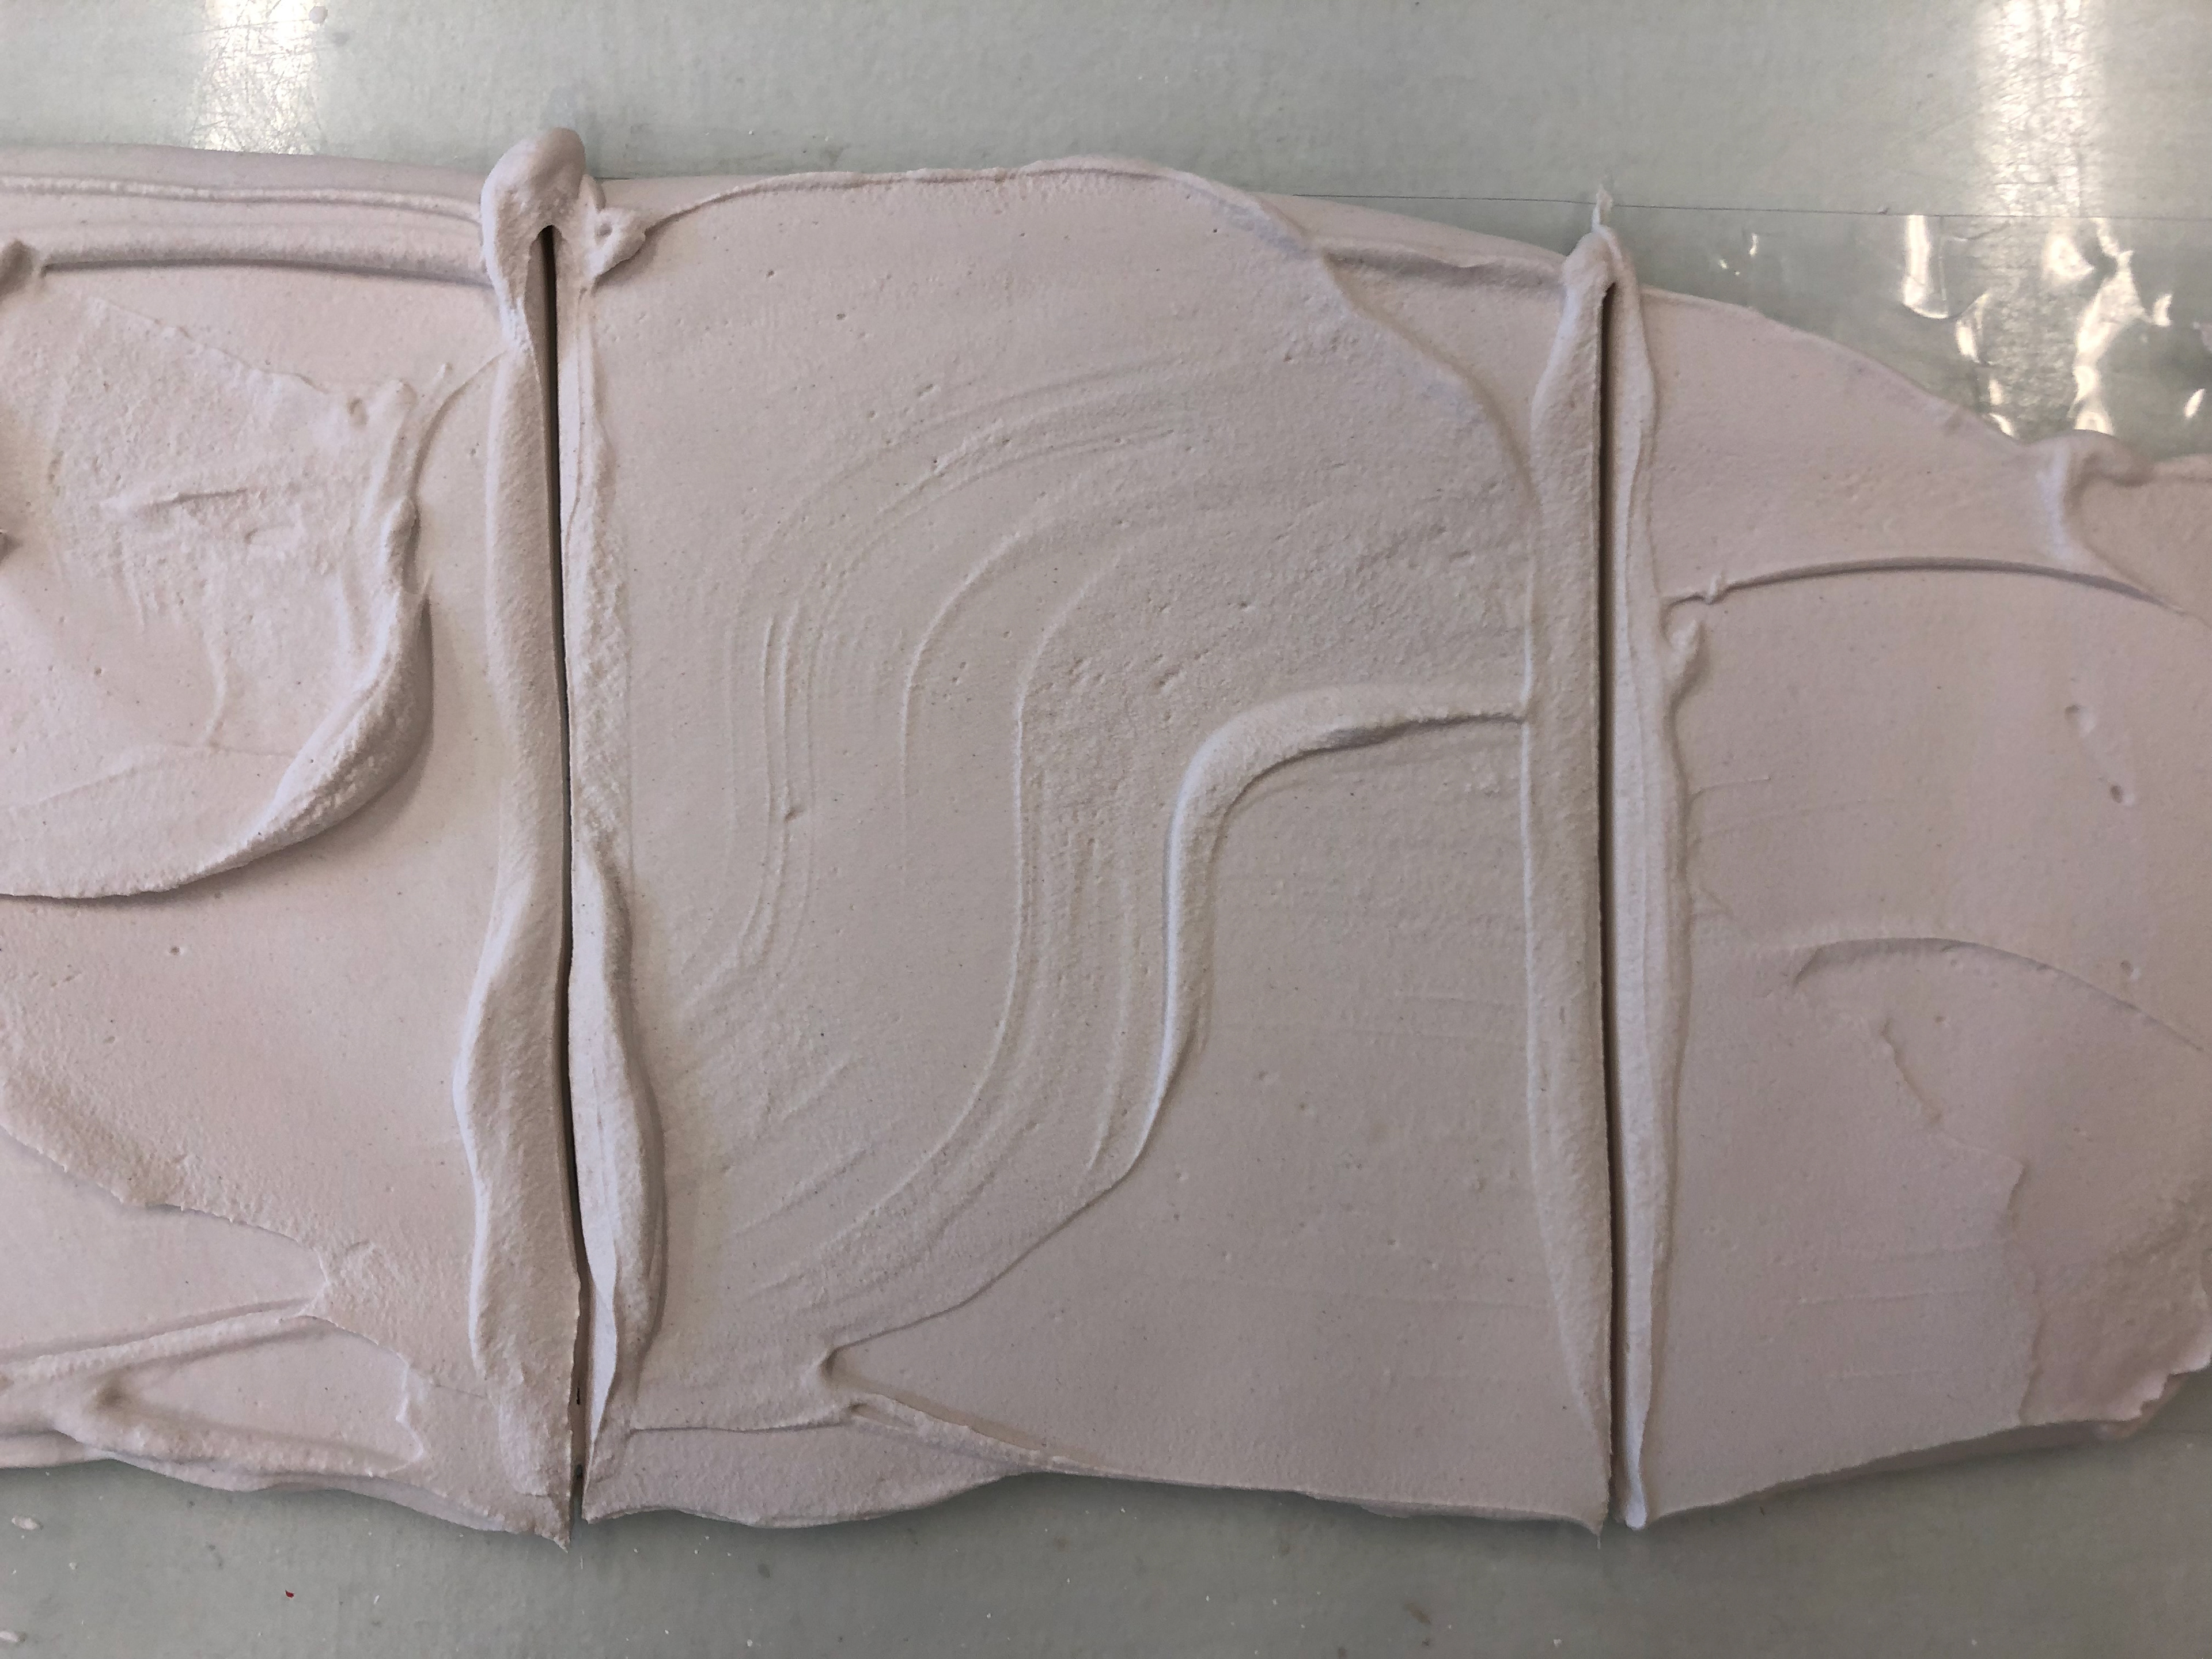
3rd imprint
3rd imprint up close
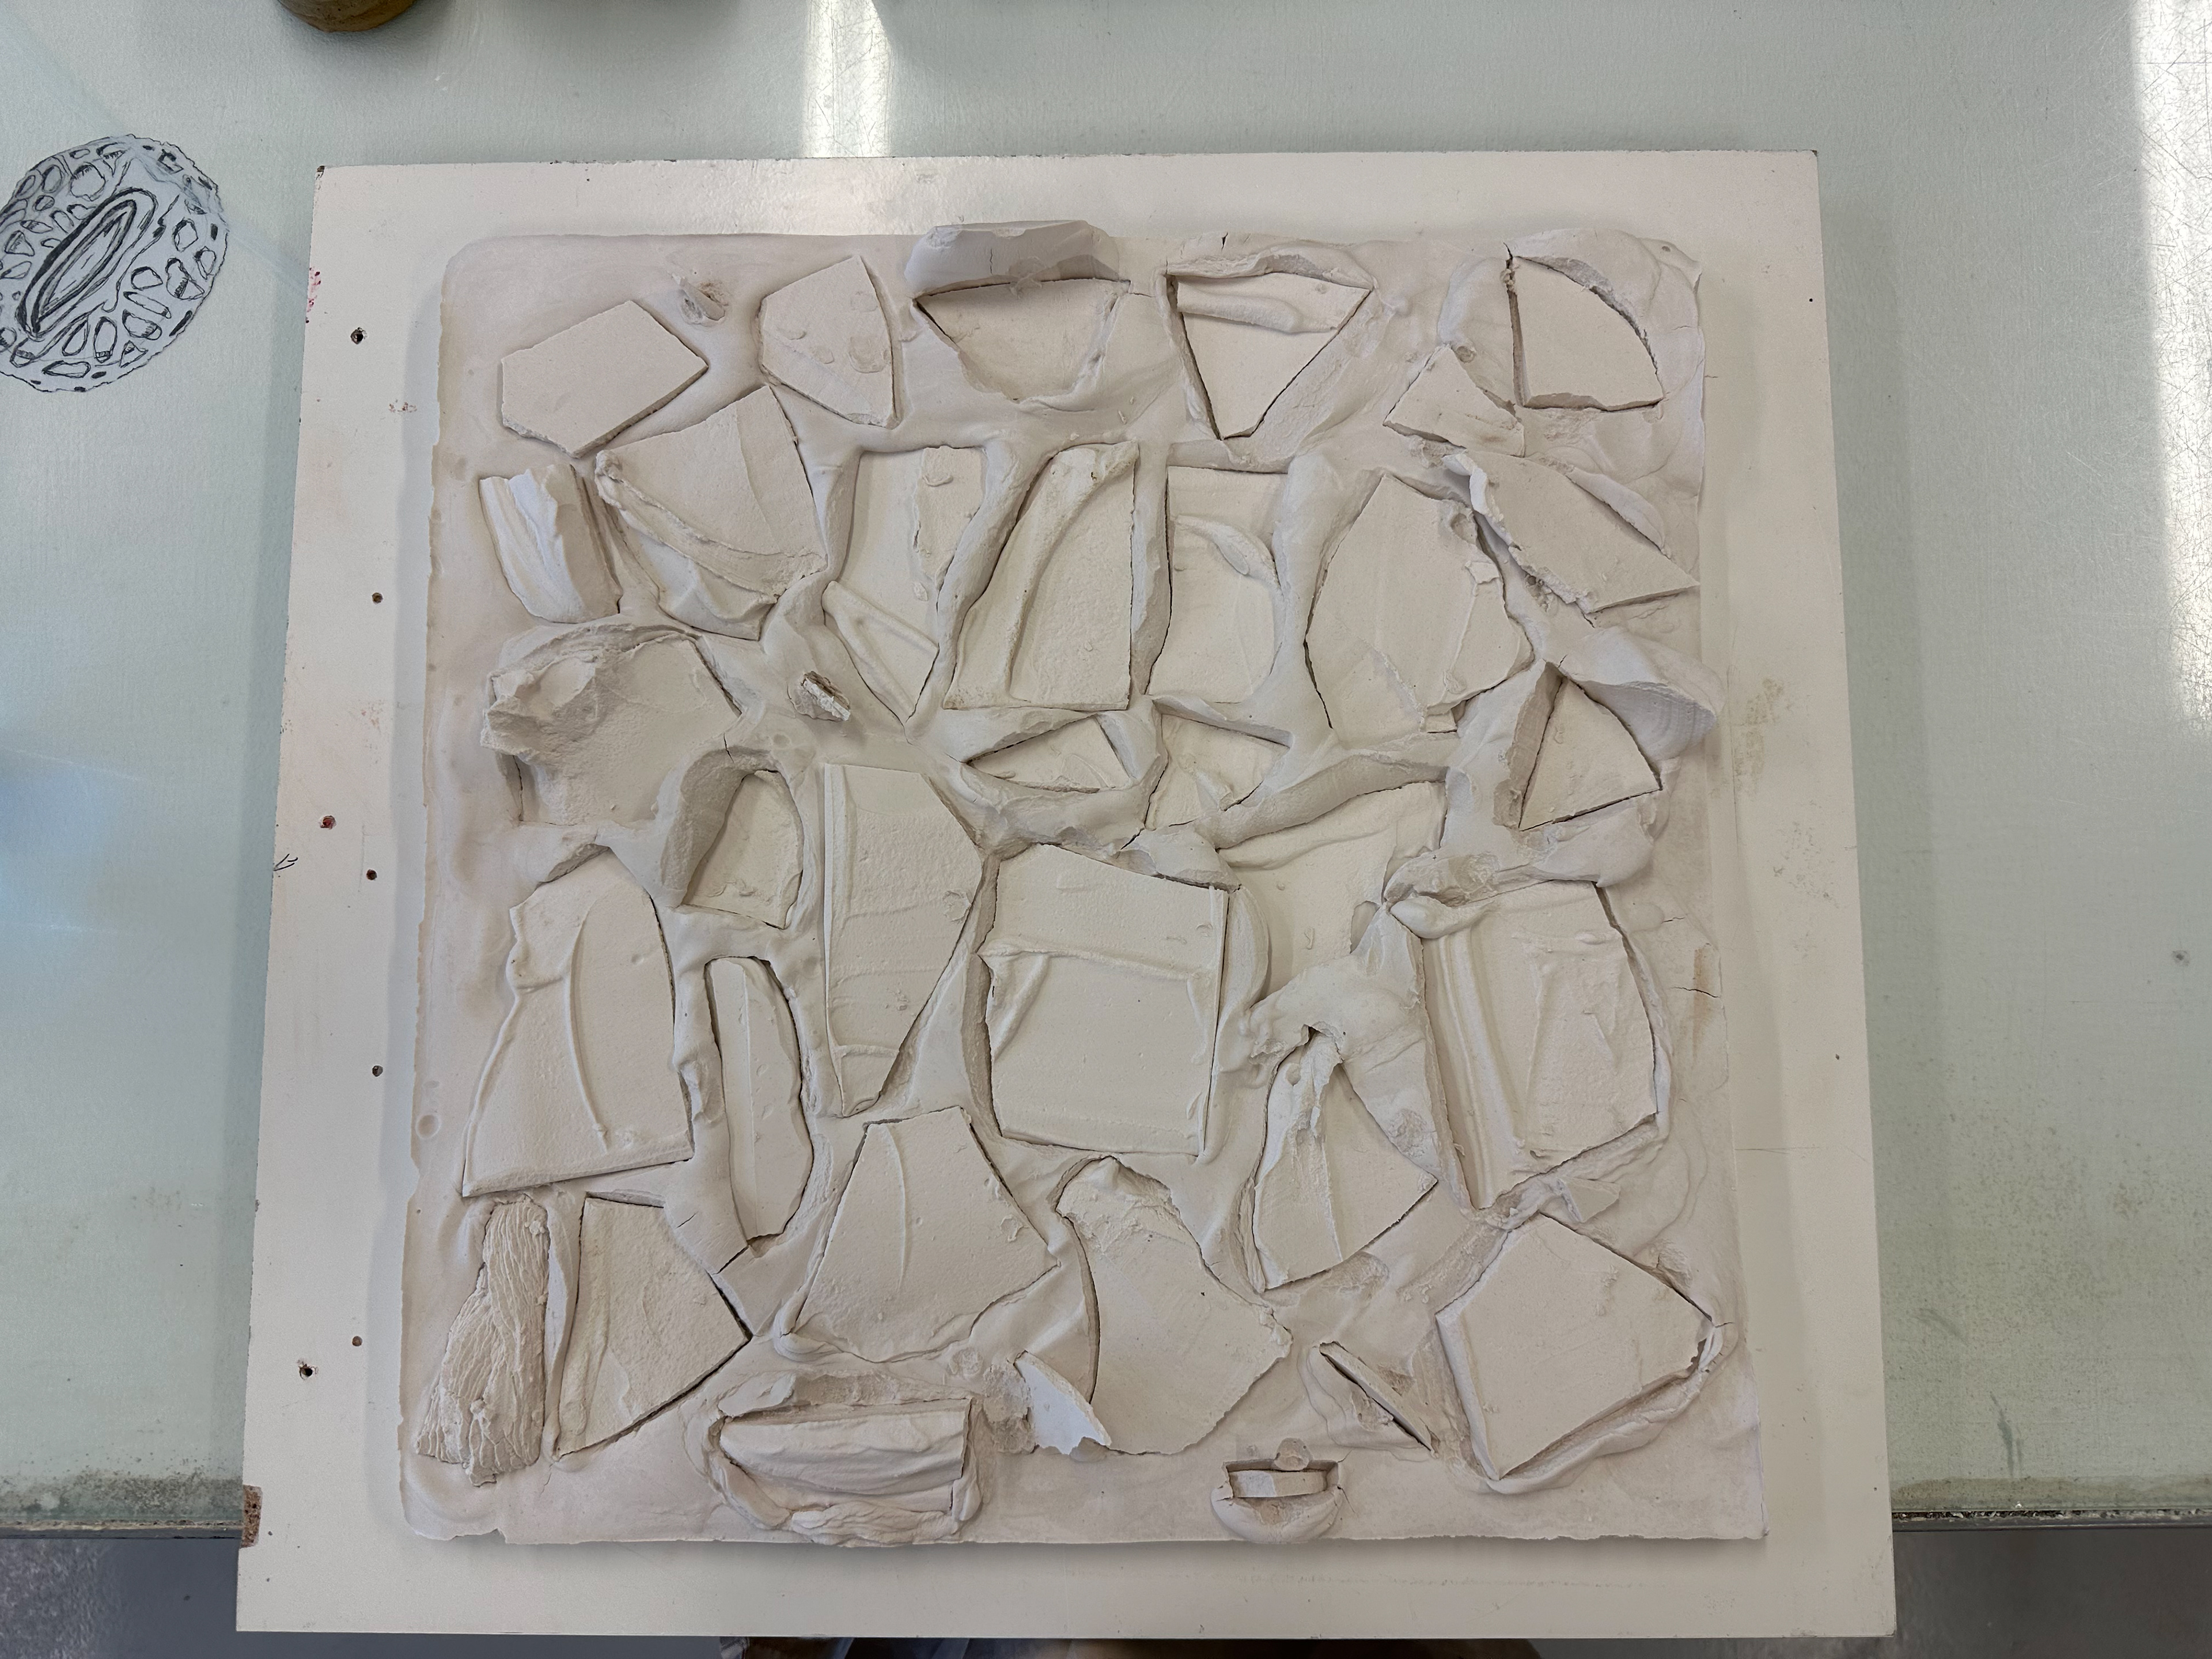
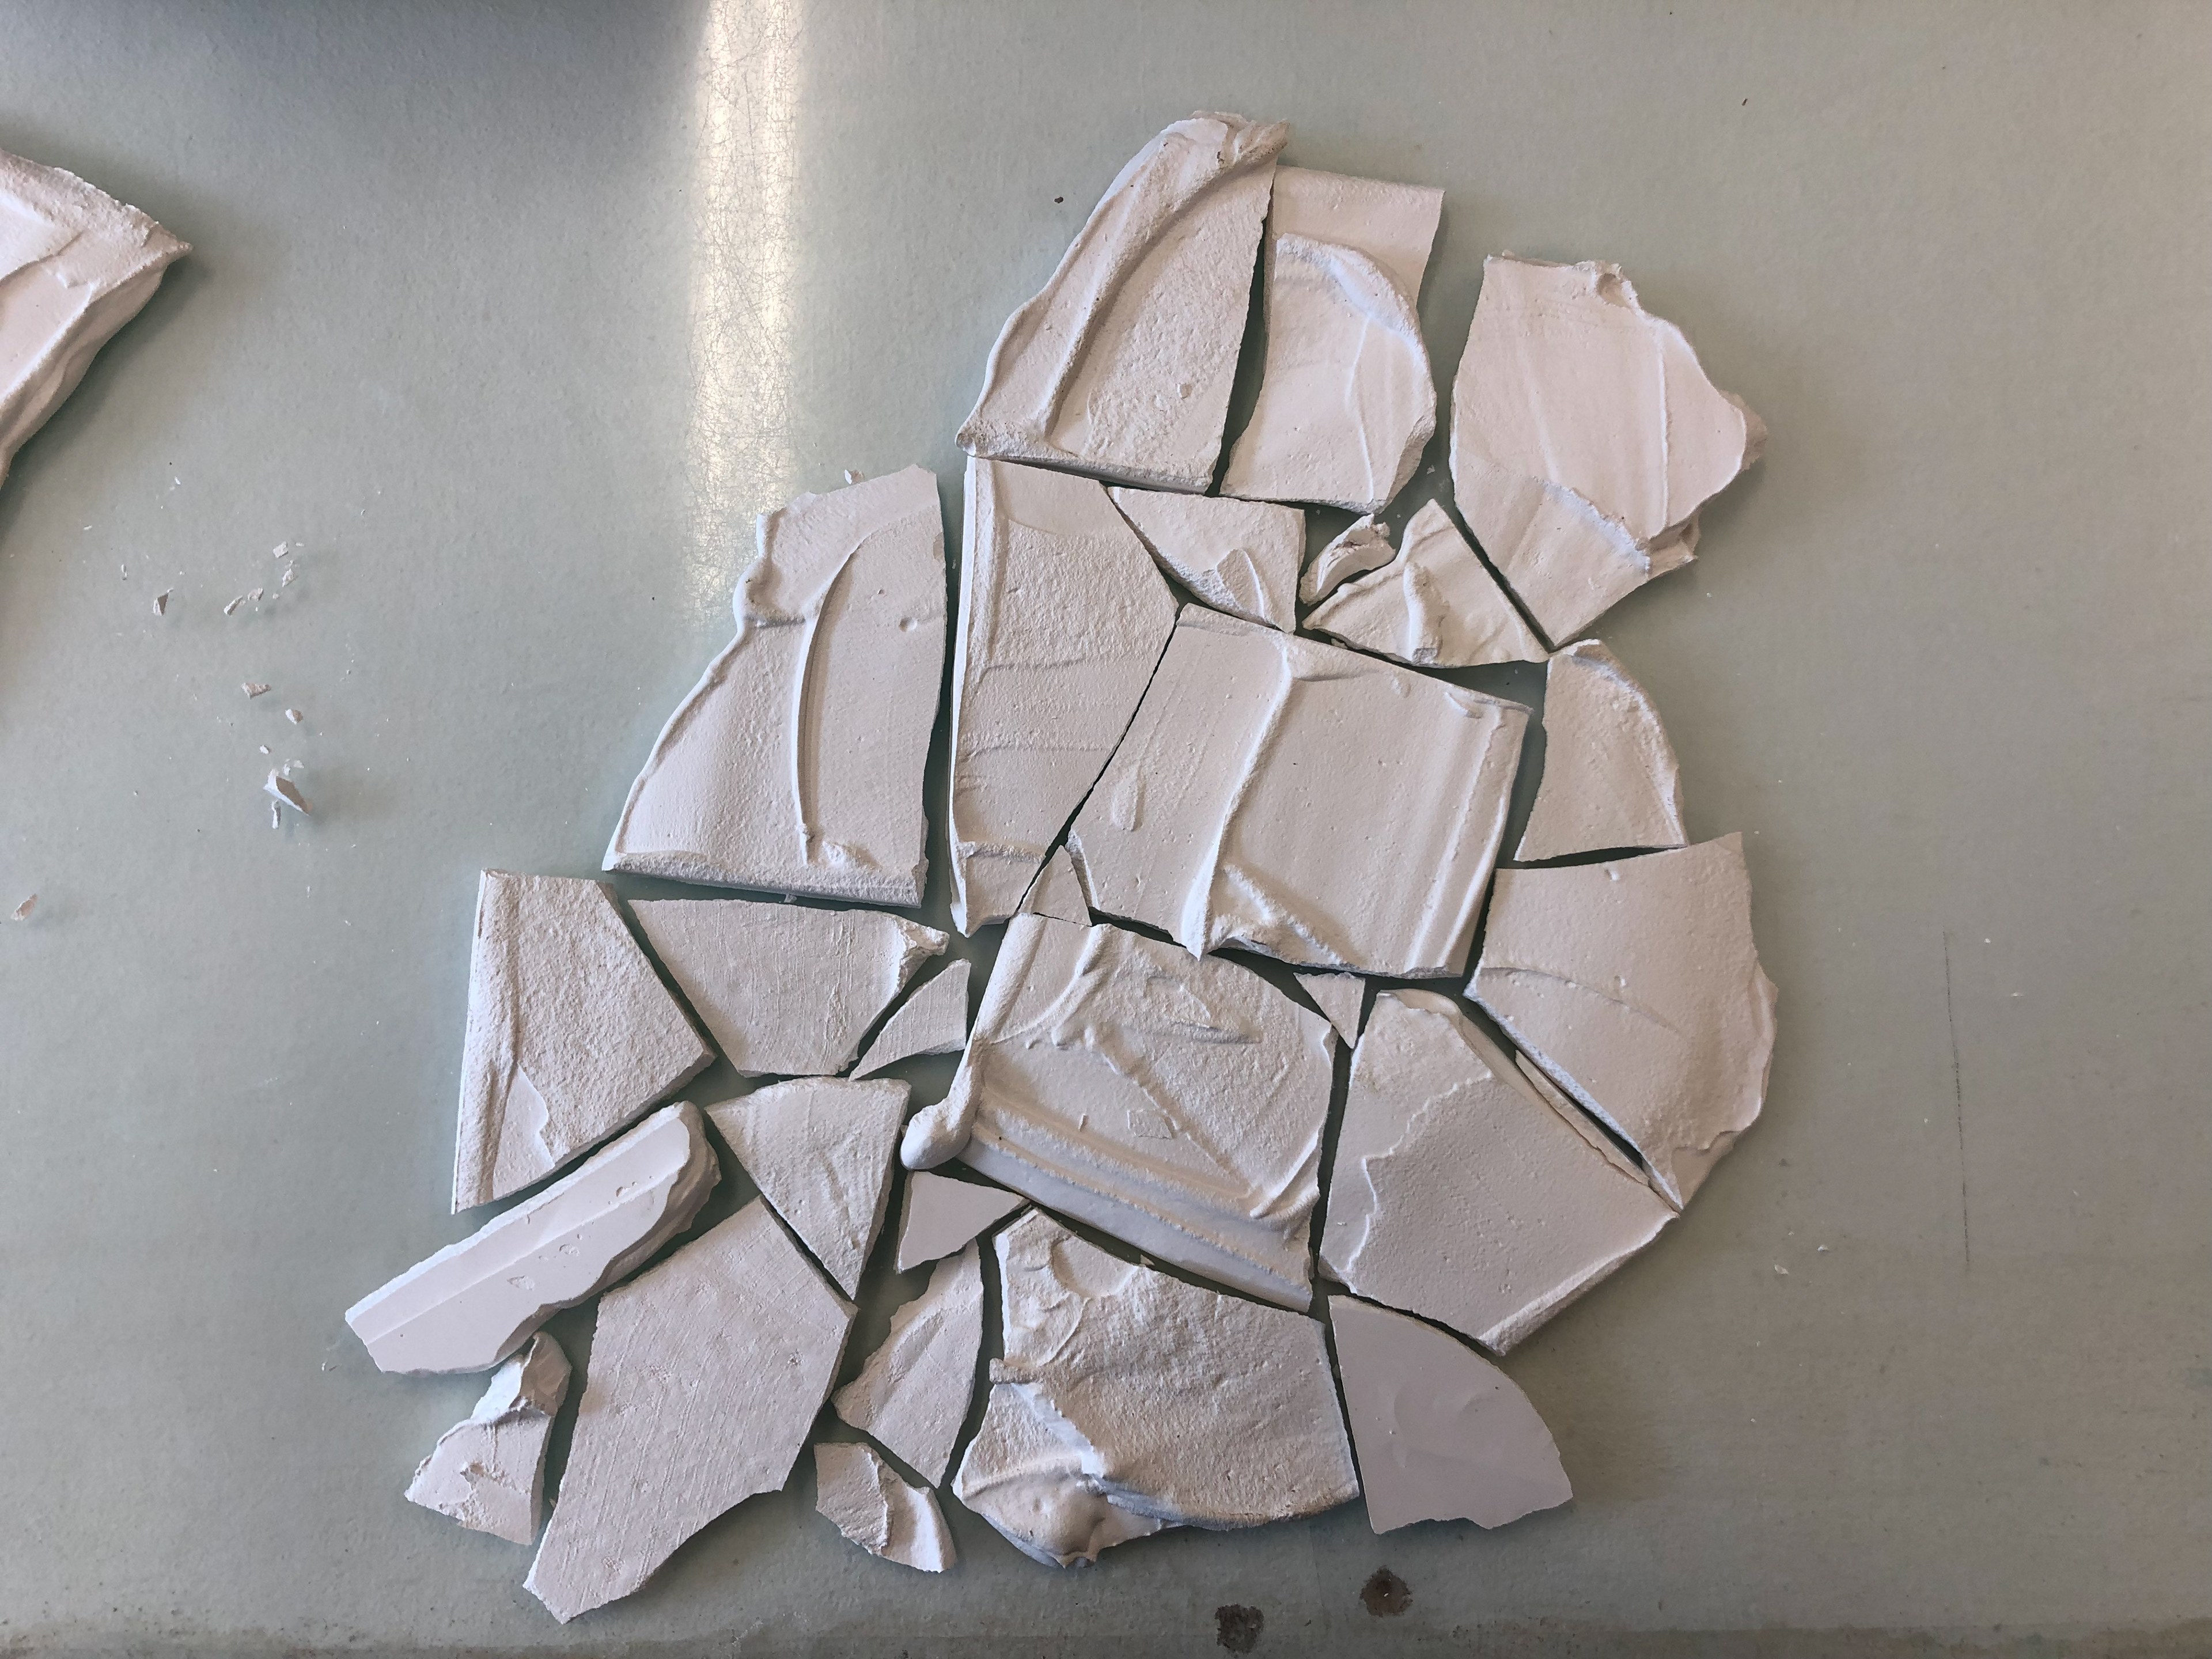
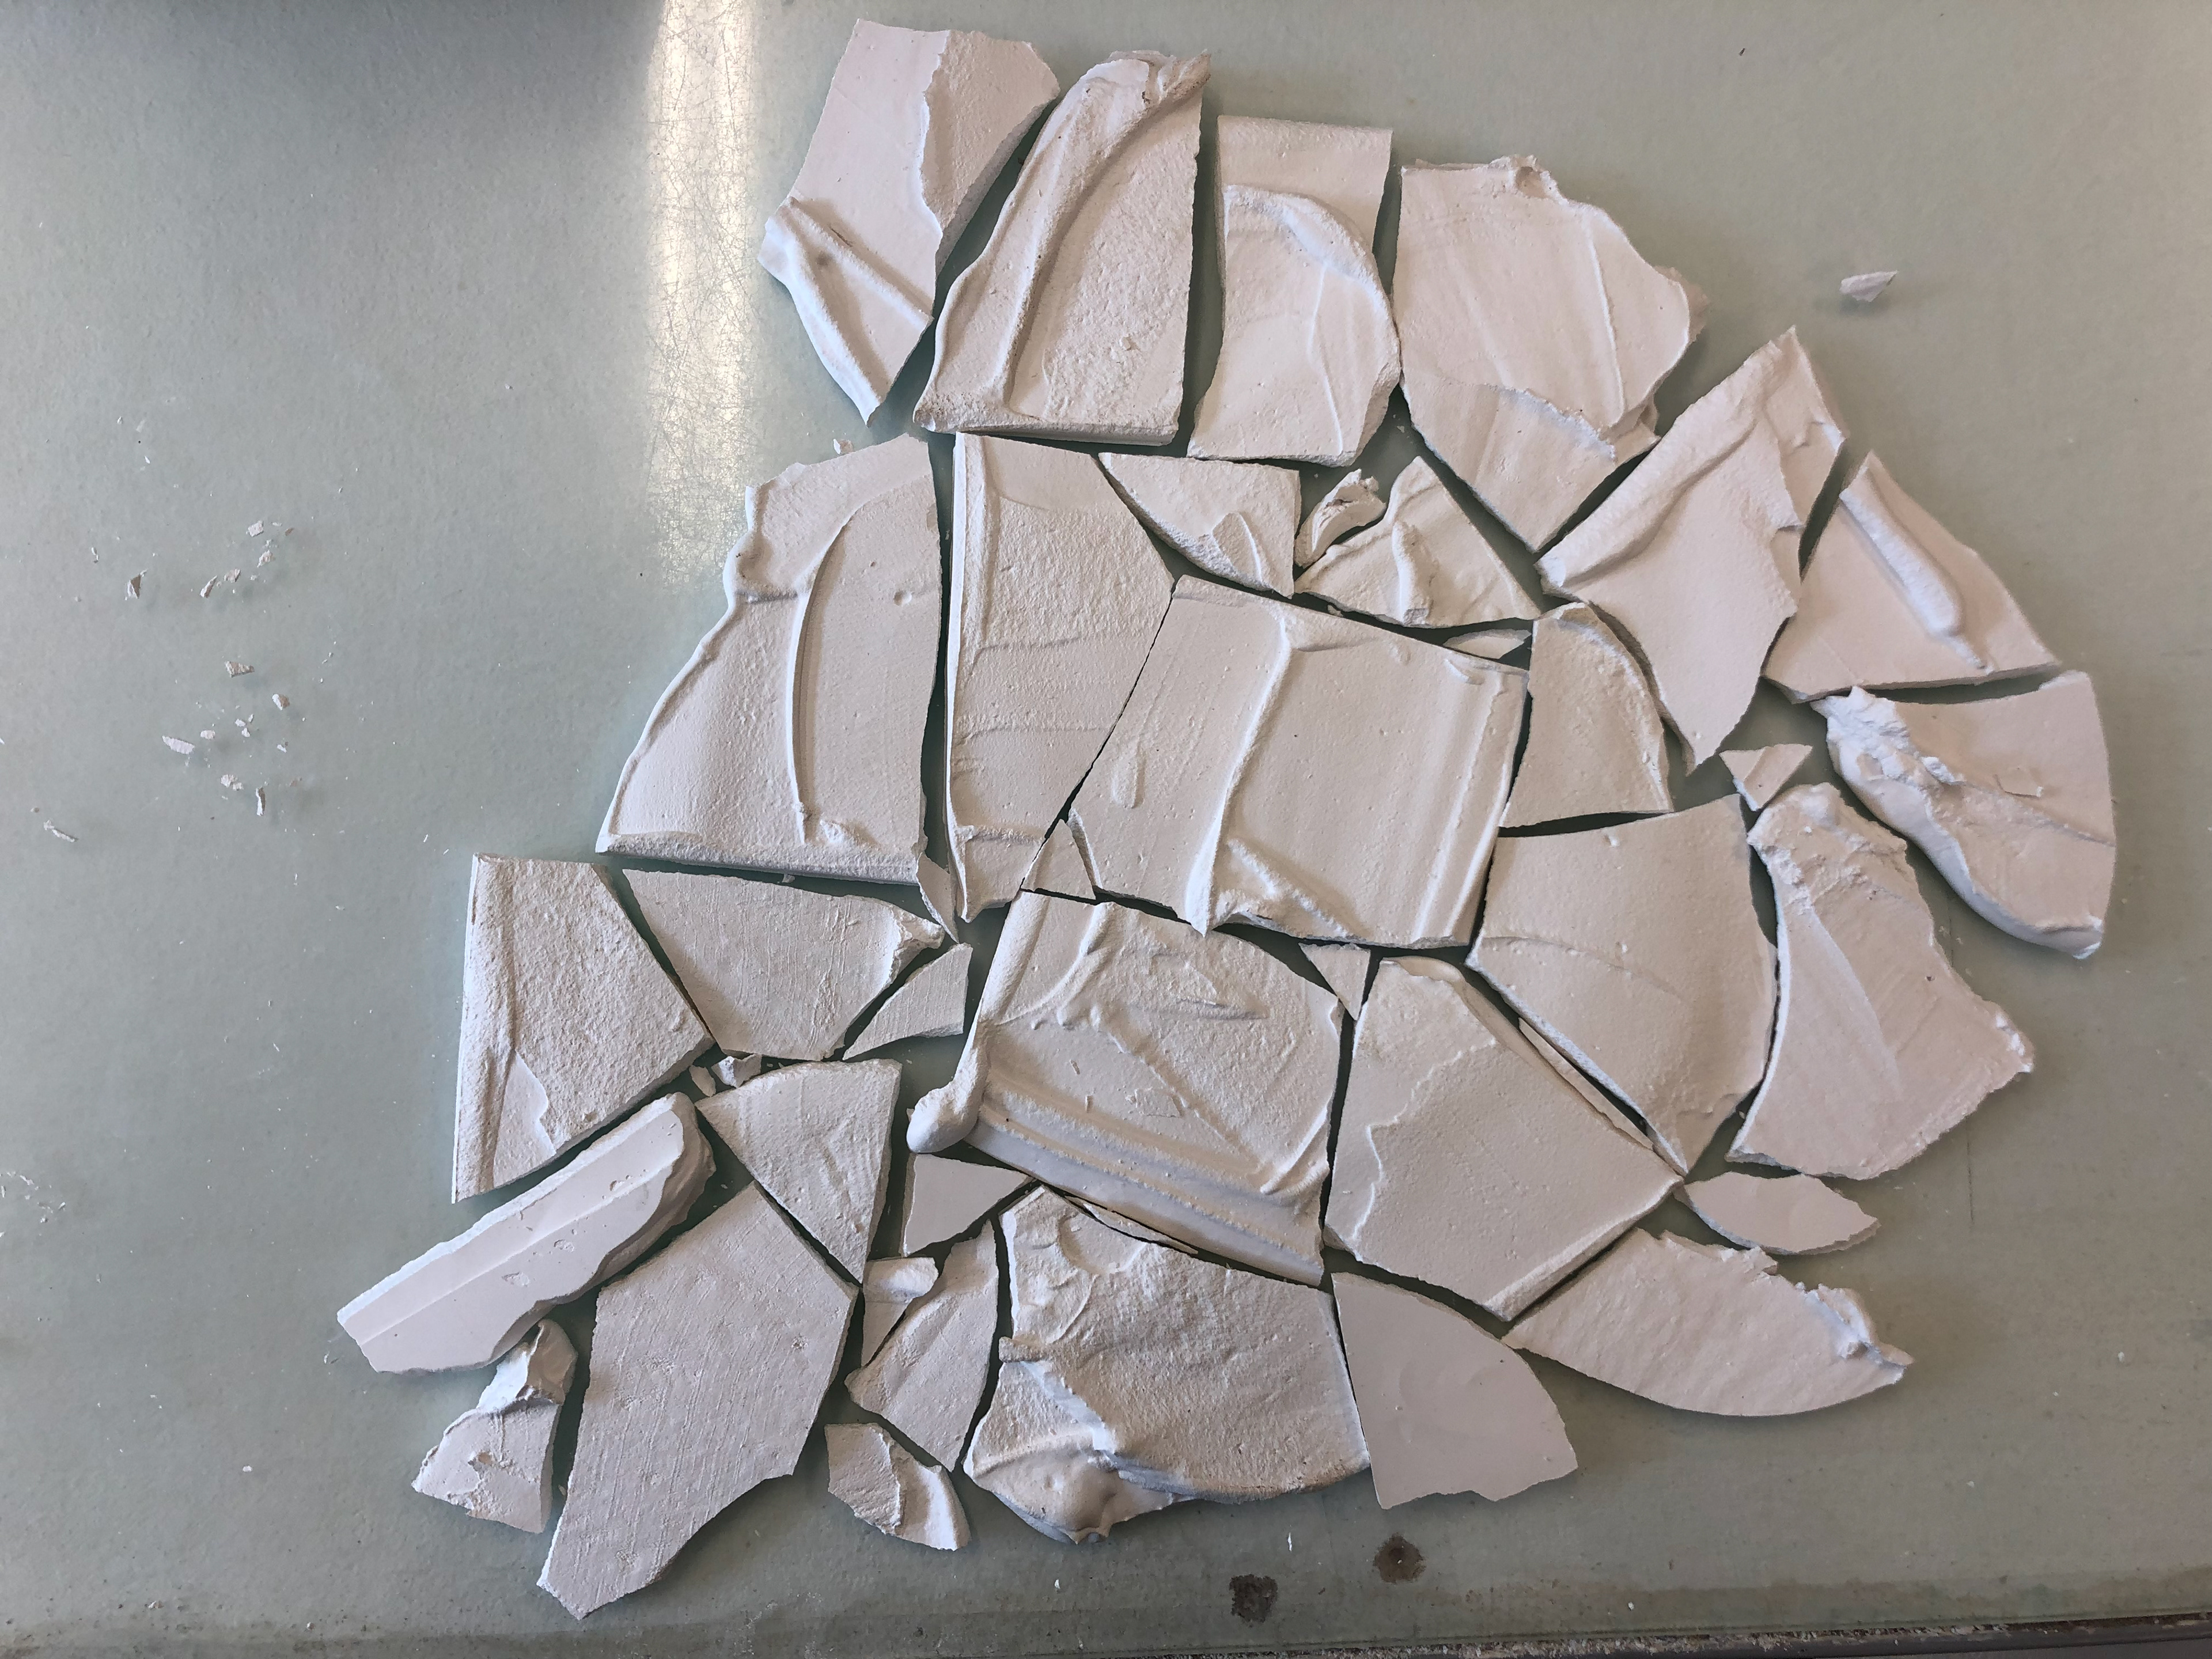
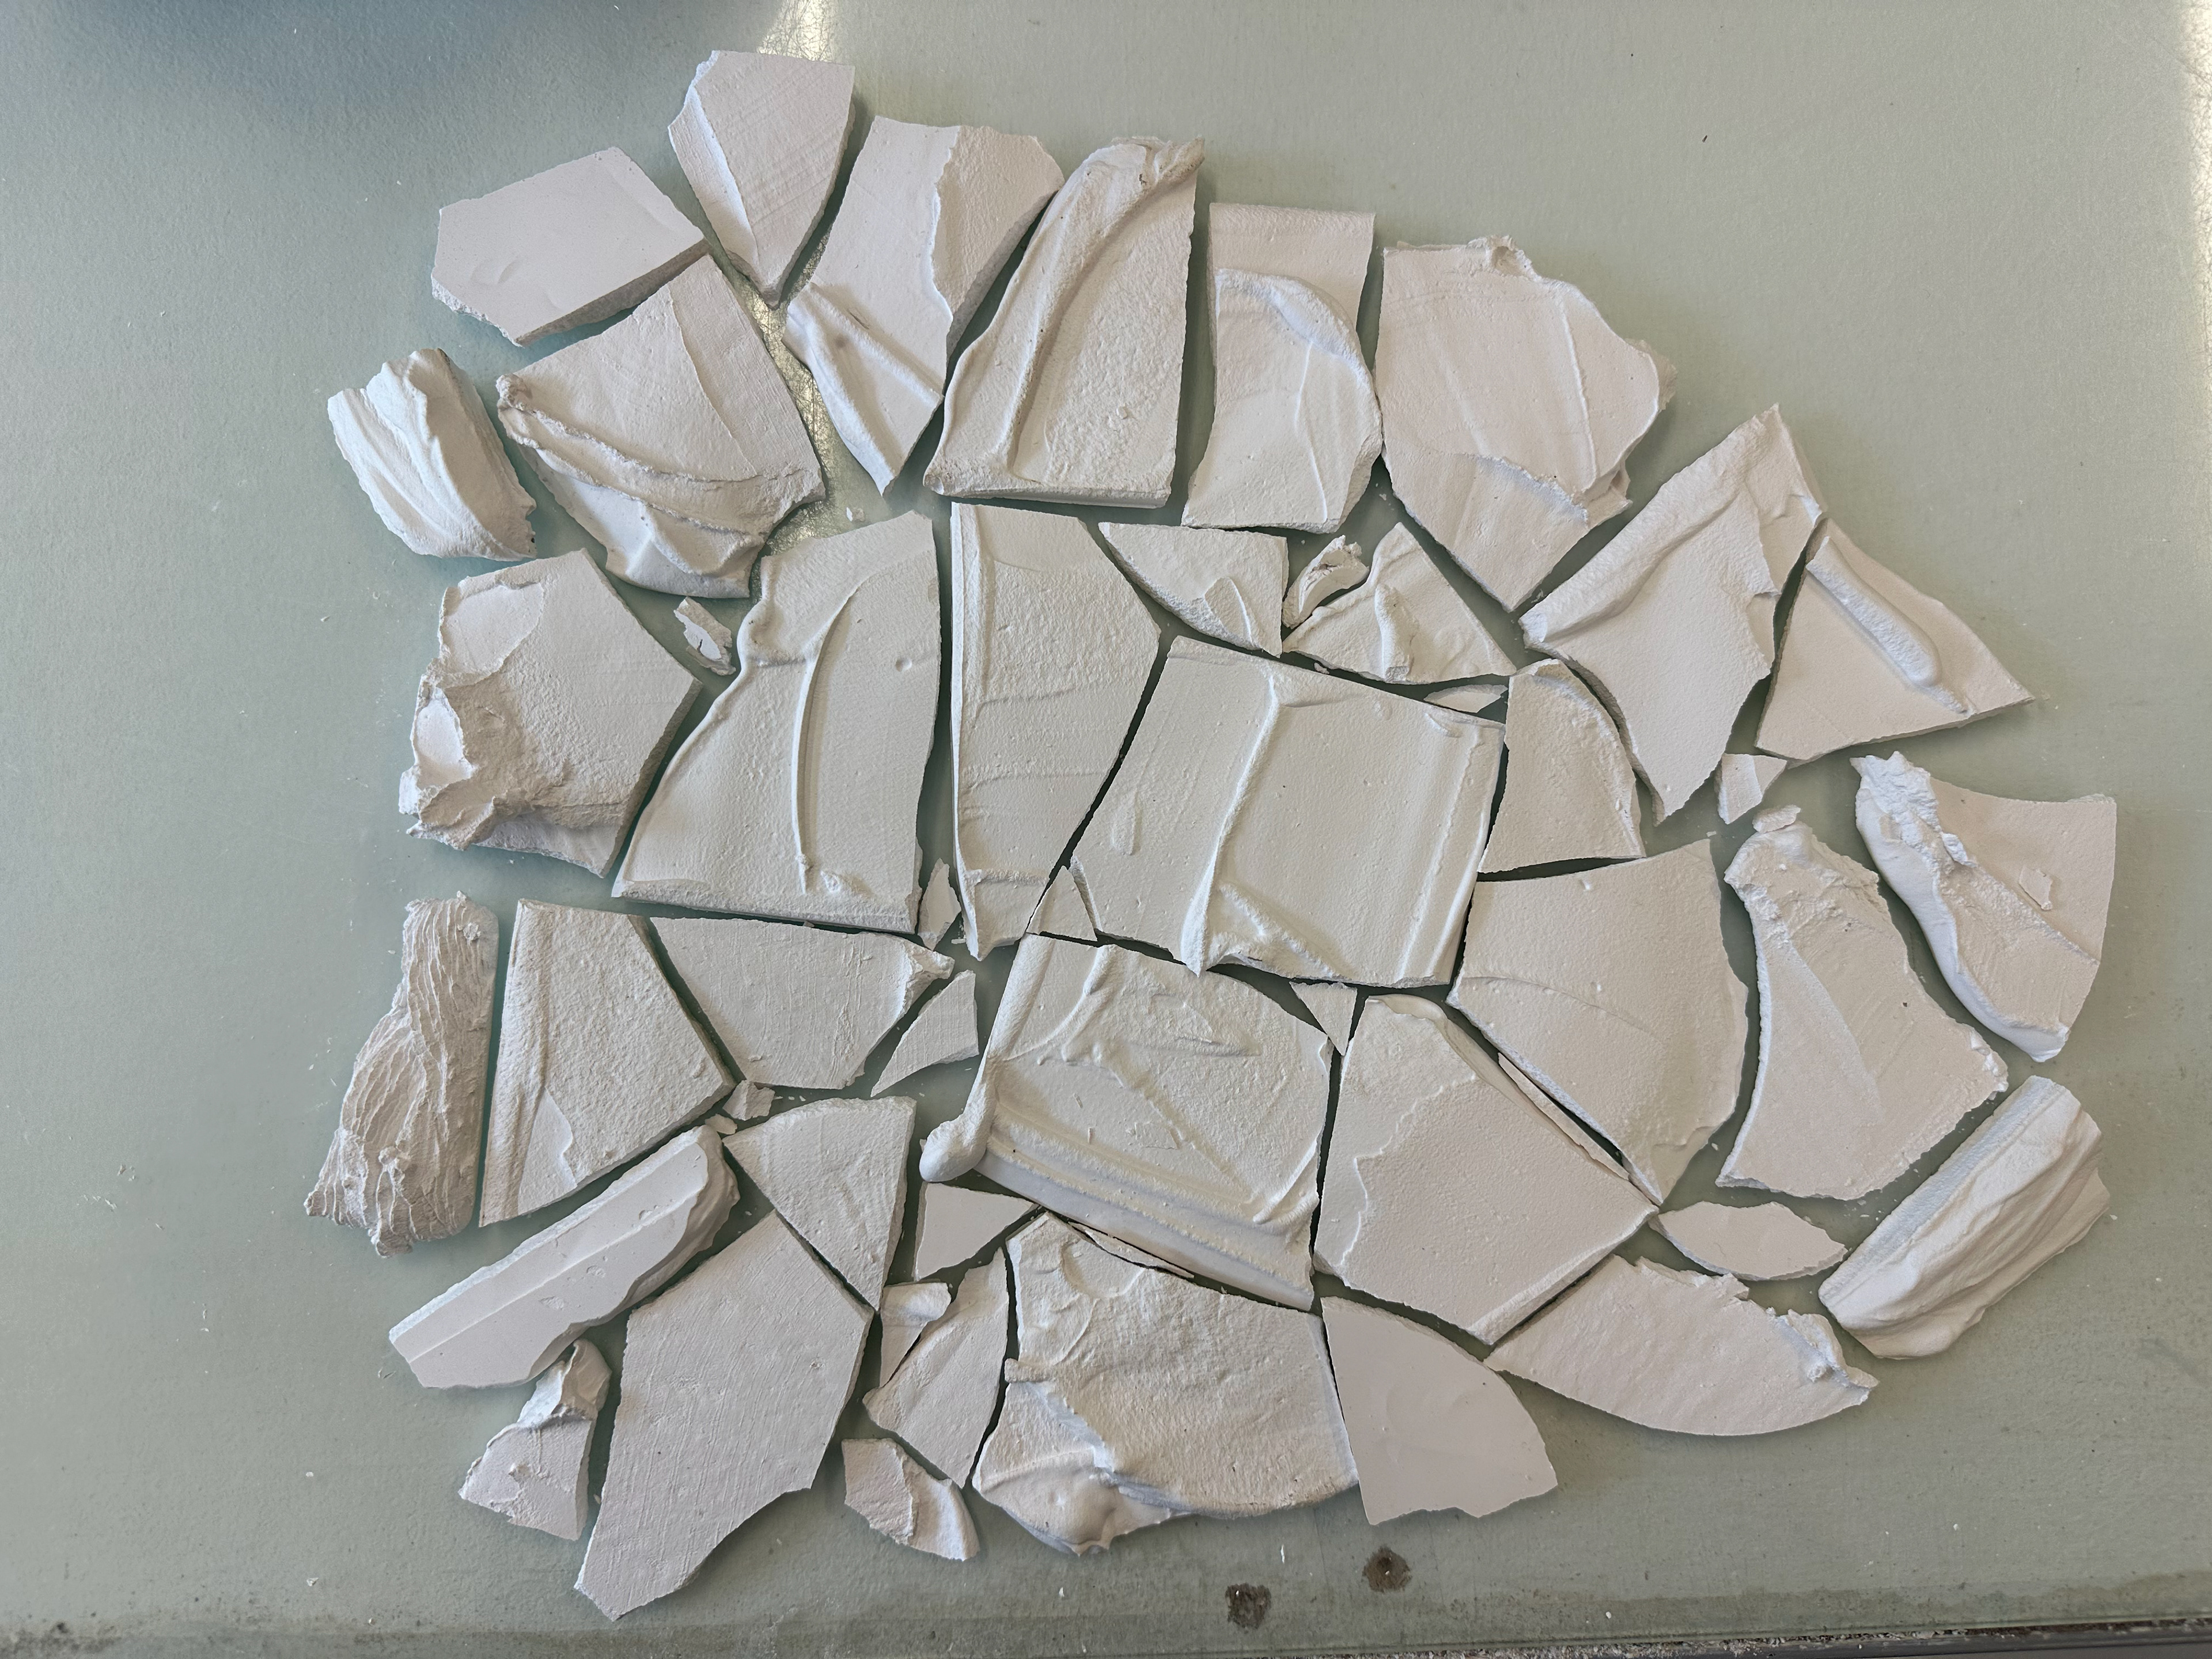
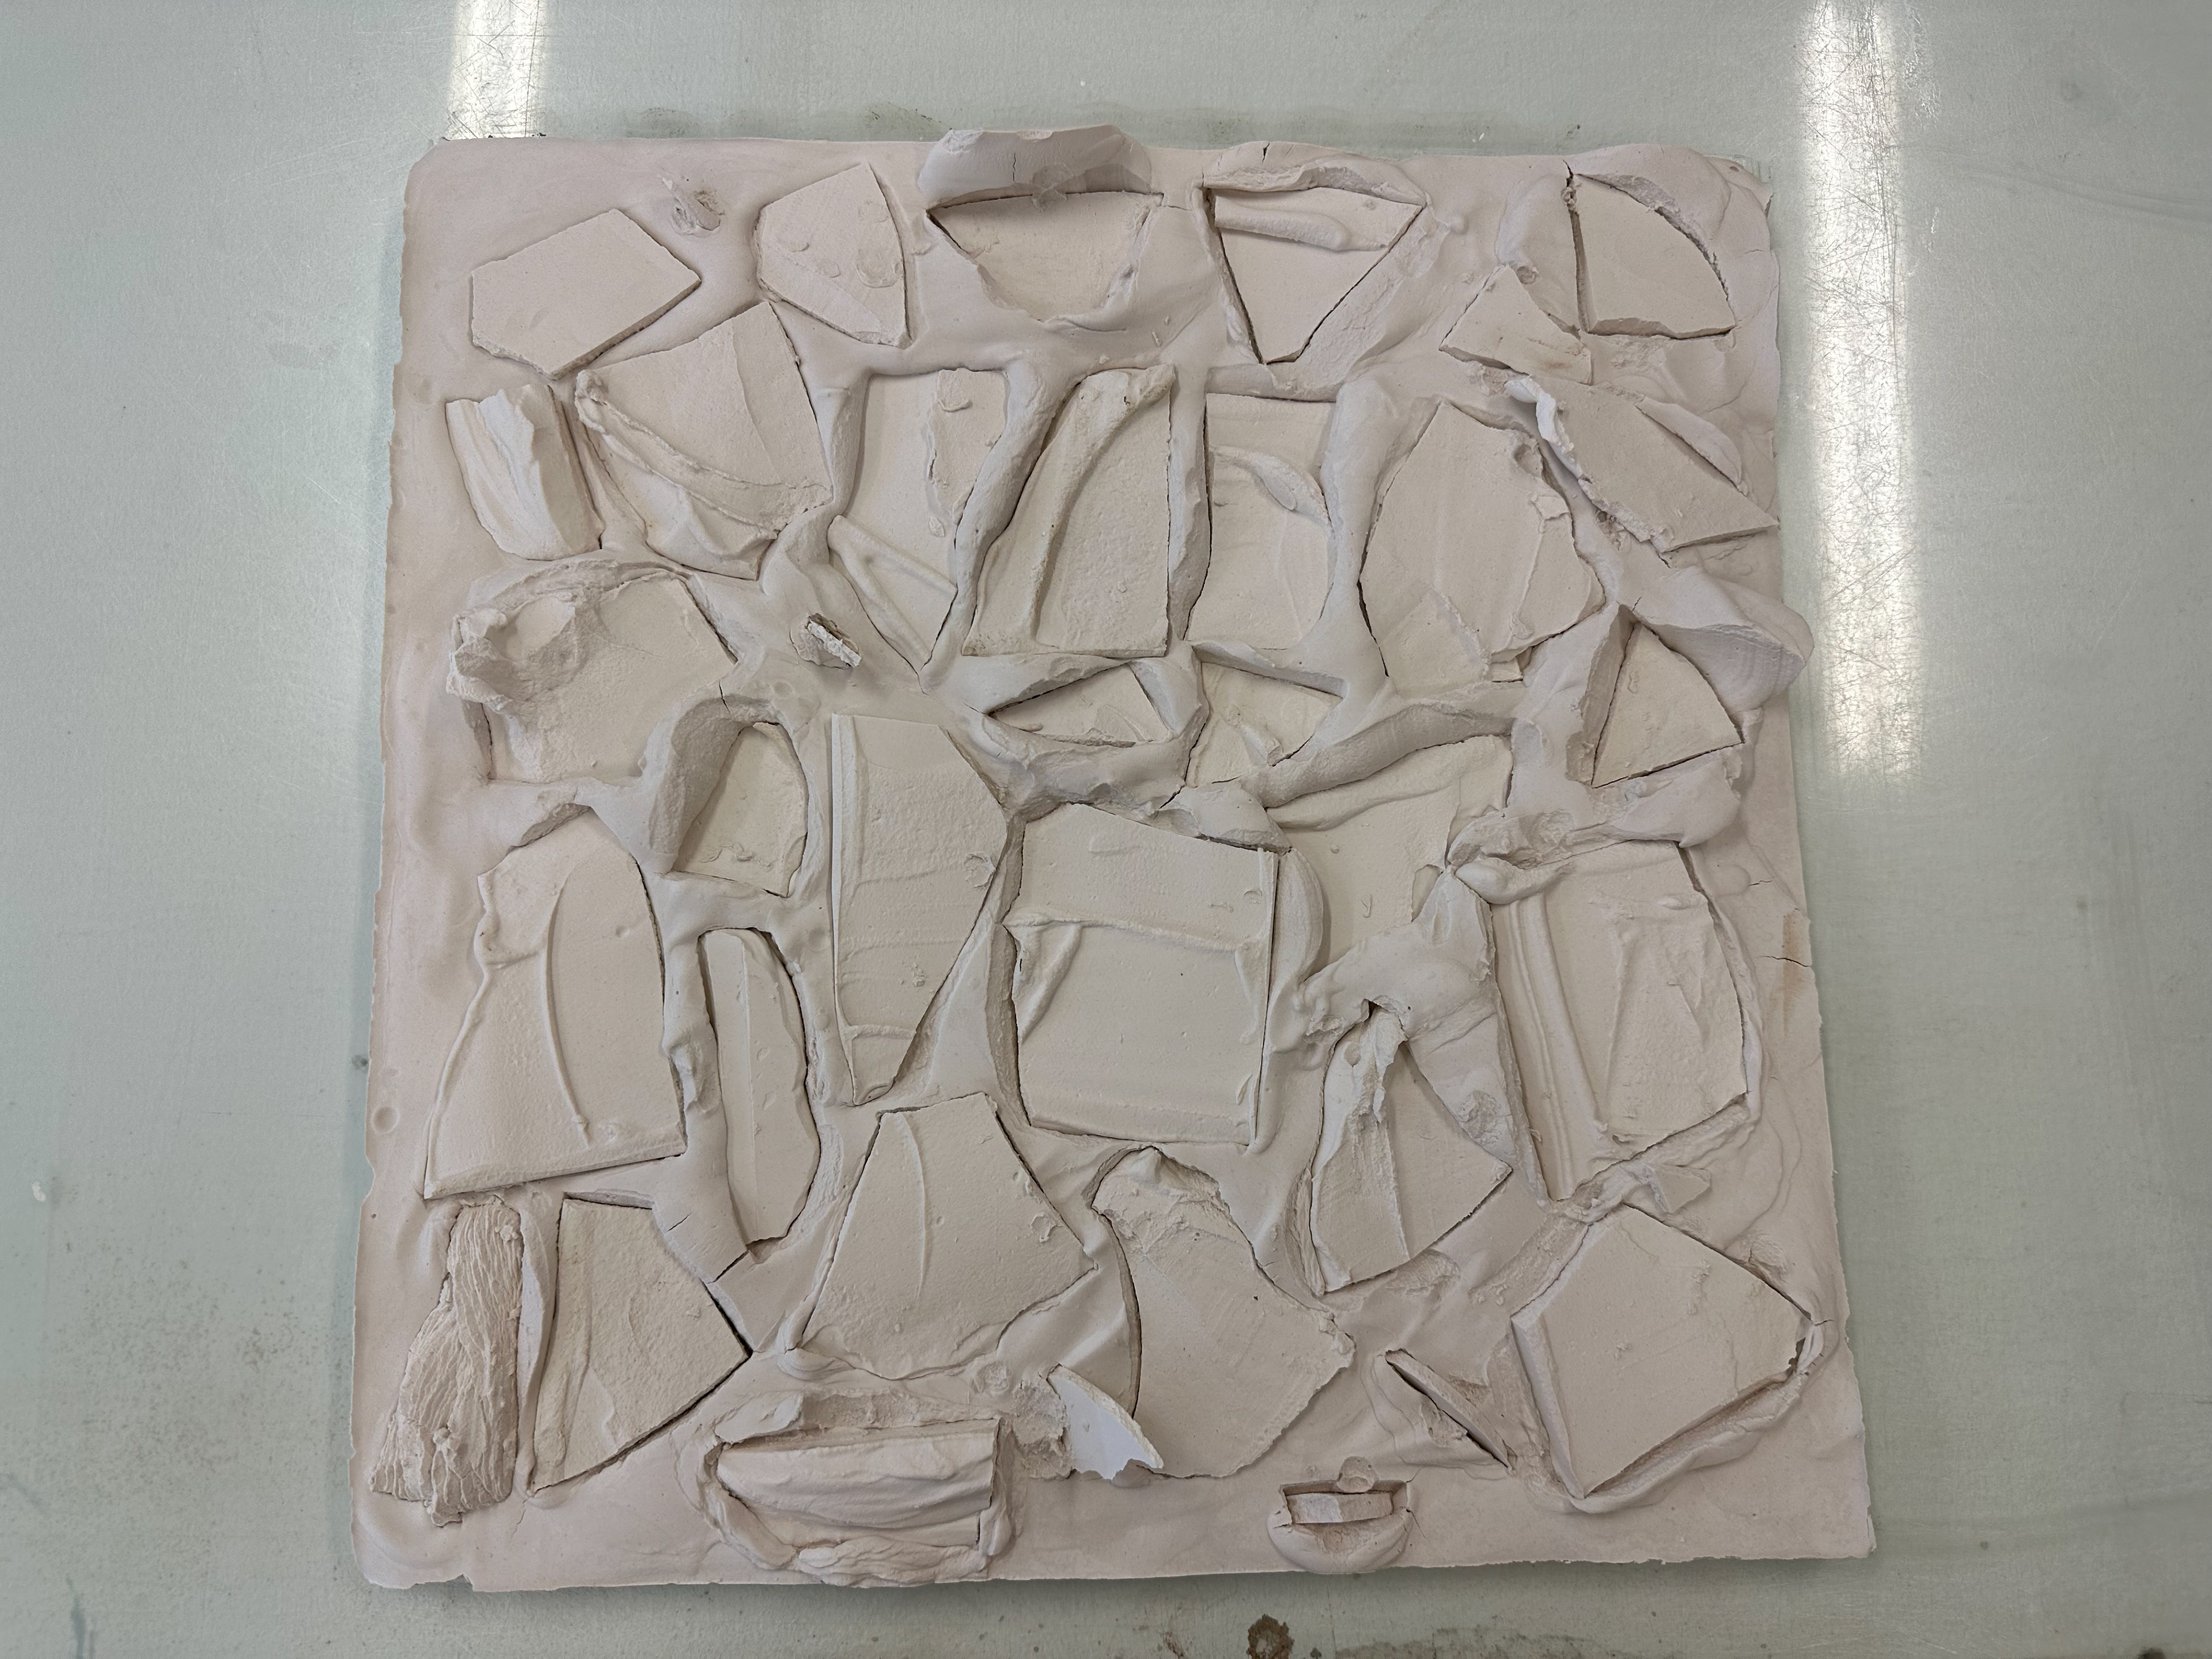
After each press the plaster always had cracks. I decided to attempted to piece them into another shape. The cracks took a single plate of plaster from having 4 sides of a boundary to having many more. By piecing different plate parts together I'd create a completely different set of boundaries.
After creating this I wanted to preserve this pattern. I decided to pour plaster onto the table and as the plaster sets press in each piece to create the same pattern. However when doing this I didn't have enough time so I couldn't be as particular. As a result, some of the pieces are elevated above the plaster block's surface. This created even more boundaries and turned 2D into 3D.
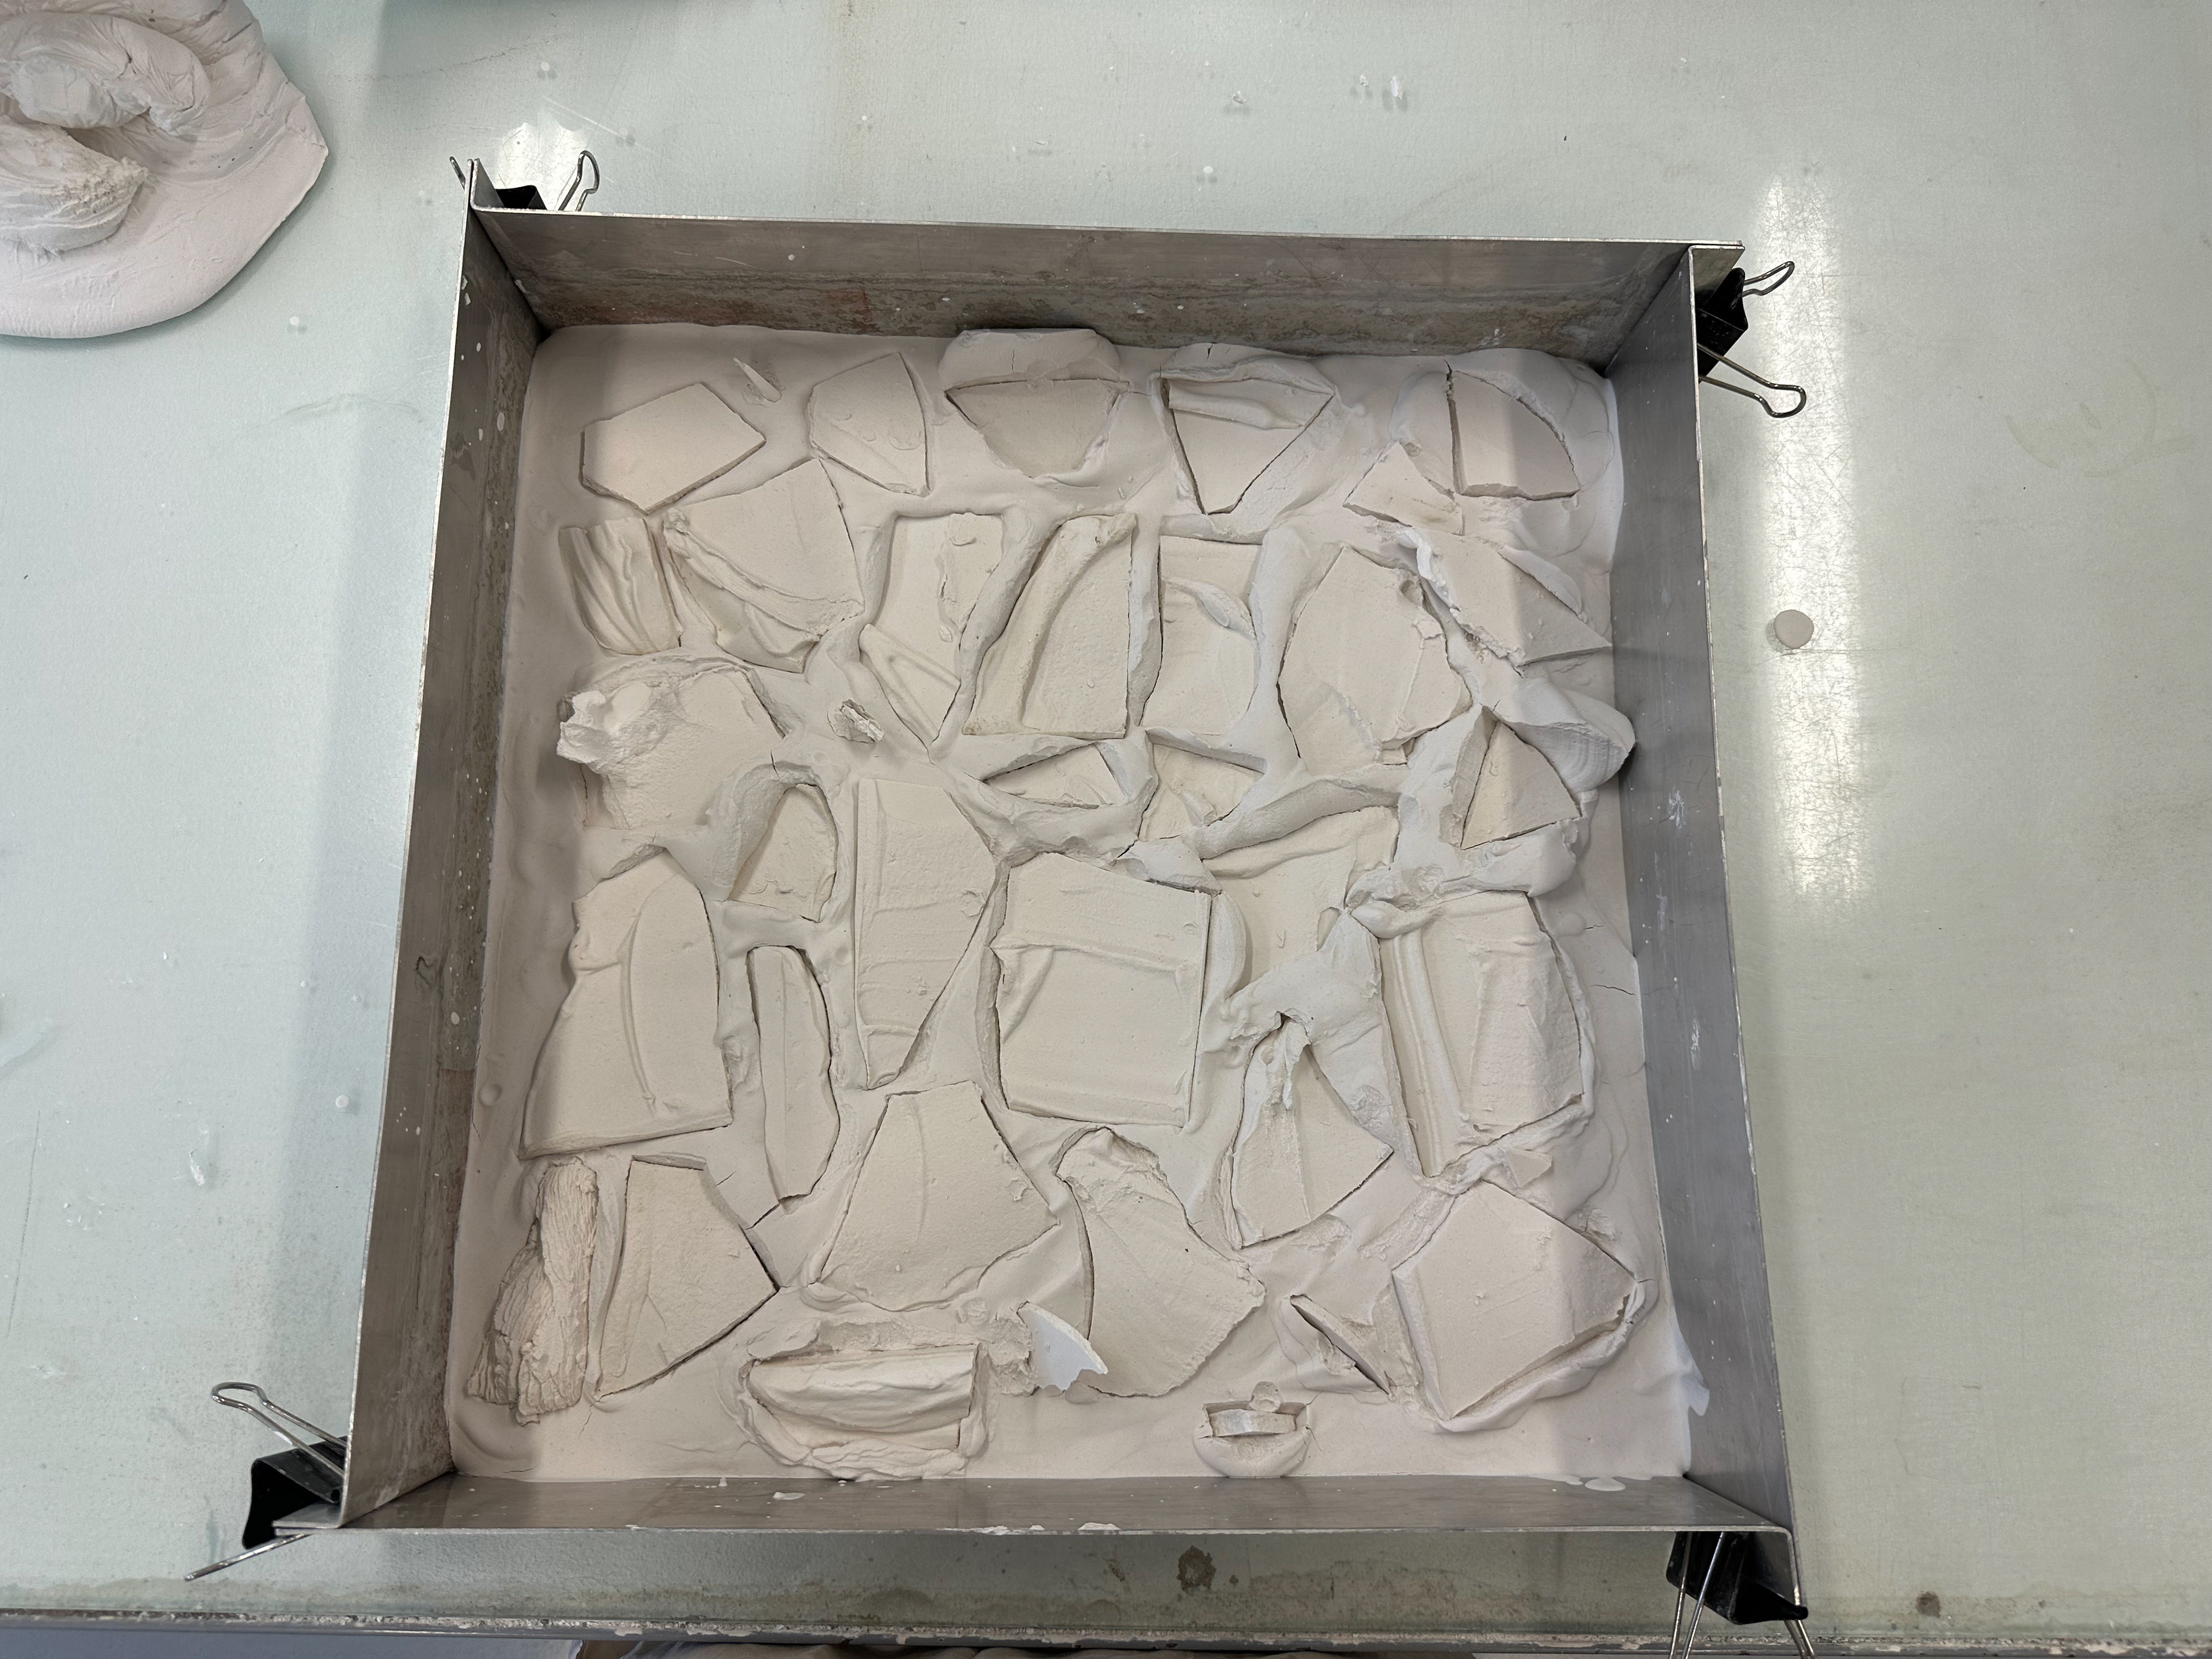
Final piece in the cottle.
Final Piece